Ah, Ribs!

Ah, Ribs!
Gordon makes the best of everything when he puts his mind to it, but he really comes through in the “Rib Department.”
Pork Ribs, to be Exact
Here is just one of his rib recipes that I wanted to share with you.
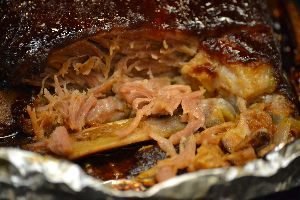
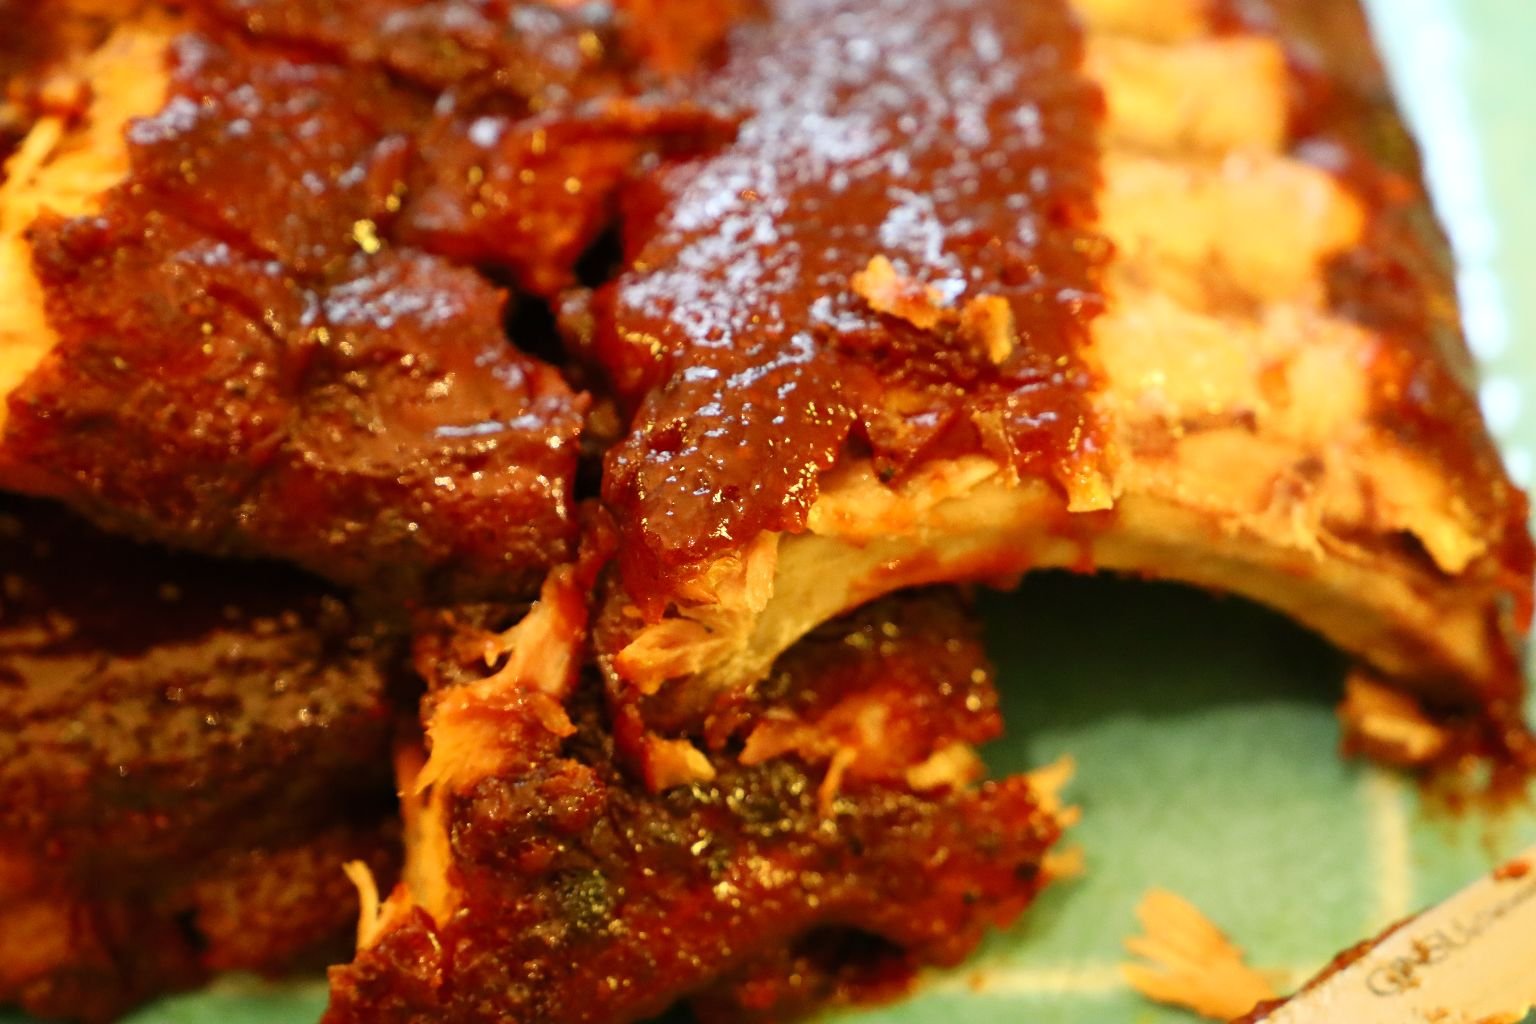
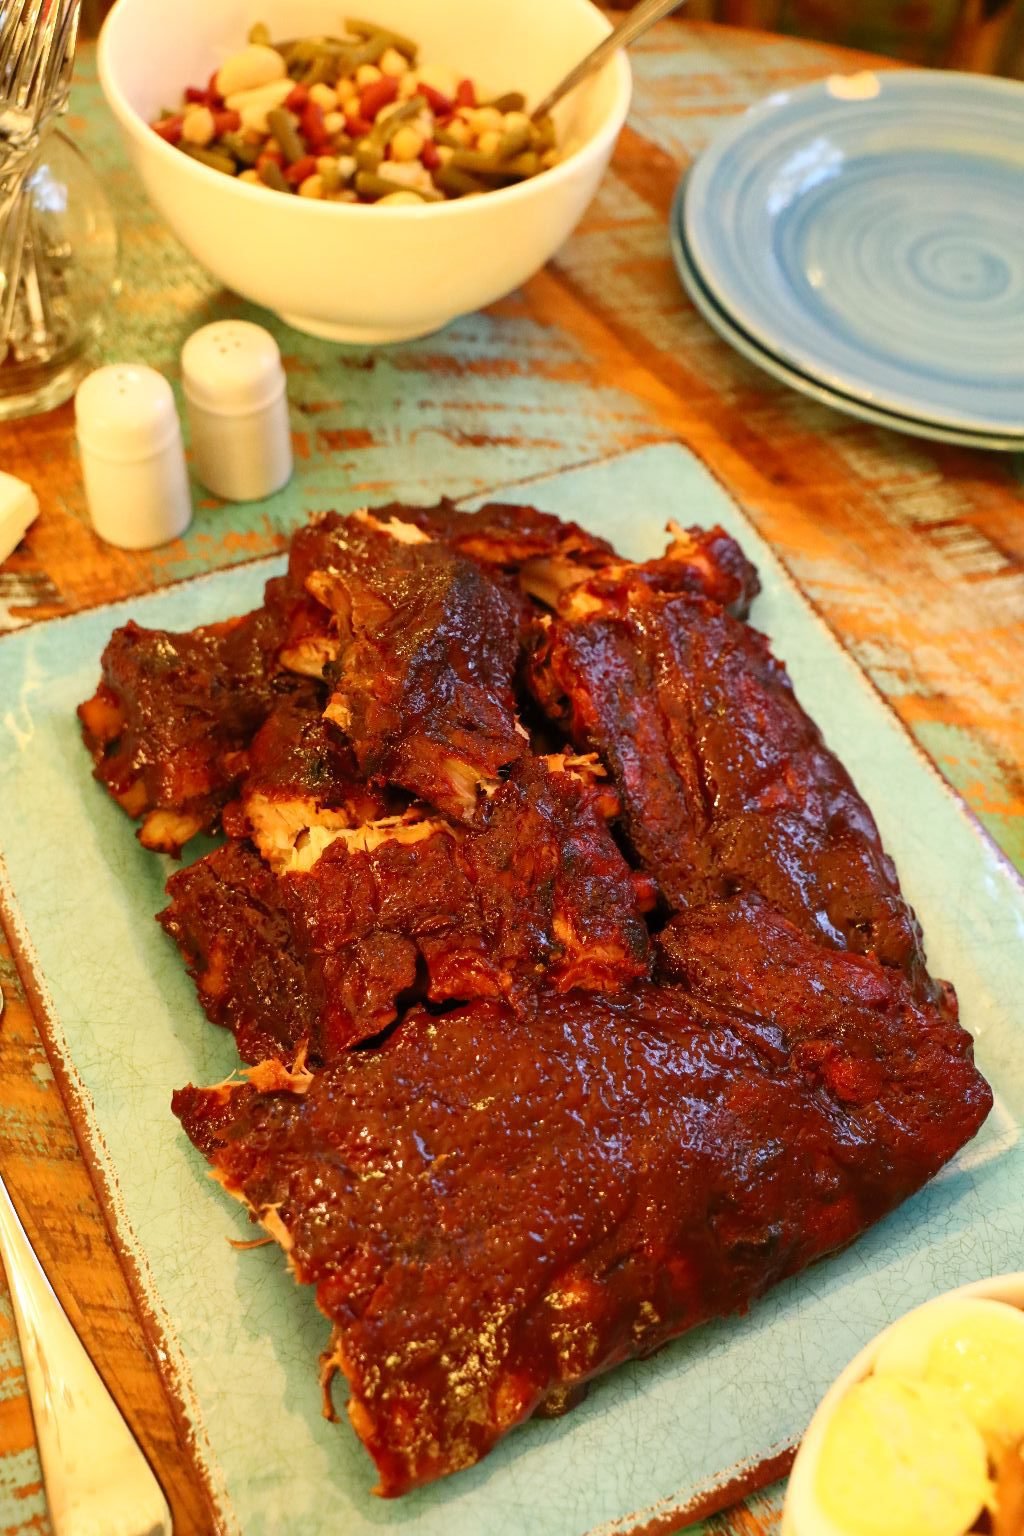
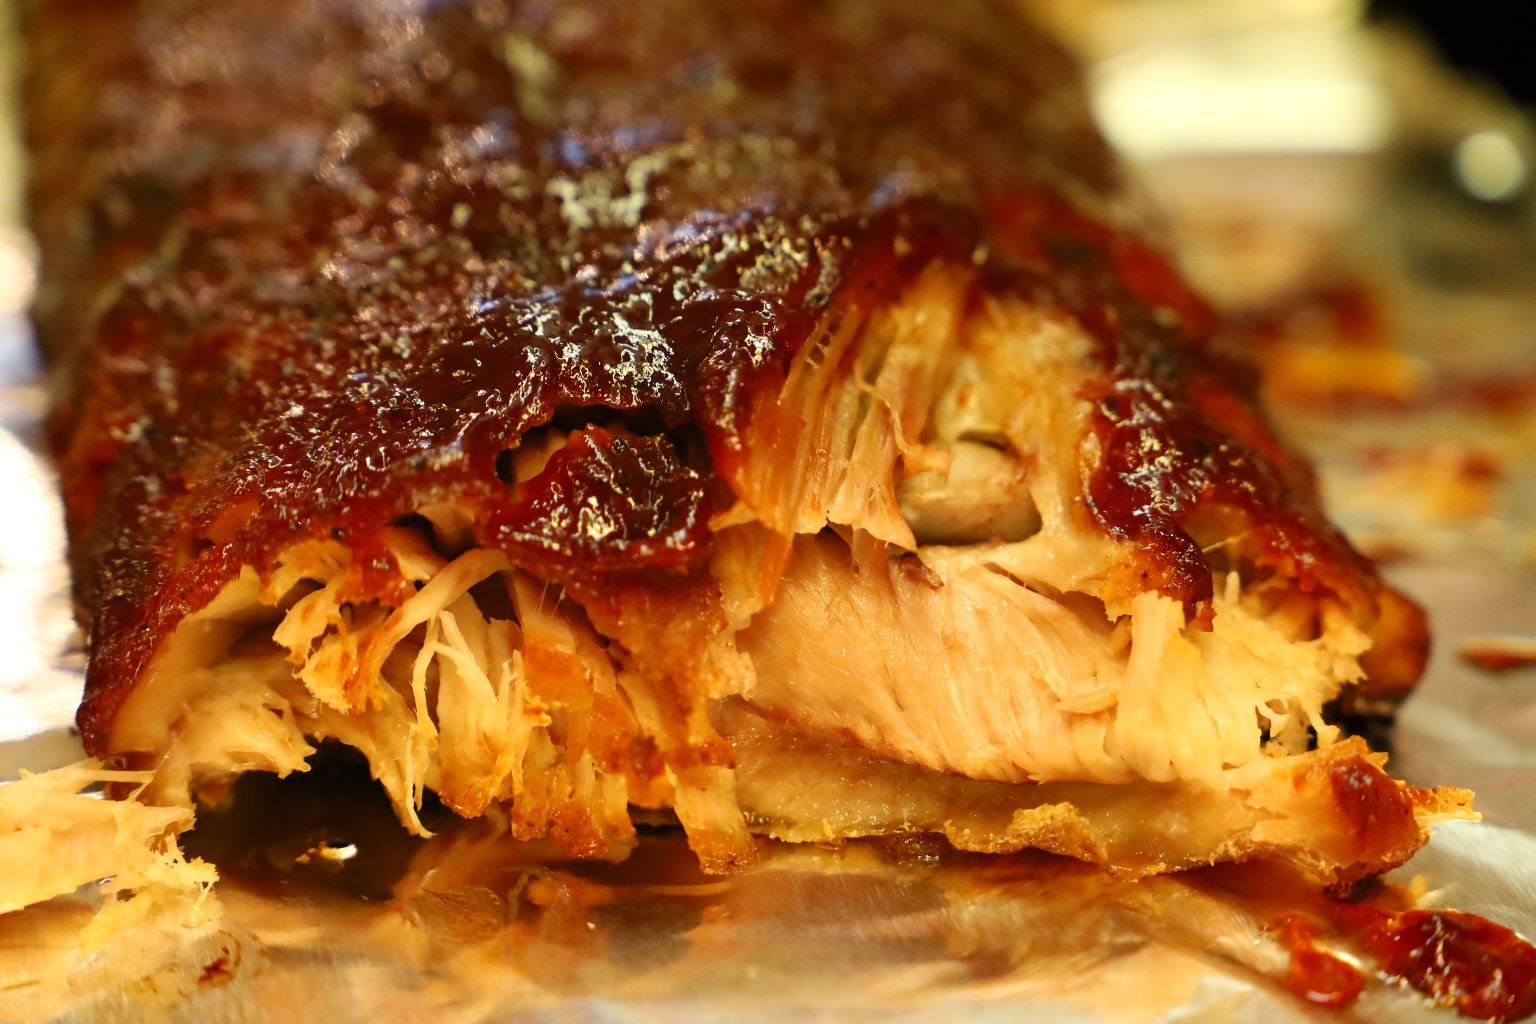
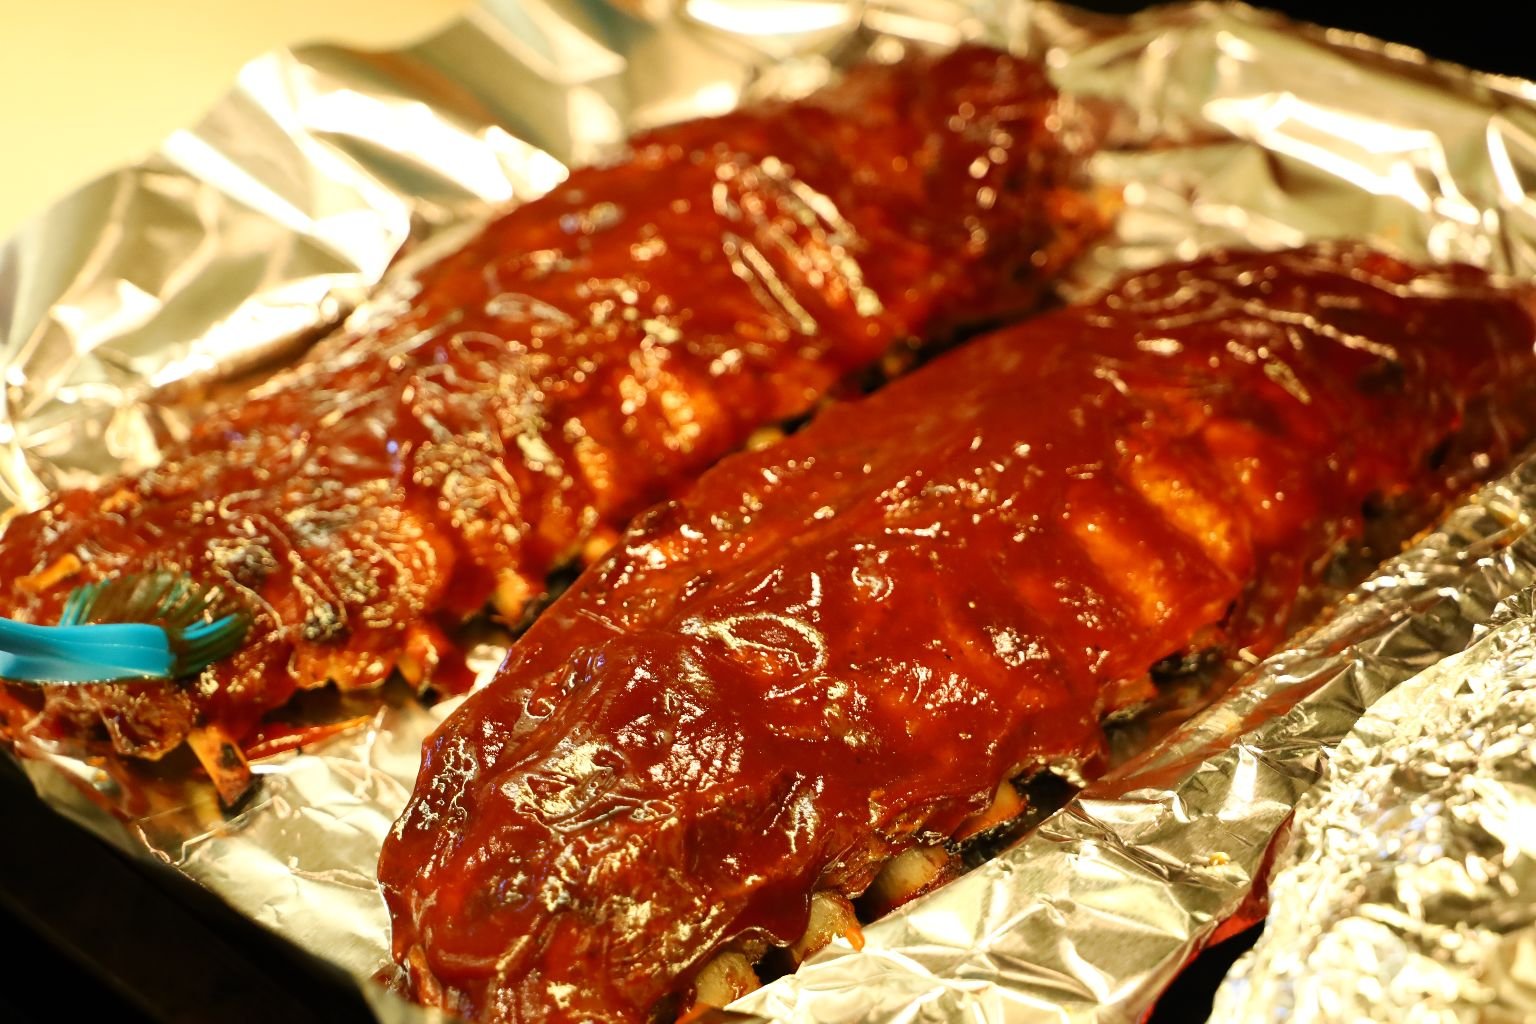
As you can see, the meat is simply falling off the bone.
Not desirable with many of the rib eating connoisseurs, however, we like it this way, because it melts in your mouth just like butter.
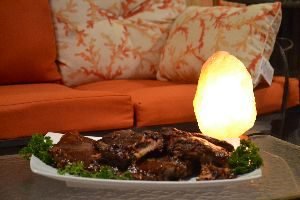

Ah, Ribs!
Now add a Himalayan Salt Rock Lamp, and you have a nice evening out on your lanai.
Just remember all the napkins you will need.
—————————————
Gordon’s Melt in Your Mouth Pork Ribs
——————————–

We also have another Rib recipe for you.
Just as ‘melt in your mouth’ delicious as the other ones.
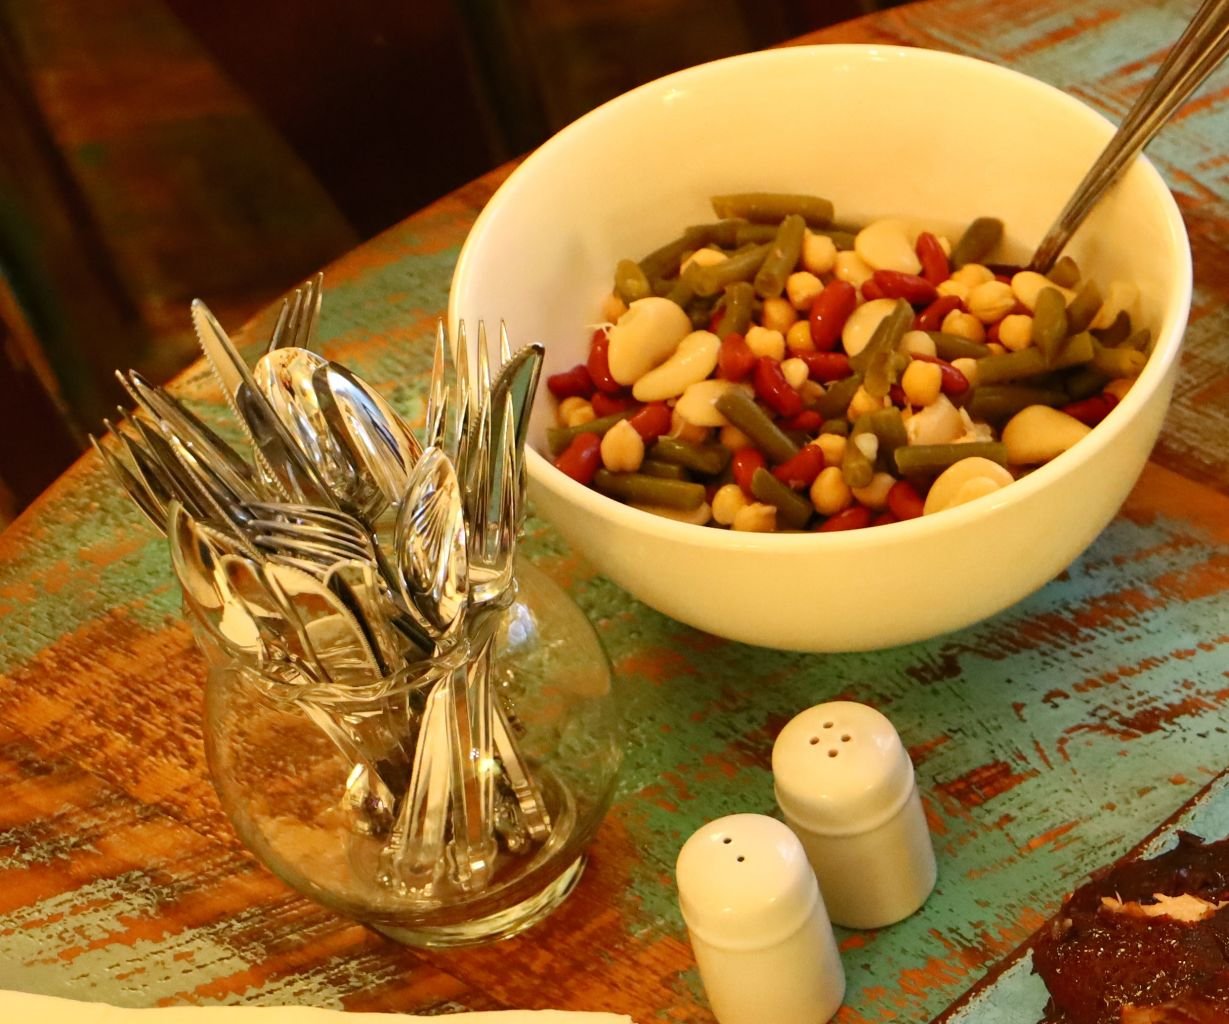
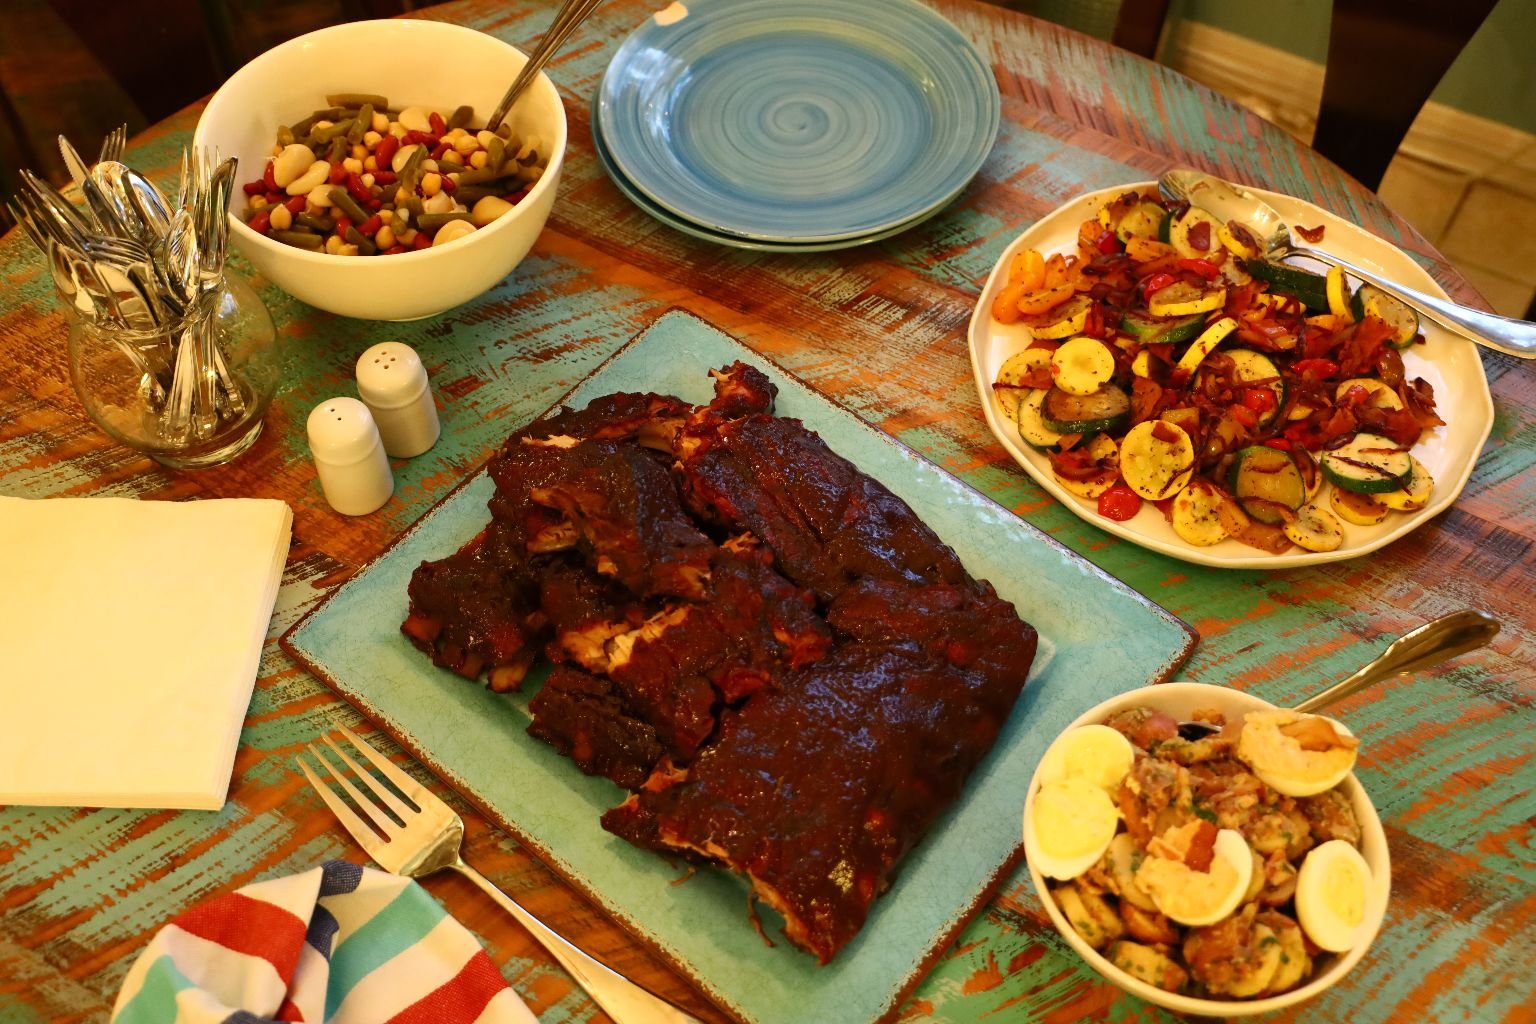
And we have some great sides like our Four Bean Salad!
———————————————————-
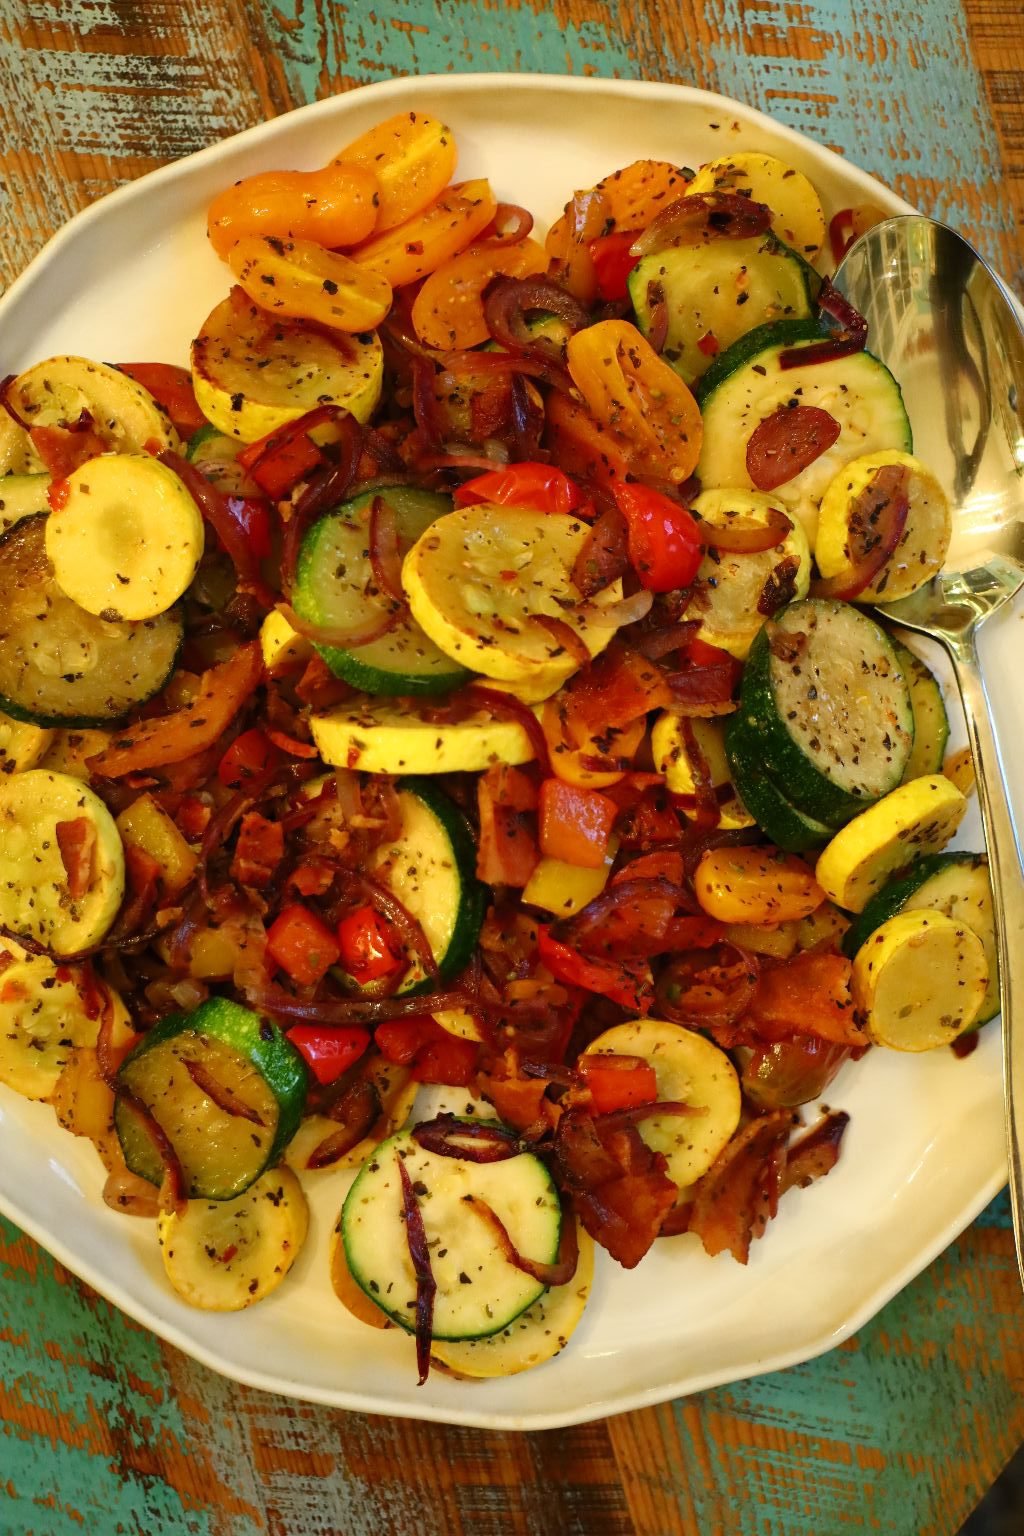
This Squash and Zucchini medley…….
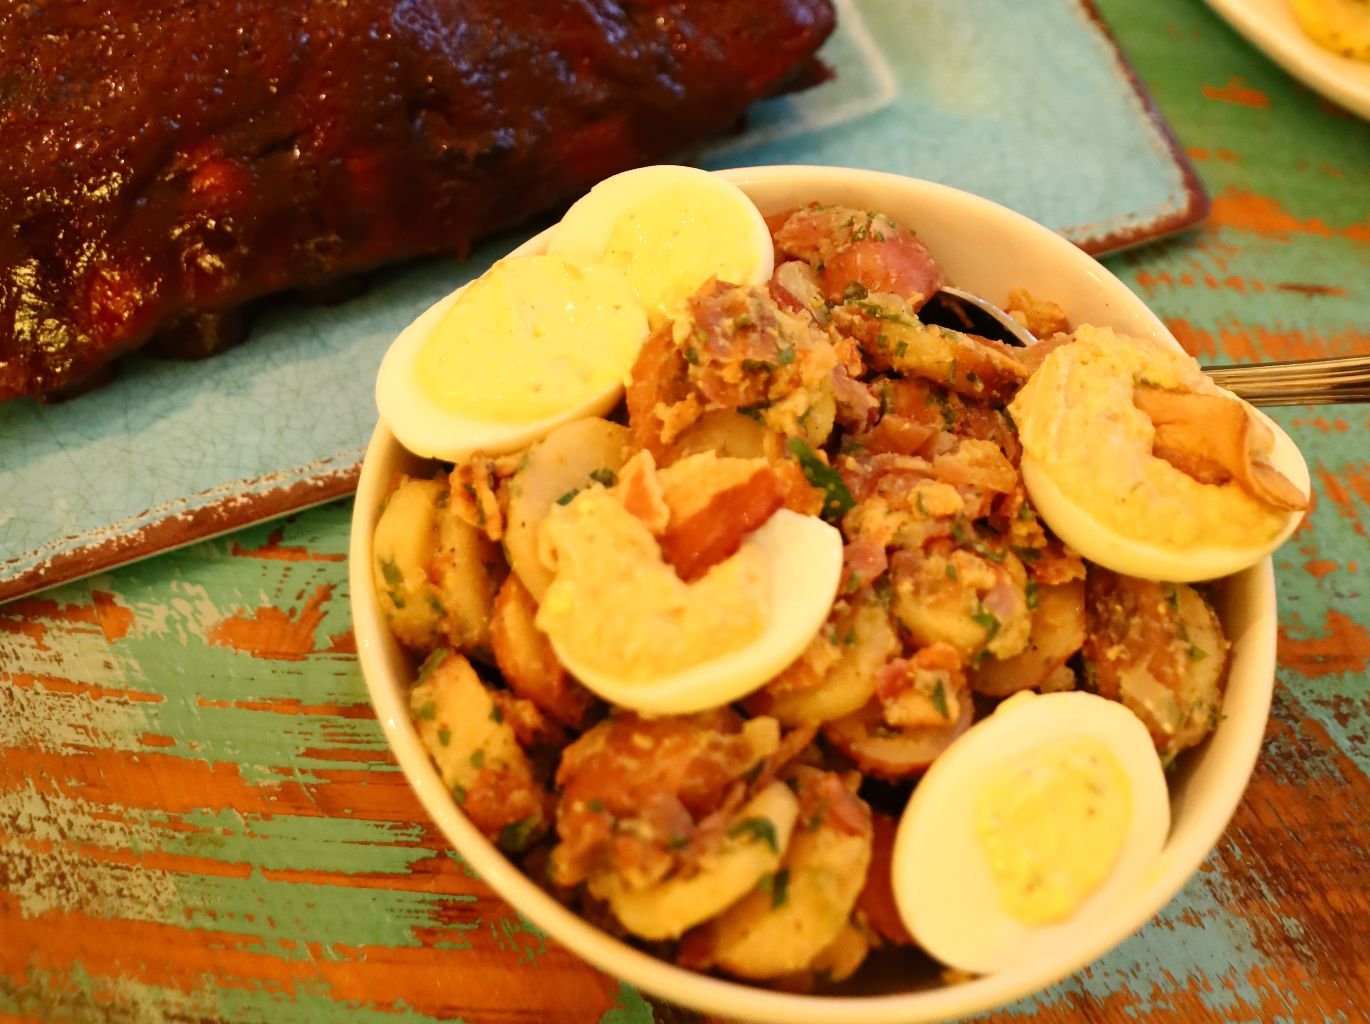
and German Potato Salad with Deviled Ham Deviled Eggs.

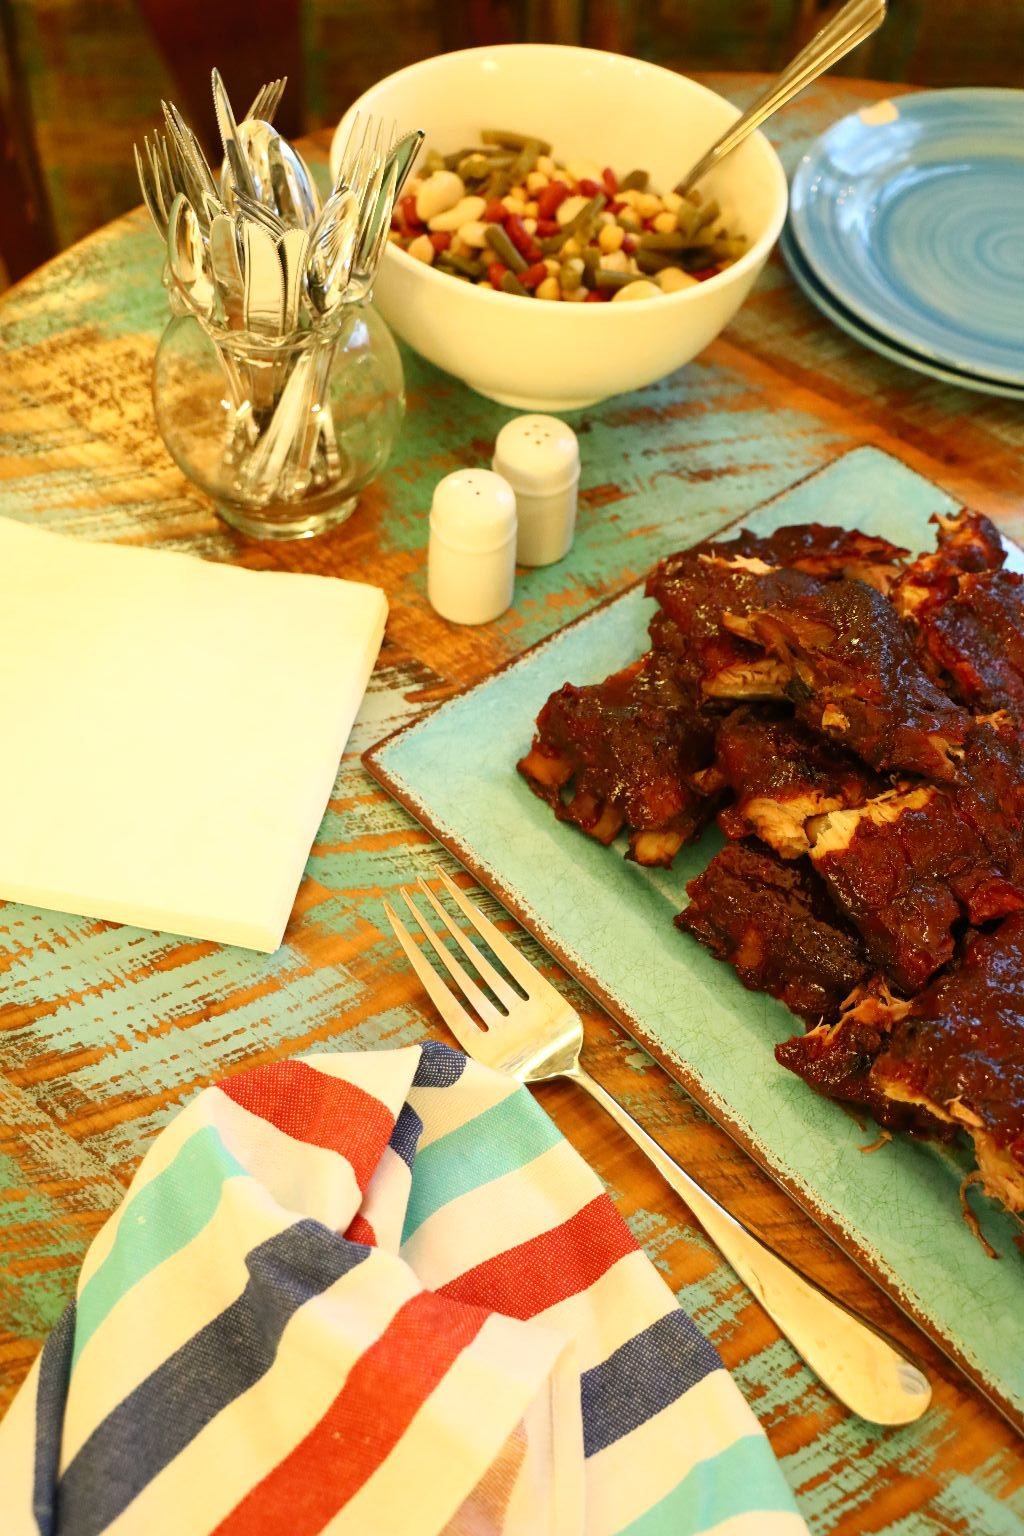
An Excellent Dinner for Four

(See recipes down below.)
———————————————————–
First Up:

Gordon Bought 3 Racks of Ribs for this Meal
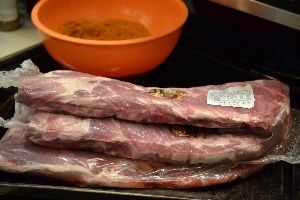
Two of them are baby back and one spareribs. If they were previously frozen, make sure they are completely thawed before you cook them. This will ensure even cooking.
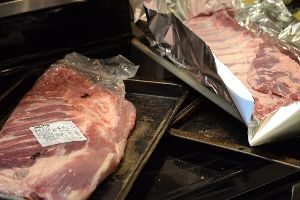
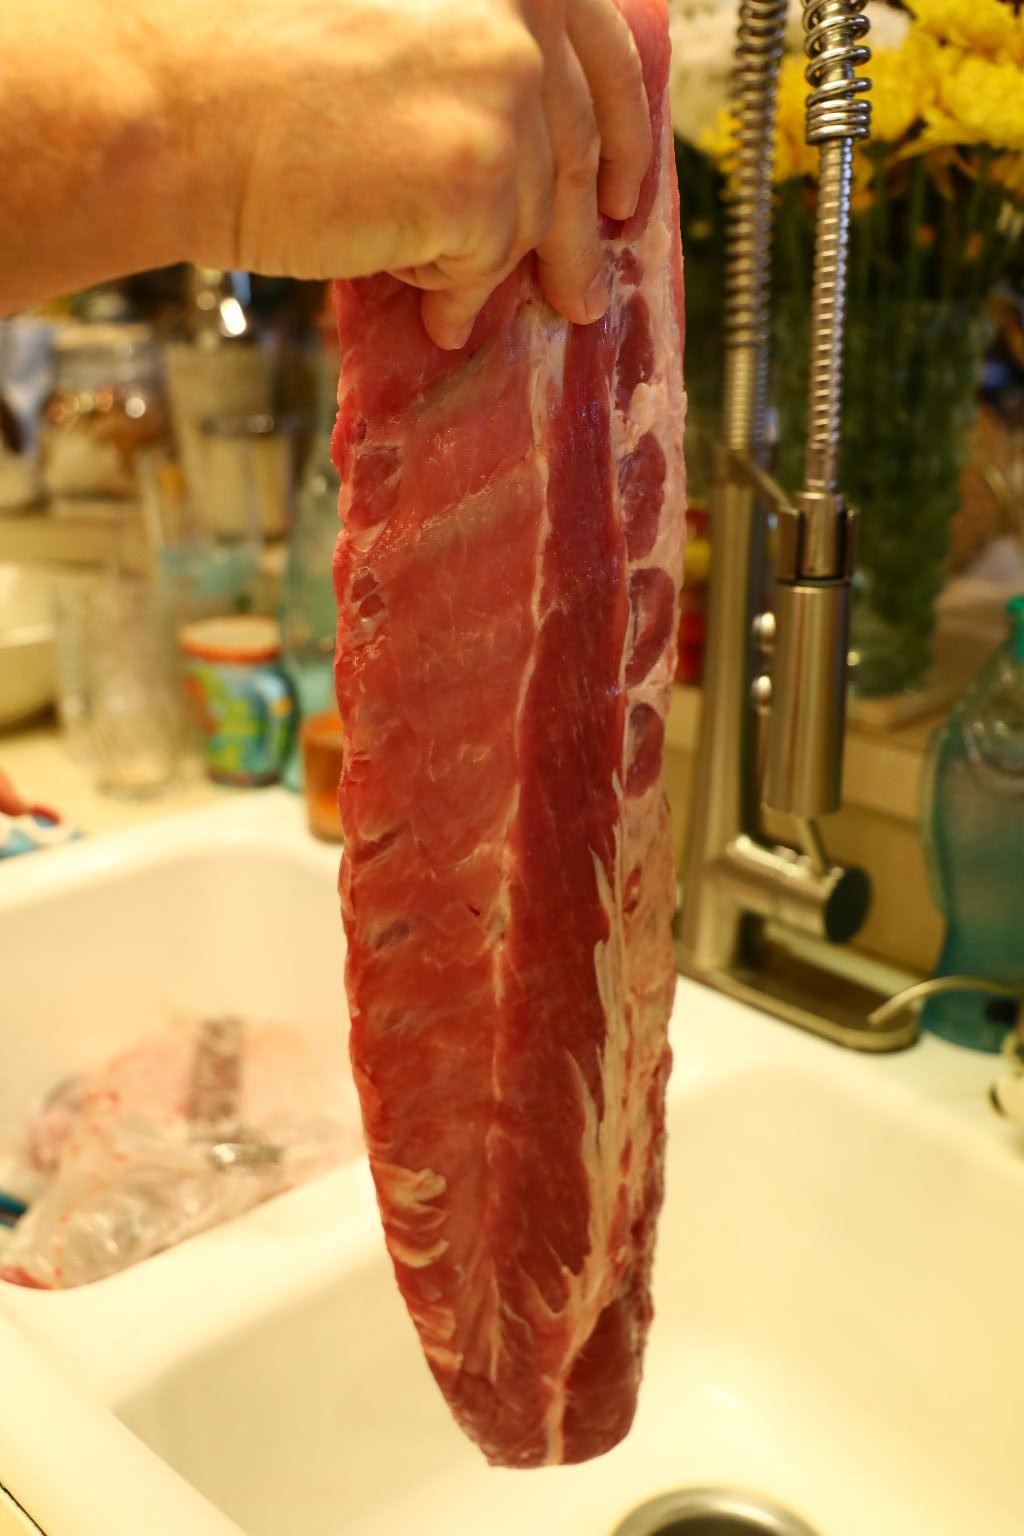
Once out of the package, I like to rinse the ribs in cold water then pat them dry with a paper towel.

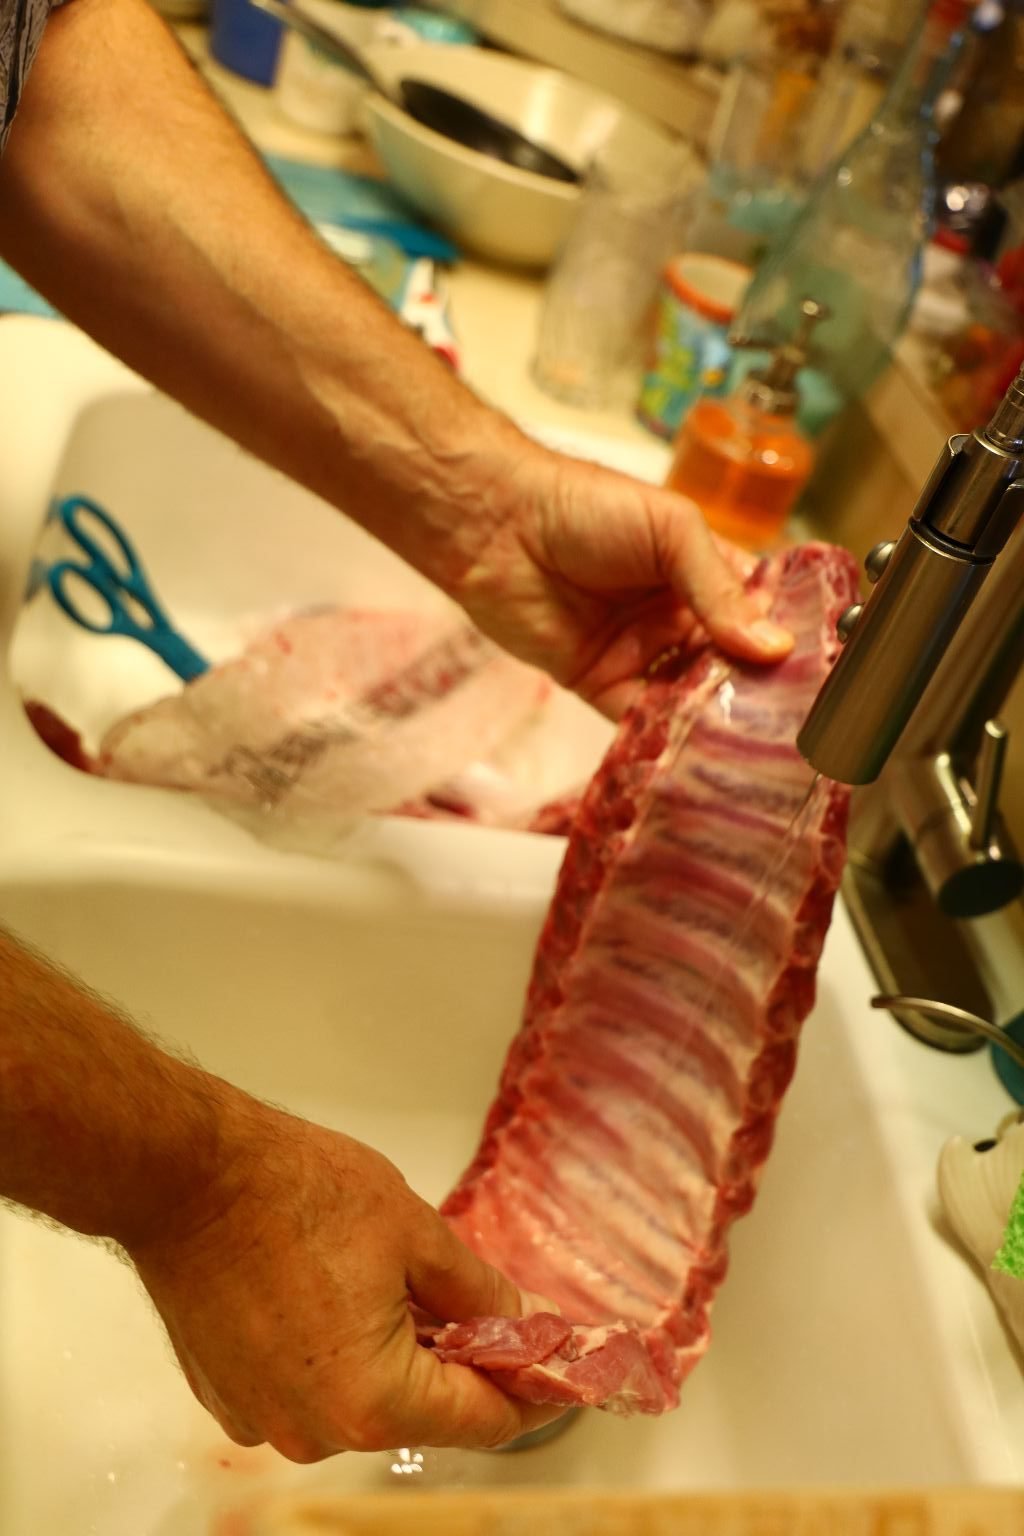
Below, I am pulling off the silver skin from the back of the ribs. If you don’t do this you will have to chew through this which isn’t very pleasing.
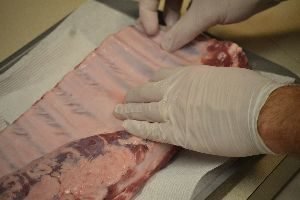
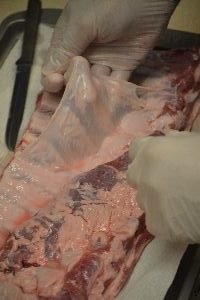
As you can see, it usually comes off like a sheet. Starting it is the tough part.
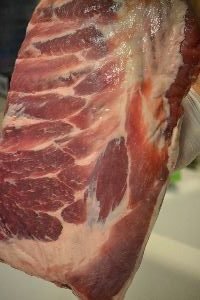
Now the meat is ready for the spices.
———————————-
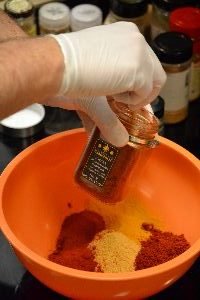
The Spices for the Ribs
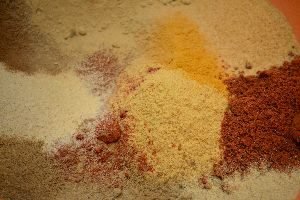
The Spice Rub Ingredients
List of Spices:
3 Tbsp Ginger
3 tsp Onion Powder
3 Tbsp Cumin
4 Tbsp Mustard Powder
2 Tbsp Turmeric
2 Tbsp White Pepper
3 Tbsp of both Sweet Hungarian Paprika and Smoked Paprika
3 Tbsp Honey Powder
3 Tbsp Roasted Garlic Powder
1 Tbsp Cinnamon
2 Tbsp Ground Cardamom
2 Tbsp Coriander Seeds
2 Tbsp Sea Salt
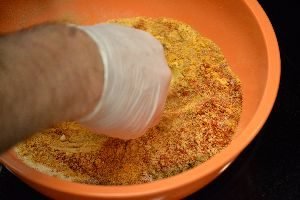
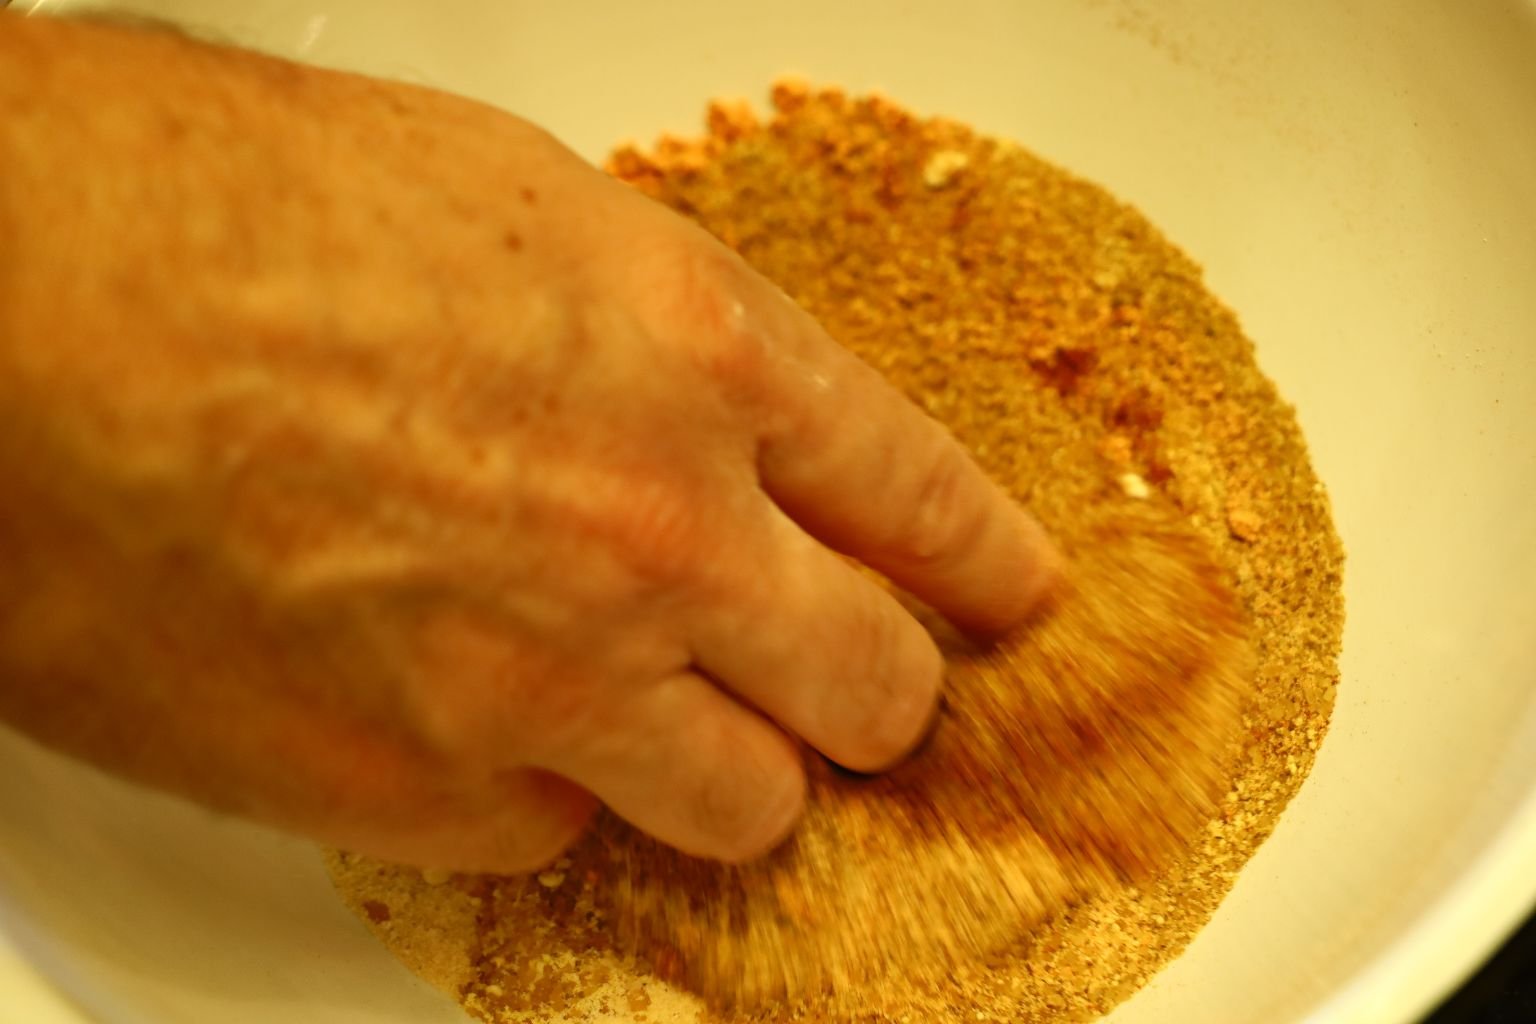
Mix all the spices together well.
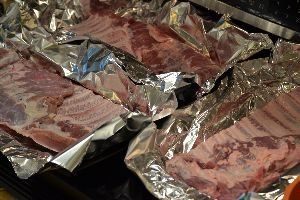
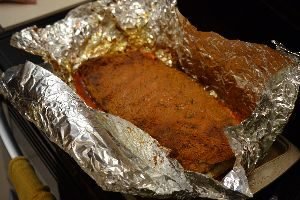
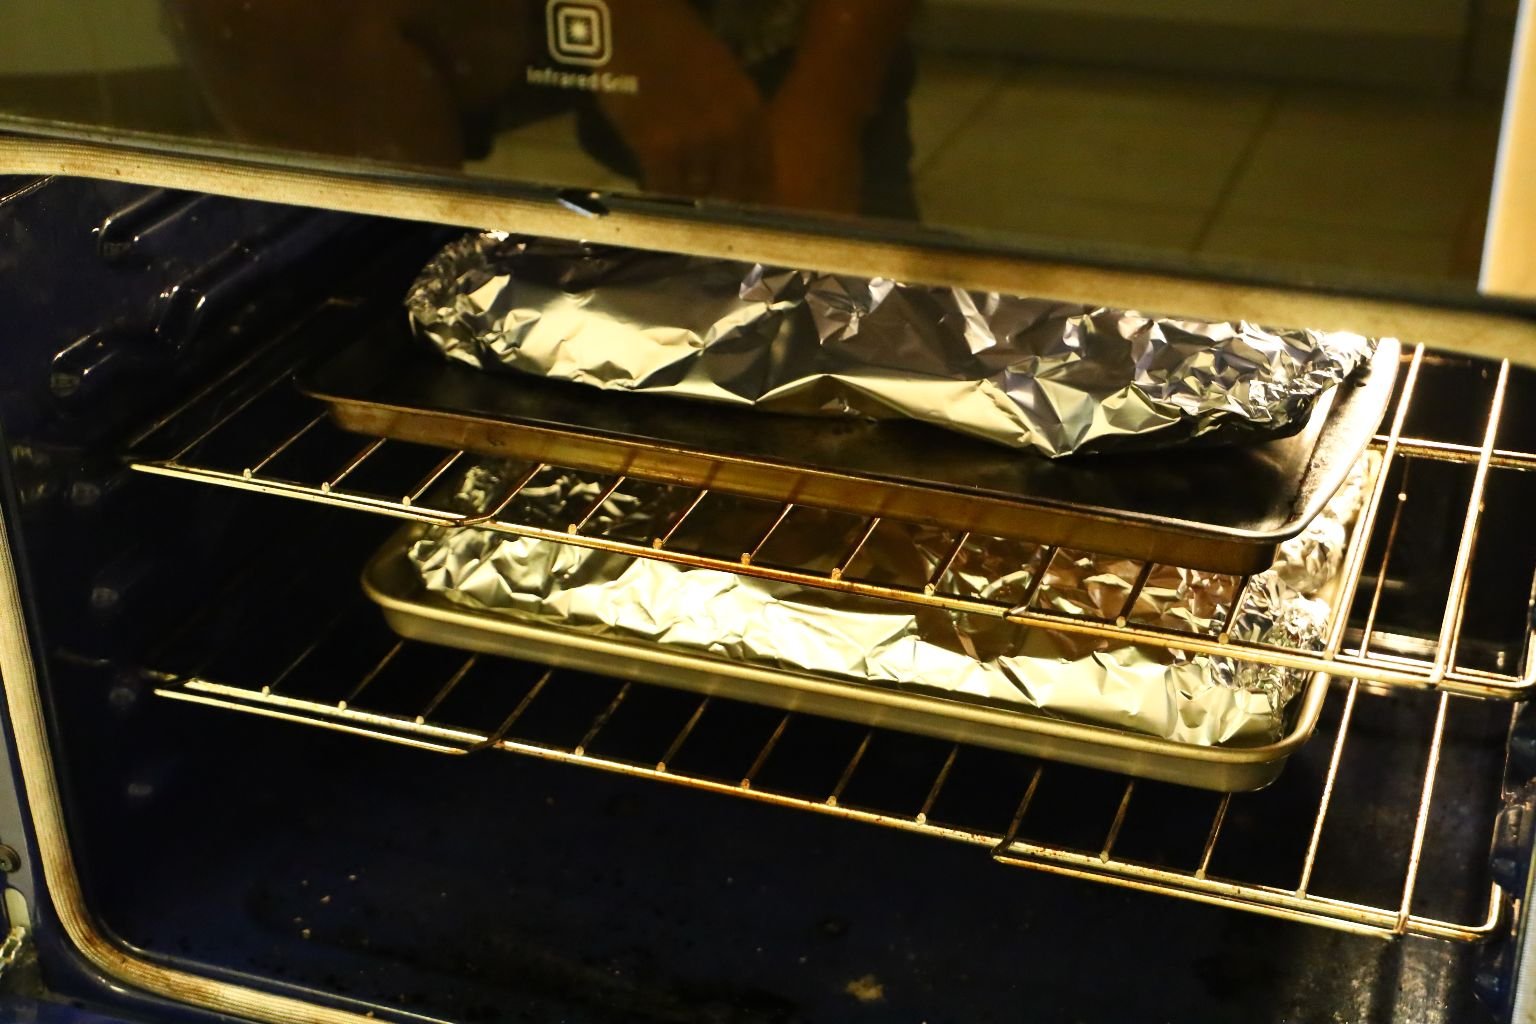
Place the ribs meat side down onto heavy duty sheets of foil.

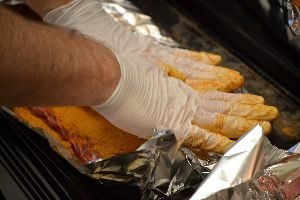
Sprinkle some of your rub mixture all over your ribs, then press the seasonings into the meat.
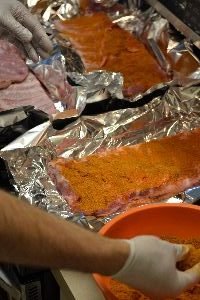
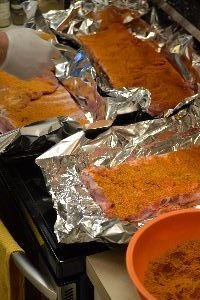
Turn the ribs over and repeat the process.
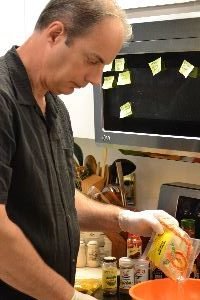
Wearing gloves makes for an easier cleanup of your hands and will prevent them from turning yellow from the mustard and turmeric.
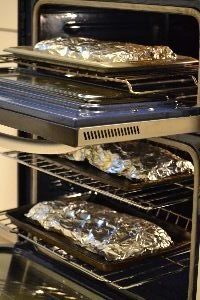
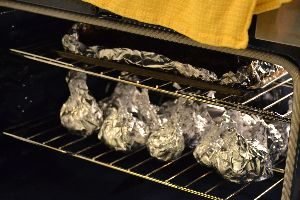
Wrap your ribs in the aluminum foil and place on baking sheets into a 300 ‘F oven for about 2 hours. Use more foil if needed to cover the ribs tightly.
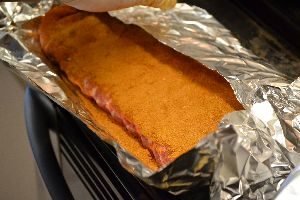
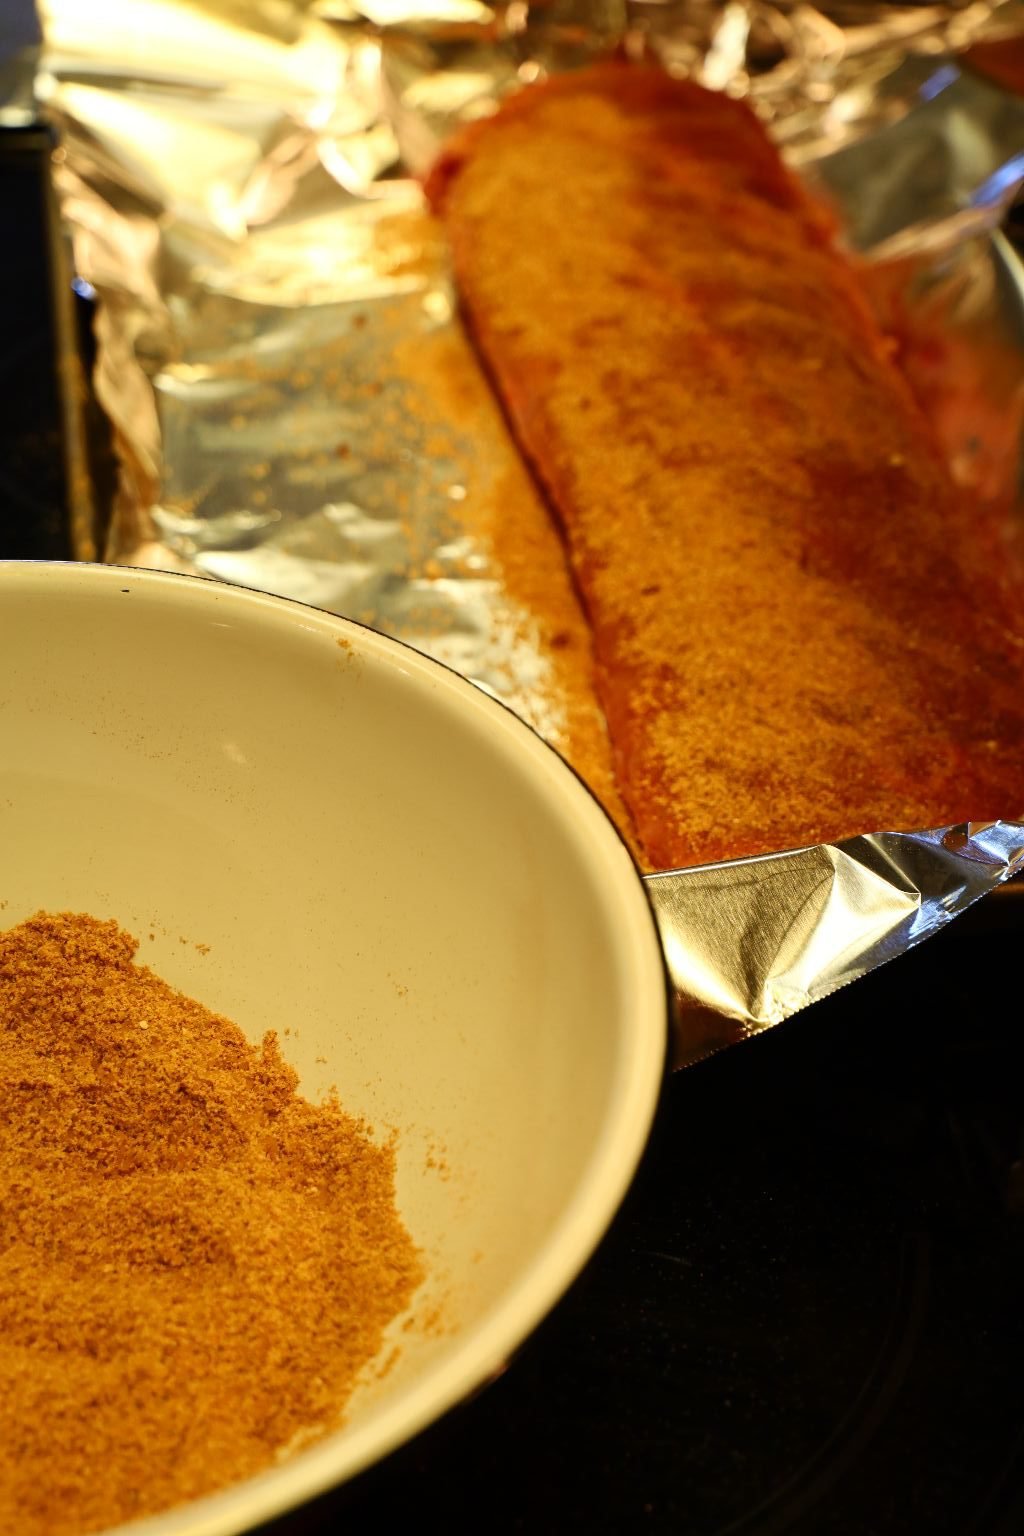
Remove the ribs from the oven when done, then sprinkle them with as much brown sugar as you like.
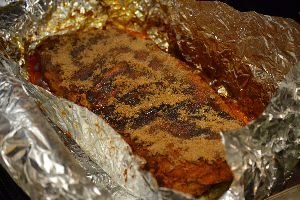
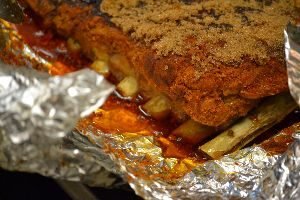
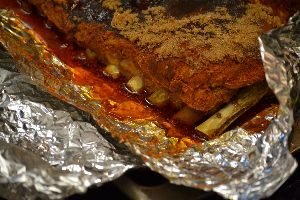
Only put brown sugar on the top side. Here you can see the meat is starting to pull away from the bone … a very good sign.
Then wrap them back up and place them back into the oven for 1 hour.
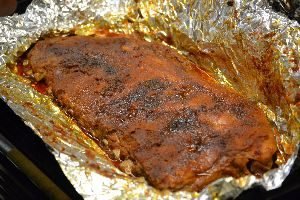
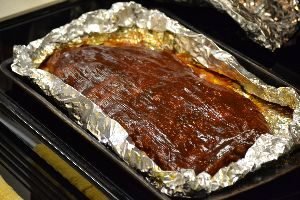
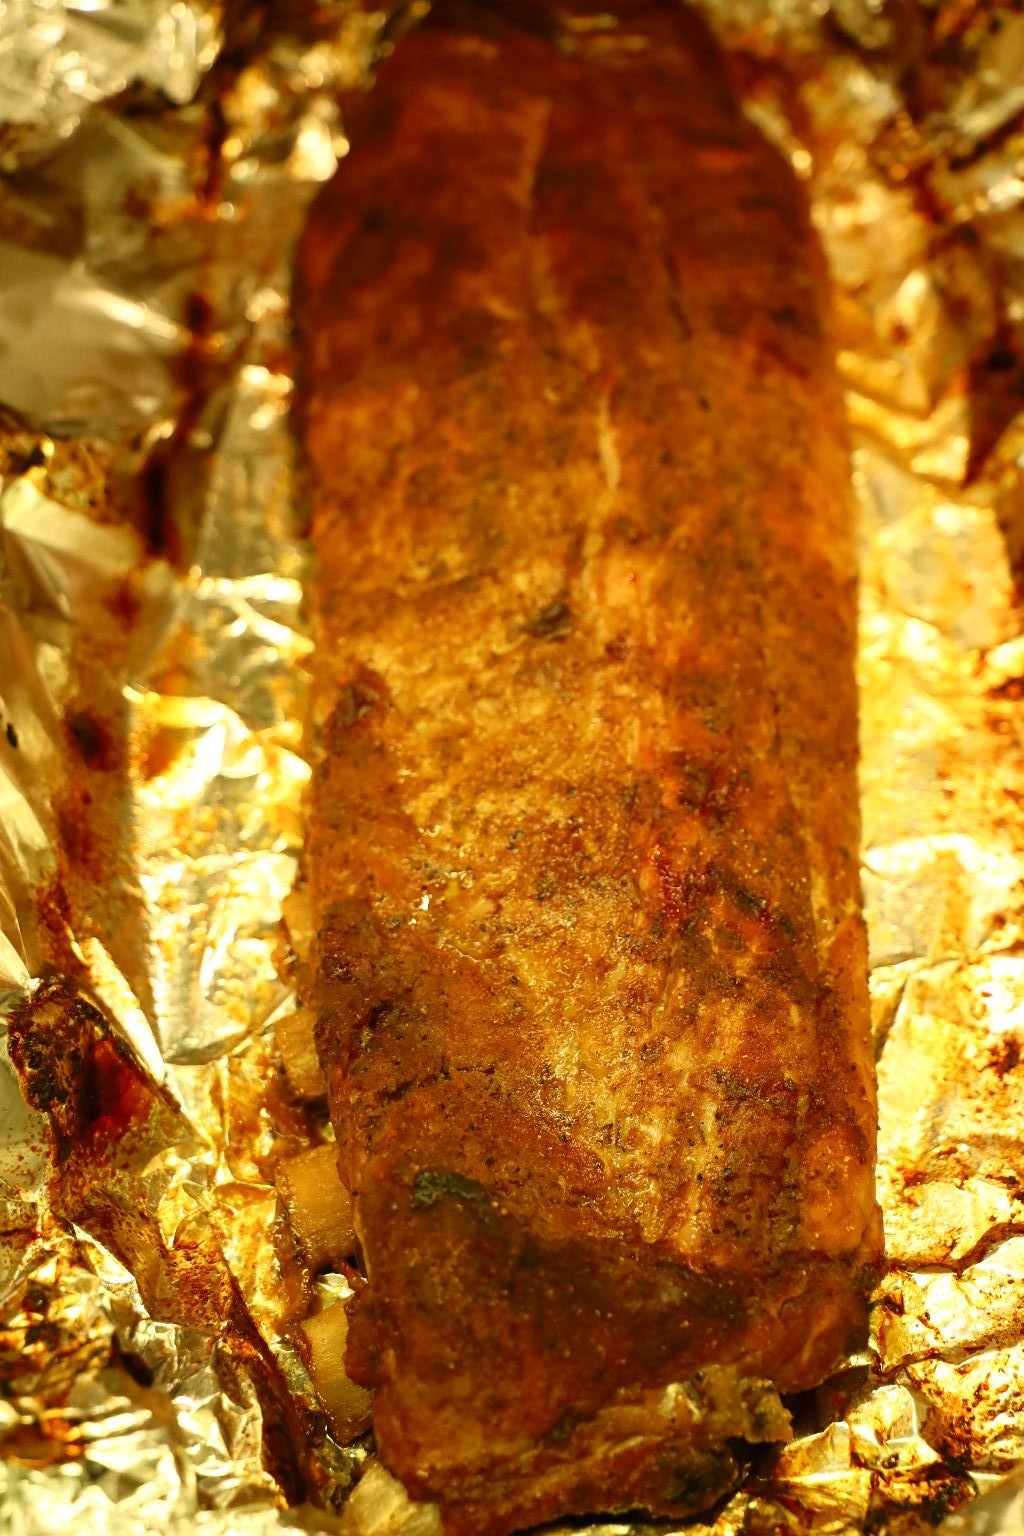
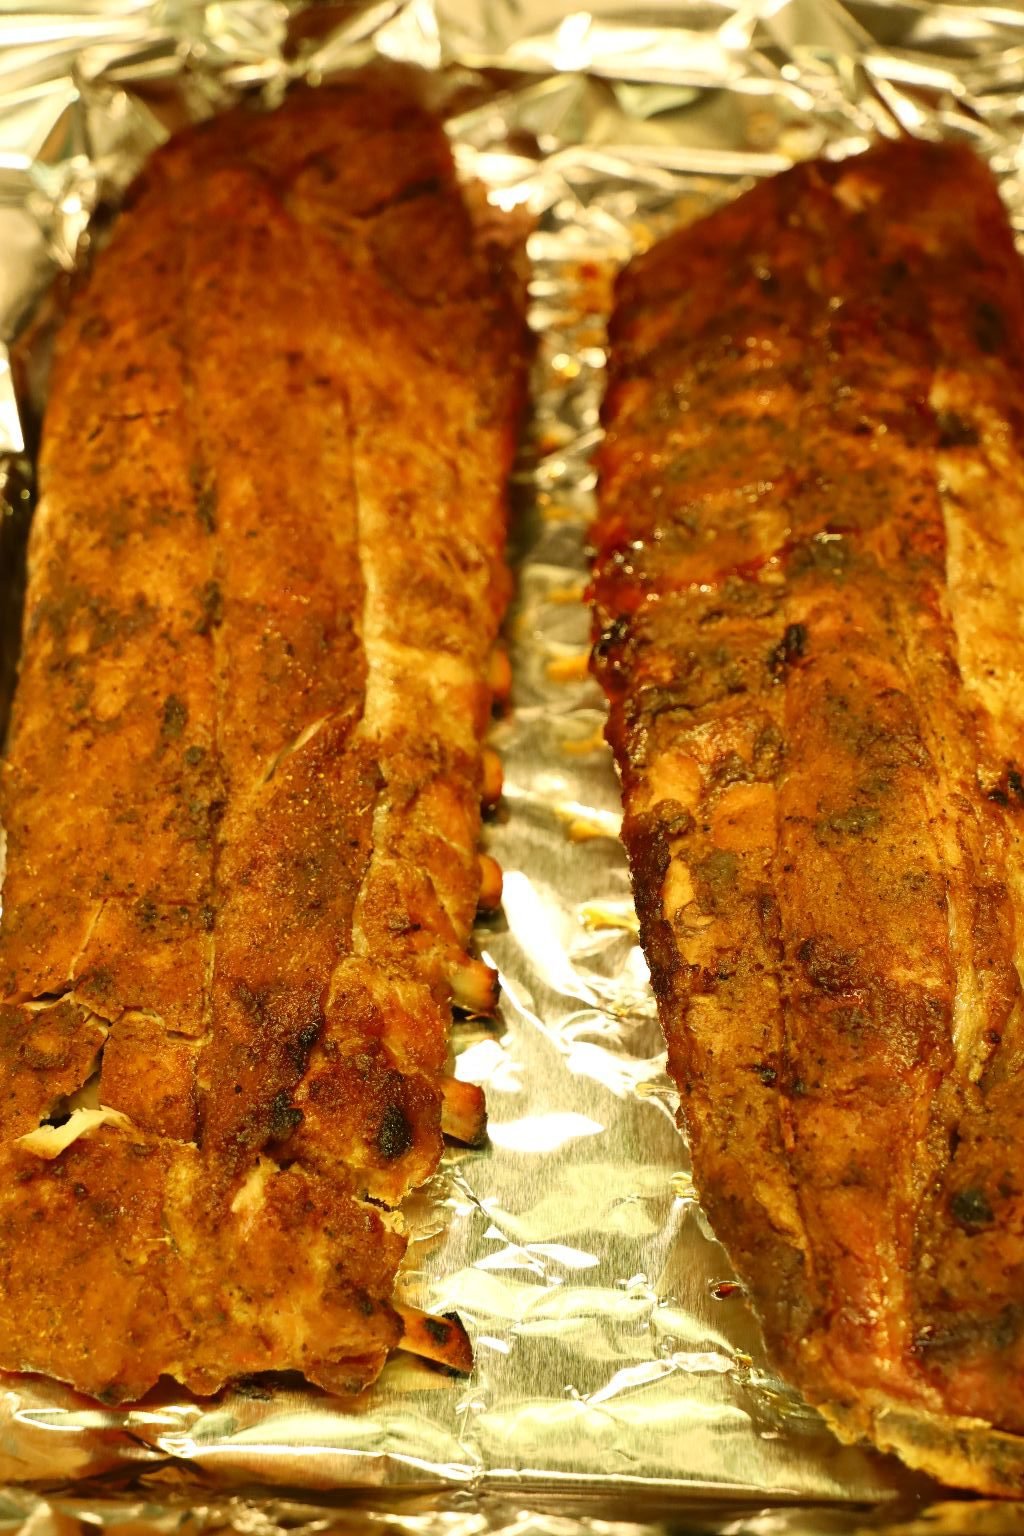
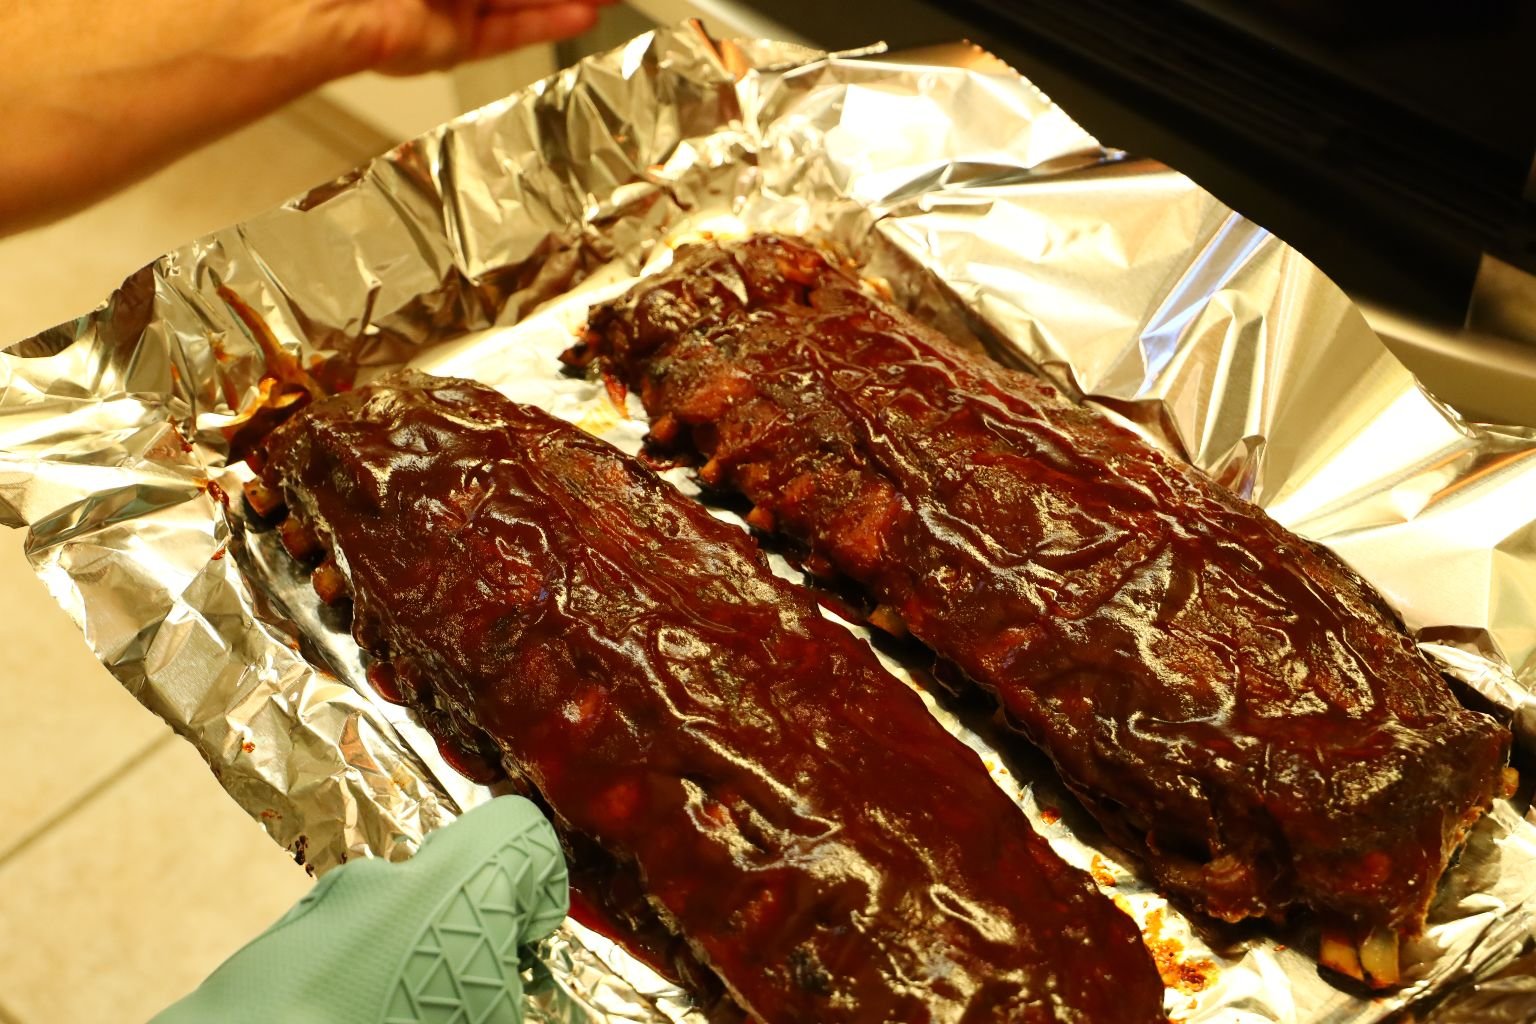
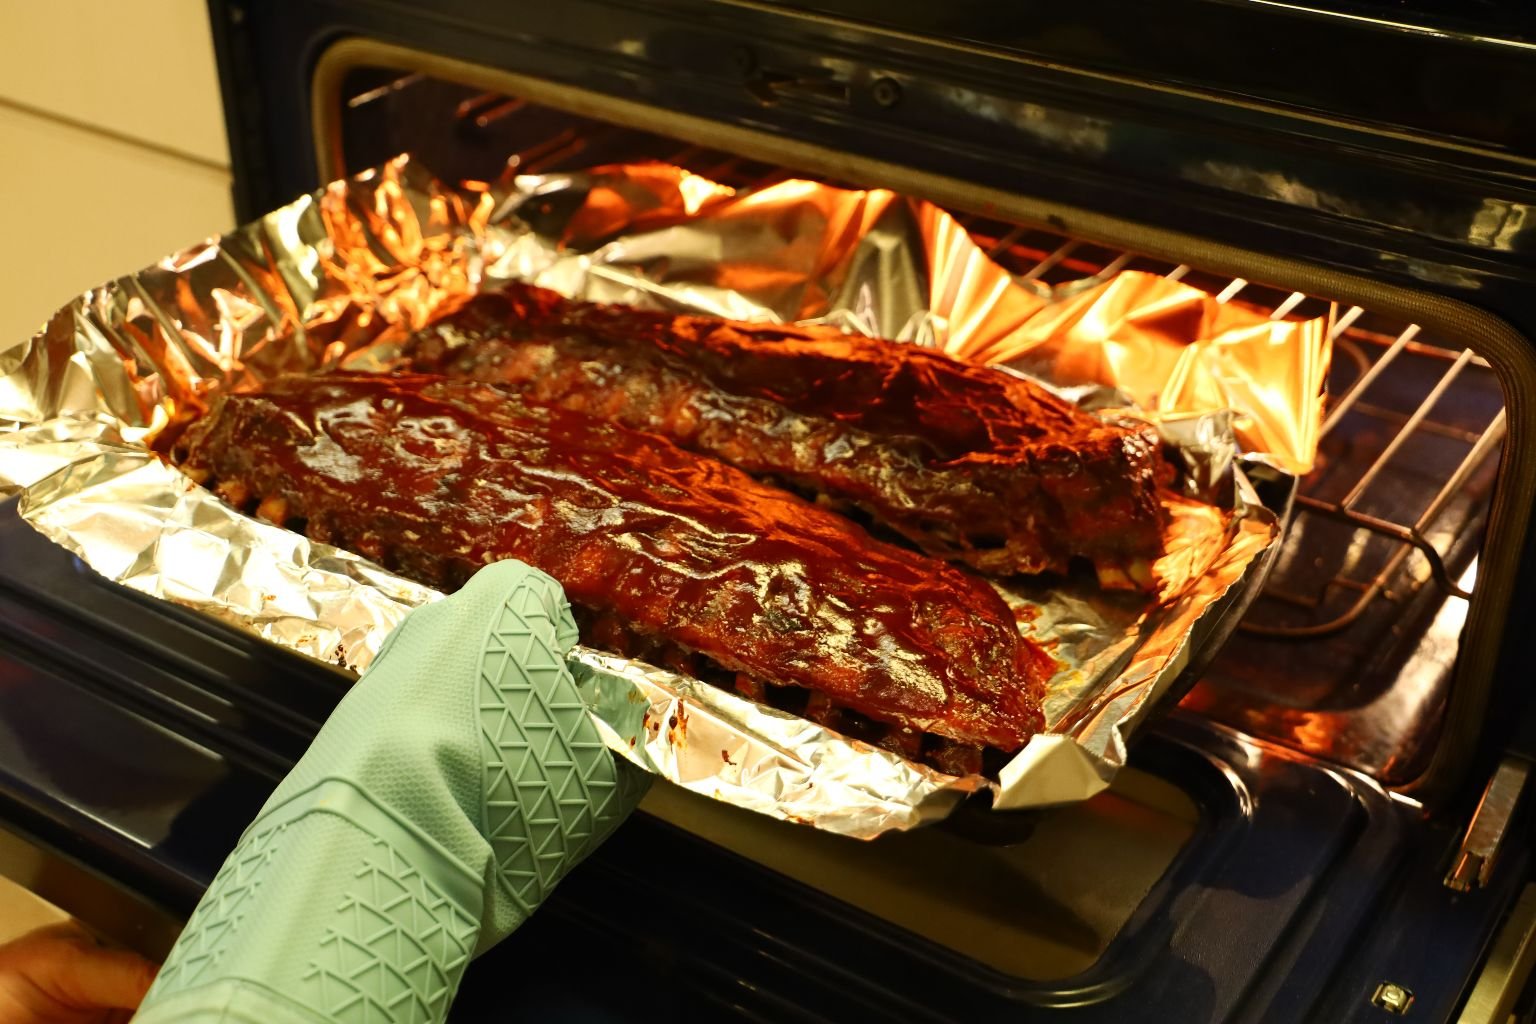
When you remove them from the oven they should look like this.
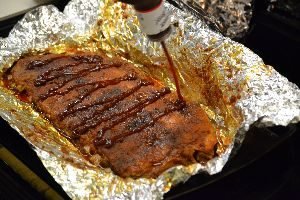

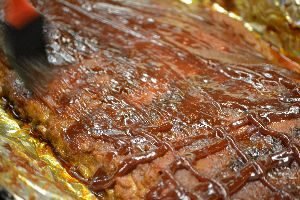
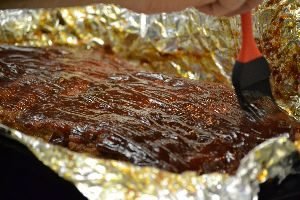
Coat them with your favorite BBQ sauce, cover with foil and cook for another hour.
Use your BBQ brush to get an even coat.
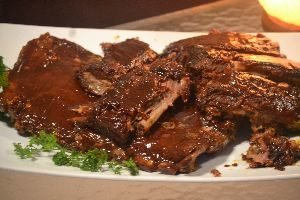
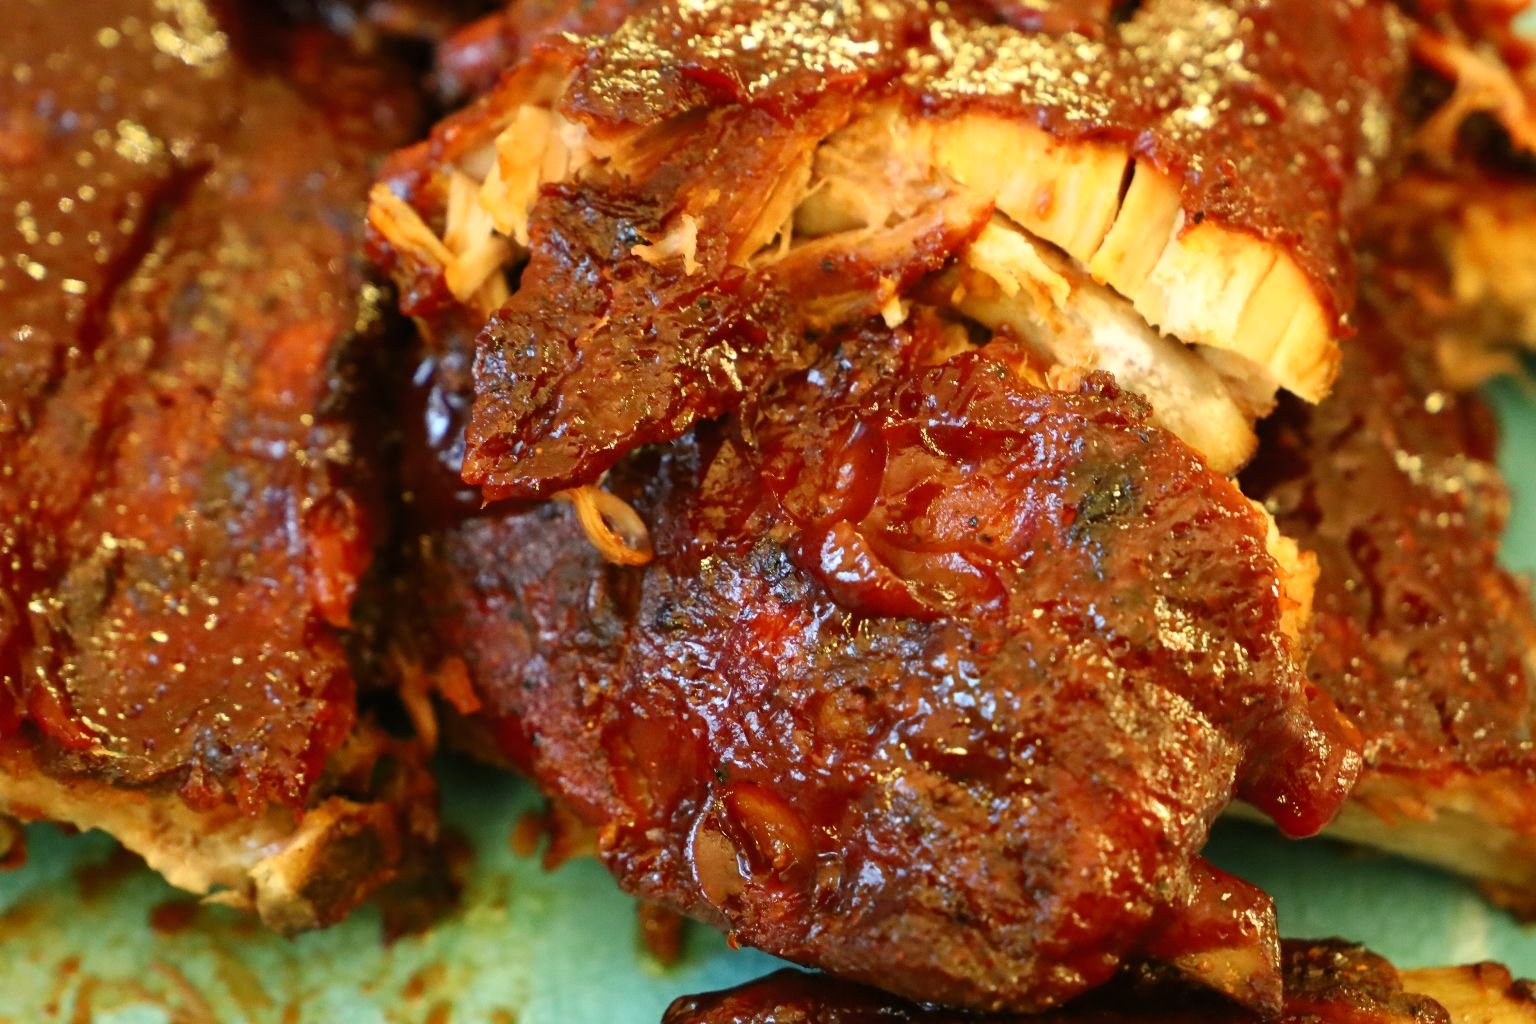
After 4 hours of cooking, they should look like this!
A feast for the eyes and mouth!
They just don’t get any better!

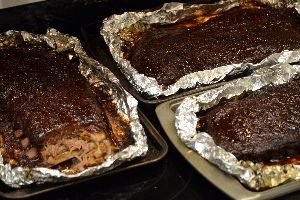
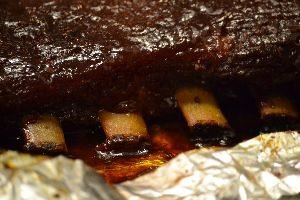
The meat is pulling away from the bone.

We had a nice time picking at this one. 🙂
———————————–
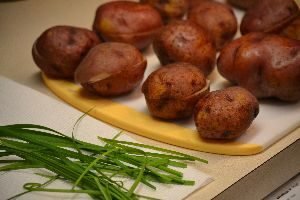
Red Baked Potatoes
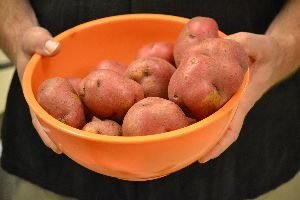
Red potatoes are a bit healthier than the Idaho variety as they are less starchy, but more waxy.
They are also easy to just throw into the oven with the racks of ribs for the last 45 minutes of cooking time.
————————————————————-
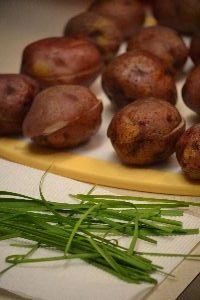
Although I didn’t take the final photos of our potato skins, I assure you they were delicious!
Add a dinner roll and green side and this meal is complete.
—————————————————————–
Ribs For A Rainy Day
Mouth Watering 🙂
—————————————————————-
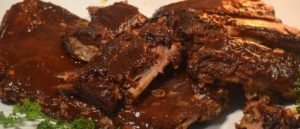
Nice heavenly pictures of the ribs!
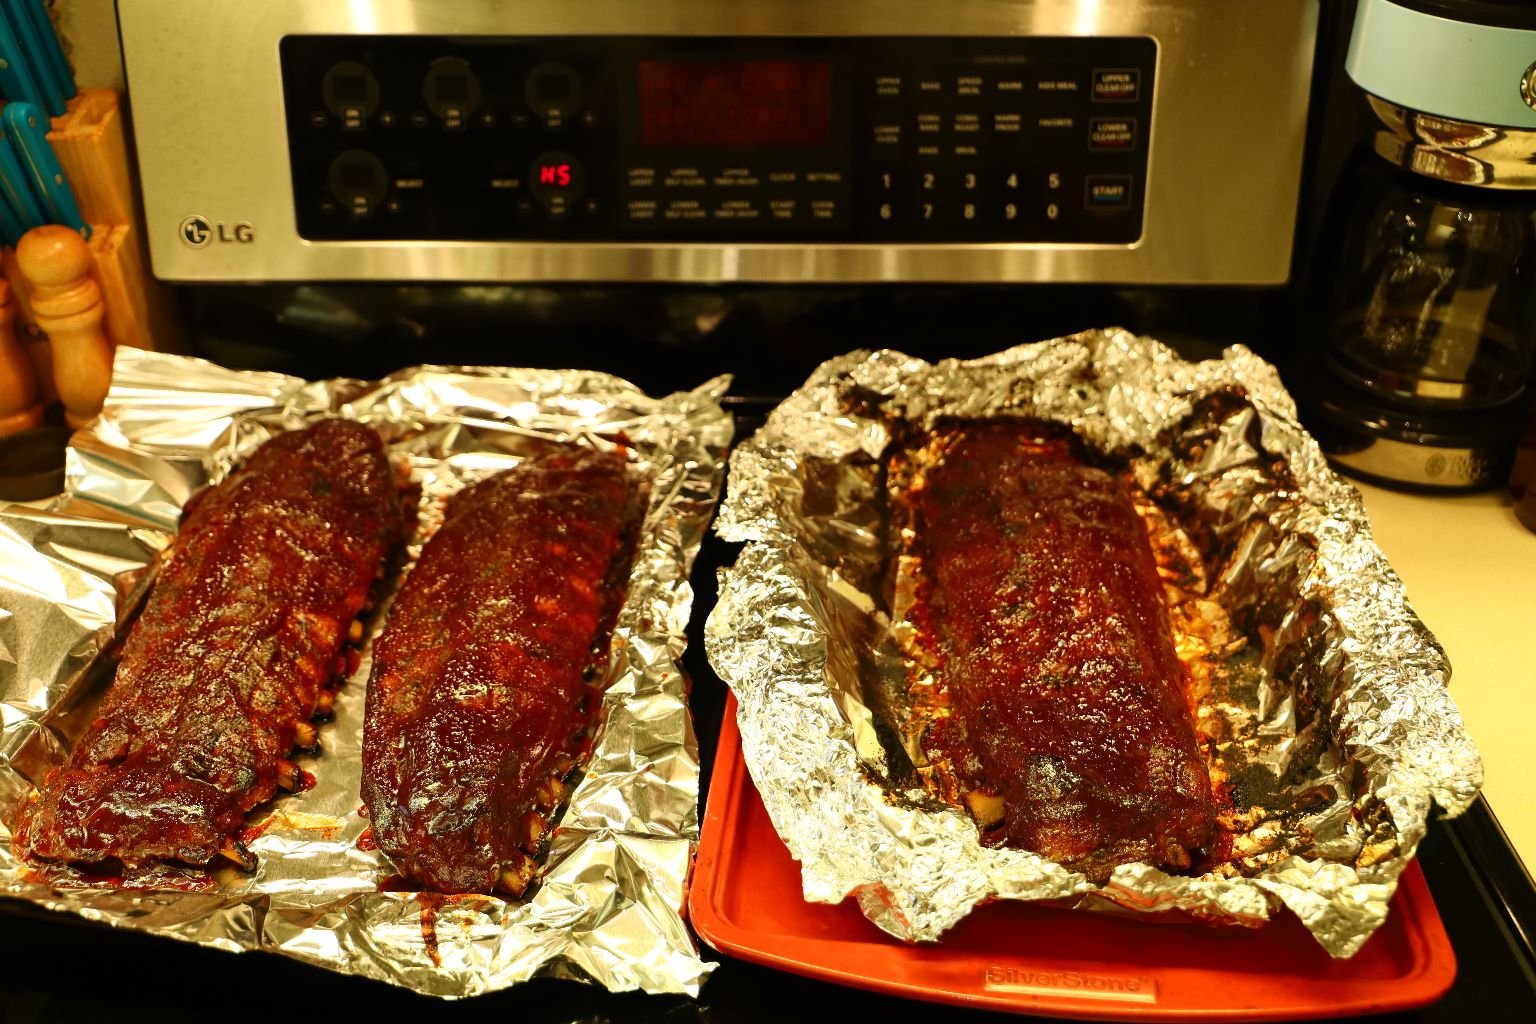
Here is what they looked like when we completed the cooking process.
——————————————————-
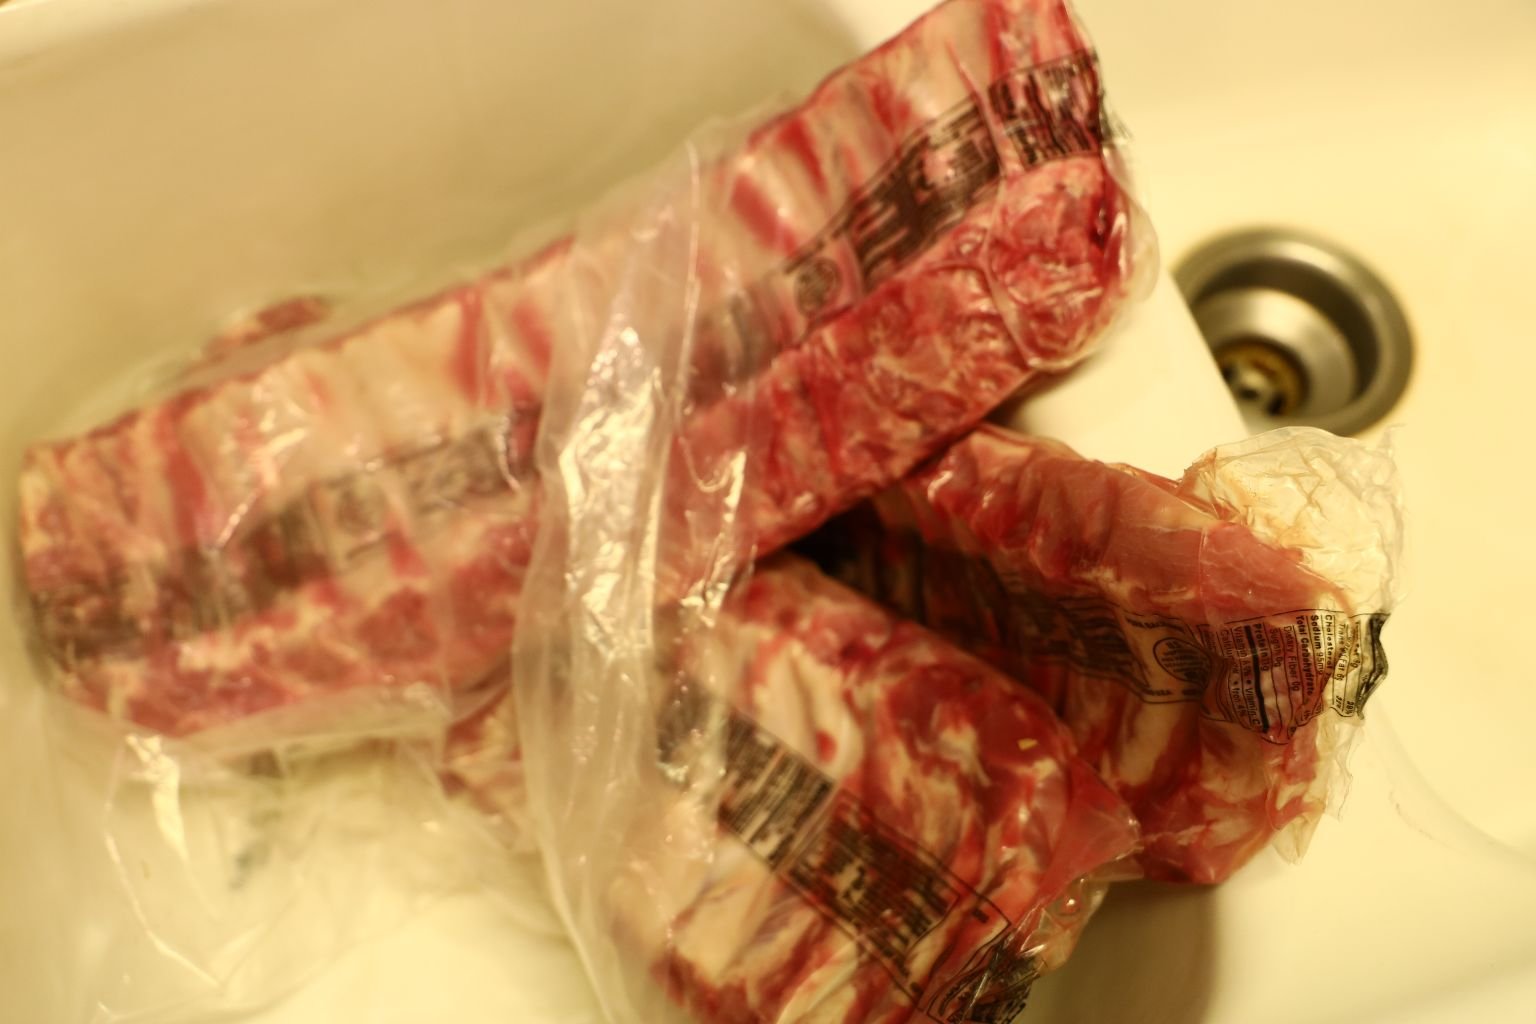
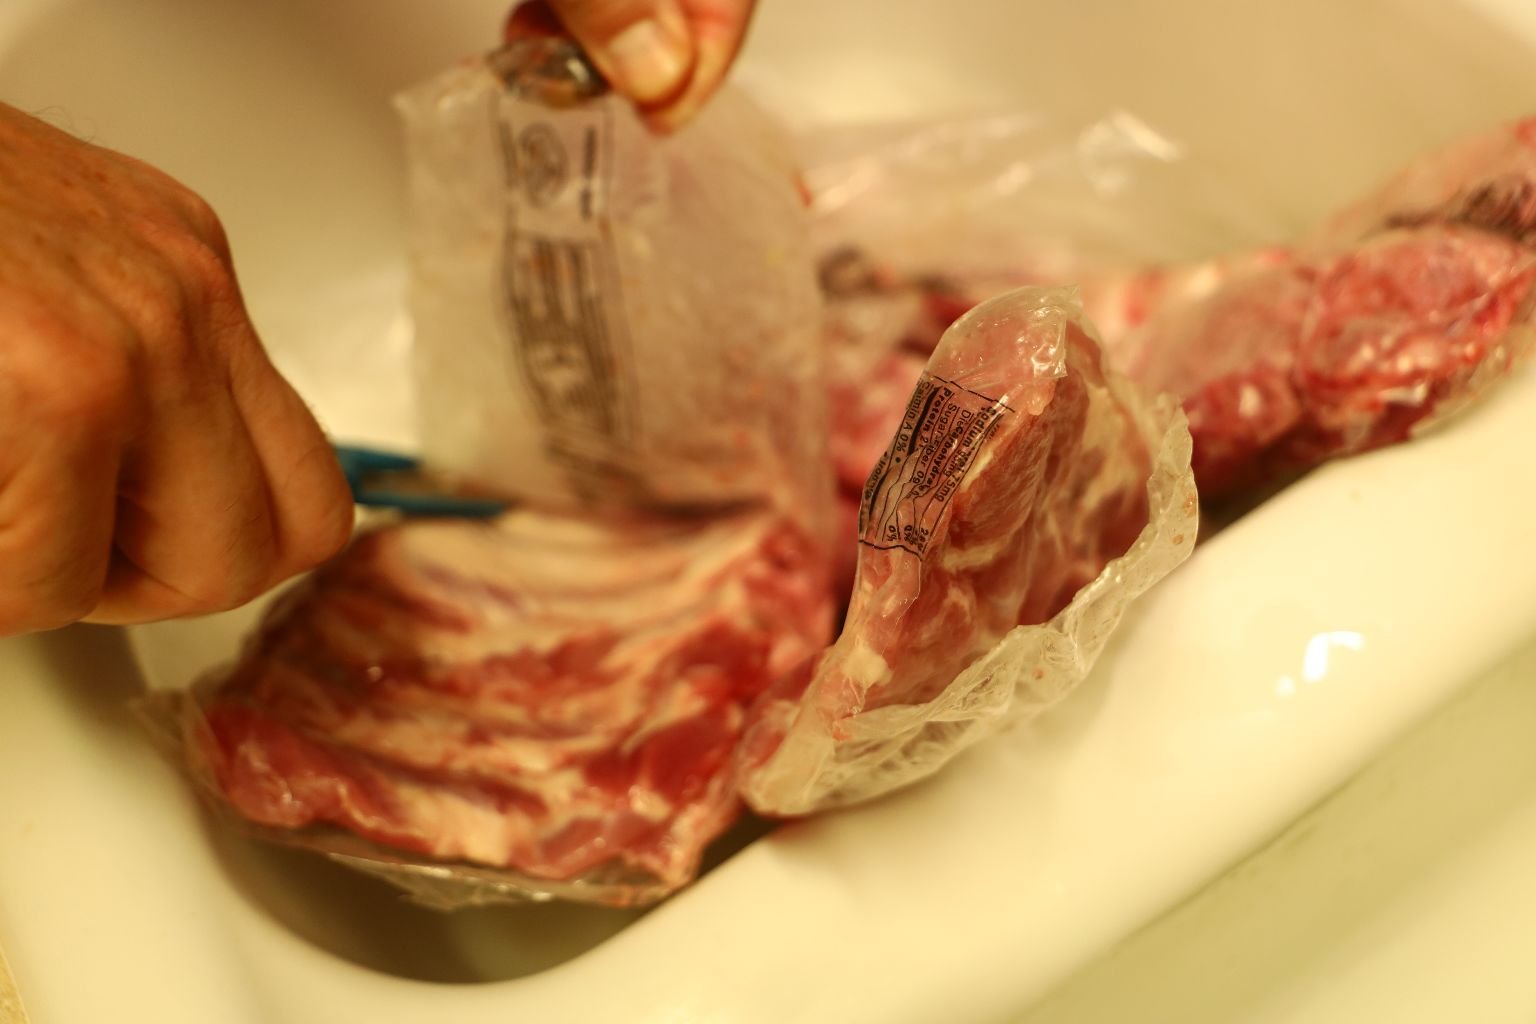
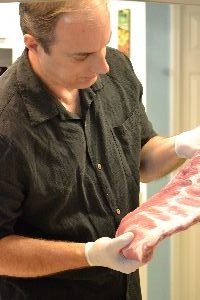
First, remove the Baby Back Ribs from their packaging.
Rinse them well to take off the leftover blood and bone shards while they were being prepared for packaging.
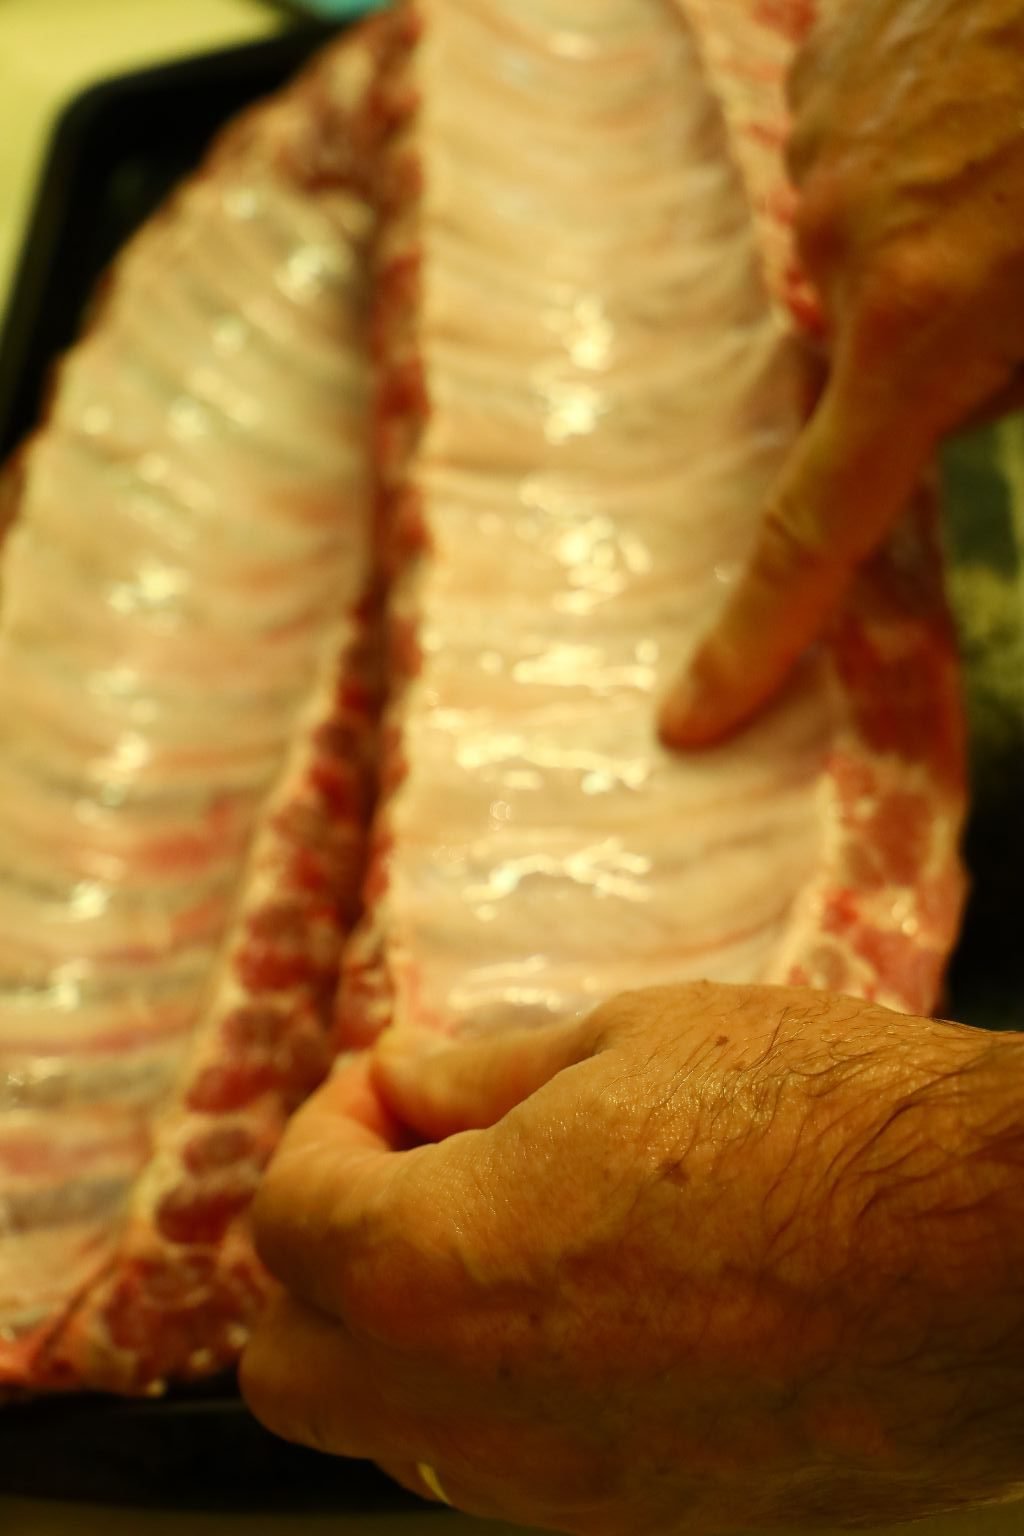

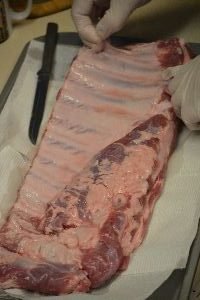
Turn the ribs over to the non-meat side and look for the Silver Skin. This membrane needs to be removed to let the spices penetrate the underside of the ribs. This Silver Skin is also very tough and indigestible. Some chef’s leave it on during the smoking process where it acts as a shield just as aluminum foil, preventing the ribs from drying out. The membrane is then removed before serving.
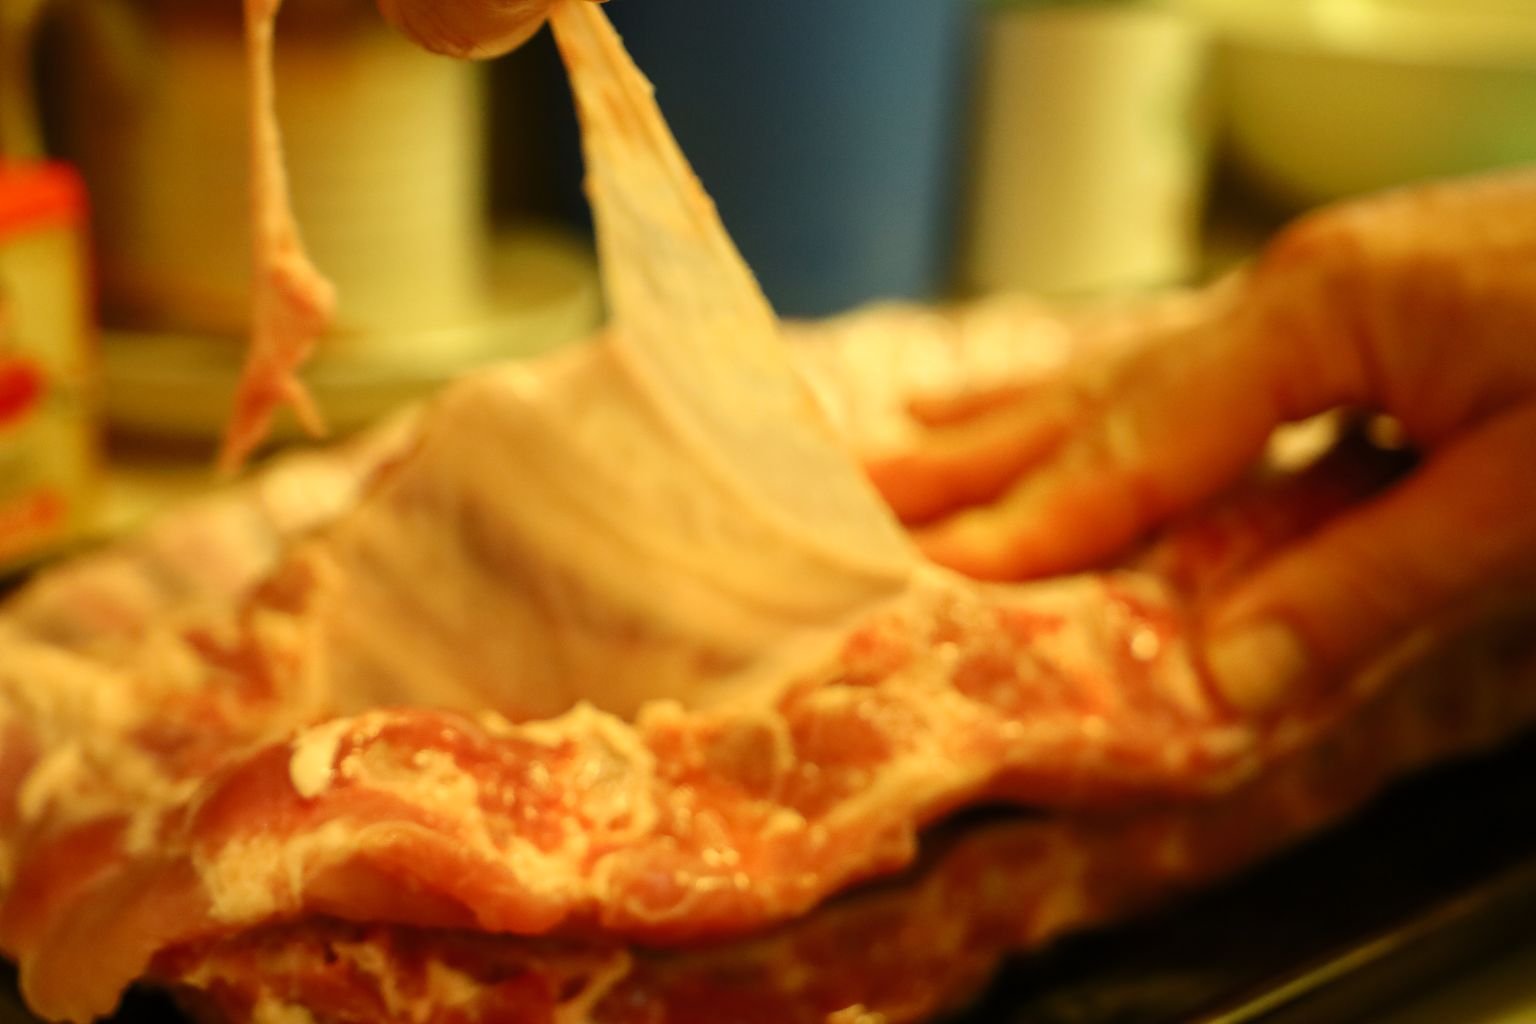
This Silver Skin is usually hard to first get a hold of, but then usually pulls off easily.
————————————————————
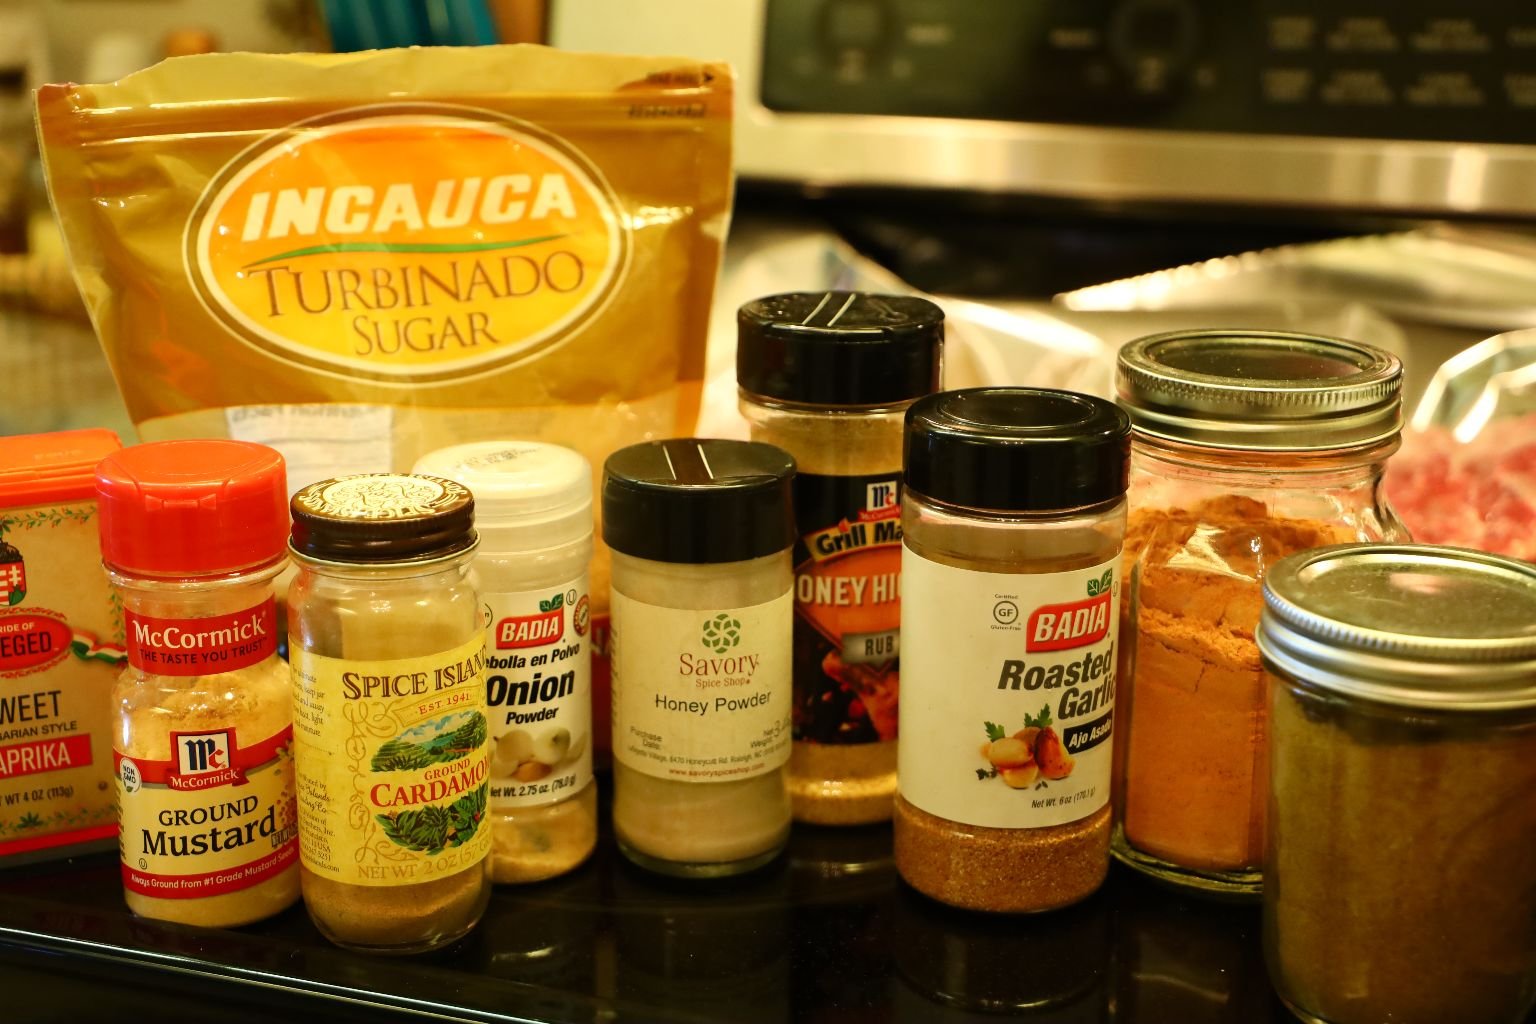
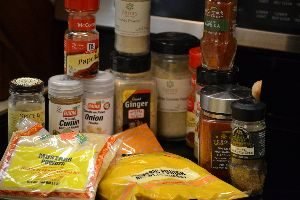
Here are the spices I used to make these 3 racks of Baby Back Ribs. I usually never use the exact same dry rub when I make my ribs… although I may with this recipe, as Julie said they were the best she ever ate!
Ingredients:
~3/4 Cup Turbinado Sugar
~1/3 Cup BBQ Powder
~1/4 Cup Chicken Shwarma Spice Blend – (contains: Ground Cardamom, Ground Cinnamon, Garlic Powder, Ground All Spice, Ground Nutmeg, Chili Pepper, Dried Oregano, Ground Cloves, Ground Pepper, Salt,
~1 Tbsp. Onion Powder
~2 Tbsp. Mustard Powder
~2 Tbsp. Roasted Garlic Powder
~1 Tbsp. Honey Powder
~1/3 Cup McCormick’s Honey (Grill Mates) Honey Hickory Rub
~2 Tbsp. Cardamom Powder
~2 Tbsp. Sweet Paprika
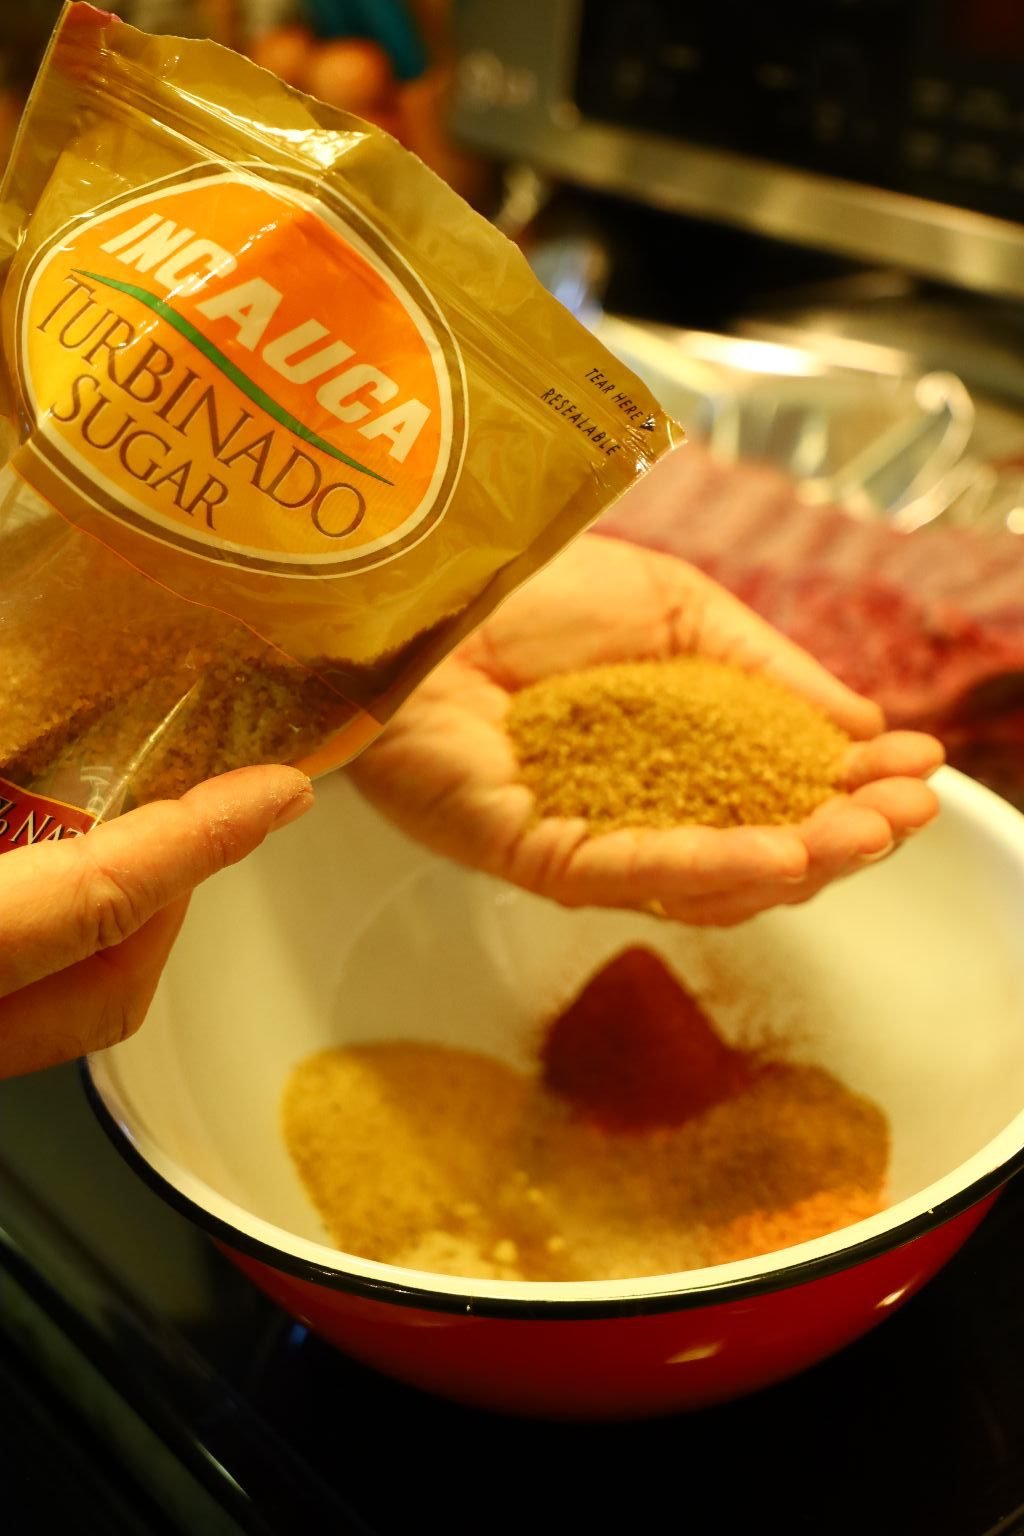
Turbinado Sugar
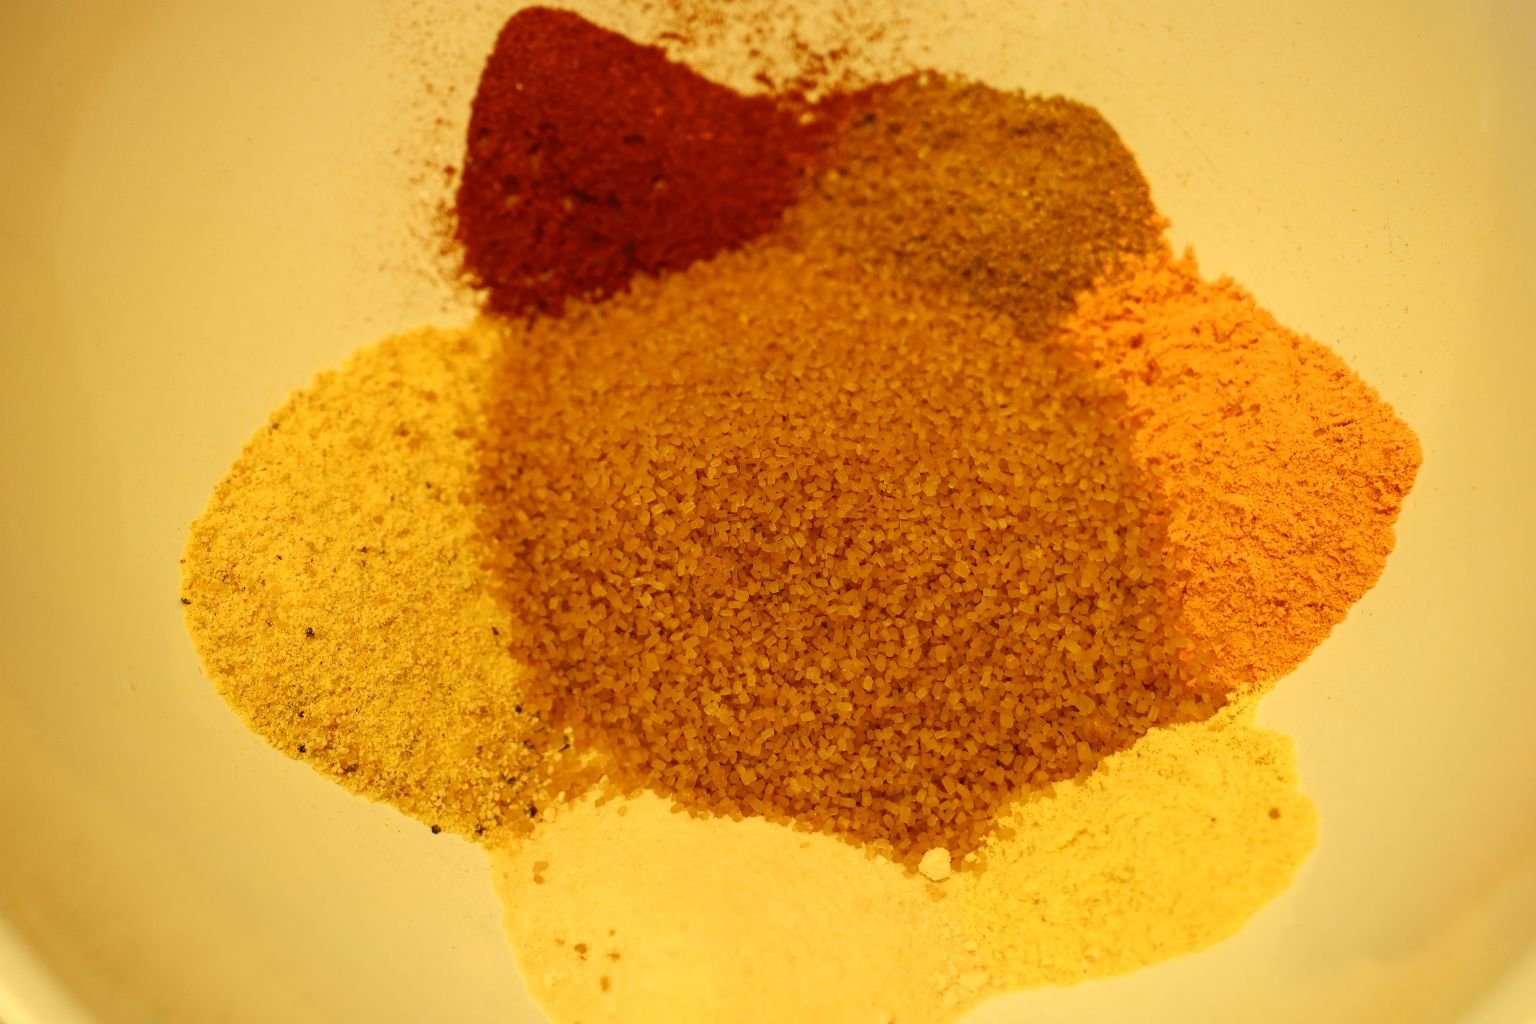
Place all your spices into a small bowl.
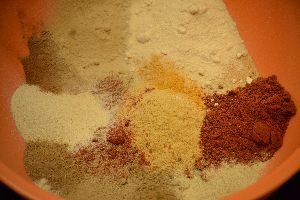
These were enough spices to coat three racks of ribs.
Mix the ingredients well.
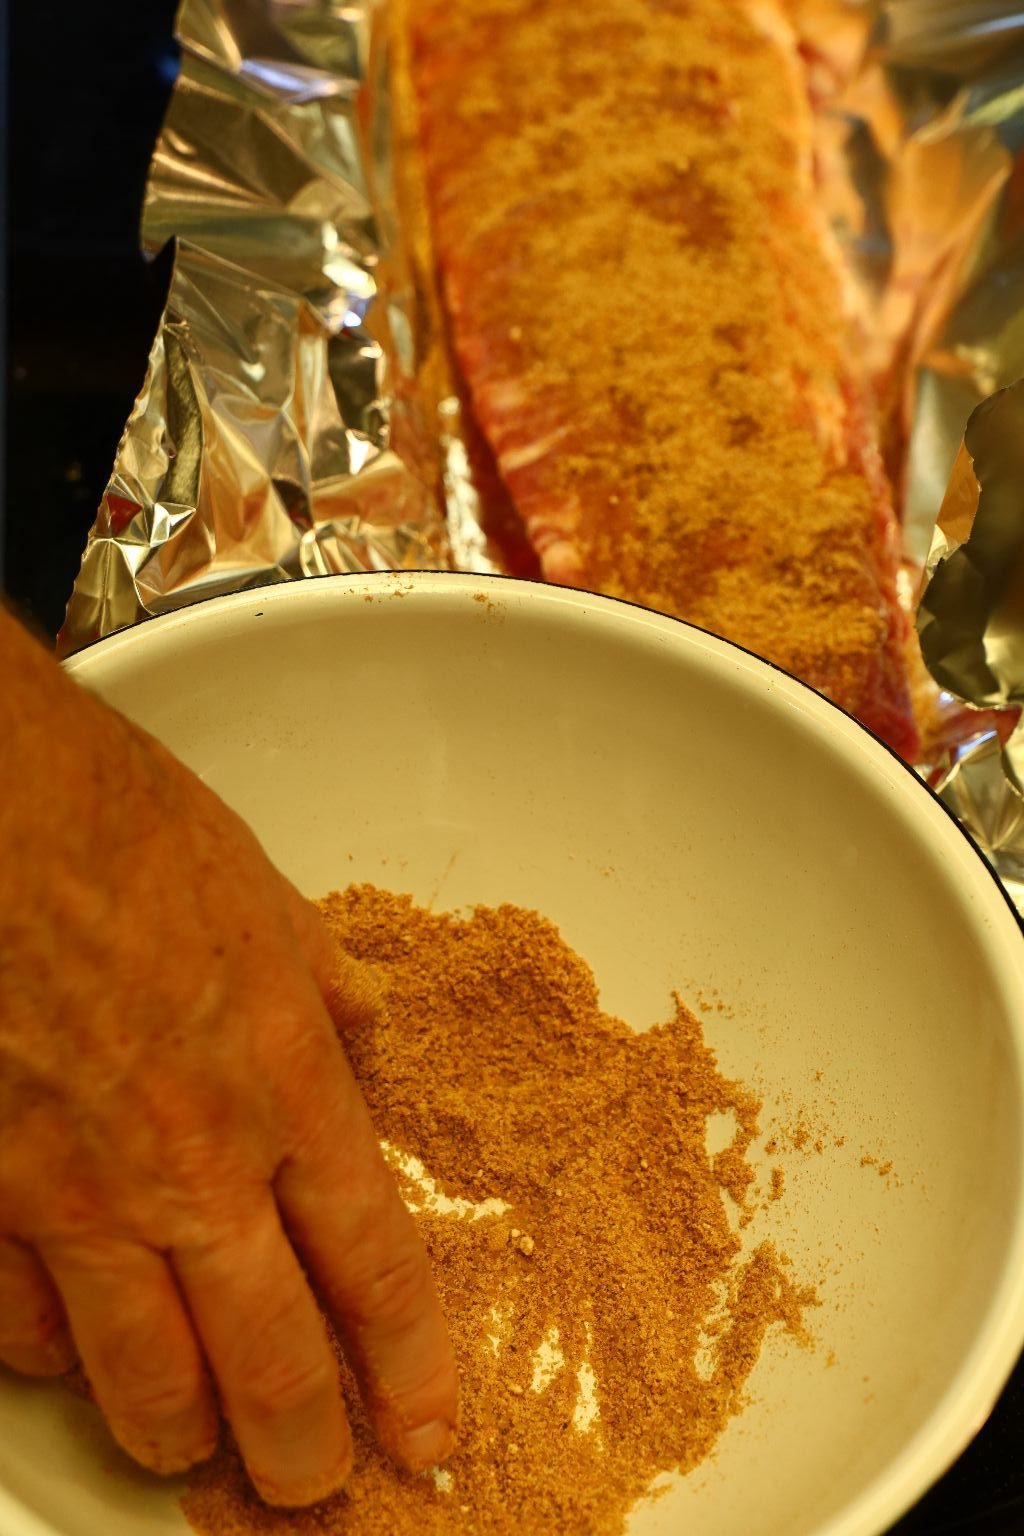
Place a long sheet of aluminum foil on top of a sheet pan. Place your ribs onto foil that should extend 2 inches past the ribs.
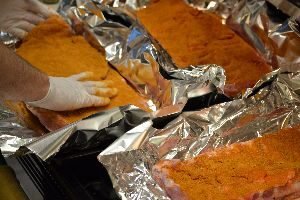
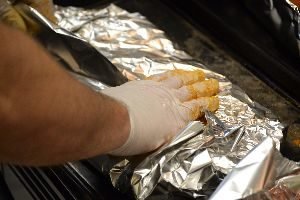
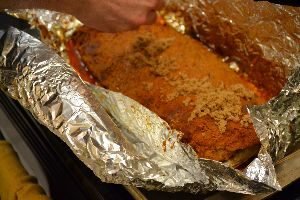
Liberally sprinkle the spice blend on the meat side and a lesser amount on the non-meat side. Message/press the spices into the ribs so it evenly coats the meat.
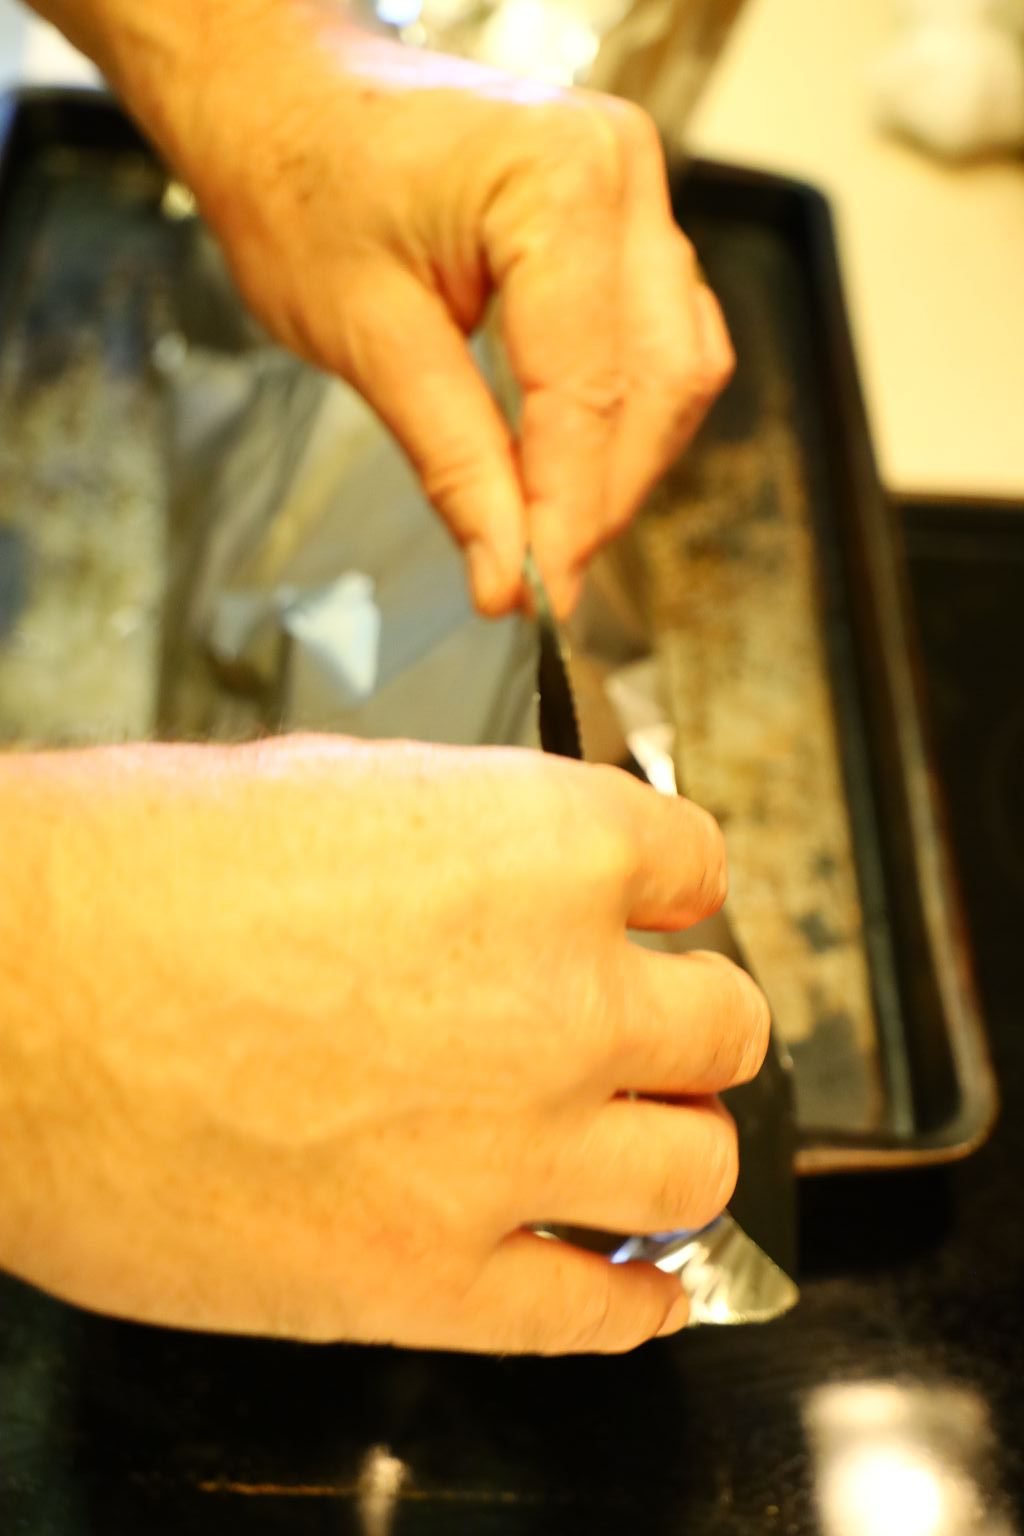
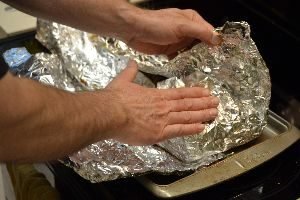
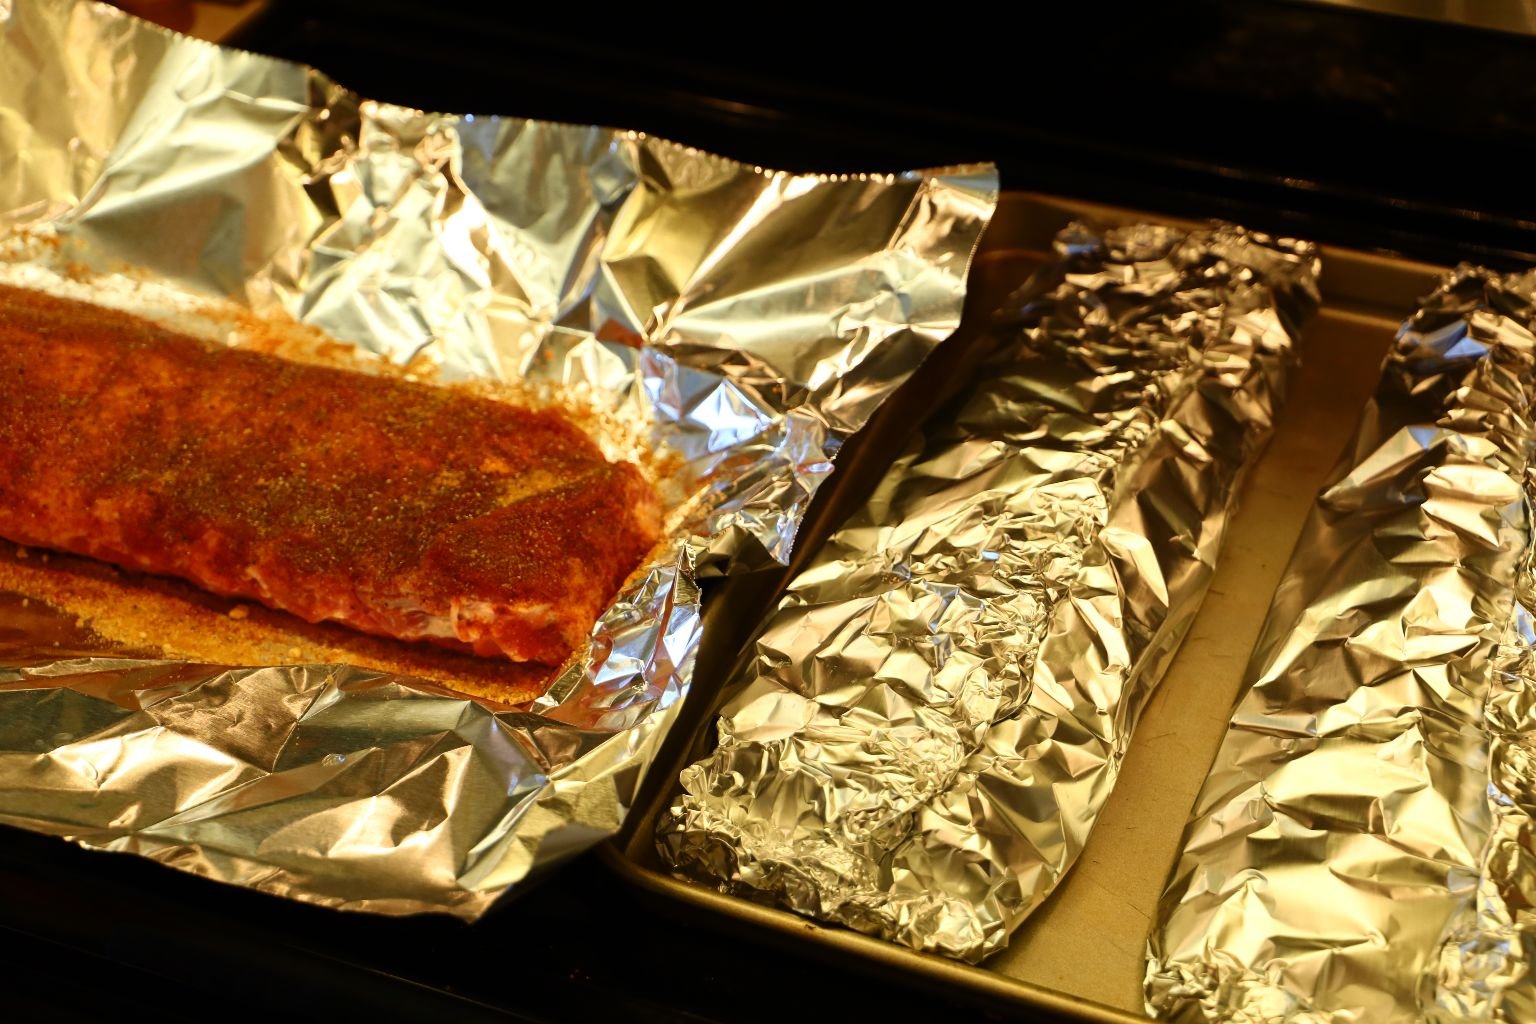
The meat side of the ribs should be facing up during this process. Bring the side of the foil up together evenly and begin to roll down the foil as shown.
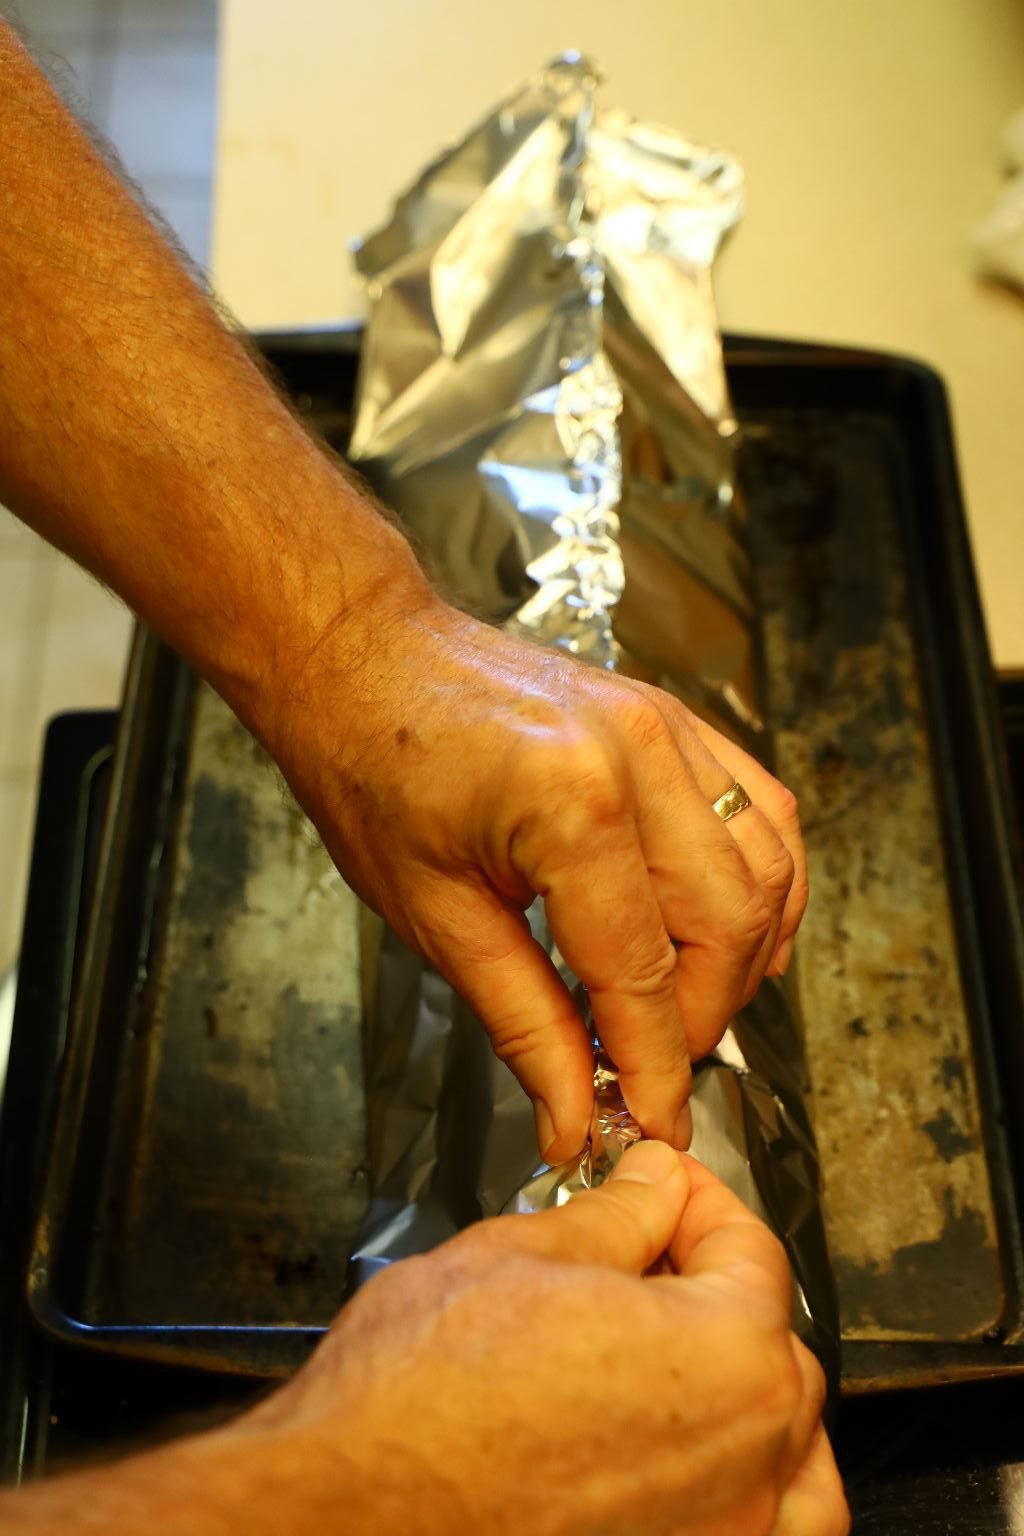
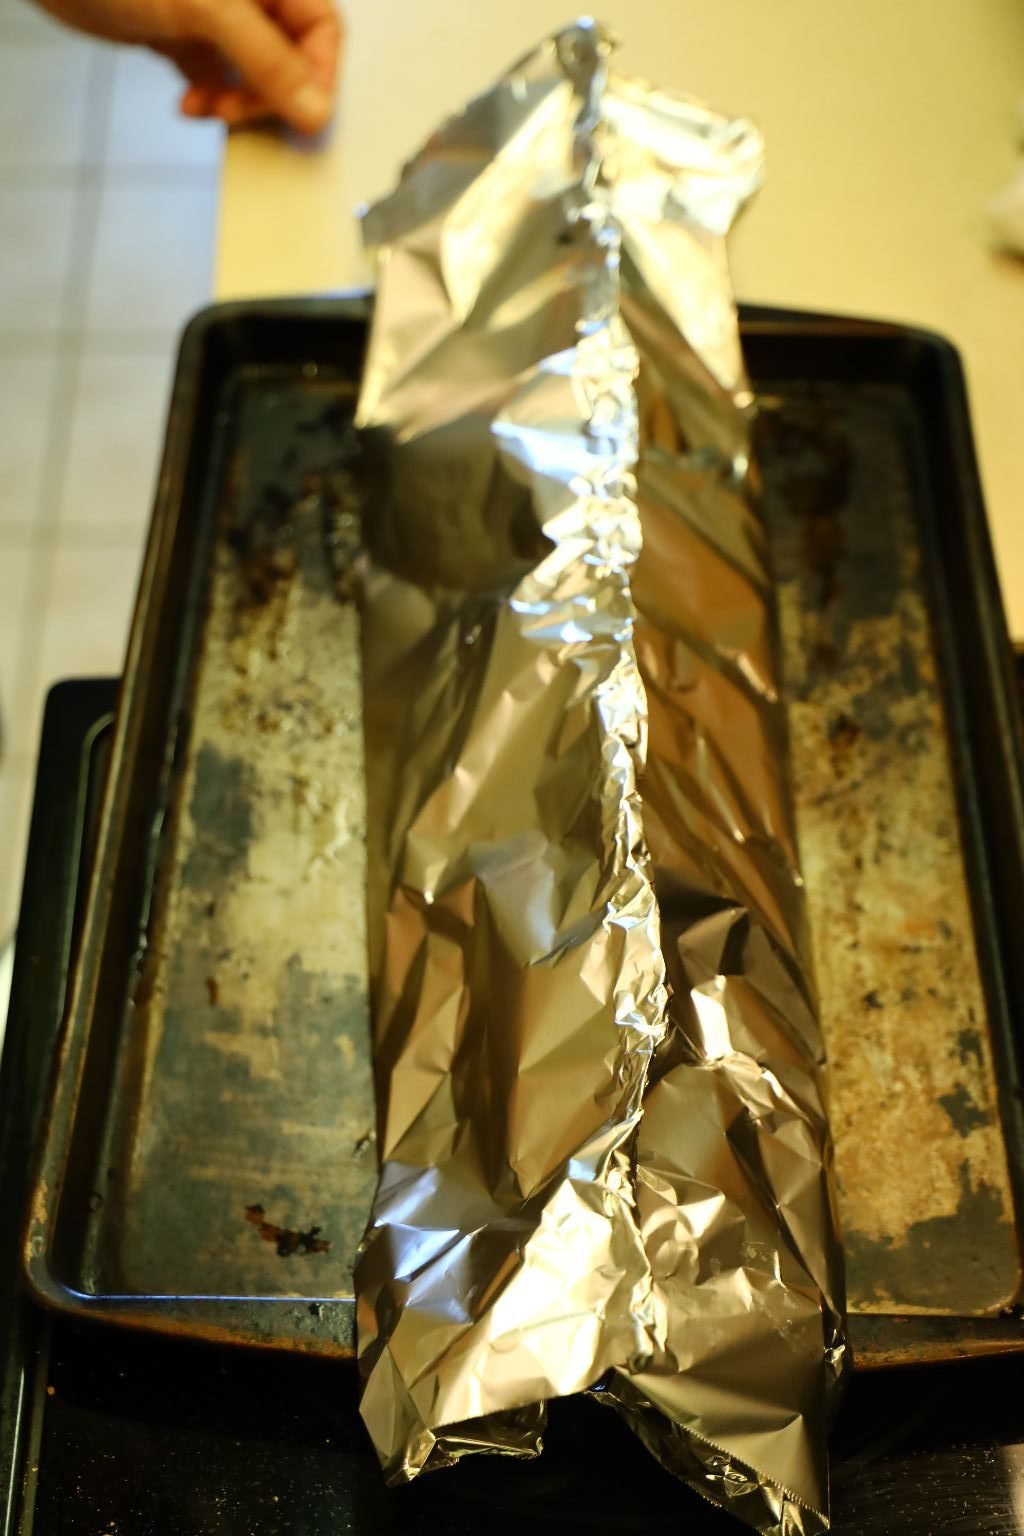
Roll the foil all the way down until it just touches the meat as shown.
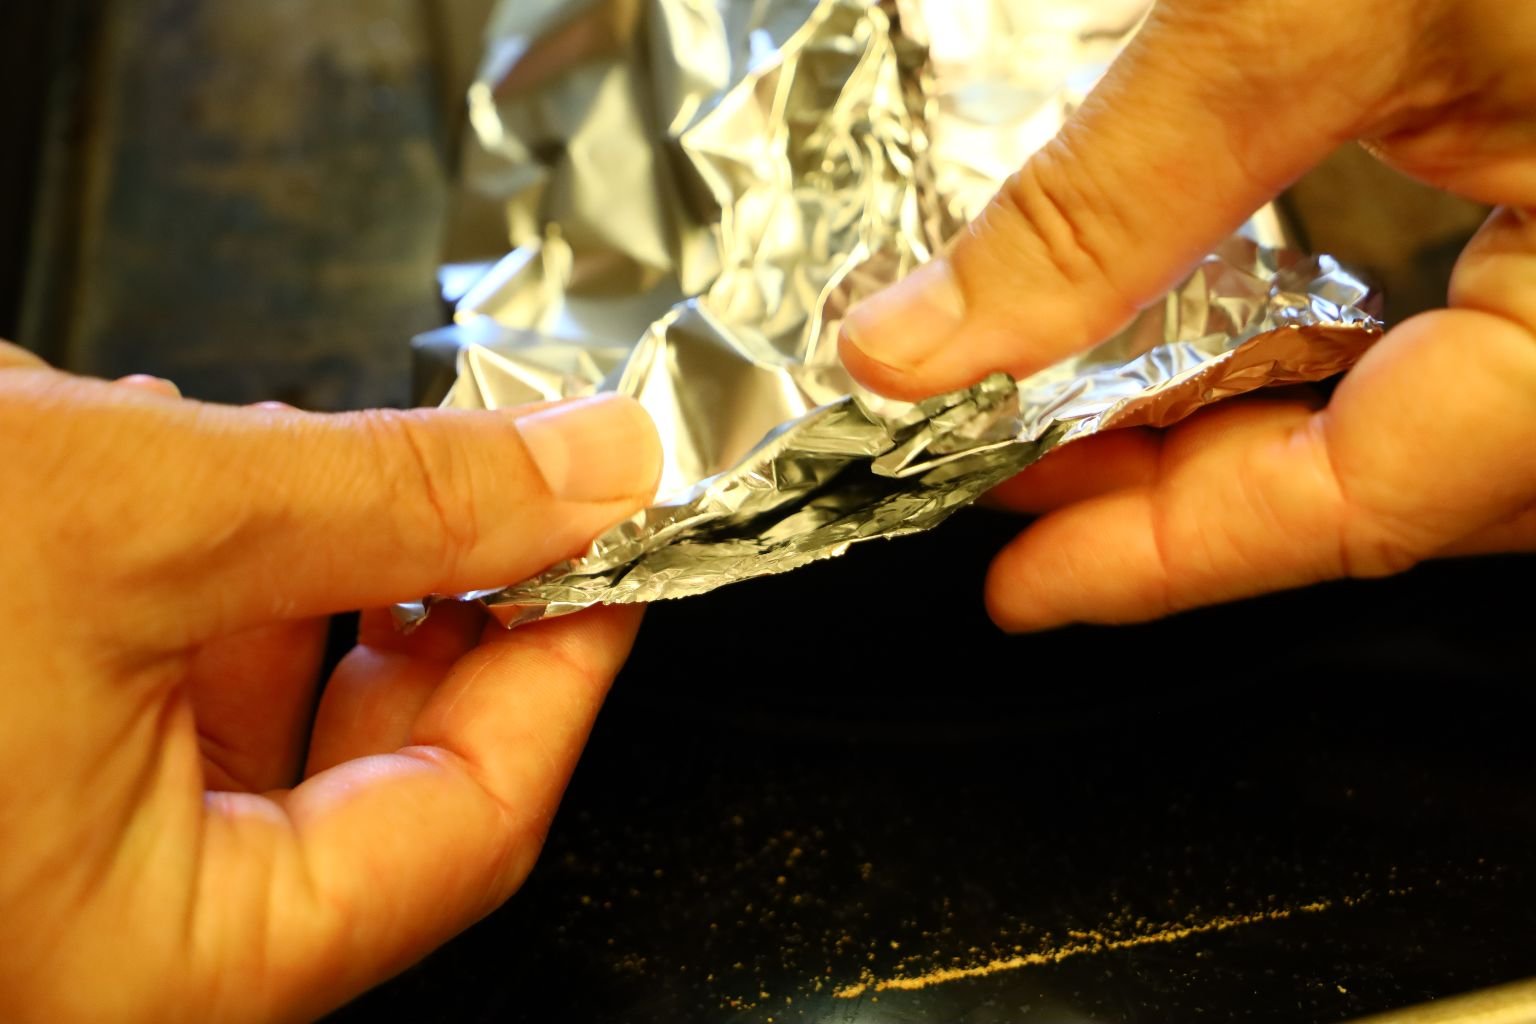

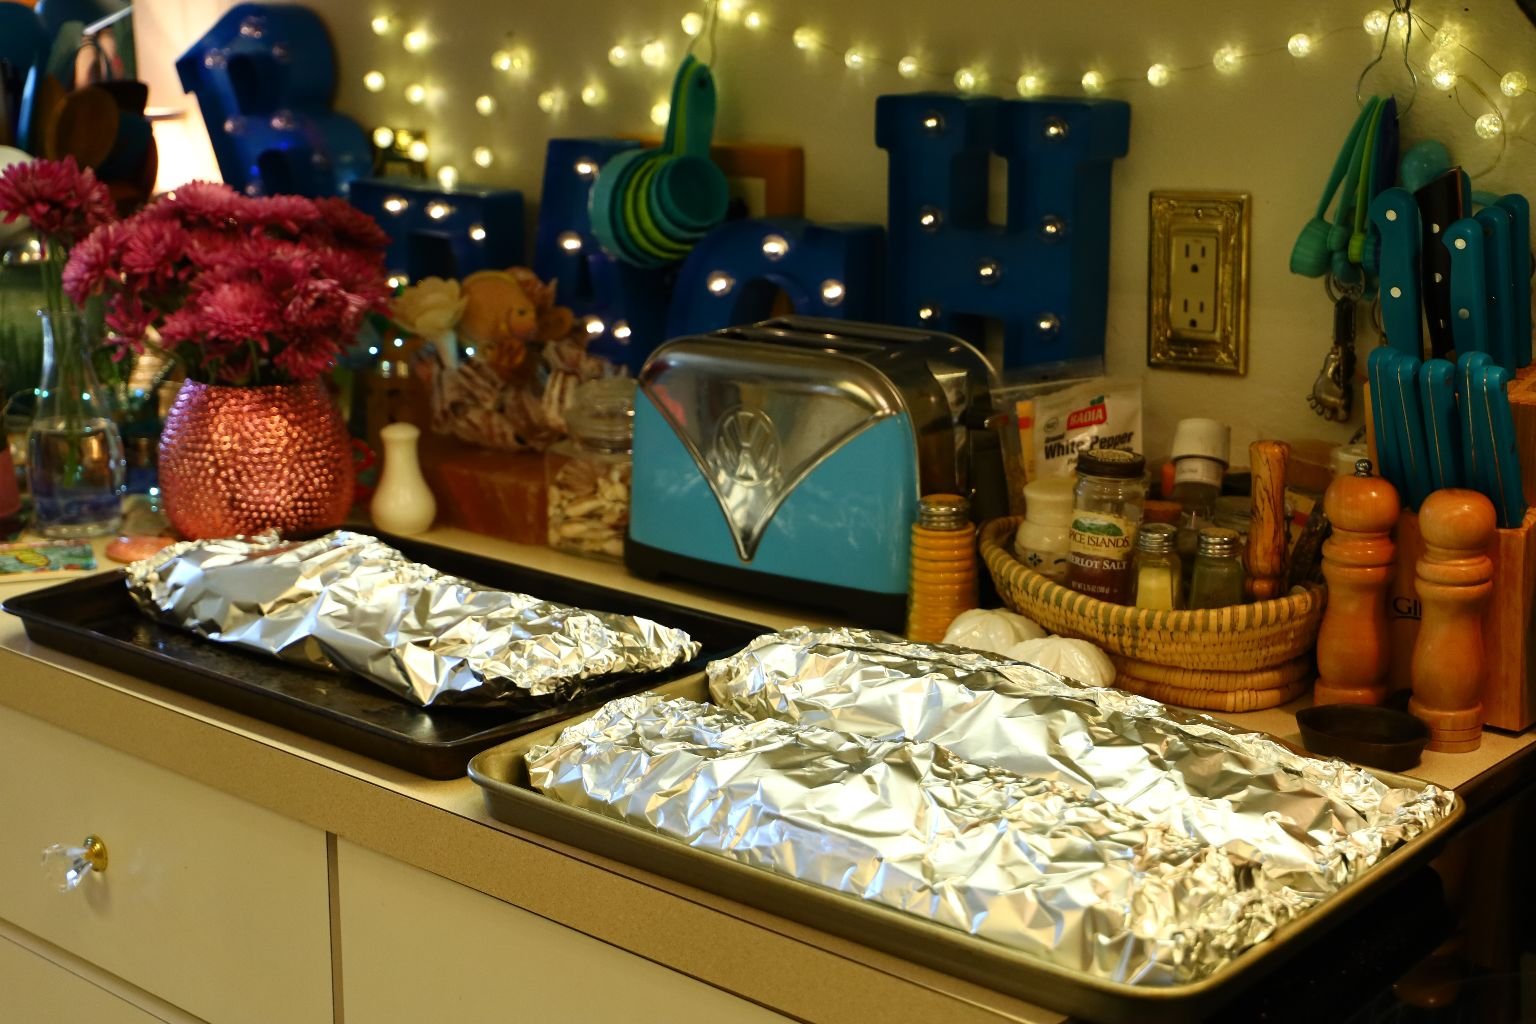
On both ends of the ribs, roll this foil tightly to ensure a tightly sealed bag. This air tight package will allow the ribs juices to steam cook the ribs.
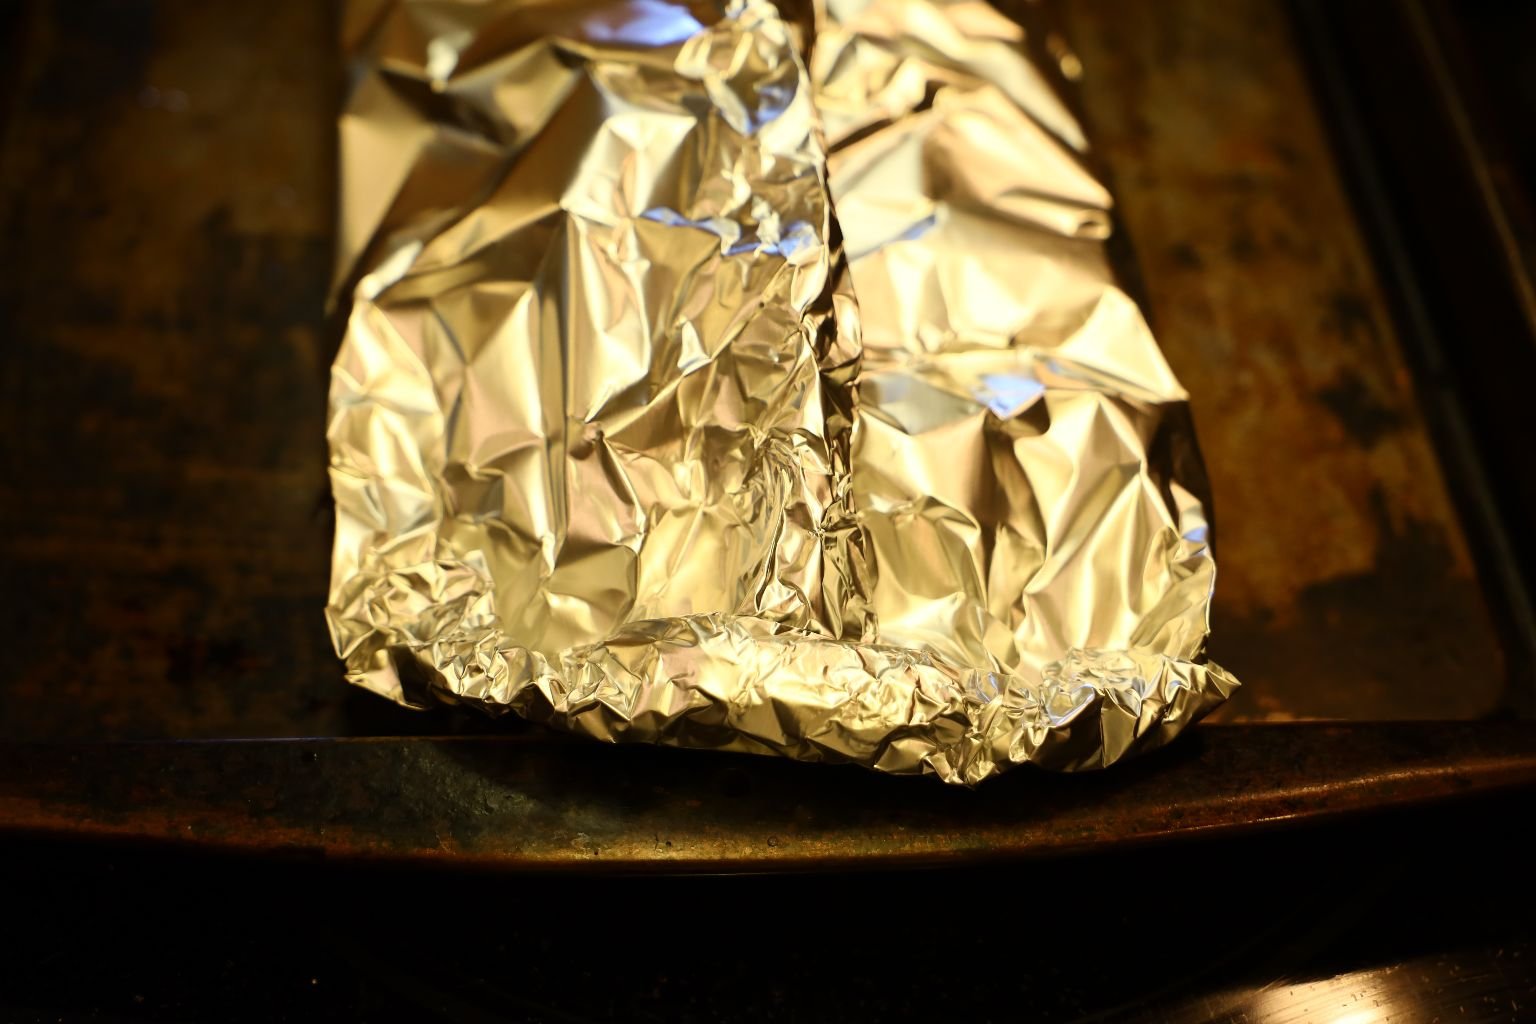
Here is a nice picture of the sealed end of the bag.
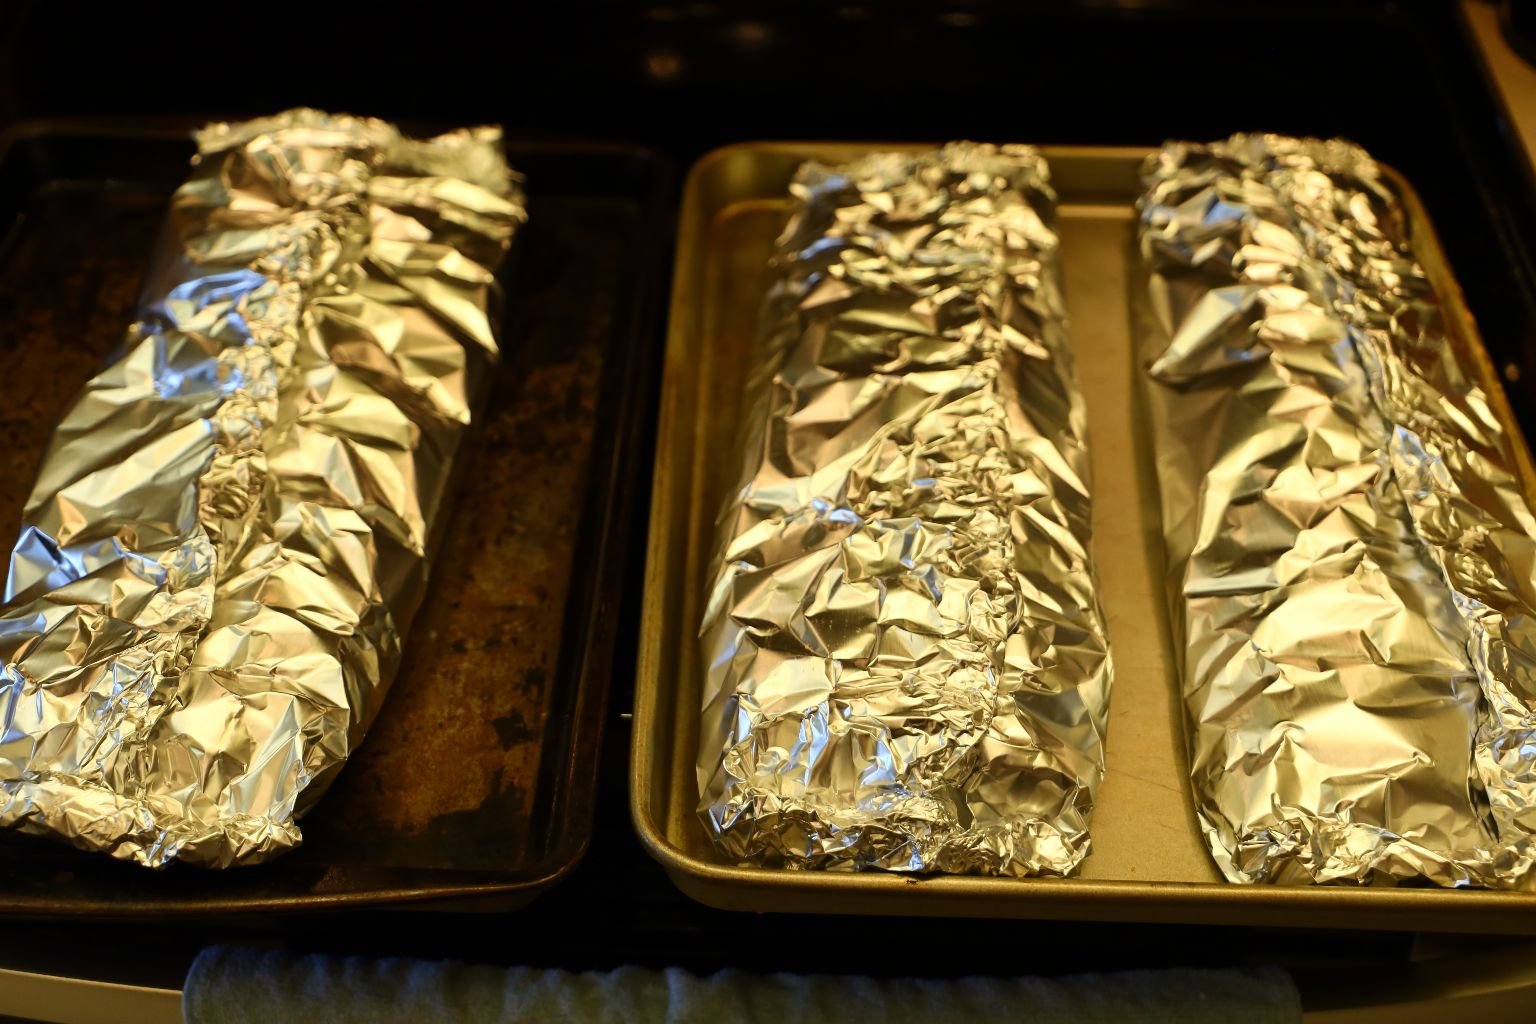
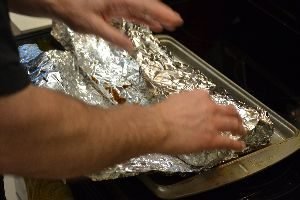
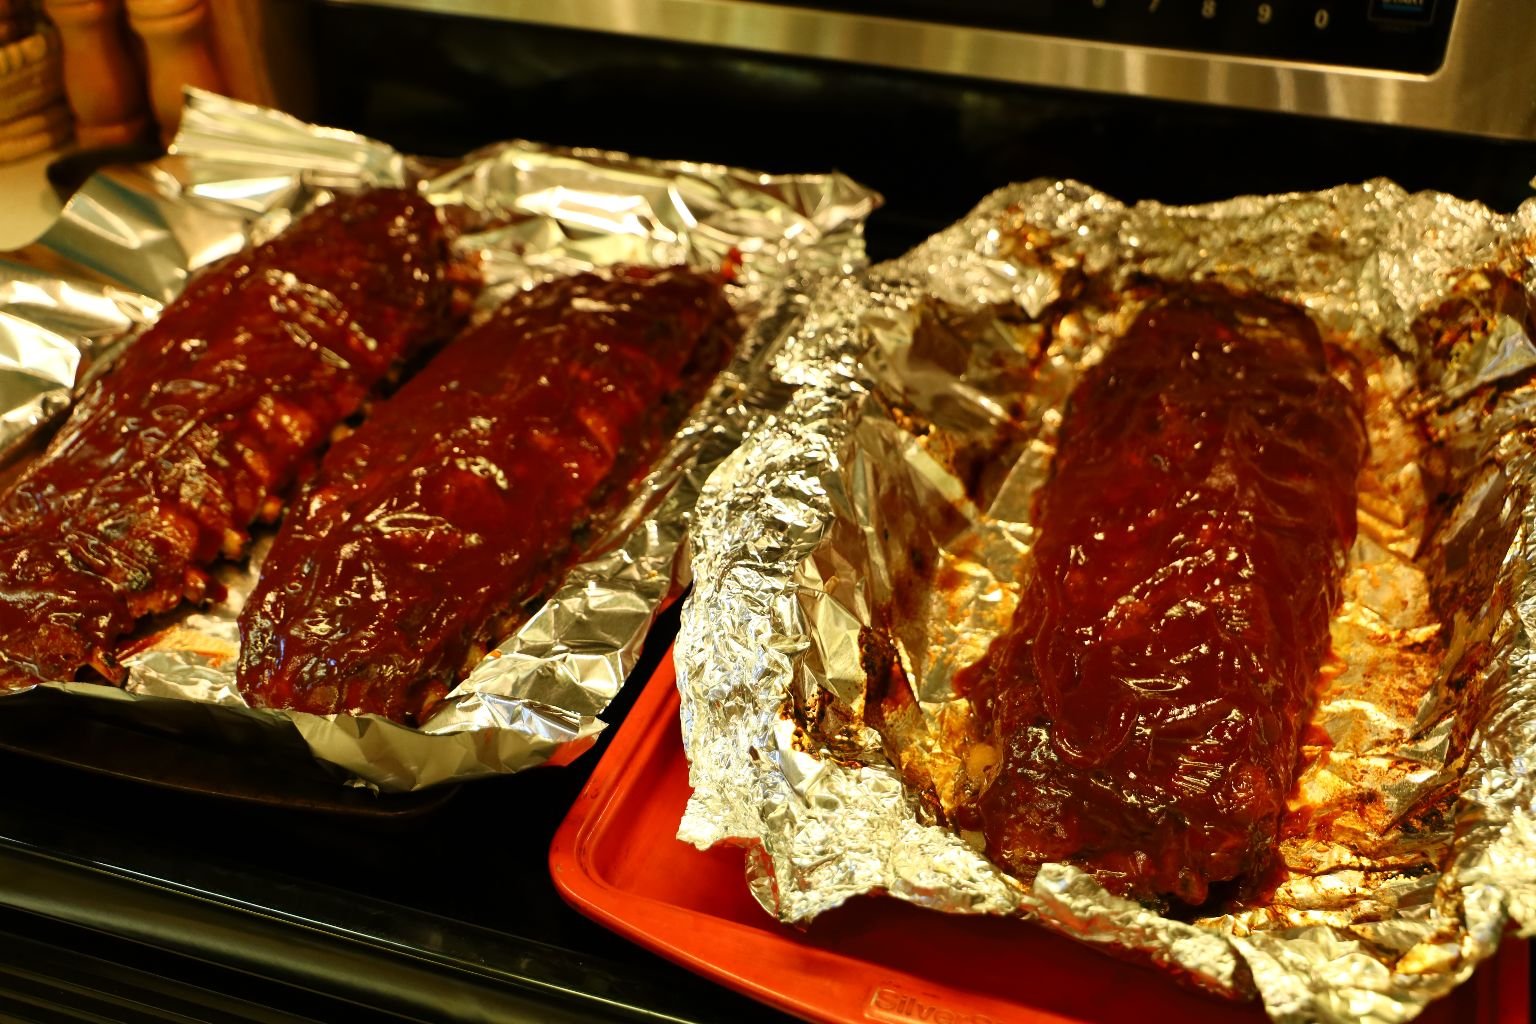
Here, I placed two racks of ribs on one sheet pan.
—————————————————————
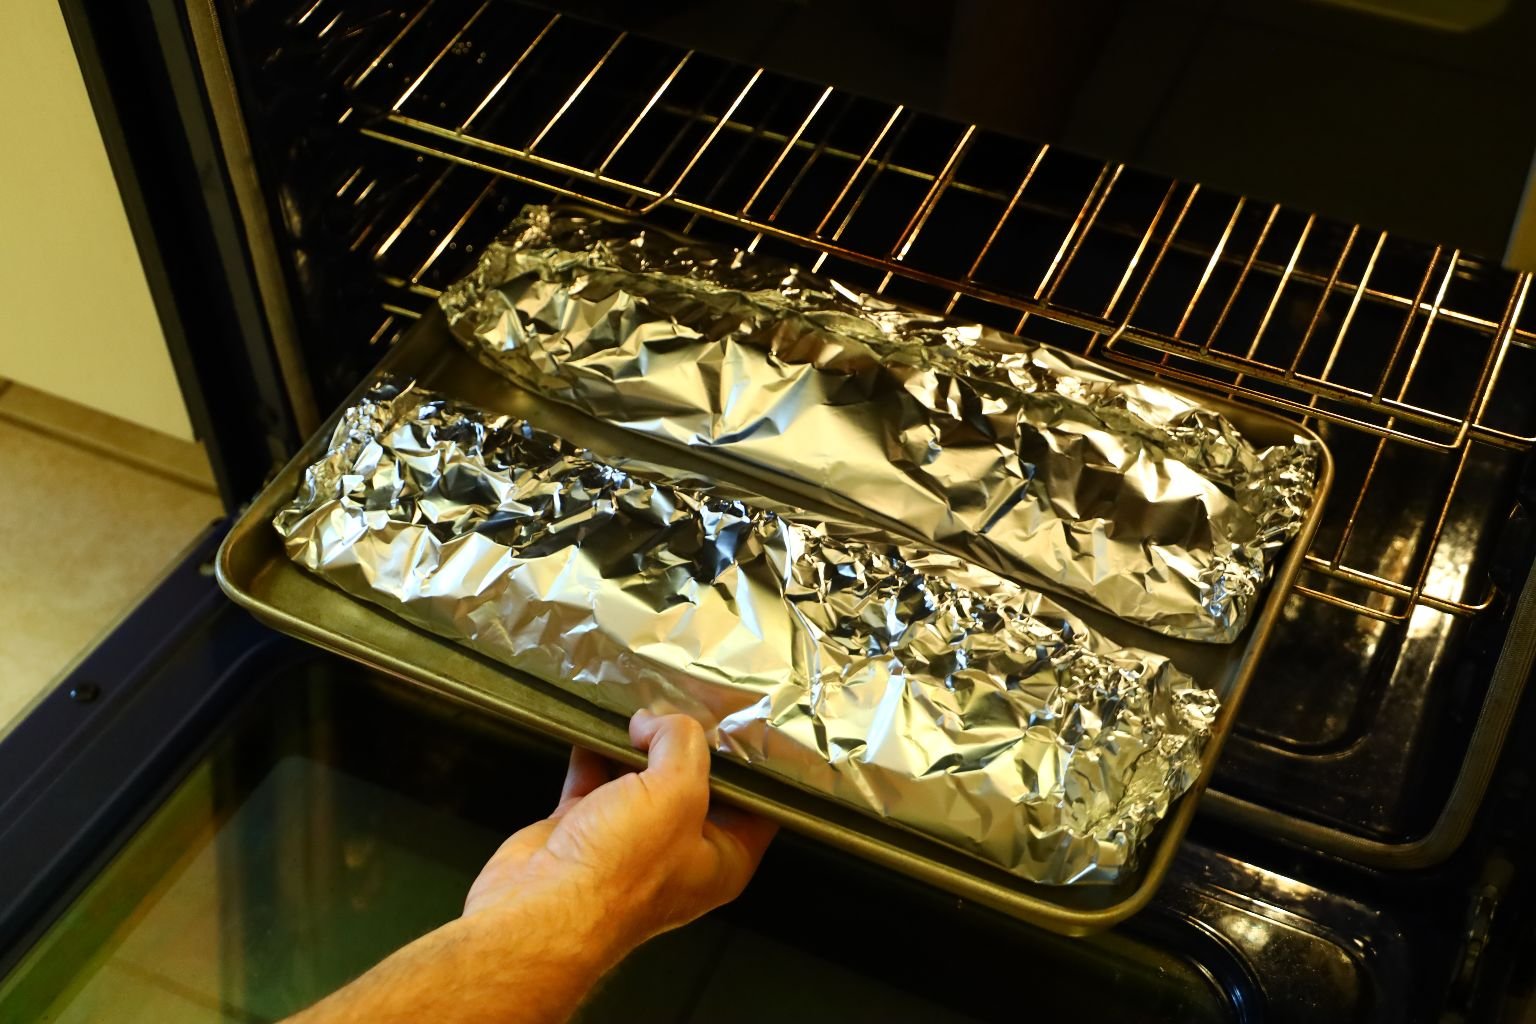
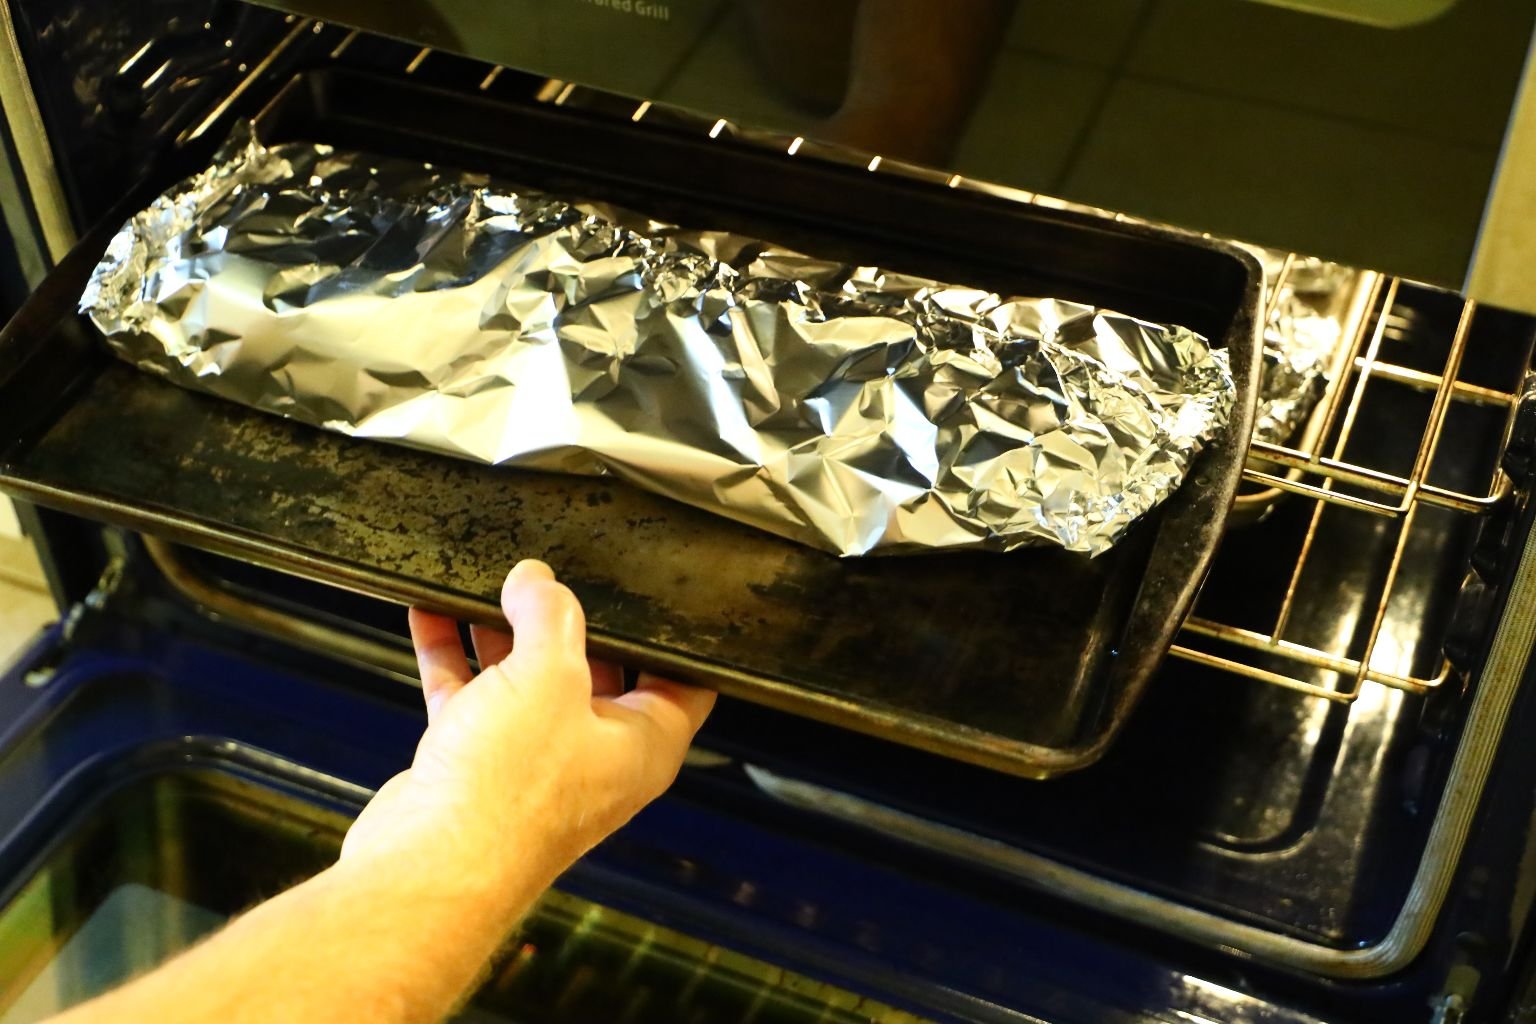
Bake the ribs at 300’F for about 2 hours.
——————————————————————-
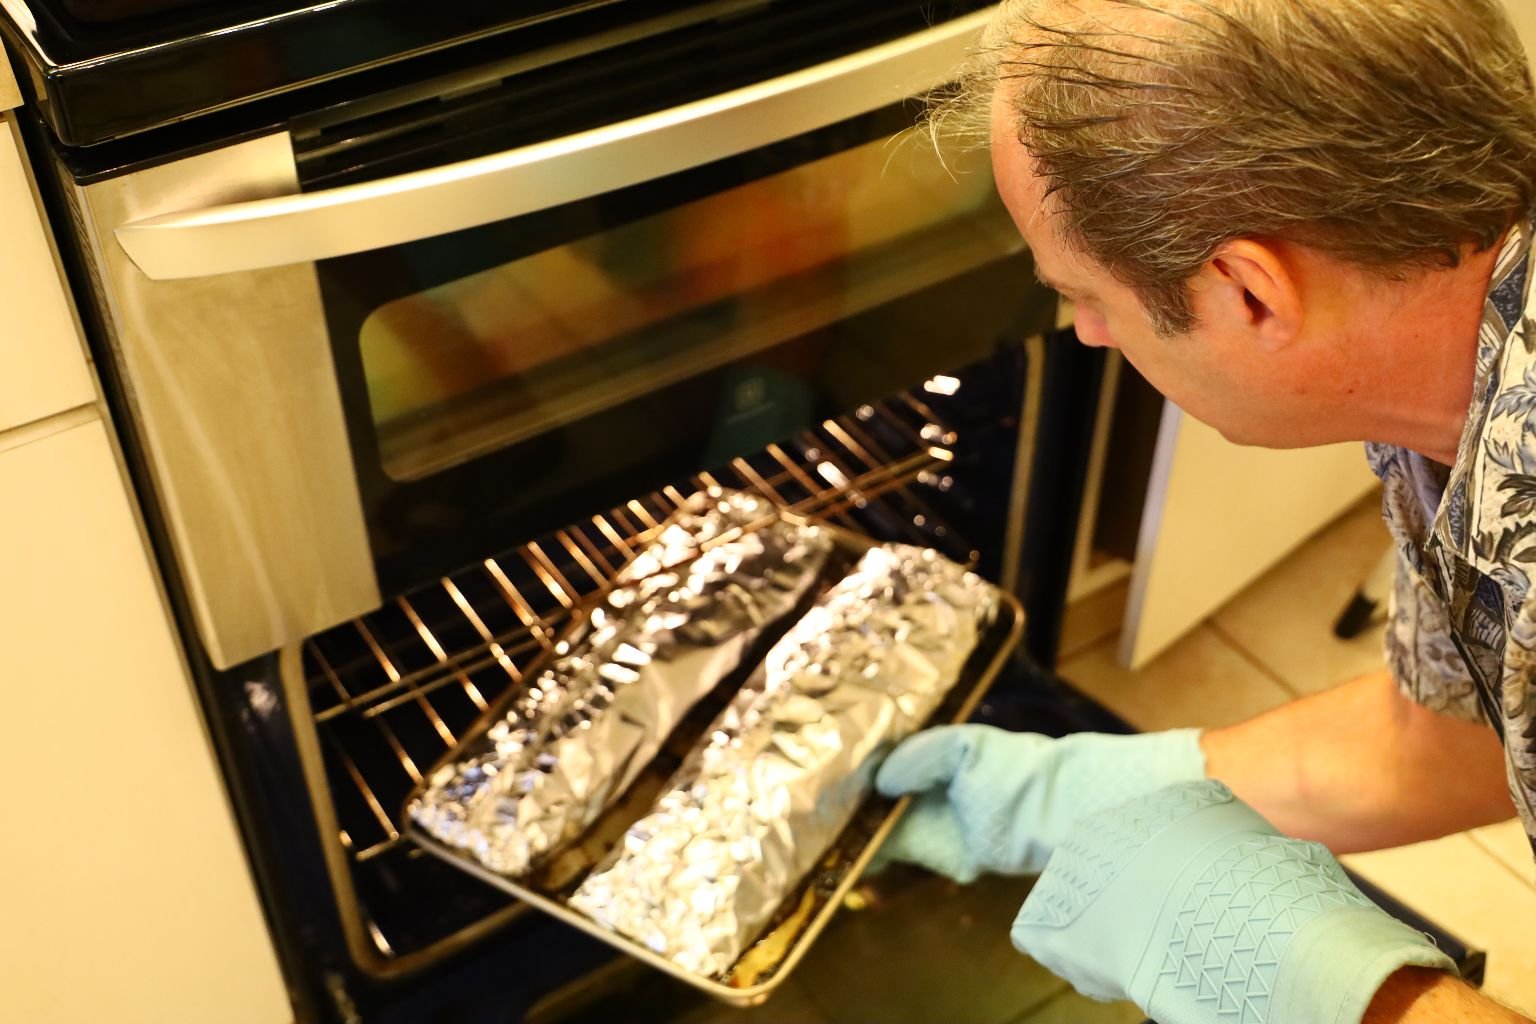
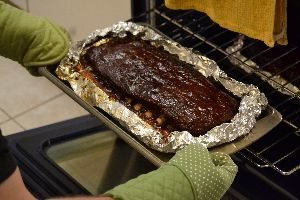
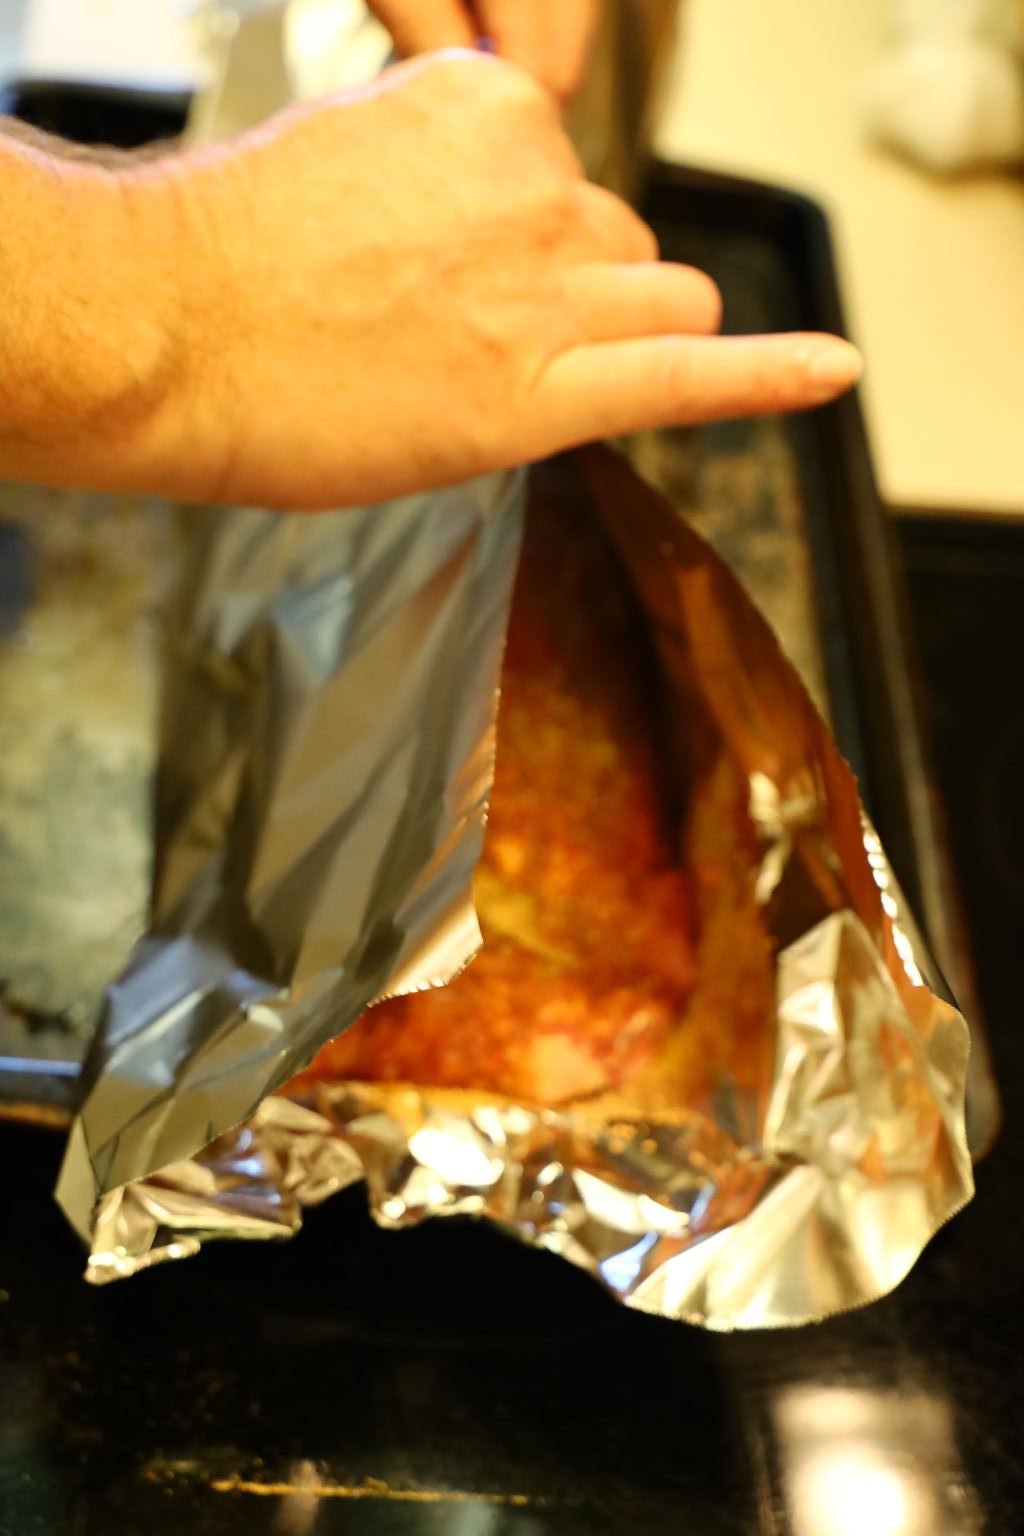
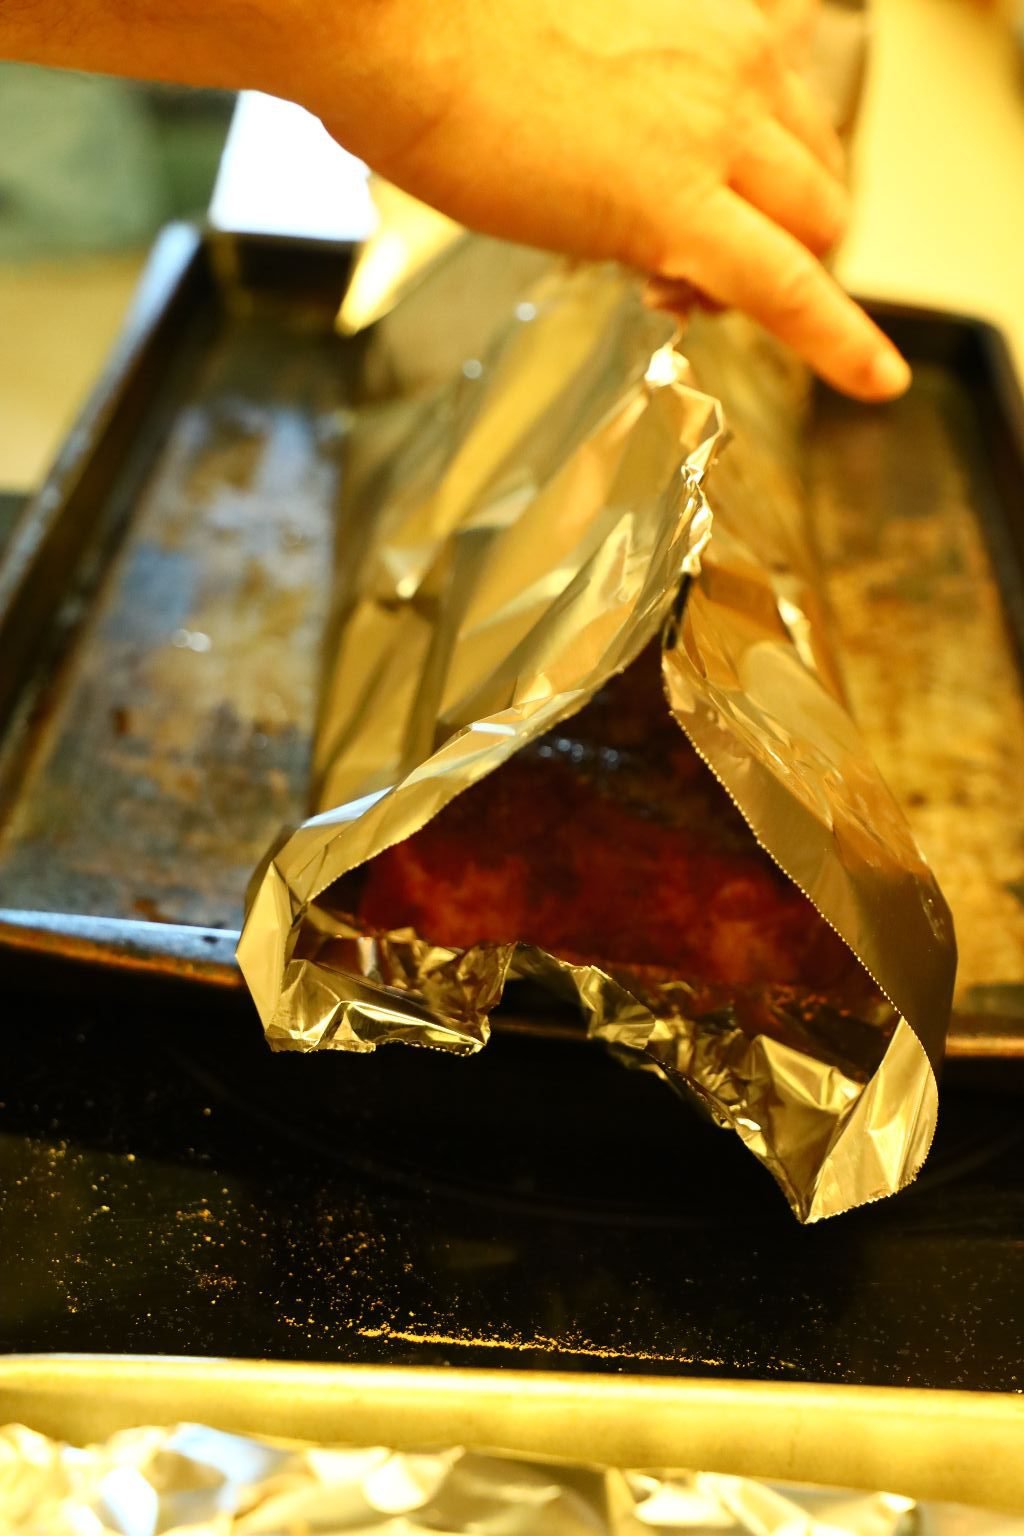
Remove the ribs from the oven …
————————————————————–
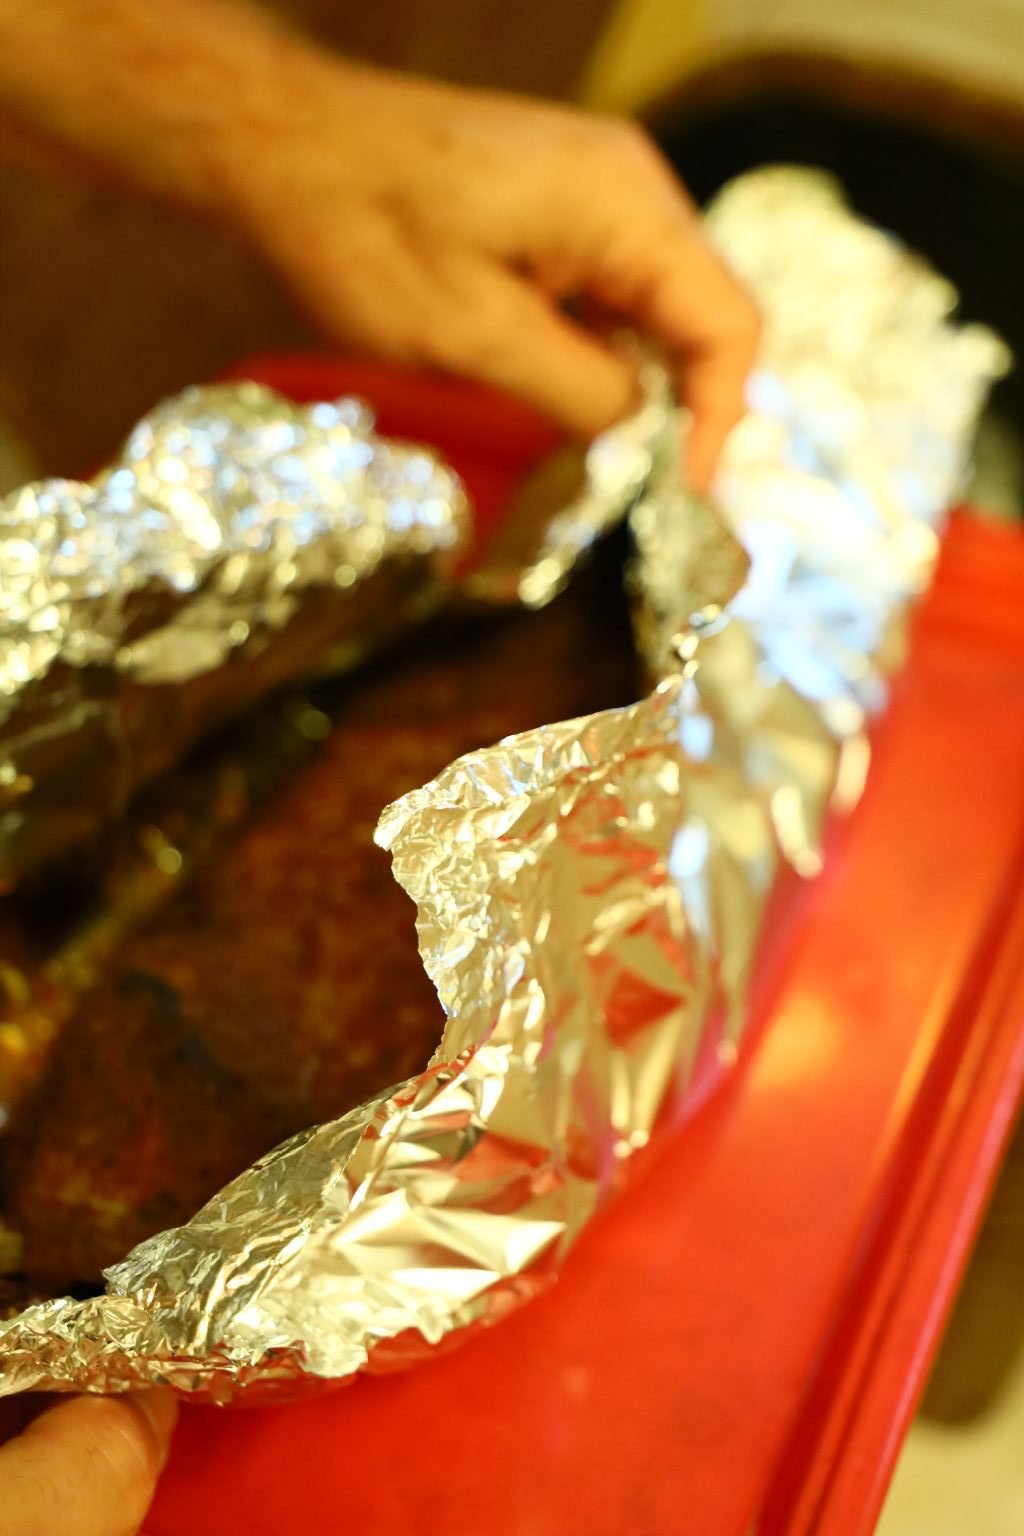
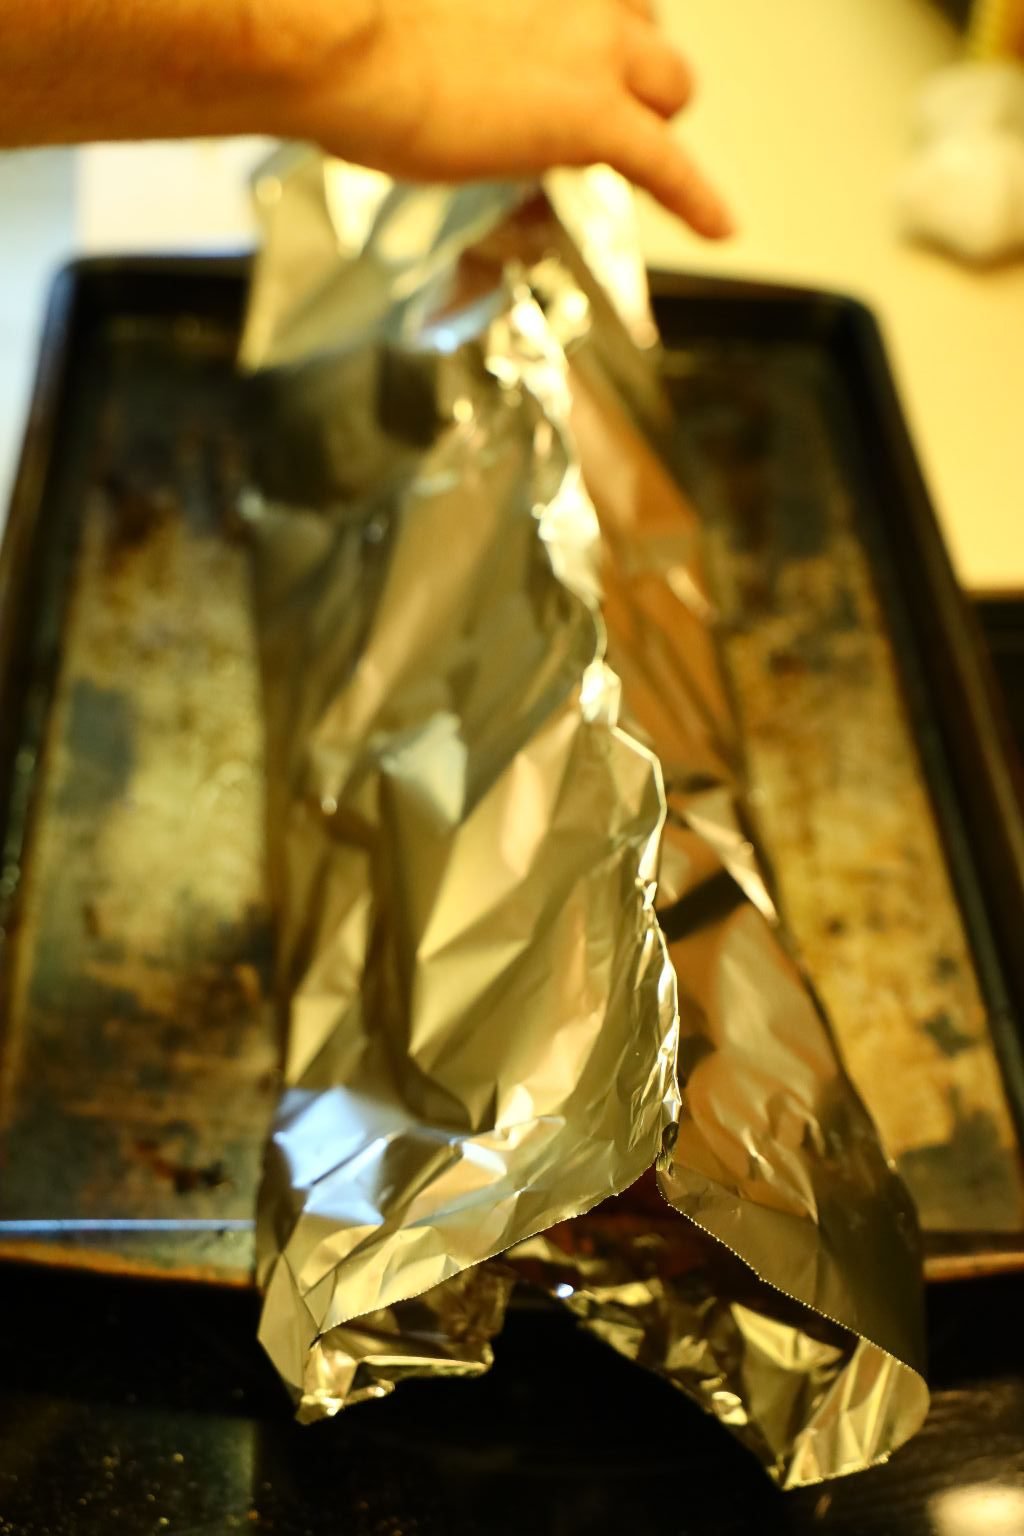
and carefully unfold the foil to expose the ribs as they will be extremely hot.
I used some new sheets of foil as the foil ripped where the ribs were sticking out. This is a good sign as the meat is beginning to pull away from the bone.
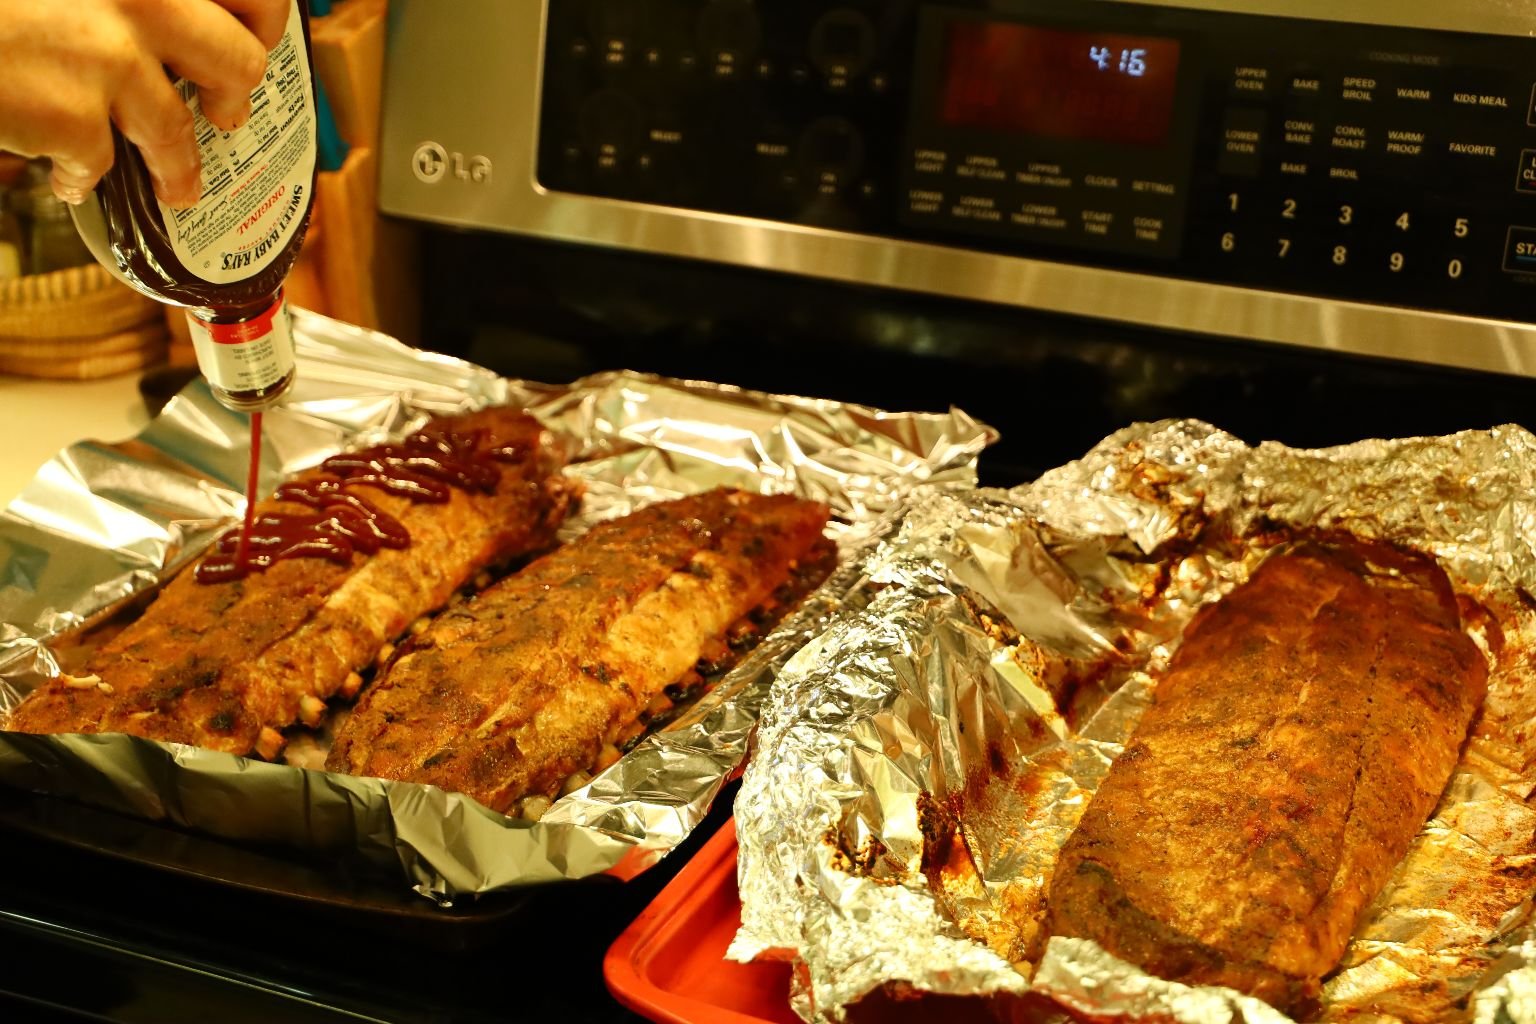

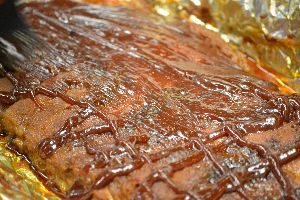
Liberally coat the ribs with your favorite BBQ sauce as shown. We love Sweet Baby Ray’s! This sauce is slightly spicy and slightly sweet and is the perfect sauce in my opinion.
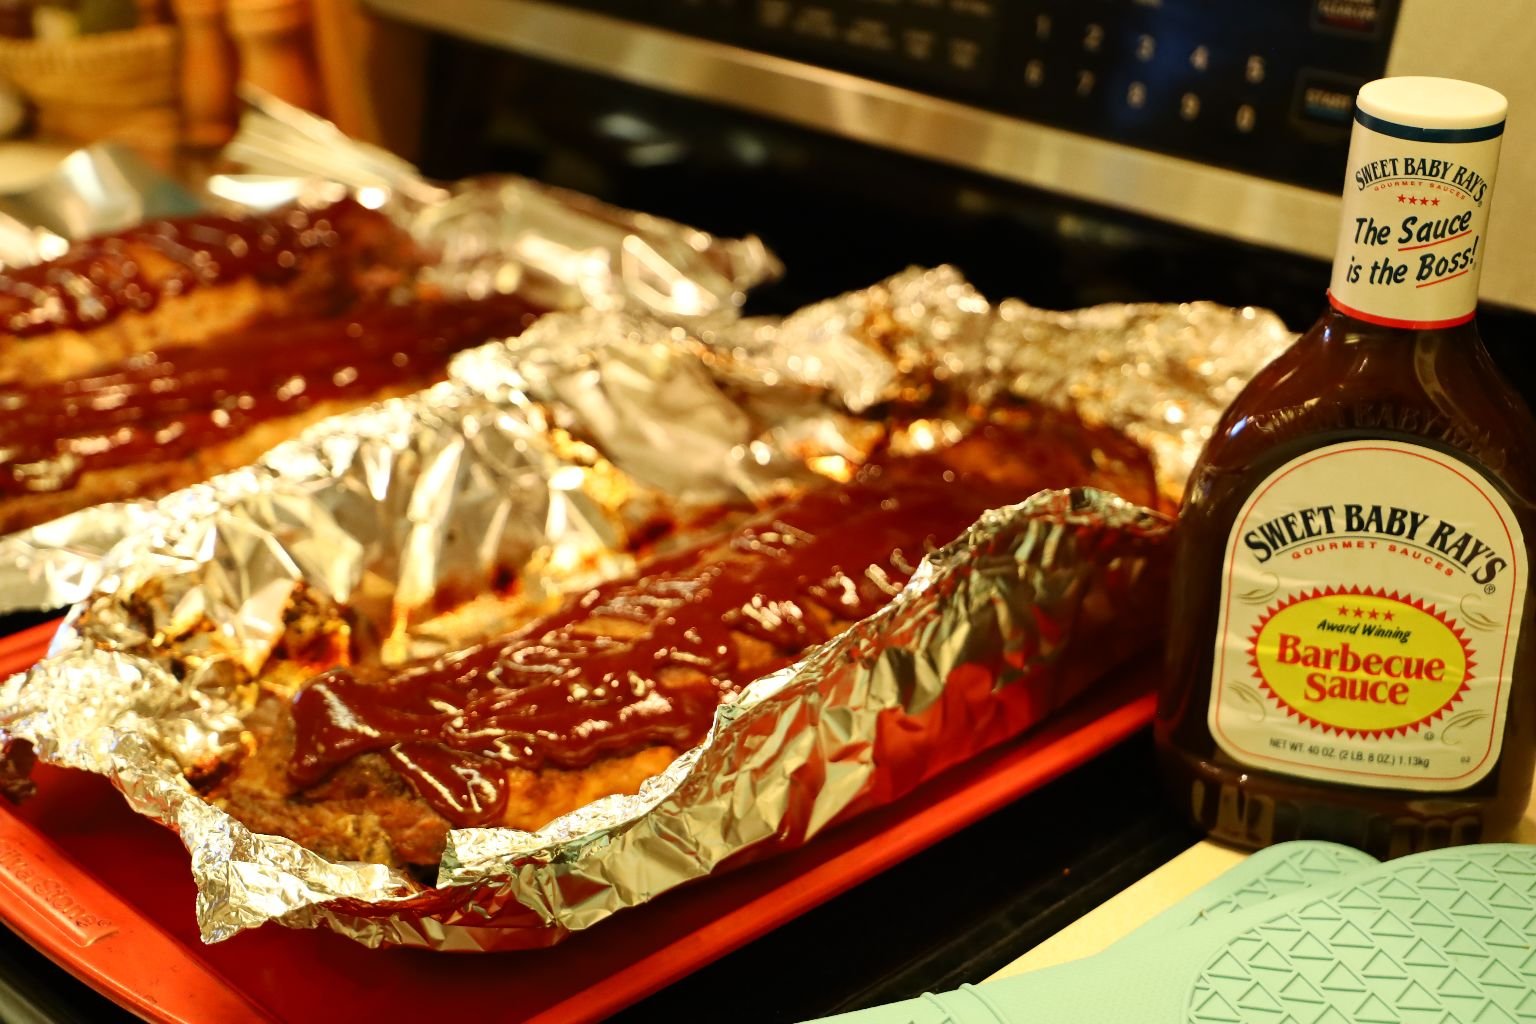
Sweet Baby Ray’s
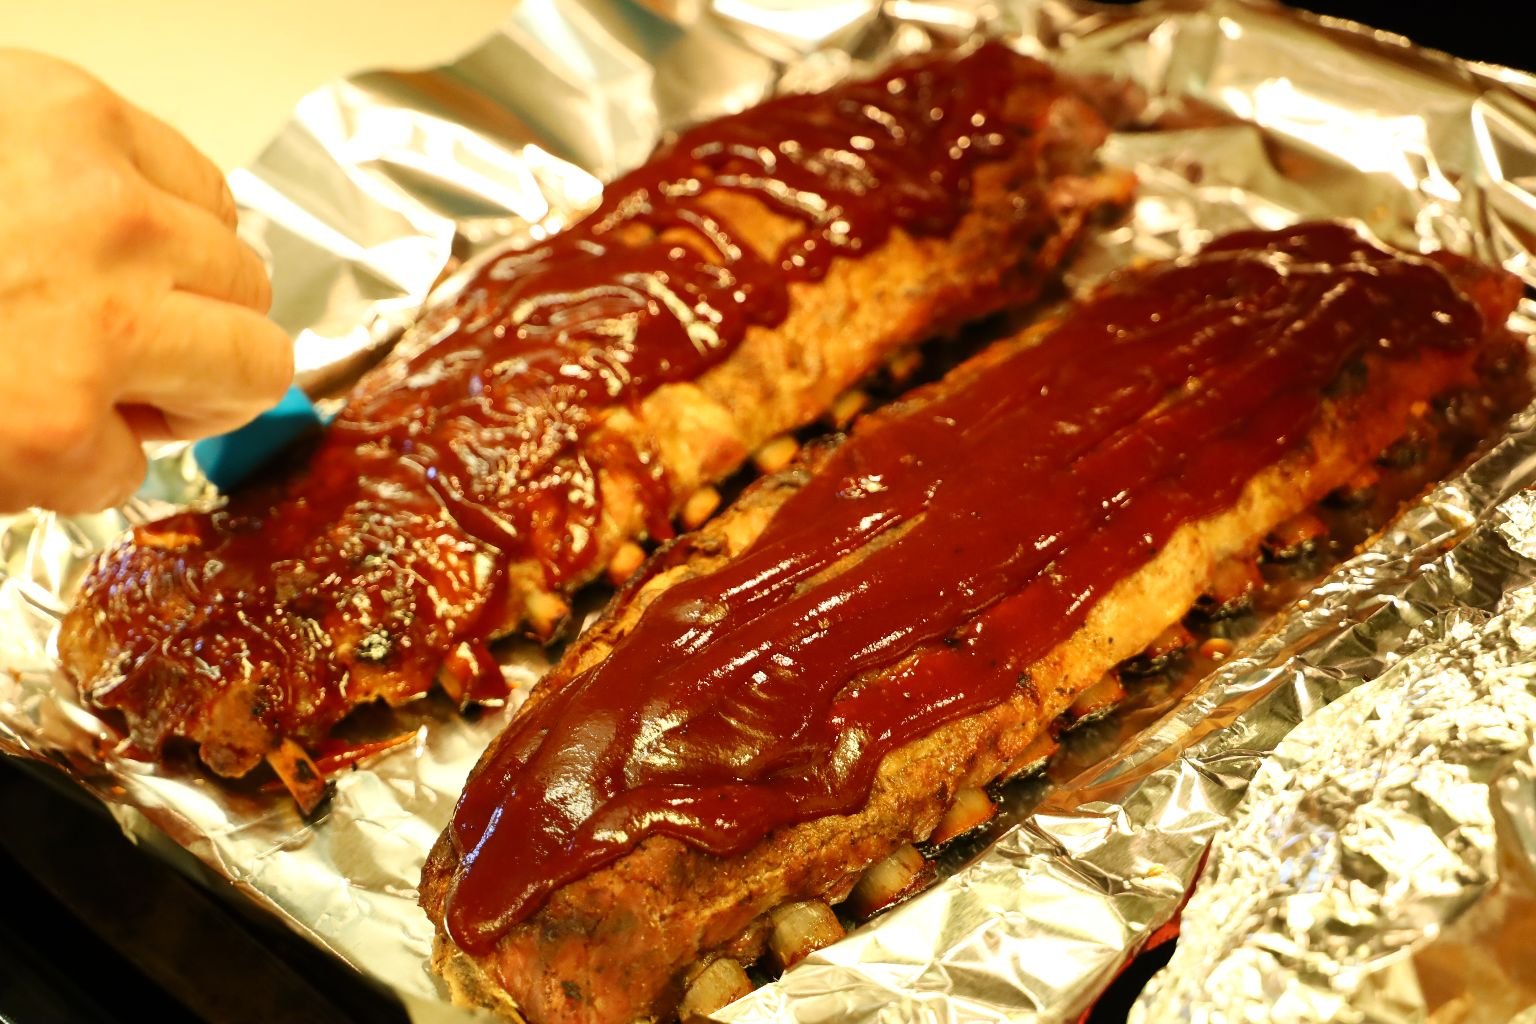
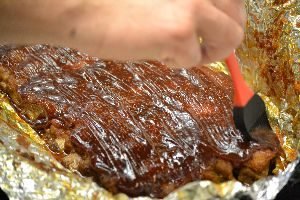
Use a brush to spread the sauce.
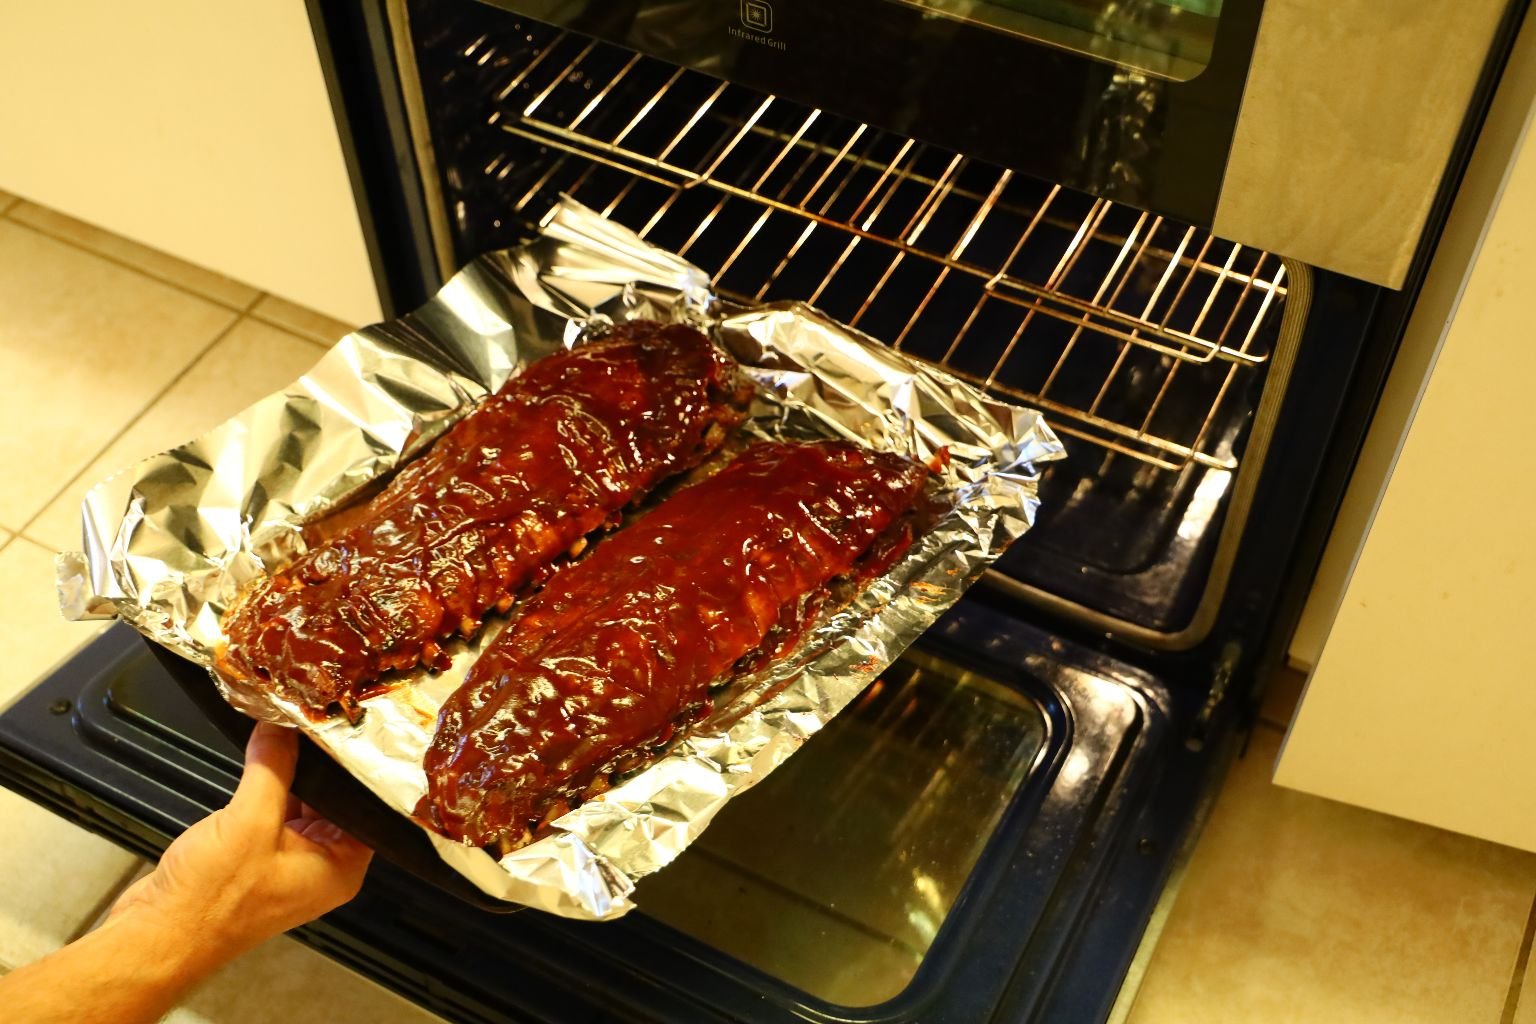
Place the ribs back in the oven at 300’F and cook for another 30 minutes.

———————————————————-
Doing this will start to cook down the BBQ sauce making it a little thicker.
————————————————————
To get that grilled look and charred flavor, I placed the ribs under my oven’s infrared broiler for about 3 minutes.
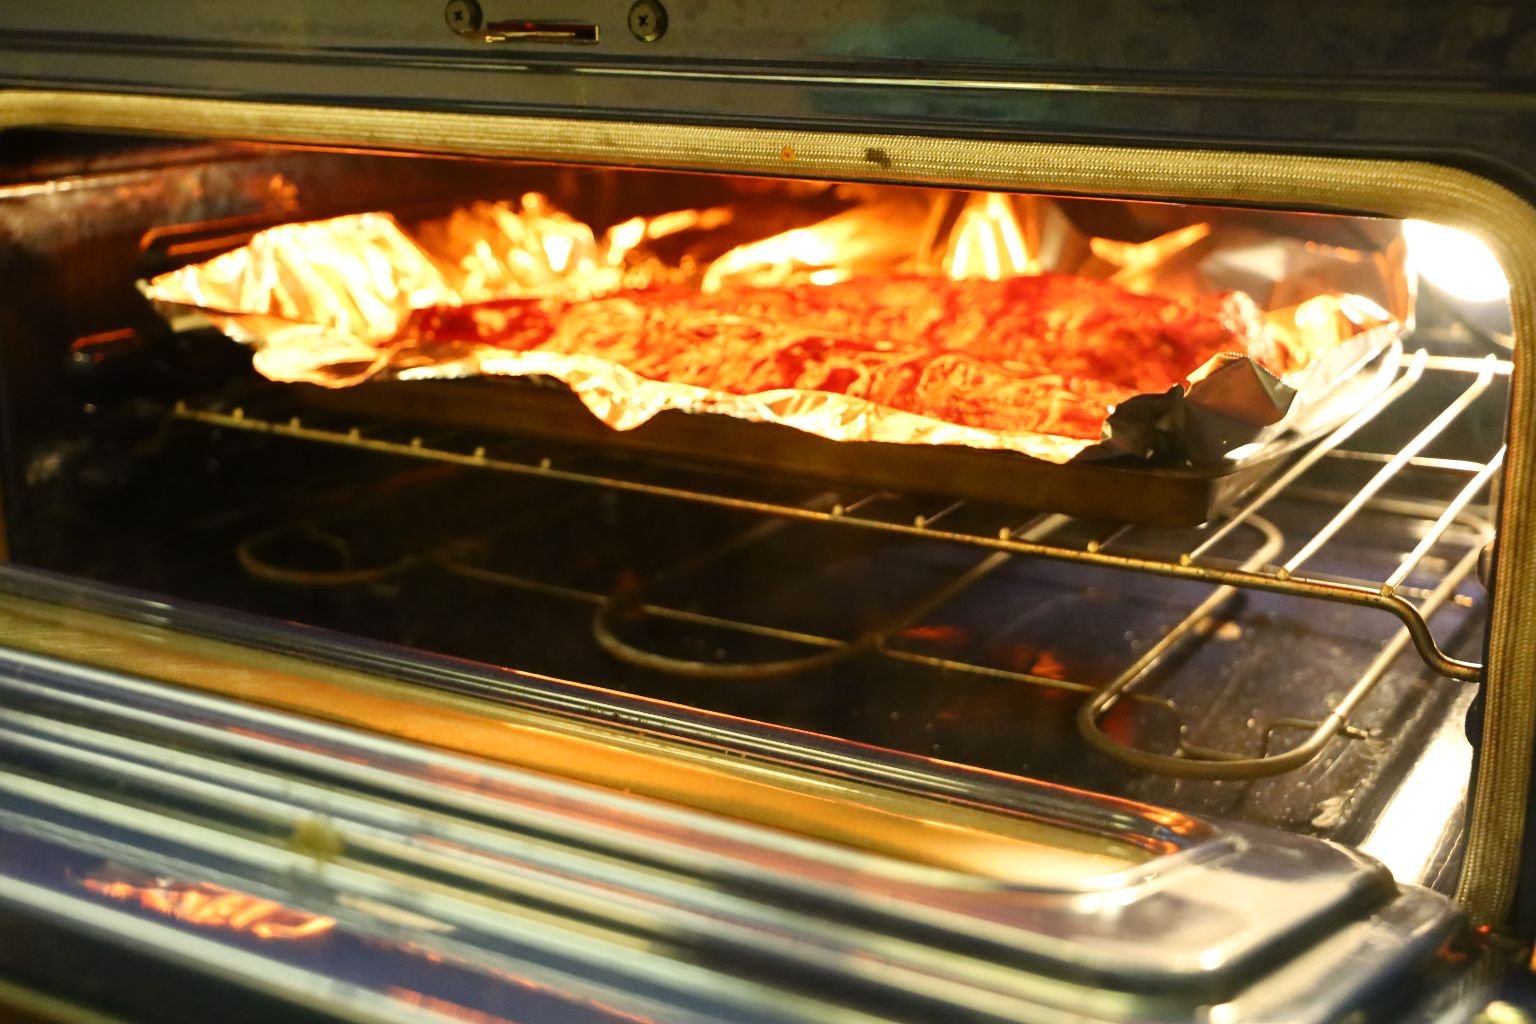
Here you can see the ribs getting charred. Once the ribs have received the char you desire, remove the ribs and continue with the other rib racks. Let each rack rest for about 10 minutes to allow the meats juices to return to the center of the meat. It is tough to do, but letting them rest will keep them nice and juicy. 🙂
I hope you enjoy these ribs as much as we did!
———————————————————-
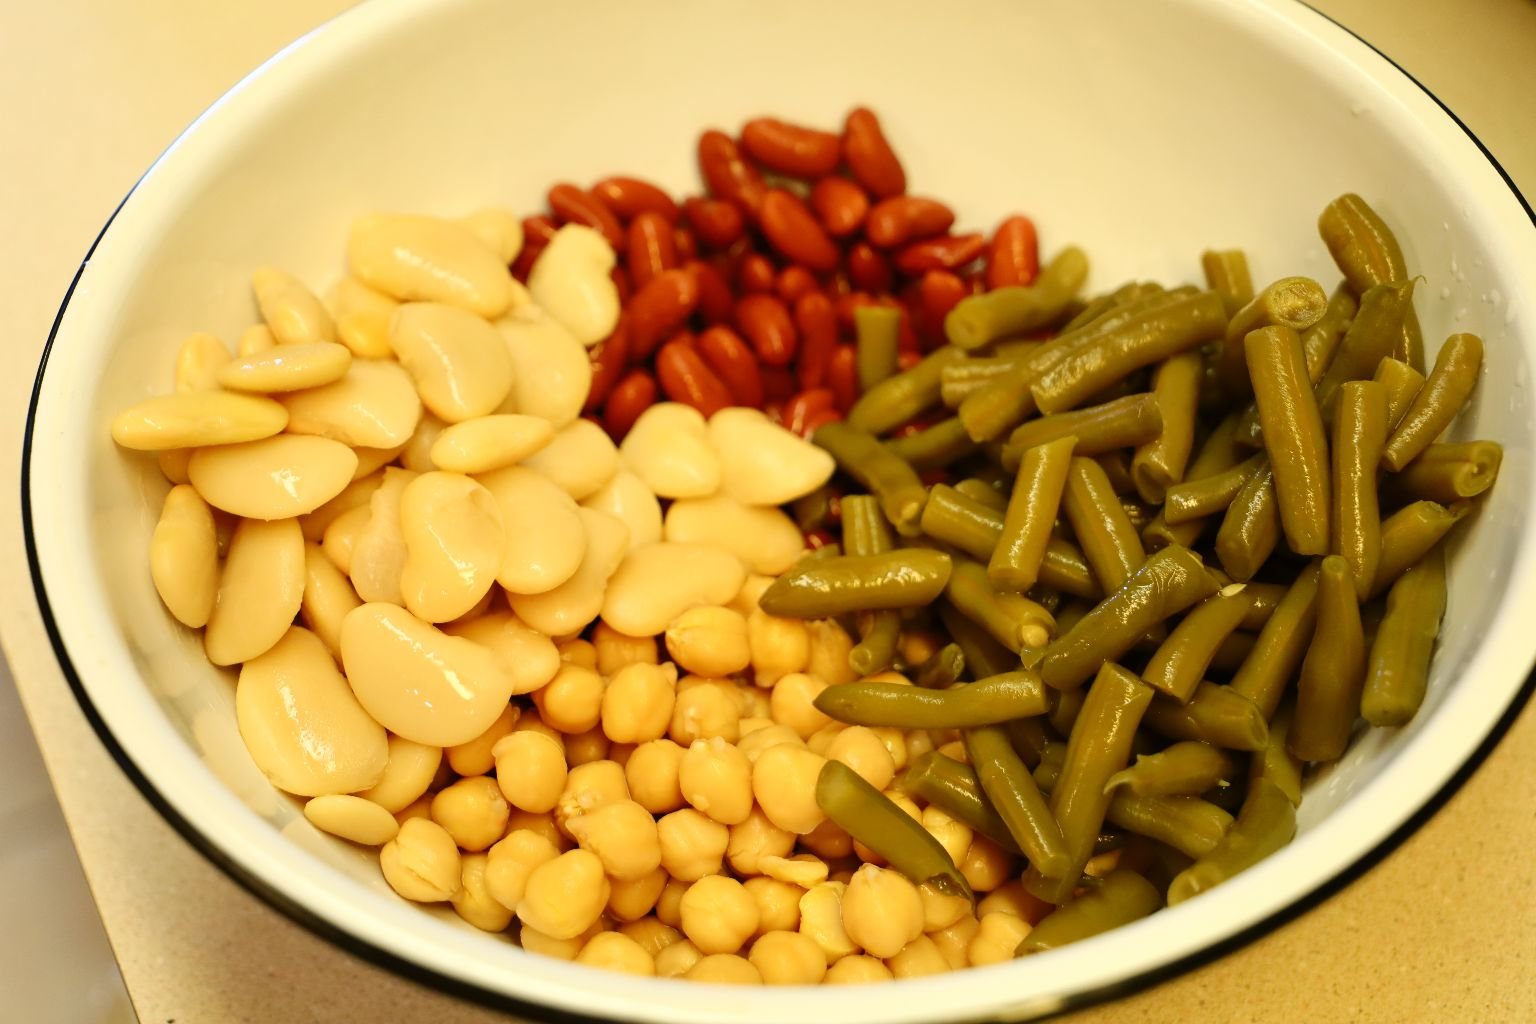
4 Bean Salad
(Our Take on the 3 Bean Salad)
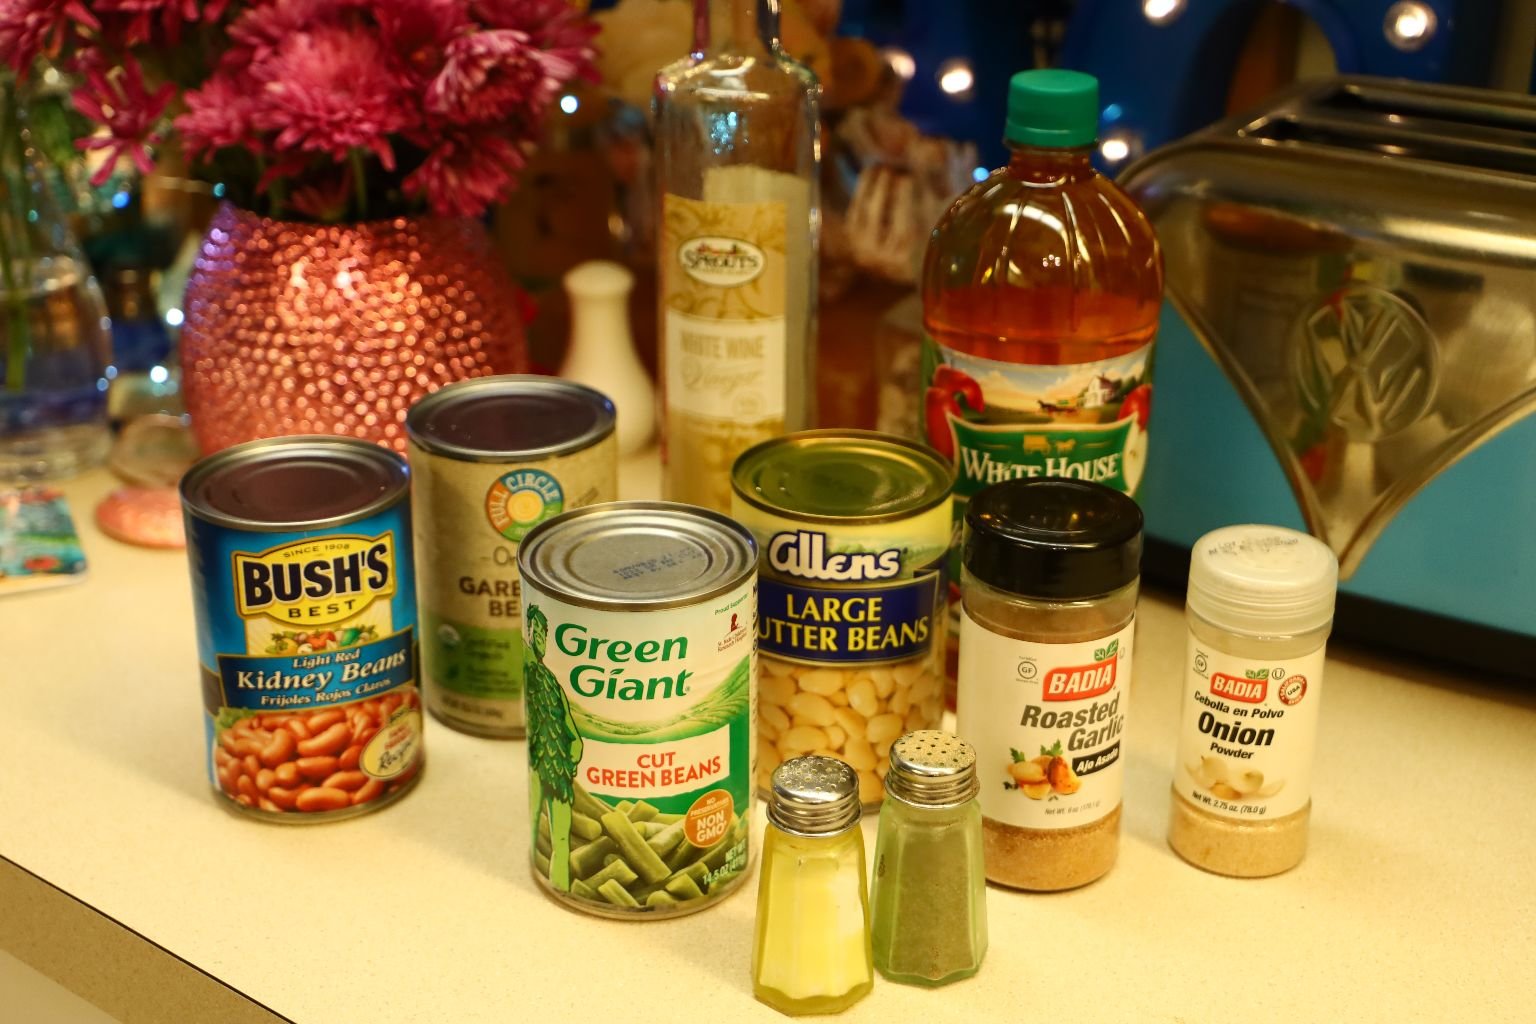
This is a great salad to make ahead of time for most any occasion. The sweet savory taste of the beans combined with the acid of the vinegar, cuts through strong seasonings of other dishes and cleanses the pallet. Fresh beans can be used if you can acquire them, but canned ones are a great substitute and work well with this recipe.
Ingredients:
1 Can Garbanzo Beans
1 Can Butter Beans
1 Can Green Beans
1 Can Light Red Kidney Beans
1/2 tsp. Onion Powder
1/2 tsp. Roasted Garlic Powder
1/4 tsp. Pepper
1/2 tsp. Salt
1/4 Cup White Wine Vinegar
1 Cup Apple Cider Vinegar
~1 1/2 Tbsp. Sugar
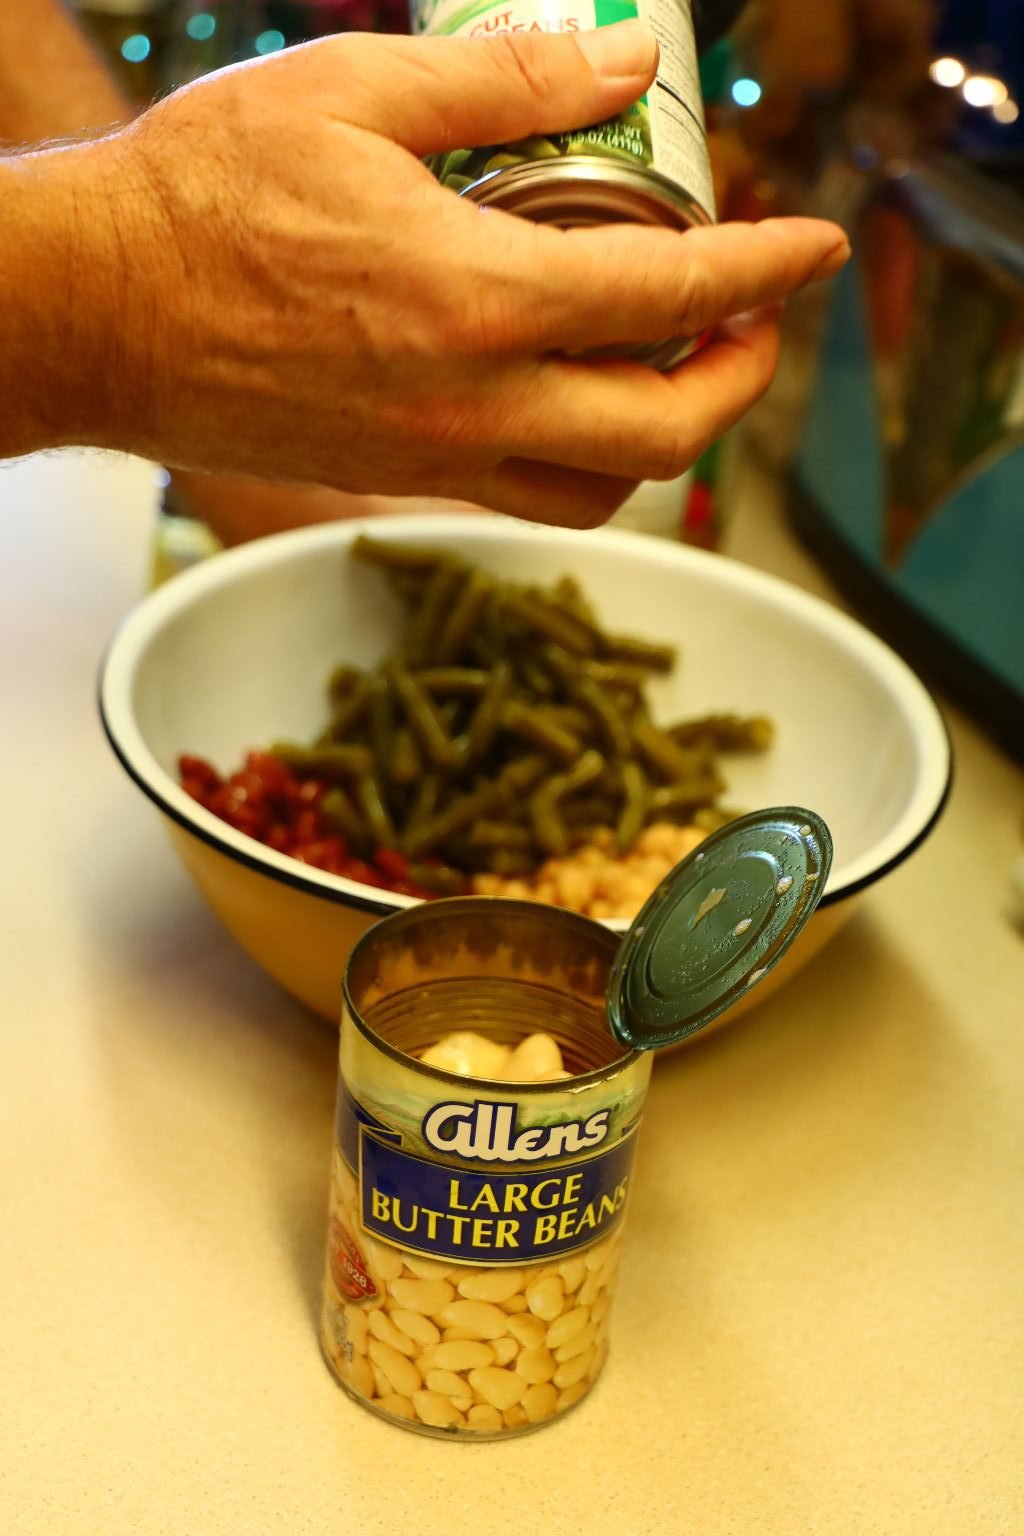
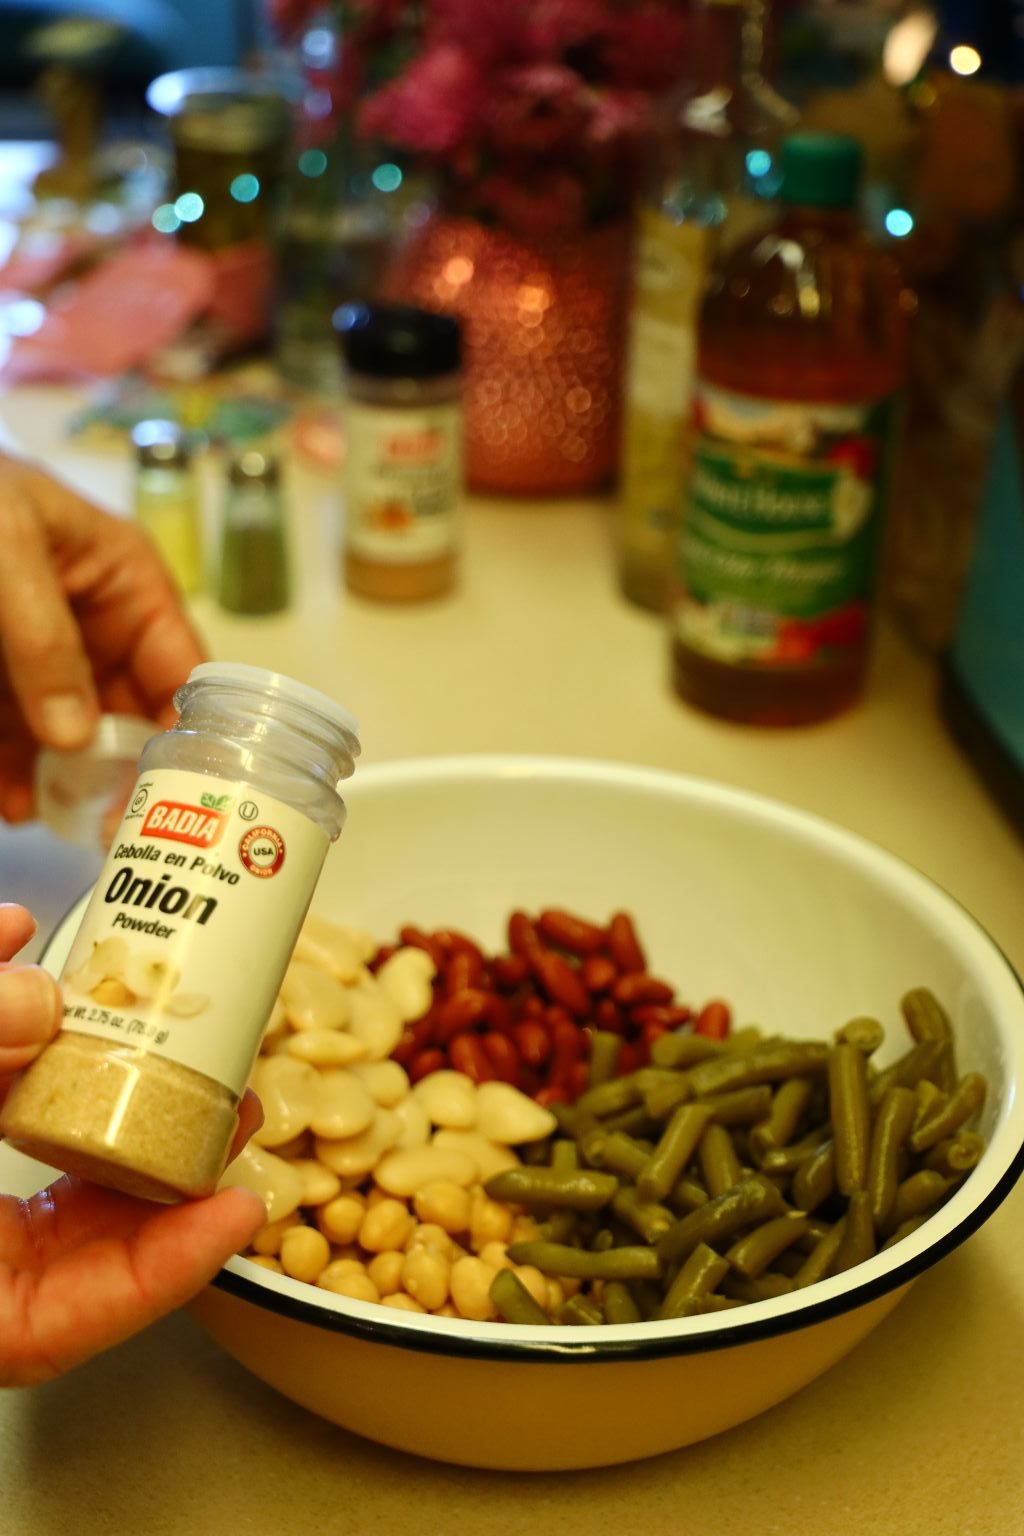
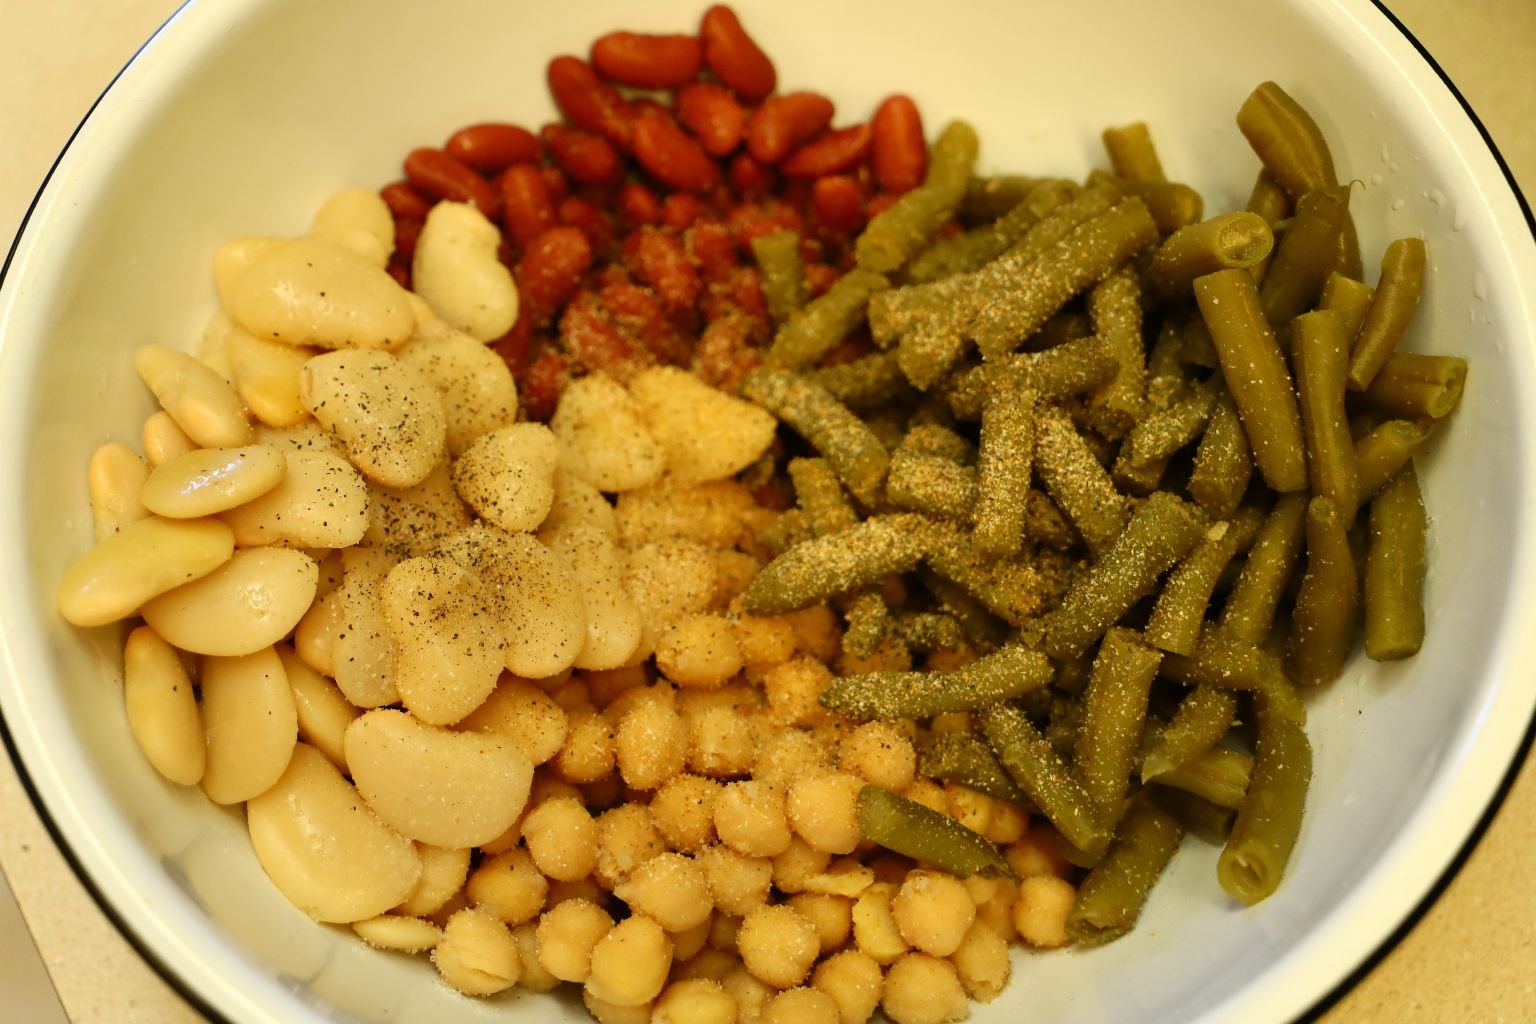
Open the canned beans and drain into a colander then rinse well with water. Now place them into a medium sized bowl and add your onion powder.
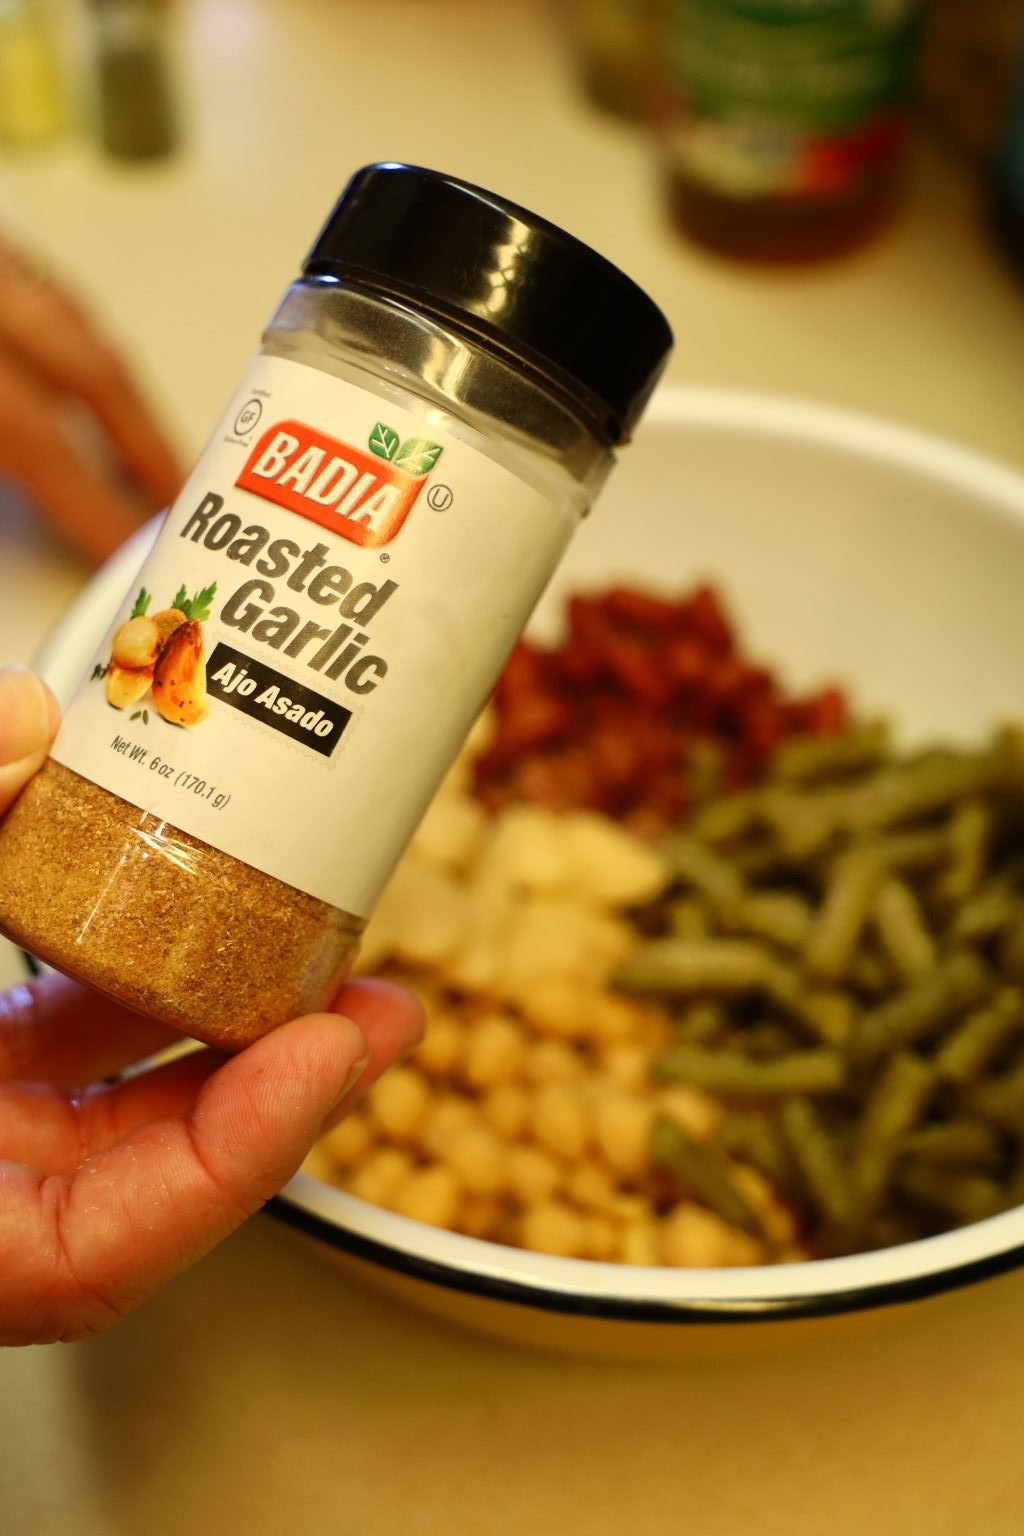
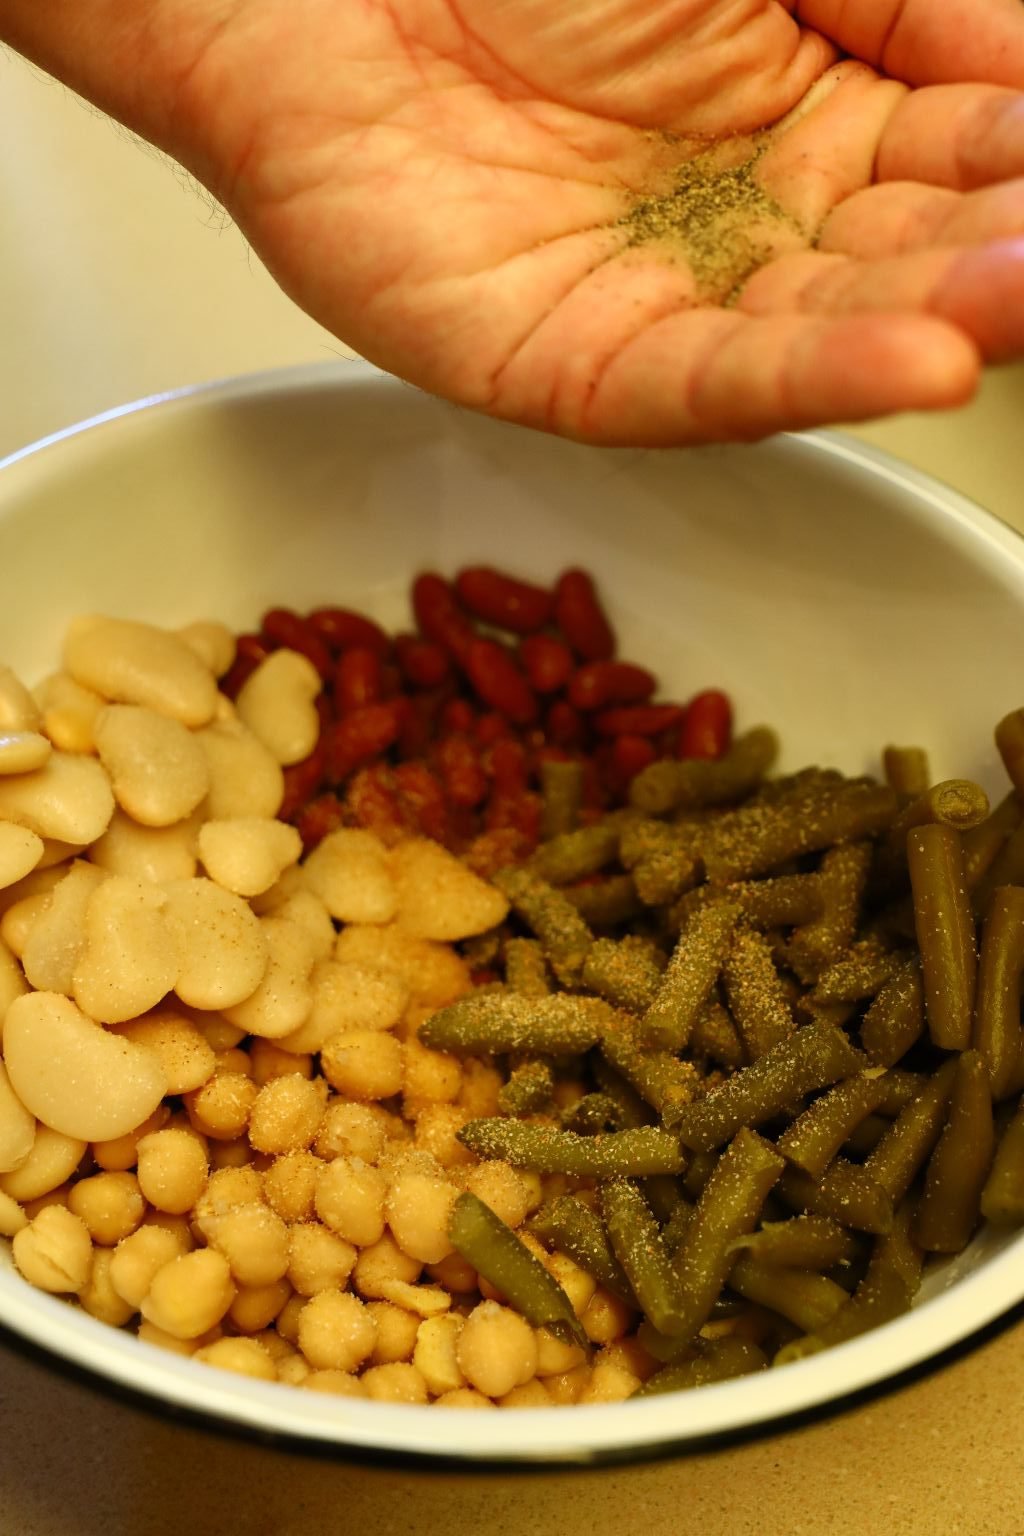
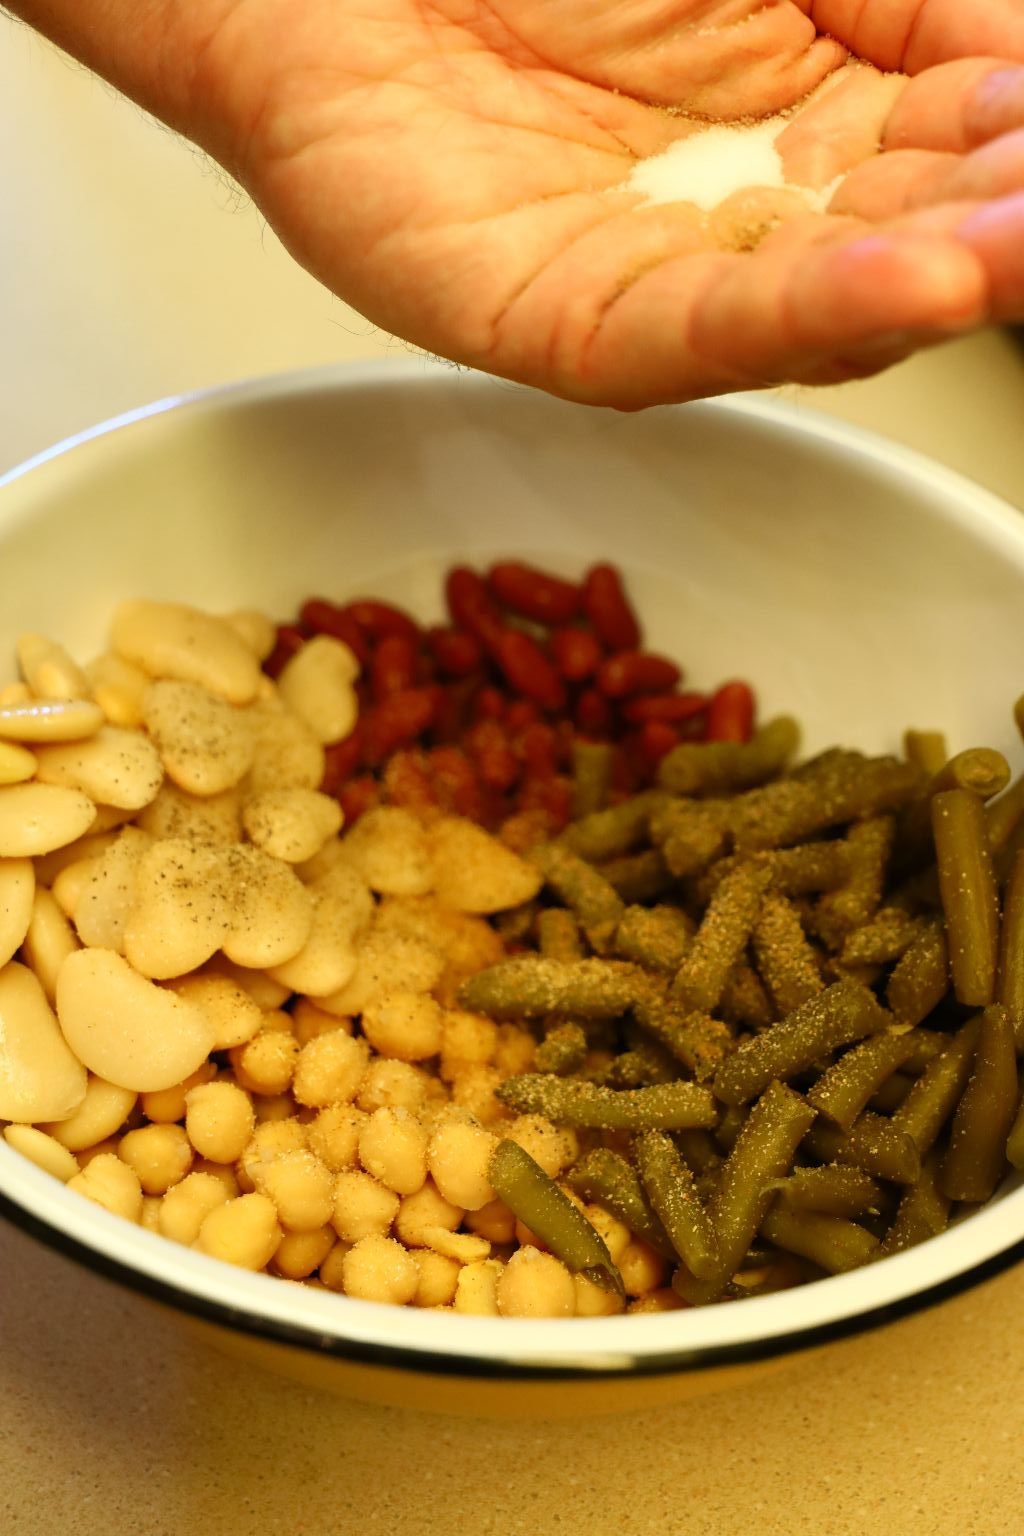
Then add your roasted garlic and pepper and salt.
——————————————————————-
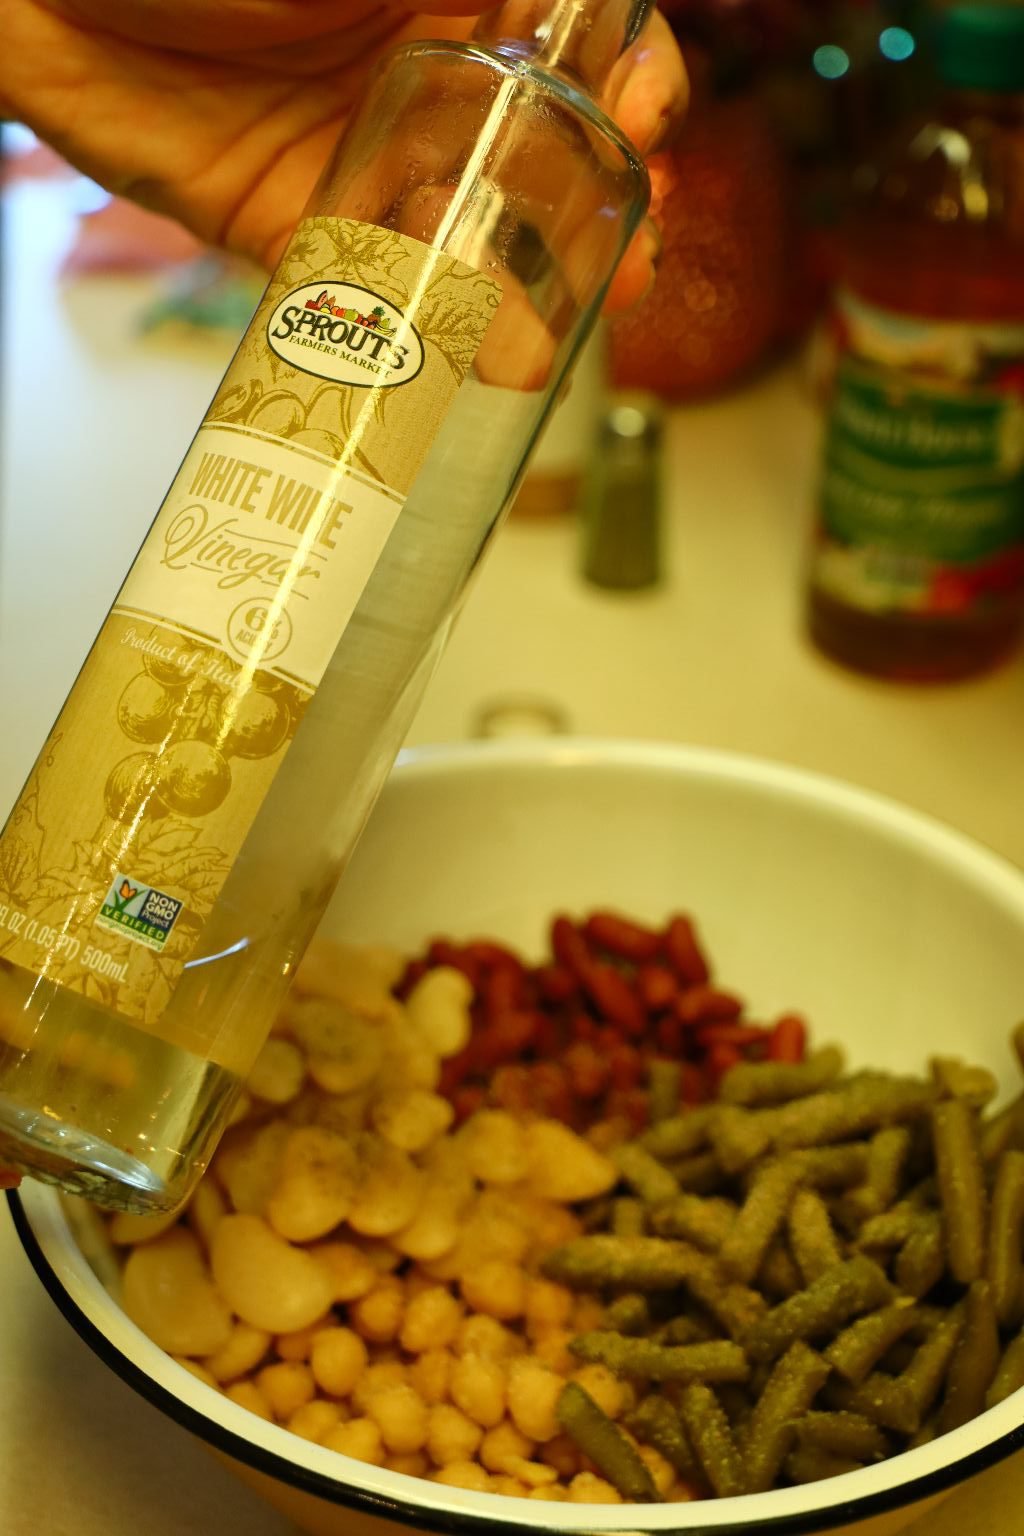
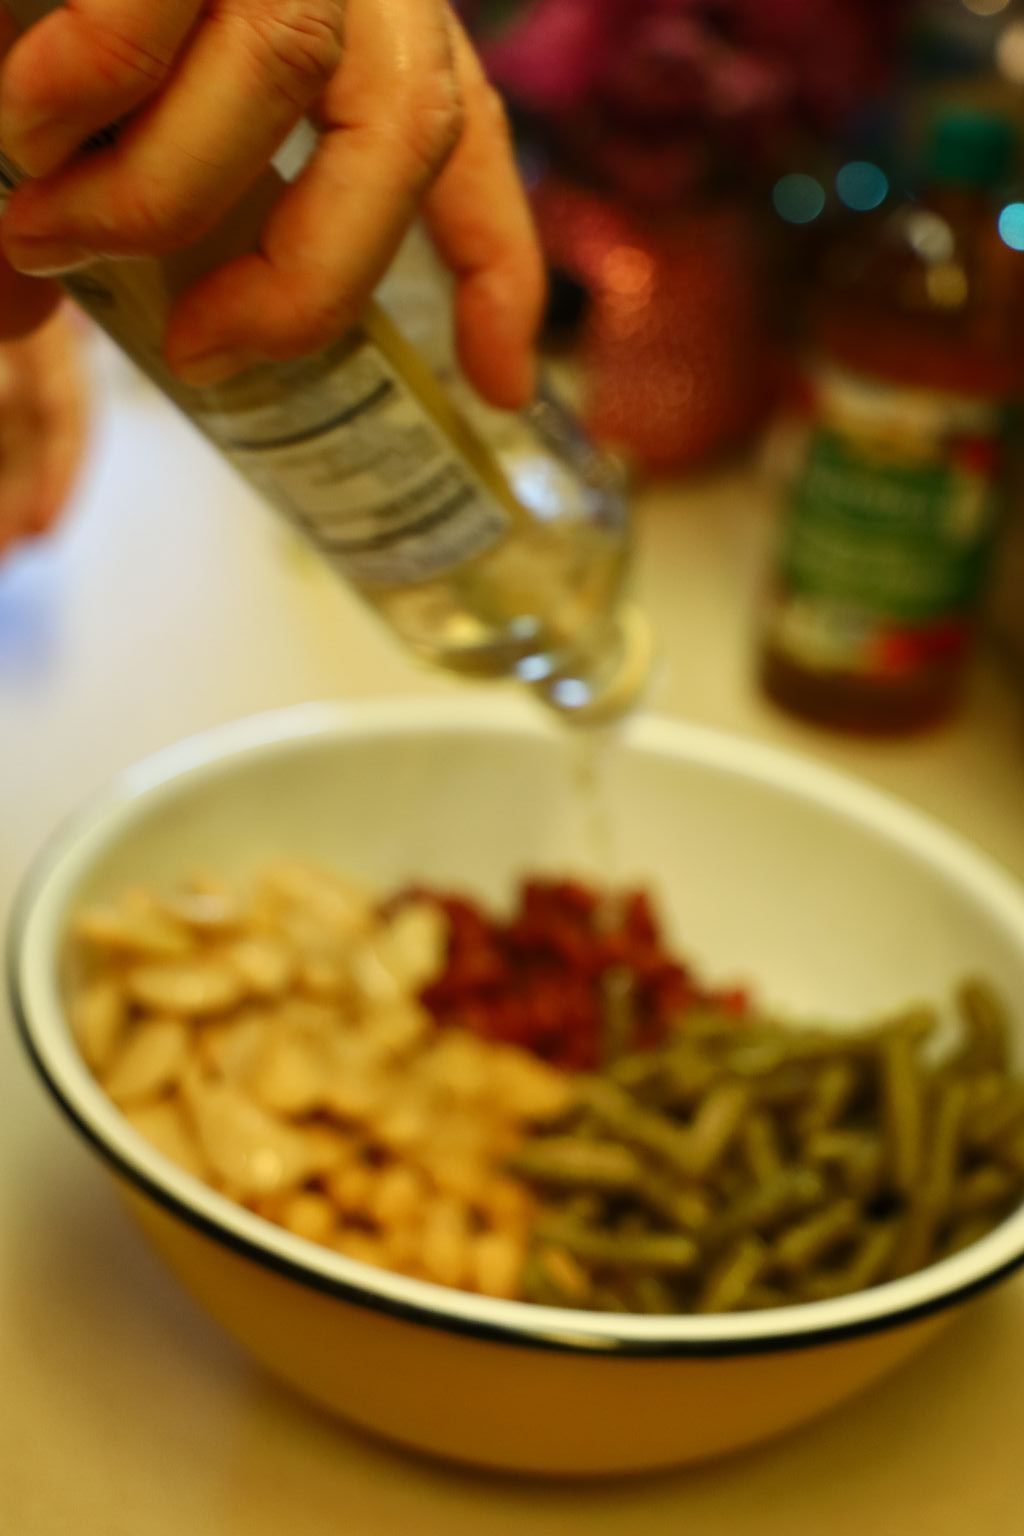
Pour in your white wine vinegar…
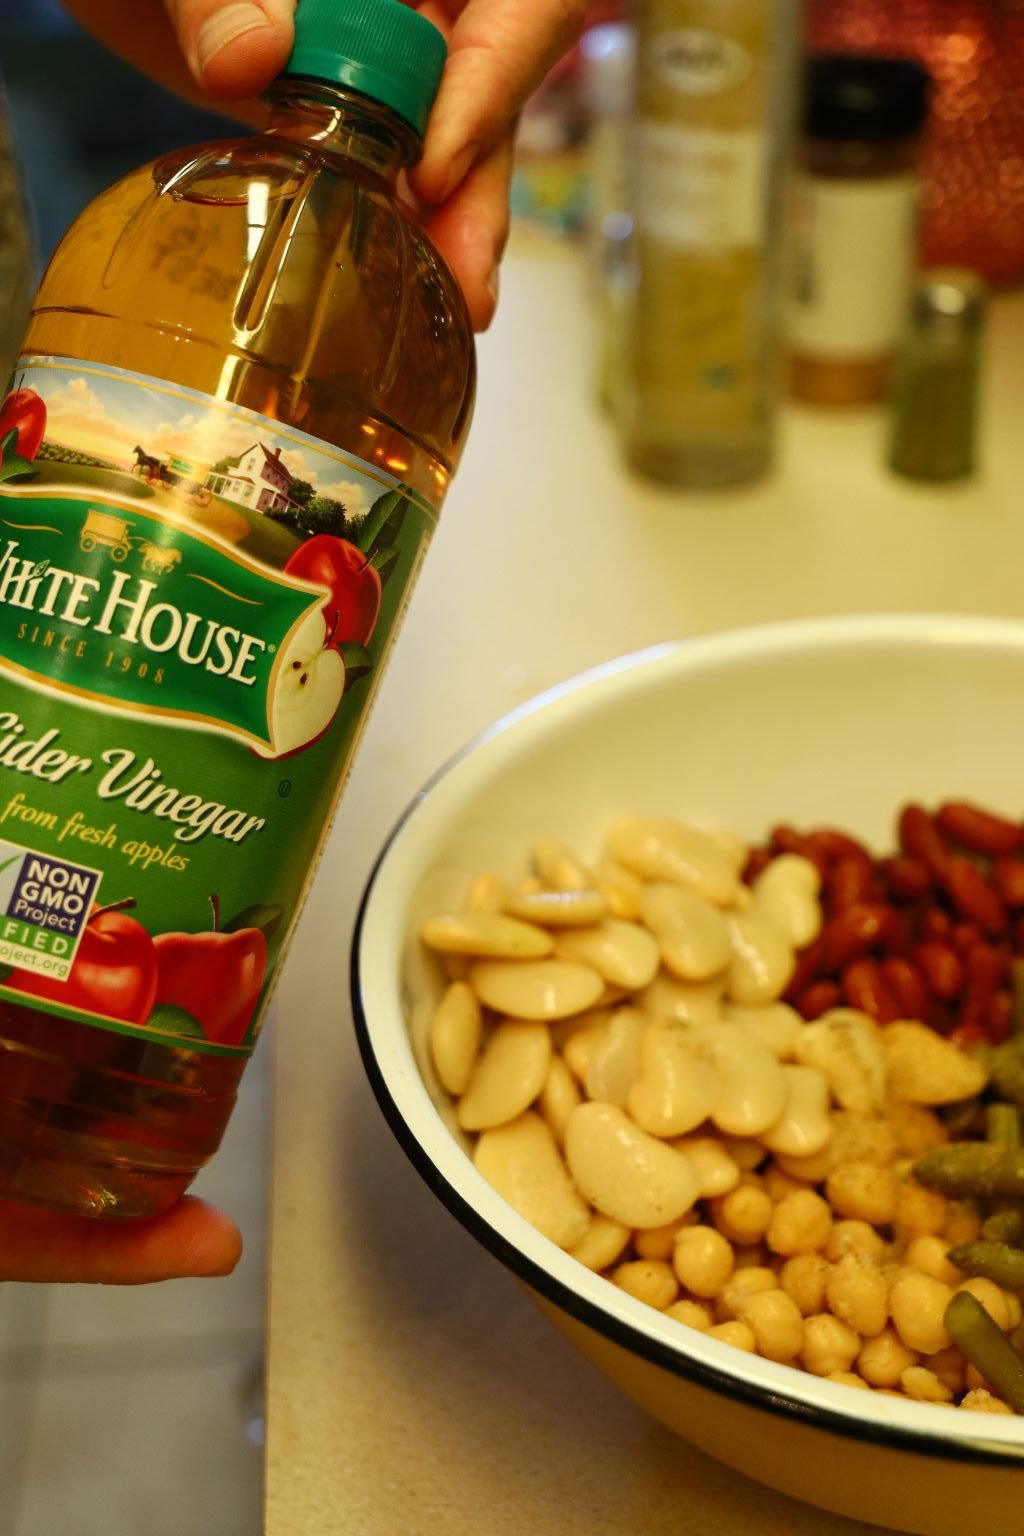
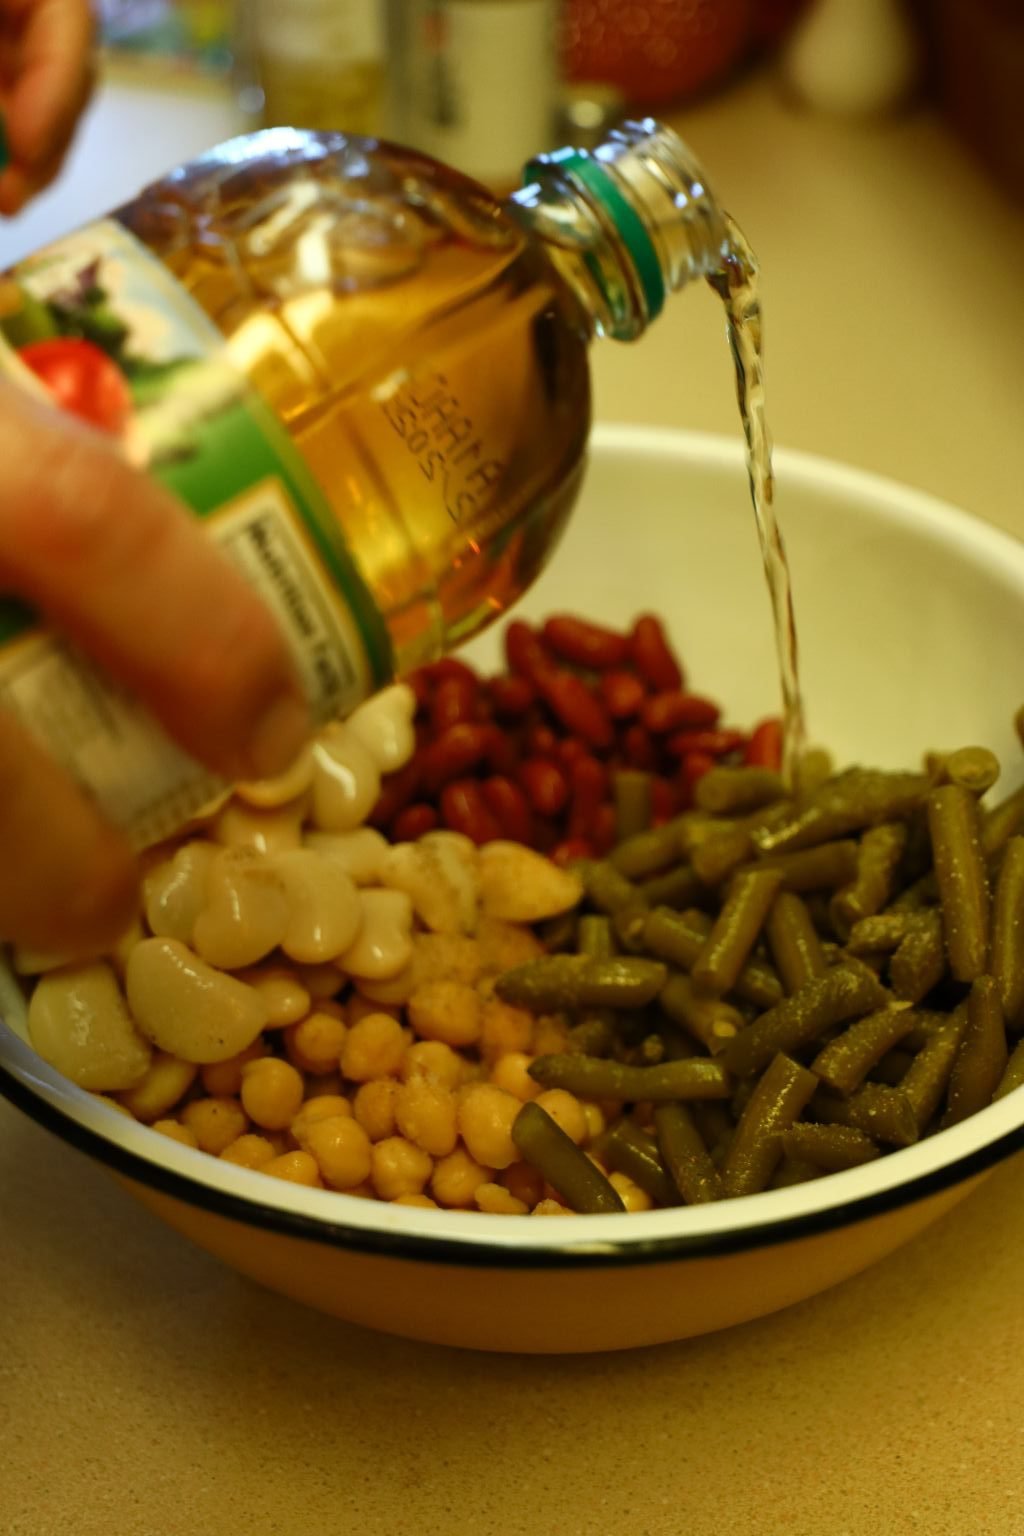
then your apple cider vinegar…
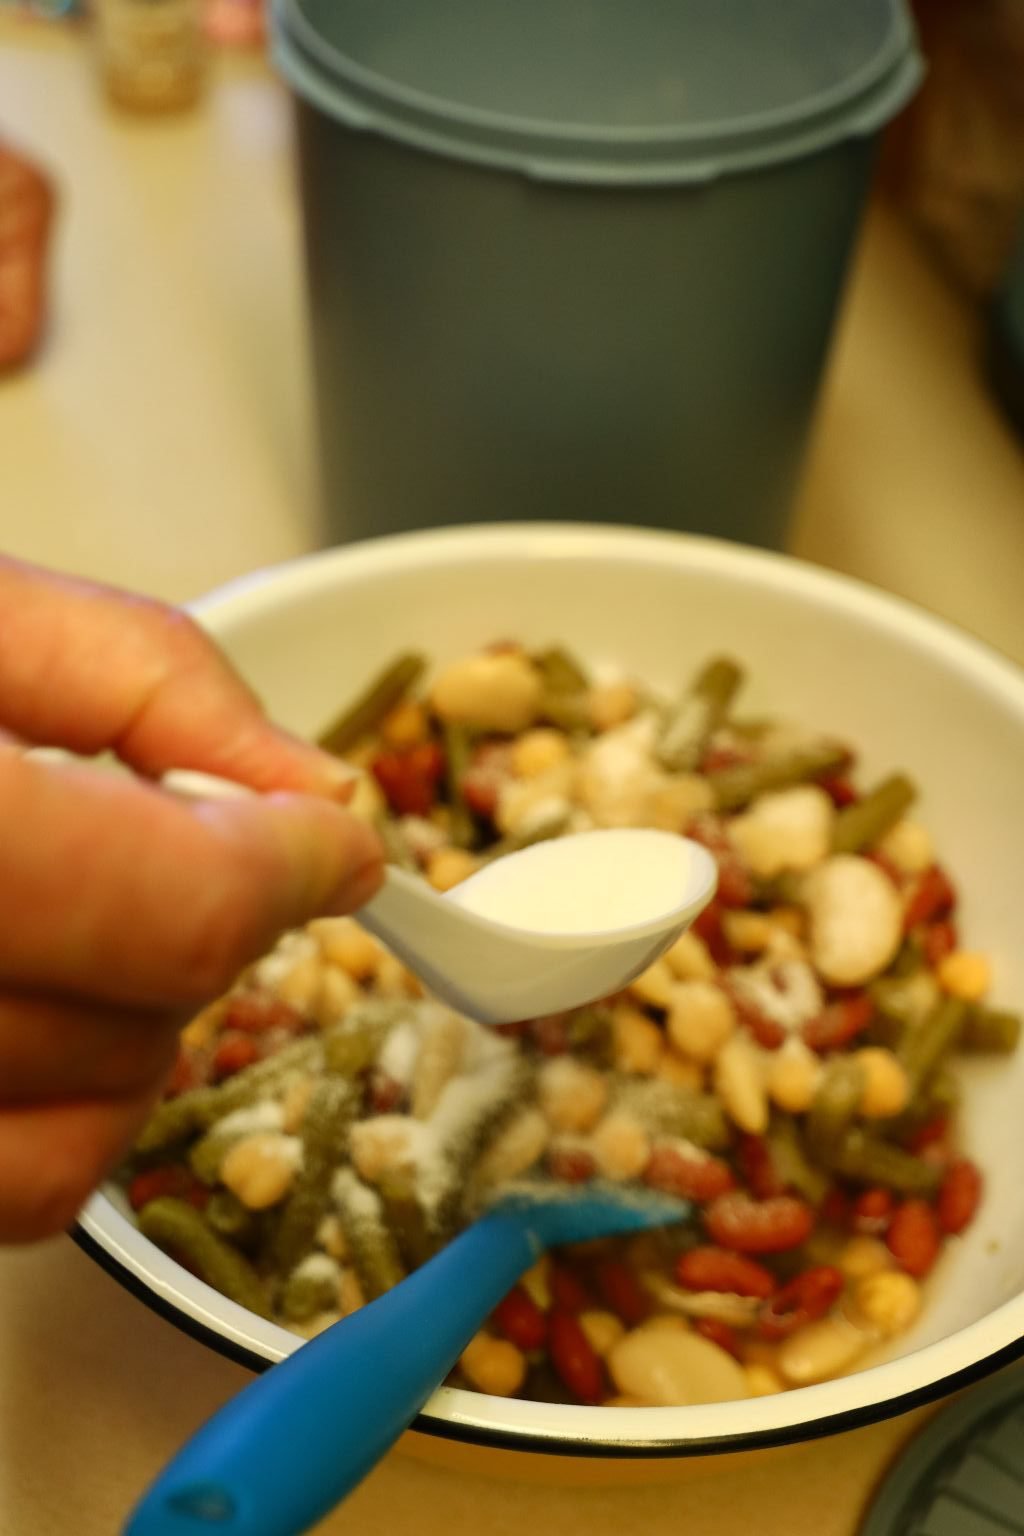
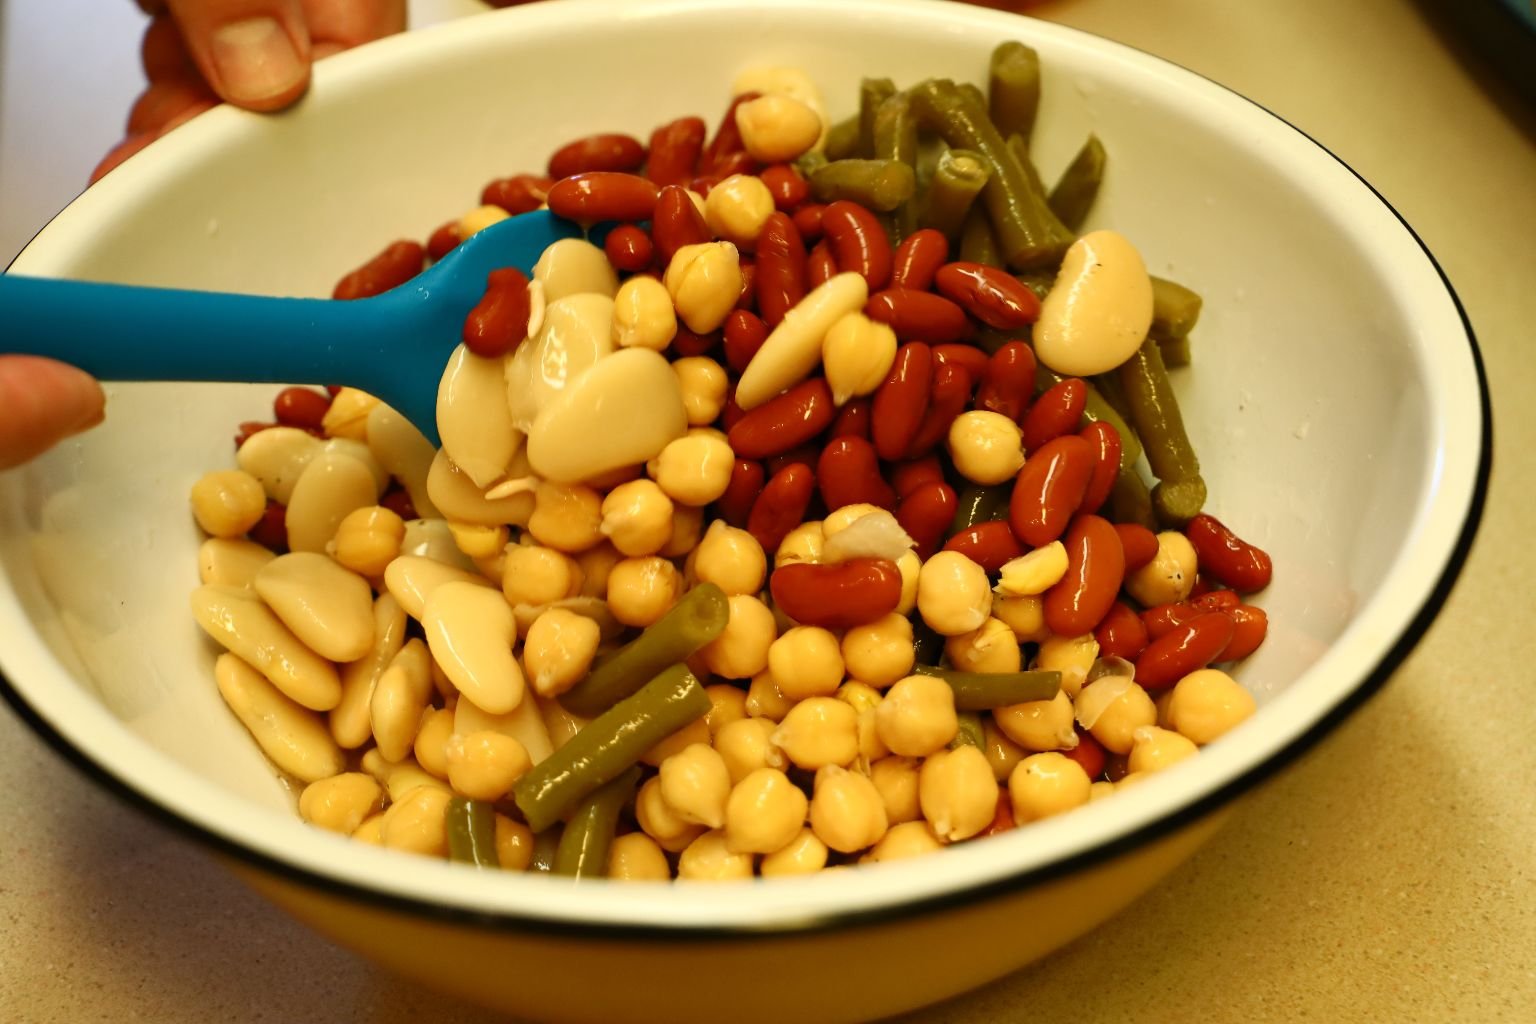
and lastly add your sugar and fold all the ingredients well. I found using a rubber spatula works best so as not to damage the vegetables. I also found the vinegar combination worked well for this recipe. Add the sugar to get that slightly sweet flavor to the beans. If you add too much, you can always add more vinegar to offset the sugar’s sweet taste. Let this mixture sit in your refrigerator for a day or longer to allow the beans to absorb the seasoning ingredients.
———————————————————–
Our Sauteed Vegetable Medley
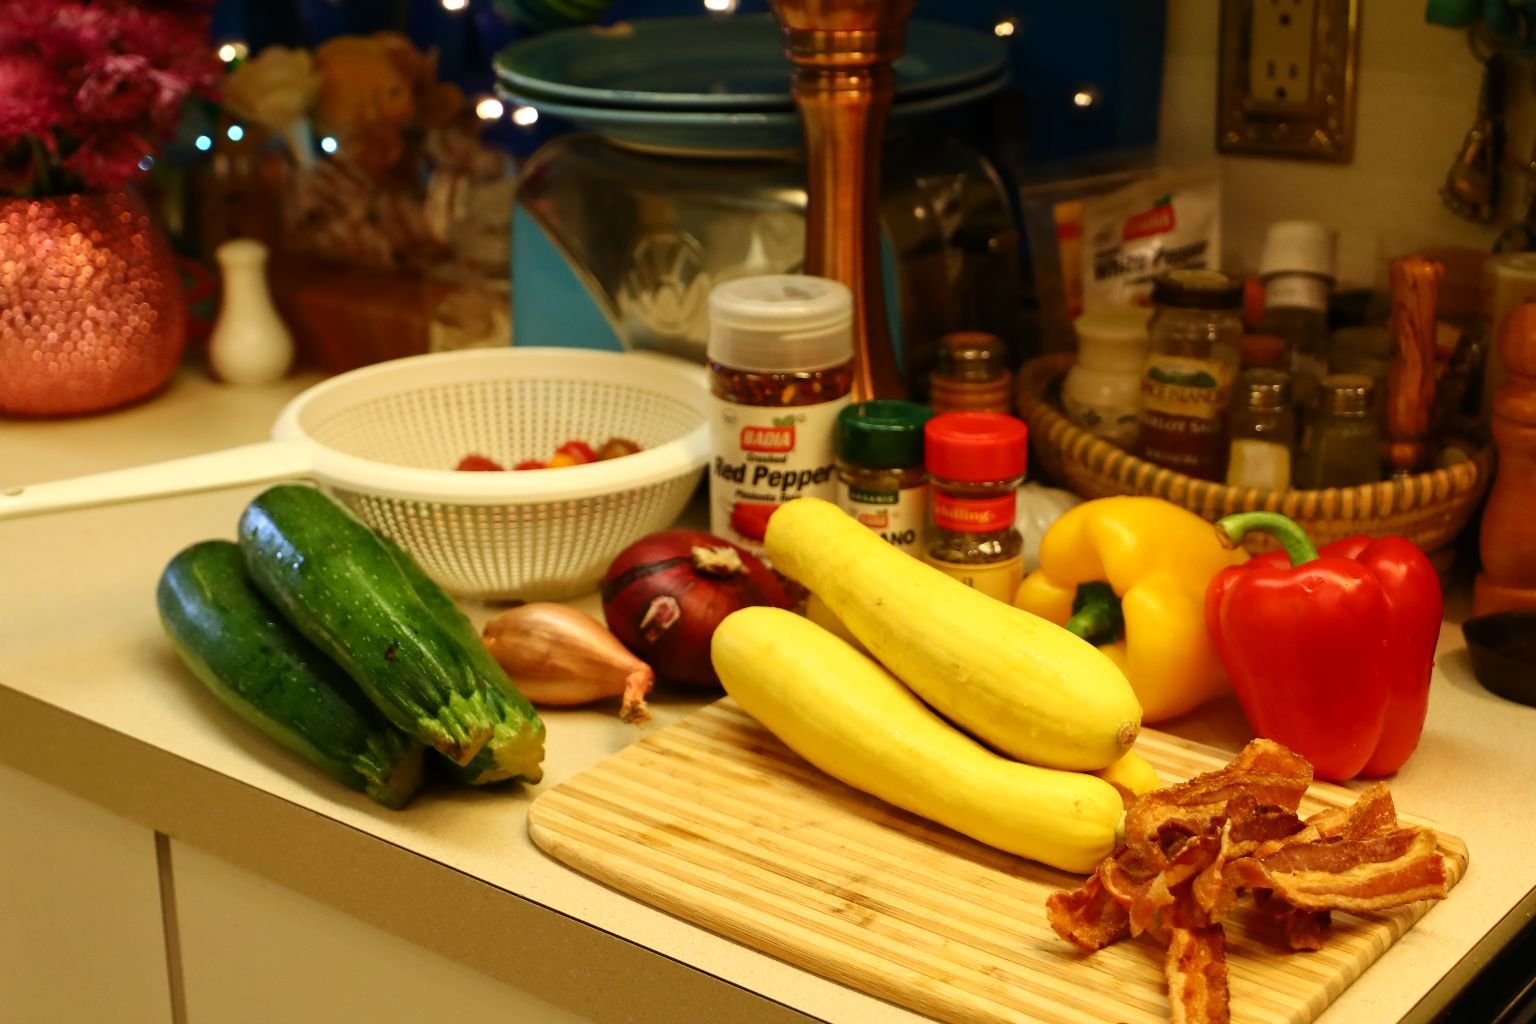
Ingredients:
1 Shallot – sliced into rings
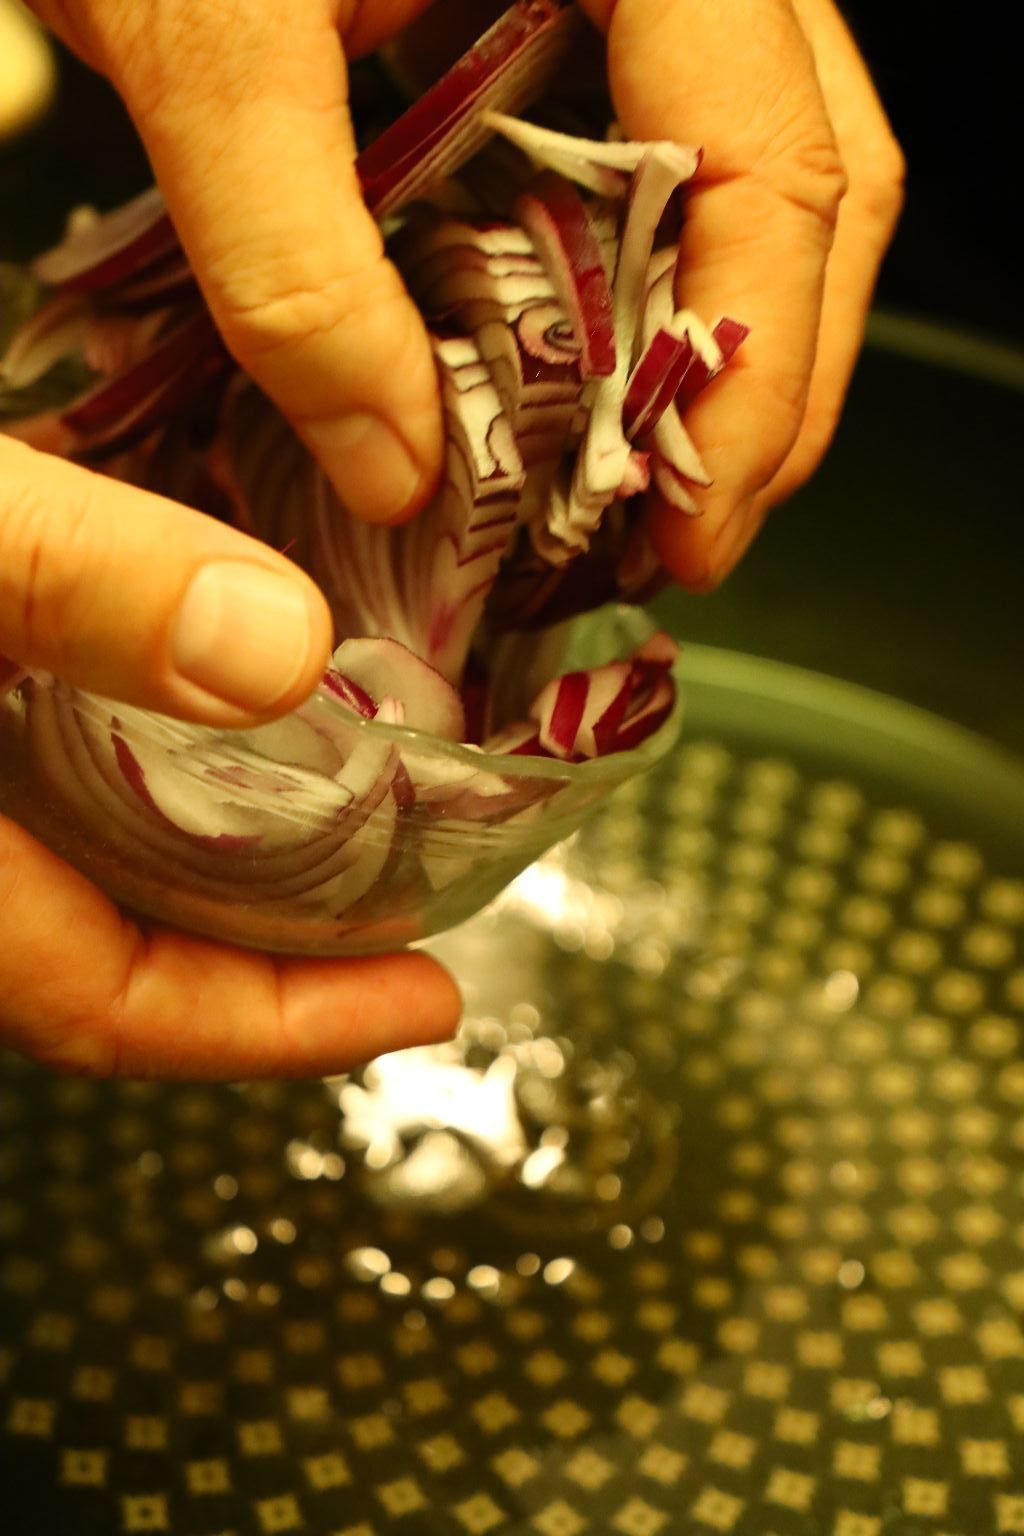
1/2 Red Onion – sliced
3 Zucchini Squash – sliced into rings
2 Yellow Summer Squash – sliced into rings
1/2 Yellow Bell Pepper – diced
1/2 Red Bell Pepper – diced
2 Tbsp. Bacon Fat
15 Cherry Tomatoes – sliced in half
1/2 tsp. Crushed Red Pepper
Fresh Ground Black Pepper
1/2 tsp. Merlot Salt
1 Tbsp. Dried Oregano
1 Tbsp. Dried Basil Leaves
6 Thick Bacon Slices – cooked and crushed into large chunks
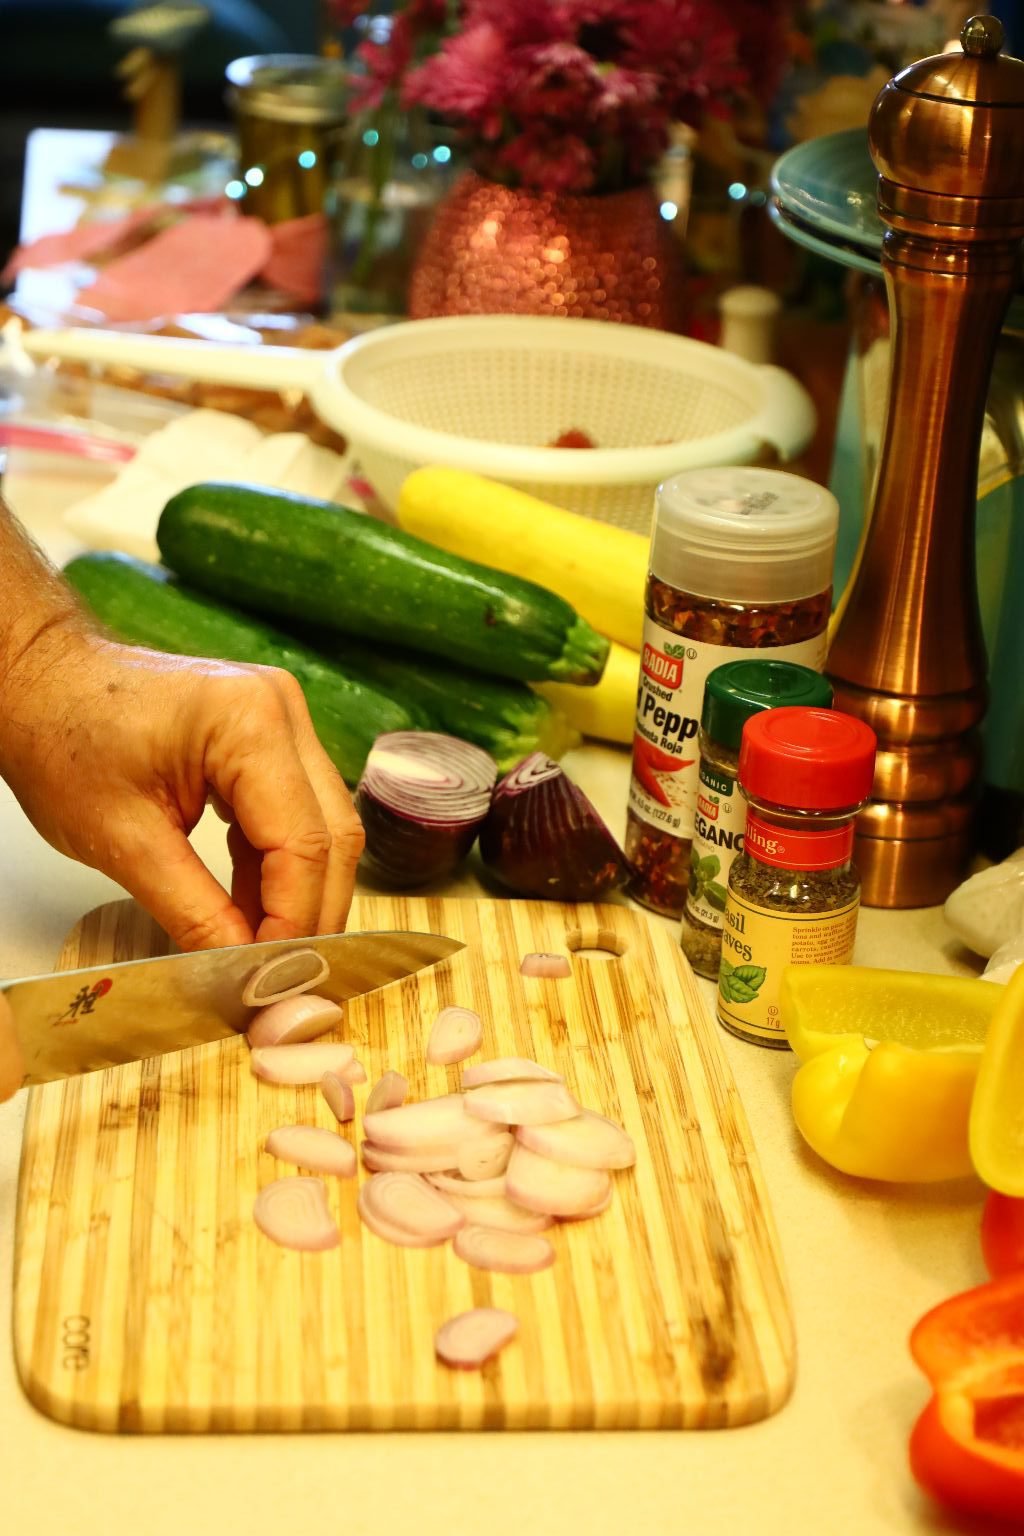
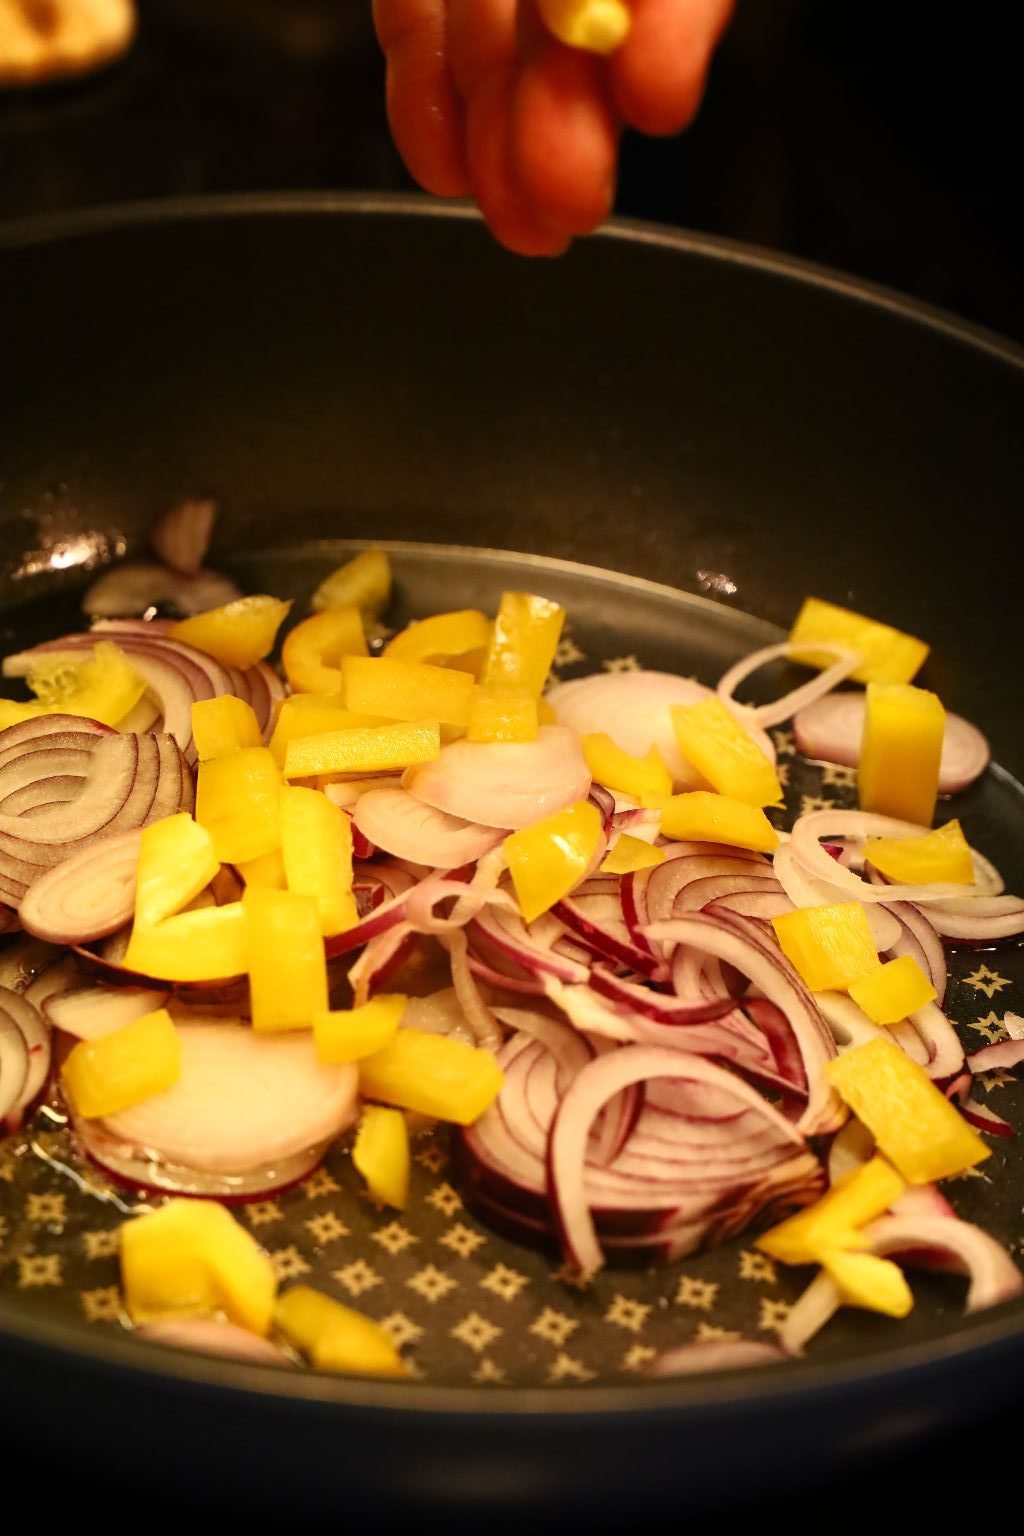
Remove the root end, top and skin of the shallot, and slice into rings as shown. Remove the root end, top and skin of the red onion, slice it in half and the slice it into 1/8 inch half rings.
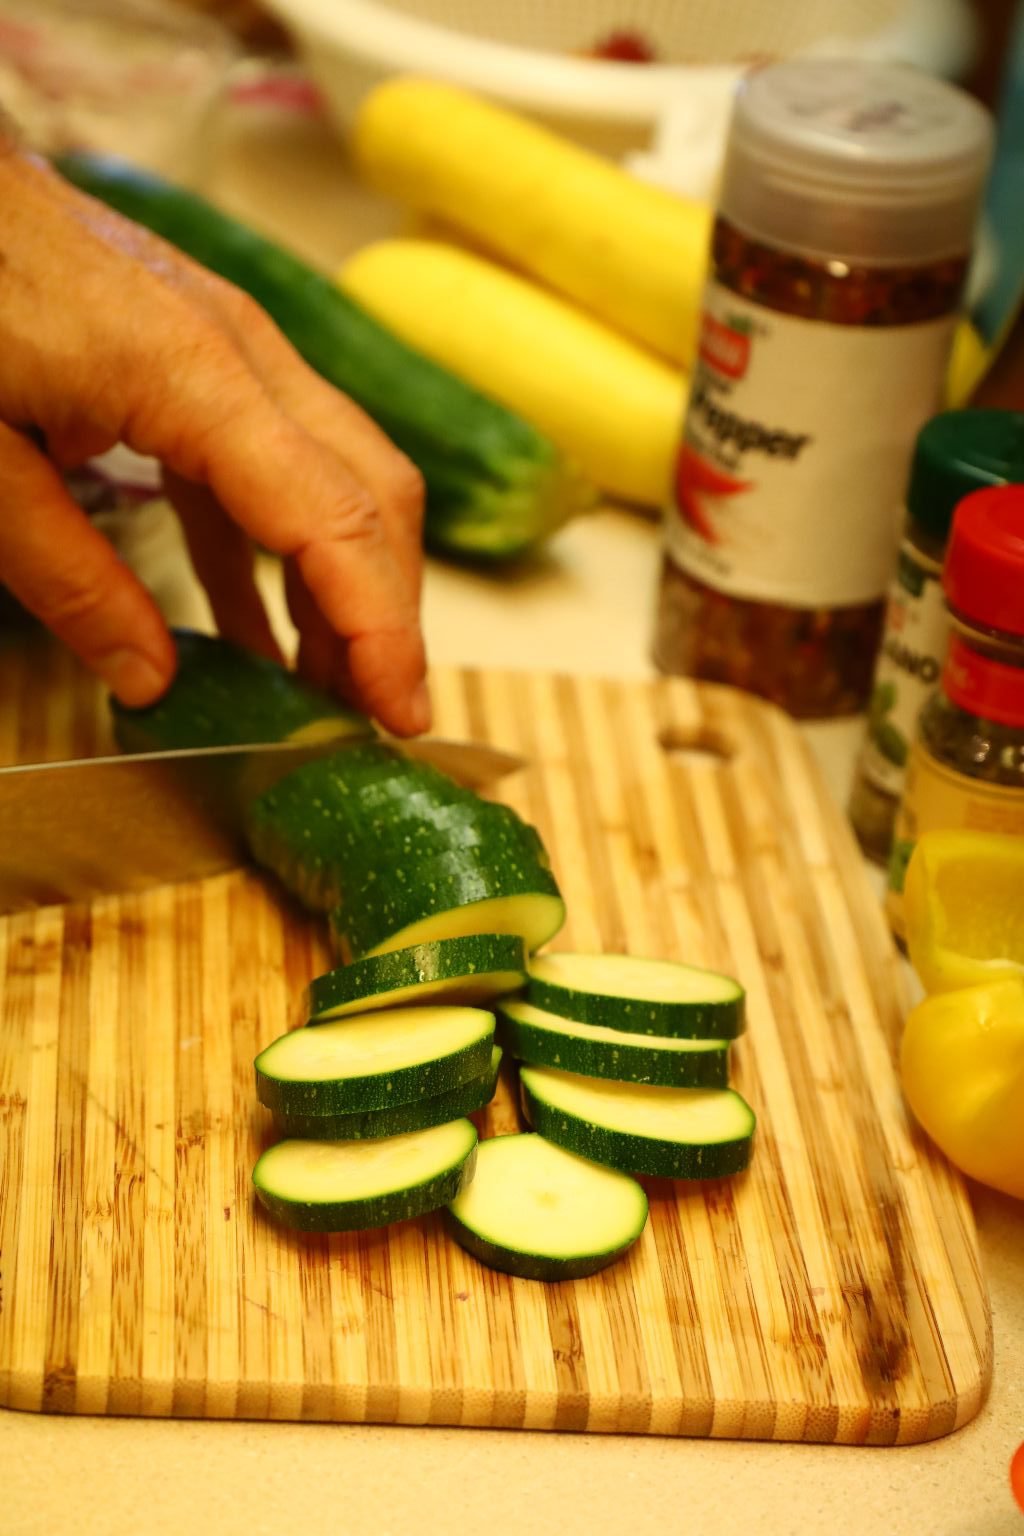
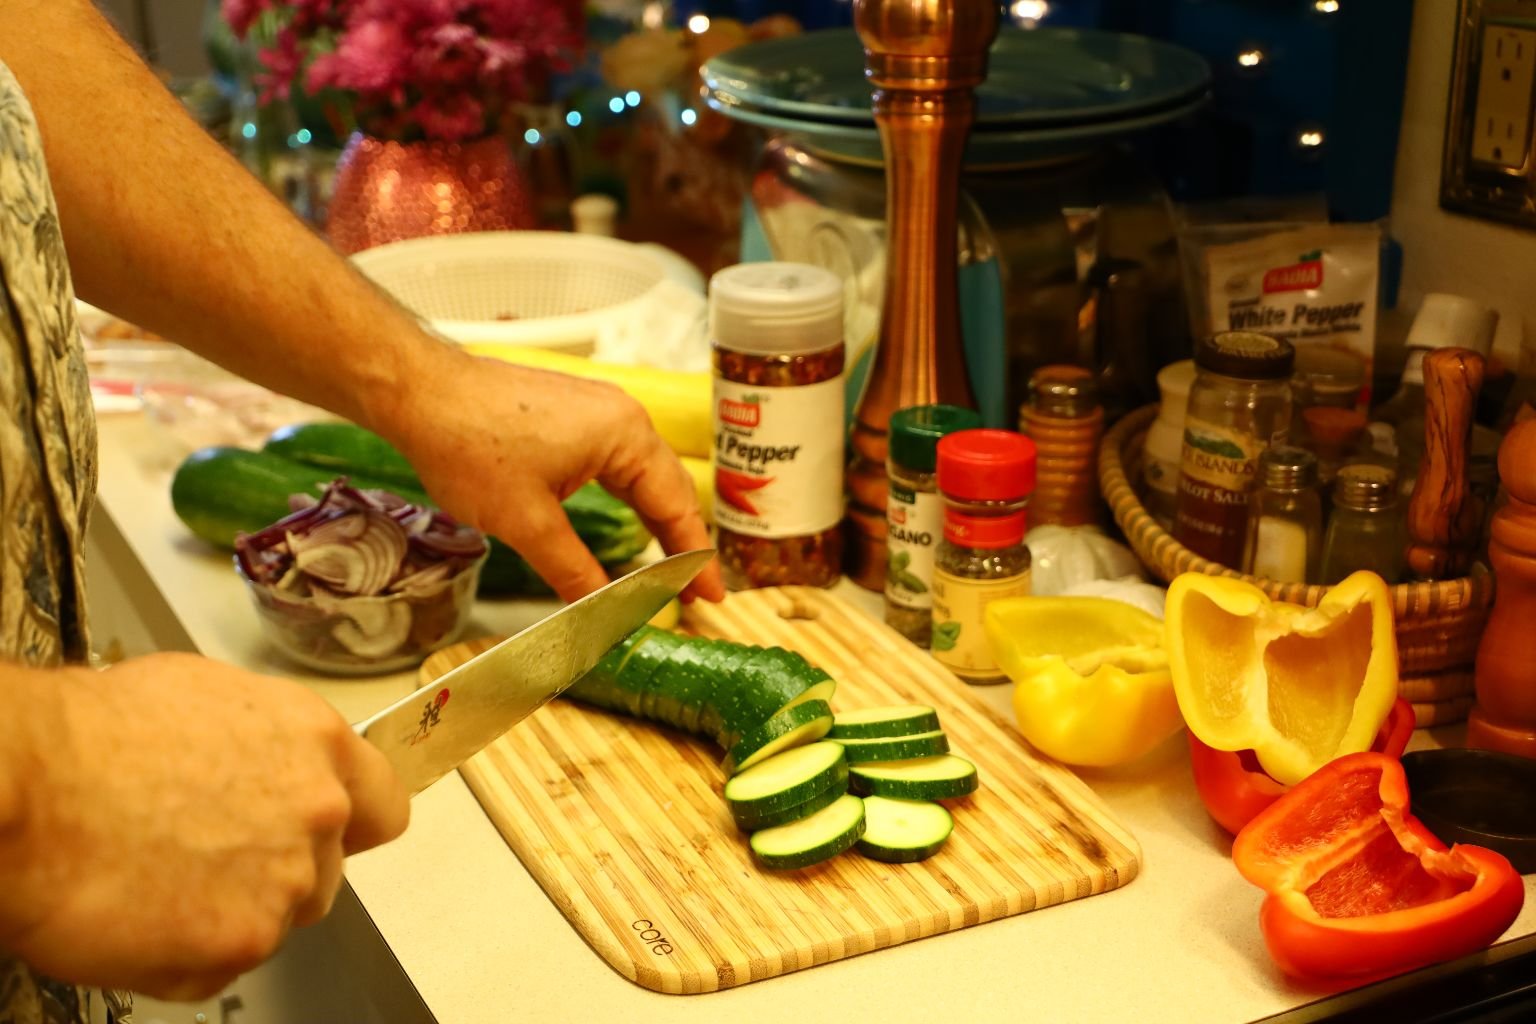
Slice the zucchini into 1/4 inch thick slices as shown.
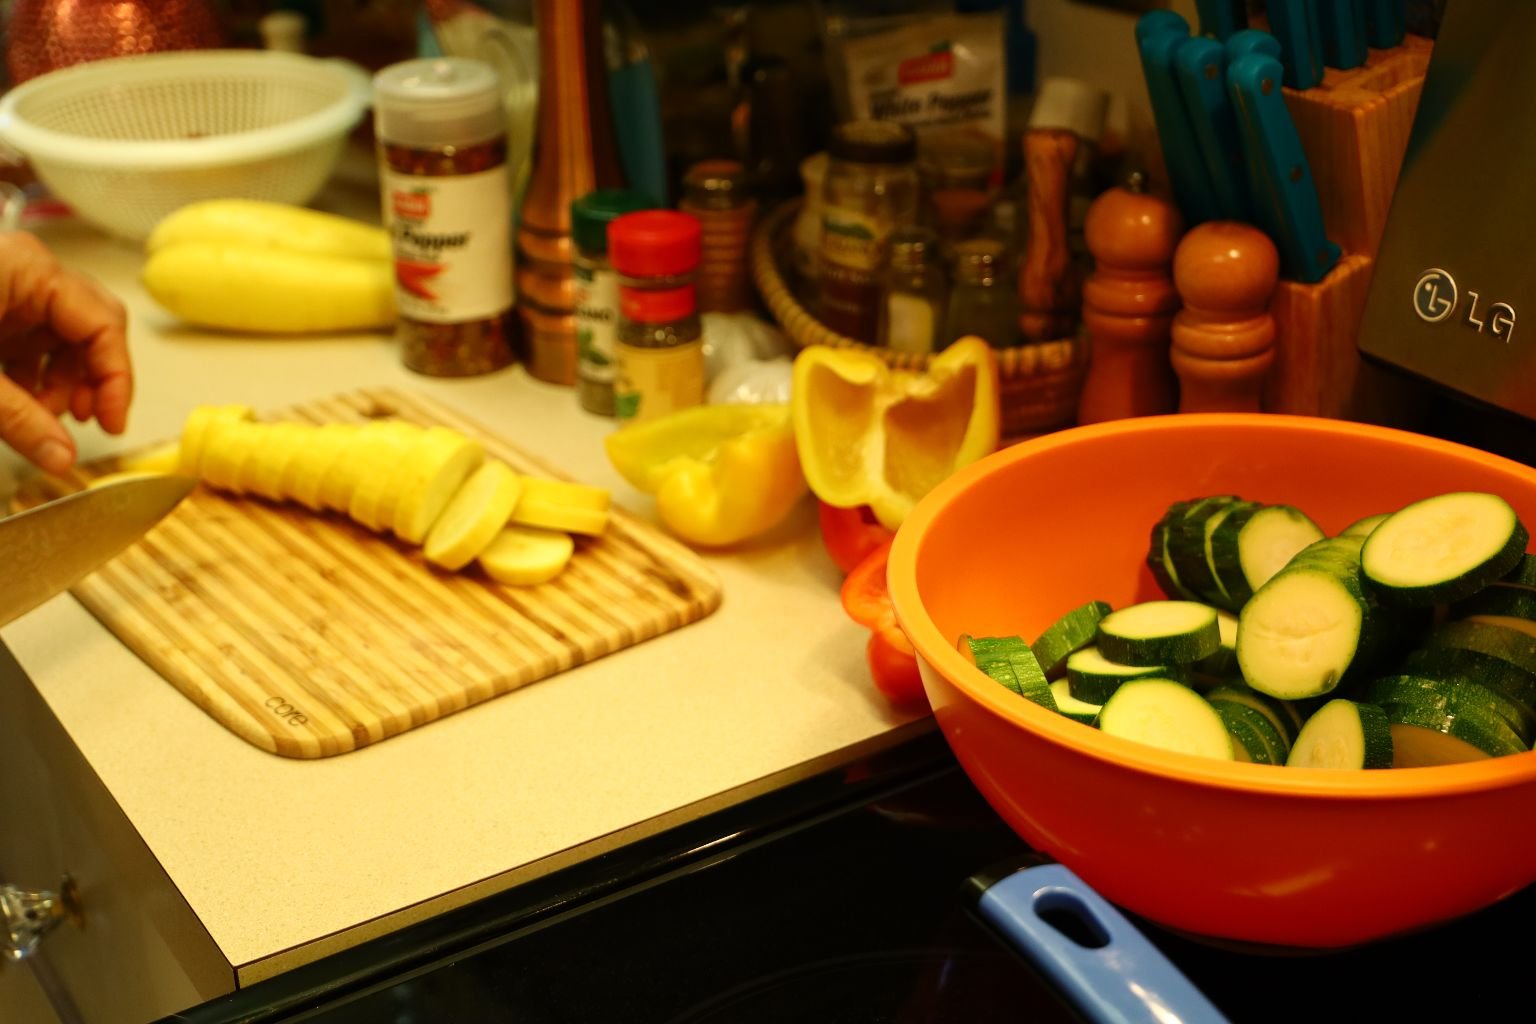
Slice the yellow summer squash the same way.
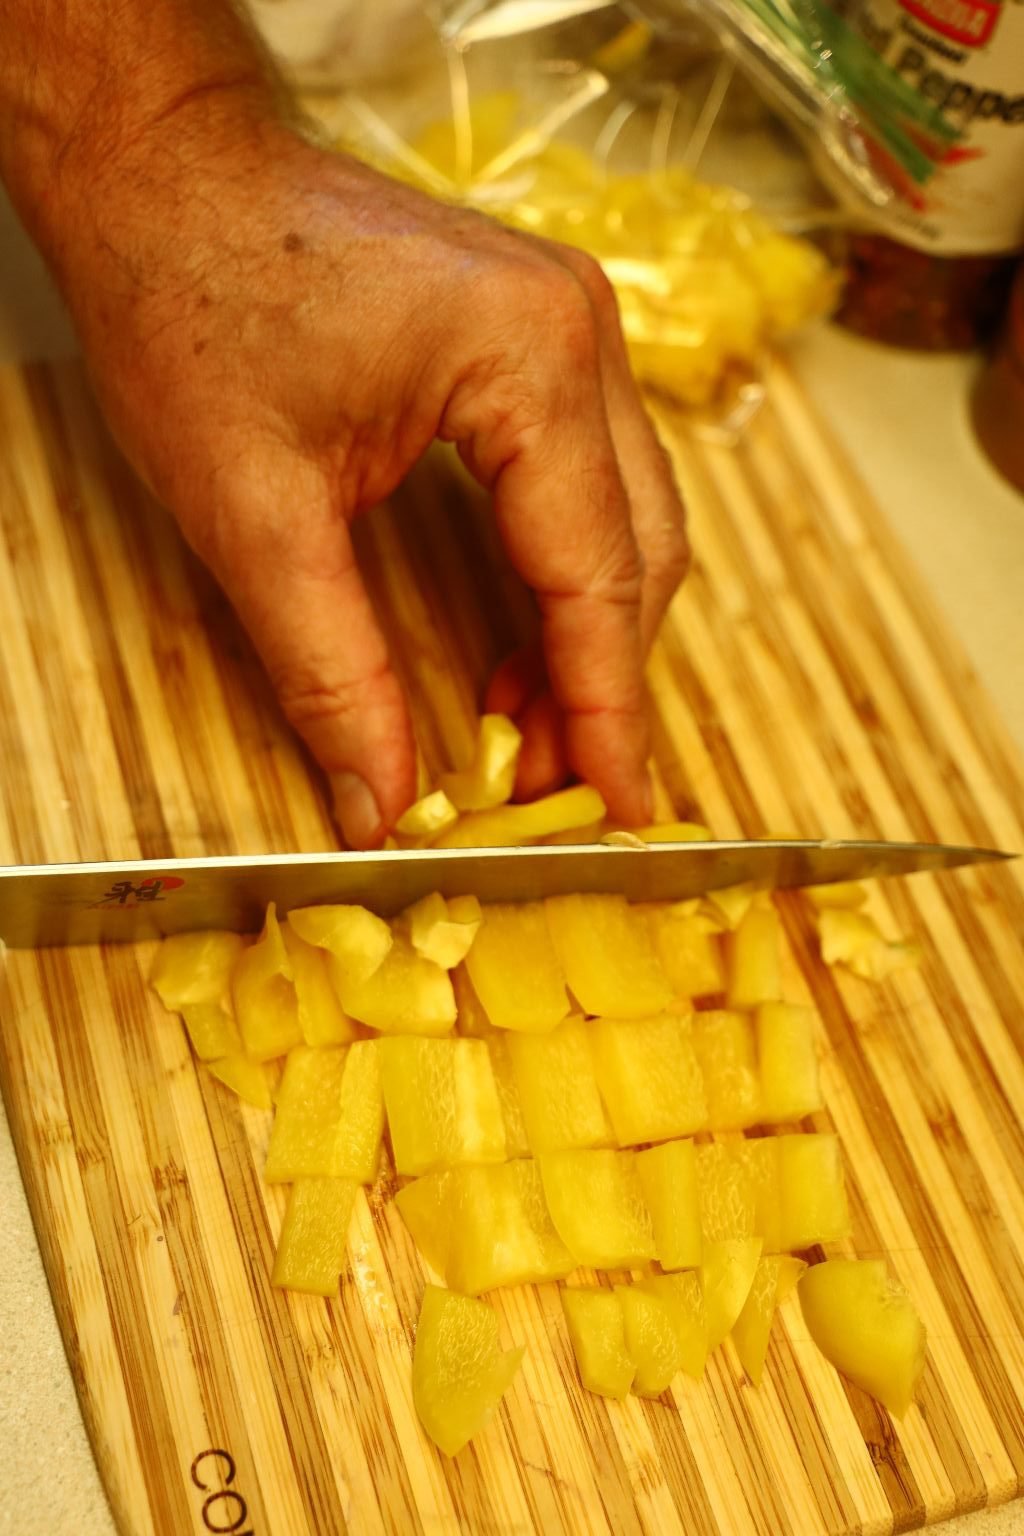
Slice the yellow and red bell peppers in half then remove the stem and seeds. Slice the peppers into 1 inch dice sections as shown.
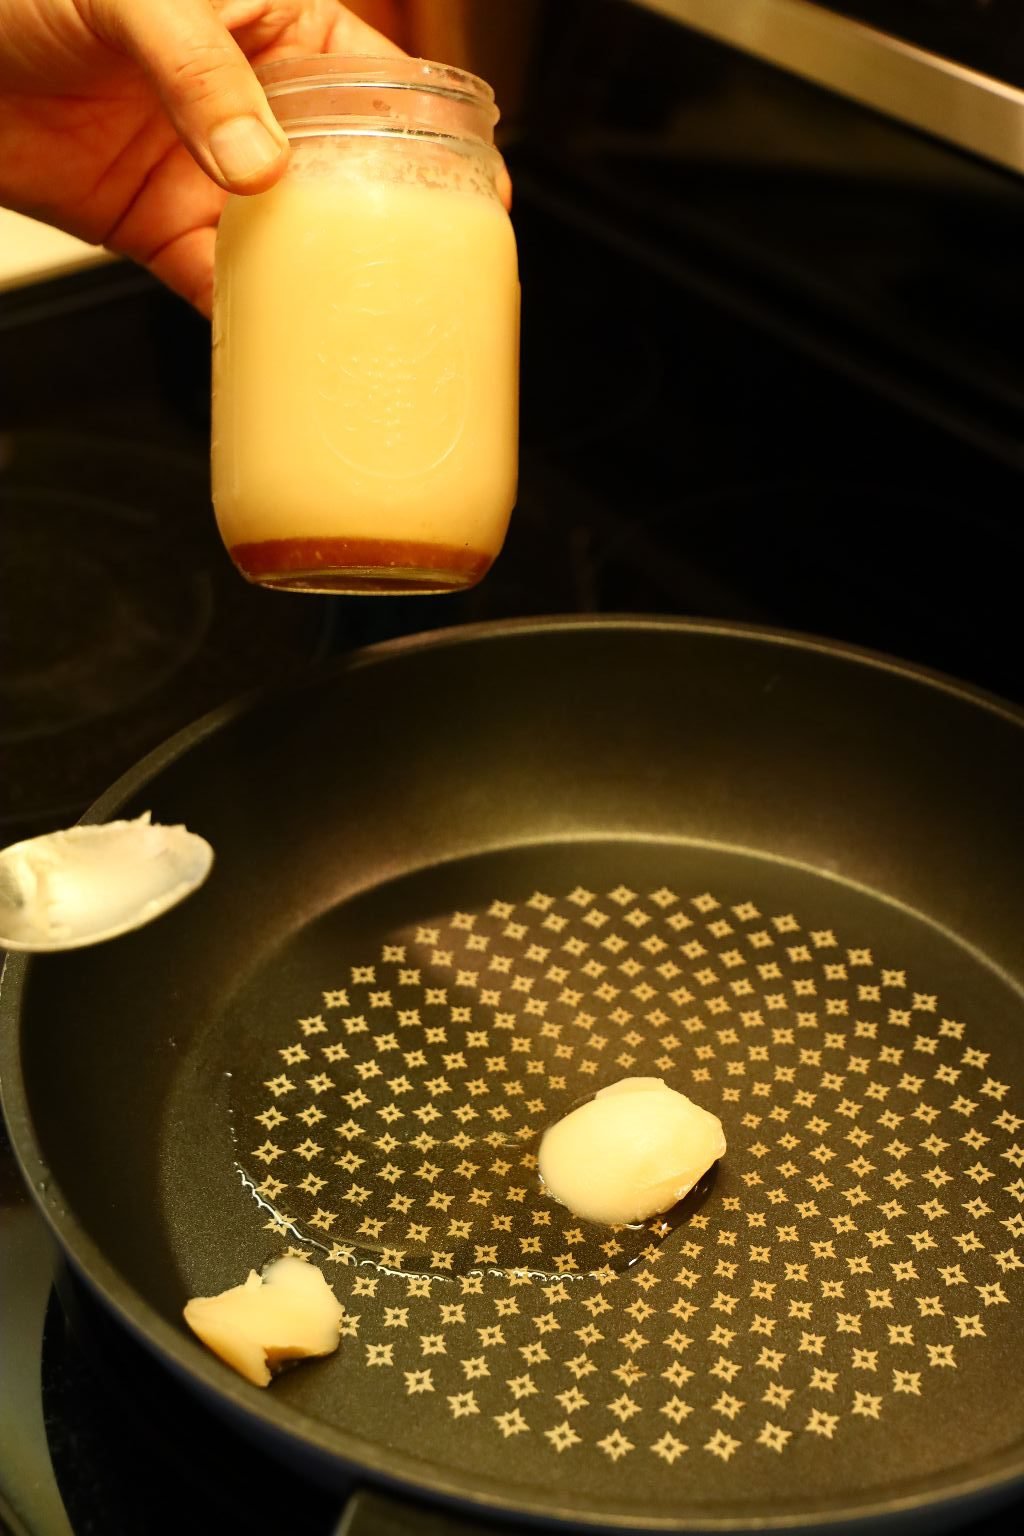
Place your bacon fat into a large saute pan and heat to medium heat.
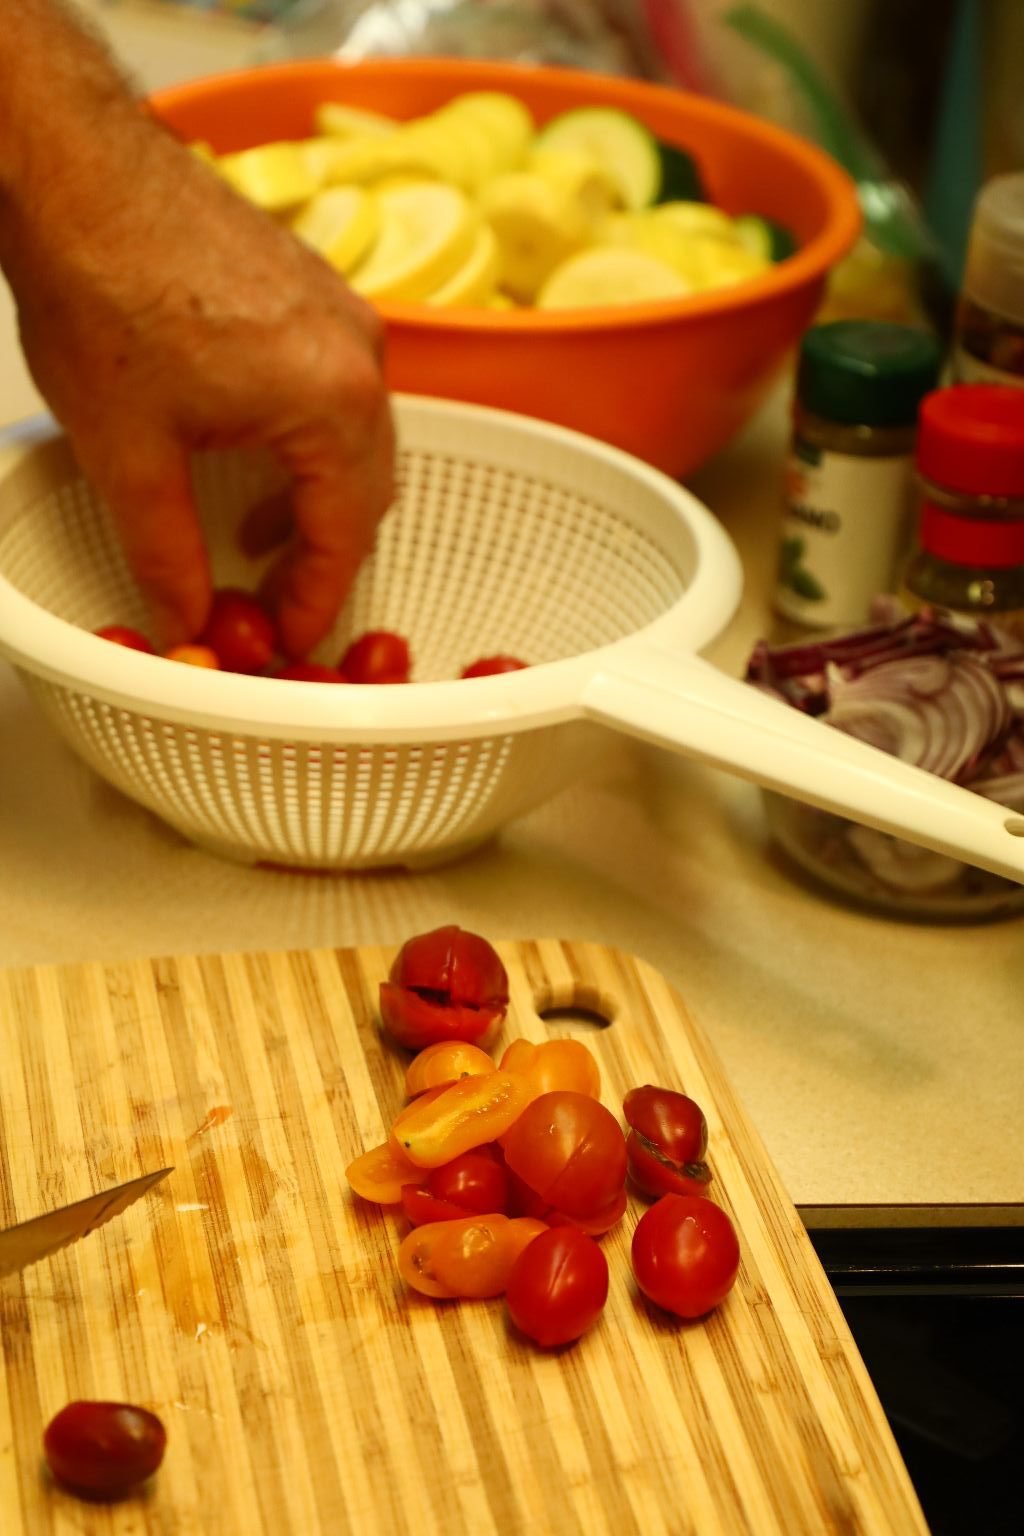
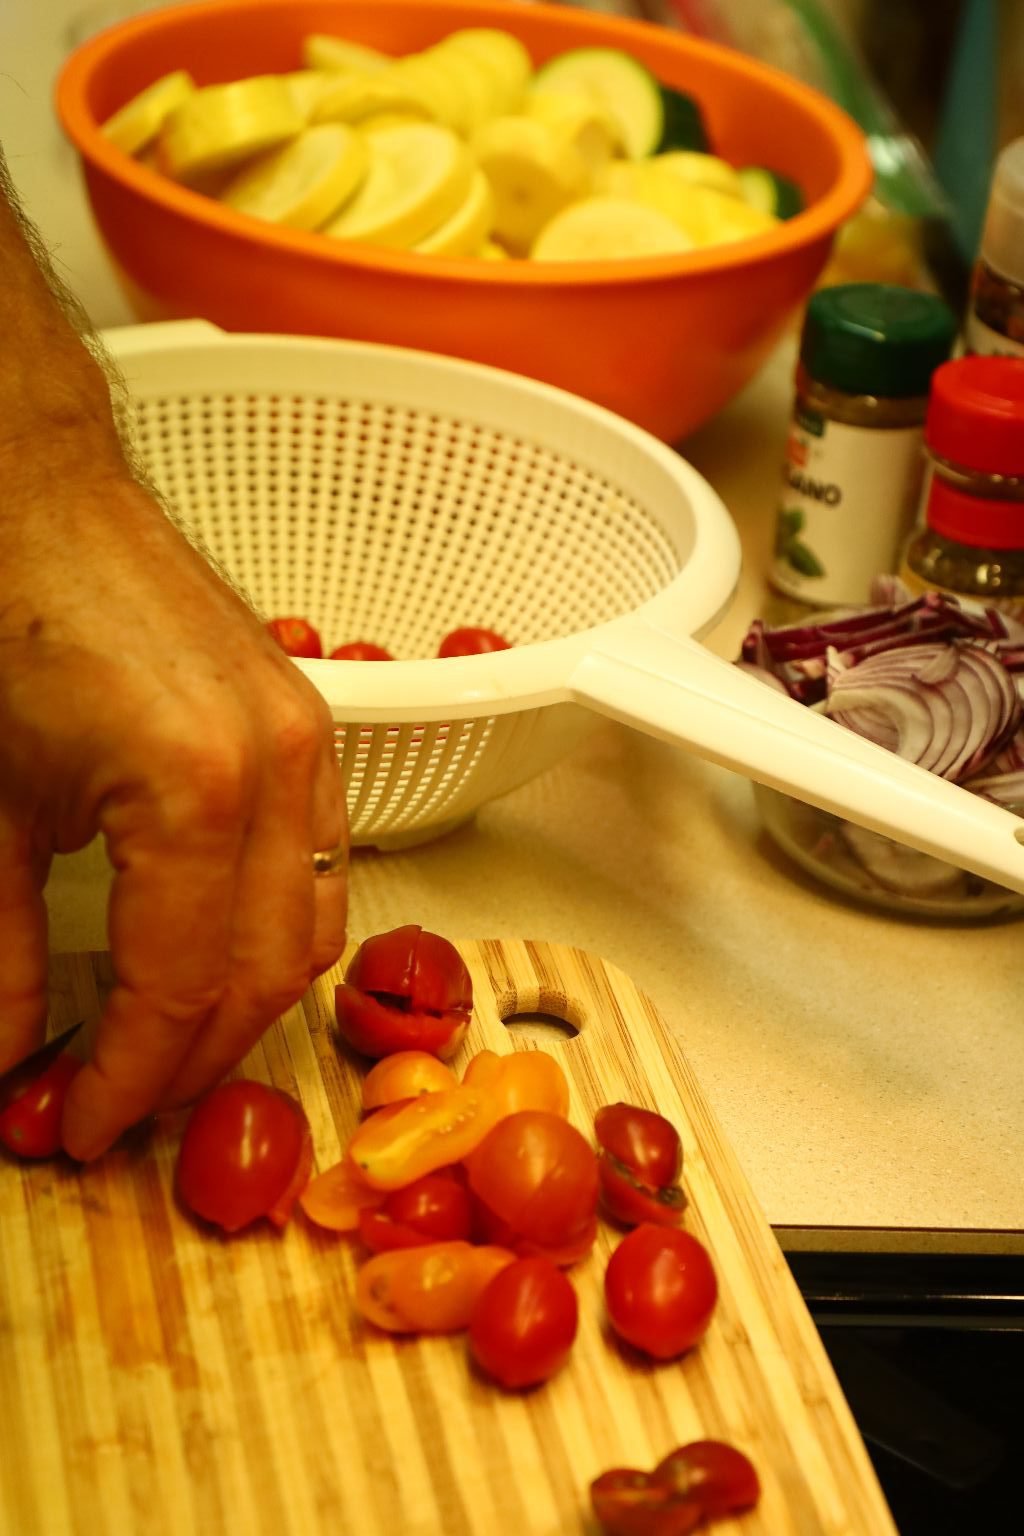
While the fat is melting, slice your cherry tomatoes in half.
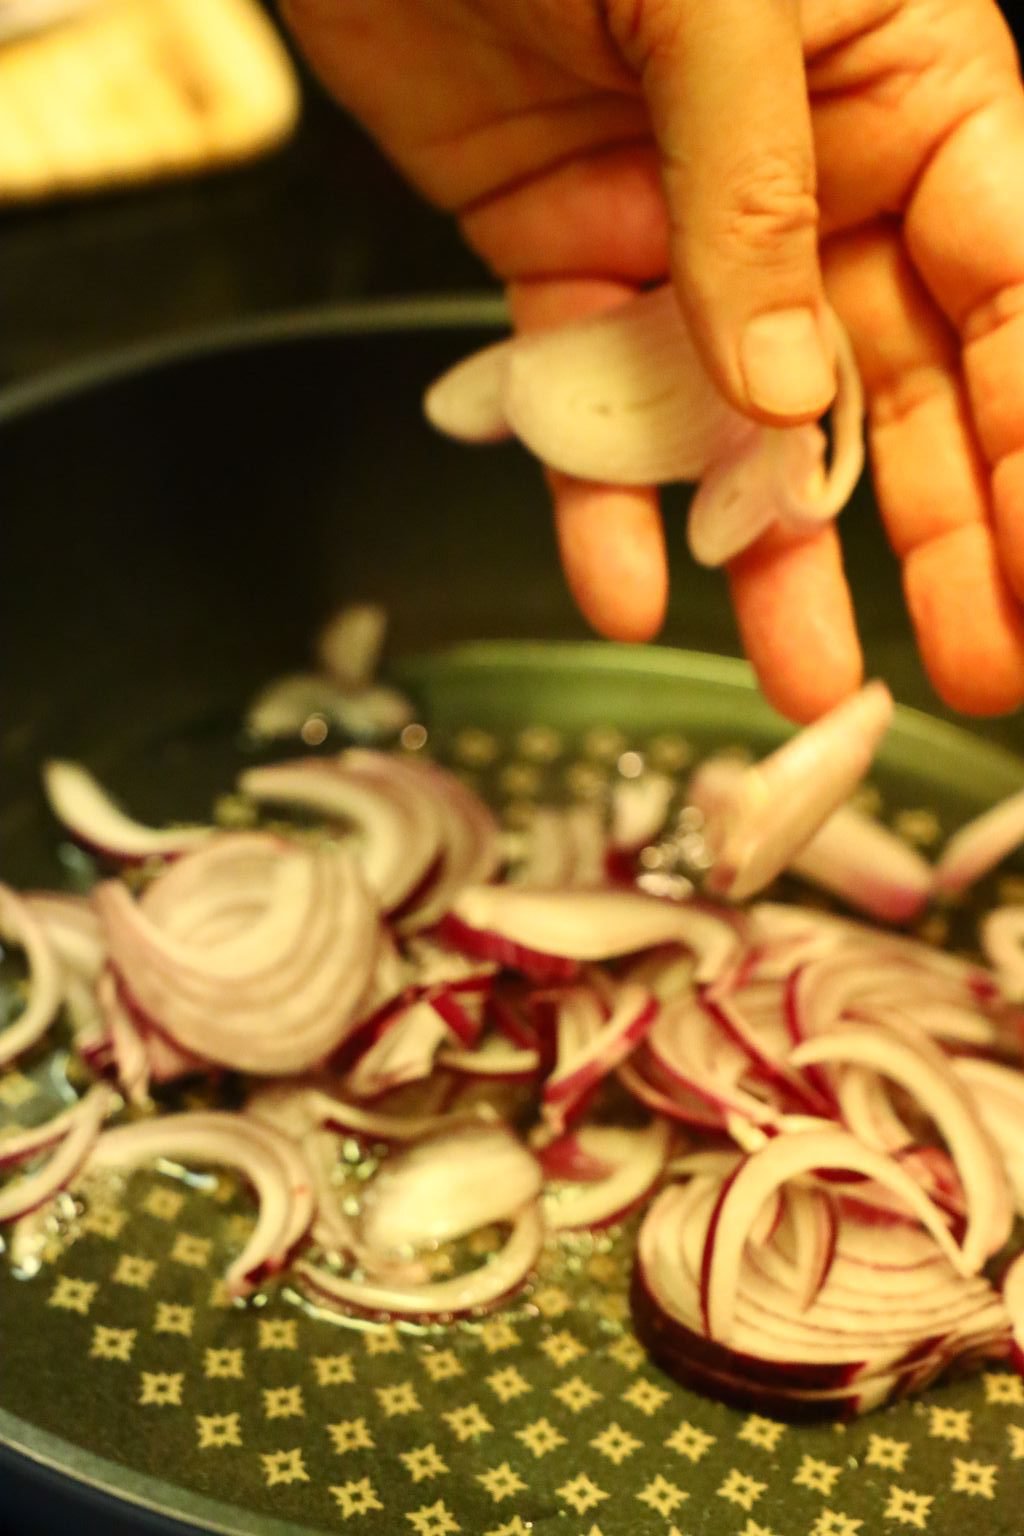
Once the bacon fat is heated to temperature, add your sliced shallots and red onions.
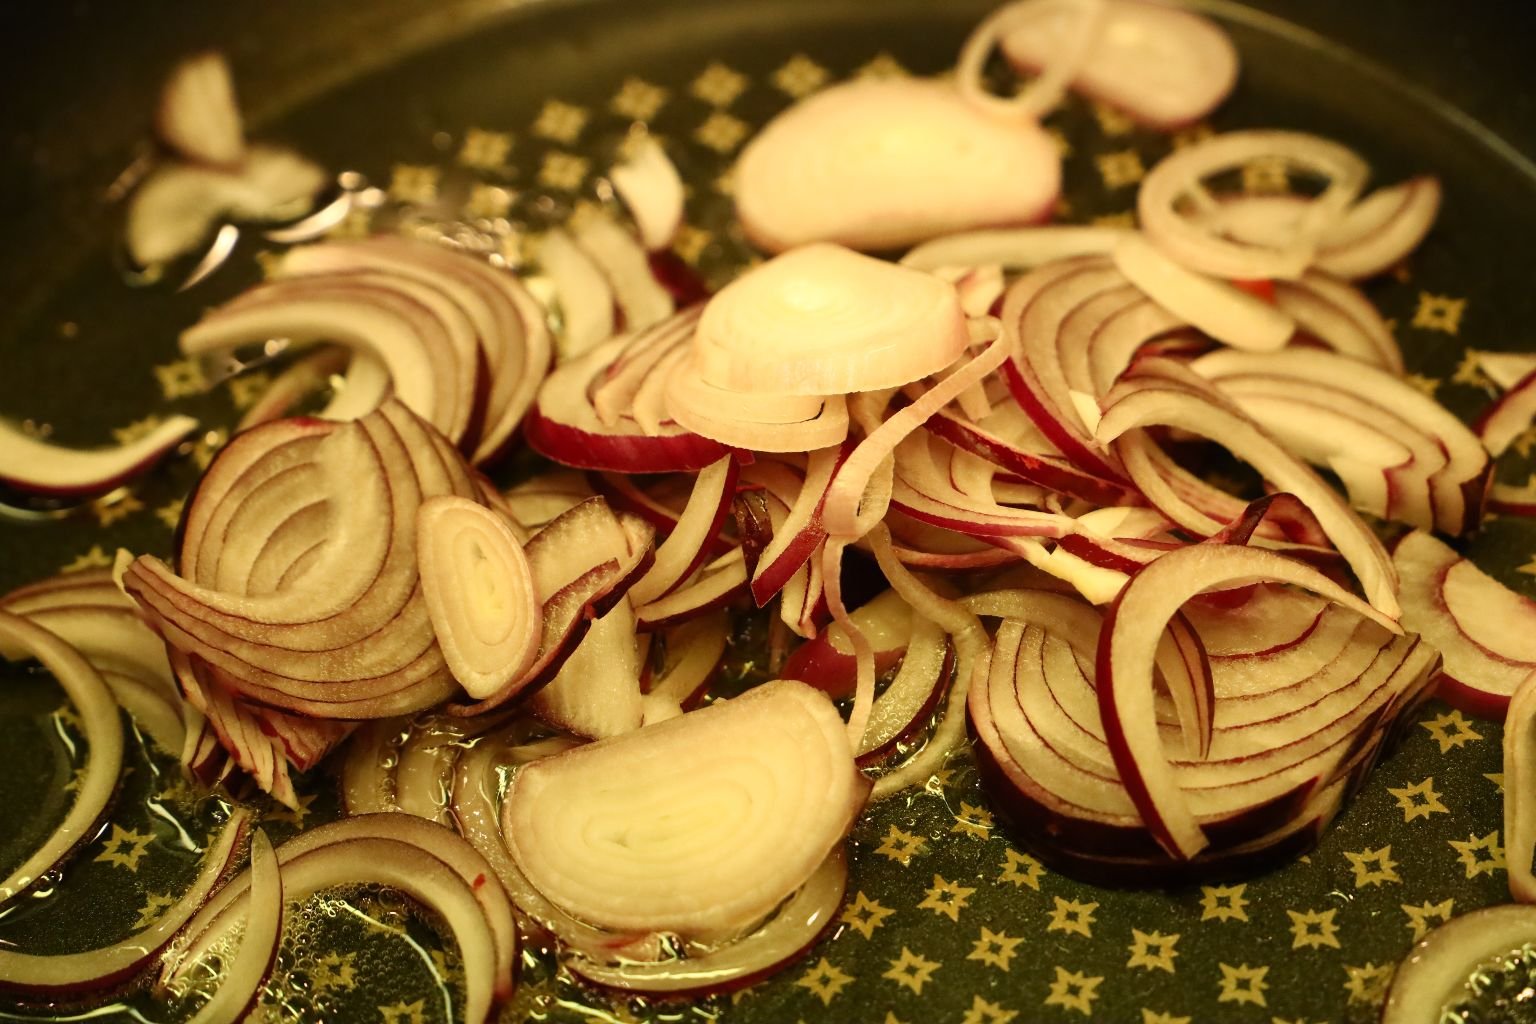
Mix the onion mixture with the bacon fat and saute for about 2 minutes.
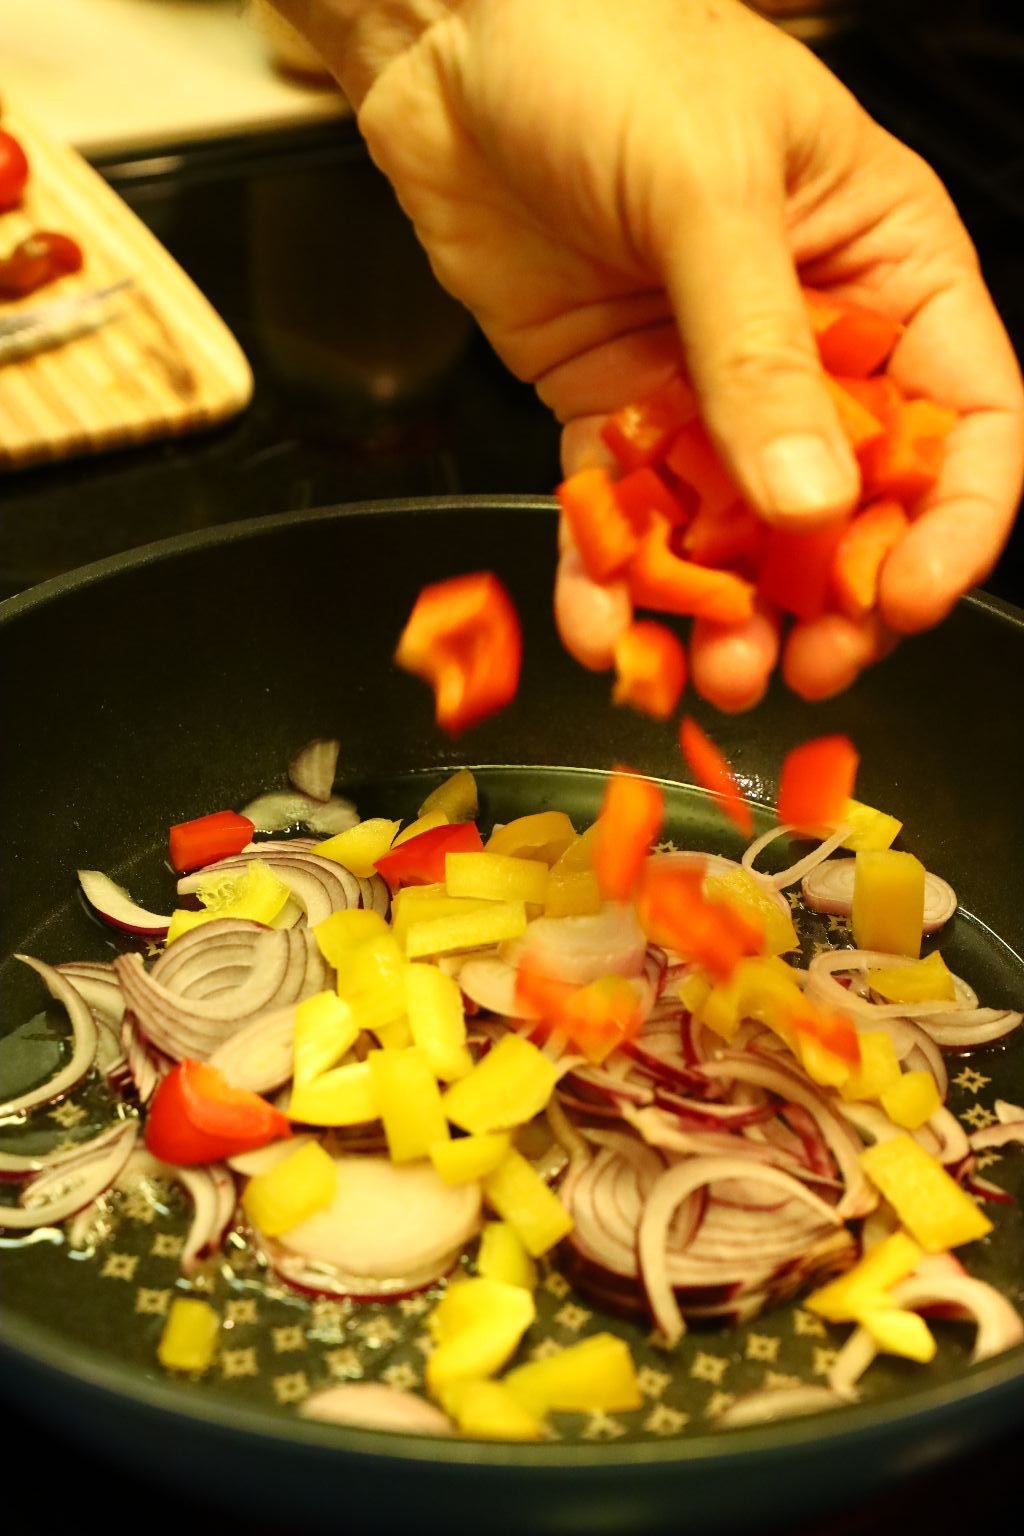
Now, add your diced bell peppers to the pan and mix well with the other ingredients.
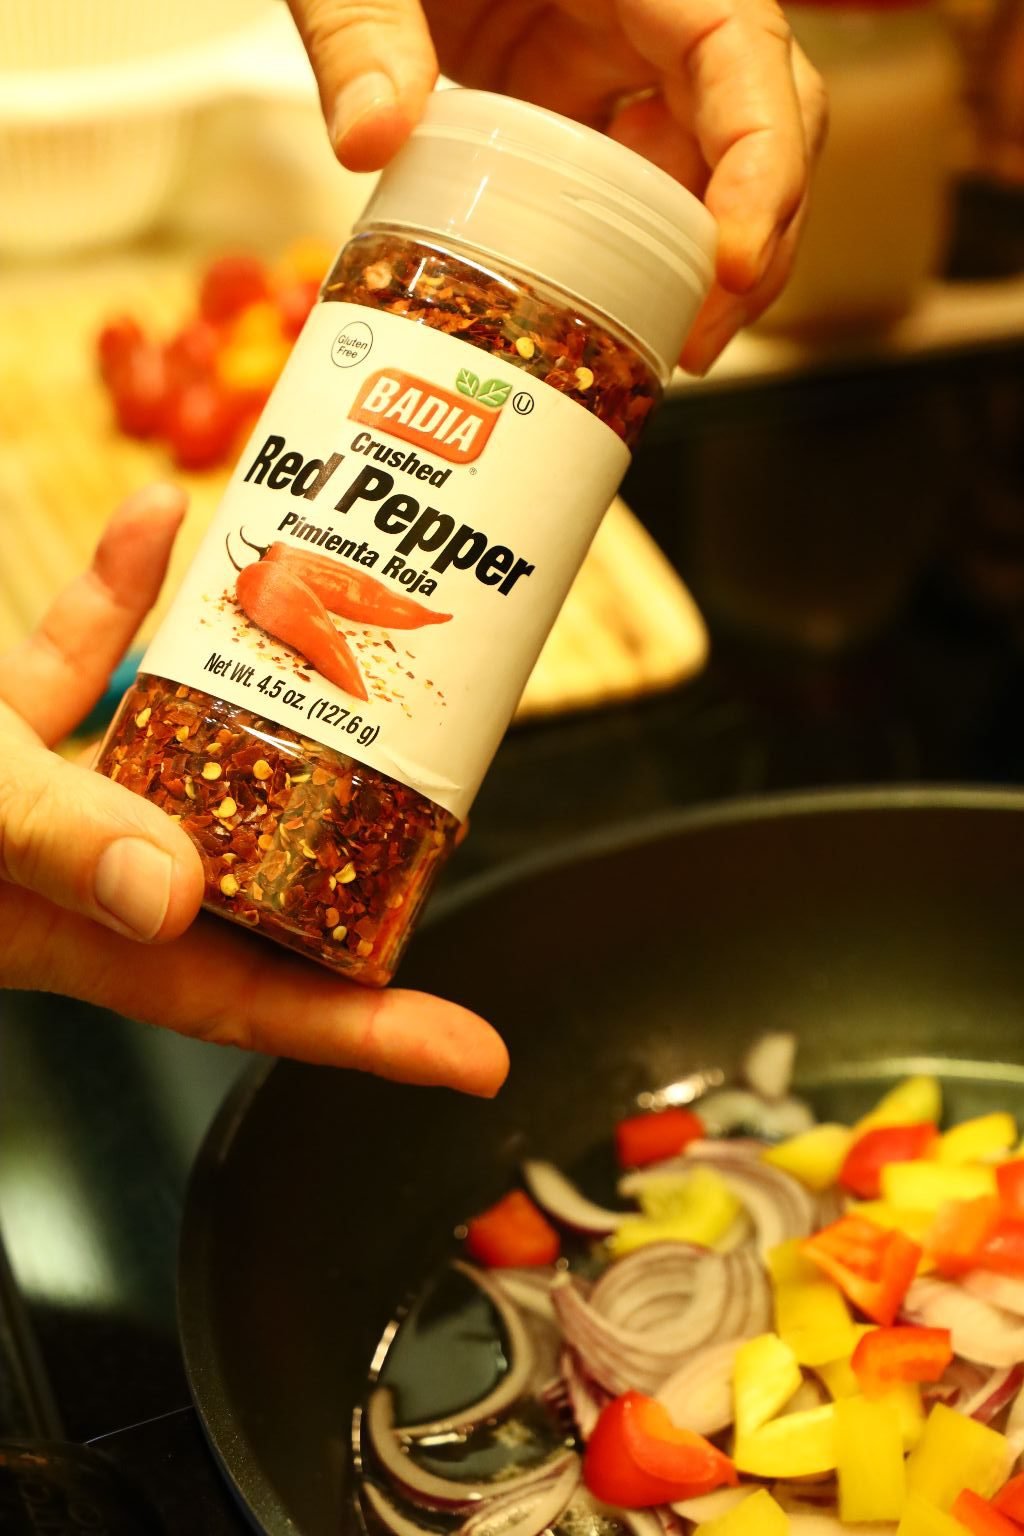
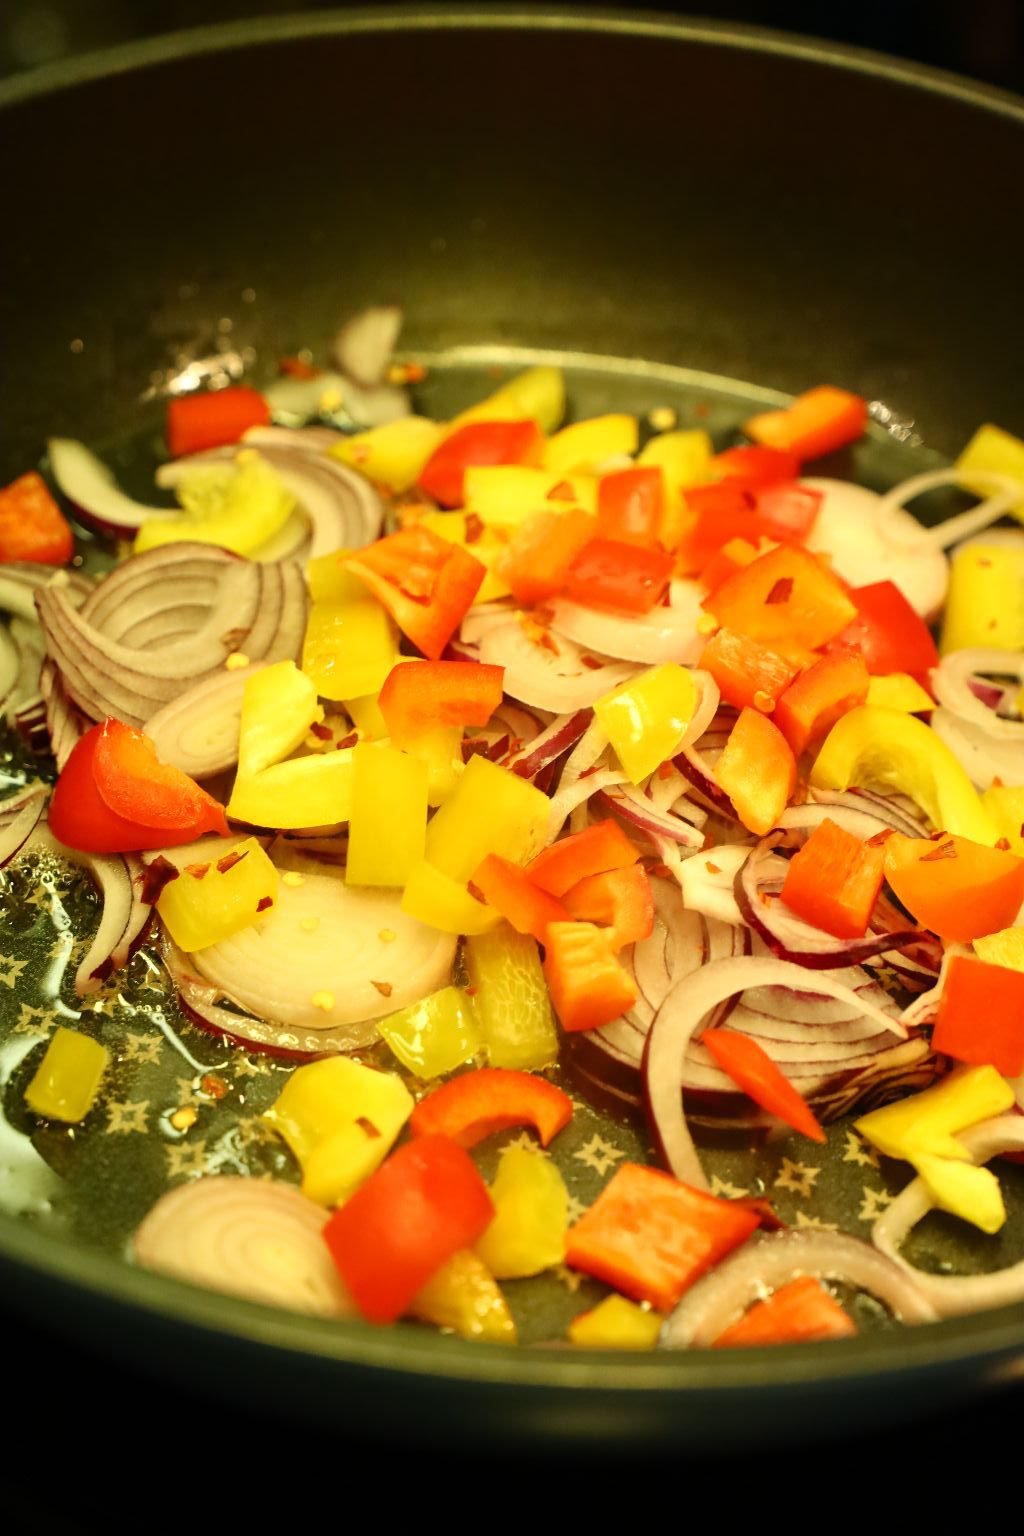
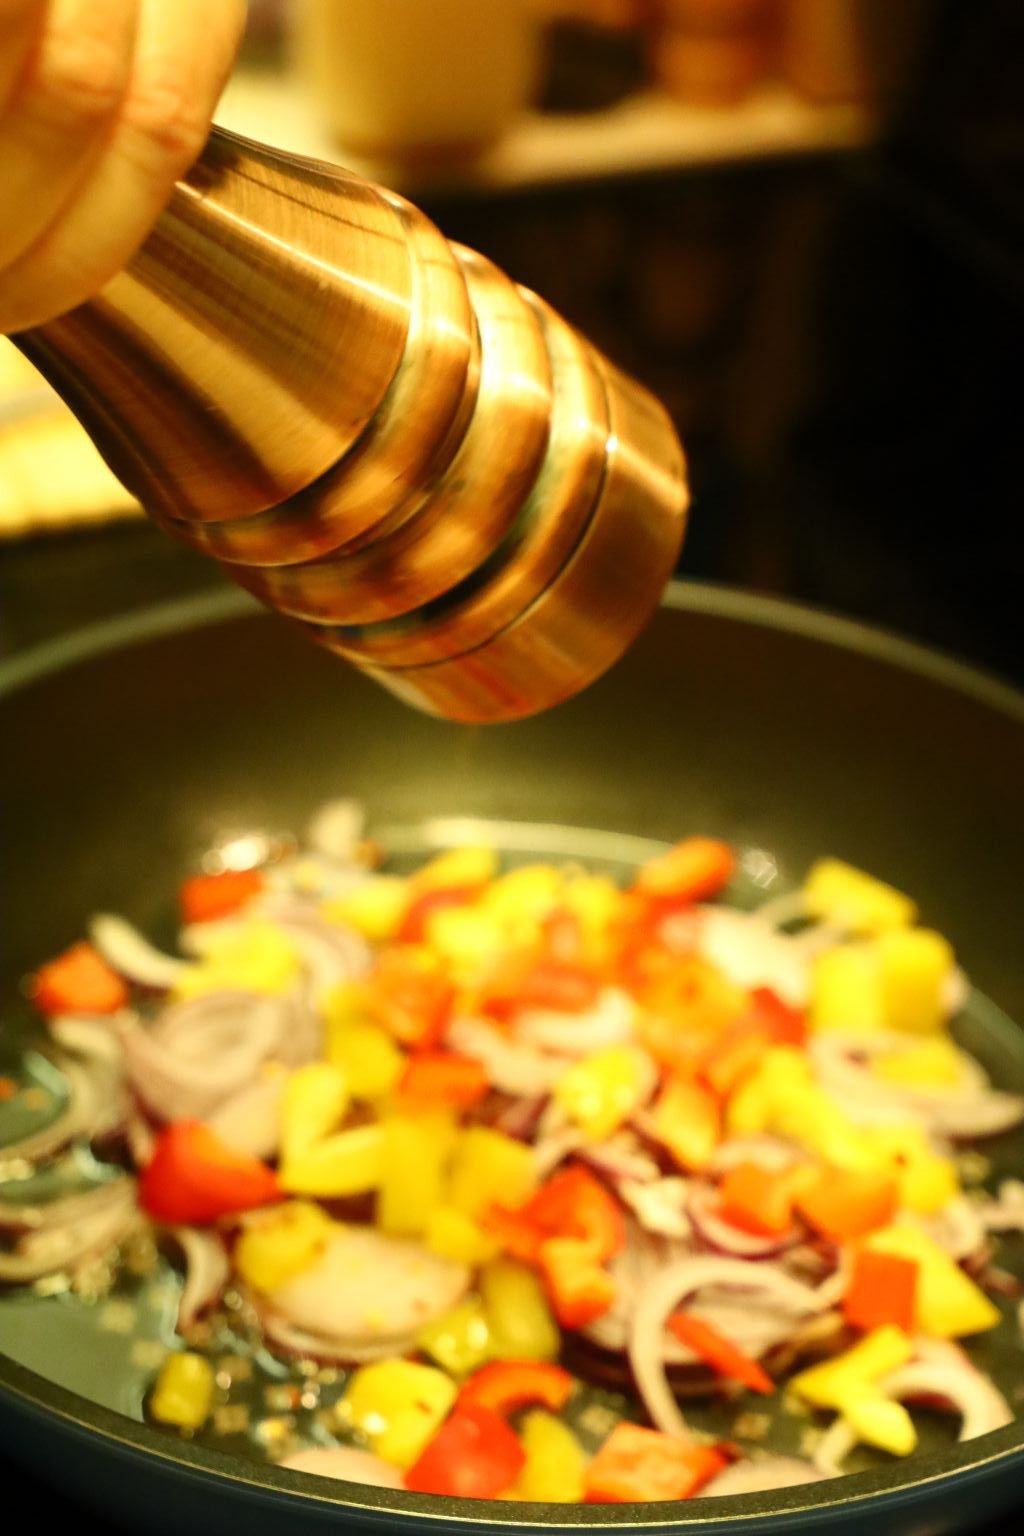
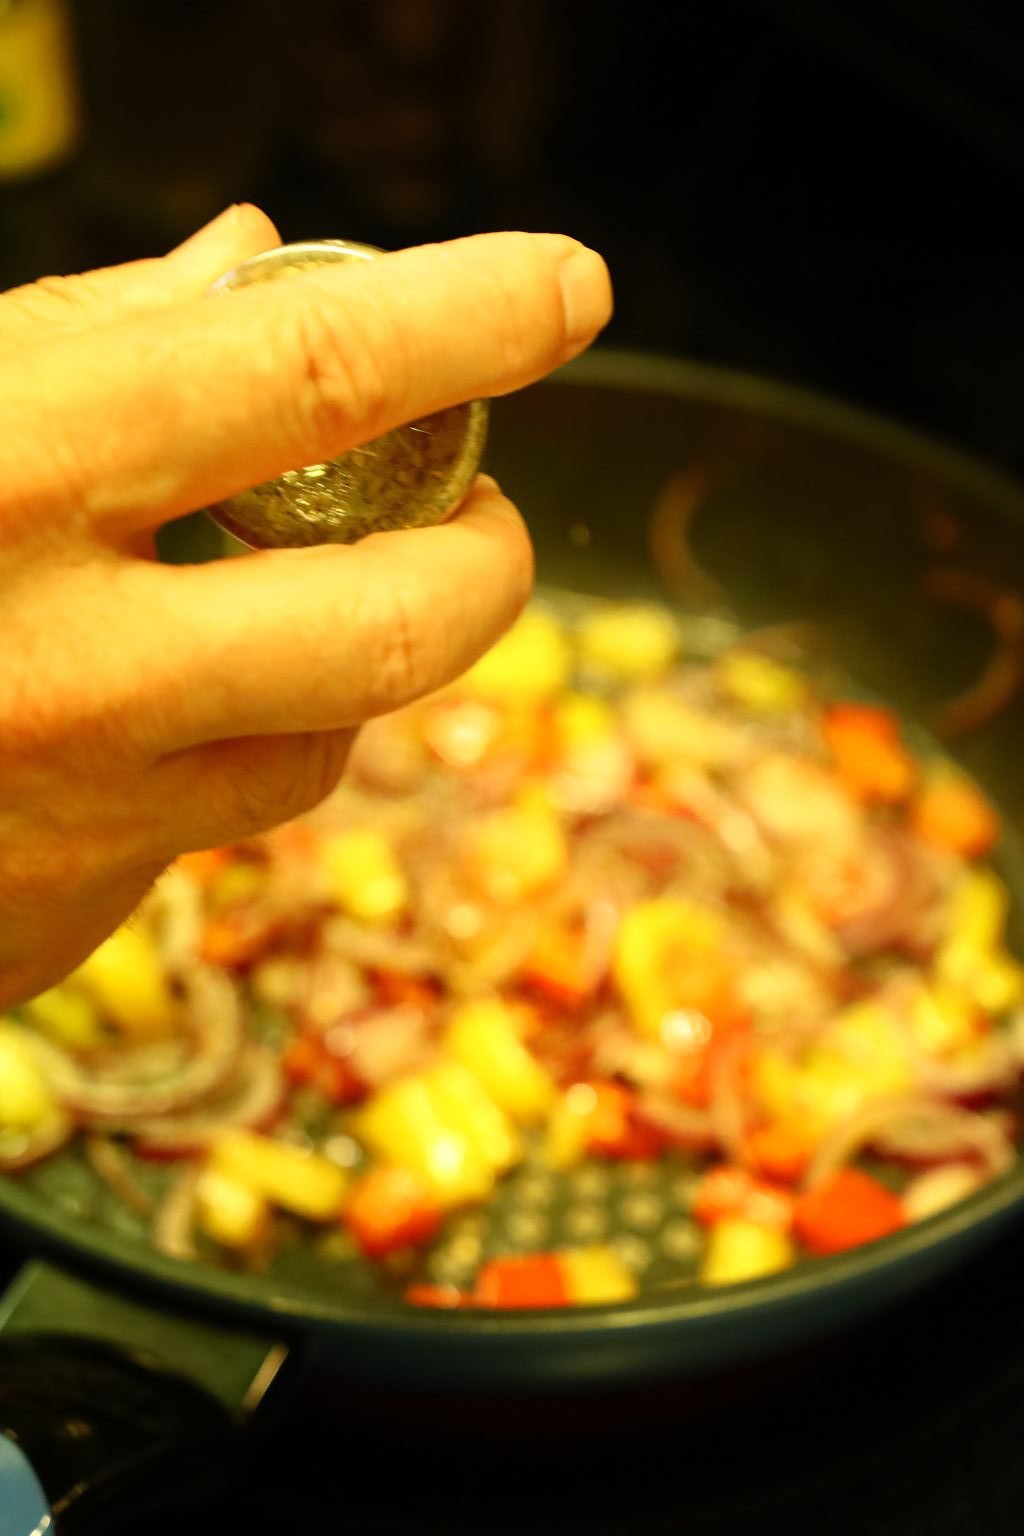
Then, add your crushed red pepper and ground black pepper to the pan.
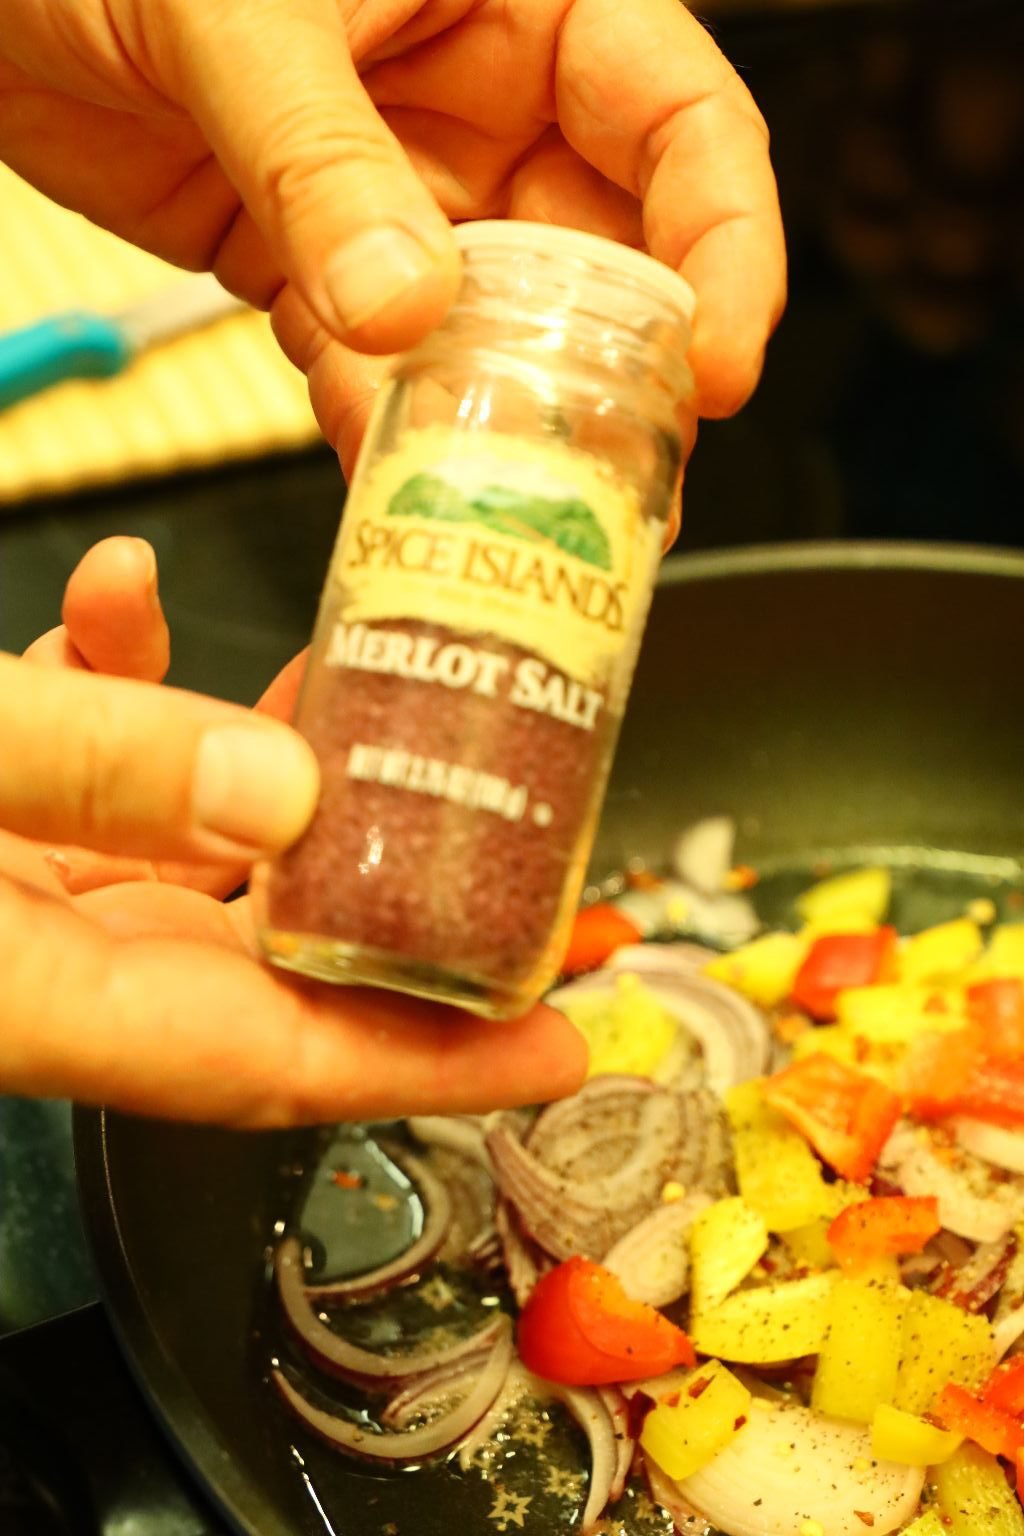
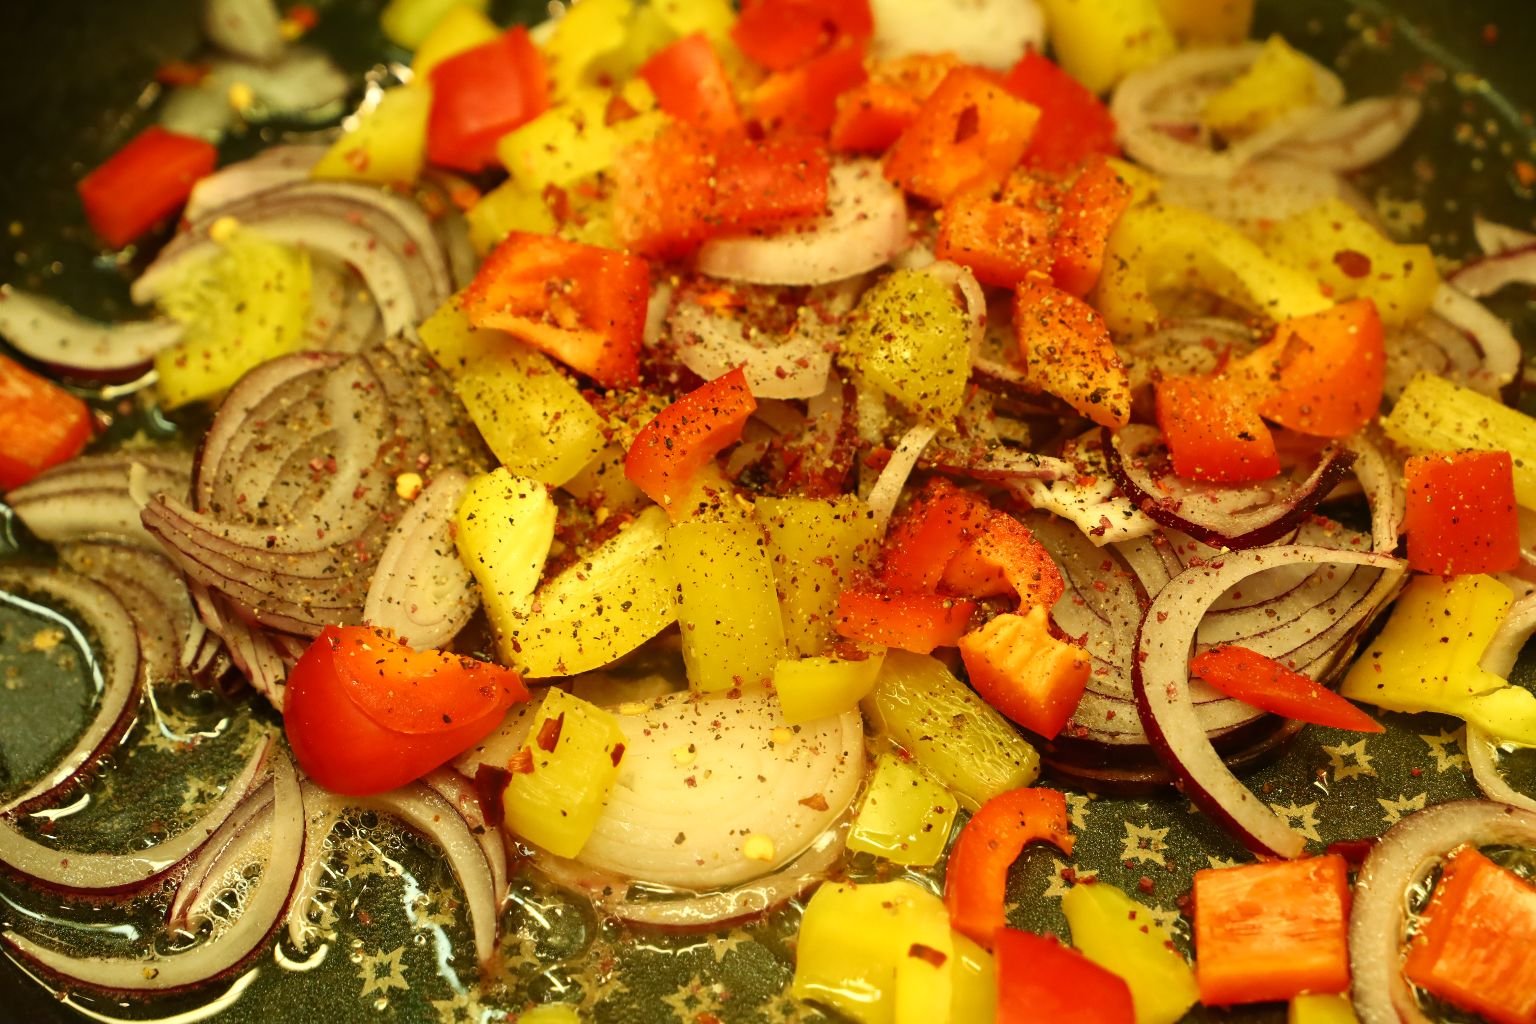
Add your Merlot salt to the ingredients. I chose to use this type of salt as it will provide a hint of red wine to the vegetables rounding out their flavor.
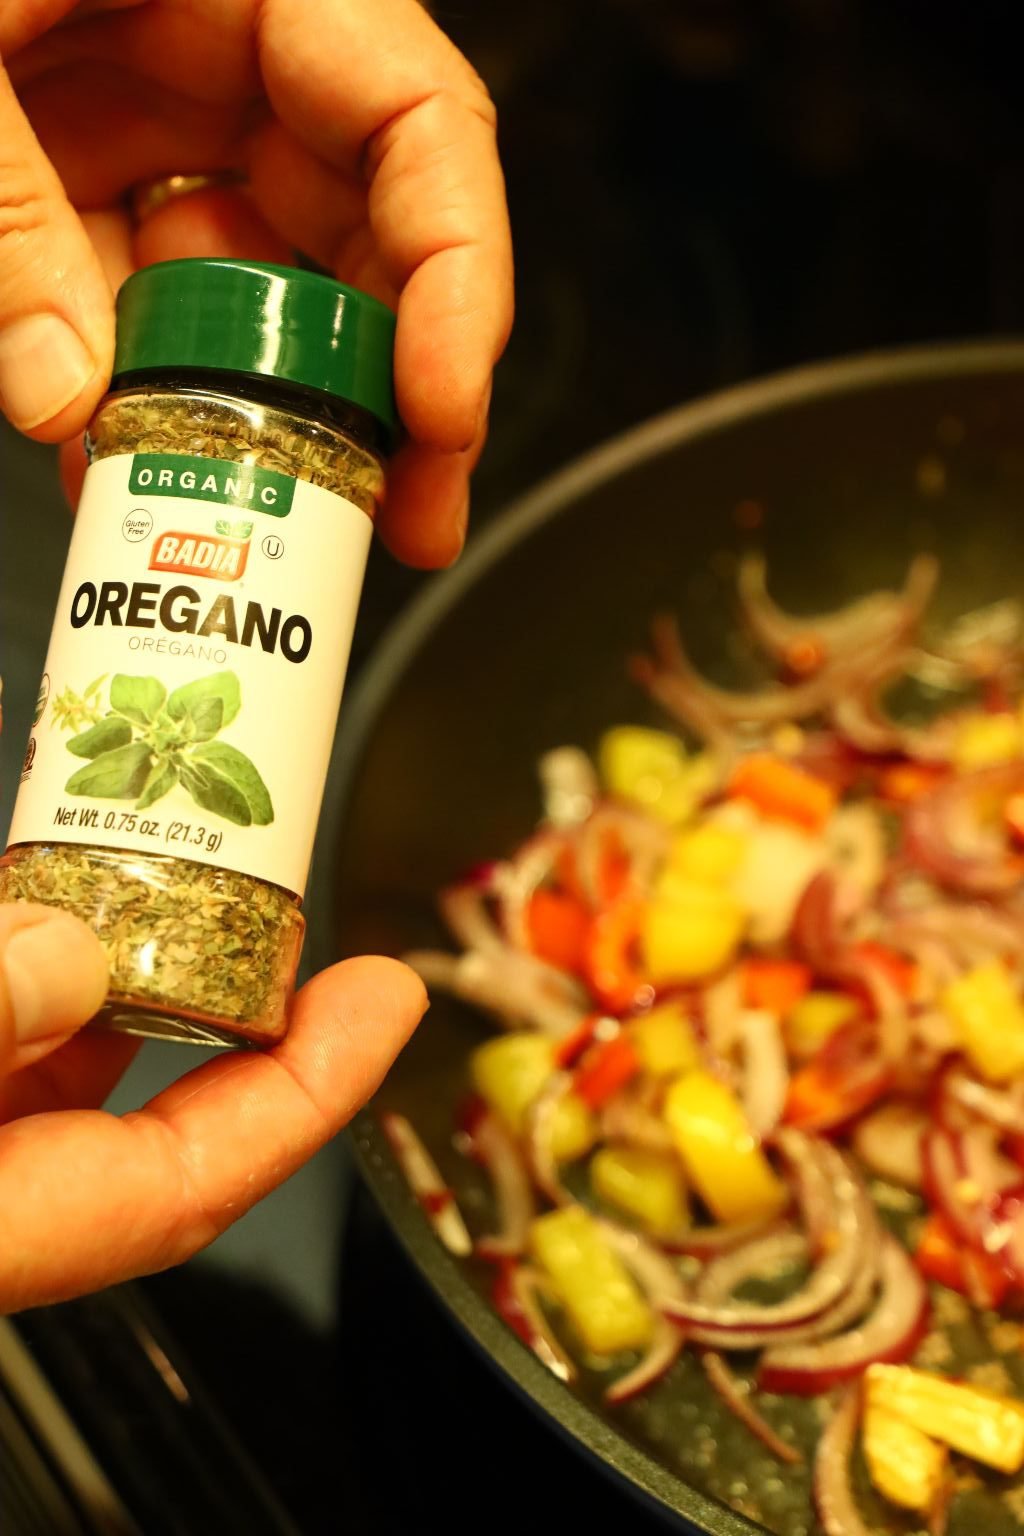
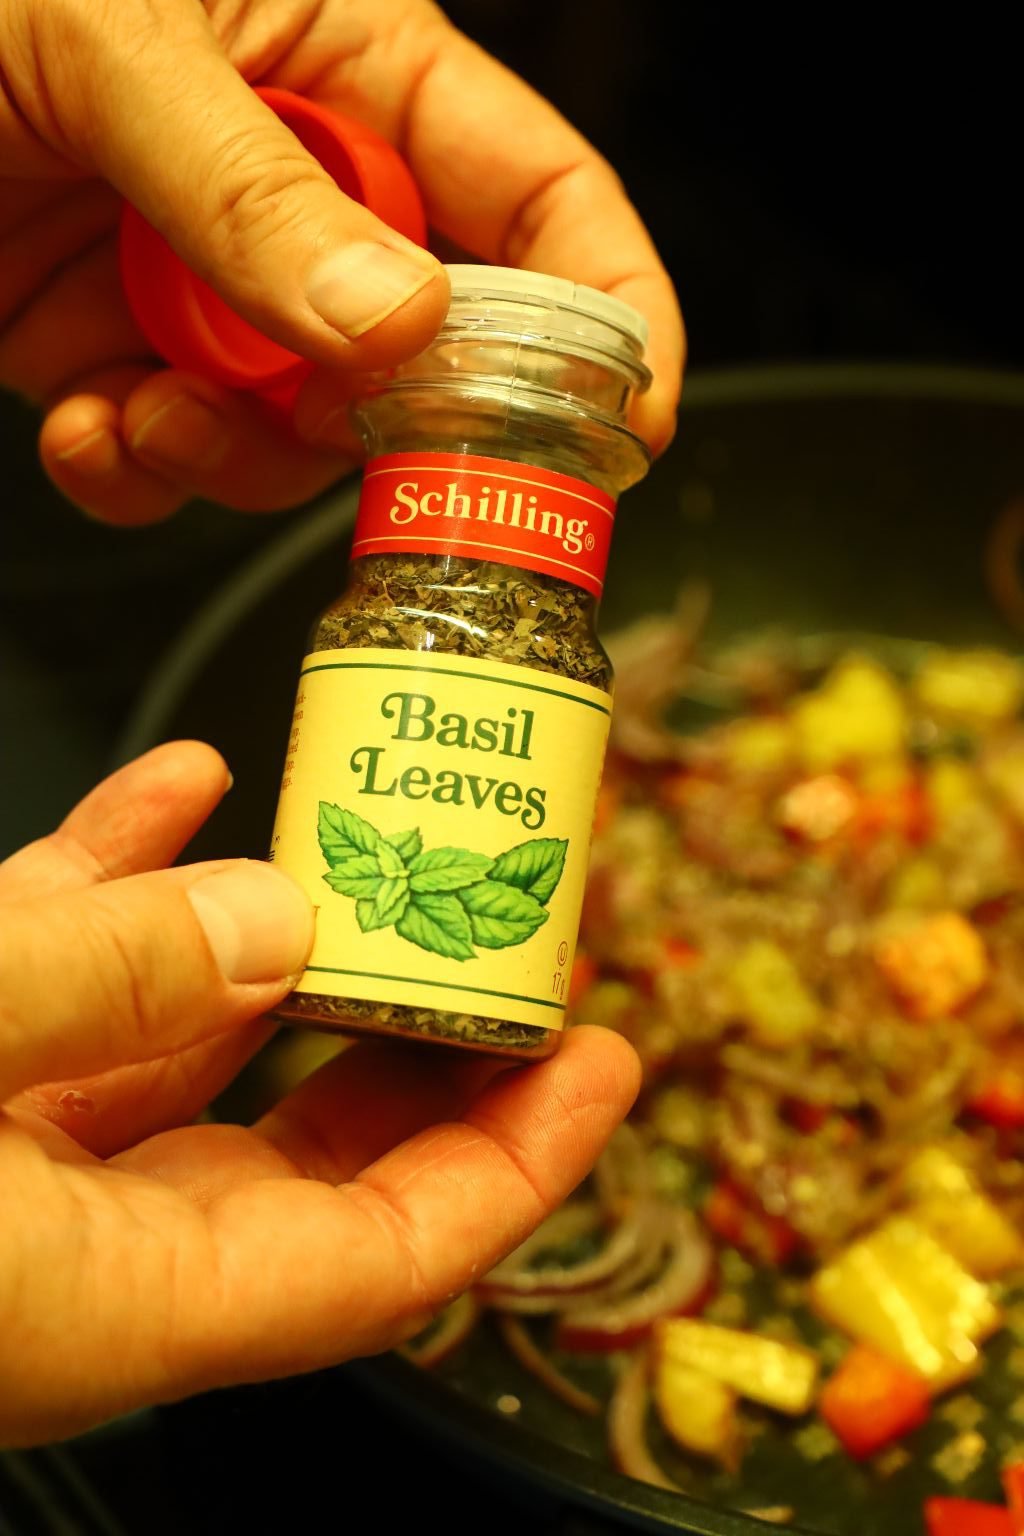
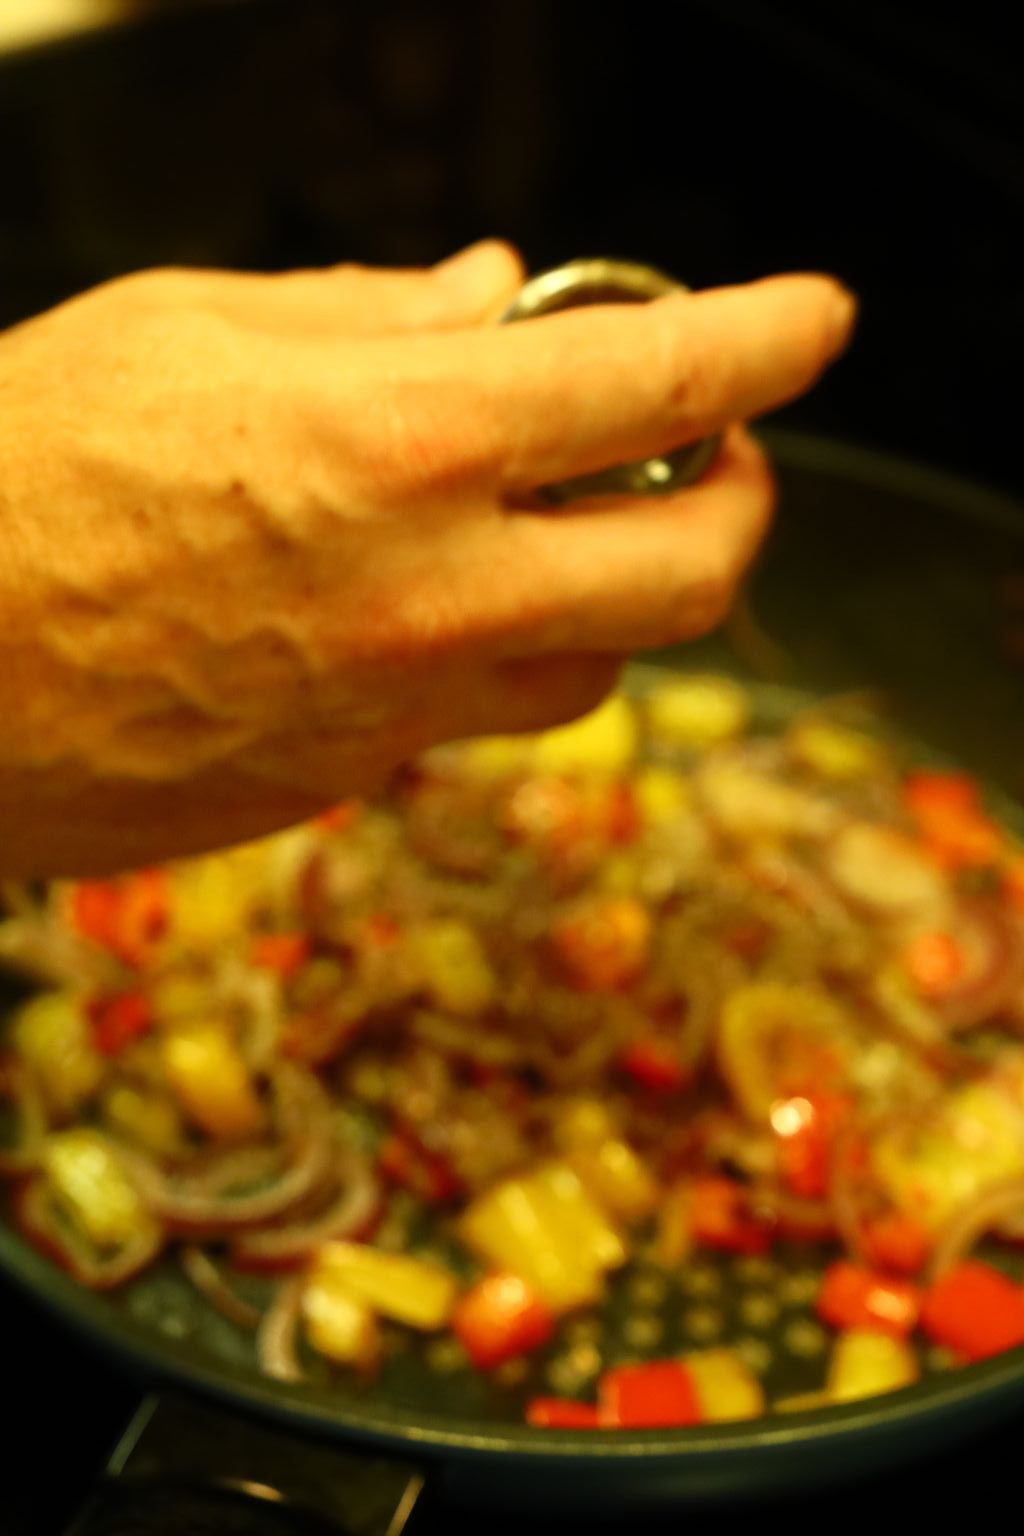
Now add your oregano and basil leaves.
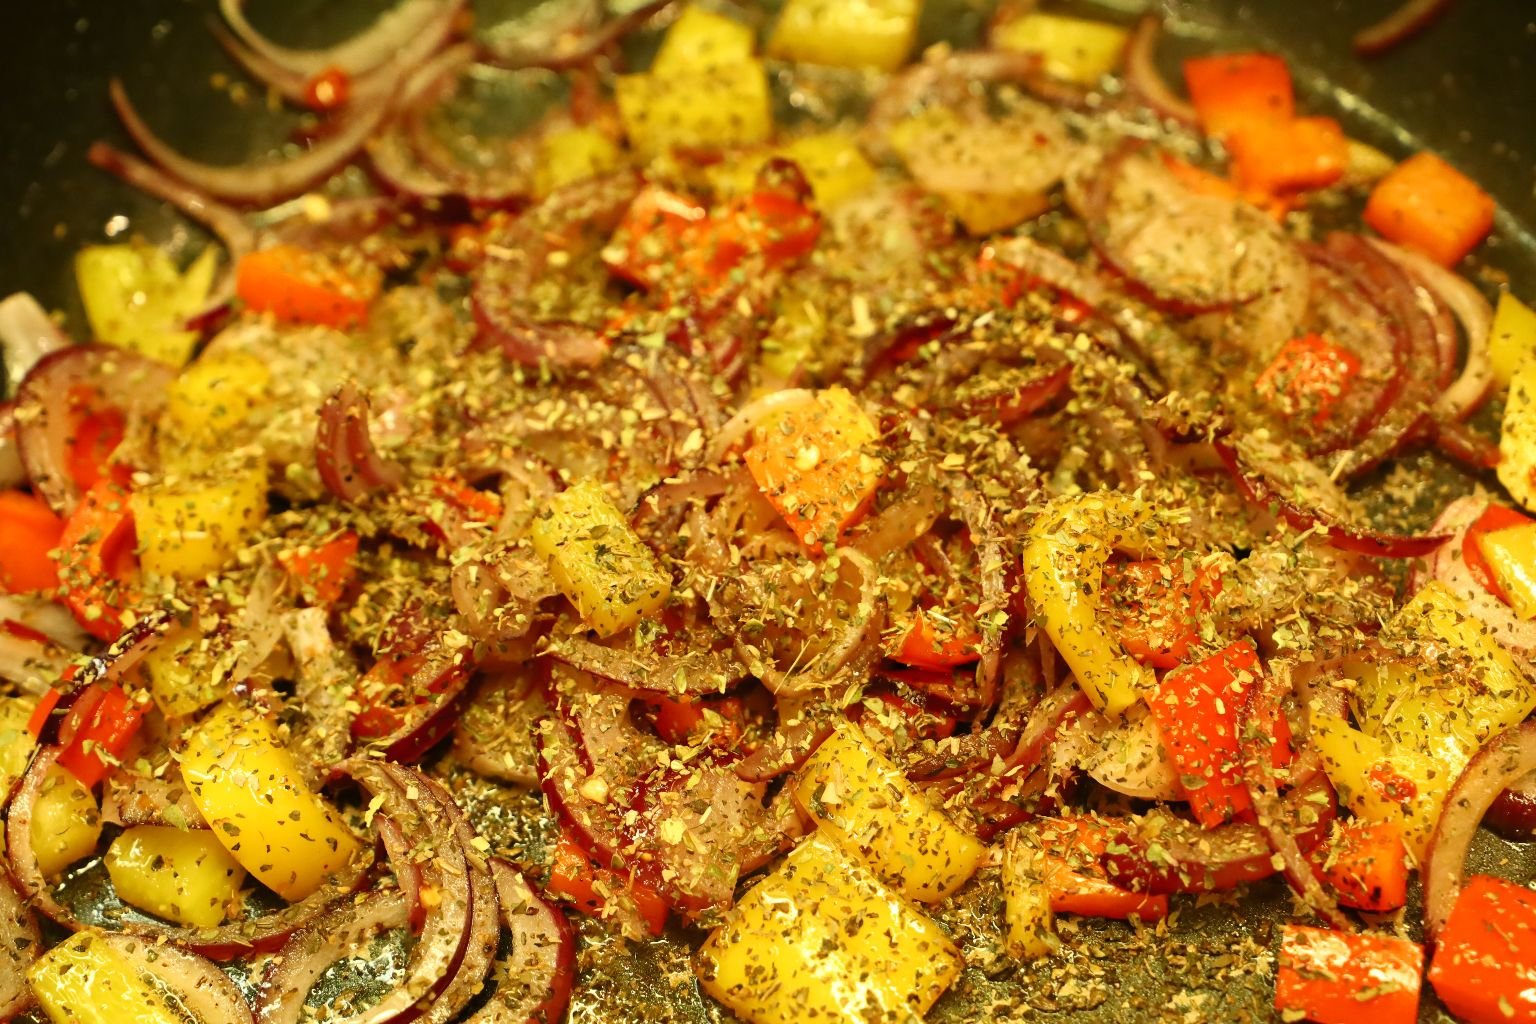
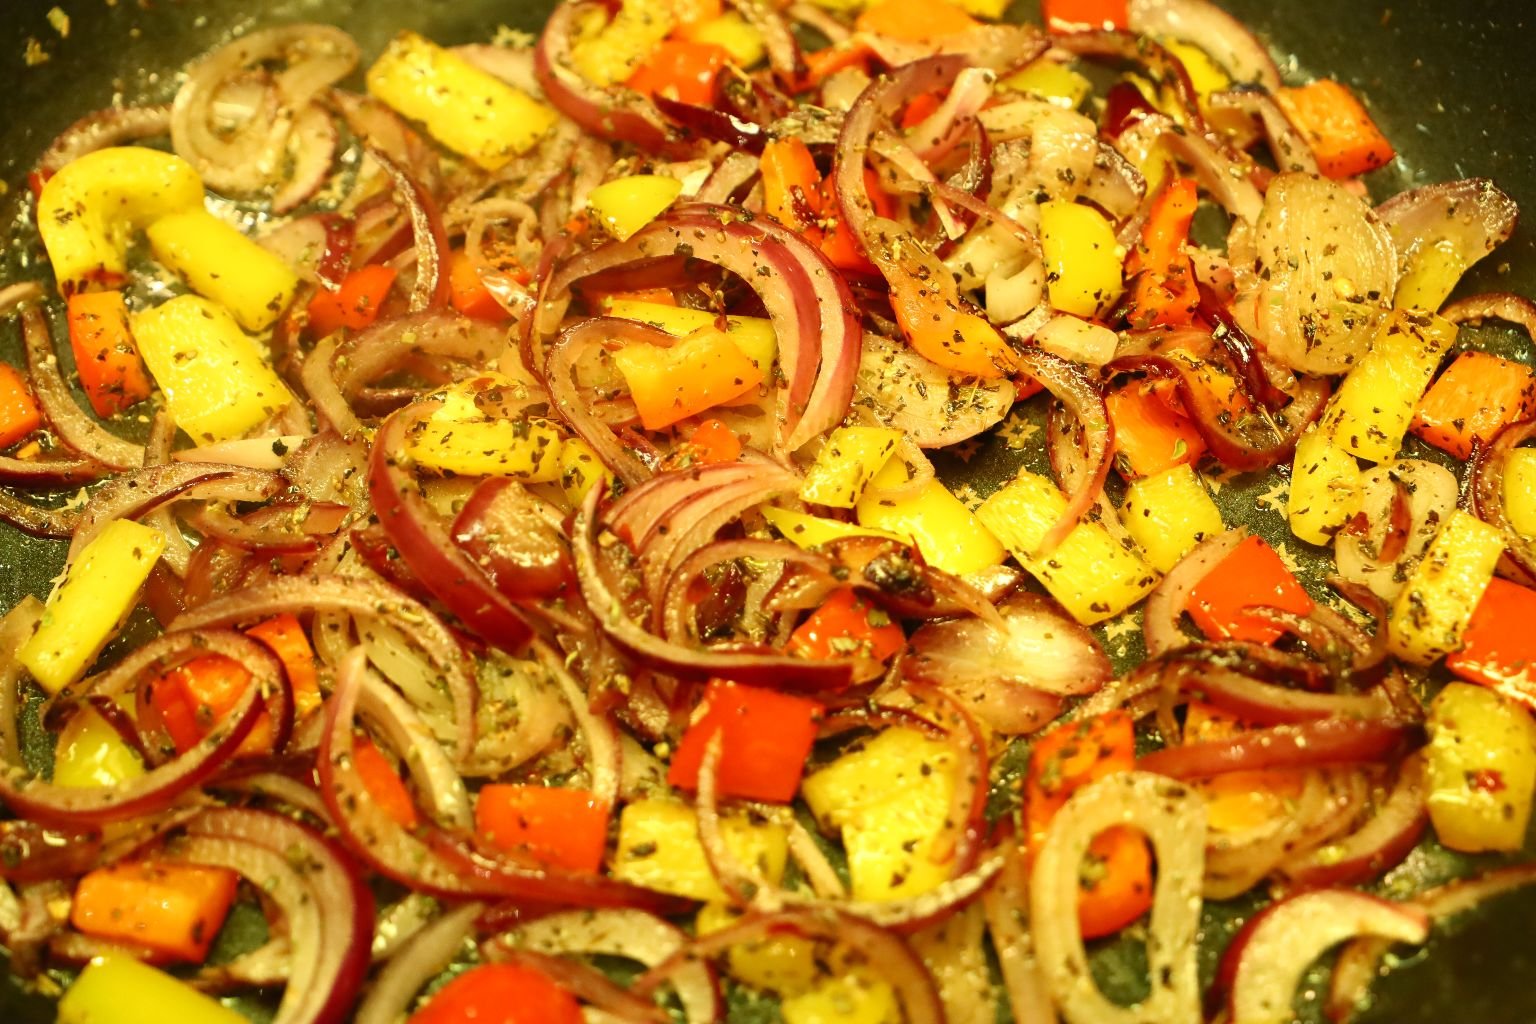
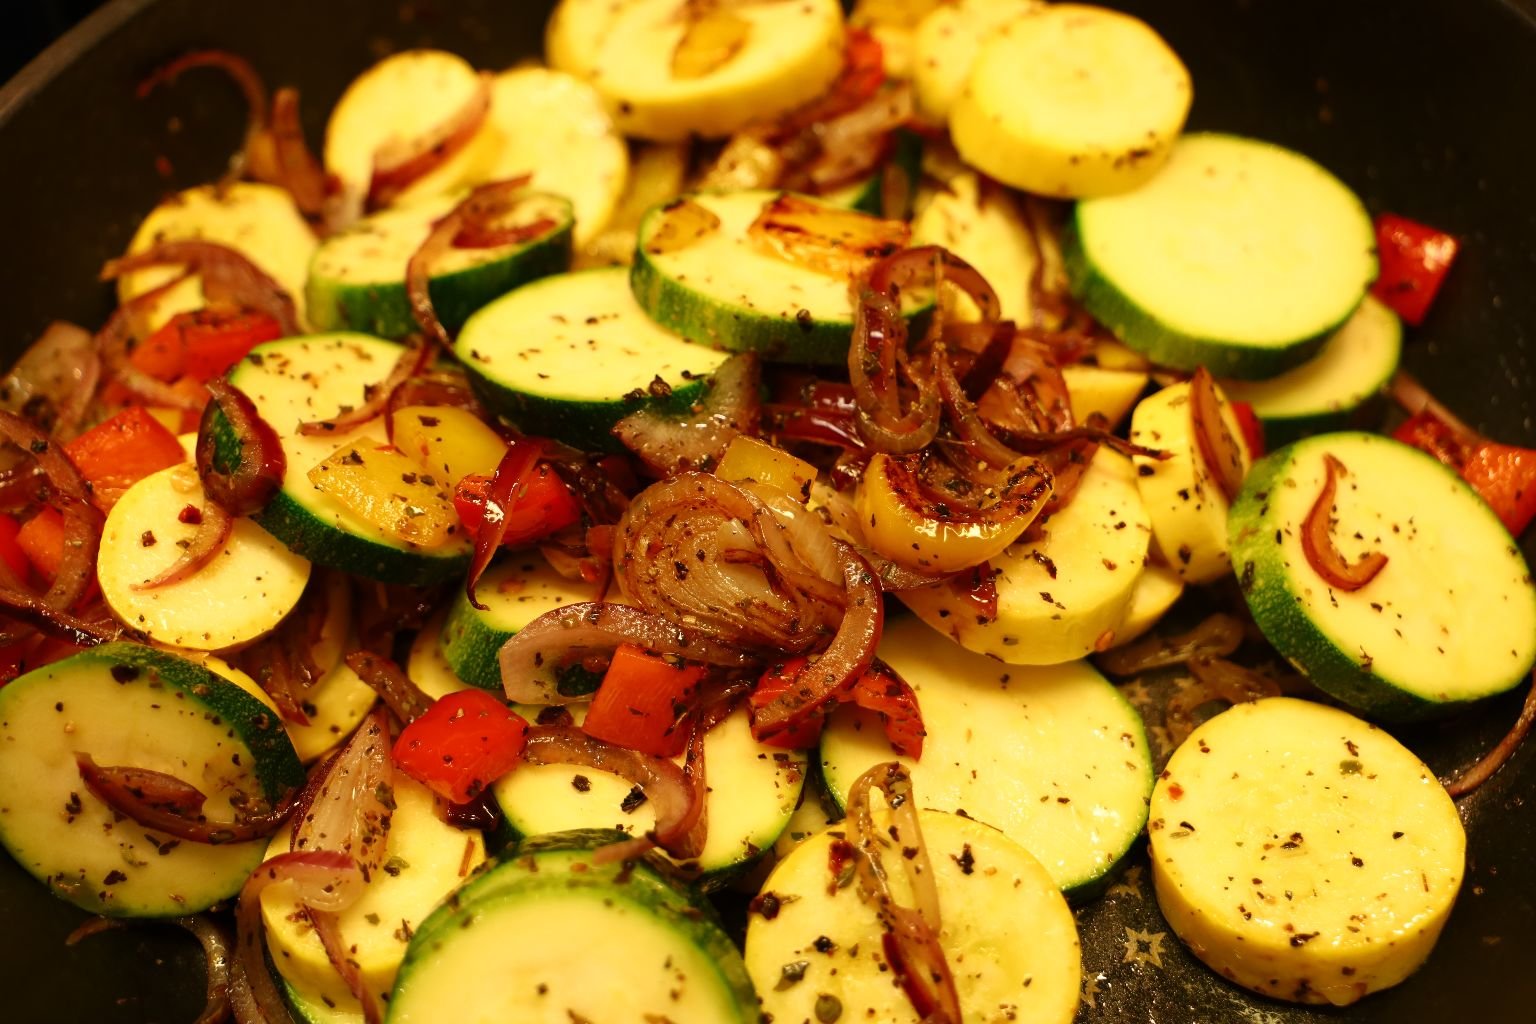
Let all the ingredients cook for another few minutes. We are not fully cooking the vegetables as we are wanting them to still have some of their texture and bite.
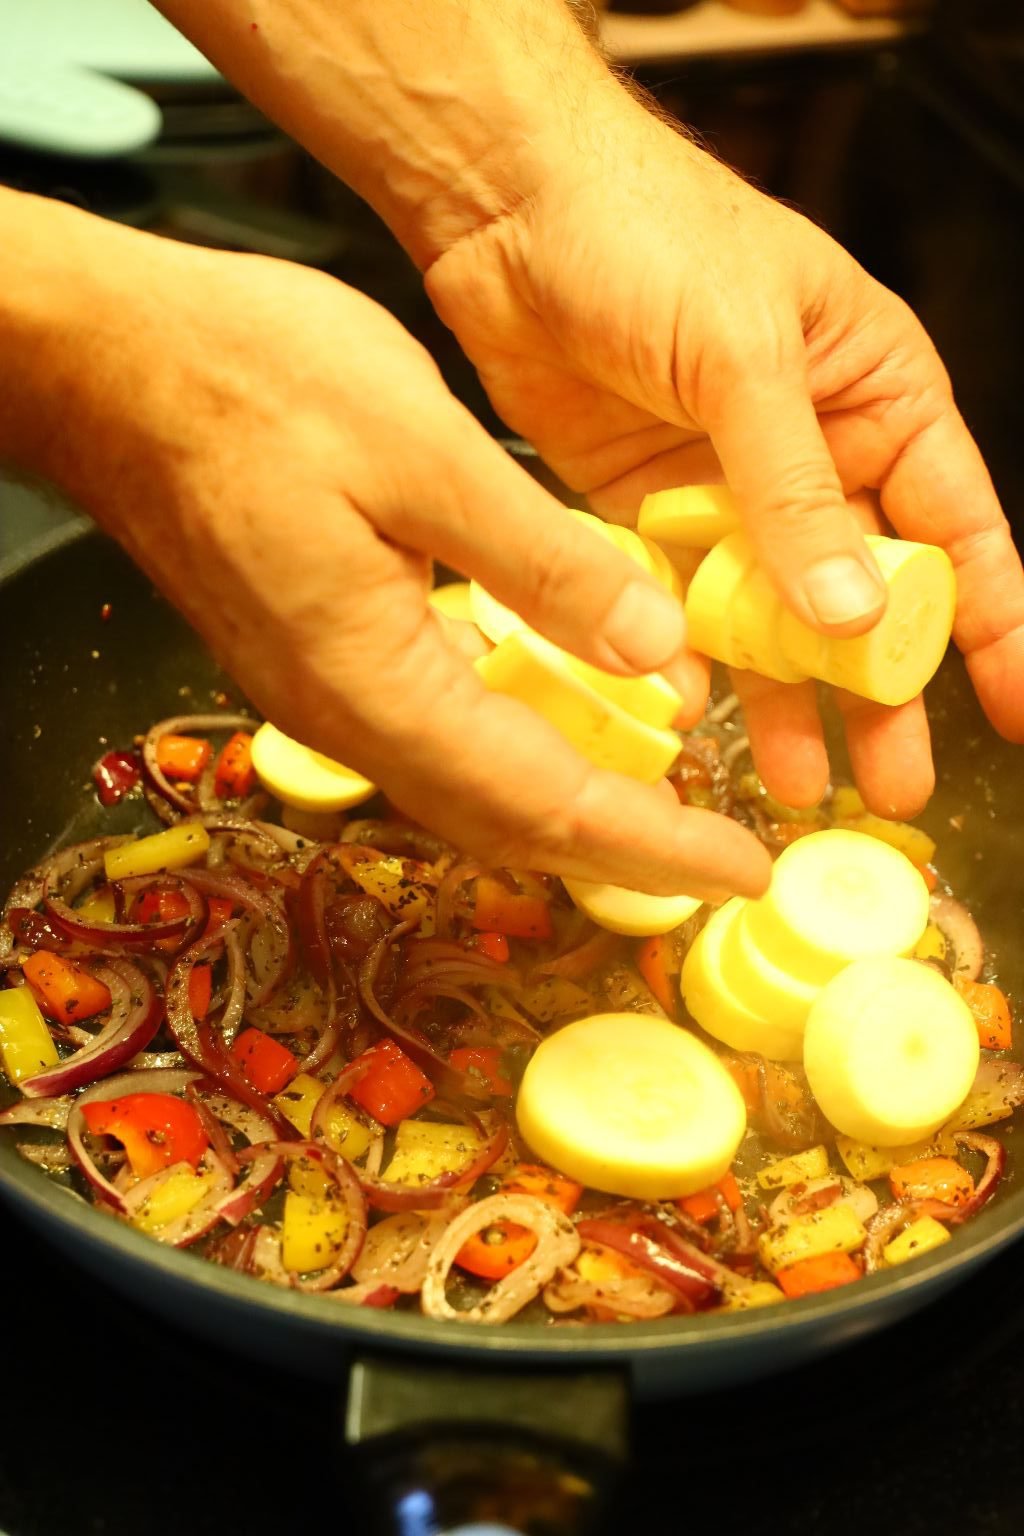
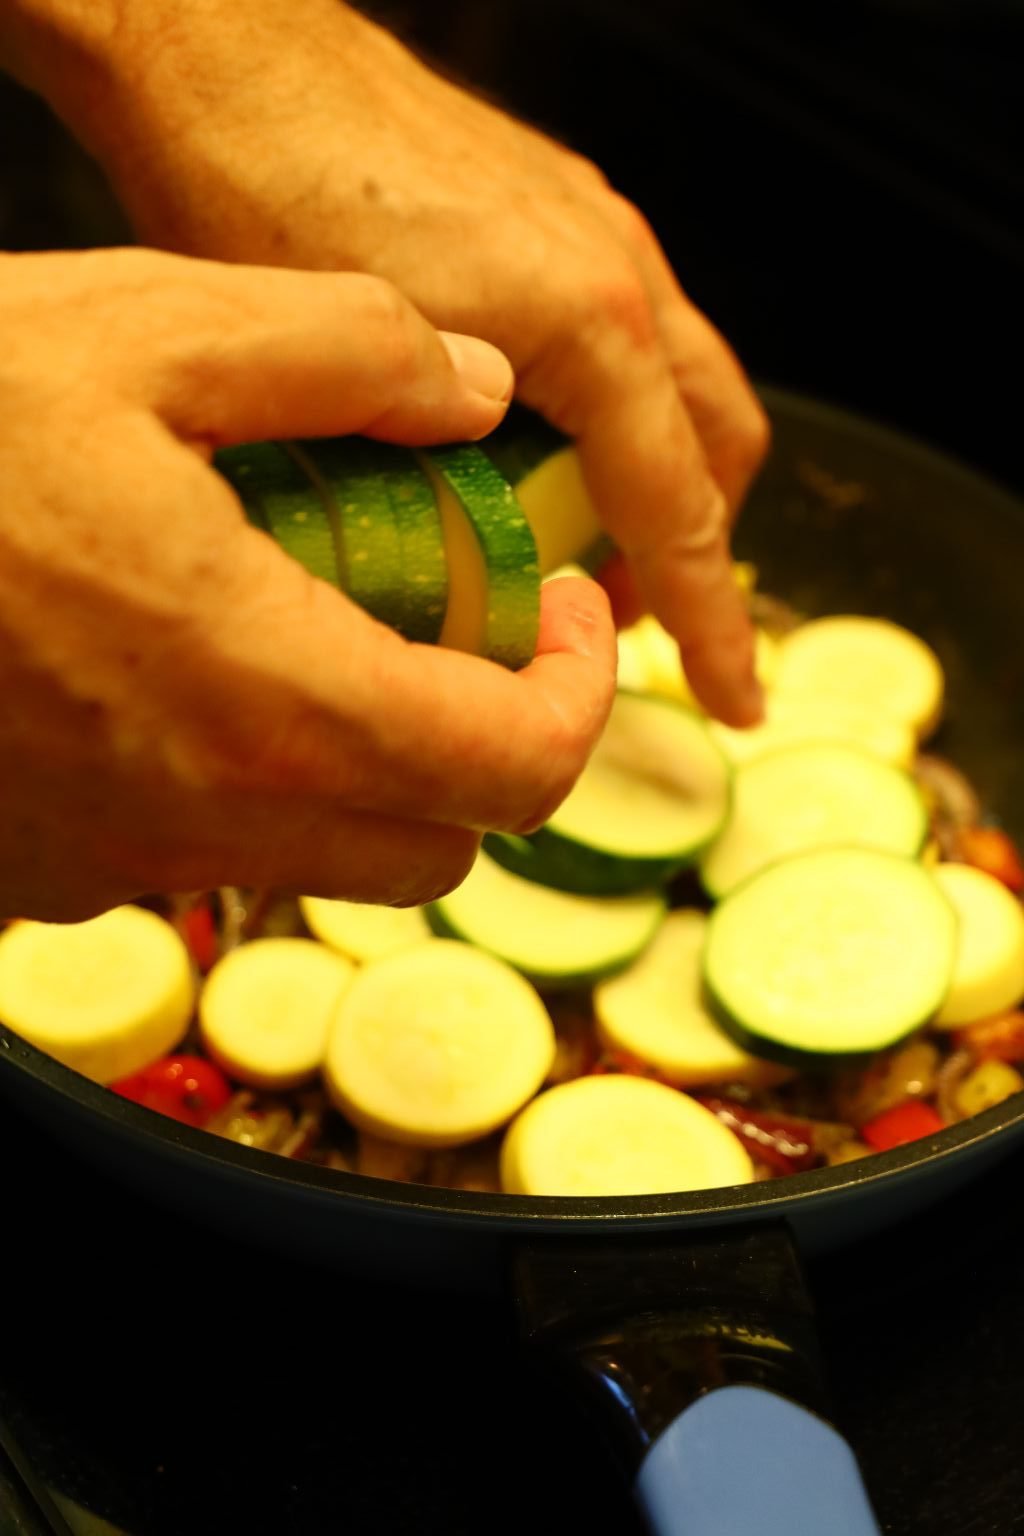
Top the vegetables with the squash and zucchini then place a lid over the pan allowing the vegetables to cook/steam in their own juices.
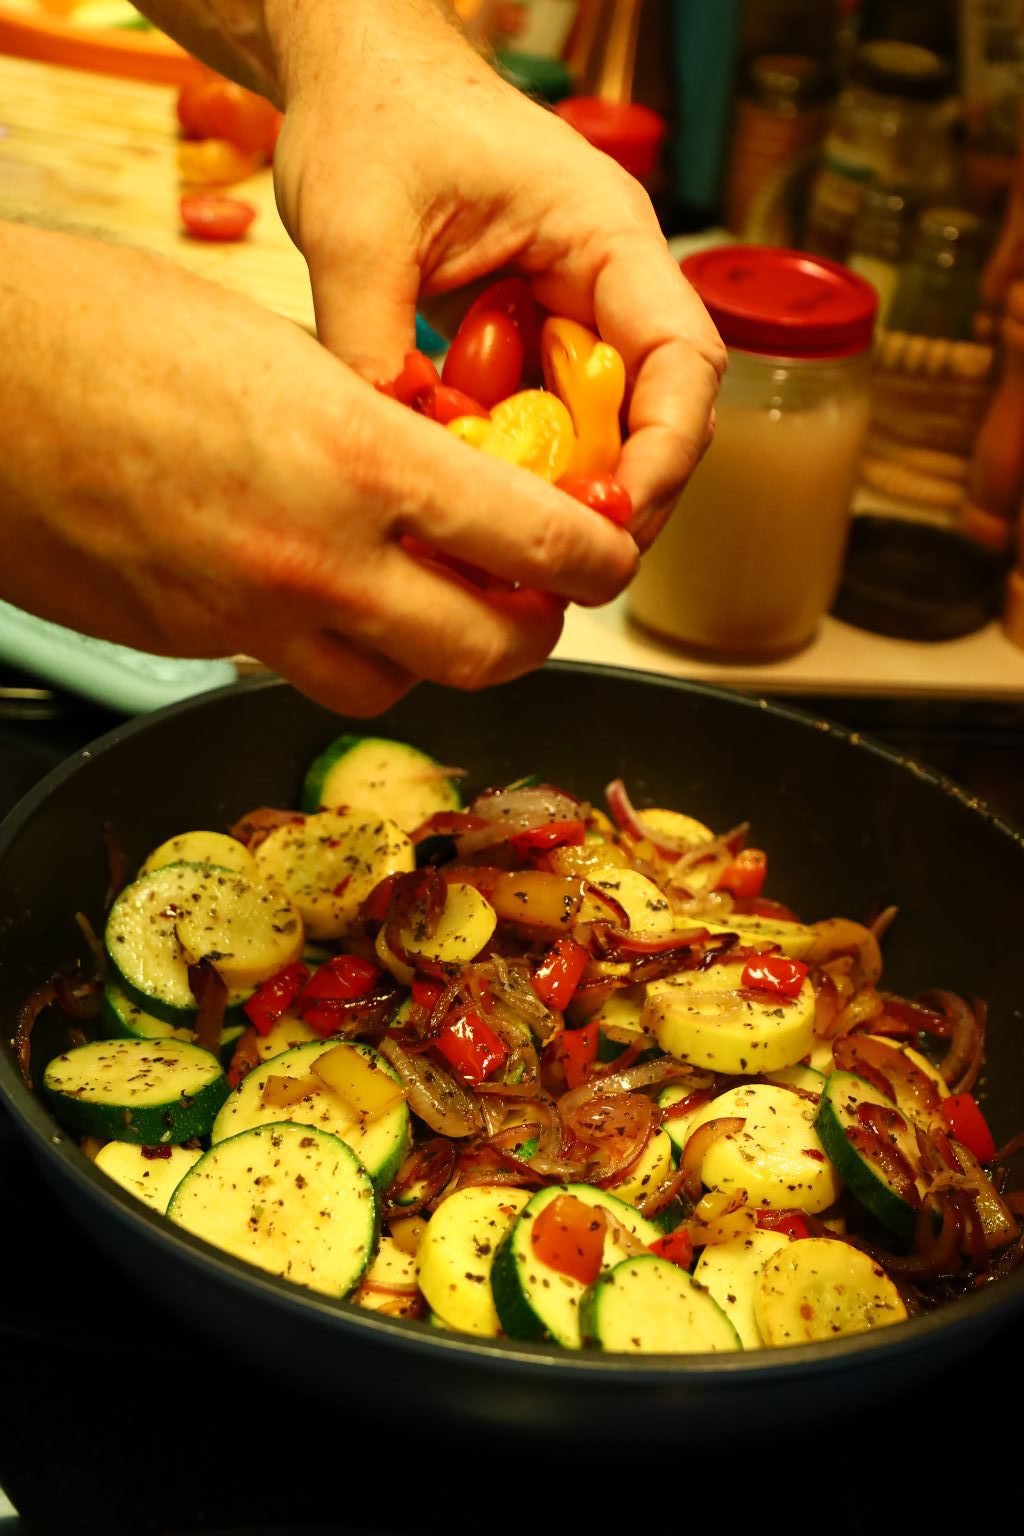
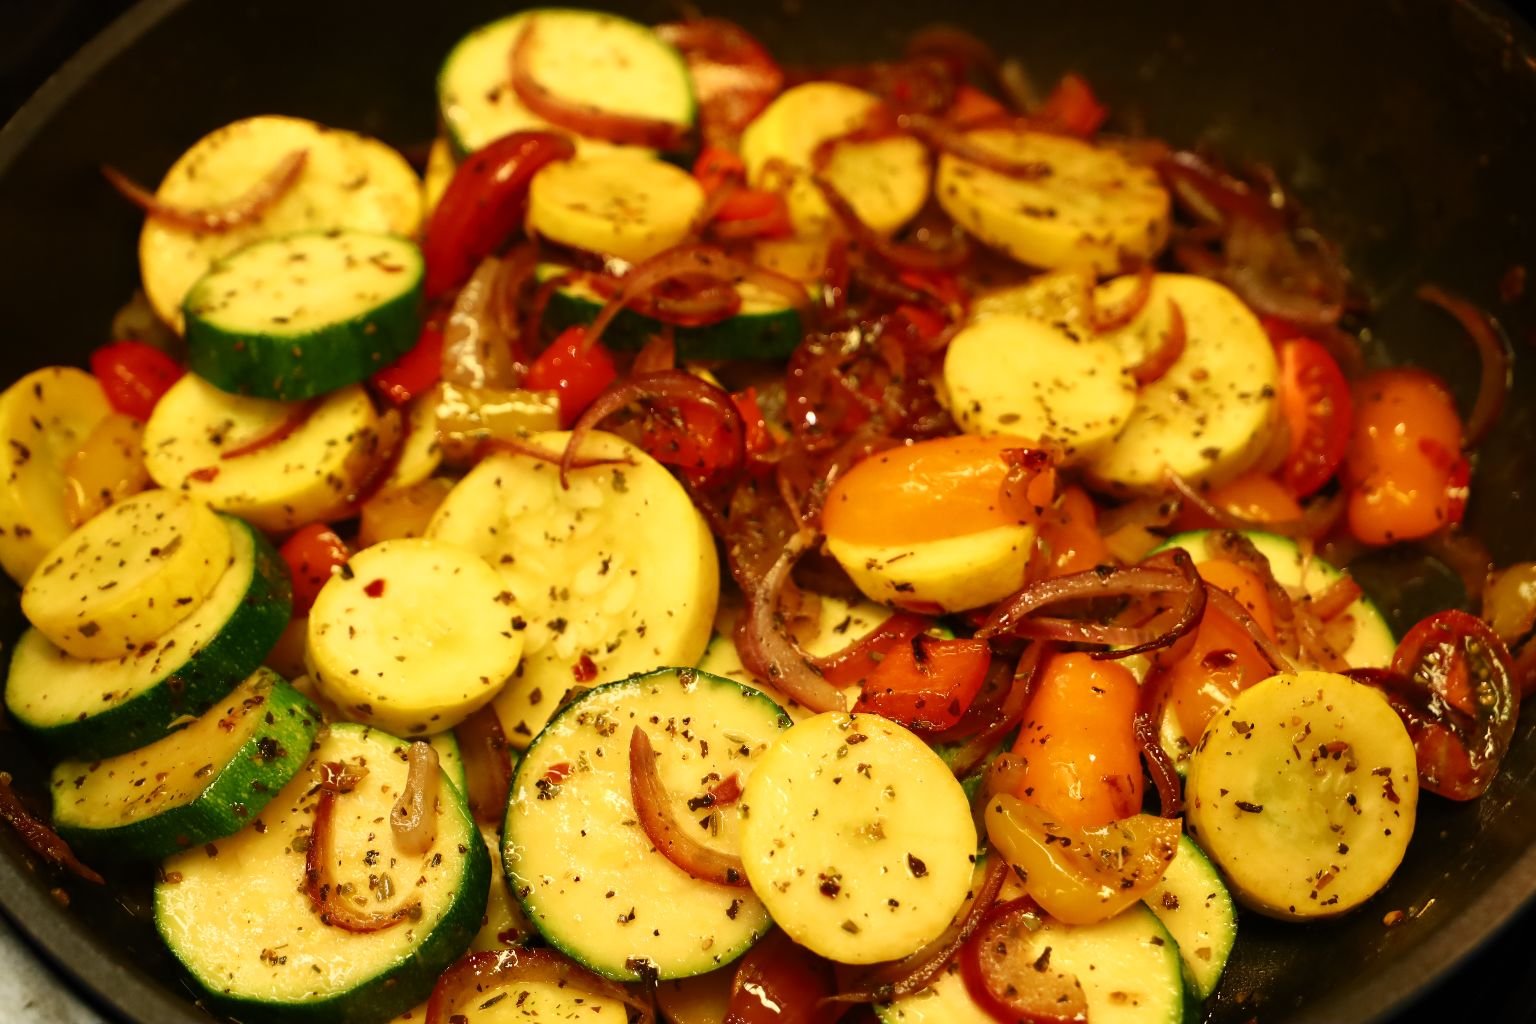
After about 5 minutes of cooking add your cherry tomato slices to the pan, replace the lid and continue to cook the vegetables for another few minutes. Remember we still want the vegetable to have some texture to them.
———————————————————————
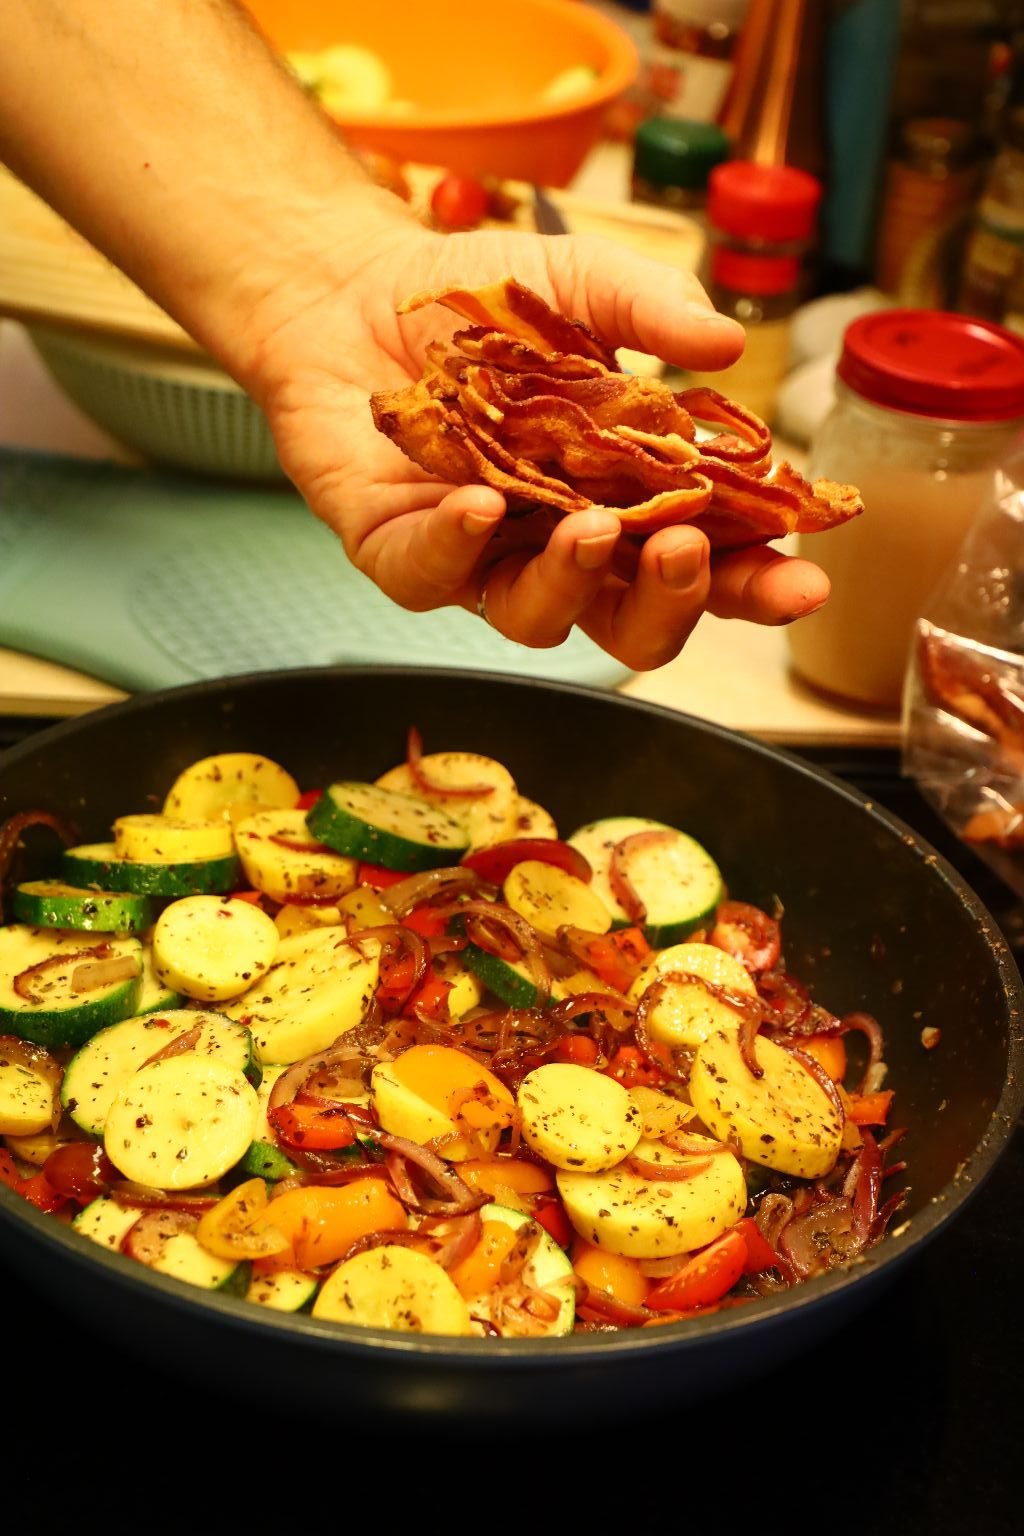
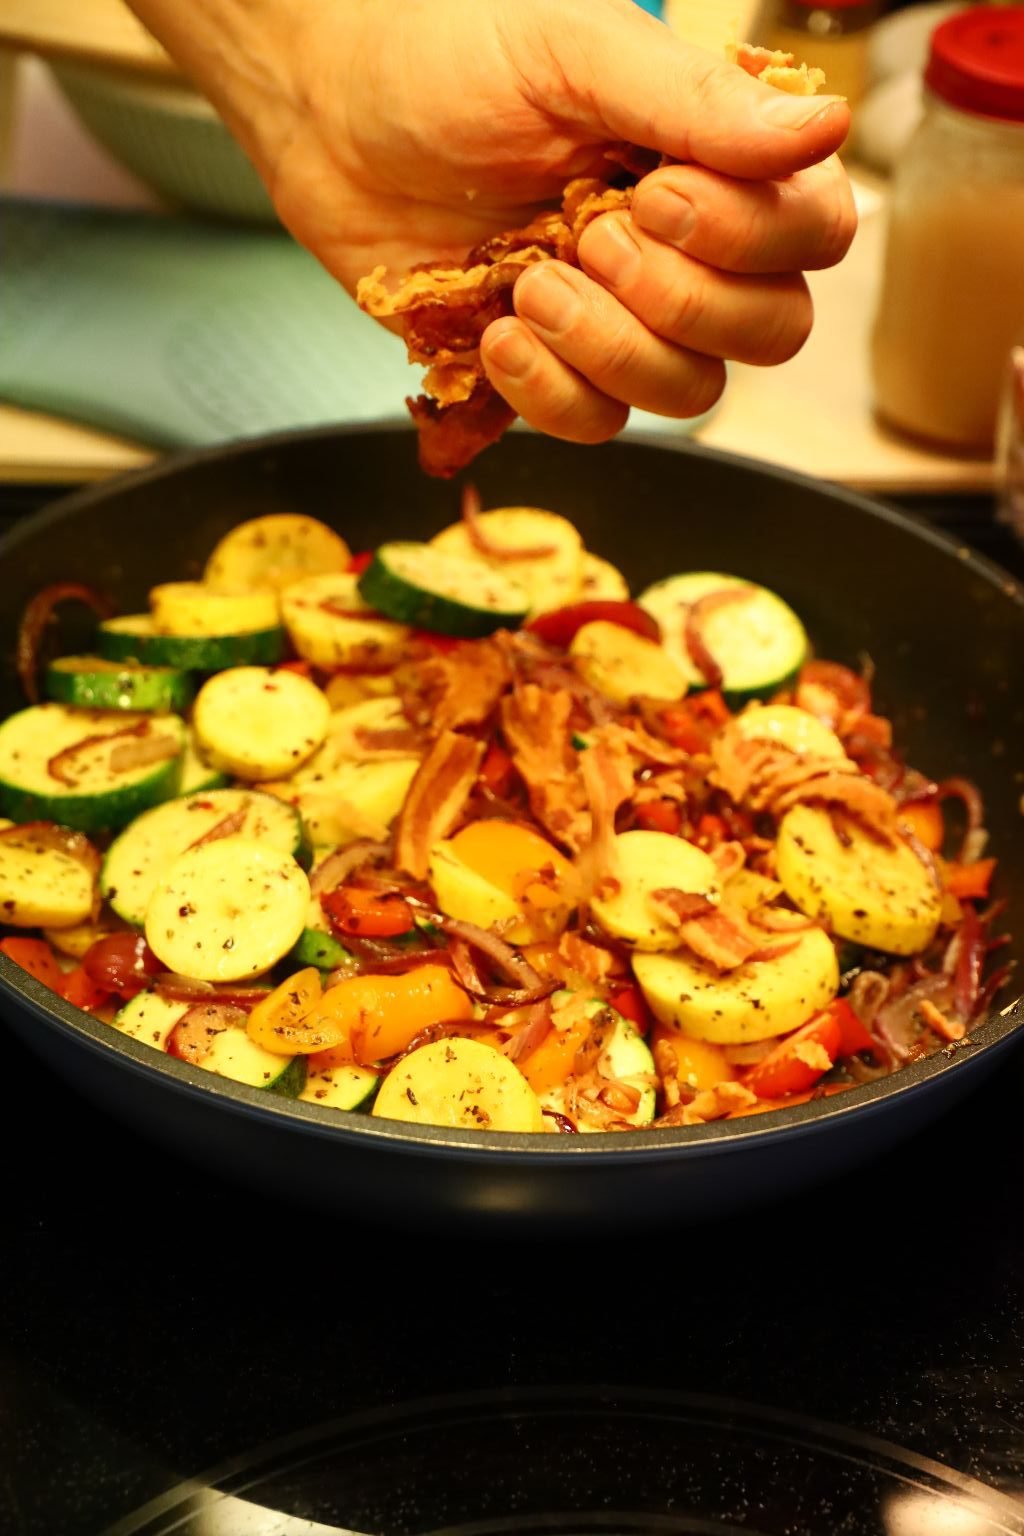
Remove the lid and carefully fold all the ingredients together so as not to break them apart. Crush your bacon in your hand as shown and add it to your pan.

Fold the bacon in with the vegetables, cook uncovered for another minute or so and remove from heat.
Place the ingredients onto a large serving platter as shown.
This was a great way to show off the vegetables and was a nice accompaniment to this amazing meal.

Dig In!