Whann Way Aloha Hapa Elua (Part 2)
Aloha!
Welcome to Whann Way Aloha, Hapa Elua (Part 2)
This is the second part of our life in Hawaii via the food.
To view Part “Whann” then click below:

Ua ola loko i ke aloha,
(Love gives life within.)
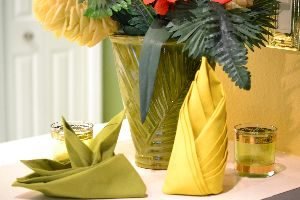
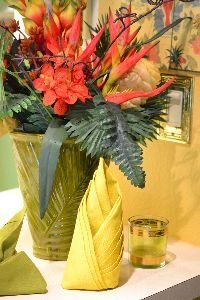
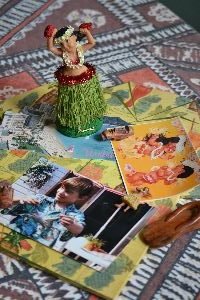
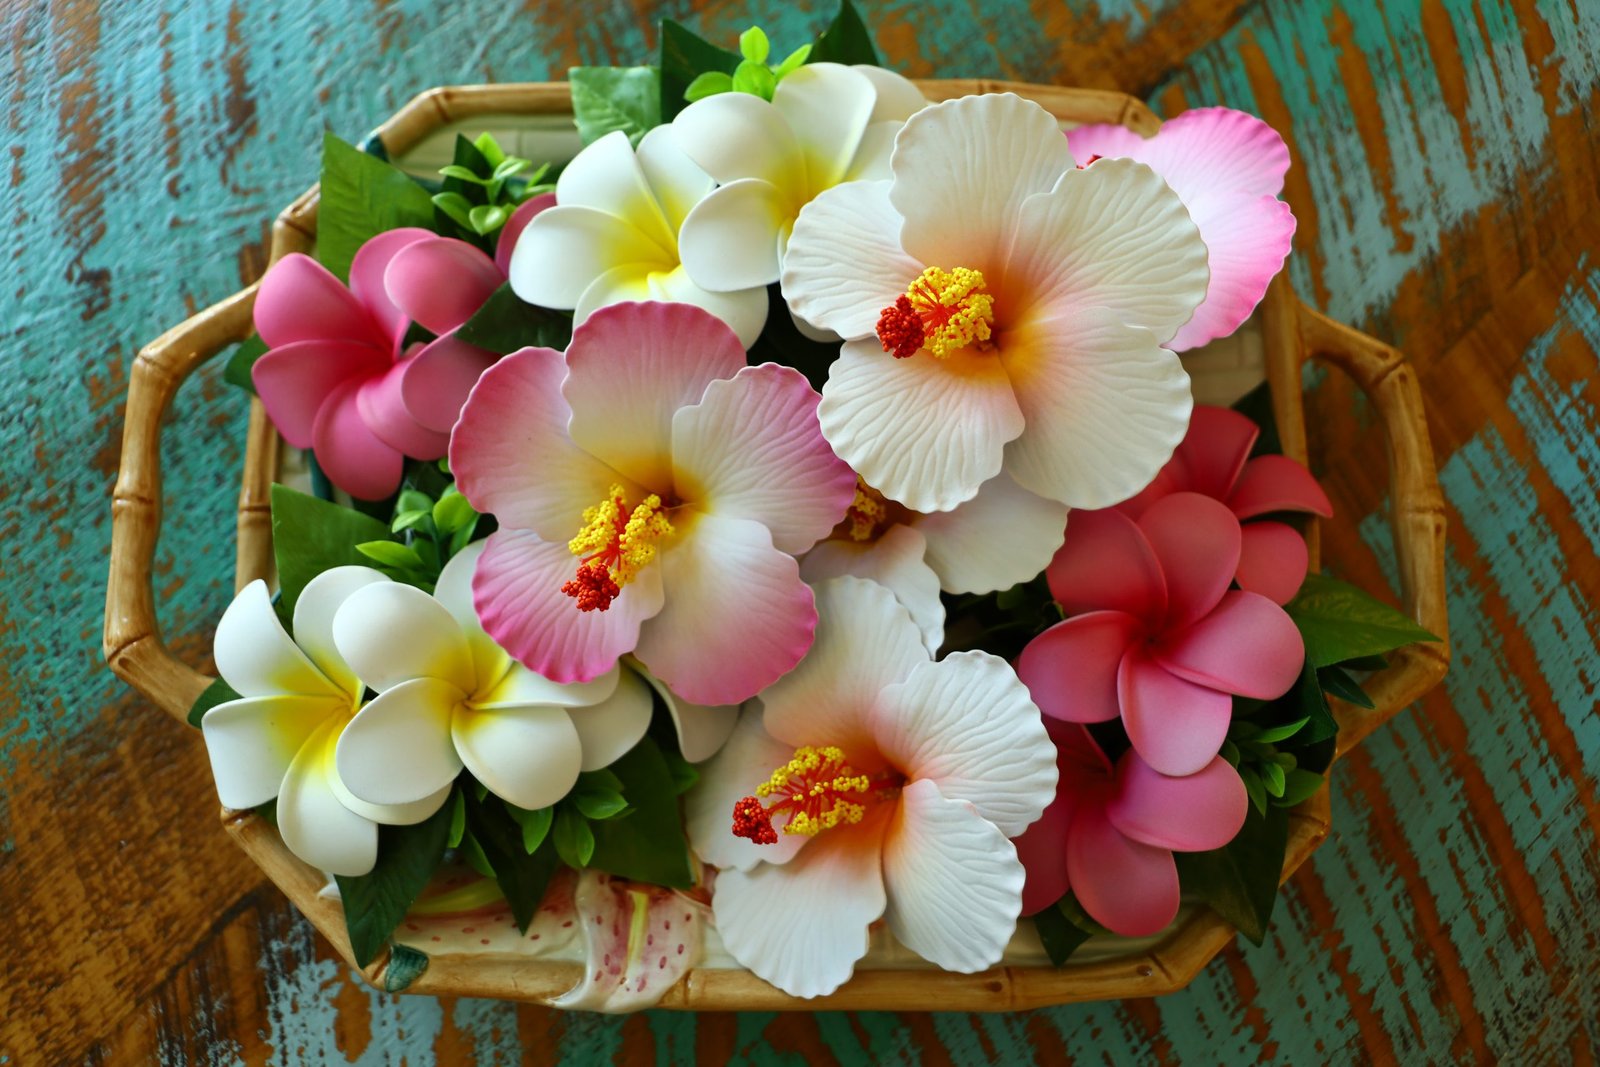
Lovely Cloth Napkins Folded into Tropical Flowers
———————————————————
2020
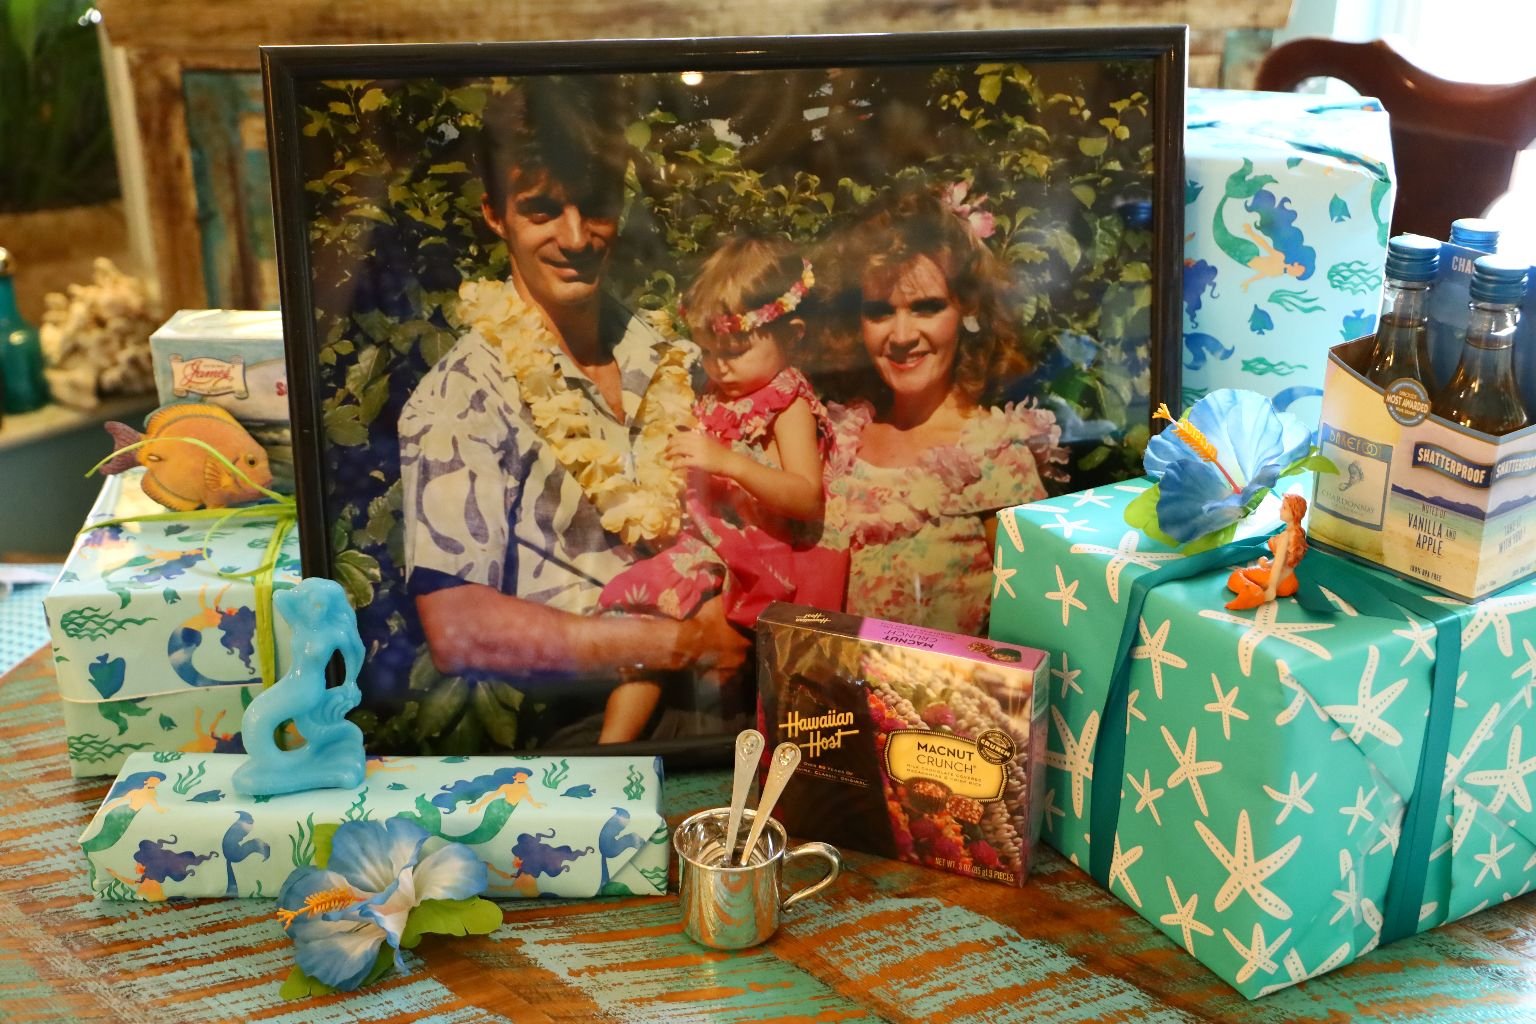
Hau’oli La Hanau
(Happy Birthday) in Hawaiian
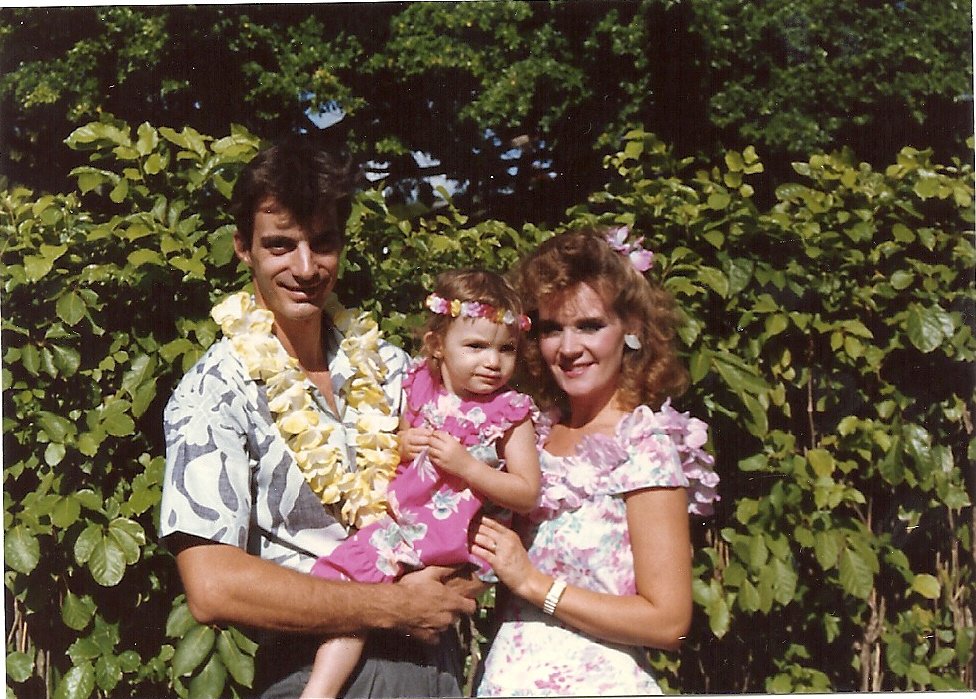
Birthday Gifts, and this Old Photo, to our little girl in the photo who just turned 33. 🙂
Also her baby silver cup and spoons.
———————————————————————————————–

How About Some Coffee?

Kona Coffee it is! Grown on The Big Island in Kona.

————————————-
Brodie and the Crab
—————————————–
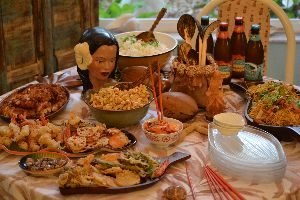
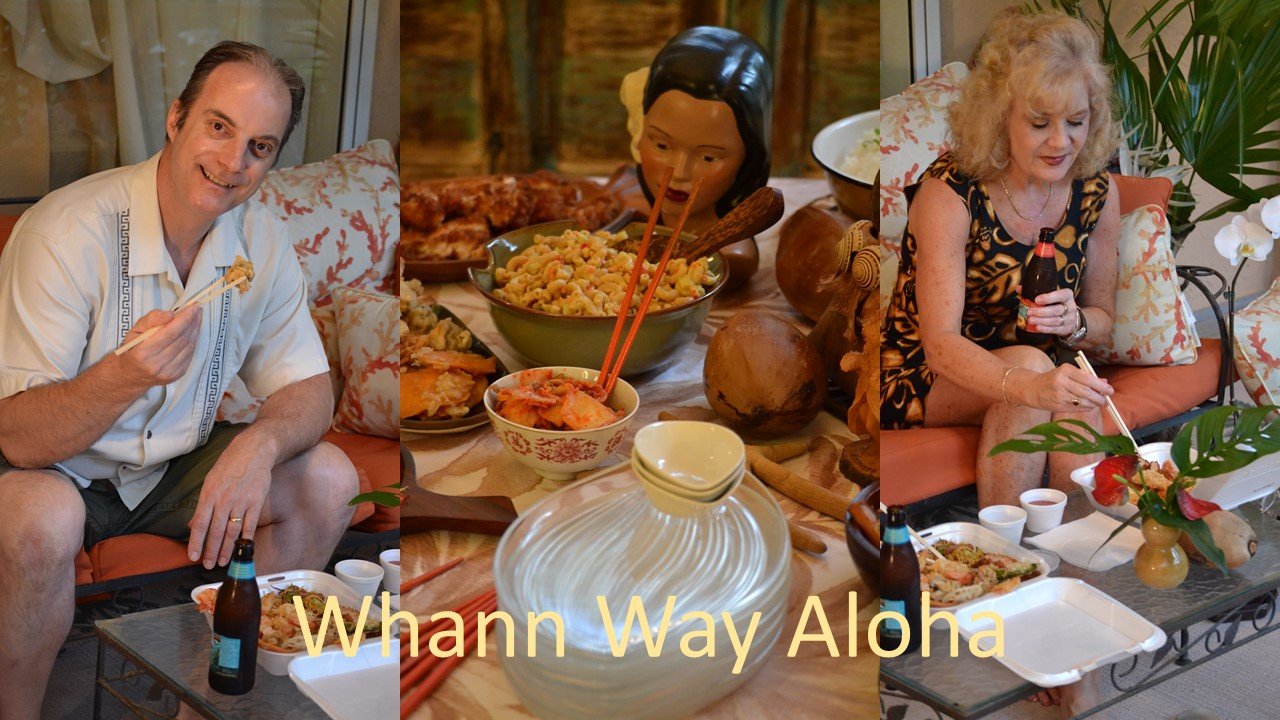
Above, is our Plate Lunch feast Recreation from Whann Way Aloha, if you would like to take a look.

My 31 Year Old Hawaiian Tote I Still Use
The fun leftovers that we love so much from this great feast.
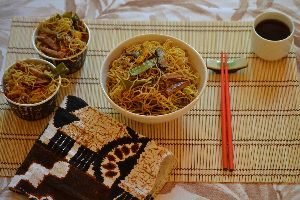
This is a light dinner of fried noodles, and even some friend noodles to take for a lunch the following day.

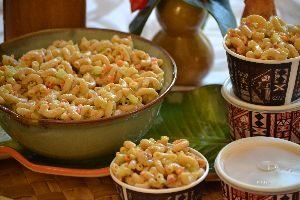
The Tasty Macaroni Salad

A Mini Plate Lunch
Same foods as in photos above, just smaller portions. I don’t like a lot of food for lunch anyway.
But just a sampling of the Hawaii street food culture.
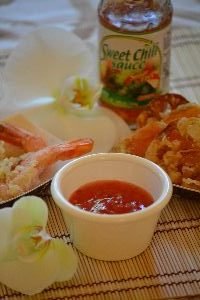
I’m also very excited that I found this great sugar-free Sweet Chili Dipping Sauce.
———————————-

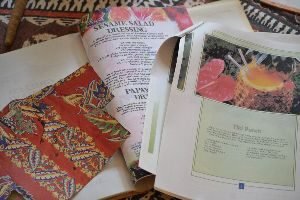
One of my favorite Hawaiian cookbooks.
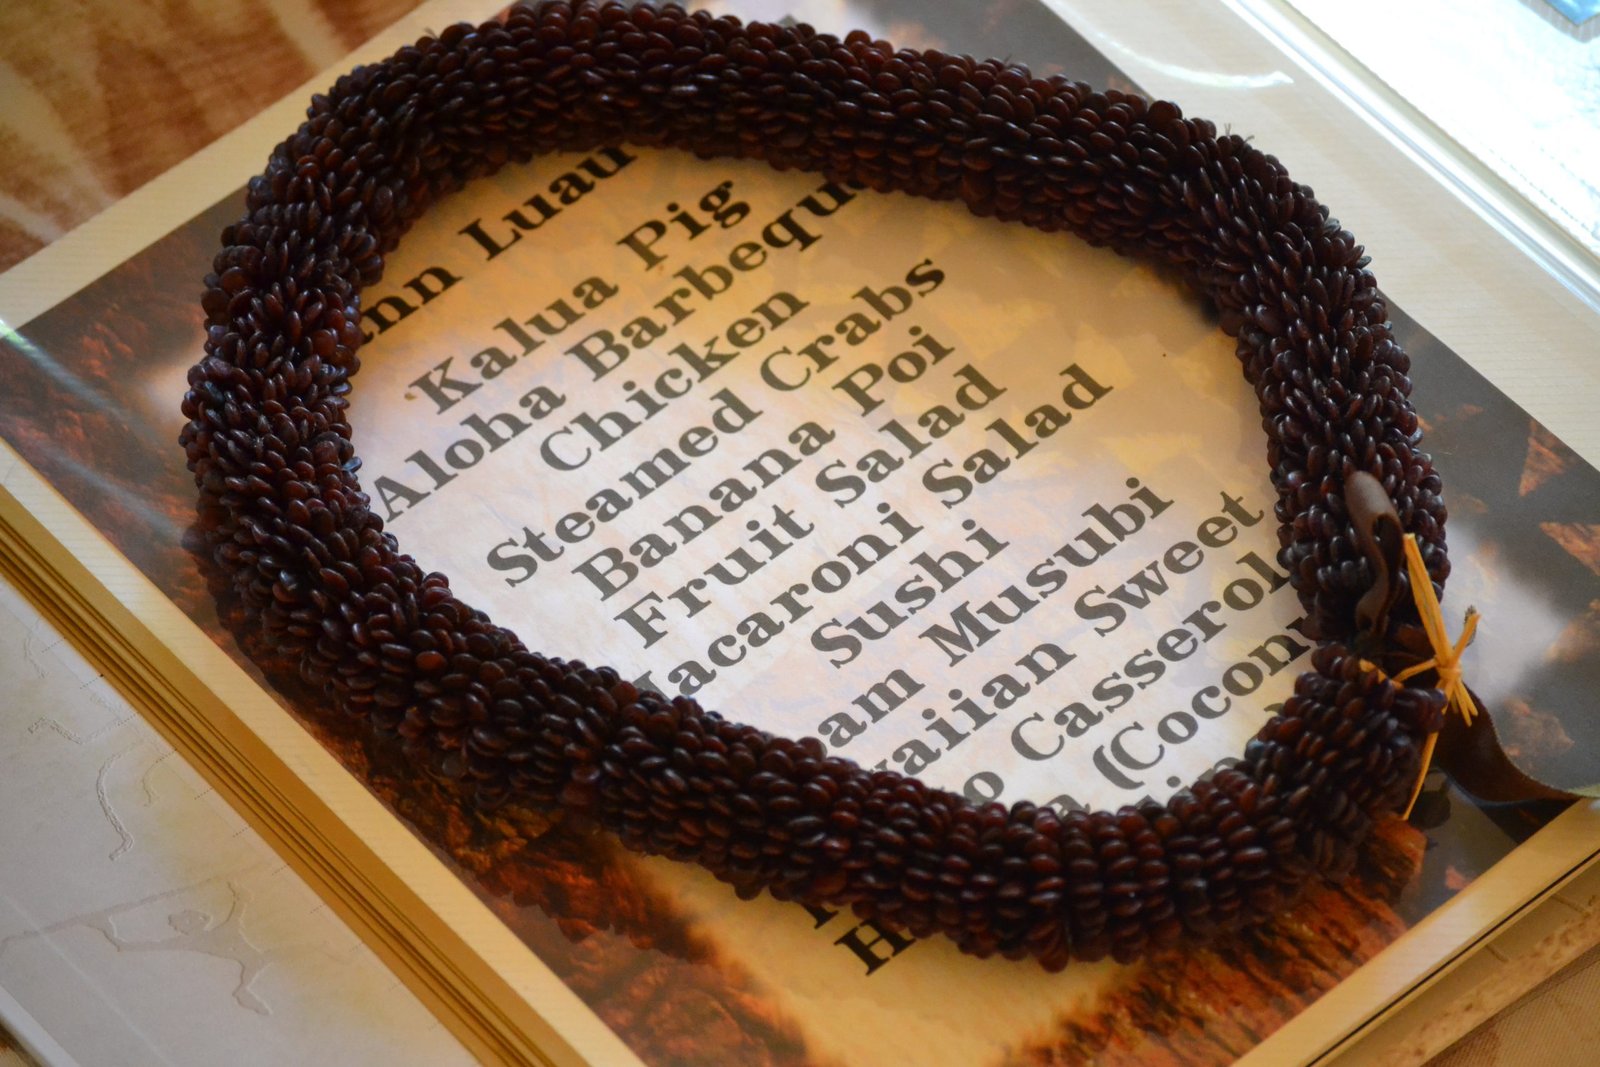
The Hawaii Whann’s Luau Recipe Booklet


I made this notebook filled with Hawaiian recipes our last year that we lived in Hawaii. That was 1999. I had collected many recipes while we lived there and I typed them all onto our computer and printed them out onto some lovely paper and added them to this book.


The photo at left is Brodie’s Favorite Fried Rice Recipe, and a Recipe for Hawaiian Sticky Rice.
I employed Veronica and Brodie to help me with this project. Brodie made the rice bowl out of construction paper and I glued it onto the inside cover of our “book.” Veronica glued the chopsticks onto each folder. Veronica was also skilled in origami and she made many lovely origami items to include in this package as well.
Our last year in Hawaii I made for all of our family and friends a Hawaiian Care Package, a Kalikimaka (Christmas) in July. I mailed out about a dozen of them. It was filled with so many lovely things that we had either made ourselves, found, or purchased.
(I think a total of 3 families actually thanked me for them.) 🙁

I must have made over a dozen of these notebooks filled with recipes.
I also had lots of inserts of recipes into this “book” as well. Some written on the back of postcards.
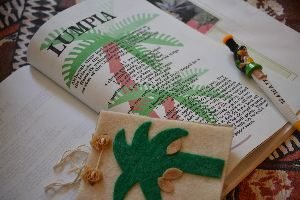
Here is a Recipe for Lumpia
Lumpia was a favorite of ours, and our children’s. Lumpia is from the Philippines and is like an egg roll but in our opinion, much better. We knew several Filipino’s during our many years in Hawaii and they always made the best lumpia that you can even imagine. Veronica’s friend Michelle was Filipino and her grandmother, originally from the Philippines, would make lumpia on the weekends. Gordon learned how to make Chicken Adobo from some Filipino’s that he knew as well.


Michelle with a gecko on her nose. And Brodie with Michelle’s little brother holding a gecko.
———————————–
The little notebook in the photo above I had my Girl Scout’s to make at one of our meetings. I used pasta shaped like pineapples to thread the string through to bind the notebook. We used cardboard, paper, and felt. It was a fun project and I still have mine to this day. 🙂
Veronica’s Coconut and her Brownie Recipe
Mocha Macadamia Nut Brownies
(A Favorite)


I stenciled the wooden clipboard above left. It’s an anthurium Hawaiian quilt pattern. I was always doing something crafty.
This blog post will feature our foods of Aloha and some photographs of us from our many years on Oahu.
Mahalo,
Julie and Gordon
——————————————————————-
Check Out Our:

Another Wonderful Food Recreation From Hawaii
——————————————-

Memories of Aloha

Brodie and the Crab
———————————
Gordon’s Salad w/ Kimchi

I realize this is hardly a recipe, it’s just a garden salad that Gordon made one night and decided he wanted to add some Kimchi to it. Kimchi is a Korean Spiced Cabbage that is eaten quite a bit in Hawaii. To some it is an acquired taste. But this is what life in Hawaii exposed us to, incorporating foods that we enjoyed eating in Hawaii, added to our everyday foods that we eat here. Some delicious mushrooms and an Asian dressing…..ONO!
——————————————-

Hawaiian Rice Bowls

Muscles
All For Our 35 Wedding Anniversary, June 22, 2020
Recreating a Food Memory
(Recipe Down Below)
———————————————————–
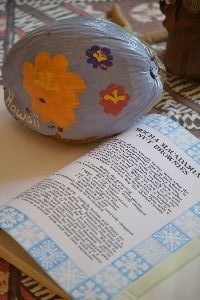
Going Coconuts
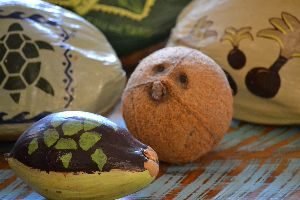
The Sweet Face Inside the Coconut Husk
One of the best things I loved about Hawaii were all the coconuts that we would find everywhere. My friends and I would drive around neighborhoods looking for coconuts lying on the ground. Then we would bring them home, clean them up and start painting them.
One time my co-leader in Girl Scouts and I were out driving around in her jeep looking for coconuts for our Girl Scouts to paint. We came across this steep embankment and noticed this ledge in the woods that were loaded with coconuts! There must have been a hundred or so. We were so excited to see so many!! BUT, how do we get down there to get them? Every tree was loaded with thorns, all of them!

EXHIBIT A!! (OUCH)
I was wearing a dress and flip flops while my co-leader had on shorts and a t-shirt with tennis shoes. She was too scared to scale the embankment so I realized it was going to be up to me TO DO IT!
Let me first explain to you the appearance of my co-leader…. She was something of a “tough looking” woman from Minnesota that had been on her own since the age of 18. She was something of a very sturdy looking woman COVERED in tattoos!!!! Almost every inch of her body has ink!! Really! She looked as if she was the toughest chick, a real badass. Weh, heh, hell….. She isn’t! It was ME that had to scale that embankment while wearing flip flops and a dress while holding onto palm trees with protruding thorns! When I reached the embankment I would throw the coconuts up to her and she would catch them and put them in her jeep. I came across a few poisonous centipedes that I was avoiding all along the way.

(Being stung by a centipede is the equivalent of getting bitten by a baby poisonous snake. Some of them are as large as 12 inches.)
Moral of the story is: you can never judge a book by it’s cover. I was the tough chick that day! 🙂 I also had to go to medical the following day and get about 11 thorns removed from my hands. My doctor was amazed!
——————————————-
When we were moving from Hawaii in 1999 my packers saw all of my coconuts and in a very insulting way said to me that “We’re going to call you the coconut lady.” I just looked at him and said, “Thank you. I like that.” He then changed his tune towards me the rest of the day and started being a bit nicer. 🙂

I loved painting coconuts! And tiles. Our kitchen table consisted of paints, pallets, brushes, coconuts, tiles, stencils…. you name it! Perhaps that’s why my daughter is an artist to this day. 🙂
—————————————-

Brodie and Veronica, School Pictures from Hawaii
Chili Cheese Rice

(Sans the Cheese)
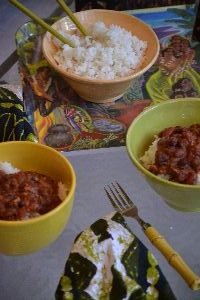
Chili is a big street food in Hawaii. Very popular at craft fairs and for fundraising. Zippy’s is a very popular restaurant chain in Hawaii that sells their Zippy’s Chili by the ton.

Organizations fund raise off Zippy’s chili and do quite well.

The First Zippy’s Restaurant, King Street, Oahu, 1966
——————————-
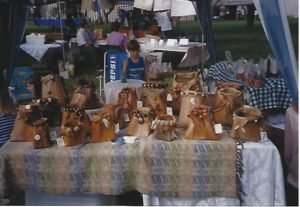

Craft Fair, Our Booth
(Little Brodie pouting because I’m making him stay with me in the booth and not letting him run around the place alone.)
A woman I knew in Hawaii and I had a booth at one of the many crafts fairs on the island. She made the beautiful baskets you see pictured at left. My contribution were the painted pots and tiles, right. Needless to say, Stephany made more money than I did that day. Her baskets were beautiful! I even have some of them.
But it was here that when it came time for lunch, we hit the chili booth. Big scoop of white sticky rice with chili poured over it, then topped with some cheddar cheese.

Perfect Lunch!
It was with that in mind that I make my Chili Cheese Rice.

Eating our Chili Cheese Rice on our Lanai
I do not have some fancy recipe to give you.
My chili is not some hand me down recipe from long ago by a deceased family member of mine, or some vintage secret recipe a sweet little Hawaiian auntie gave to me during our many years in Hawaii, but it is Darn Good!
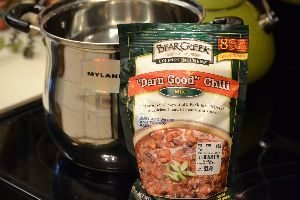
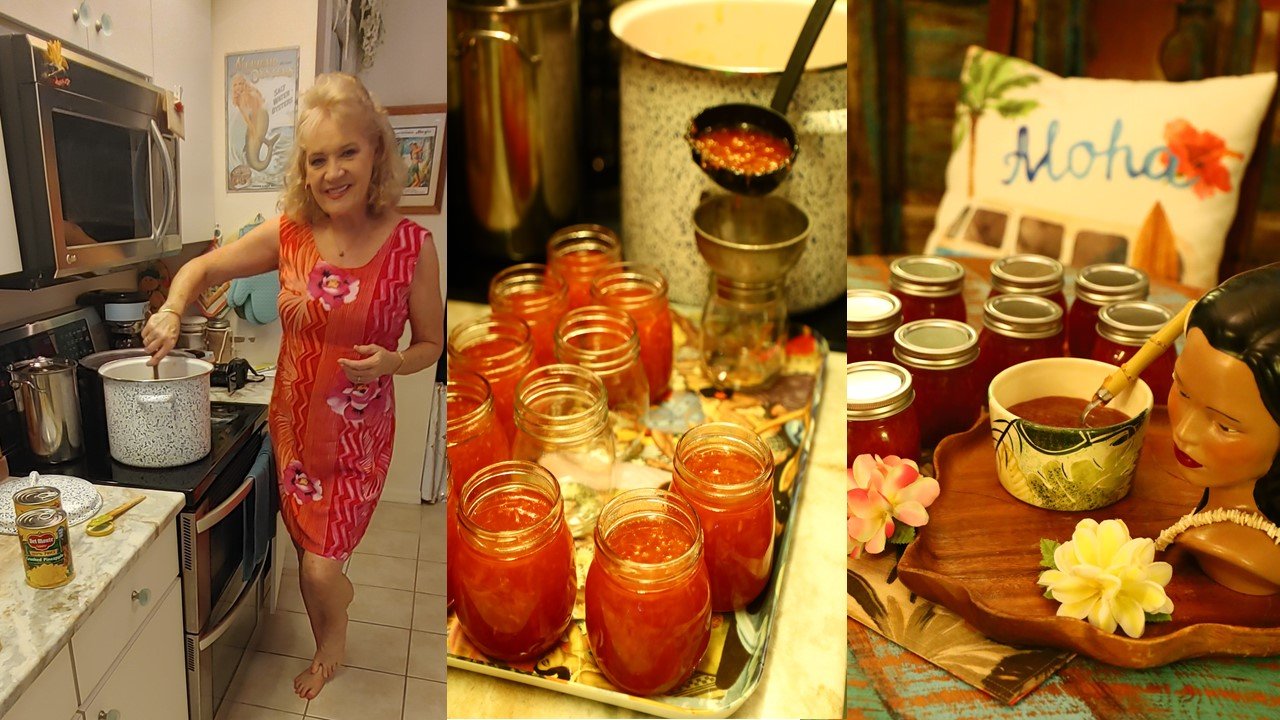
As in “Darn Good” Chili
Not everything has to be homemade in order to be good. I use this as a base and I build on it by adding other ingredients. I can also stretch it to feed more people. A good idea for a large family living on a budget. Throw in the sticky rice and you can get it to stretch even further.
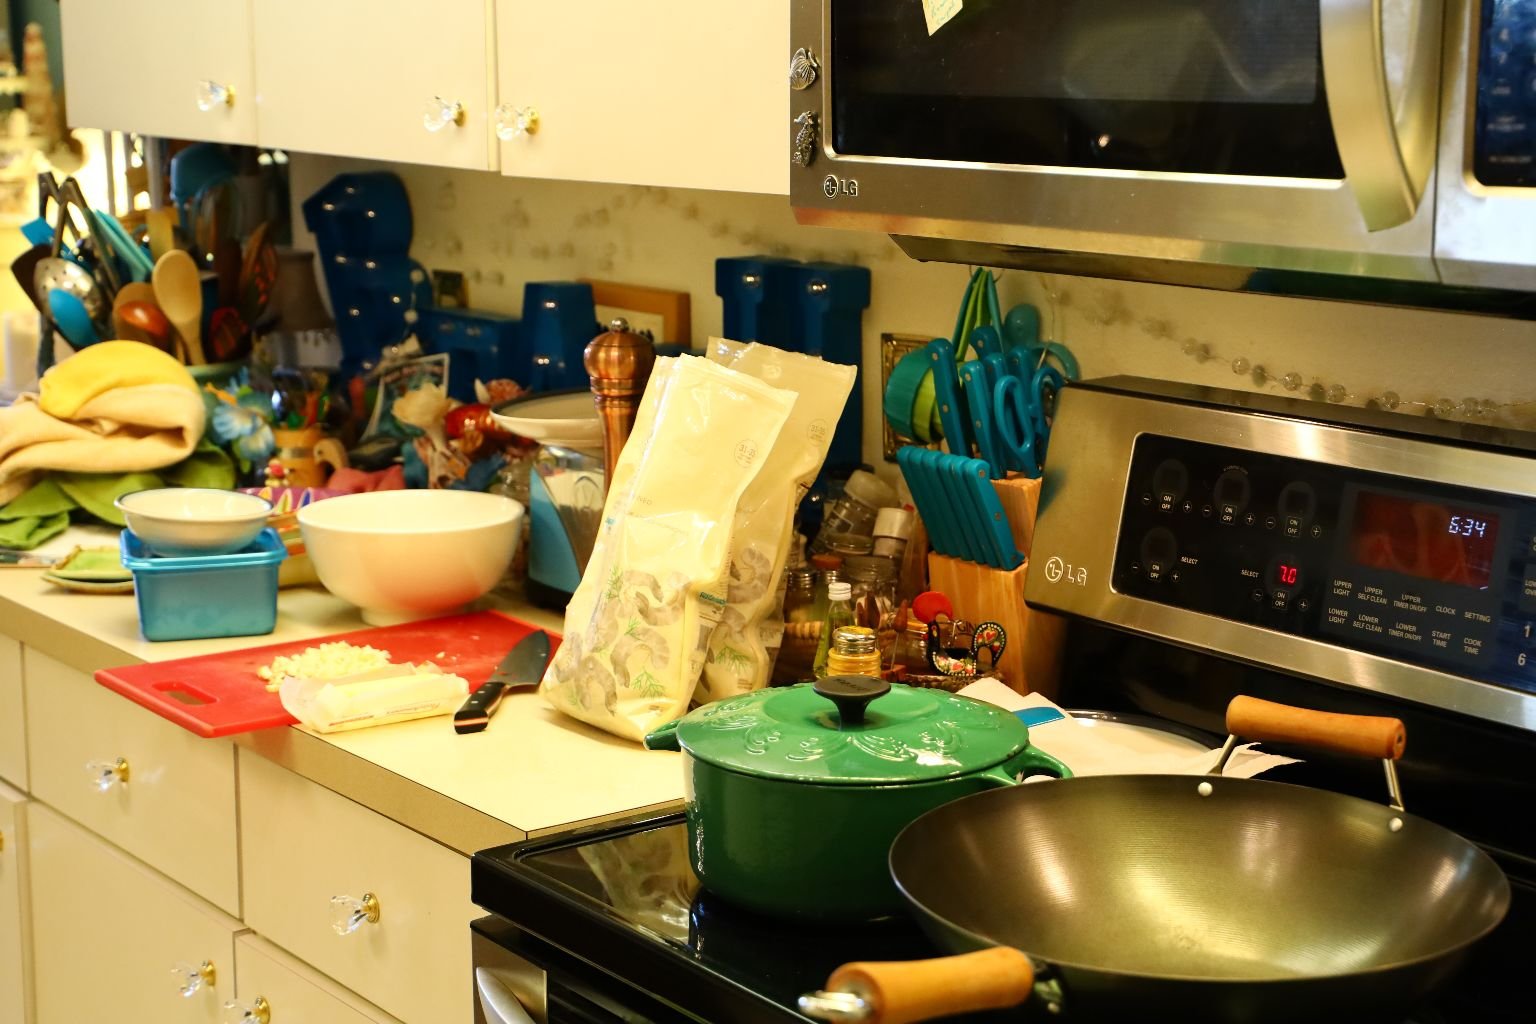
Here’s What I Do:
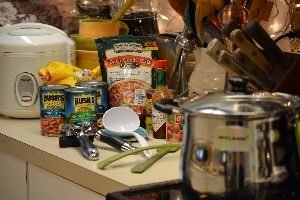
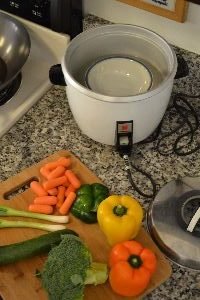
Set out all your ingredients along with the pot, utensils, and rice cooker.

In addition to the 1 bag of “Darn Good” Chili, I add 3-4 cans of Light Red, and Dark Red, Kidney Beans, and some black beans, but no more than 4 cans of all. I add 1-2 cans of Tomato Paste, some dashes of Tabasco Sauce, 2 cans of diced Green Chili’s, and plenty of freshly ground black pepper to taste.

Start making the chili by using the package directions on the bag of “Darn Good” Chili, or any chili that you prefer.
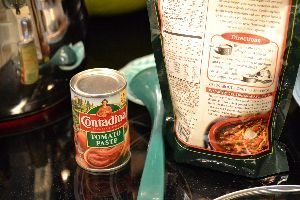
The recipe only calls for one can of tomato paste. Here is your base, now build on it.

So start with your chili base and start adding the cans of beans and other ingredients to the pot, but be sure to drain your beans first.

Bring everything to a boil then lower the temps gradually, that’s what I do anyway. I’ll reduce it from high, to med-high, then to med., then to med-low, then to low. Making sure the chili isn’t sticking and burning on the bottom.
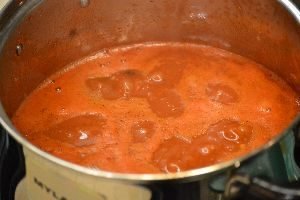
After about 20 minutes I’ve got the chili on a very low heat and I keep it there for the next 2 hours. Although it’s done after 20 minutes, I don’t care. I like it to really thicken up. Just make sure not to burn the chili.
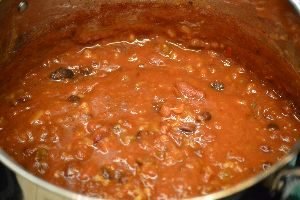
When it starts to look like this I always like to dip Saltine Crackers in it just to snack on. (My confession.) 🙂
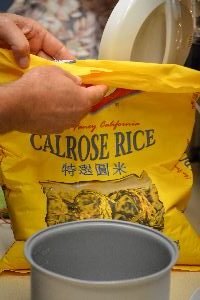
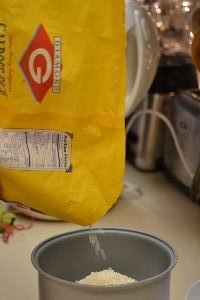
Calrose Rice
Calrose Rice is a staple in Hawaii. It’s a short to medium grain rice that works very well in island cooking.

It’s nice that the rice cooker does all the work here.

Add the Chili and Cheese and you’re all Set
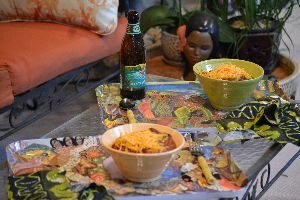
A Great Dinner and a Nice Memory
“Beans, beans, good for your heart,
the more you eat, the more you ……”
———————————–
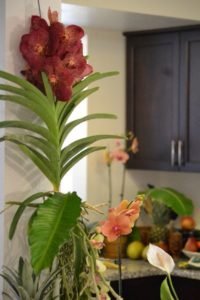
Vanda Orchid
I do Love the Tentacles

This is something of a recreation of some of our favorite foods from Hawaii, including LUMPIA!

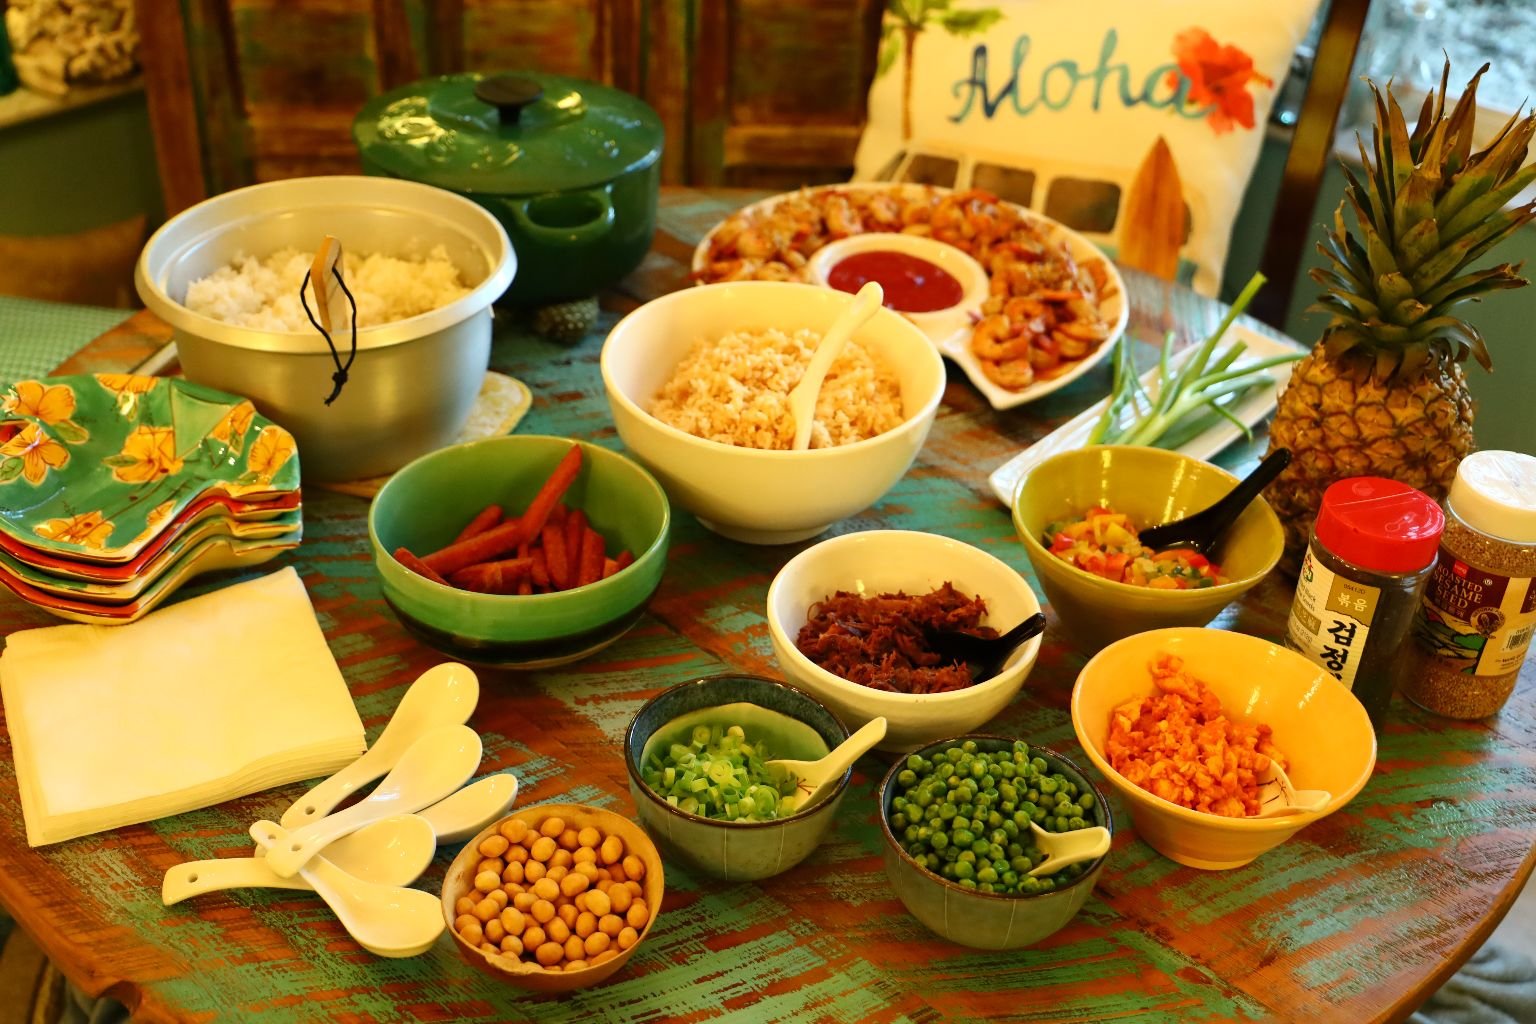
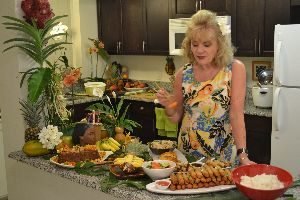
Our Lovely Buffet and our Messy Kitchen

Some of our favorite foods from Hawaii.

The Don Ho Cocktail
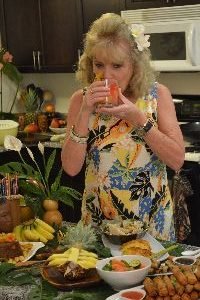
This is my ‘OMG is this ever good’ cocktail face.
This was also a cocktail that I asked Gordon to create in honor of Don Ho.
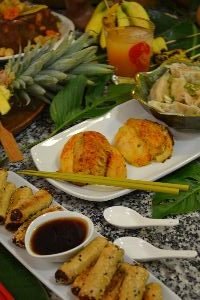

Stuffed Flounder w/ Crab and Shrimp, and our new favorite, Yum Yum Stix!

And or course, LUMPIA!

This lumpia we did buy ready made and frozen at the Asian supermarket.
All that was required was for us to cook it in oil.

I’m Dancing because it all tastes sooooo good!

This is a bread/cake that I created based on two vintage Hawaiian recipes. To view the post:

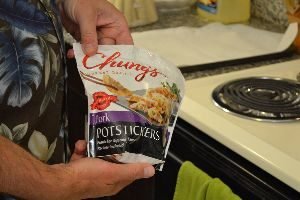
We also had steamed veggies, white sticky rice, and potstickers.
How much we do love our favorite foods of Aloha.
—————————————–
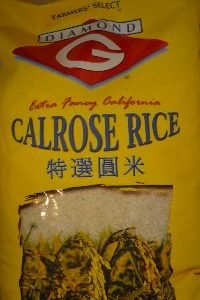
The local’s of Hawaii use Calrose Rice.
And by local’s I mean Asian, Polynesian, Haole, Portuguese, etc. Local is not a race or a skin color, a local is anyone that adapts the Hawaiian lifestyle and it’s many cultures.

A rice cooker is also a must with the local’s as they make rice everyday.
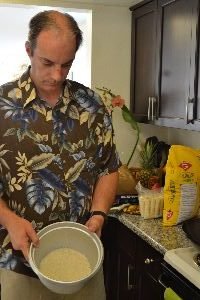
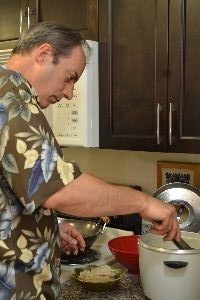
Gordon Making Rice
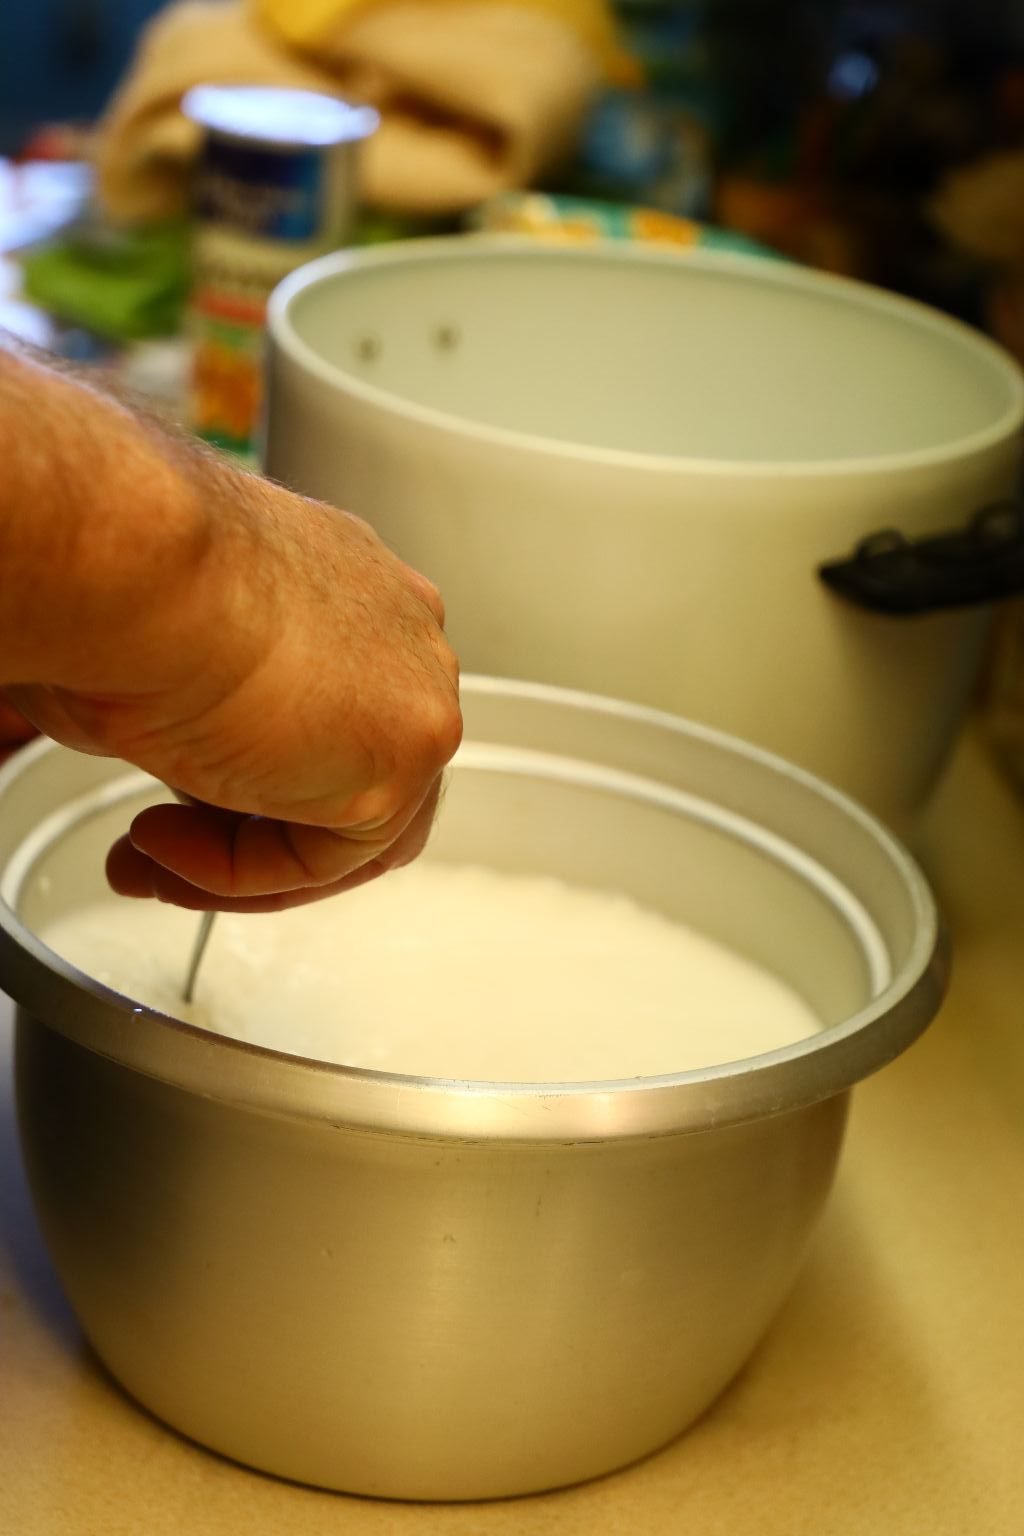
The local’s wash the starch coating off of the rice, American mainlander’s don’t. Here’s how to do it the local way!


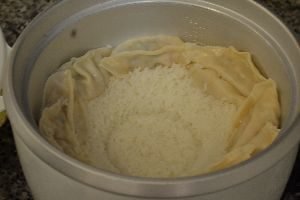
Washing the rice is done by placing about a cup or more of rice in the pot. Pour in about 3 cups of water and run your fingers through the rice mixing it well, which will begin to wash away the milky looking starch. Pour out the milky/starch water and fill the pot again with fresh water and mix the rice in the water. Do this 3-4 times until the water is clear when mixed with the rice and again, pour out the water.
Now, fill with clean water to 1 inch of above the level of the rice. You can also place your index finger into the water and when the water is at your first knuckle just above your fingernail, you are at 1 inch.
We are basically turning this rice cooker into a crock pot.
Place a small dishwasher proof bowl on top of your rice, then place your potstickers around the edge of the bowl as shown below.

Let’s see just how many goodies we can cram in here.
Cut up your vegetables into even sizes and place them in the bowl.
Here we used zucchini, broccoli, carrots, and bell peppers.
Season the vegetable any way you like. We used a touch of ground pepper.

Place the lid on top of the rice cooker and push the start button.
Pending on your rice cooker, it will take ~25 min. to cook the rice.

Below, you can see the cooked vegetables and potstickers.
Great pictures Julie!

Carefully remove the bowl as it will be very hot, and drain the water out of your vegetables using a colander.

Now, remove your steamed potstickers and rice and enjoy your one pot meal!
——————————
The Stuffed Flounder


This was all ready made from the grocery store. It just required cooking it in the oven until ready.
It was surprising how good it was considering. The filling was made of a mixture of seafood.
To cook them, we used a small sheet pan lined with aluminum foil and a touch of olive oil, then placed the stuffed flounder on top.
This was not frozen when we cooked it, but if it is, be sure to thaw them before cooking.
I baked it at 400’F for about 15-20 min.
Beautiful Presentation

———————————
THE LUMPIA

We purchased this at the Asian supermarket, ready made.

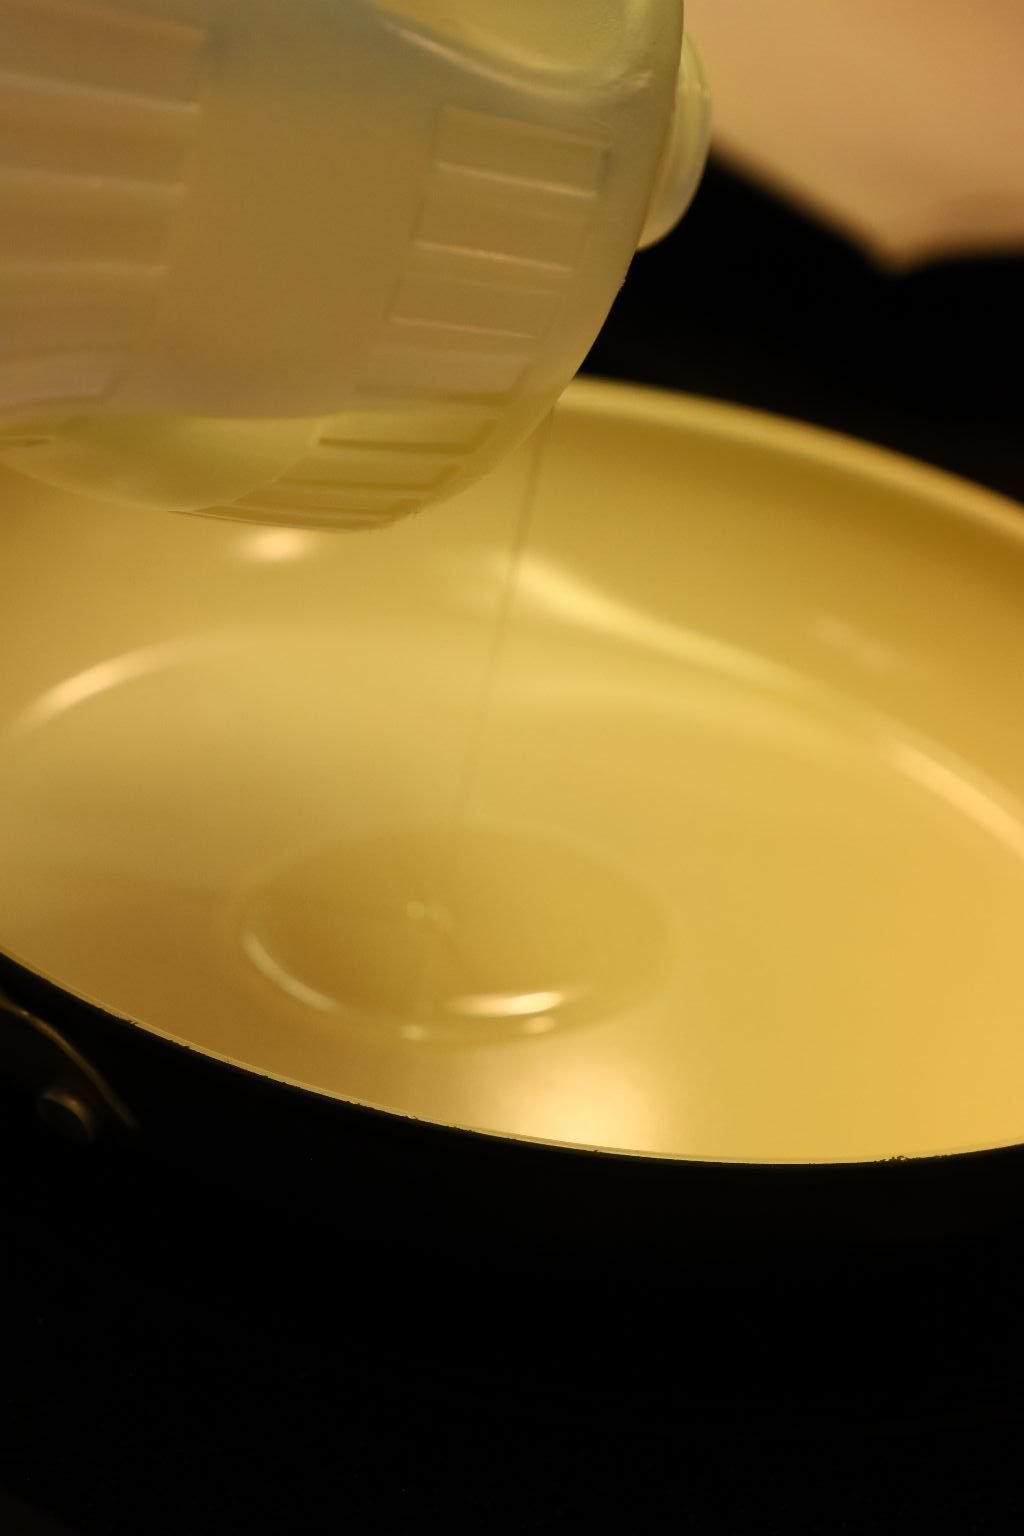
Gordon Adding about 2 to 3 cups Vegetable Oil


Heat the oil to about medium high temp.


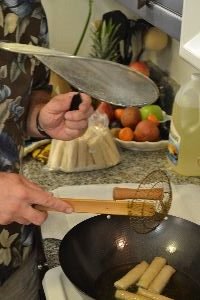
When the oil is at temperature, carefully place in the lumpia.
Use a spatter screen to stop the oil from spattering… or try to.
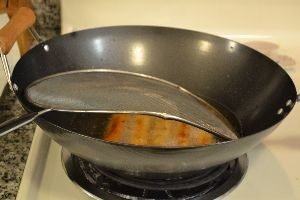
Cook the lumpia until golden brown turning when needed.
I had to photograph the warped spatter screen at the condo.
I think we threw it away after this meal. 🙂
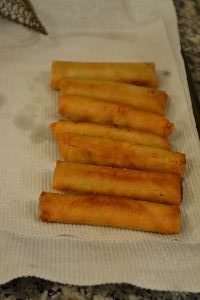

Let the lumpia drain on paper towels.

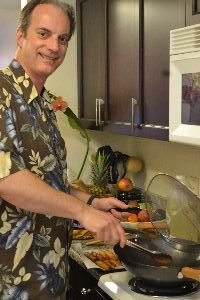
Gordon at his Aloha best cooking the lumpia.
We always garnish our foods, and why not, we are worth it!

Lumpia
Add a dipping sauce, some chopped spring onions.
Perfect finger foods, especially for kids.
—————————————
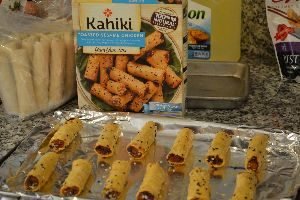
Yum Yum Stix are one of our new favorite things.
You can buy them ready made at your local supermarkets, they come in a few assortments, we happen to love these though!
So simple to make, just place in the oven as per the instructions on the package.
When done, use your favorite dipping sauce and eat.
Excellent dinner!

Yum Yum Stix and Dipping Sauce

—————————-

The sunset from the beach condo sinking into the ocean.
Beautiful!
———————————————————
Happy 35th. Wedding Anniversary to Us!
Our anniversary was June 22, 2020. We were still in our self imposed lockdown due to the Coronavirus and we wanted to do something nice and easy for our anniversary that took us back to our lives in Hawaii. So, we came up with Hawaiian Rice Bowls.
———————————————
Steamed Mussels
——————————————————
Hawaiian Style Fried Rice – this type of rice is a make your own version which allows the guest to create their own fried rice bowl using either seasoned or coconut rice.
————————————————–

Making Coconut Rice
Ingredients:
2 Cups Calrose Rice – (Diamond G) Extra Fancy
1 1/2 Cups Coconut Milk
1 1/2 Cups Coconut Water


Using a rice cooker, pour your Calrose rice into the pot and rinse it well to remove the excess starch. This will probably take three times until the water runs clear. Drain the water from the rice.


Add about 3/4 your coconut milk to the rice…


then add 3/4 of your coconut water to the rice. Pending on the level of liquid above the rice, you may need to add more coconut milk. Gently stir the ingredients together then shake the mixture to level the rice.


The level of your liquid above the rice should be at least on of your finger’s knuckles or one inch above the rice. Add more coconut water to raise the level of the liquid if needed.

Stir all the ingredients well.


Cook the coconut infused rice in the cooker. While your rice continues to cook, complete the other recipes below.
—————————————————————-

Hawaiian Style Rice Bowl
Ingredients:
6 Green Onions
2 Cans Spam
2 Tbsp. Peanut Oil
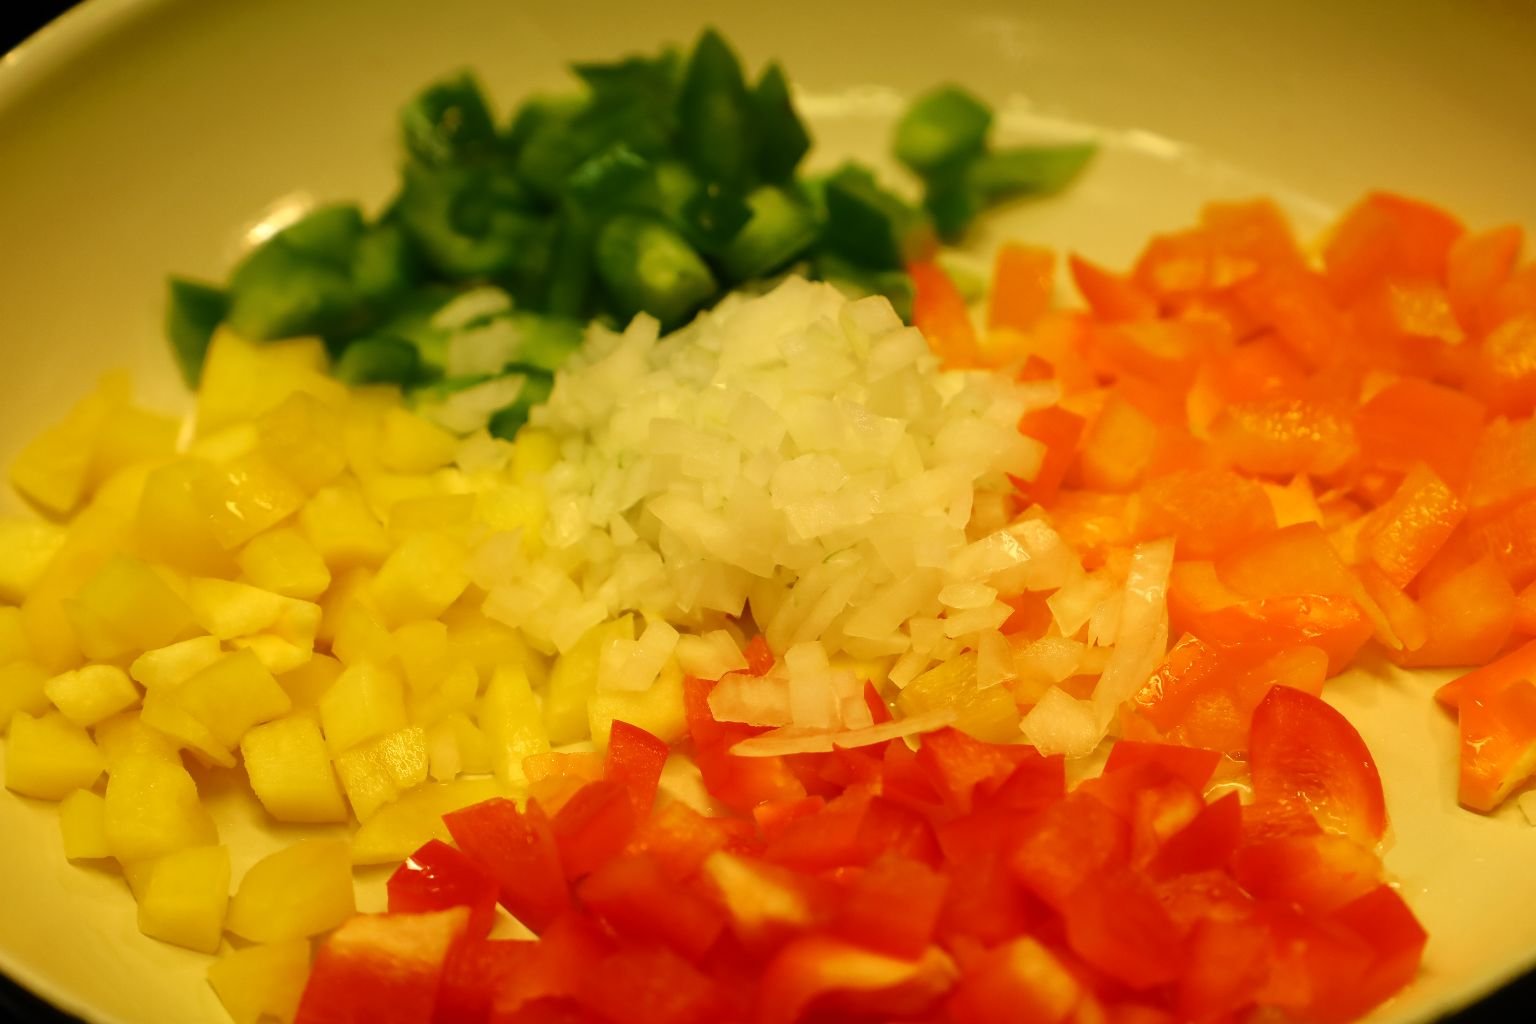
1/2 Cup of Each Diced Green, Orange, Red, and Yellow Bell Peppers
1/4 Cup Diced Yellow Onion
Green Peas
Char Siu Pulled Pork
Egg Whites/ or 2 Eggs, Beaten
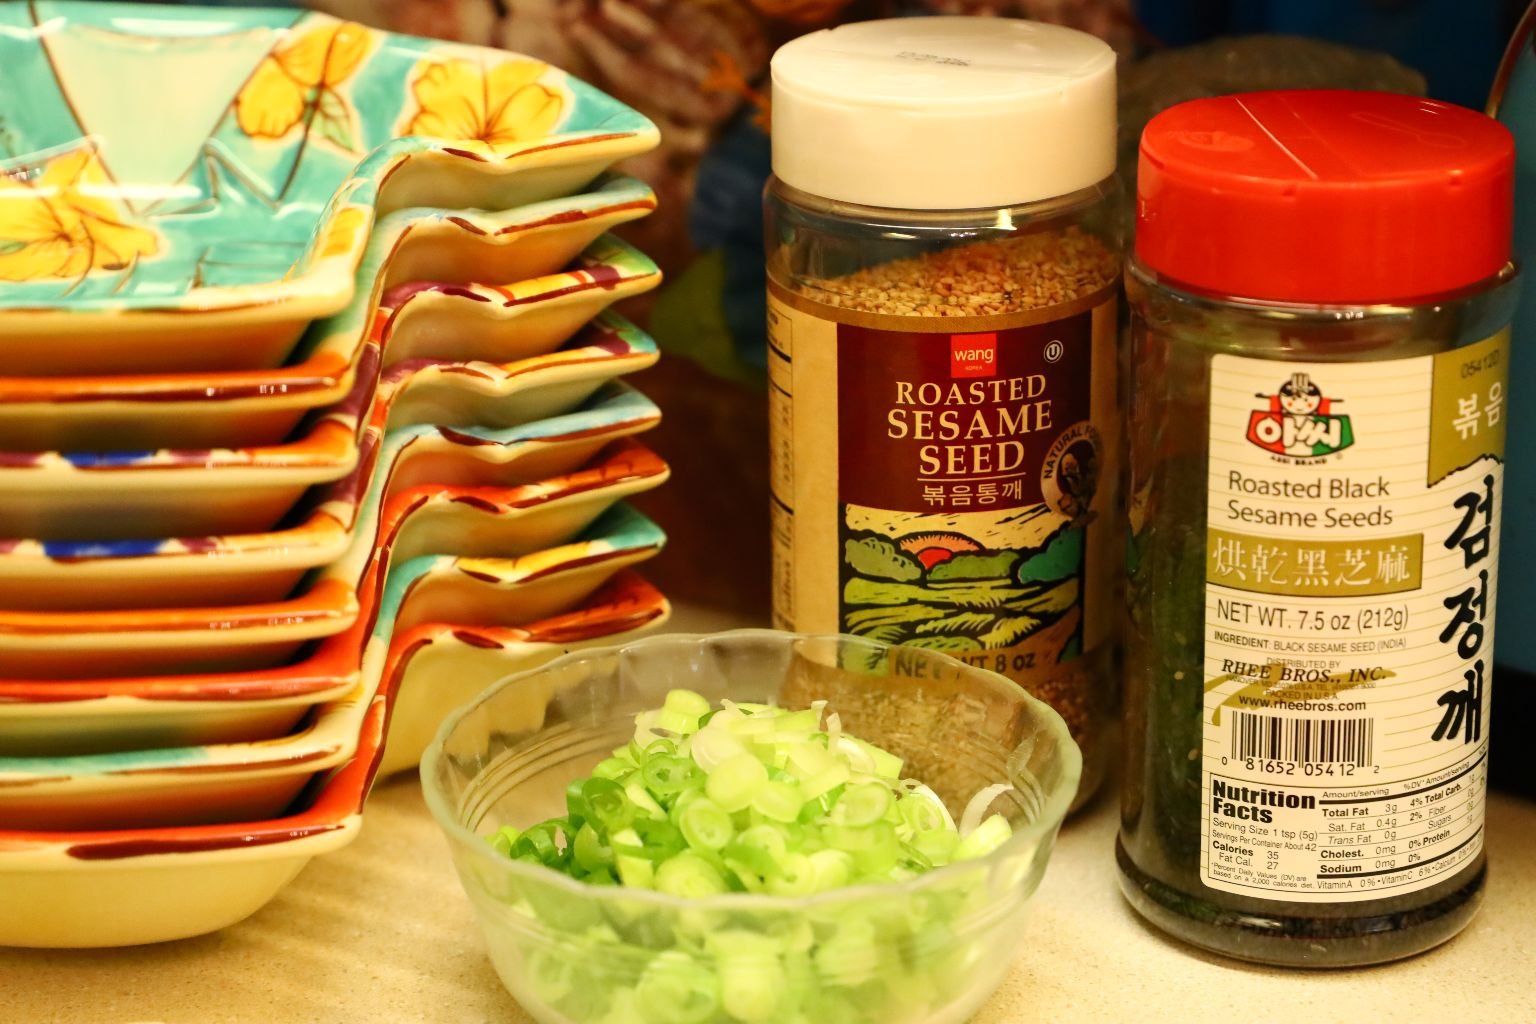
Roasted Sesame Seeds – Black and Regular
Turmeric Powder
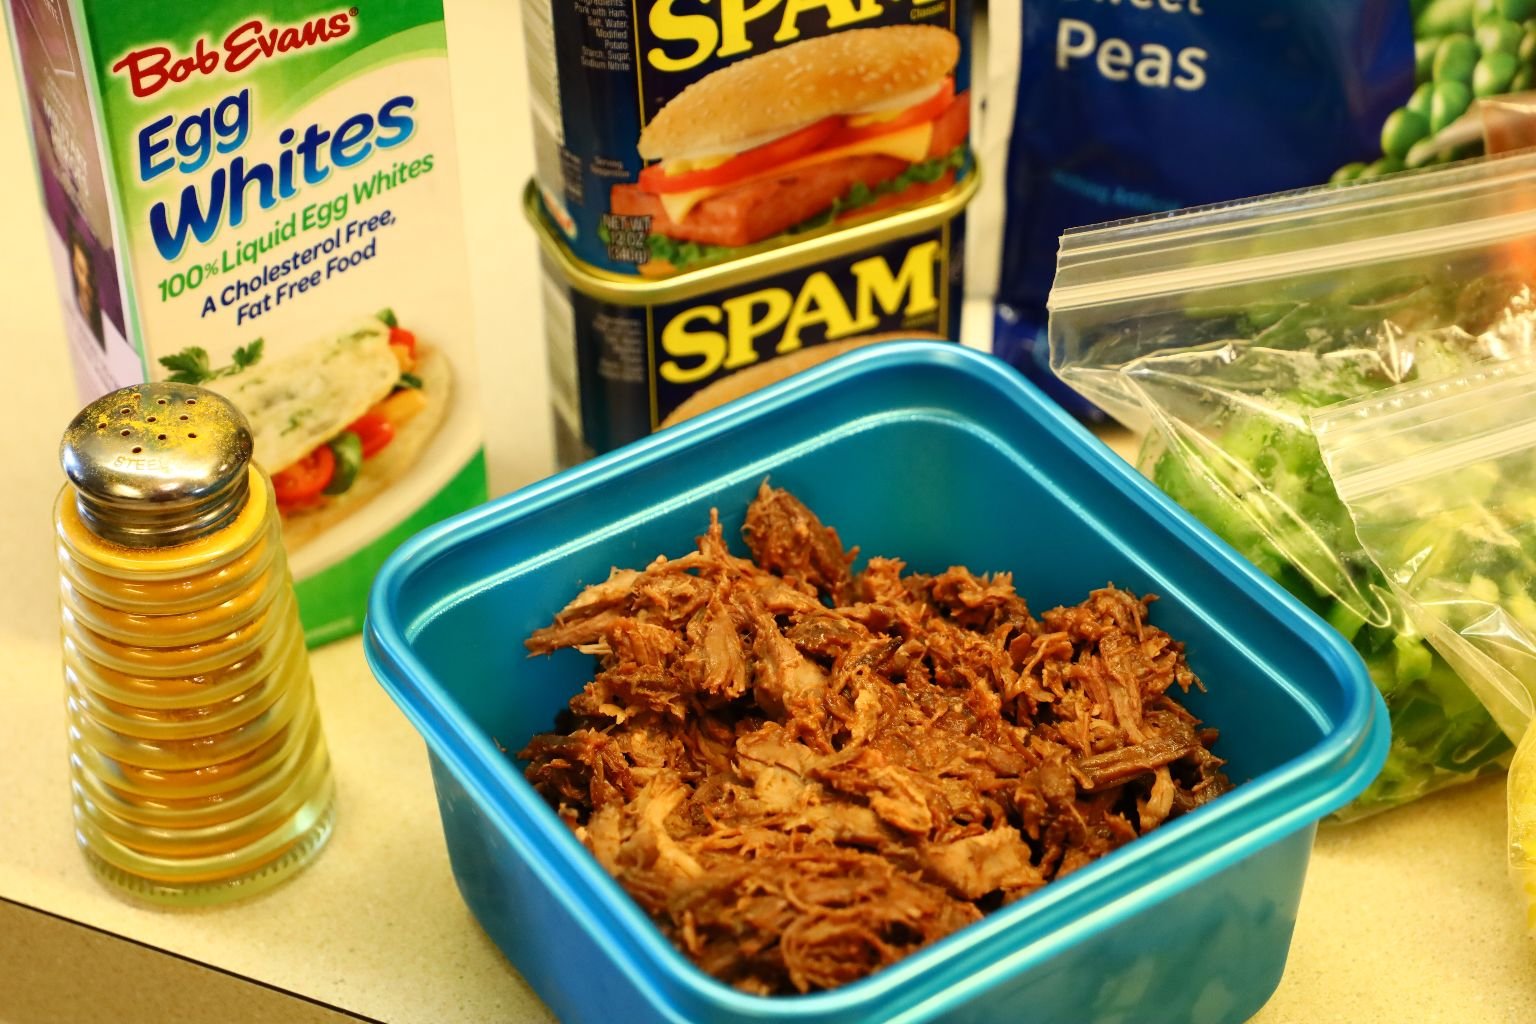

We are Actually Using our Leftovers Here

Wash your Green Onions.
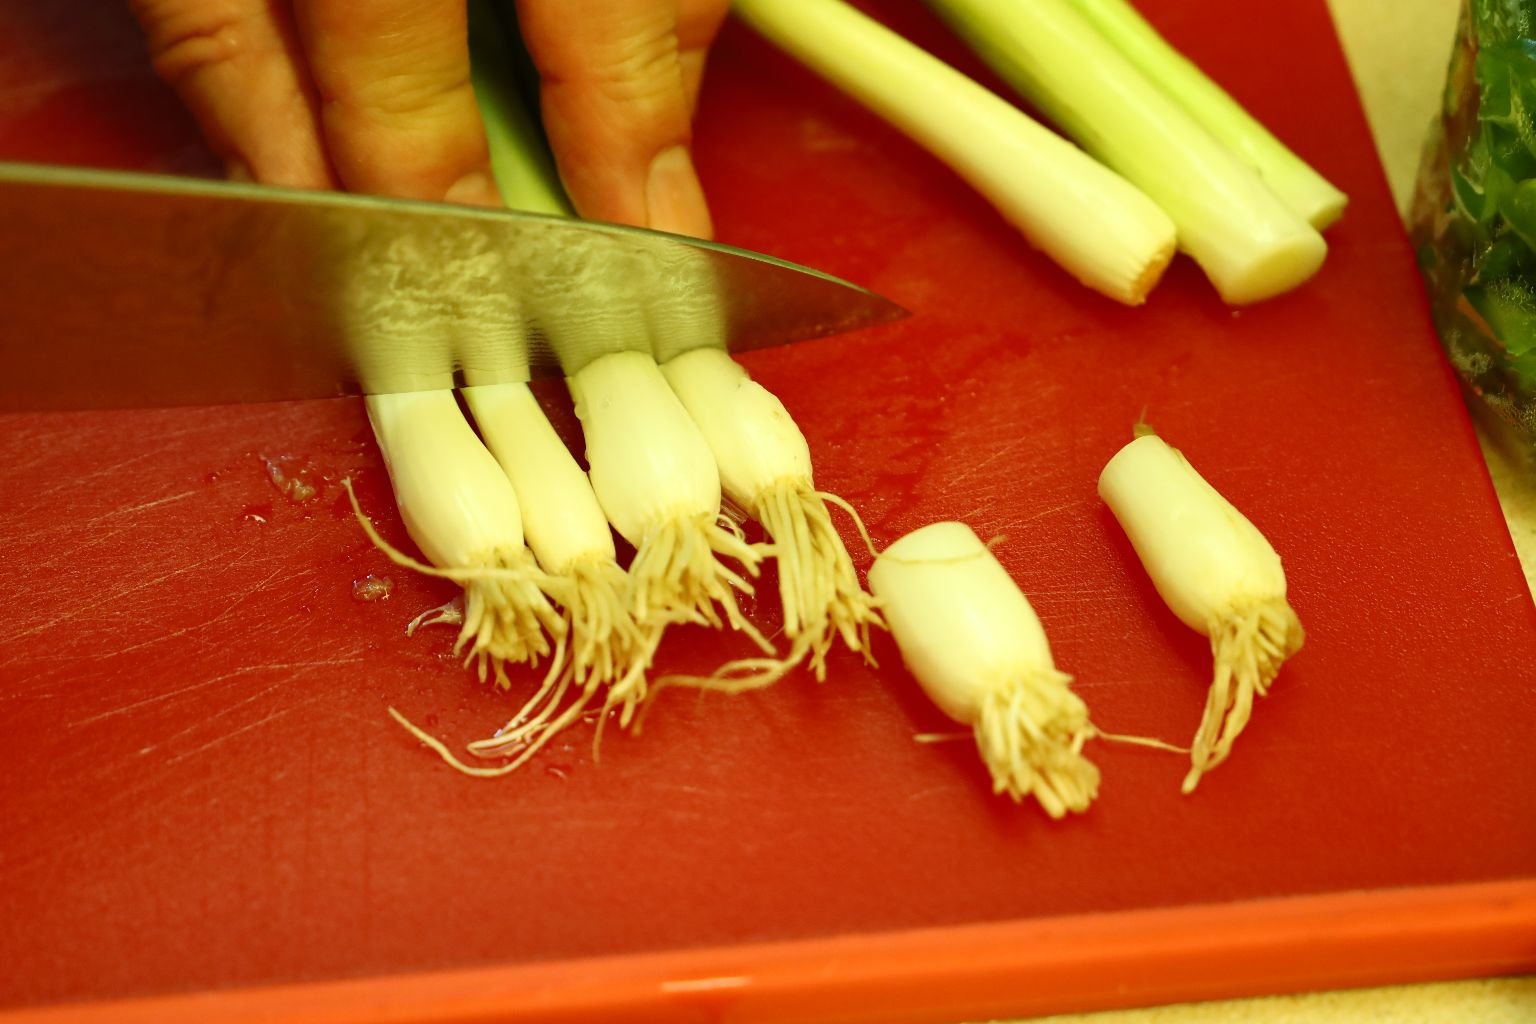
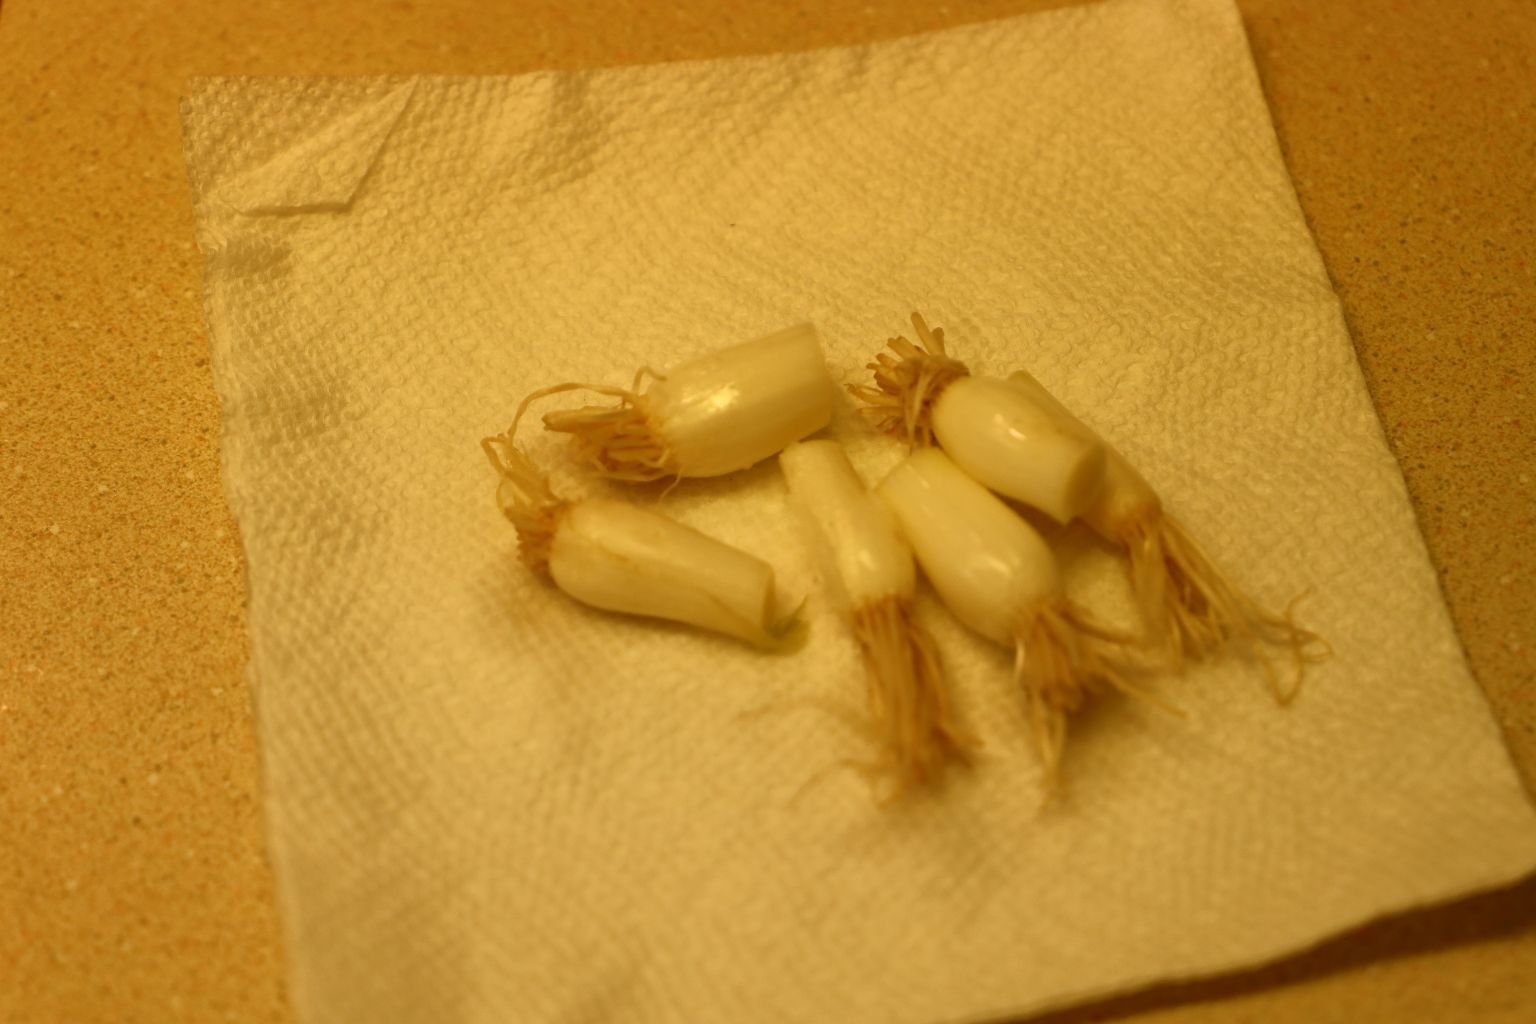
Slice off the ends of the Green Onions about one inch away from the root end. Save these root ends and plant them. In just a few days they will start to grow. In about a month they will be large enough to harvest.


Slice your Green Onions in rings as shown.
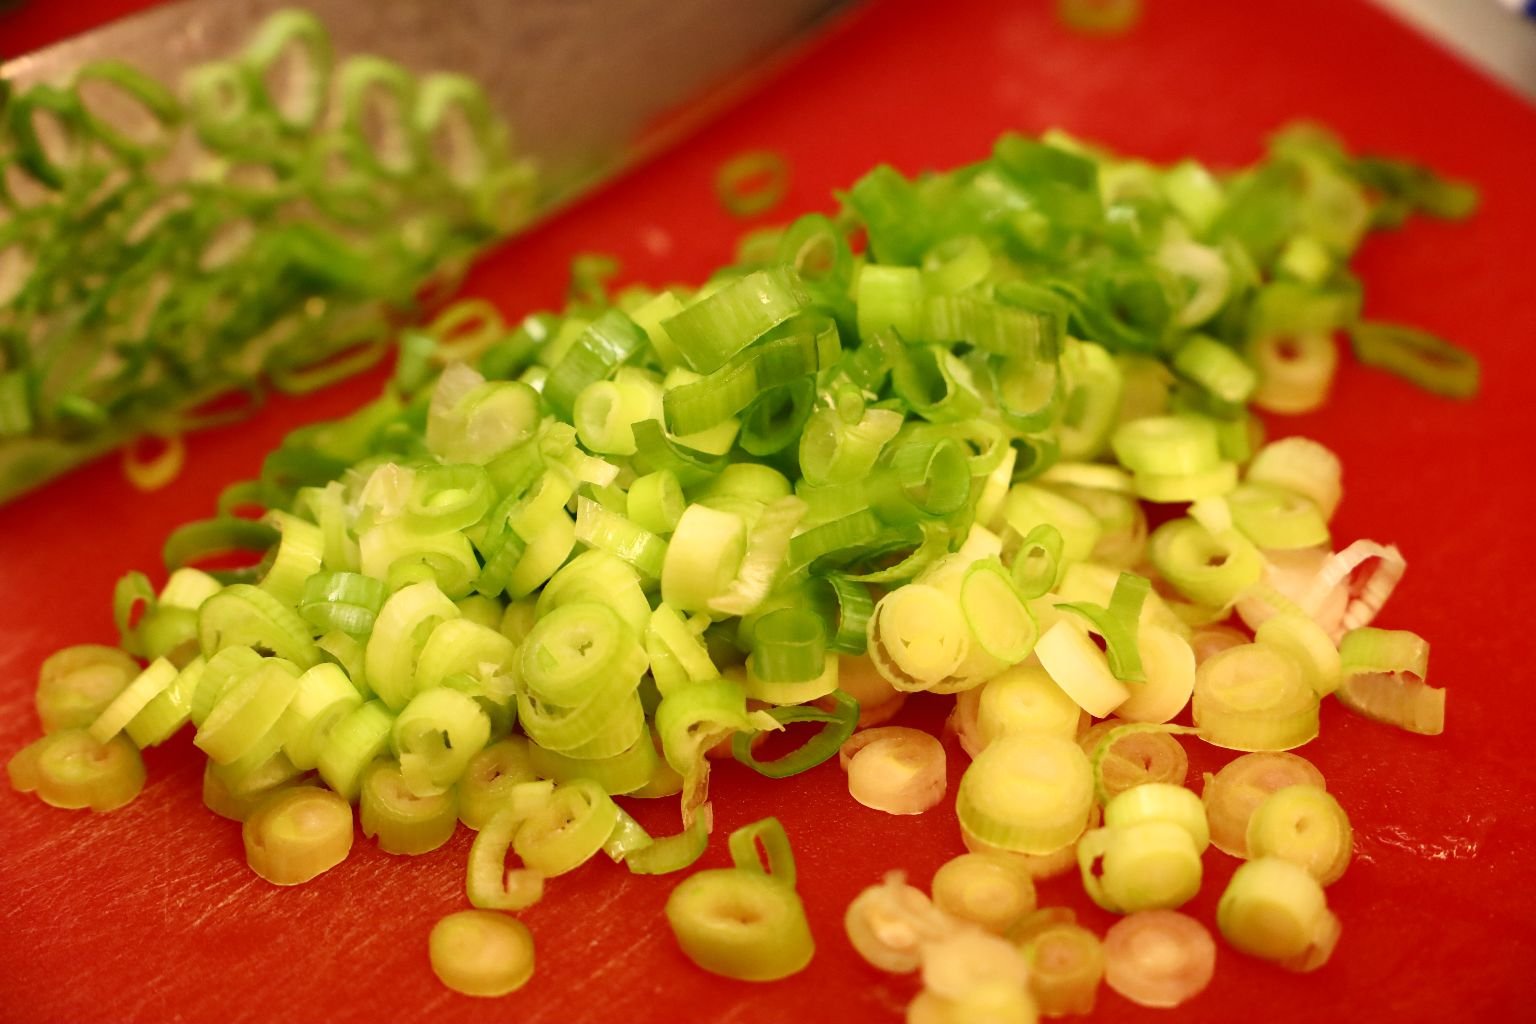
Slice the green section of the Green Onion to where it gets dry and withered.
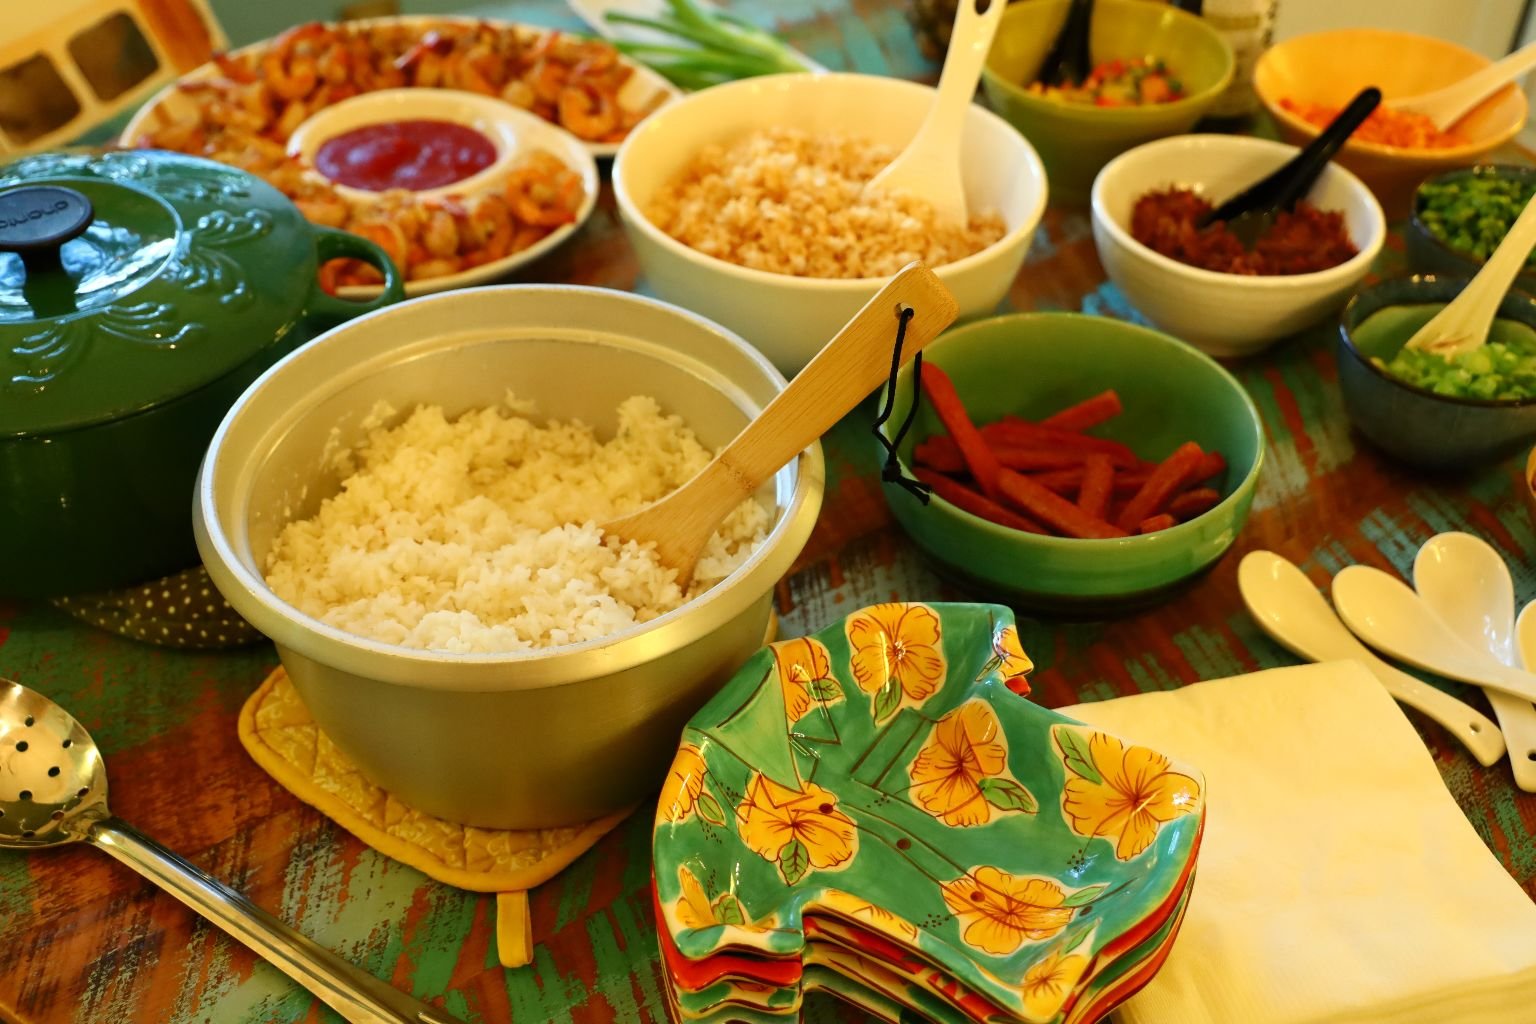
Here you can see where we have our Hawaiian Shirt rice bowls and other ingredients ready to use.
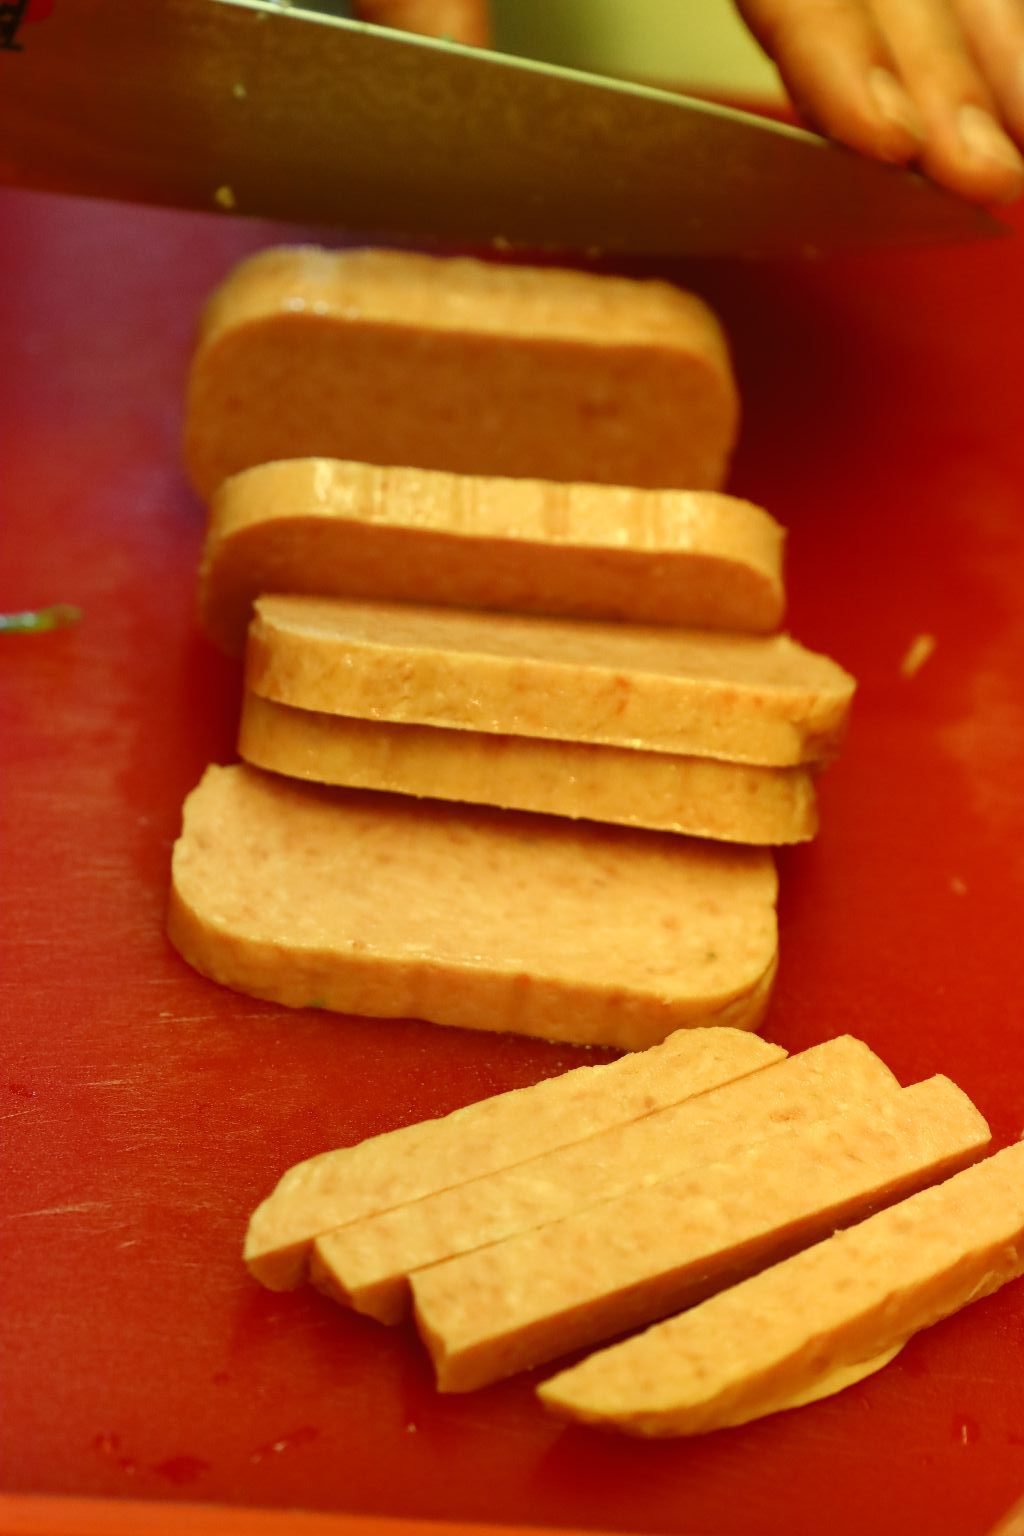
Slice your Spam into long strips about 1/2 inch in thickness. Place 1 Tbsp. Peanut oil into a large saute pan and heat to medium high heat.


When the oil is at temperature, place your spam into the pan and cook them until they are golden brown… about 10 minutes.

Clean the pan, and add 1 Tbsp. of Peanut Oil to the pan and heat to medium high heat. When the oil is at temperature, add your diced peppers and onion.

Saute your peppers and onions until soft… about 8 minutes.
While your rice continues to cook…..
Saute your shrimp
Ingredients:
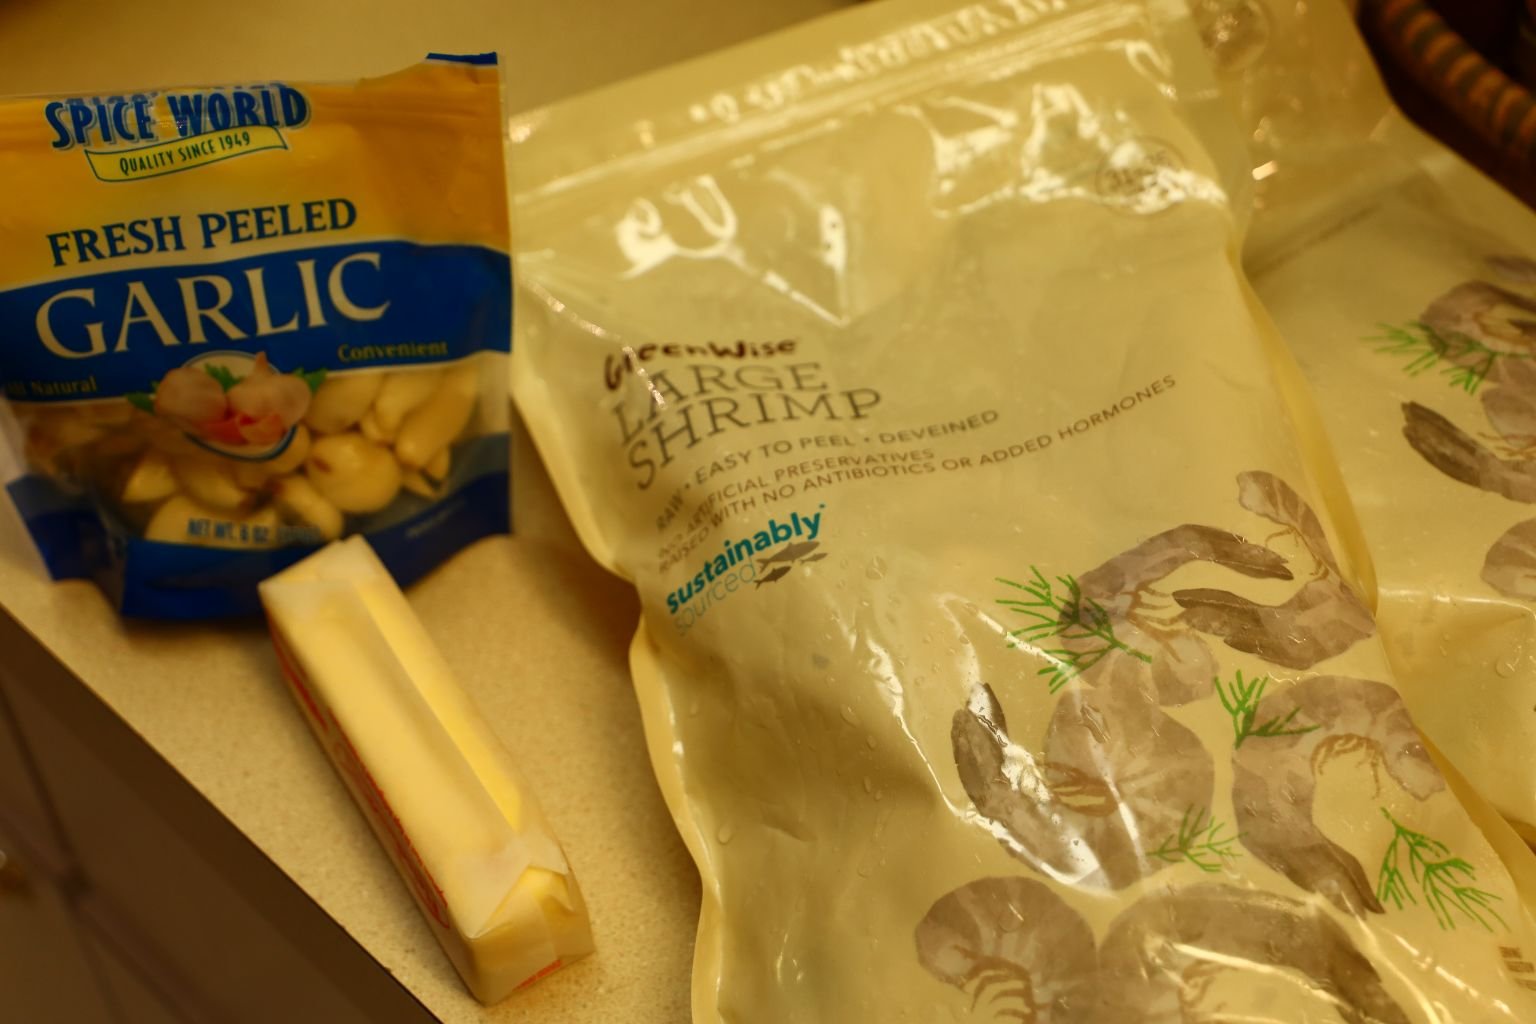
~14 Garlic Cloves – sliced
1 Stick of Butter
2 Bags Frozen Shrimp – Thawed, Rinsed, and De-veined
2 tsp. Old Bay Seasoning

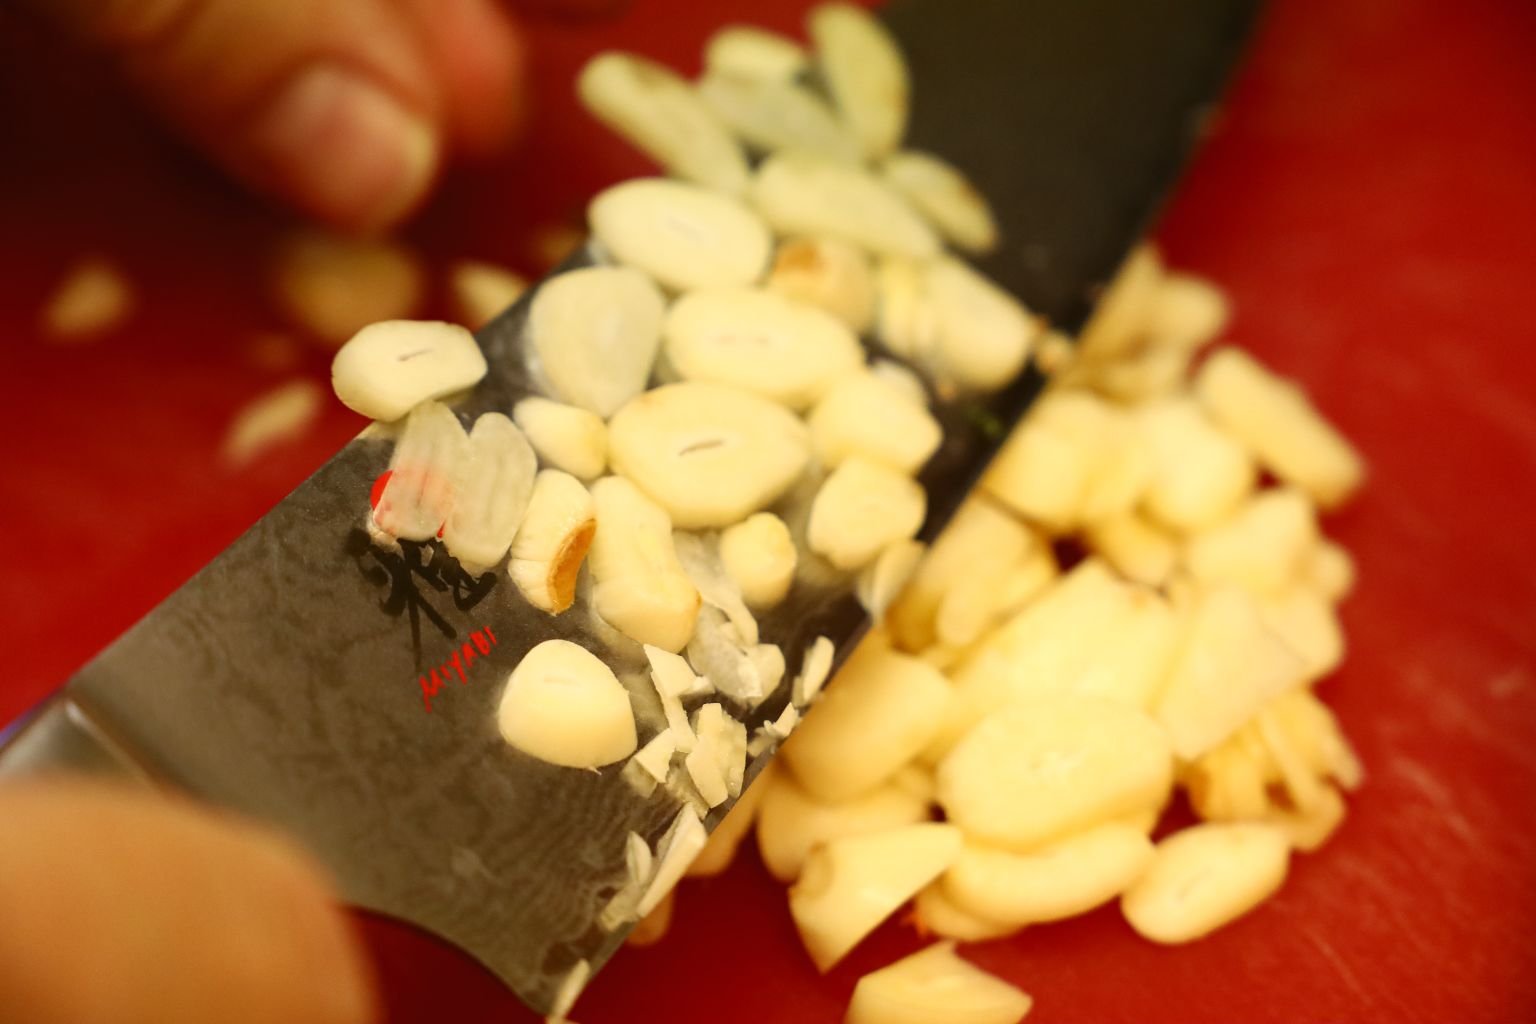
Slice your garlic cloves to a rough chop.
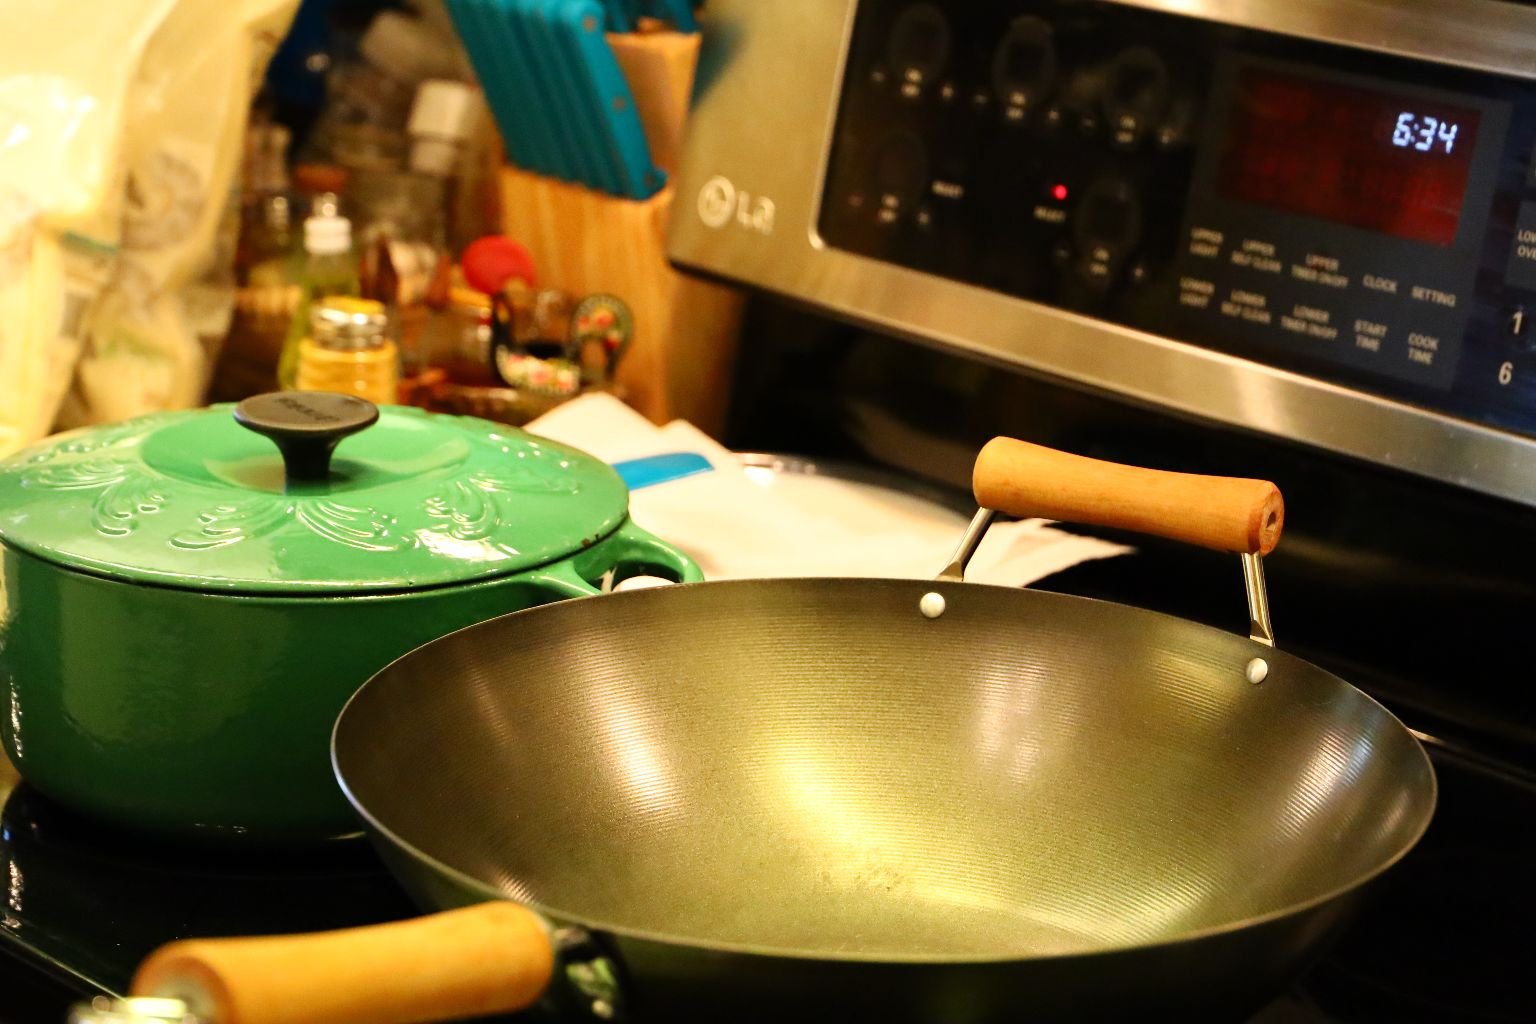
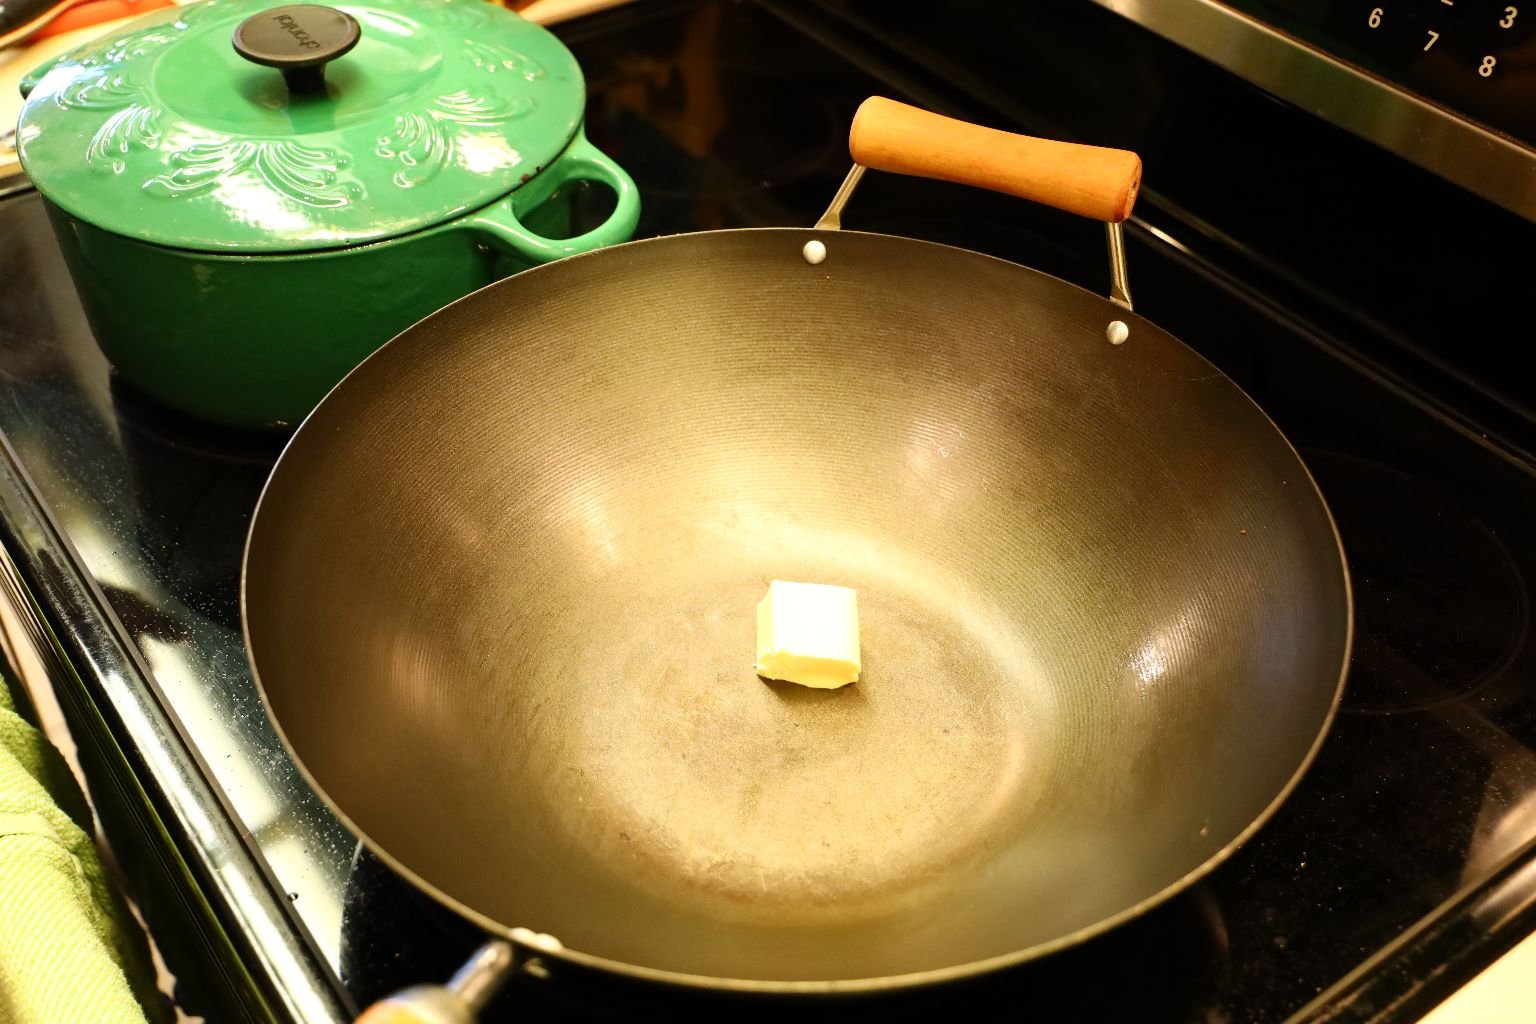
Putting The Wok To Good Use
———————————————————
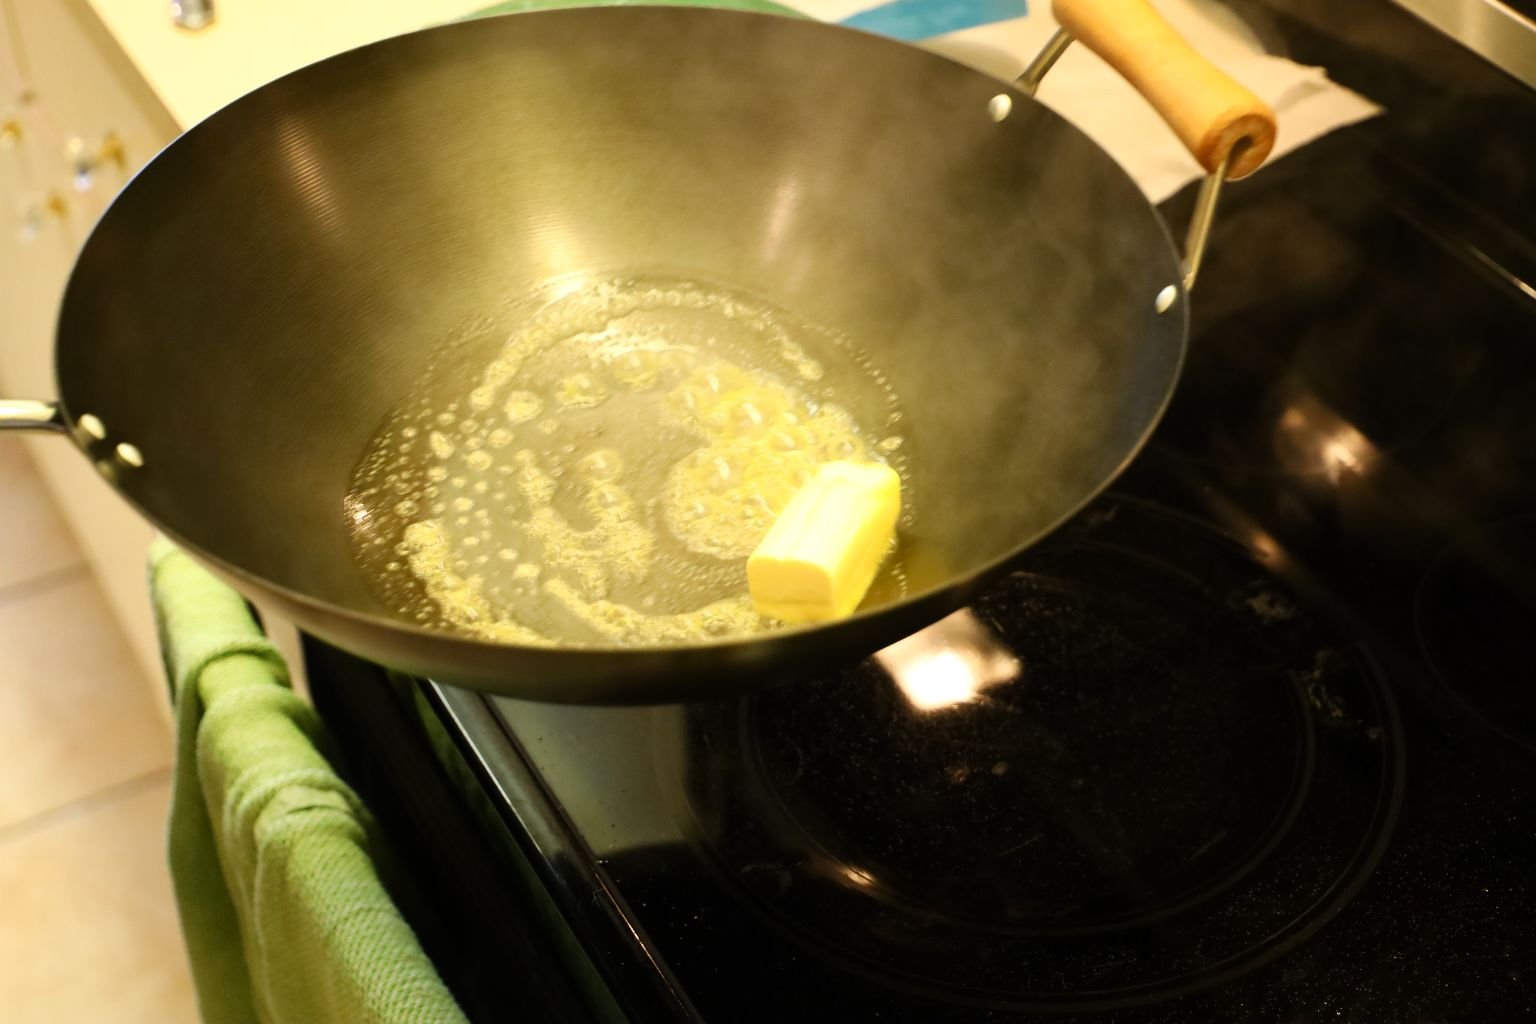
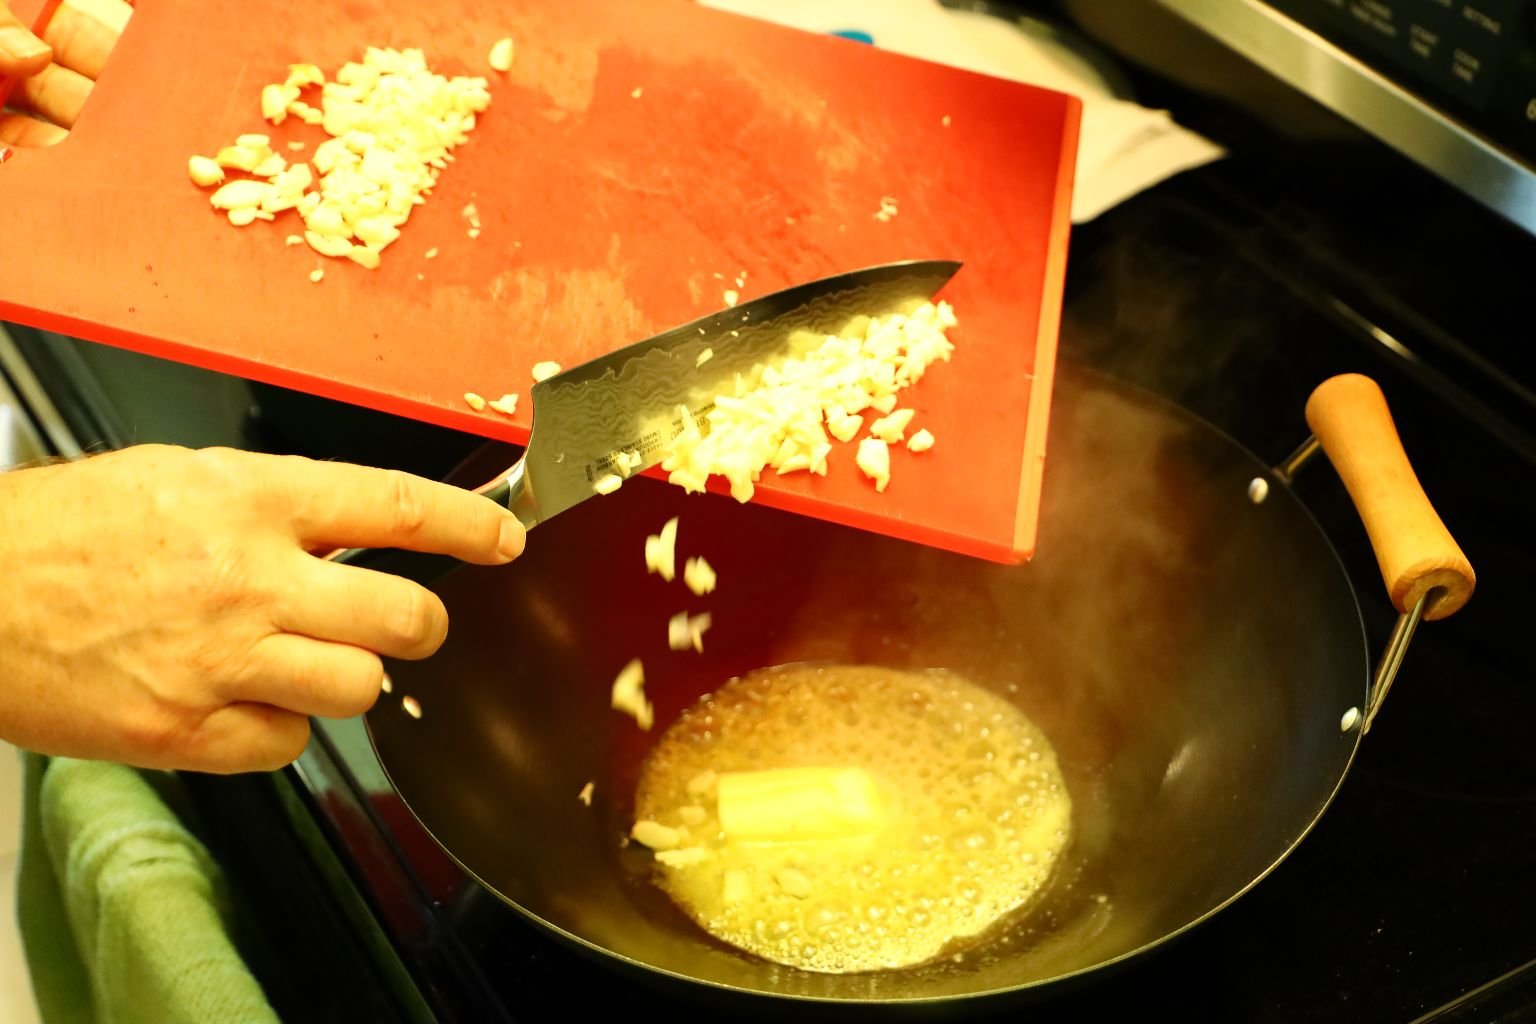
Turn your wok onto medium high heat and add half your butter. When the butter is mostly melted, add half your chopped garlic as shown.

Saute your garlic in the butter until slightly softened.

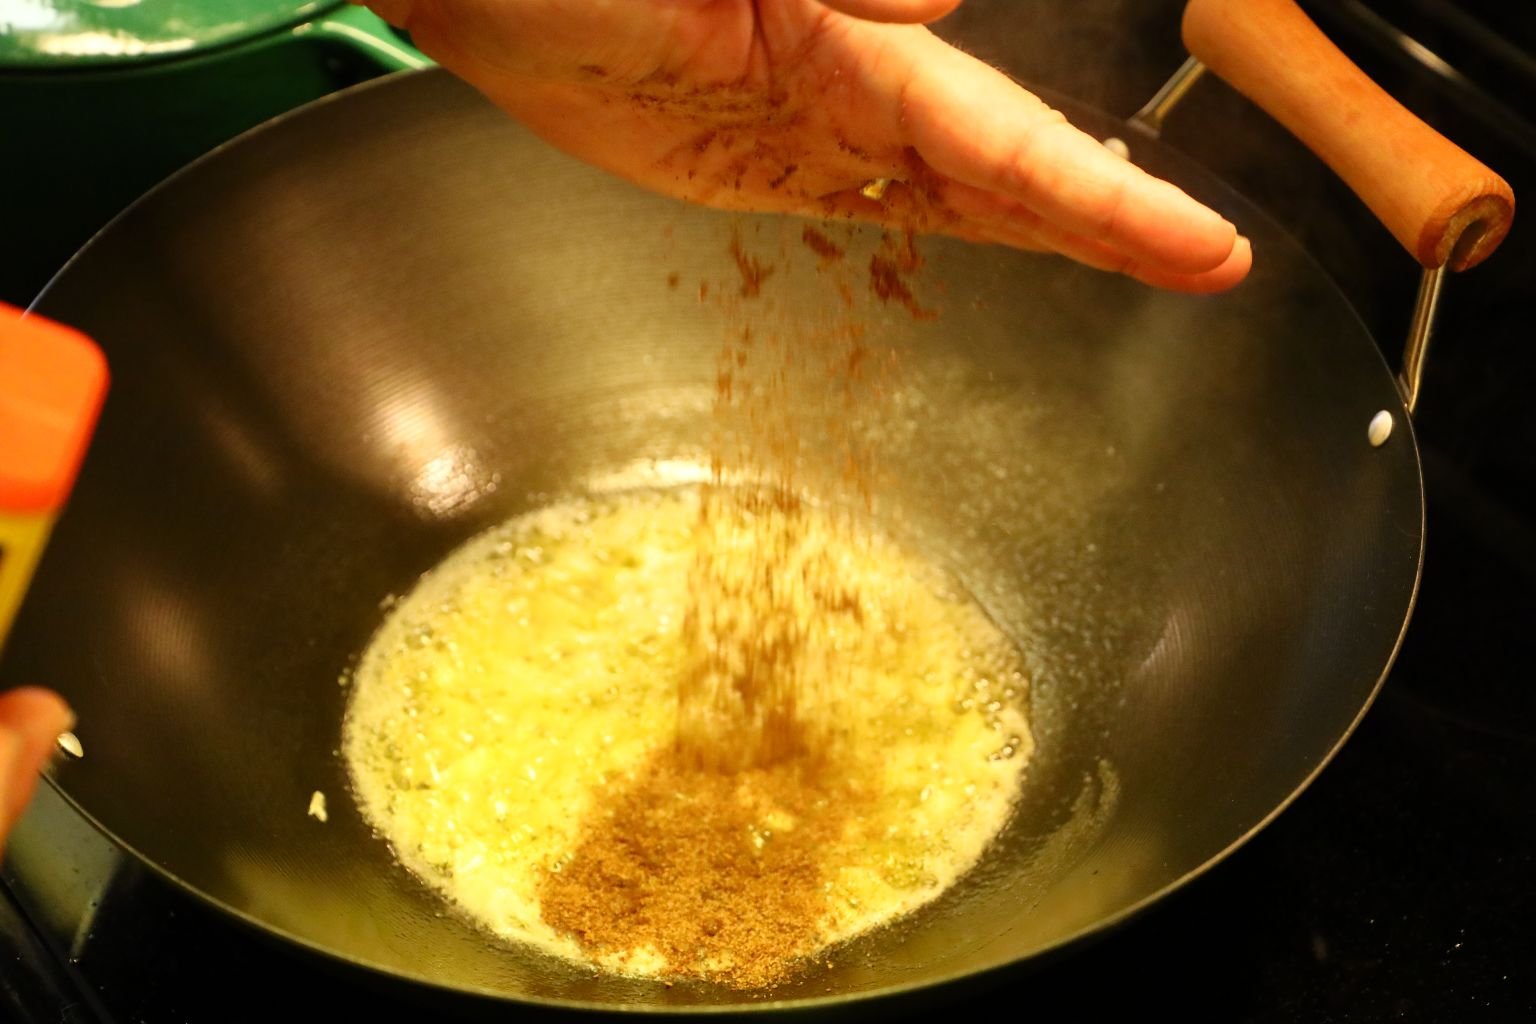
Add 1 tsp. Old Bay Seasoning to the butter and garlic.

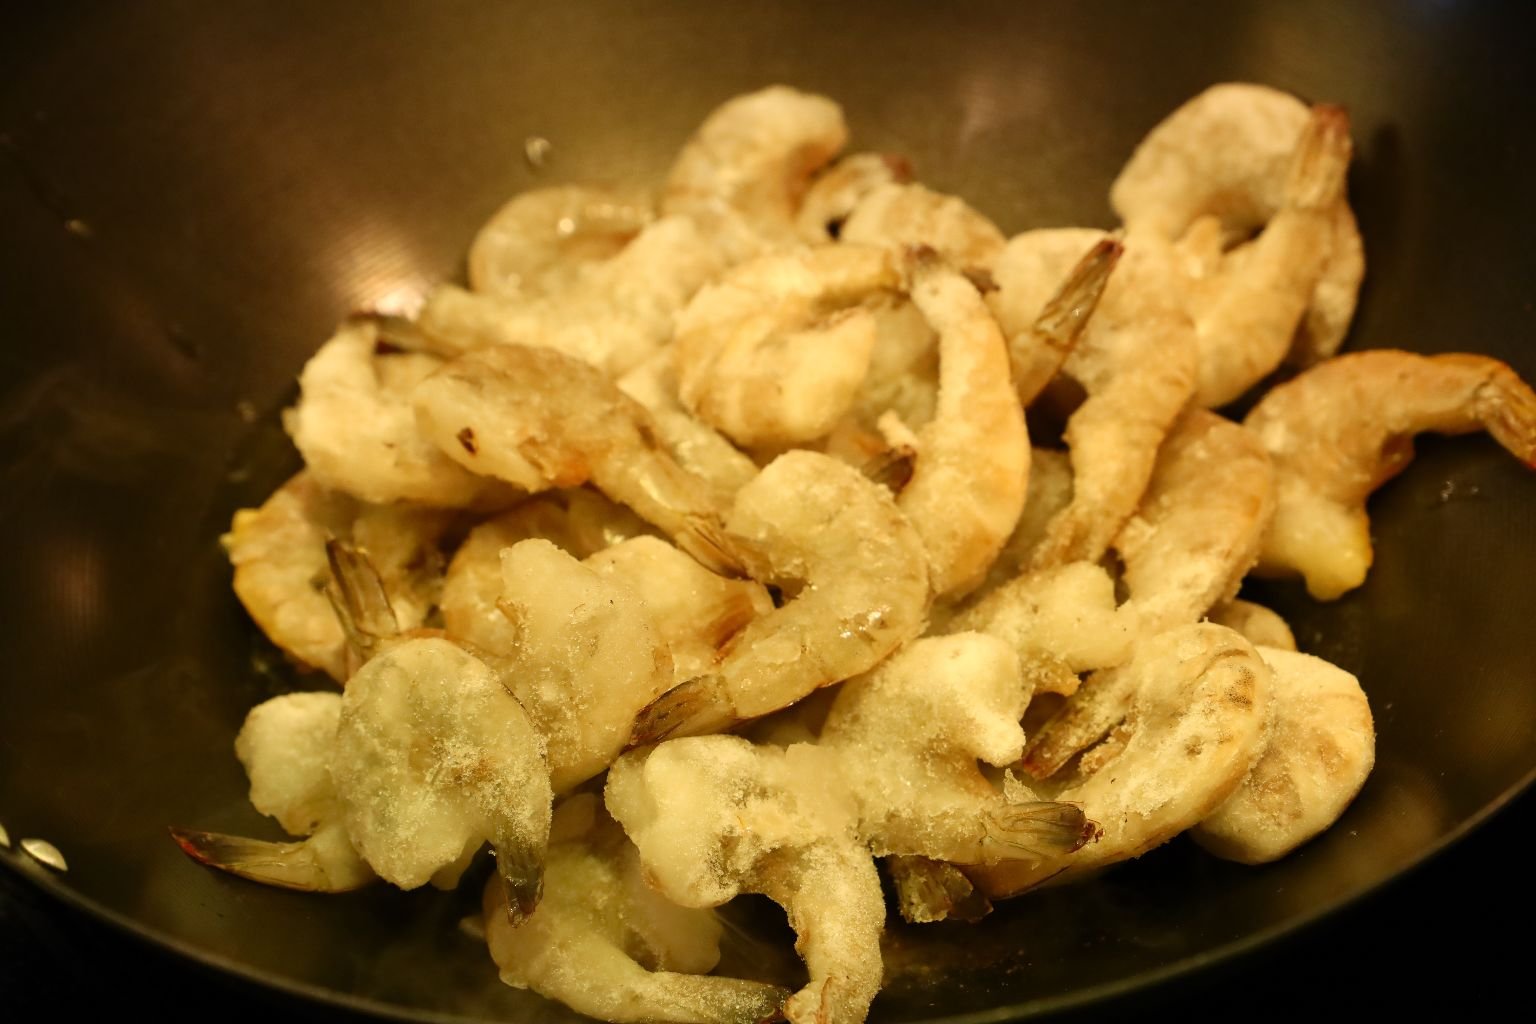
Place your shrimp into the seasoned butter mix.
Our shrimp hasn’t totally thawed yet.

Saute your shrimp until they turn pink stirring often, about 10 minutes cooking time. This batch we left the shells on, the next batch we removed them to suit our personal tastes.
When the shrimp are done, place them on a serving tray and clean the wok for the next batch of shrimp that we did.
As before add the other half of stick of butter to the wok…I know… that isn’t one half a stick of butter… more will be placed into in just a second.


When the butter is melted, add the rest of your chopped garlic and saute until softened.


Add the other 1 tsp. of Old Bay Seasoning and mix all the ingredients well.
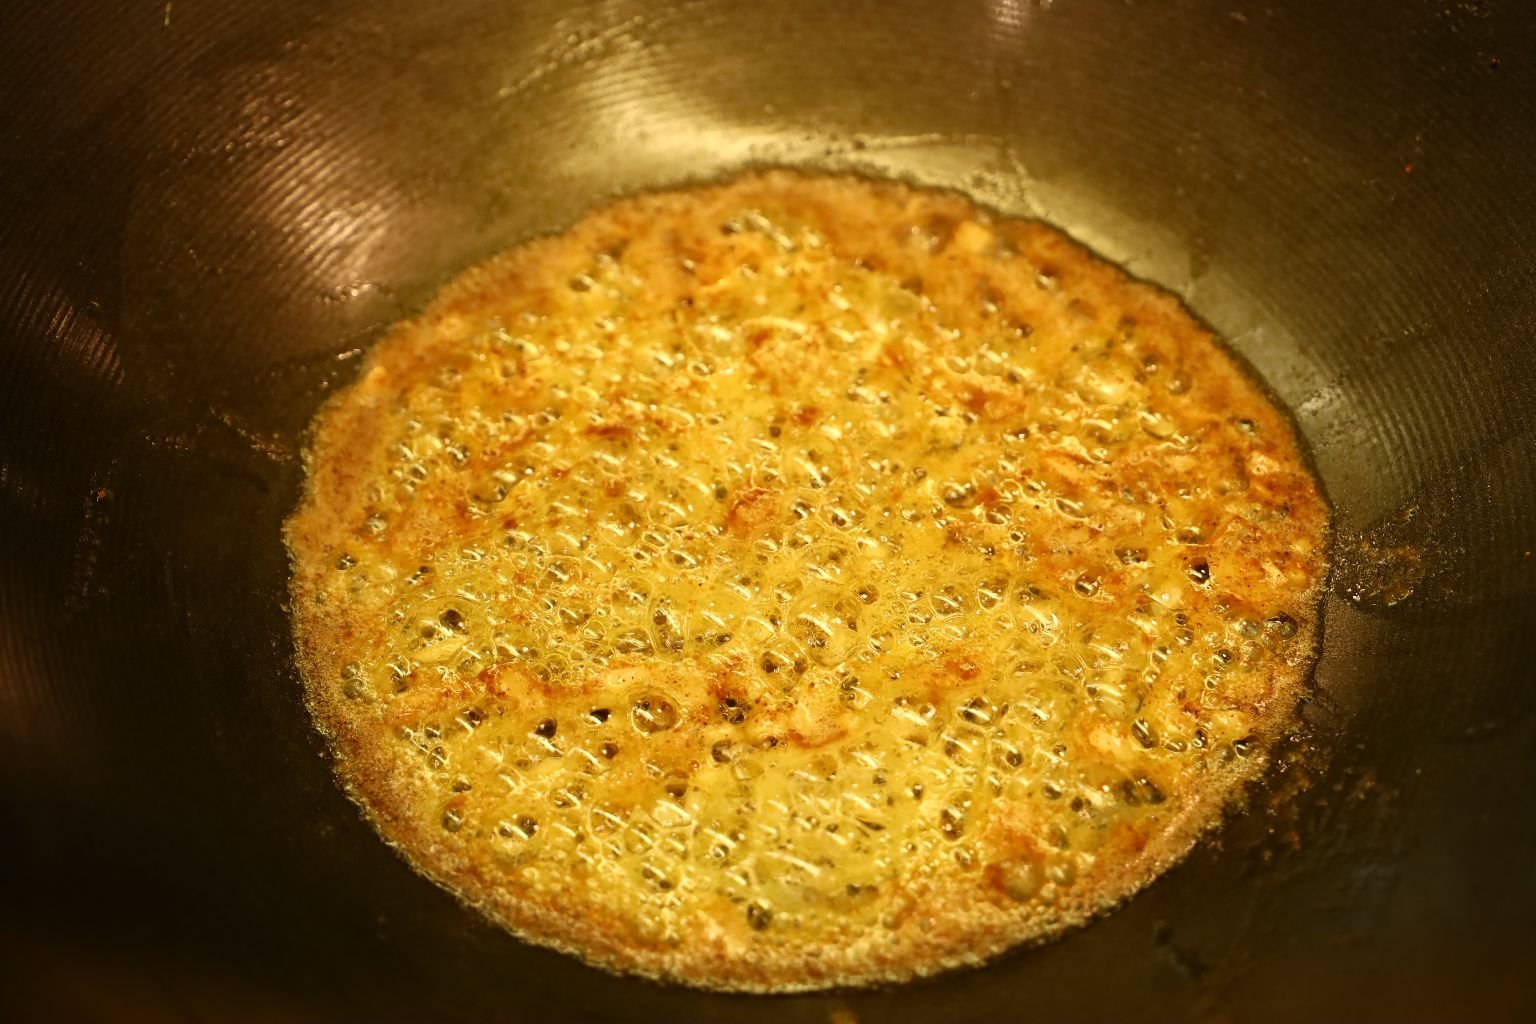
Here the spices and garlic are sauteing in the butter.


Add your shelled and de-veined shrimp to the wok with seasoned butter mixture.
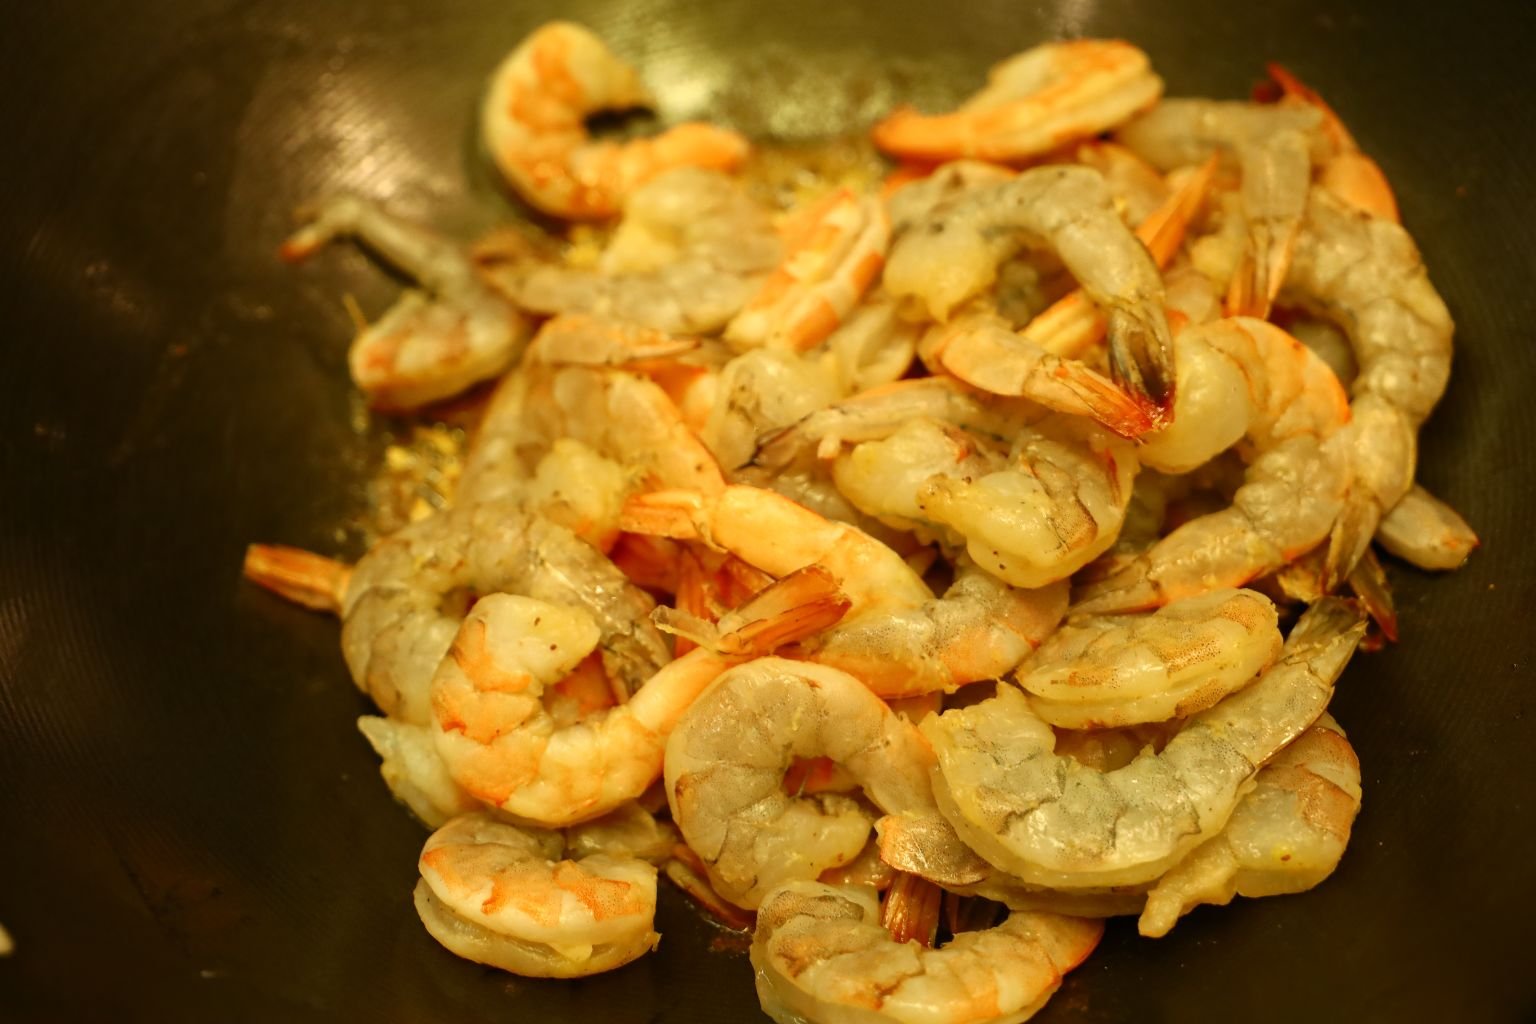

Saute your shrimp until pink stirring often, about 10 minutes cooking time.
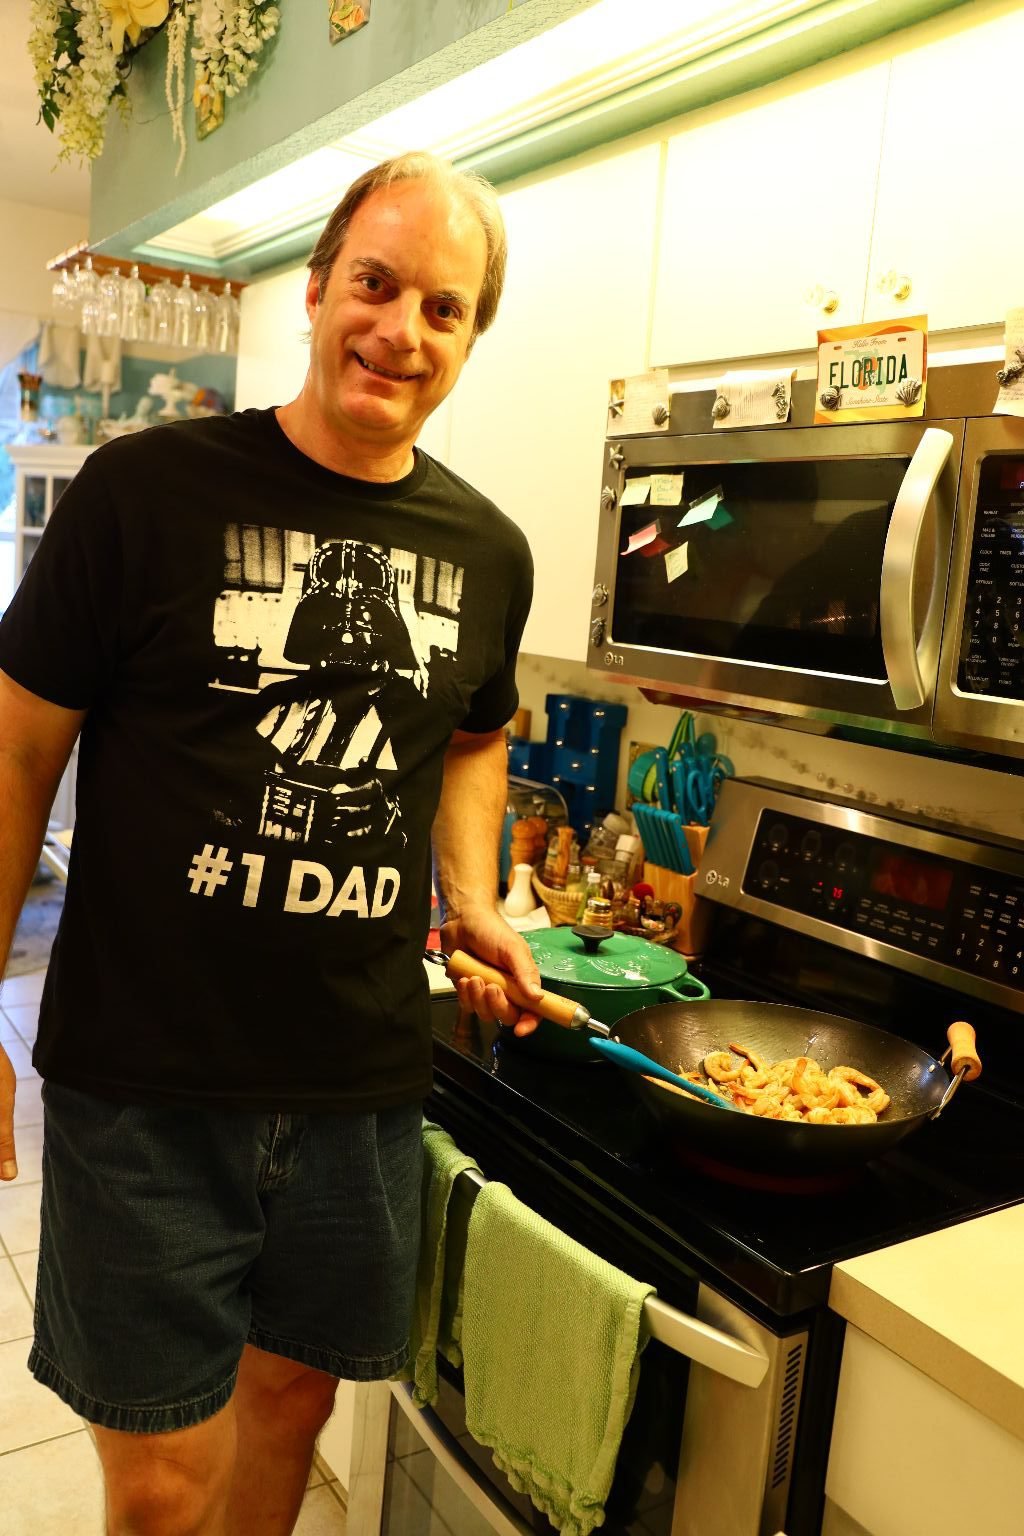
Number #1 (Whann) Dad
—————————————————————
Now For These Delicious Steamed Mussels

This is an Excellent Brand!

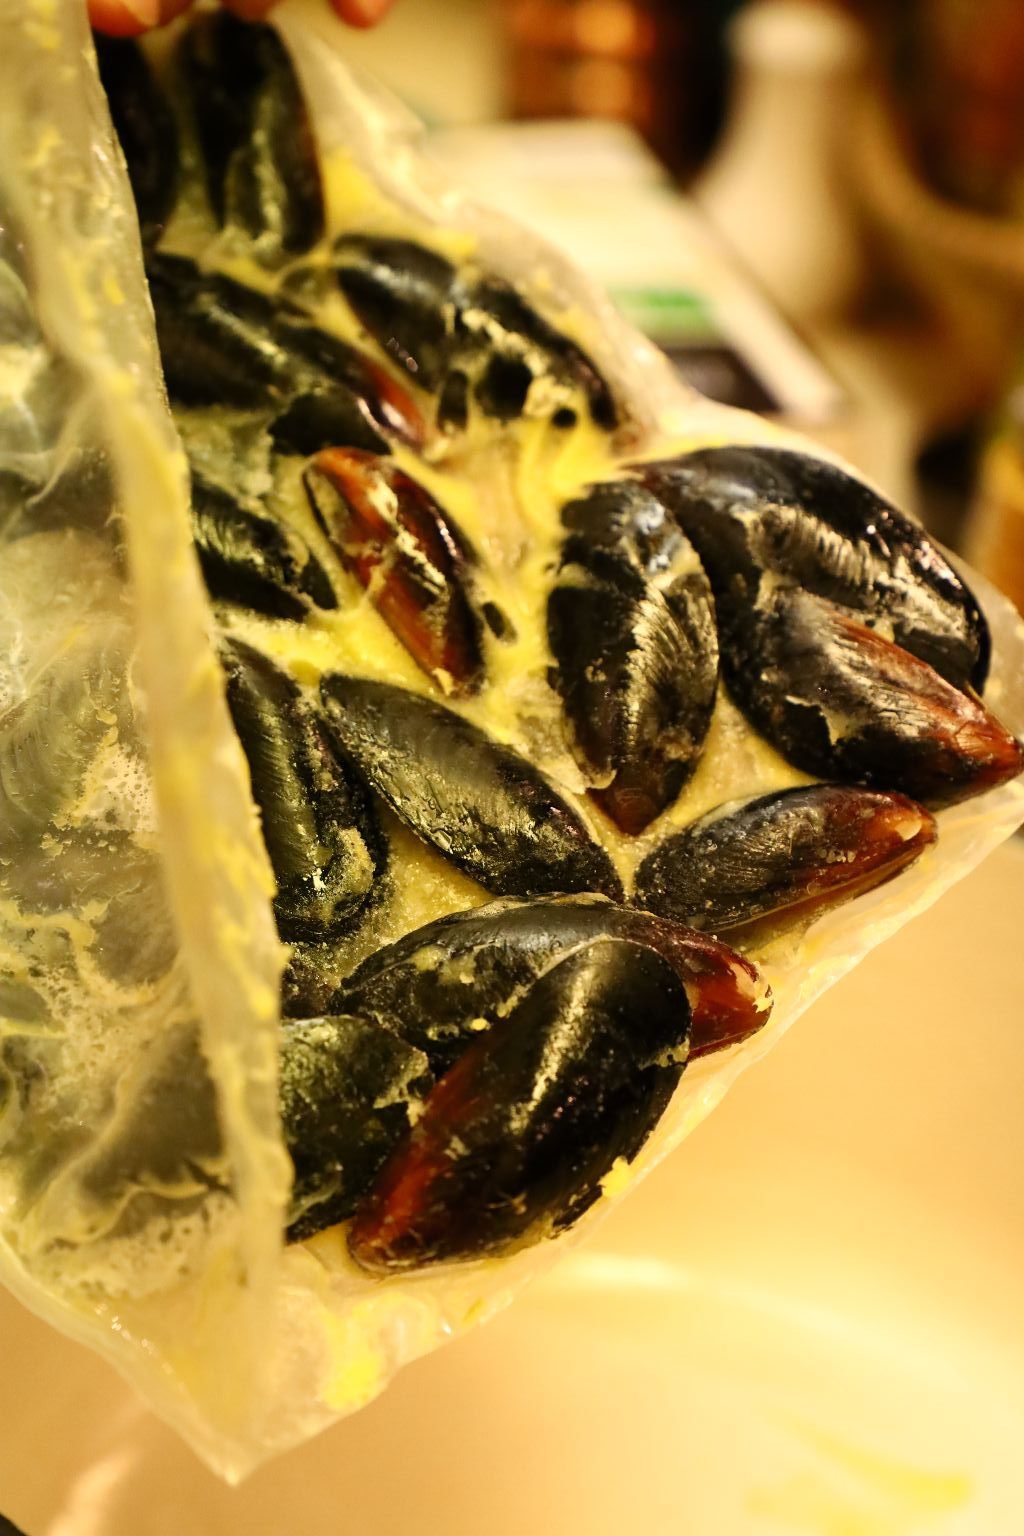
This frozen package of mussels comes fully seasoned with garlic and butter.
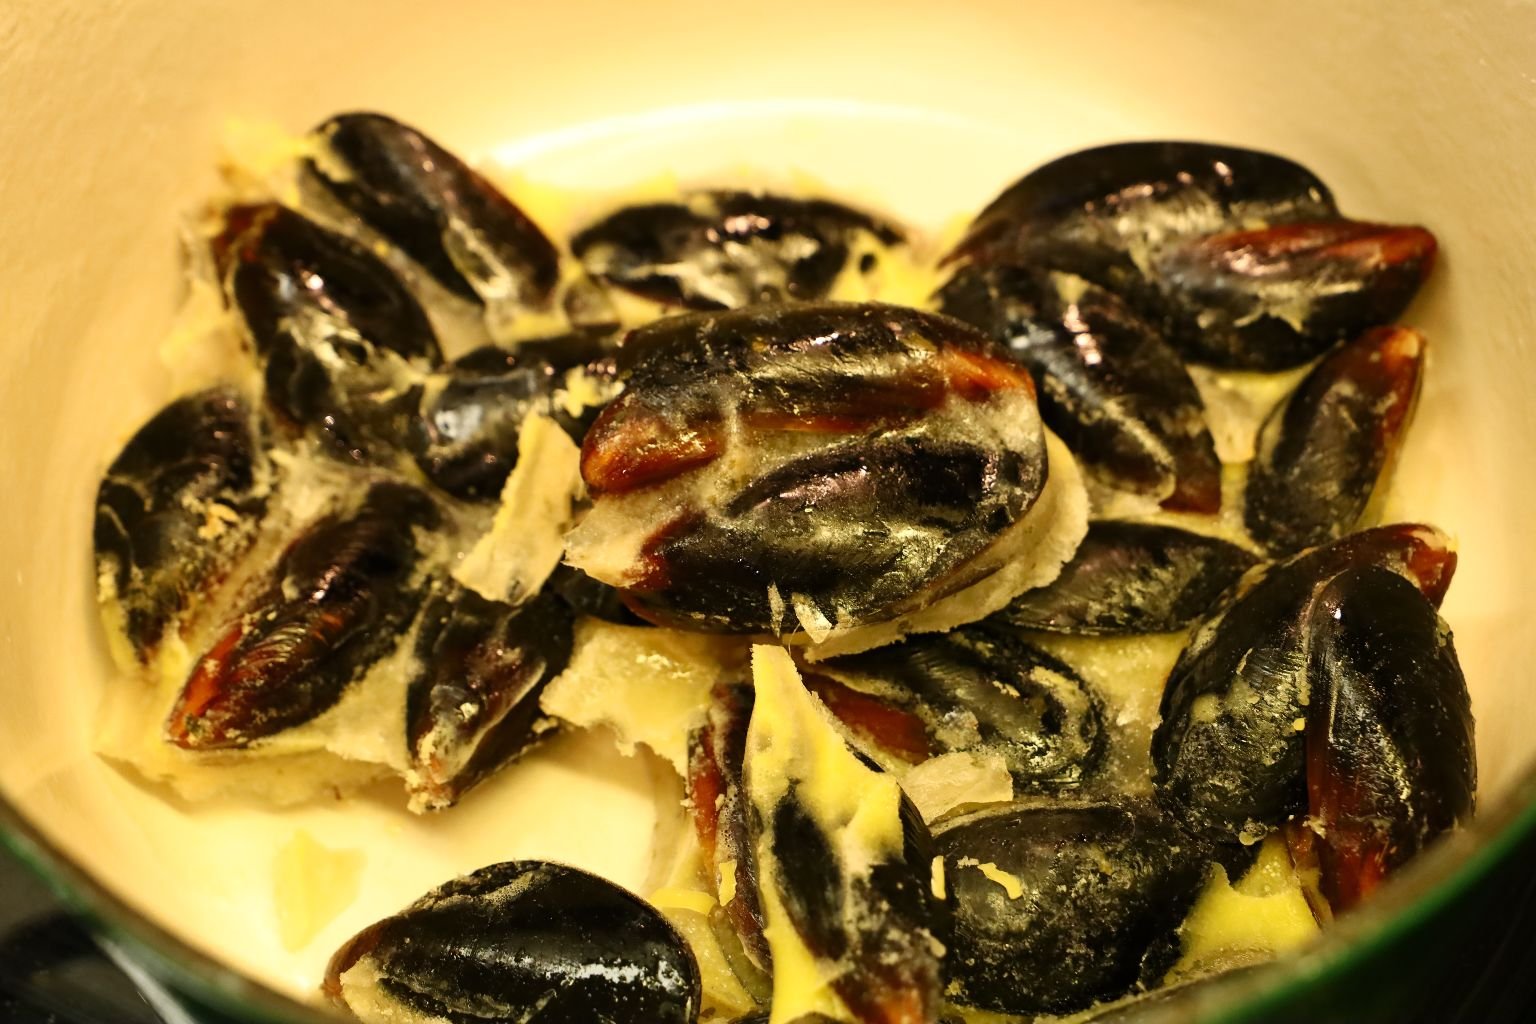
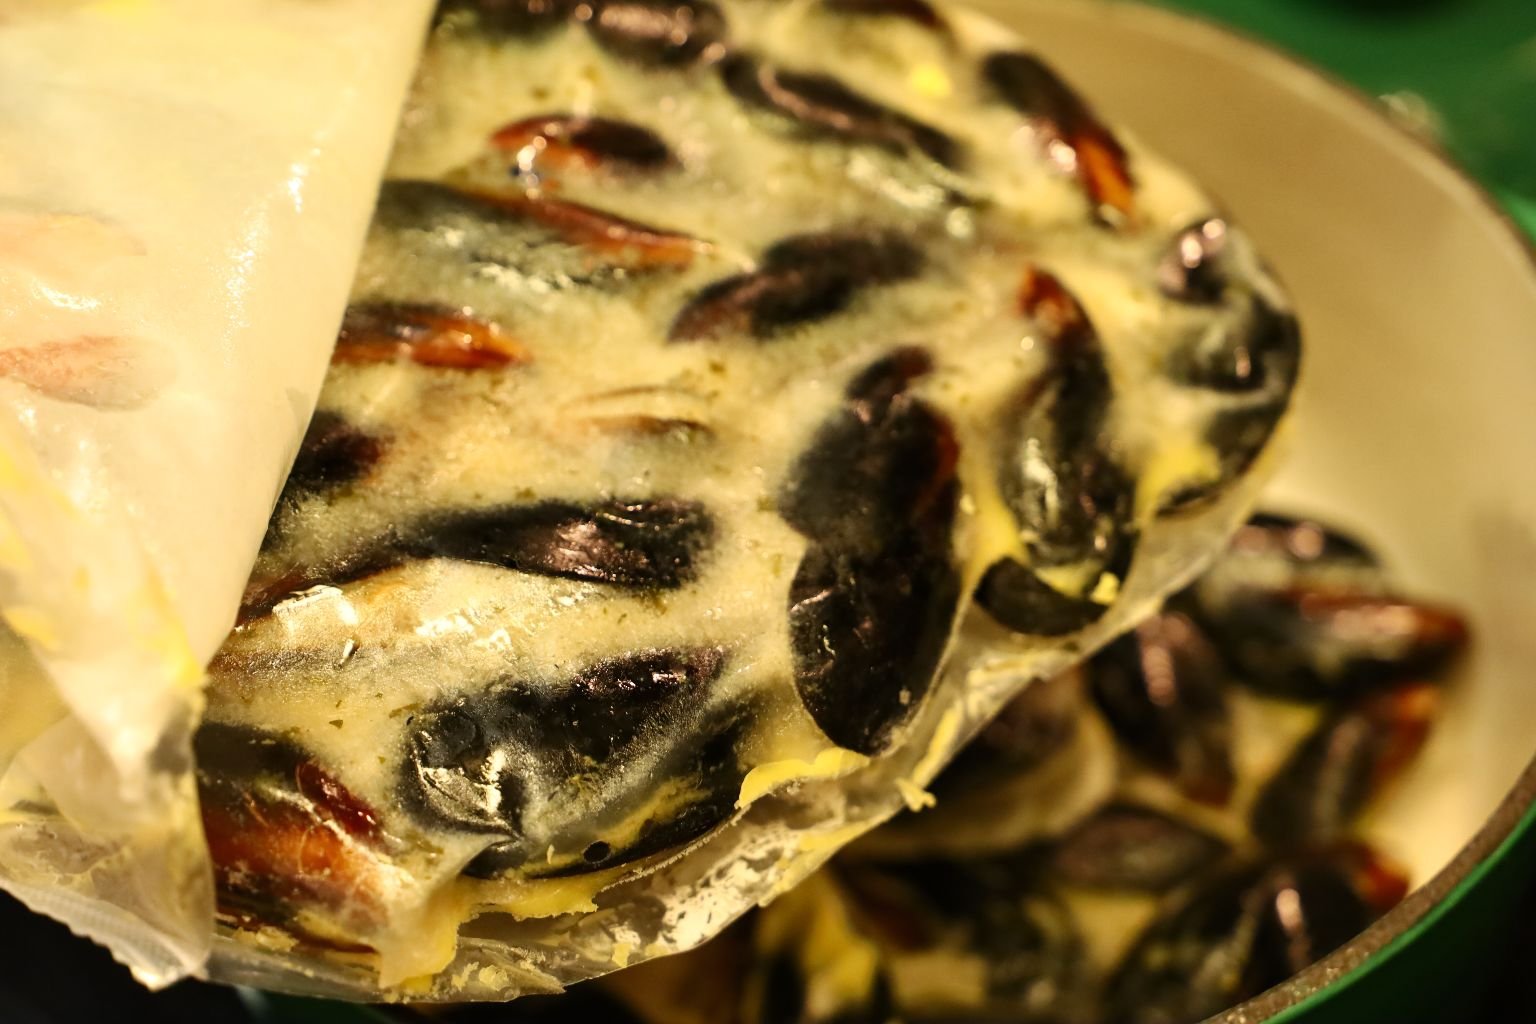
I use this cast iron pot to cook them in. Follow the prescribed directions which work great!
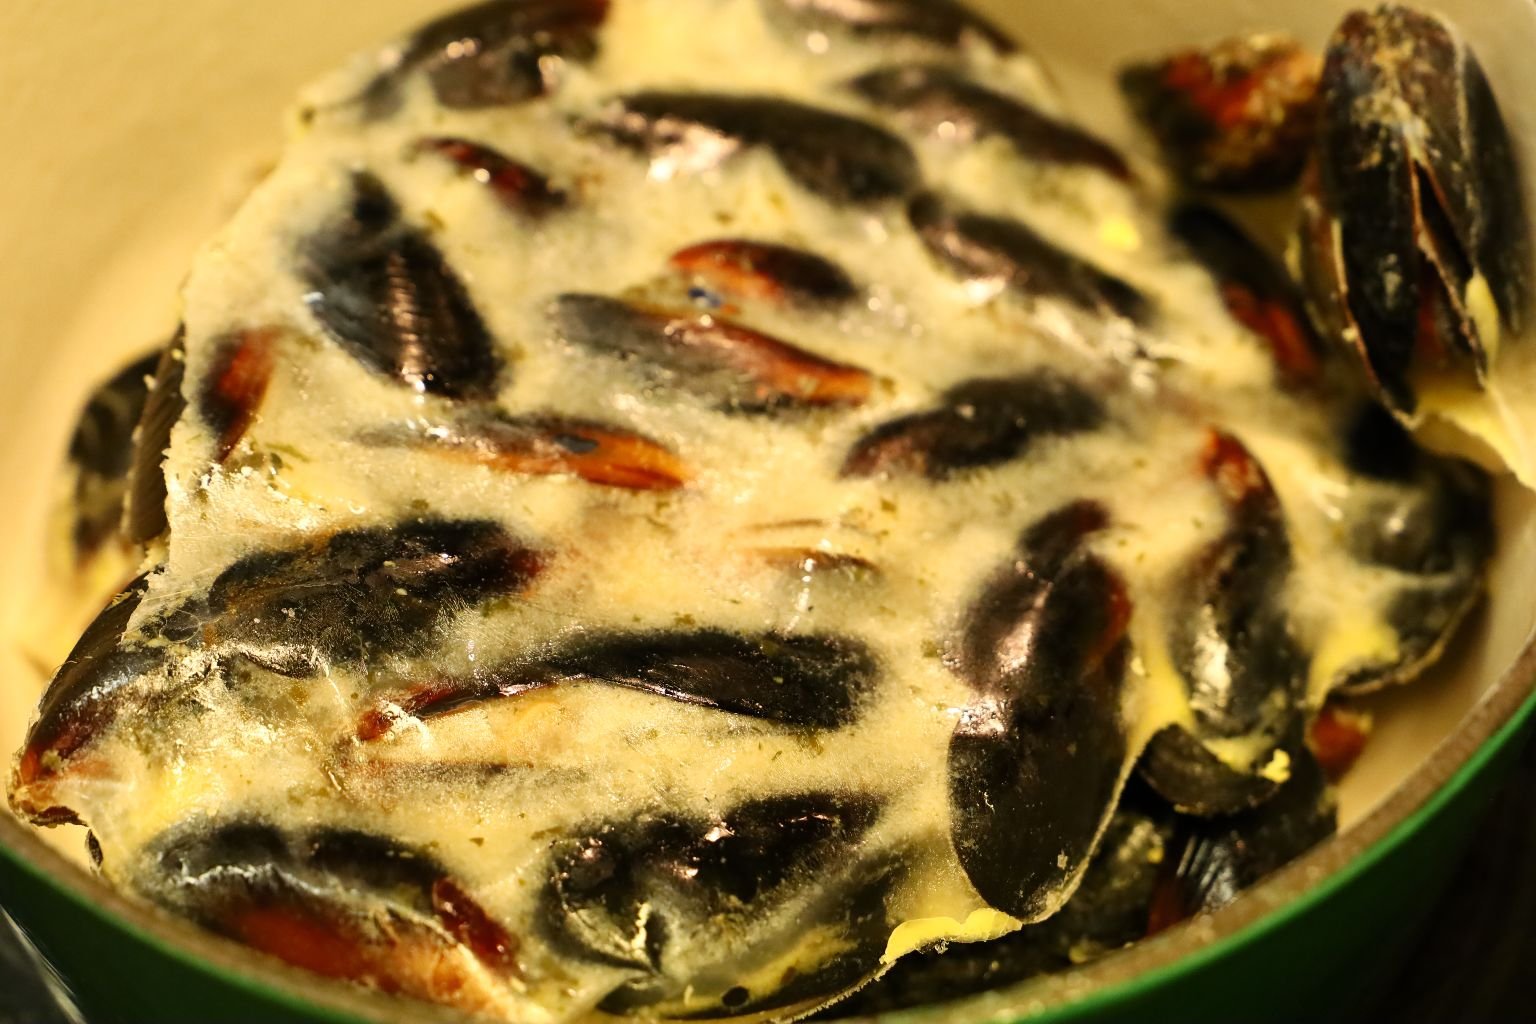
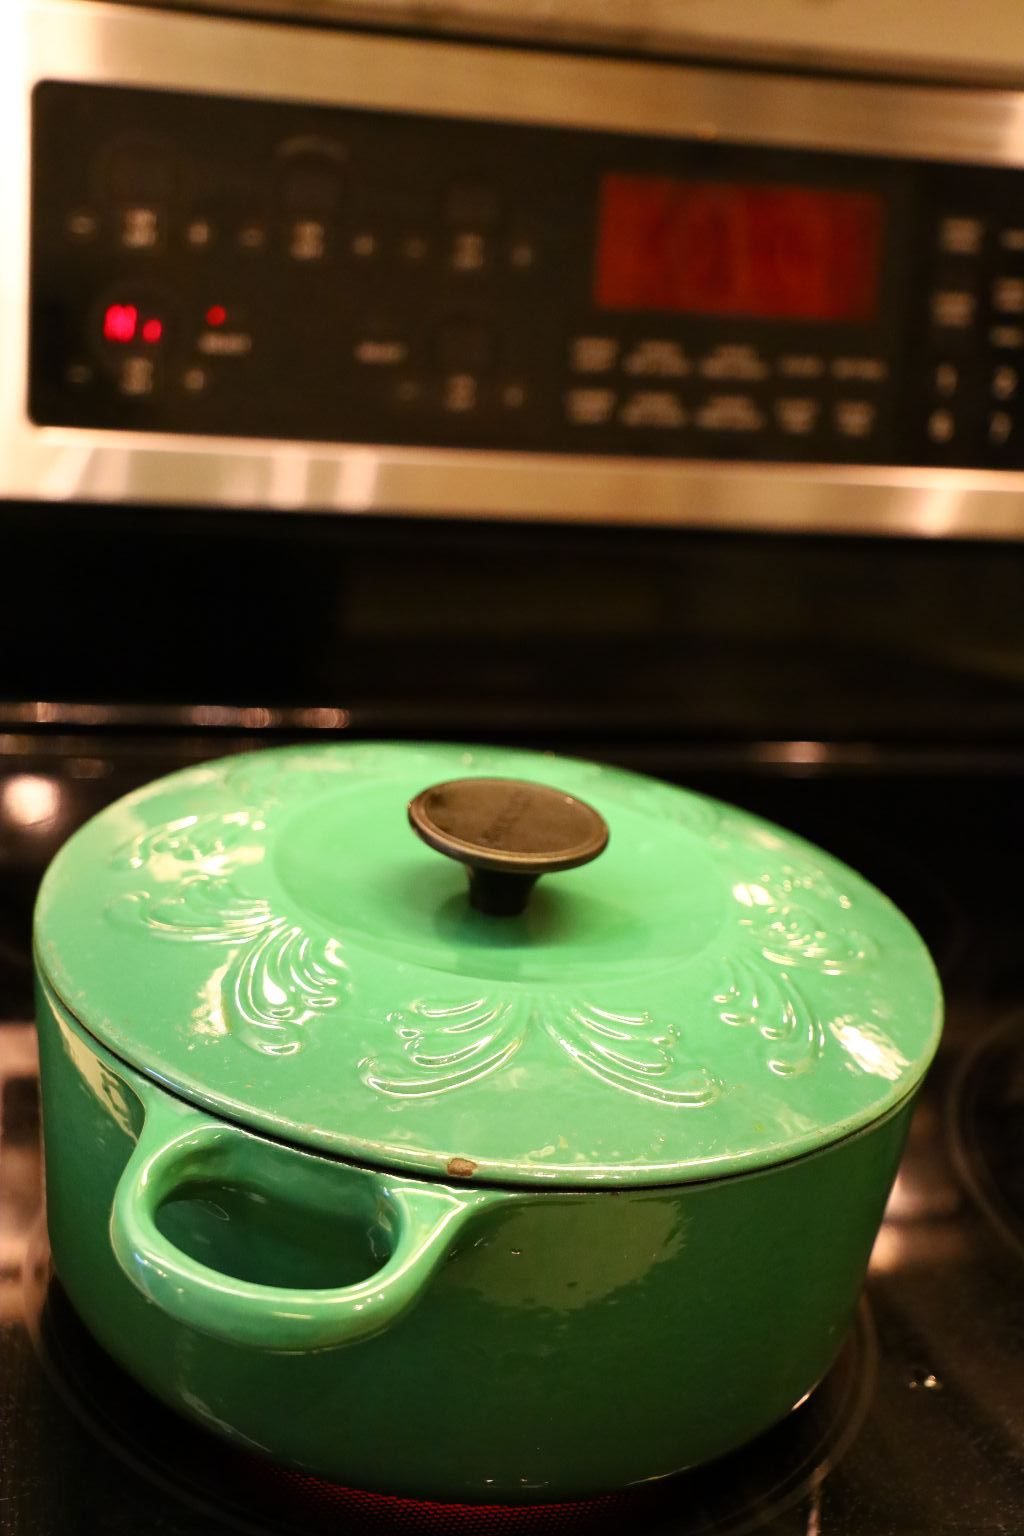
Ensure your pot has a lid which closes tightly. They only take ~10 minutes from start to finish as there is no preparation.
Now back to your Rice Bowl ingredients.
—————————————————————–
Making Egg Whites For Our Hawaiian Rice Bowls

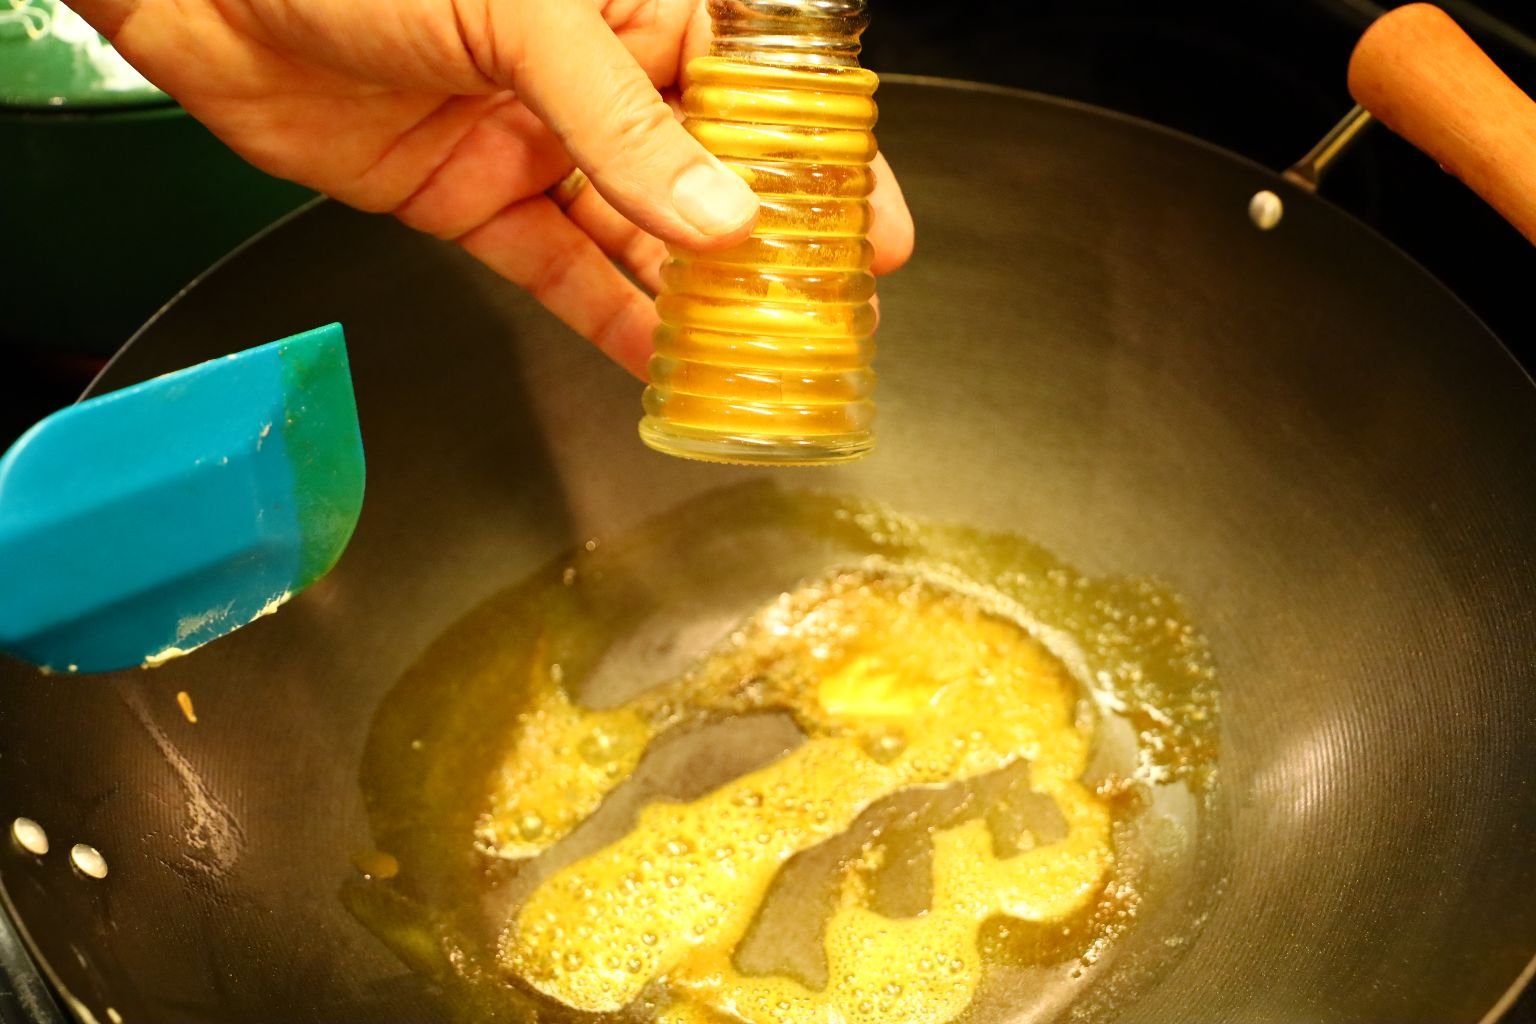
In a wok, melt about 1 Tbsp. of butter and add some turmeric.
Turmeric is a very healthy spice that is known for killing cancer cells in our bodies. So eat up!
It will turn your food yellow, but so what?

Here, the coconut rice has finished cooking and looks great.
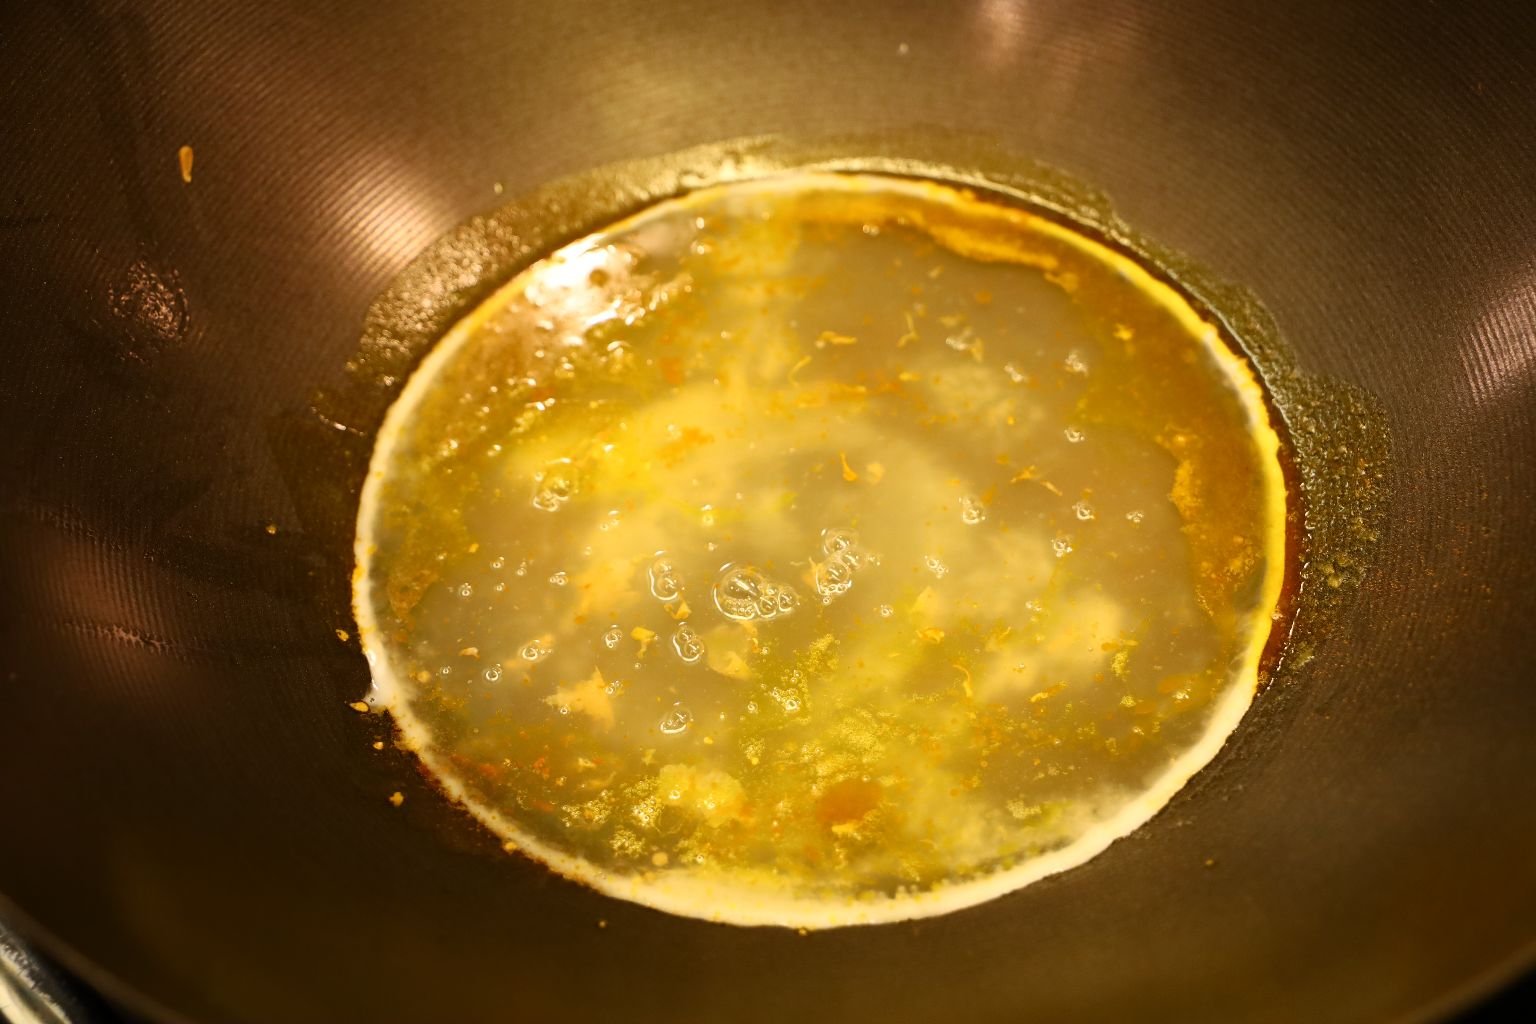

Back to the egg whites… add about 1 Cup of egg whites to the butter and scramble with a rubber spatula. You could use regular eggs (3-4) if you wanted. Cook the eggs constantly moving them with your spatula until firm. When done, set aside in a bowl. Now, clean the wok and begin to make your seasoned rice.


Making your seasoned rice is very simple and will be a great accompaniment or substitute to the coconut rice. Add about 1 Tbsp. of oil to your wok and bring to medium high heat. When the oil is heated, add a few cups of your cooked plain white rice to the wok and begin cooking it.

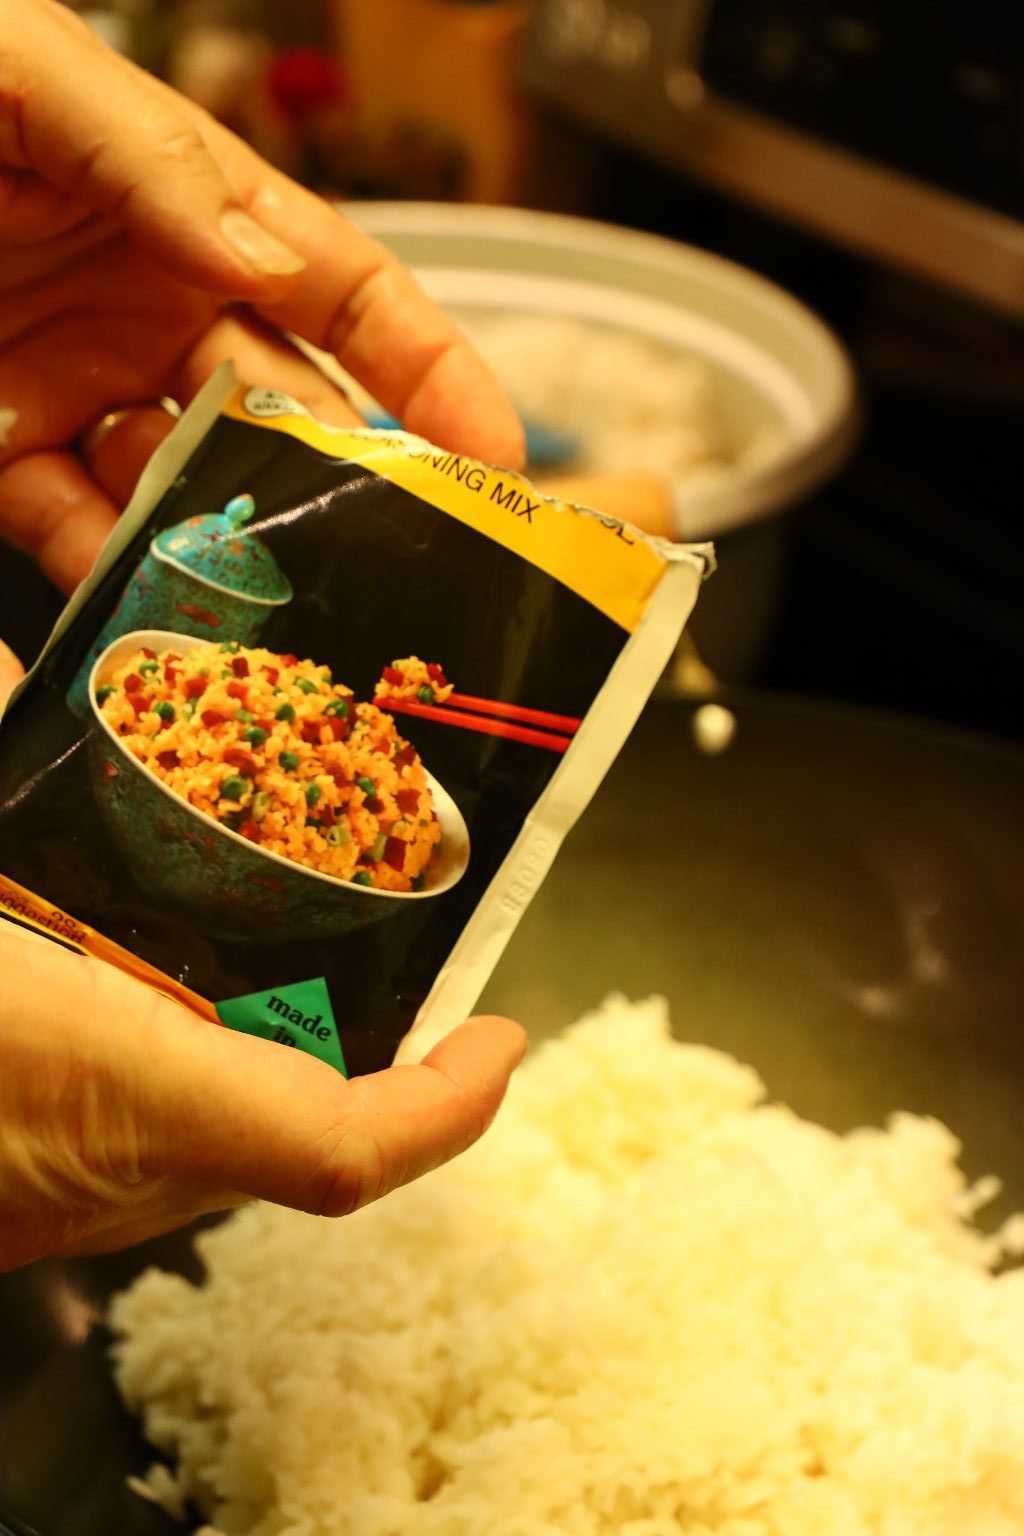
Here is the Fried Rice seasoning we used.
Sprinkle the entire package of seasoning over the cooking rice.

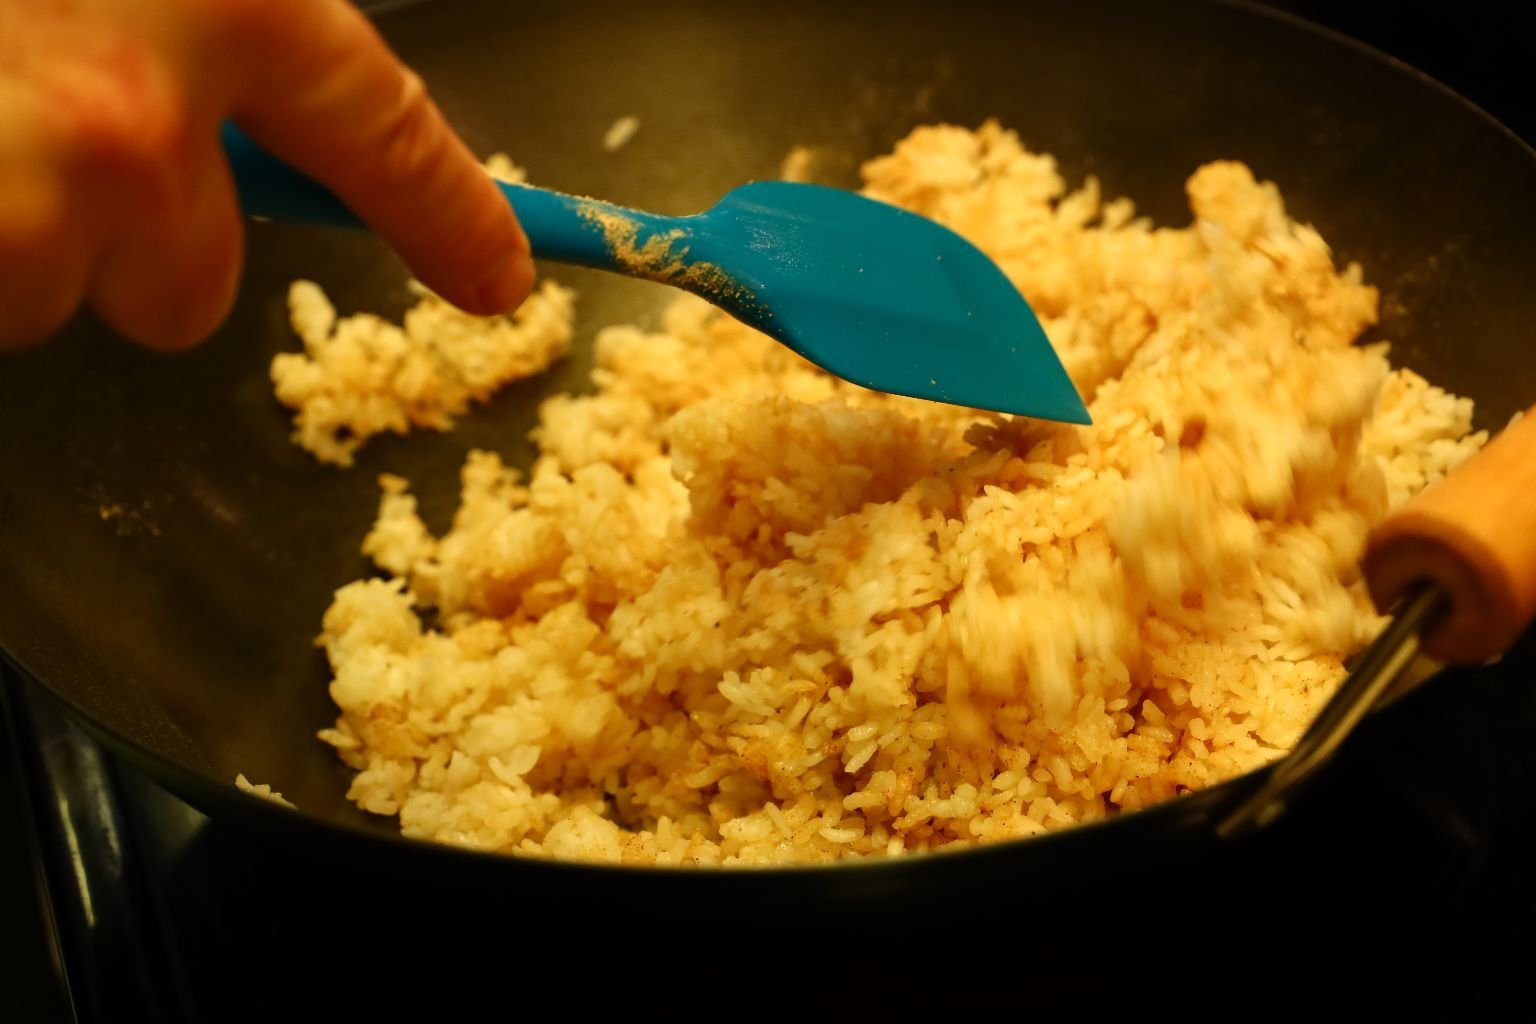
Using a rubber spatula, stir the seasoning mixture into the rice until well mixed. This entire process should only take about 5 minutes. When done, place the seasoned rice into a serving bowl.
————————————————————–

Just adding a few Coconut Peanuts to a Coconut Bowl to Snack On
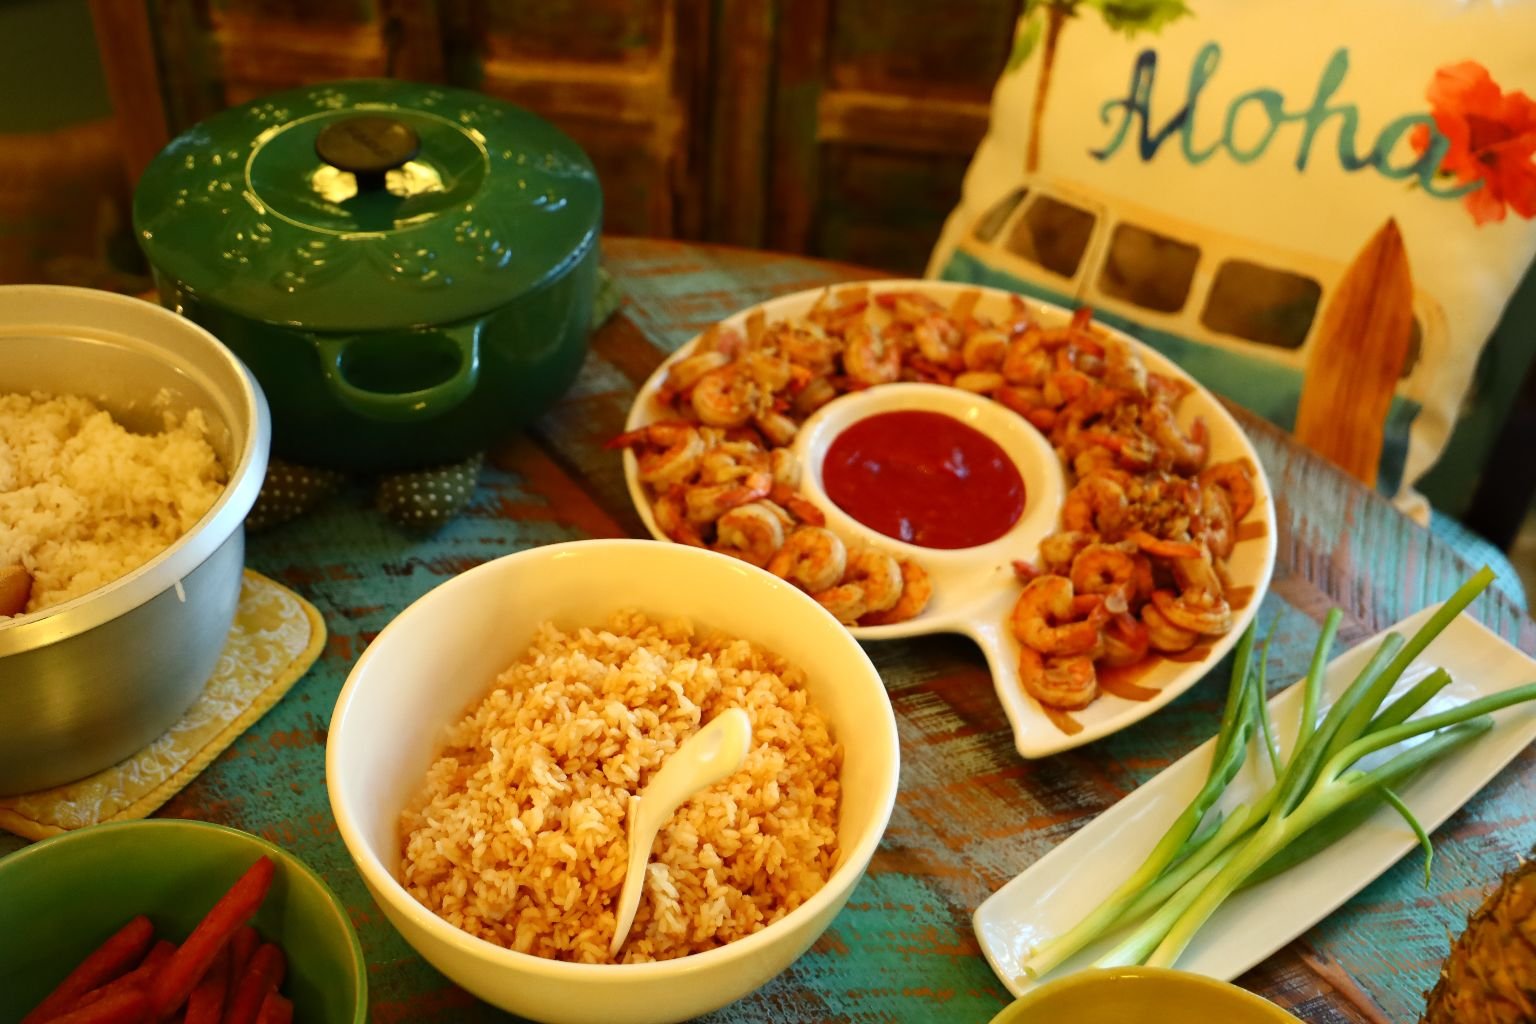
Here you can see our beautiful Hawaiian dinner.
This way of serving your rice bowl brings out guests creativity as each will be different and to their own liking.

Here is another picture of all the rice bowl ingredients!
Top with Black and White Sesame Seeds!
————————————
Aloha and Mahalo,
Julie and Gordon
Check Out Our Other Hawaiian Pages:
Click Here For: Whann Way Aloha
AND,
Click Here For: Whann Way Aloha, Hapa Elua (Part 2)

AND,
Click Here For: Blue Hawaiians and Huli Huli Chicken

AND,

AND,

AND,
Click Here For: Weekend Spamin’ Spam Musubi

AND,
Click Here For: Julie’s Lunchbox

AND,
Click Here For: Gordon’s Hawaiian Potatoes and Huli Huli Pork Chops

AND,
Click Here For: Whann’s In Not Always Paradise

AND,
Click Here For: Julie Barefoot Cookies and Beachy Edible Gifts

AND,
Click Here For: Grillin’ With Aloha

AND,
Click Here For: Julie’s Vintage Hawaiian Mango-Mac Nut Bread Cake w/ Pasta Flowers

AND,
Click Here For: Gordon’s Dole Pineapple Outrigger Canoe and Cocktail

AND,
Click Here For: Hawaiian Hum Lum Sun Prunes

AND,

AND,
AND,
Click Here For: A Mother’s Day Aloha

AND,
Click Here For: Aloha Wahine Jezebel Sauce
AND,
Click Here For: Whann Way Hawaiian Luau
AND,
Click Here For: Hawaiian Popcorn and Moana Maika I’ Loa

AND,
Click Here For: Beachy Hawaiian Thanksgiving Pu Pu’s

AND,
Click Here For: Barefoot Beach Teas

AND,

AND,
Click Here For: Hawaiian Kalikimaka

AND,
Click Here For: Christmas/Kalikimaka Oysters on the Grill

AND,
Click Here For: Tropical Hawaiian Cranberries and our Mele Kalikimaka Me Ka Hauoli Makahiki Hou
