Home Rehab Projects
Home Rehab Projects
We are a DIY Couple
We always have some project around our house that we are working on.
We frequent Thrift Stores, Yard Sales, Estate Sales, Antique Marts, Goodwill, and even a treasure or two on the side of the road….you name it!
We find the nicest ‘Diamonds in the Rough’ and then we bring them home to make them ours. Here are a few of our projects. We will update as new Rehab Projects magically appear!
Thank you for joining us,
Julie and Gordon
———————————————————–
Also Check Our Our:
Gordon and Julie Renovations and Apps For Dinner

AND,

————————————-

Recovering Chairs
Finding Legs for our 1800’s Reclaimed Barn Wood Table Top
Our Future Nook Dining Set
Ta Da!
(See below for the finished results.)
————————————–

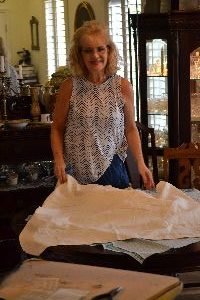
Julie the Photographer
————————————-
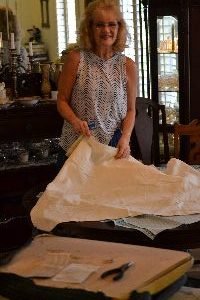
Fabric to Recover our Chairs
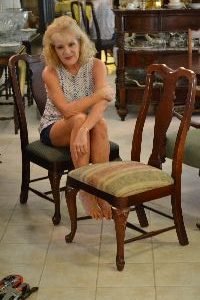
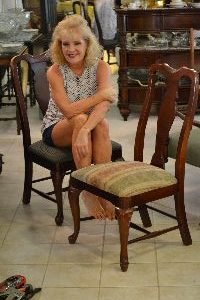
We found these chairs at a furniture sale on a military base about 6 years ago. The military have barracks and lodging accommodations and periodically they do get rid of old furniture and replace with new. You can always find great bargains at those sales. And because the military will buy good quality furniture, if you know how to refinish or recover then you can create beautiful pieces of furniture for your home.
We paid $5.00 each for those chairs!!!
They have been in the garage for this entire time. Sometimes we don’t know what we will do with something we purchase, but we do know not to pass that bargain by!
Hence, our First Project…
————————————
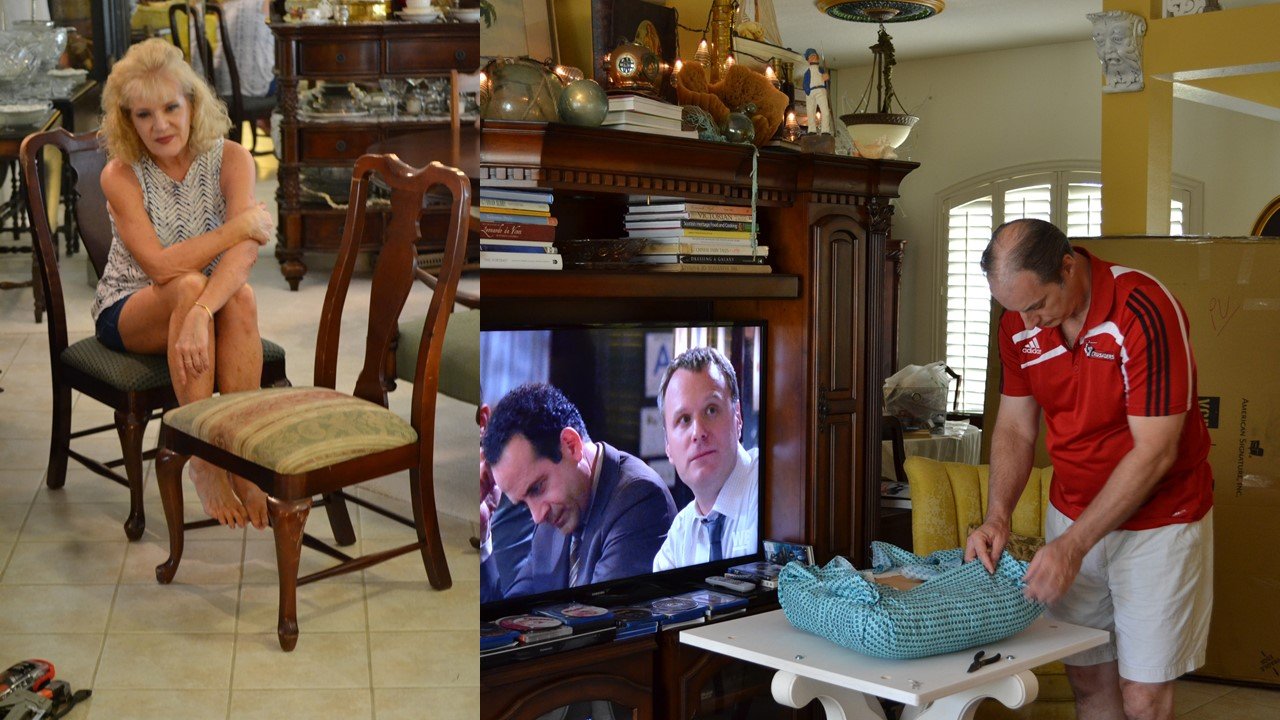
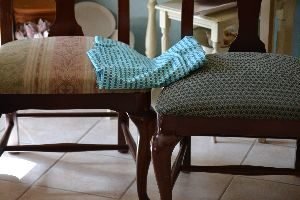
The chairs are in really good shape. Other than some worn spots there is no damage whatsoever. Gordon thought about refinishing them but I didn’t want to. I like those worn areas. I tend to NOT like brand spanking new furniture.
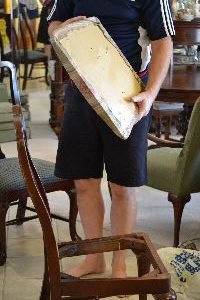
But, the cushions were disgusting! They definitely needed to be replaced.

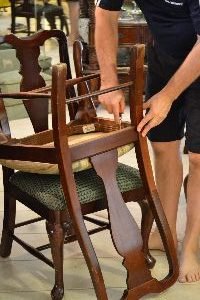
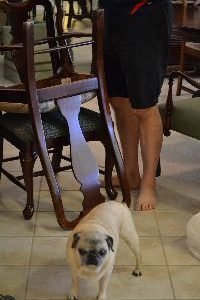
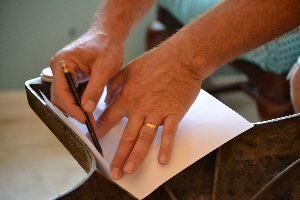
It really is just a matter of flipping the chairs over and removing the screws from the underside.
![]()
The Chairs have a GREAT Shape to them!
The Chair’s are Thomasville, from Thomasville, North Carolina
Good Brand!
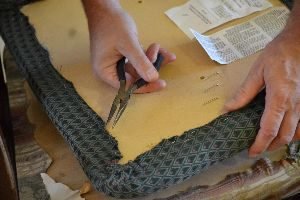
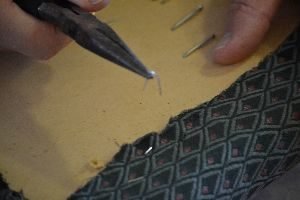
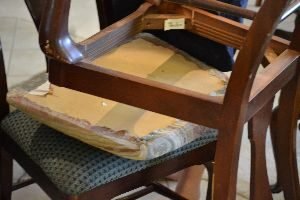
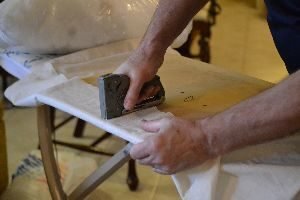
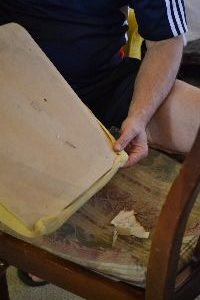
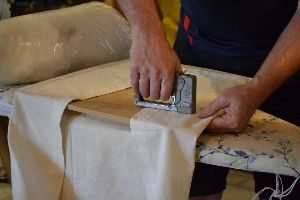
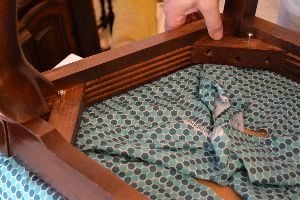
Once you have removed the chair bottom you then want to remove all the staples that held down the old fabric.
We want to reuse that chair bottom.

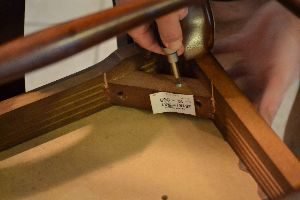
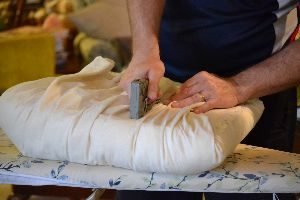
The tools we used were a screw driver to remove the screws from the chair that held the cushion. And a staple gun/staples, also a hammer which is sometimes needed to hammer some of the staples into the board further than the staple gun could get them.


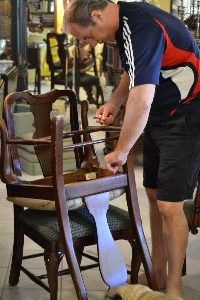
Gordon doing his James Bond impersonation. 🙂
Moving on…..
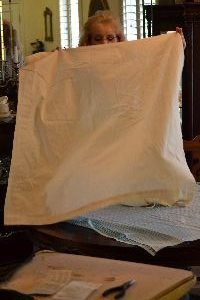
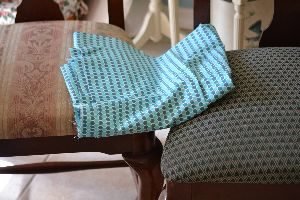
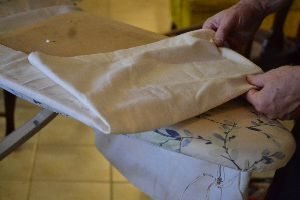
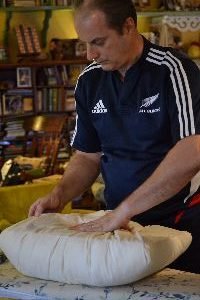
The fabric that I bought was a bit thin and I got the idea to first use some plain fabric that we already had to recover the cushions, and then just staple the blue all around it once we had finished with the initial recovery.
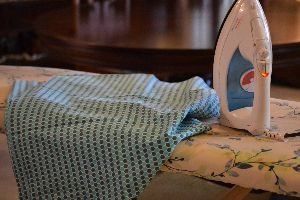
I Ironed it First
With this first chair cushion Gordon stapled our plain fabric down first on one side, then the side that sits at the back of the chair.
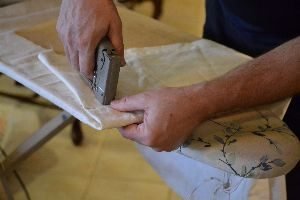
If we mess up on anything here it doesn’t matter as our nice fabric will cover this fabric.
————————————–
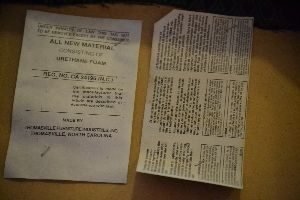
We also threw out that nasty foam that was in the original seat cushion. The foam did turn hard as a rock so I knew that I didn’t want to use foam for our project here. That’s when I remembered that I had some polyester fiber fill leftover from my crafting days that we could use. It would be nice and much softer than that foam and I prefer to use up what I have at home instead of buying something new.
———————————–
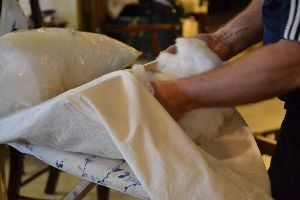
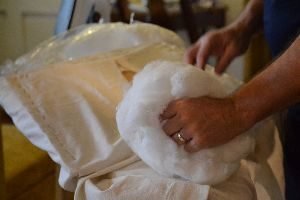
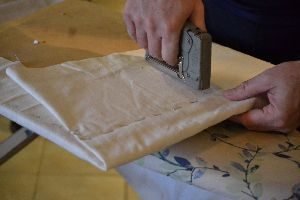
So, Gordon ended up stapling the fabric to 3 sides of the chair bottom, leaving one side open to stuff in our polyester fiber fill.

We used lots of stuffing! We did not scrimp on that. We want a comfortable seat!

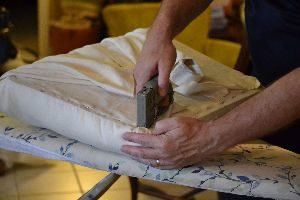
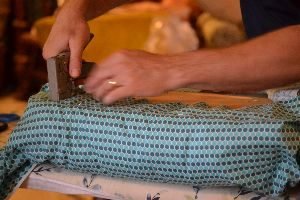
Gordon finishing up this chair cushion.
Nice and tight and secure.

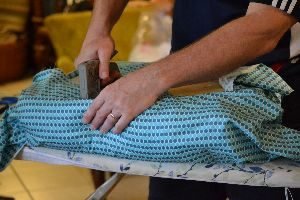
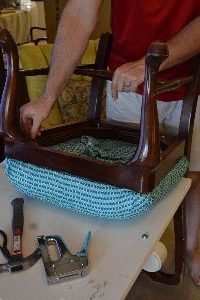
Now this part is easy. Gordon just placed the fabric down and put the ready cushion on top of it and stapled our pretty blue fabric all around.
———————————-
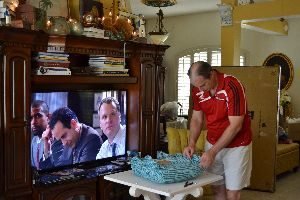
Here Gordon is working on the second cushion while we watch an old favorite show on T.V., Monk. I’ve been buying up all the seasons on DVD. Love Tony Shalub and this show will always be a favorite of ours.

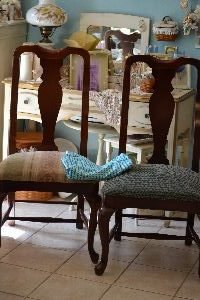
All Done!
Now it’s just a matter of using the original screws to screw the cushion bottom back into the chair.
See, that was easy wasn’t it?
————————————–
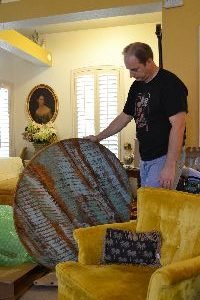
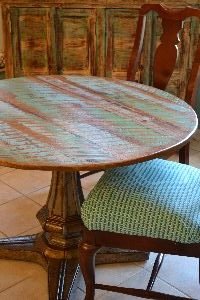
Now, we are trying to find something unique to place on the bottom on our new/old dining table top. We found this beautiful table top that was made with reclaimed wood from an 1800’s barn in Pennsylvania. We thought about having antique corbels to use as legs, or a giant pot, maybe some vintage luggage stacked underneath it, etc. We want to make it unique, but also functional, so that we won’t have a problem placing our legs underneath it, so I guess my vintage luggage idea won’t work. But, we did do something nice. 🙂
———————————
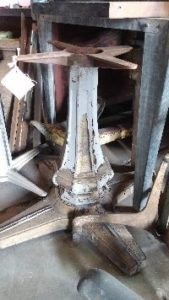
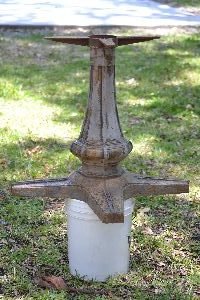
Here is what we found!
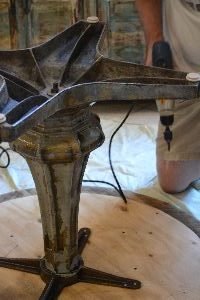
This is a unique base that we found at a store named Schiller’s Architectural and Design Salvage.
They are located in Tampa, Fl. and was one of the most interesting stores we have ever been in.
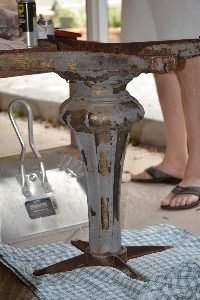

The base is cast iron and made likely in the 1960’s by the company chroModern.
It has a bit of rust on the bottom of the base’s underside and top, but easily fixed.

————————————-
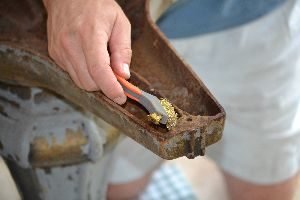
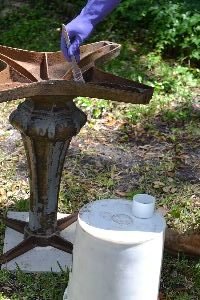
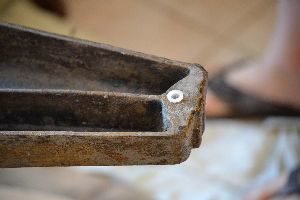
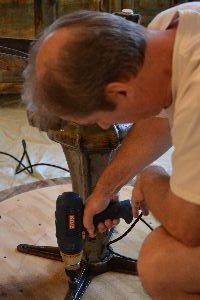
Here you can see the table leveling adjusters, which over time, wore down and are unusable.
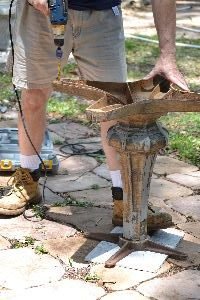
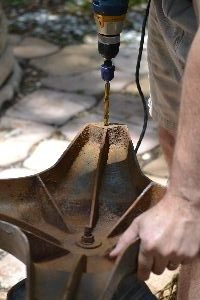
I was able to use some WD-40 Rust Release Penetrate spray, which you can see, made the adjusters easy to remove. Although, one didn’t release and I had to use a drill to remove it. Once removed, I used various wire brushes to get rid of most of the rust.
I used a larger wire brush to get rid of the loose paint on the outside of the base which wasn’t adhering properly.

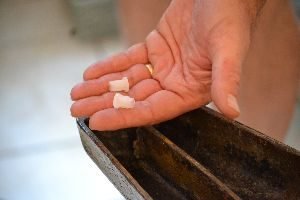
Below, is likely what the leveling adjuster looked like. I used a different one which had a felt like base, so it wouldn’t scratch our tile floors.

The threads on the base were too damaged, so I made new wider holes for the plastic insert to go into.
I used the product below to carbonize the rust. It’s a very strong acid which when done, can be painted over. Be sure to wear good gloves to protect your hands and I even used goggles to protect my eyes.
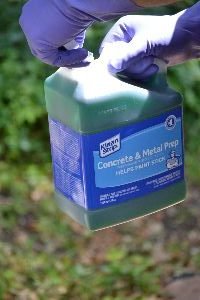
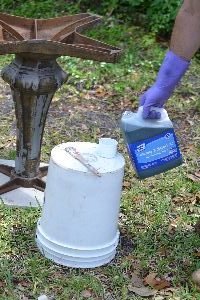
Simply apply the acid with a good stiff brush.
Here, you can see the acid foaming up as it works which takes 24 hrs. to dry.

———————————
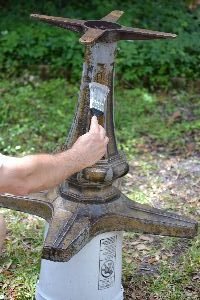
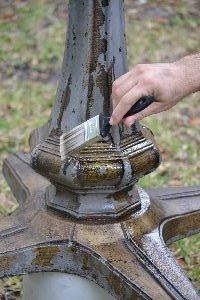
Once all the rust has been neutralized, I painted a gloss over the outside of the base to stop the rest of the paint from flaking off.
I used a 5 gallon bucket to lift the base up higher, making it easier for me to work on.
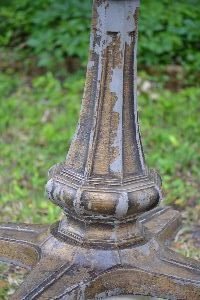
Julie wanted to keep what was left of the slate blue/gray paint.
—————————————-
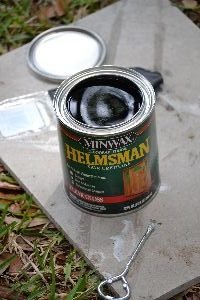
Helmsman Spar Urethane, Clear Gloss
One coat is all it took. On the right you can see how shiny it made the base.
This took about four hours to dry.
———————————–
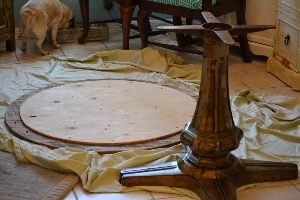
Time to Attach the Base to the Table Top
Place some old sheets down on the floor so you won’t scratch the table top.
To mount the top to the base, I drew a large X on the base which spanned from one side to the other.

This will give you a center point. Now, align the top of the base on the X, and measure the space to the edge of the table to ensure it is even all the way around.
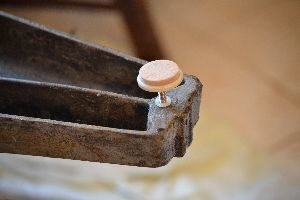
Lightly hammer the plastic caps into the newly drilled holes…
then screw in the adjustable pads.

I believe this may be the makers mark.
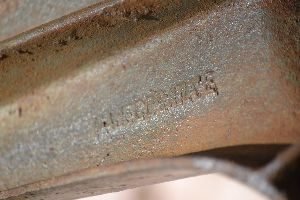
I tried to make a rubbing to make it more clear.

If anyone recognizes this mark we would appreciate your getting in touch with us. 🙂
————————————
Making sure your base didn’t move from center measuring all around one more time, then drill 1′ wood screws into the bottom of the table using the holes provided in the base.
This table had two screws per leg, making it very strong.
—————————————
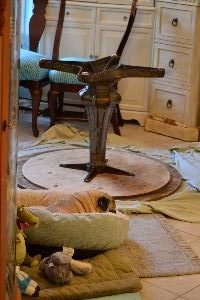
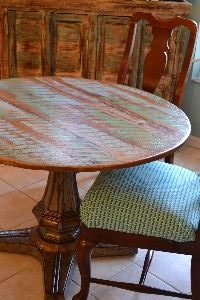
Flip the table over and you are done.
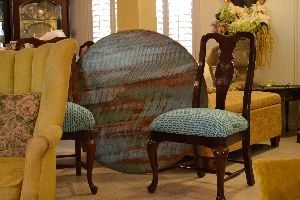
Here you can see how all four pieces of furniture match.
————————————-

We put it to use in no time. Here are some of our Blueberry/Guava Compote we just finished canning.
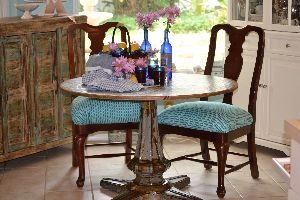
Now we have a unique kitchen nook dining set that no one else in the world has.
You can’t get anymore unique than that.
Happy DIY!
Julie and Gordon