Julie’s Italian Appetizers and Edible Gifts

CIAO!
Questo E Julie’s Italiano Appetizers E Edible Gifts
My Favorite Food in the World 🙂

Roasted Garlic
I am not Italian, I do not even claim any sort of Italian-American roots, I’m probably not even fluent in Italian Taste Buds, However, I do LOVE Italian Food and Italian Inspired Food which is what this post is about. Gordon and I do have a few Italian Food posts on this website but this one is all mine. And what I mean by that is that these foods and gifts are my contribution to the Italian Taste Bud World. Even so, nothing here is authentic and most of it is ready made you just need to put it all together.
I do have a few nice recipes here though that I hope you will try and enjoy!

Buona Giornata!
Julie
—————————————–
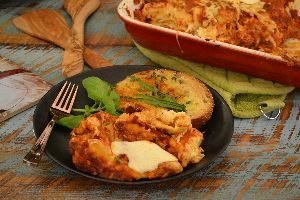
I realized that there is no way that I can present a series of Italian Appetizers without posting my most favorite meal in the entire world. To most it is an appetizer. To my son Brodie’s girlfriend Mackenzie, it is a snack. But to me it is a meal.
The Best Meal

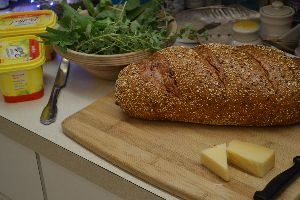
It is simply, seeded bread that I have baked in the oven with butter, roasted garlic cloves, sundried tomatoes marinated in olive oil, and artichoke hearts.
Life just doesn’t get any better than this. 🙂
—————————————

Bruschetta on Toast, anyone?
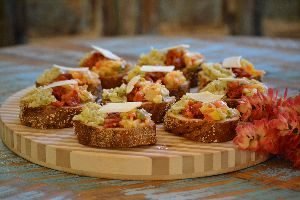
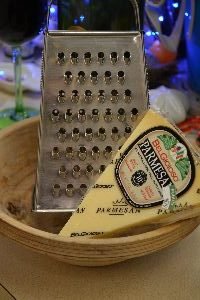
Bruschetta is an antipasto from Italy that consists of placing olive oil, garlic, tomatoes, vegetables, etc. on grilled bread. It is a simple appetizer to serve before any Italian meal. You can even buy some excellent Bruschetta’s that are ready made, all you need is the bread and perhaps some shaved Parmesean, photo above, placed on top. I used 3 different kinds of Bruschetta’s here.
(I can even make a meal out of this with nothing more needed, other than a good red wine.) 🙂
———————————————————-
Italian Beer Bread

This is the easiest and tastiest bread we have ever made. I promise that you will have no problems creating this recipe in your own kitchen. I also guarantee you will have this bread on repeat from now on.


(Recipe Down Below)
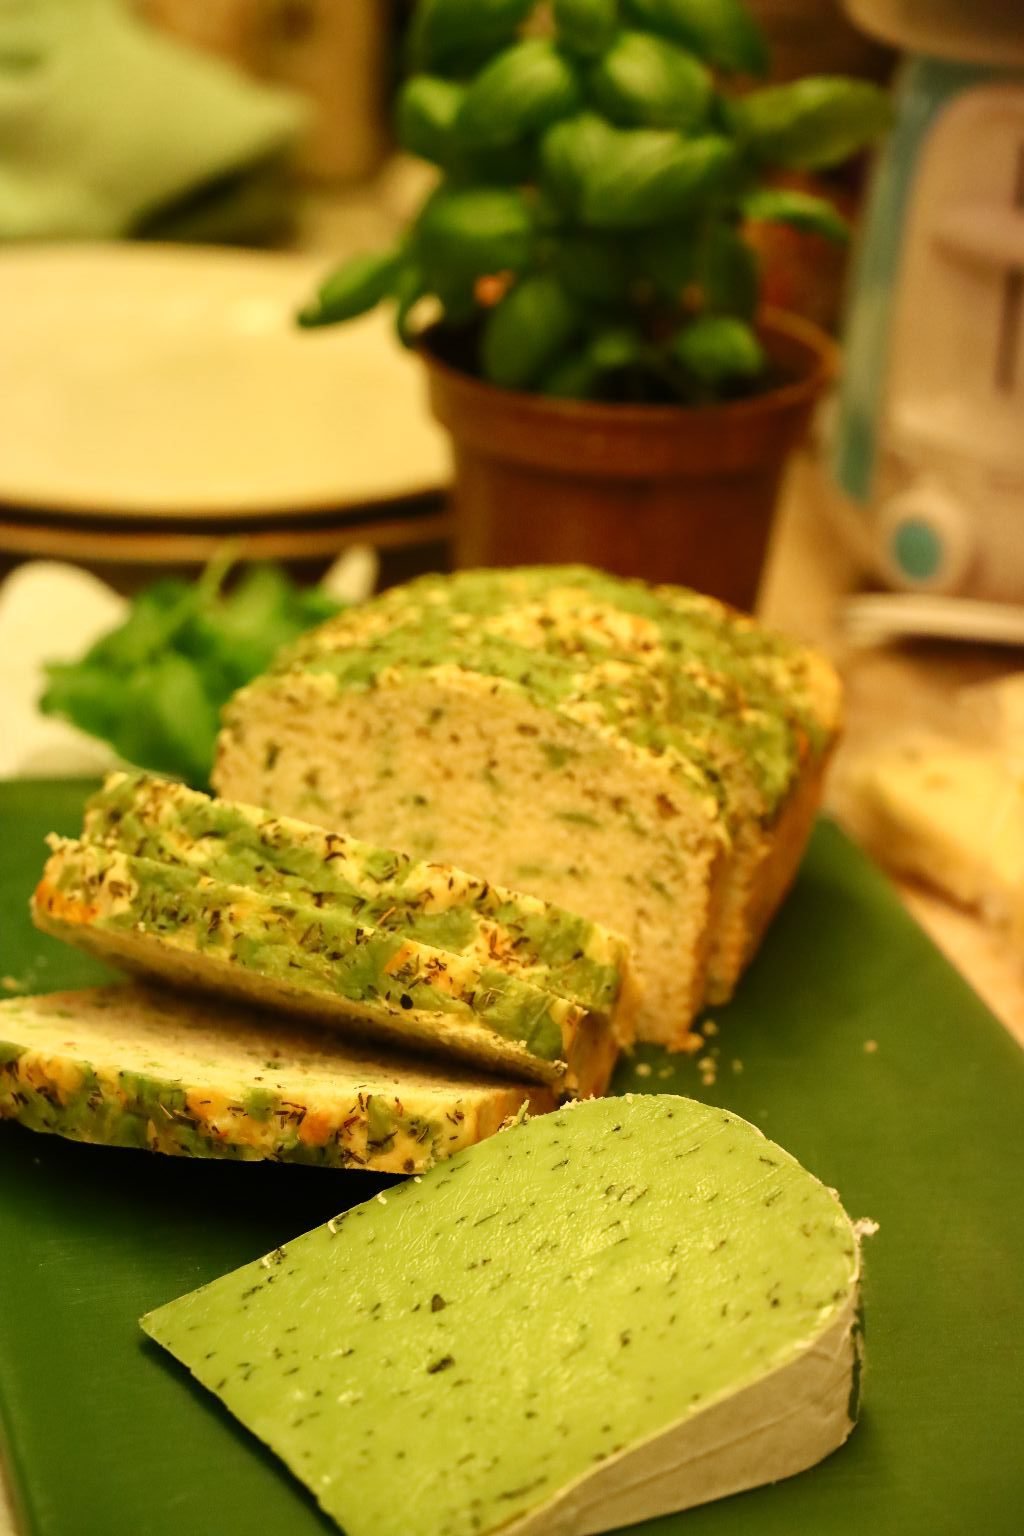

Our Green Pesto Gouda Italian Bread, and Green Pesto Gouda Cheese

Makes an Excellent Grilled Cheese Sandwich

(Recipe Down Below)
—————————————————————-
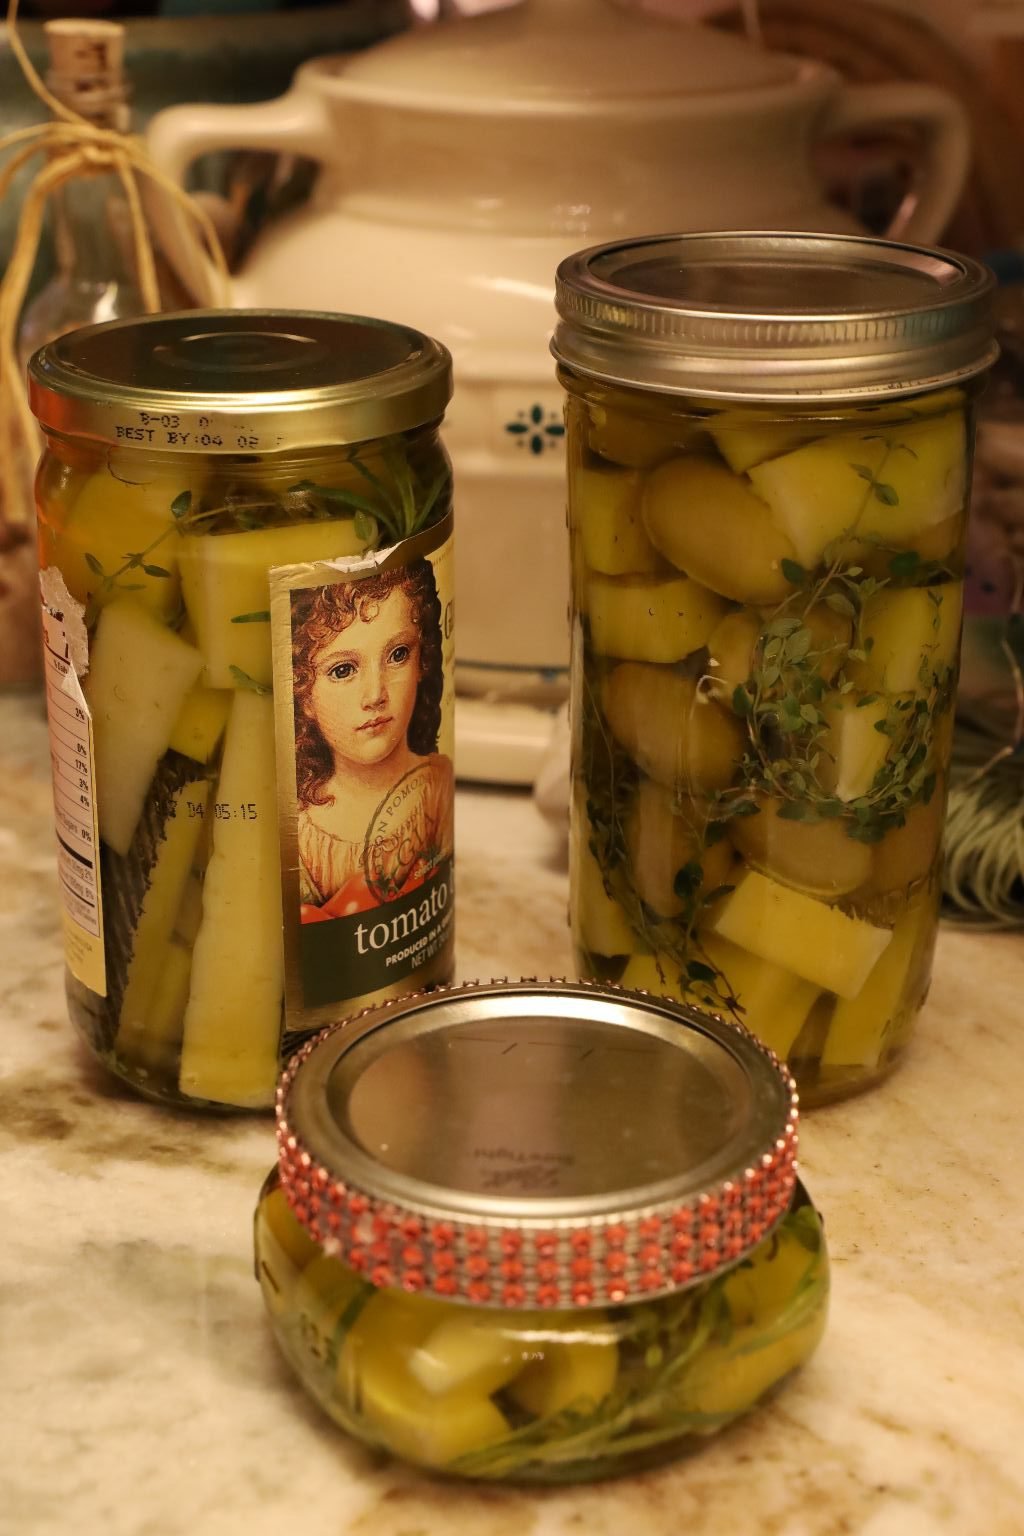
Marinated Manchego and Stuffed Olives in Olive Oil, w/ Herbs
I initially wanted the small one for myself but I decided to give it to my son’s girlfriend, Mackenzie because she likes Manchego as much as I do.
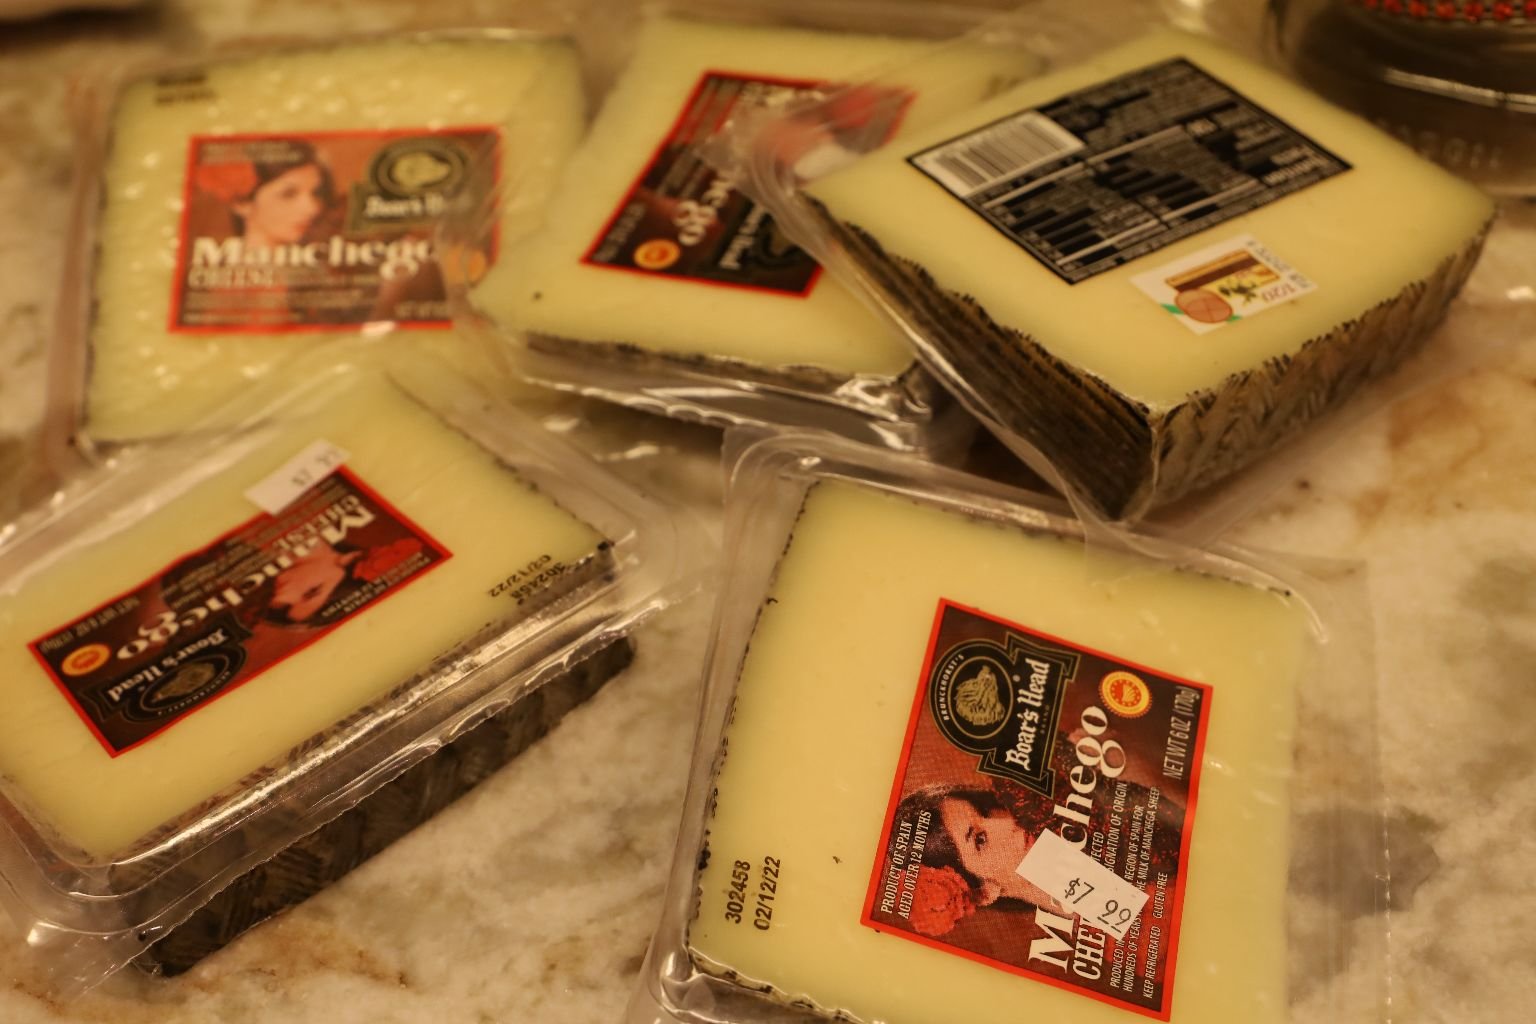
I LOVE MANCHEGO!
Letting It Come to Room Temperature Above
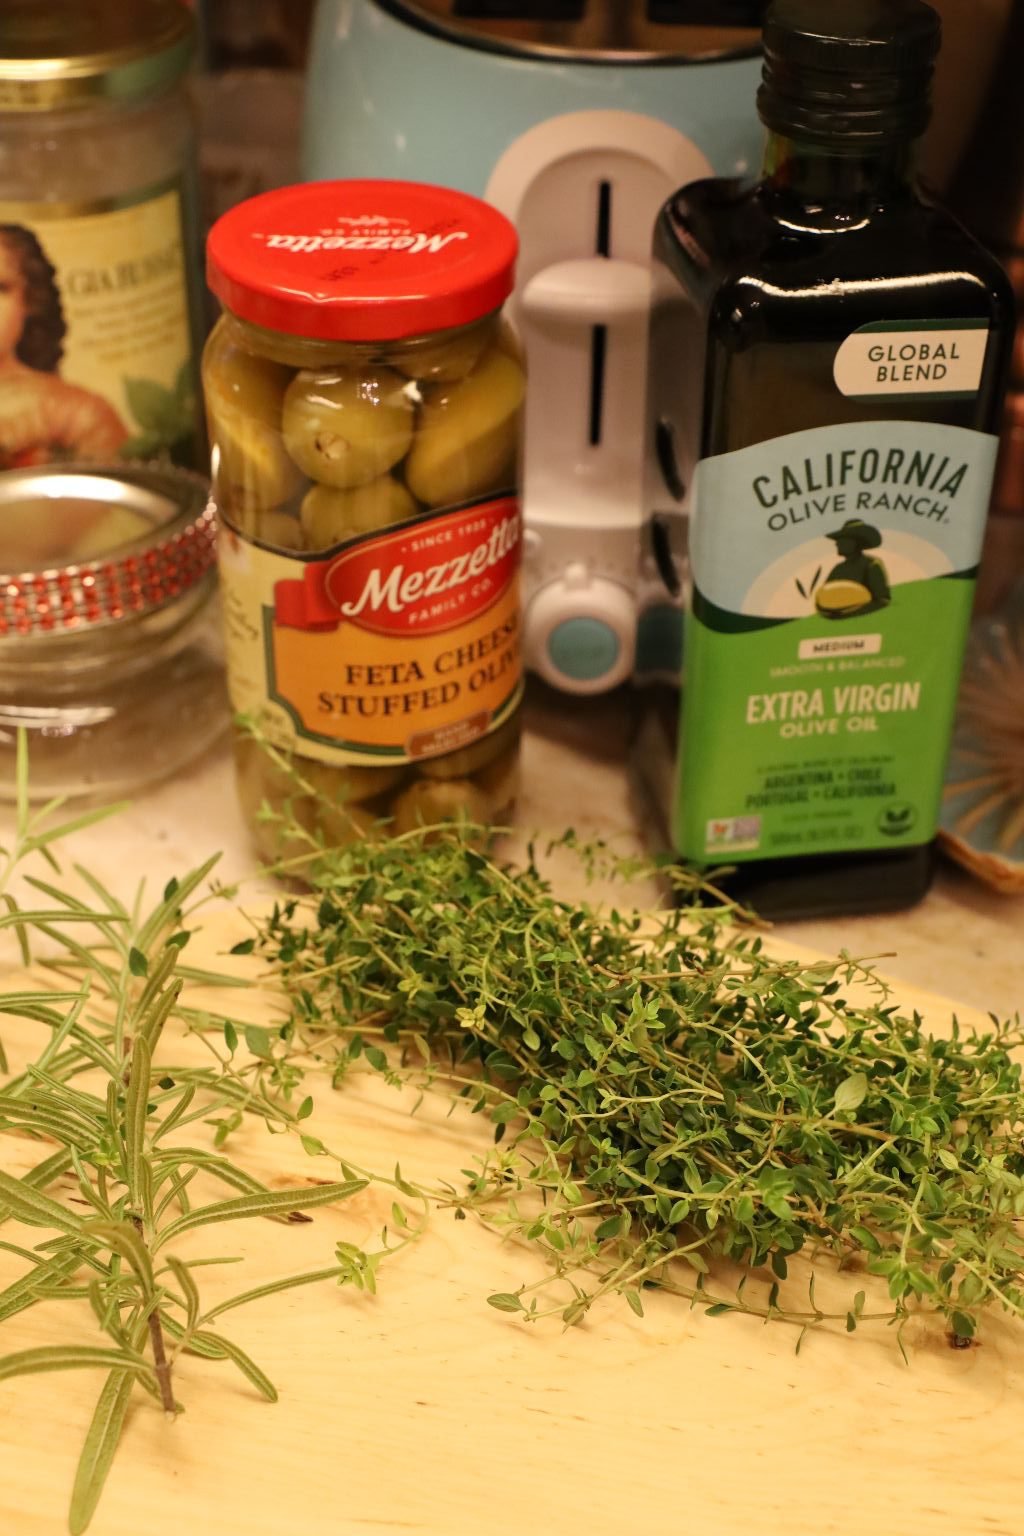
This was something delicious and fun to make. I love marinated cheese and I knew I would love this seeing as how I love Manchego. I also liked the fact that the recipe called for Olives and some of my Herbs.
This is all about eyeballing how much of this and that, that you prefer.
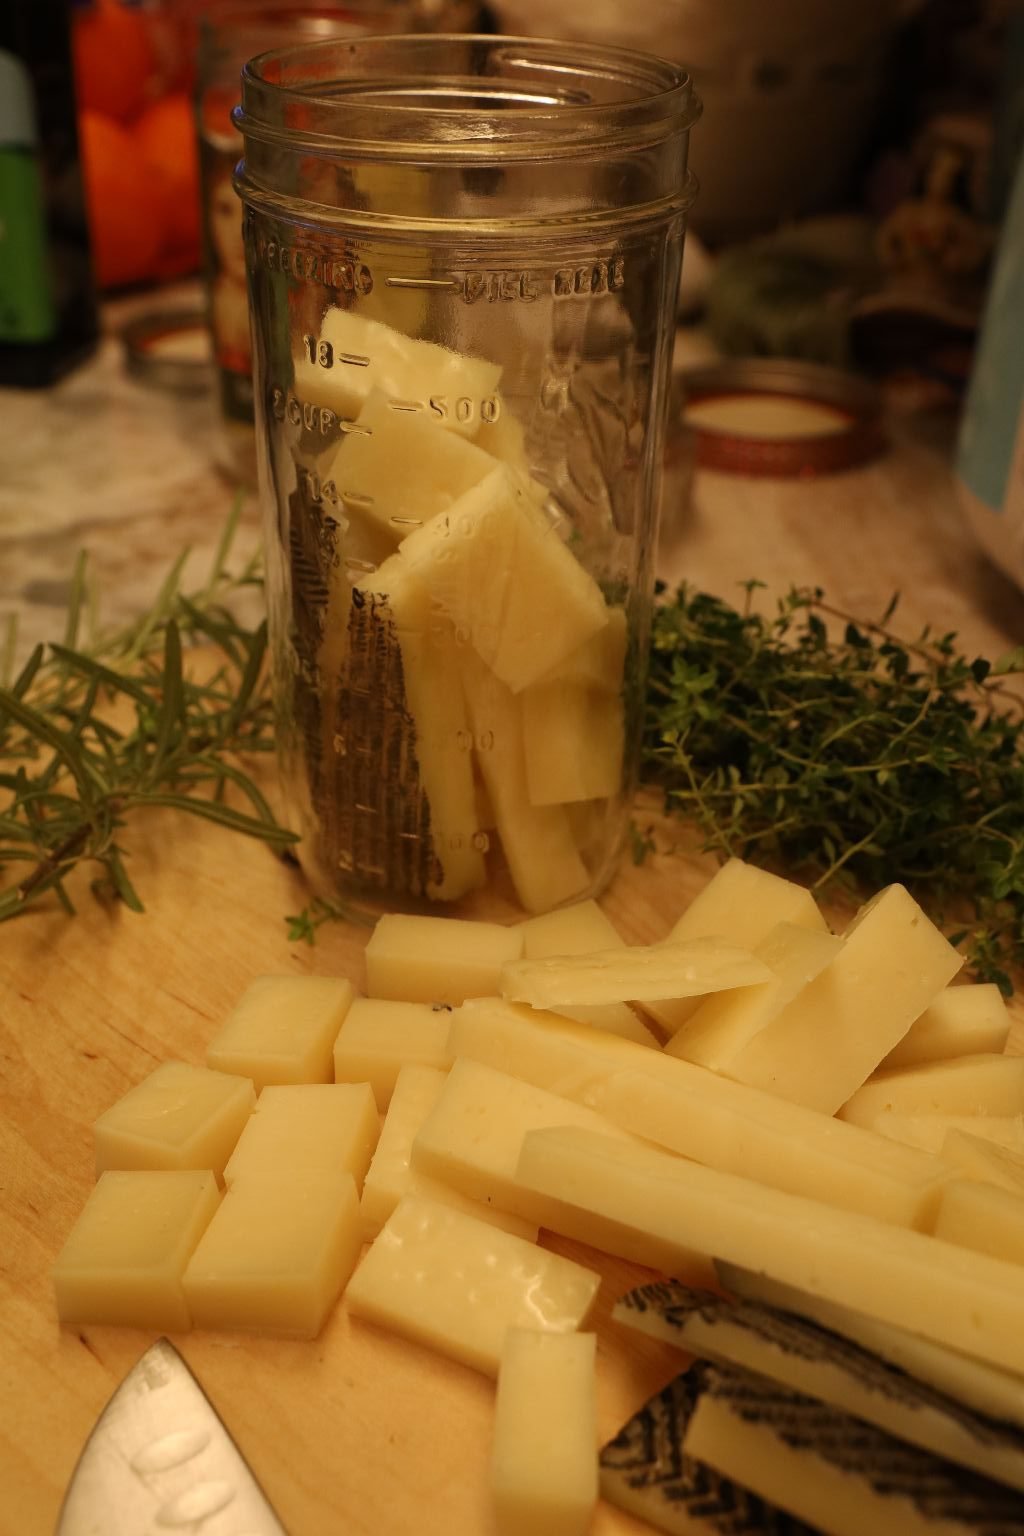
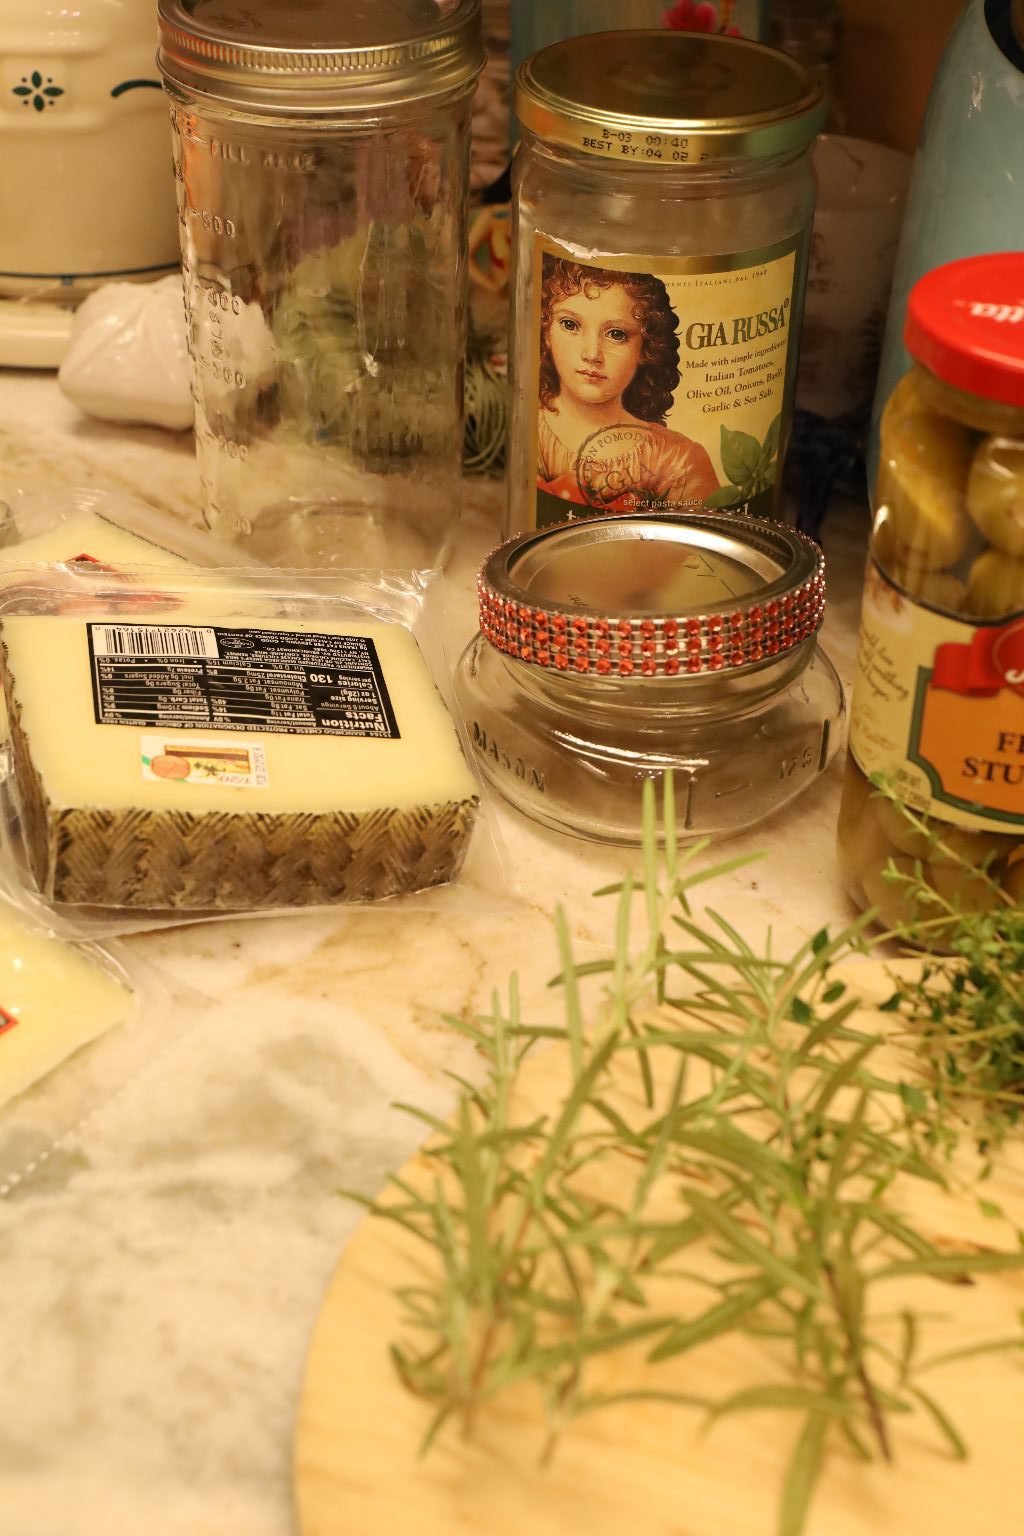
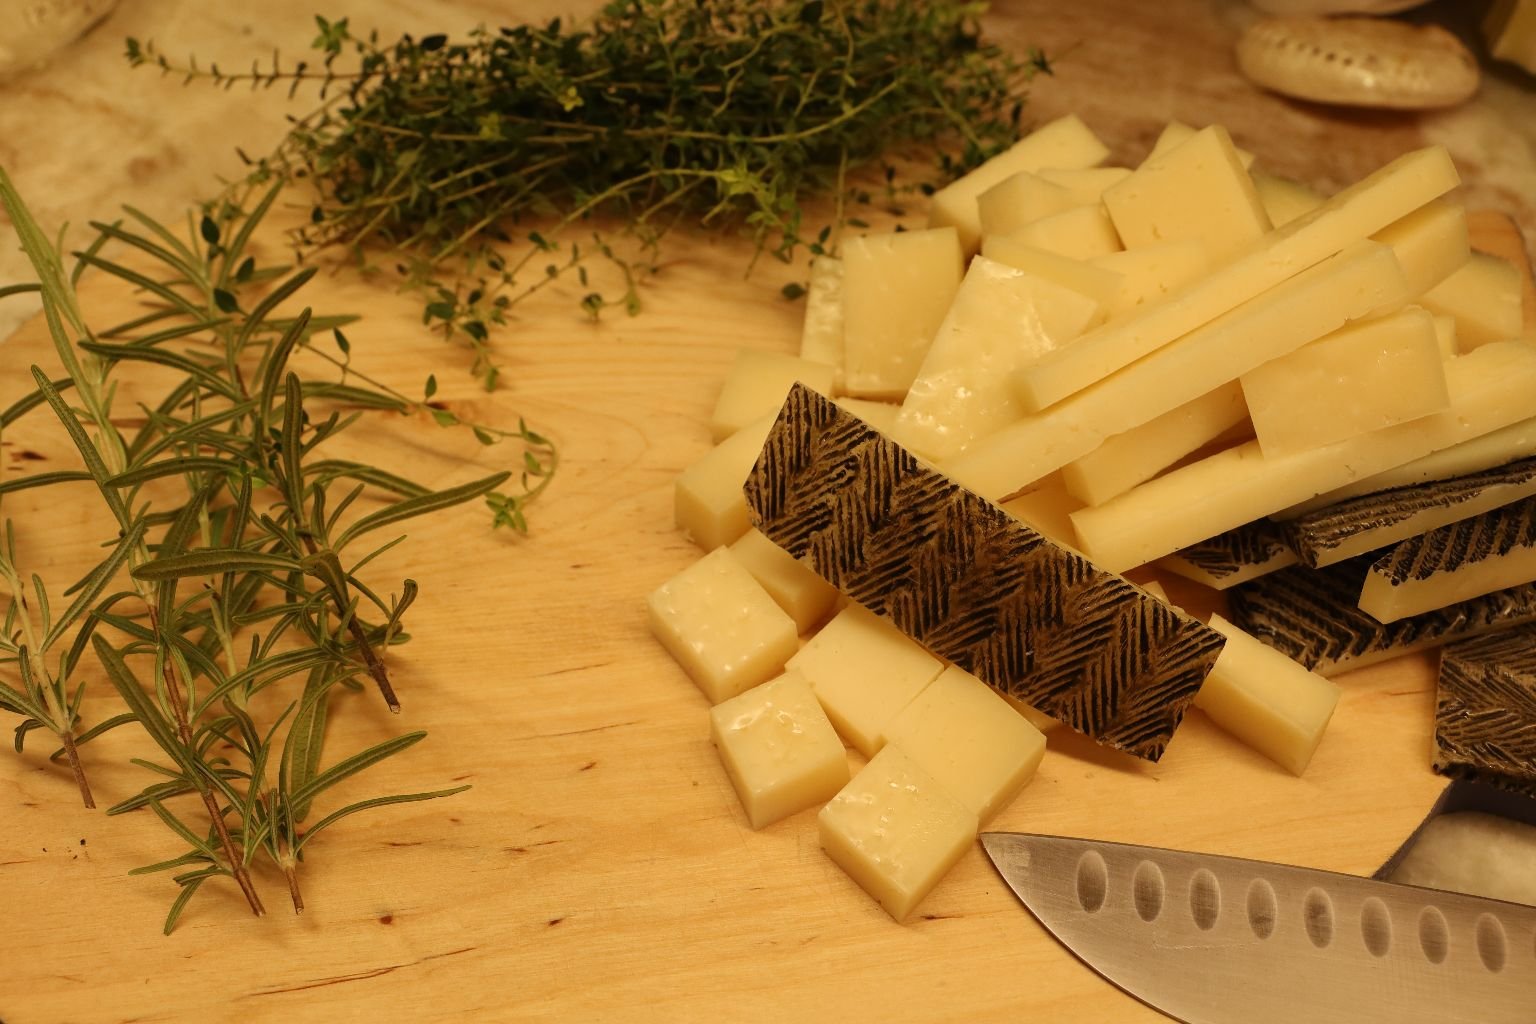
I chopped the cheese into various lengths of chunks. I did NOT discard the rind! I wanted it in each jar if not just for the character and presentation of it all.
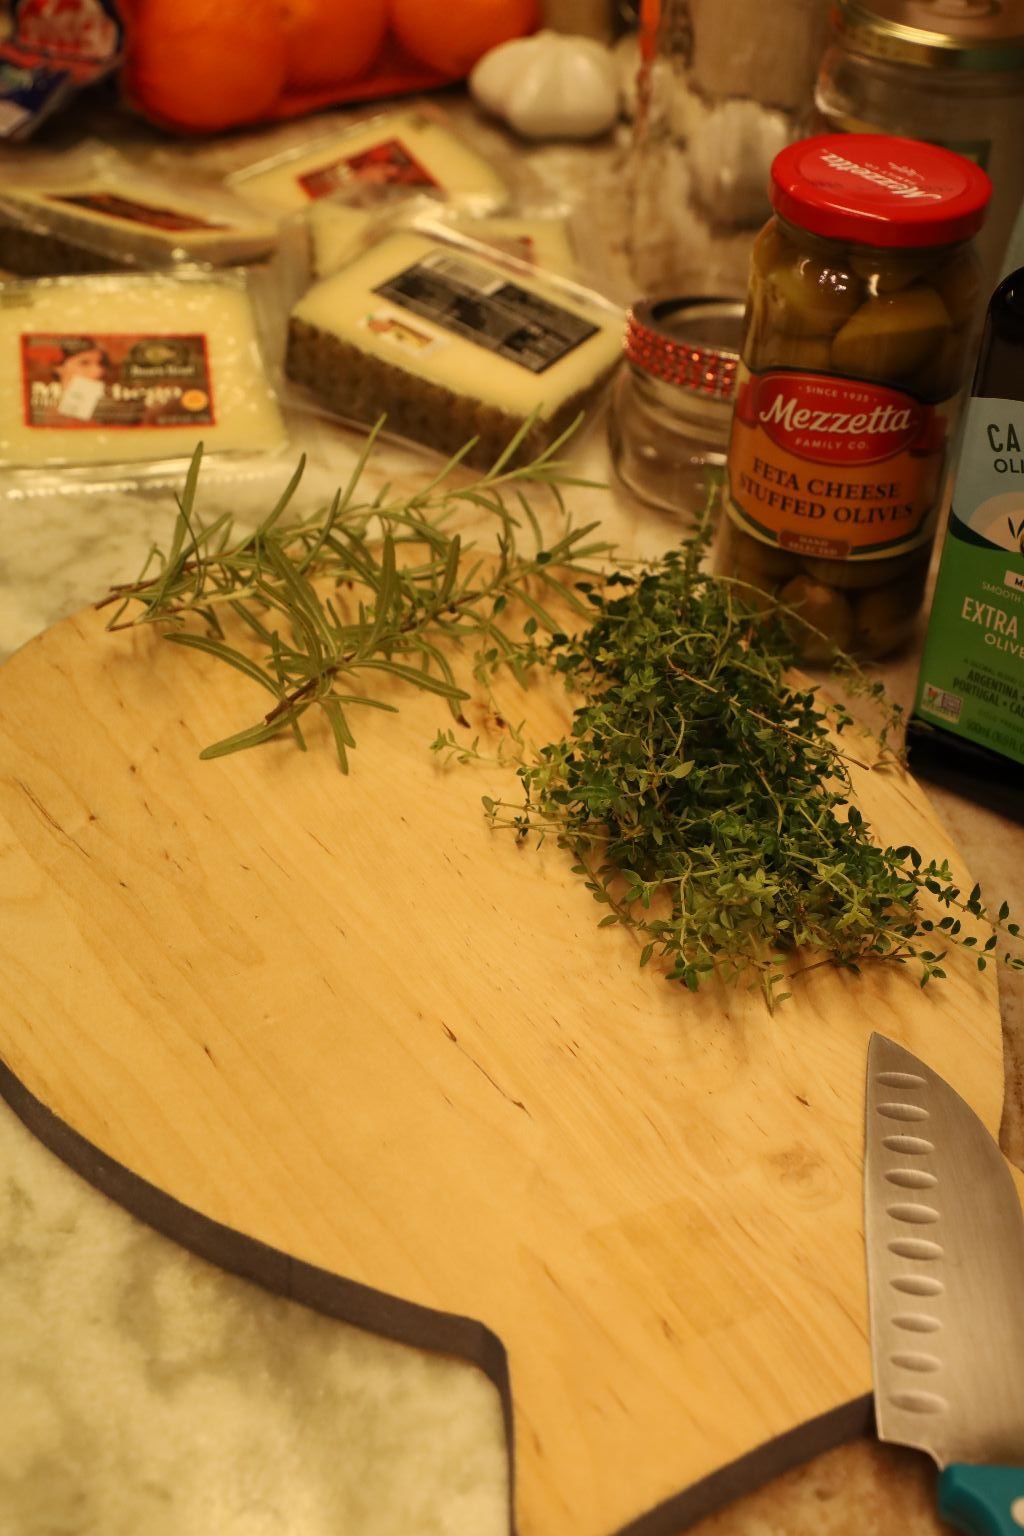
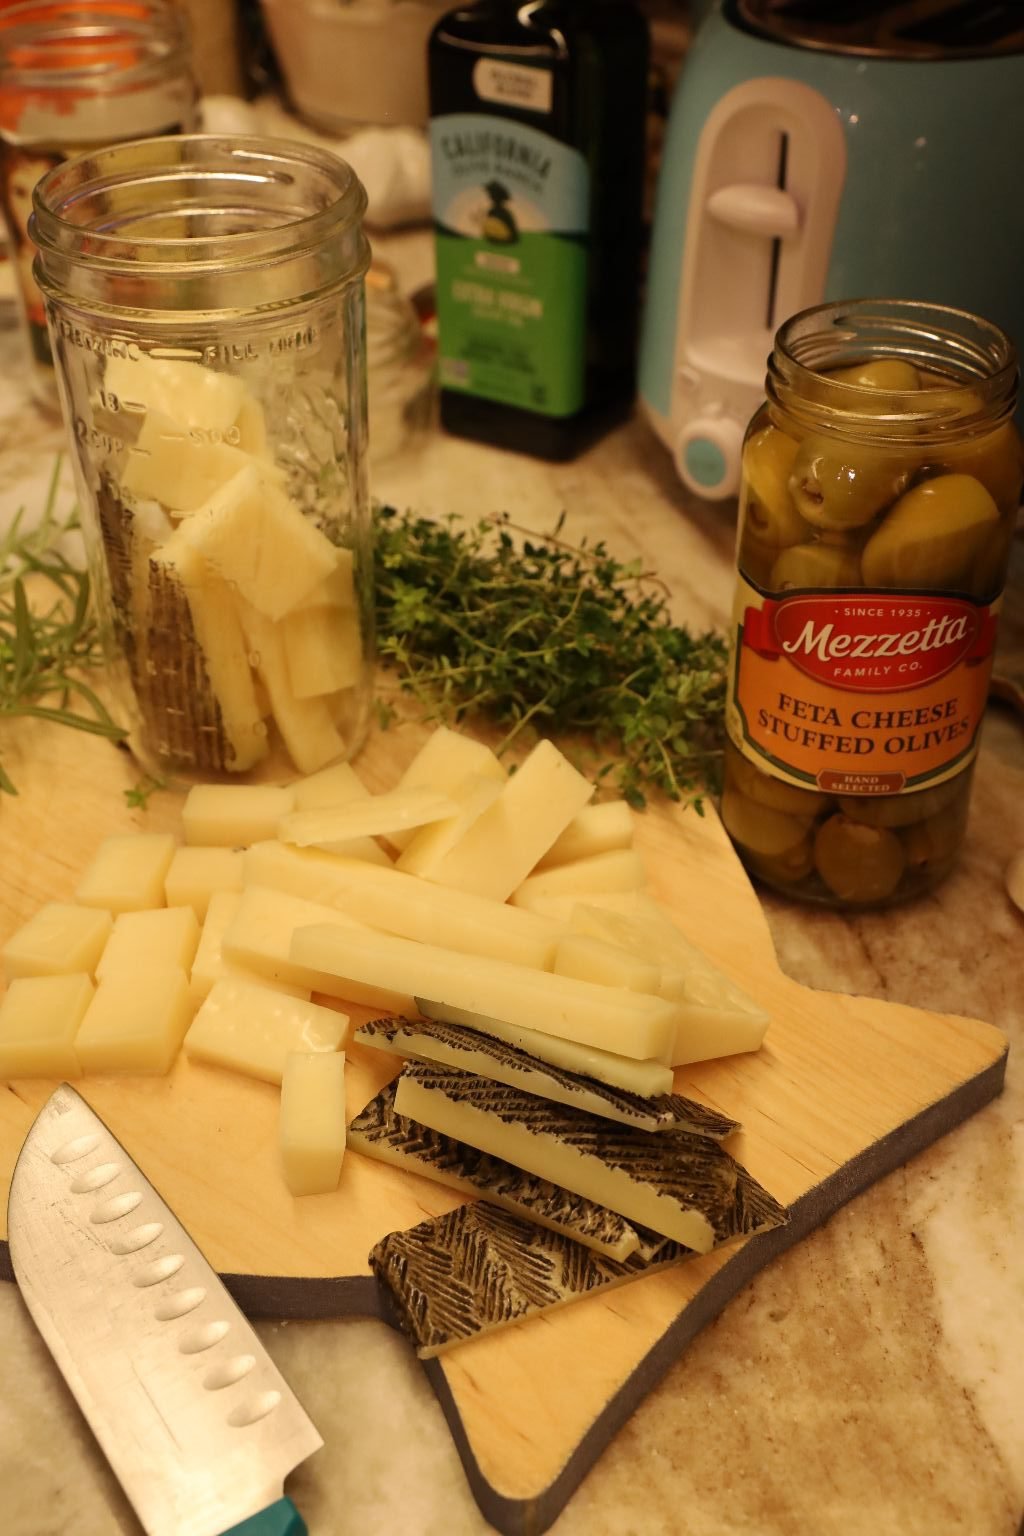
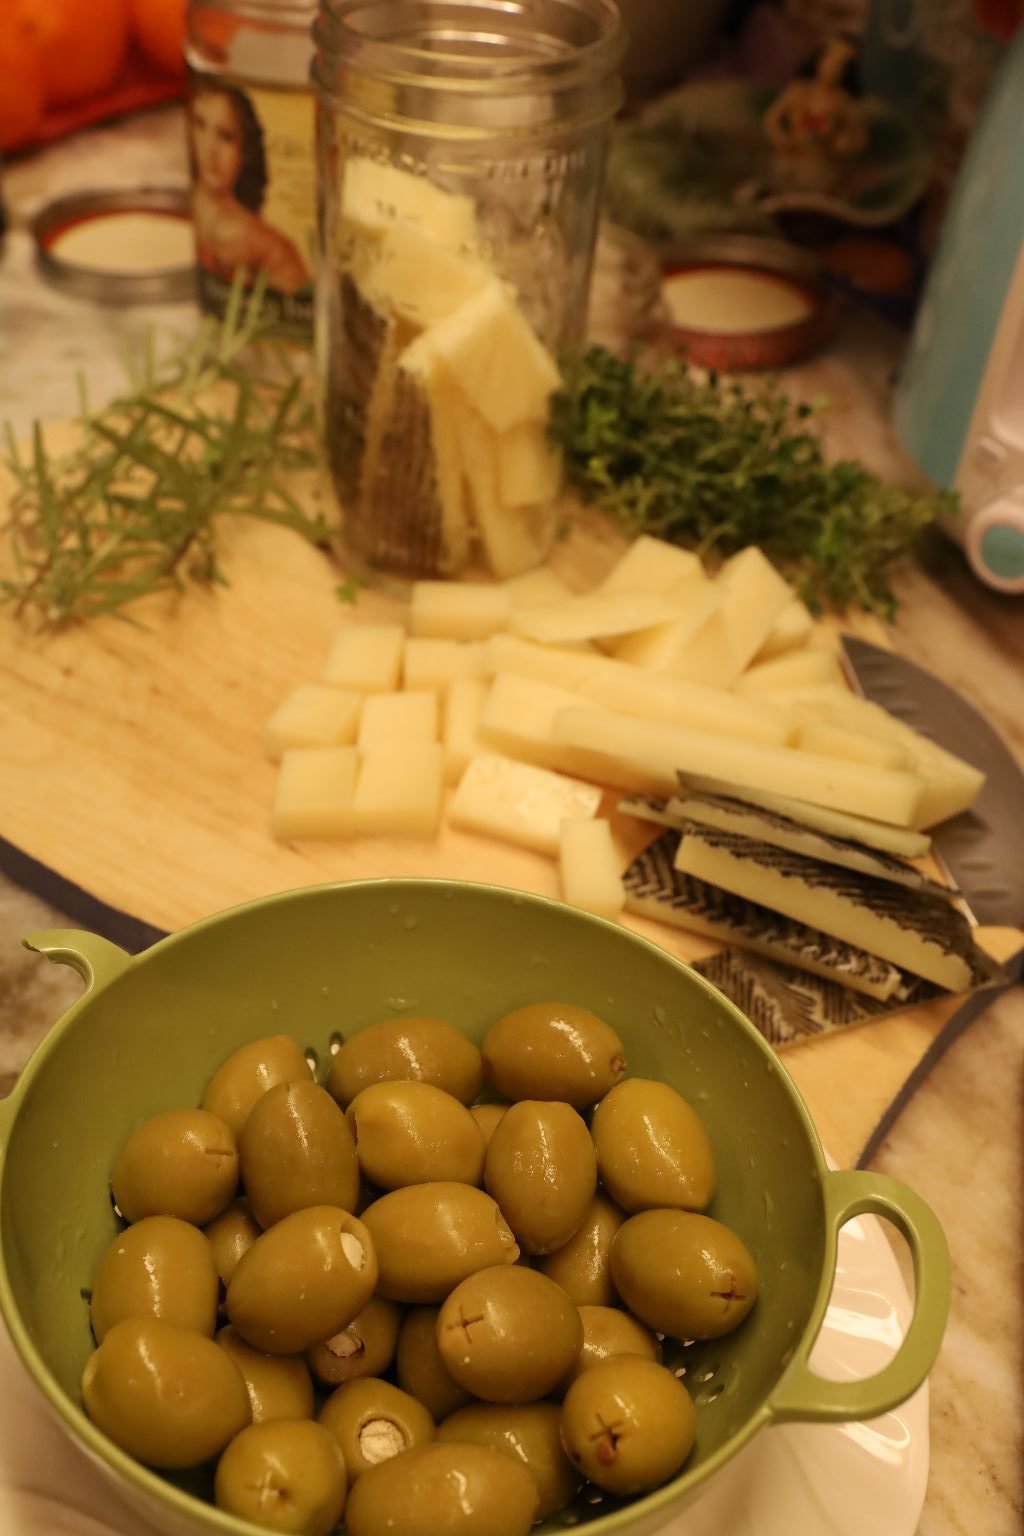
Simple Ingredients: Manchego Cheese cut into chunks, any kind of drained Olives, Fresh Herbs of Thyme and Rosemary, and plenty of Extra Virgin Olive Oil.
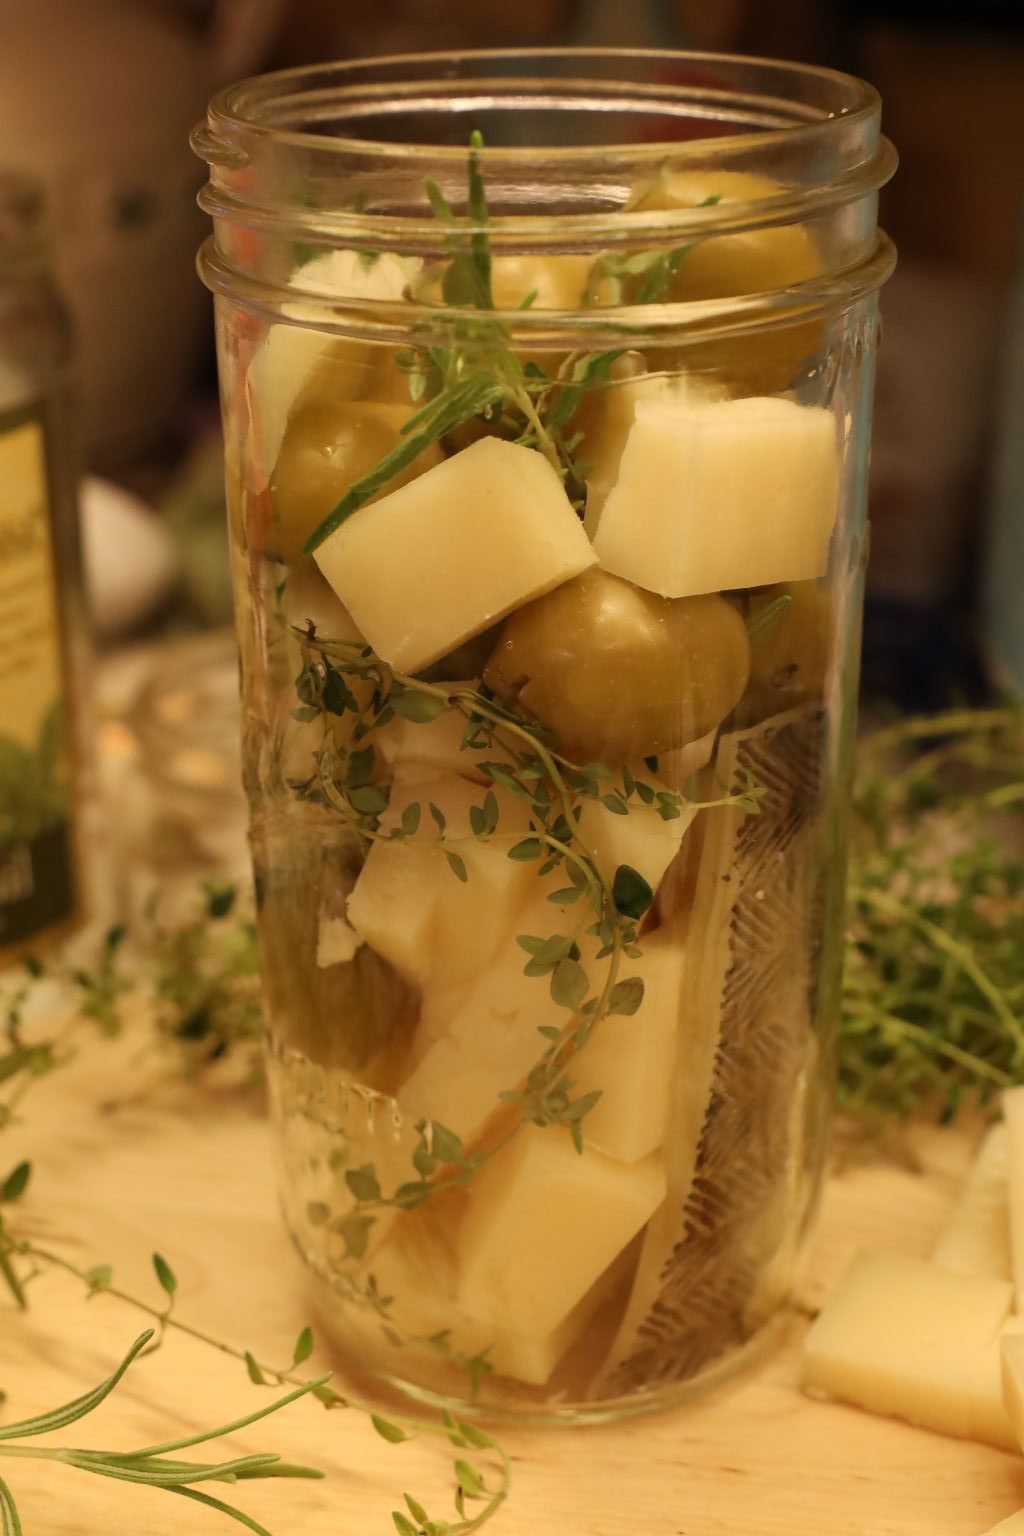
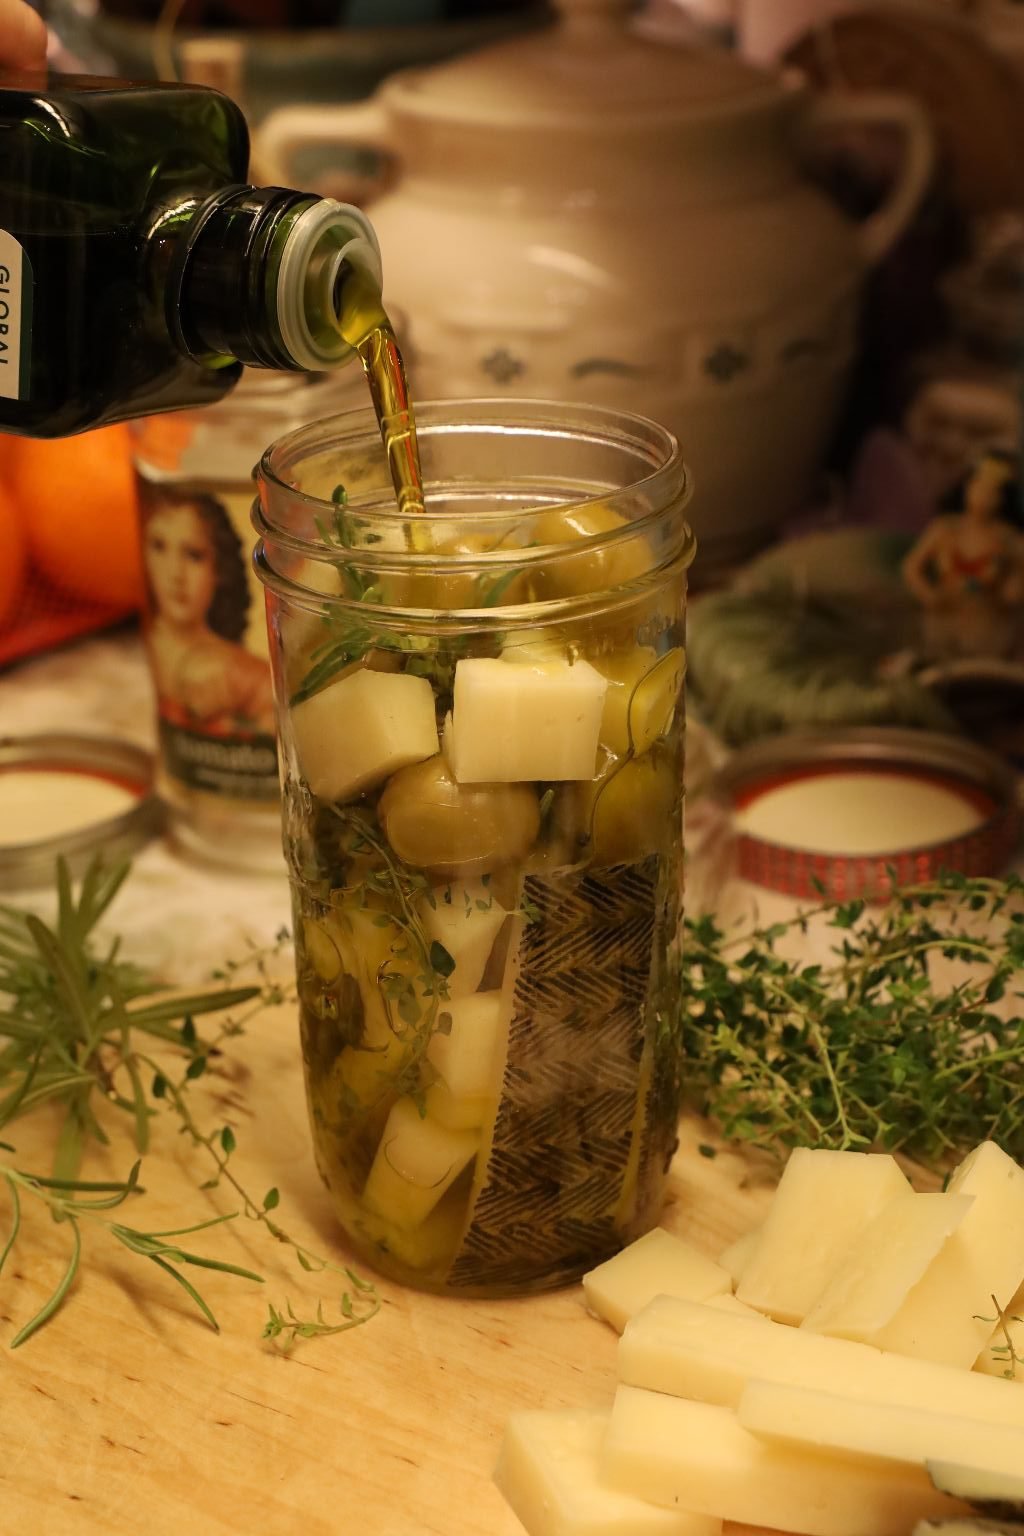
You just place everything into jars and then cover with Extra Virgin Olive Oil.
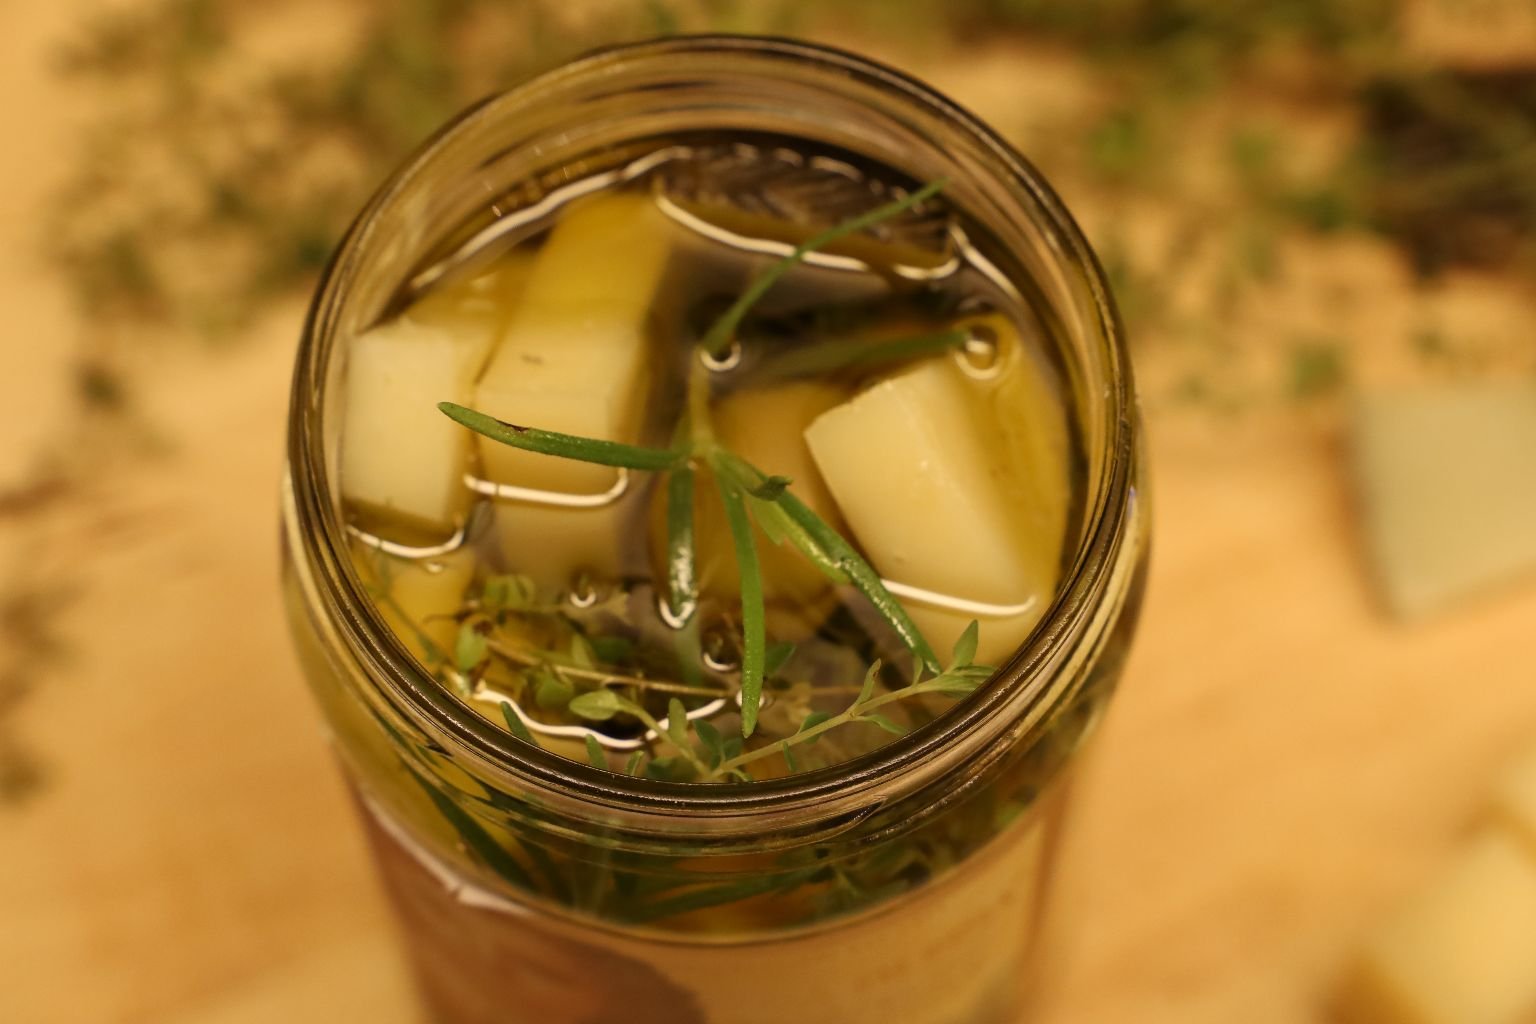
See How Pretty?
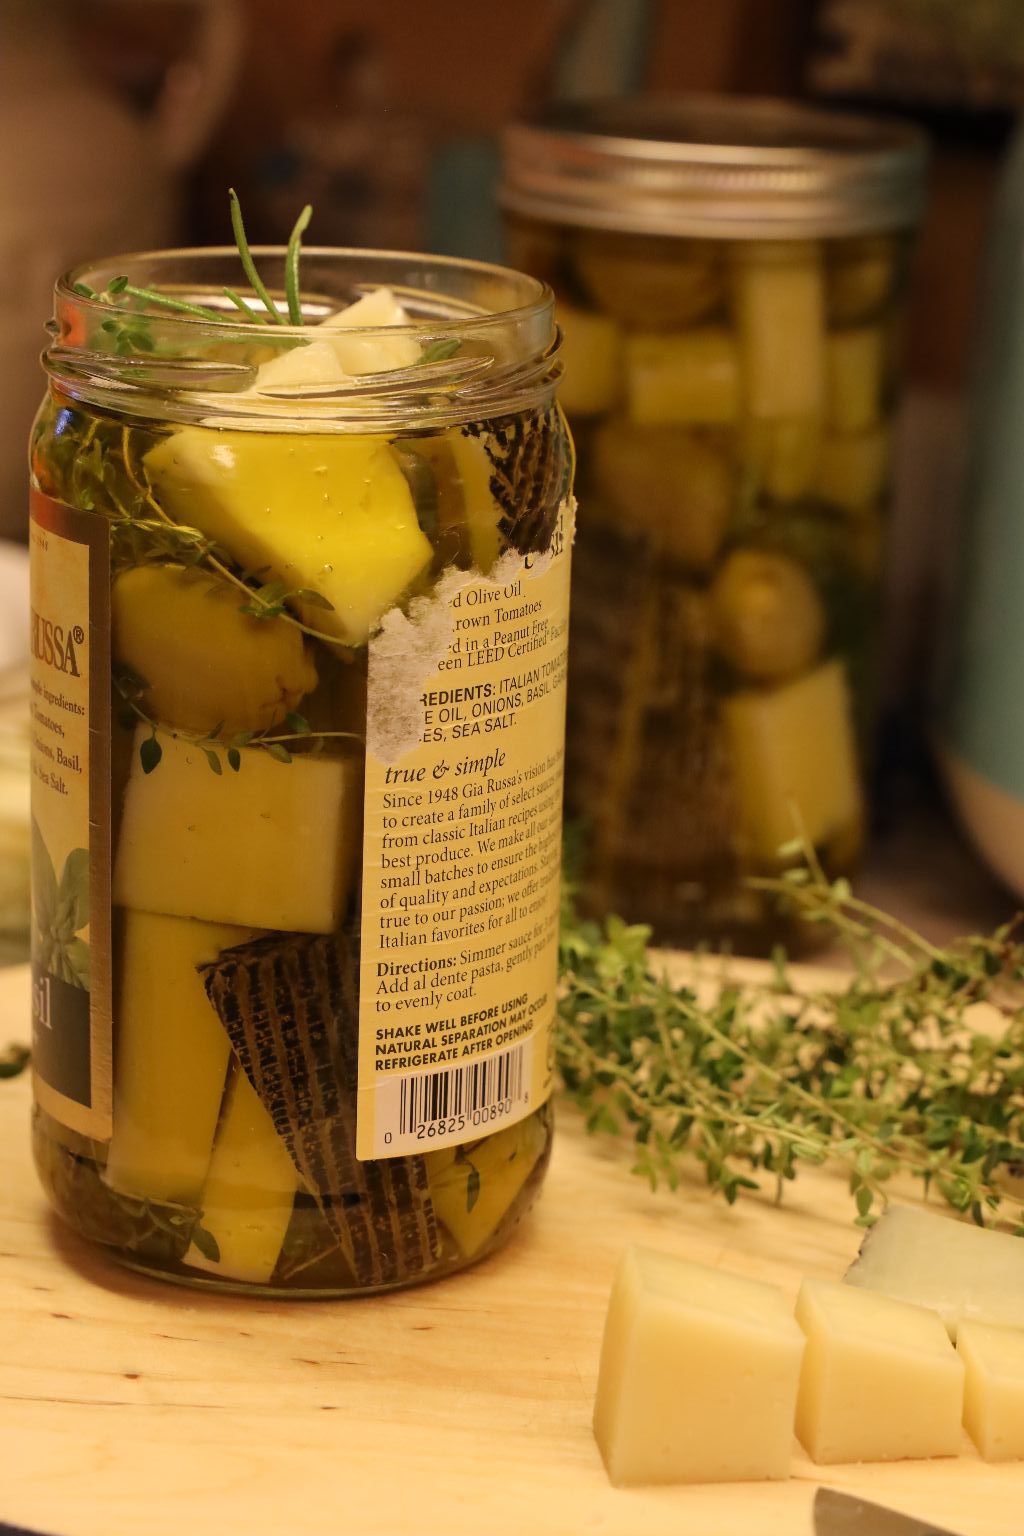

Now Just Place Into Your Refrigerator and Enjoy Whenever You Like
It will congeal so set it out a good half hour before you plan on eating them.
——————————————————-

Excellent With Bread
——————————————–
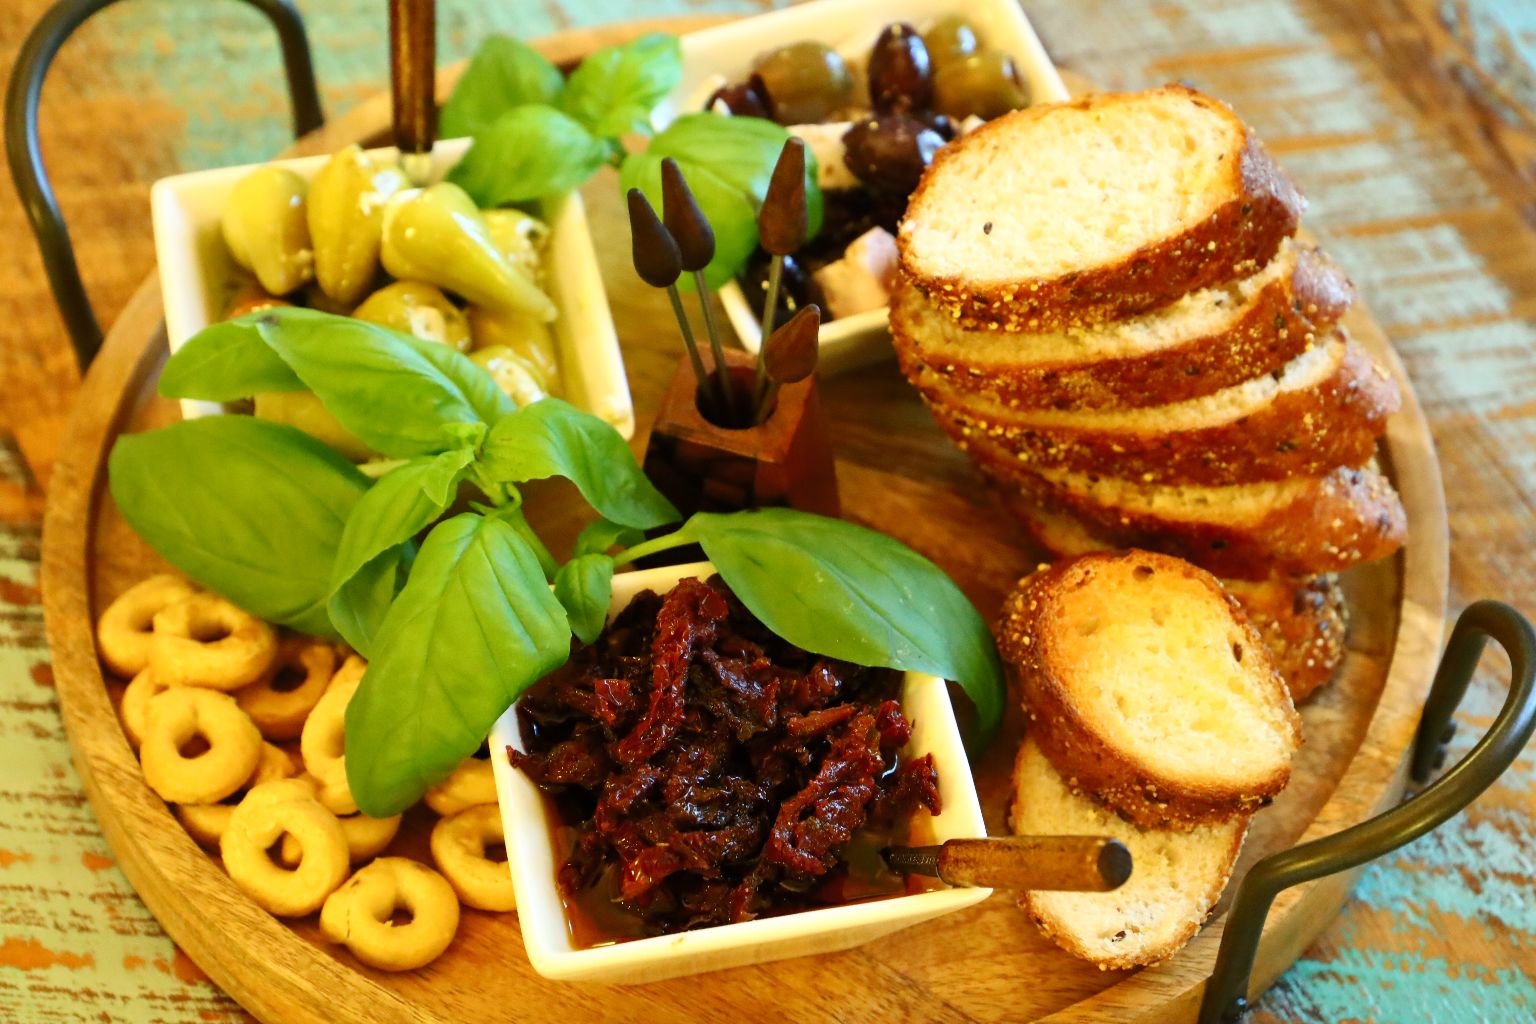
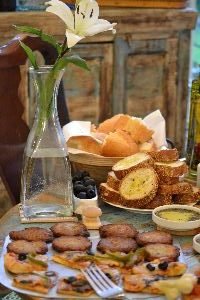
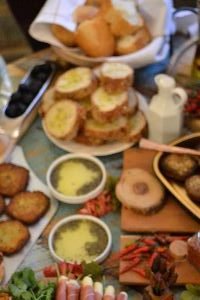
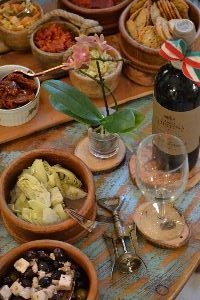
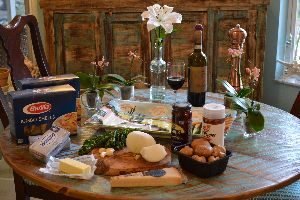
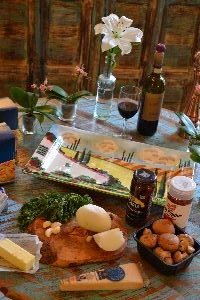
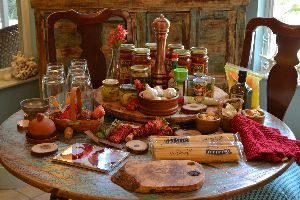
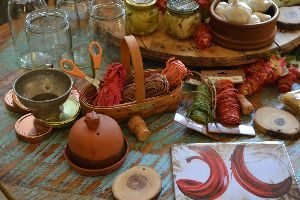
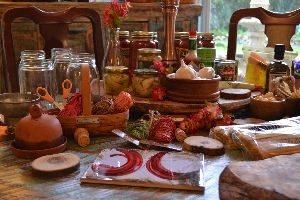
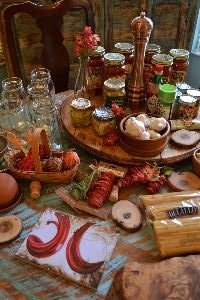
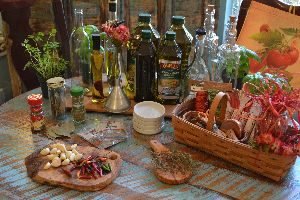
Italian Nibbles…….

My Favorite Kind of Dinner
I love a variety to just nibble on.

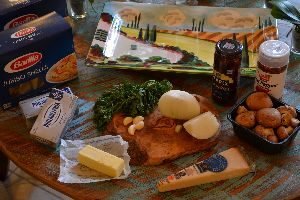
Most of this you can find in the bakery and deli section of your local supermarket.
Various cheeses, meats, crackers, olive oils, olives, zucchini pancakes, stuffed mushrooms, marinated artichoke hearts, sundried tomatoes, bruschetta’s……… and bread. (And even a leftover pizza cut into squares.)

This is also very easy to put together.
I just used some cutting boards, wooden bowls, ceramic bowls, I even used an old shelf that fell off the wall one day.

I also don’t think that you need to limit yourself to only serving Italian cheeses. Serve what you like and mix it up. It doesn’t have to be totally authentic, just authentically inspired. 🙂
Parsley always makes an excellent garnish. The reason that restaurants always placed parsley on the dinner plates was because it aids in our digestion, and not just because it was pretty. So eat up!
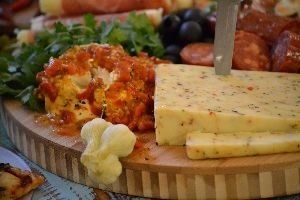
I also have some great Canadian Cheese’s here.
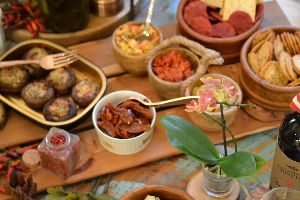
The Stuffed Mushroom’s I bought ready made, I only had to heat them in the oven.
As well as the Sundried Tomatoes and the Bruschetta’s in the photo above. Easily spread on bread and crackers.
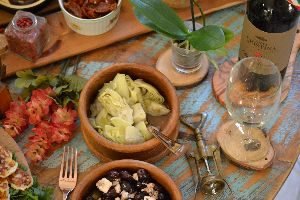
My favorite are the marinated artichoke hearts and the marinated olives and feta cheese.
Oh, and my beautiful made in Italy vintage wine opener that I found at a thrift store. 🙂

Grab a plate, a napkin, and a glass of wine and help yourself and I’ll meet you in the living room.
Godere!
Julie
———————————————
Just a few of the Appetizers…..
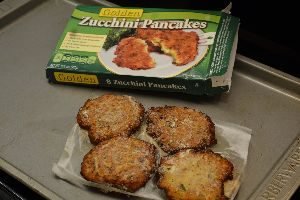
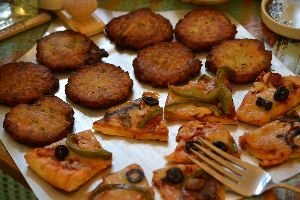
In order to save time I found these great Zucchini Pancakes in the frozen section of my local grocery store and decided to incorporate them into the Italian Nibbles as well. Easy to heat up in the oven, and even a bit tasty as well.
I actually served them with some leftover pizza that I had, and cut into squares, and served on a pizza paddle.
——————————————–
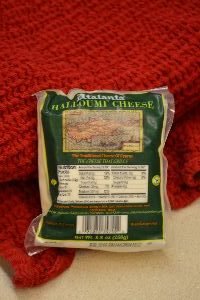

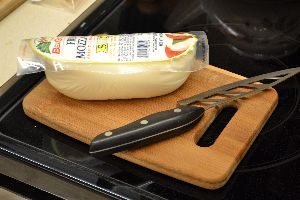
Haloumi Cheese
I did grow up eating Haloumi Cheese as a child but then I didn’t have it again for decades. But I did spot it at a Greek Market and bought some and decided to fry it up for this occasion. It was delicious and brought back memories. You do need to just brown it in a pan on the stove top. It is best served warm.
———————————————–
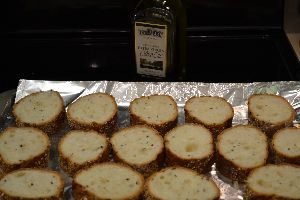
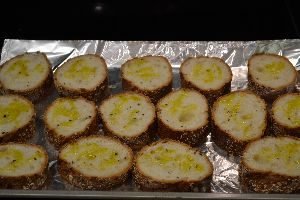
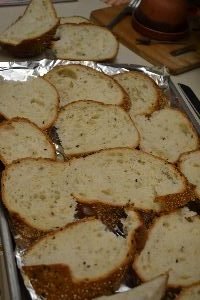
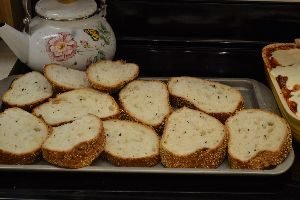
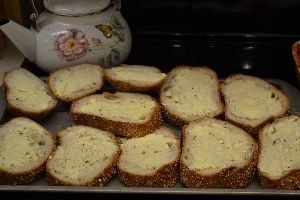
The bread that I served, I simply sliced, drizzled some olive oil over it, and baked it until a bit crispy. Perfect!
——————————————–
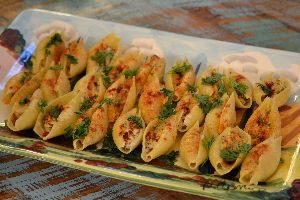
Mushroom Stuffed Shells
This is sooooo good! It’s also quite beautiful, tasty, and easy to make.
A perfect food to just pick up and snack on, an EXCELLENT APPETIZER!
We do have this recipe probably on a few of our blog posts but I wanted it here on this post as it is such a lovely food item to enjoy.
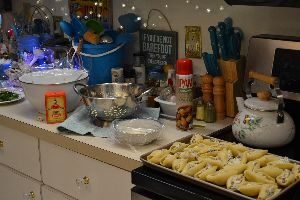
The Ingredients all Ready
——————————————————-
What is so great about this recipe is that you can change the ingredients, you don’t have to stick to this recipe.
You can use other cheeses, spices, veggies…… You can use your imagination here.
But I will say…..THIS recipe is delicious!!!
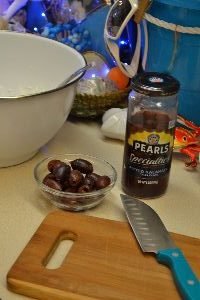
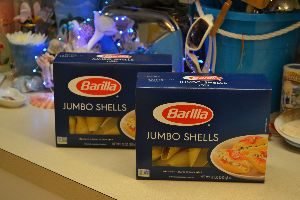
The Ingredients:
Large Pasta Shells
3/4 Cup Parmesan Reggiano Cheese PLUS 1/2 Cup more to top the stuffed shells
2 8 oz. Philadelphia Cream Cheese – softened
1/2 Large Onion chopped
8 Mushrooms – sliced and chopped (I used Baby Bellas)
3 Cloves Garlic – thinly sliced, then chopped
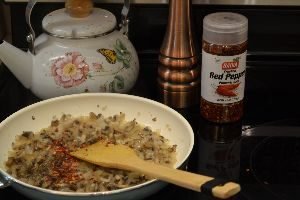
Fresh Ground Pepper
Crushed Red Pepper Flakes to taste – I used about 1/2 Tbsp
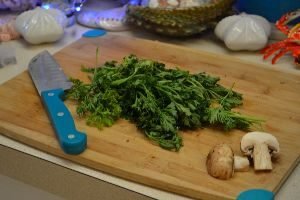
1 Bunch Parsley – Med. chop
1/2 Cup Kalamata Olives – chopped
4 Tbsp Butter
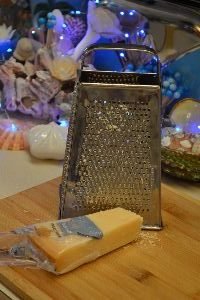
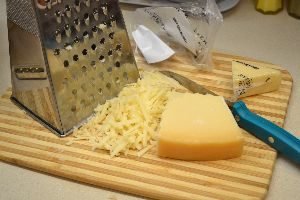
Ready to Grate the Cheese
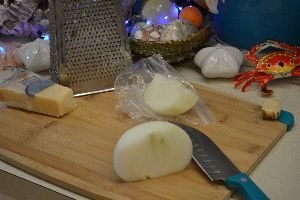
Chop your Onion
Place it in a Med. heated saute pan with your butter.
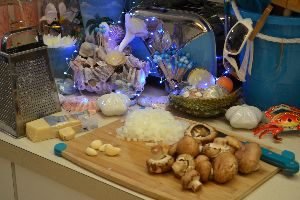
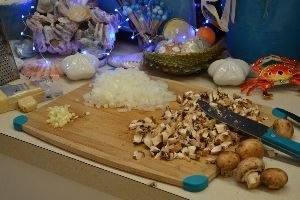
My Onions, Garlic, and Mushrooms, Chopped and Ready
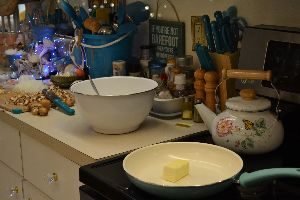
Melting the Butter on Med. Heat
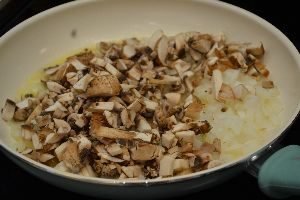
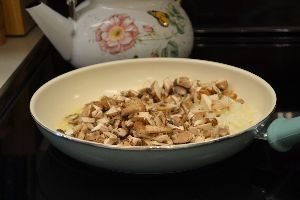
Place the mushrooms in with the onions and saute for about 7 Min.
When cooked, add your garlic and cook for another 3 Min. mixing well.
Add your pepper and Red Pepper Flakes and cook for another 3 Min.
Take the mixture off the heat when done.
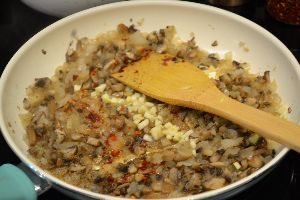
Everything getting nice and soft.

———————————————-

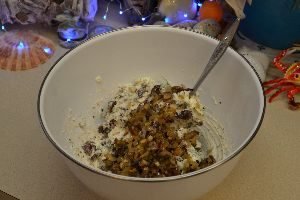
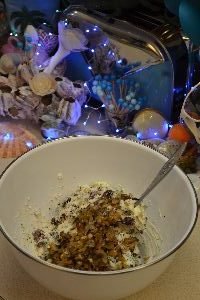
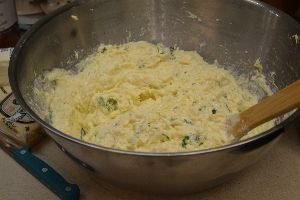
In the meantime, prepare the other ingredients in a Med. bowl.
Place in your grated Parmesan Cheese and room temperature Cream Cheese.
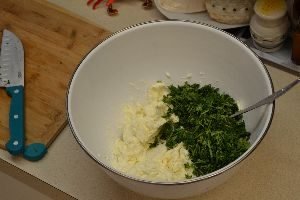
Chop your Parsley and add to your bowl of cheeses, mixing well.
Add your chopped Kalamata Olives to your cheese mixture.

Directions:
Boil your large pasta shells as directed, OR a minute less in insure they are firm enough to take the filling.
——————————————-
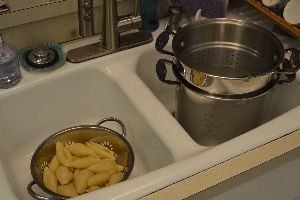
Drain the Shells, and Cool
Make sure all Ingredients are Combined
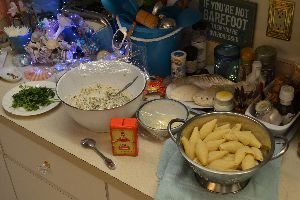
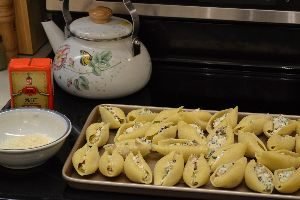
Now it’s time for the Assembly
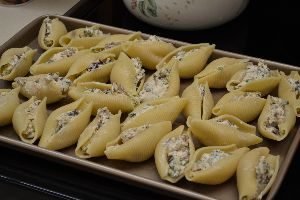
Just take one of the Pasta Shells, Add the Mixture, and place onto a baking sheet that was sprayed with a non-stick cooking oil spray, like so.
———————————————–
Now you want to add some of the grated Parmesean Cheese to the top, and sprinkle with some Paprika.
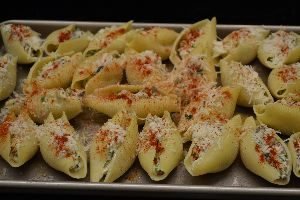
Now you want to broil them in the oven until a bit brown and the cheese is melted.

Perfect!

You have got to try one! They are delicious!!!
Oh, and you can top with some curly parsley.
—————————————–
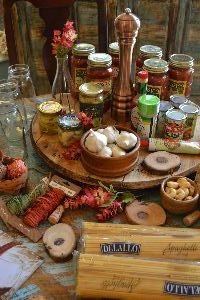
The Gift of Spaghetti
(Most American’s Introduction to Italian Food)

I do happen to make an excellent Spaghetti Sauce, or Red Sauce, or whatever you want to call it.
This is actually the base for a lot of good Italian dishes, the Red Sauce.
So, I would like to share with you my recipe.

The Spaghetti Project
(My Edible Gift to some very Special People)
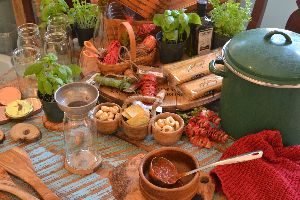
The Ingredients:
(For this project I made quite a bit of Red Sauce. So I will give those measurements here.)
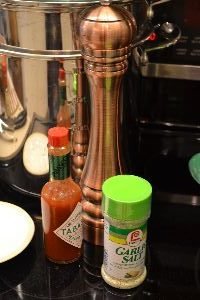
6- 24 oz. Classico Spaghetti Sauce
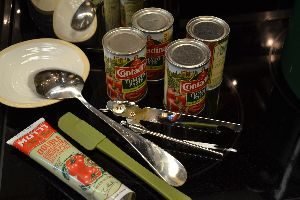
4- 8 oz. Tomato Paste
50 Grinds of Freshly Ground Black Pepper
12 Shakes of Tabasco Sauce
7 Shakes of Garlic Salt
A generous squeeze of Italian Tomato Paste
10 Cloves of Roasted Garlic
4- 6 oz. jars Marinated Artichoke Hearts, Chopped and with 2 of the jars marinade added to the sauce.
2- Tablespoons Turmeric Powder (Kills Cancer Cells)
Fresh Herbs: Oregano and Chives, chopped
Optional: Various jars, Ribbons, and Adornments
Working on the Spaghetti Project
This is going to be such a nice gift to those that I love dearly.
———————————————-
—————————————————
Time to Make the Spaghetti…….
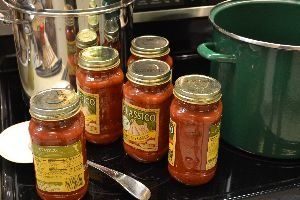
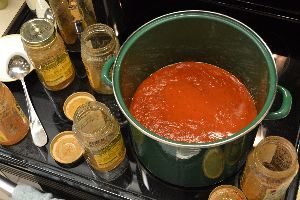
The first thing that I do it to take a large sauce pan and place all the Classico Spaghetti Sauce’s inside of it. I always add water to the jars so that the leftover sauce still stuck in the jar will end up in the pot. (Also the extra water will boil out anyway.)
I place the heat on Medium, but as the sauce boils and splatters I do reduce the heat to a Medium-Low.
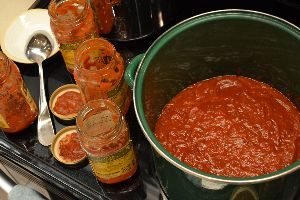
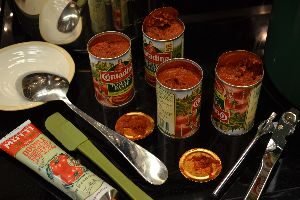
Next, you want to add all of the tomato paste to the sauce. Here I am using 4 of them, but I am also using some of the tomato paste from the tube.
You should be heating all of this on a medium-high heat. That will bring it up to boil. But as it does start boiling you then need to reduce it so that it doesn’t burn on the bottom. I want this to simmer away for HOURS!!!
(That is the secret.) Shhhhh…..
——————————————————
Now you want to add about 50 grinds of freshly ground black pepper, and about 7-9 big shakes of Garlic Salt, and about 12 Shakes of Tabasco Sauce.
You want this to simmer on the stove top now. And plan on this simmering away for awhile. But keep an eye on it.
———————————————-
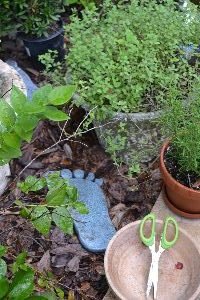
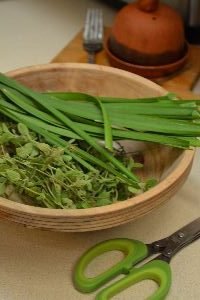
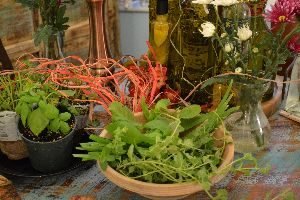
Our Beautiful Garden Herbs
Oregano, Chives, and Basil
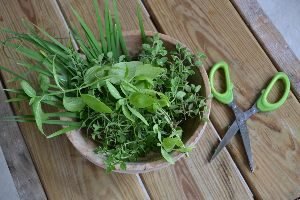
Fresh Herbs and Scissors
——————————————————–
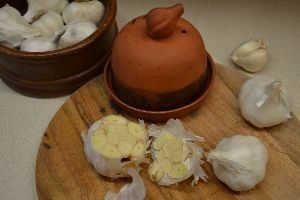
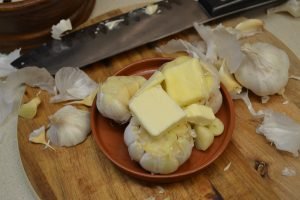
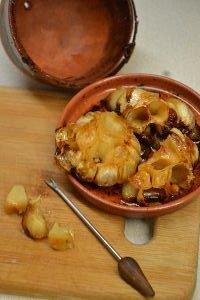
The Roasted Garlic
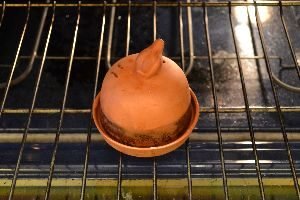
I adore roasted garlic! It’s very simple to make. You just need some whole garlic cloves and some butter. Place them into a garlic clove roaster for about an hour in the oven on 400F. Then viola! Great added to your red sauce. You do need to check it about every 15 minutes and make sure the garlic is nice and marinated and not burning.
———————————————–
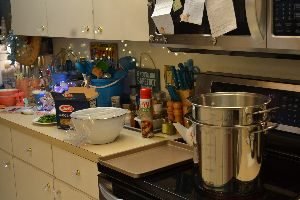
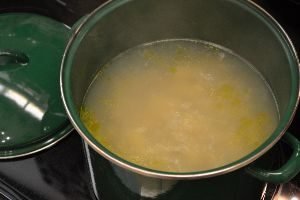
Boiling the Pasta, and Heating the Red Sauce
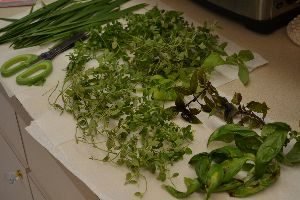
The Fresh Herbs of Oregano, Basil and Chives have been washed and are drying.
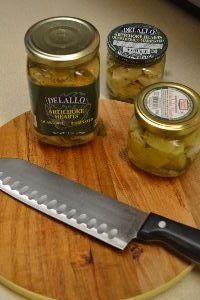
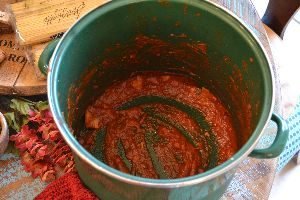
The Beautiful and Delicious Marinated Artichoke Hearts
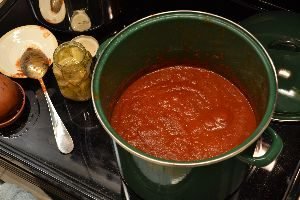
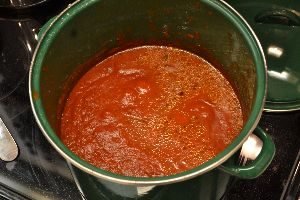
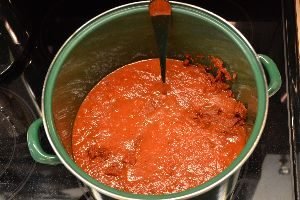
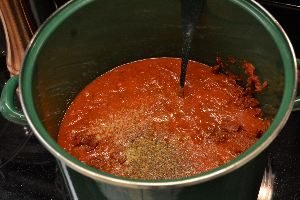
My Red Sauce, Look at the Marinade from the Marinated Artichoke Hearts, it does add something special to the taste. The Red Sauce has been boiling/simmering for about 45 minutes or so by the time I add the Marinade and the Chopped Artichoke Hearts.
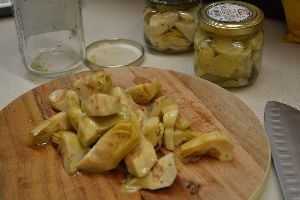
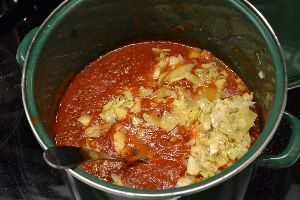
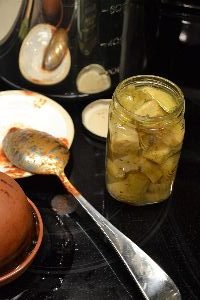
Now Adding the Chopped Marinated Artichoke Hearts
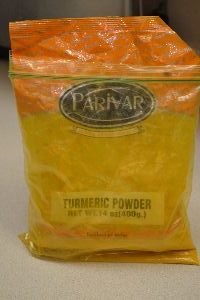
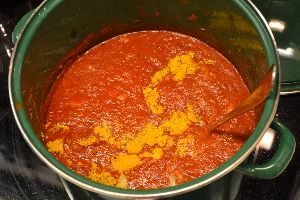
Adding 2 Tablespoons of the Turmeric Powder
——————————————————-
The Delicious Roasted Garlic Cloves
(I probably added about 7 of them, but I used a knife or fork to squish them up so that they are something of a “paste” before I added them to the pot.)
—————————————————–
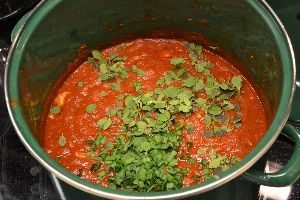
Adding the Fresh Herbs to the Red Sauce
I add the Herbs to the Red Sauce about an hour and a half into the cooking process. I just remove the Italian Oregano from the stems and I do use the herb scissors to cut up the Chives. Just stir in and continue simmering away for another 30 minutes.
——————————————————-
The Spaghetti Sauce and the Pasta Noodles Boiling
——————————————-
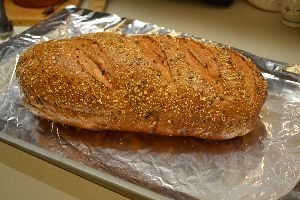
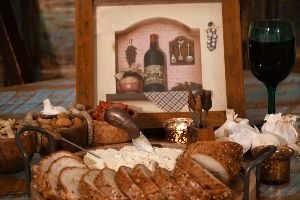
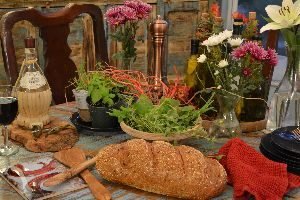
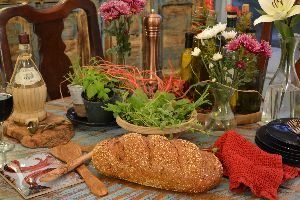
The Bread
I love to take a great Italian Loaf and slice it, add butter, then bake until brown. Then add some fresh herbs like oregano and chives, and bake for a few additional minutes.
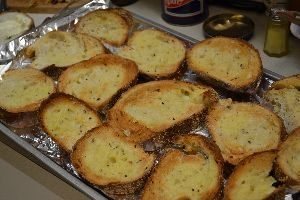
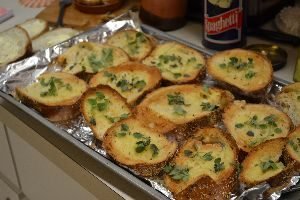
Pane Delizioso!
—————————————————
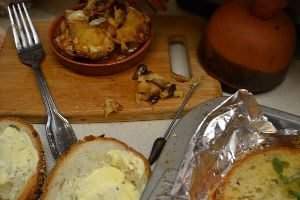
Perfect!
(I also like putting the leftover garlic cloves on the bread and eating them that way. So caramelized.)
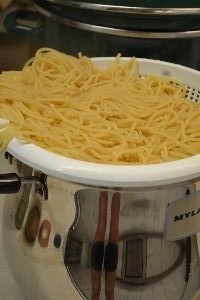
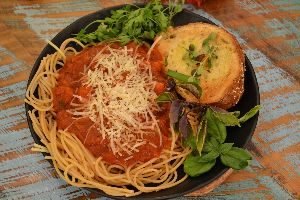
All We Need Now is the Pasta…….
Top with some freshly grated Parmesean Cheese.
Also add some fresh herbs of Parsley and Basil.
Perfezionare 🙂
———————————————-
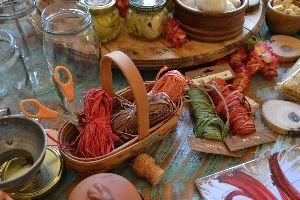
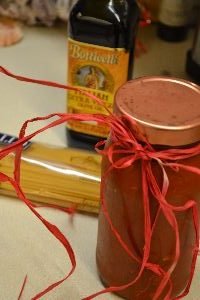
The Gift of Spaghetti Sauce
After making the sauce I placed it into the refrigerator when it was cool and brought it out the following day to create my edible gifts of Red Sauce.
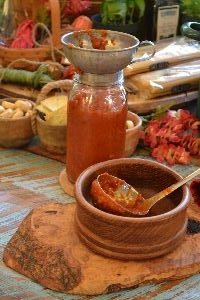
My Red Sauce is an Excellent Base for Many Italian Meals
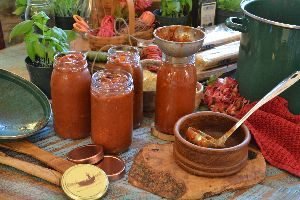
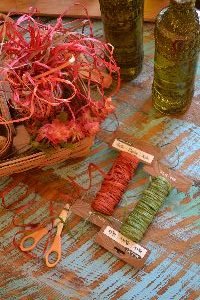
I love to save old jars and lids for this purpose. I specifically like the shape of these jars and the color of these lids. They are actually jars and lids of old pasta sauces which I have bought in the past. (I do love to recycle.)
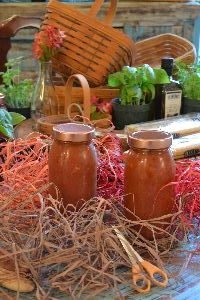
Here I am Putting it Together for Gifts
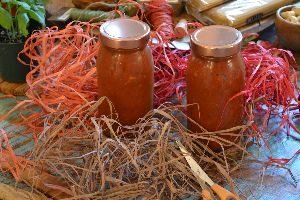
Most of this raffia I bought at the Dollar Store.

By adding some fresh herbs, Pasta, and some Olive Oil, as well as the Red Sauce, what a great gift! Everything looks nice all tied together in baskets with some red kitchen towels.
———————————————————
The only thing that is required here is some bread to dip into this delicious sauce! 🙂
—————————————————
Pizza Sauce
Julie’s Green Bell Pepper, Mushroom, and Black Olive Pizza

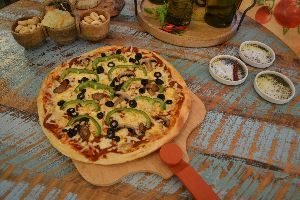
I am not going to give a Homemade Pizza recipe here although I did make it from scratch. But, what I did want to show you is that my Red Sauce goes very well as a Pizza Sauce. Another great base for yet another Italian meal.
(Oh, and it’s not that I’m hoarding recipes. It’s that I would rather save the pizza recipe for a pizza post.)
——————————————–
The Baked Ziti Project
The year is 1989? I believe? And I am at my friend Kim’s house in Hawaii, visiting her, and she made dinner, Baked Ziti. It was so good that I asked her for the recipe. I still have it too. On the recipe card, and in her handwriting. Except my version has changed over the year’s so that it really isn’t Kim’s anymore. But, I will always credit her with giving me that delicious recipe and taking me on this delicious Baked Ziti adventure……. wink! wink! Which I have always based my recipe on hers.
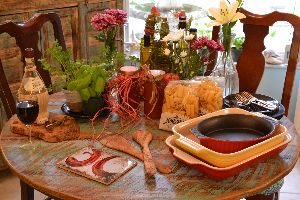
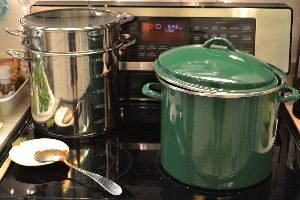
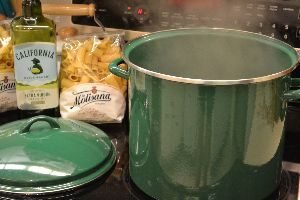
The Baked Ziti Project Supplies
Great Bread and Home Grown Herbs
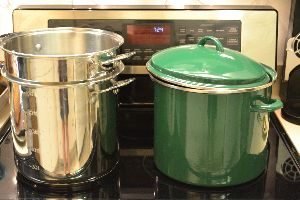
A Big Pot w/ Water, Rigatoni Pasta, and some Olive Oil
You want to start the Pasta boiling according to package instructions. I always like to add some olive oil to the water, just about a Tablespoon.
———————————————
The Recipe: I will write this as Kim did 20 years ago. Then I will show you my differences to the recipe.
(p.s. Kim was originally from New York.)
1, 16 oz. box Ziti or Rigatoni
2, 1 lb. container’s Ricotta Cheese
1 med. ball Mozzarella Cheese, Shredded
3 Eggs
Salt and Pepper
Parsley (2 Tablespoons)
1/4 Cup Parmesan Cheese
1, 32 oz. jar tomato sauce
——————————————-
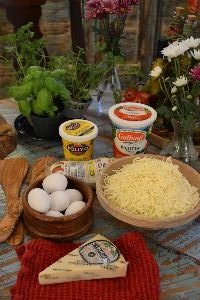
The Fresh Ingredients
Whenever I make this I tend to double and sometimes triple the recipe. One we eat, and I do like to freeze one or two other casserole dishes. This is something nice, but quick for a great meal in a hurry. All that is ever needed with this is a salad and some bread and you have a perfect dinner. 🙂
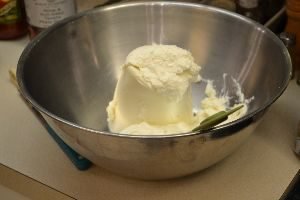
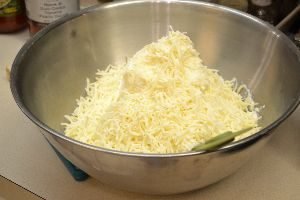
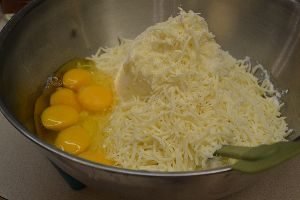
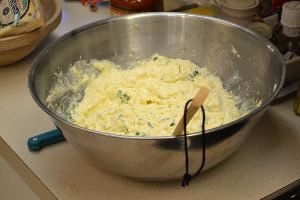
The Ricotta Cheese, The Shredded Mozzarella Cheese, Some Shredded Parmesan Cheese (my extra ingredient) and the eggs. The cheese measurement’s can be a guideline, but it doesn’t hurt to add an additional cup of Parm or Asiago, etc. I also usually add an extra egg or two.

I also add some freshly ground black pepper to taste, and I like to use my fresh herbs and not the dry one’s. So I’m using about a cup of fresh chopped parsley. I like lots of green in my Italian food.
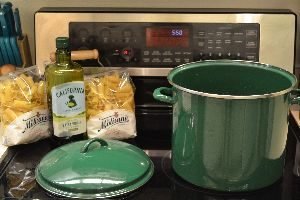
Cook Pasta According to Package Directions. I like to add some Olive Oil to flavor the water and it helps prevent the pasta from sticking together.

This California Extra Virgin Olive Oil is one of the best that you can buy.
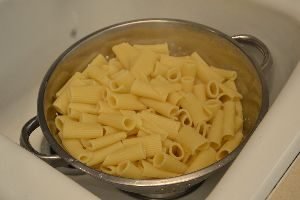
Let Drain, and Cool a Bit
Ready to Grate some Extra Parmesan Cheese
—————————————–

The Casserole Dishes and my Red Sauce
————————————————–
A Store Bought Addition
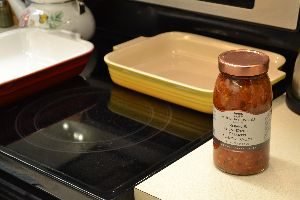
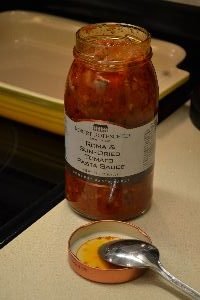
This is a delicious pasta sauce that I like to use occasionally. Here I am spreading some of it on the bottom on my casserole dishes for my Baked Ziti. It will add a different taste to the dish. By spreading it along the bottom that will help prevent the cheese mixture from sticking.
Preheat Your Oven to 350F
You can add your own Red Sauce in place of this Pasta Sauce if you like.
Normally I do that, but here I wanted to add another taste to this project.
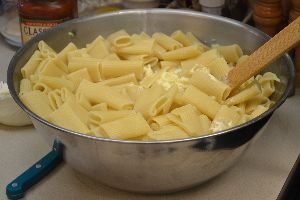
When the Pasta is Drained and Cooled, add it to the Cheese Mixture and mix together.
————————————————–
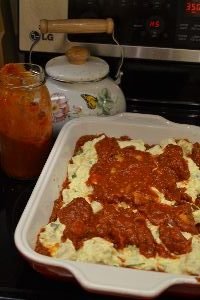
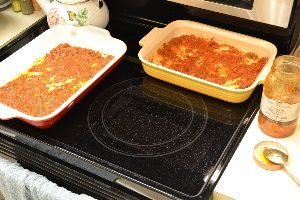
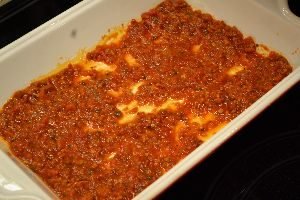
Here we start the Layering…….
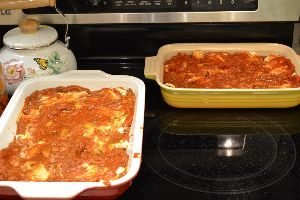
Your first layer, you saw above. That pasta sauce which I placed on the very bottom.
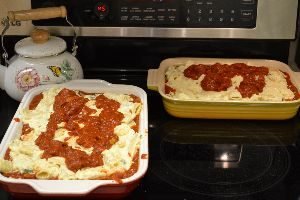
I then put a layer of my cheeses and pasta down, then I take some of my Red Sauce and place that over the pasta and cheeses. Then I repeat. Another layer of pasta and cheeses, then a layer of my Red Sauce. I do this until the mixture is almost to the top of the casserole dish. Sometimes I like to layer some extra fresh parsley between each layer in the dish as well.
—————————————————–
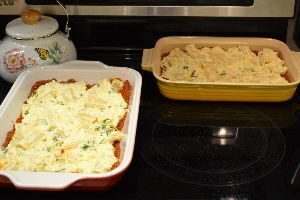
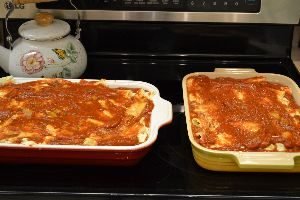
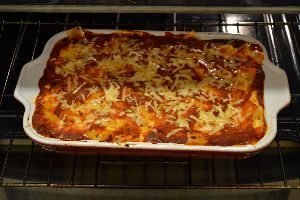
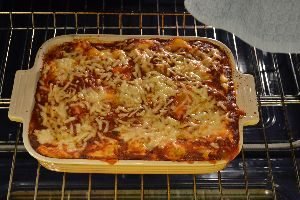
I like to top my Baked Ziti with some grated Parmesan Cheese before going into the oven.
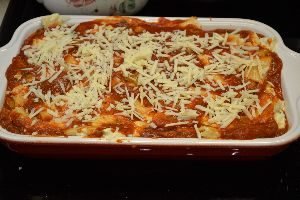
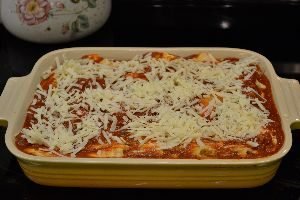
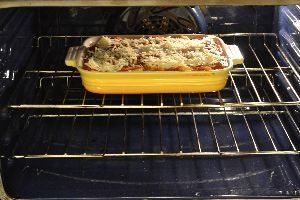
I bake it on 350F for about 45 minutes.
———————————————-
Now it’s time to prepare the Herbs and Bread.
——————————————-
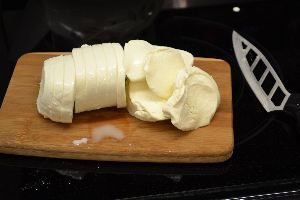
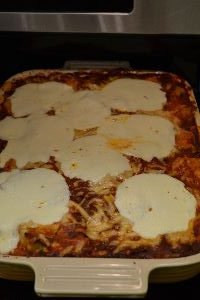
Here I am Slicing Some Nice Mozzarella Cheese to Top the Casserole
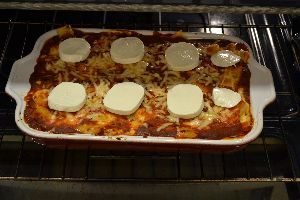
After about 35-45 minutes of cooking time, I then remove the casserole and add the slice’s of mozzarella cheese to the top of the dish. This cooking time only requires about 5 – 10 minutes cooking time until nice and melted.
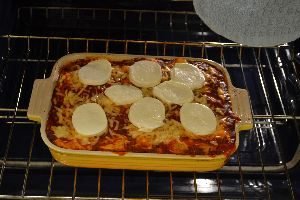
When done, just remove from oven and let cool.
———————————————-
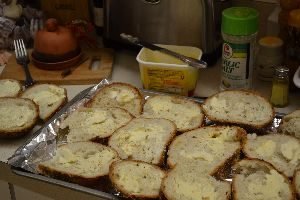
Any good bread and butter and garlic salt, and paprika (if you like) is all that you need.
And some good fresh herbs!
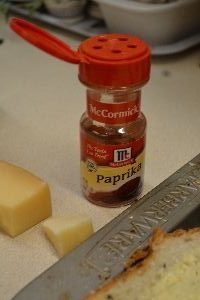
Paprika is GREAT on bread with any Italian food.
——————————————-
Fresh out of the Oven…..
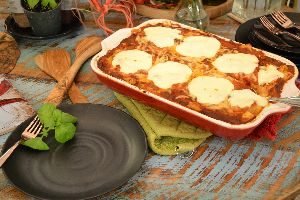
Another Excellent Italian Meal
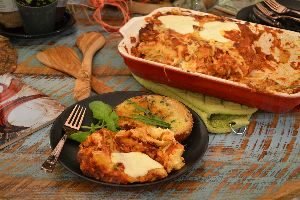
That’s MY Plate!!!
———————————————-

Flavored Olive Oil Project Edible Gifts
This is a project that I was particularly interested in making.
I love olive oil. I love flavored olive oils. I also love dipping breads into flavored olive oils. Especially as an appetizer before a great meal with a bottle of red wine.

The Olive Oil Set was given to us by our daughter.
It was nice to get it out and create these great oils to be eaten with herbs, spices, peppers, and breads.
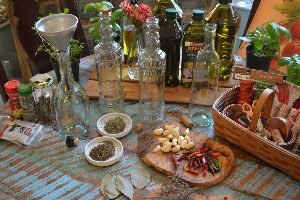
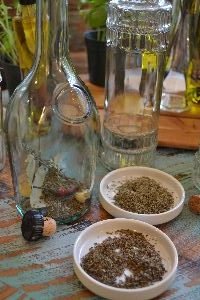
The Supplies……
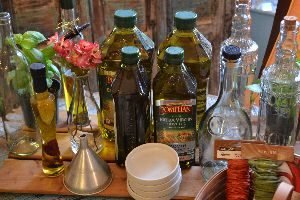
Extra Virgin Olive Oil (en masse)
Empty Bottles with Stoppers
Funnel
Dried Herbs (Thyme and Basil)
Fresh Thyme
Whole Garlic Cloves
Red Peppers
Bay Leaves (I used Greek)
————————————————–
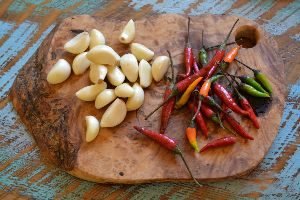
Whole Garlic Cloves and Red Peppers
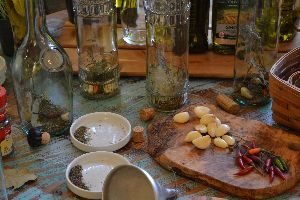
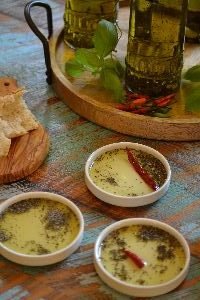
While I was creating these delicious Flavored Olive Oils, I also created some excellent dipping oils for some very nice breads.
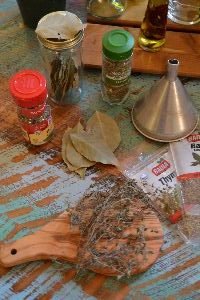
I’m using stems of Fresh Thyme as well as dried Thyme for this.

To me this was such a beautiful project to work on as well as to give as a gift.
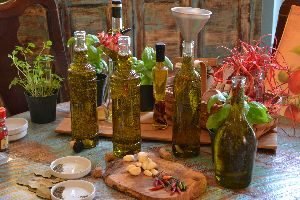
This was just an assembly of Olive Oil, Stems of Fresh Thyme, 1-2 Whole Garlic Cloves, 1-2 Red Peppers, A sprinkling of Dried Thyme, a sprinkling of Dried Basil, and a Whole Dried Bay Leaf.
———————————————-
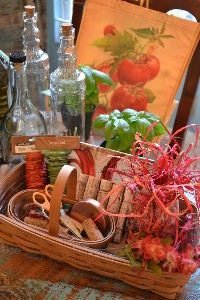
The Lovely Adornments

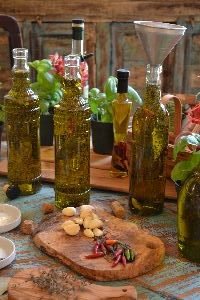
Before I give them as gifts I do want to try them out.
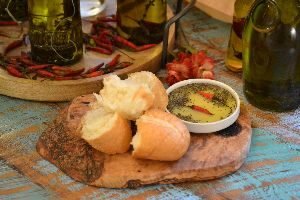
Yum Yum!!
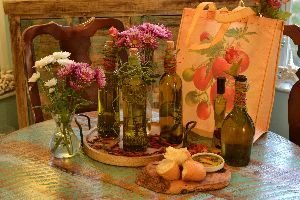
The Bottles are so Pretty to Give as Gifts

Bread, Dipping Oils and a good Red Wine
————————————————————–
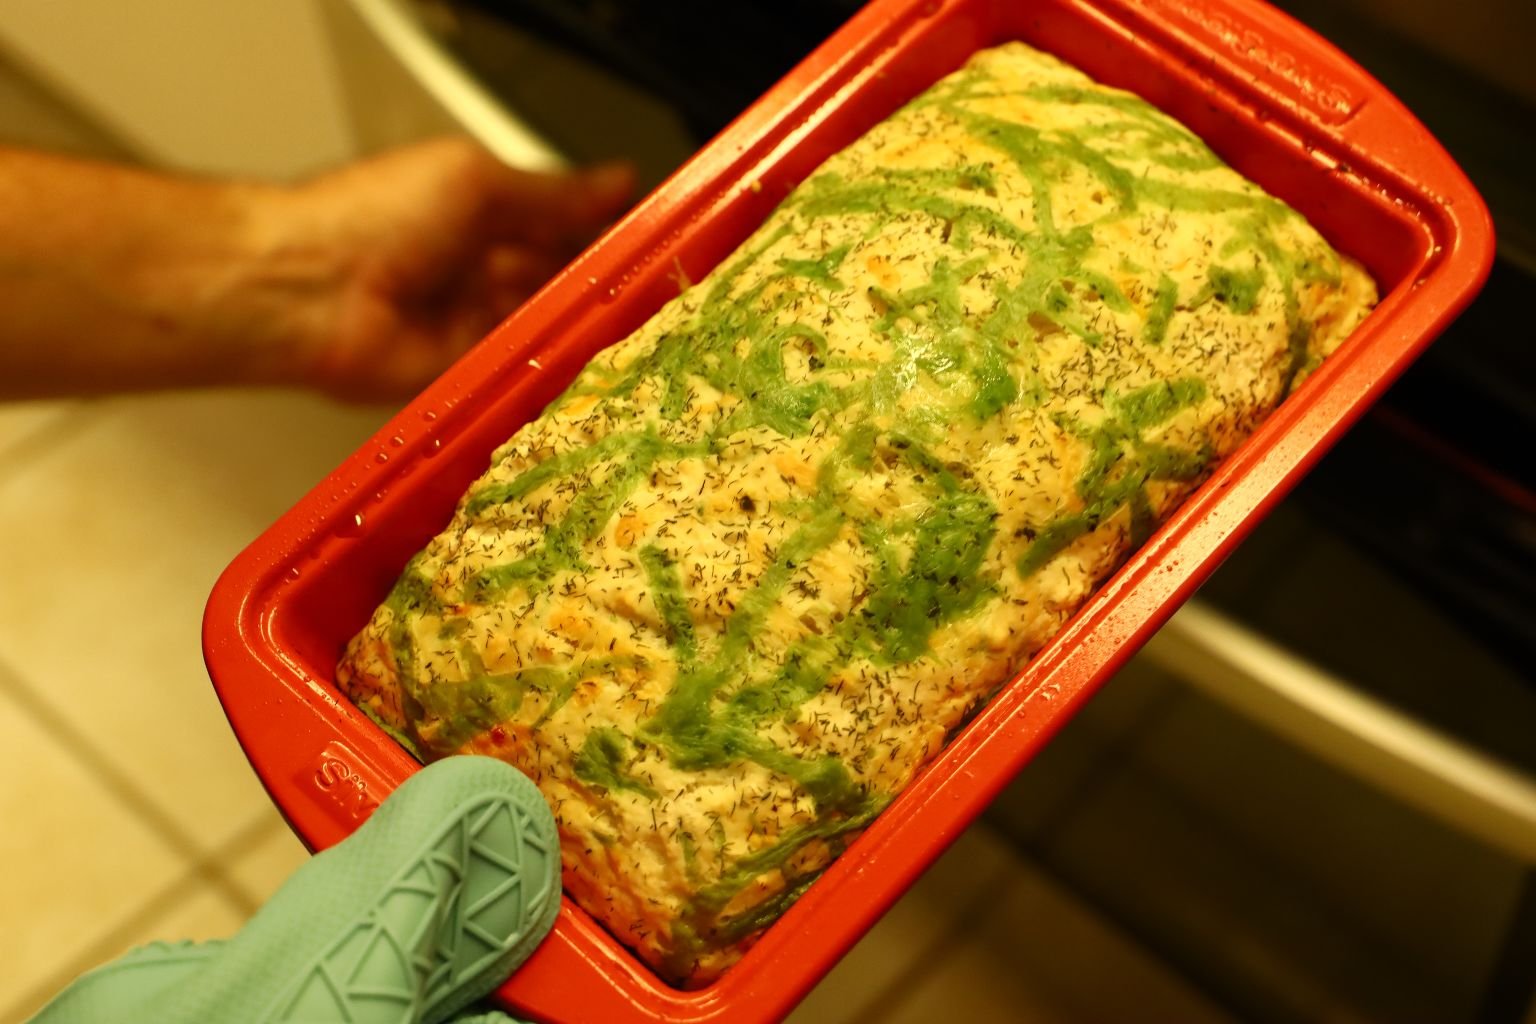
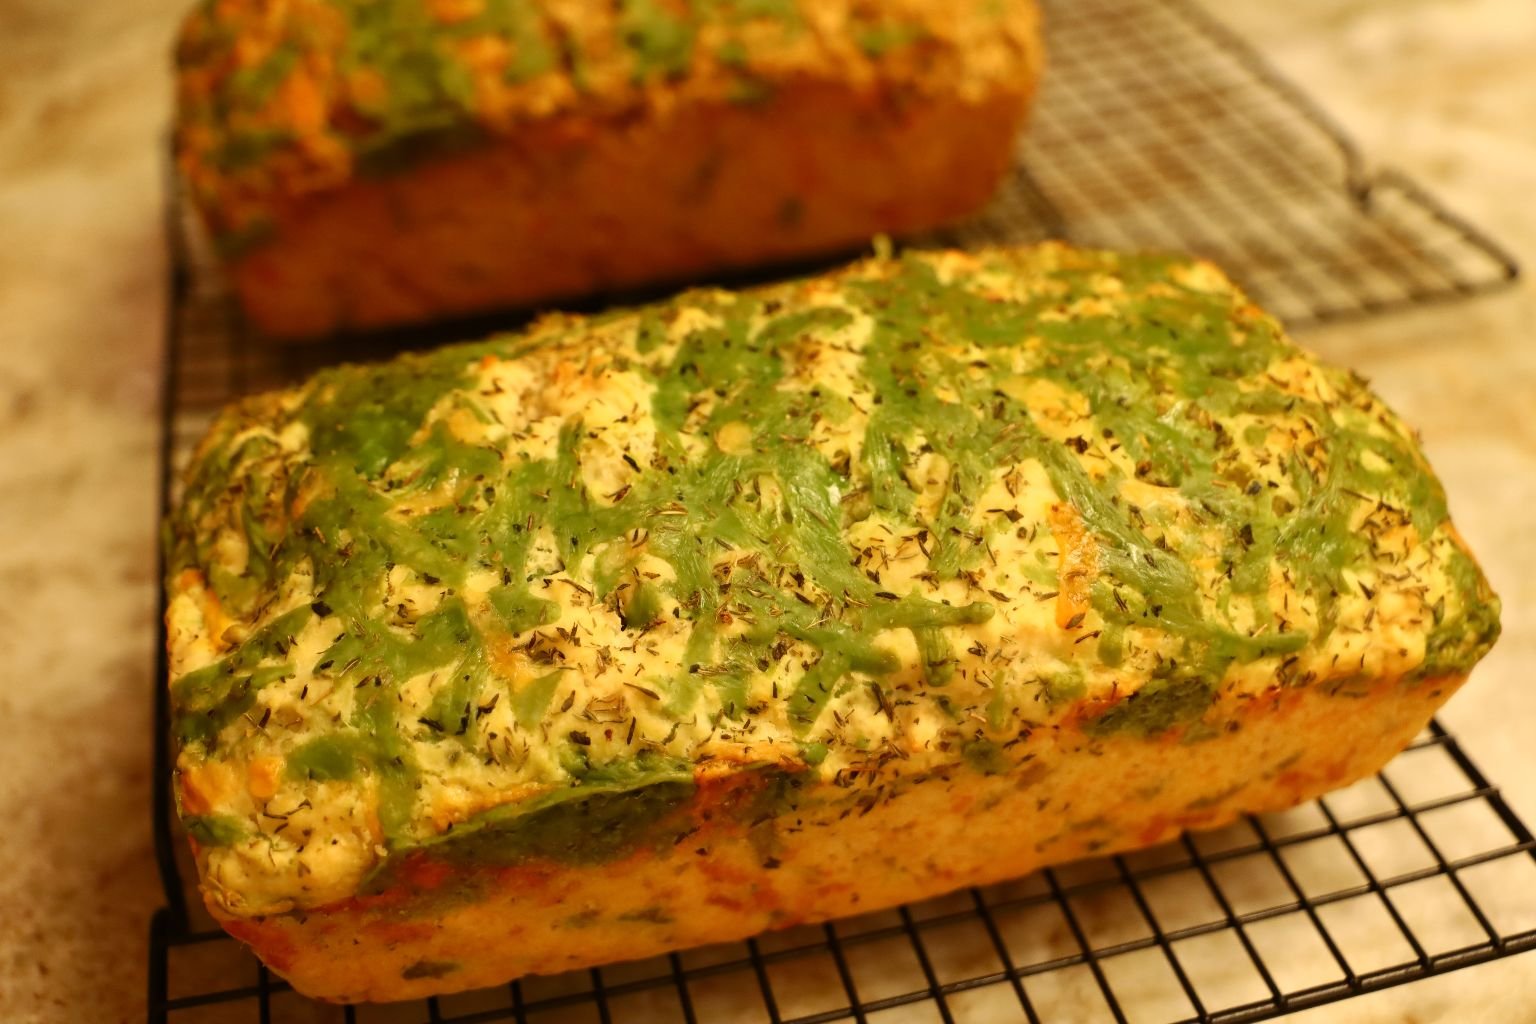
Italian Beer Bread
(As well as Irish, and Traditional Beer Breads)
Cooling on the Racks
You can see the Herbs and the Green Pesto Gouda Cheese
(It certainly looks like St. Patrick’s Day here.)
But, whether it be Italian or Irish, this bread is easy and delicious.
——————————————————-
Our Green Pesto Gouda Italian Bread, and Green Pesto Gouda Cheese
Makes an Excellent Grilled Cheese Sandwich
————————————————-

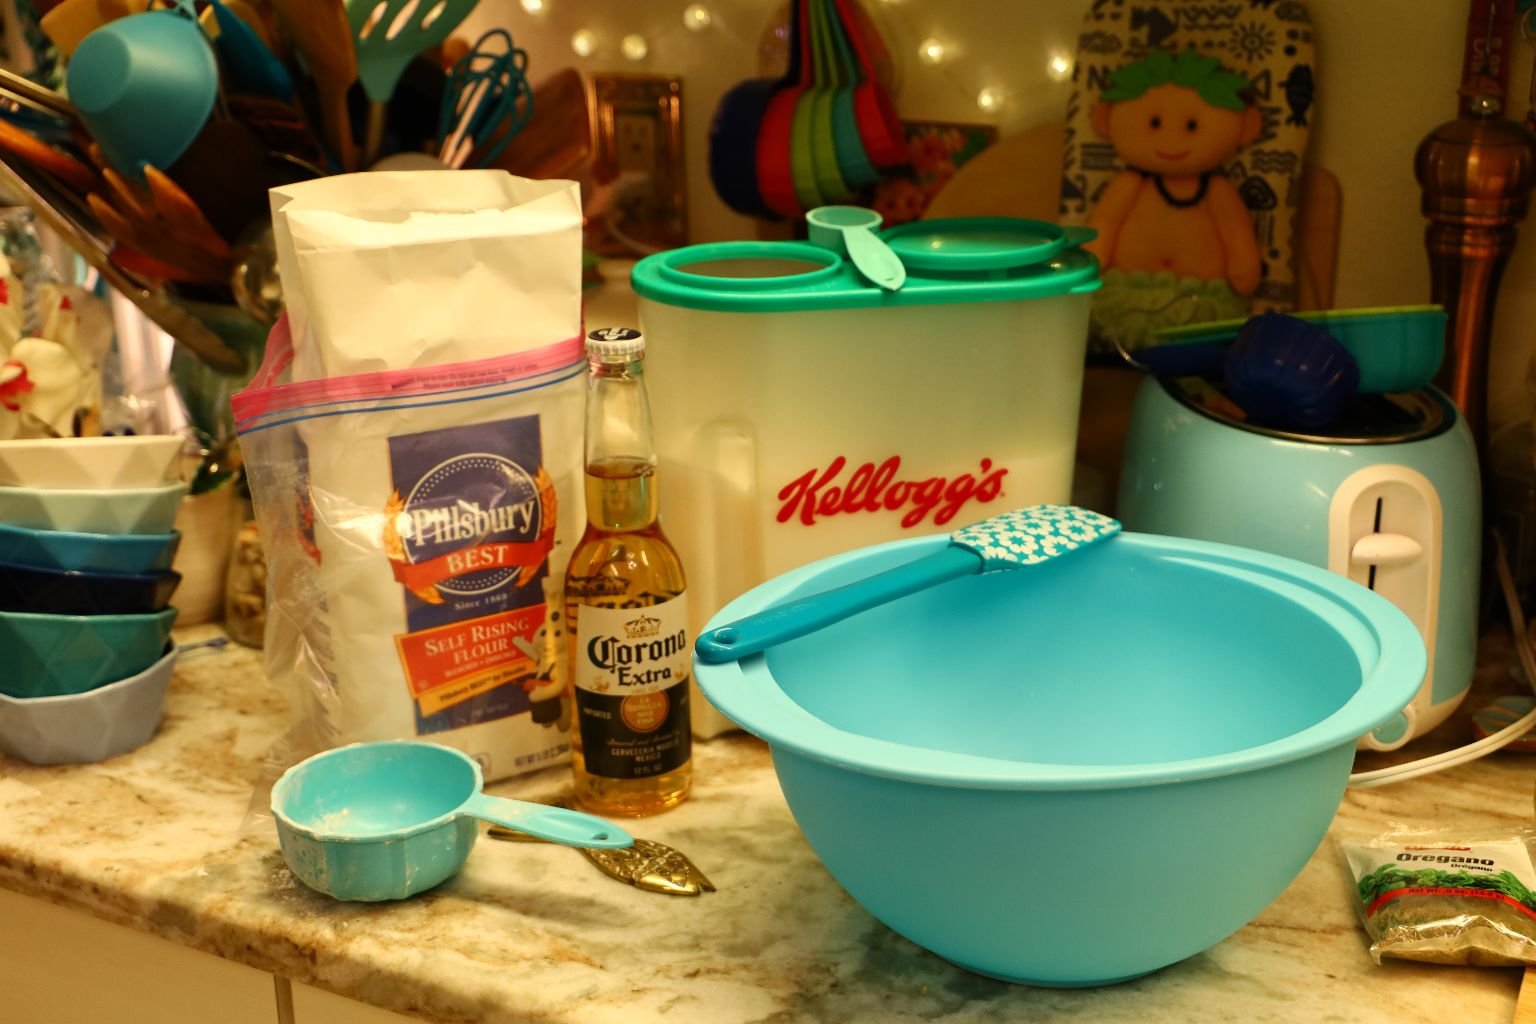
Here are all of our Ingredients for 3 Loaves of Bread:
(I would like to state that had we thought further ahead than we did then we would have purchased Italian Beer for this recipe but, we did use Italian Cheeses and Italian Herbs.)


Ingredients:
(This recipe makes one loaf of bread.)
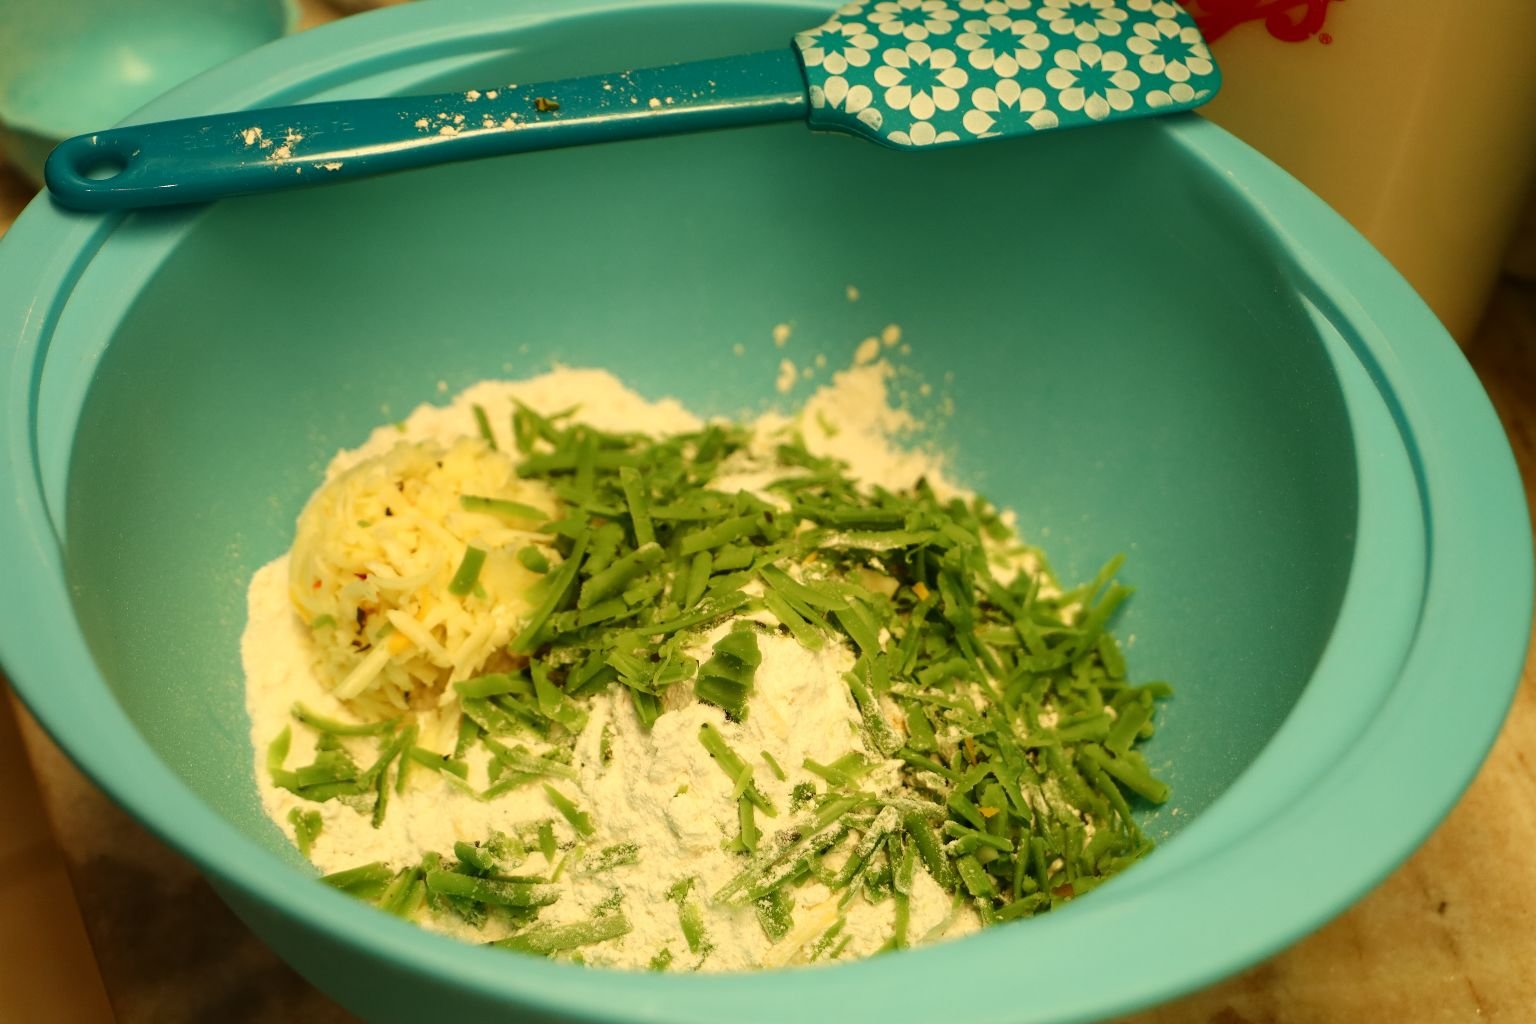
3 Cups of Self Rising Flour
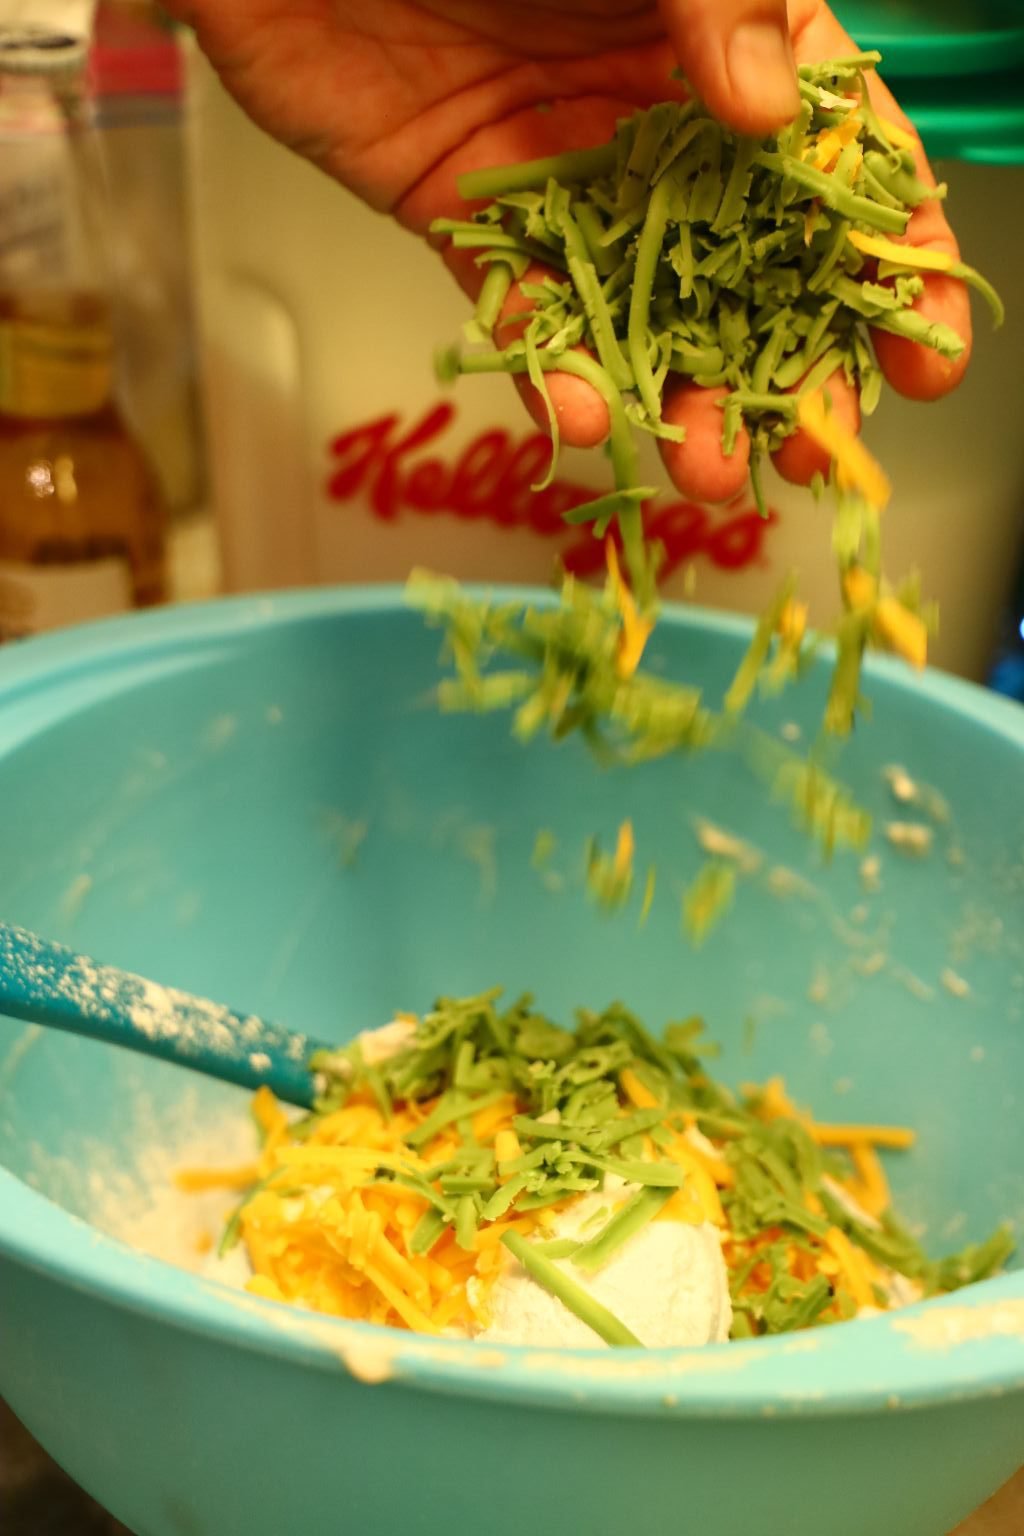
1 Cup of Shredded Cheese (You can combine a few if you like.)
(For our Italian Bread we used a Pepper Jack and the Green Pesto Gounda.)
(For our Irish Loaf we used Sharp Cheddar, Pepper Jack, and a little bit of the Green Pesto Gouda.)
2 T. Granulated Sugar
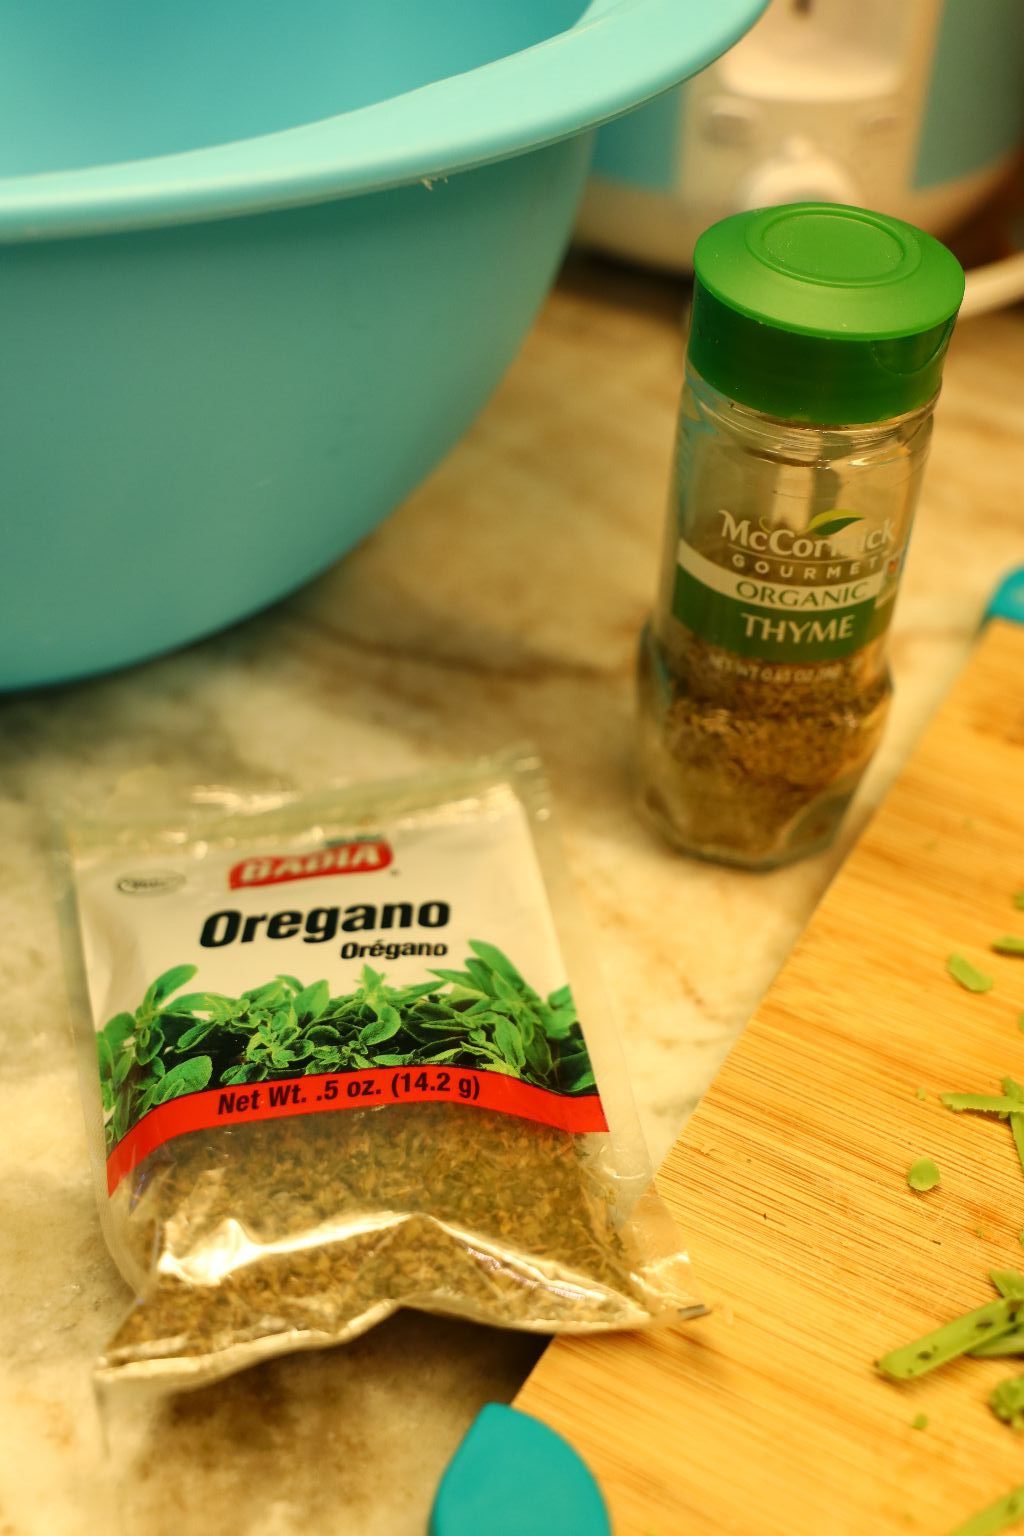
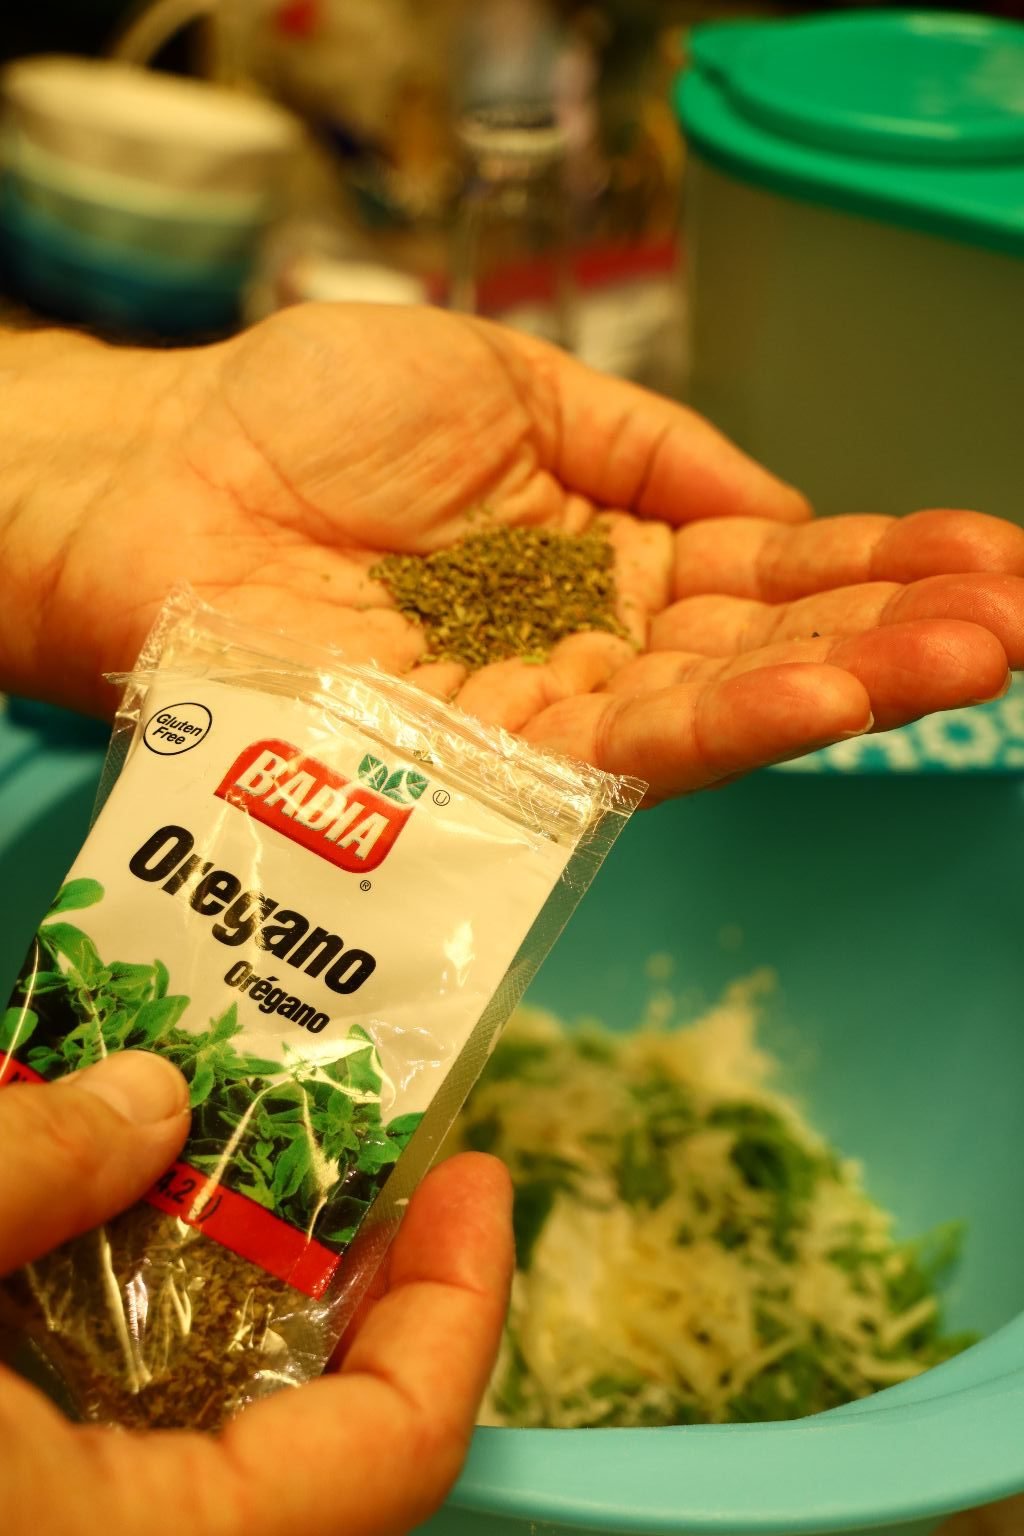
3 t. Dried Herbs (Any you desire.)
(For the Italian loaf we used Thyme and Oregano.)
(For the Irish loaf we used Thyme and Dill.)
1 Can or Bottle of Beer (12 ounces)
(We used Corona for the Italian, and a Stout for the Irish.)
——————————————————


Our Beers, and Dried Herbs

You will need Loaf Pans for this.
Spray them with a cooking oil spray to coat.
———————————————————–
Pre-Heat Your Oven to 350F

Grating the Sharp Cheddar Cheese


This is so easy!
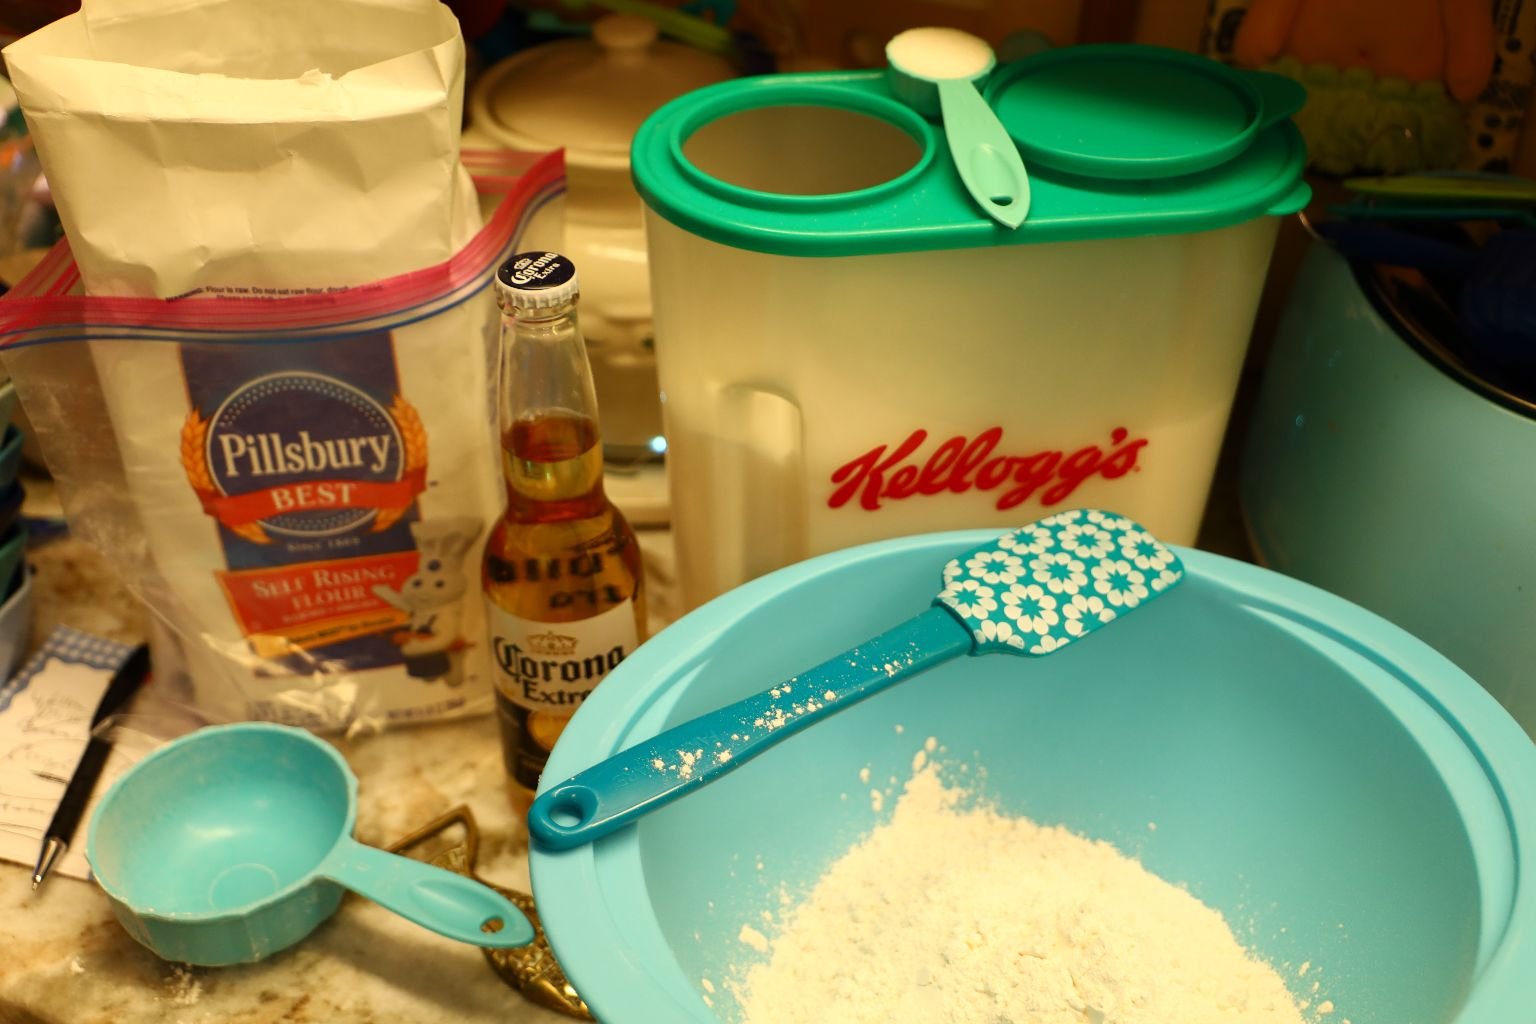
Just place the ingredients into a mixing bowl.

——————————————————————


Grating All Our Cheeses For Our Breads

—————————————————————–
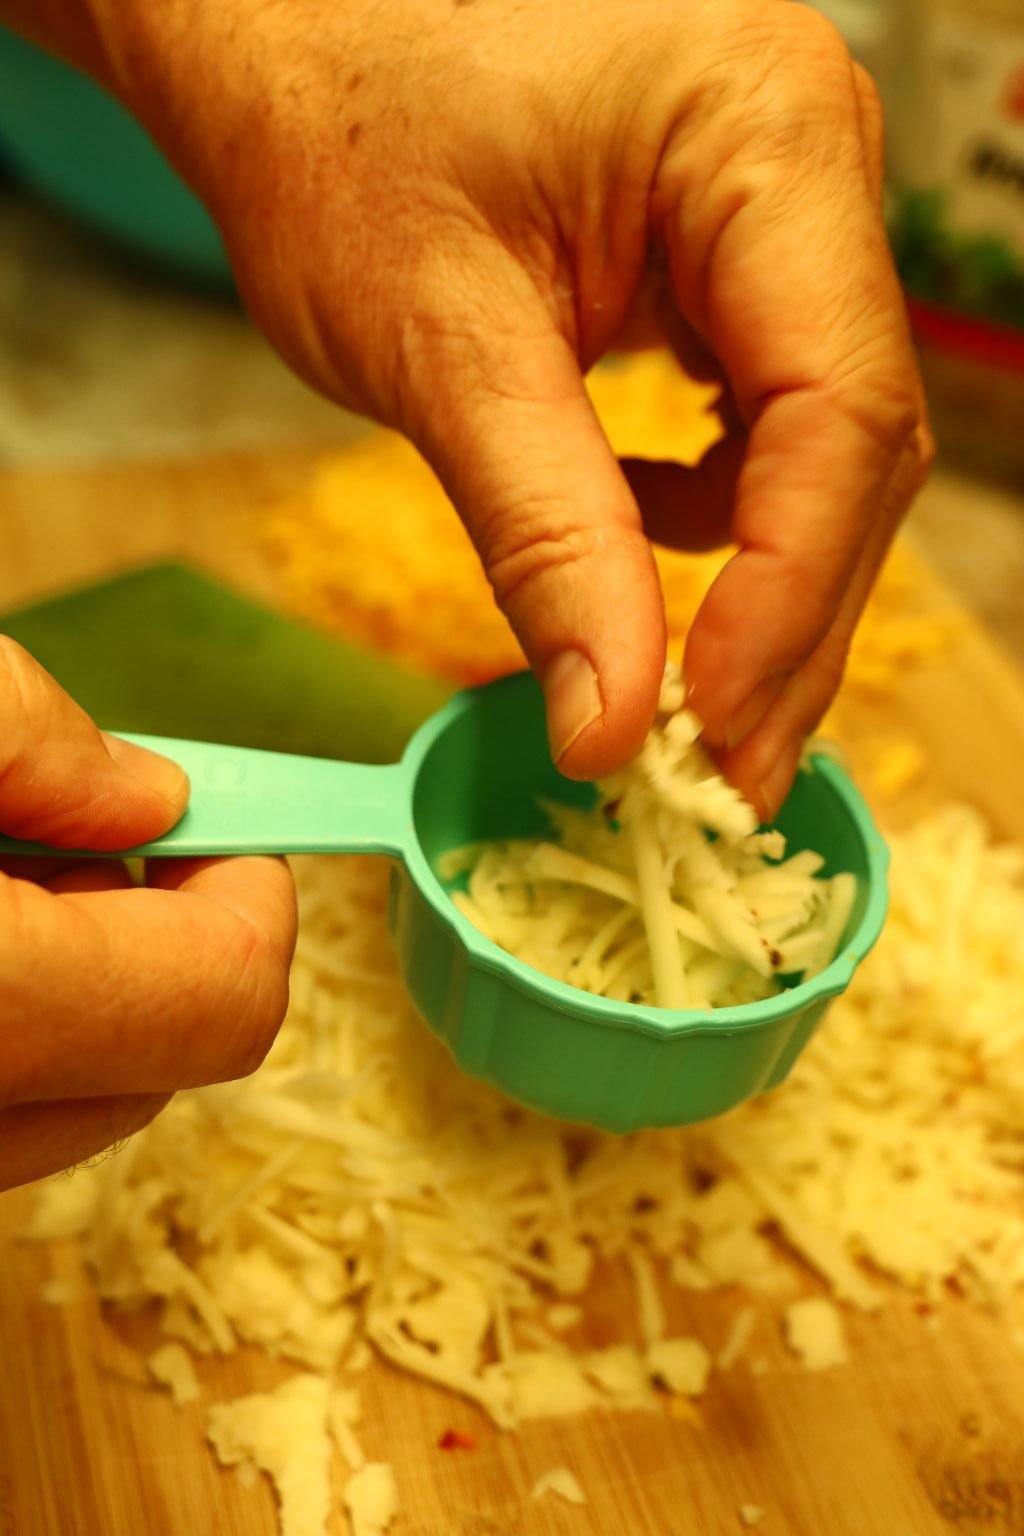
The Shredded Pepper Jack Cheese


We Did Put Some Green Gouda Pesto Cheese in this Loaf


Adding Our Sugar and Dried Herbs


Dried Thyme and Oregano
—————————————————————–


Just mix everything together in the bowl with your hands….


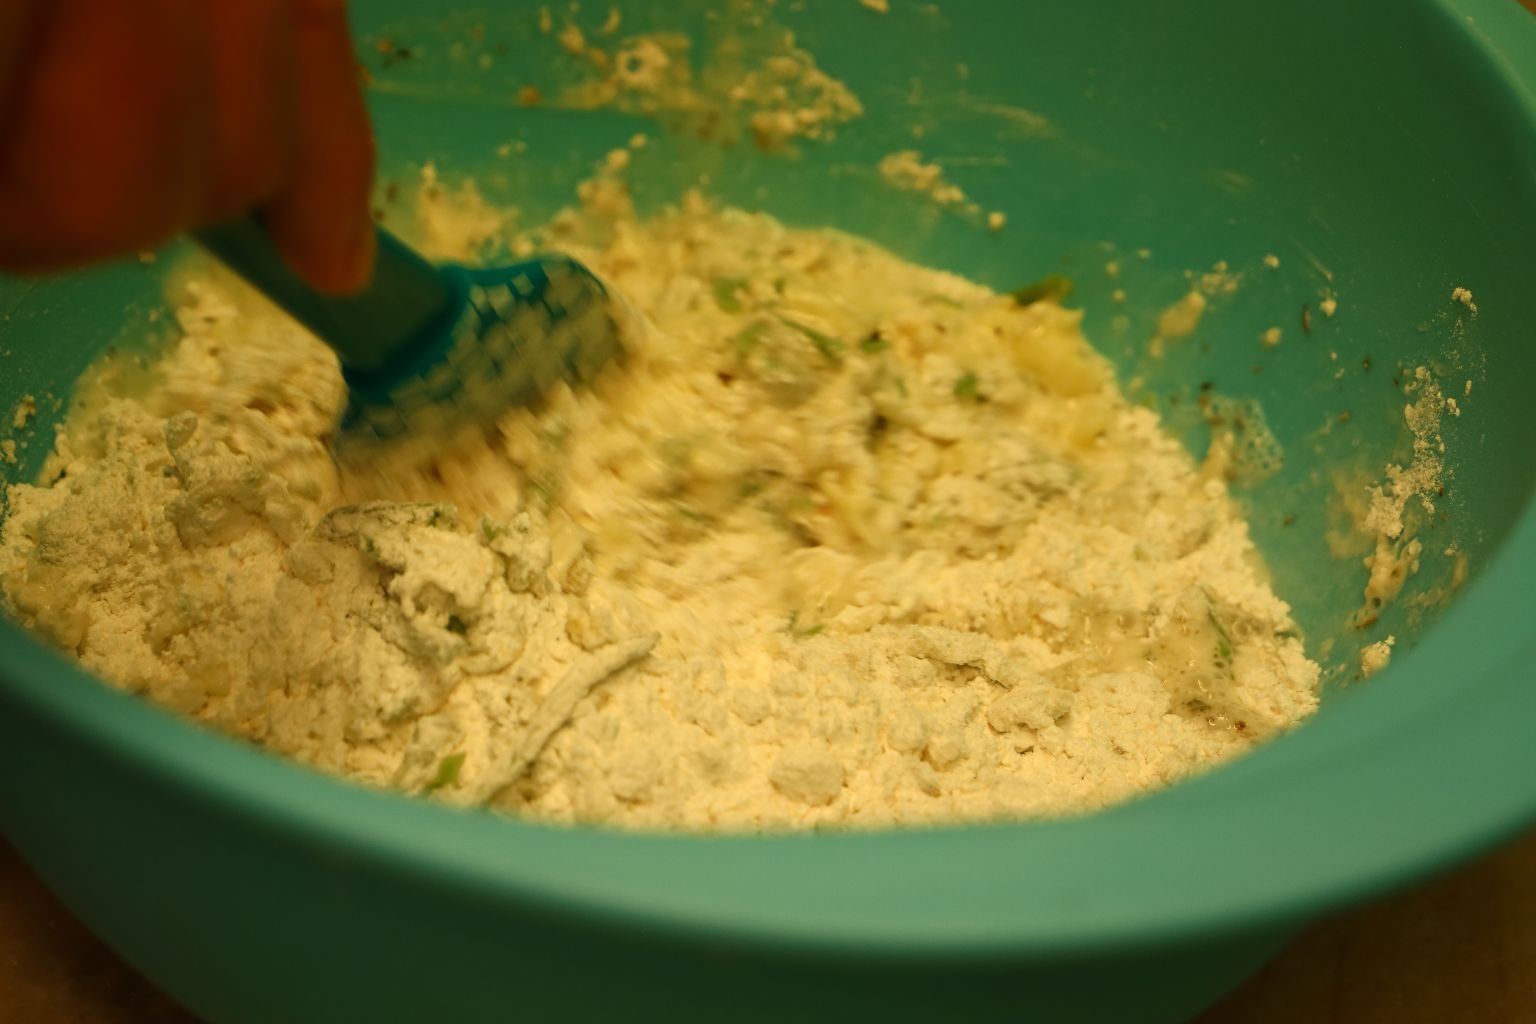
then pour in the beer.


Mix Together With a Spoon or Spatula

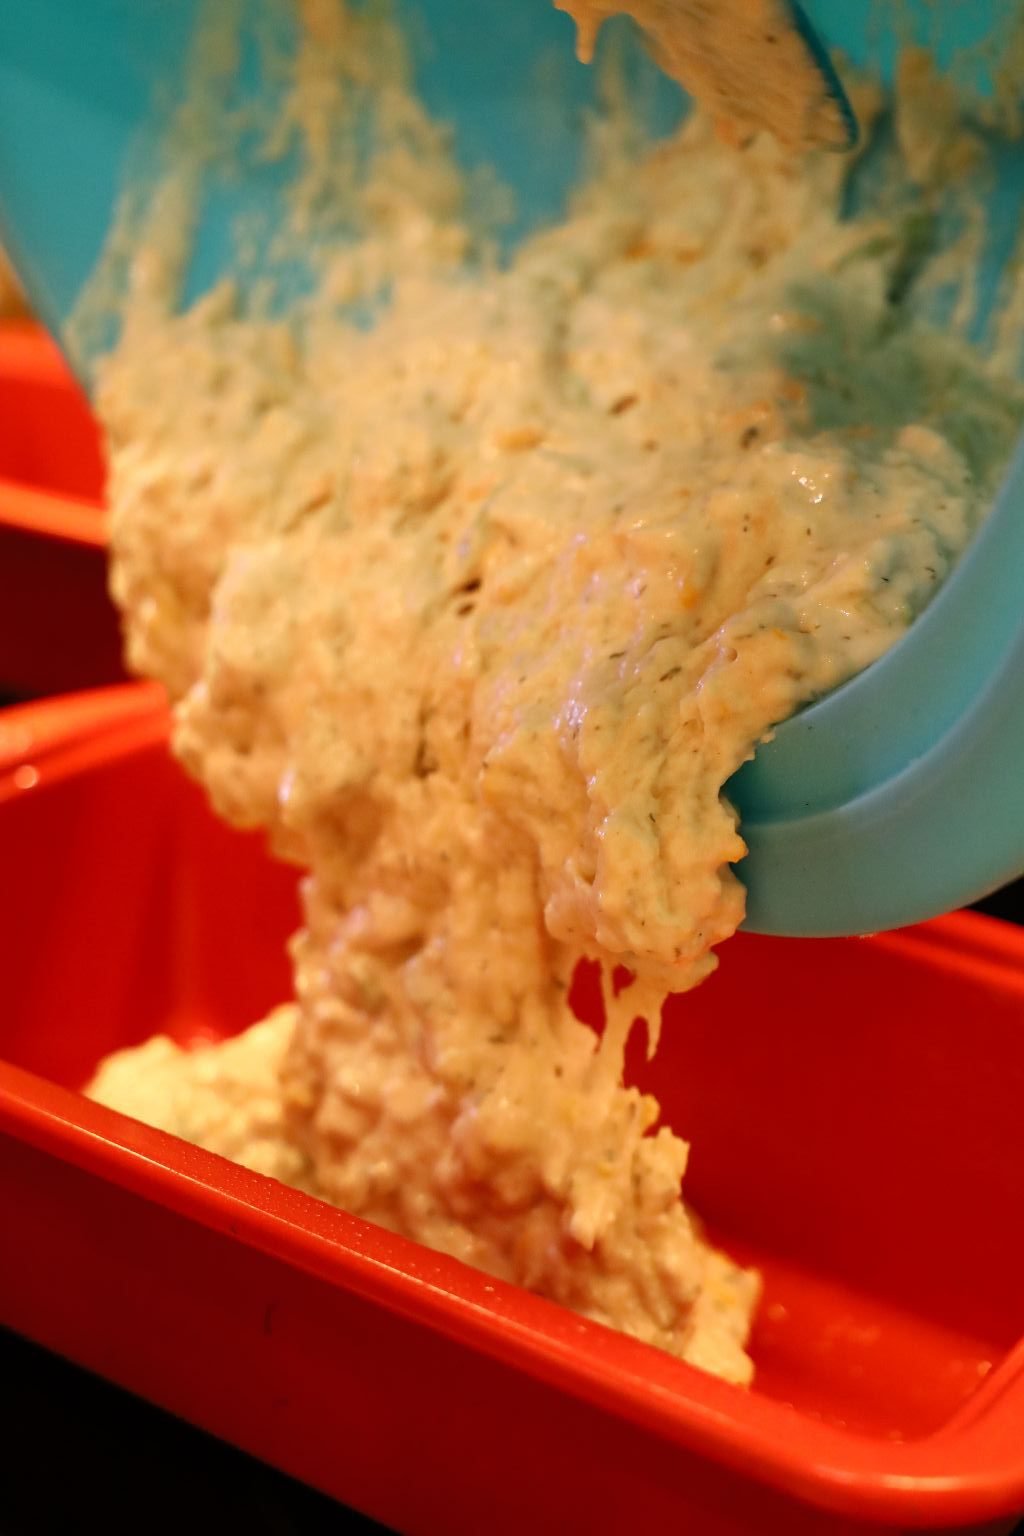
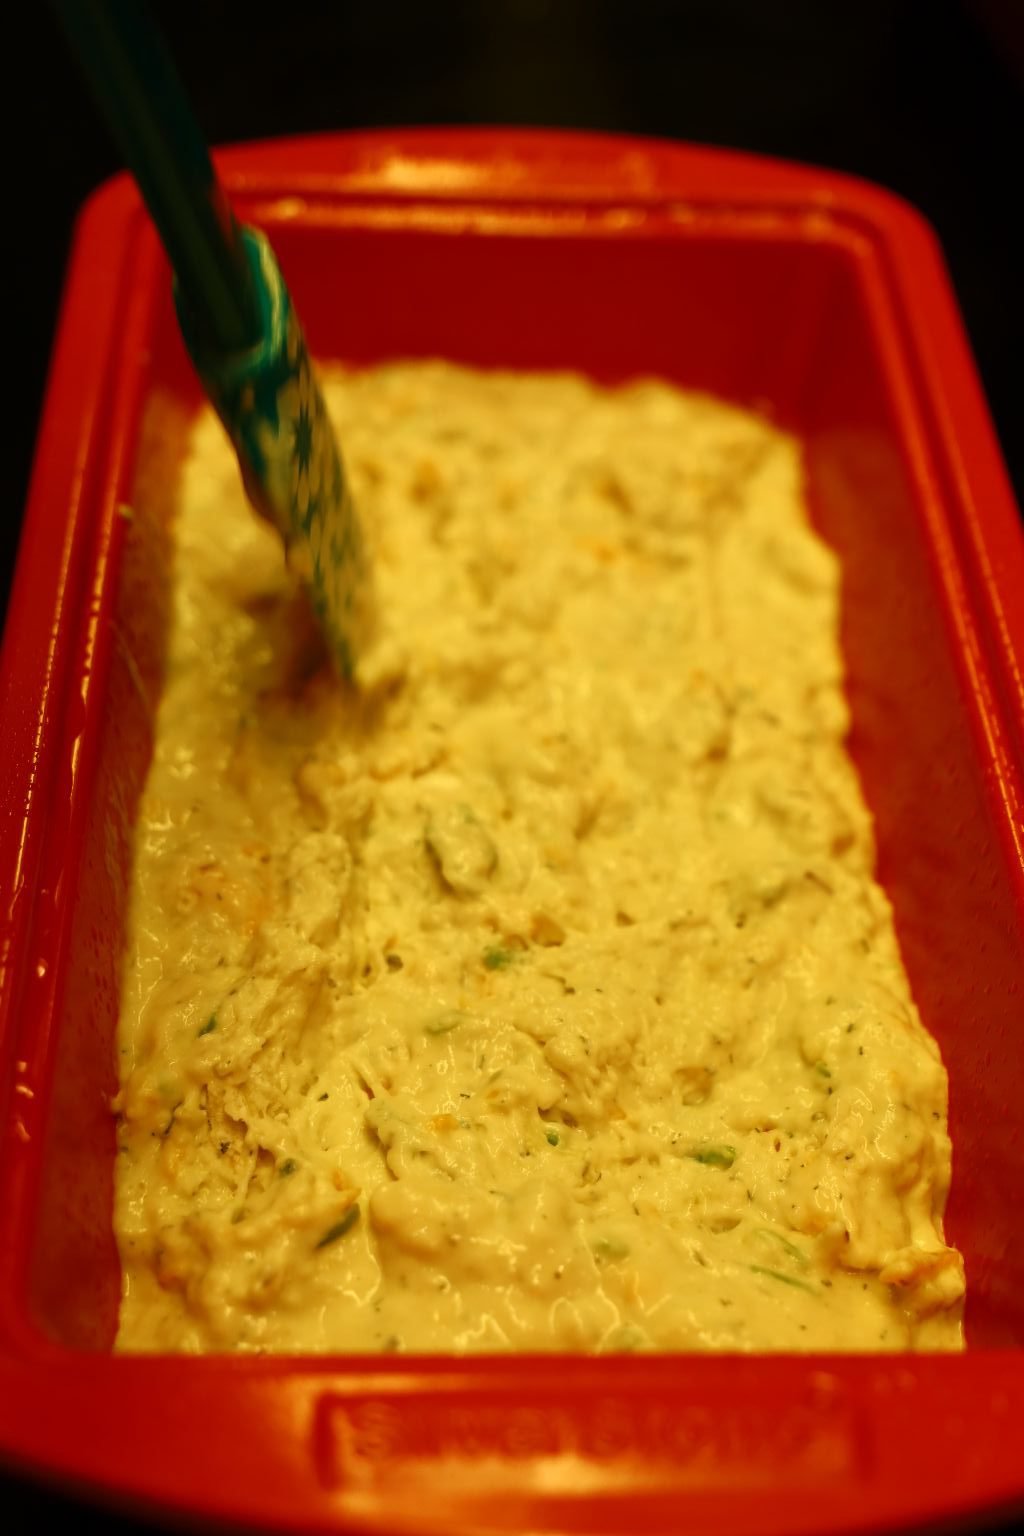
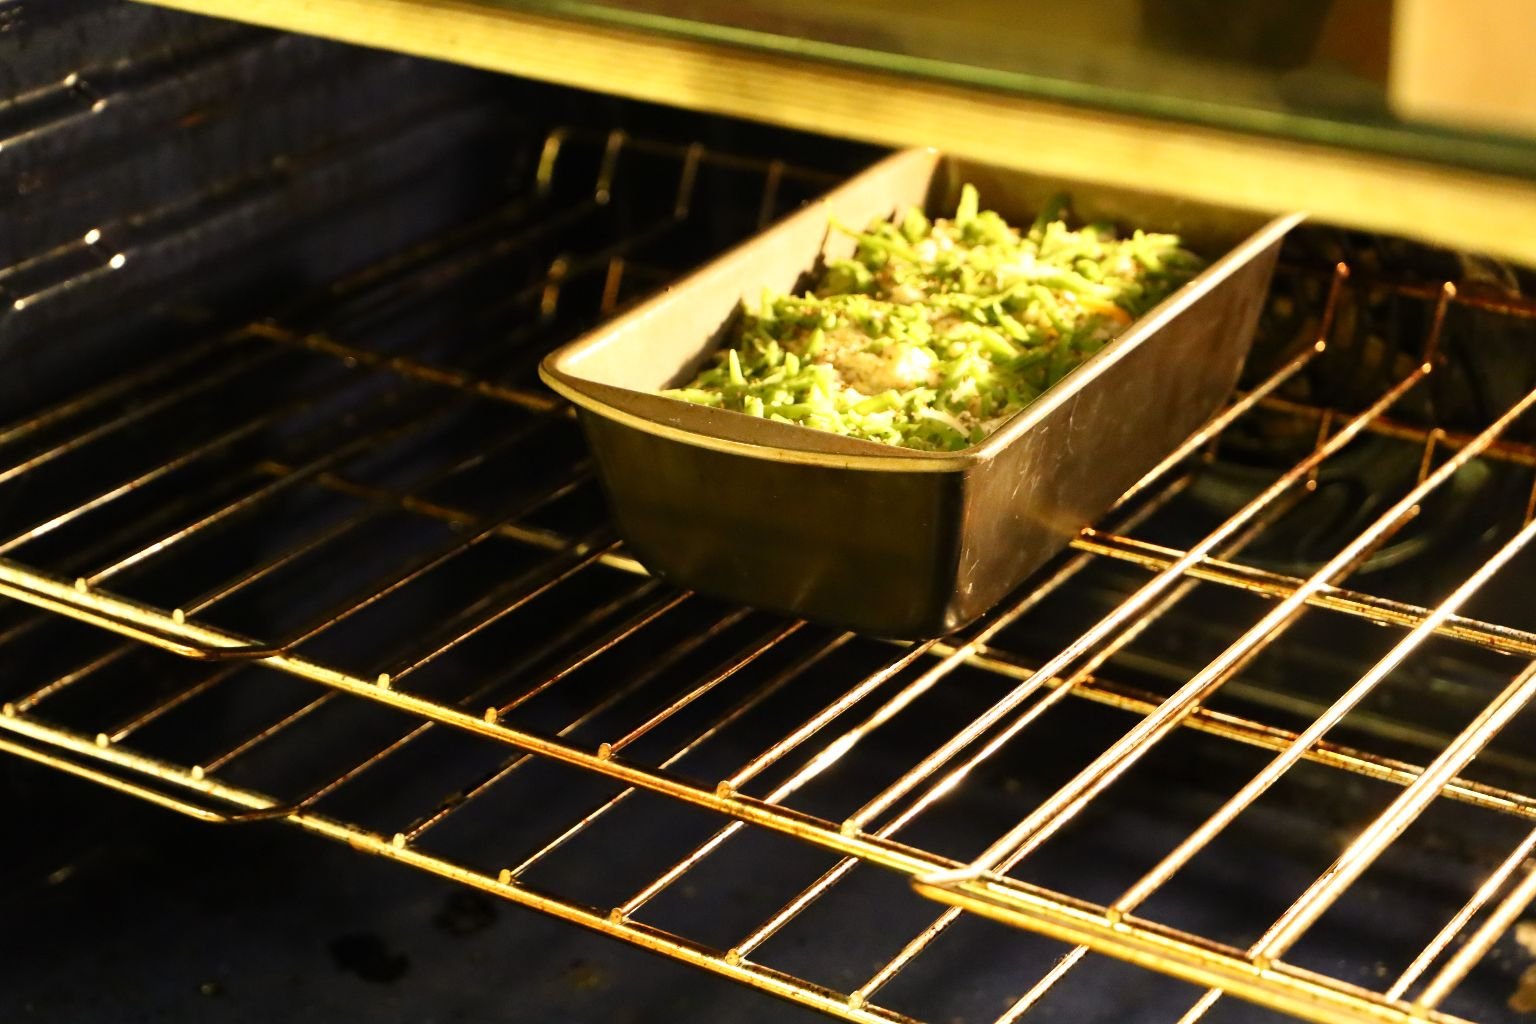
Now, Pour into a Greased Loaf Pan
————————————————————–


We Did Top With Some Cheese and….

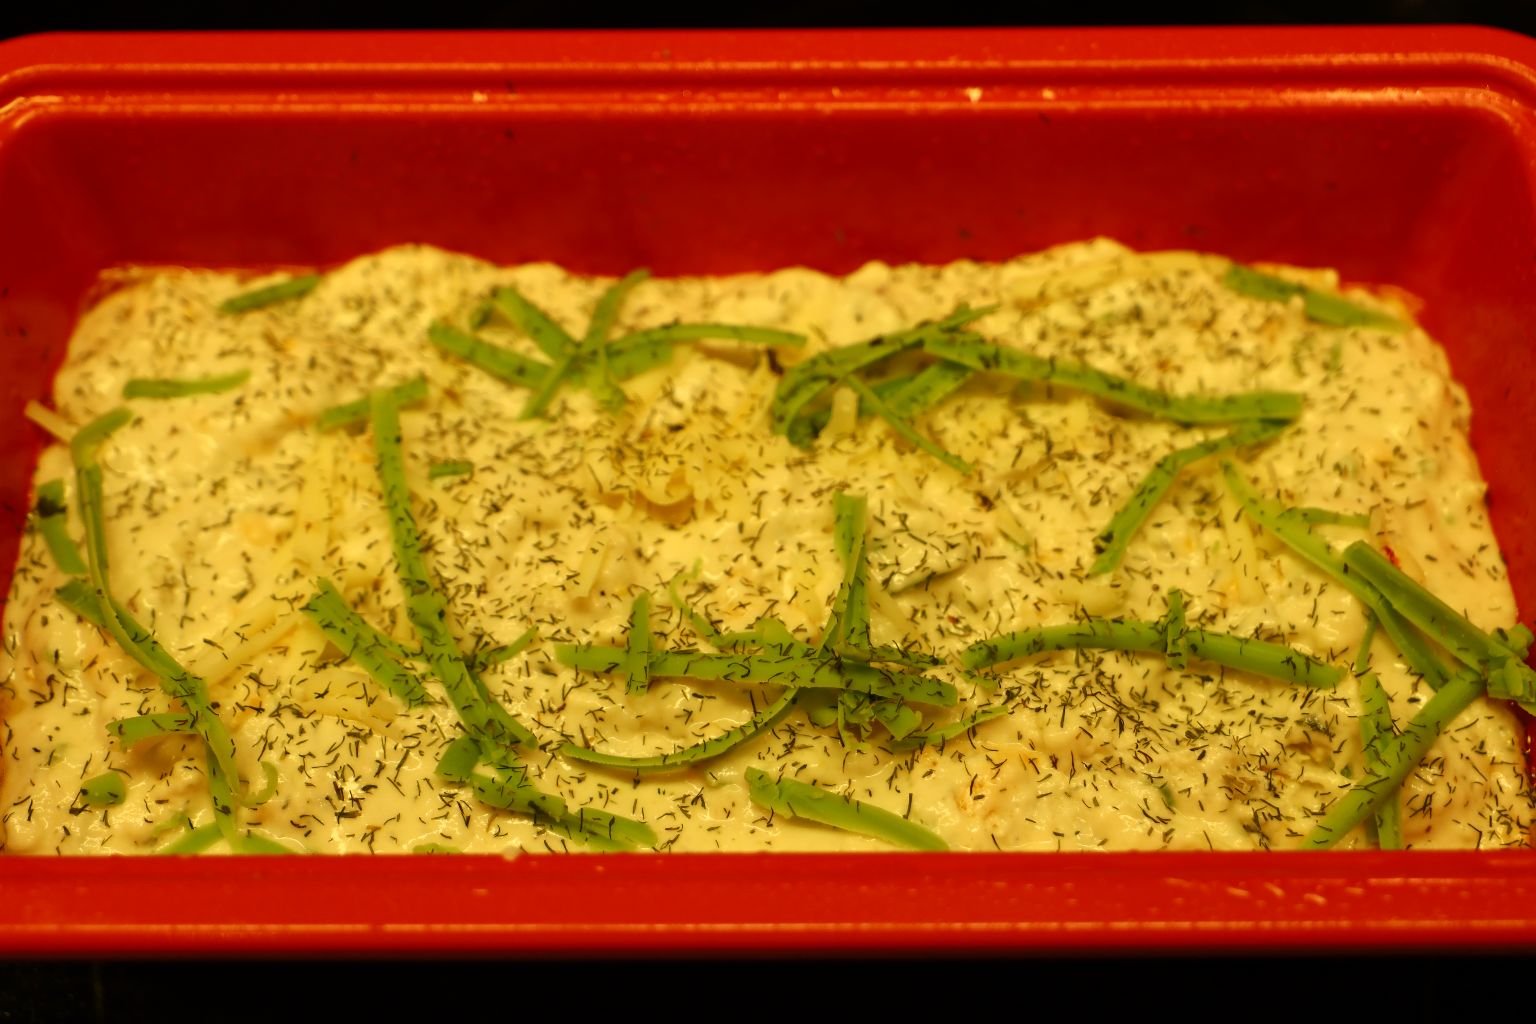
a Sprinkling of Dried Herbs.
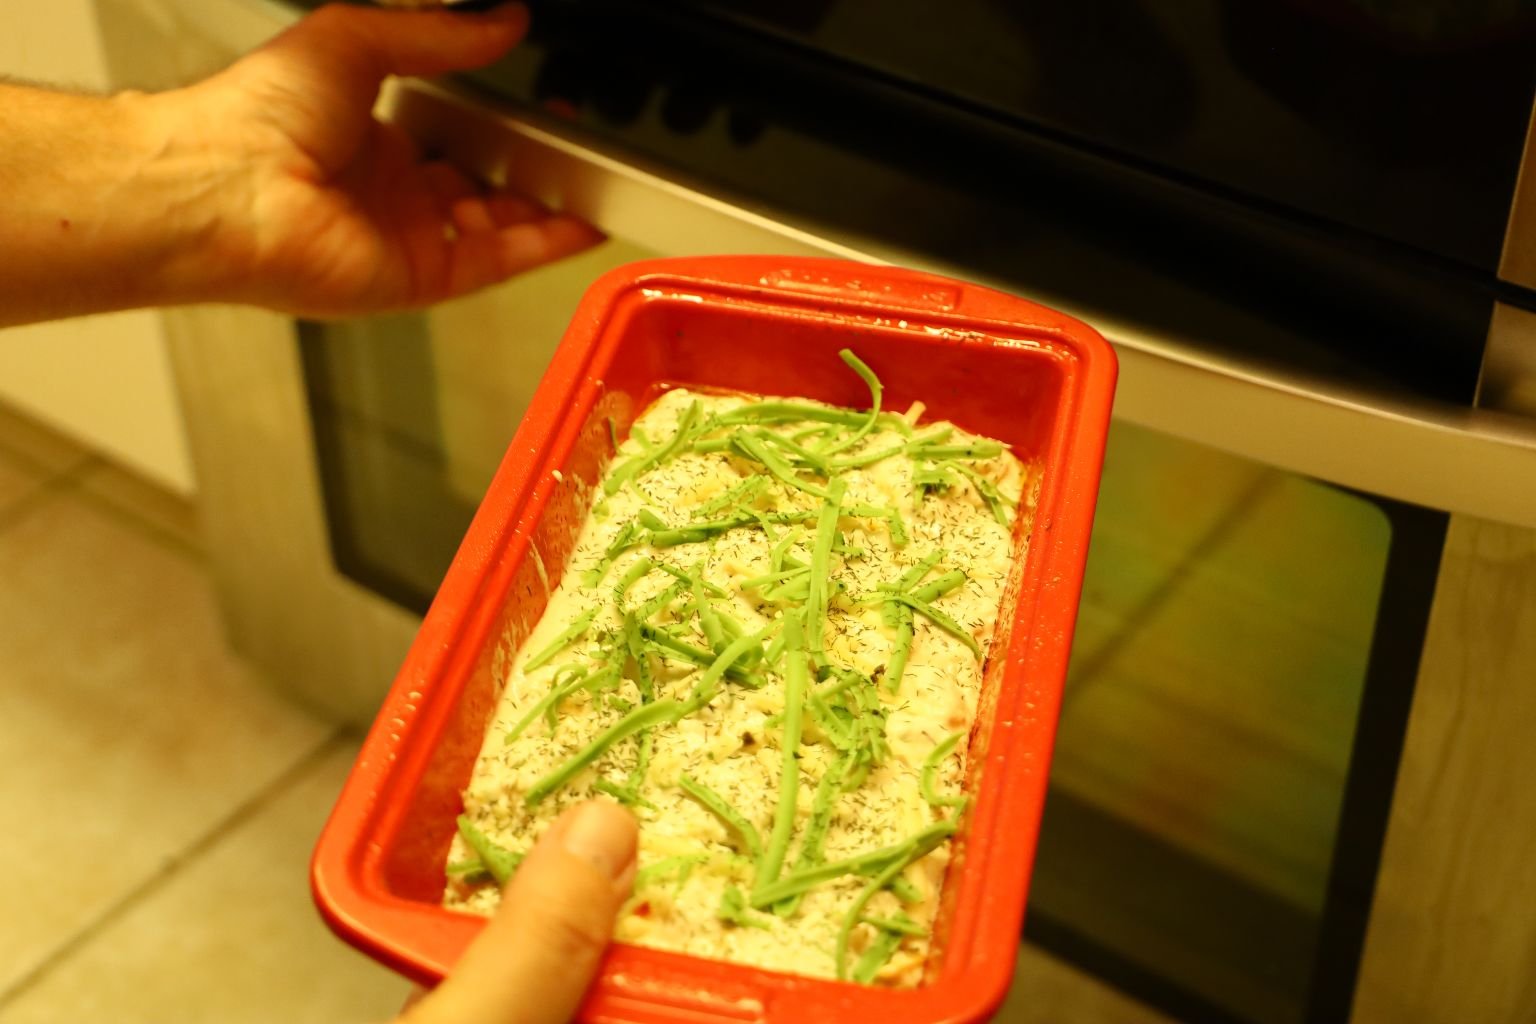
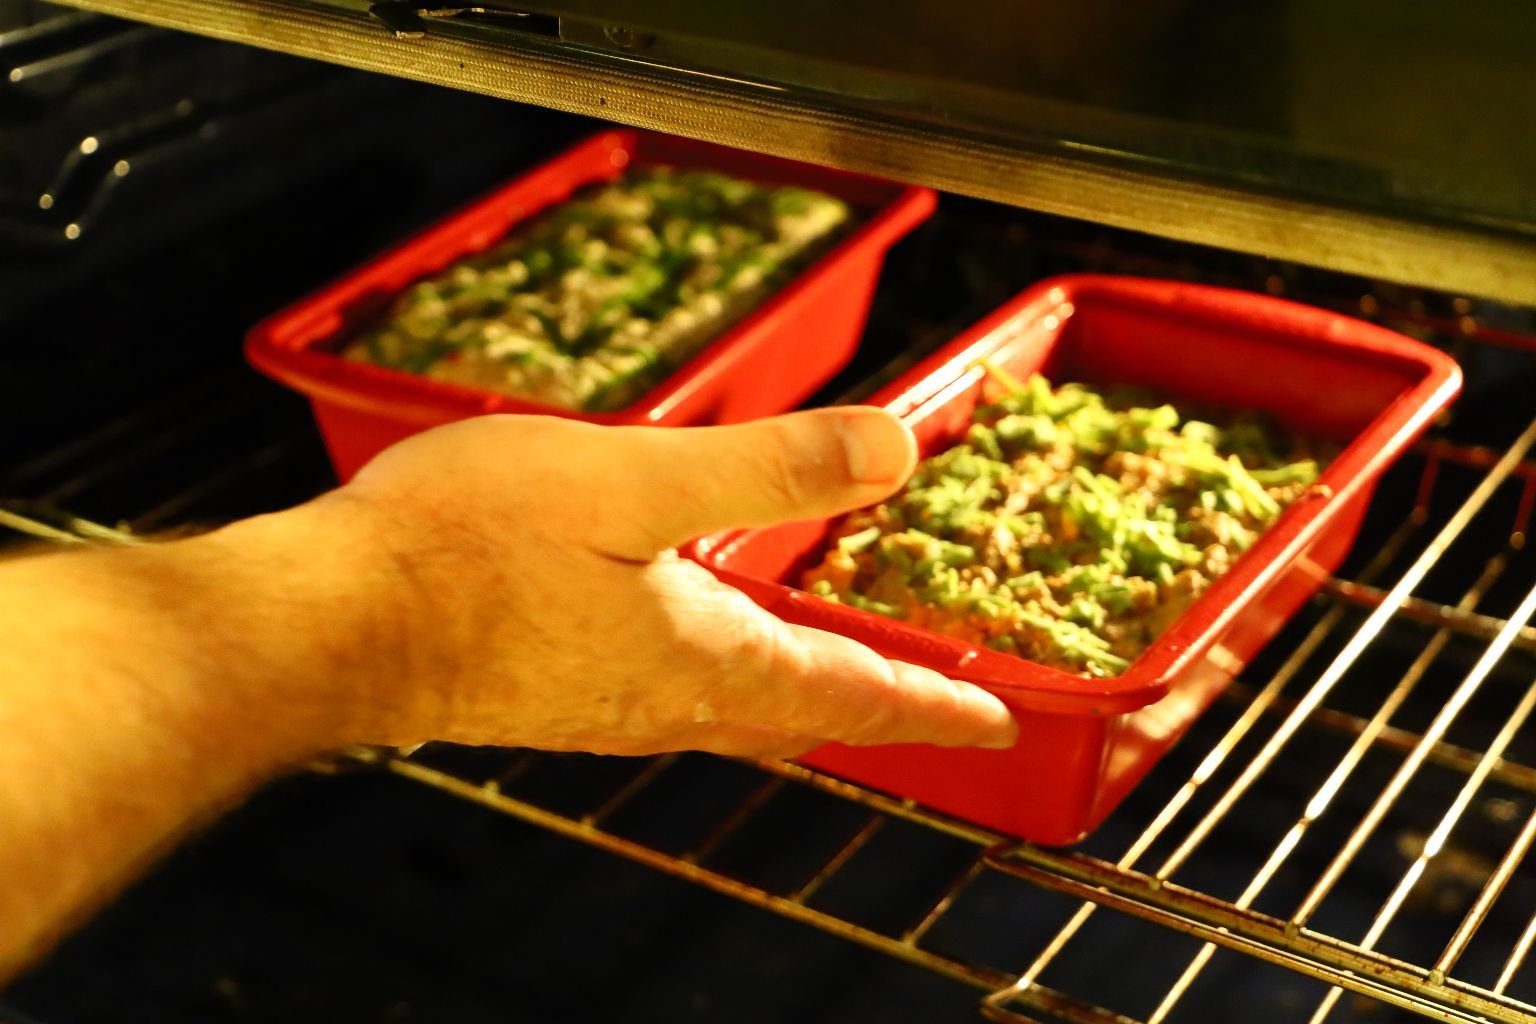
Place into the Oven for 40 – 45 Minutes Until Done
—————————————————————
Our Stout Bread (Irish)

Same as the Recipe Above…


Add The Stout

Mix Together

Place into Greased Loaf Pan

Top with Cheese and Dried Herbs
Bake in a 350F Oven for 40 – 45 Minutes
———————————————————————
Right Out of the Oven…. Beautiful!

Let Cool on a Wire Rack
This loaf smells wonderful!!!
———————————————————
This is Specifically Our Italian Cheese Bread
Our Same Ingredients as Above:

Grated our Italian Cheeses

Throwing Everything Together…


Adding our Cheeses….
In The Mixing Bowl


Adding Our Dried Herbs


Adding our Beer…

Mixing Together, Placing into a Greased Loaf Pan

Topped With Some Cheese and Herbs..
Into the 350F Oven for 40 – 45 Minutes
Cooling….
————————————————————-
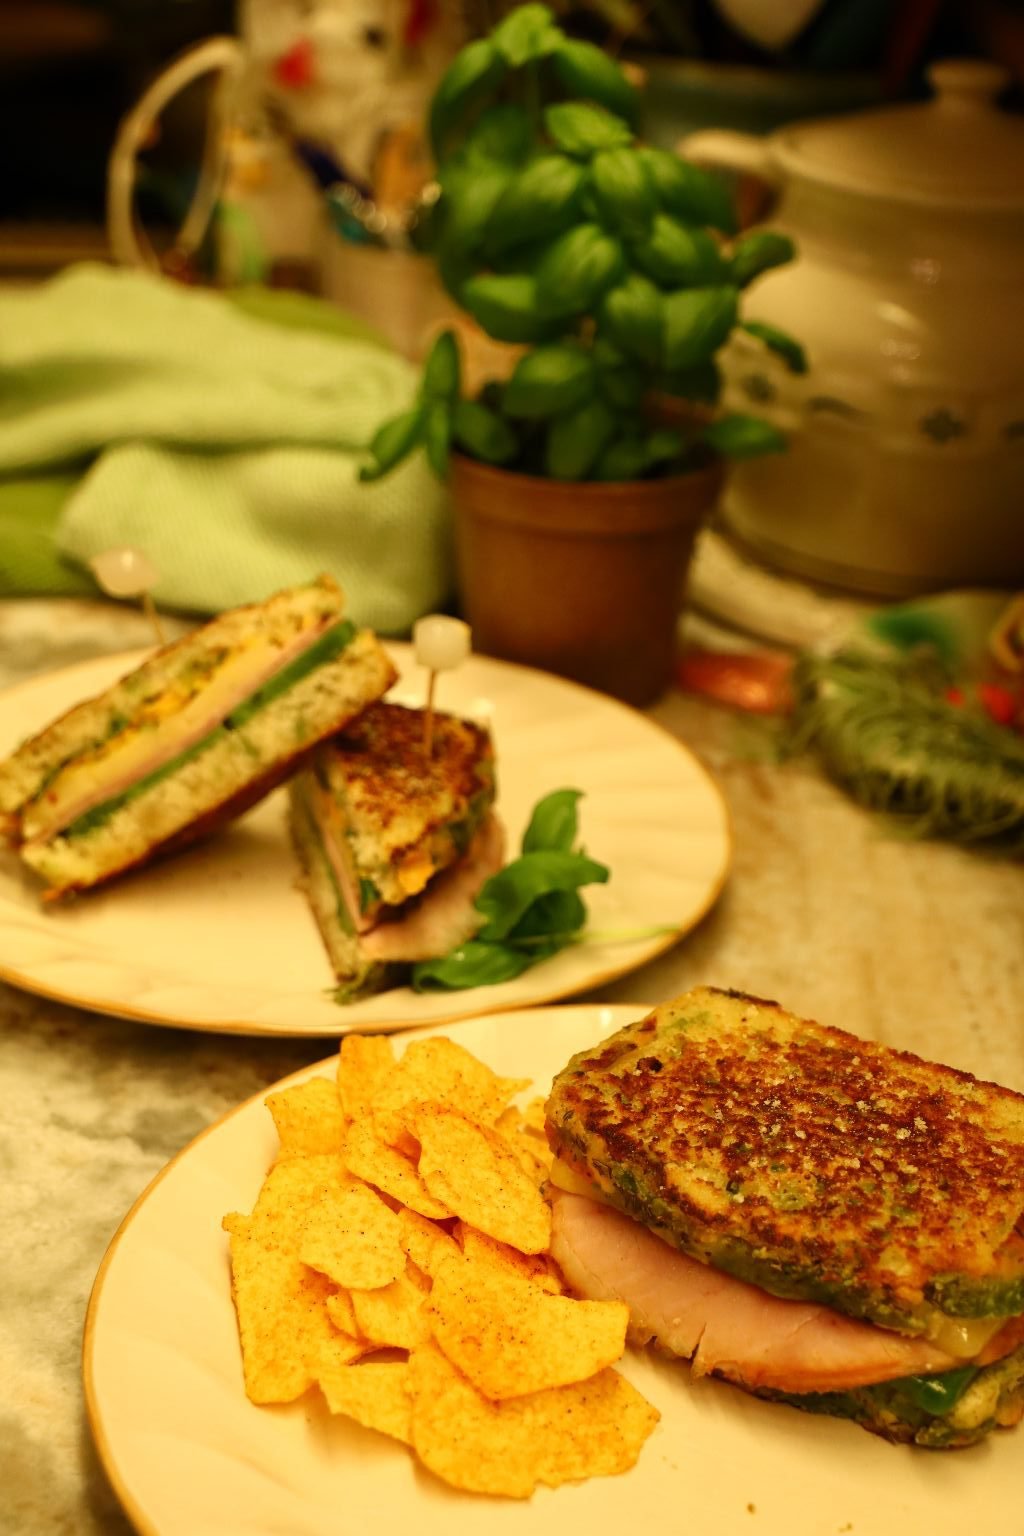
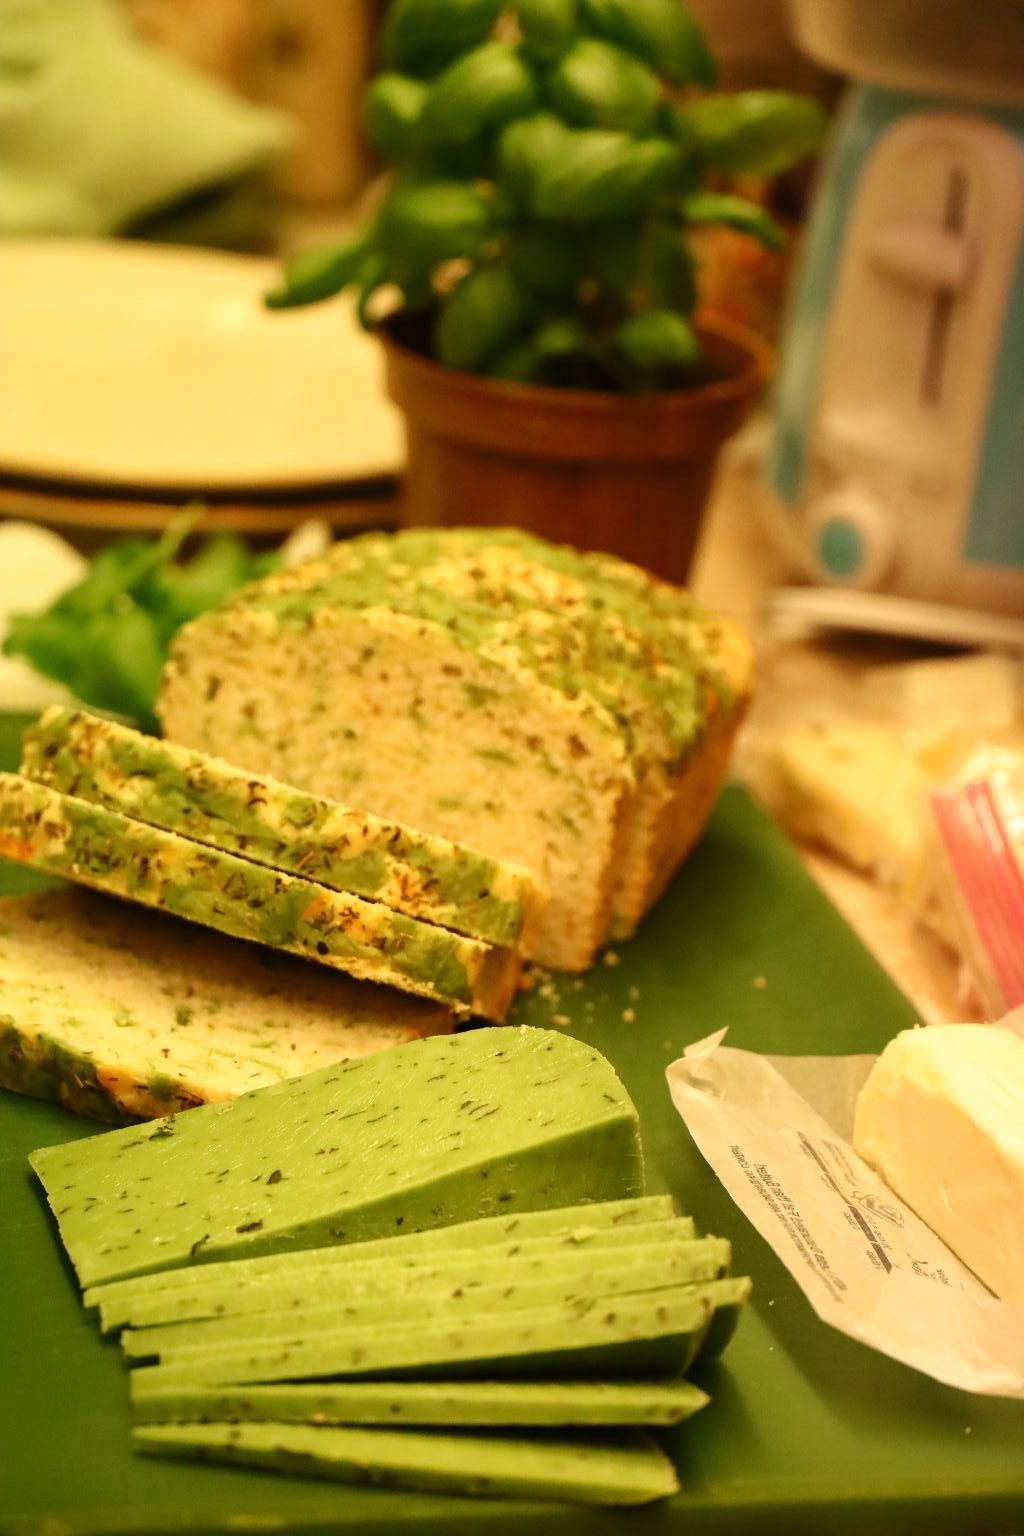
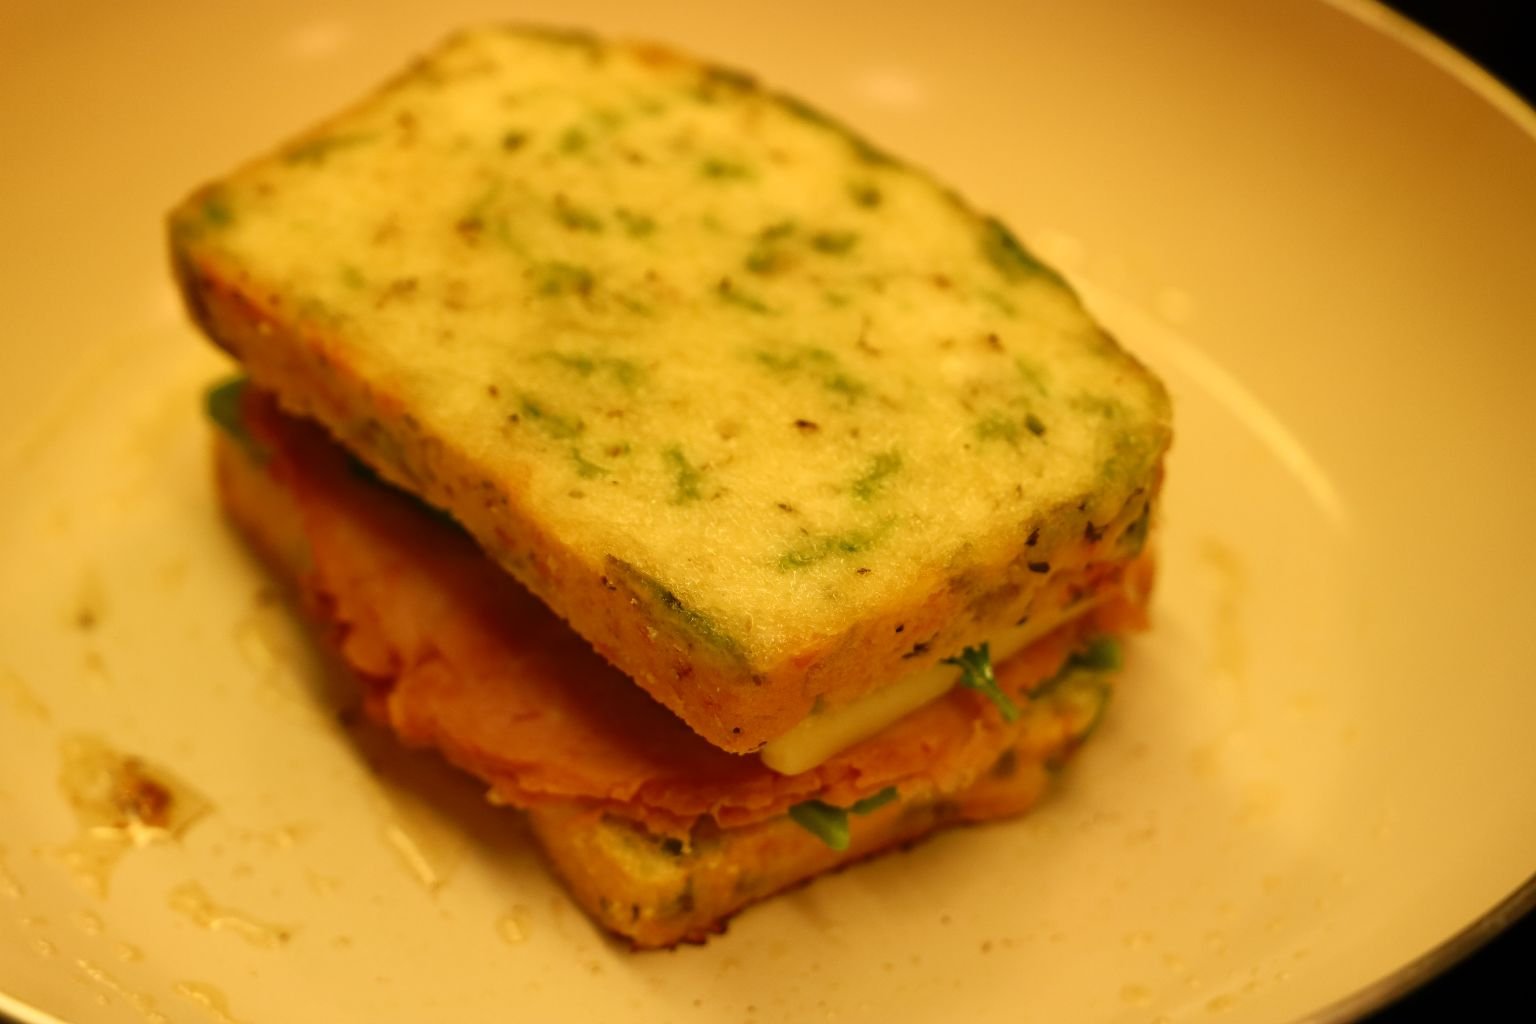
Here we made a nice grilled ham and cheese sandwich using the simple recipe above.
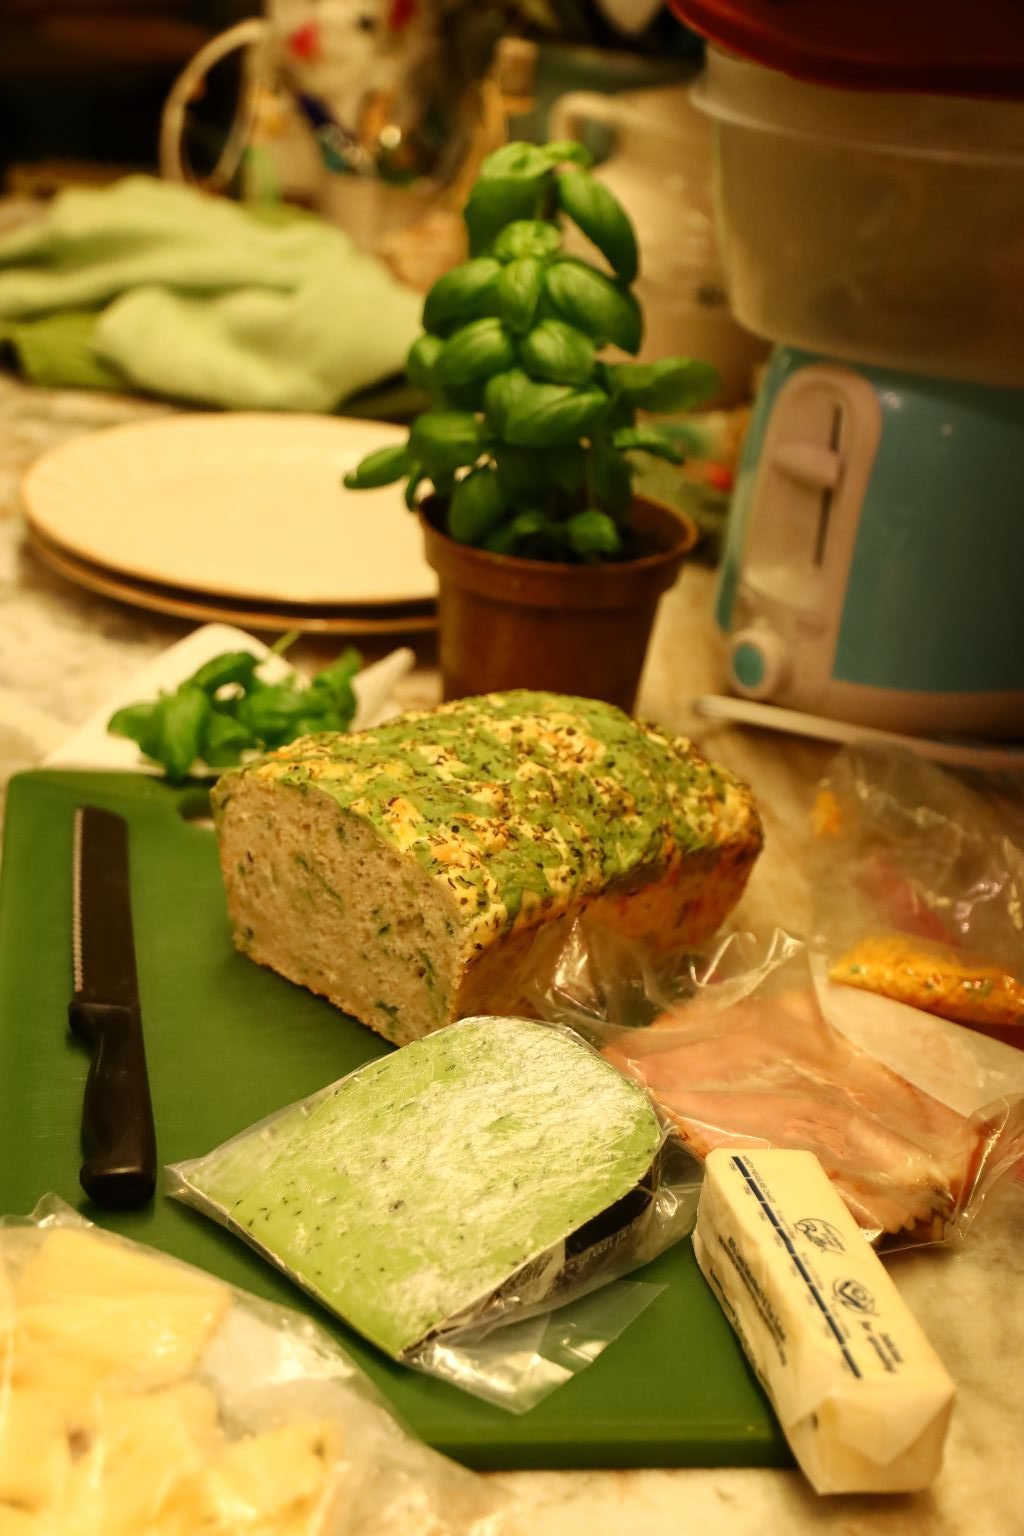

Slice the bread to your desired thickness which we used slices about 1/2 to 3/4 of an inch thick.


For one of the cheese elements, we used some thinly sliced special ordered Pesto cheese.
Love that it looks very St. Patrick’s Day-ish.
Calling all Irish-Italians! This recipe is for you!
———————————————————–
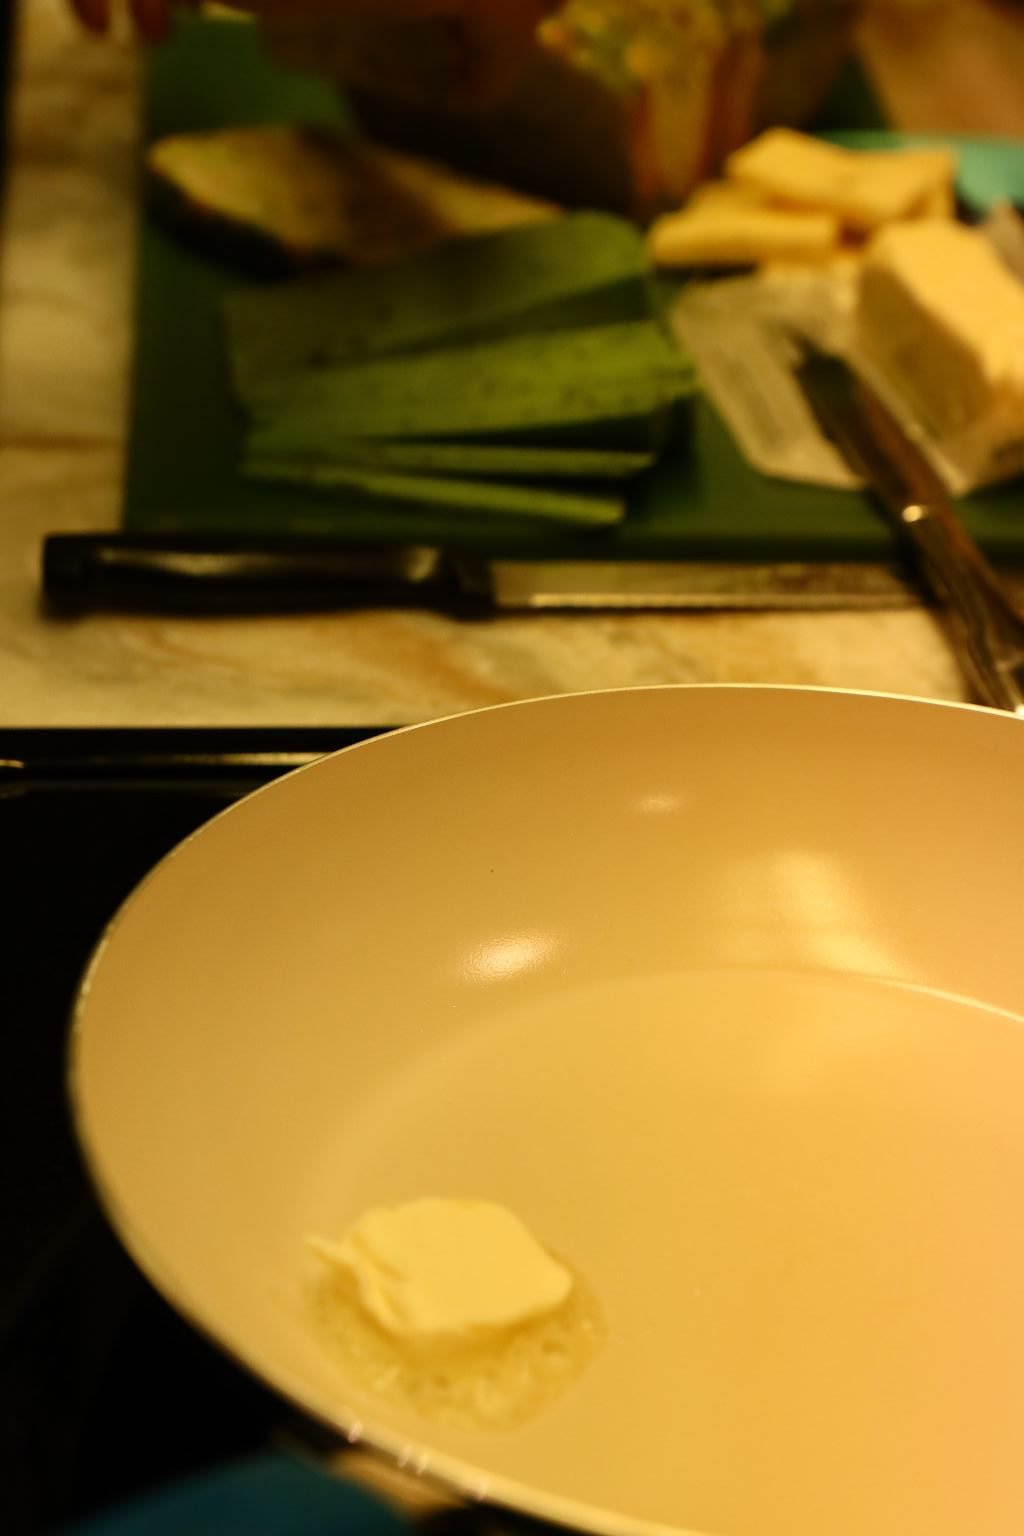
Heat a saute pan to medium heat and add about one Tbsp. of butter to the pan.
Let the butter melt…

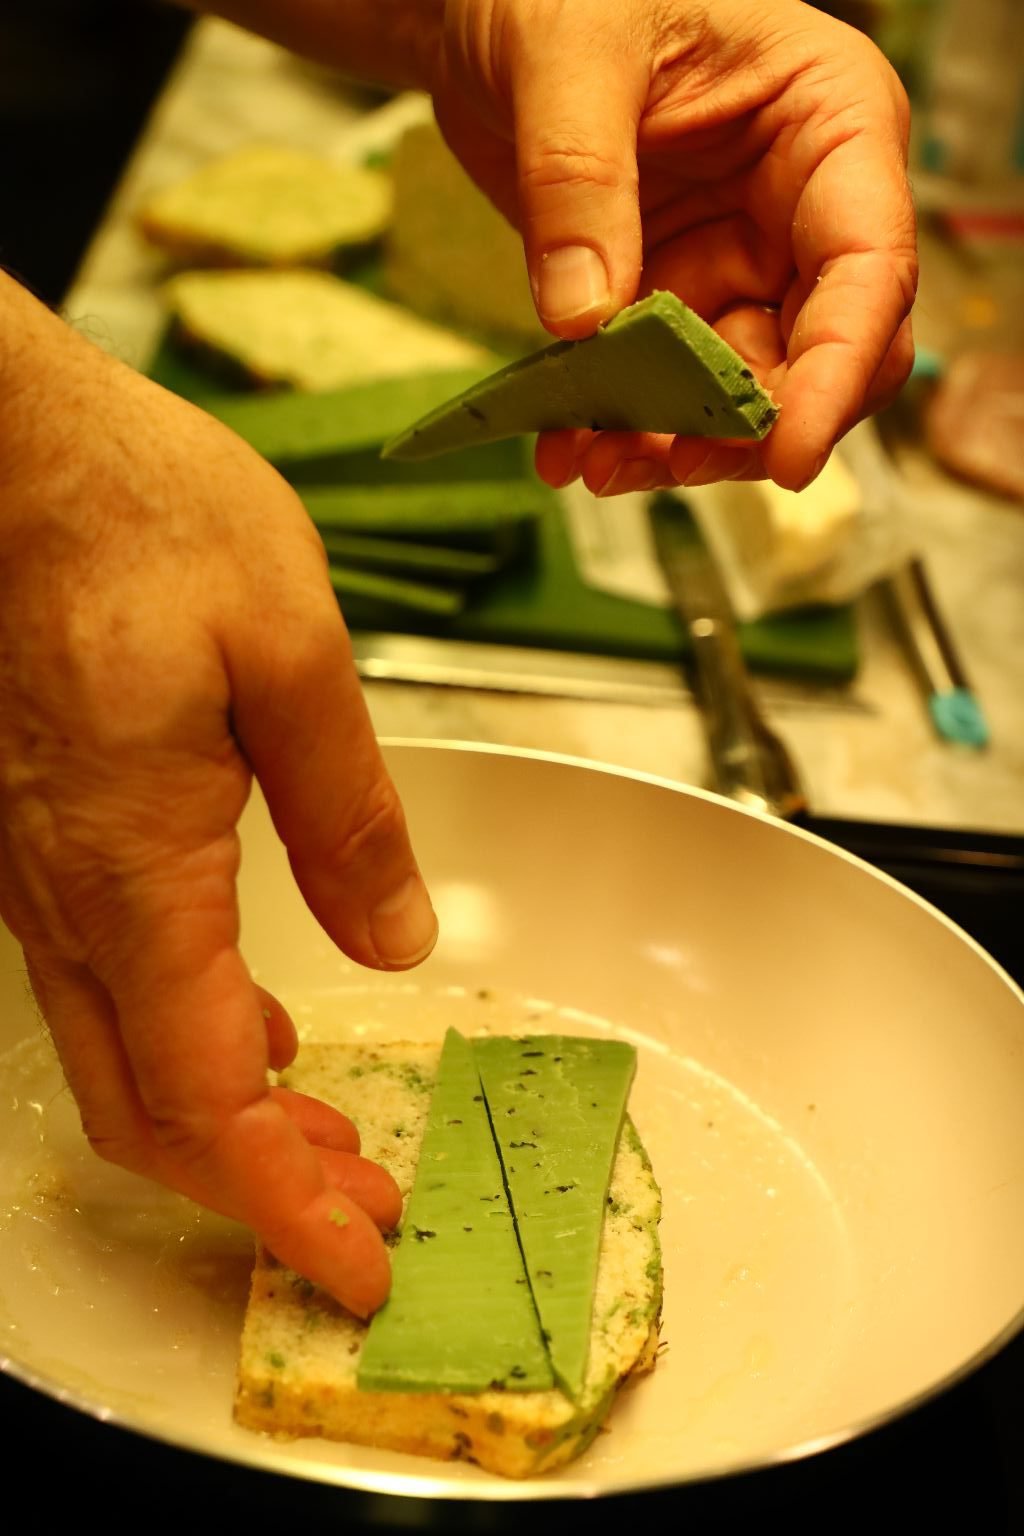
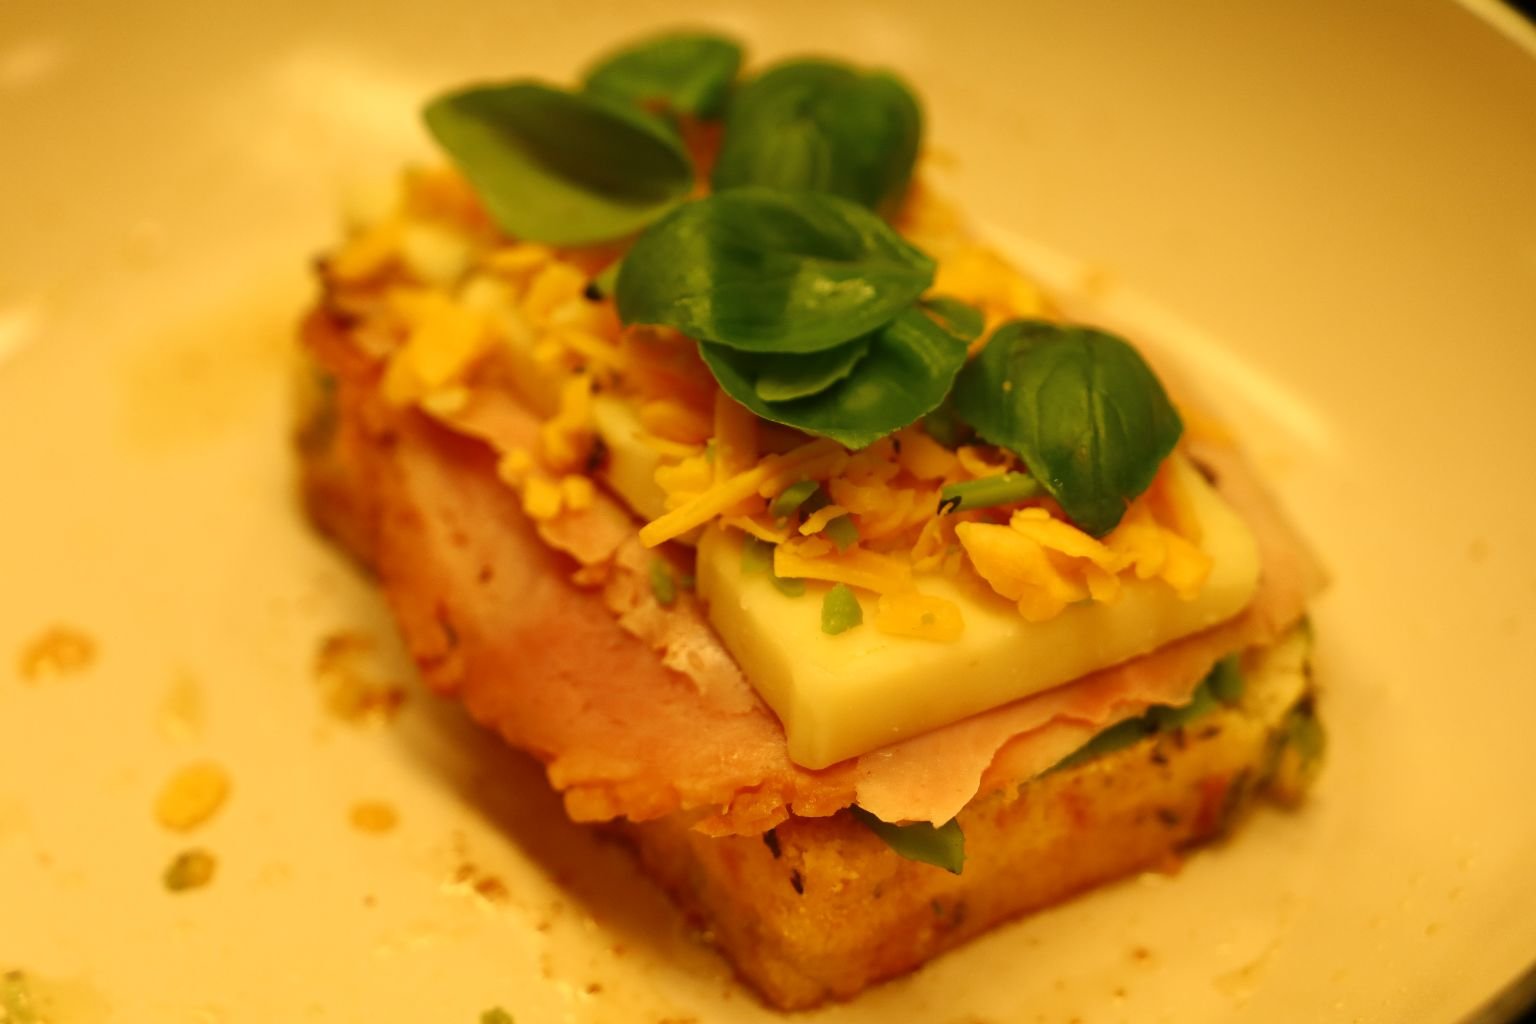
then place a slice of bread on top of the melted butter. Now, add your Pesto cheese slices to the top of the bread.
TIP: To butter the other slice of bread, you can place about 2 Tbsp. of butter in the pan at the start and dip one slice in the butter to coat the bread and place it on a plate to use later. Then use the remaining butter to coat the other slice of bread. This way your bread is already buttered when you flip the sandwich during the cooking process.
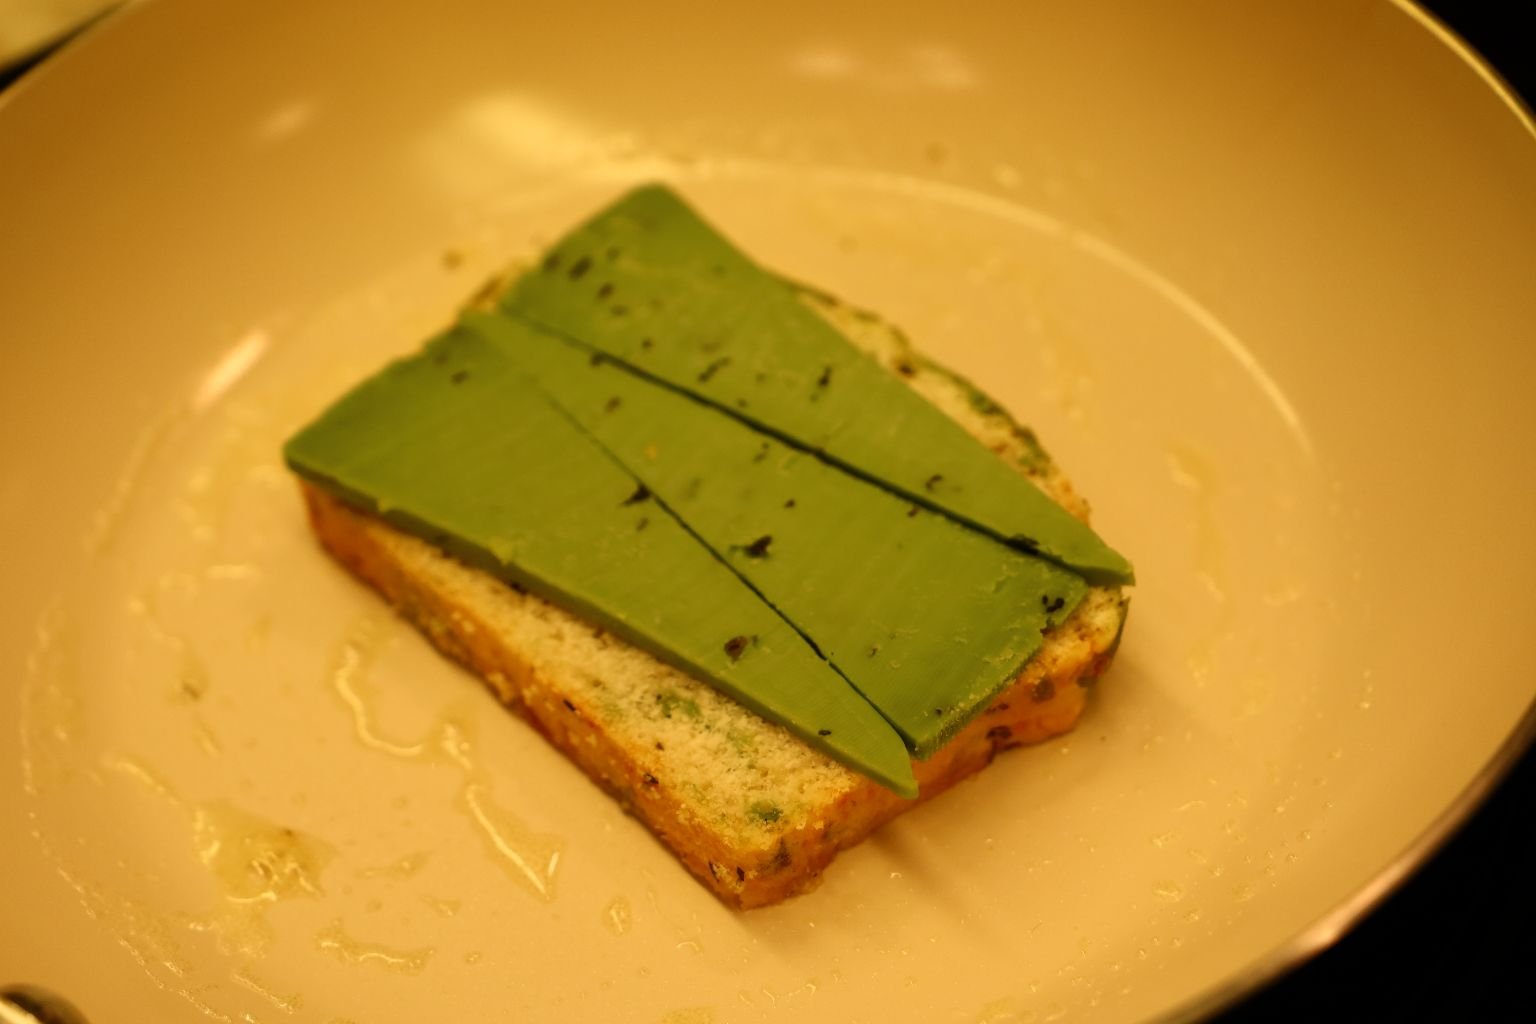
Here, three slices of Pesto cheese were enough to cover the top of the bread. Placing the cheese down first will help to melt it faster as it is closer to the heat in the pan.

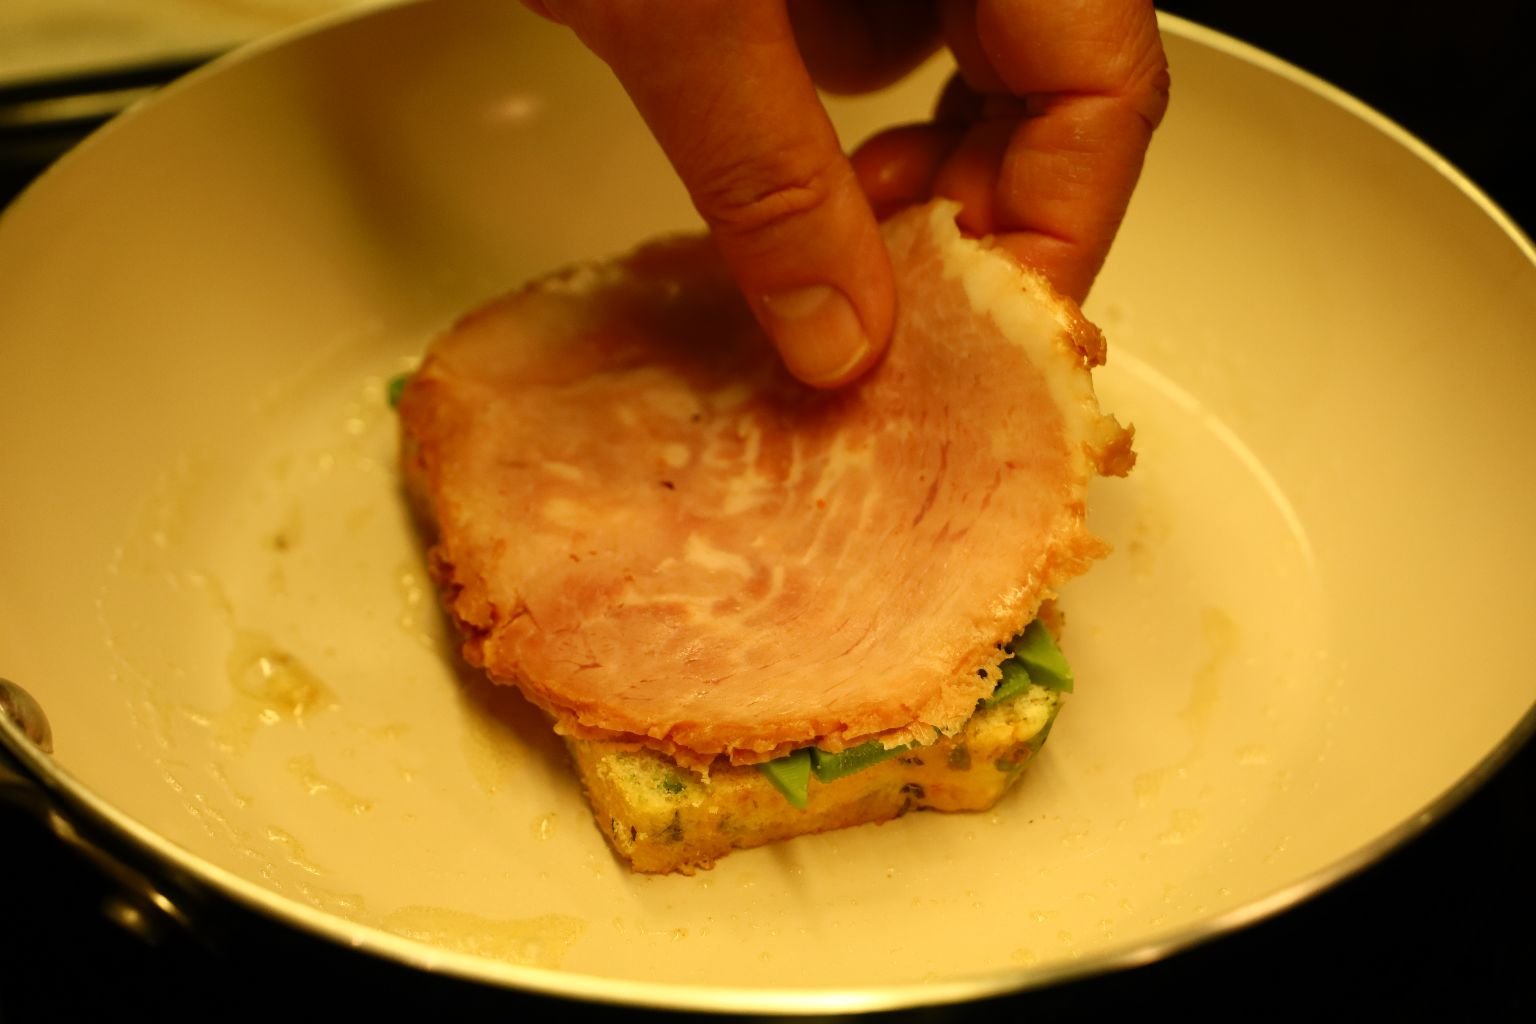
Now, place a slice of ham on top of the cheese. We used a thick slice of Smithfield brand Sweet Ham.
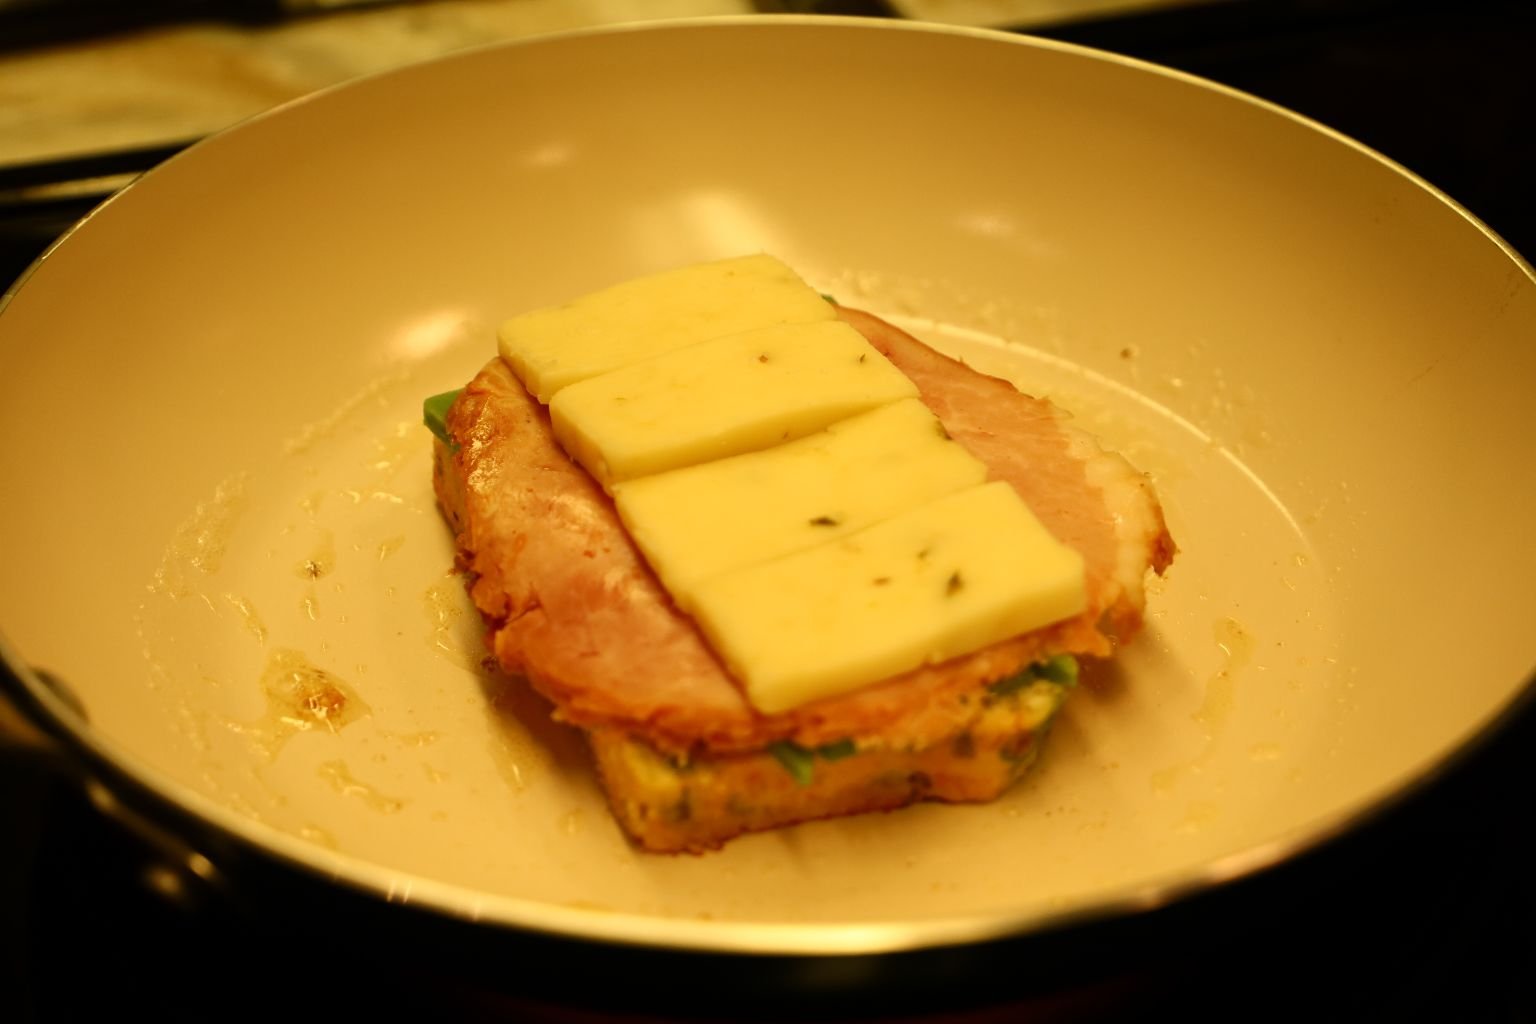
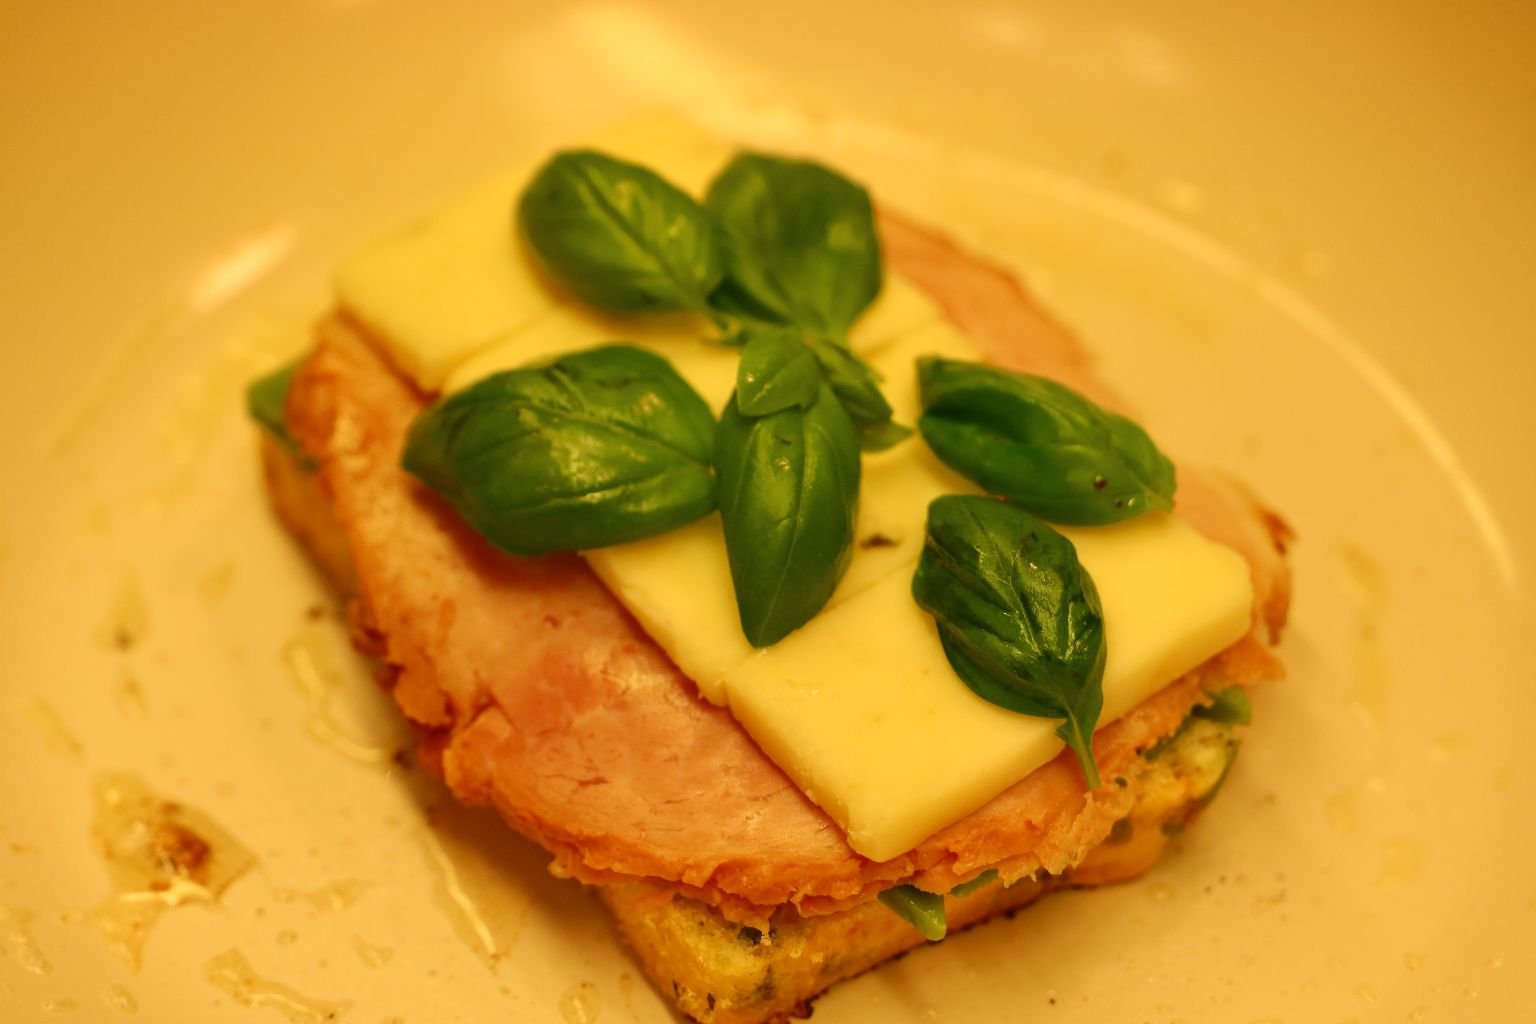
Then we quickly added slices of Pepper Jack cheese and topped it all with some fresh Basil leaves.
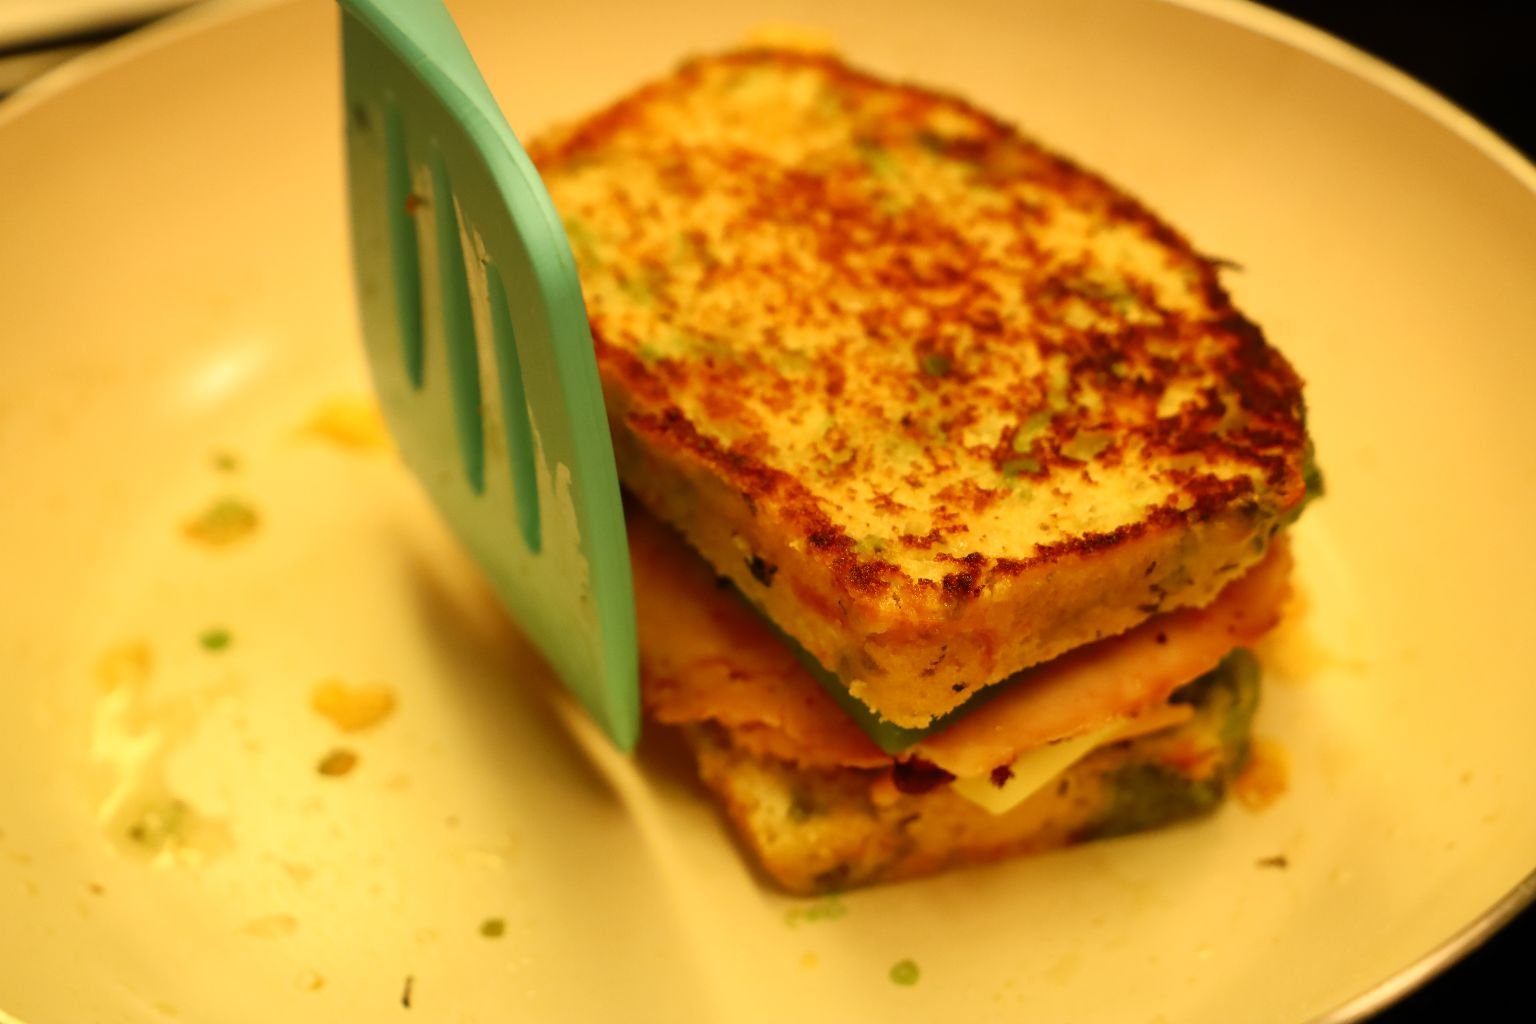
By now, it is likely time to flip the sandwich using a large spatula, but first add some butter to the pan to coat the other side of the bread. To easily flip the sandwich, place your hand on the top of the bread then slide your spatula underneath it. Using your hand and spatula flip the sandwich over onto your hand, then place the sandwich back onto pan.
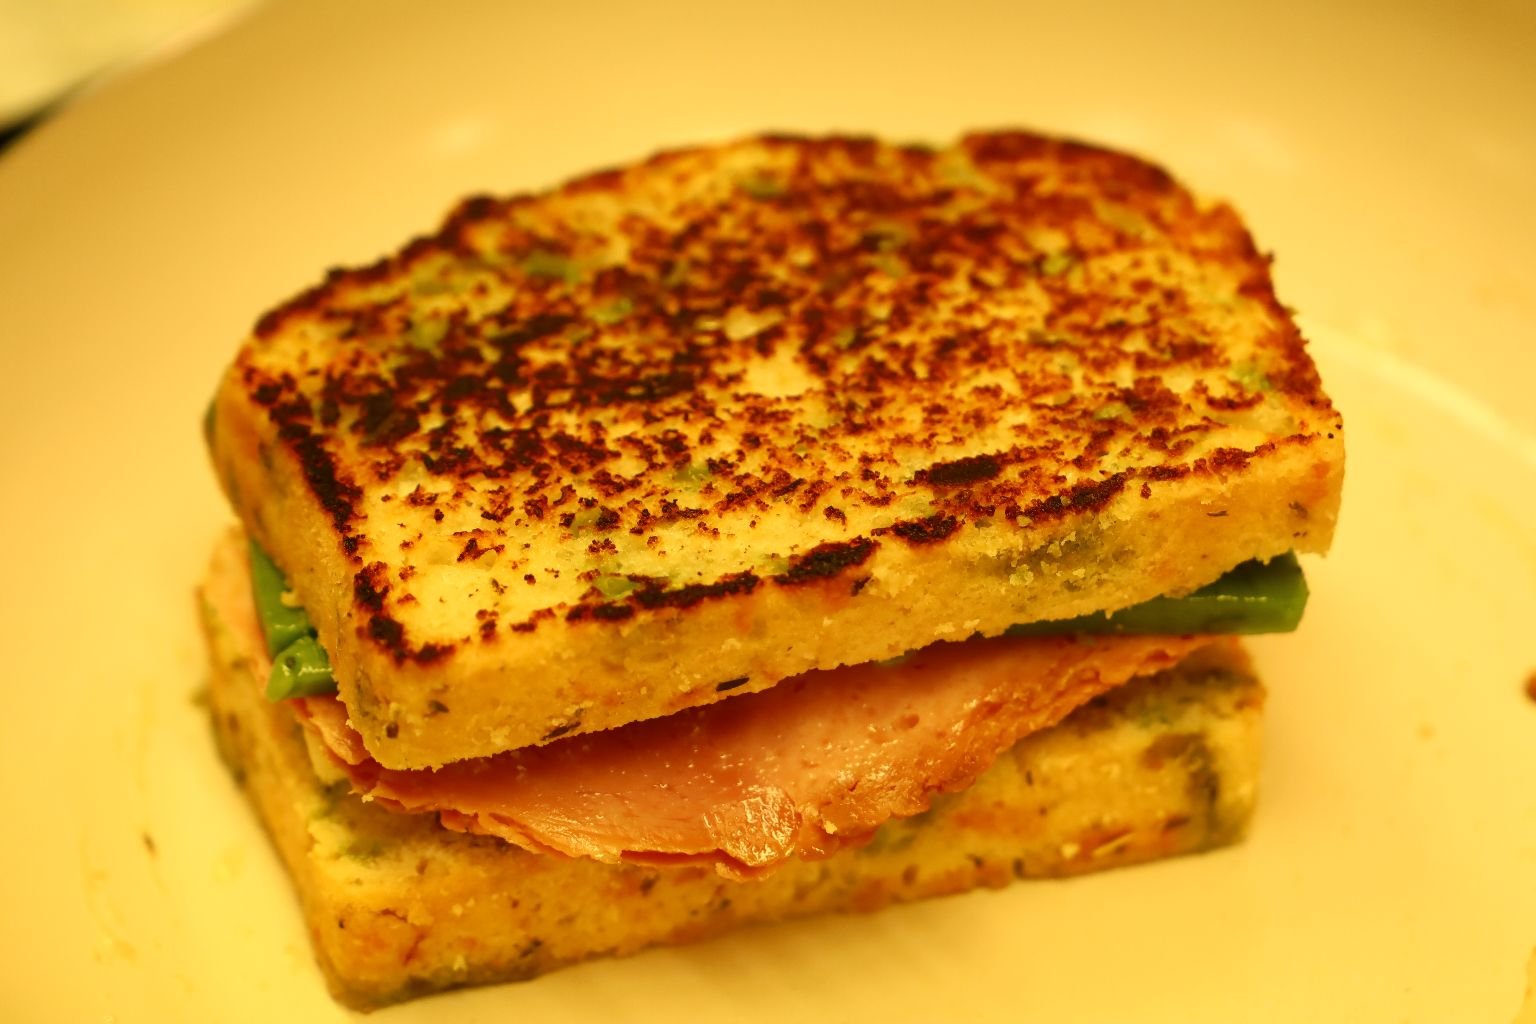
TIP: To check the doneness of the sandwich’s bread, grab the pan’s handle and gently move the sandwich around the pan. If you hear a scratching sound you know the bread is browned as seen above. Continue to cook this side of the sandwich for another few minutes or until the bread is cooked to your desired doneness.
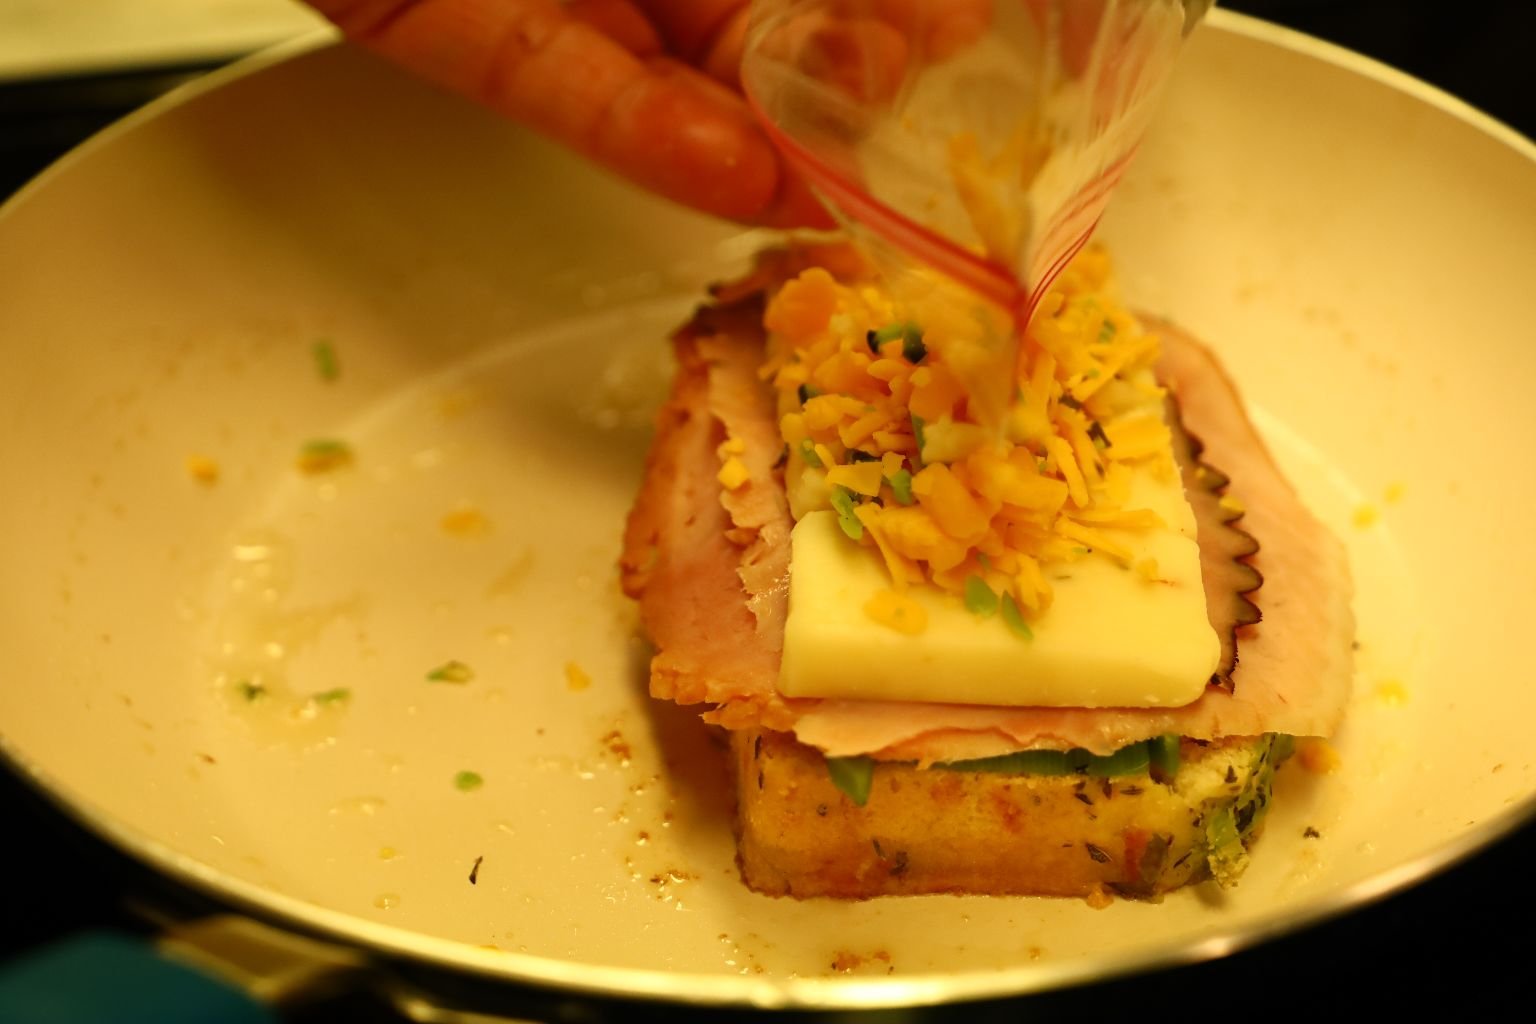
Here is another version of the sandwich where we topped the Jack cheese with some left over grated Cheddar.
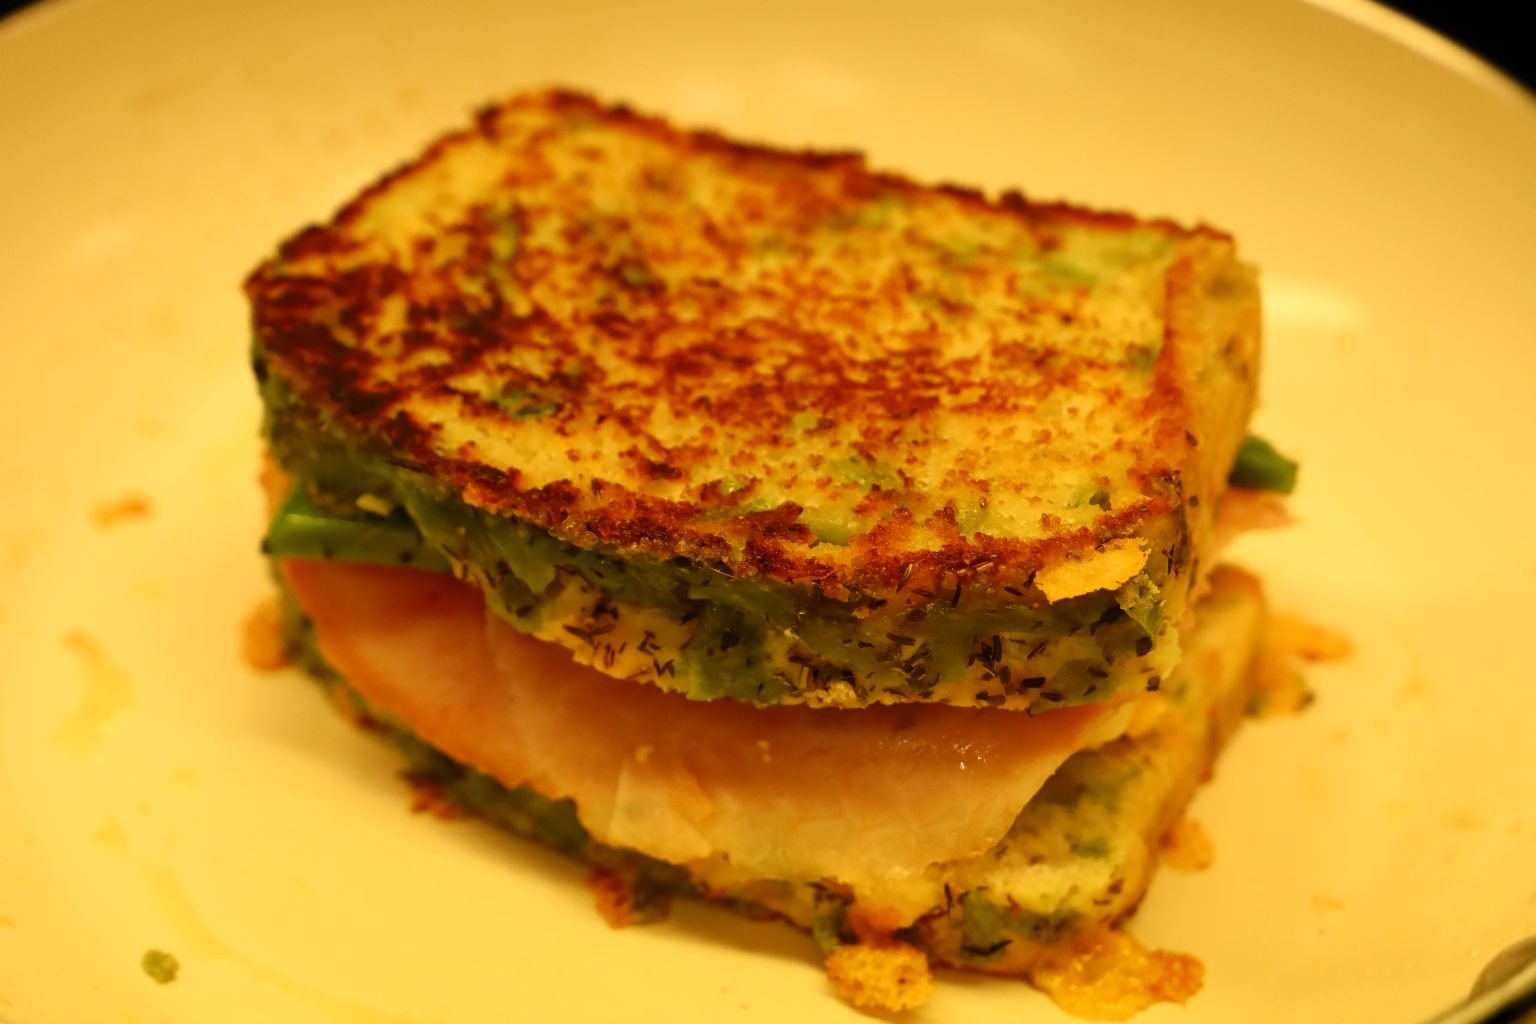
Now that the pan is heated well, the sandwich will likely cook faster than the first side did, so you may want to turn the heat down slightly to help melt the cheese better.

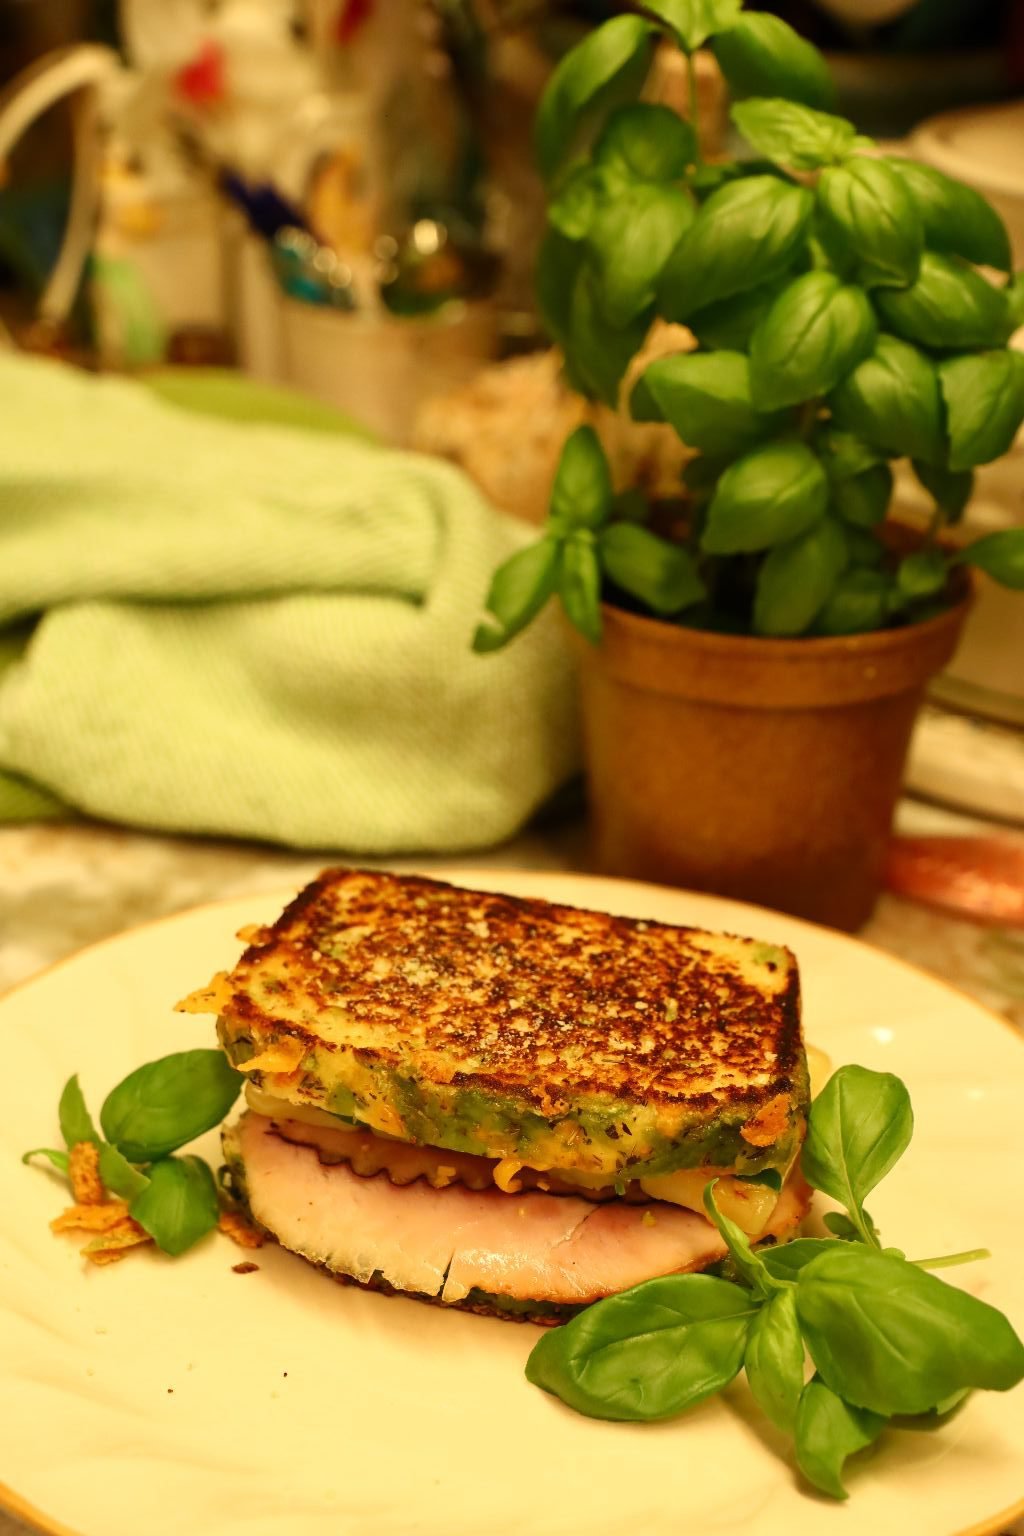
Add some nice chips and garnish with some more fresh basil leaves.
Here we added toothpicks topped with some pickled onions.
The toothpicks help to keep the sandwich together when placed on a slant as shown above.
————————————————
GRAZIE,
Julie