Black and White Pearls
Black and White Pearls
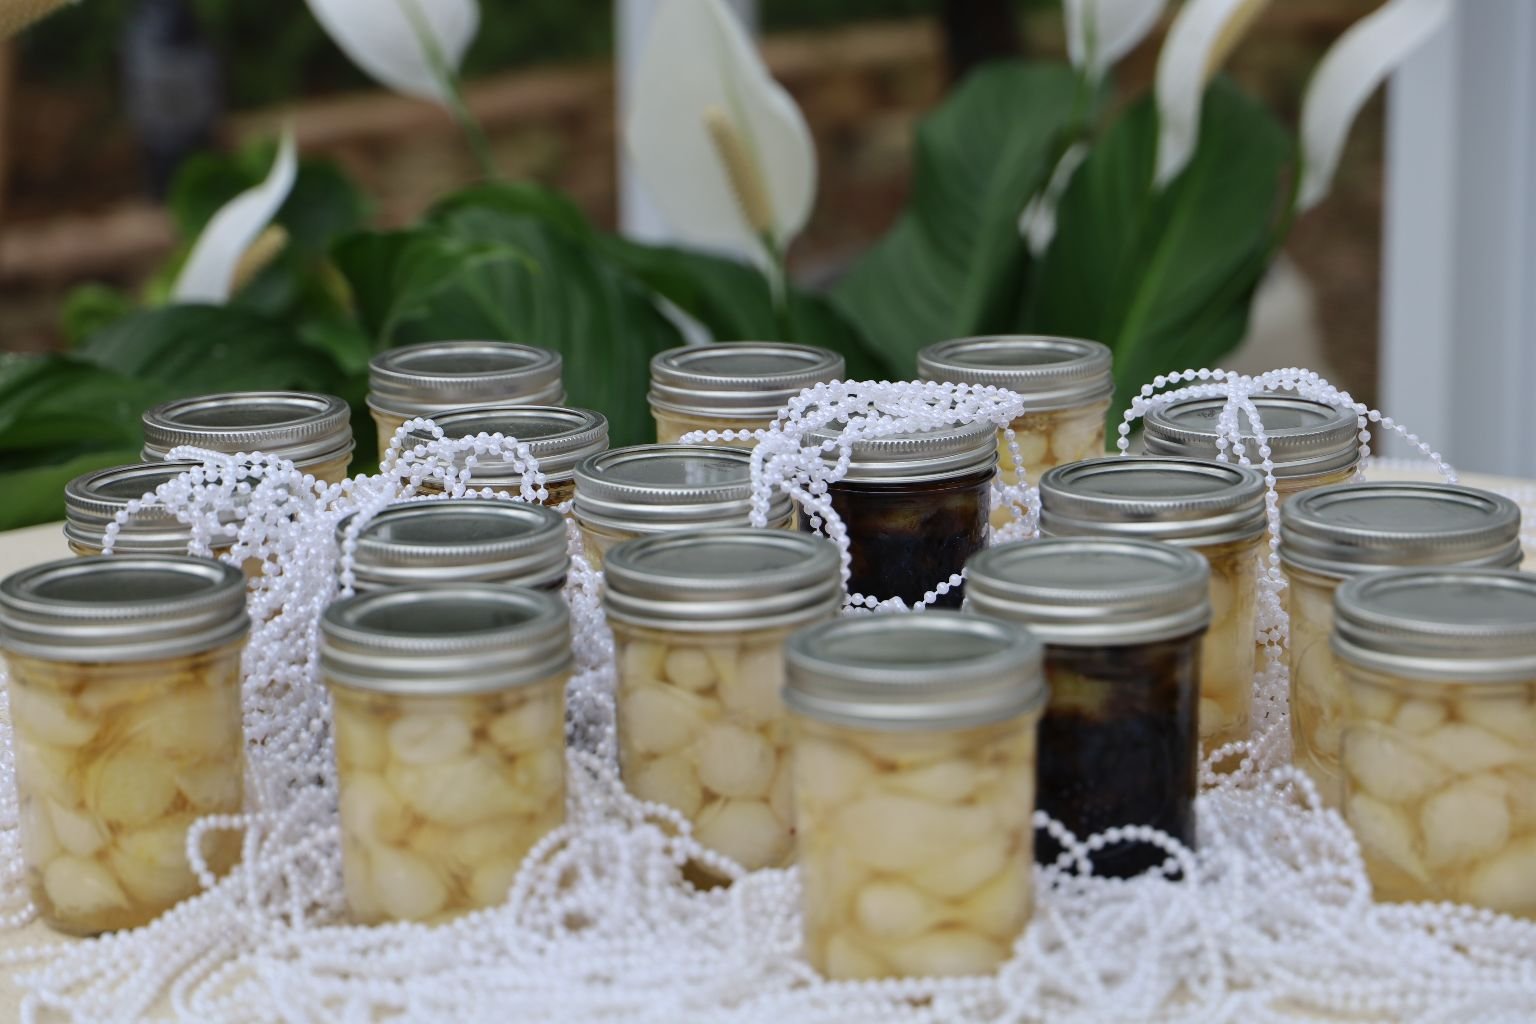
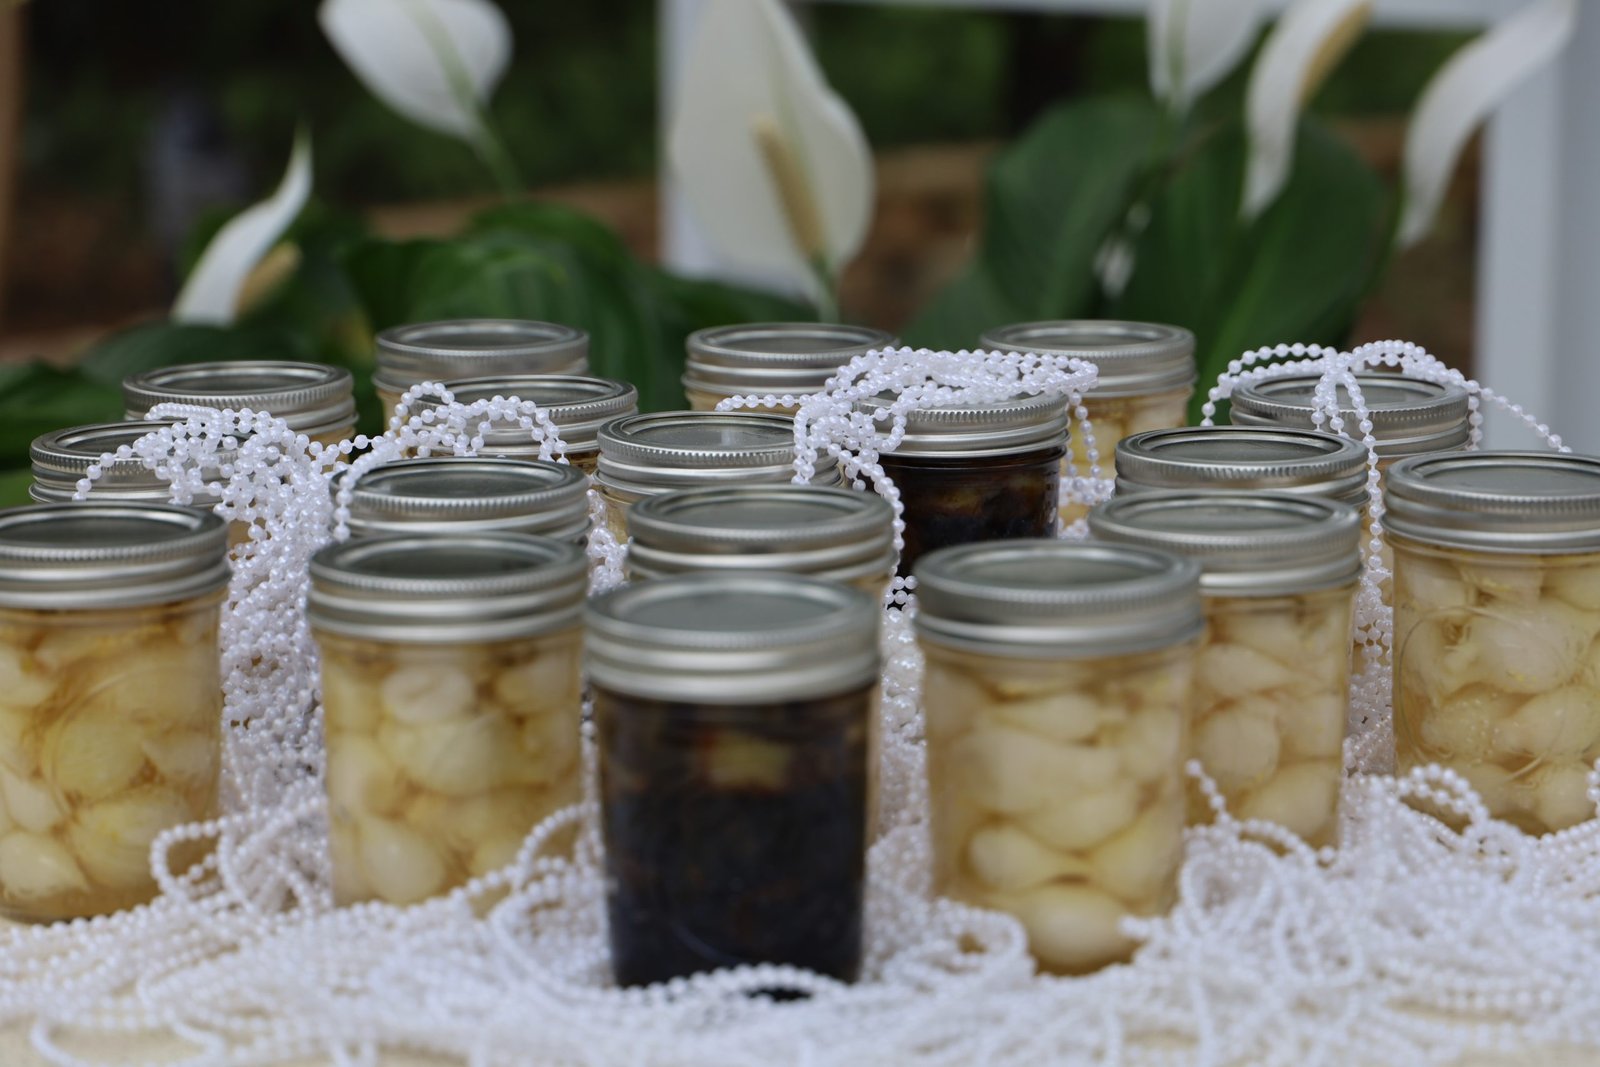
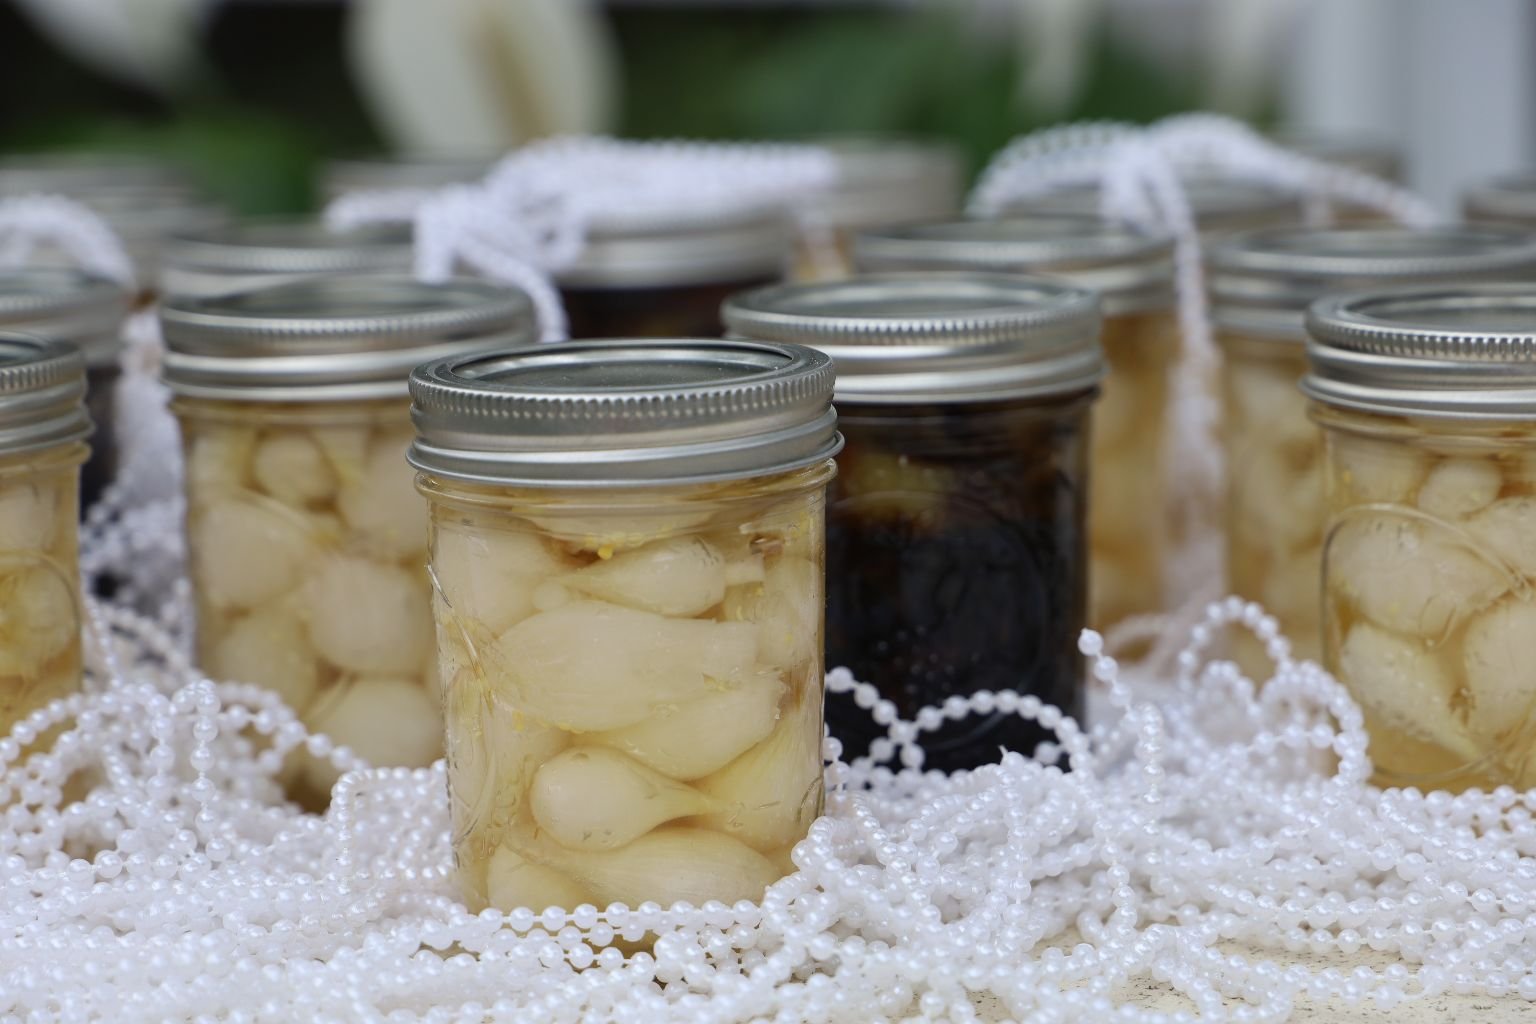
Our Very Elegant Pickled Pearl Onions and Balsamic Pearls
How About An Elegant Edible Gift?
Welcome to The Recipe,
Gordon and Julie
——————————————————————-

Be Sure To Also Check Out Our:
Also Check Out Our:

——————————————————-
Black and White Pearls
Ingredients:
4-5 lbs. White Pearl Onions
3 Cups White Vinegar
1 Cup Sugar
1 tsp. Canning & Pickling Salt
~1/4 Cup Mustard Seeds
~1/4 Cup Corriander Seeds
——————————————————
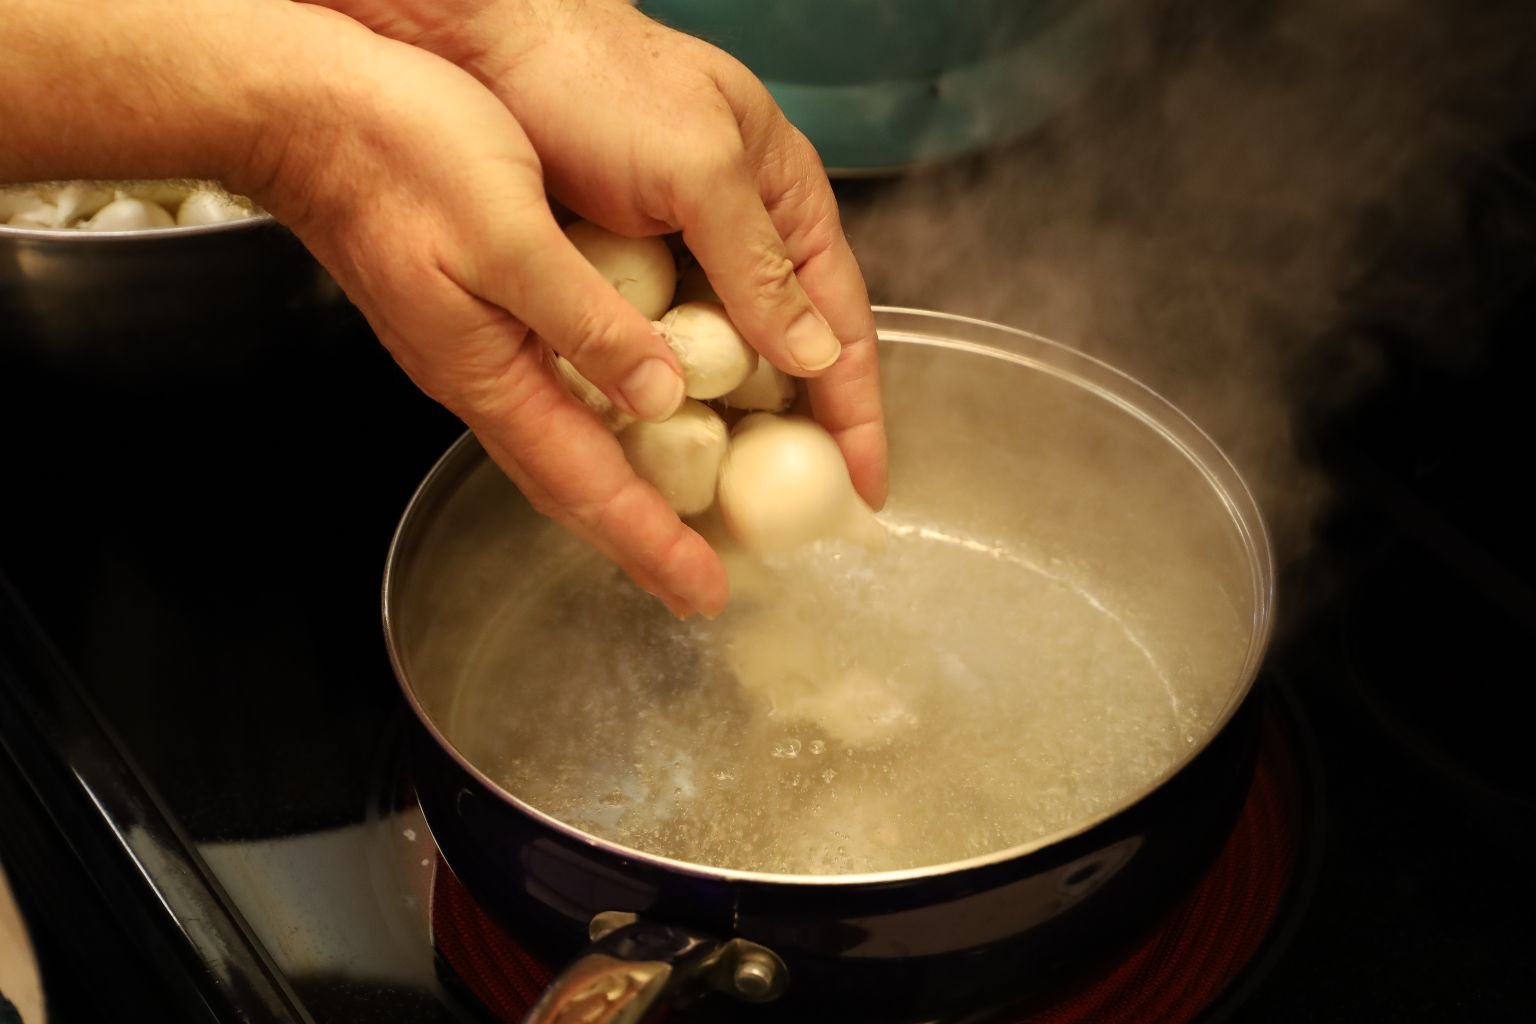
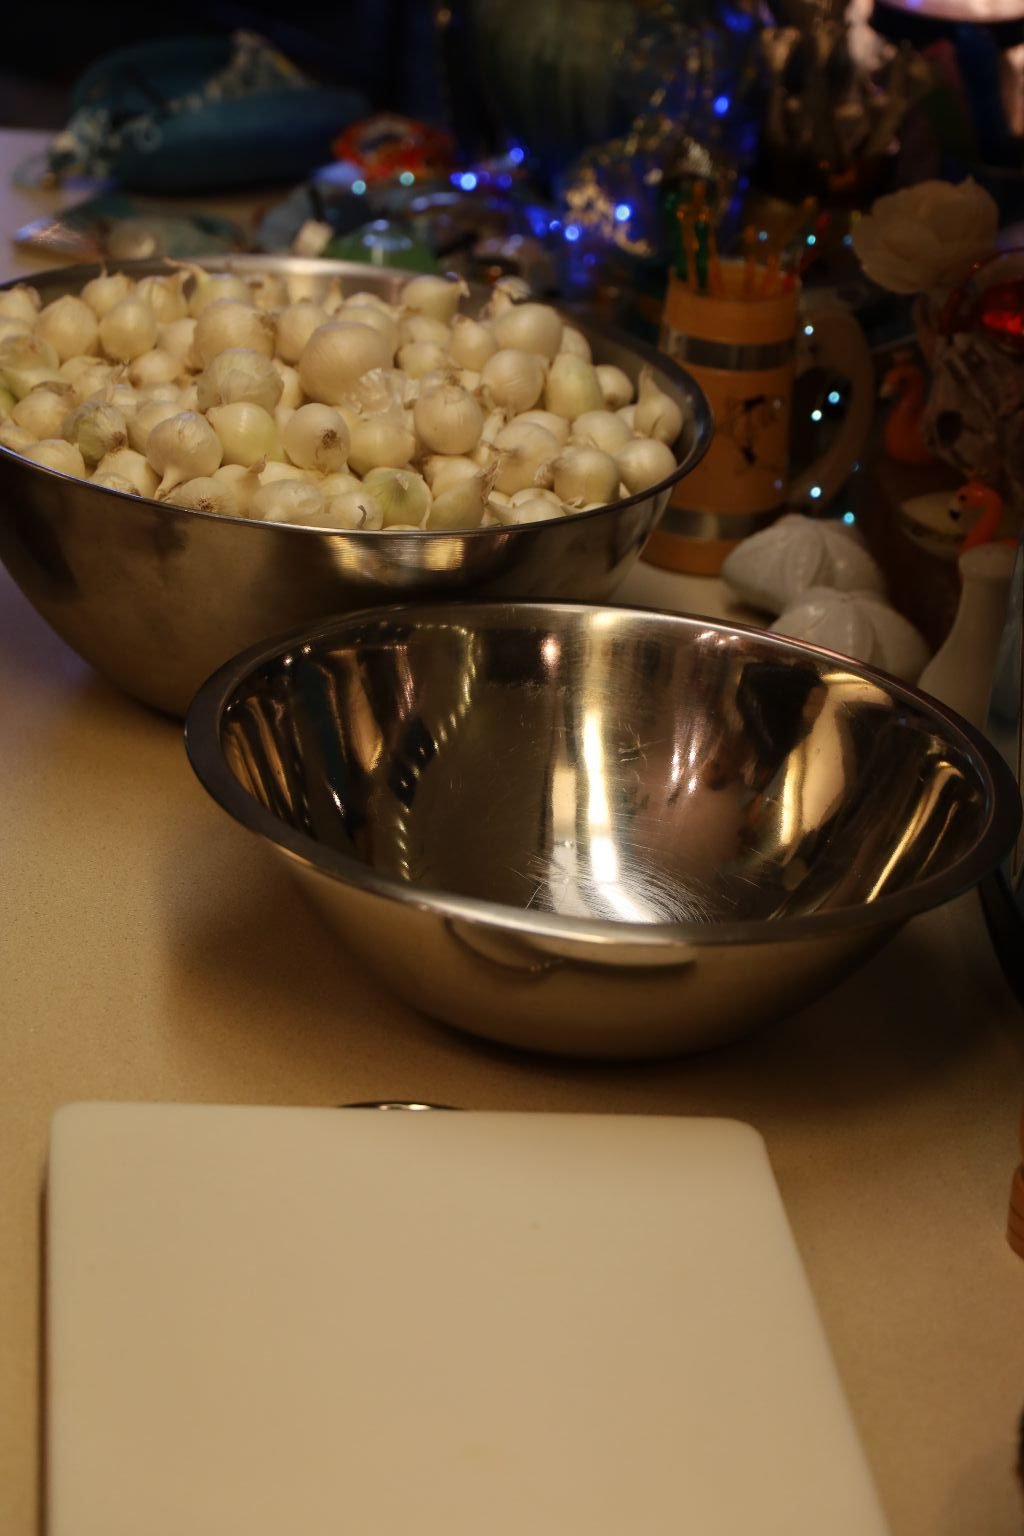
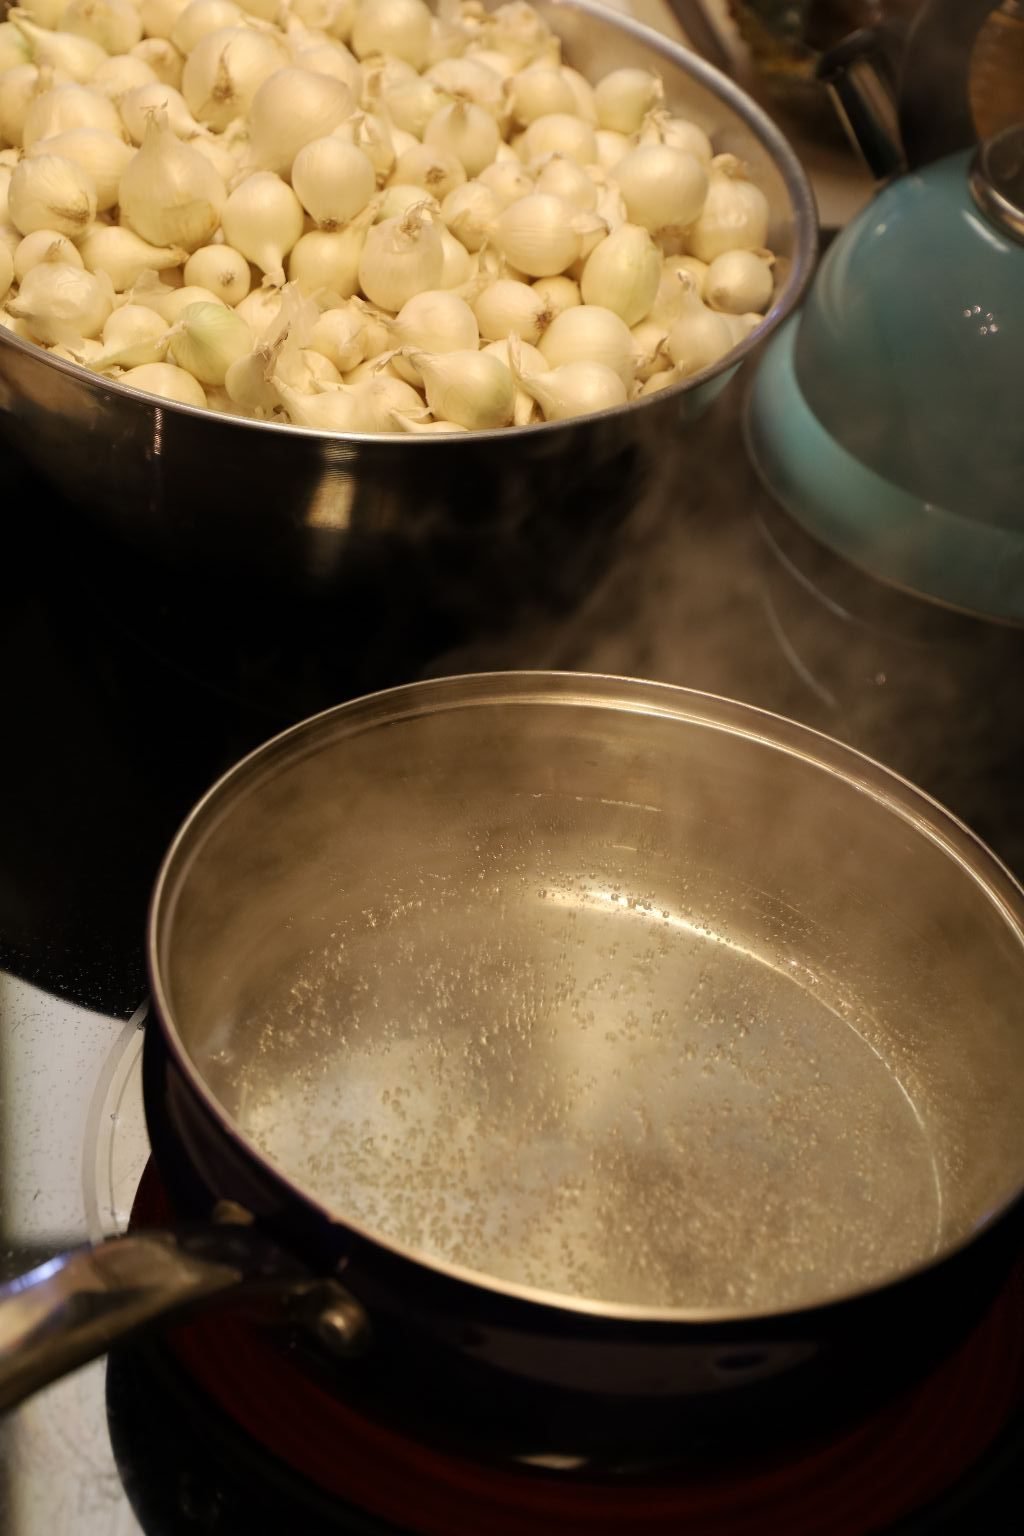
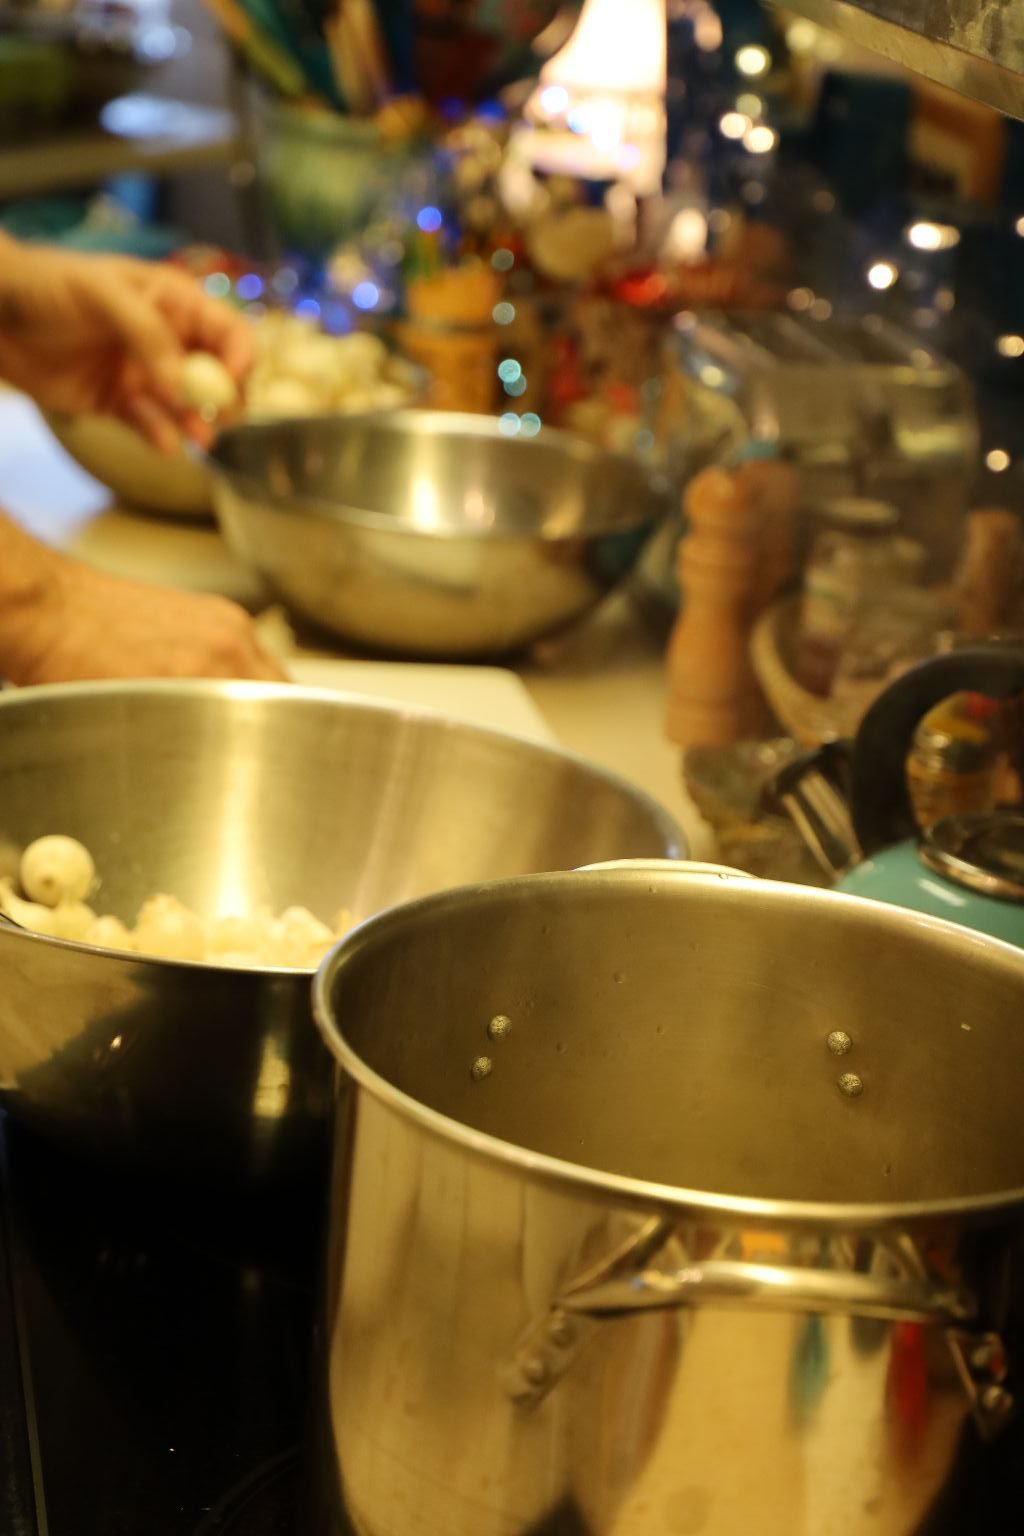
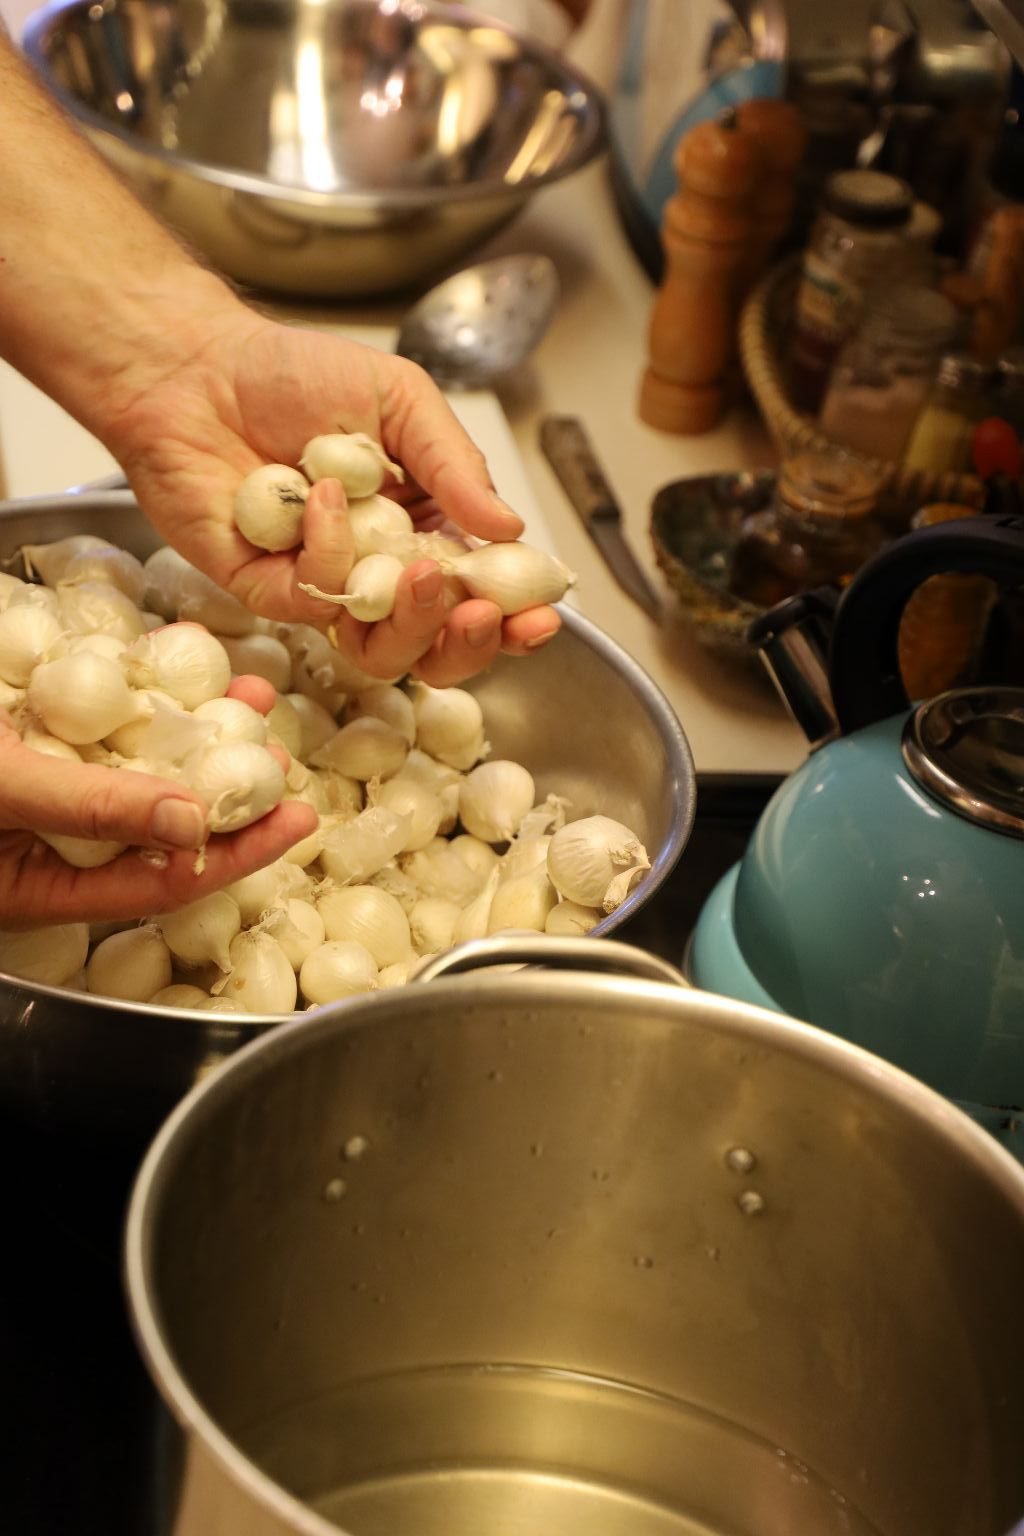
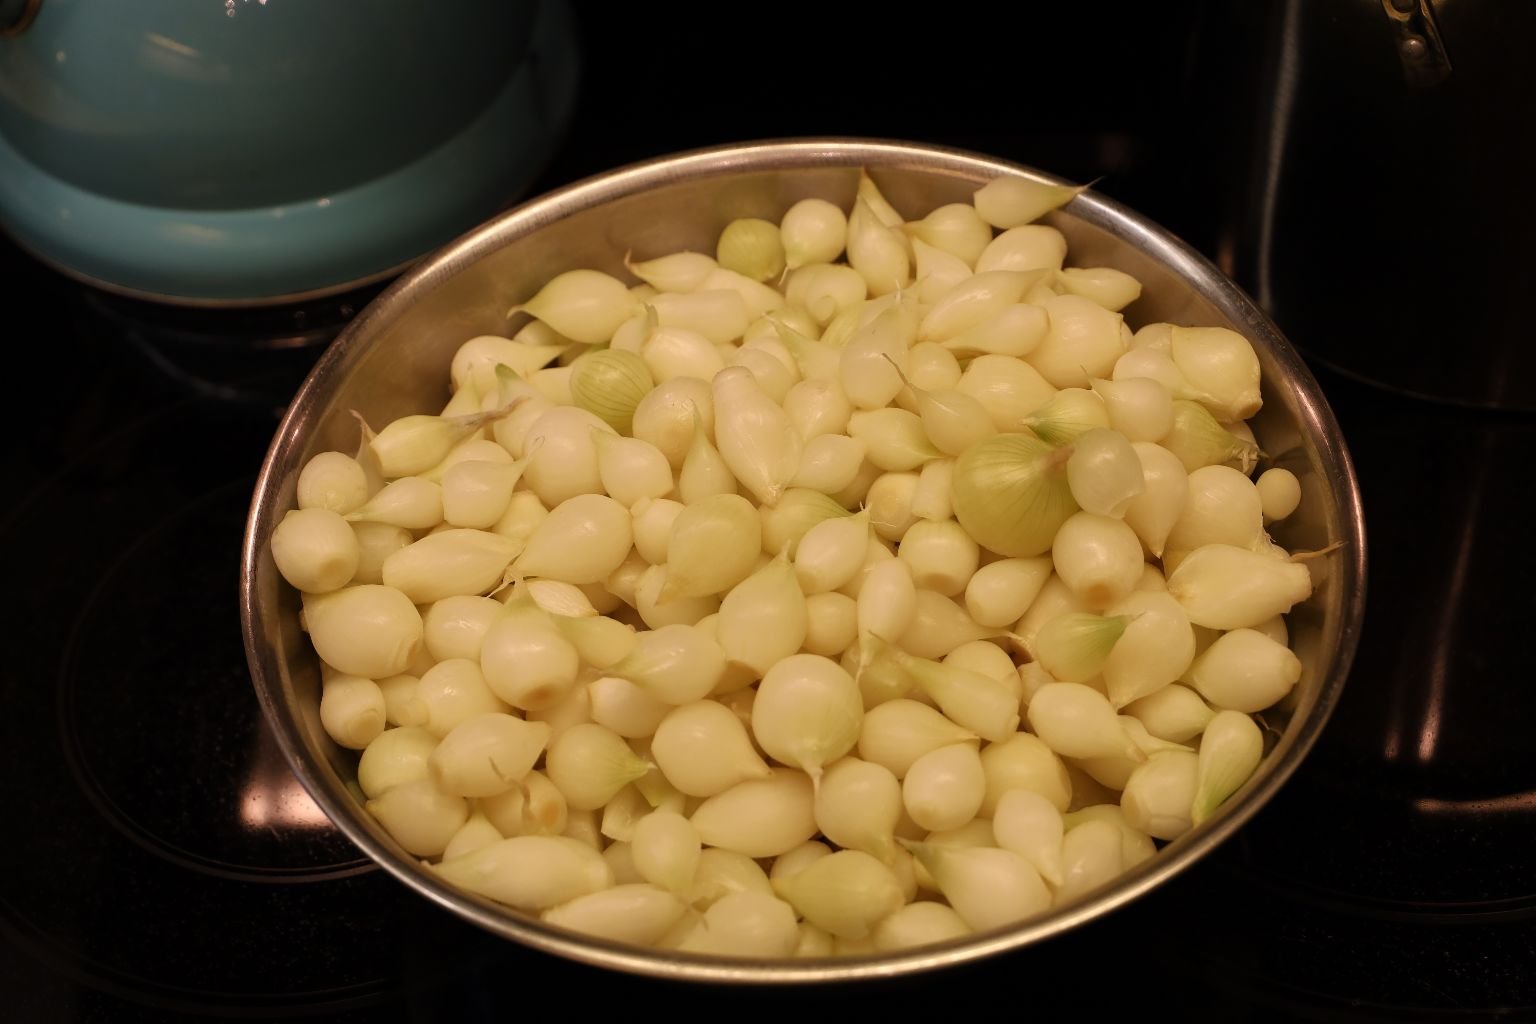
In batches, boil the pearl onions on high heat in a large pot of water for about 1 minute to release the onion’s skin.
The Pearl Onions in photo top left, have been picked through.
Be sure to throw out any onions that aren’t firm.
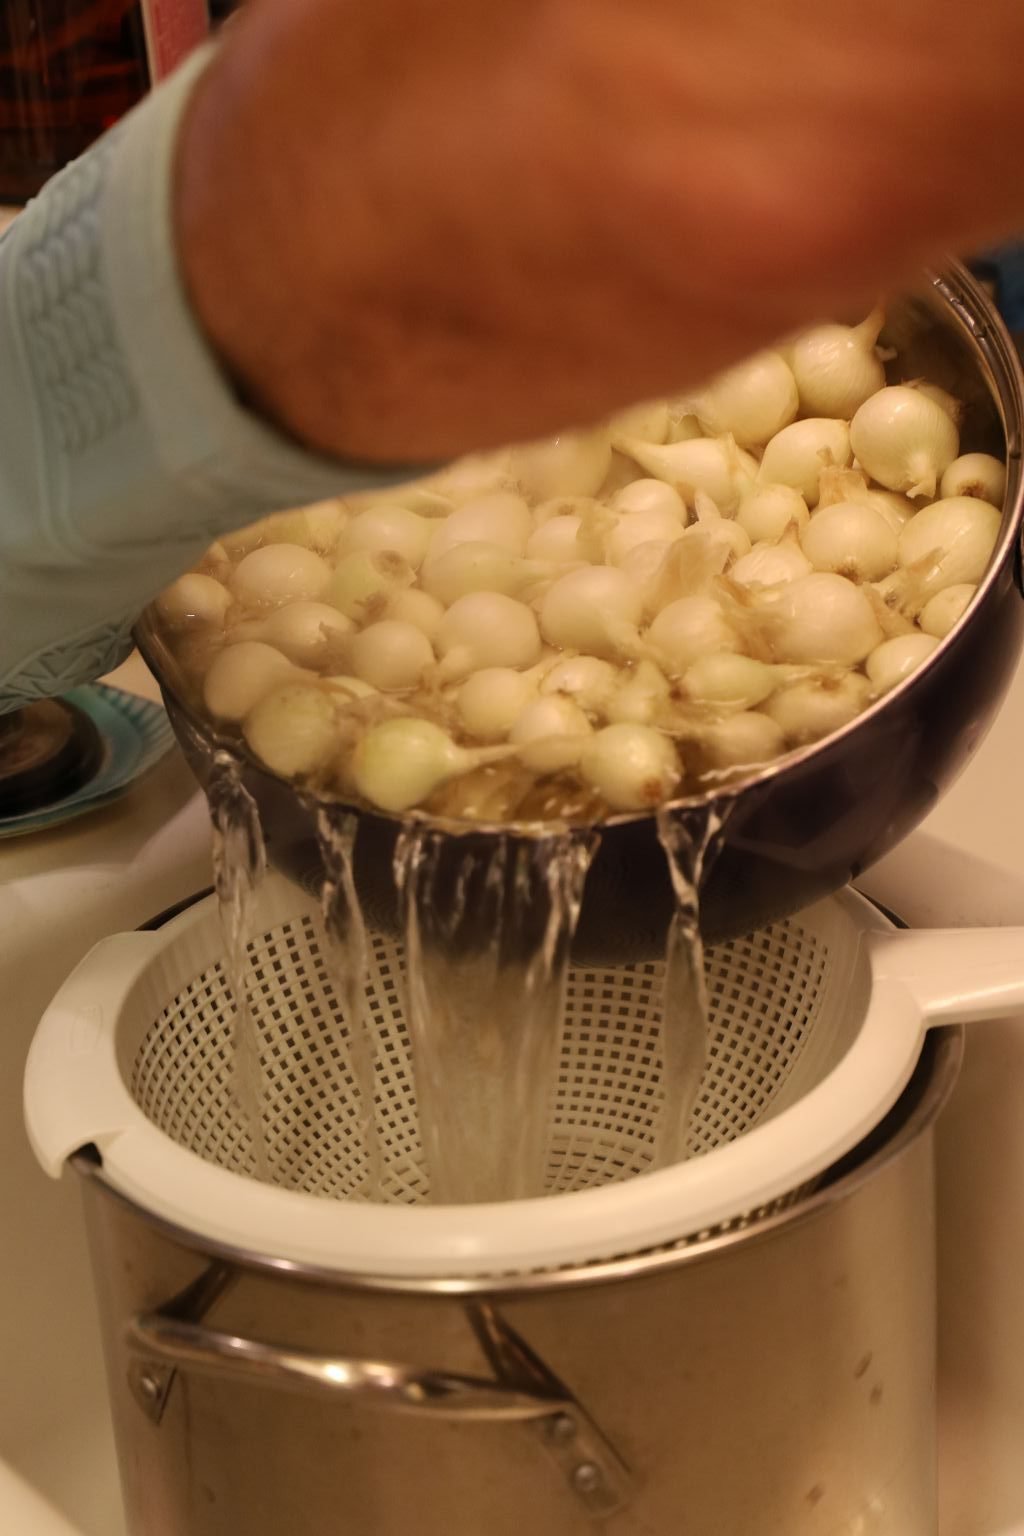
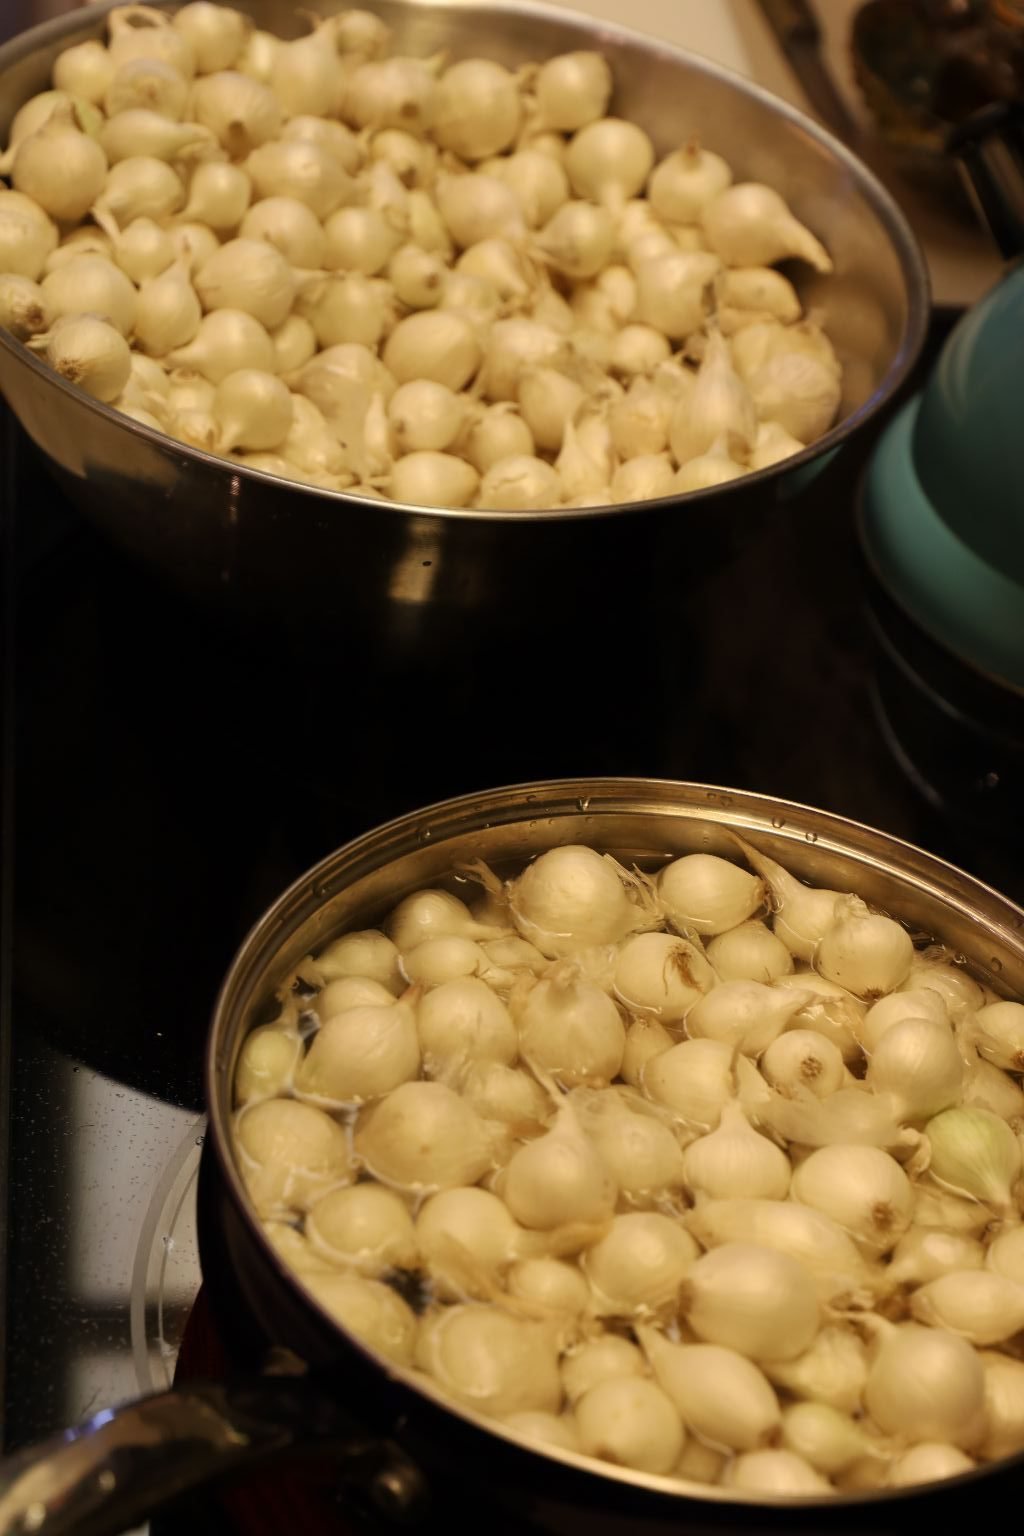
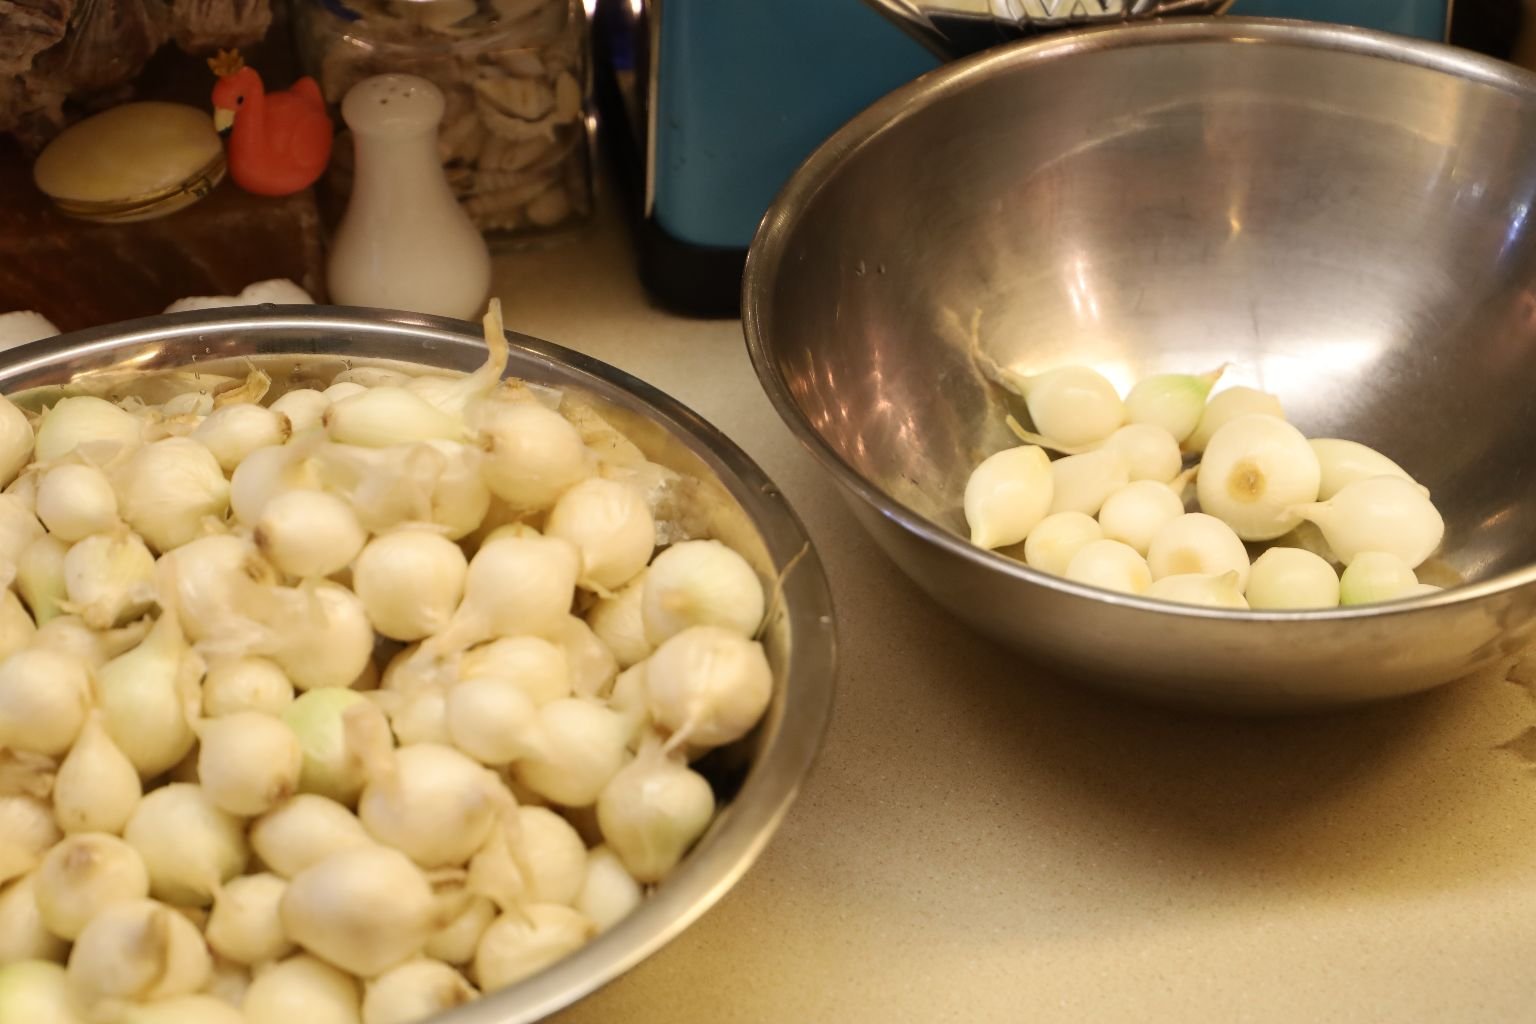
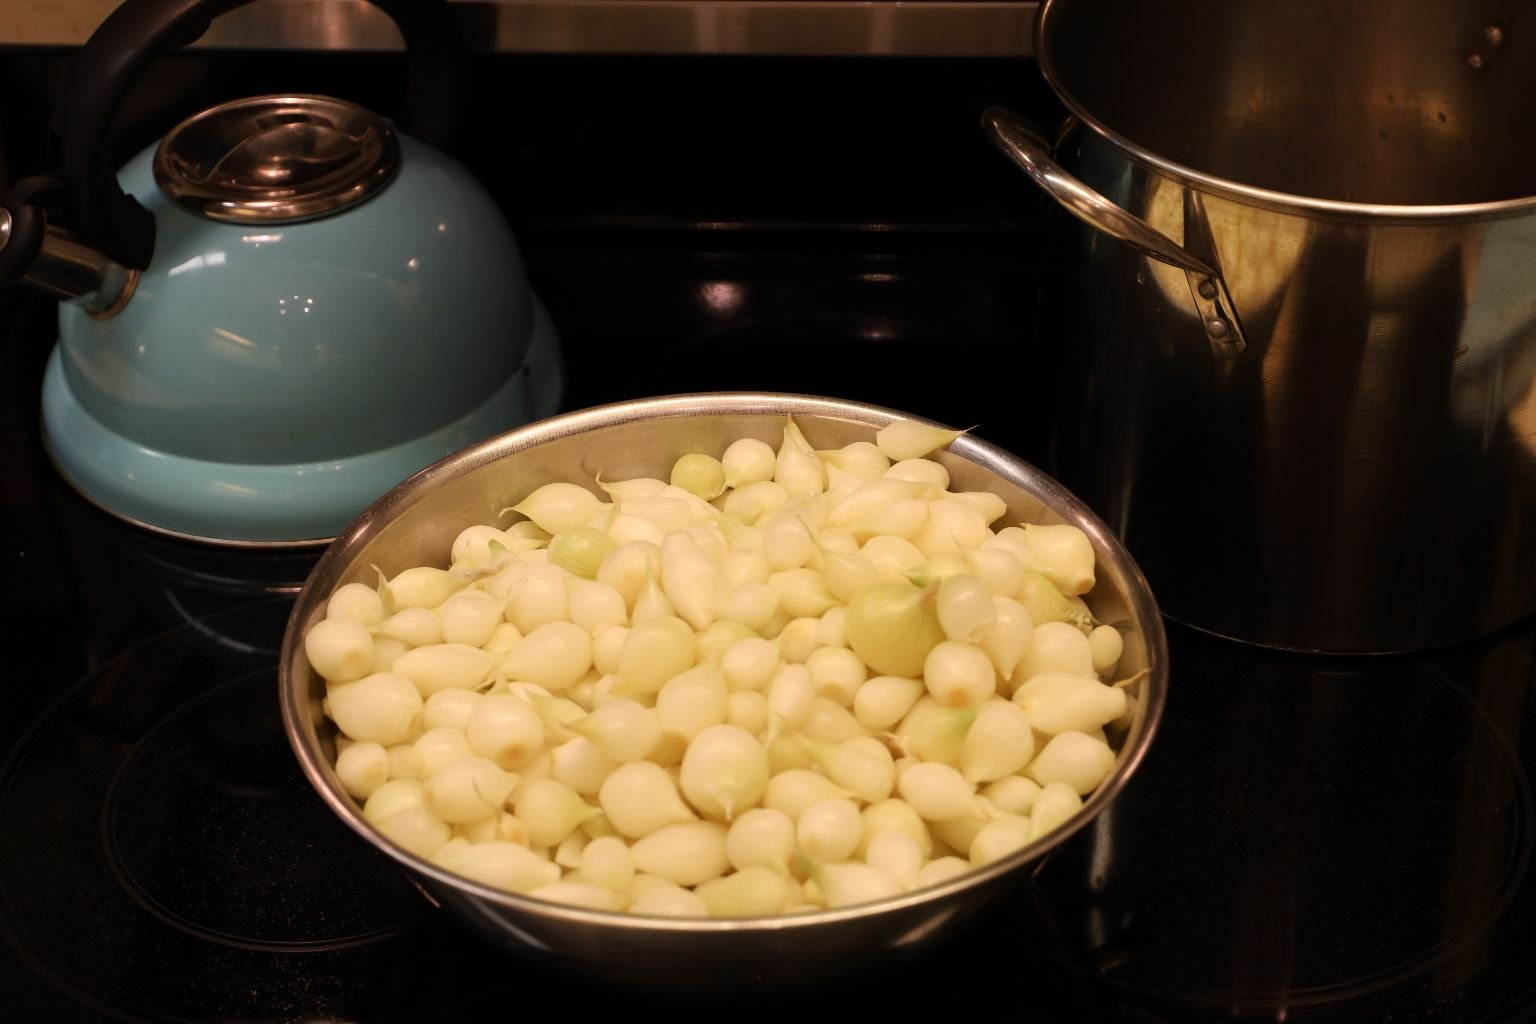
After one minute of boiling, pour the heated water and onions into a colander that is above a large pot to catch the water for the next batch of boiling onions.
Rinse the onions with cold water to stop the cooking process or have them soak in cool water until the onions are cool to the touch.
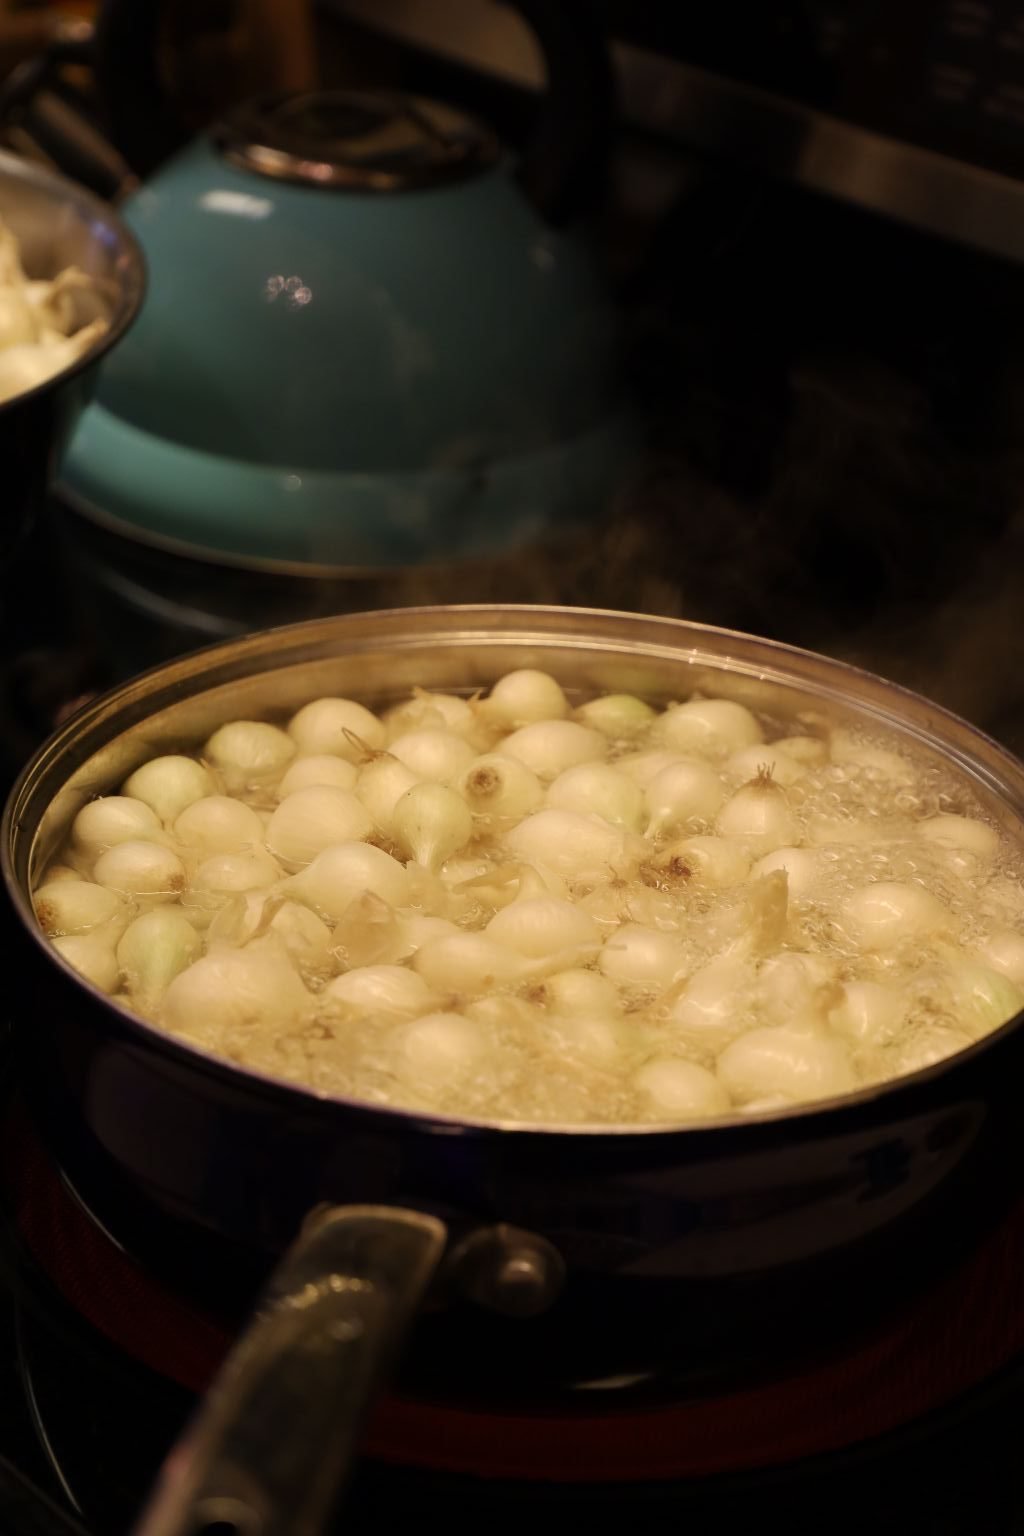
With the new pot and heated water, continue to boil your batches of pearl onions until they are all done.
———————————————————-
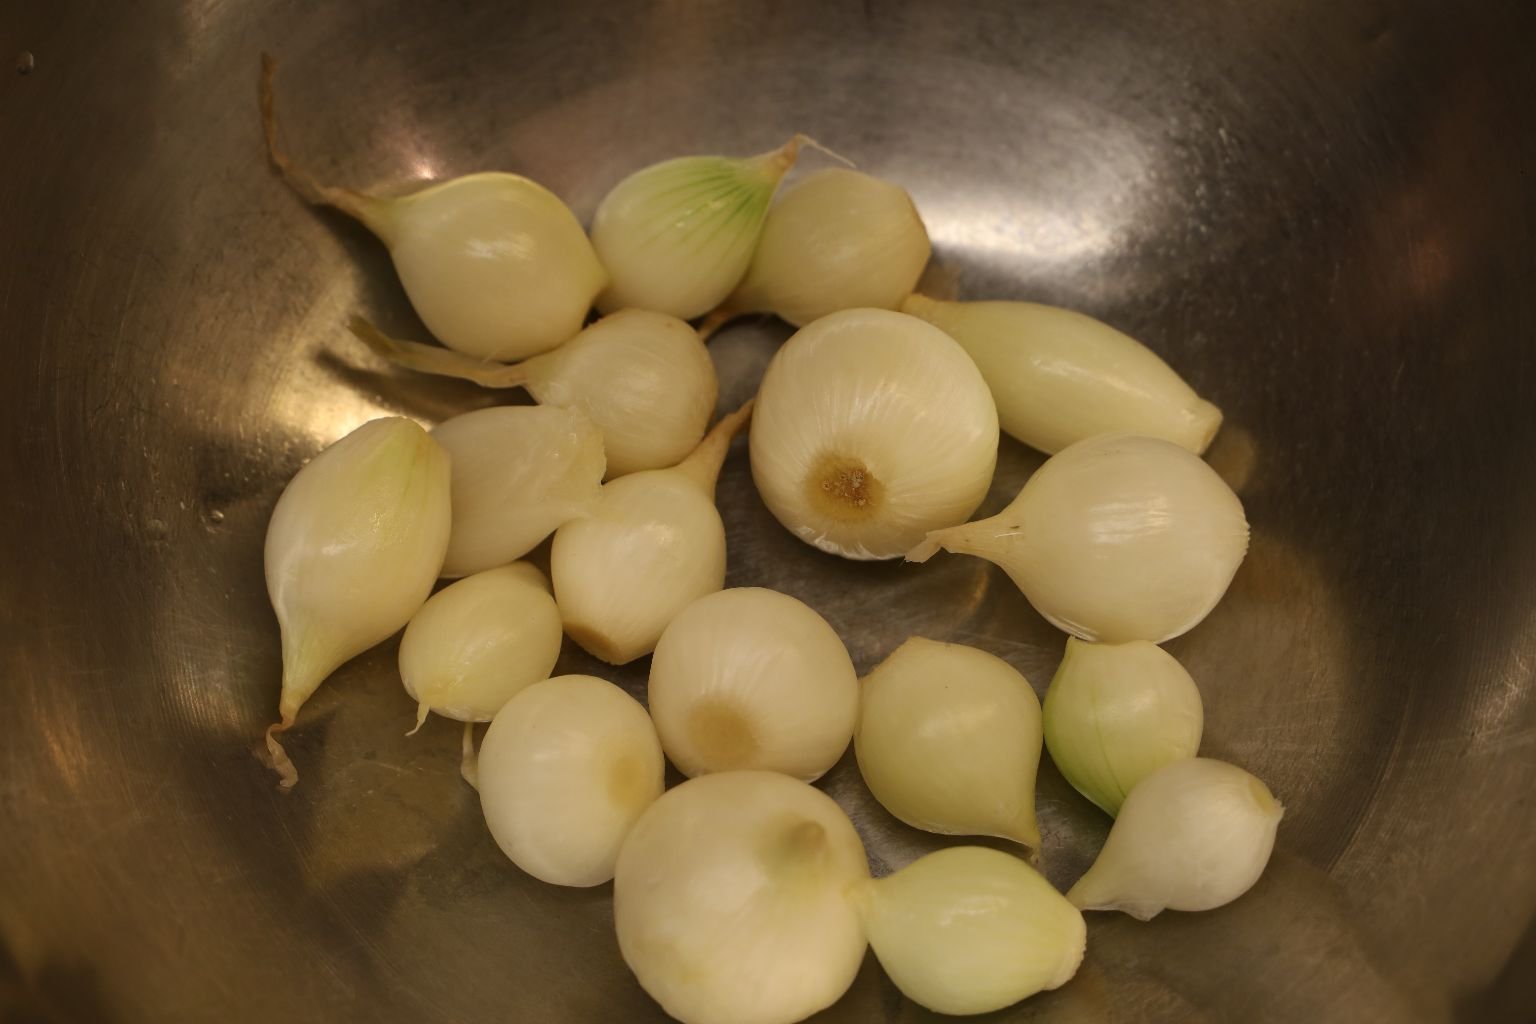
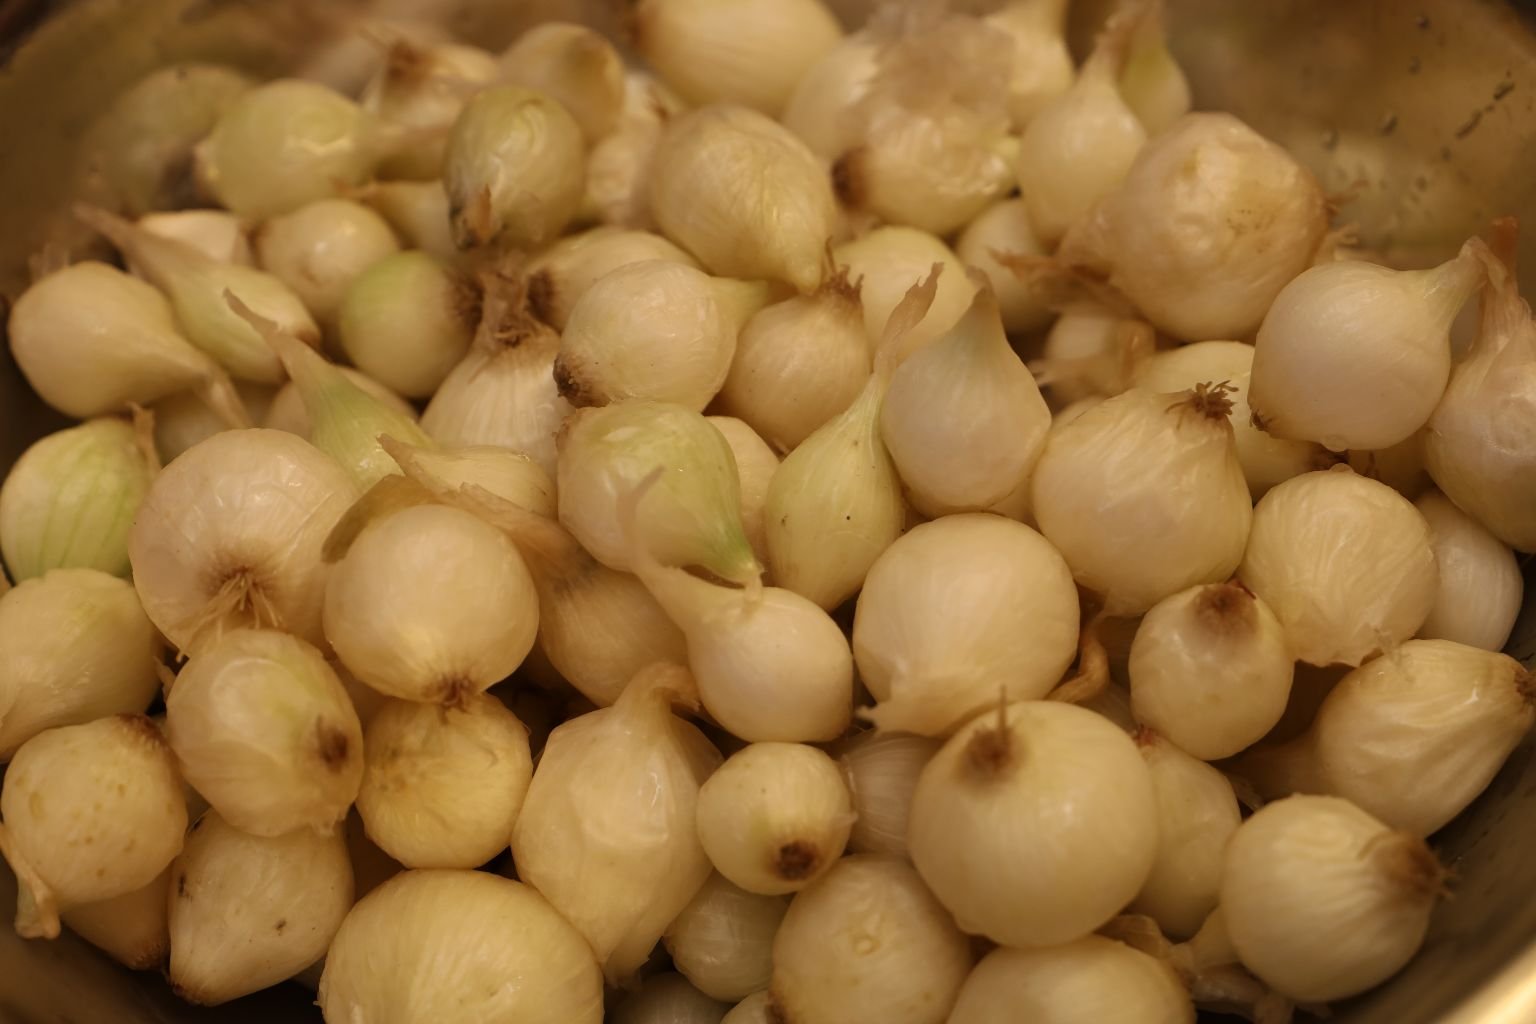
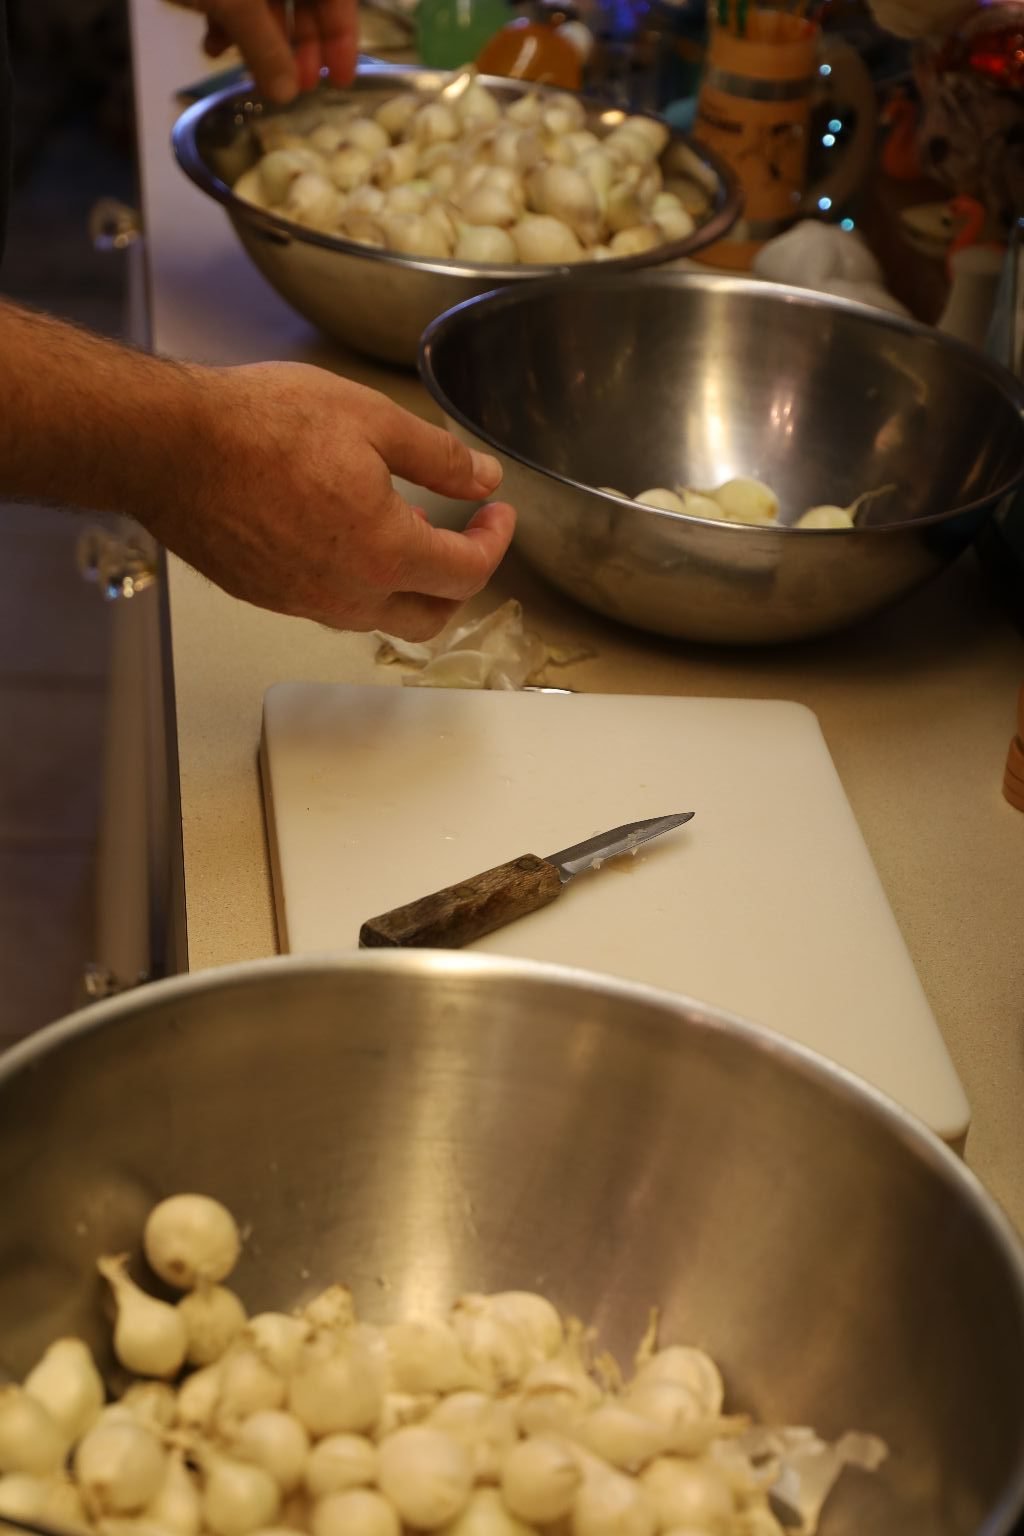
Pinch the onion at its root end to remove the top layer of the onion’s skin. Above are onions that have had their skins removed.
Removing all the skins from these onions will take a while to do.
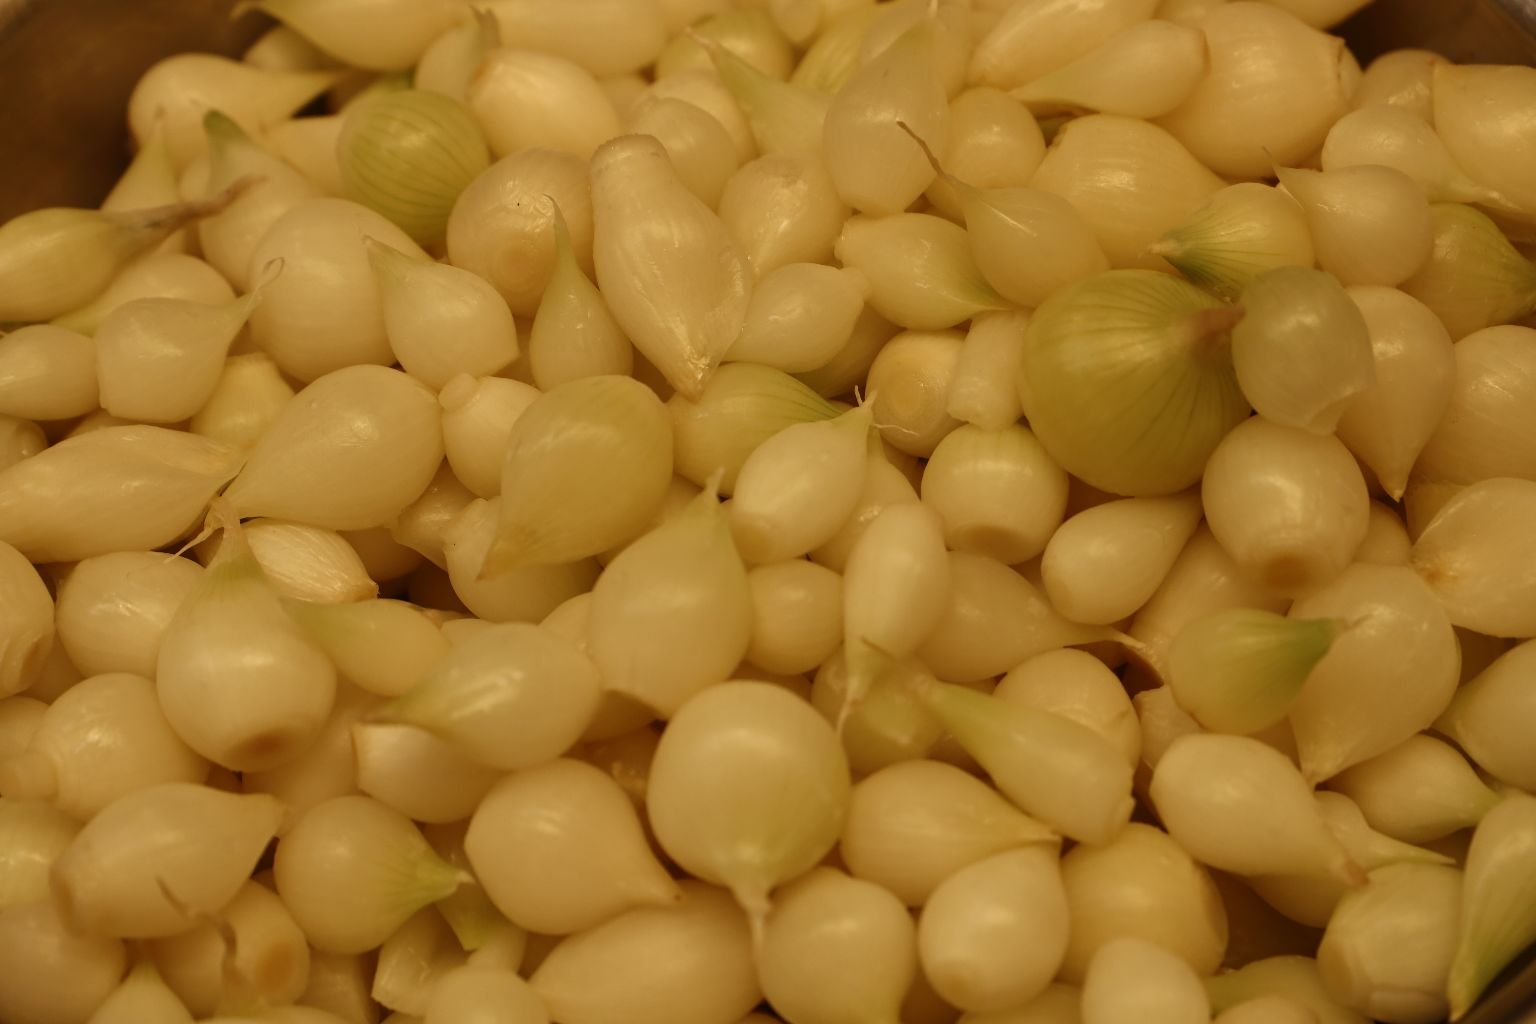
Here are all the Pearl Onions with their skins removed.
——————————————————–
————————————————————
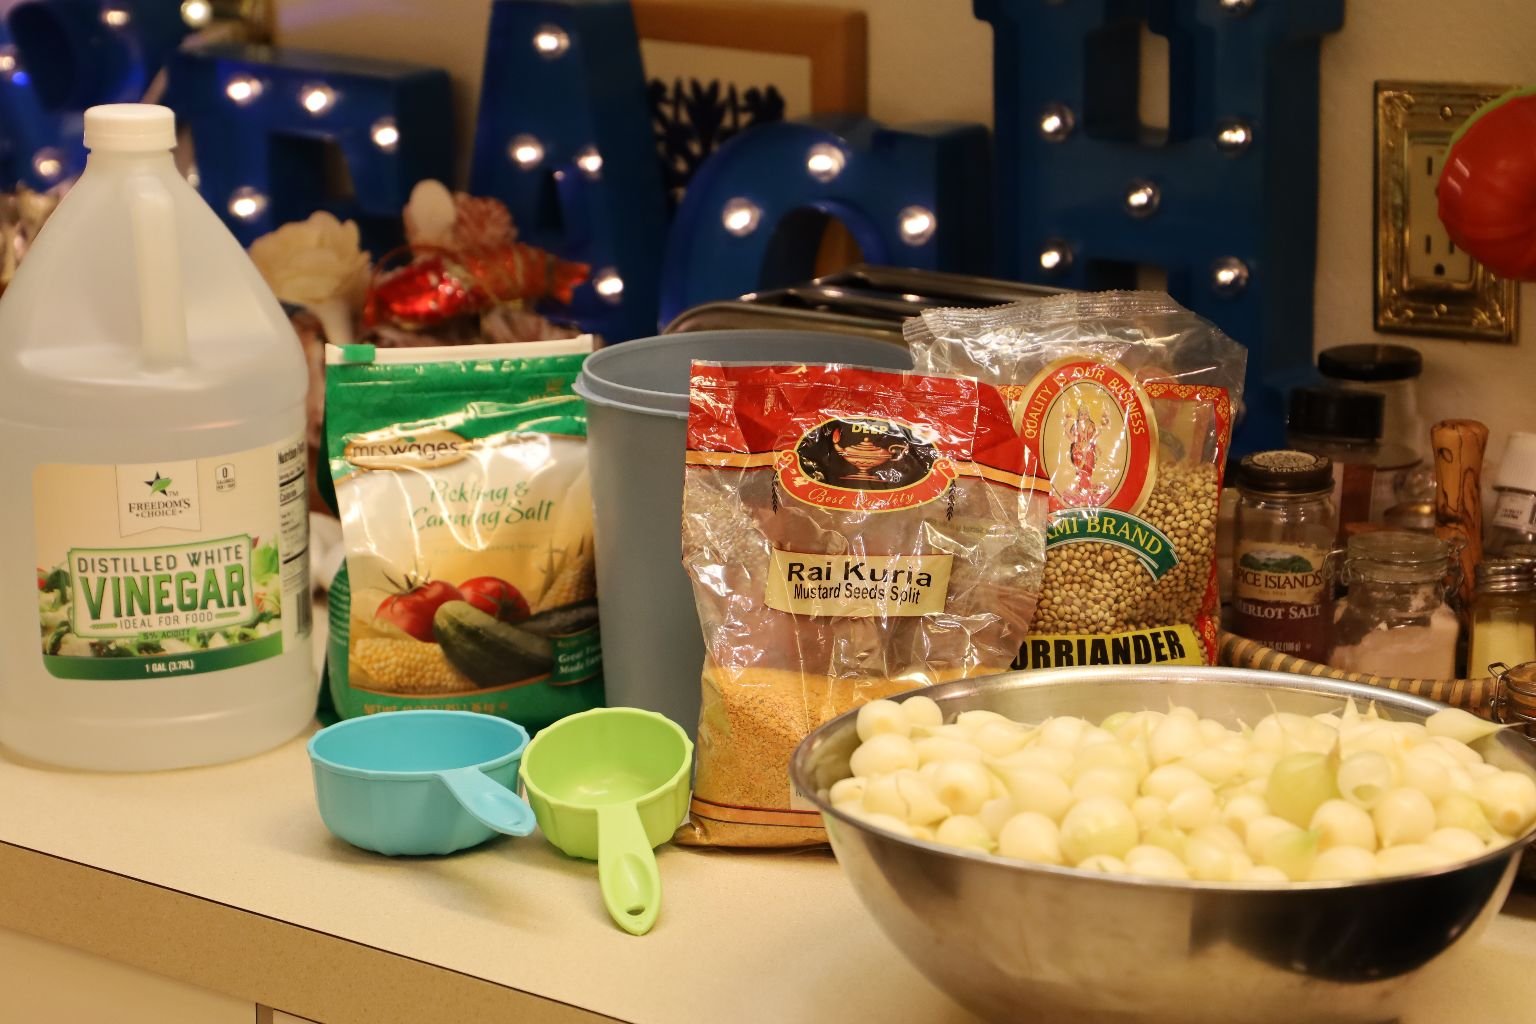
Pictured are the ingredients we used to pickle the pearl onions.
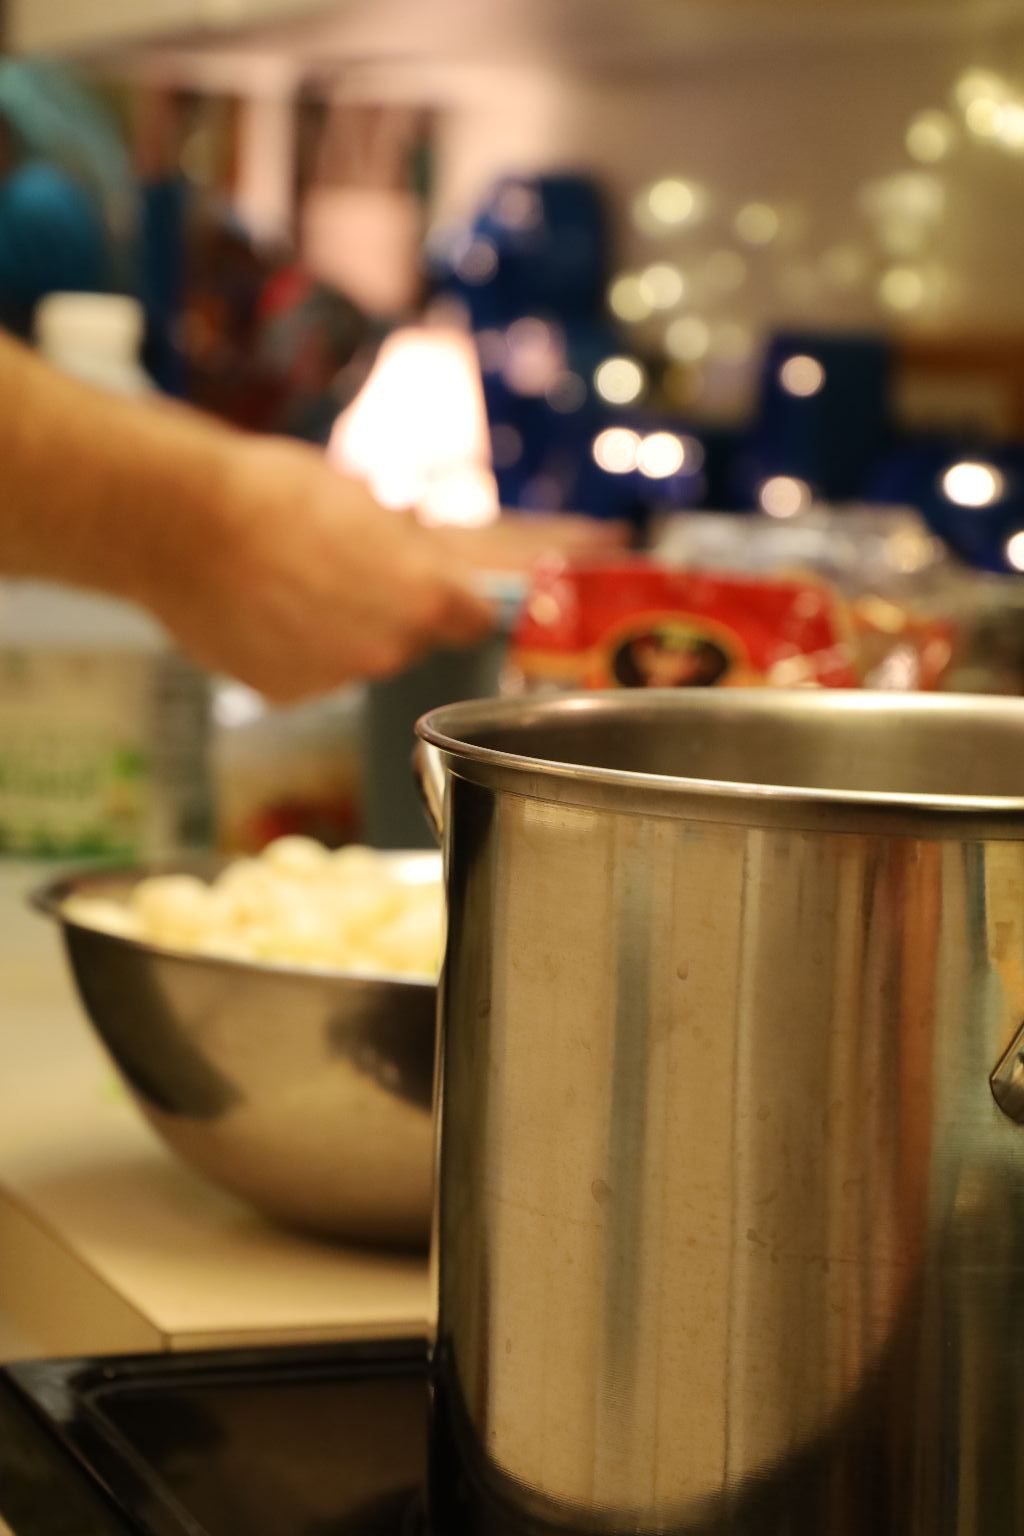
Using a large clean pot to heat the pickling ingredients…..
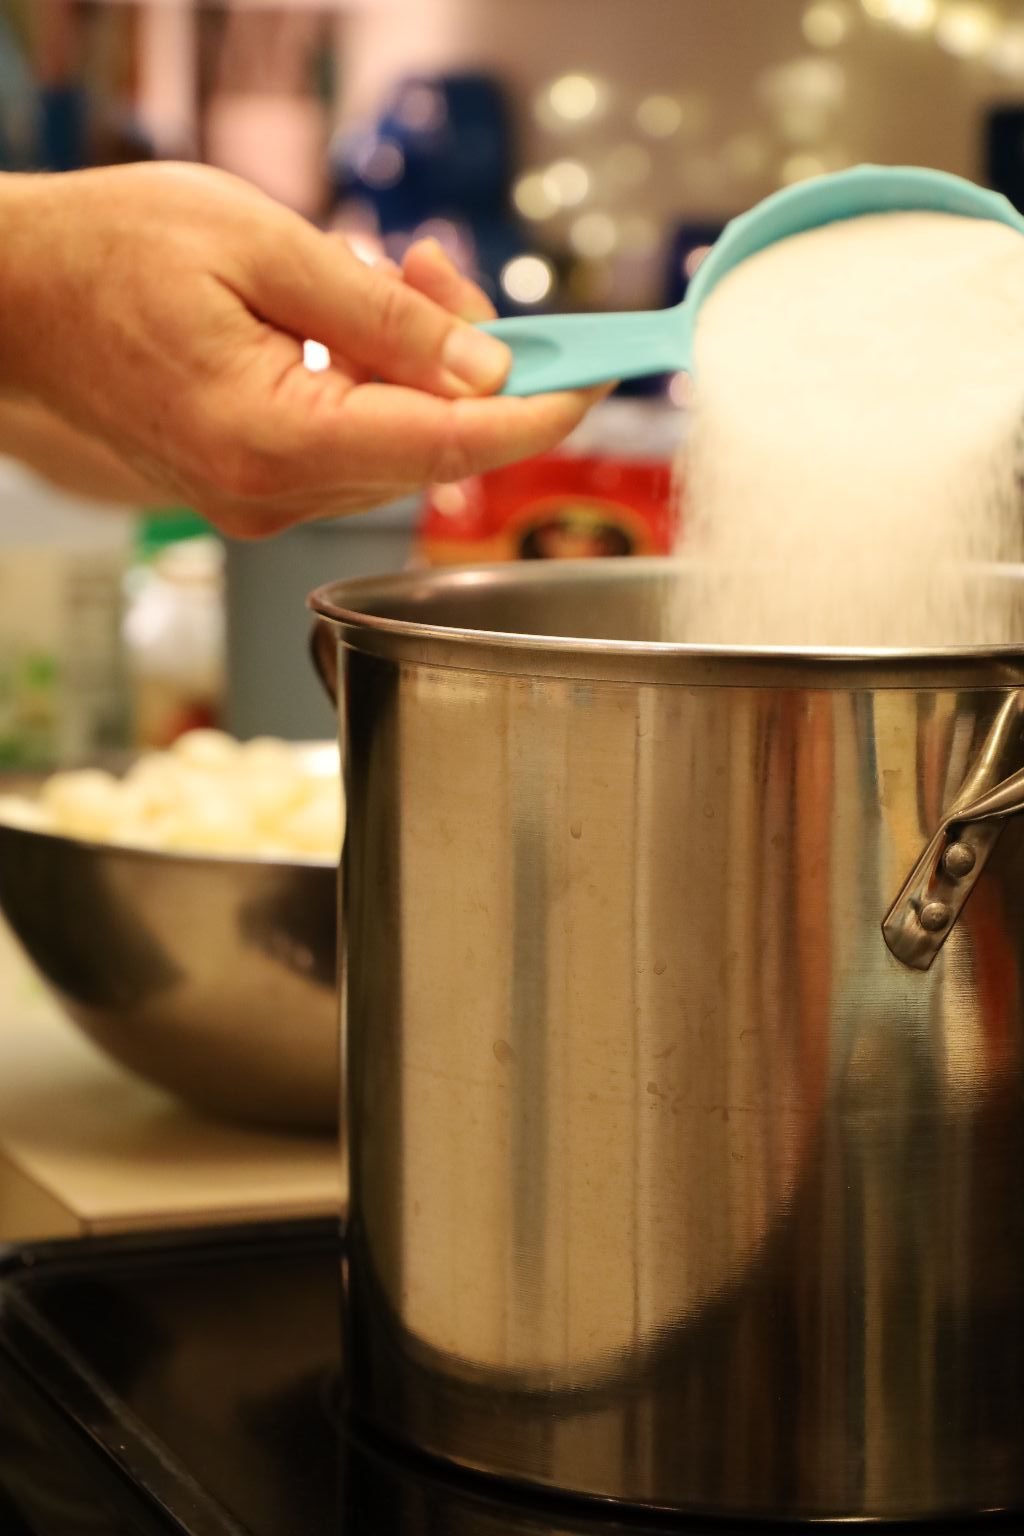
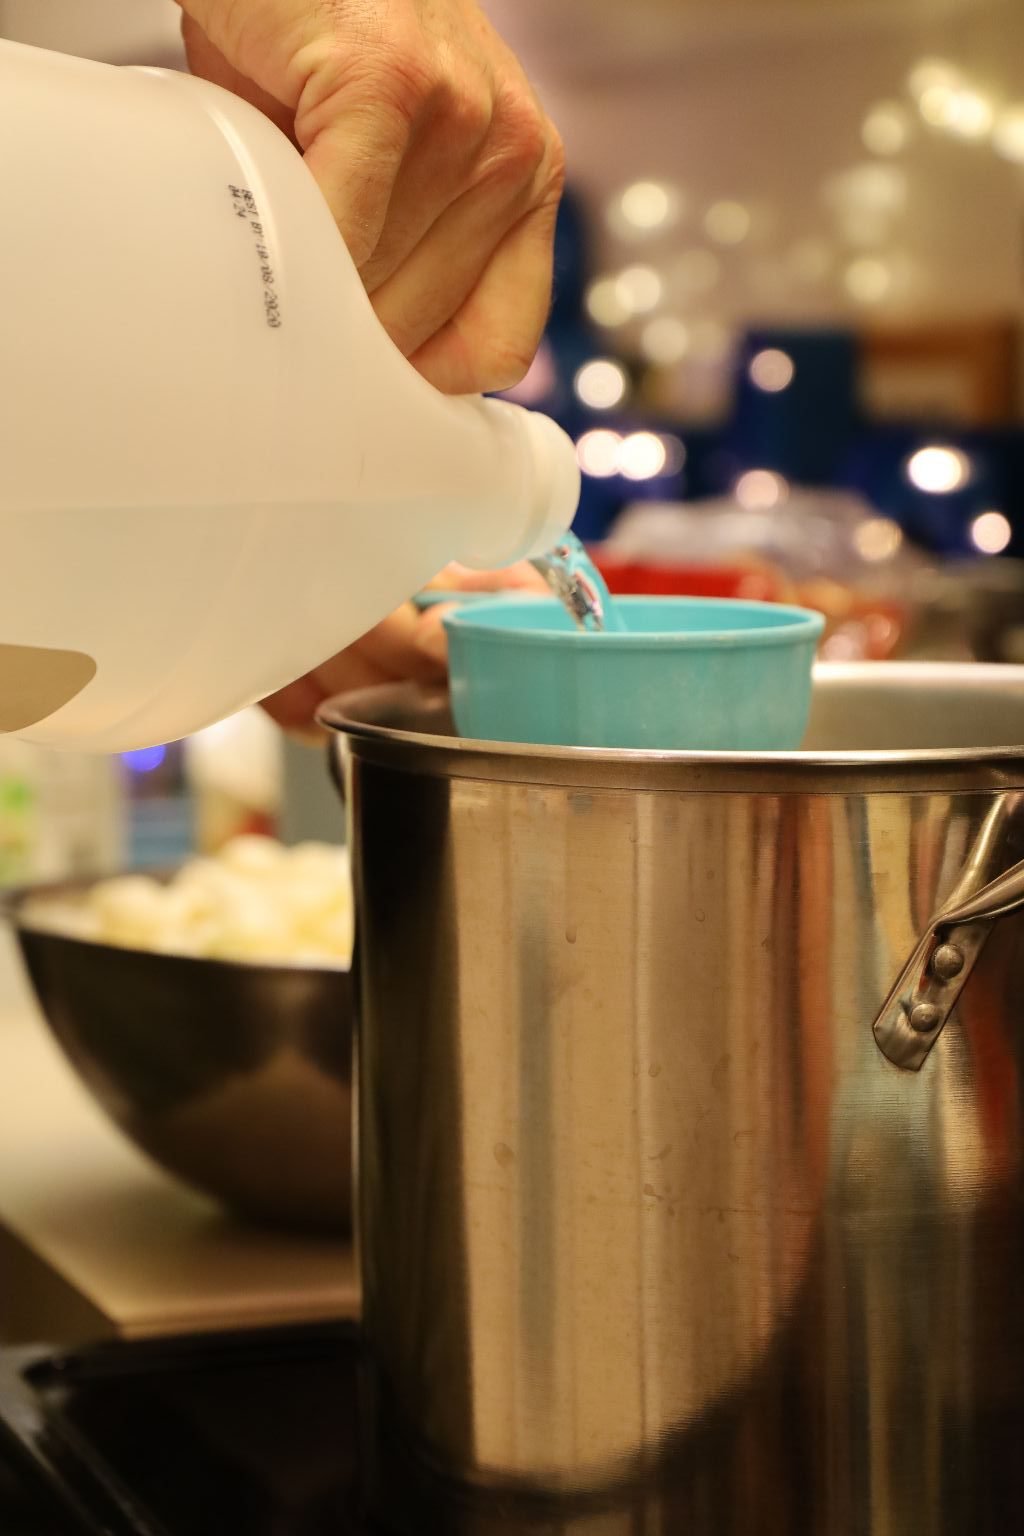
Add your sugar and white vinegar to the pot. Heat the ingredients to medium high heat.
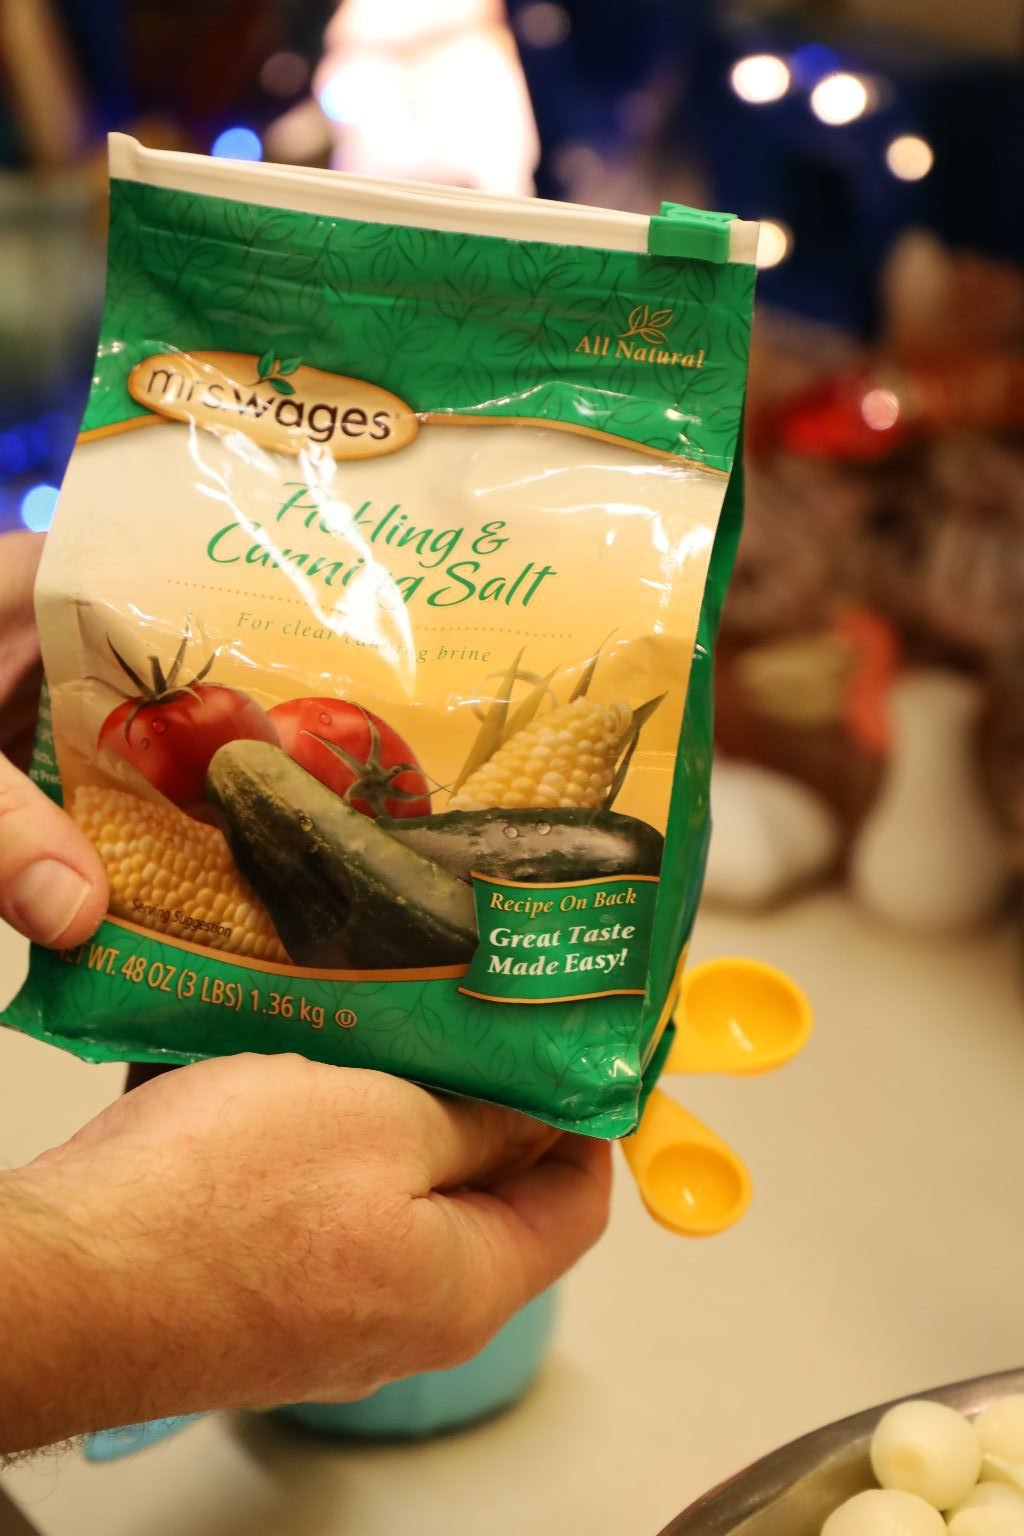
Pictured is the pickling salt we used. Pickling salt is used as it doesn’t contain iodine which can slightly discolor the canned ingredients.
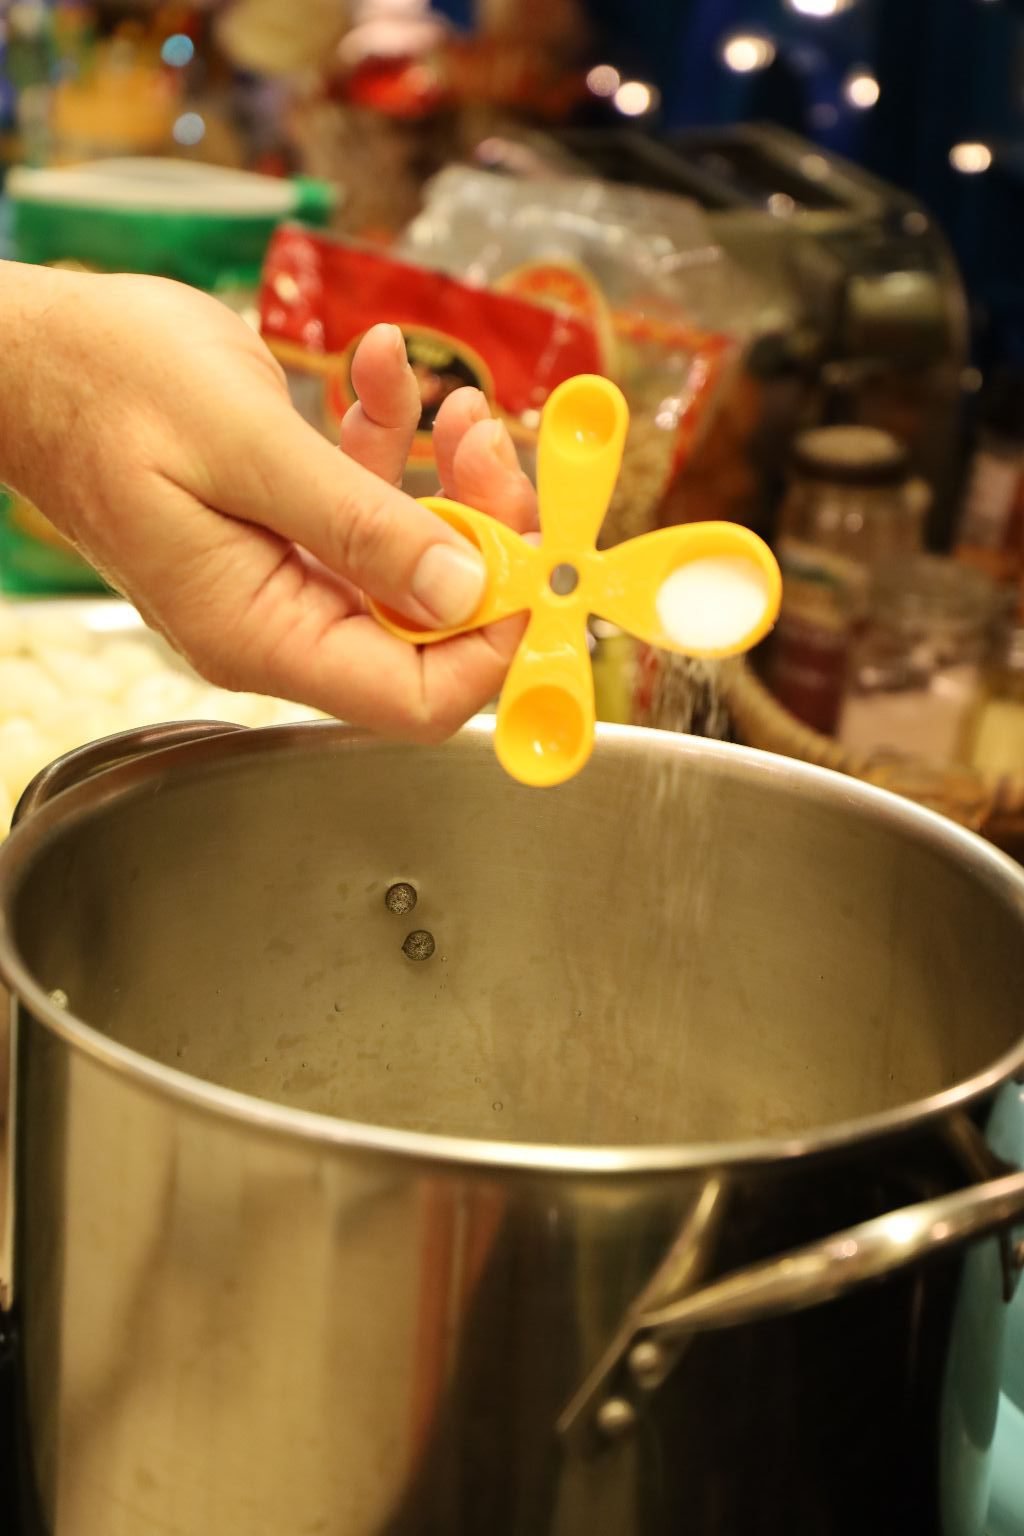
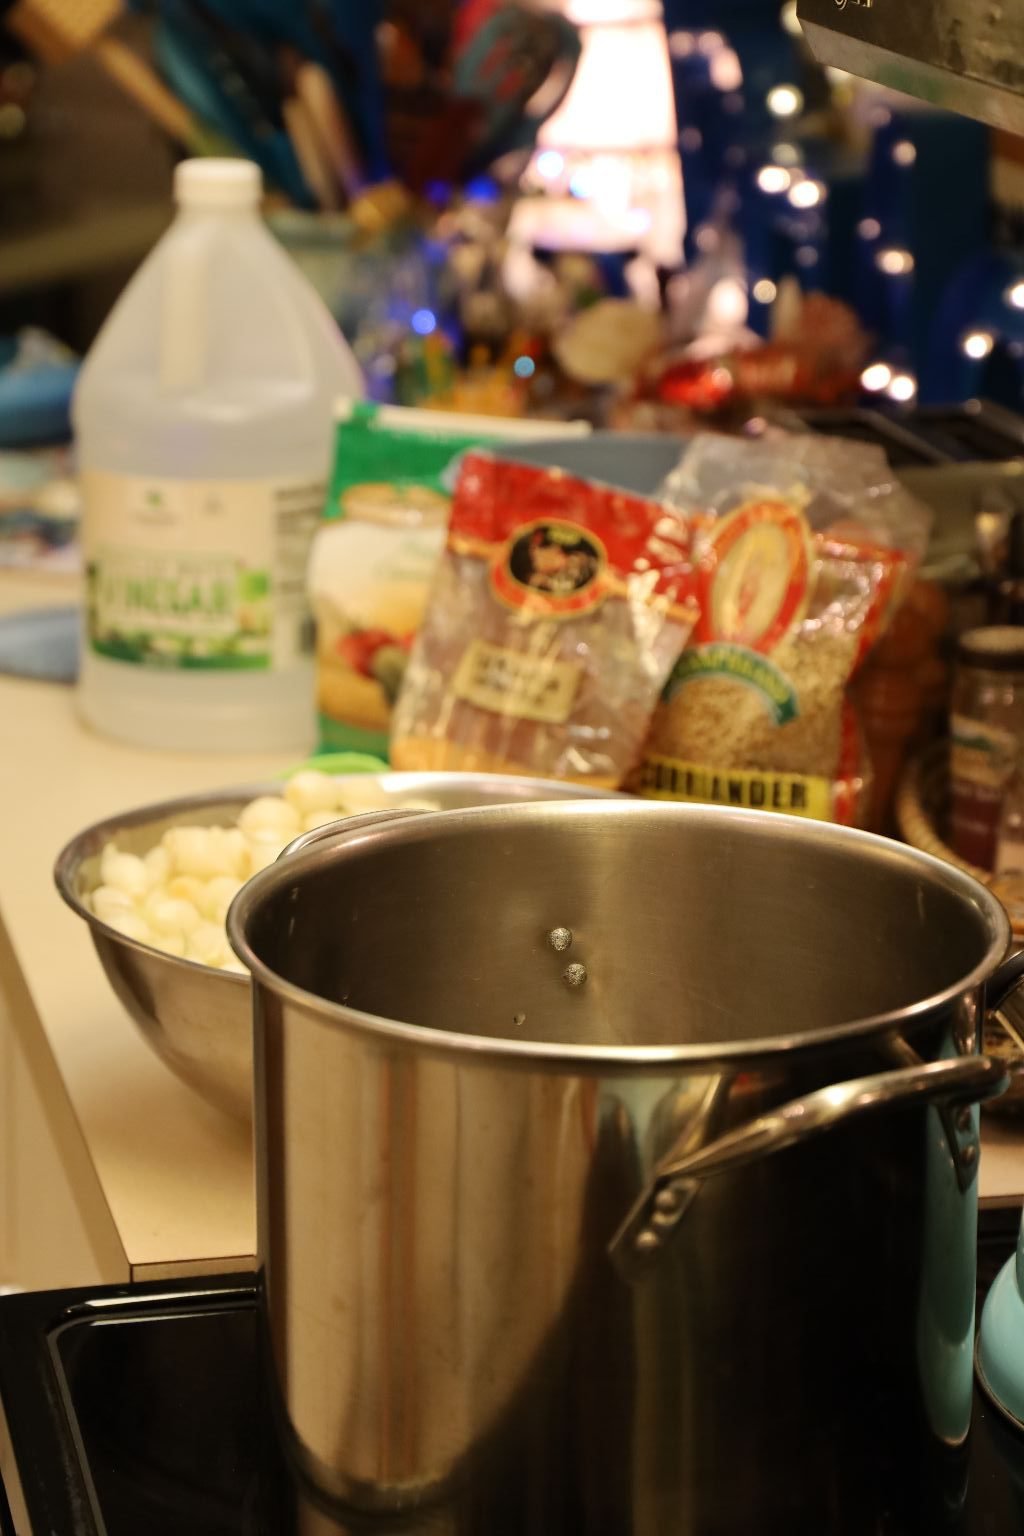
Add your pickling salt and mustard seeds to the pot.

—————————————————————-
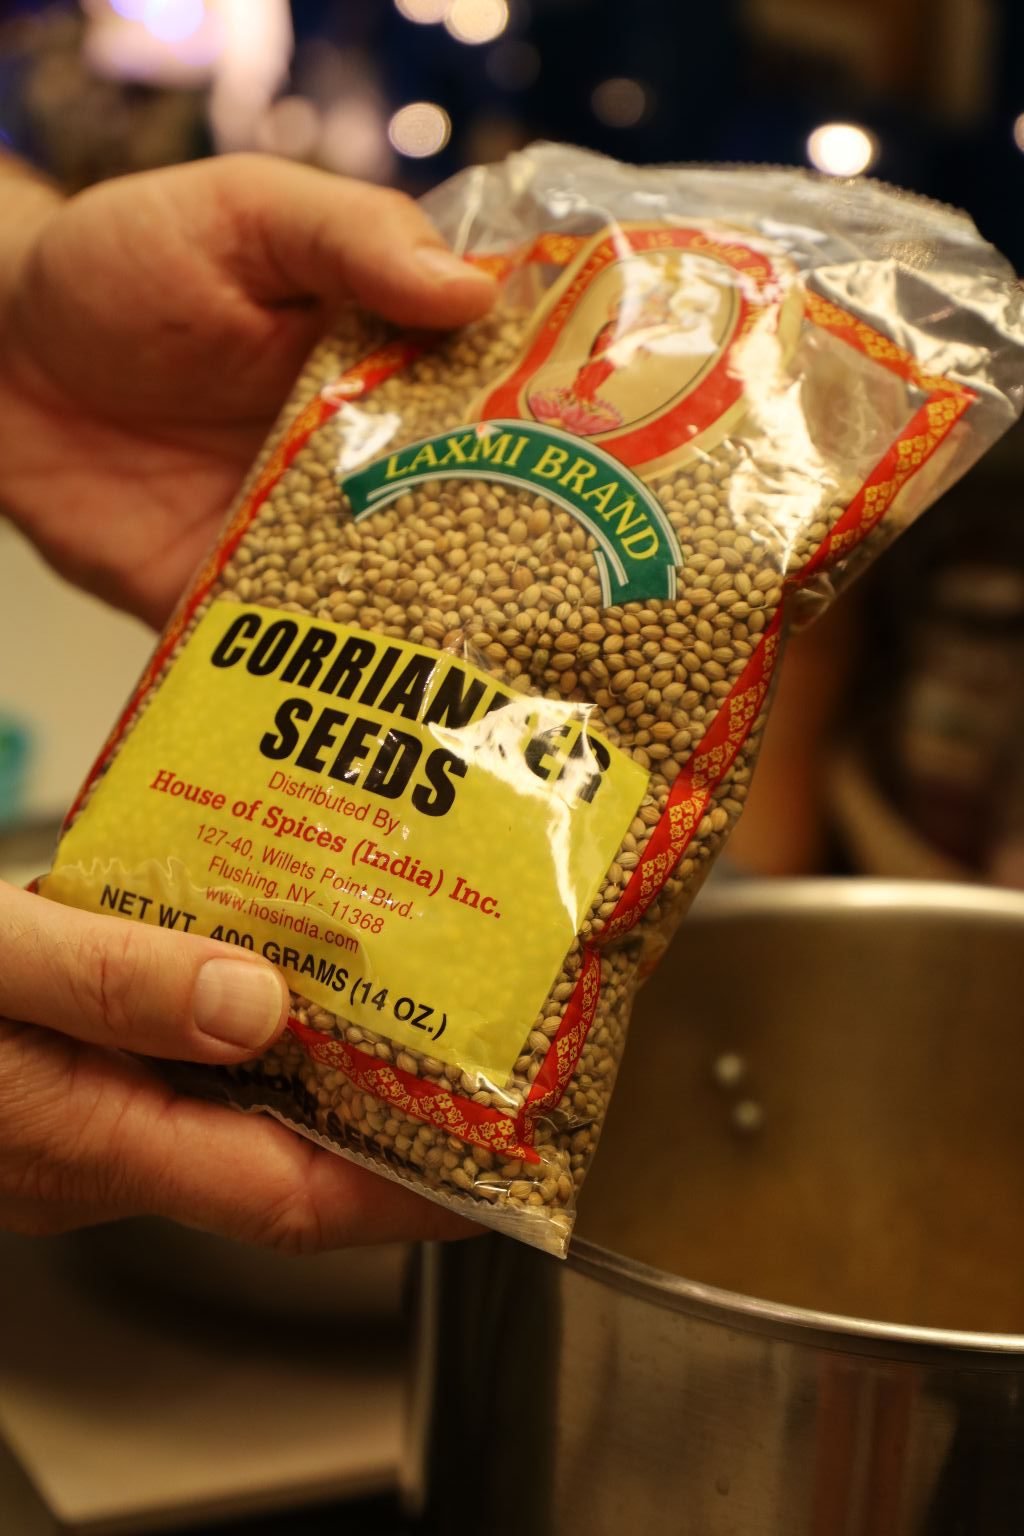
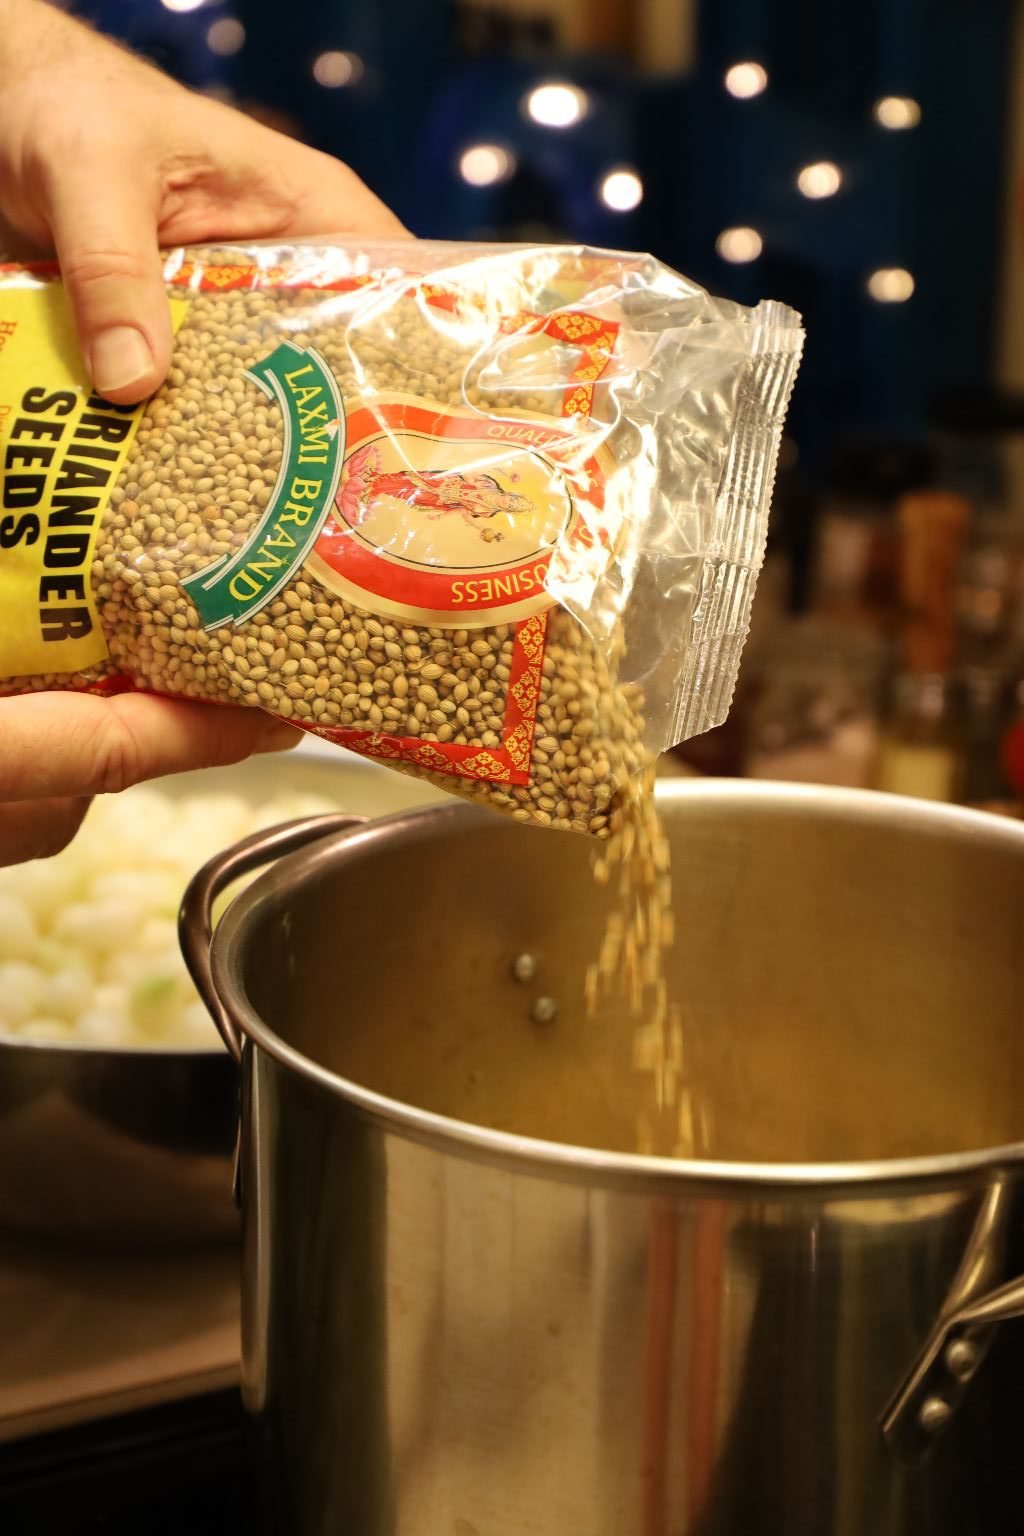
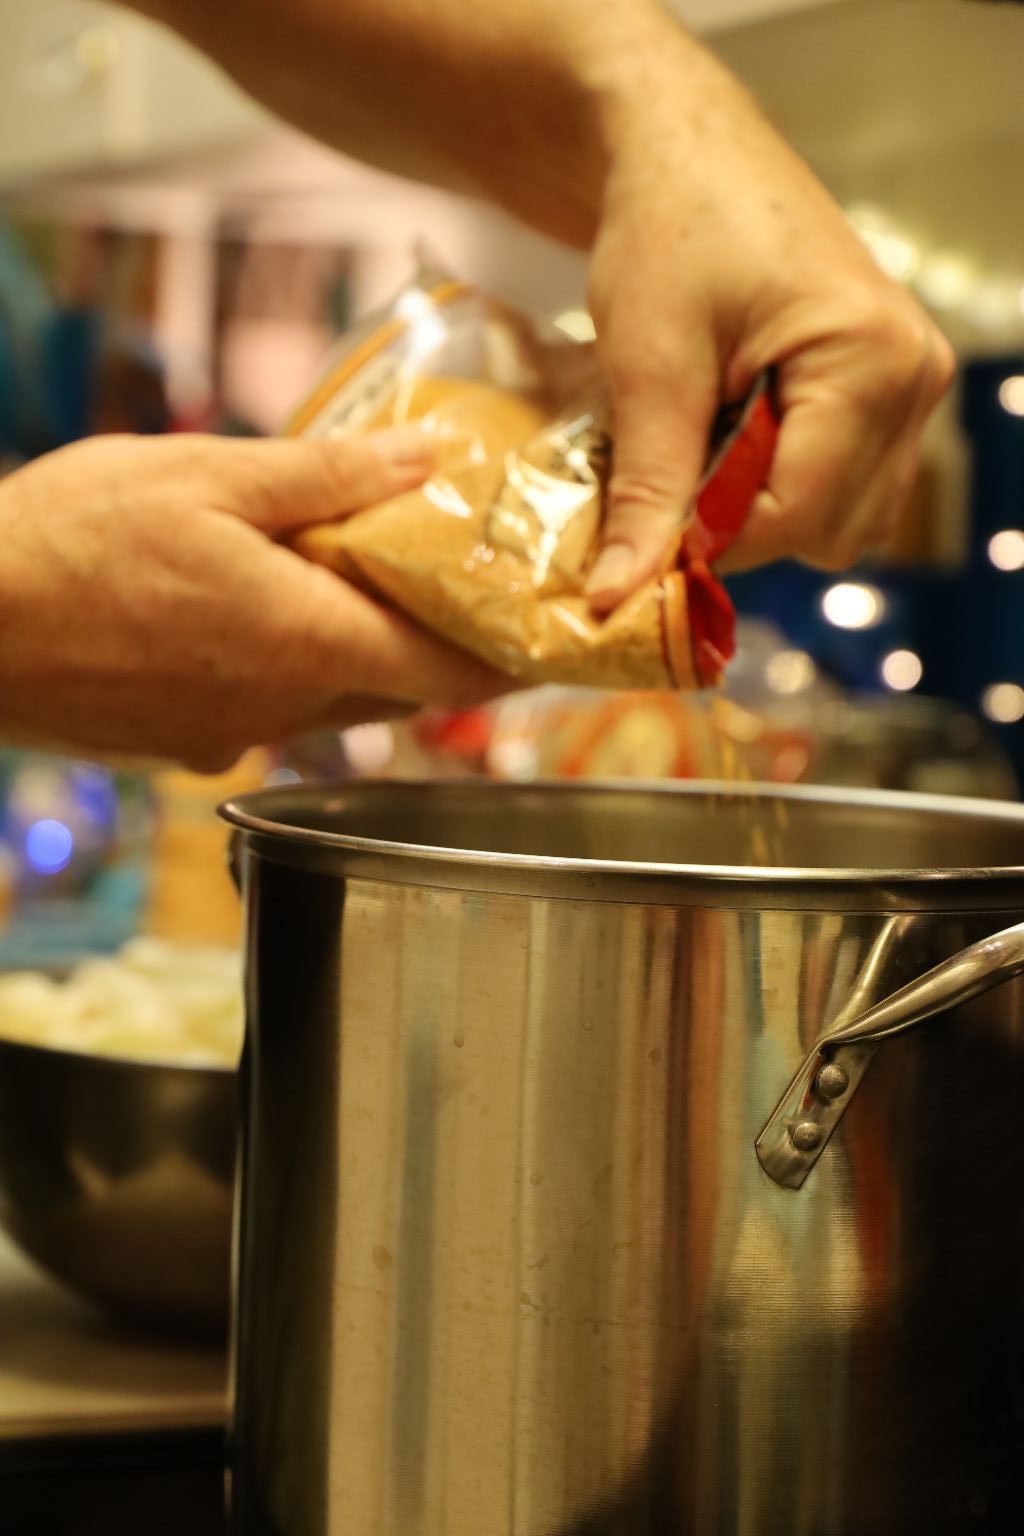
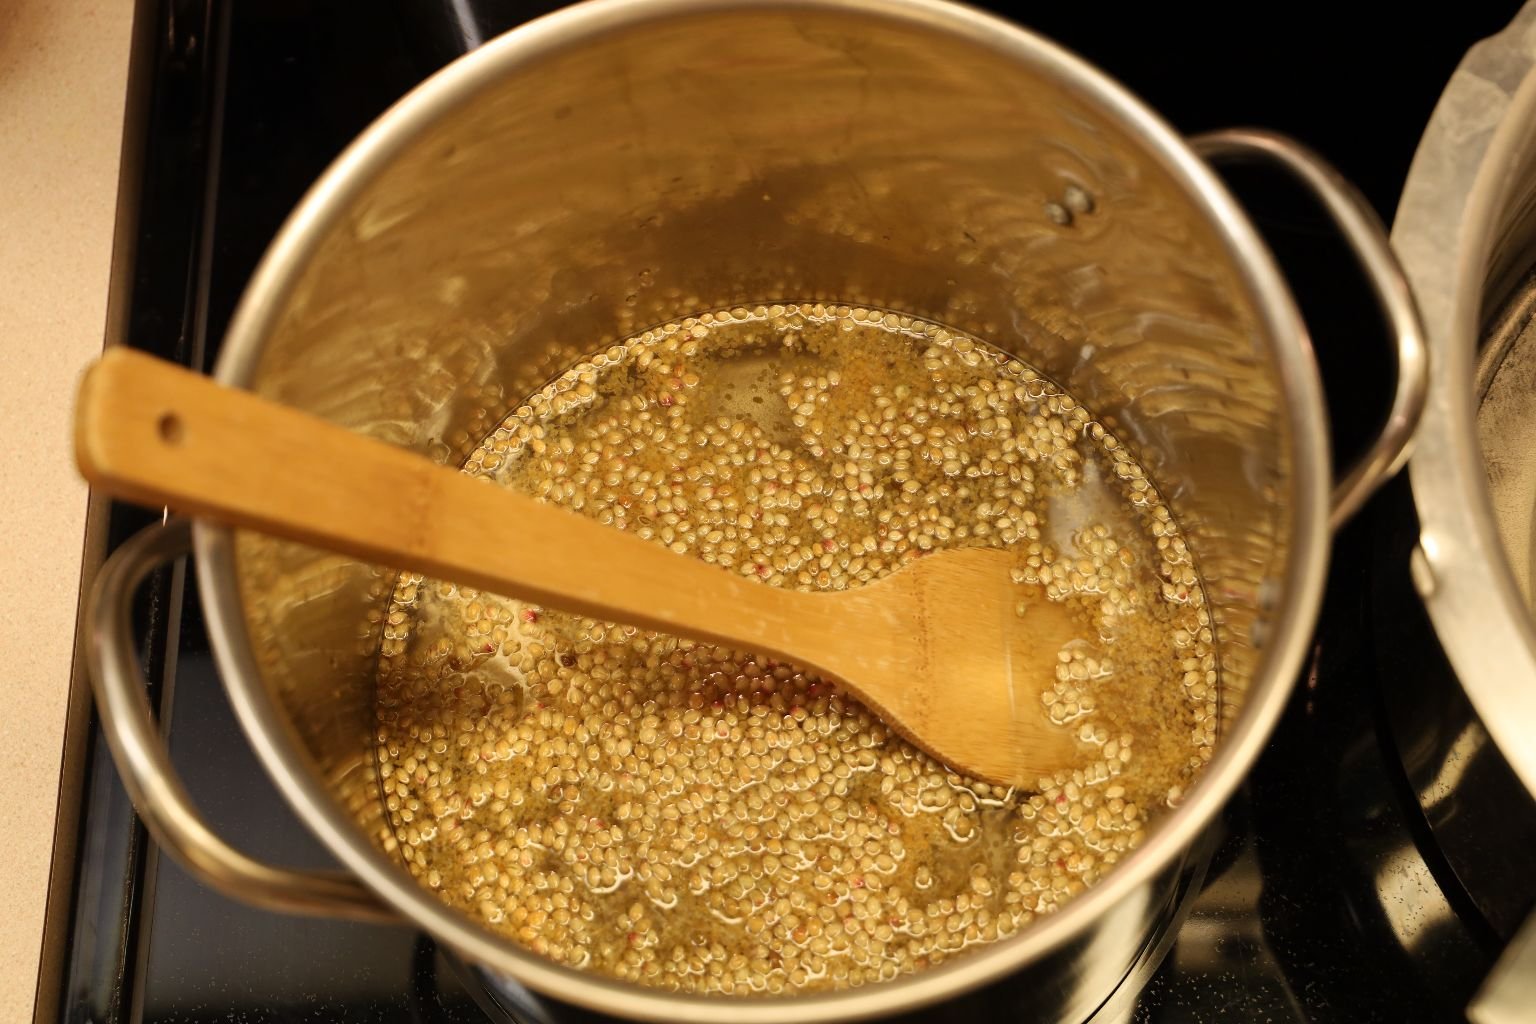
Now add your Corriander Seeds to the pot and stir all the ingredients to combine. Heat the ingredients to an almost boil to dissolve the sugar.
——————————————————————
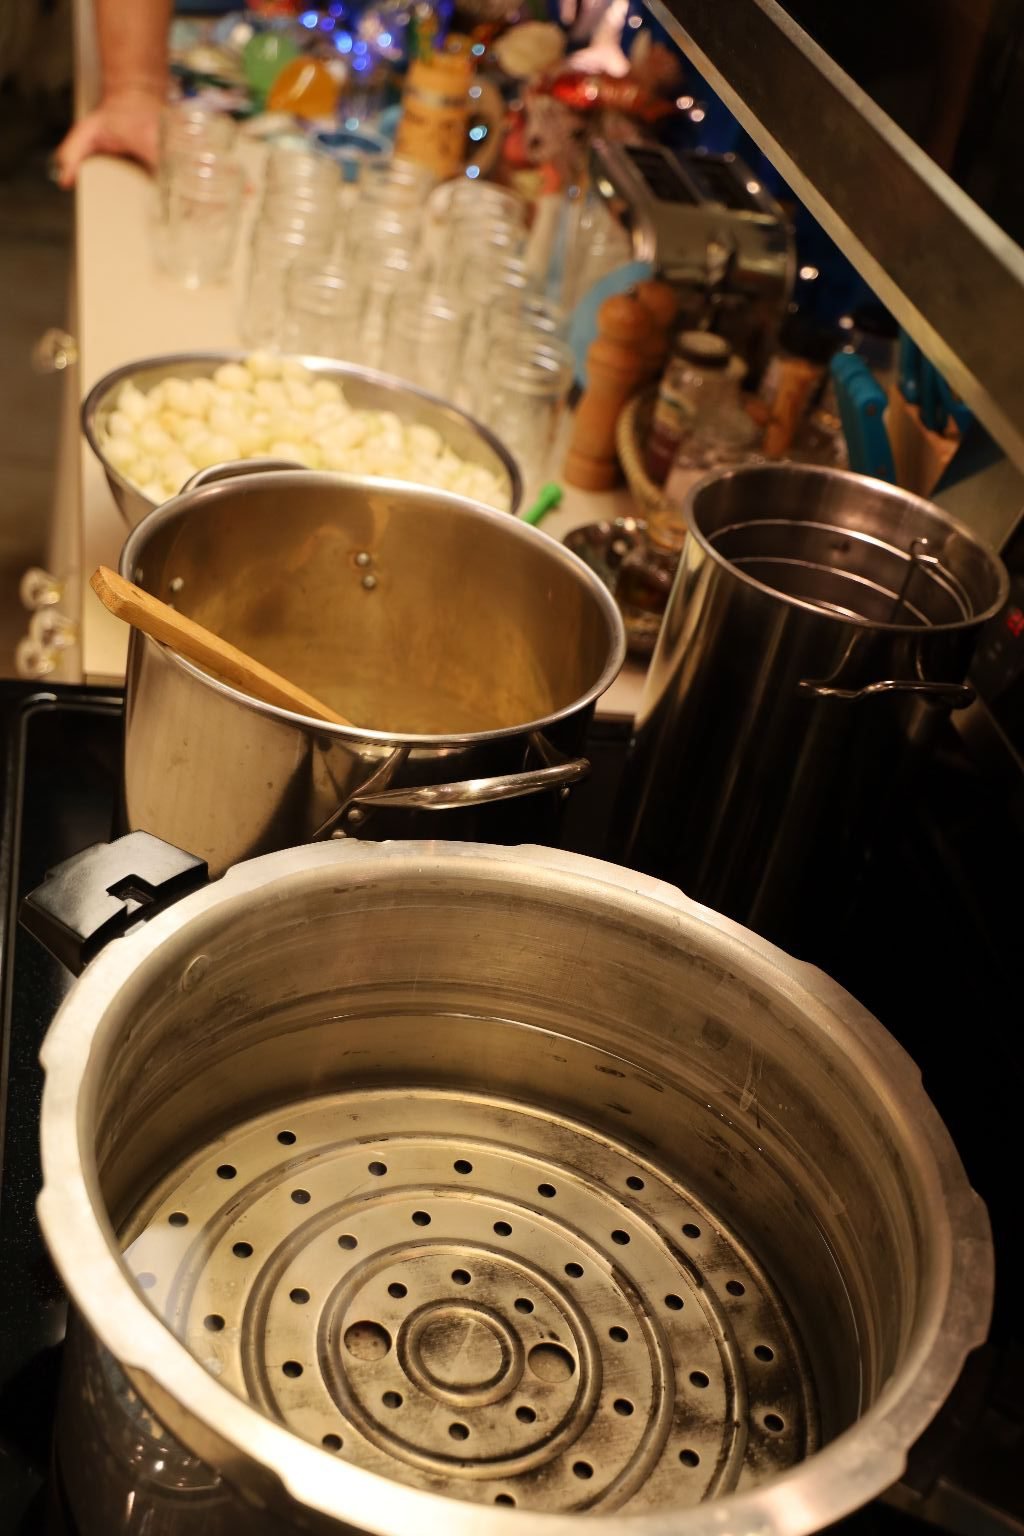
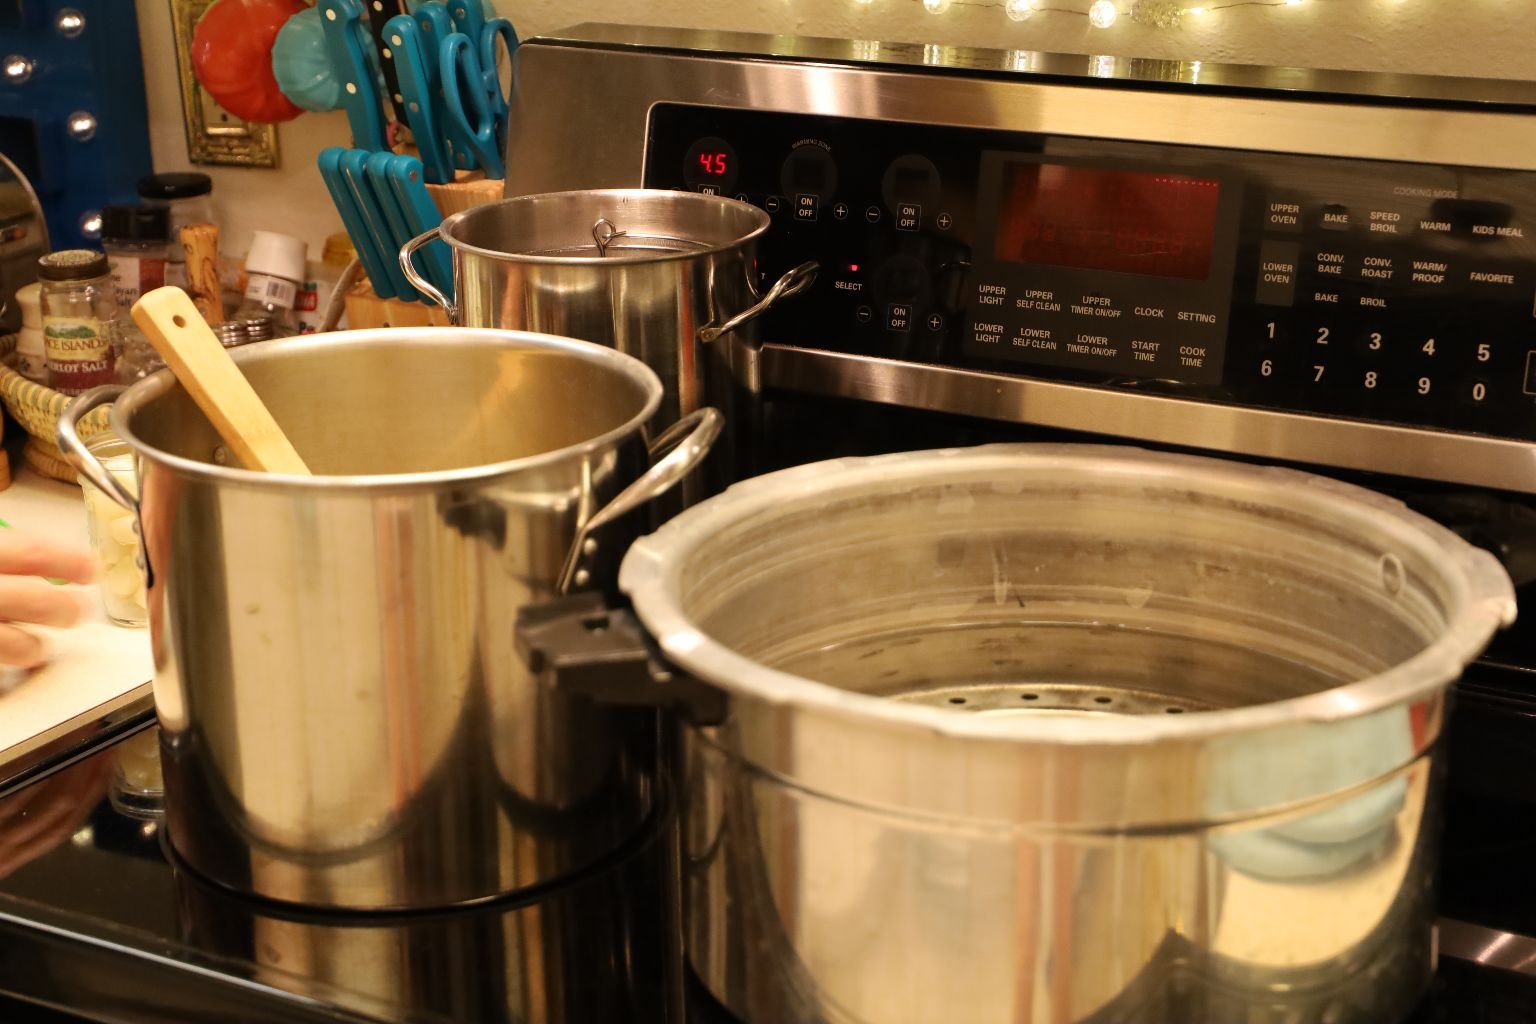
I use this large pressure cooker pot to can these smaller jars. Add water about one third, to half full taking into consideration when the jars are added to it, they will raise the water level. Turn the burner on high to start to boil the water.
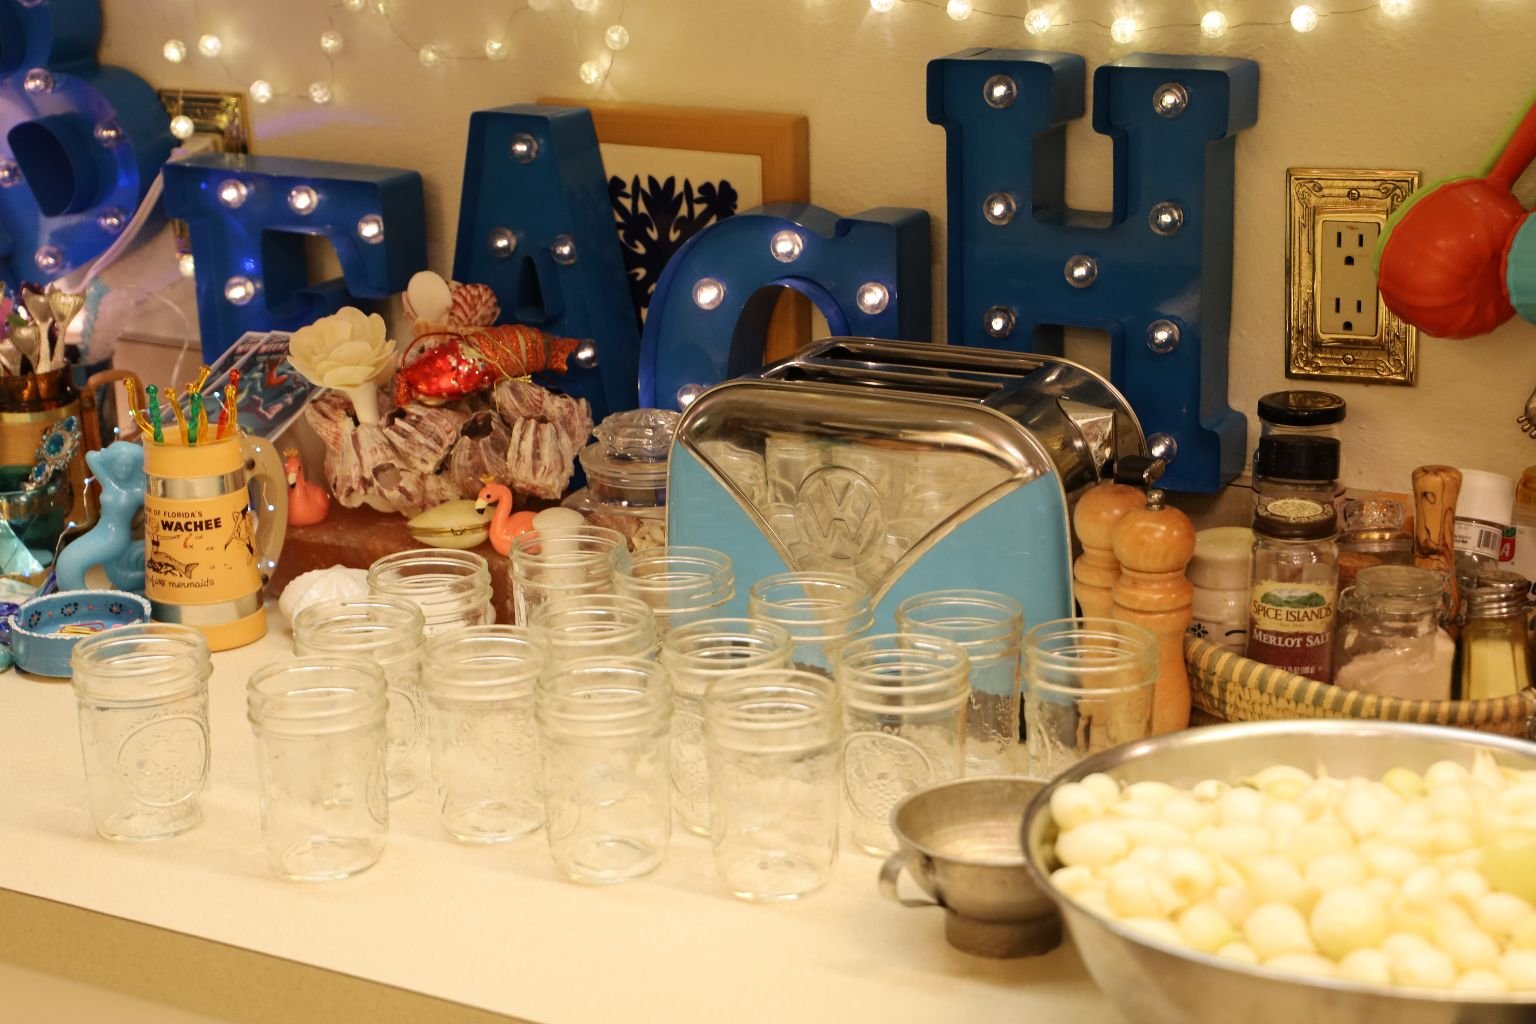
Here are the jars we used for this canning. They have been cleaned in the dishwasher and dried by heat to sterilize the jars. We then set them aside and covered them with a hand towel until ready to use.
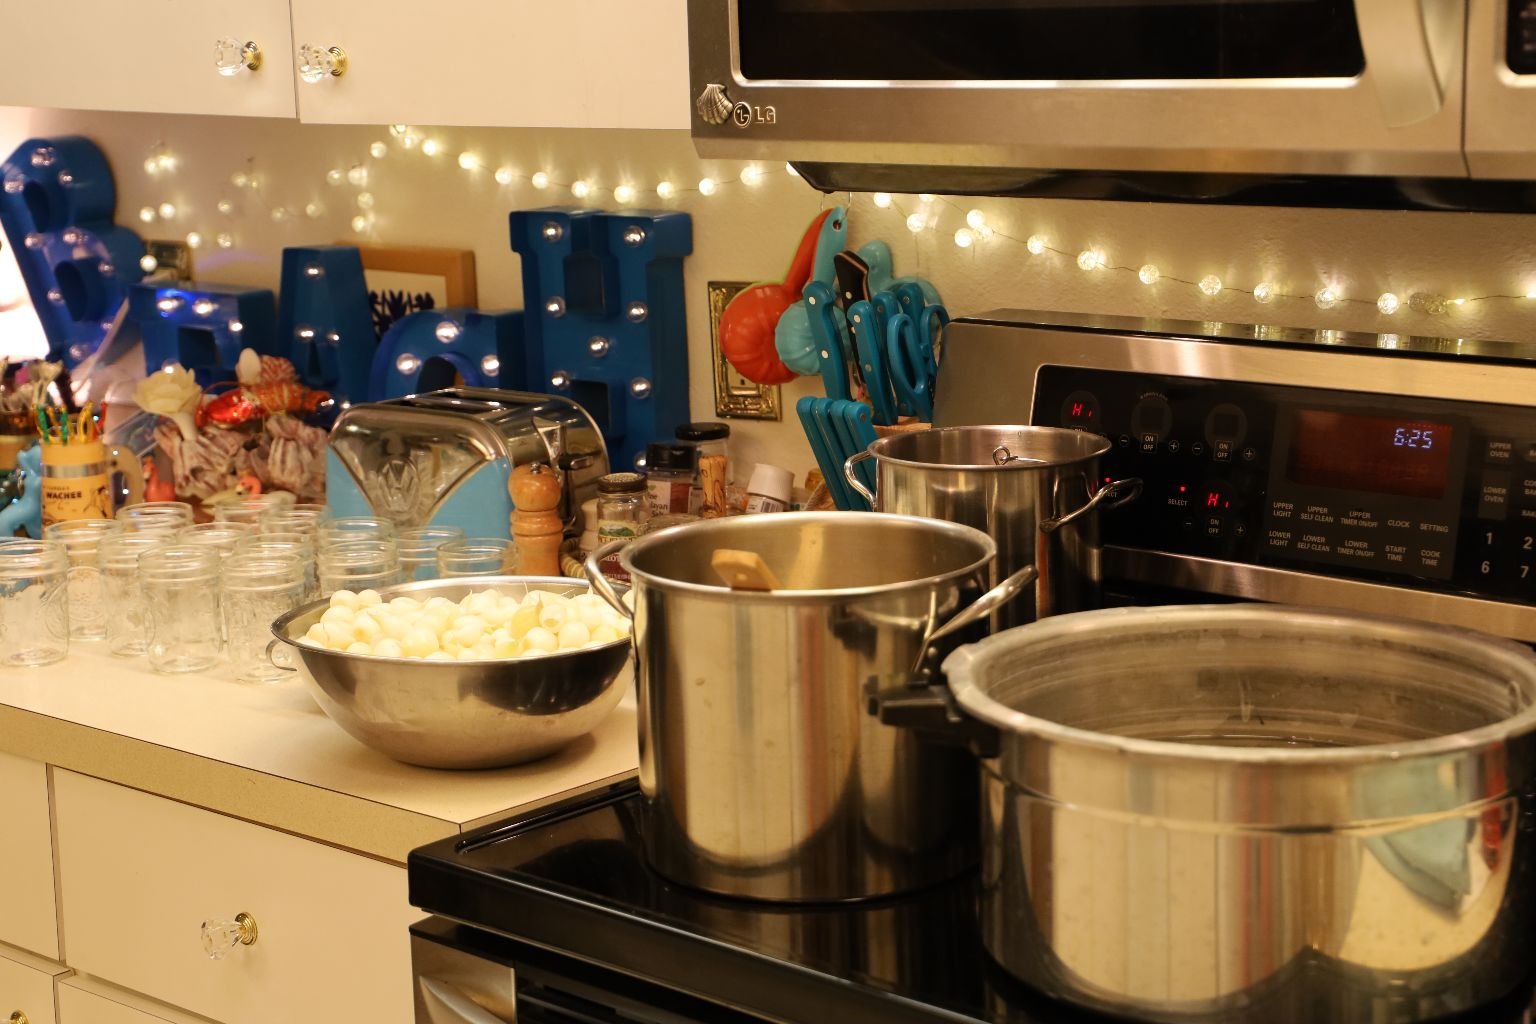
Here is our set up for canning these pearl onions. The sterilized jars are near the onions and the pickling liquid is in front of the jar lids which are heated in water to an almost boil to soften their rubber seal. Then we have the large canning pot with its water at an almost boil.
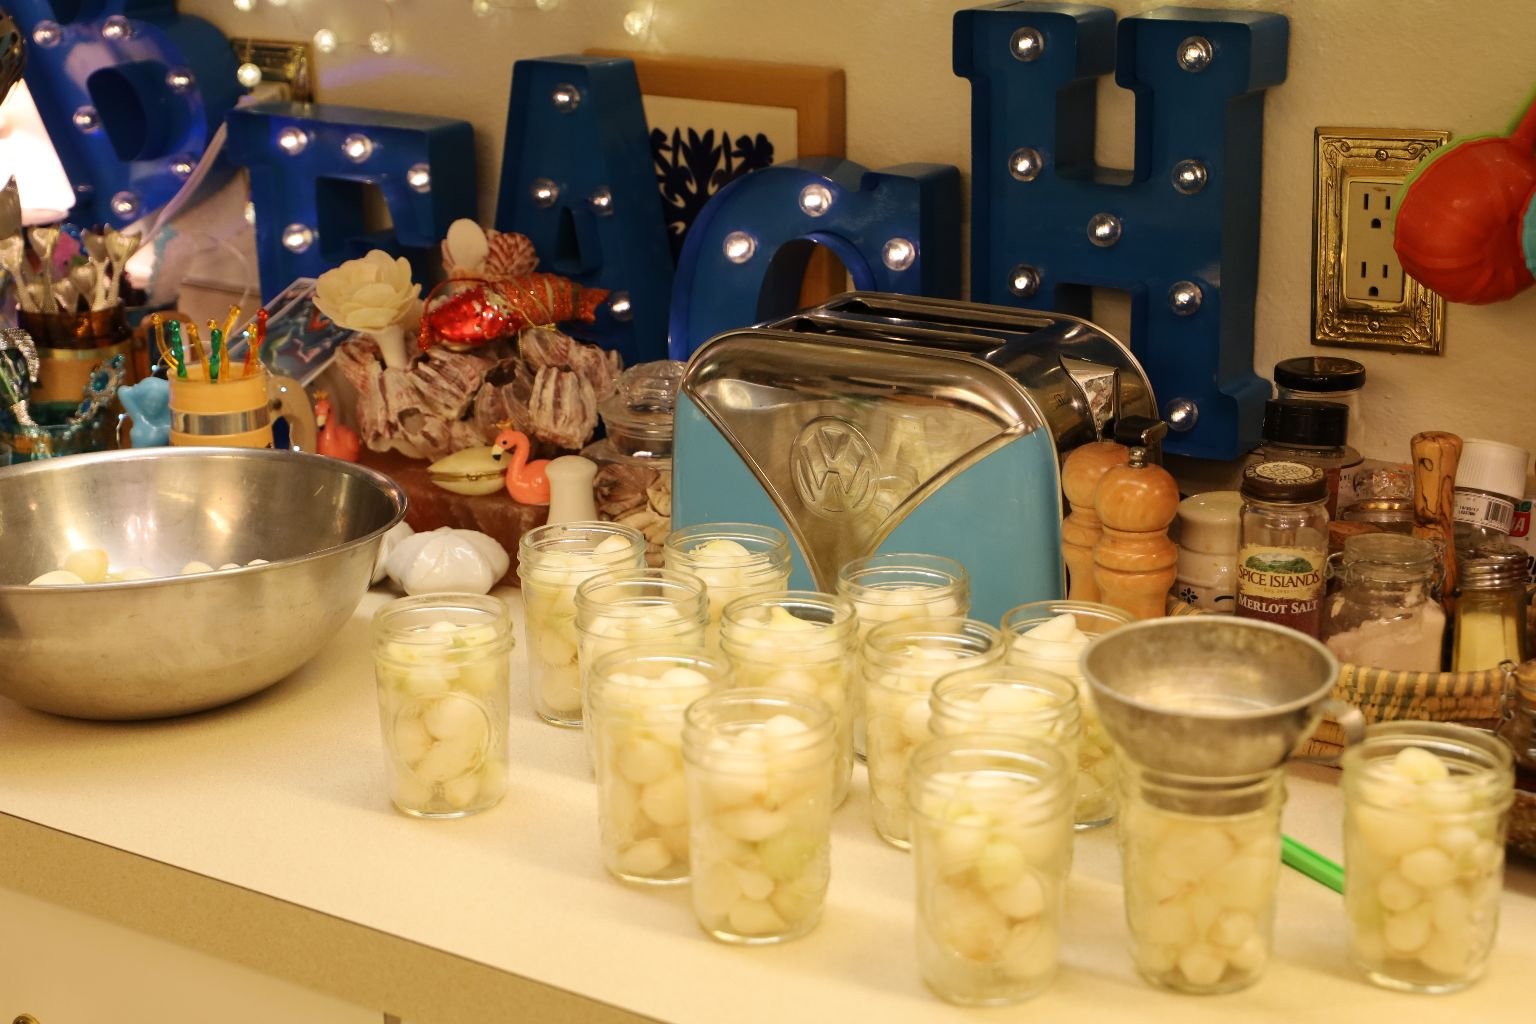
Place your pearl onions into the canning jars filling them almost to the top. Be sure none of the onions are above the rim of the jar.
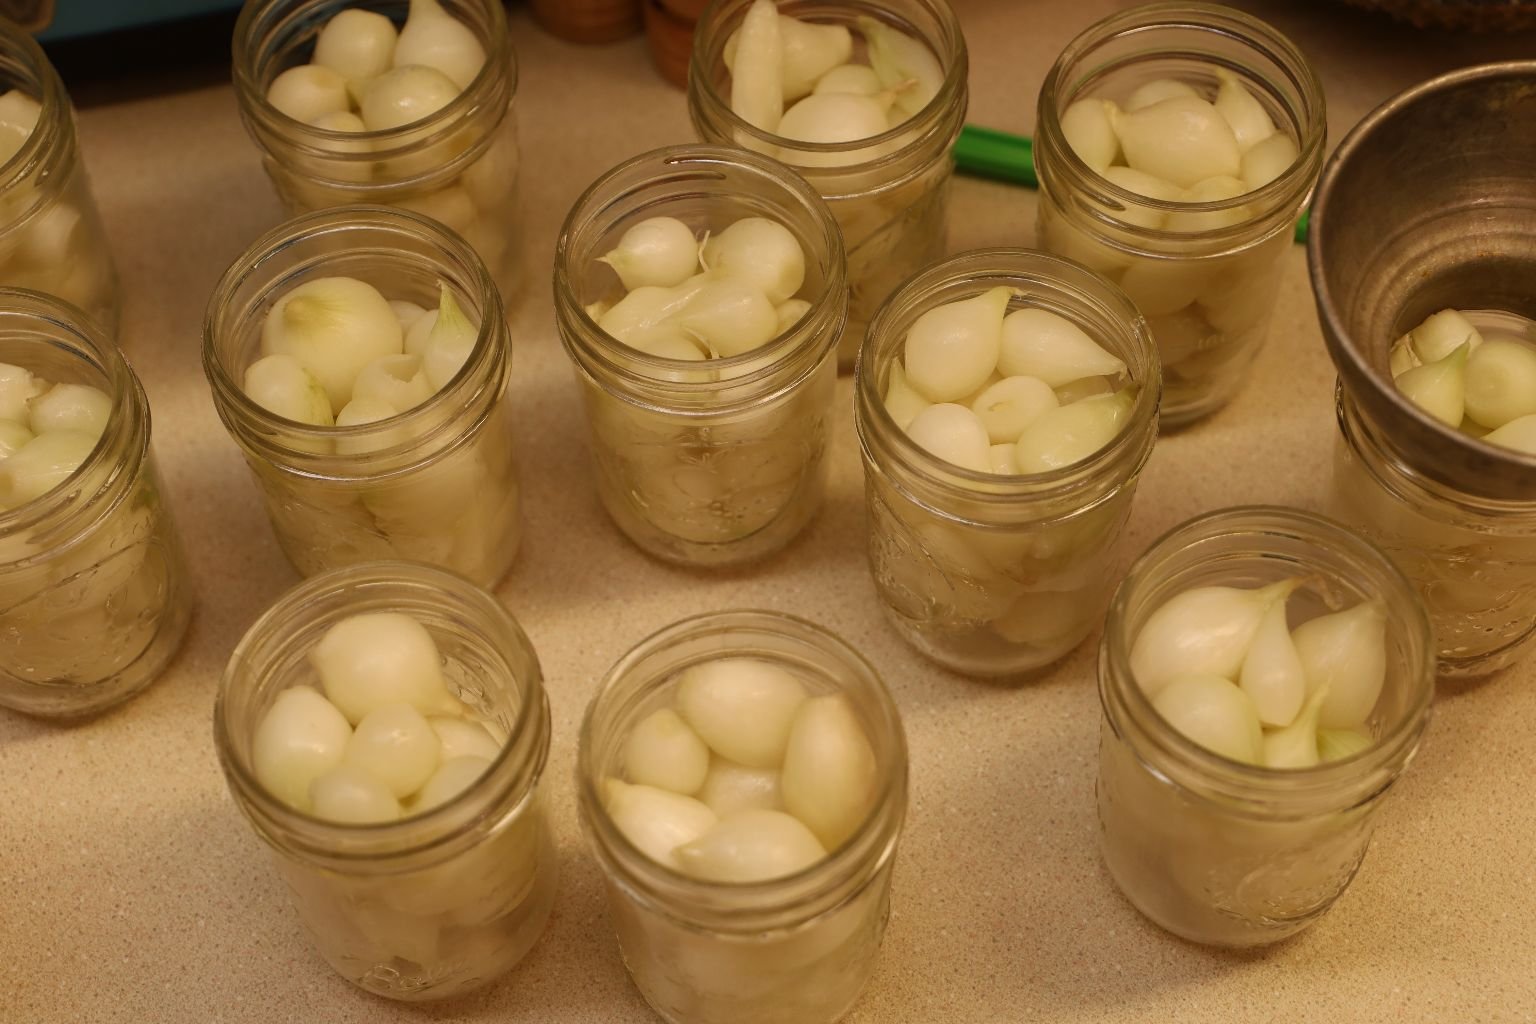
Move the filled jars next to the pot of pickling liquid.
———————————————————
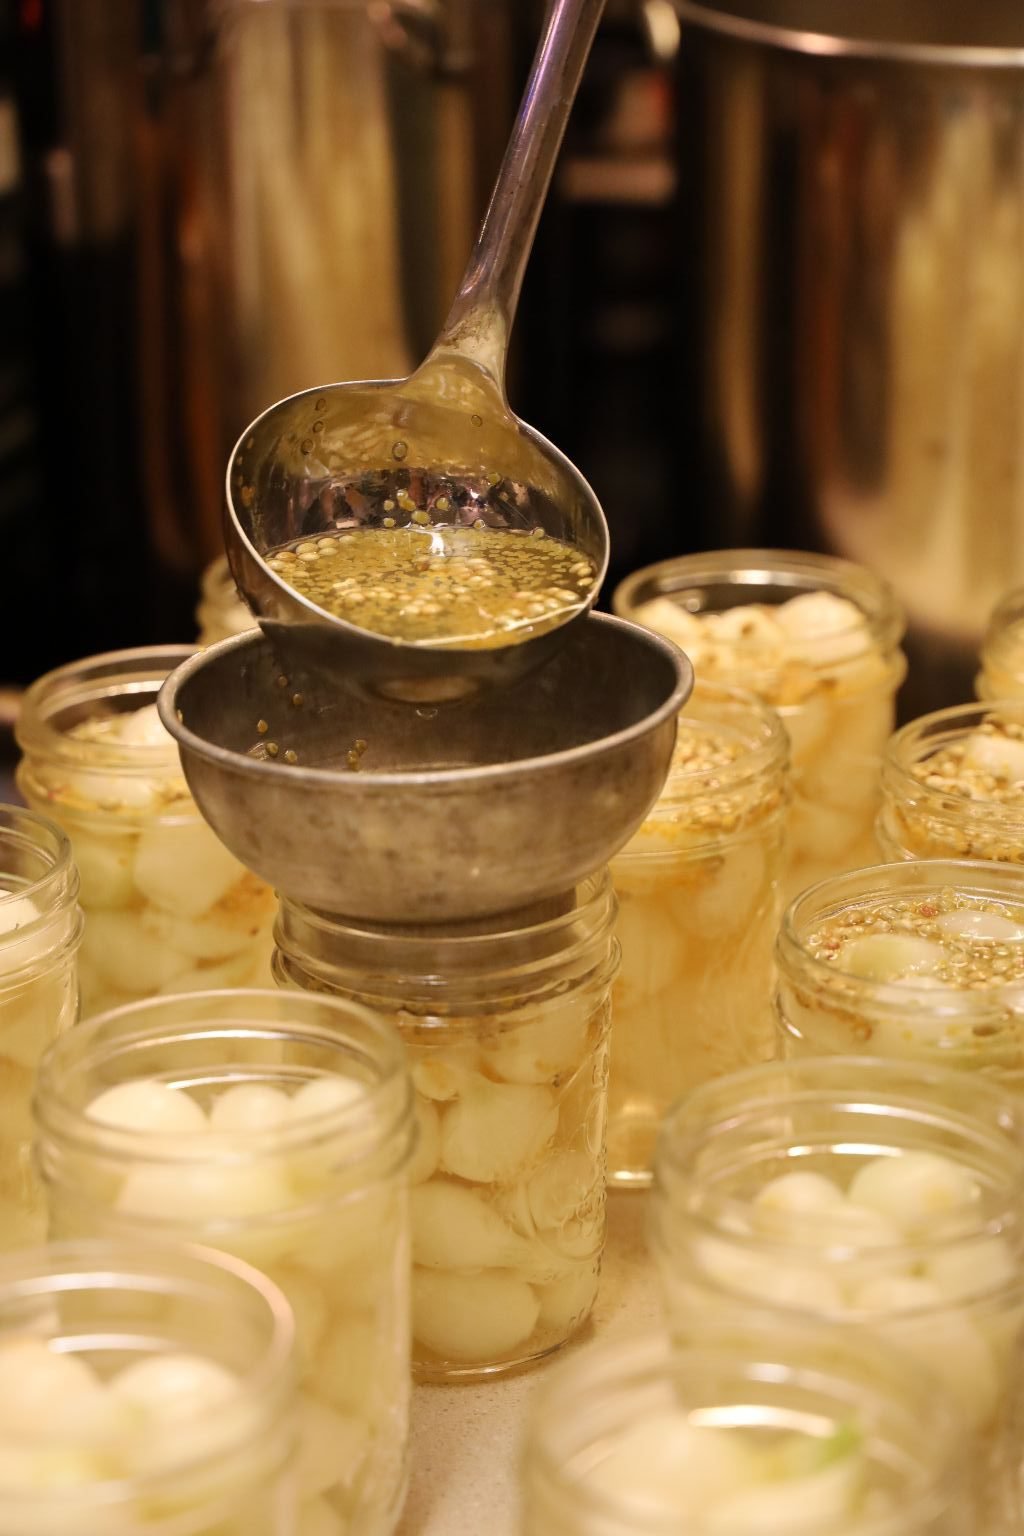

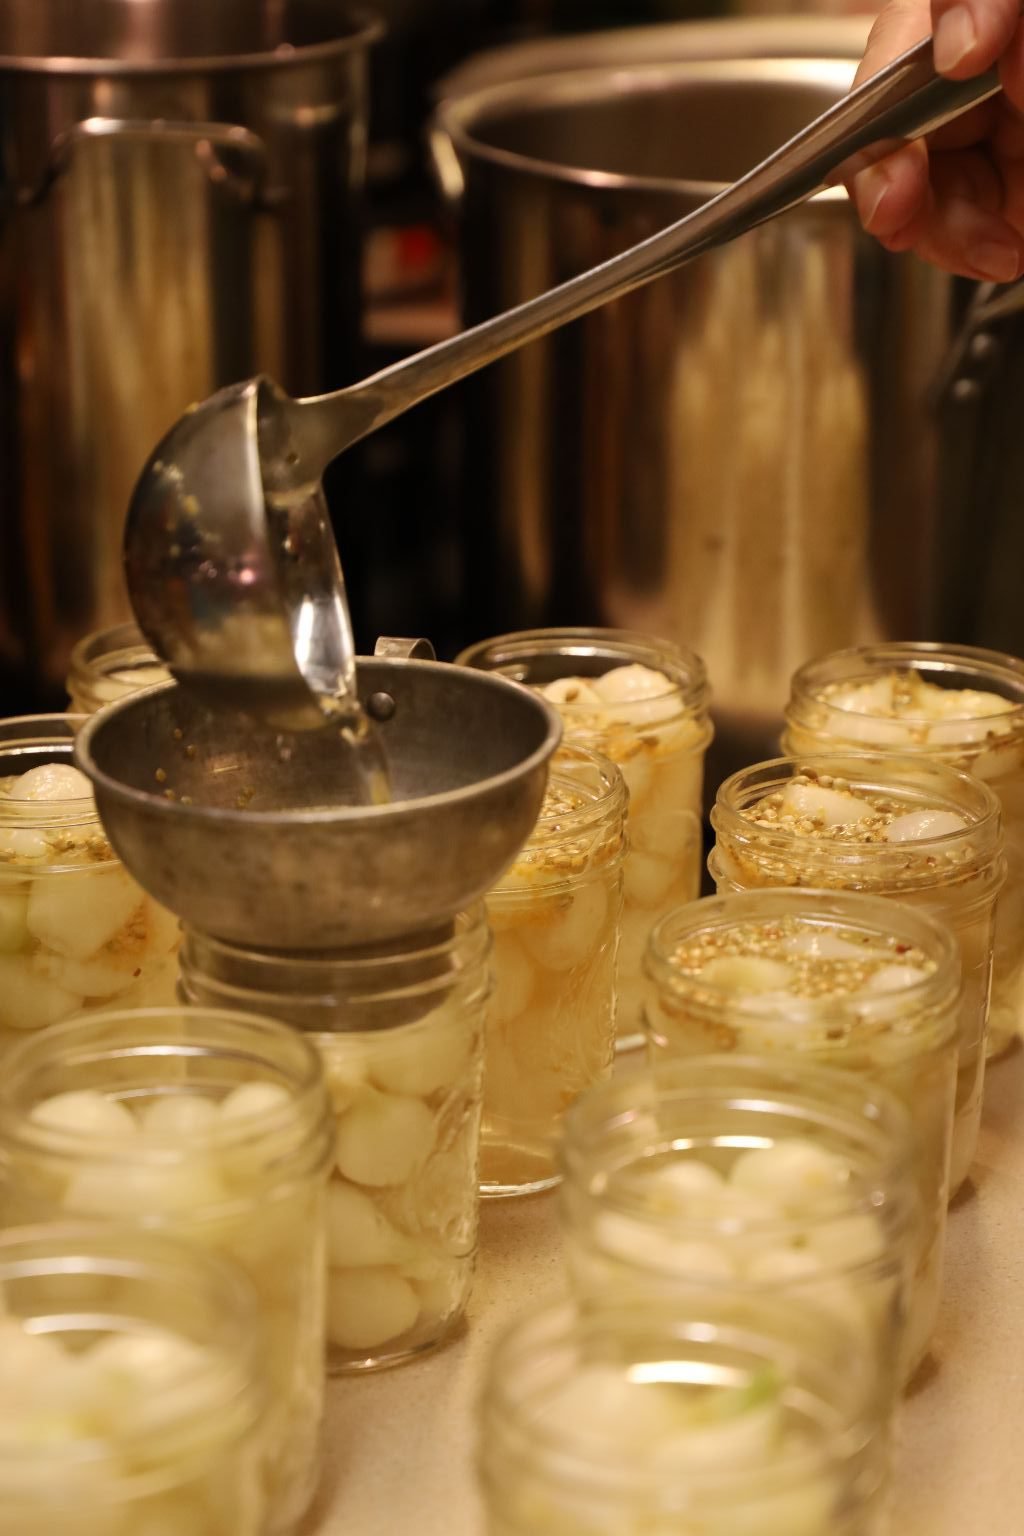
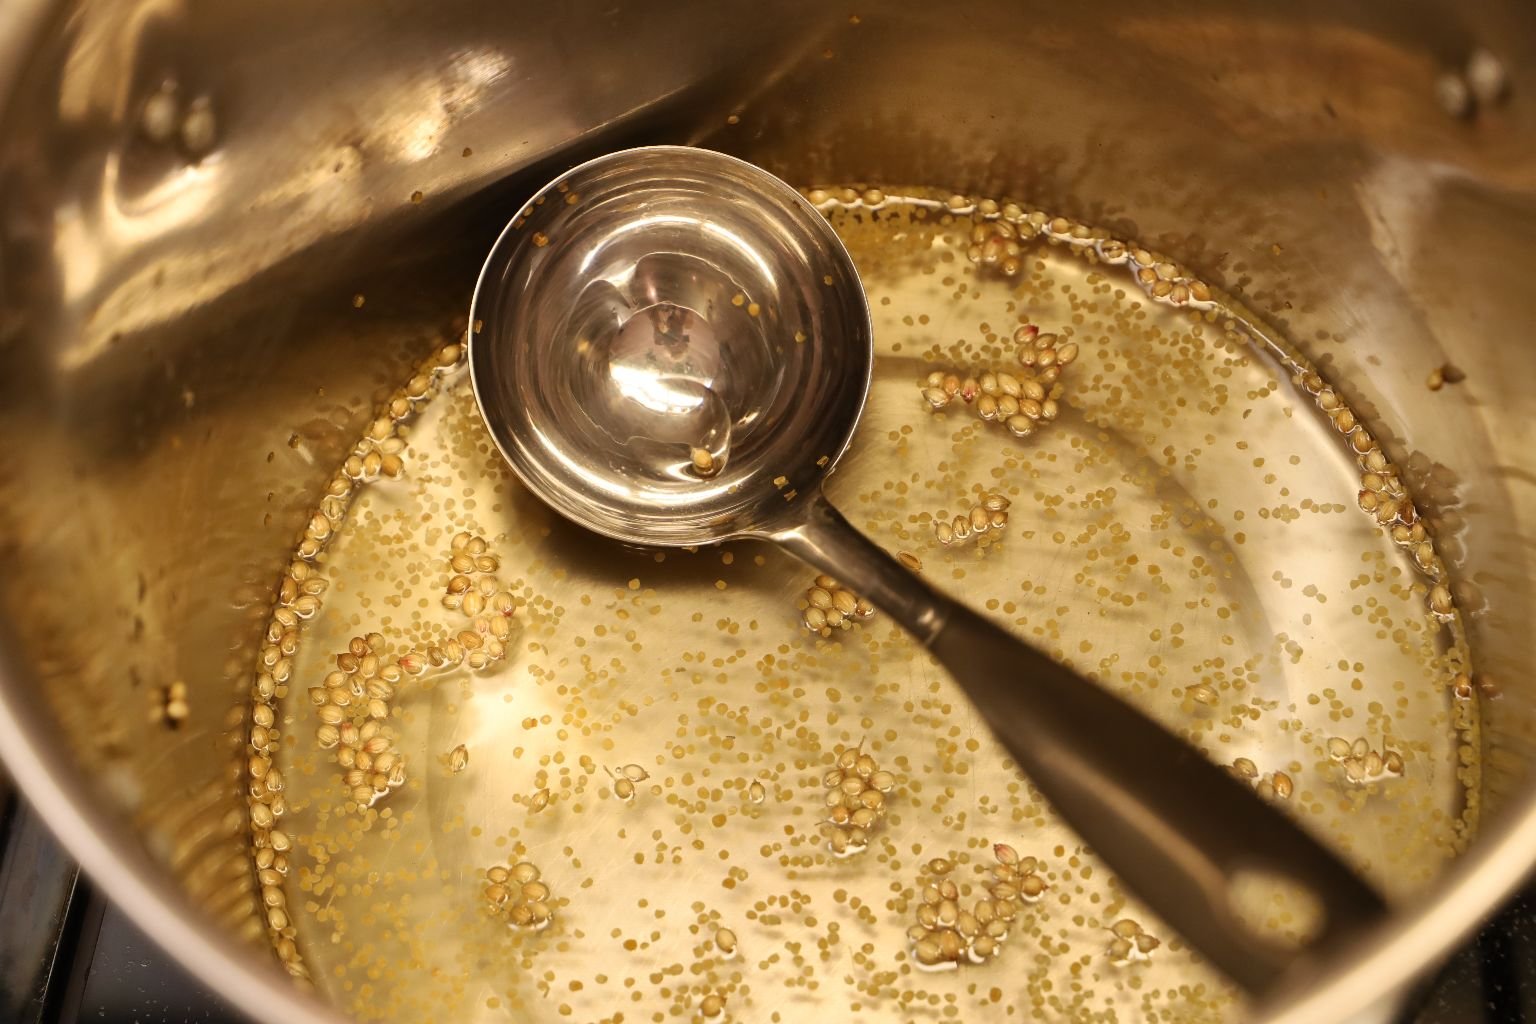
Ladle your pickling liquid into the jars using a large mouthed funnel to prevent spillage.
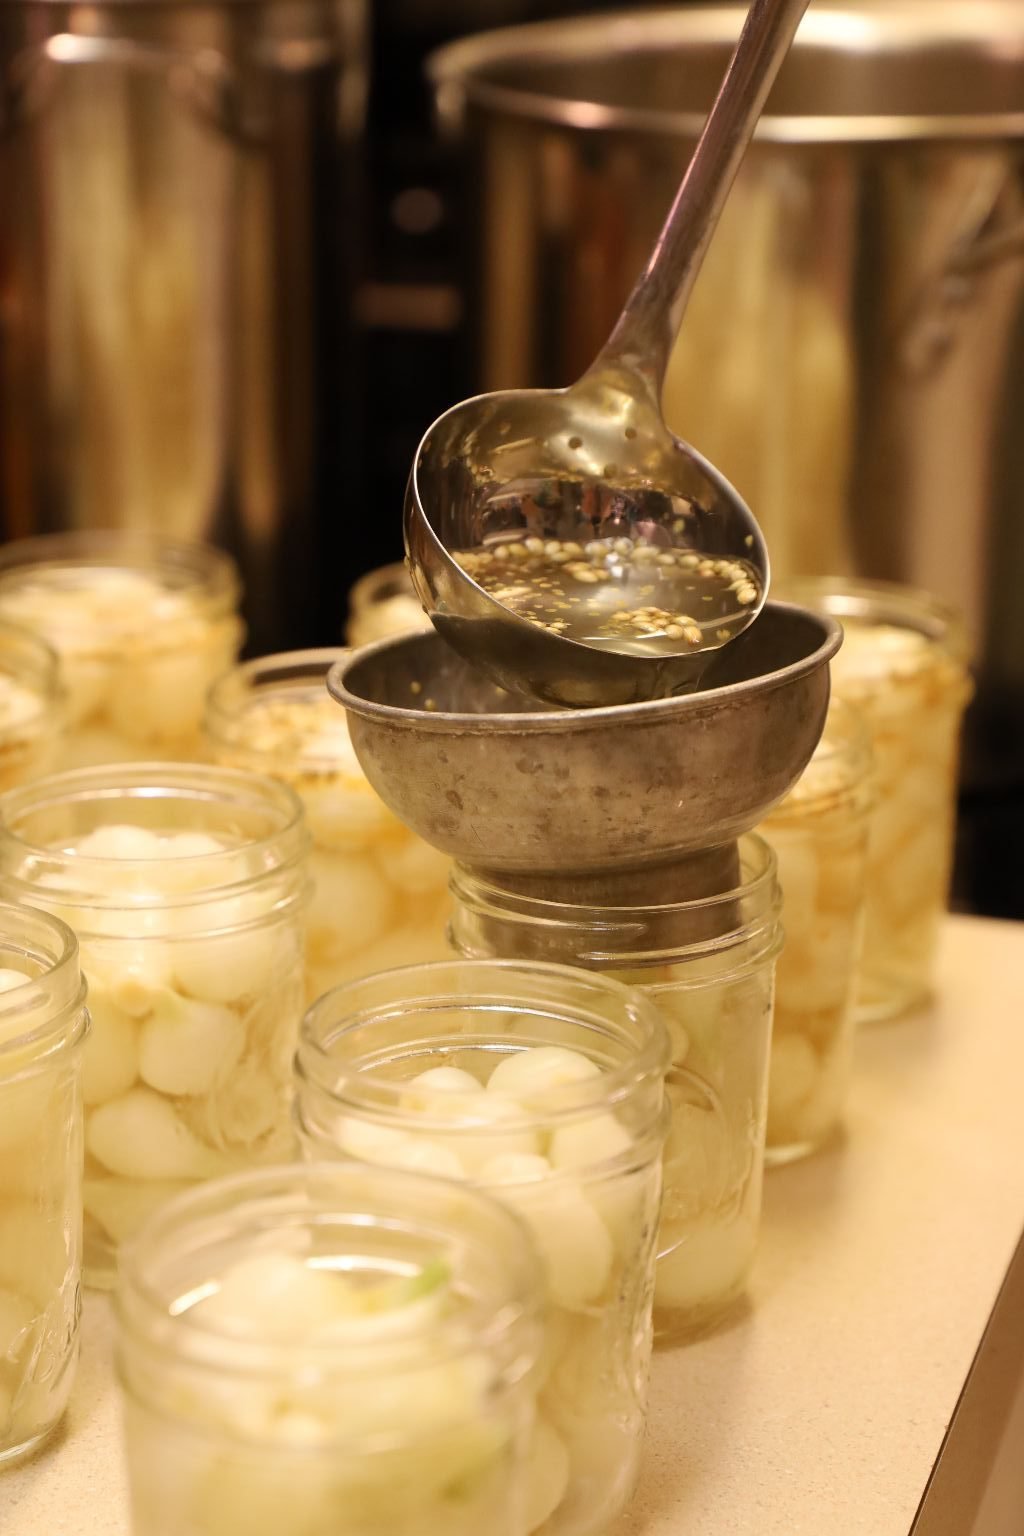
Ladle enough liquid to fill the jar leaving 1/2 of an inch of space at the top. This is called headspace which is needed to create a vacuum within the jar during the canning process described later in this write up.
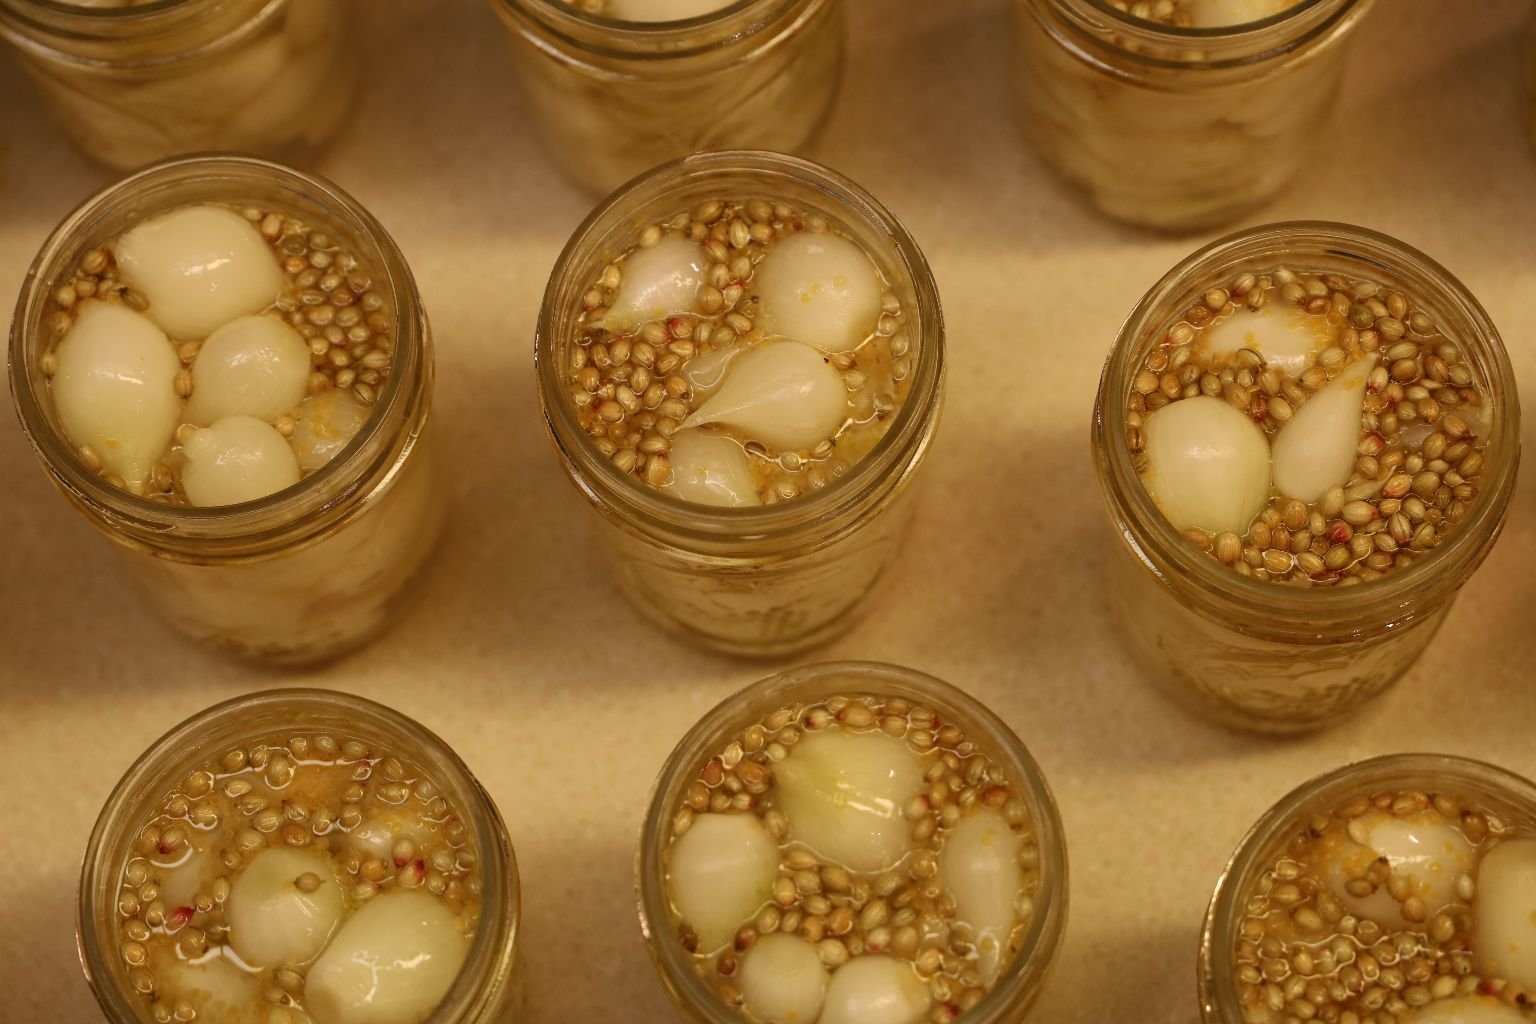
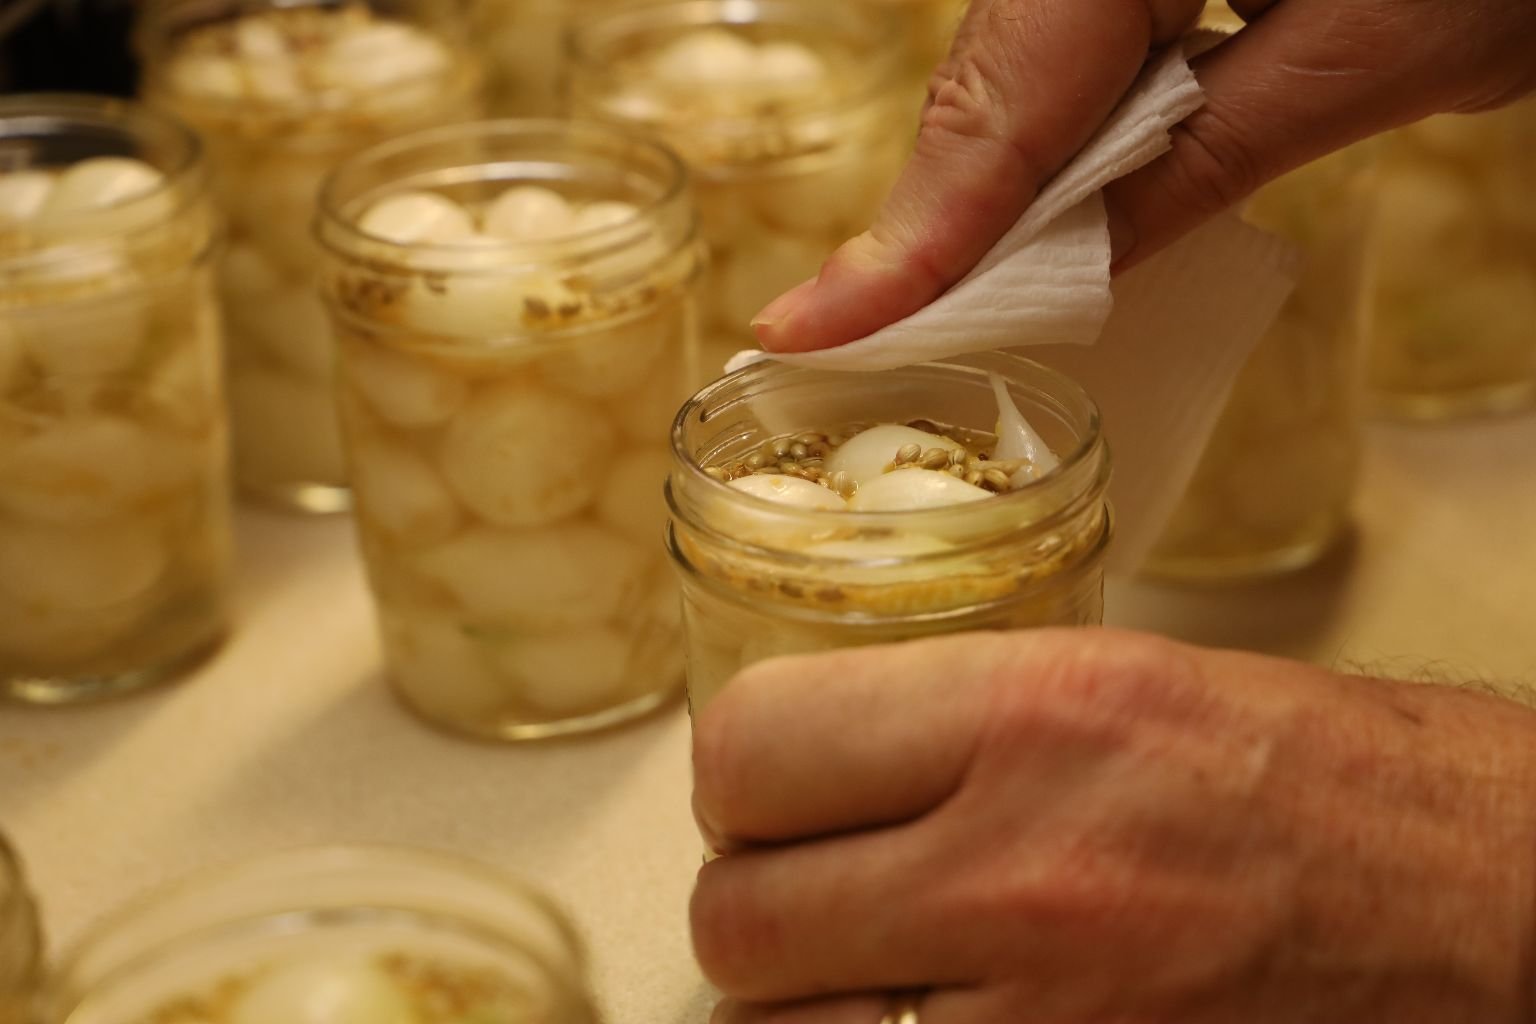
Fill all the jars with the pickling liquid leaving the 1/2 inch of headspace. Use a chopstick to gently move the onions around to release any air bubbles (Not Shown). Using a clean wet paper towel, wipe the top of the jars to clean away any pickling liquid or stray seeds. Continue to use clean areas of the wet paper towel in small groups of jars to keep track of the ones which have been cleaned. Keeping this clean will also help to maintain a sterile environment inside the jars.
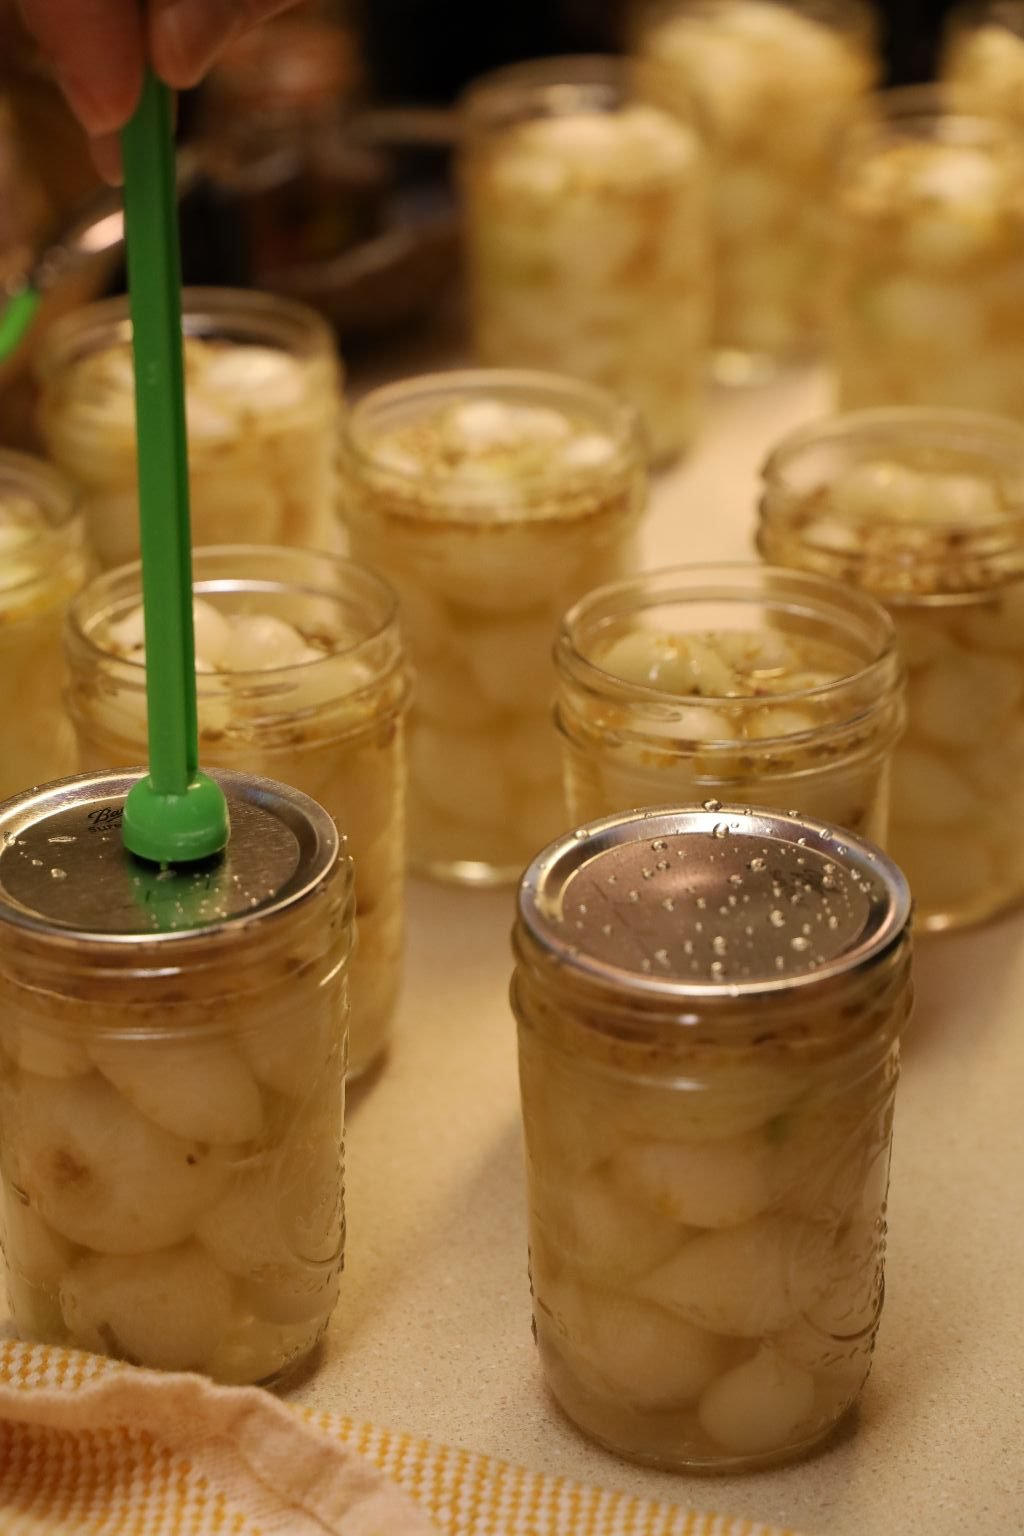
Place a sterilized water heated lid on top of each filled, and clean jar. I use this magnetized stick to remove the lids from the almost boiling liquid they were in. Barely tighten a clean ring onto the jar’s lid. More than barely tight will not allow the air to escape from the jar creating a vacuum during the canning process.
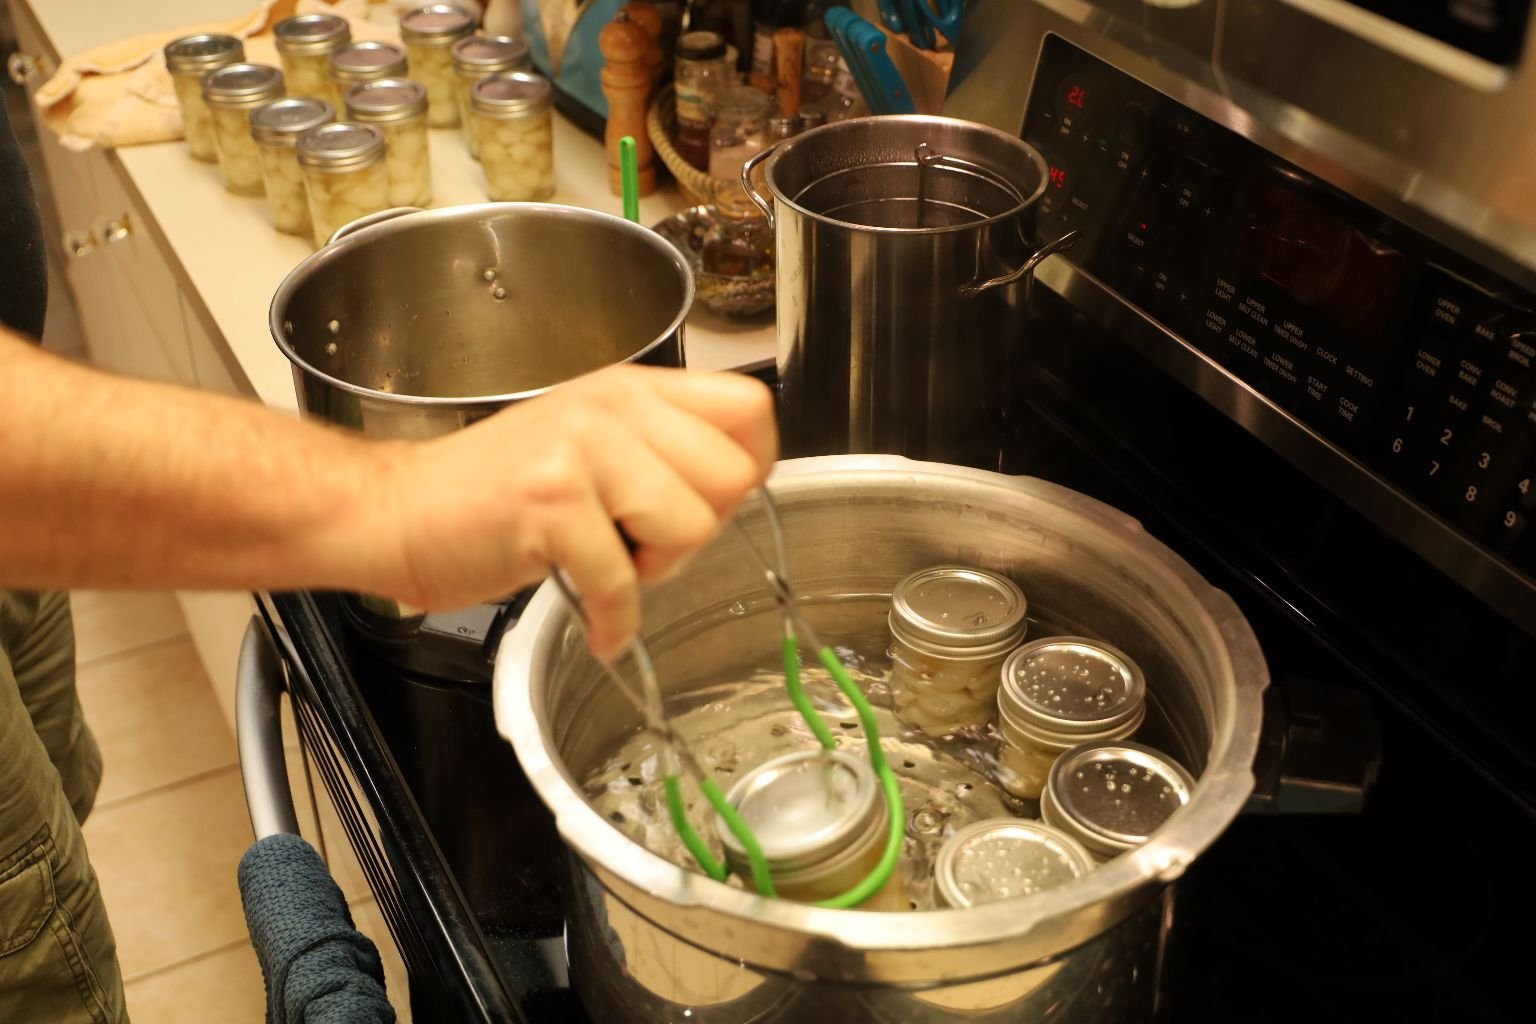
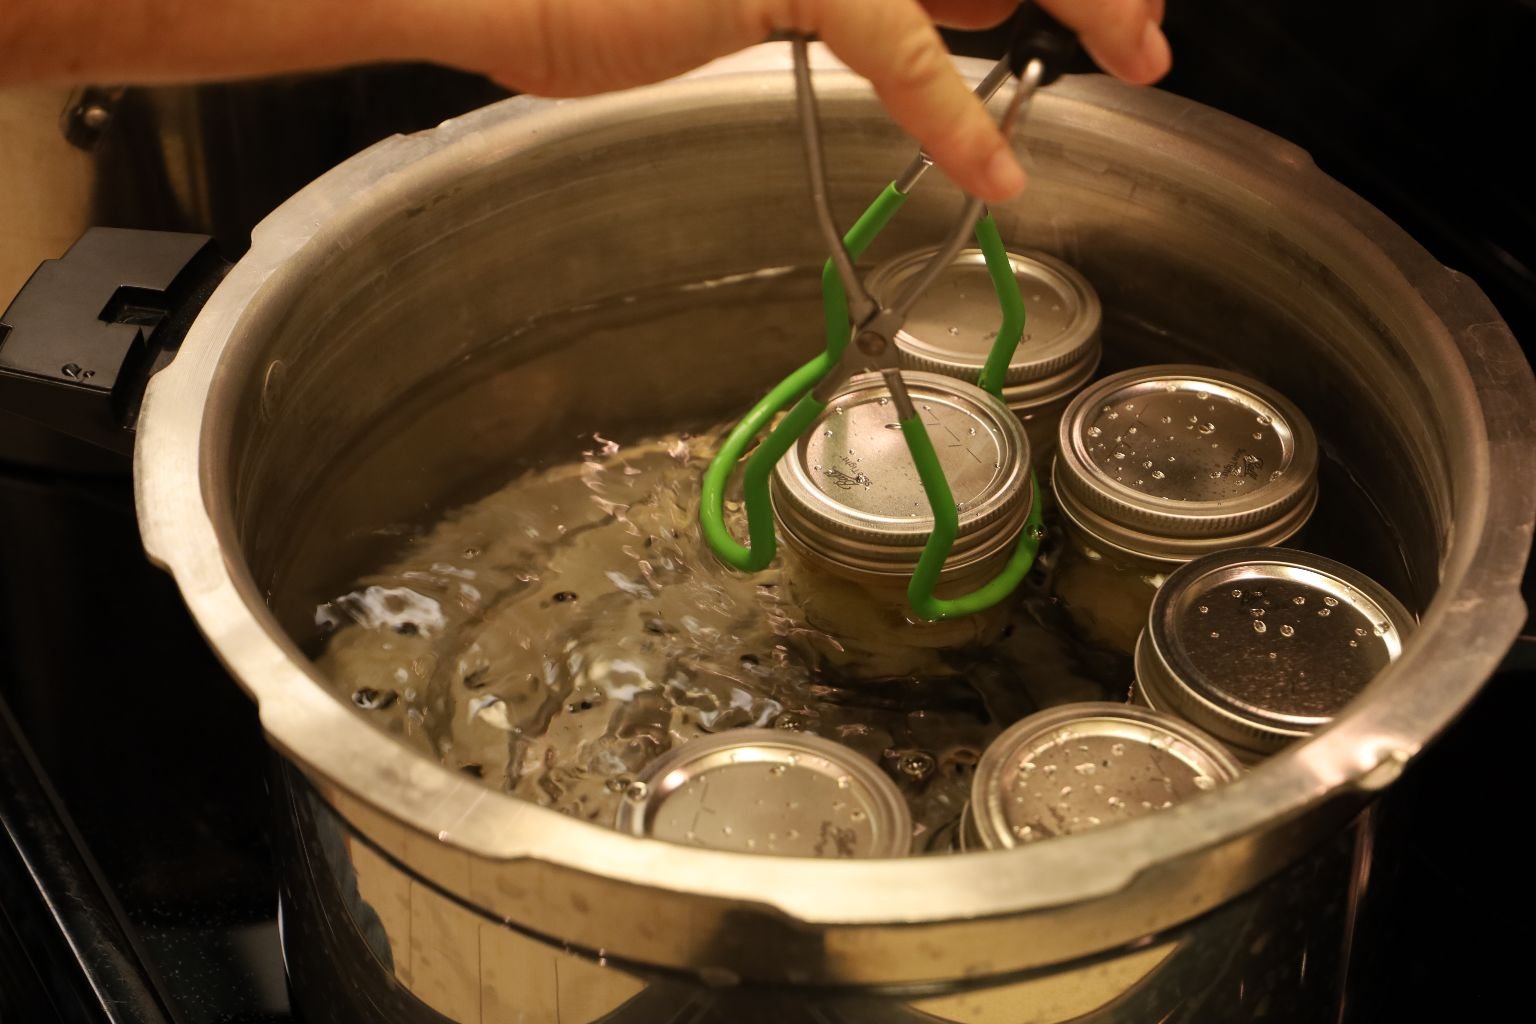
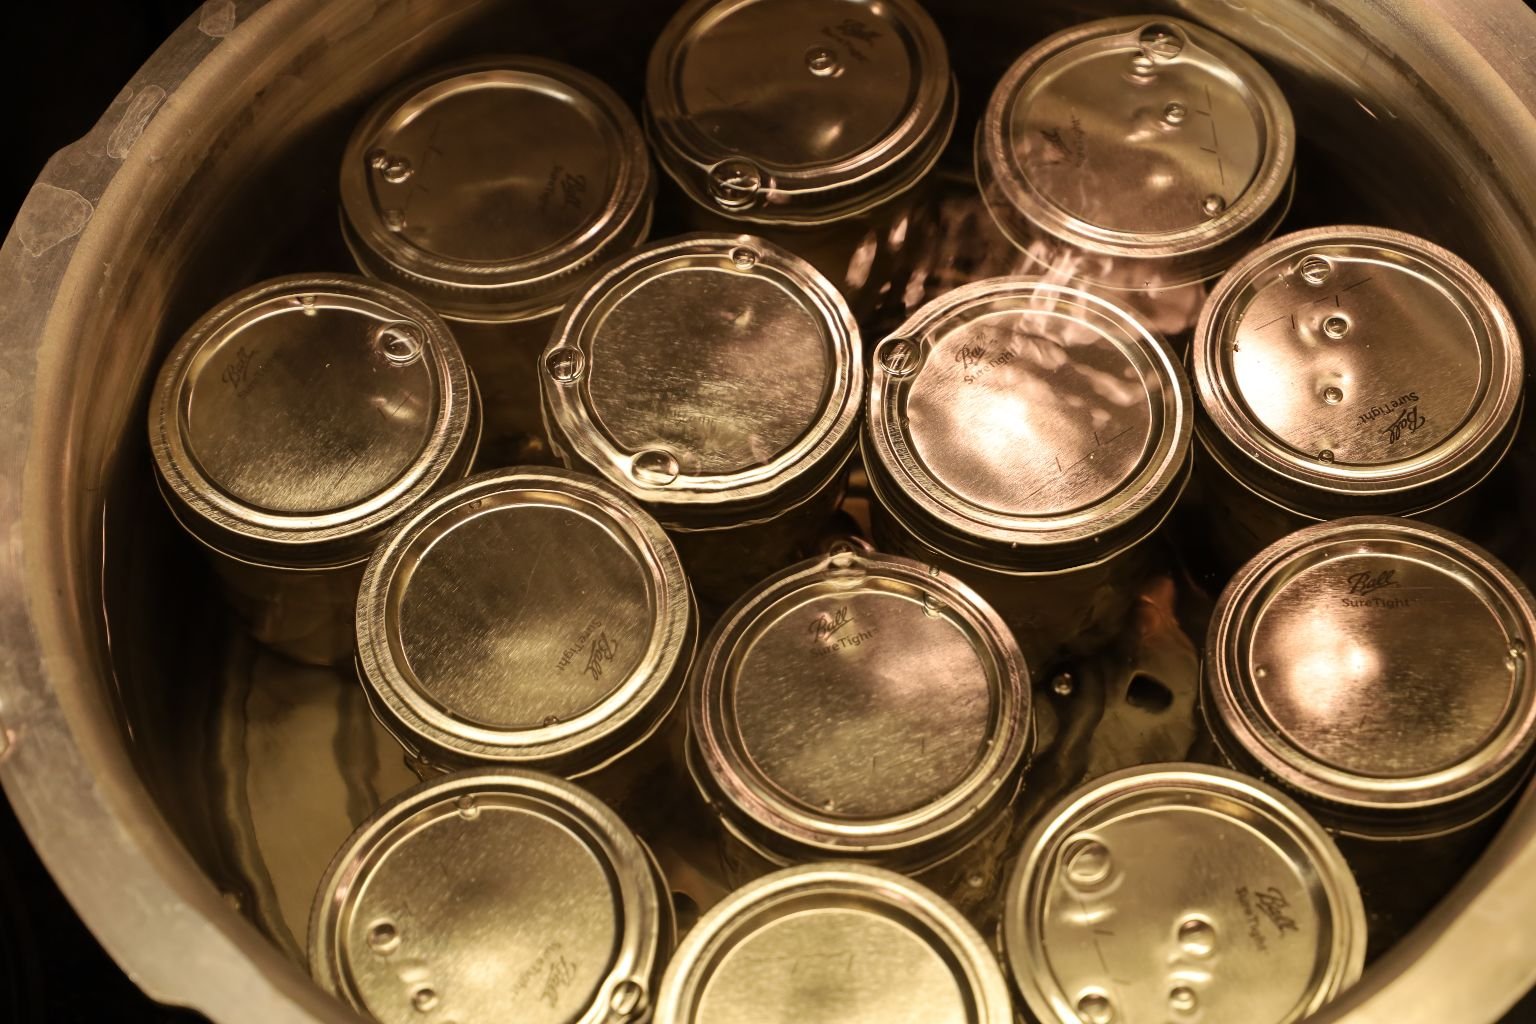
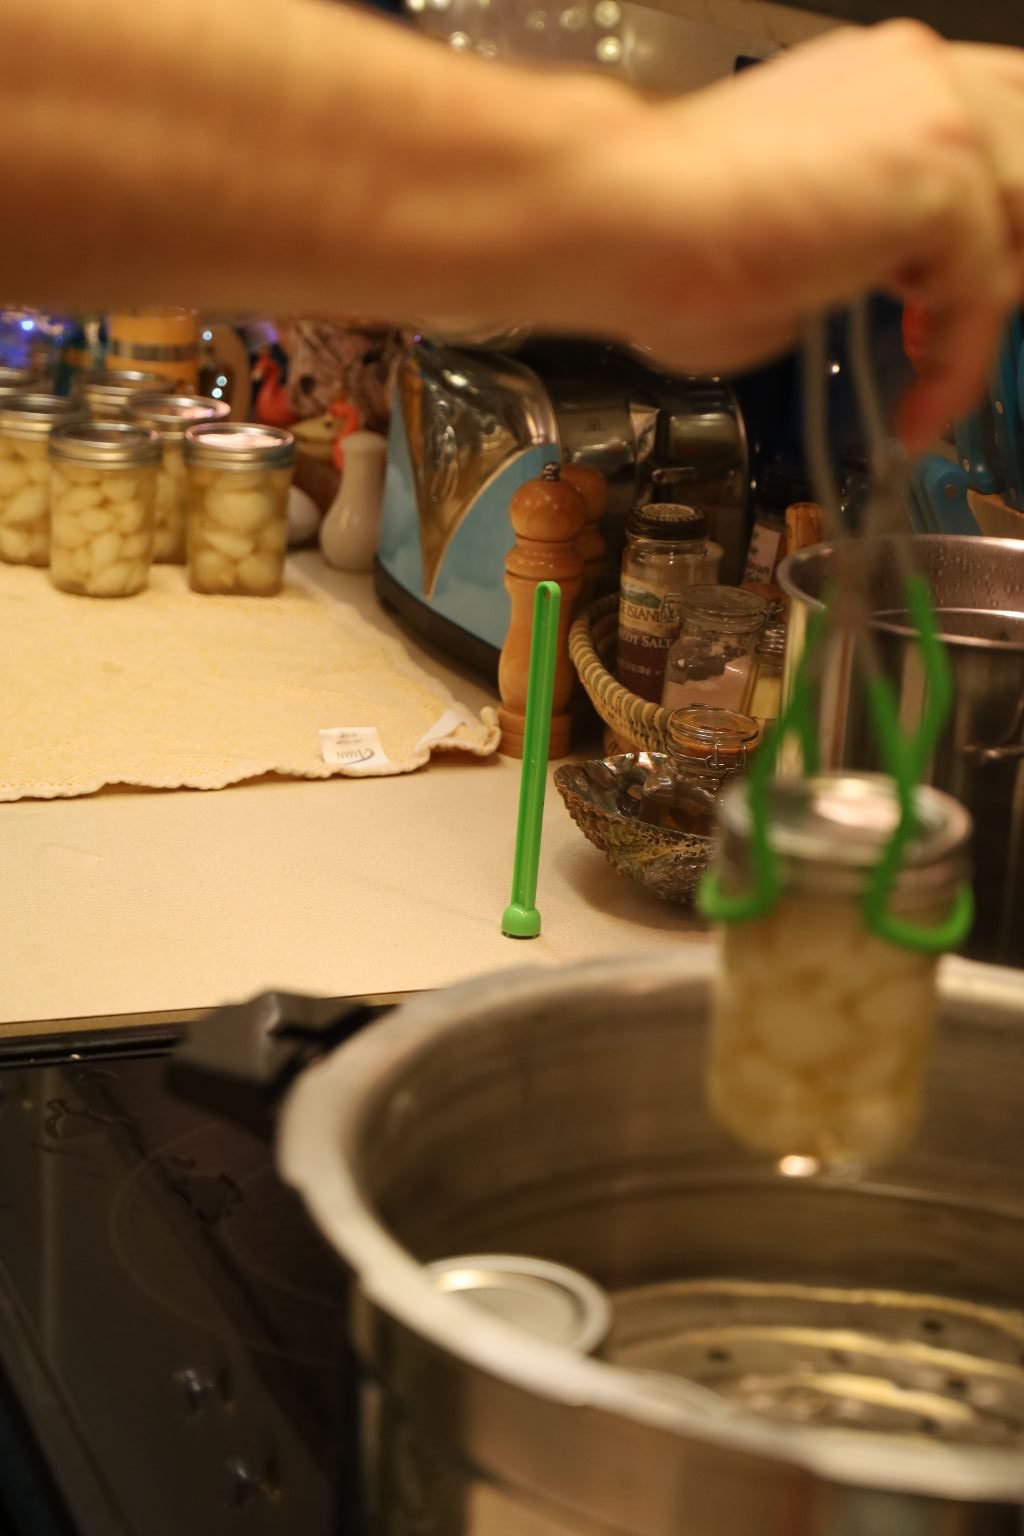
Using these special jar lifting tongs, place the sealed jars into the almost boiling pot of water. Continue to add the jars until the pot is full.
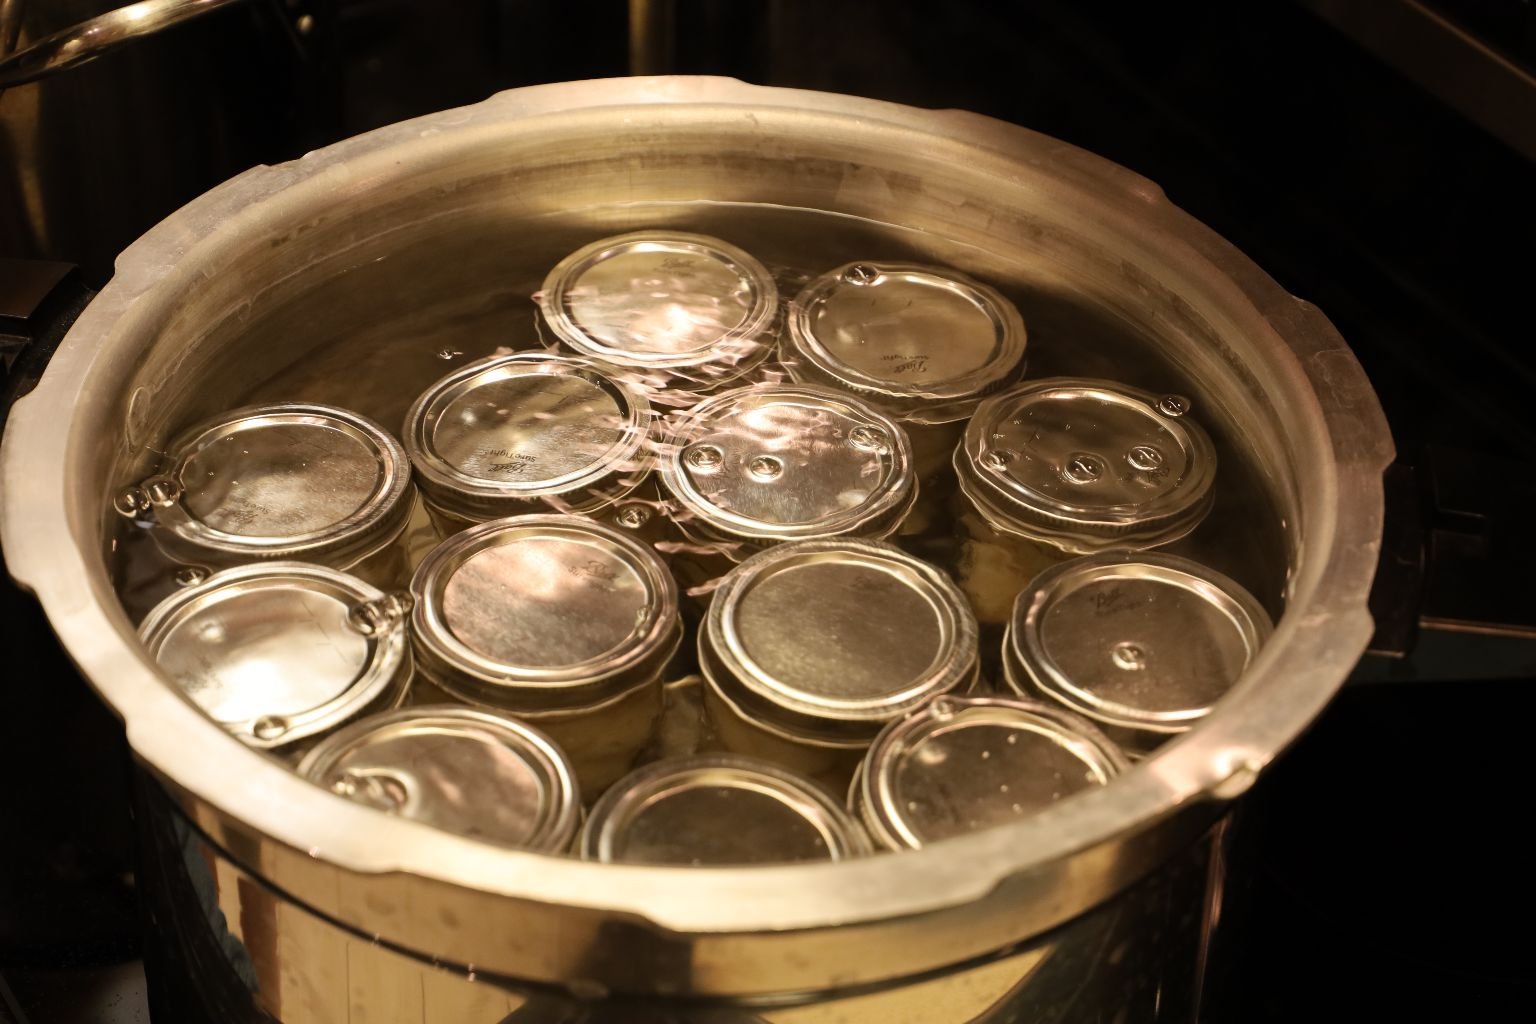
When the pot is filled with jars, ensure there is a layer of water covering the jars. Also ensure you see air bubbles rising from each jar which ensures you haven’t tightened their rings too much. Boil the jars for 10 minutes.
Here you can see I have just a little bit of pickling liquid left over after filling all the jars.
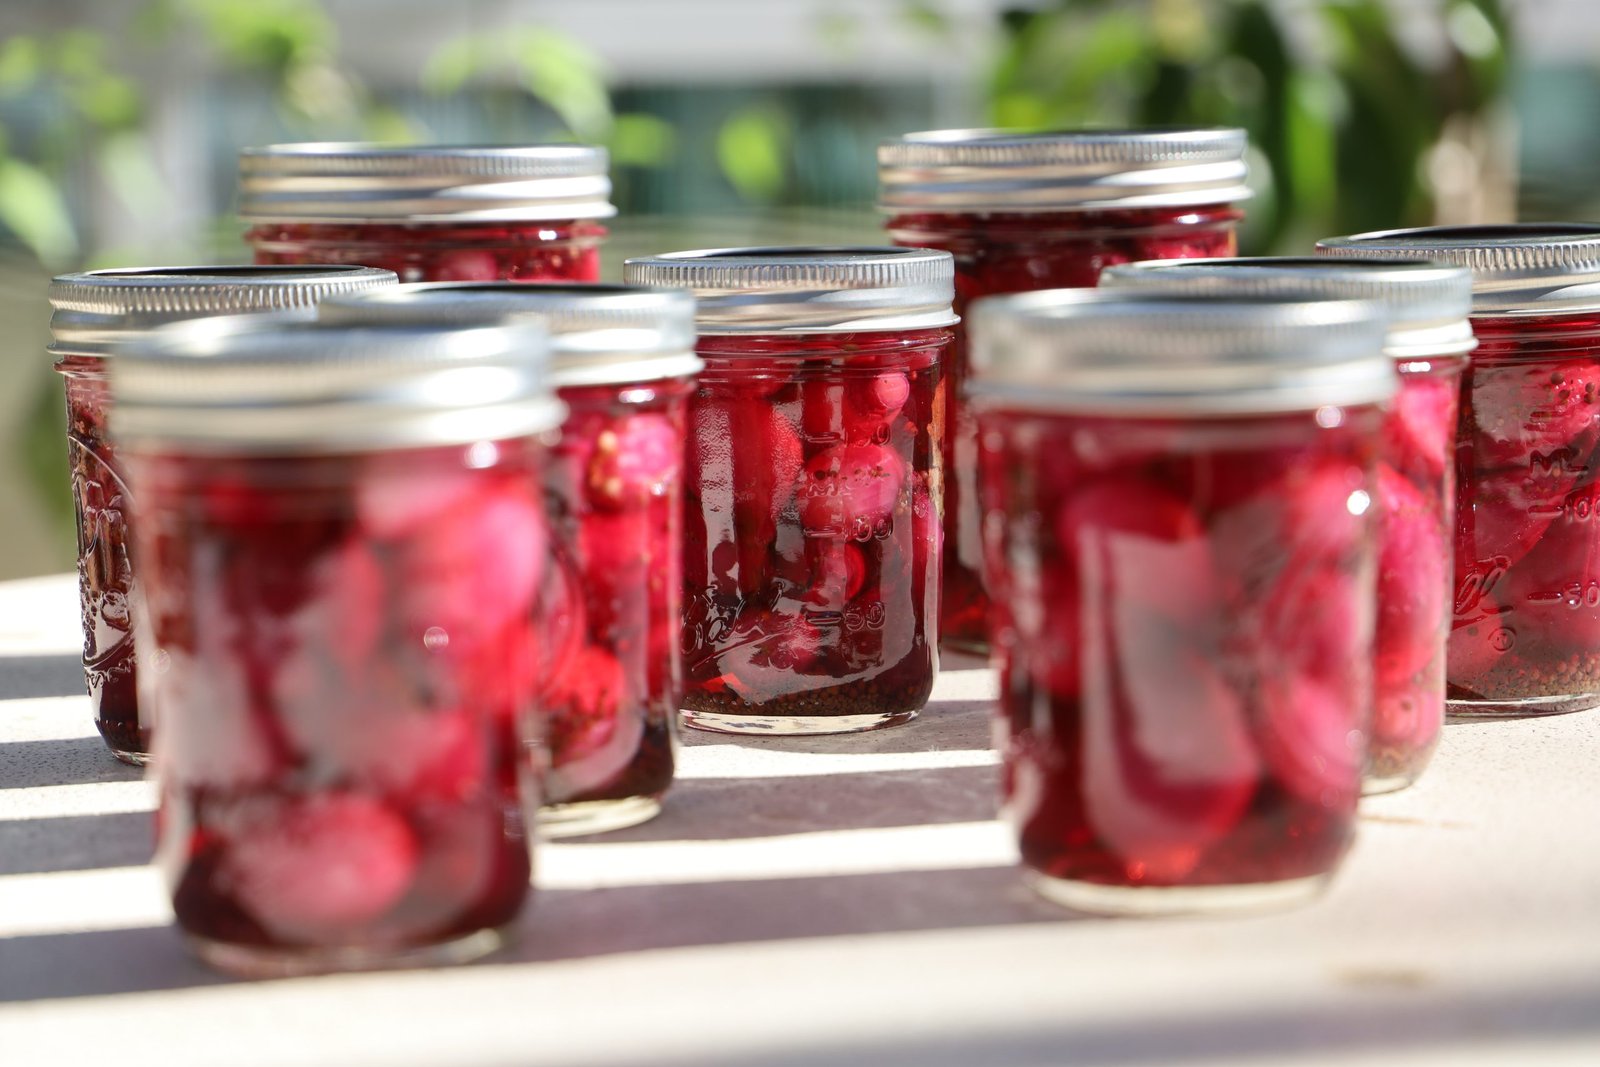
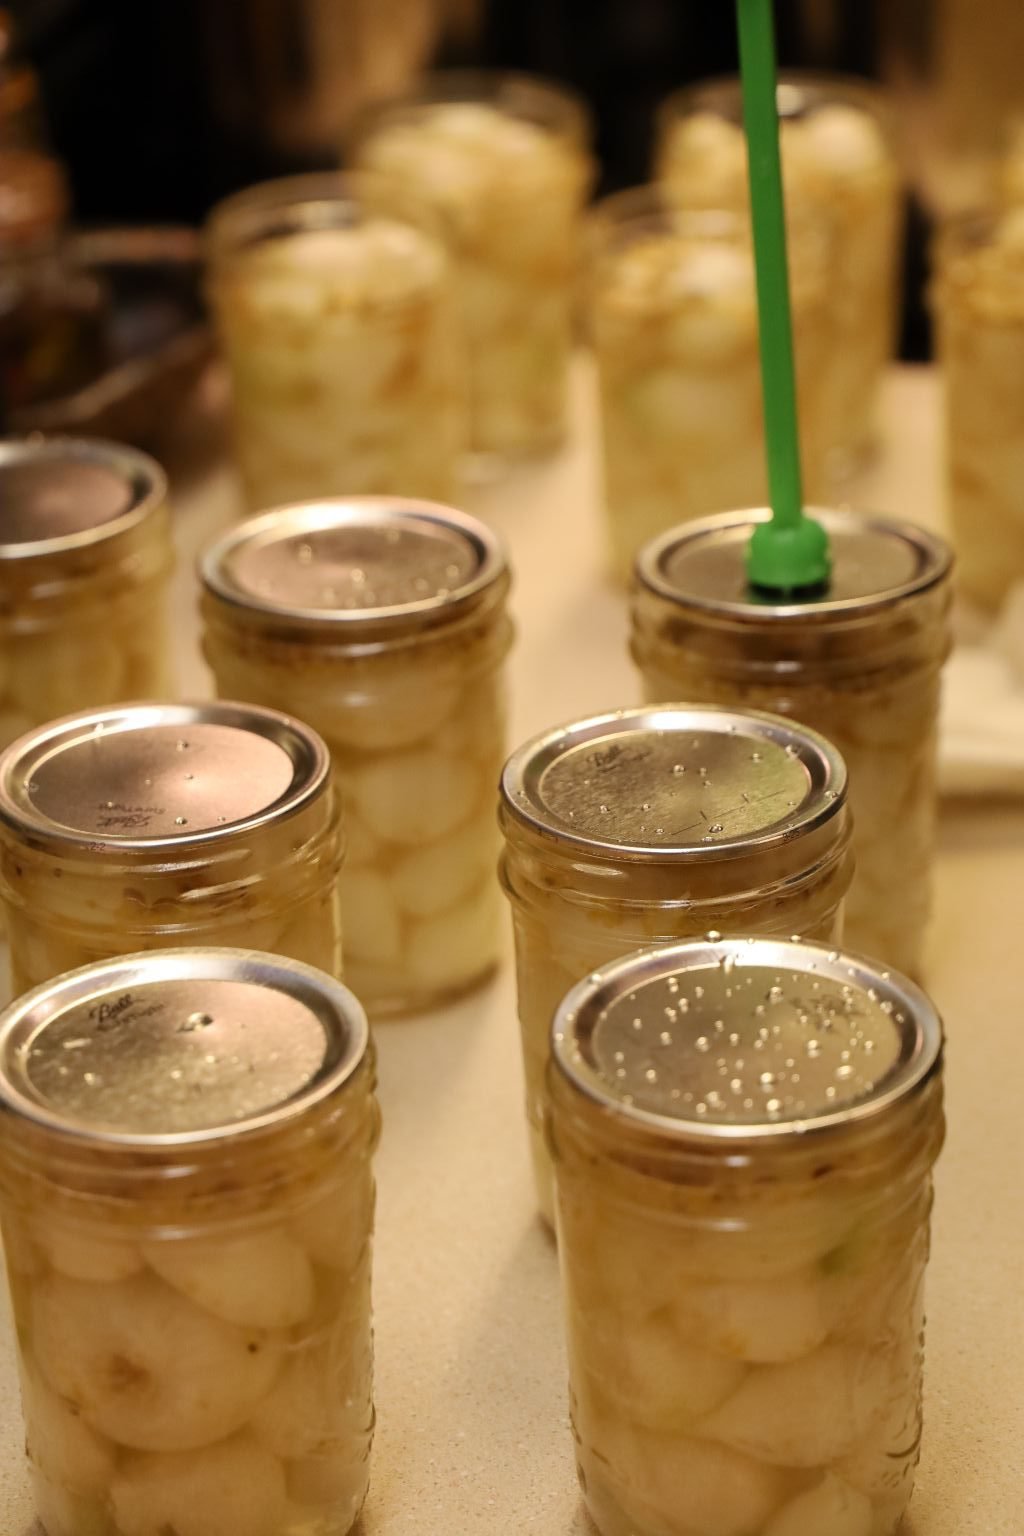
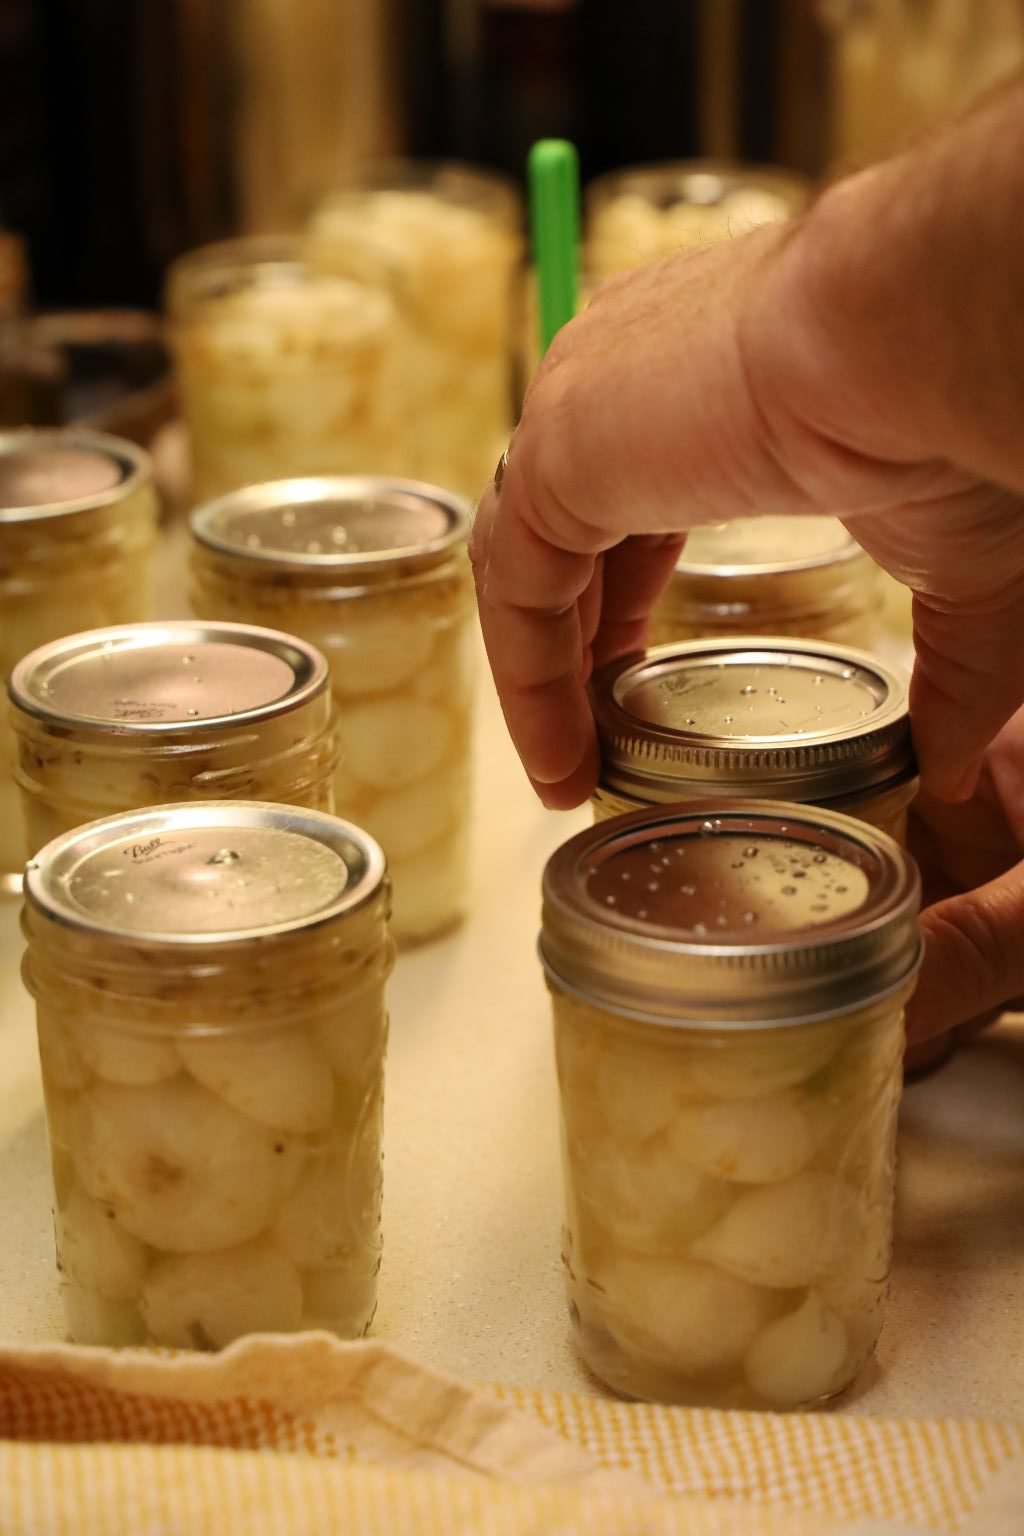
After 10 minutes of boiling, remove the jars with your rubber tongs.
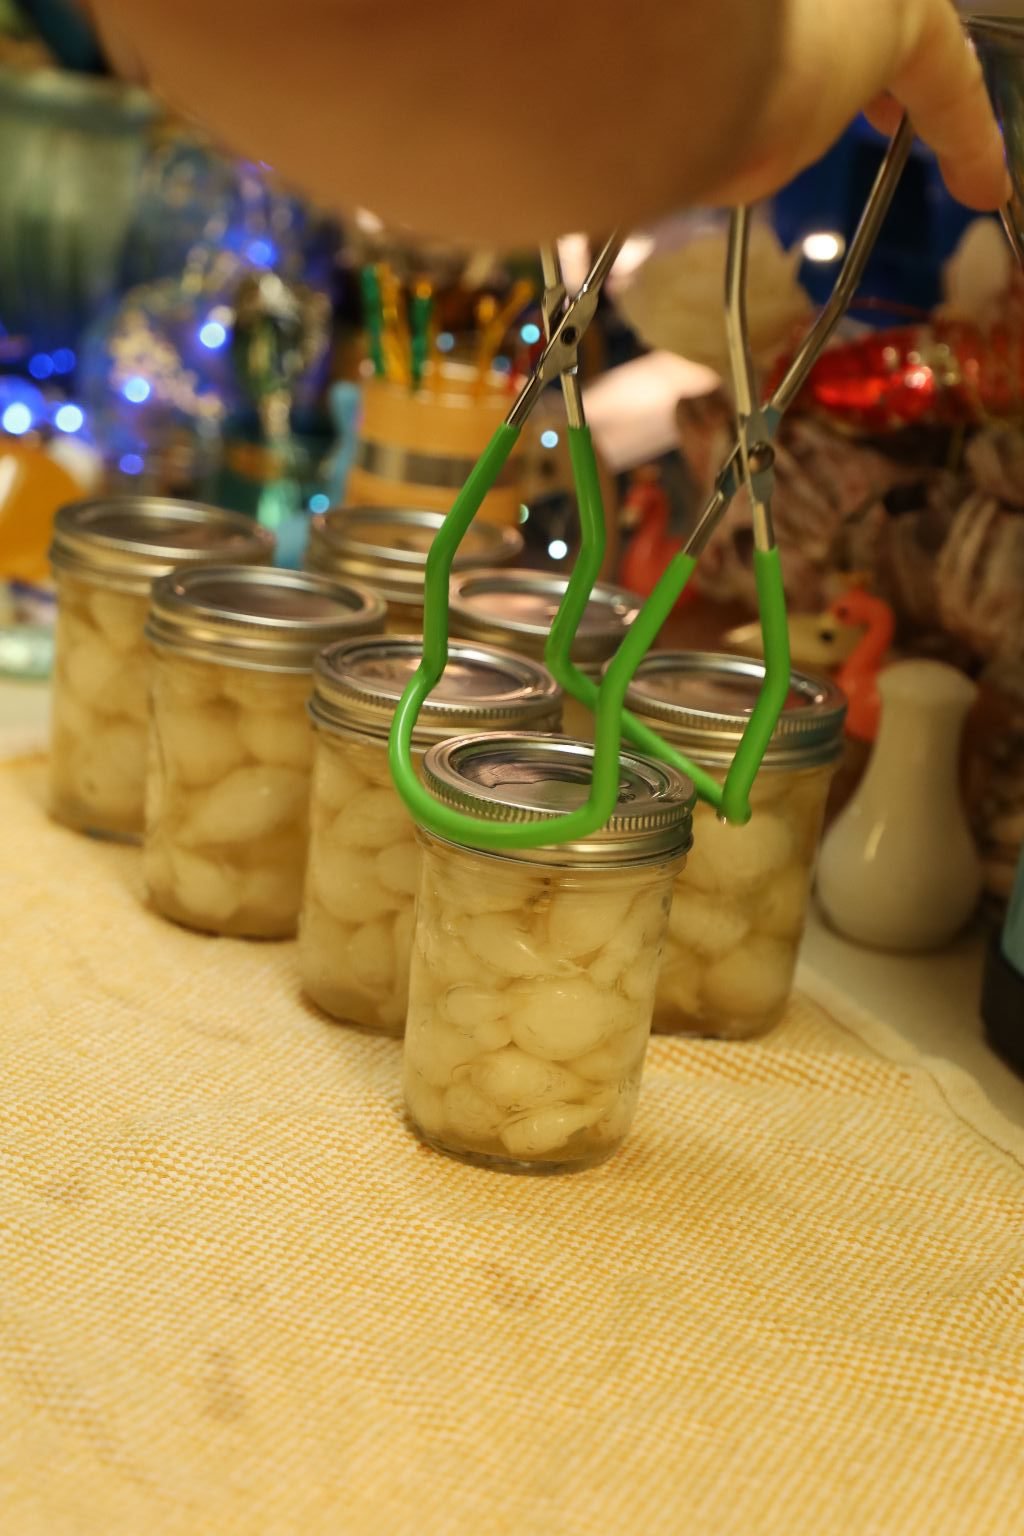
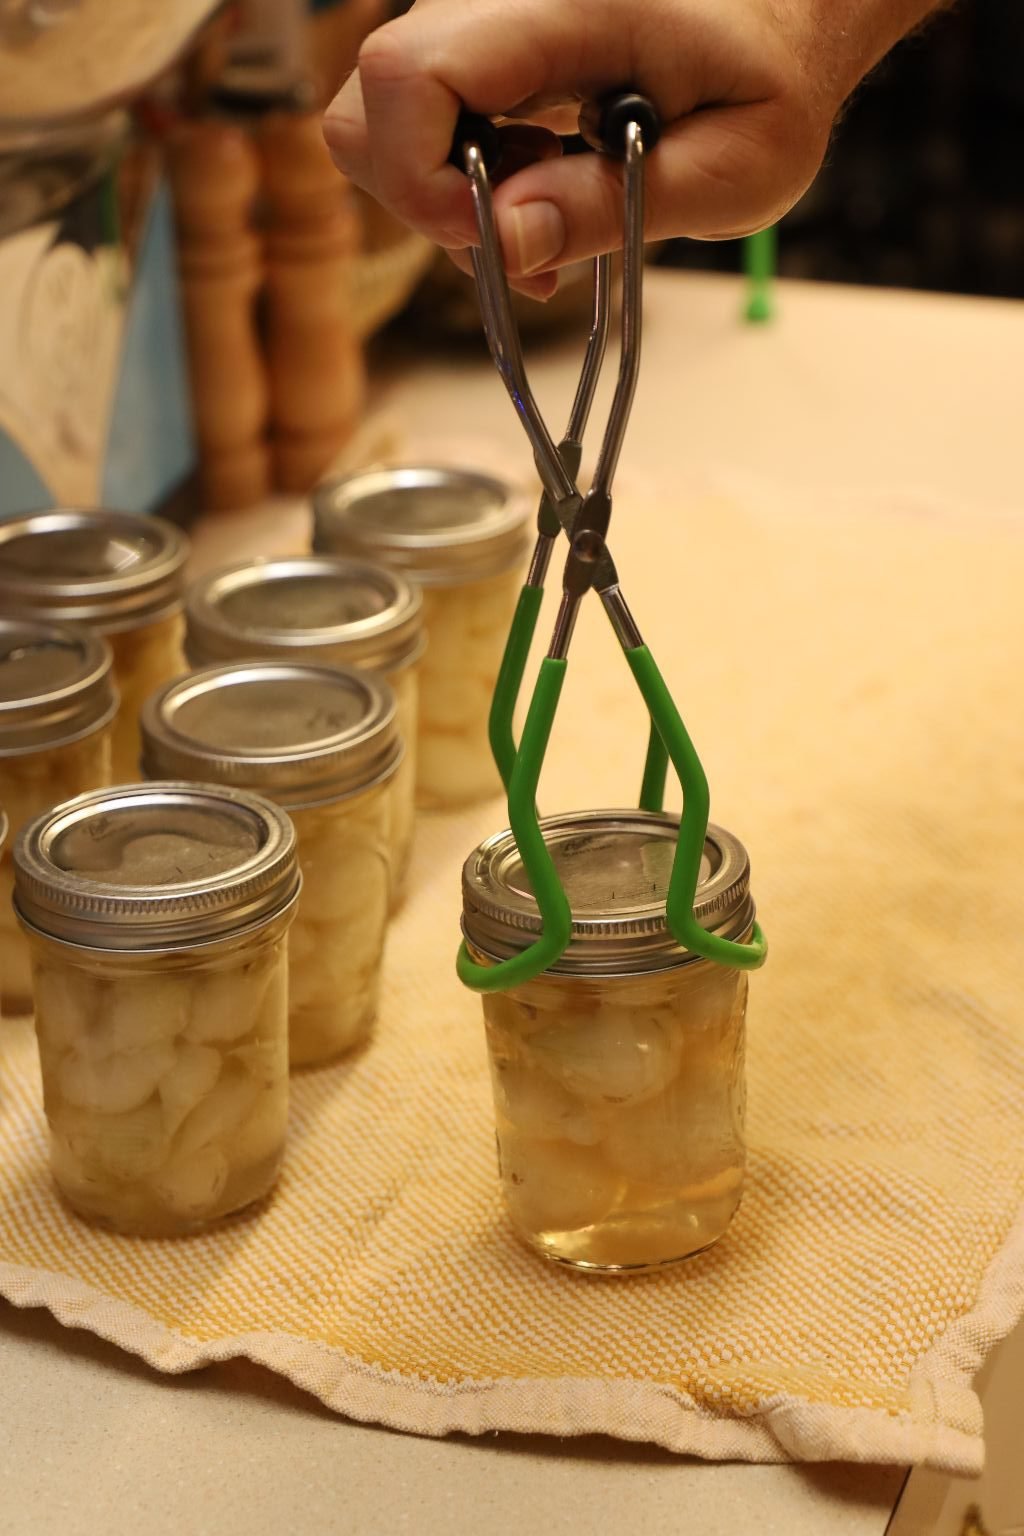
Place the jars on a clean towel to absorb any excess water.
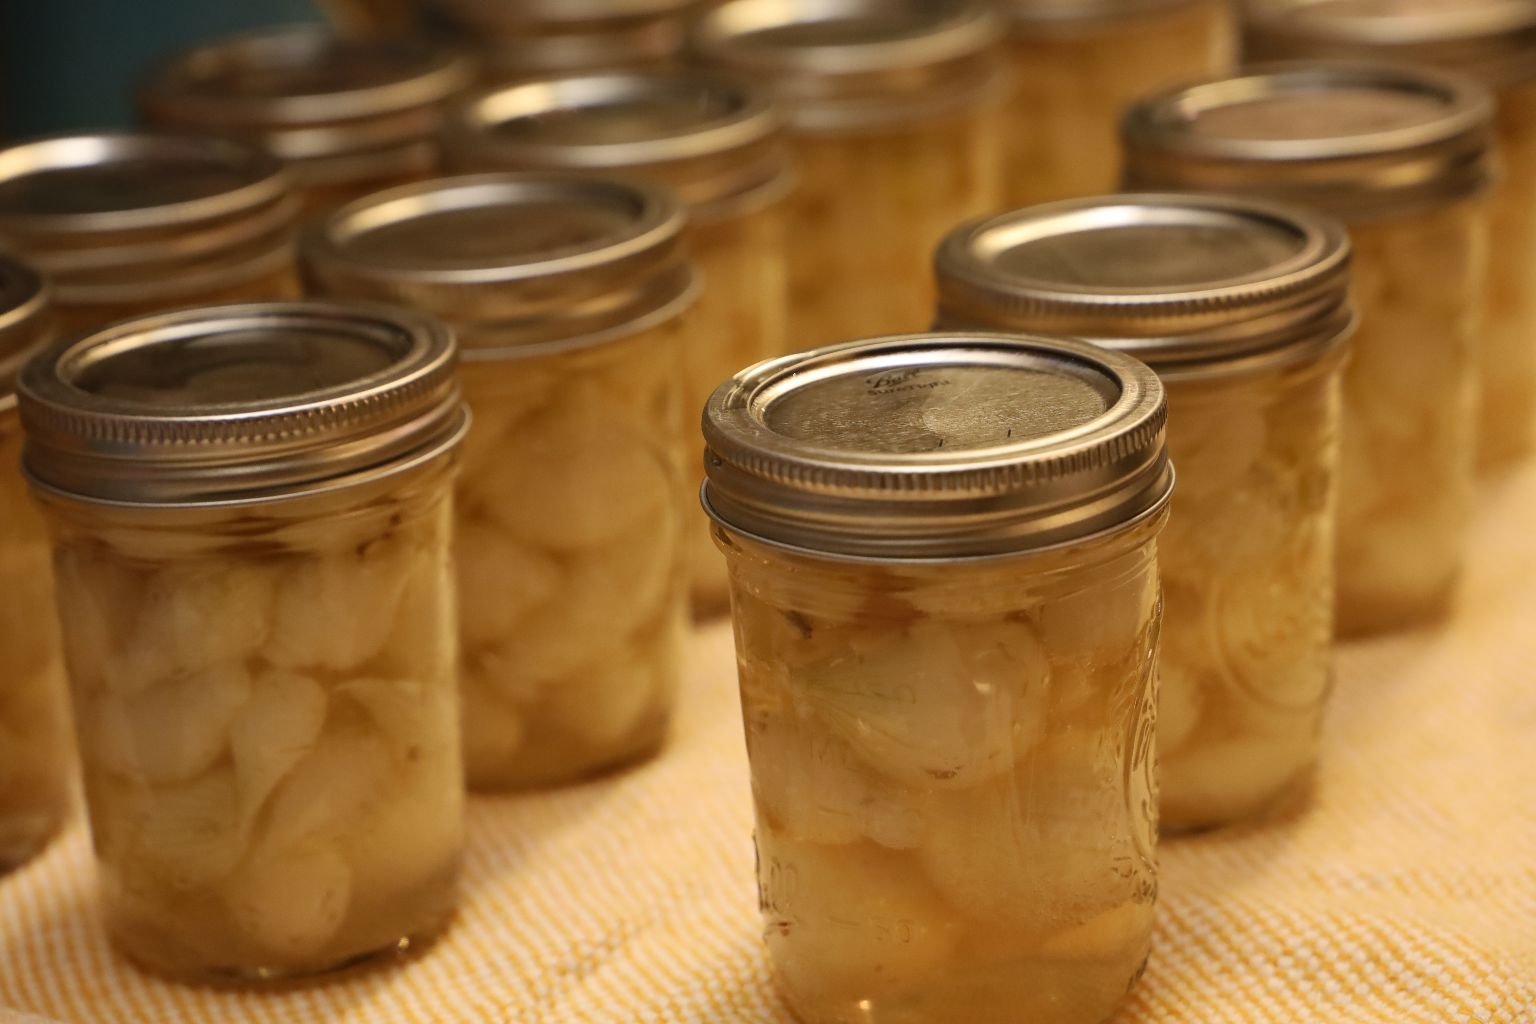
Listen for each jar to pop as that is the action of the lid being sucked down by the vacuum created inside the jar. This may take about 10 minutes to happen. If the lid of the jar isn’t down and sealed, you must redo the entire canning process of that jar using a new lid. Likely the reason the lid didn’t seal was due to not enough headspace inside the jar or there was something between the jar and the lids rubber seal. In this next step, remember the jars will be very hot. When your jars are sealed, carefully remove the ring and wipe any excess water off the lid and ring as this could cause those items to rust over time. Of note, the ring is only on the jar so the lid doesn’t get hit causing the seal to break. When the top of the lid and the ring are dry, replace the ring finger tight. Space out the jars so they can cool which will take a few hours.
—————————————————————
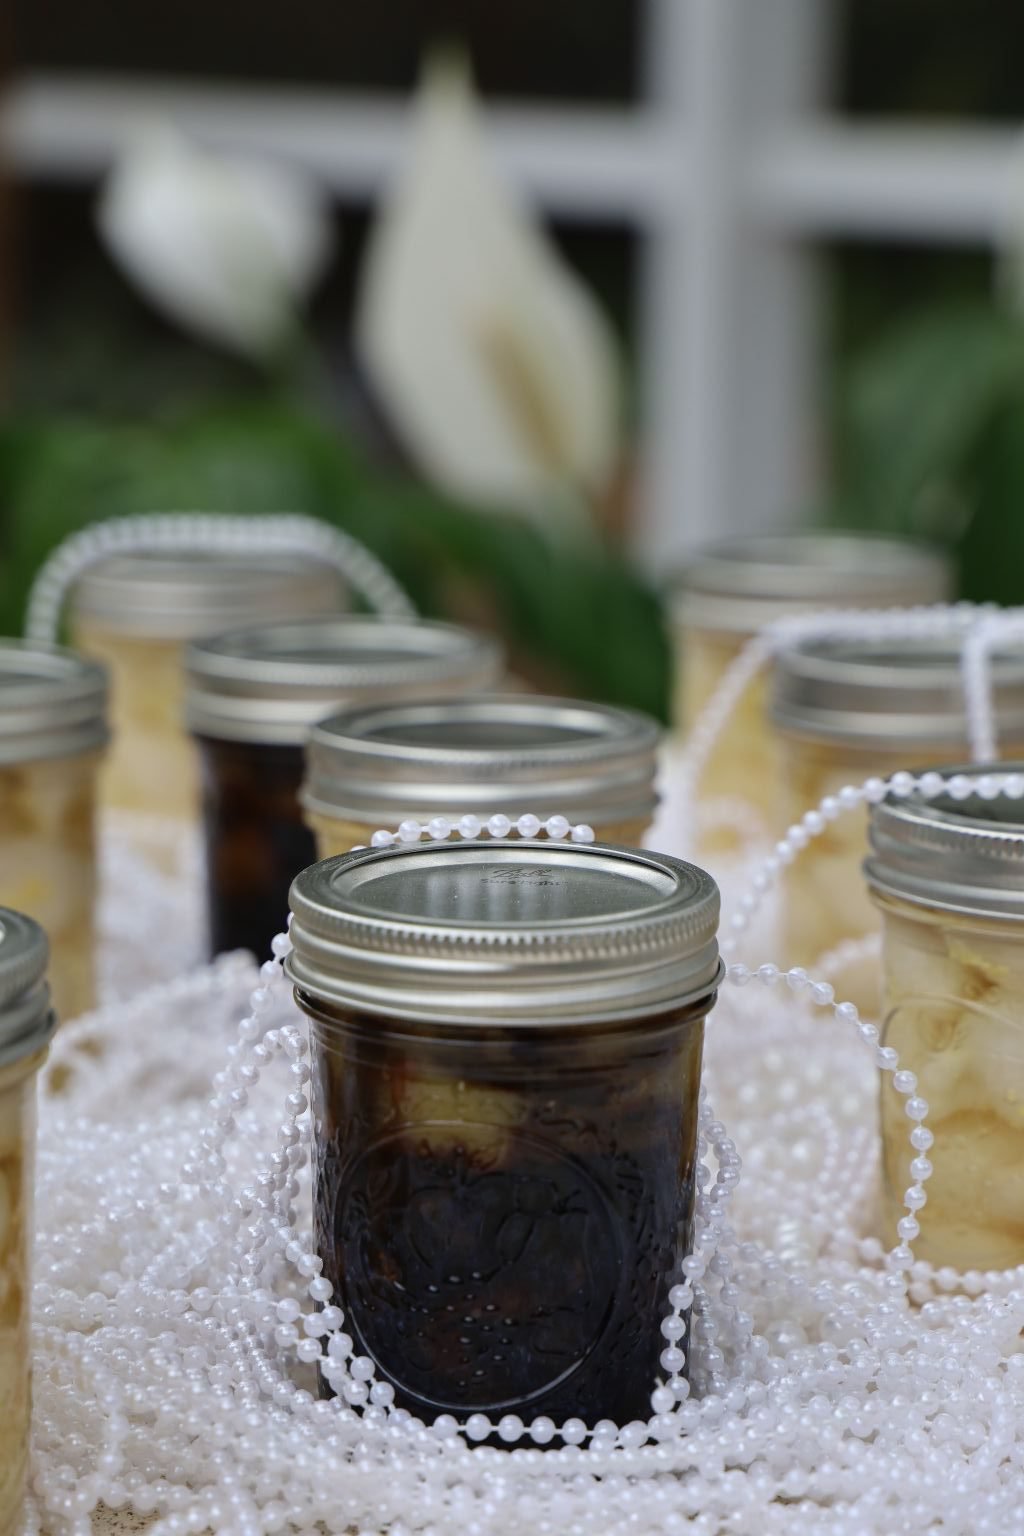
BLACK PEARLS
Ingredients:
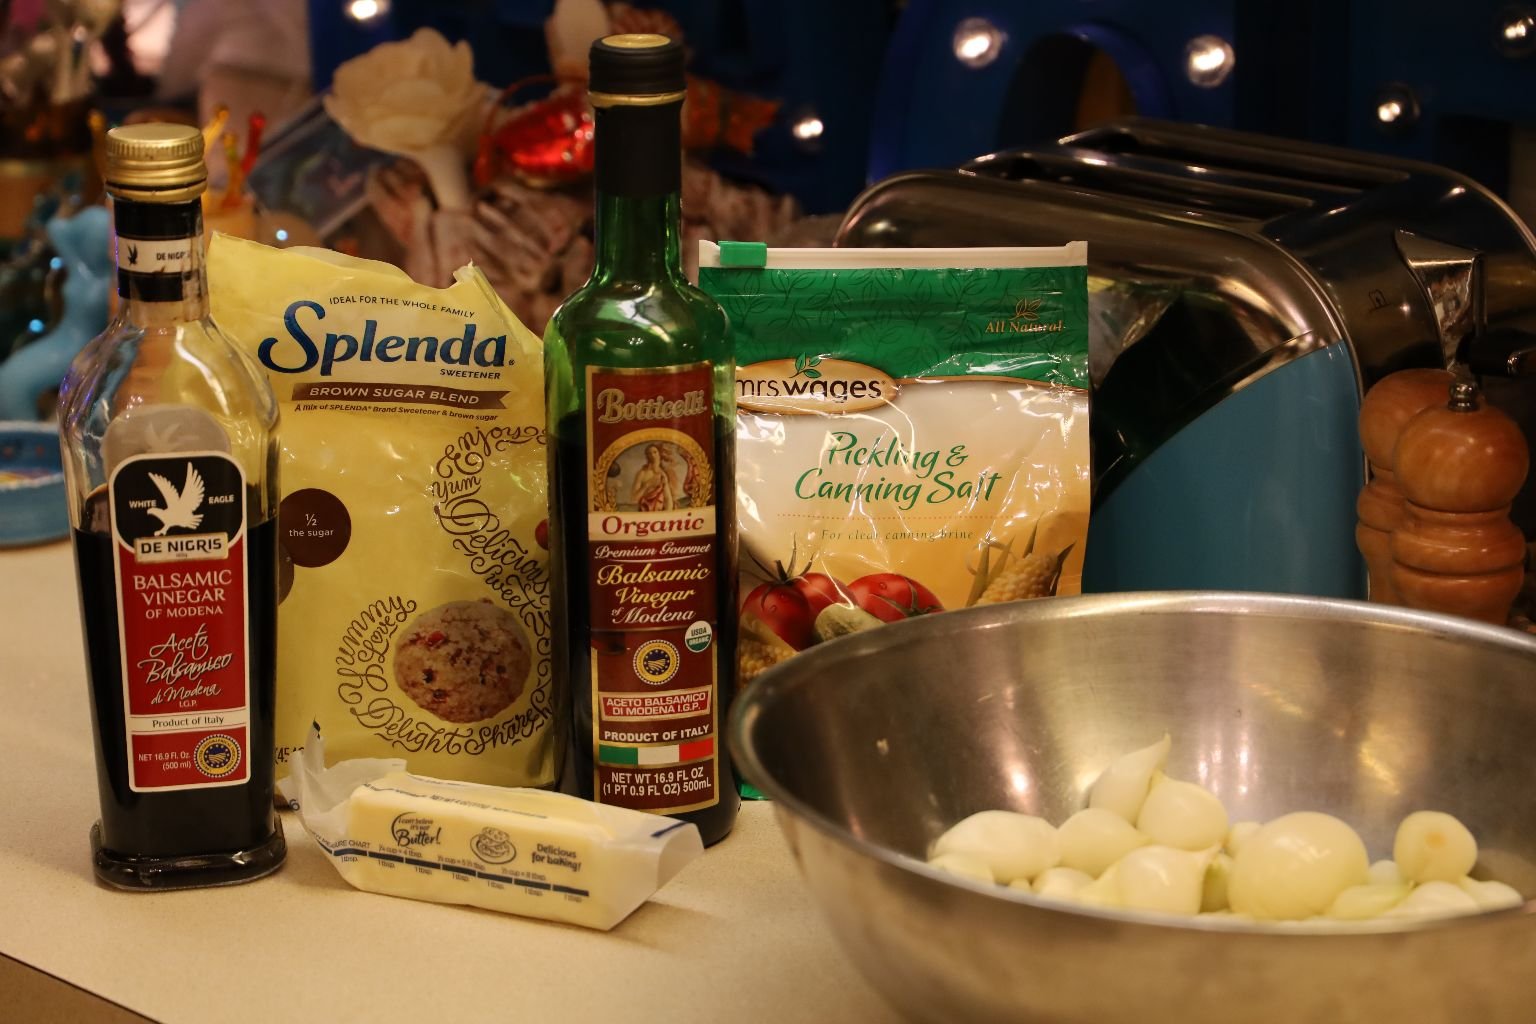
~2 lbs. White Pearl Onions – Peeled
1 Stick Butter – 8 Tbsp.
3/4 Cup Splenda Brown Sugar
3 Cups Balsamic Vinegar
1/2 tsp. Pickling & Canning Salt

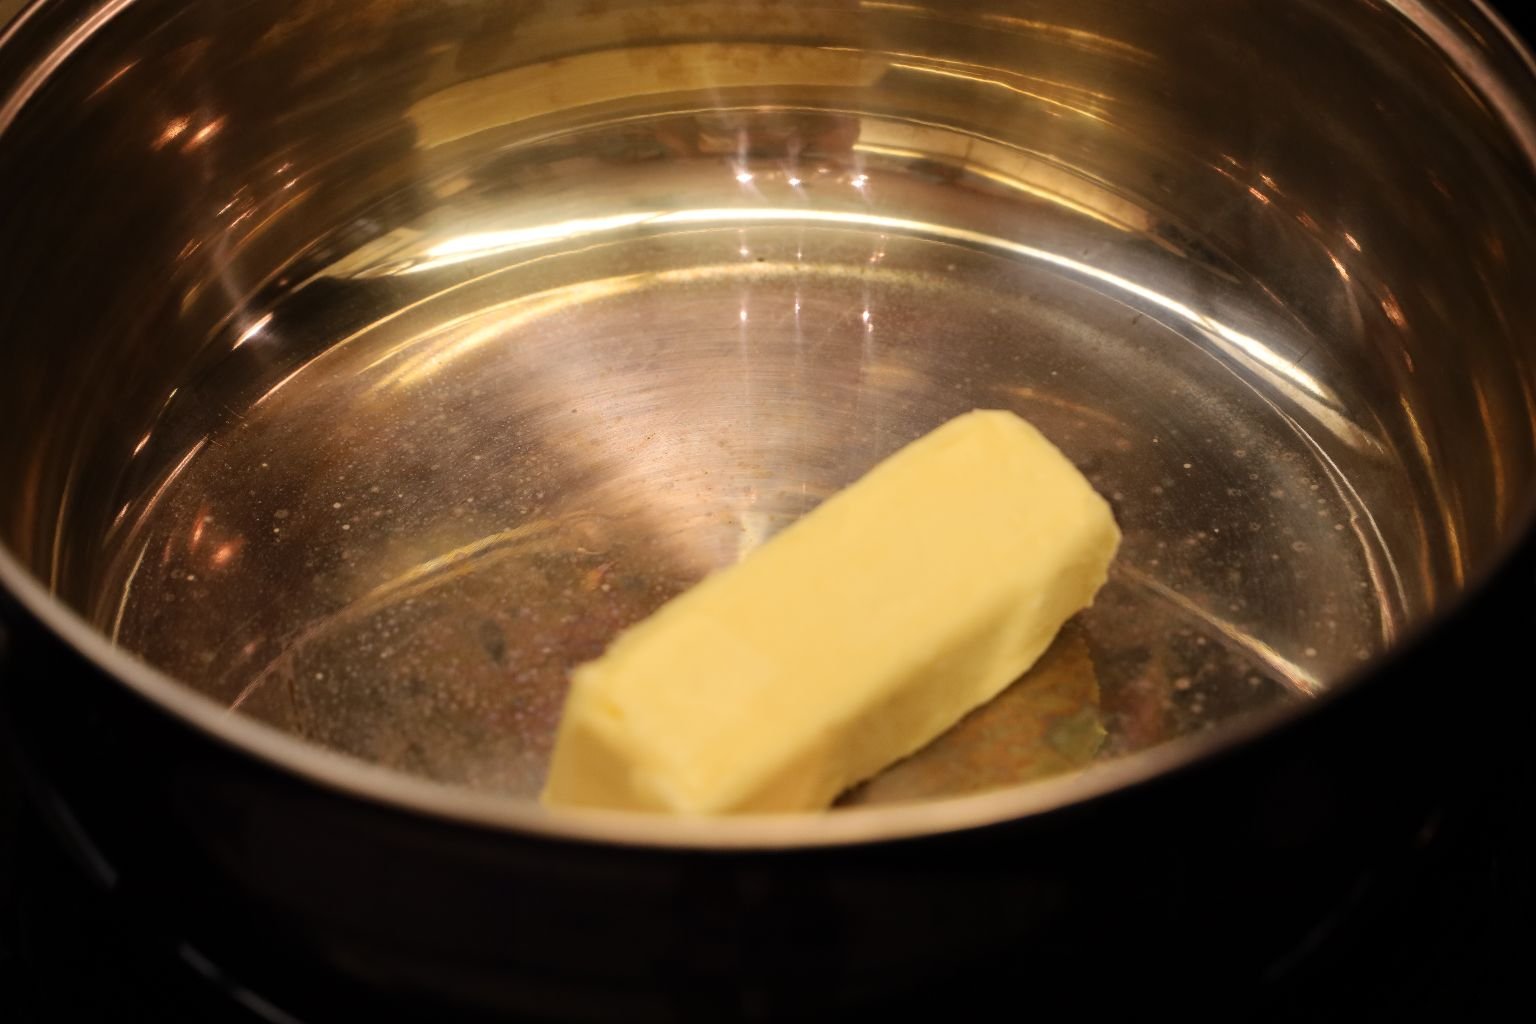
In a large pot of boiling water, add your Pearl Onions and cook for one minute then drain the onions using a colander. Place the onions in cold water to stop the cooking process. When the onions have cooled, remove their outer skins and set aside. In another large pot, add your butter and begin to melt it on medium heat.
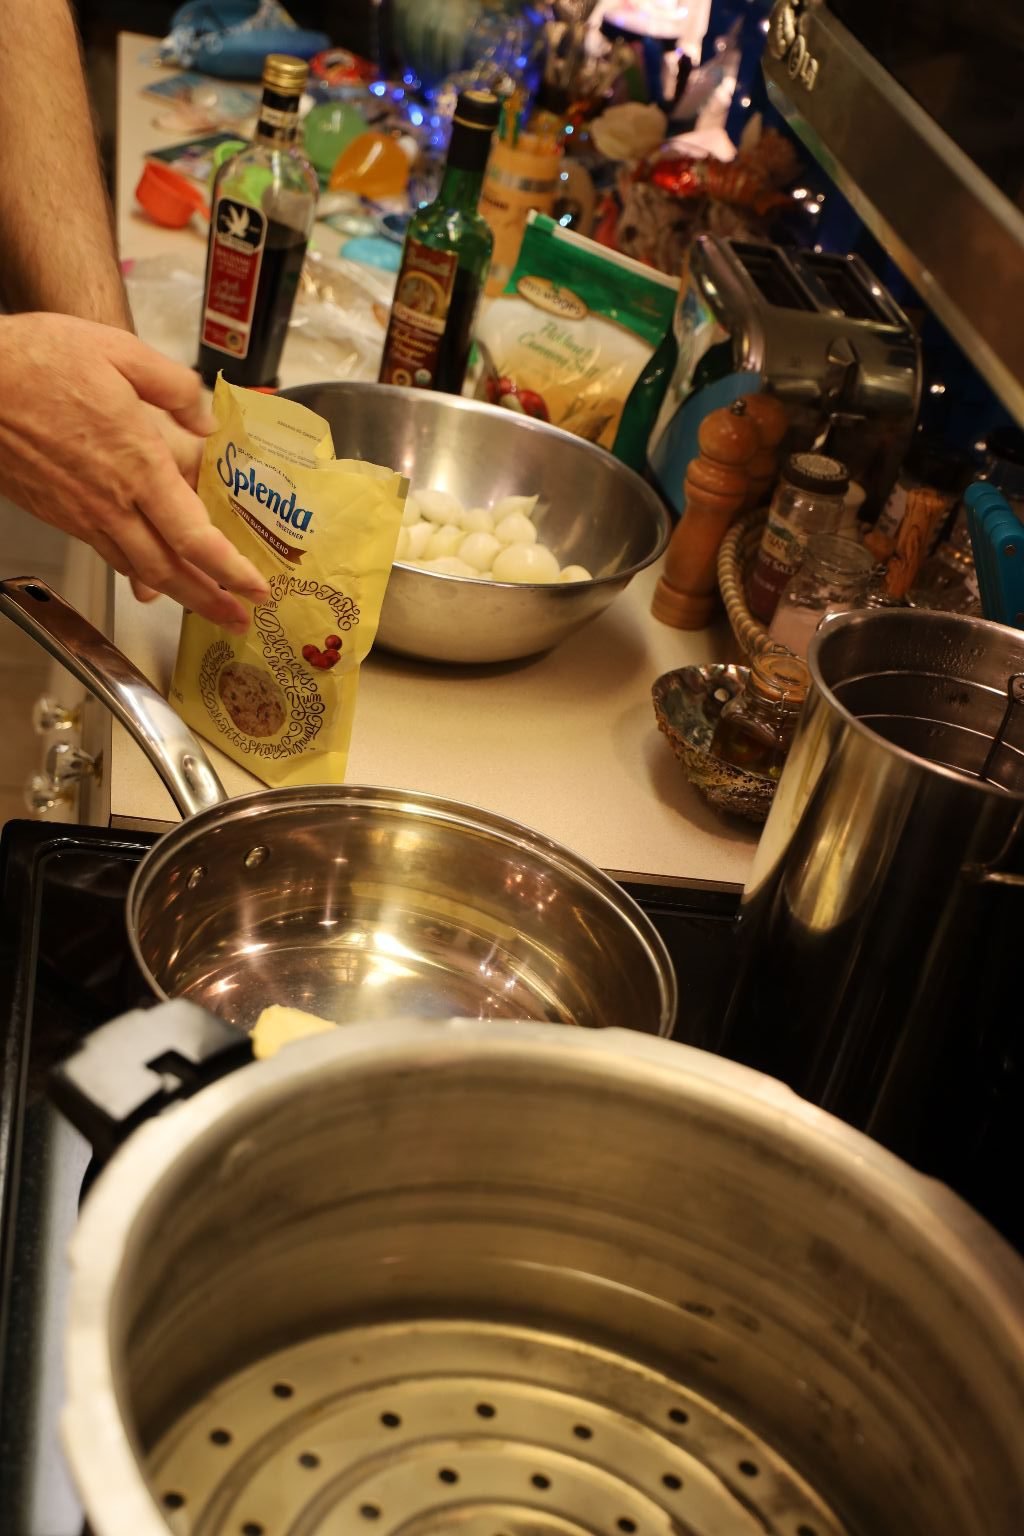
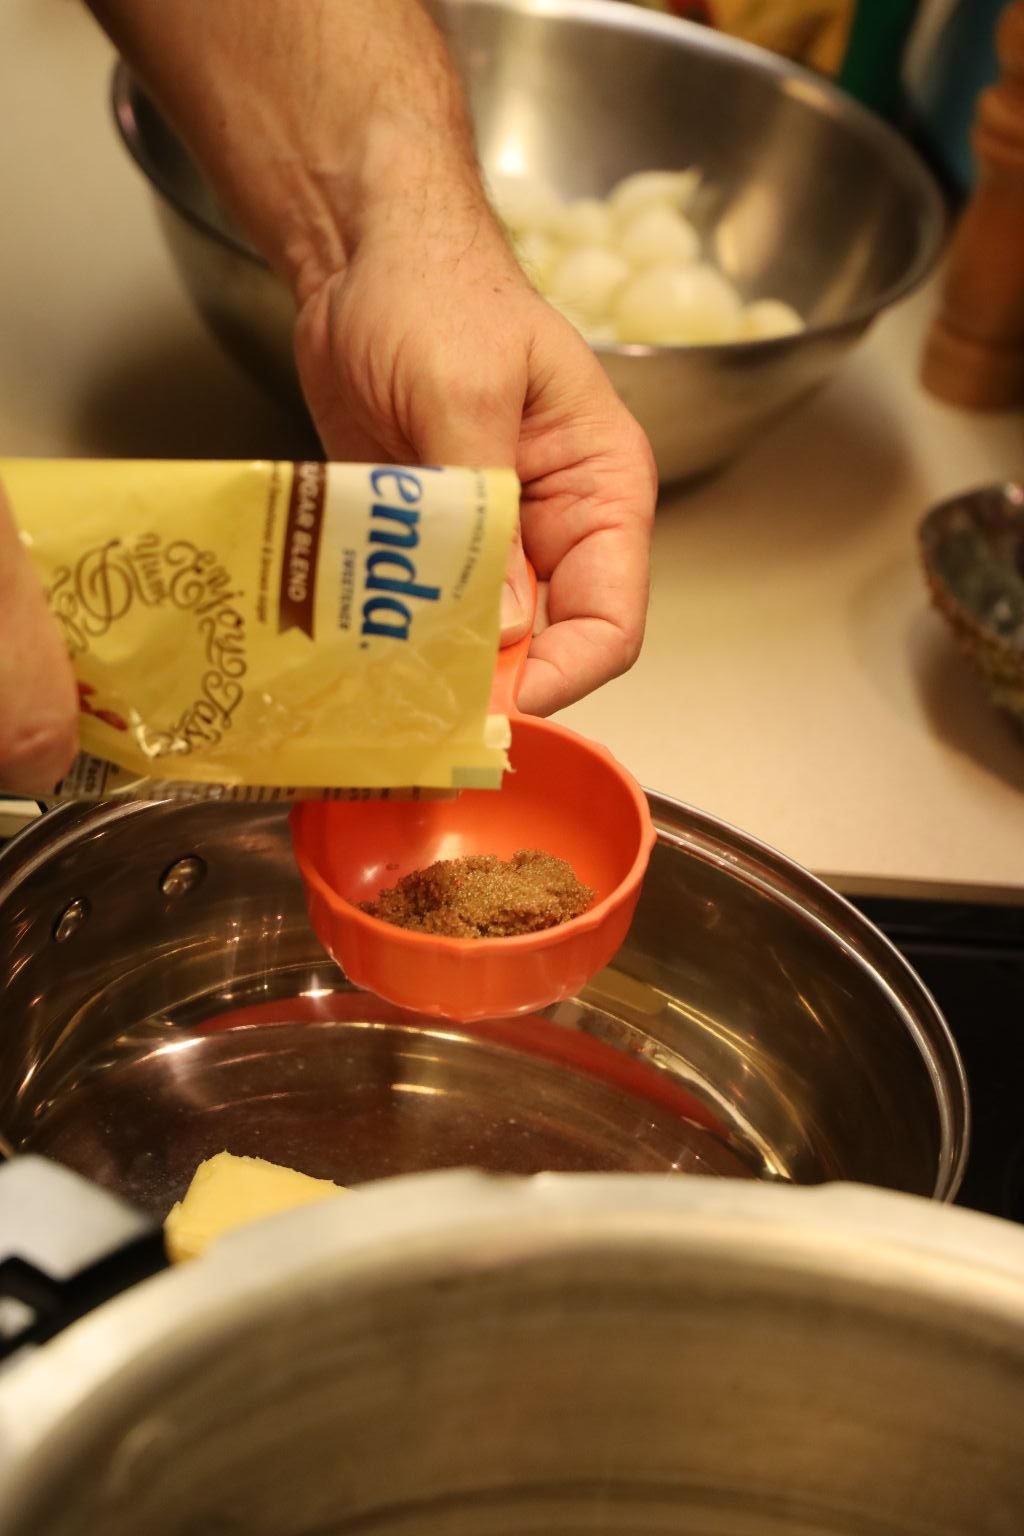
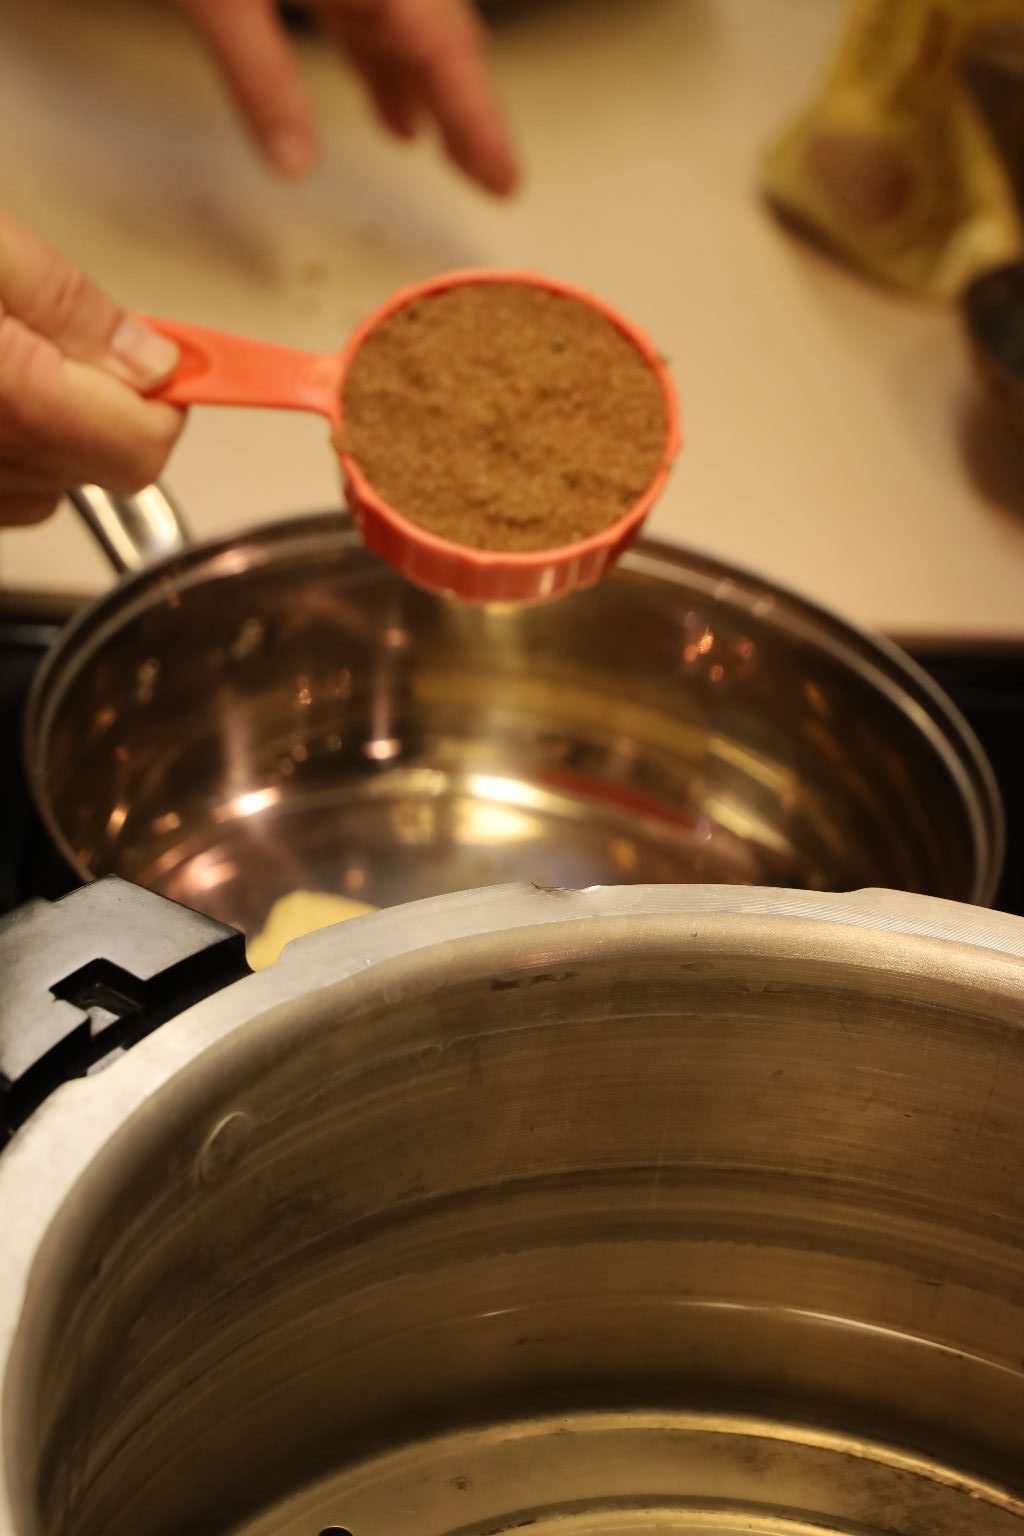
Add your brown sugar to the pot.
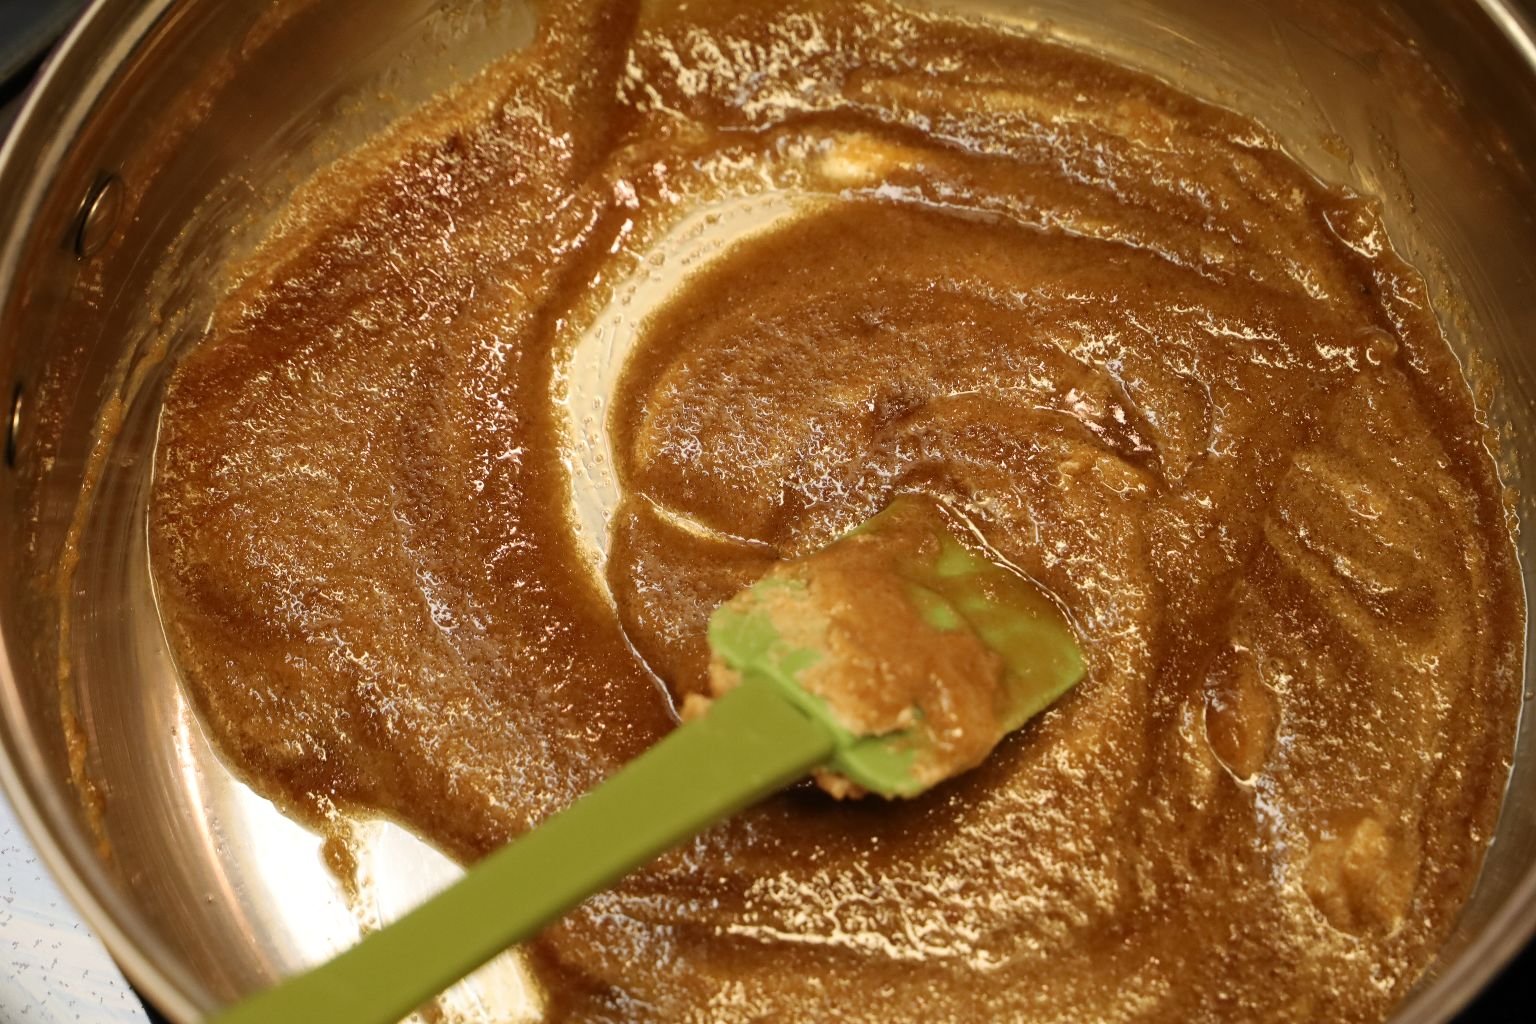
Stir the butter and brown sugar mixture until combined.
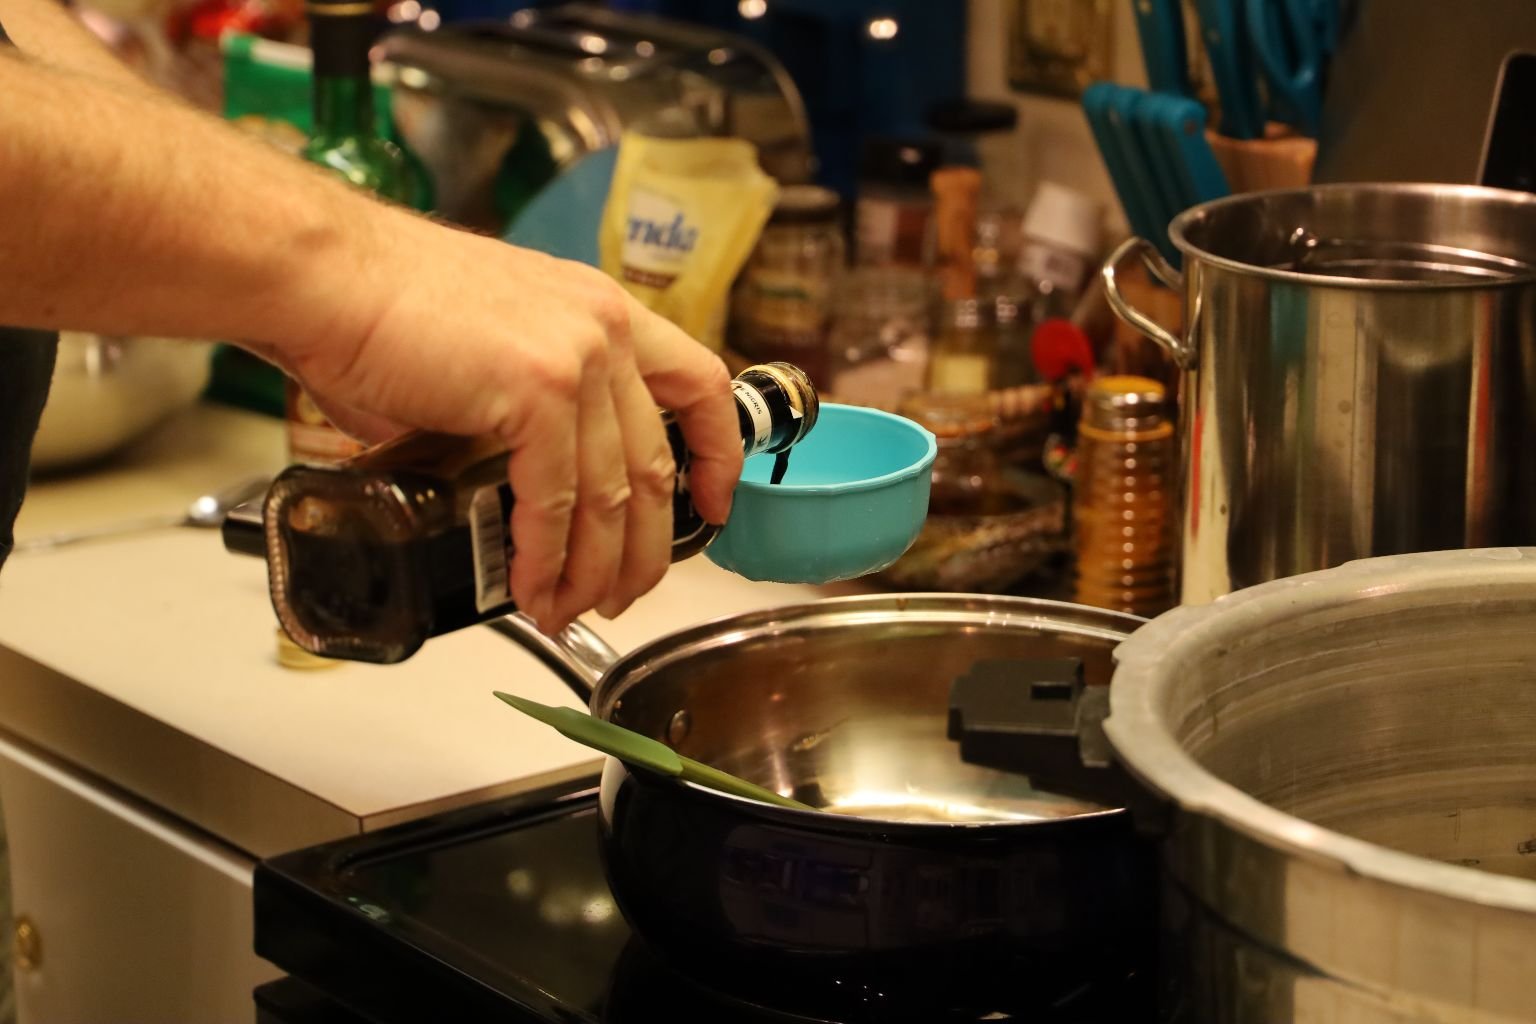
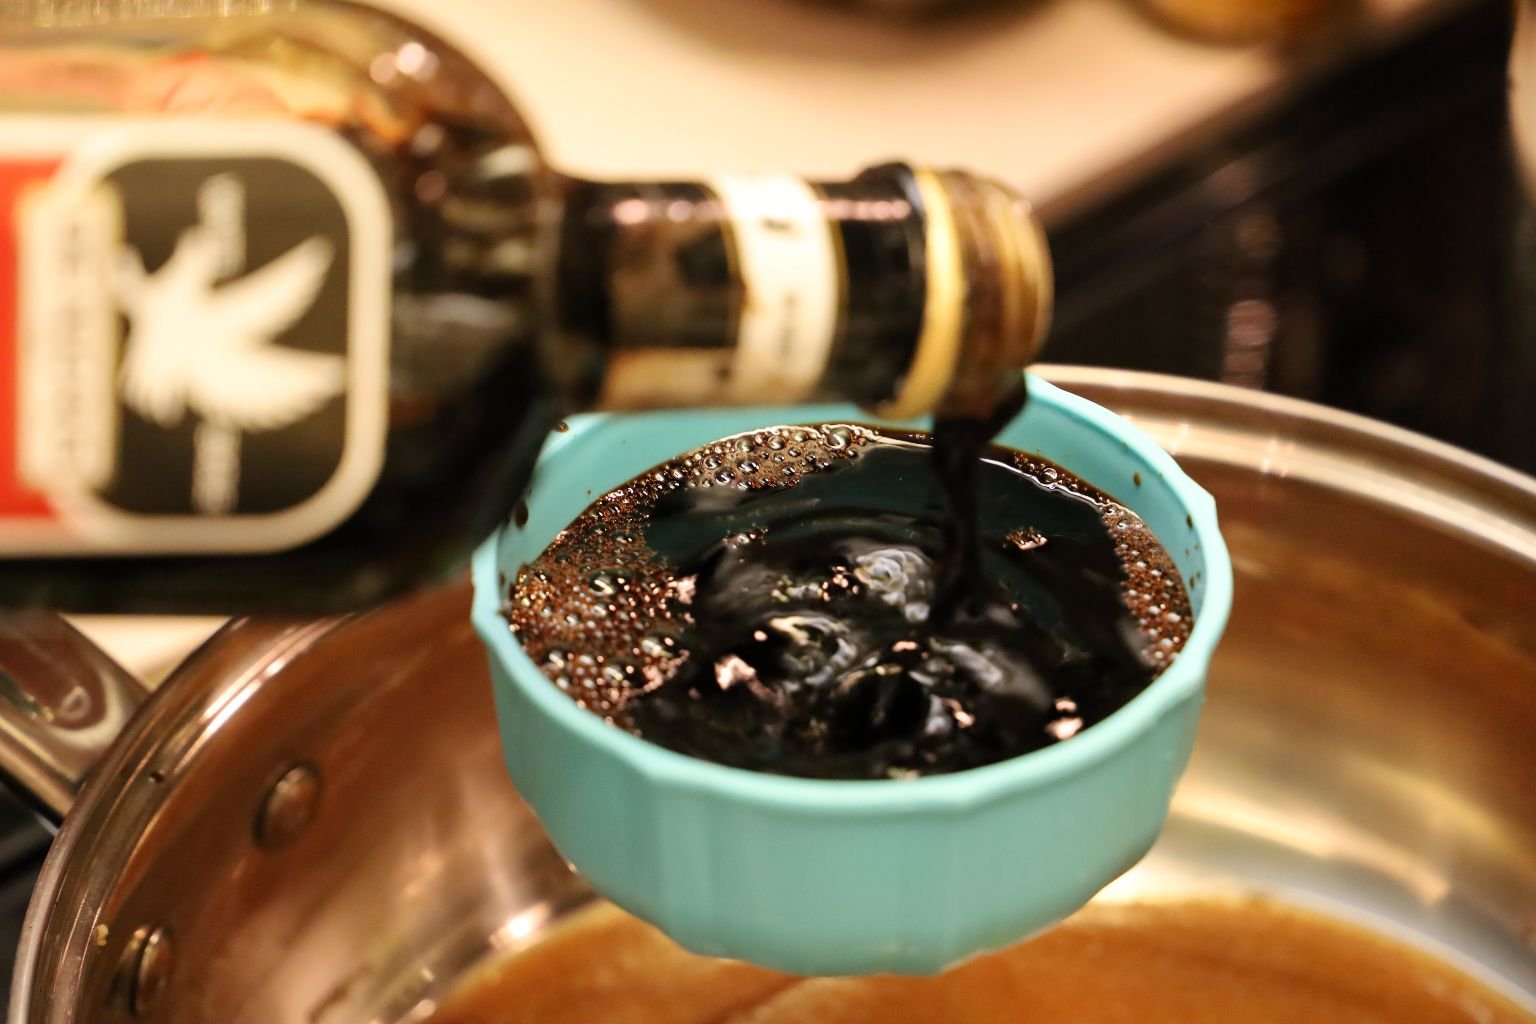
Add your balsamic vinegar to the pot.
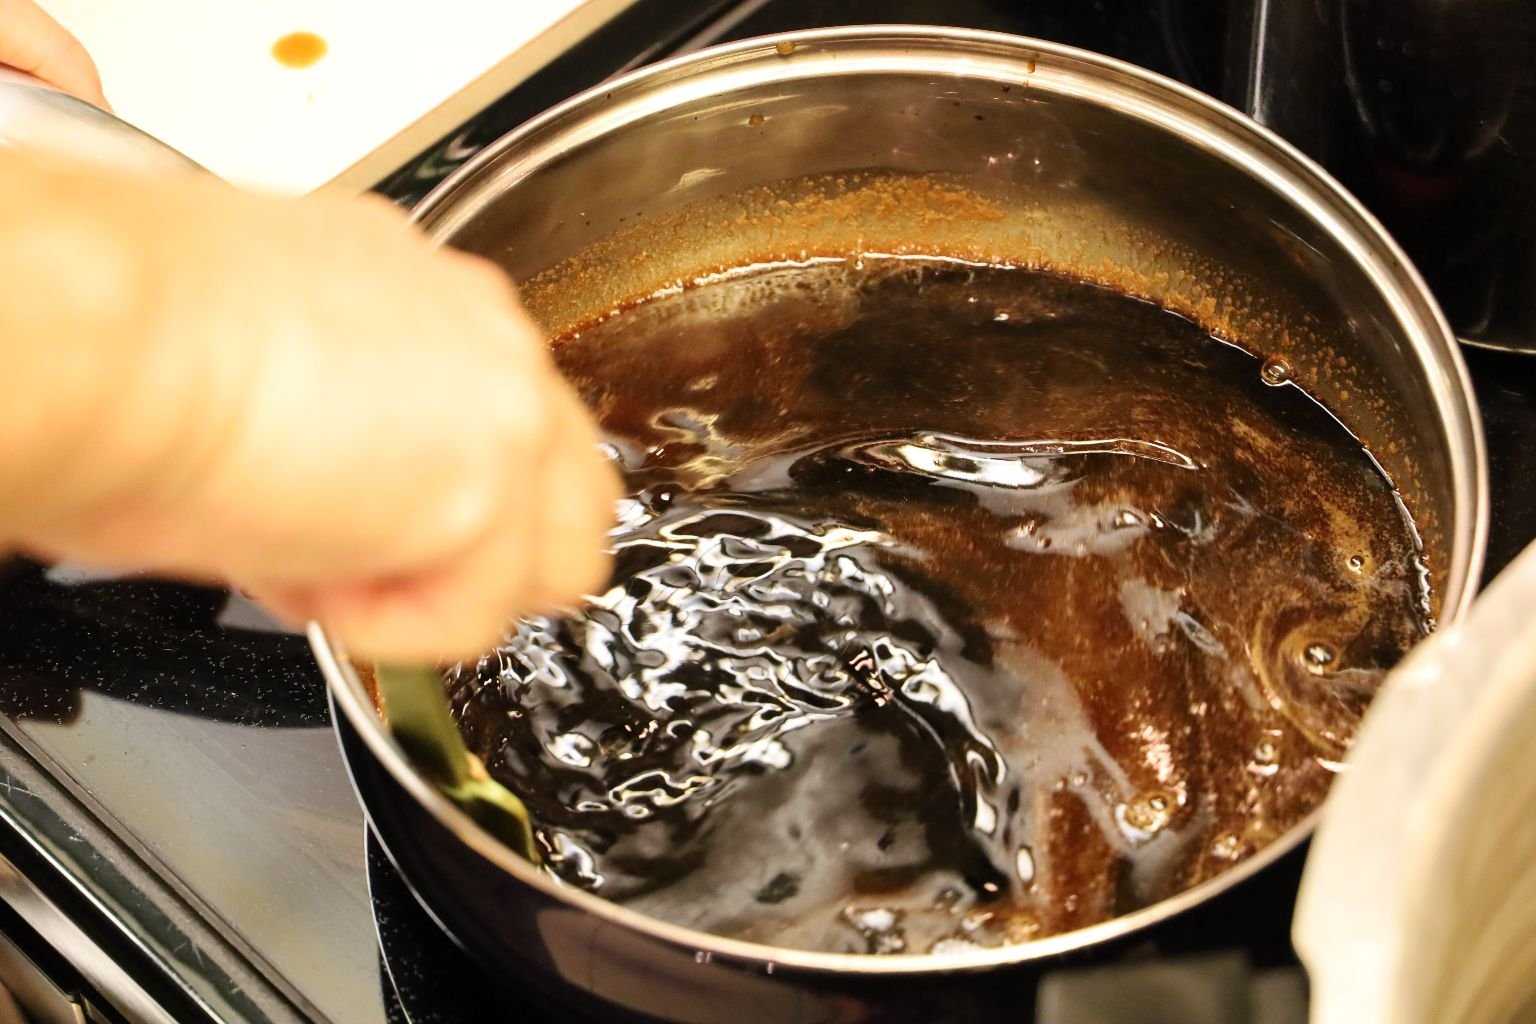
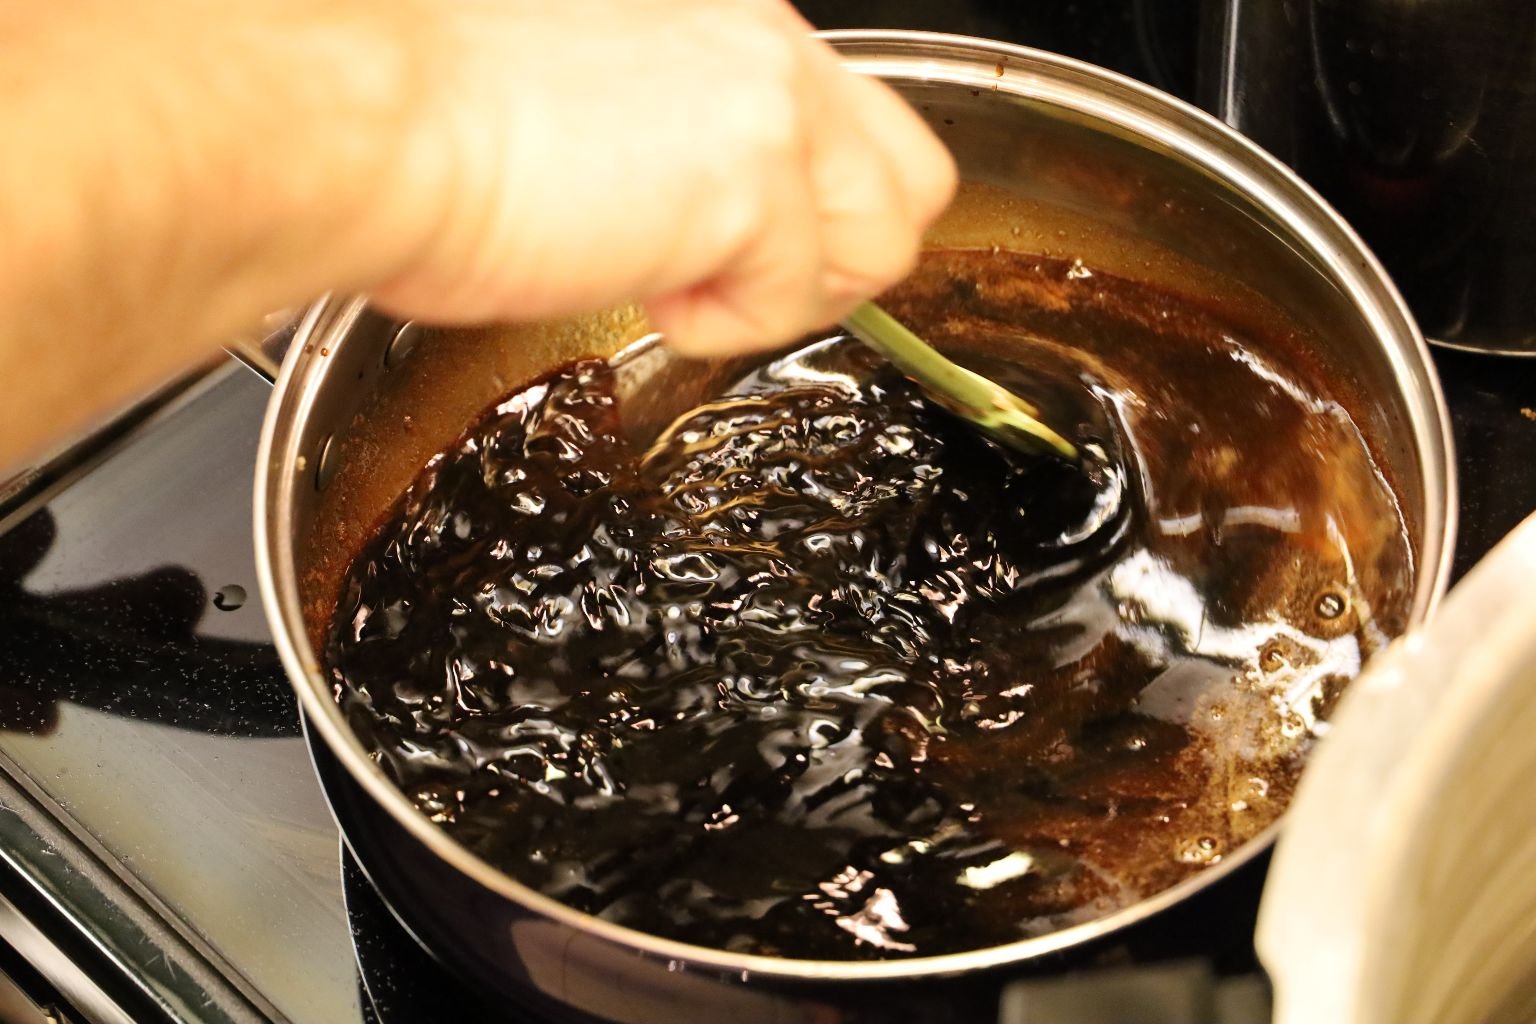
Stir all the ingredients together.
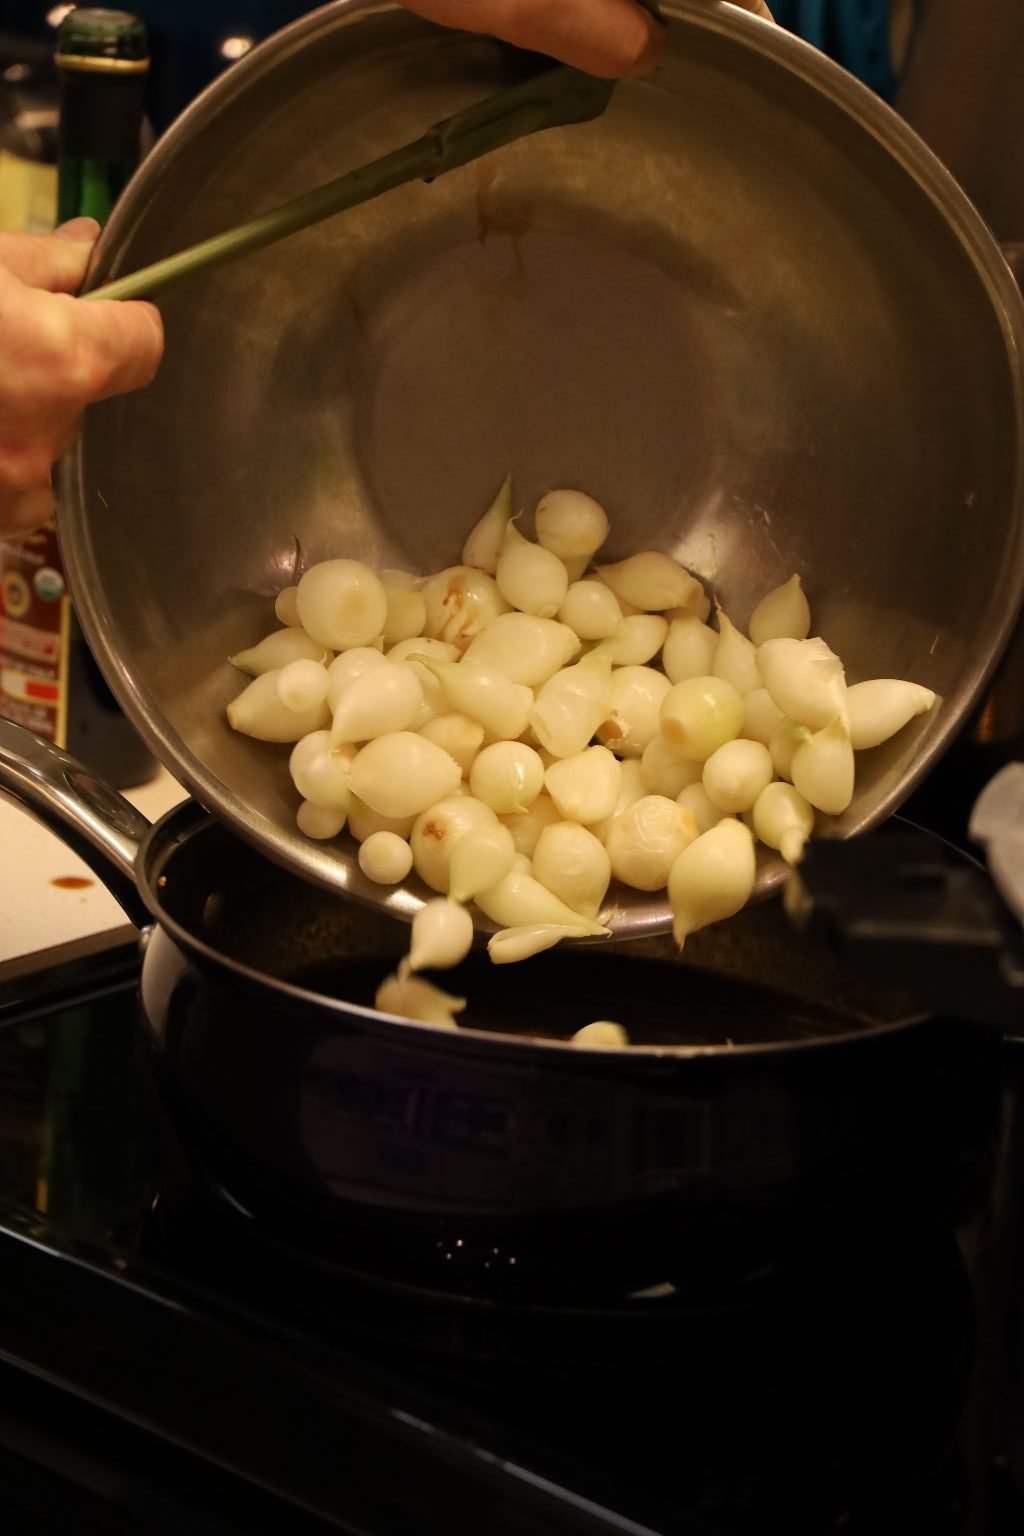
Now, add your peeled onions to the pot.
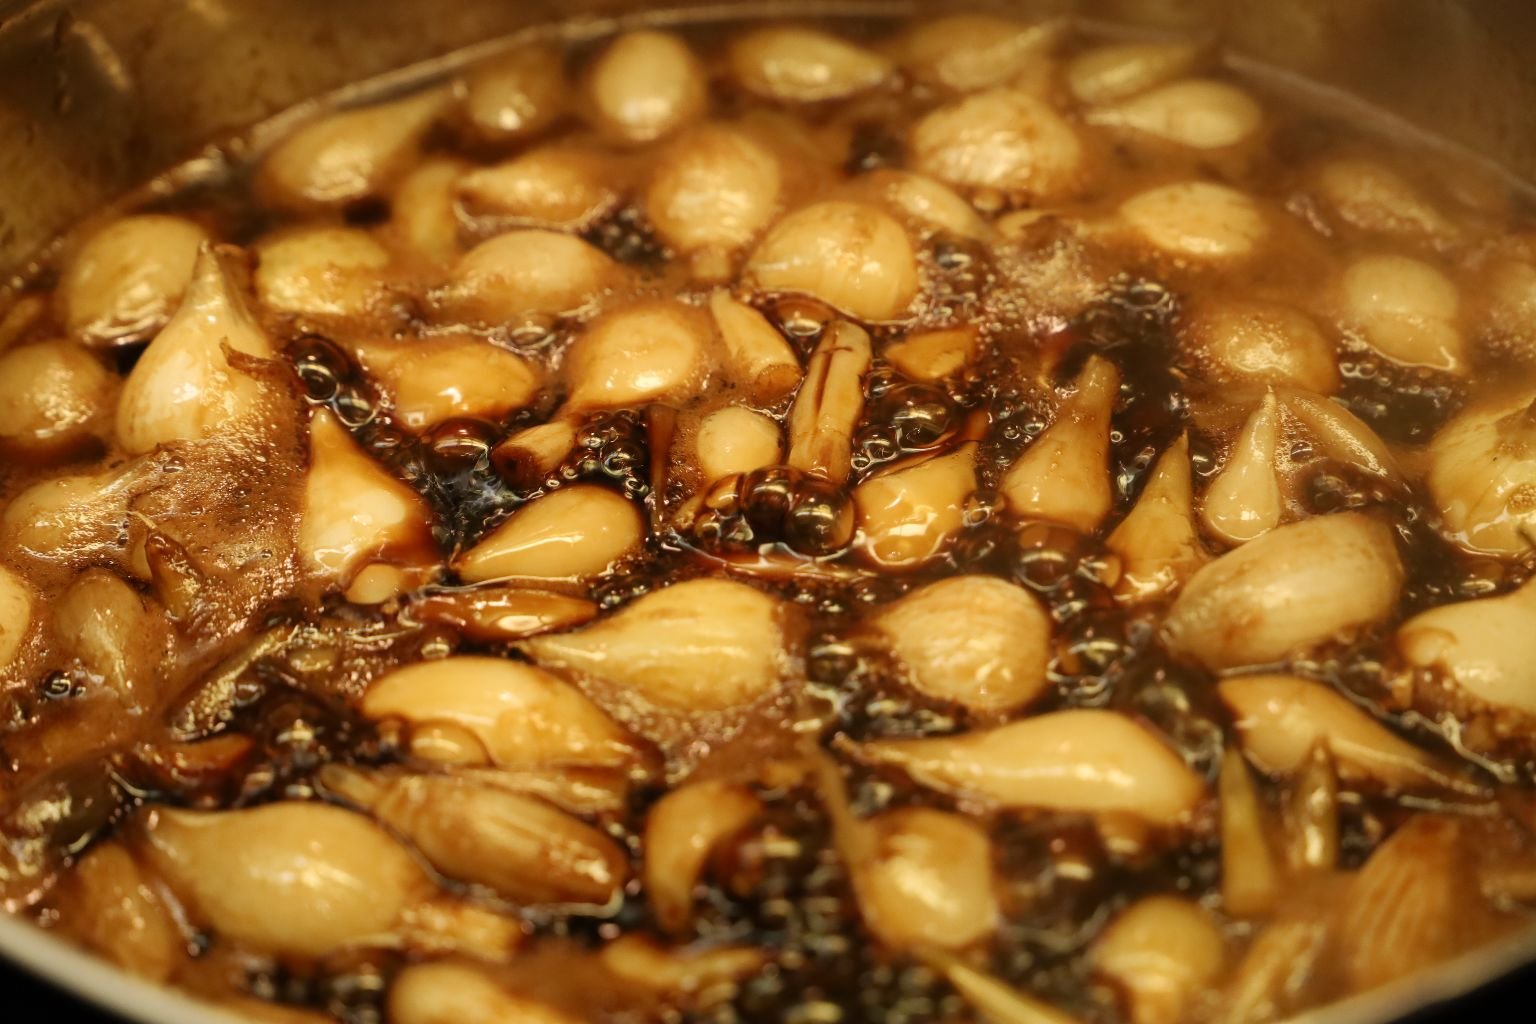
Cook the onions in the balsamic vinegar mixture stirring occasionally.
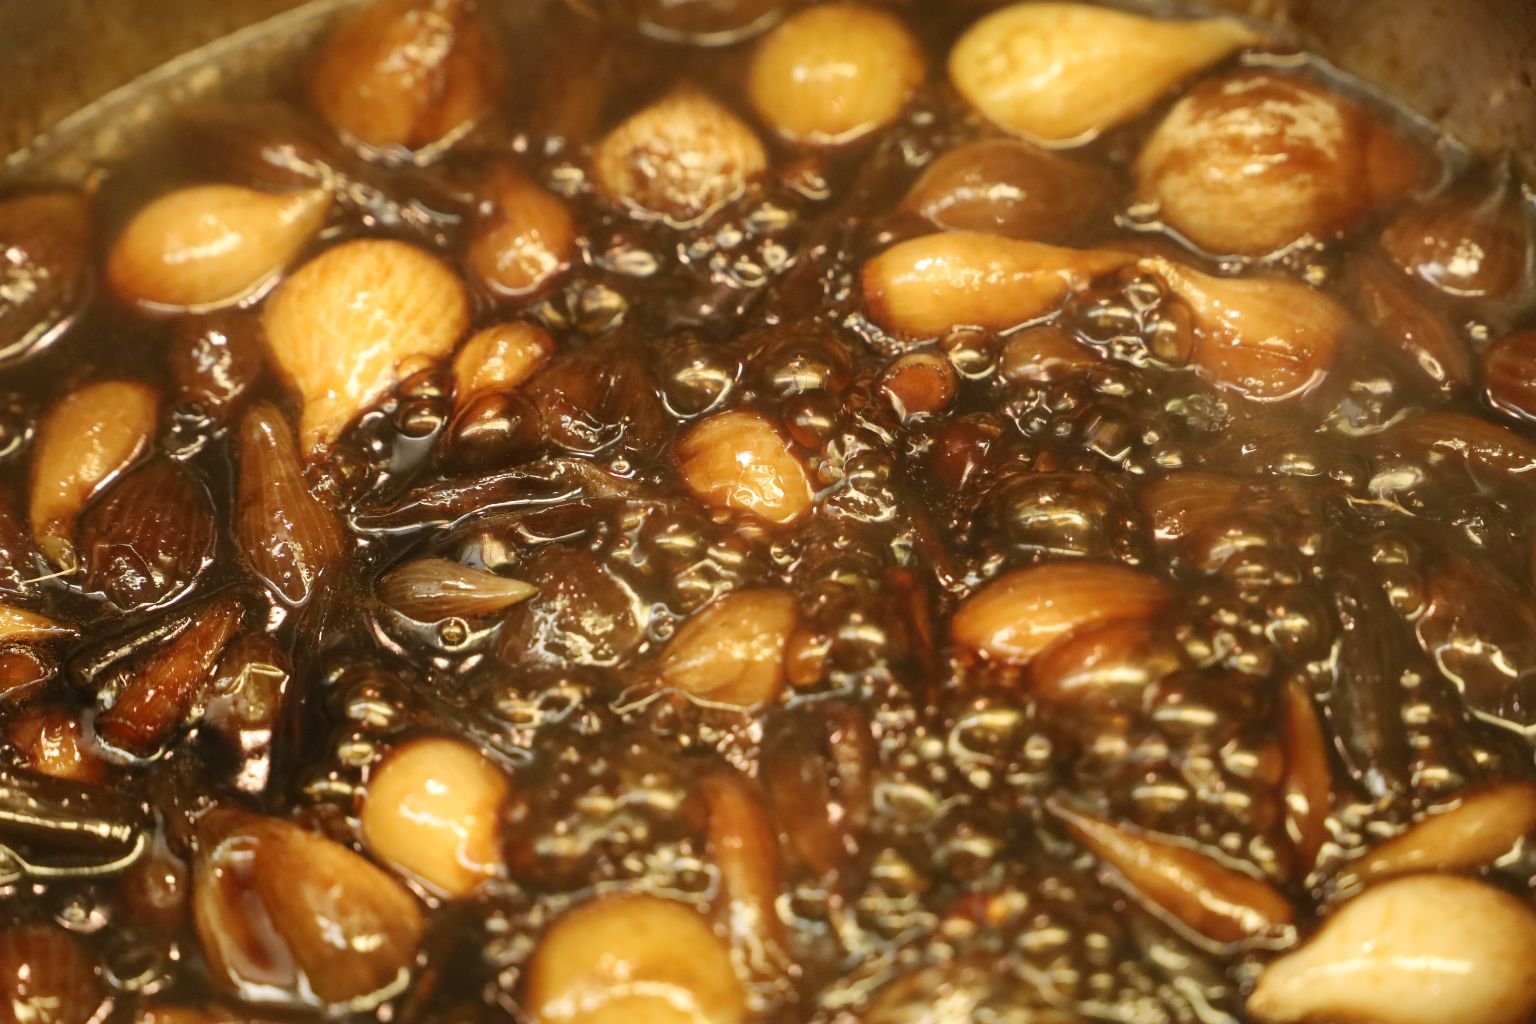
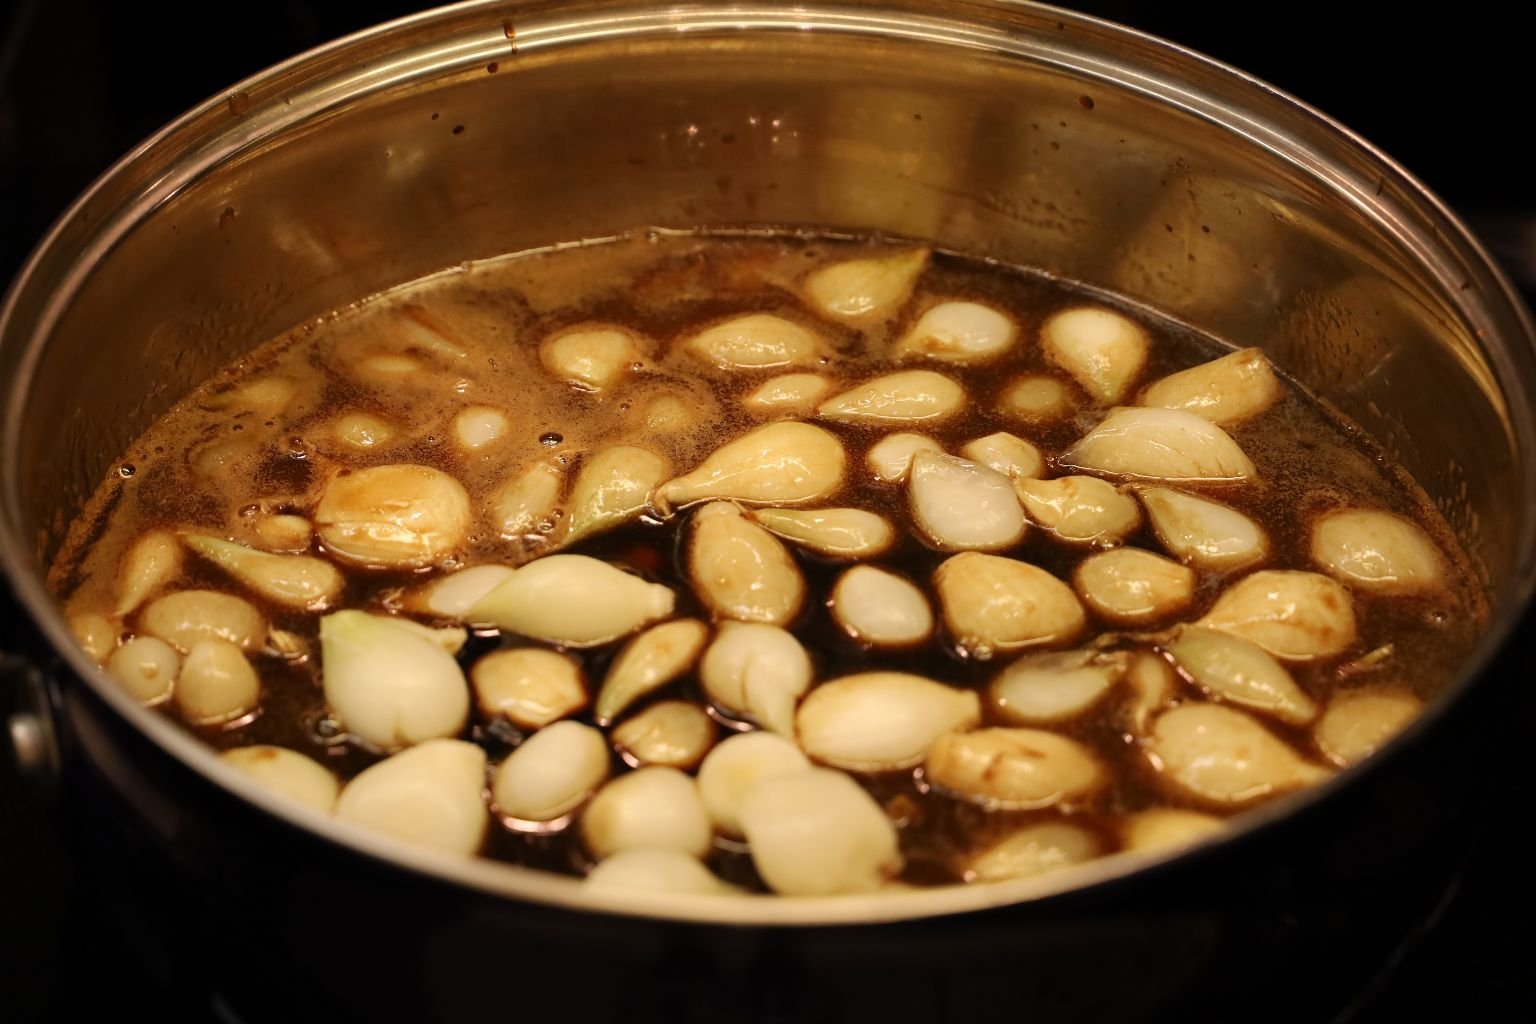
Here you see the pearl onions turning a dark color as they absorb the vinegar.
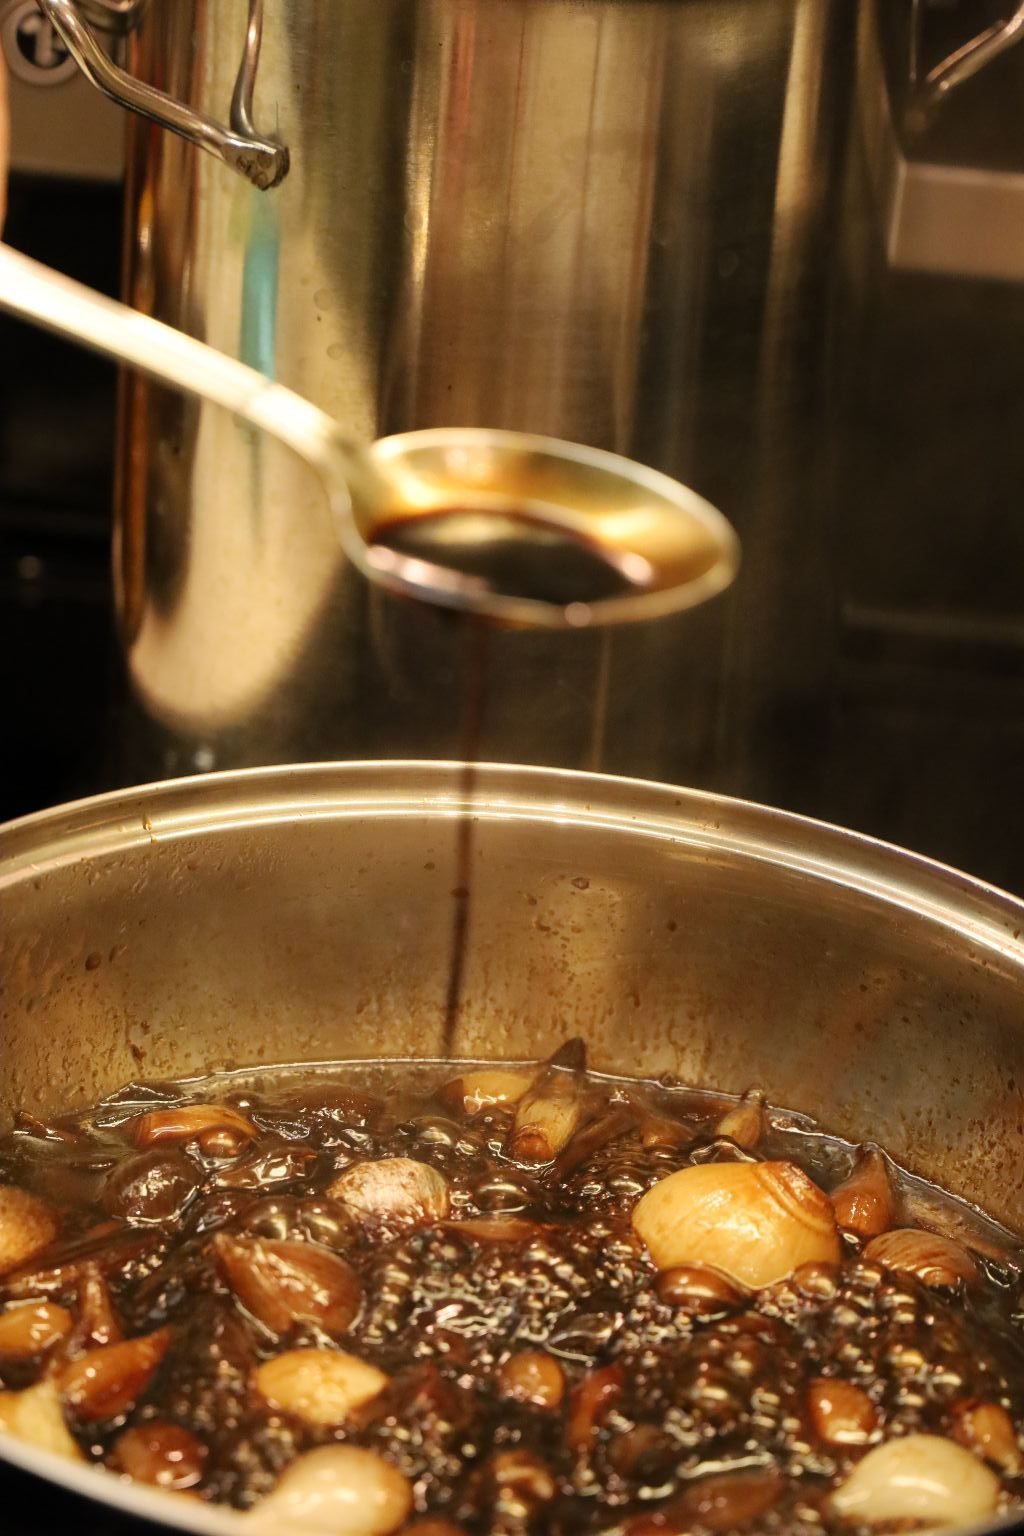
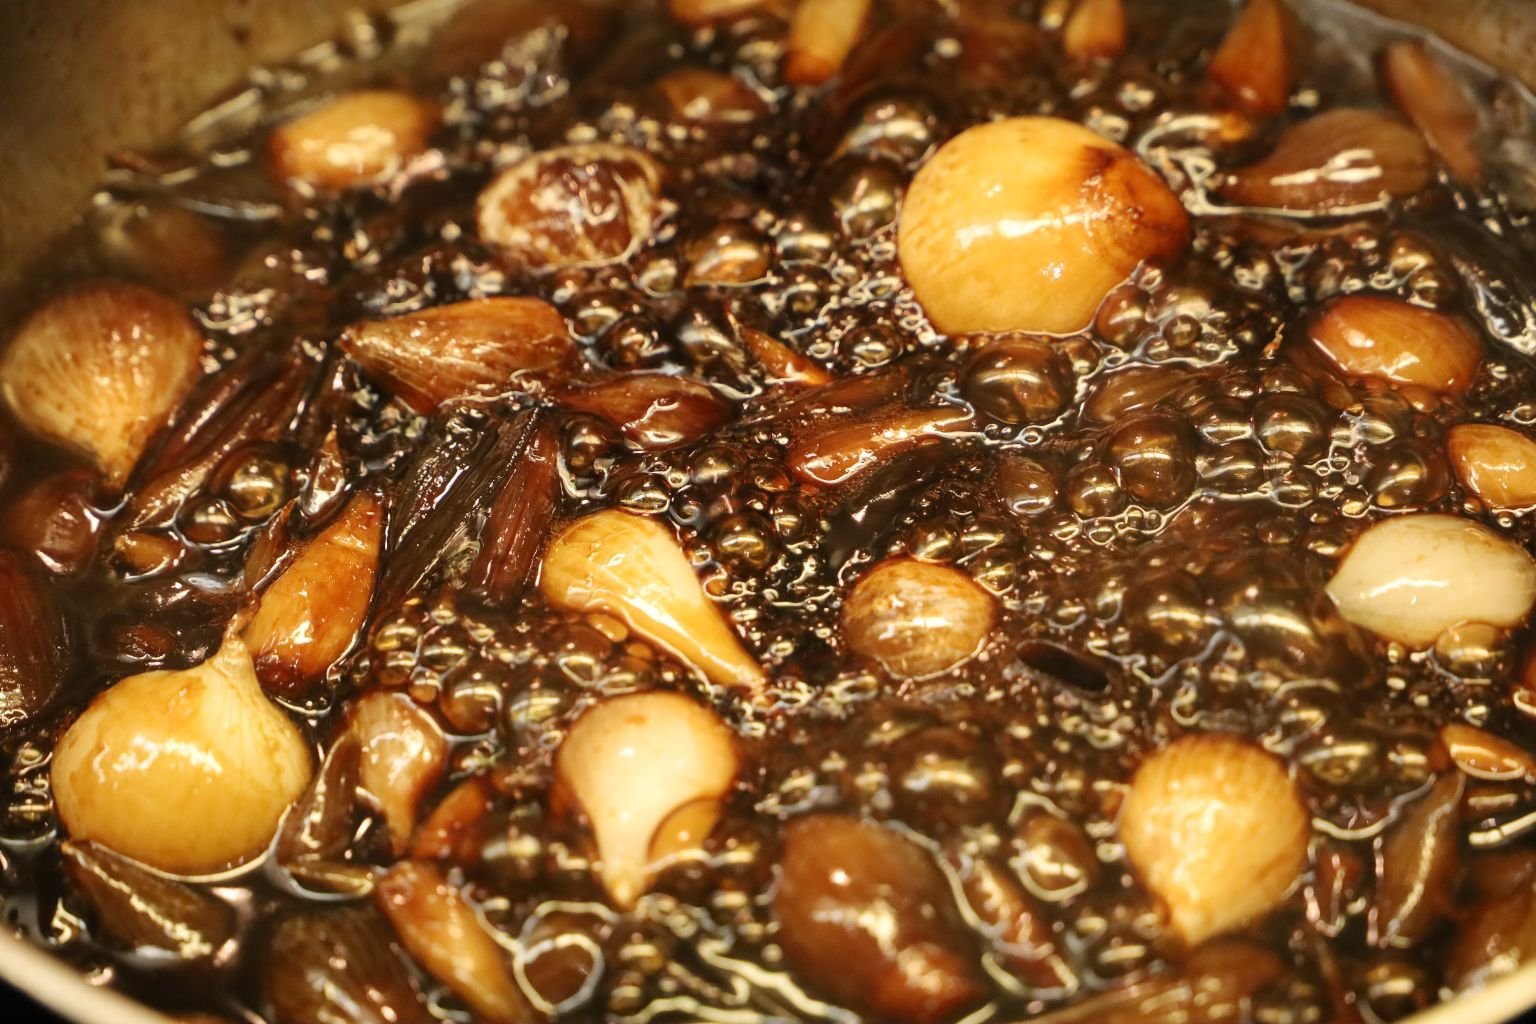
Continue to cook the onions and vinegar mixture until the vinegar turns into a syrup consistency.
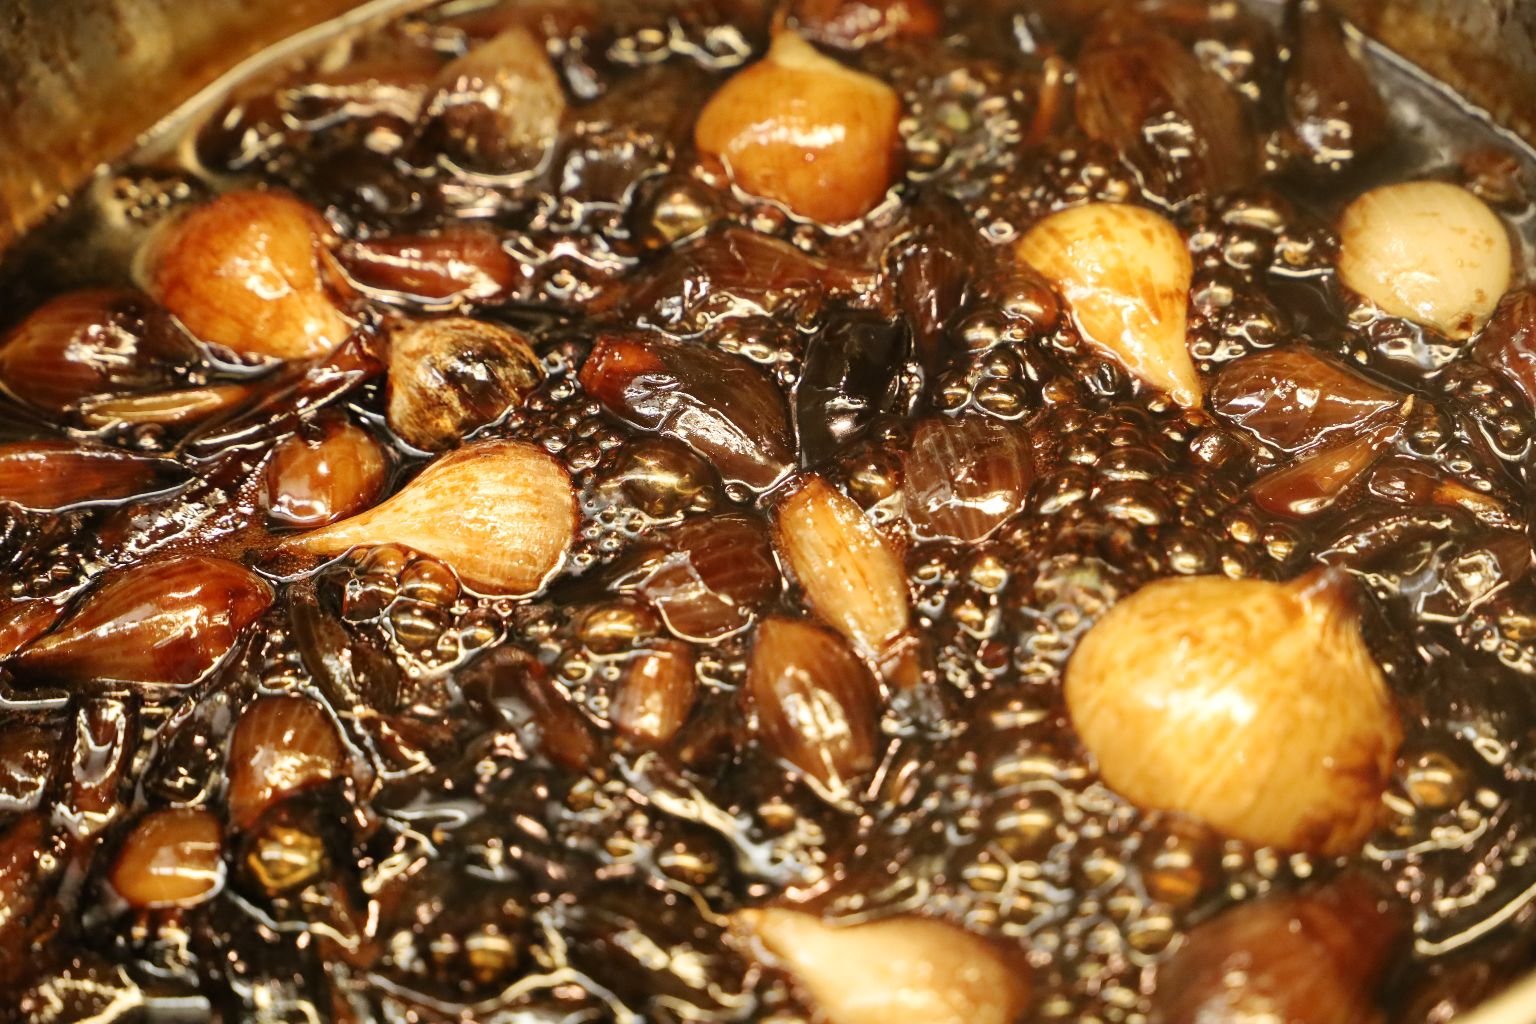
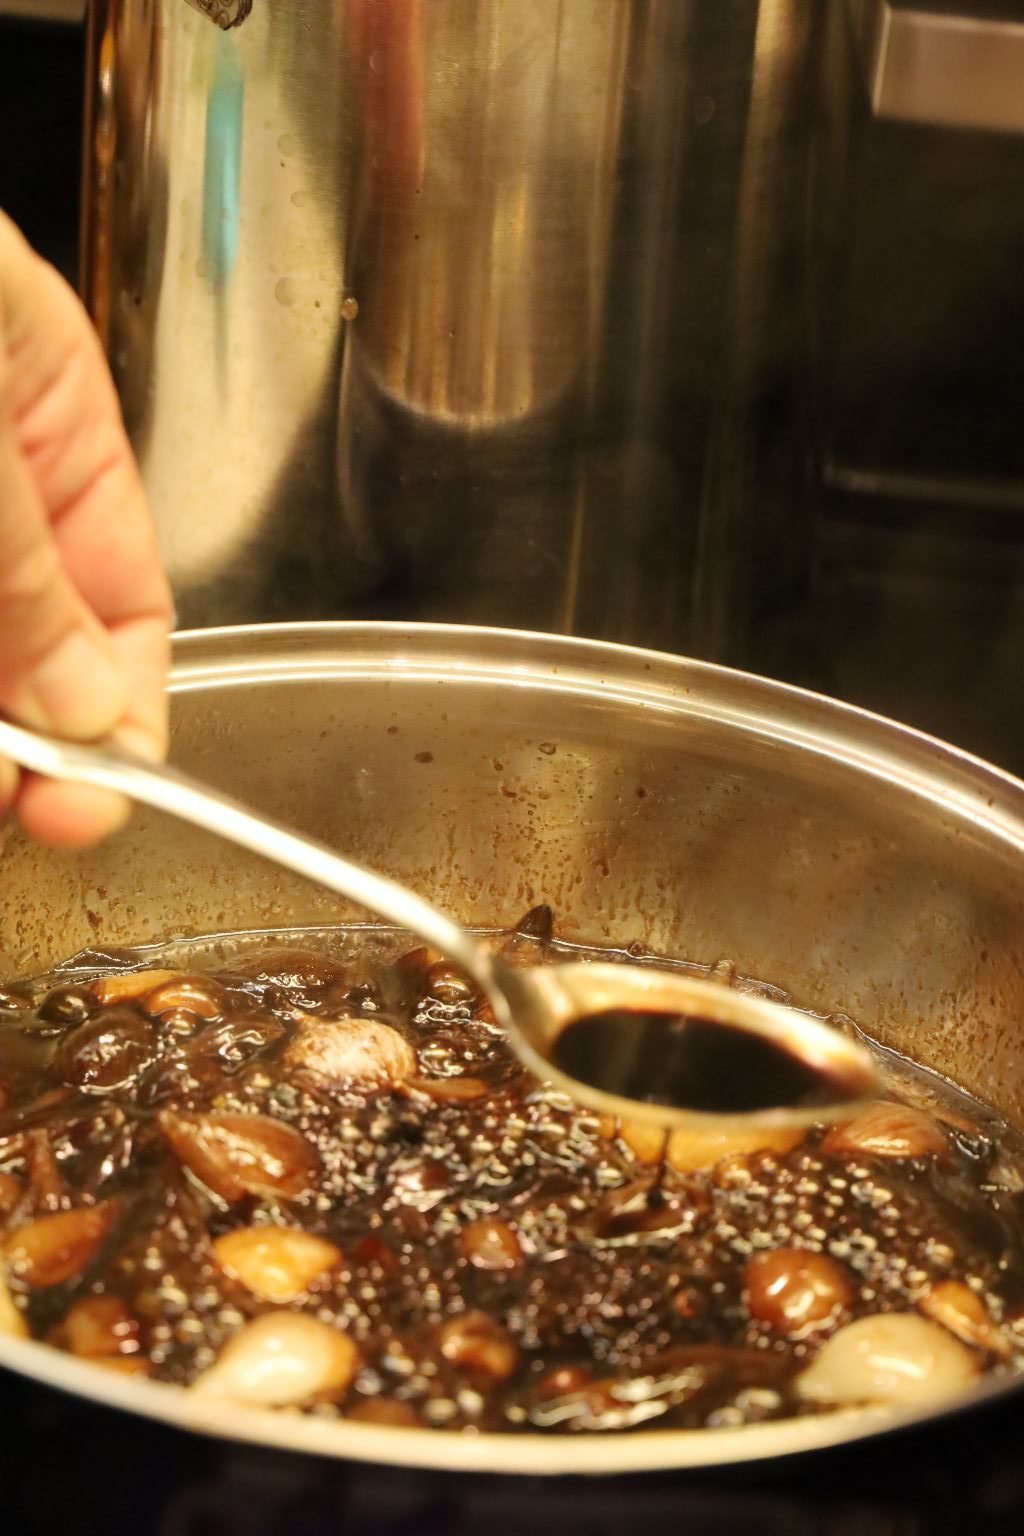
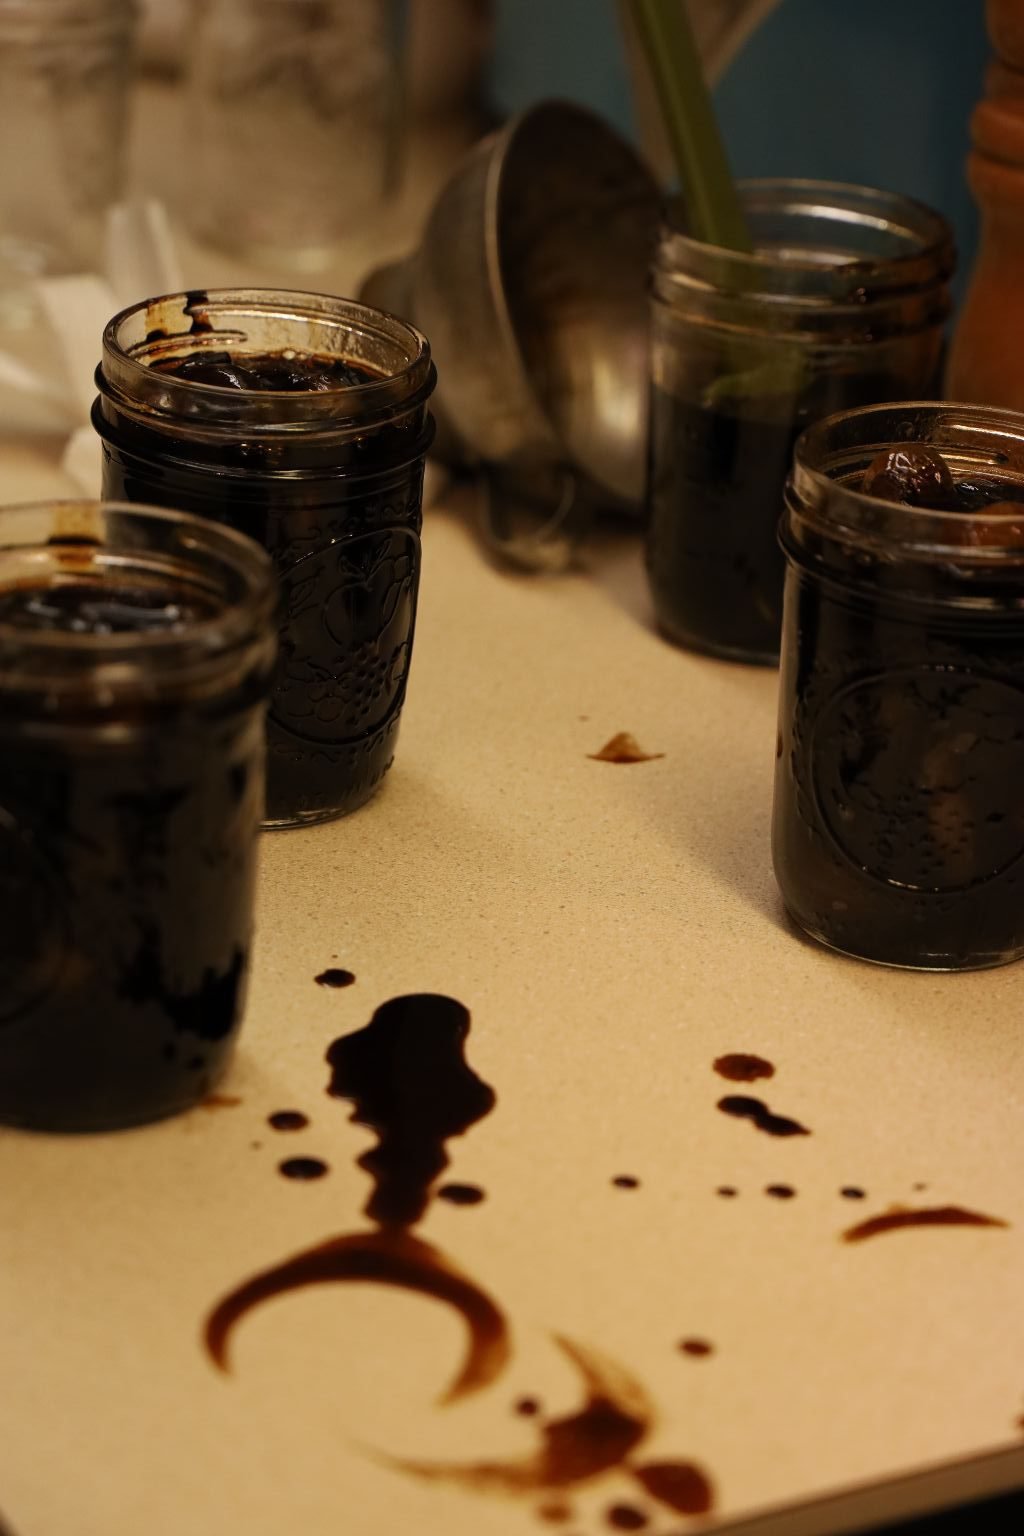
Here the onions have finished cooking in the now syrup. They taste amazing!
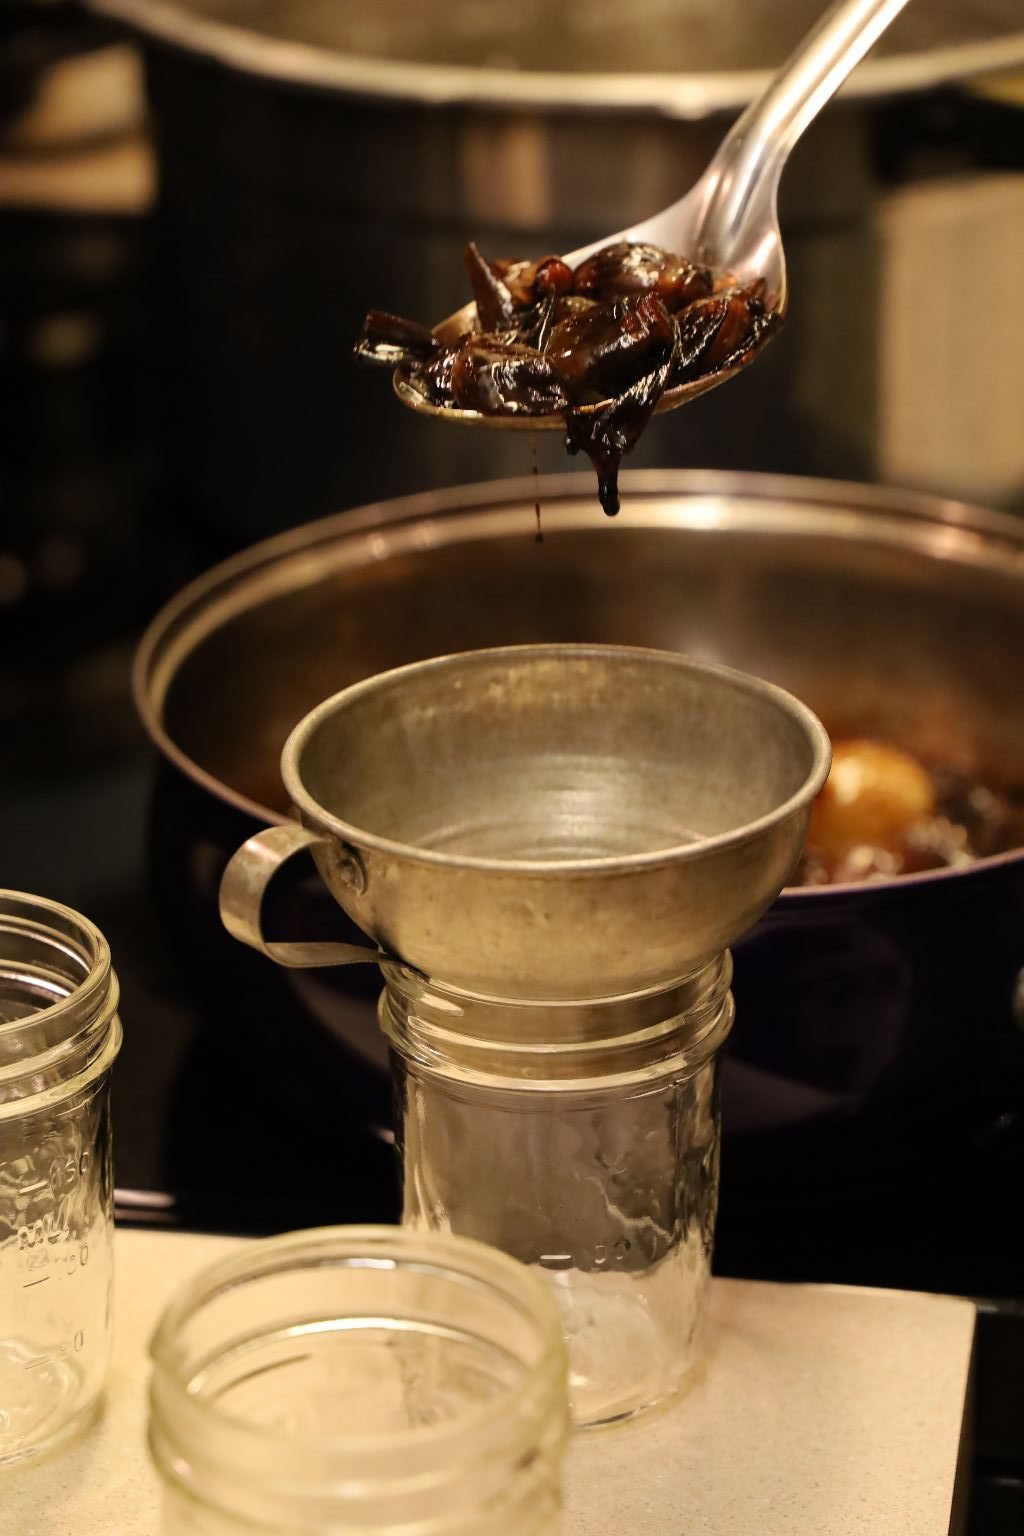
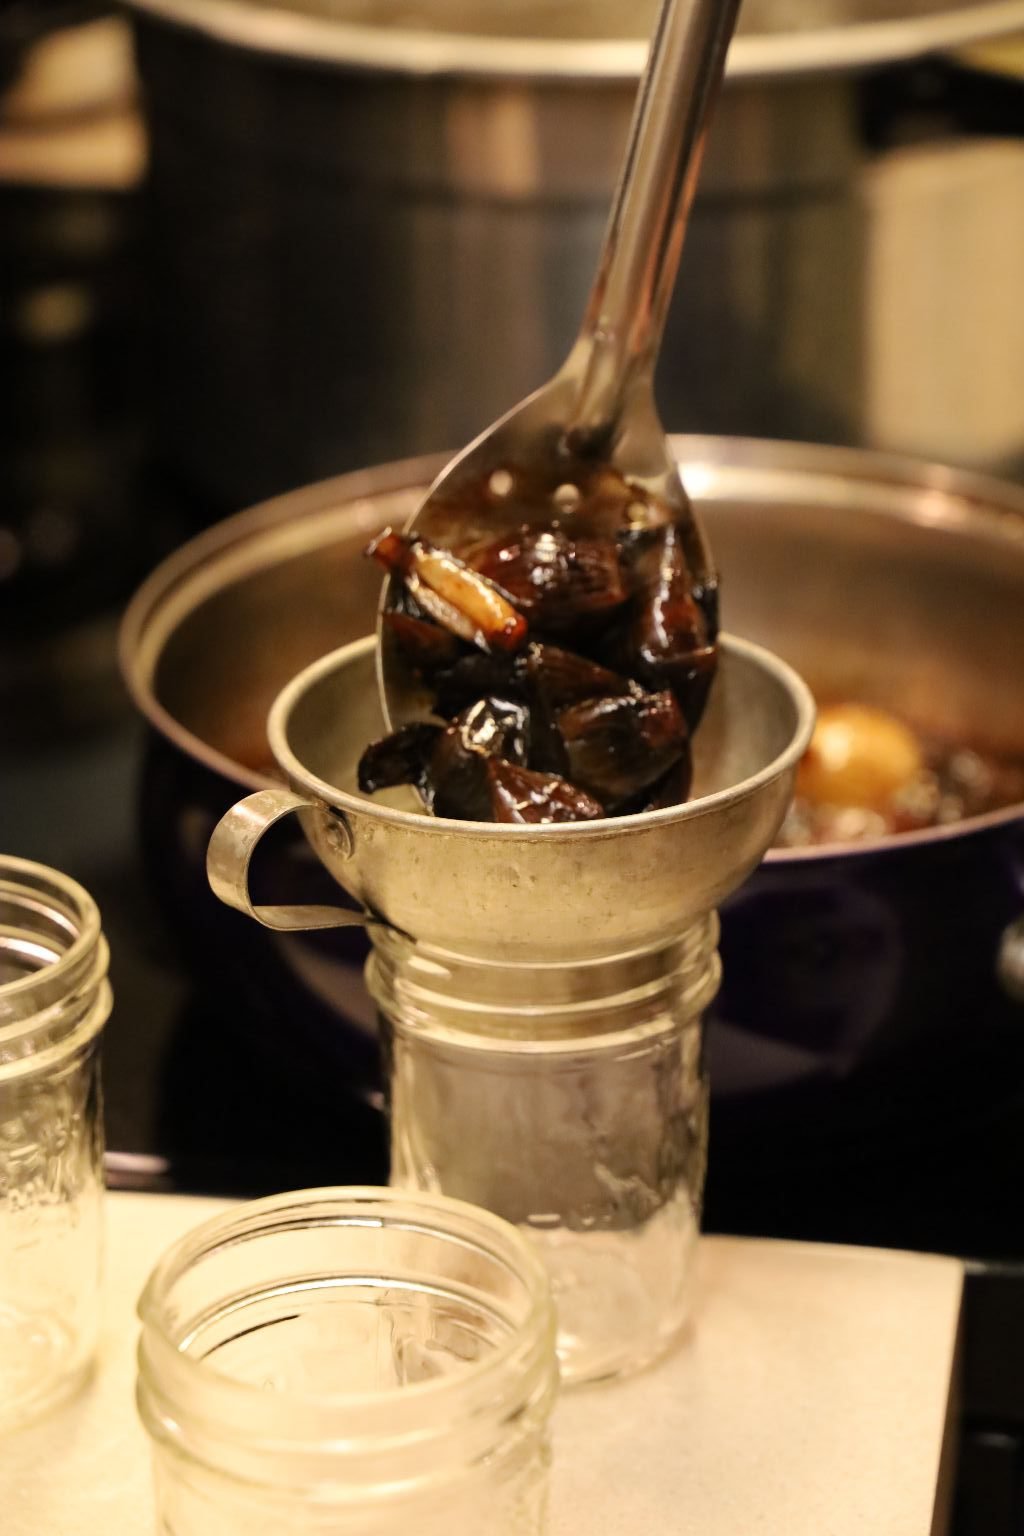
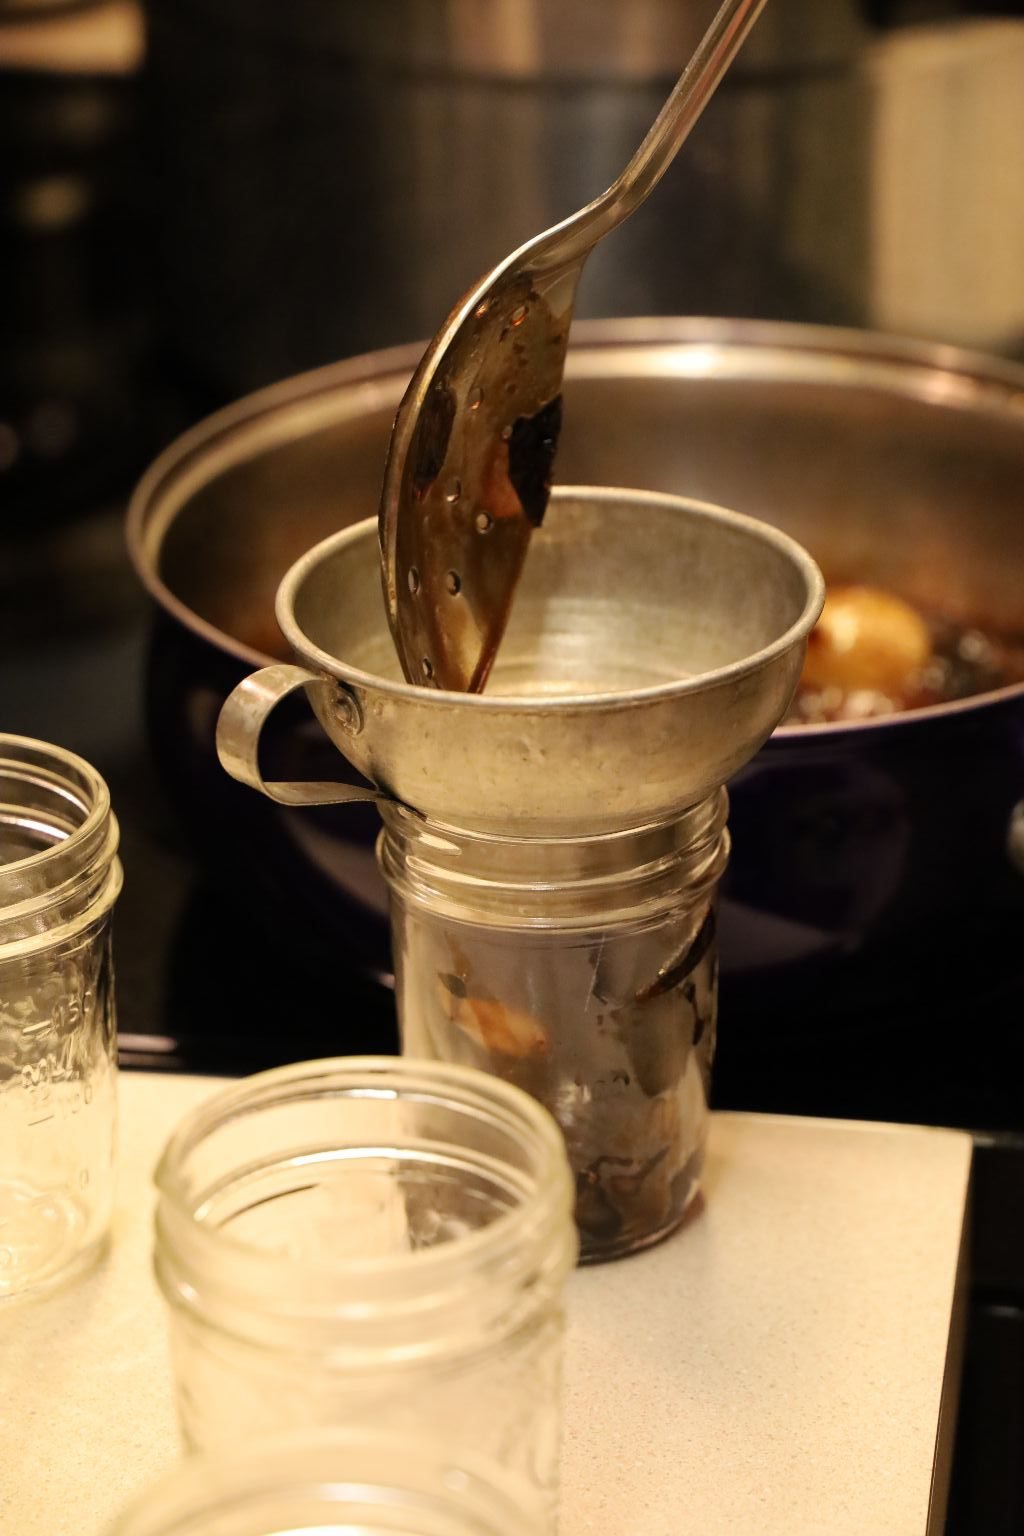
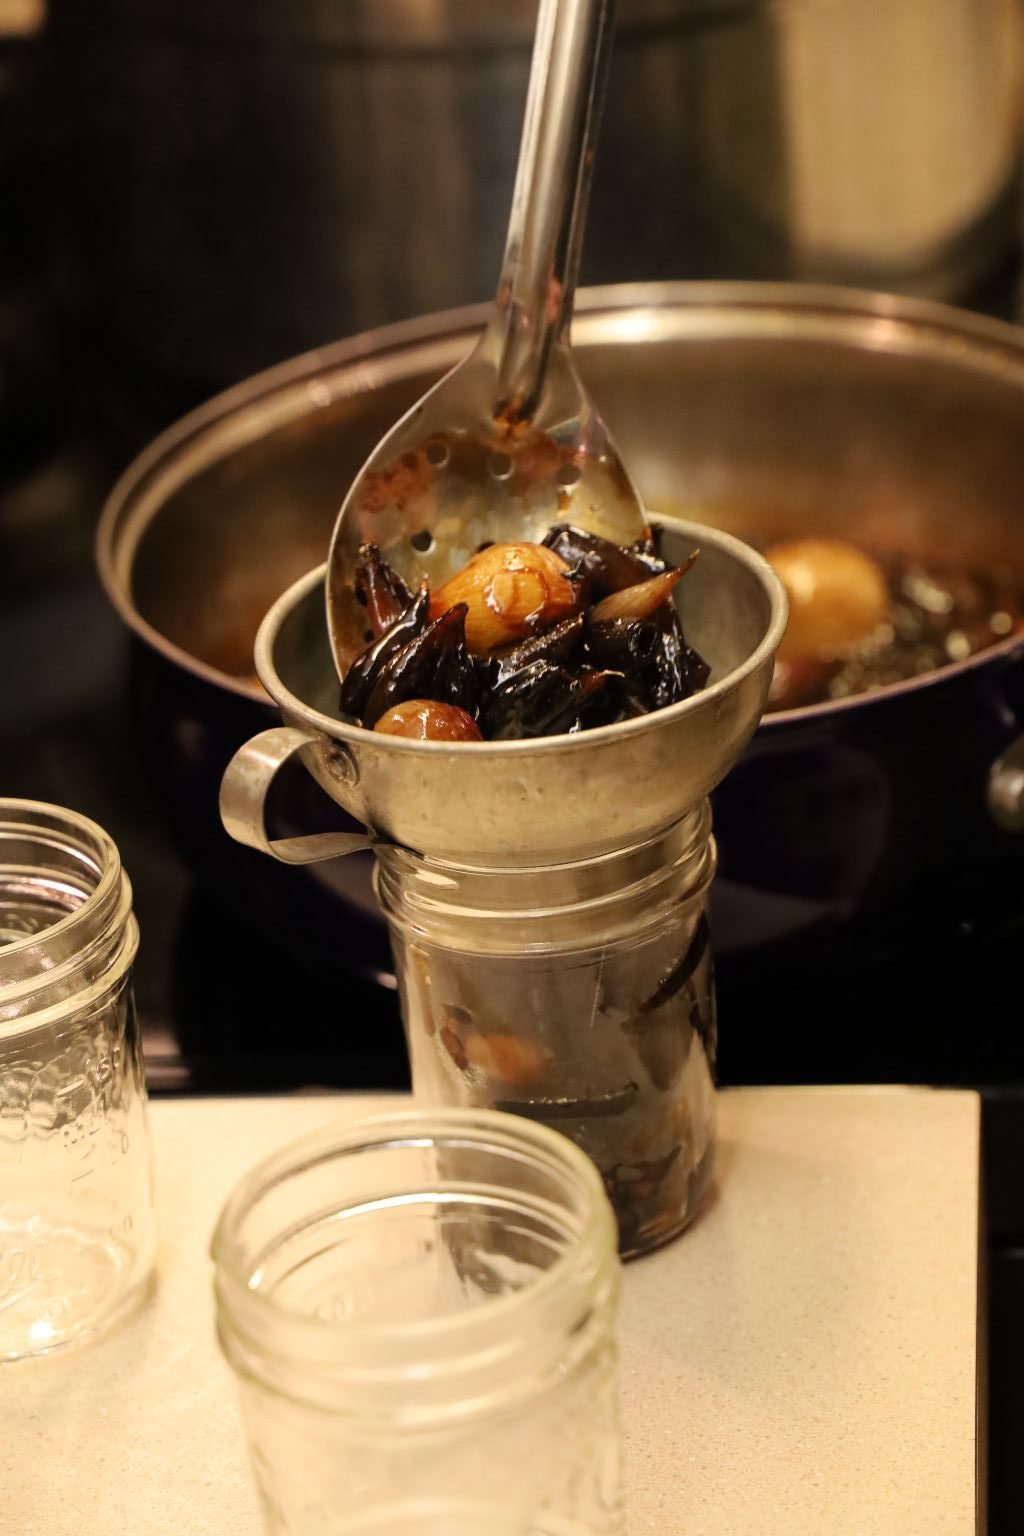
Here are the jars we used for this canning. They have been cleaned in the dishwasher and dried by heat to sterilize the jars. We then set them aside and covered them with a hand towel until ready to use. Ladle your pearl onions and vinegar mixture into the jars using a large mouthed funnel to prevent spillage.
Ladle enough liquid to fill the jar leaving 1/2 of an inch of space at the top. This is called headspace which is needed to create a vacuum within the jar during the canning process described later in this write up. Use a chopstick to gently move the onions around to release any air bubbles (Not Shown).
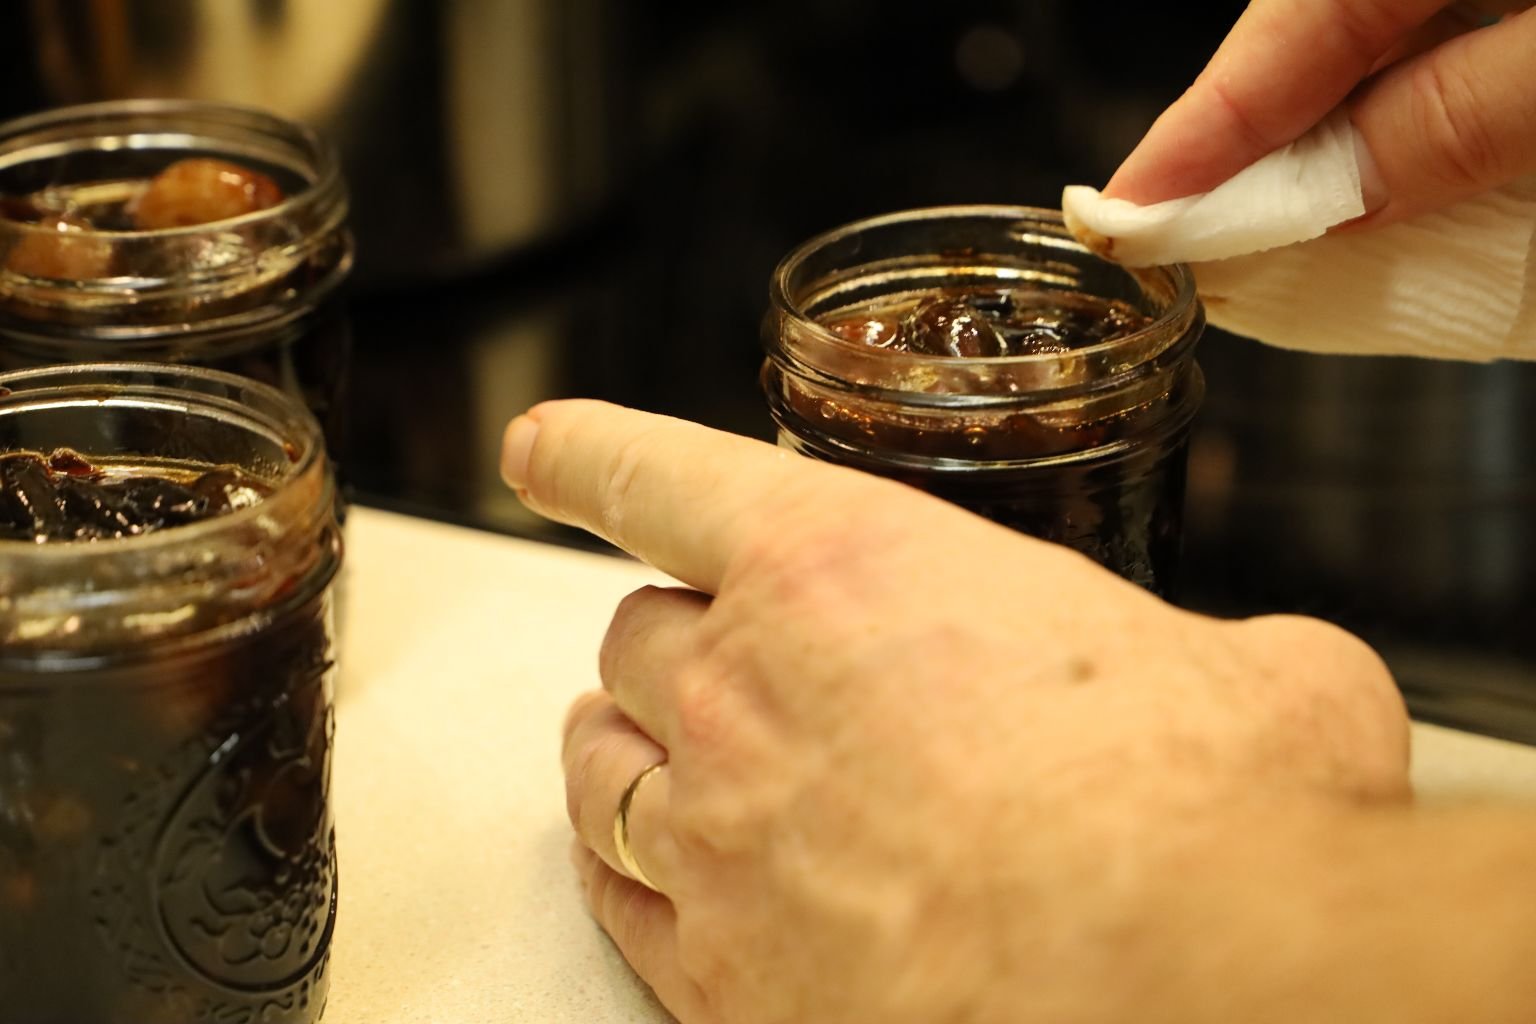
Using a clean wet paper towel, wipe the top of the jars to clean away any liquid or stray pieces of onion. Continue to use clean areas of the wet paper towel in small groups of jars to keep track of the ones which have been cleaned. Keeping this clean will also help to maintain a sterile environment inside the jars.
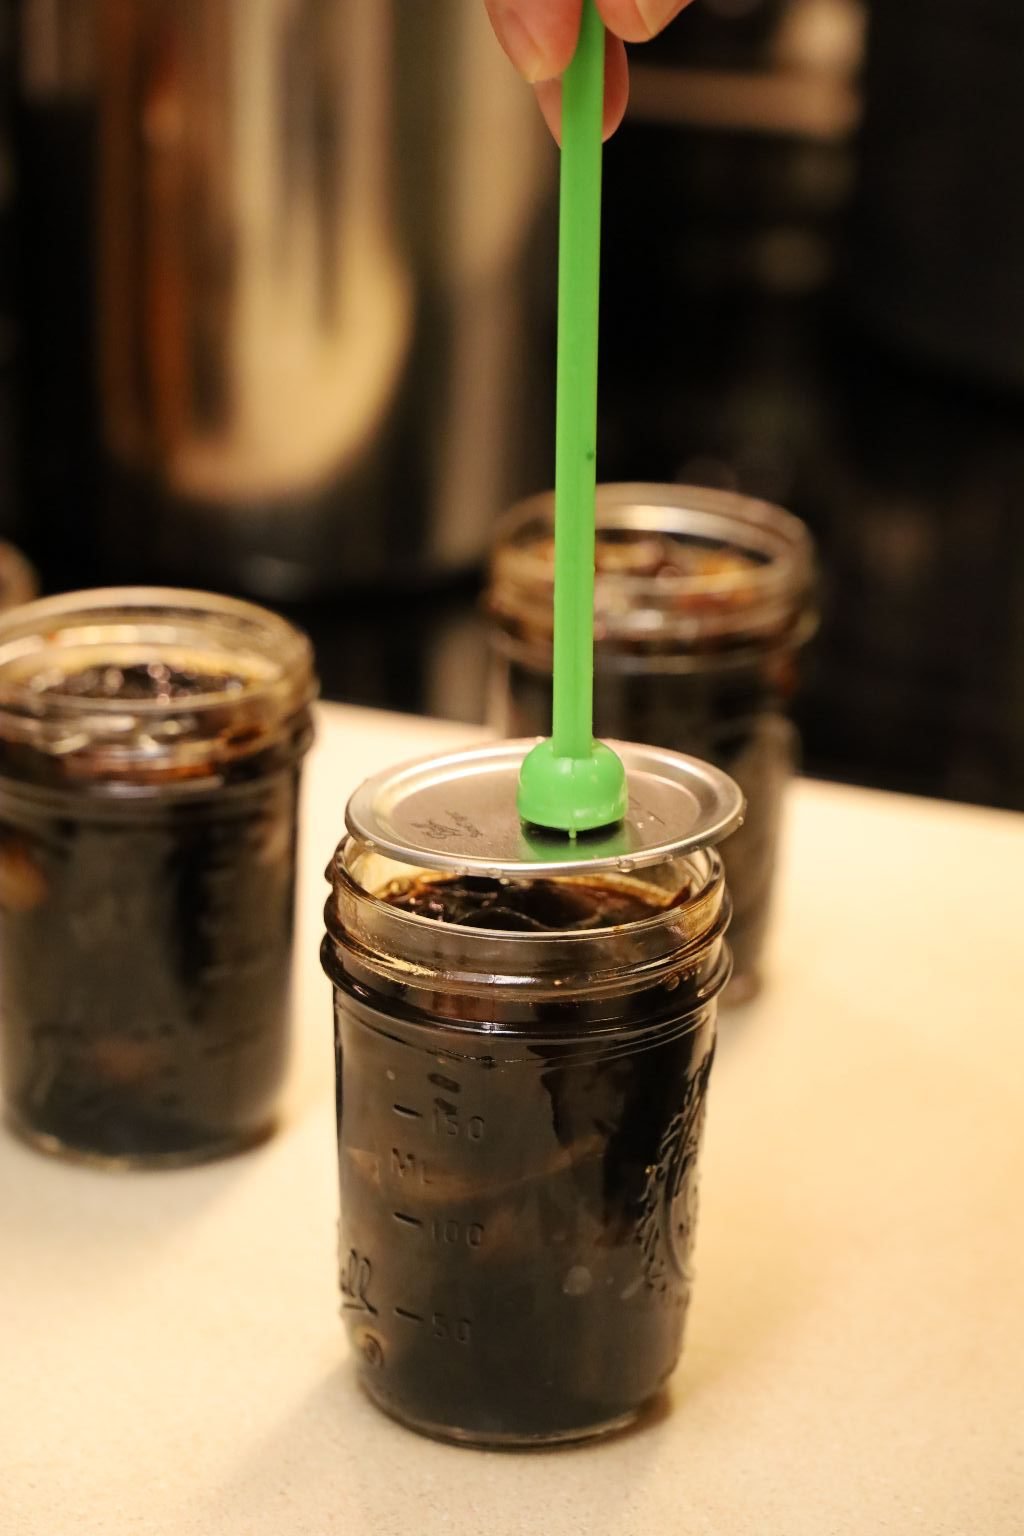

Place a sterilized water heated lid on top of each filled, and clean jar. I use this magnetized stick to remove the lids from the almost boiling liquid they were in. Barely tighten a clean ring onto the jar’s lid. More than barely tight will not allow the air to escape from the jar creating a vacuum during the canning process.
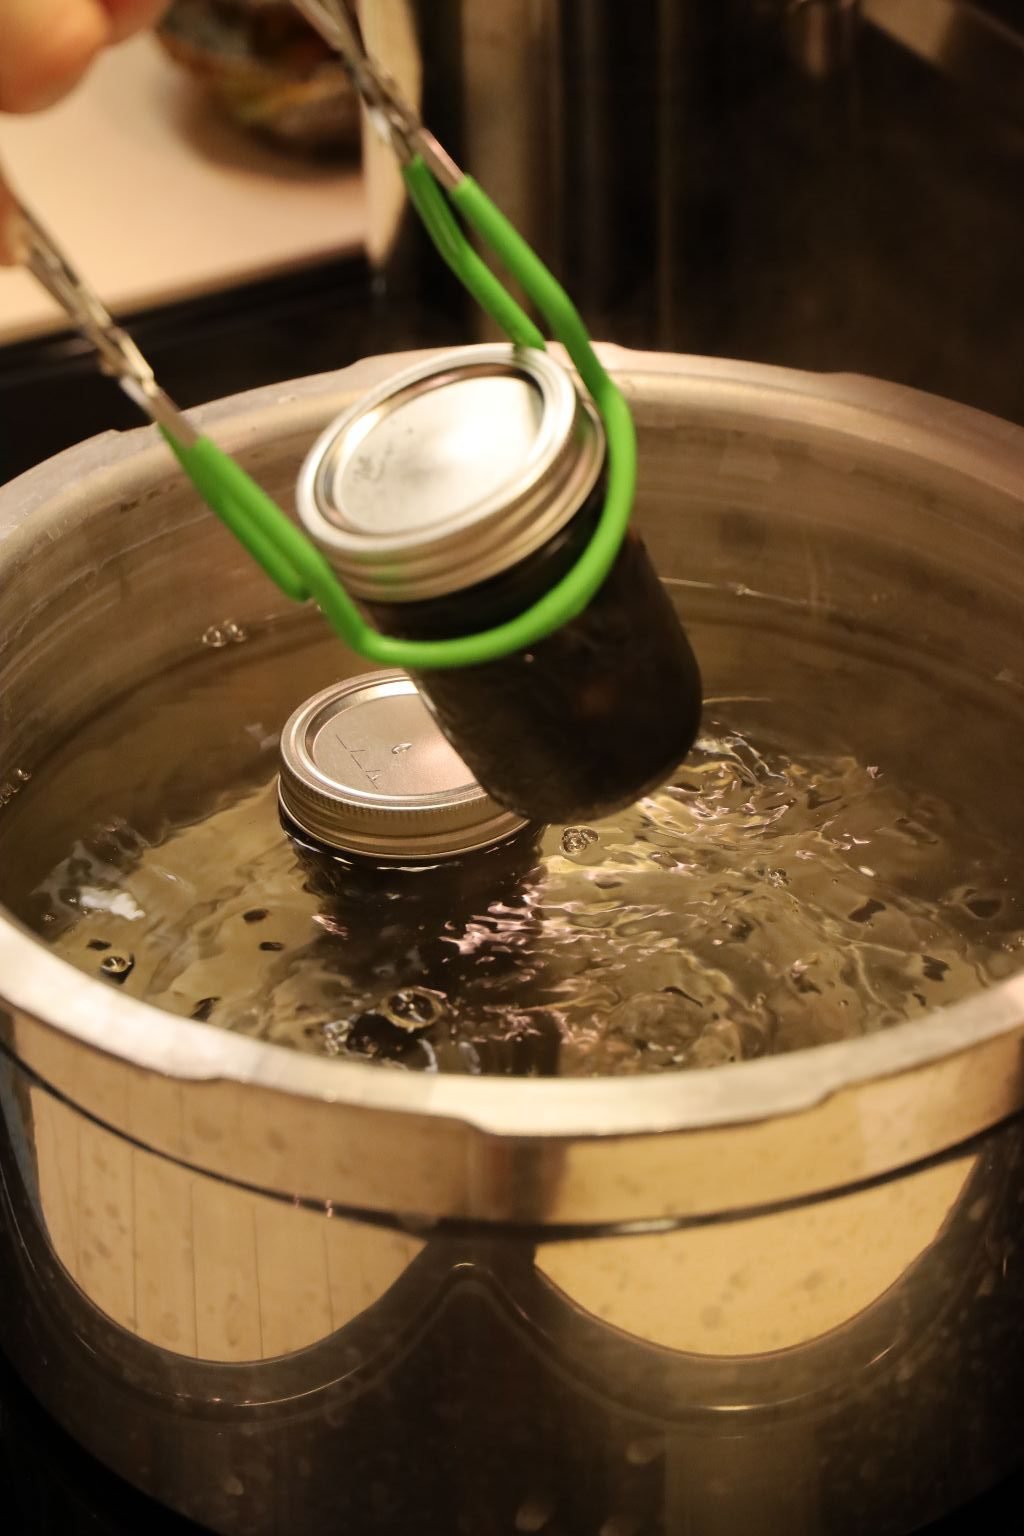

Using these special jar lifting tongs, place the sealed jars into the almost boiling pot of water. Continue to add the jars until the pot is full. When the pot is filled with jars, ensure there is a layer of water covering the jars. Also ensure you see air bubbles rising from each jar which ensures you haven’t tightened their rings too much. Boil the jars for 10 minutes. After 10 minutes of boiling, remove the jars with your rubber tongs. Place the jars on a clean towel to absorb any excess water. Listen for each jar to pop as that is the action of the lid being sucked down by the vacuum created inside the jar. This may take about 10 minutes to happen. If the lid of the jar isn’t down and sealed, you must redo the entire canning process of that jar using a new lid. Likely the reason the lid didn’t seal was due to not enough headspace inside the jar or there was something between the jar and the lids rubber seal. In this next step, remember the jars will be very hot. When your jars are sealed, carefully remove the ring and wipe any excess water off the lid and ring as this could cause those items to rust over time. Of note, the ring is only on the jar so the lid doesn’t get hit causing the seal to break. When the top of the lid and the ring are dry, replace the ring finger tight. Space out the jars so they can cool which will take a few hours.
A Lovely Gift,
Gordon and Julie