Hey Family Guy! Get a CLUE for Halloween!

![]()

The Griffin Residence
31 Spooner Street
Quahog, Rhode Island
——————————————————

—————————————————————-
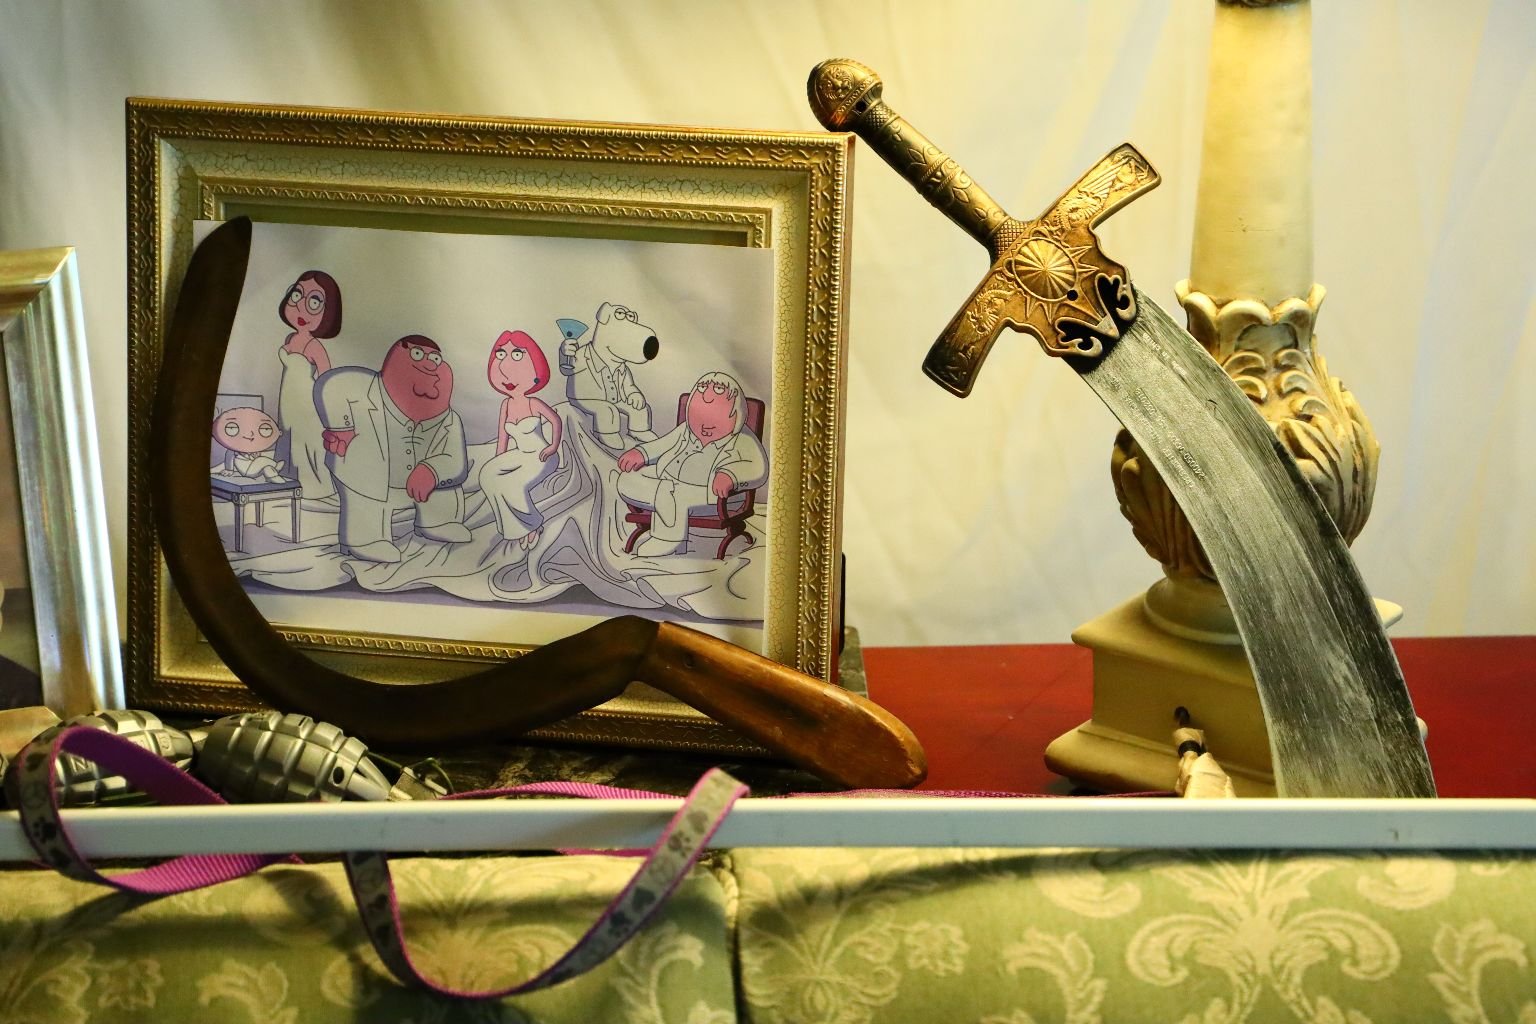
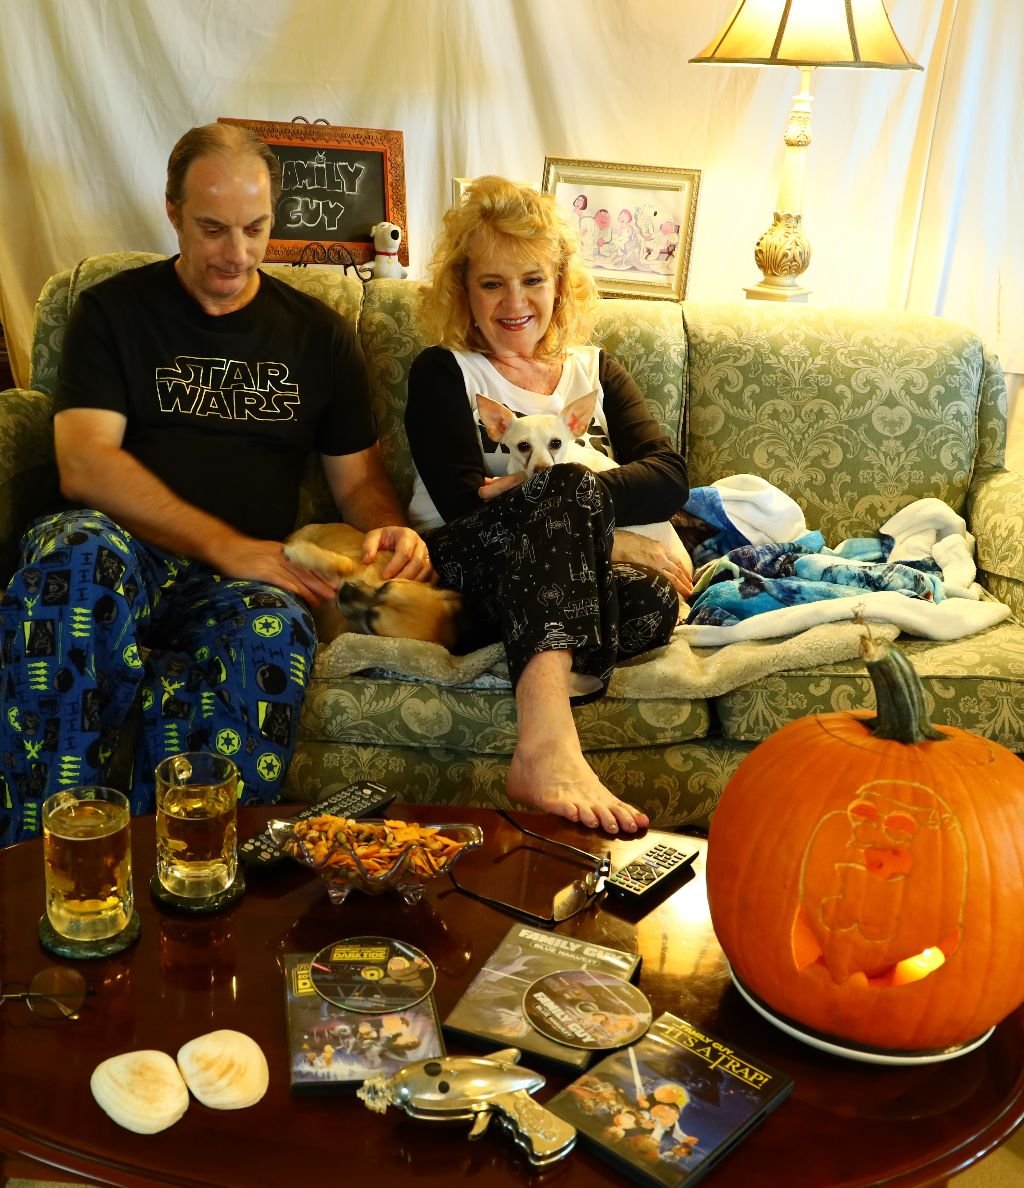
Meet The Griffin’s

L to R: Chris, Meg, Peter, Lois, Stewie, and Brian
——————————————————-

Meet The Whann’s
L to R Sparky, Gordon, Spooky Lou, and Julie
———————————————————
Happy Halloween
Are you a Family Guy FAN like we are?
And, do you love to play the board game CLUE?
If so, then you are in the right place.
How about a Family Guy Halloween CLUE?

SO, WHO DUNNIT?

Hmmmm….. Let’s Find Out……
—————————————————————–

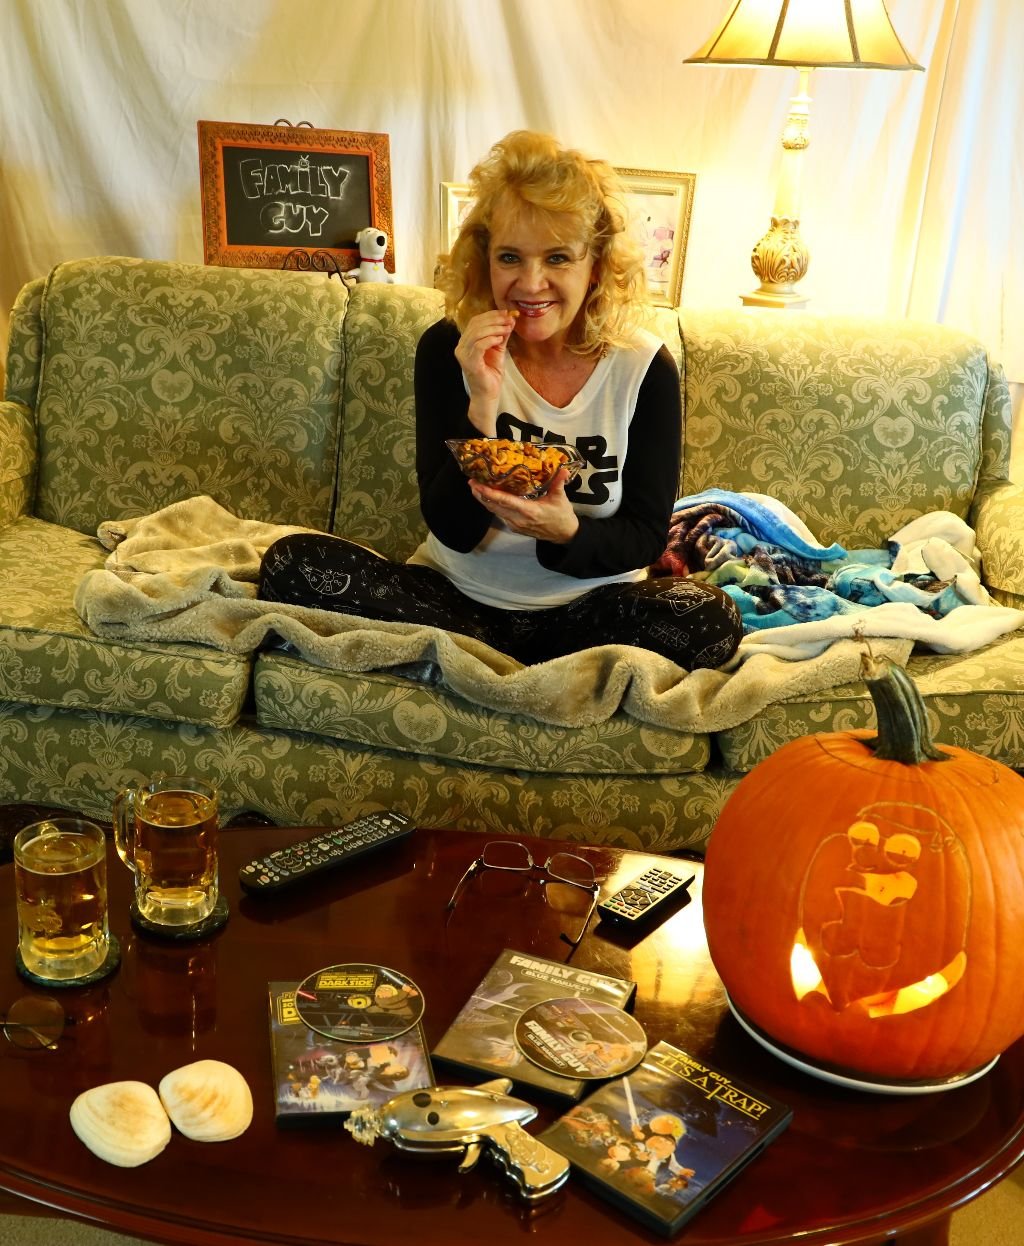
On Becoming Lois….
(And yes, the wig is on a man’s head.) 🙂

However, I enjoyed playing Lois.
———————————————————————————-
Now, Let’s Get Started
Family Guy Introduction
———————————————————————-
Ready to Play CLUE?
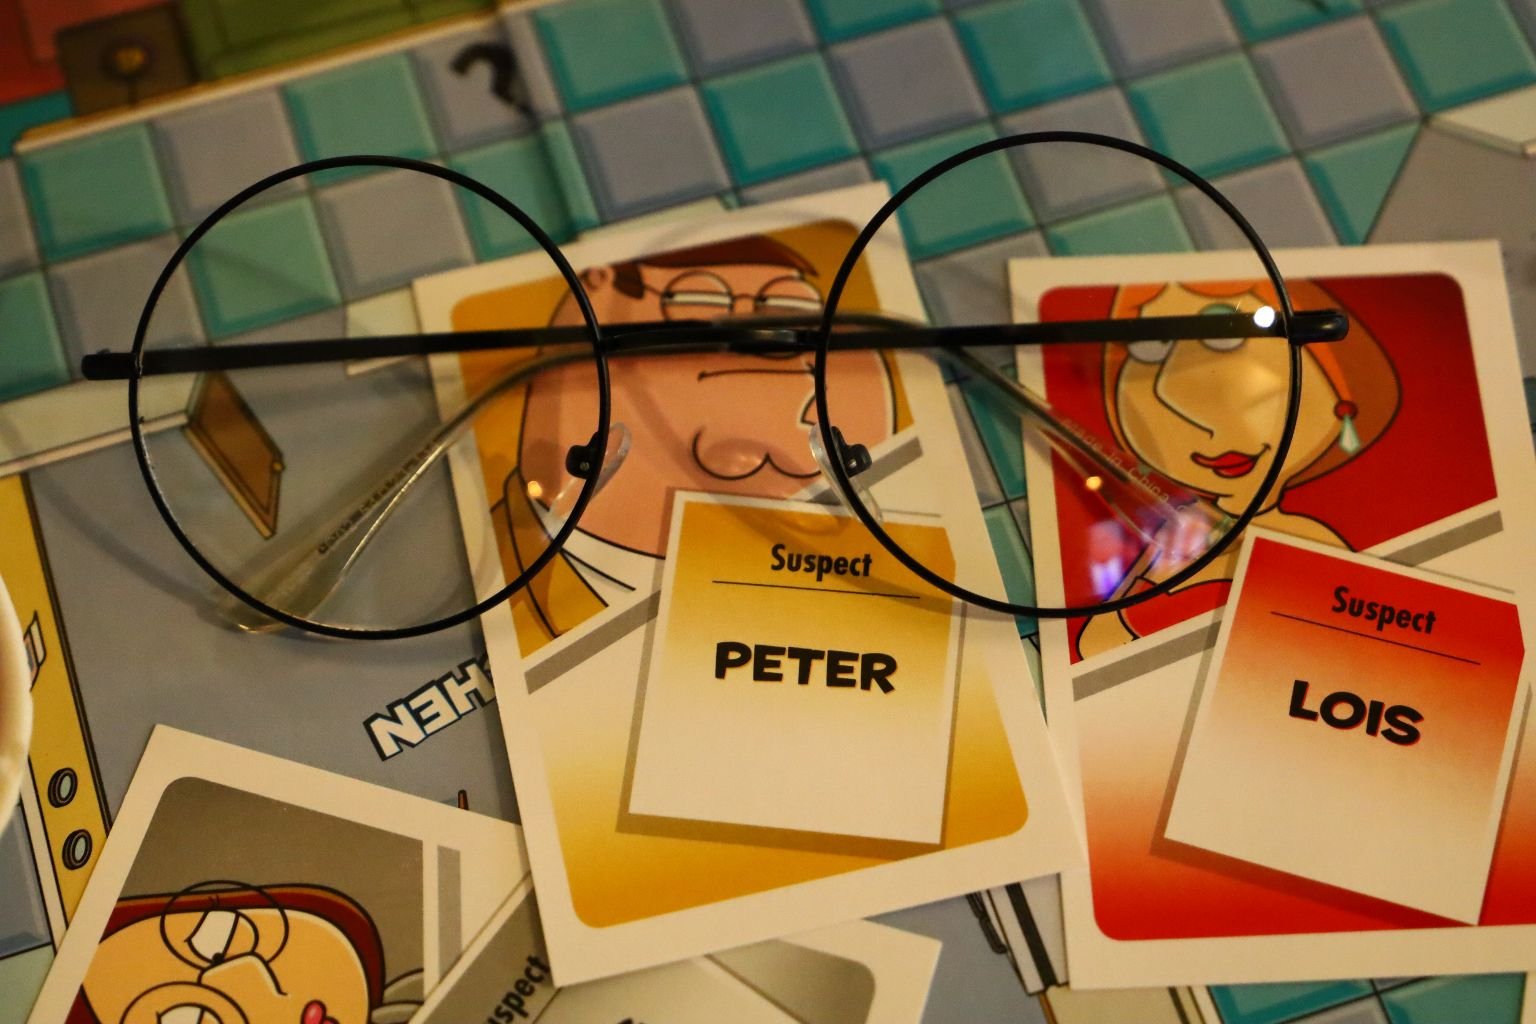
The CLUE Game Suspects:
Peter
Brian
Chris
Stewie
Lois
Meg
——————————————————-
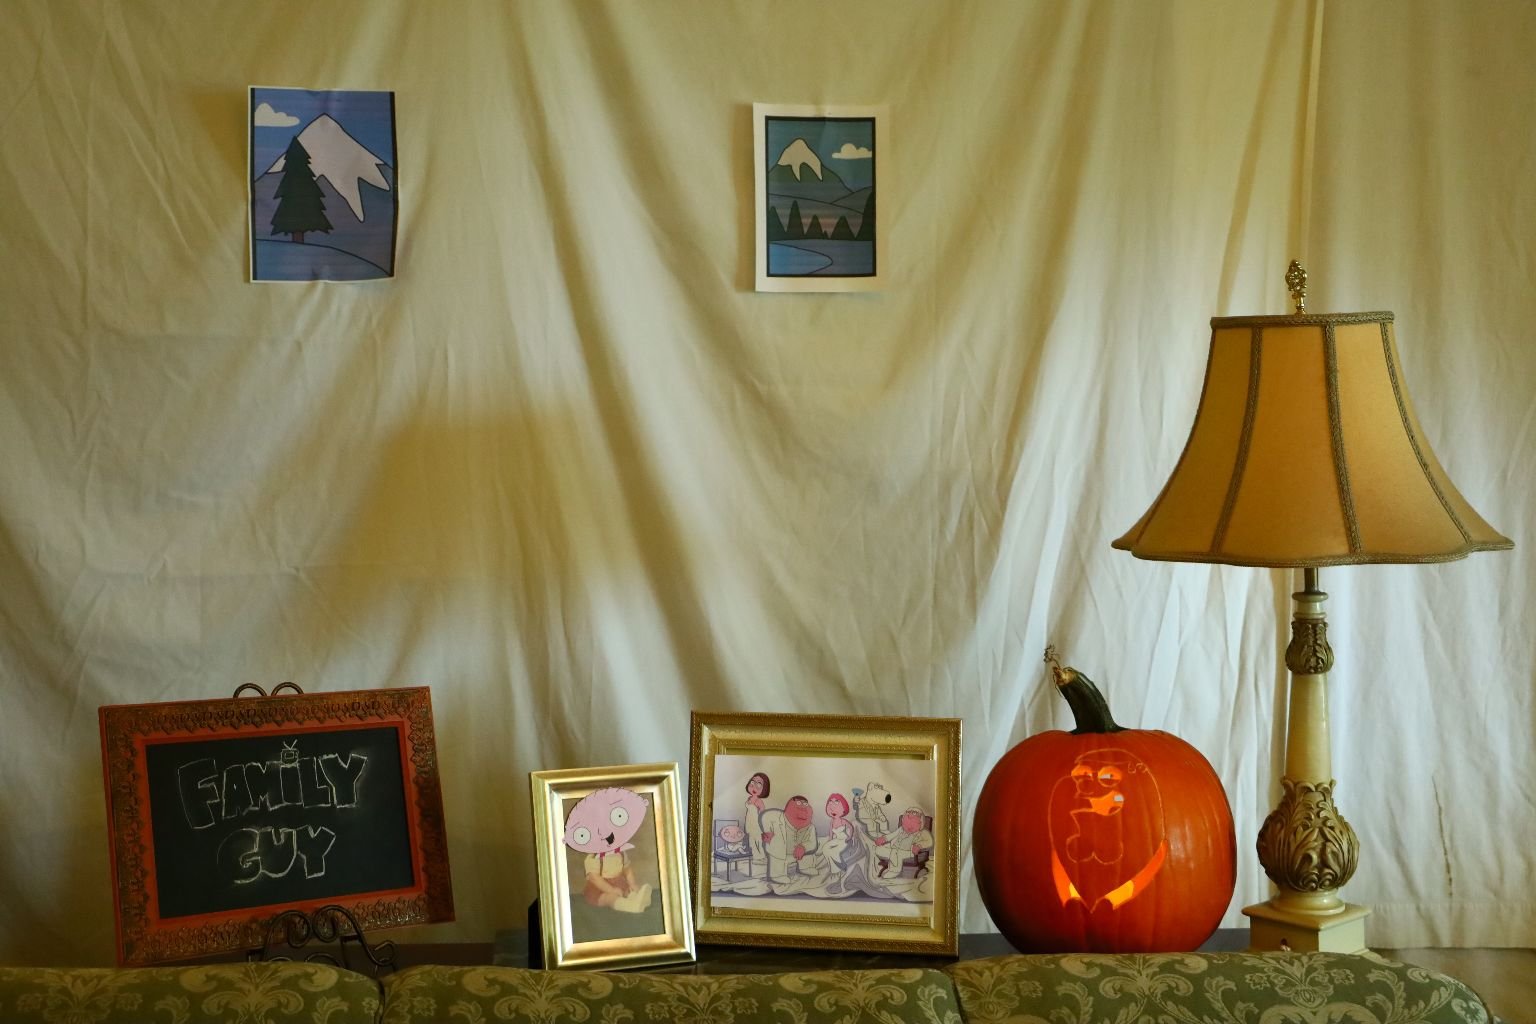
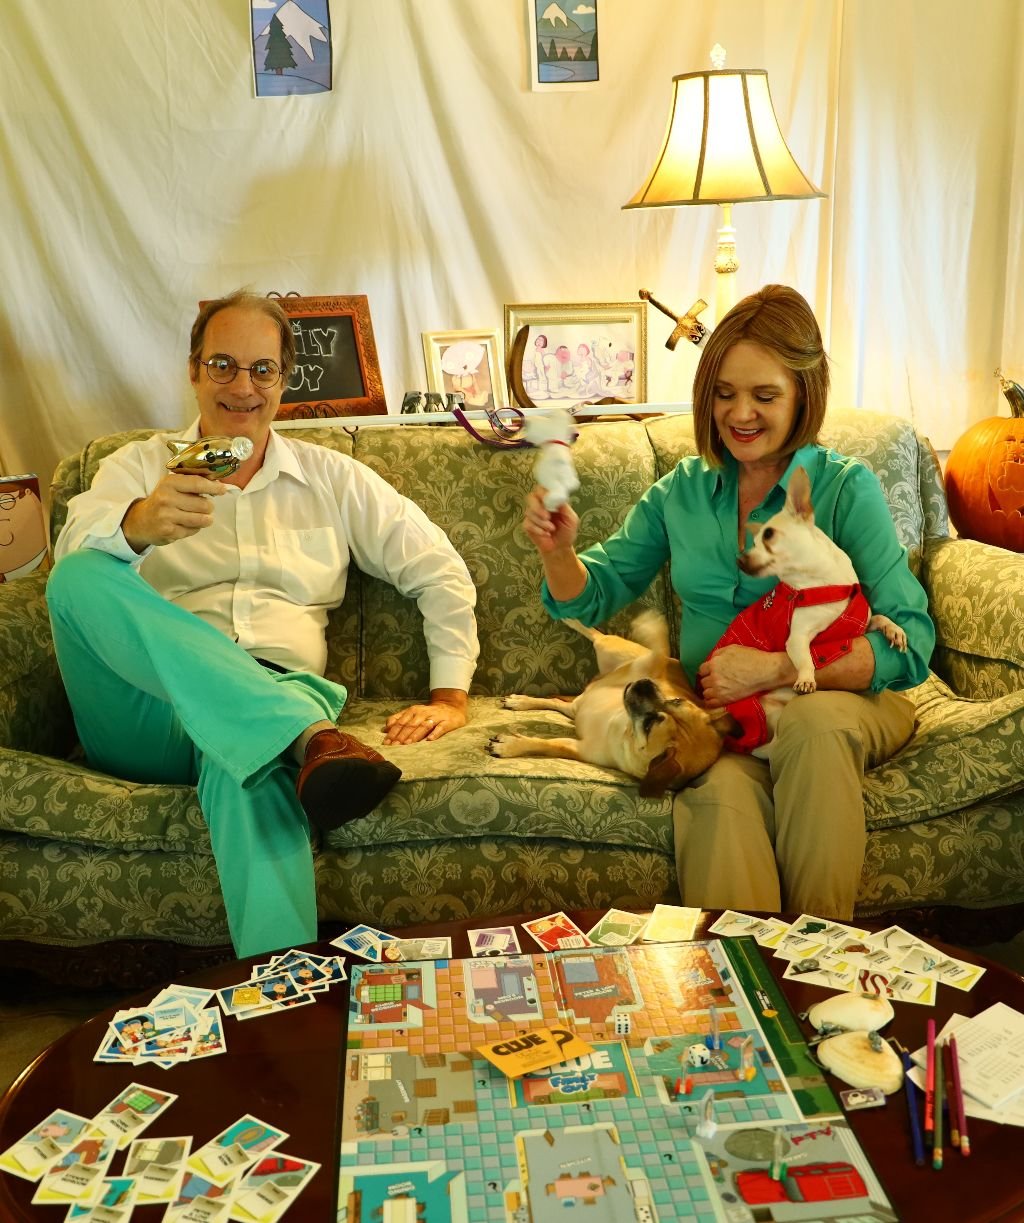
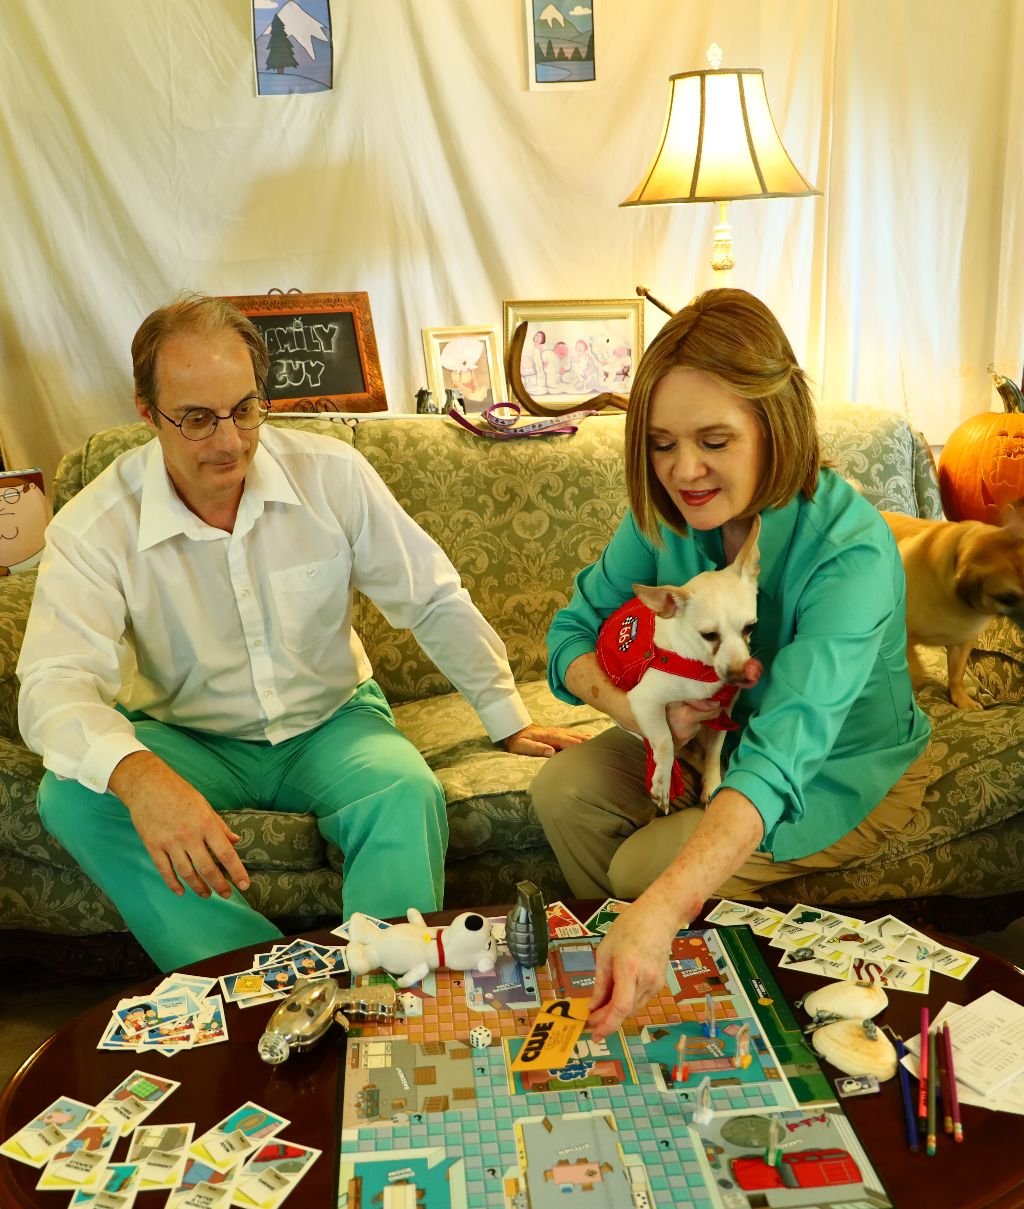
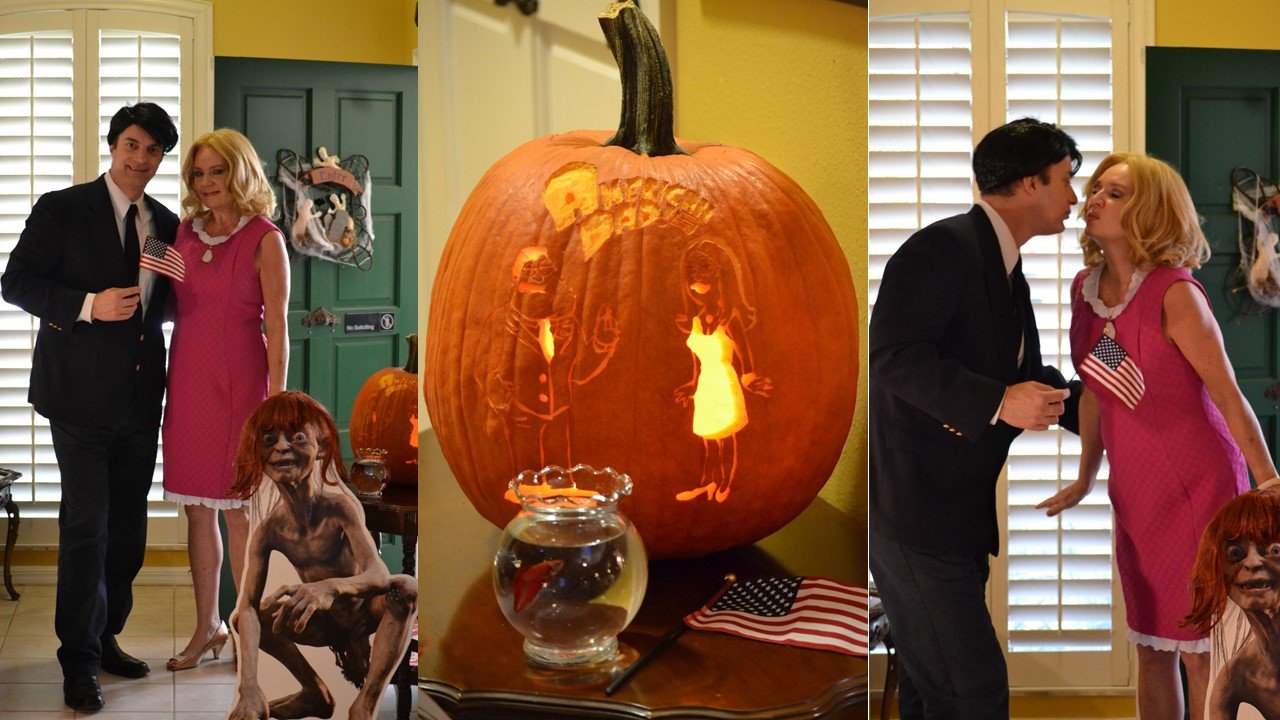
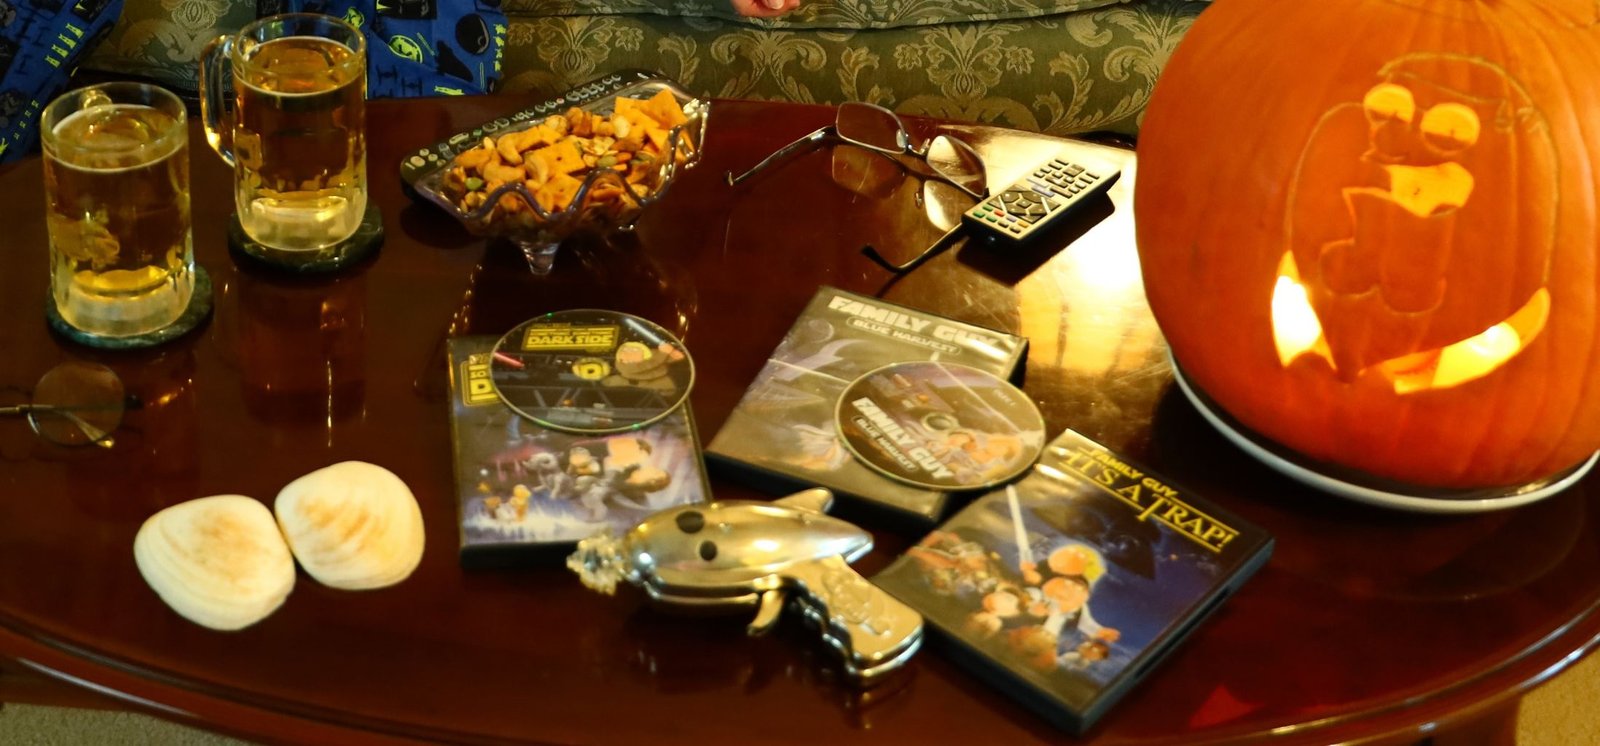
Our Griffin Family Living Room


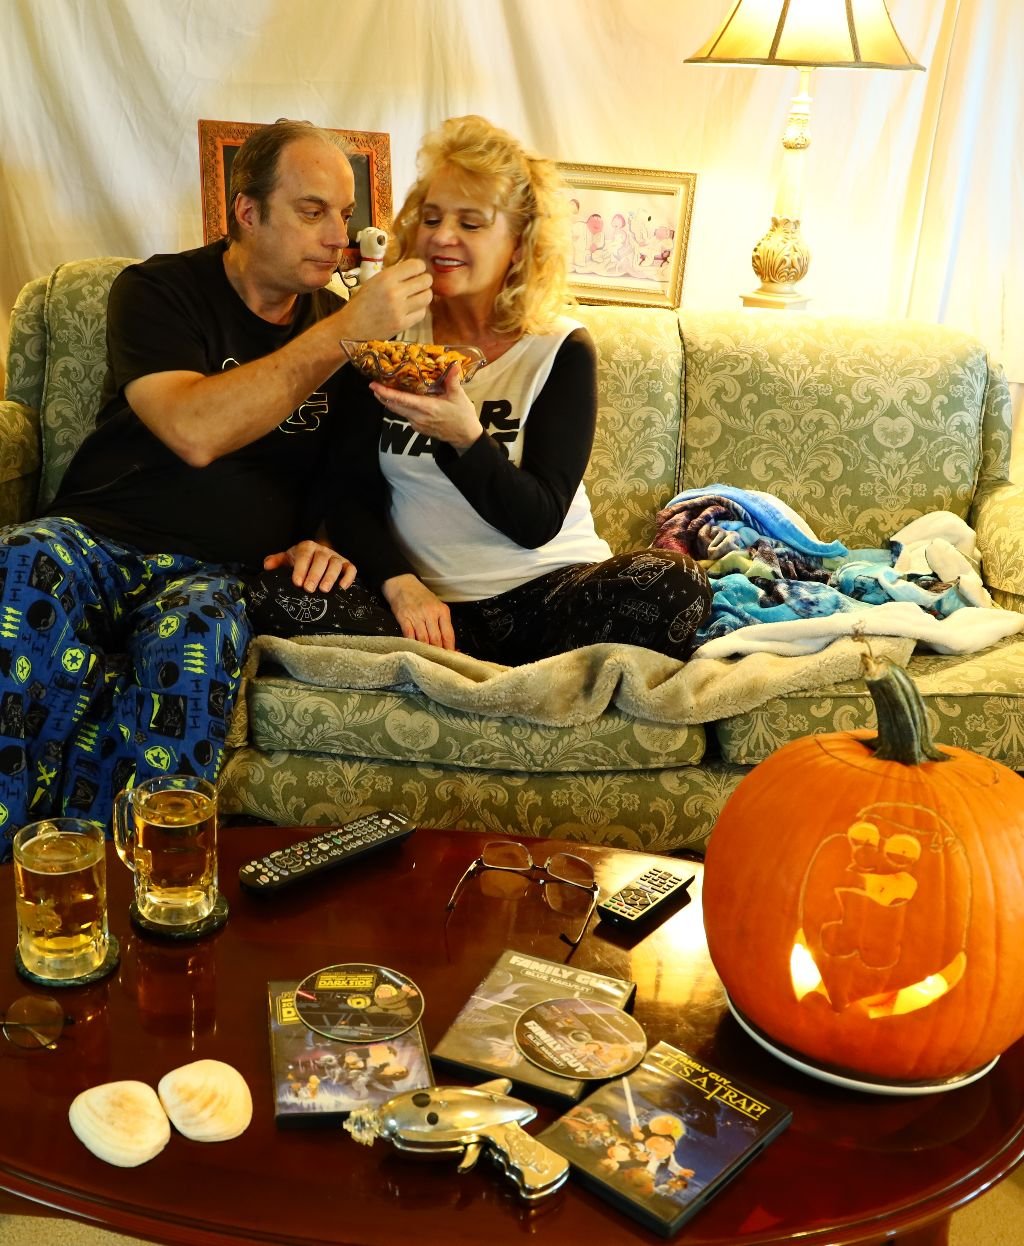
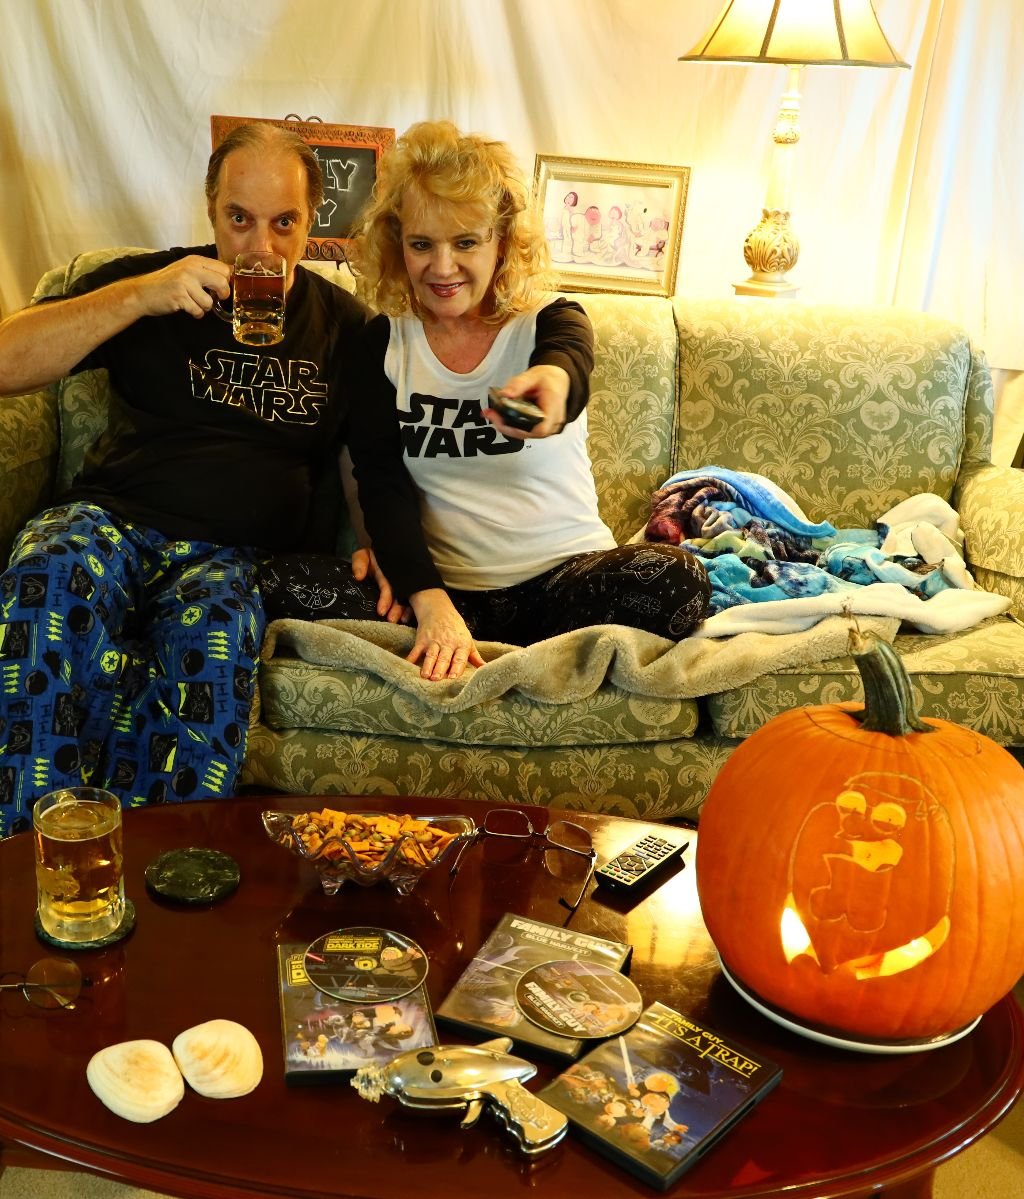
Gordon as Peter Griffin
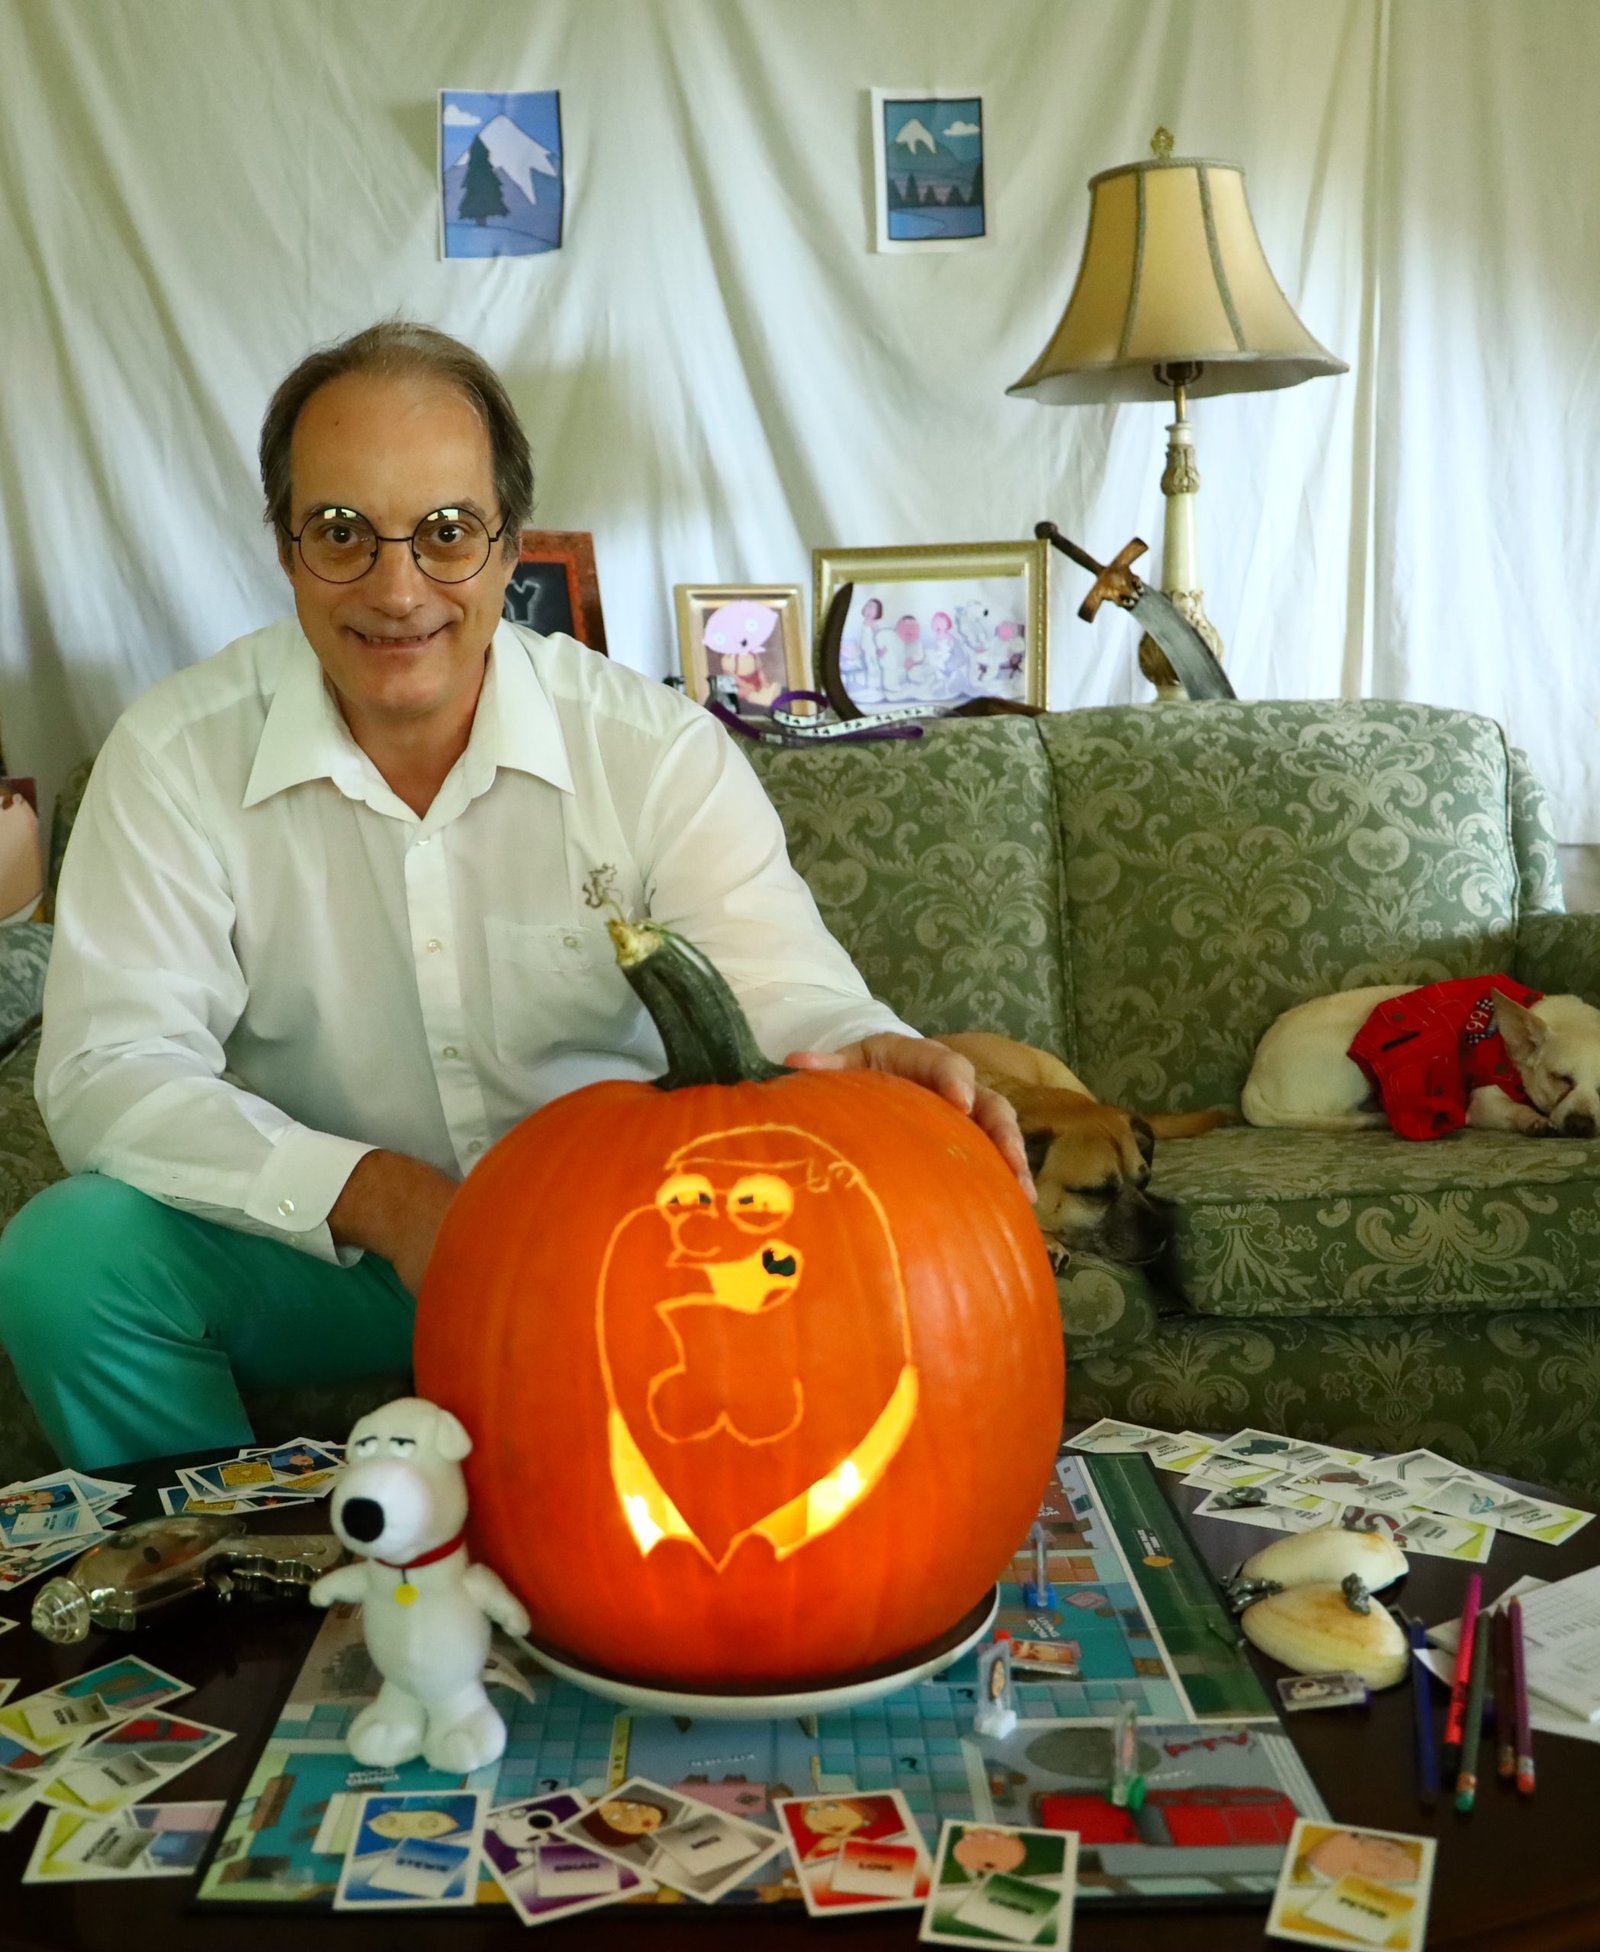
Peter with Pumpkin Peter


Our CLUE Game Weapons:
Pirate Sword
Towel Rod
Poisoned Clam Chowder
Thinking Grenades
Ray Gun
Baby Chucks
Night Stick
Leash
Scythe
————————————————————

Julie as Lois Pewterschmidt Griffin

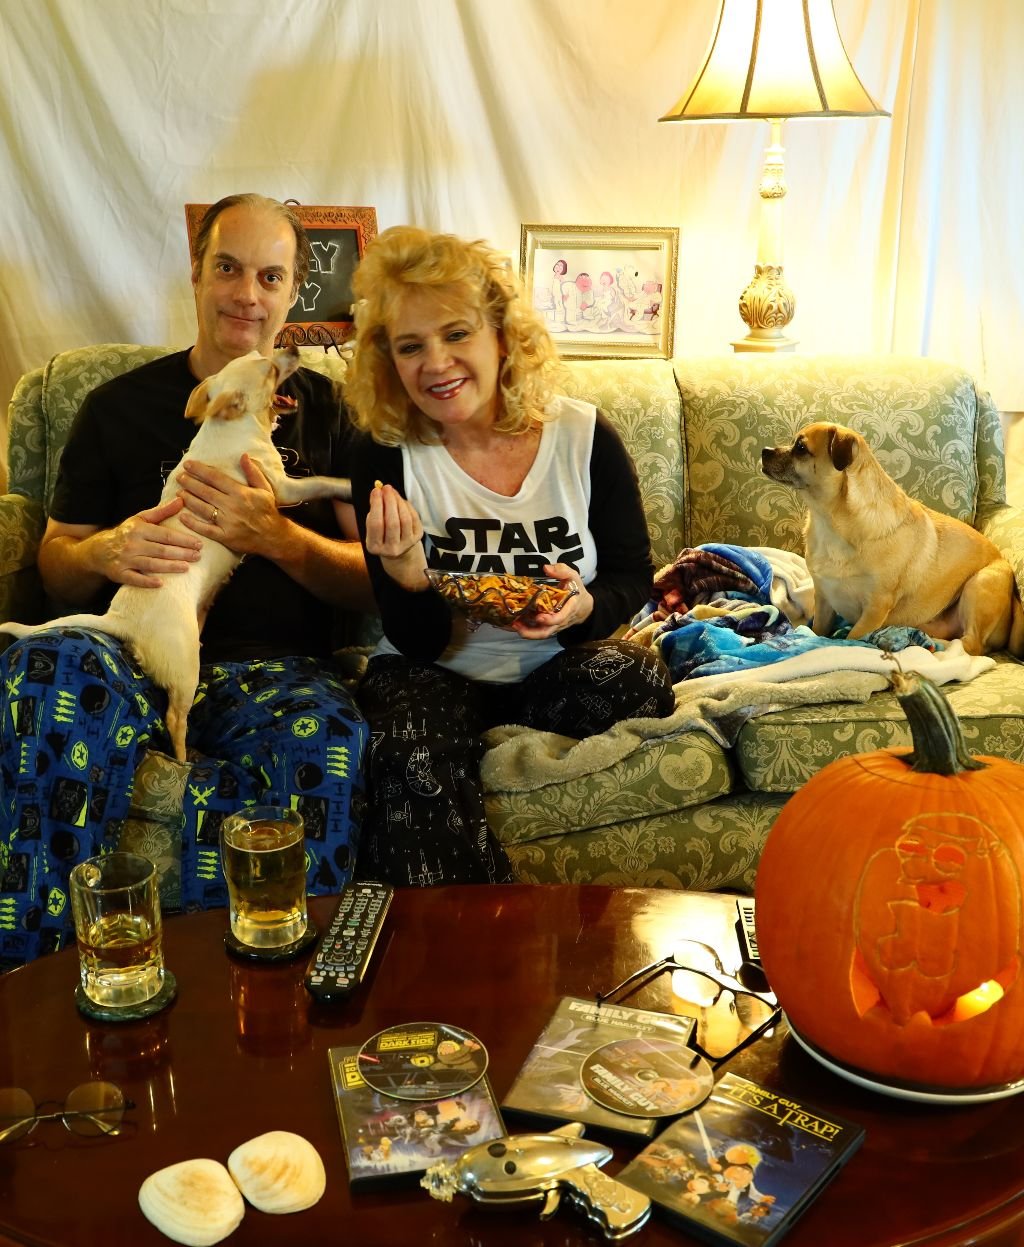
Sparky as Vinny Filipeli
Stuffed Brian as Brian Griffin
Spooky as Stewart “Stewie” Gilligan Griffin
And,
Baby Ben Lancaster as Baby Stewie in photo behind couch.

———————————————————
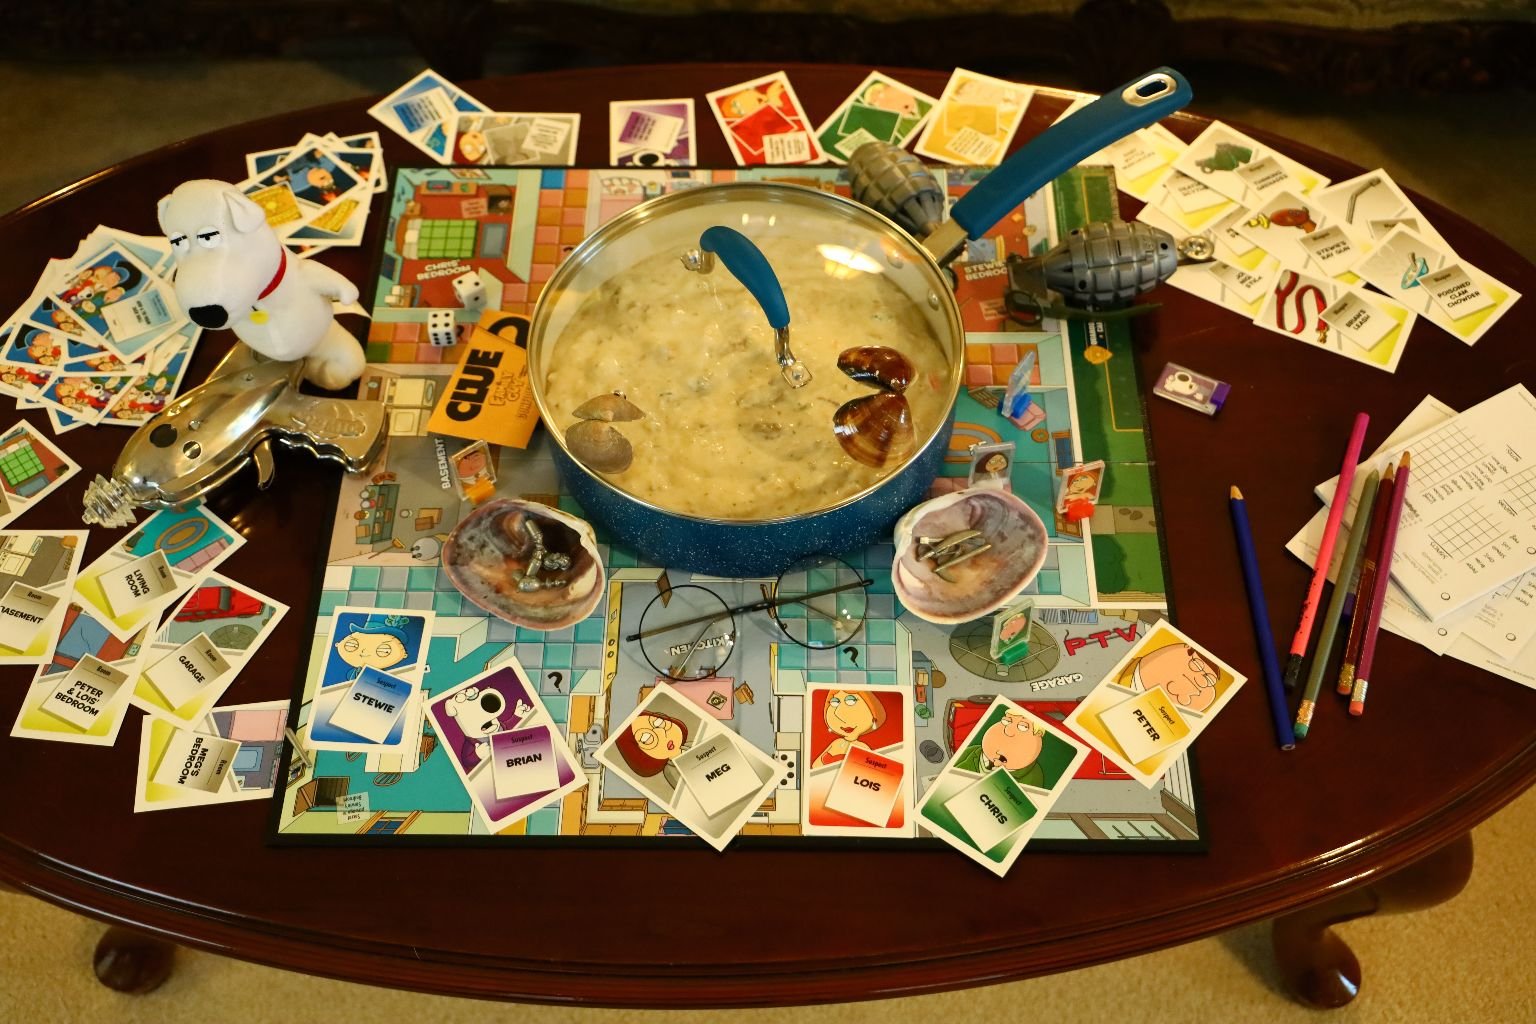
Our CLUE Game Rooms:
Living Room
Kitchen
Dining Room
Garage
Basement
Peter and Lois Bedroom
Chris’s Room
Stewie’s Room
Meg’s Room
—————————————————————-
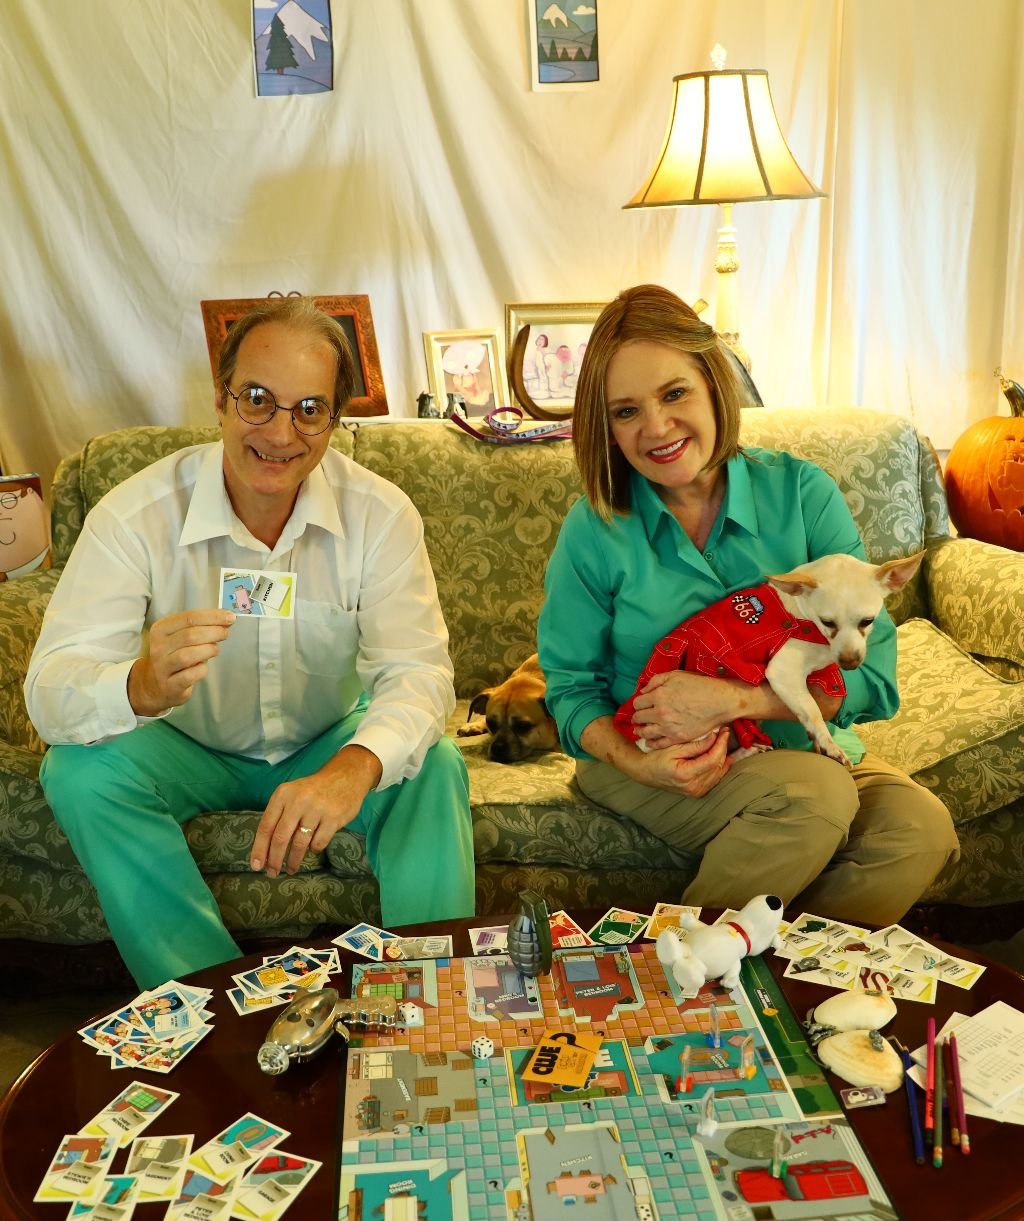
Hey, are you guys ready to play?
Justin Peter Griffin
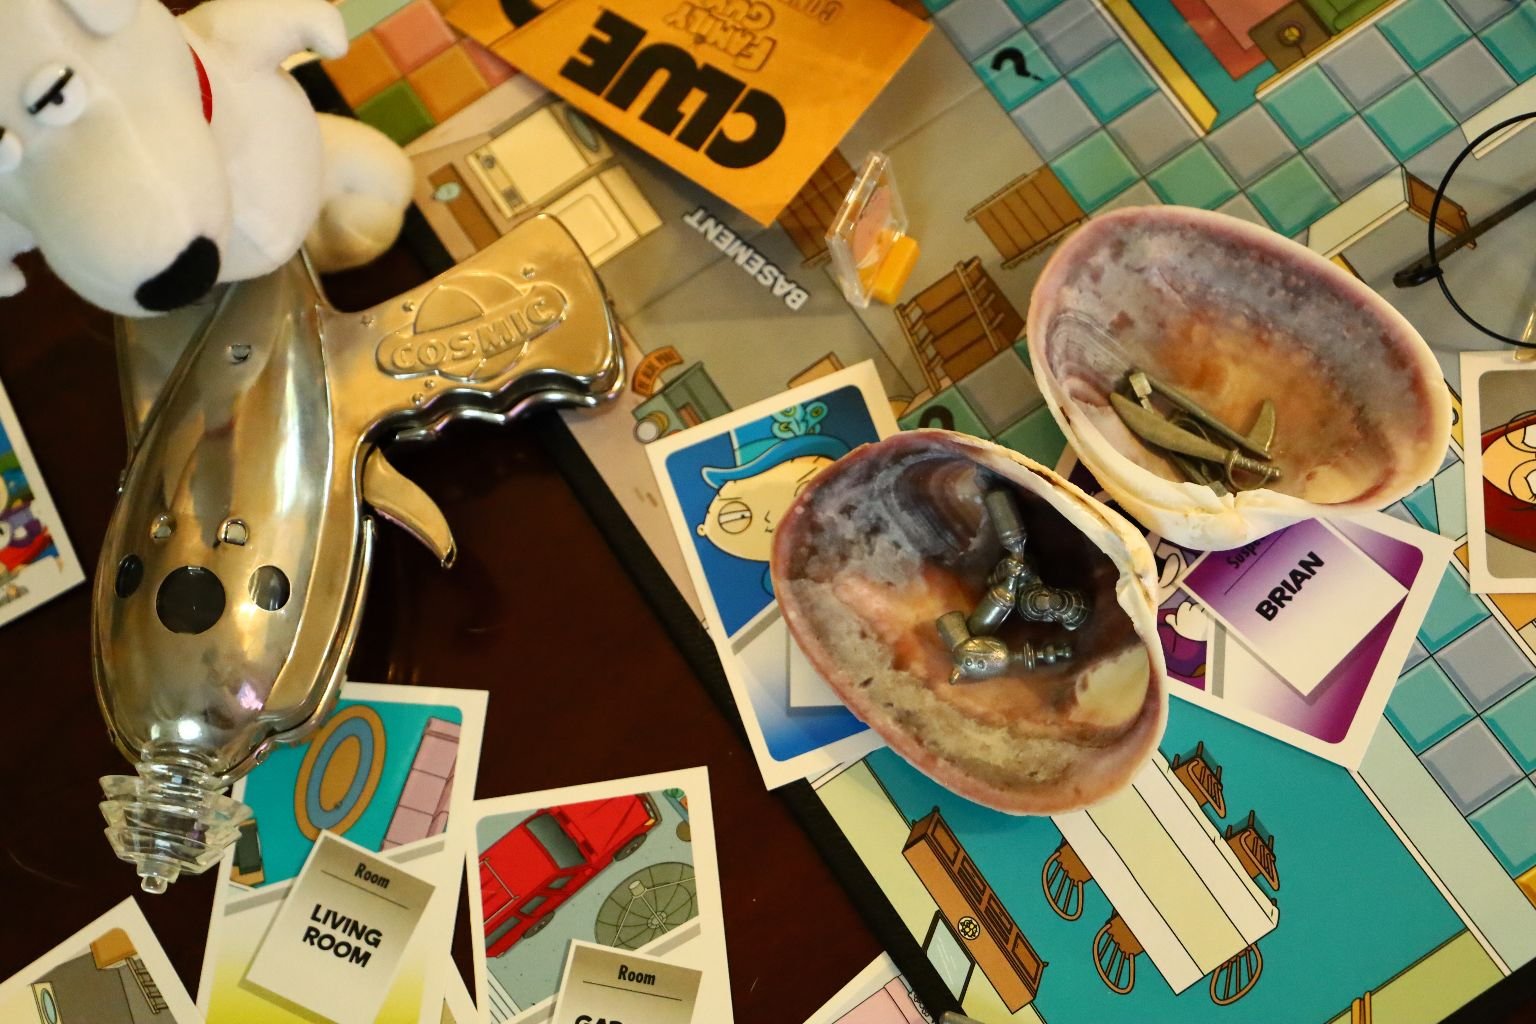
Our CLUE Game Piece Weapons
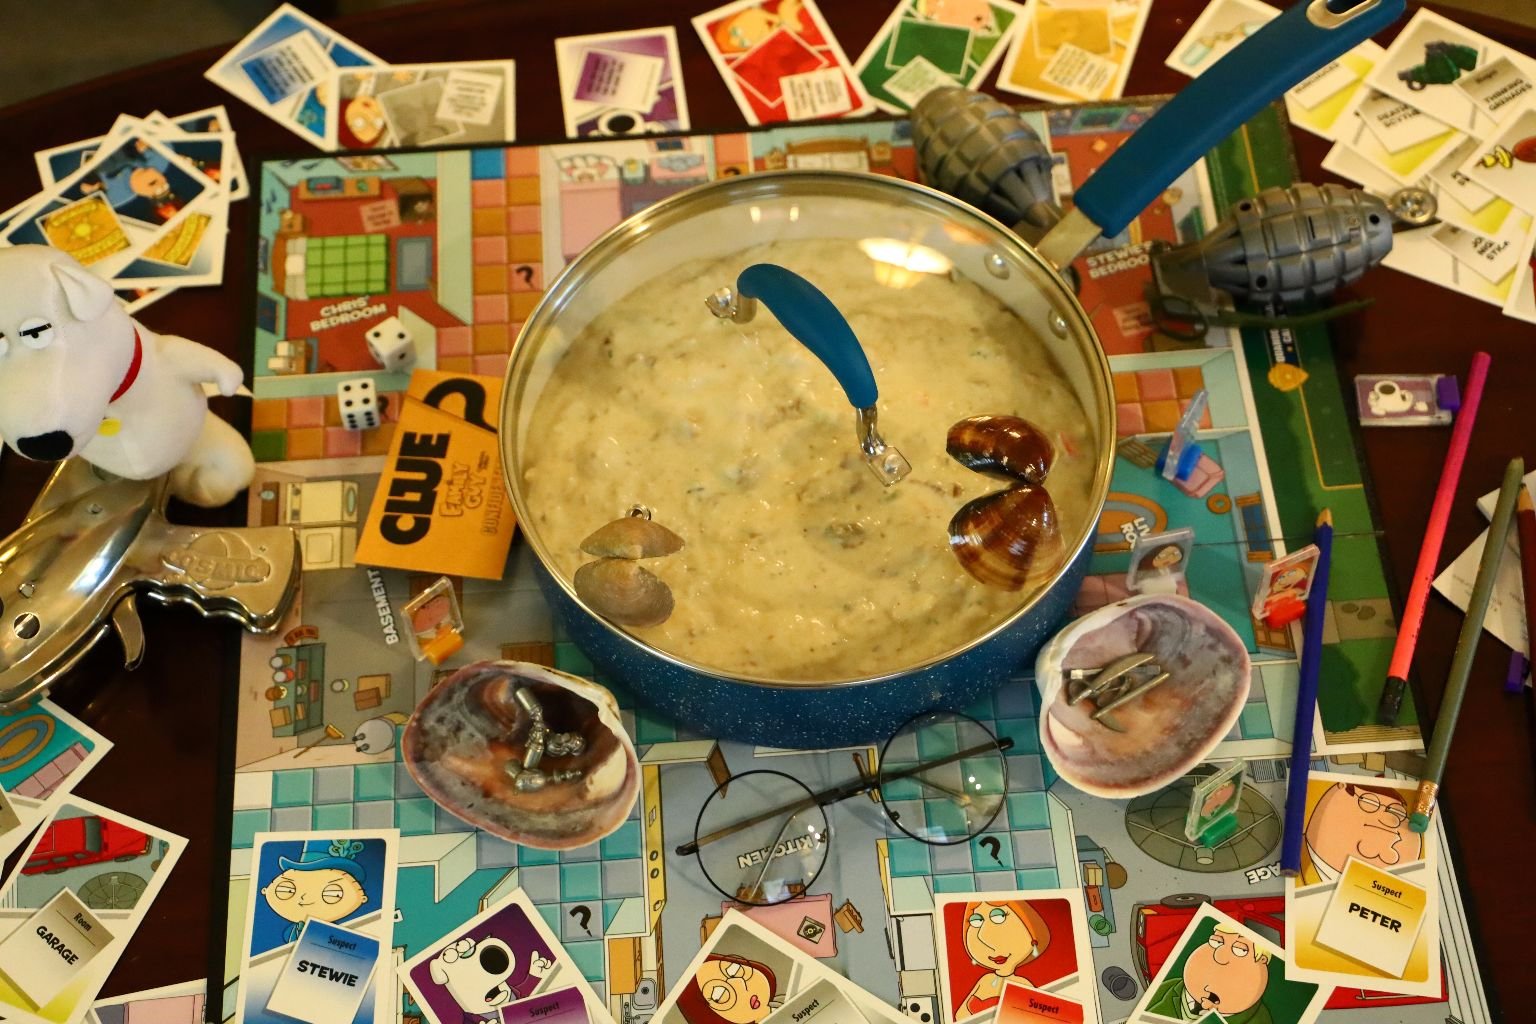
Lois’s Poisonous Clam Chowder
Oh, and Clam Fritters 🙂
Can I fix you a bowl? I’d be happy to.
—————————————————————–
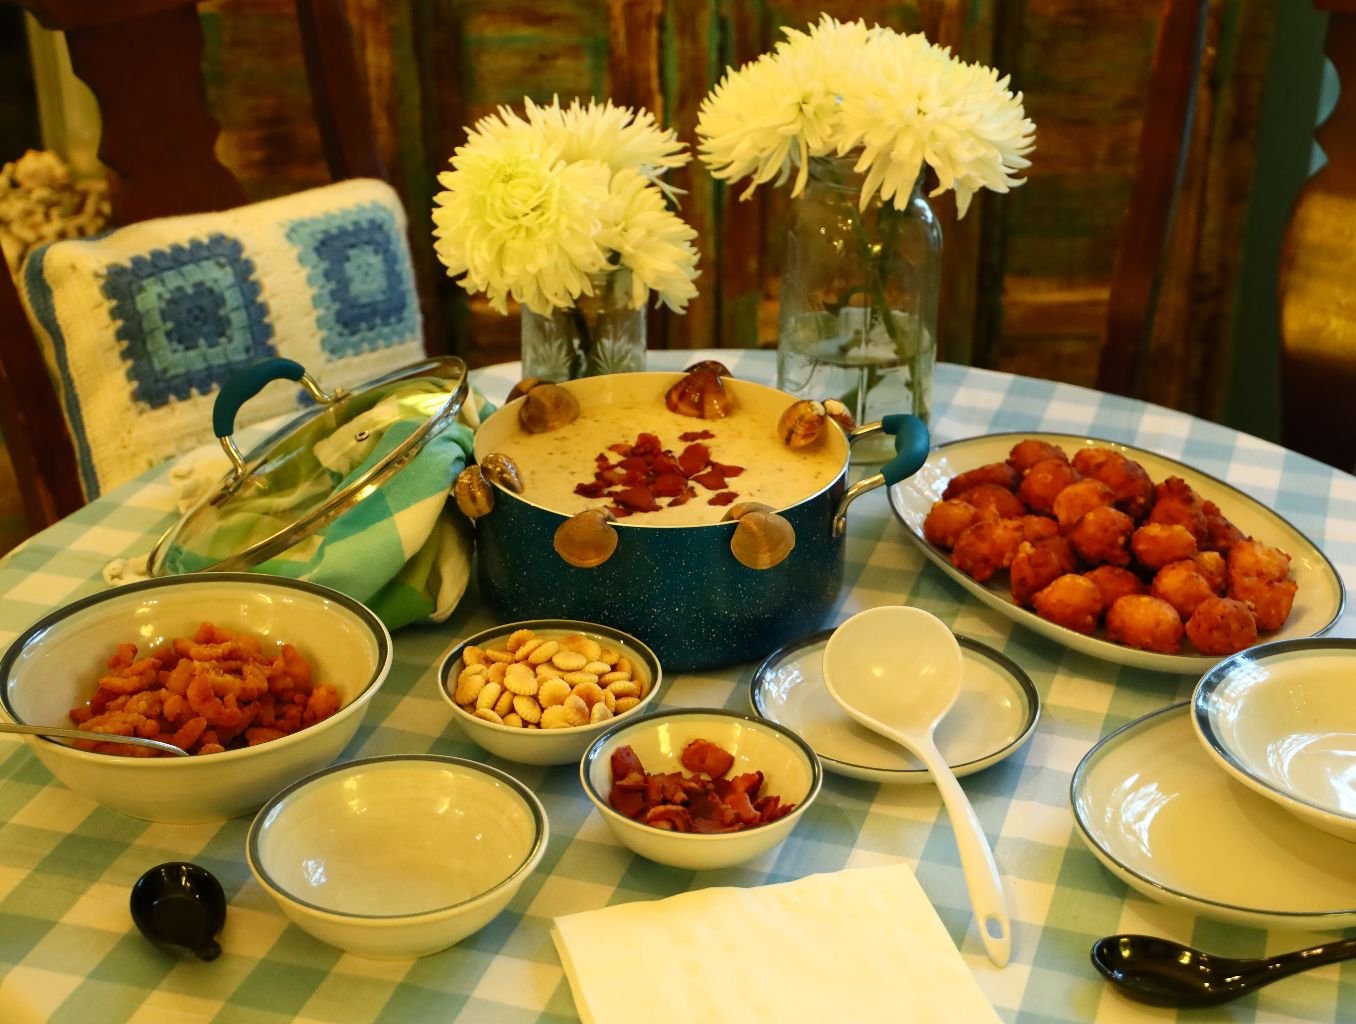
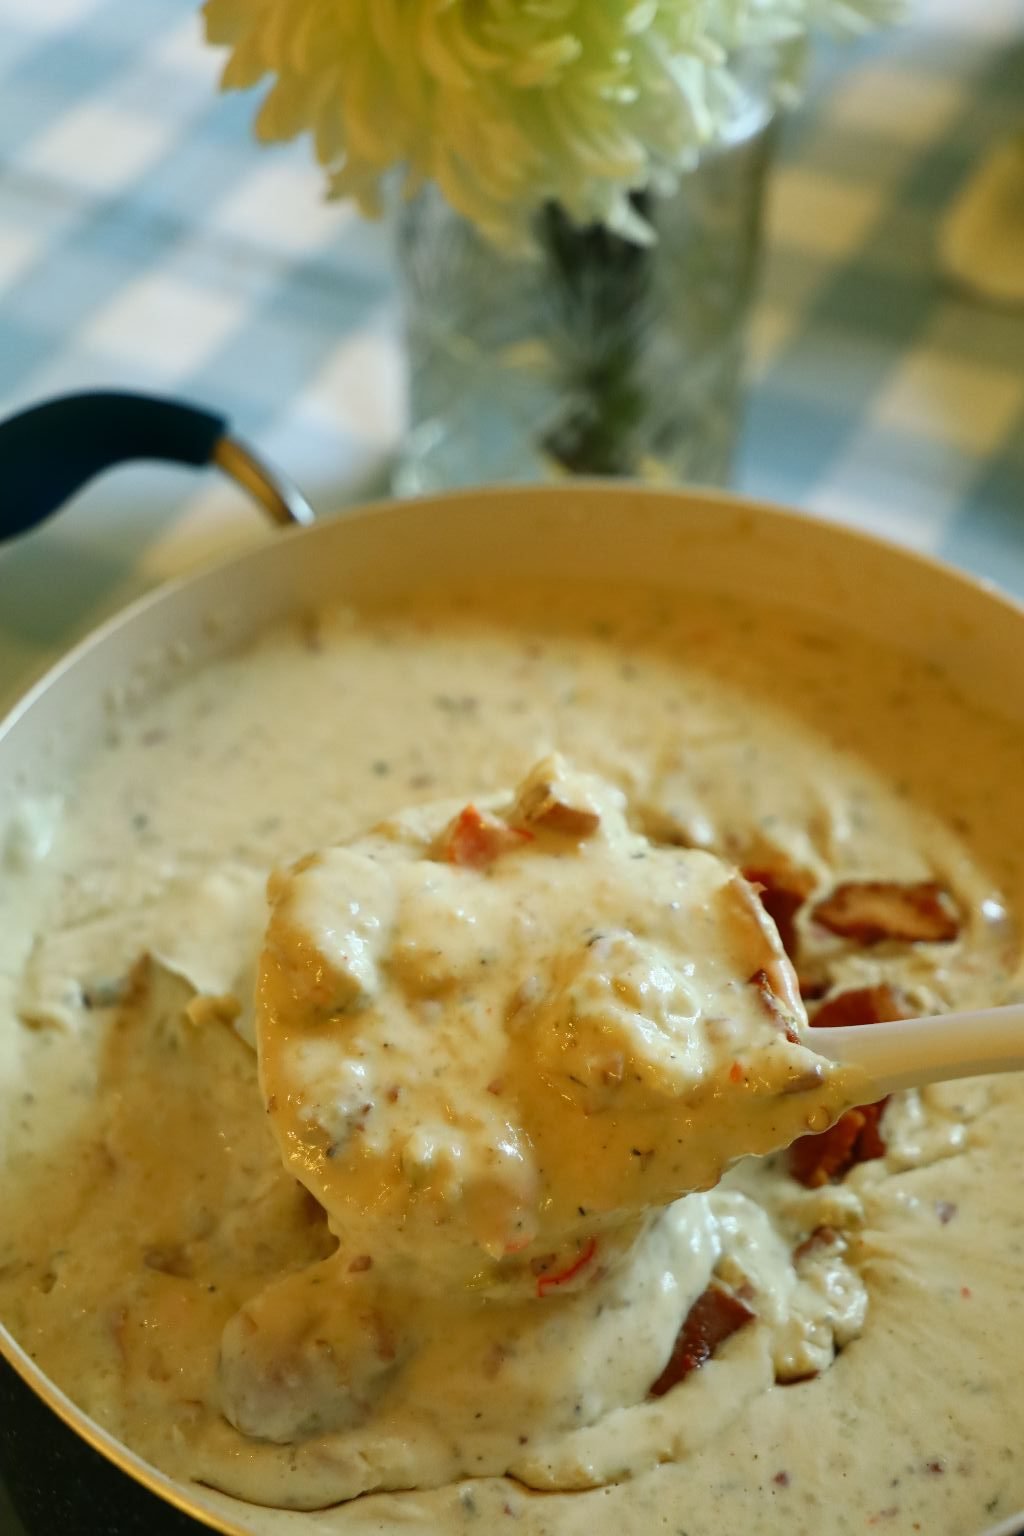
Our Drunken Clam Chowder
w/ Clam and Corn Fritters
Hey Peter, I made your favorite.
Come and get it!
————————————————————-
Topped with Bacon and some Fried Clams
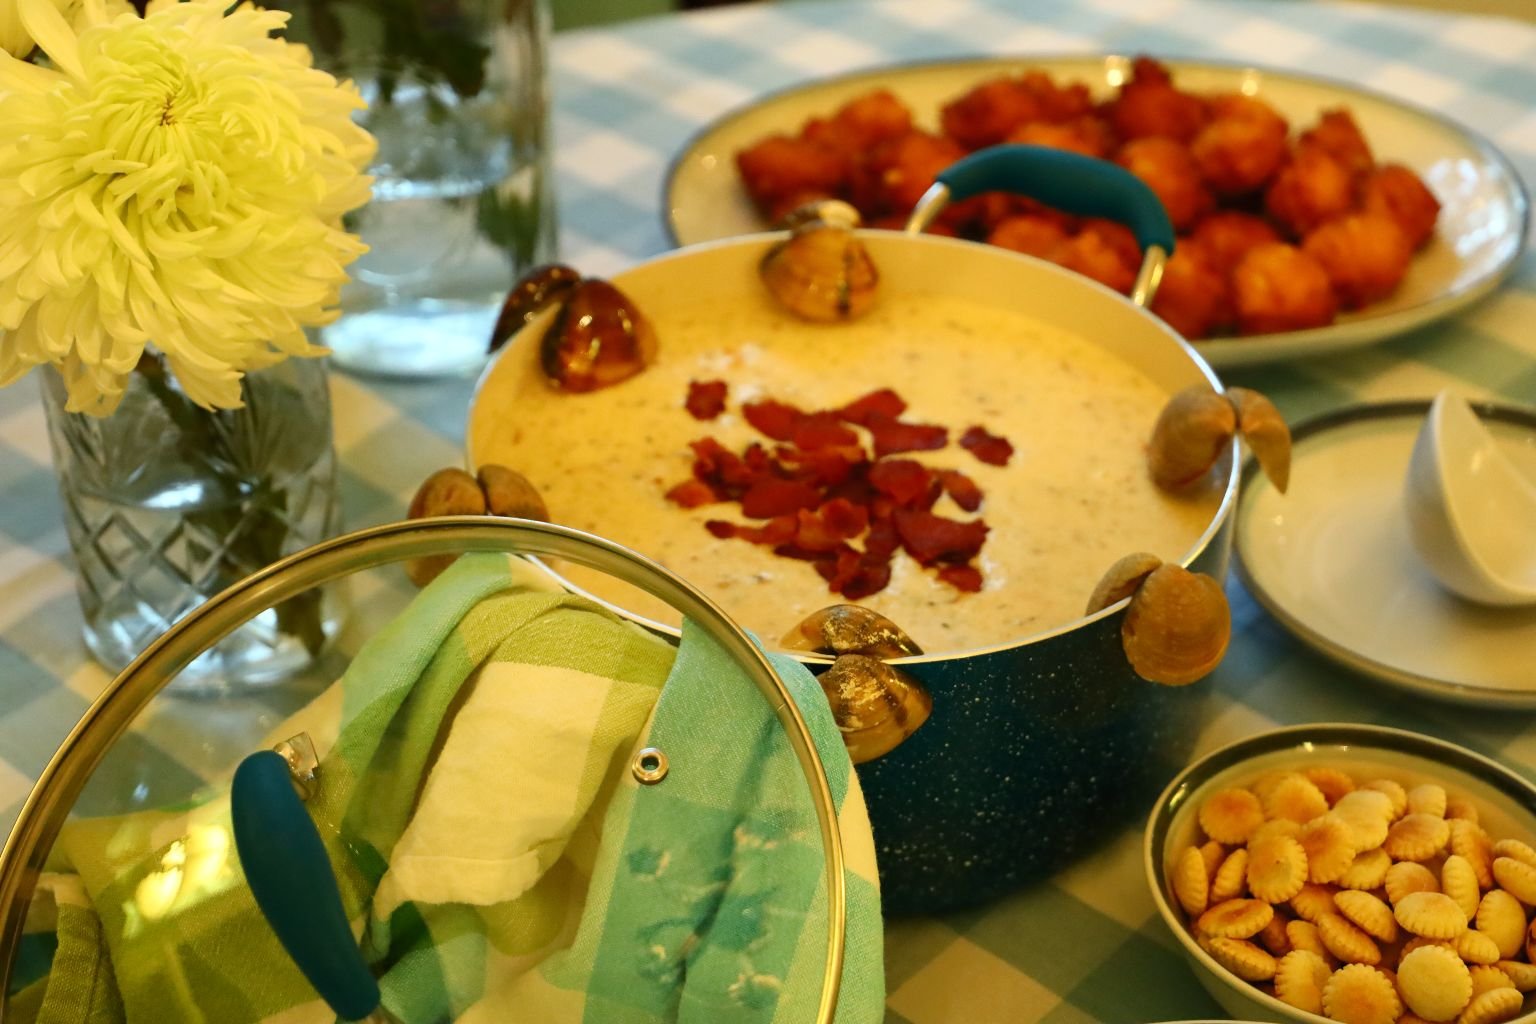
————————————————————–
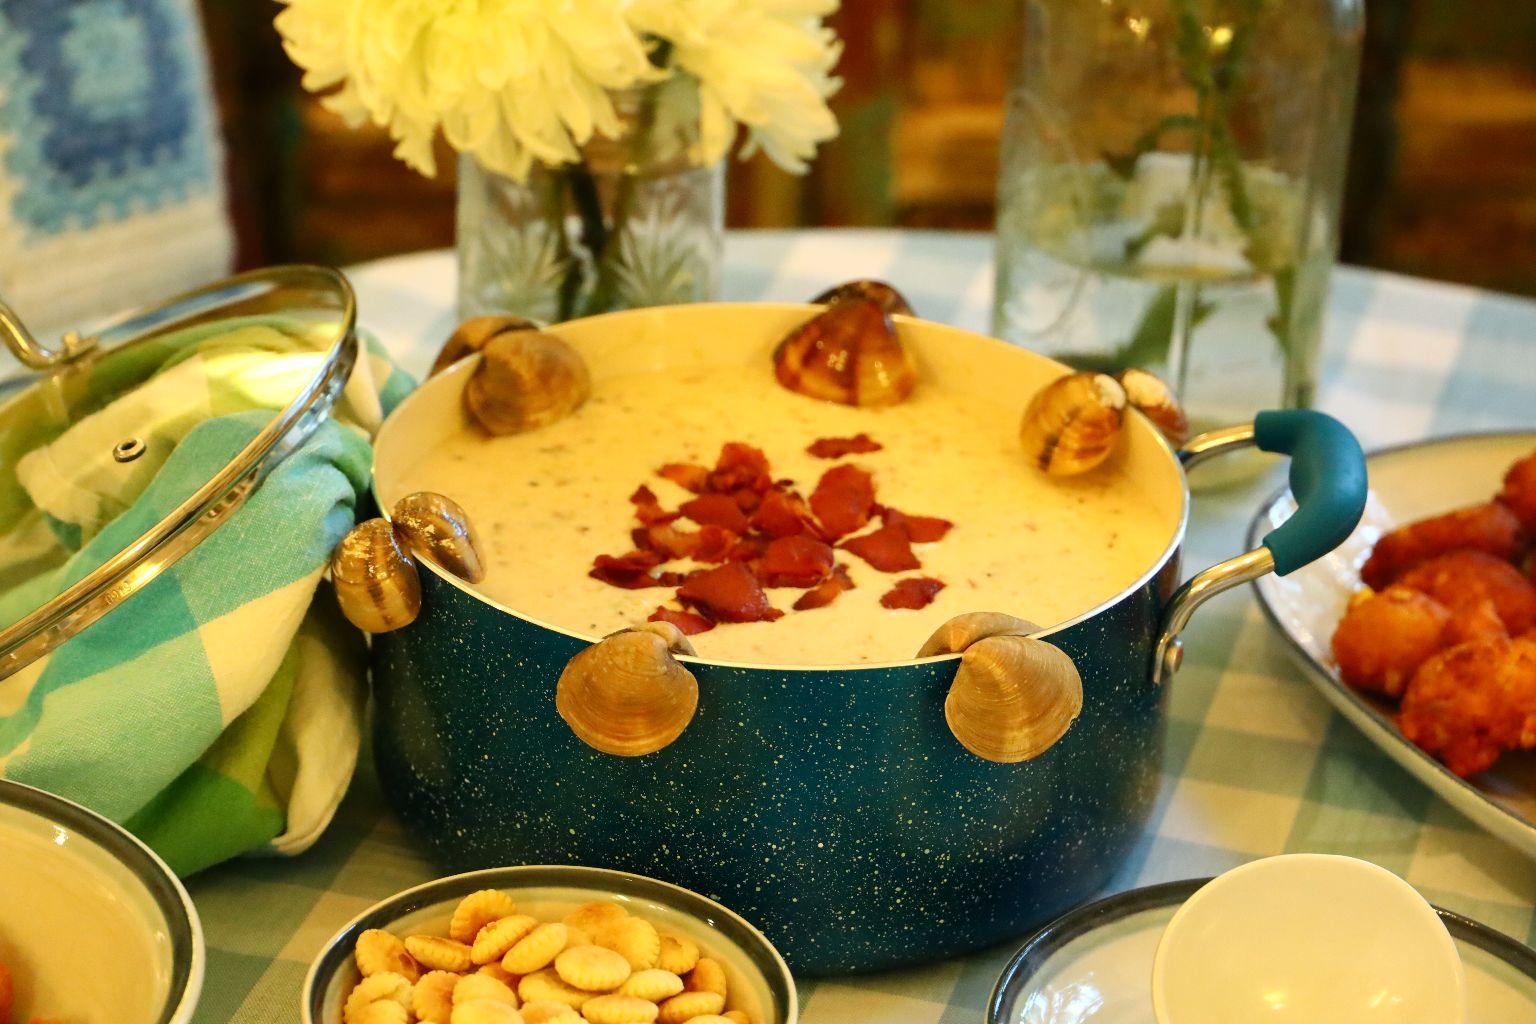
We saved some of our clam shells to accent our chowder.
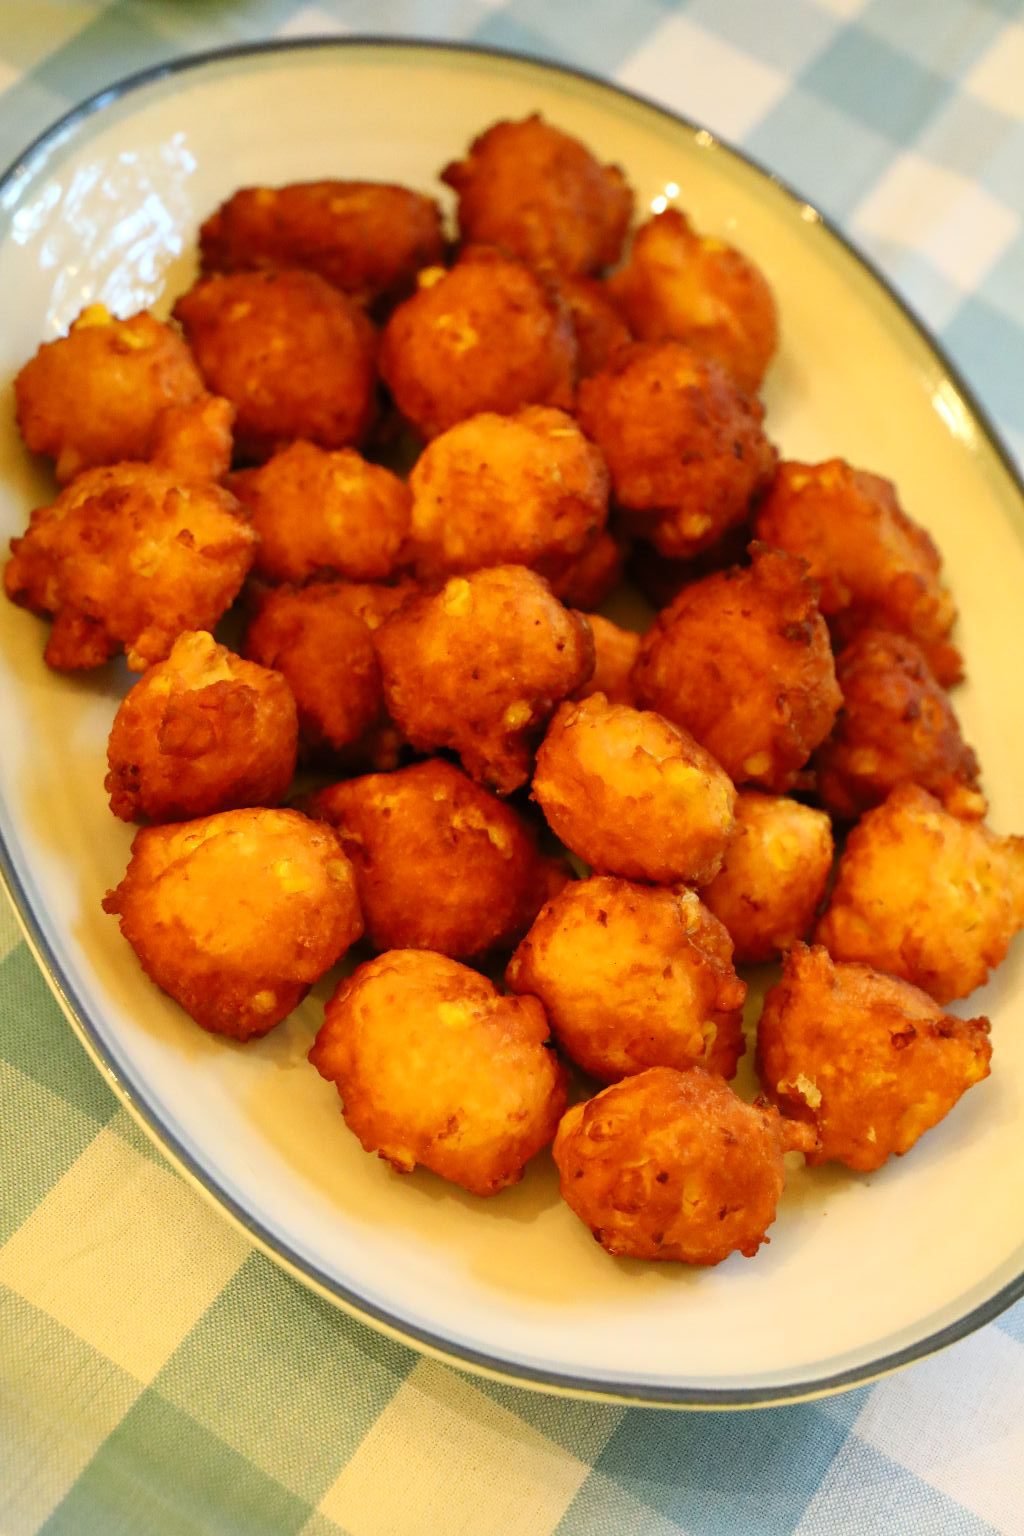
Clam and Corn Fritters

(Recipe at Bottom of Post.)
—————————————————————
…..the “pot” thickens………hmmmm……
————————————————————
I’ve gotta feed Stewie he’s been a bit ornery lately.
He wants me to make some kind of macaroni and cheese grilled cheese sandwiches. He’s insistent upon it. So let me feed him before he destroys us all.
——————————————————————
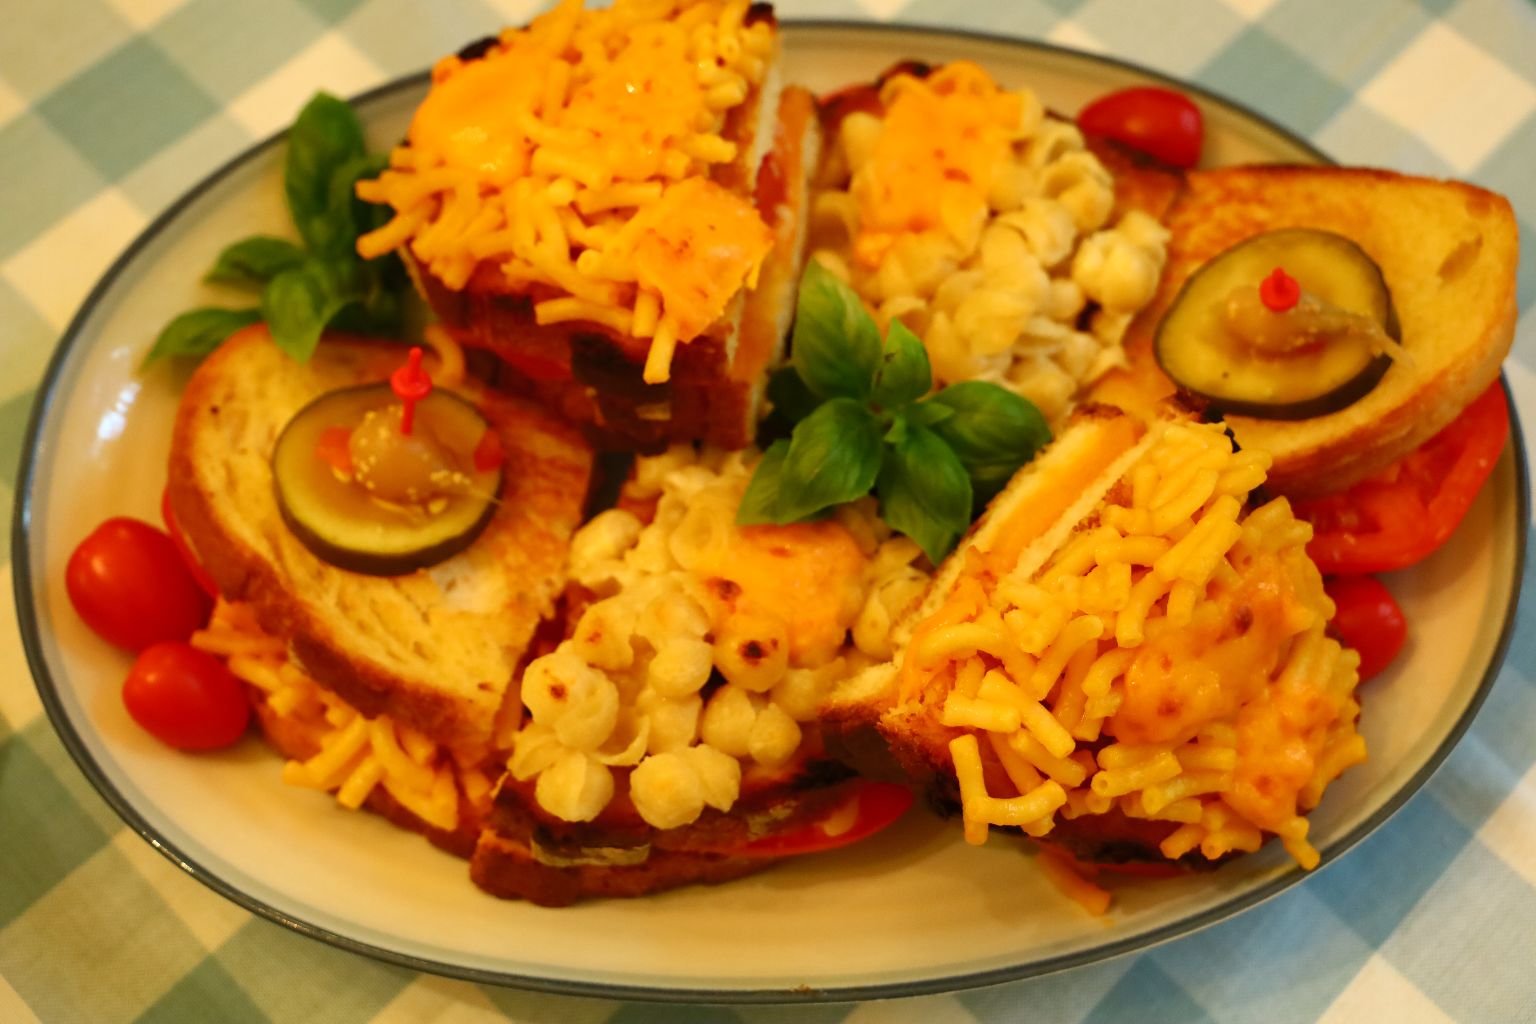
The Grilled Stewie Griffin’s…

Grilled Cheese/ Mac N’ Cheese Sandwiches
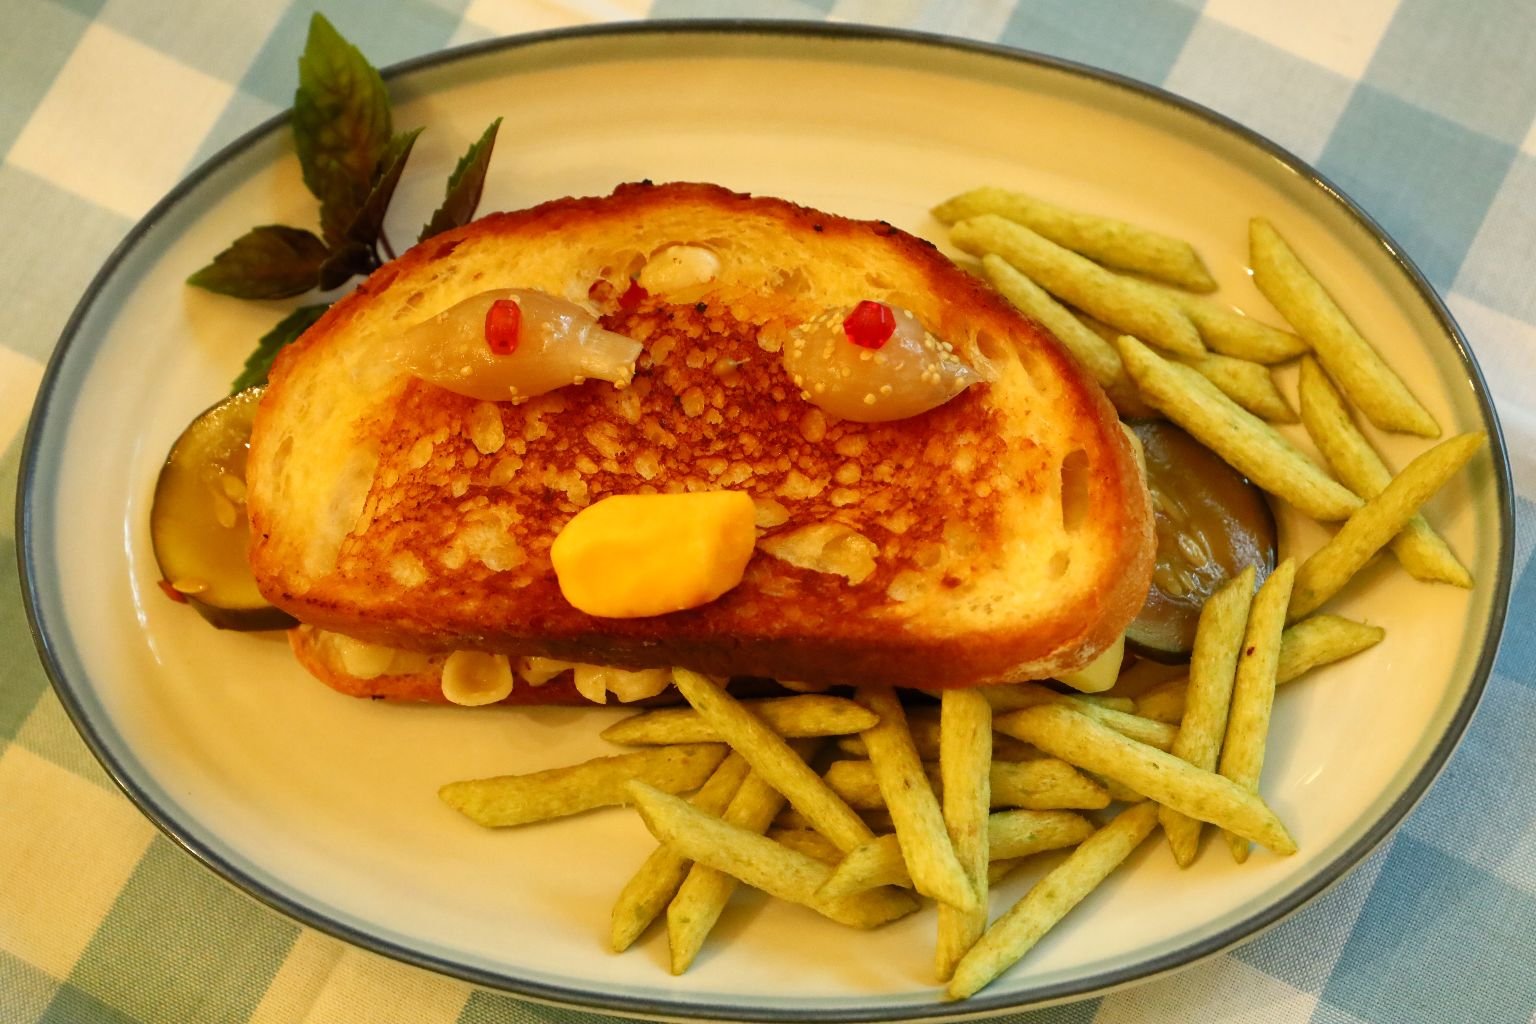
Do you see a resemblance to Stewie here? 🙂
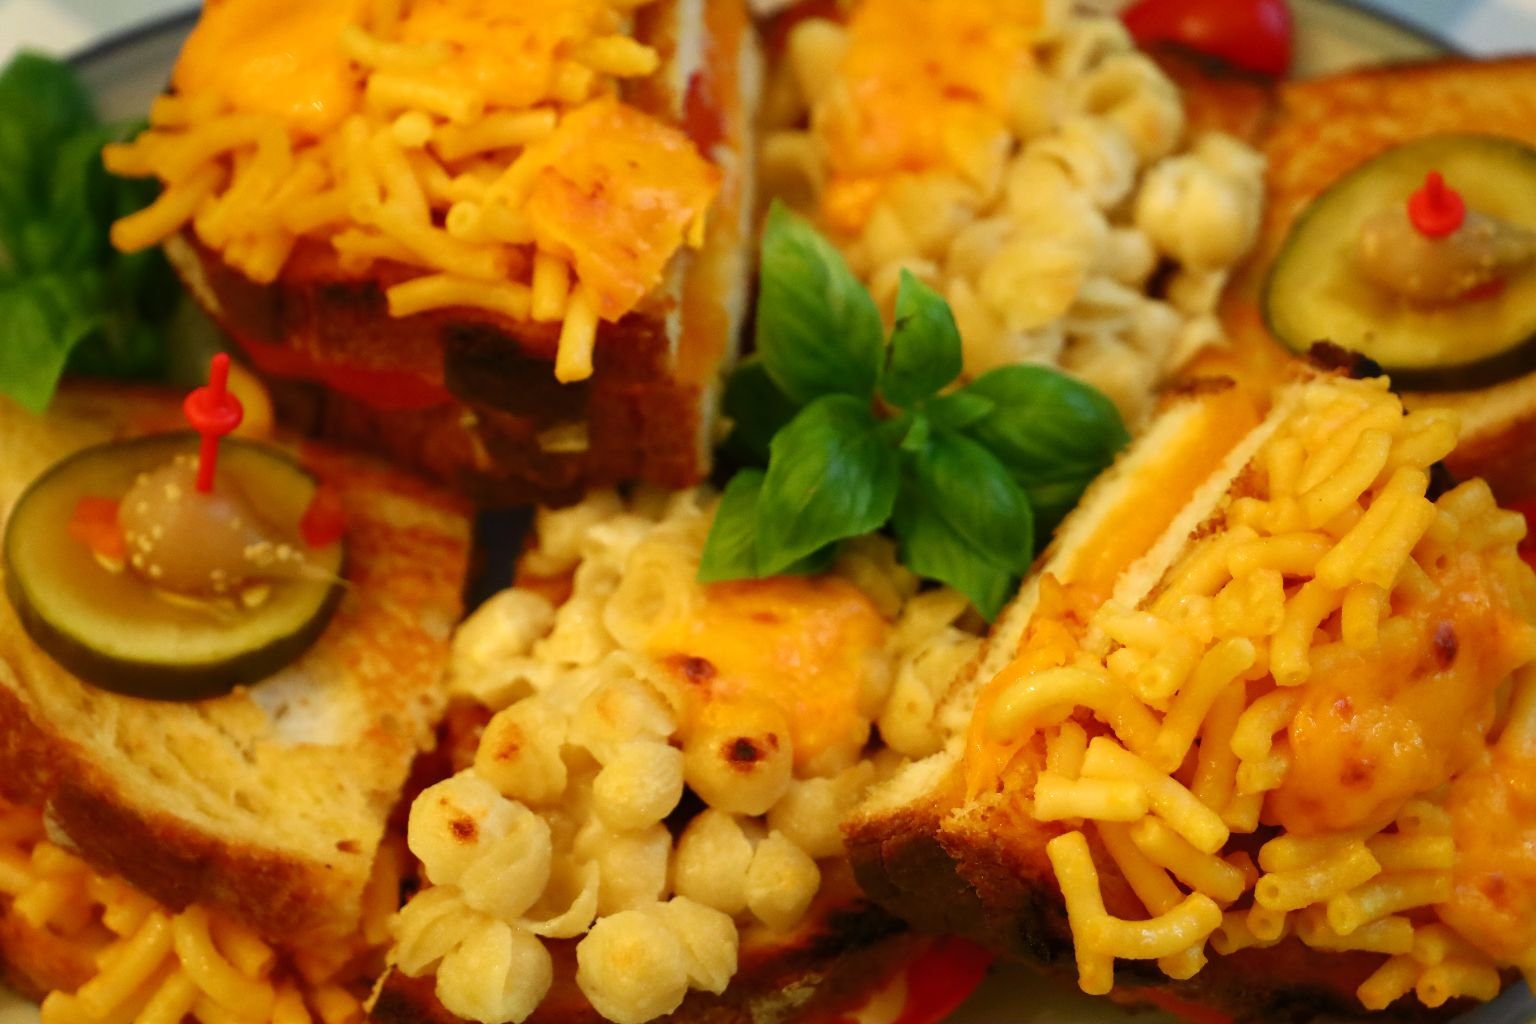
Chris and Meg like them too!
I think this is gonna be a Griffin Family favorite from now on.

Peter! Chris! Meg! Stewie! Brian!
COME EAT!
(Recipe at Bottom of Post.)
——————————————————

THE CLUE EPISODE
Although this episode is based on Agatha Christie’s, And Then There Were None, the characters on Family Guy have referred to this episode as the “CLUE” episode. Which is probably why it is one of my favorite episode’s.
————————————————————

And Then There Were Fewer
Volume 9, Episode 1
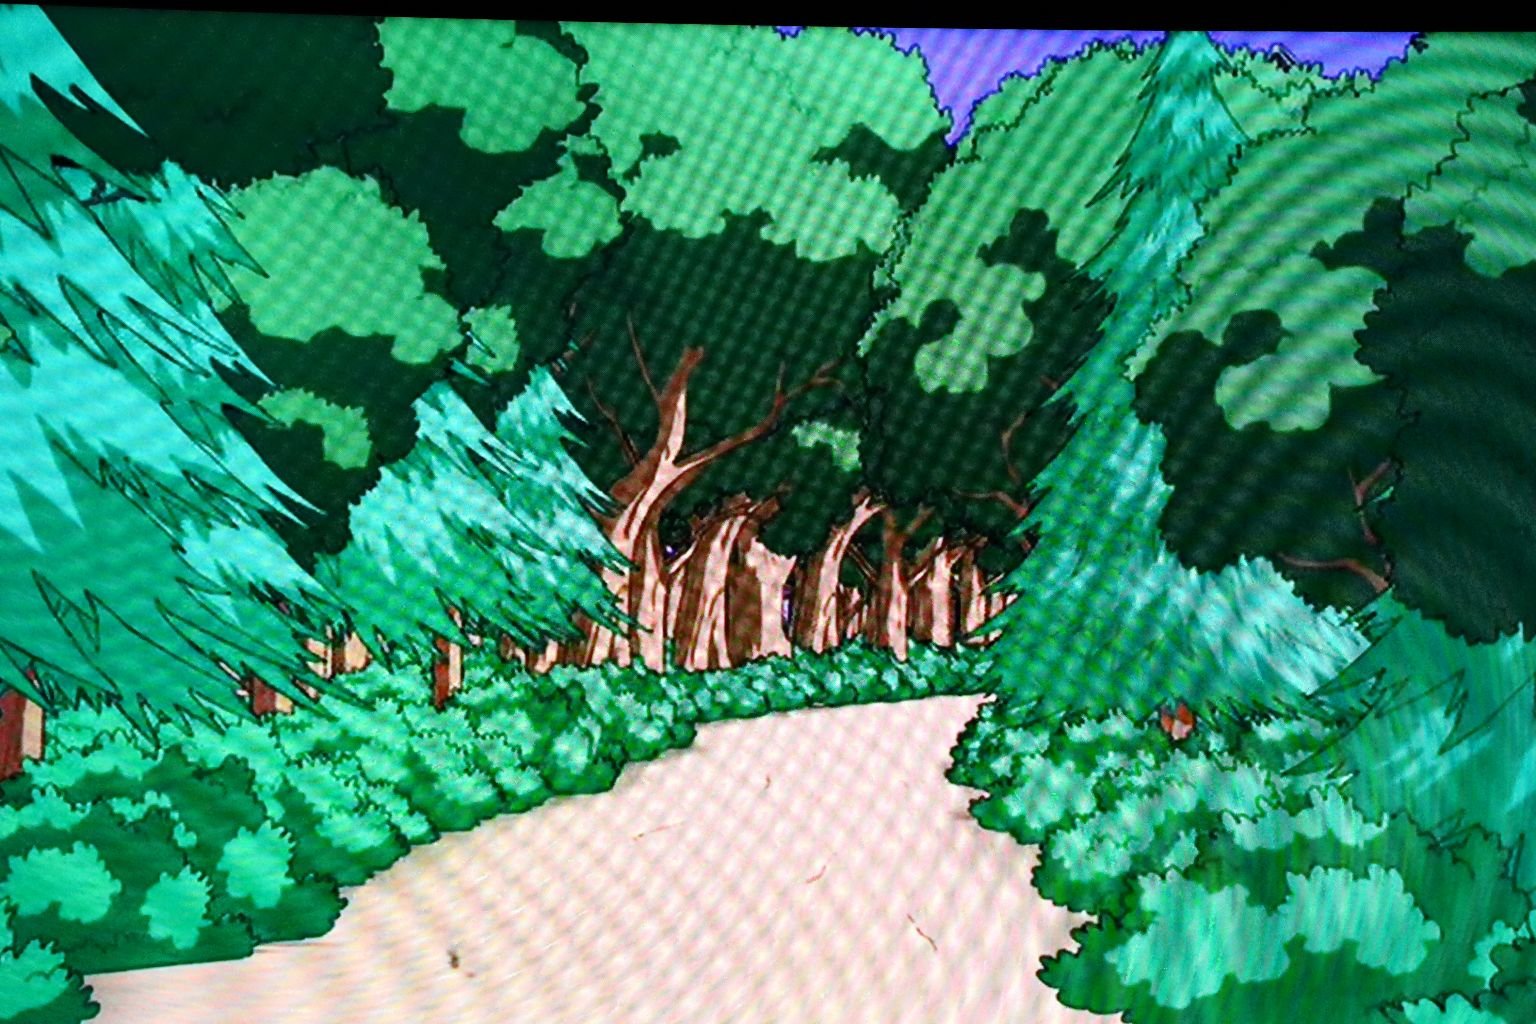
Where is this road leading us to?
Wait! I think I see something in the clearing…….

Look! Oooooooooooooooo.
——————————————————
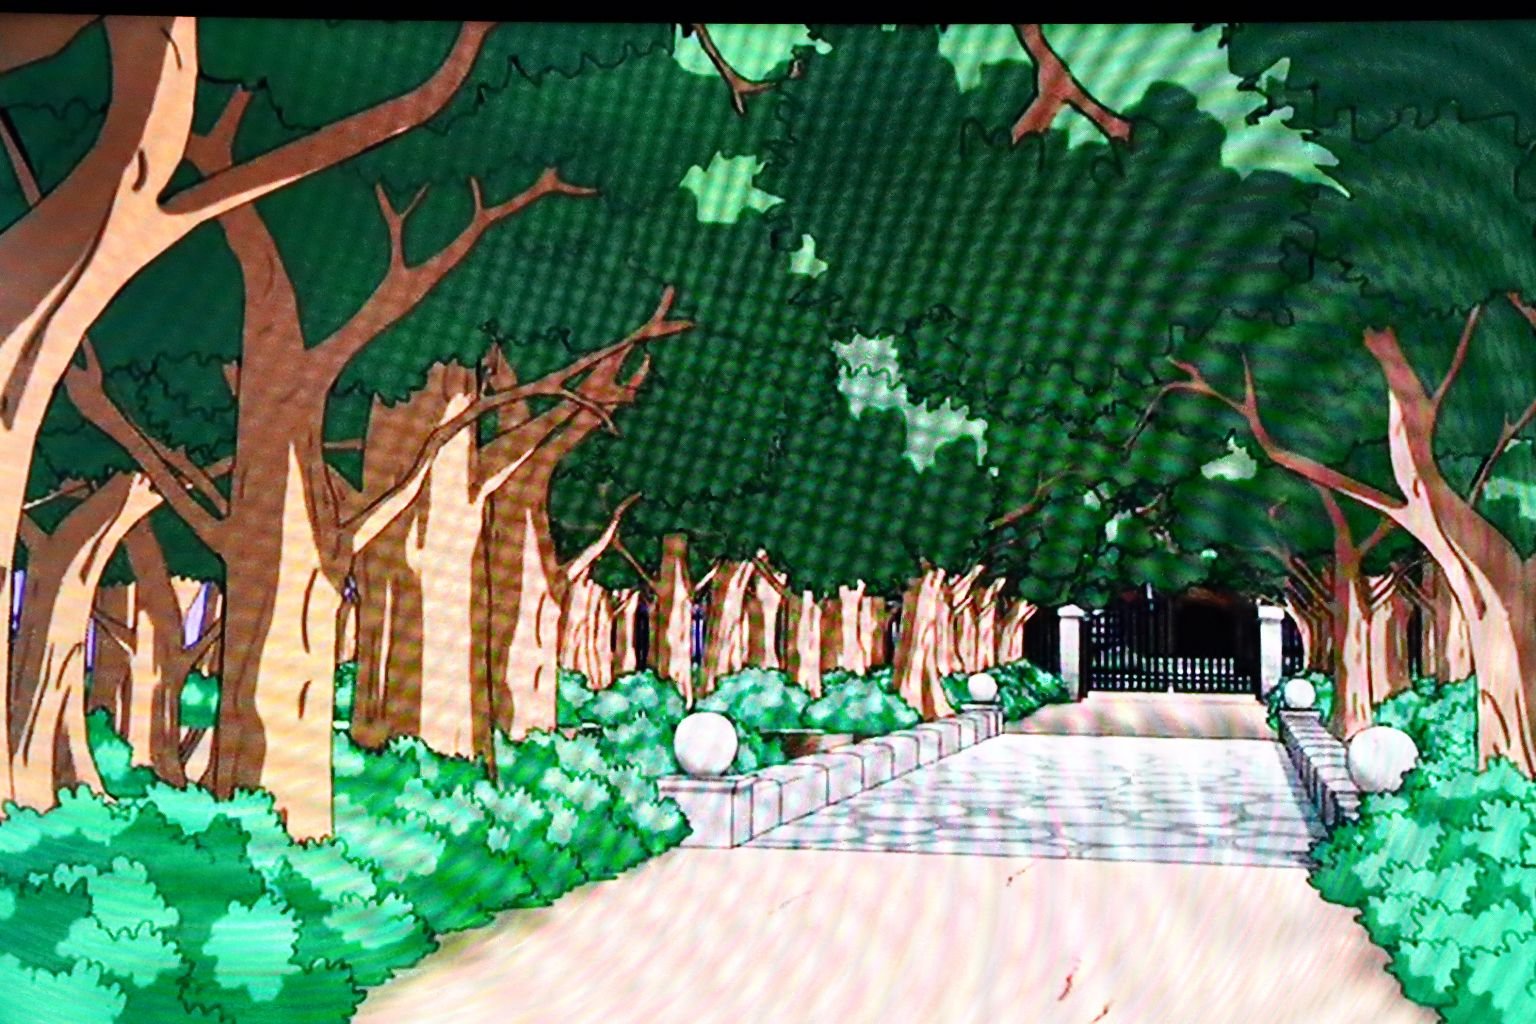
The residents of Quahog are all invited to James Woods’ house, where a murder mystery is about to take place.
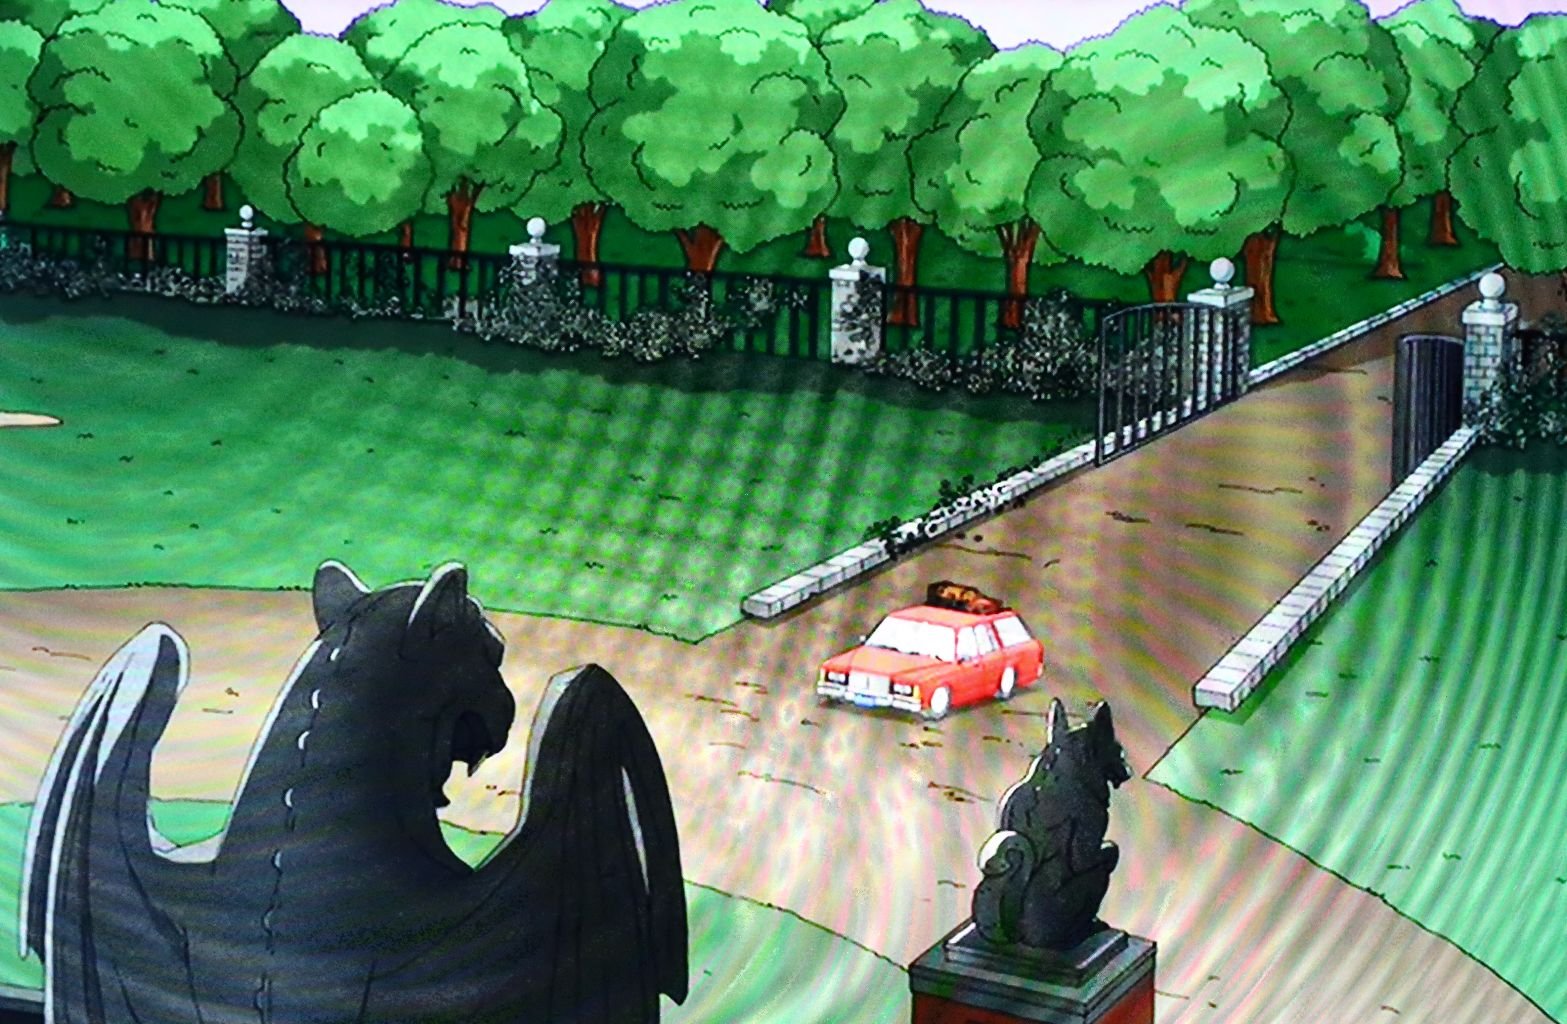
—————————————————————

The weekend takes place on an island surrounded by water.
The only way on or off is over a bridge.

————————————————————–

The Griffin’s are the first to arrive.
——————————————————————
Everyone received an invitation to a dinner in their honor.

The Guests
But, who is our host?

NO! NOT JAMES WOODS!!!!
James Woods (voiced by James Woods)
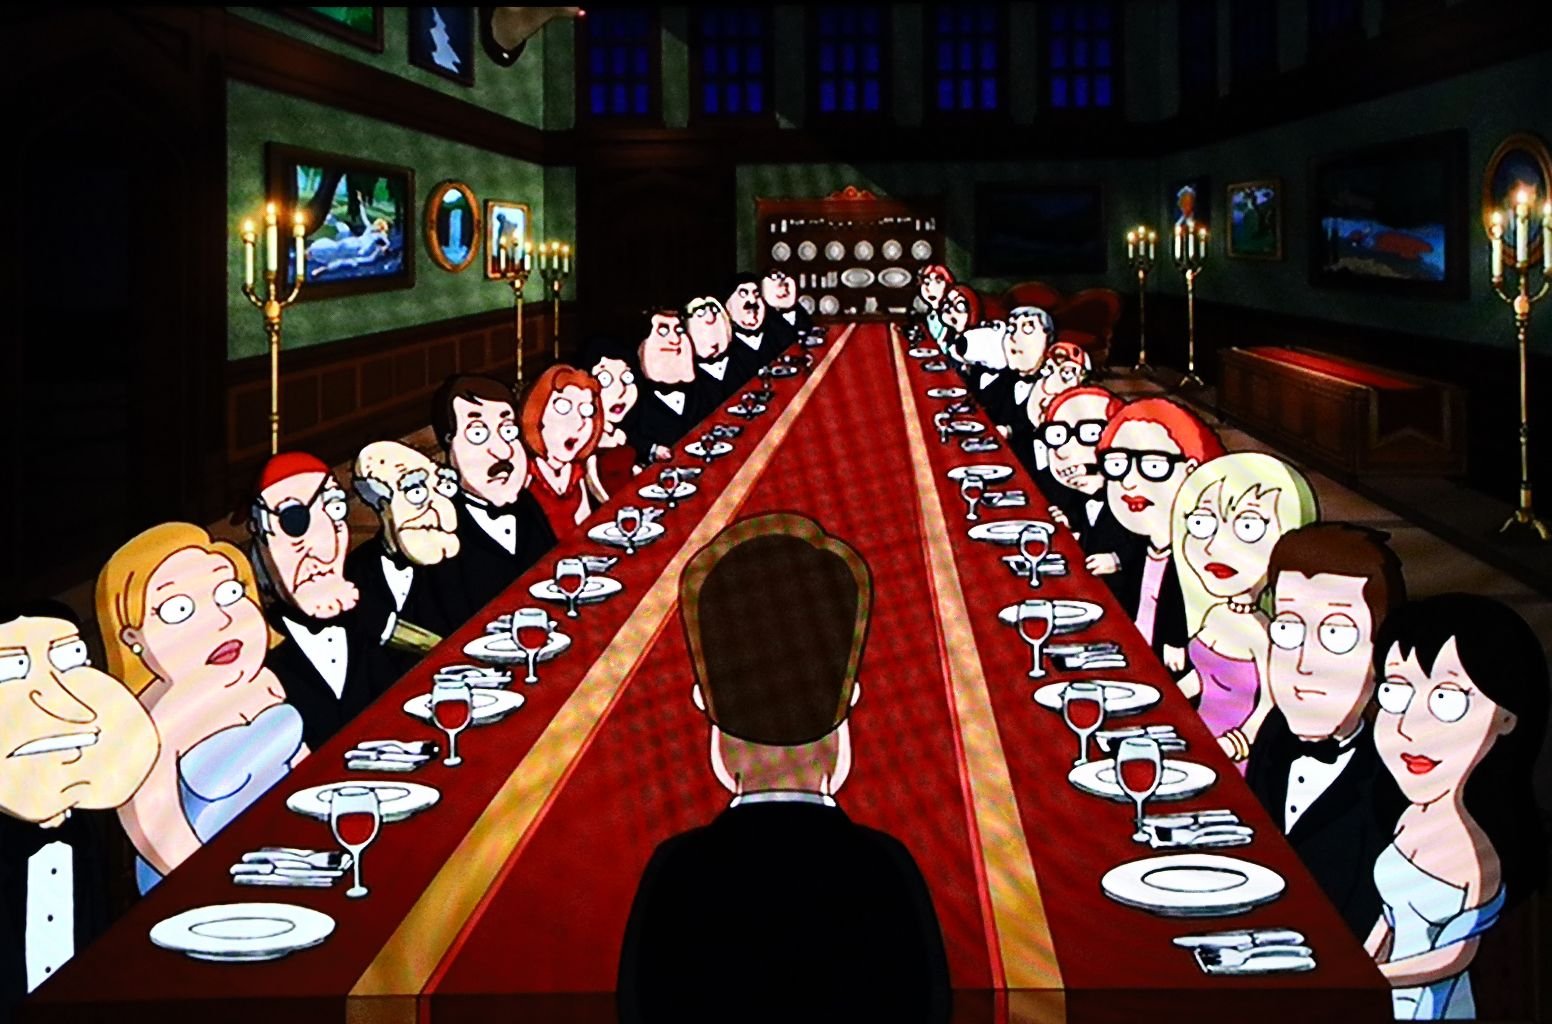
The Cast of Characters
L to R:
Glenn Quagmire (Seth MacFarlane)
Stephanie (Alex Borstein)
Captain Seamus (Seth MacFarlane)
John Herbert “Herbert the Pervert” (Mike Henry)
Tom Tucker (Seth MacFarlane)
Diane Simmons (Lori Alan)
Bonnie Swanson (Jennifer Tilly)
Joe Swanson (Patrick Warburton)
Chris Griffin (Seth Green)
Dr. Elmer Hartman (Seth MacFarlane)
Peter Griffin (Seth MacFarlane)
Lois Griffin (Alex Borstein)
Meg Griffin (Mila Kunis)
Stewie Griffin (Seth MacFarlane)
Brian Griffin (Seth MacFarlane)
Mayor Adam West (Adam West)
H. Jon Benjamin (Carl)
John G. Brennan (Mort Goldman)
Nicole Sullivan (Muriel Goldman)
Drew Barrymore (Jillian Russell)
John Viener (Derek Wilcox)
Ashley Tisdale (Priscilla)
And not pictured above: Patrick Stewart as the black talking cat.
———————————————————————
And Then There Were Fewer….

OH NO! Derek!!
——————————————————–

So, Who Dunnit?
Why not just watch the episode and find out for yourself?
—————————————————–

Me, Julie, Always up on the ladder taking photos of our food.
———————————————————–
The Drunken Clam

The Hangout of……

The Guys: Joe, Quagmire, Cleveland, and Peter

Our Drunken Clam Beer Nut Mix
(Recipe at Bottom of Post.)
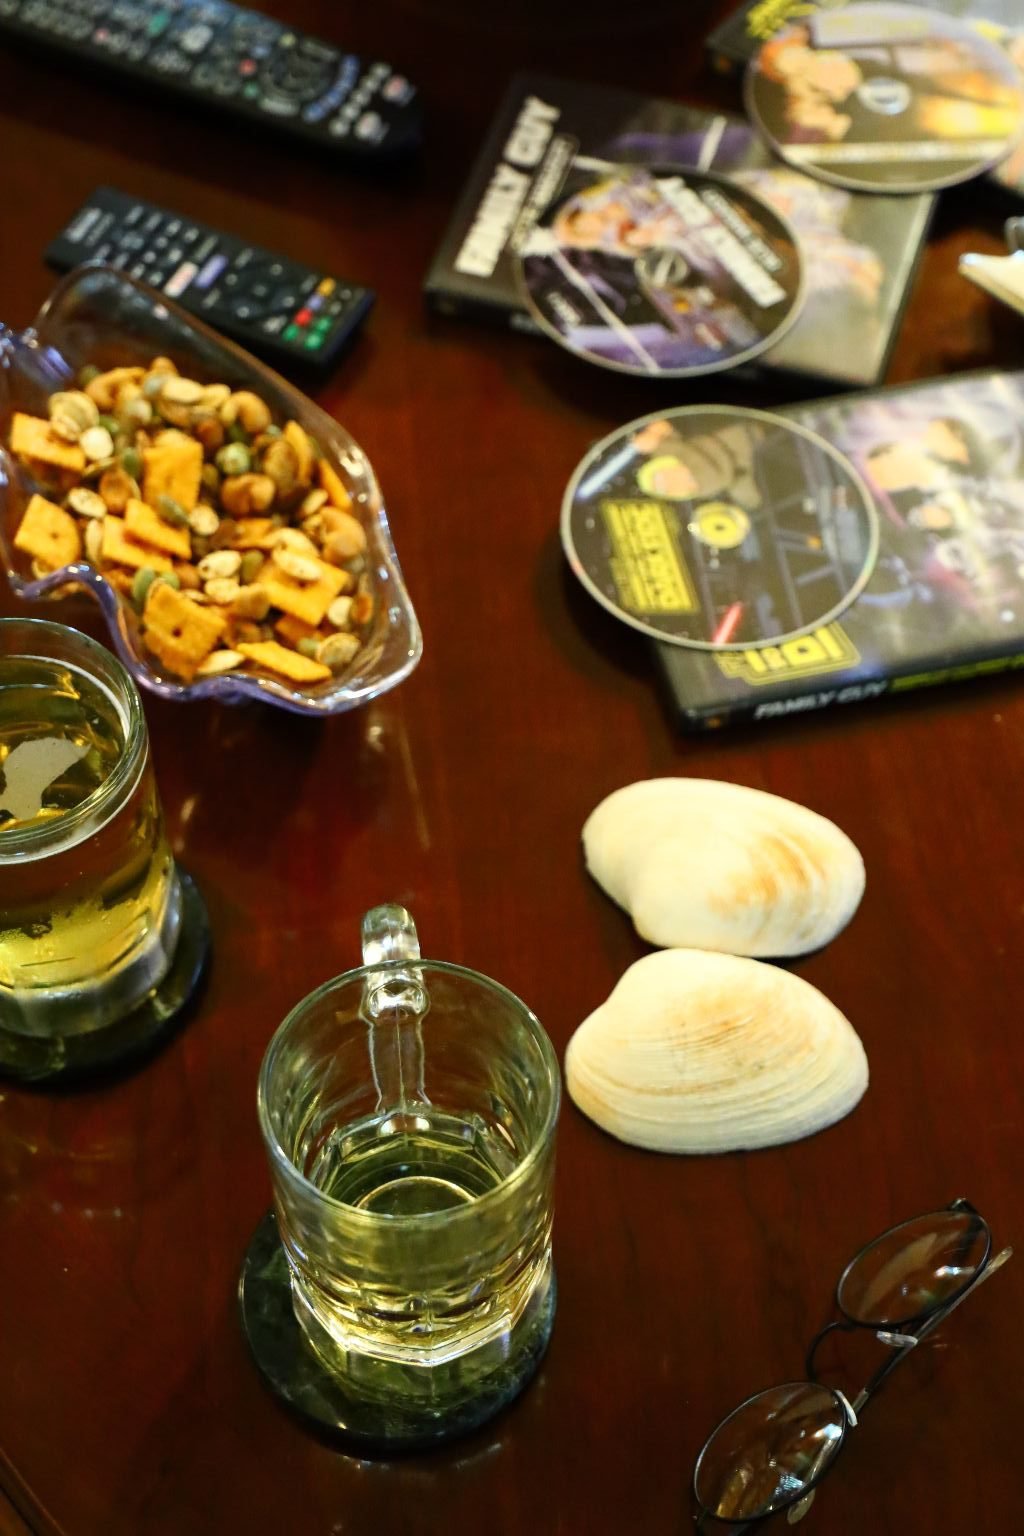
Our Version of The Drunken Clam

——————————————————
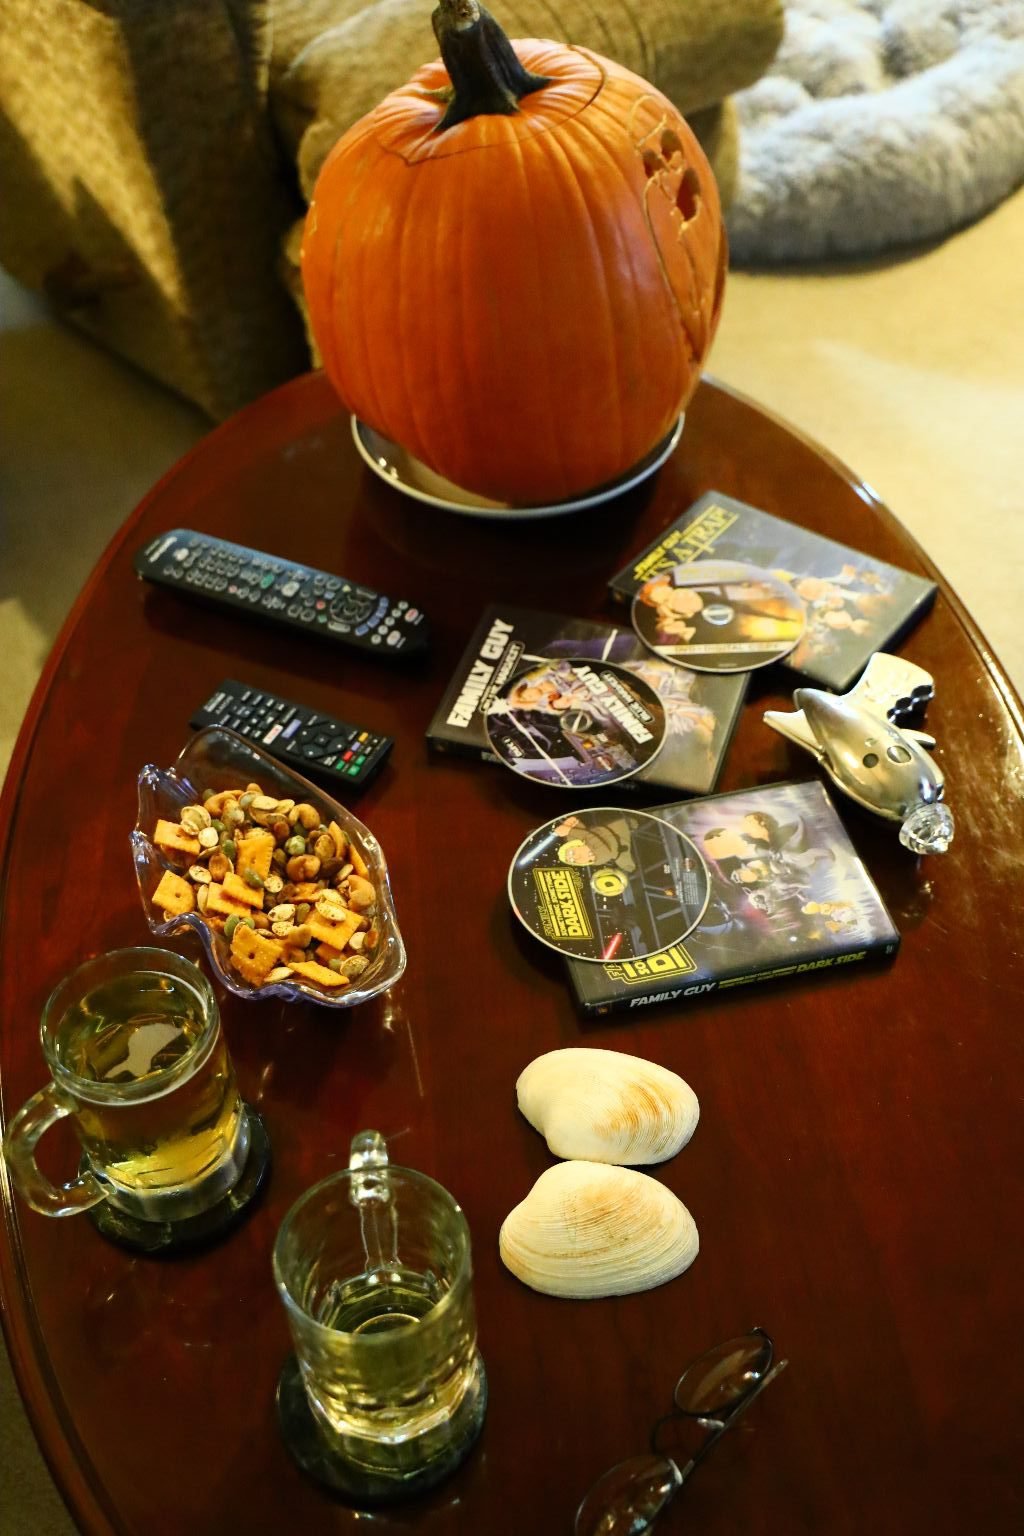
Watching Our Favorite Family Guy Episodes
————————————————————
FAMILY GUY STAR WARS EPISODES


Some of our Favorite Funniest Episode’s
—————————————————————–
Thank you Seth MacFarlane and everyone associated with Family Guy.
We are fans for life!

————————————————————-
Also Check Out Our:
——————————————————————–
Have a safe Quahog Halloween!

Trick or Treat
————————————————————-
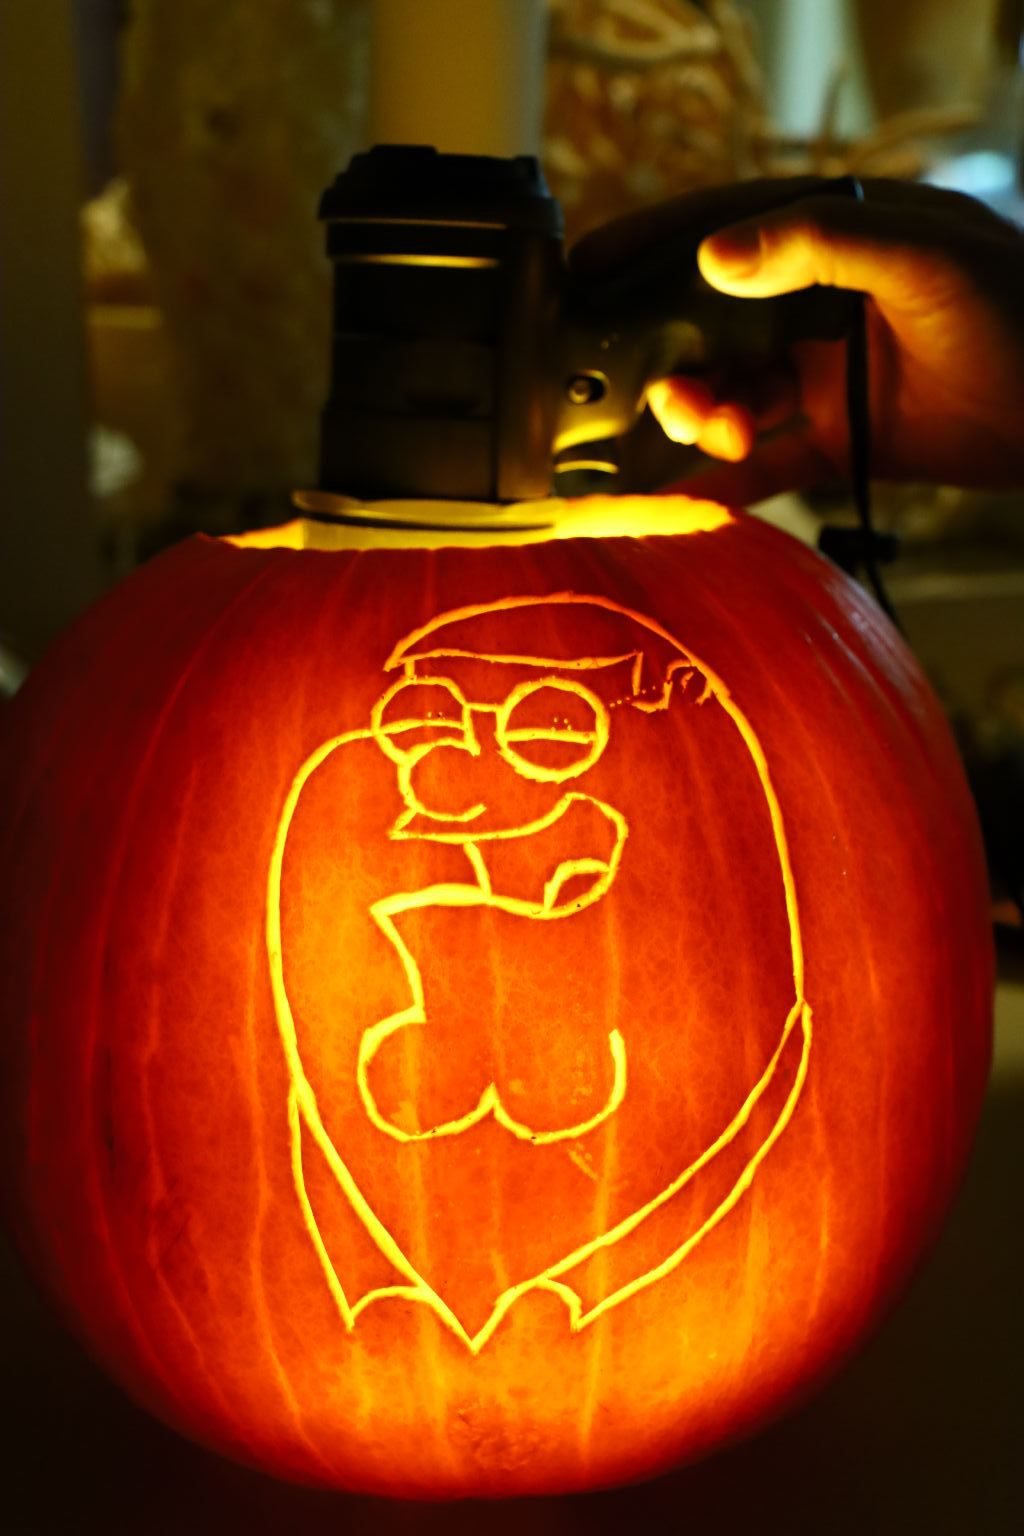
THE PETER GRIFFIN PUMPKIN

To get the light surrounding Peter’s face to shine through like this, I really had to remove most of the inside of the pumpkin. I carved out/remove his eyes, mouth and shirt collar to highlight those areas. This was a fairly simple pumpkin to create and I hope you like mine enough to try yourself!
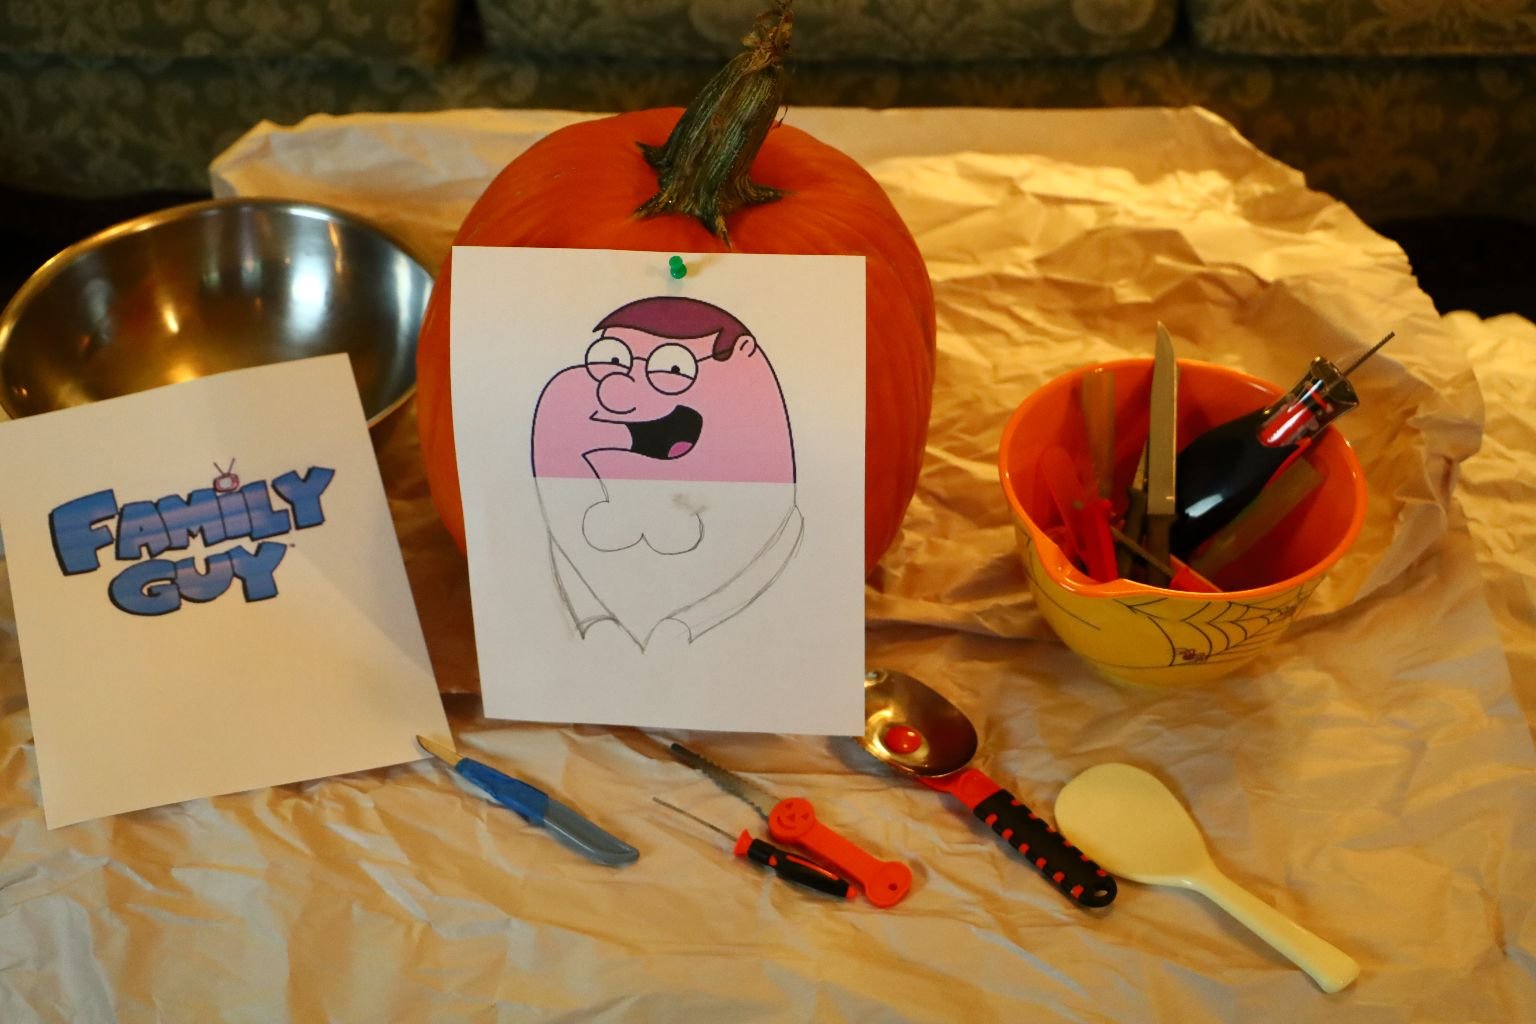
I was able to find a great picture to use for my outline drawing.
———————————————————–
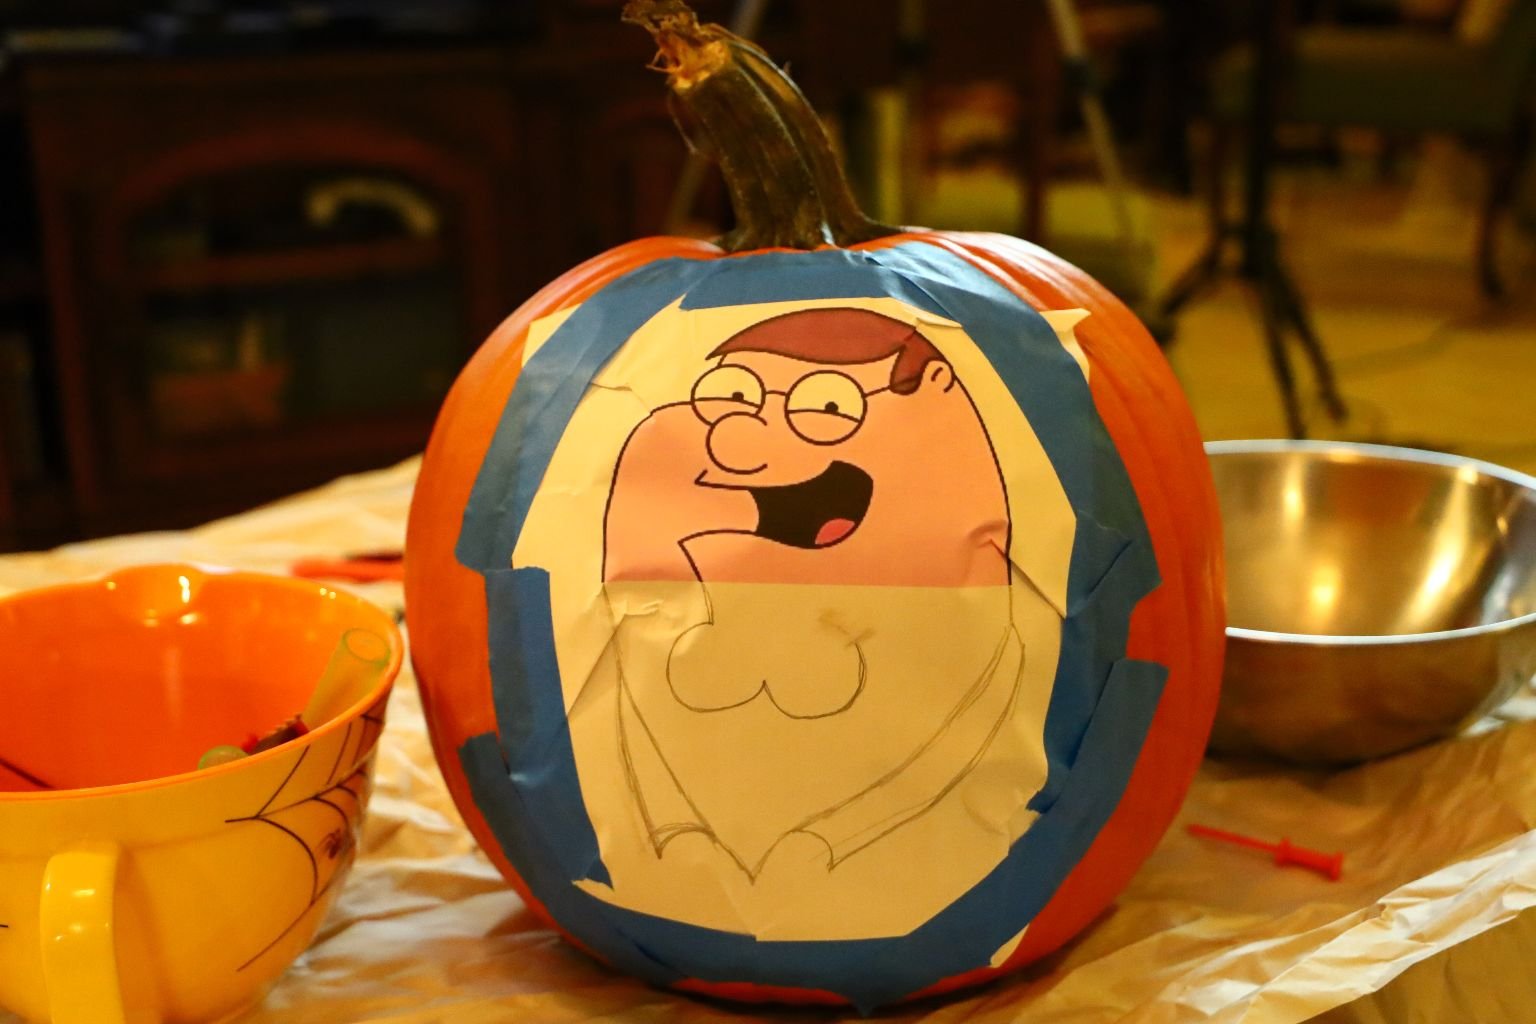
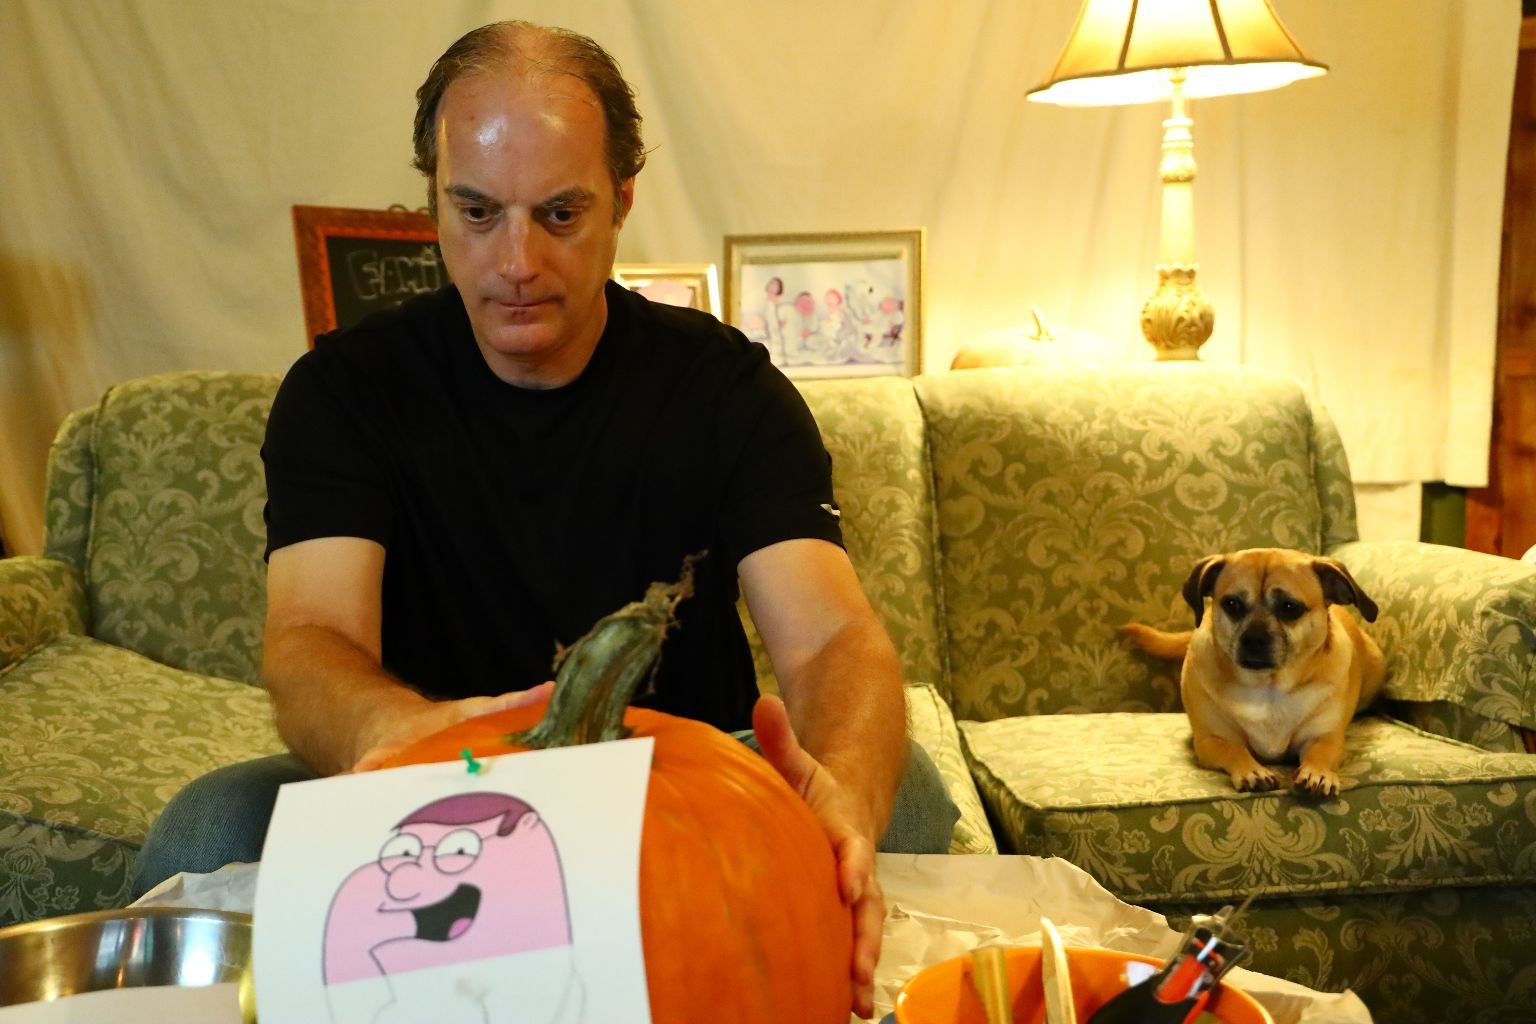
Using painters tape, adhere the drawing to the pumpkin folding the paper so it conforms to the pumpkin.
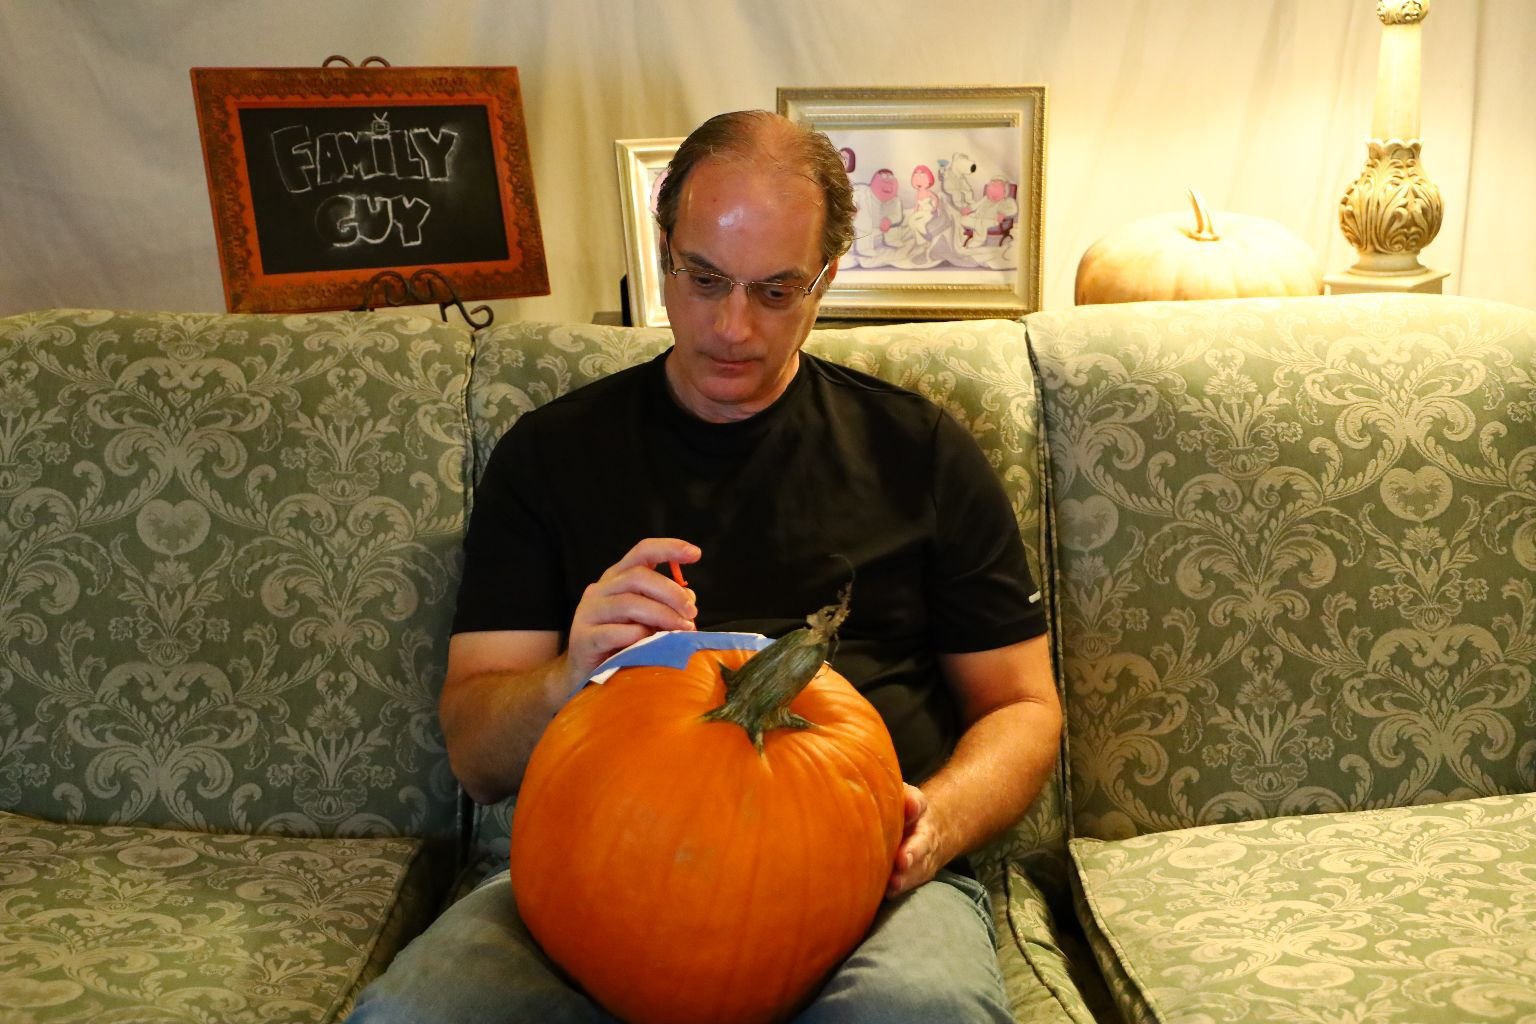

Using the small piercing tool, dot around the lines of the picture tracing Peter’s entire face. This will take some time to do.

———————————————————
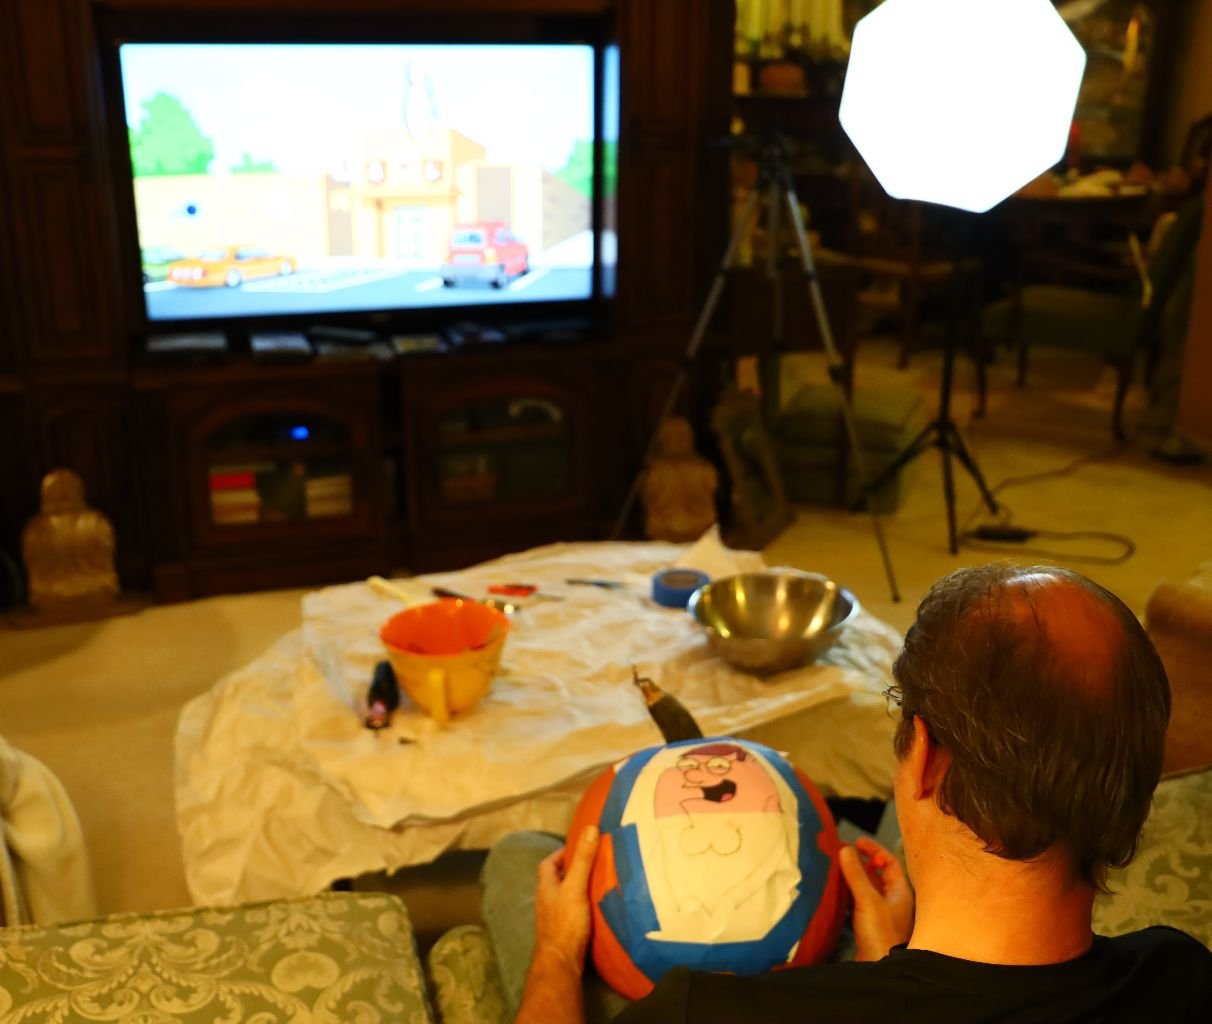

(Our Professional Lighting. Looks like we’re movin’ on up.) 🙂
Watching Family Guy is Inspiration on the TV.
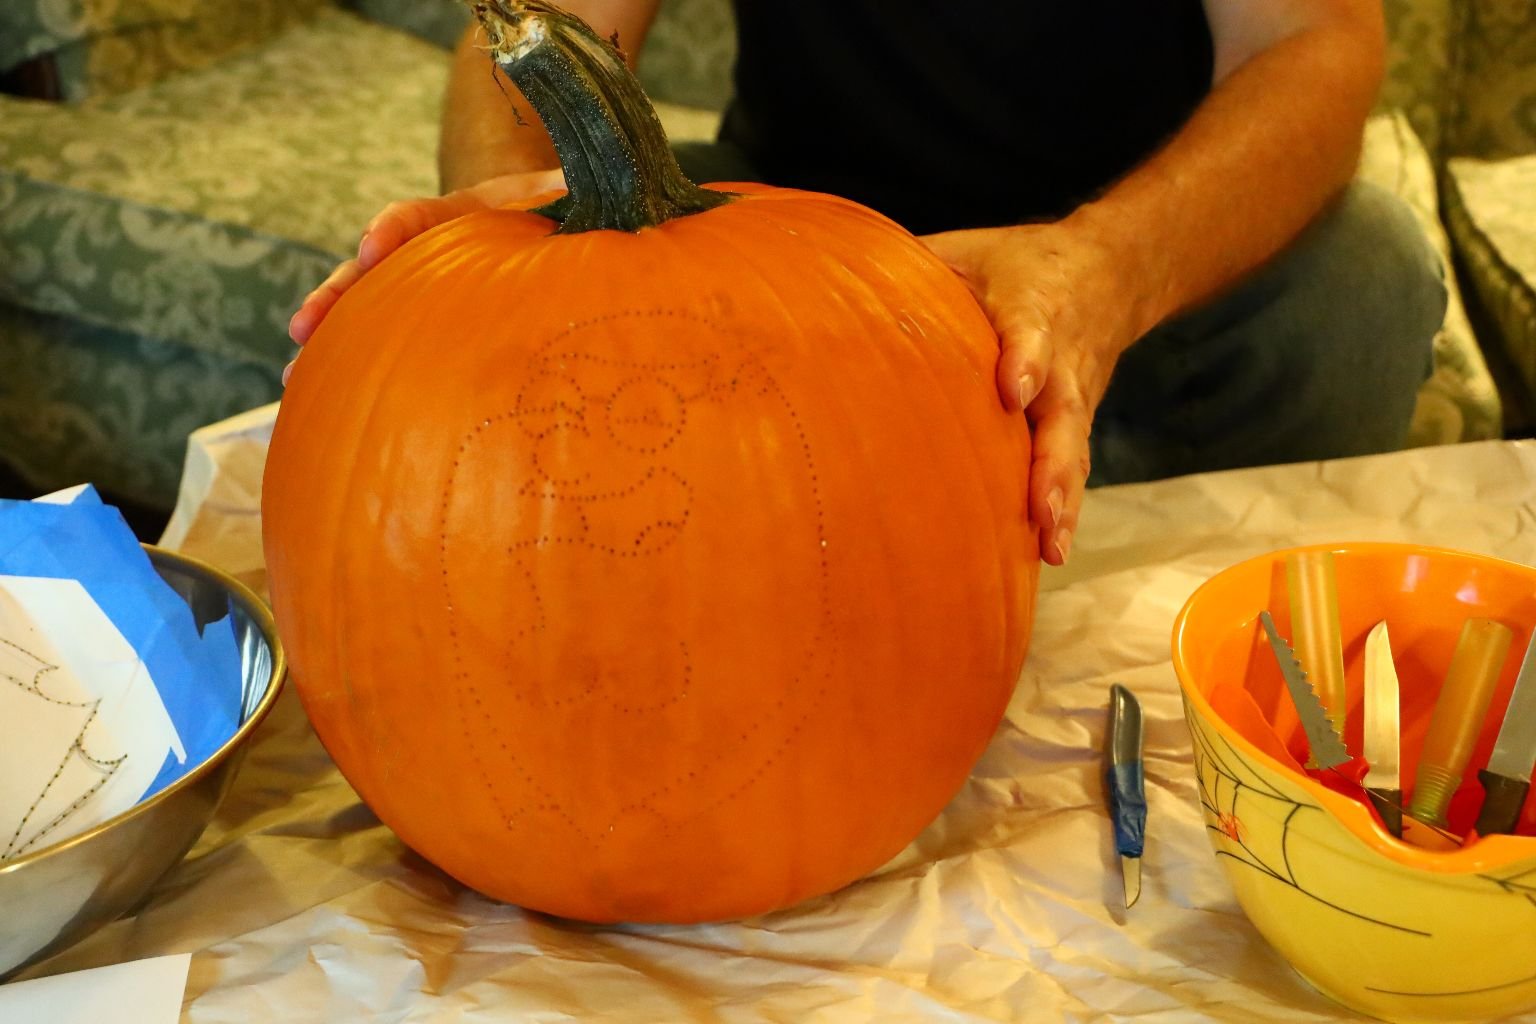
When you have completely pierced through all the lines, remove the tape. Here you can see Peter’s face on the pumpkin.


On the other side, I did the same procedure with the Family Guy logo.
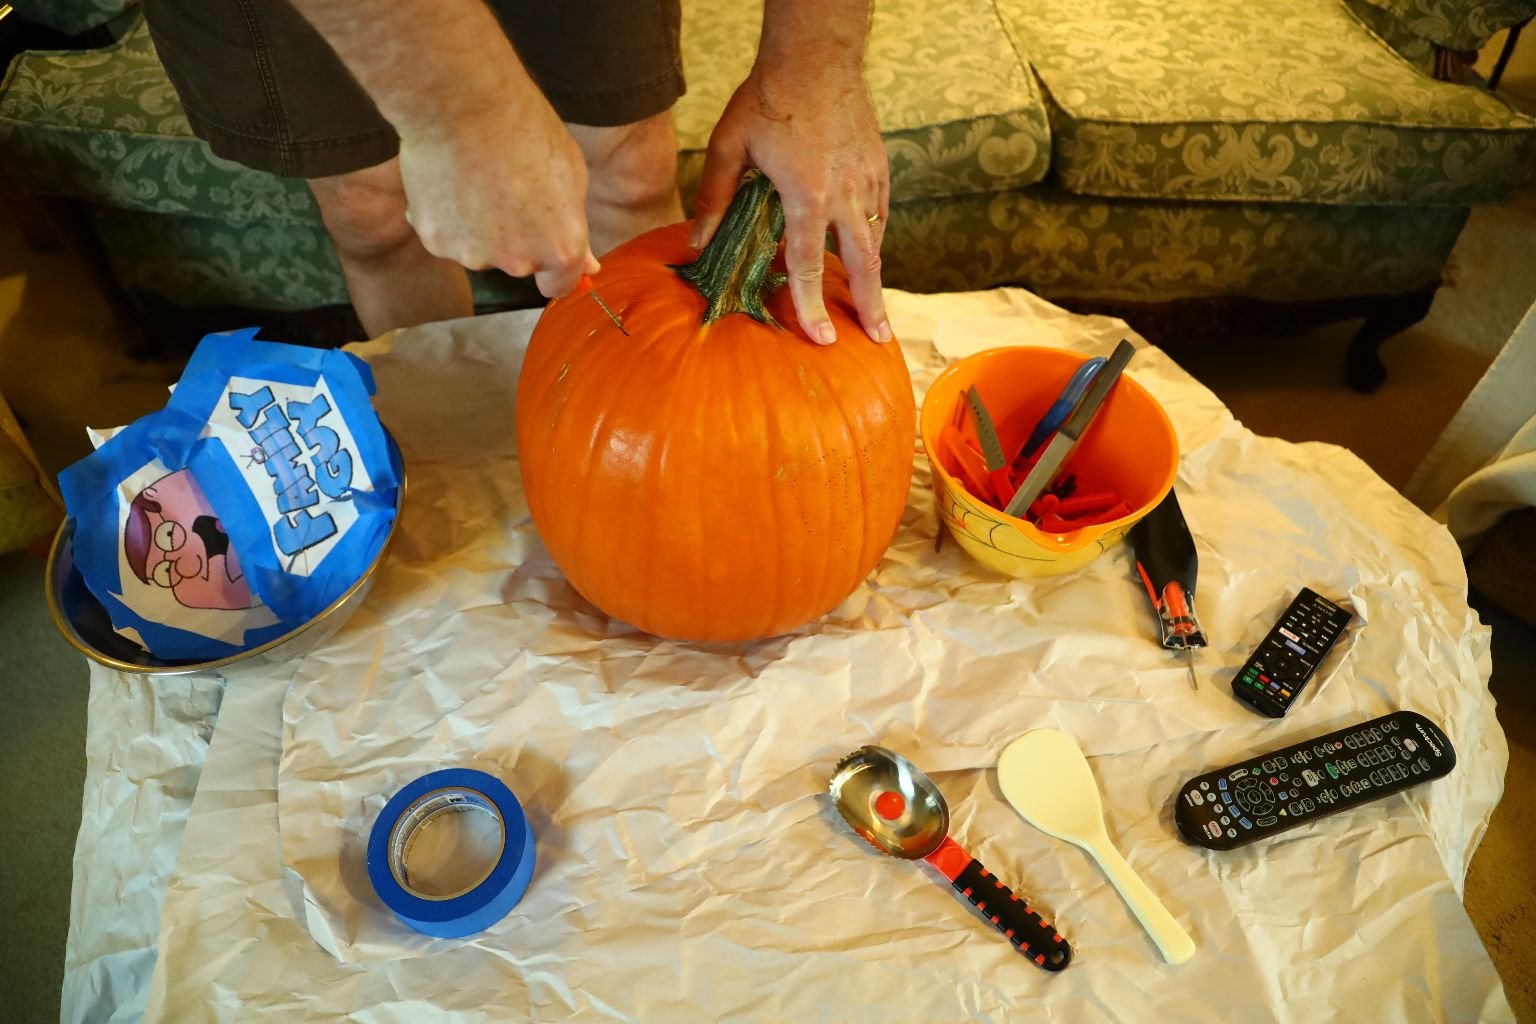
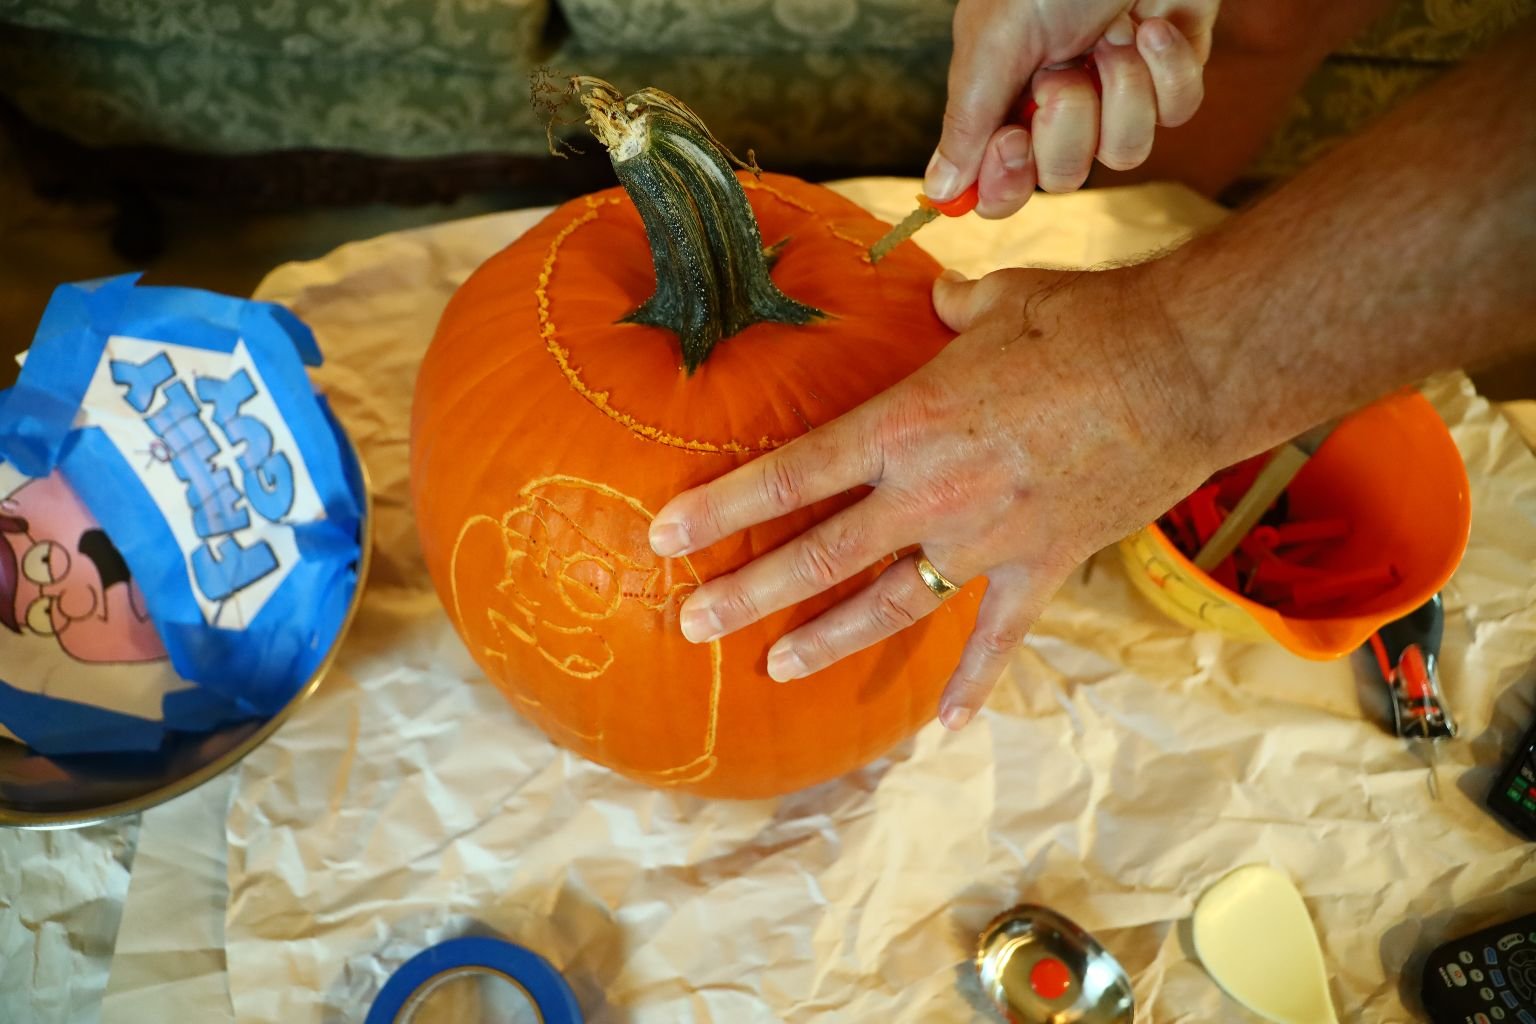
Using the carving tool which has large teeth, cut around the pumpkin’s stem at a 45 degree angle leaving about 2 inches of space. If you don’t cut it out at an angle, your lid will just fall down into the pumpkin. Be sure to cut a small triangular notch in the lid/top, so you can easily place it back exactly where it belongs.
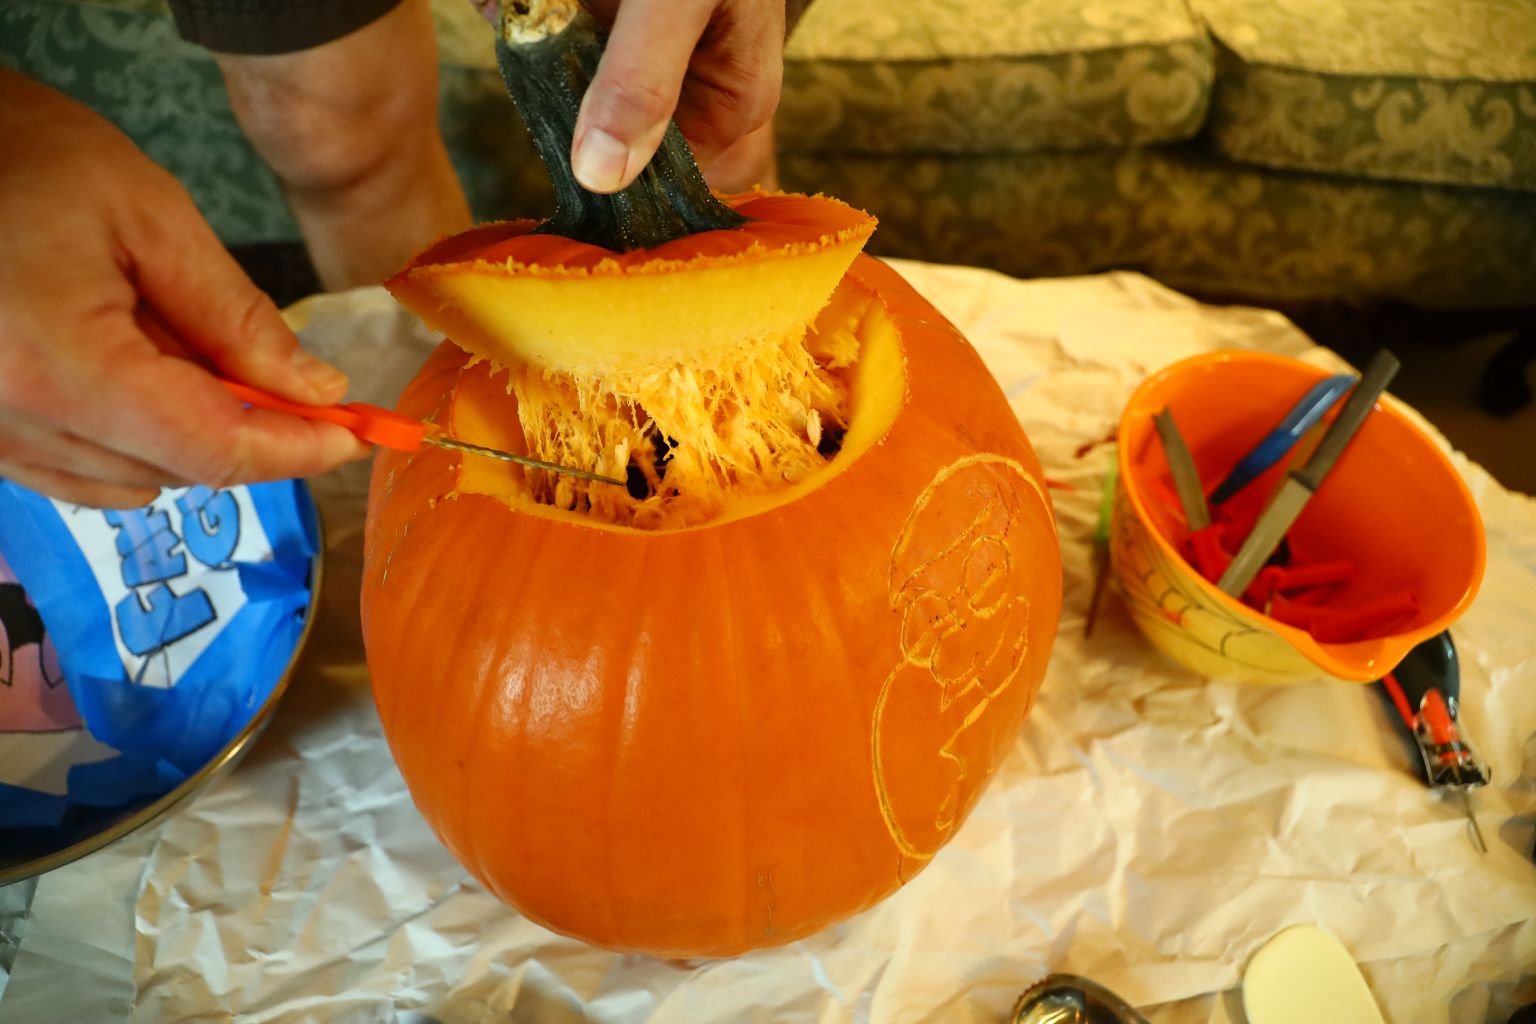
Here is a great depiction of the angle I used to cut off the lid/top.
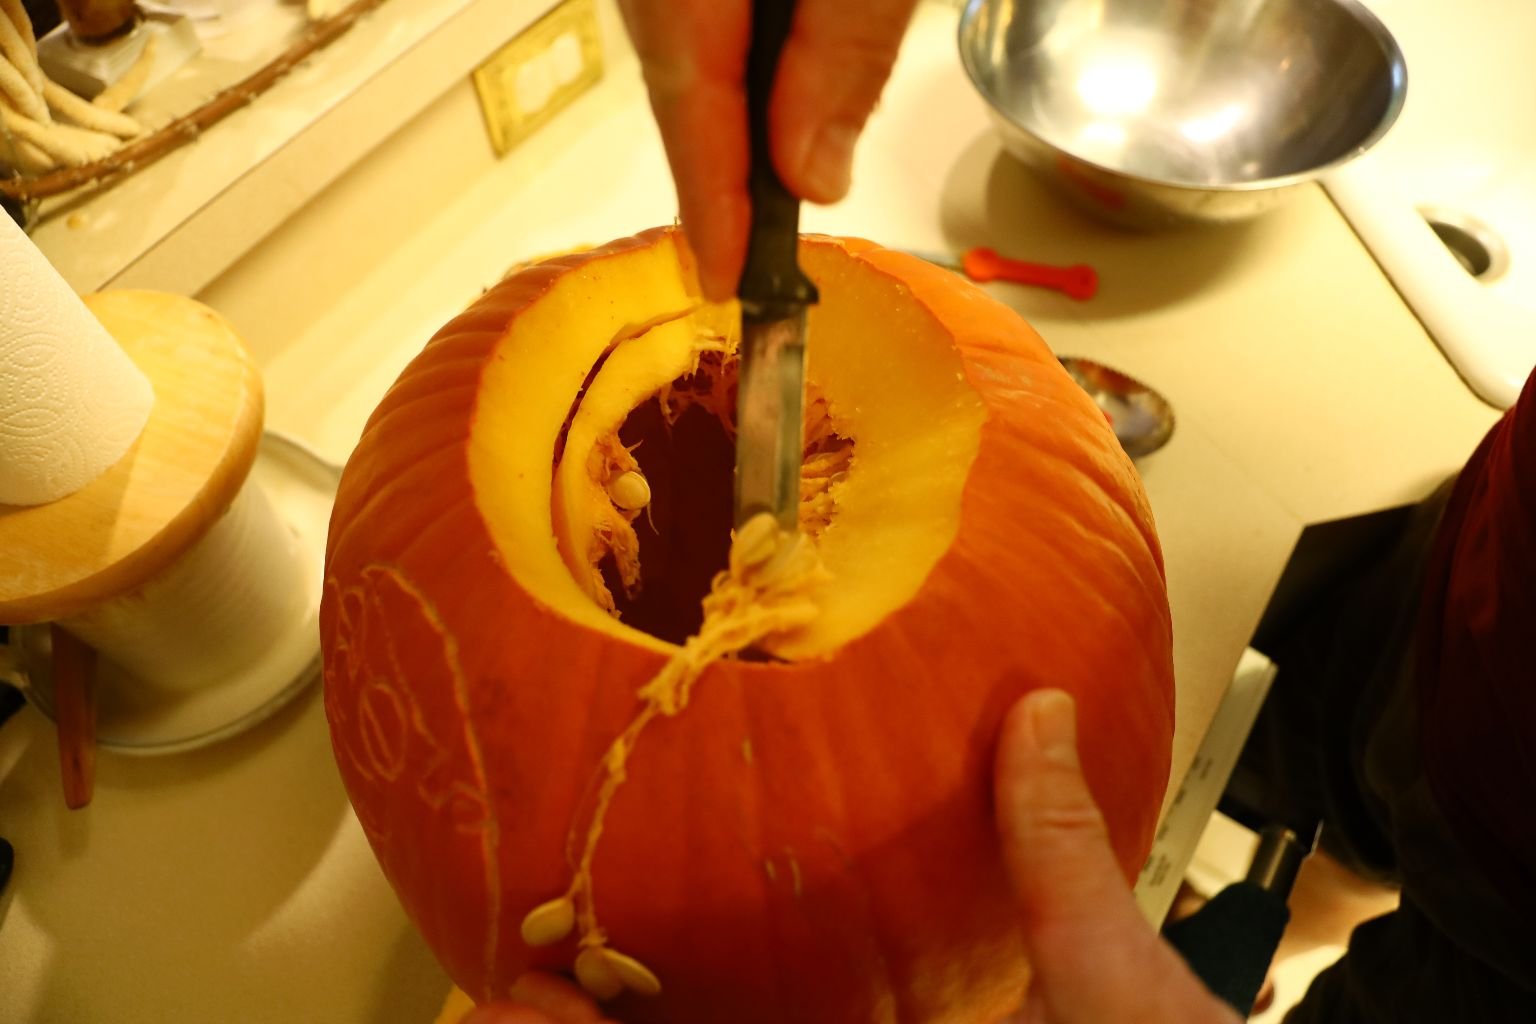
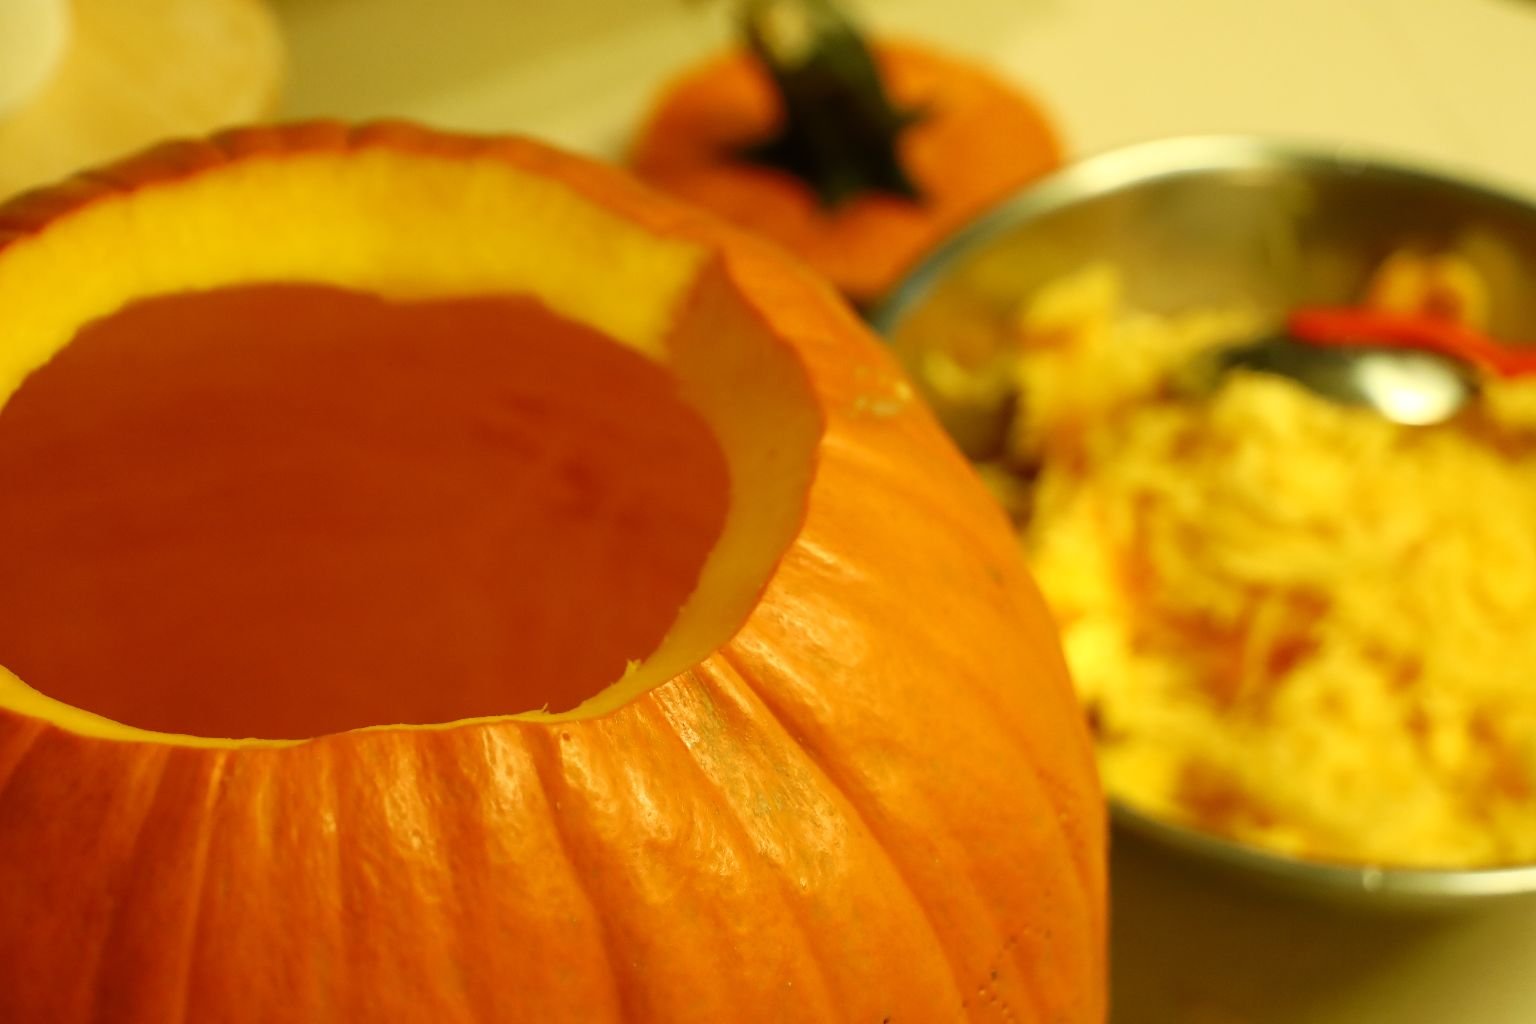
Now, use a sharp knife to remove some of the excess pumpkin around the lid.
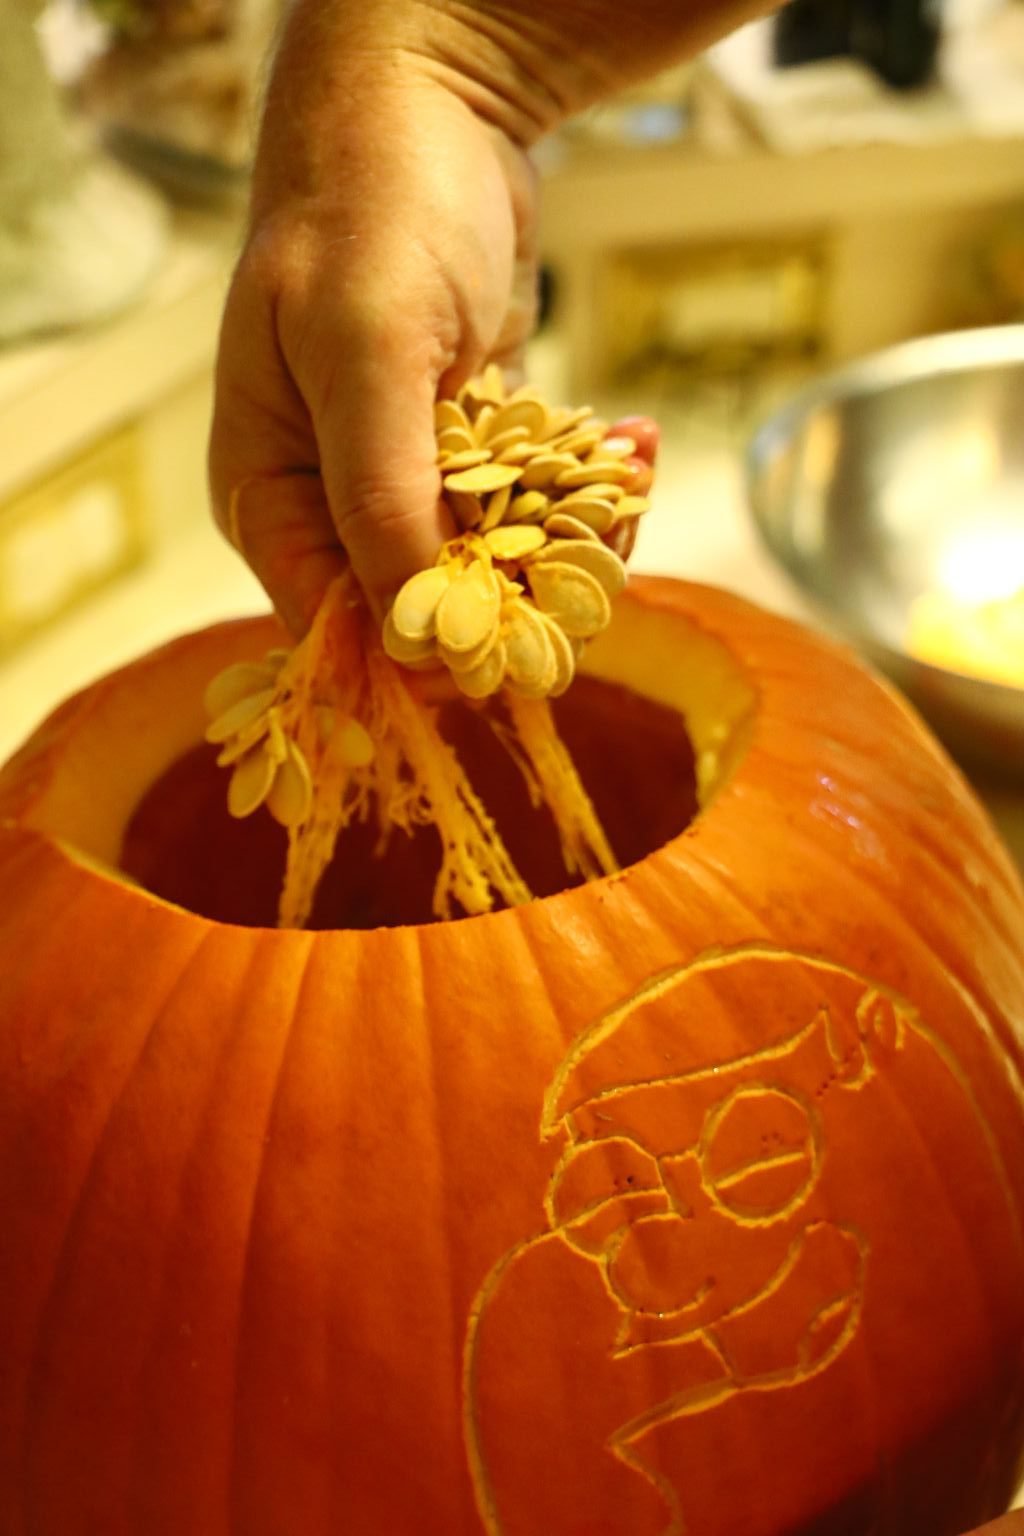
Remove the seeds and save them to season and cook later.
See below for the recipe we used.
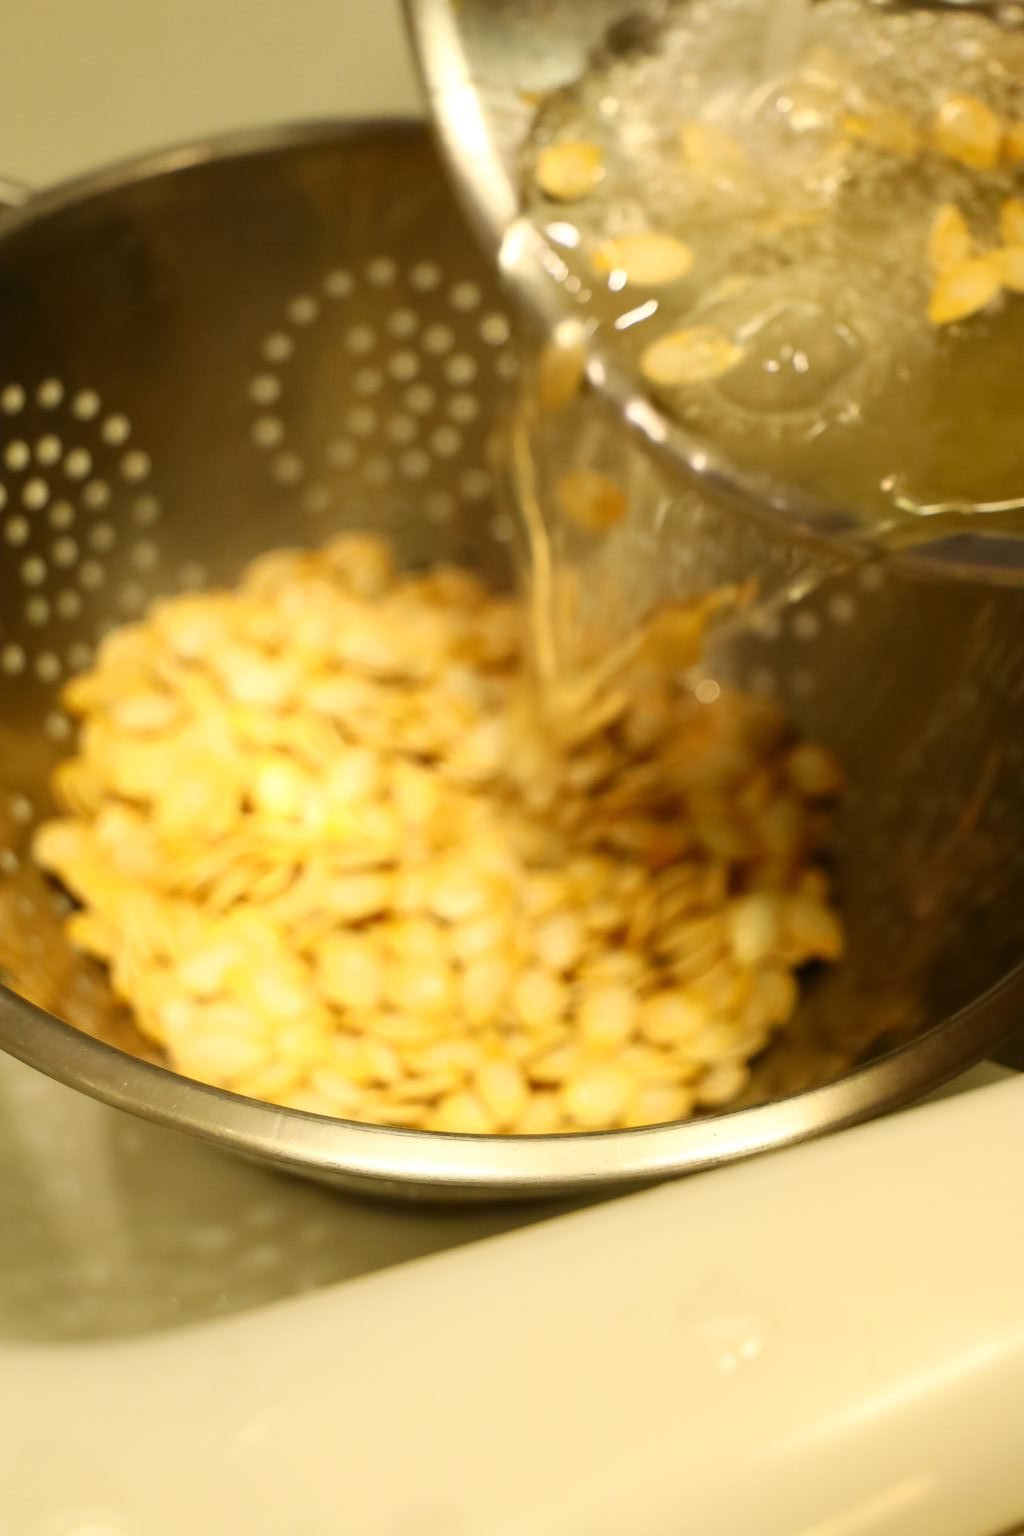
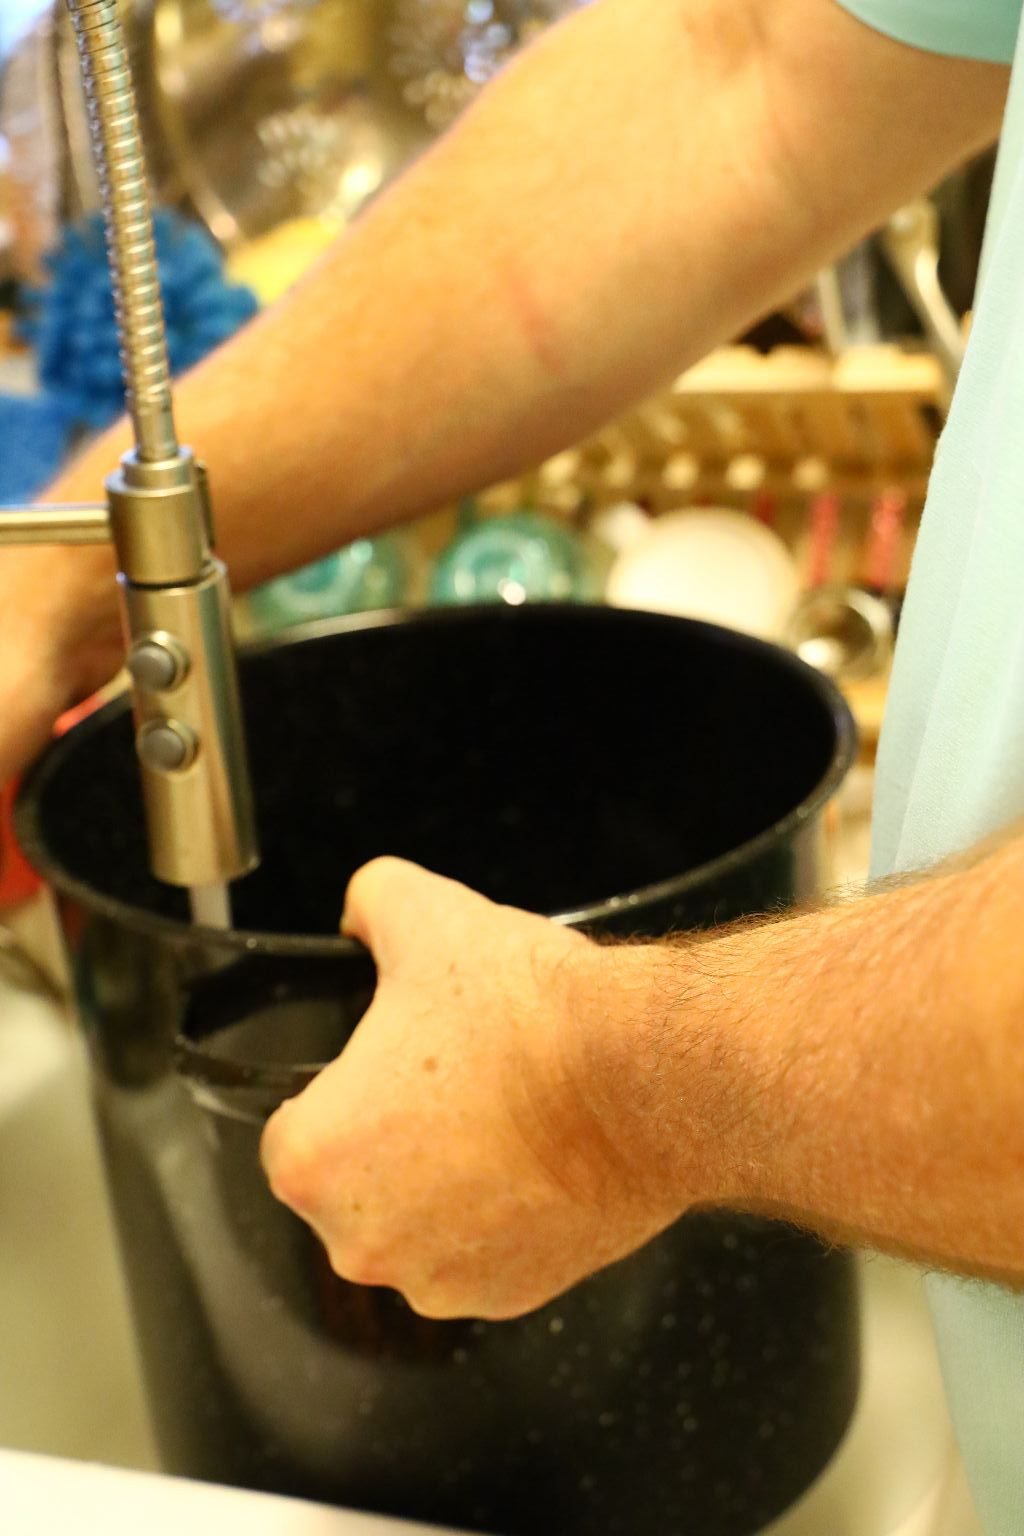
I place them into a large colander, so I can rinse them clean as shown.
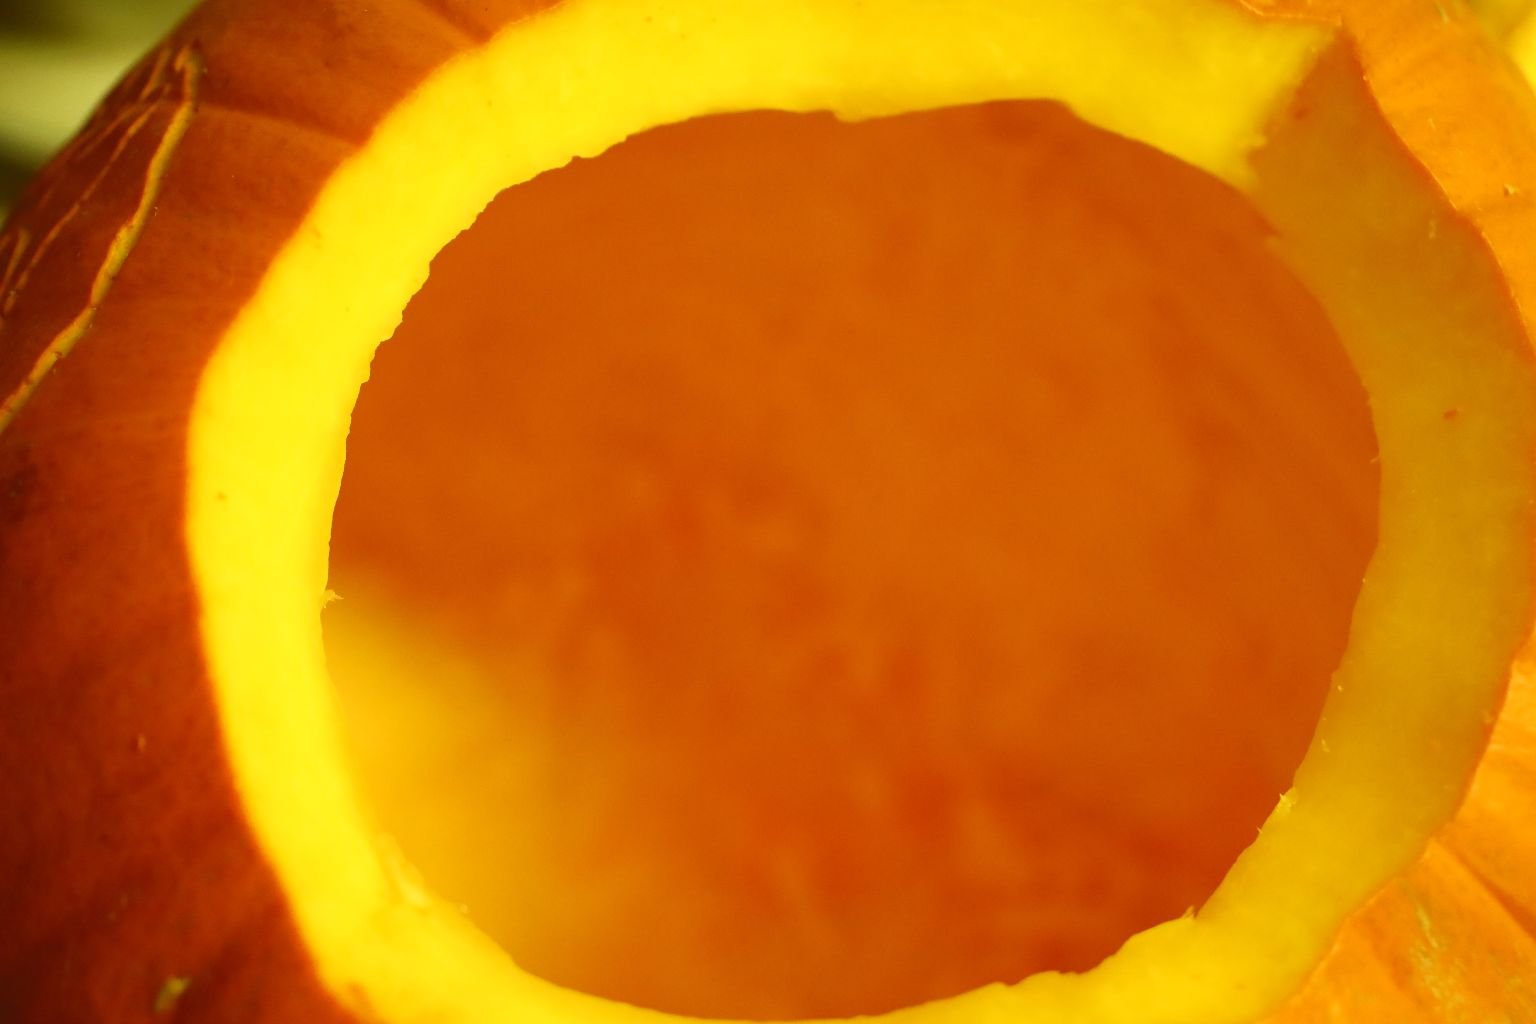
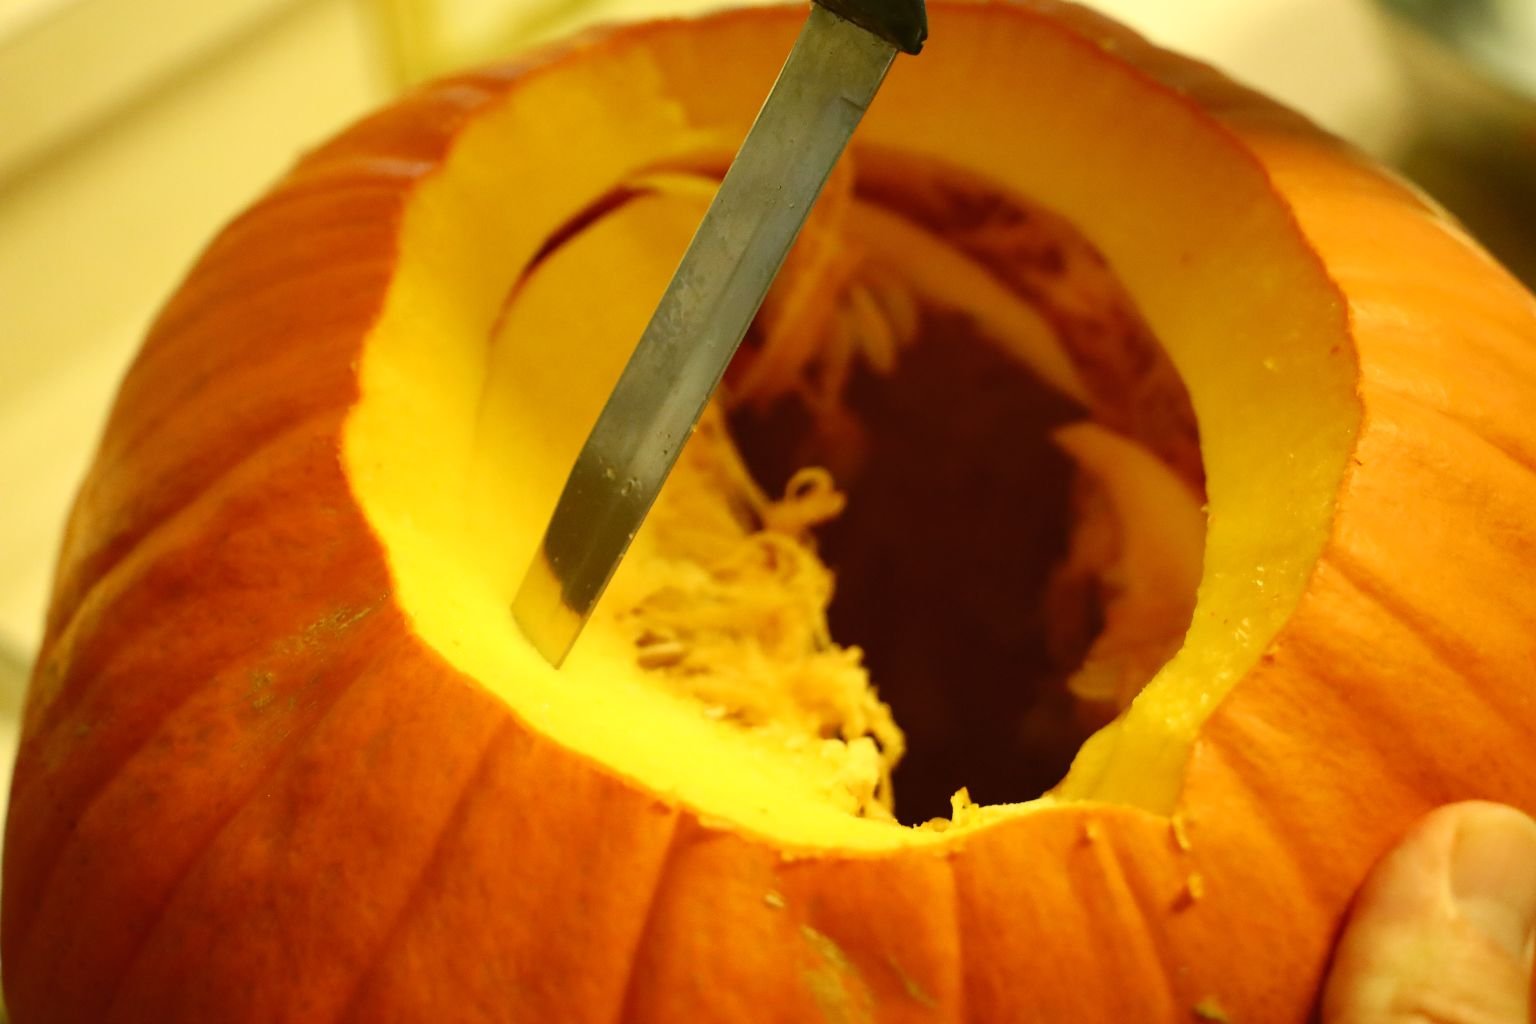
Using a scraping tool which usually comes with every pumpkin carving kit, remove most of the insides of the pumpkin where your drawings will be placed. I left less than an inch of pumpkin in those areas. You can feel when the pumpkin is getting thin as the outside will easily move when lightly pressed.

Using a sharp pairing knife, slice at a 45 degree angle on each side of the dots to your drawing to remove that area. Be sure your cut isn’t too deep that it cuts through the main part of the pumpkin.
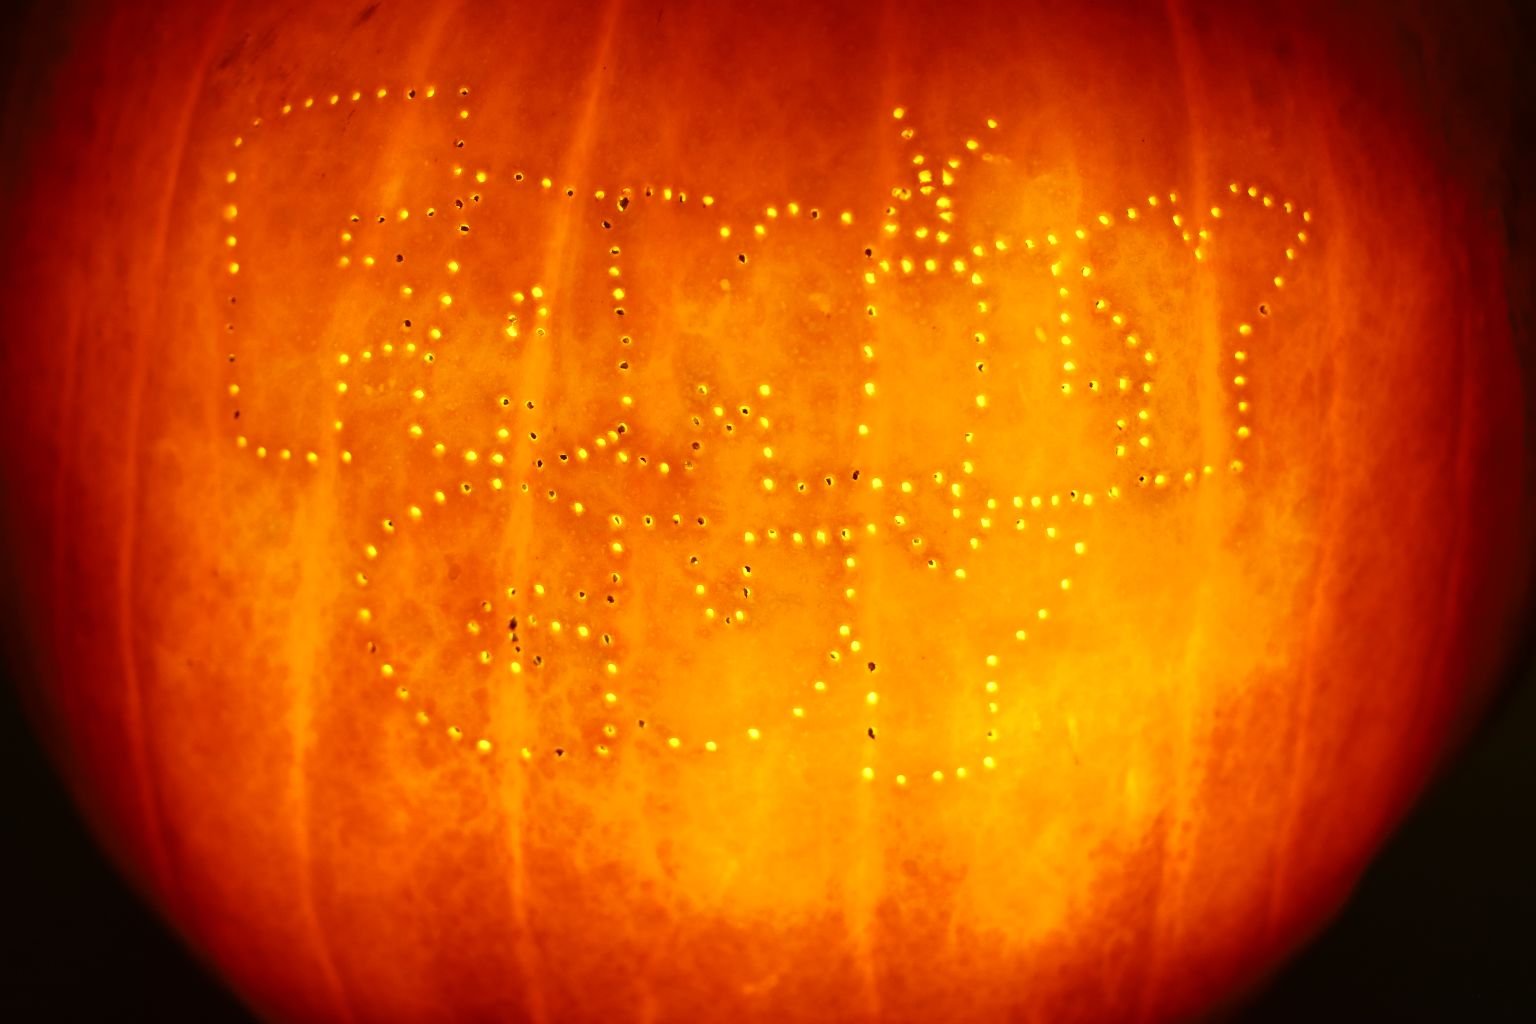
Here you can see the dots I made of the logo.
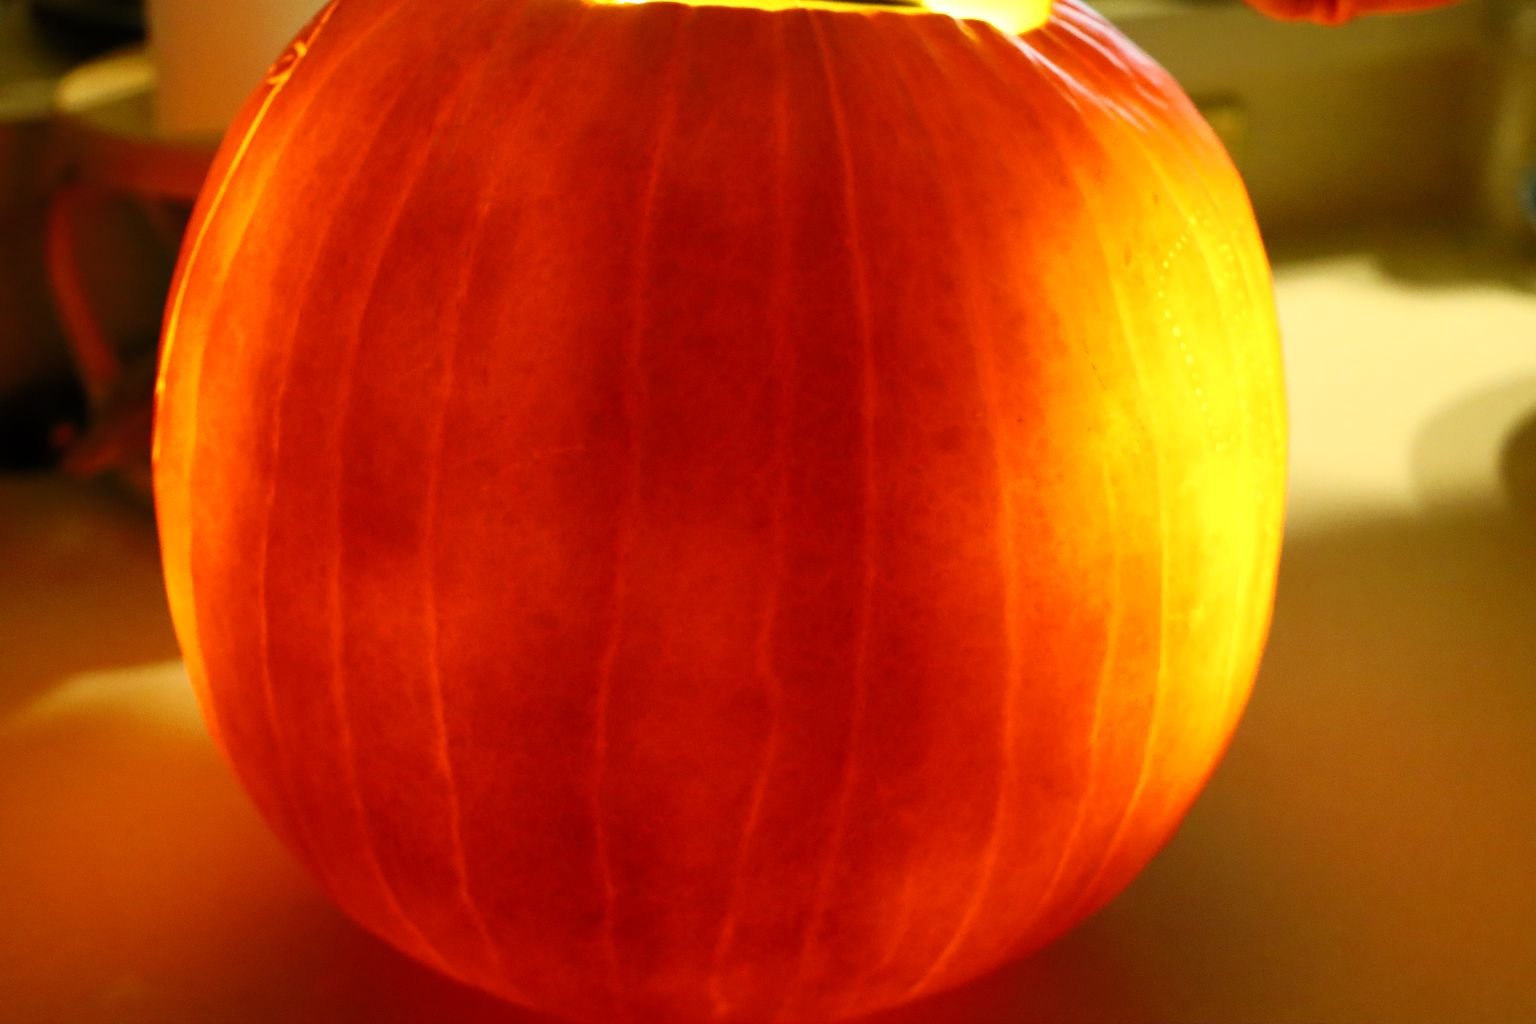
Where no picture or carving will be placed, I left the pumpkin insides mostly alone. The light not showing through shows this as you can see to the far left and right of the picture light shines through brightly where my dots were placed.
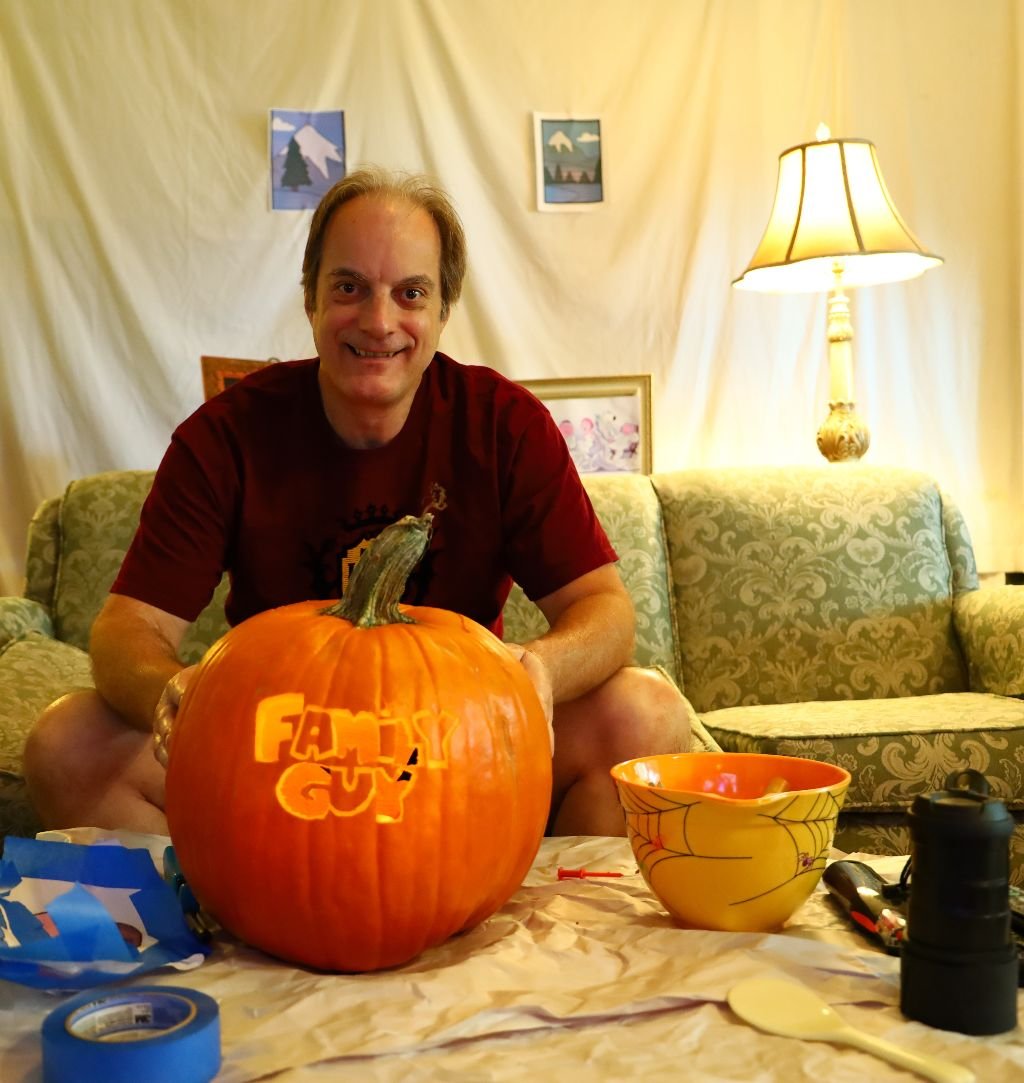

Here I completed my carvings on both sides. I removed some of the letters in the logo so they would highlight better. I then also remove the areas of Peter’s eyes, mouth but leaving the tongue, and his shirt collar.
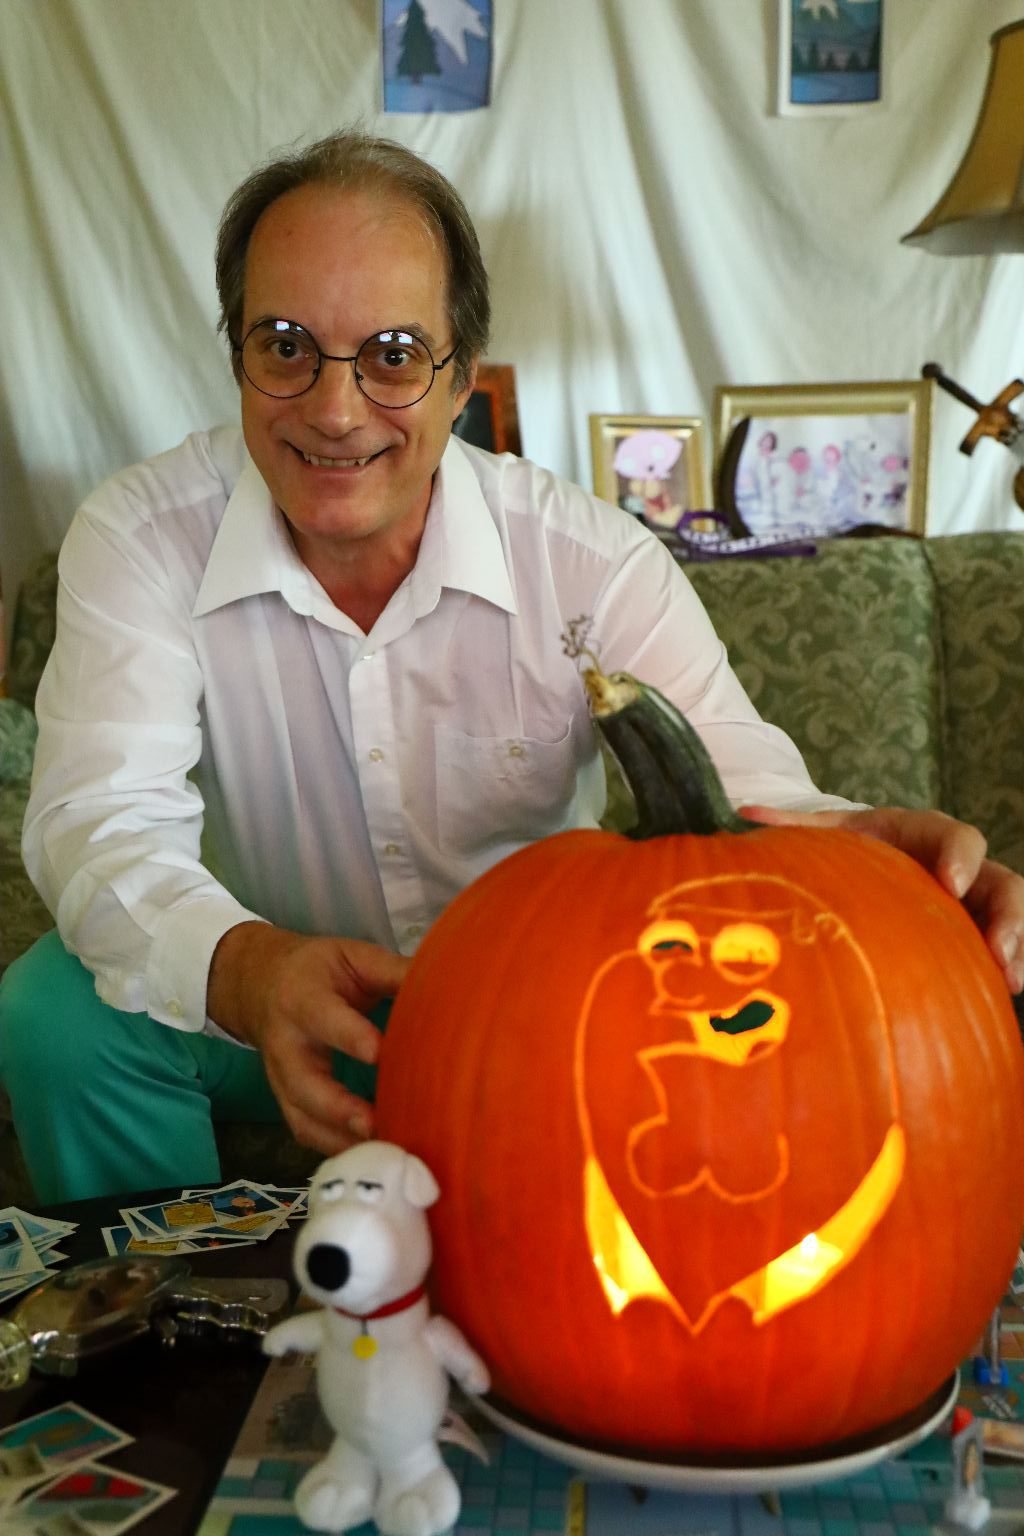
Here I am in costume with my handy work!
——————————————————————–
Our Drunken Clam Chowder
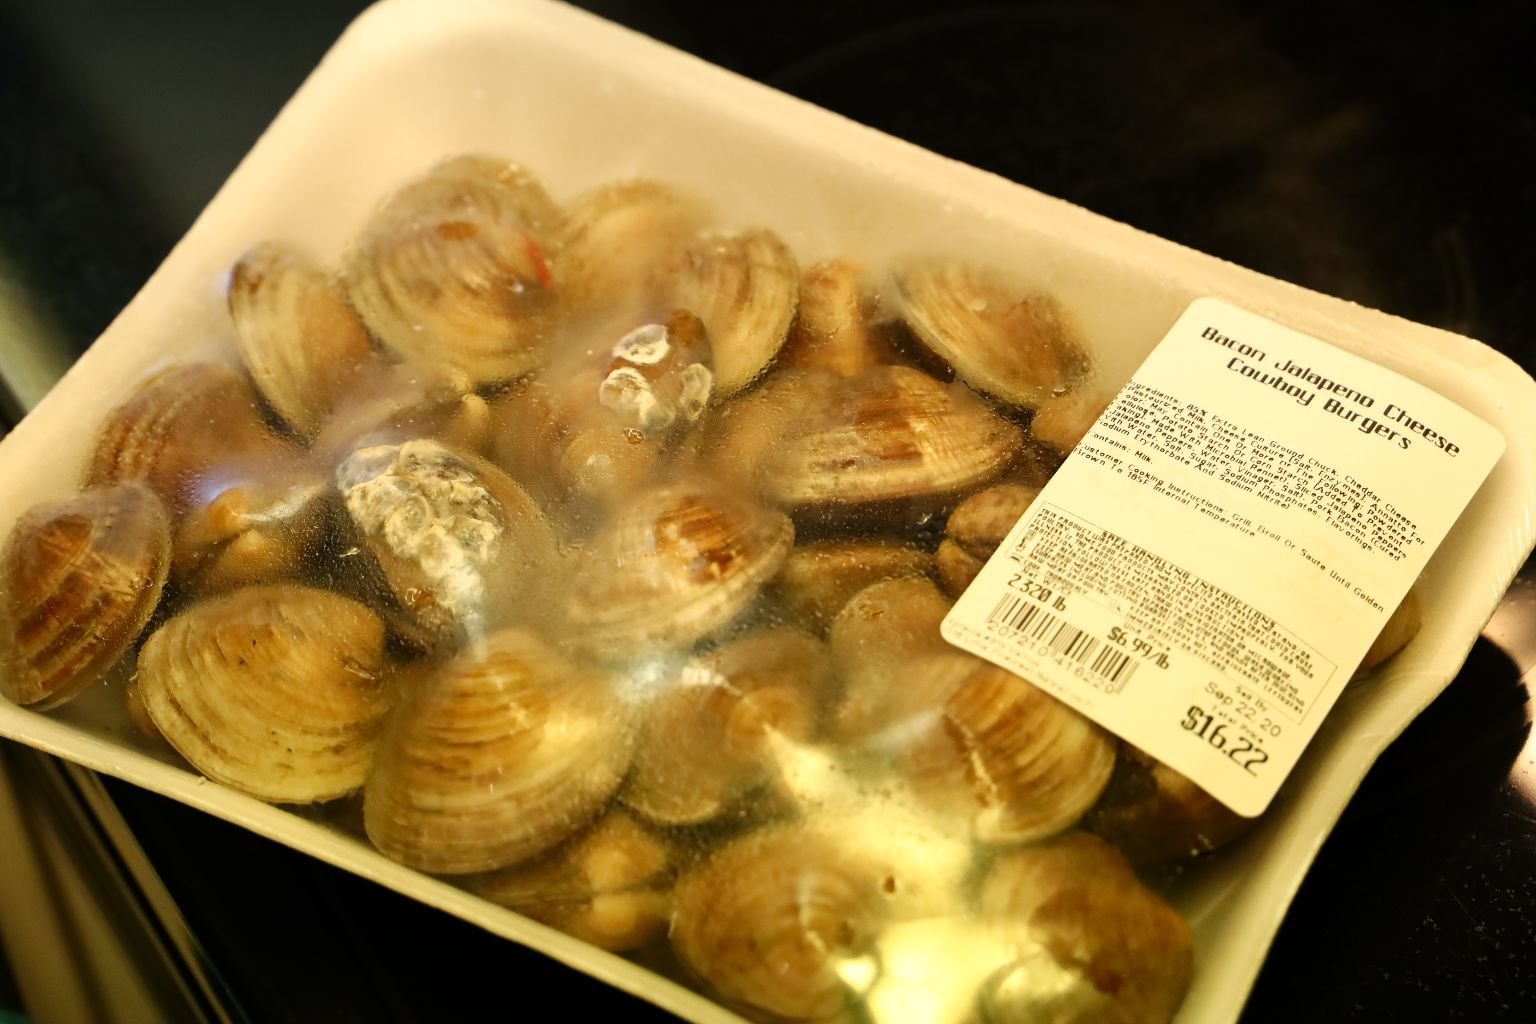
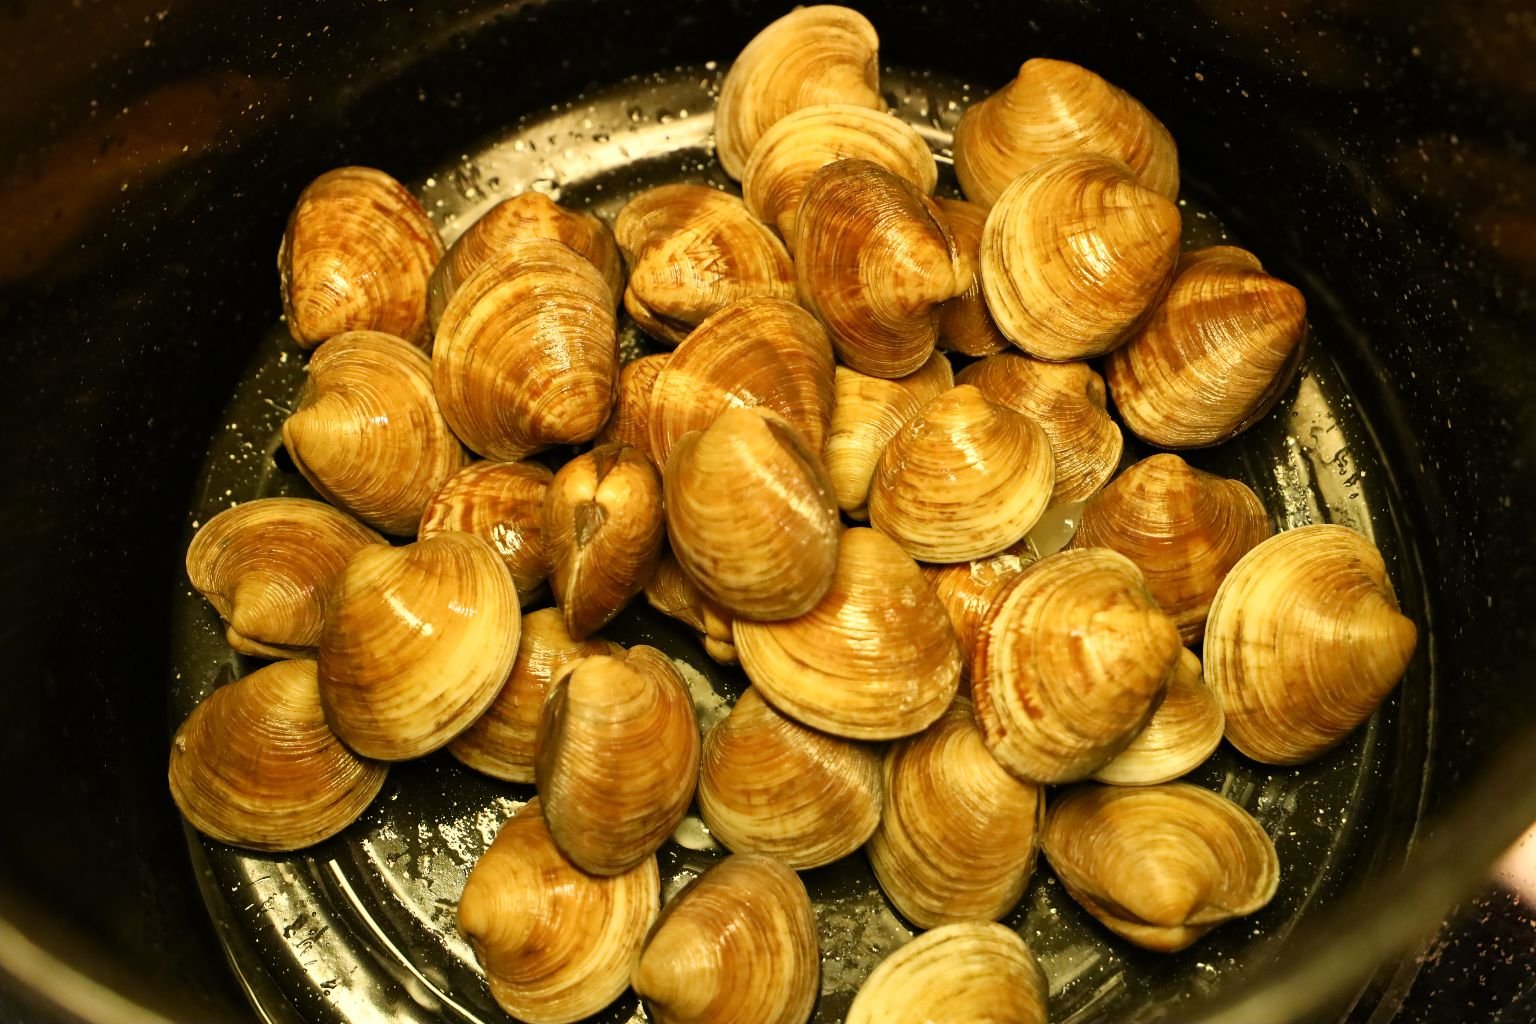
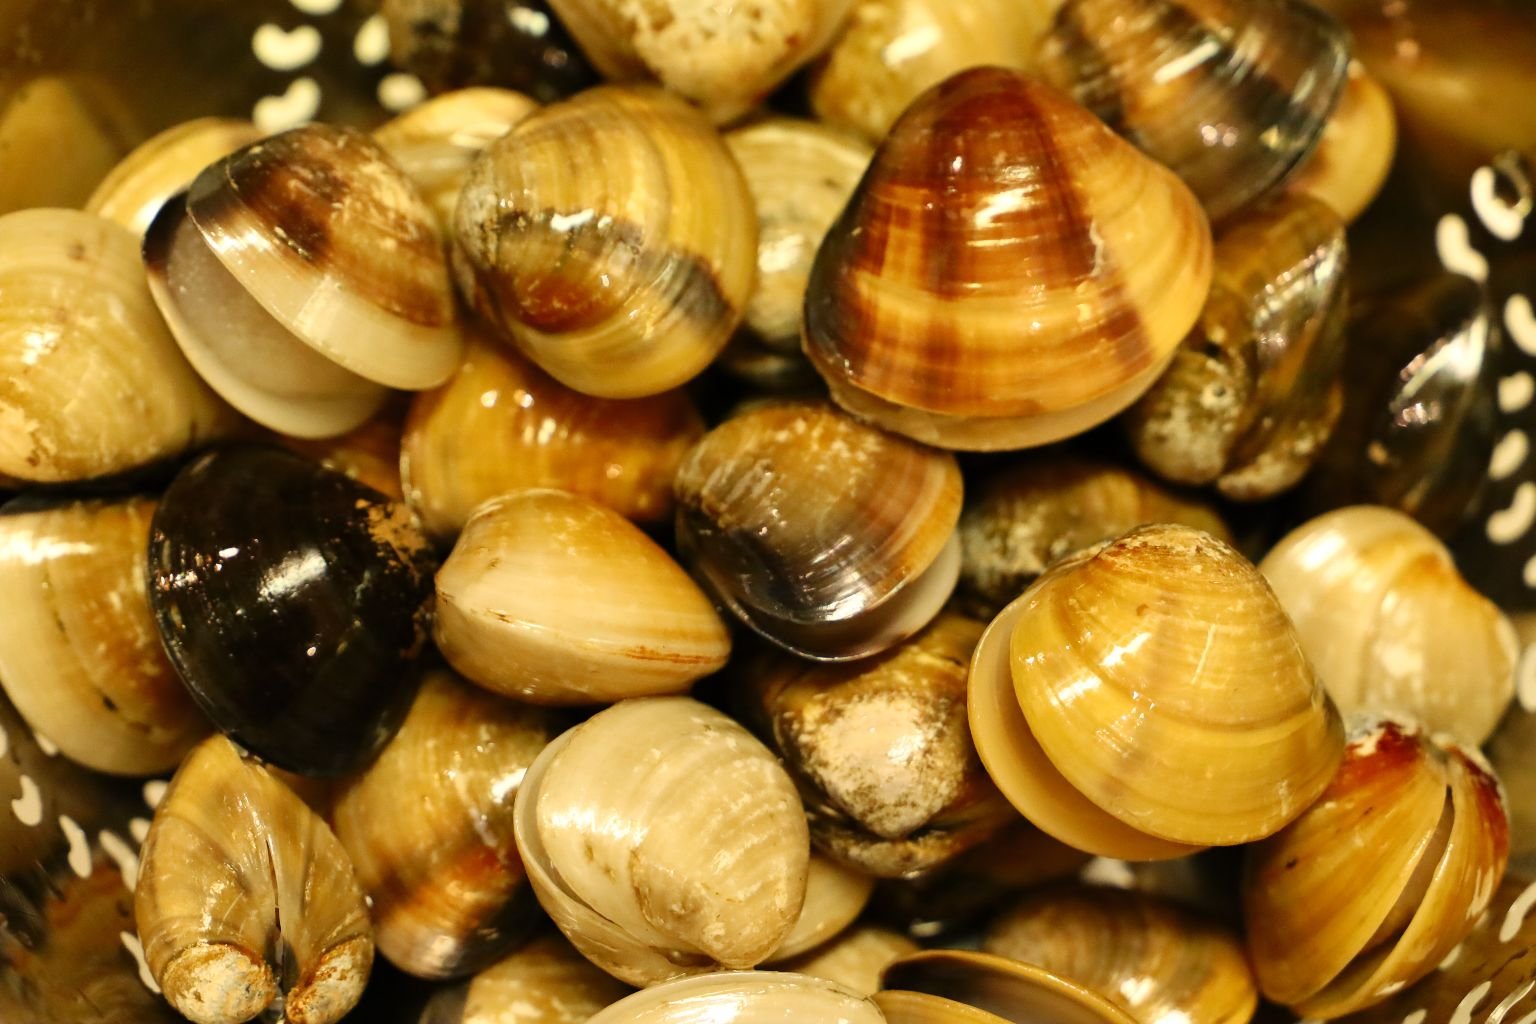
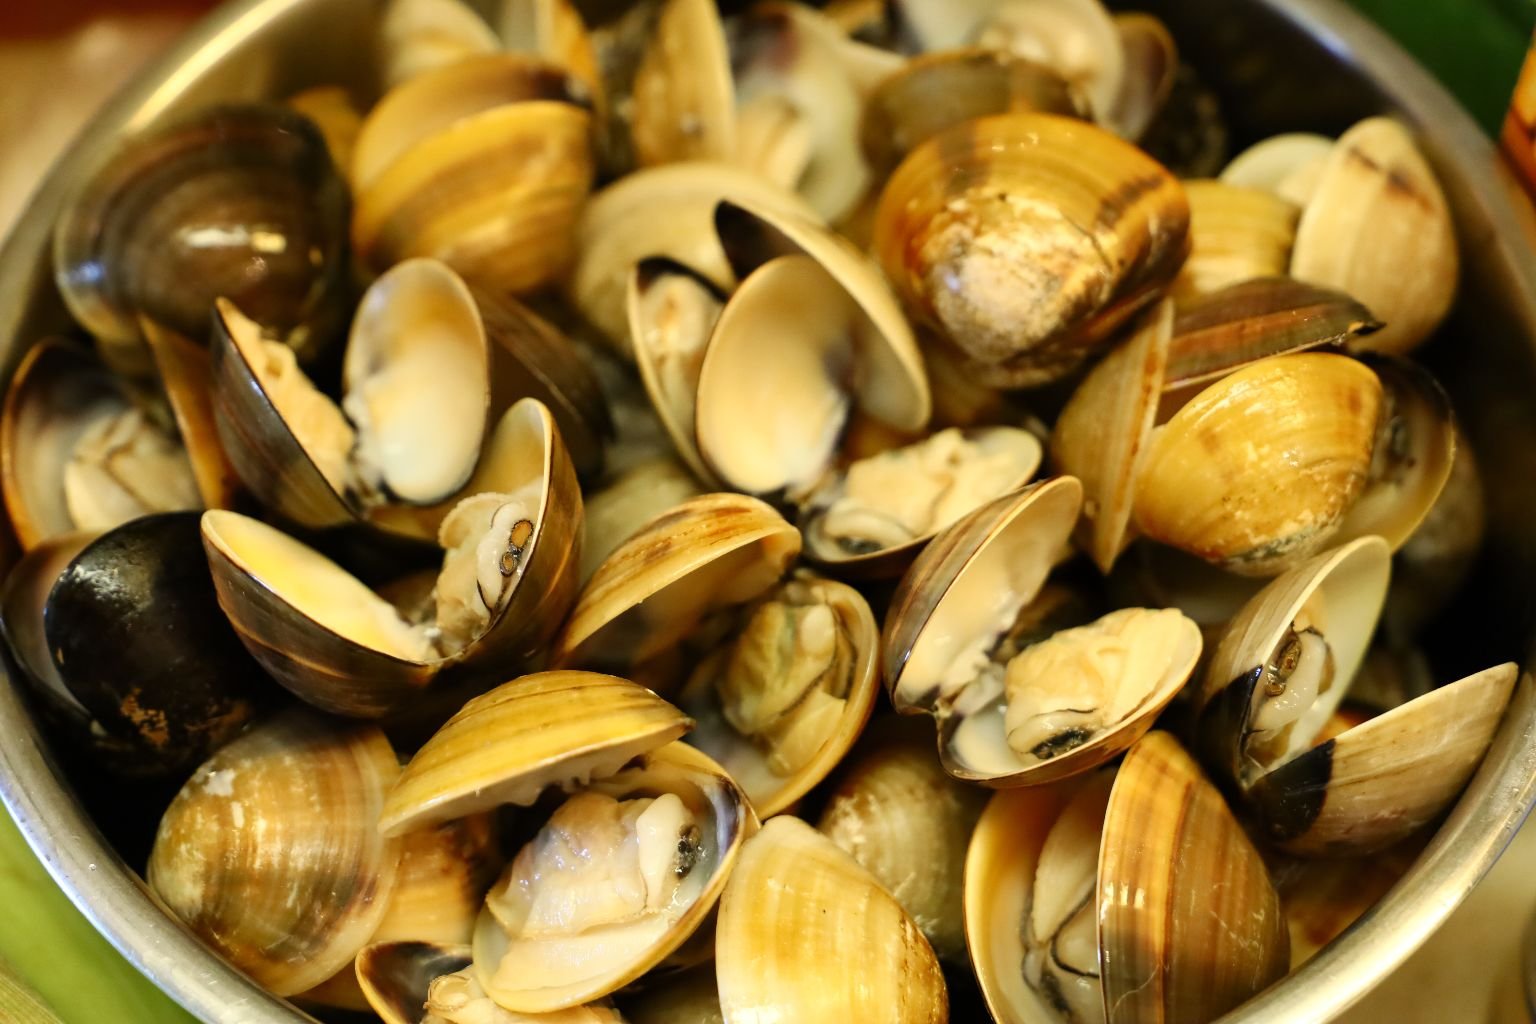
To start, we used some fresh clams being sure they are still alive and closed when pressed.

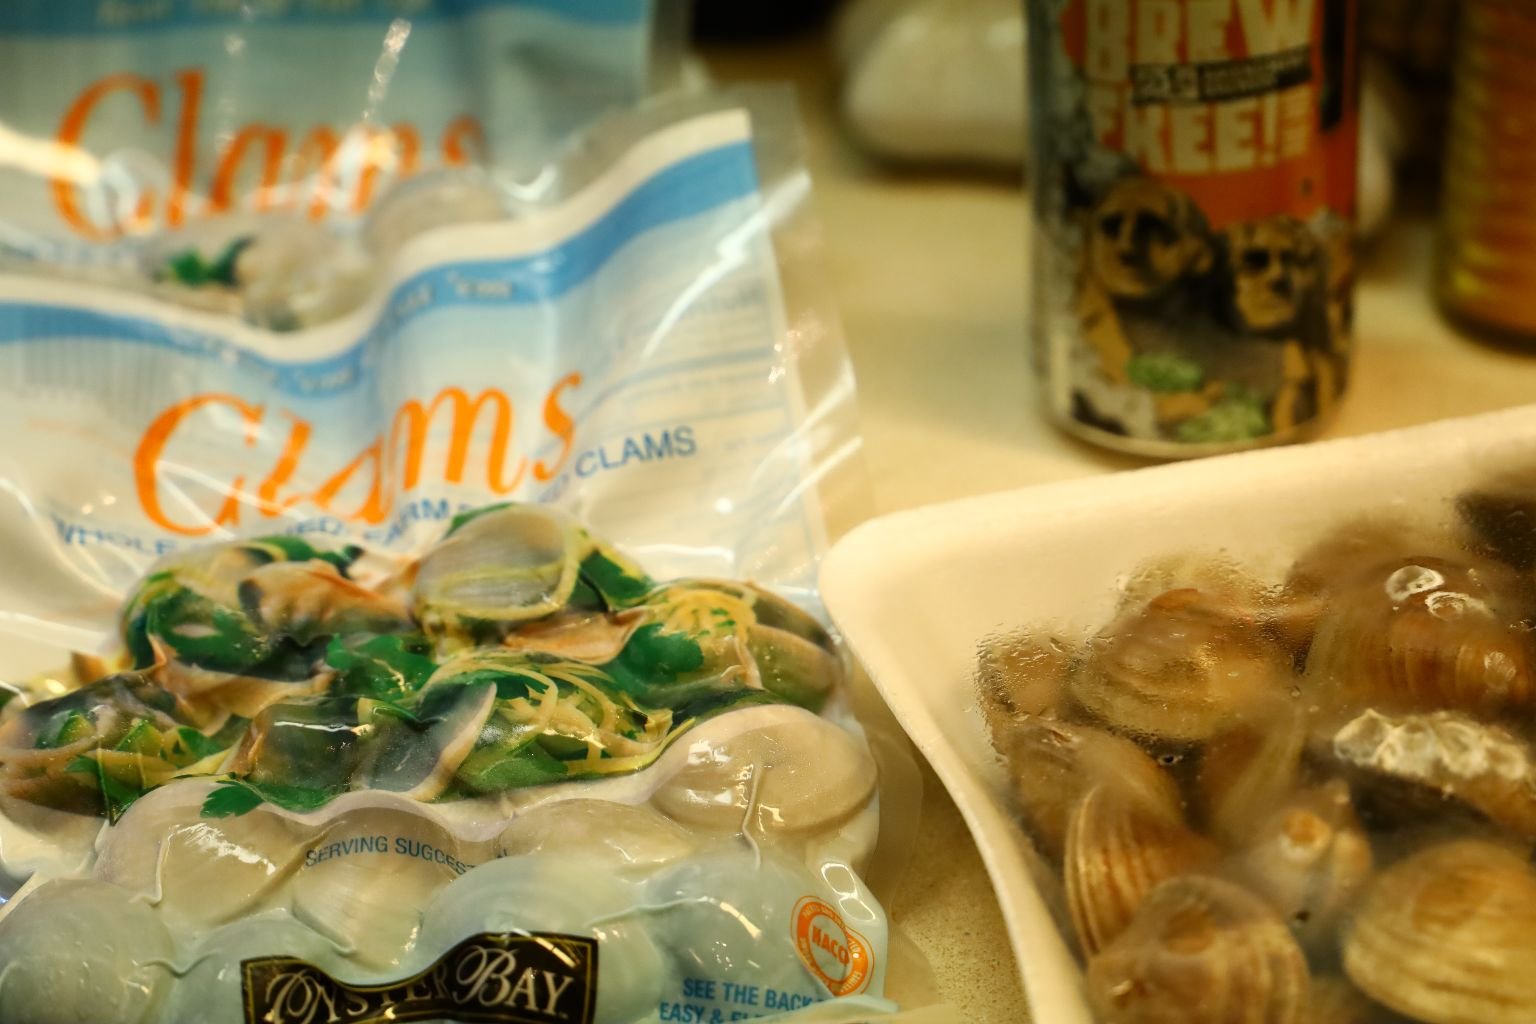
Because the store only had some 20 fresh clams, I also bought these clams which were frozen and previously cooked.
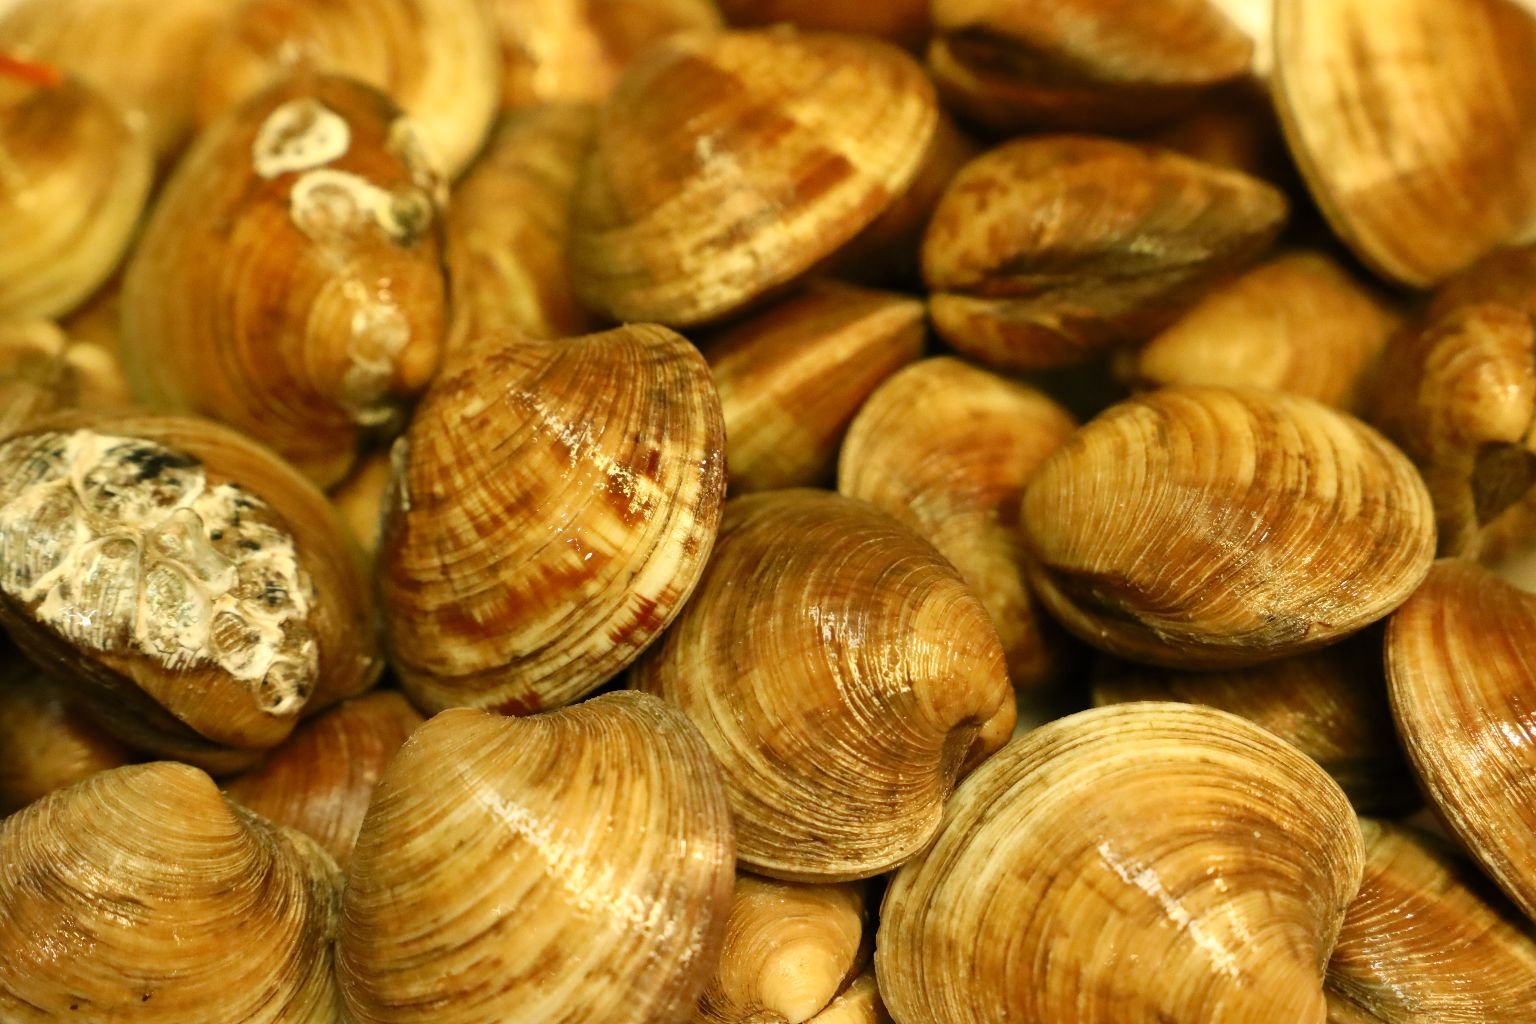
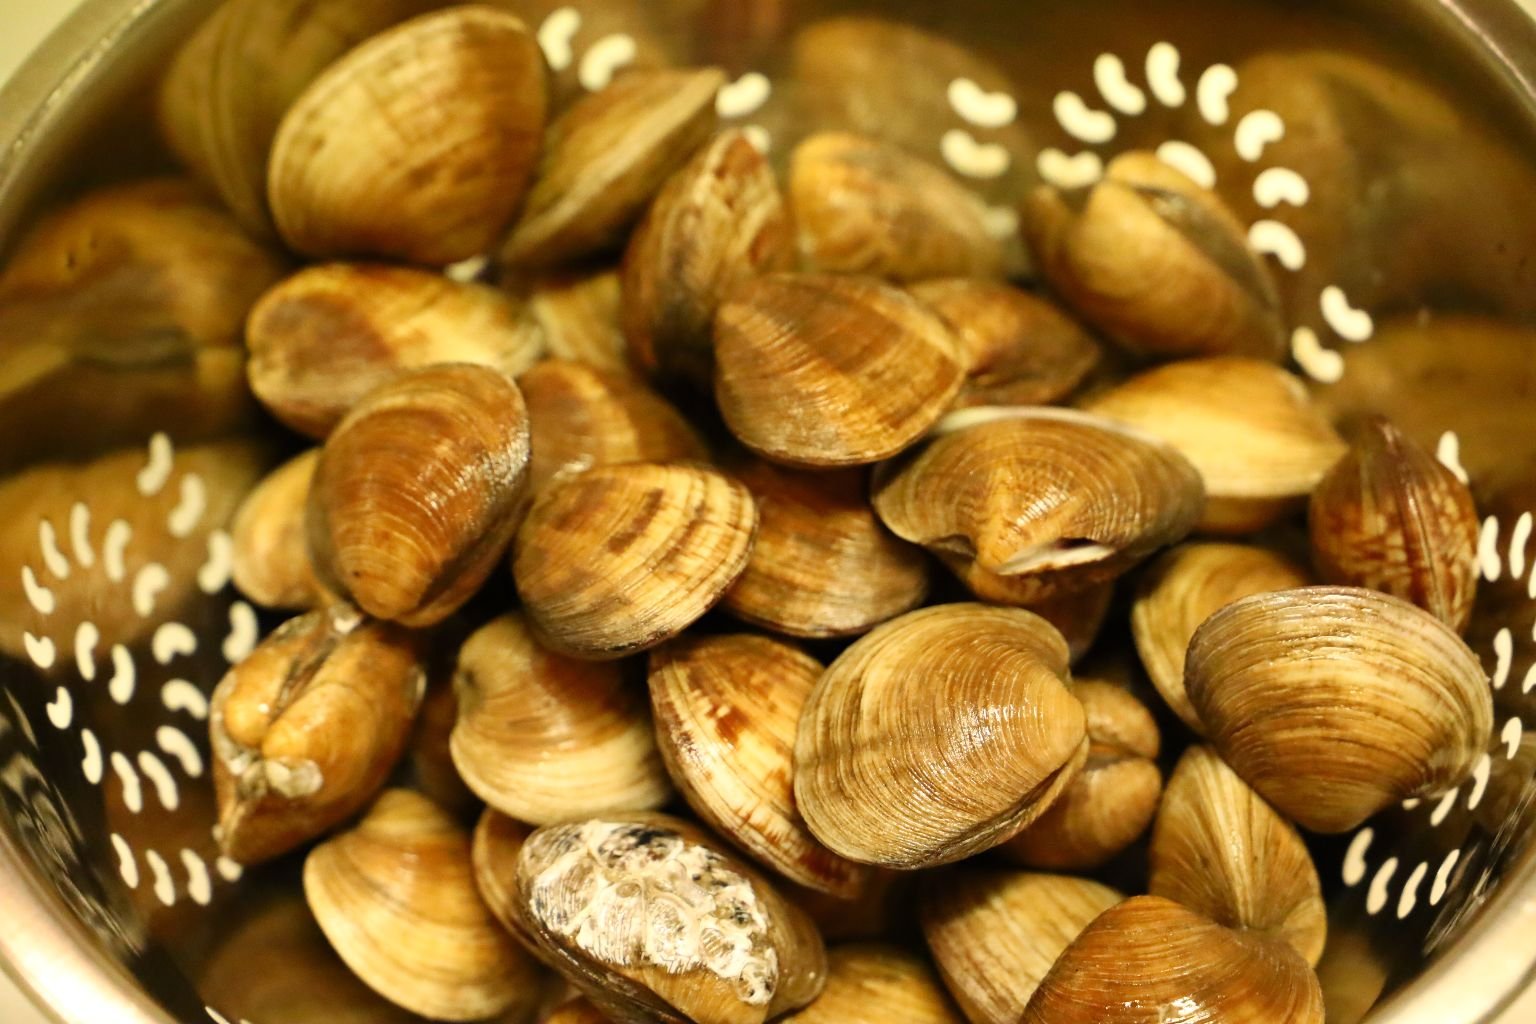
Give your fresh clams a good long rinse using a colander to remove any sand attached to their shells.
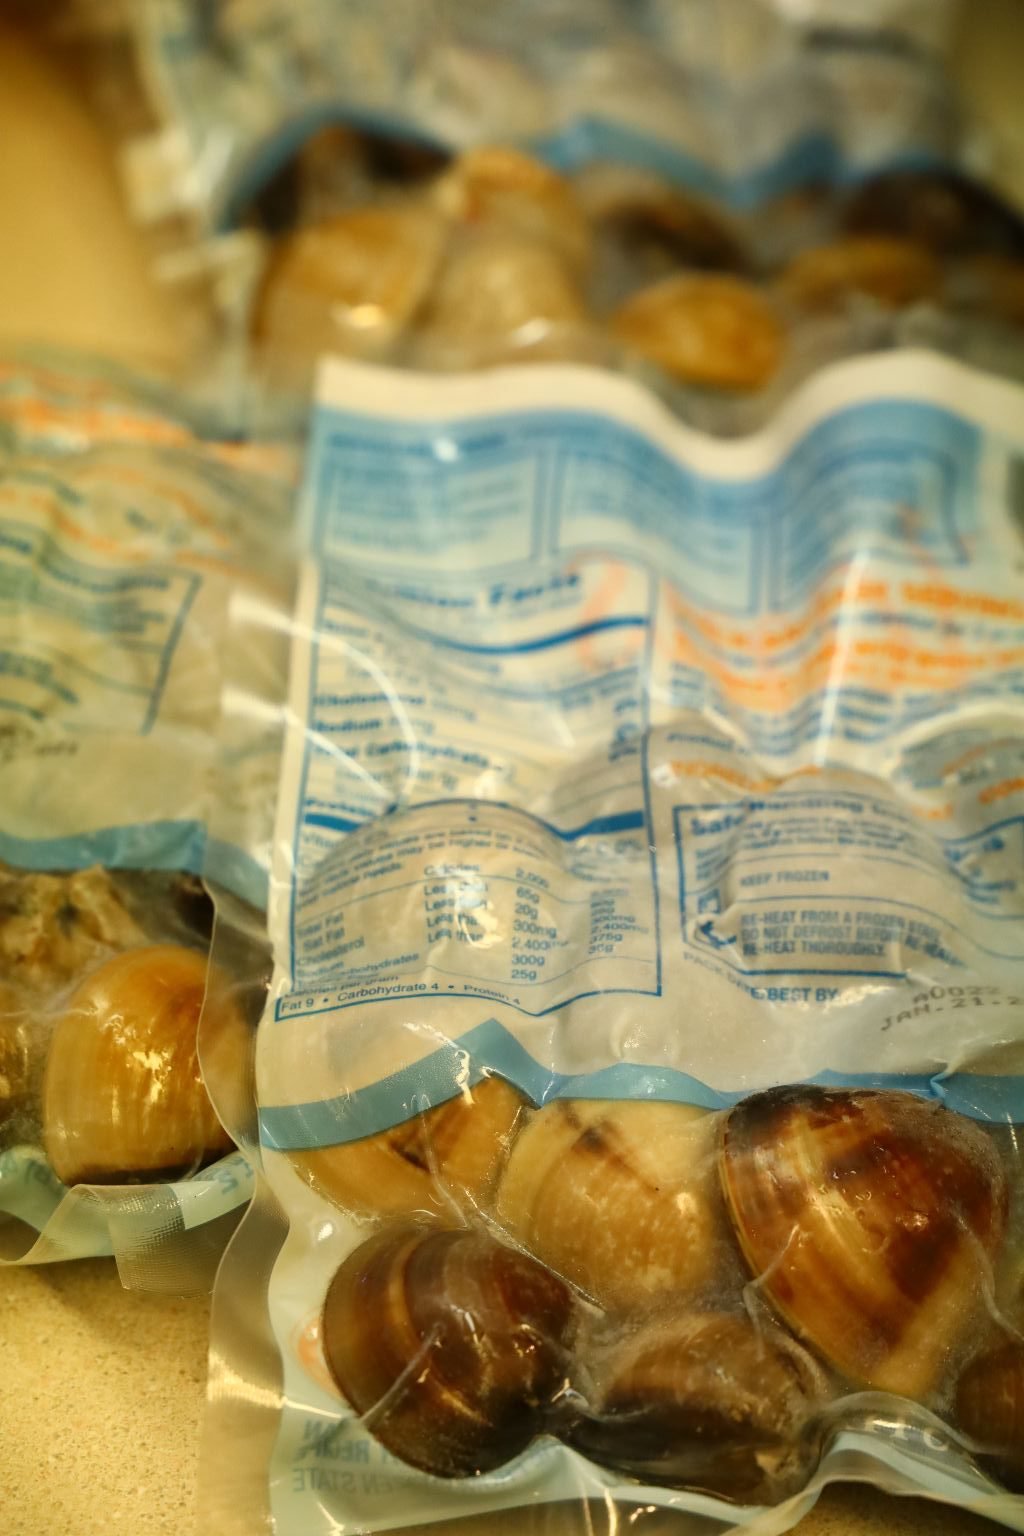
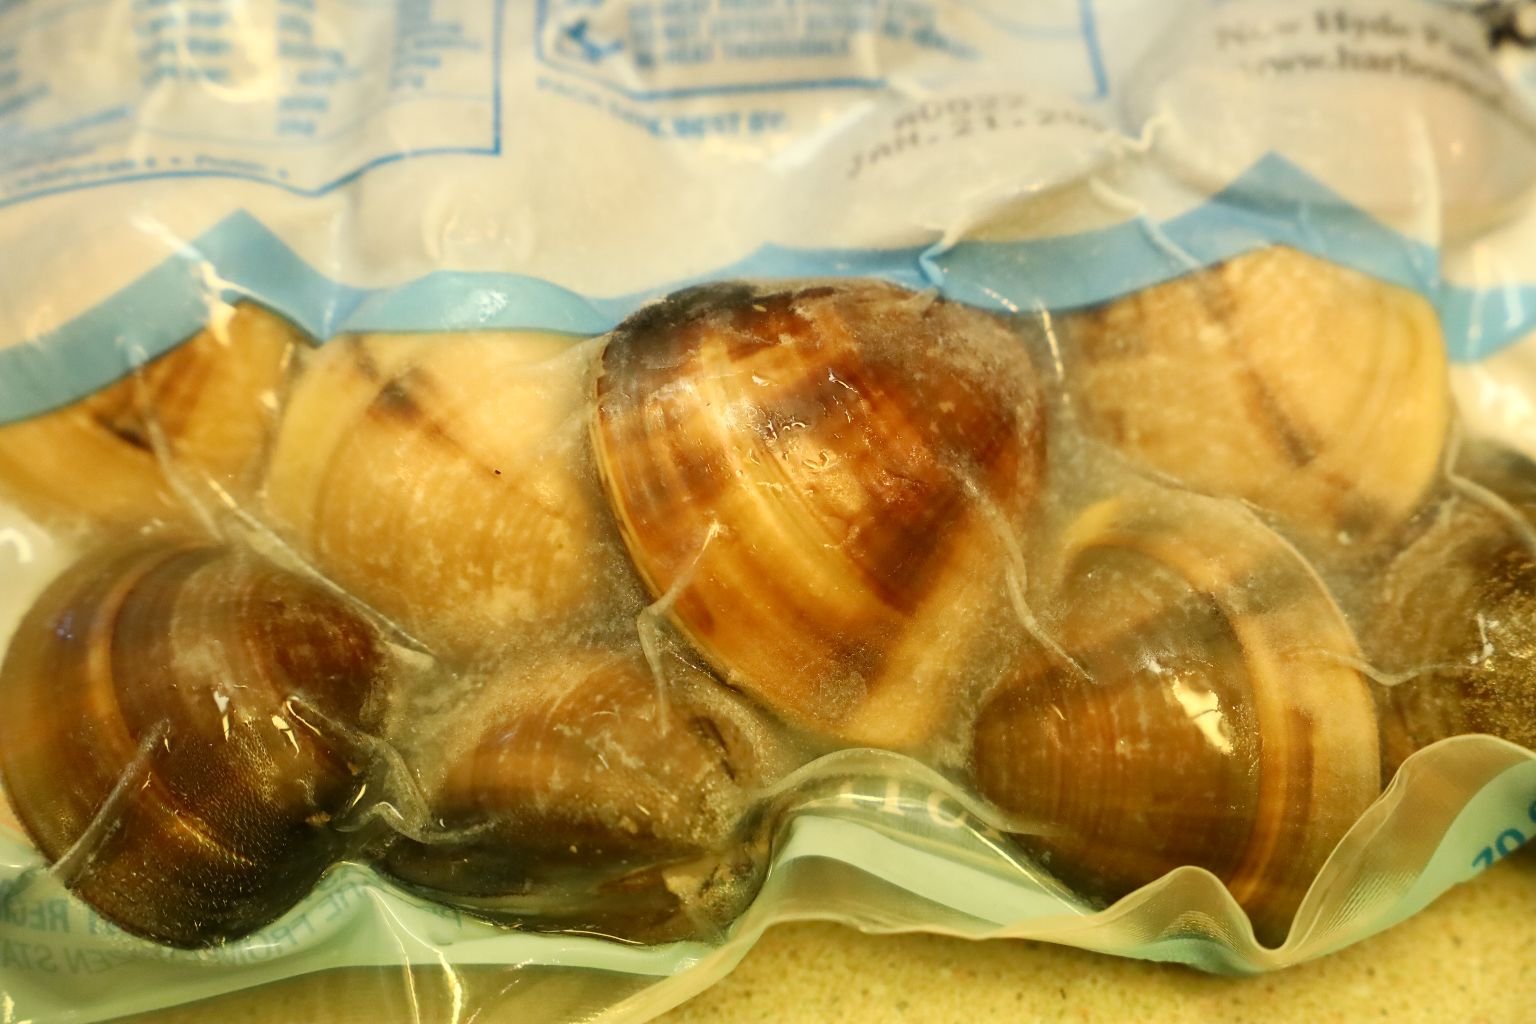
The frozen clams had the more decorative shells.

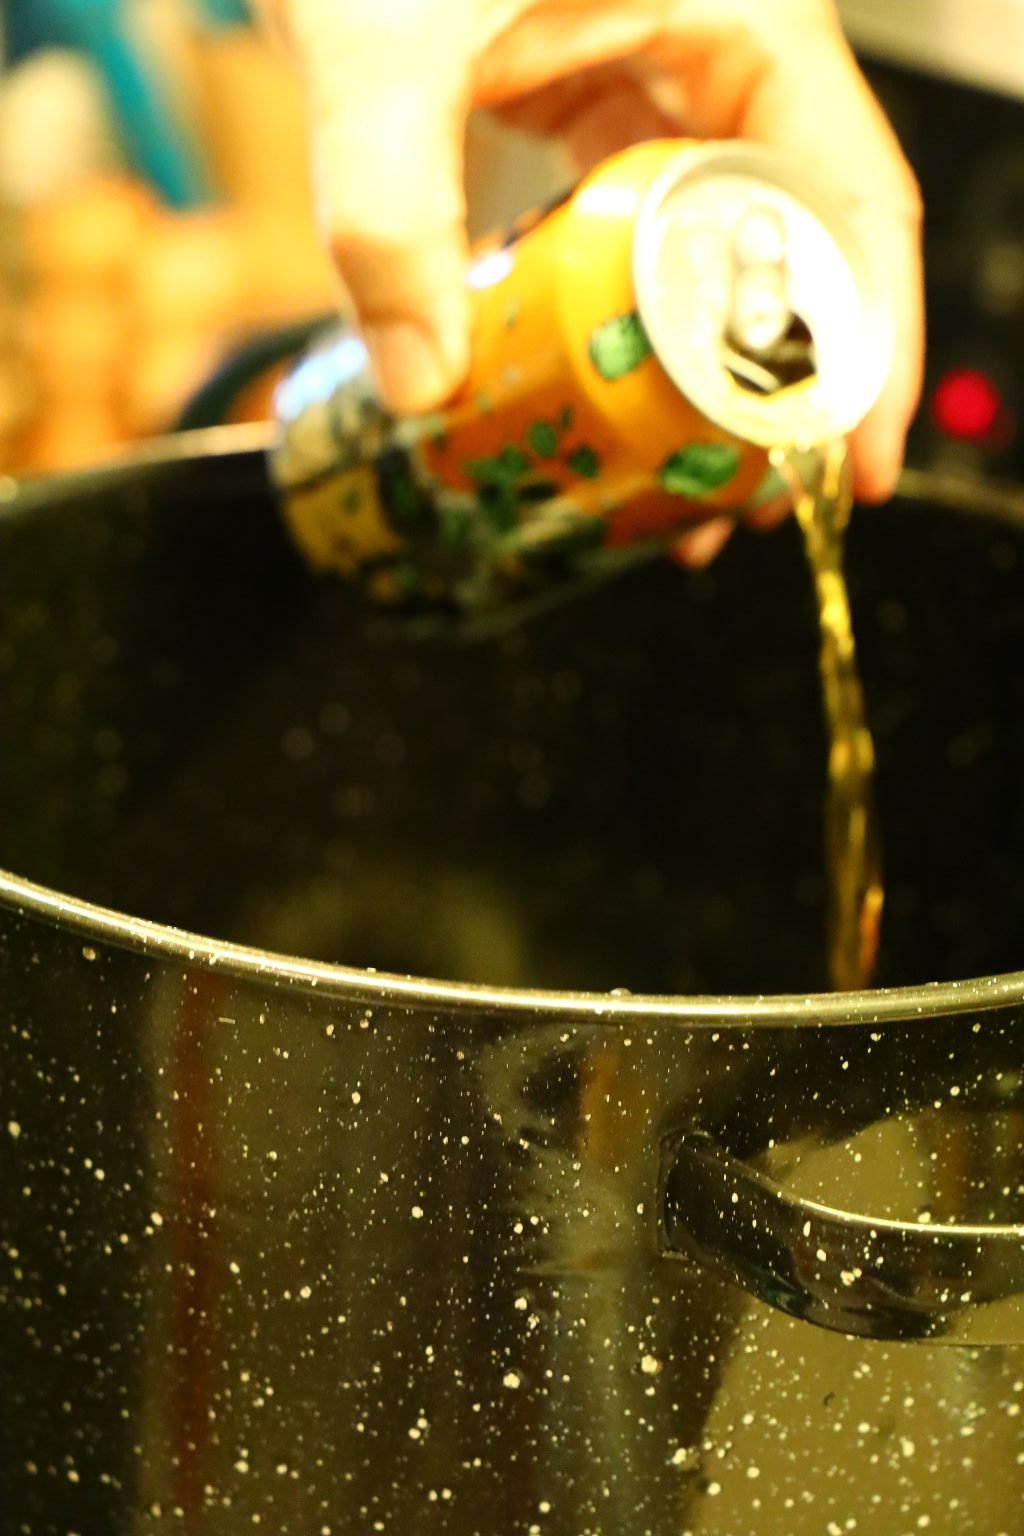
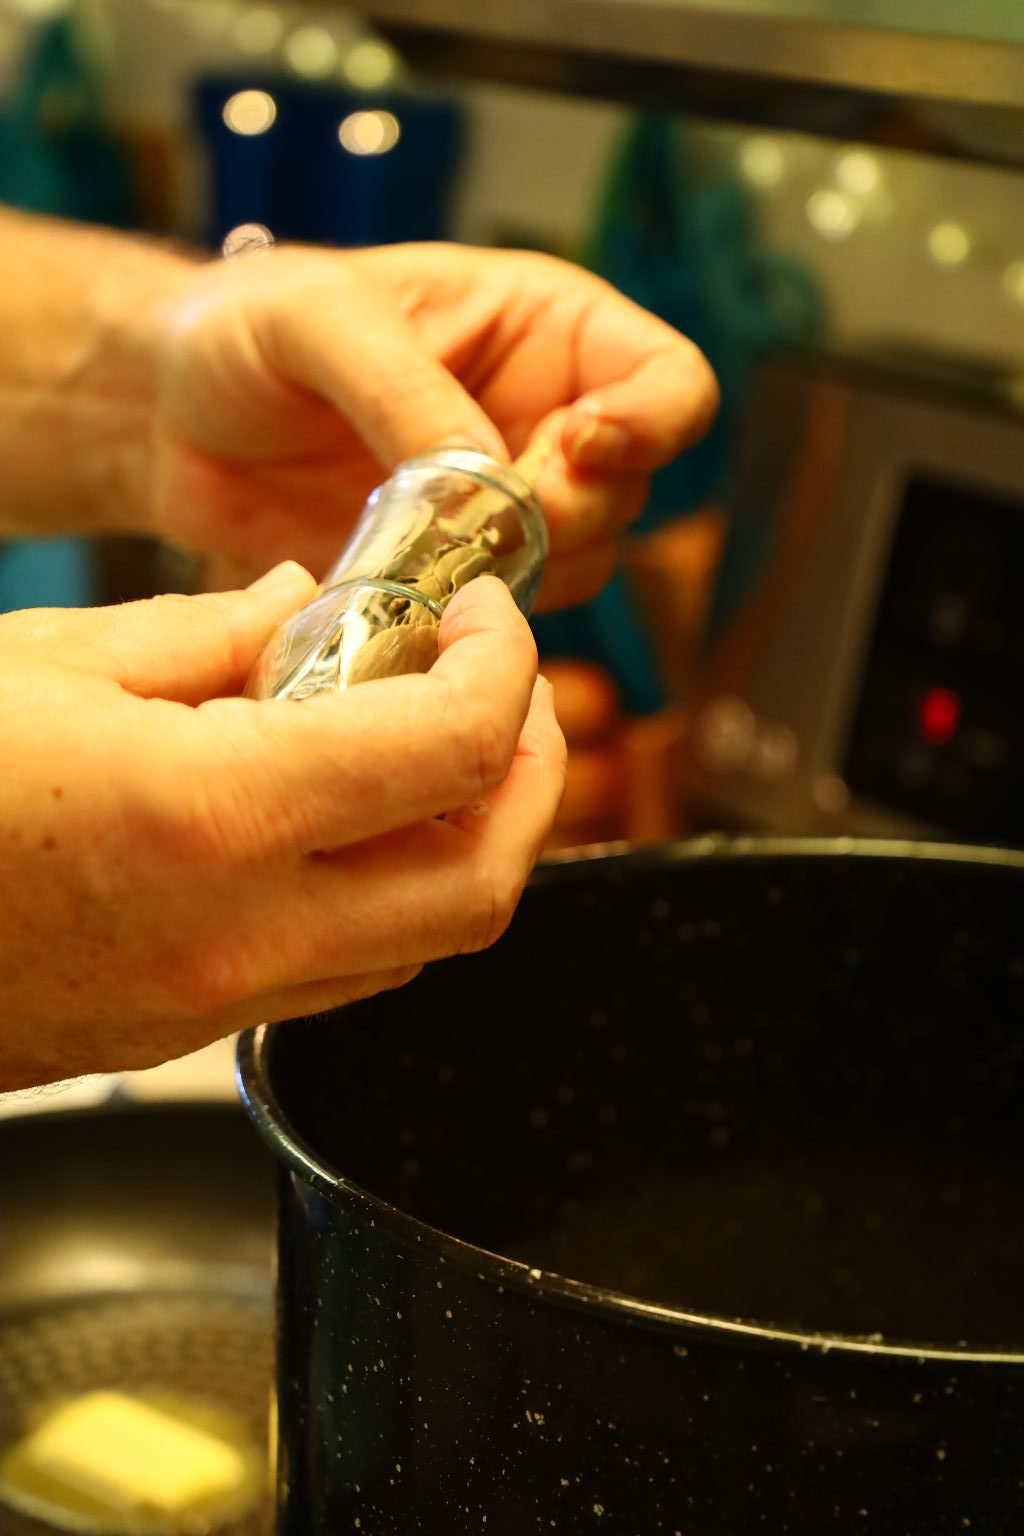
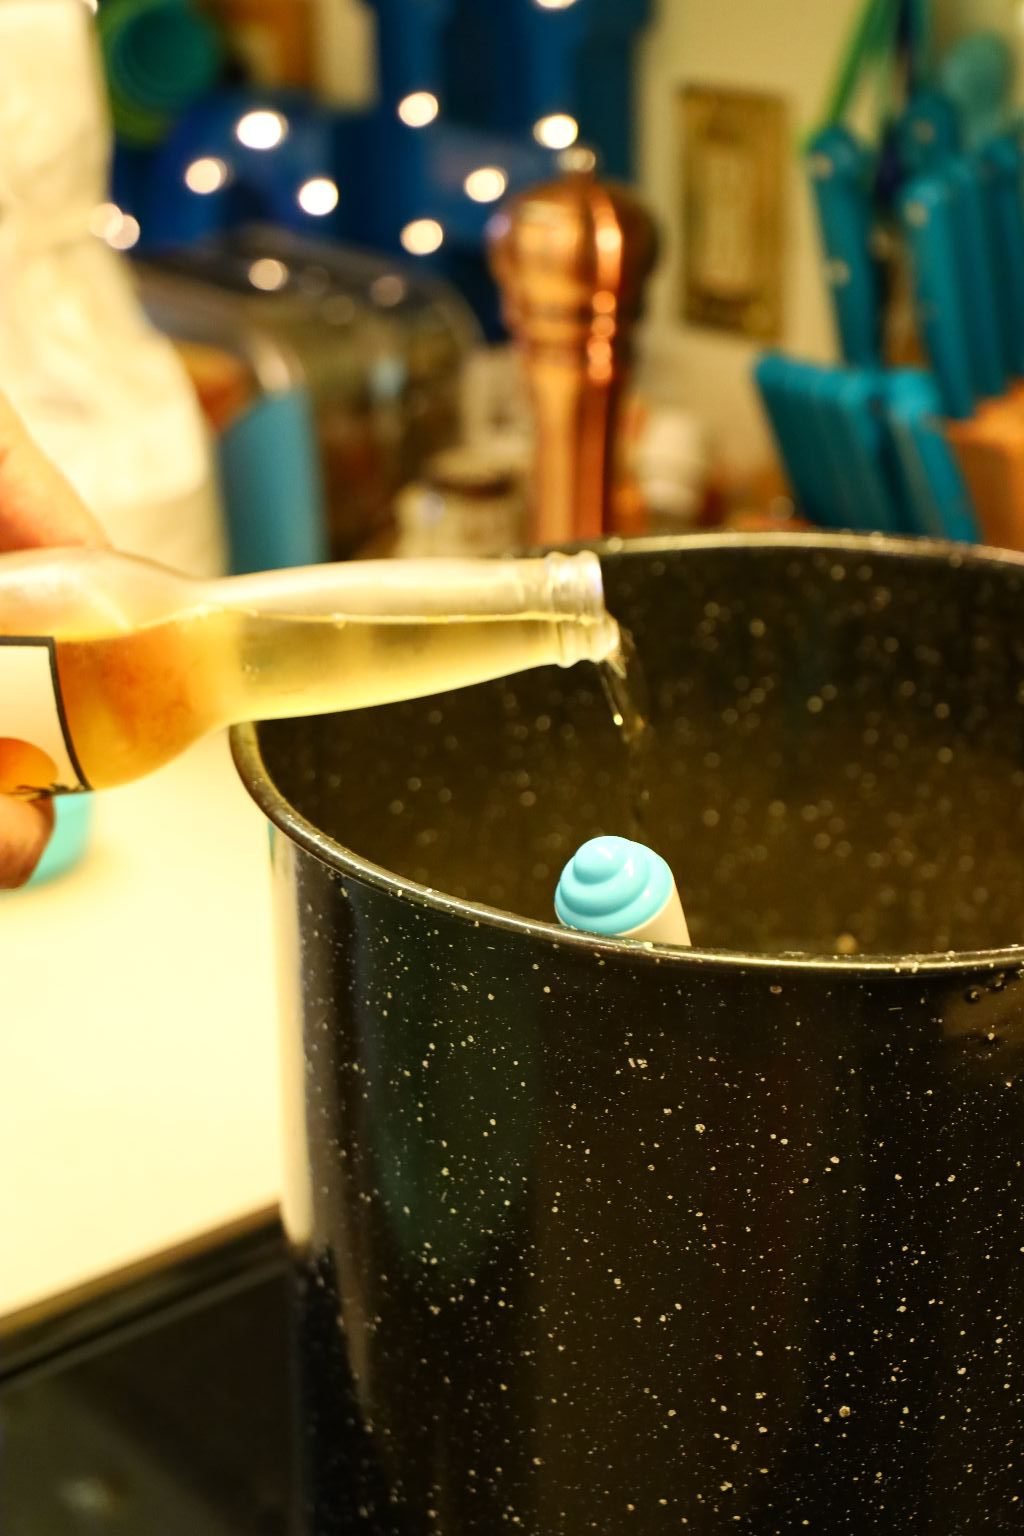
To make our clams drunk, I used a beer to steam them with.
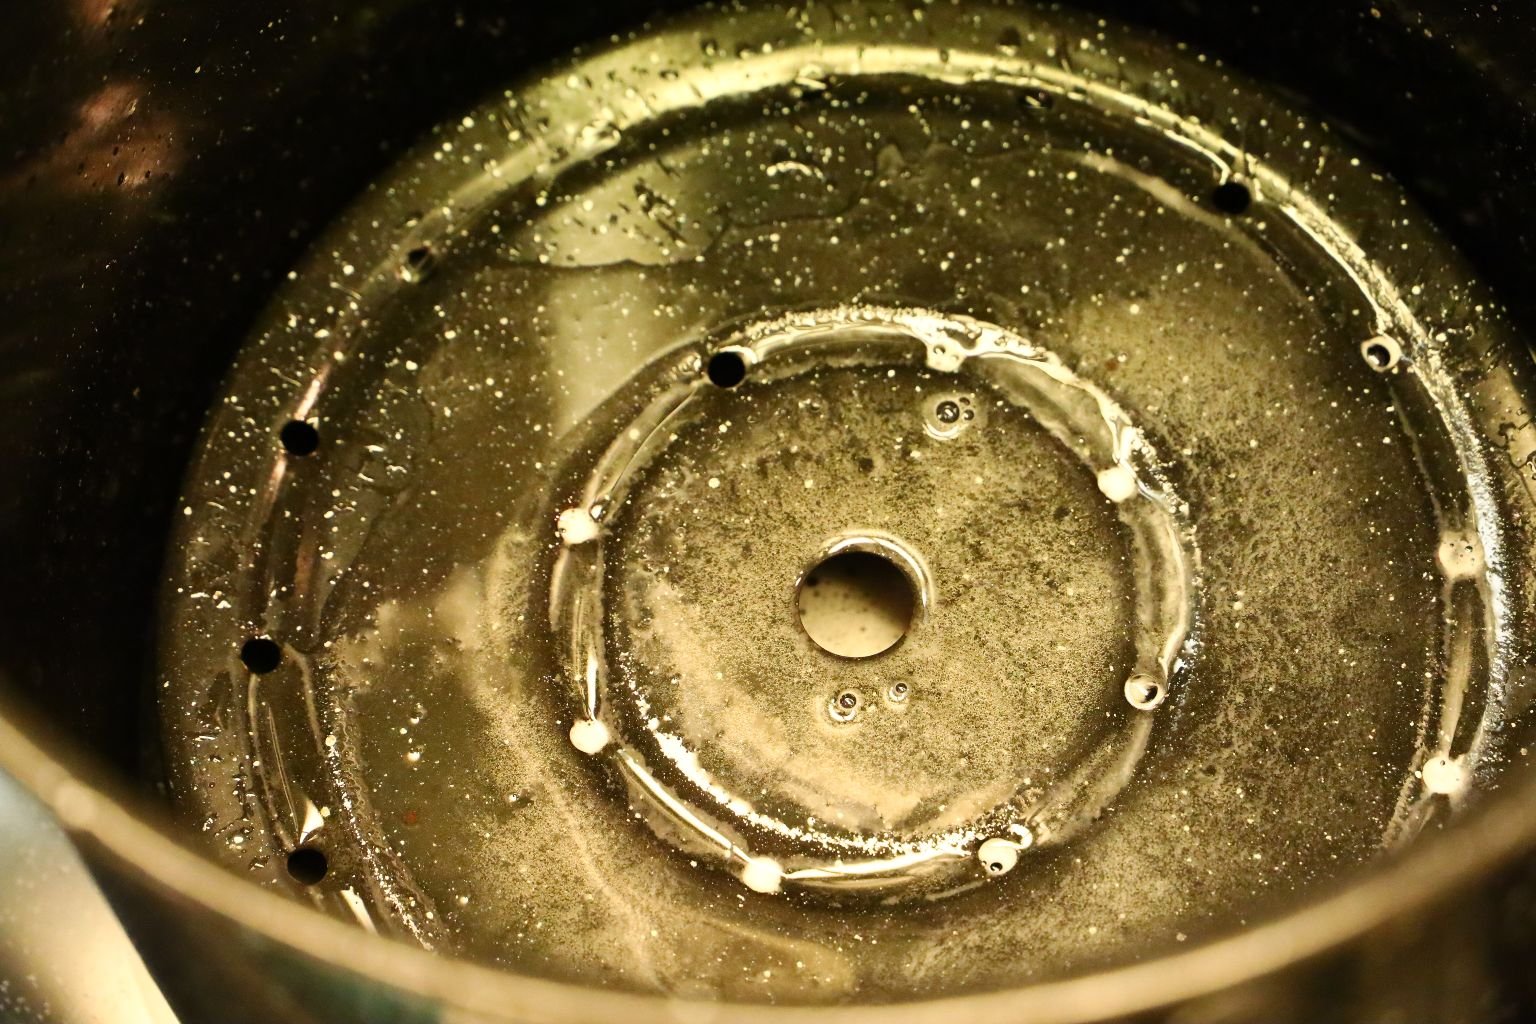
Place your fresh clams in the steamer pot and turn the burner on high. You can see the formed insert with holes which keeps the items off the bottom of the pot.
Here you can see all the fresh clams in the steamer pot with the beer getting heated. Place a lid on the pot.
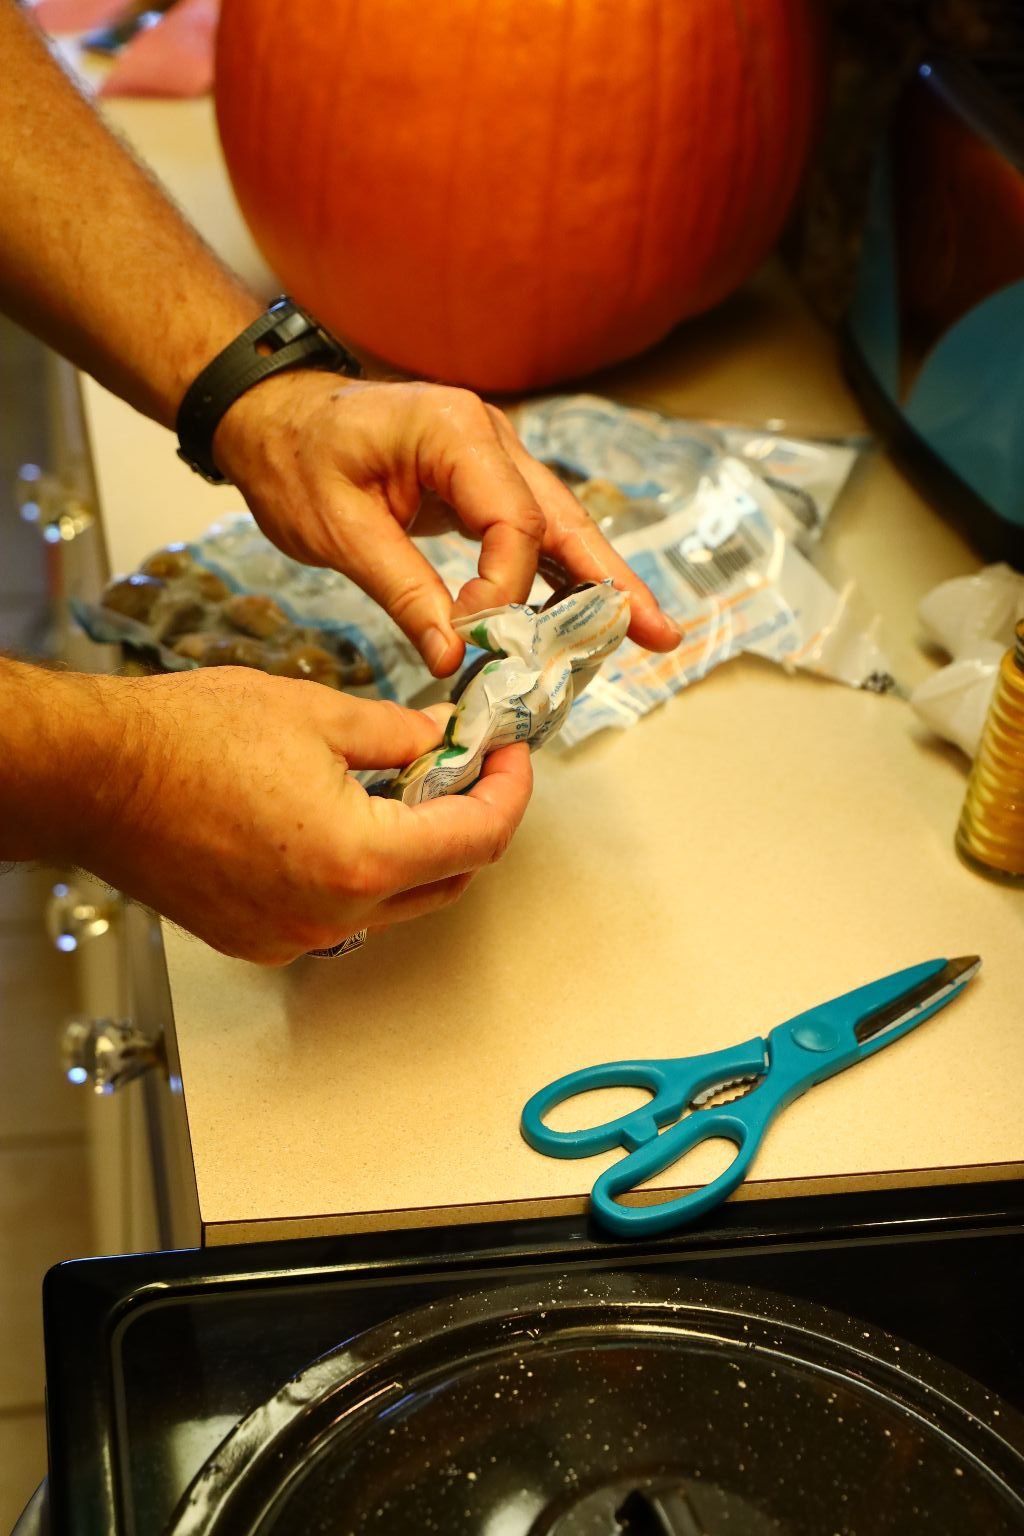
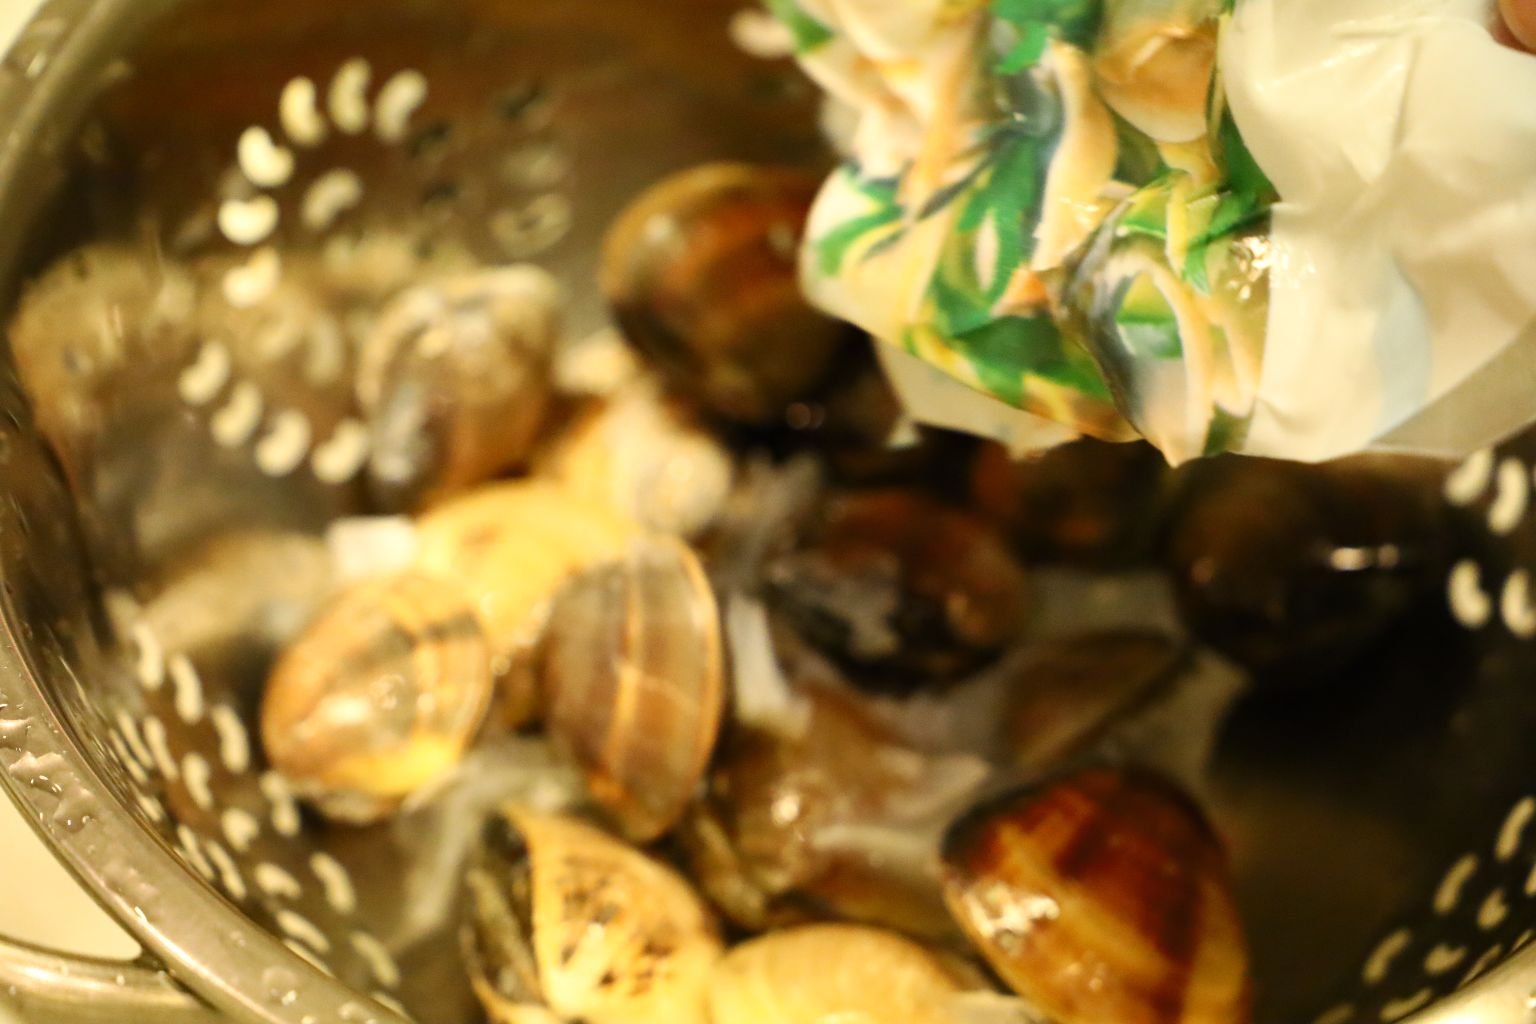
Now, open your frozen clams and place them in a colander as shown.
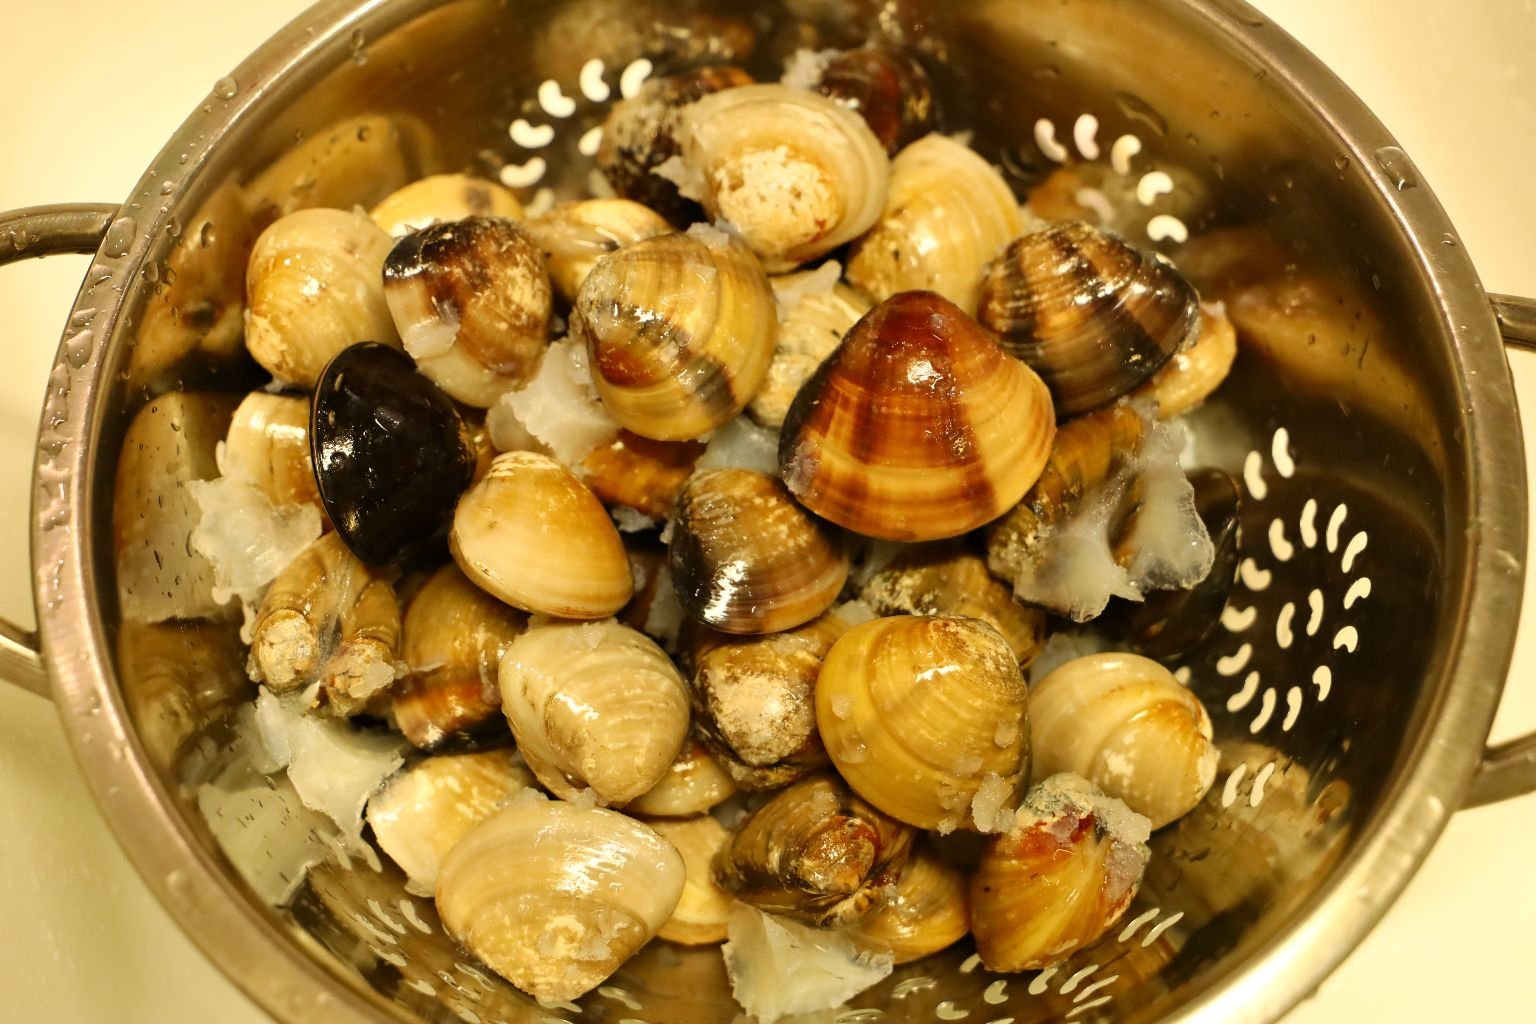
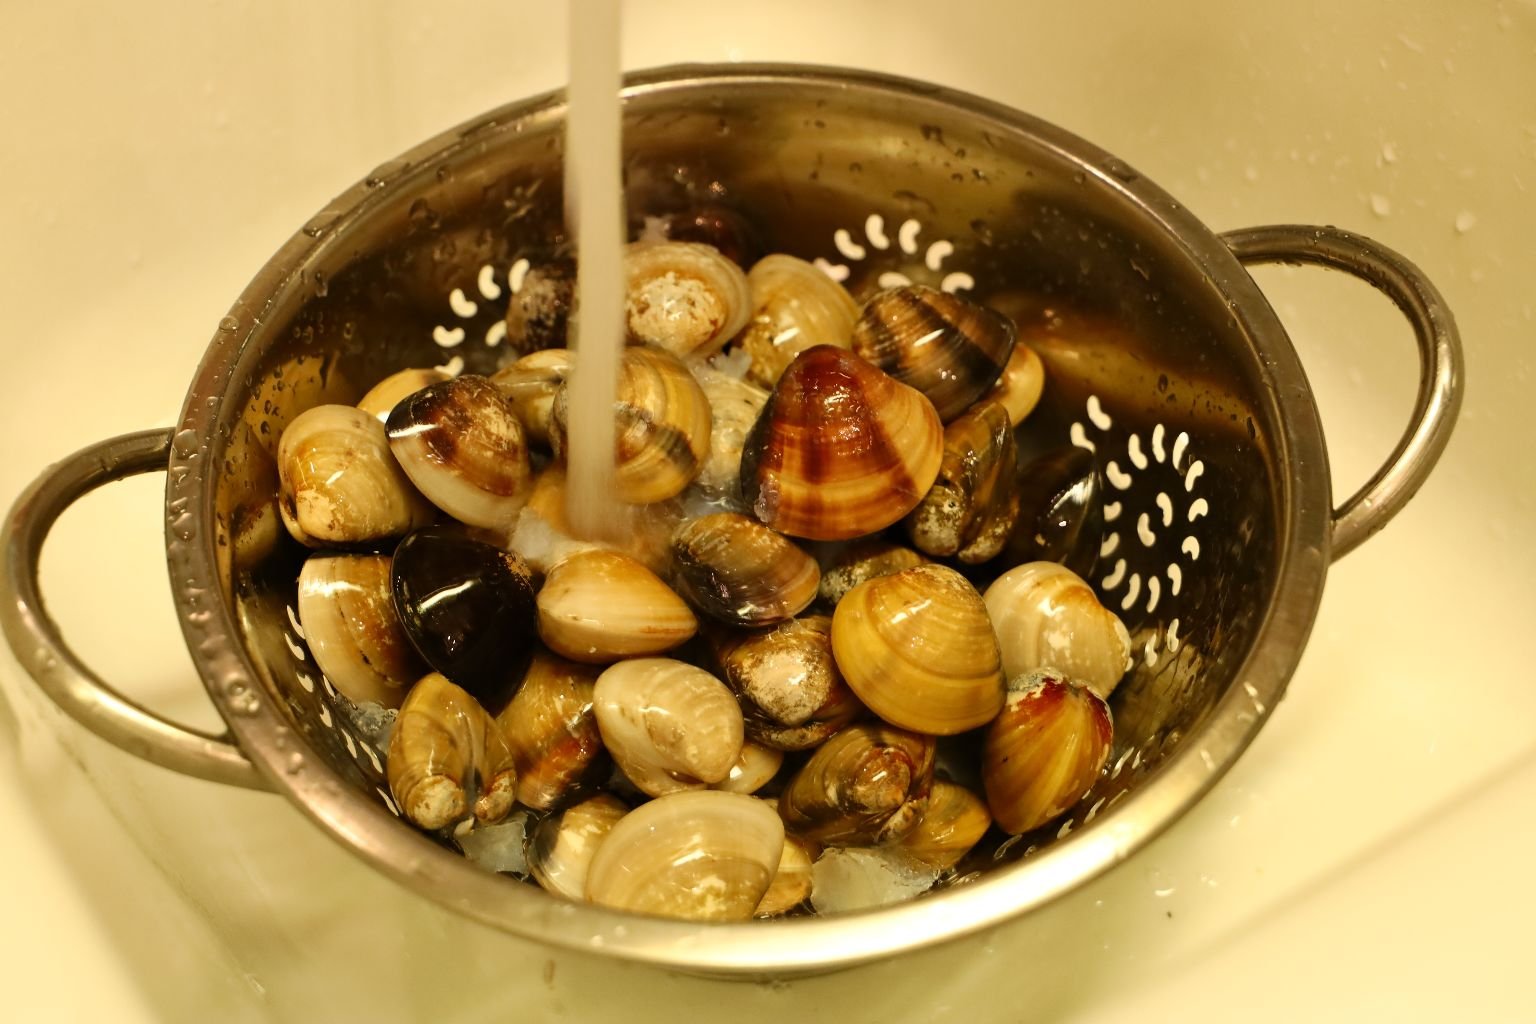
I gave them a good rinse as well.
Here you can see some of them opening as they thaw.
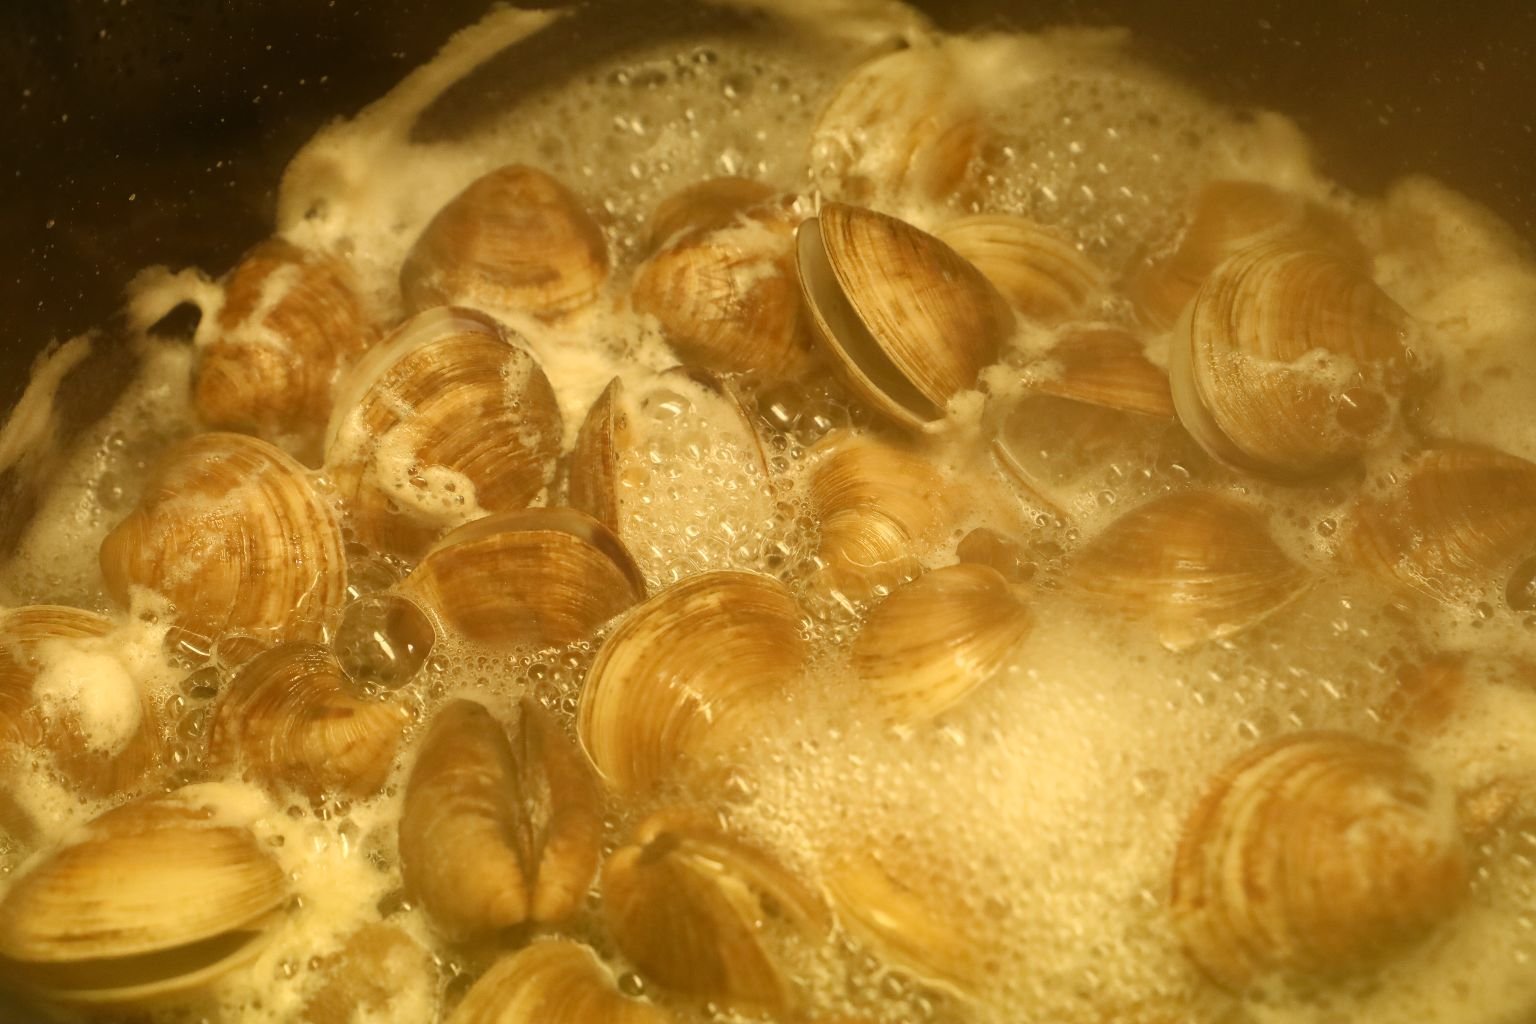
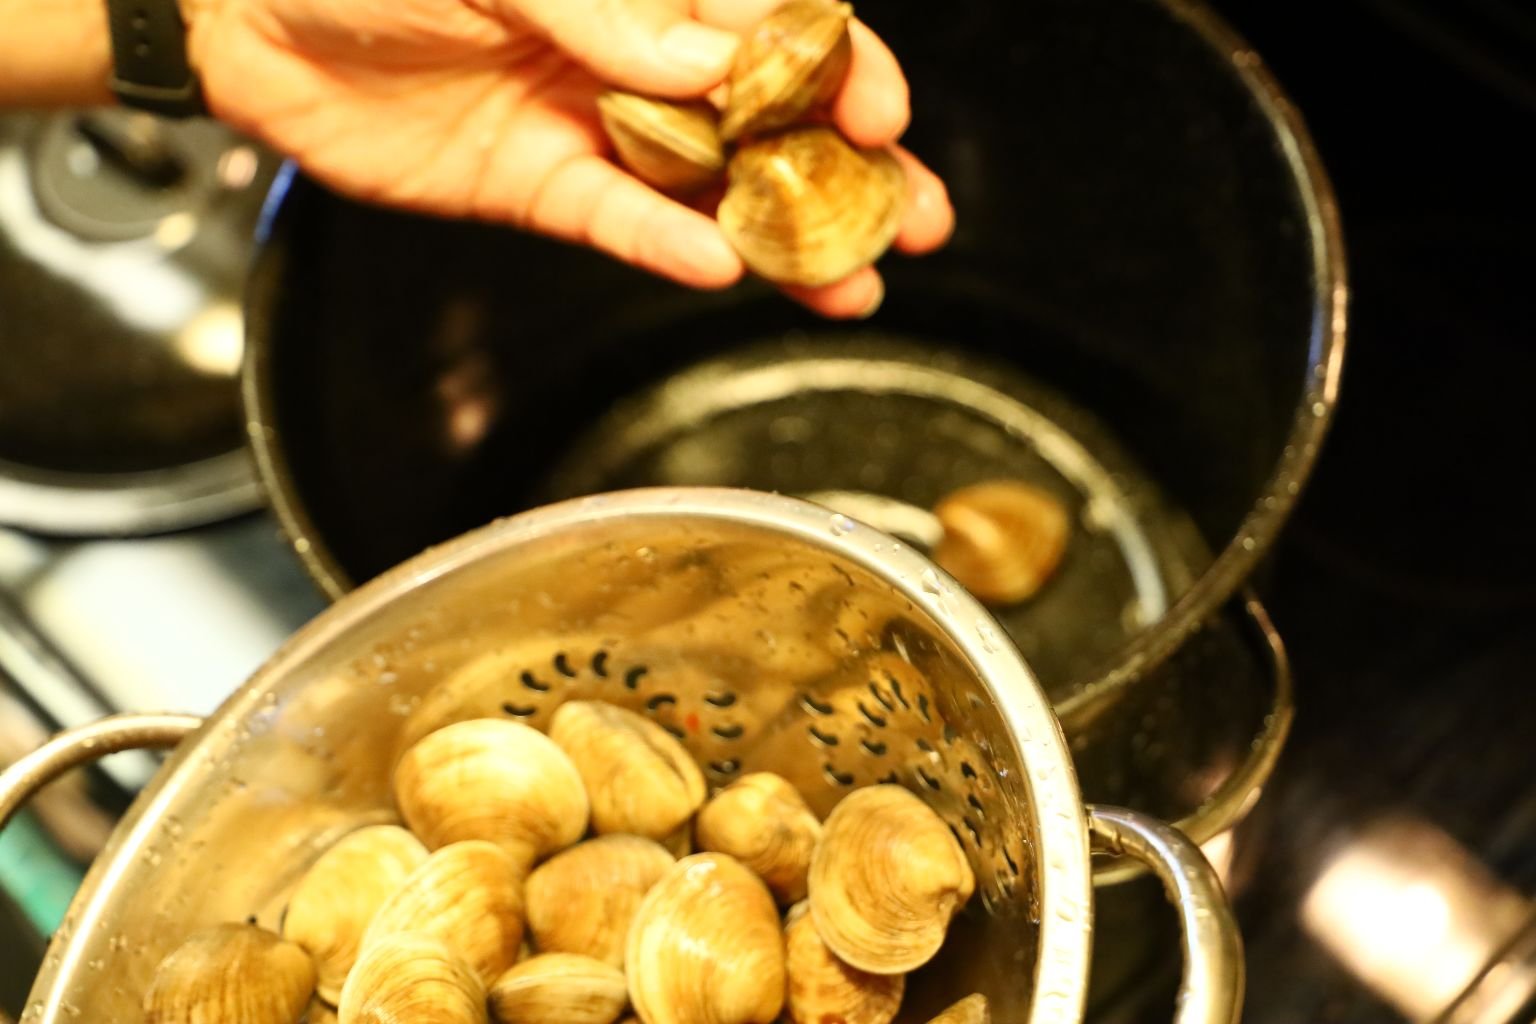
The clams in the steamer pot are starting to open only minutes after the beer comes to temperature. Once they open, they are ready to be removed.

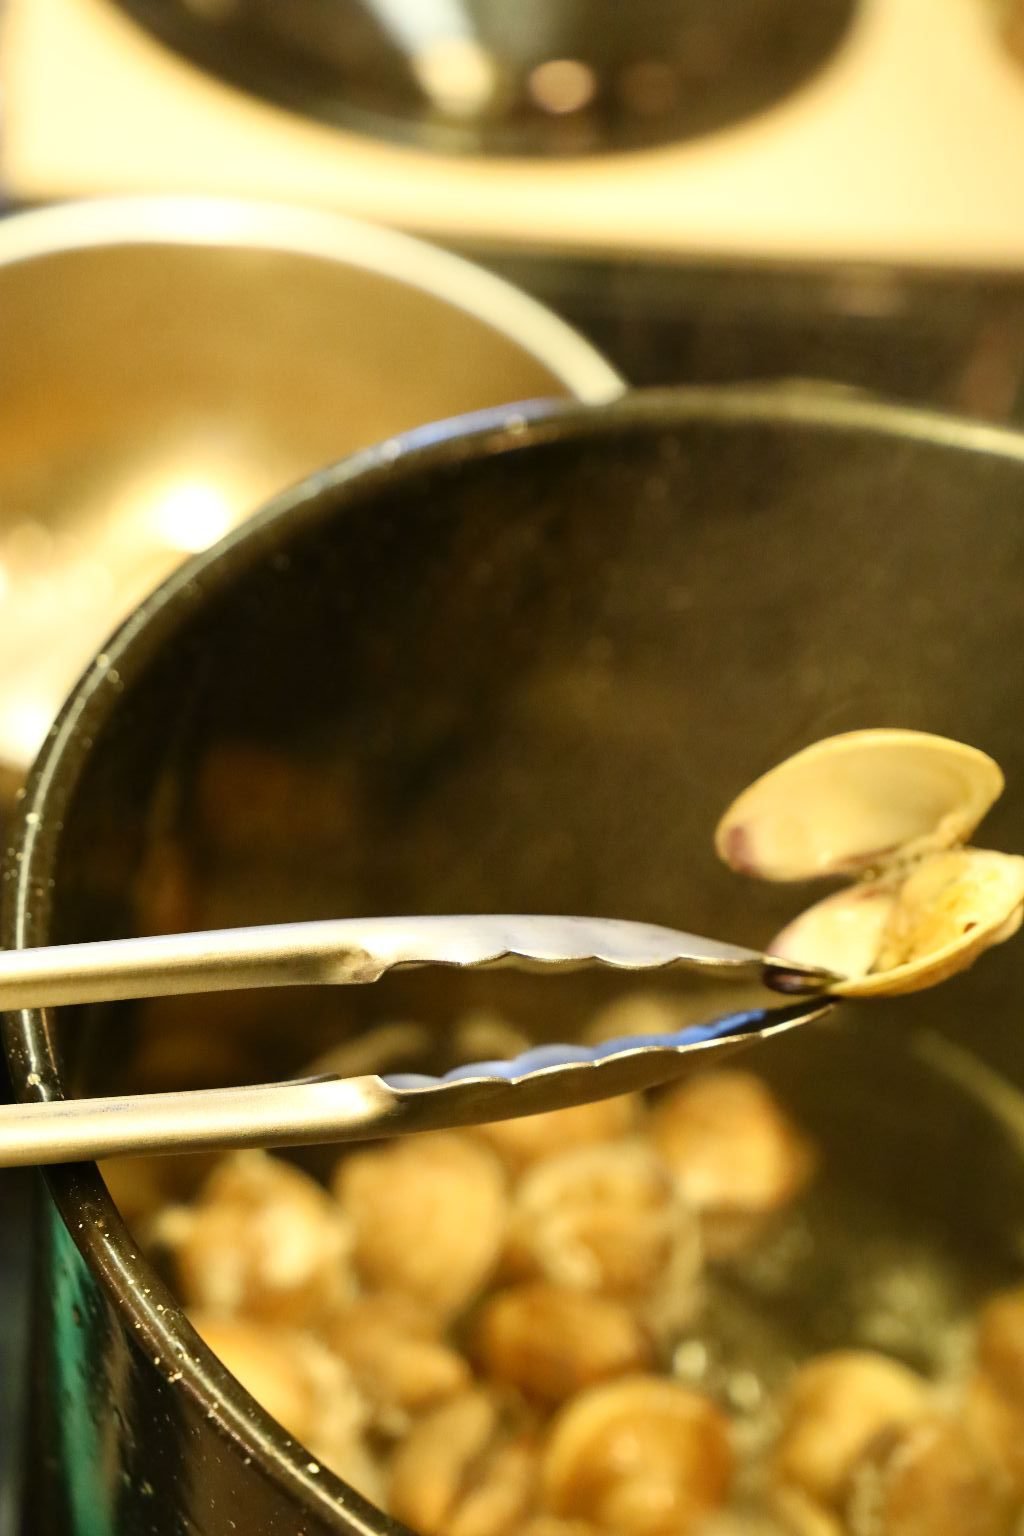
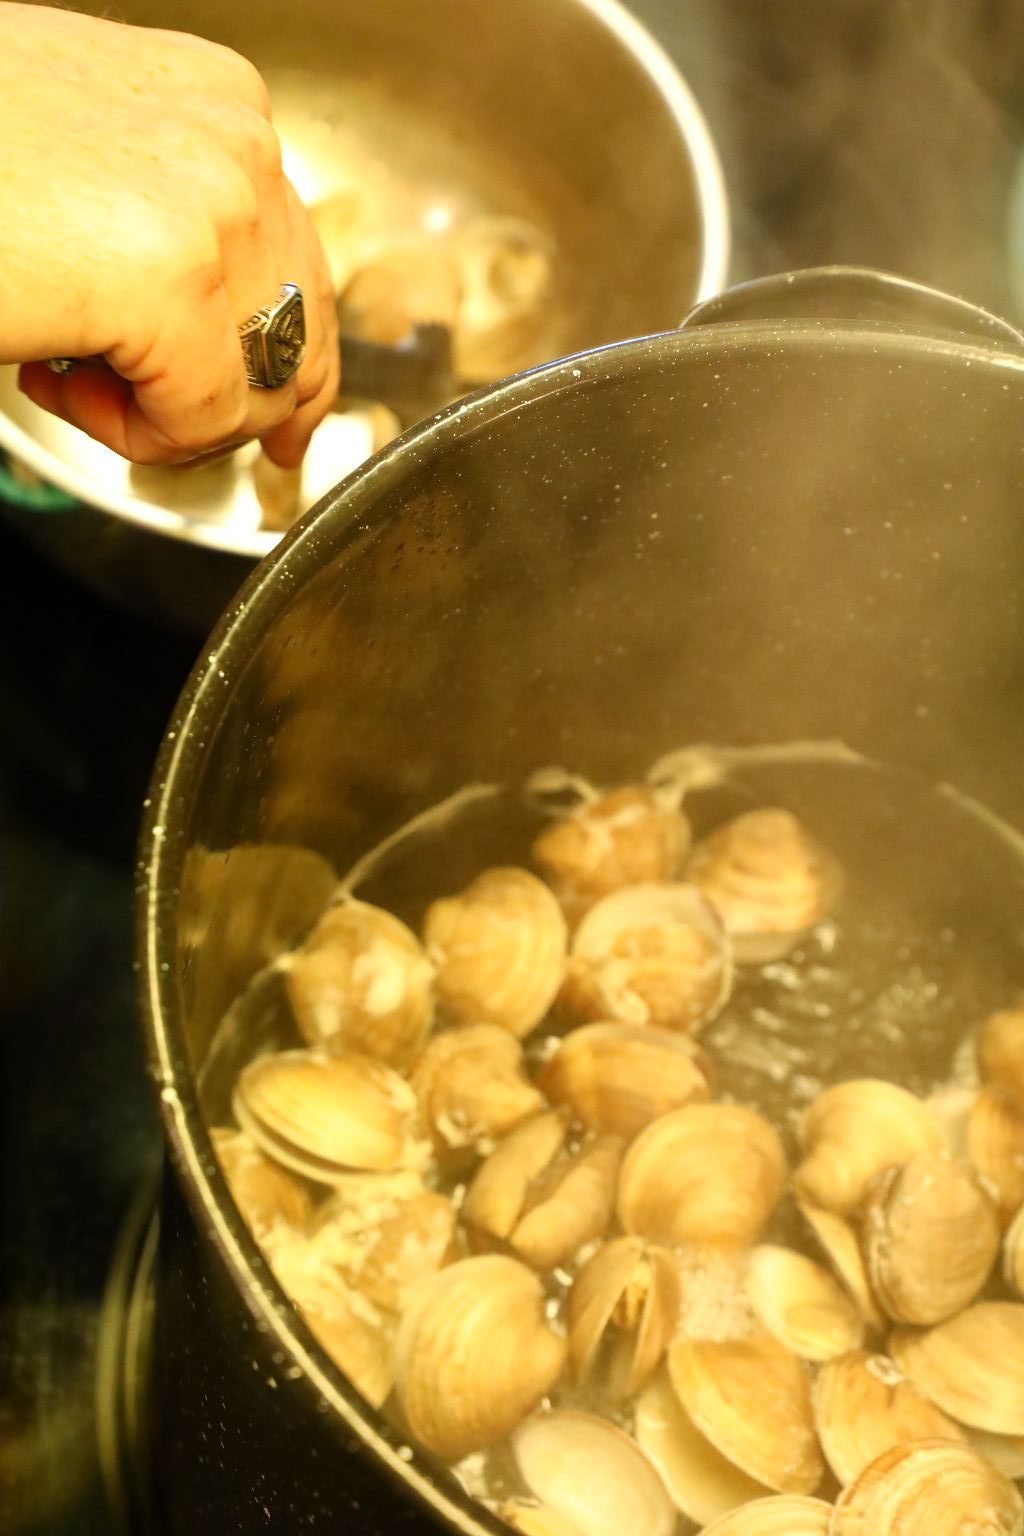
I use tongs to remove the open ones. Once all of them have opened and removed from the pot, I rinsed them to stop the cooking process. I then added the frozen ones to the steamer pot to just be sure they were properly cooked. The frozen ones were only in the steamer for maybe a minute or two.

———————————————————–

I also used clam juice, canned whole baby clams as well as clam chunks in this recipe.
———————————————————————-
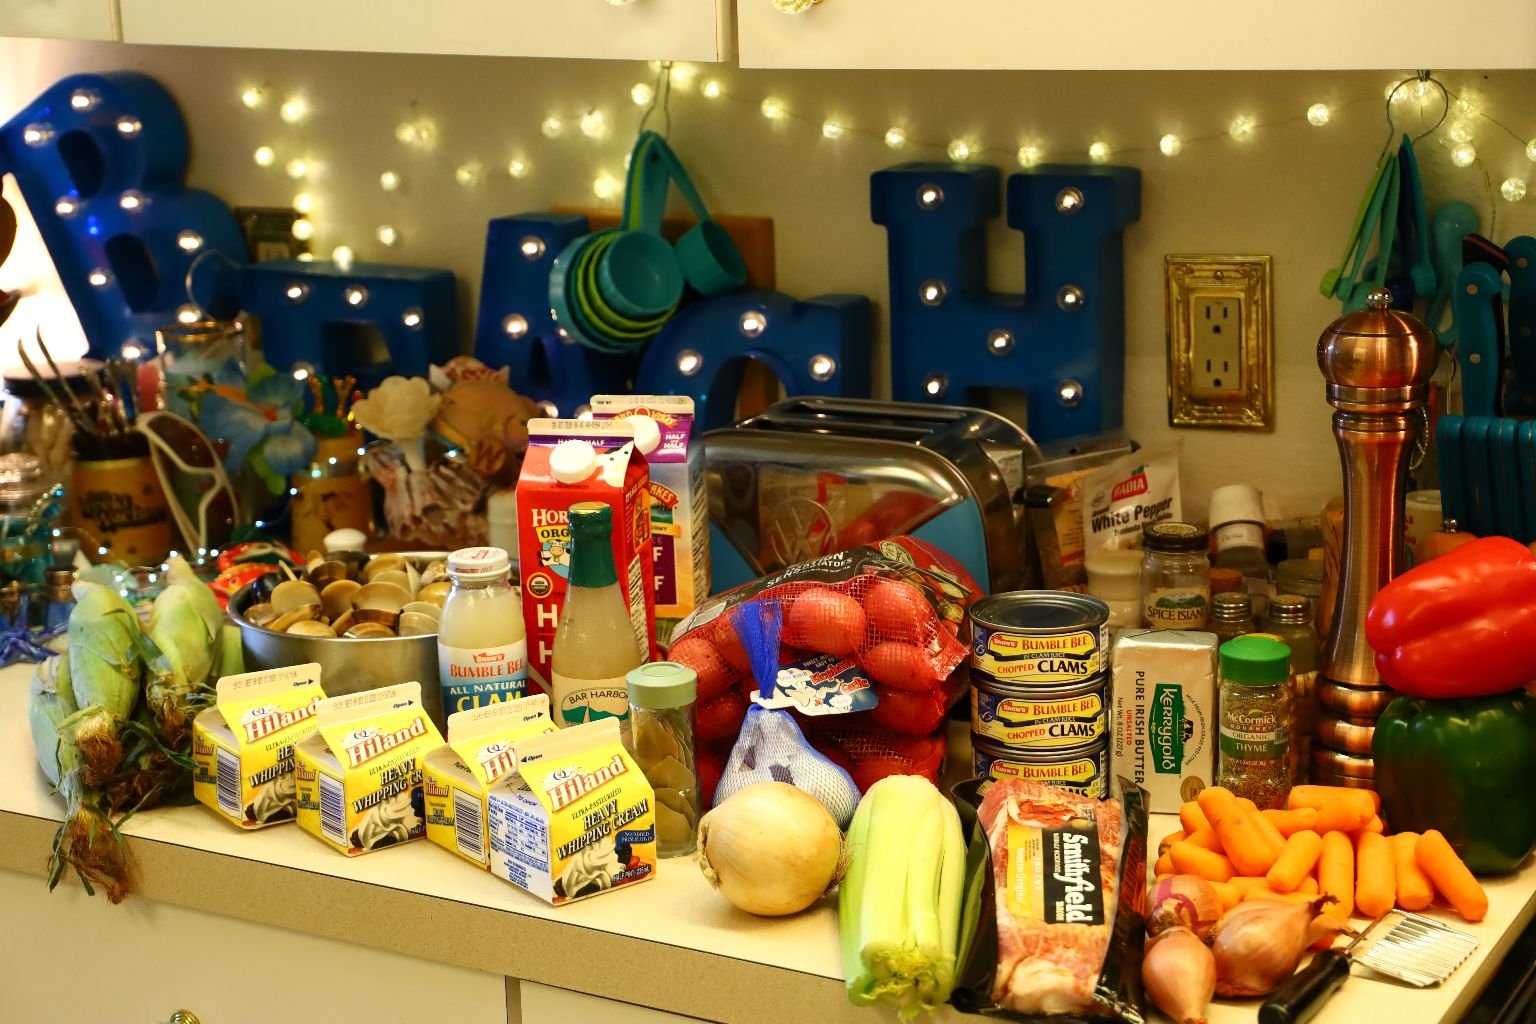
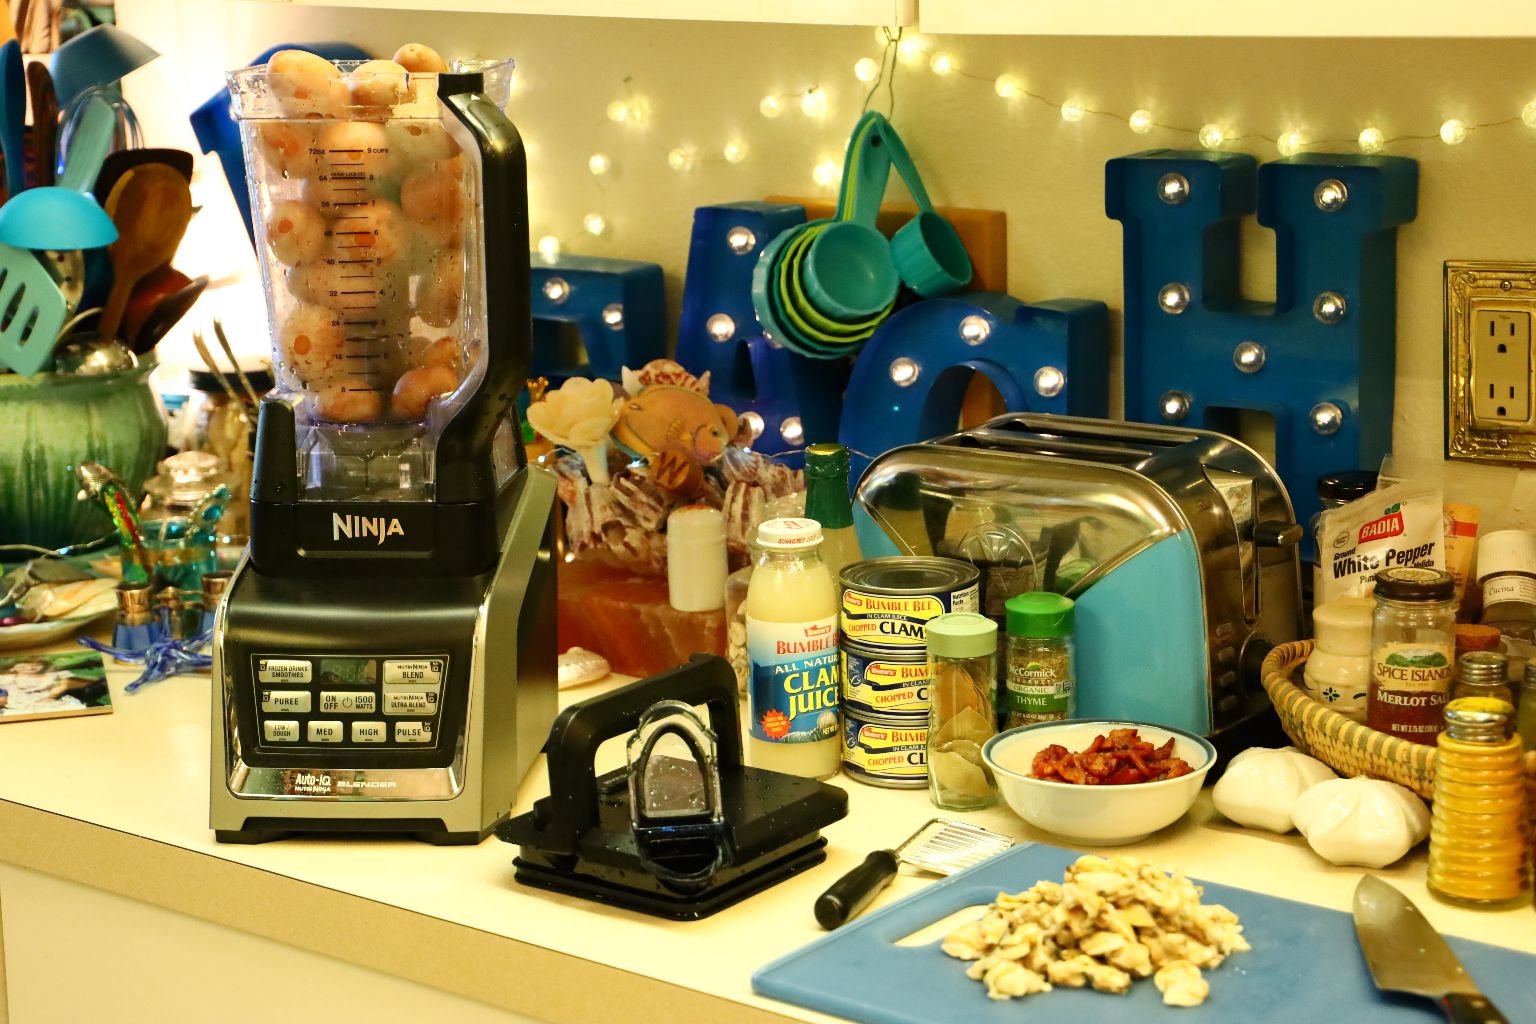
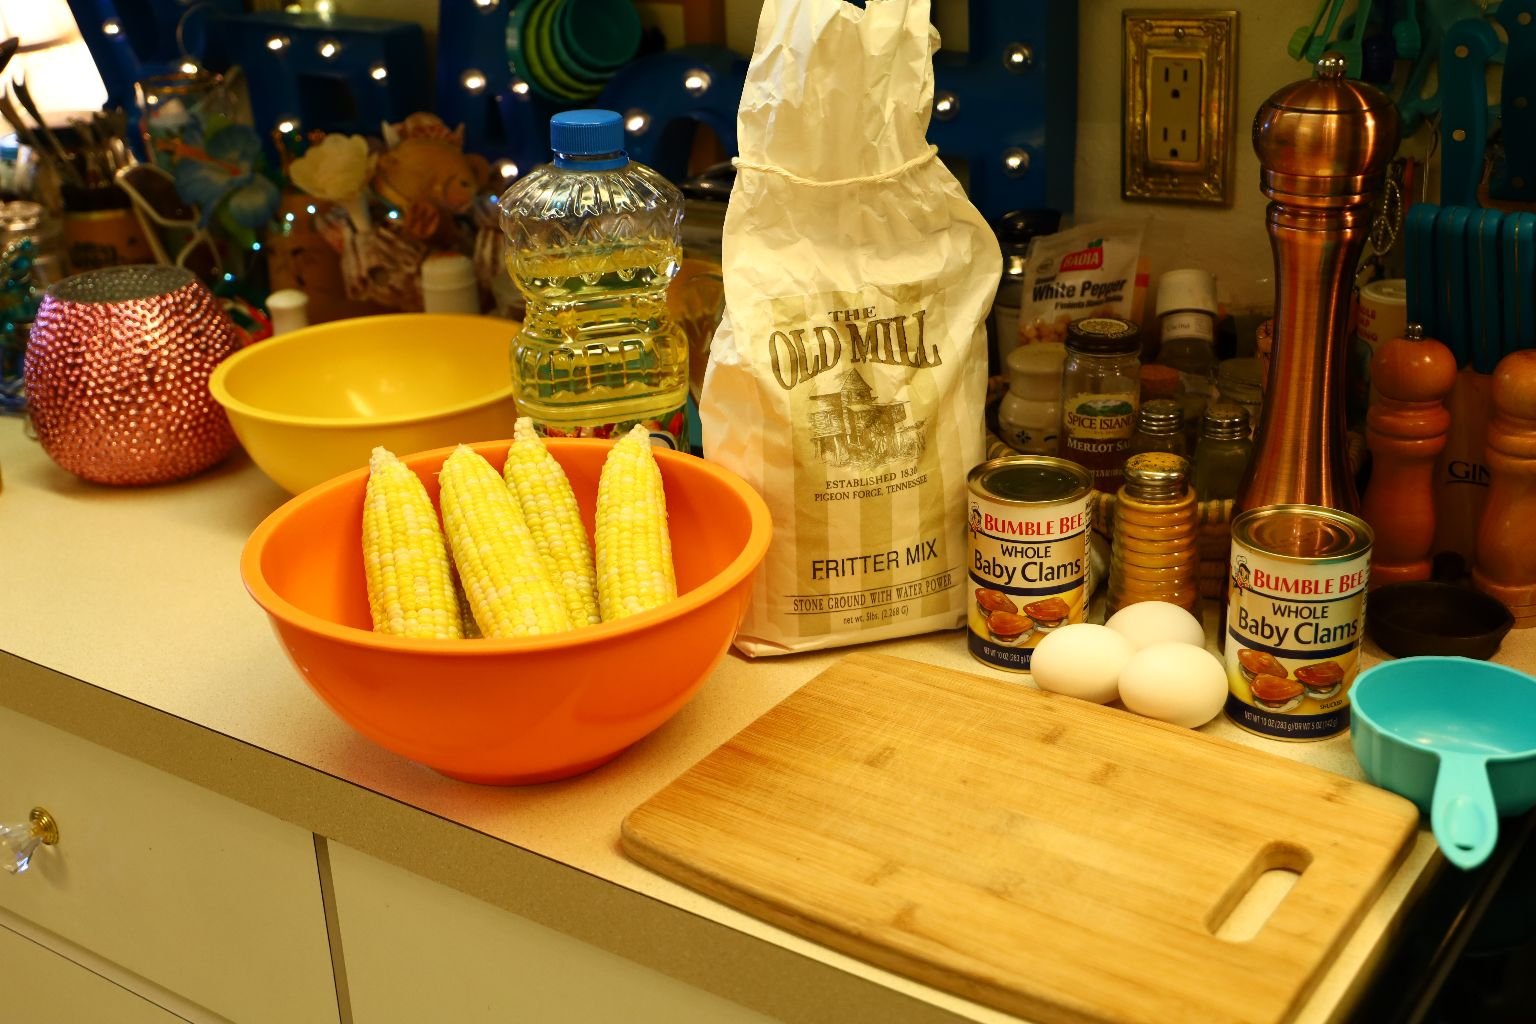
Main Ingredients:
~50 Steamed Clams – shucked
~30 Small Red Potatoes
~20 Thumb Sized Small Carrots
5 Ears of Corn – Used to make a broth, but we saved the kernels for our Fritter recipe below.
8 Thick Slices of Bacon
4 Celery Stalks sliced to a small dice
1 Onion – sliced to a small dice
2 Shallots – sliced to a small dice
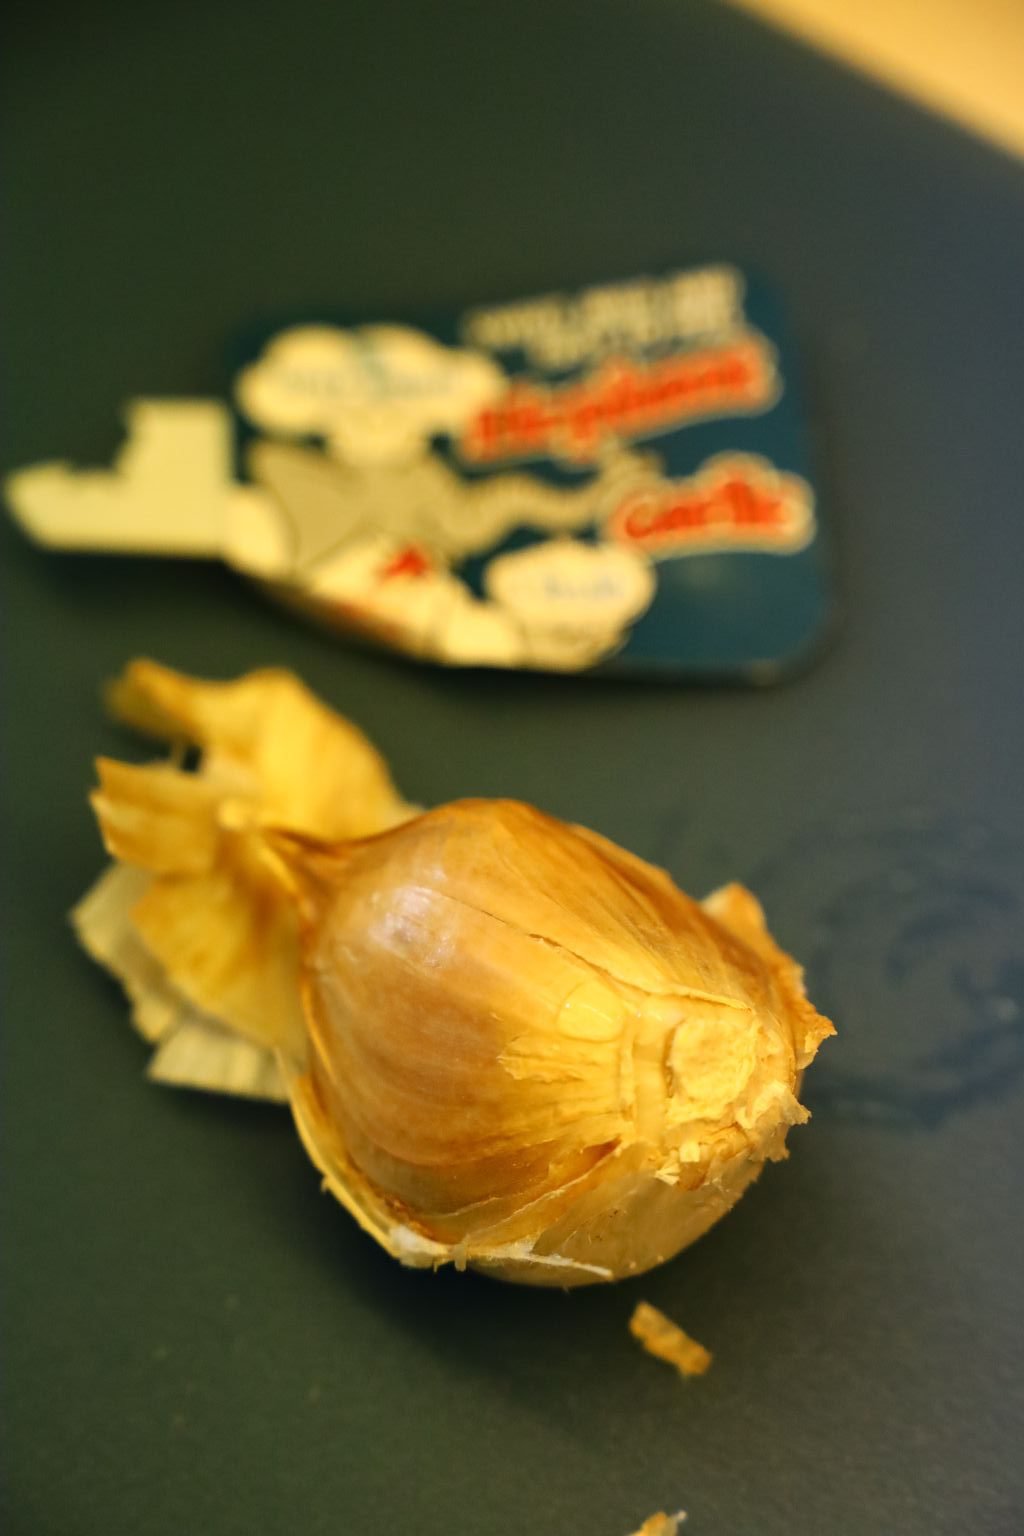
1 Elephant Ear Garlic Clove – minced
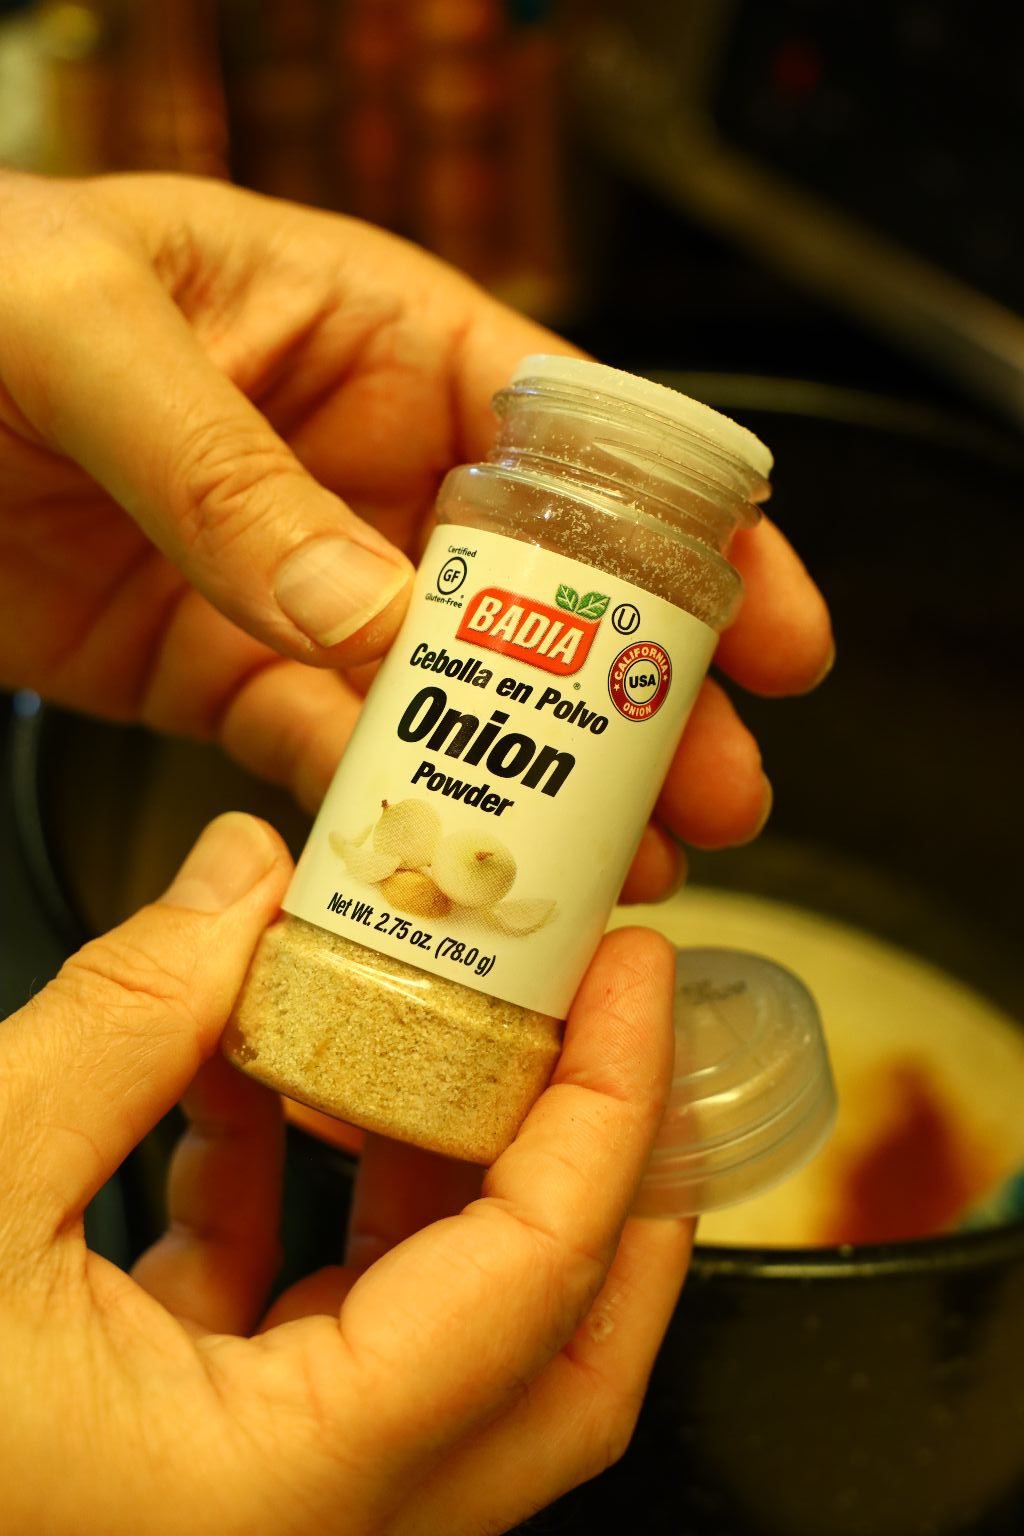
Freshly Ground Pepper and Sea Salt to taste
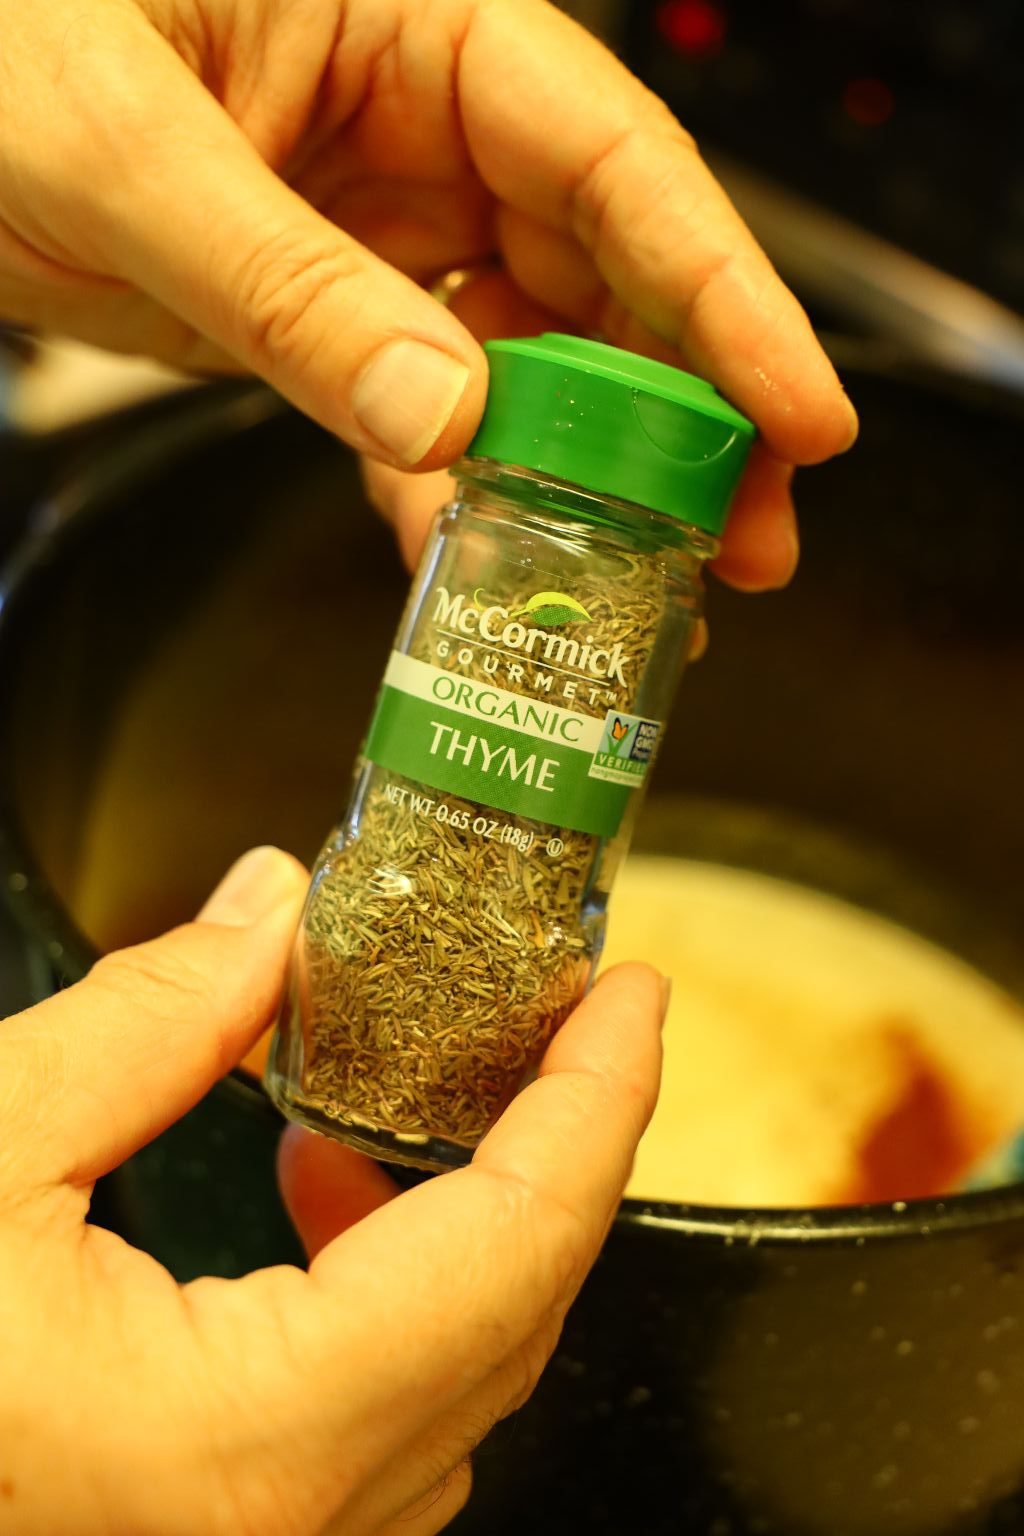
~3 Tbsp. Dried Thyme
1/2 Red Bell Pepper – diced
1/2 Green Bell Pepper – diced
3 Jars Clam Juice
3 Cans Chopped Clams
3 Cans Whole Clams
4 Tbsp. Butter
3 Bay Leaves
1/2 Pint Heavy Cream
1 1/2 Quart Half and Half
~ 1 Tbsp. Roasted Garlic Powder
~1 Tbsp. Celery Salt
~1/2 Tbsp. Ground Cayenne Red Pepper
~1 1/2 Tbsp. Sweet Paprika
~1 Tbsp. Onion Powder
3/4 Cup Beer – to your taste (I used Corona)
——————————————————
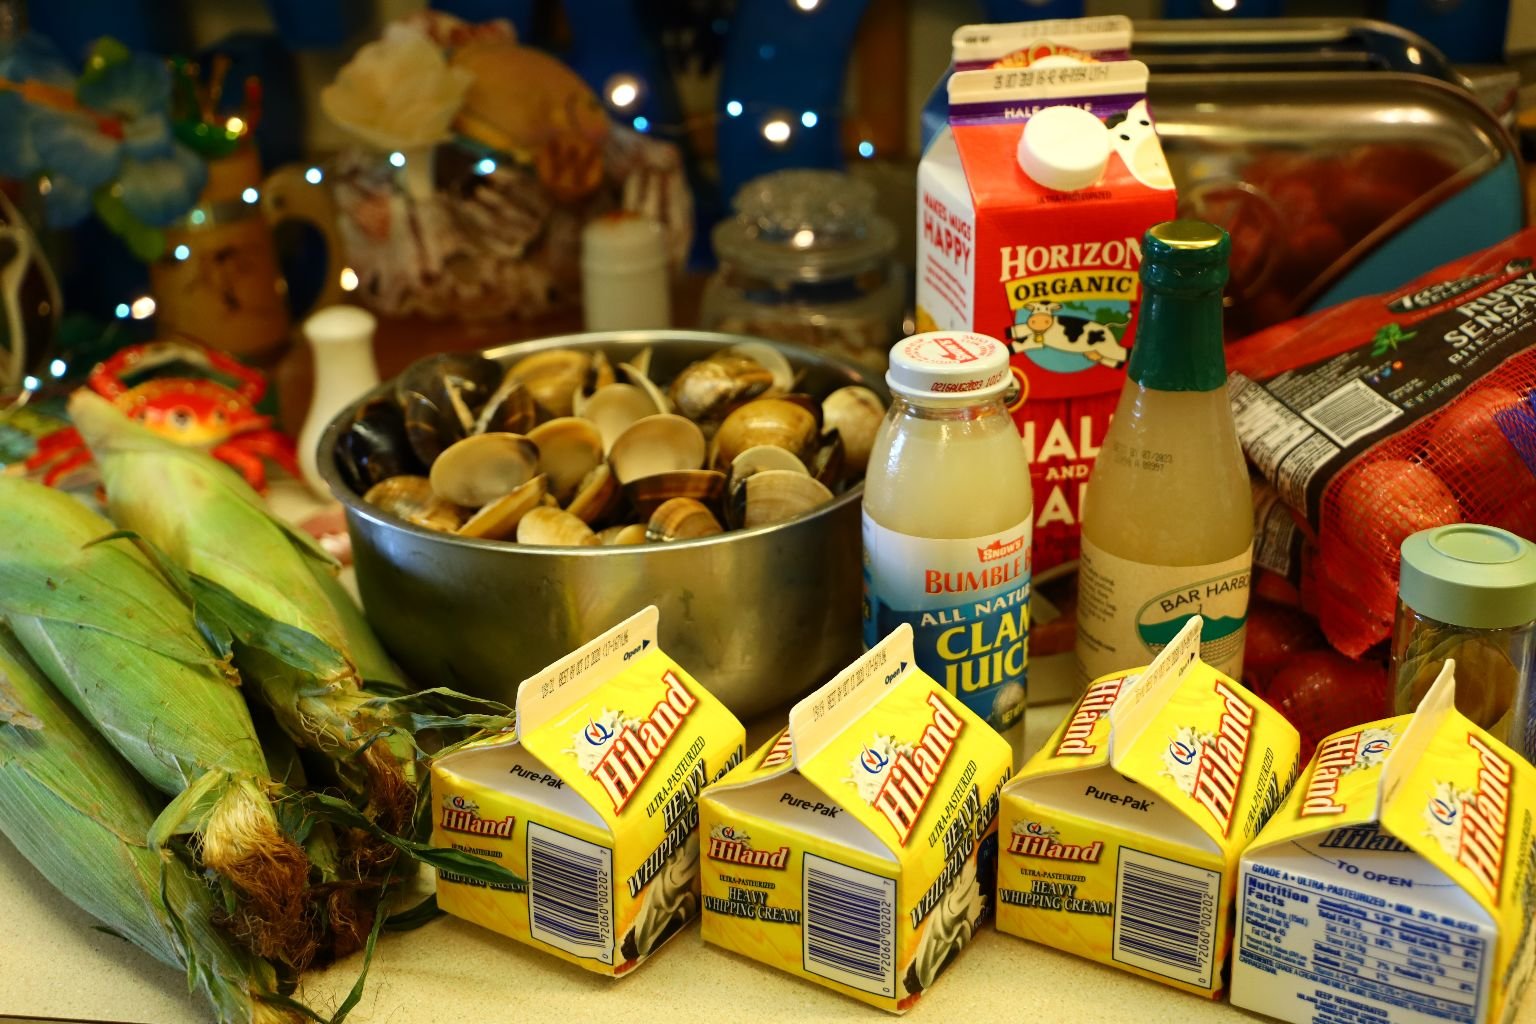
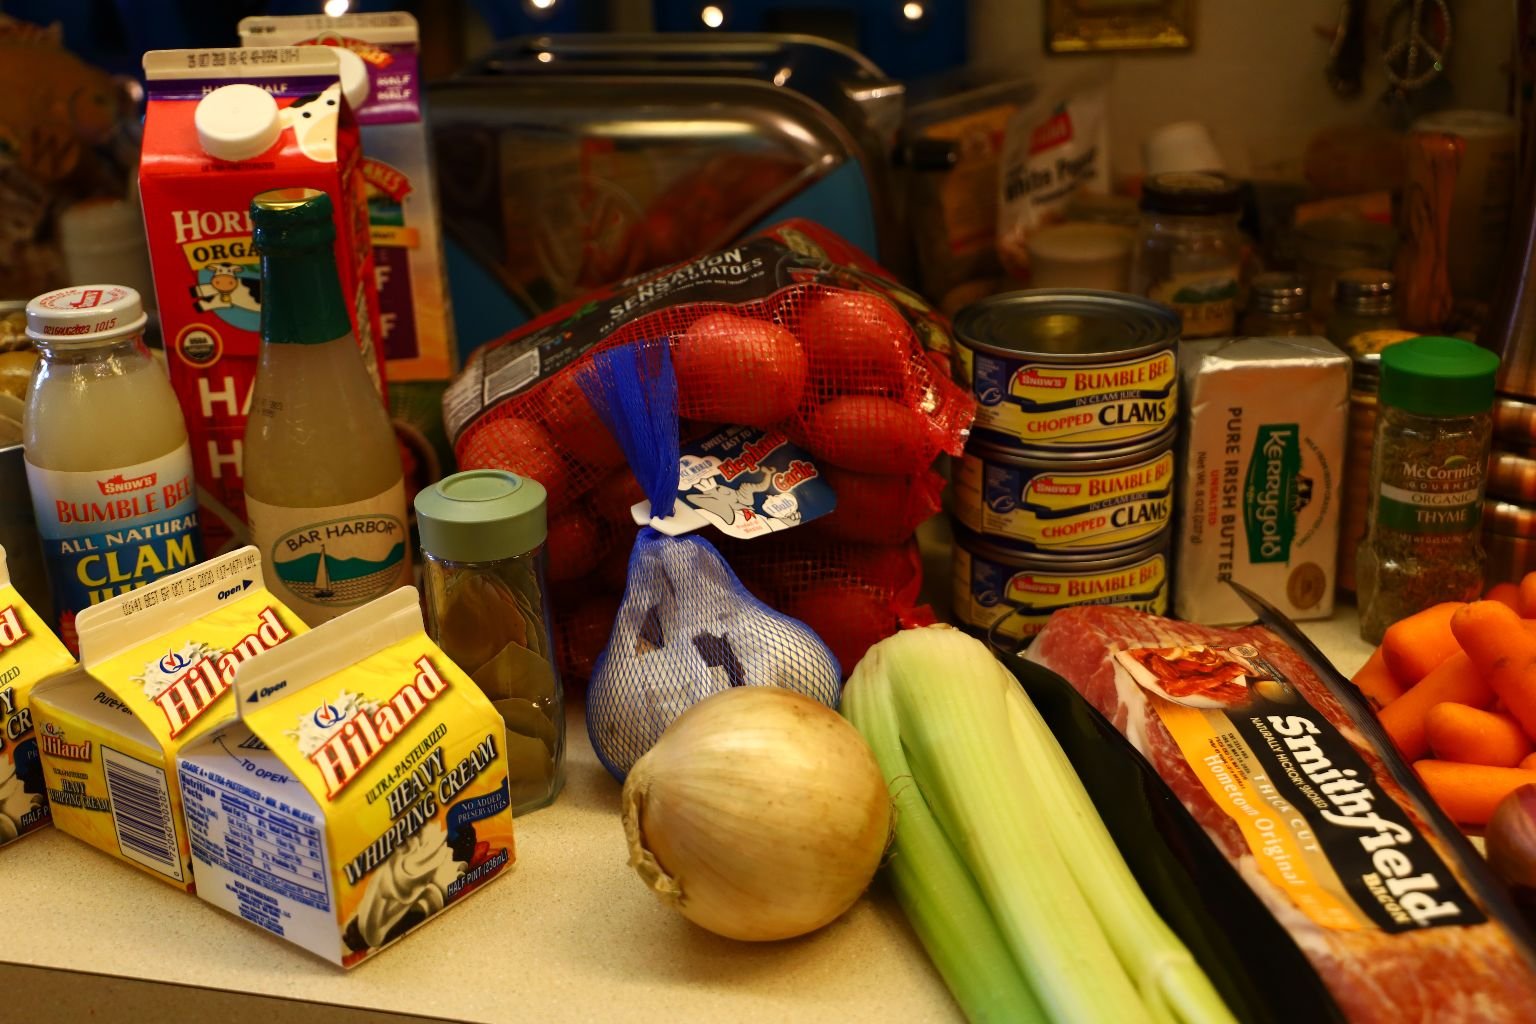
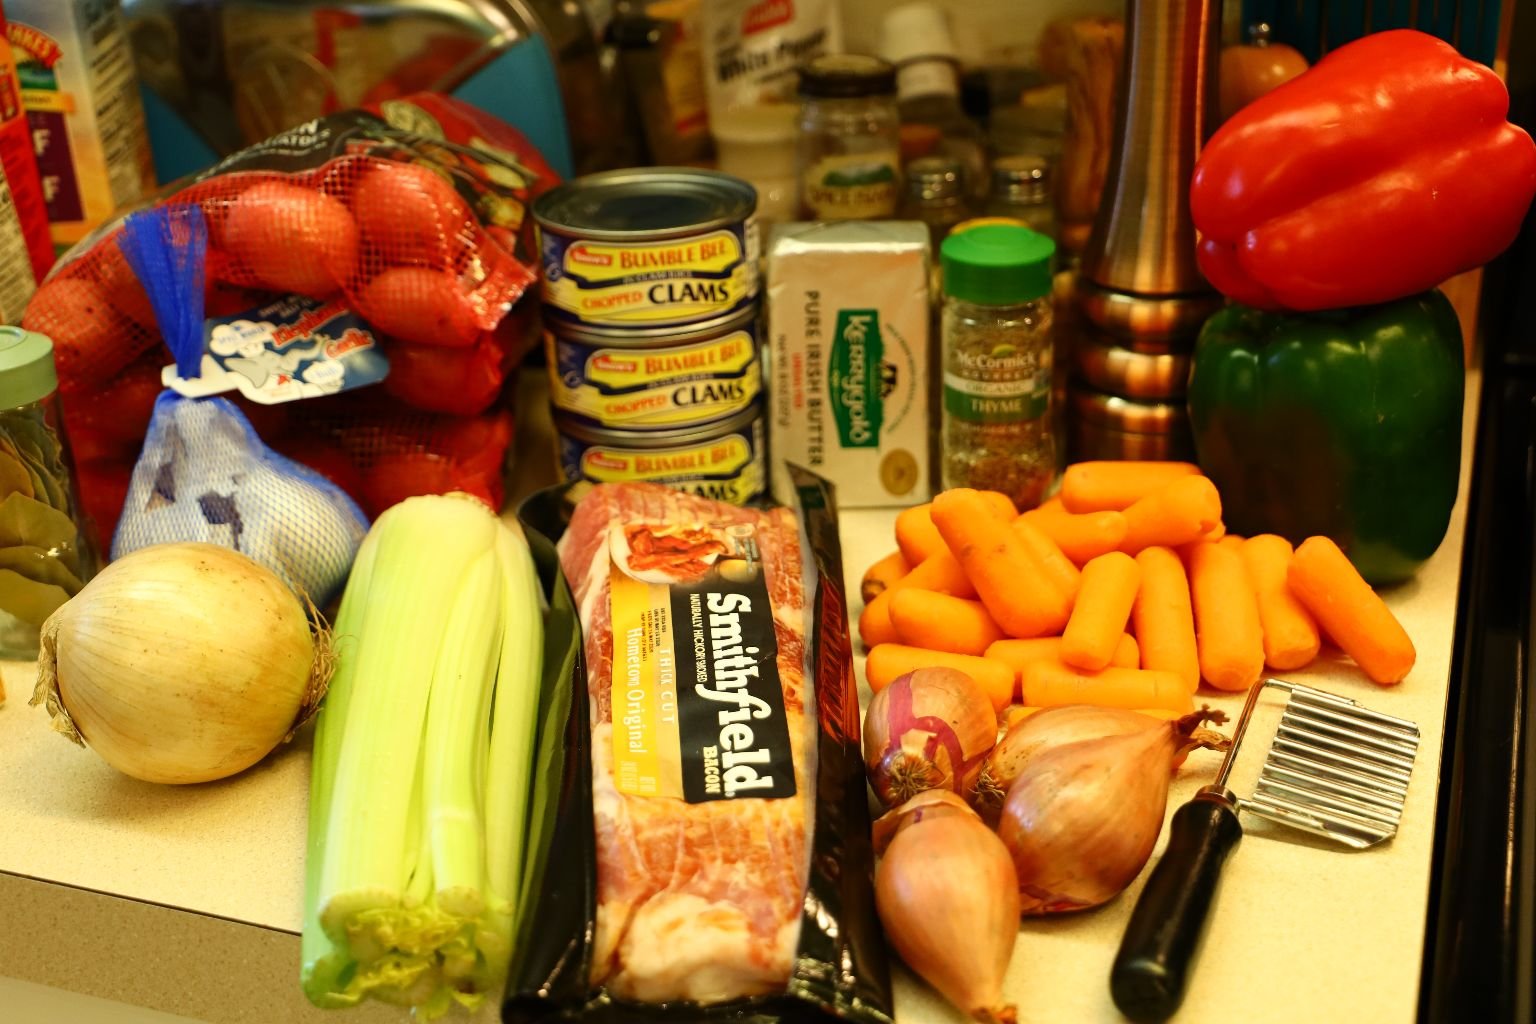
Pictured are the ingredients we used, although we did not use all the amounts shown.
Here are the steamed clams ready to be shucked.
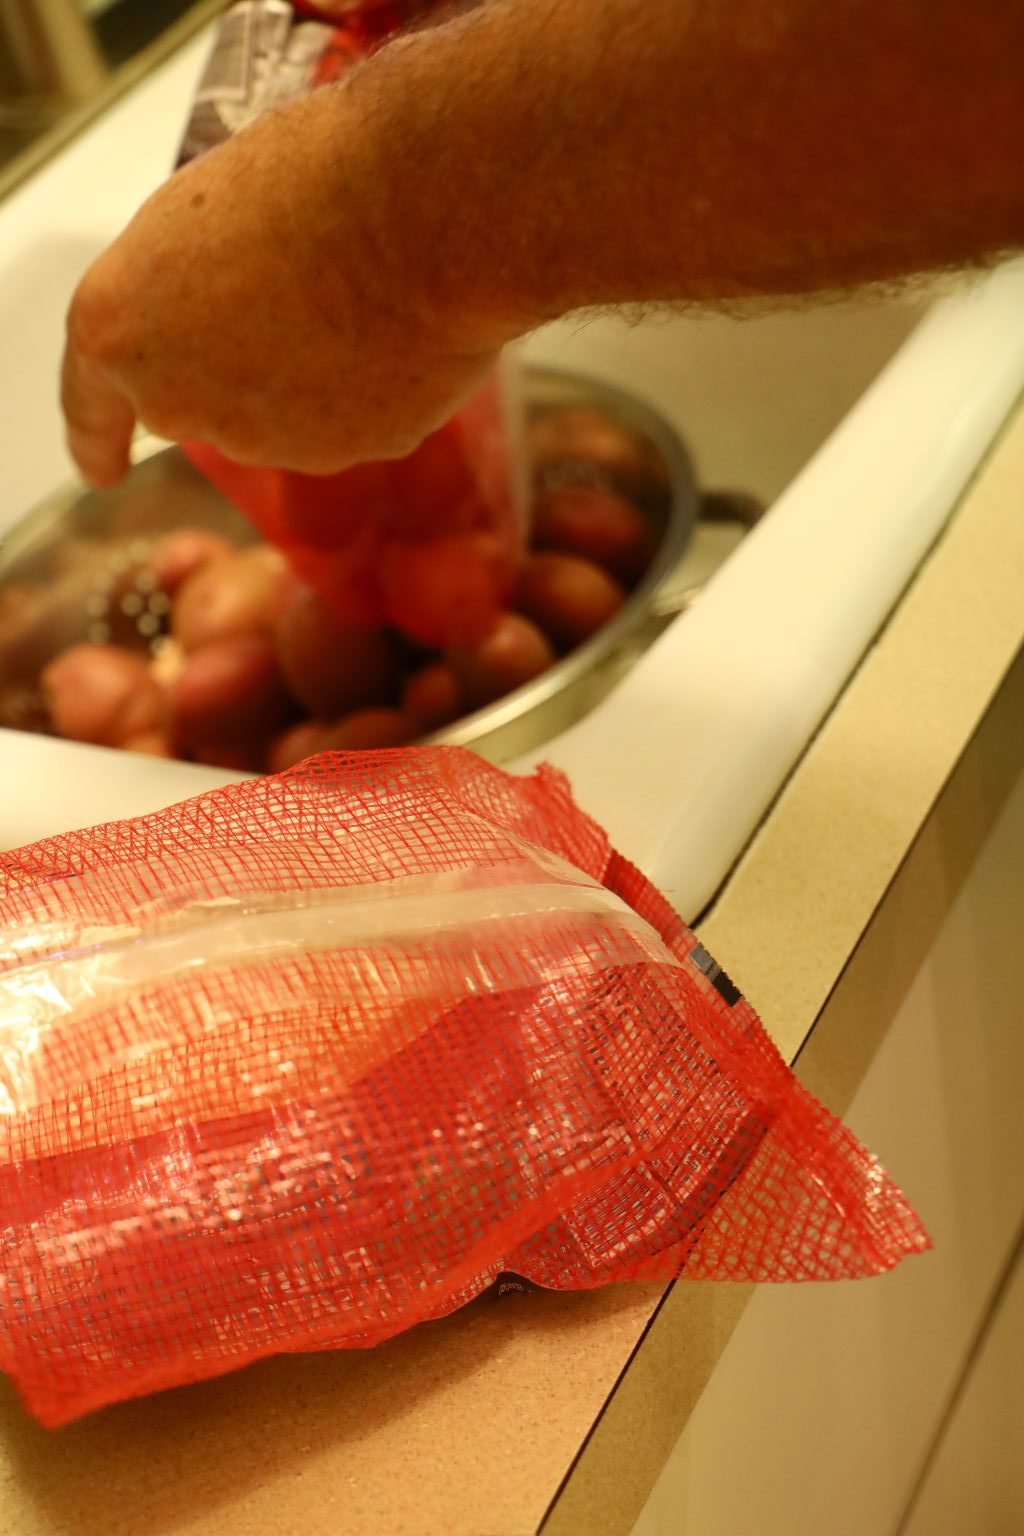
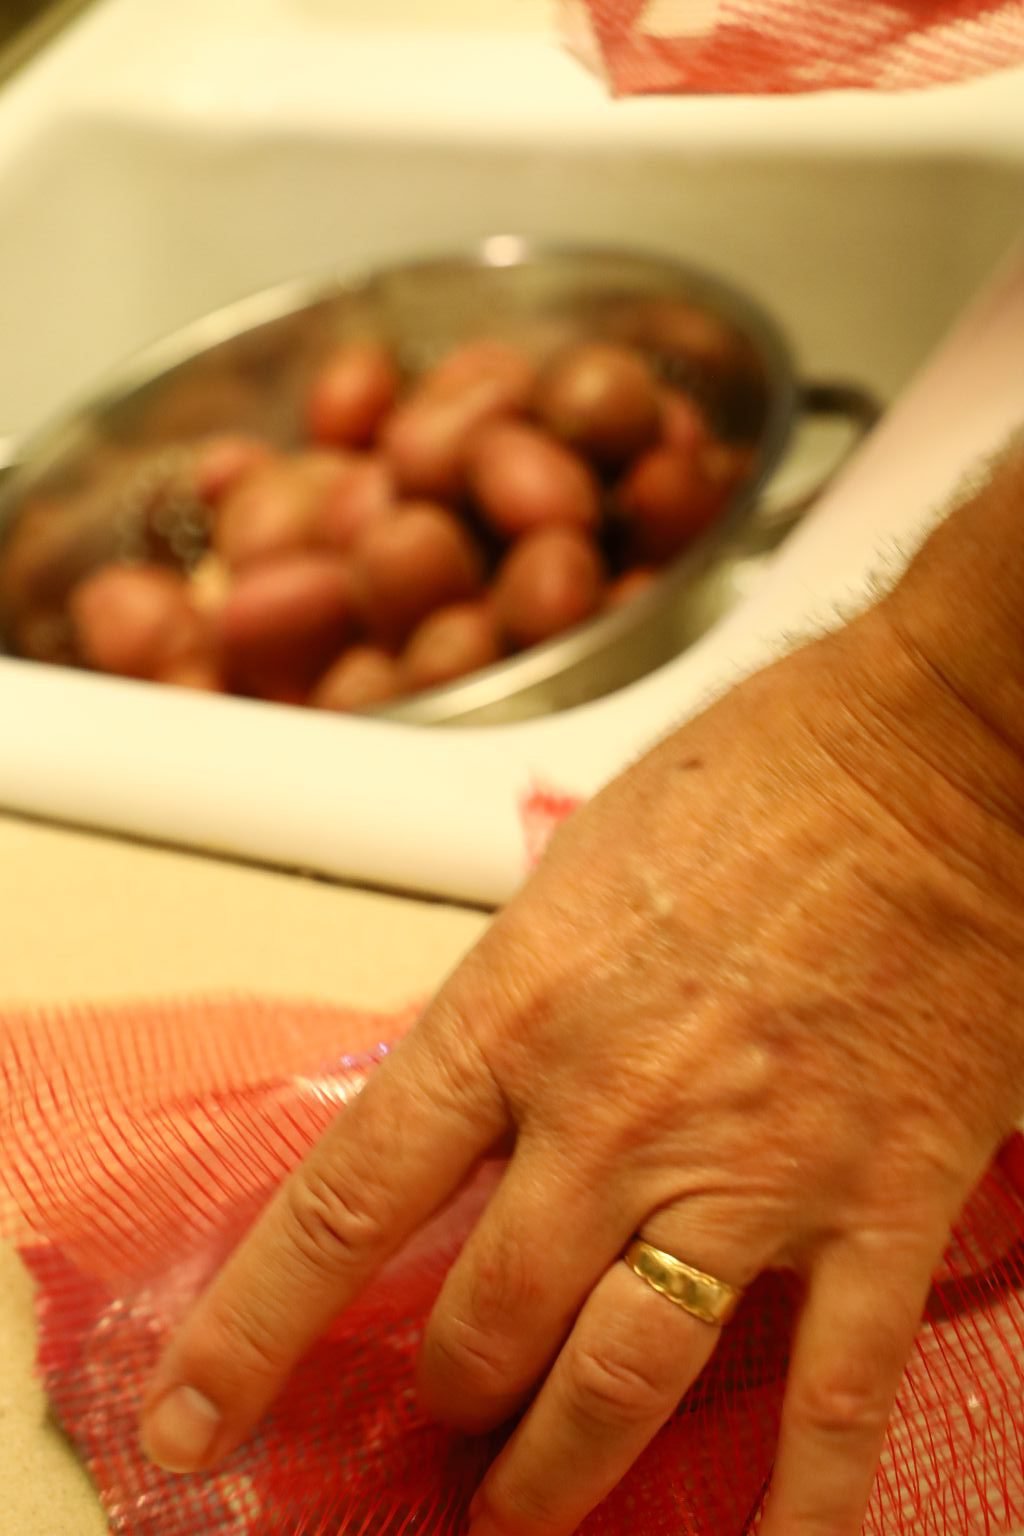
Place your Red Potatoes into a colander and rinse them well.
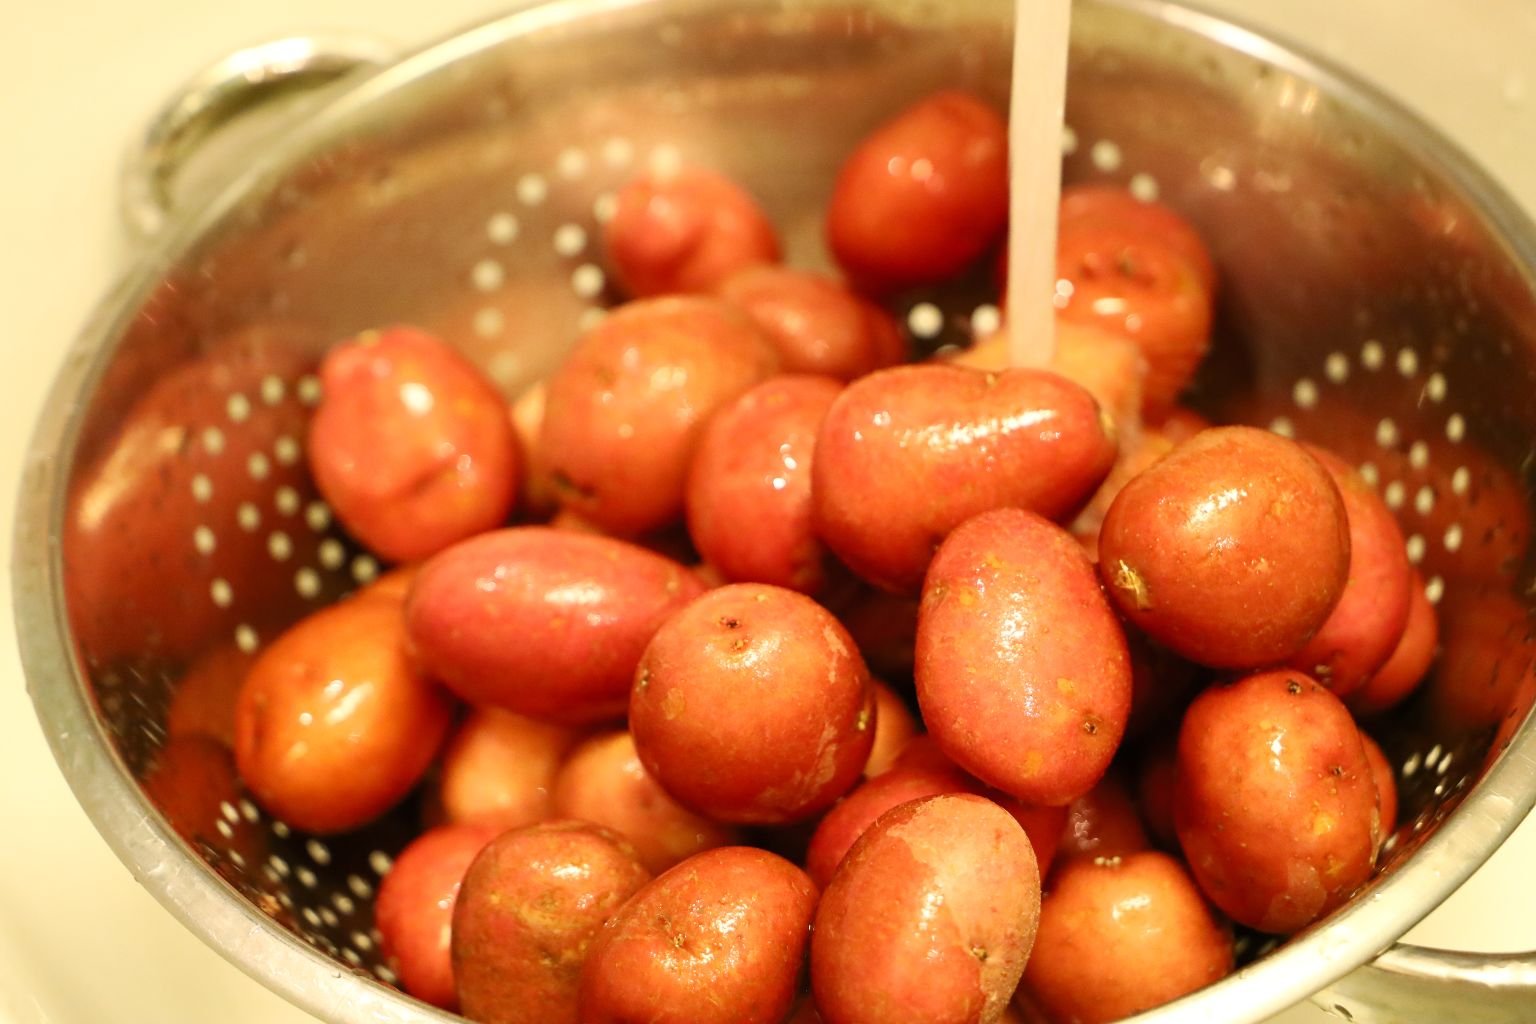
—————————————————————-
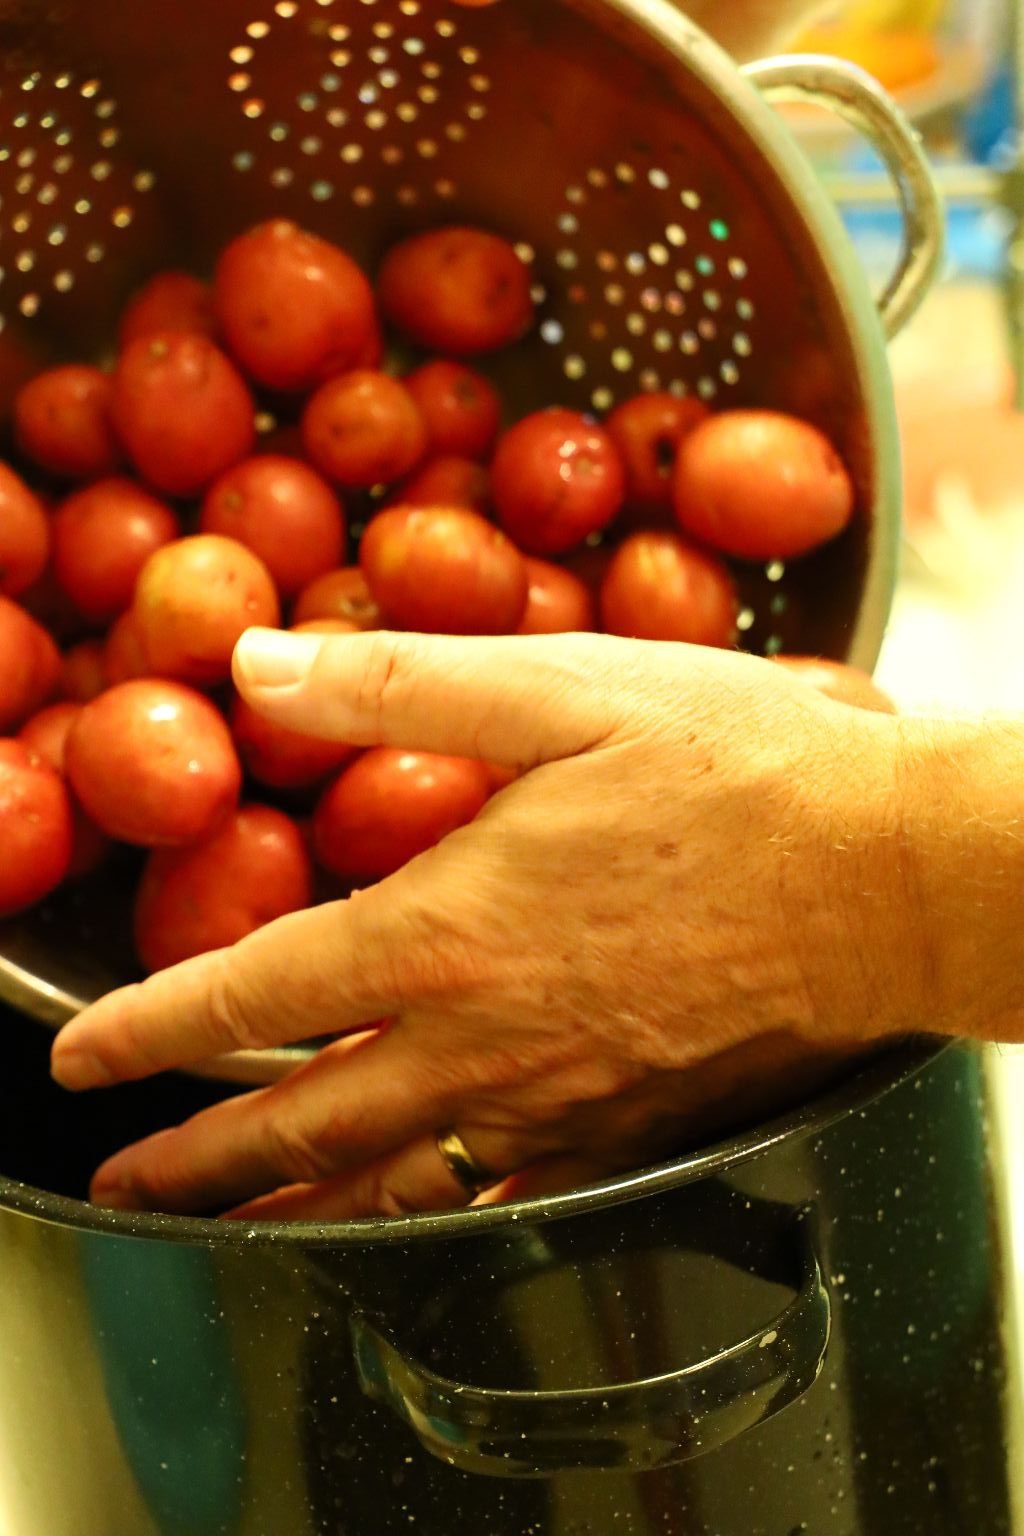
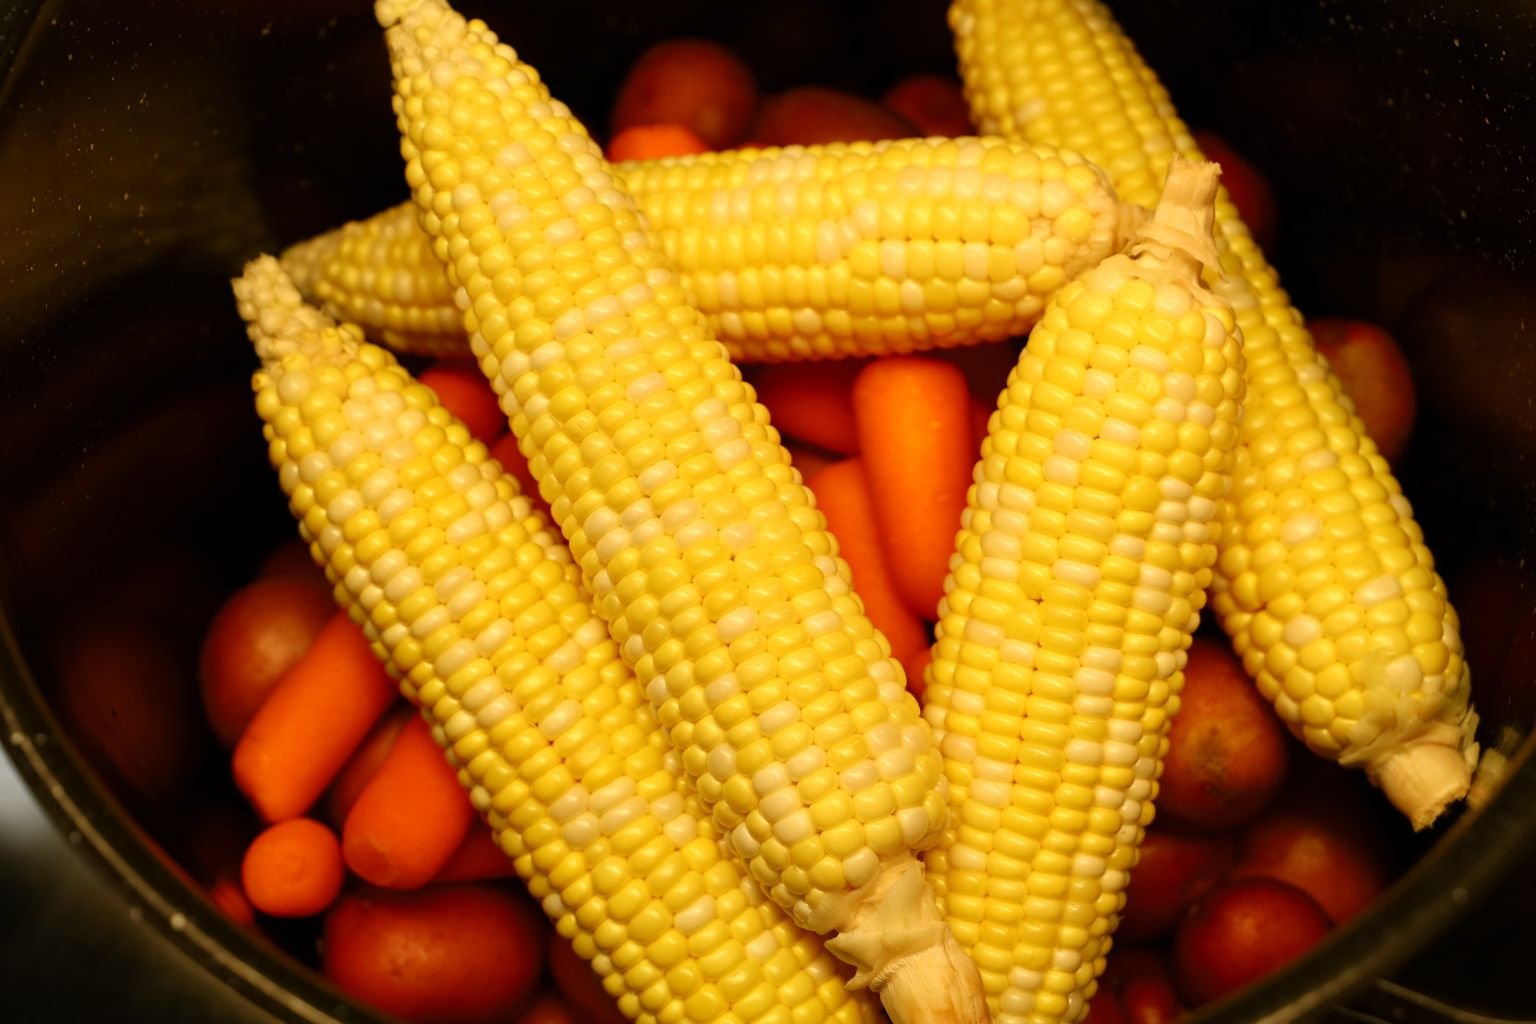
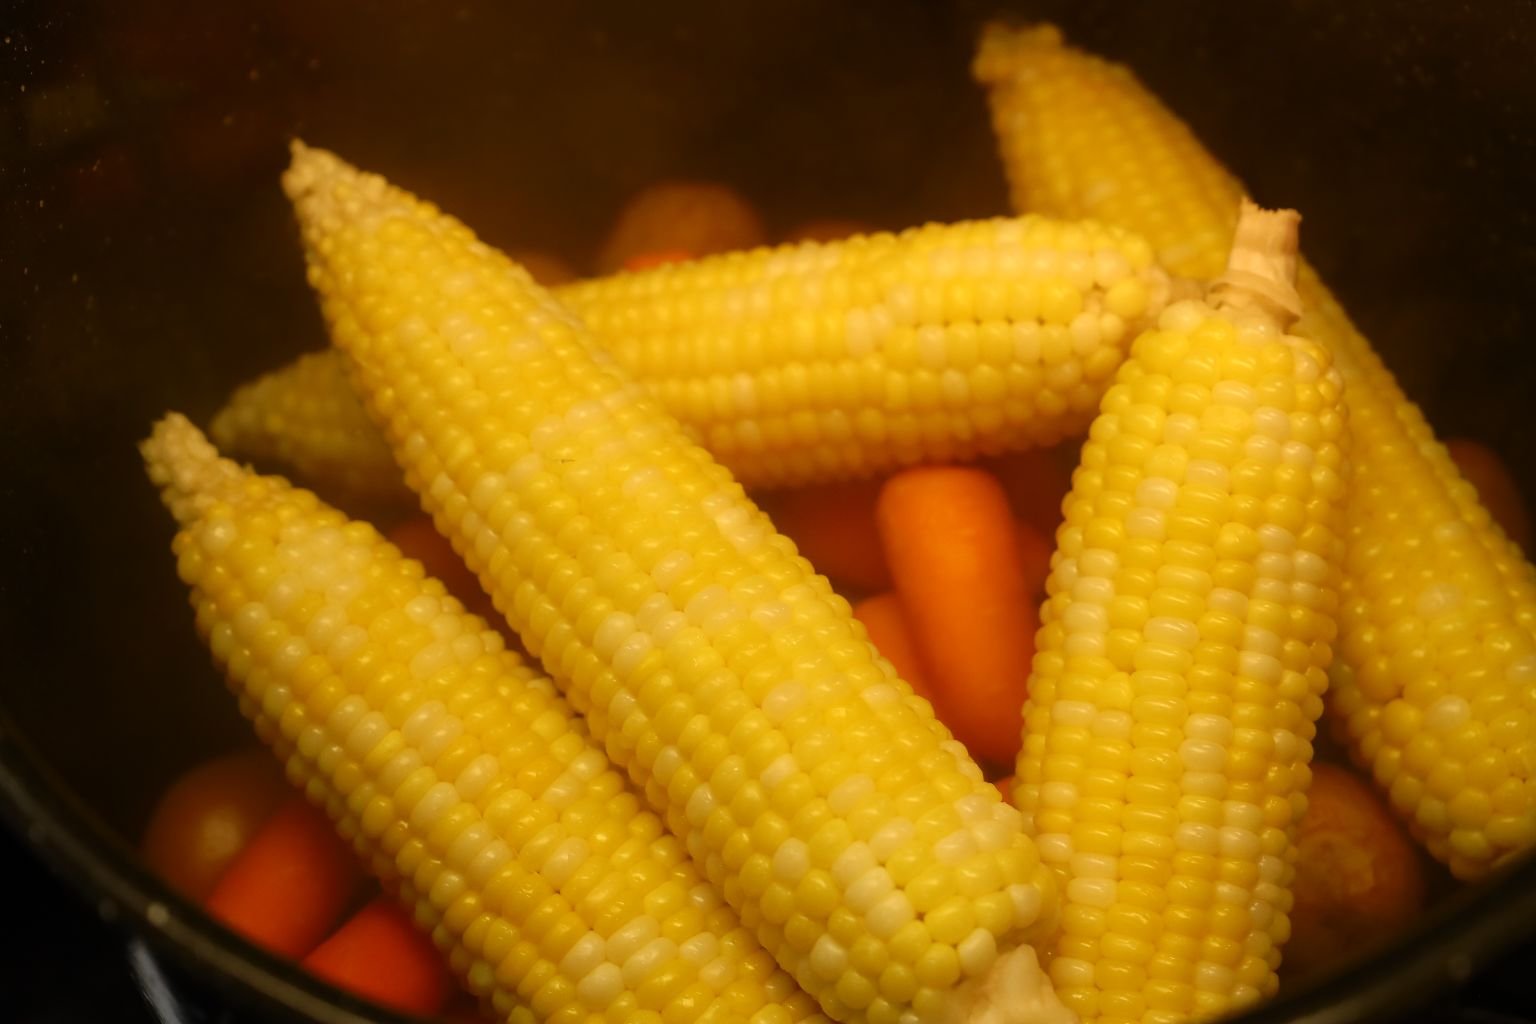
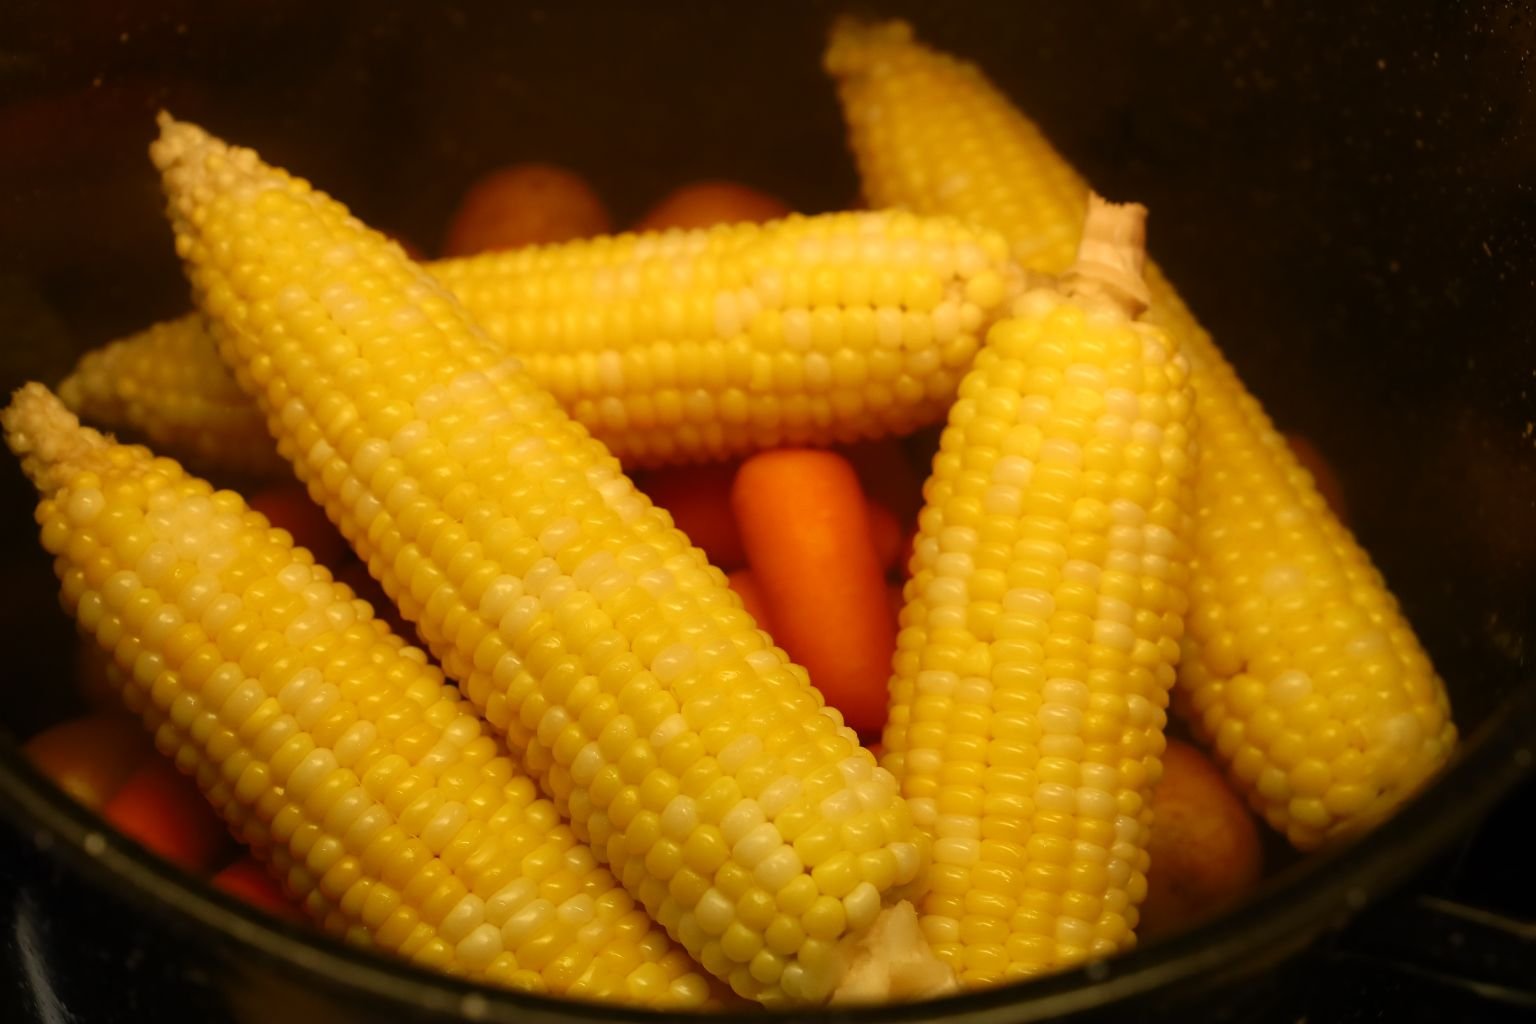
Now, place them into your steamer pot with one inch of water.
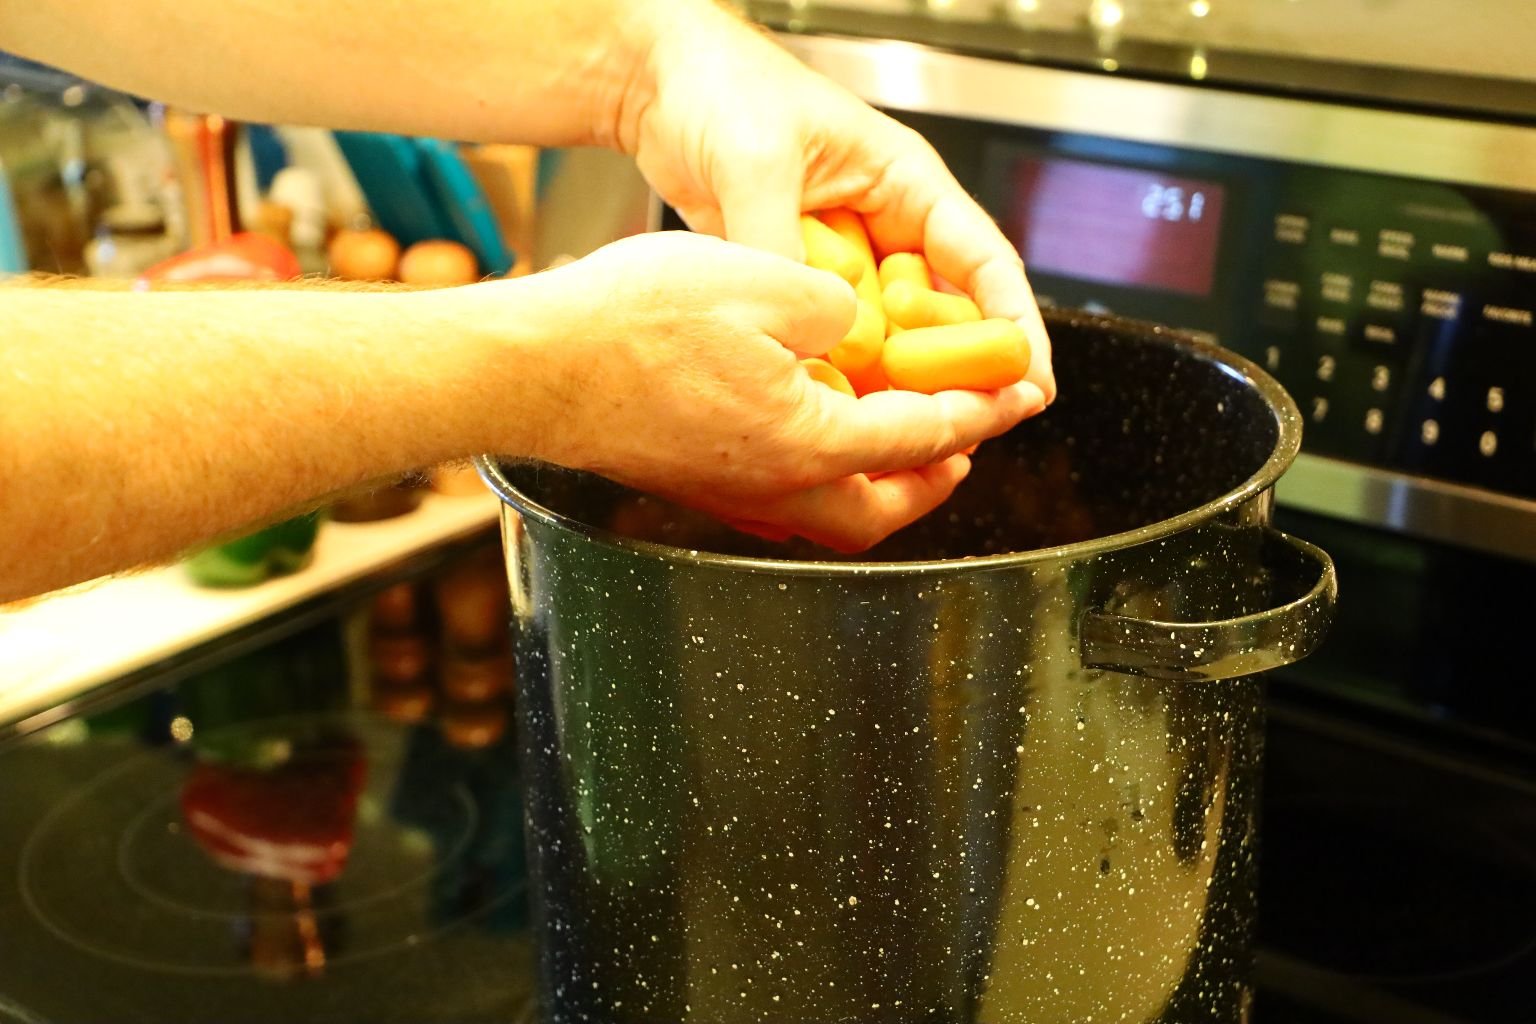
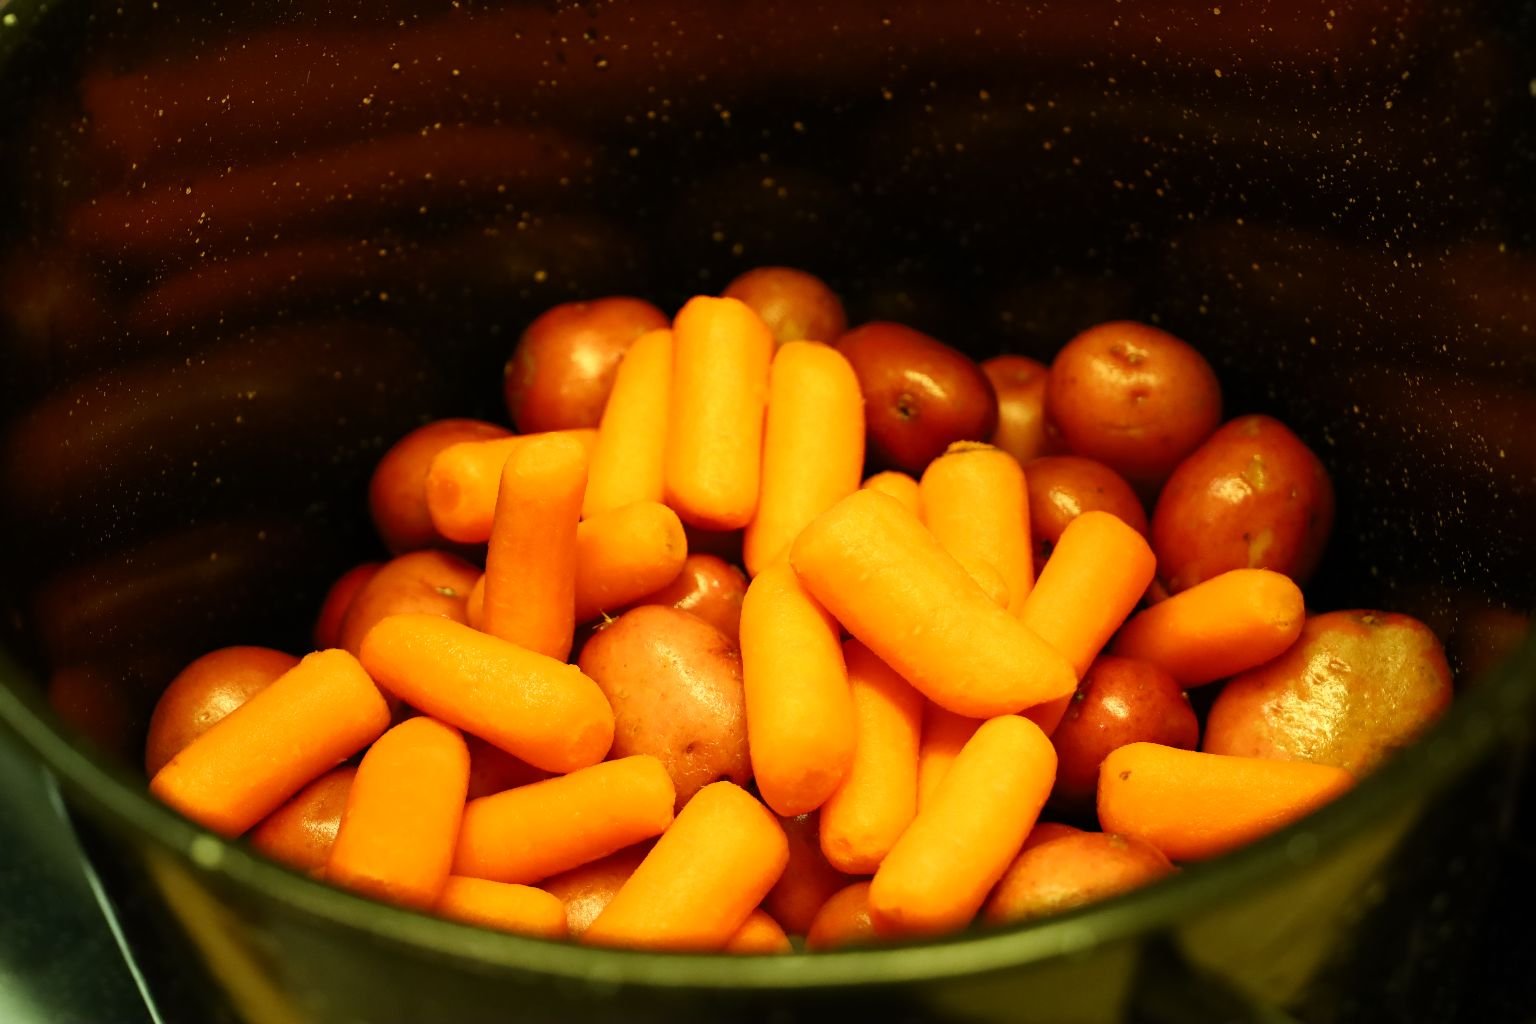
Now, add your carrots to the pot.
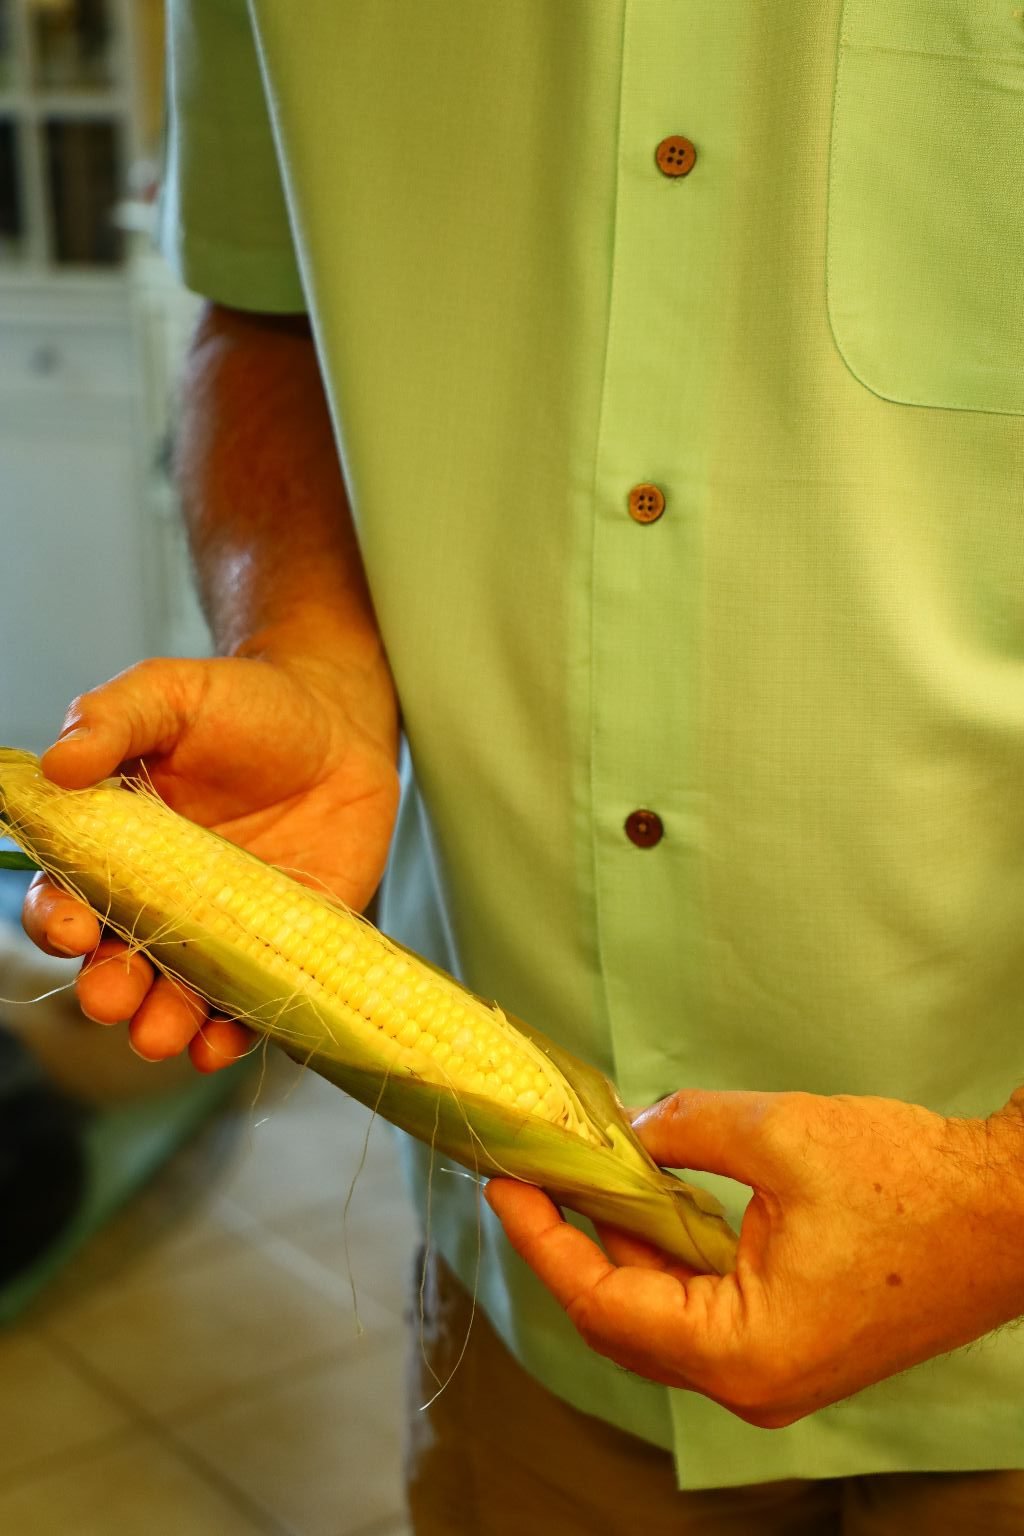
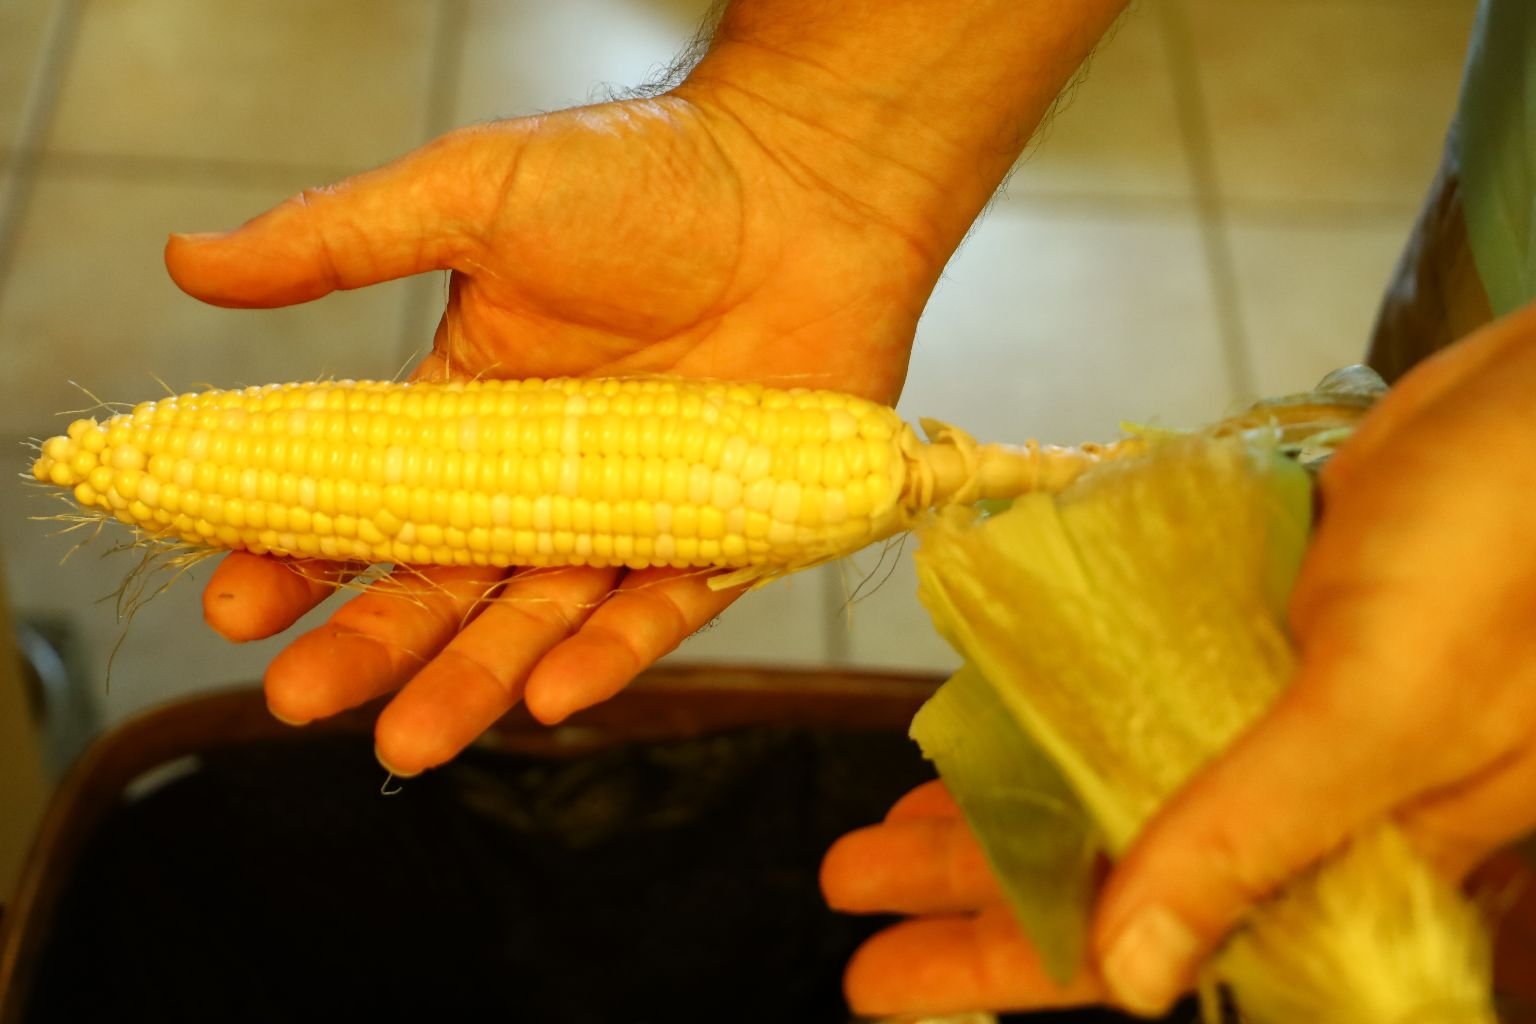
Shuck your corn well…
…..and add them to the pot. The corn will be used in the Corn Fritter recipe below. They would be a great addition to this chowder, but as it will be in our Fritters, I thought their would be too much corn in this meal. Julie was perfectly fine with having corn in the chowder.
Turn the burner on high and steam the ingredients for ~20 min. or until tender. I used a fork to check the items tenderness.
—————————————————

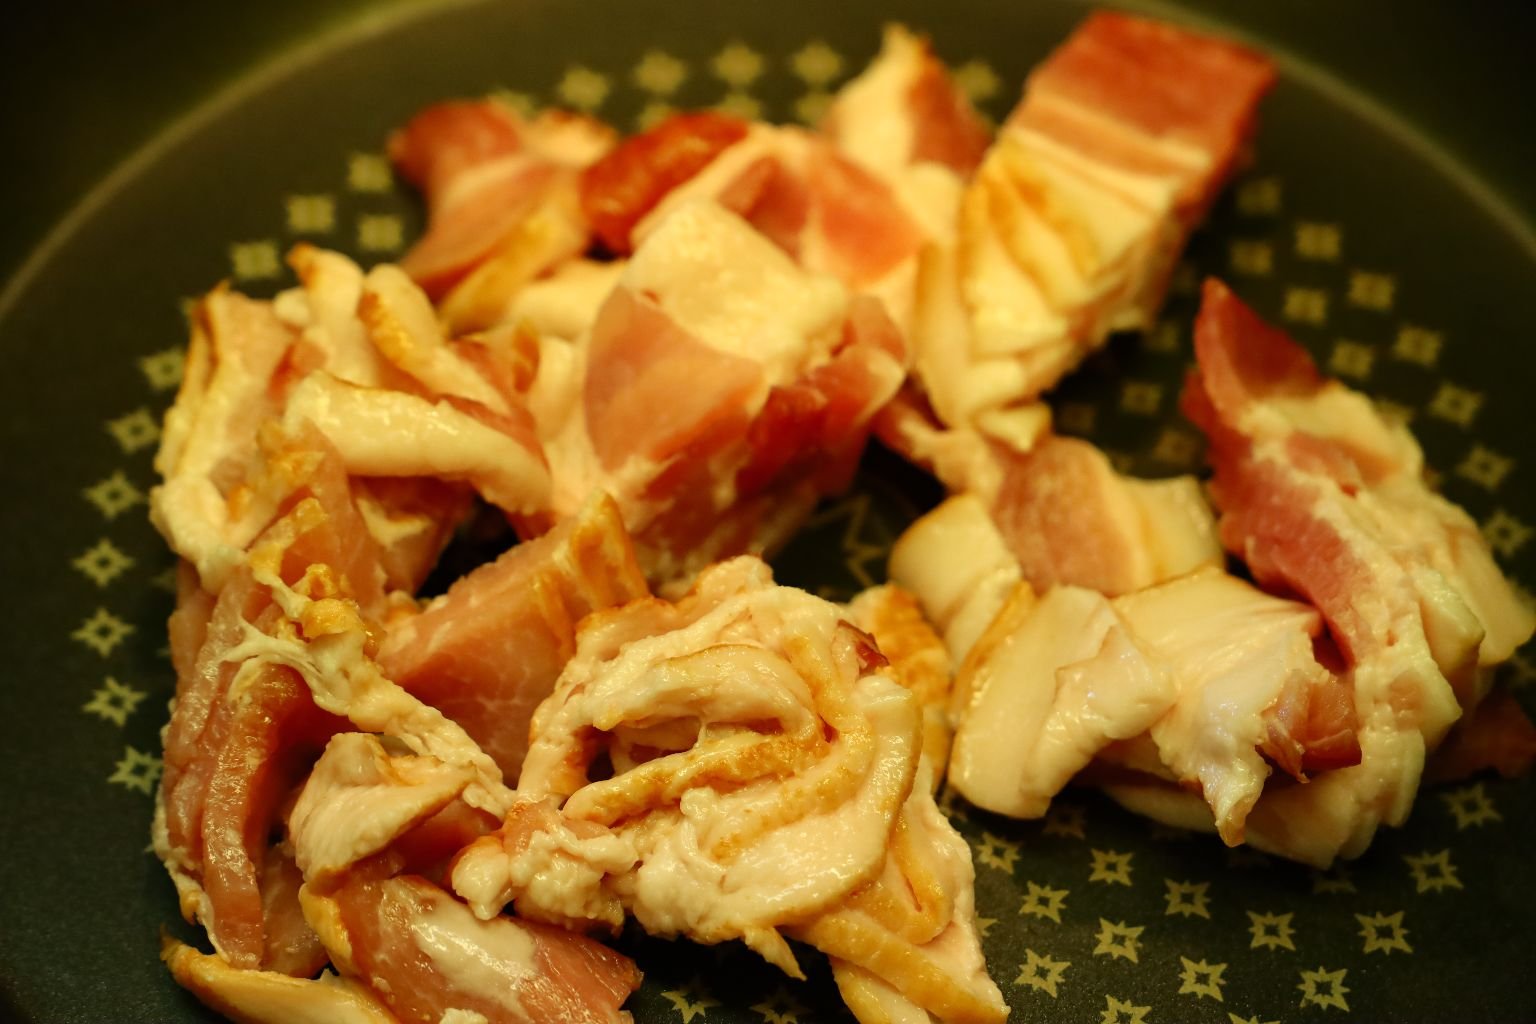
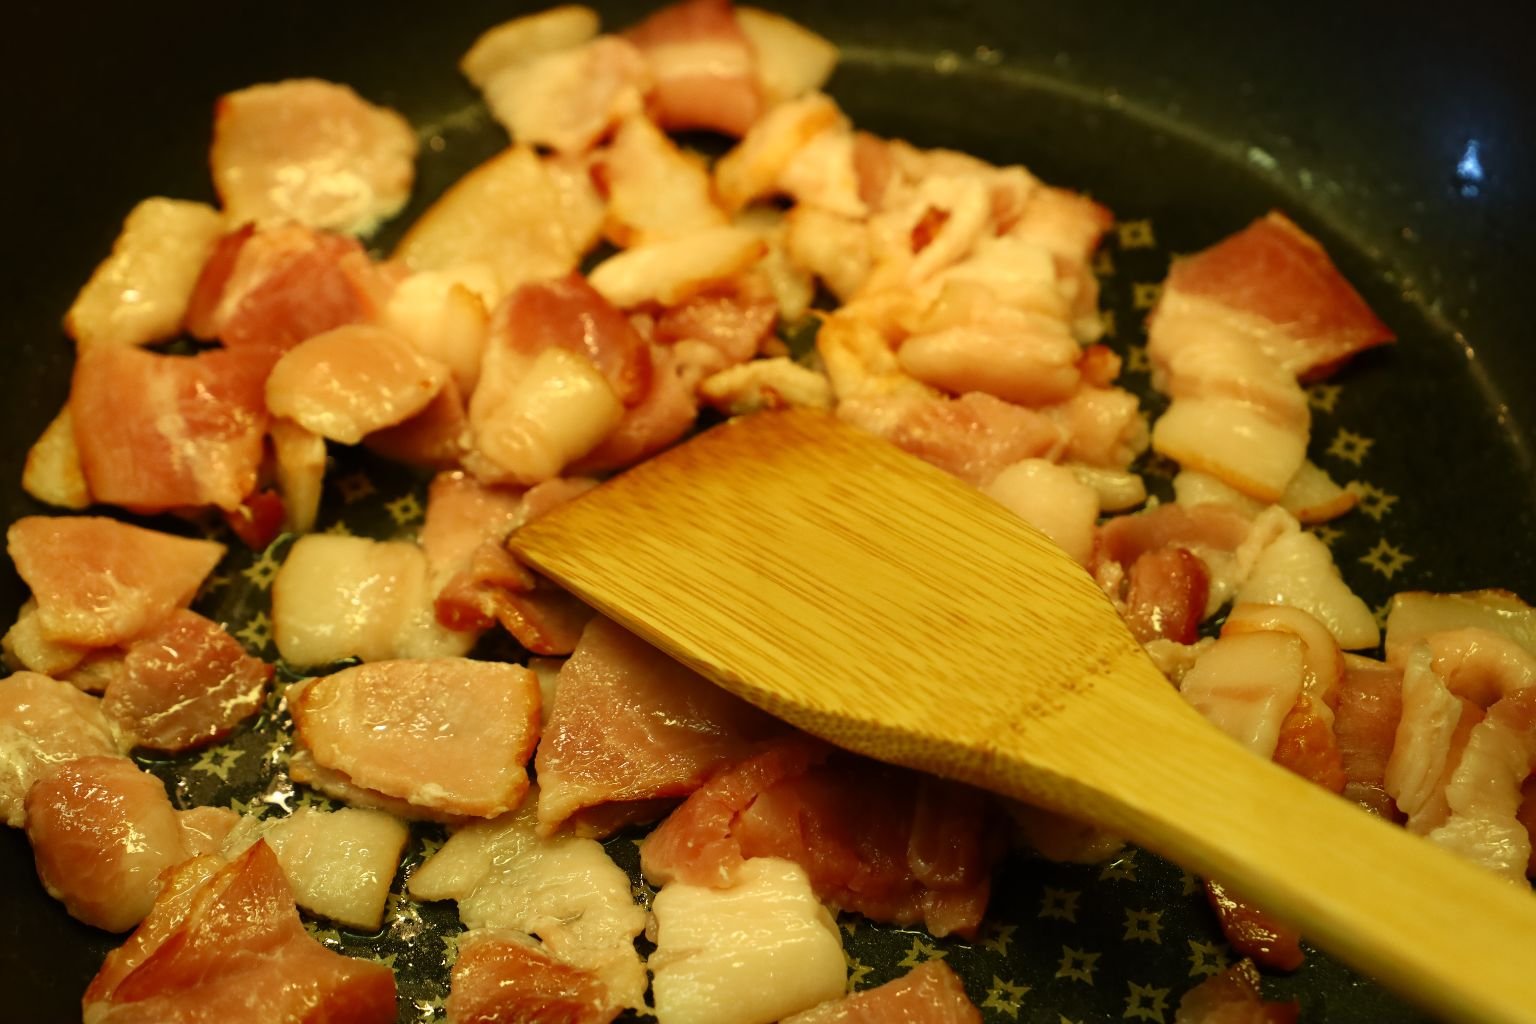
The Bacon We Used

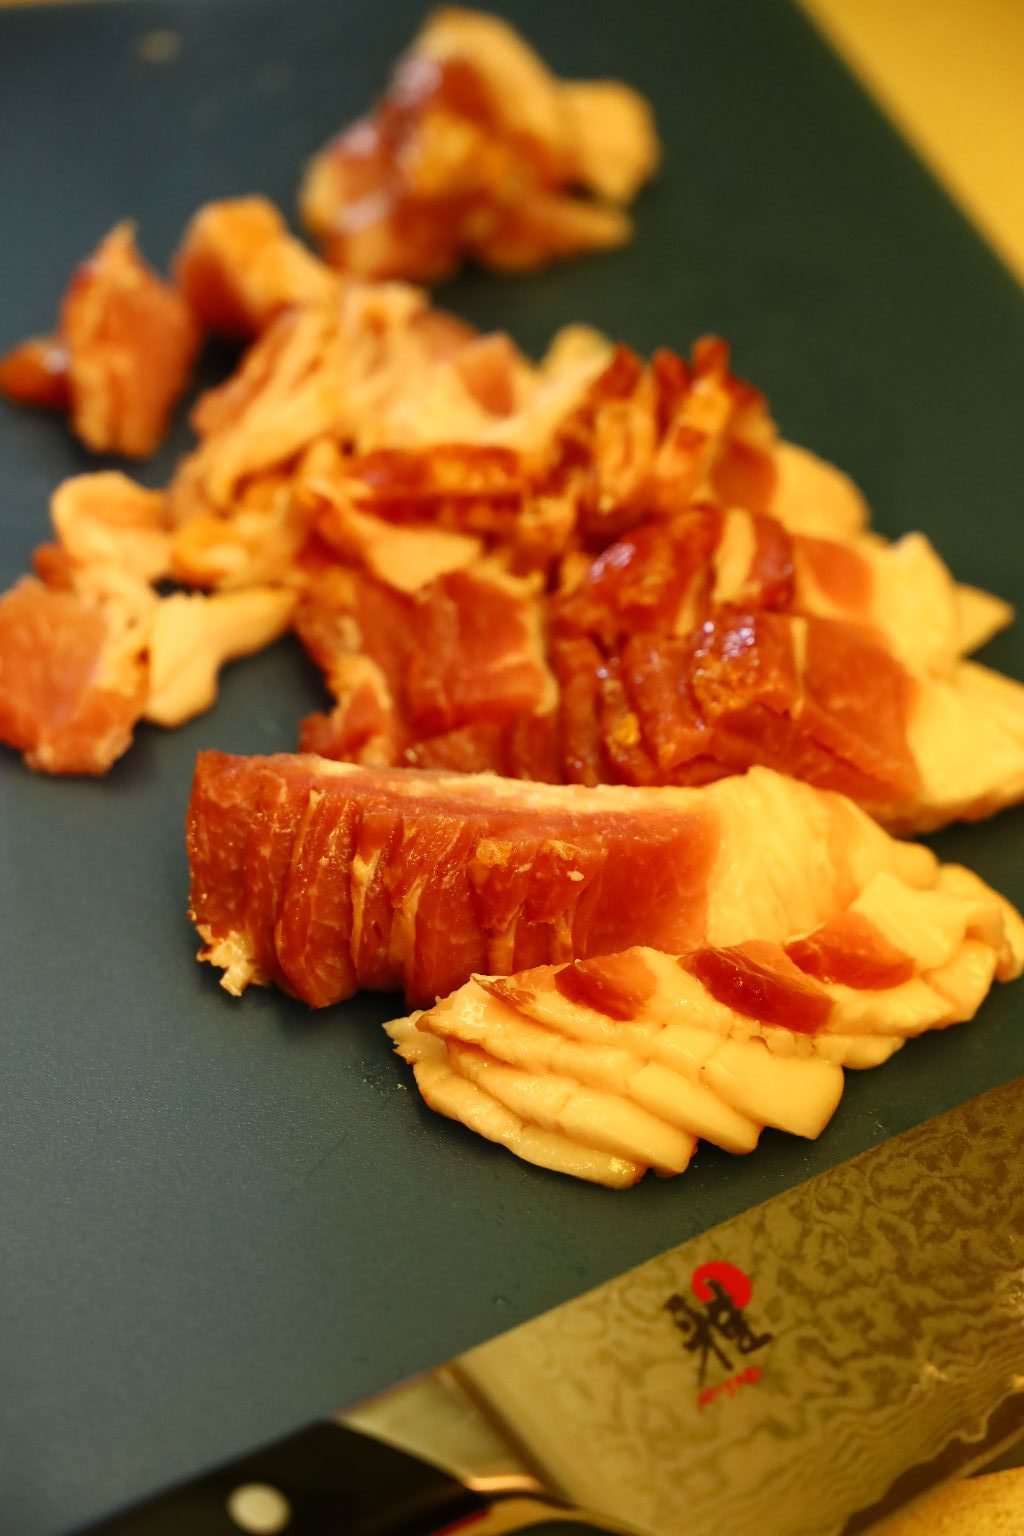
Slice your Bacon into 1 inch chunks.
We used a thick cut and about 8 slices.
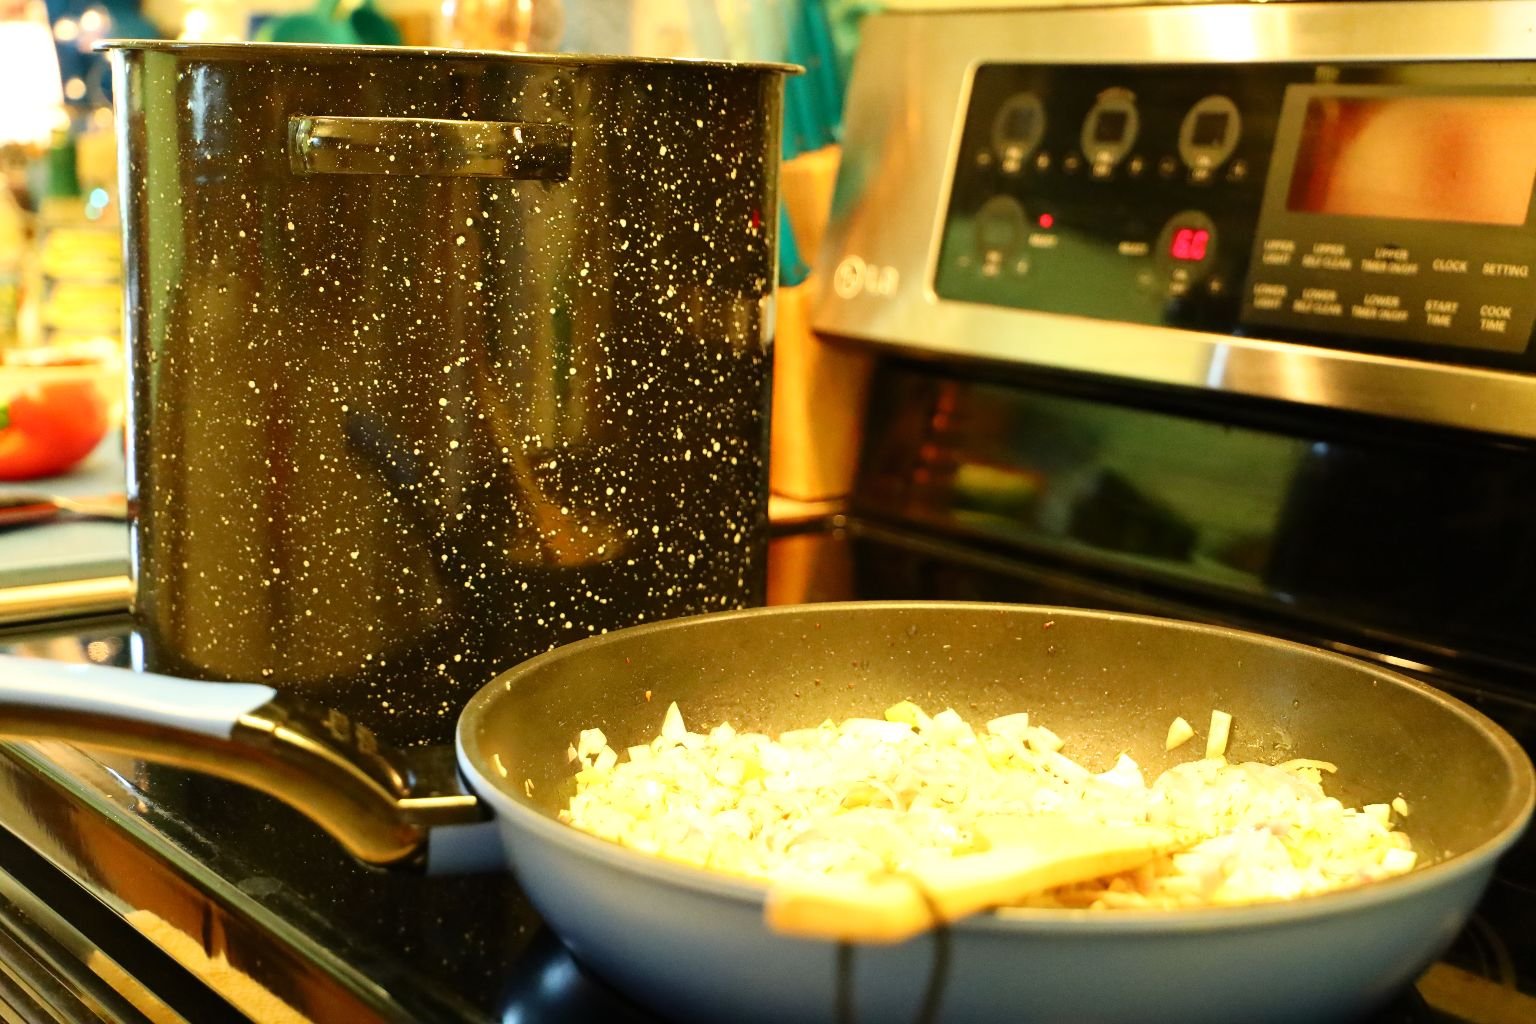
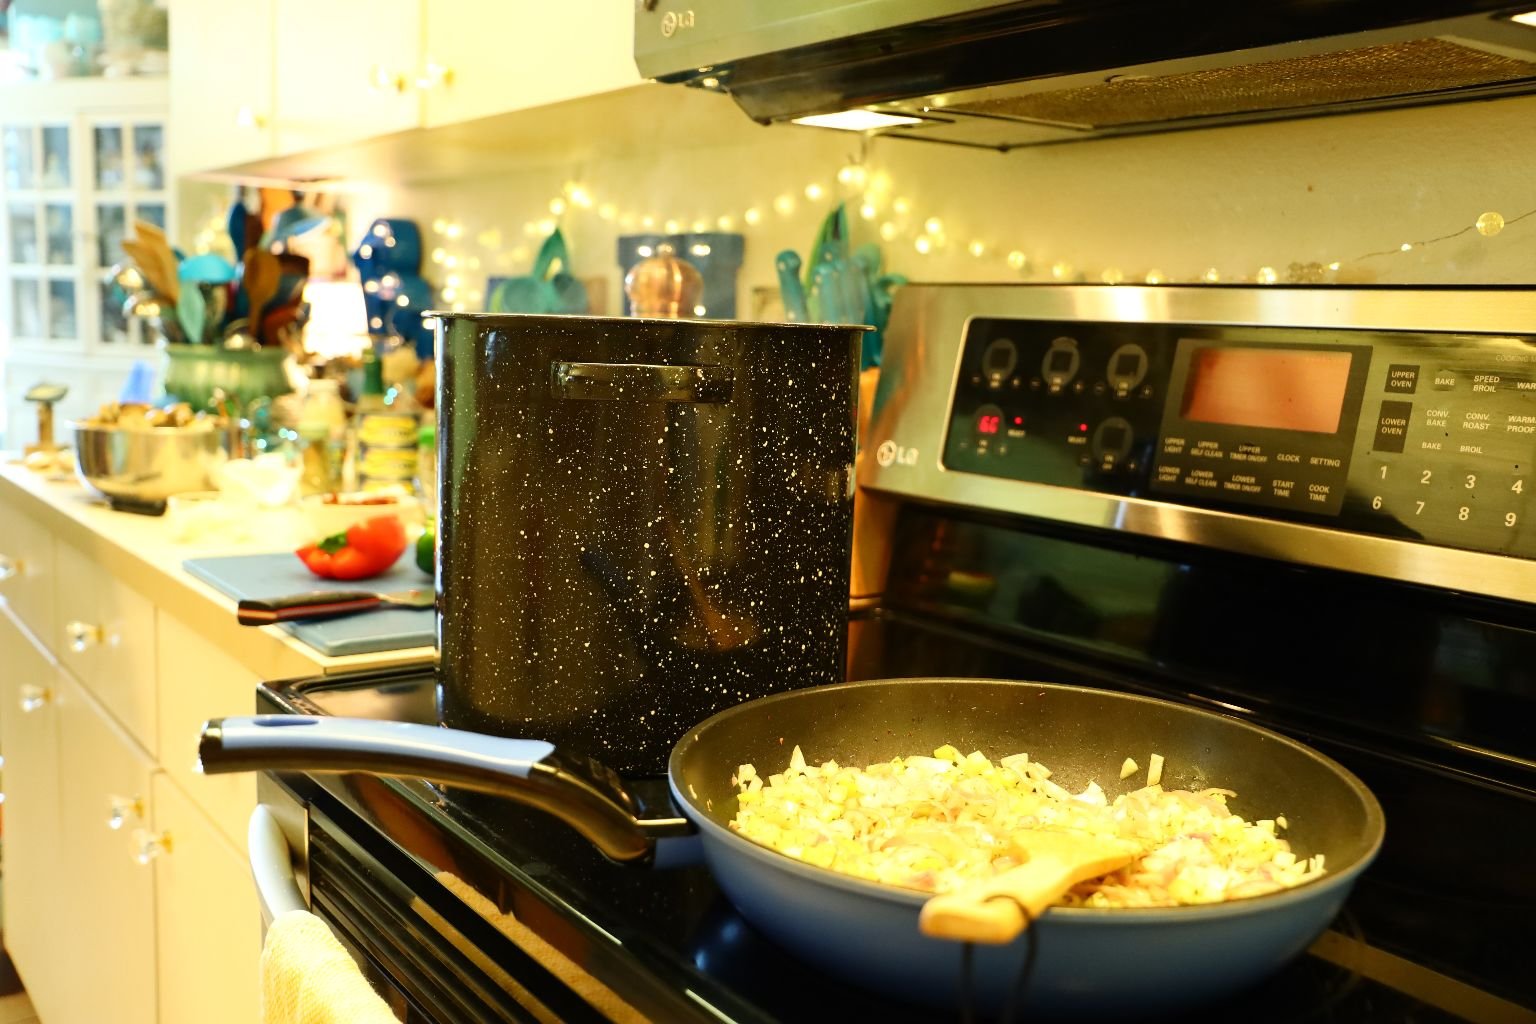
Add them to a large pan and cook them on medium heat to render the fat.

Here you can see both the Bacon and the vegetables cooking.
————————————————————-

Clams Standing By
—————————————————————
Time To Start Chopping
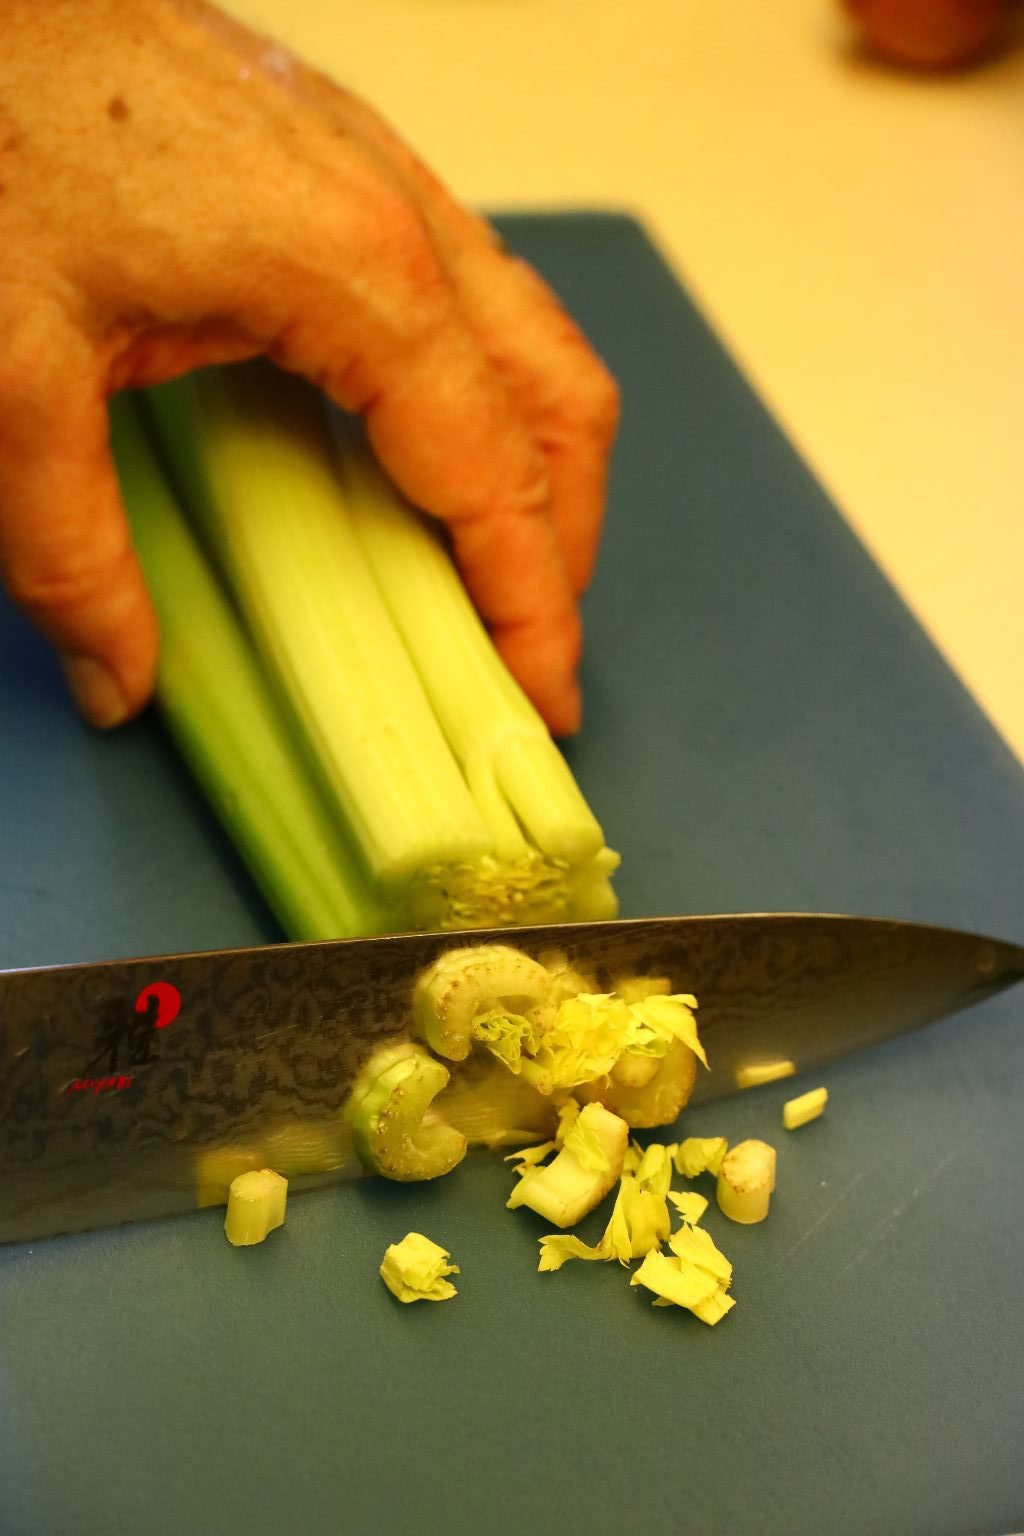
Slice off the ends of the Celery Stalks as shown.
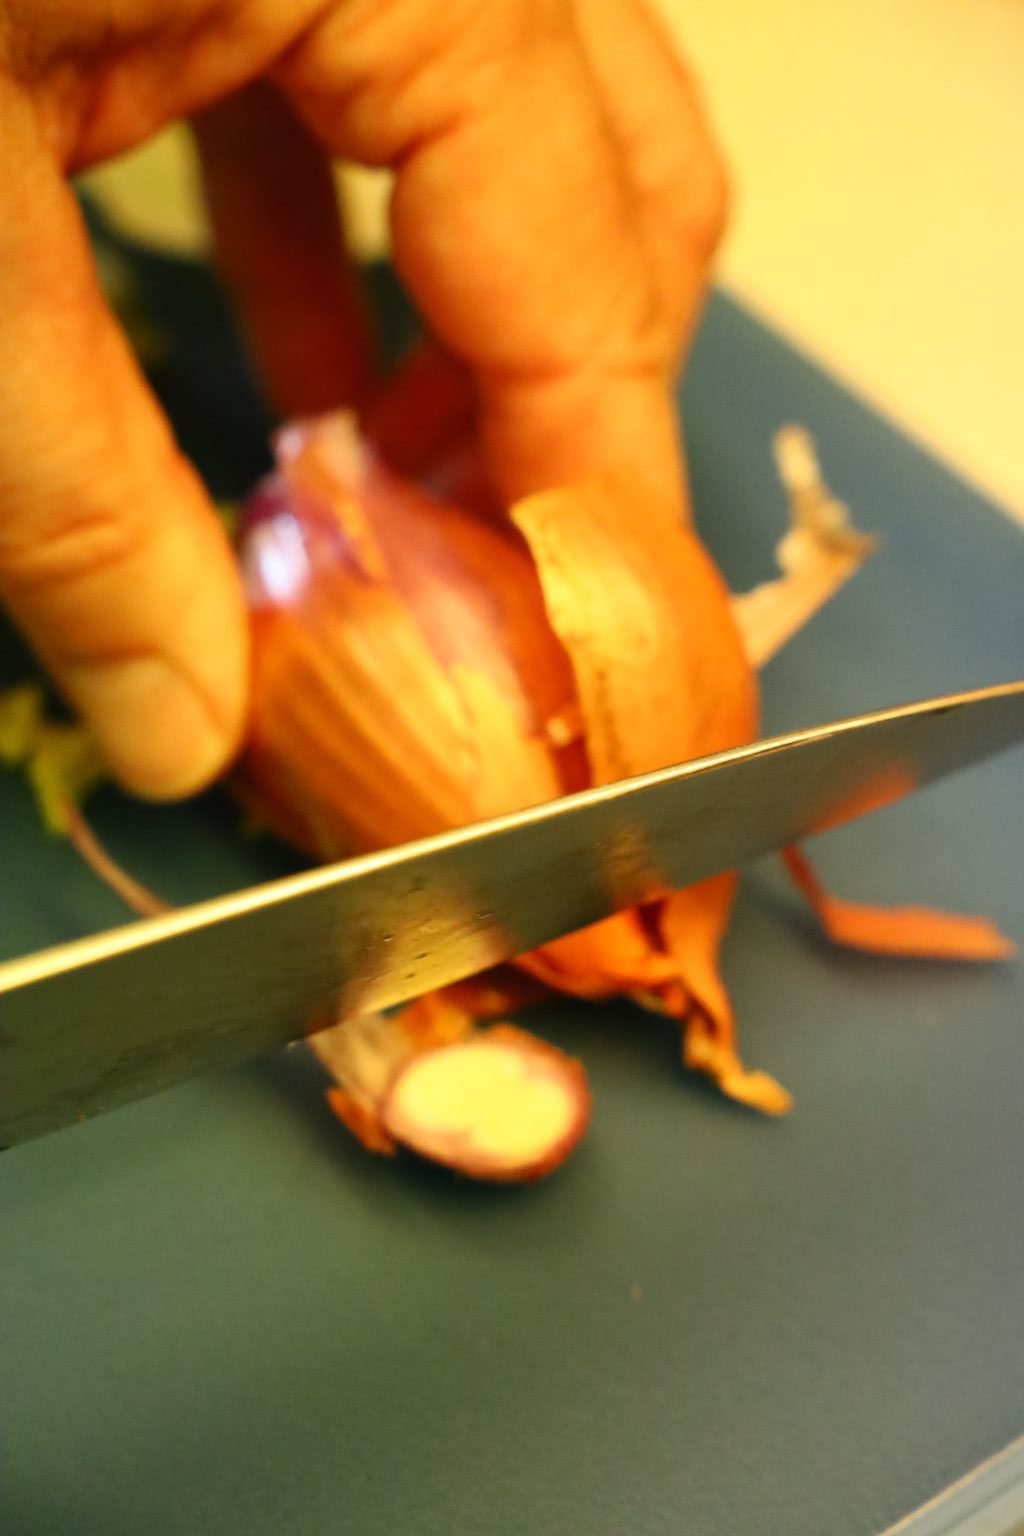
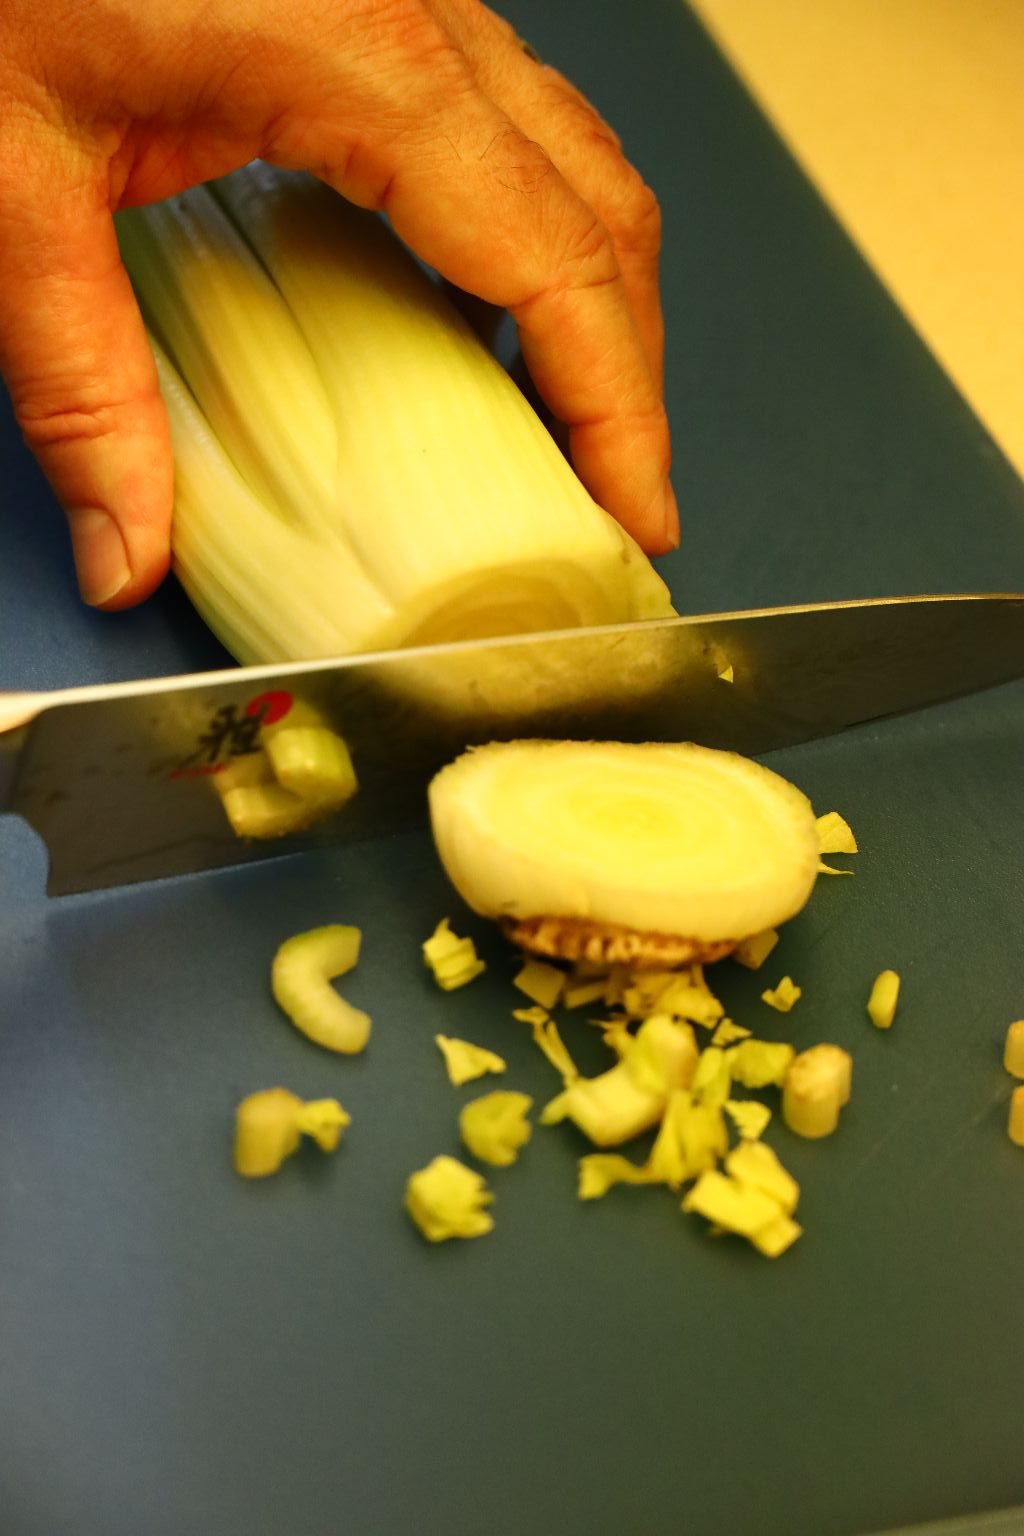
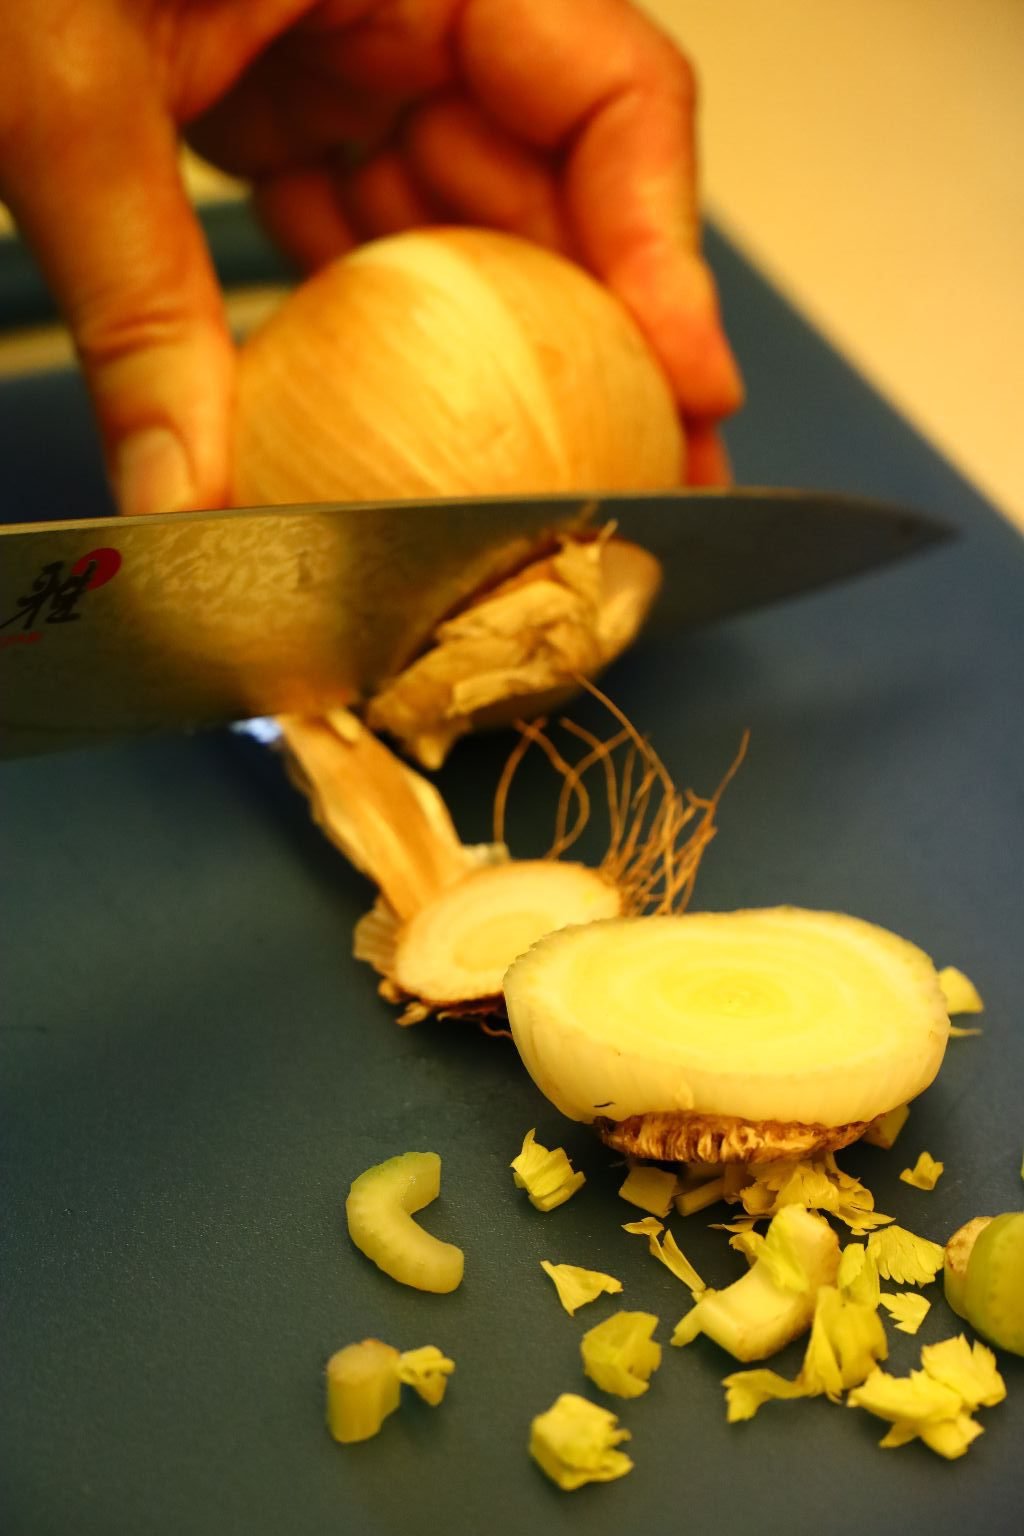
Now, slice off the ends of the Shallots and Garlic.

I like slicing off the unused pieces first so I only have to clean my cutting board once.
—————————————————–
Stirring the bacon during the cooking process.
Checking the corn and other items for tenderness.
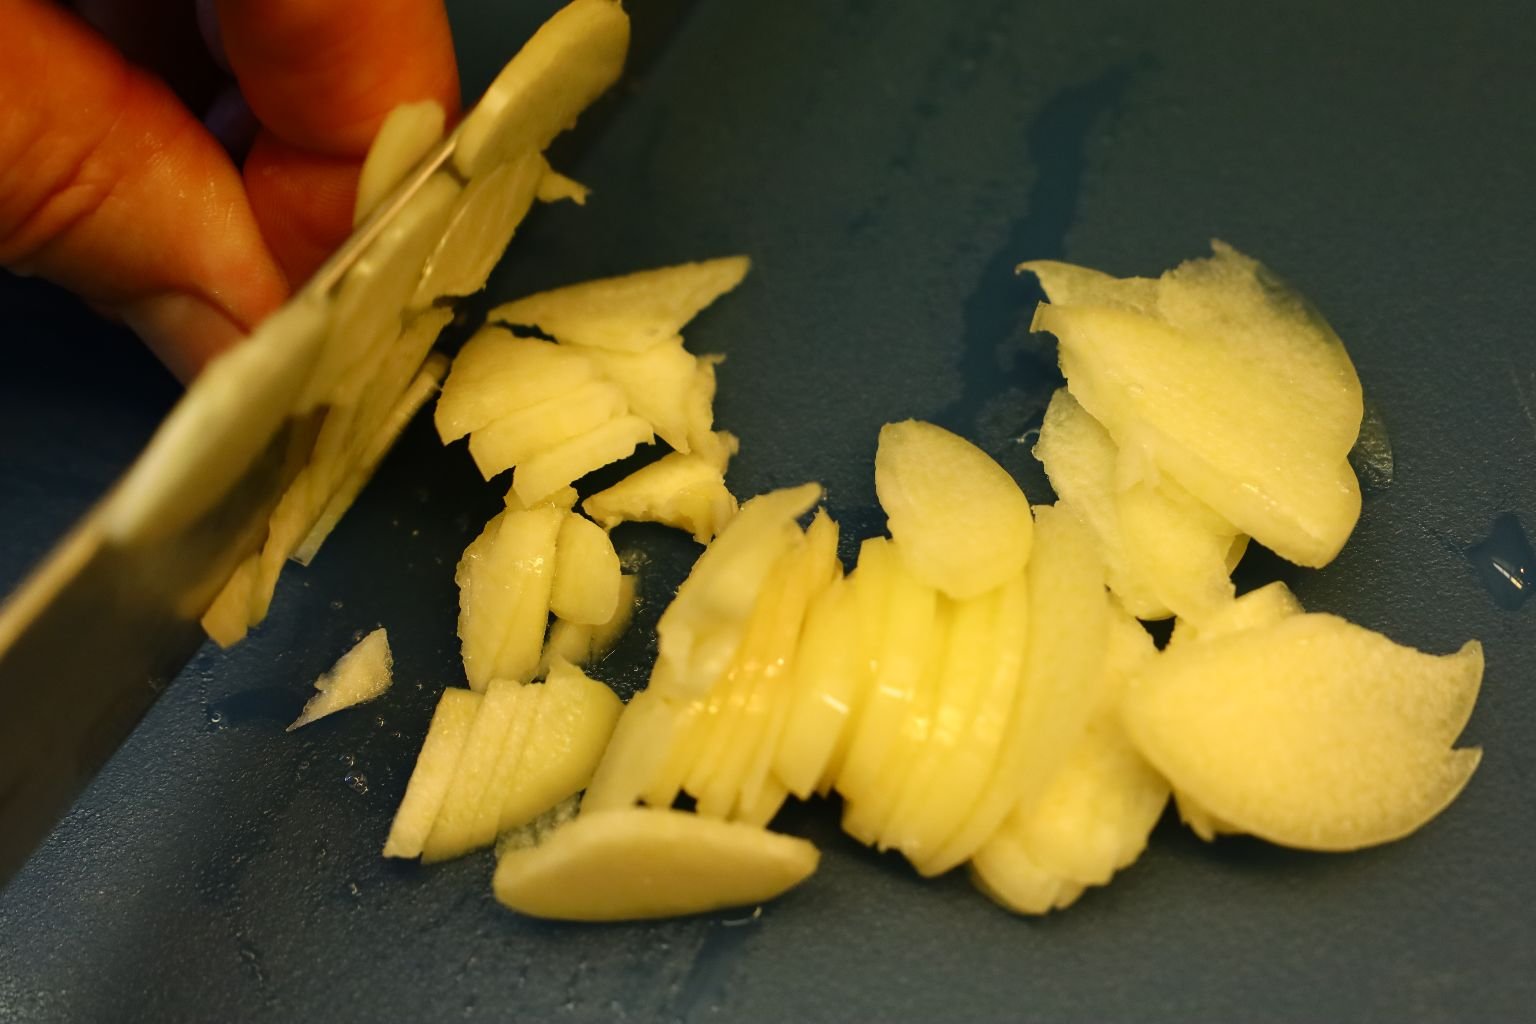
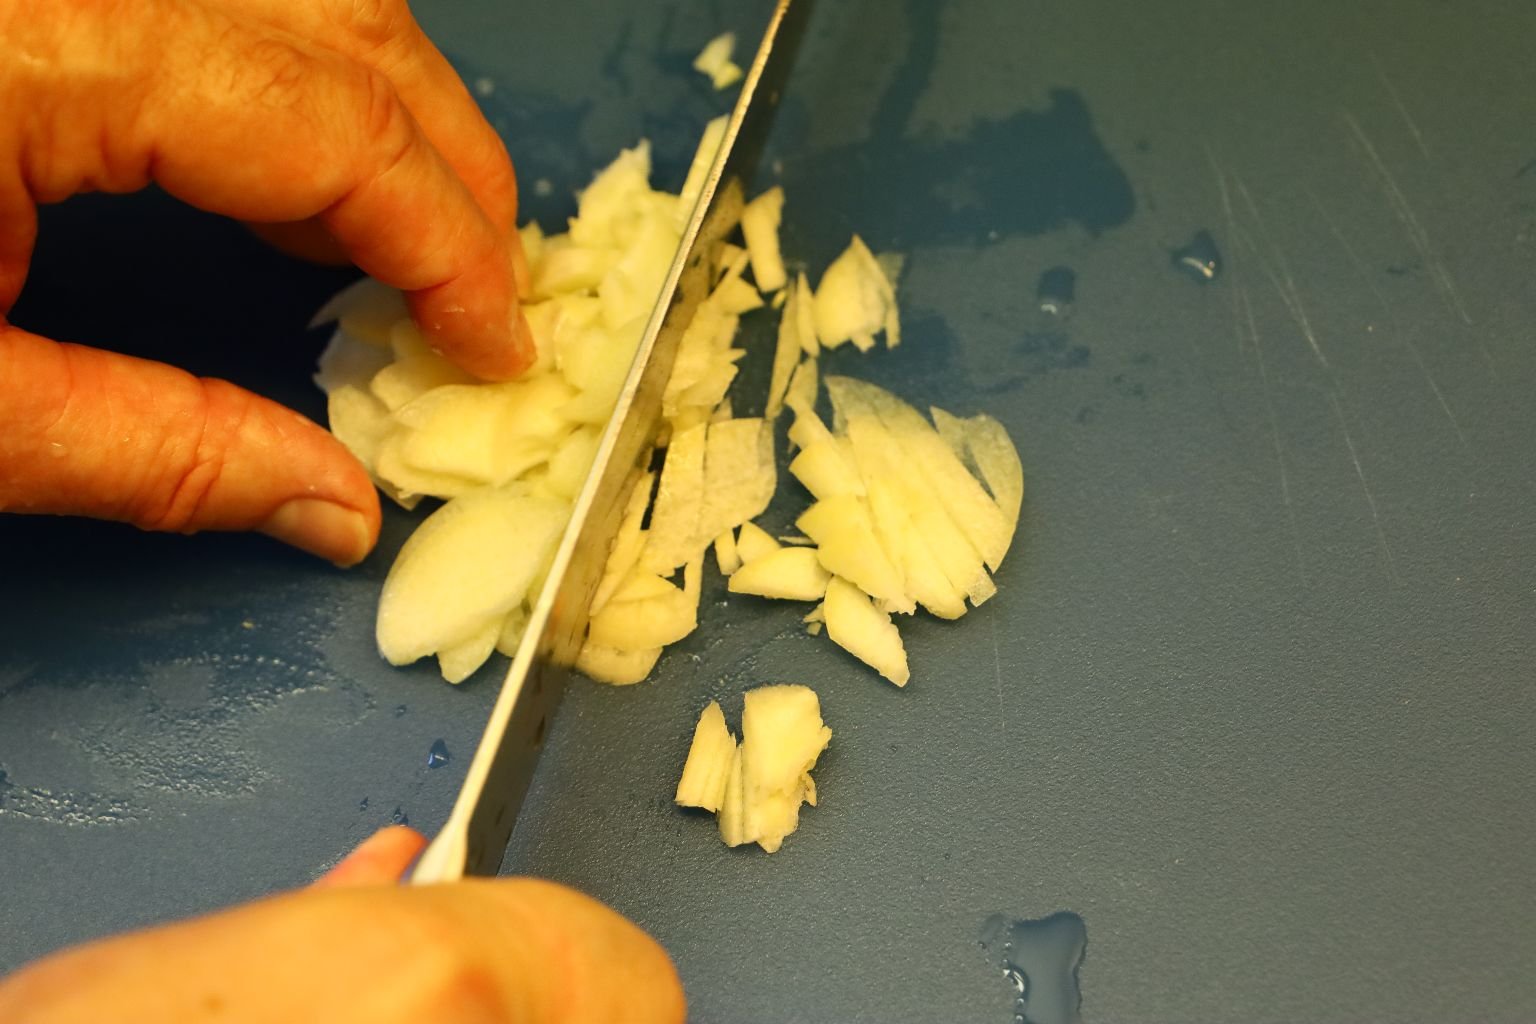
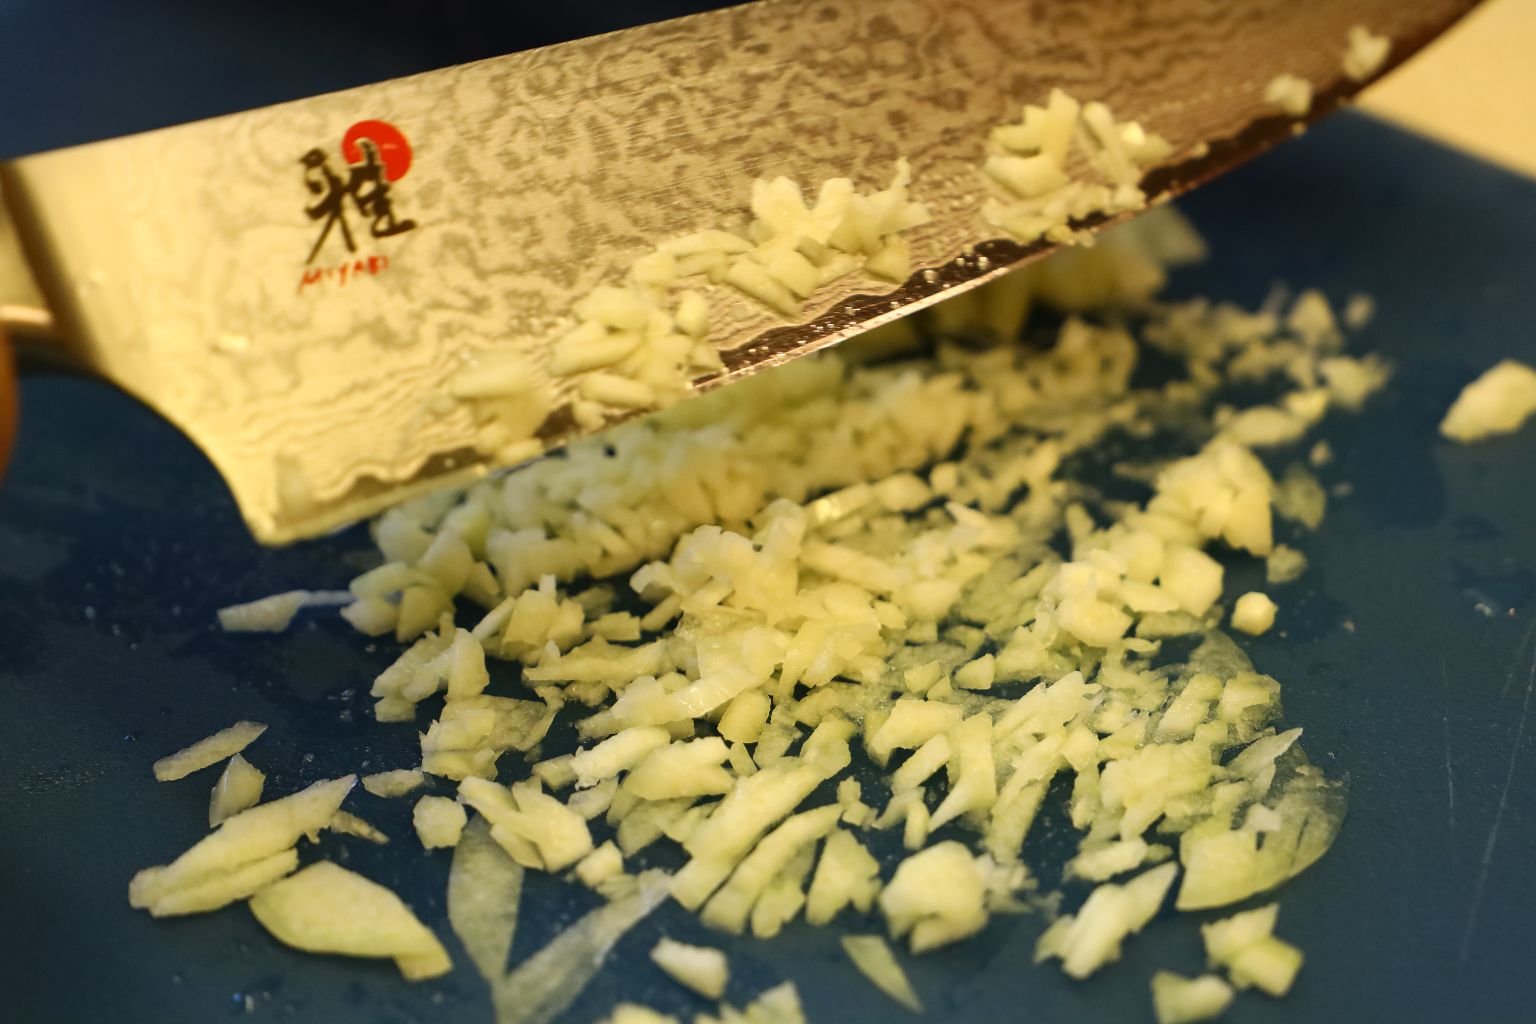
Slice your Elephant Ear Garlic into thin slices then roughly chop them until they become the thickness you desire. I used this type of garlic, because it had a slightly different flavor and isn’t as harsh as regular garlic.
———————————————————-
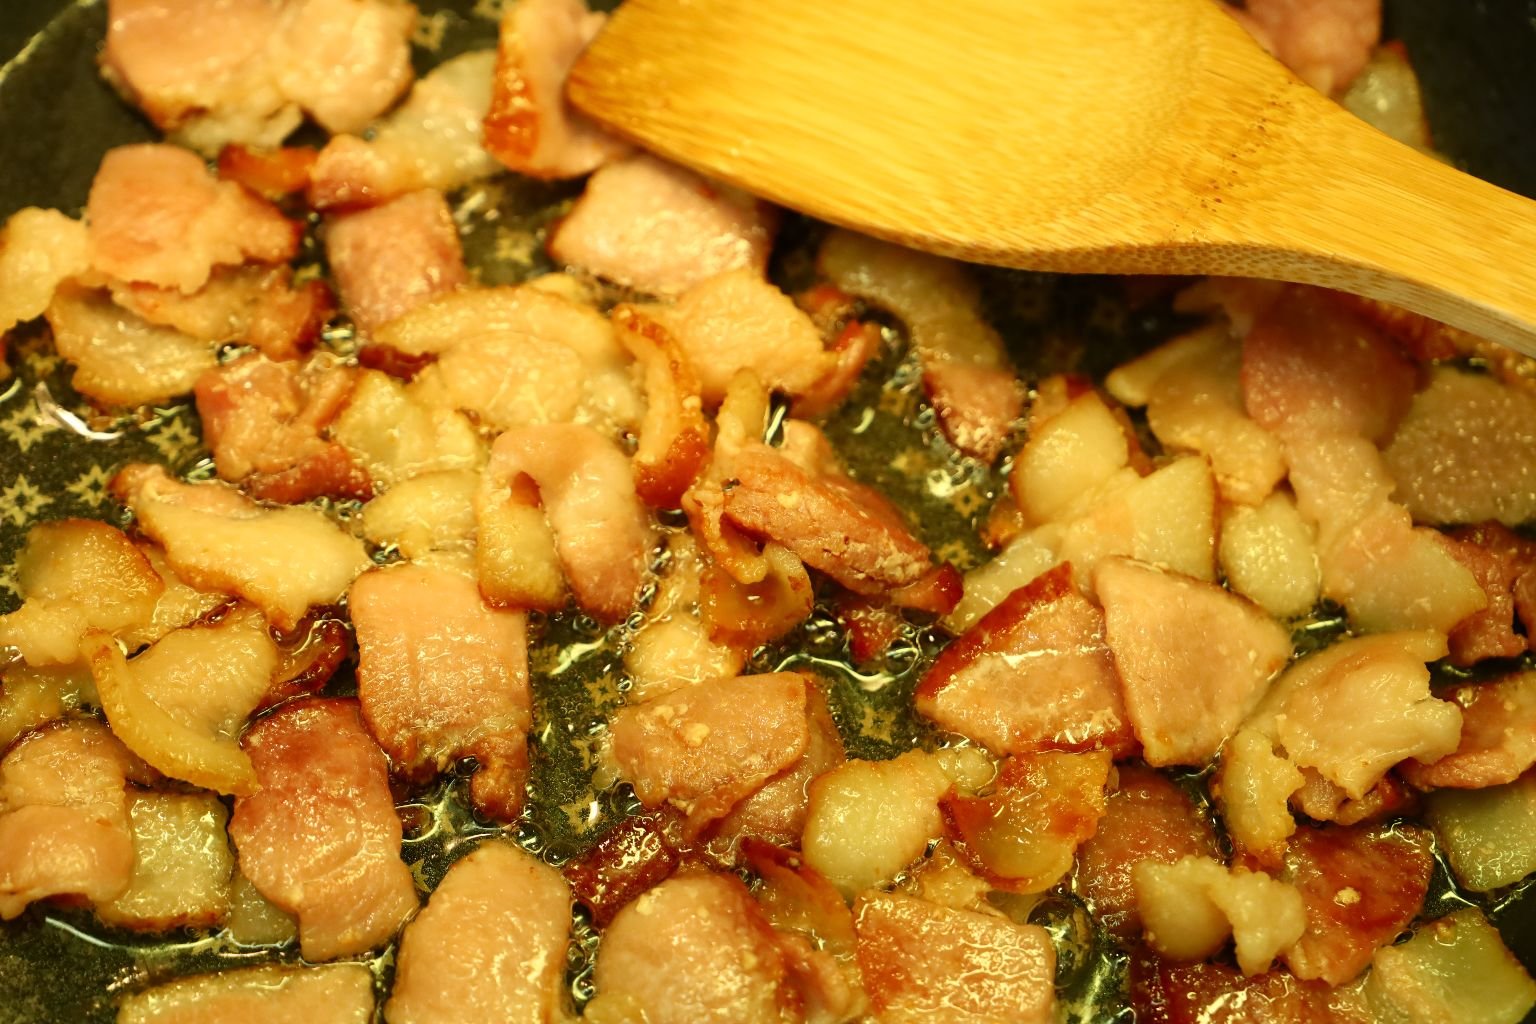
Continue to render the bacon down.
The vegetables are ready!
————————————————————-

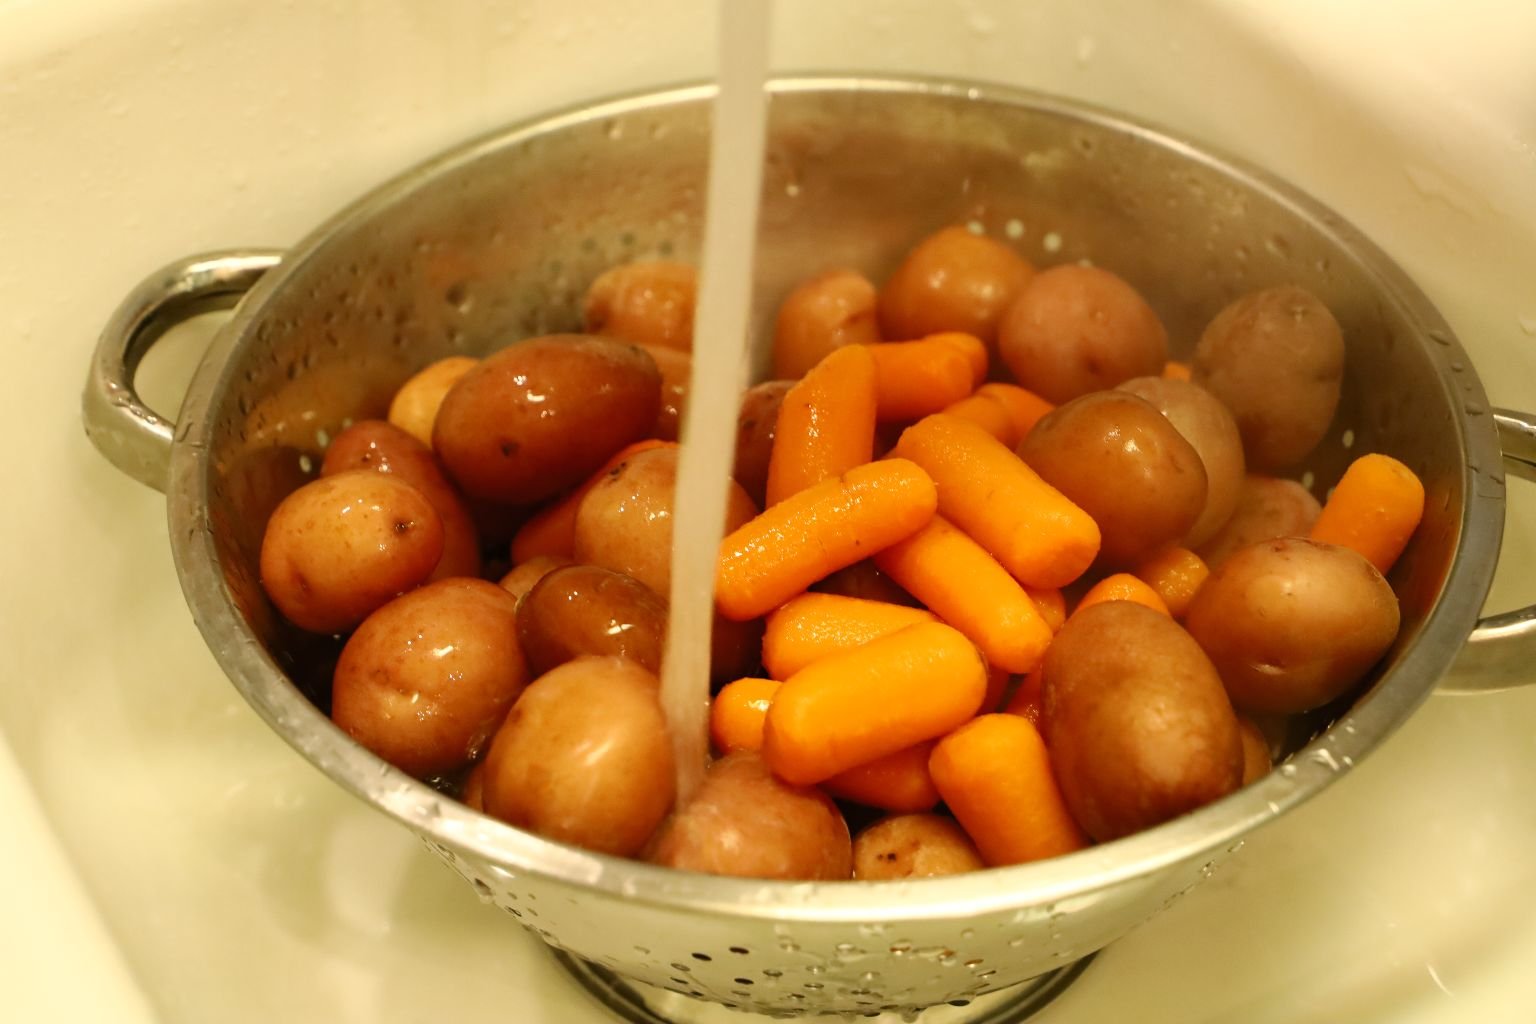
Remove the corn and rinse with cold water to stop the cooking processes. Pour the potatoes and carrots into a colander with a bowl underneath to catch the water infused with the vegetable juices. Now, rinsed the potatoes and corn with cold water to stop their cooking process.
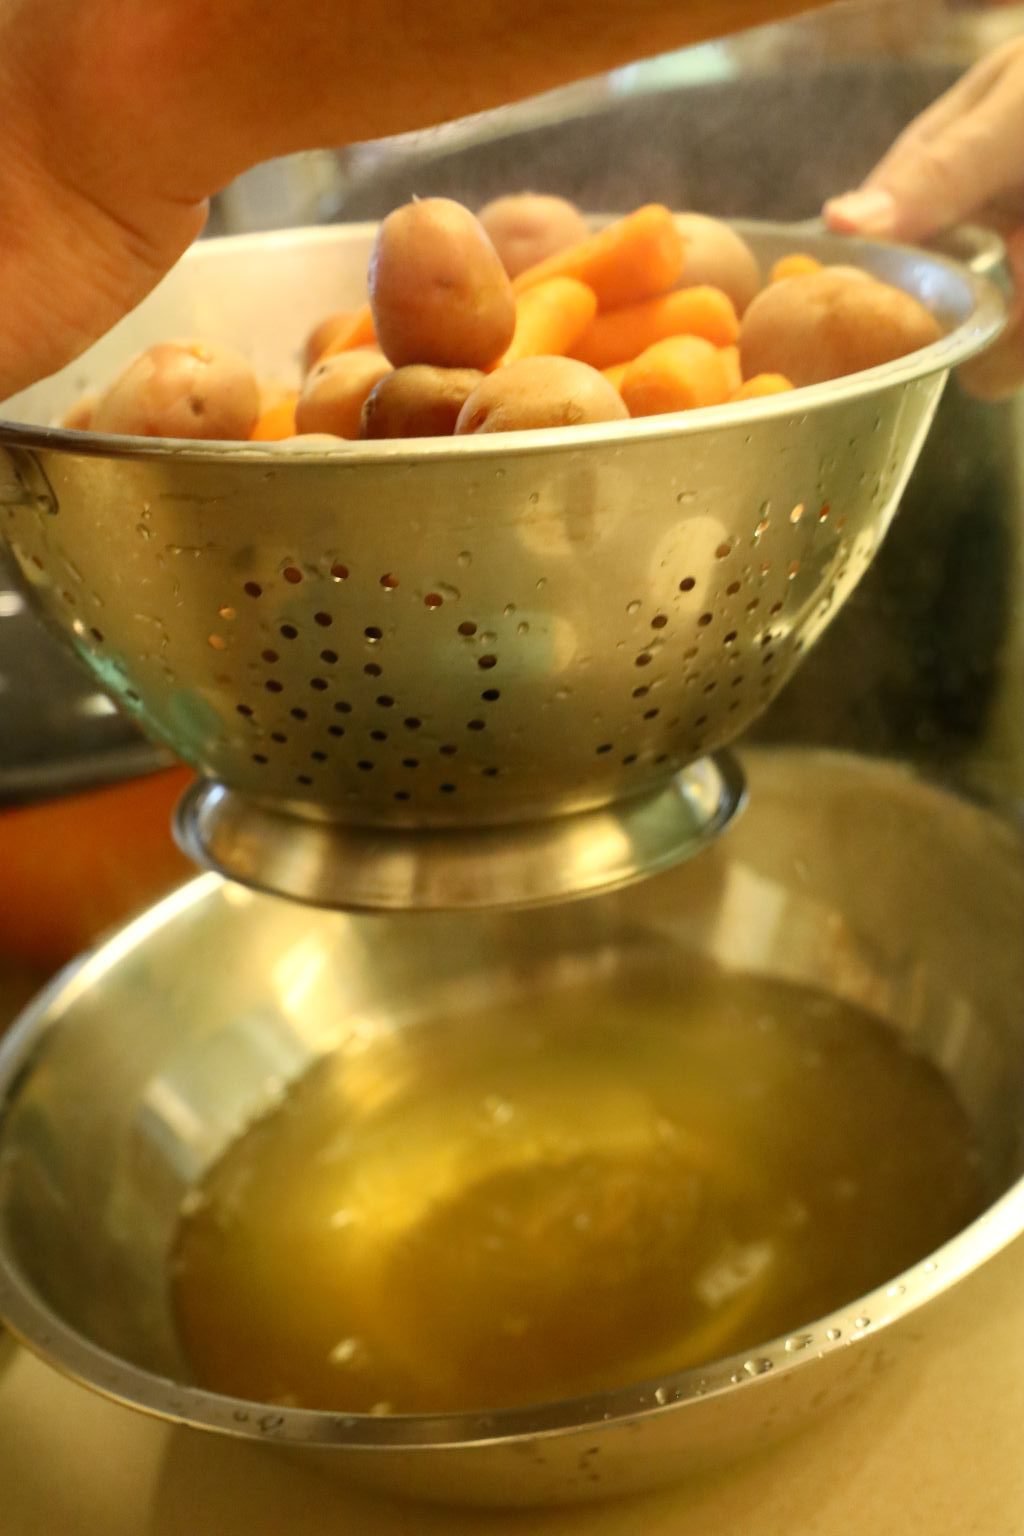
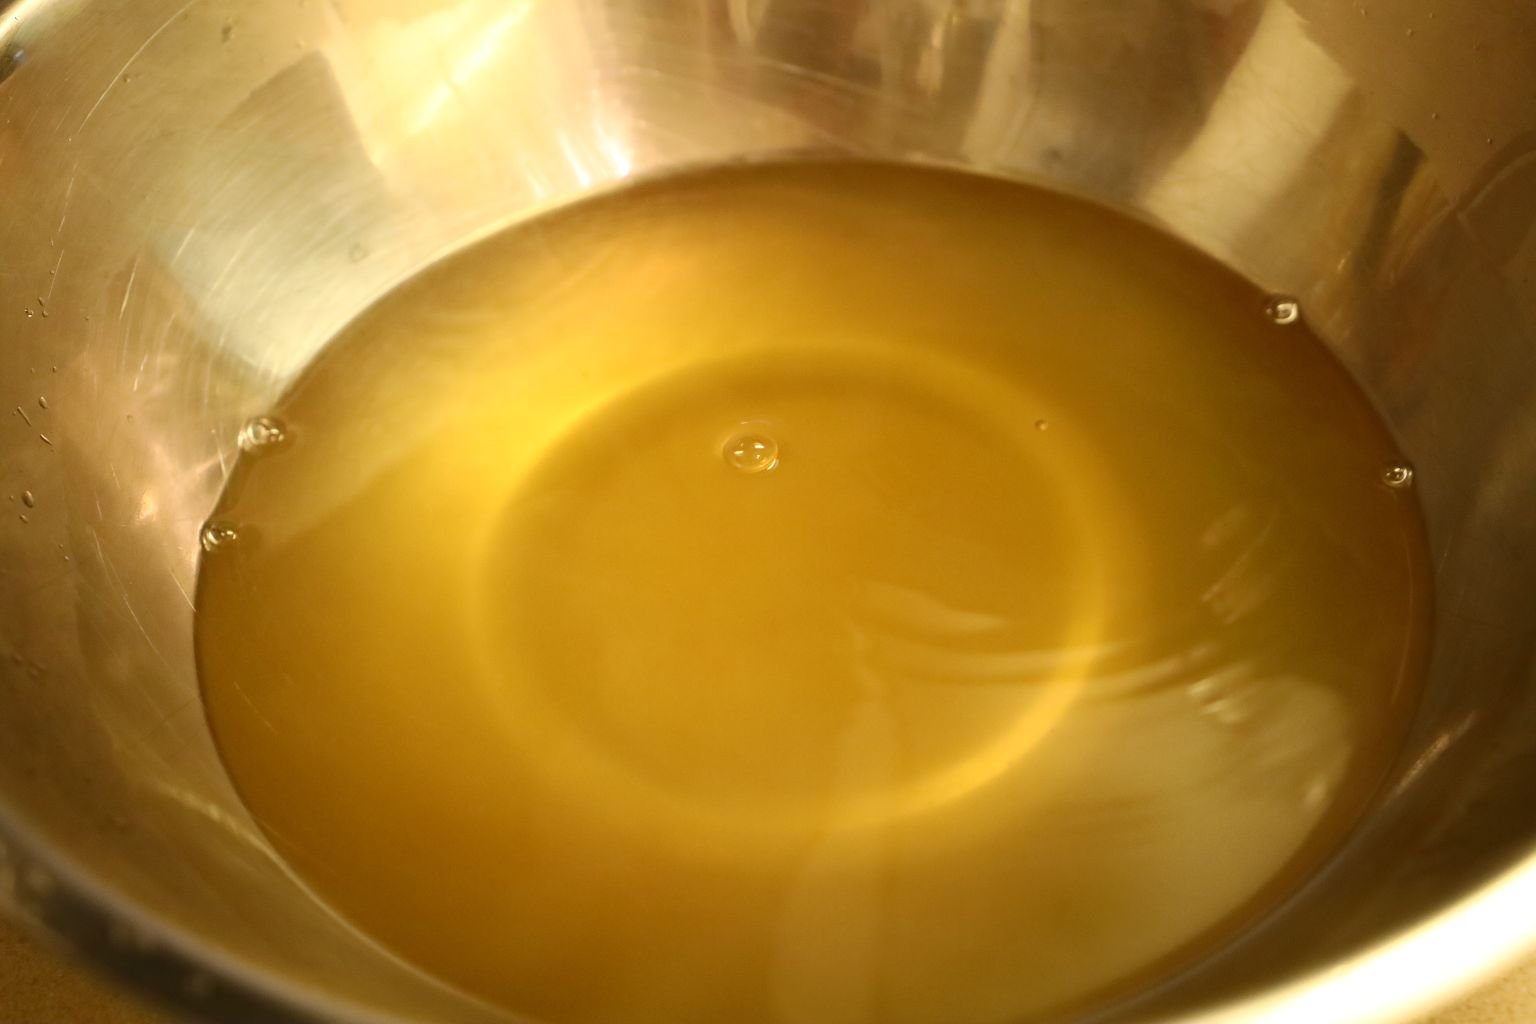
Here you can see the color of the juices. This is a great stock to use for your chowder.
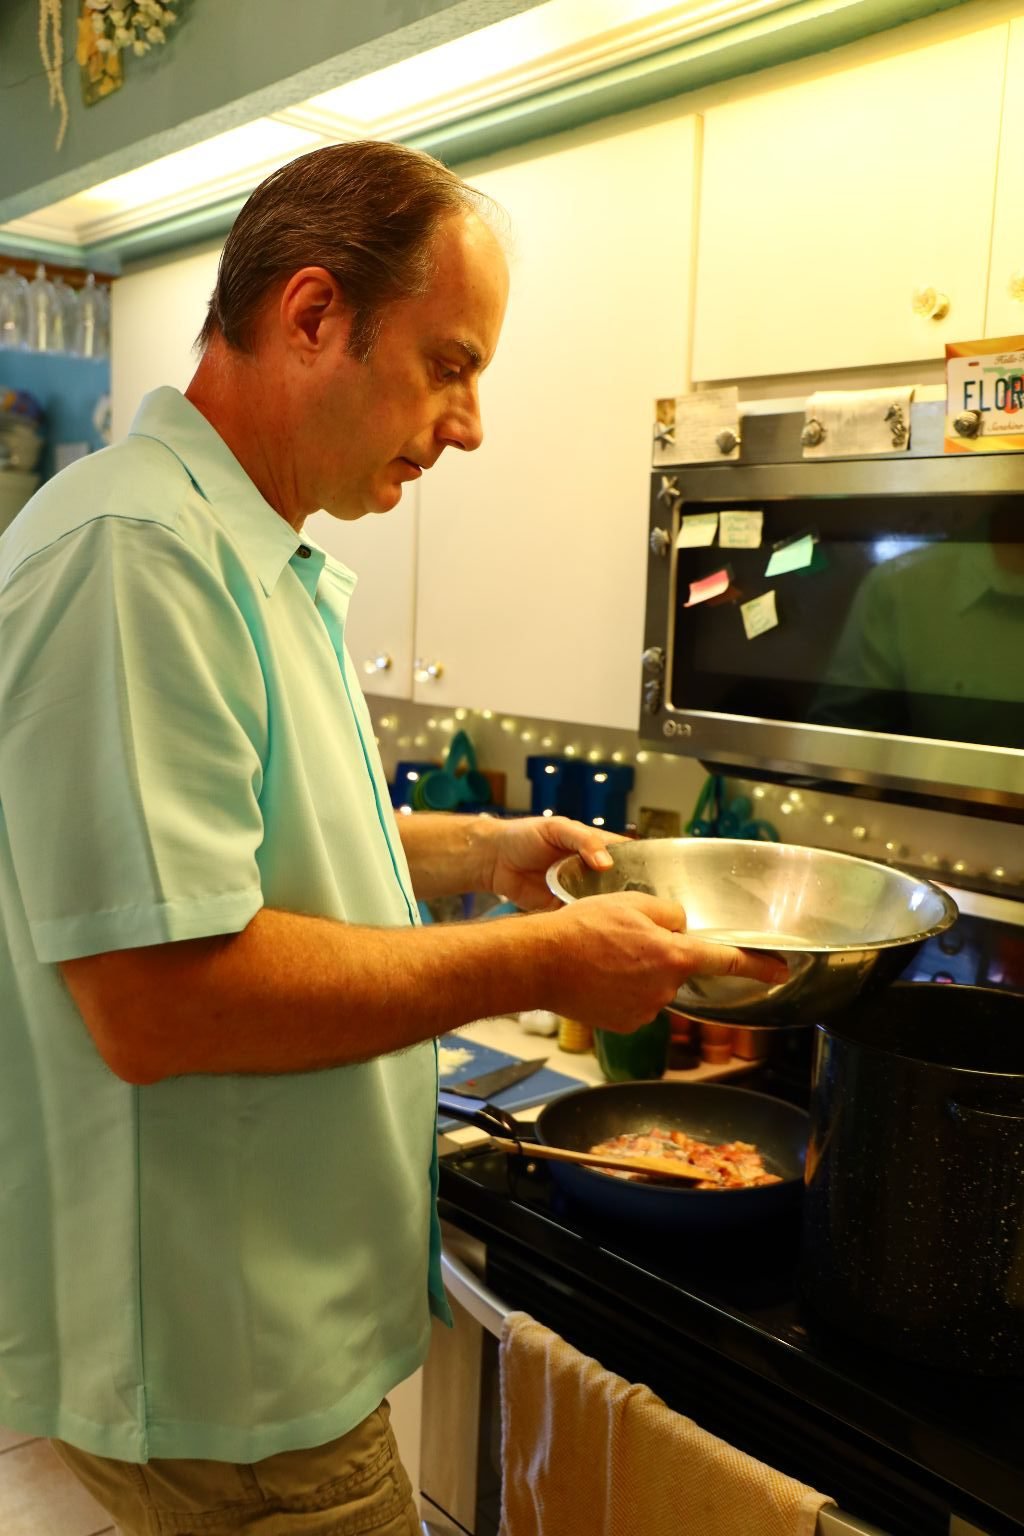
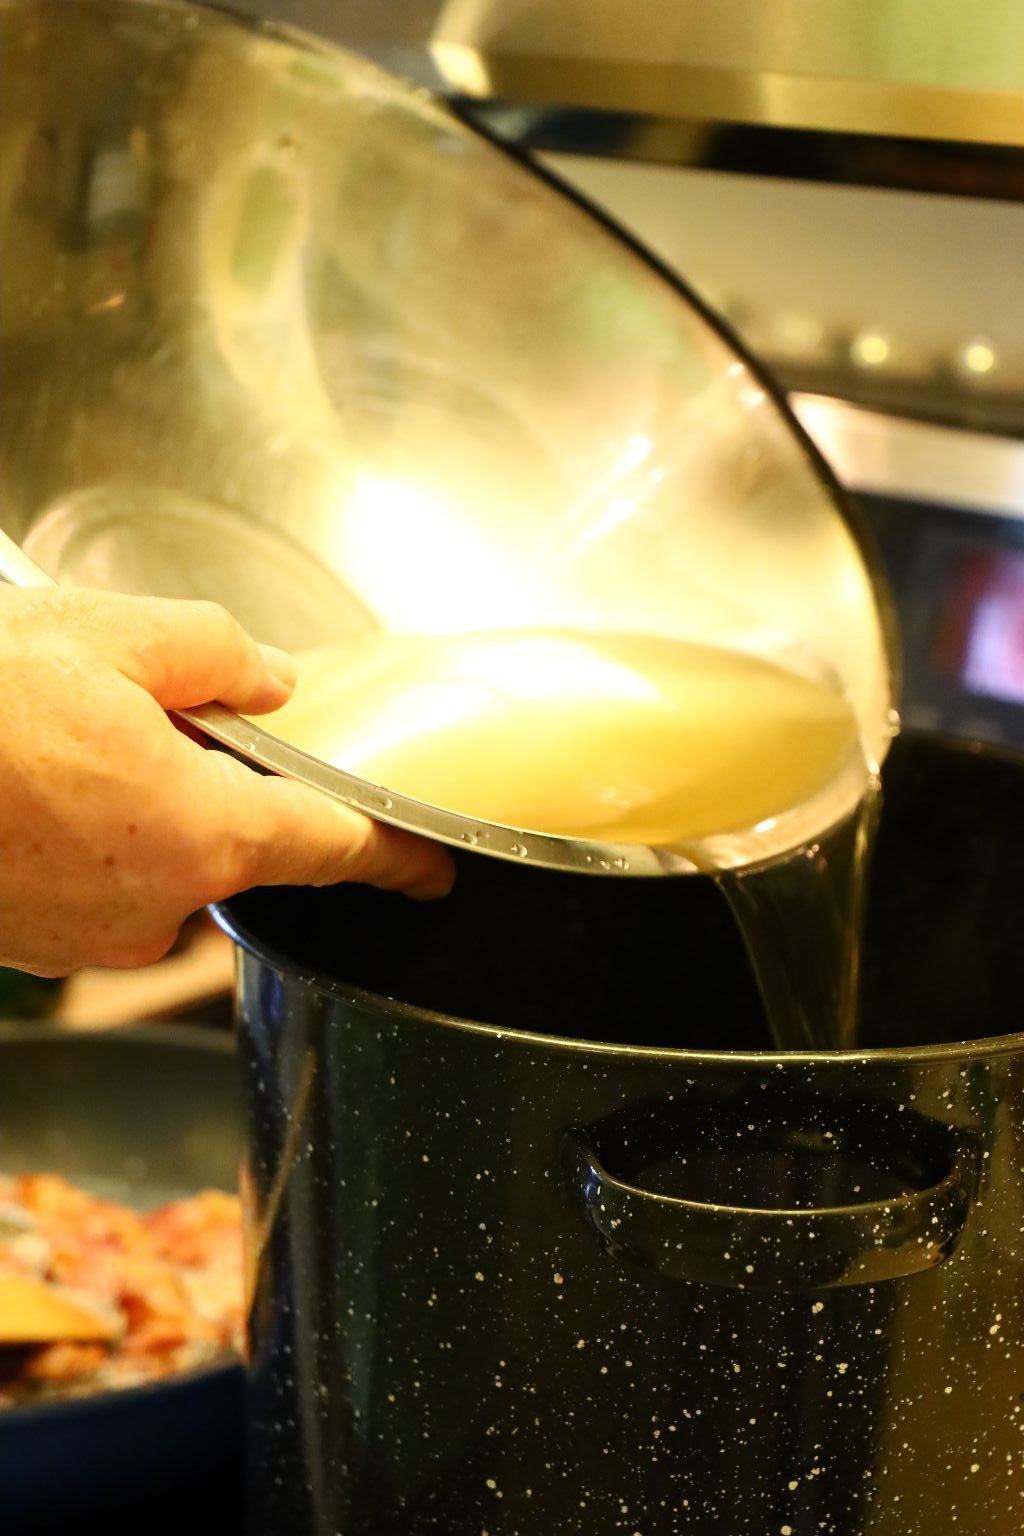
Pour the vegetable stock back into the steamer pot with the steamer part removed. Look for any sediment in the bowl being sure to not pour it into the pot.
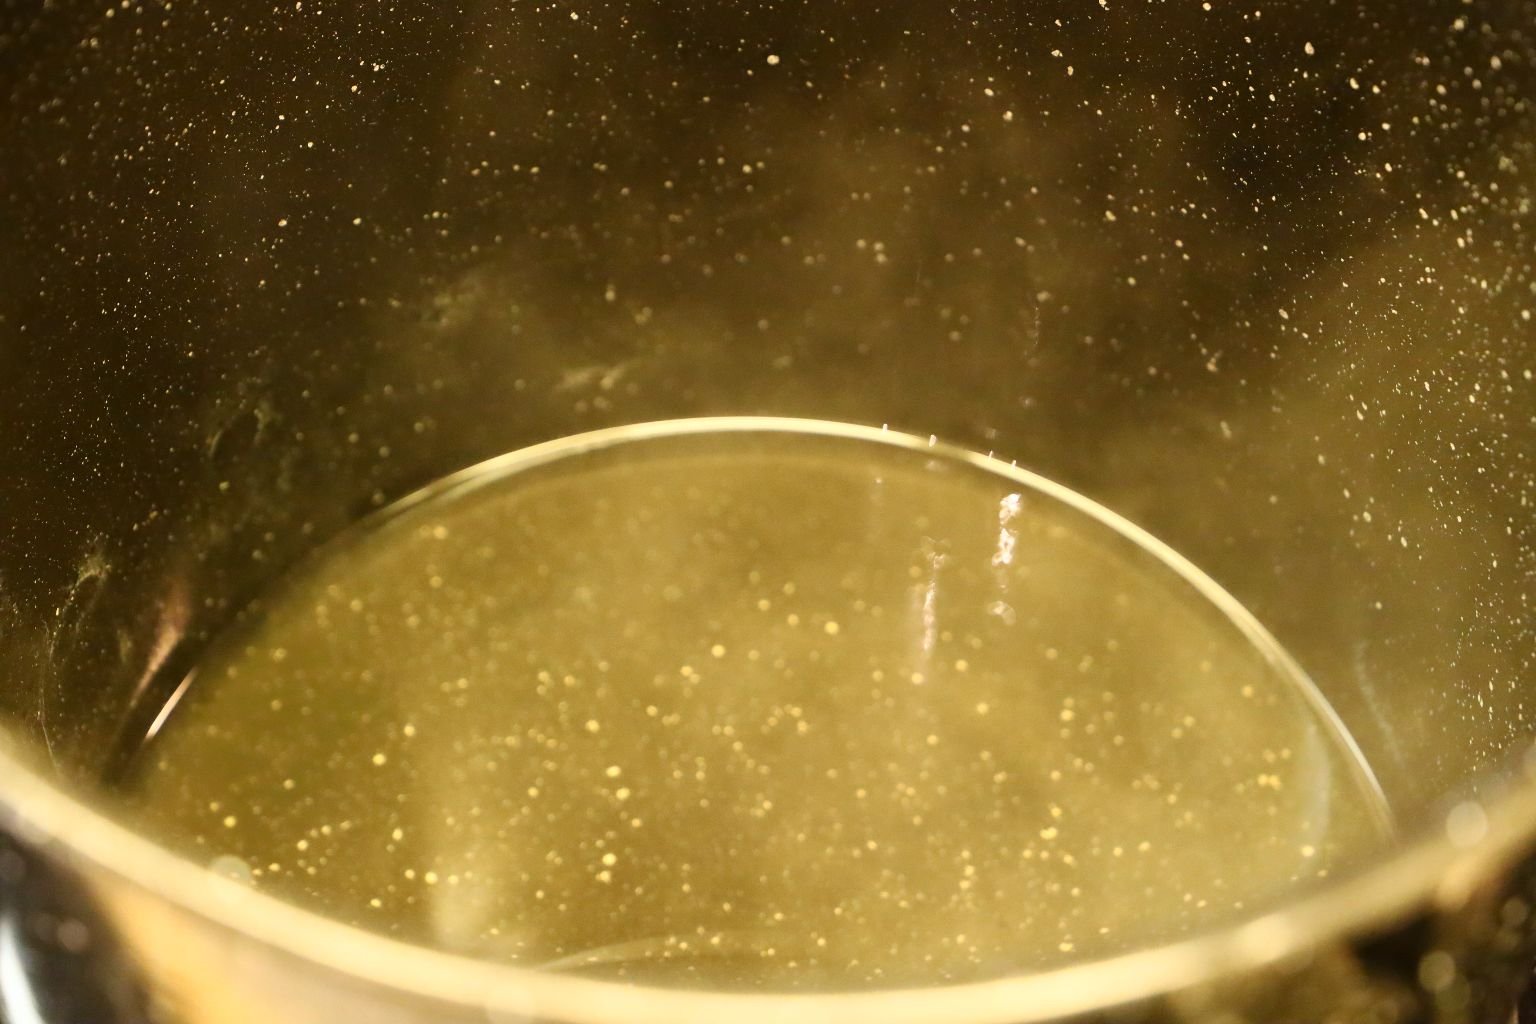
Now, reduce this liquid to condense the flavor.
————————————————————-
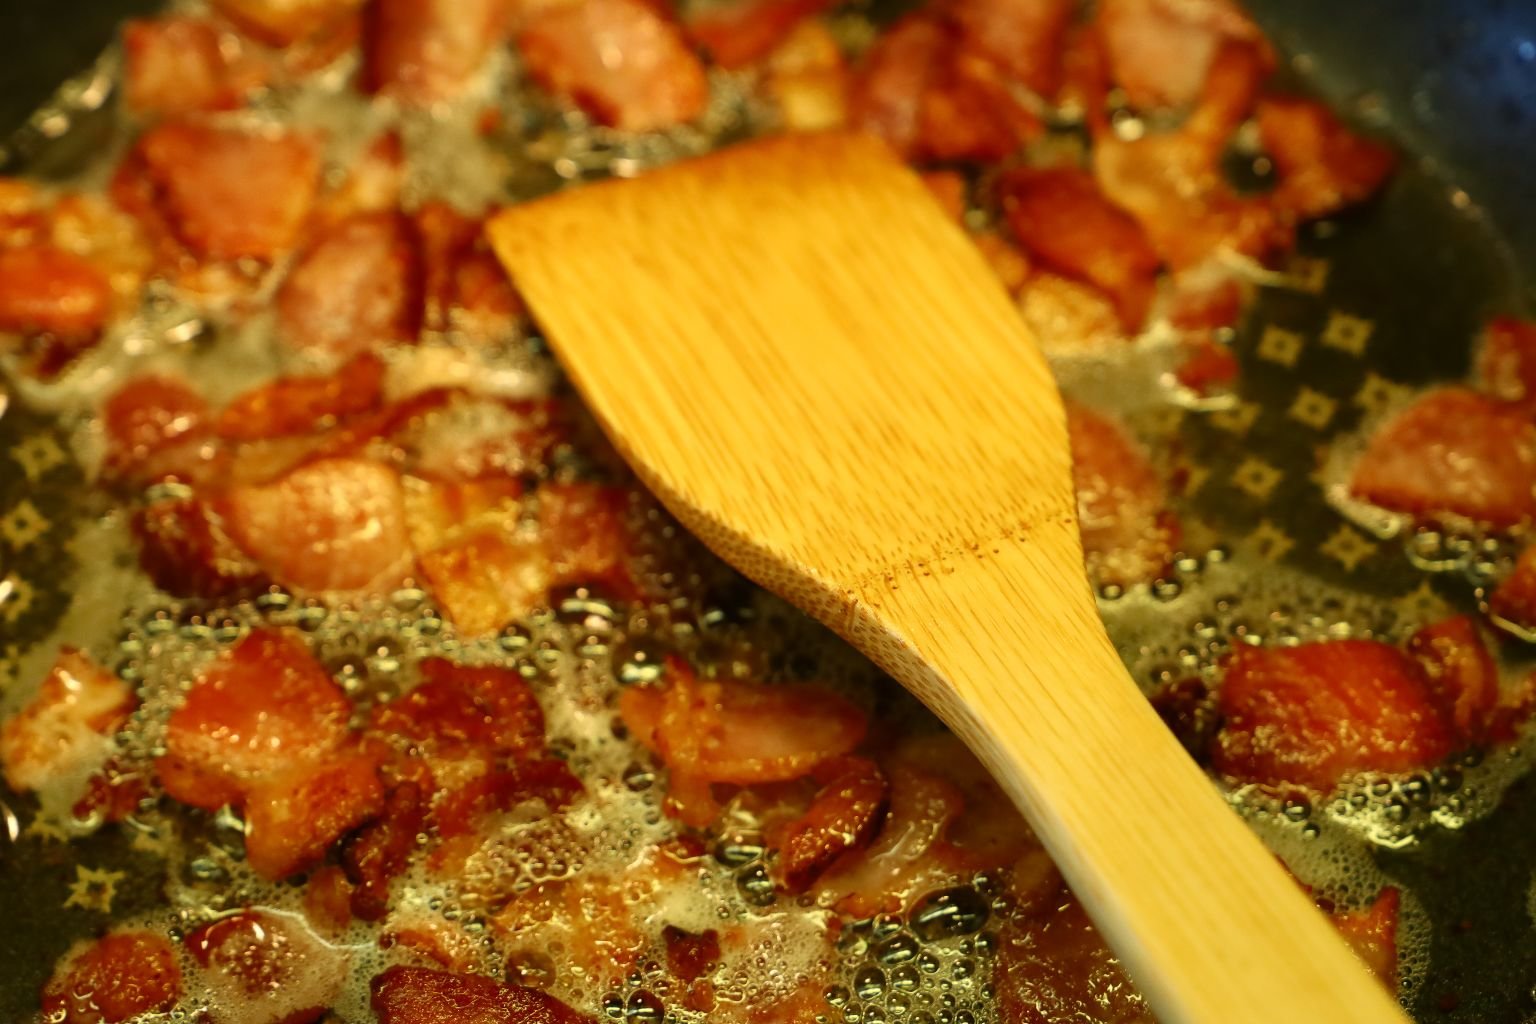
Here the bacon is rendered down to my liking.
Place the cooked bacon on paper towels to absorb some of the excess fat.

We love to save the Bacon Grease in a Mason Jar for later use.
—————————————————————
But, be sure to leave about 3 Tbsp. of bacon fat in the pan.
———————————————————-
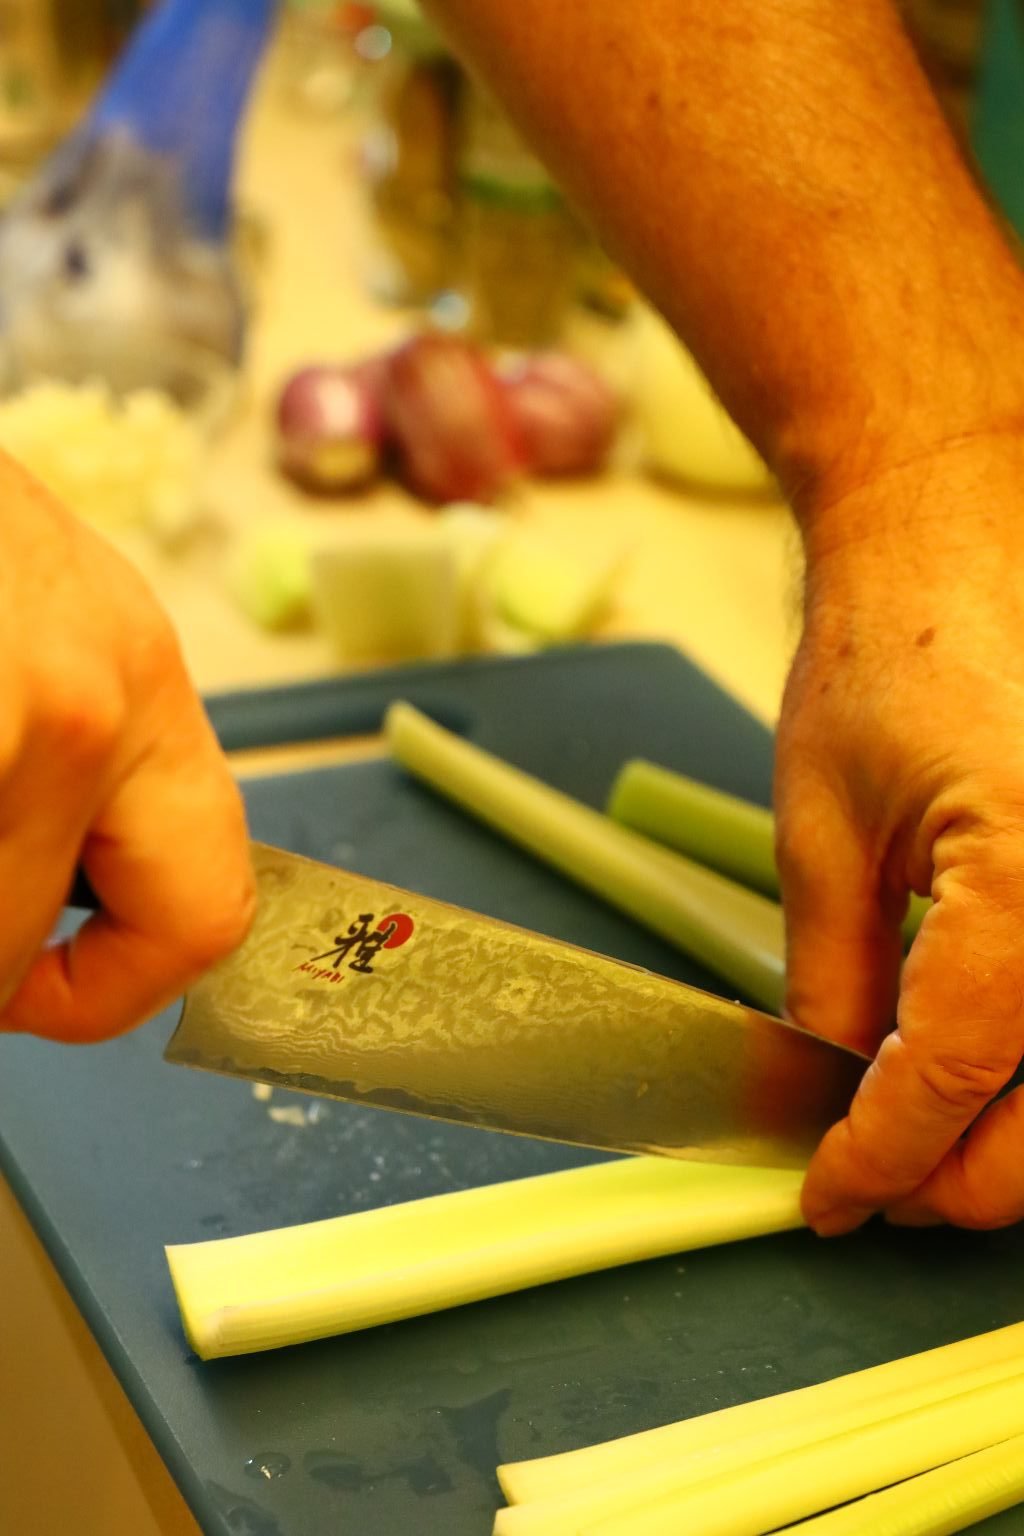
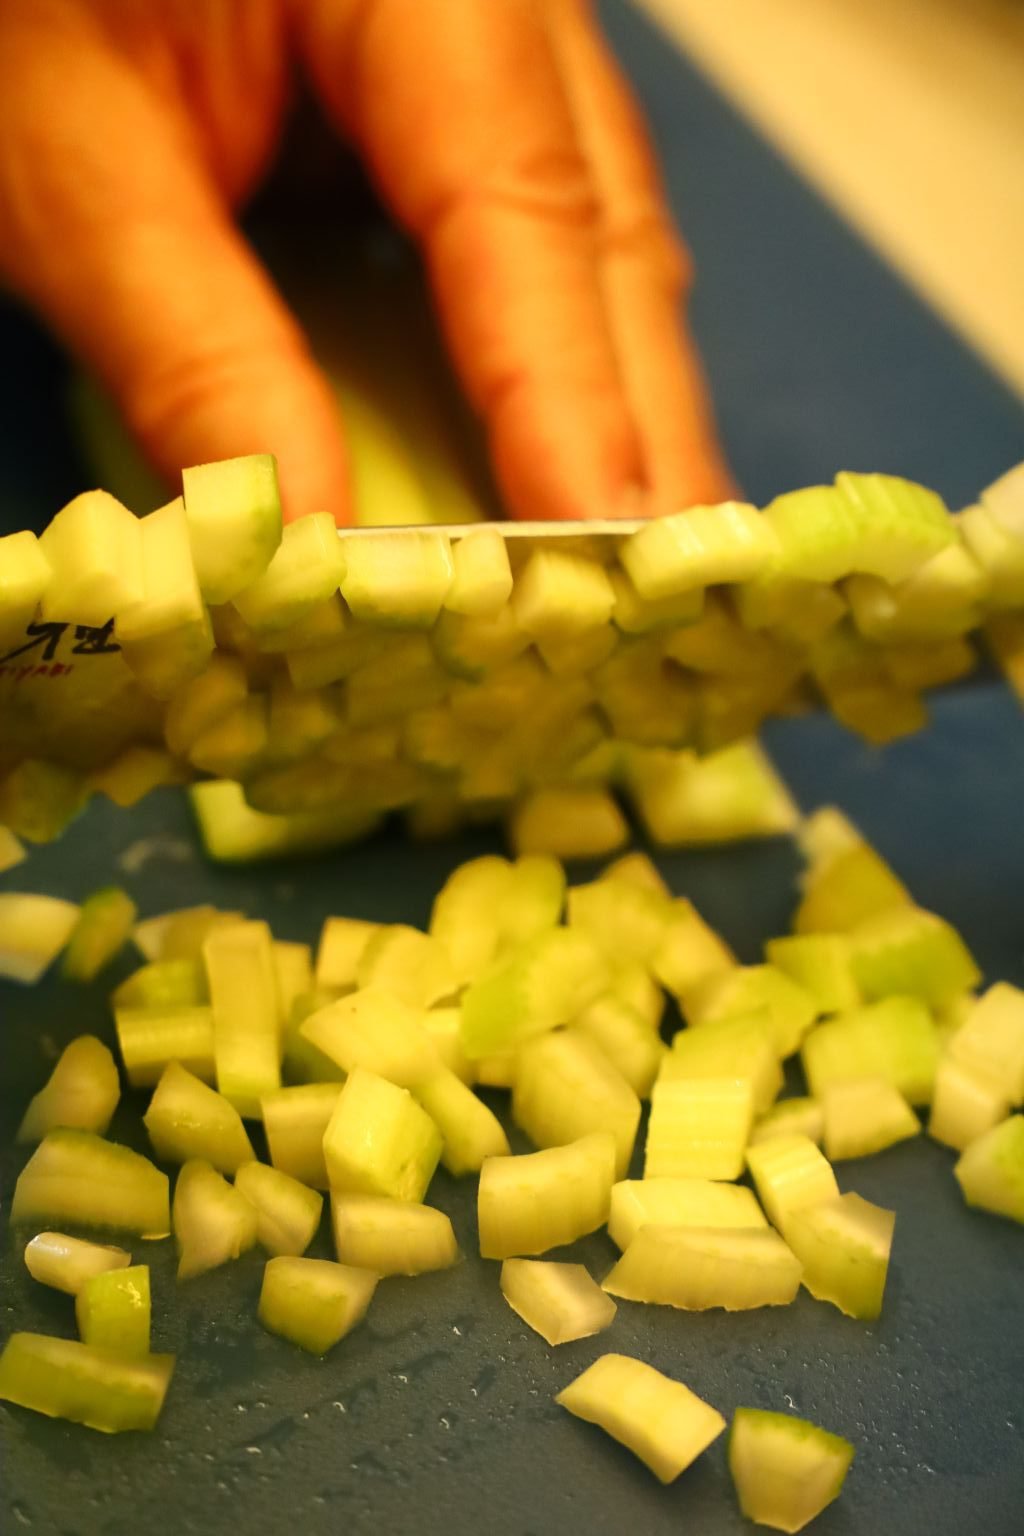

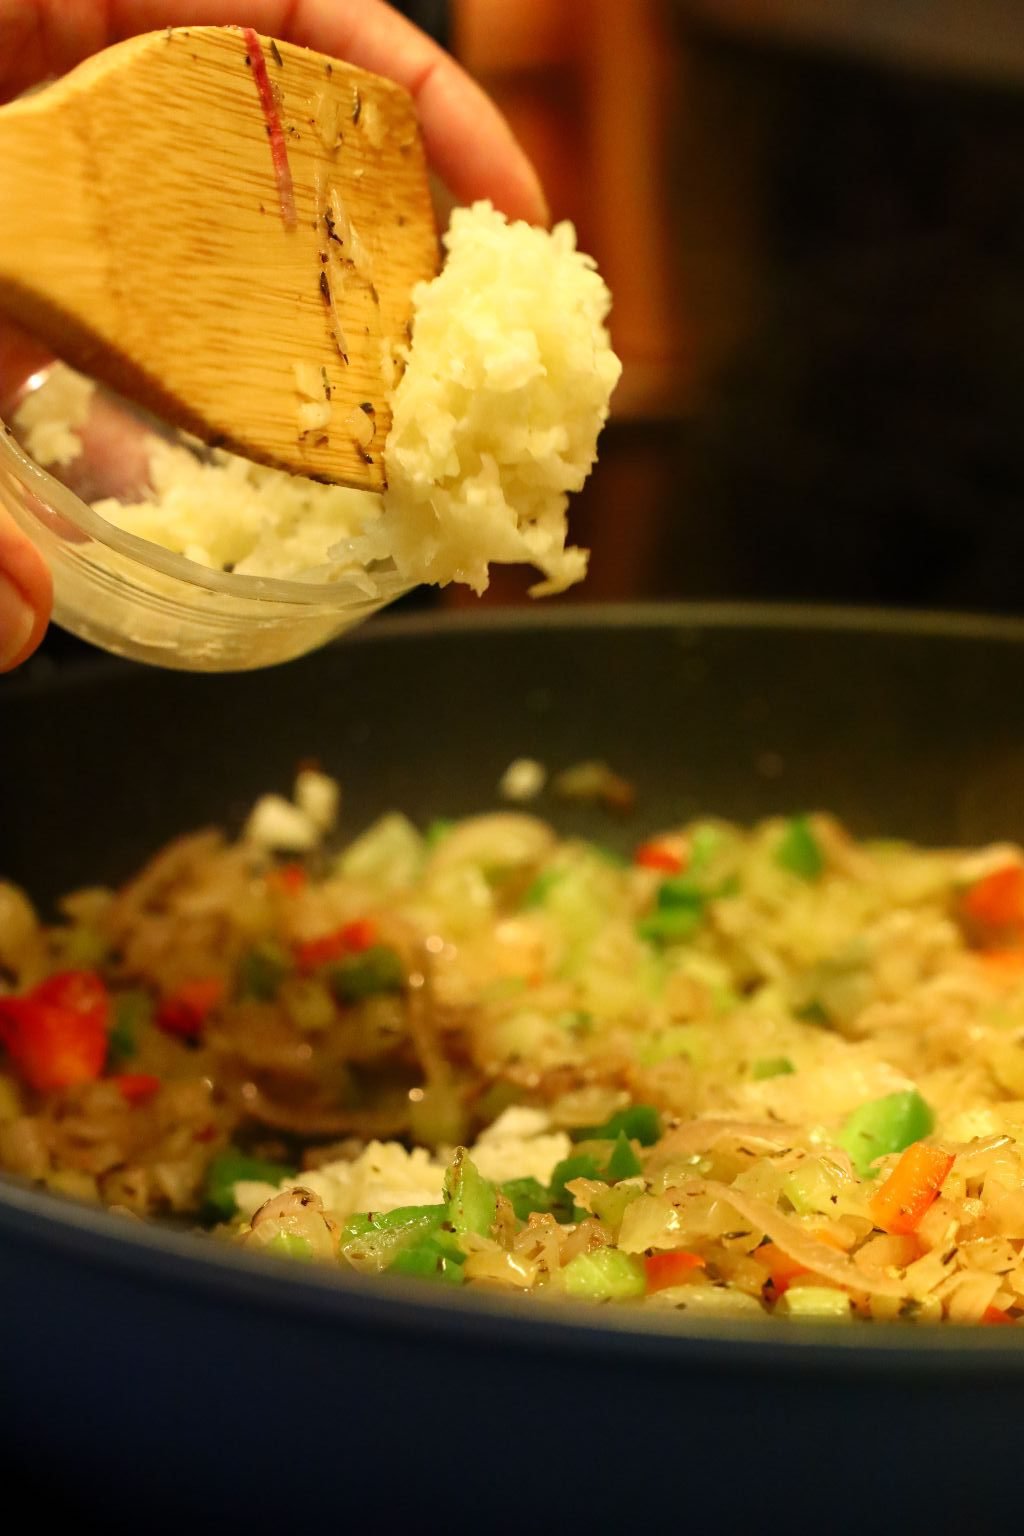
After your Celery is rinsed, slice it lengthwise into three to four equal strips. Then slice those strips into diced sections as shown. Slice your Onion in half…
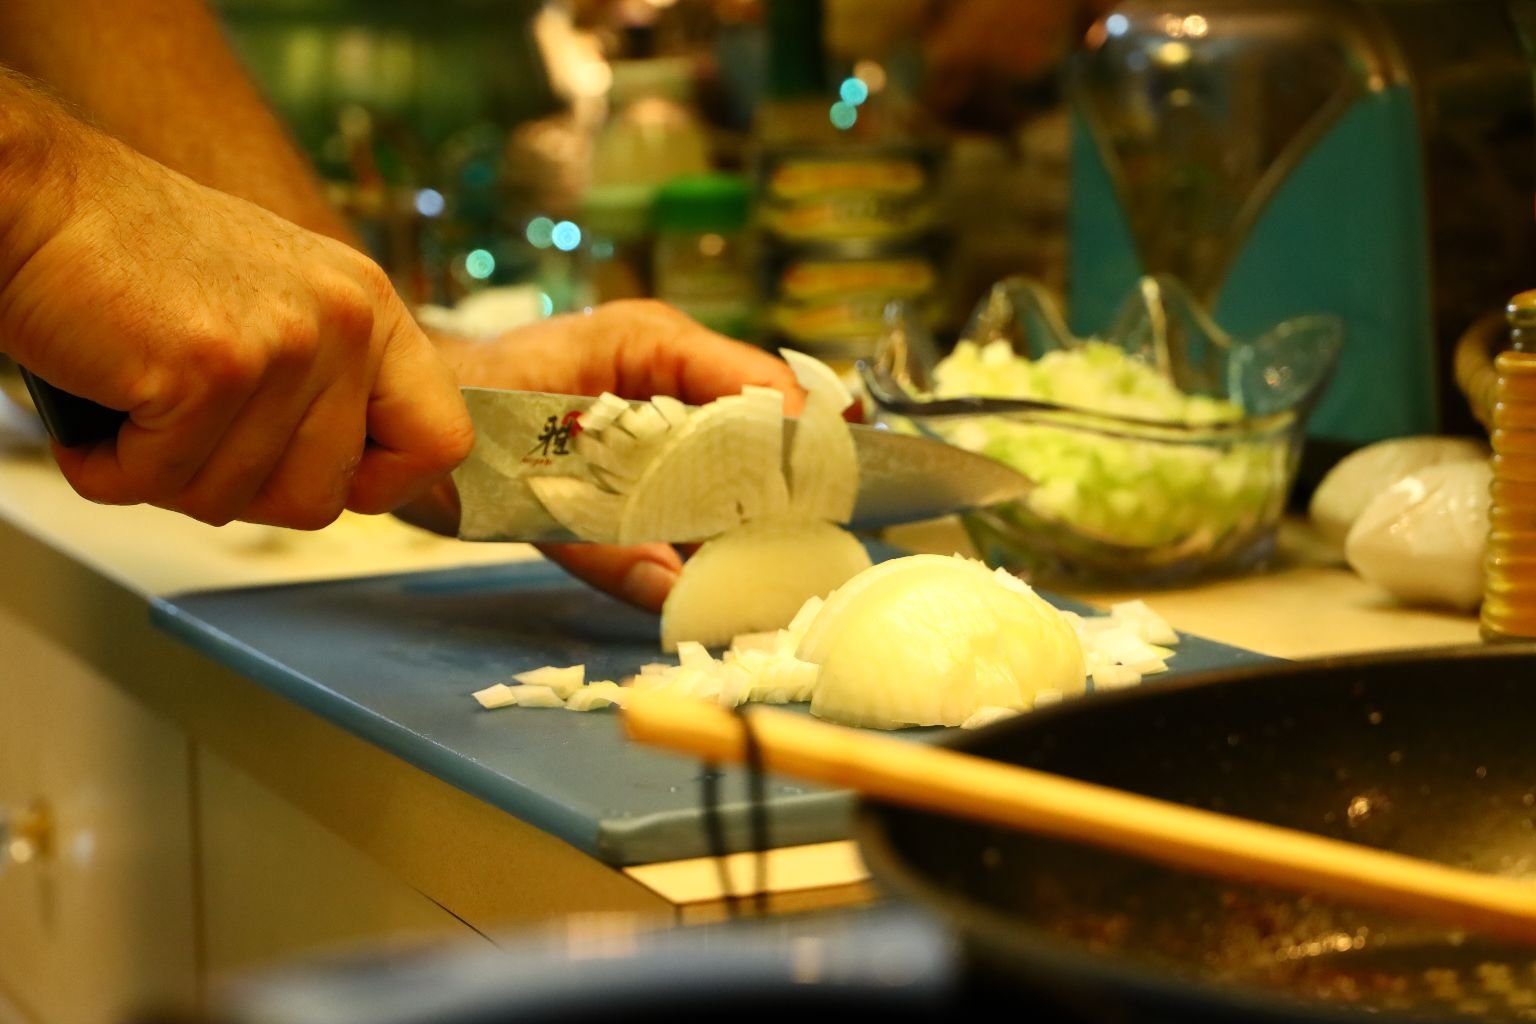

then into small sections and finally into small diced pieces, about the same size as the Celery. Repeat the same process with the Shallots.
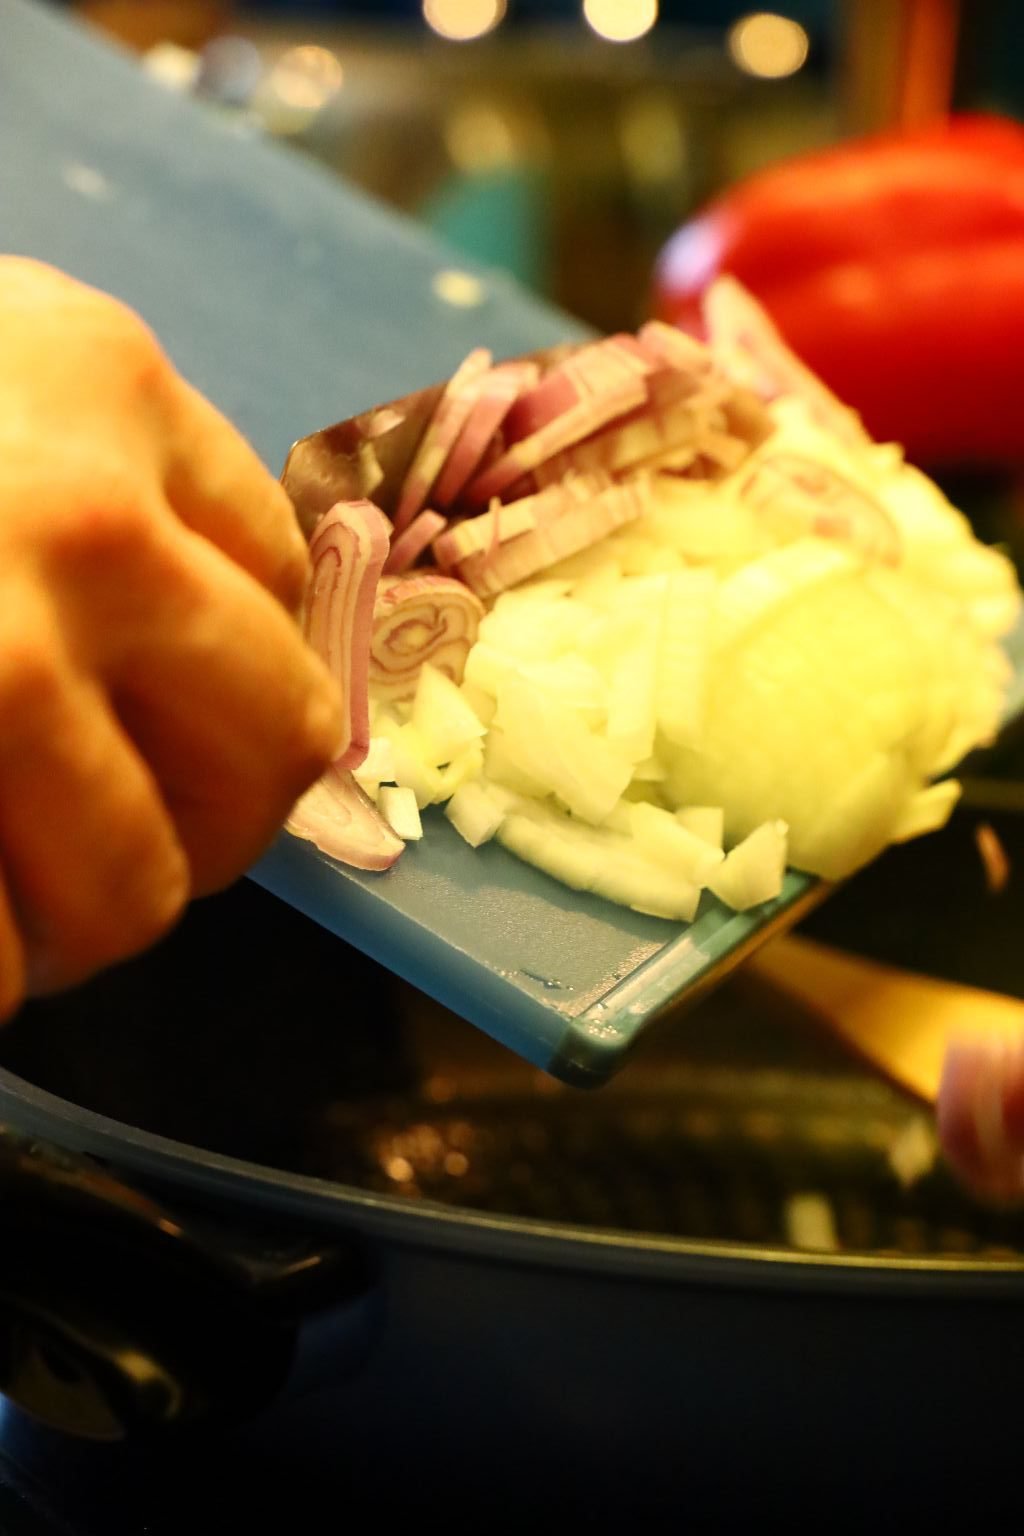

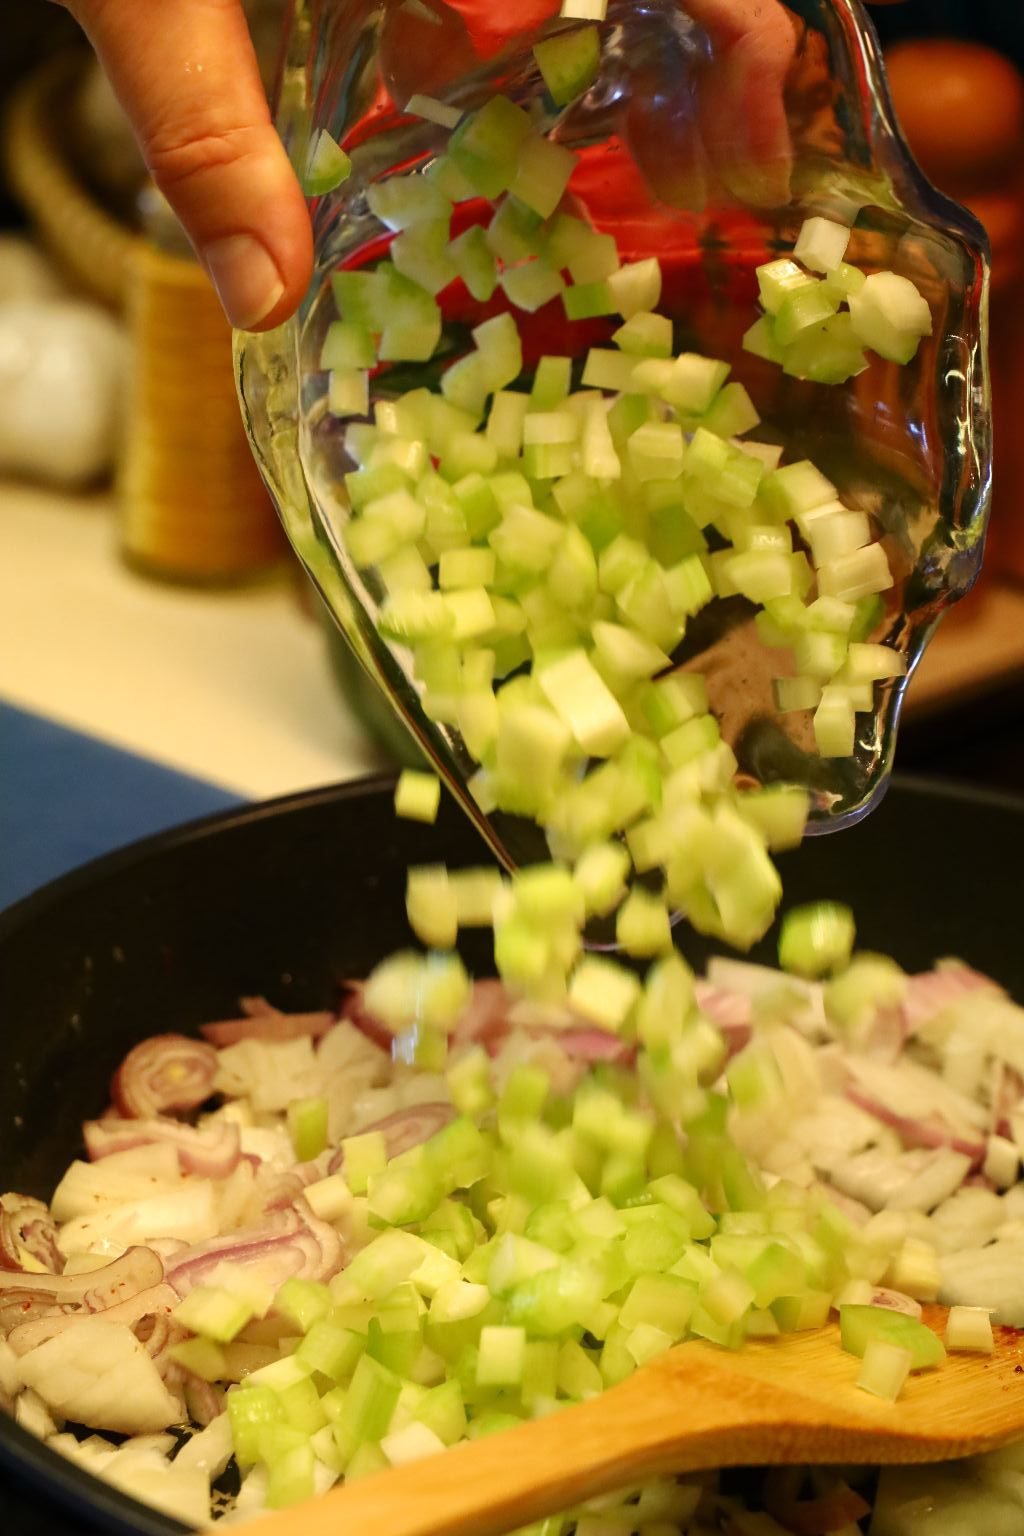
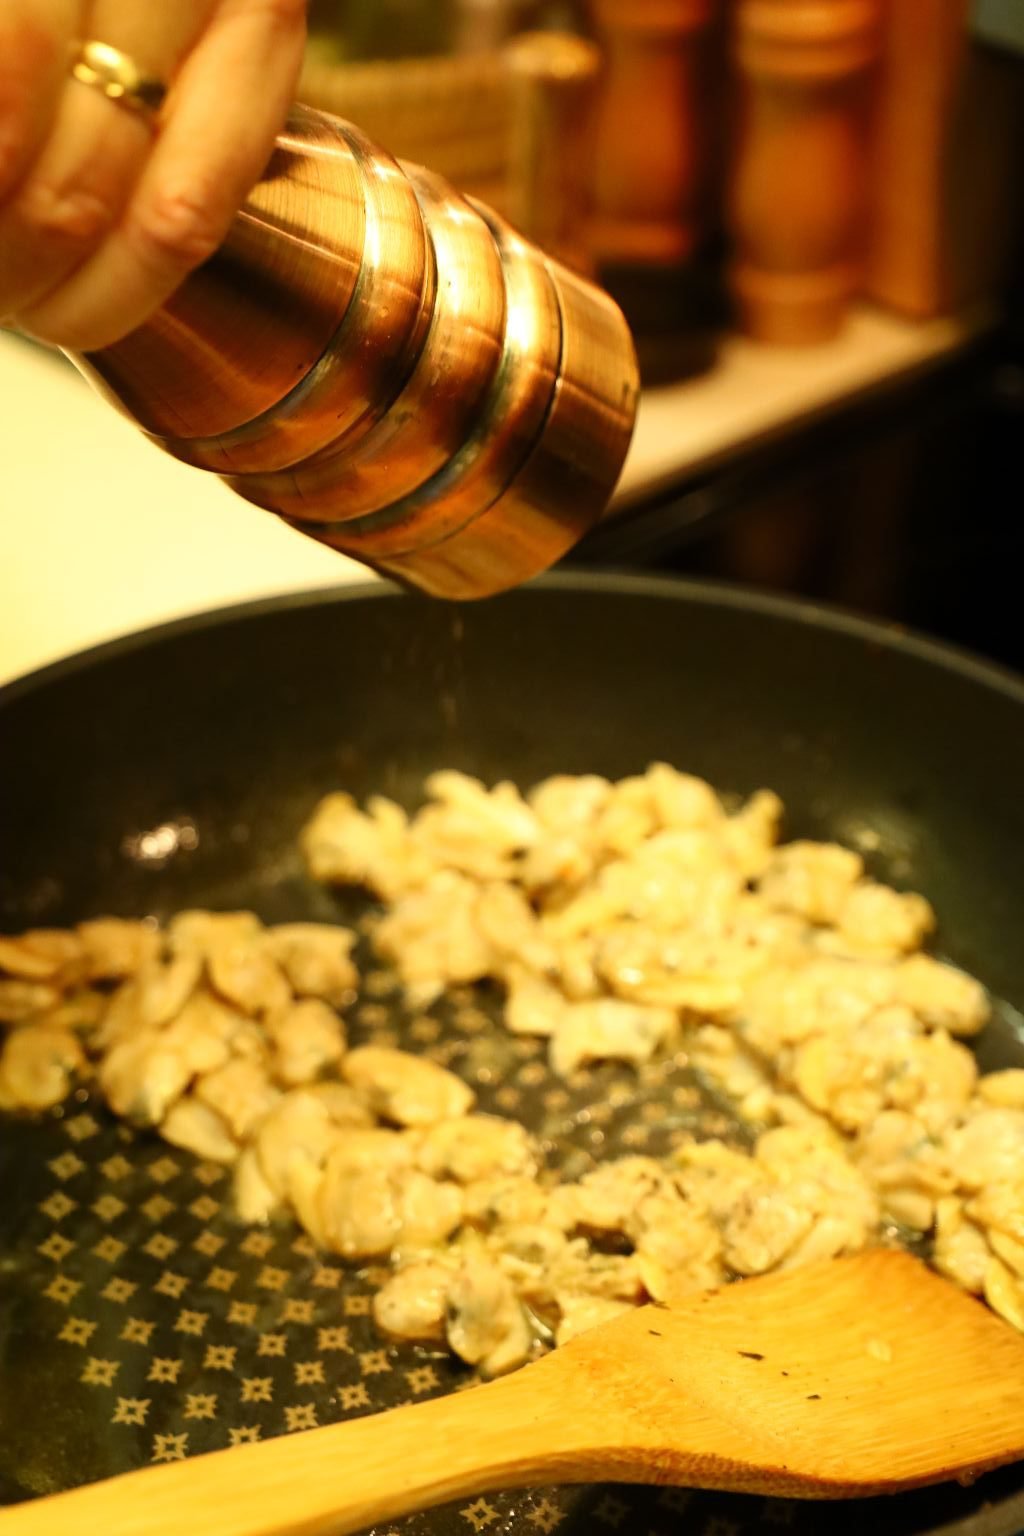
Once you have sliced all your ingredients add all the ingredients into the pan and saute them over medium heat in your bacon grease.
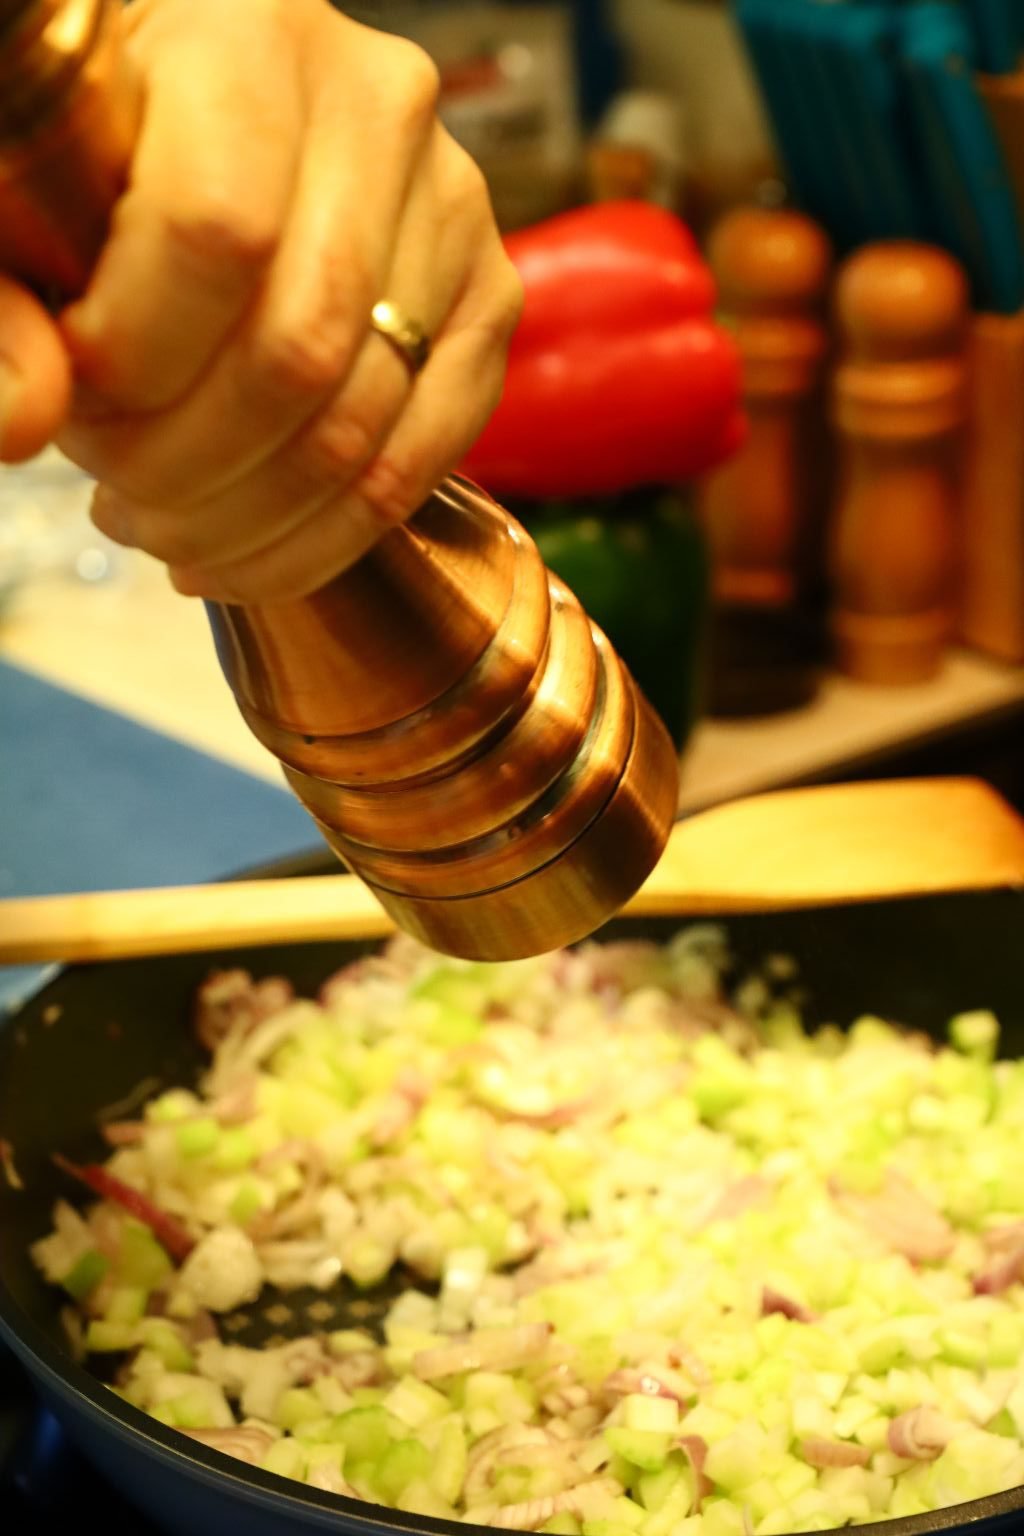


Stir all the vegetables in the bacon fat and add your ground pepper and sea salt.

————————————————————–
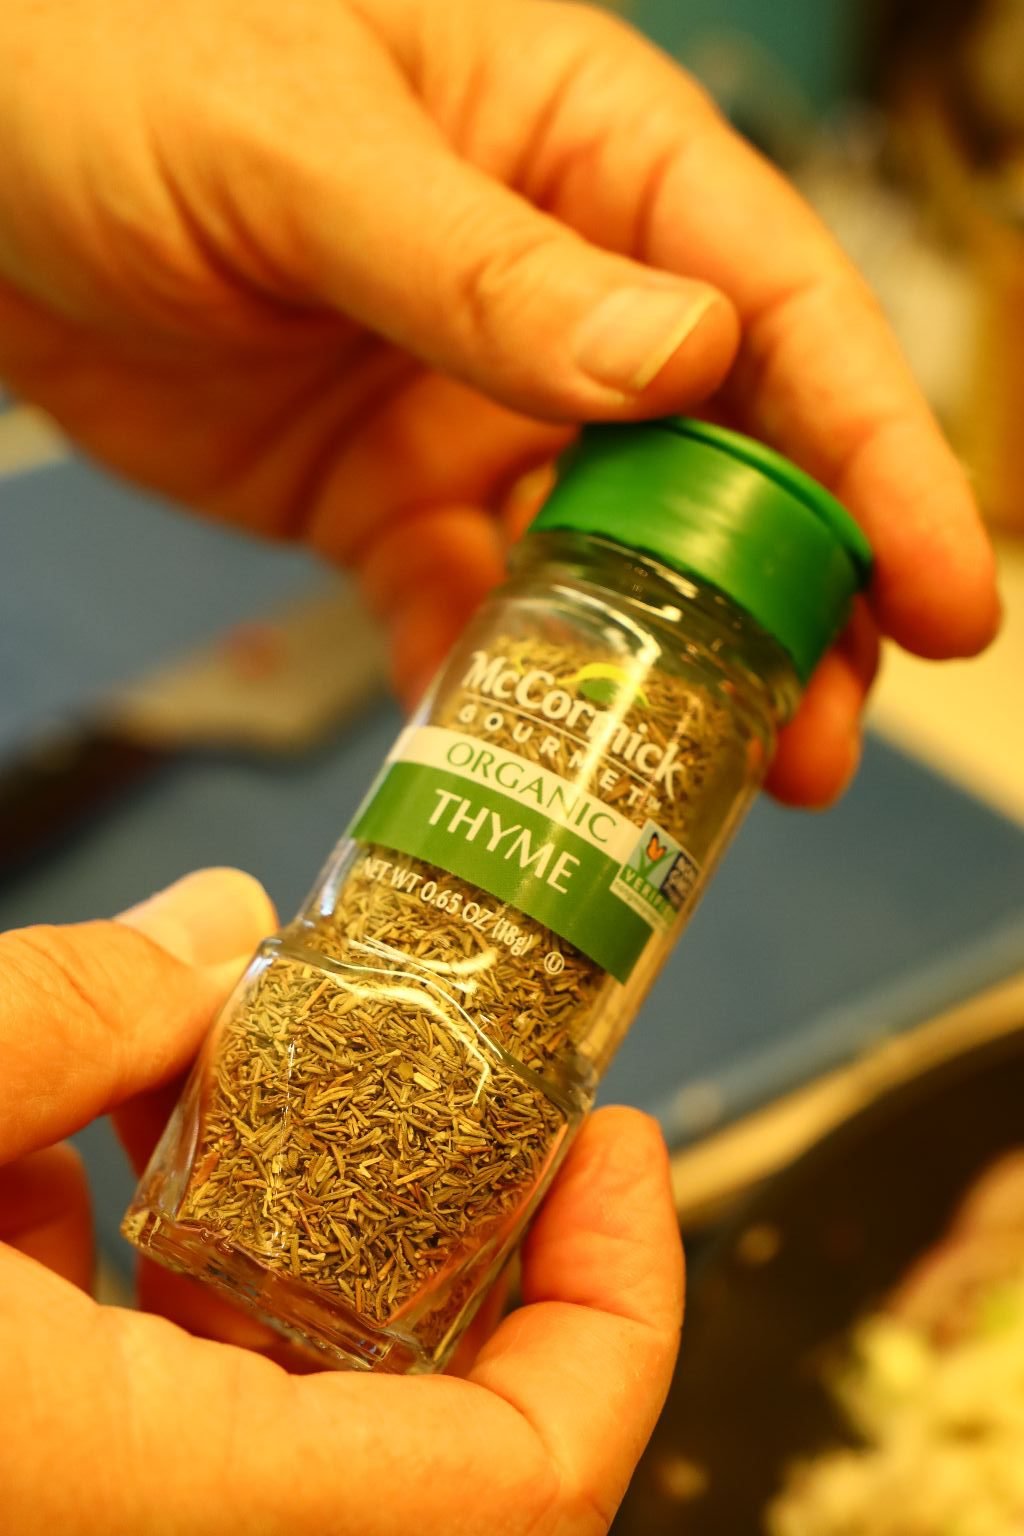
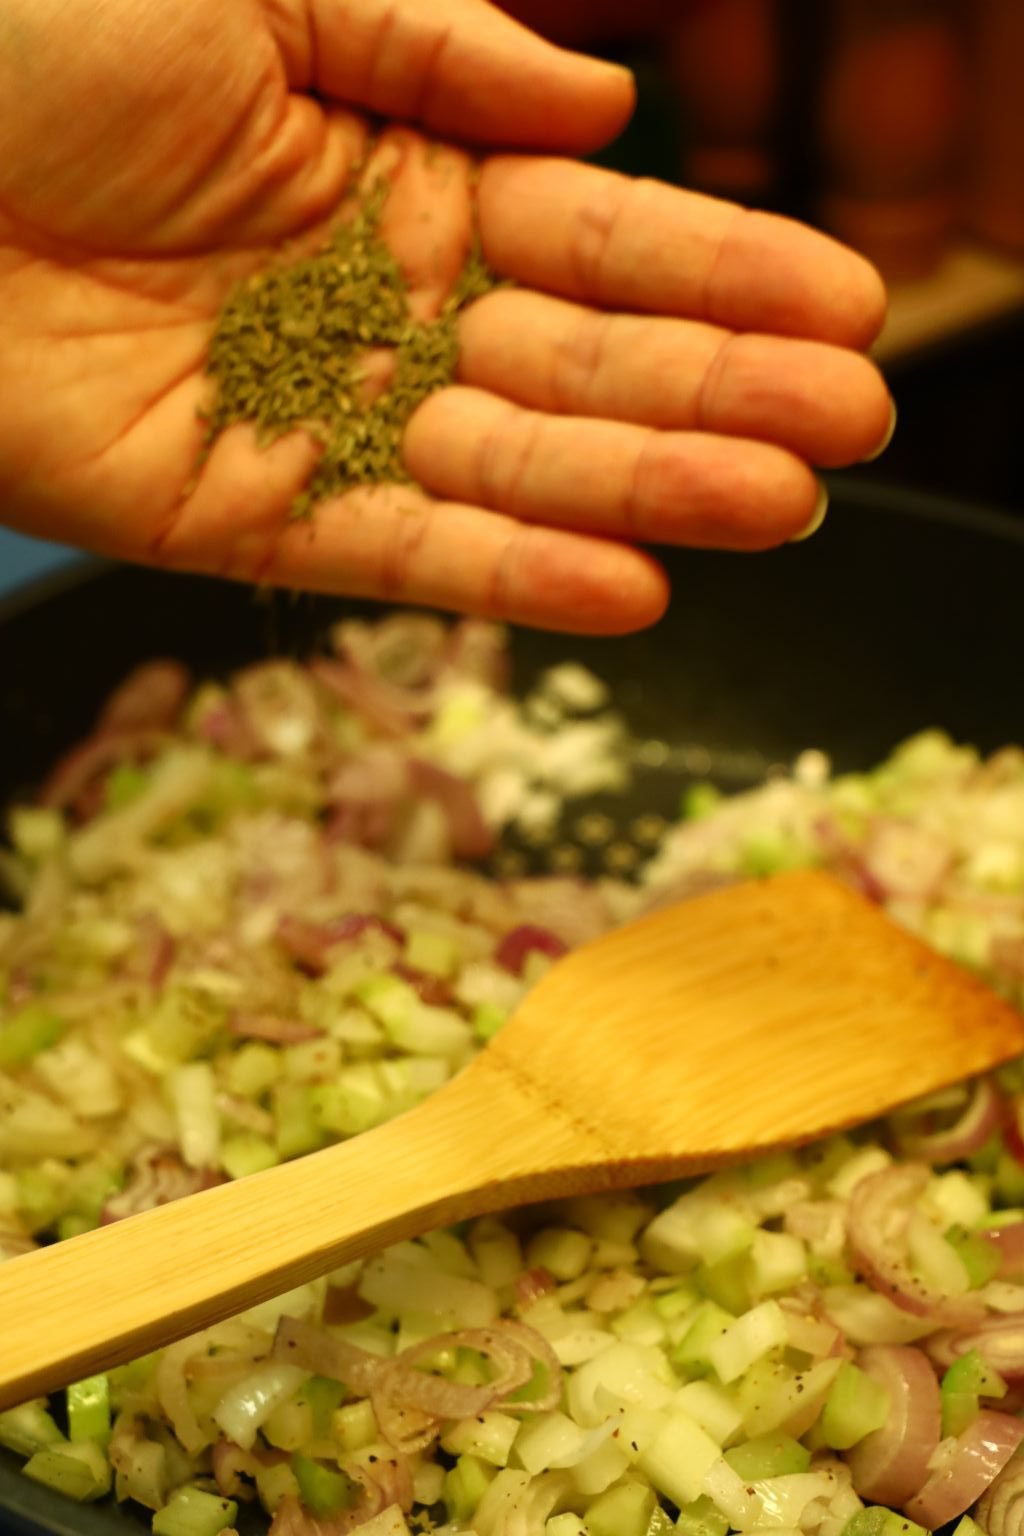
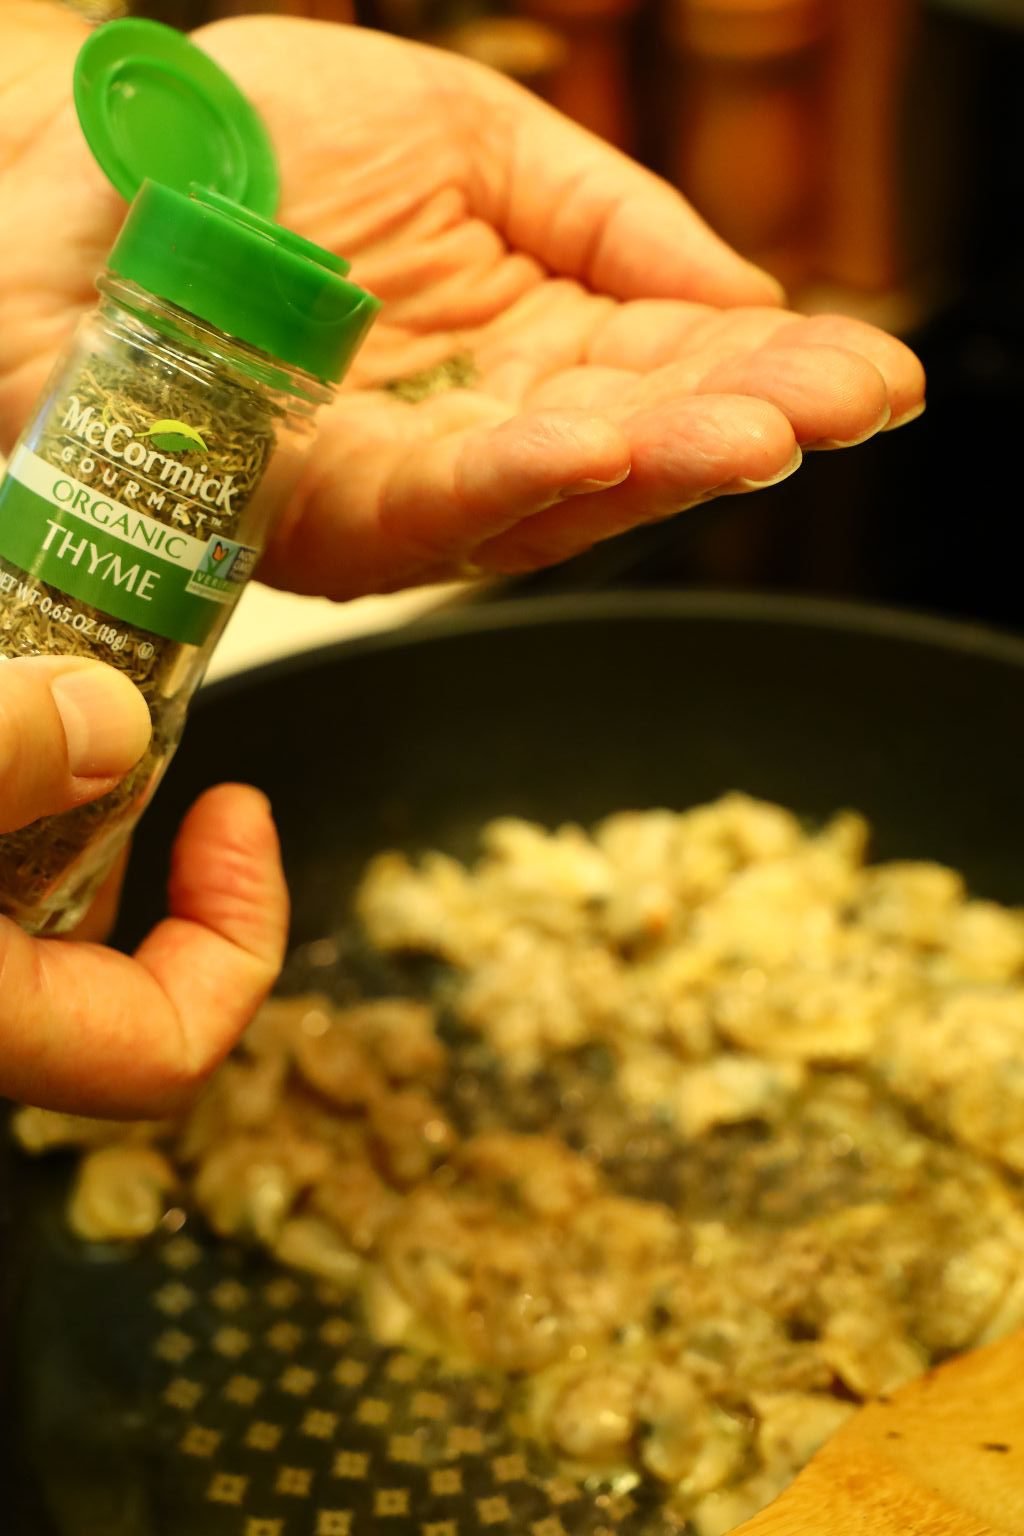
Add 1 Tbsp. of dried Thyme to the Onion, Shallot and Celery mixture.
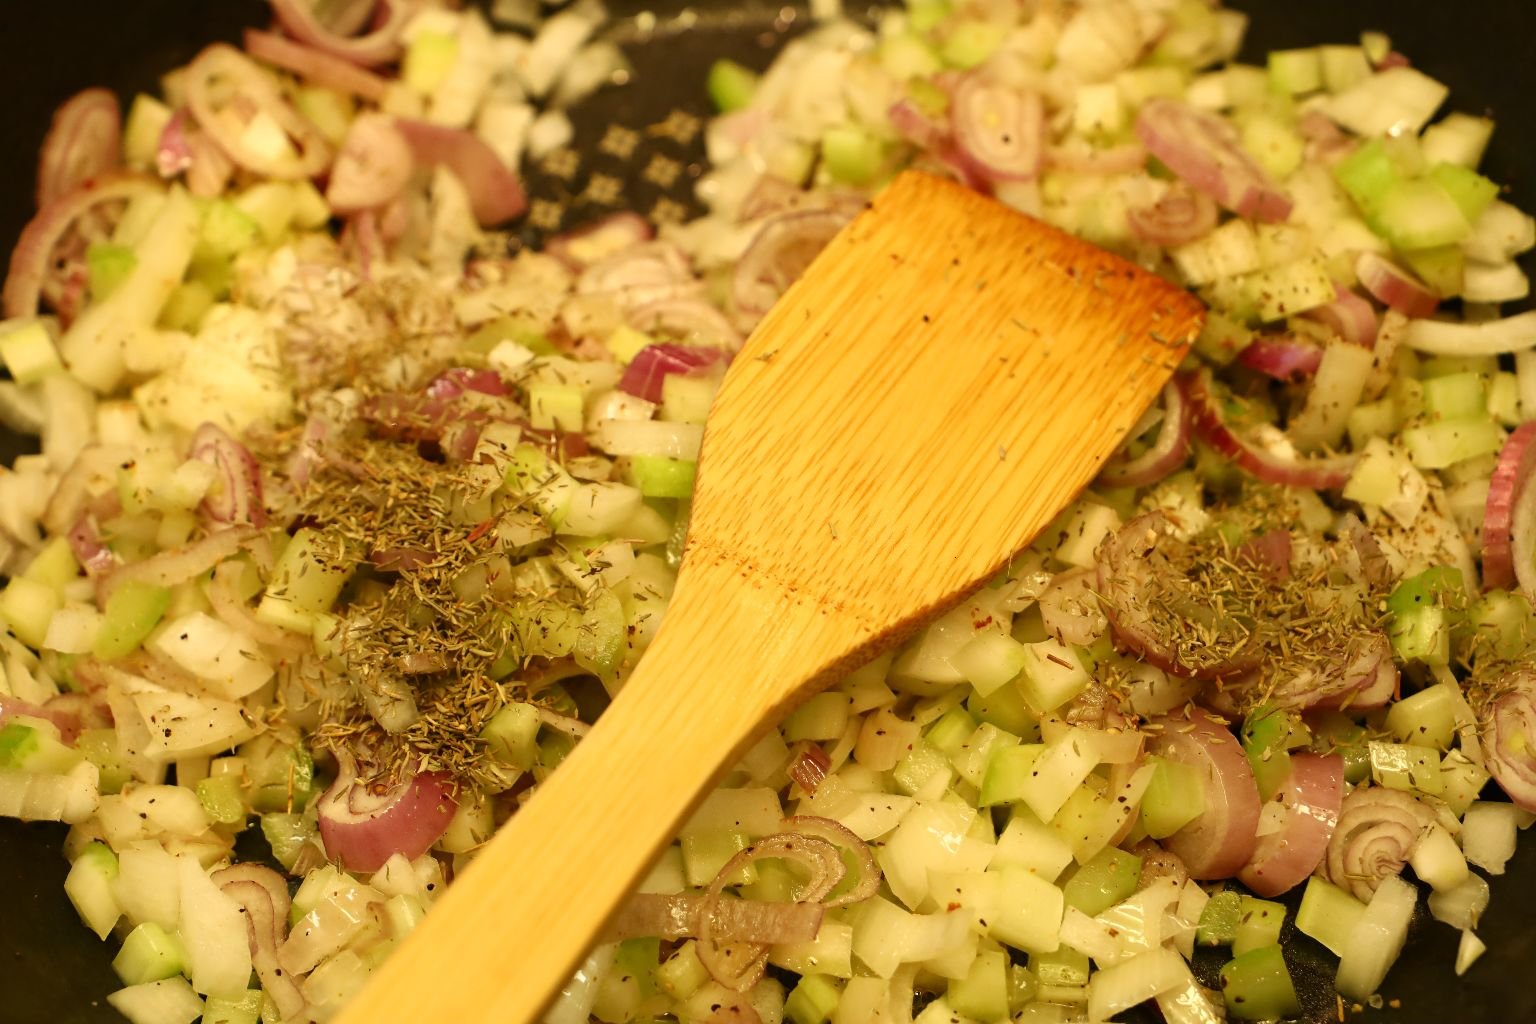
I believe Thyme is a key ingredient to the great flavor of this chowder.
————————————————————–
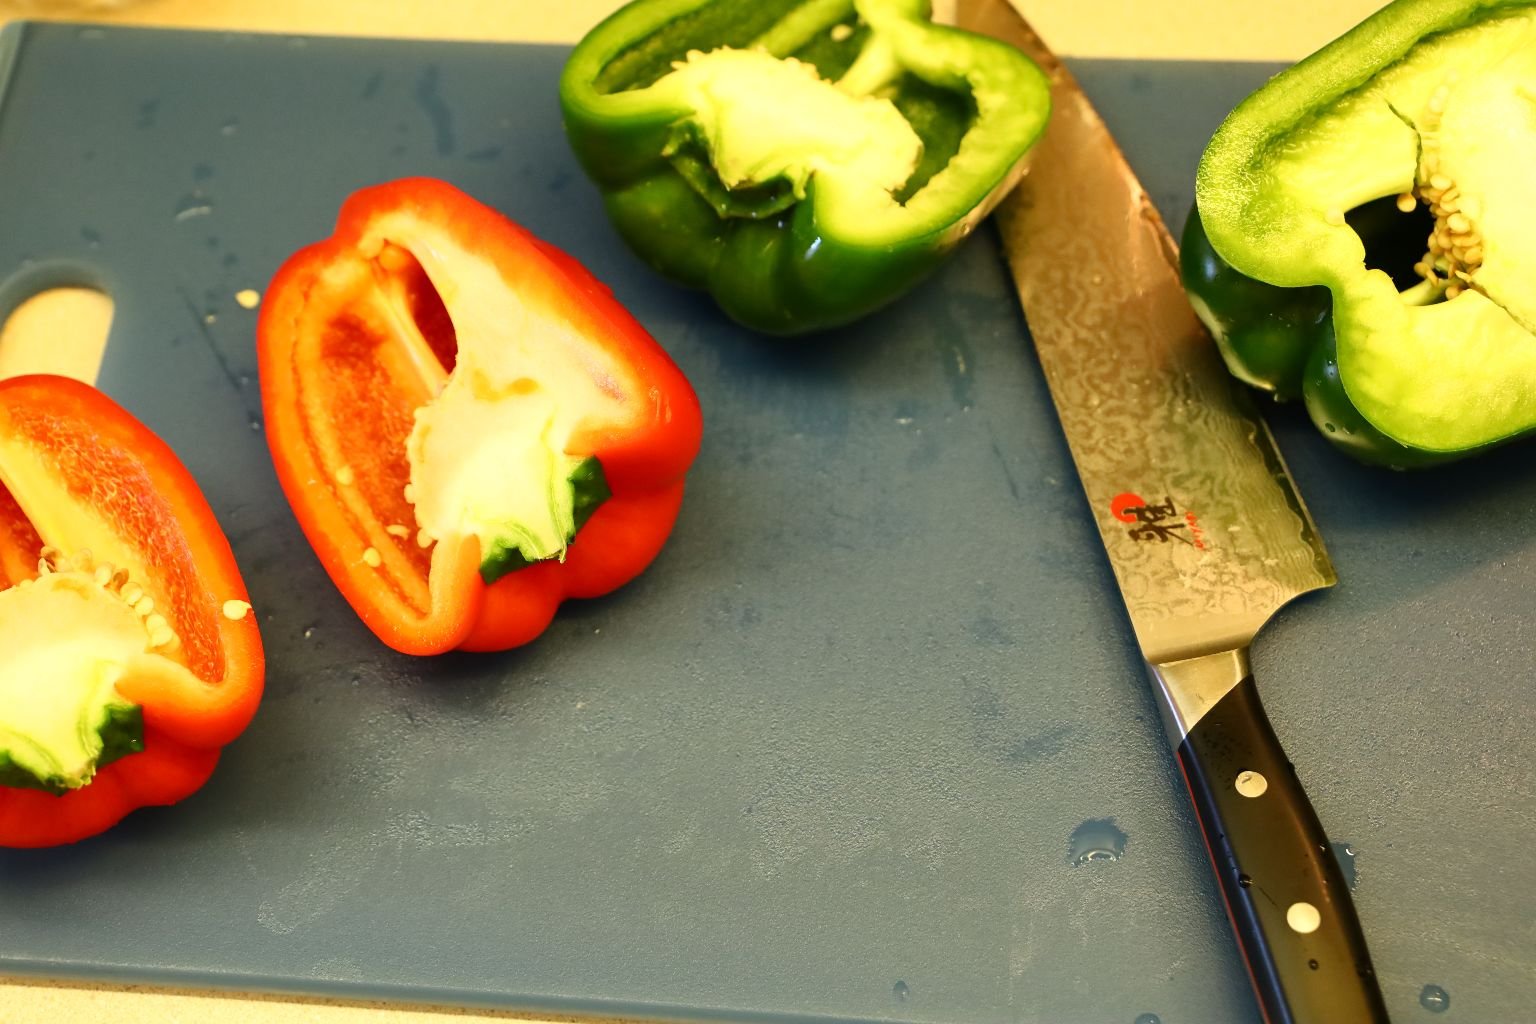
Slice your Bell Peppers in half and remove their seeds and stems.
Continue to saute the vegetables slowly and stir them occasionally, so to saute evenly.
—————————————————————-
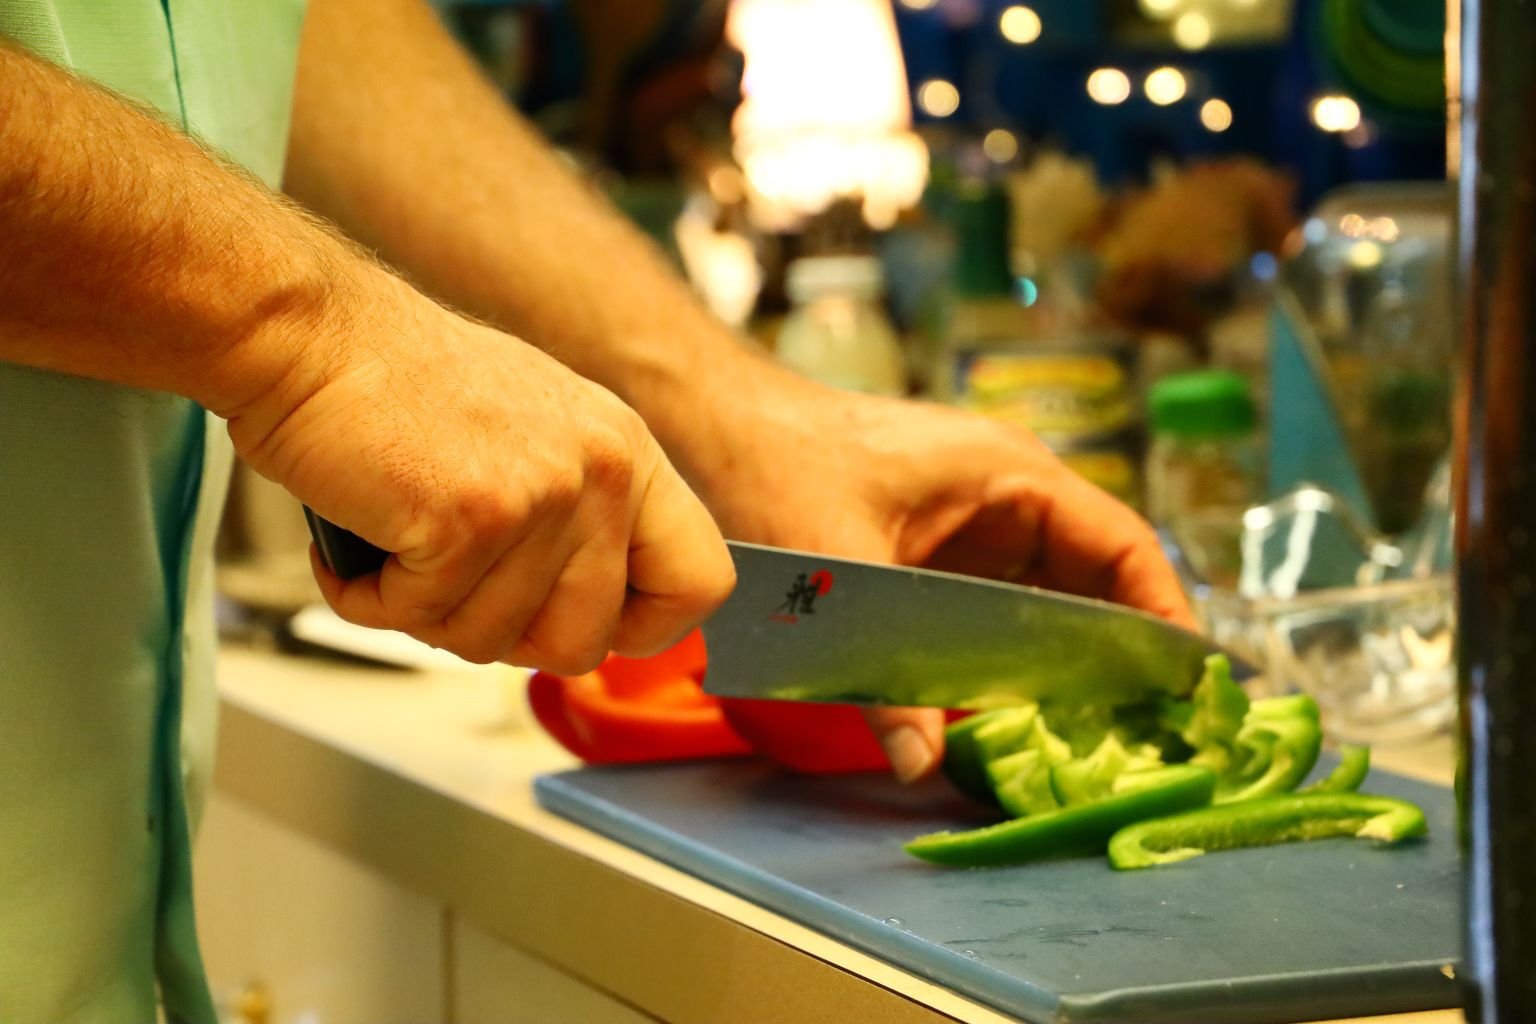
Slice your Bell Peppers into long strips as shown.
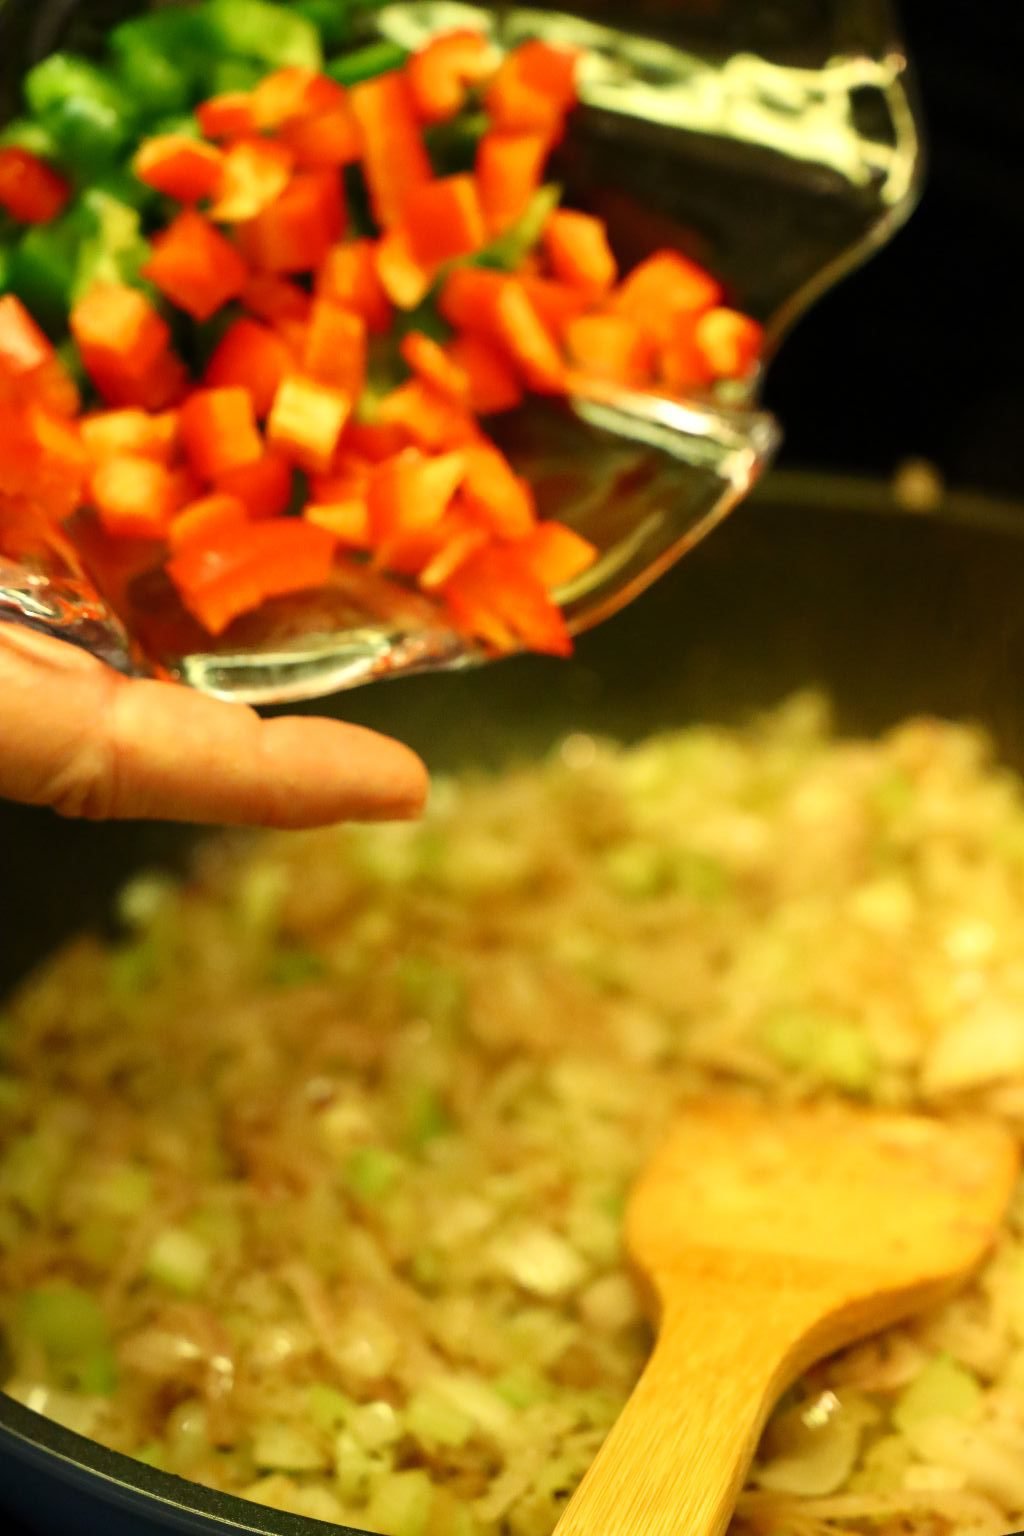
Then slice them into the same diced size as your onions and celery. Once the vegetables are softened and translucent, add your Bell Peppers to the mixture…

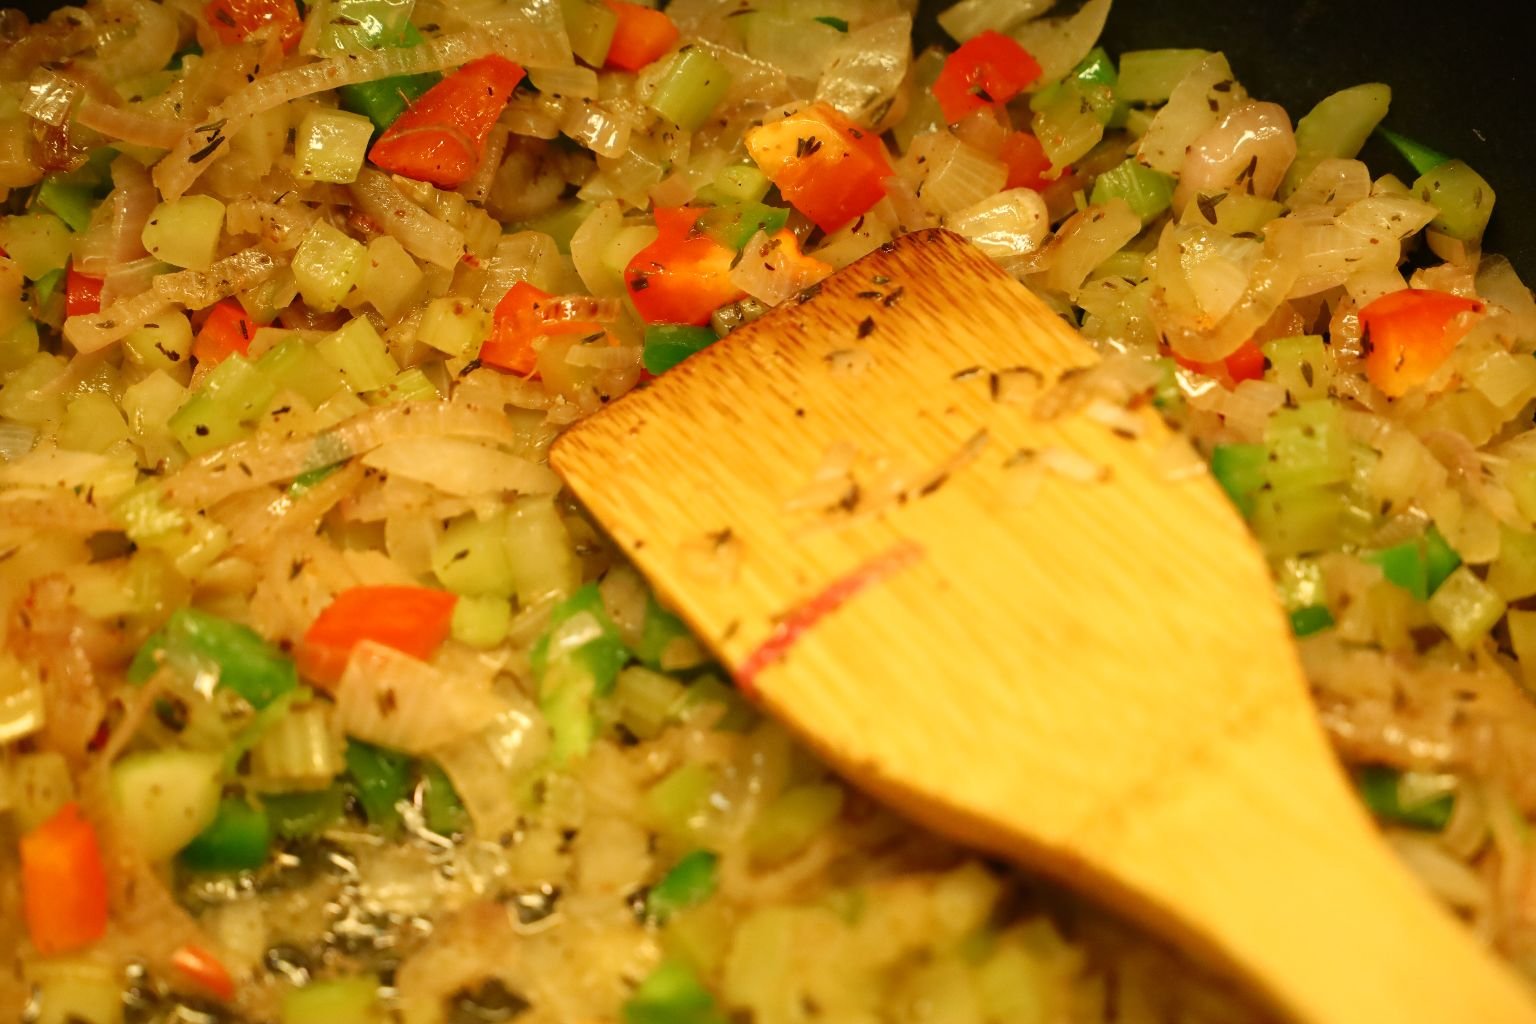
and mix them well with the other ingredients.

After about 5 minutes when they get slightly softened, add your minced Garlic to the pan. Continue to saute the mixture for another 5 minutes to cook the garlic, then remove the pan from the heat.
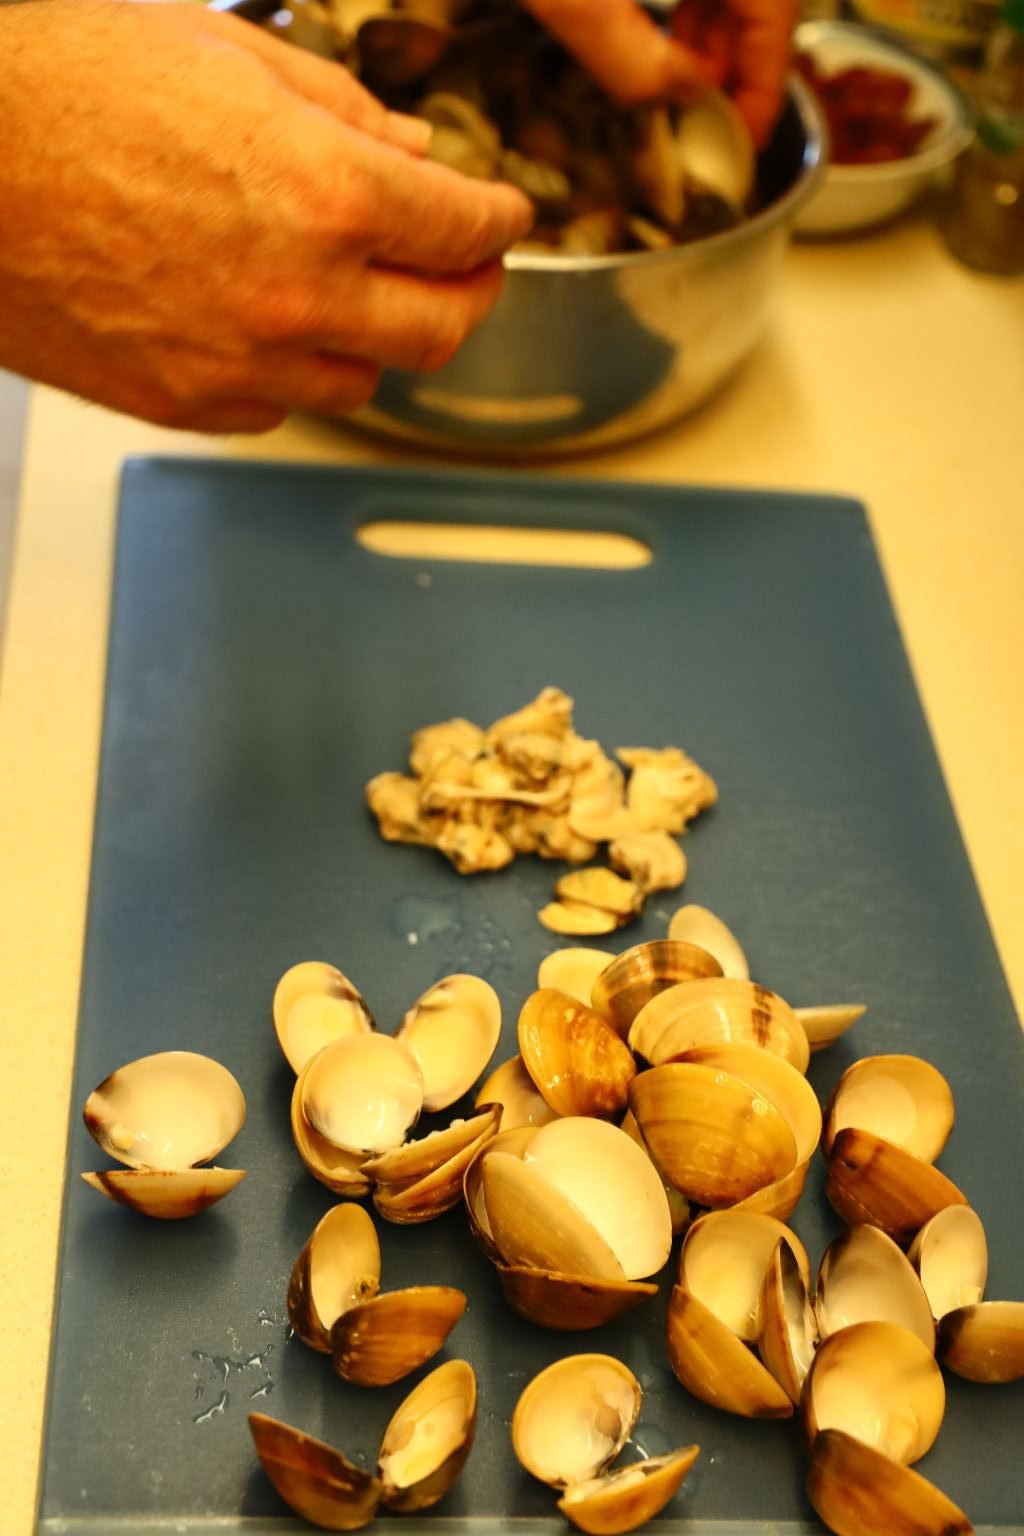

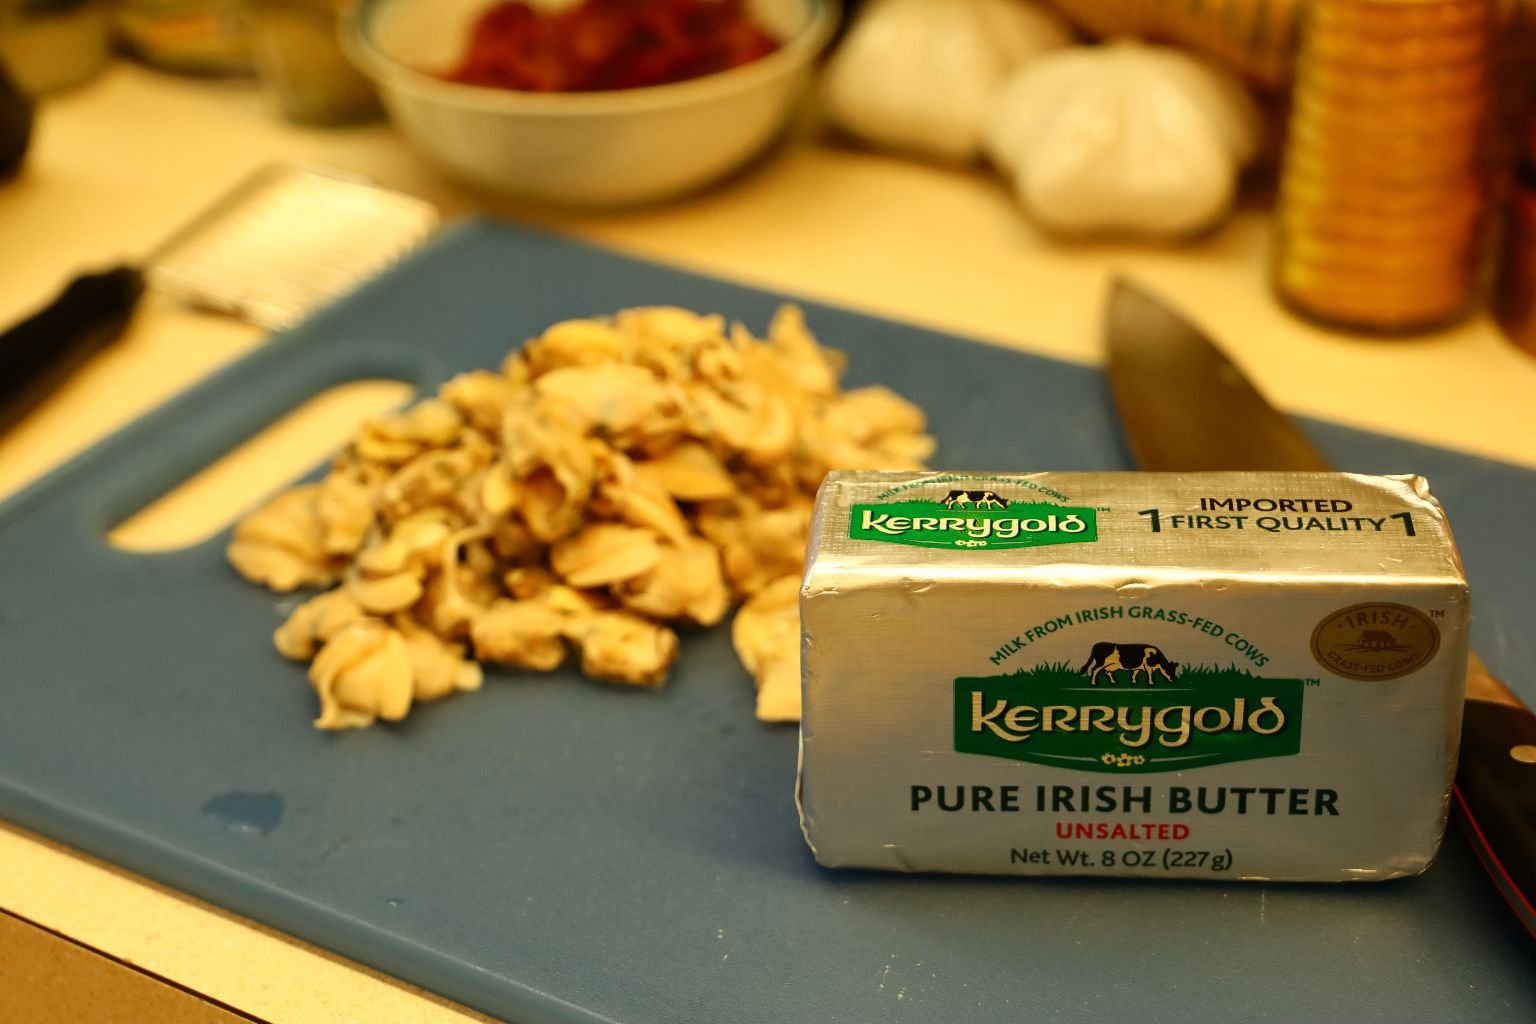
Remove the clam from the shell. You can usually do this with your fingers as it should pull clean away from the inside of the shell.

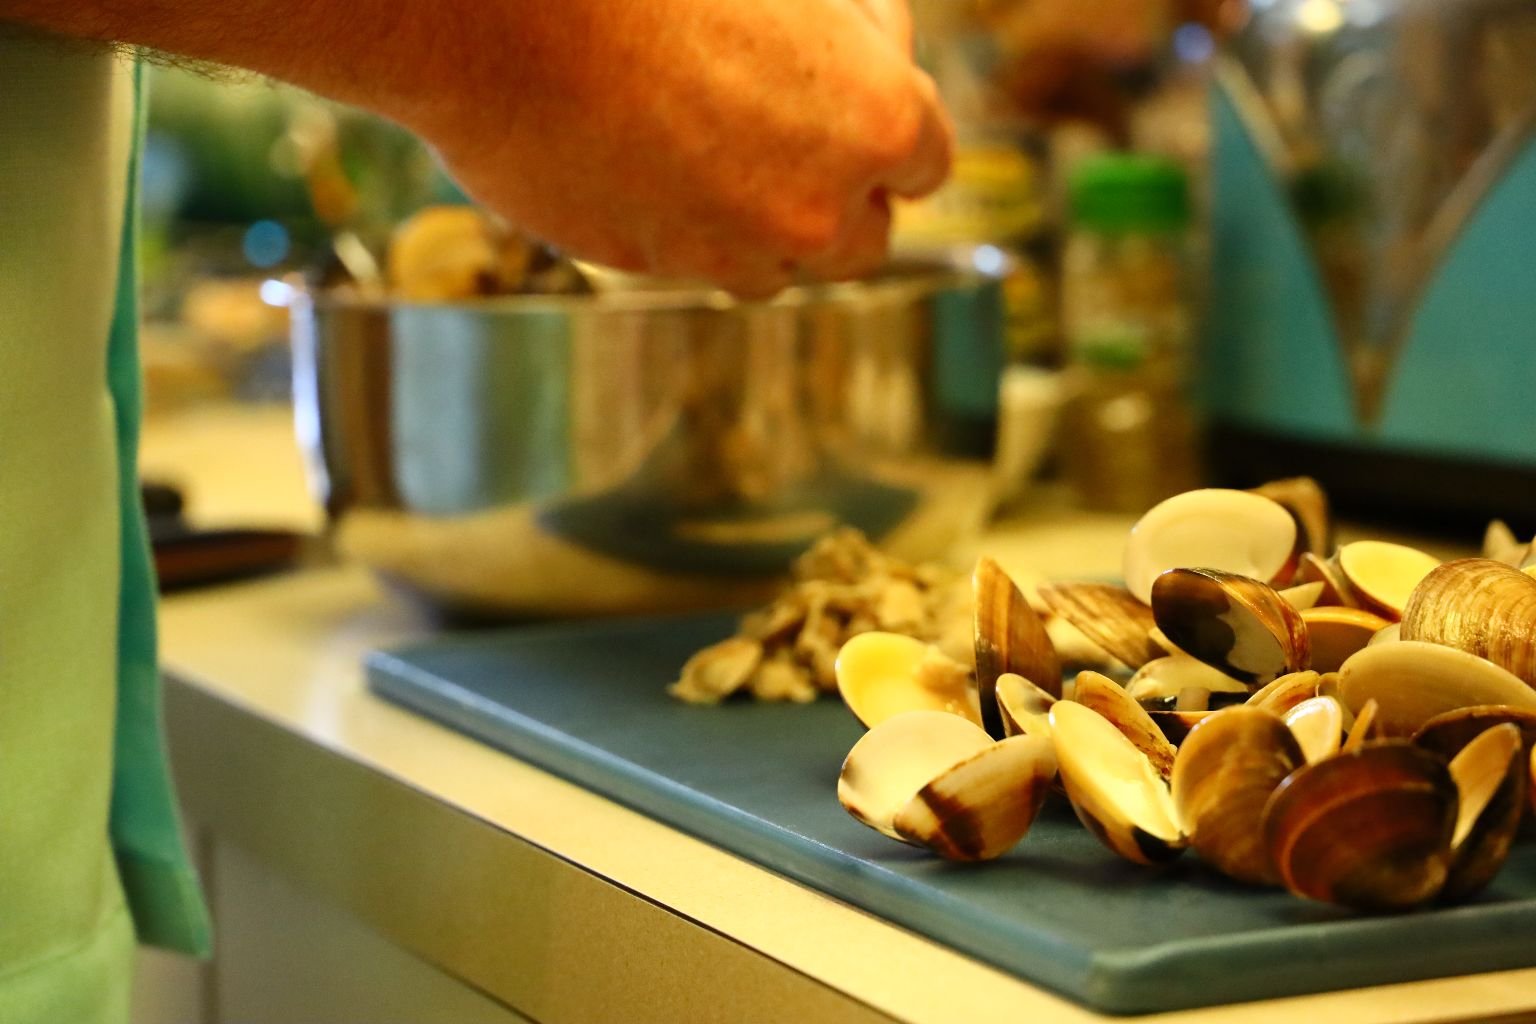
This will take a few minutes to do.
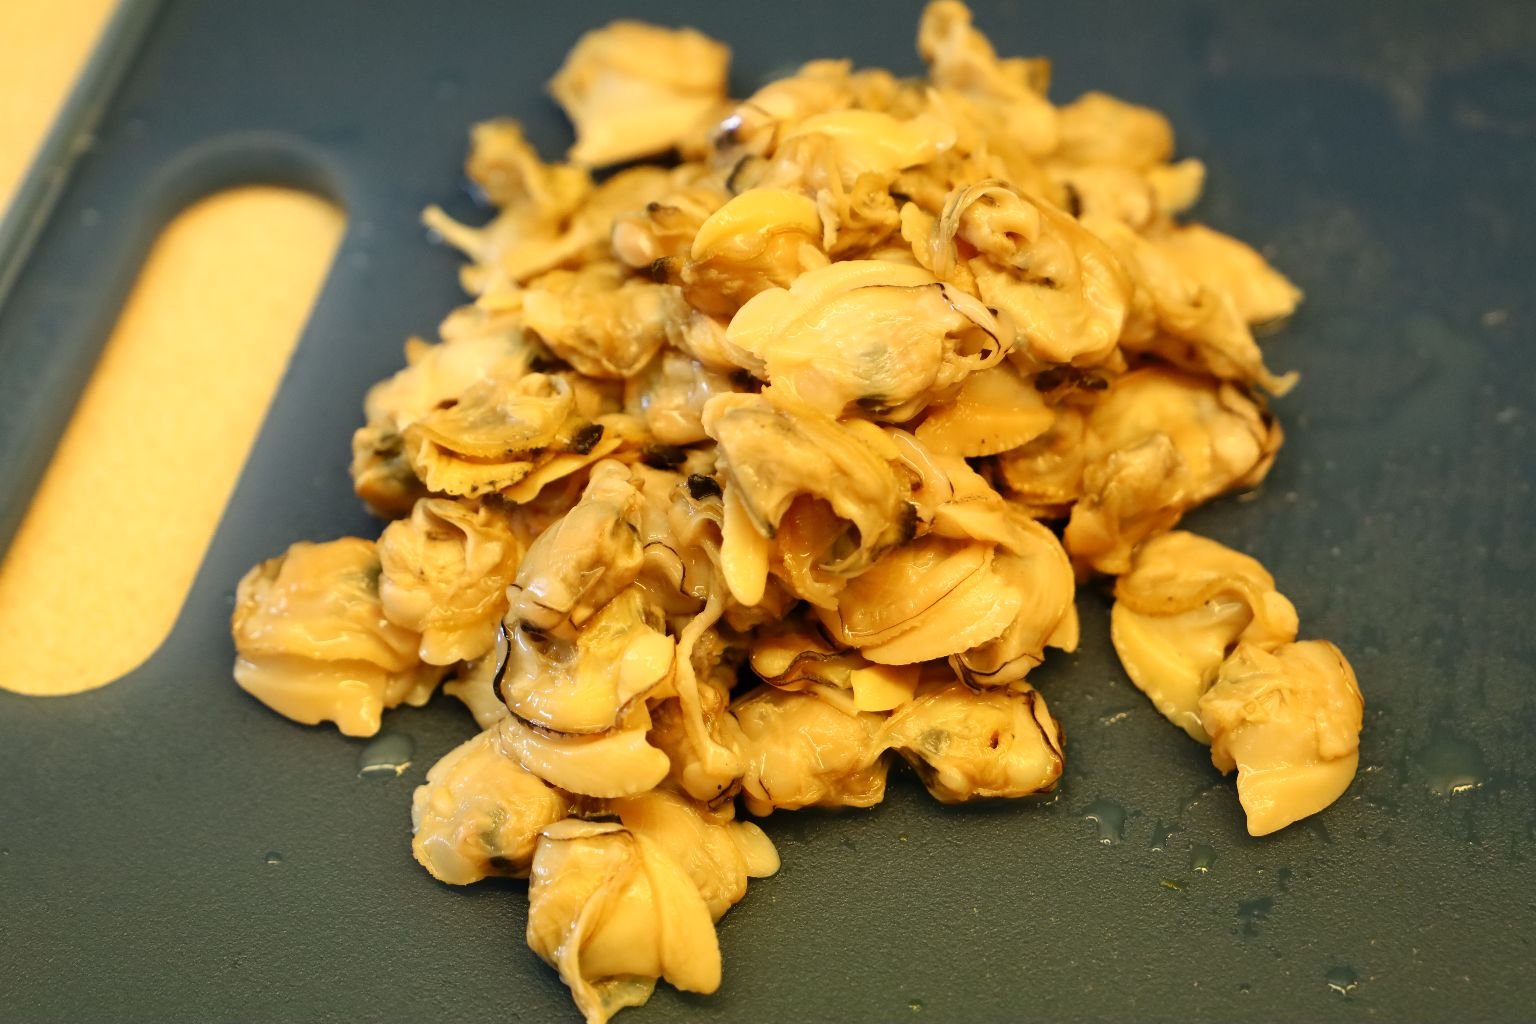
Here you can see the almost one cup of clam meat I removed from all the clam shells.
———————————————————–
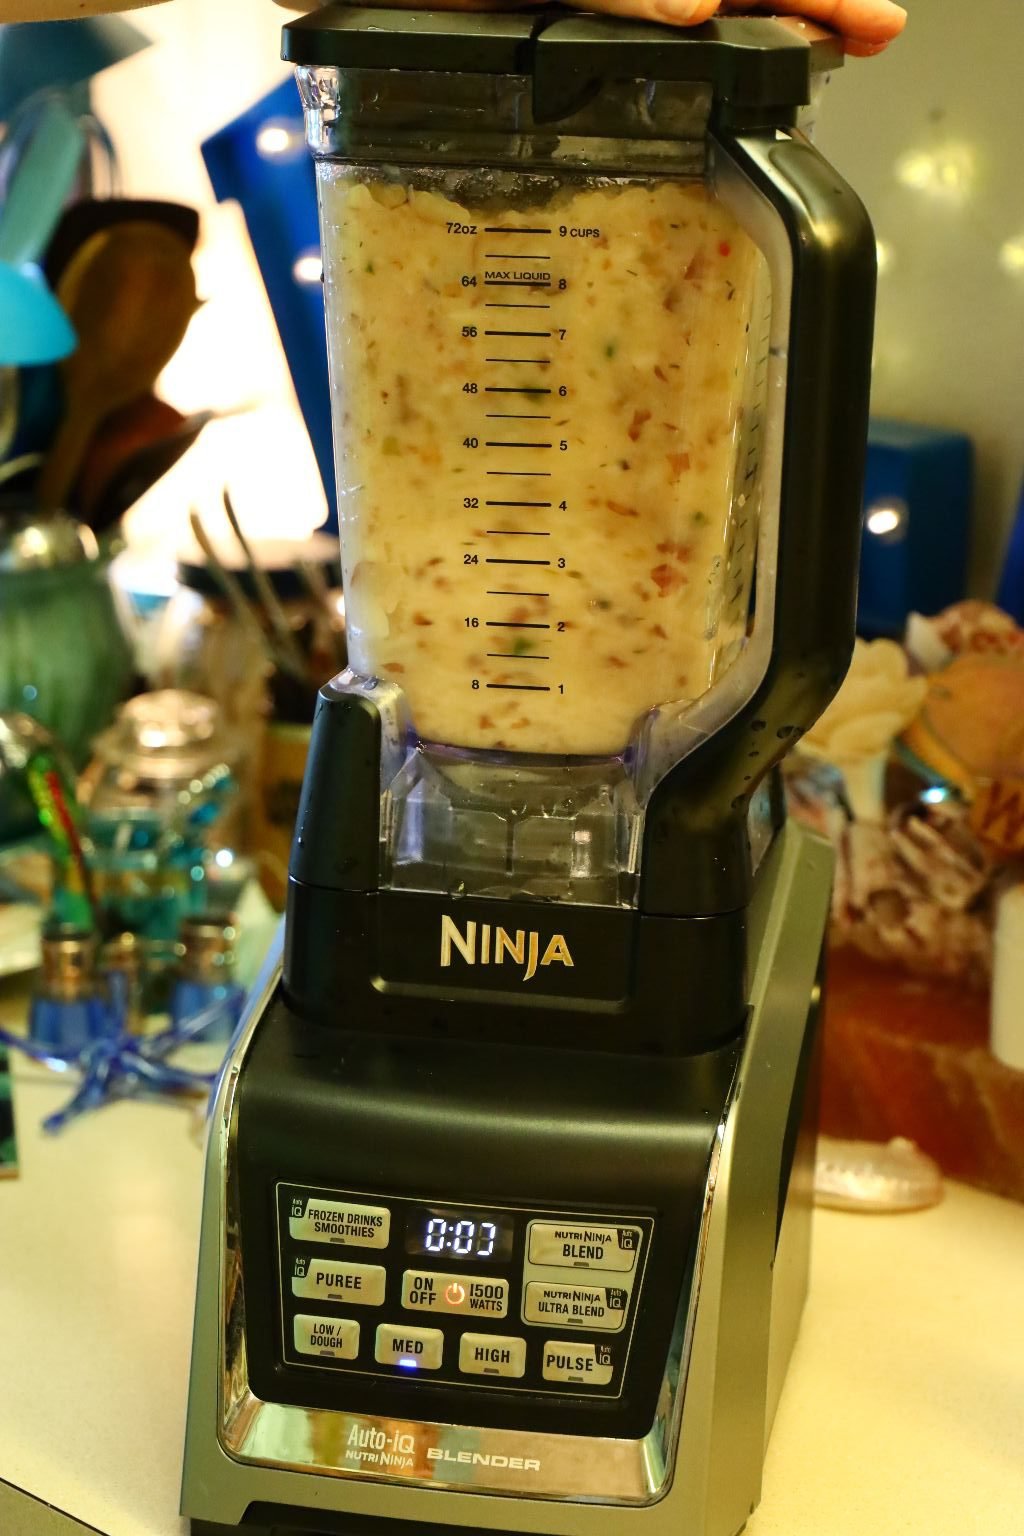
Now Get Out Your Blender
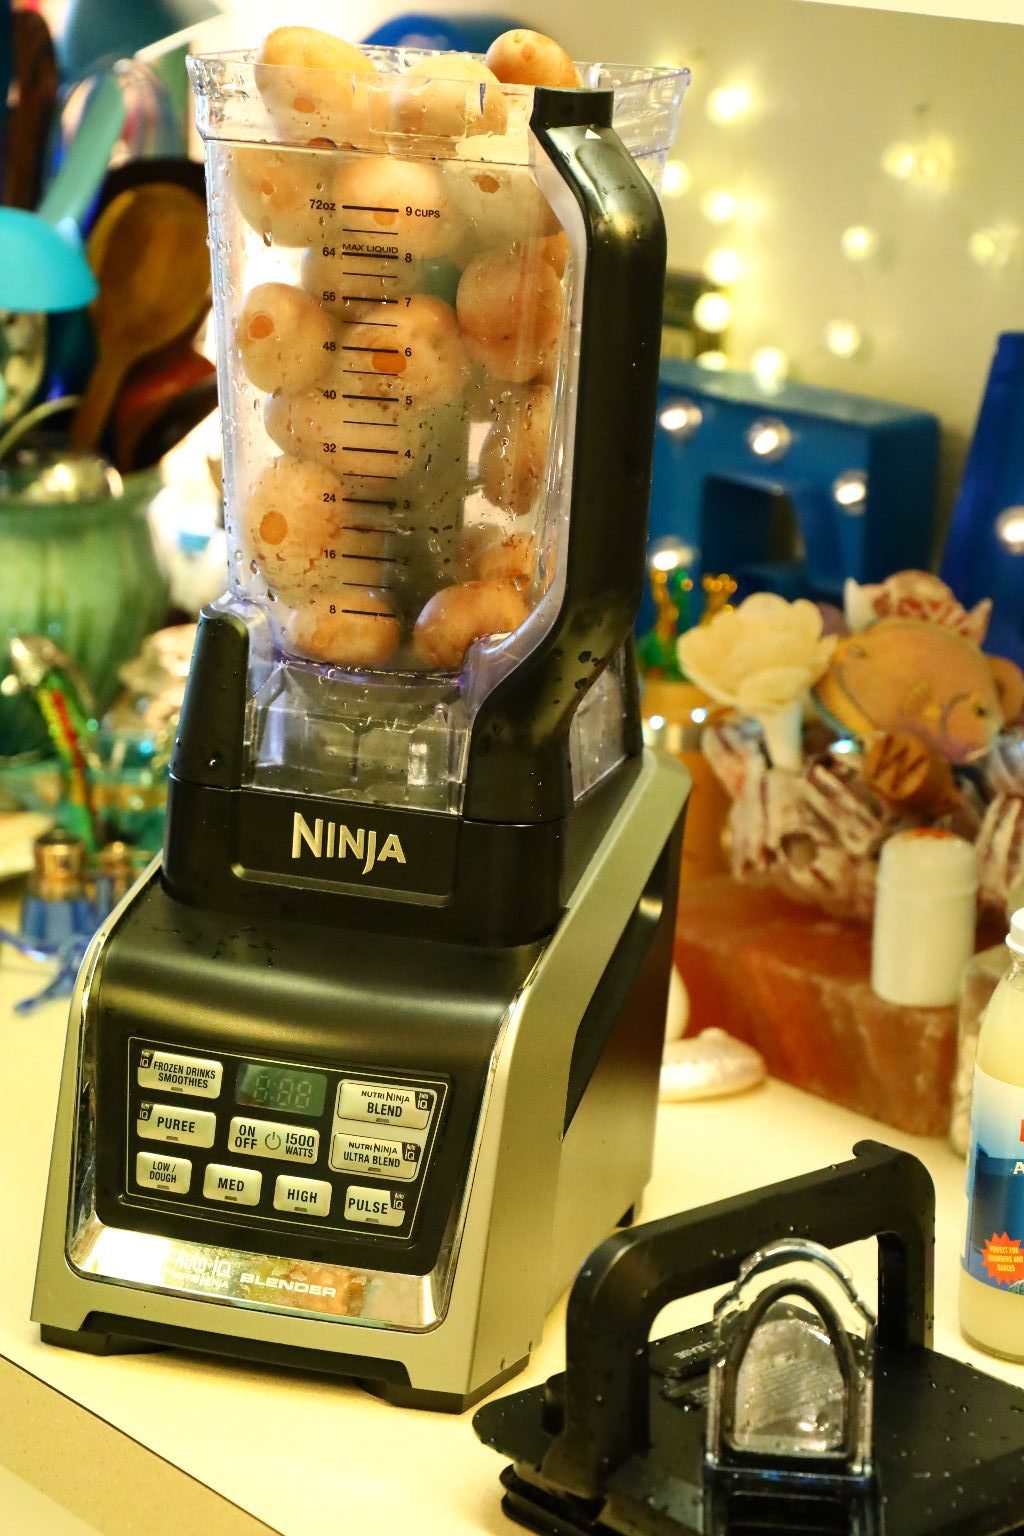
Place half of your steamed Red Potatoes into a blender.
————————————————————


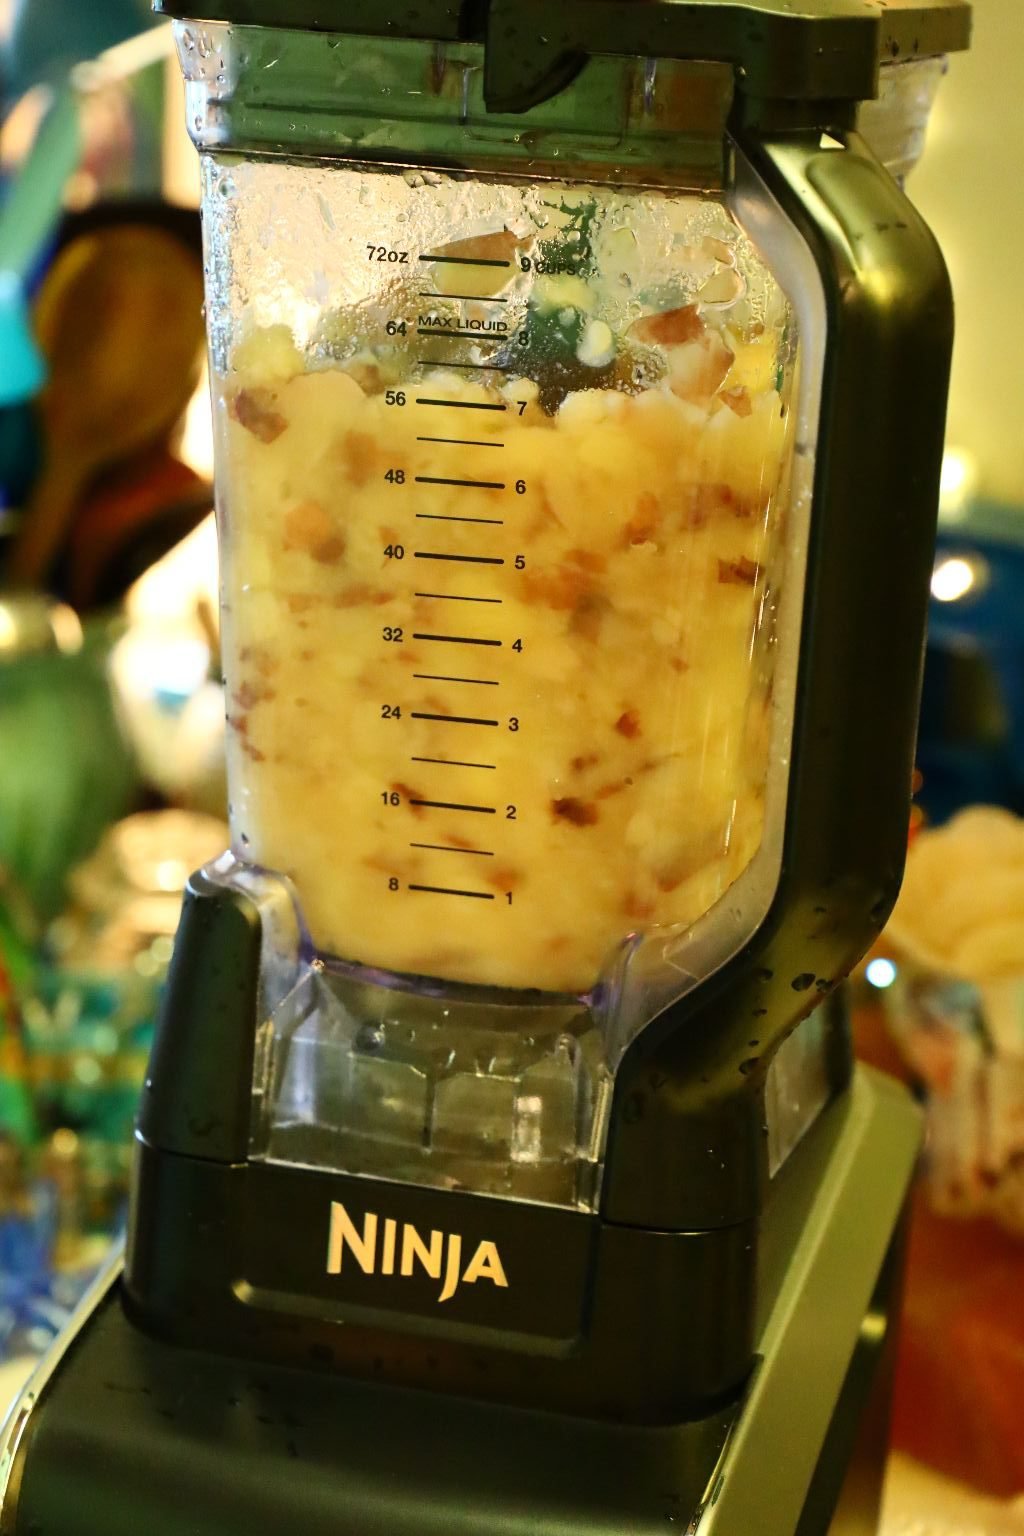
Now add your reduced vegetable broth to the blender and turn on Medium to chop the ingredients. The blended potatoes will become the base of your chowder providing it with a smooth texture.


Add 1 jar of clam juice to the mixture and blend to combine.

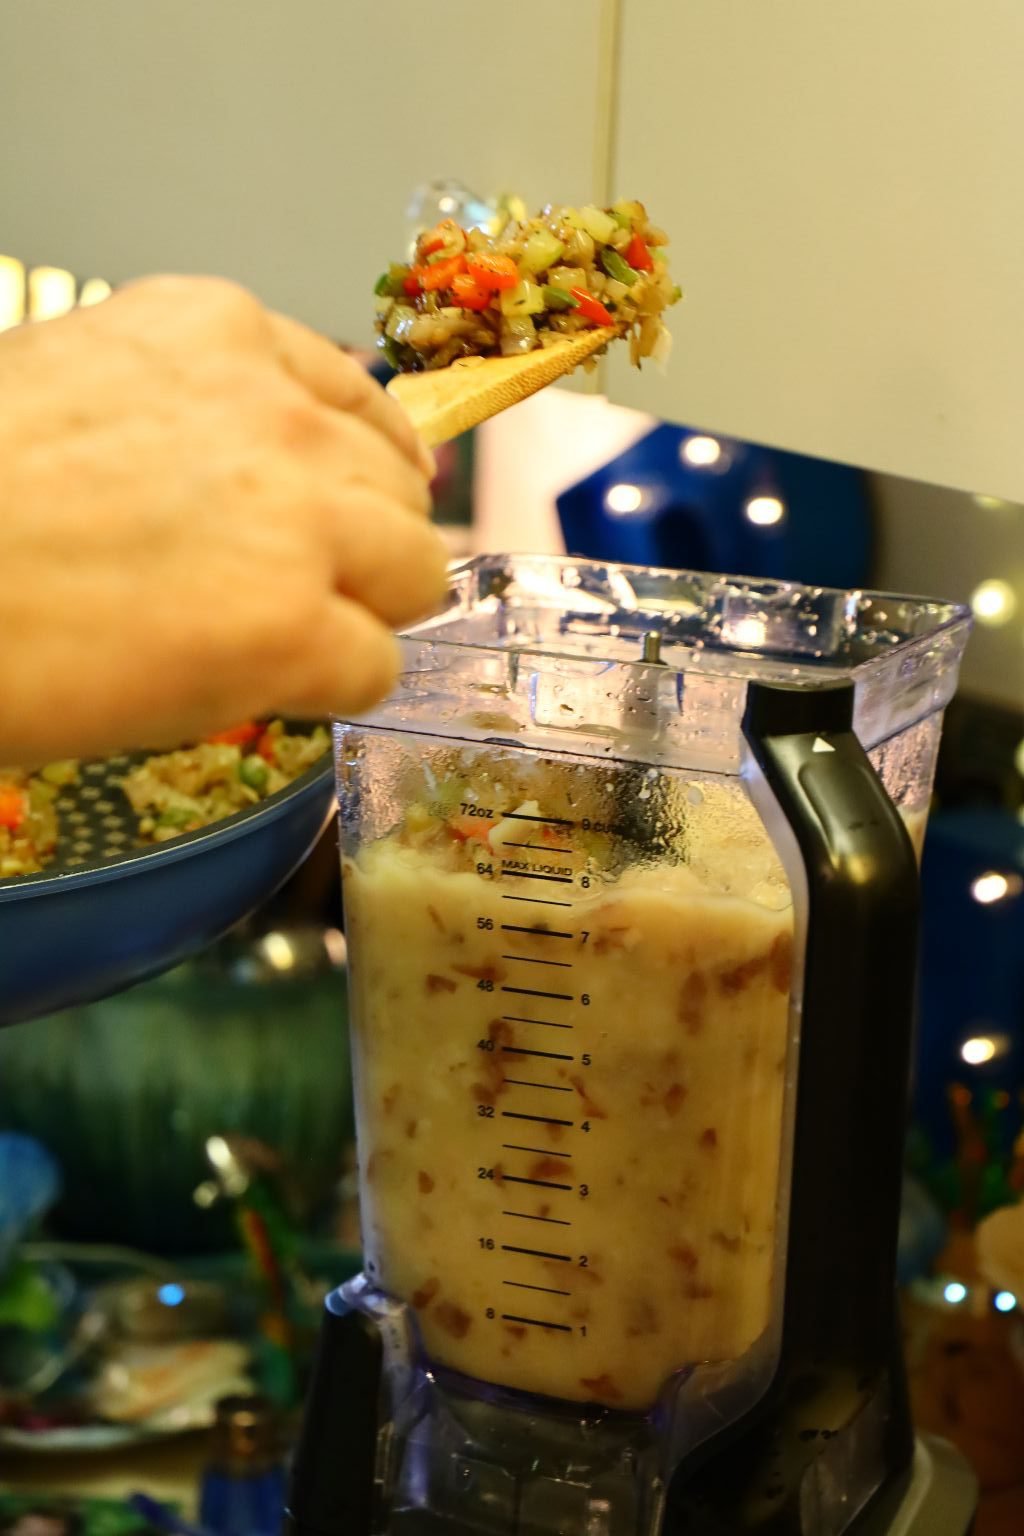

Then add half of your sauteed onions, celery and bell pepper mixture to the blended potatoes…

————————————————————–
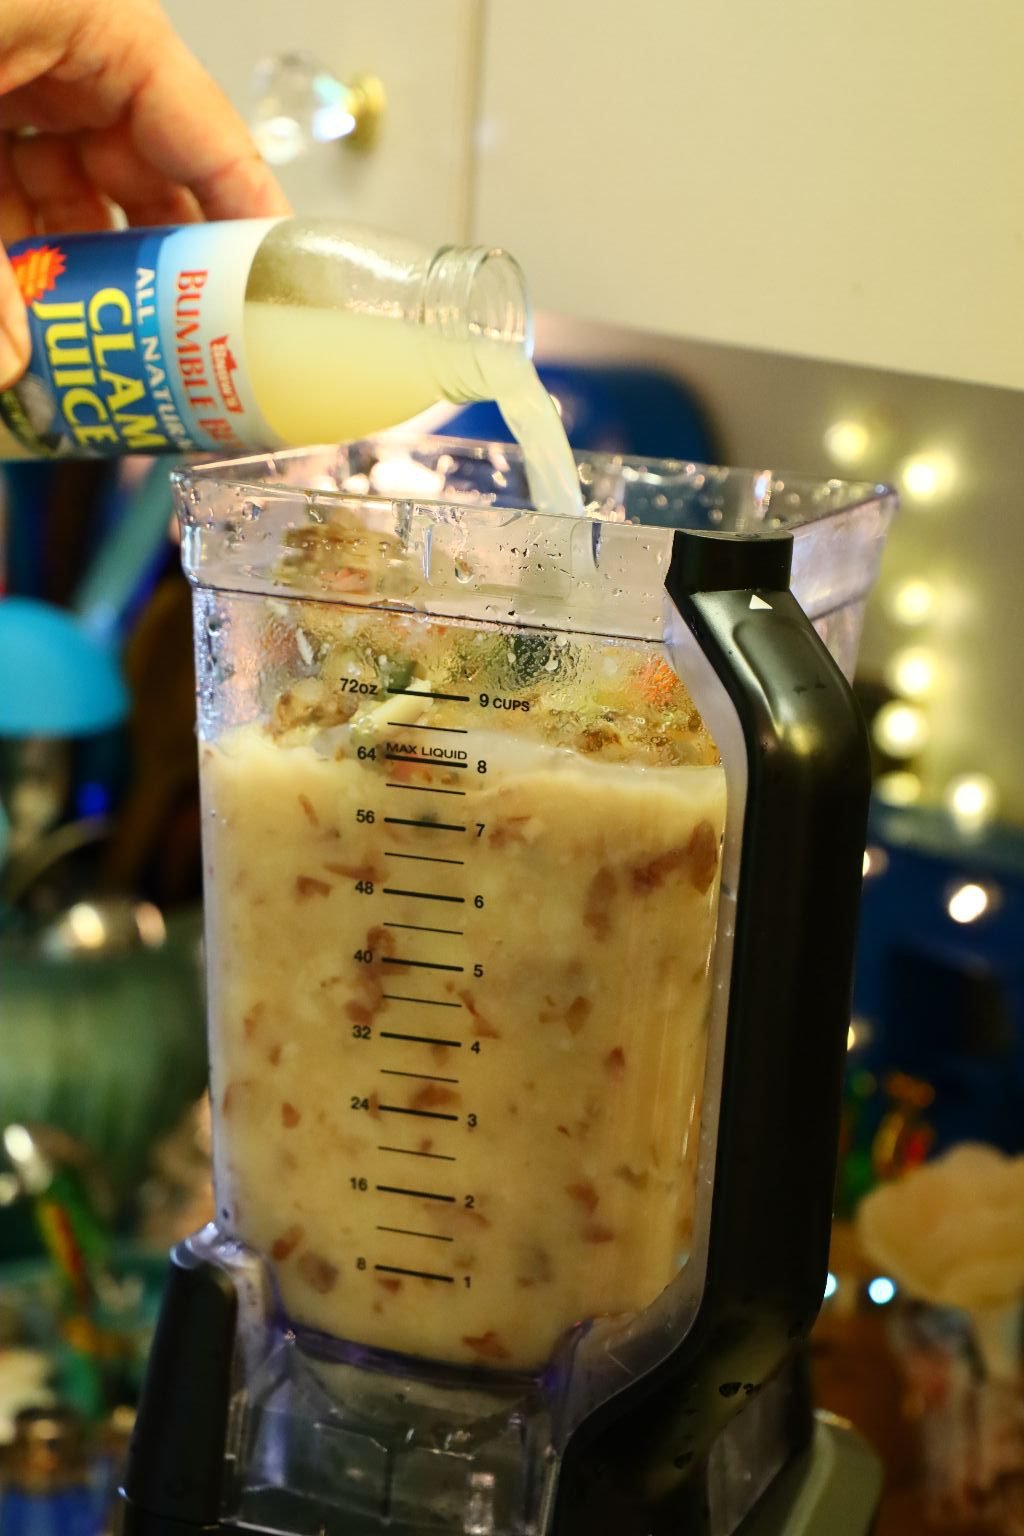
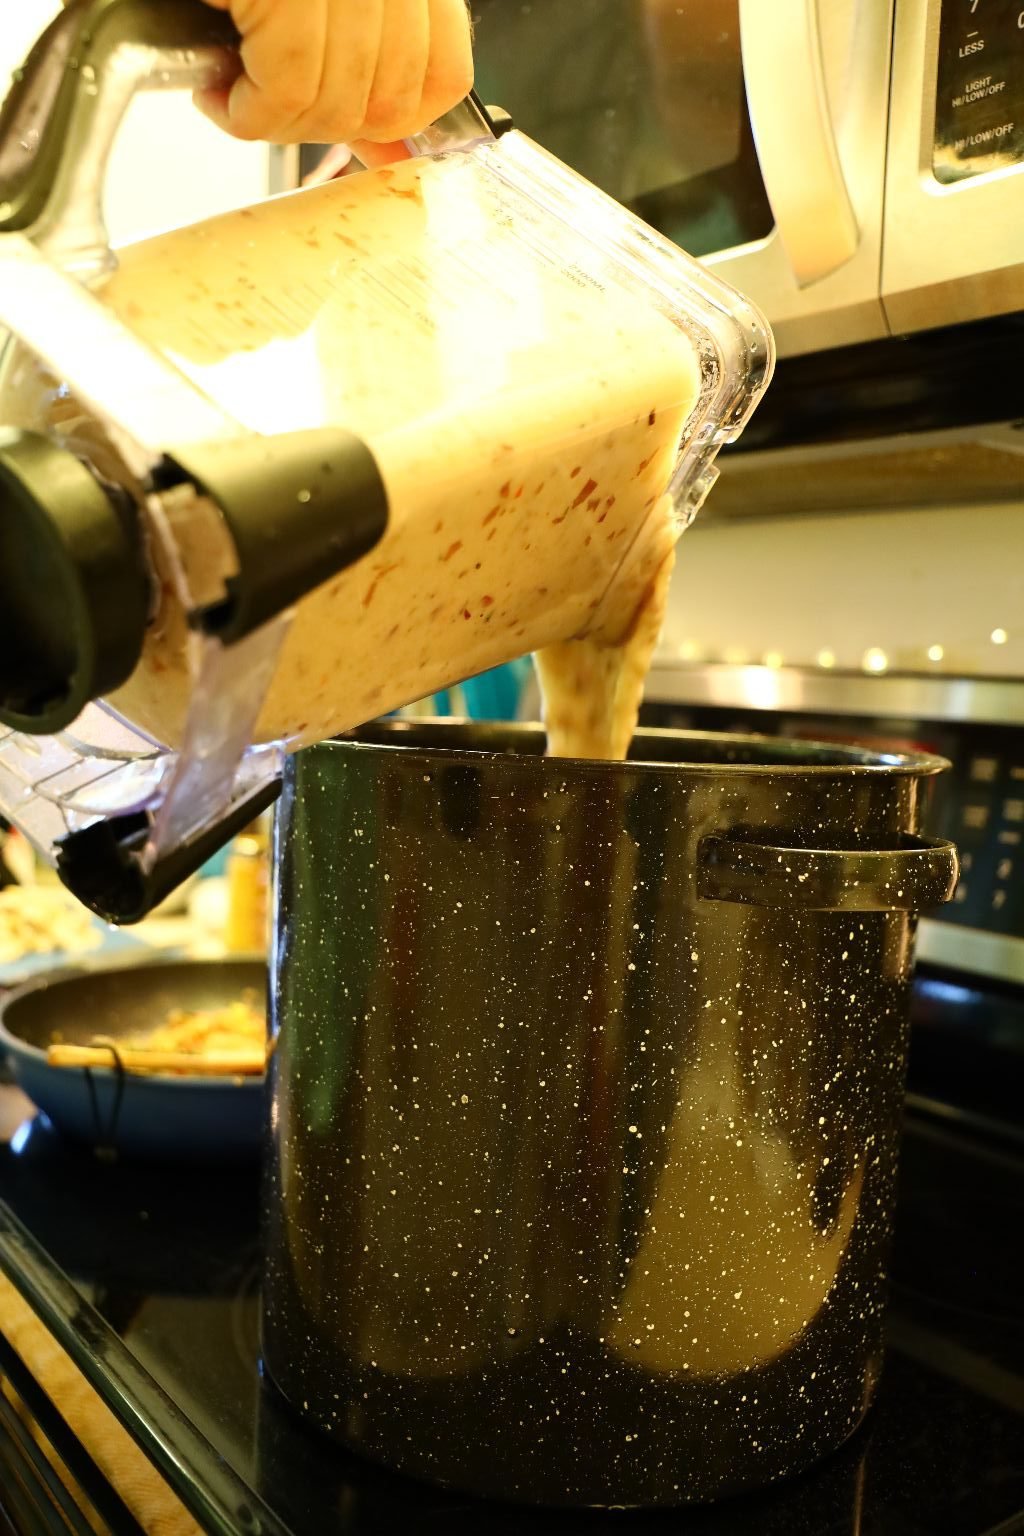
Add another jar of clam juice to the blender and mix well to combine. Pour the blender ingredients into a large pot. I cleaned out the steamer pot well before using it again for this next step.
Here is the butter and clams that I will saute together later.


These are the reserved sauteed onions, celery and bell peppers that I didn’t place into the blender.
Not blending these sauteed vegetables will provide the chowder with some texture.
Now add the 3rd. jar of clam juice to the pot and stir well.
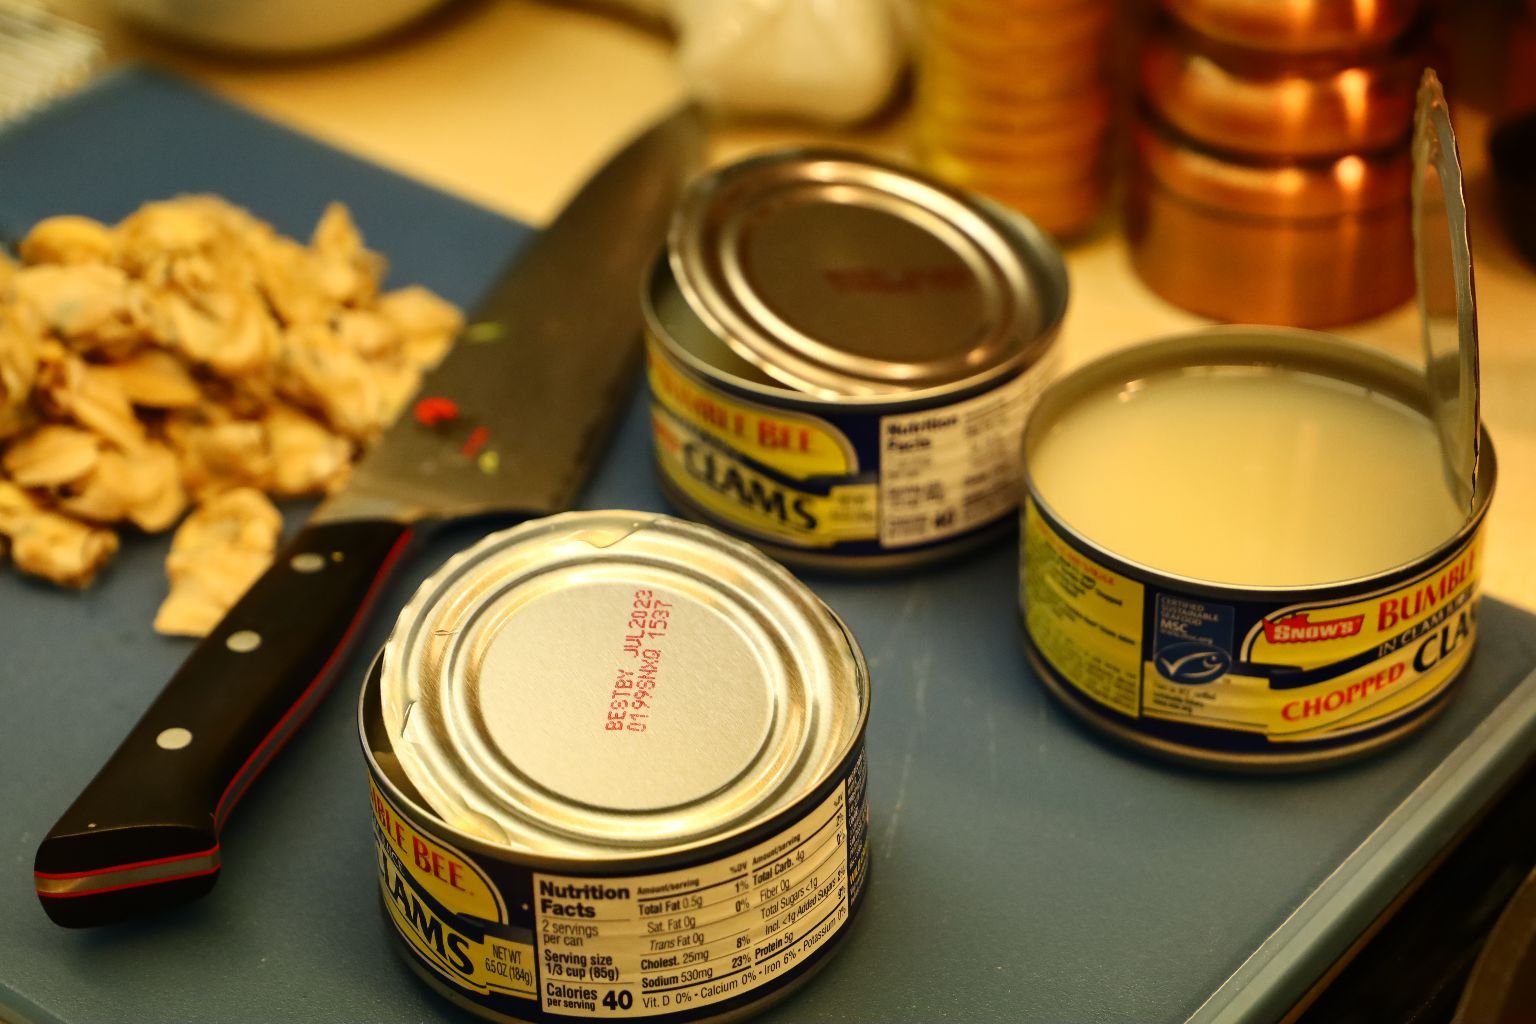
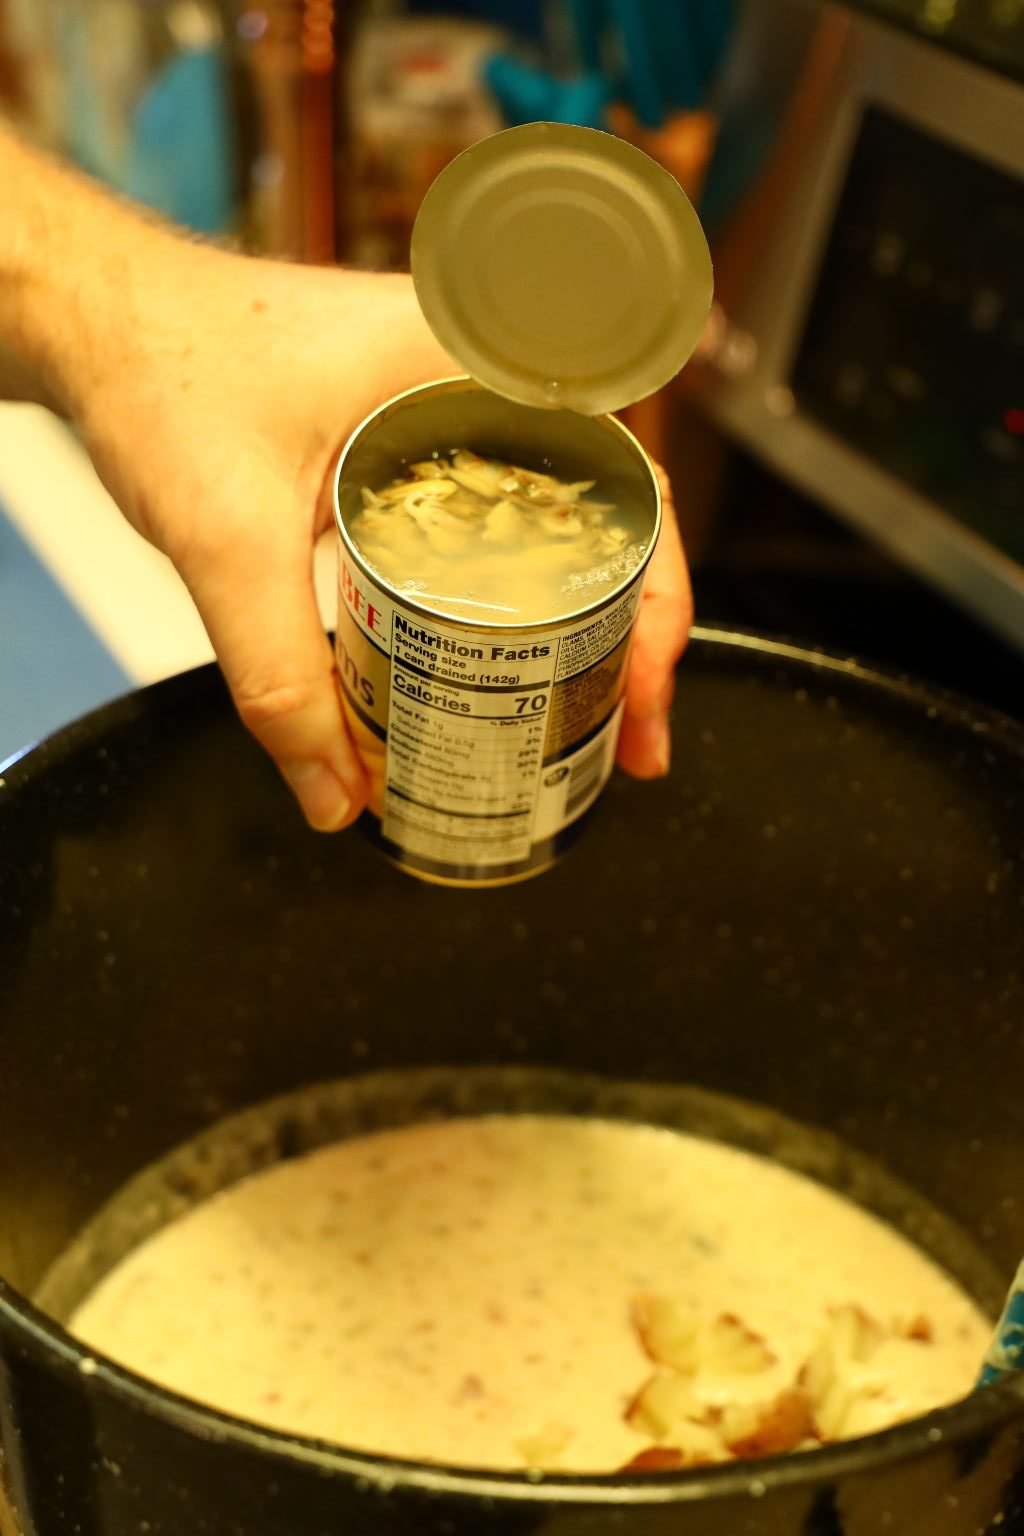
Here are the cans of chopped clams that we decided to use.

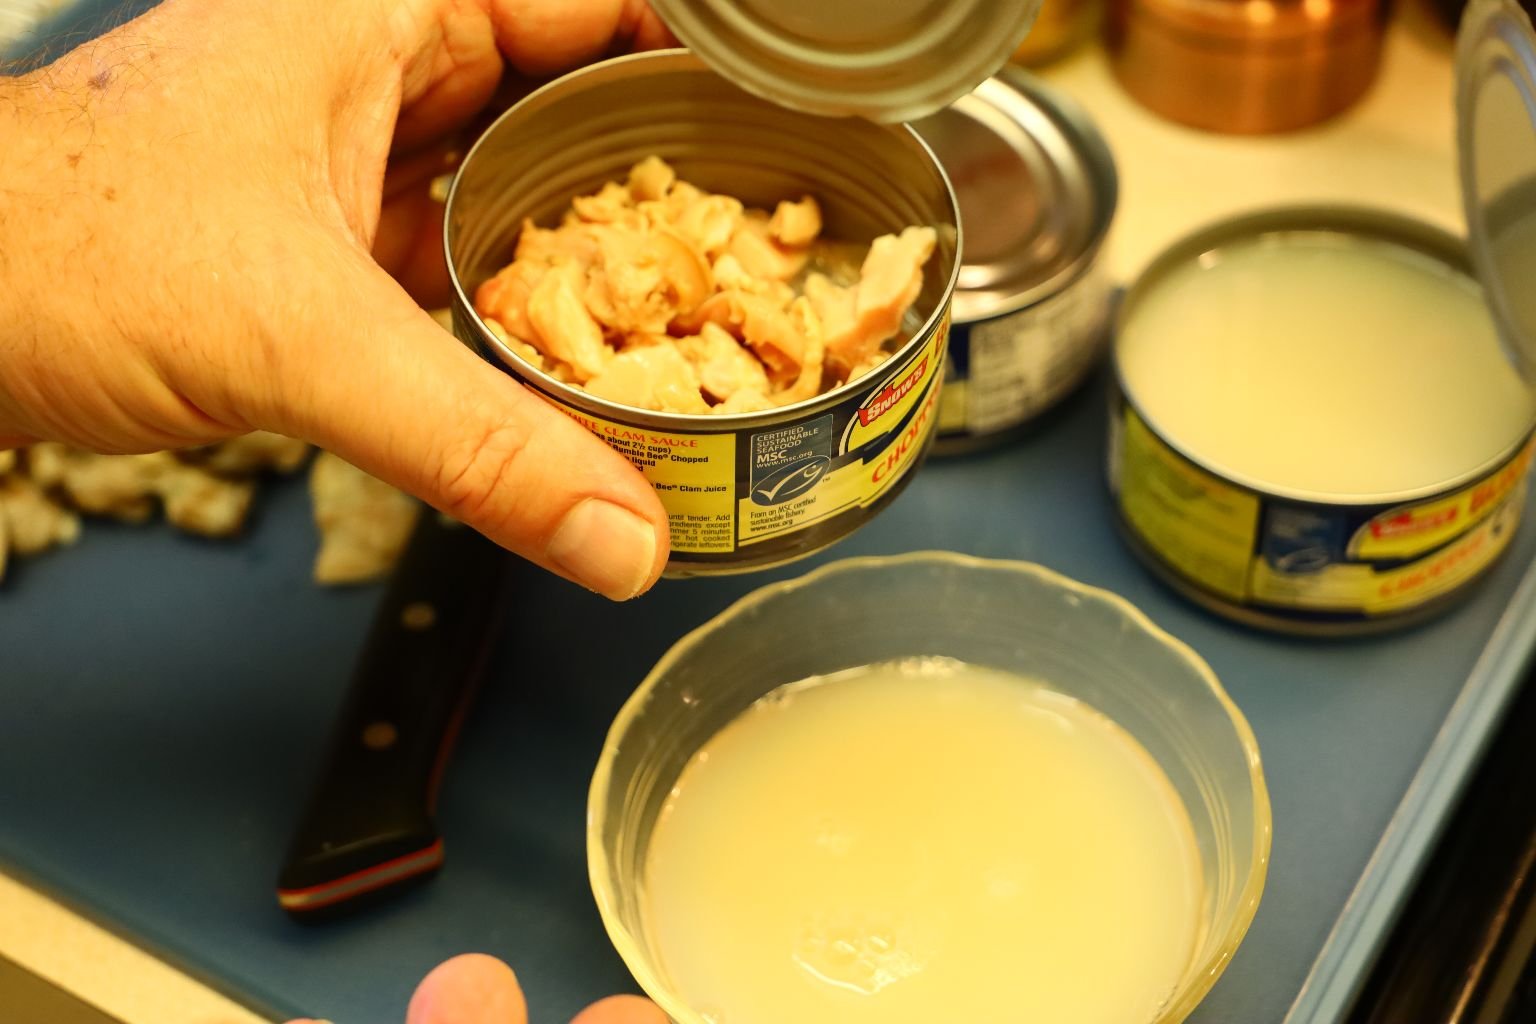
I poured the clam juice into a separate bowl to show how much of the can was mostly liquid with very little clam meat. I won’t buy this brand again but it did work fine in this recipe.
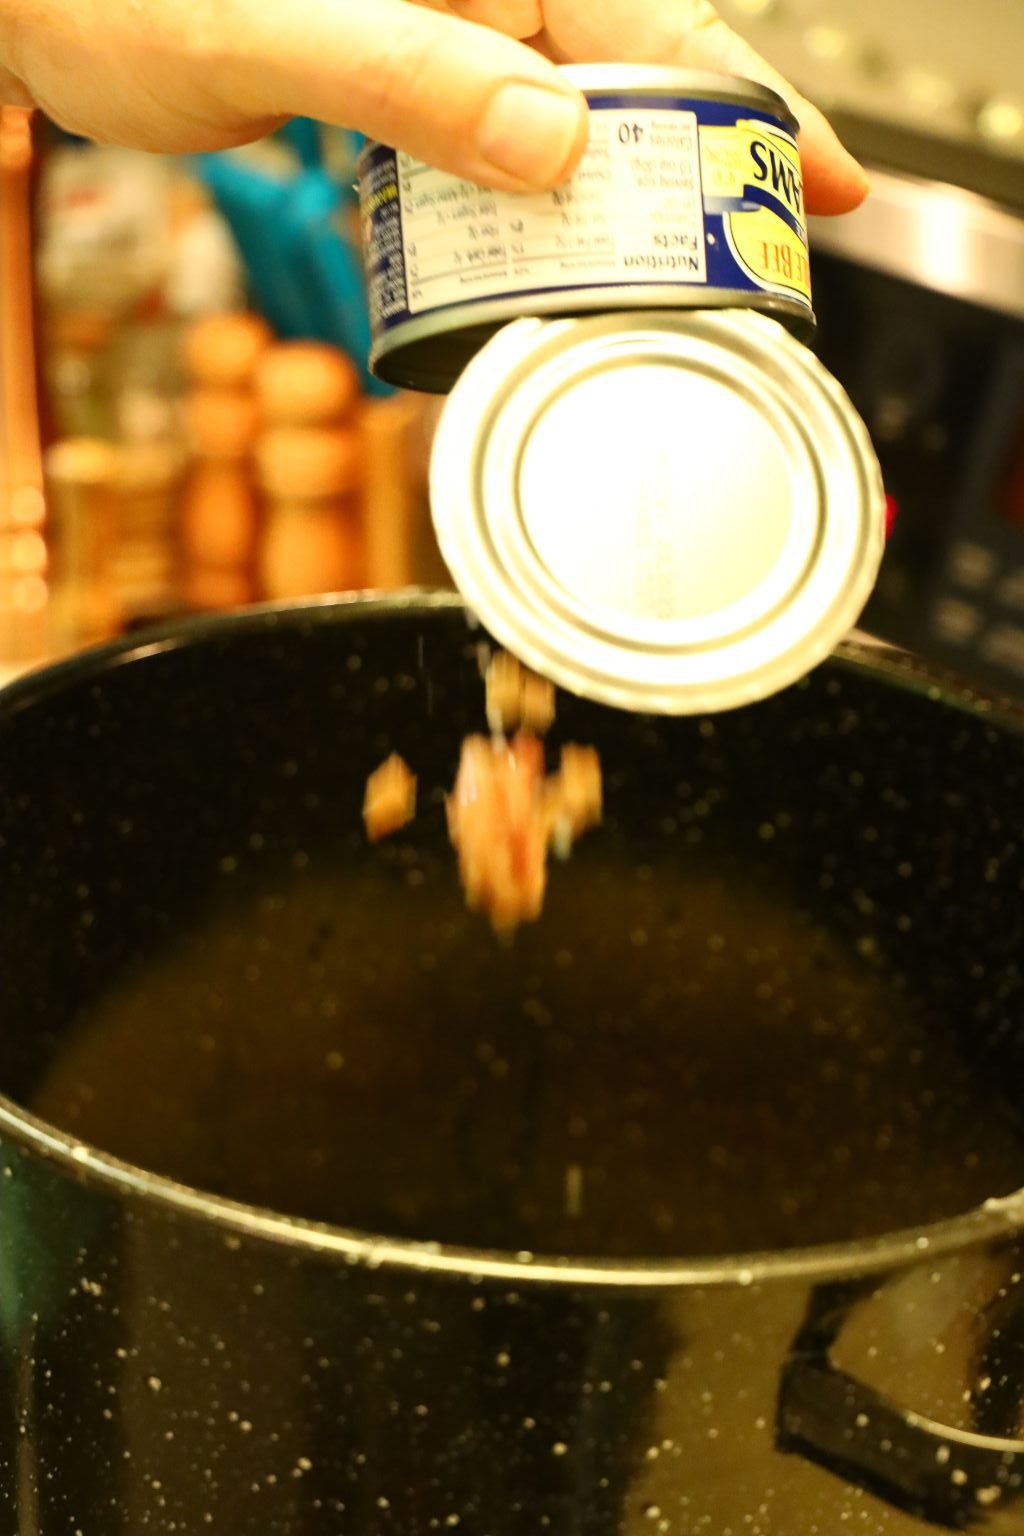

Pour all the cans of chopped clams and their juice into the pot.

Stir all the ingredients well.
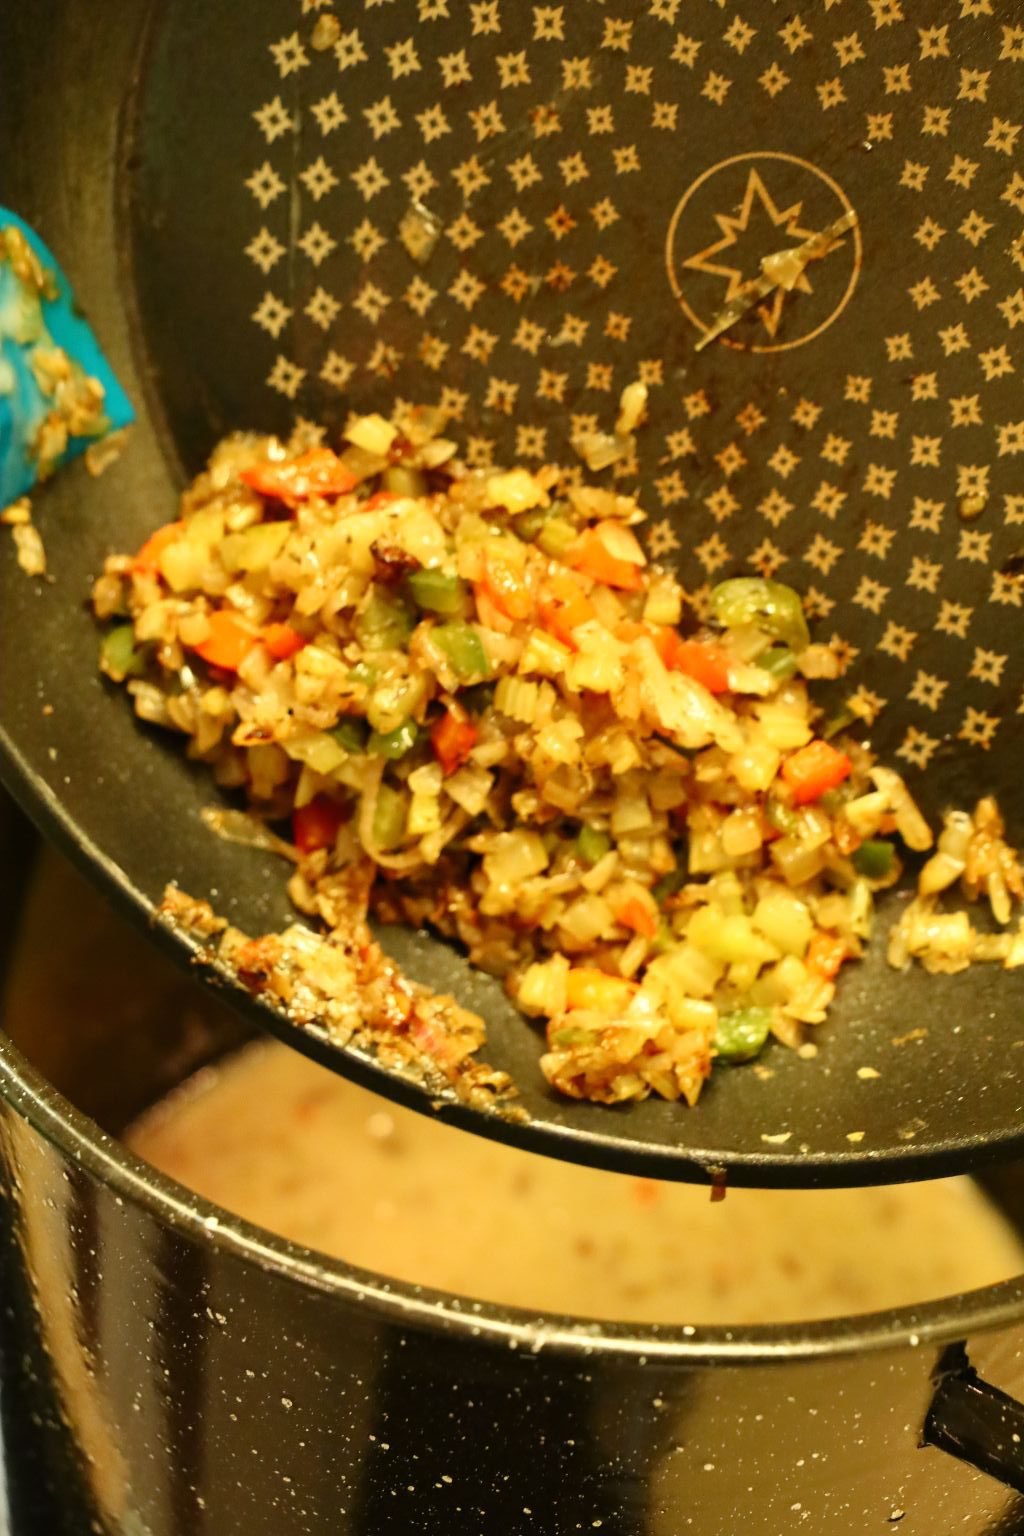
Time to Add the Sauteed Vegetables

Sauteed Vegetables in the Pot
—————————————————————–
Now Time to Add the Butter/Margarine to a Clean Pan

In the saute pan add your butter and begin to melt it over medium heat.
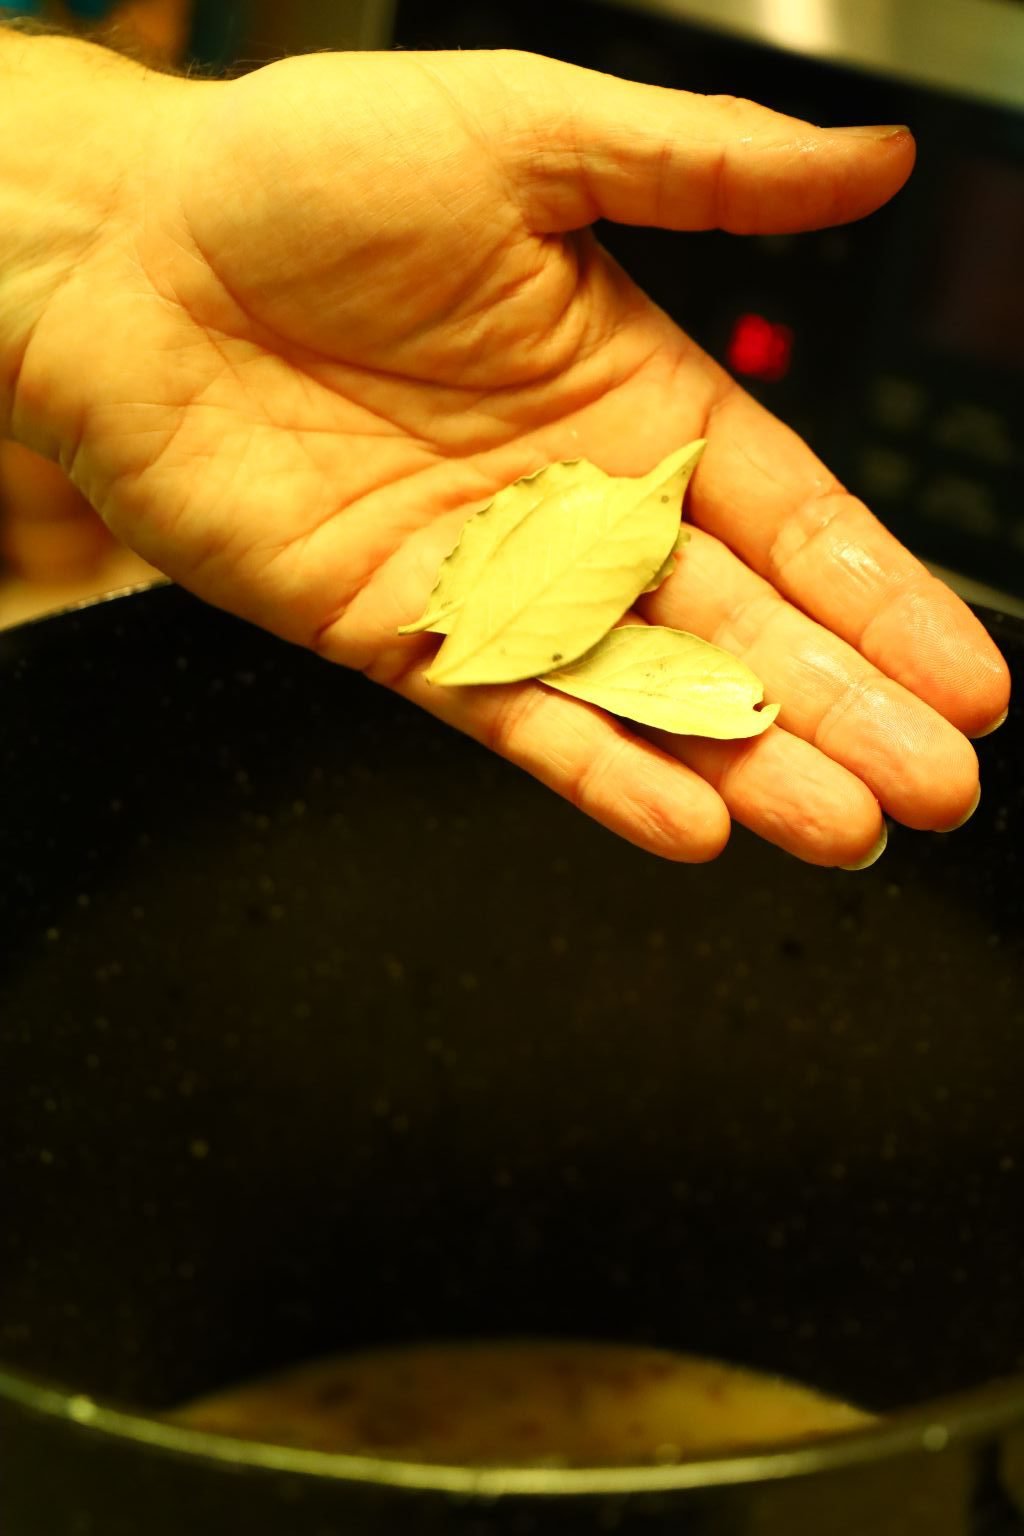
Now, add your bay leaves to the chowder.

———————————————————————-


Saute your fresh clam meat in the butter…
add some ground pepper and 1/2 Tbsp. of Dried Thyme.
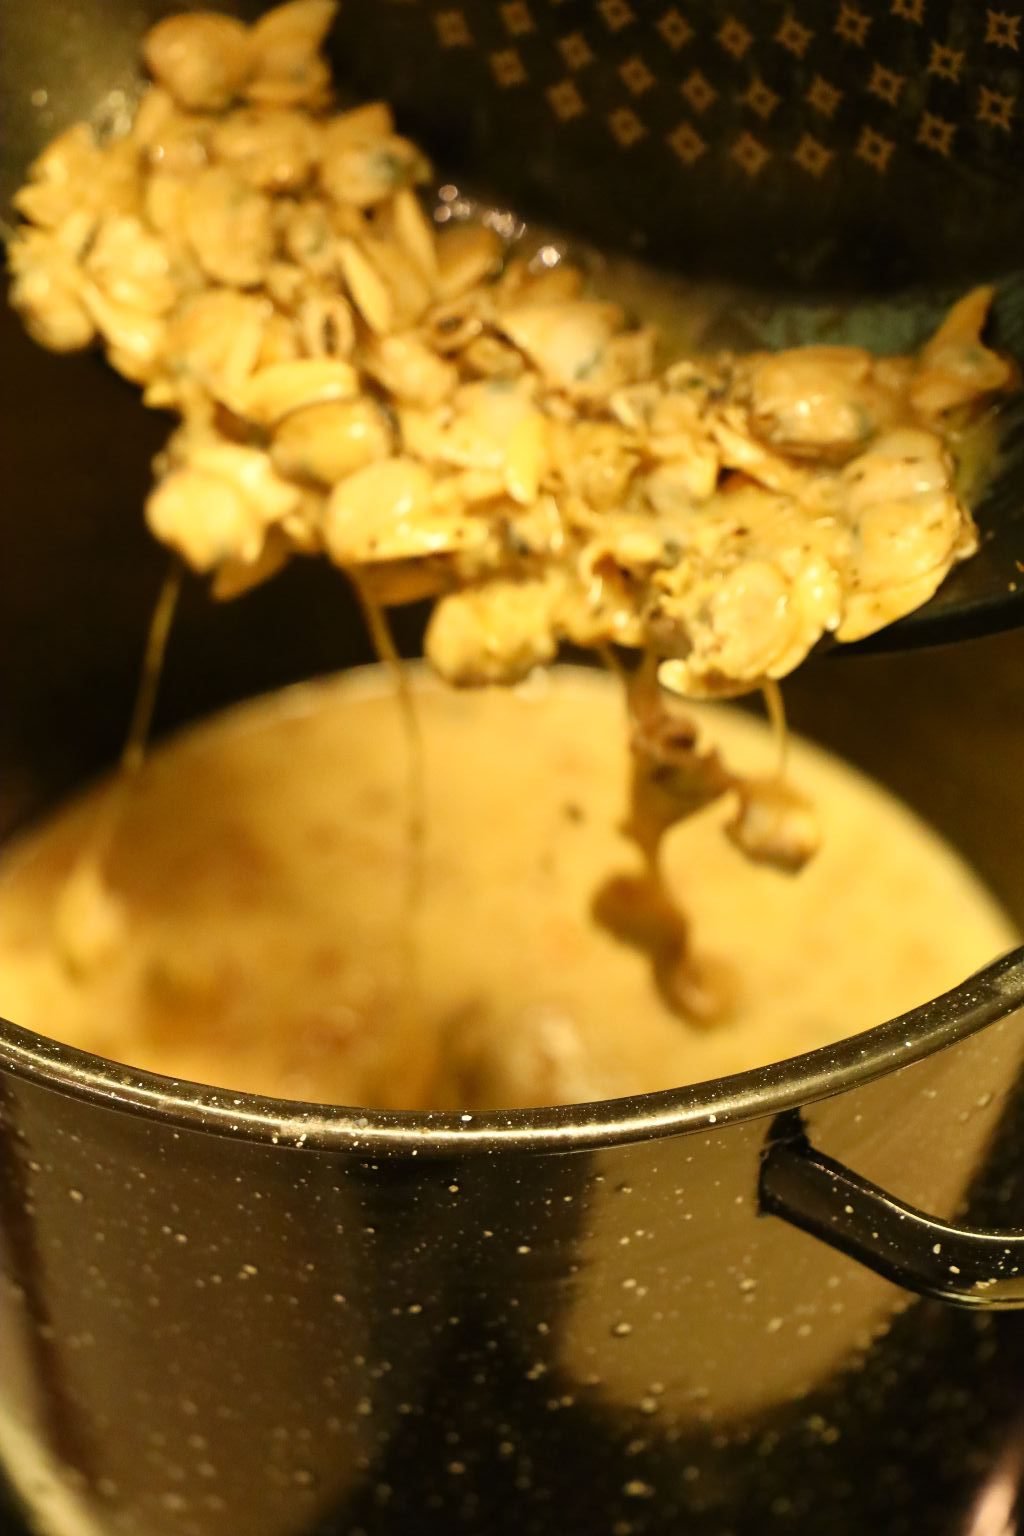
Saute the clams until just heated then add them to the chowder. The butter will provide some more fat flavor and help with the creaminess of the chowder.
Add the clam meat to the pot and stir well.
——————————————————————–
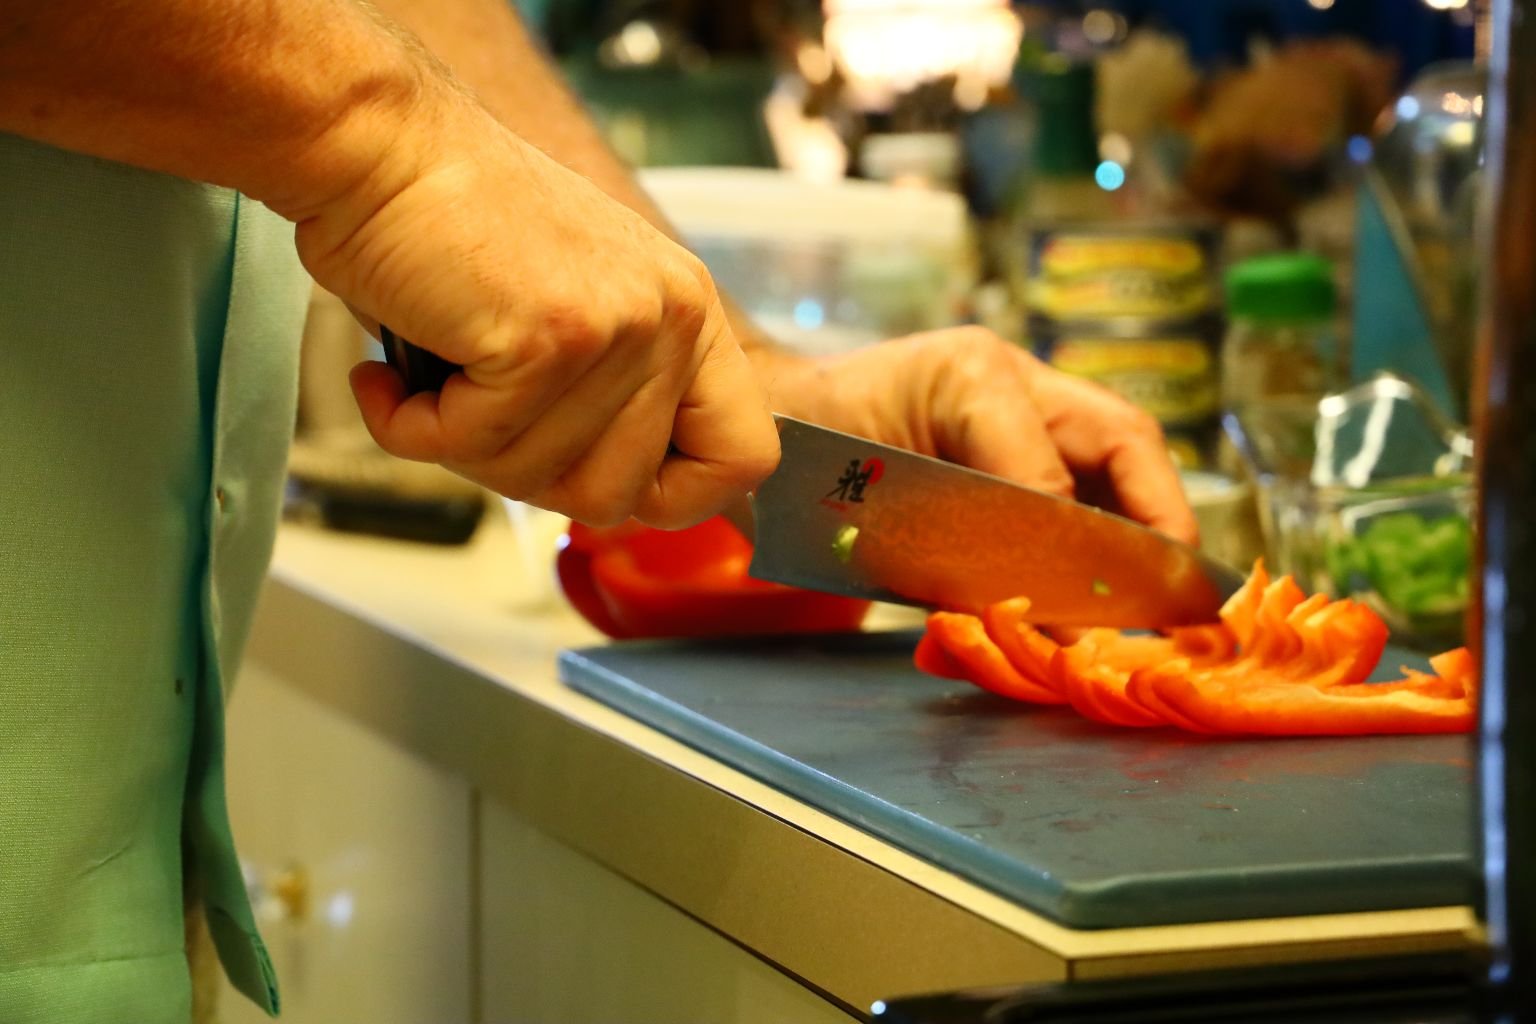
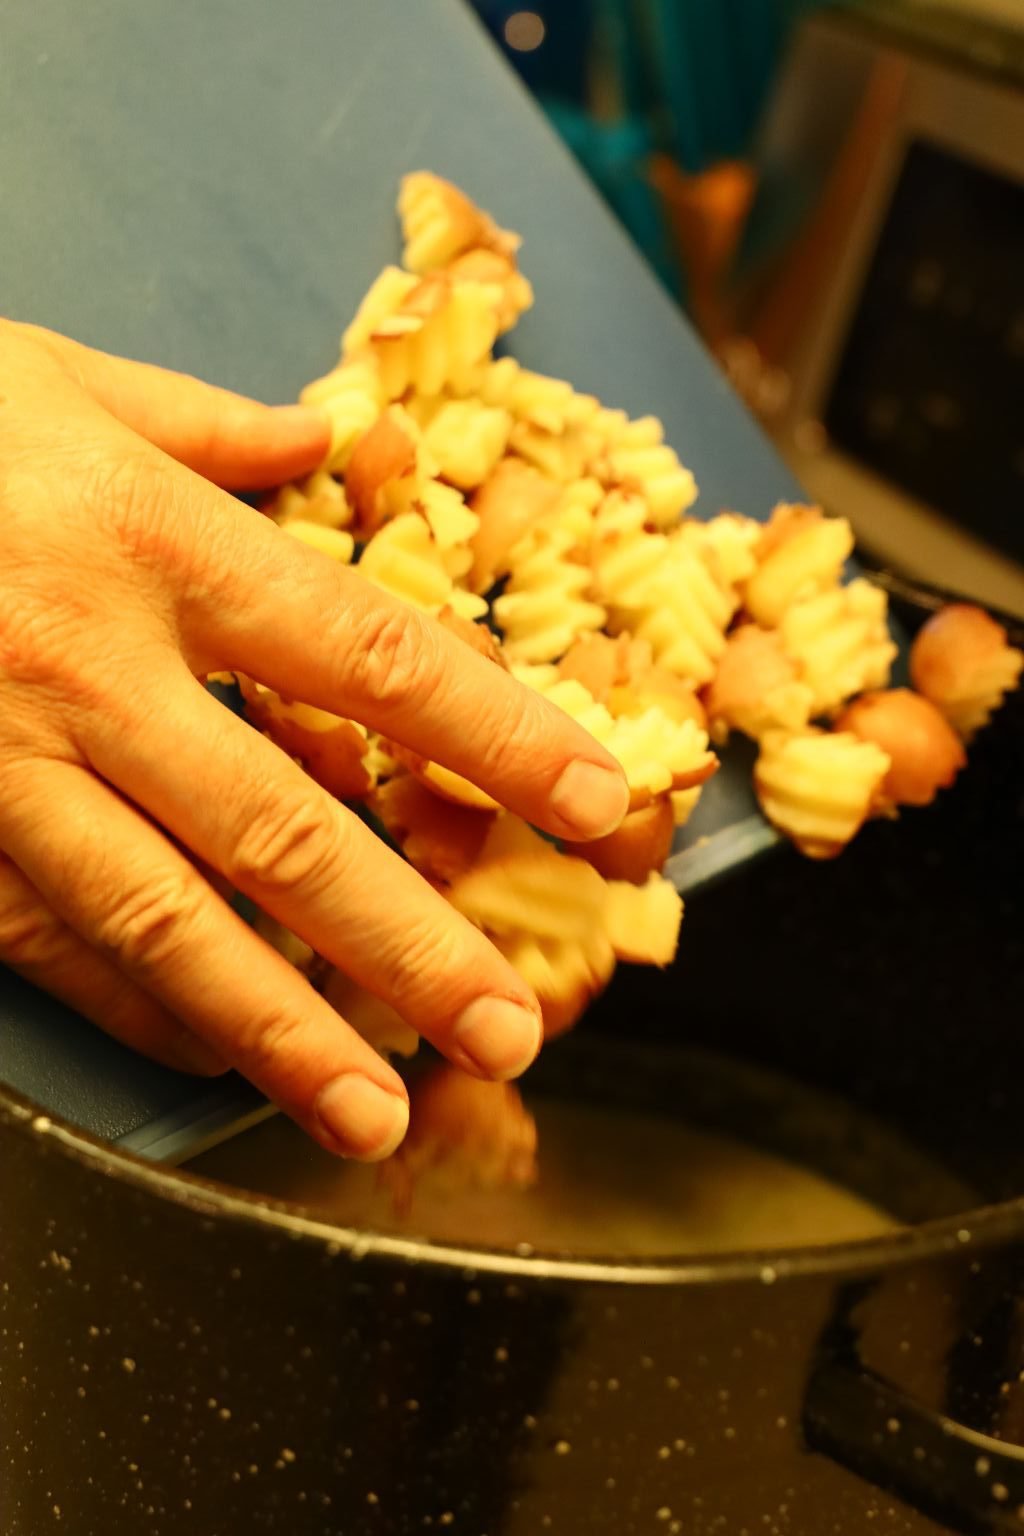
Now For the Carrots and the Remaining Potatoes
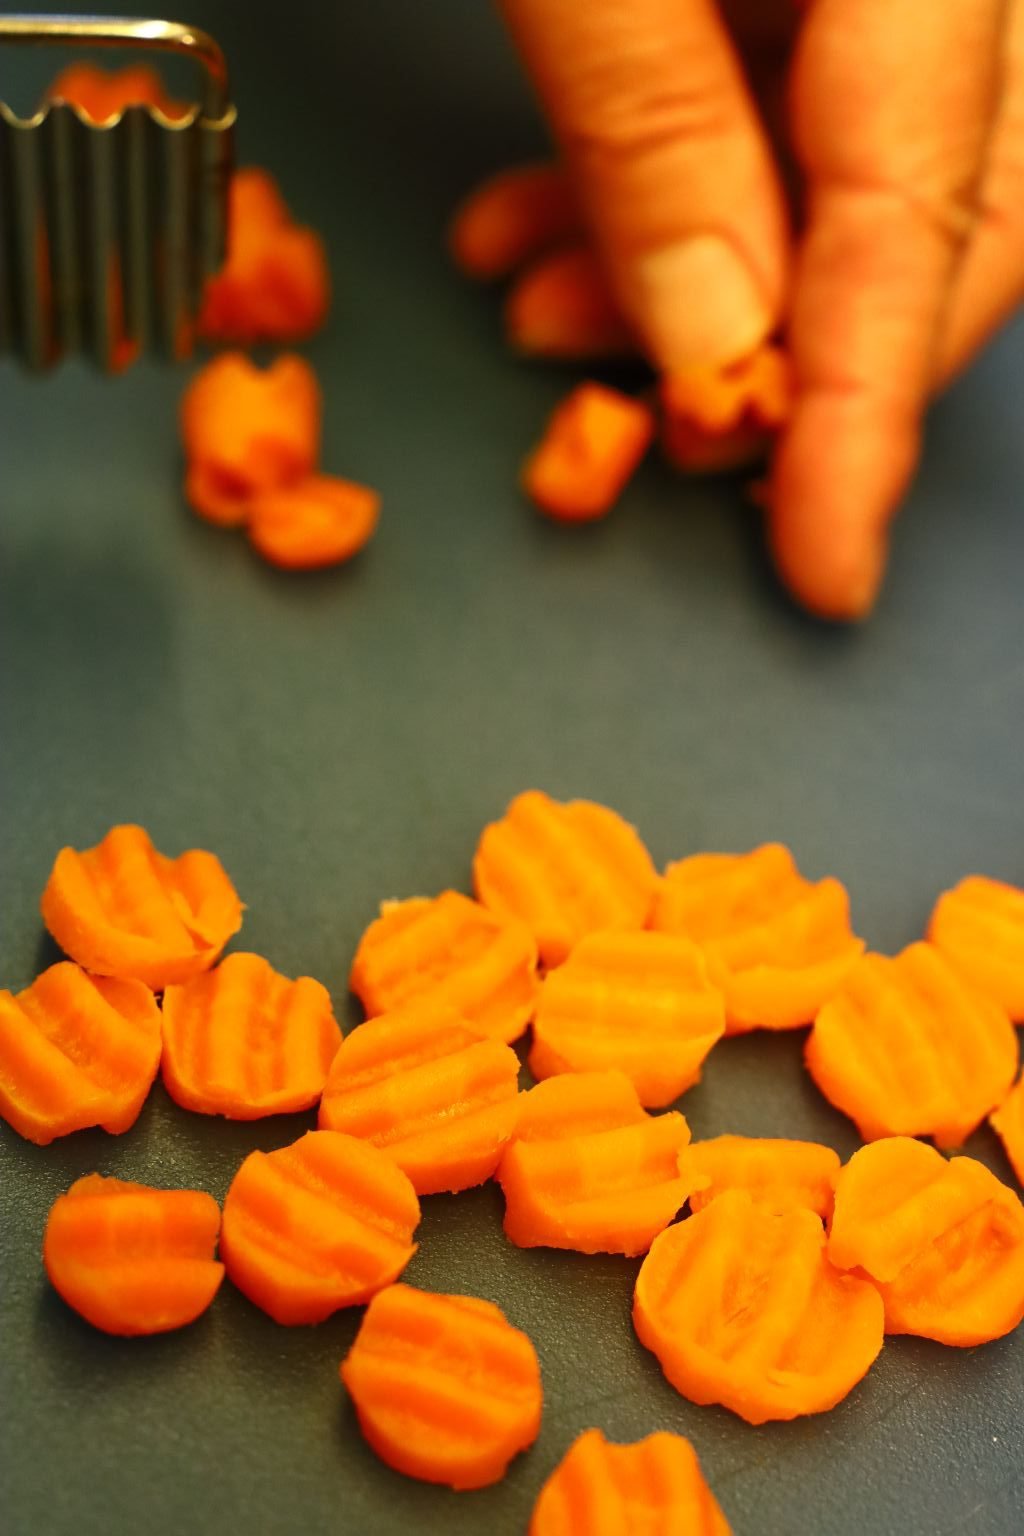
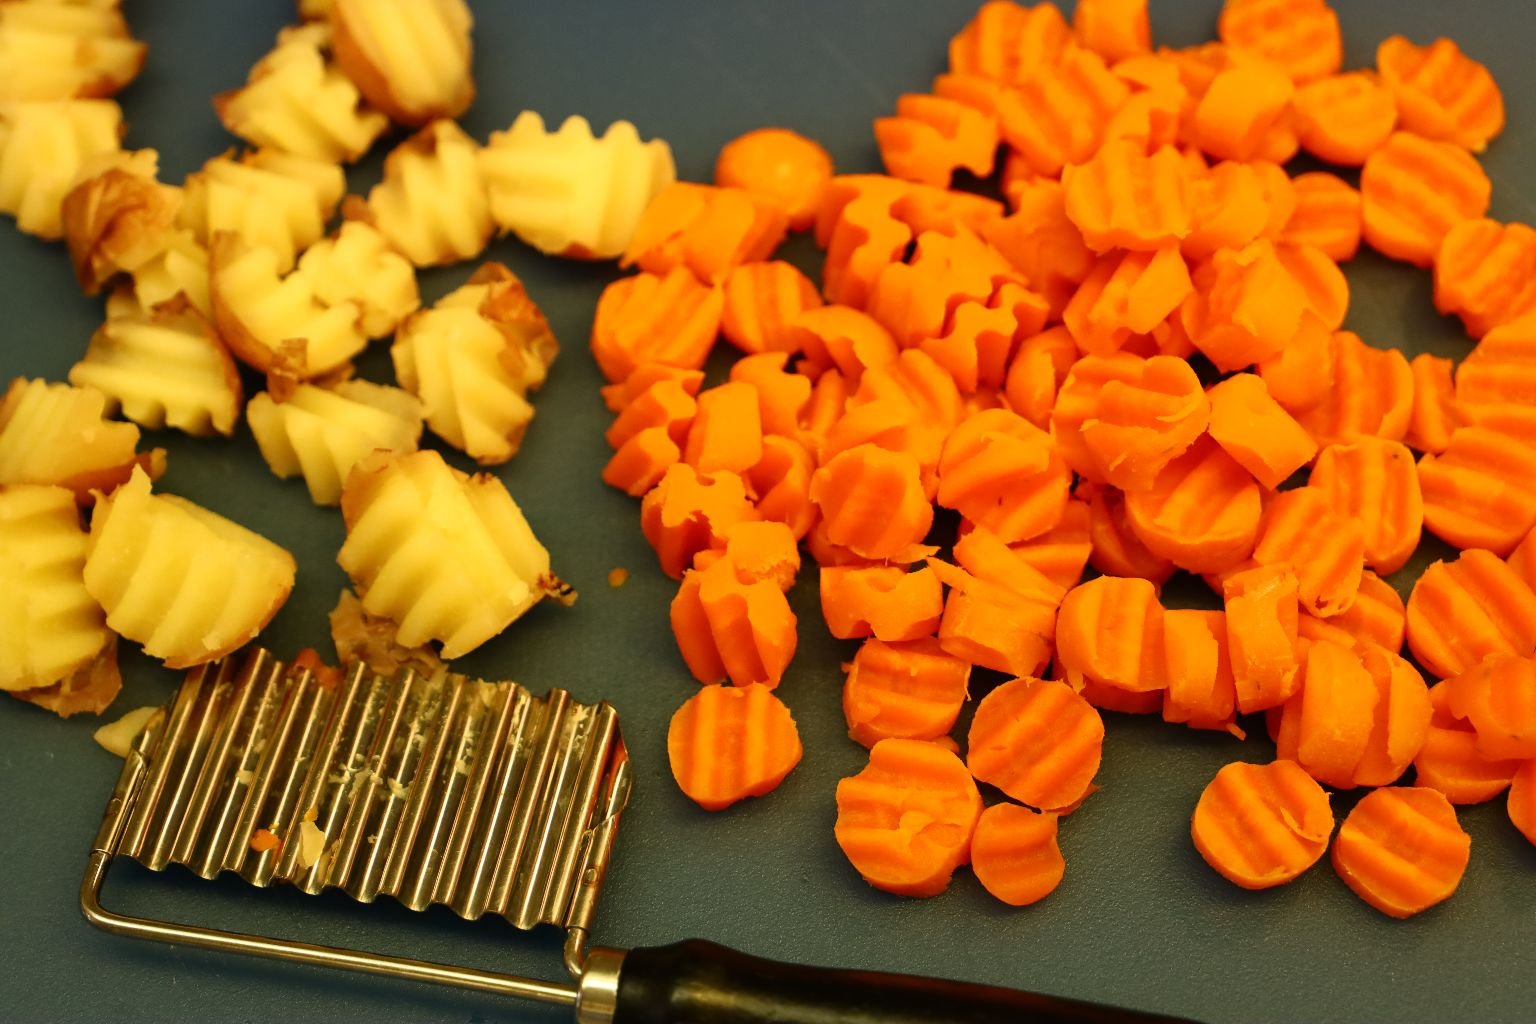
I sliced the carrots and potatoes using this special curved blade to give them that typical clam shell look. They also look a bit cartoony which is perfect for our Family Guy dinner.
Slice the Carrots into 1/4 inch rounds and slice the Potatoes into quarter sections.
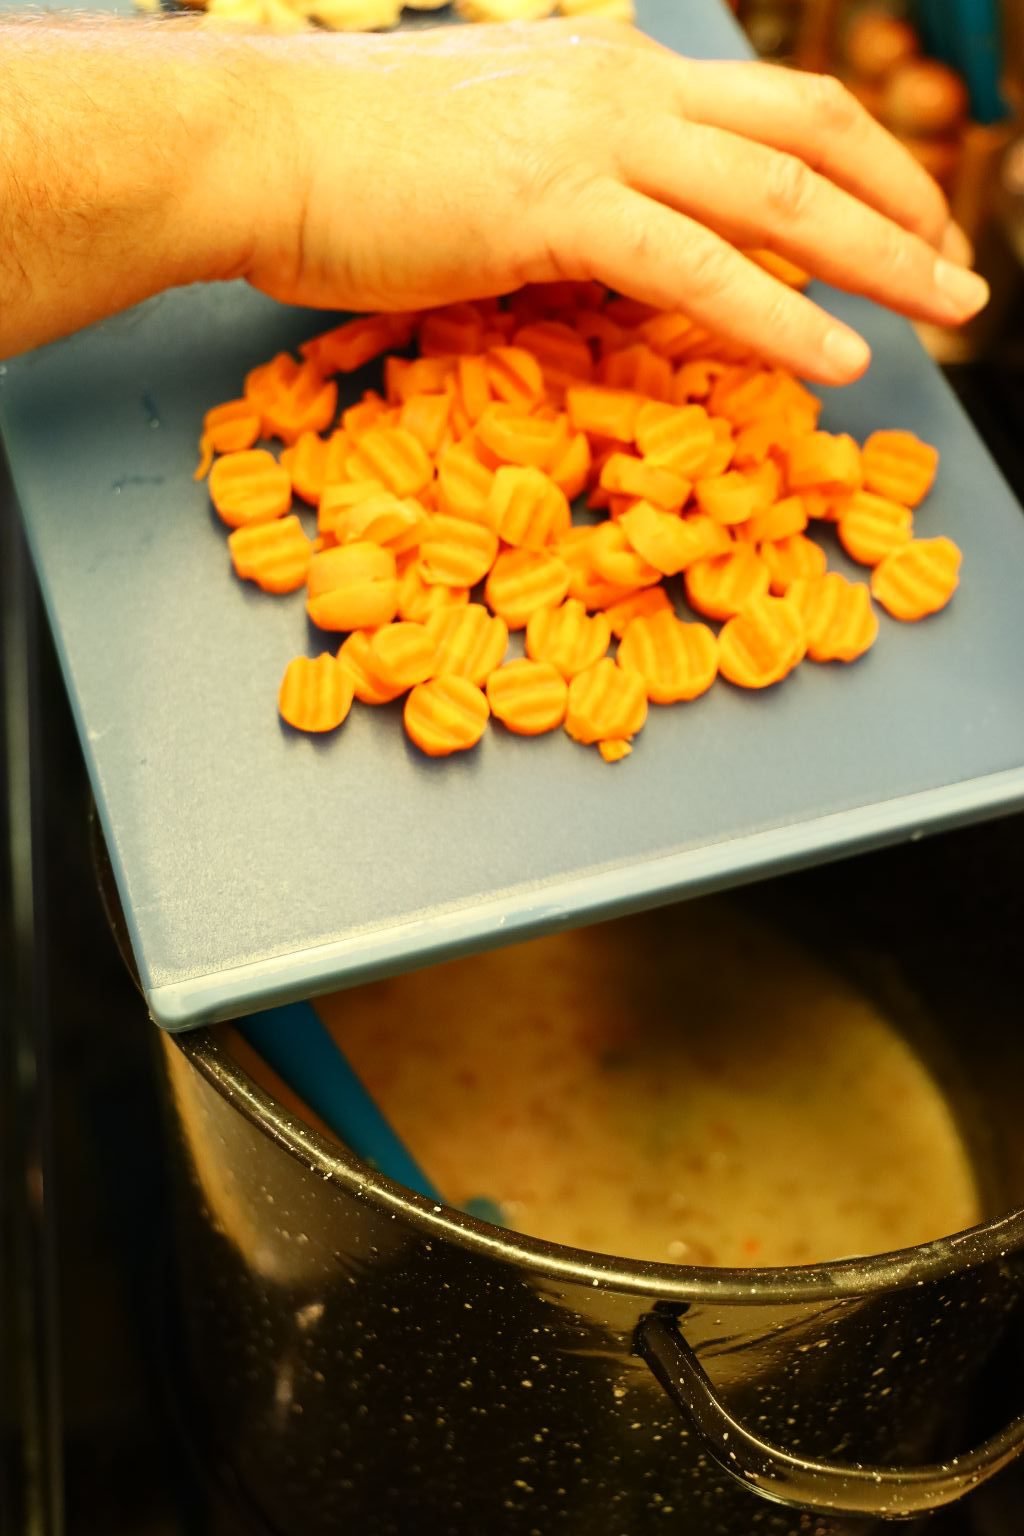
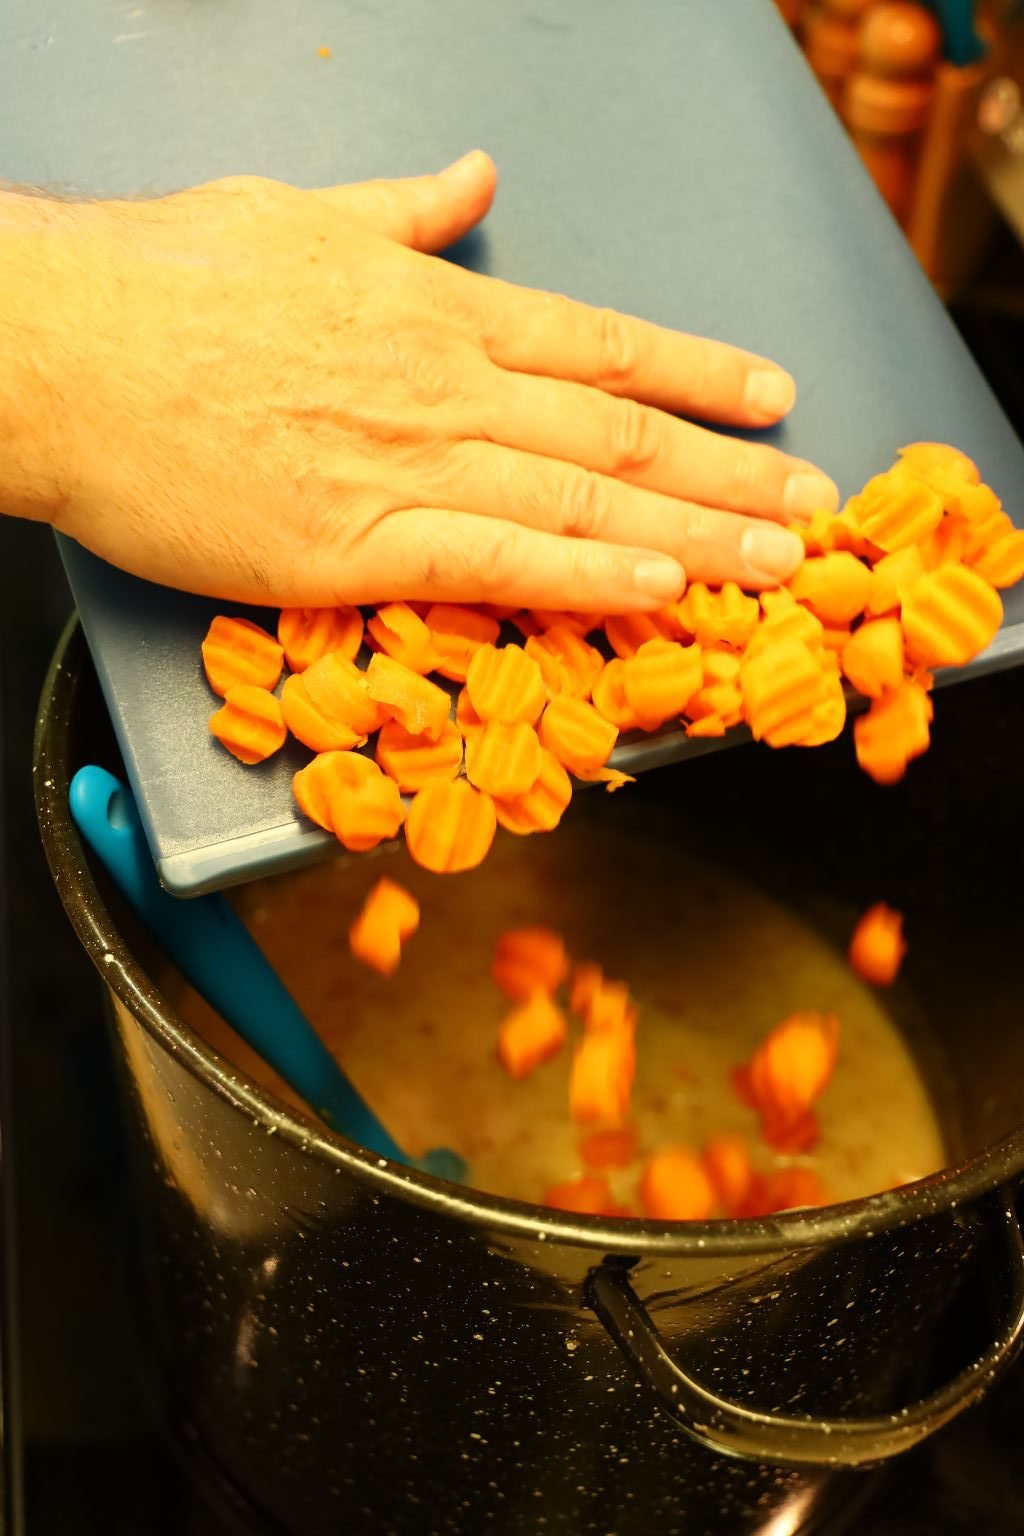
Adding the Carrots to the Pot

Stir all the ingredients well to combine.
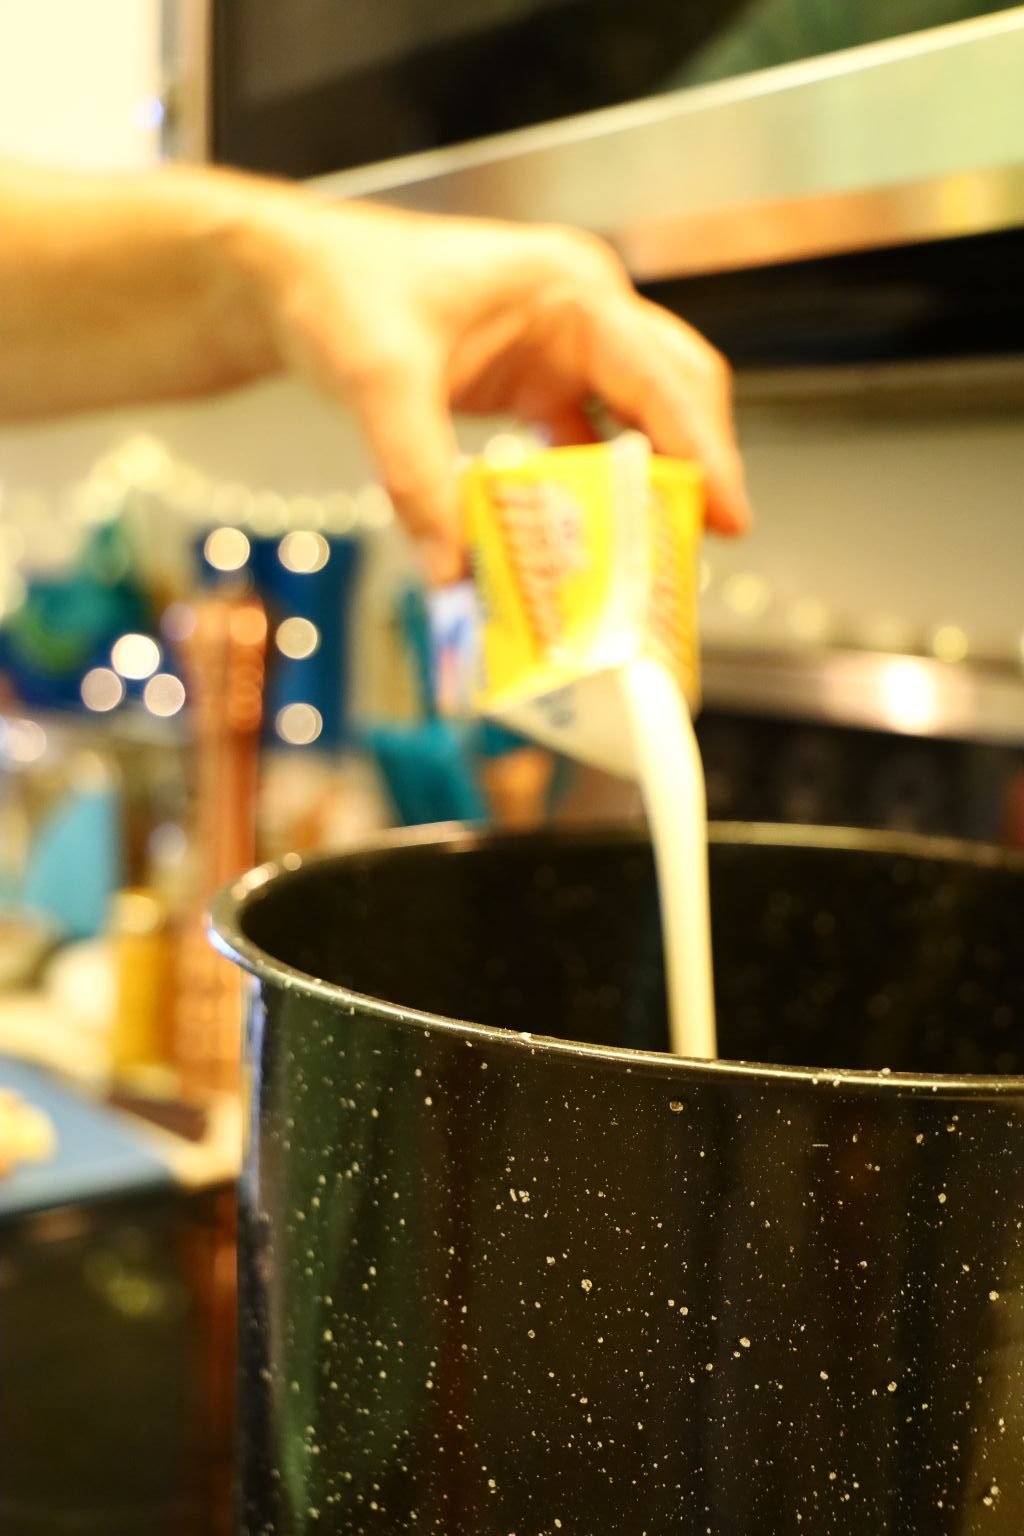
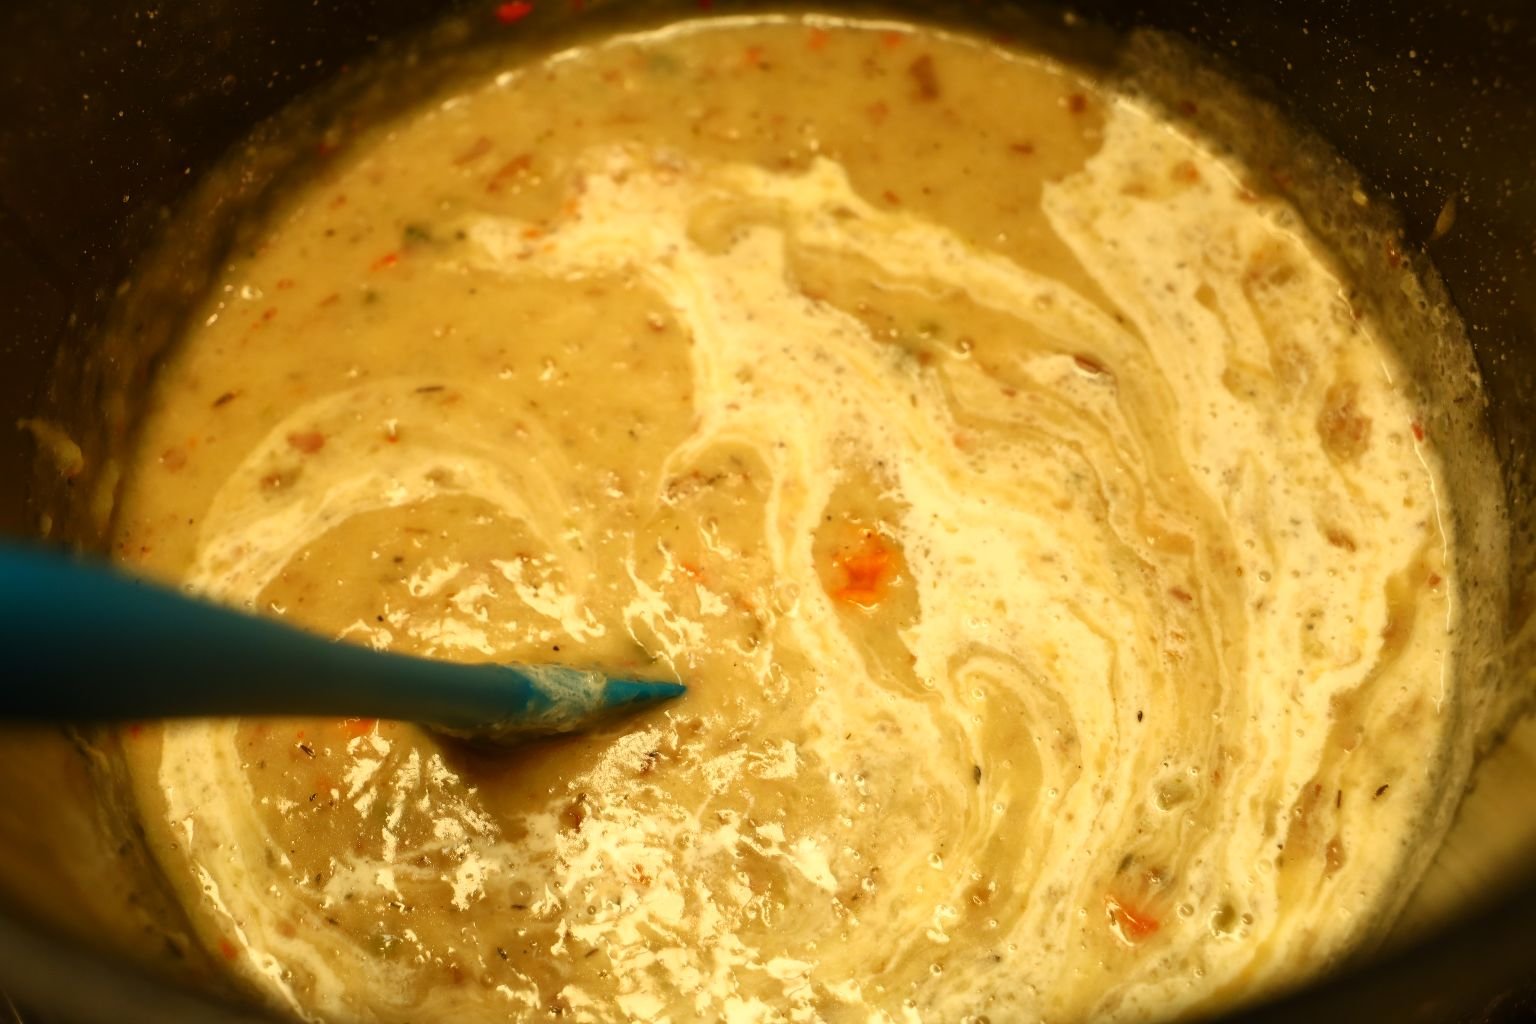
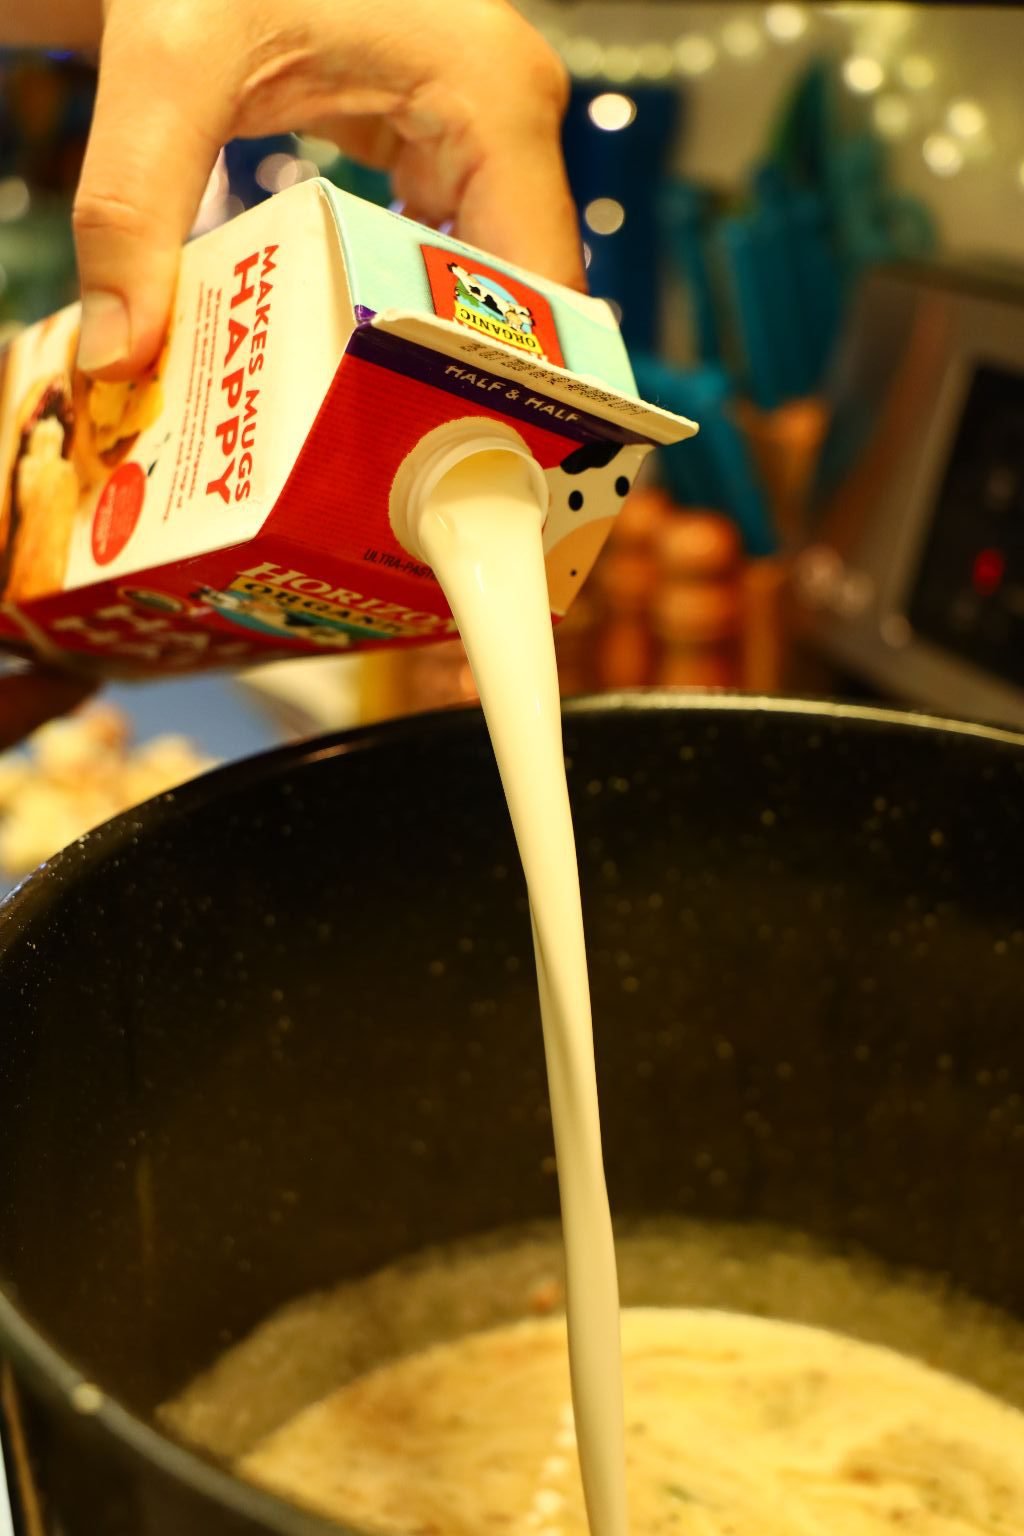
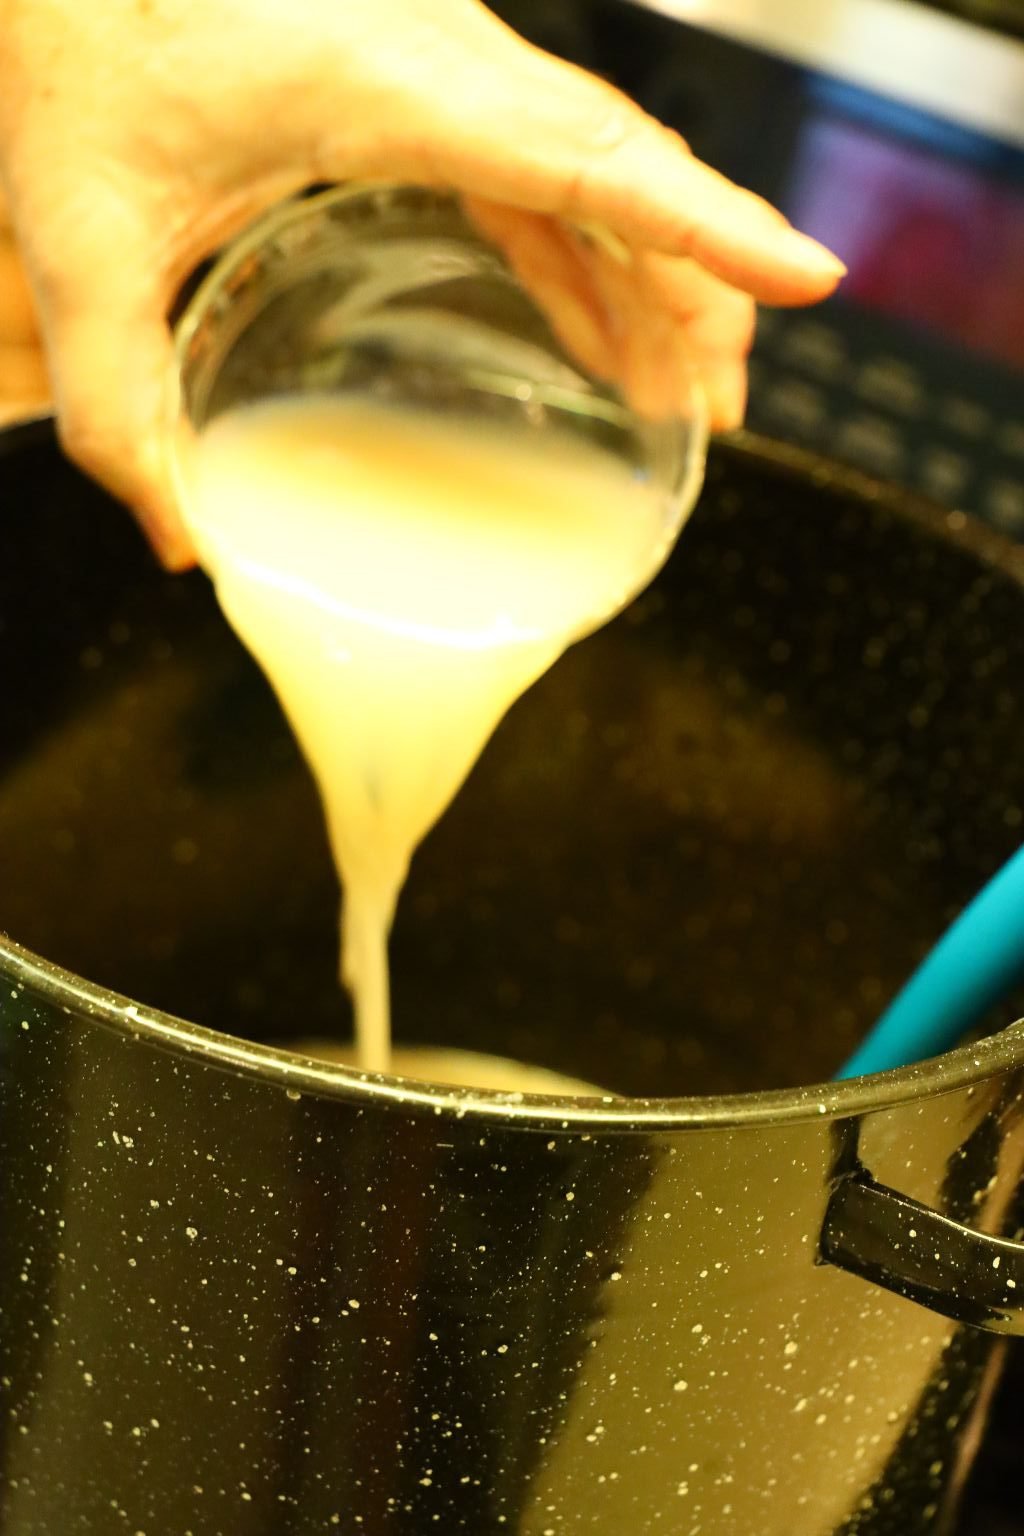
Now add your 1/2 pint of heavy cream, and then your half and half to the pot.
Adding the cream here makes the chowder creamier but it also can dilute the flavors which is why we need to add some more spices.
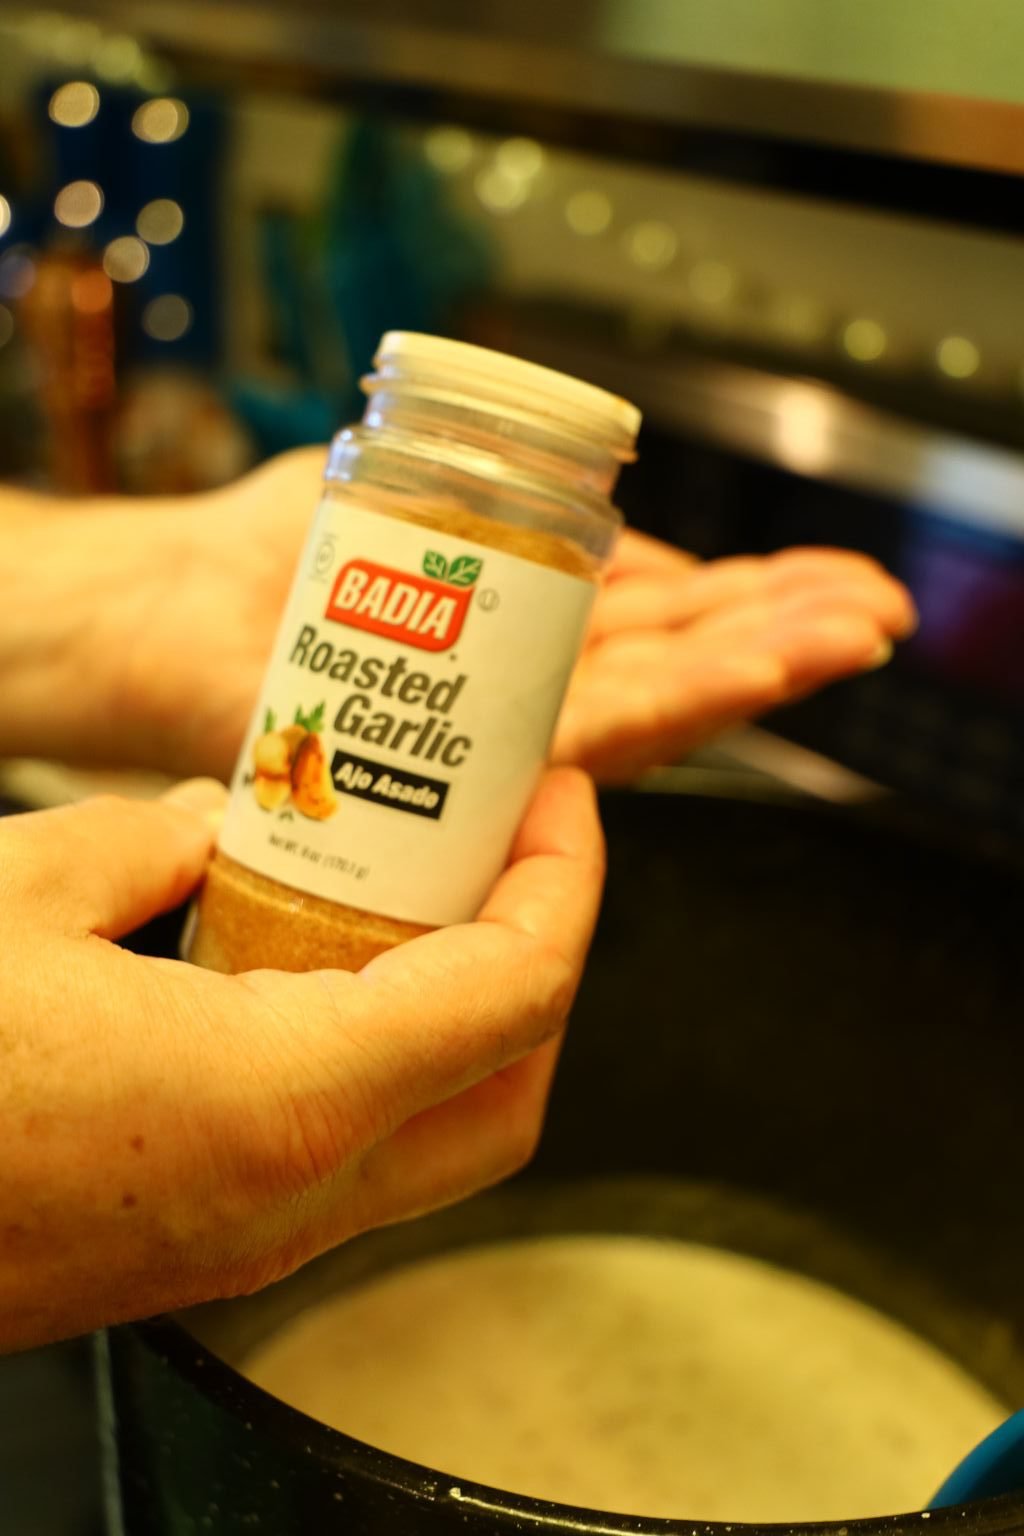
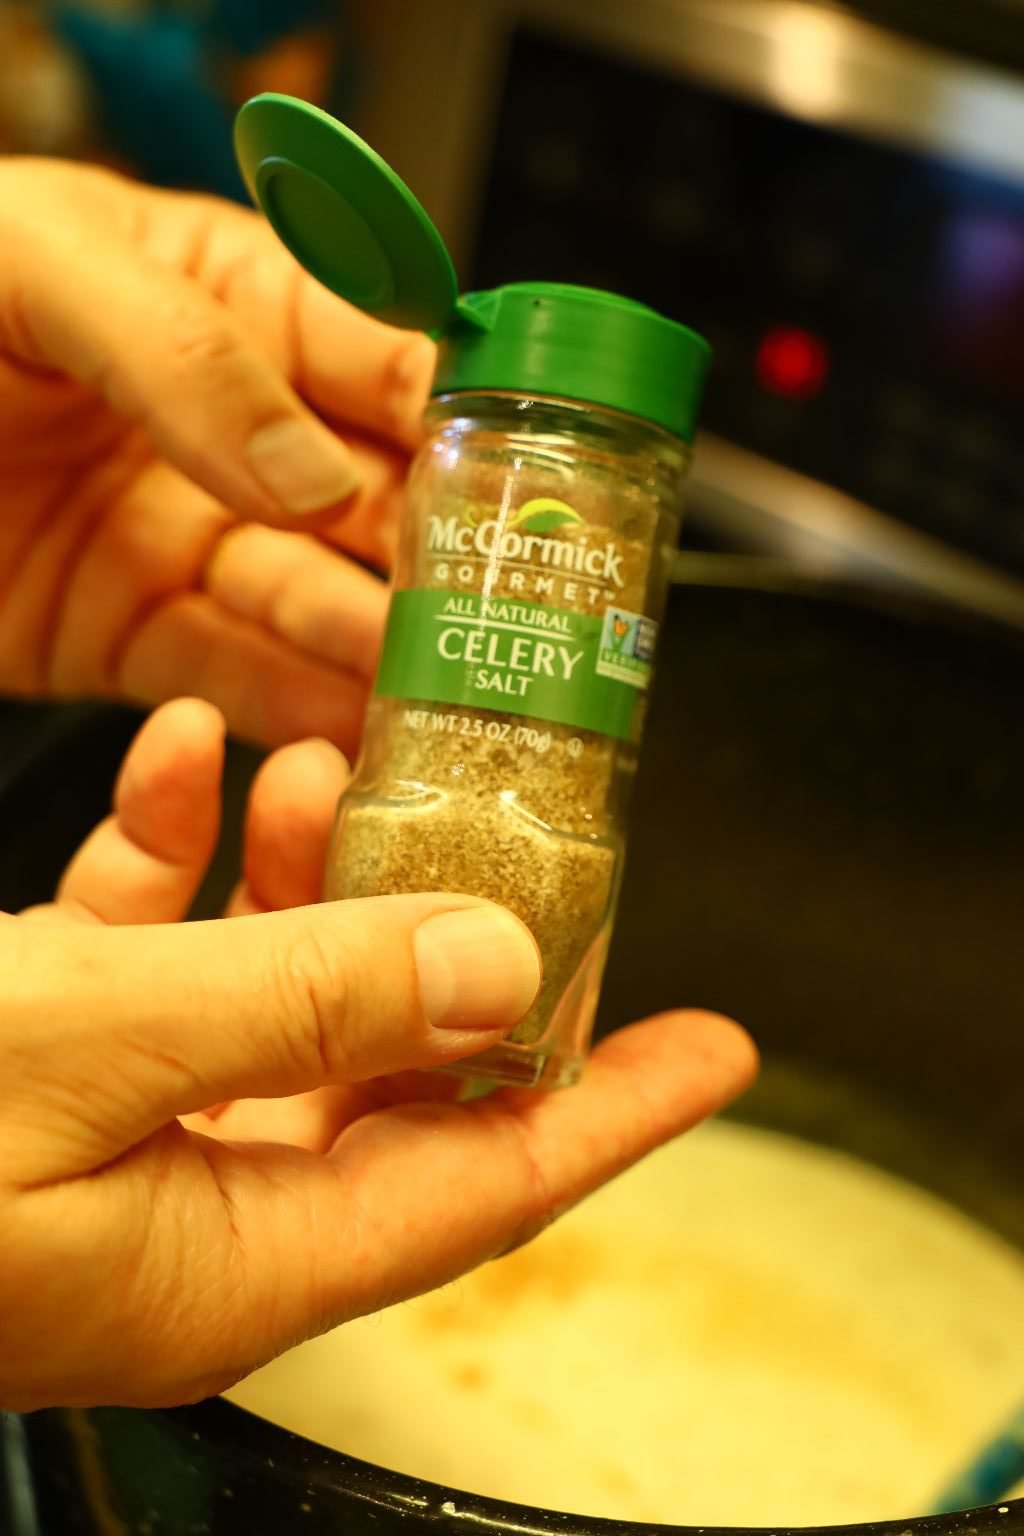

Season the now chowder with your roasted garlic, celery salt and red pepper…

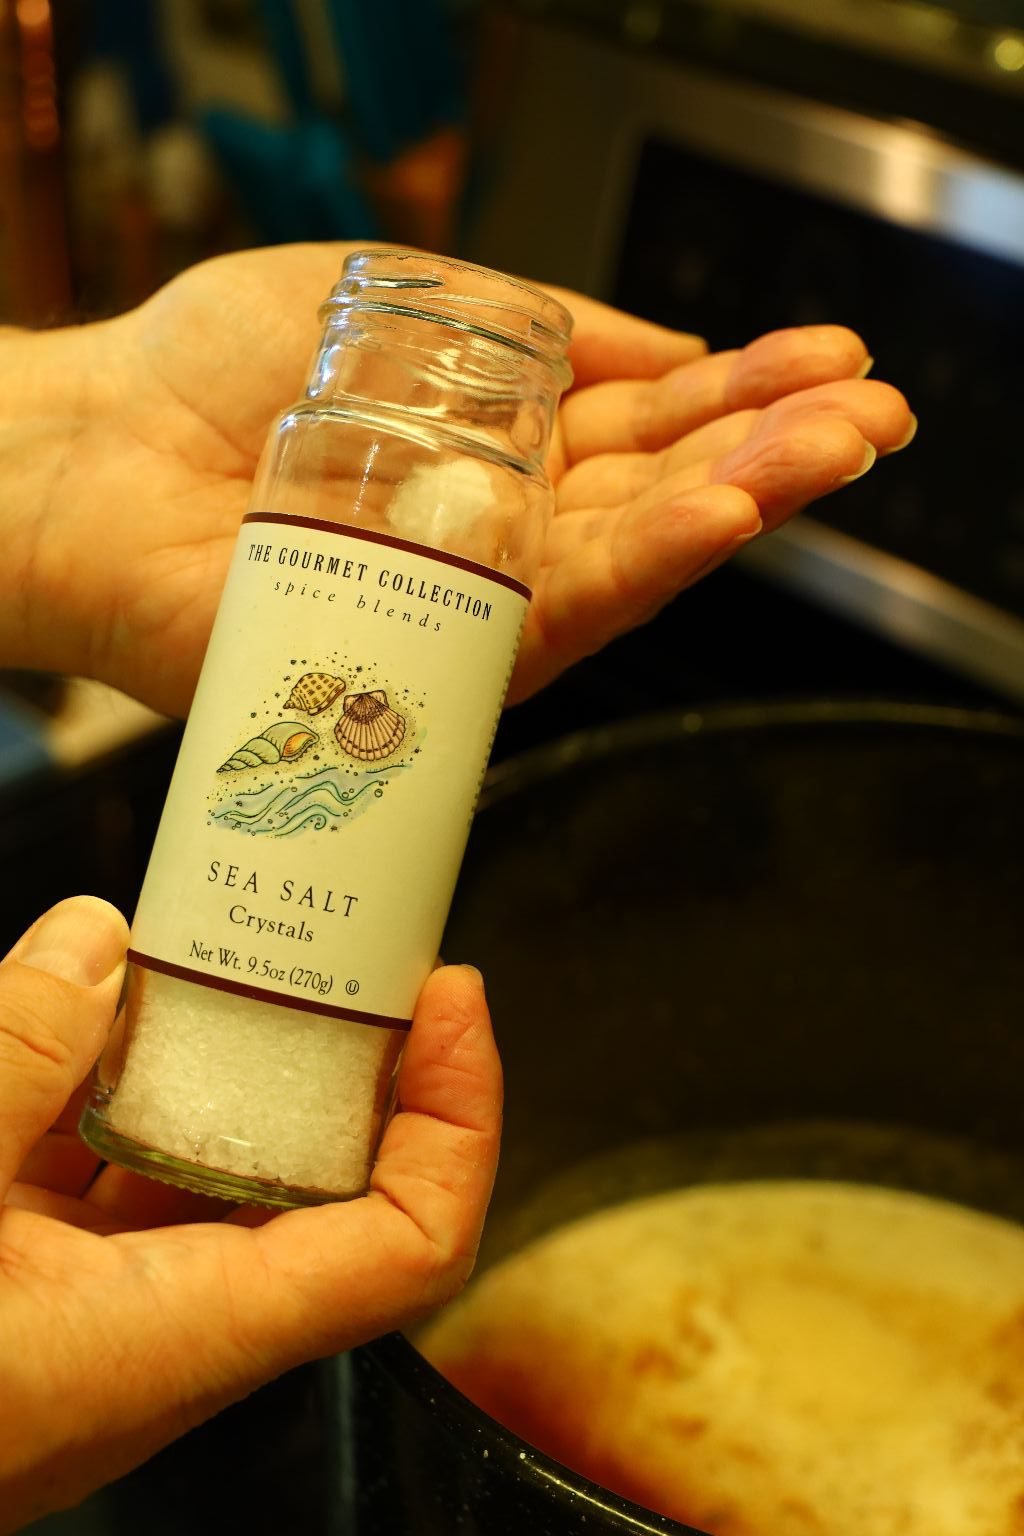
Then add your Sweet Paprika, Onion Powder, remaining Dried Thyme and a touch more Sea Salt.
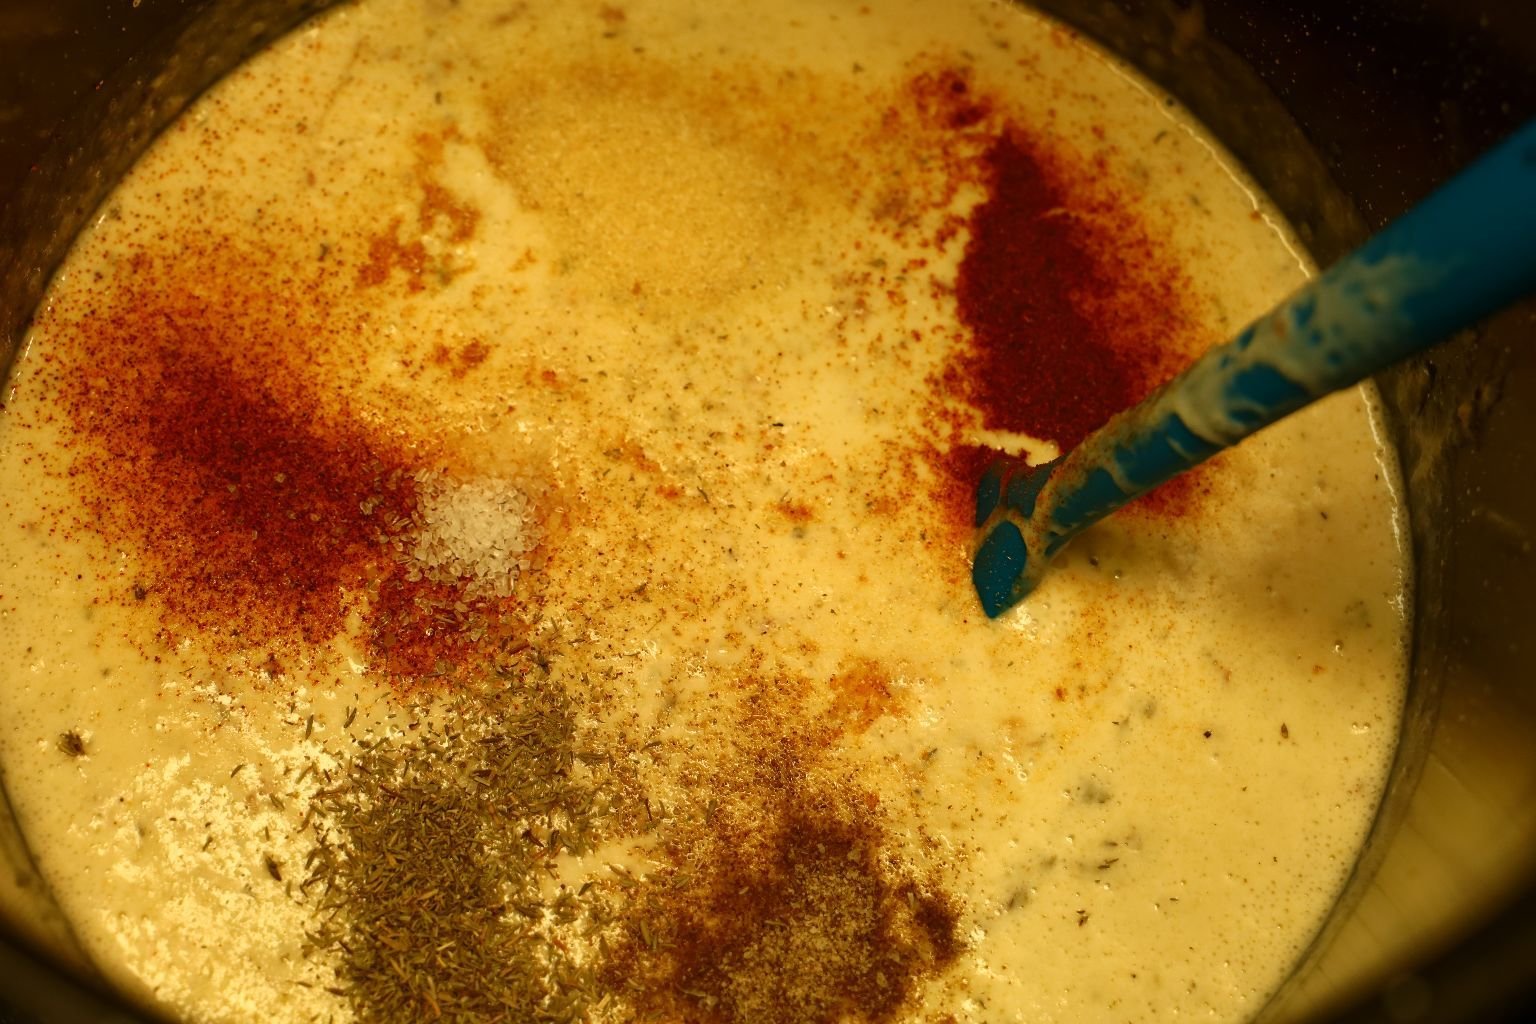
Spices Adding More Flavor
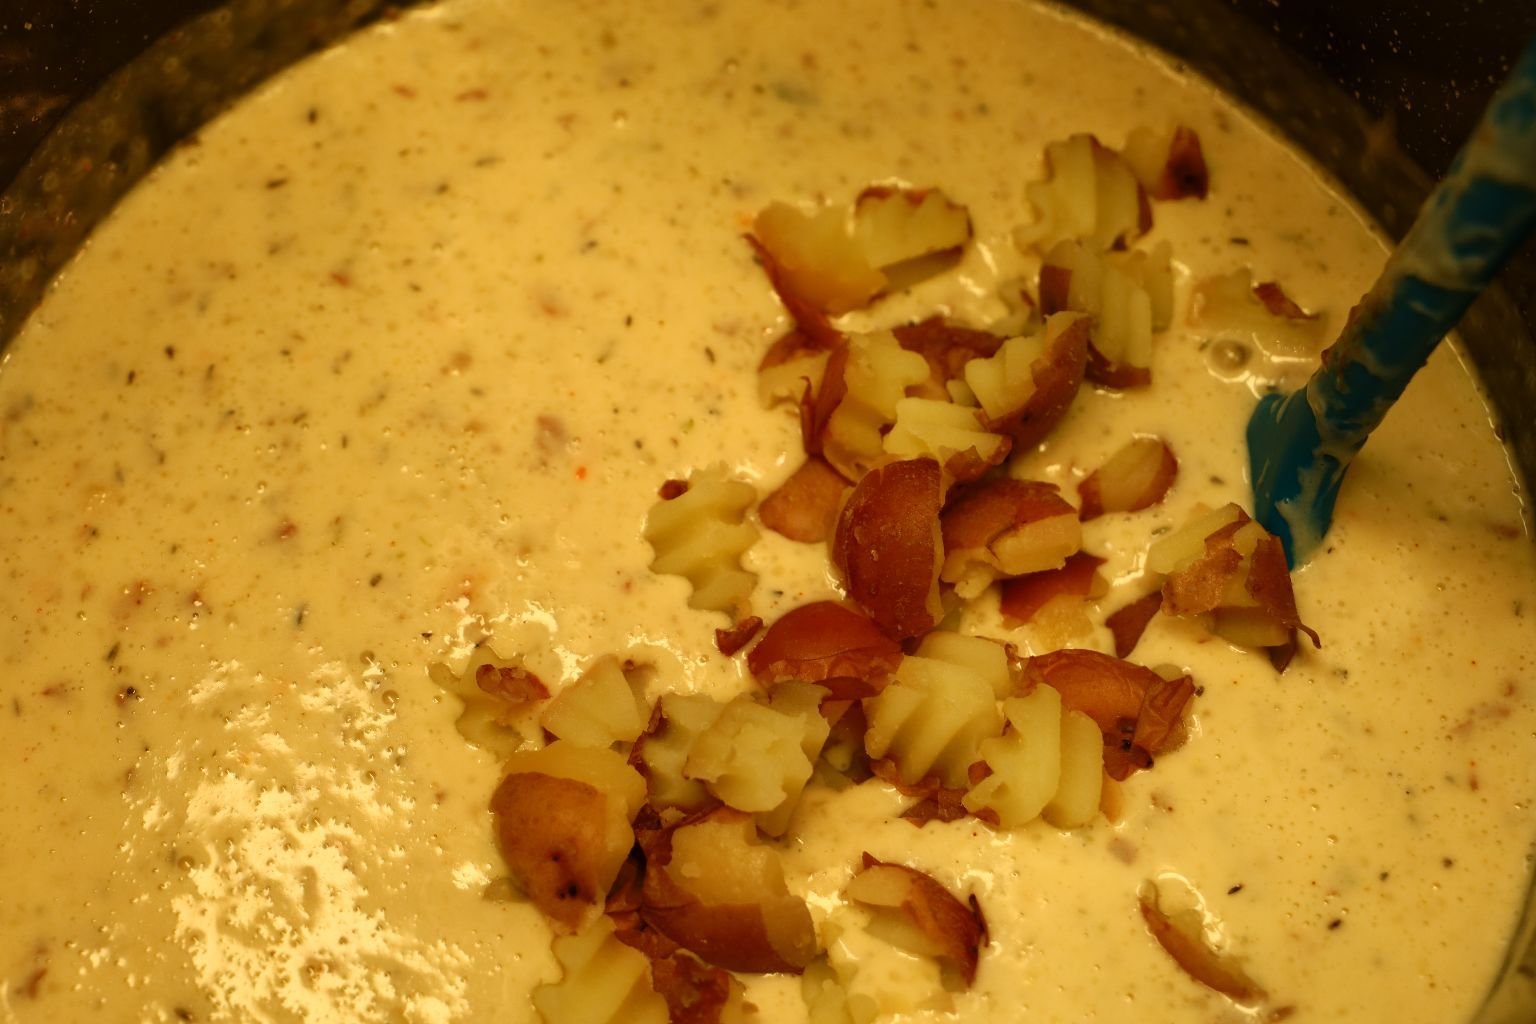
These are the remaining quartered Red Potatoes I chopped with that special blade from above.
Add them all to the soup and stir well.
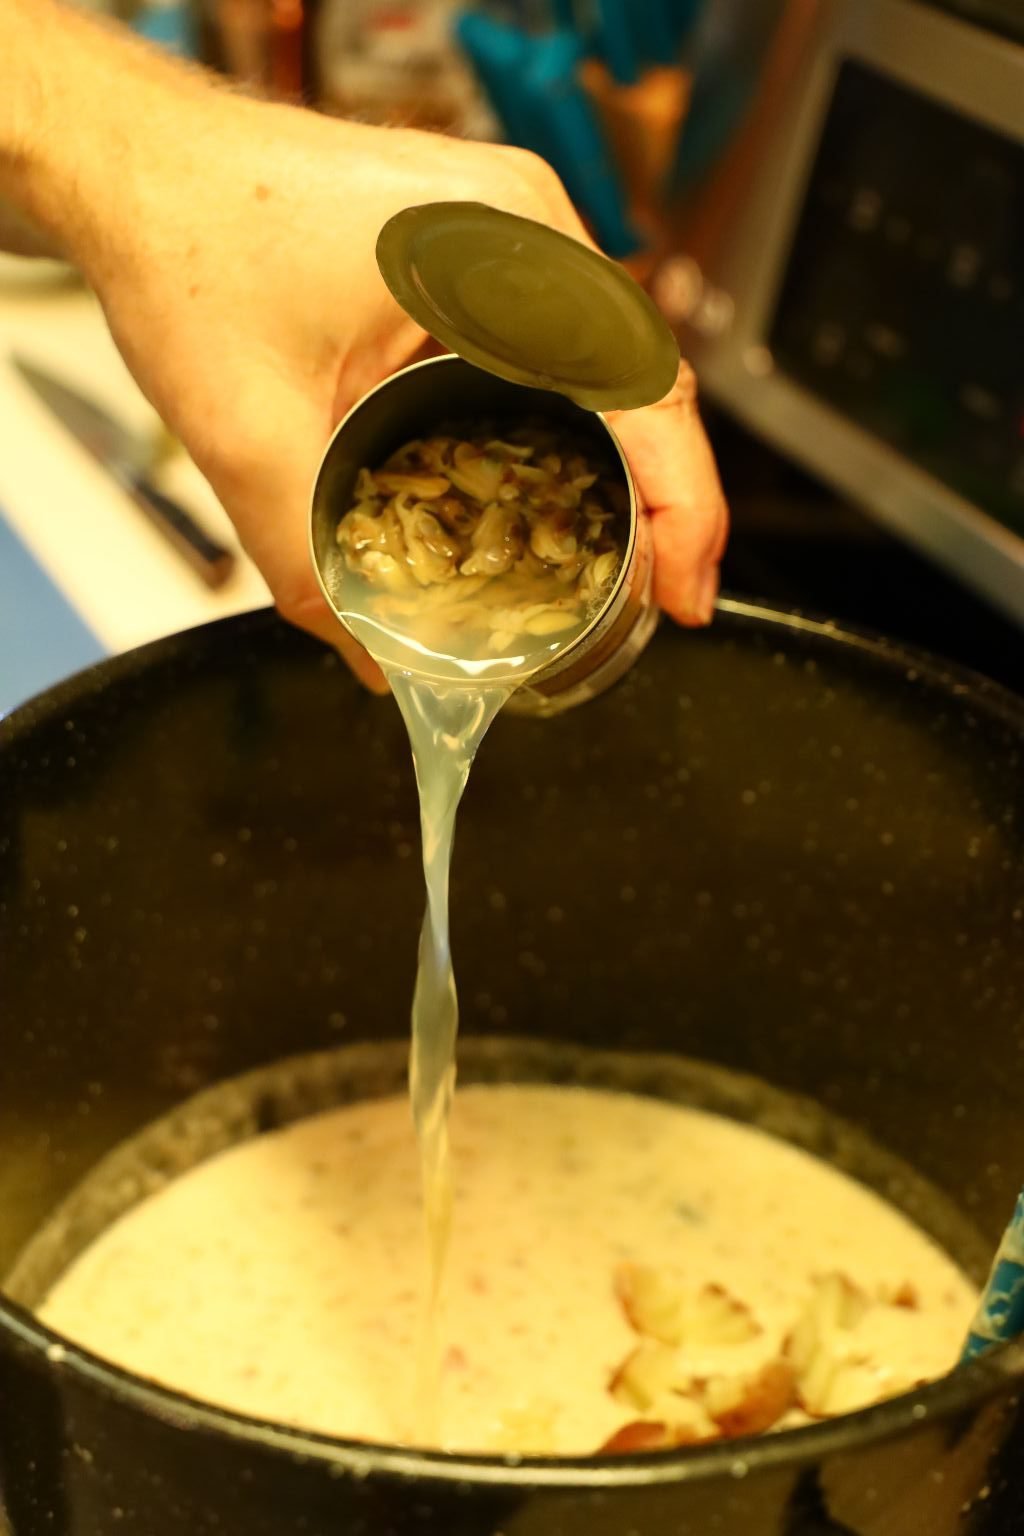
Now add your cans of whole clams with their juices to the chowder.

————————————————————–
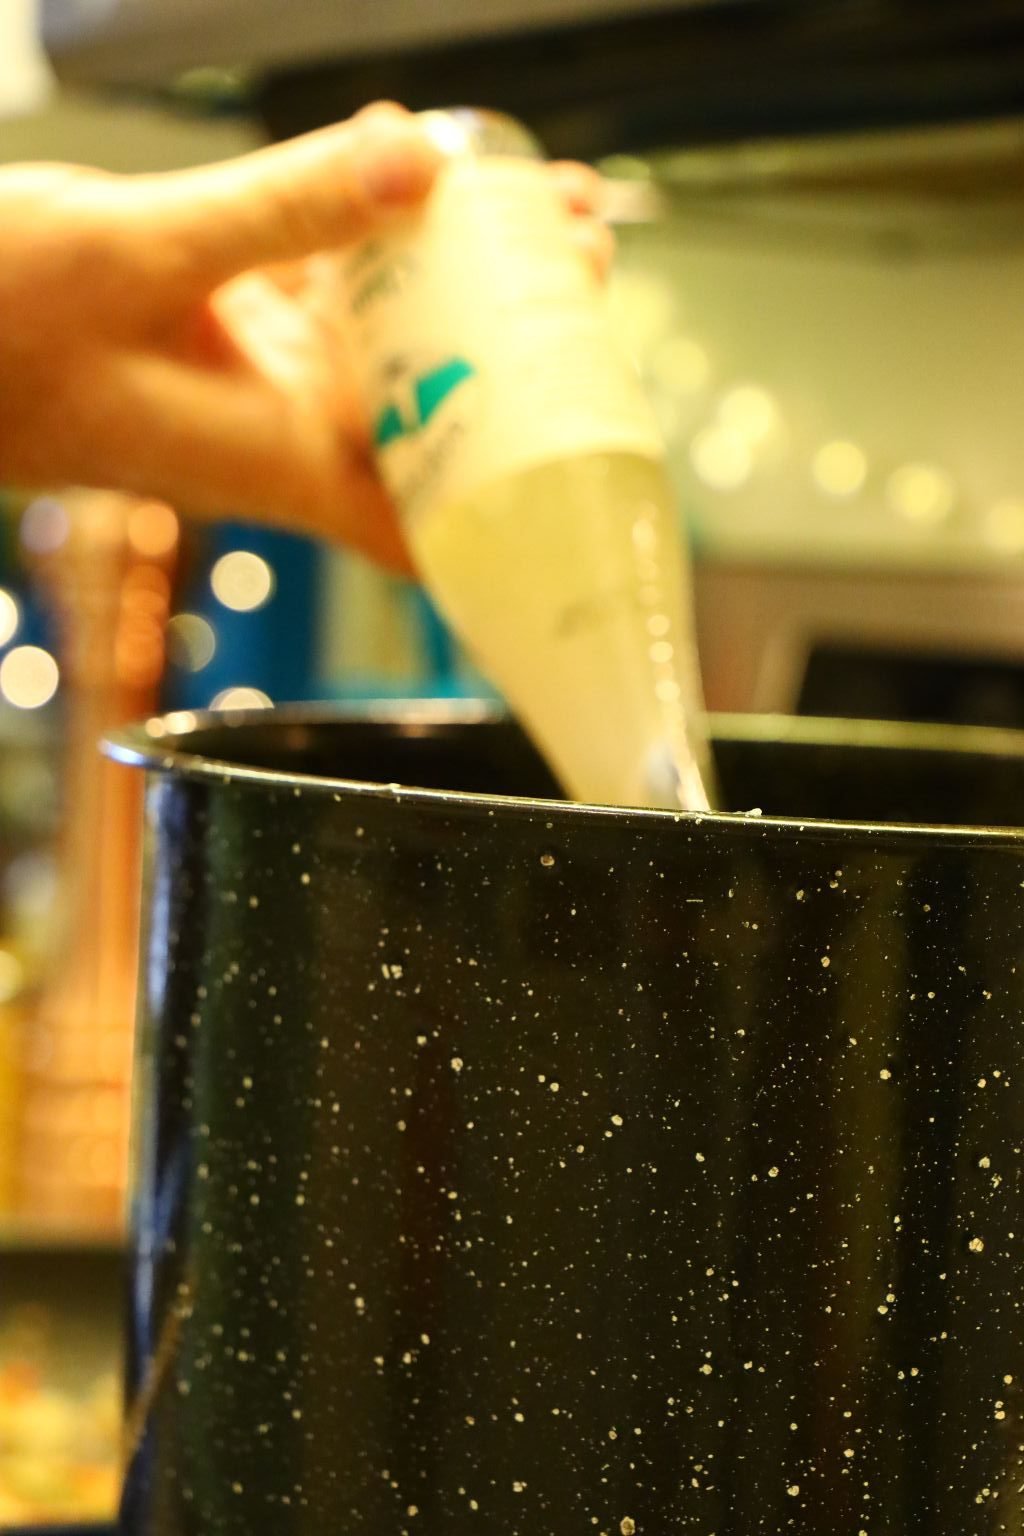
Add your favorite beer to the chowder.
This will provide a more depth of flavor to the chowder.

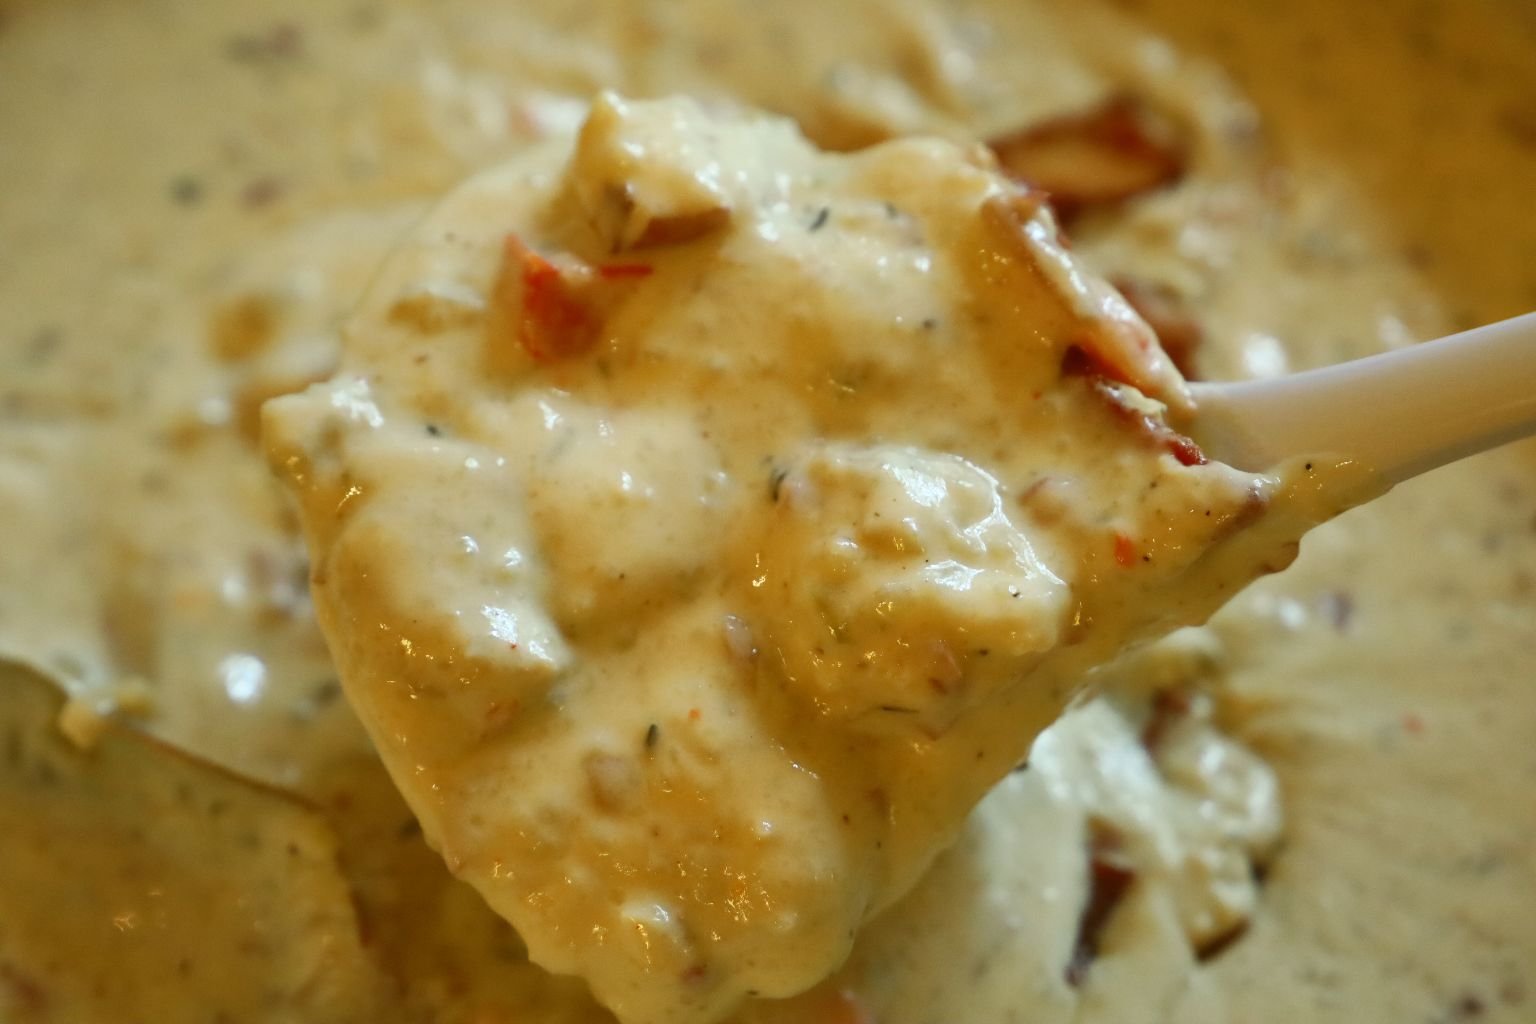
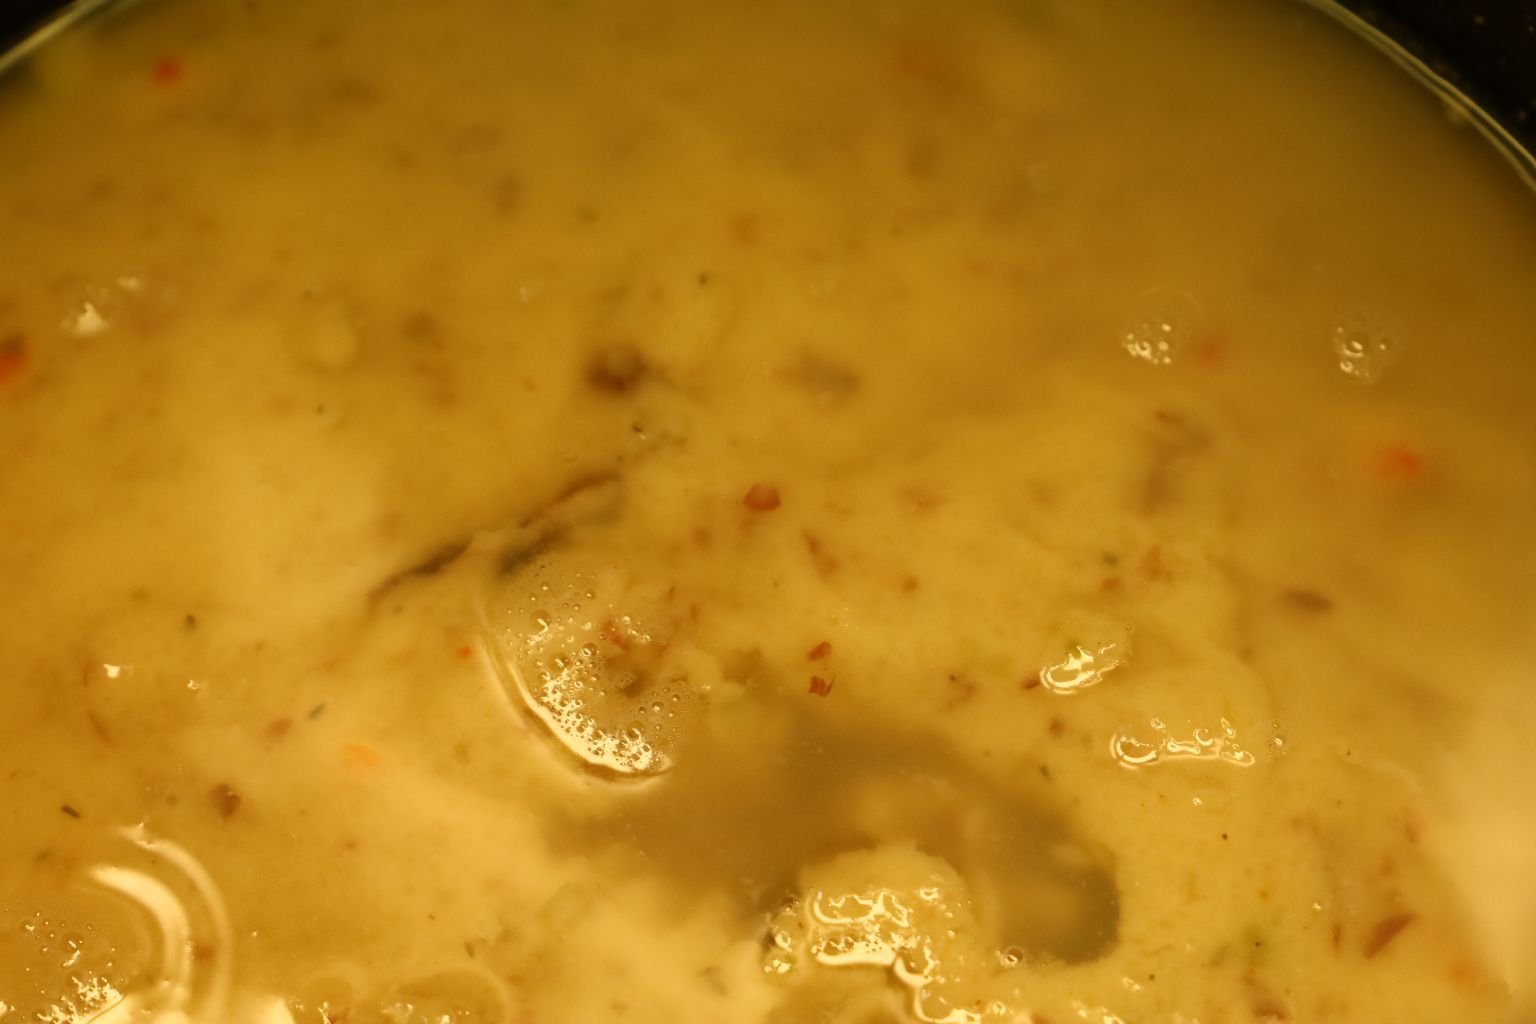
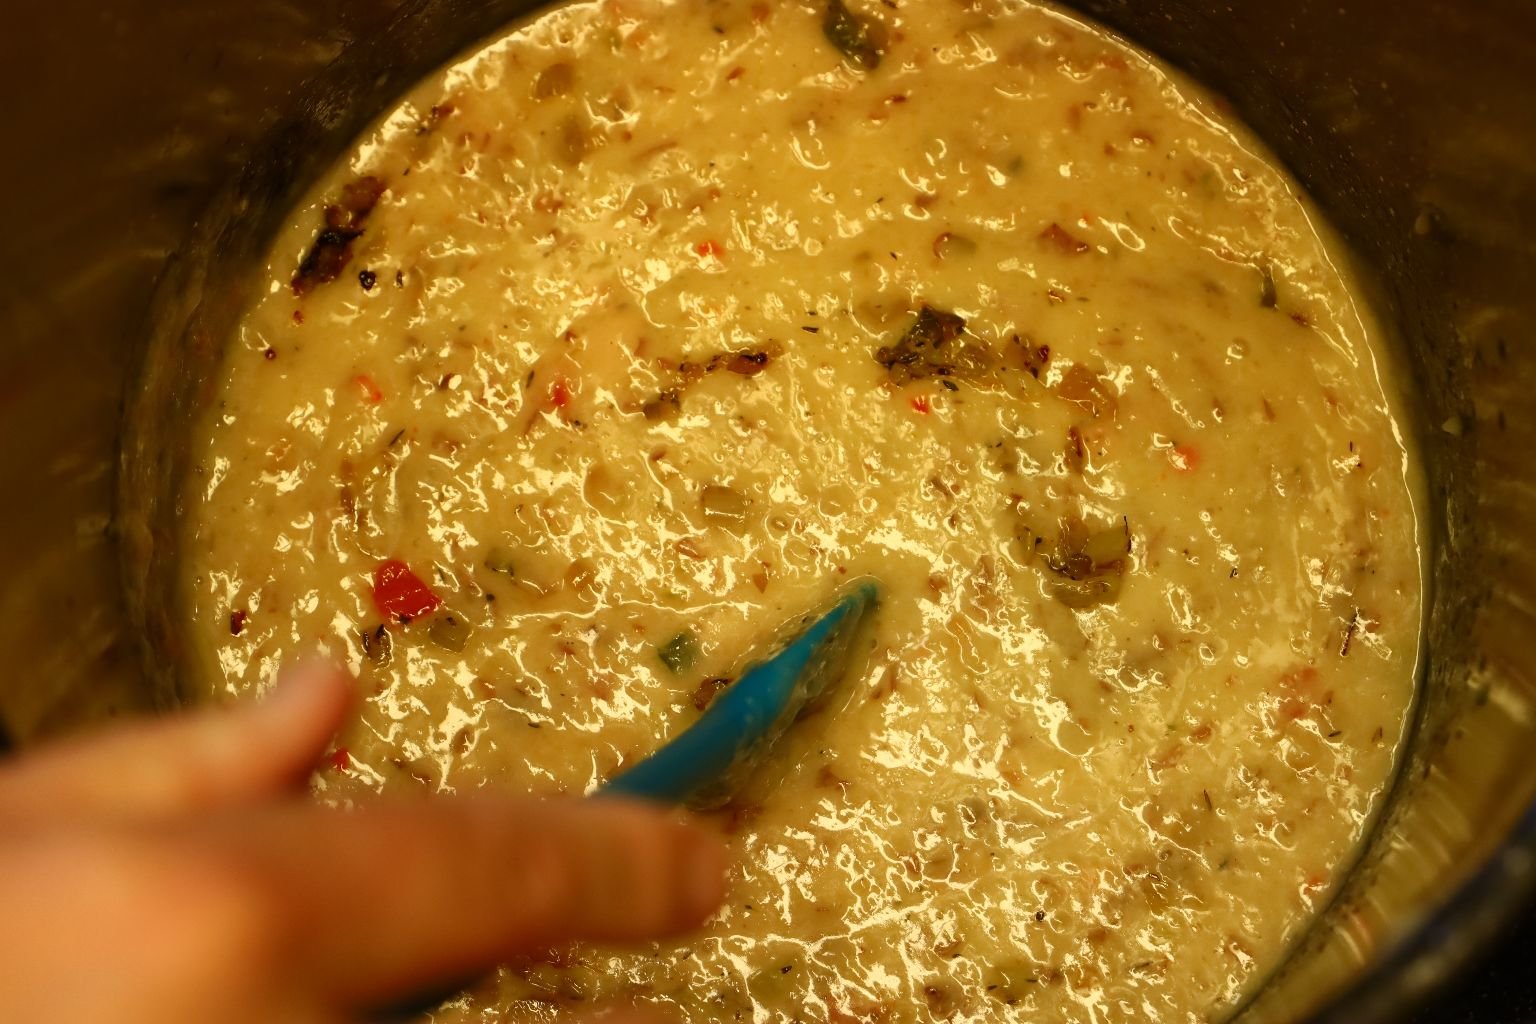
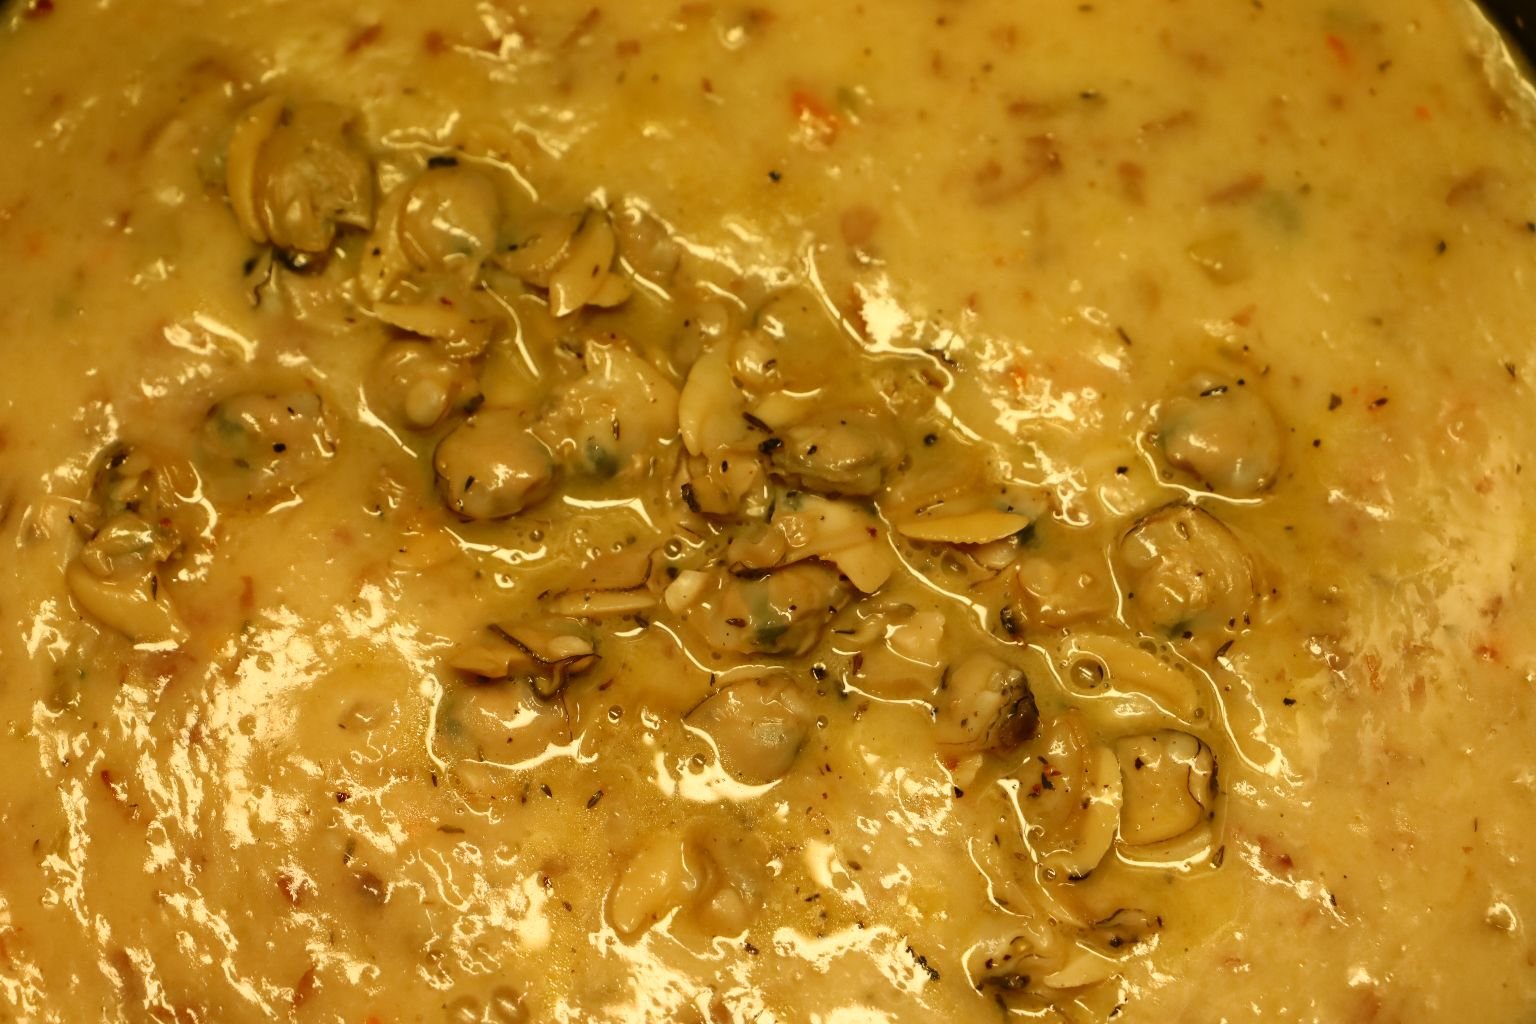
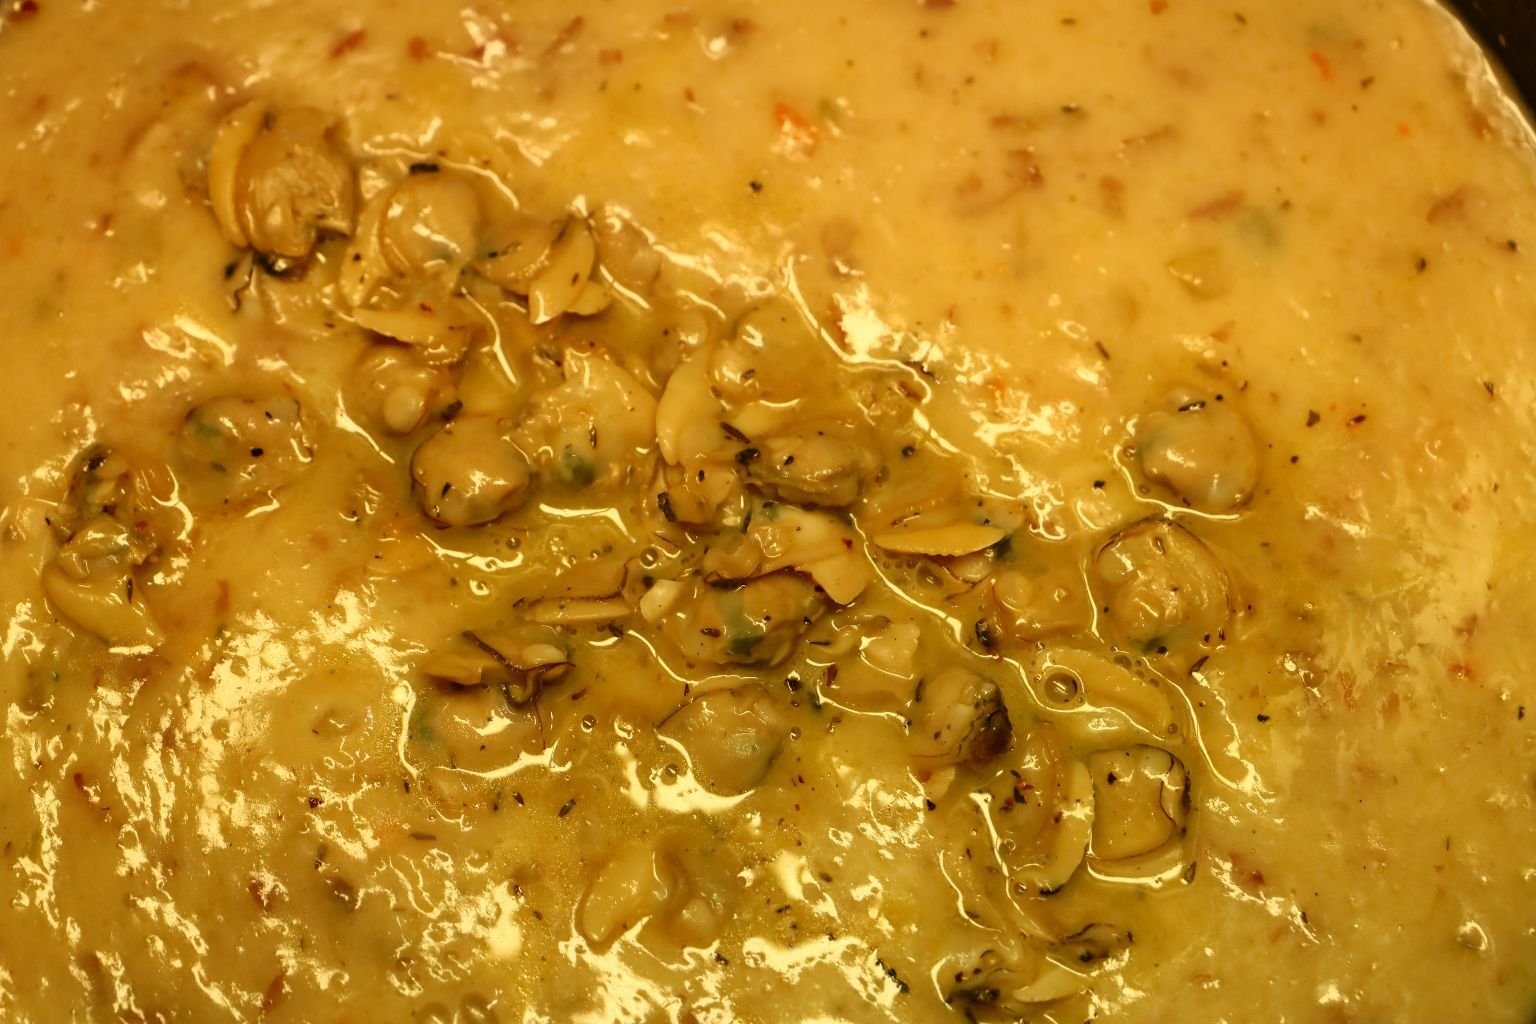
Continue to heat the chowder on medium heat. Here is a spoonful of the chowder with all the chunks of clams and vegetables. This was a great dinner as my family and I enjoyed it greatly! I hope all of you try this chowder as well and enjoy it as much as we did!
——————————————————–
Corn and Clam Fritters
This is the corn from the recipe above where we used the ears to make a broth for our Drunken Clam Chowder.

Corn Fritters
Ingredients:
~3 Cups Vegetable Oil
1/2 Cup Water
2 Eggs
2 Cup Fritter Mix (we used a ready made mix.)
2 Ears Fresh Steamed Corn
We doubled this recipe which made ~24 fritters.
—————————————————-

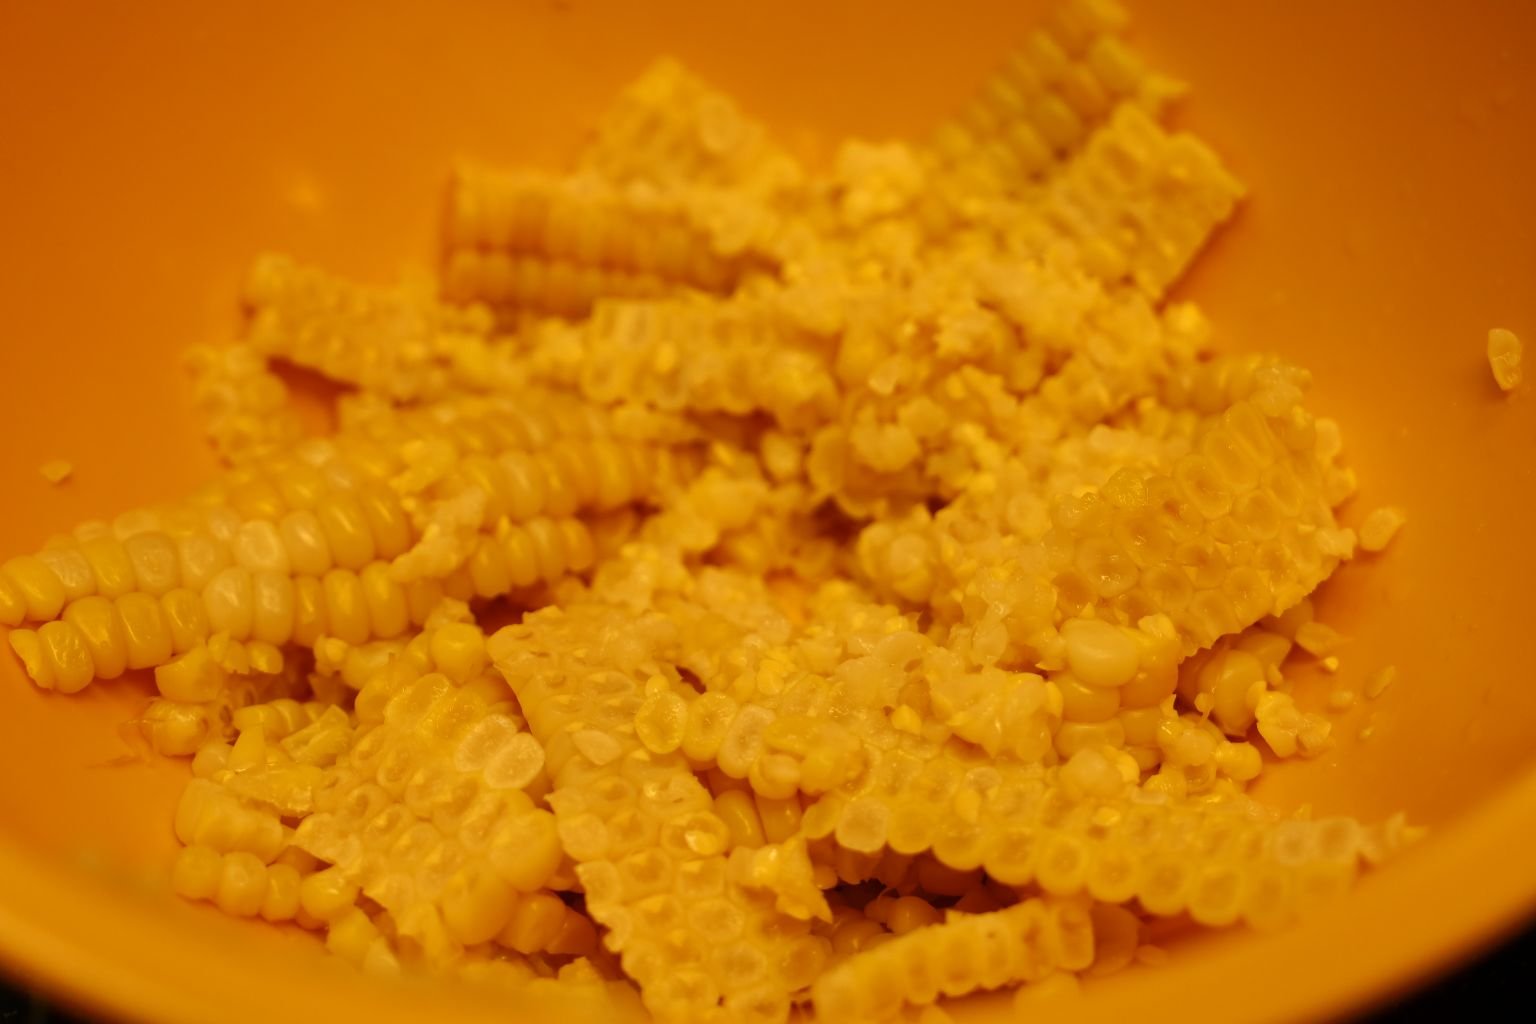
Using a medium sized bowl, slice away the corn kernels from the cob. I previously steamed them with the Clam Chowder vegetables which took about 20 minutes. I used the corn from four cobs in this recipe, but you can use as much or as little as you like.
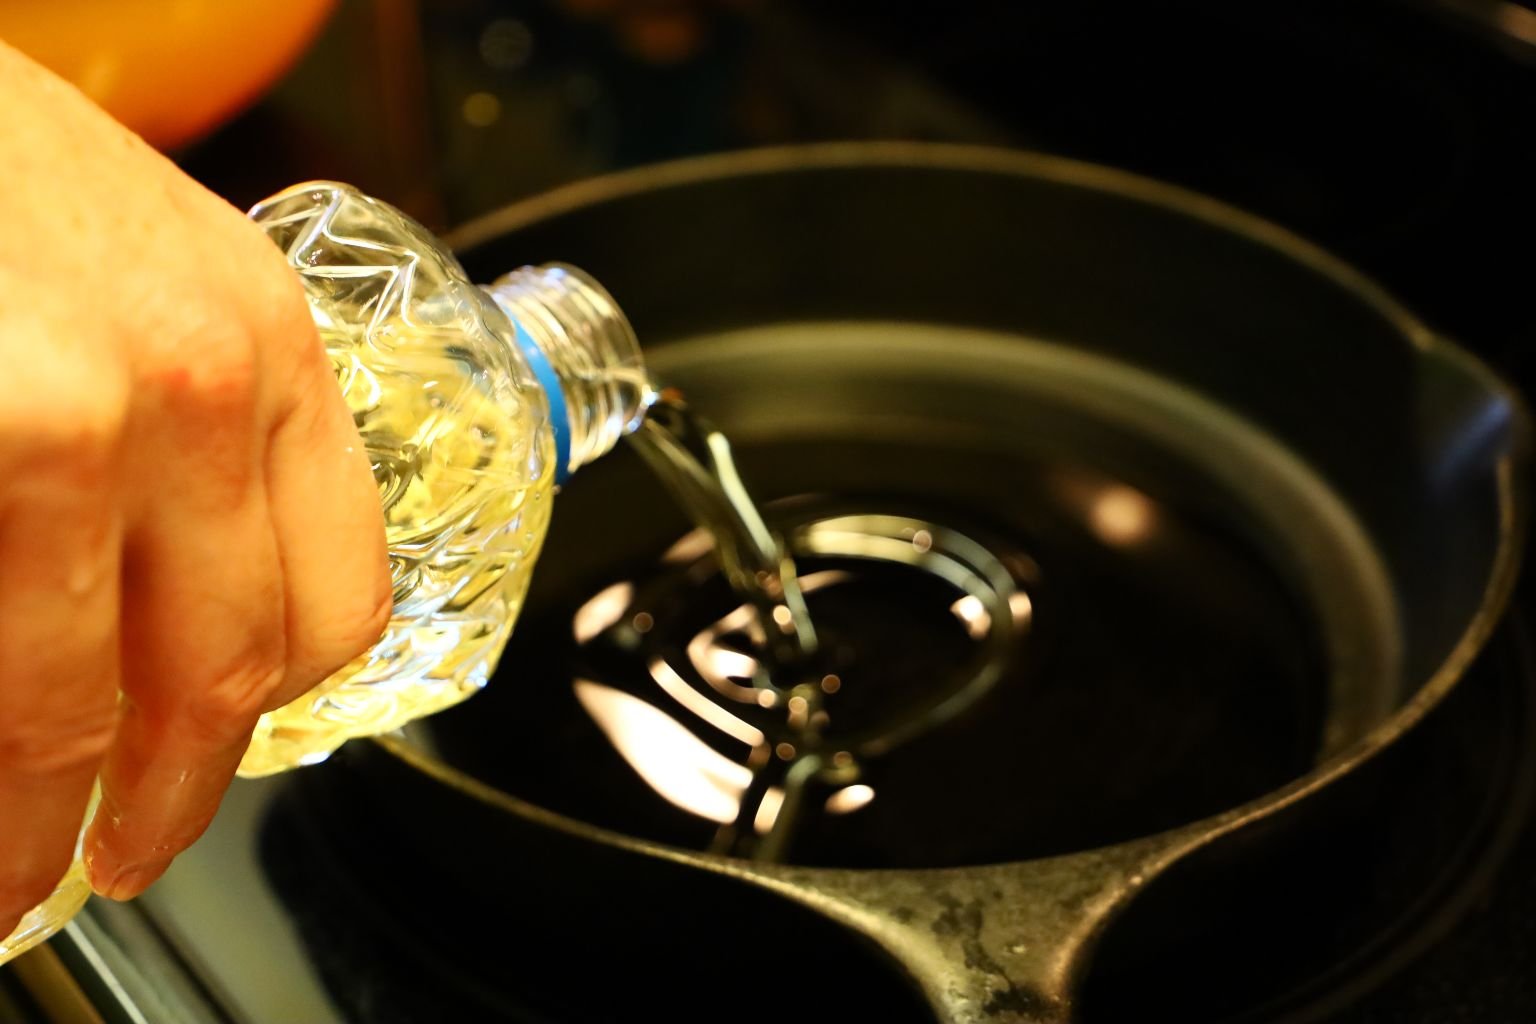
Add your vegetable oil to a cast iron skillet and heat it to medium heat or 350’F on your stove top.

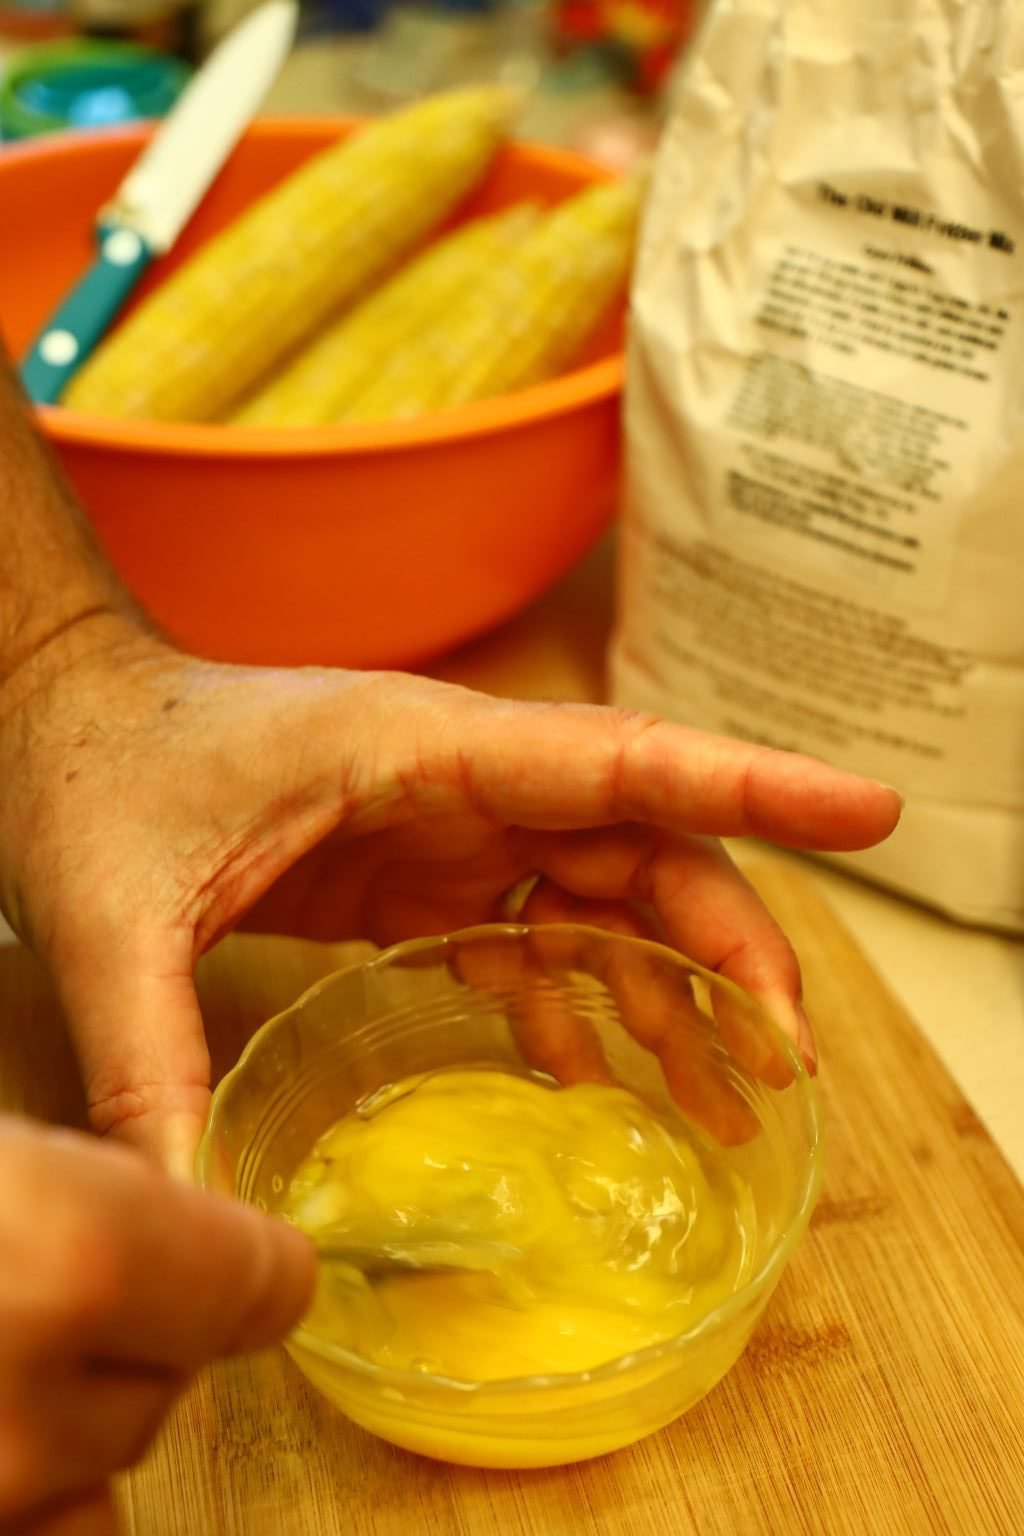
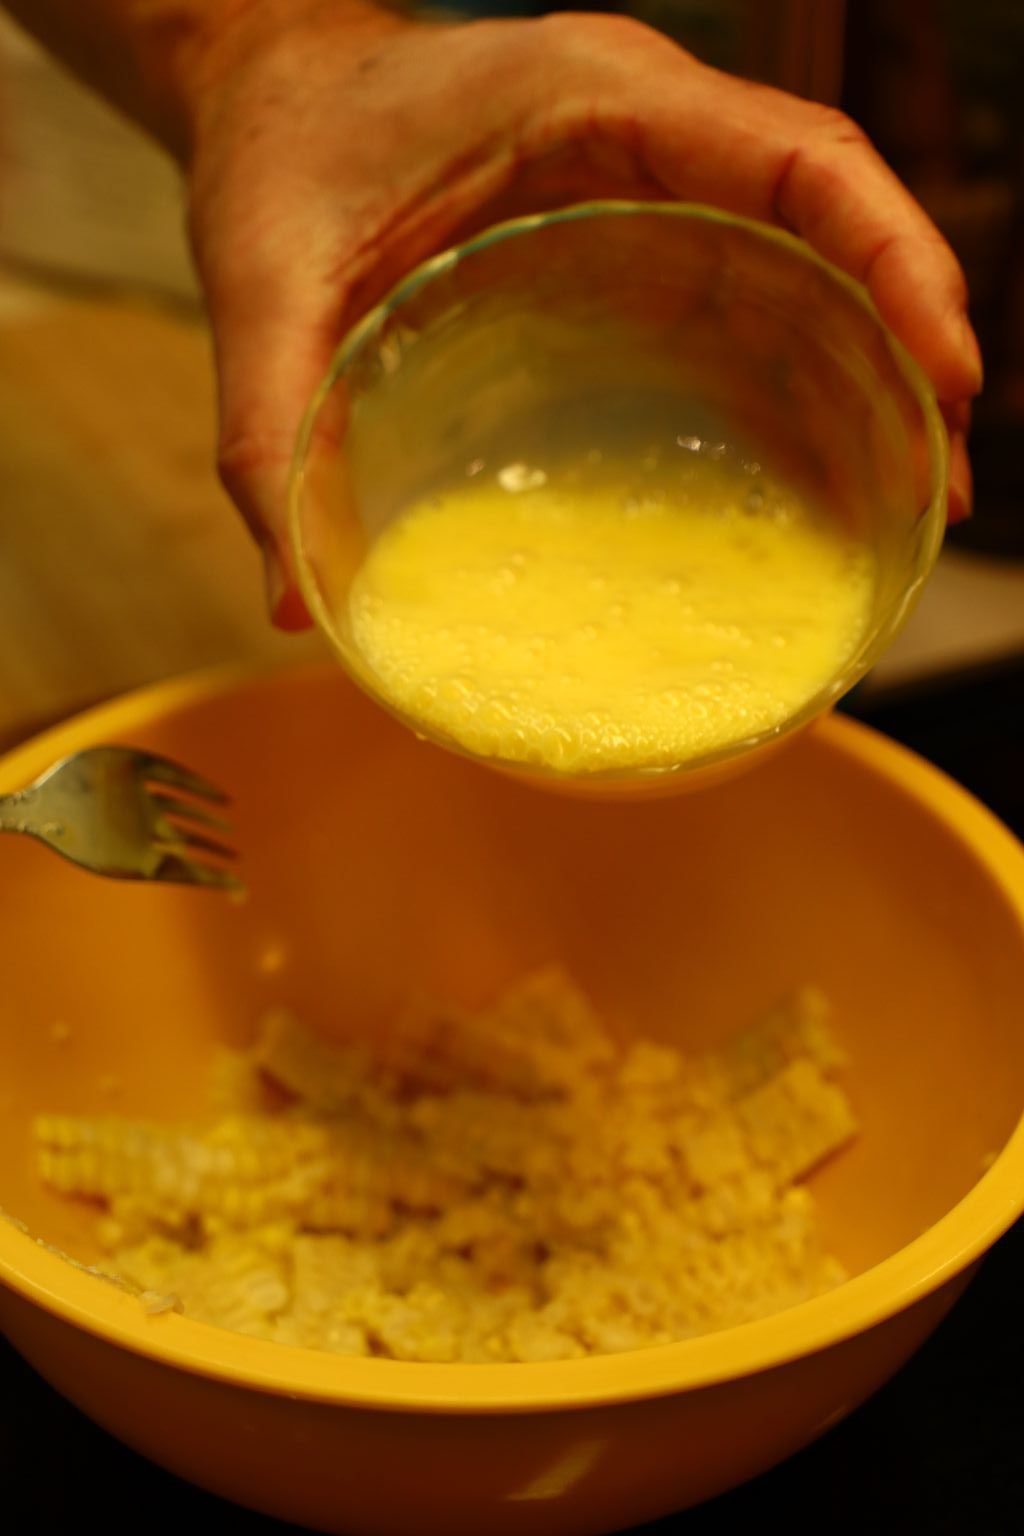
Crack your eggs into a small bowl and whisk them together using a fork. Now, add your eggs to the corn.
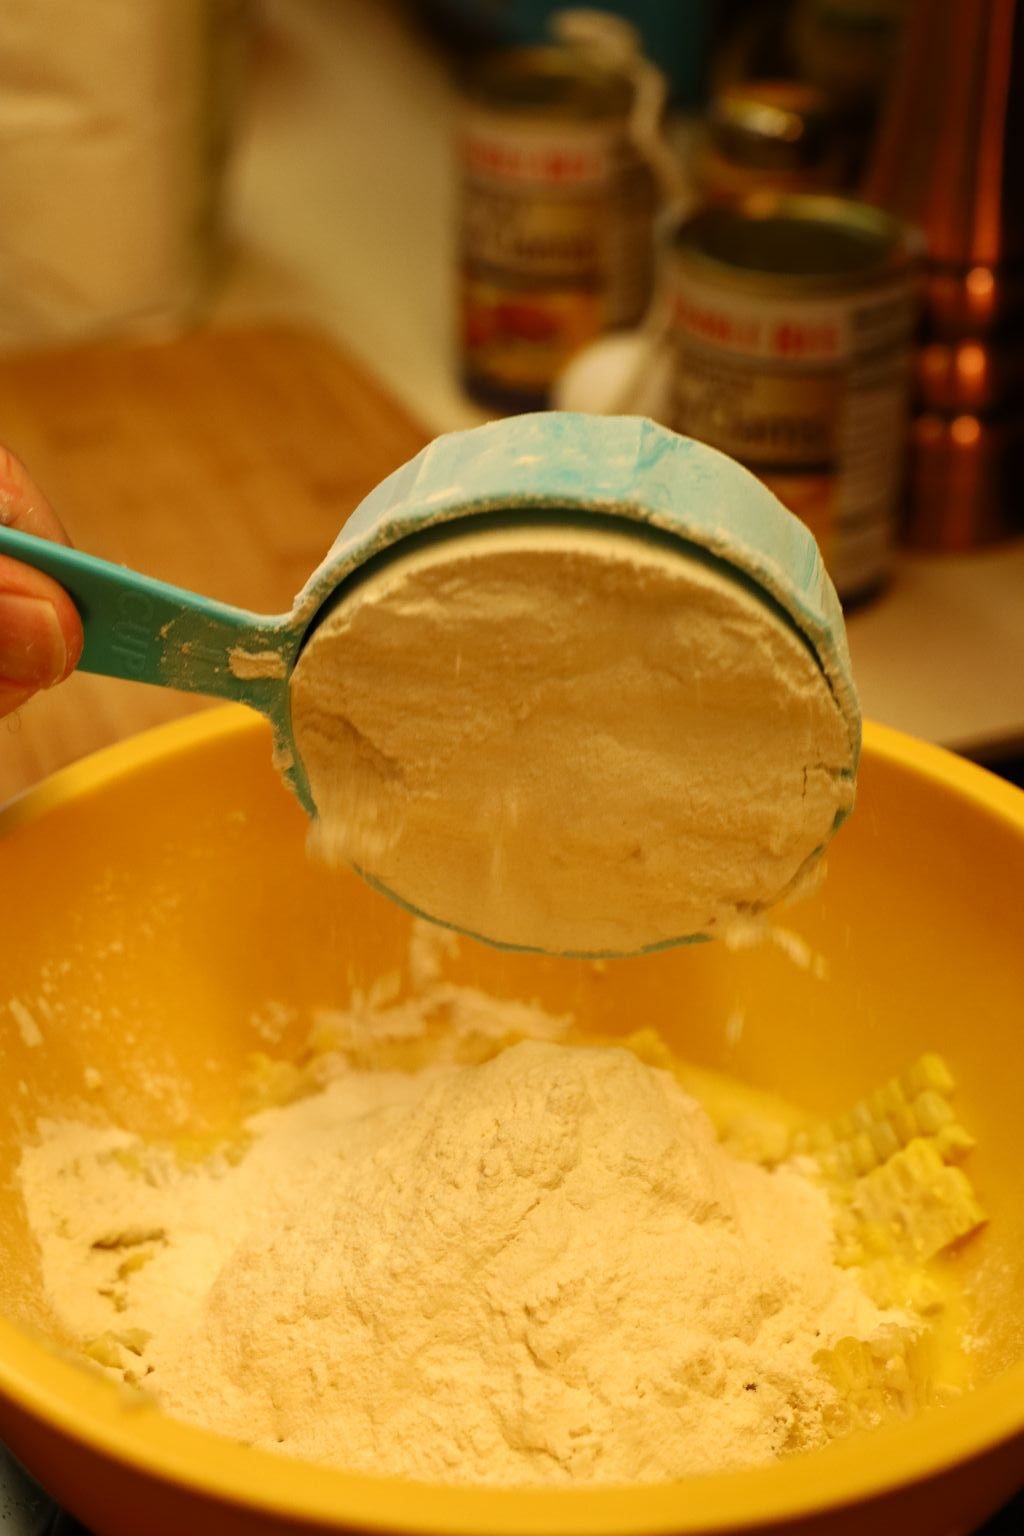
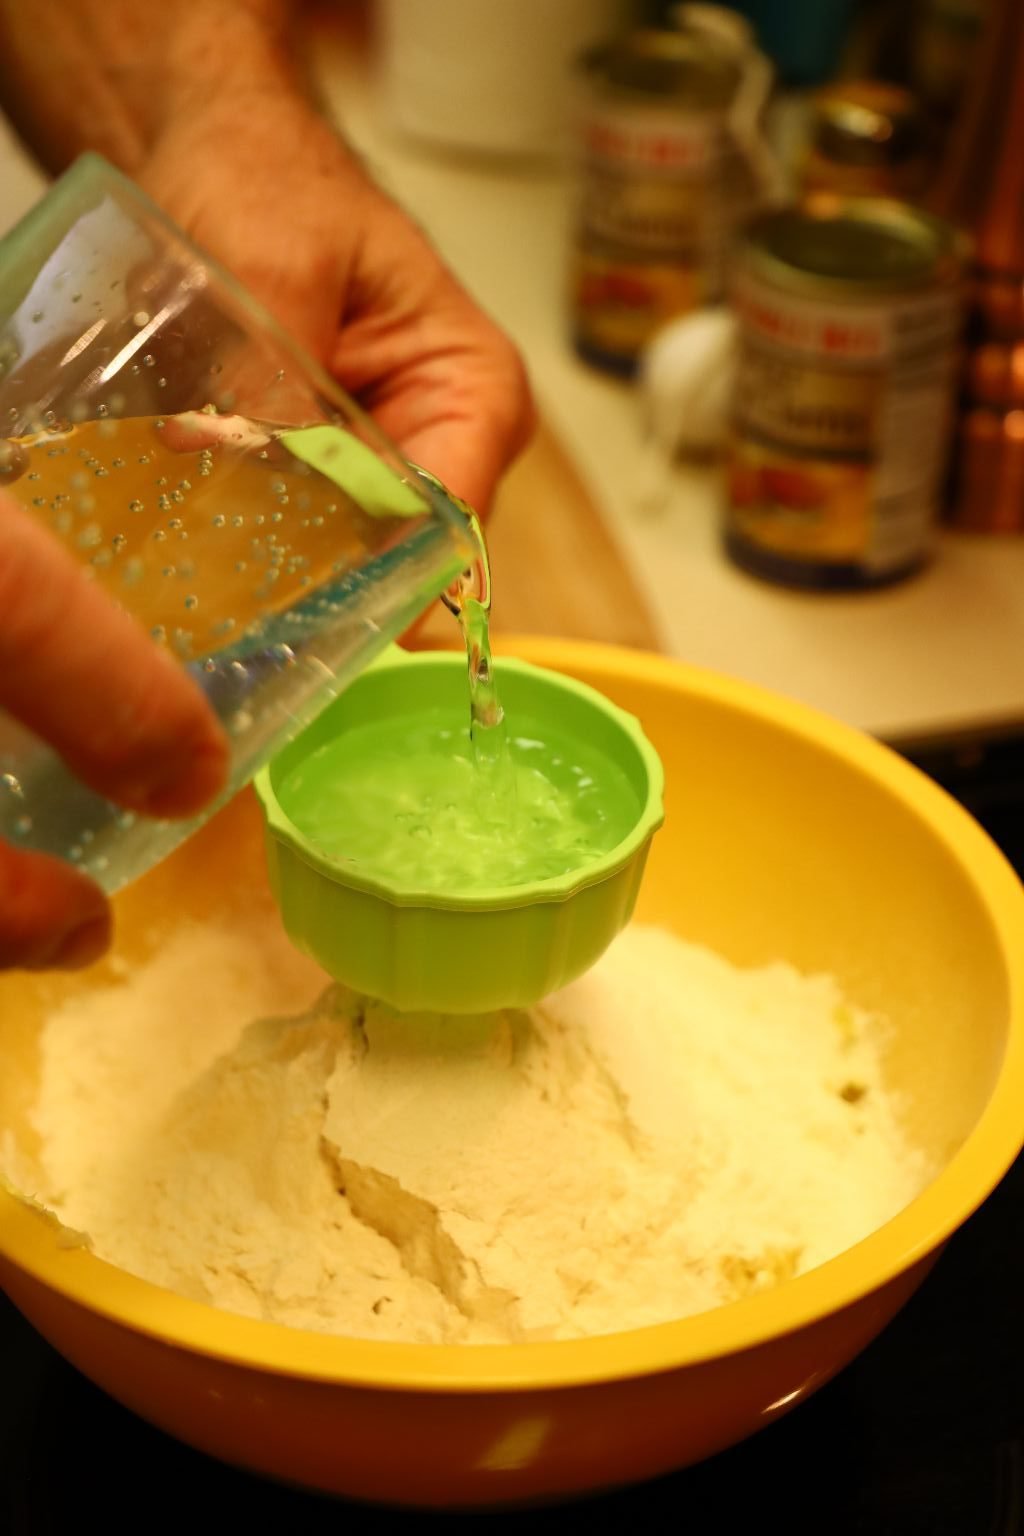
Place your fritter mix and water into the bowl.
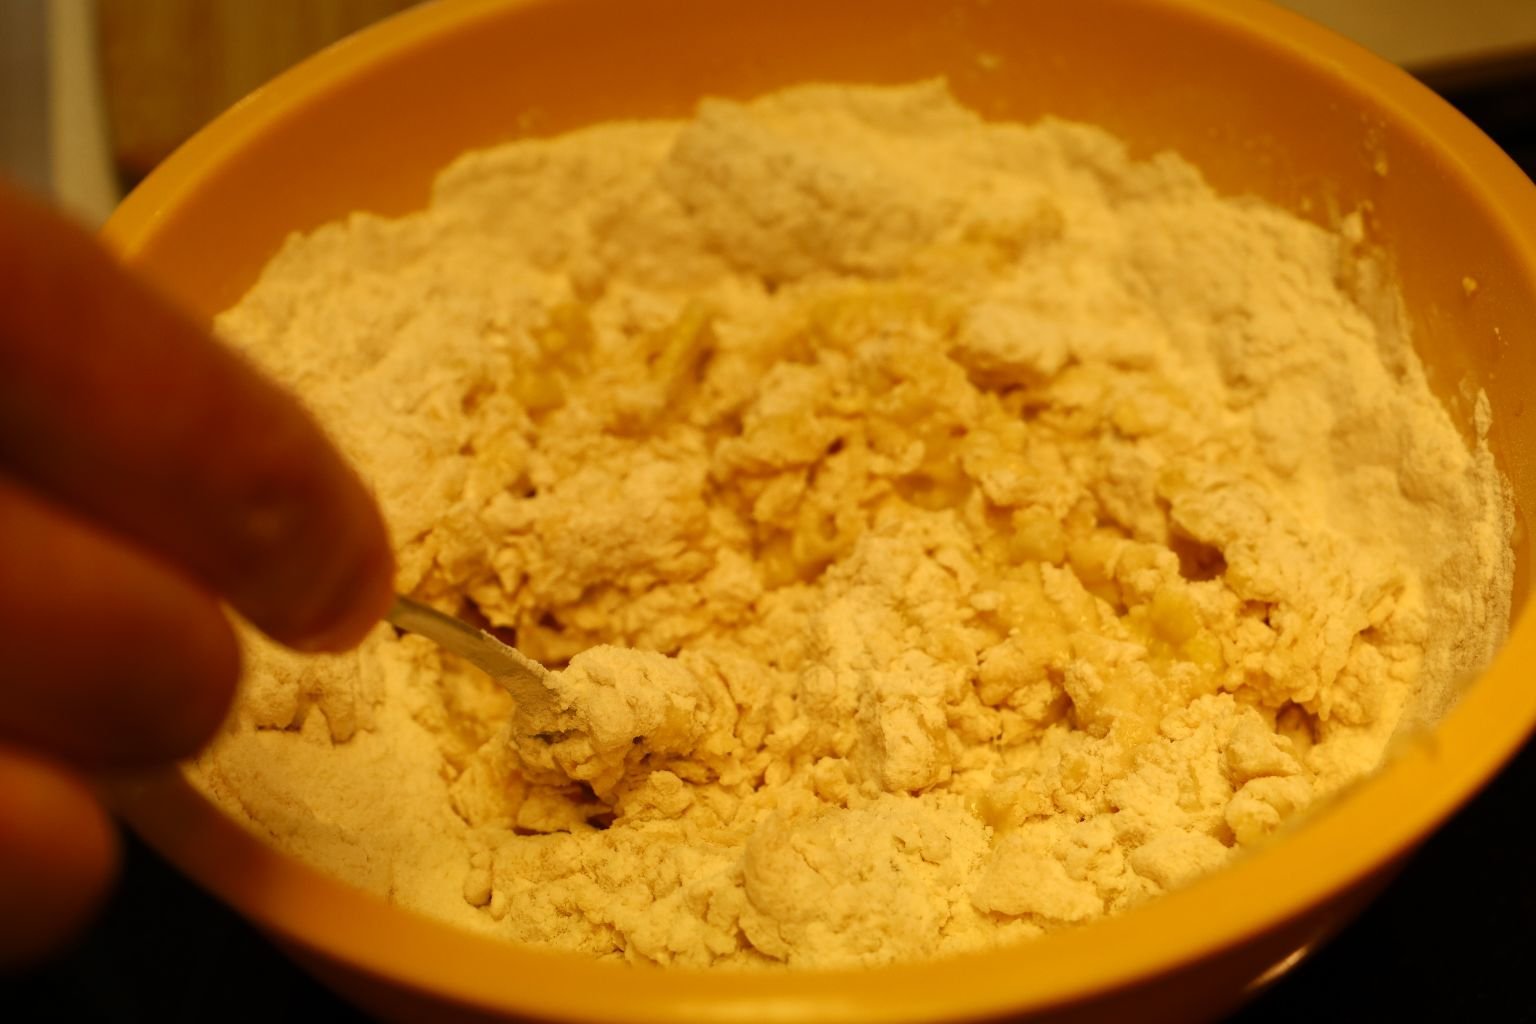
Mix the ingredients together until blended. If the batter is too stiff, simply add 1 Tbsp. of water.
——————————————————-

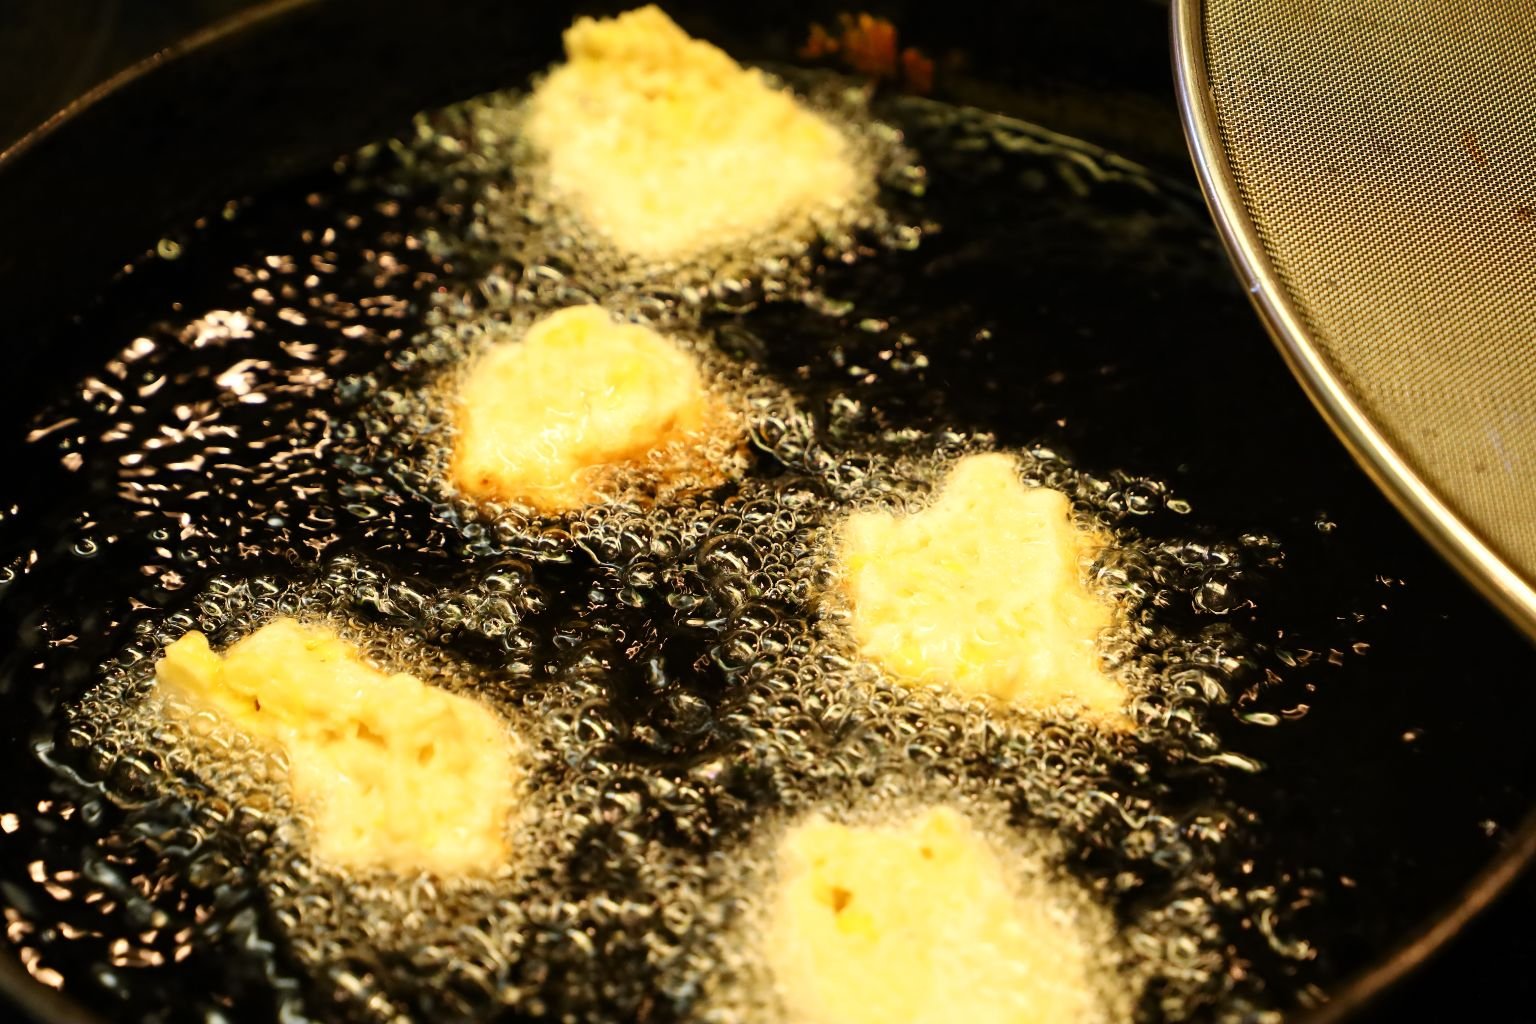
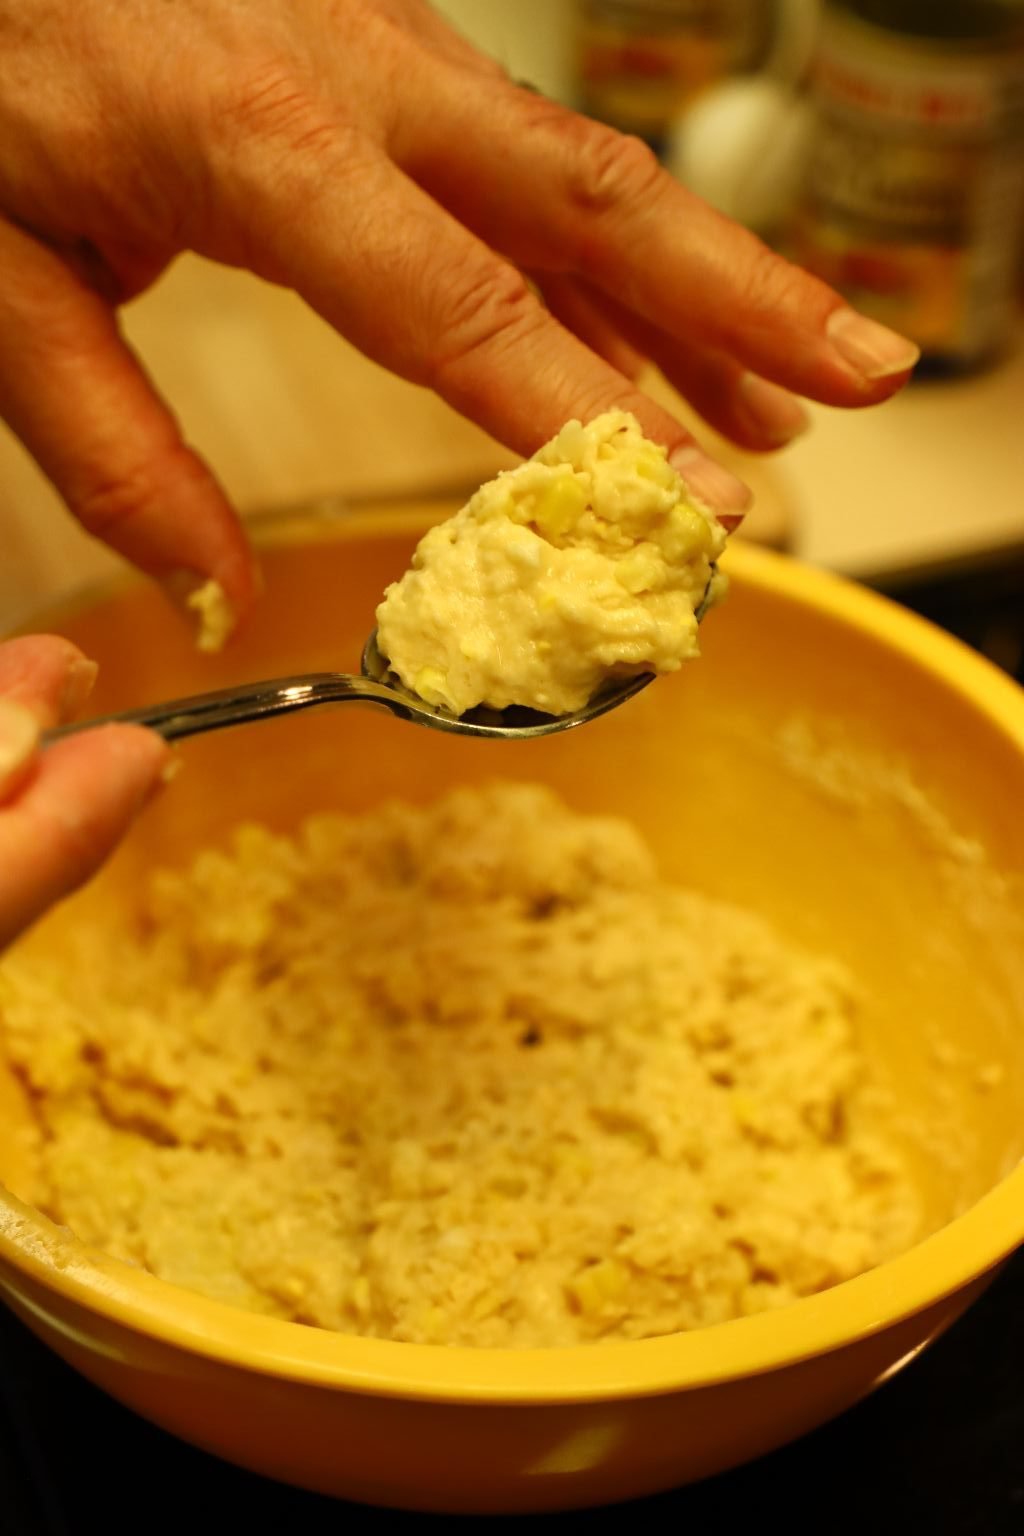
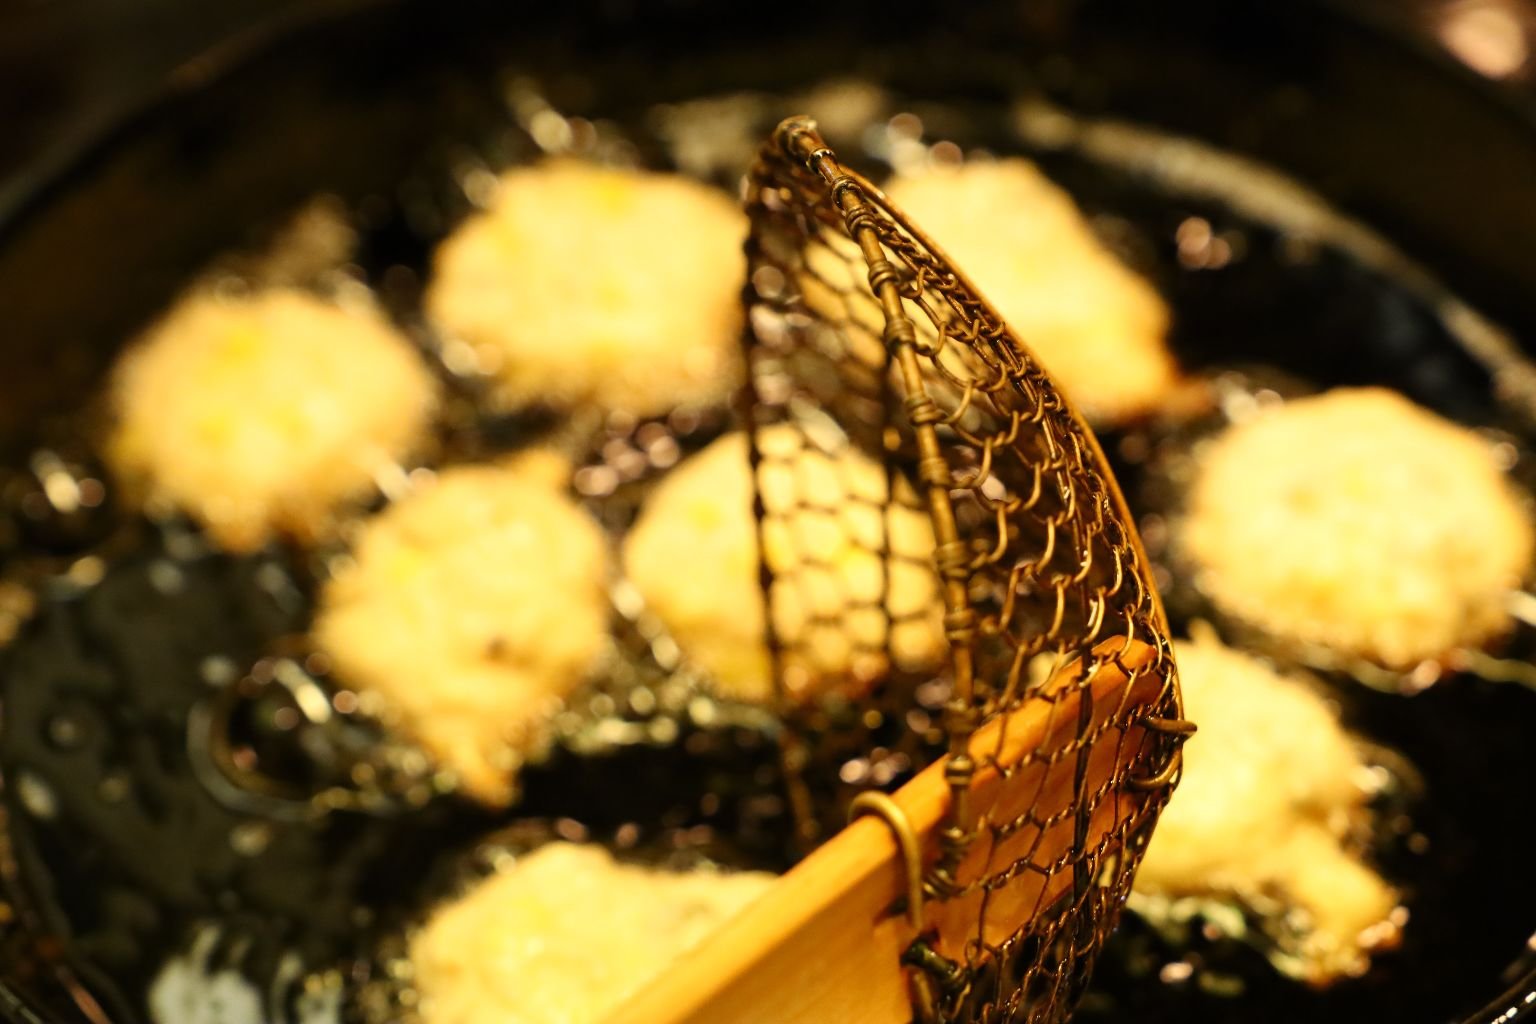
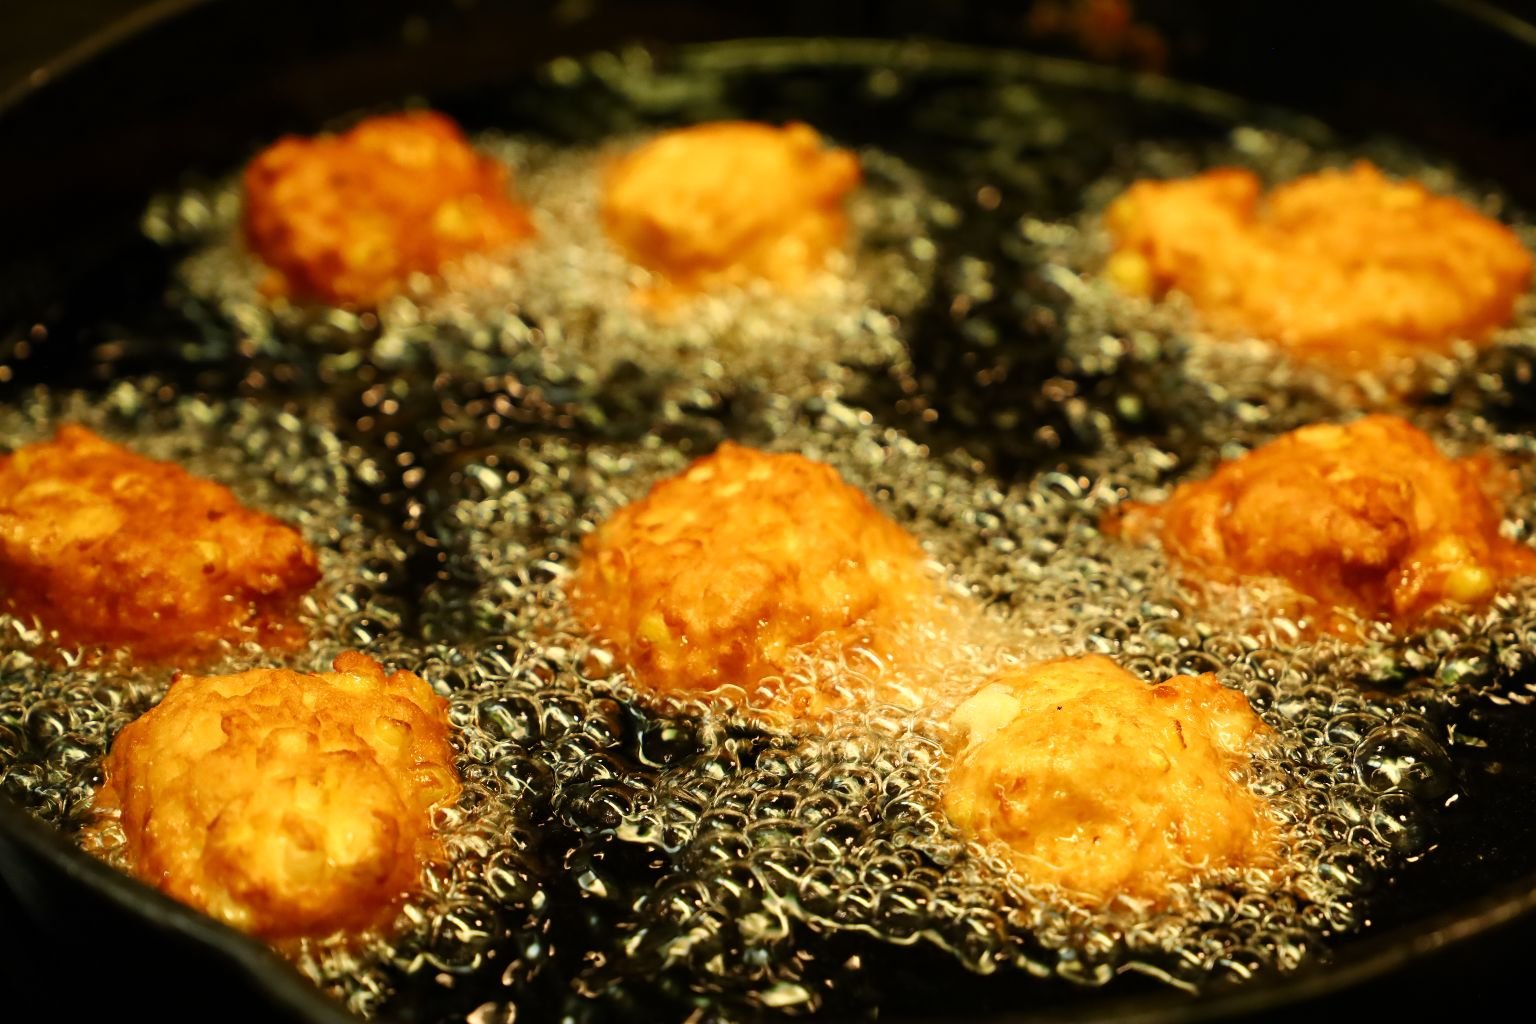
Once your oil is at temperature, scoop some batter onto a Tbsp. and drop it into the heated oil.
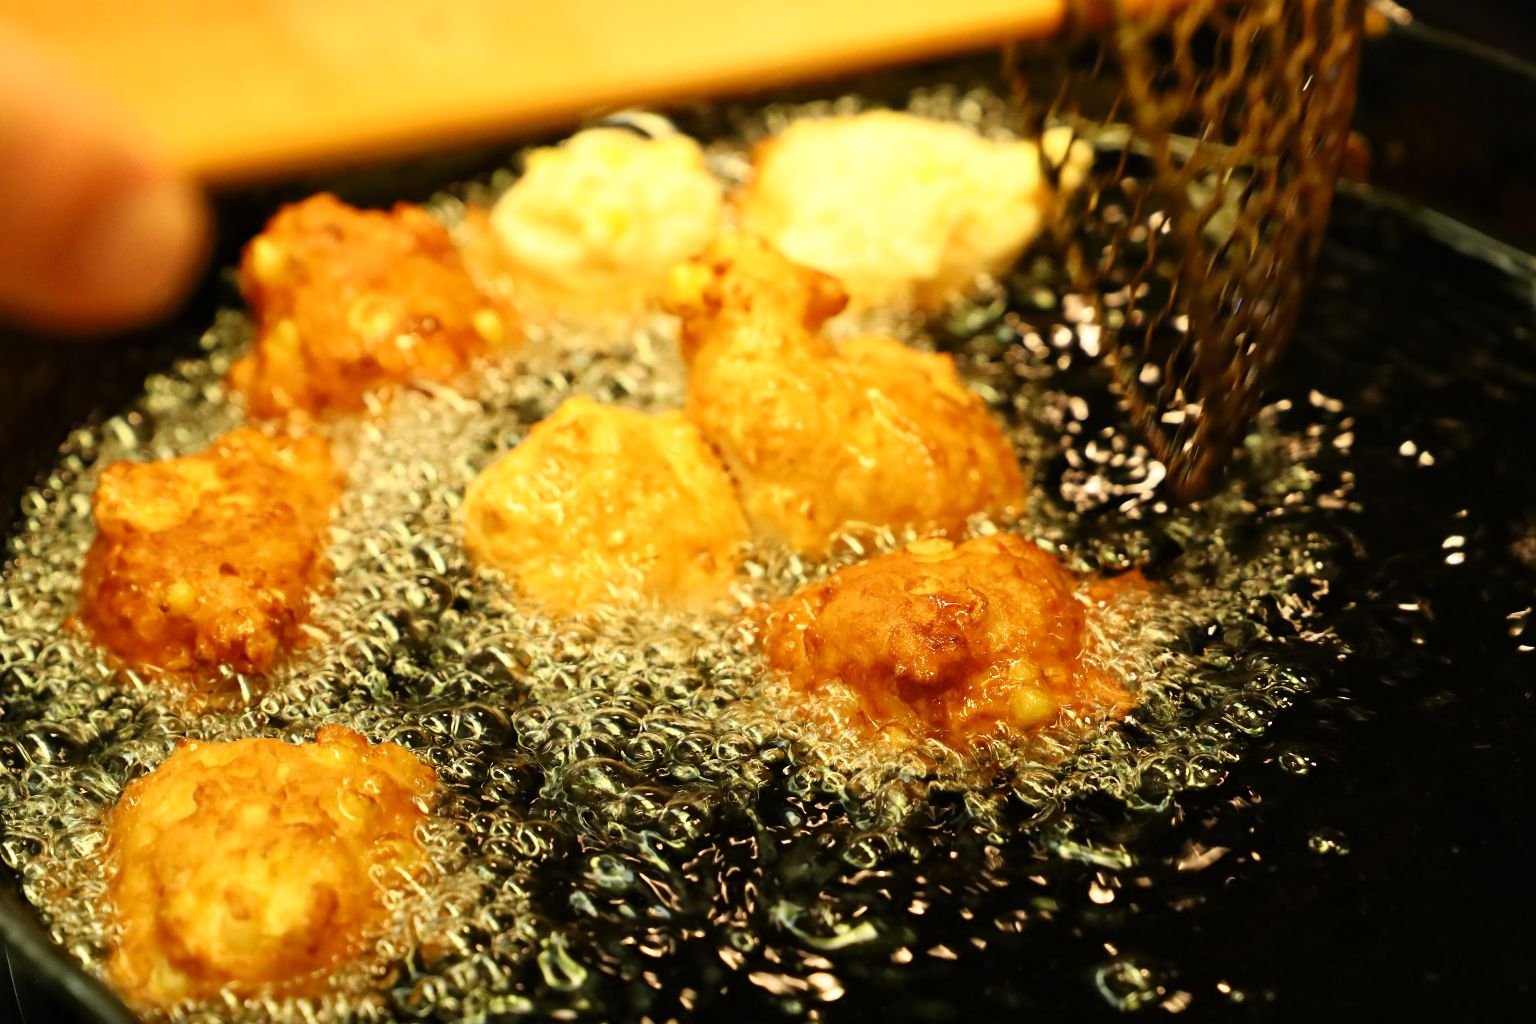
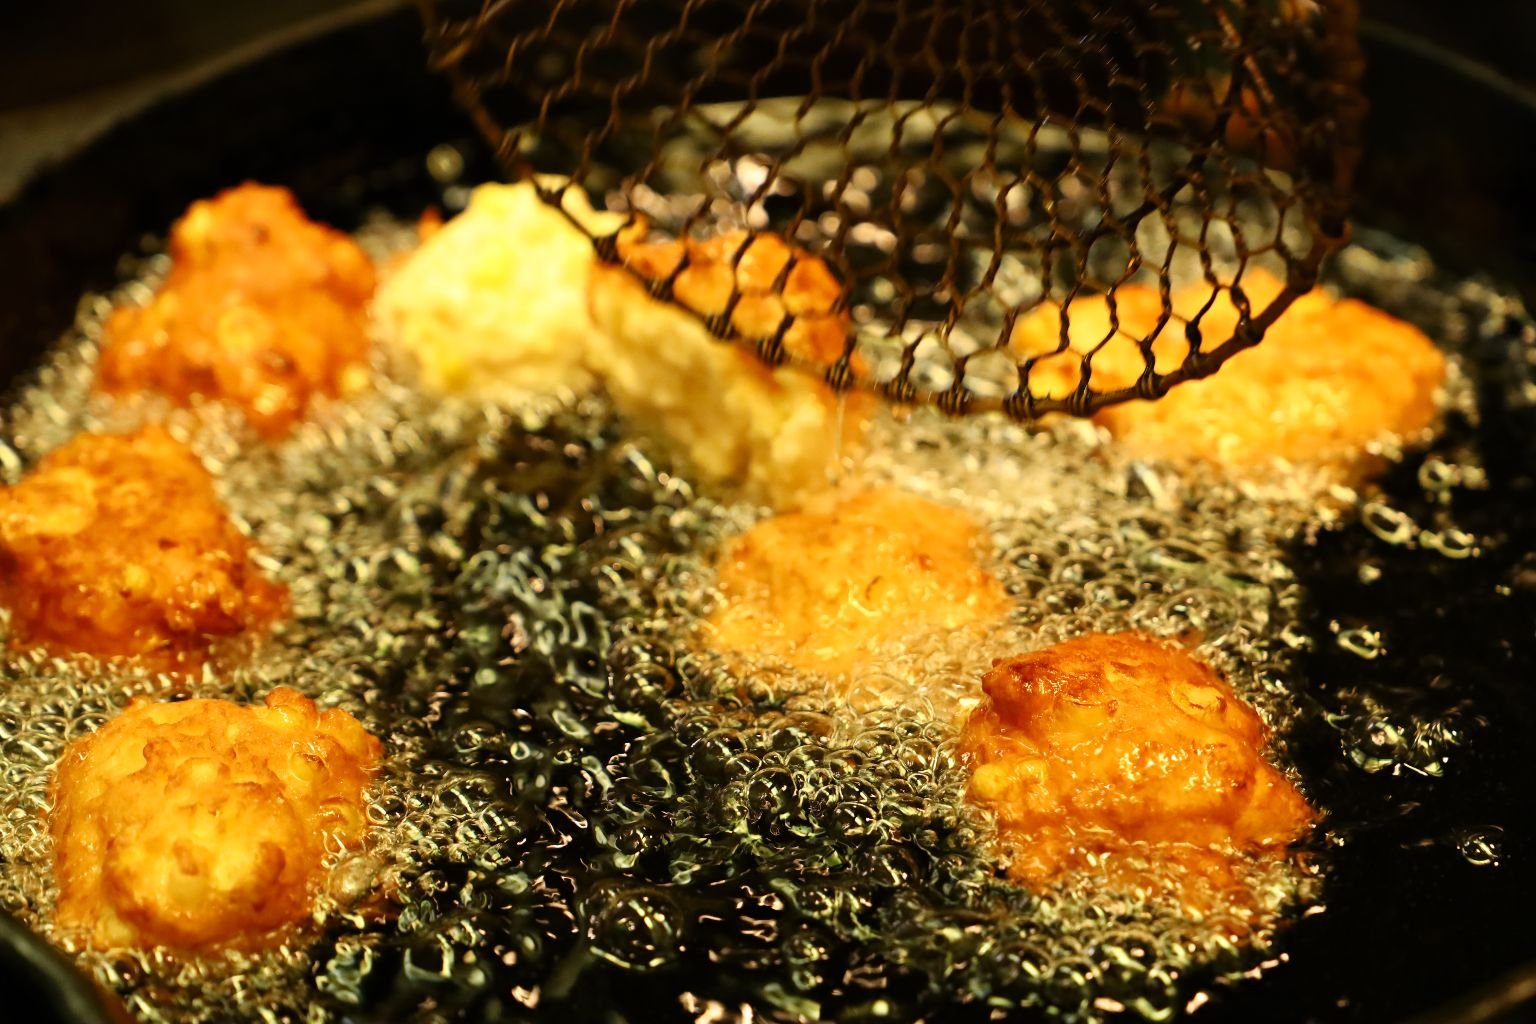
Fry the fritters until golden brown and turn to cook the other side.
It should take a few minutes of frying on each side in order to cook the center of the fritter properly. Be sure to open one up to ensure the inside is cooked properly.
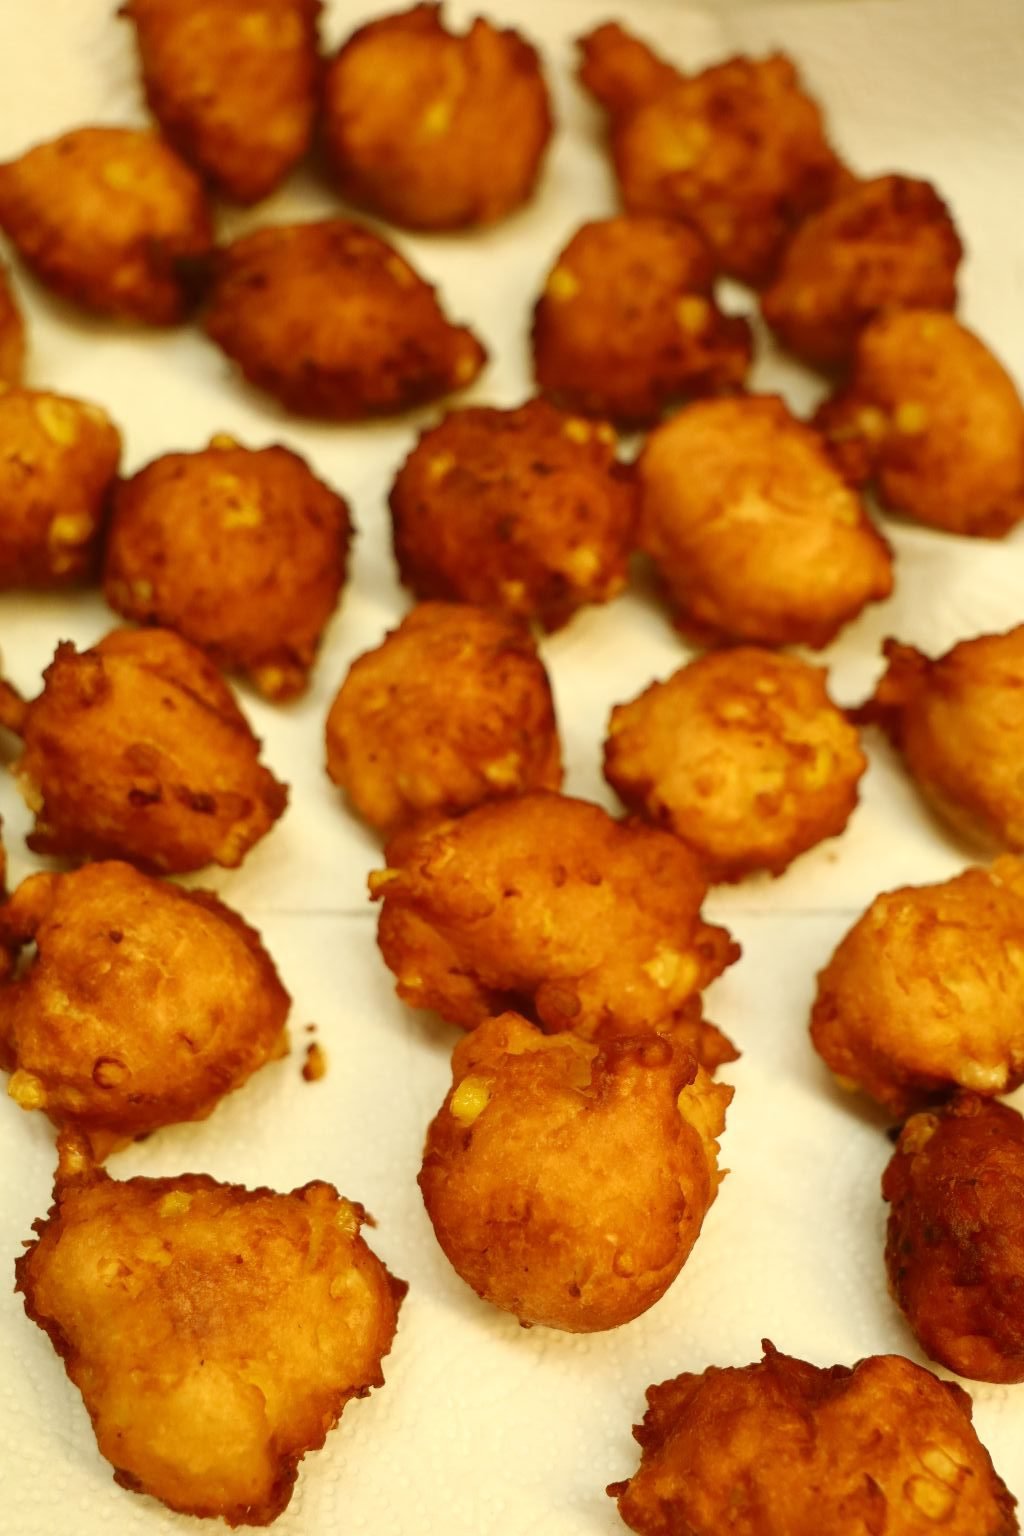
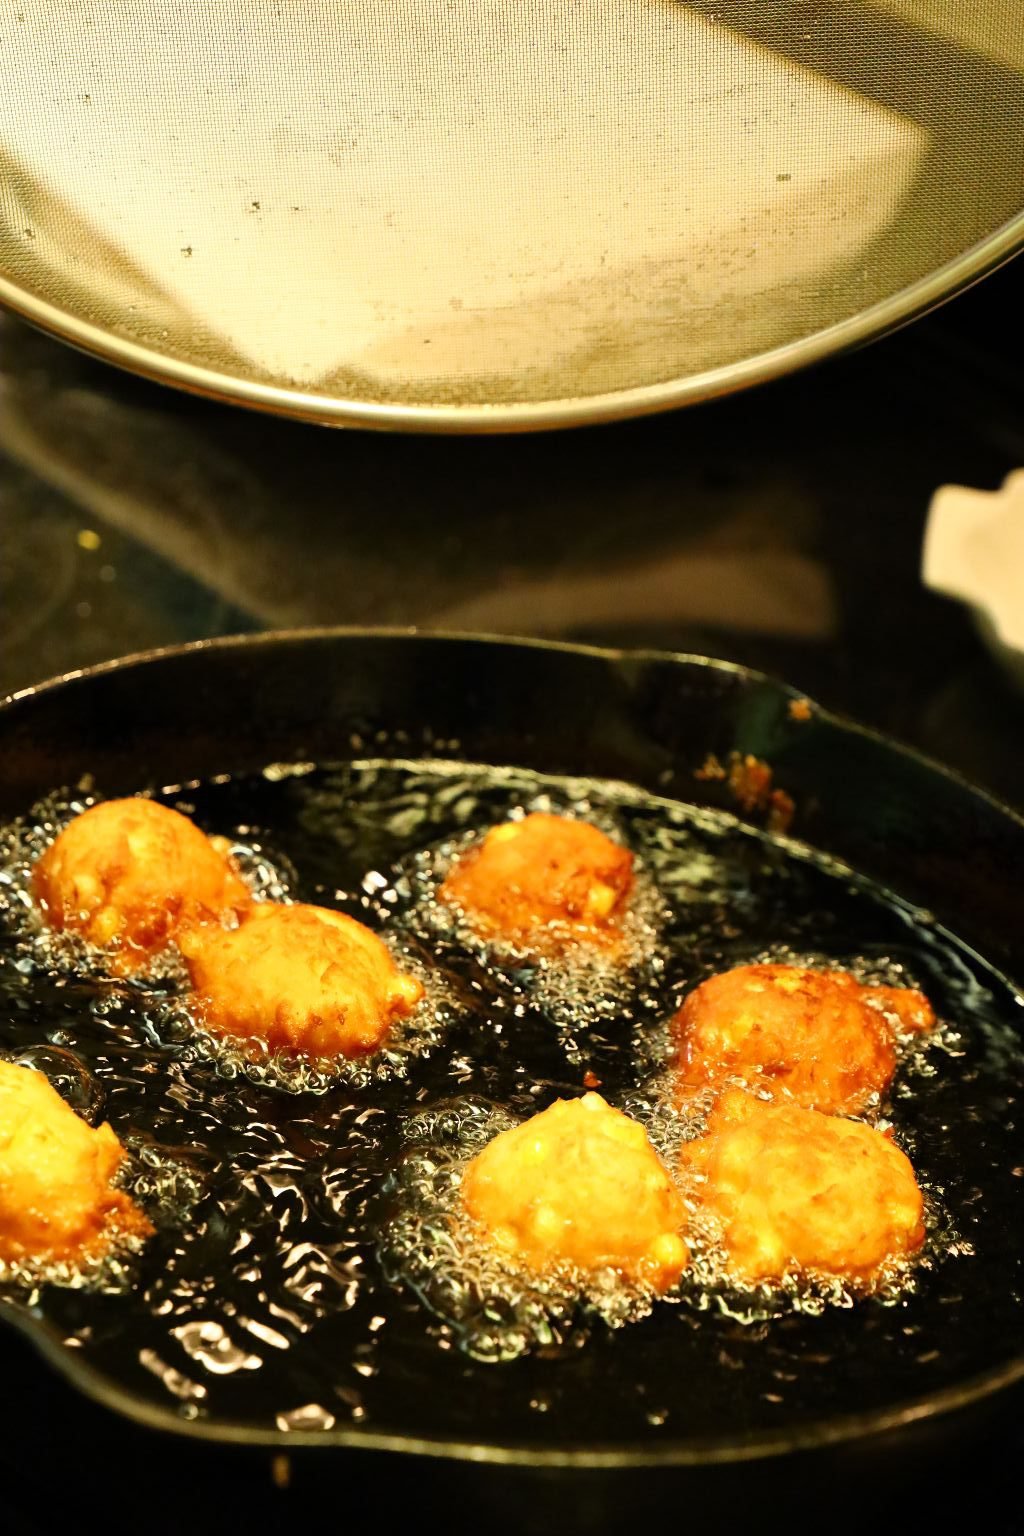
Use your mesh skimmer to remove the fritters from the oil and place them on a plate lined with paper towels to absorb the excess oil.
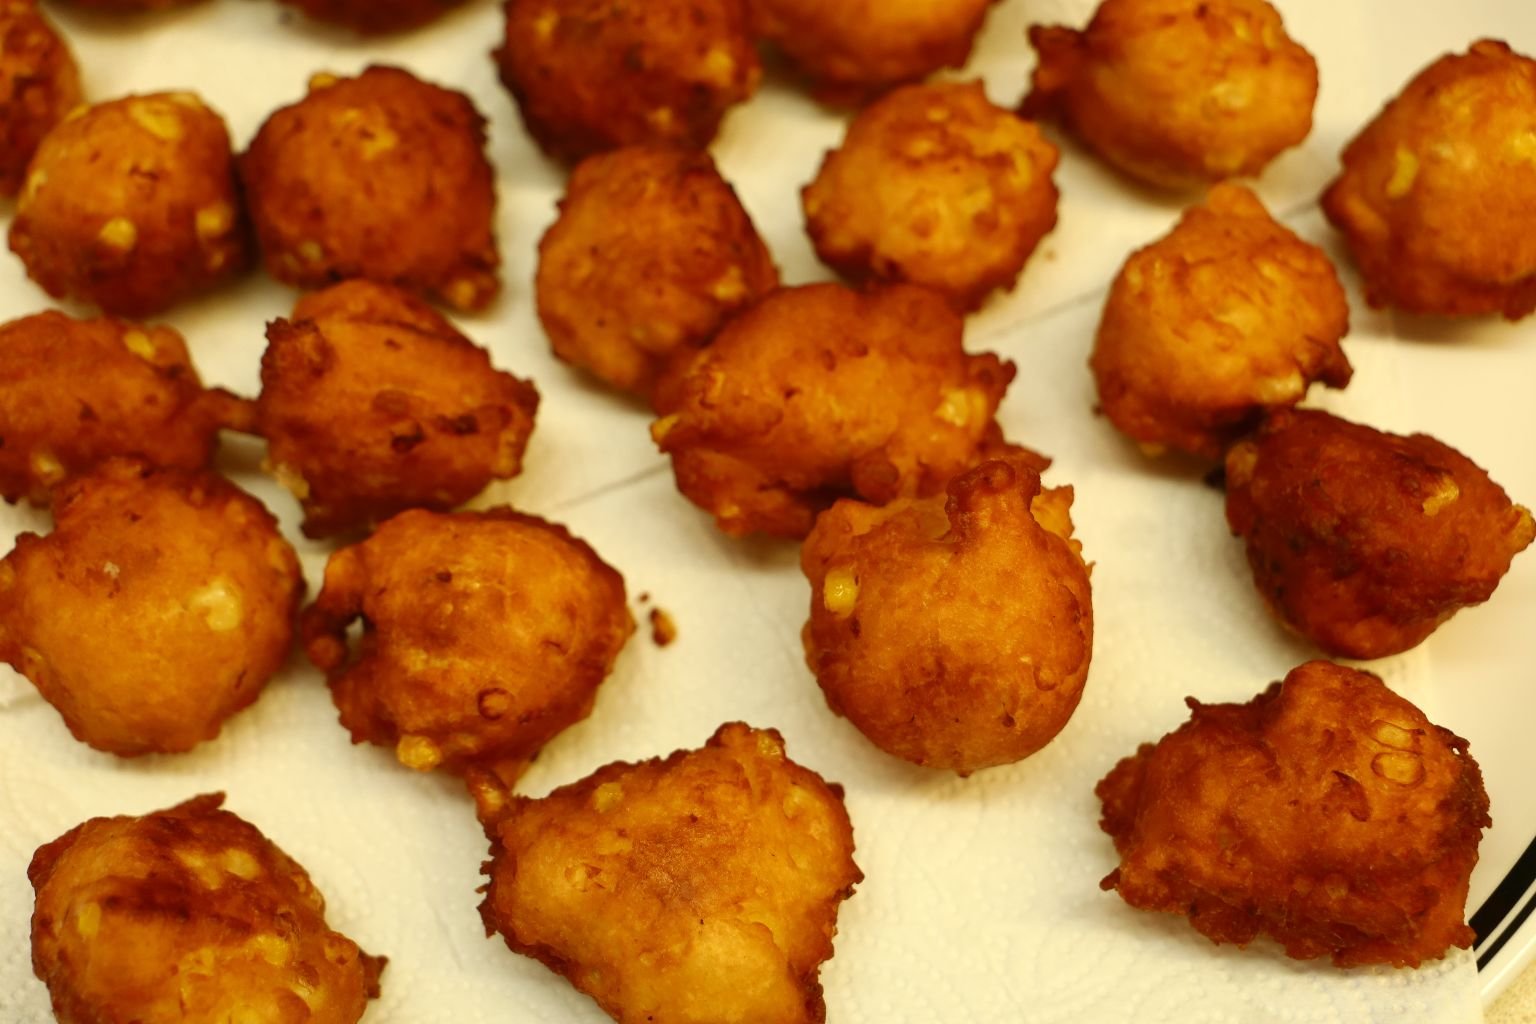
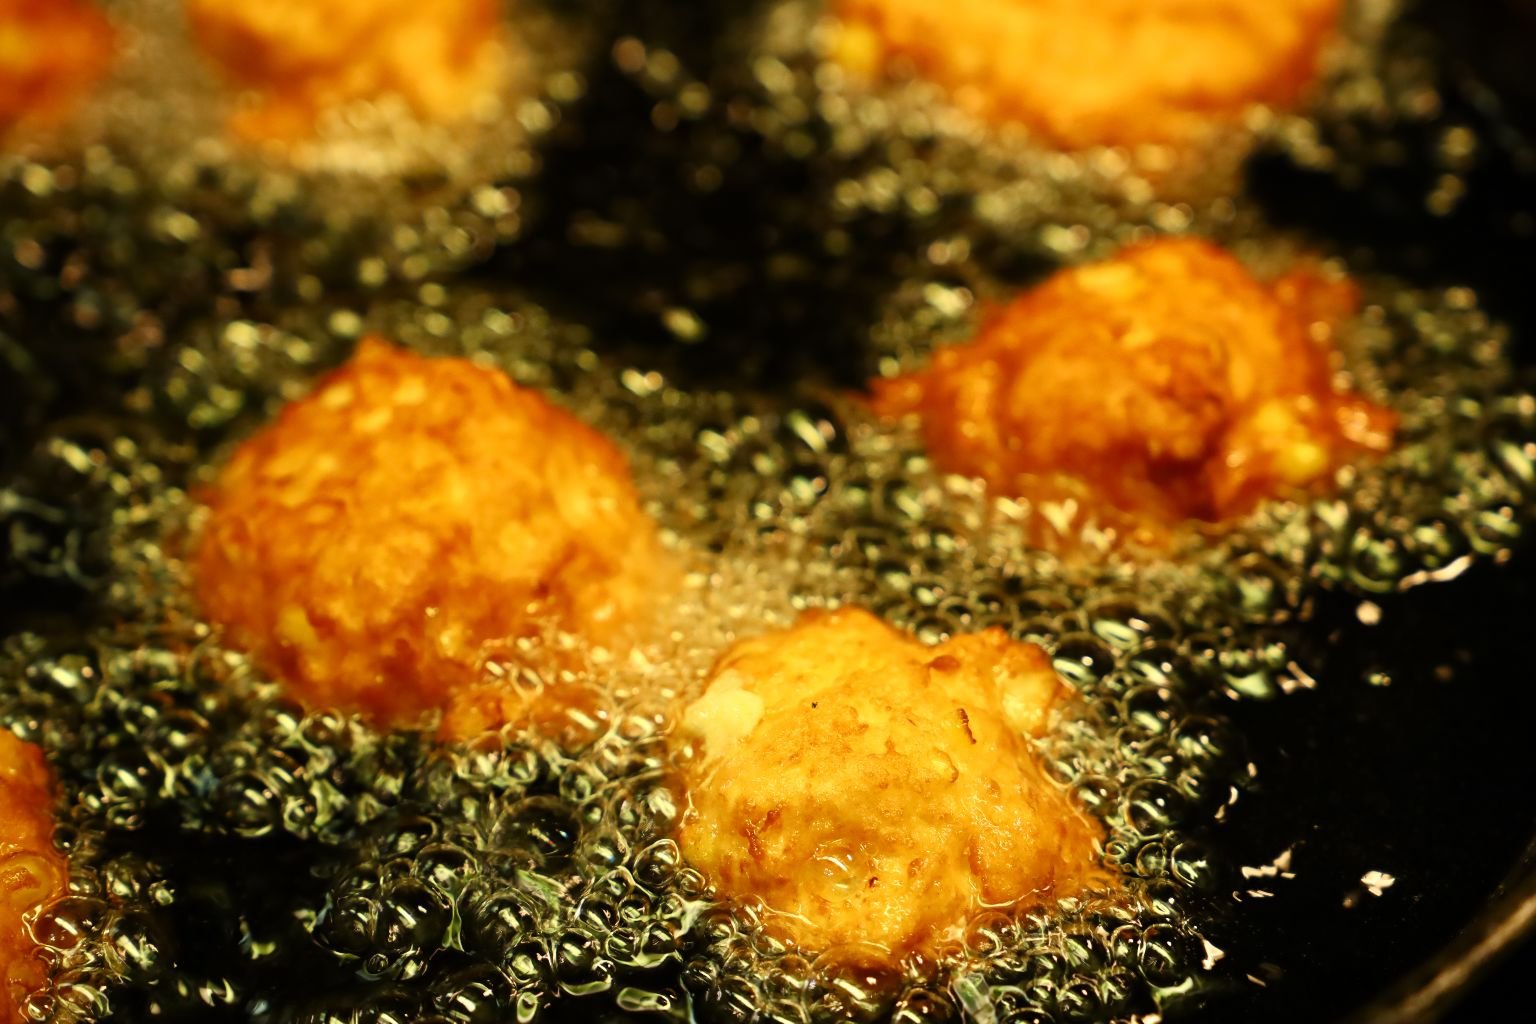
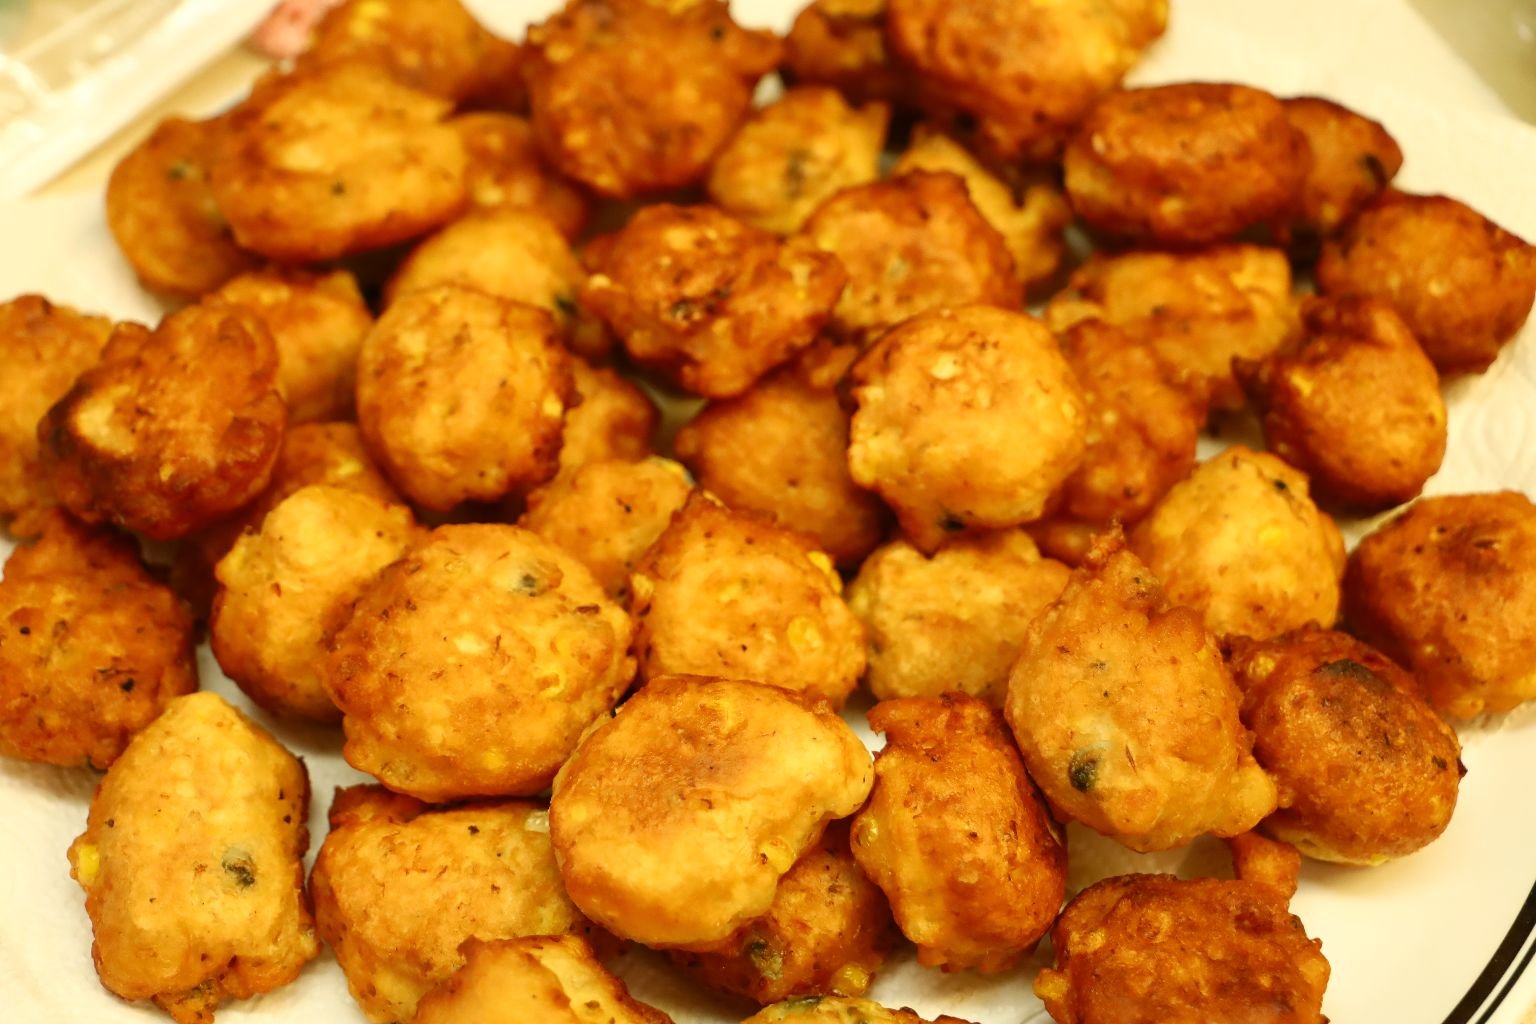
Nice and Crispy
————————————————————
Corn and Clam Fritters
Ingredients:
~3 Cups Vegetable Oil
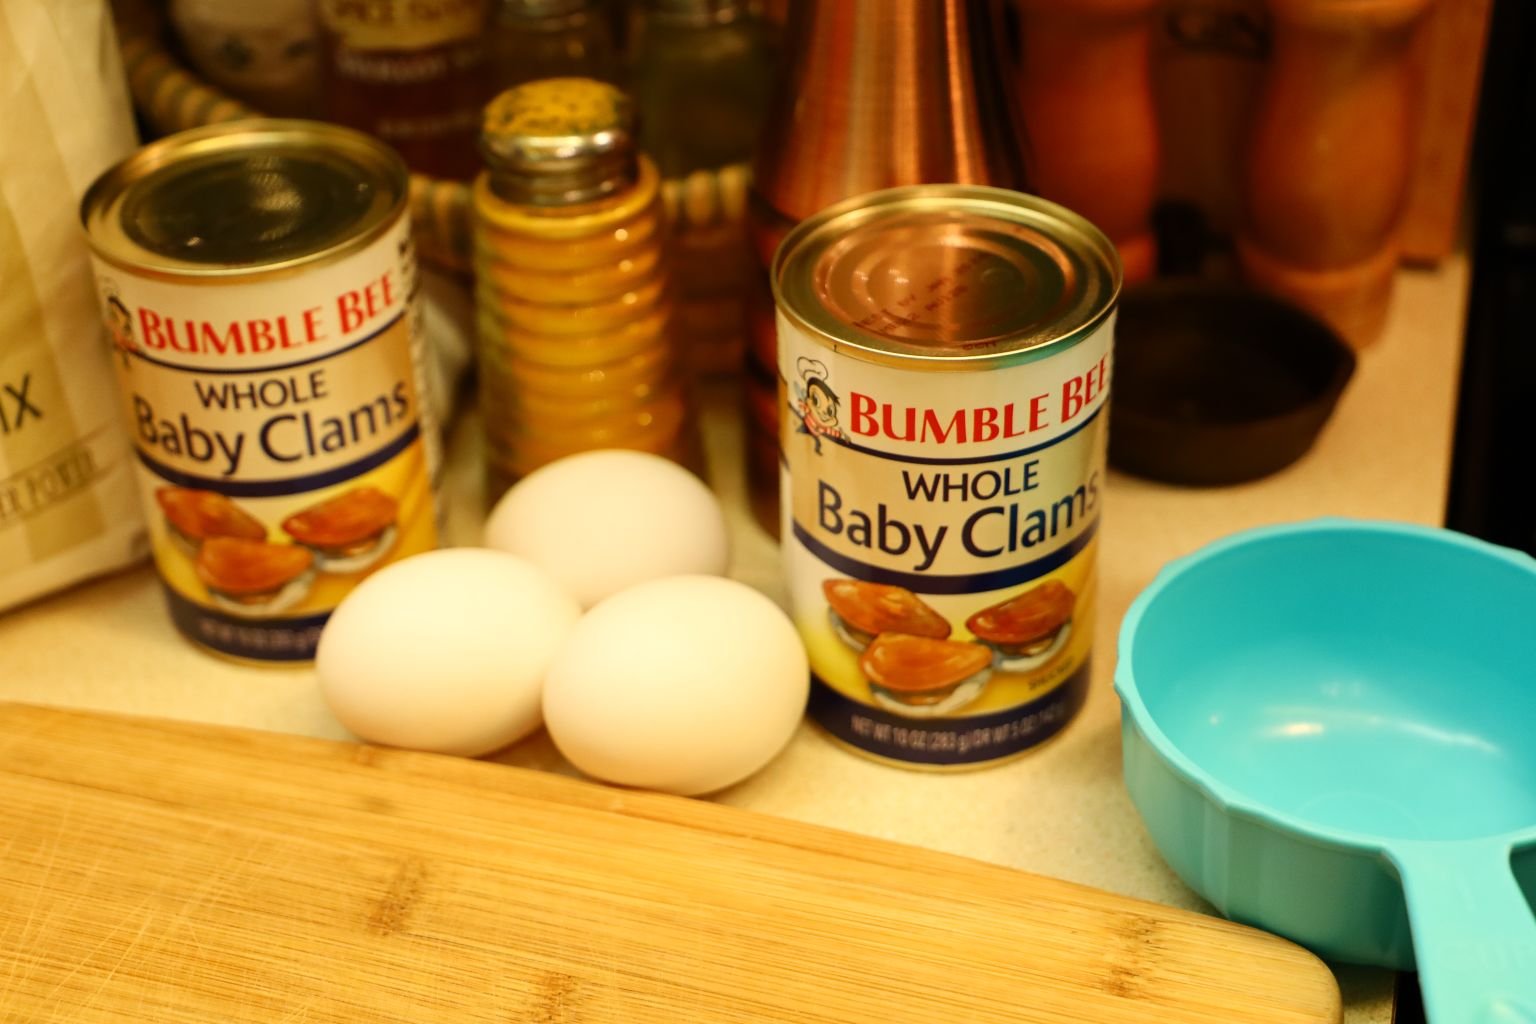
1 – 10oz. Can Whole Baby Clams
1/2 Cup Clam Juice
2 Eggs
2 Cup Fritter Mix
2 Ears Fresh Steamed Corn
We doubled this recipe which made ~24 fritters.
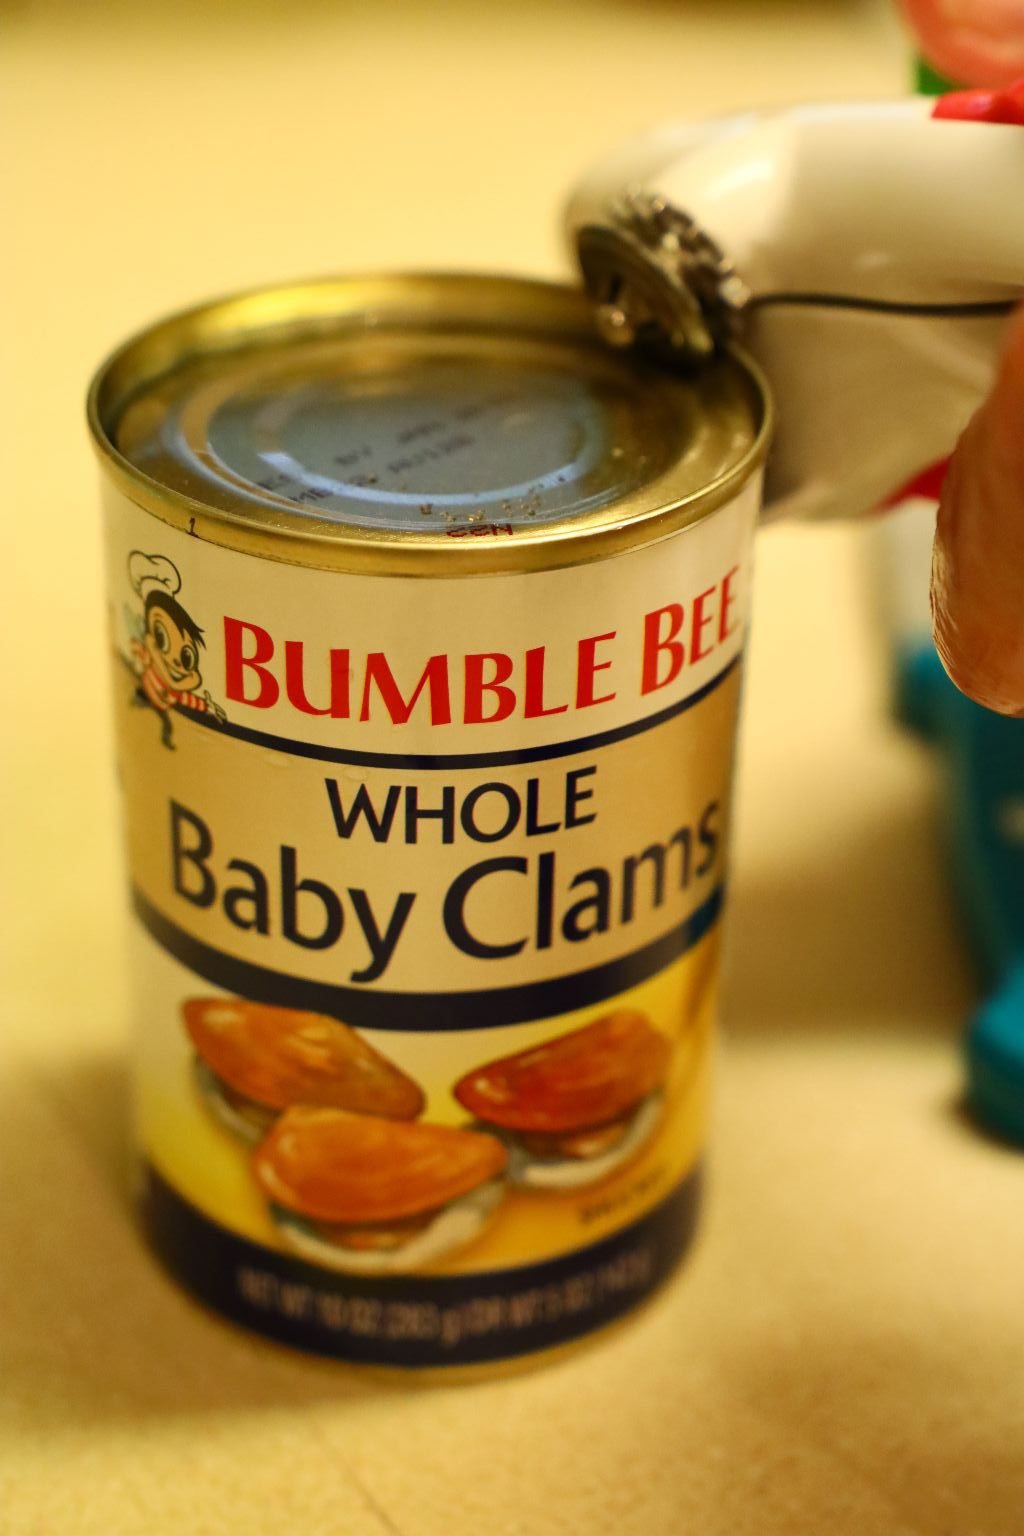
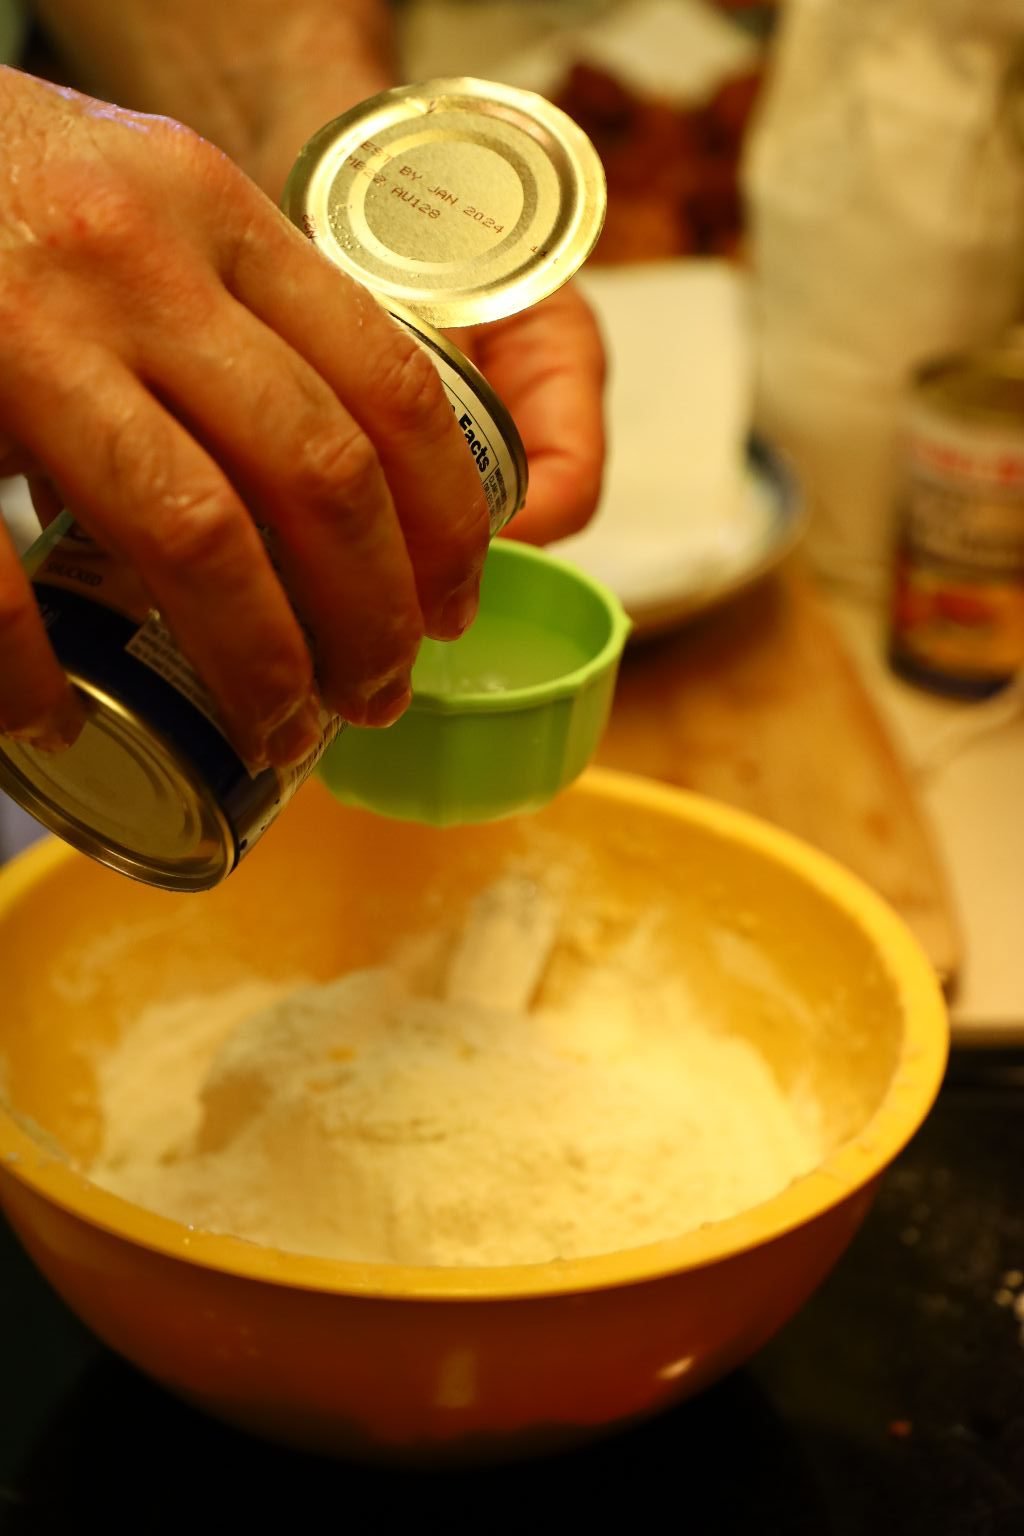
Add your eggs, fritter mix and corn into a medium sized bowl. Open your Baby Clams and pour 1/2 Cup of the clam juice into your bowl.
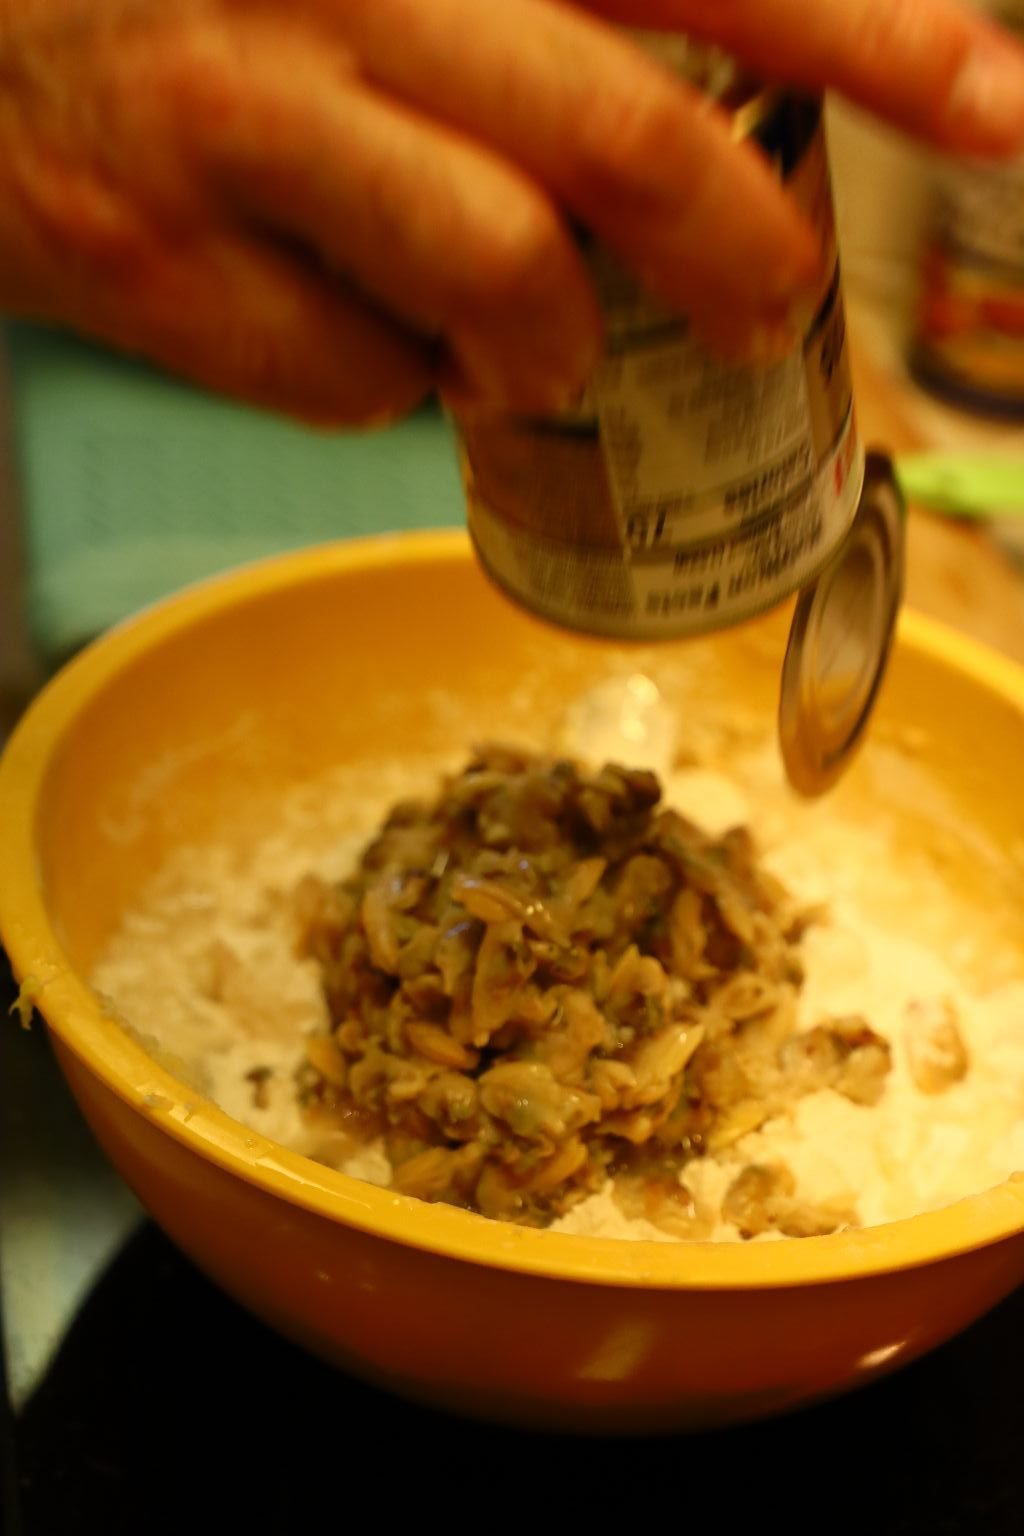
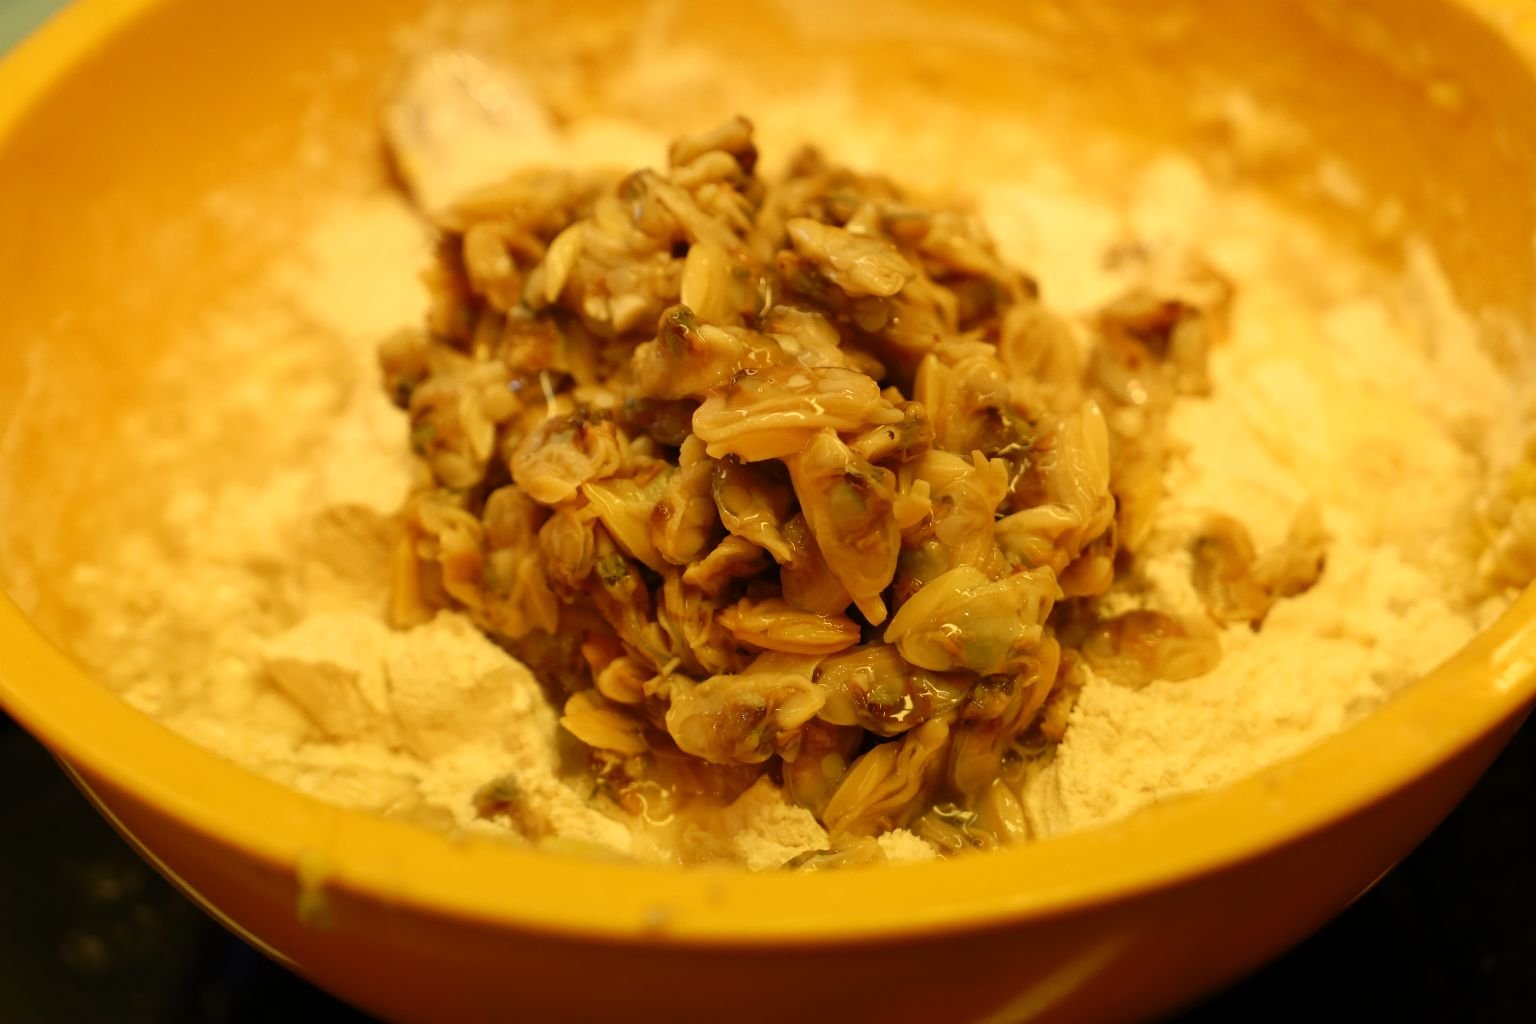
Now, add your clams to the mixture.
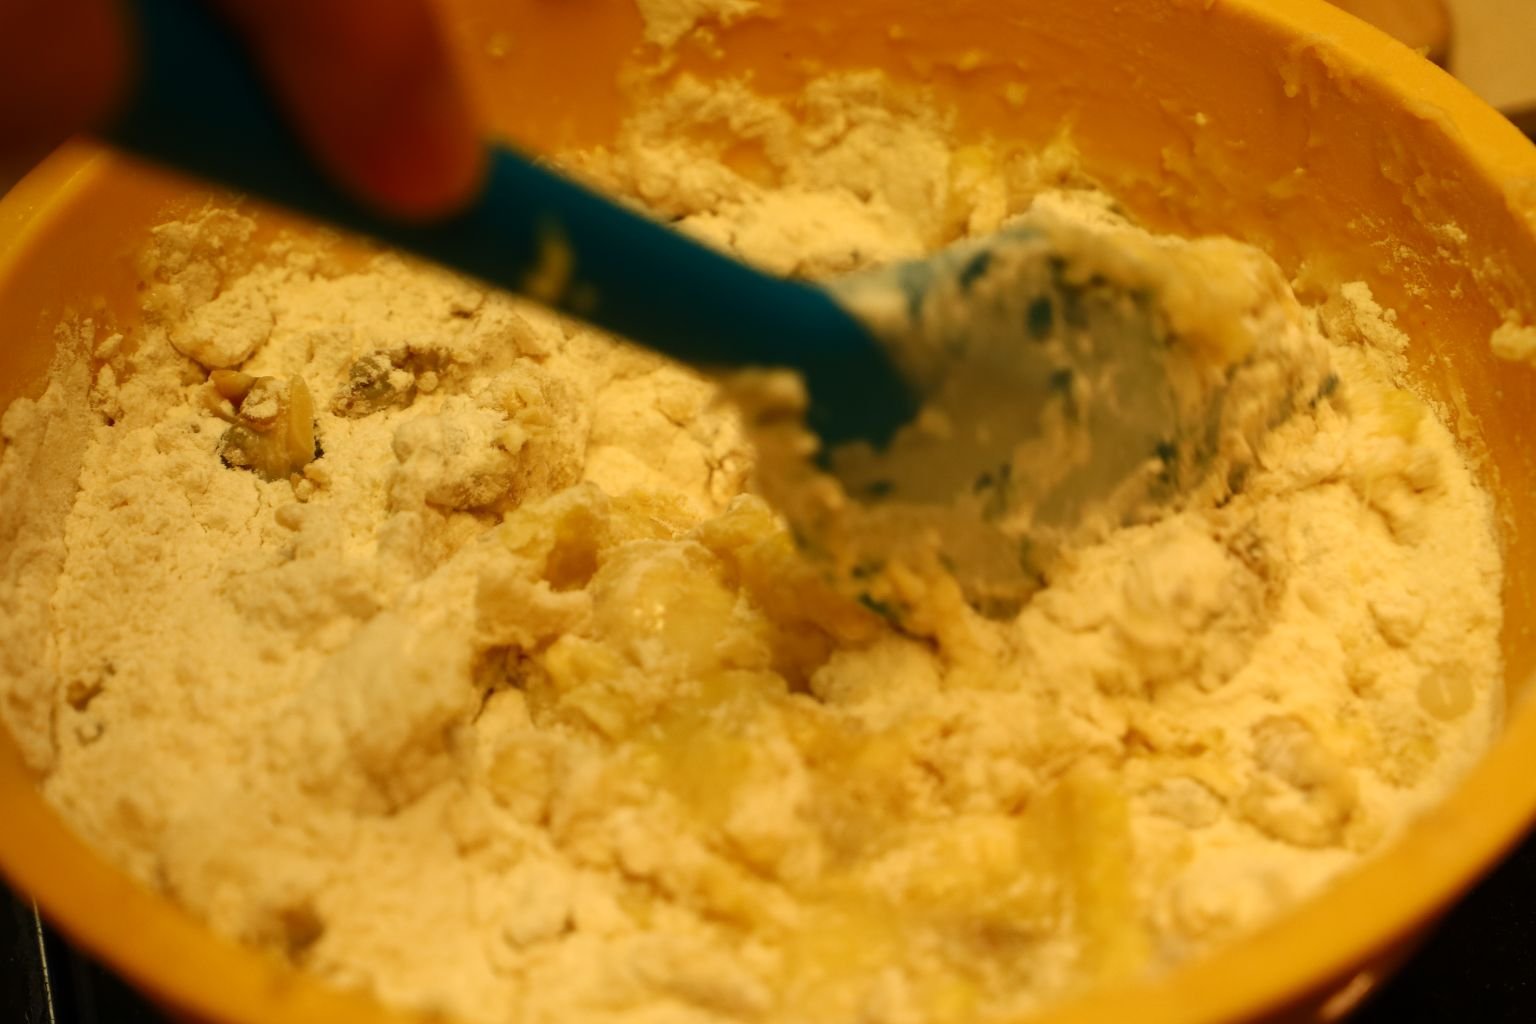
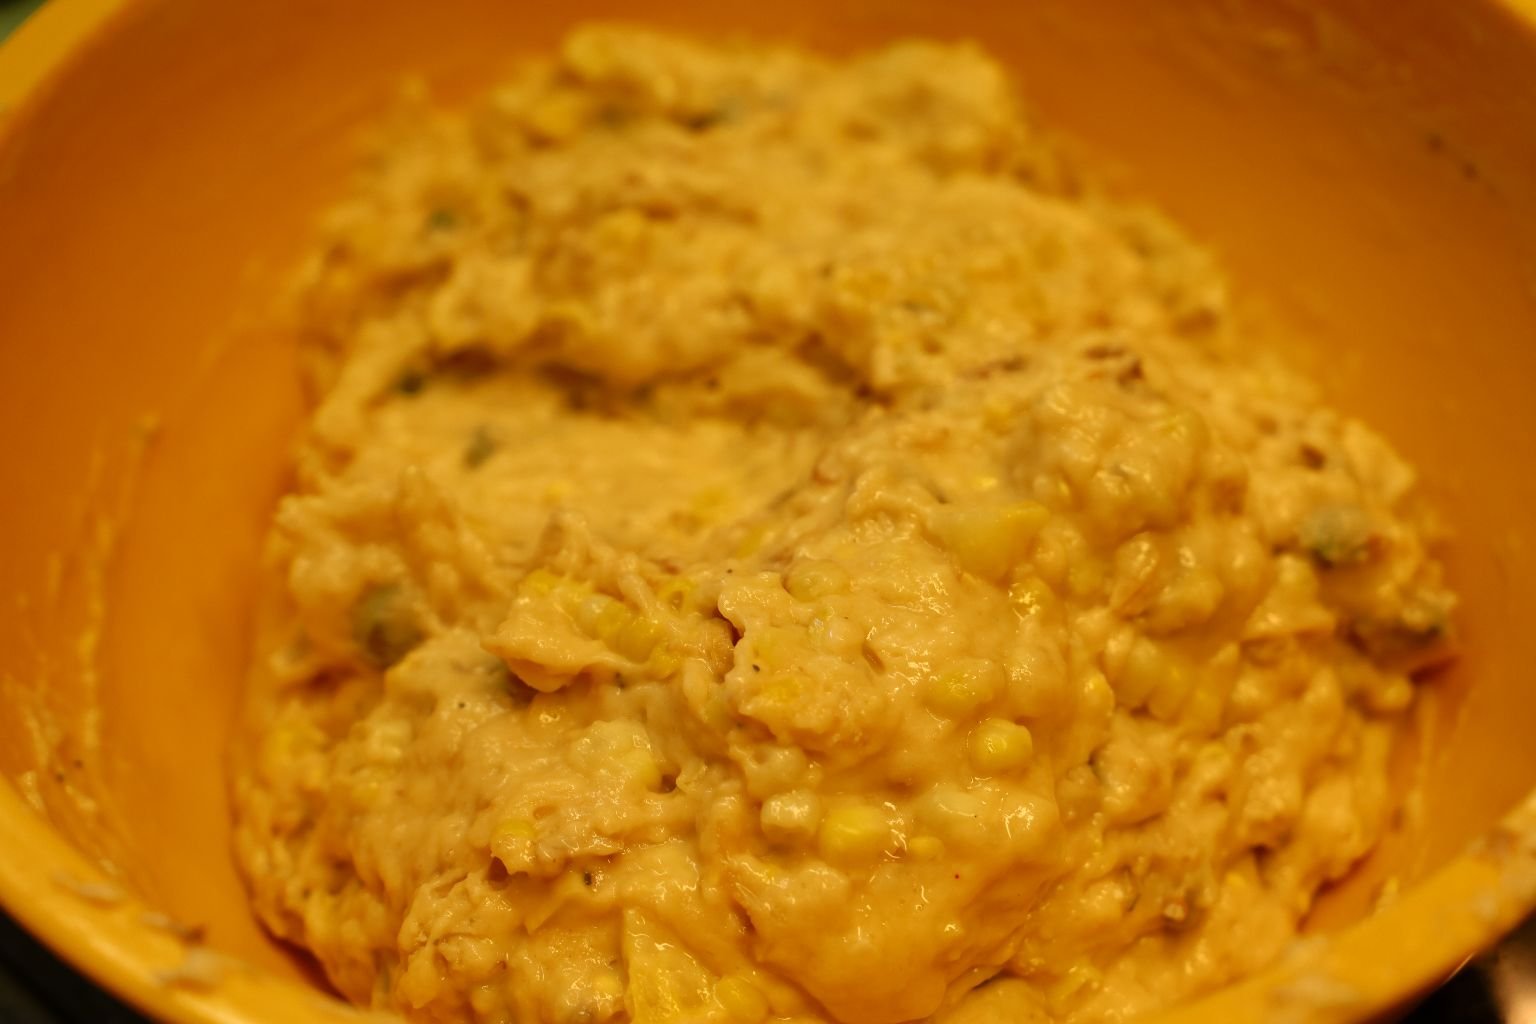
Stir the ingredients well to combine. This batter was a little more runny than the first, but it still worked well. The clams make it more watery. You can always add a touch more fritter mix if needed.

As before, once your oil is at temperature, scoop some batter onto a Tbsp. and drop it into the heated oil.
Fry the fritters until golden brown and turn to cook the other side. It should take a few minutes of frying on each side in order to cook the center of the fritter properly. Be sure to open one up to ensure the inside is cooked properly.
Use your mesh skimmer to remove the fritters from the oil and place them on a plate lined with paper towels to absorb the excess oil.
———————————————————–
Heating and Browning Some Fried Clams in the Oven
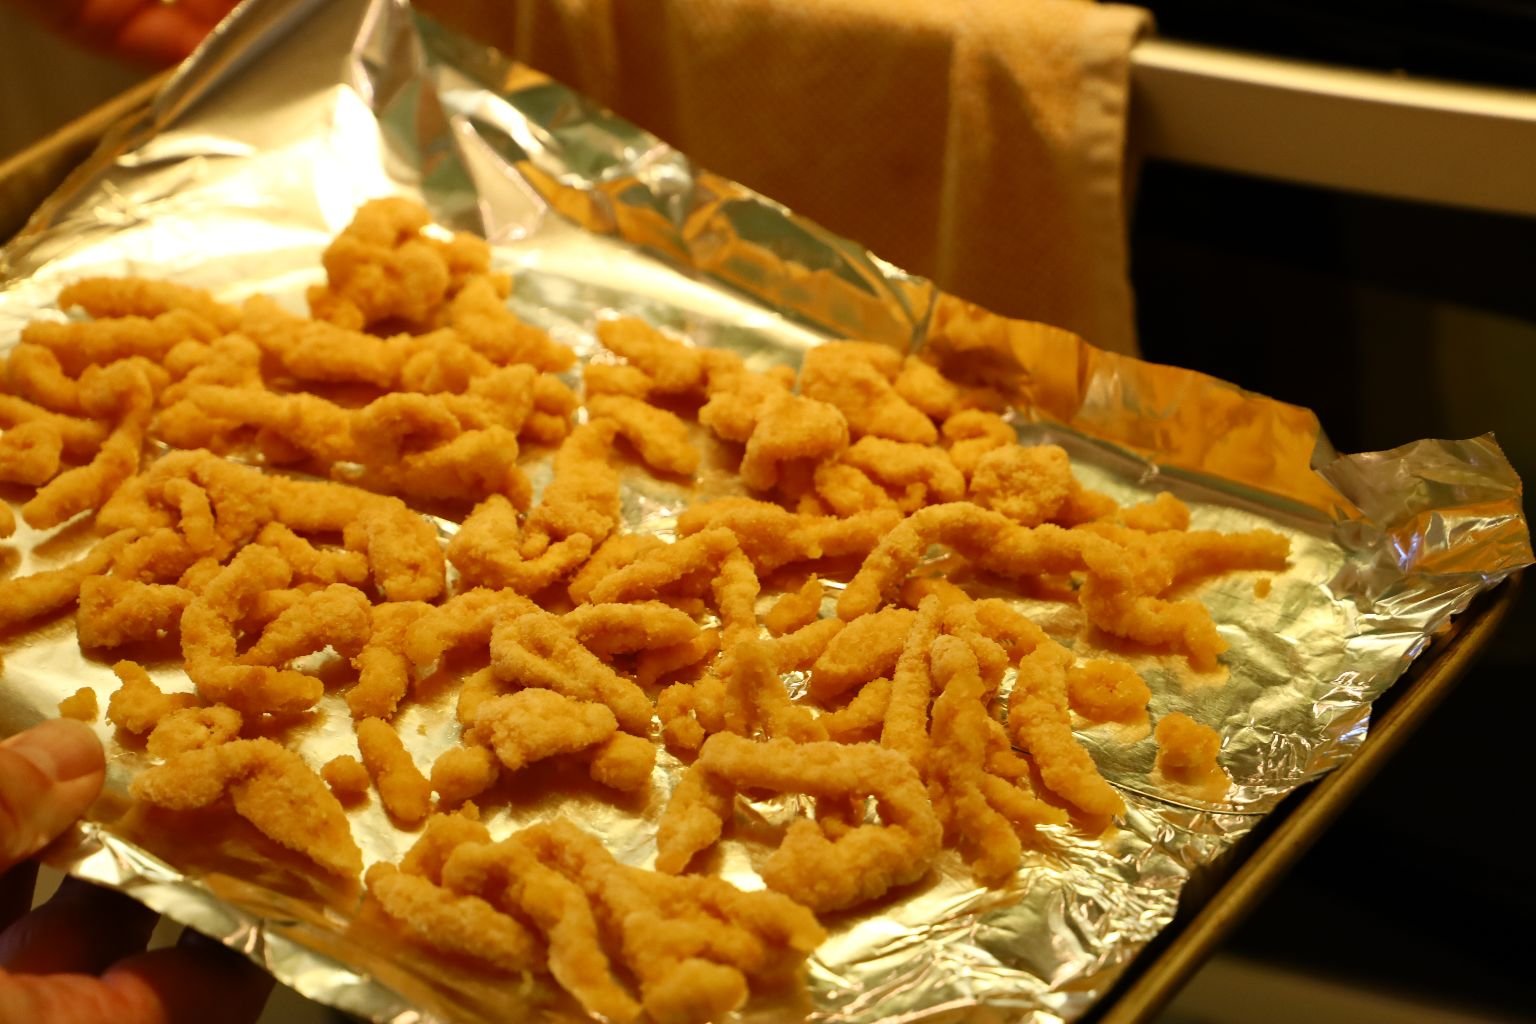
To accompany our meal of Clam Chowder and two types of fritters, I thought it would be good to also have some fried clams. This is a brand that we buy frequently from the frozen section at the commissary.
————————————————————

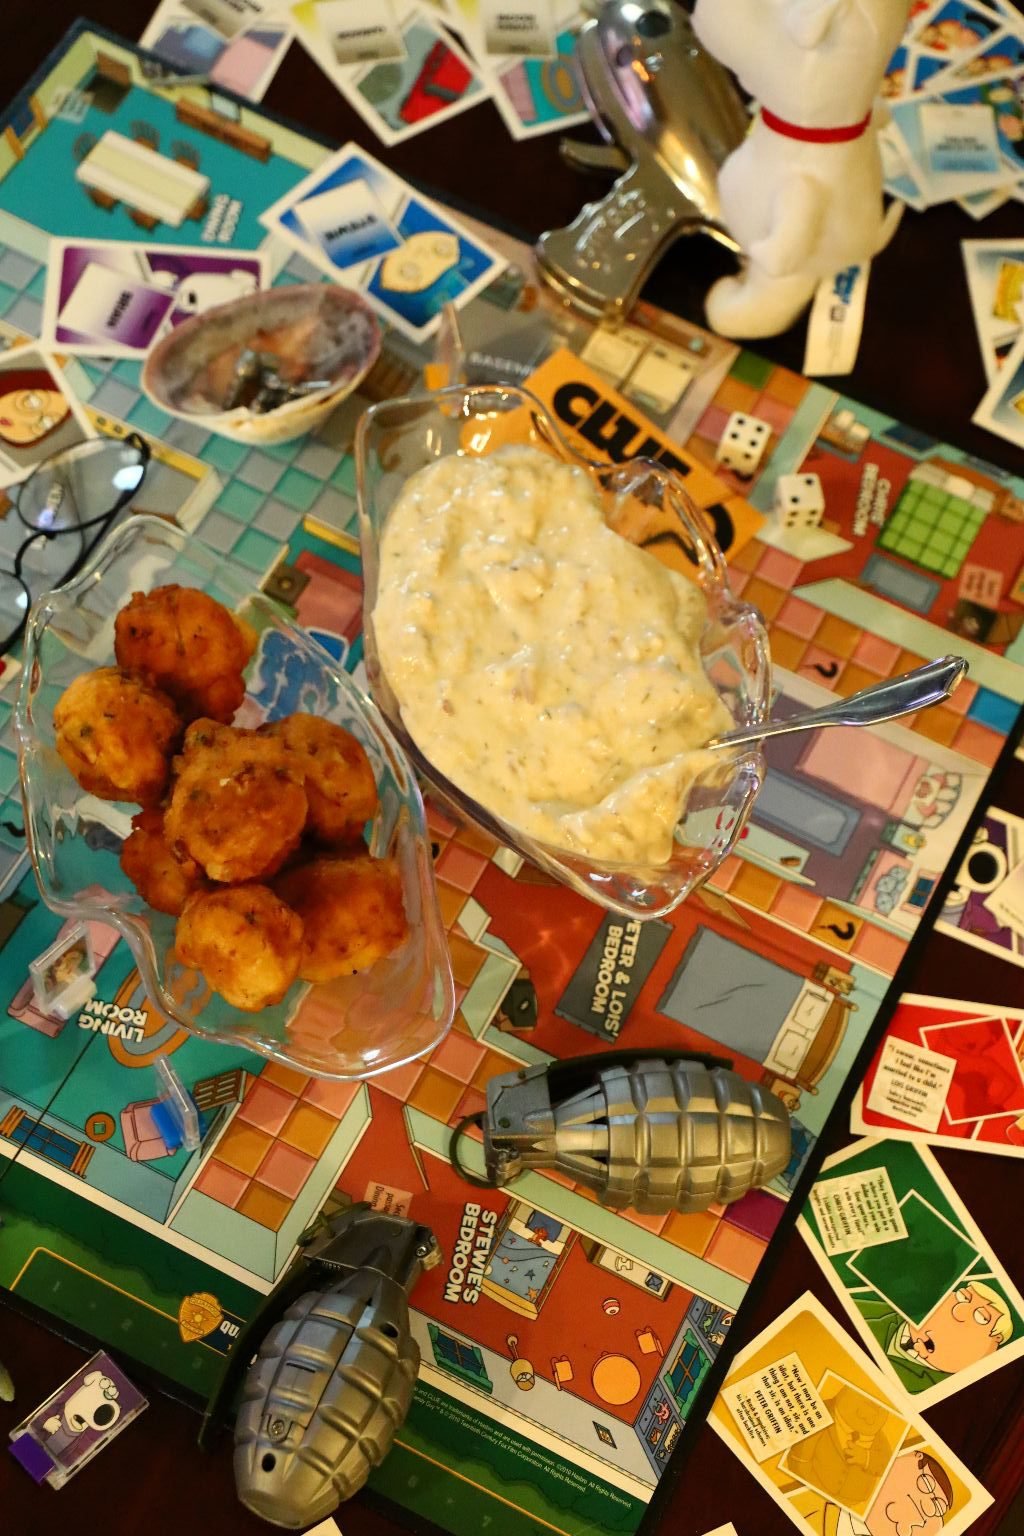
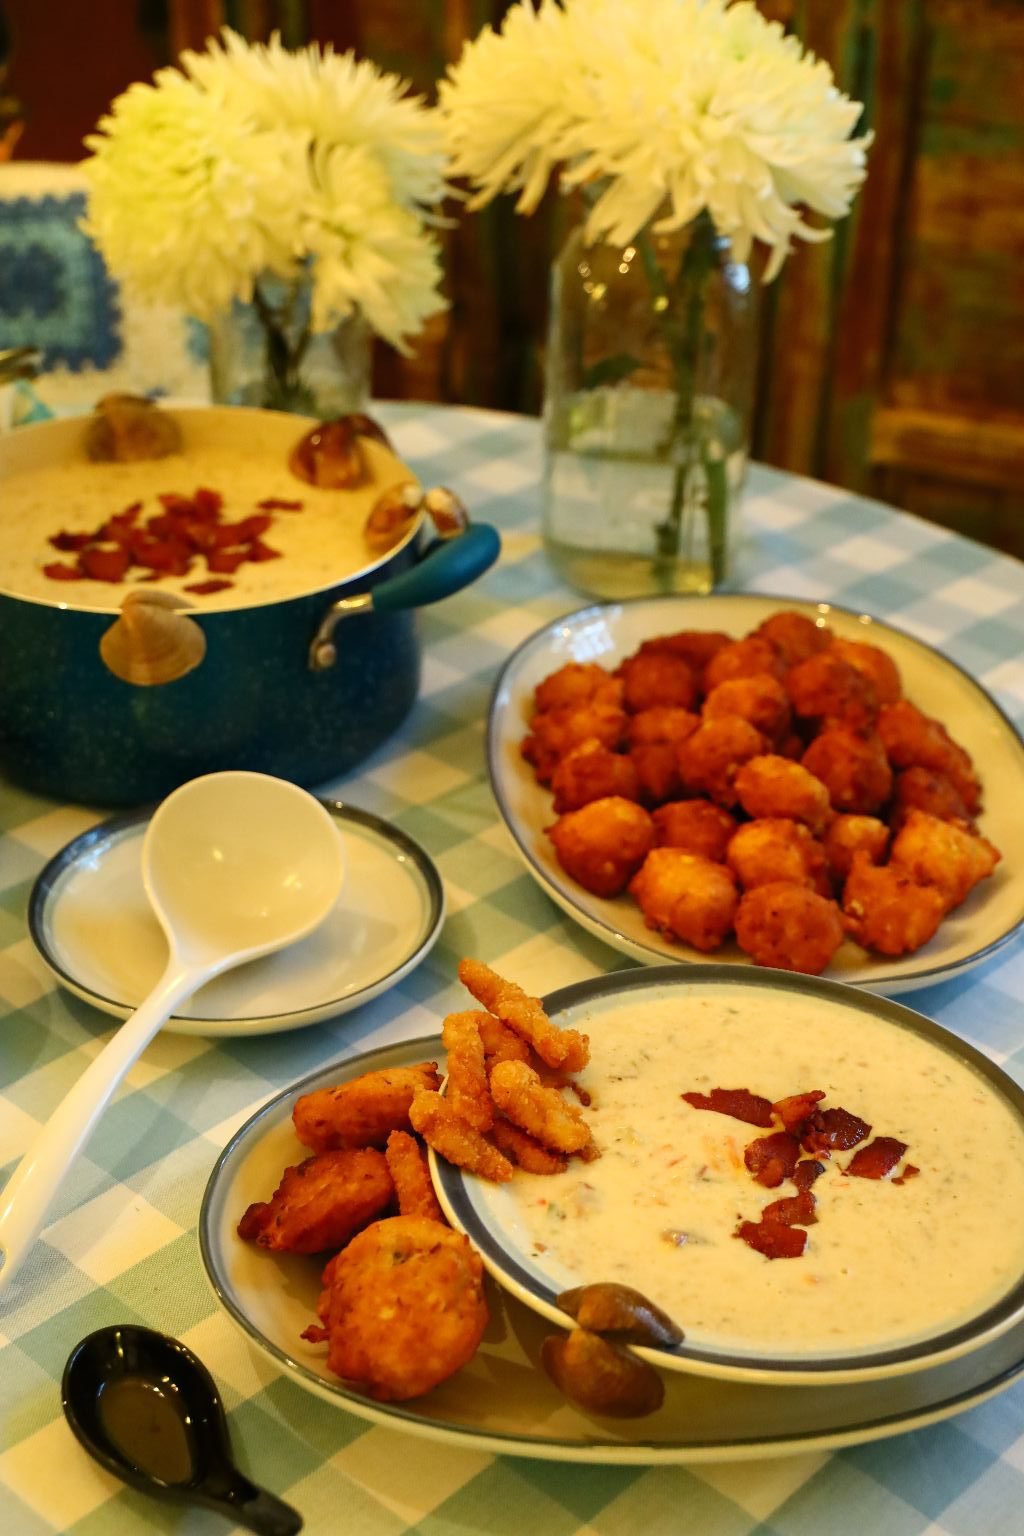
This was a great meal. We added some bacon to the top of the chowder as well as in the main bowl. To further garnish the chowder bowl we lined it with some of the cleaned clam shells.

Here you can see a single serving of the items. The bowl is dressed with fried clam strips, a clam shell and bacon. Both types of fritters are on the side of the bowl completing this great meal. We hope you enjoy these recipes as much as we did!
————————————————————–
Grilled Cheese/ Mac N’ Cheese Sandwiches
A.K.A. Grilled Stewie Griffin’s
Now come on, you know your favorite toddler will love them!
———————————————————————
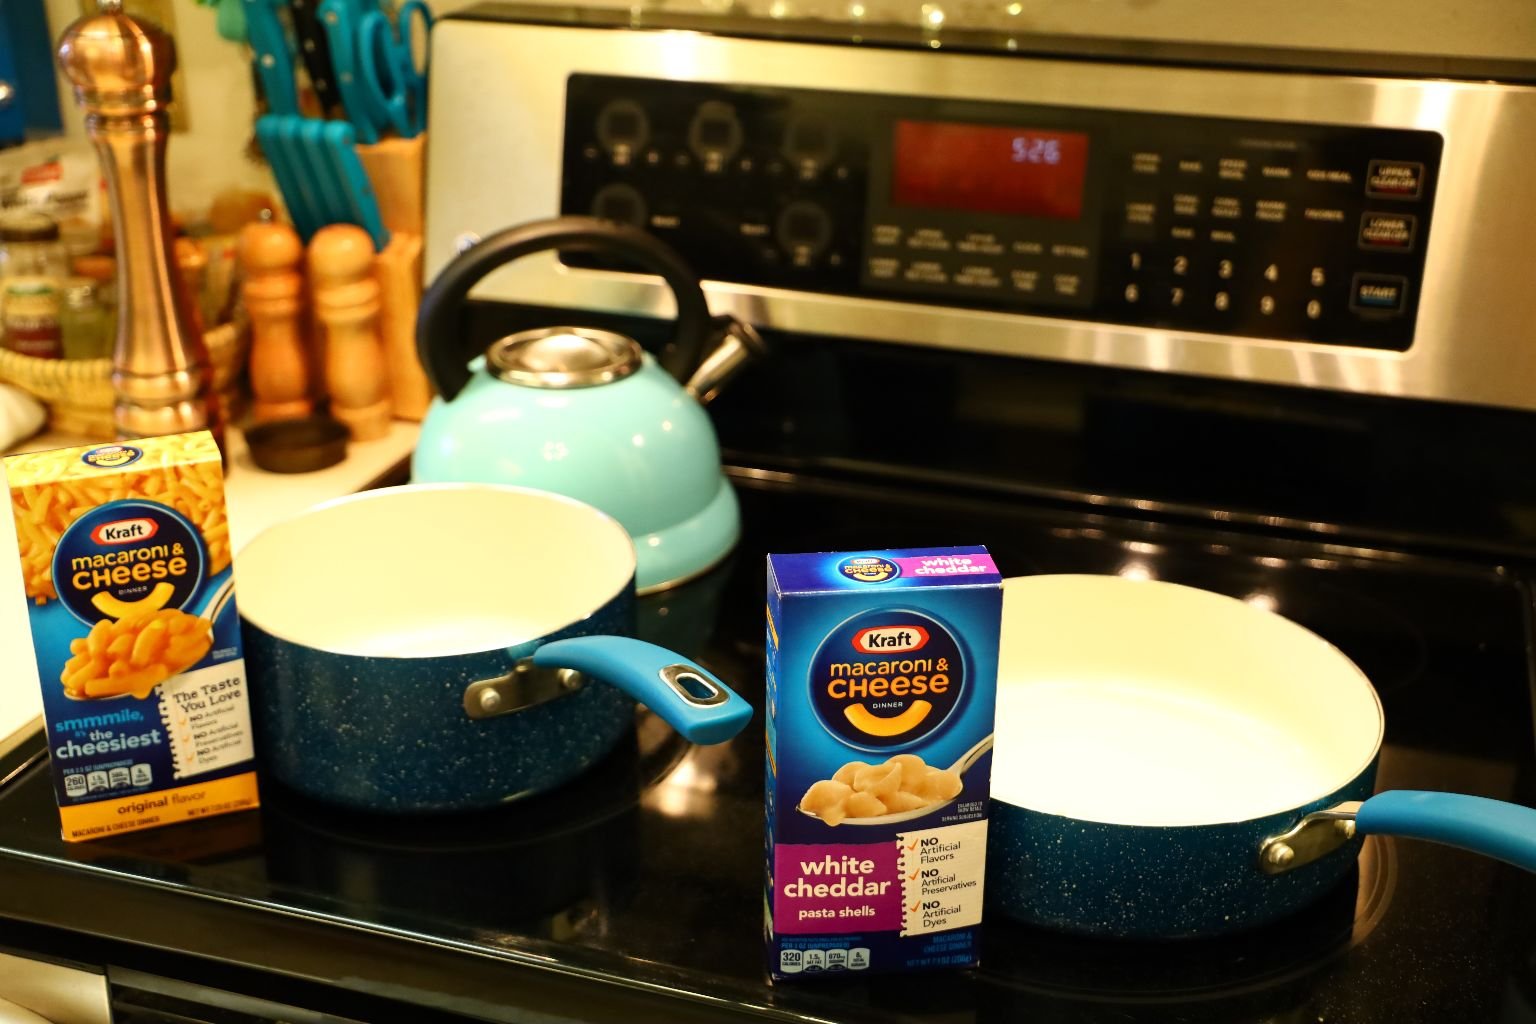
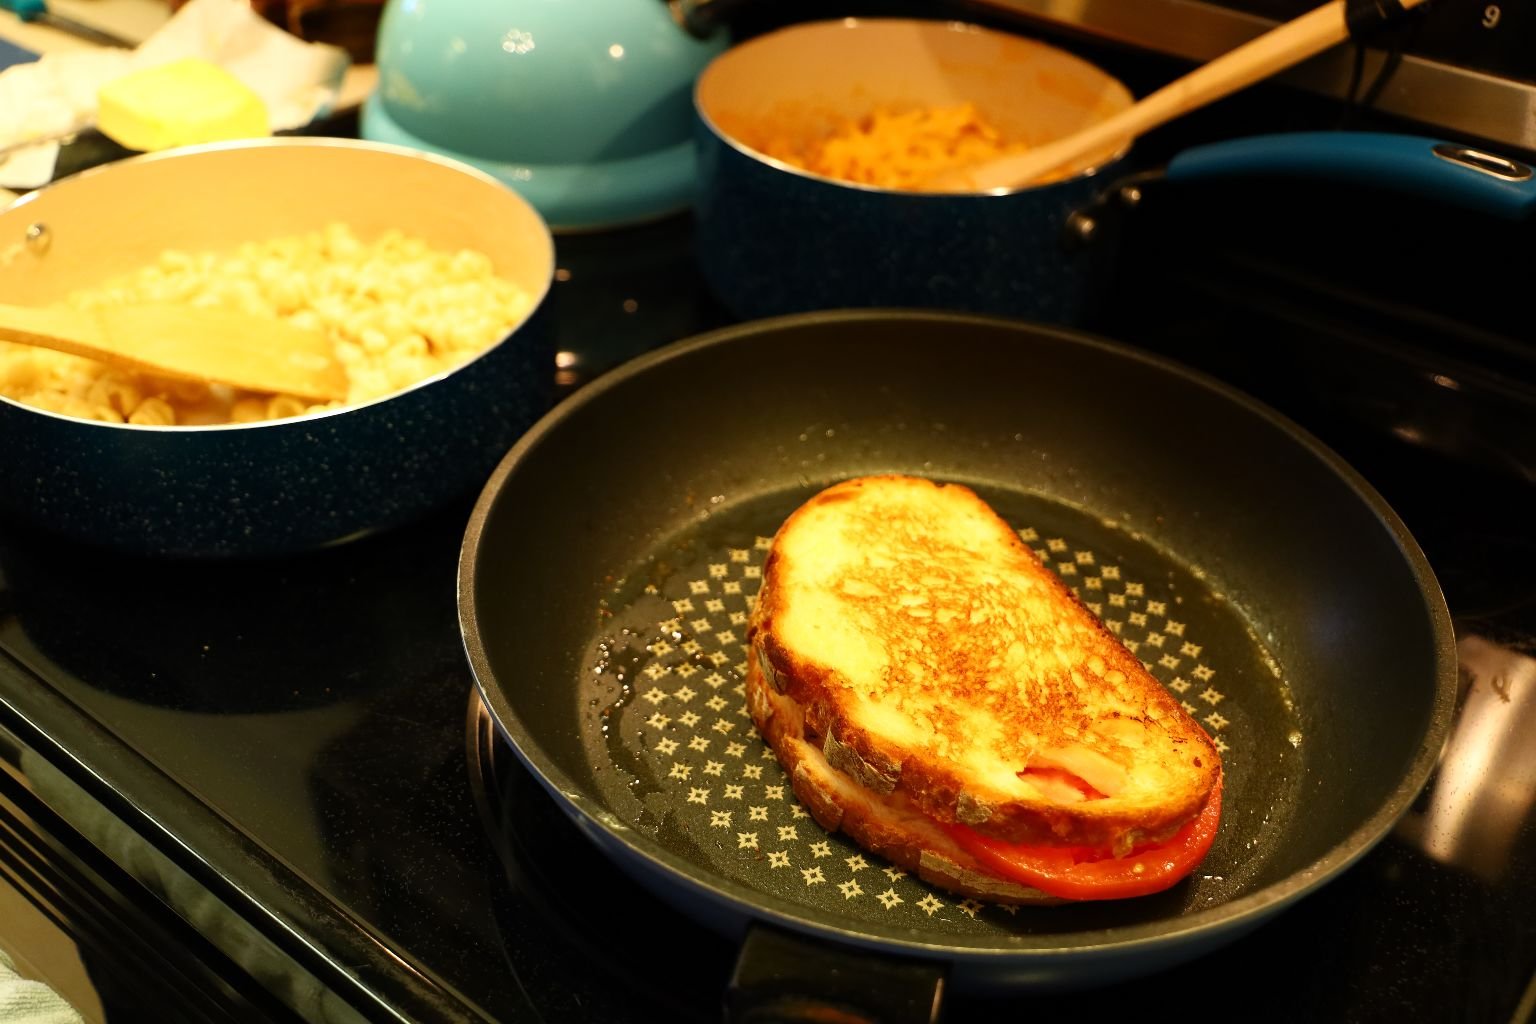
The first thing we did was to make 2 boxes of Kraft Macaroni and Cheese.
One Yellow, One White.

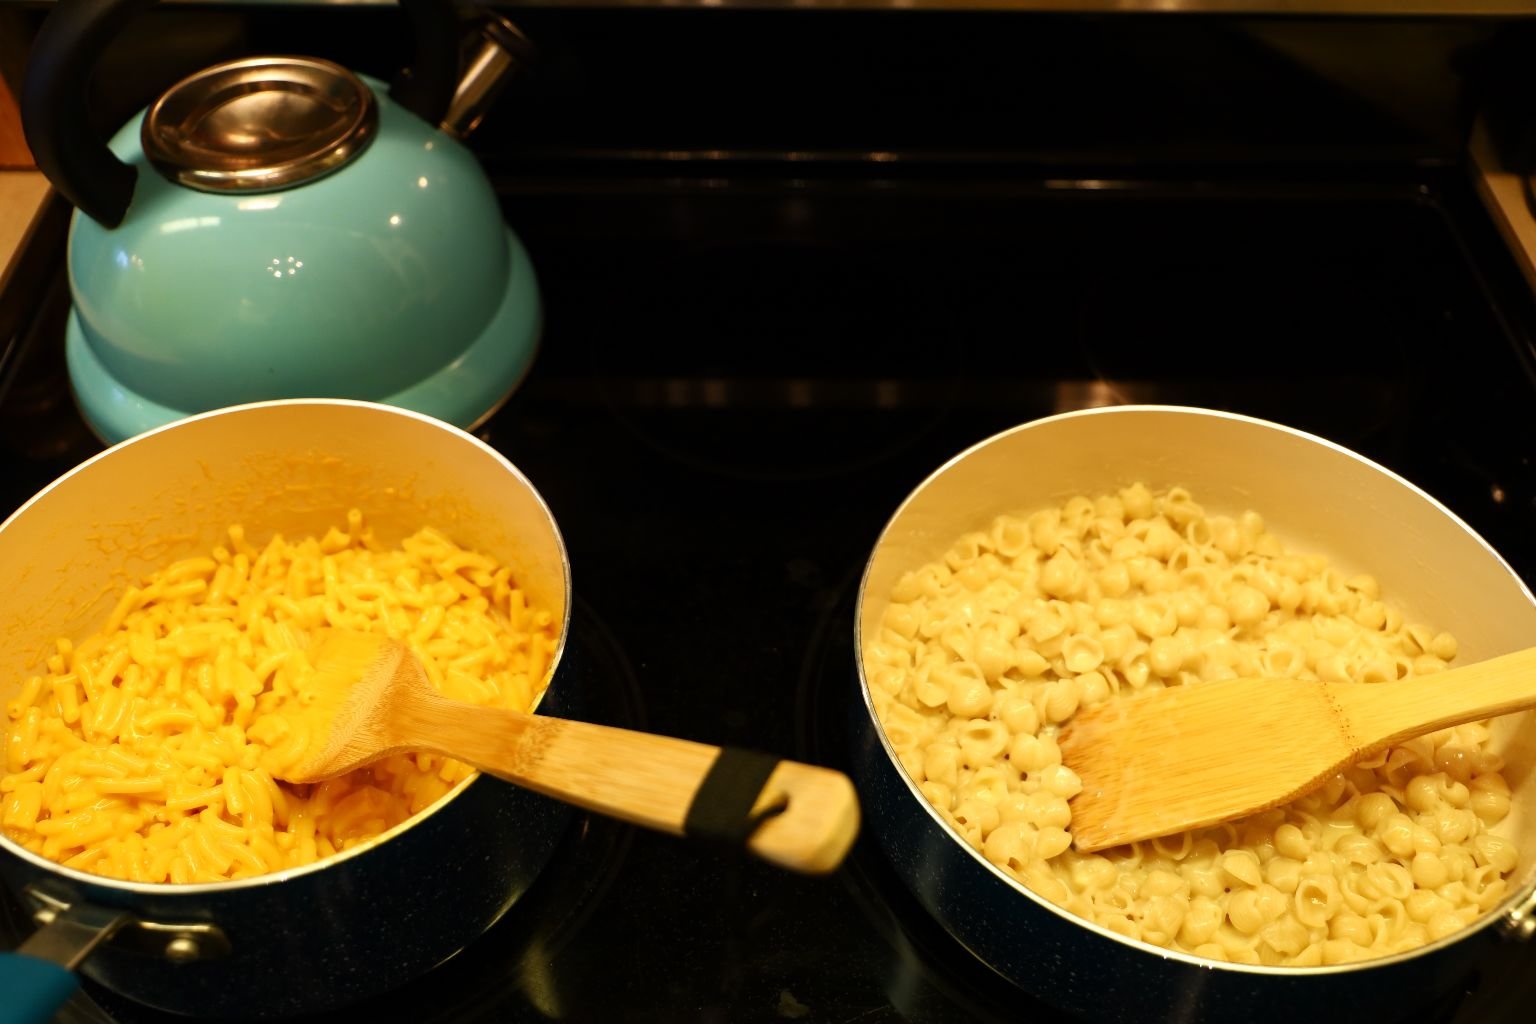
Just follow the package instructions and set warm on the stove top.
Our Ingredients:
1 Pkg. Kraft Macaroni and Cheese – make according to directions
1 Pkg. Kraft White Cheddar Pasta Shells – make according to directions
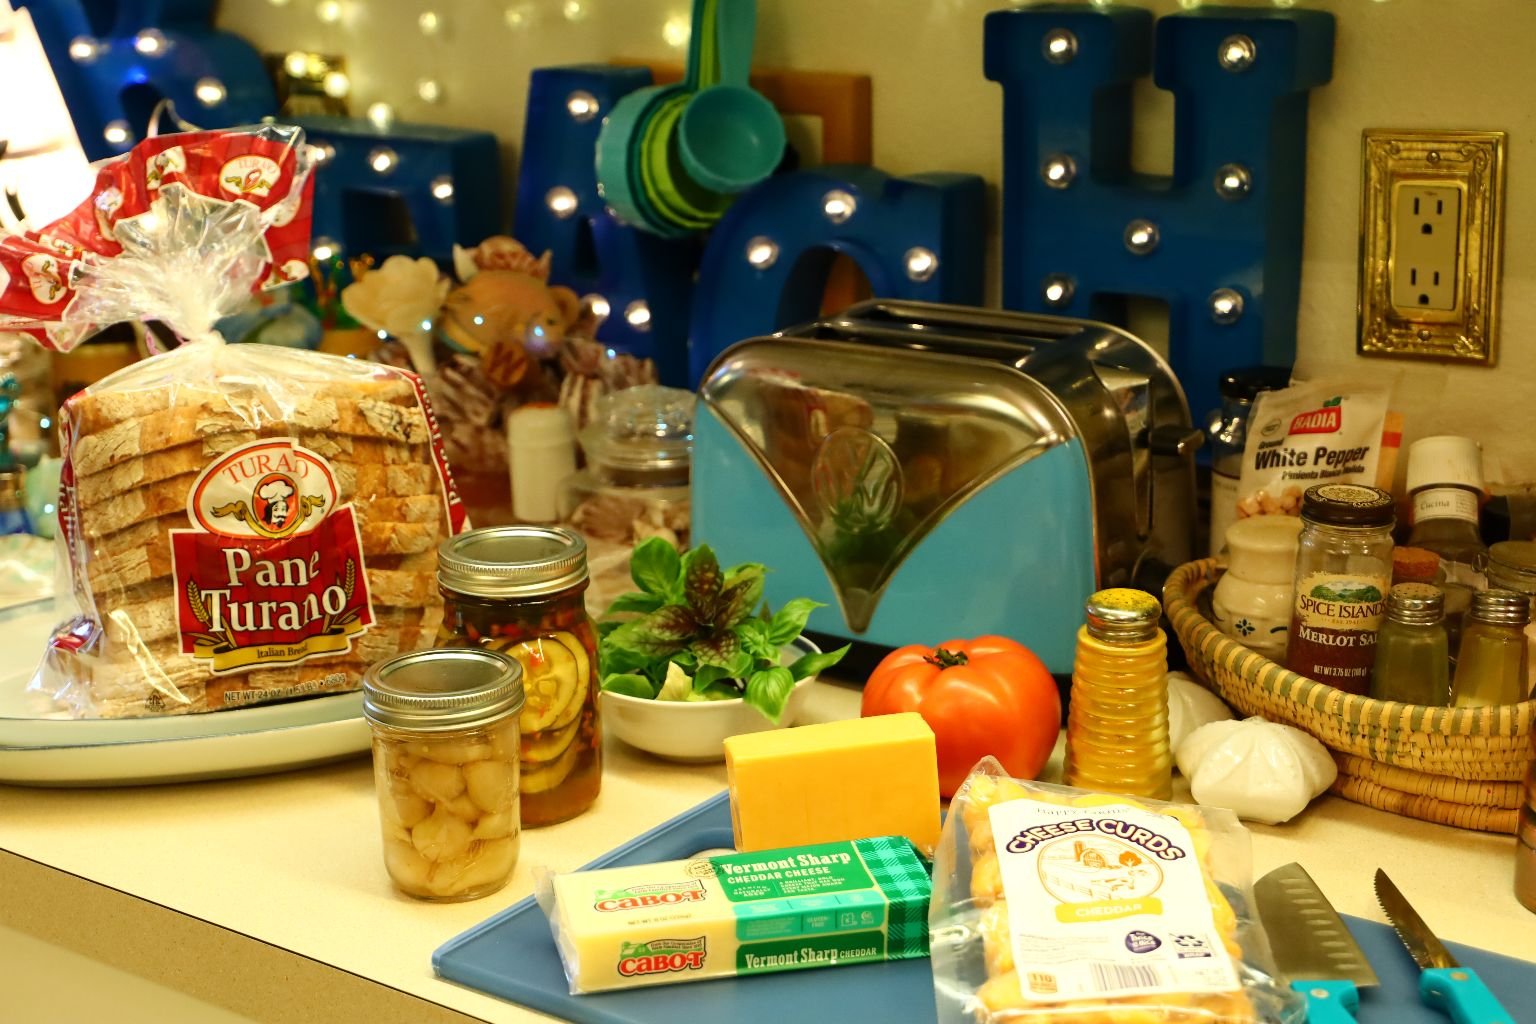
Italian Bread Slices (Pane Turano brand) – 2 slices per sandwich
Tomato’s – 2 slices per sandwich
1 1/2 Tbsp. Butter – per 2 slices of bread
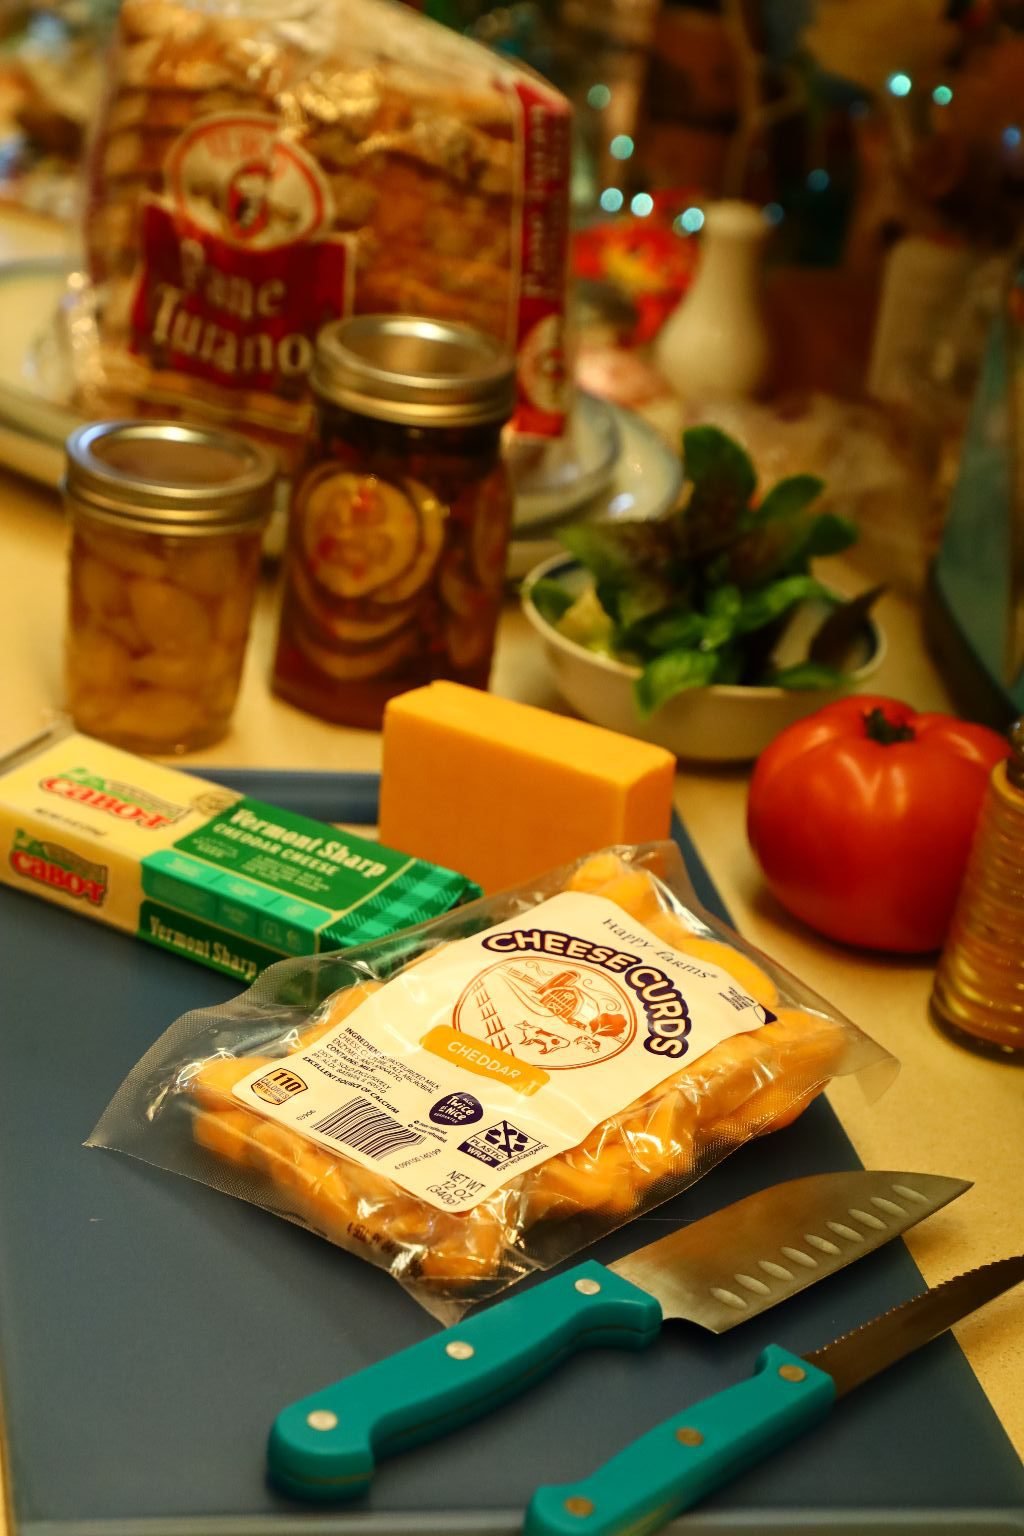
5 Slices of (Kraft) Sharp Cheddar Cheese from cheese block- per sandwich
5 Slices of (Cabot) Vermont White Sharp Cheddar Cheese from block – per sandwich
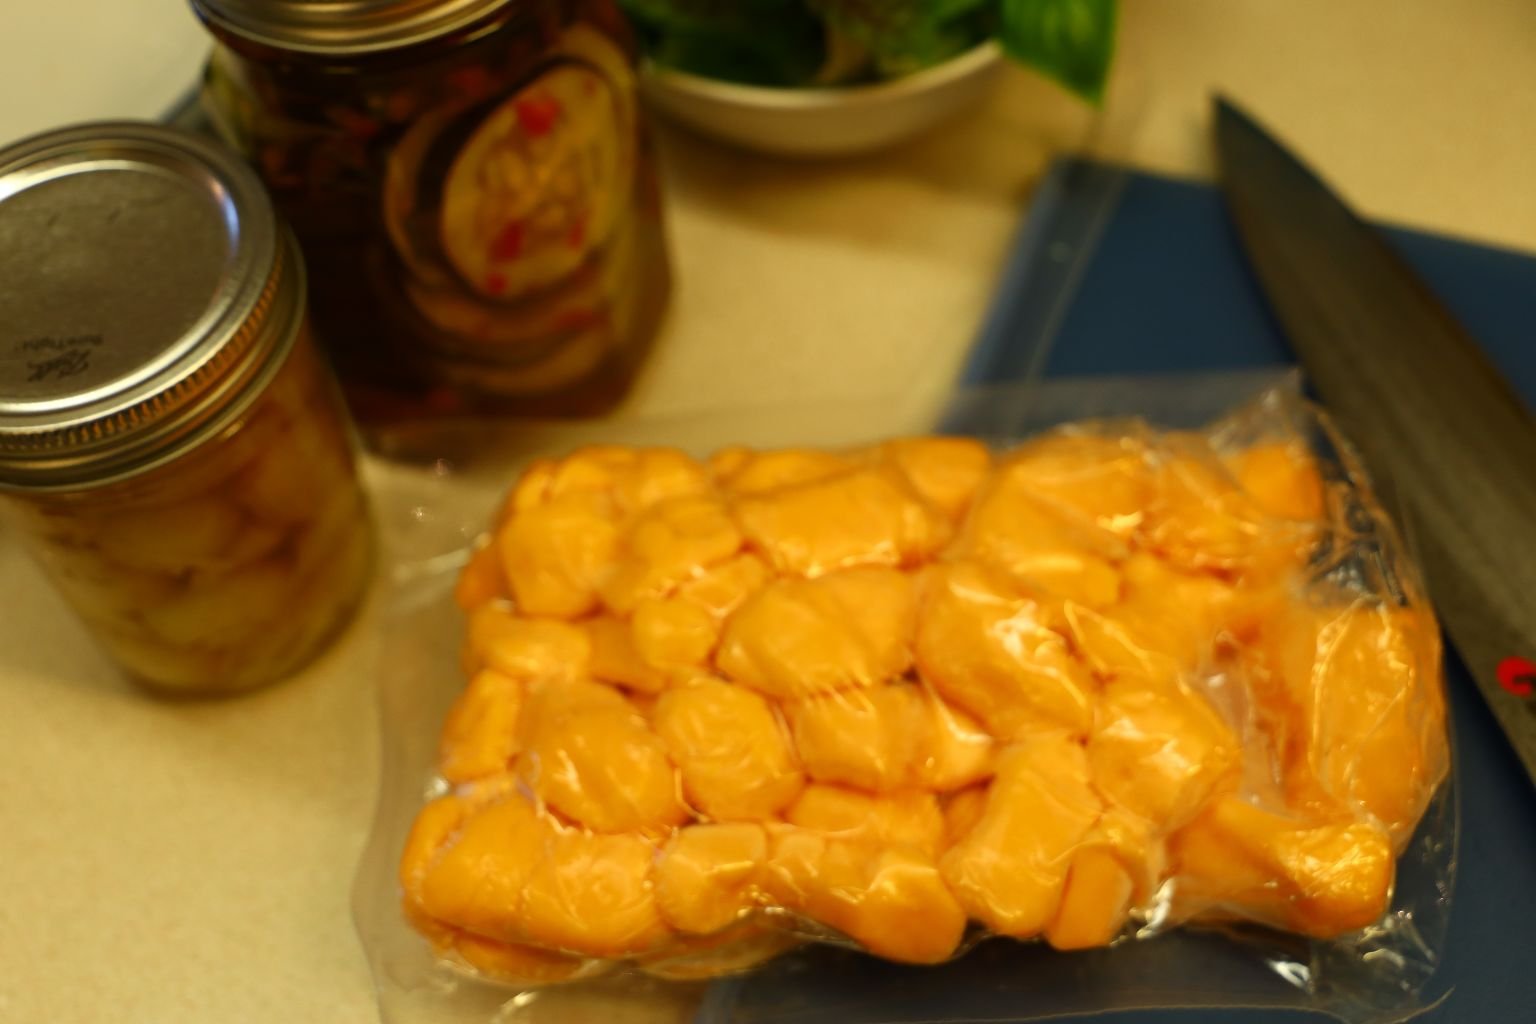
Cheddar Cheese Curds – 3-5 per sandwich
Accoutrements:
Bread and Butter Pickles
Pickled Onions
Cherry Tomatoes
Basil
———————————————————–
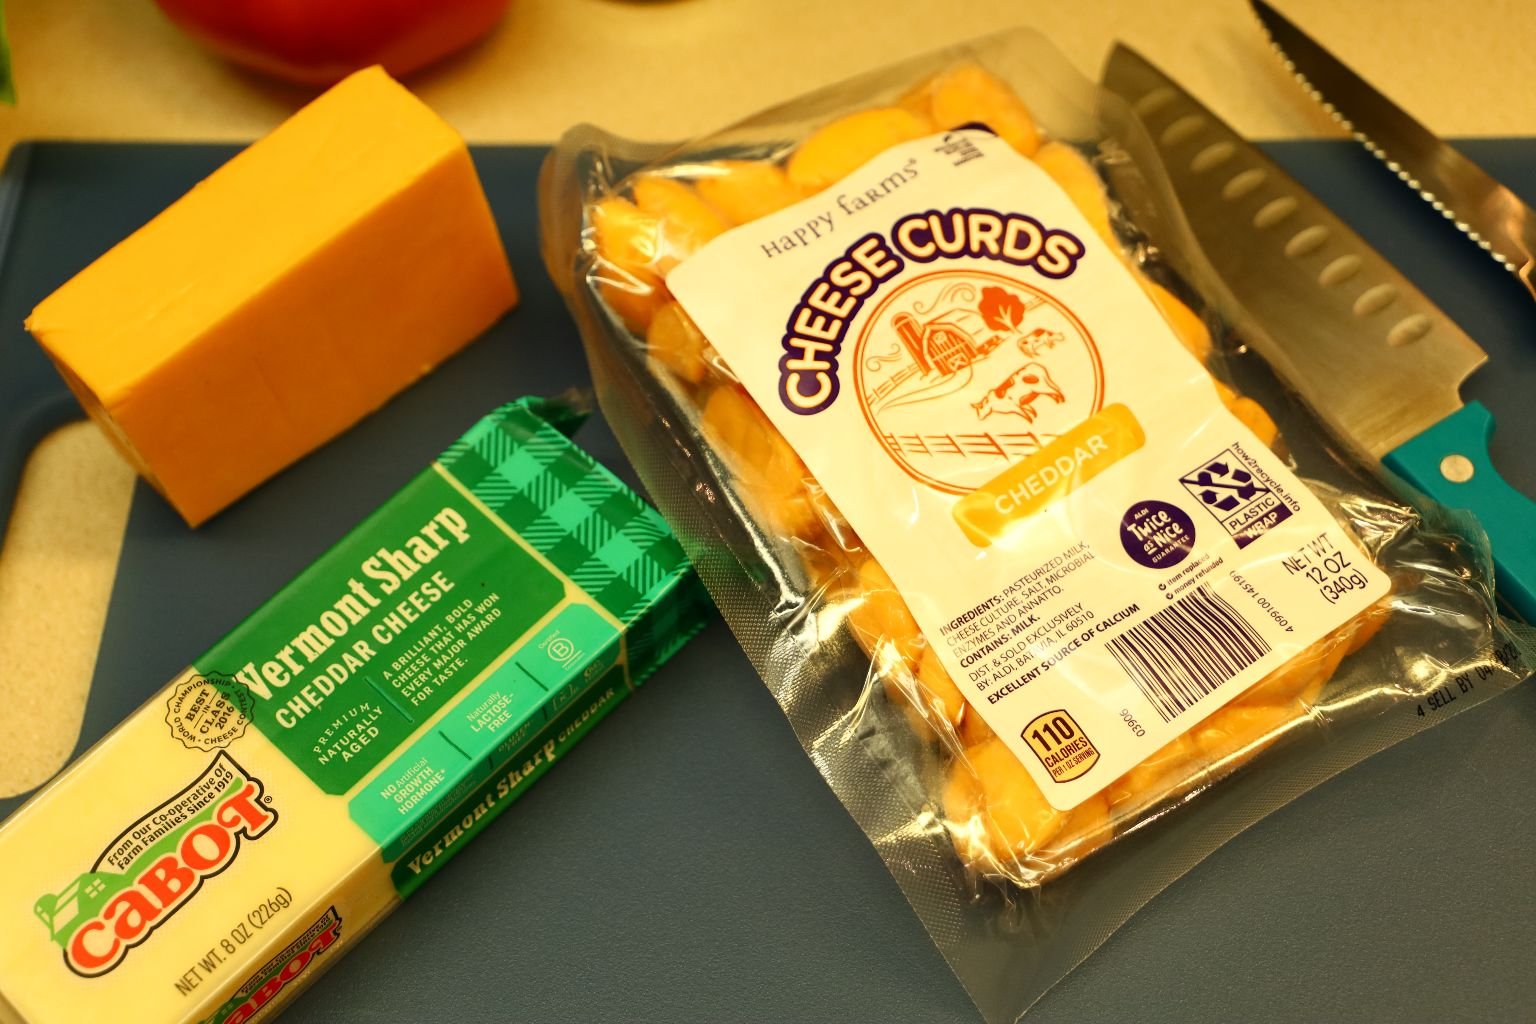
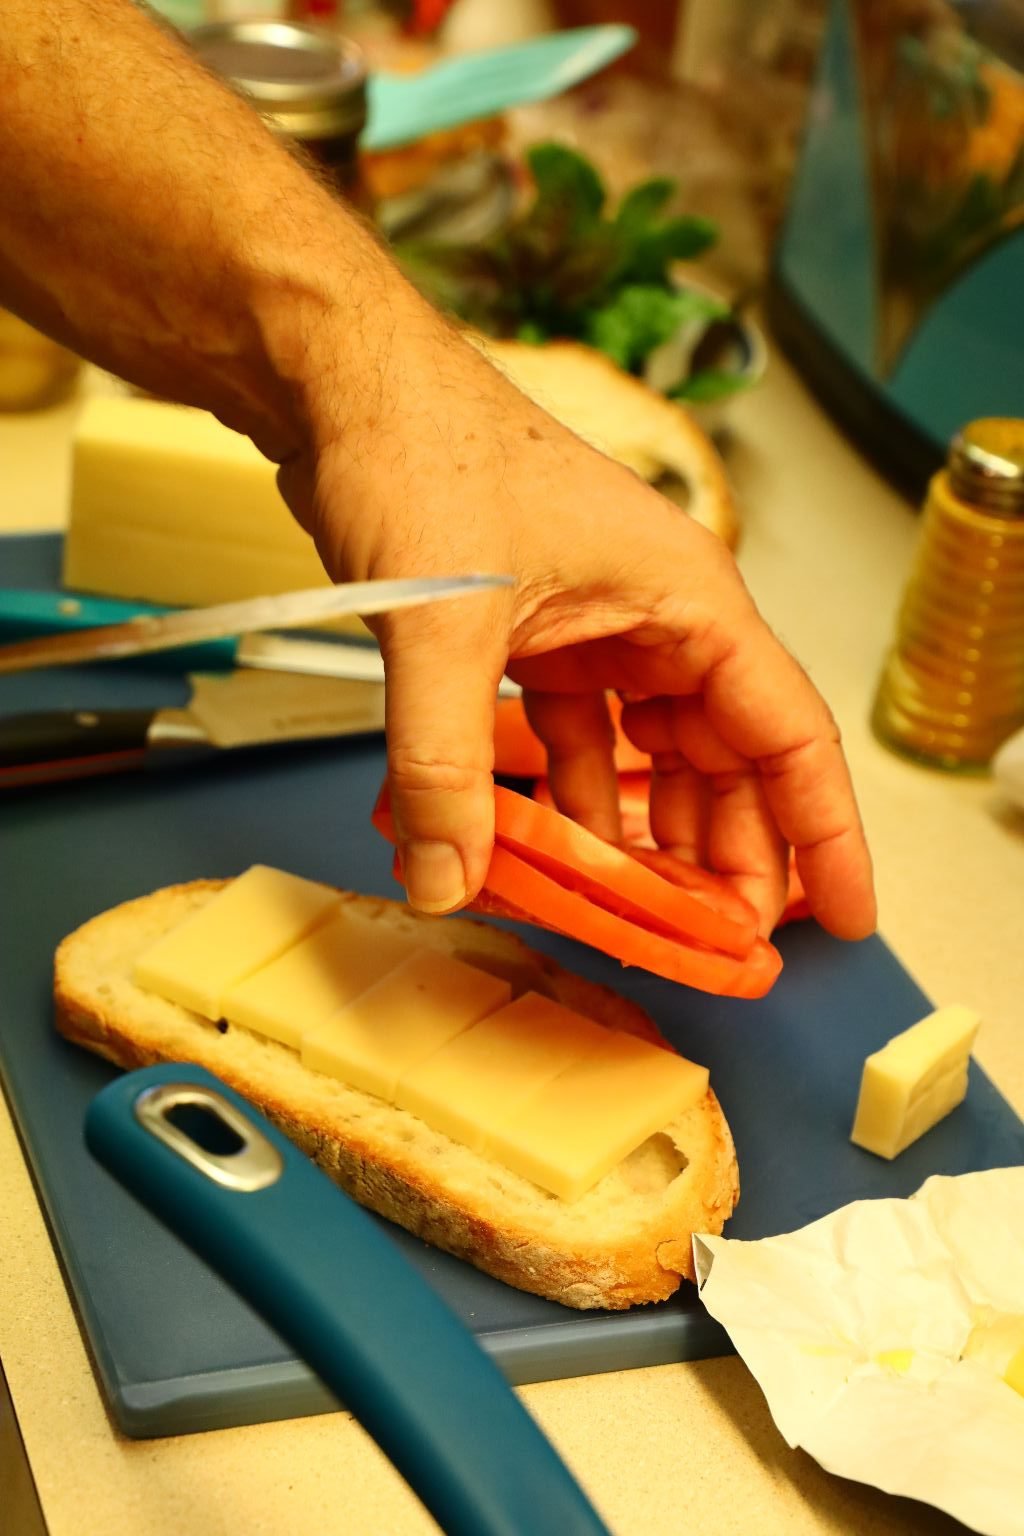
Use good cheese to make your sandwiches. I really enjoyed these cheese curds.

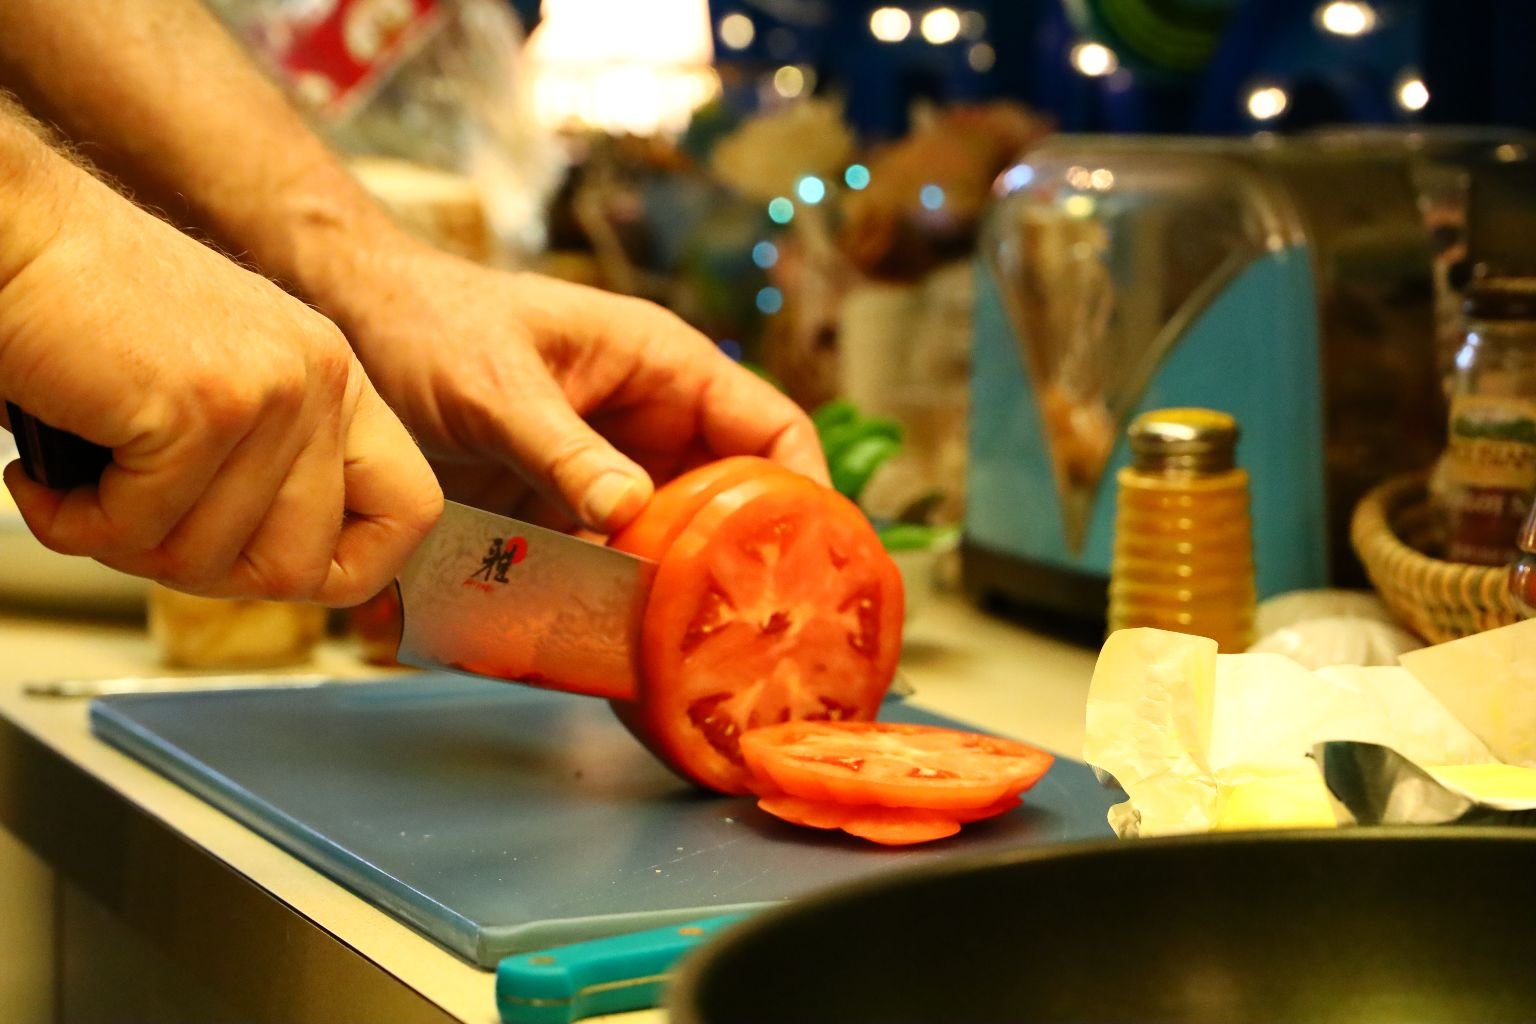
Slice your tomato into 1/4 inch thick slices.
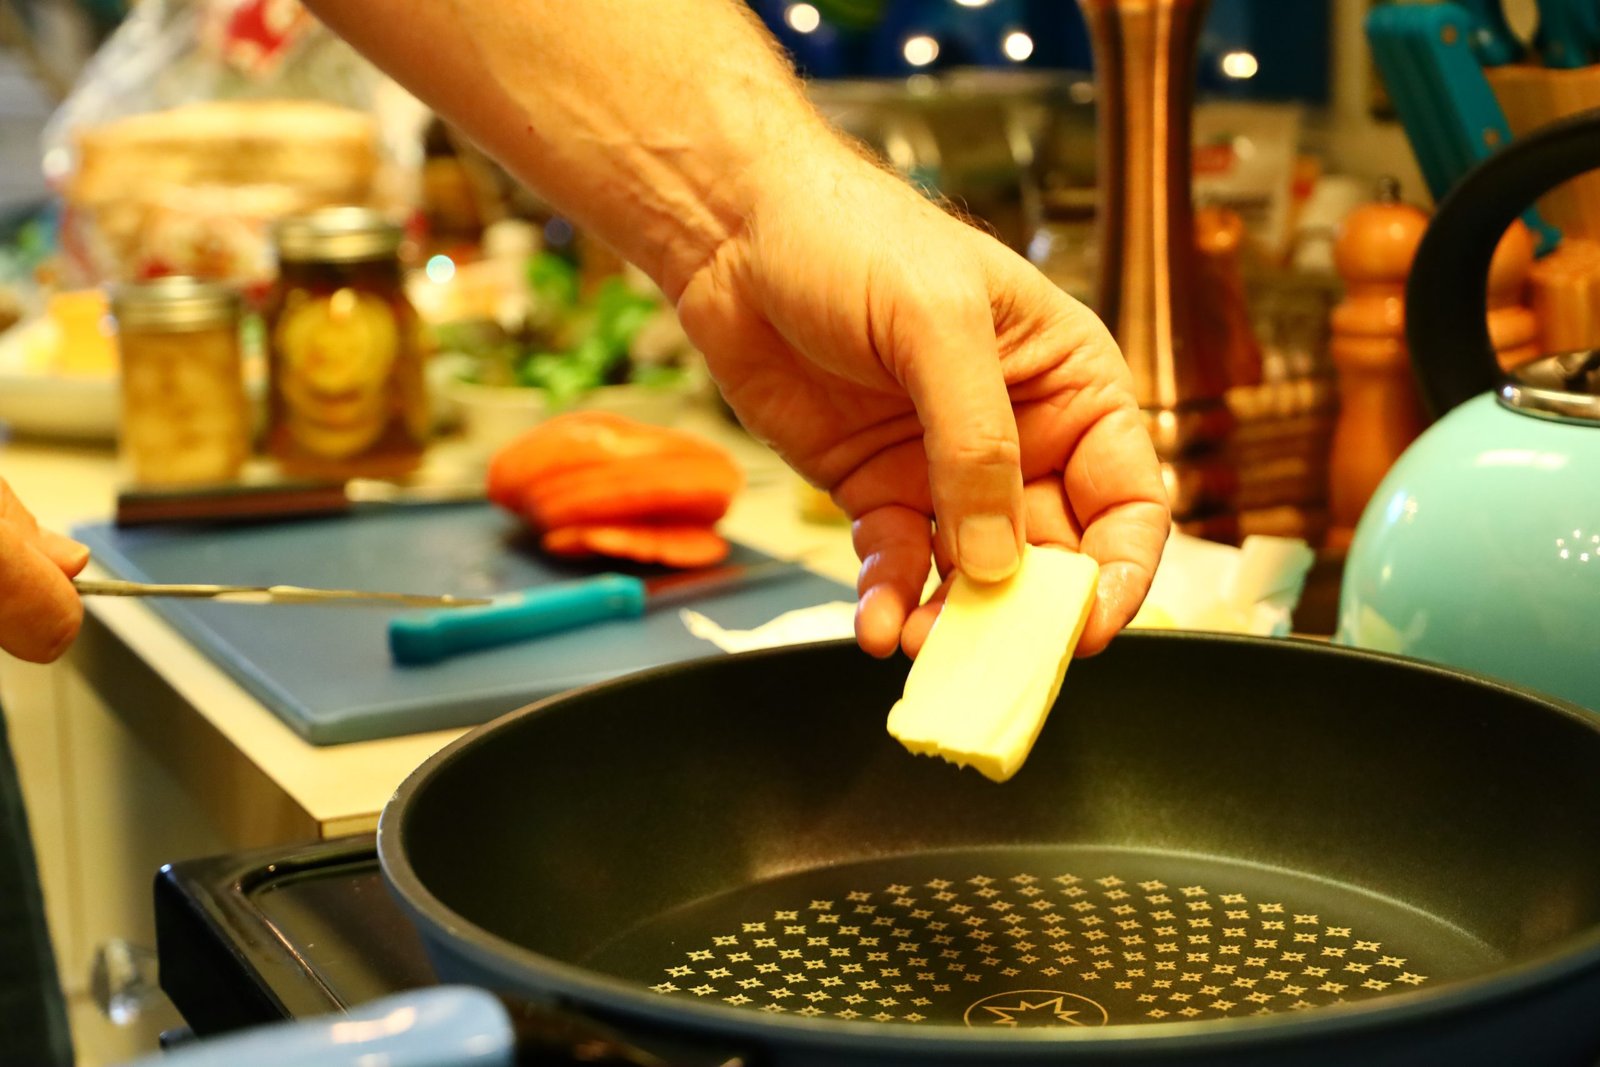
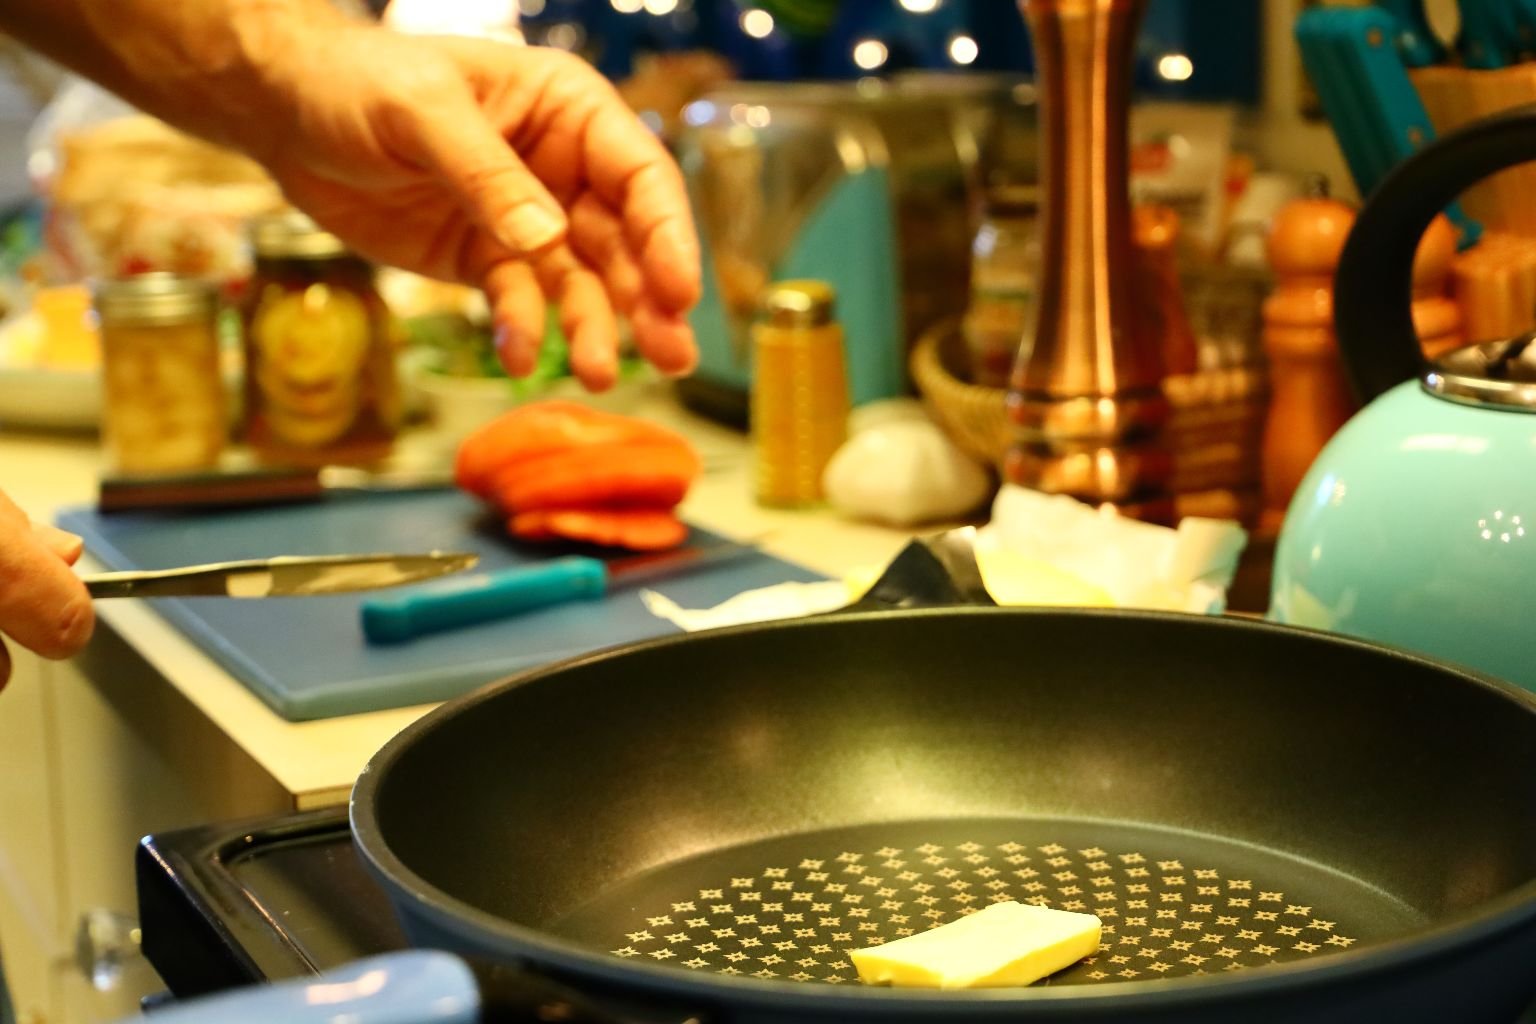
In a large pan, begin to melt your butter over medium heat.
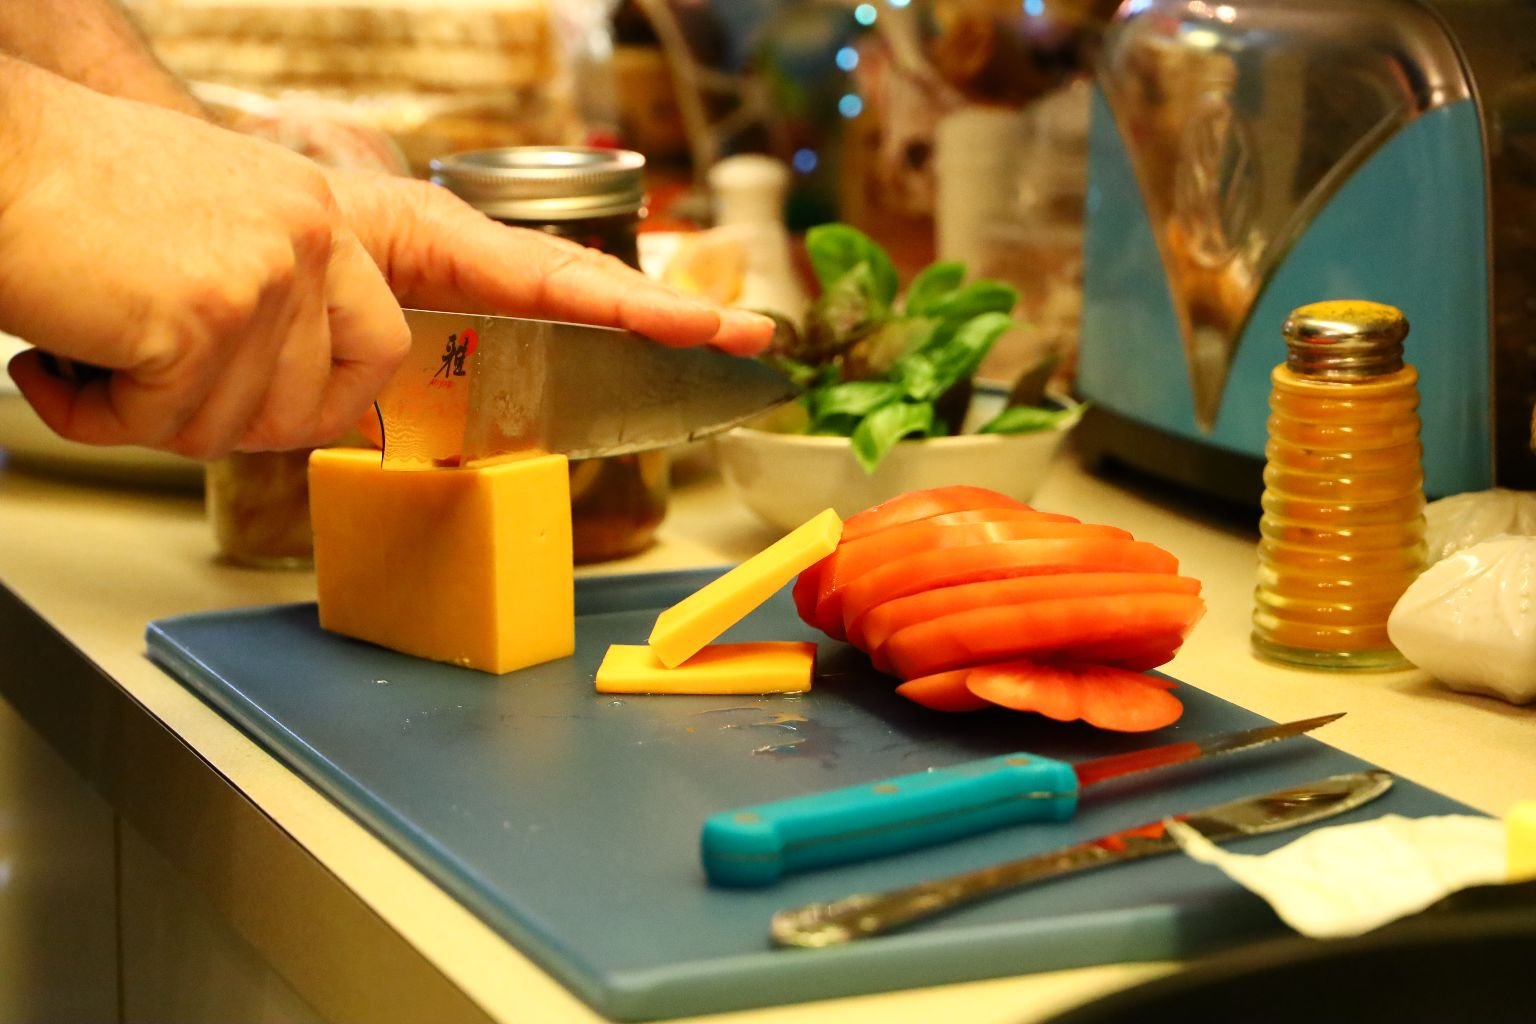
Slice five slices of your sharp cheddar cheese.
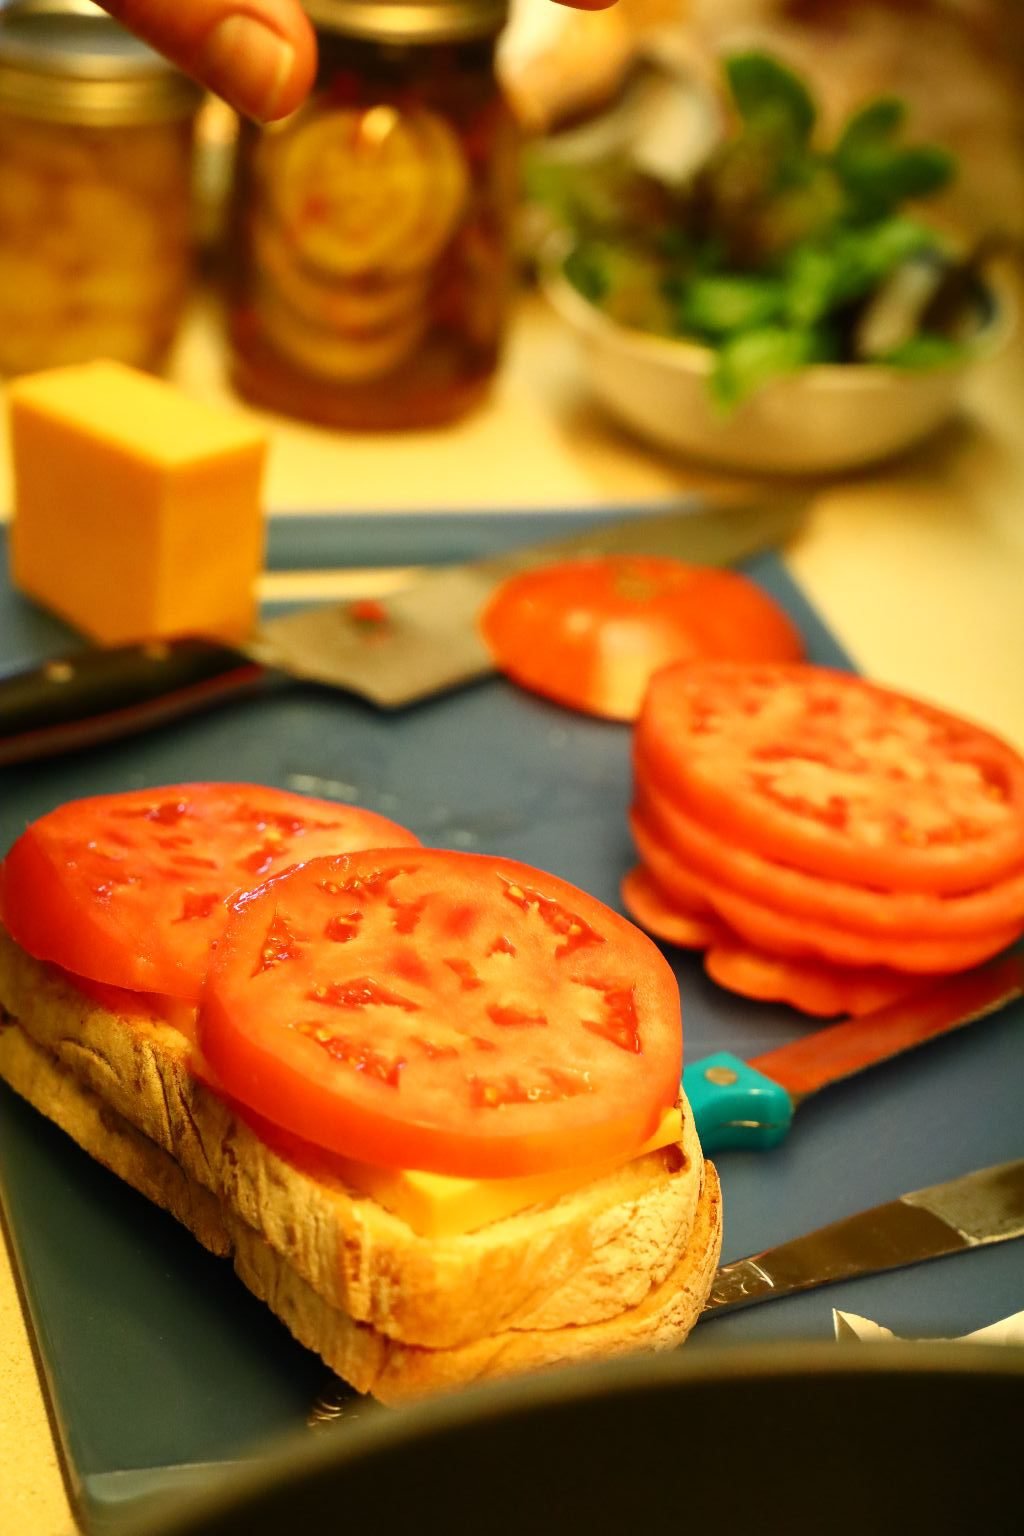
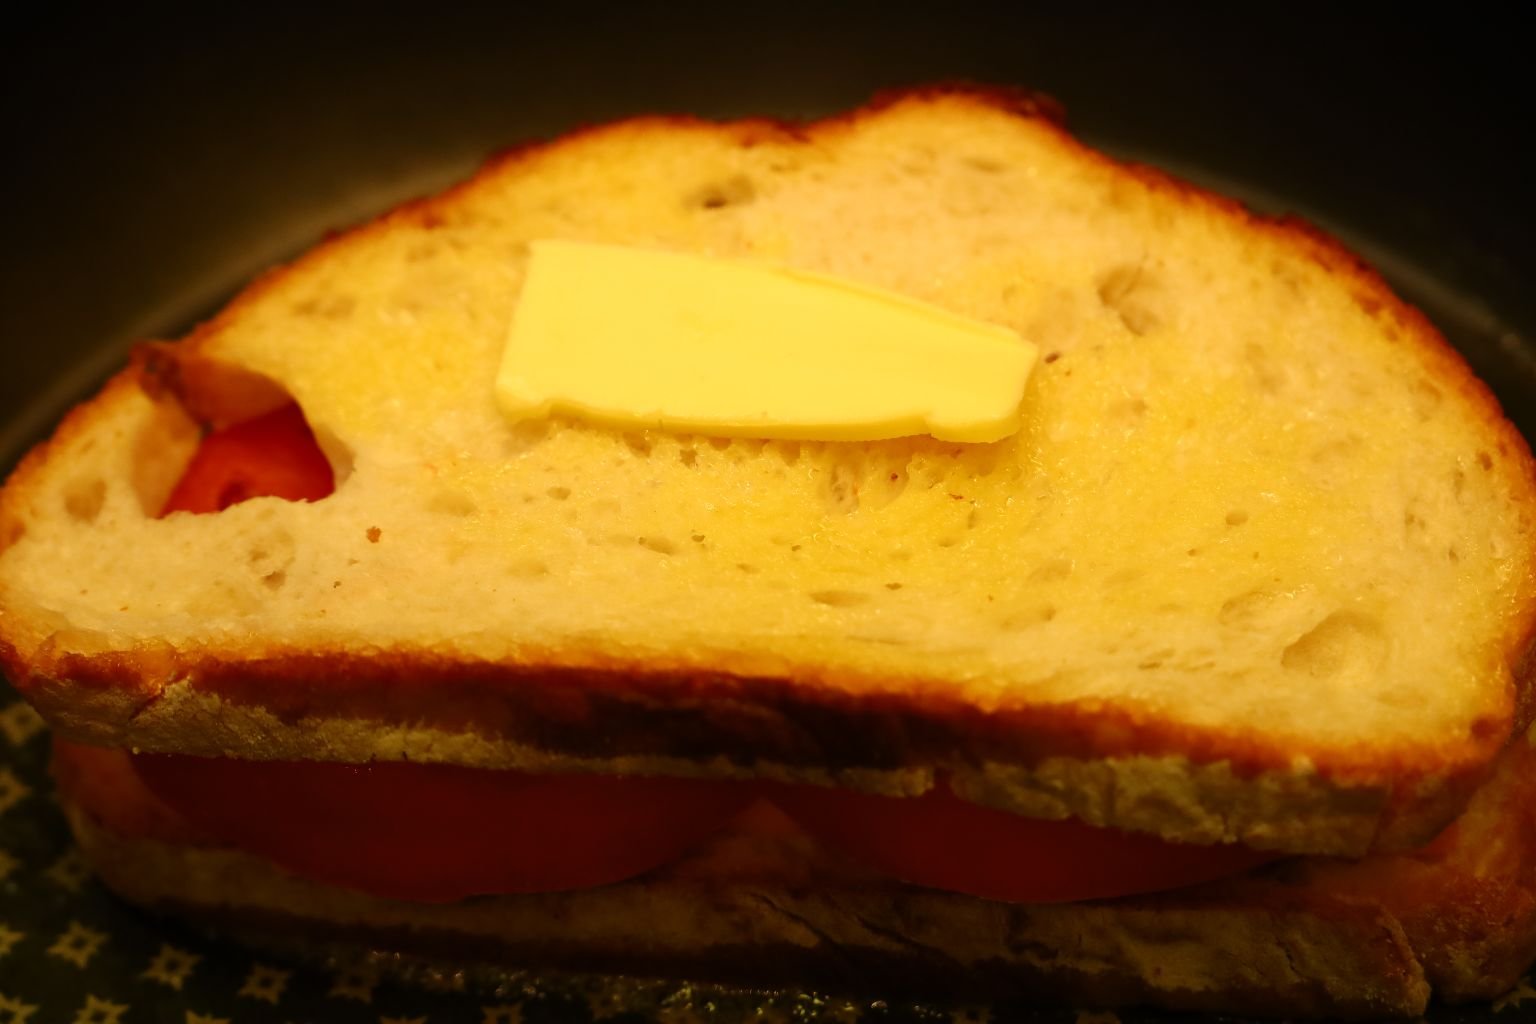
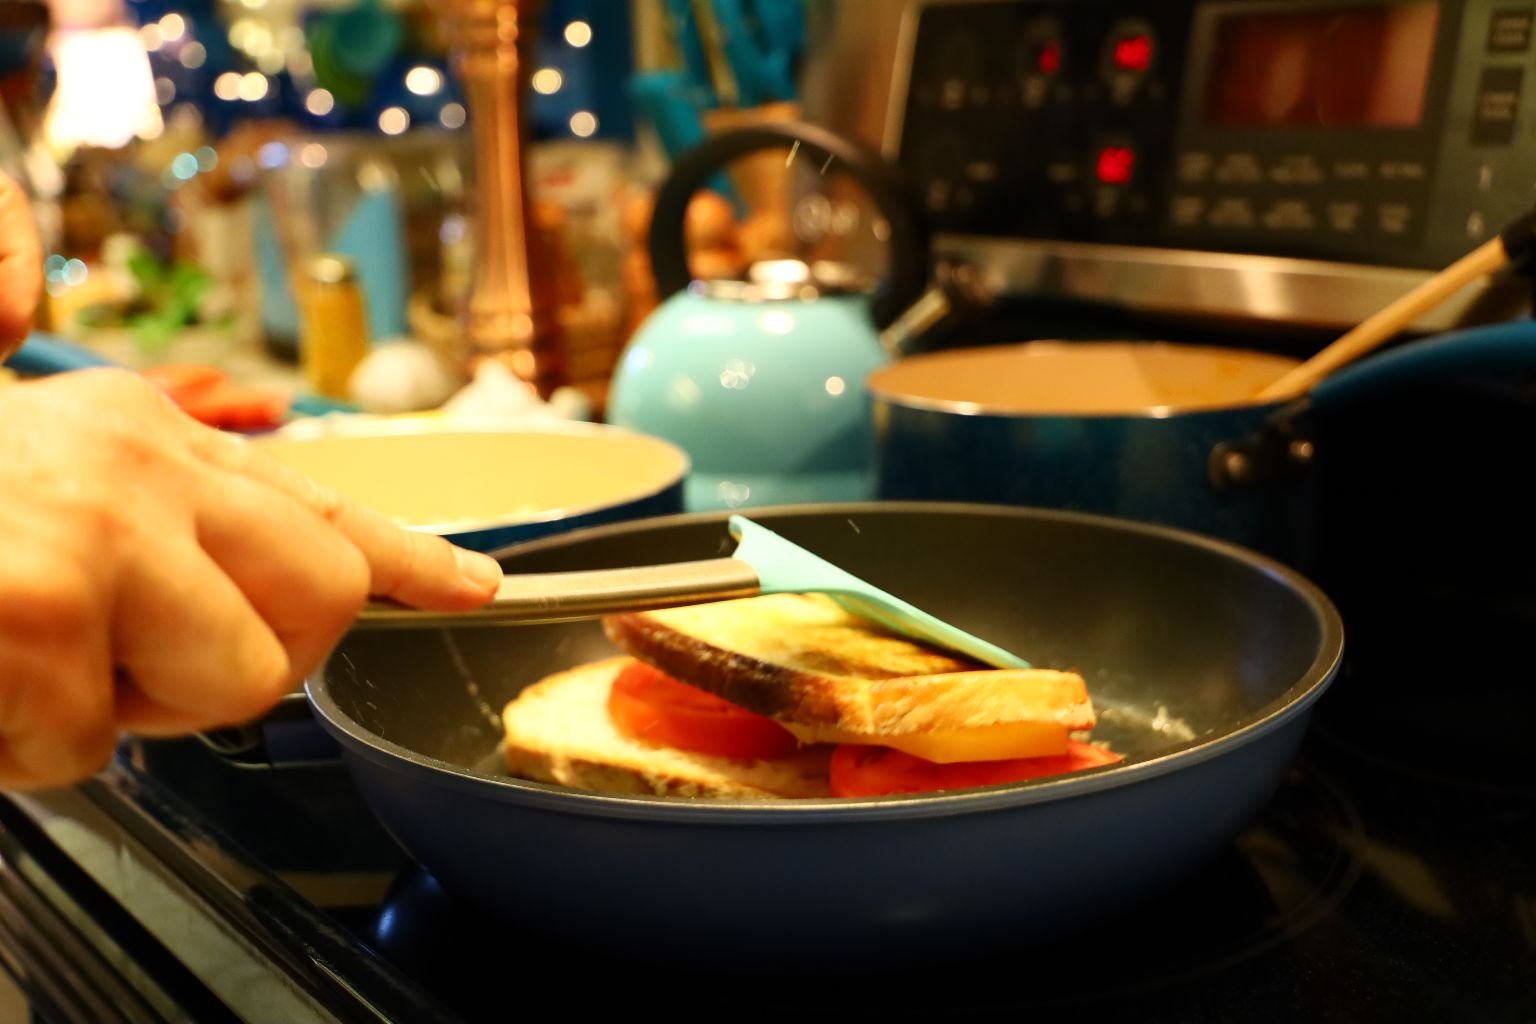
Build Your Sandwich
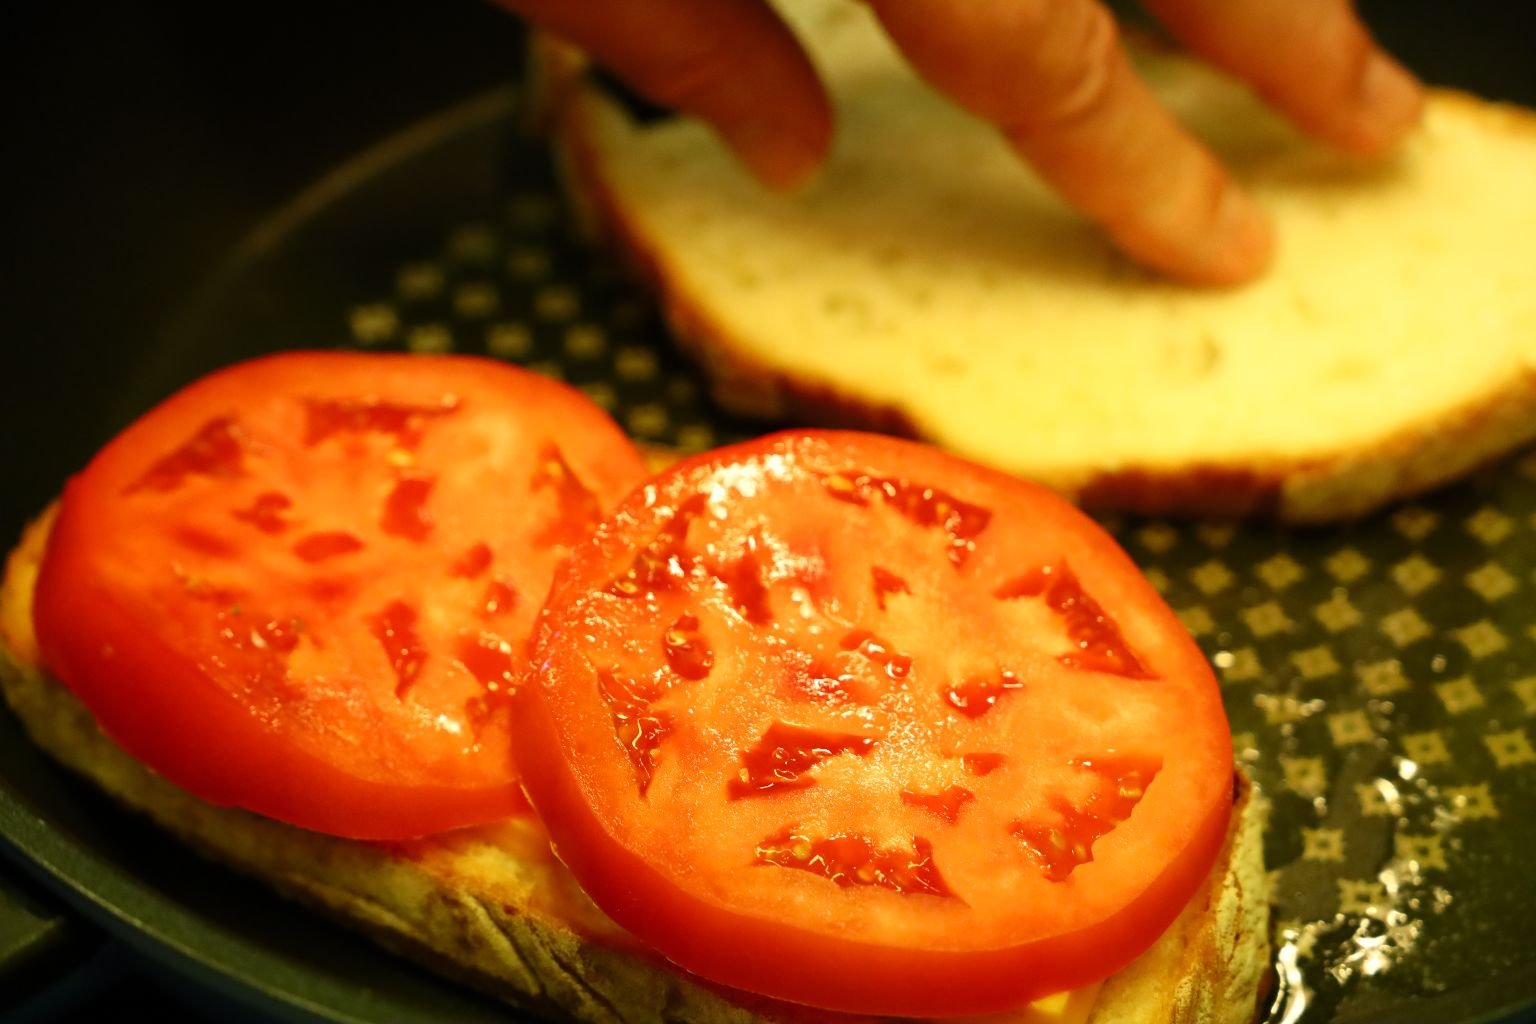

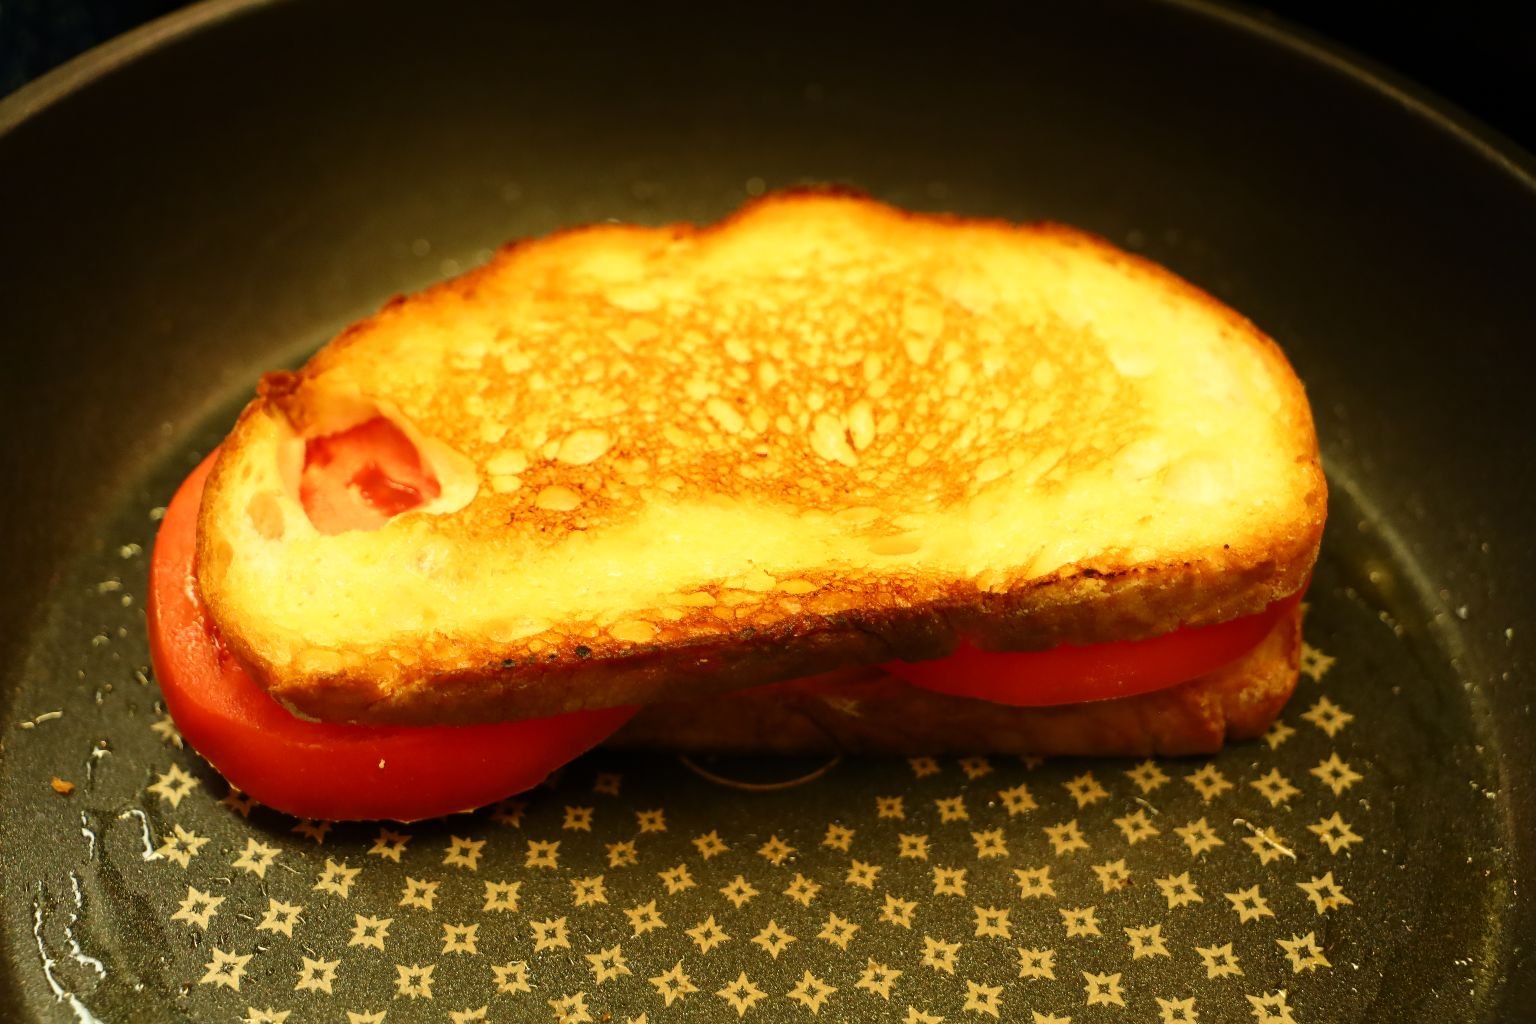
Place two slices of bread into your pan to absorb the melted butter. Now, place your five slices of cheese on one slice of bread and top with two slices of tomato as shown.
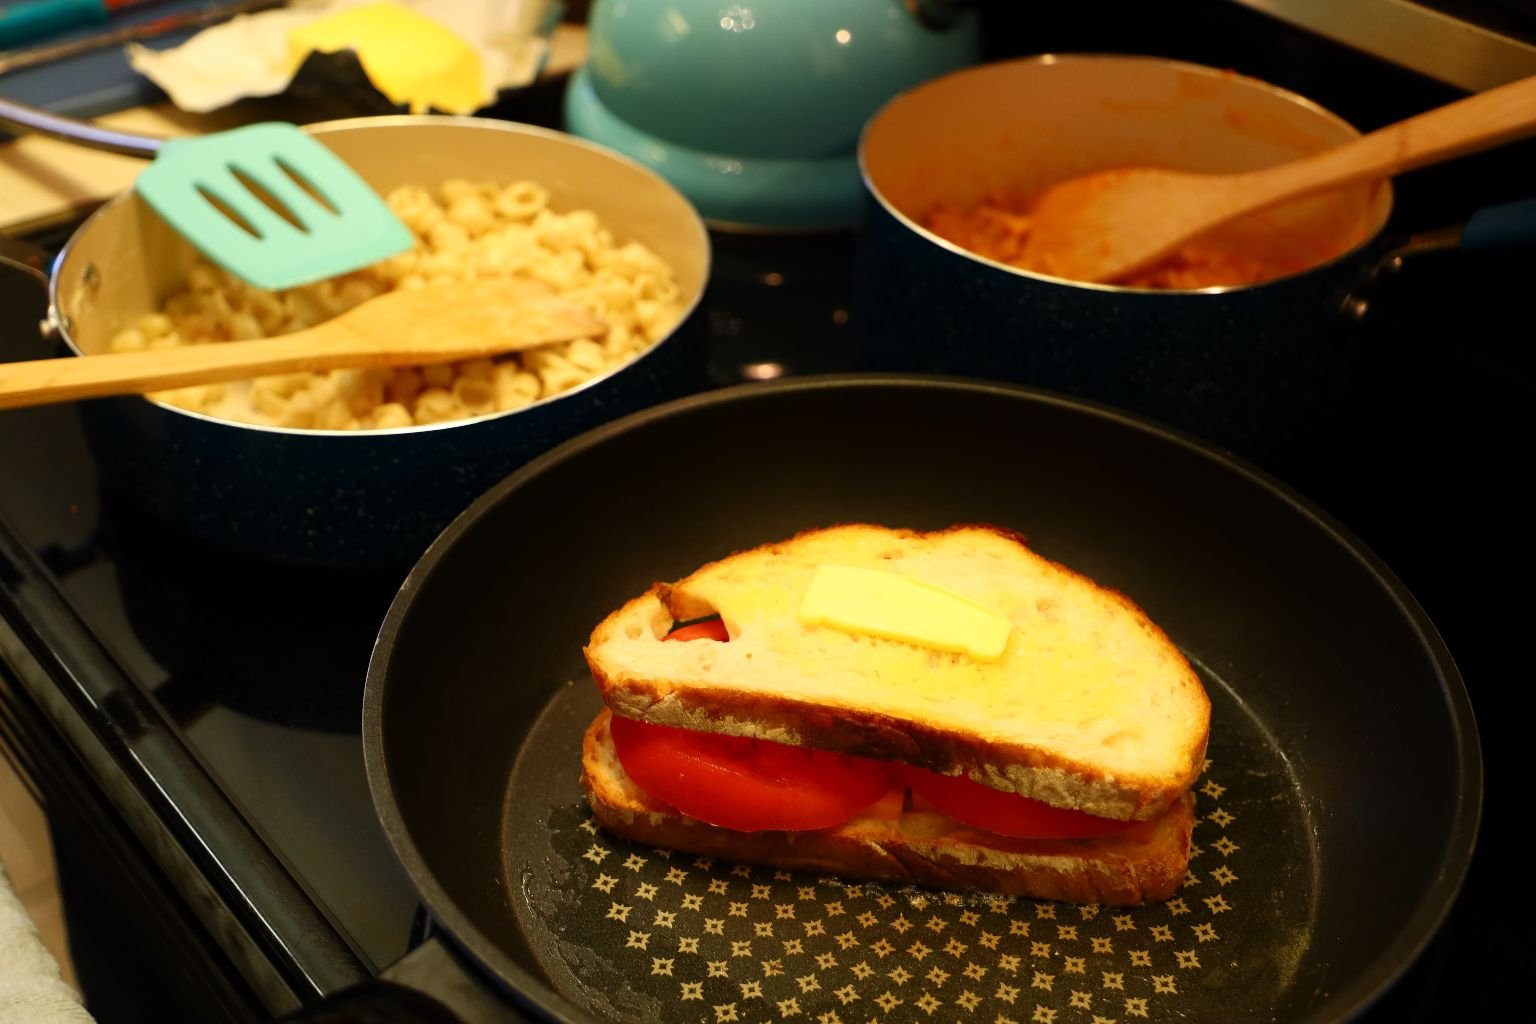
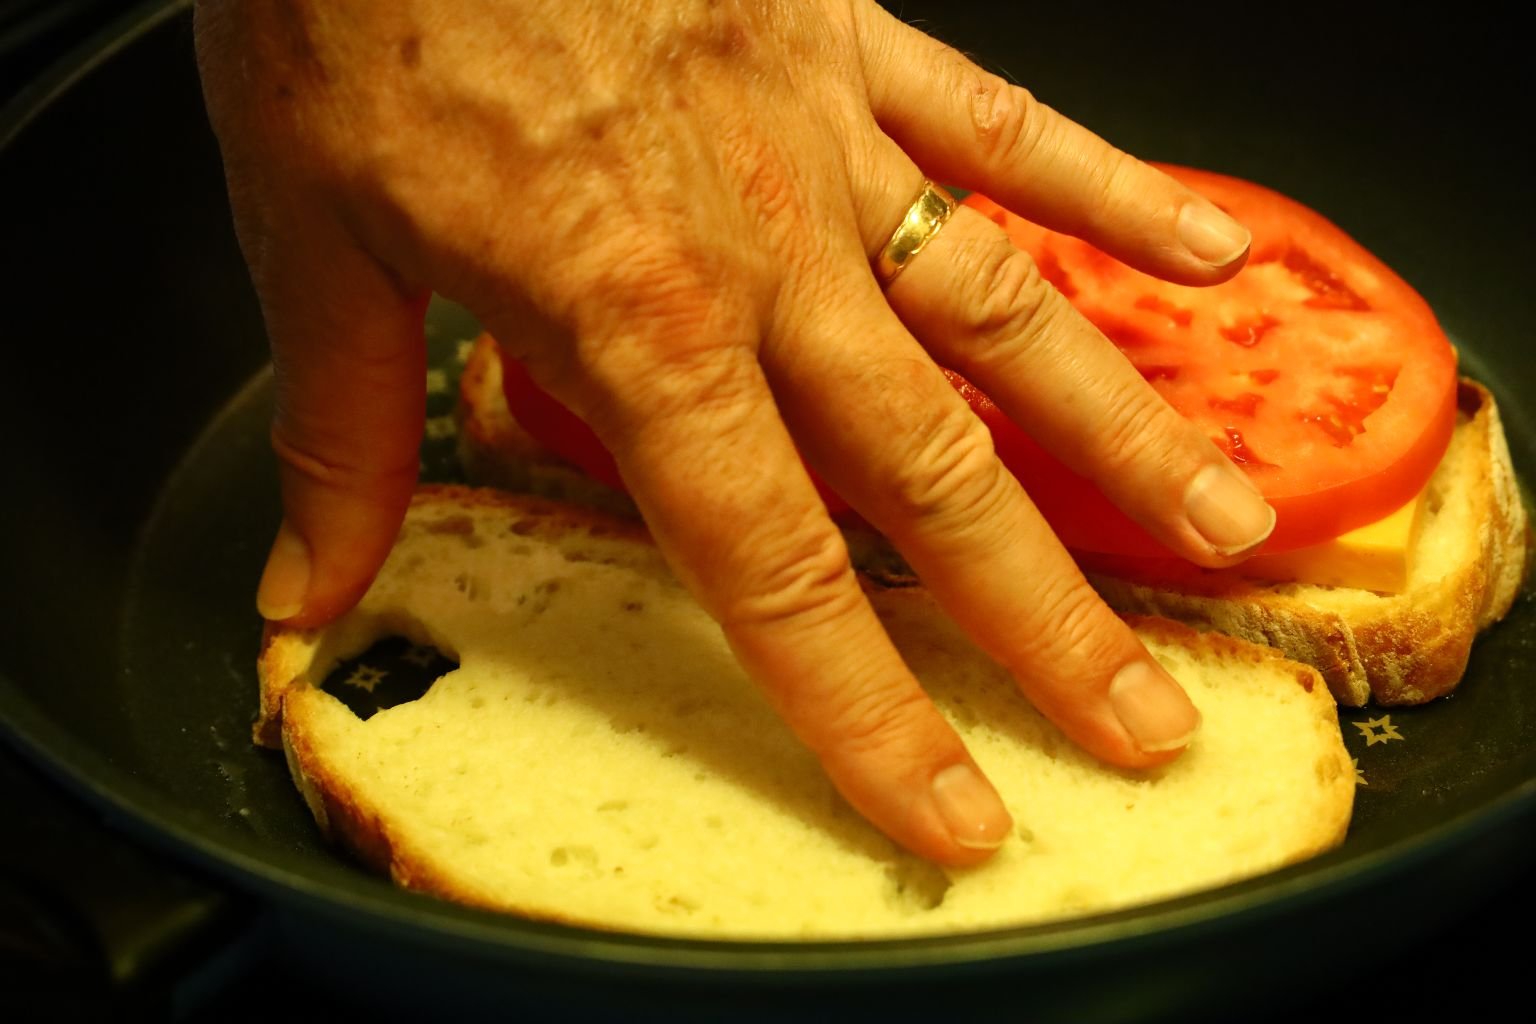
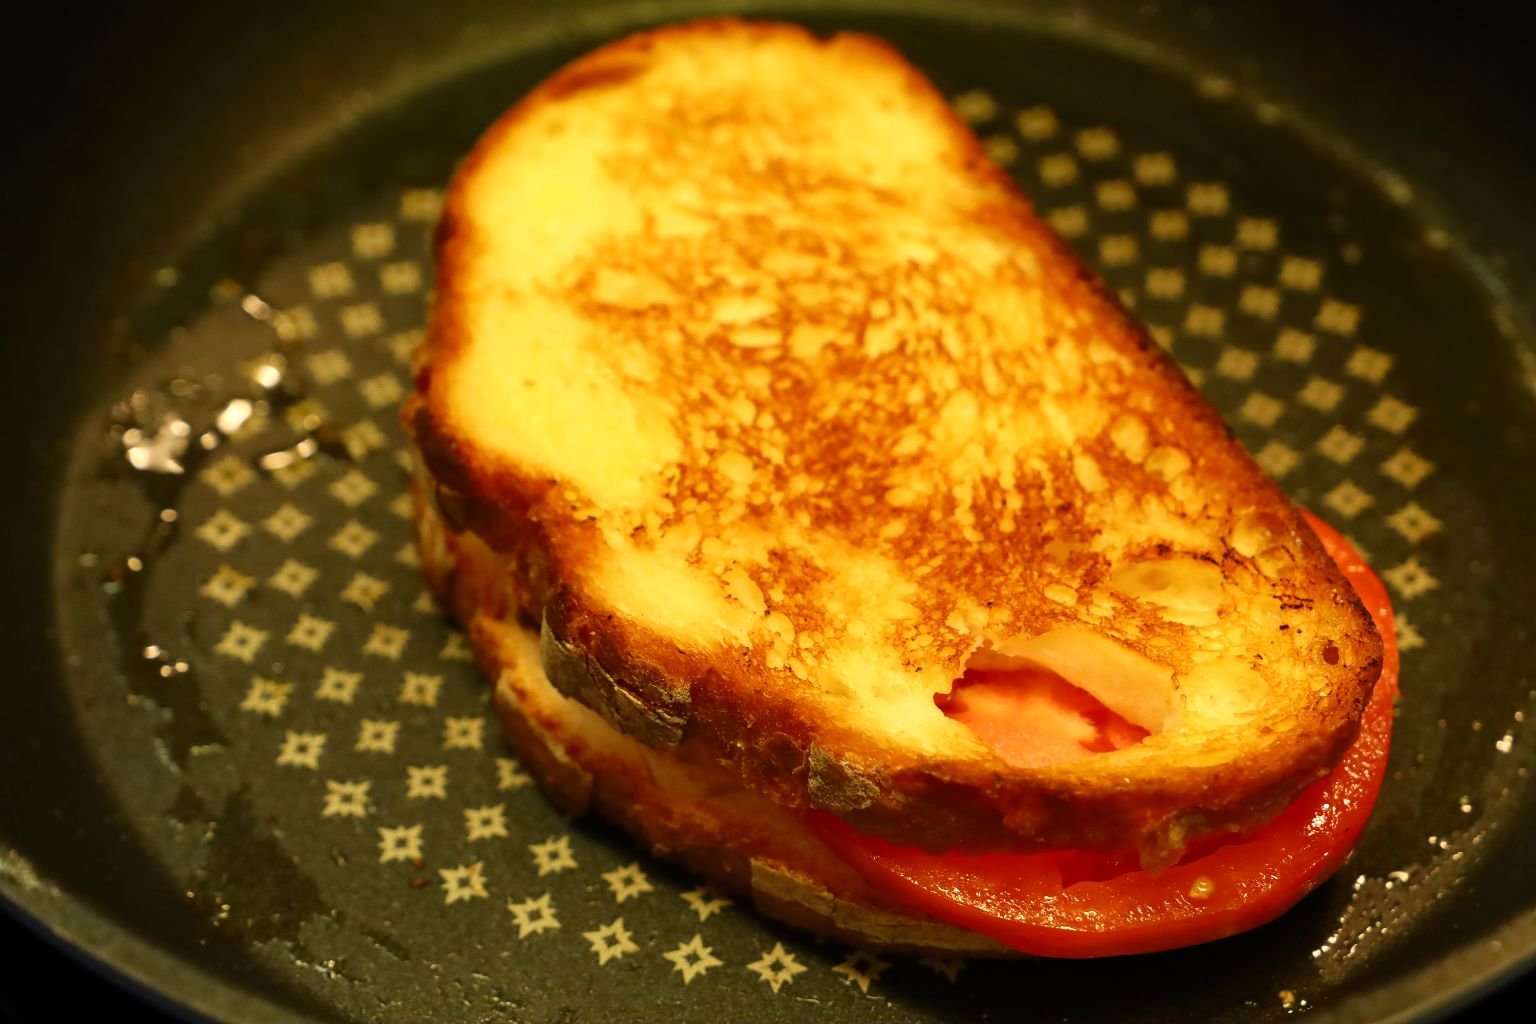
Use a spatula to check the browning of the bread. Place the other side of the bread on top of the tomatoes as shown and top with more butter if needed. When the bread is cooked to your liking, flip it over using the spatula and begin to cook the other side.
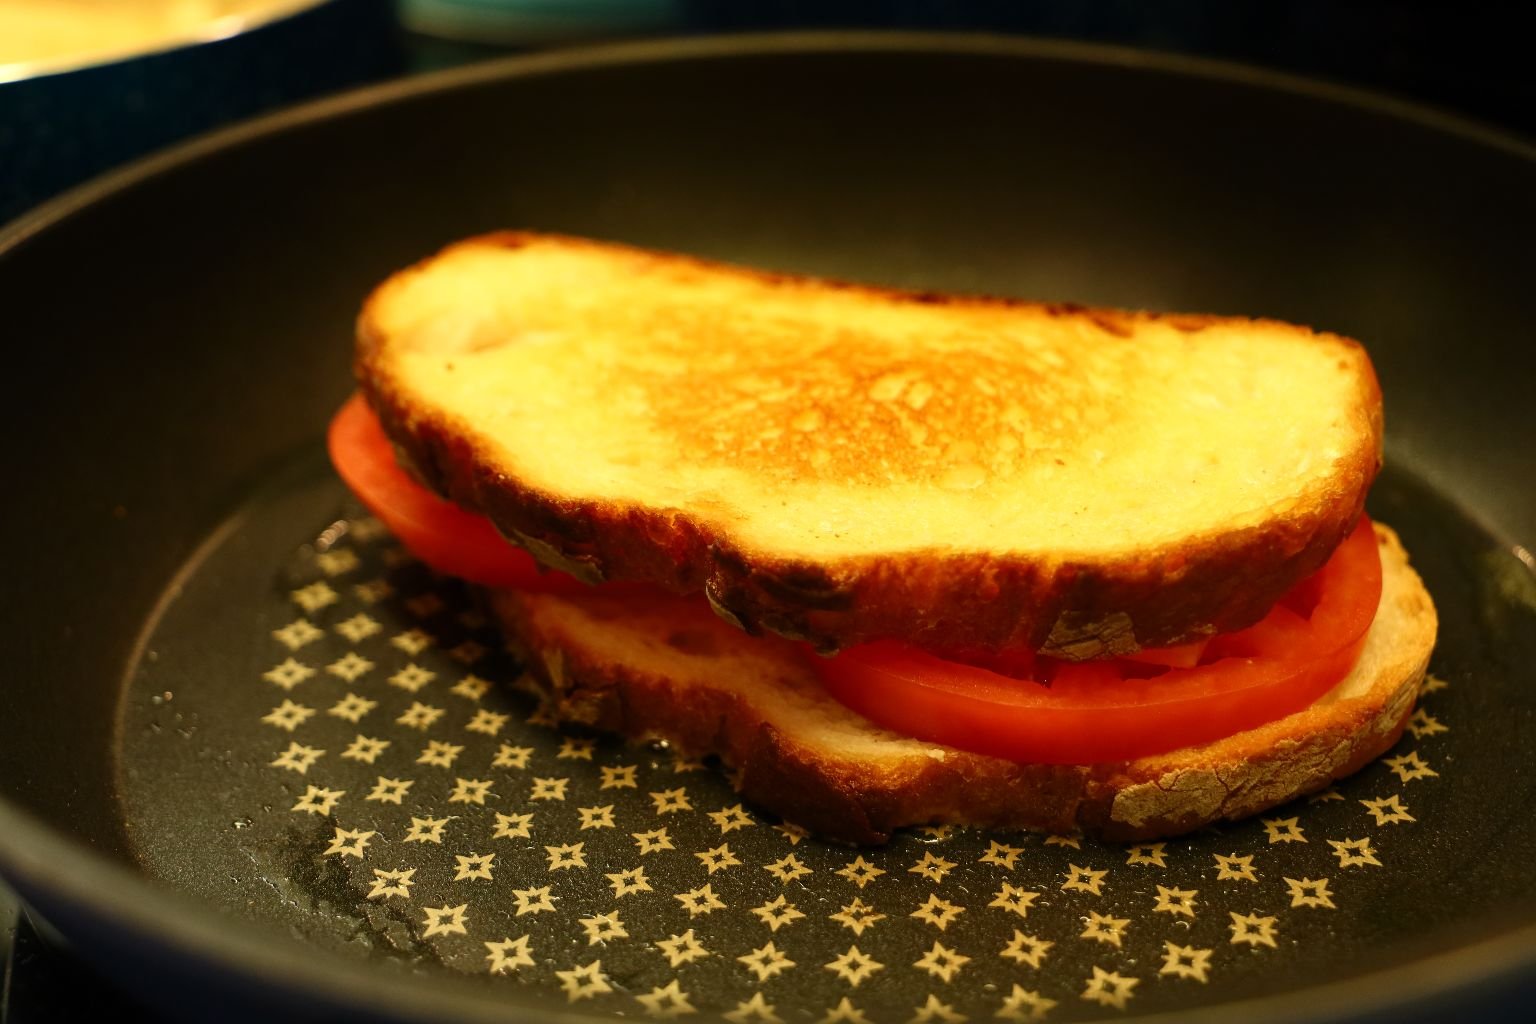
Cook this side the same as before, checking with your spatula when done to your liking.

When done, place on a sheet pan lined with aluminum foil.

For the other sandwich, place your white cheddar cheese on a slice of bread and top again with tomatoes.
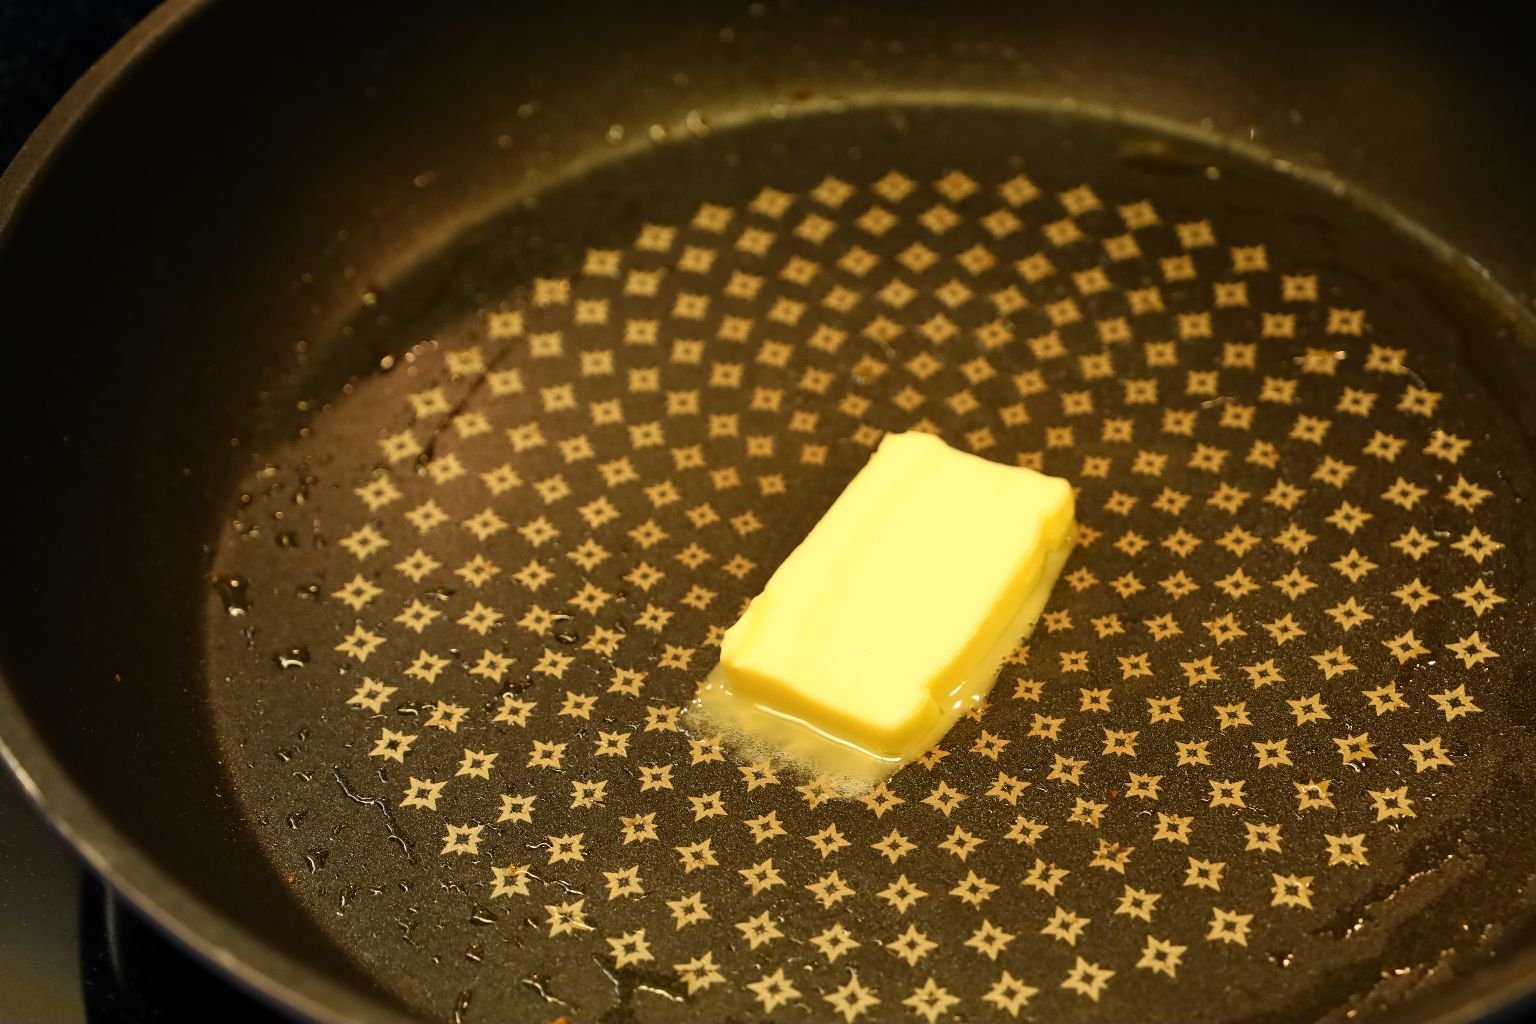
Melt your butter in the pan over medium heat.

Place the bread with the tomato and cheese on the butter to absorb it.
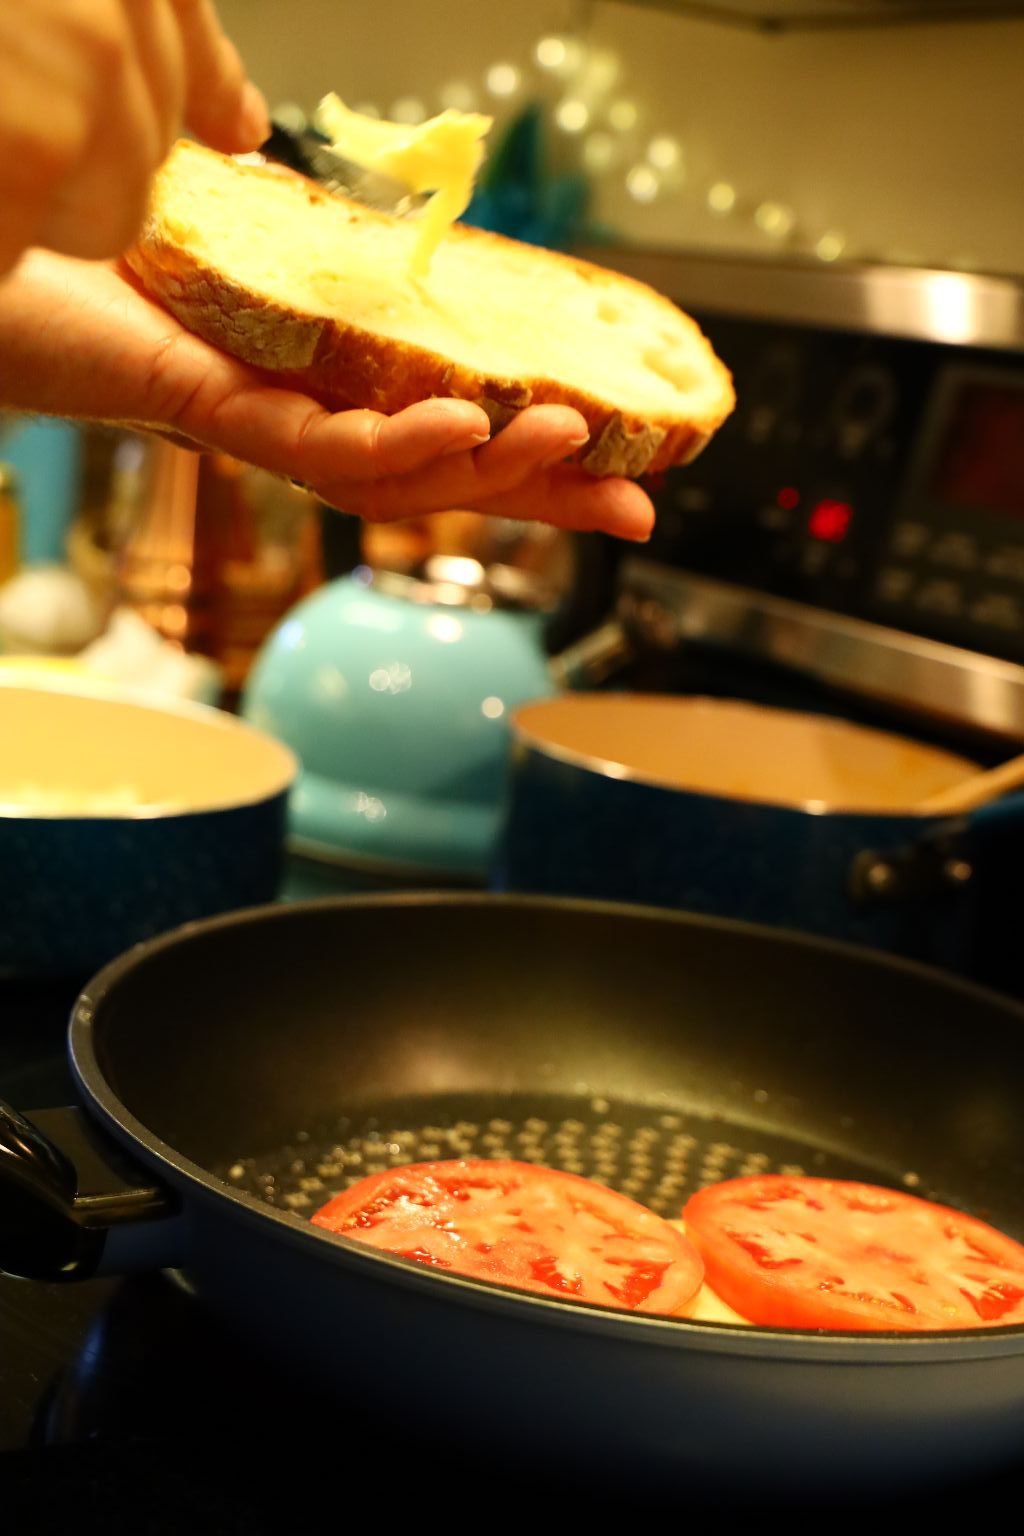
Spread some butter on the other side of the sandwich as shown.
When the one side of the sandwich is cooked to your liking, flip the sandwich and cook the other side.
When done, place on a sheet pan lined with aluminum foil.

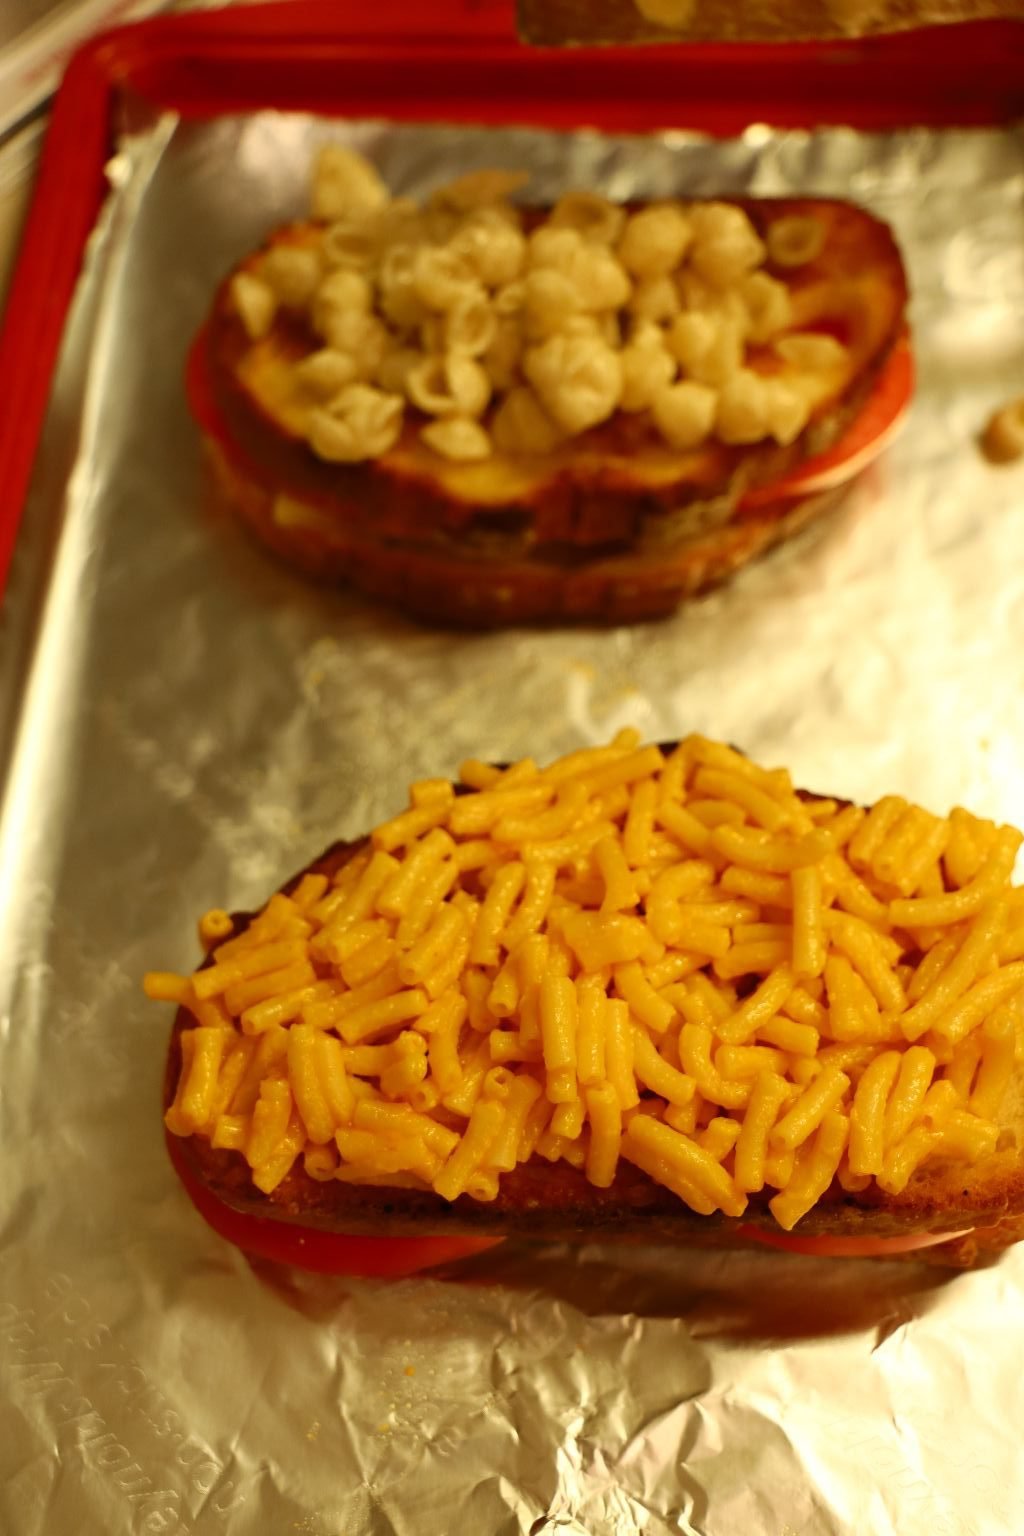
For our twist on the classic grilled cheese sandwich, top one with orange Mac and Cheese and the other with the white Mac and Cheese.
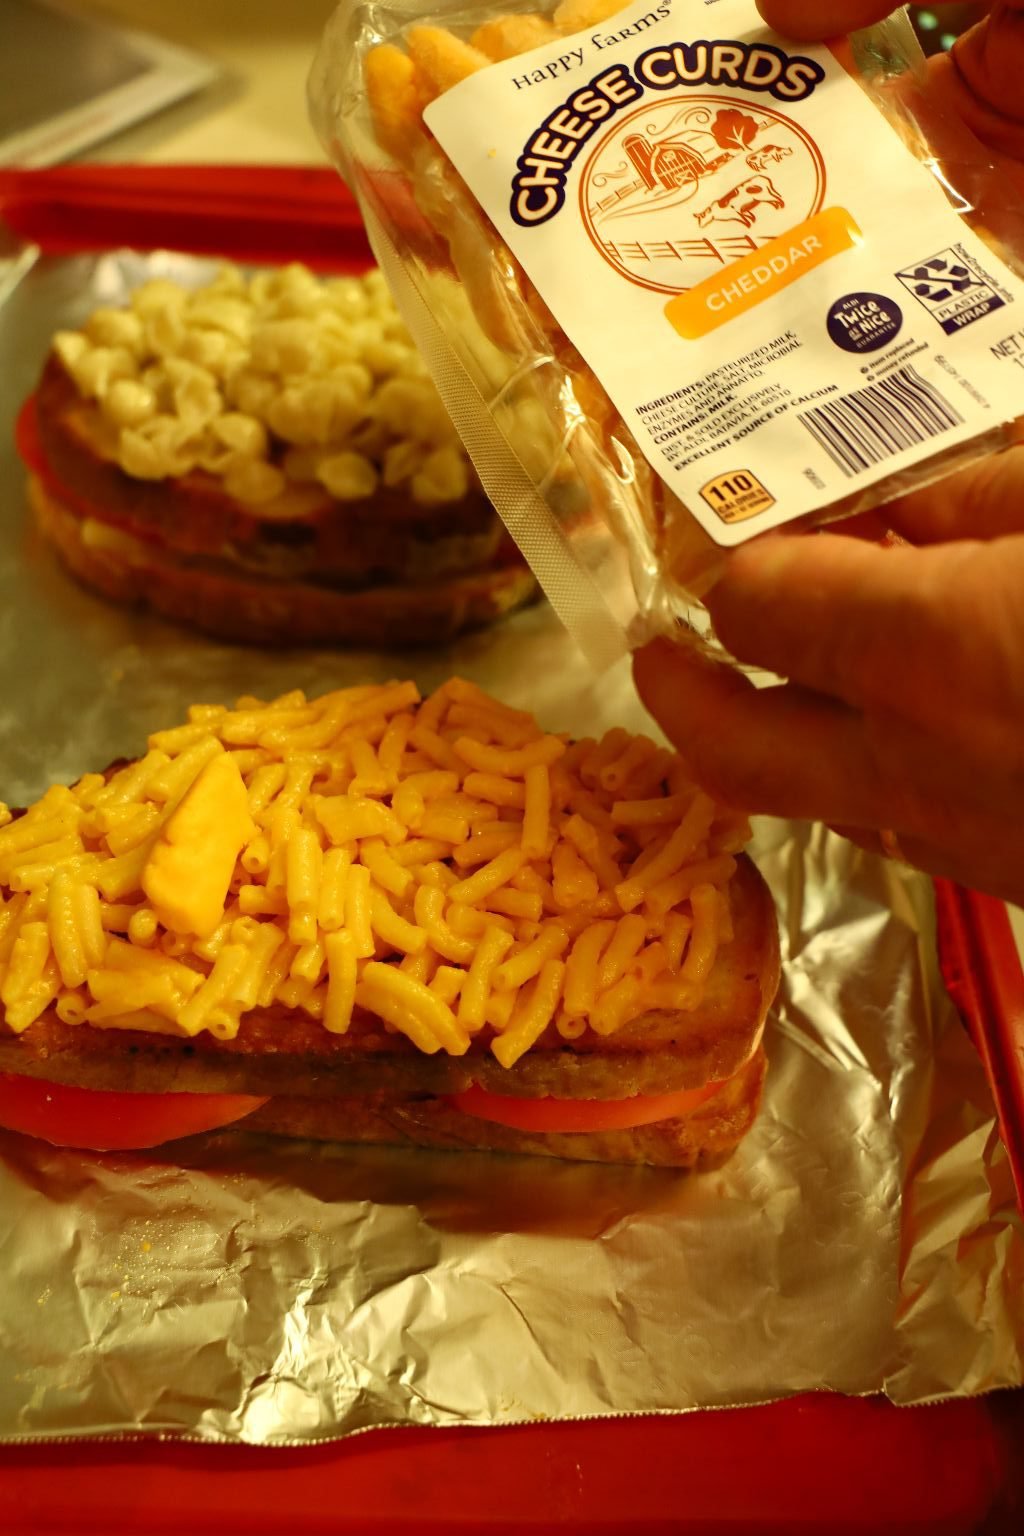
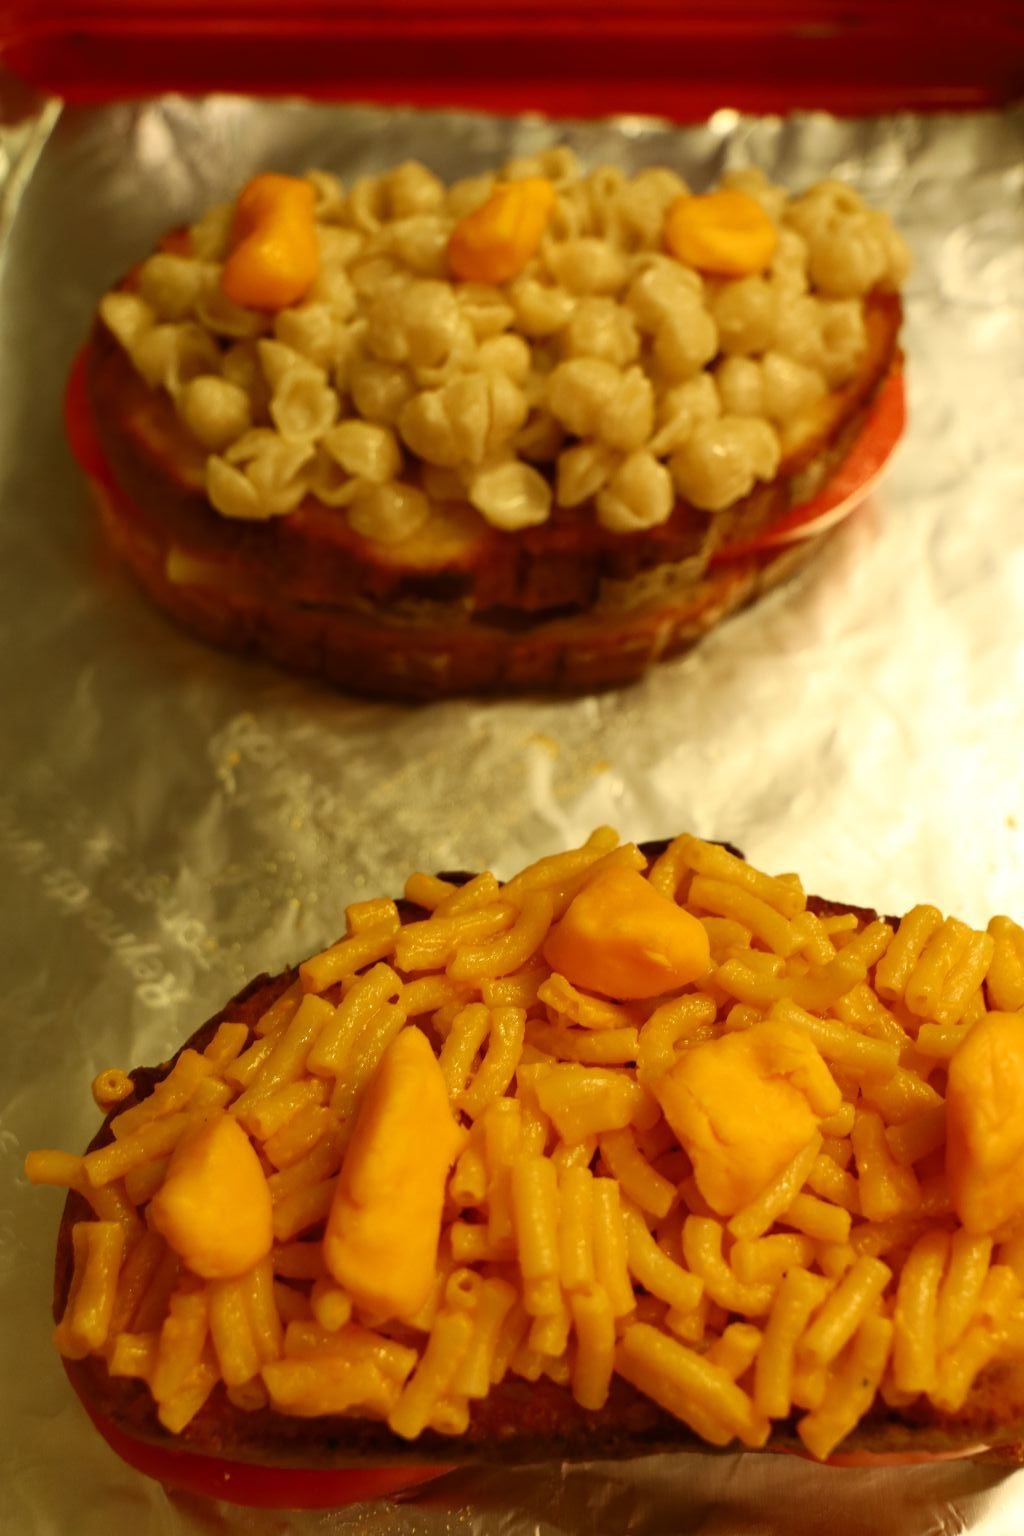
Now, top both sandwiches with the cheddar cheese curds as shown.
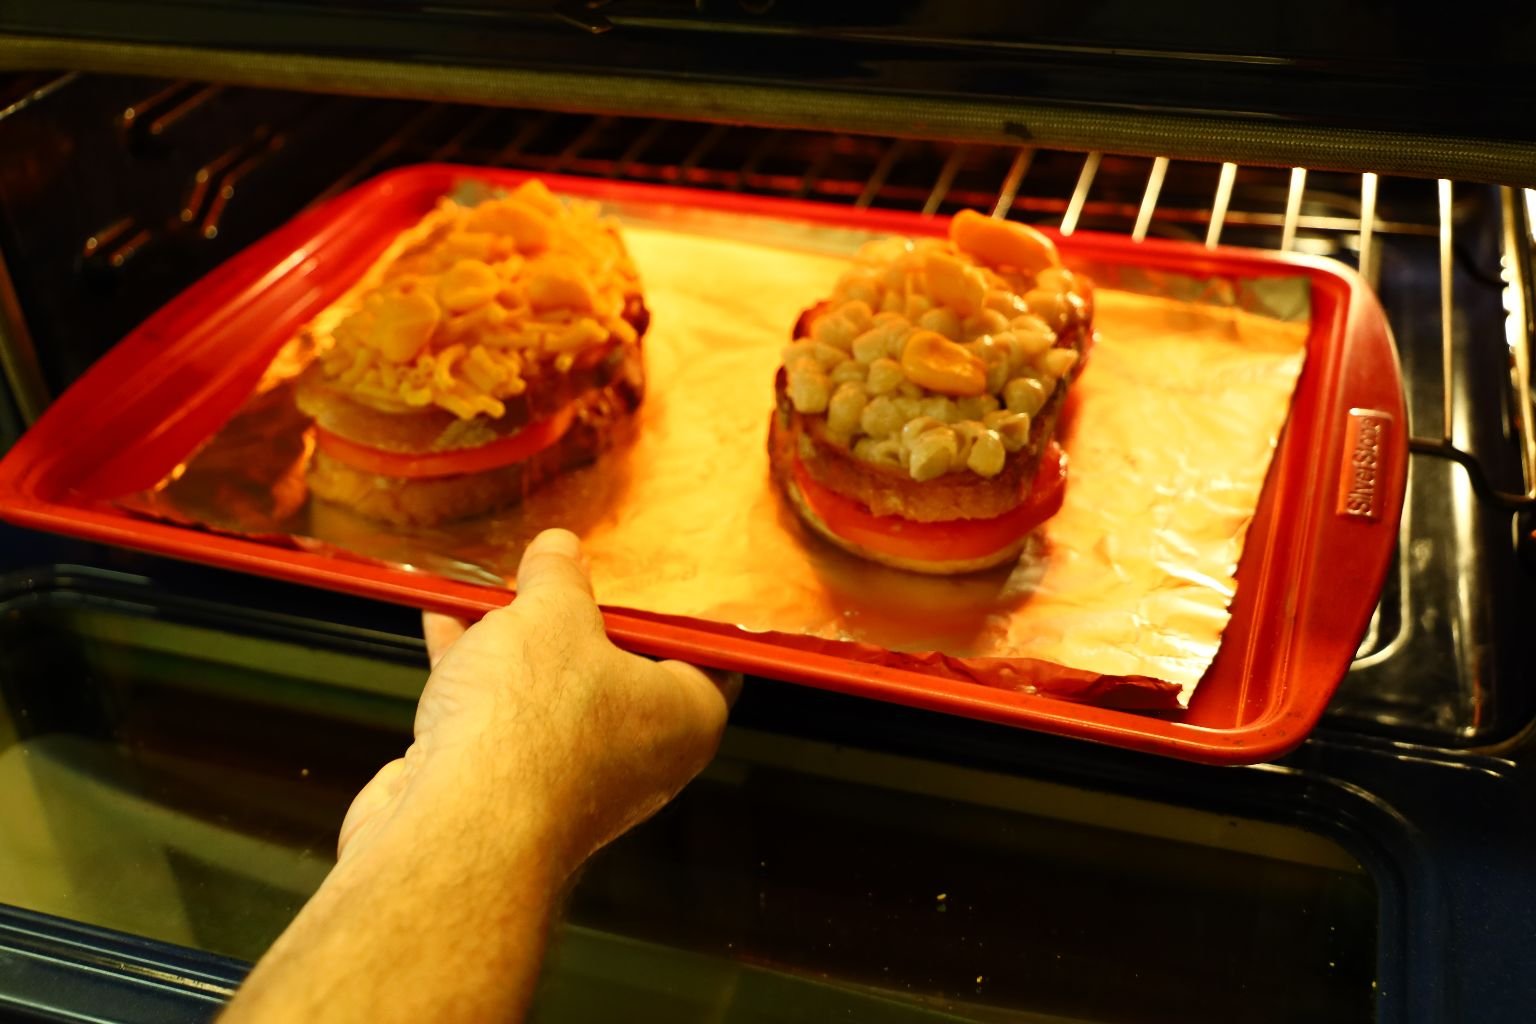
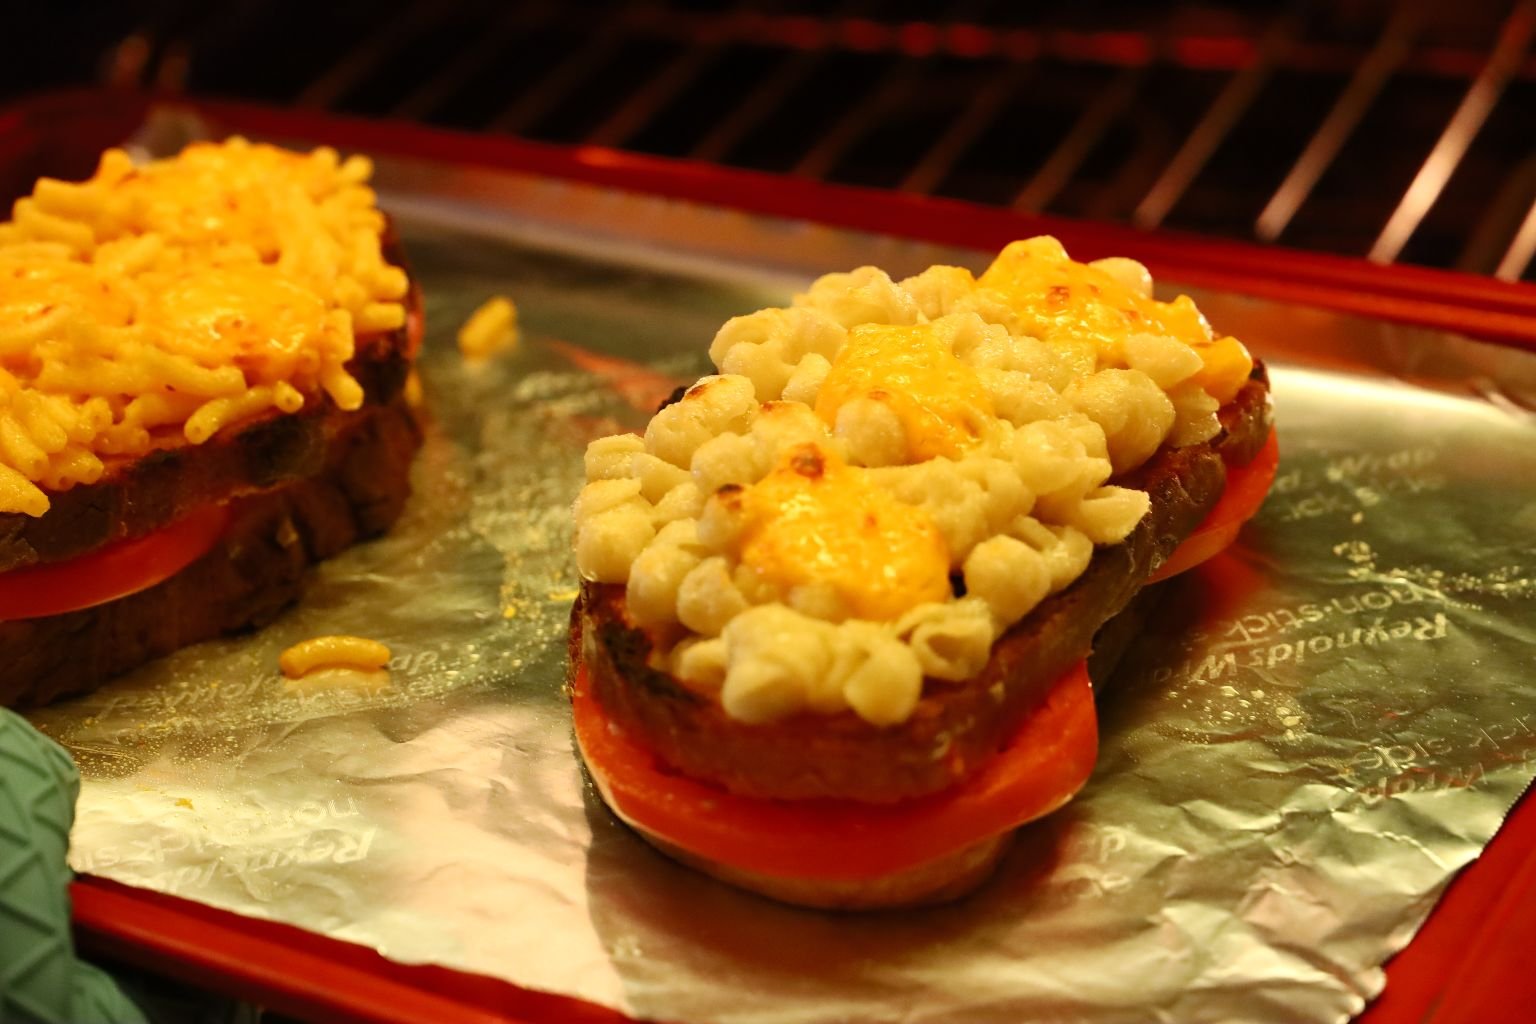
Place the sandwiches under your oven’s broiler for about 2 minutes or enough to melt the cheese and brown the Mac and Cheese a little bit.

Let the sandwiches cool slightly…
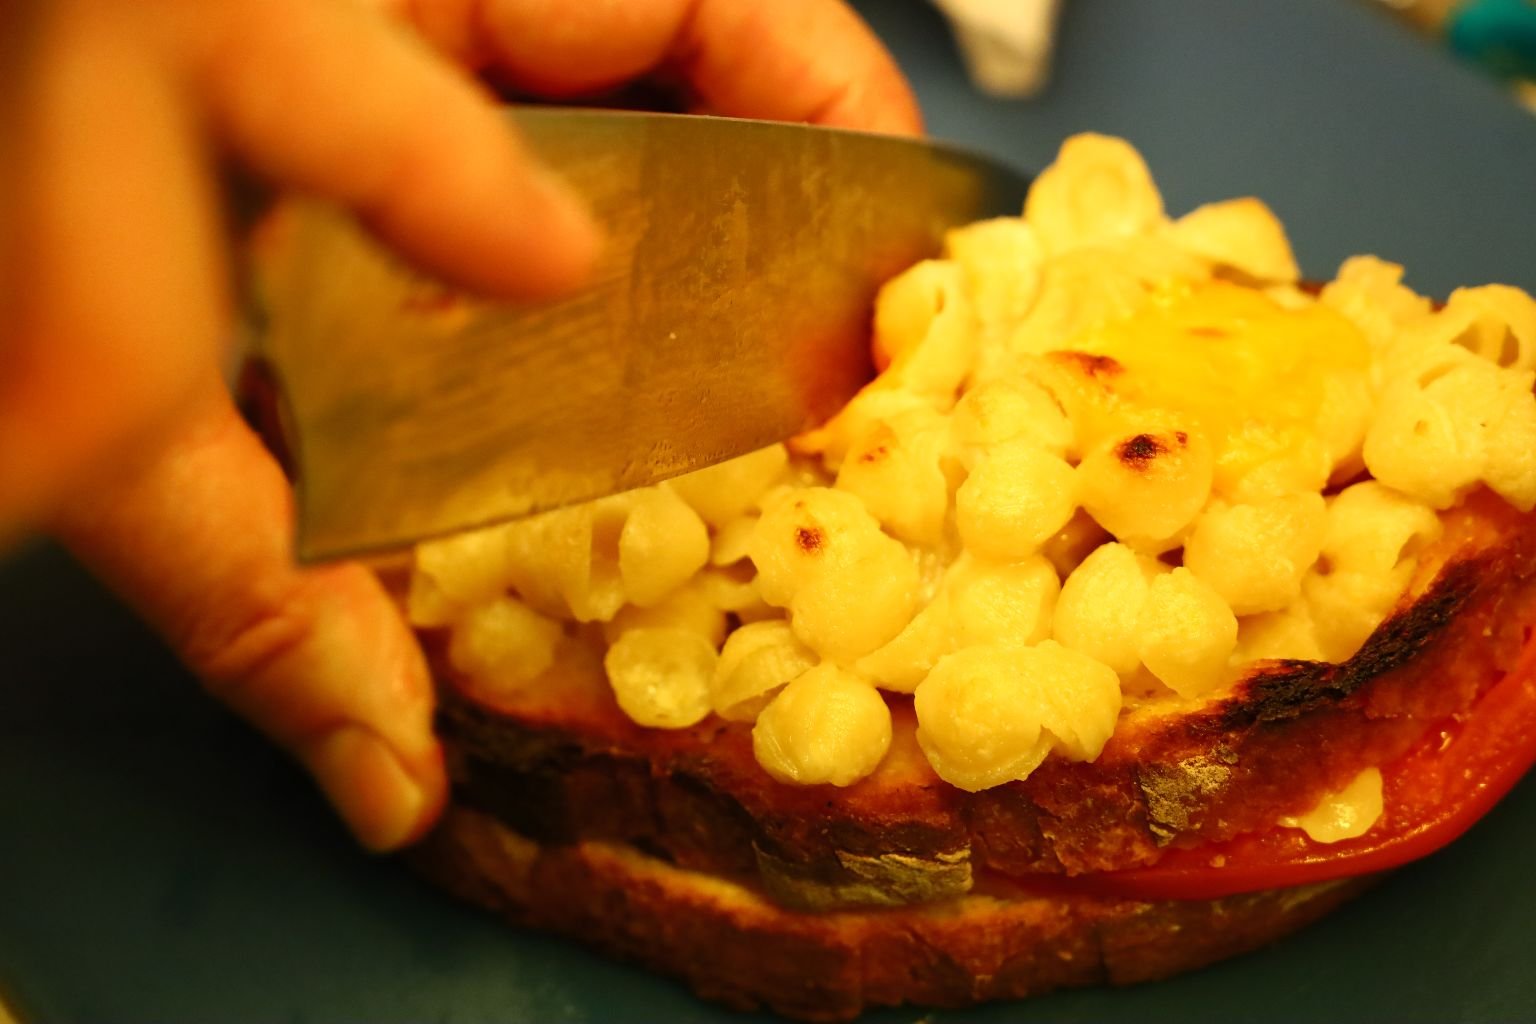
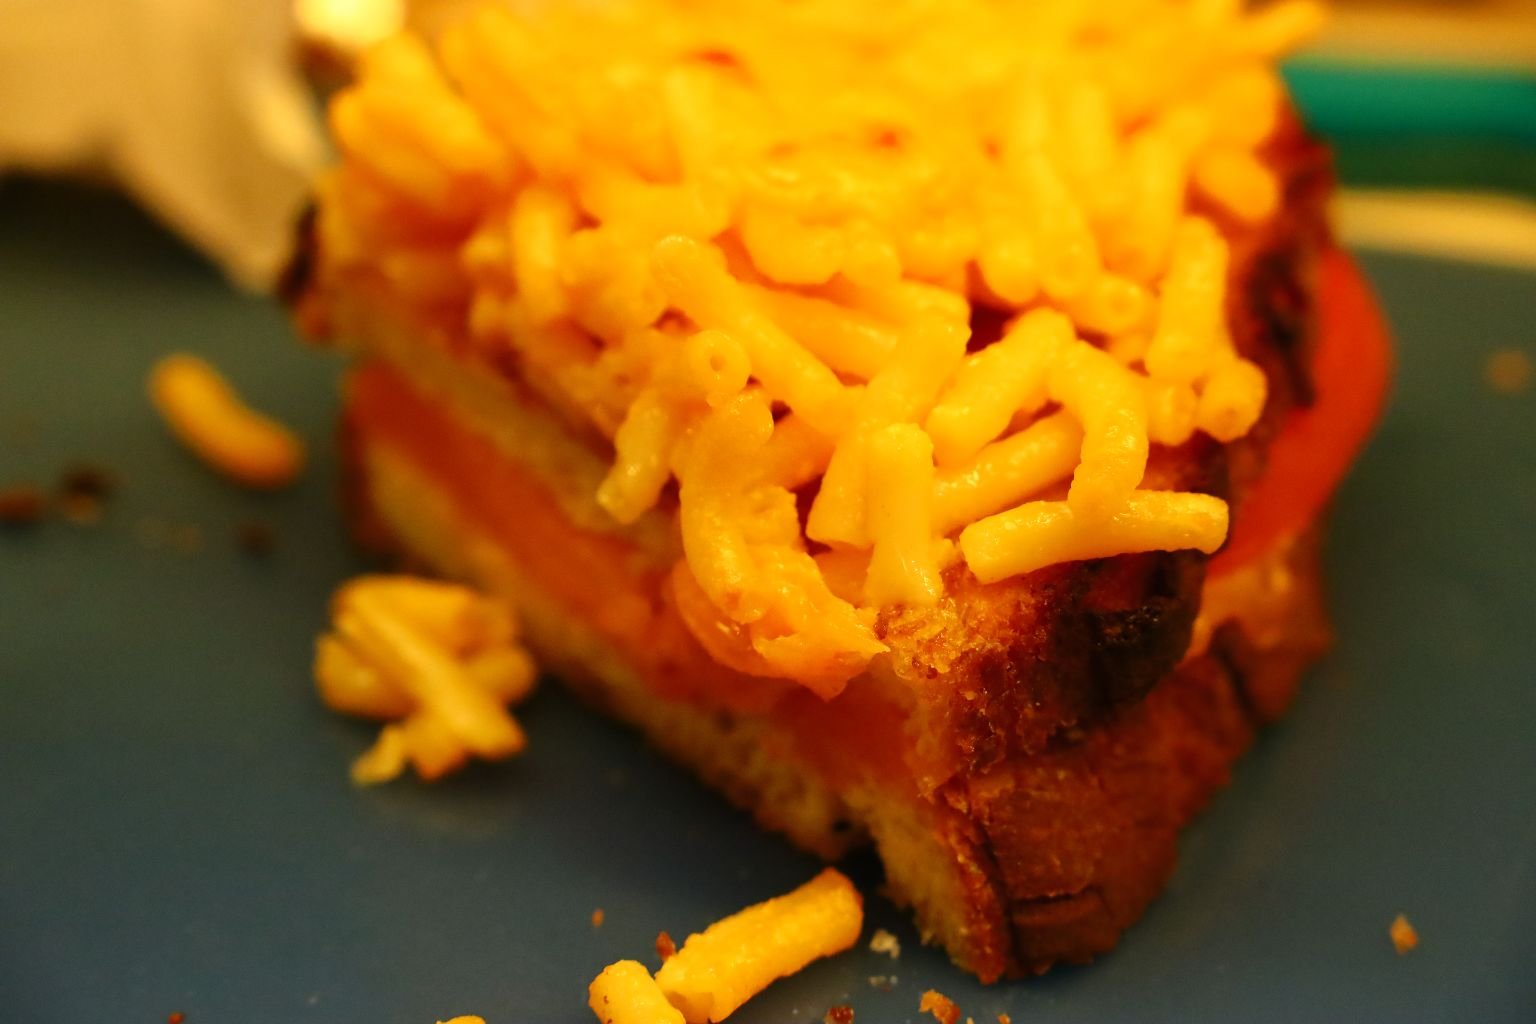
Then slice them in half as shown.
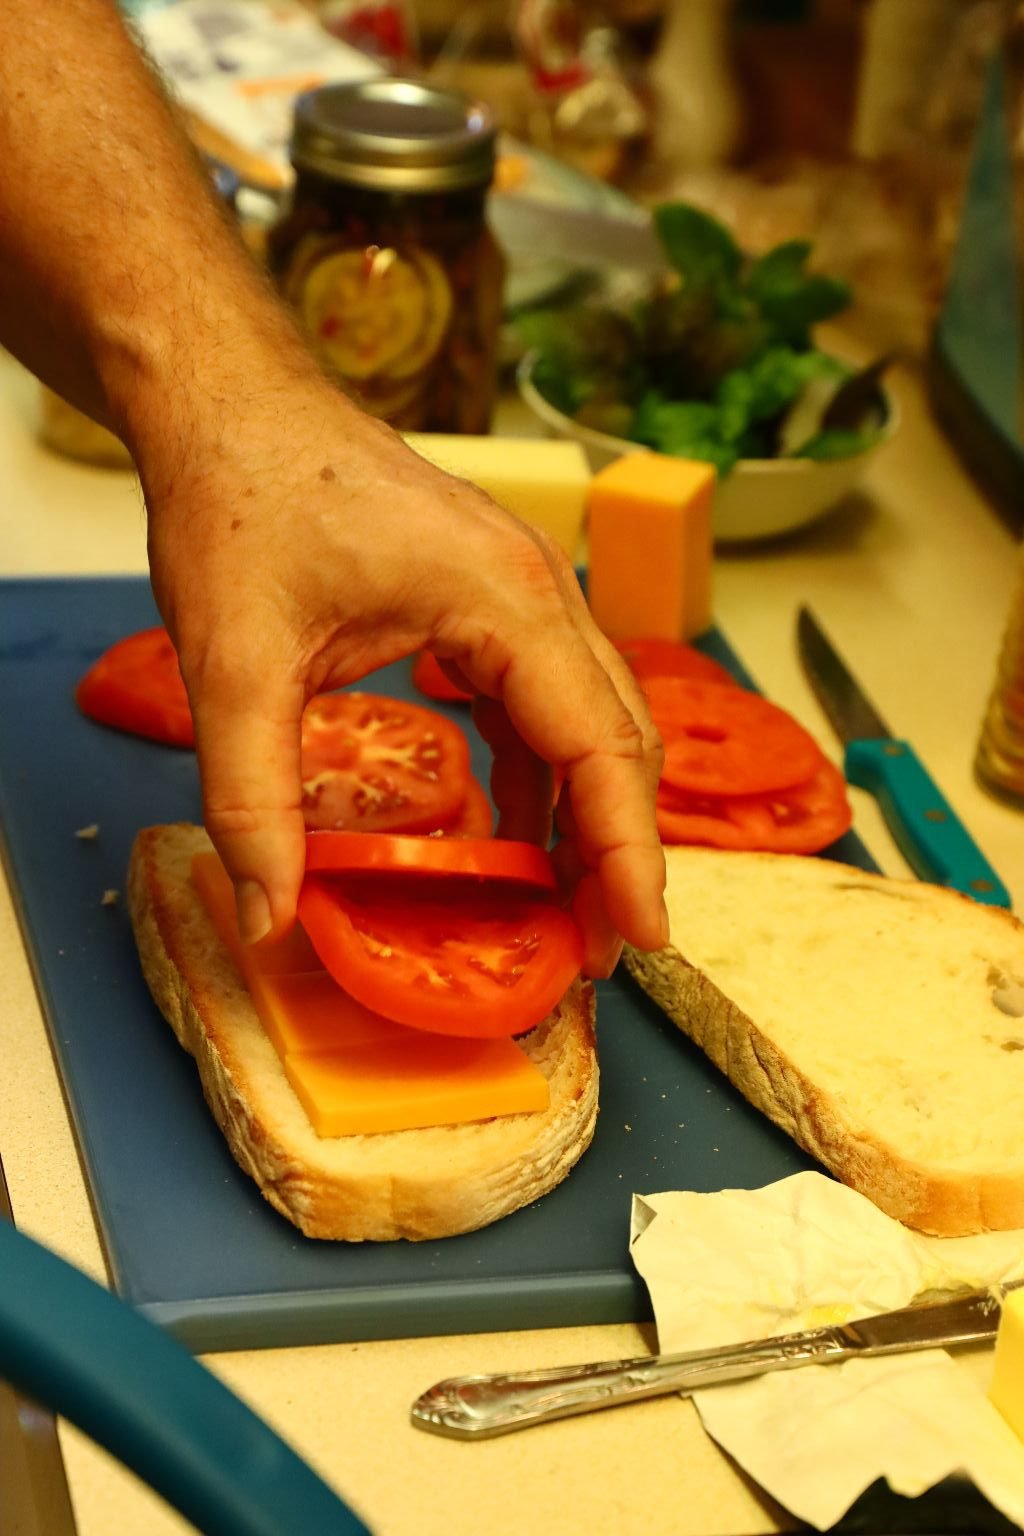

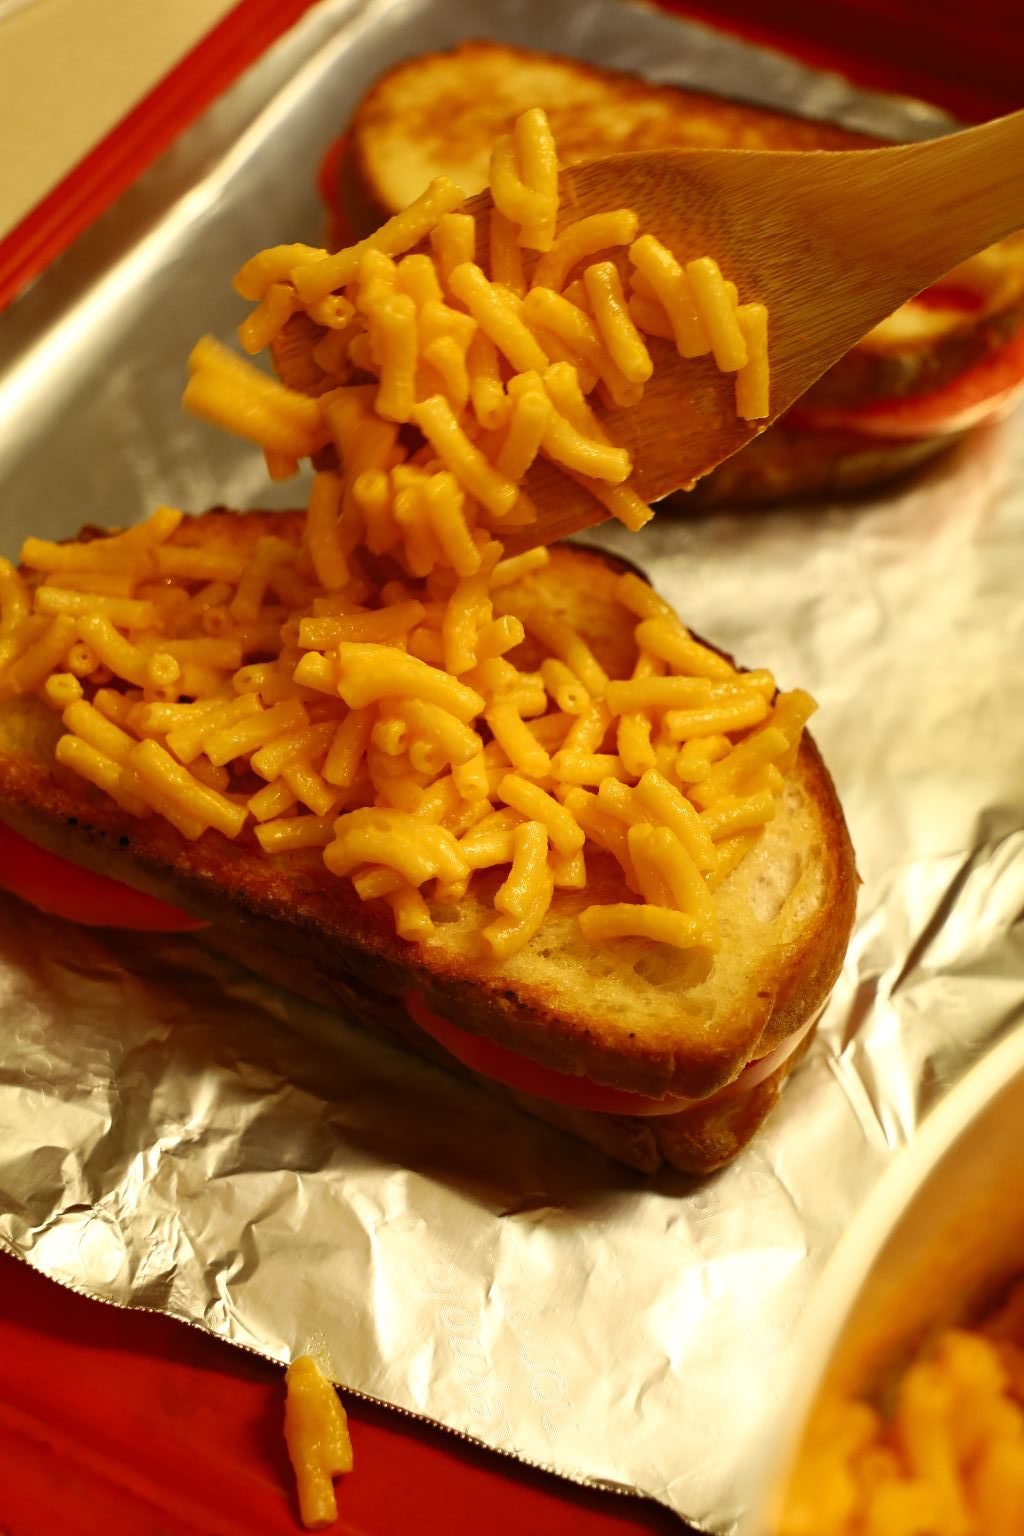
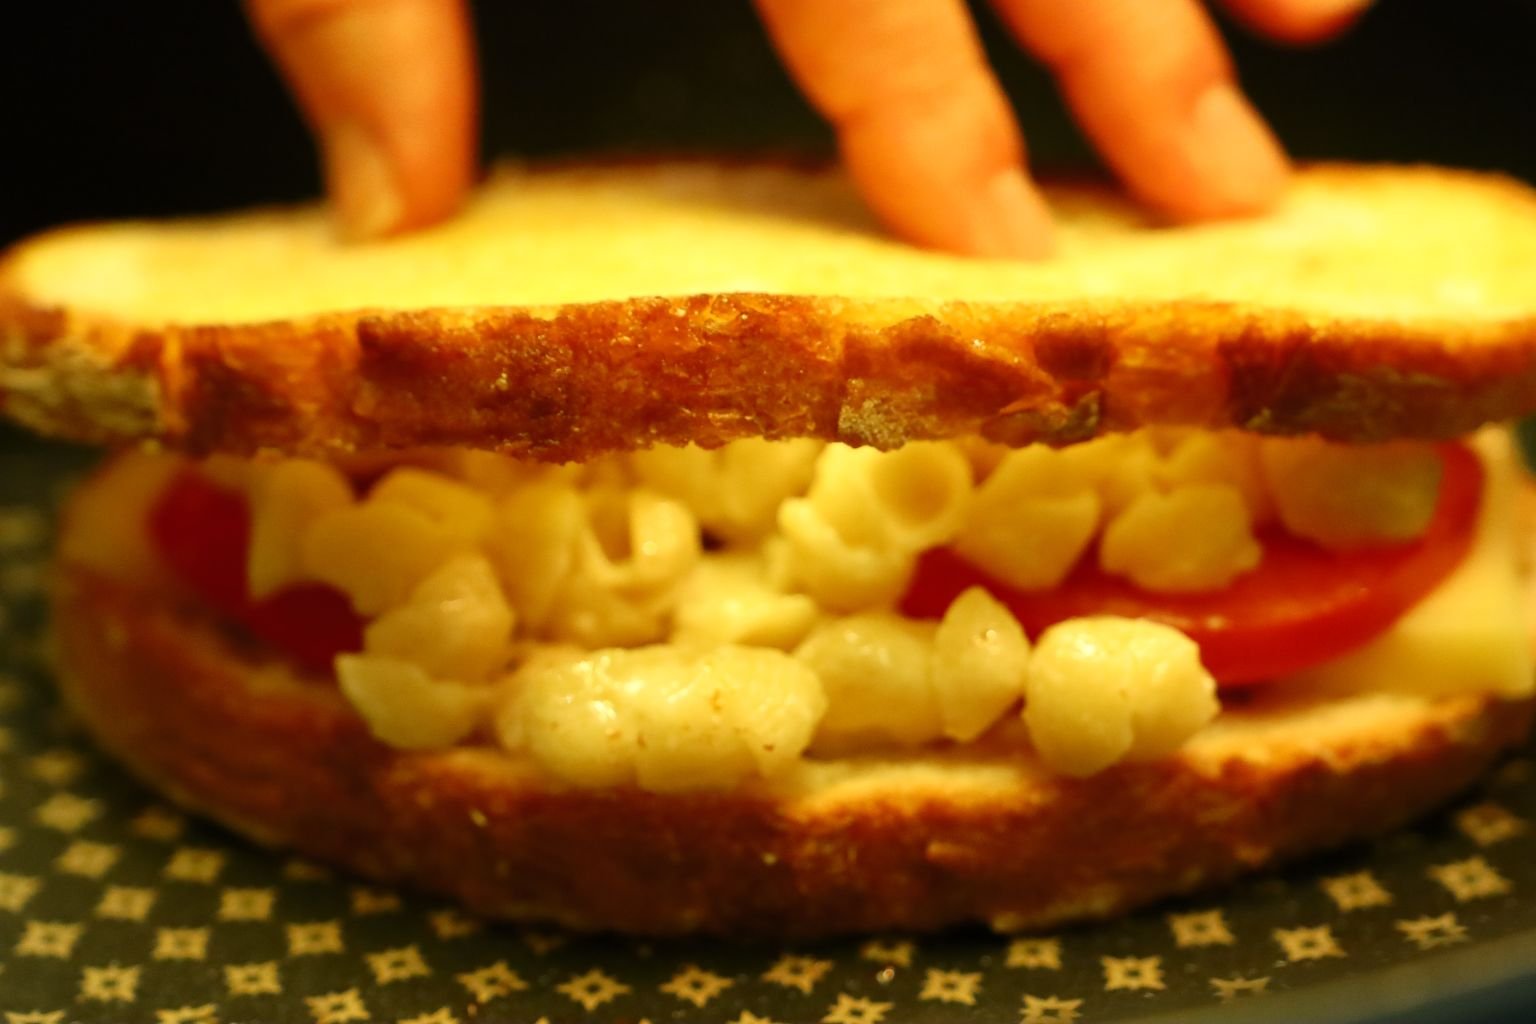
For our own twist on the sandwiches above, start out the same way using your sharp cheddar cheese slices and tomato…
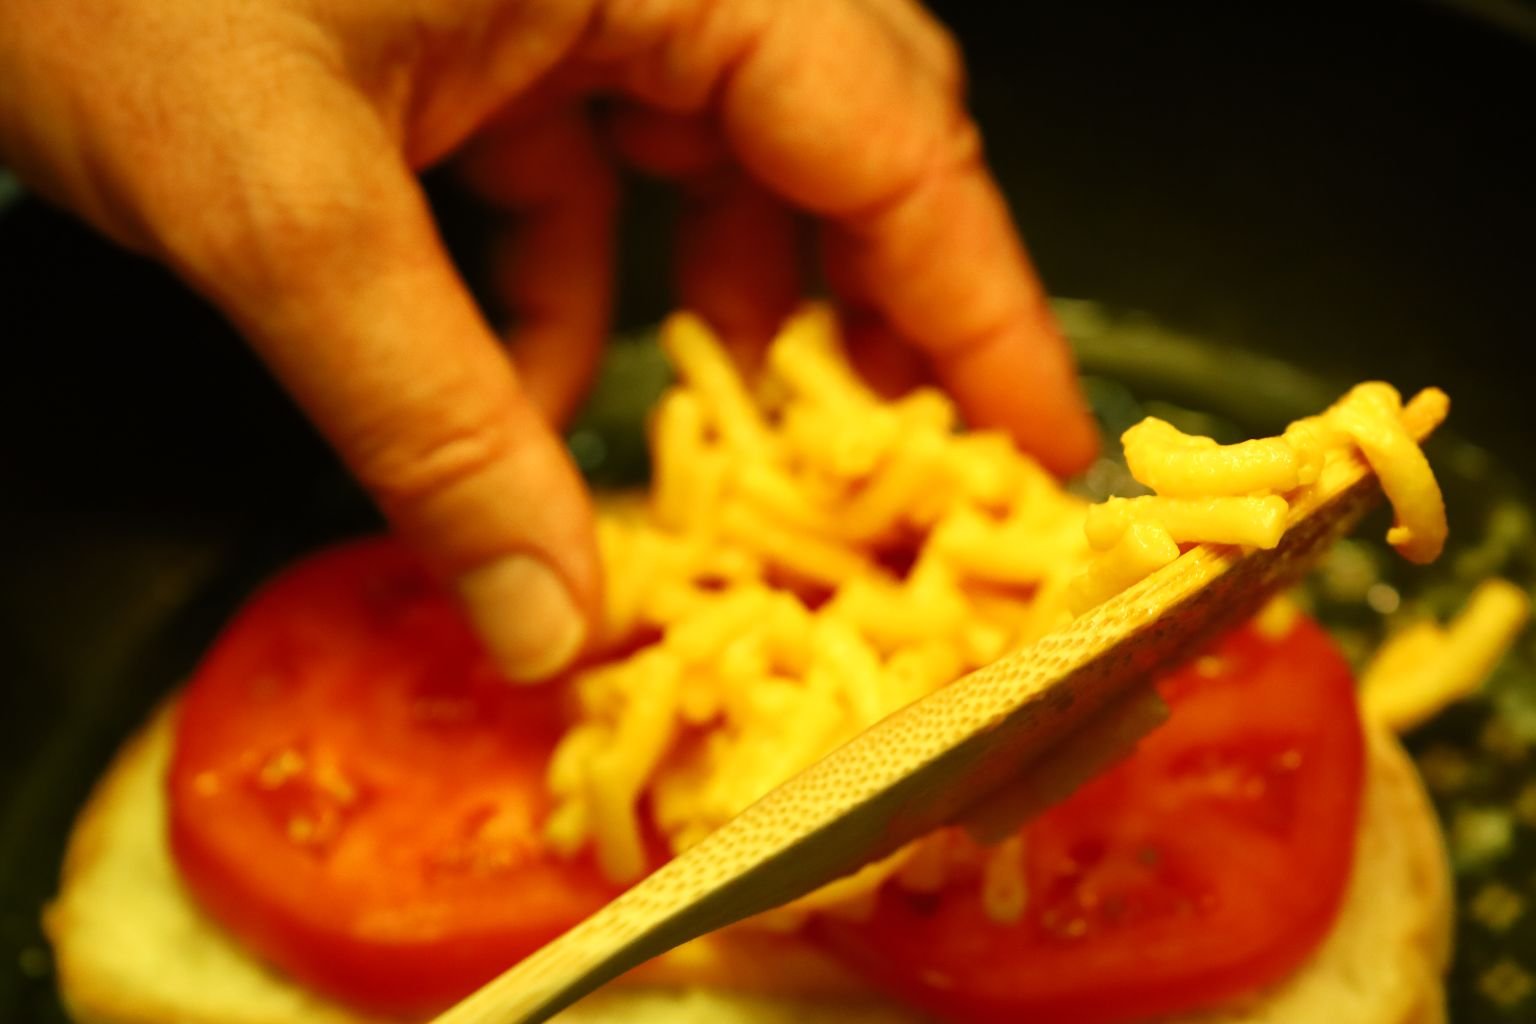

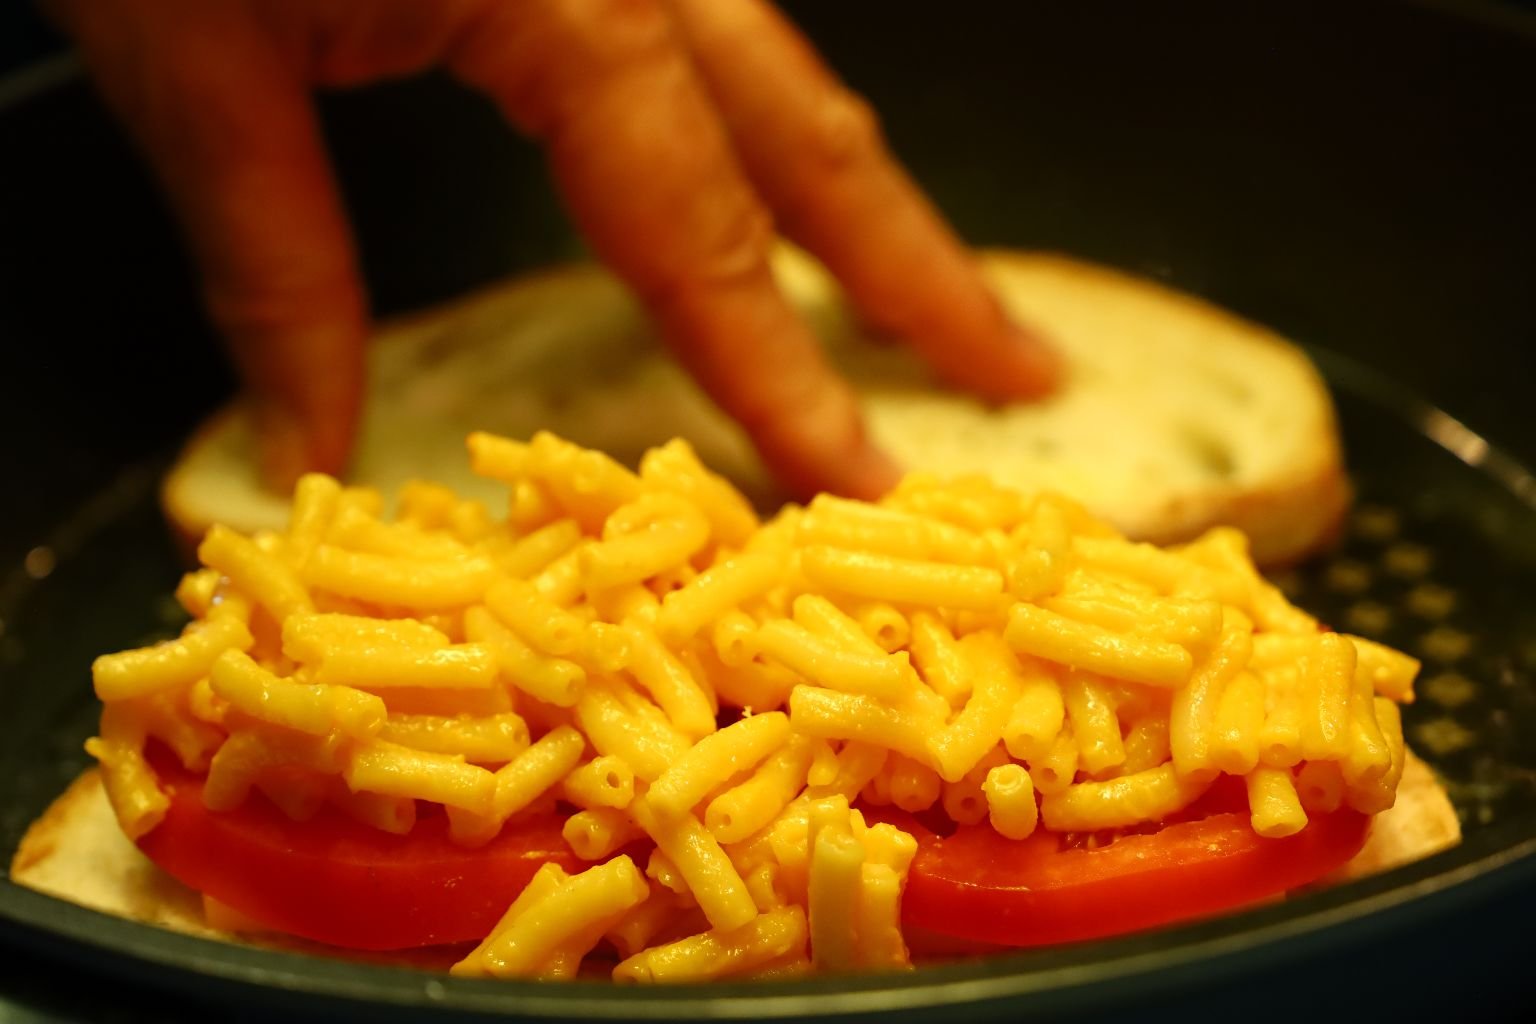
and then spoon a layer of your Mac and Cheese on top of the tomatoes as shown.


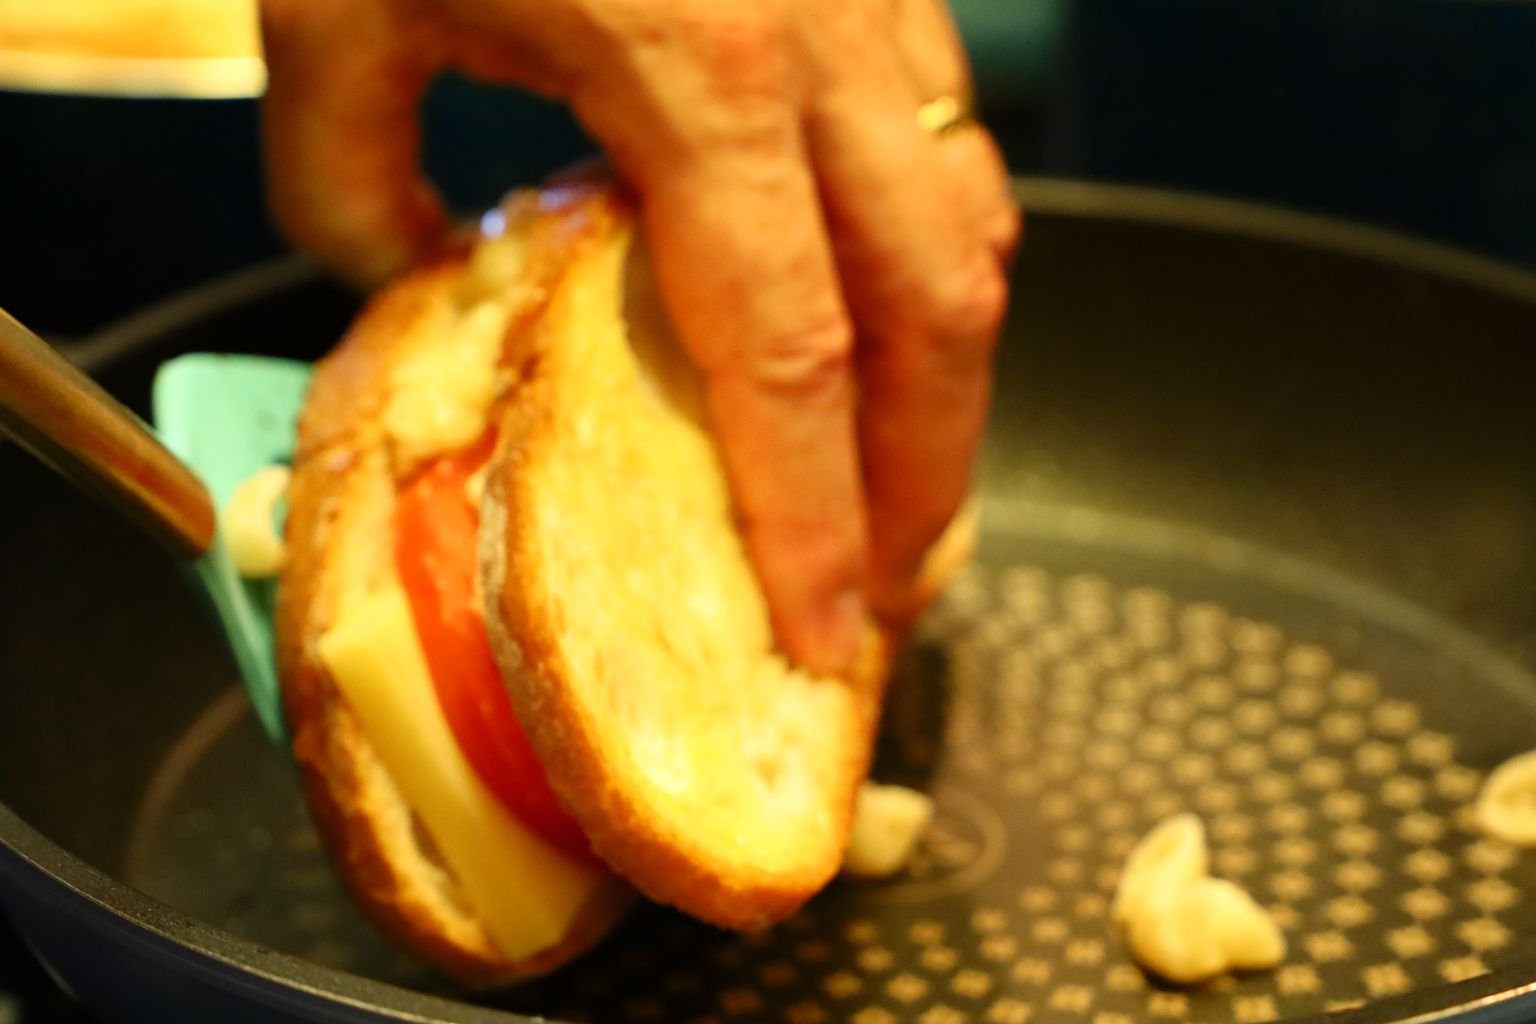
Top with another slice of buttered bread and flip the sandwich when browned.

If some Mac and Cheese comes out simply slide it back in. Brown the other side as before.
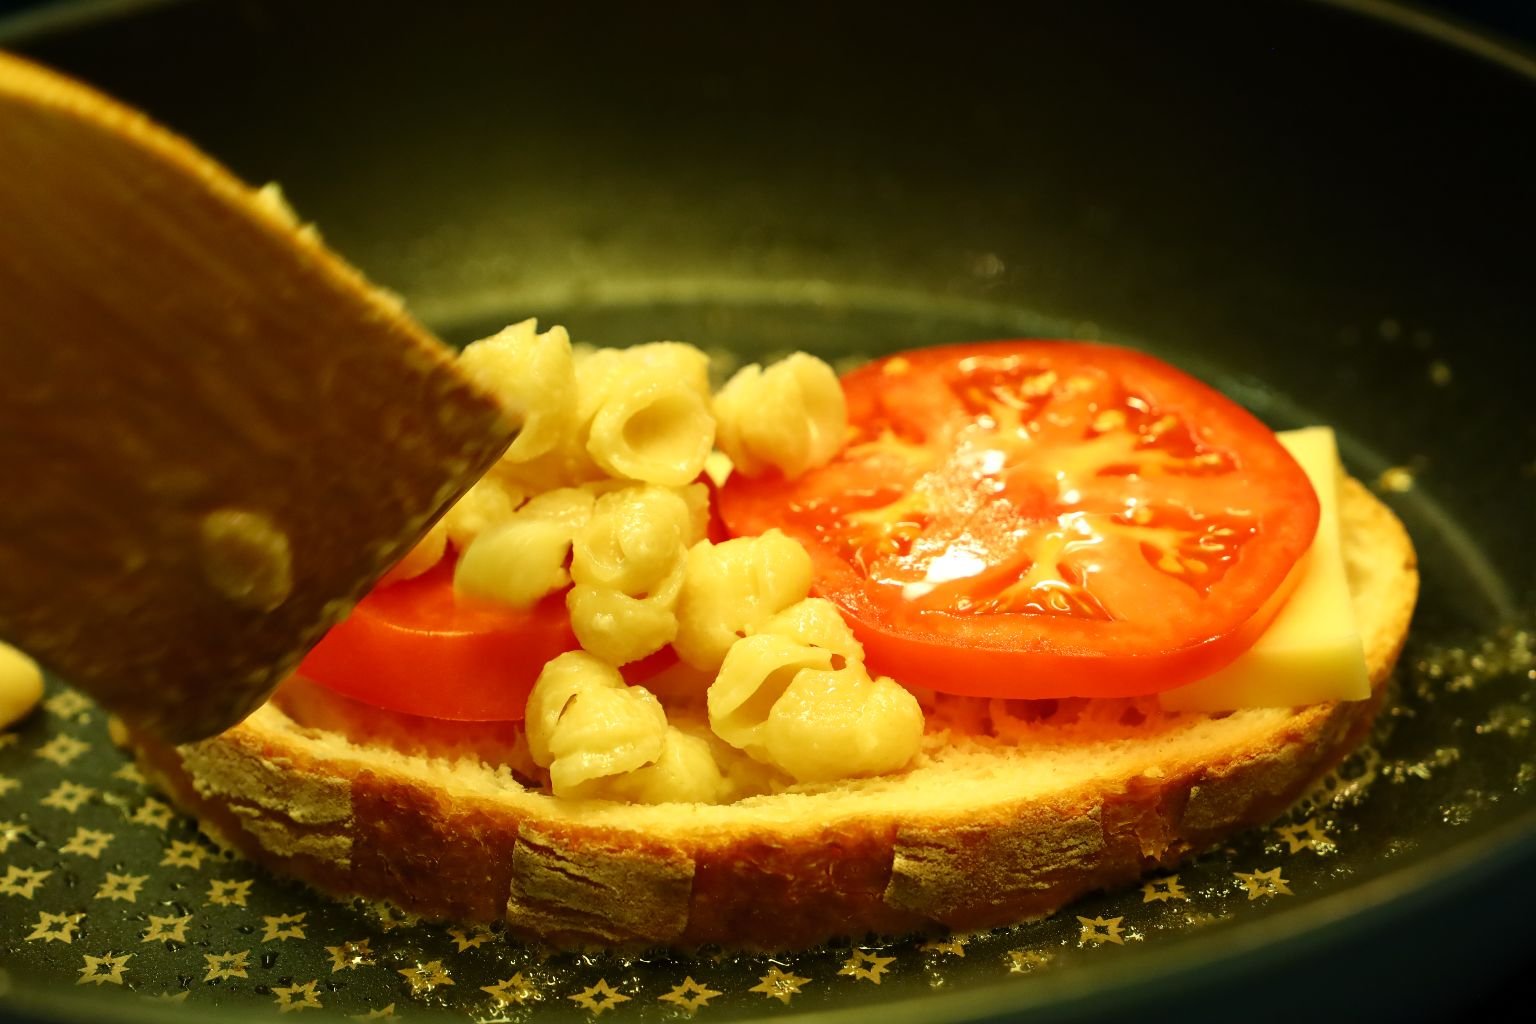

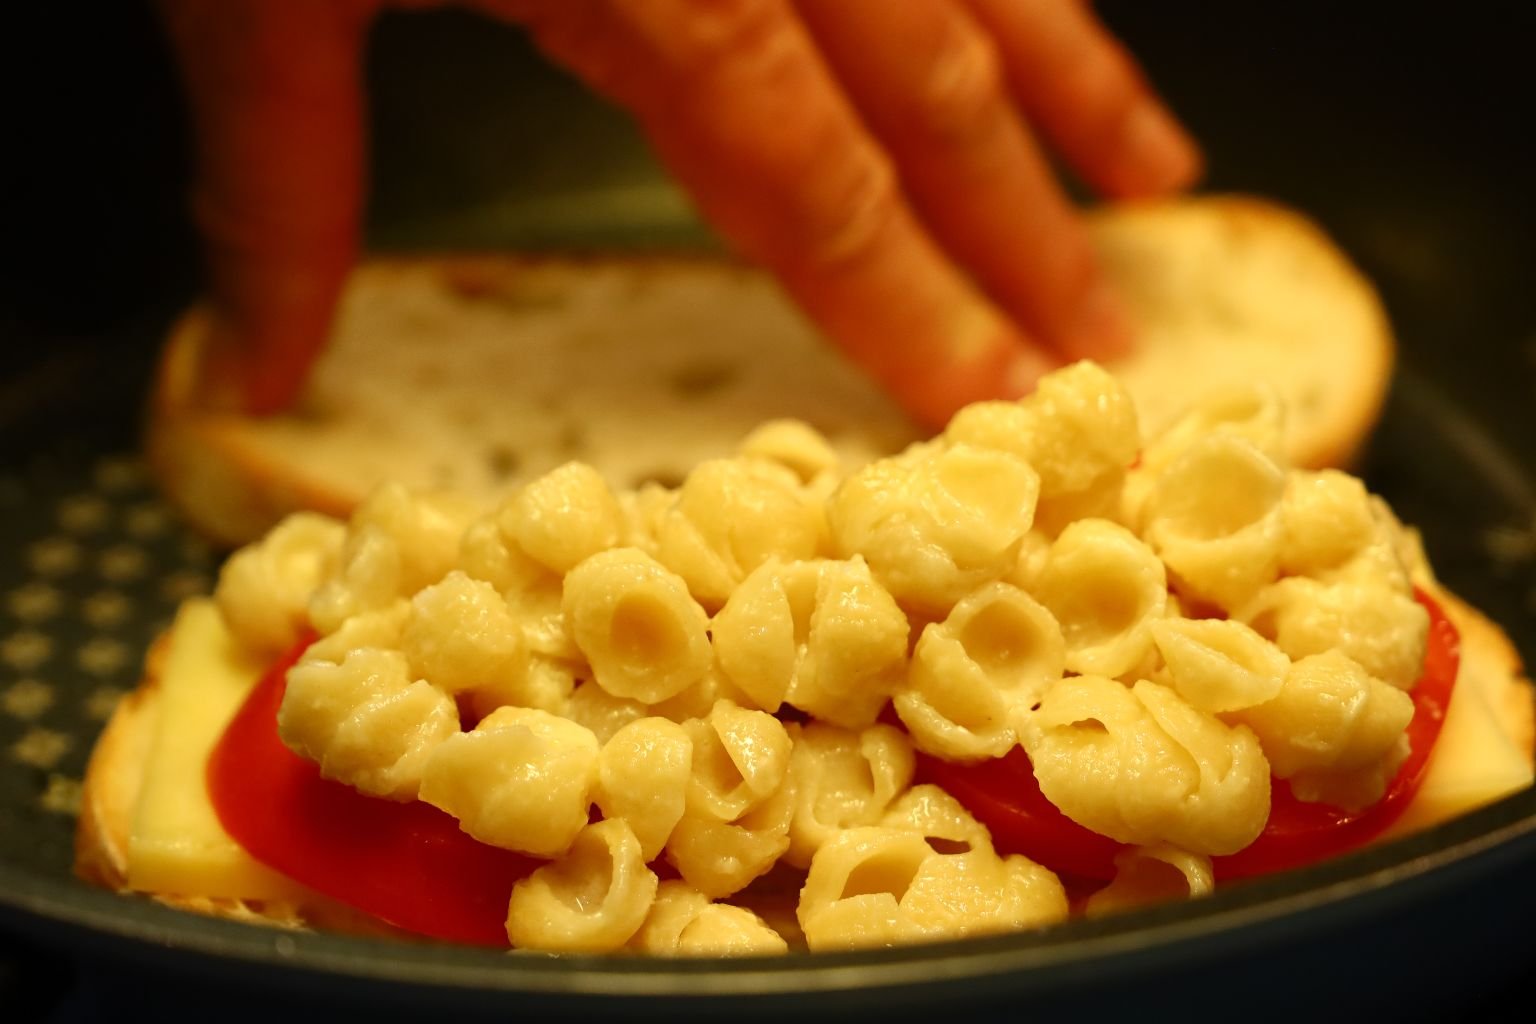
Do the same with the white shells Mac and Cheese as shown.
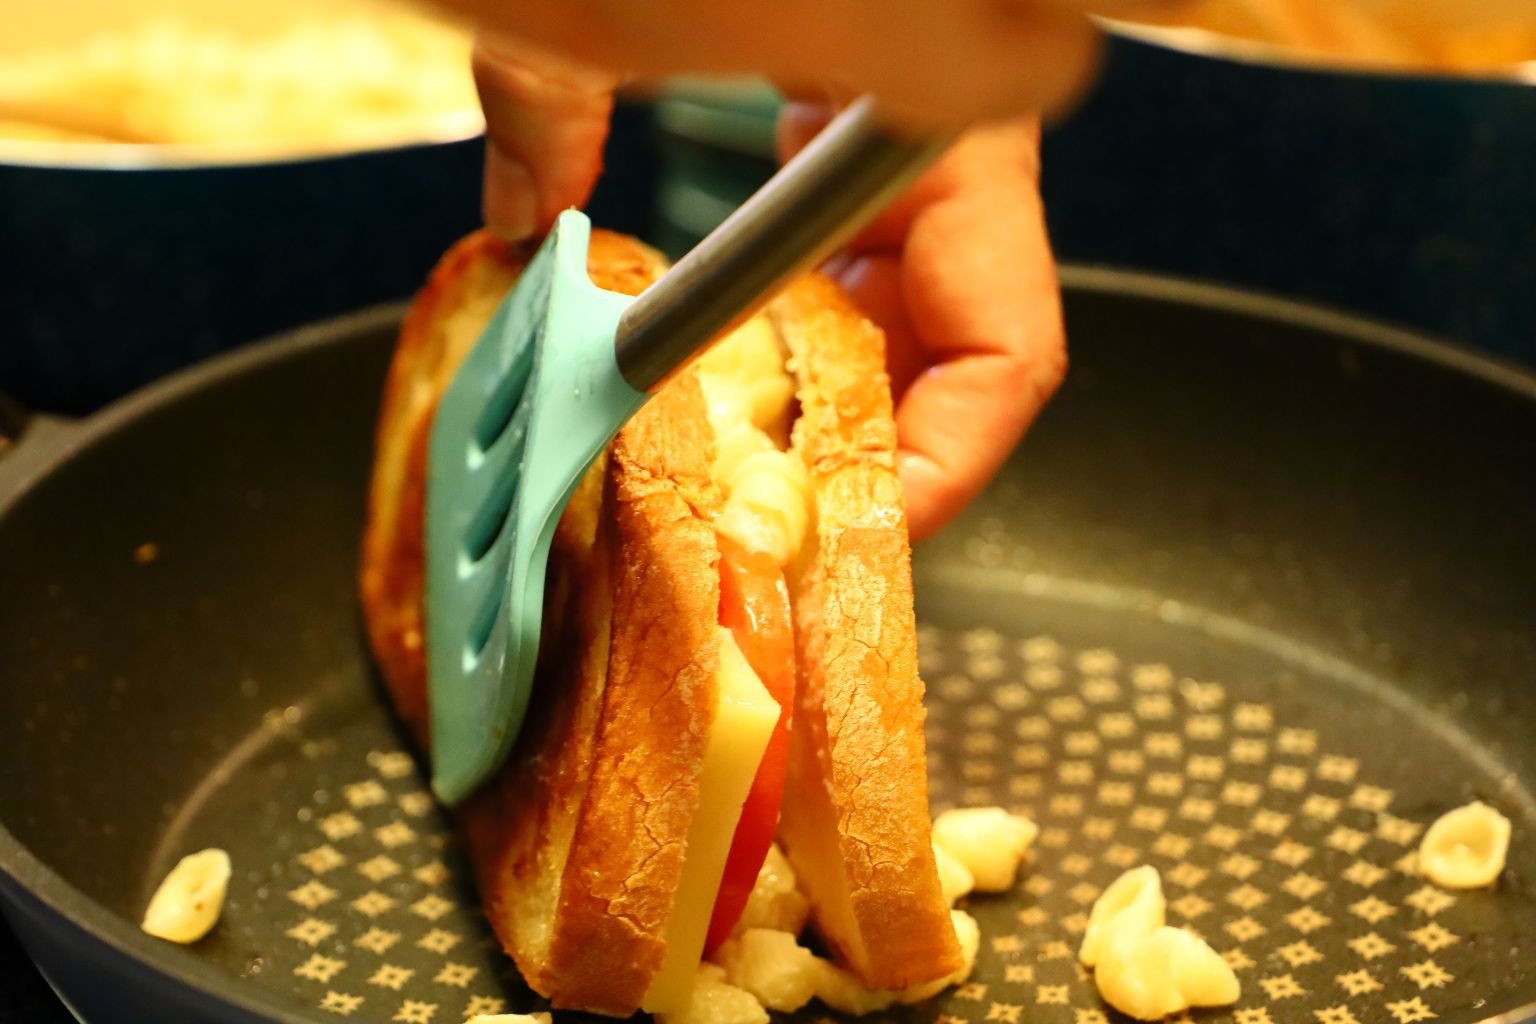
Again, if the pasta falls out when you turn it over, simply slide it back in.


Let the sandwich cool before slicing!

Dress the sandwiches with your accoutrements of bread and butter pickles, pickled onions, cherry tomatoes, and some Basil. Choose your favorite crispy sides and dig in!
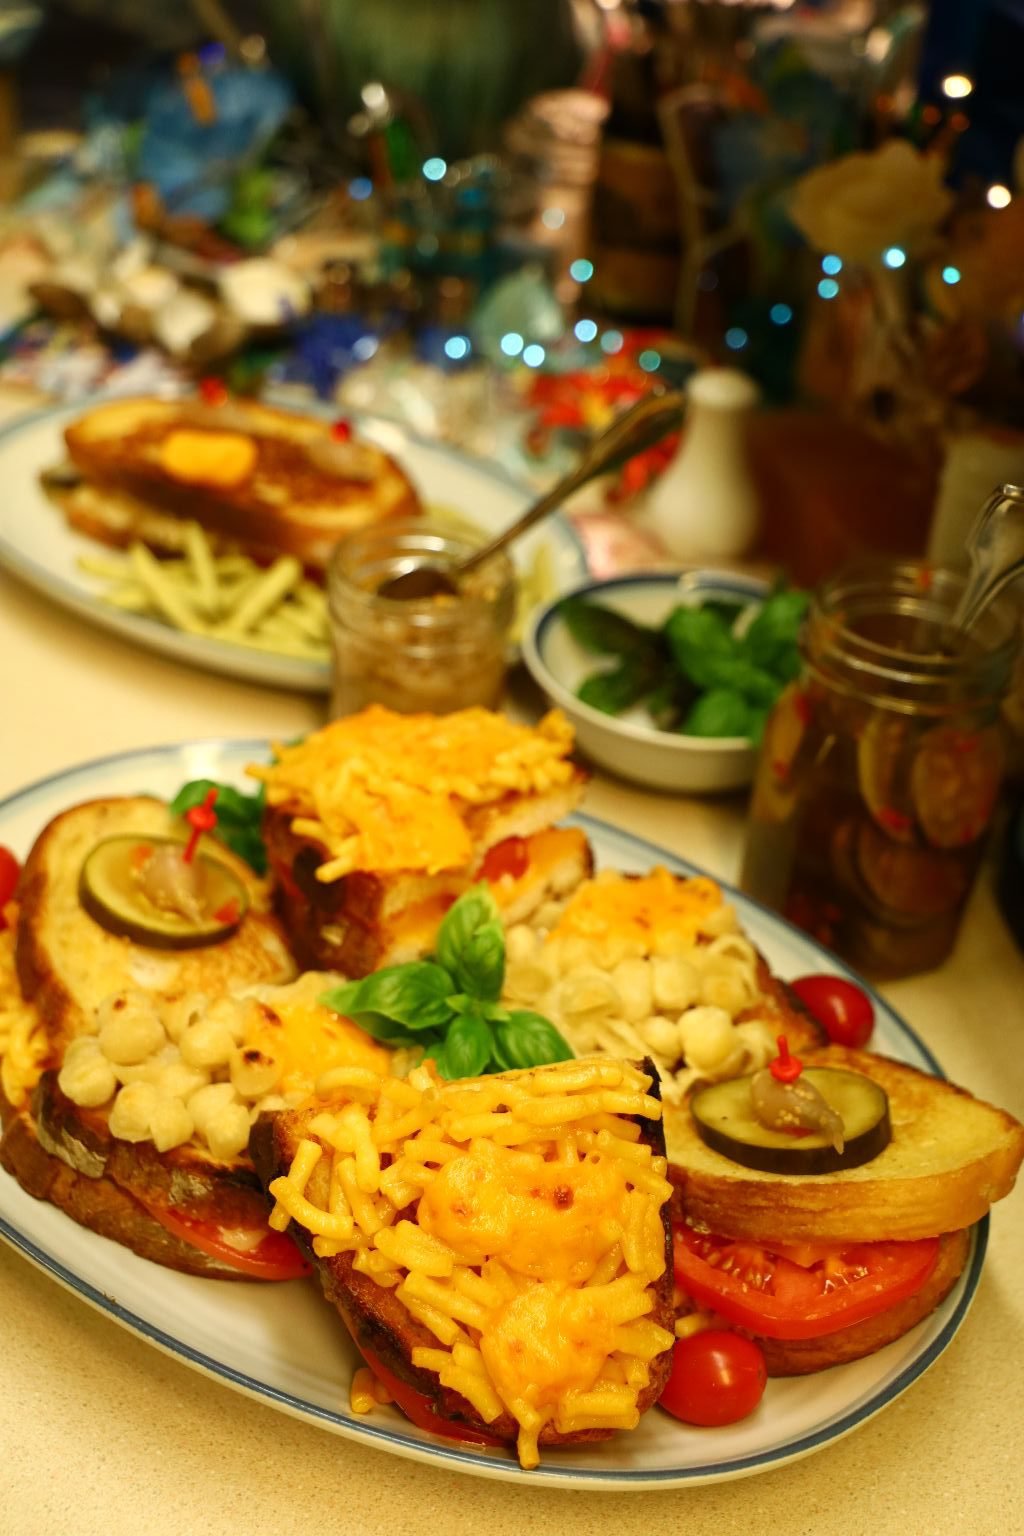
Stewie Griffin’s Favorites
—————————————————————————
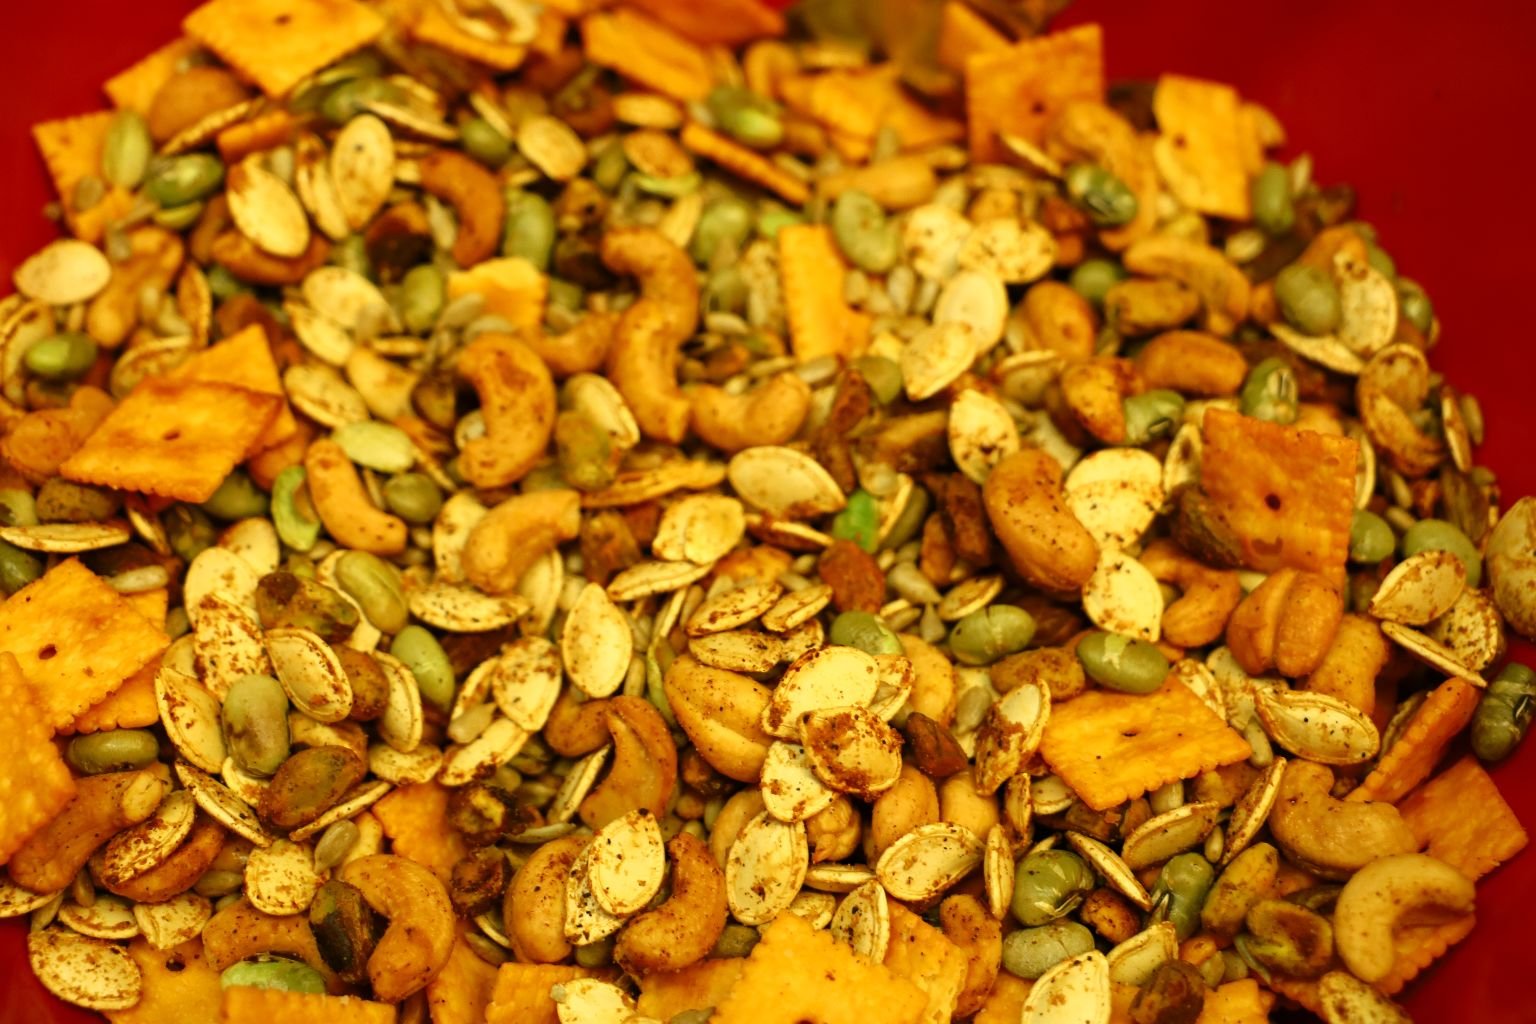
Our Drunken Clam Bar Nut Snack Mix
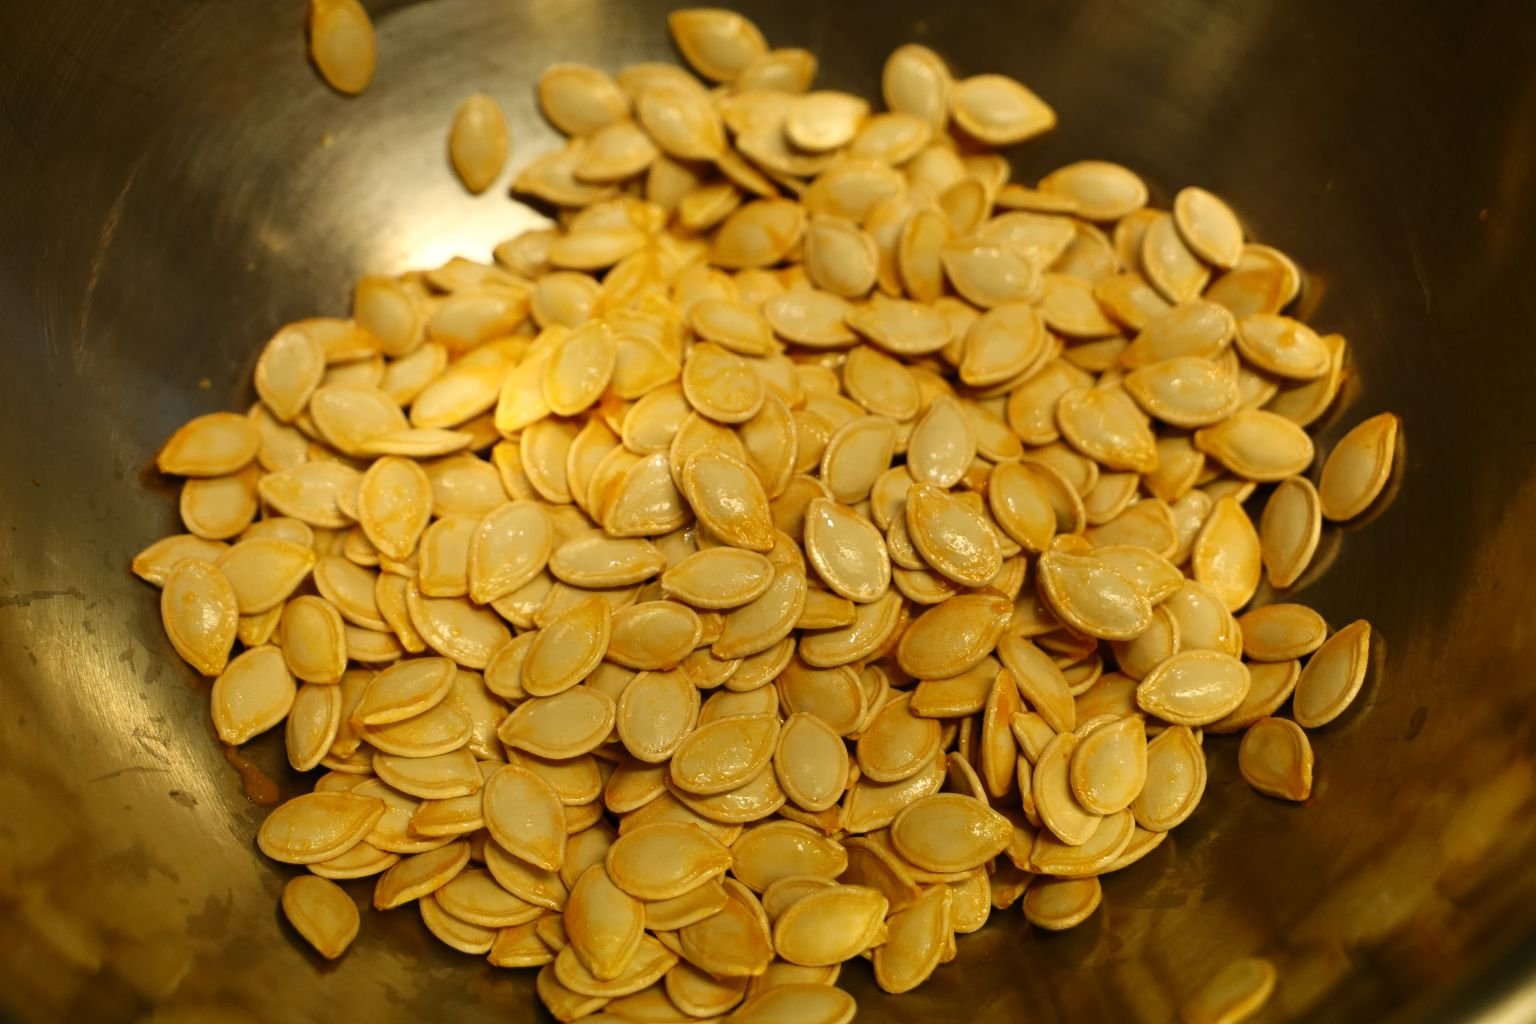
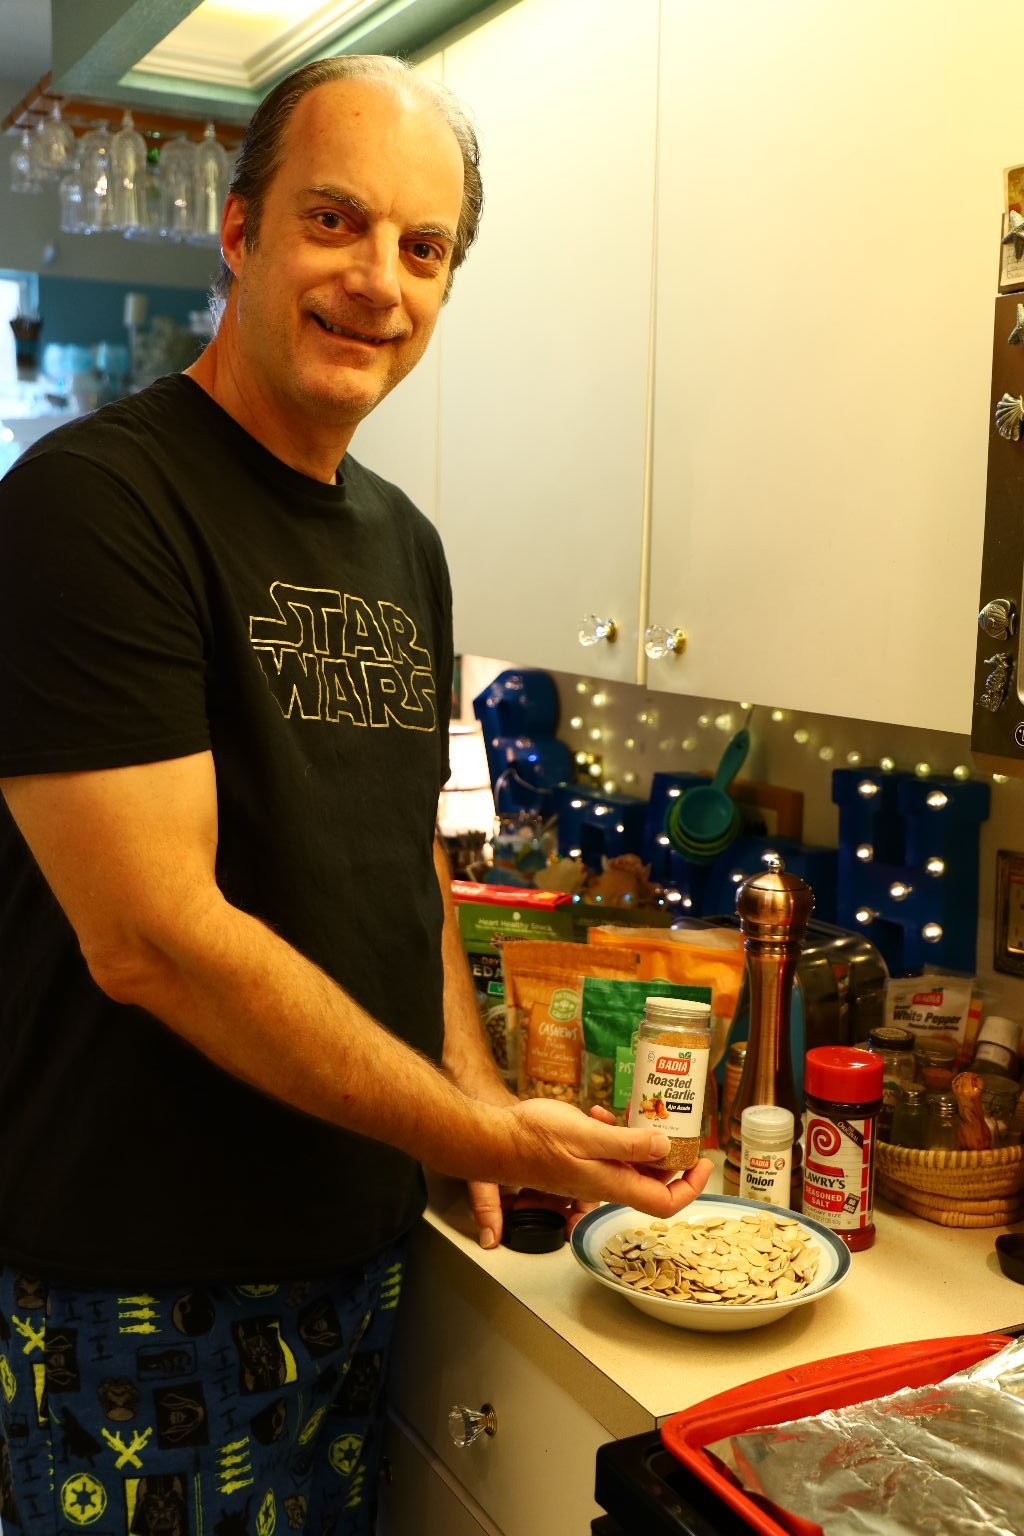
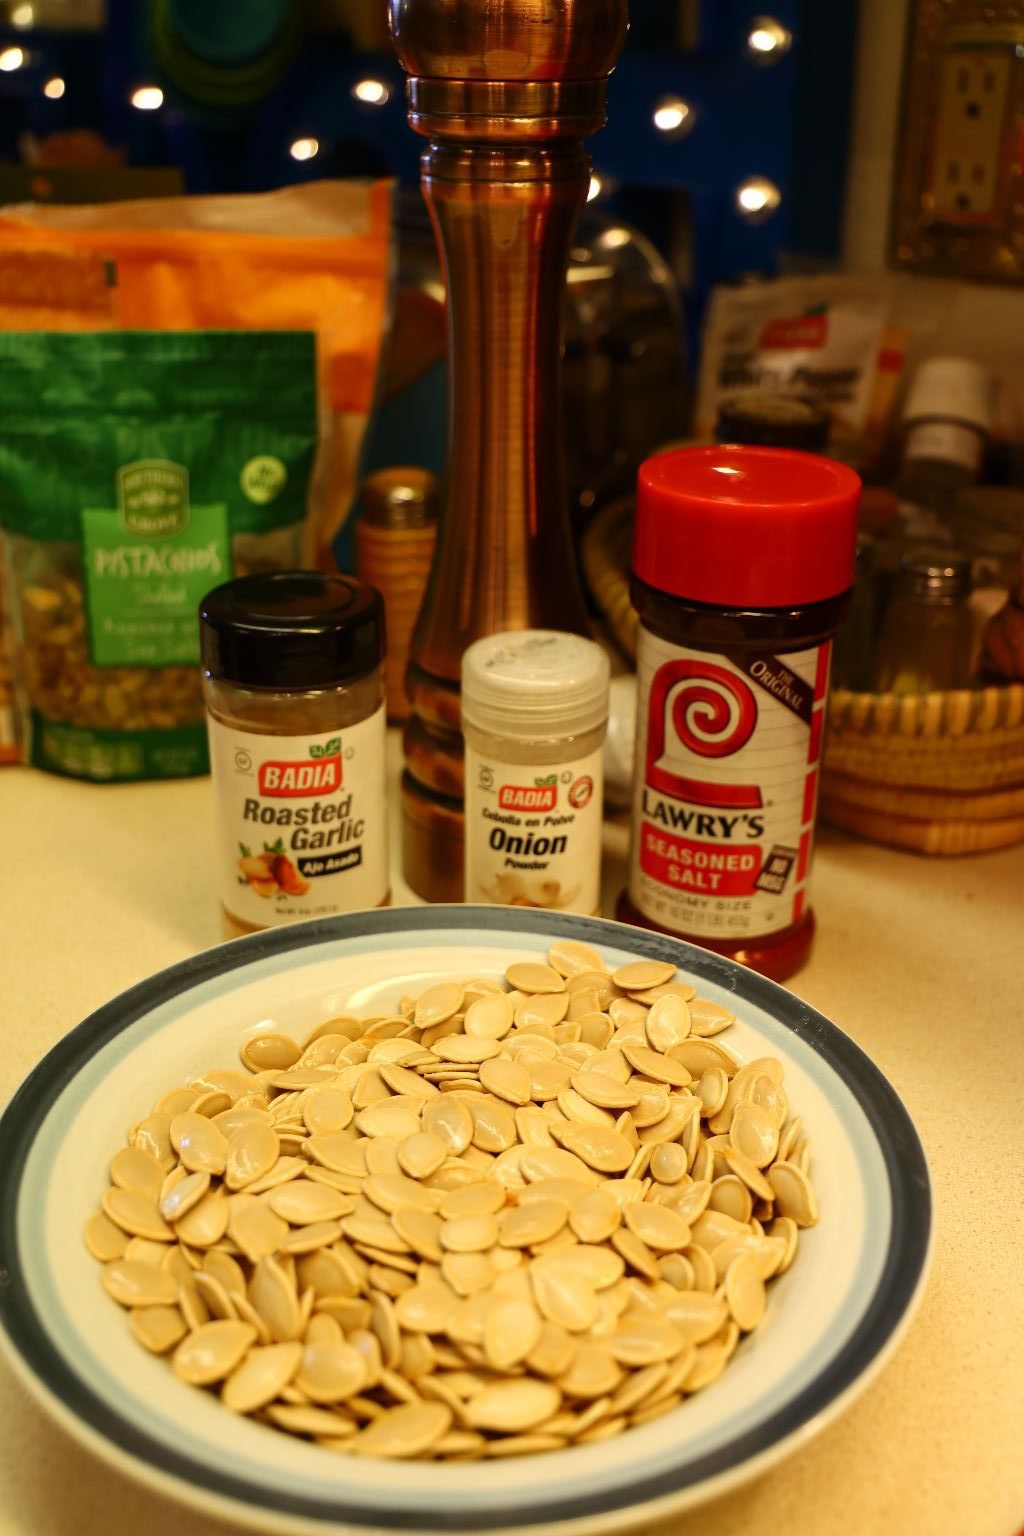
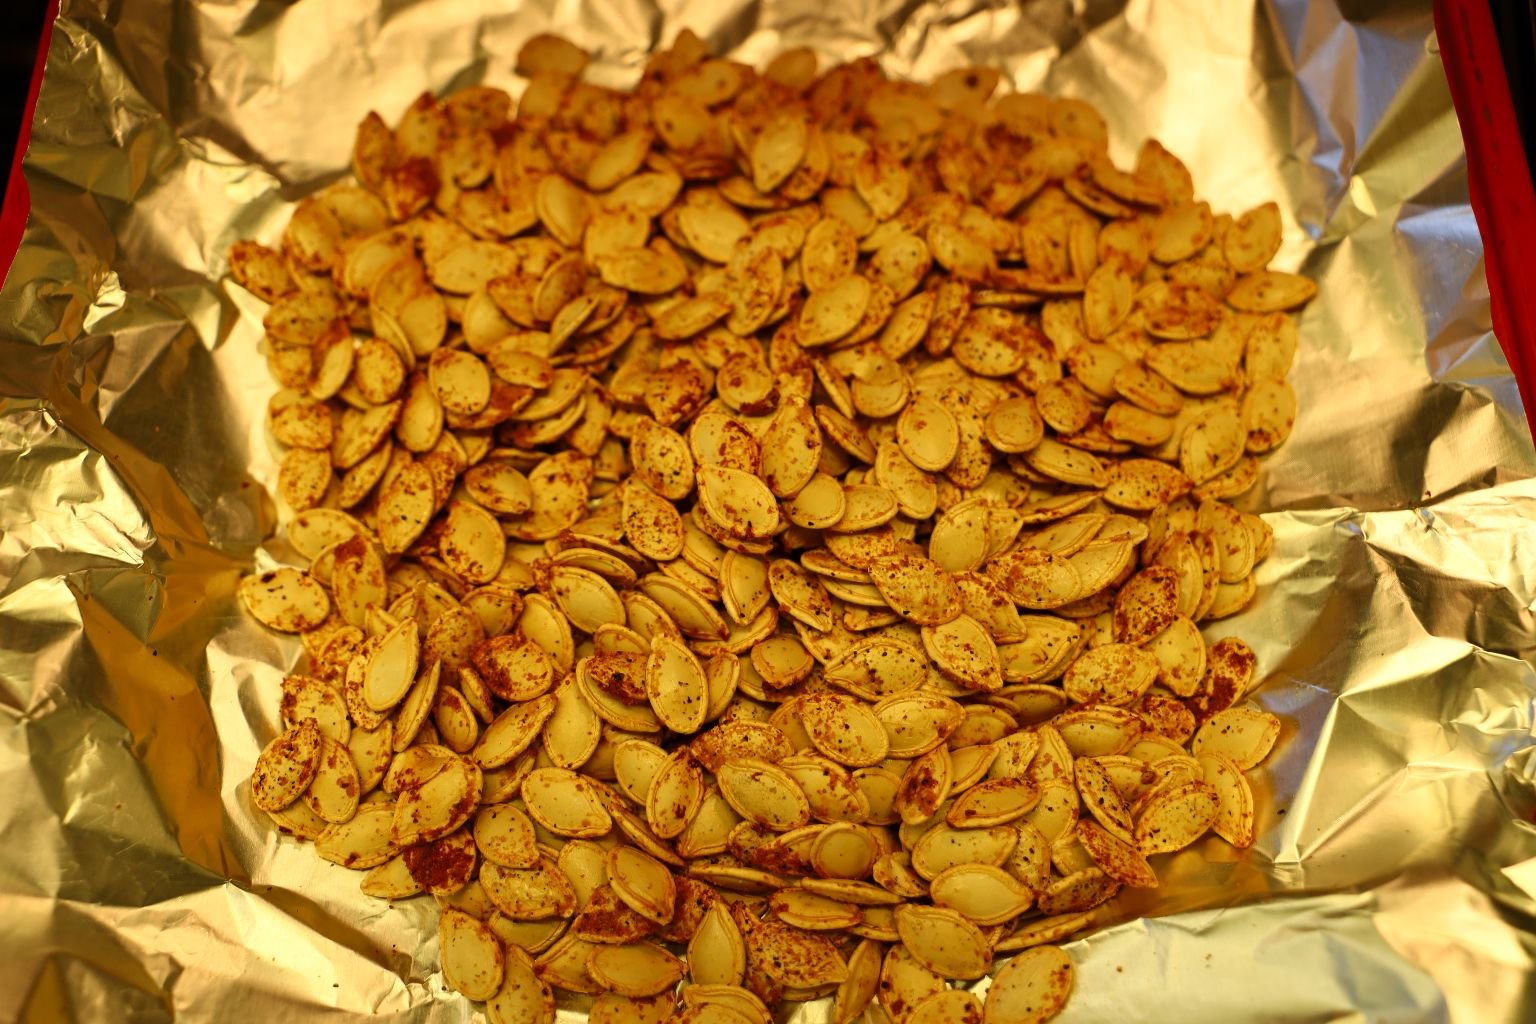
Fresh Pumpkin Seeds from our Family Guy Pumpkin
To clean them rinse them well in a colander to remove any of the pumpkin attached to them.
Add enough olive oil (~2 Tbsp.) to coat all the seeds well.
We placed them into a zip lock bag with the olive oil in the refrigerator for a few days. Although you don’t have to wait that long. You can season yours immediately.
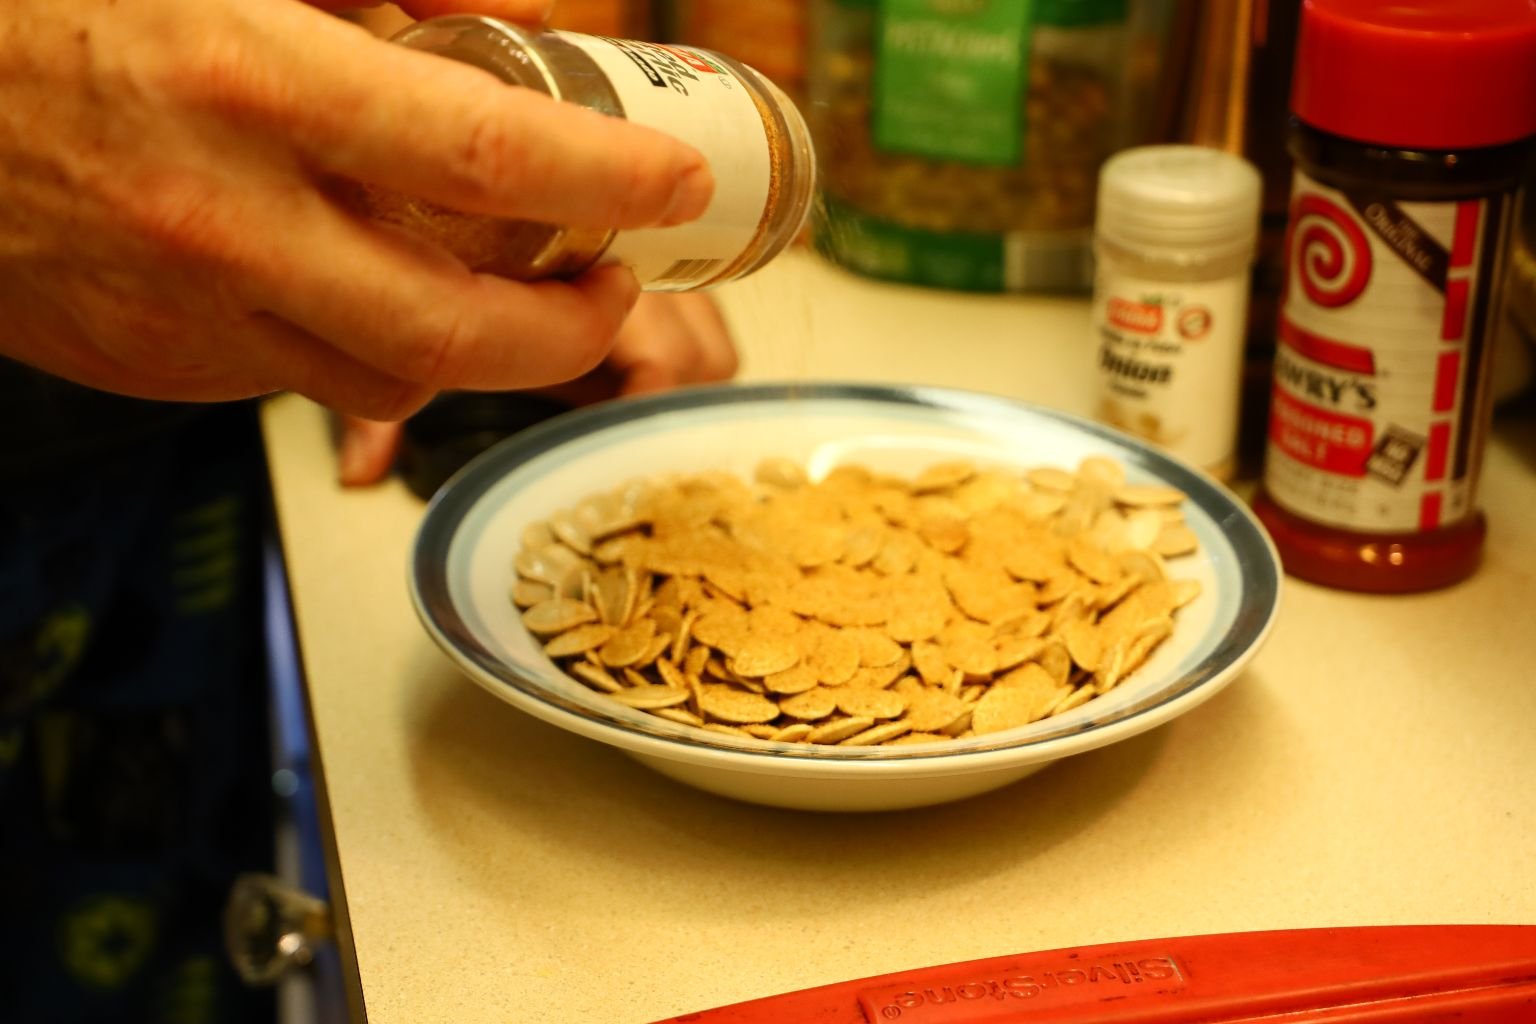
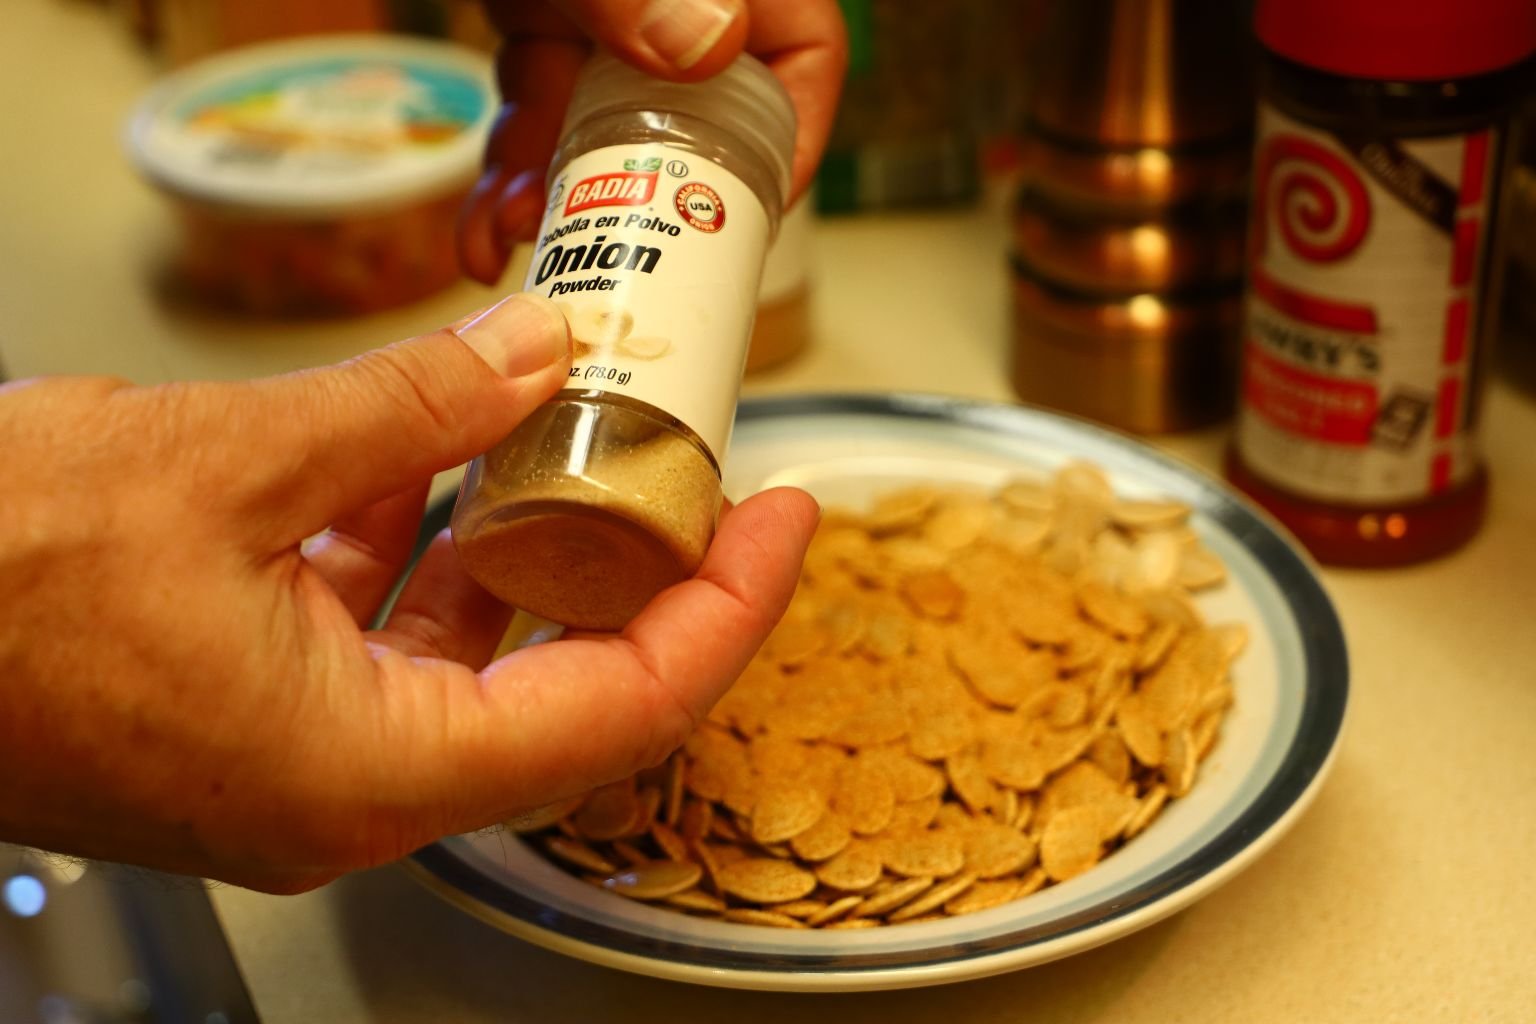
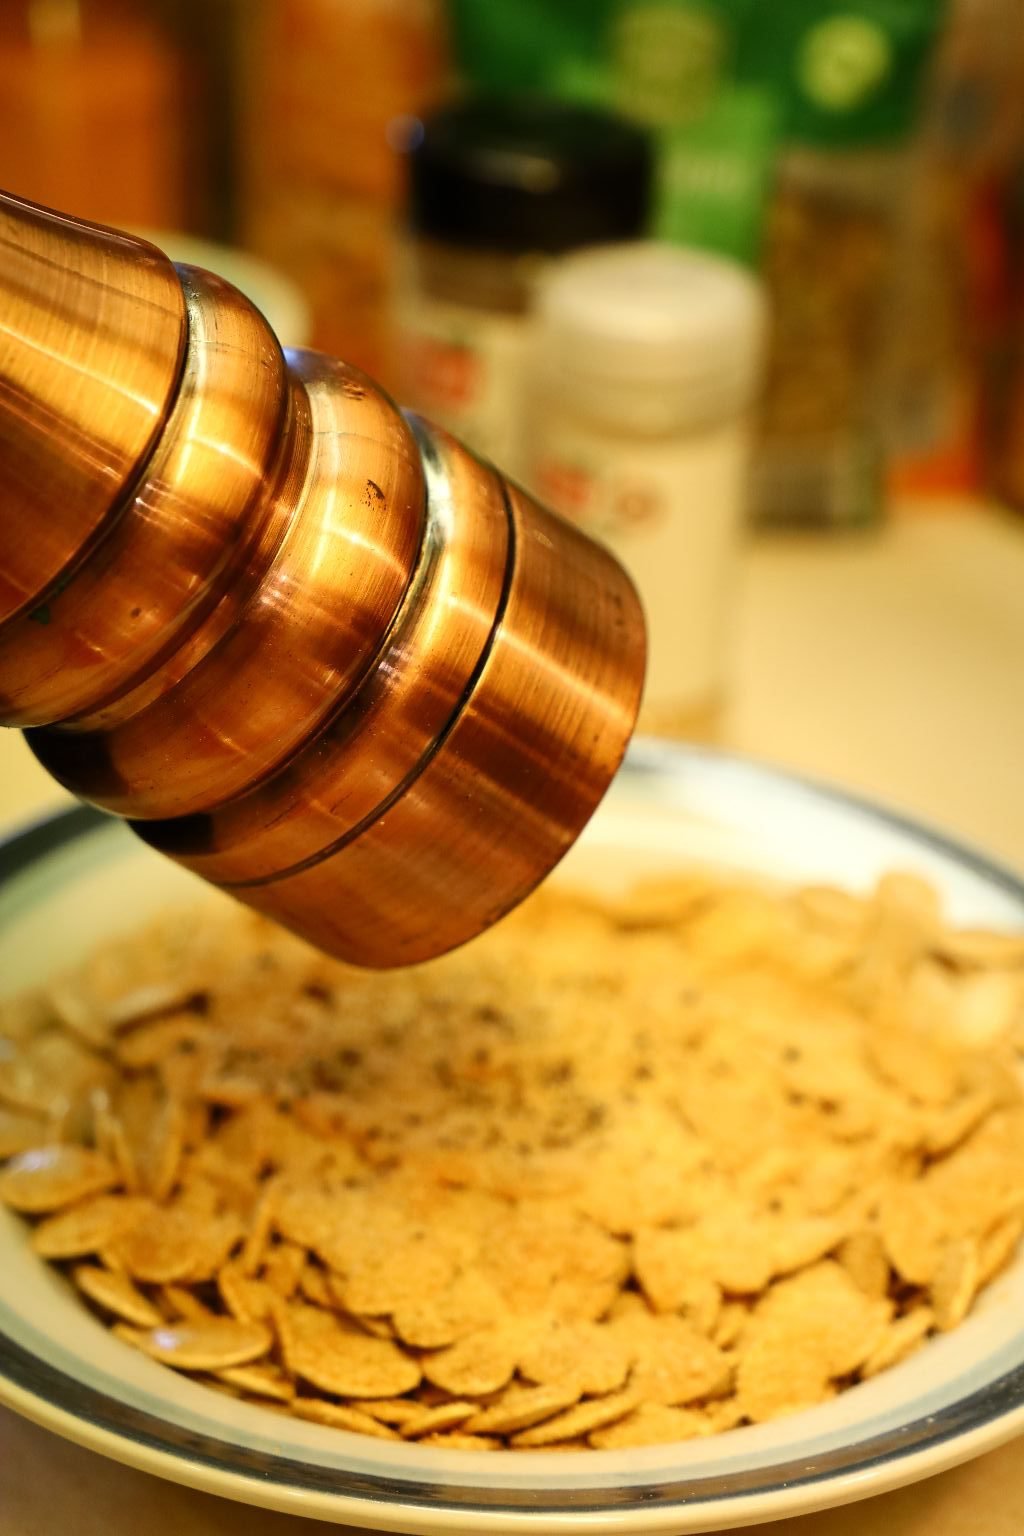
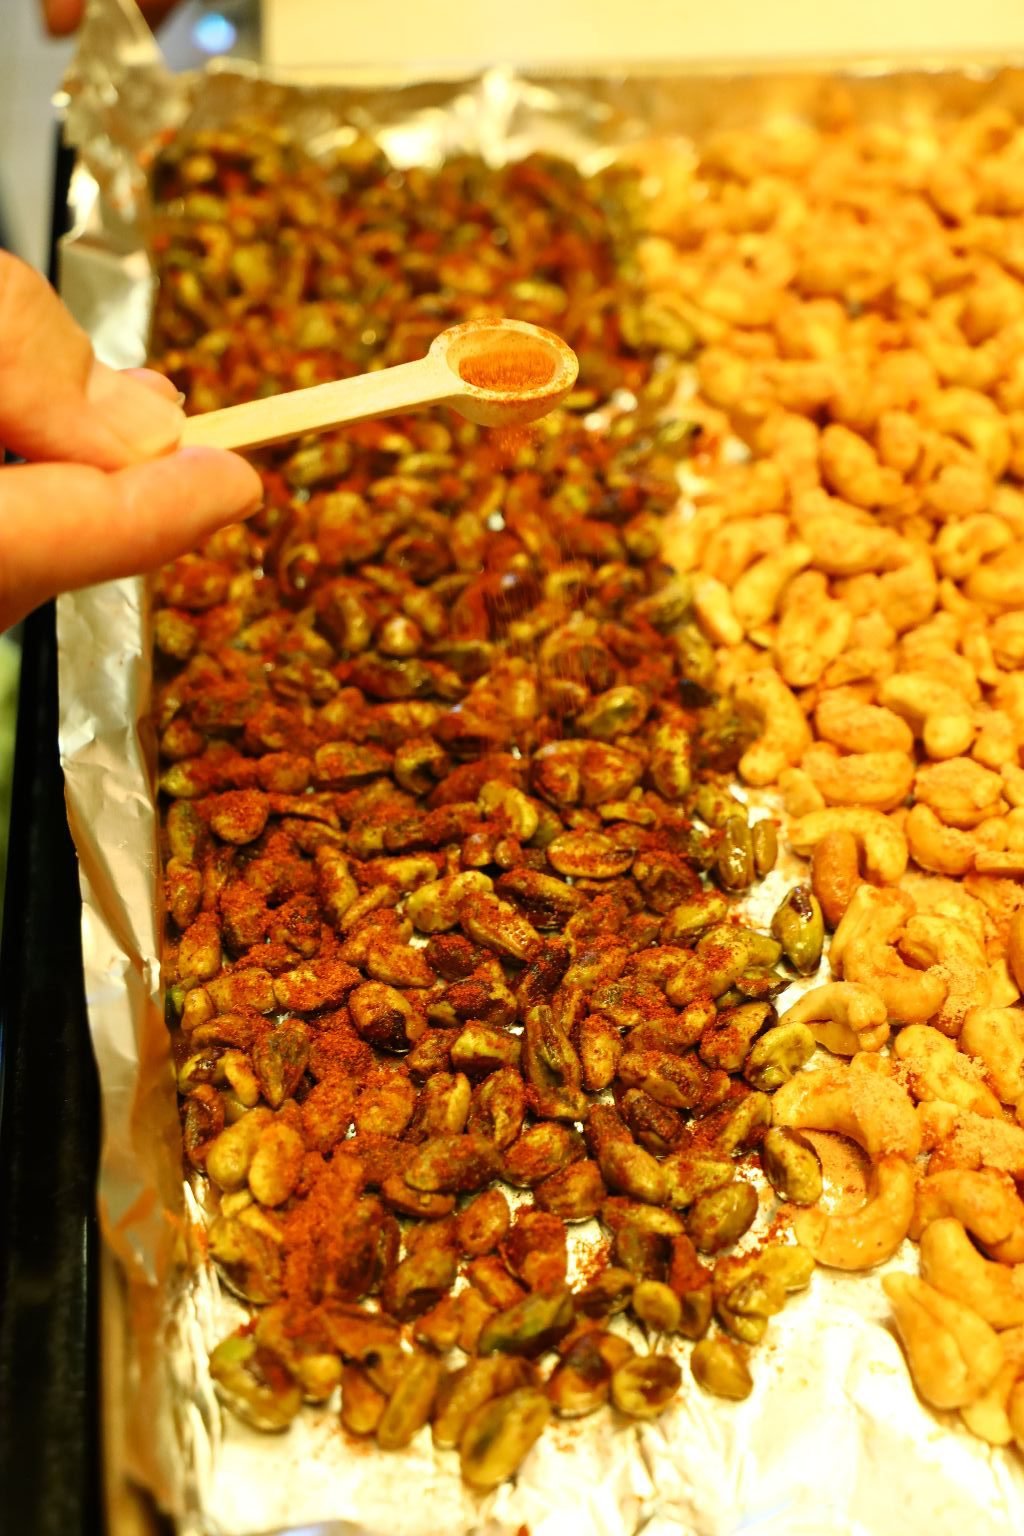
Season the seeds with 1 tsp. of Roasted Garlic Powder, Onion Powder, Lawry’s Seasoned Salt, and fresh ground pepper.
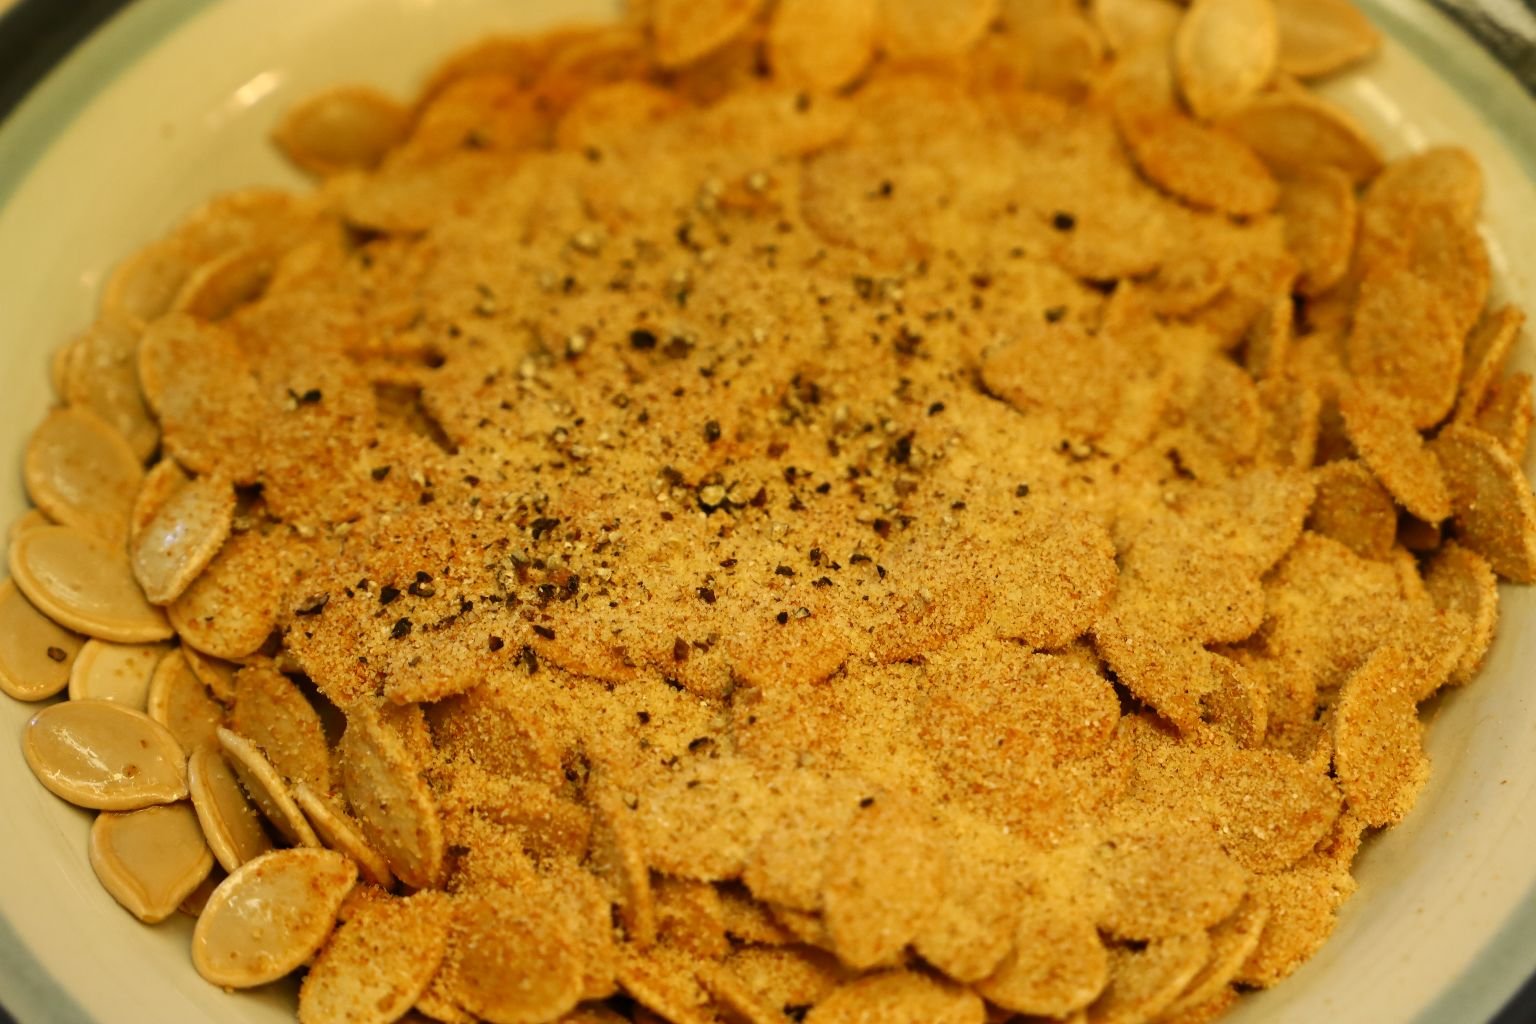
Mix the seasonings and the seeds well.
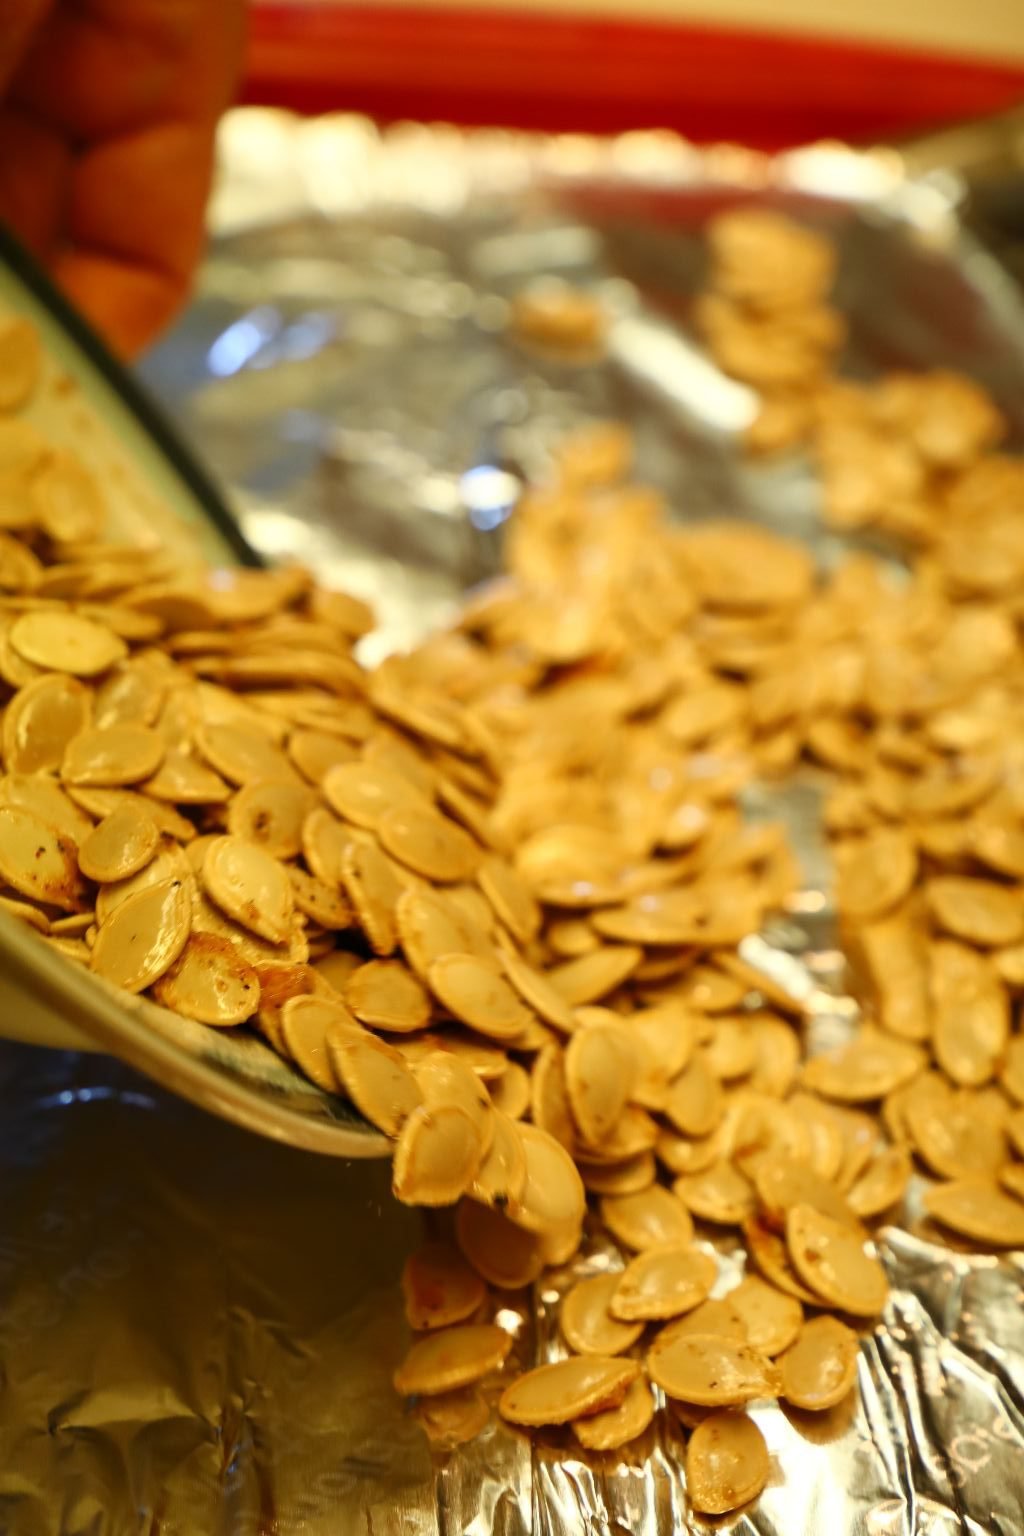
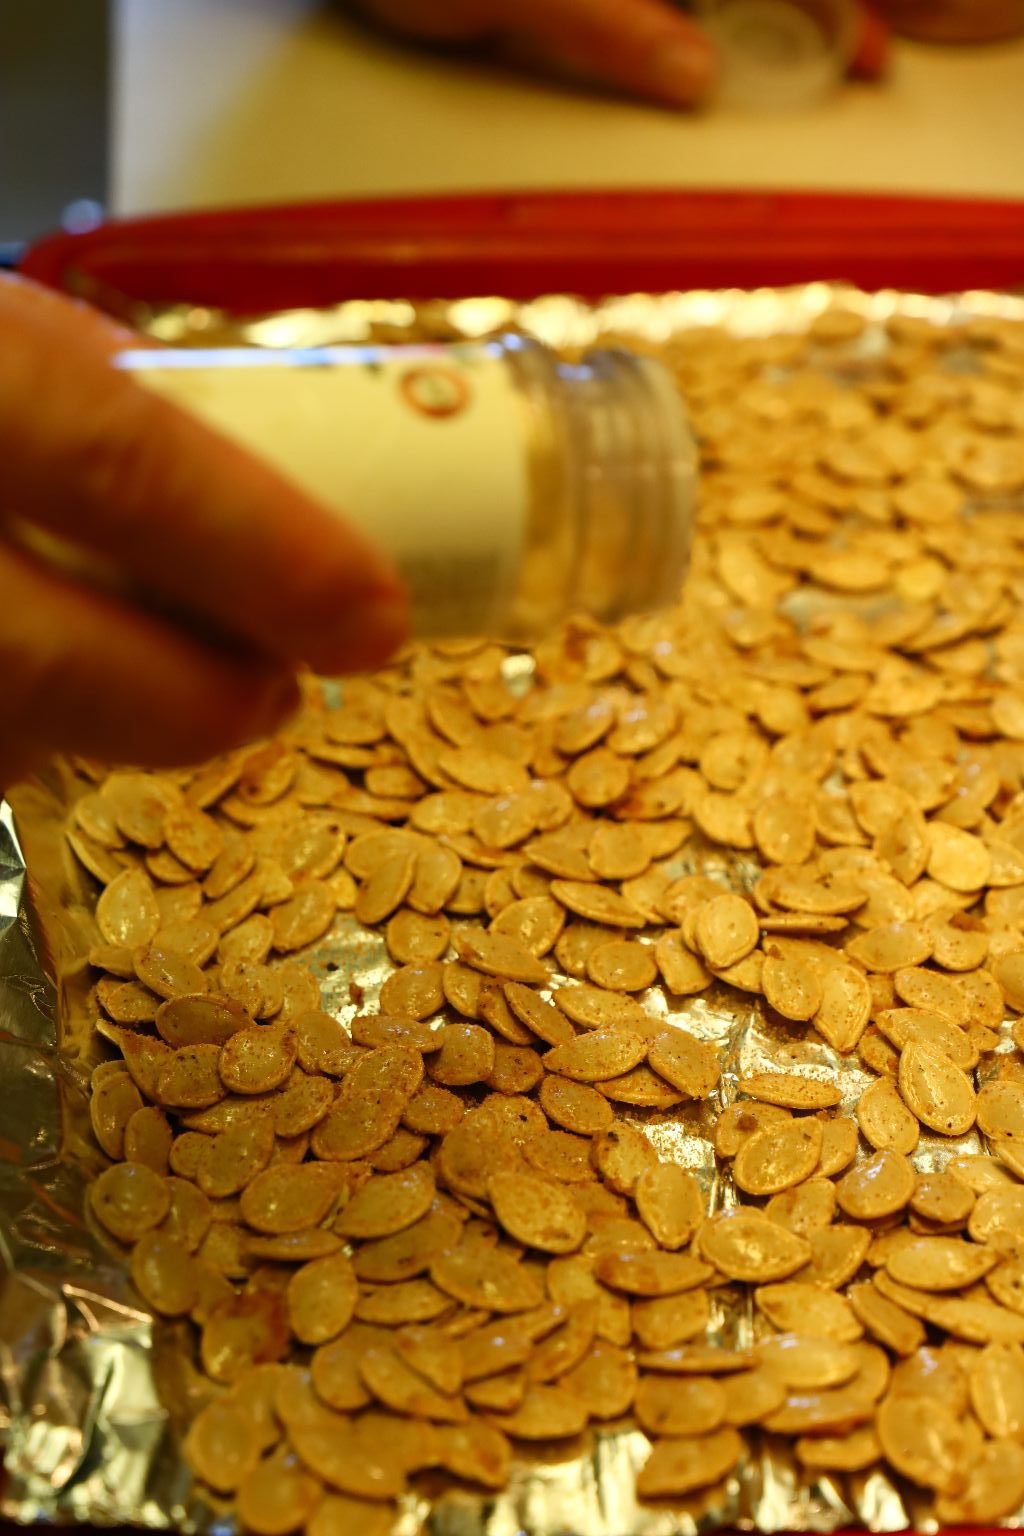
Pour out the seeds onto a sheet pan lined with aluminum foil and season the seeds more with another 1/2 tsp. of the seasonings if you like. We did.

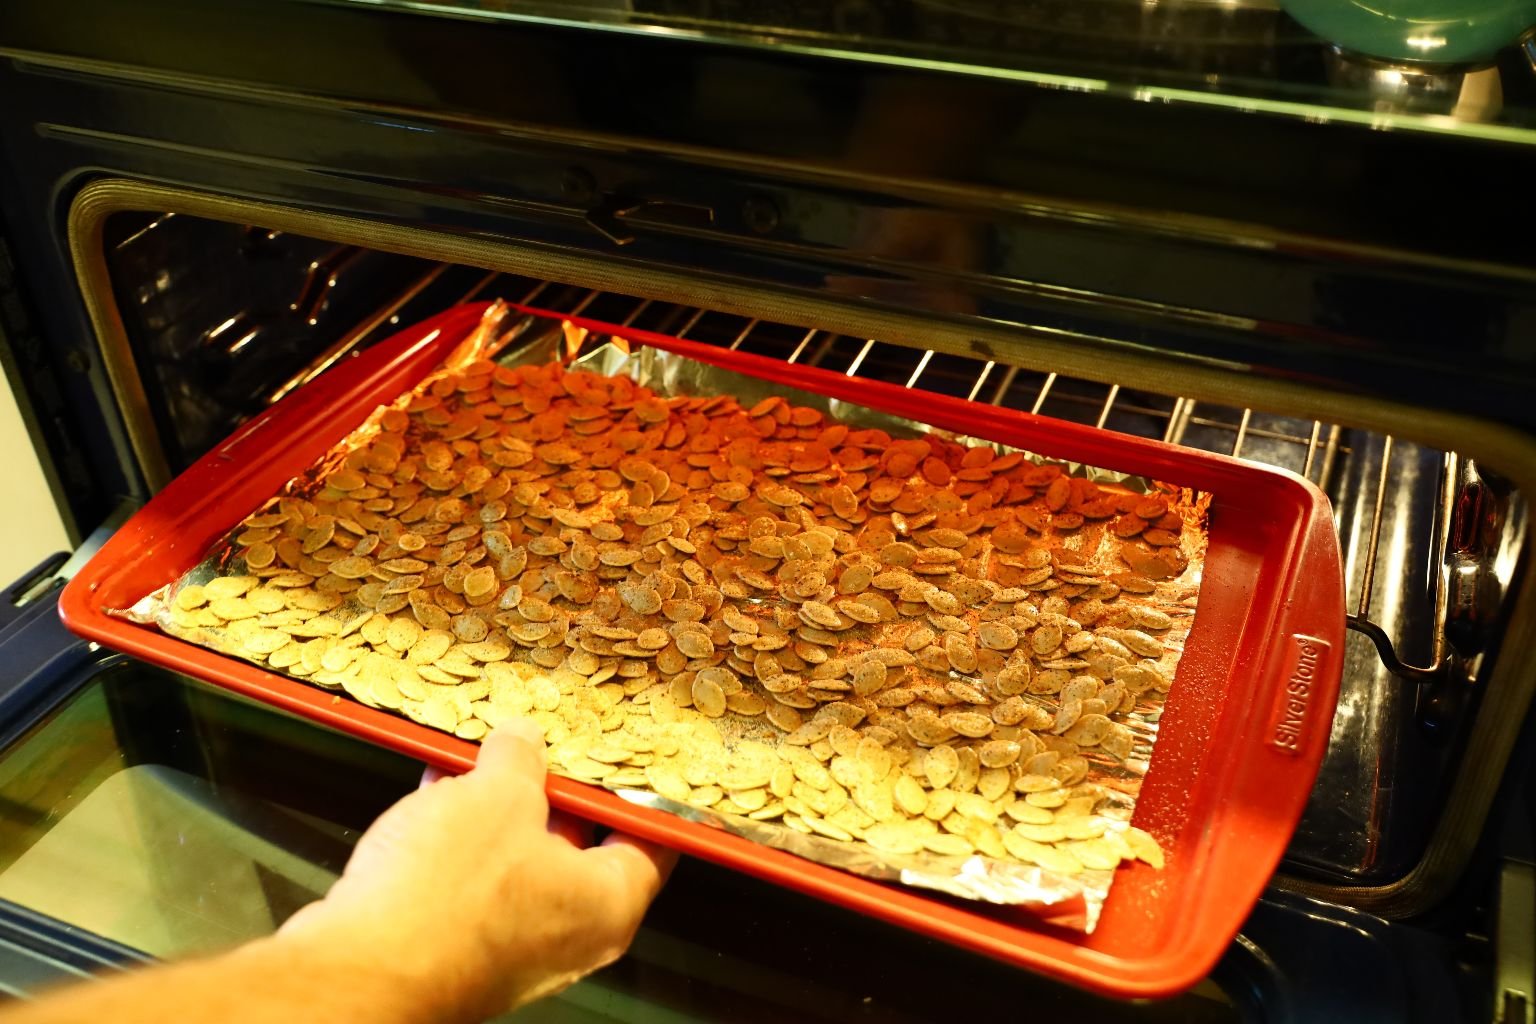
Bake the pumpkin seeds in a 350’F oven for about 20 min. or until well roasted and slightly browned. You will also start to smell them which is a good sign they are about done!
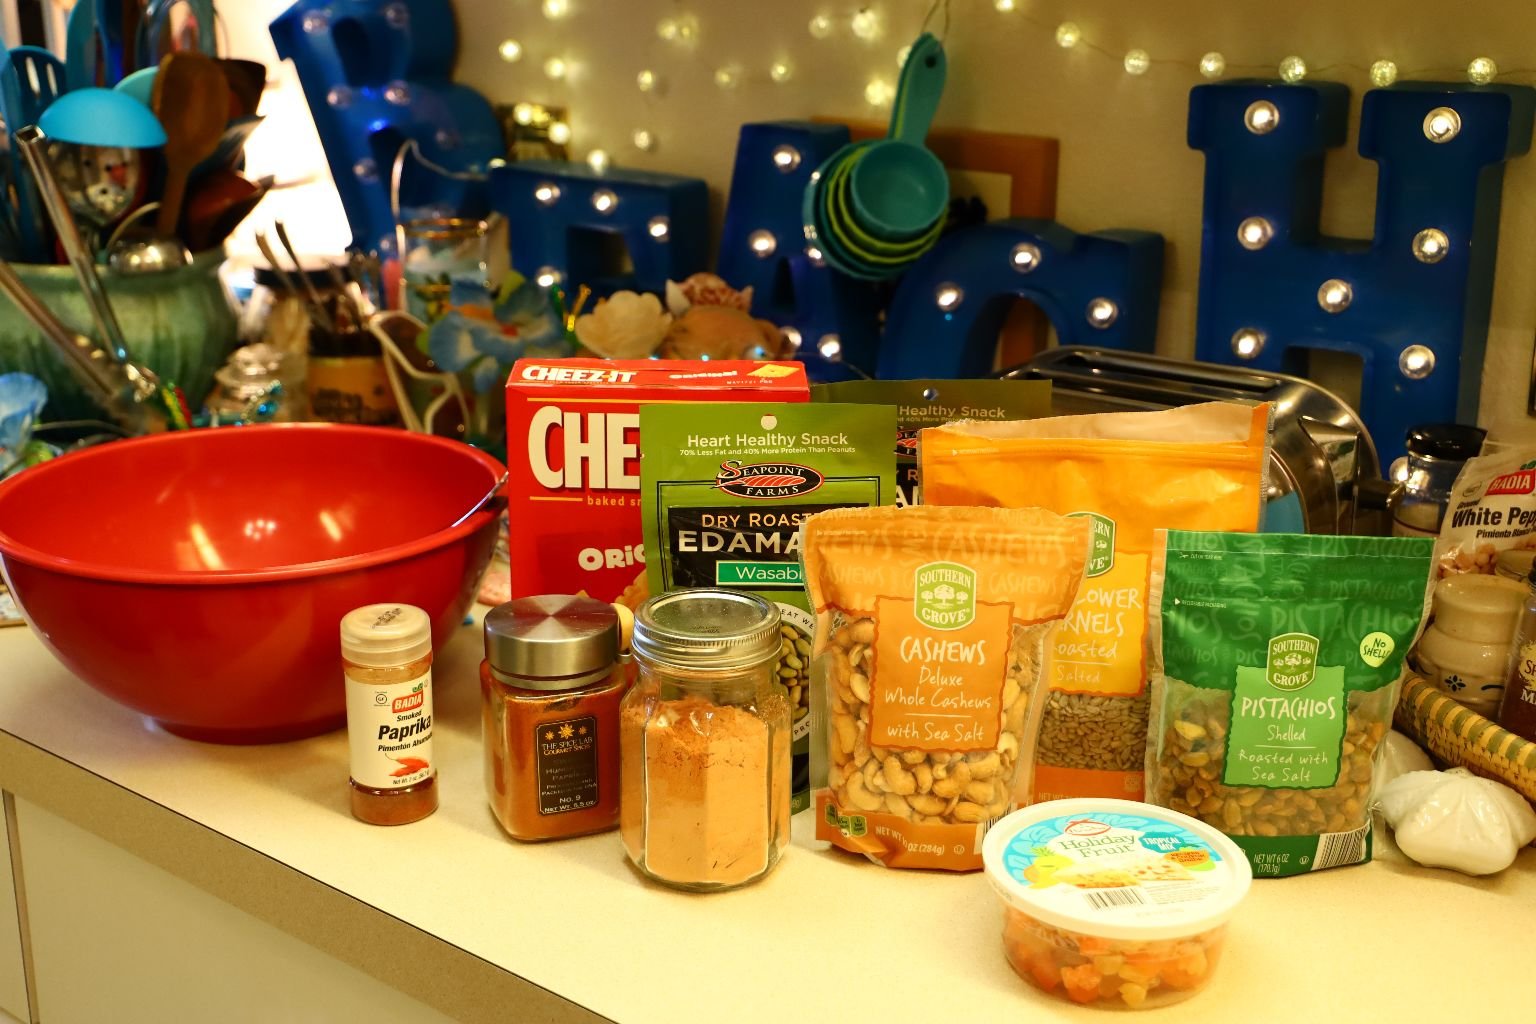
Here are our other ingredients we used to create this tasty seed and nut mix.
Cashews:
2 Cups Cashews
1 1/2 Tbsp. Olive Oil
BBQ Powder – mine is from a spice shop in the country of Jordan
Pistachios:
1 1/2 Cups Pistachios
1 1/2 Tbsp. Olive Oil
1 Tbsp. Smoked Paprika
1 Tbsp. Sweet Paprika
Other Ingredients:
~2 Cups Dry Roasted Edamame (Wasabi Flavored)
~1 Cup Sunflower Seeds
~1 1/2 Cups Cheezit’s Crackers
————————————————————–


(Disregard the Holiday Fruit. We didn’t use it.)
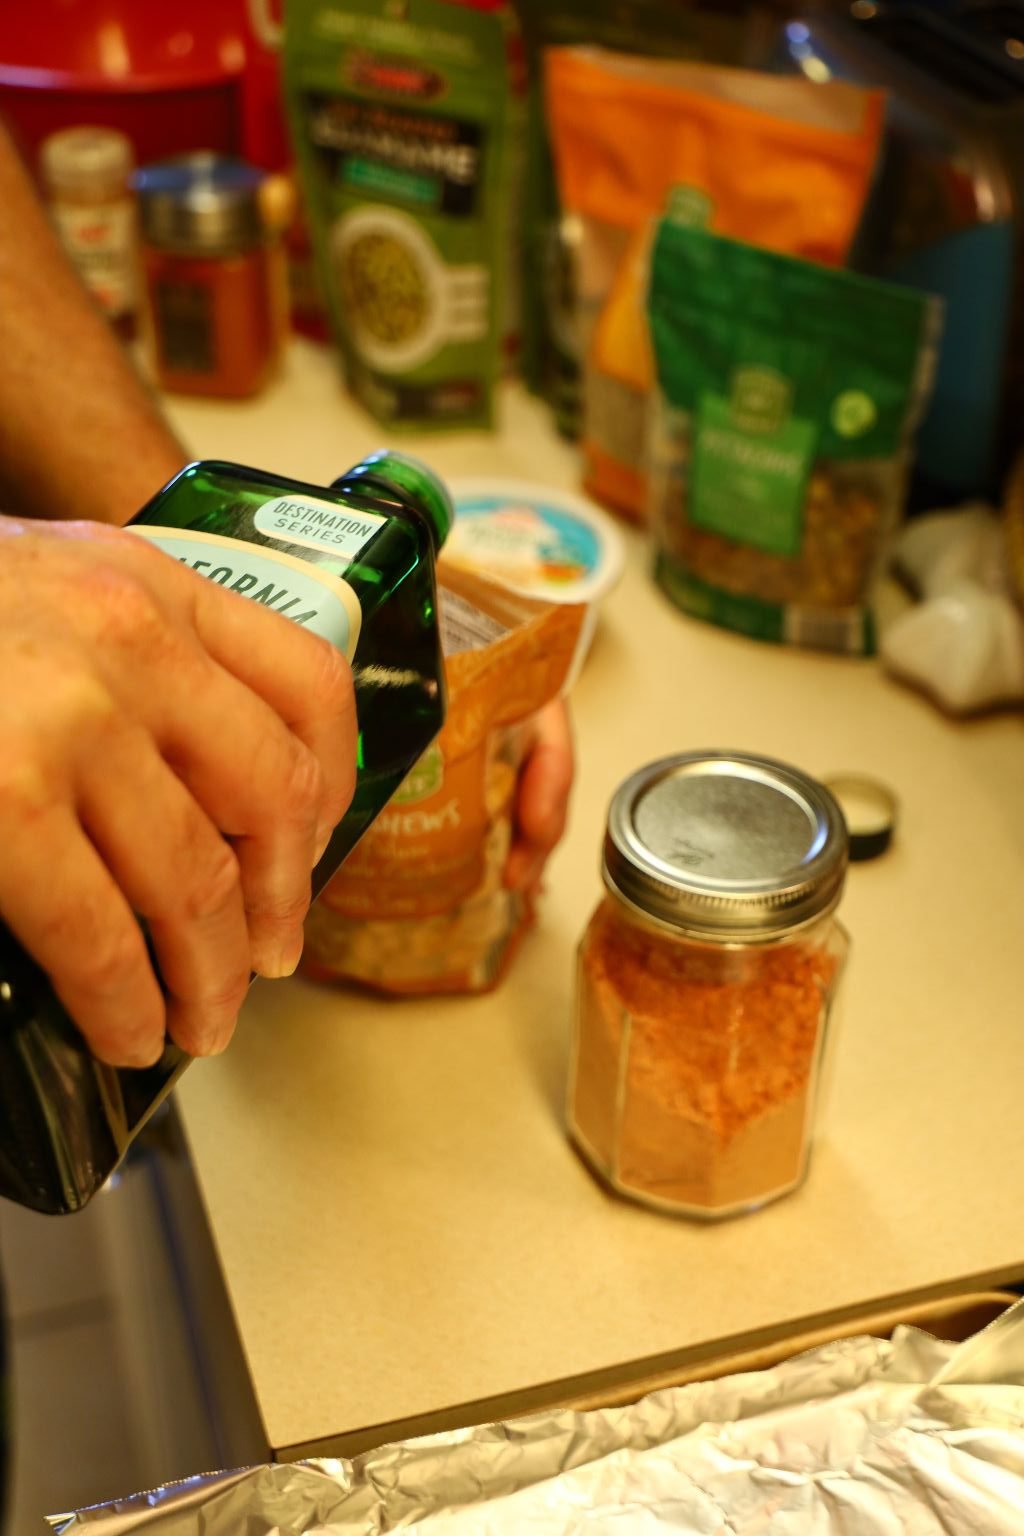

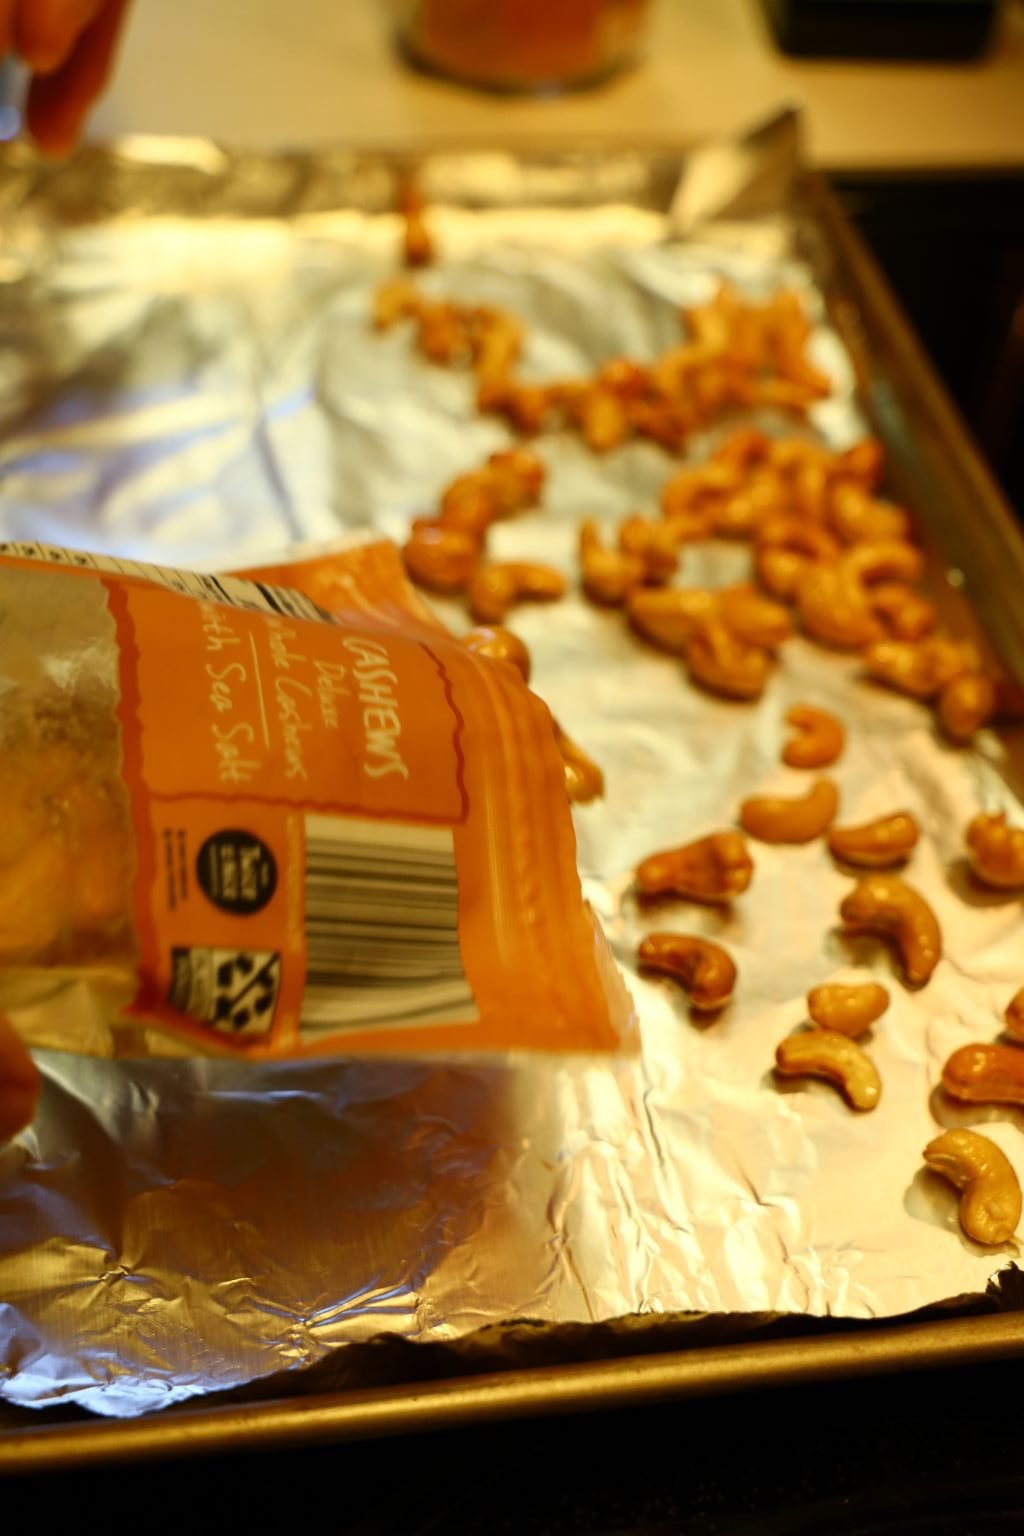
Pour your olive oil directly into the bag of cashews and mix well. Pour out the cashews onto a sheet pan lined with aluminum foil.
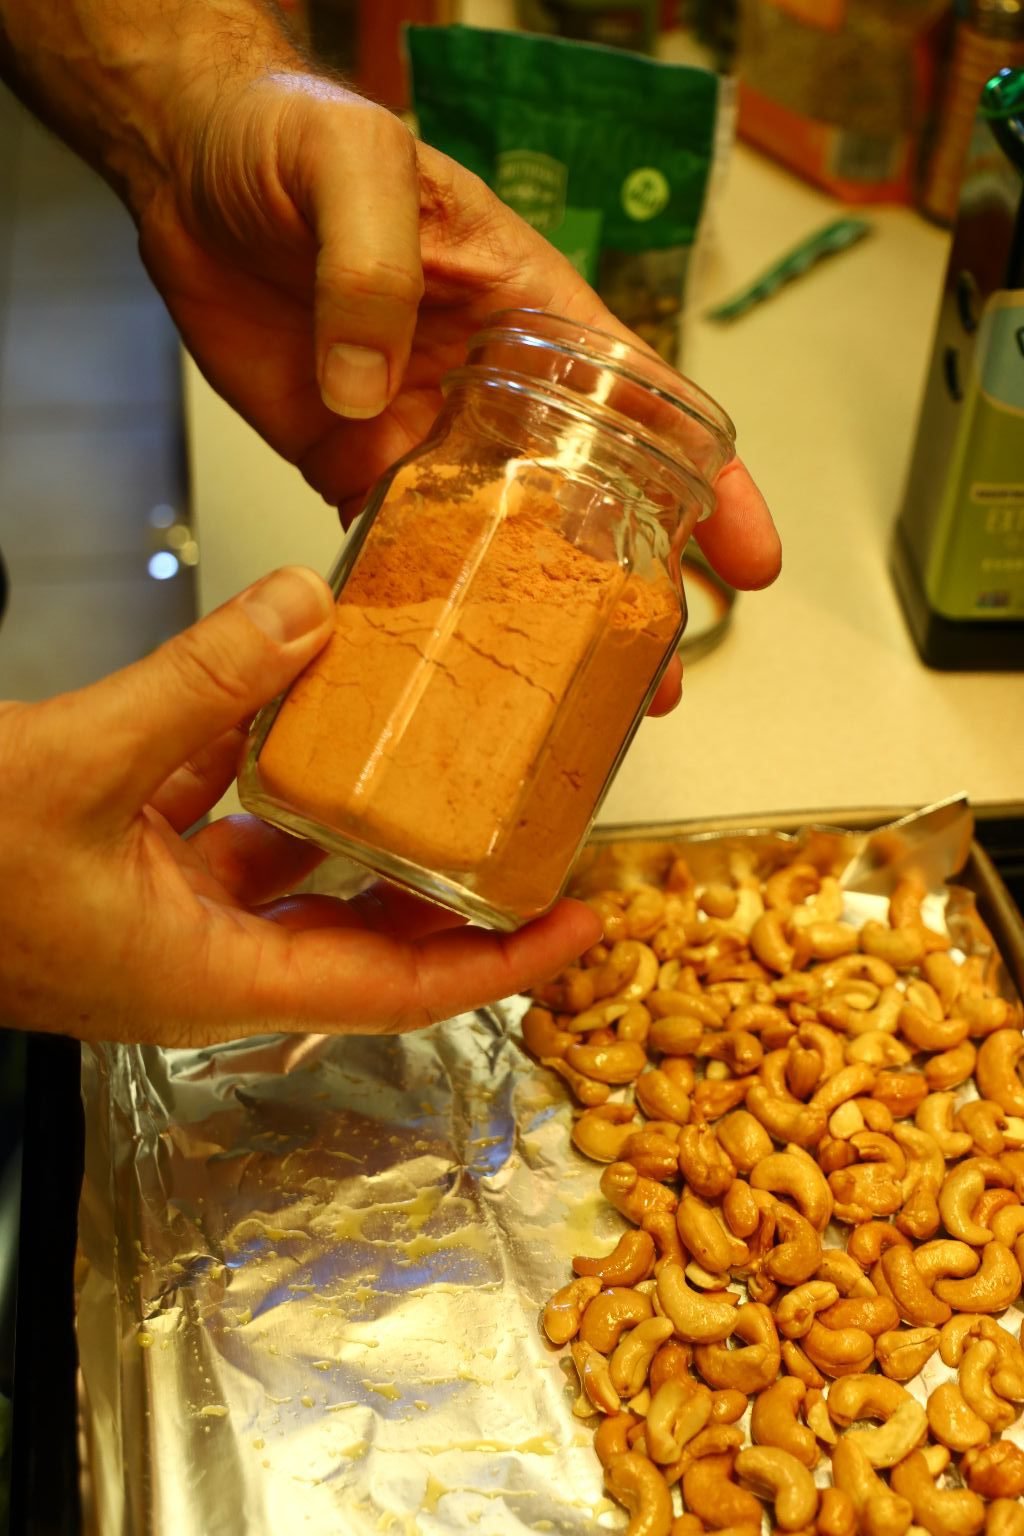

Carefully sprinkle your BBQ seasoning powder over the nuts and mix well.

Move the cashews to one side of the pan as shown to make room for the pistachios.
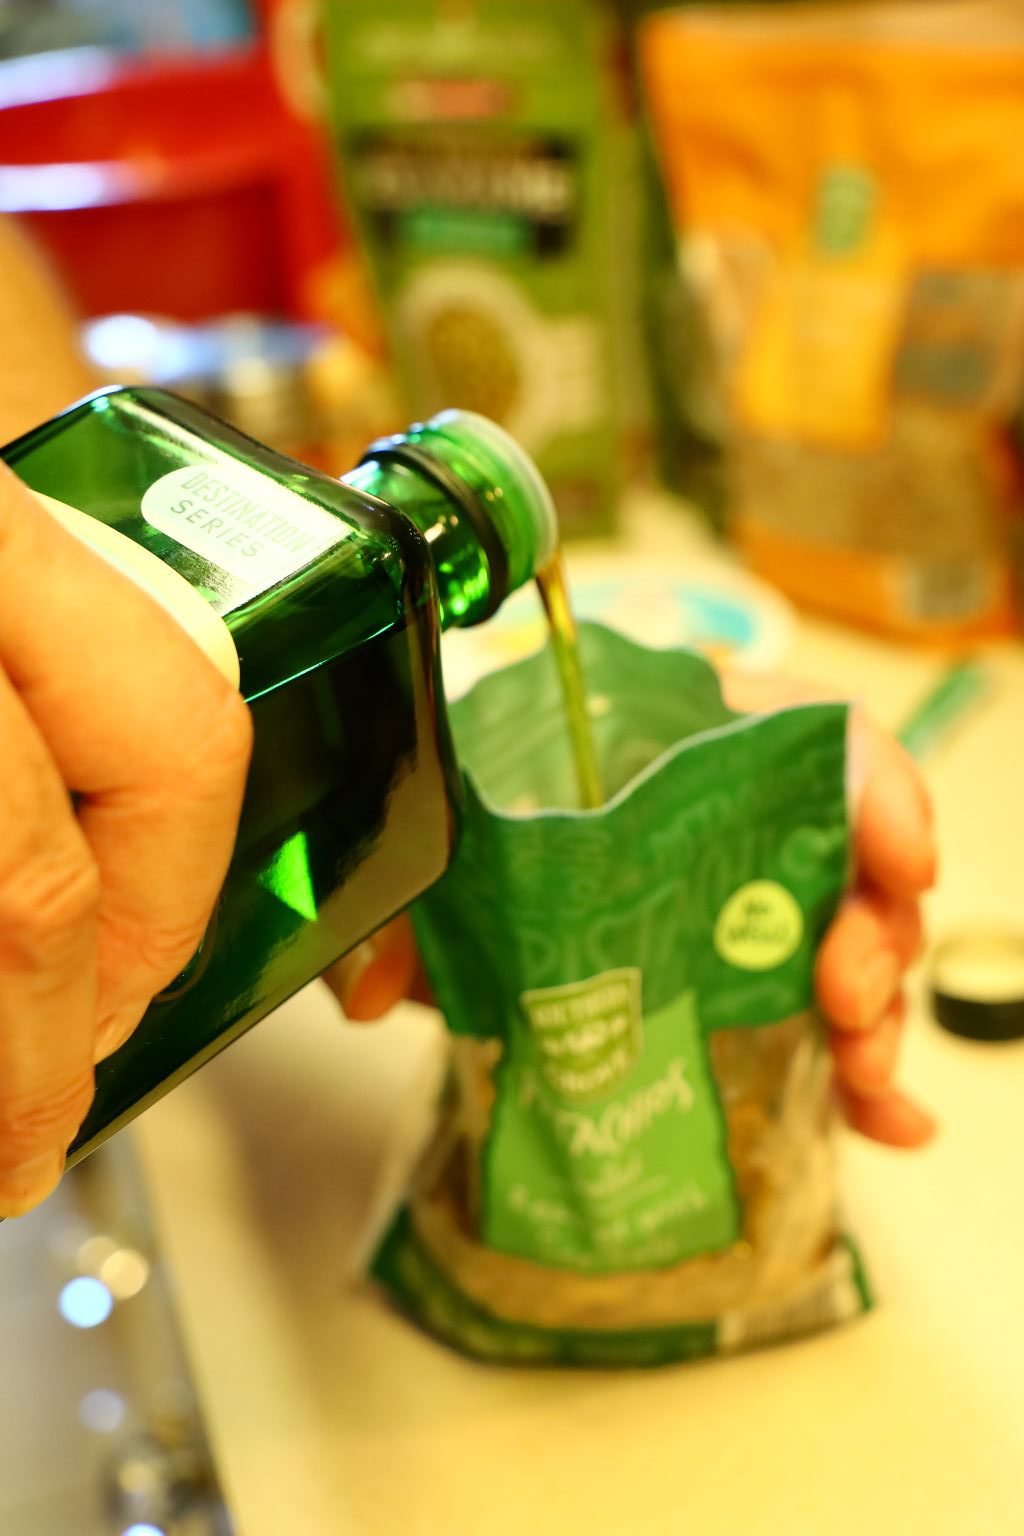
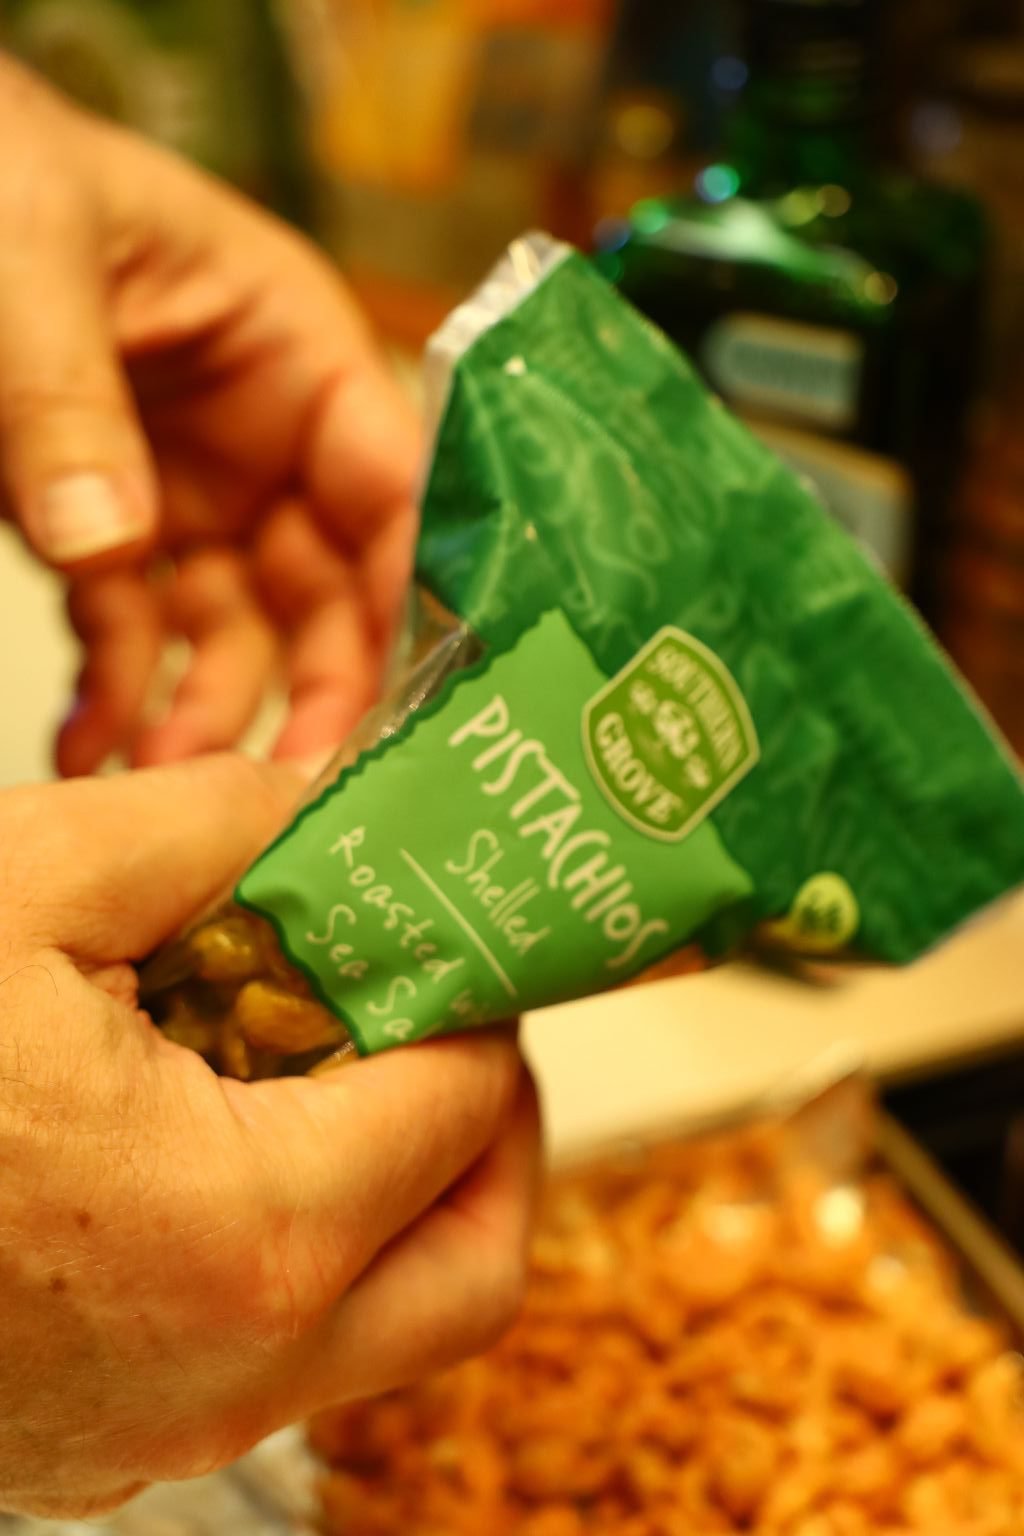
Pour your olive oil into the bag of pistachios and mix them well.


Pour your pistachios onto the sheet pan and spread them out evenly. Sprinkle your smoked paprika over the pistachios…
then do the same with the sweet paprika.

Place the nuts into a 350’F oven and roast them for about 20 minutes or until they become slightly browned. Like the pumpkin seeds, you will also start to smell them which is a good sign they are almost done!
Remove the pumpkin seeds from the oven when roasted to your satisfaction and let them cool.
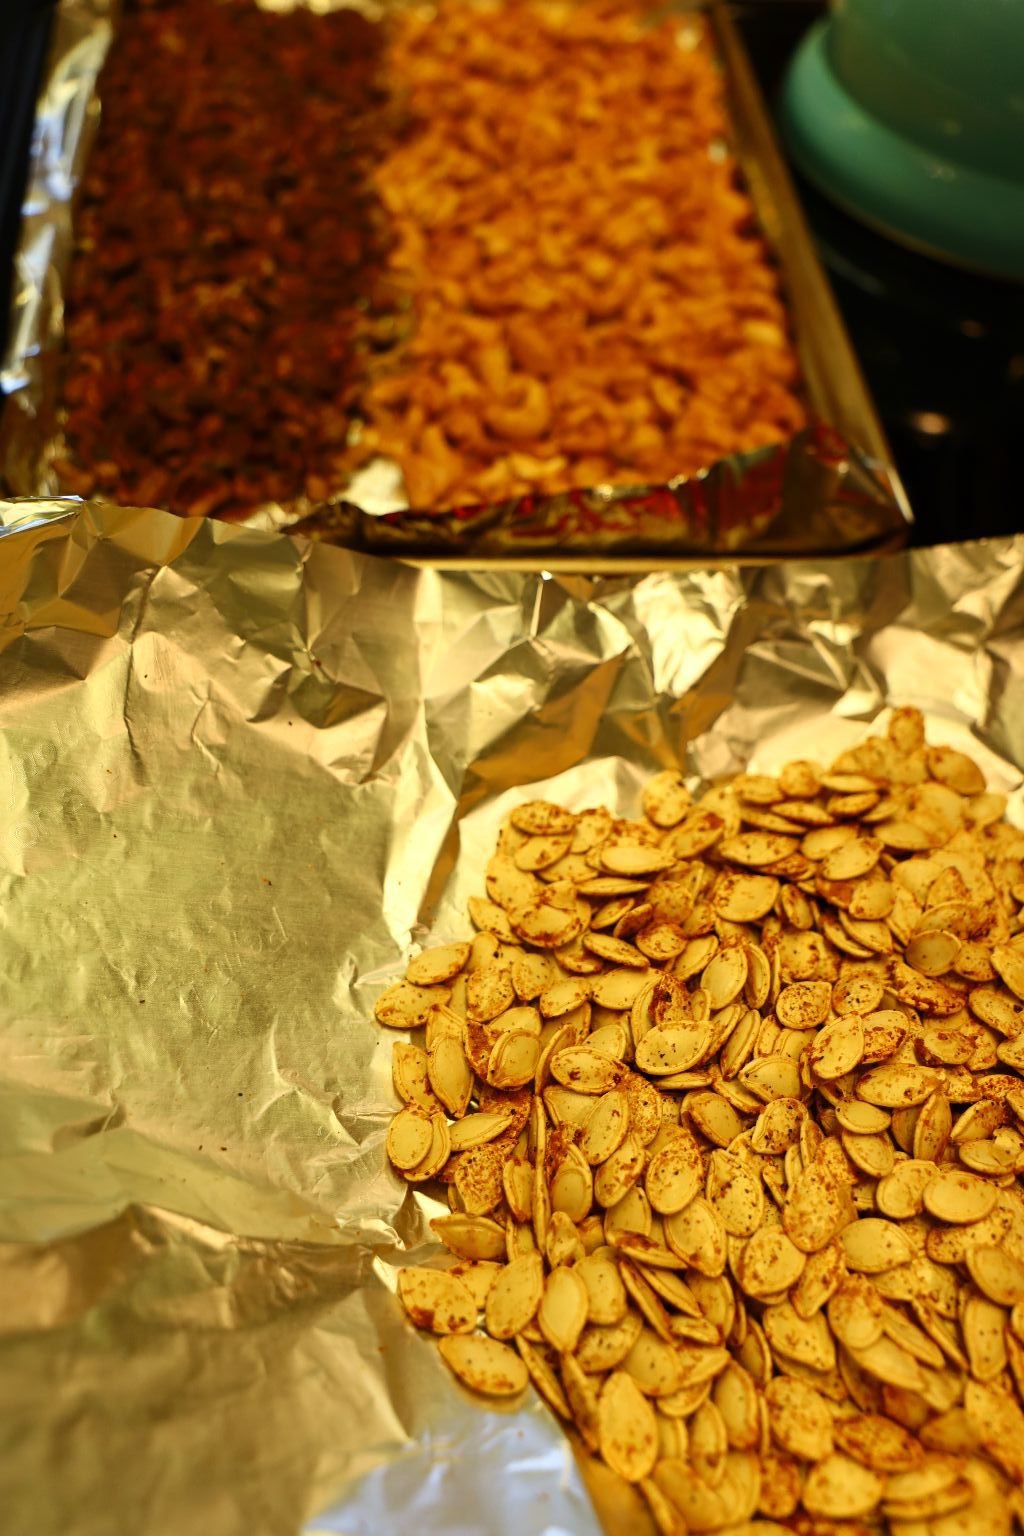
Do the same with the Cashews and Pistachios when they have completed roasting and cooling.
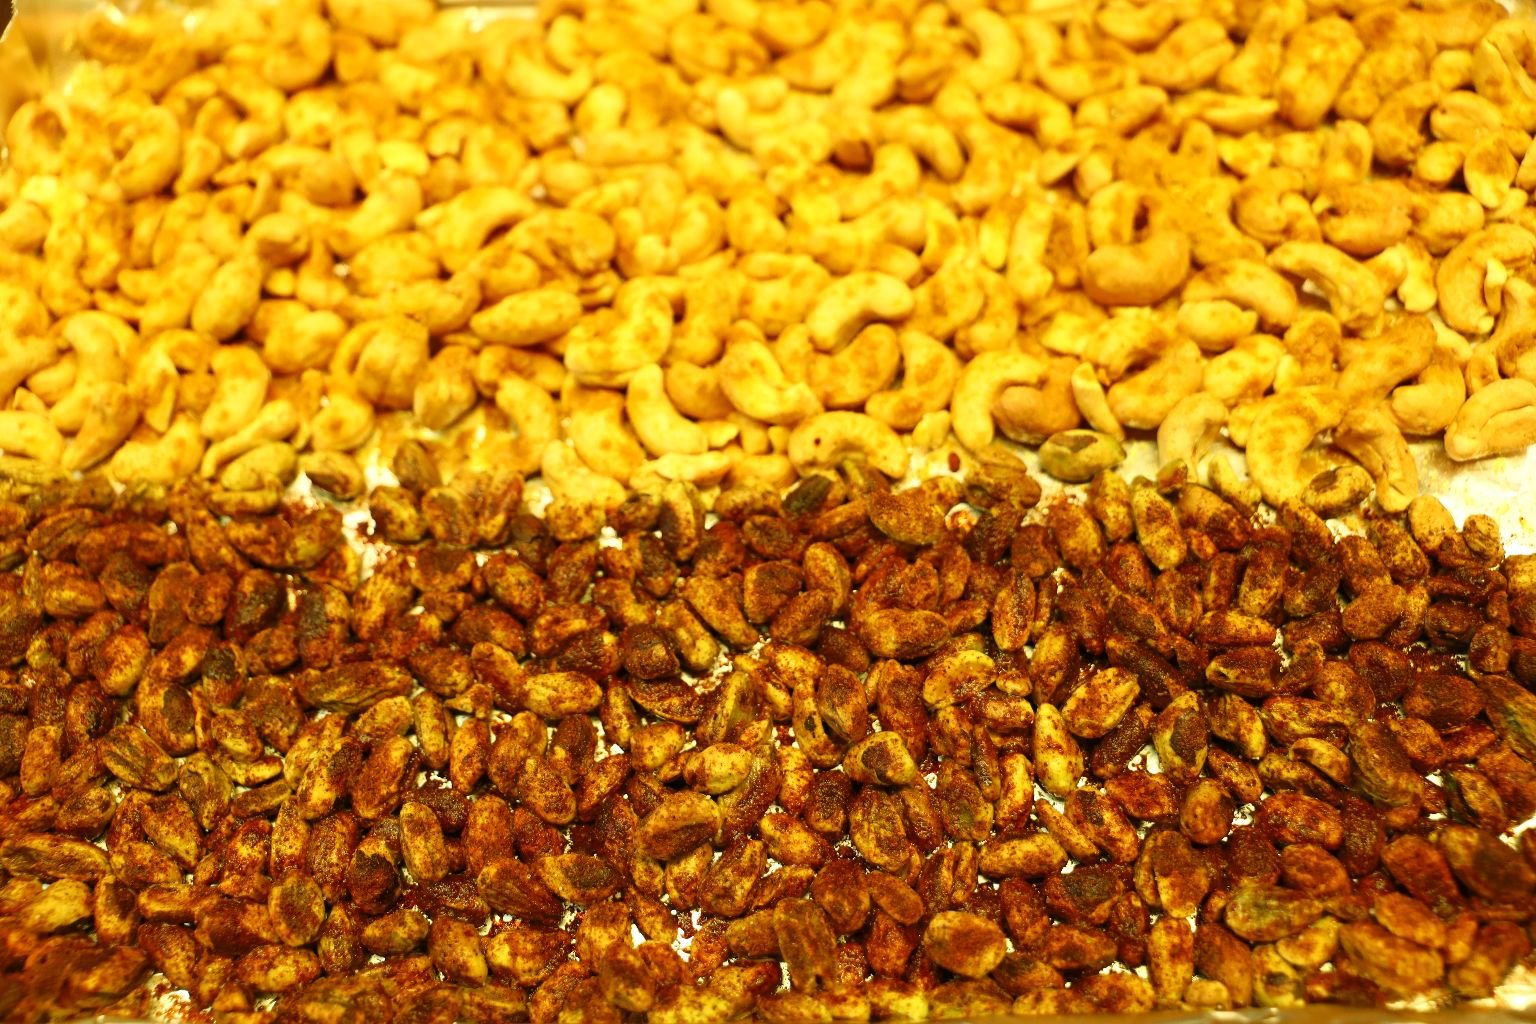
These really looked and smelled delicious.
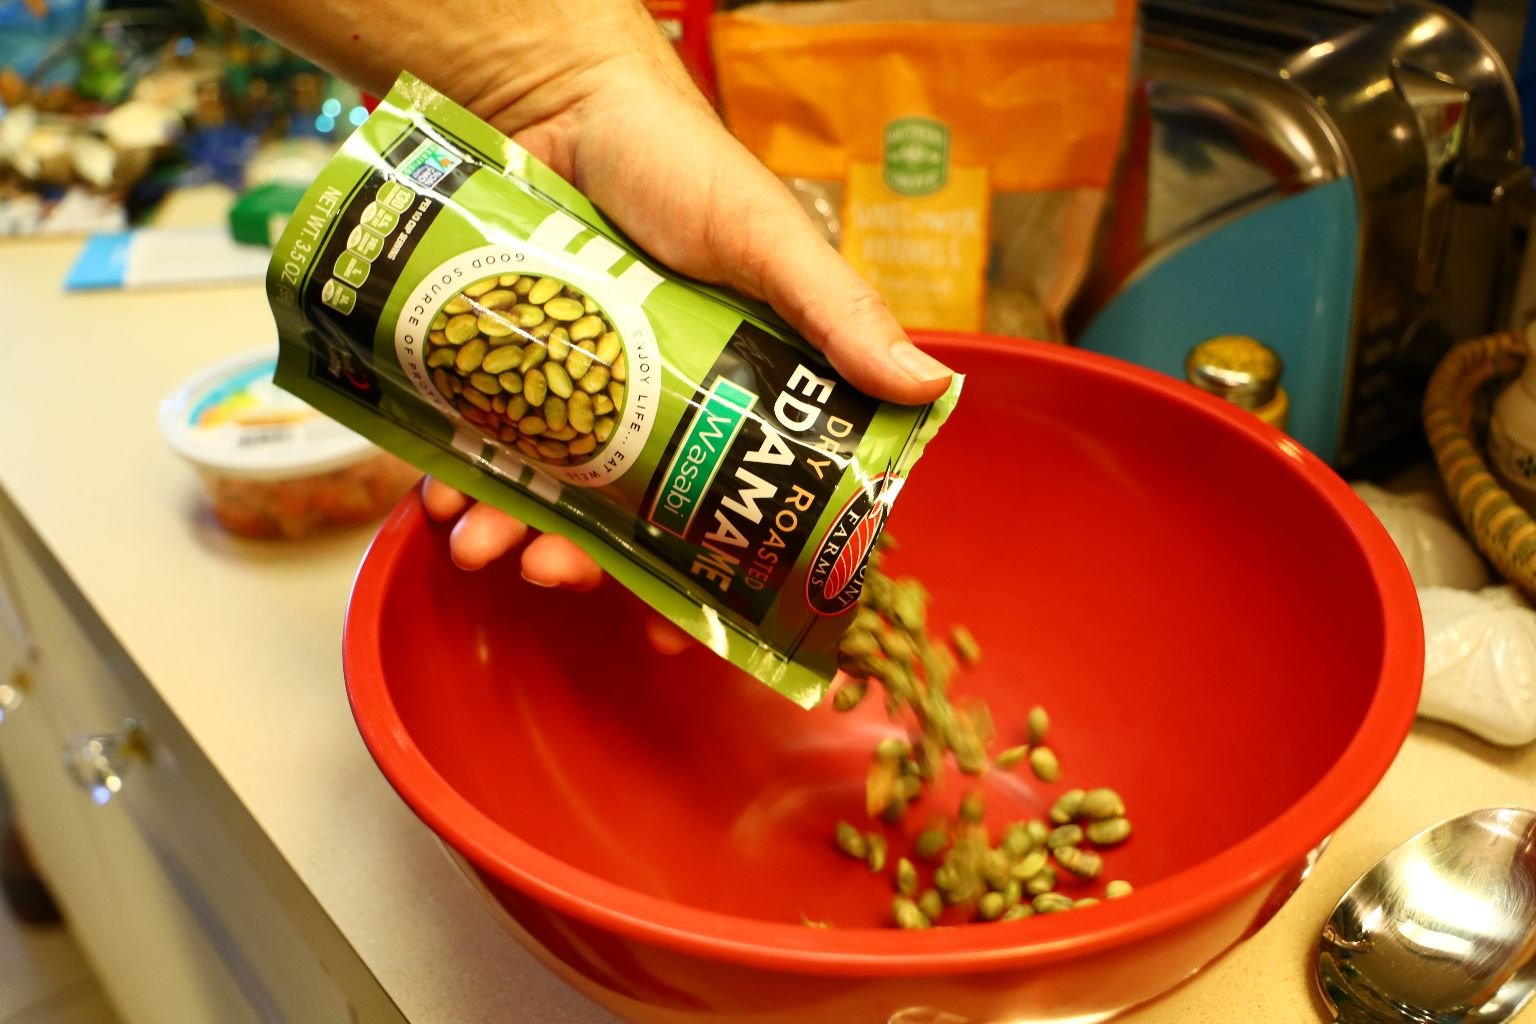

In a large bowl, add your Wasabi Edamame and Sunflower seeds.
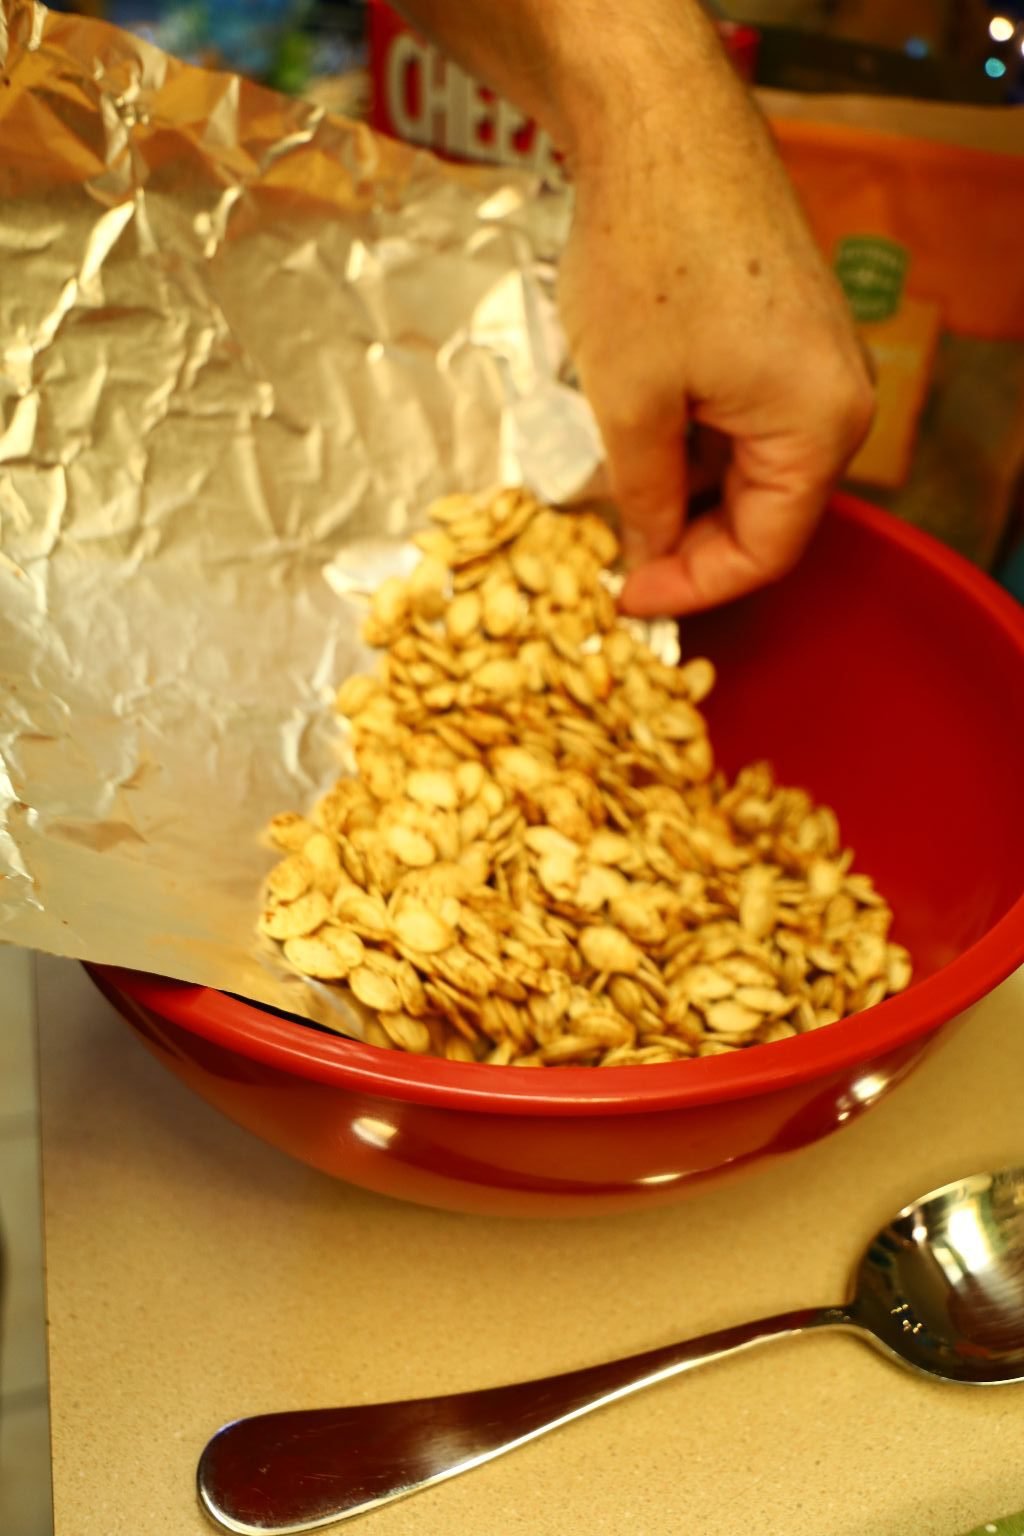

Now, pour in your Pumpkin Seeds and mix all the ingredients well.
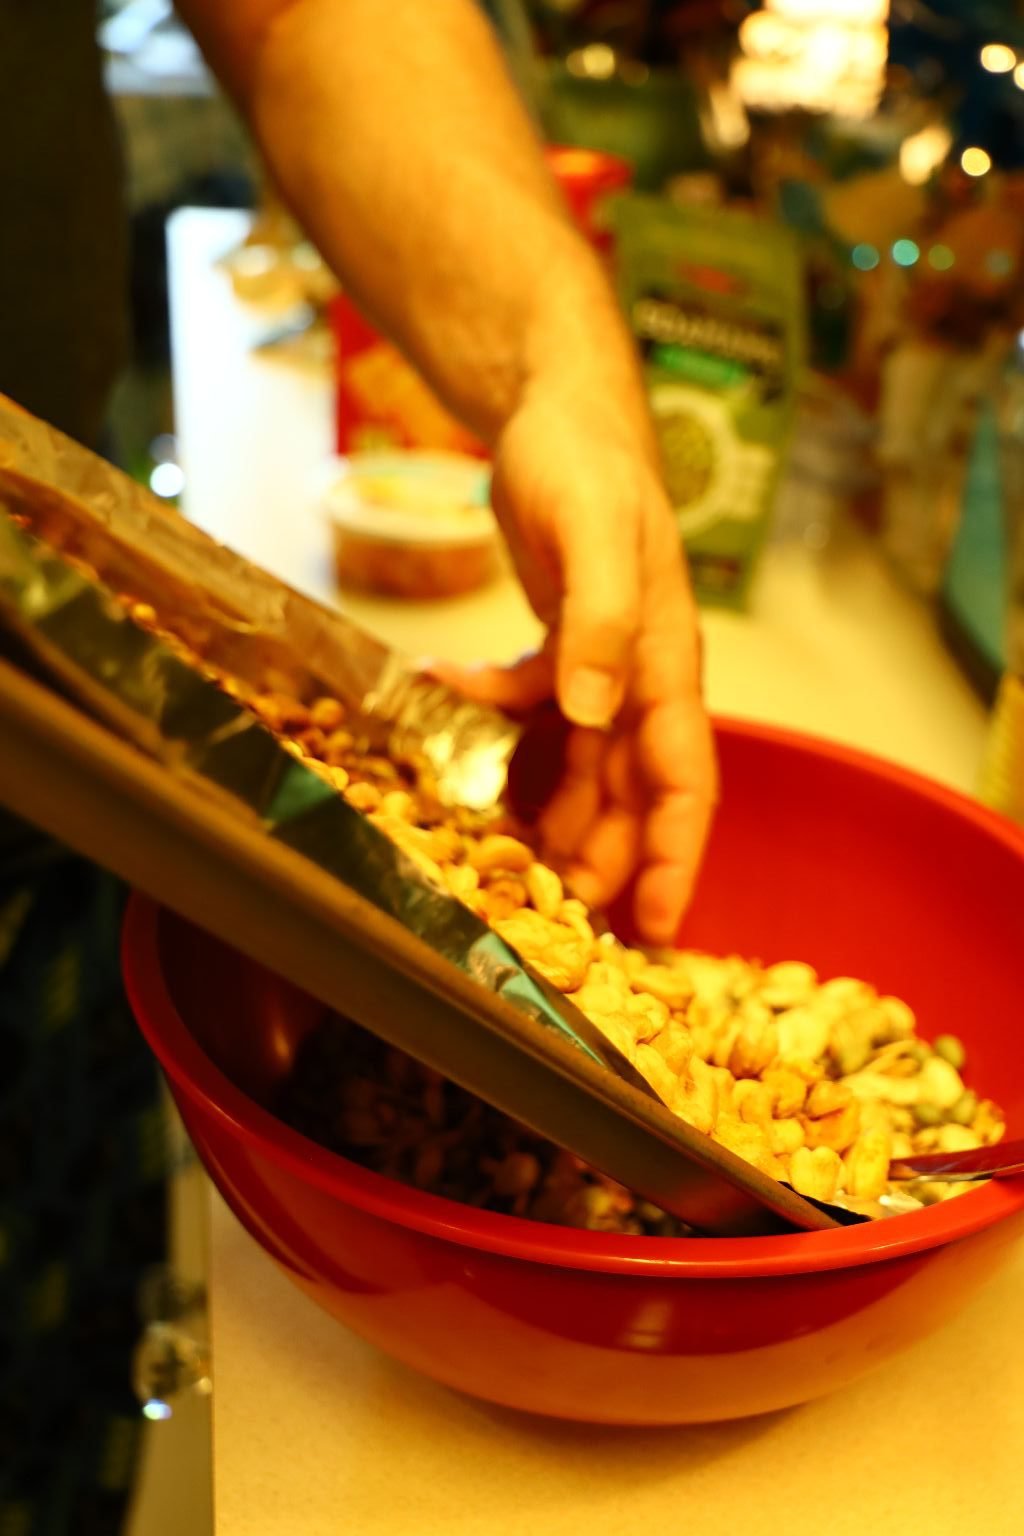
Then add your roasted Cashews and Pistachios and mix them well.


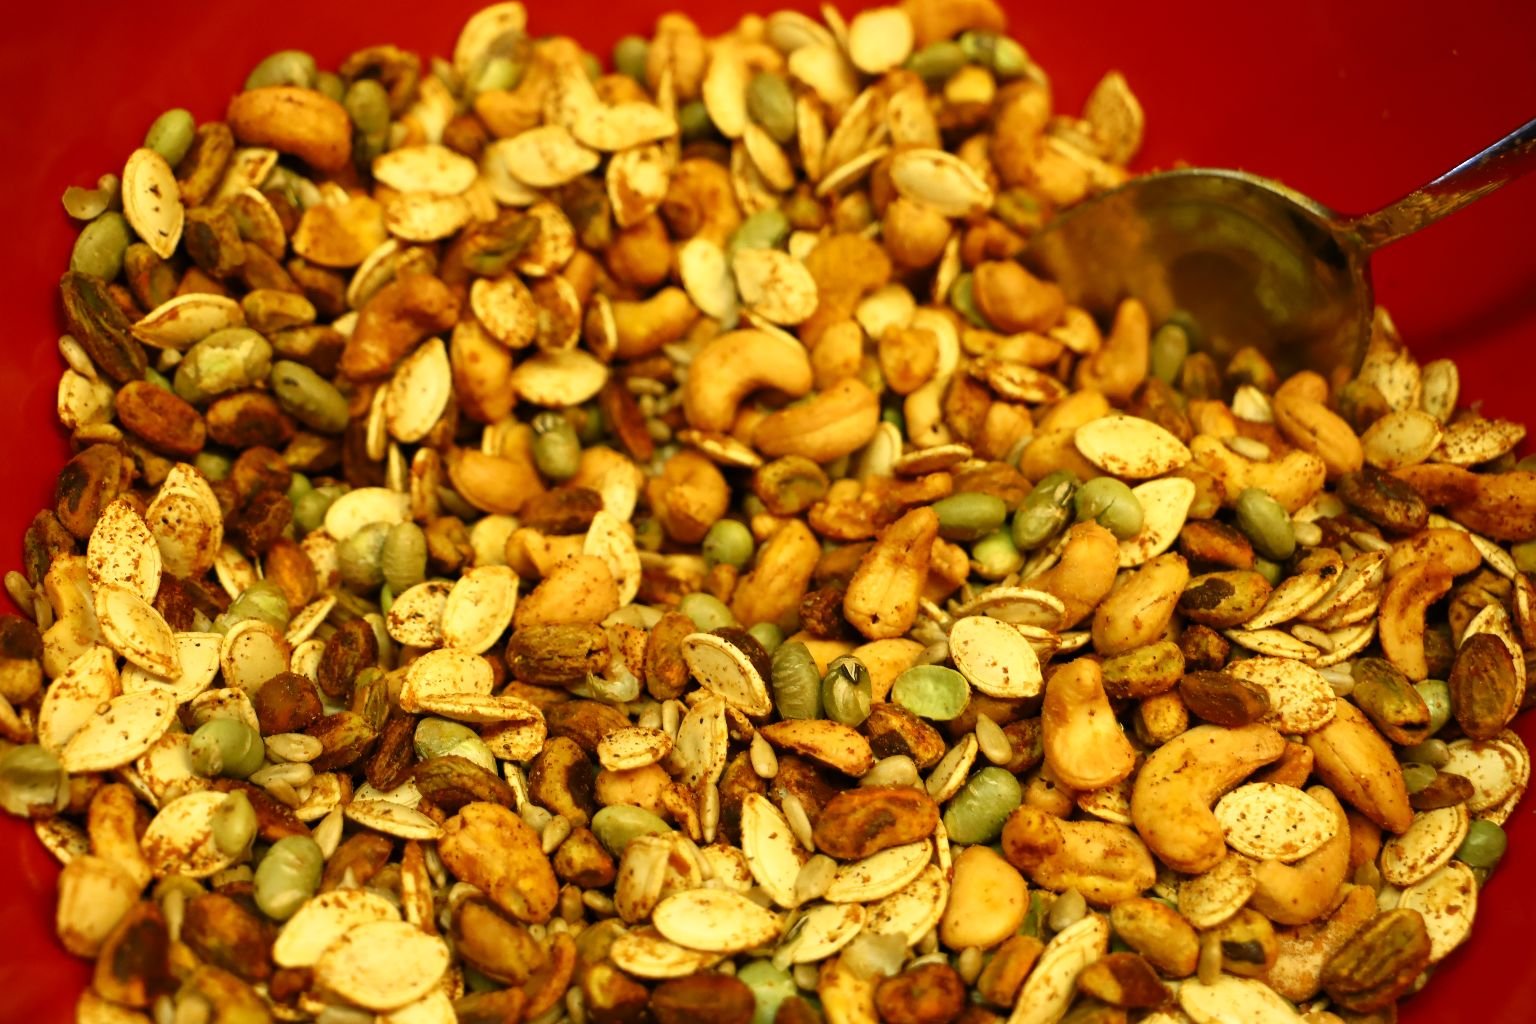
Lastly, add your Cheezit’s to the bowl and mix them with the other ingredients.
This mixture of crackers, nuts, and seeds went very well together and was a perfect addition to a nice cold beer and some Family Guy episodes!
Joe, Quagmire, Cleveland, and Peter
We thought the mixture of seeds and nuts and crackers represented the characters above.
Quagmire has a Japanese ancestry so the Wasabi Edamame was for him.
Cleveland would prefer the Pistachio’s and the Cheezit’s Crackers.
Joe would prefer the Sunflower Seeds and the Pumpkin Seeds.
And Peter would love the Cashews.
CHEERS!
—————————————————–

We. Are. Fam. Lee. Guuuuuuuuuuuuuy!
Bye, Have a Beautiful Time!