Tropical Hawaiian Cranberries and our Mele Kalikimaka me ka Hau’oli Makahiki Hou
Mele Kalikimaka, 2020

me ka Hou’oli Makahiki Hou!
———————————————–
Our Tropical Hawaiian Cranberry Sauce
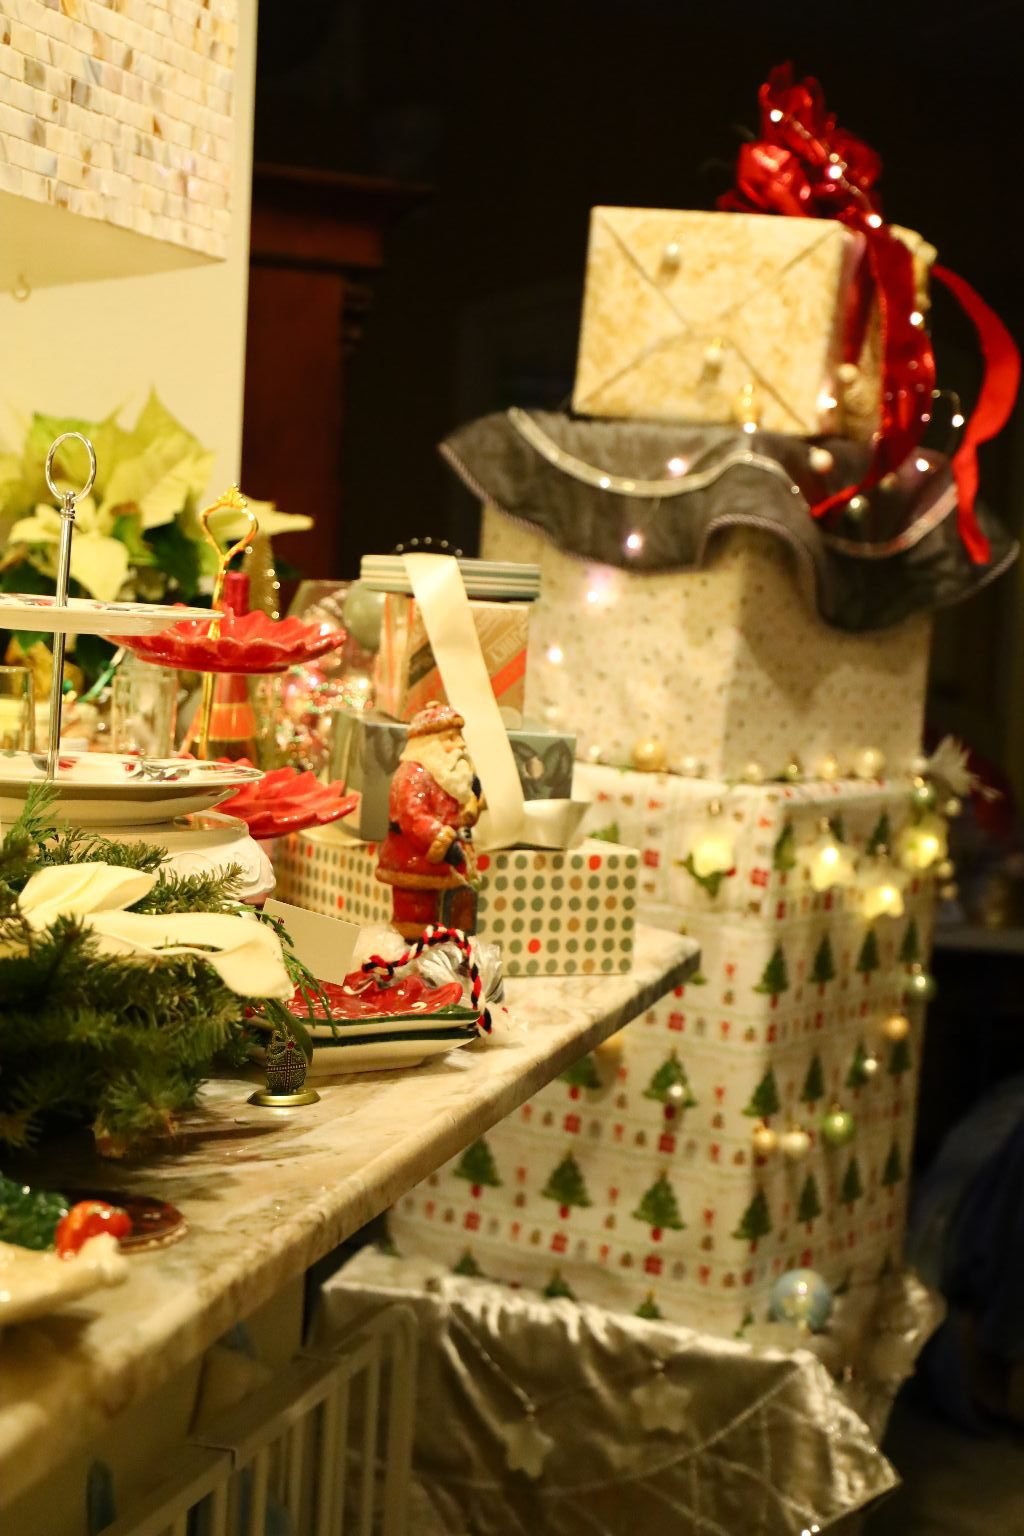
Canning and Christmas While Undergoing Home Renovations

We Still Managed to Have a Nice Kalikimaka
All of my Poi Balls
(I made them myself 23 years ago in Hawaii.)

I even managed to twirl my old Poi Balls that I found while our renovations were going on.
And I haven’t put them down since. 🙂
Poi Balls are originally from the Maori people of New Zealand but they do feature the twirling of poi balls at luau’s and Hawaiian celebrations. They honor the Polynesian cultures. I befriended a Maori woman named Trish Wolfenden, who lived in New Zealand and we became great friends. She was the granddaughter of a Maori Chief. Trish was a Girl Guide Leader in N.Z. and I was a Girl Scout leader in Hawaii. We would trade information from one troop leader to the other. We were also pen pal troops. It is because of my good friend Trish that I had my troop of girls to make the poi balls and we learned to twirl them. My son Brodie even knows how to twirl them. He was something of our Girl Scout mascot back in the day. 🙂
————————————————————–
Renovations
Christmas Week


You can see here how nice it looks underneath!
The contract coordinator did arrive on Christmas Eve to have Gordon to sign over a check.

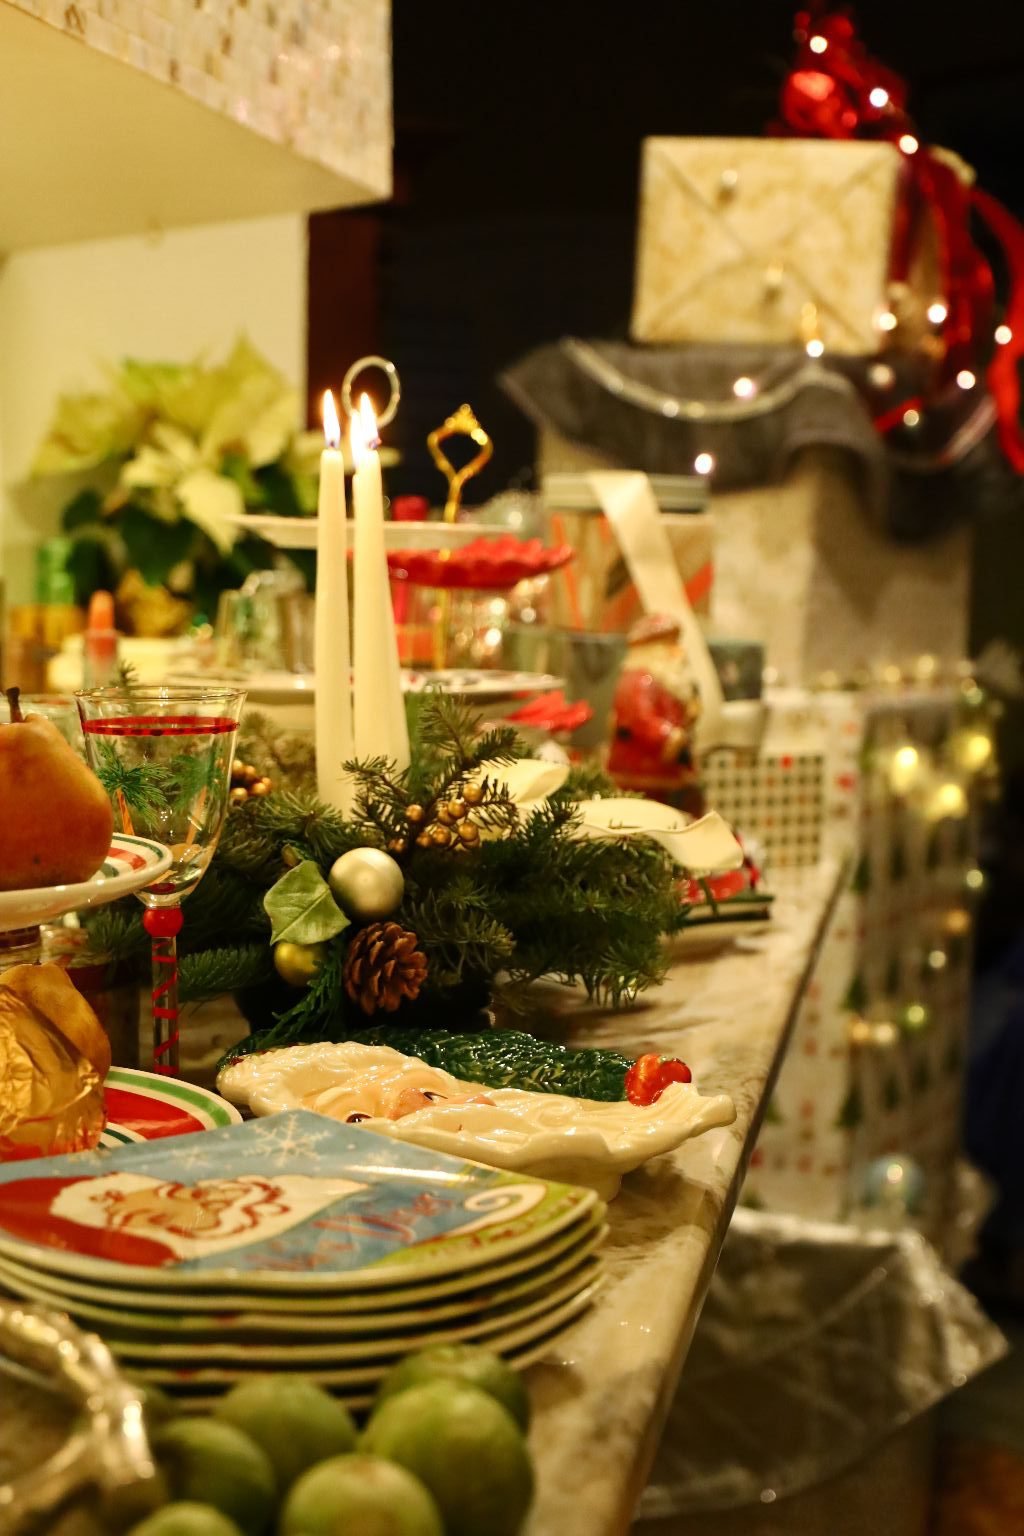
Our Christmas/Kalikimaka Kitchen
——————————————————–
Oh, we still have boxes everywhere. And the den is full of things that we need to get out of there and put back into our kitchen/nook/living room/dining room, but we are getting there. Gordon put the dog gate back up. Except this time he had the workers to reinforce the island from the inside construction so that it would have a strong supportive backing instead of him just screwing it into some drywall.


On Christmas Day we were literally laying shelf paper down as we were cooking our Christmas dinner.
(Check out that space between Gordon’s shirt and jeans.) 🙂
————————————————————
It was really nice making Christmas dinner in our new kitchen.
We veered from tradition, as usual, and created our own Christmas Dinner based on what we wanted to eat.
All Asian, and Hawaiian inspired.
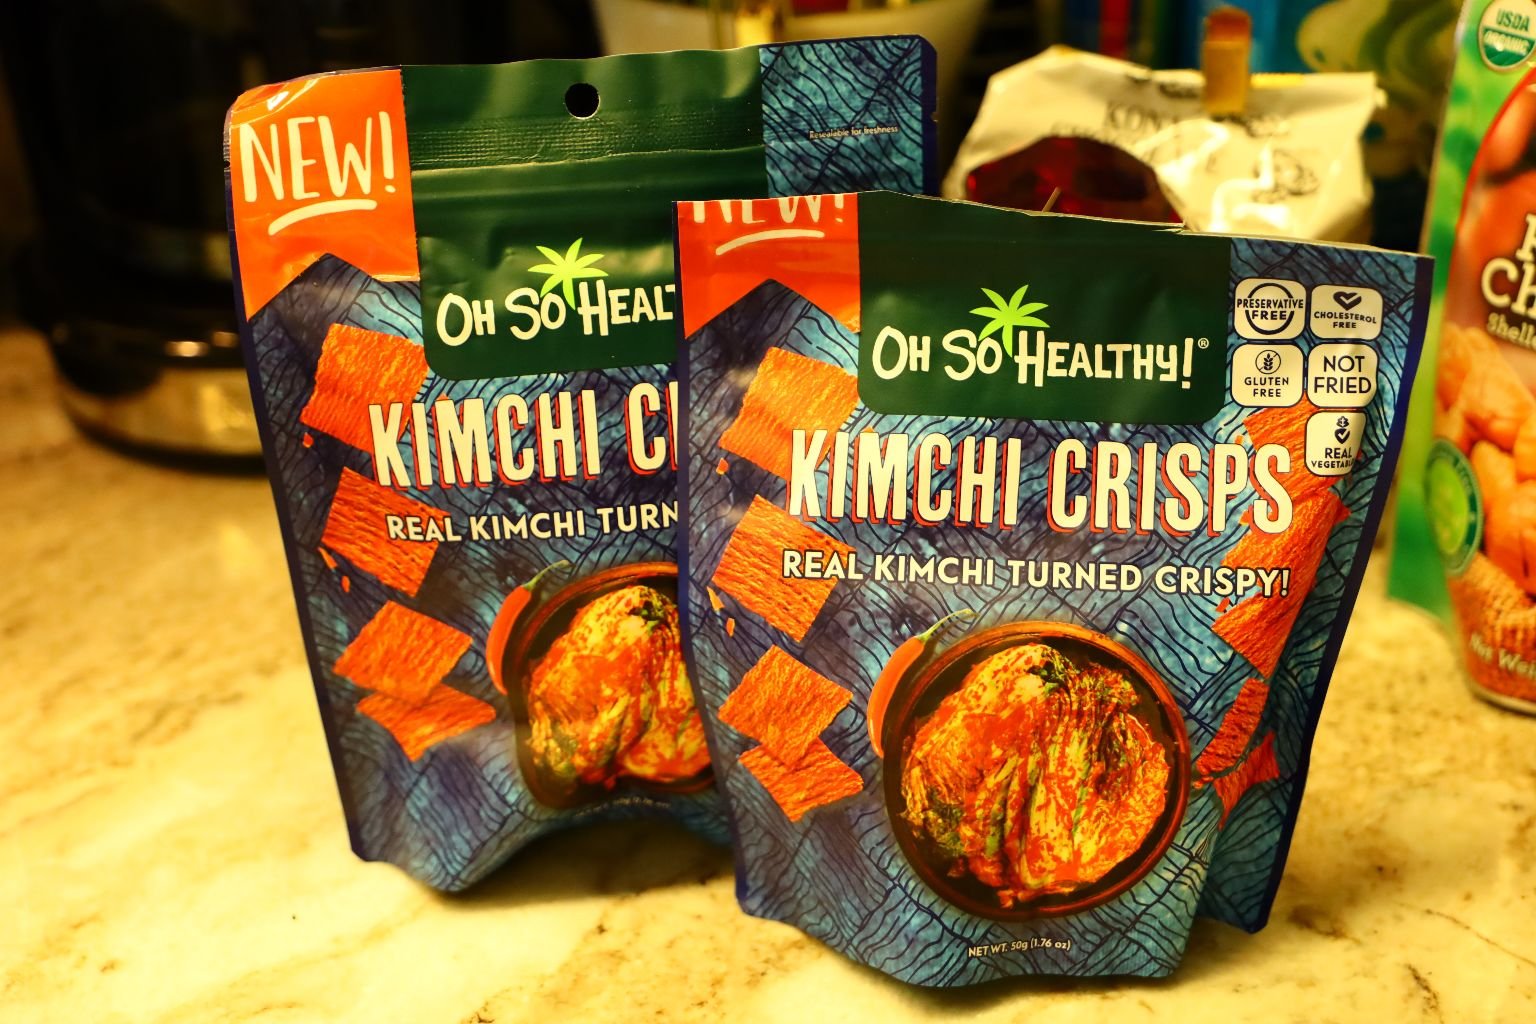
Just a Little Snack
———————————————————–
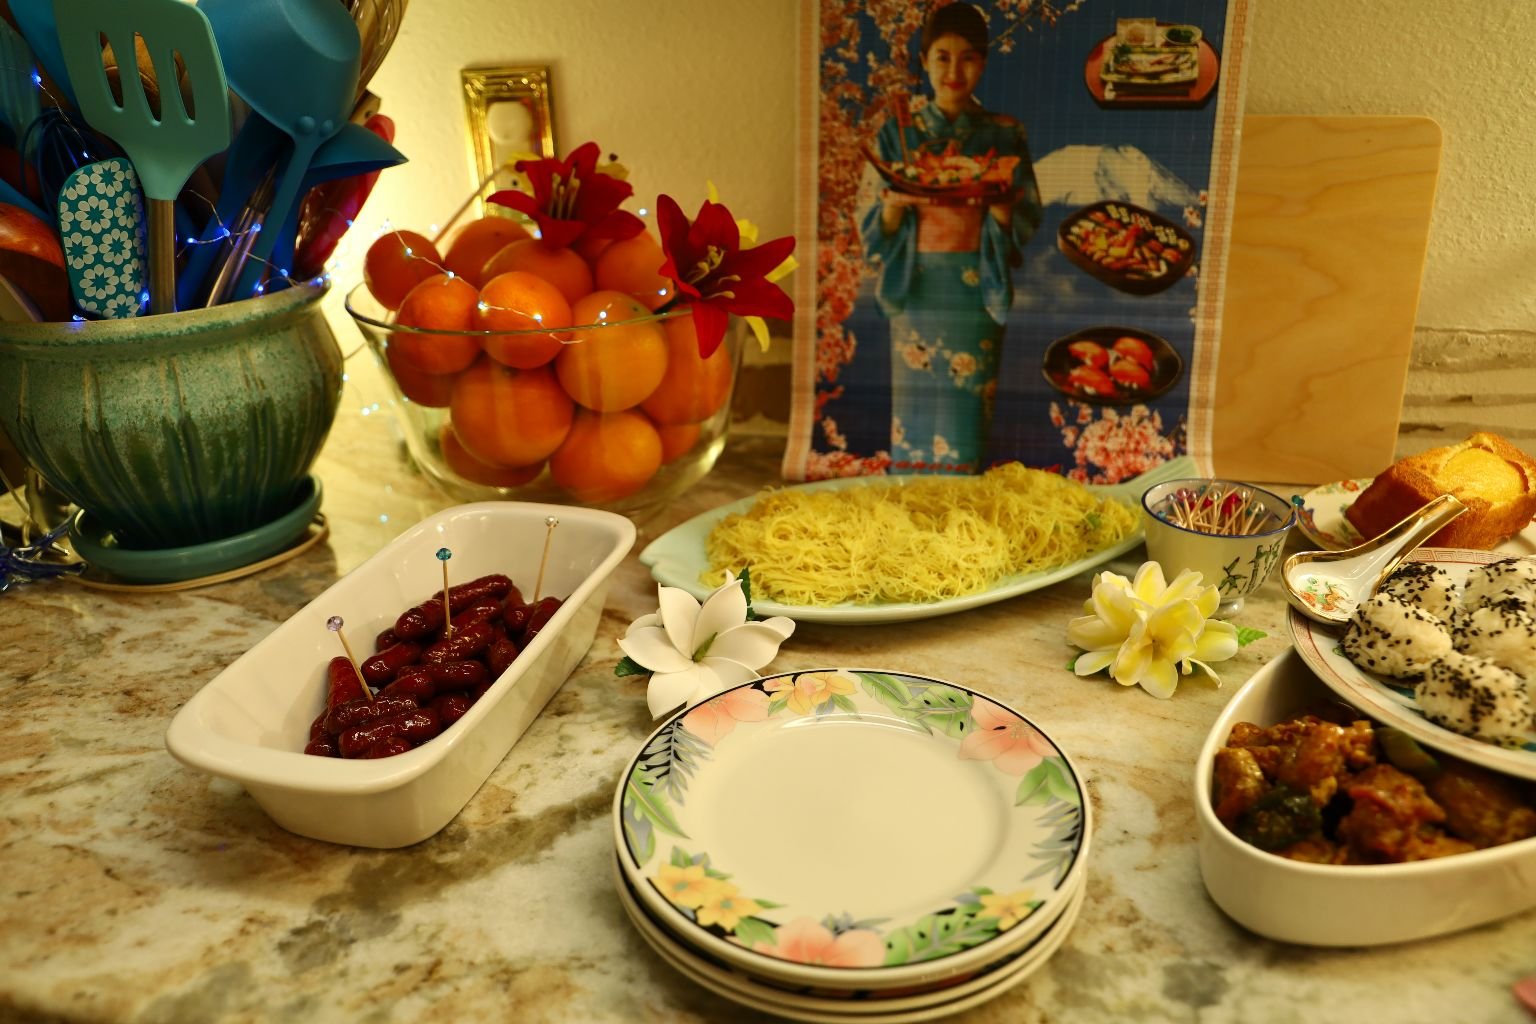
Our Kalikimaka Eve Dinner
(You can see that we have no backsplash at this time, but we do love our new counter tops.)
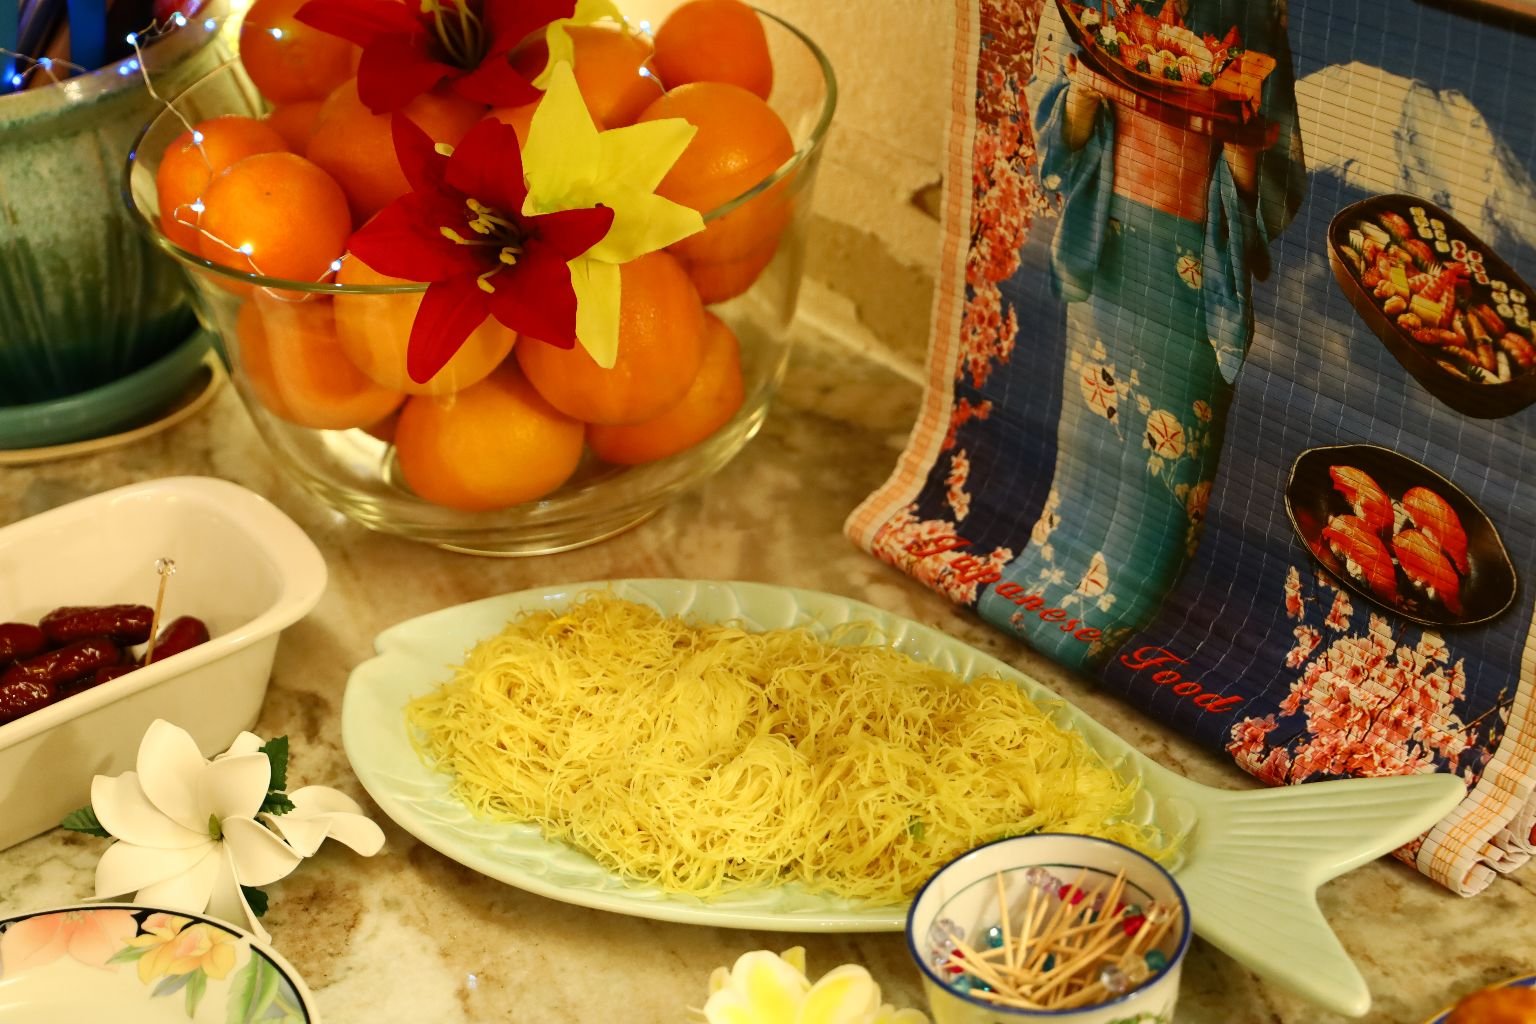
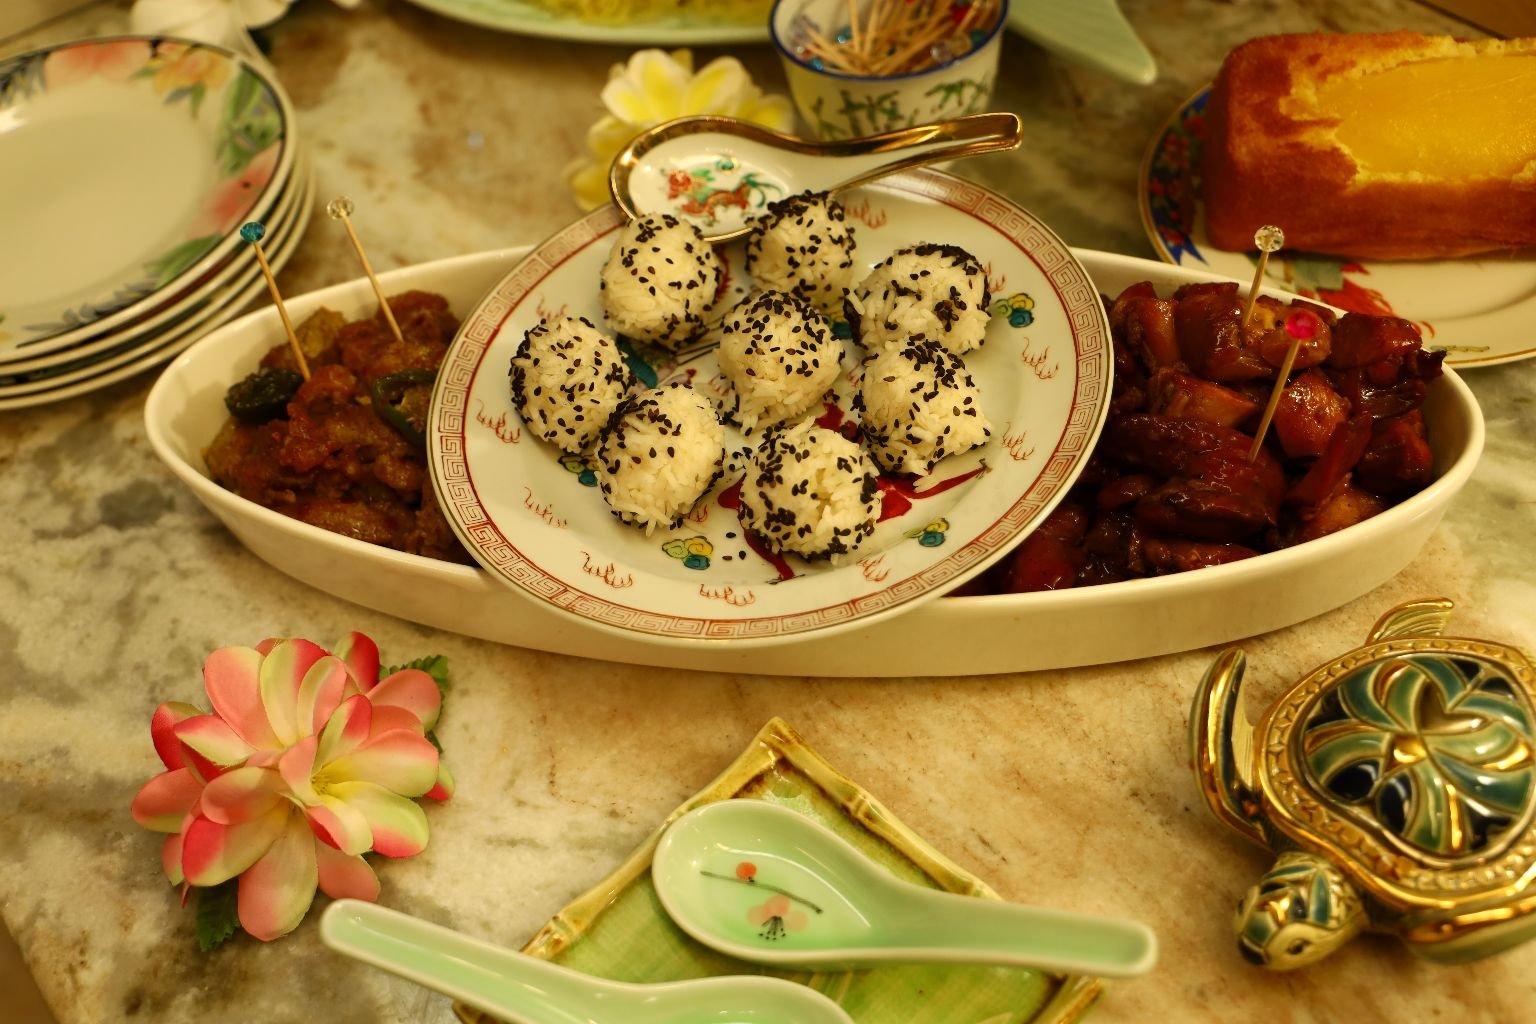
Cocktail Sausages and Rice Vermicelli
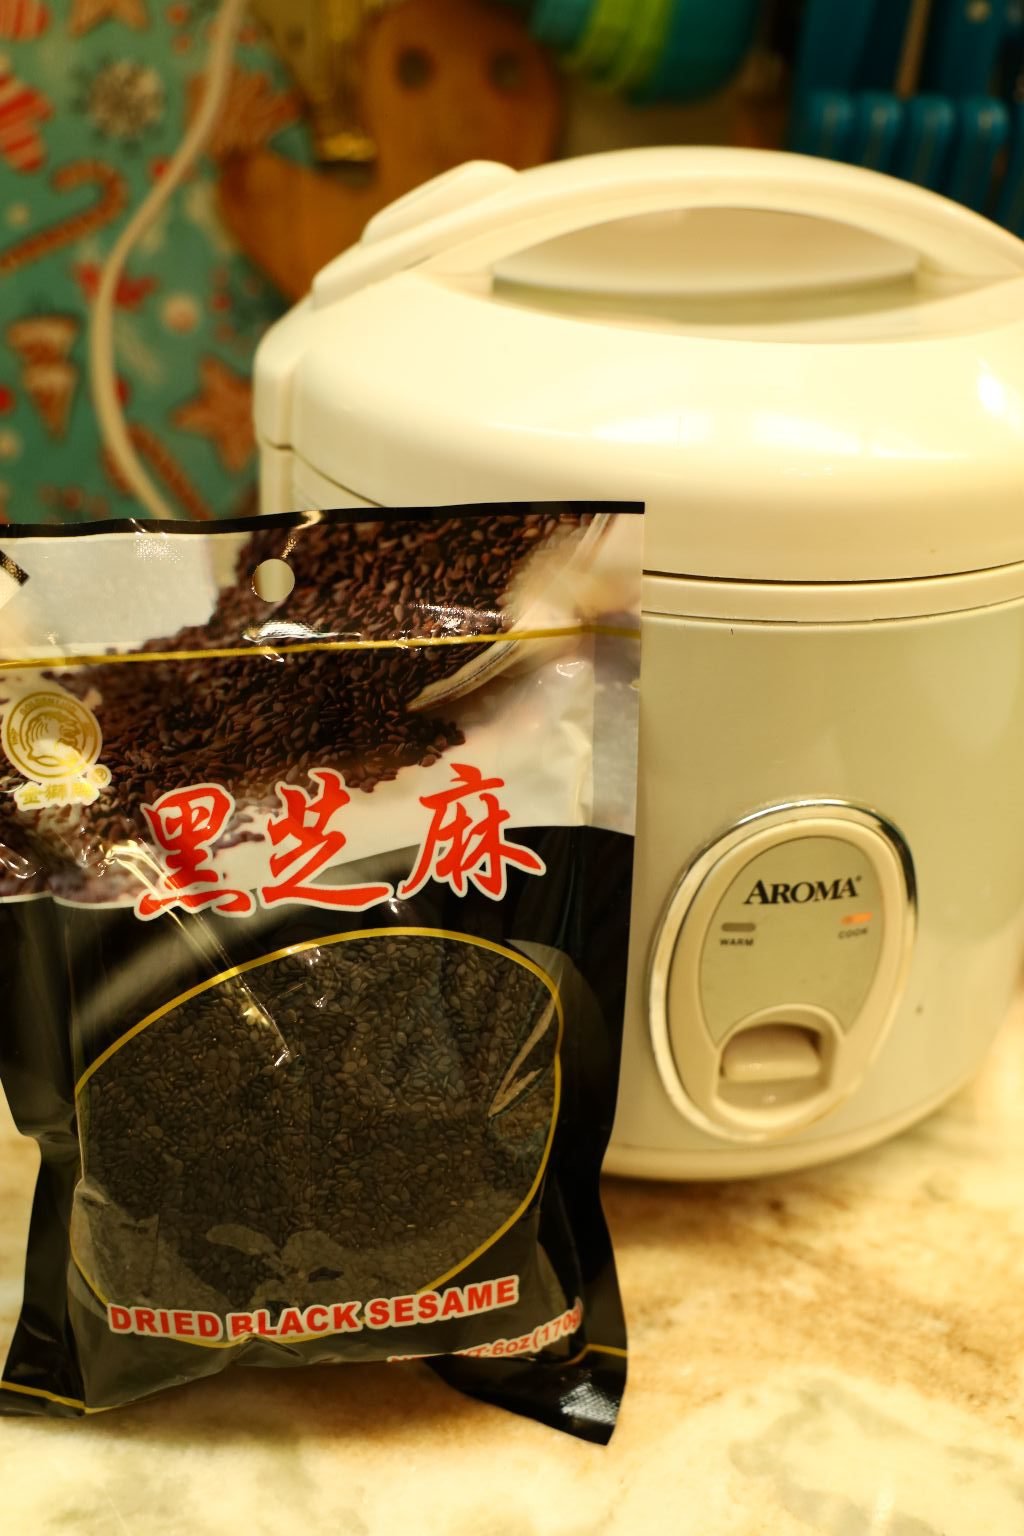
Making Sticky Rice for Rice Balls, to Roll in Black Sesame Seeds
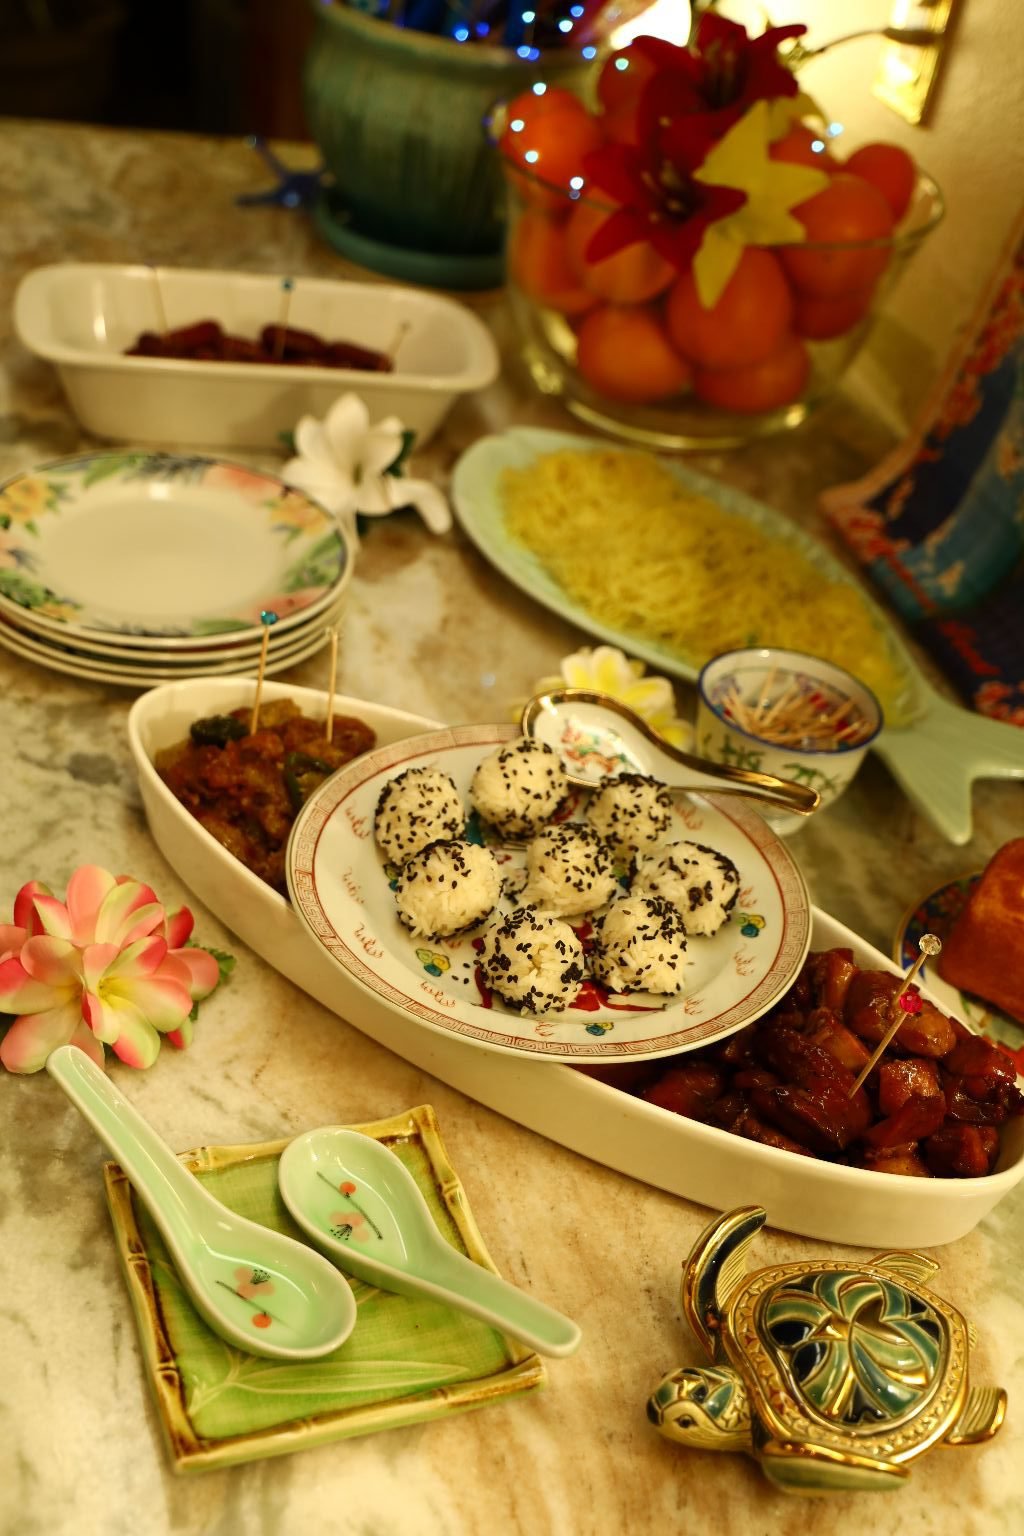
Our Pretty Rice Balls
We Grabbed Take Out From The Asian Supermarket
Boubon Chicken and Pepper Chicken

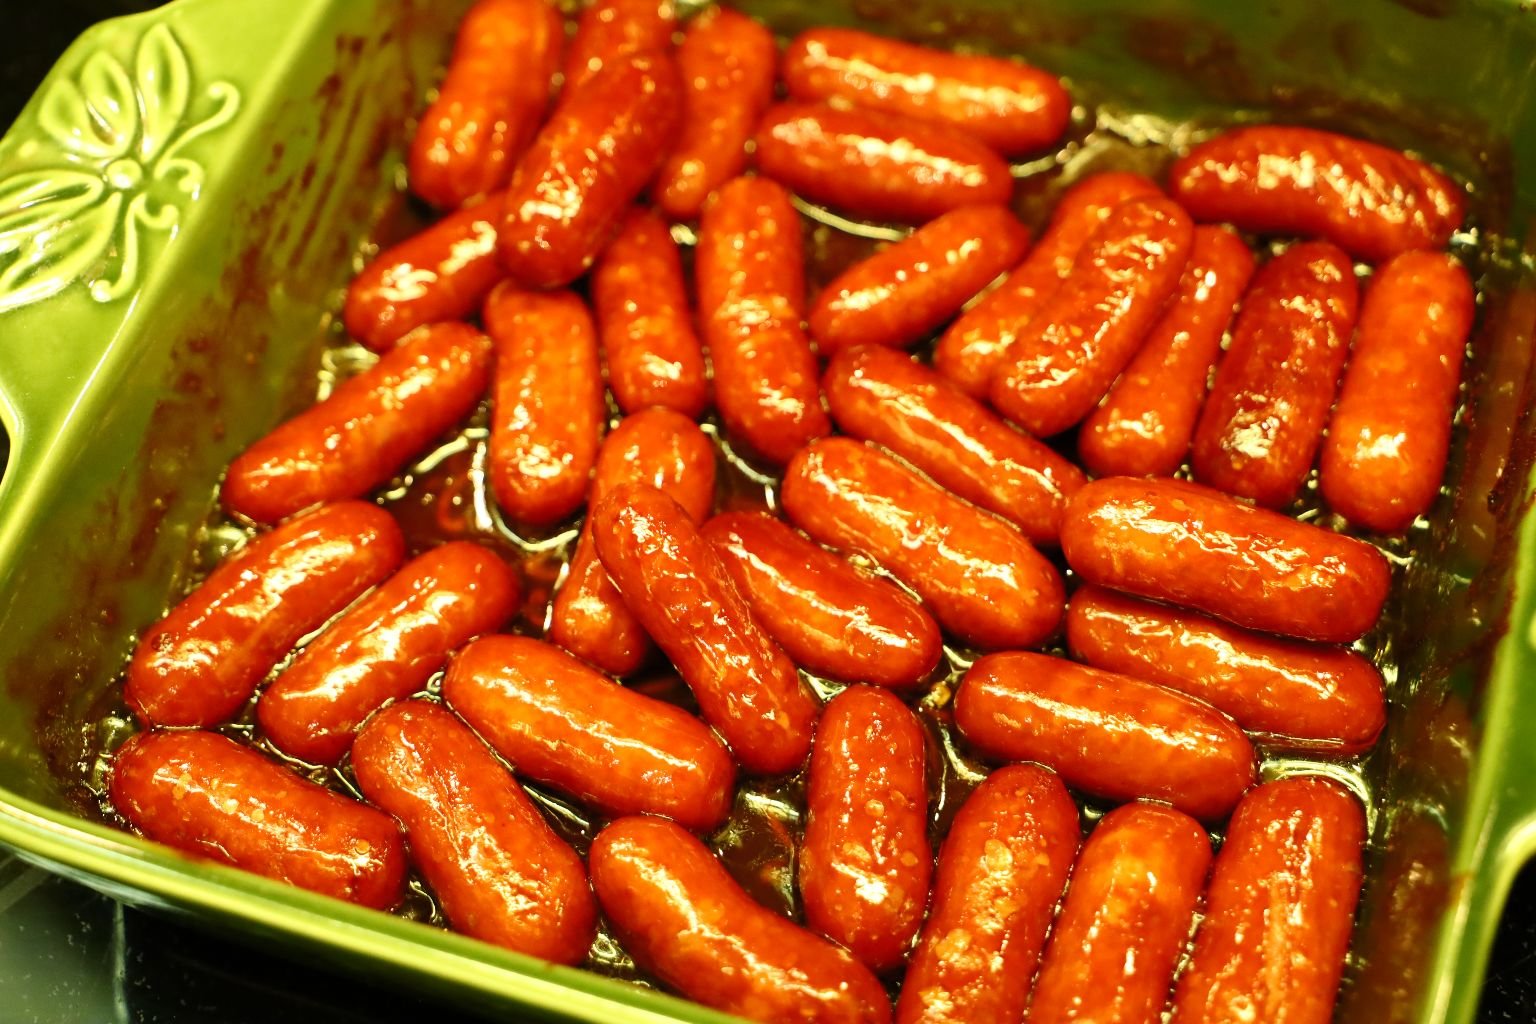
A Better View of our Cocktail Sausages
(Recipe Down Below)
——————————————————————
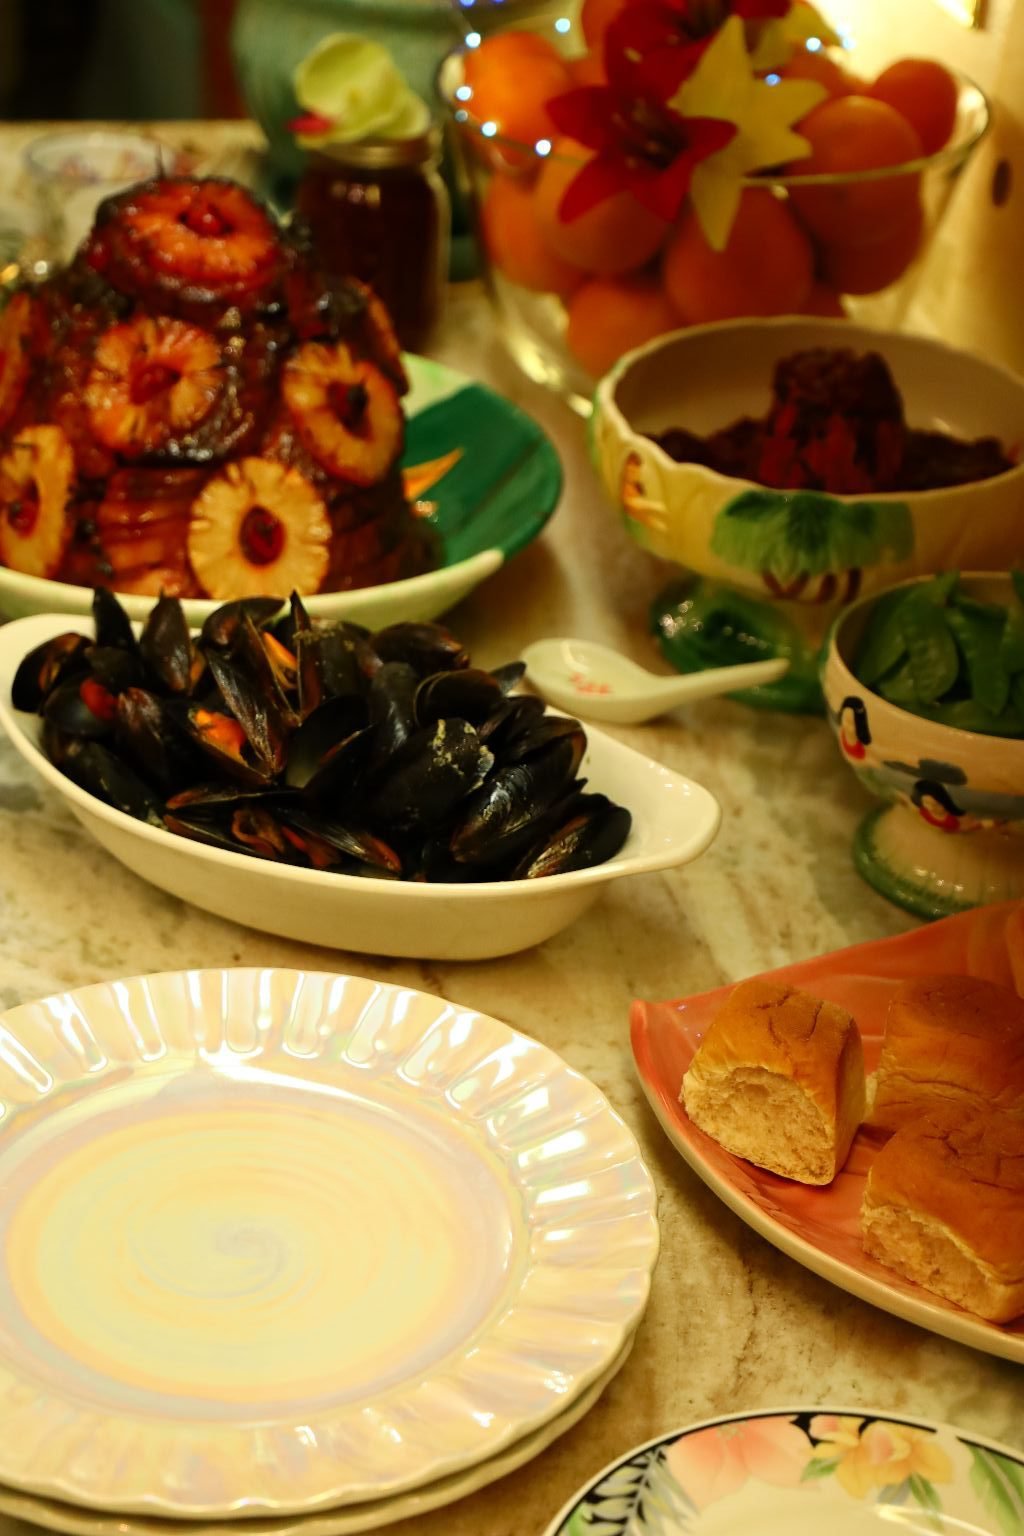
Mele Kalikimaka
(Merry Christmas Dinner)

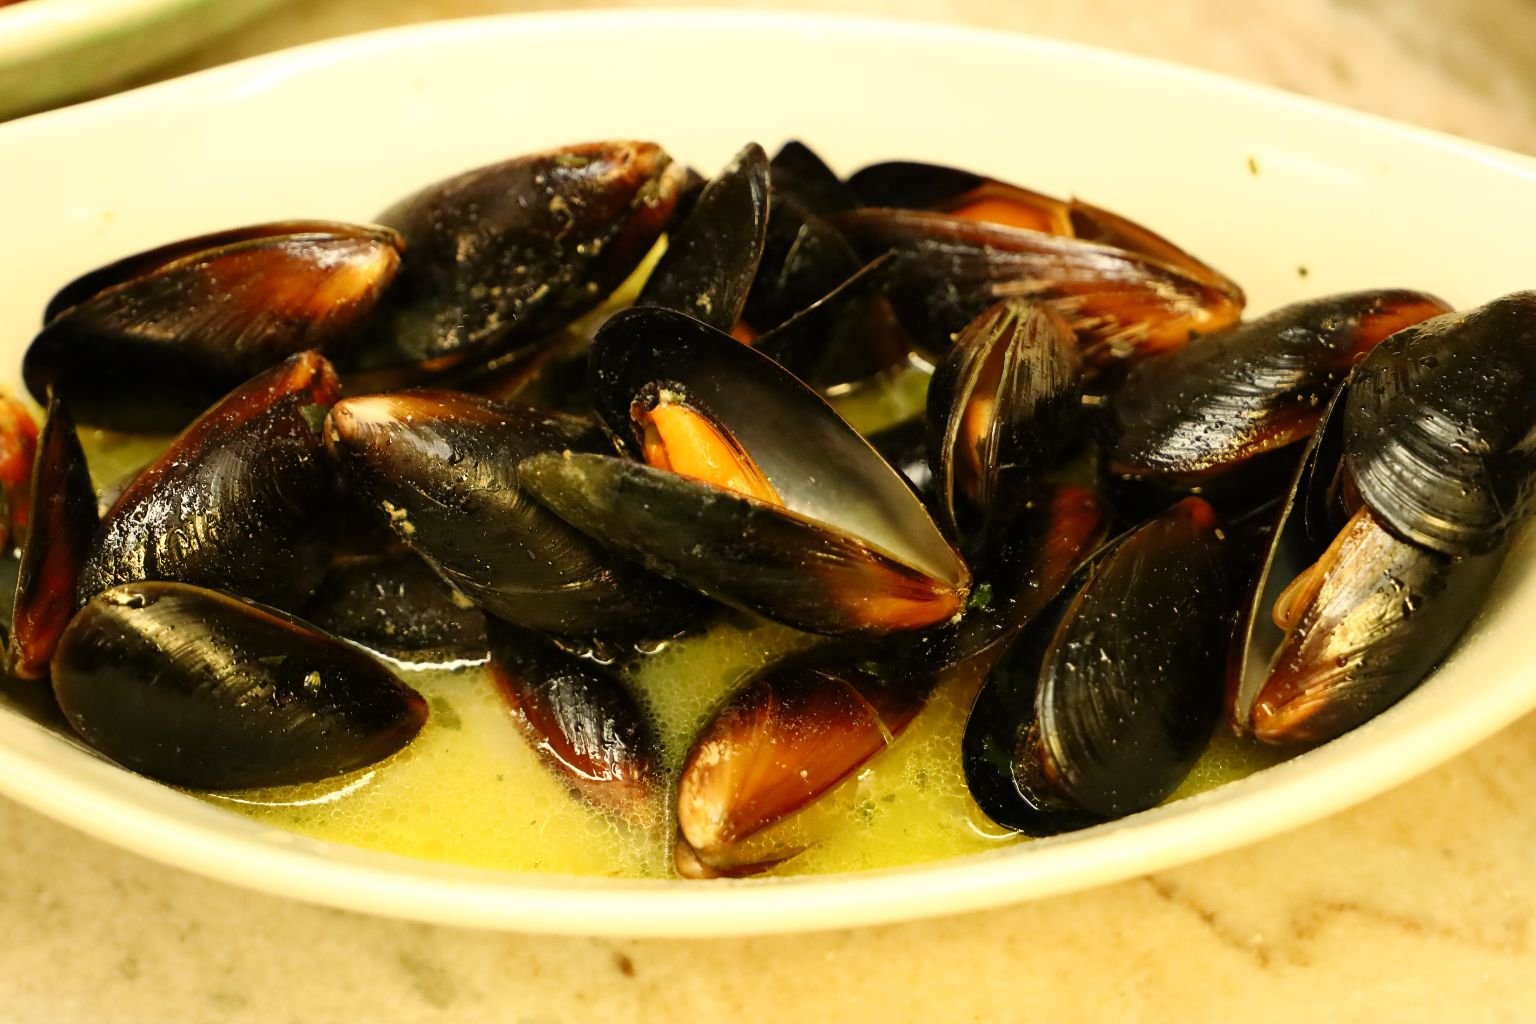
New Zealand Mussels
An Asian Inspired Pasta Salad, Steamed Mussels….
————————————————————-
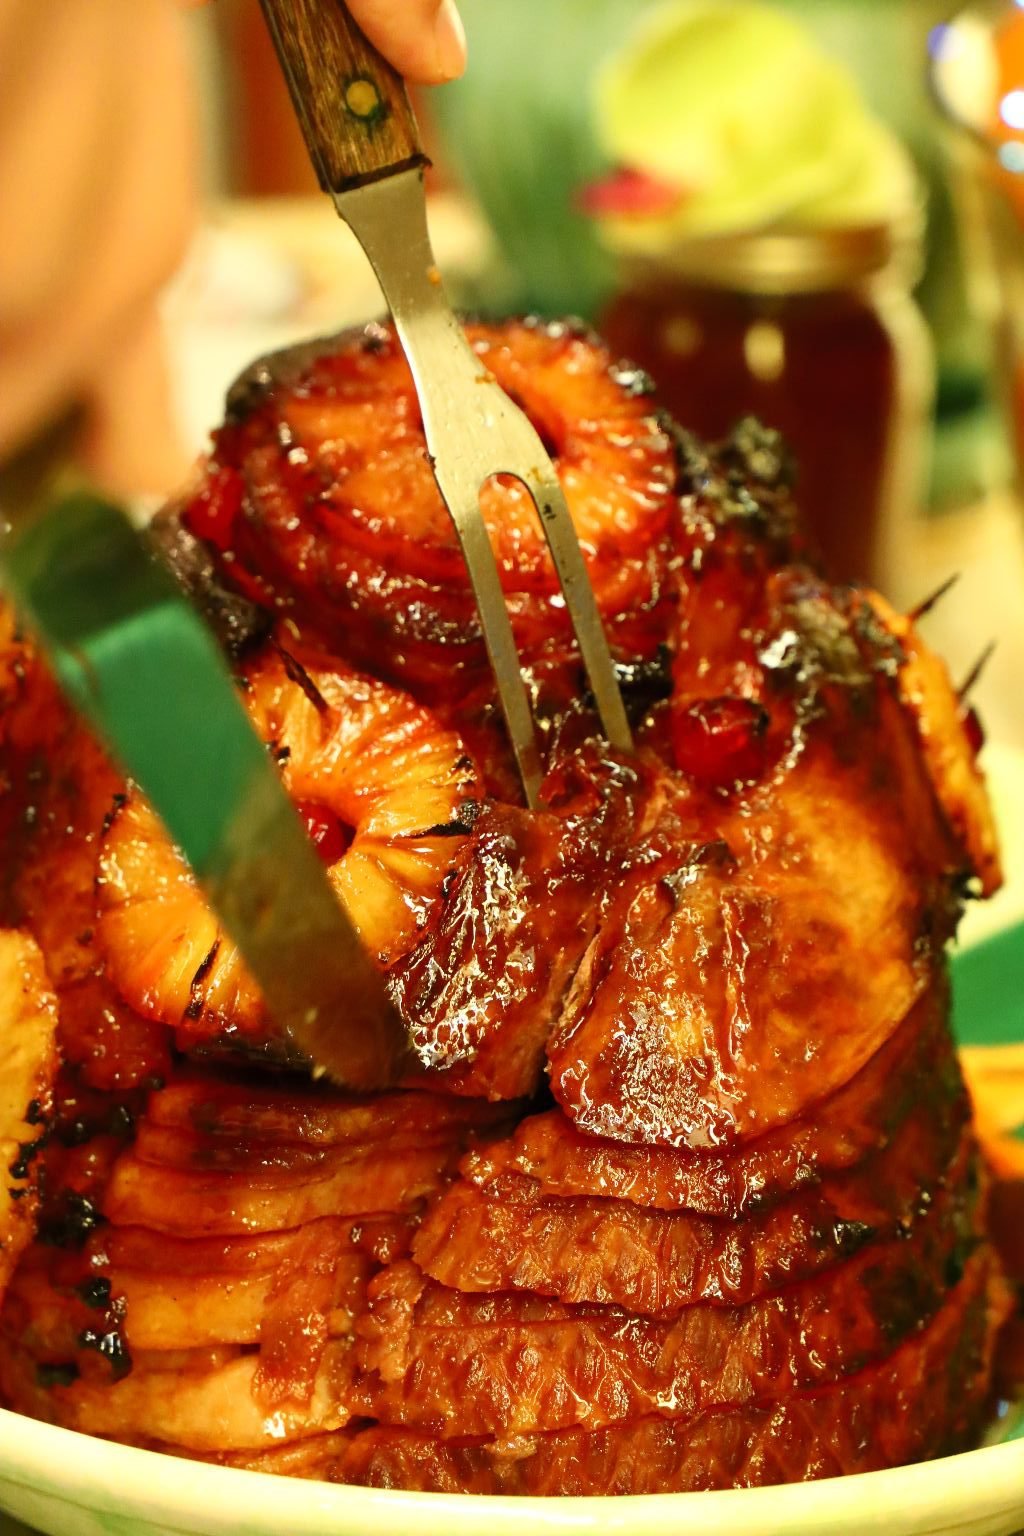
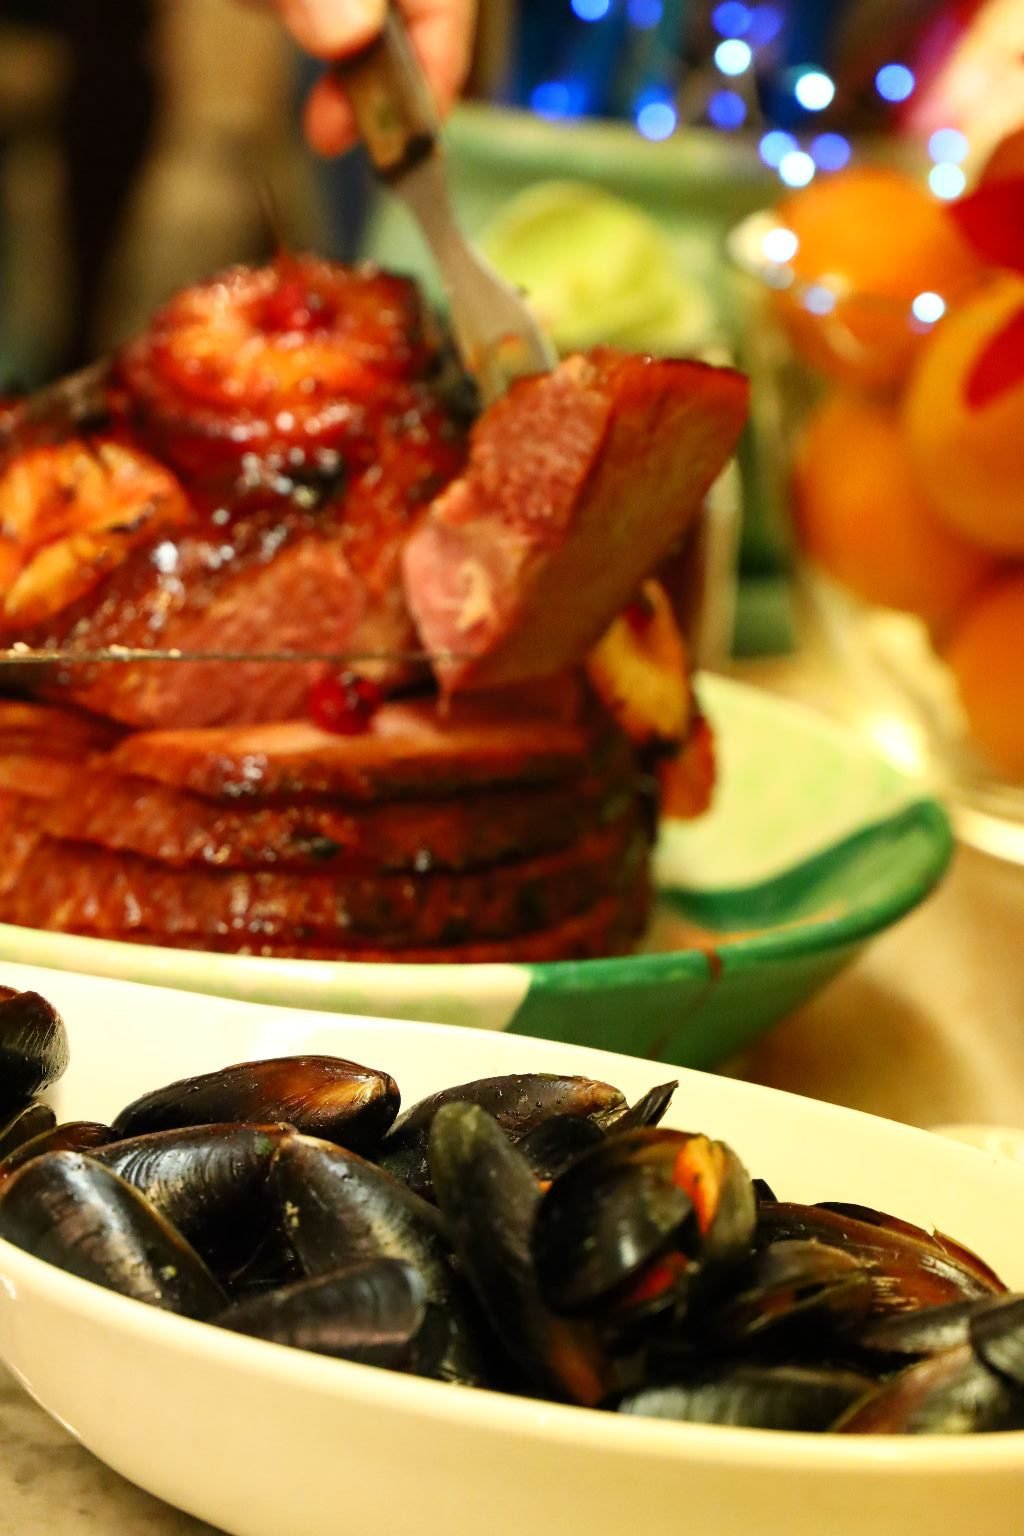
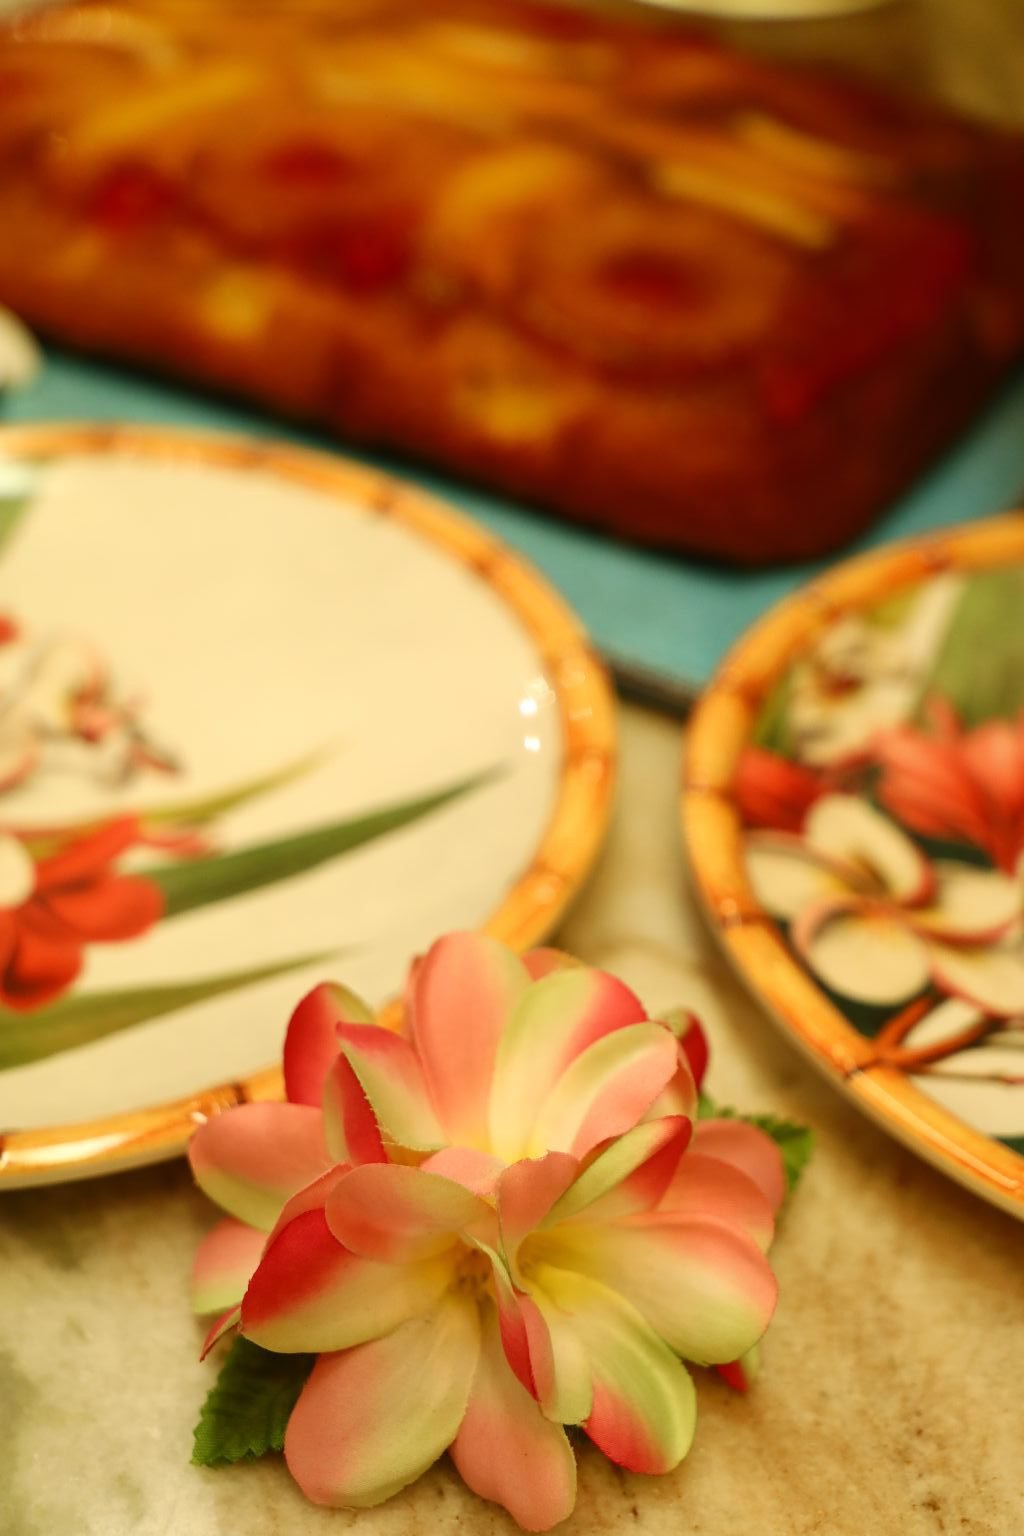
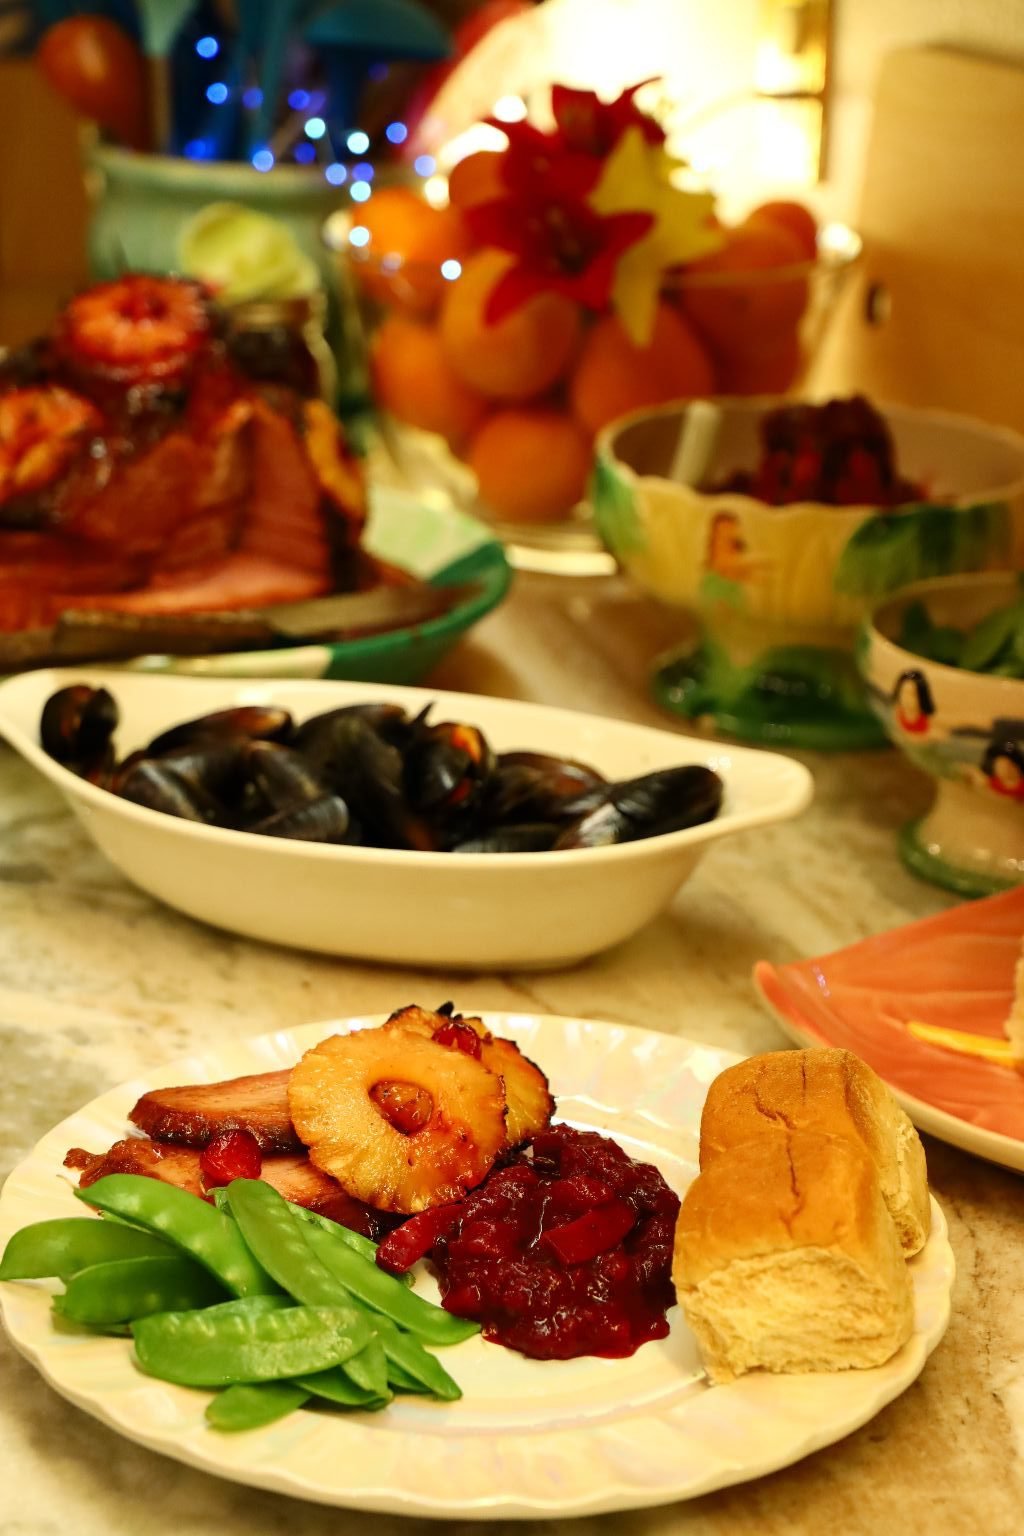
Baked Ham….w/ Pineapple and Cherries

Our Tropical Hawaiian Cranberries….

..In My Charming Vintage Hawaiian Bowls
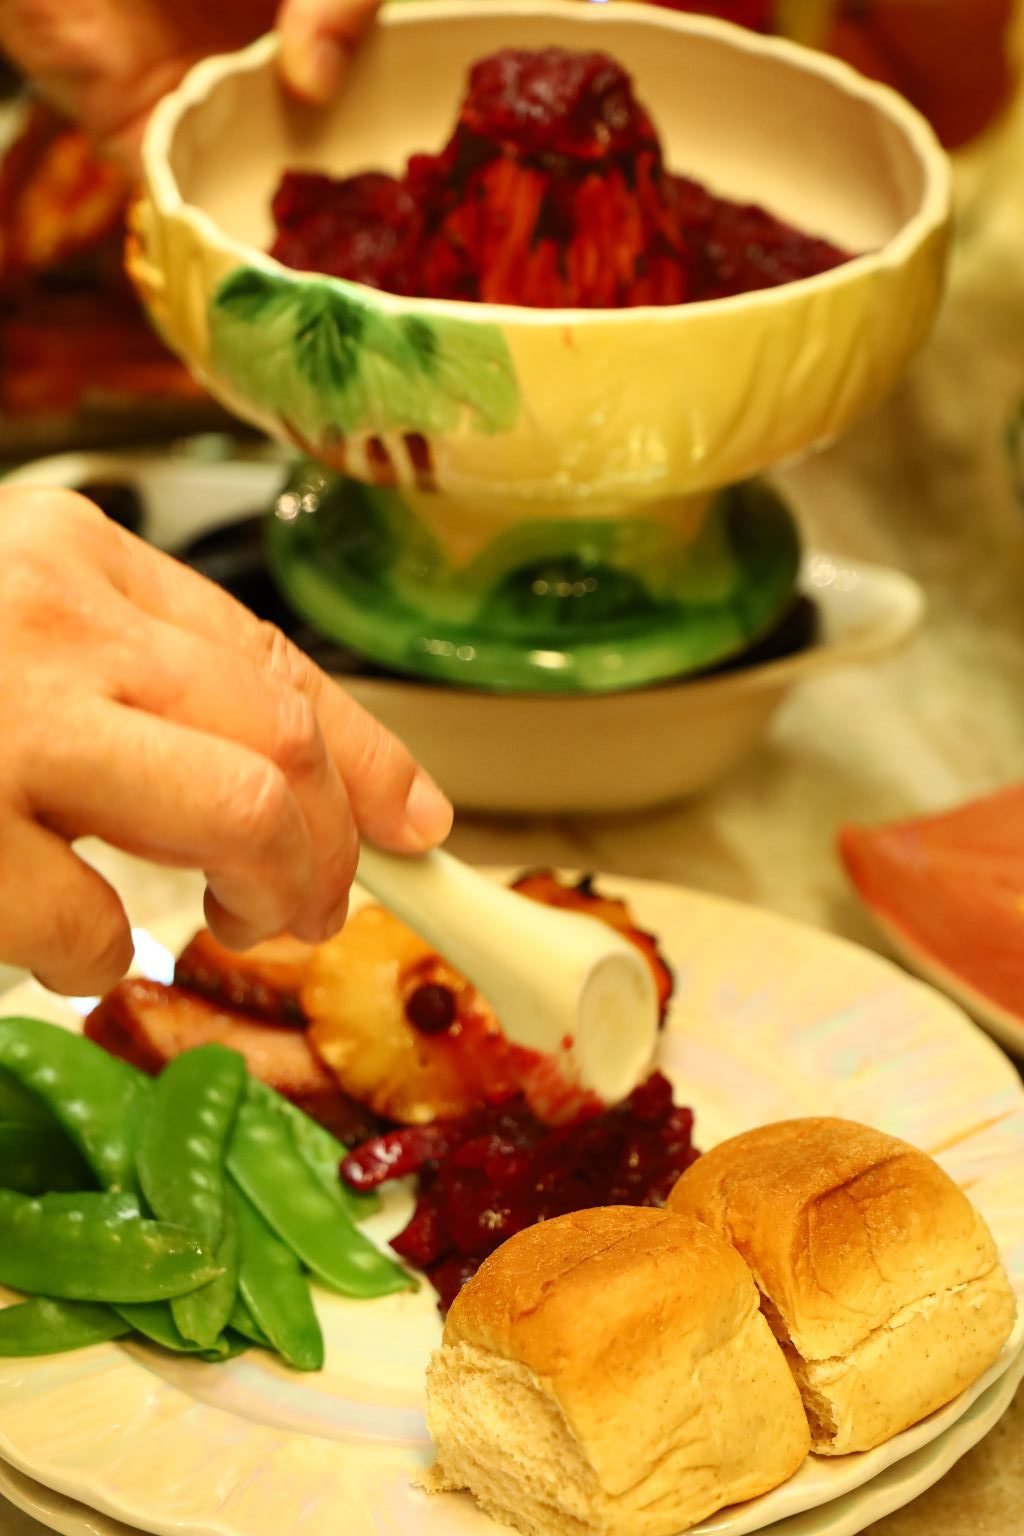
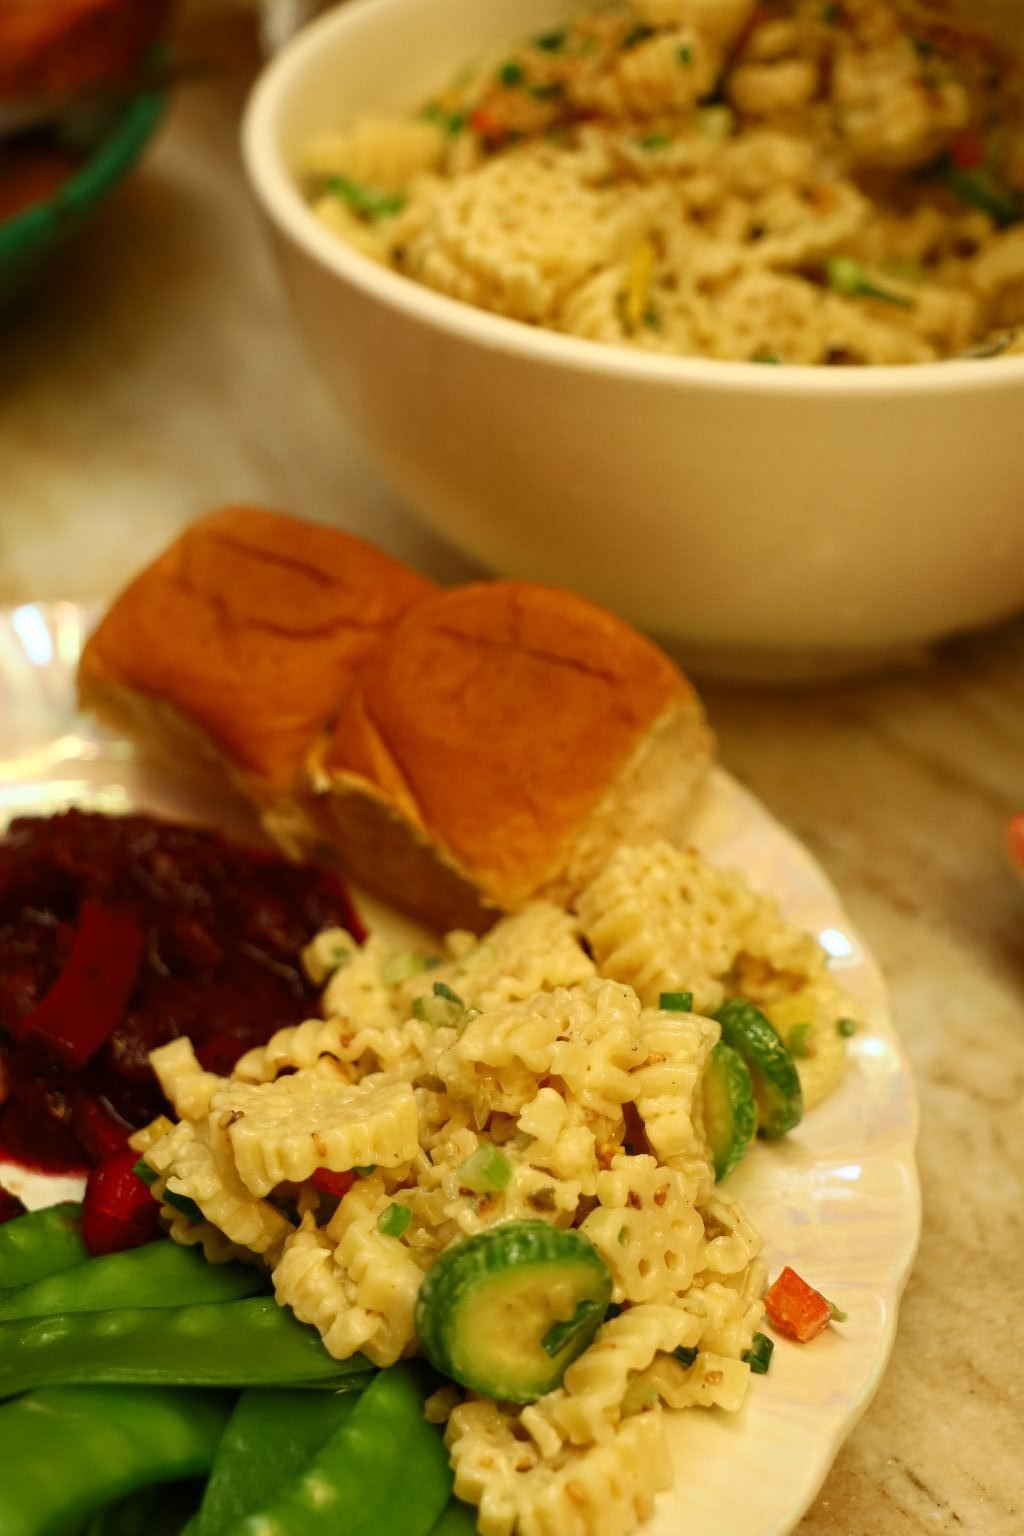
Sweet Hawaiian Dinner Rolls and Snow Peas.

——————————————————————
And,

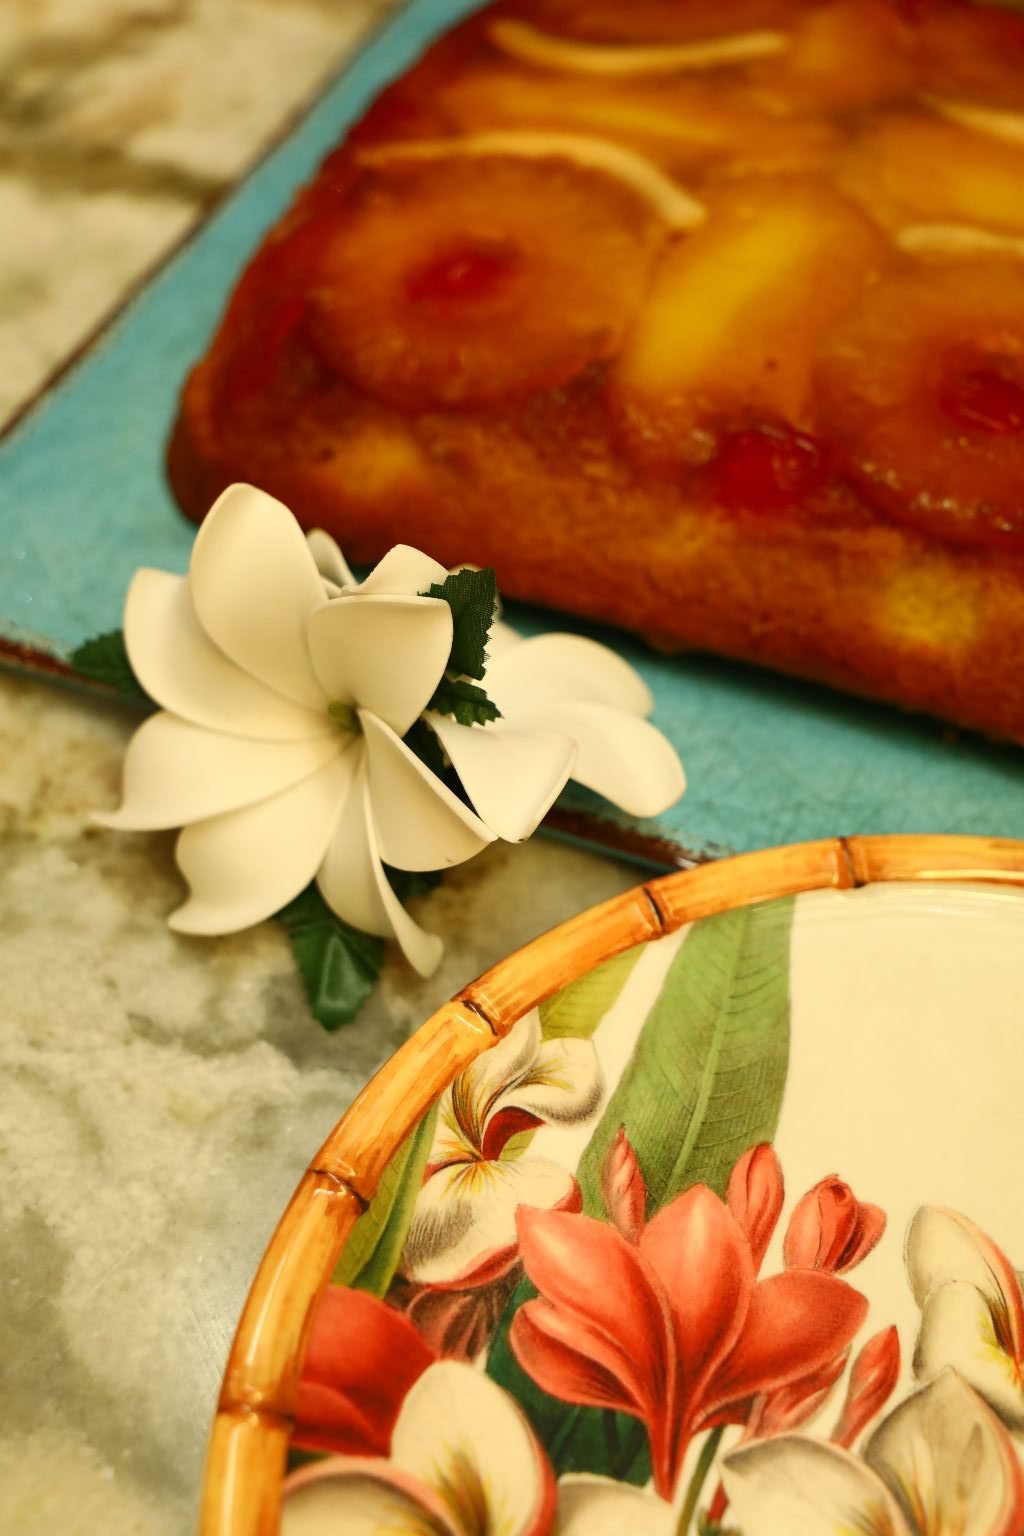
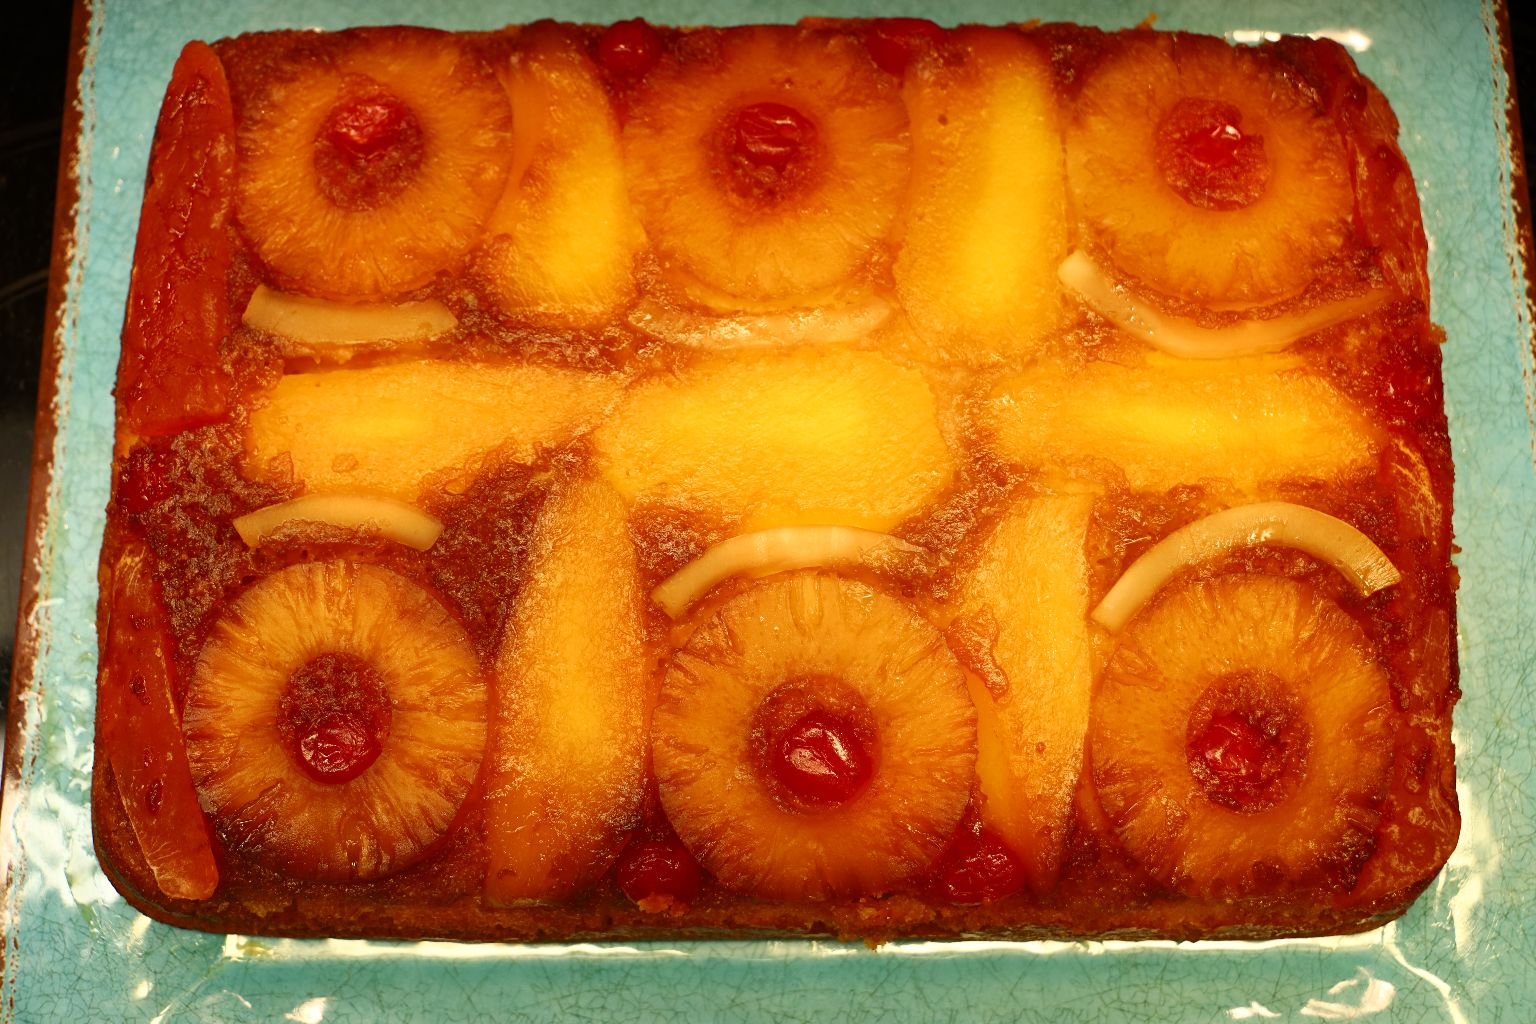
Pineapple, Mango, Papaya, Coconut and Cherry Upside Down Cake
(Recipes Down Below)
————————————————————————–
The Morning After Kalikimaka

Breakfast of Grits, Leftover Ham and Hawaiian Dinner Rolls
—————————————————–

Lunch
Crispy Taro Fries and Dipping Sauce….

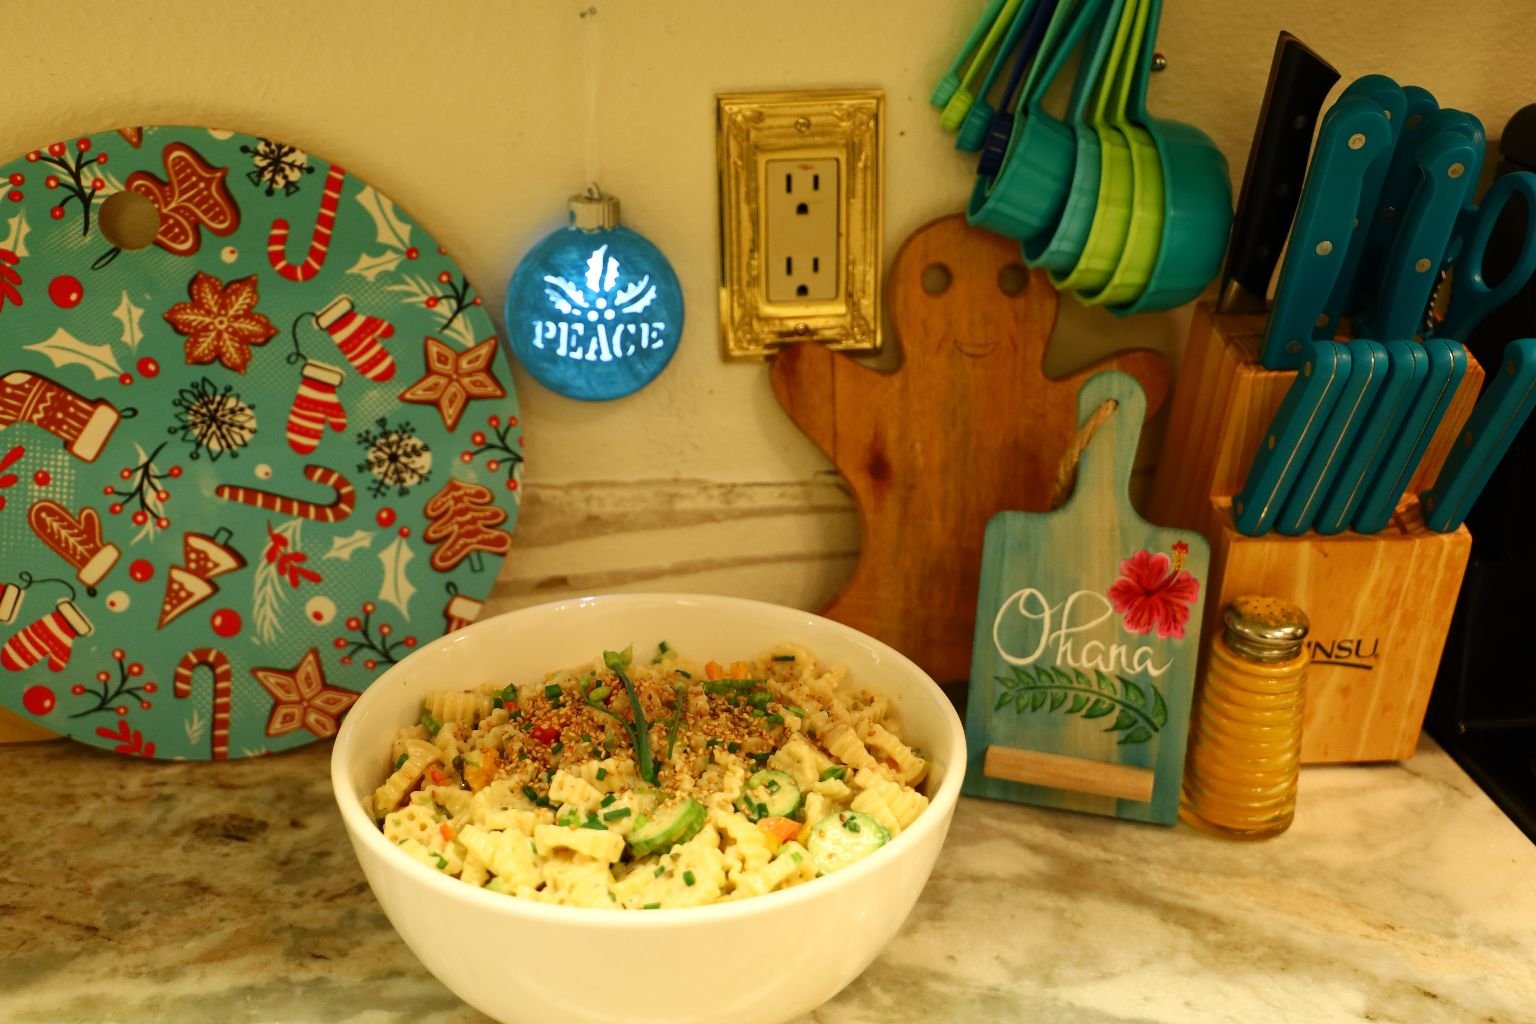
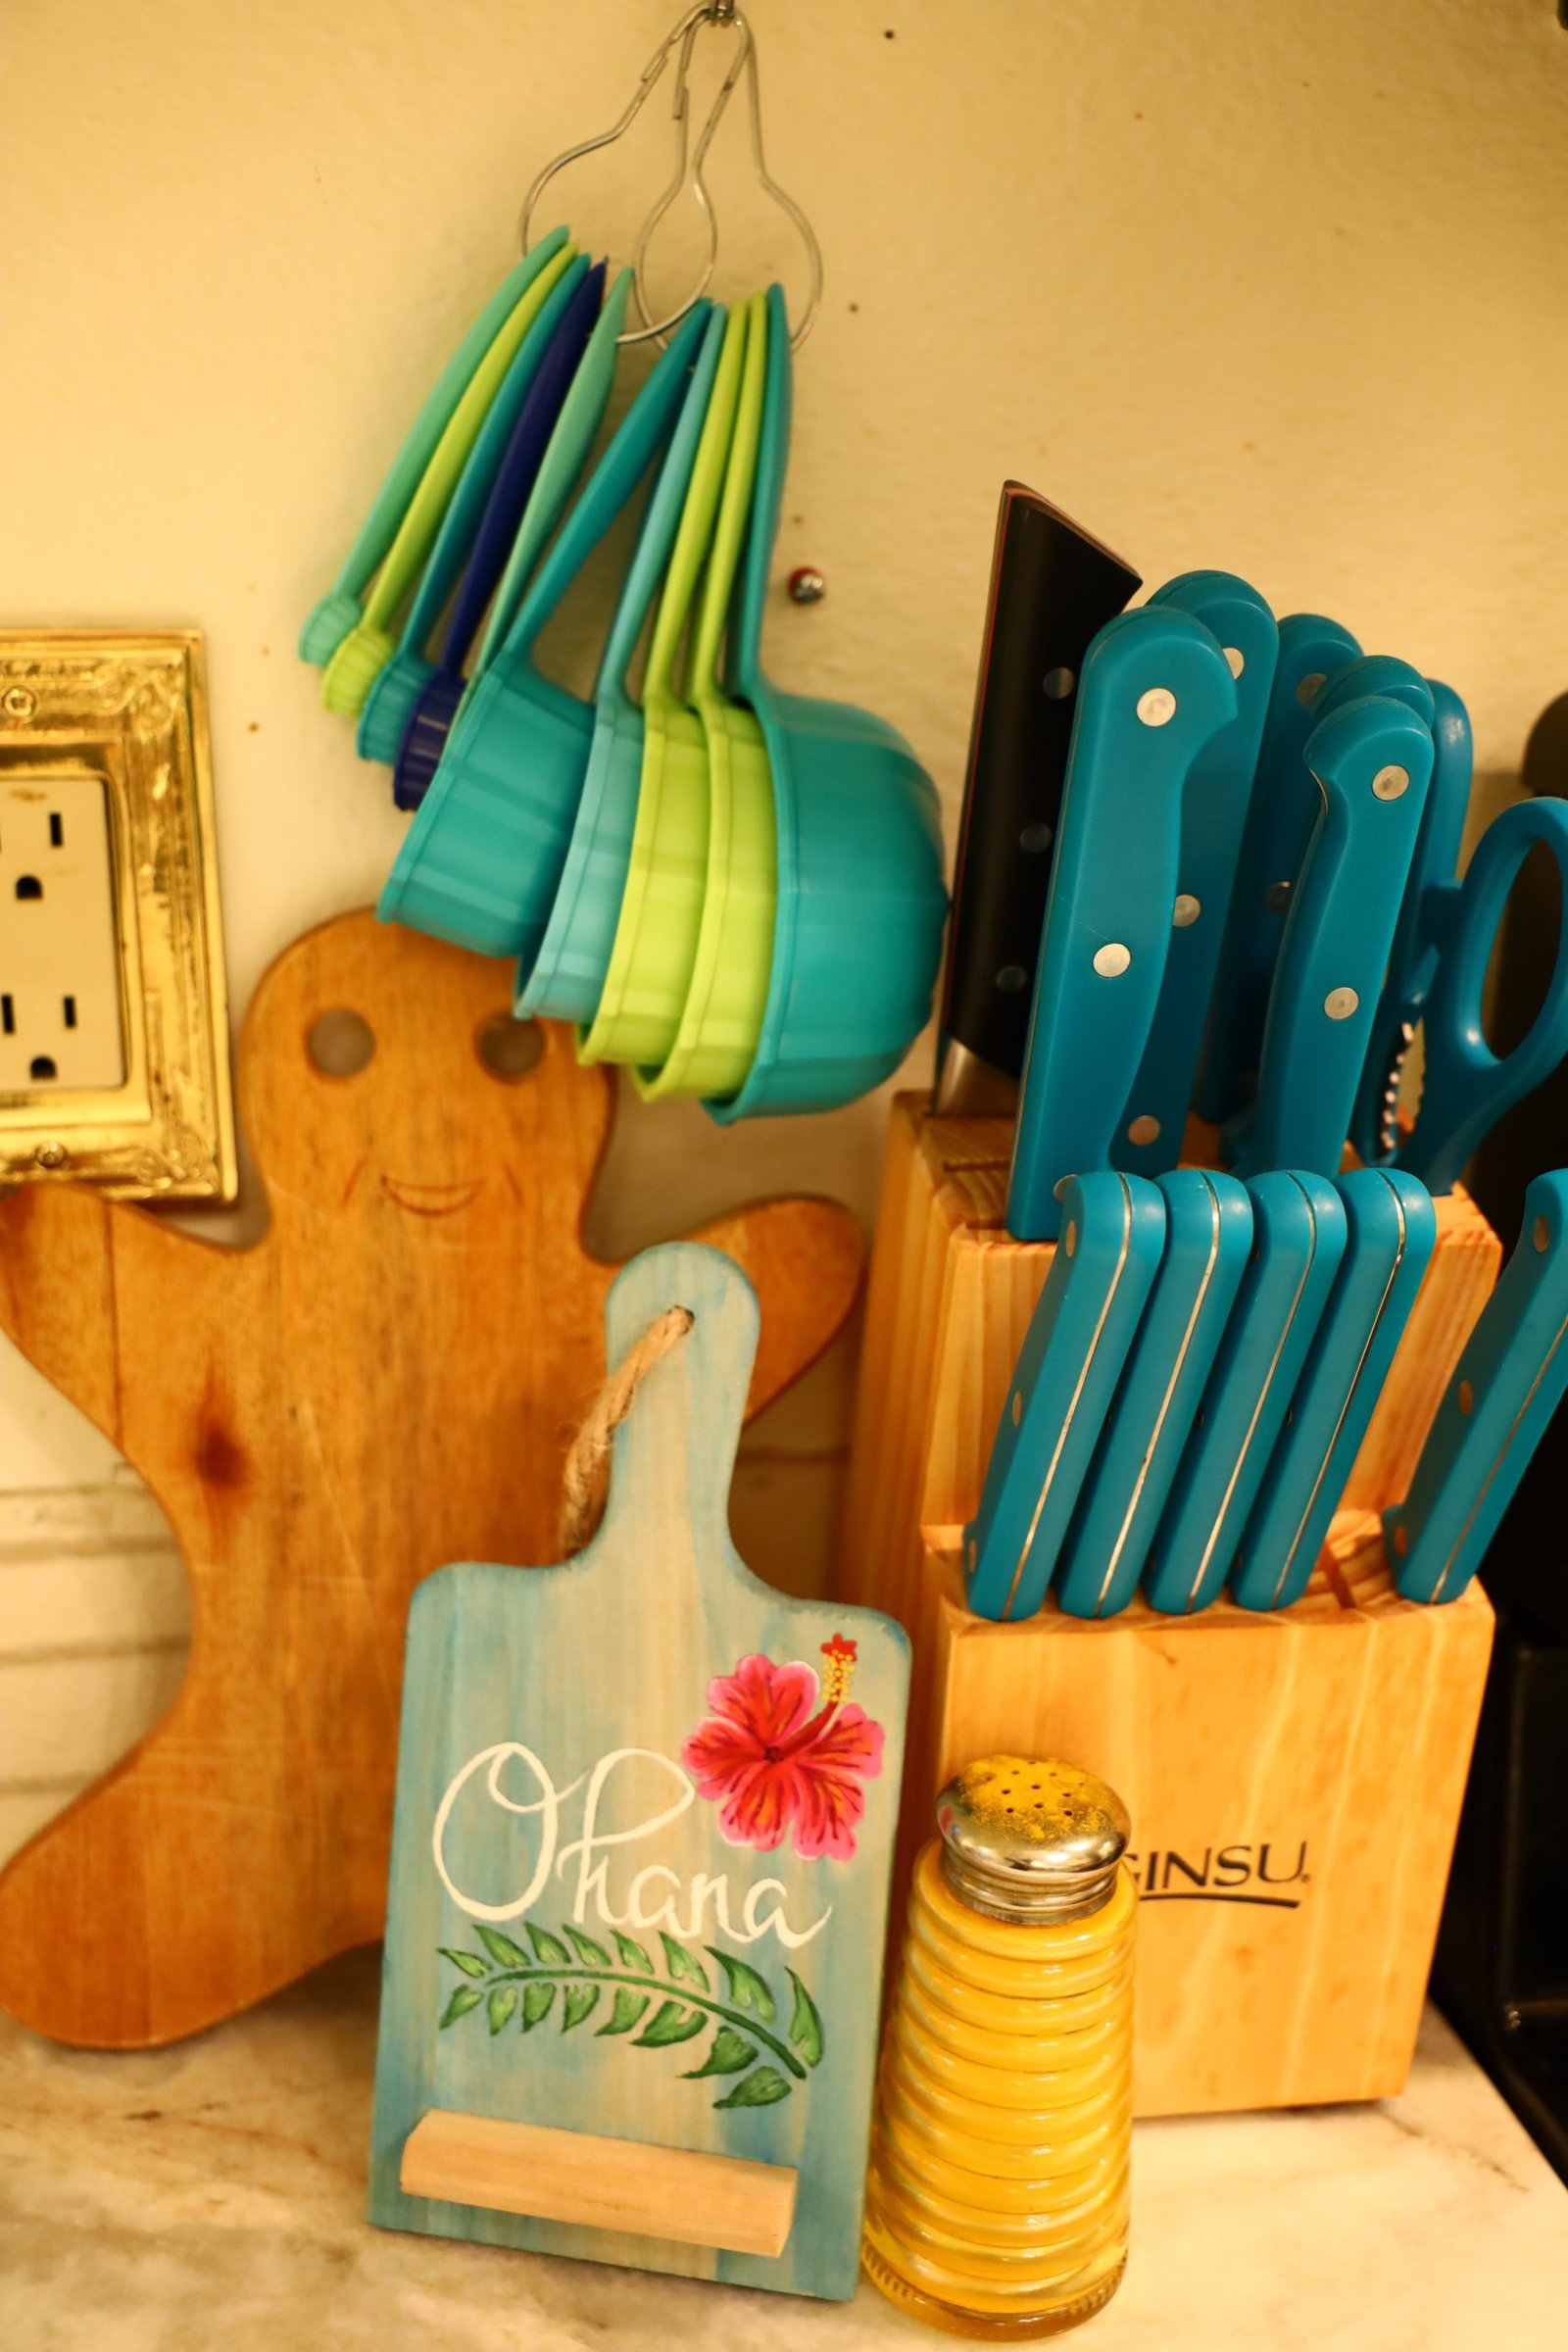
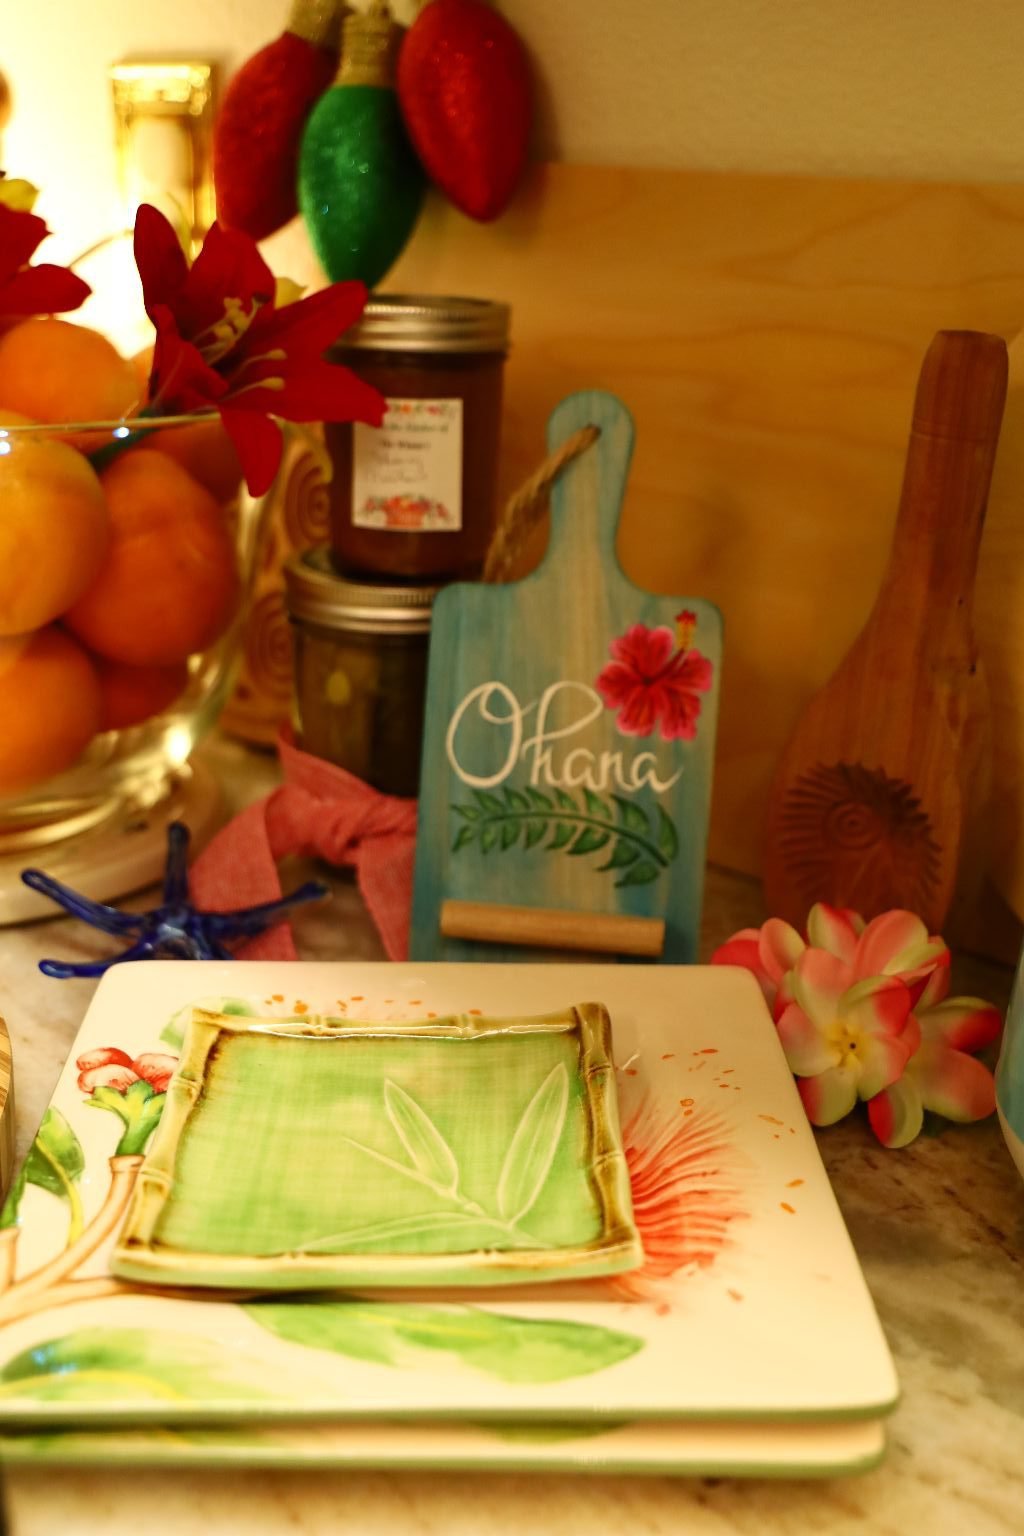
The Cute Little Ohana Recipe Card Holder Veronica Painted
The Peace Ornament Deanna Painted,
and a Jar of our Tropical Hawaiian Cranberries
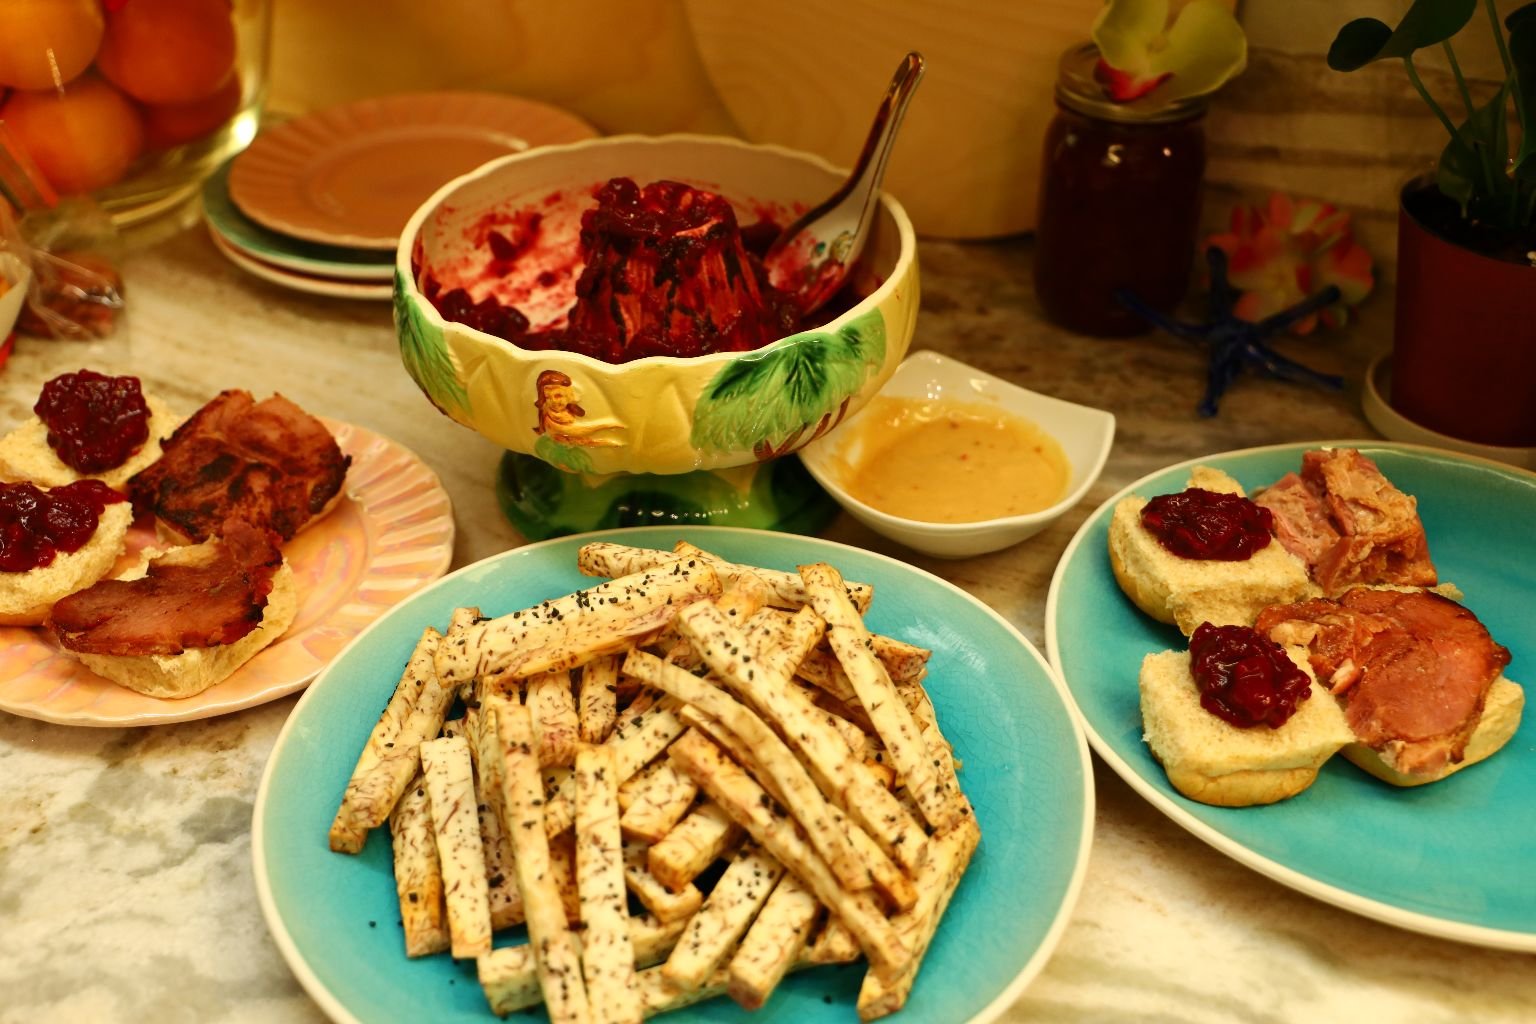
More Leftover Ham on Hawaiian Sweet Rolls with our Cranberry Sauce
——————————————————————-
DINNER
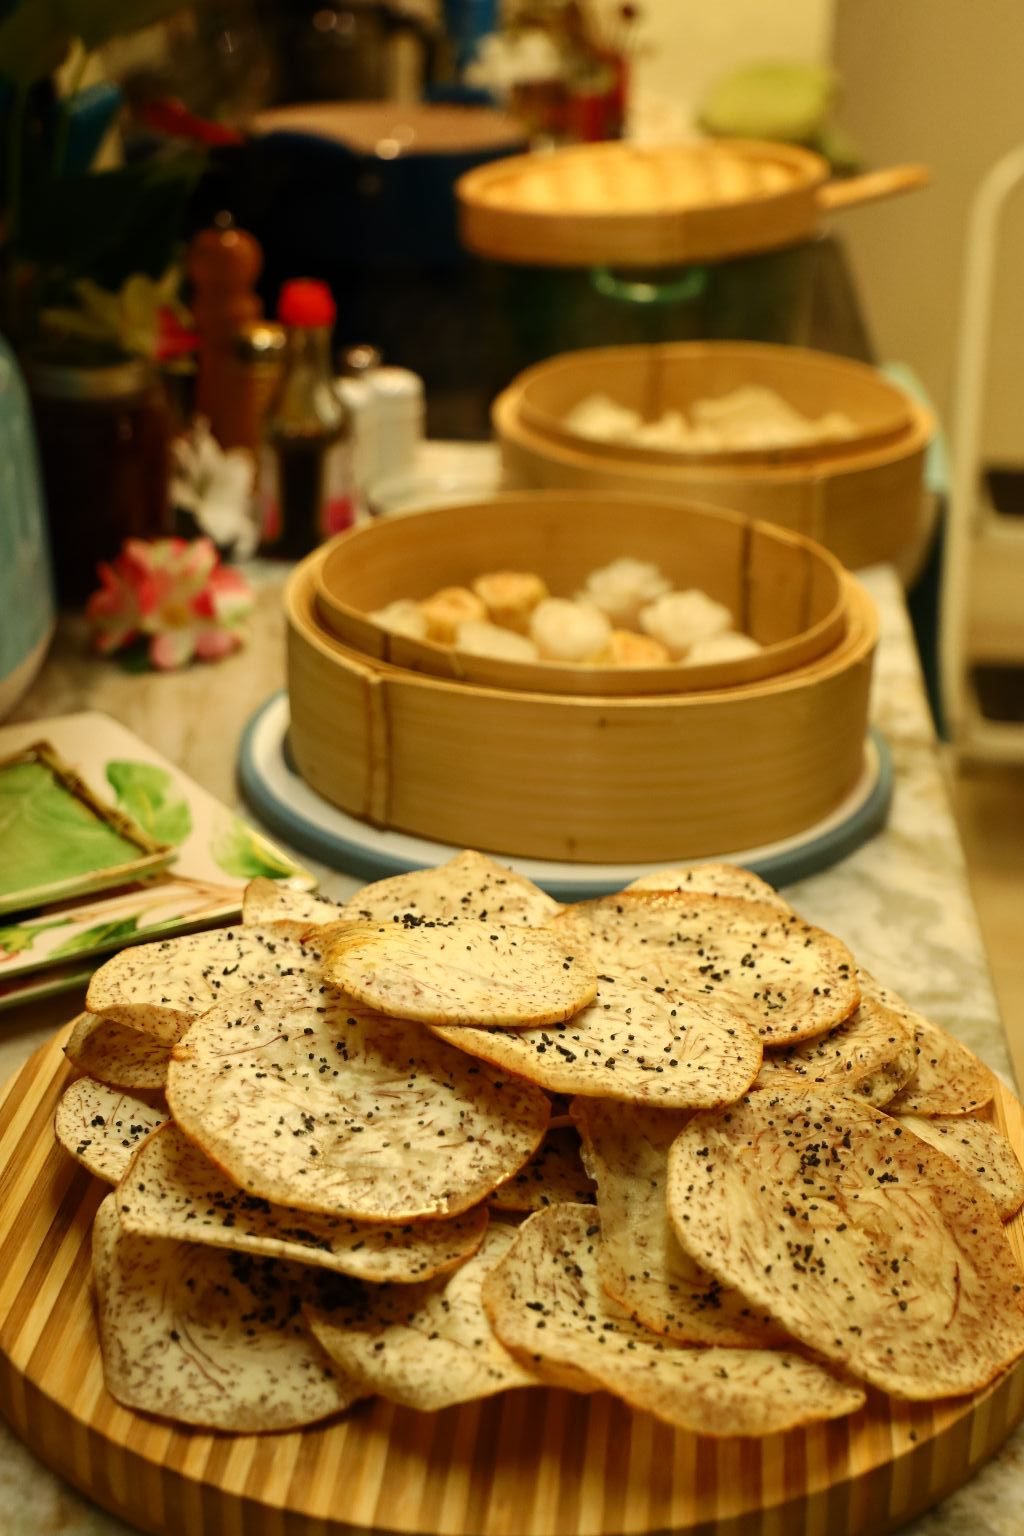
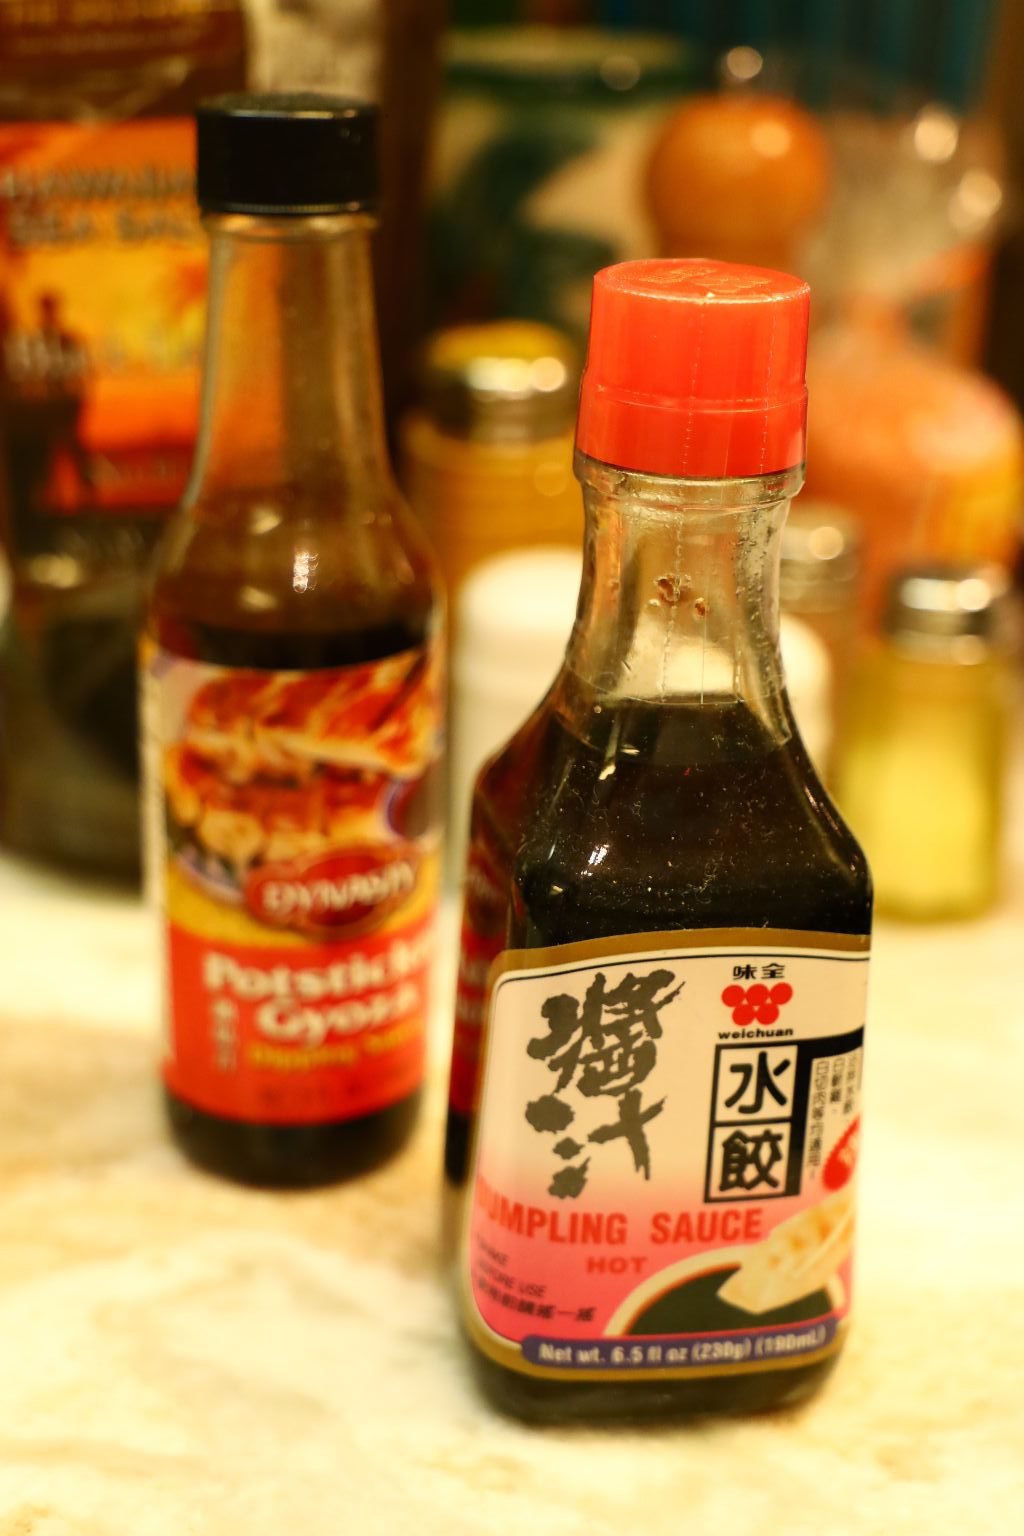
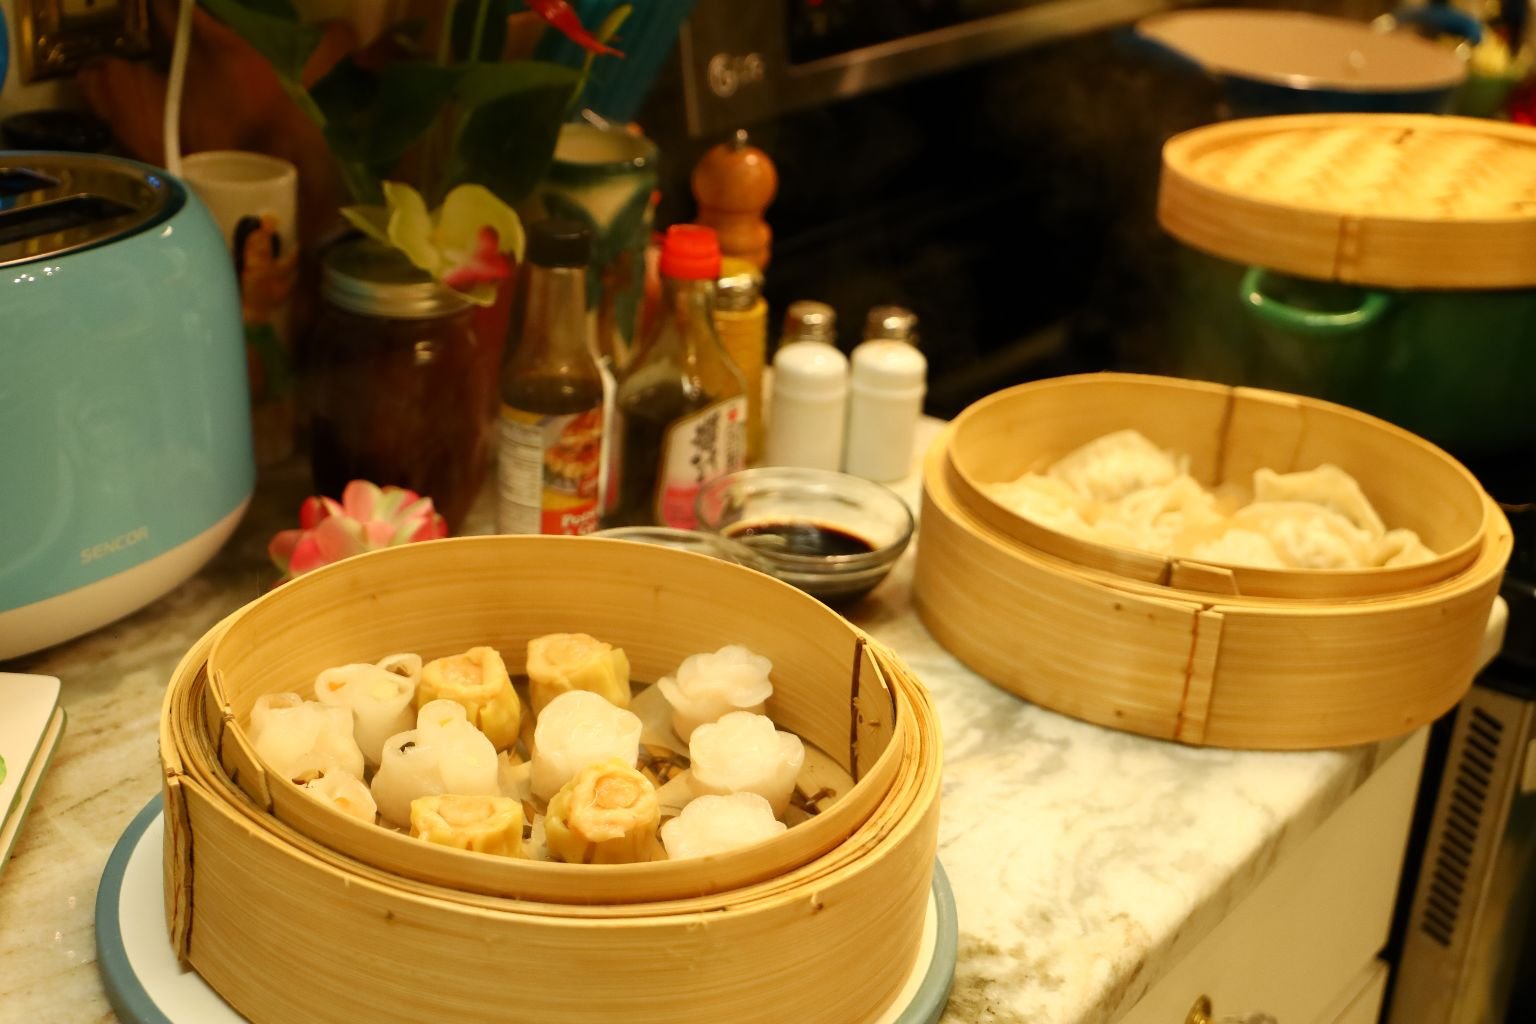
Steamed Dumplings
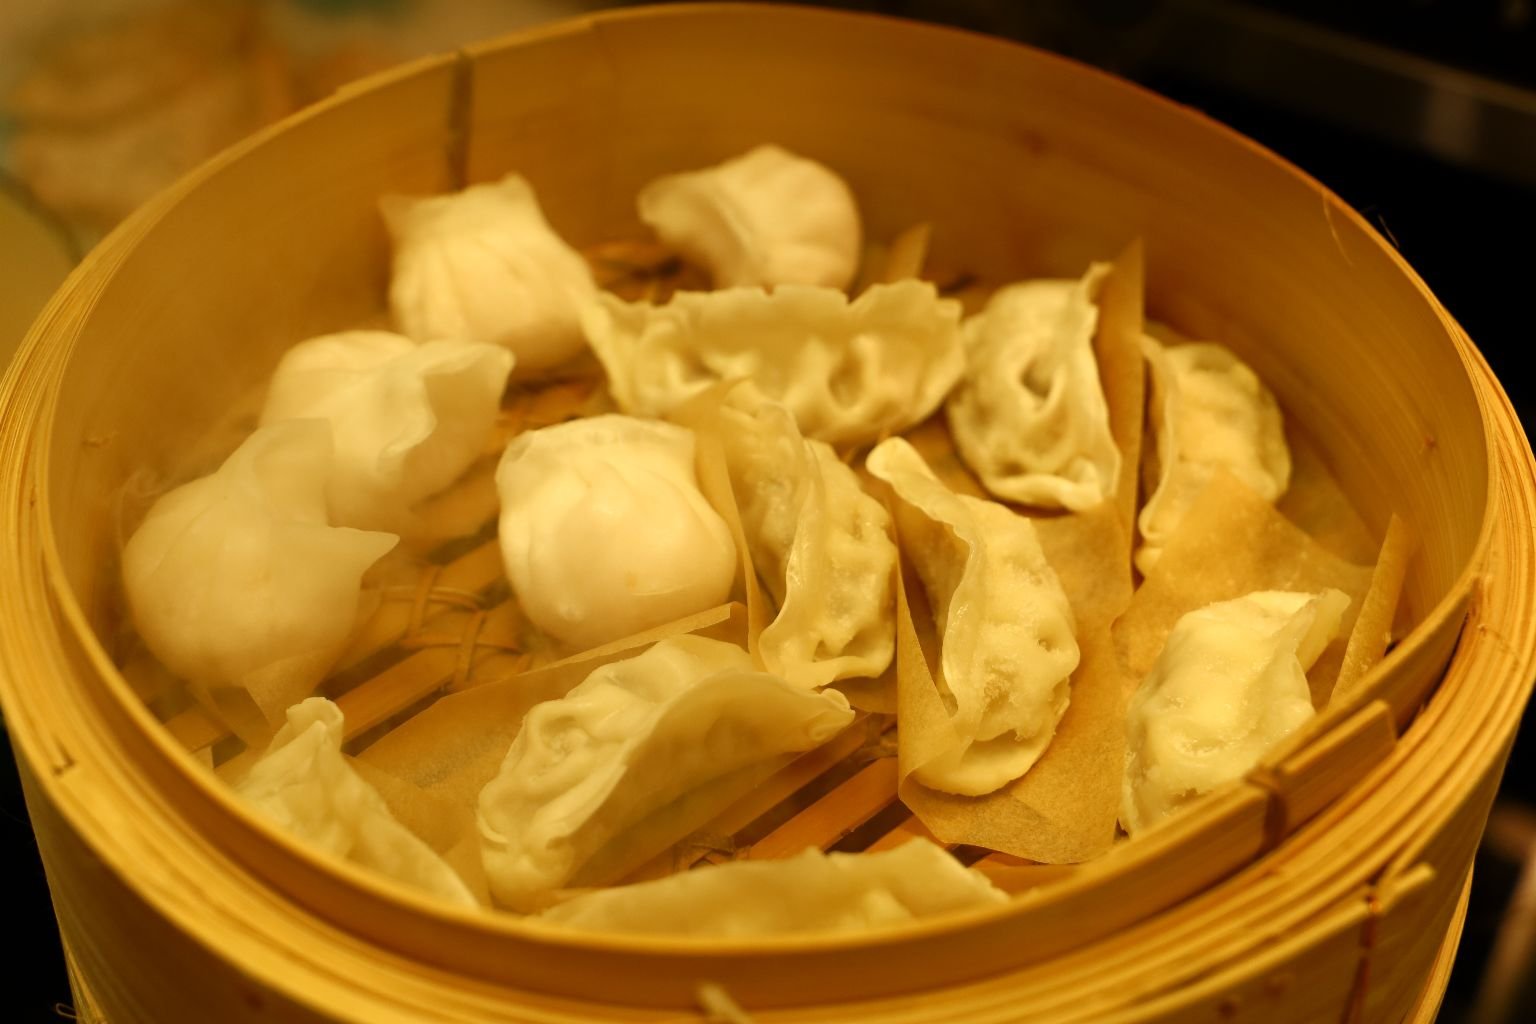
Potstickers
Our Bamboo Steamer

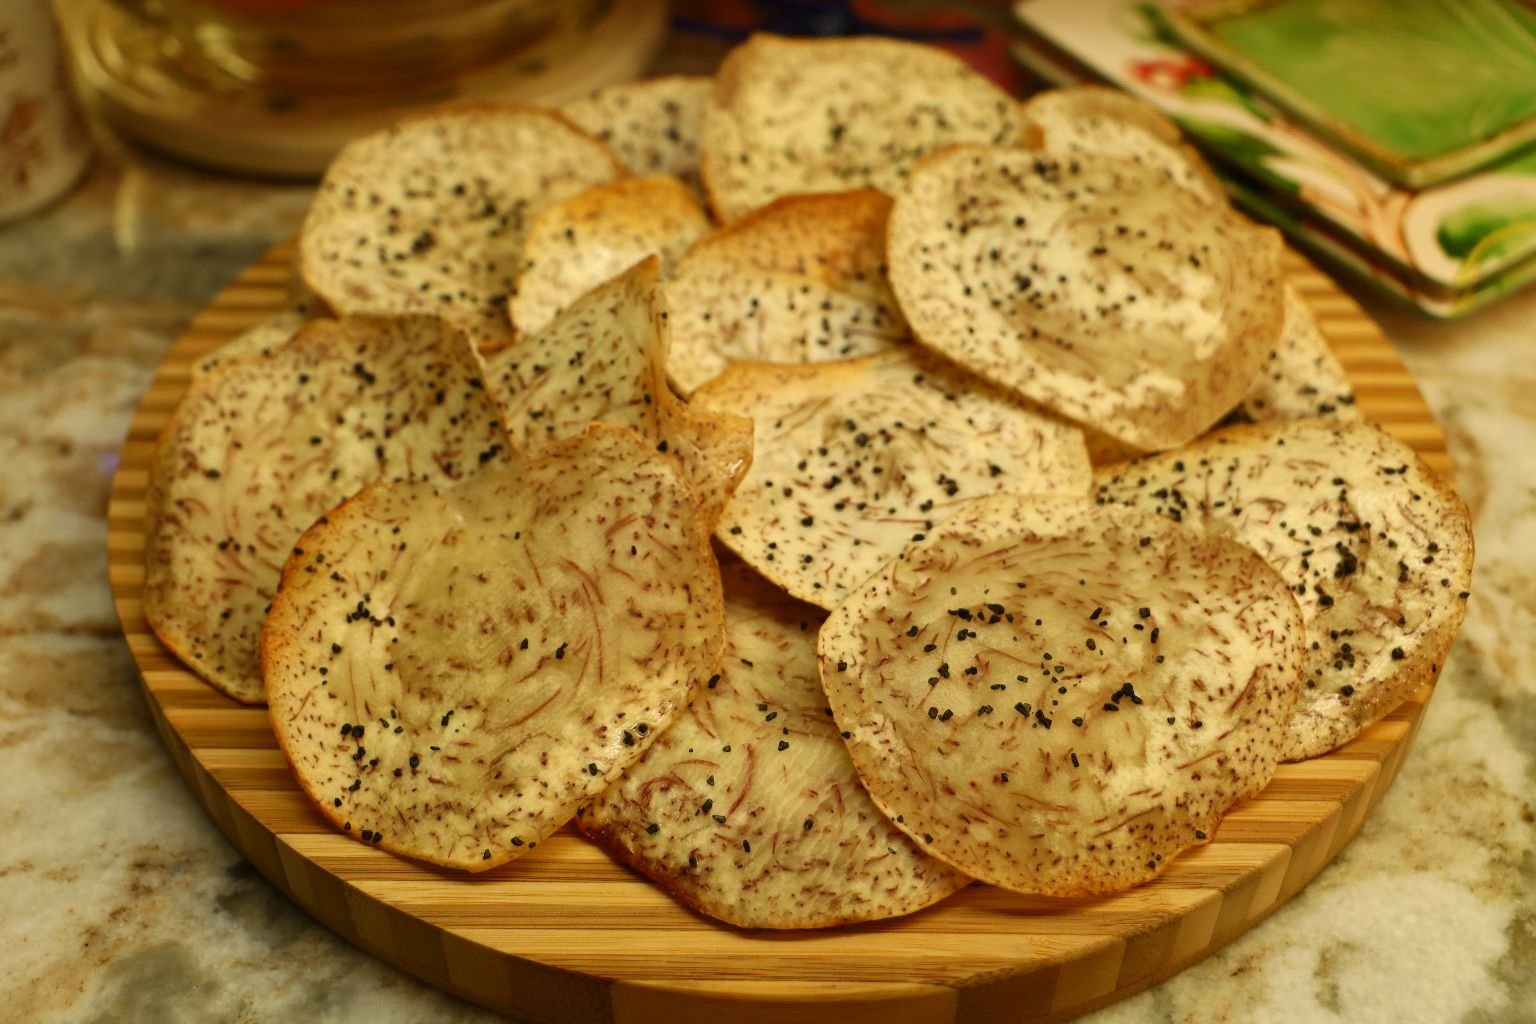
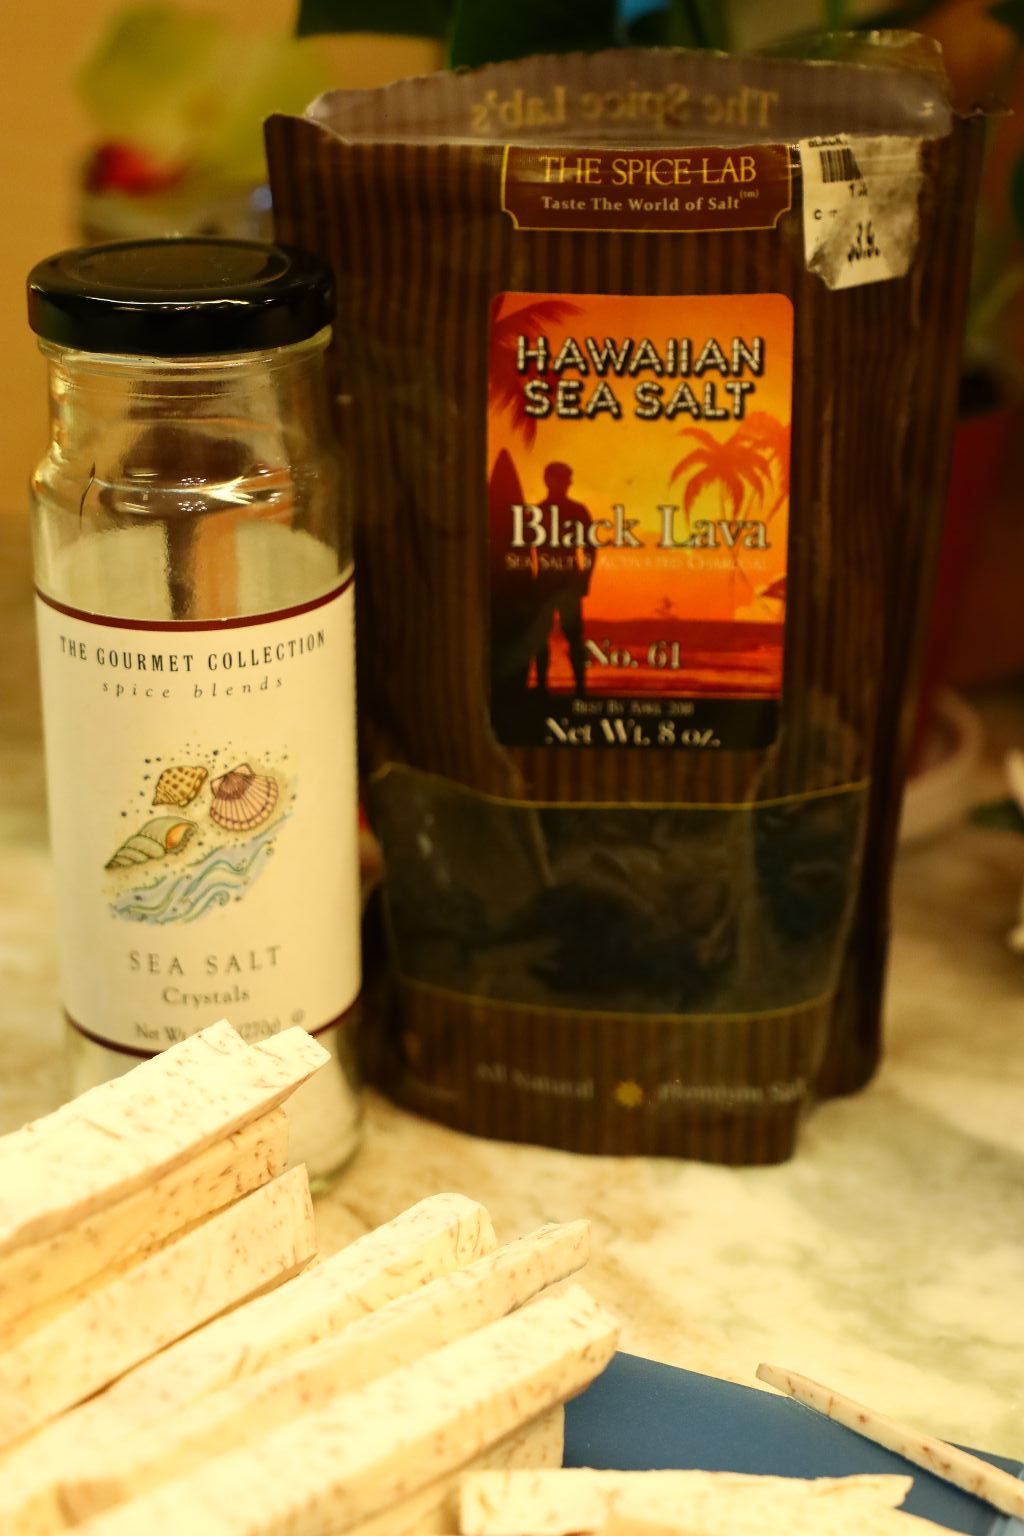
Crispy Taro Chips
w/ Black Lava Salt
(All Recipes Down Below)
———————————————————
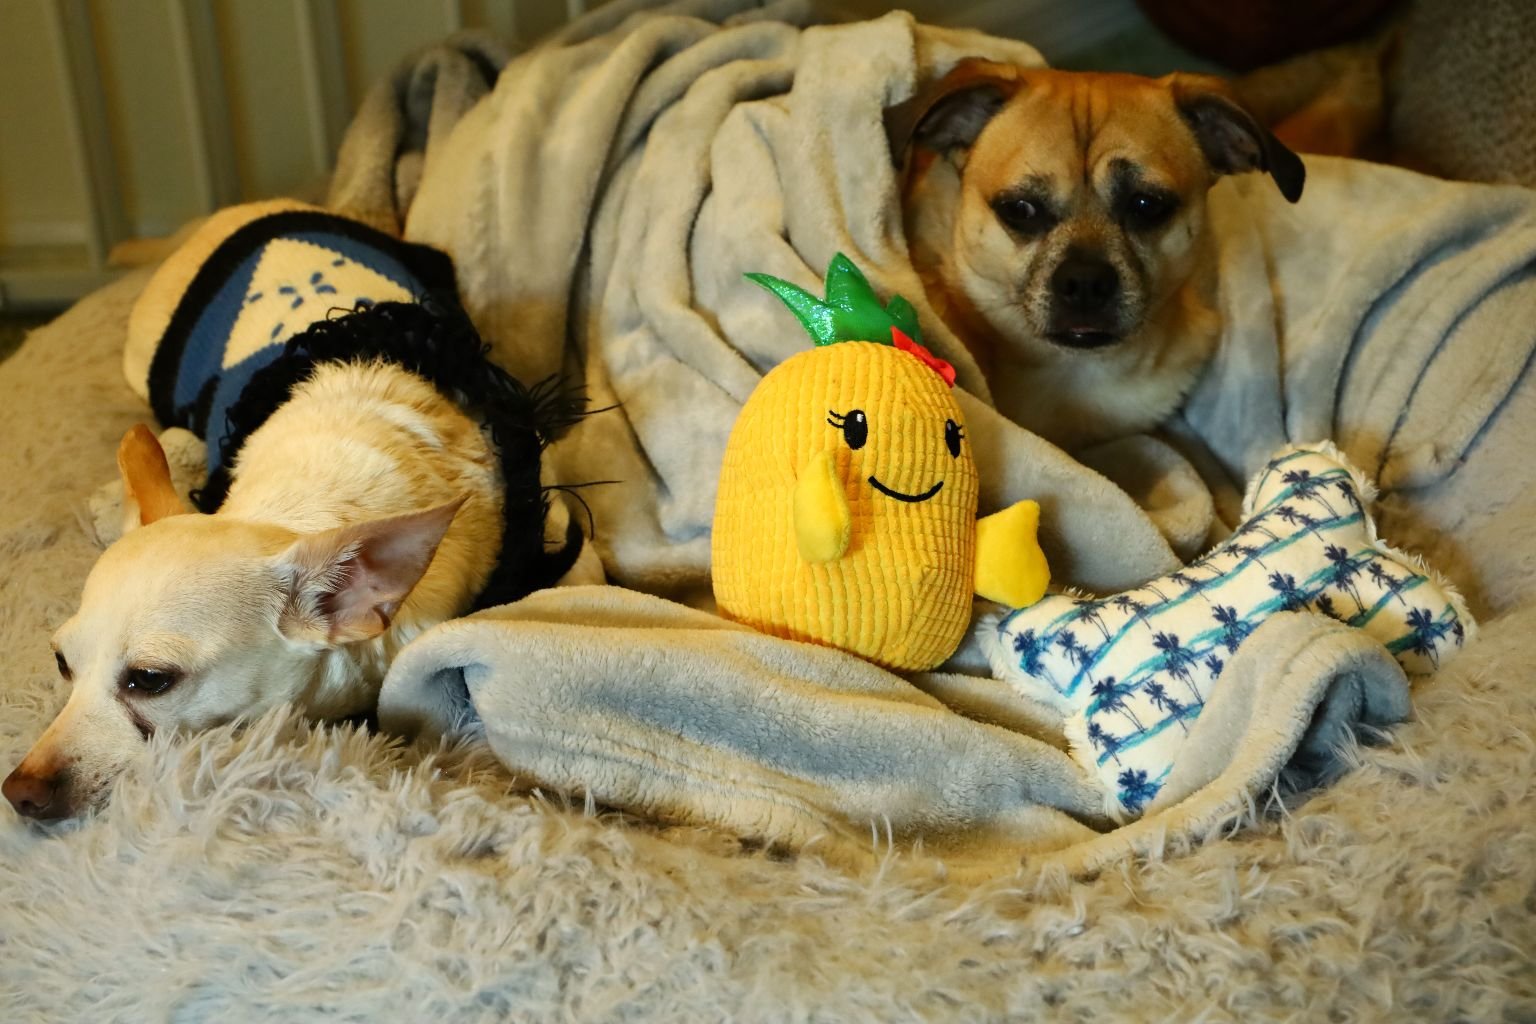
Kalikimaka With Spooky and Sparky
———————————————————————–
Having an ONO time twirling my Poi Balls
(Kind of like riding a bicycle. You can pick it up quite quickly.)


—————————————————————
Although I don’t look as good as they do while twirling. 🙂
———————————————————————-
Our 2020 Kalikimaka
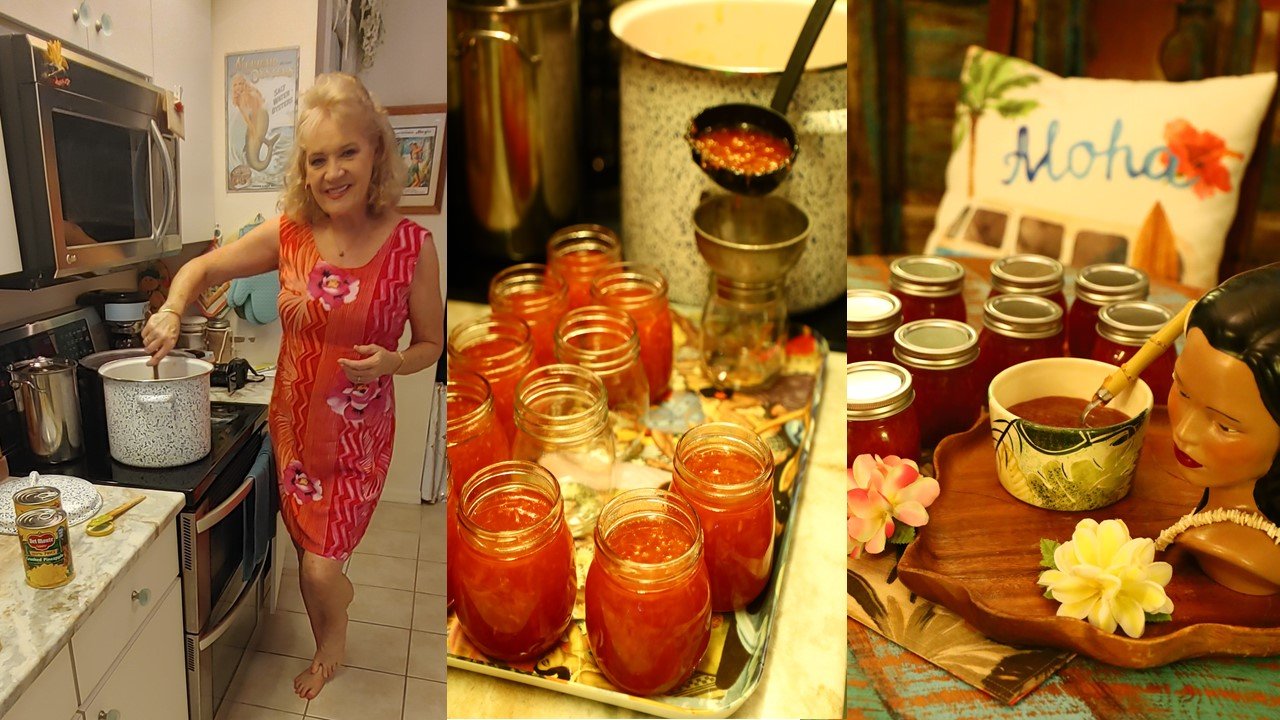
It All Starts With The Tropical Hawaiian Cranberry Sauce

Our kitchen is still not together completely when we started canning here but we went ahead with it anyway.
November, 2020
We put our heads together and created this recipe. When we gave it as gifts for Kalikimaka this was what everyone was bragging about loving. We received the most compliments on this. We are excited to share this recipe with you in the hopes that you will enjoy it as much as we all did.
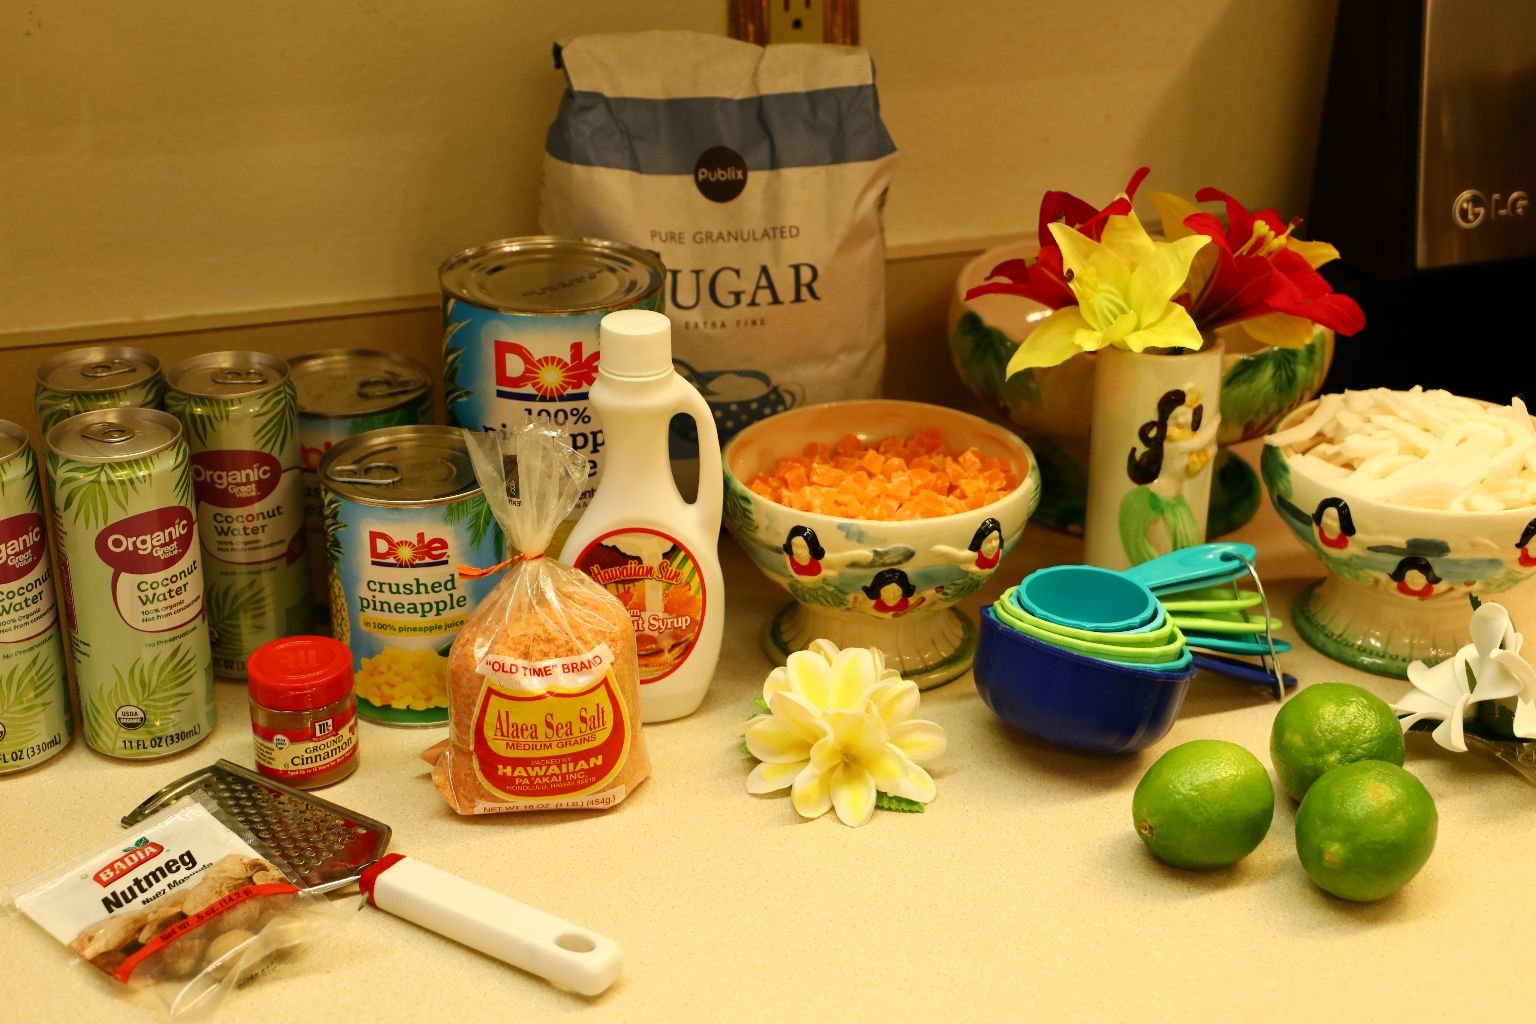
The Ingredients:
The ingredient below are for making ~9 pints of cranberry sauce. We made a double batch of this recipe as we knew it would be delicious!
—————————————-
7 Bags Fresh Cranberries washed
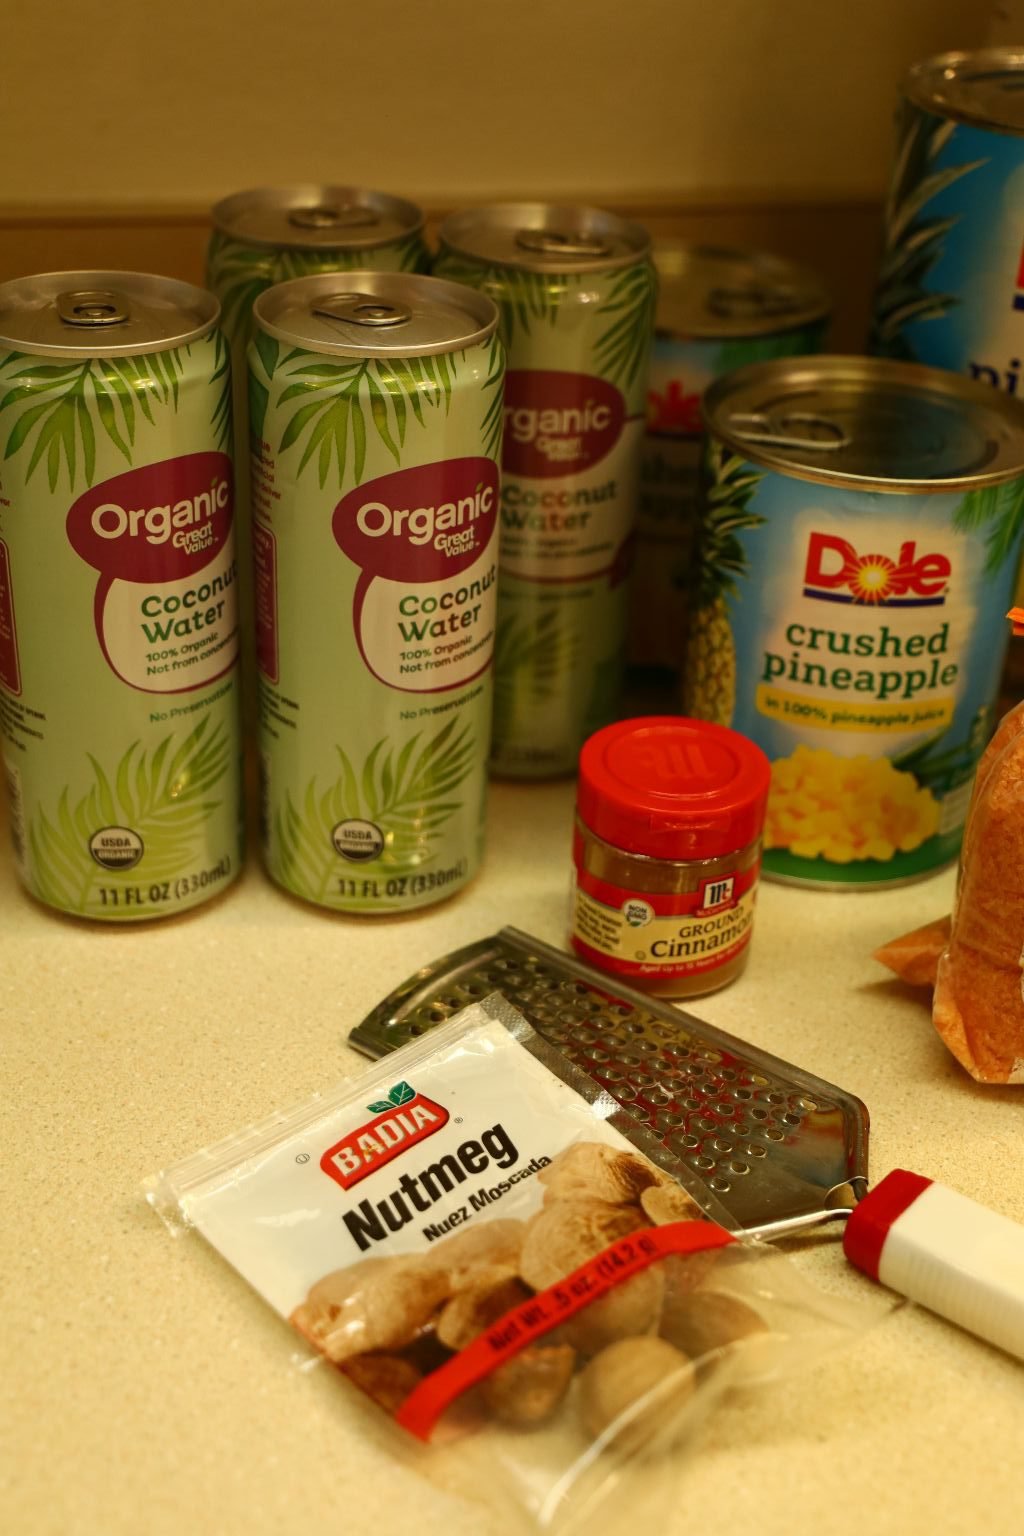
2 Cans 11 oz., Coconut Water
1 Can Crushed Pineapple
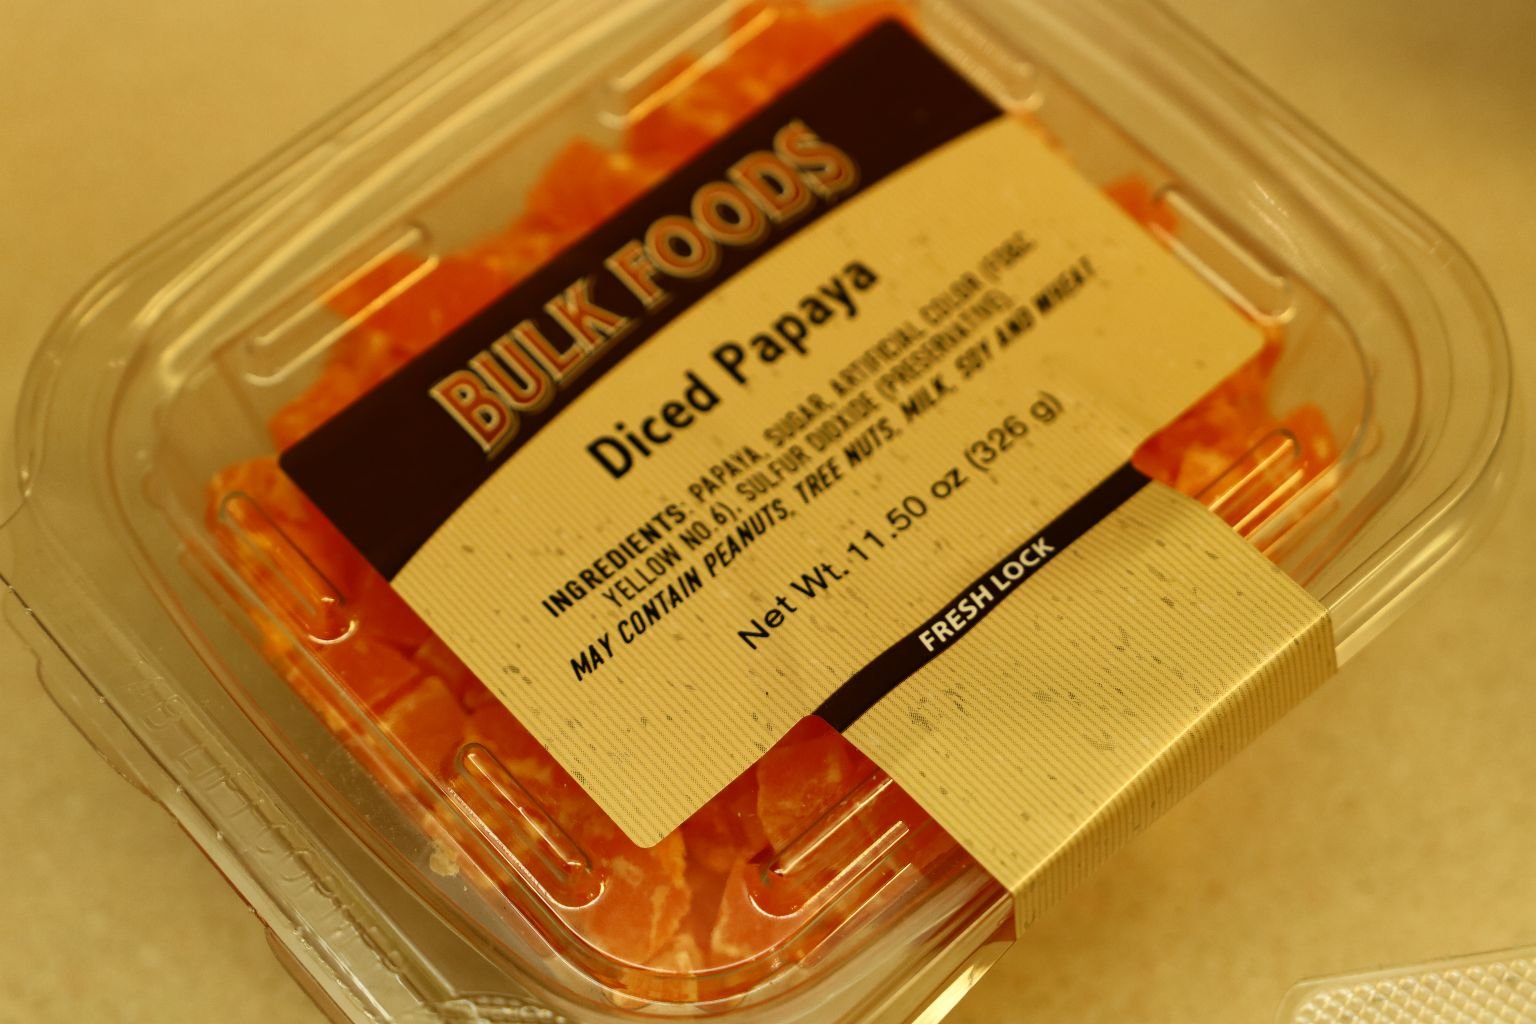
1 Cup of Dried Diced Papaya
1 Cup of Dried Diced Pineapple
1 Cup Sweetened Coconut Slices
1 Cup Pineapple Juice
1 tsp. Hawaiian Sea Salt
1 Tbsp. Ground Cinnamon
1/2 bottle of Hawaiian Sun Premium Coconut Syrup, about 4 oz.
1/2 Whole Nutmeg Nut freshly grated
Zest of 1 1/2 Limes
The Juice of 1 1/2 Limes
1/2 Cup Sugar
—————————————————————
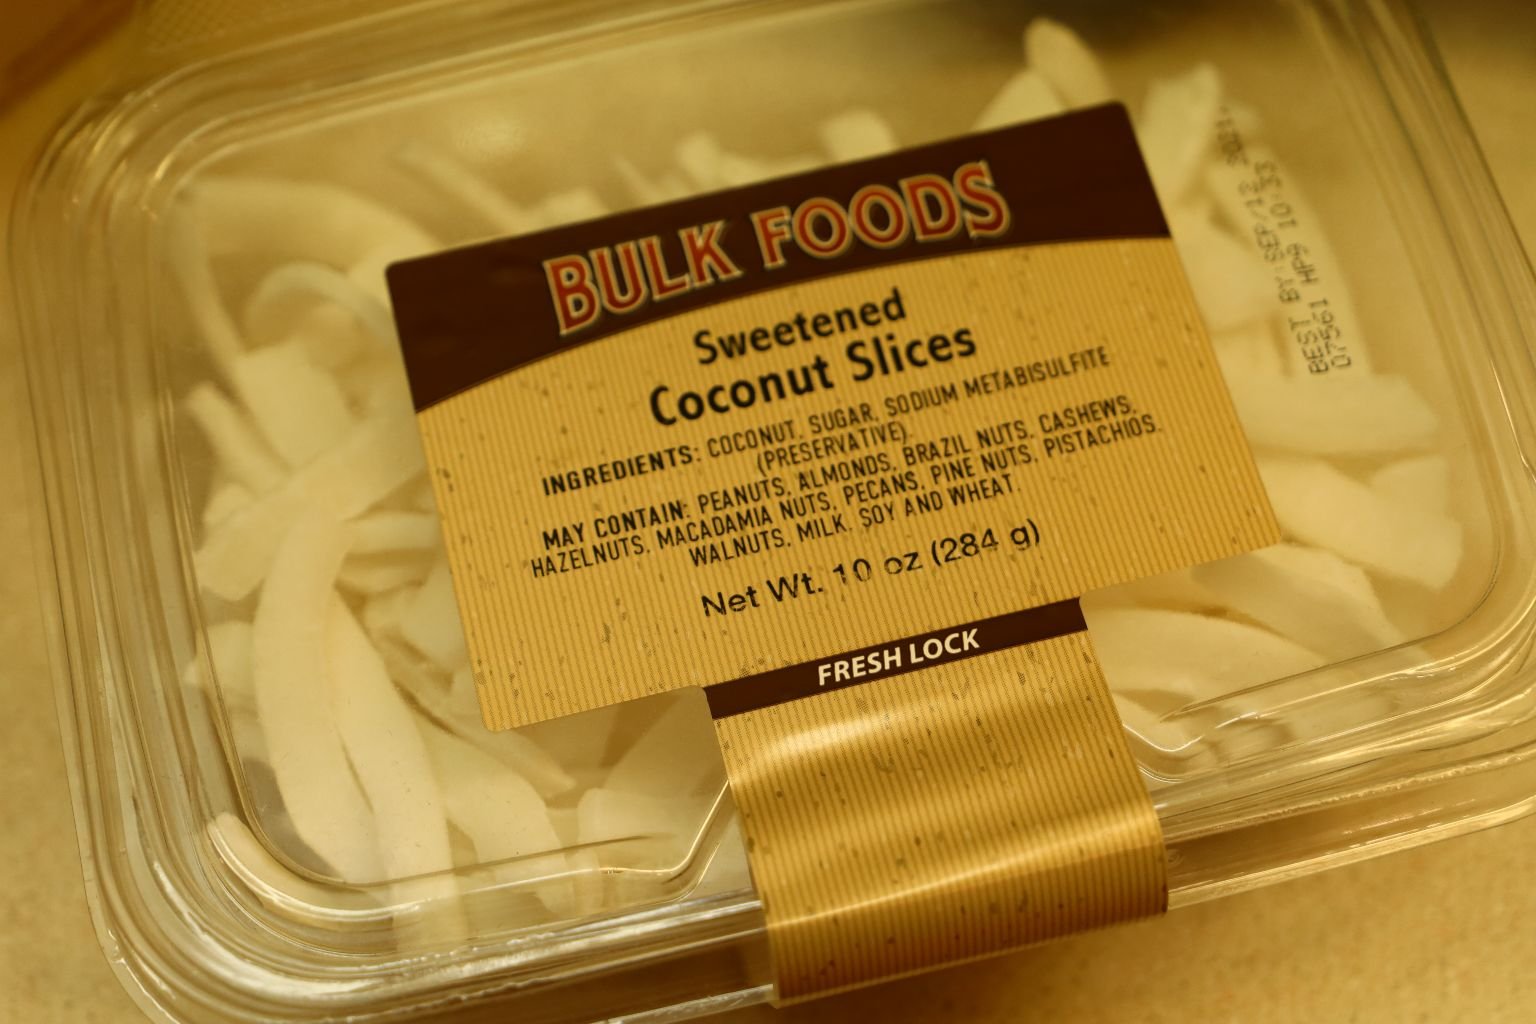
Sweetened Coconut Slices and Diced Papaya

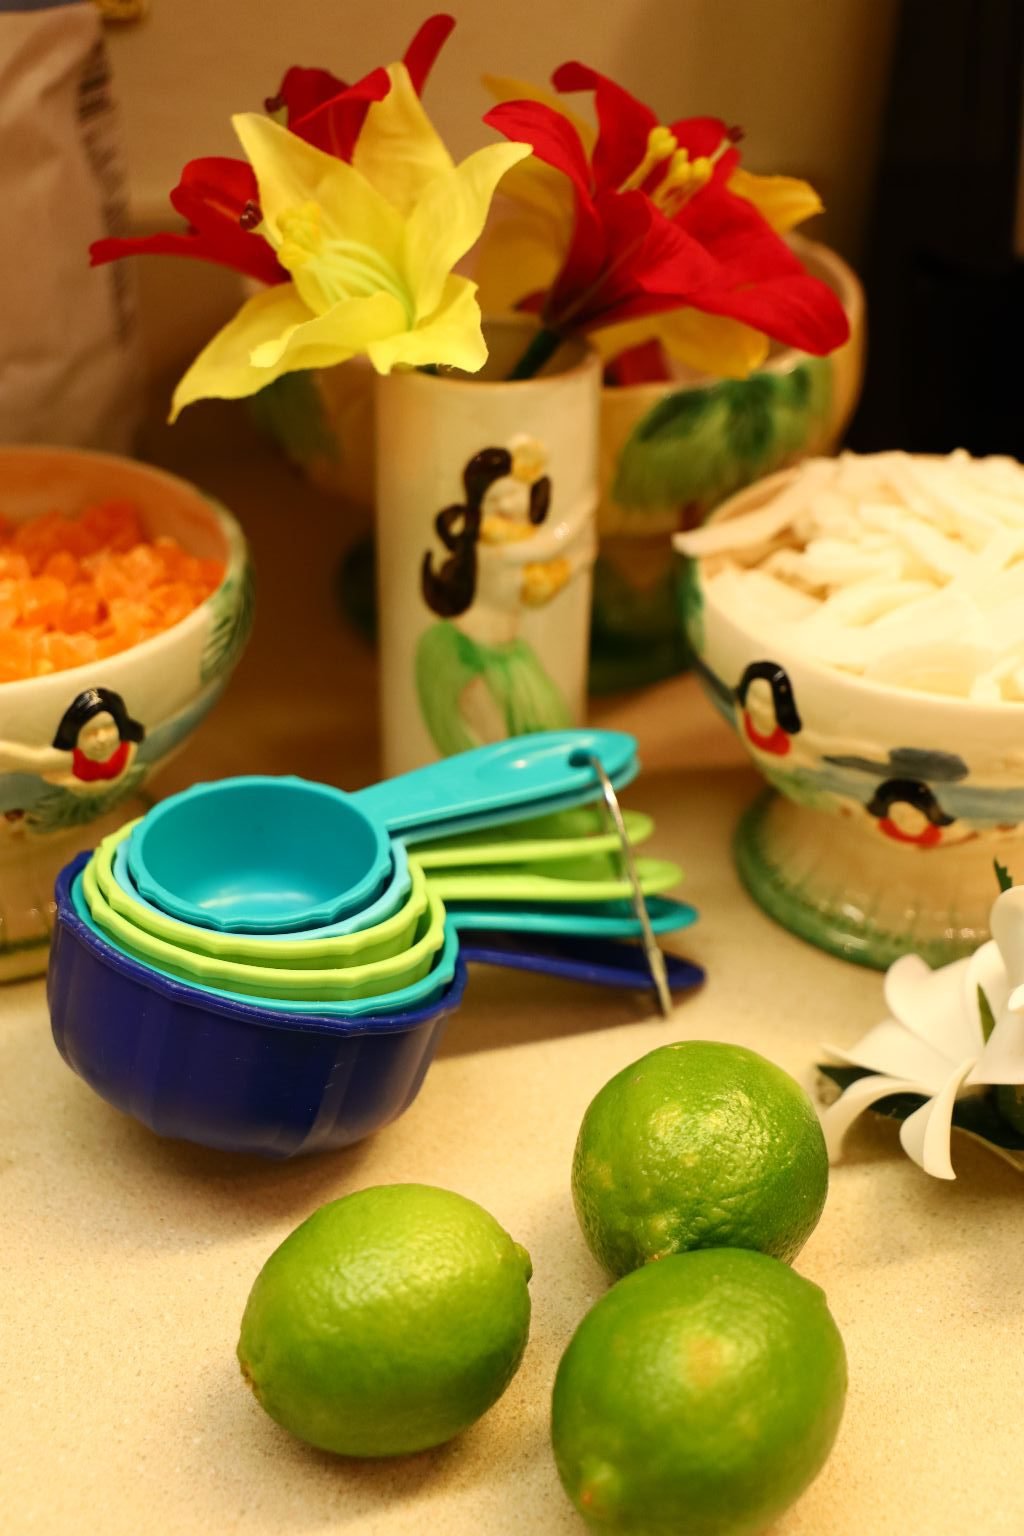
Our Delicious Ingredients
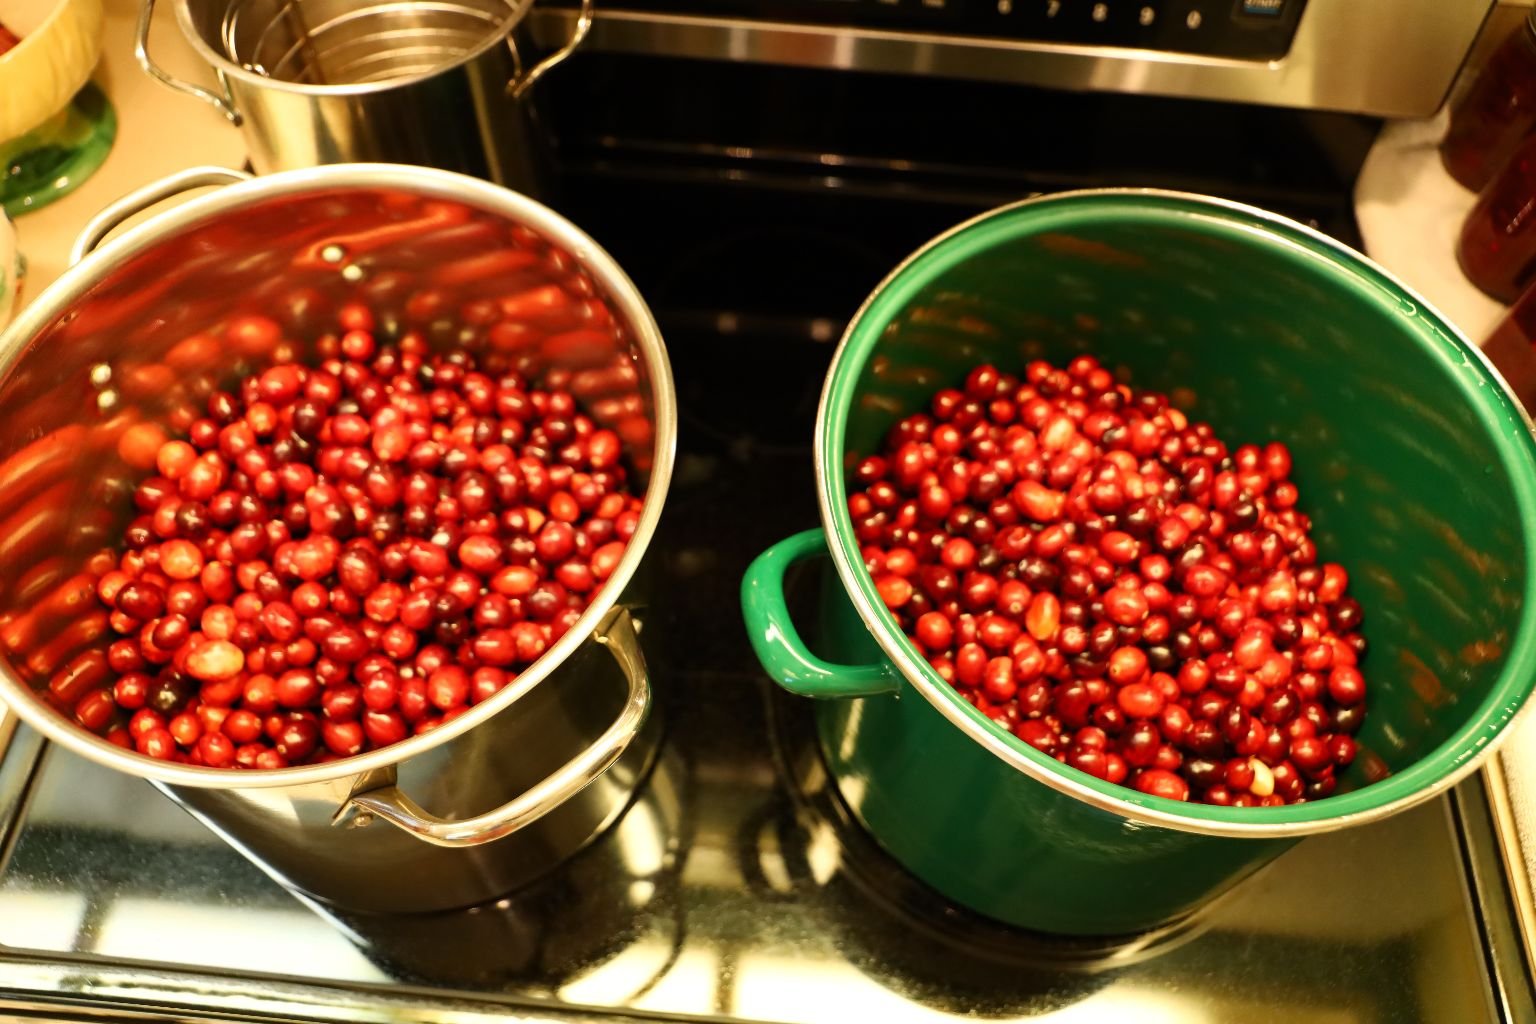
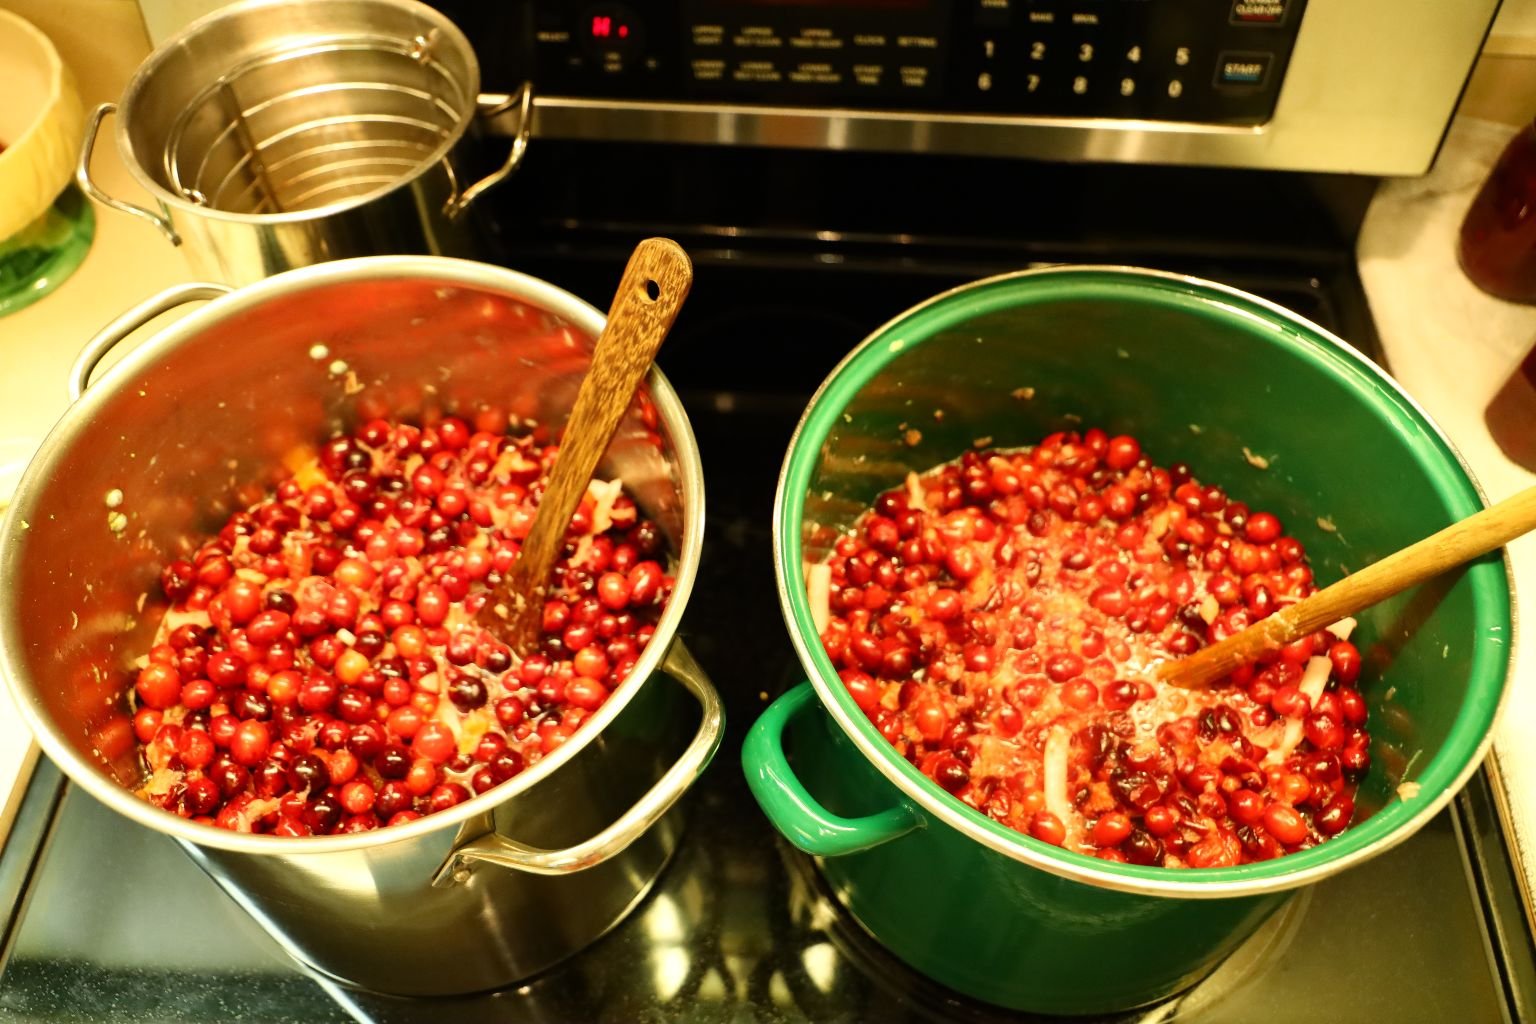
Add your washed cranberries to a large pot. Again, we made two batches.
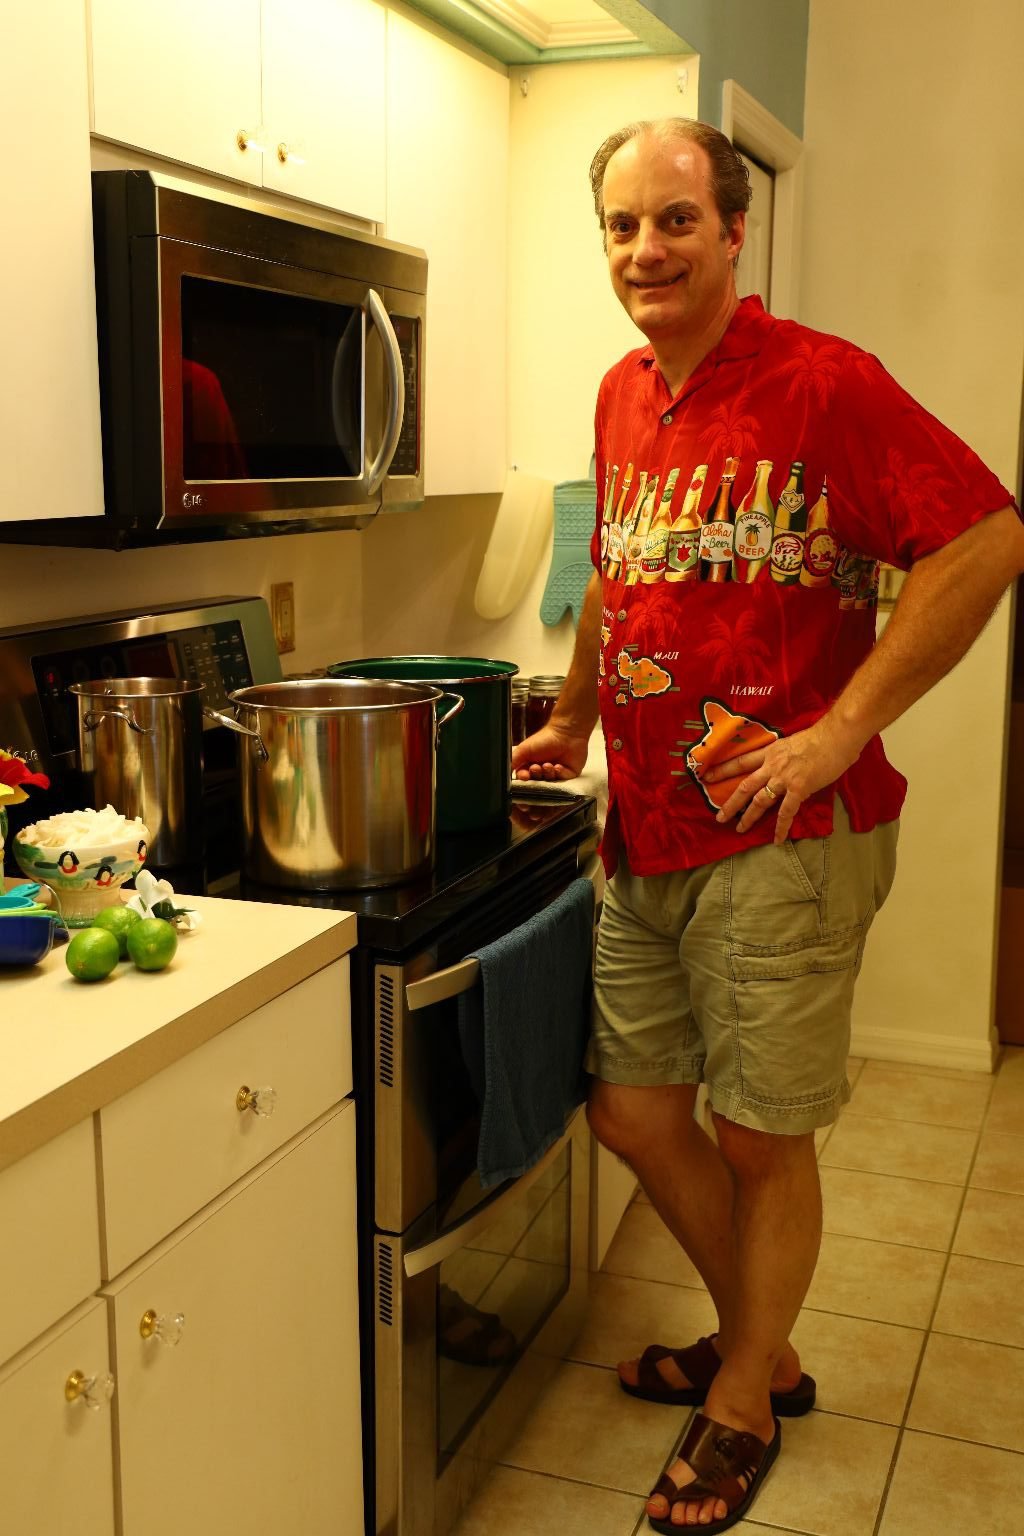
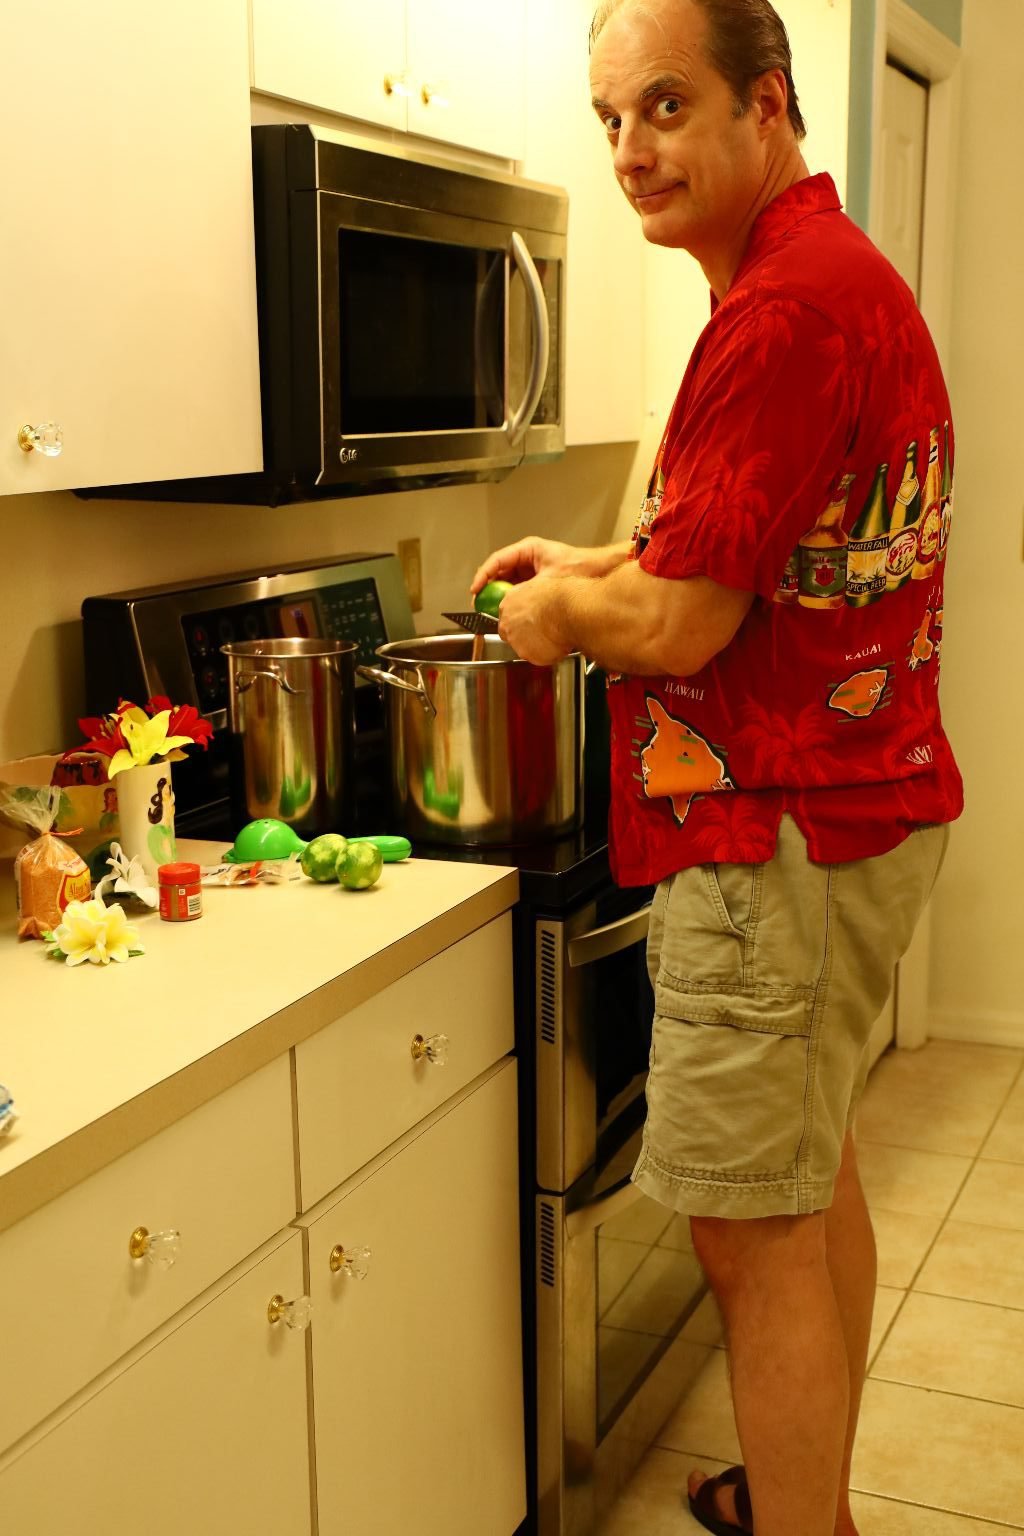
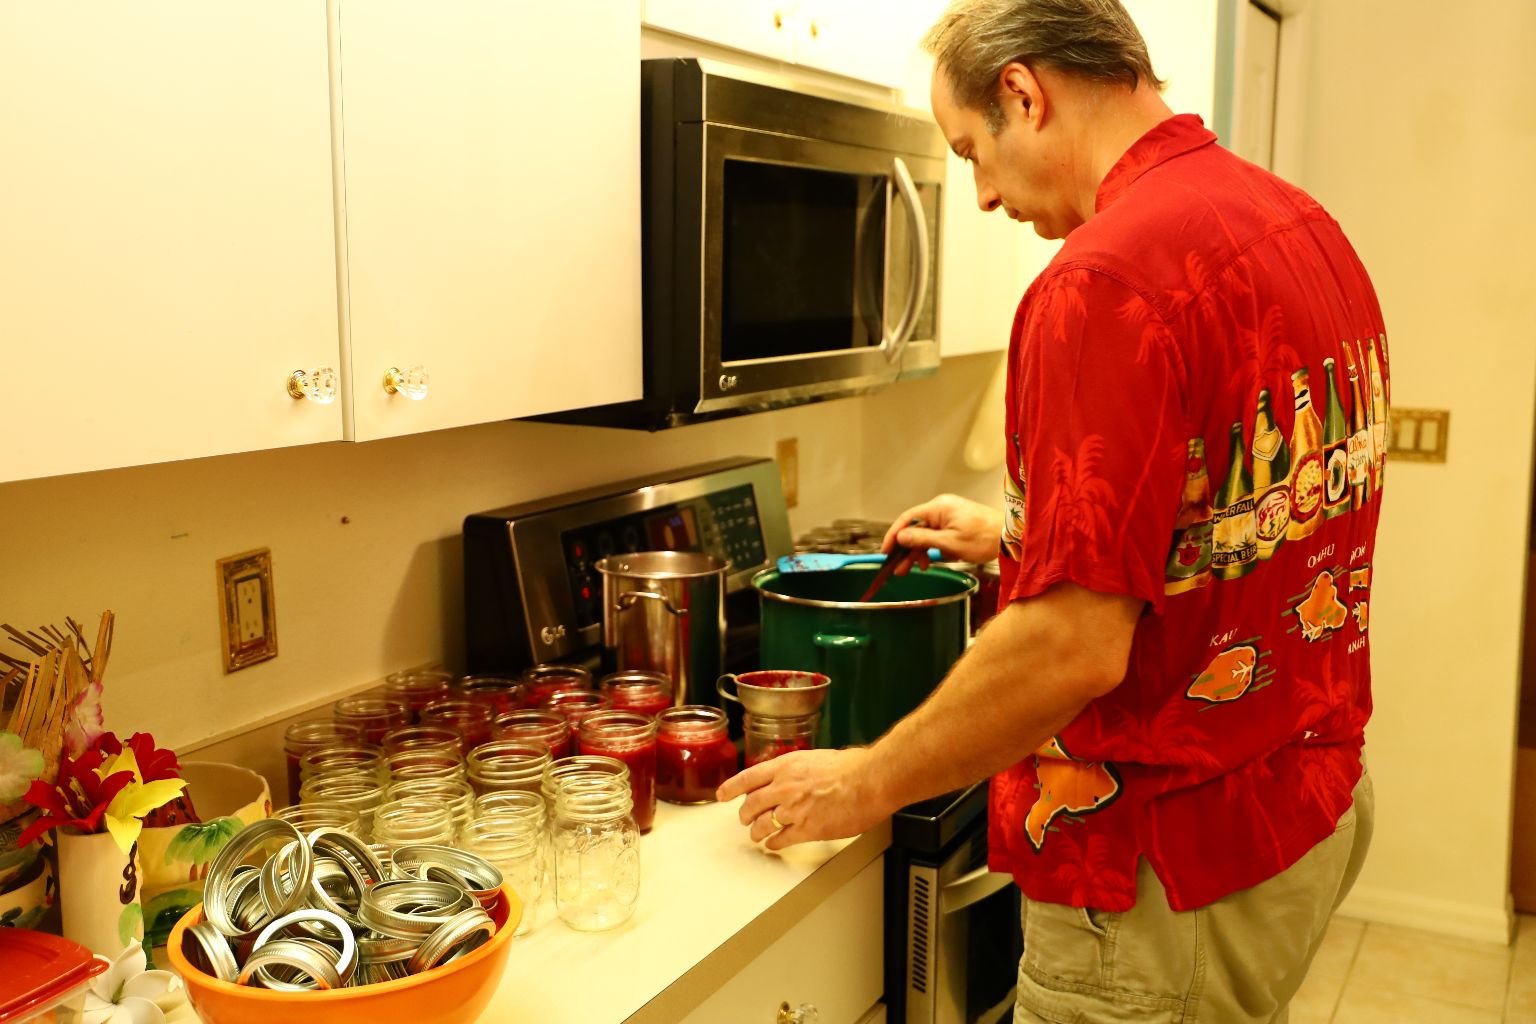
Gordon Ready to Get Started
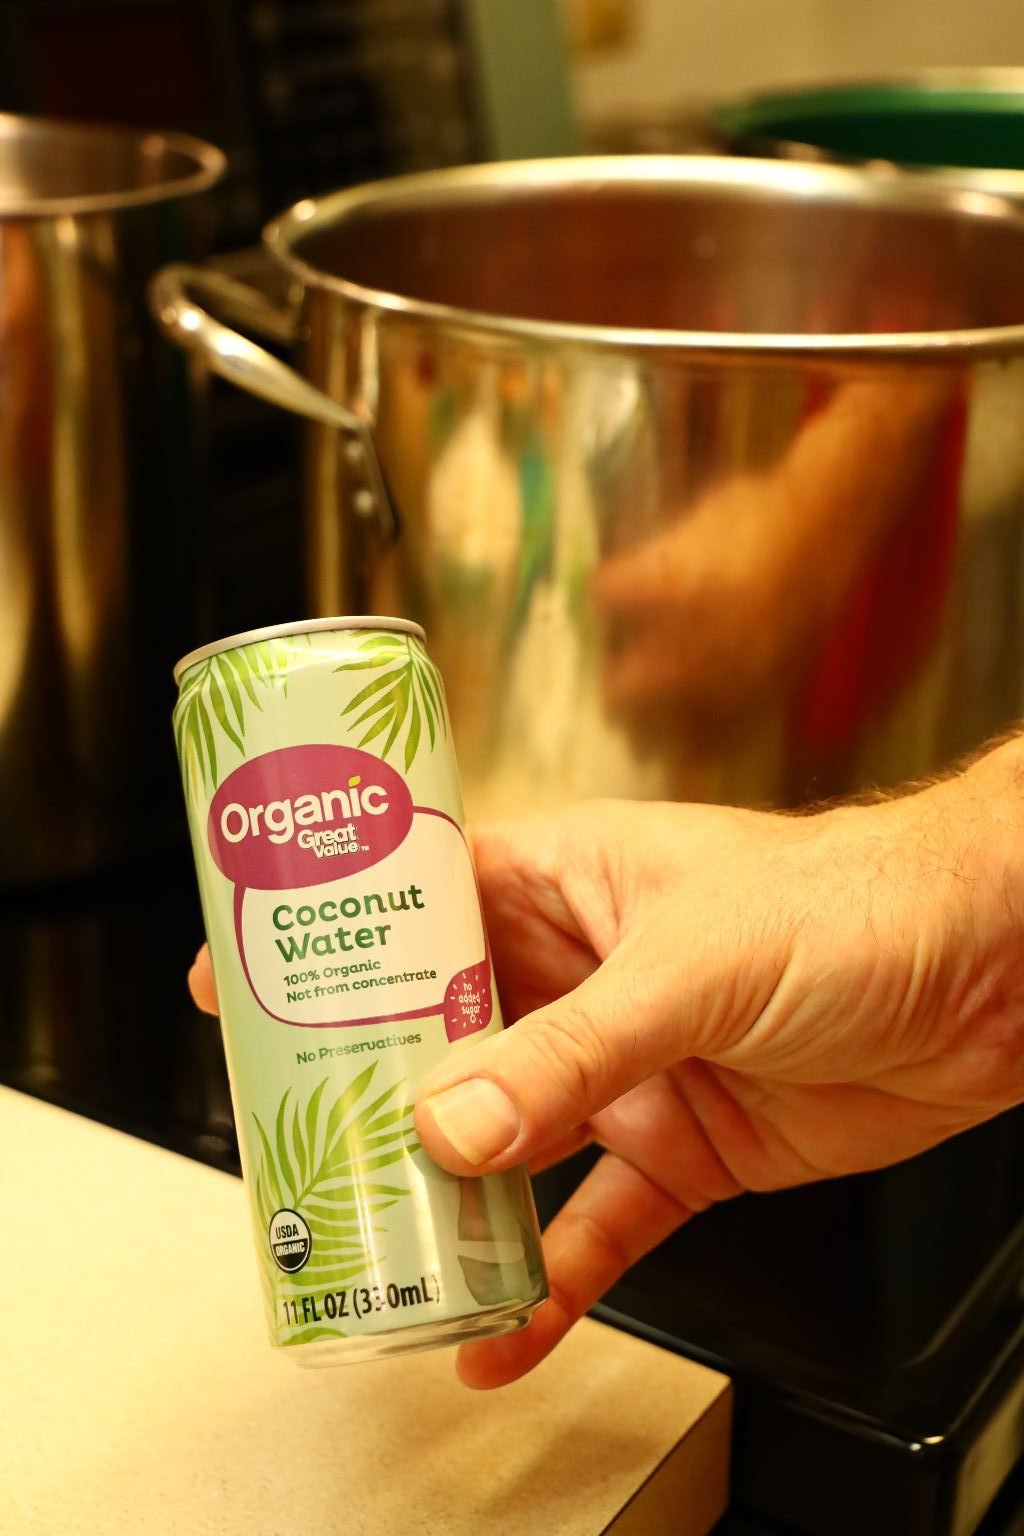
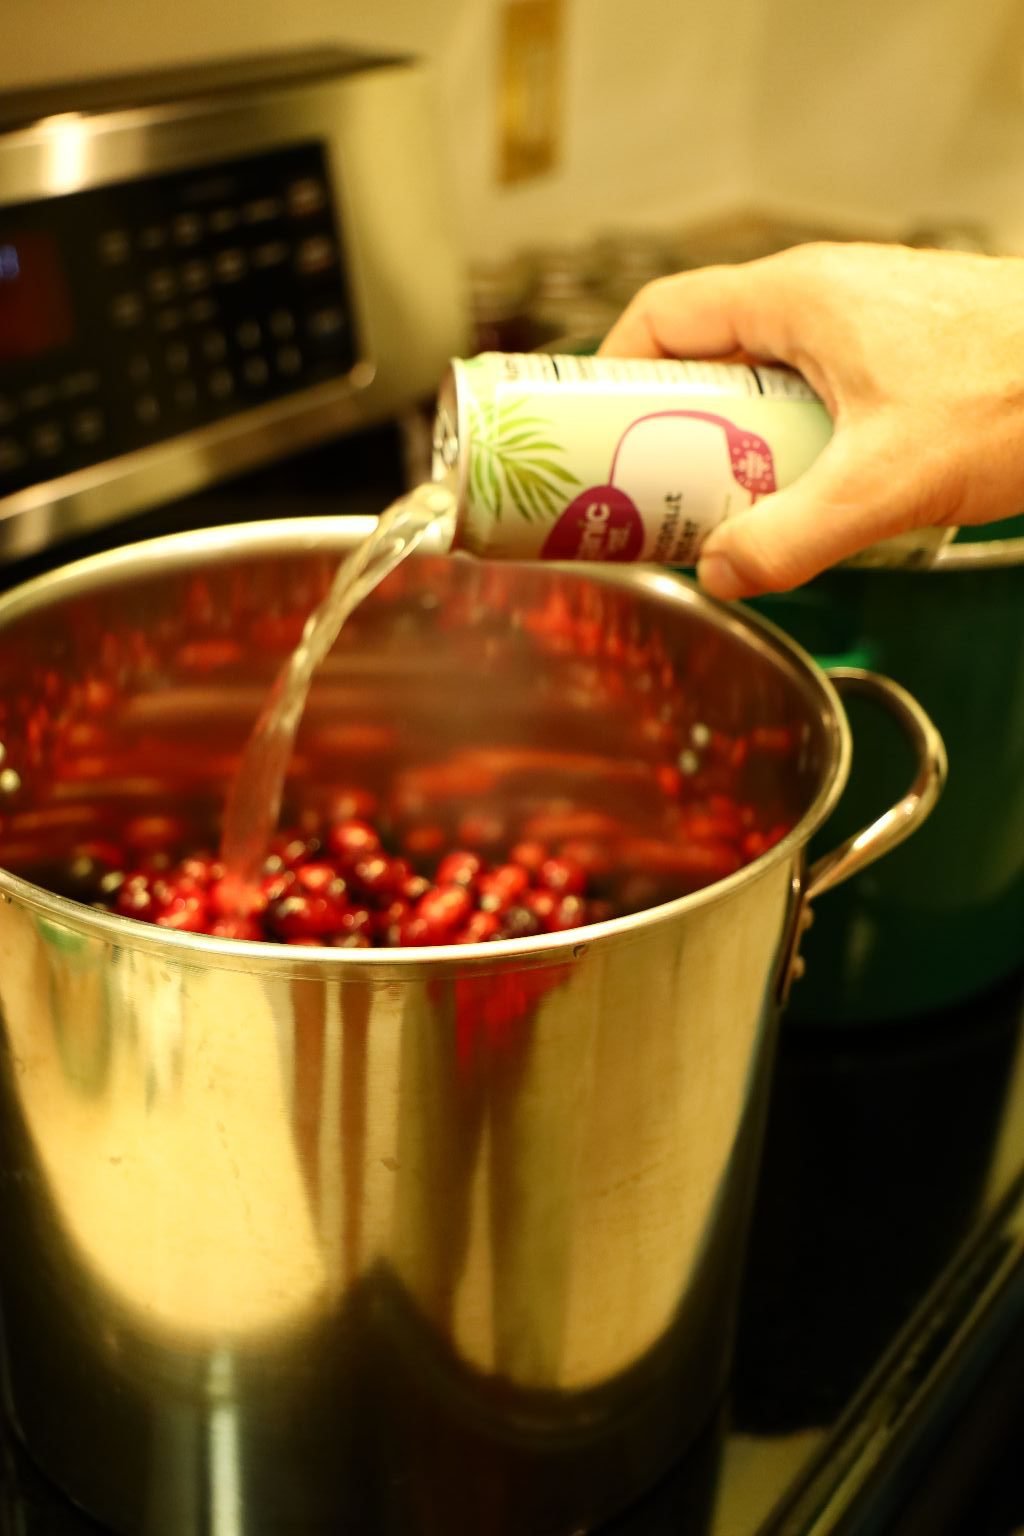
Add your cans of coconut water to the pot.
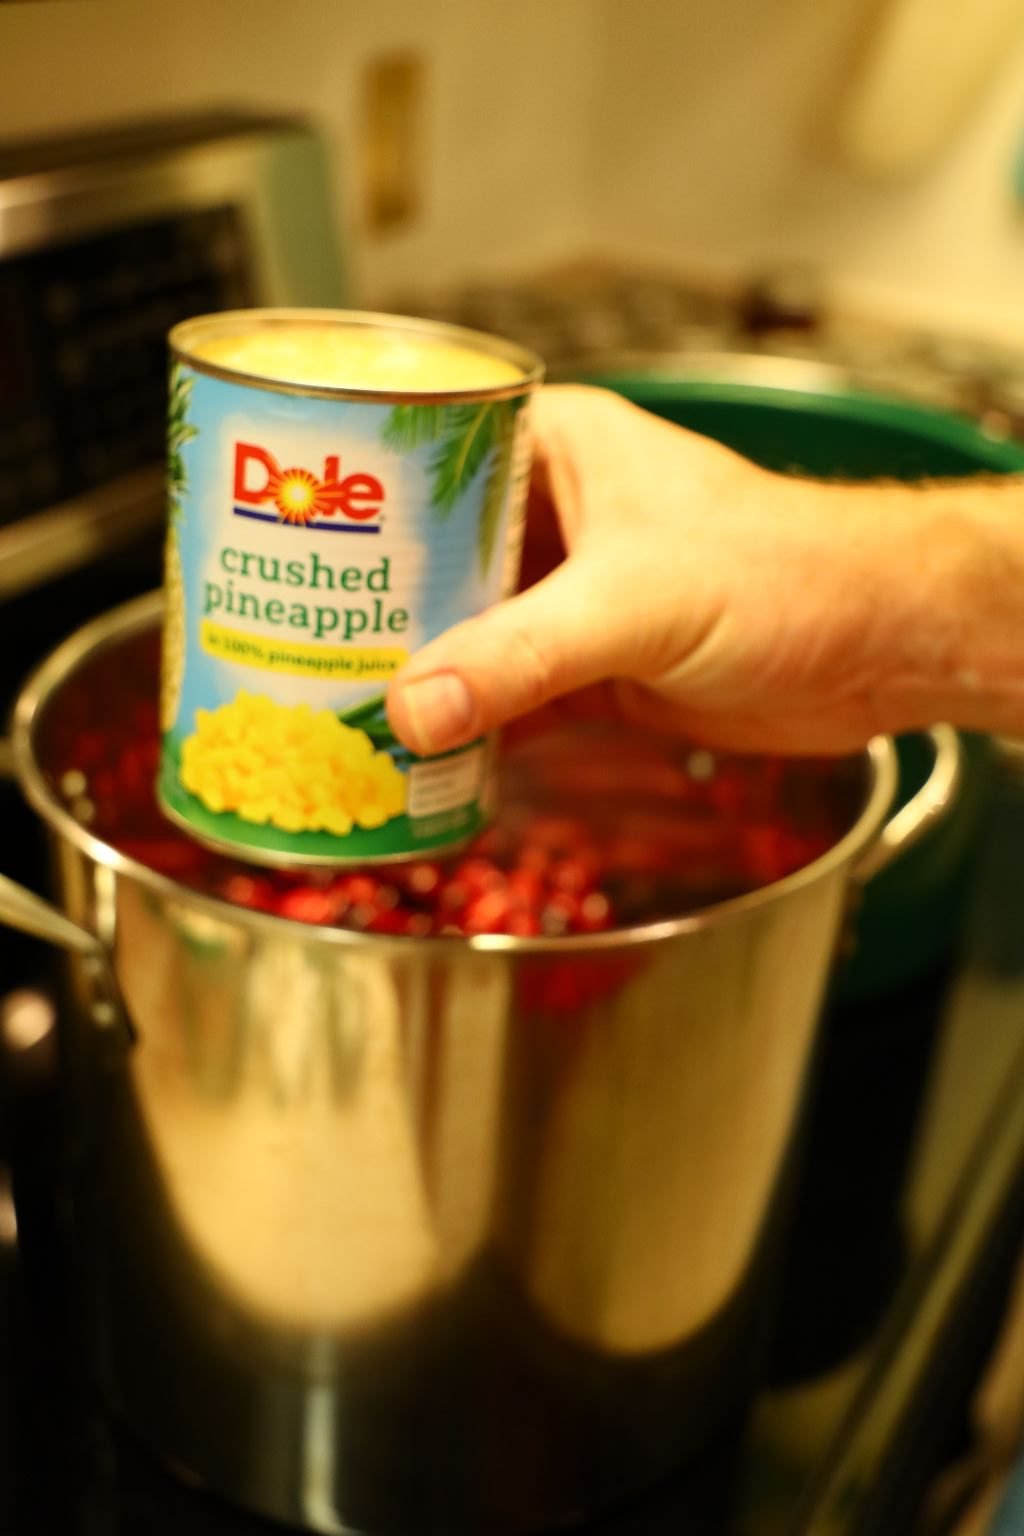
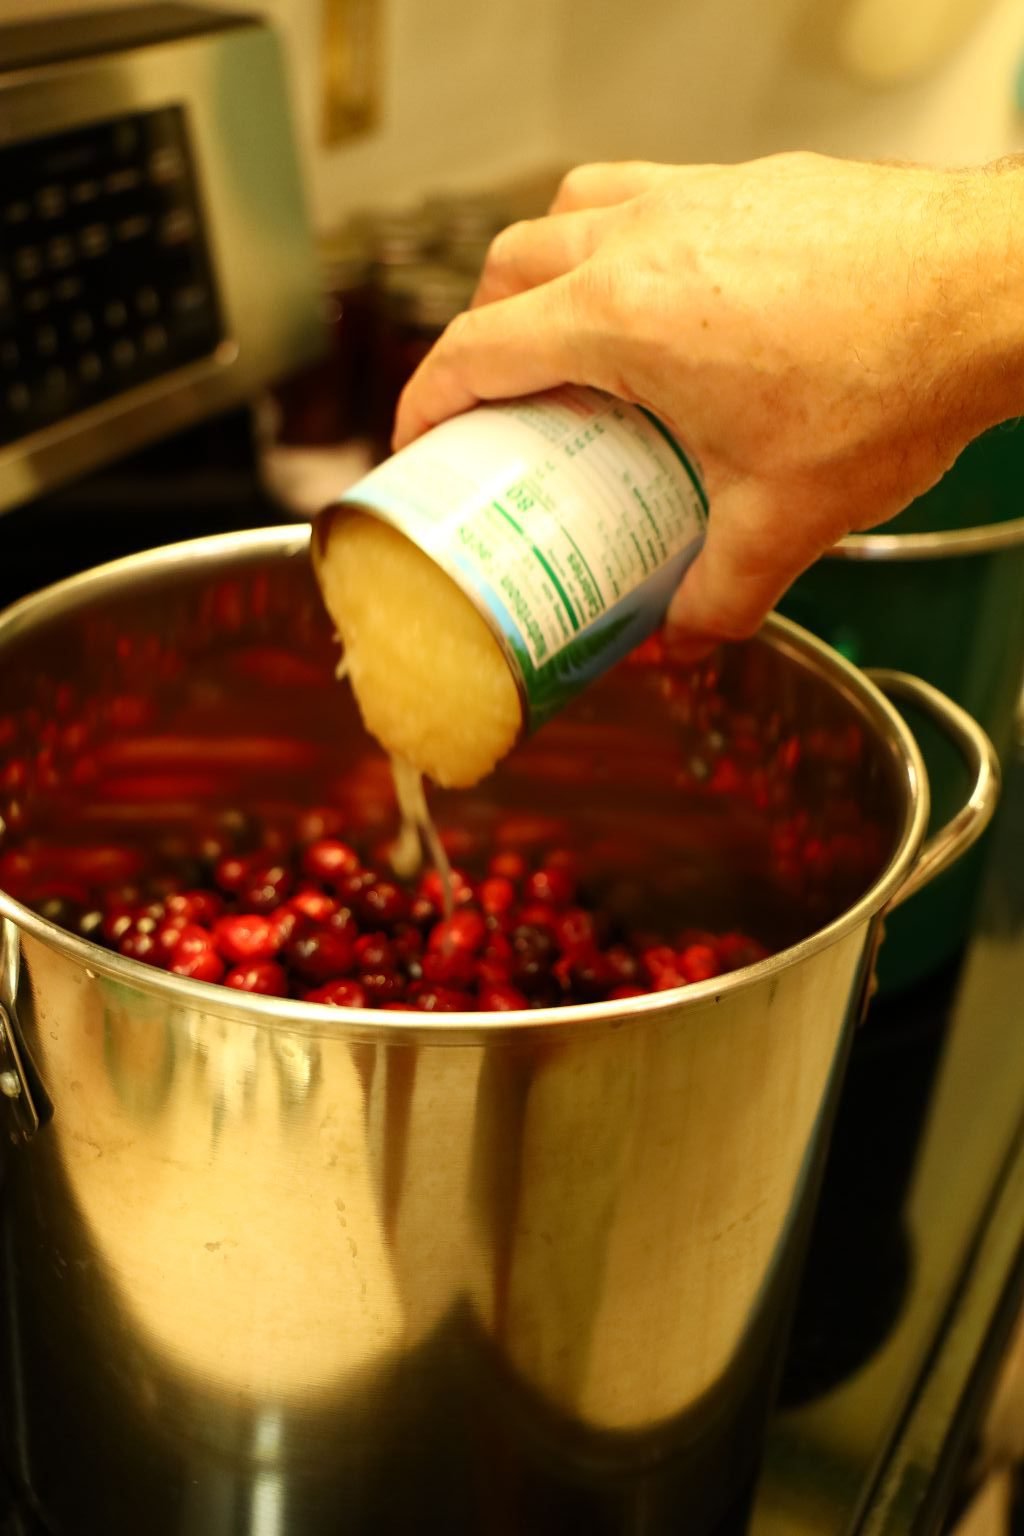
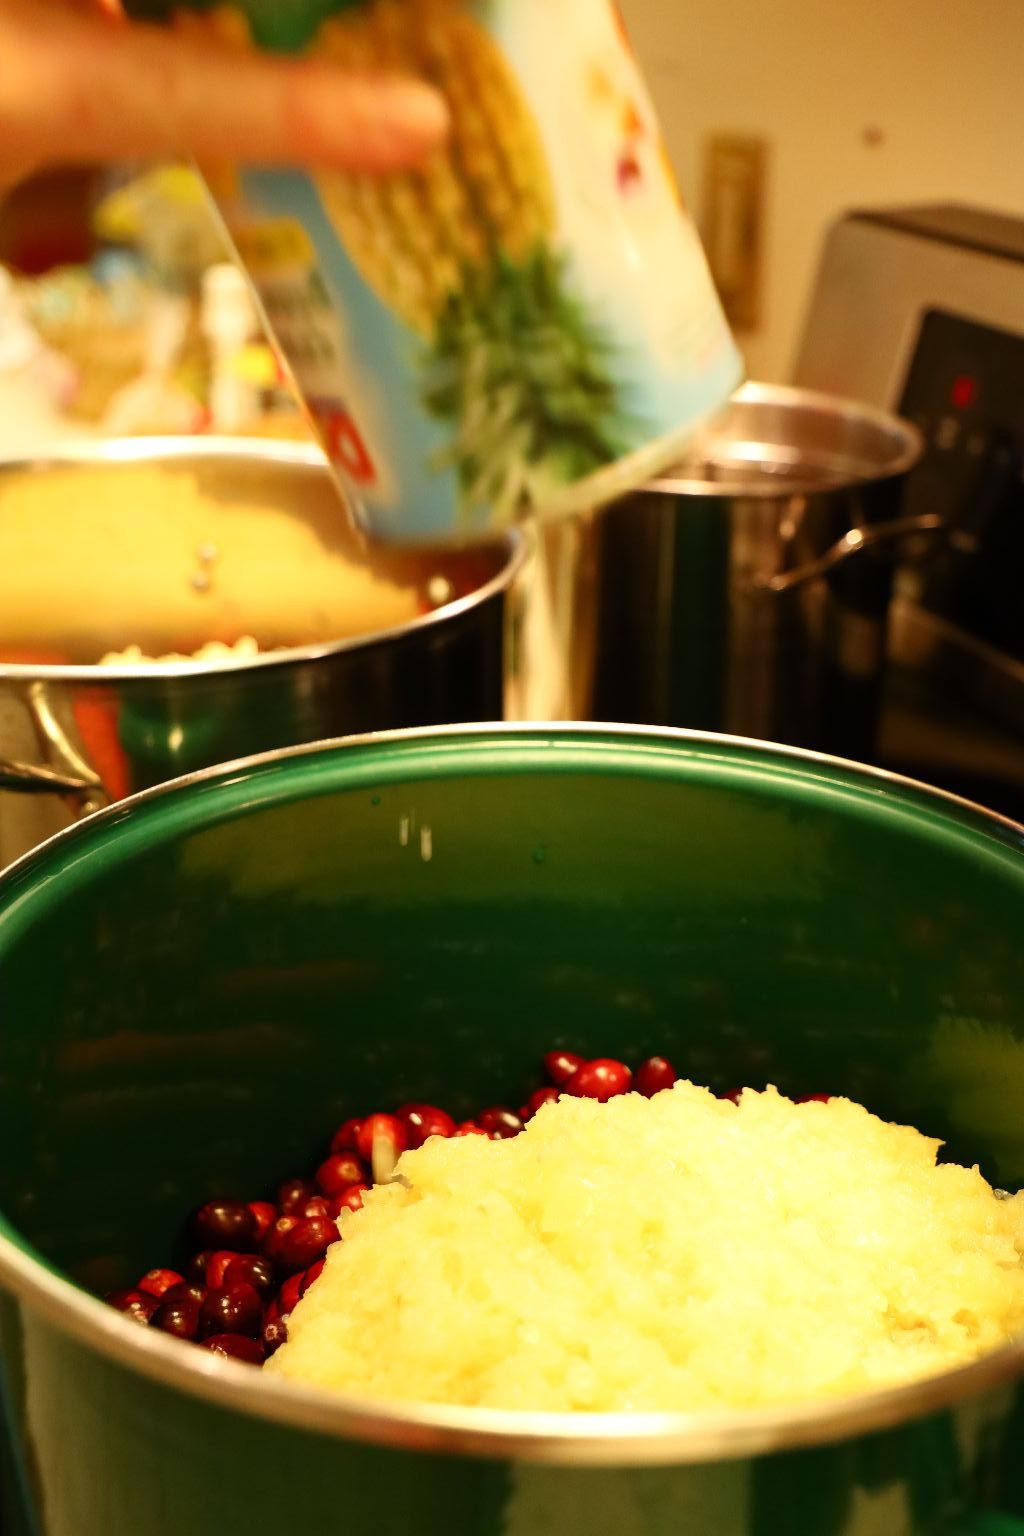
Then your Crushed Pineapple.
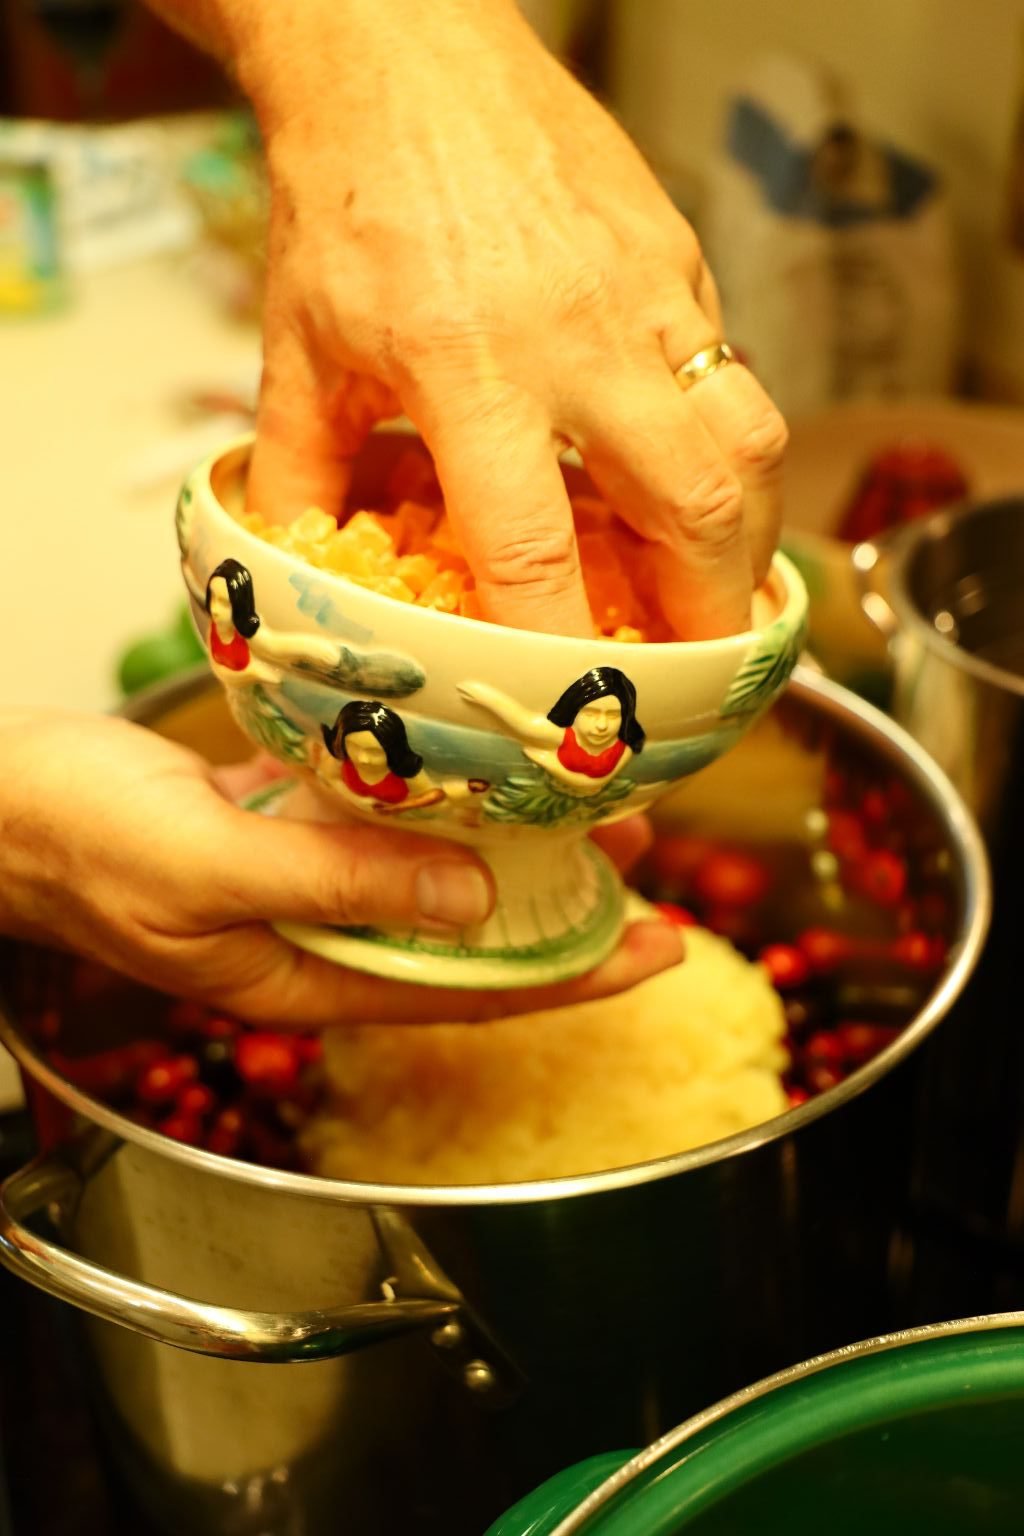
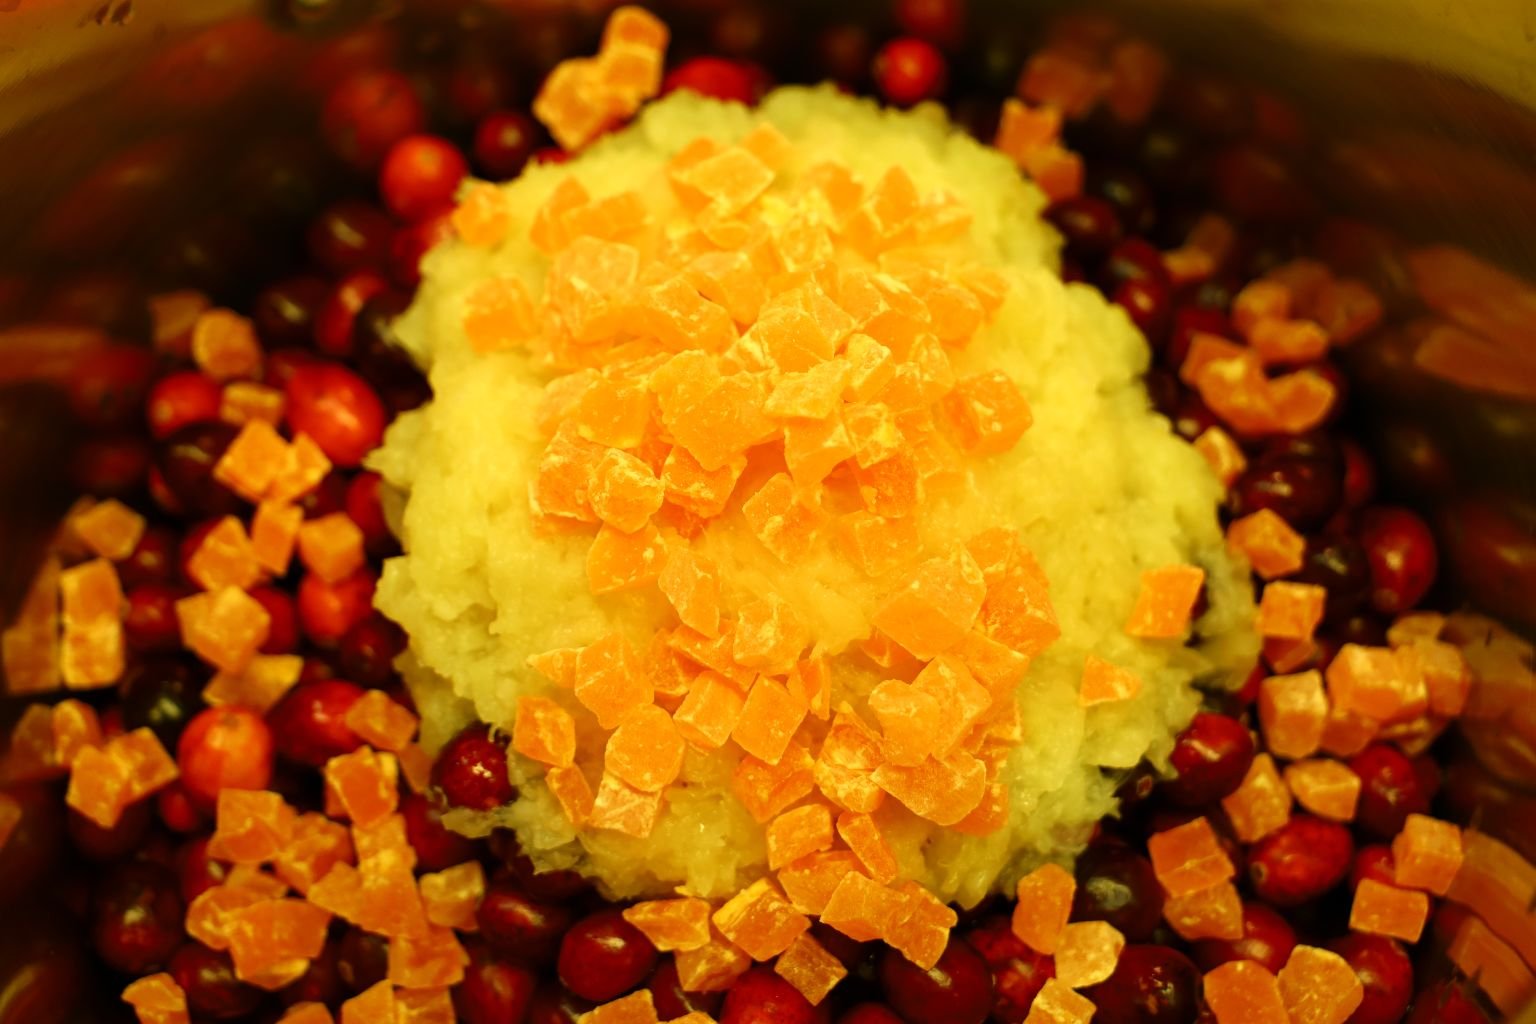
The Diced Papaya
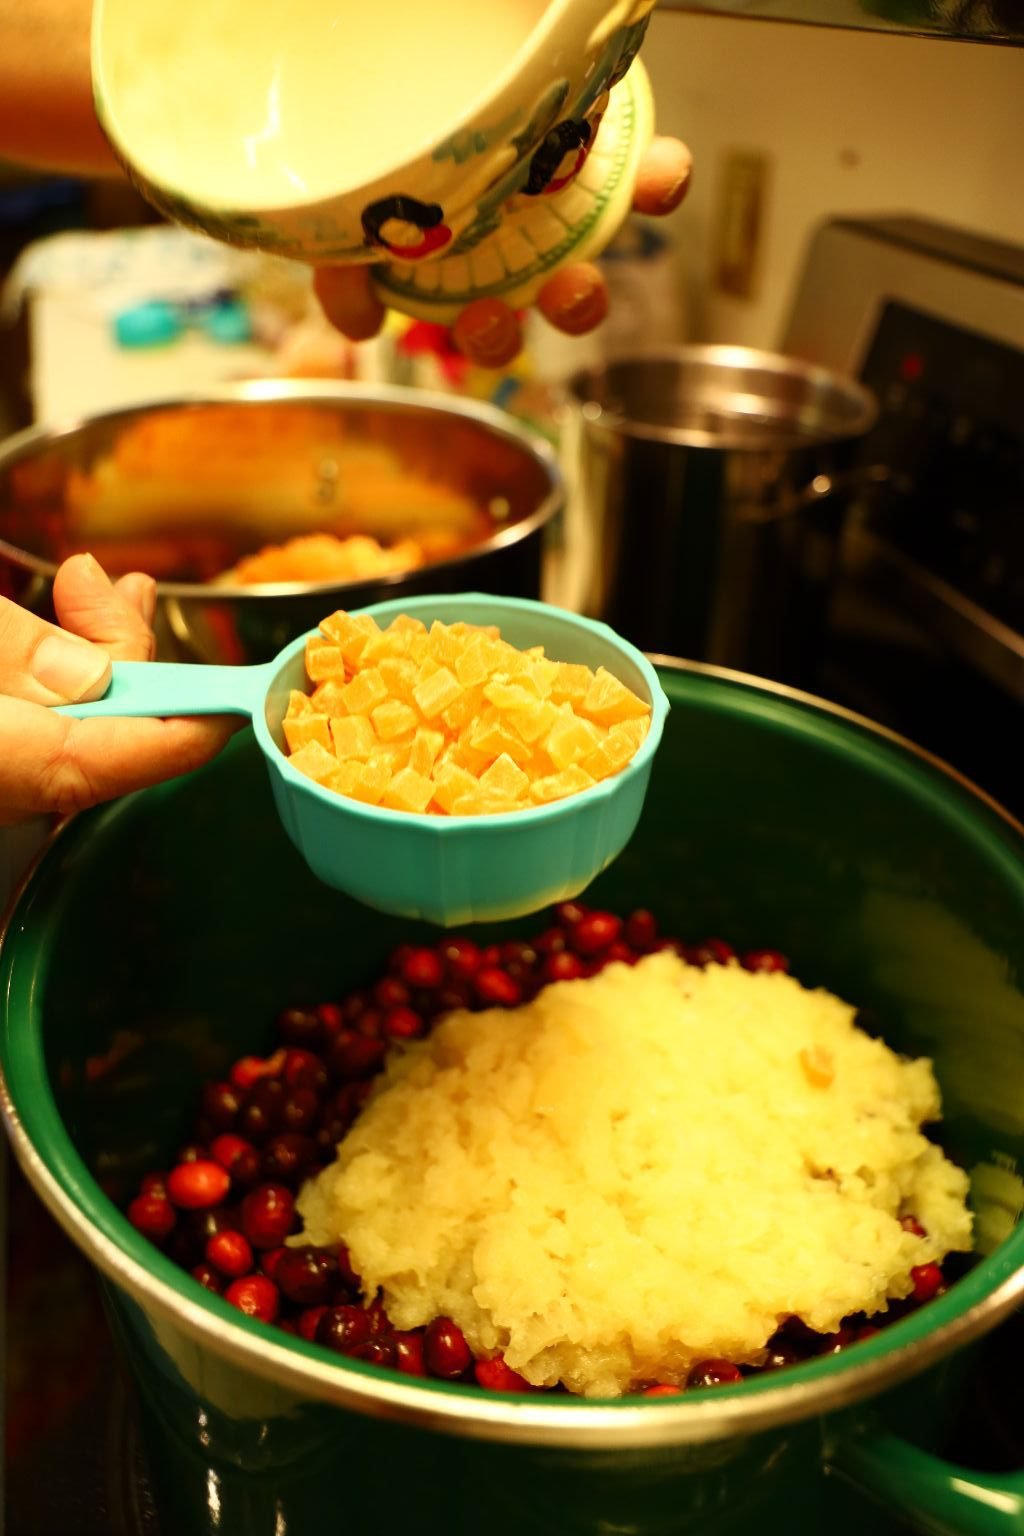
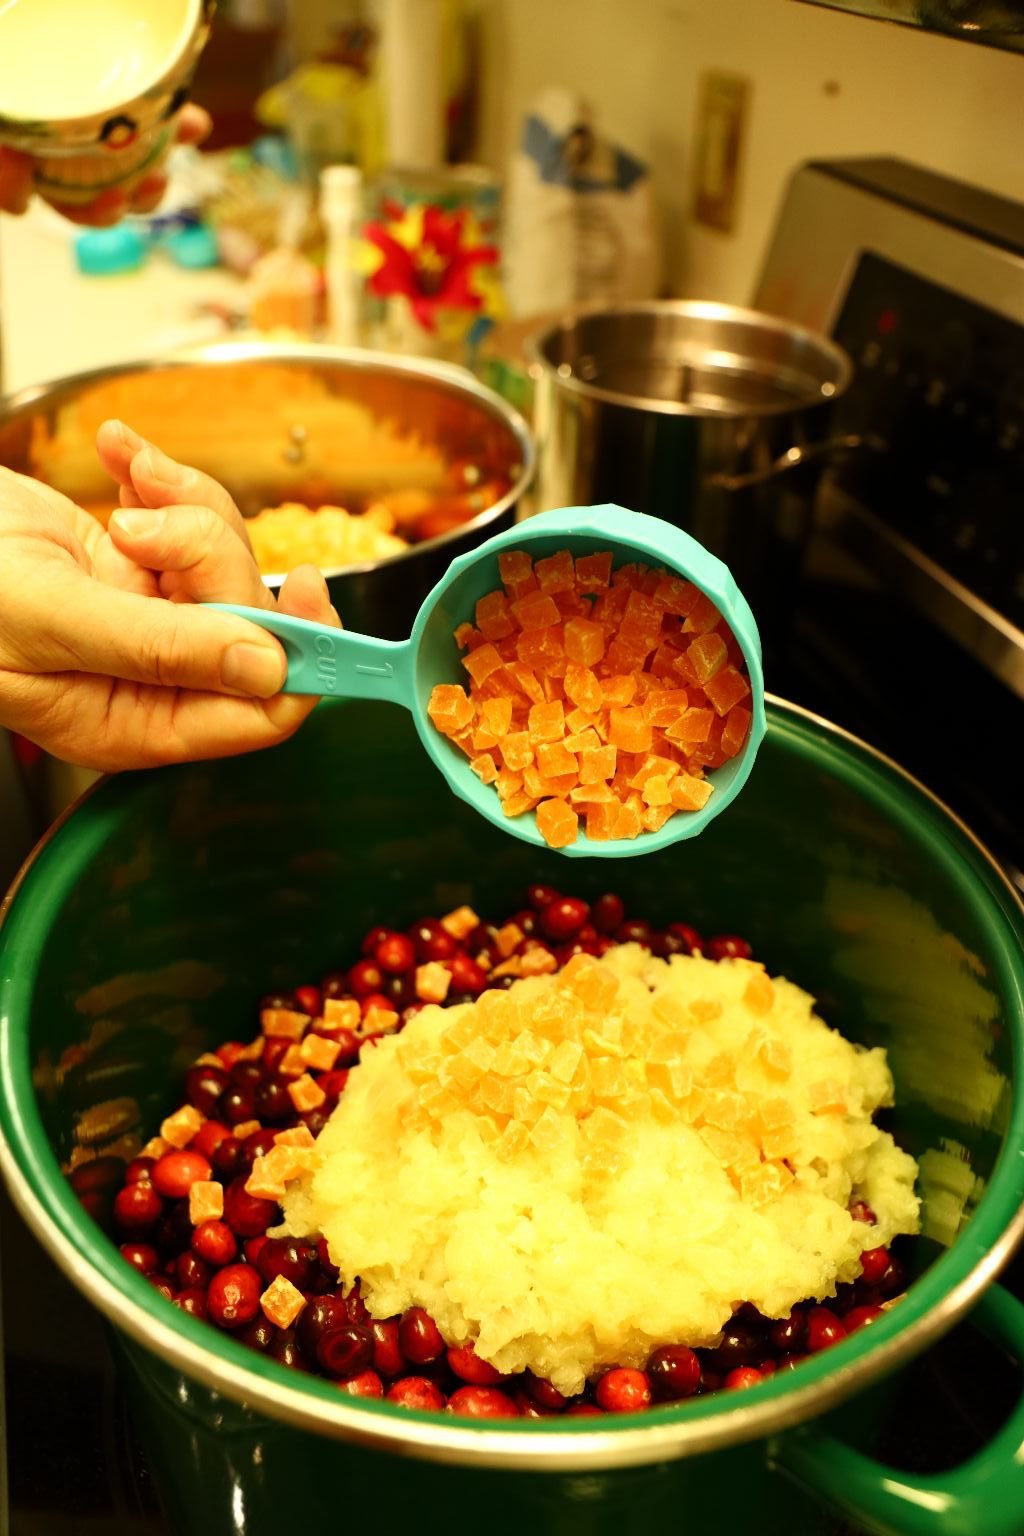
Then add your Dried Coconut and Dried Papaya to the pot.
(I think I got my photos out of order a bit, but still.) 🙂
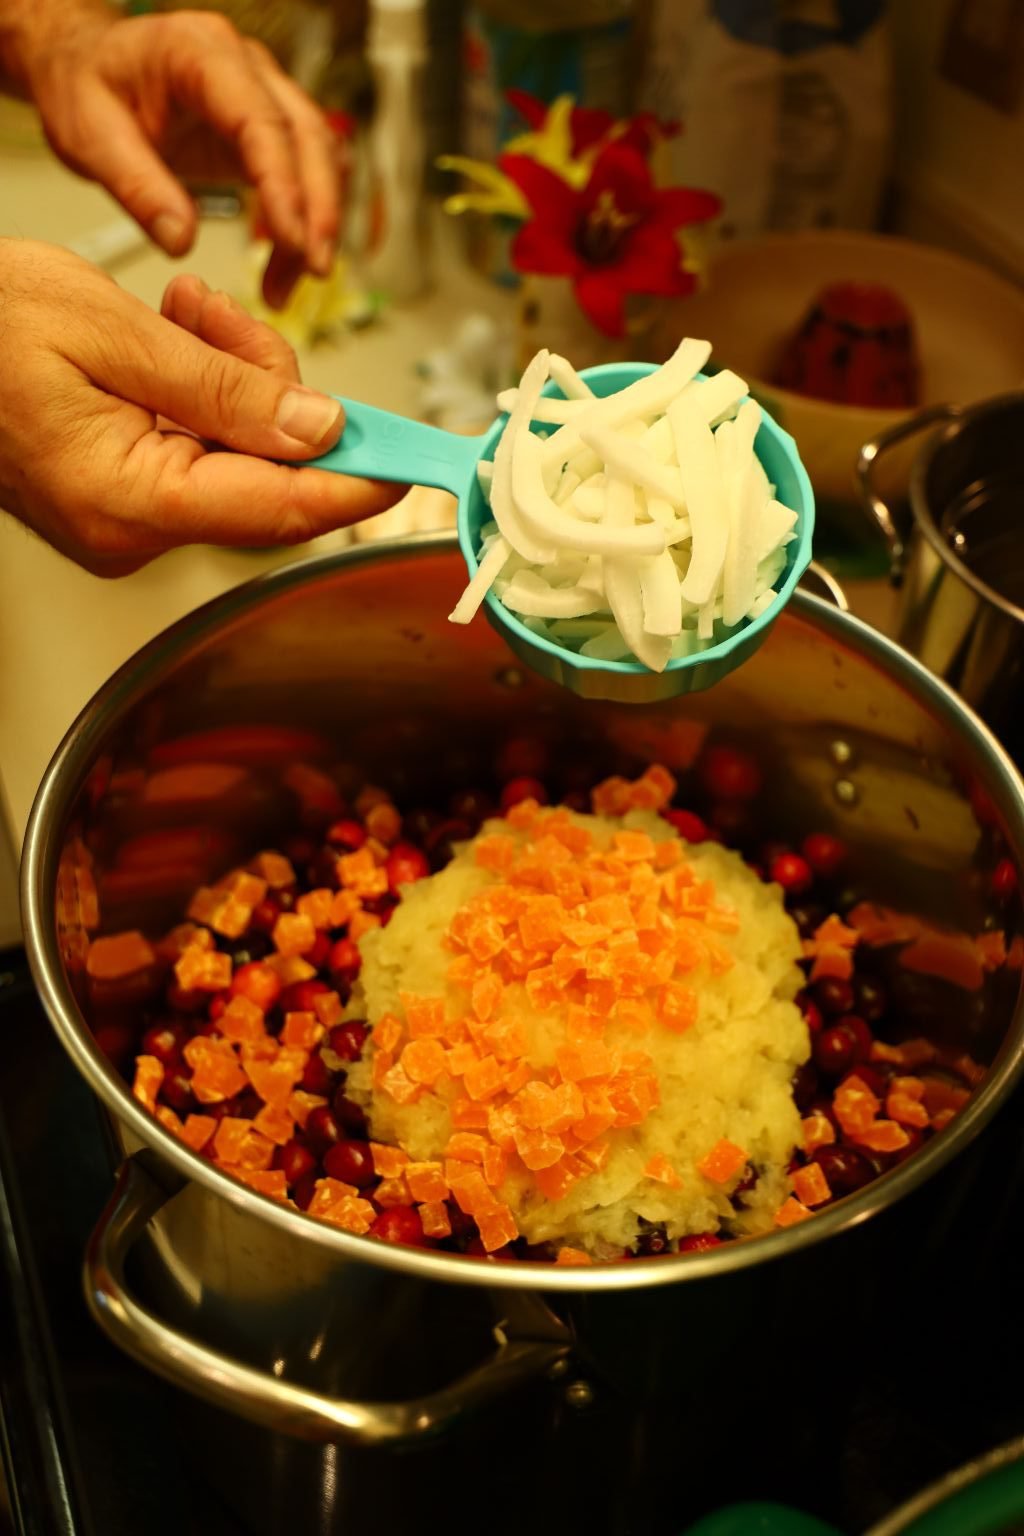
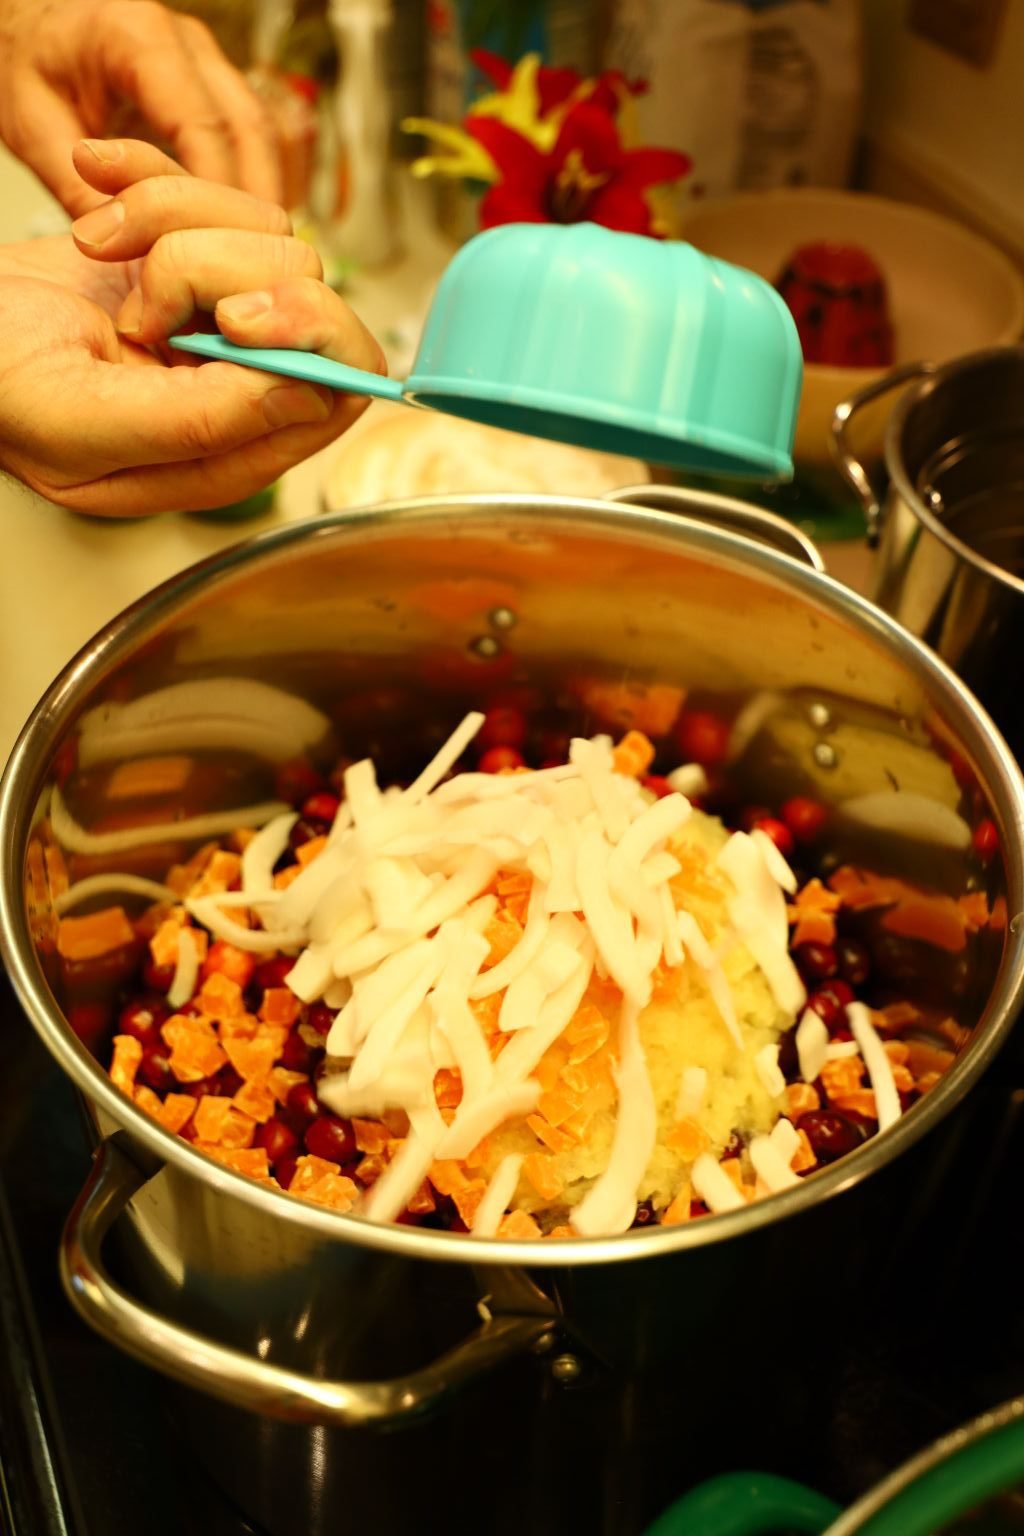
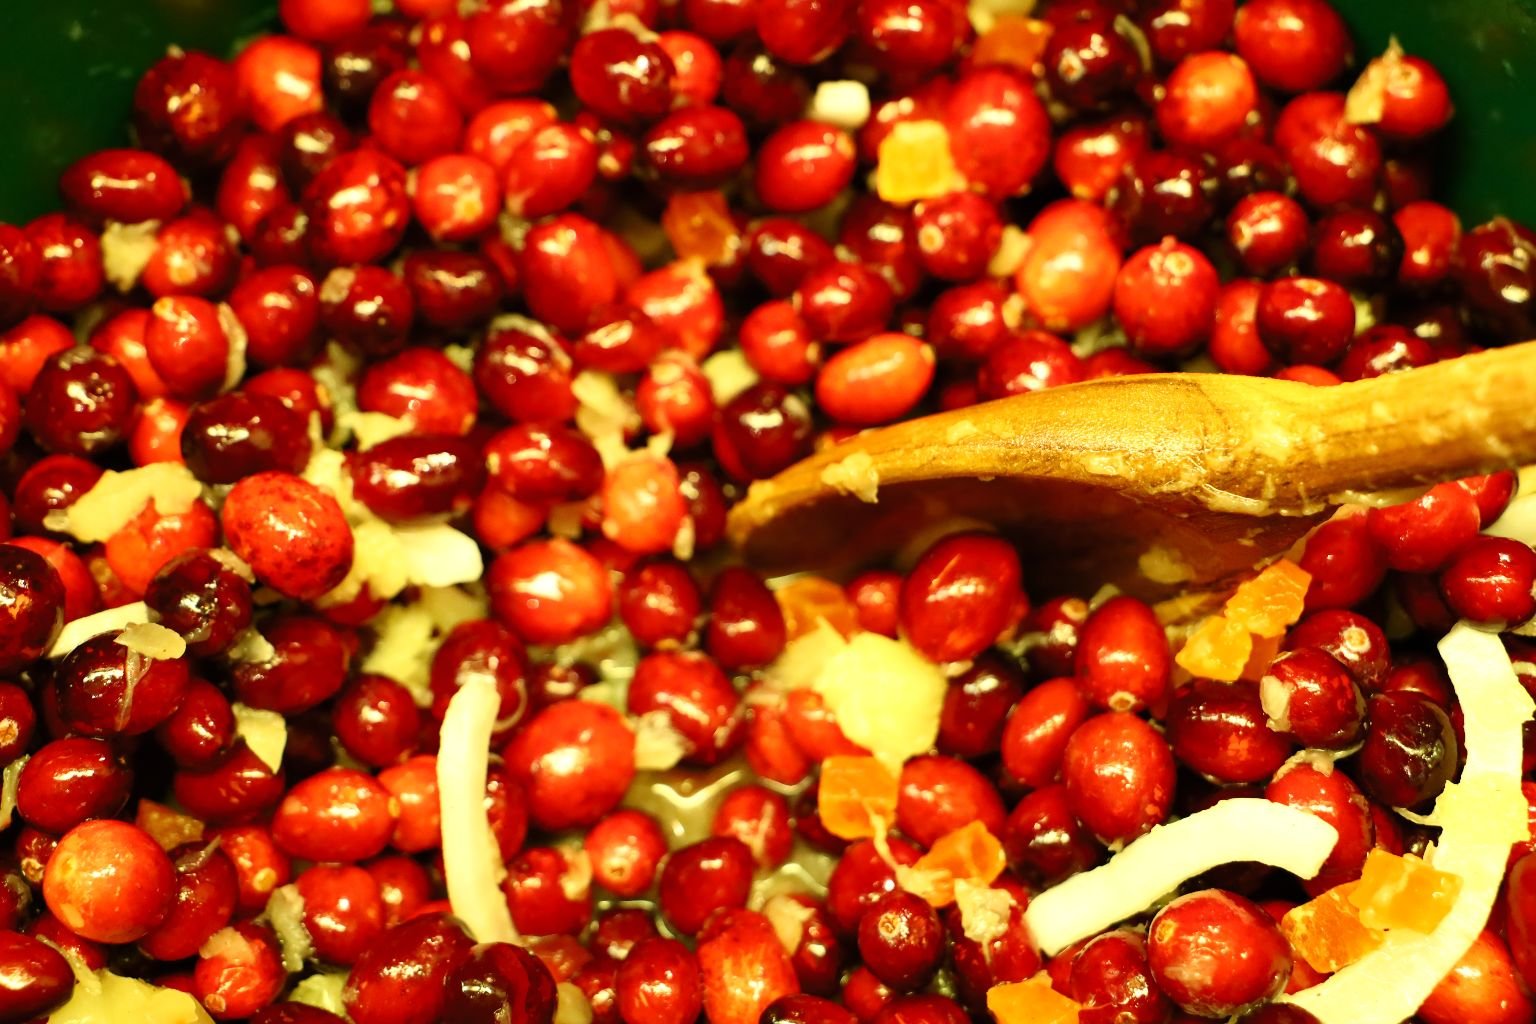
Then add your Coconut shavings.


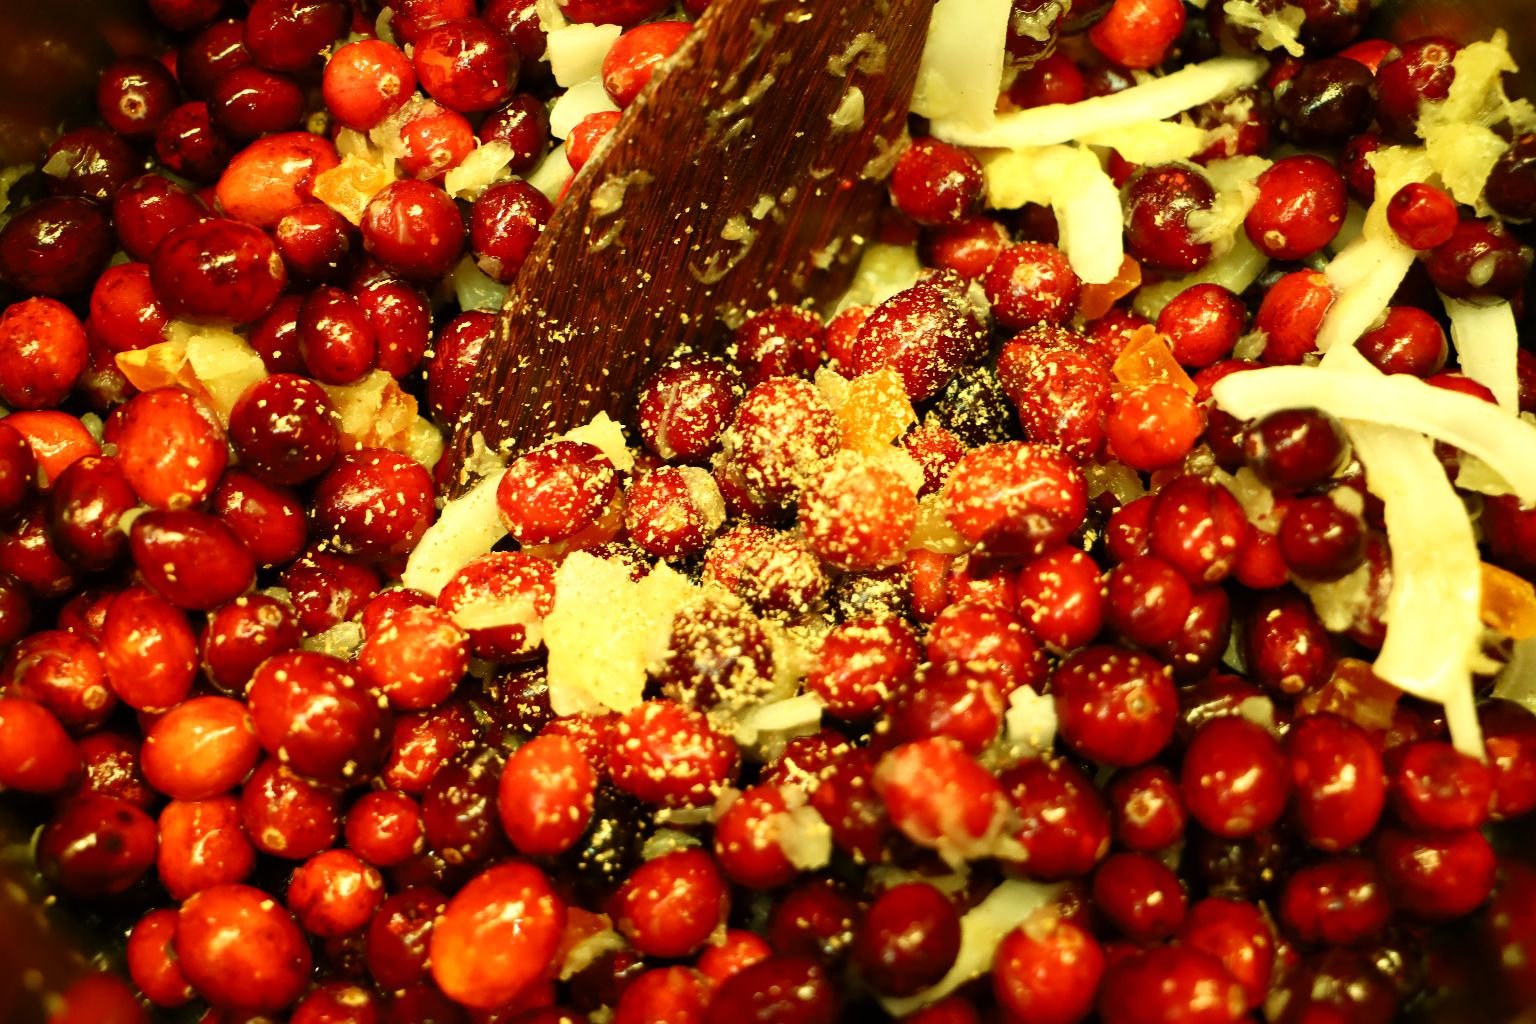
Isn’t Everything Beautiful and Festive?
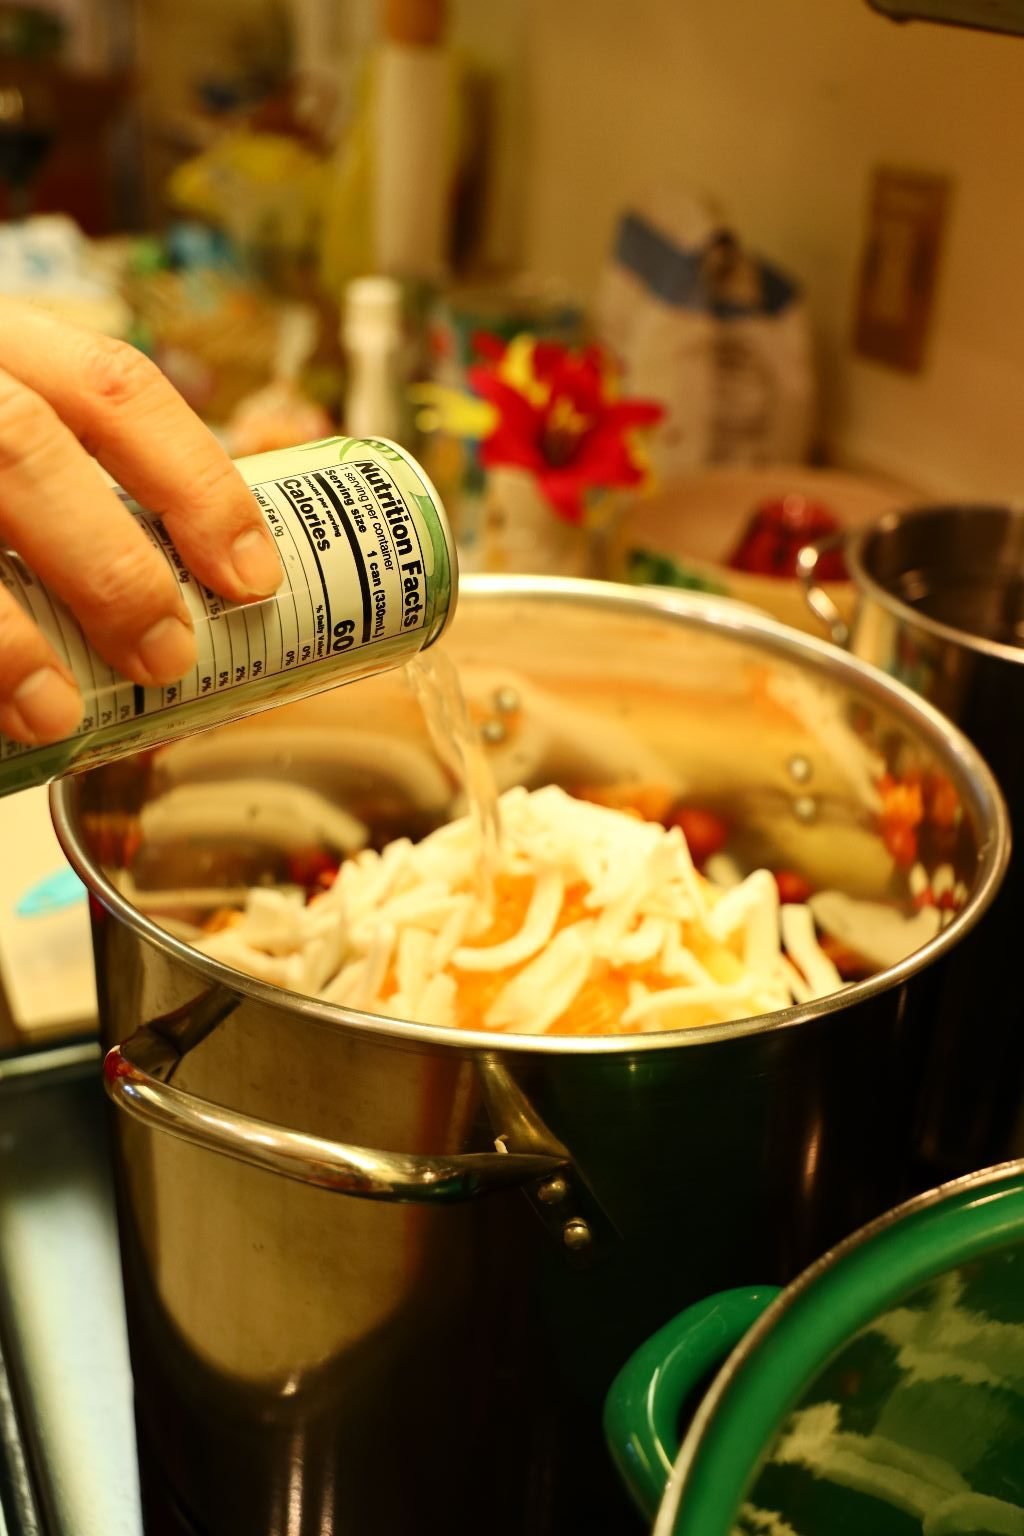
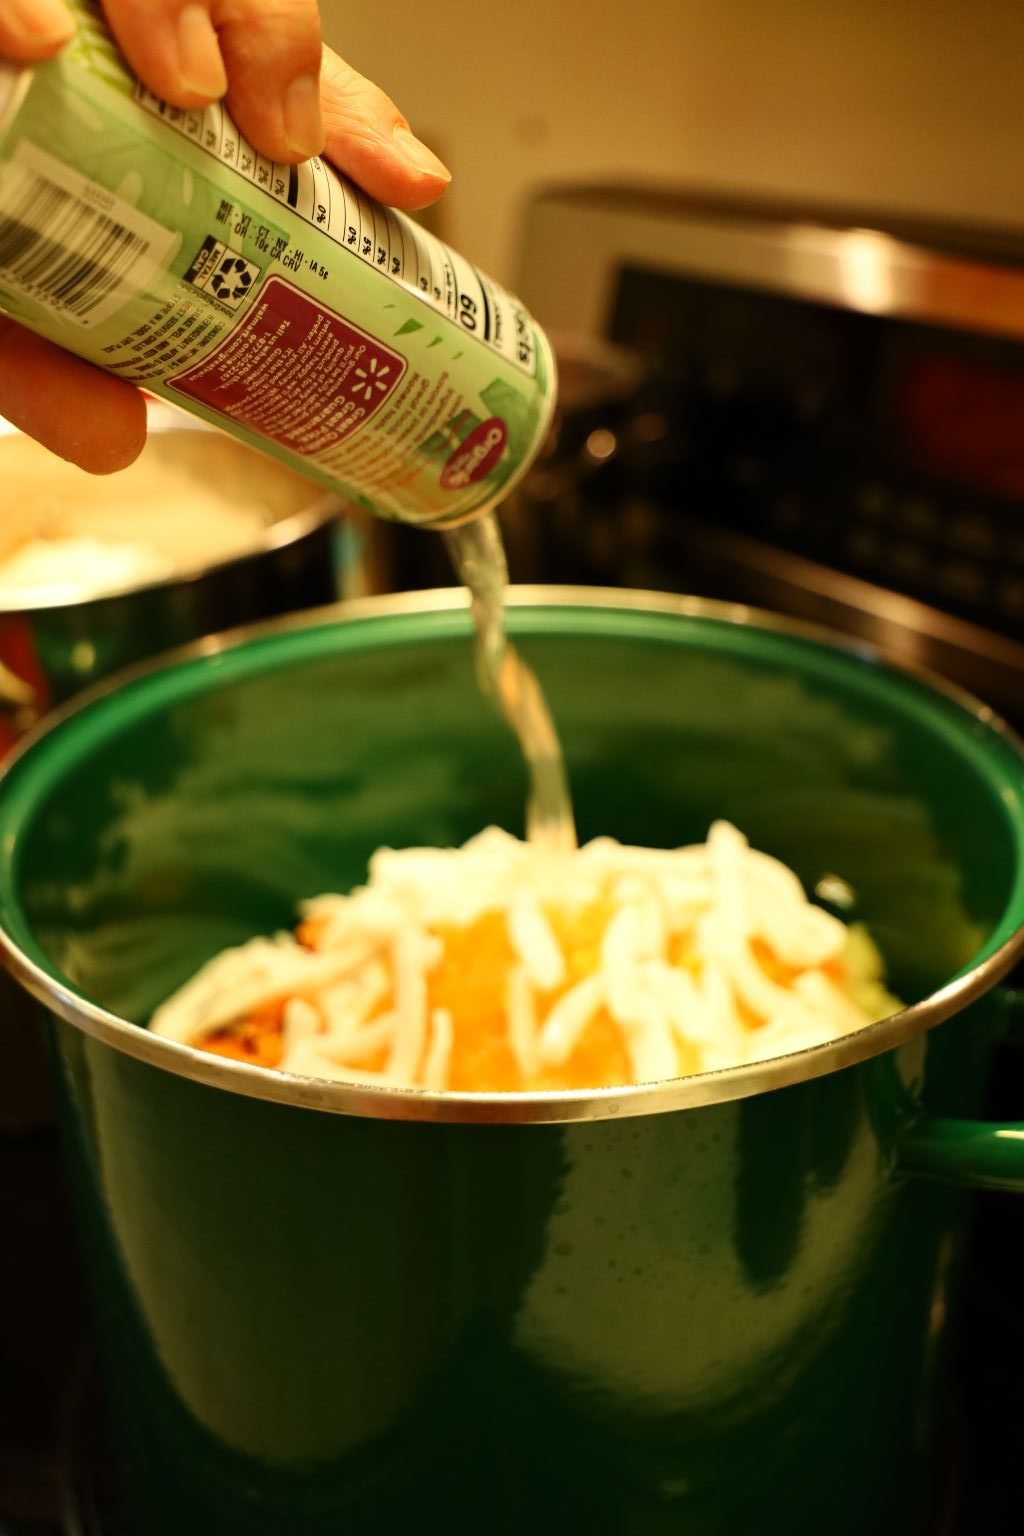
I wanted a little more liquid to the pot so I added more Coconut Water making a total of 2 cans.
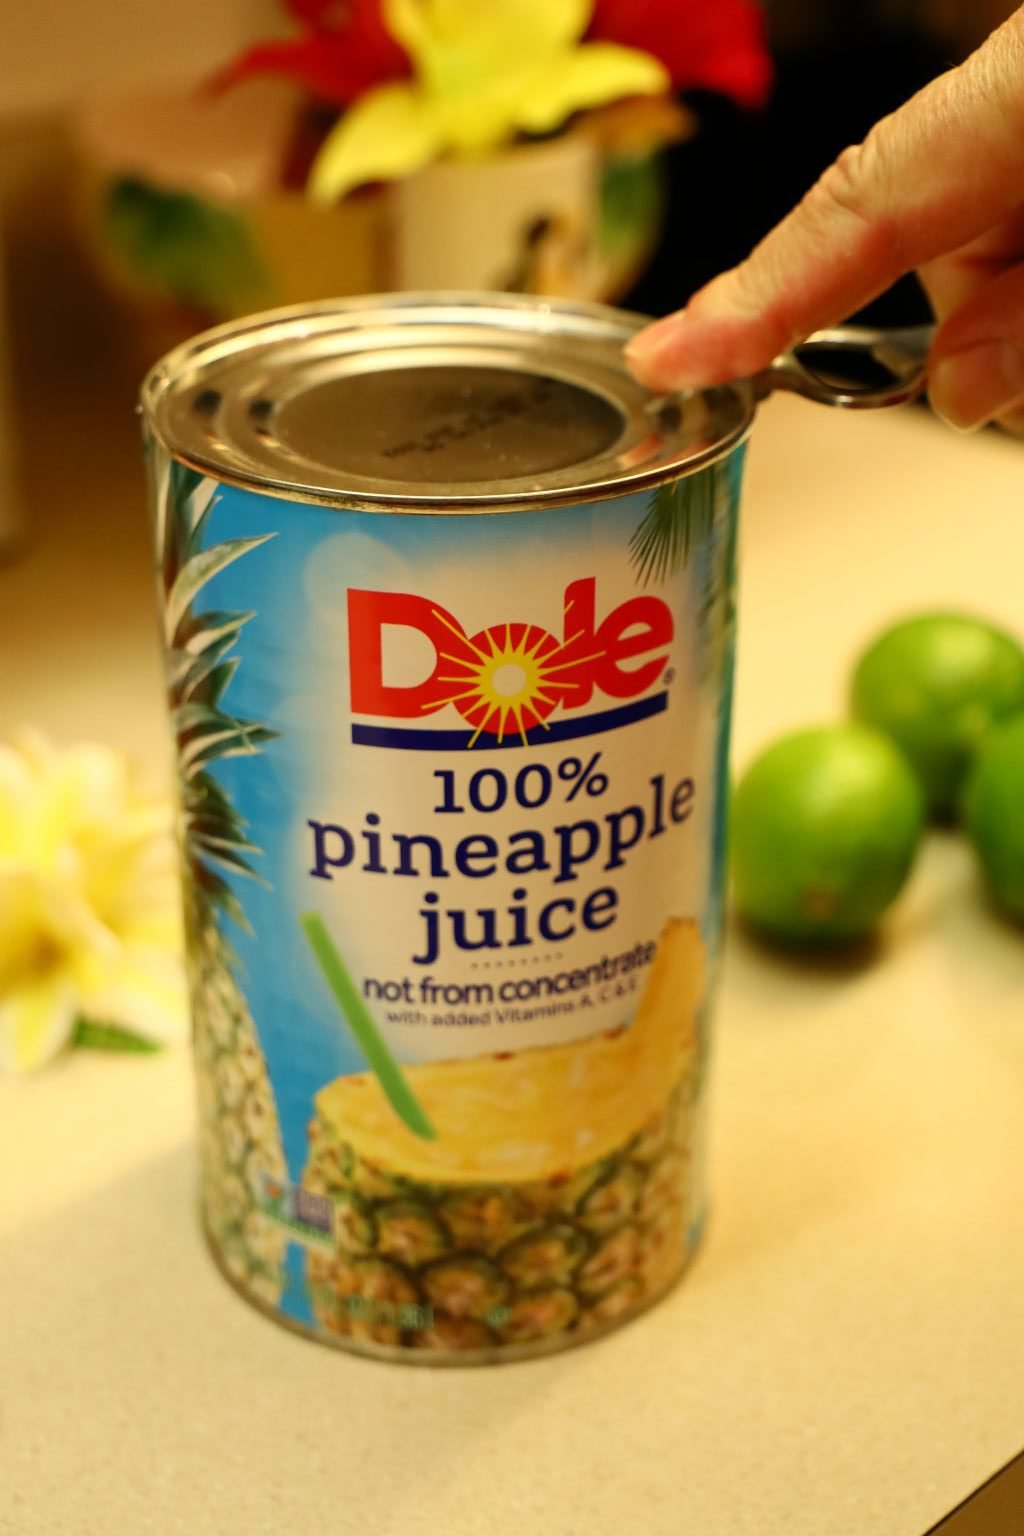
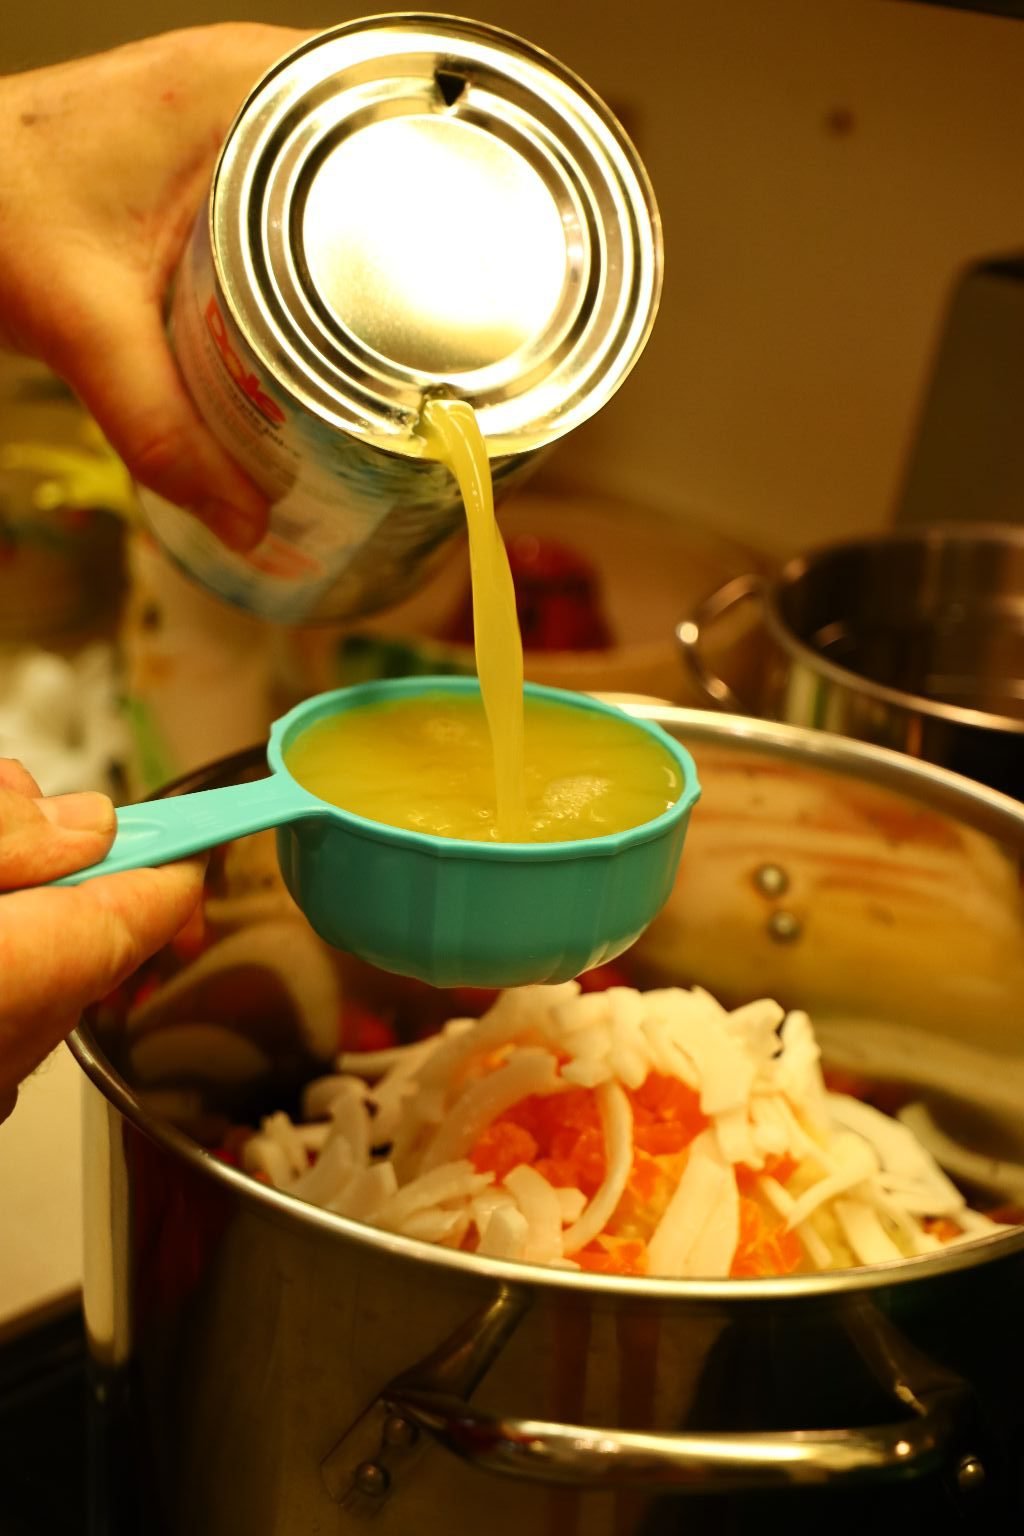
Still needing some more liquid I added 1 Cup of Pineapple Juice.
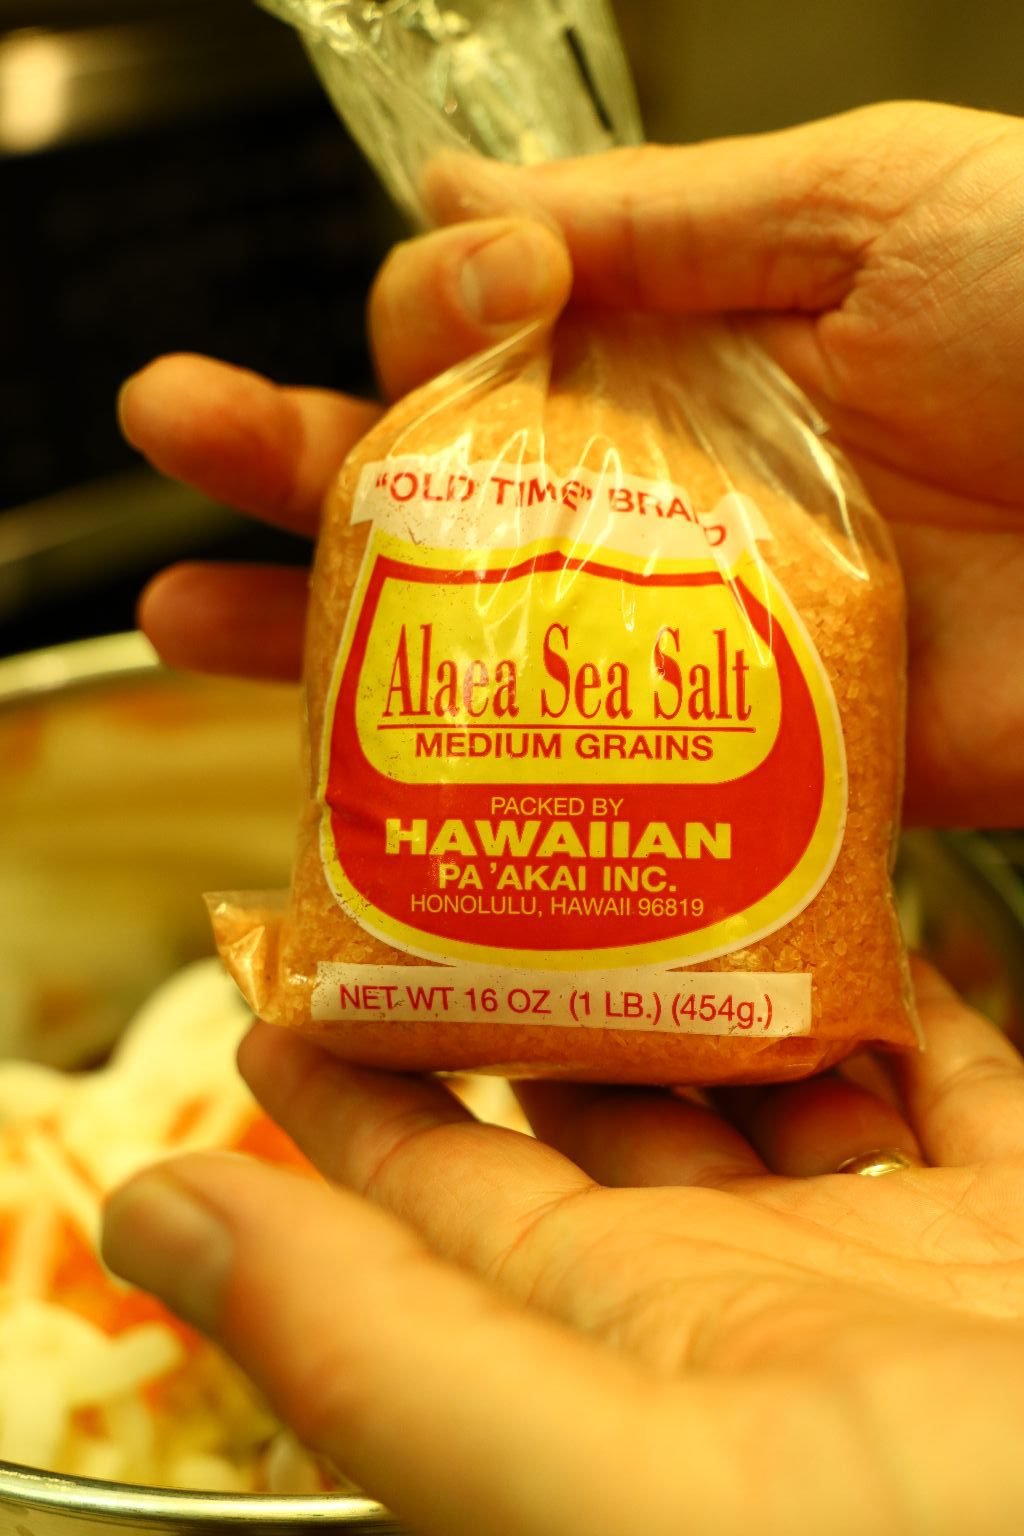
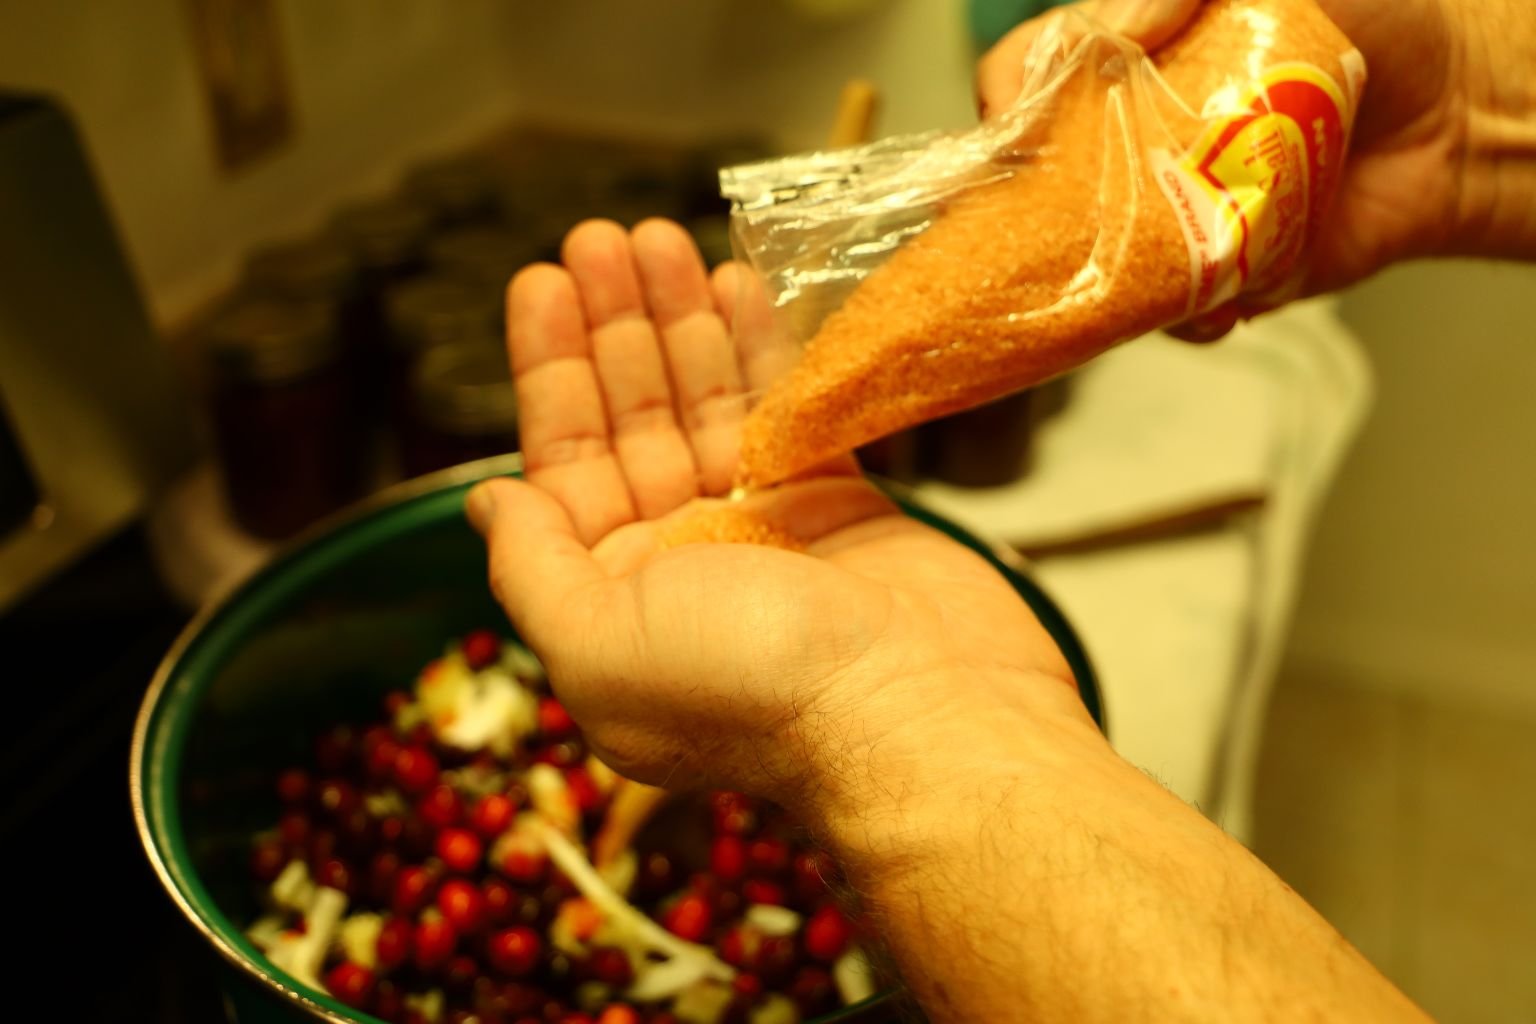
Now add your salt to bring out the sweetness of the other ingredients.
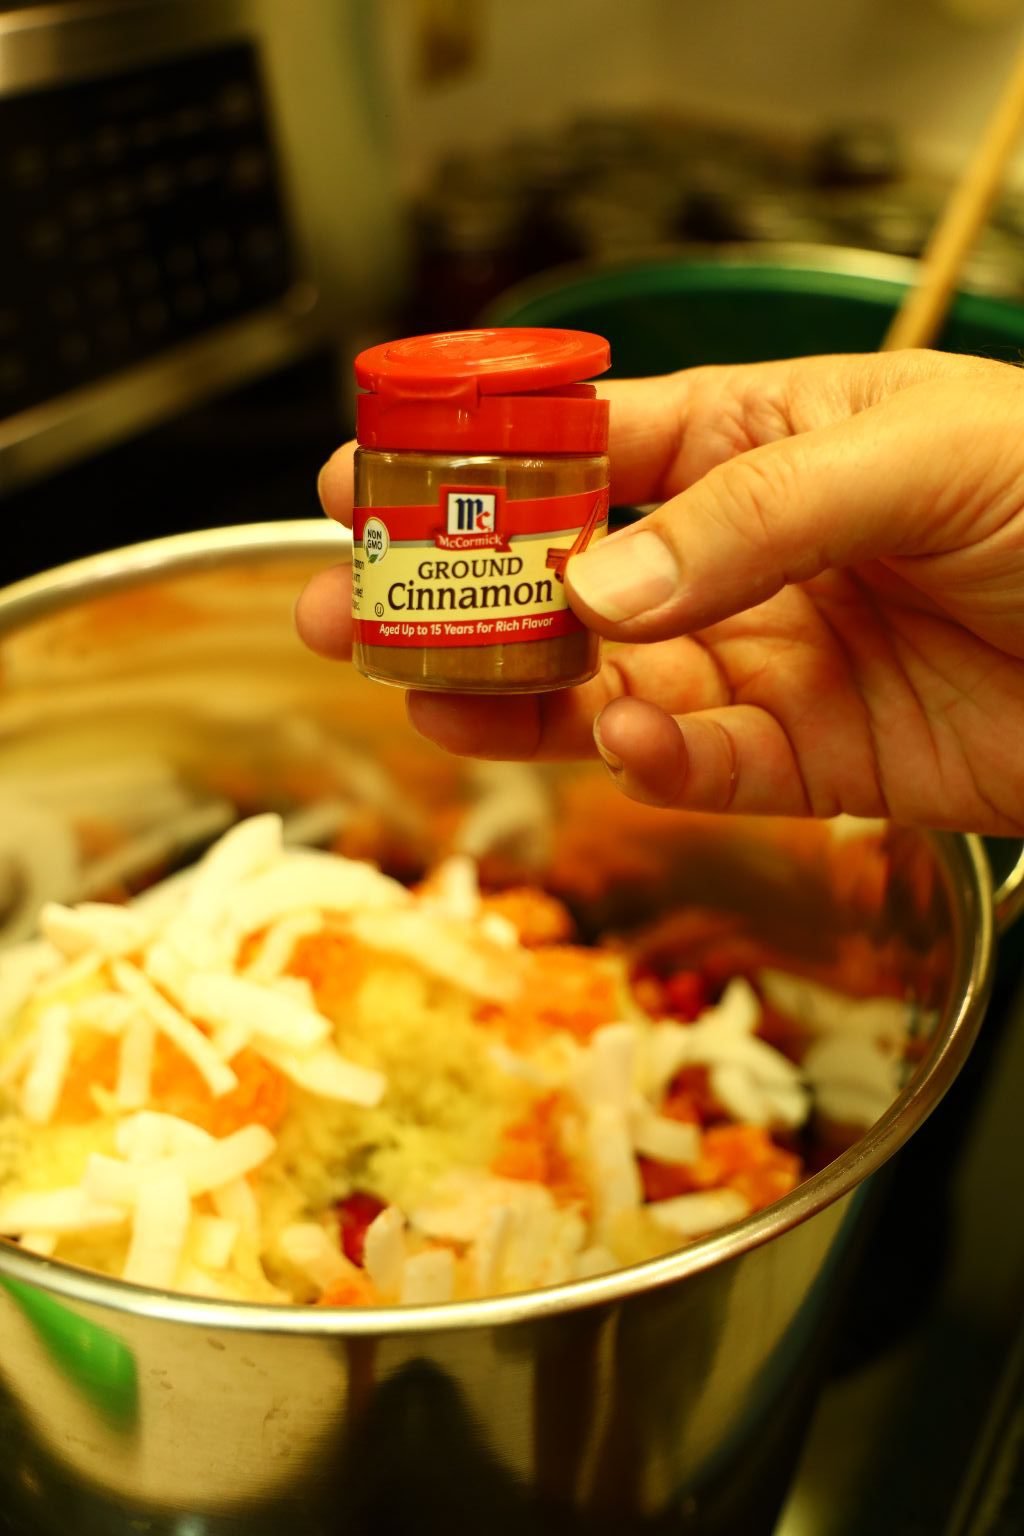
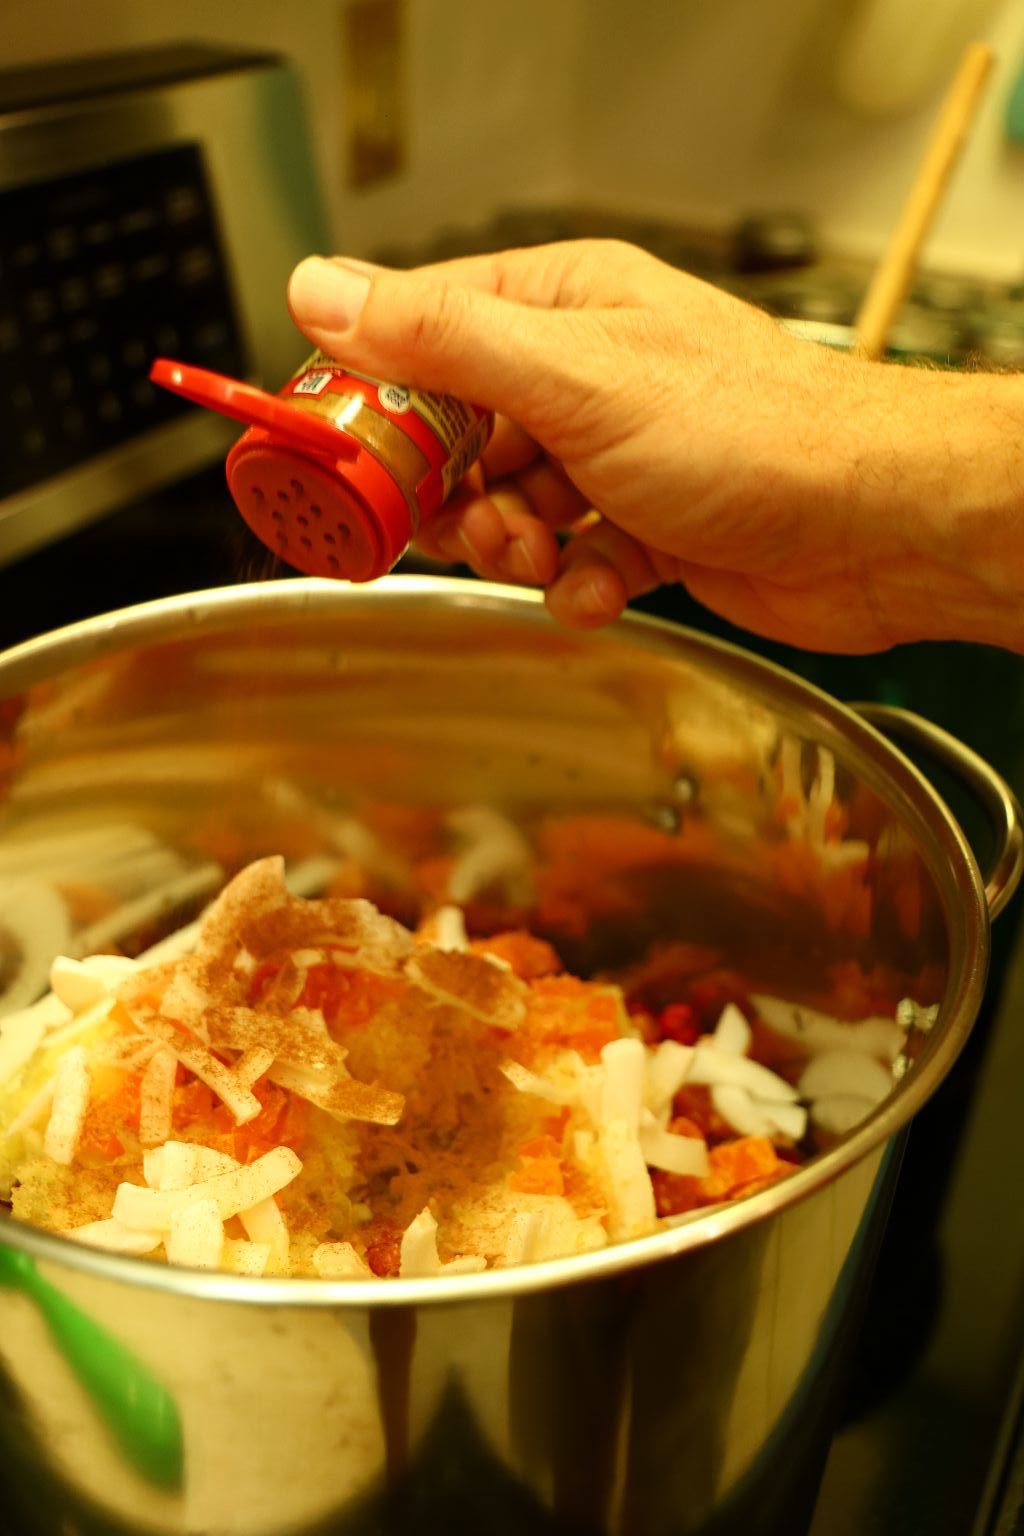
Then your Ground Cinnamon.
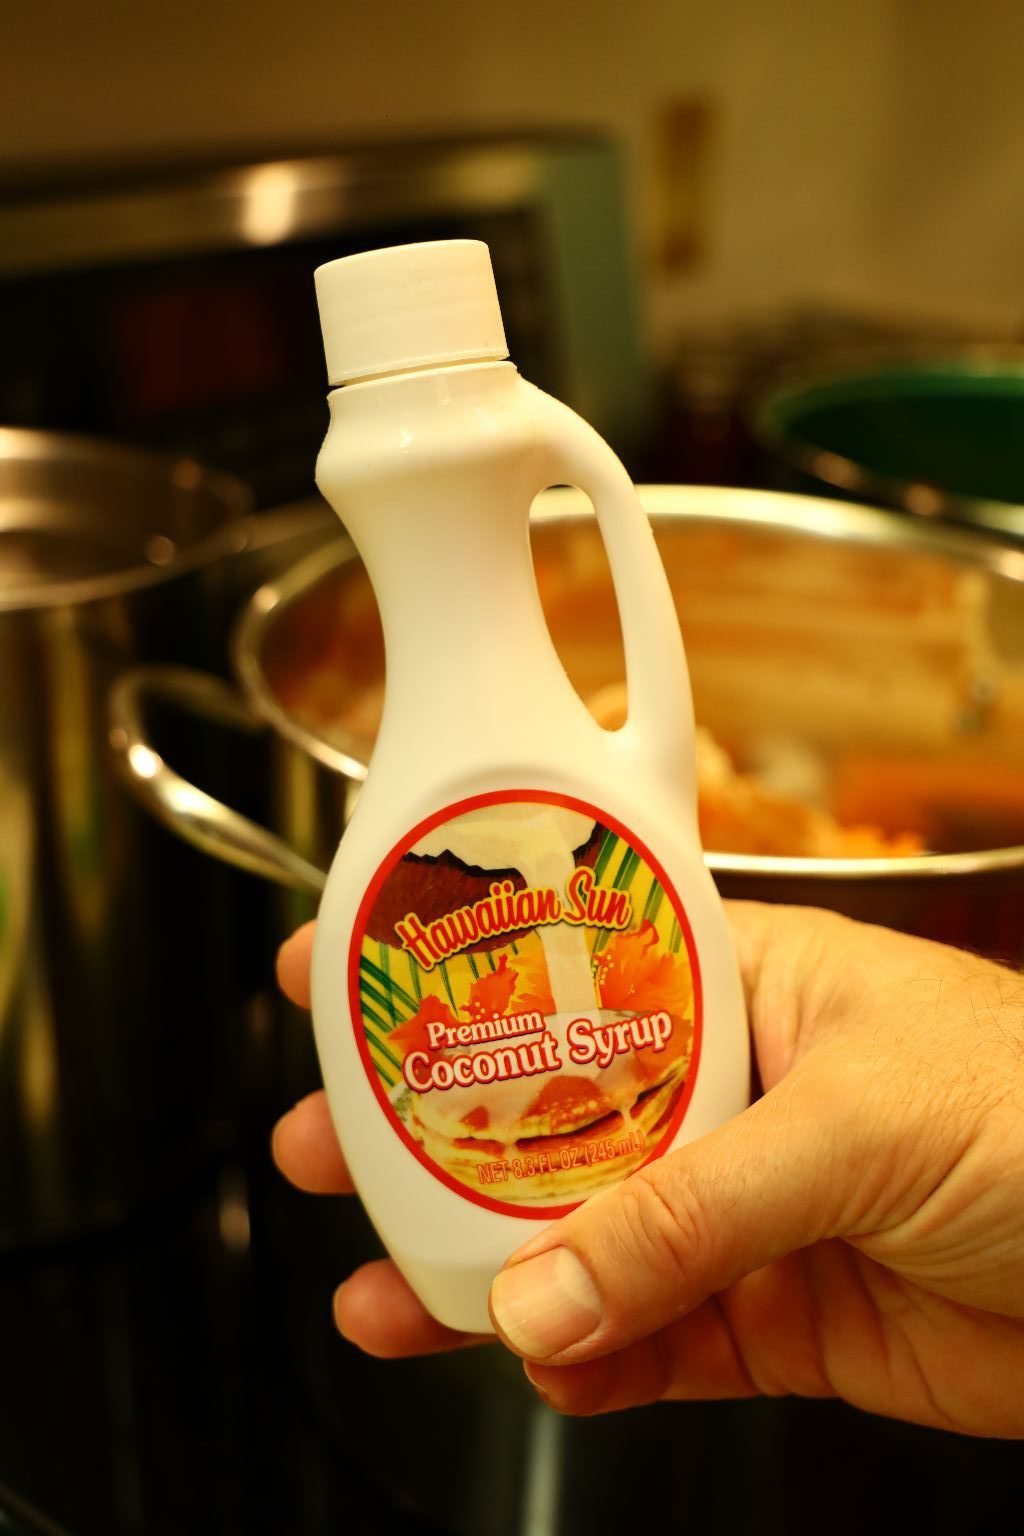
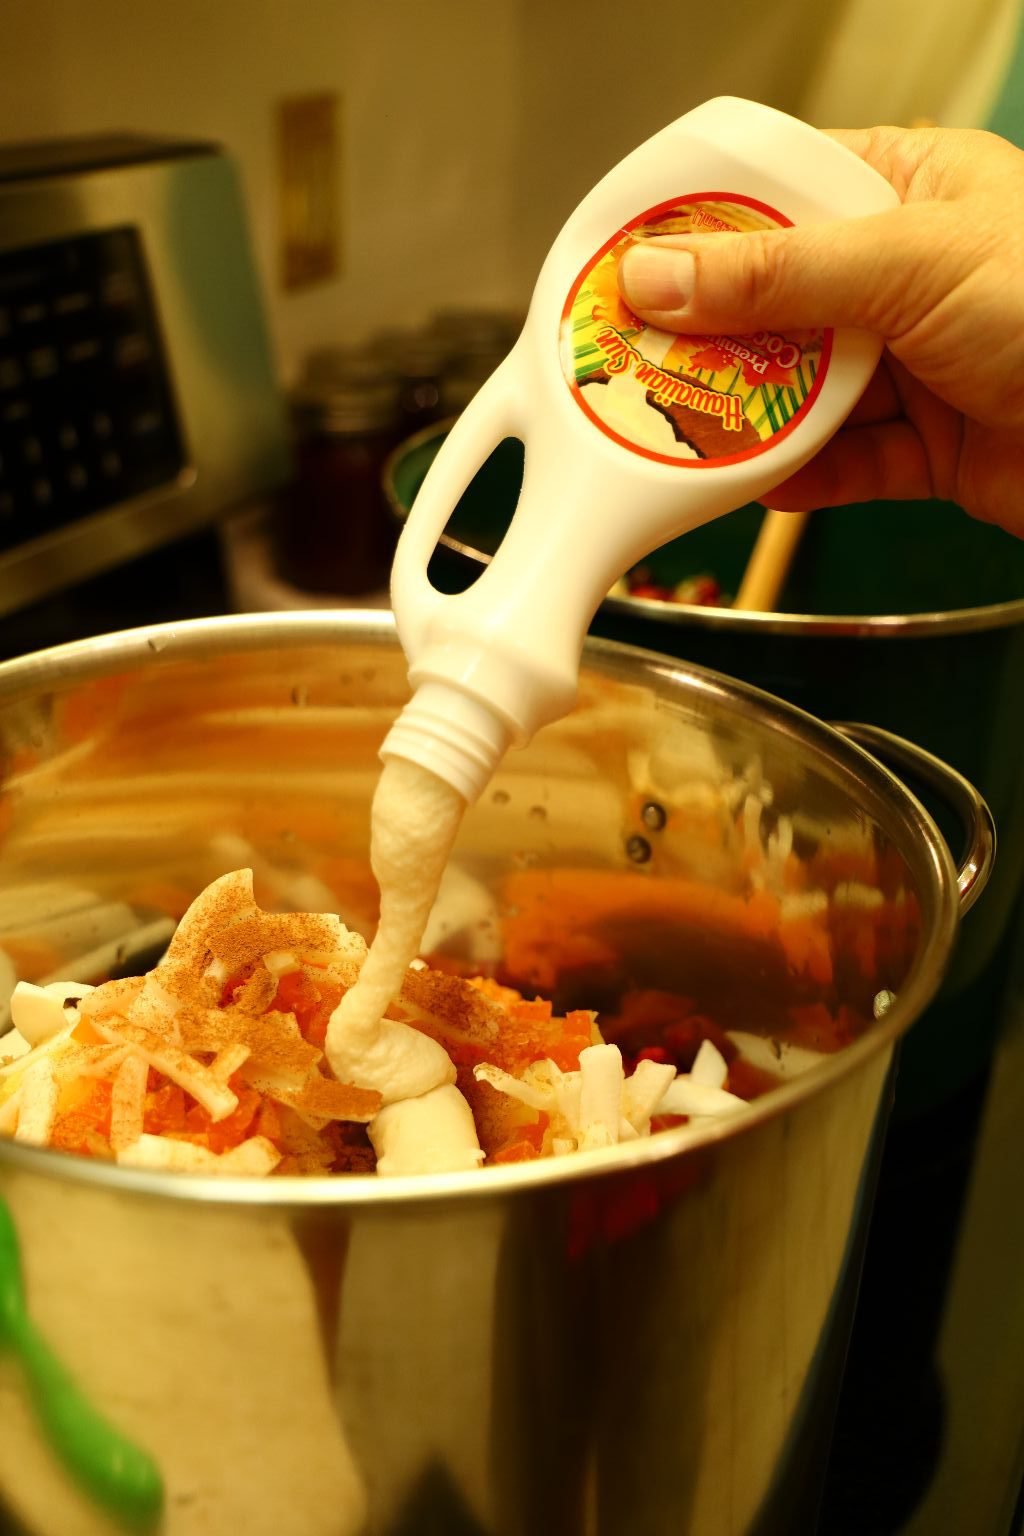
Here I added some Coconut Syrup to really give it some nice sweetness and coconut flavoring.
Mix all the ingredients together and see where the level of the liquid is as it should be about 3/4 the way up to the cranberries. You can always add more if needed as the pectin released from the berries will thicken it up. At this point you can turn the heat on to Medium High.
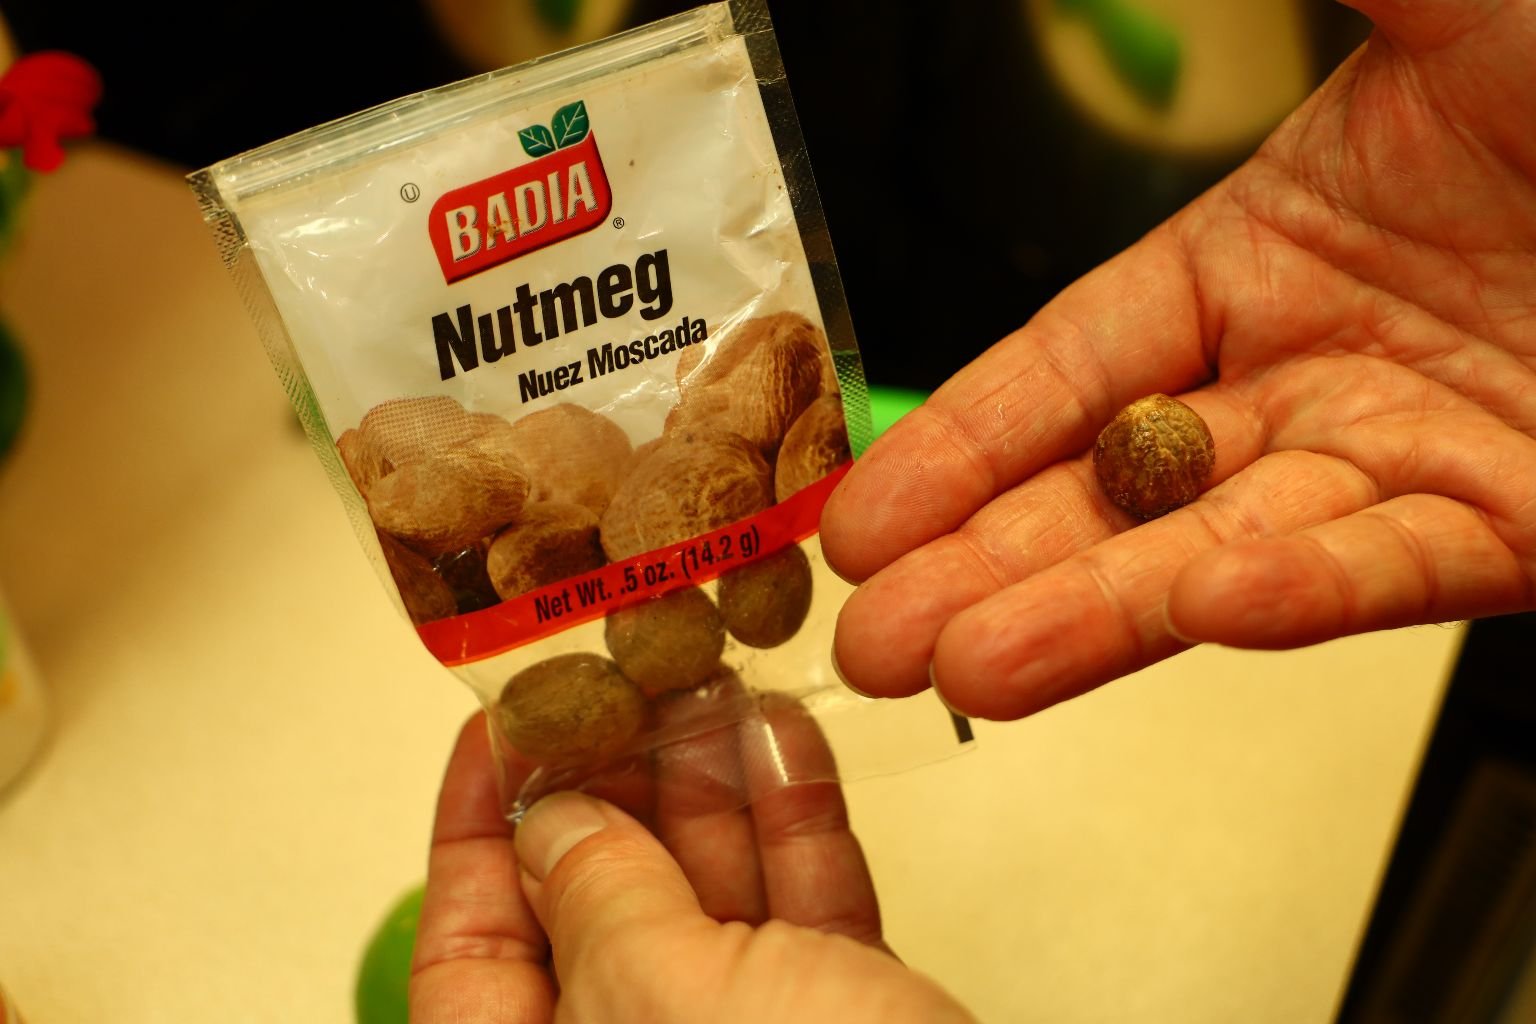
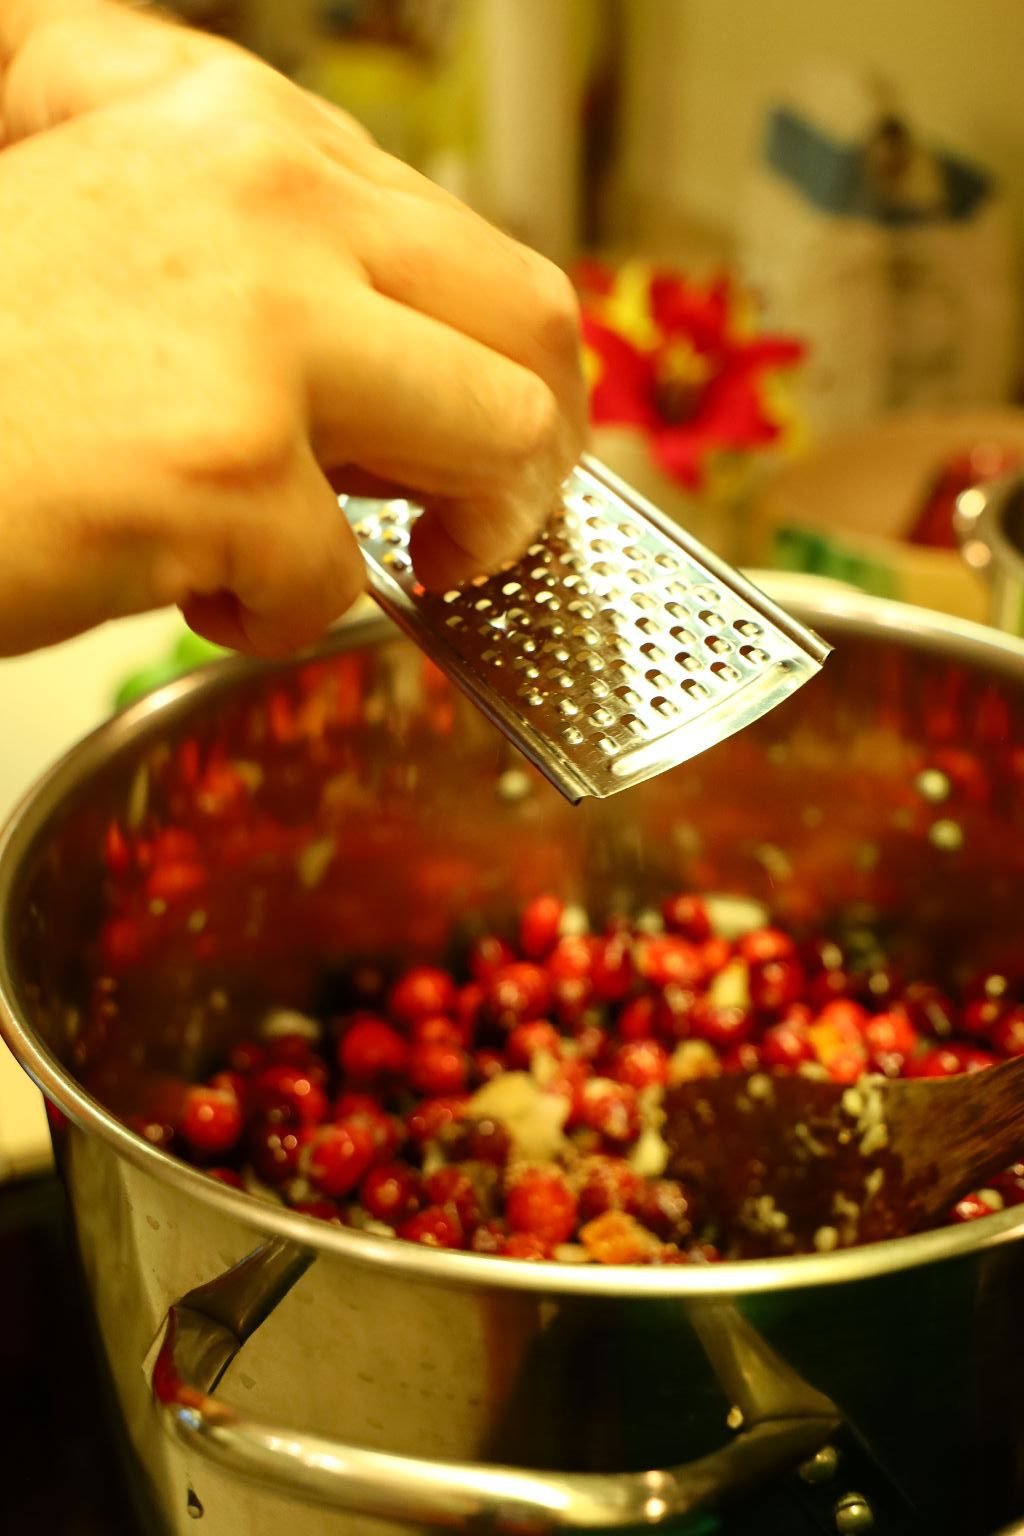
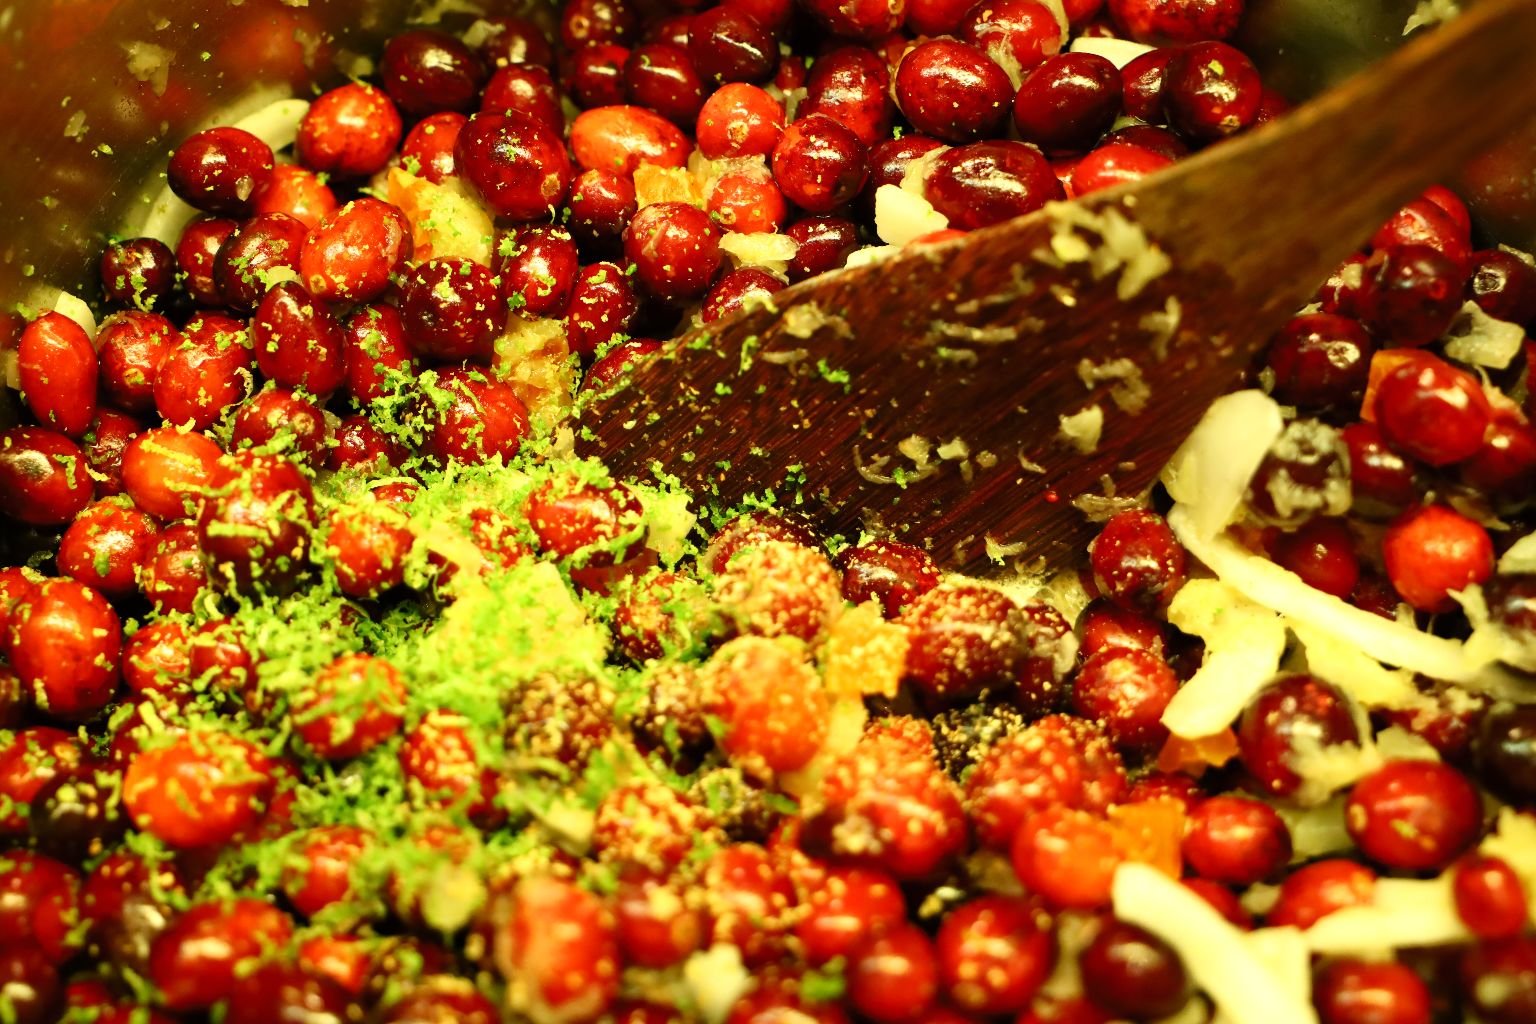
Here I am adding fresh Nutmeg as you can’t beat the flavor it provides. It is so much better than the already ground version.
——————————————————————
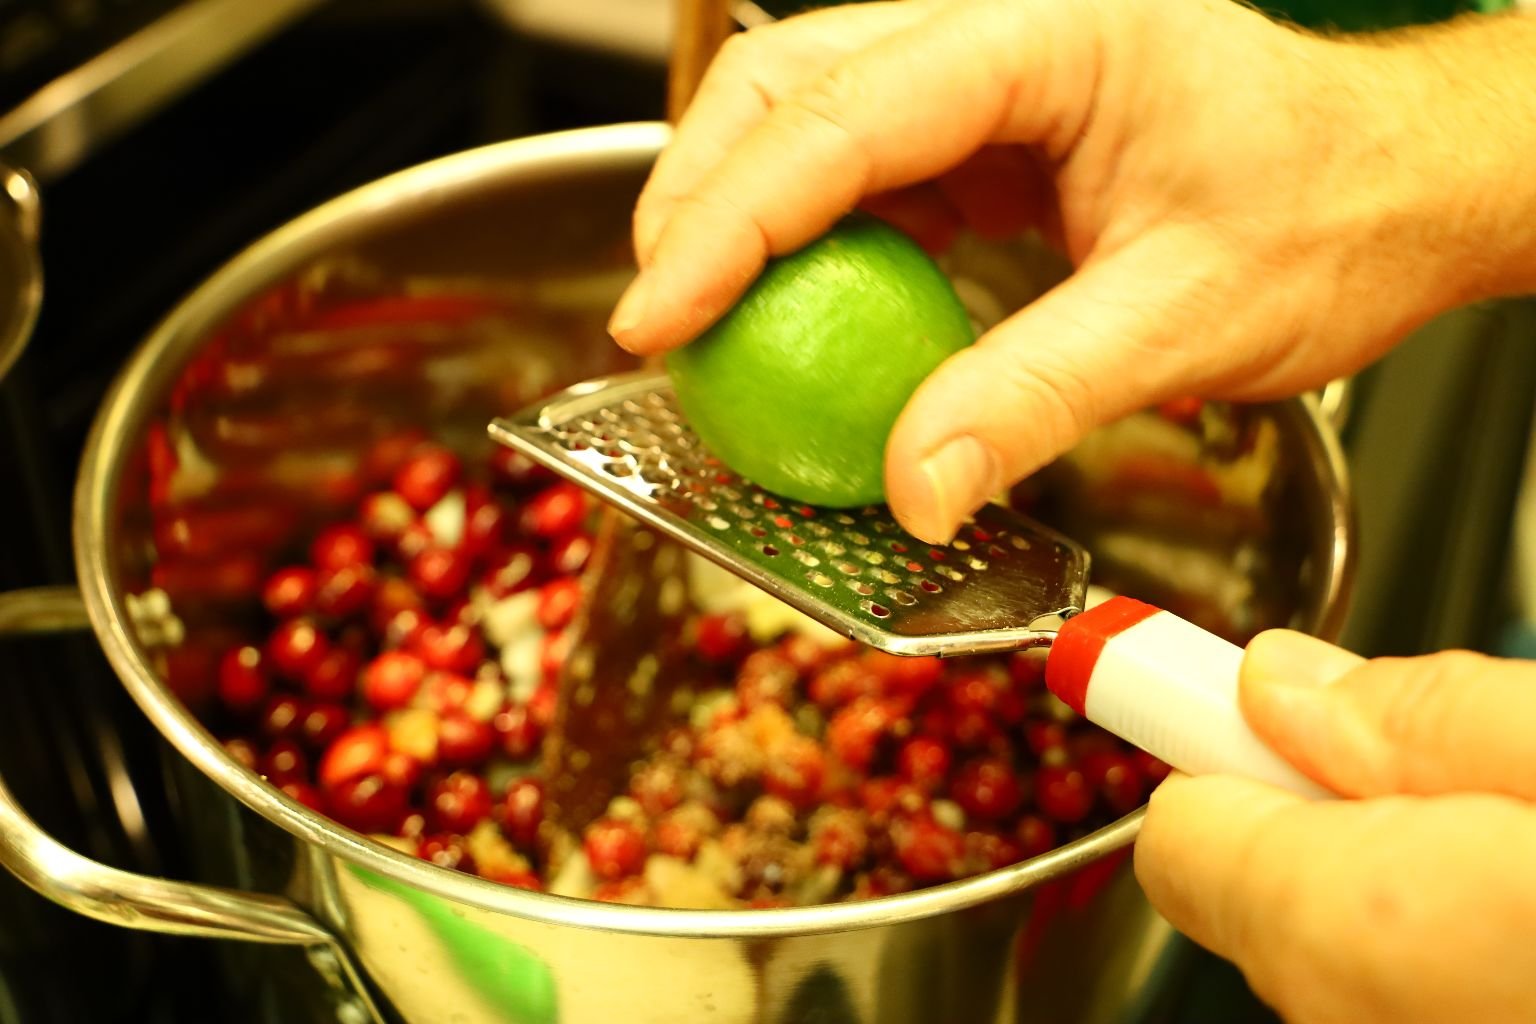
Use the same grater to zest your Limes.
—————————————————————-
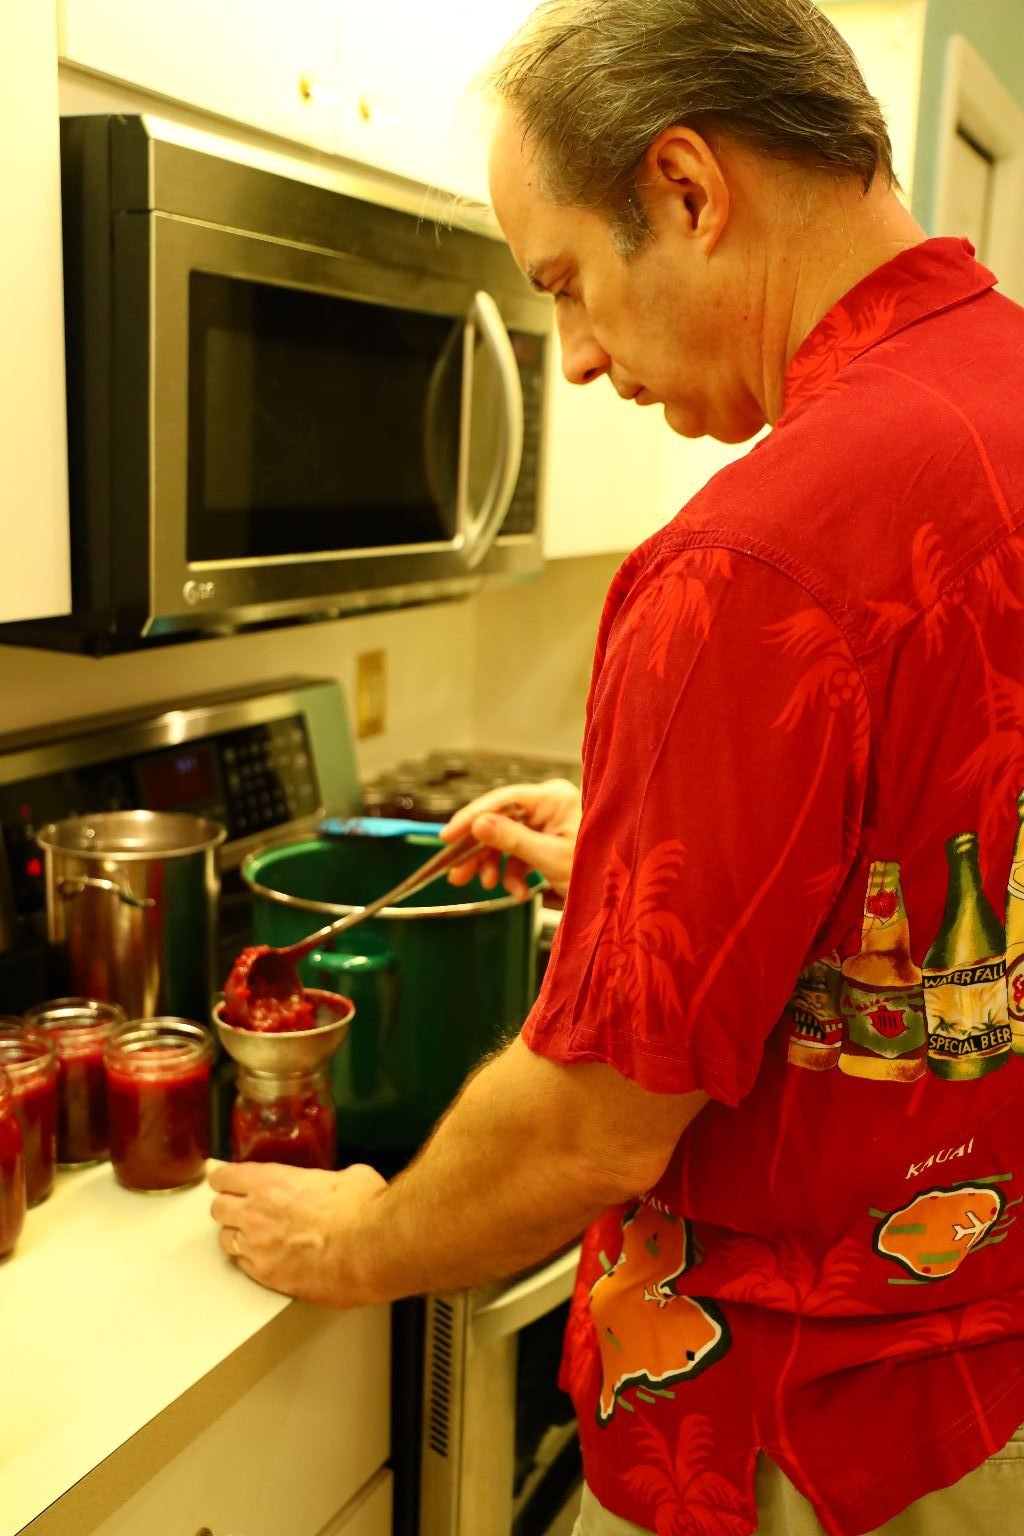
Fun Hawaiian Shirt Break
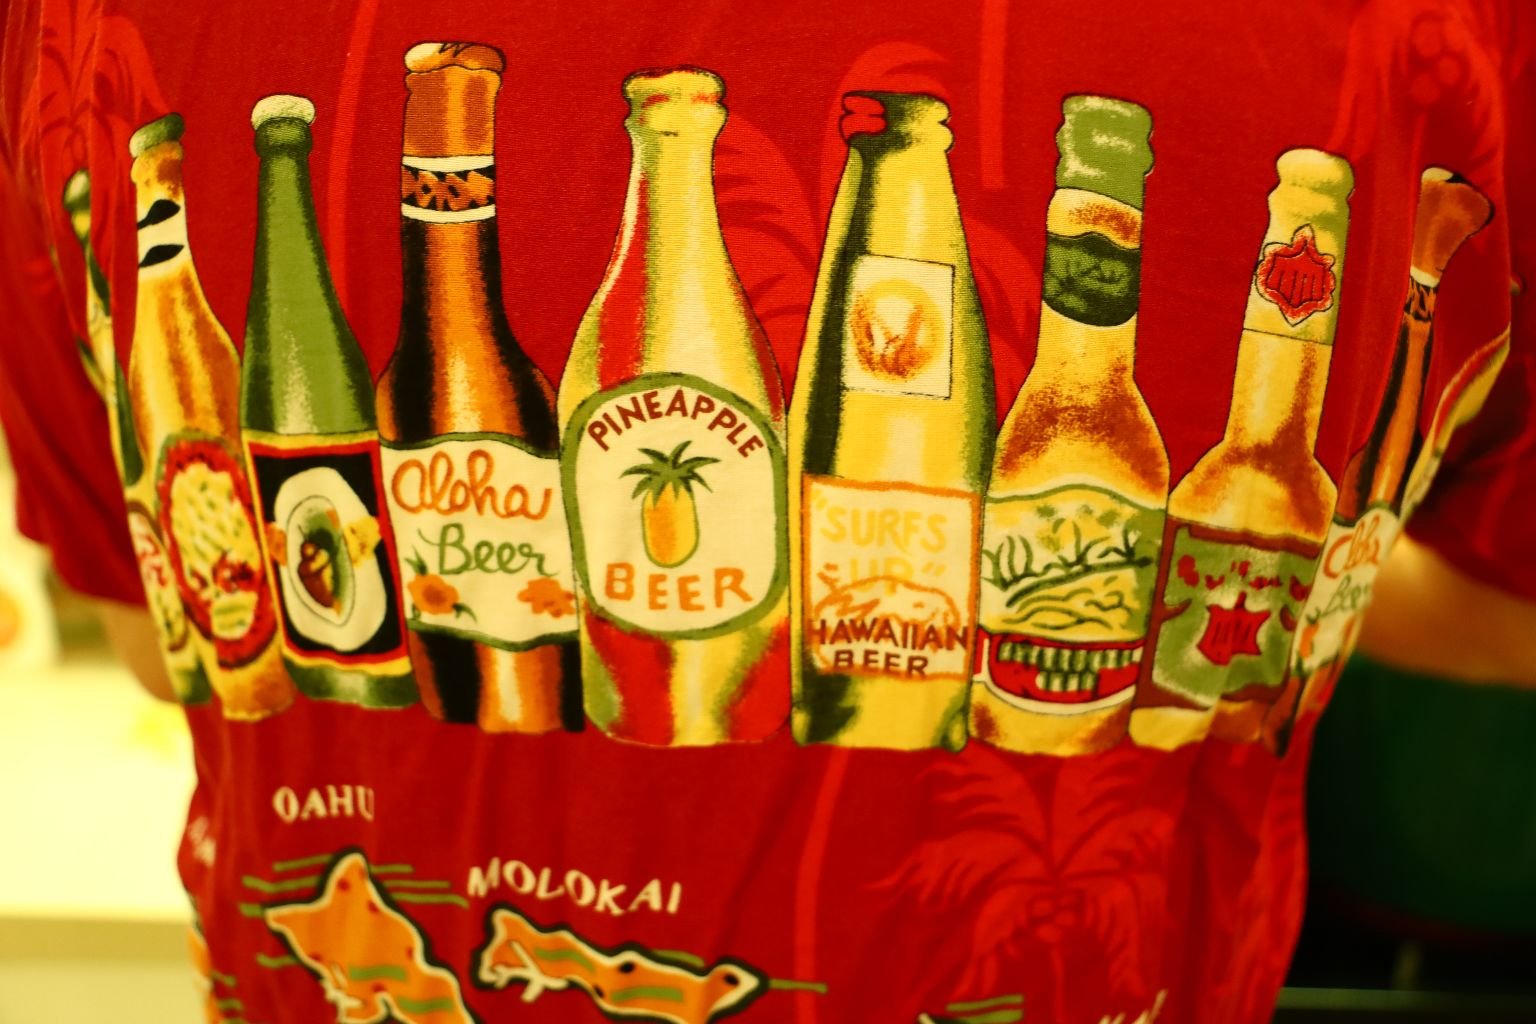
An Old Hawaiian Shirt of Gordon’s
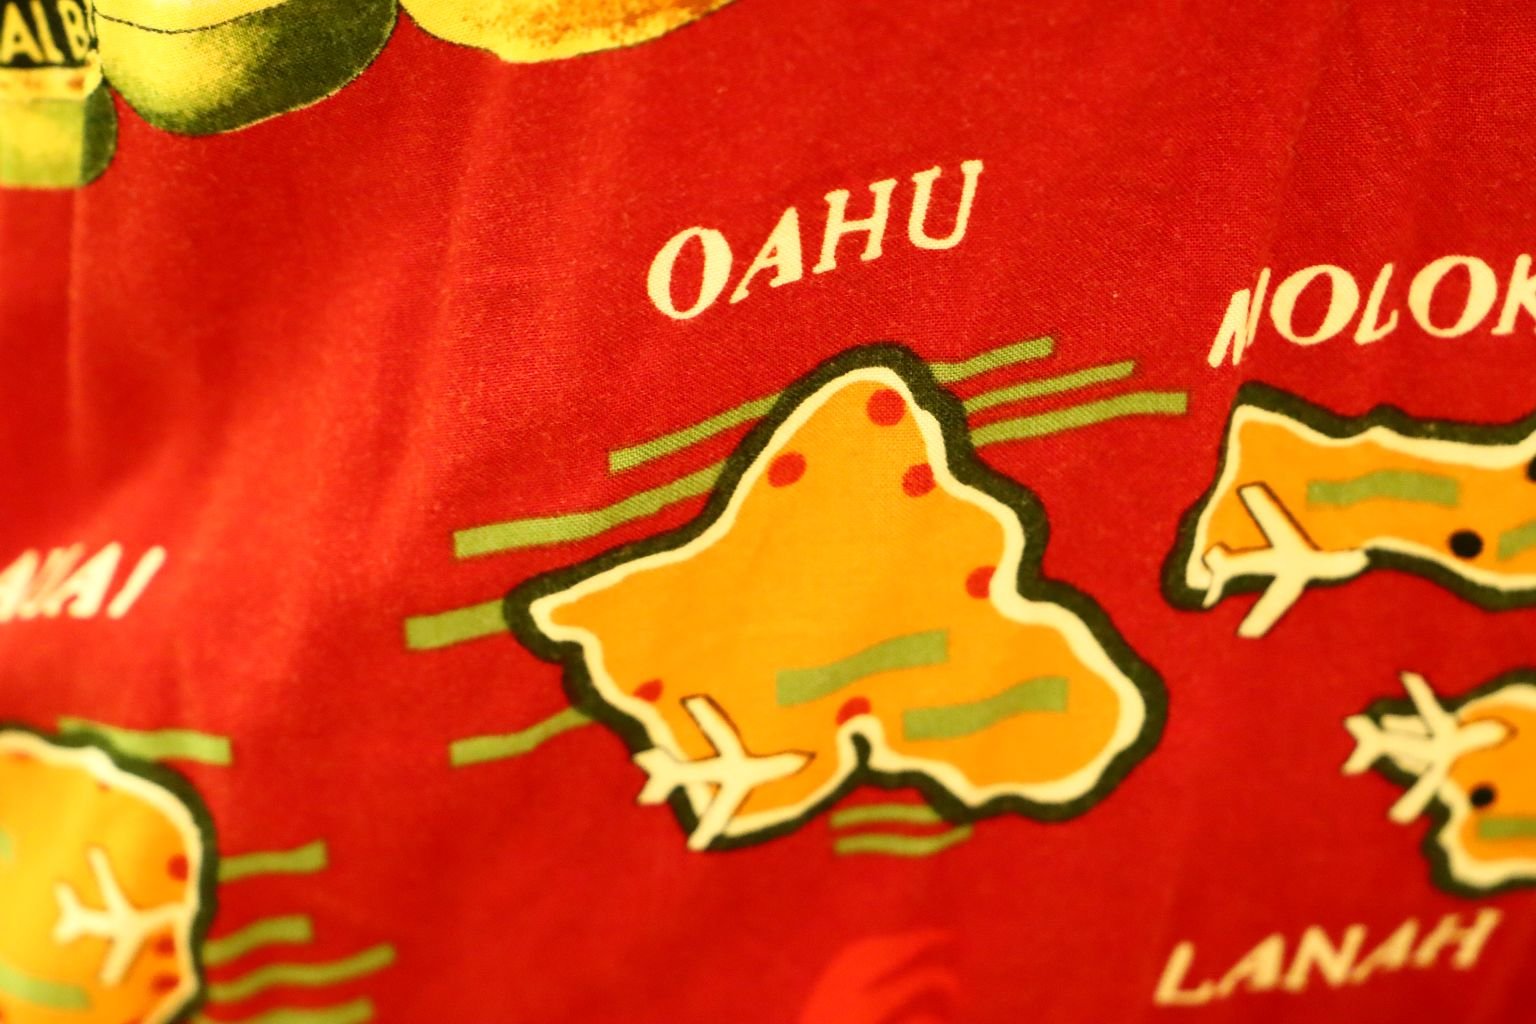
We Lived on Oahu
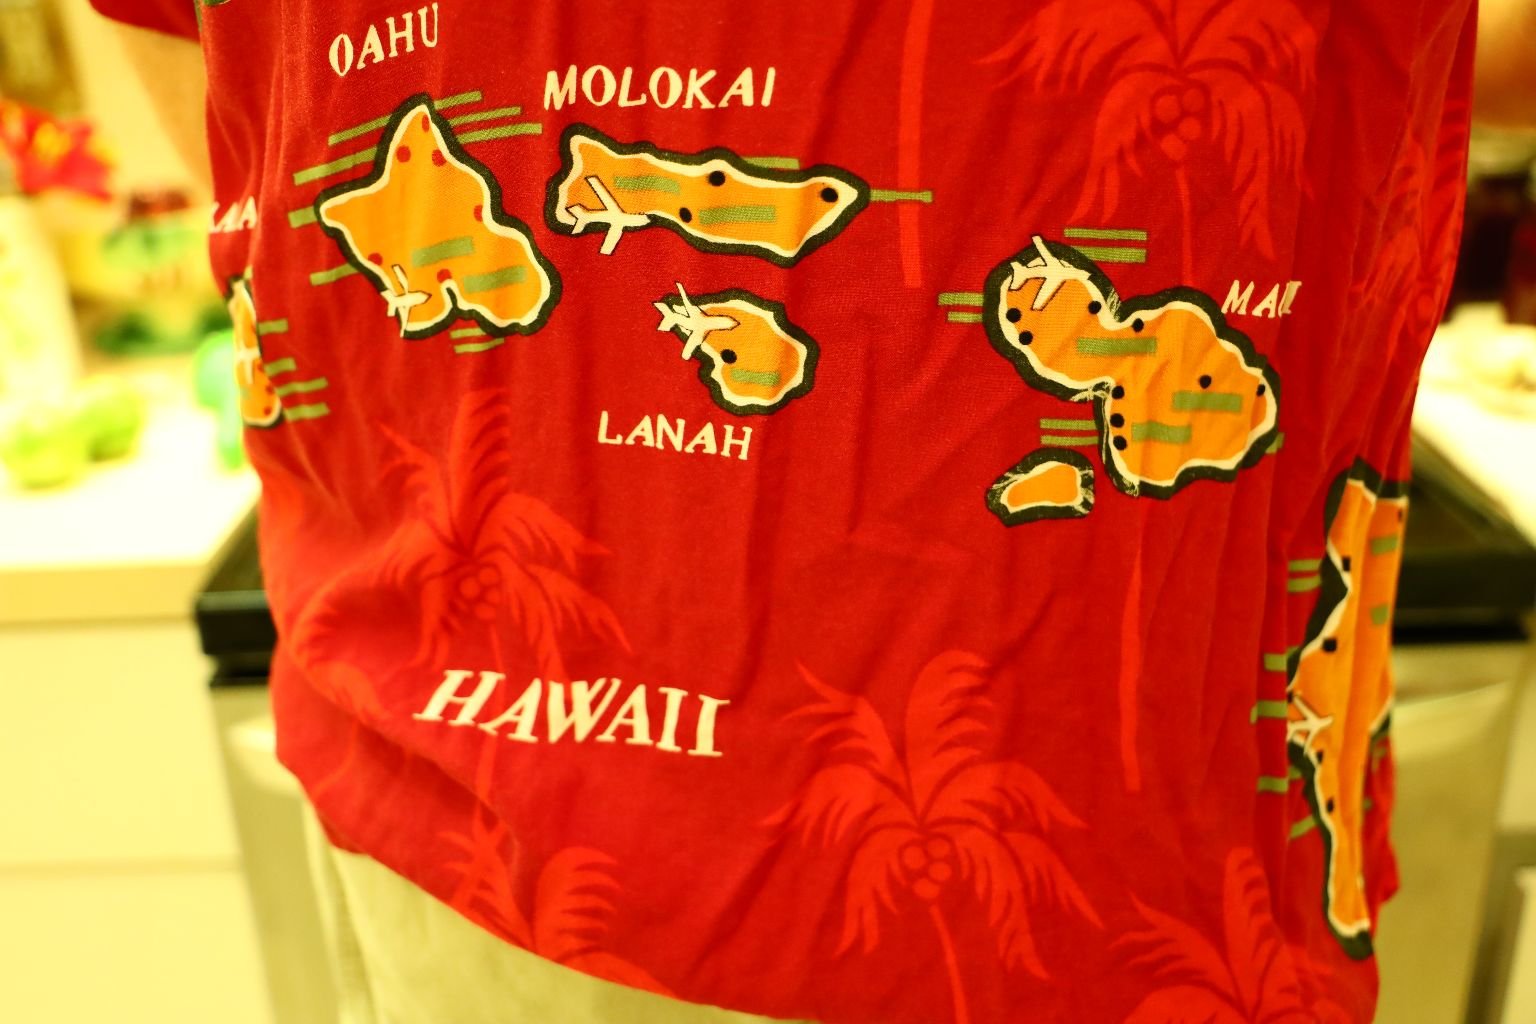
Map of the Islands 🙂
—————————————————————–
Now, Back to the Recipe…
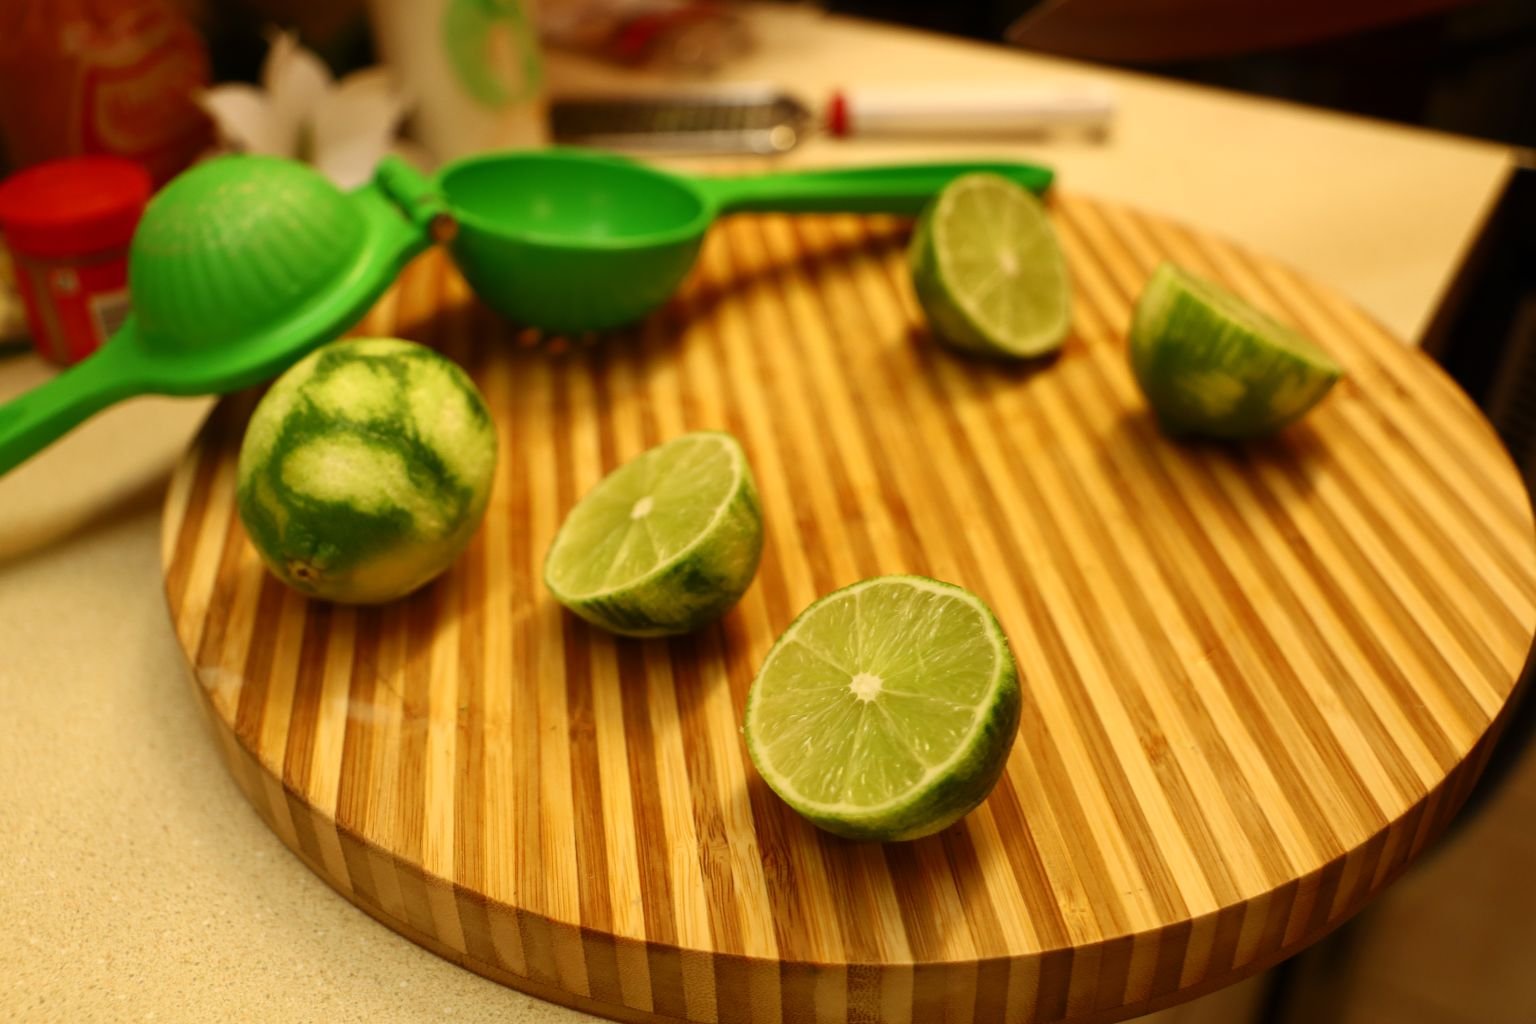
The Limes, Zest and Juice

Now add the juice of 1 1/2 Limes as shown.
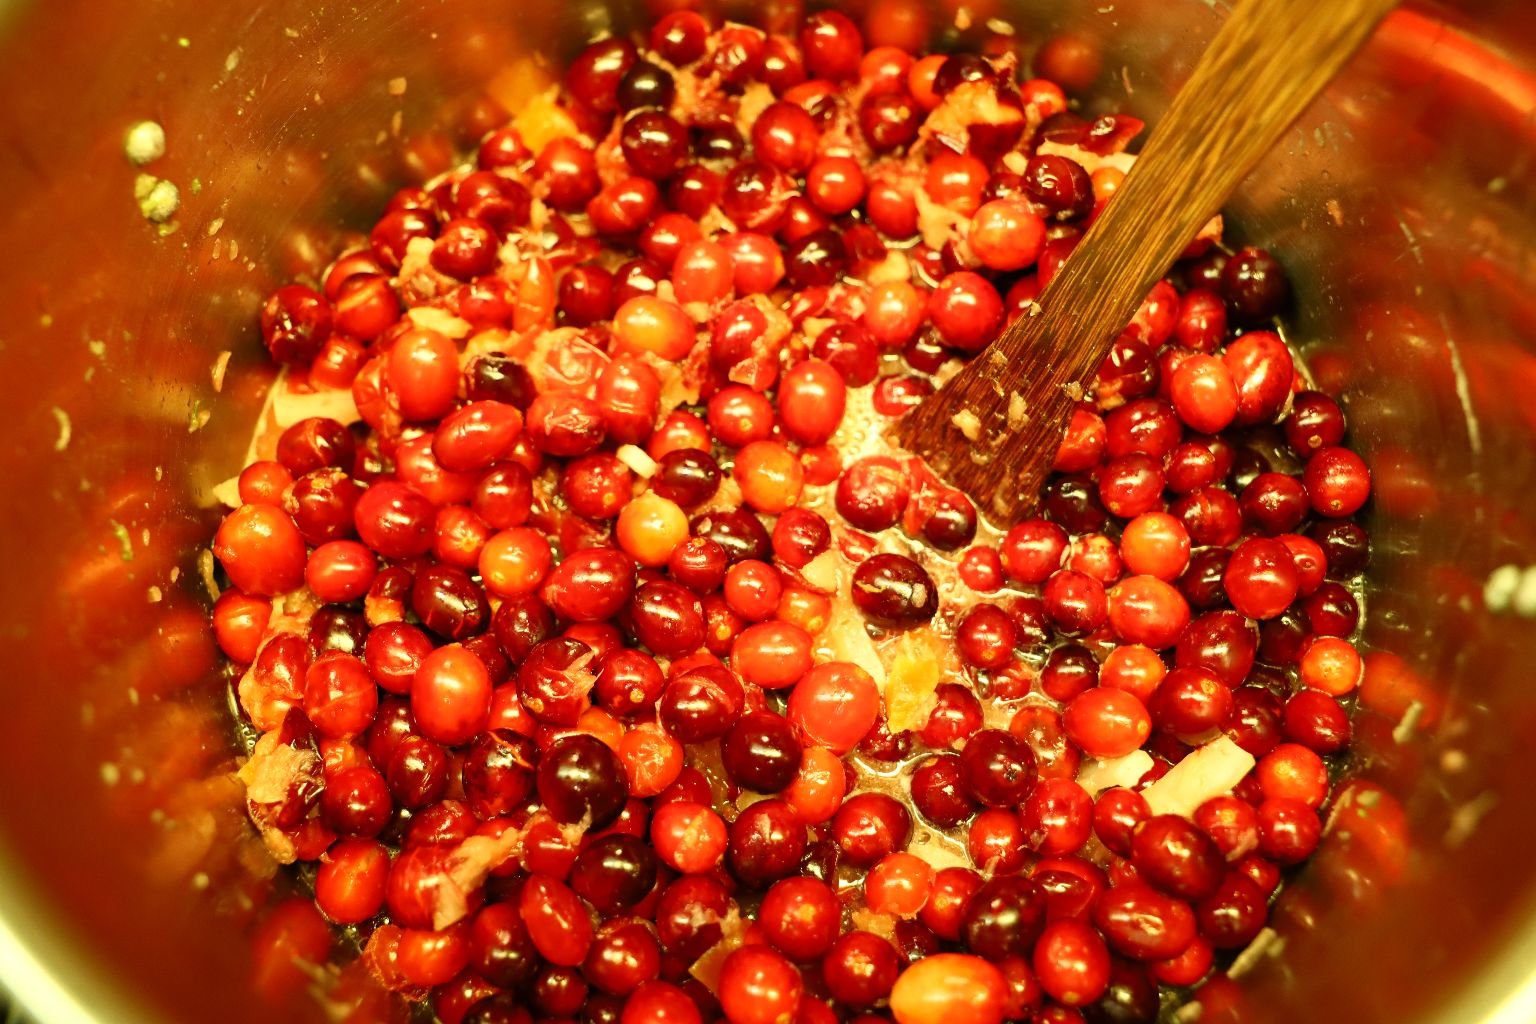
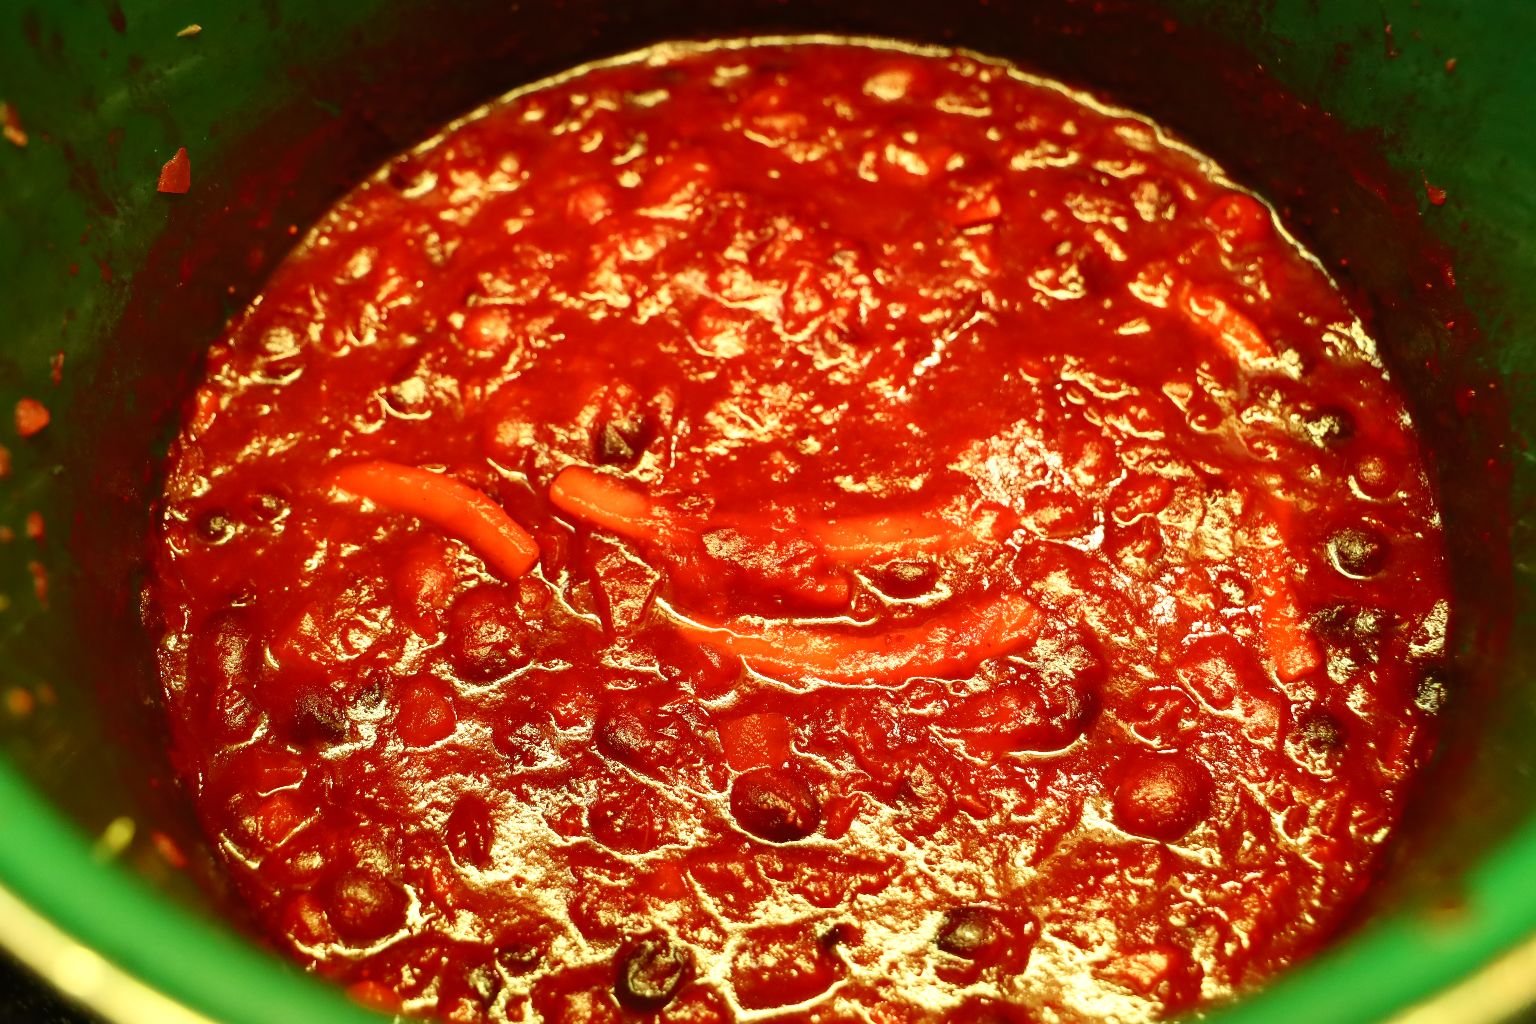
On The Stove Top
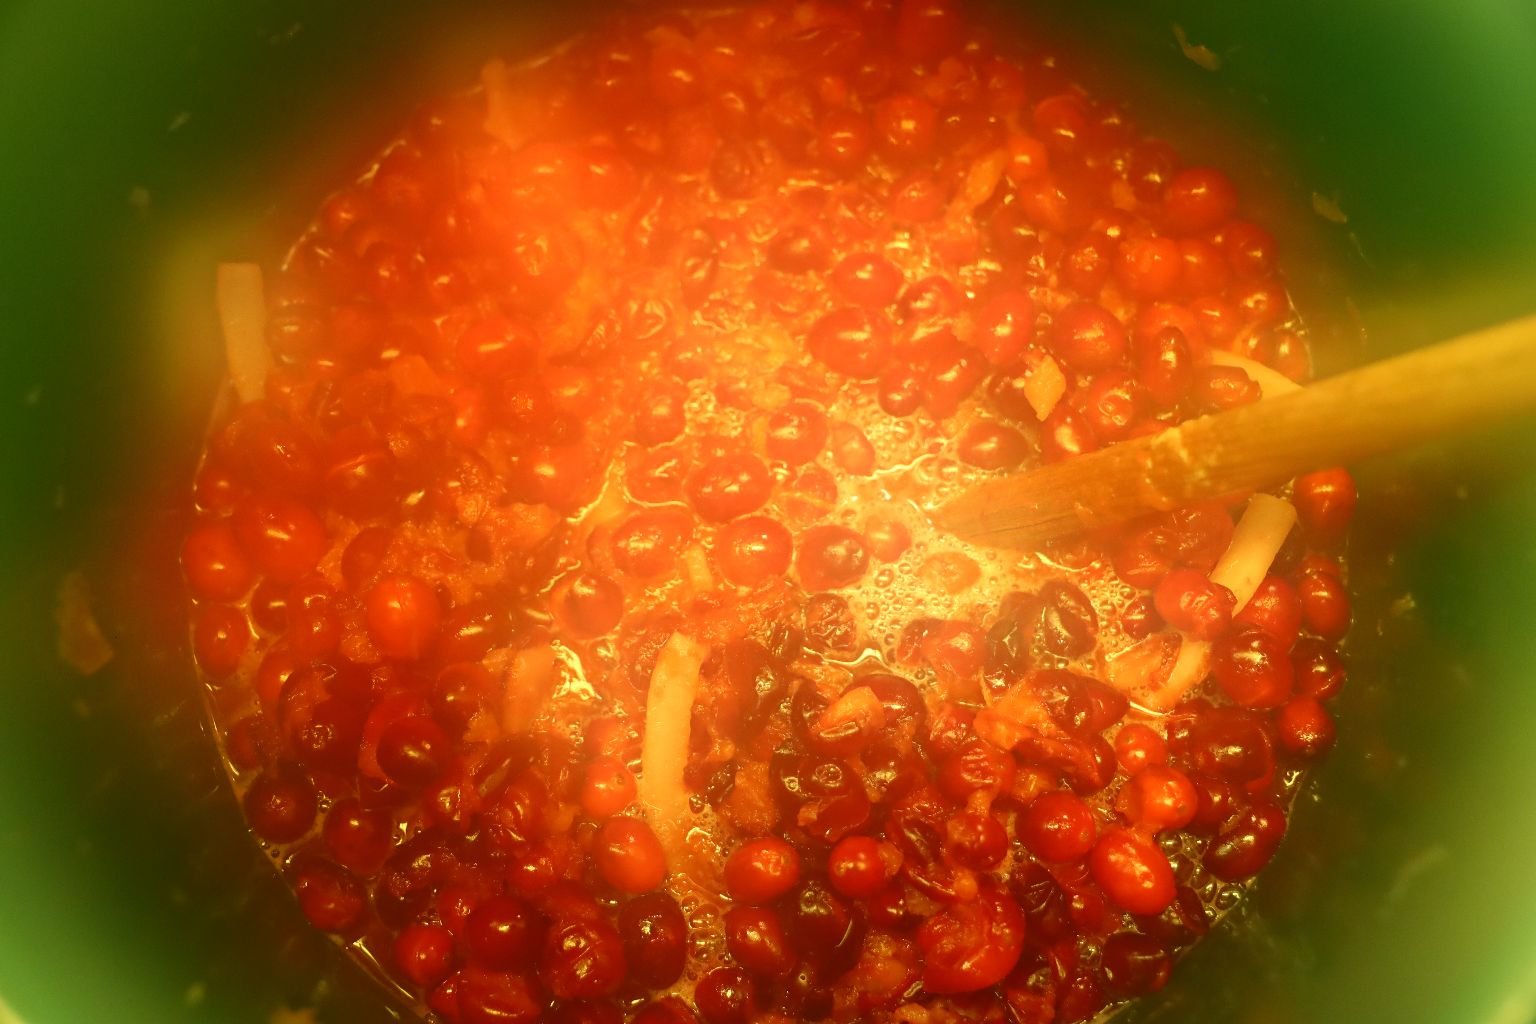
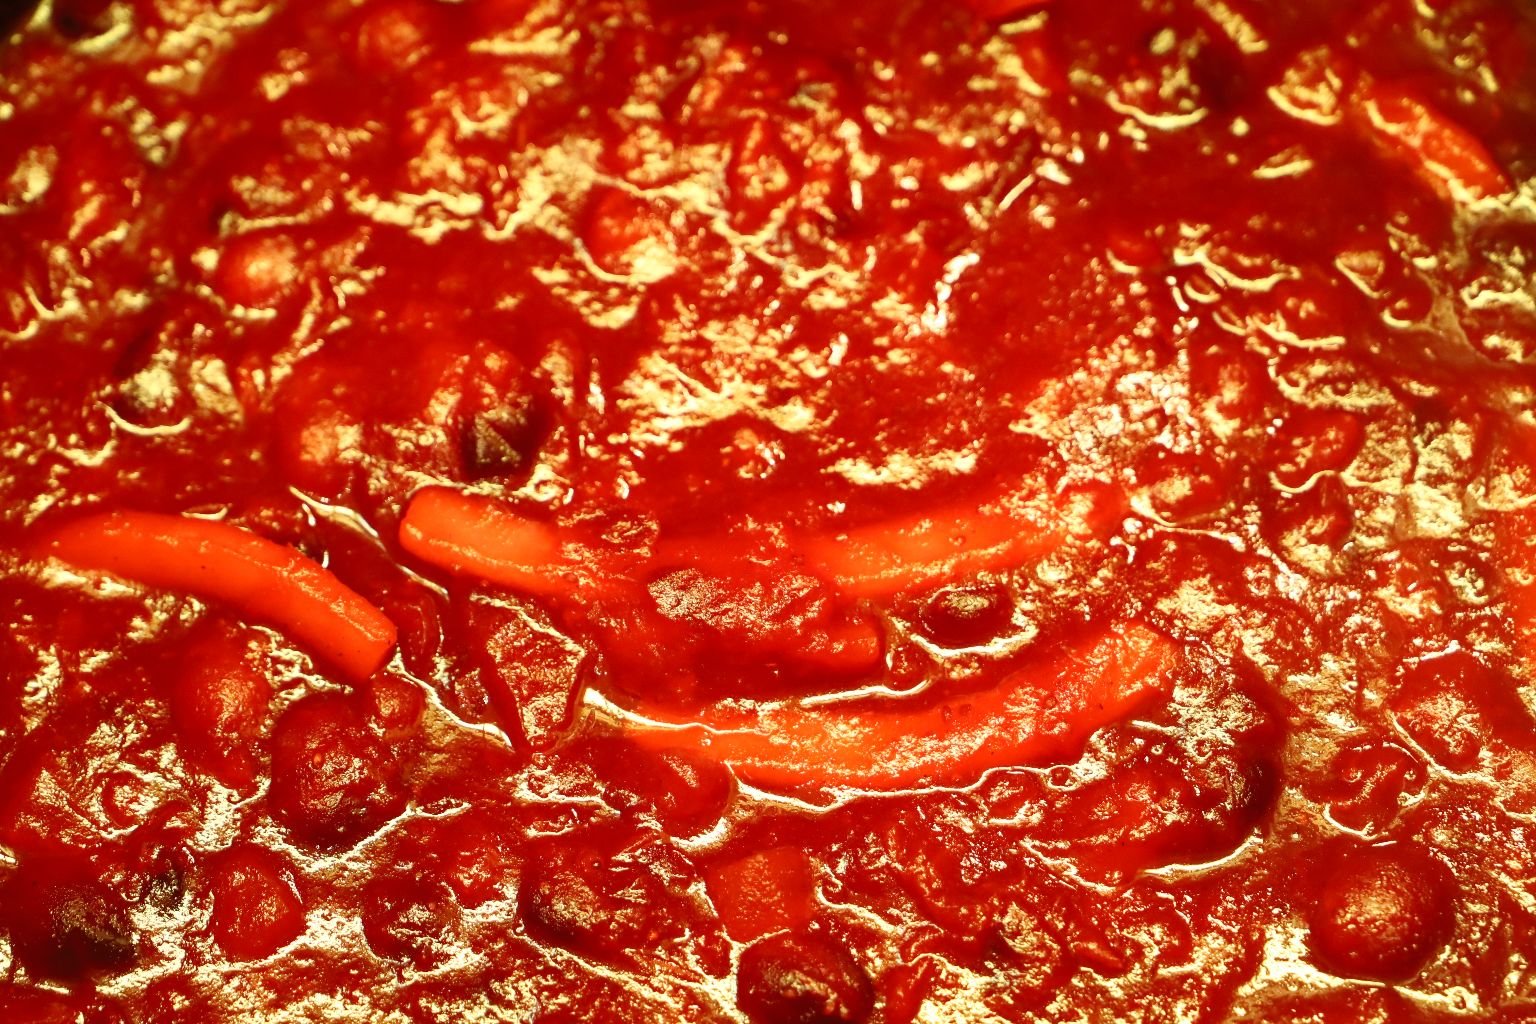
Here you can see the berries starting to cook. As they do they will pop and release some of their liquid containing pectin.
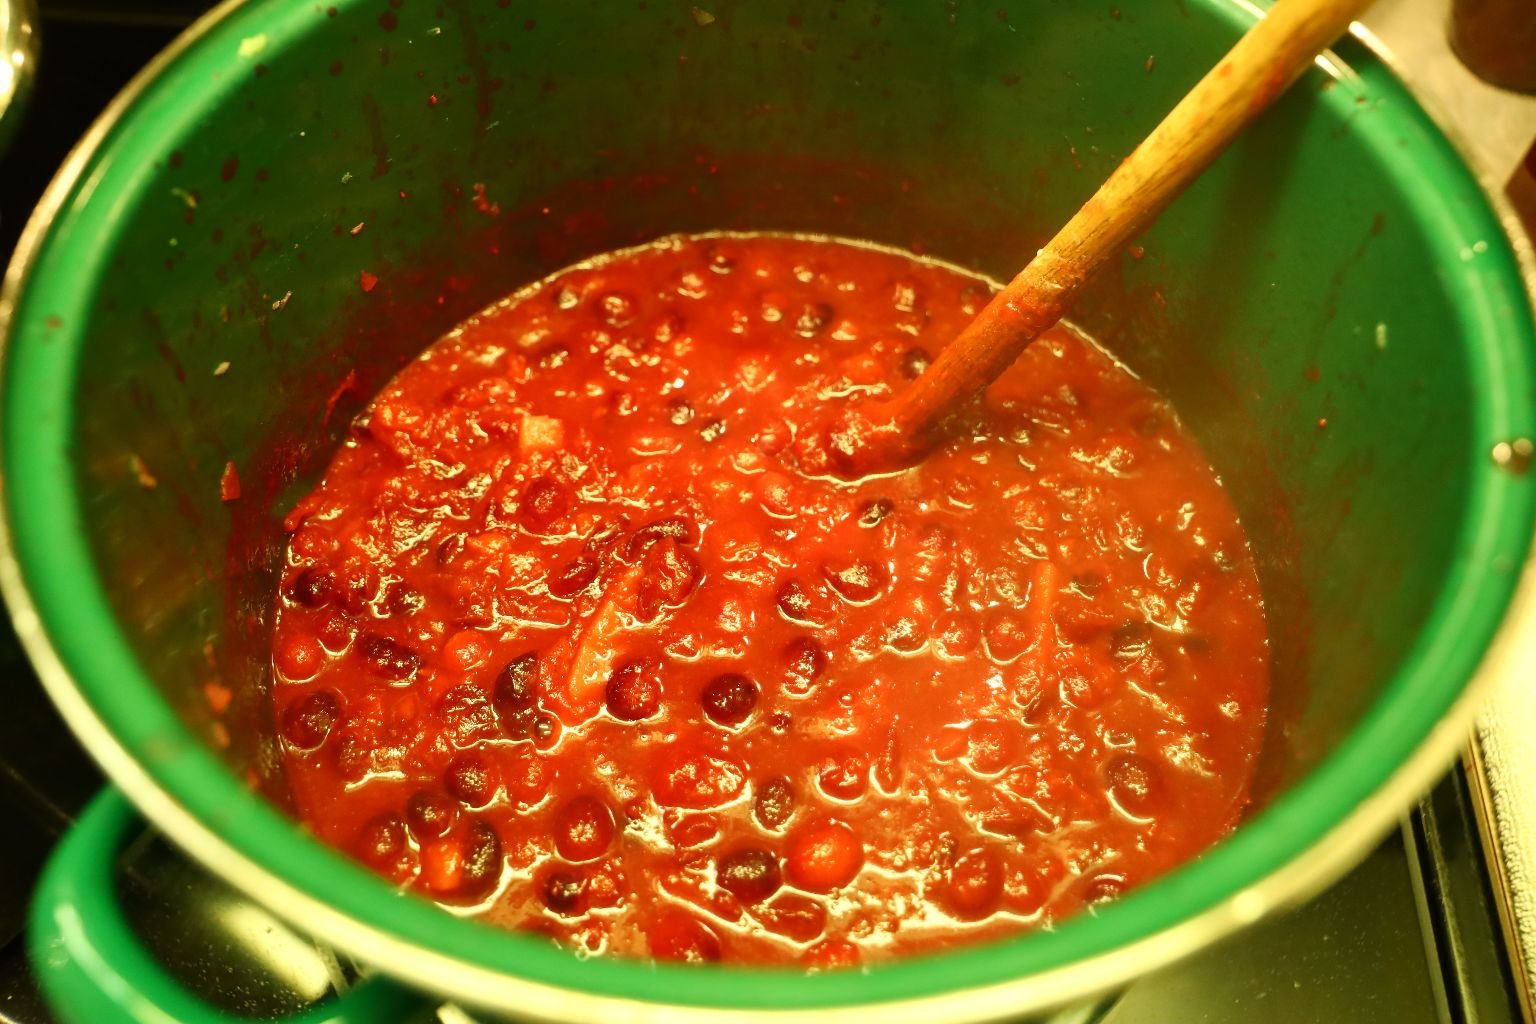
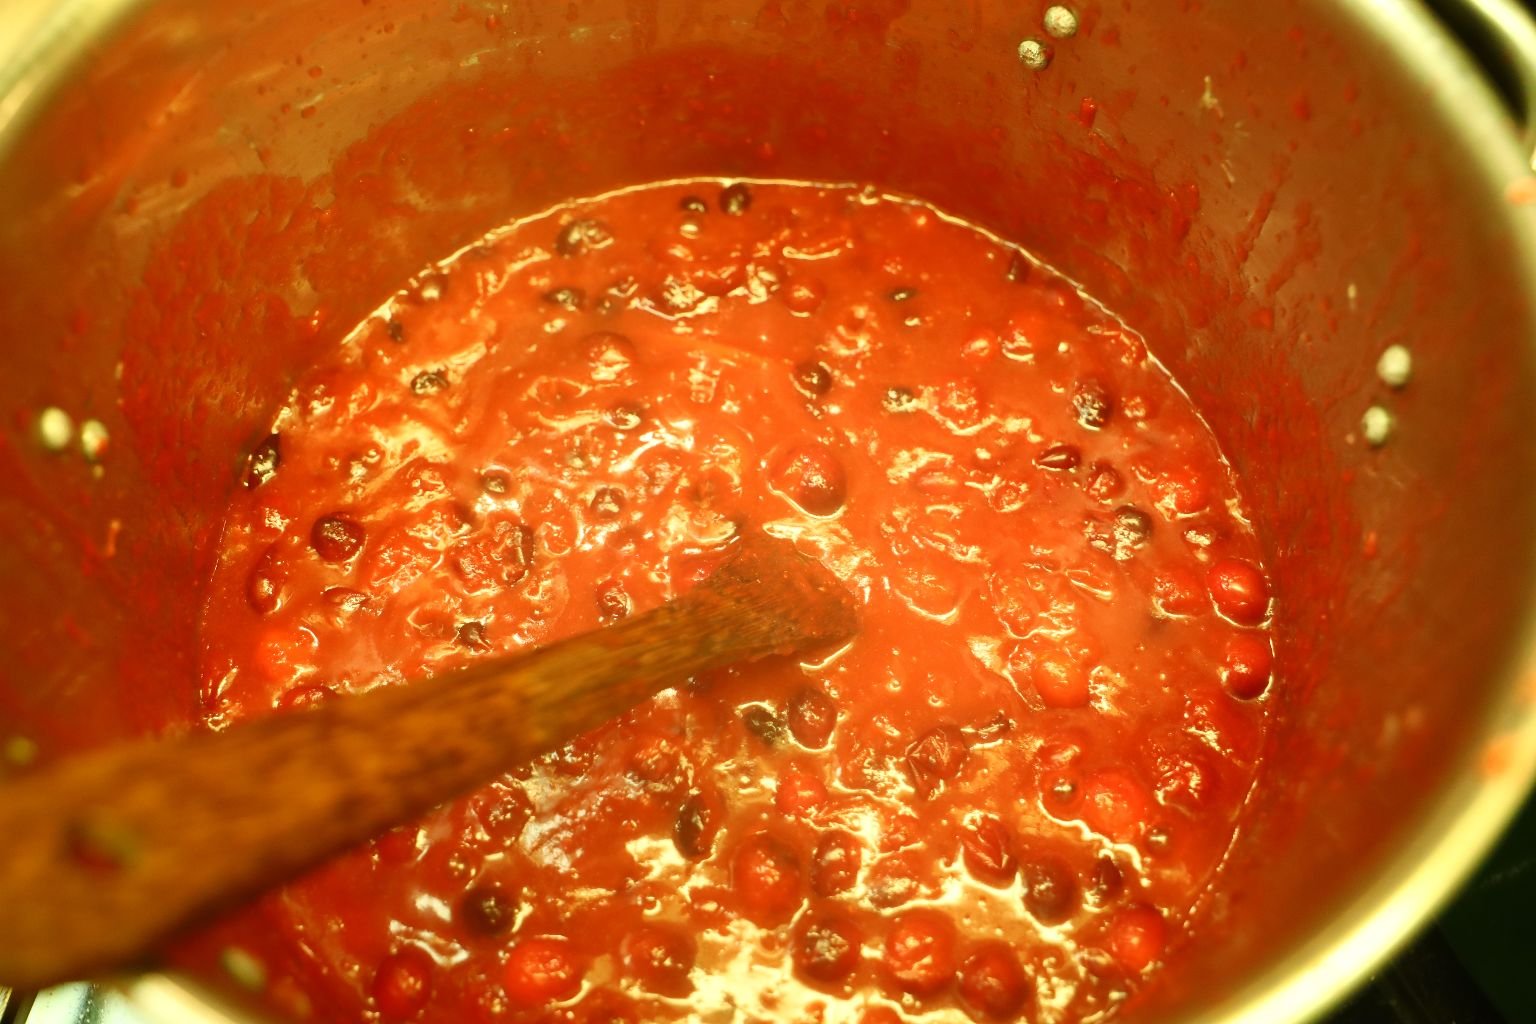
I carefully tasted the sauce and found it needed a little more sweetness…
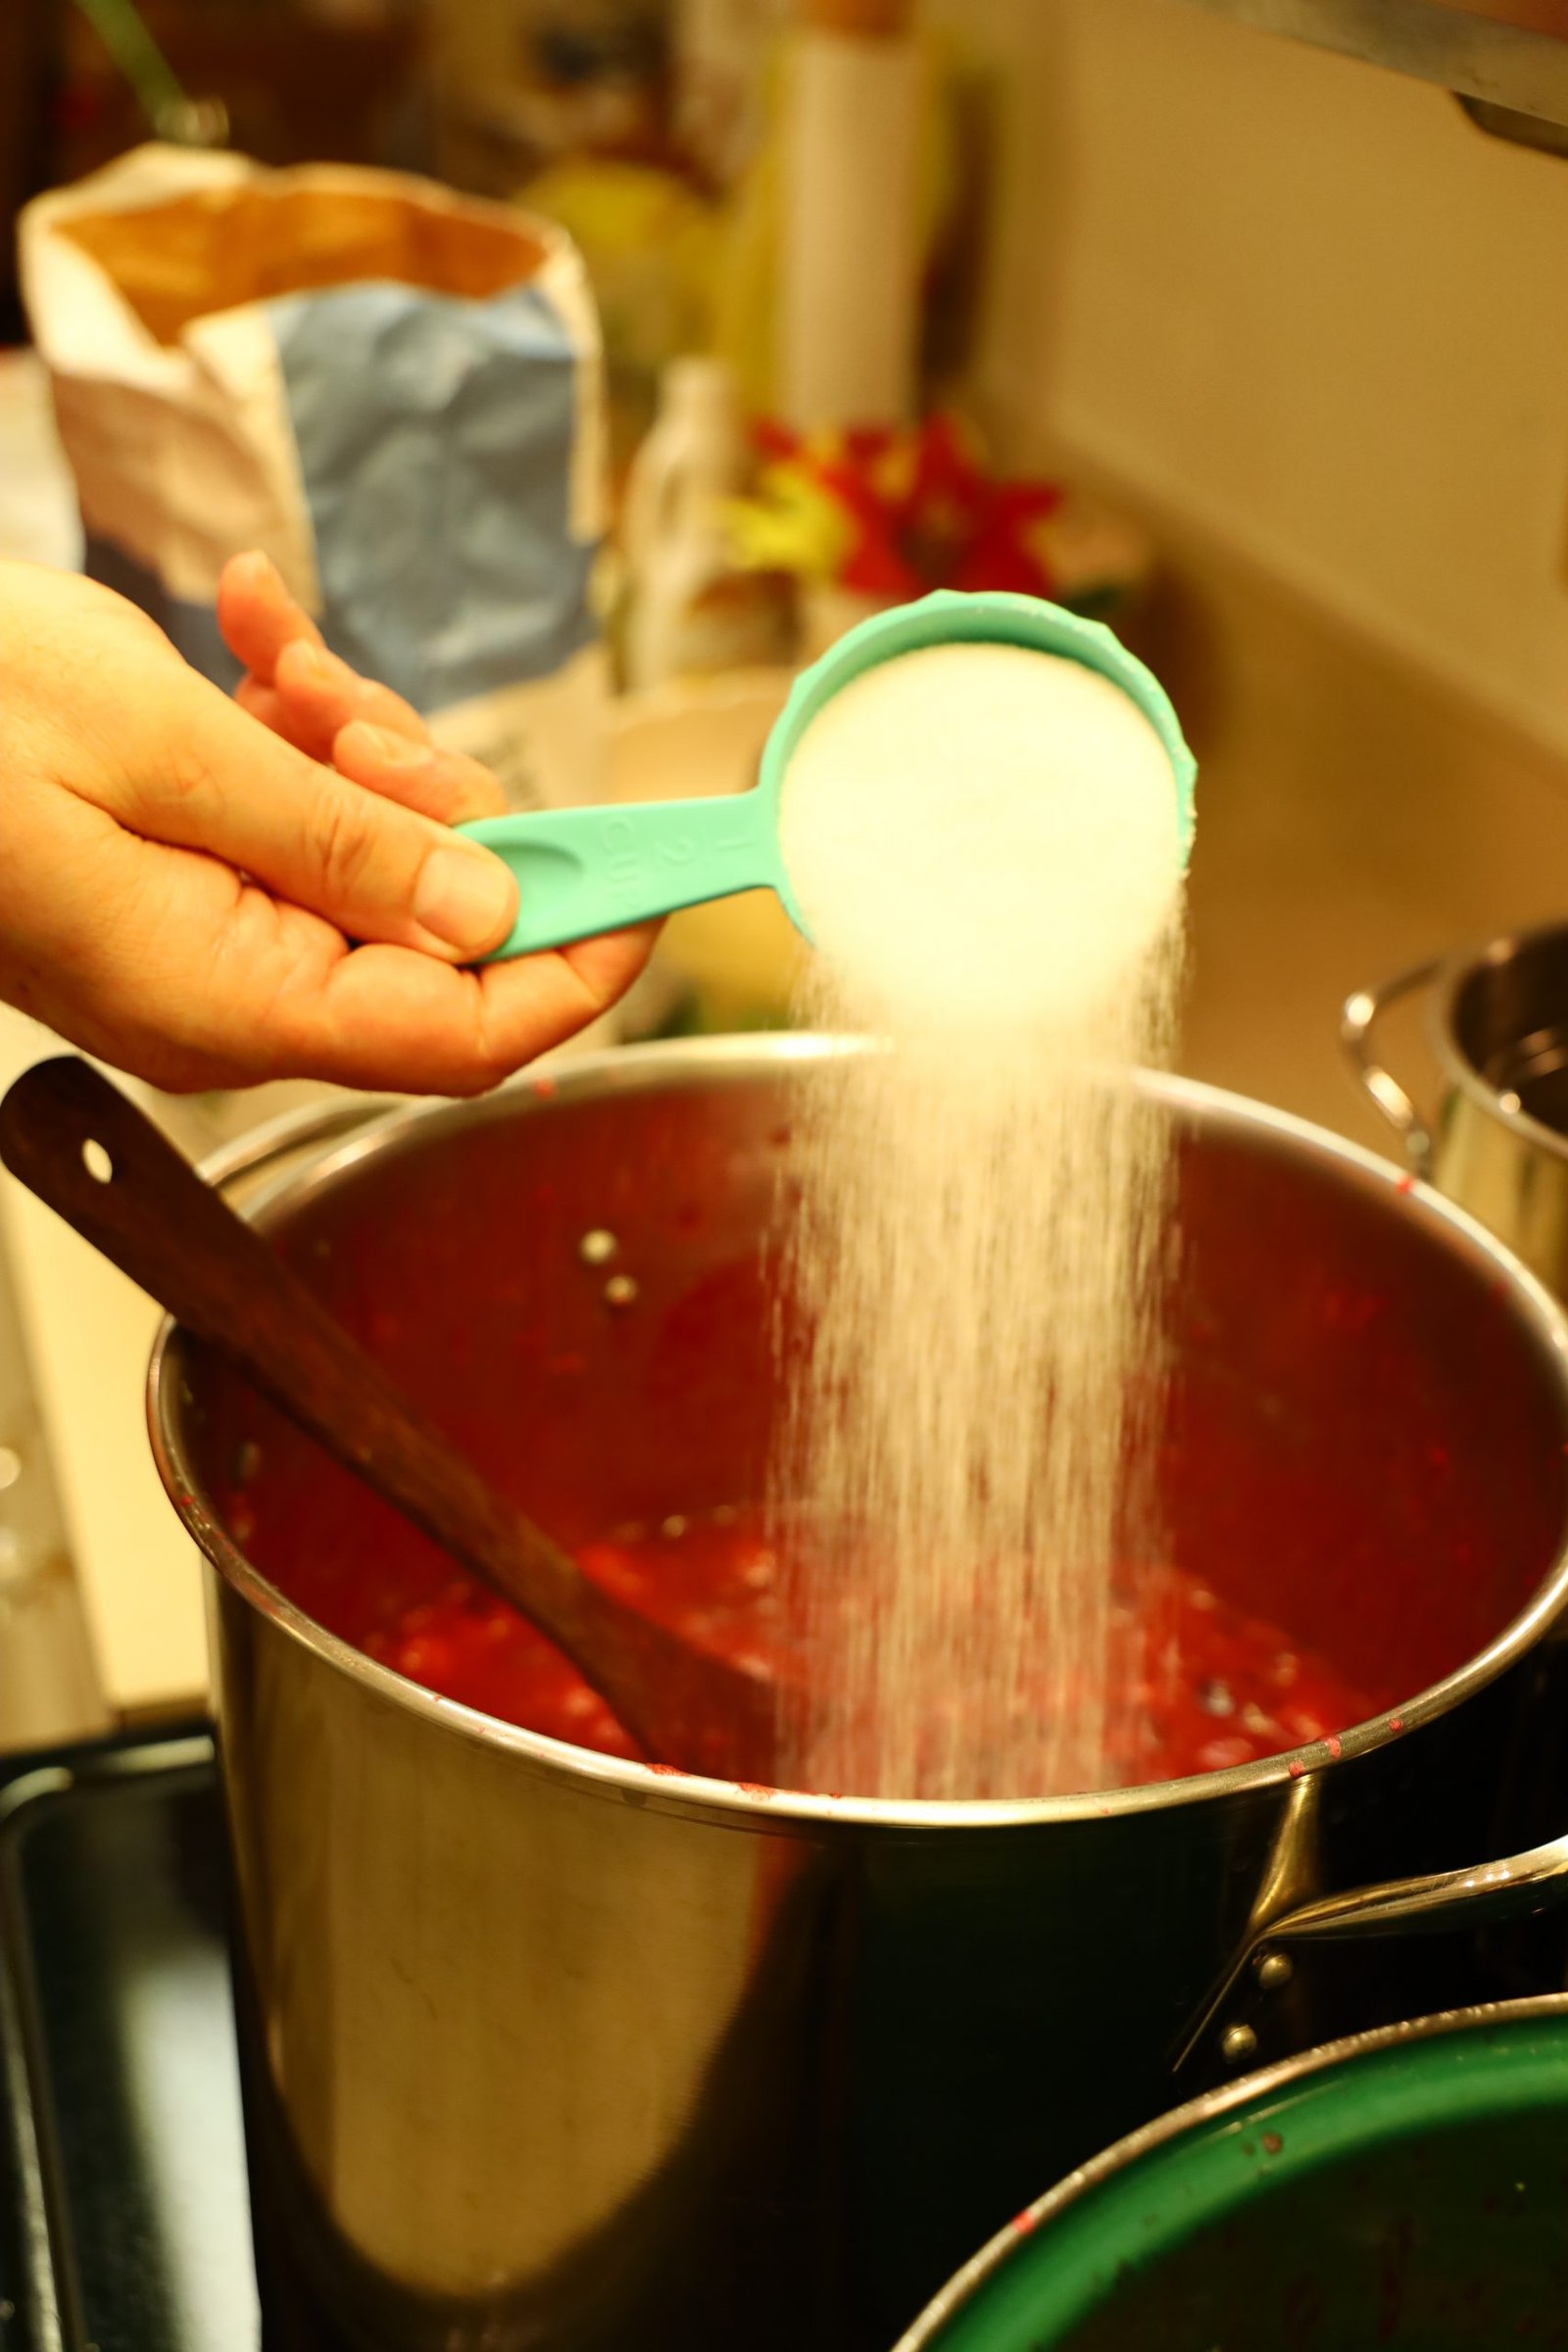
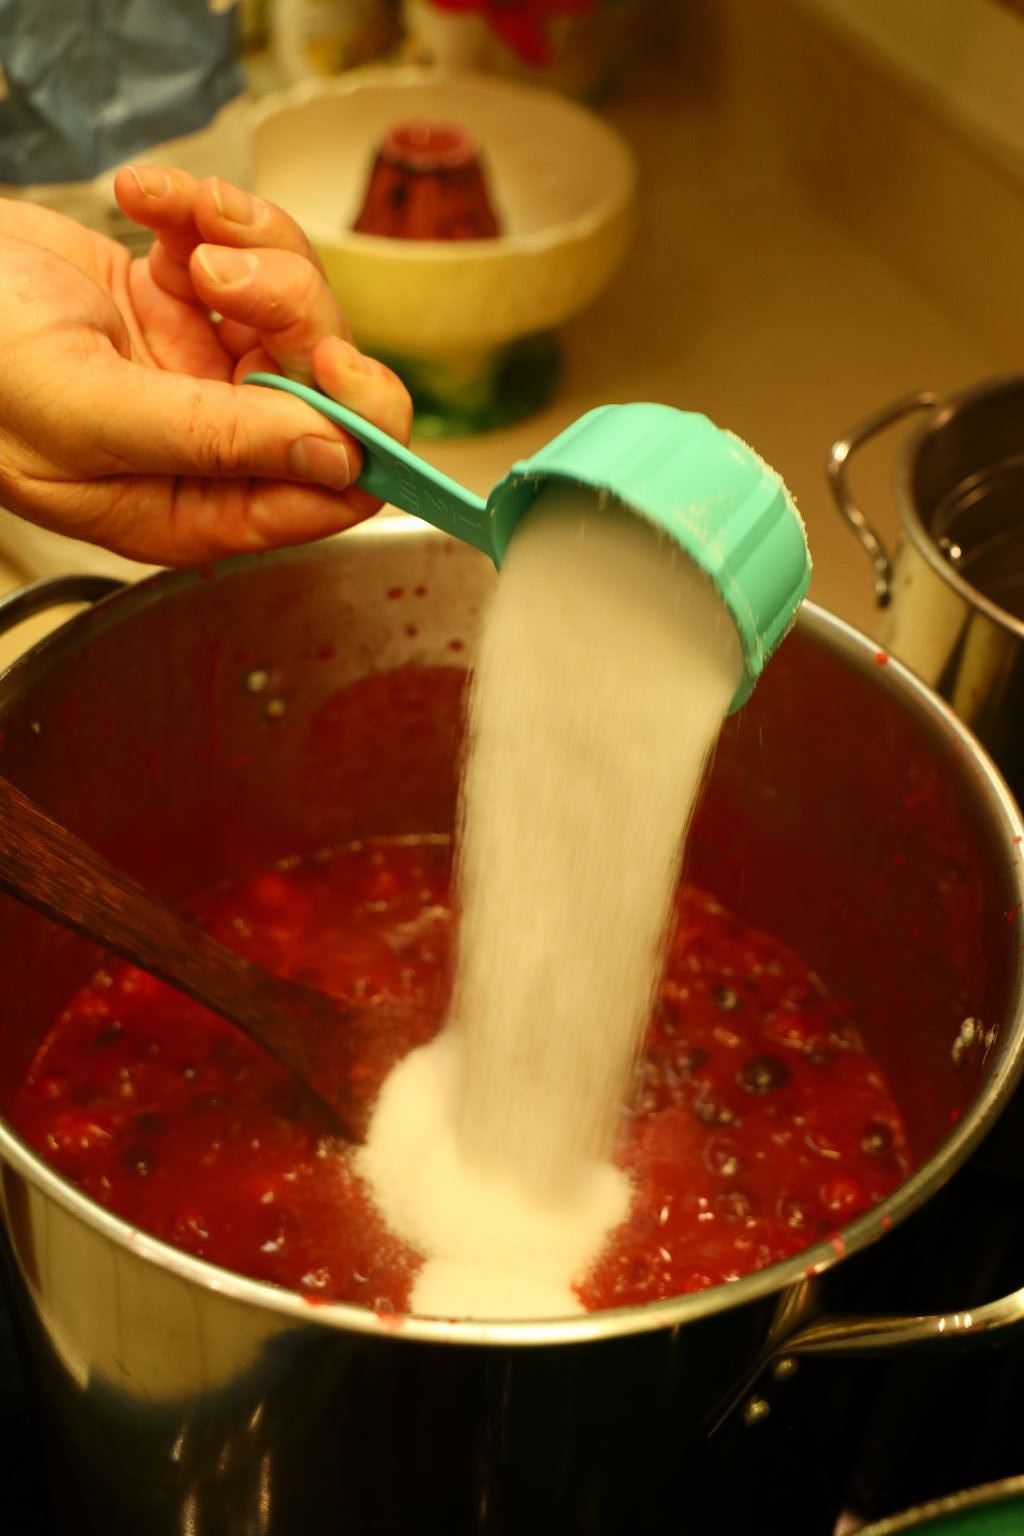
so I added 1/2 Cup of Sugar.
Carefully taste it again after about 10 min. to let the sugar dissolve into the sauce. Add any other of the ingredients to your taste.
Wash your jars in the dishwasher being sure to heat dry them. Carefully store them covered or leave them in the dishwasher until ready to use them. We also hand washed the Lids and Rings.
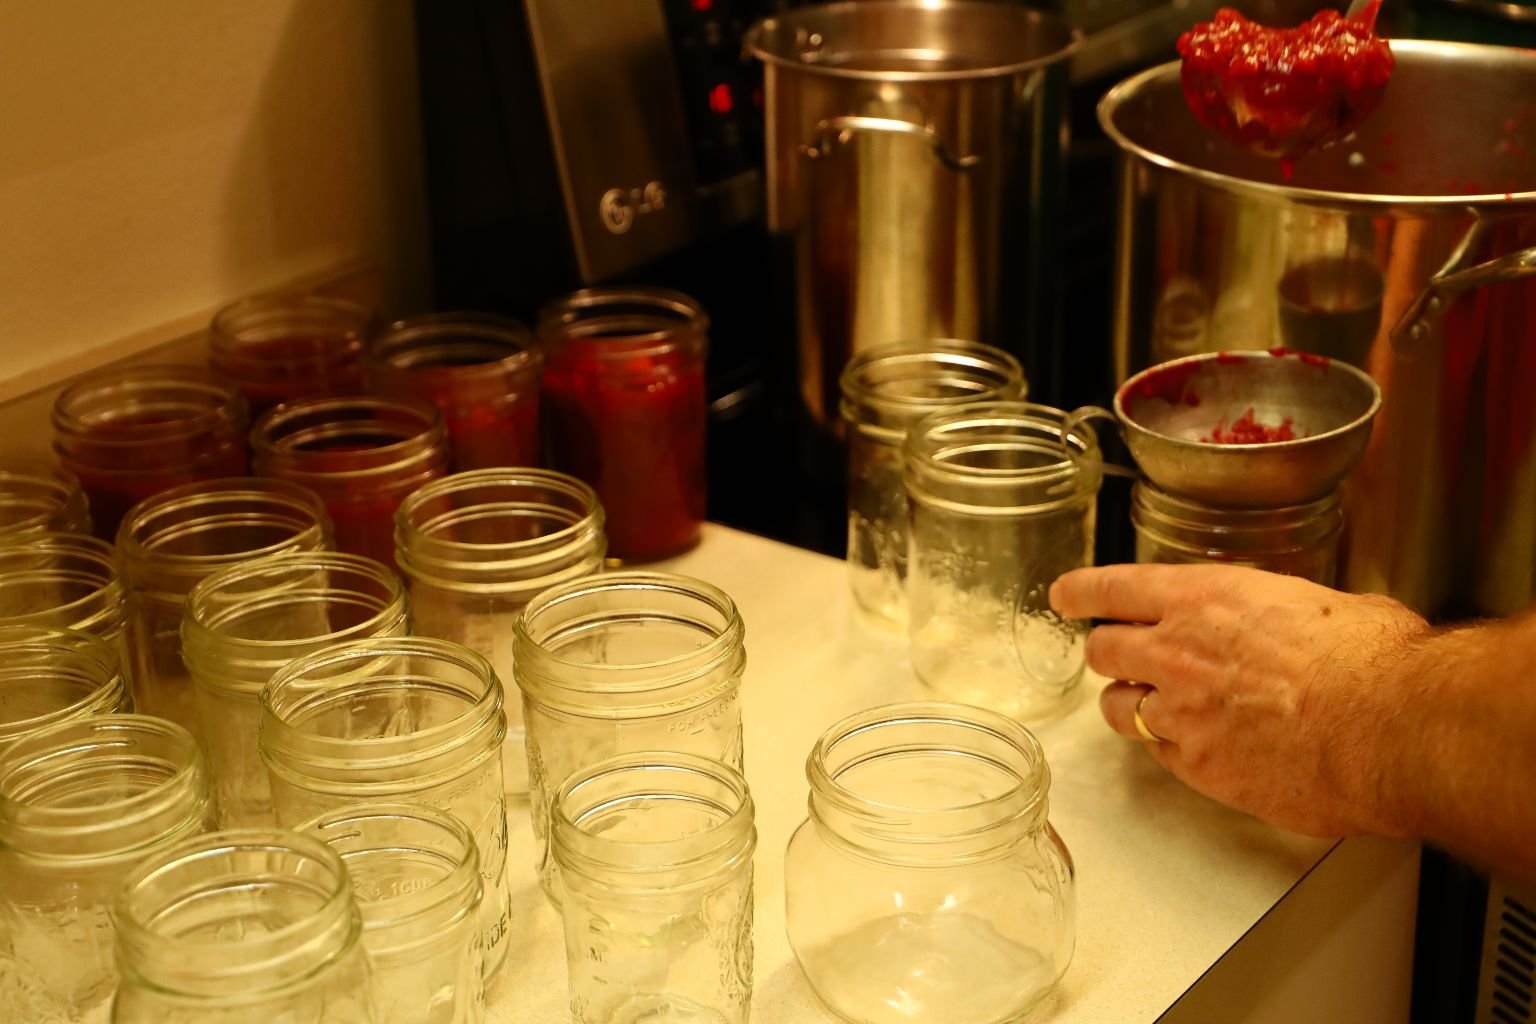
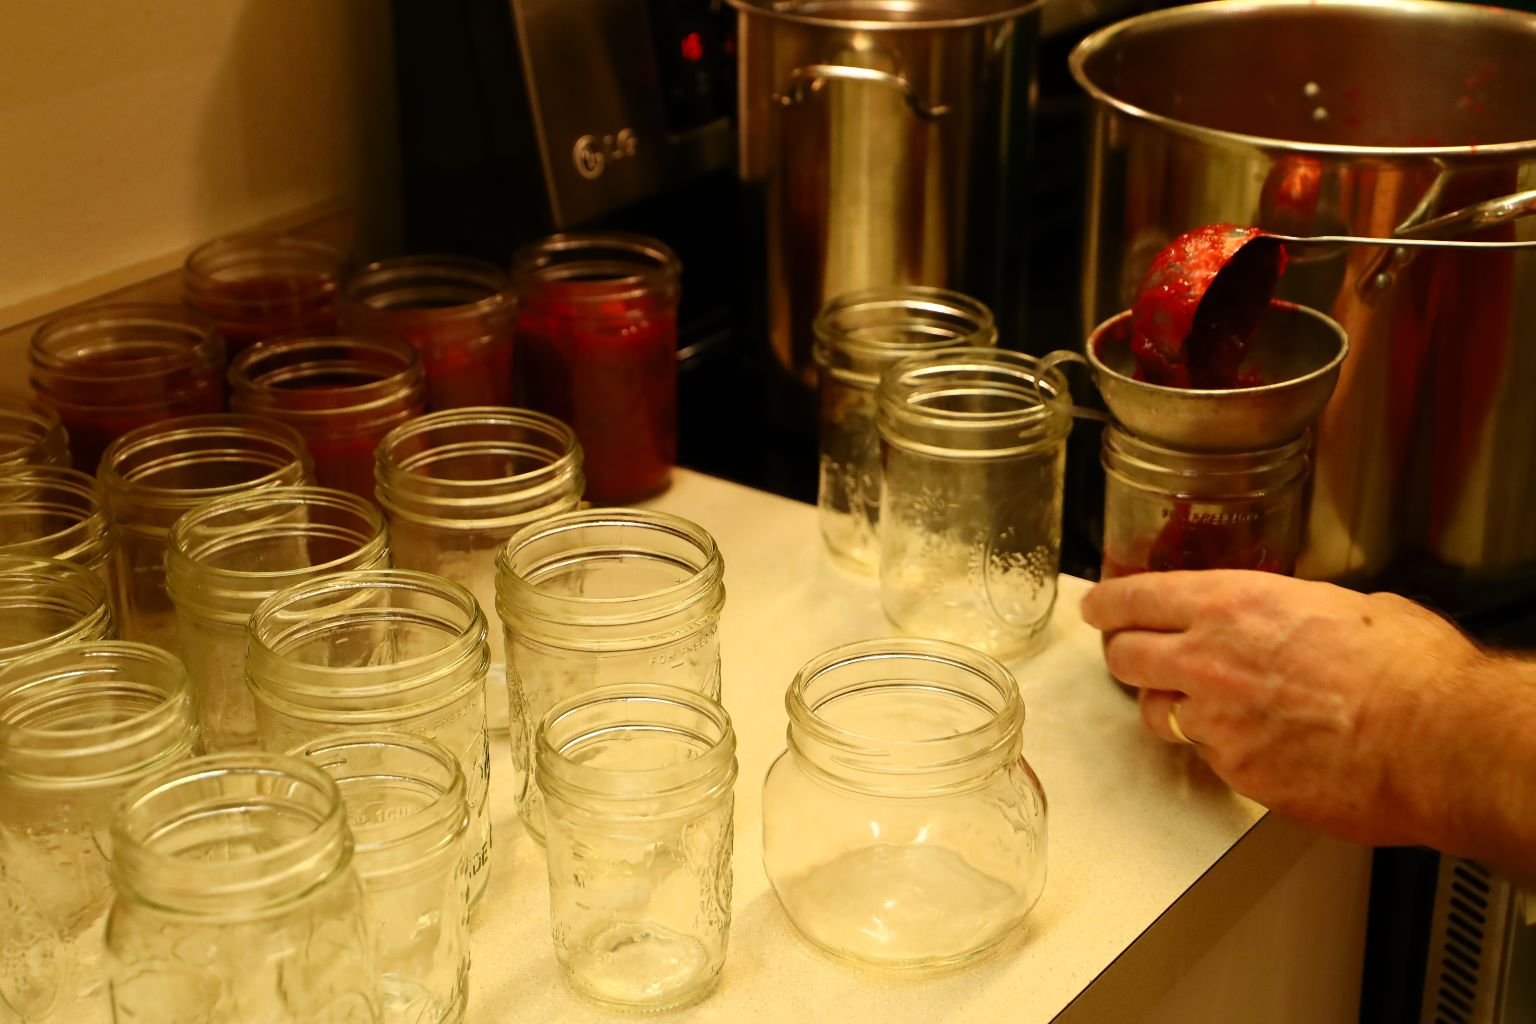
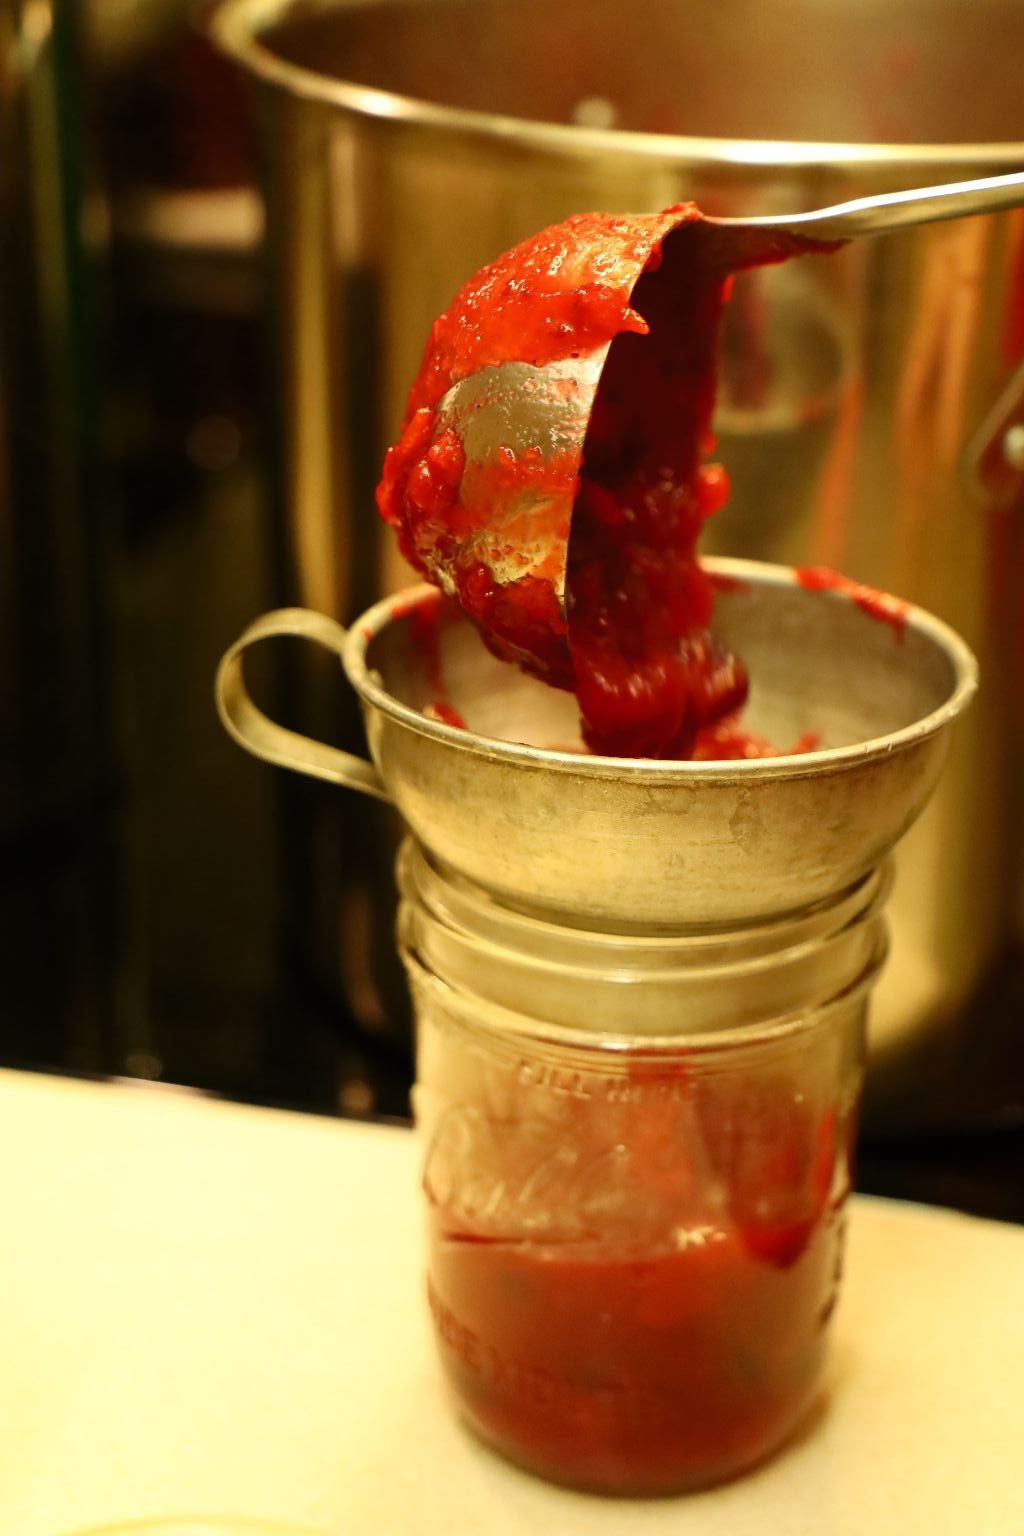
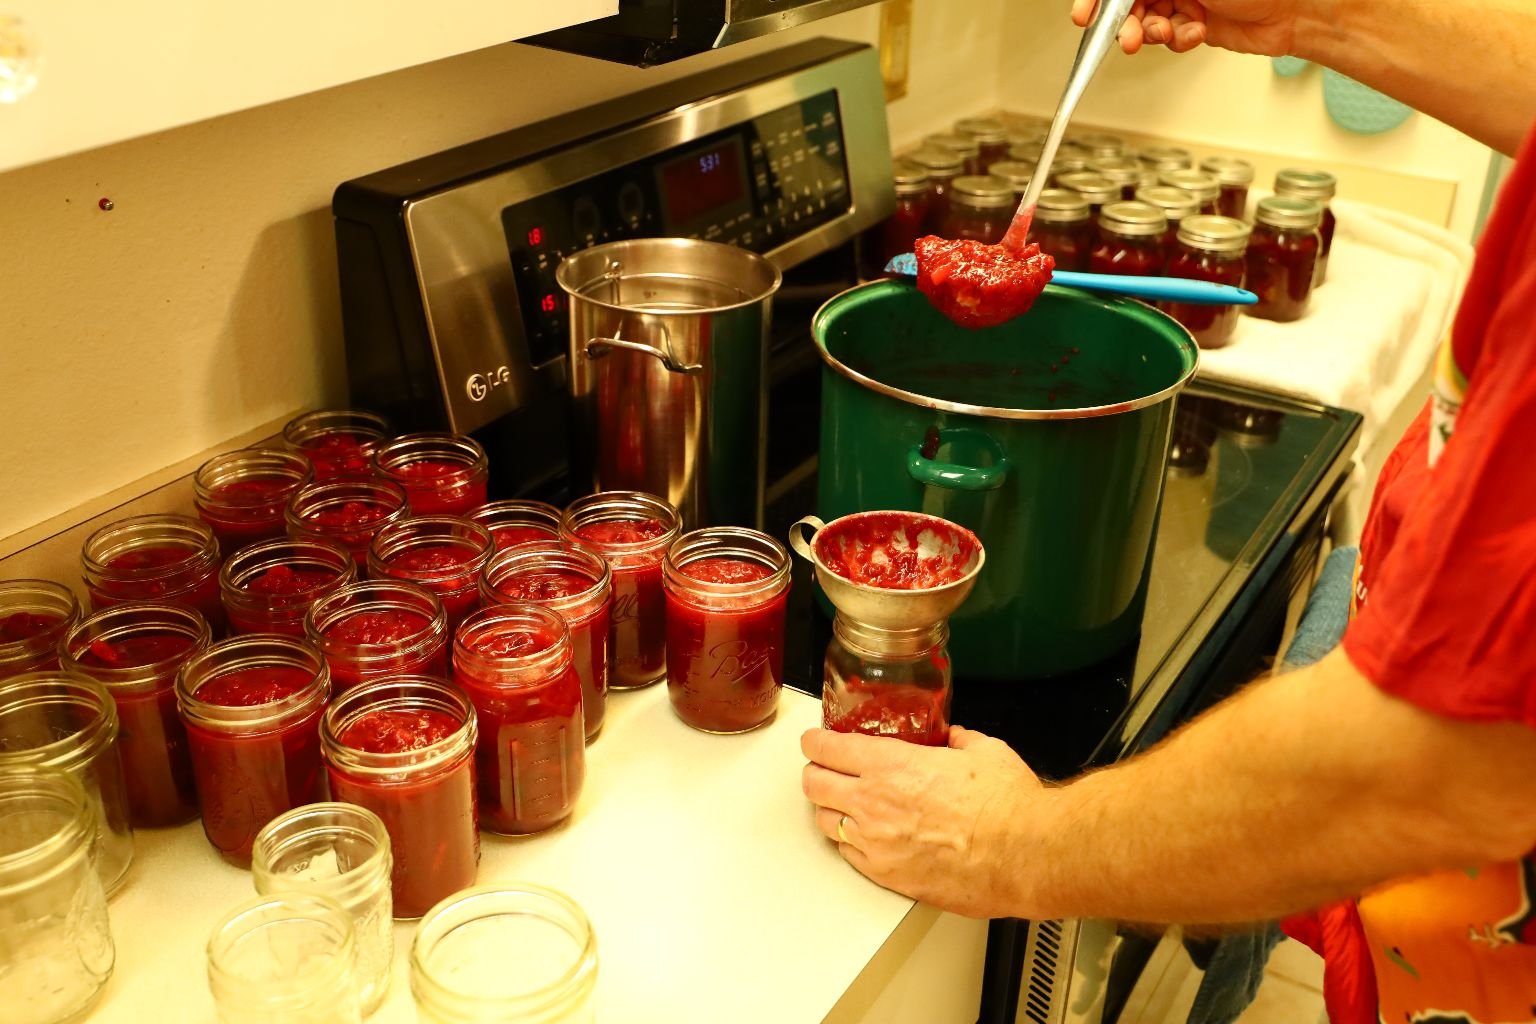
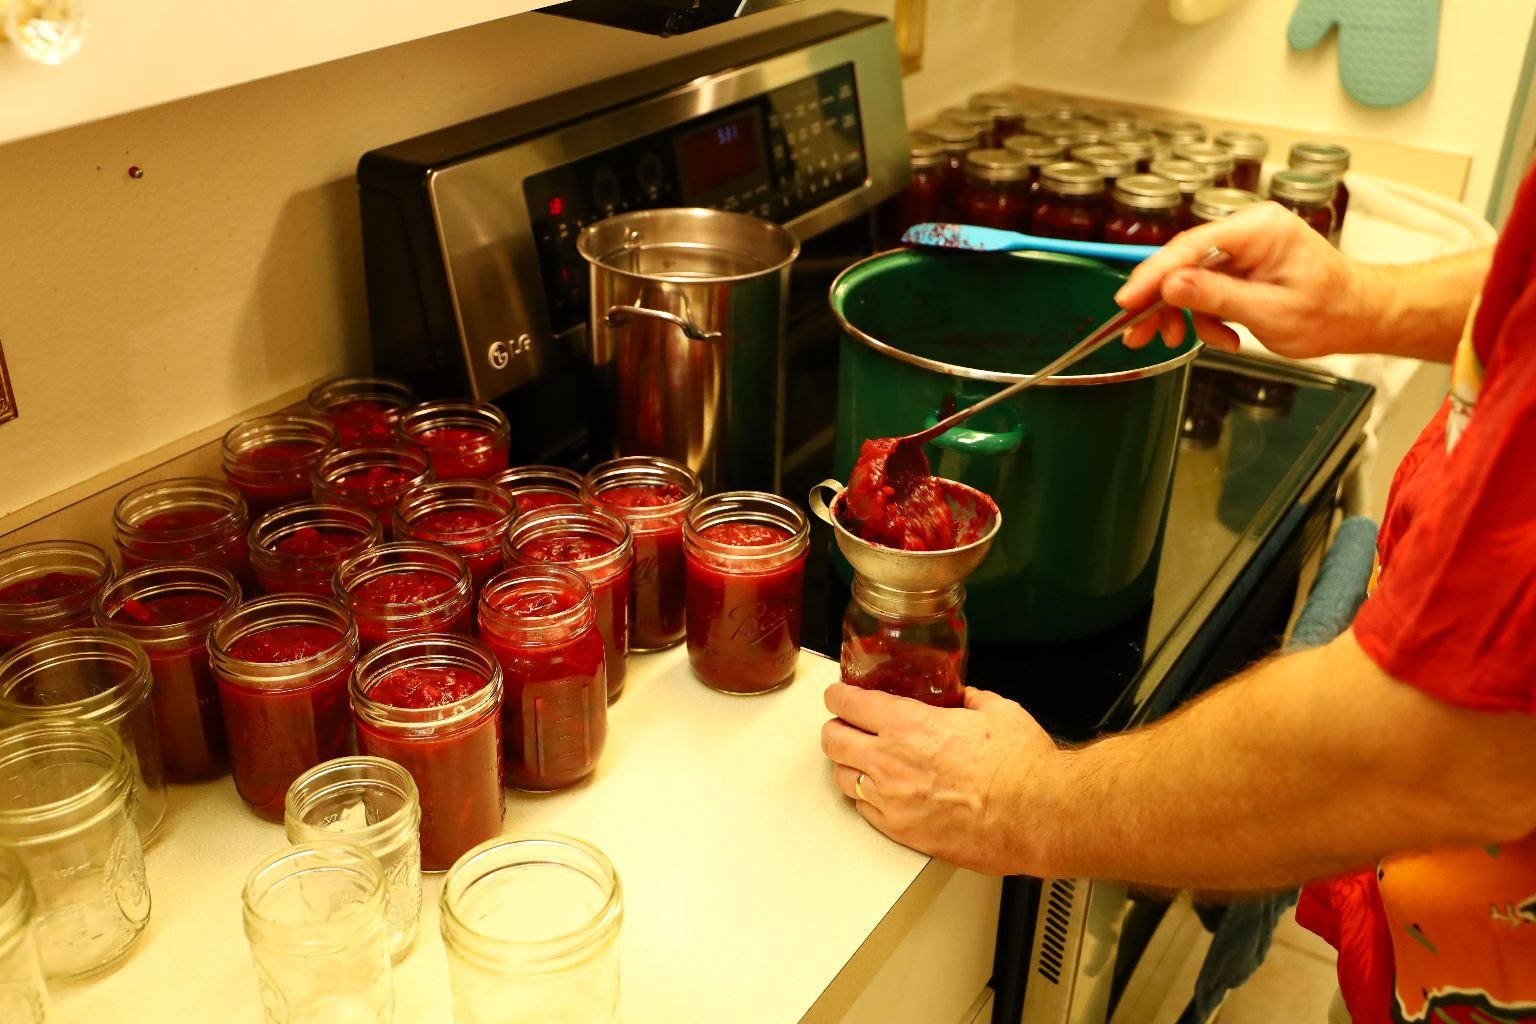
Using a funnel on top of the jar, ladle the Cranberry Sauce into the jar leaving 1/2 inch of space to the top of the jar. This is called headspace and is needed to make the suction between the sauce and the lid.
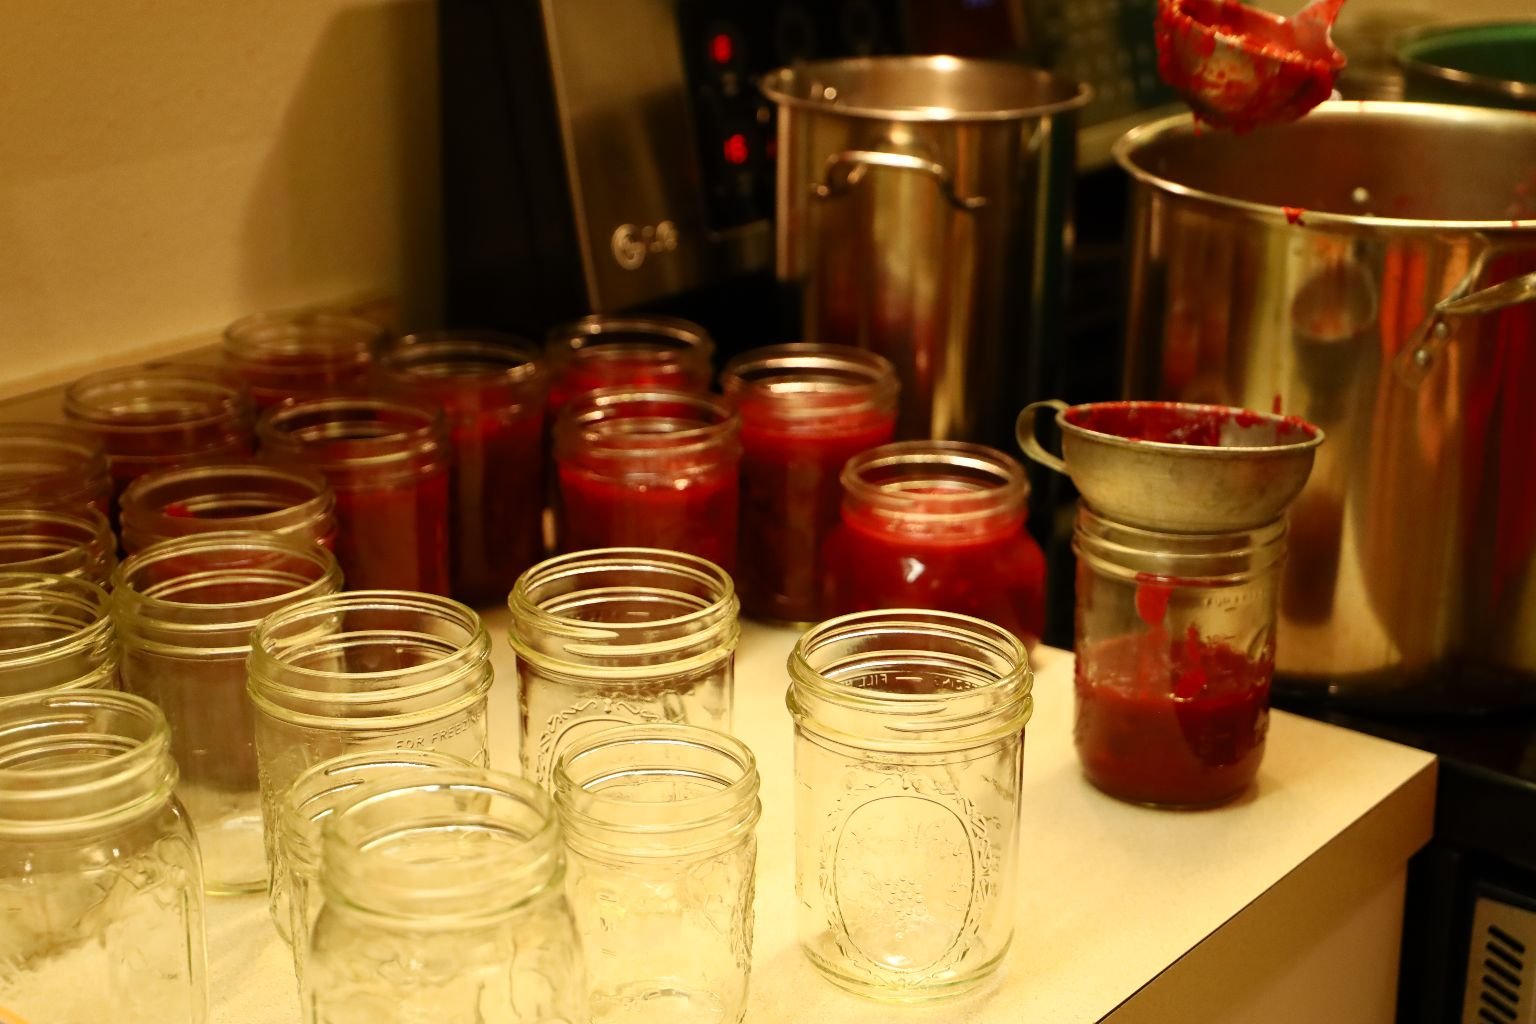
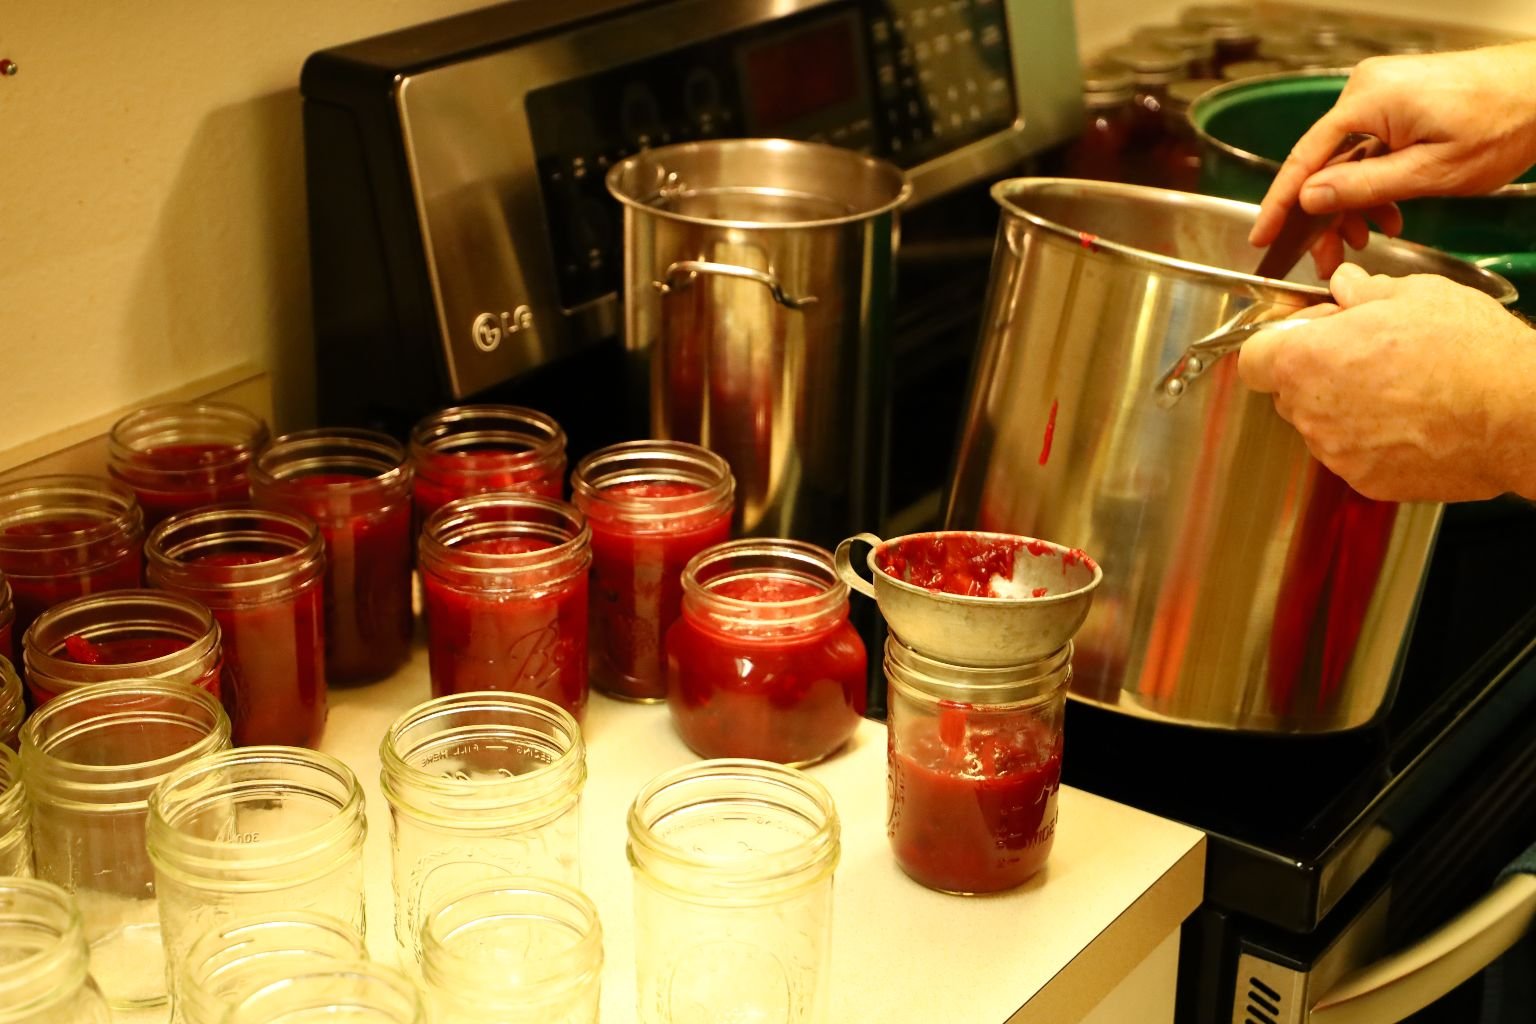
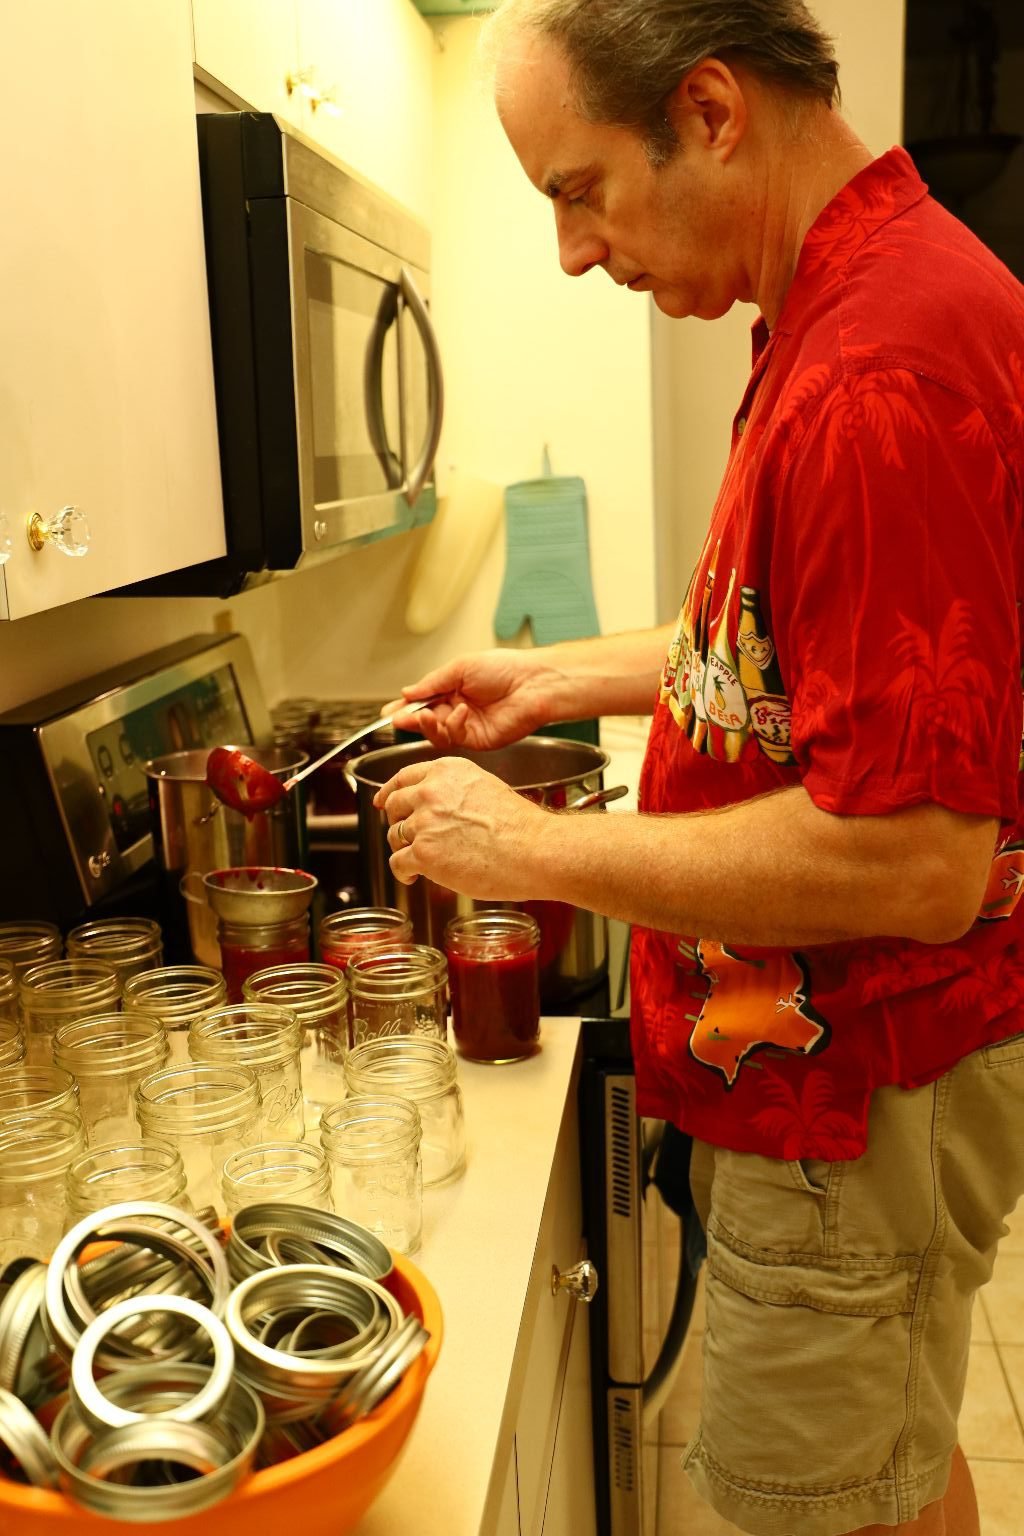
Continue to ladle the Cranberry Sauce into all the jars.
Your lids should be in a pot of water that is just under a boil meaning you should see tiny little bubbles in the water. More than that you could begin to breakdown the lids rubber seal.
————————————————-
——————————————————————-
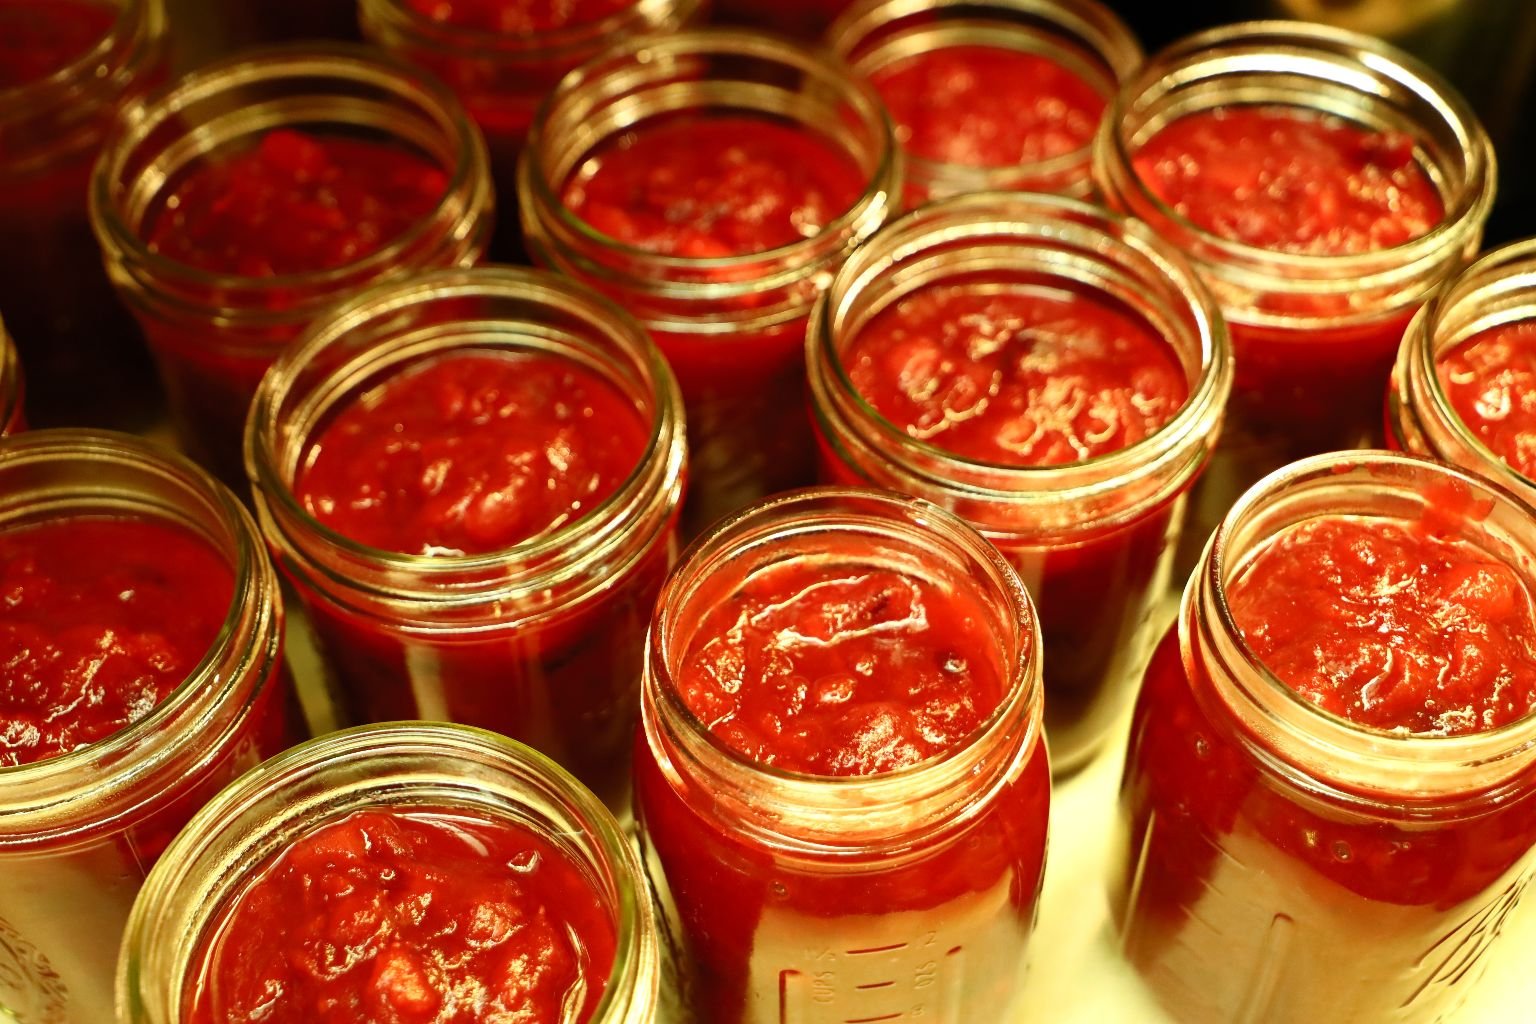
BEAUTIFUL!
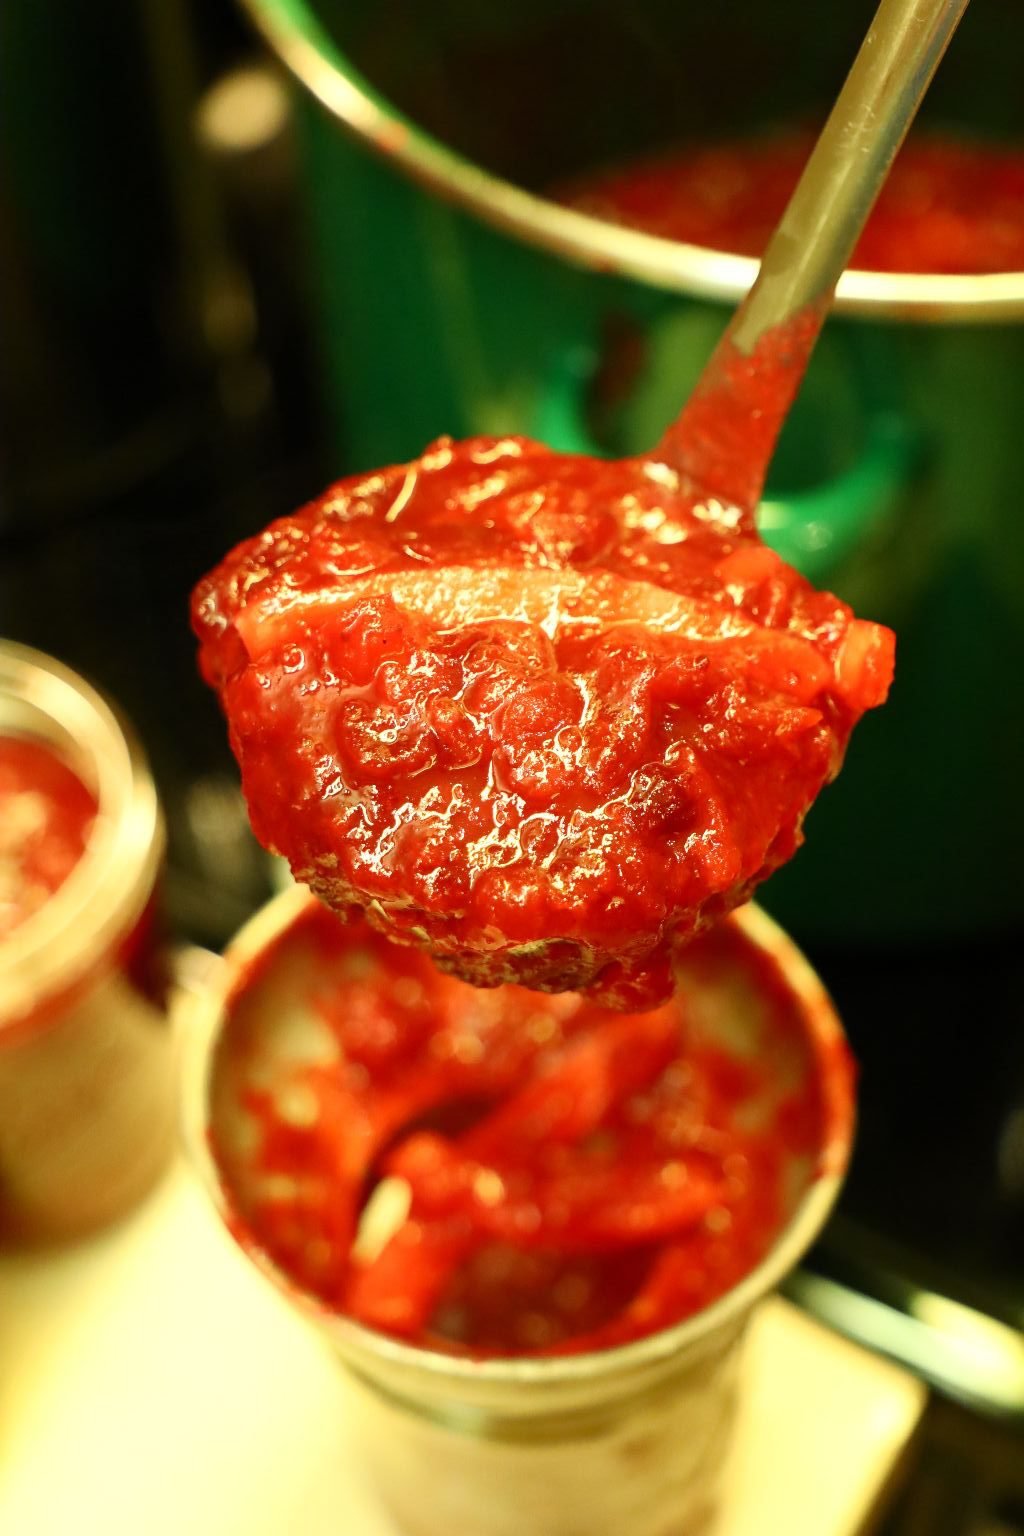
Ladling Into The Funnel
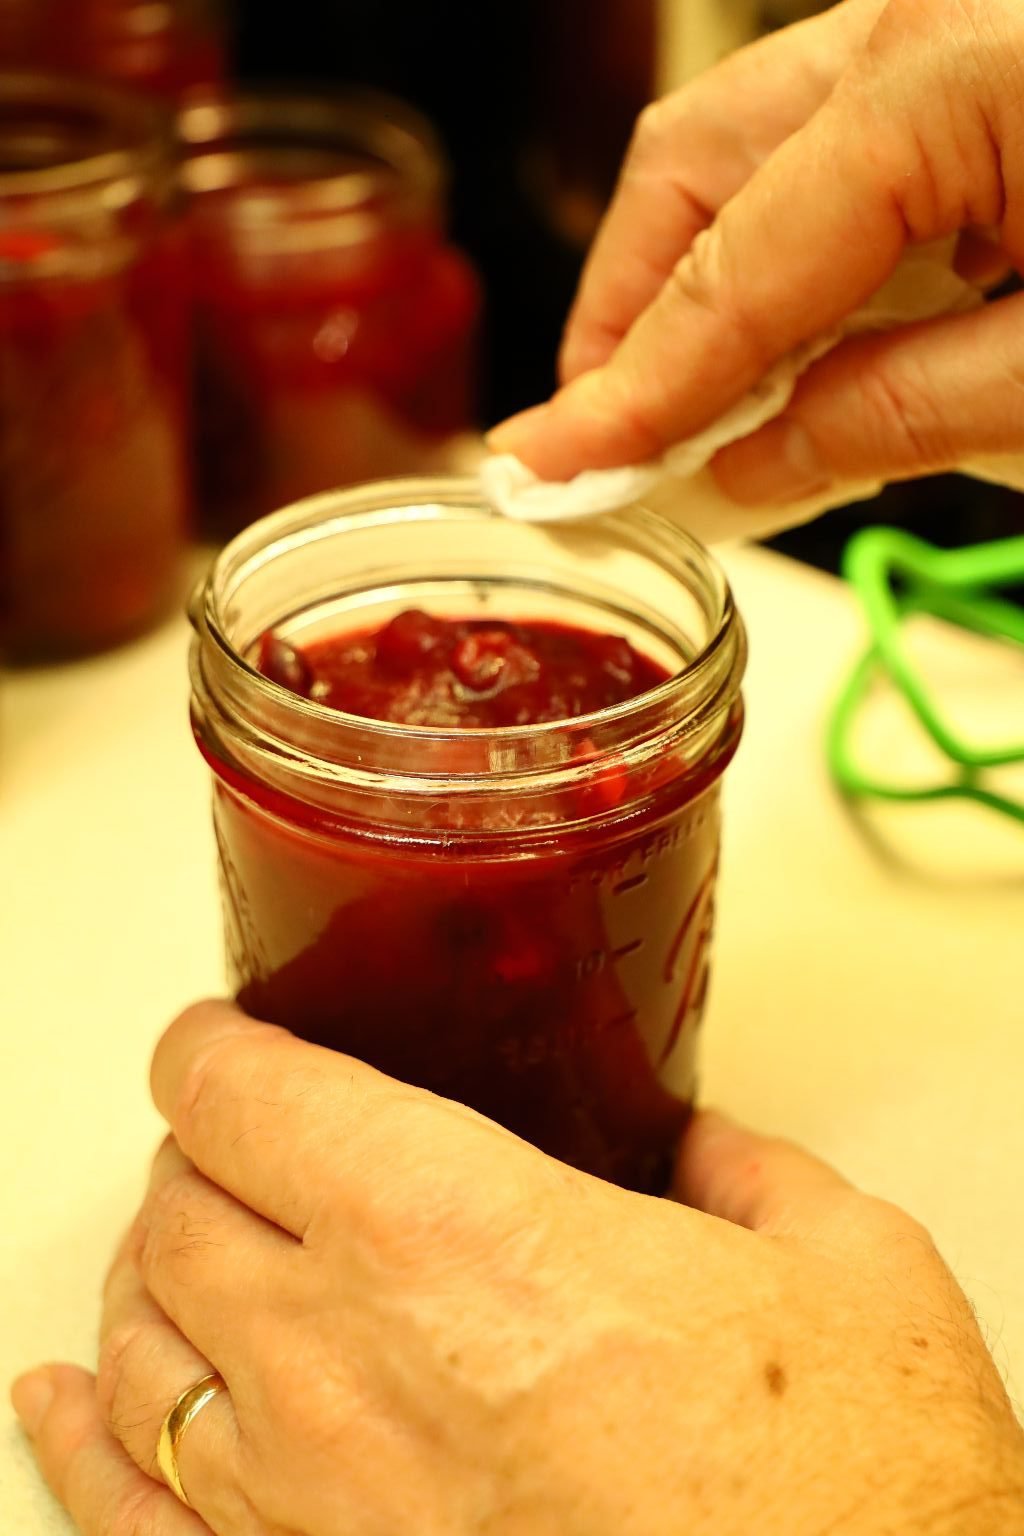
Using a slightly wet paper towel, wipe the top of the jar so as to make a good seal with the lid.
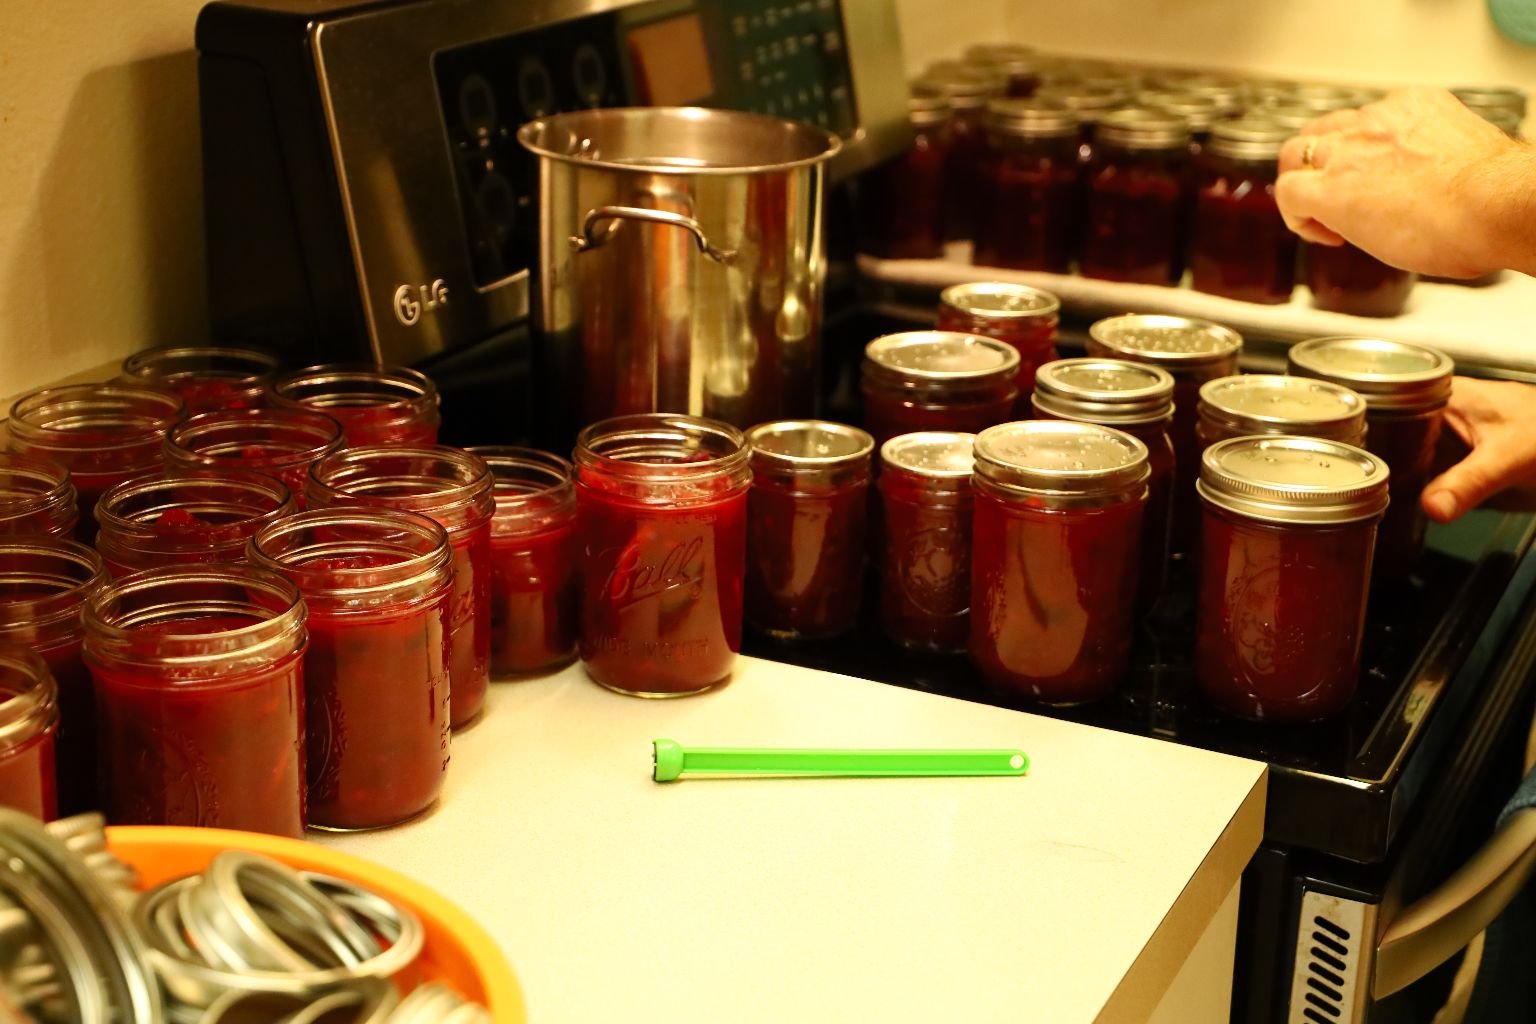
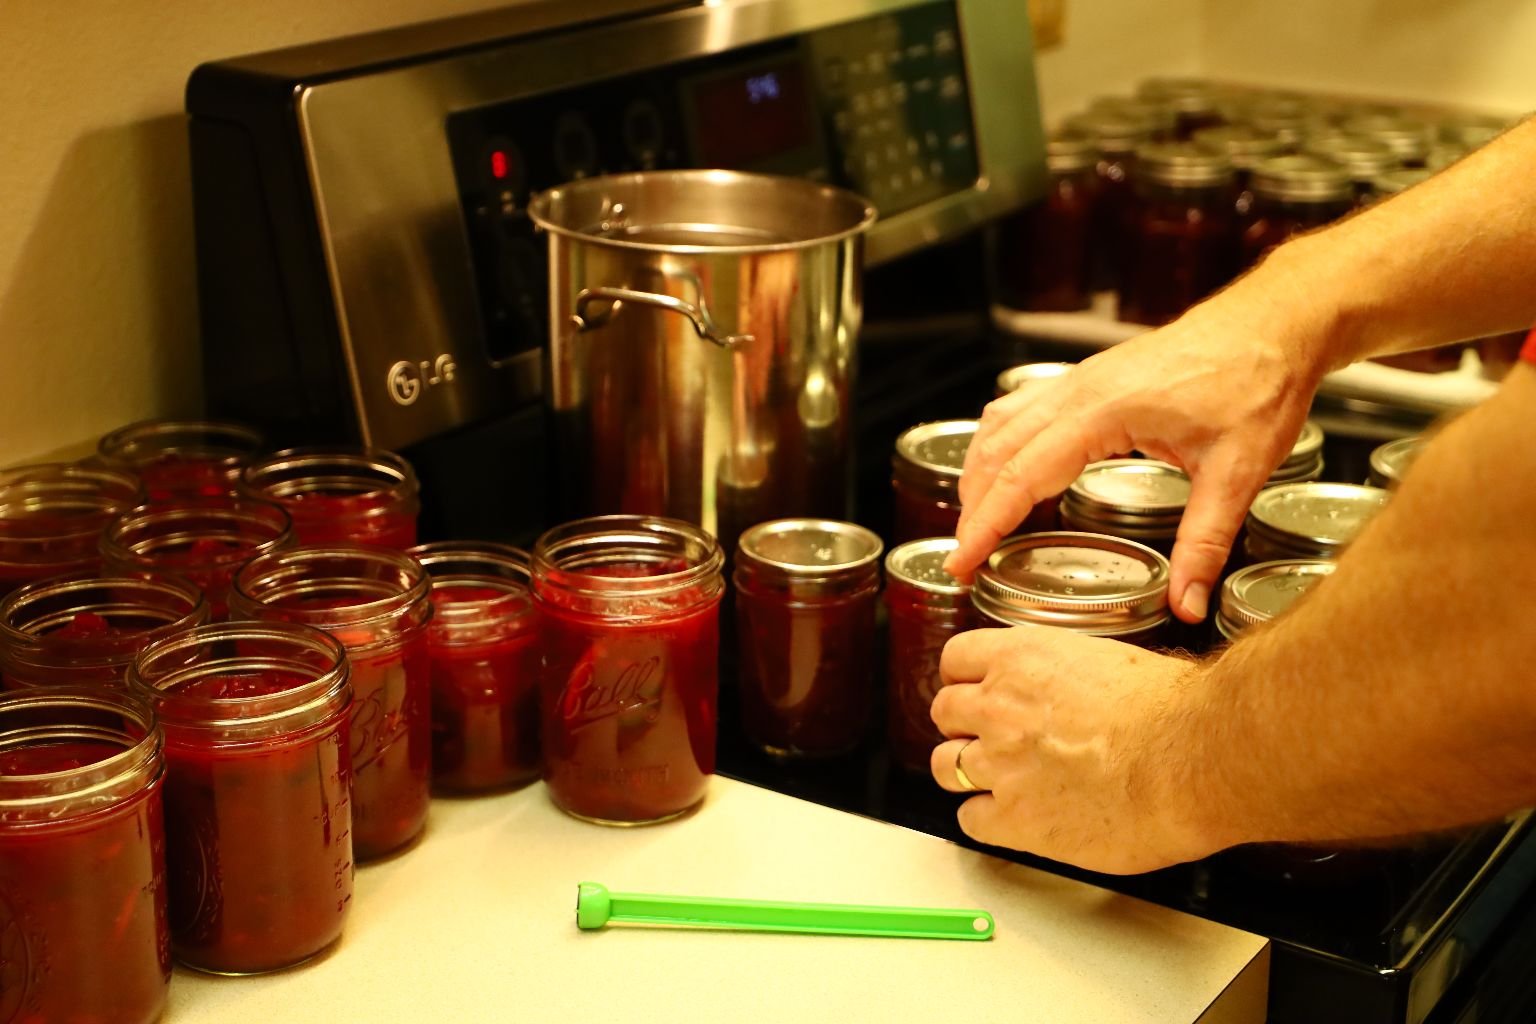
Using a magnetized rod, remove a lid from the hot water and place it on top of a clean jar. Slightly tighten the rings over the lid. Too tight and the air inside will not be able to be released, which will not create a vacuum.
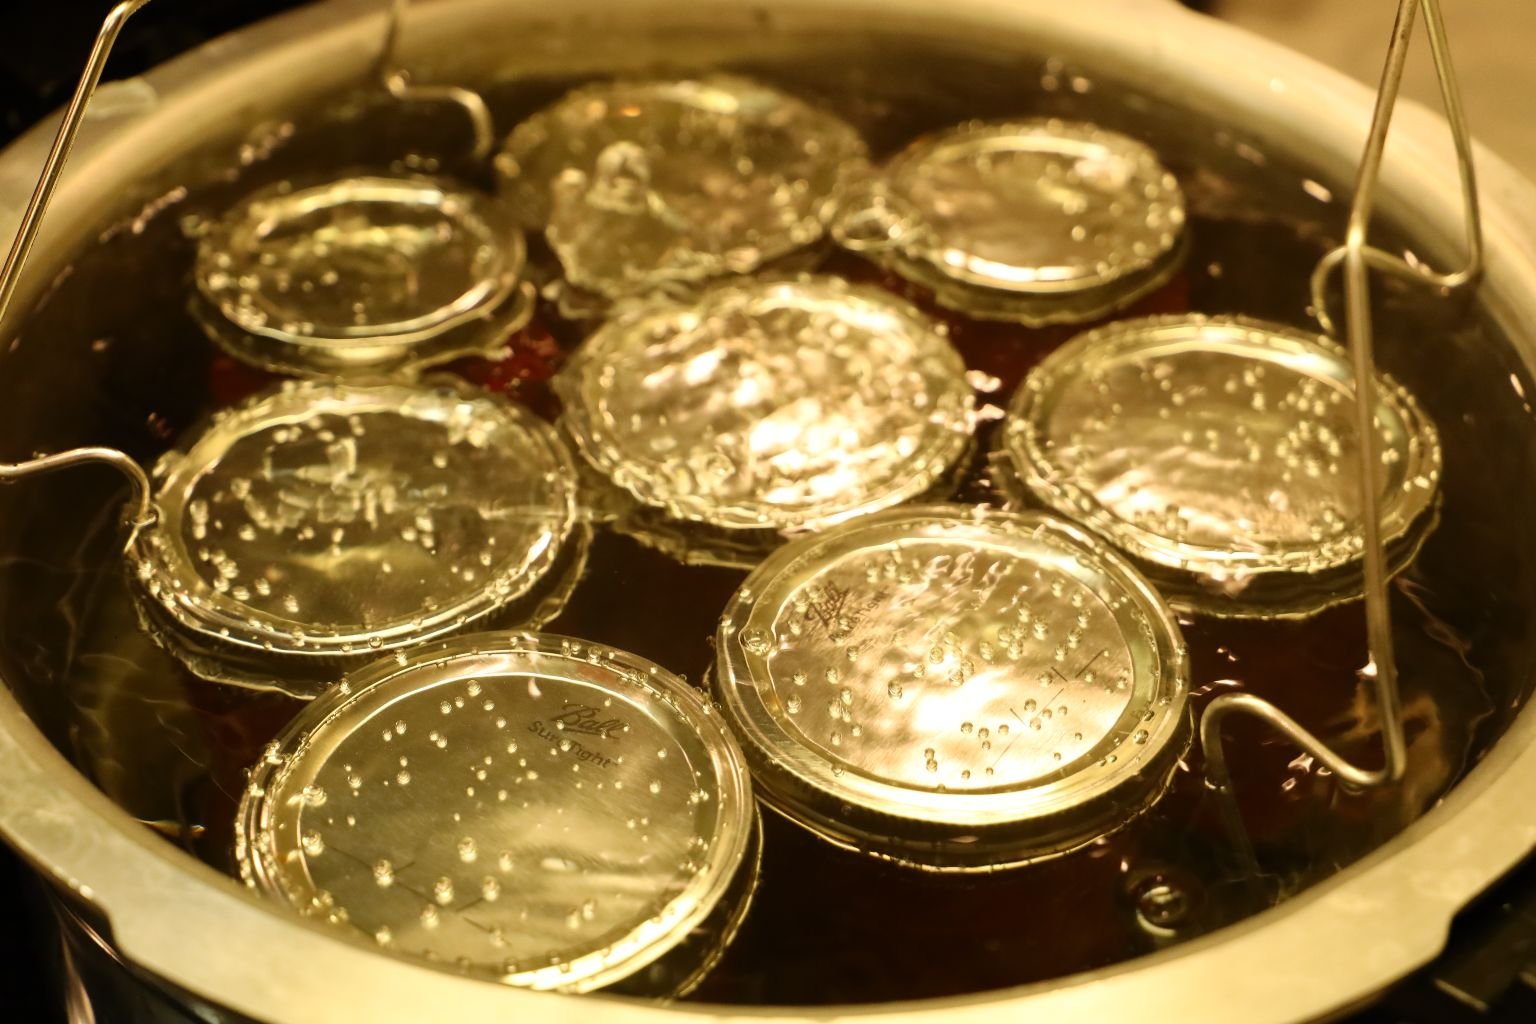
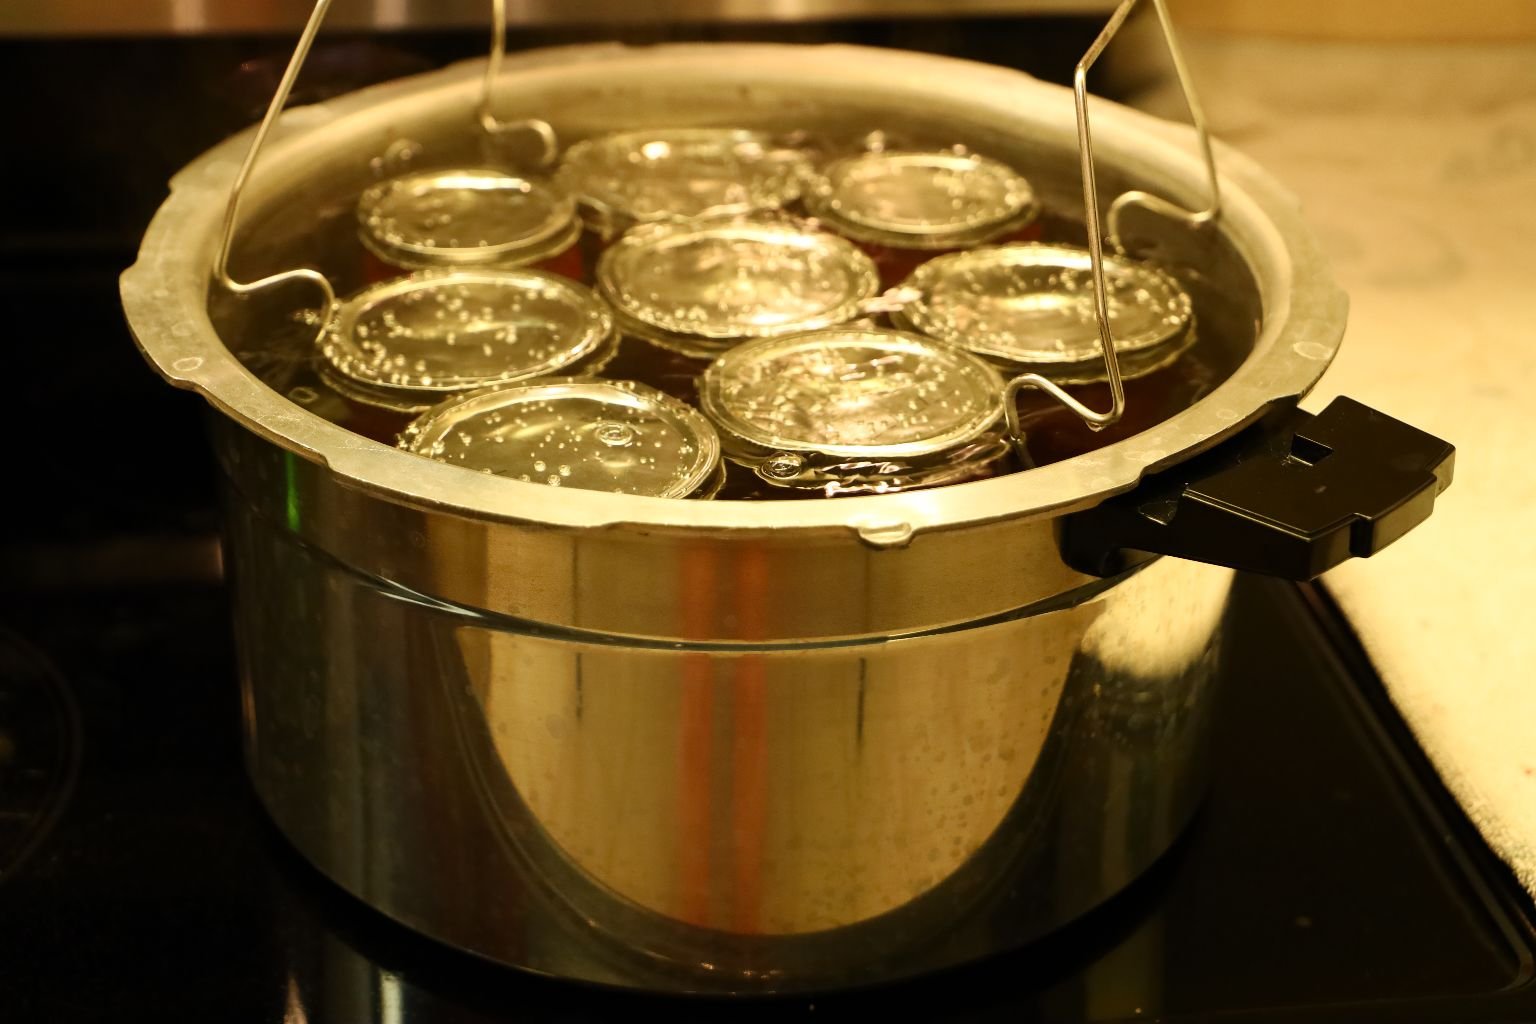
Place the jars in a large pot of water being sure the jars are submerged. You should begin to see Tiny Bubbles… (my homage to a Hawaiian classic song written by Leon Pober and performed by Don Ho) coming out from the lids of each jar, indicating you did NOT tighten the lids too tight. Process /boil the jars in water for 15 min. When done, remove the jars with rubber canning tongs and place them on towels to cool. You should then begin to hear the lids pop, indicating the vacuum has pulled the lid down. Some lids don’t pop as they are made differently. Either way all the jars lids should be in the down position after about 10 min. If not, remove the ring and throw away the lid, remove a little of the sauce to provide more headspace, clean the top of the jar. You could also look at the lid to see if it was defective in some way. Replace another lid on top of the jar and barely tighten the ring. Process/boil the jar again for another 15 min. Remove the jar and set aside to see if it will pop or if the lid sinks down letting you know the vacuum was created inside the jar. These cranberry sauces can be kept for many years as the vacuum and sugar will prevent bacteria from growing. With that said, be sure the lid is in the down position before you eat it. A raised lid means bacteria has formed, spoiling the sauce.
————————————————————————-

—————————————————————————
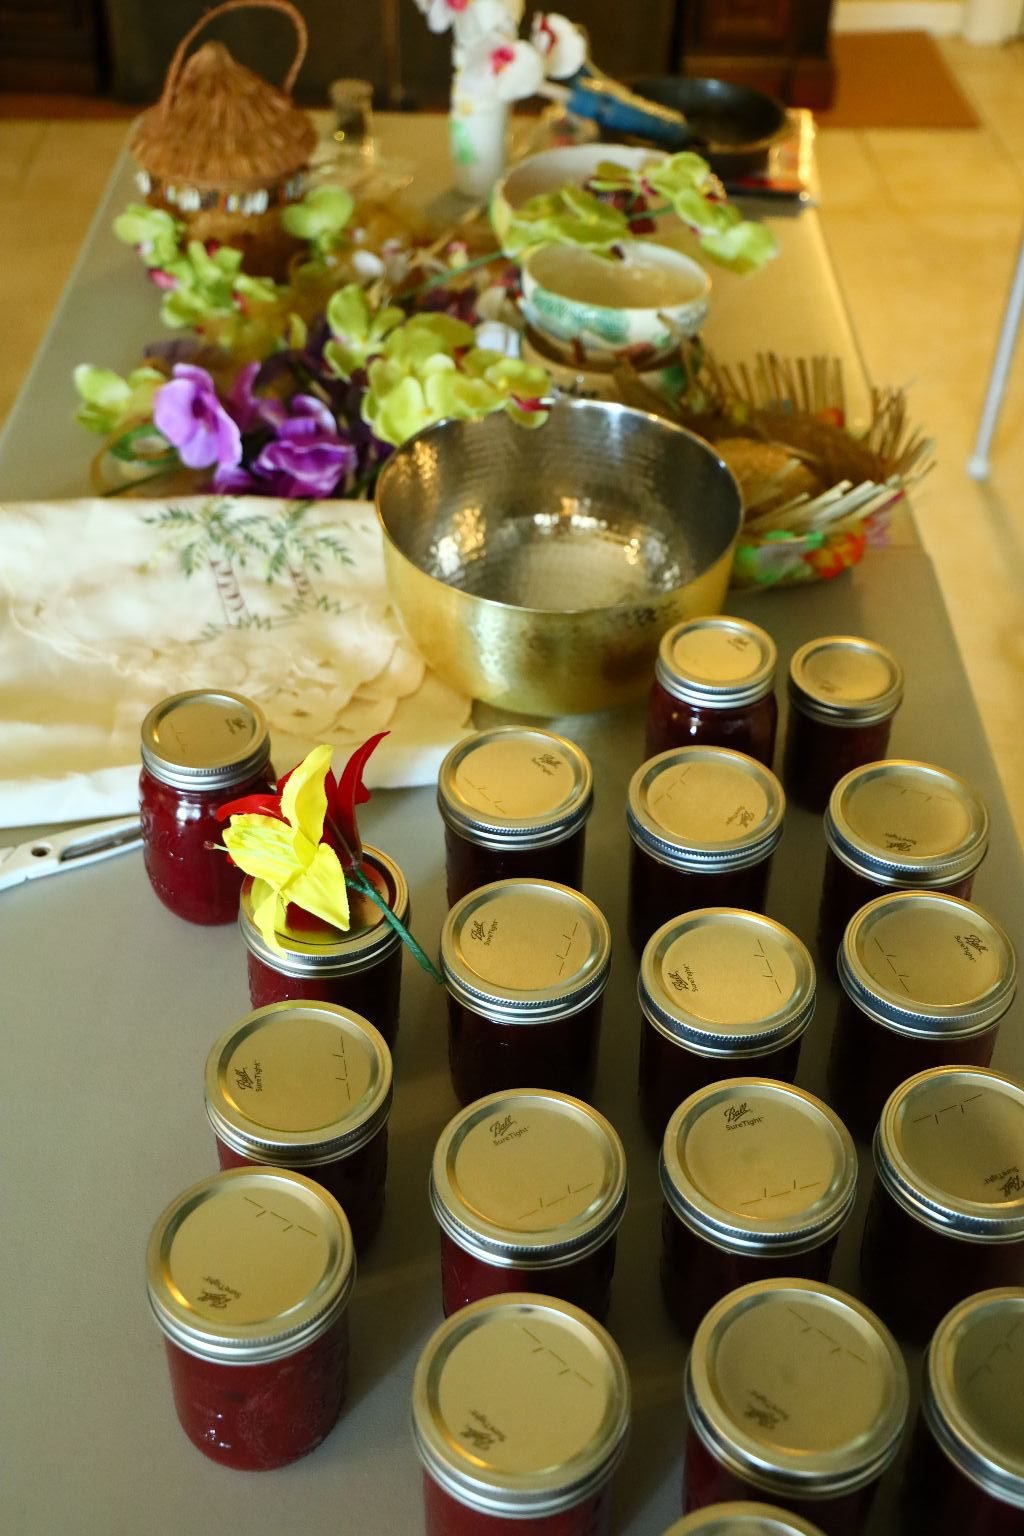
Preparing Our Jars for Gifts and Storing
(Our sparse living room. Our furniture shoved into a POD in our driveway during renovations. However, I do have lots of room to spread this project out.)
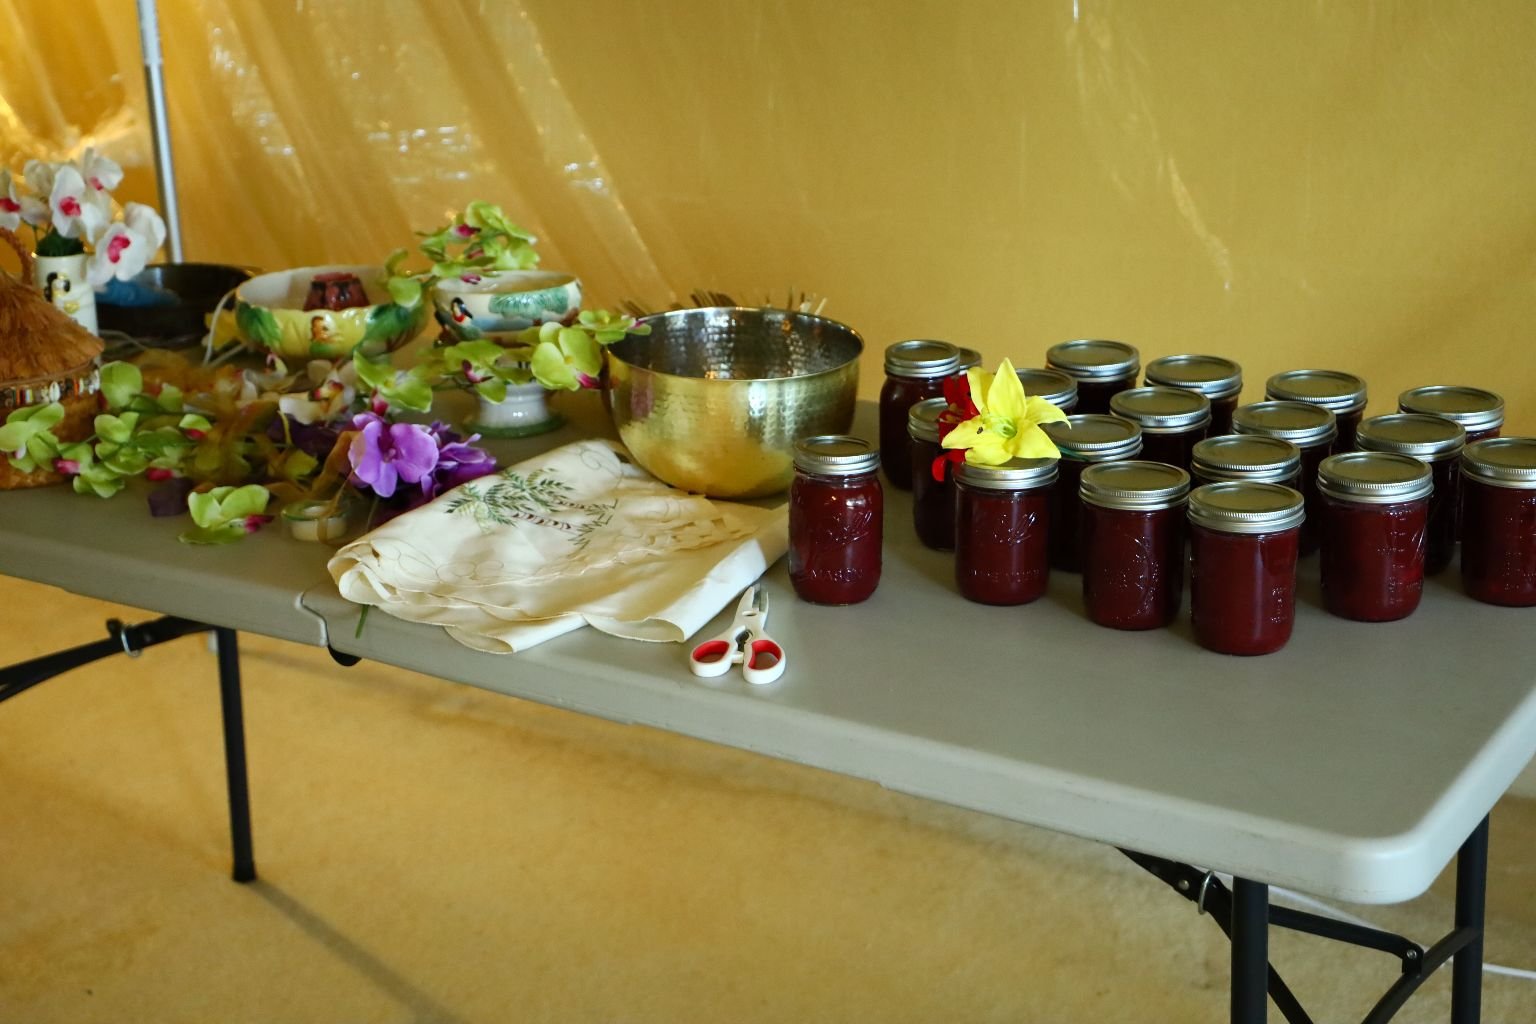
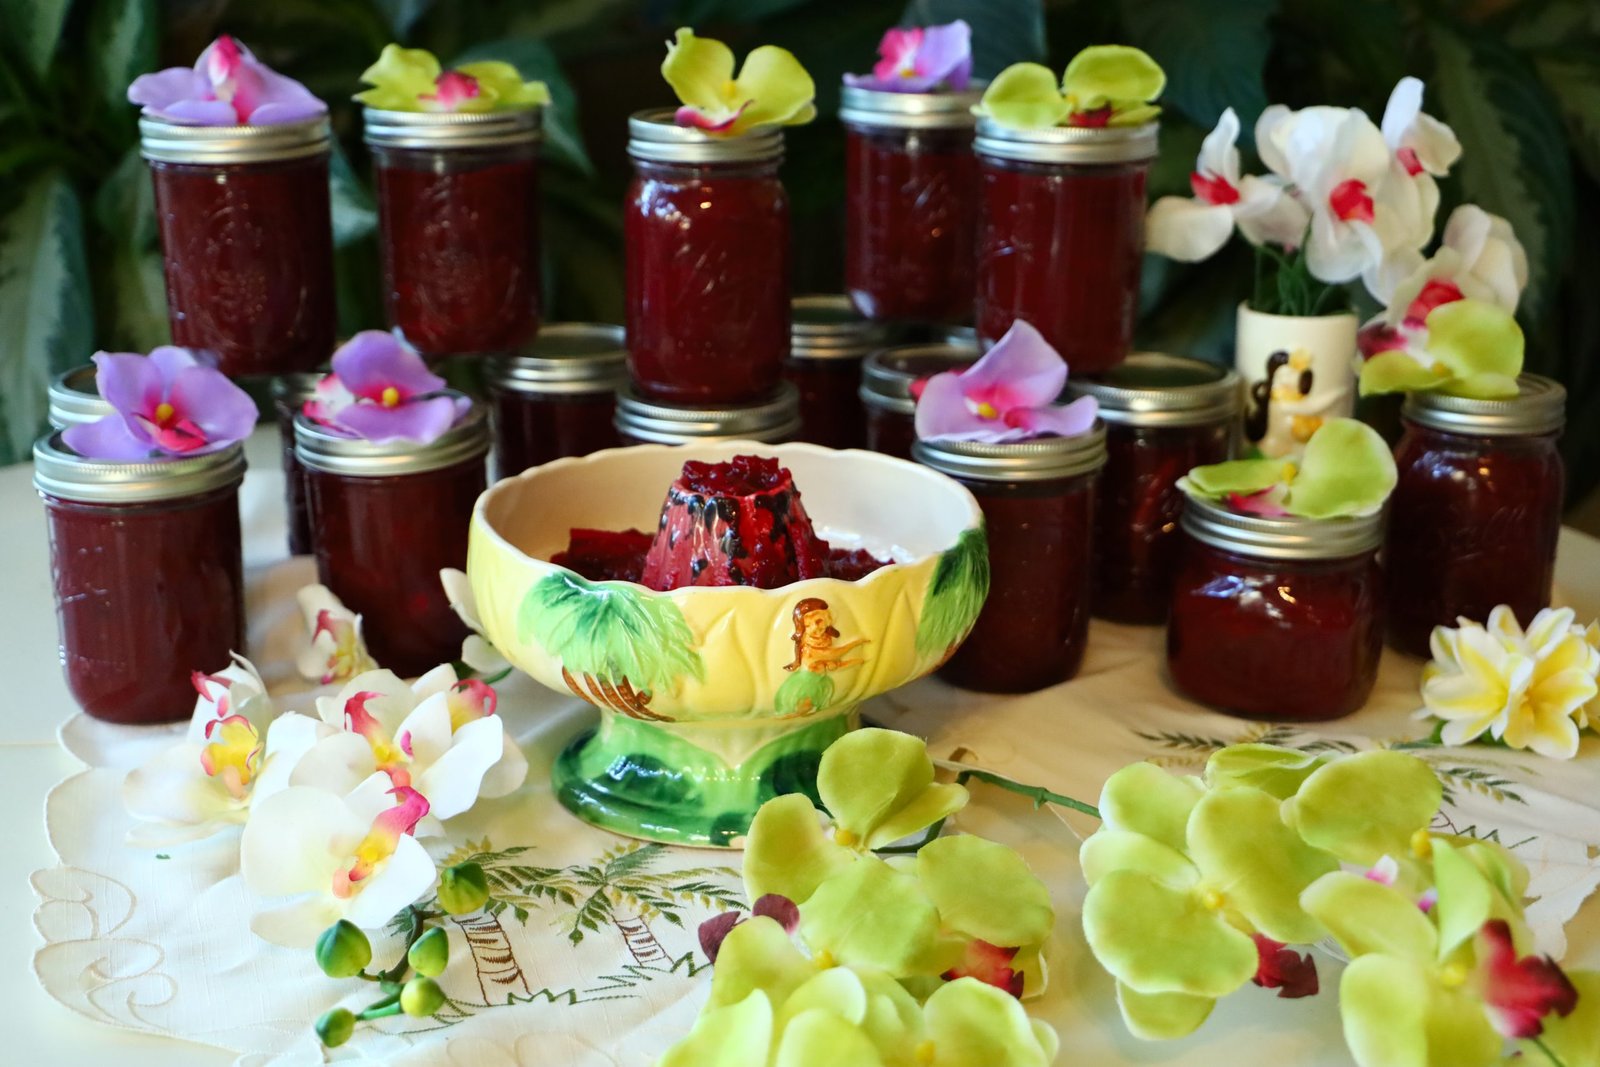
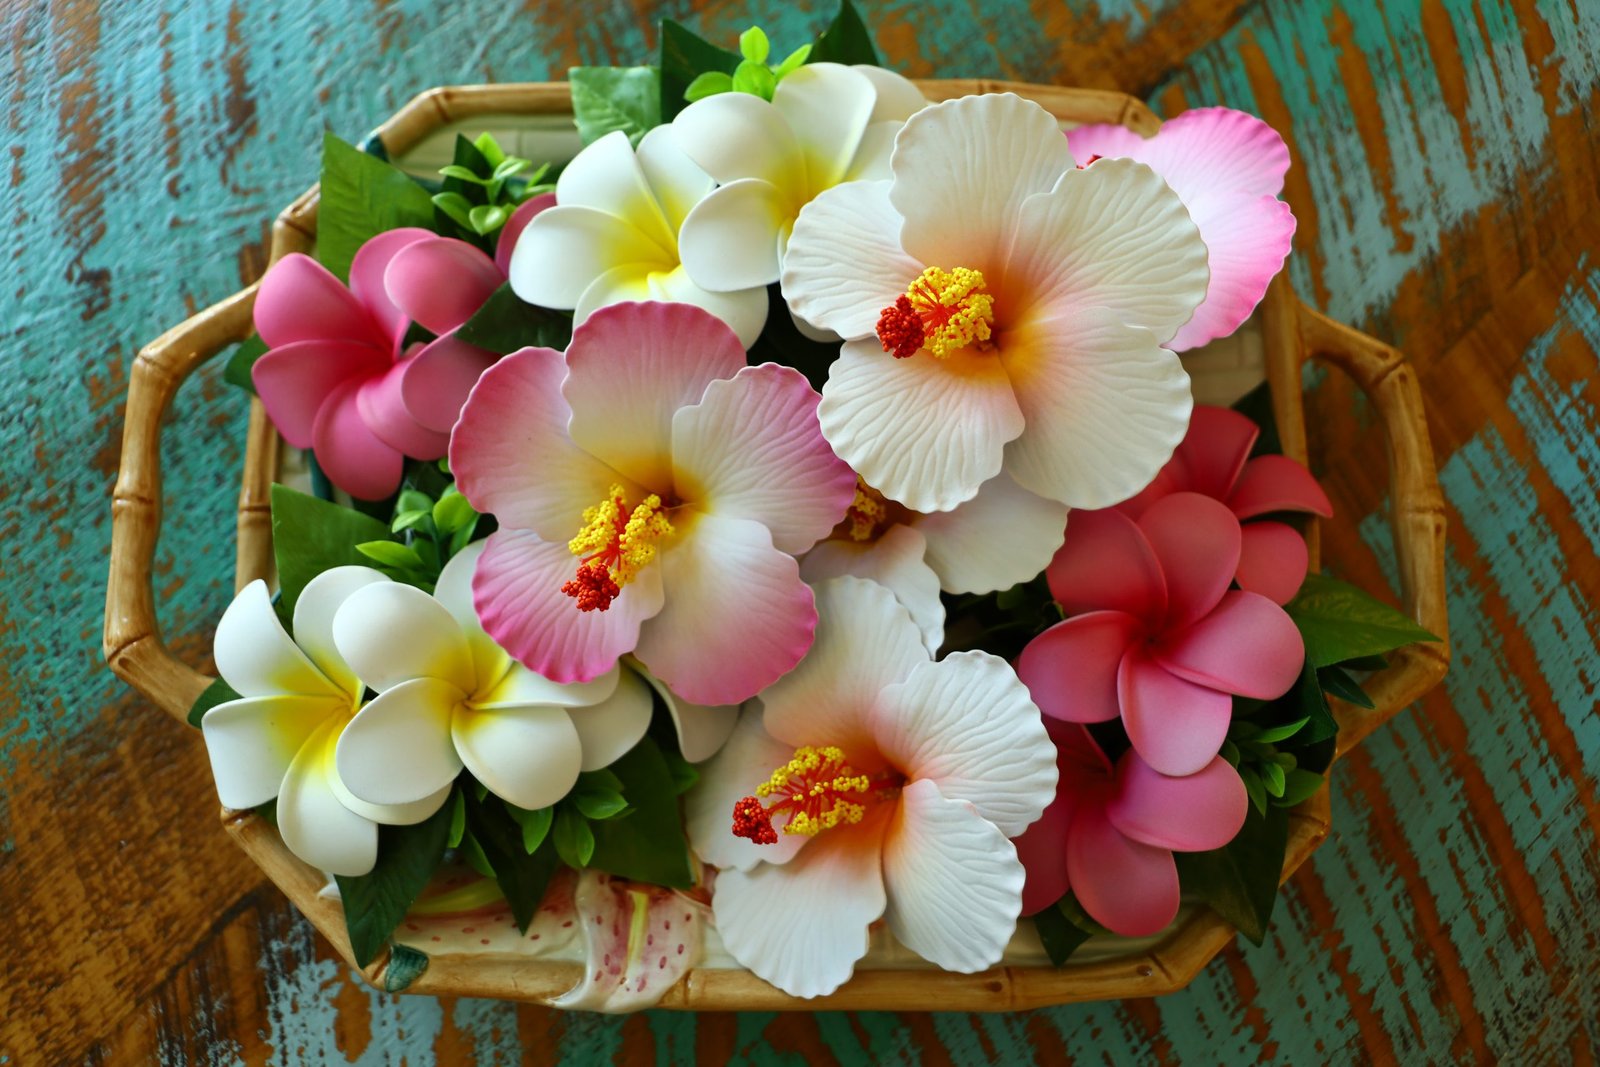
I always have craft supplies on hand. I wanted to decorate the jars and make them look a bit tropical so I hot glued flowers to the top. Mainly orchids. Orchids are big in Hawaii and I already had these out in the garage so I didn’t have to run out and buy any.
——————————————————————-
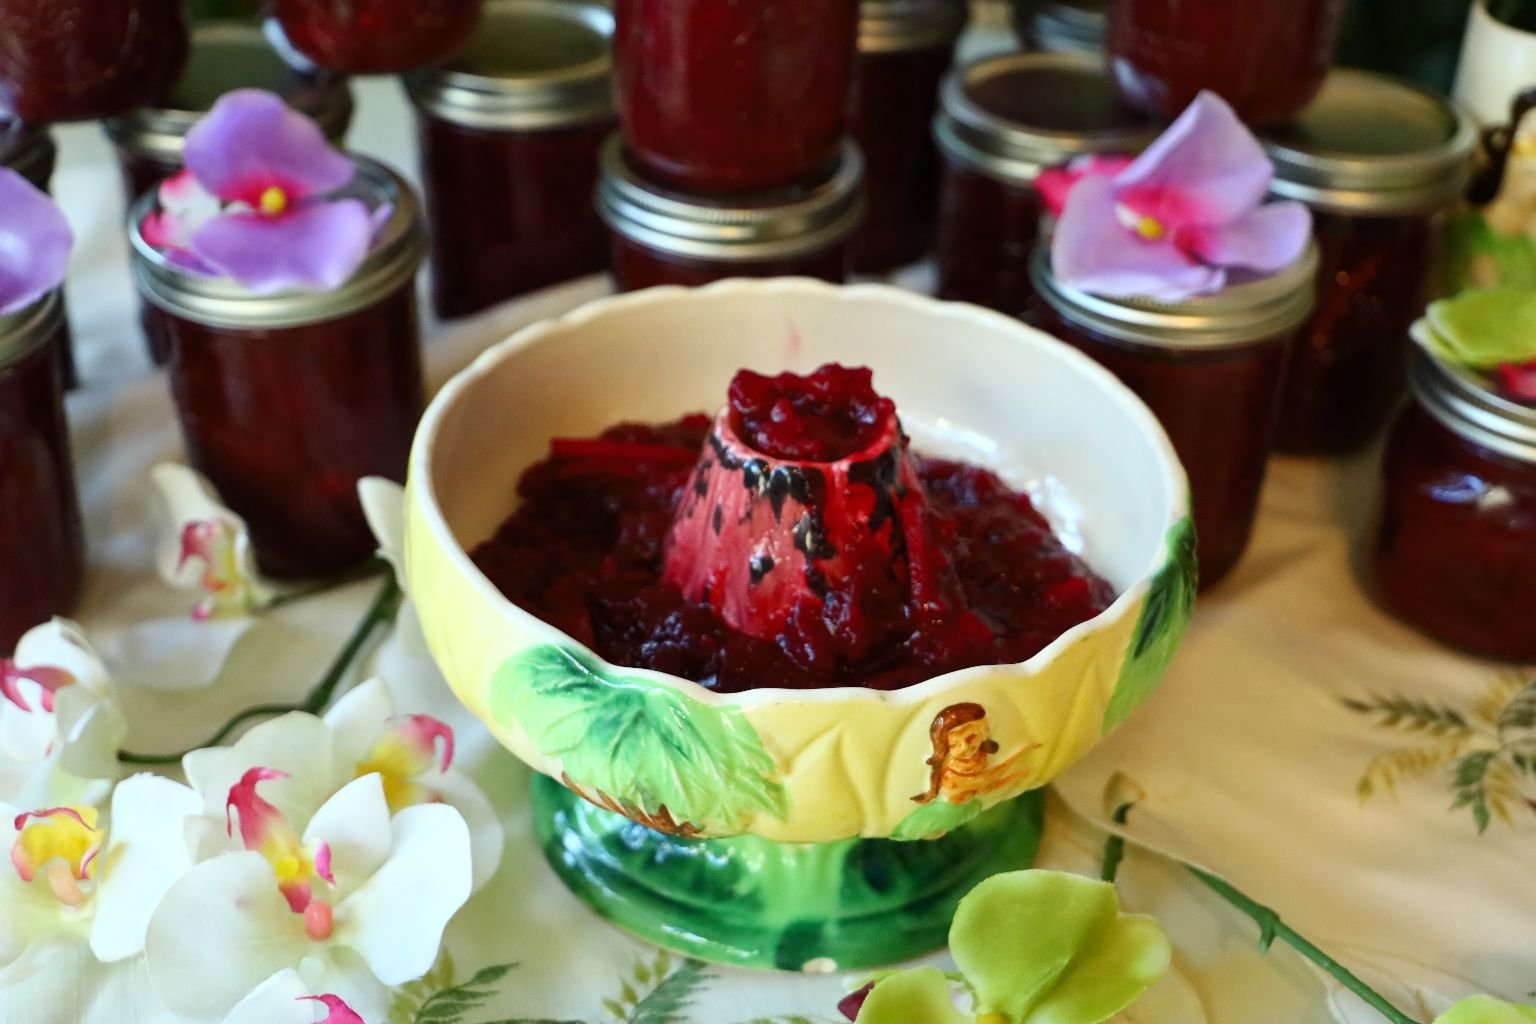
I think they look beautiful.
I especially love the cranberry sauce in my vintage volcano bowl.
Kinda like hot molten lava.
——————————————————————–
In spite of all of our home renovations that we had going on, and a pandemic, we managed to have a very nice Kalikimaka. It was just the two of us. Our kids spent Christmas with their partners, and their partners family’s that they had been isolating with. Thanks to the renovations we found quite a few of our old favorite Hawaiian things that we were happy to use again. This was probably the easiest Christmas we have ever had because the pressure was off to entertain big, we just did for ourselves. We considered it an adventure.
Thank you for joining us.
We appreciate your interest in us and all that we do.
Mele Kalikimaka,
Julie and Gordon
———————————————
The Recipes Start Right Here
——————————————————
Julie’s Upside Down Kalikimaka Cake
Pineapple, Mango, Papaya, Coconut and Cherry Upside Down Cake
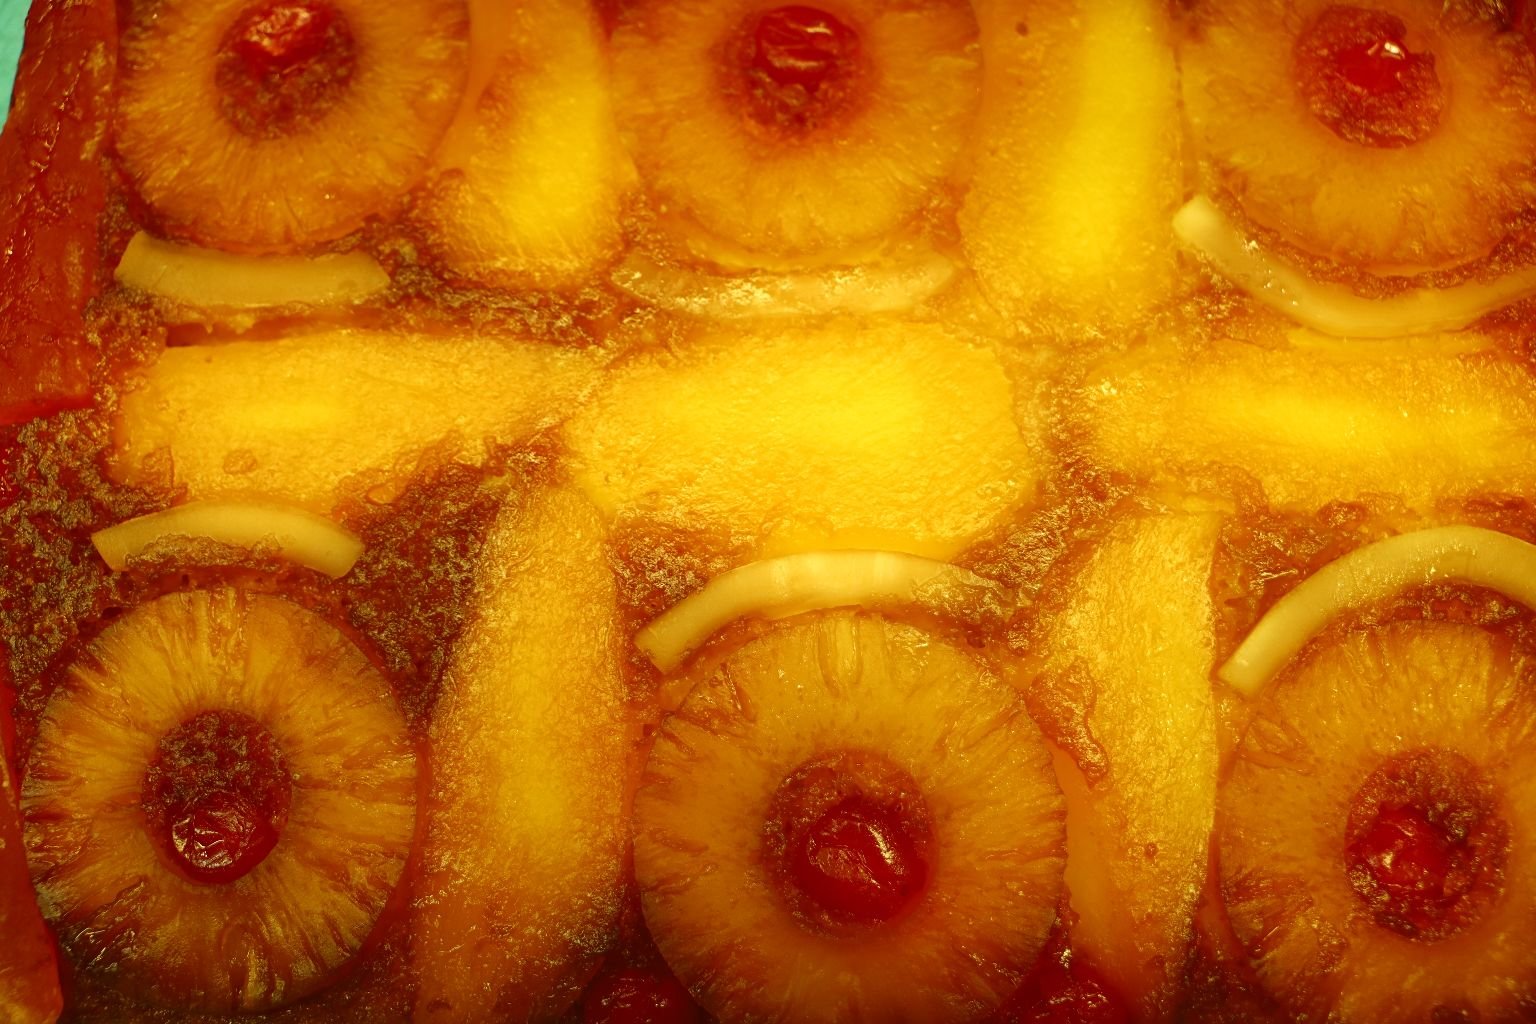
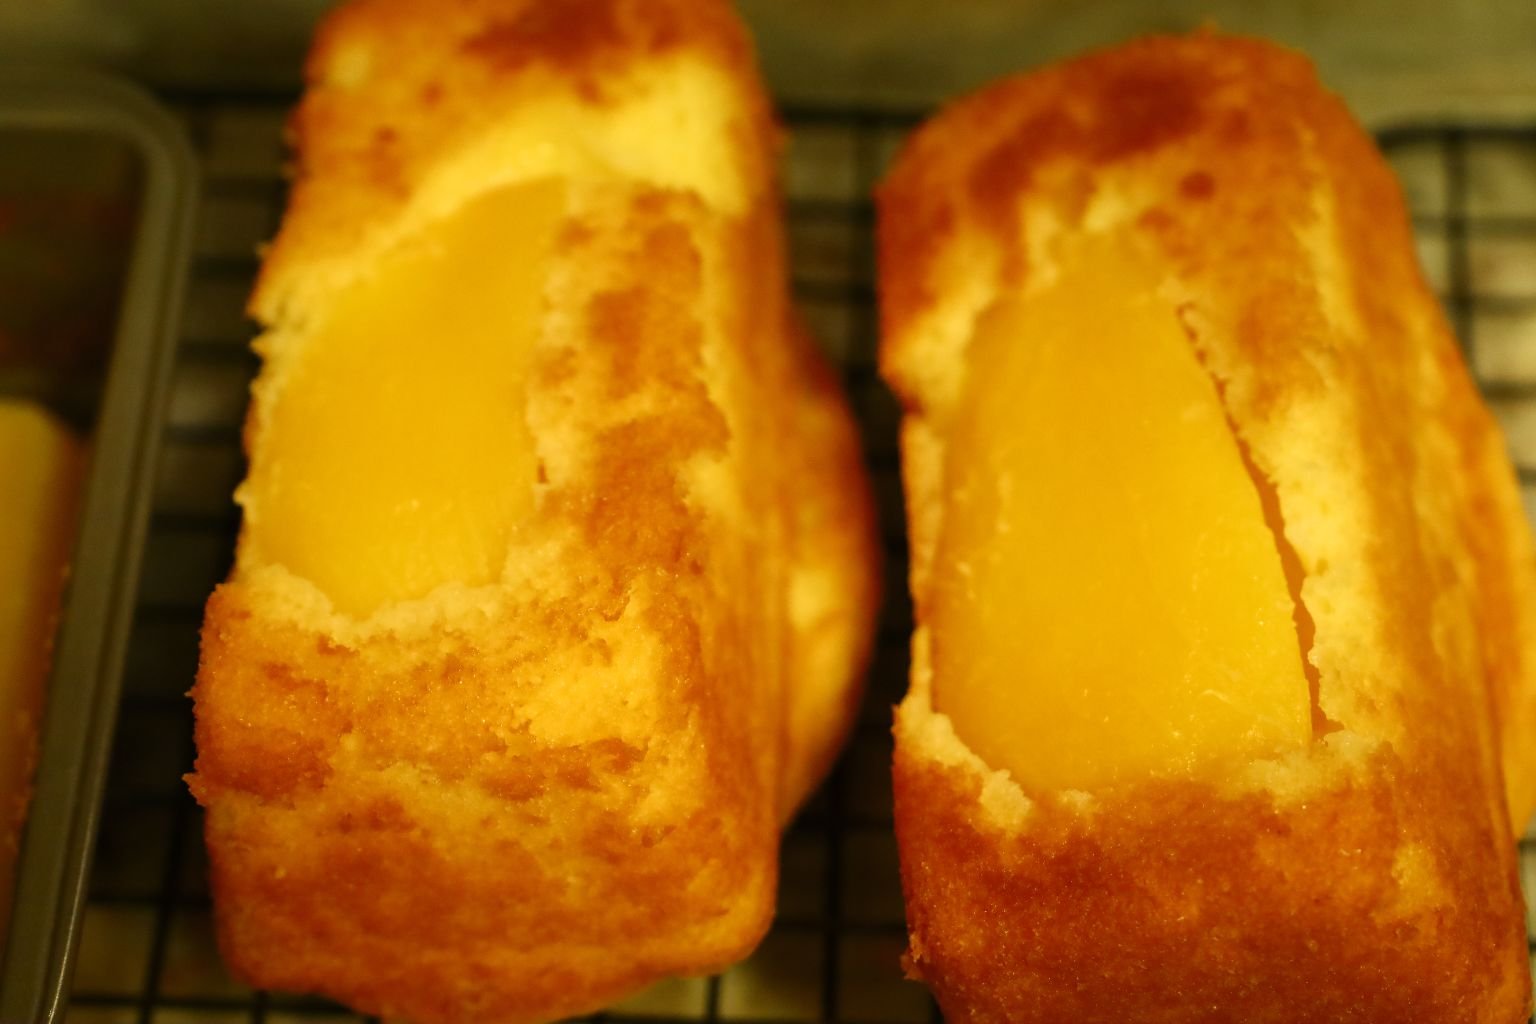
Close-Up’s
—————————————————————

I Am Thrilled With It and Think It Is Beautiful!
————————————————————–
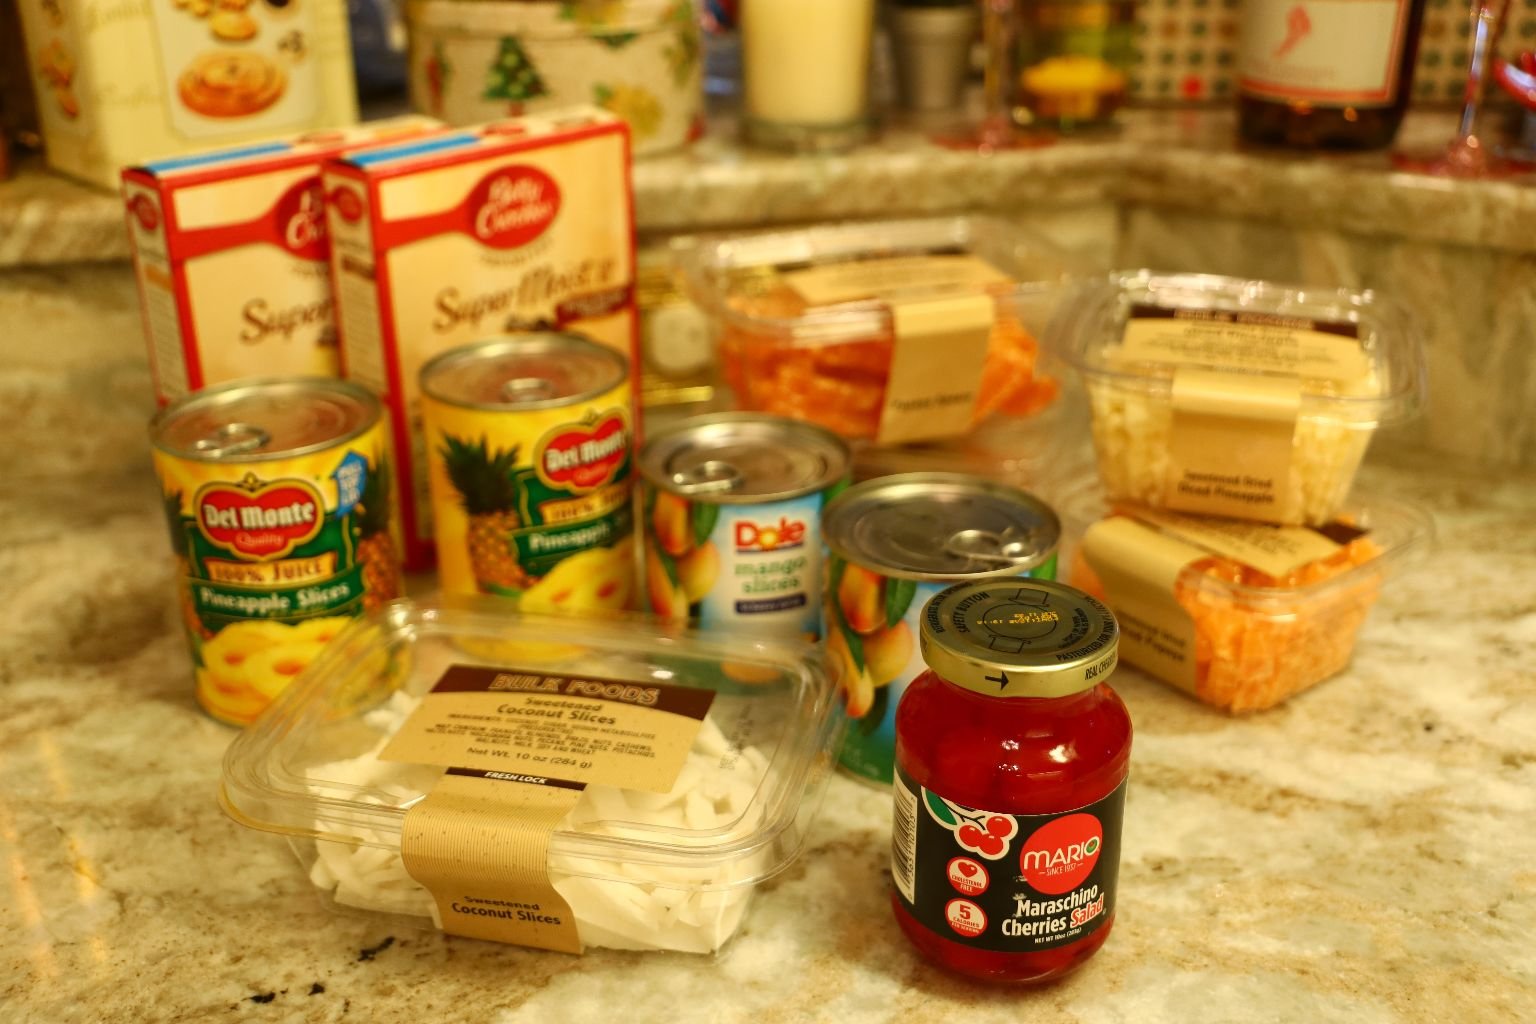
My Ingredients: For The Cake
2 Yellow Cake Mixes, Any Brand You Like
(Follow The Package Instructions)
——————————————————
The Extra’s
Butter/Margarine
Brown Sugar
Can/Cans of Pineapple Rings
Can/Cans of Mango Slices
Maraschino Cherries
Dried Fruits: Such as Papaya, Coconut
Also perhaps some Diced Pineapple and Papaya
————————————————————-
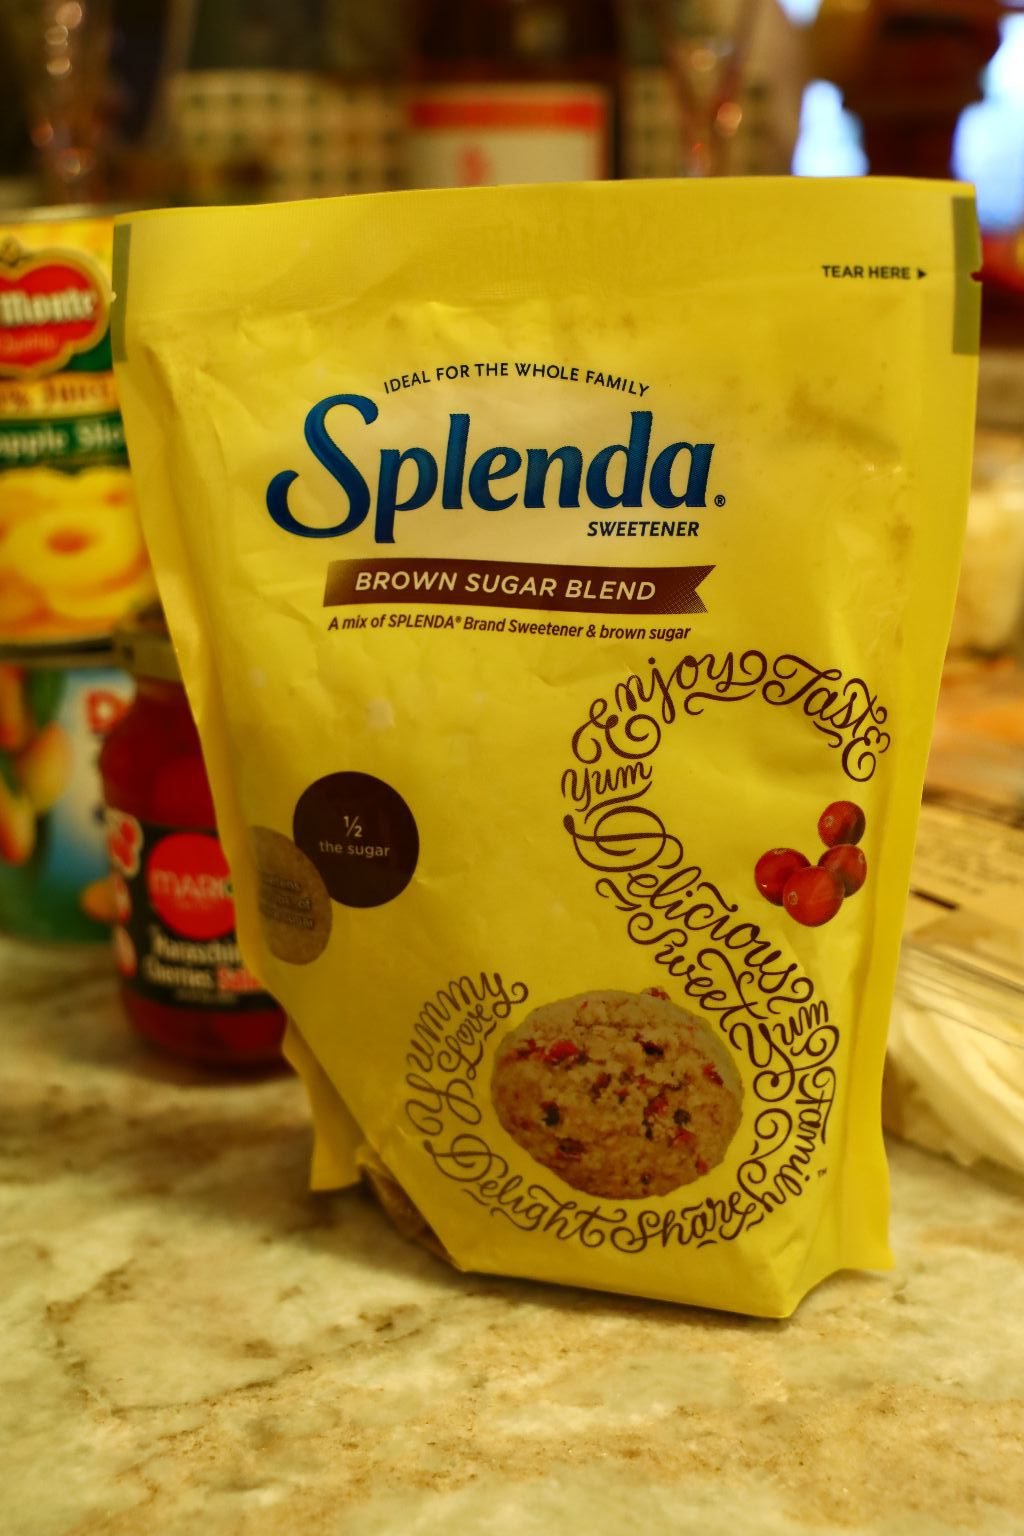
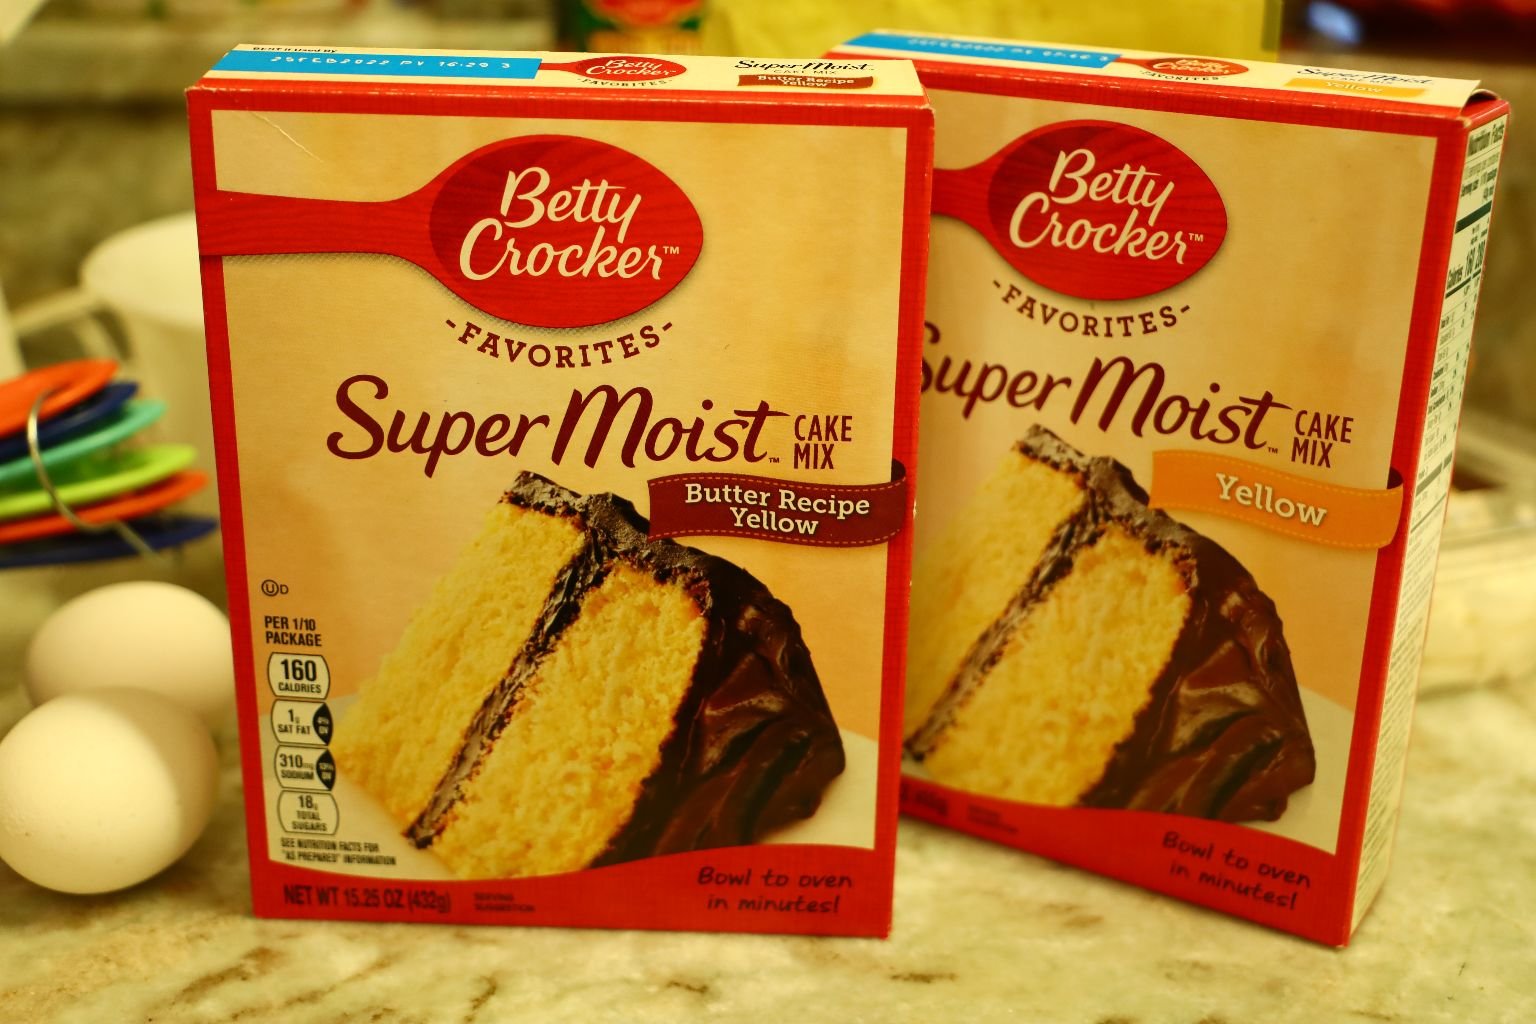
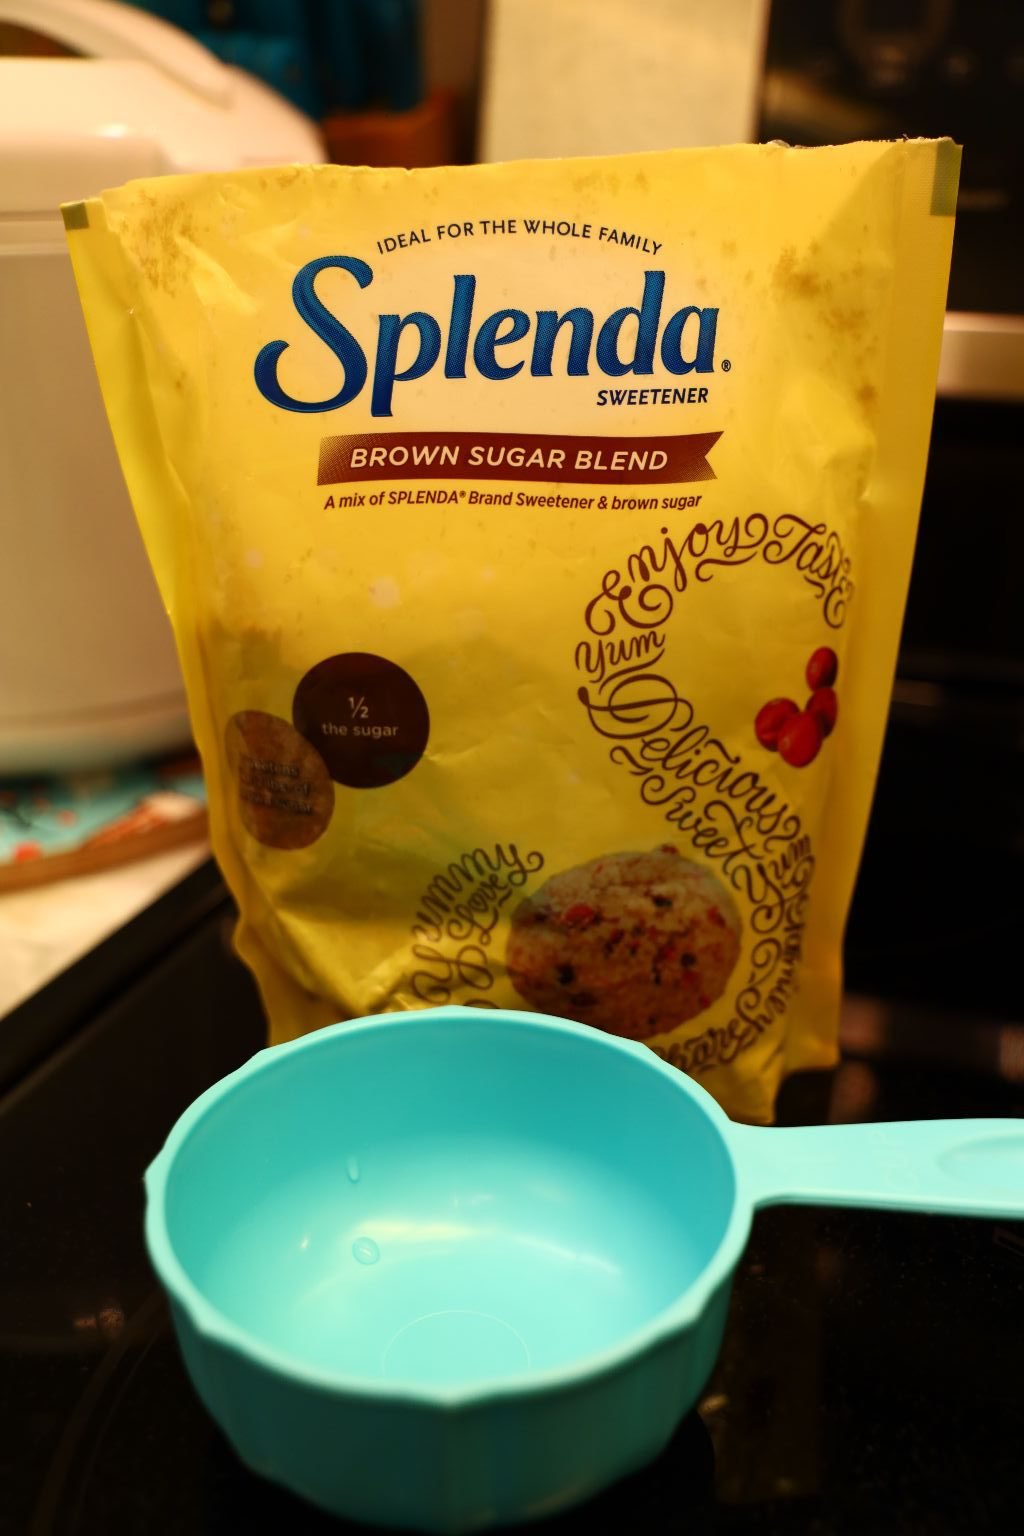
I Used Splenda Brown Sugar and 2 Betty Crocker Yellow Cake Mixes
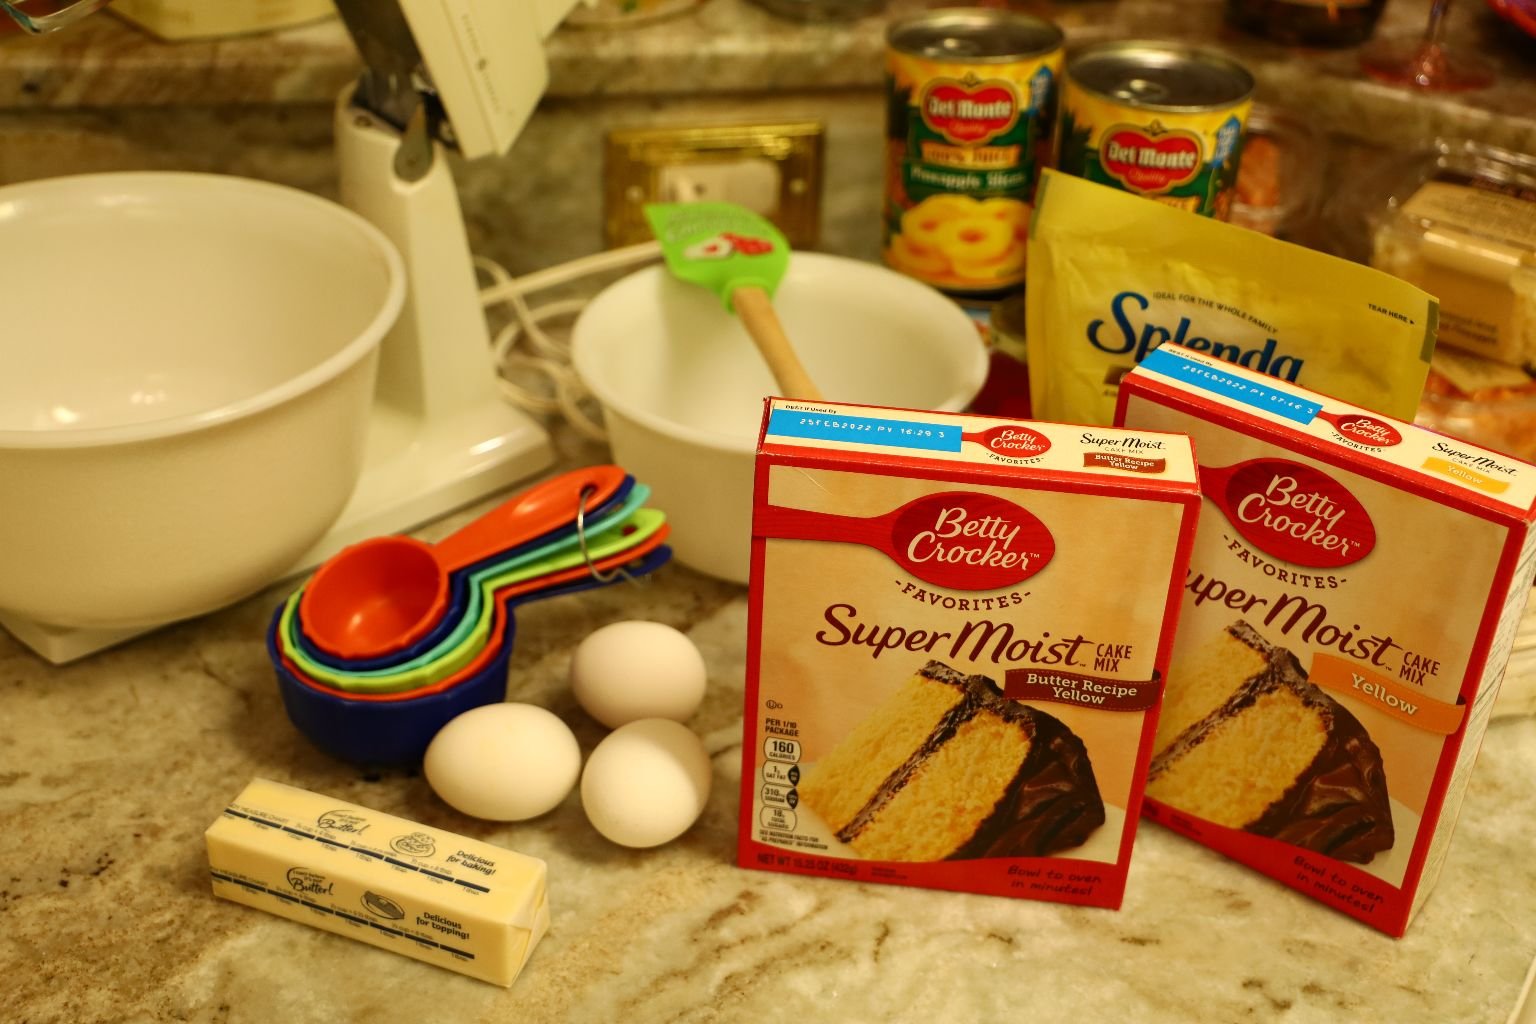
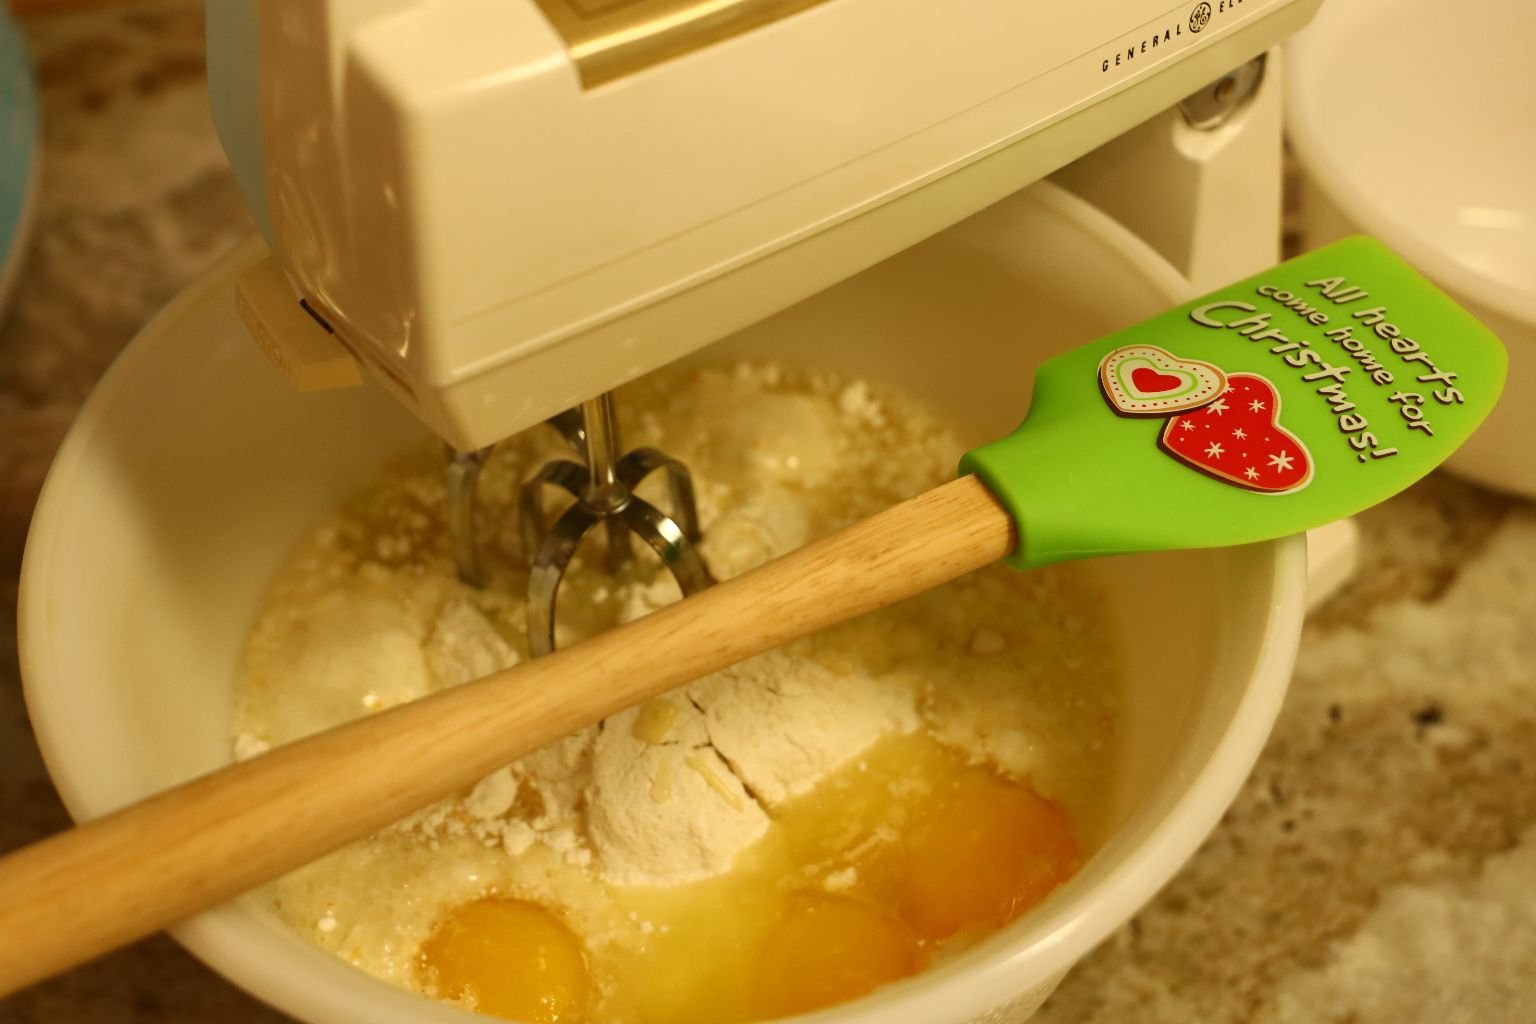
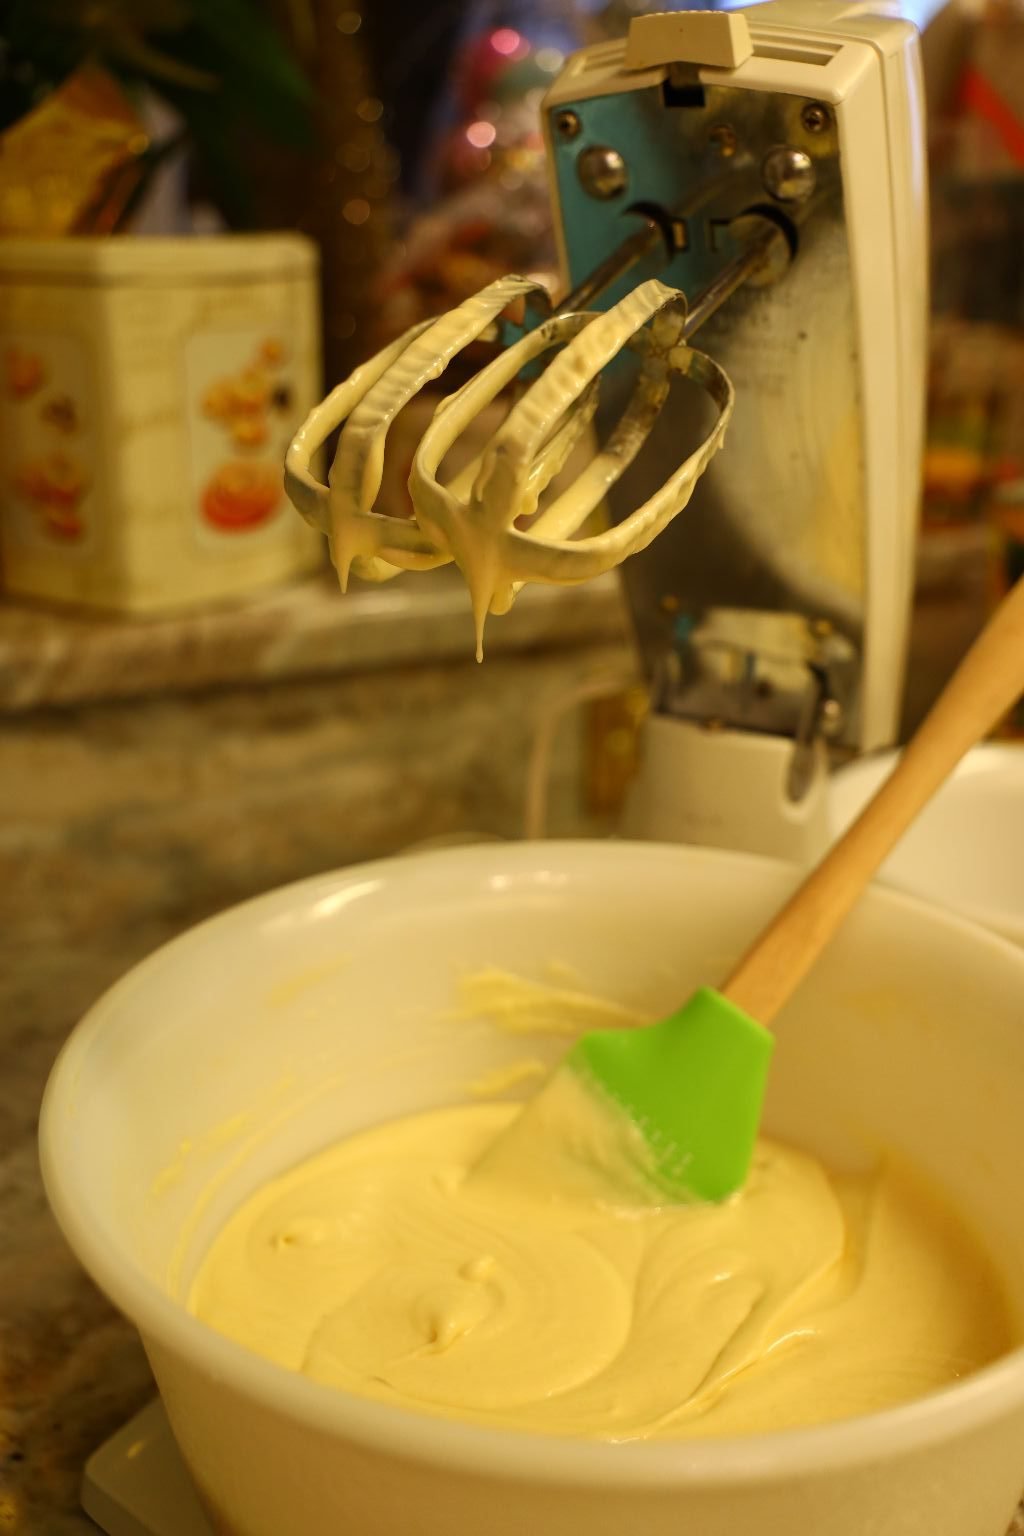
In Your Blender Make One Cake Mix at a Time
(following package instructions)
———————————————————————–
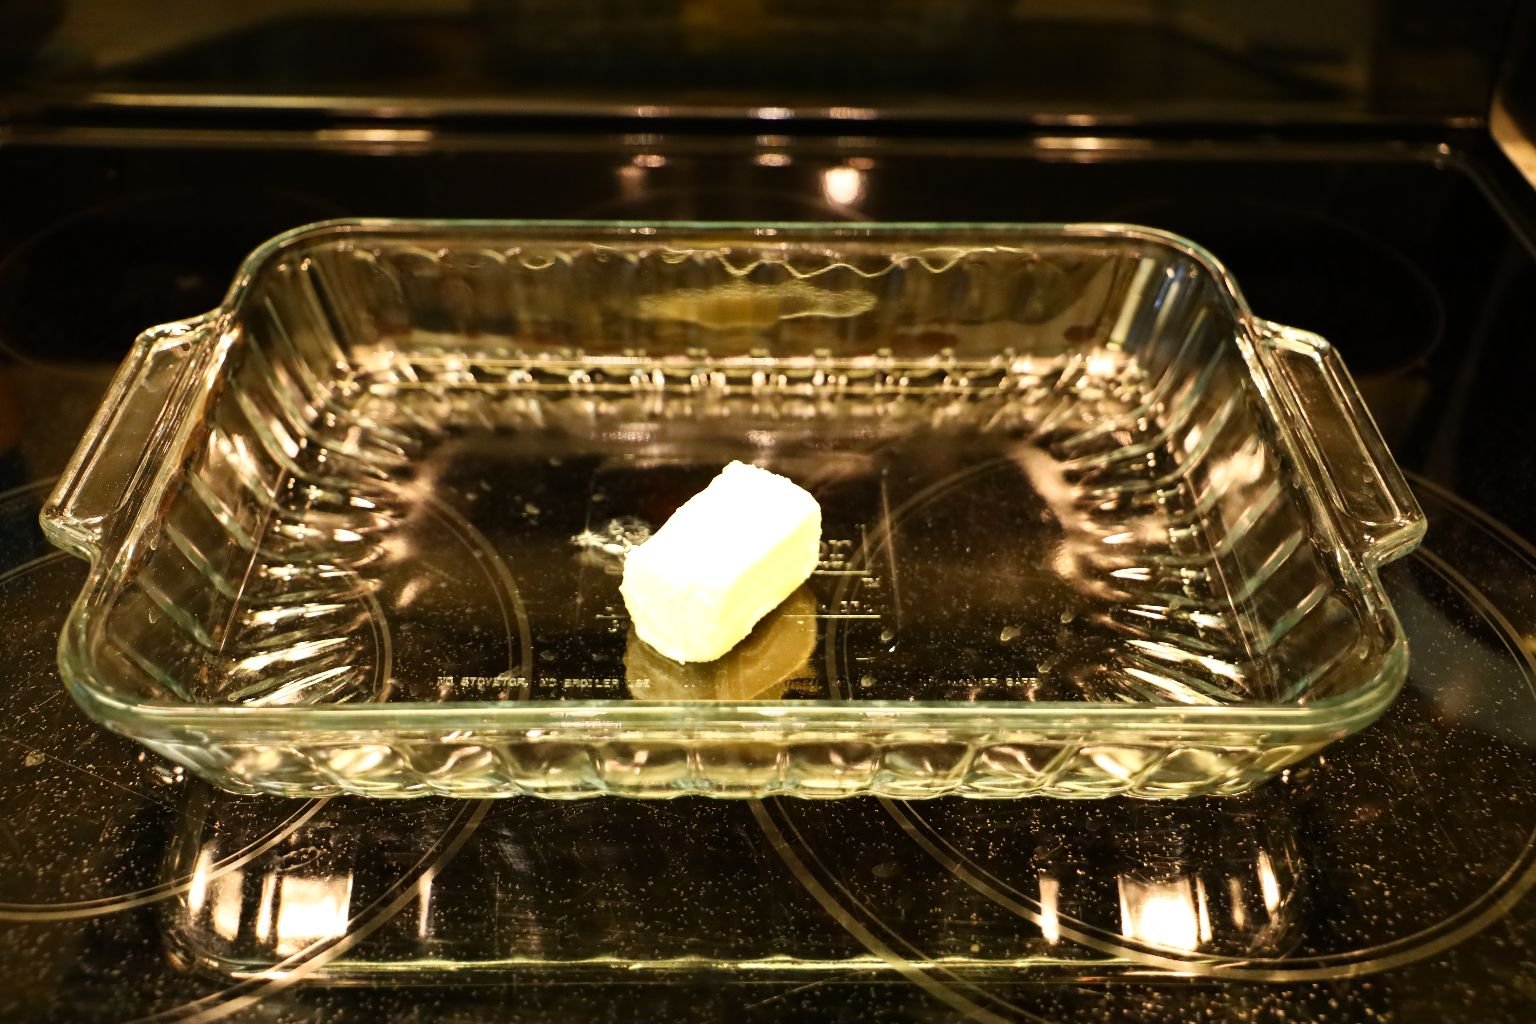
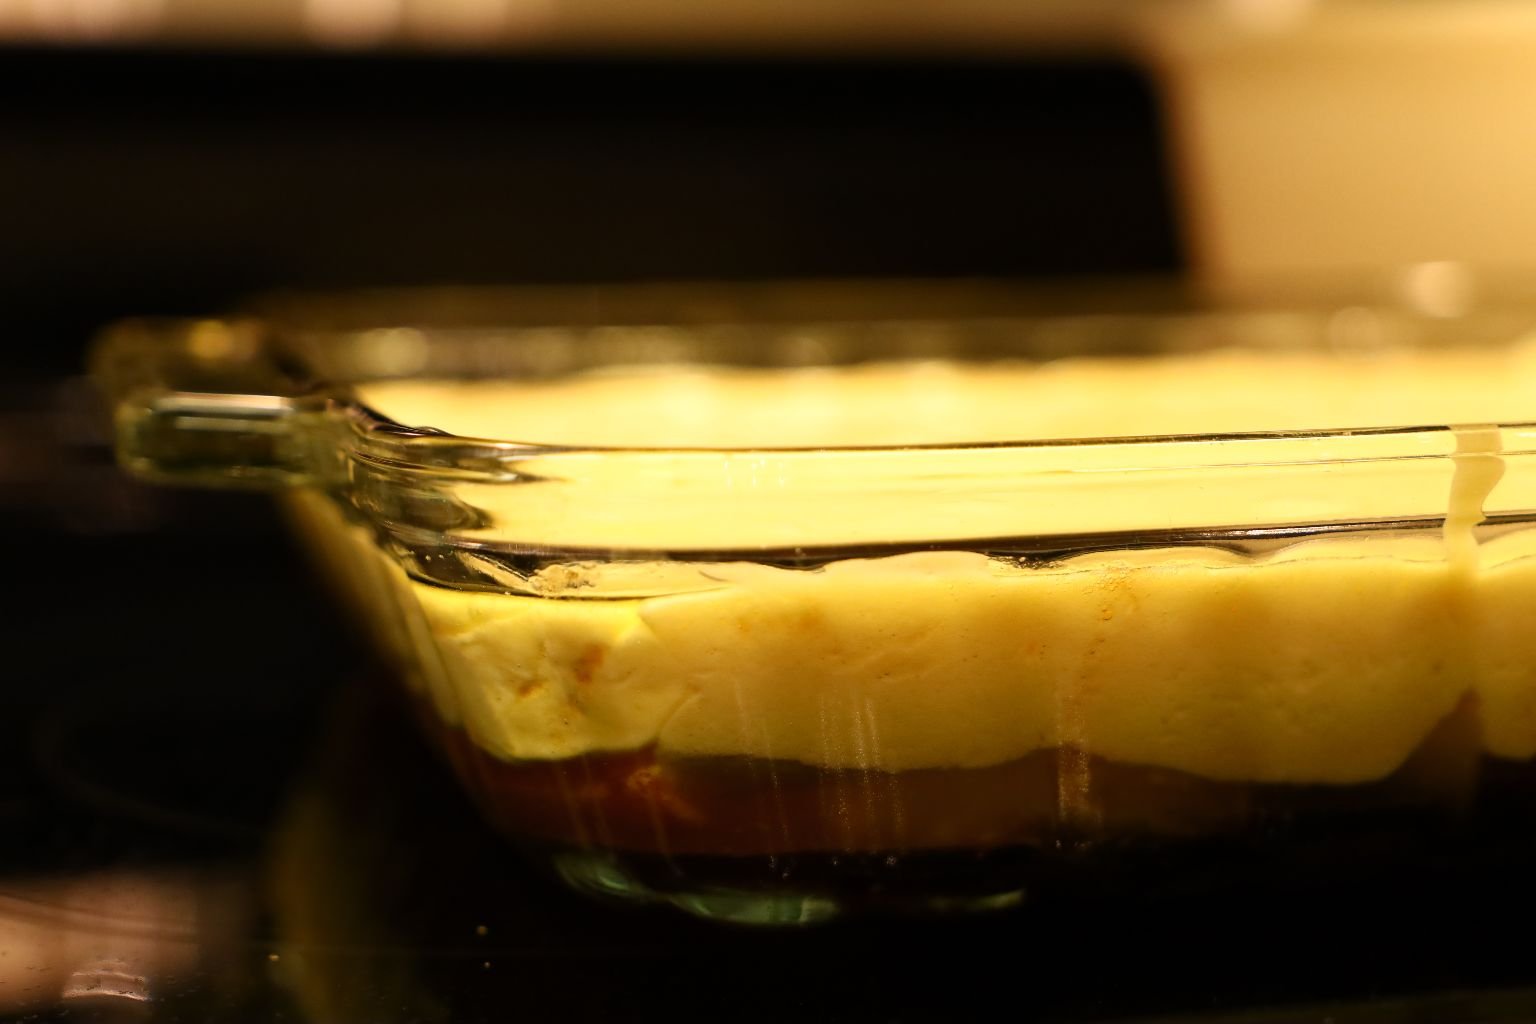
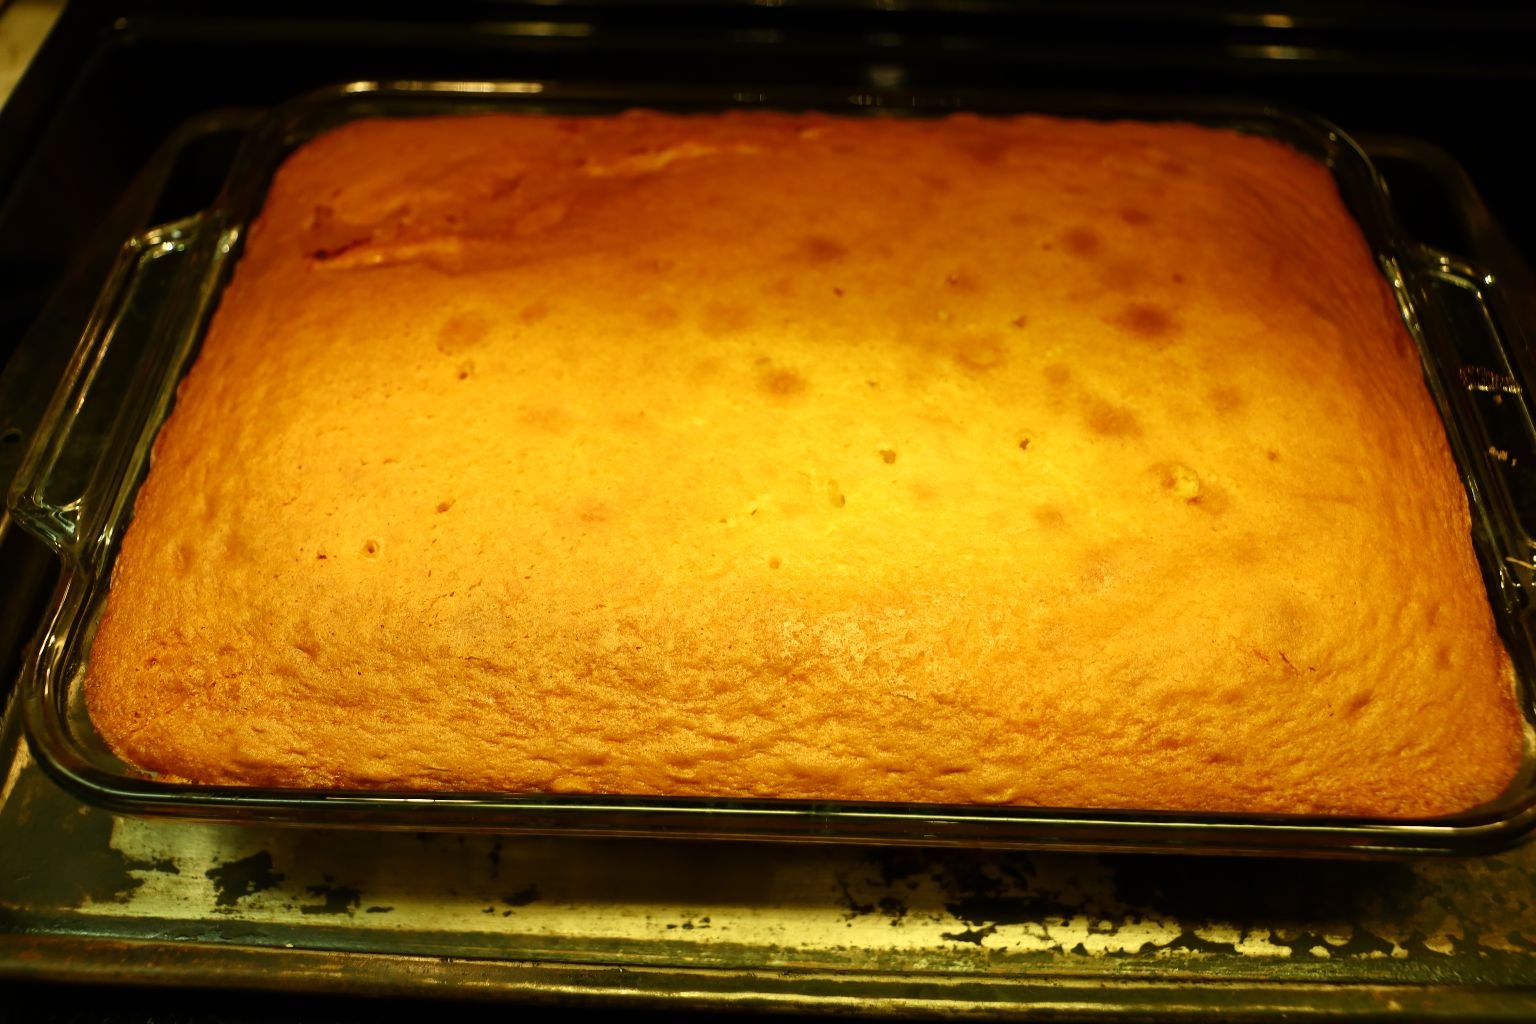
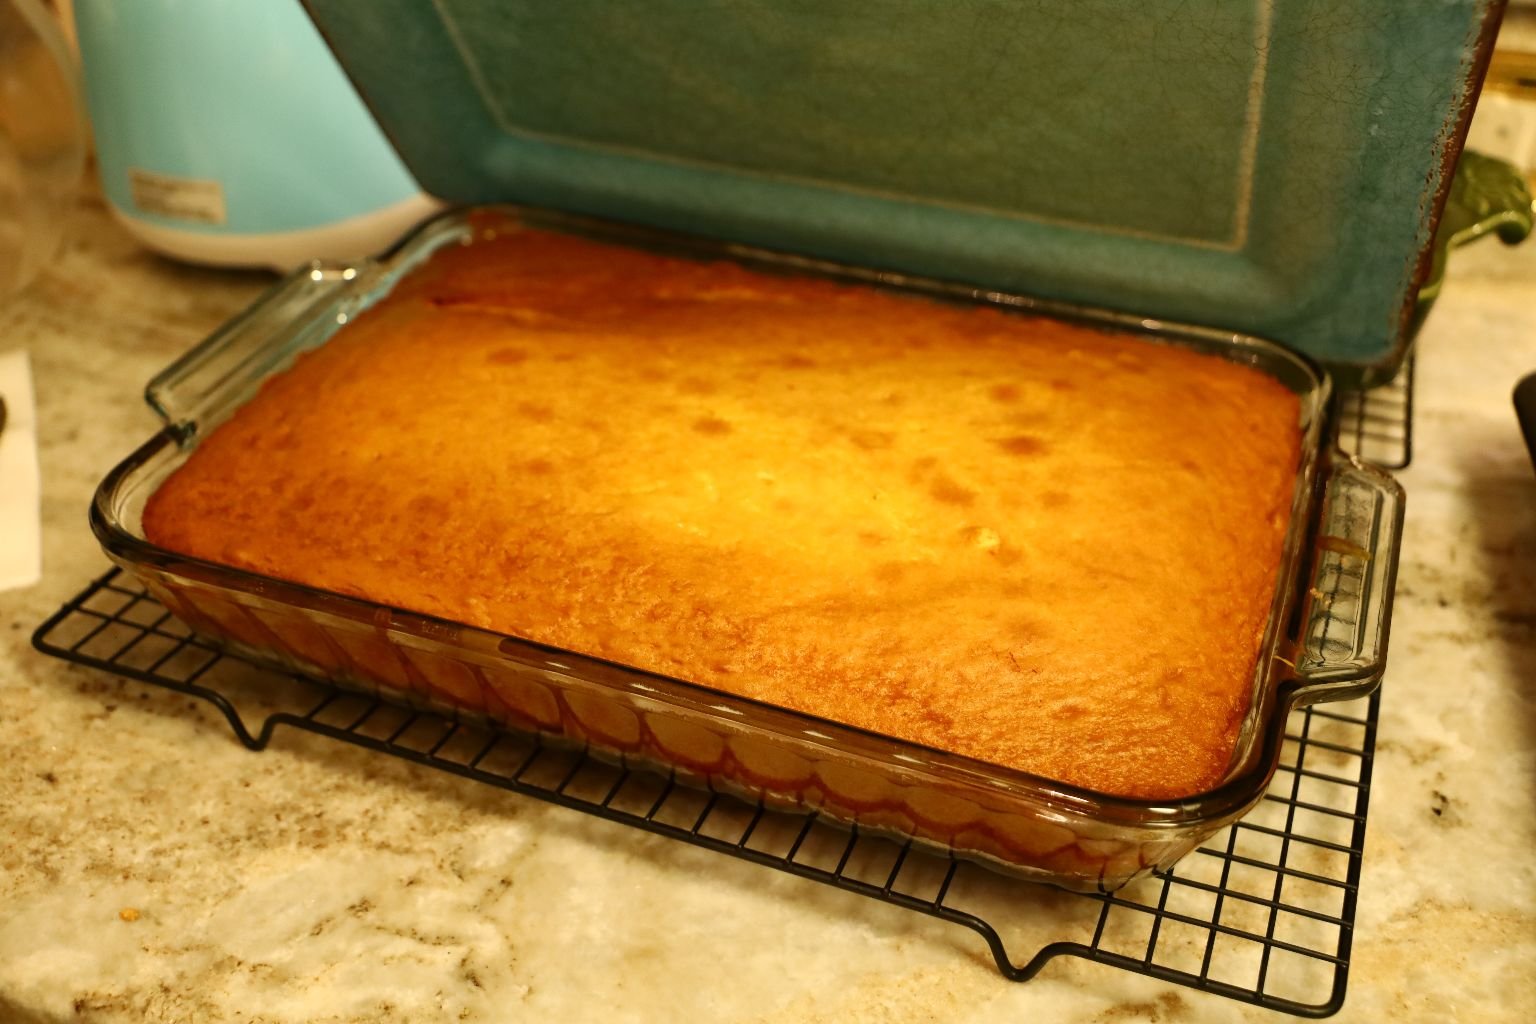
You can use whatever sized baking dish you like. I used this one. I wanted the pretty glass to be able to see how beautiful that it will be. 🙂
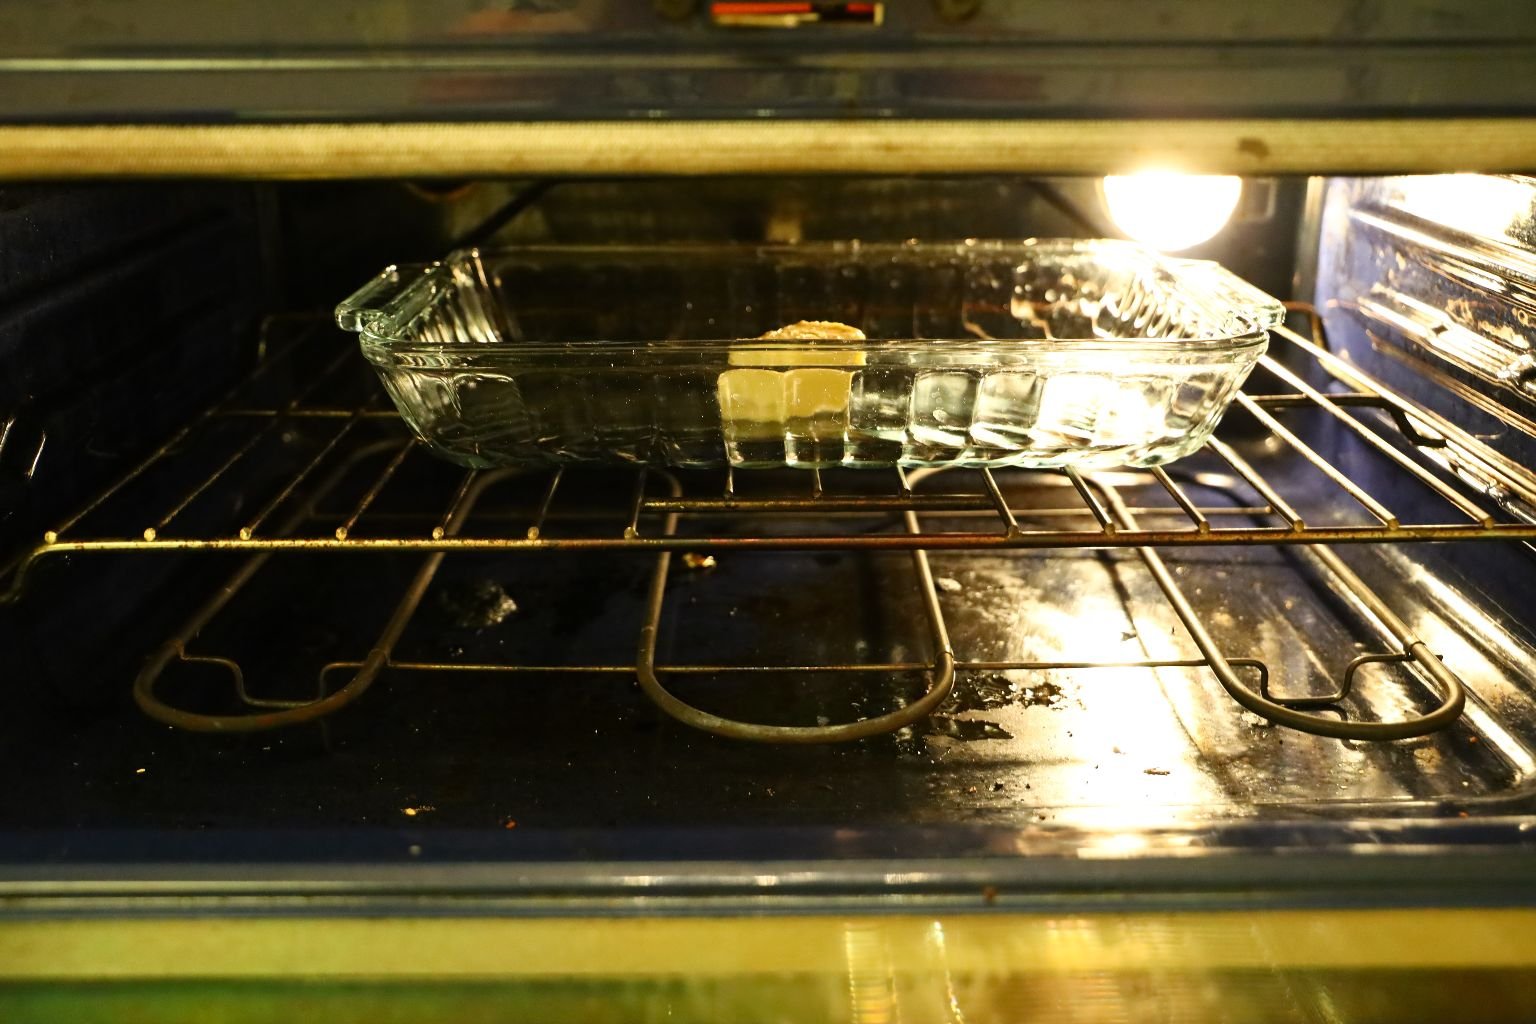
Here I am melting about 4 ounces of Margarine in the Oven. The Oven is set for whatever temperature the cake mixes say to bake them on.
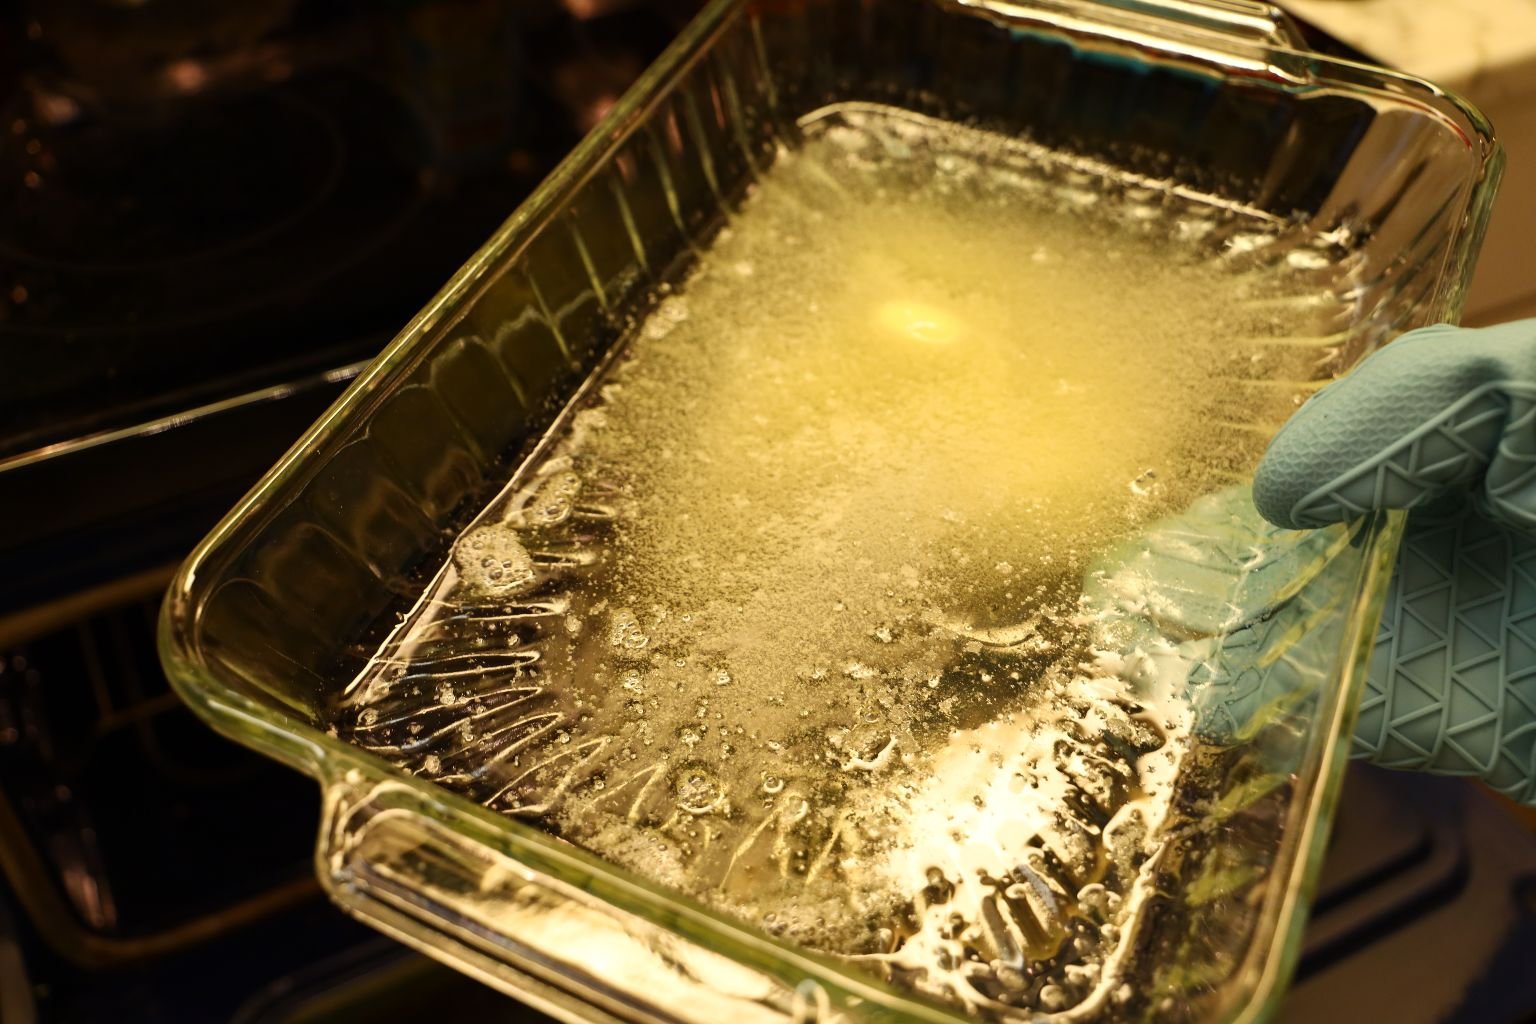
When the Butter/Margarine is melted remove from the Oven.

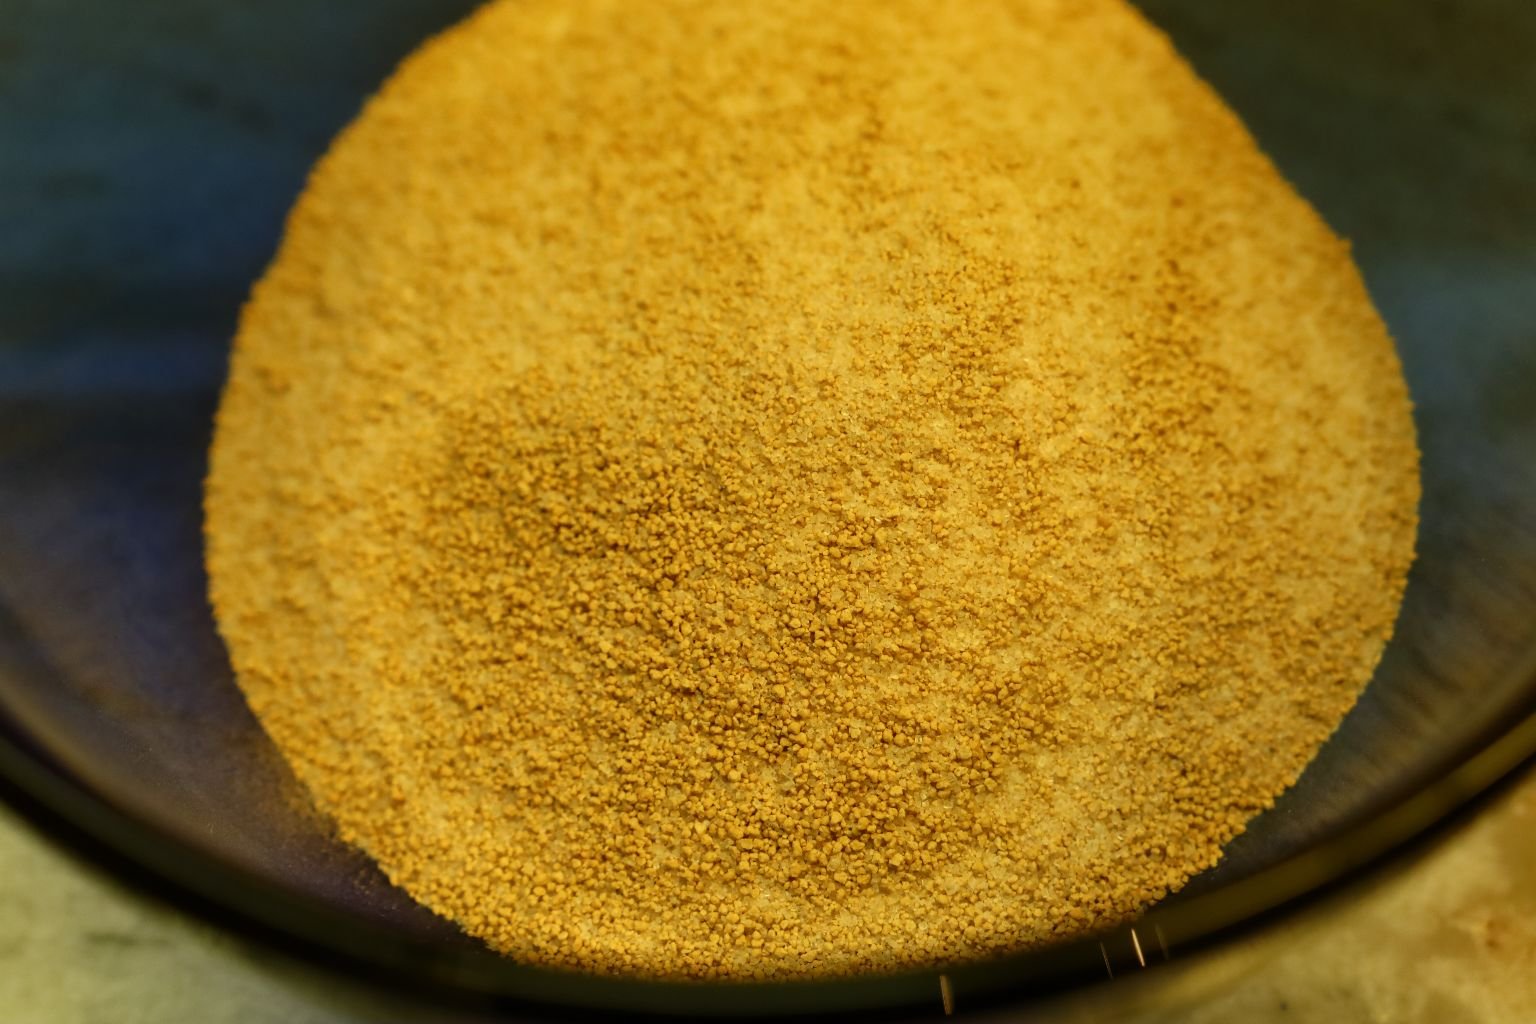
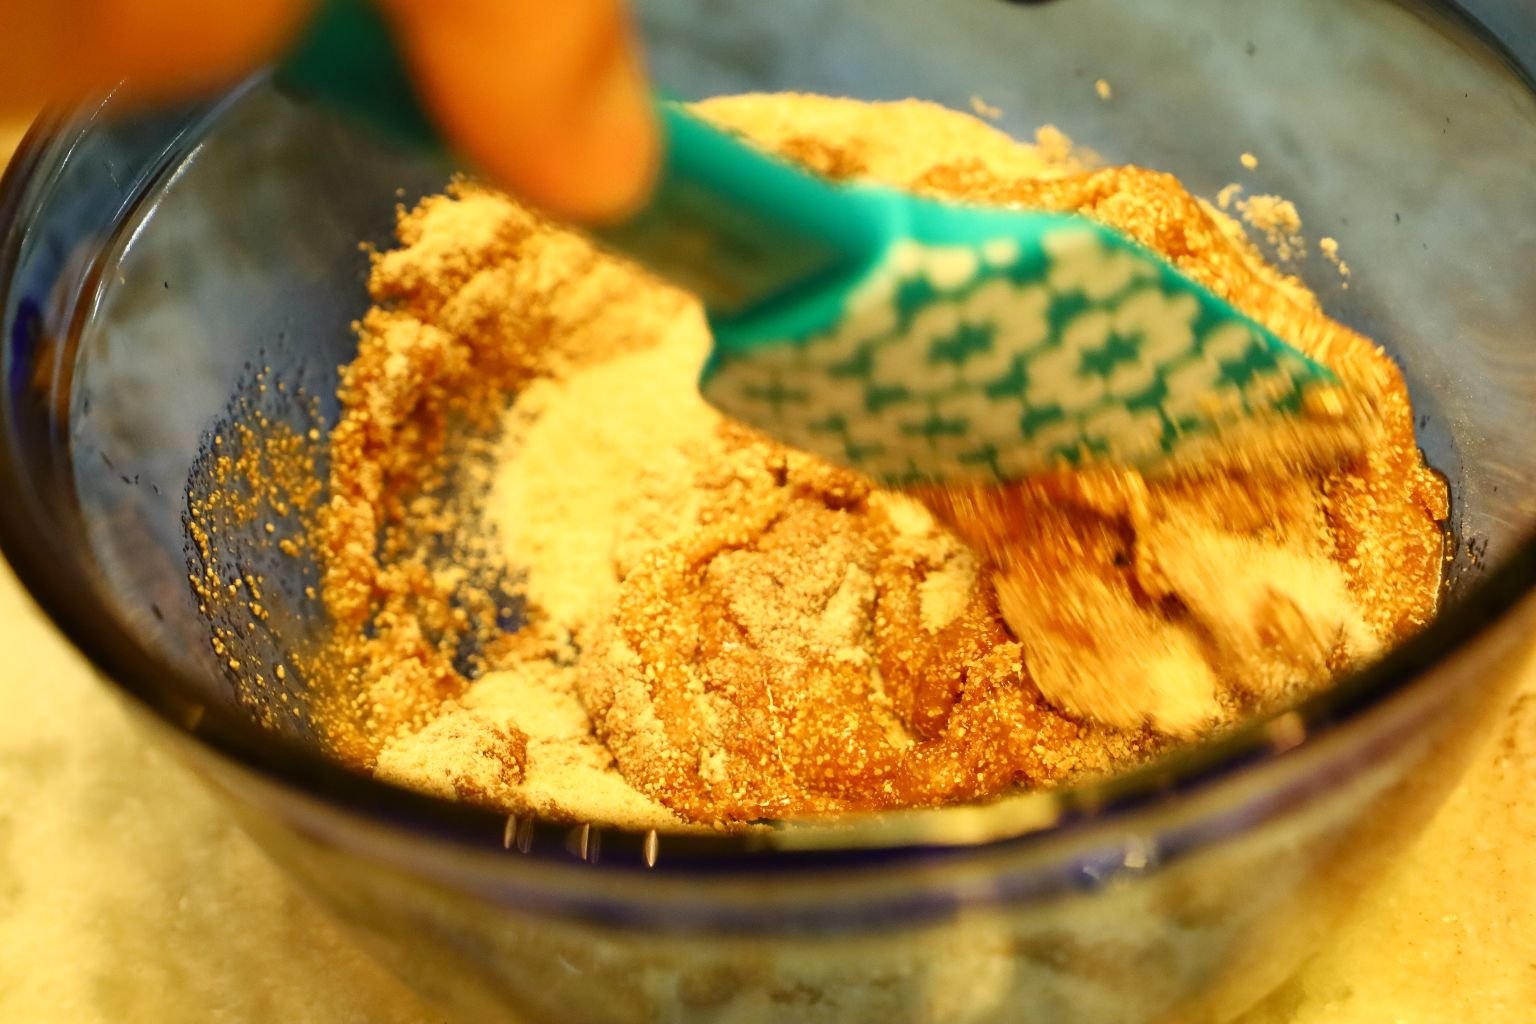
You now want to add the Brown Sugar.
I believe that you can eyeball this and use as much or as little as you like.
I’m using just under a cup here.
———————————————————–
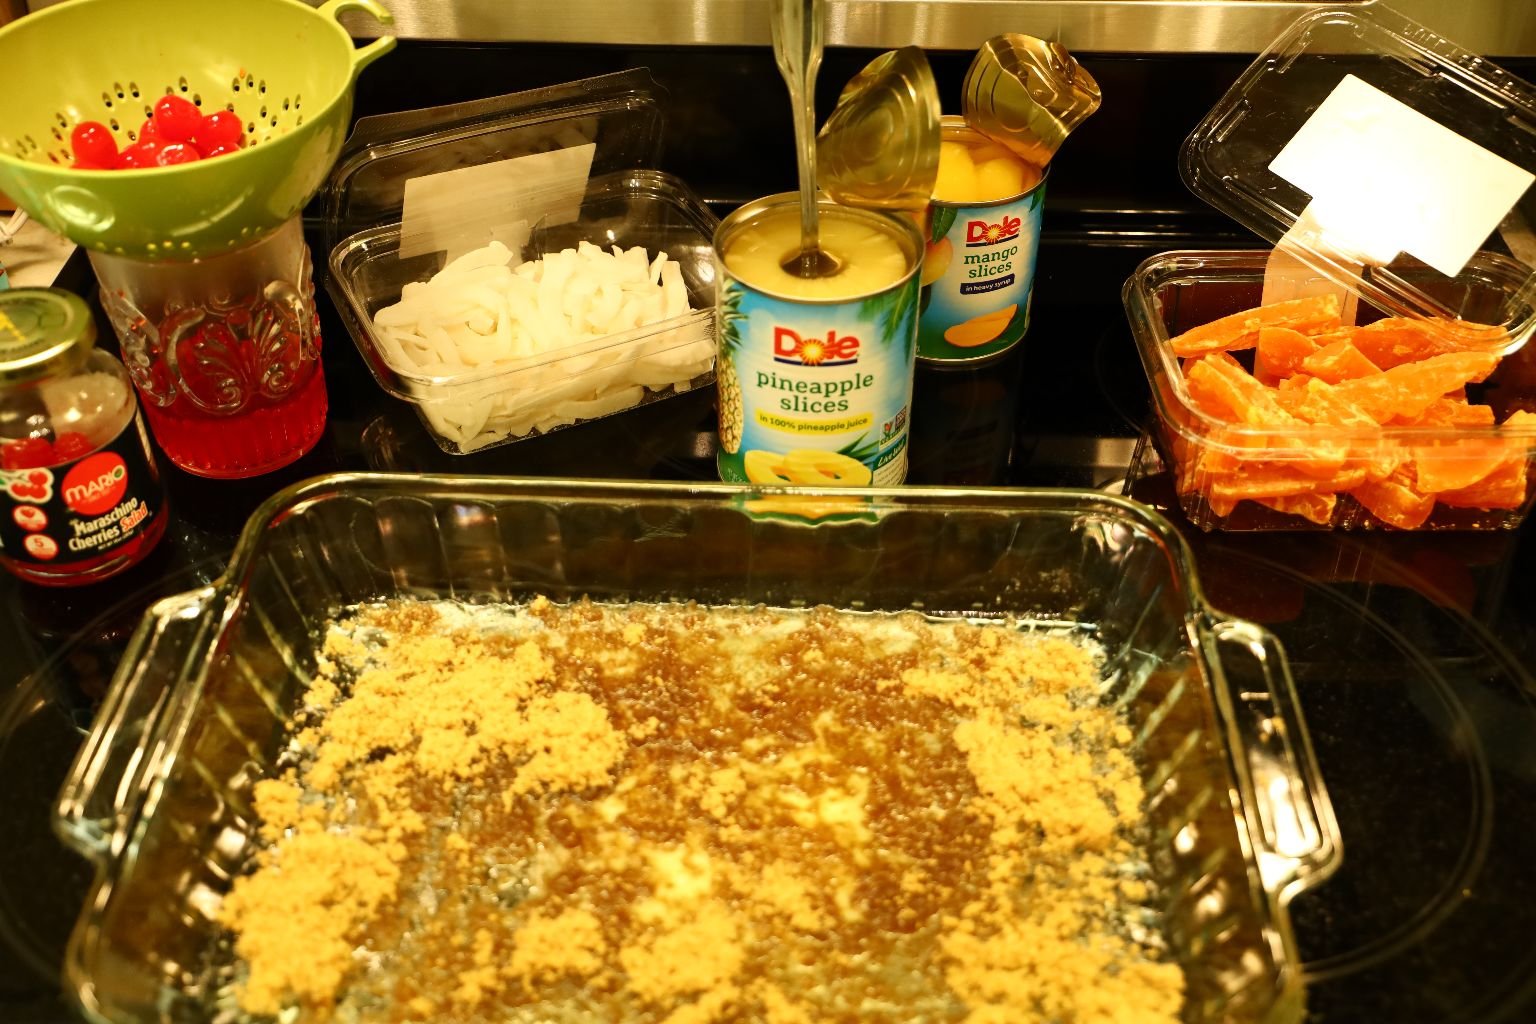
I just sort of stirred it together a bit and now I have my base to add whatever I want to. You can see my cans of fruit and my dried fruit as well in these photos.
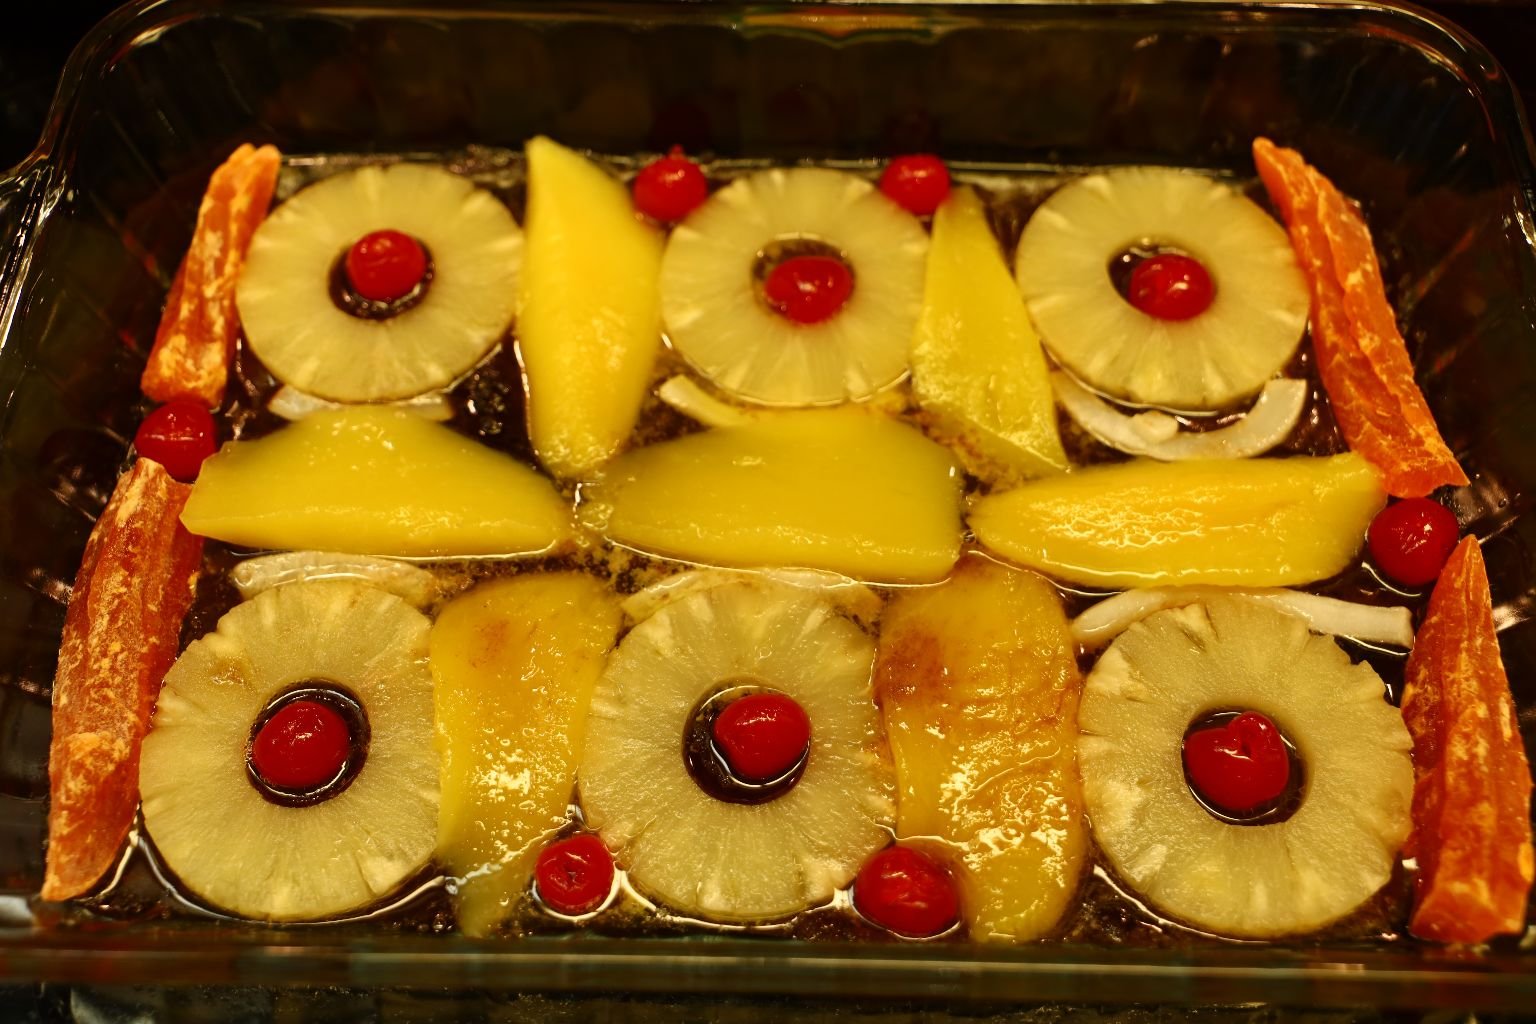

I wanted it to be based on tradition, but I also wanted to veer from it and make it my own.
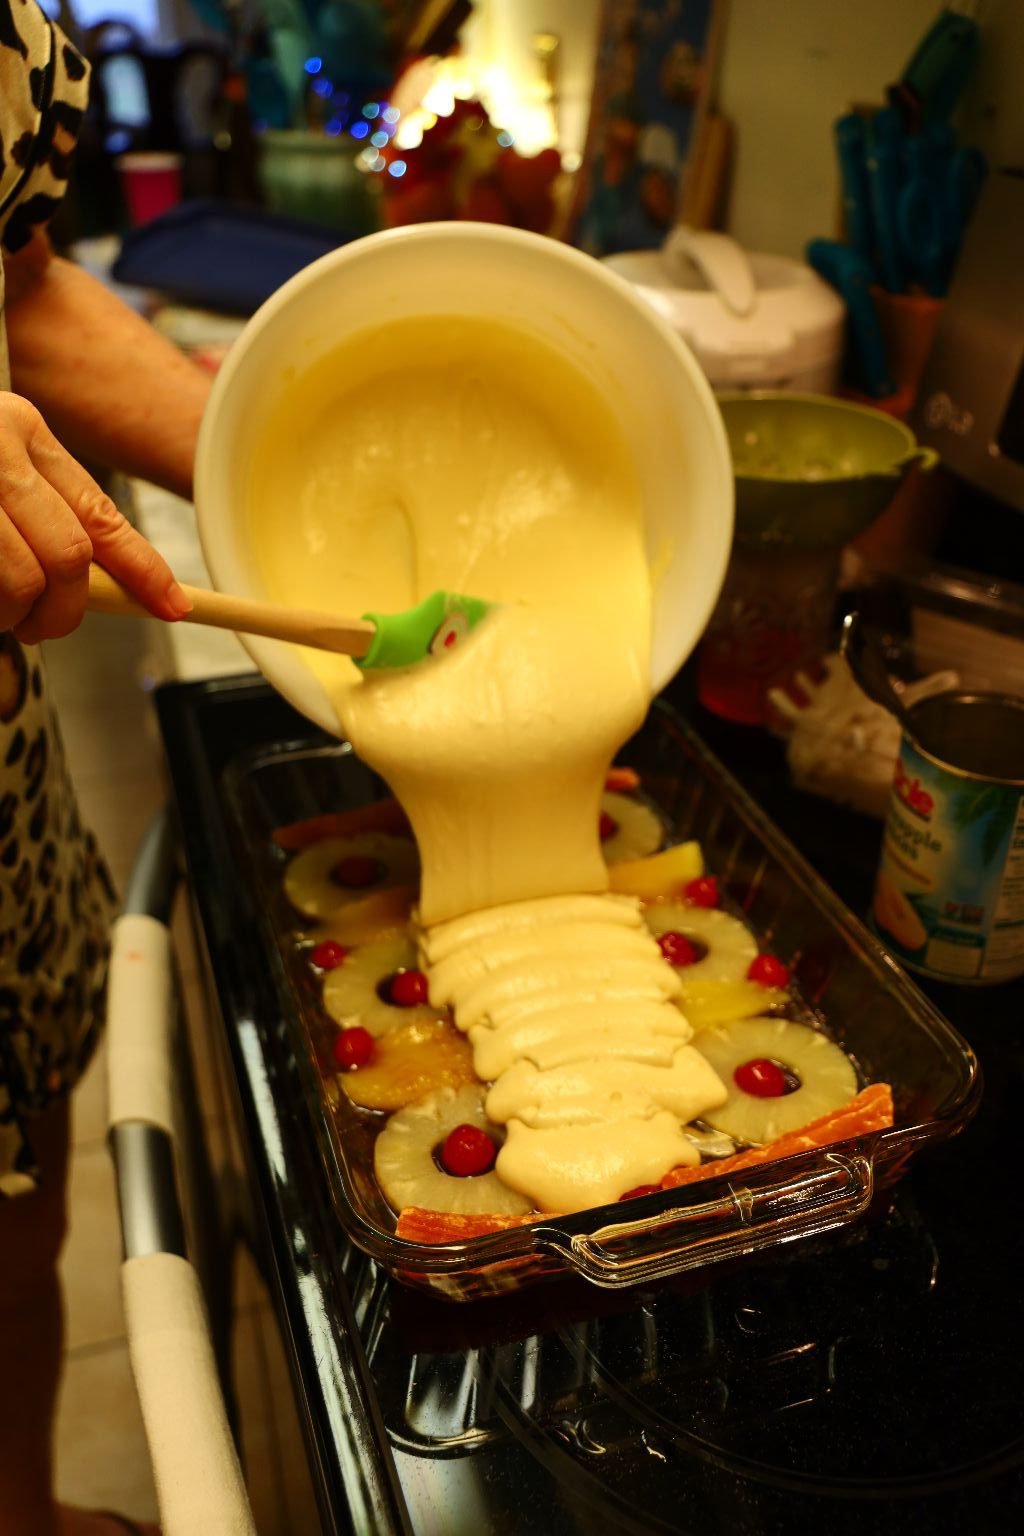
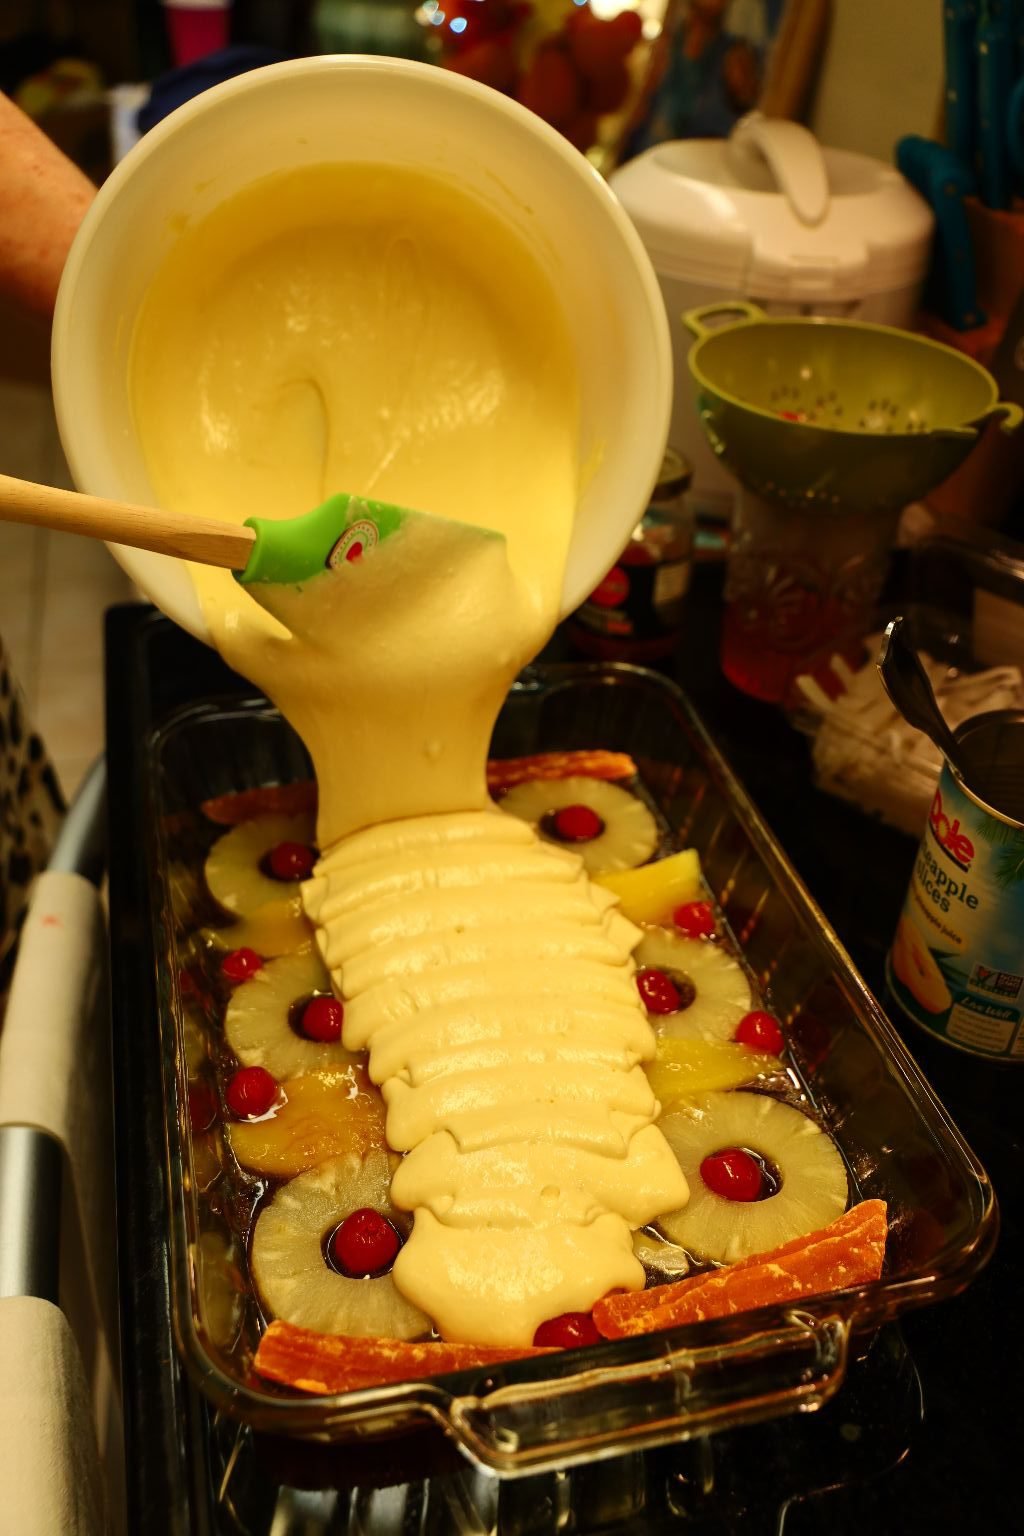
Now Just Pour Over The Yellow Cake Mix
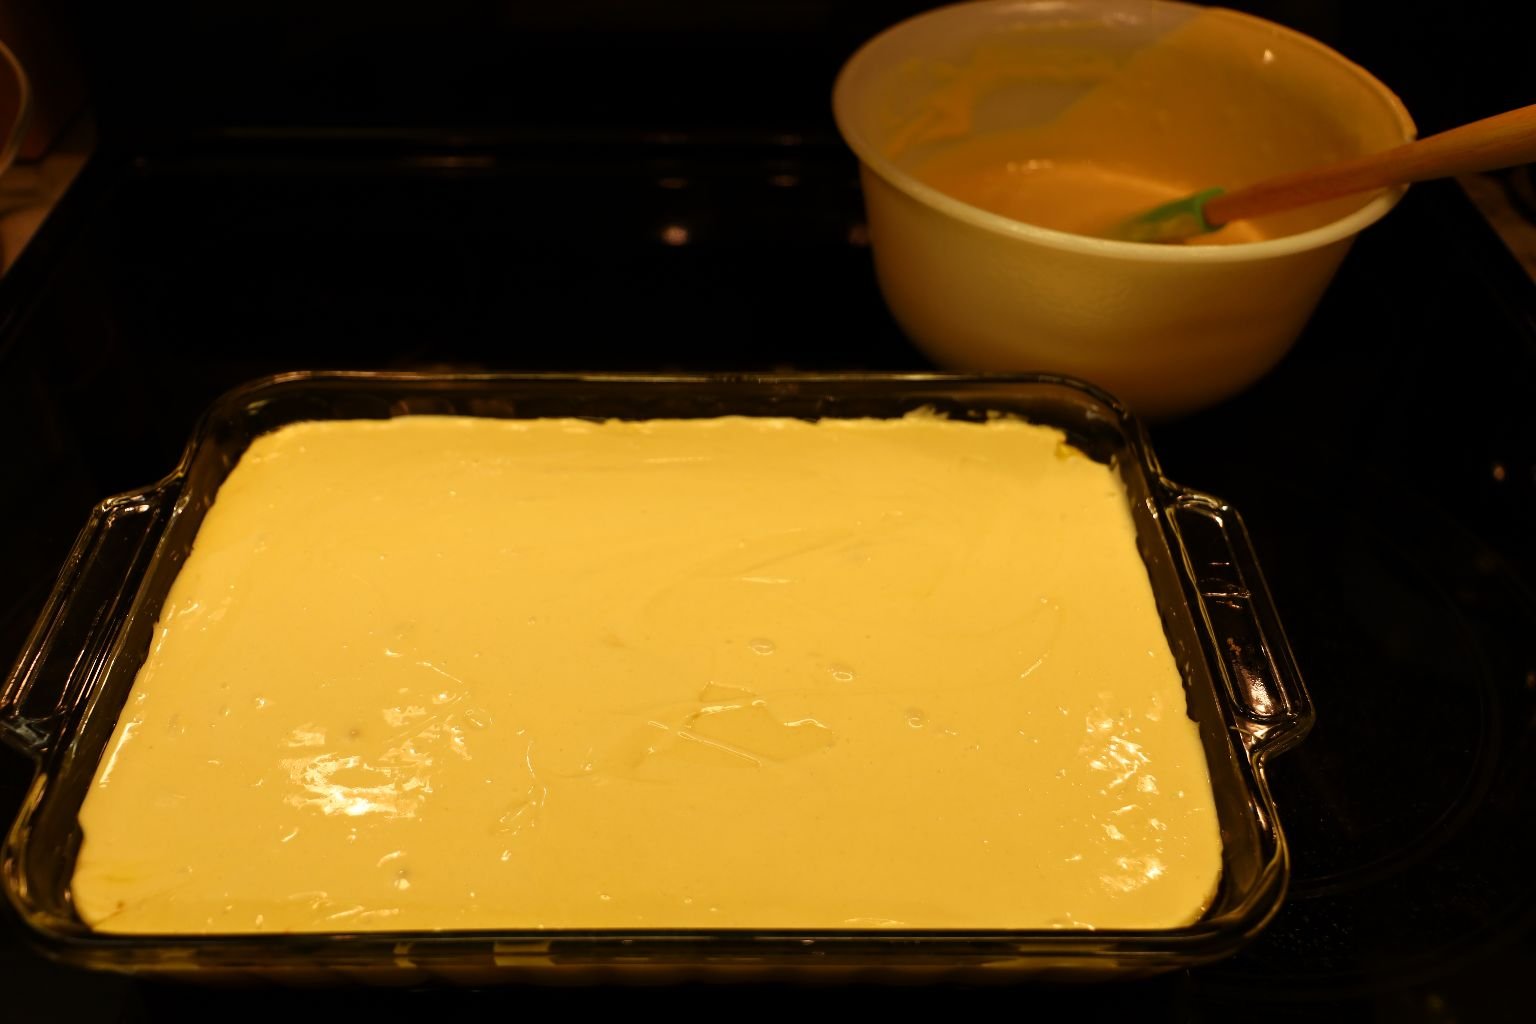
Time For The Oven
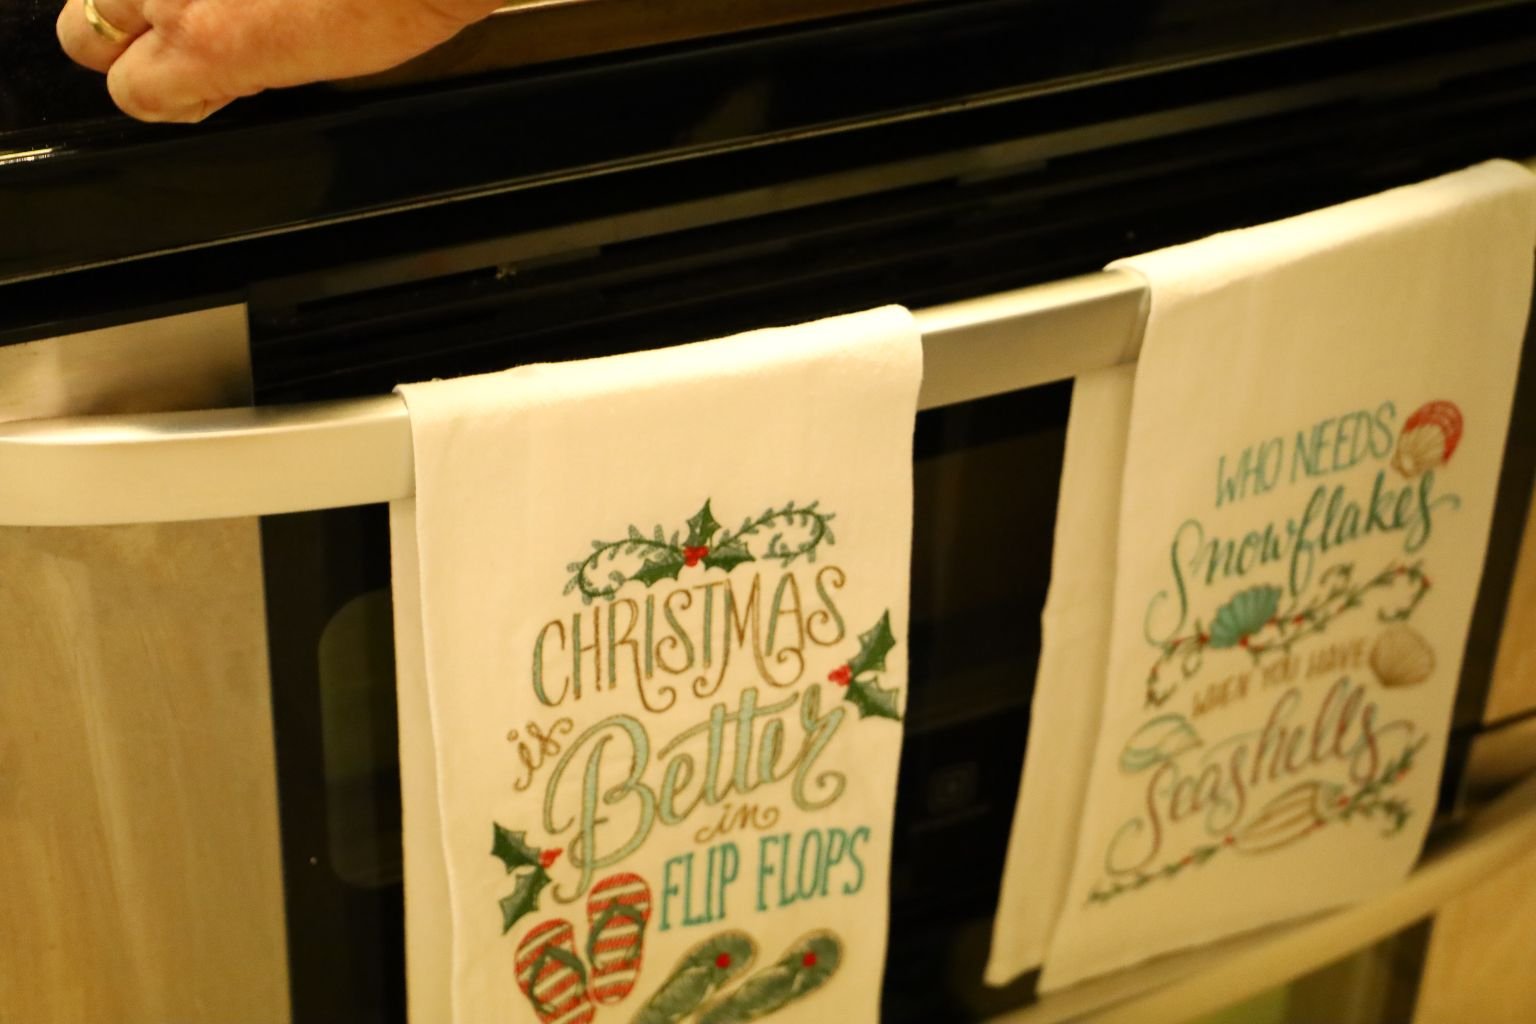
Our Pretty Christmas Dish Towels 🙂
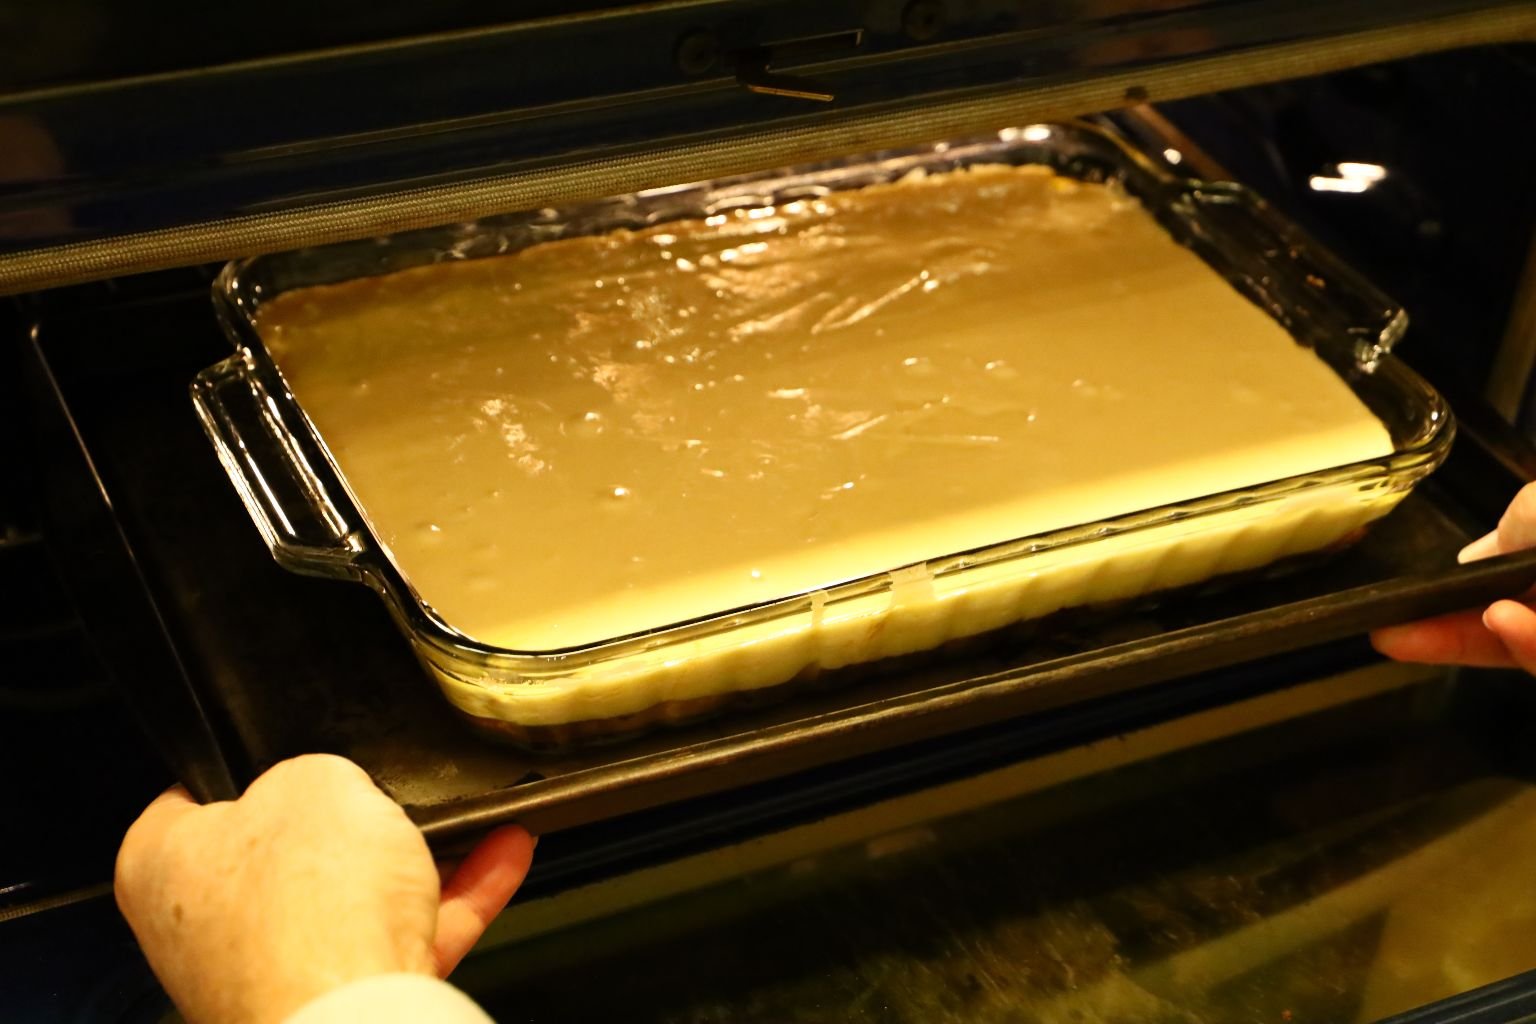
Place the Cake into a Pre-Heated Oven According to the Cake Mix directions and cook according to those. When done if you can insert a toothpick into the cake and it comes out clean then it is ready.
——————————————————————
My Leftover Cake Mix and Fruits
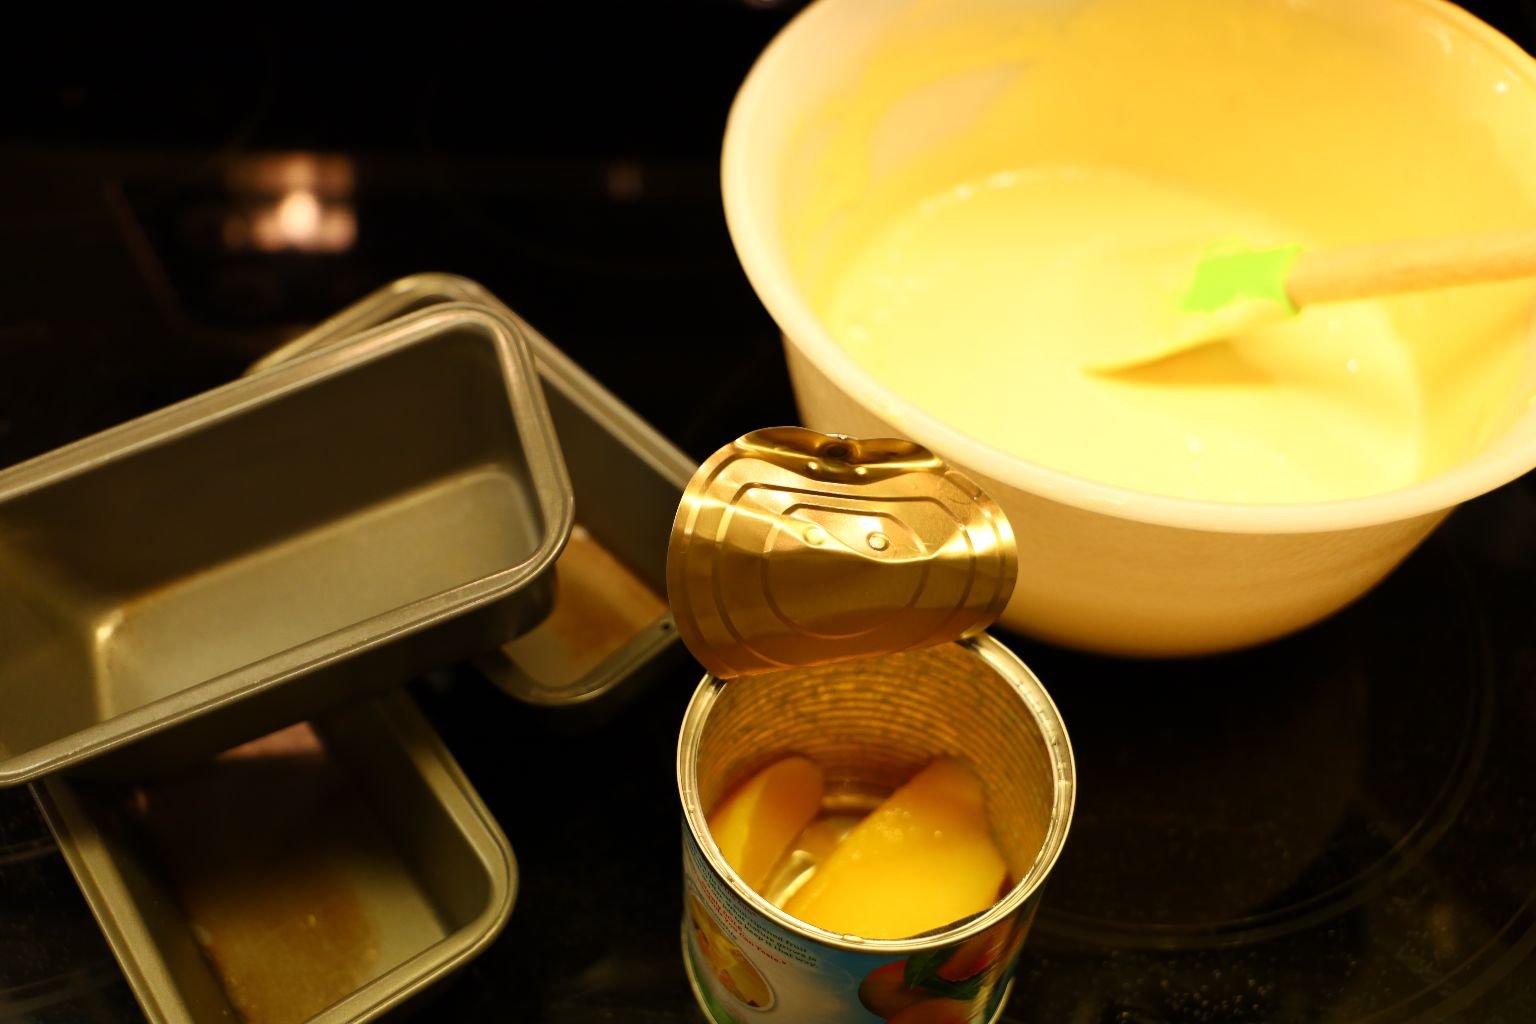
I got out my small loaf tins and set to work. Not that it was hard or anything like that. It was easy. I just placed some of my Mango slices into the bottom of these non-stick pans and then poured some of the batter over top.
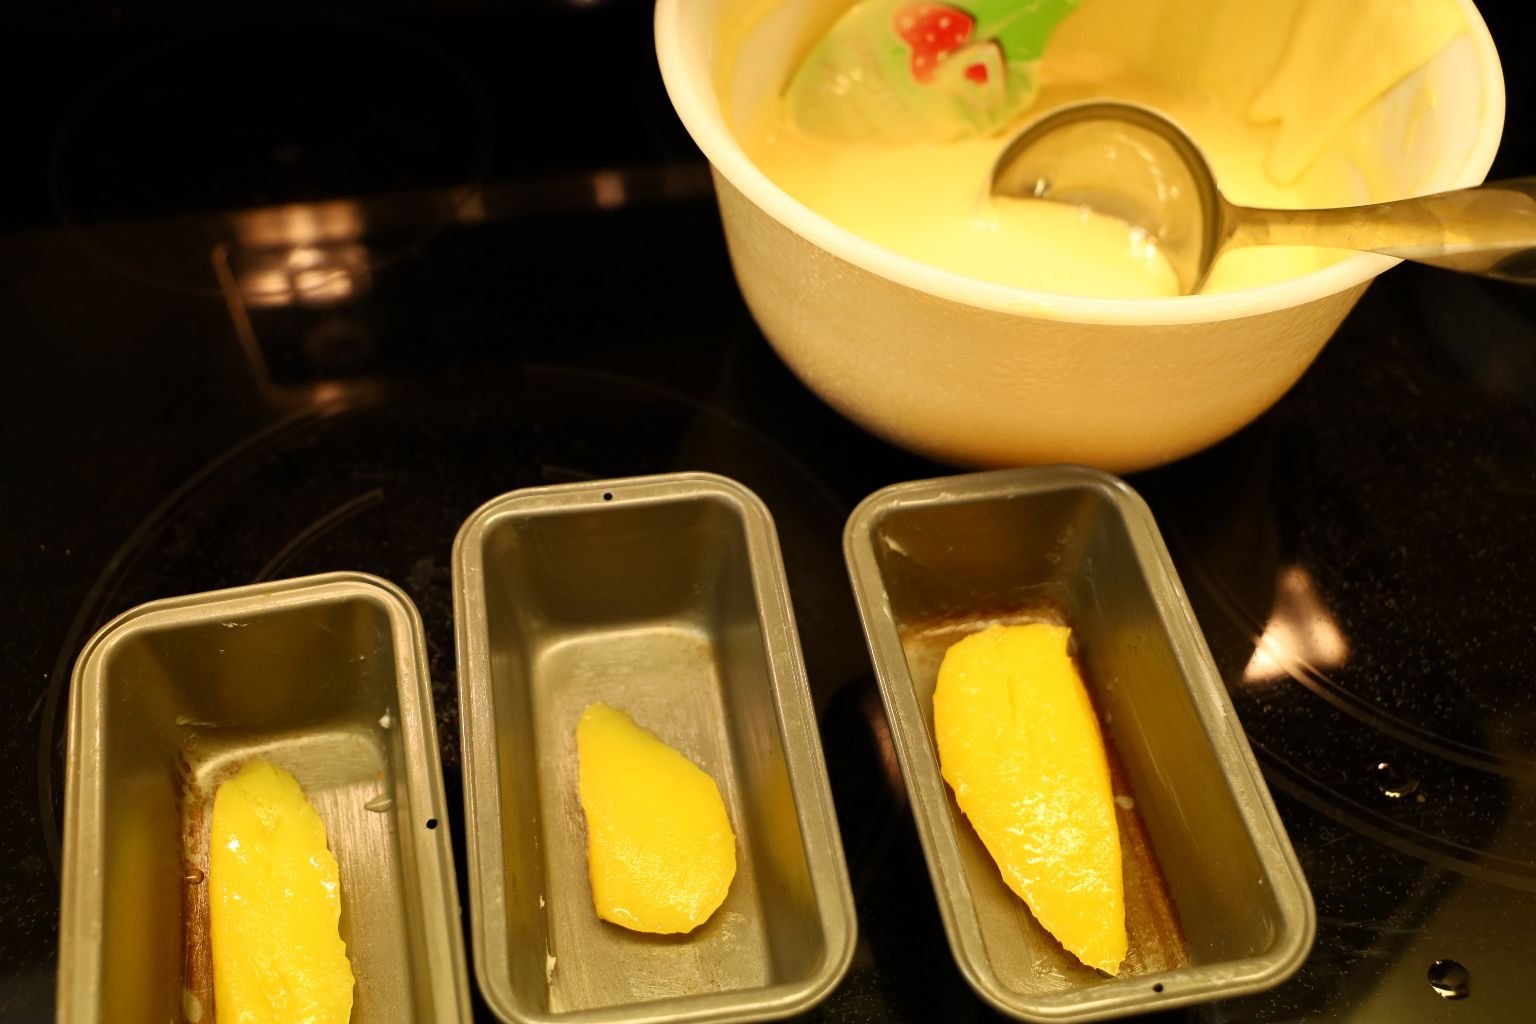
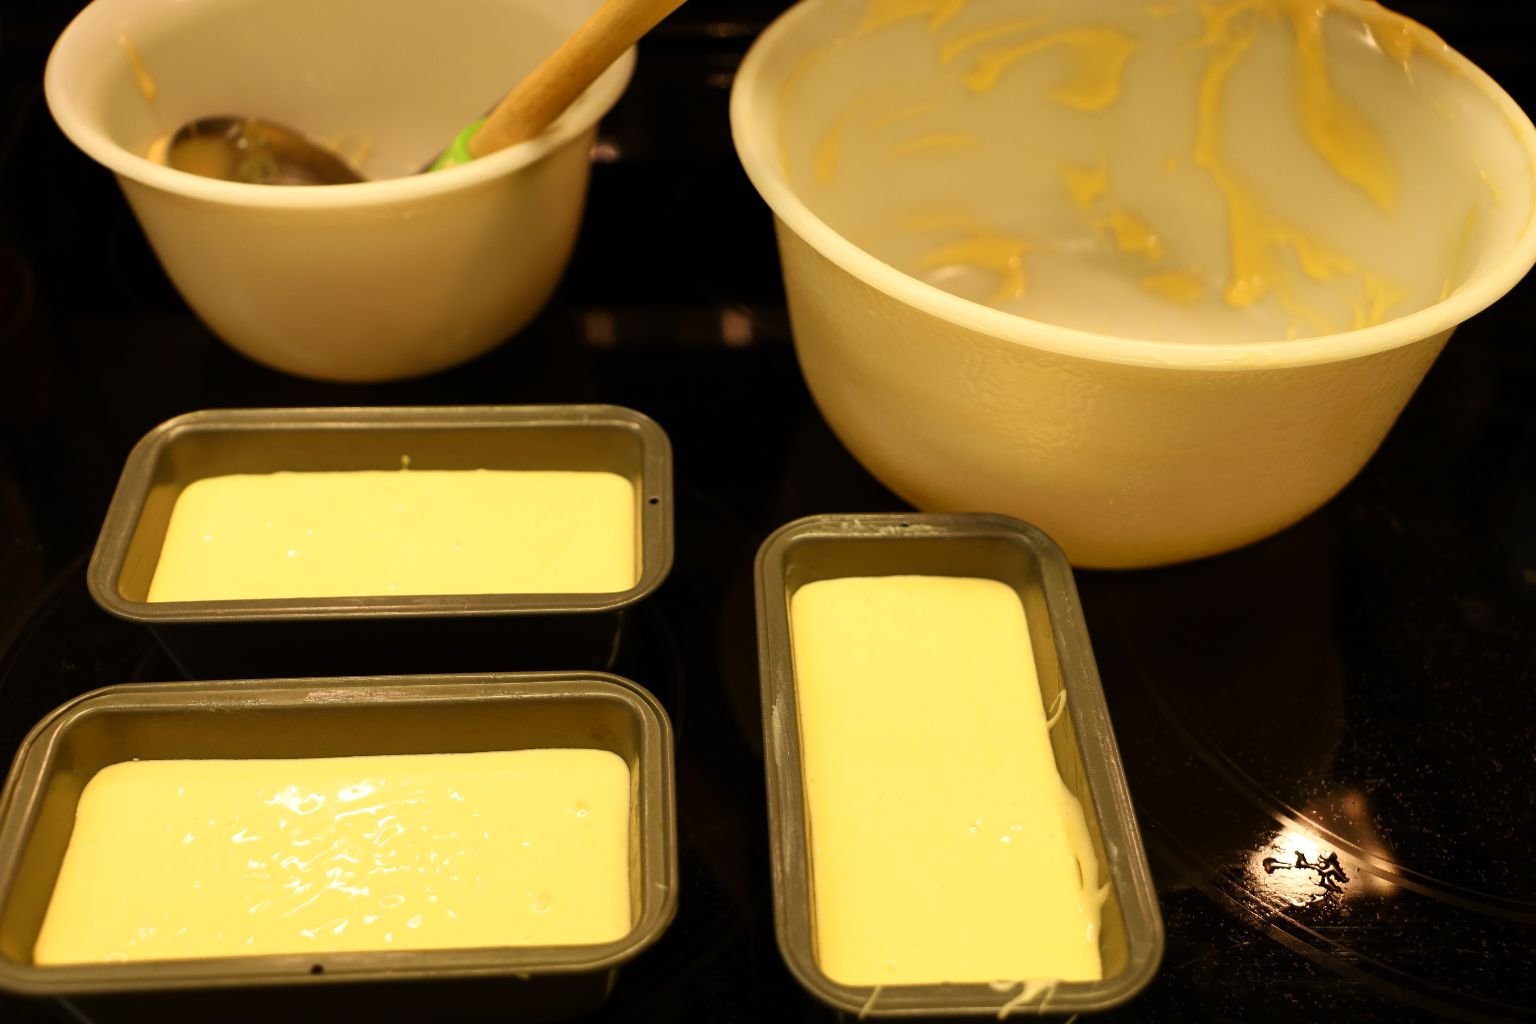
Ready for the Oven
—————————————————————————
In The Meantime…..
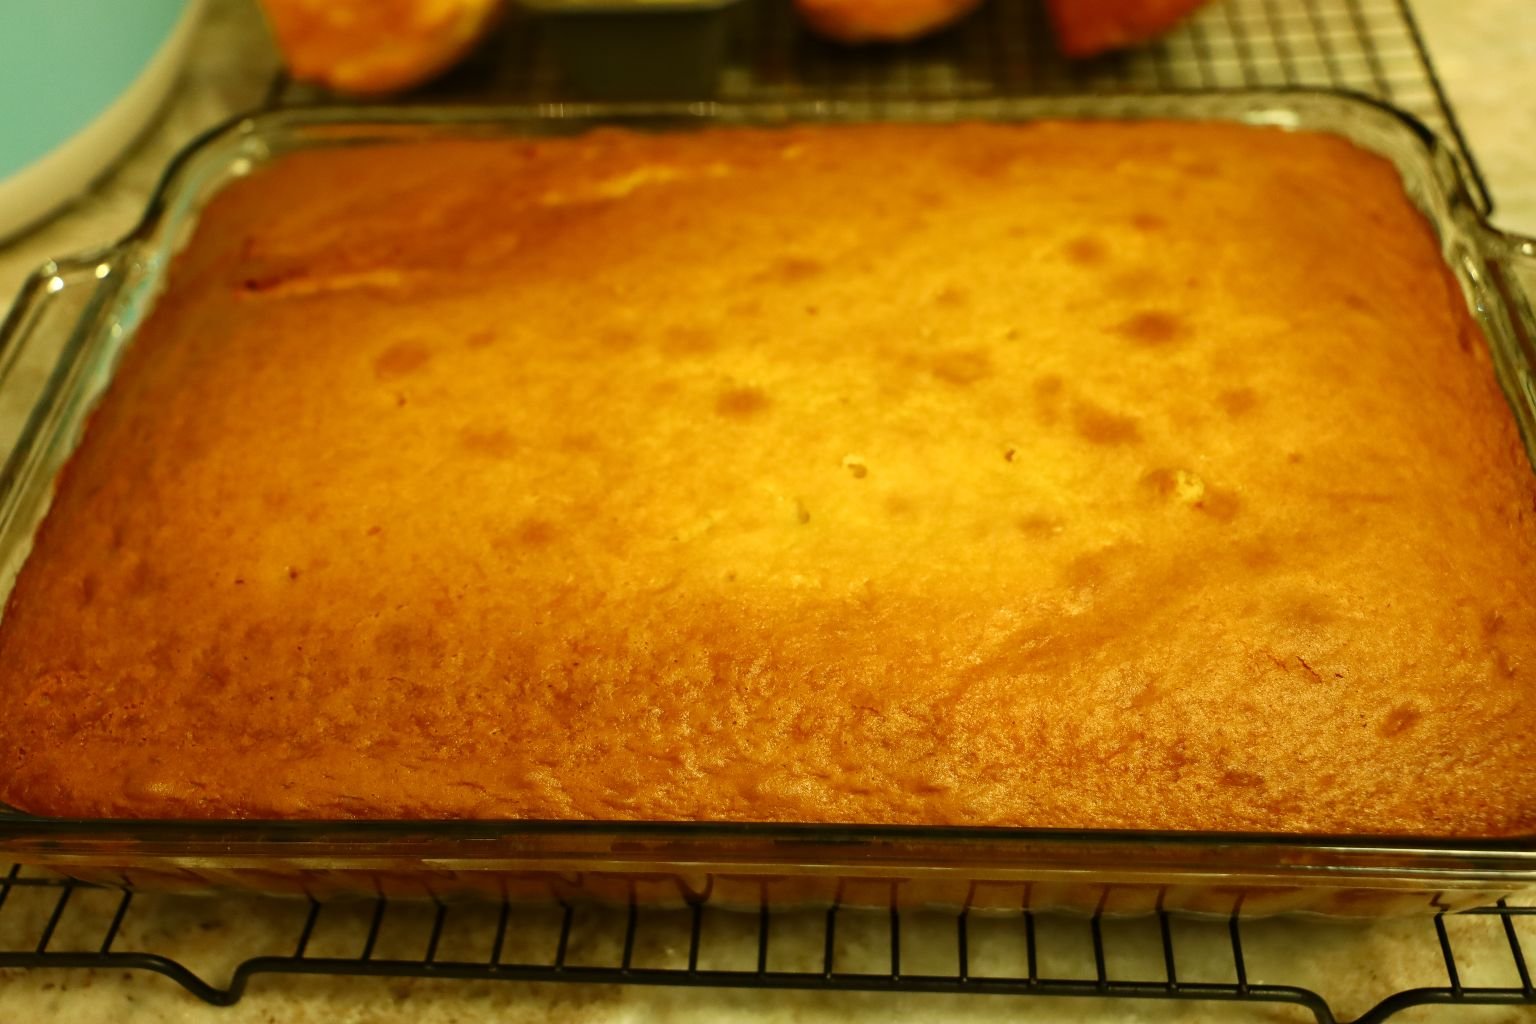
My Cake is DONE!
——————————————————————
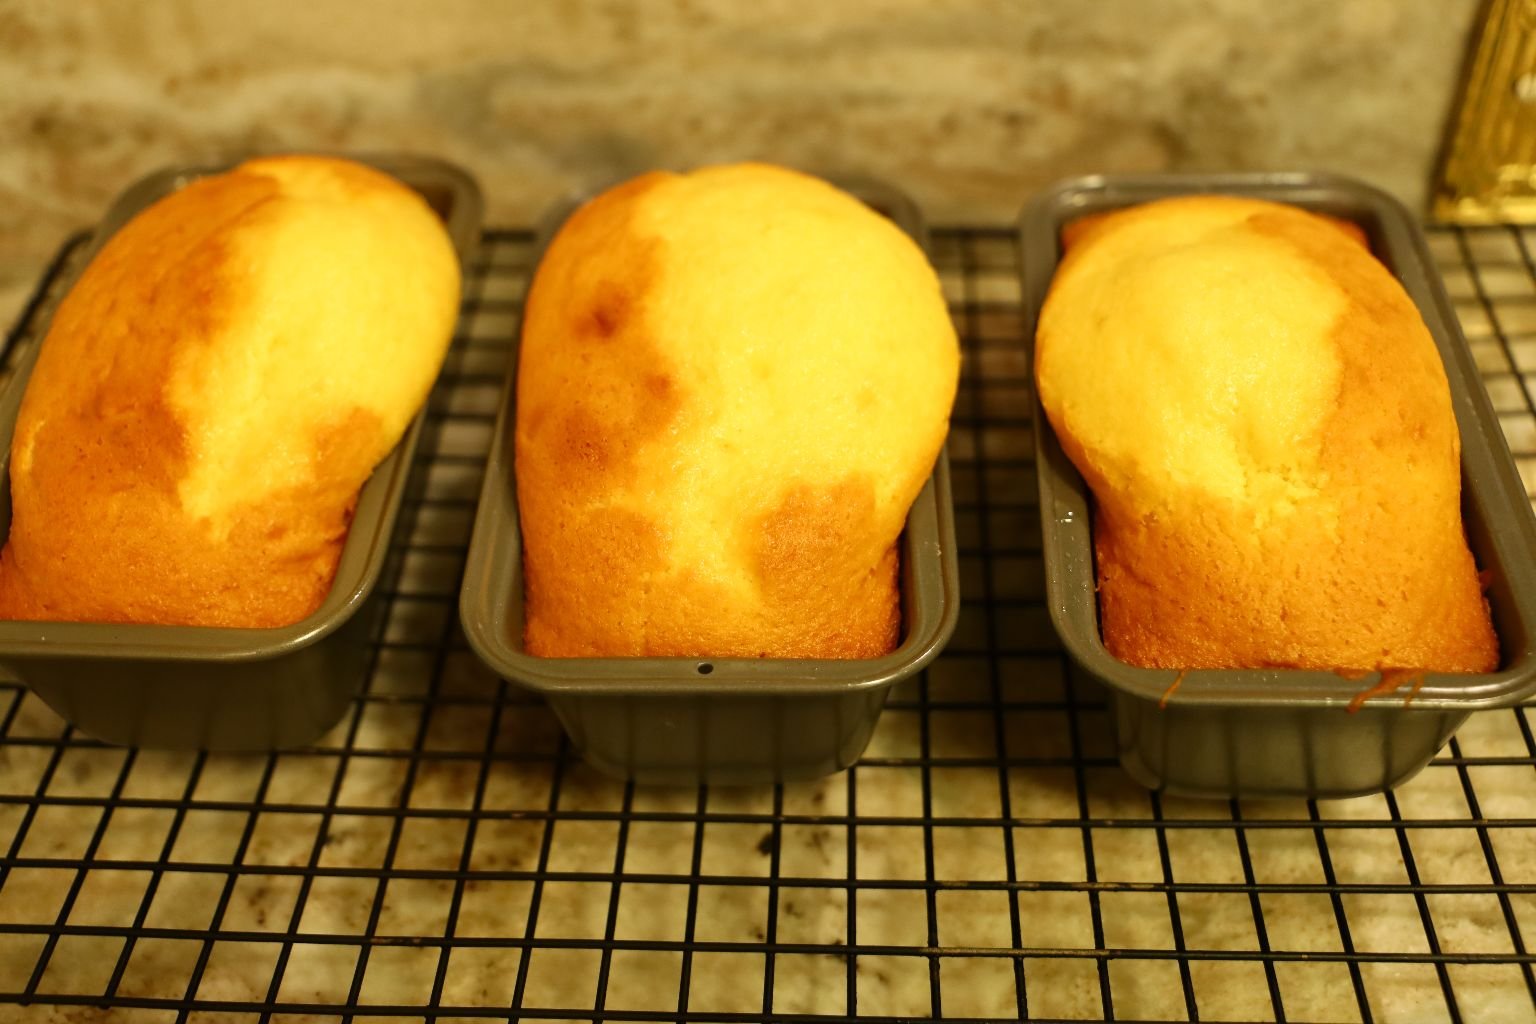
AND, My Mini Loaf Cakes are Done!
Just Let Everything Cool on Racks
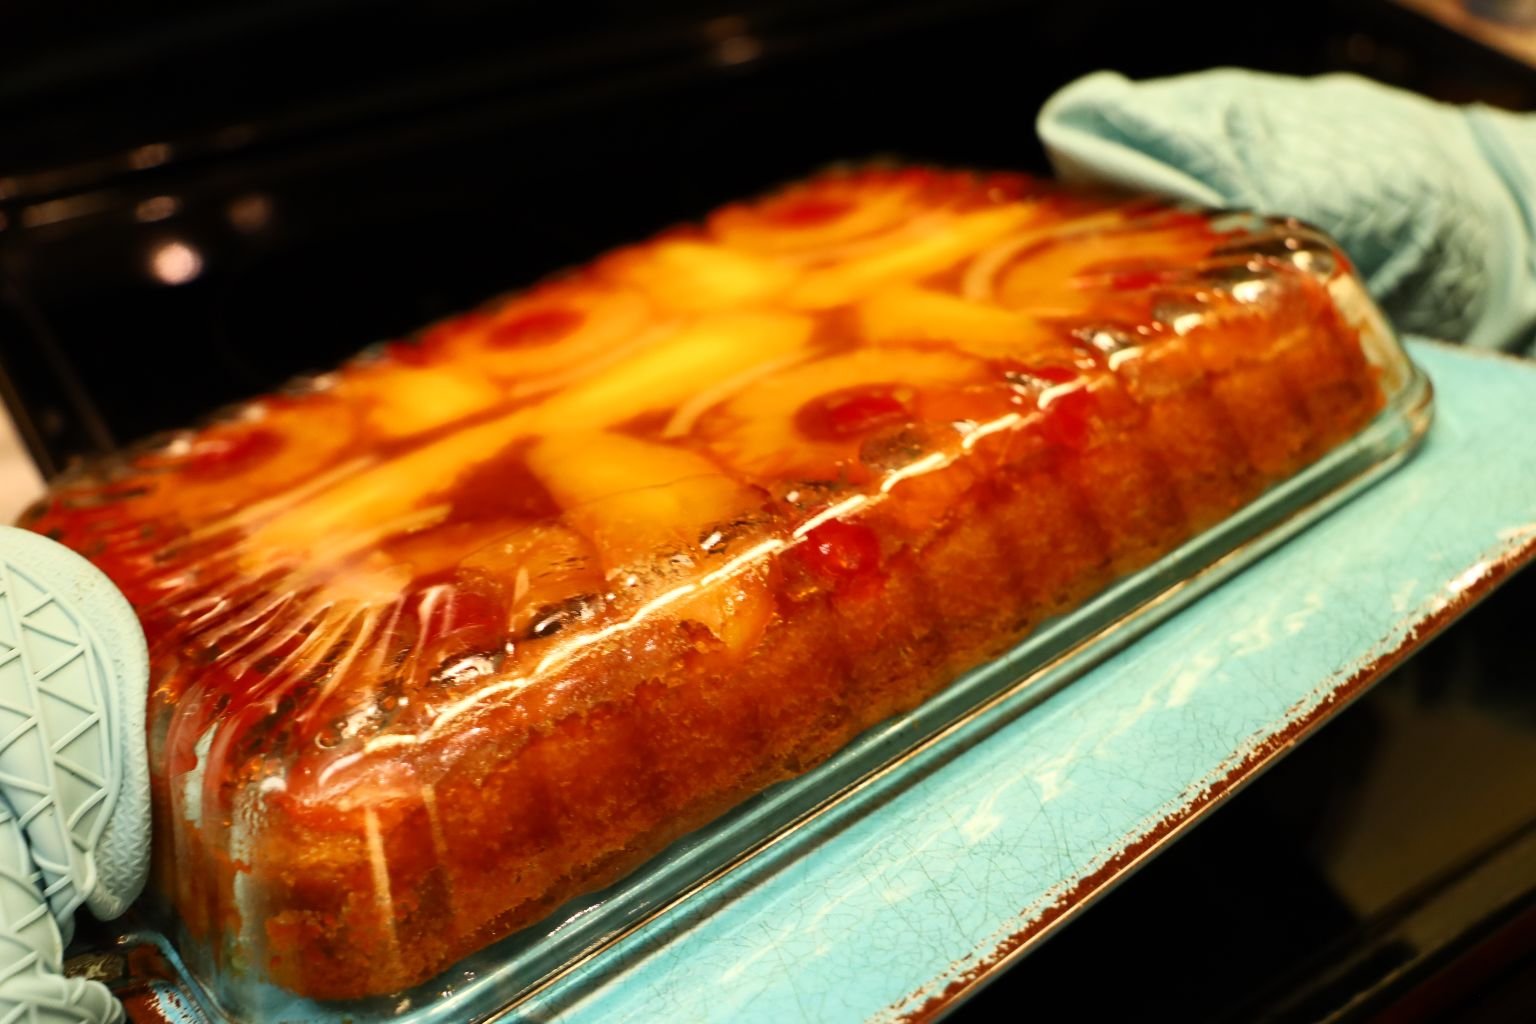
When Totally Cool, Turn the Cake Out on a Platter


Reminds me of Hawaii 🙂
(You do need to store this cake in the refrigerator.)
———————————————————————-
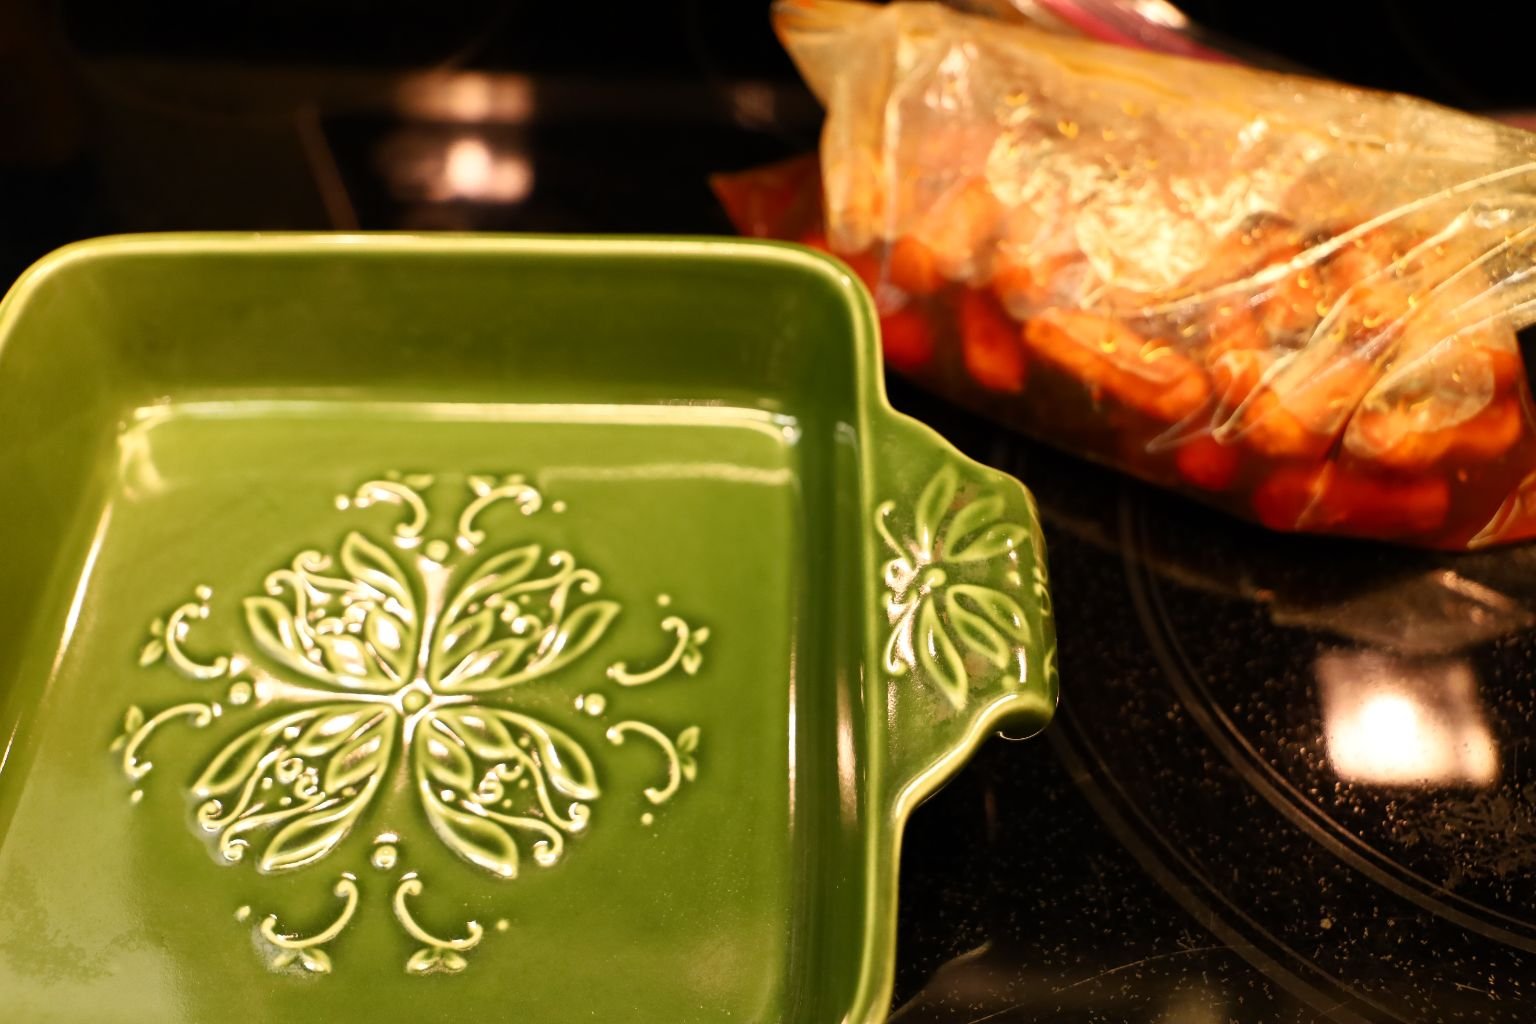
Marinating Cocktail Sausages

This is special for us, and an old favorite.

Simple ingredients of:
Cocktail Sausages, Orange, Lime, Sweet Black Soy Sauce, and, Sweet Chili Sauce

You Just Drain the Sausages and Place into a Bowl


Eyeball the Ingredients of Sweet Chili Sauce and Sweet Black Soy Sauce


Now, Add the Juice and Pulp of an Orange and a Lime

Place Into a Baggie to Marinate Overnight
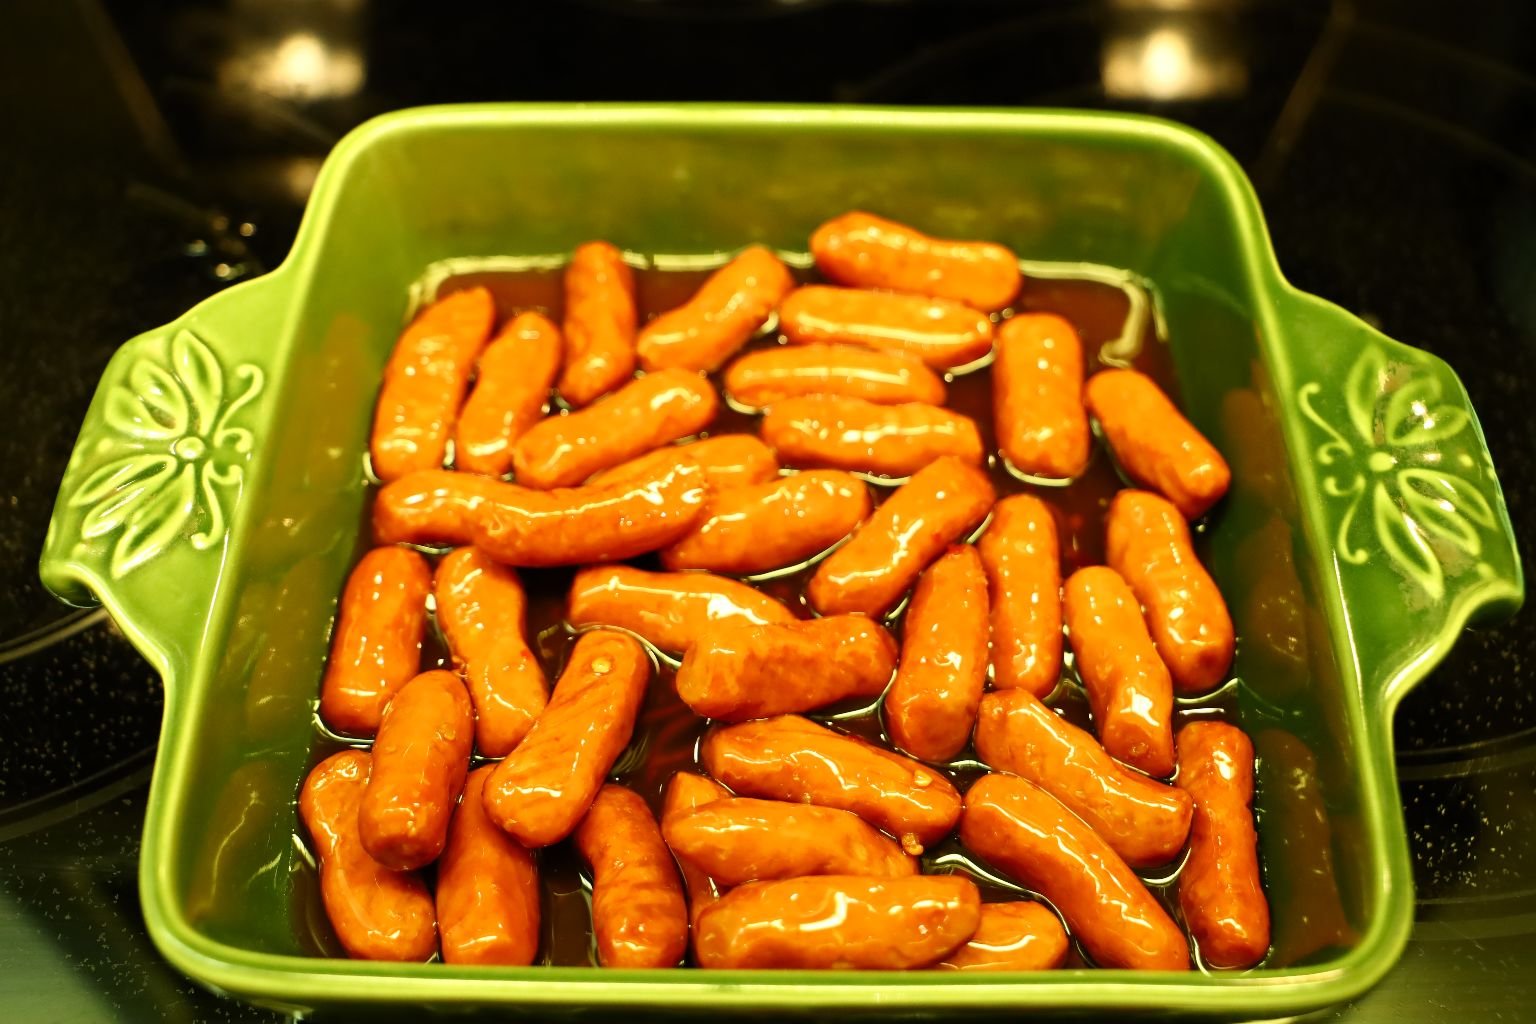
Now, Pour Into a Baking Dish
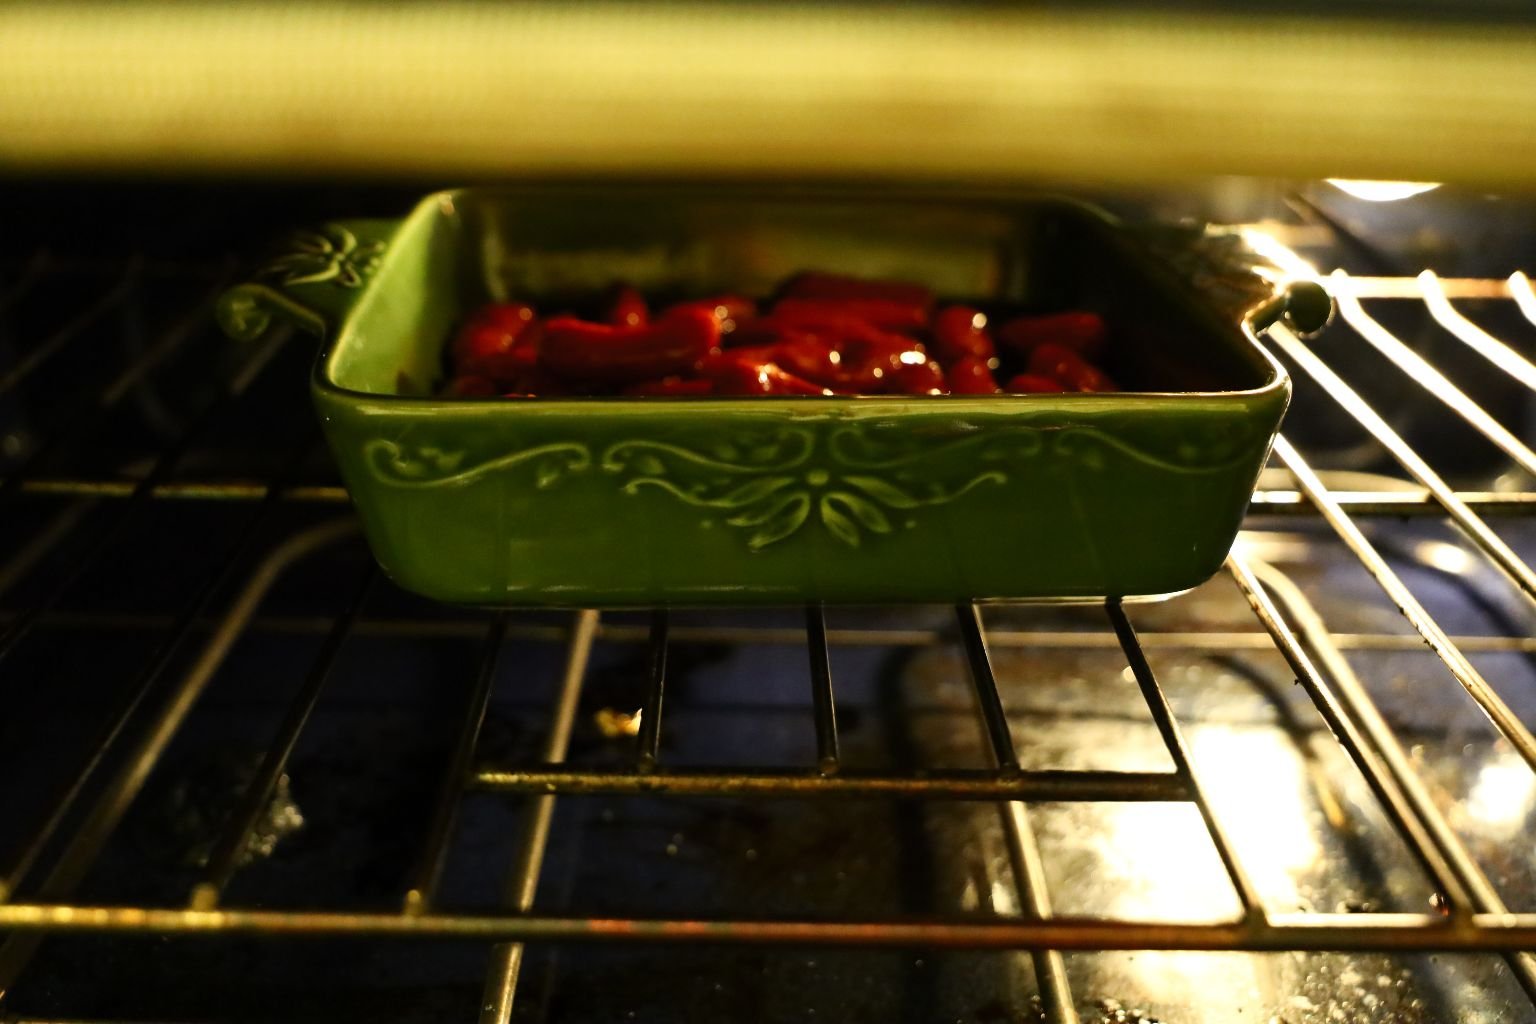
Place into a 350F Oven for about 35 minutes or so, stirring every 15 minutes to coat them.
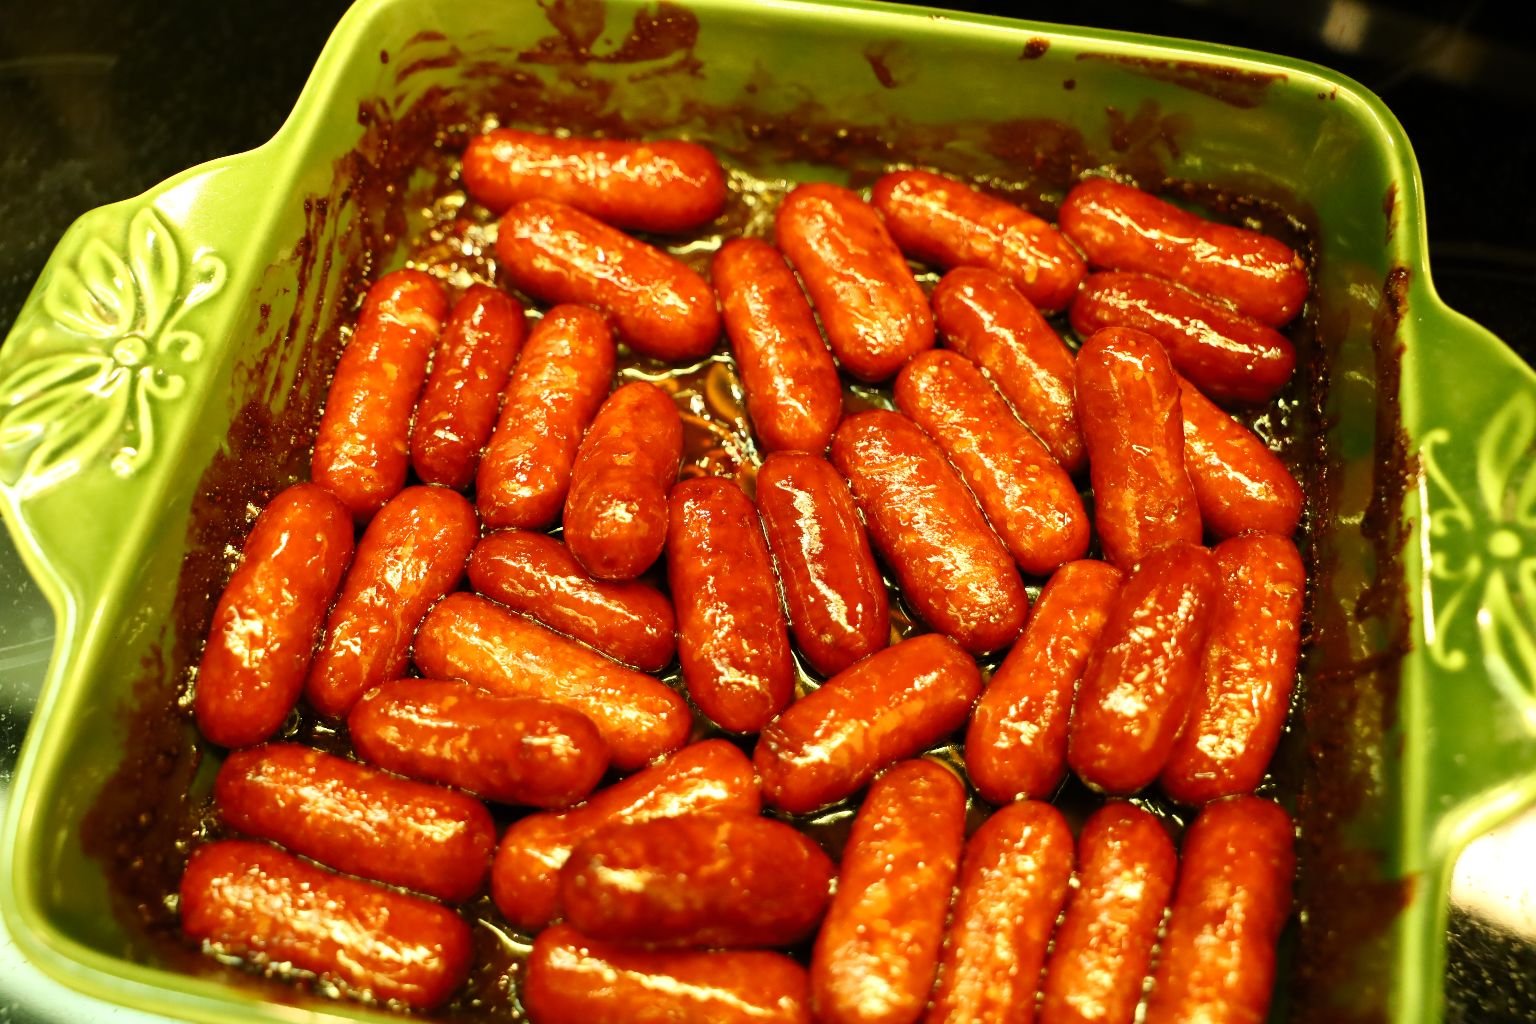
Bake Them Until They Plump Up 🙂
———————————————————————–
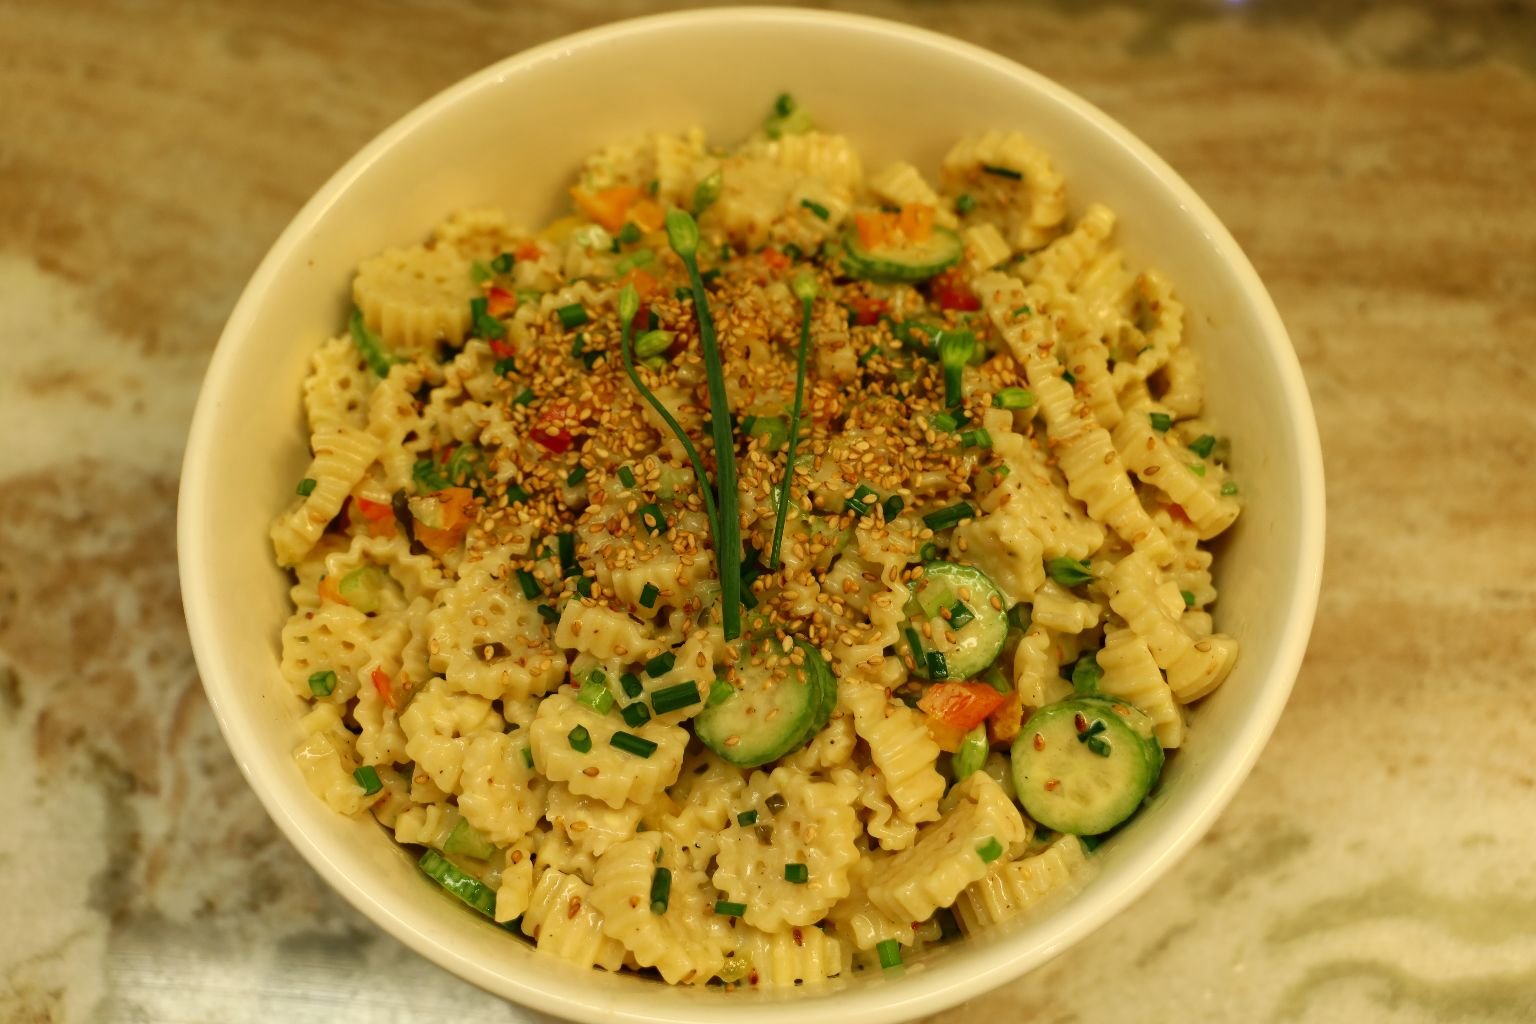
Our Asian Inspired Pasta Salad

————————————————————-
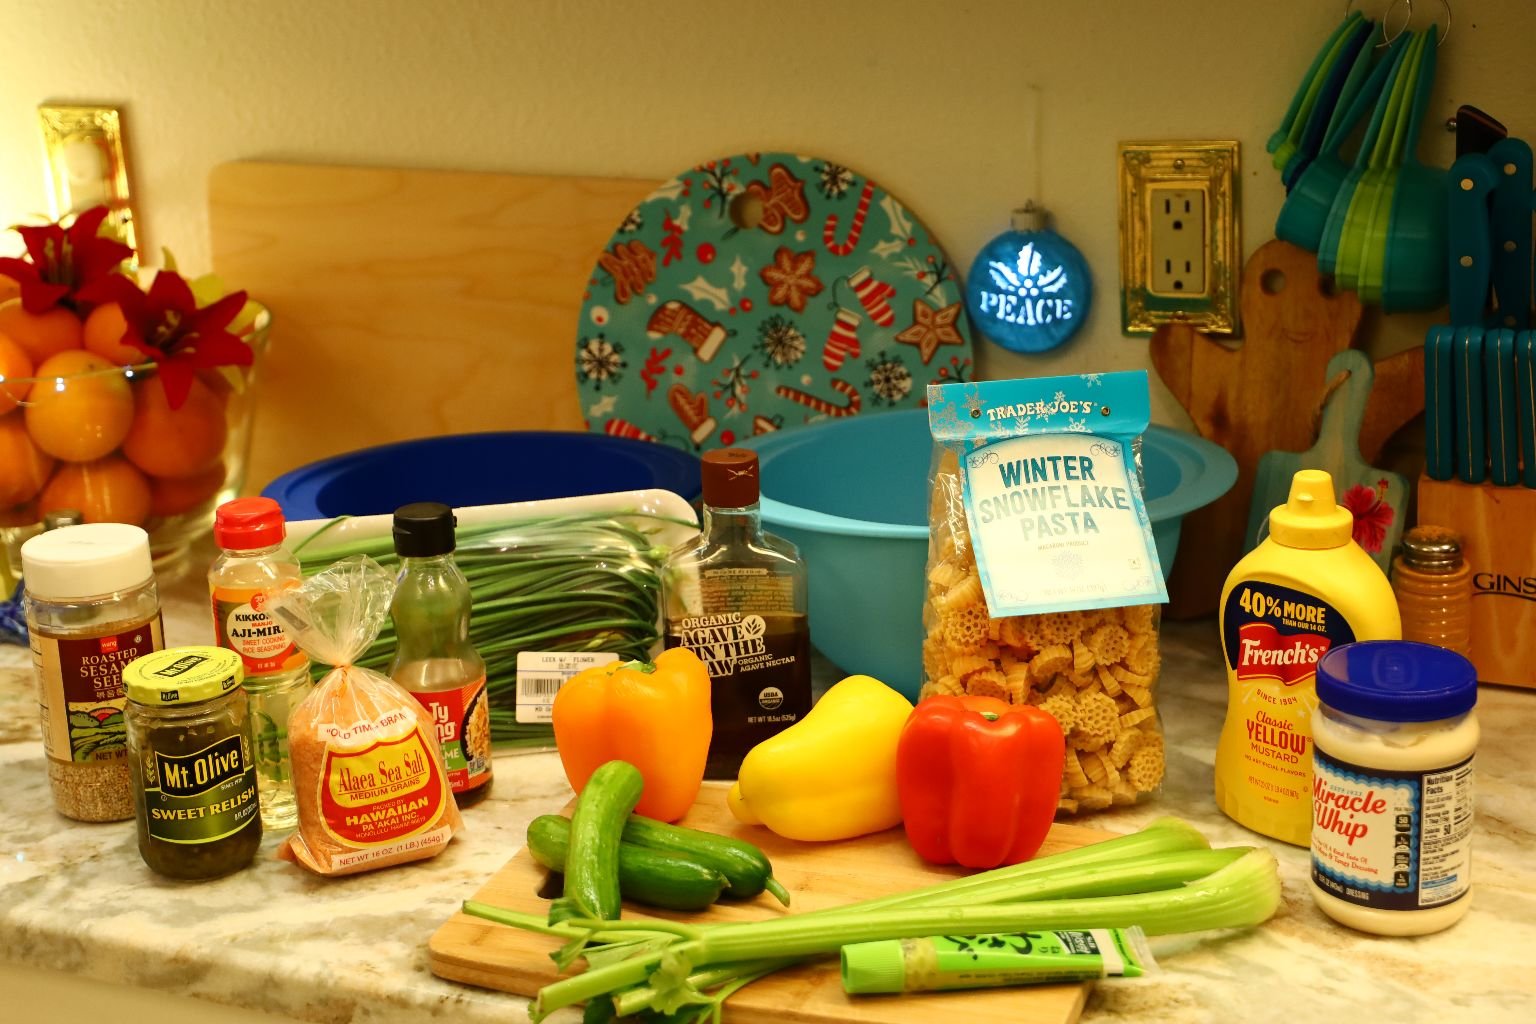
Ingredients:
1 Bags of Snow Flake Pasta
3 Small Cucumbers sliced into wheels
3 Celery Stalks diced
1 Tbsp. Salt for the pasta water
1/2 Yellow Bell Pepper diced
1/2 Red Bell Pepper diced
10 Chive Flowers – sliced thinly
~1/2 Cup Miracle Whip
Wasabi to taste
1 Tbsp. Yellow Mustard
2 Tbsp. Sweet Relish
1 Tbsp. Agave in the Raw Nectar
2 Tbsp. Sesame Oil
2 Tbsp. Ari Miran Sweet Cooking Rice Seasoning
2 Tbsp. Roasted Sesame Seeds
Ground Pepper to taste
——————————————————————-
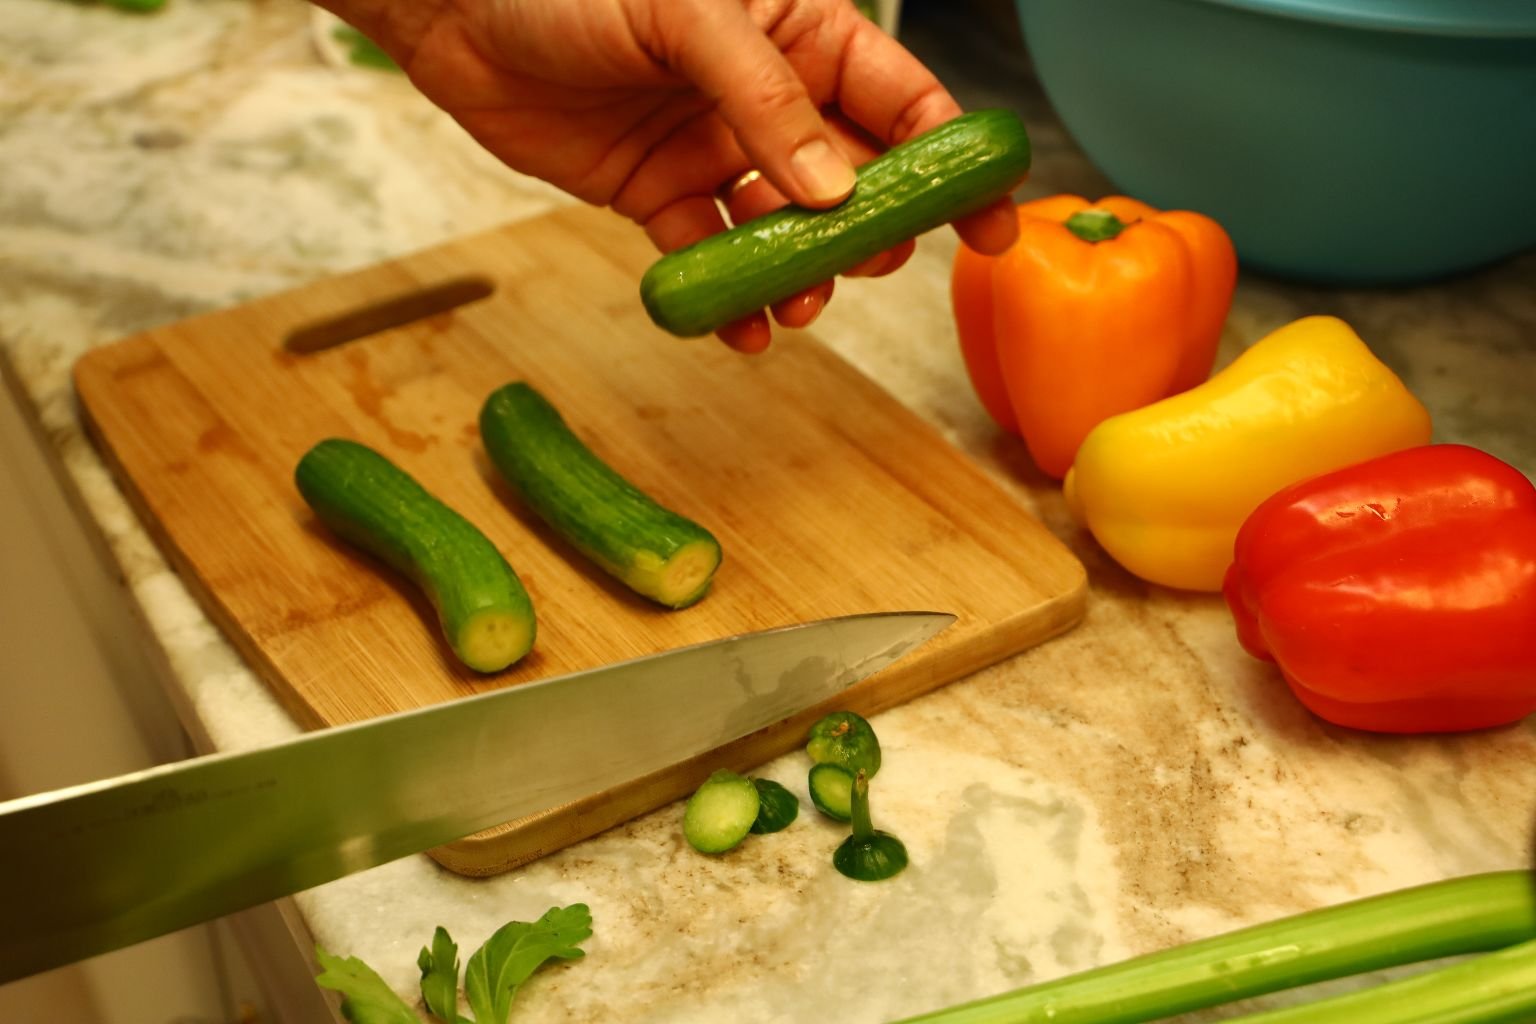
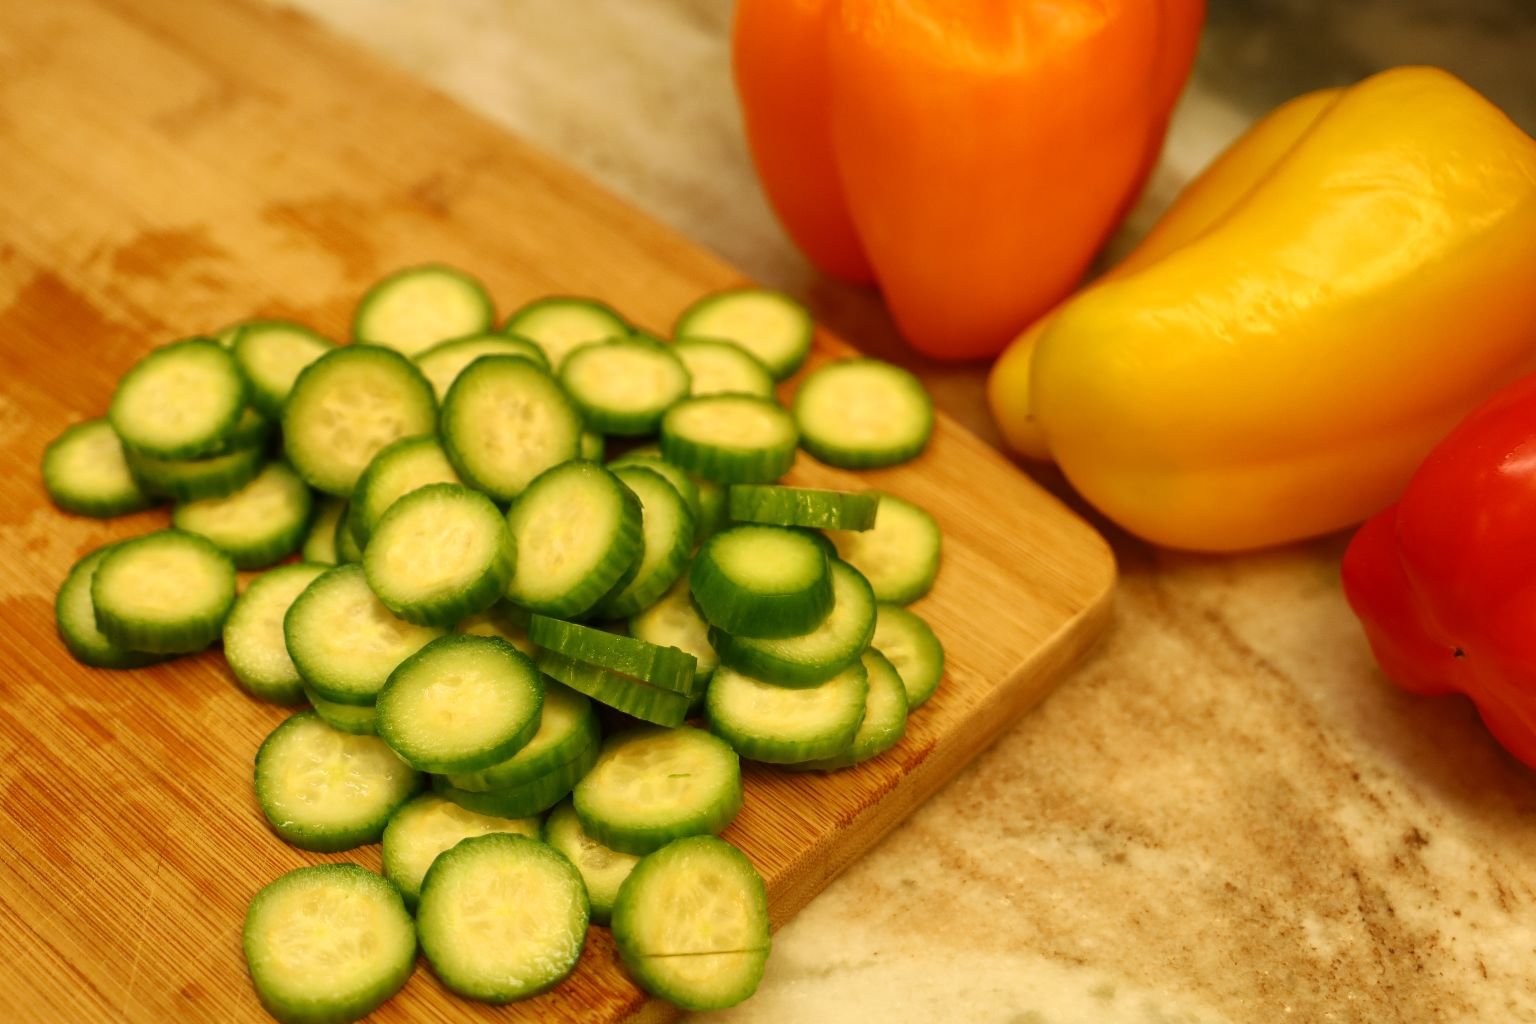
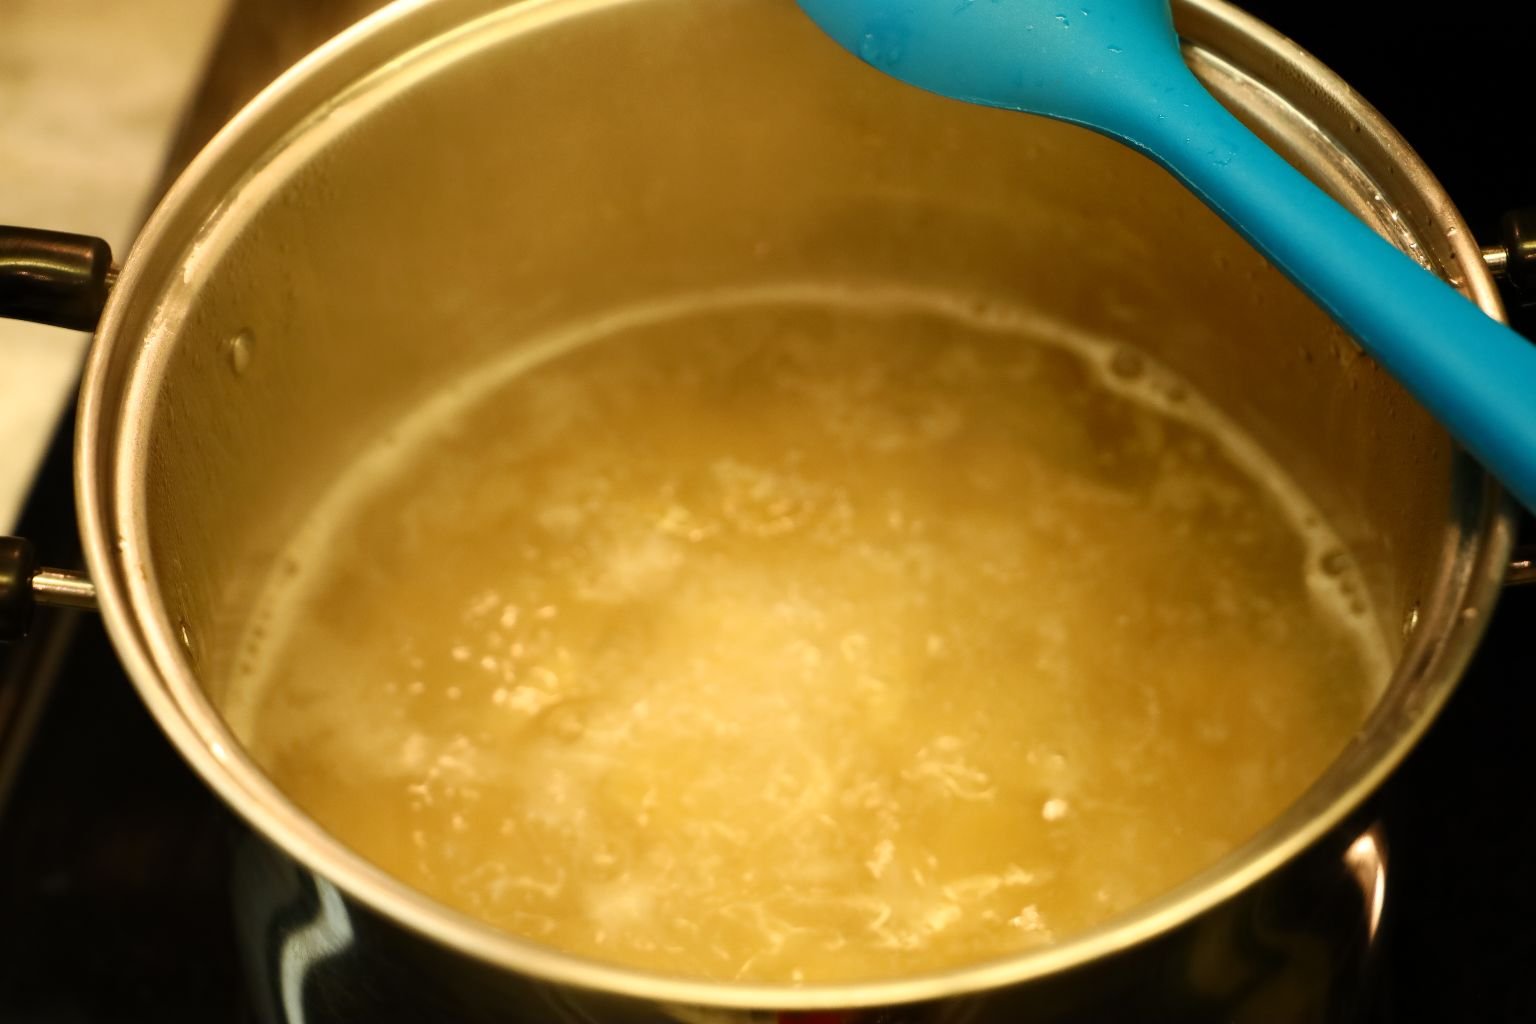
Place in enough water to cover the pasta very well into medium or large pot. The water should be at least half way up the pot. Clean all your vegetables well and slice your cucumber into 1/4 inch wheels as shown.
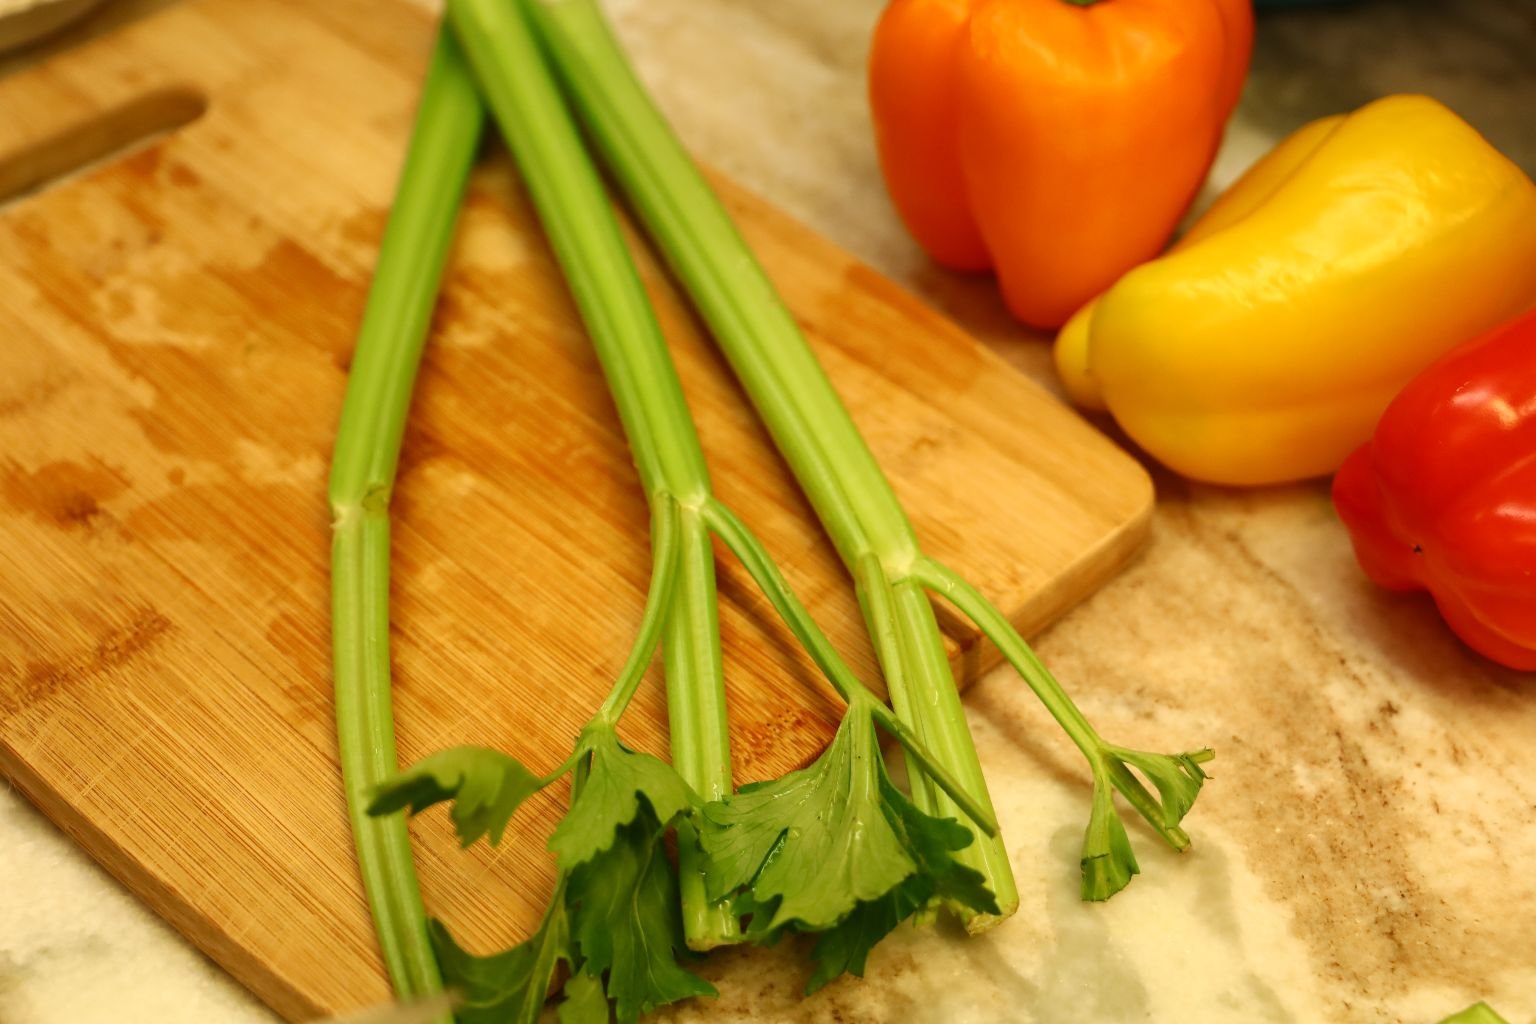
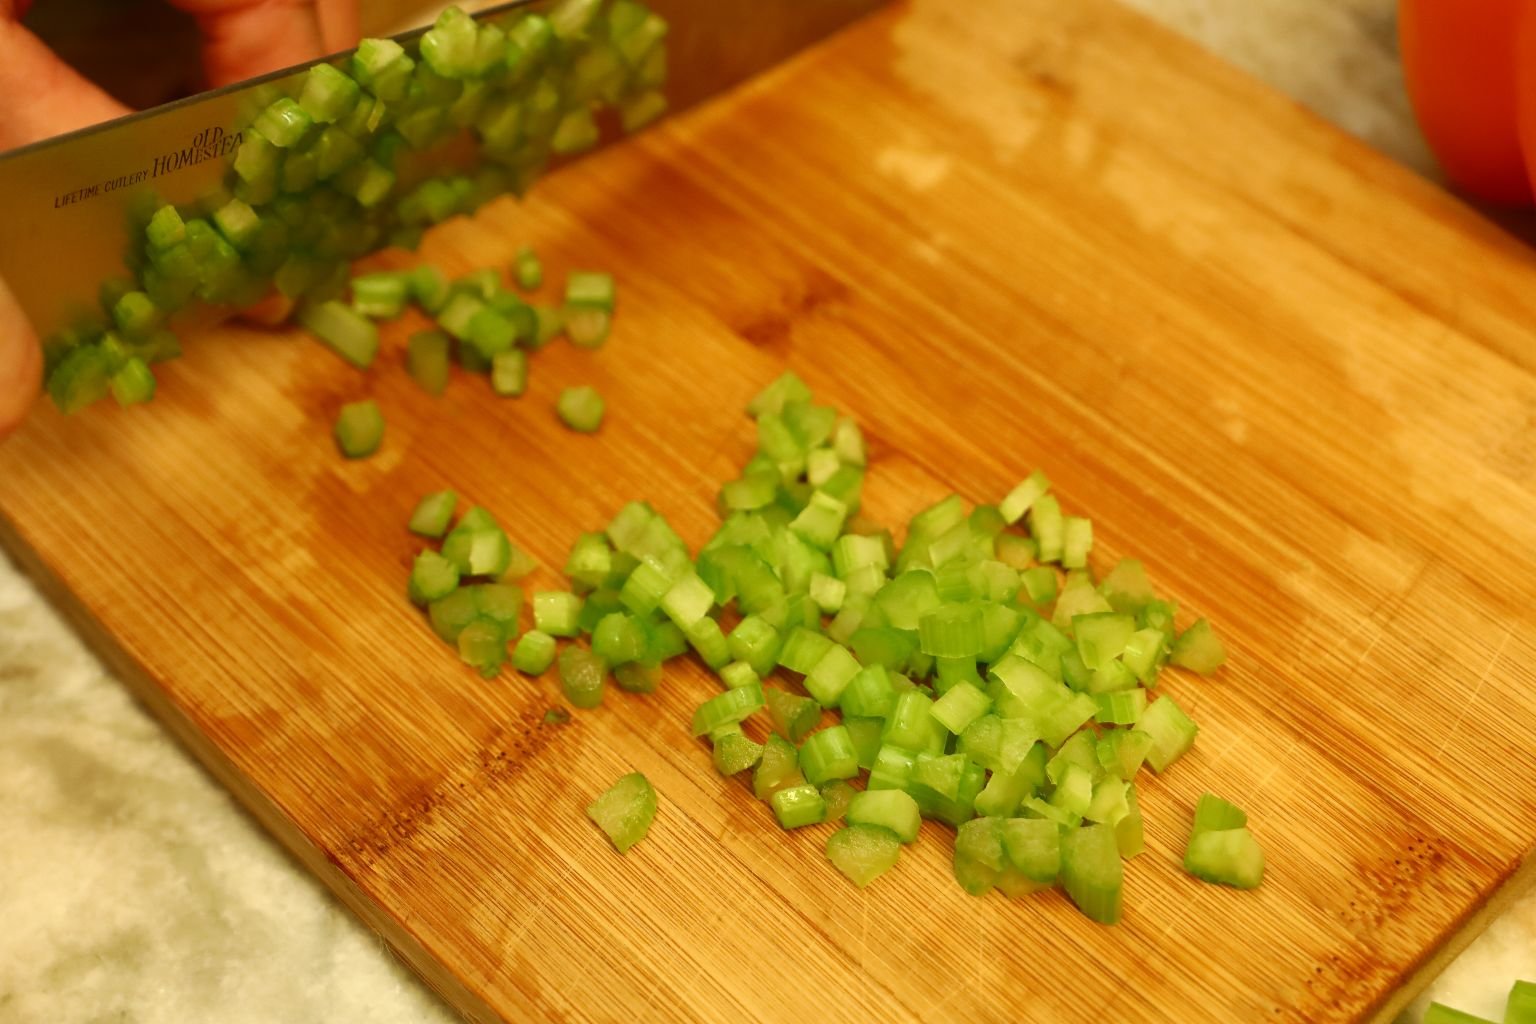
Slice and then dice your celery as shown.
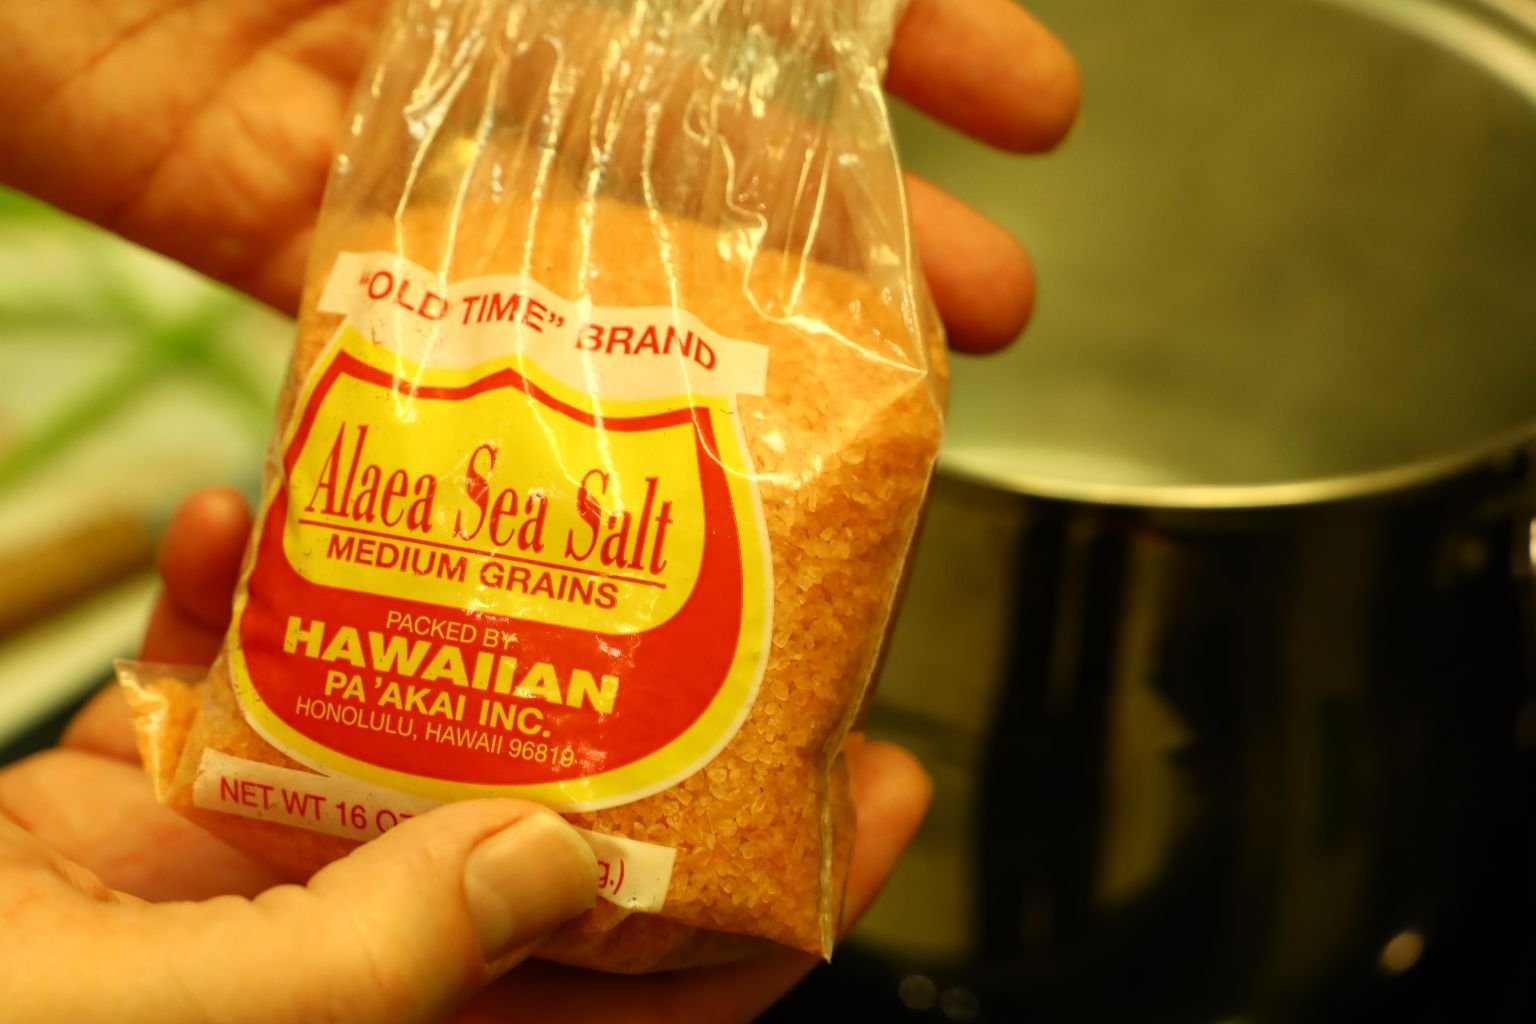
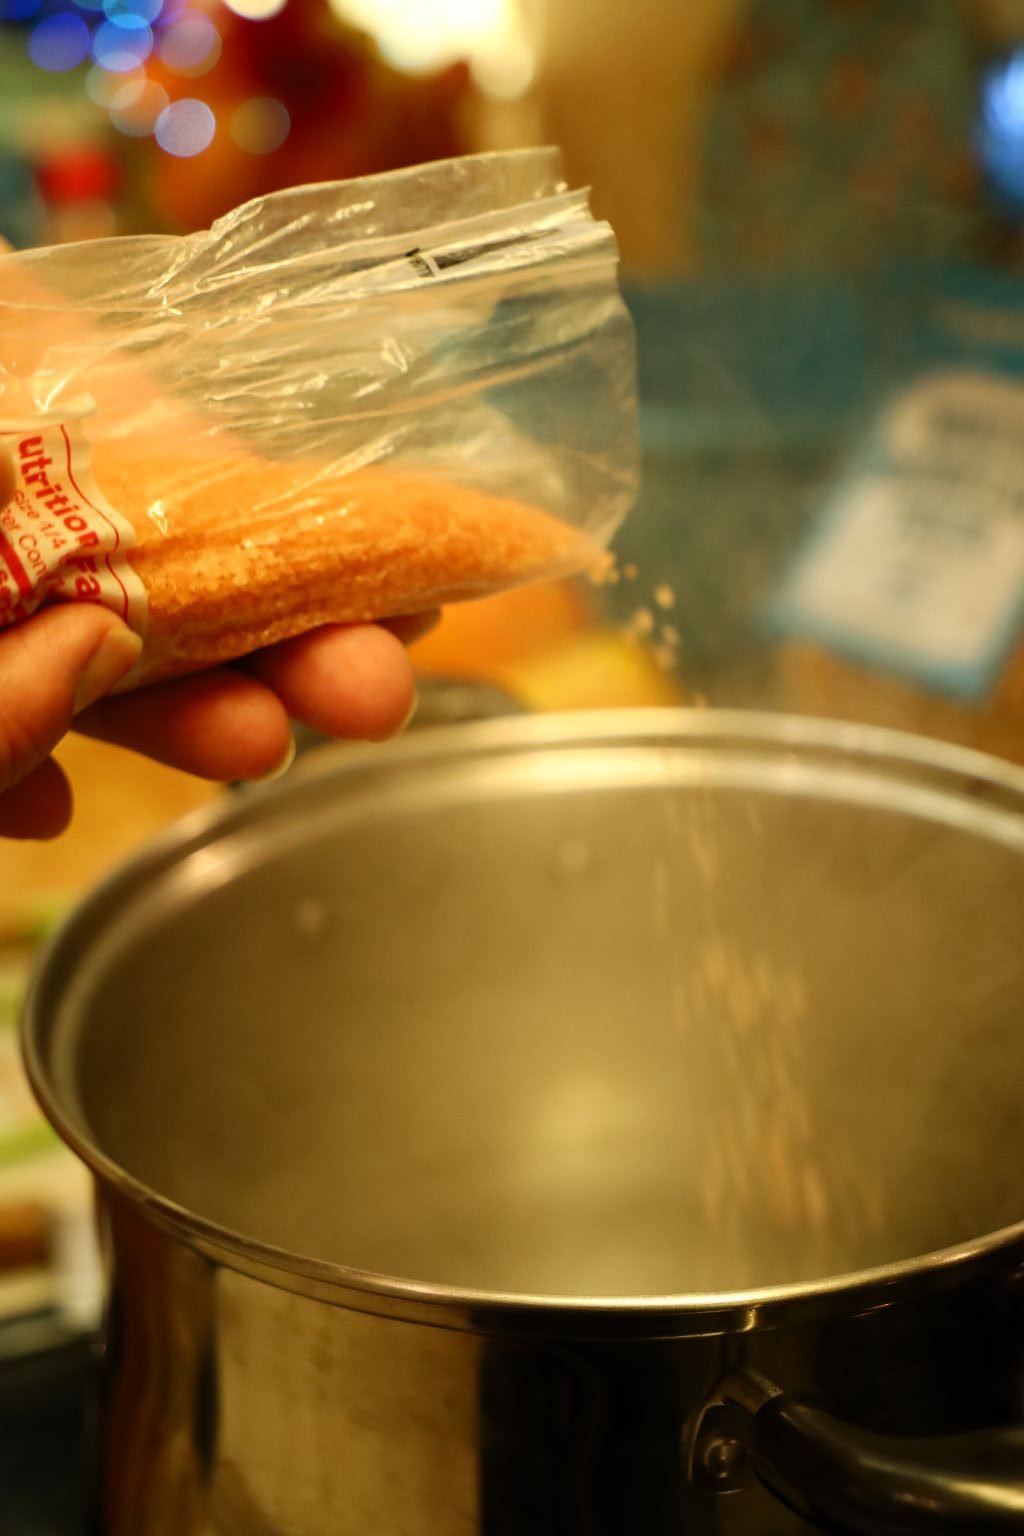
Add your Hawaiian Sea Salt to the pot of water.
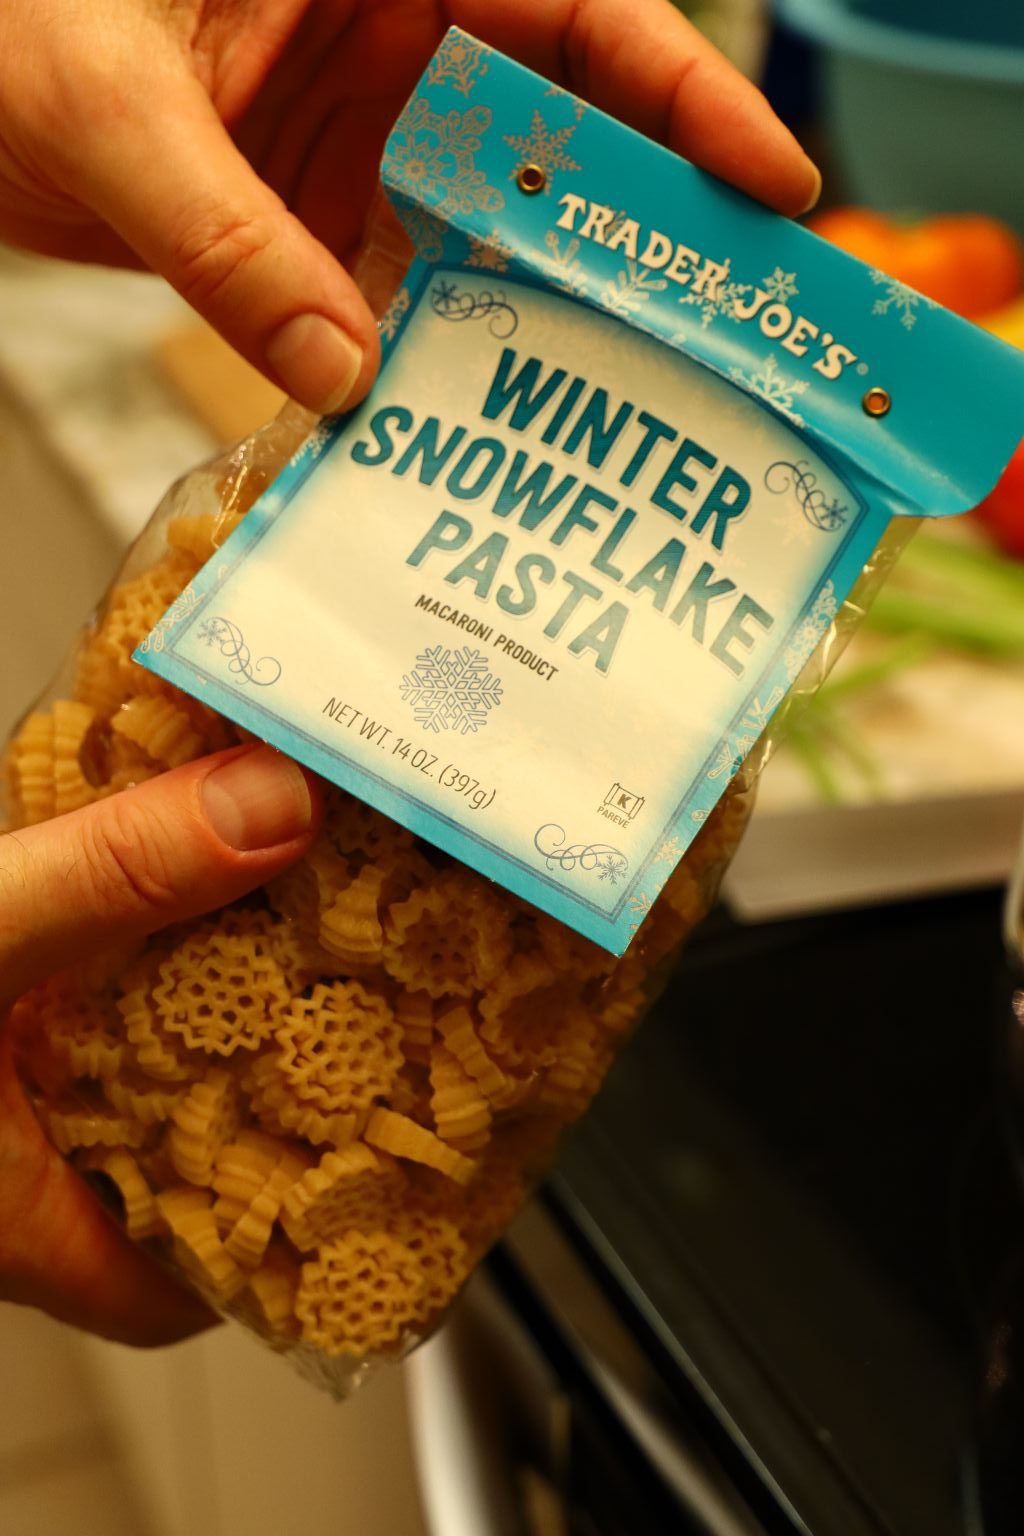
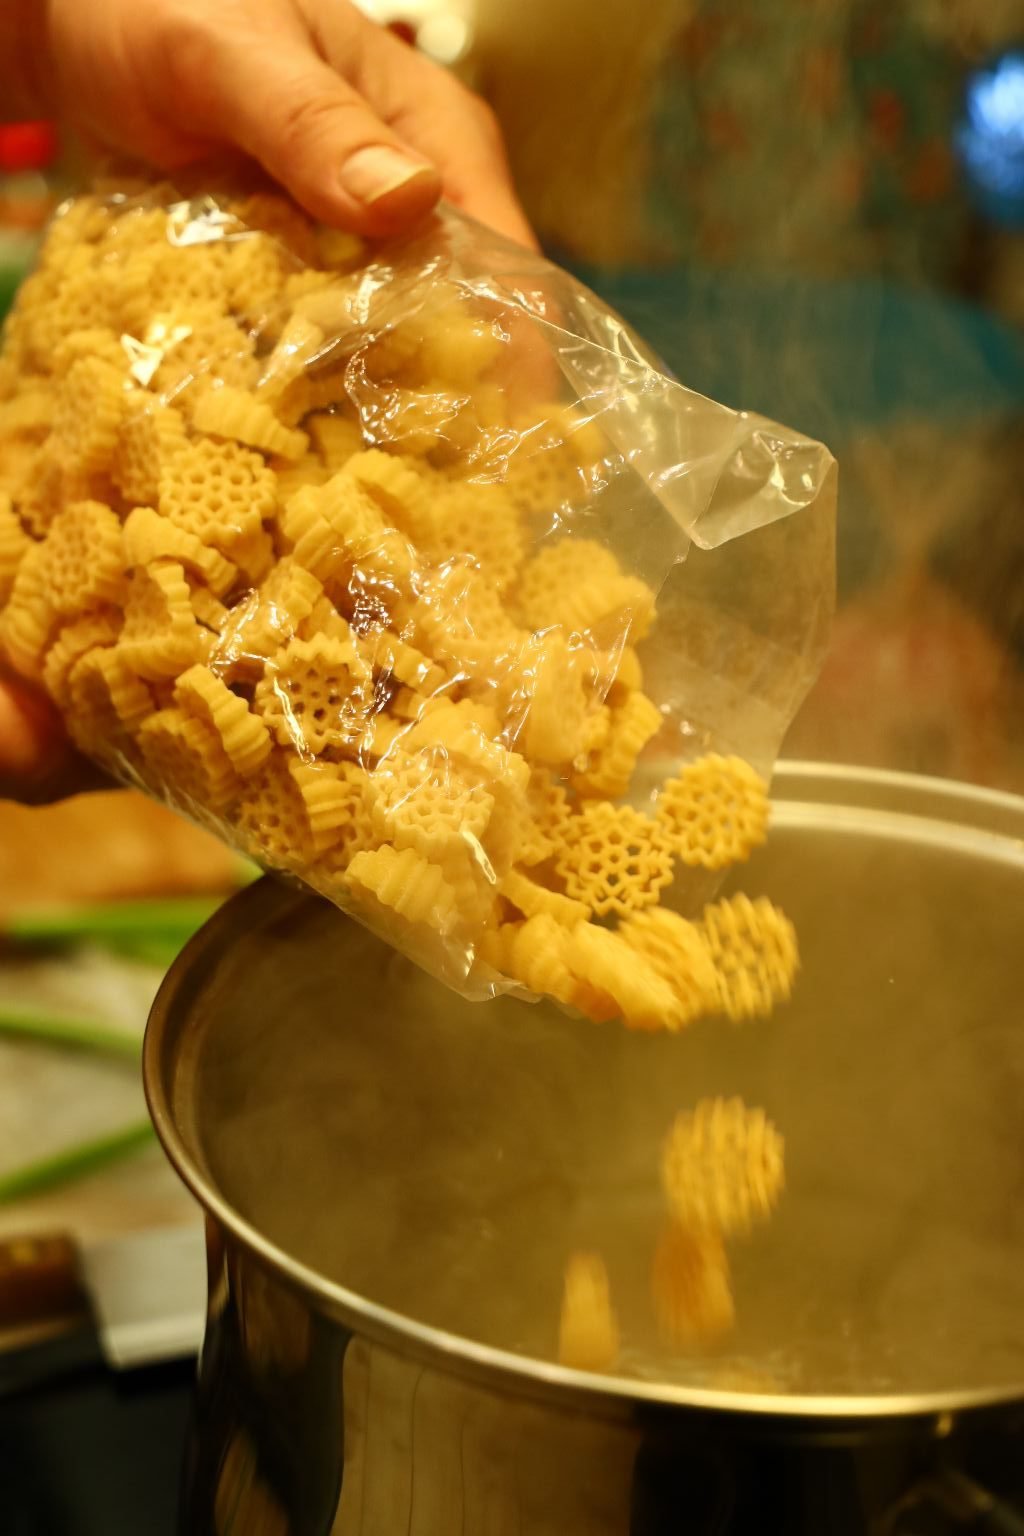
Now add your pasta to the water and stir it occasionally. Cook the pasta as per directions or al dente meaning it is cooked just enough to retain a somewhat firm texture.
—————————————————————–
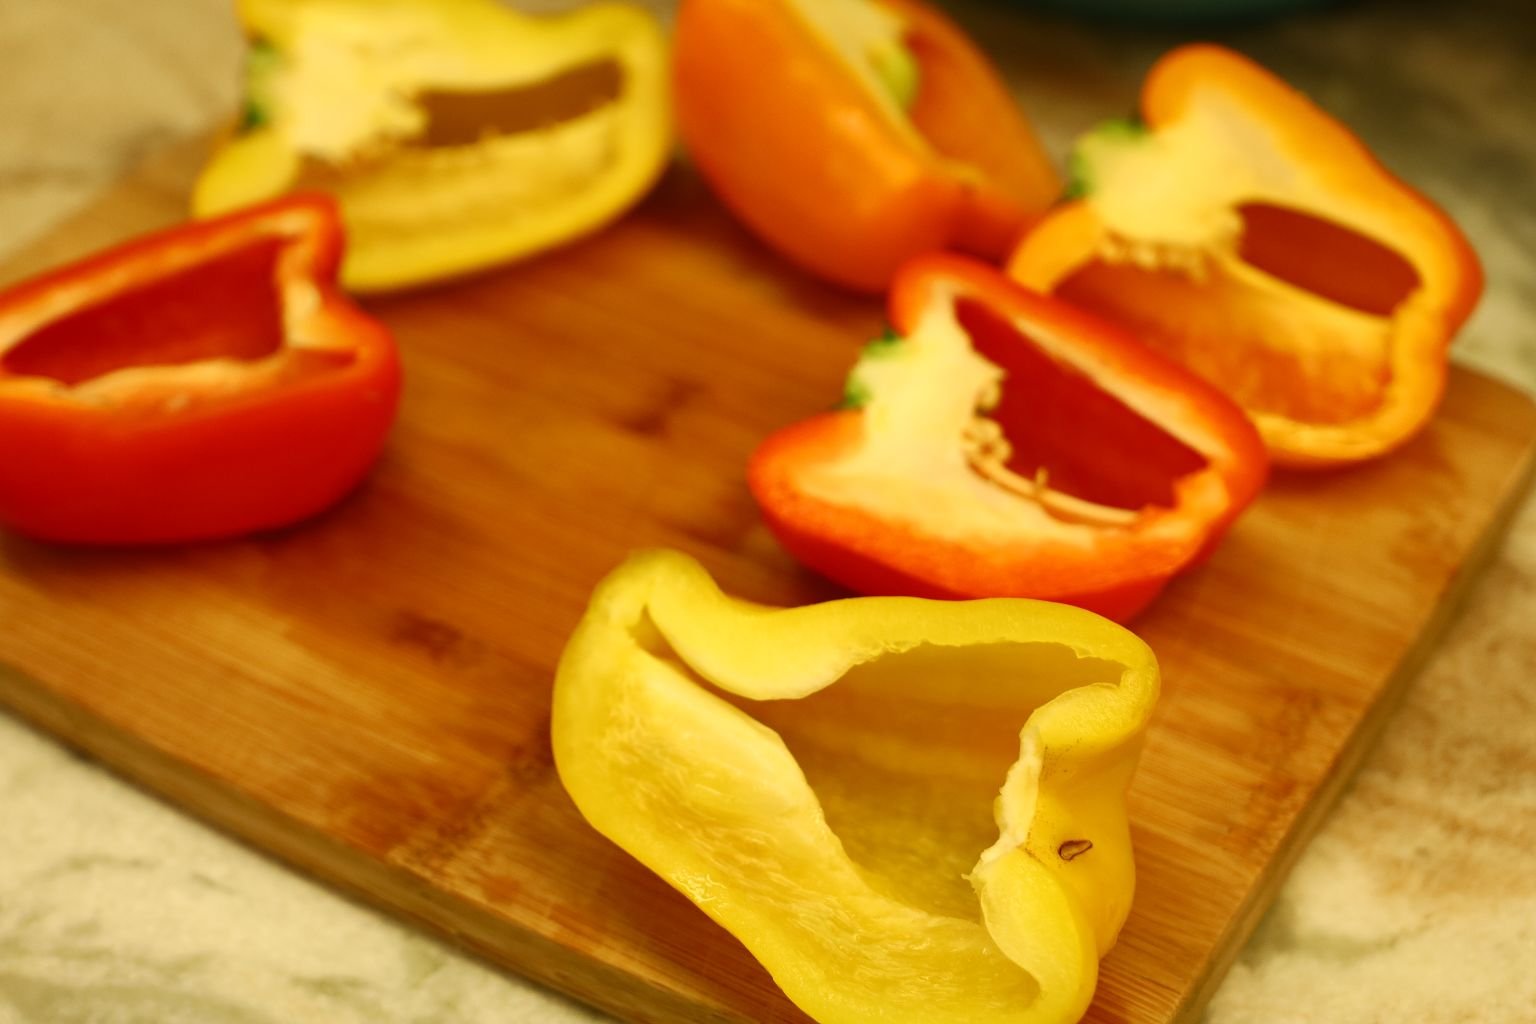
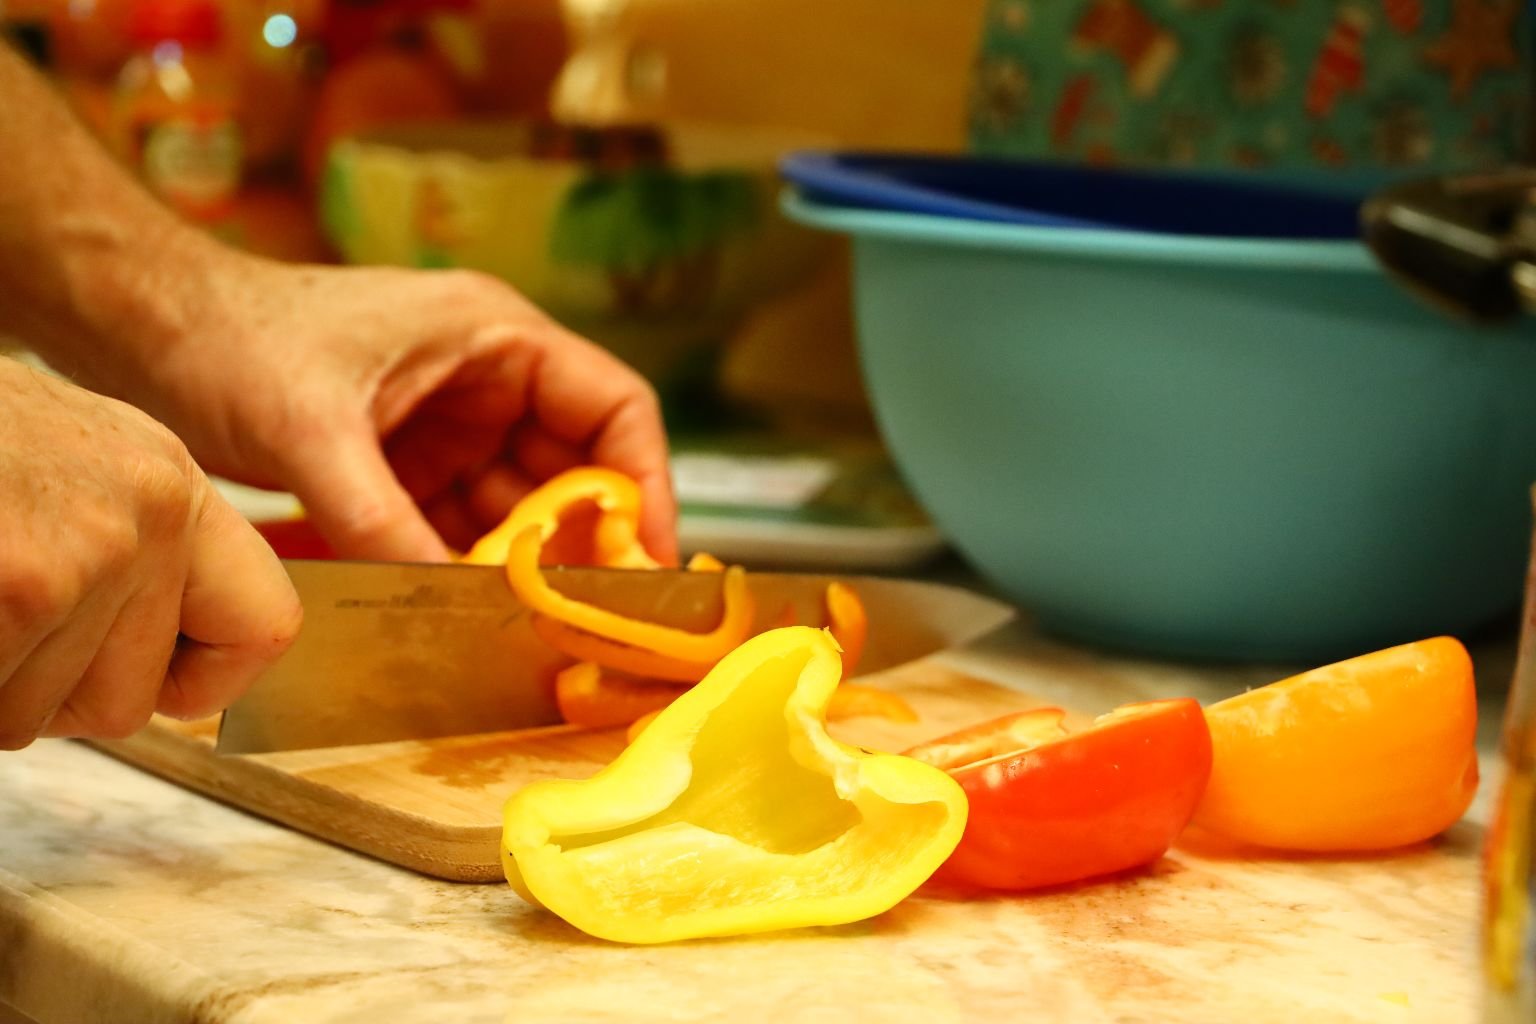
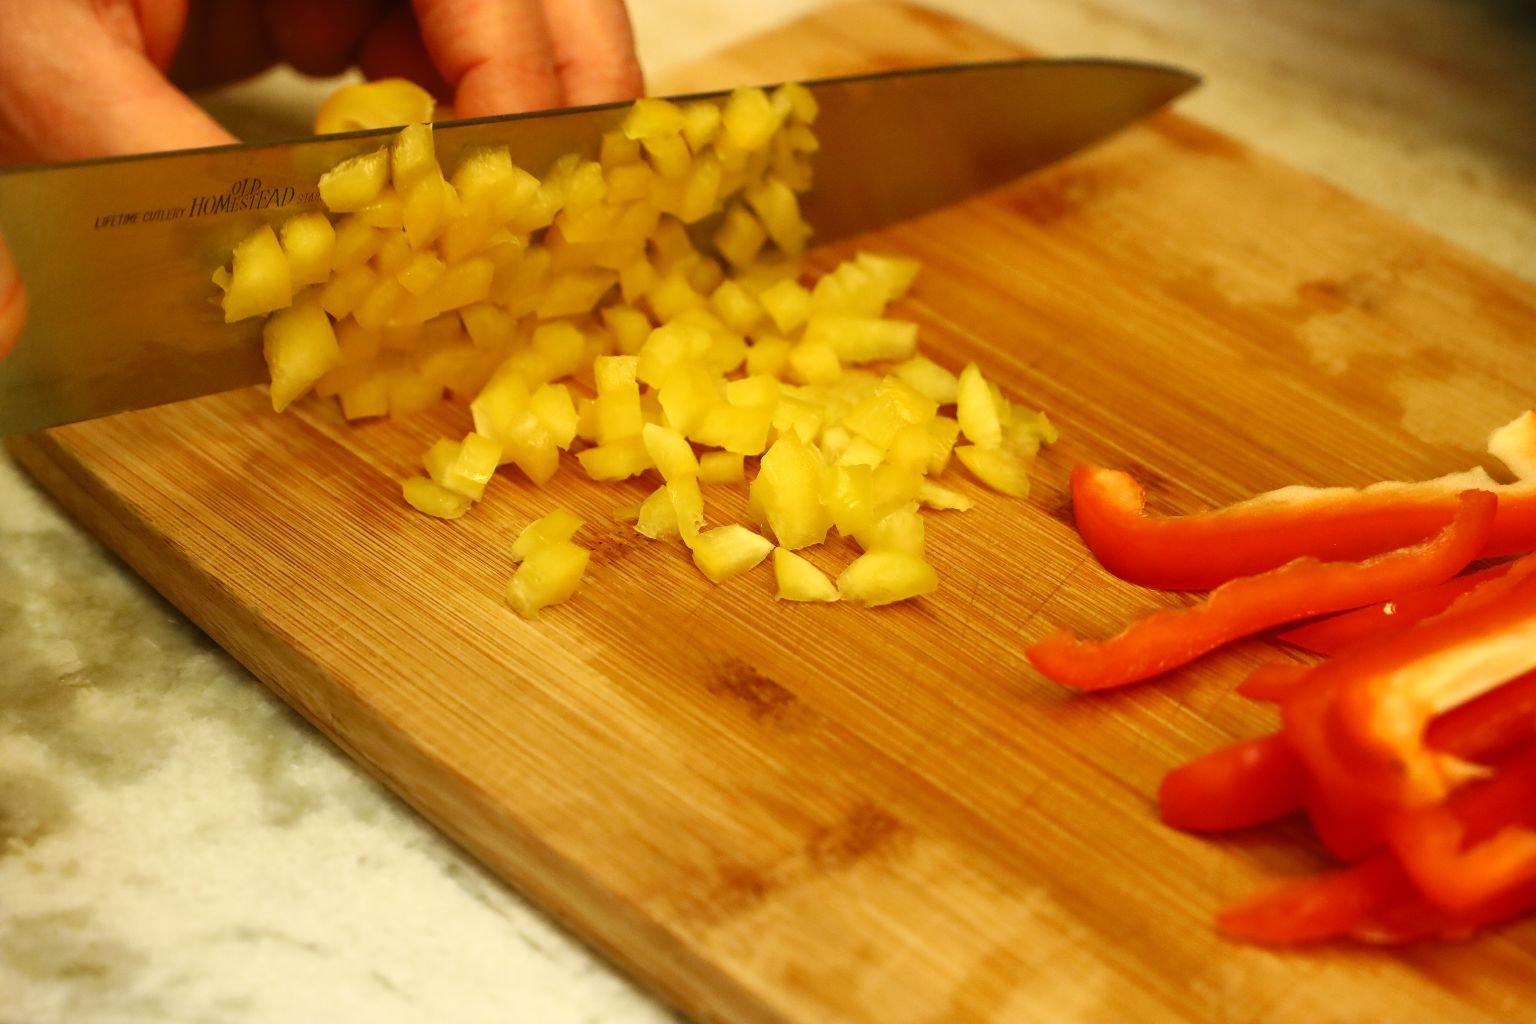
Slice and dice your bell peppers as shown.
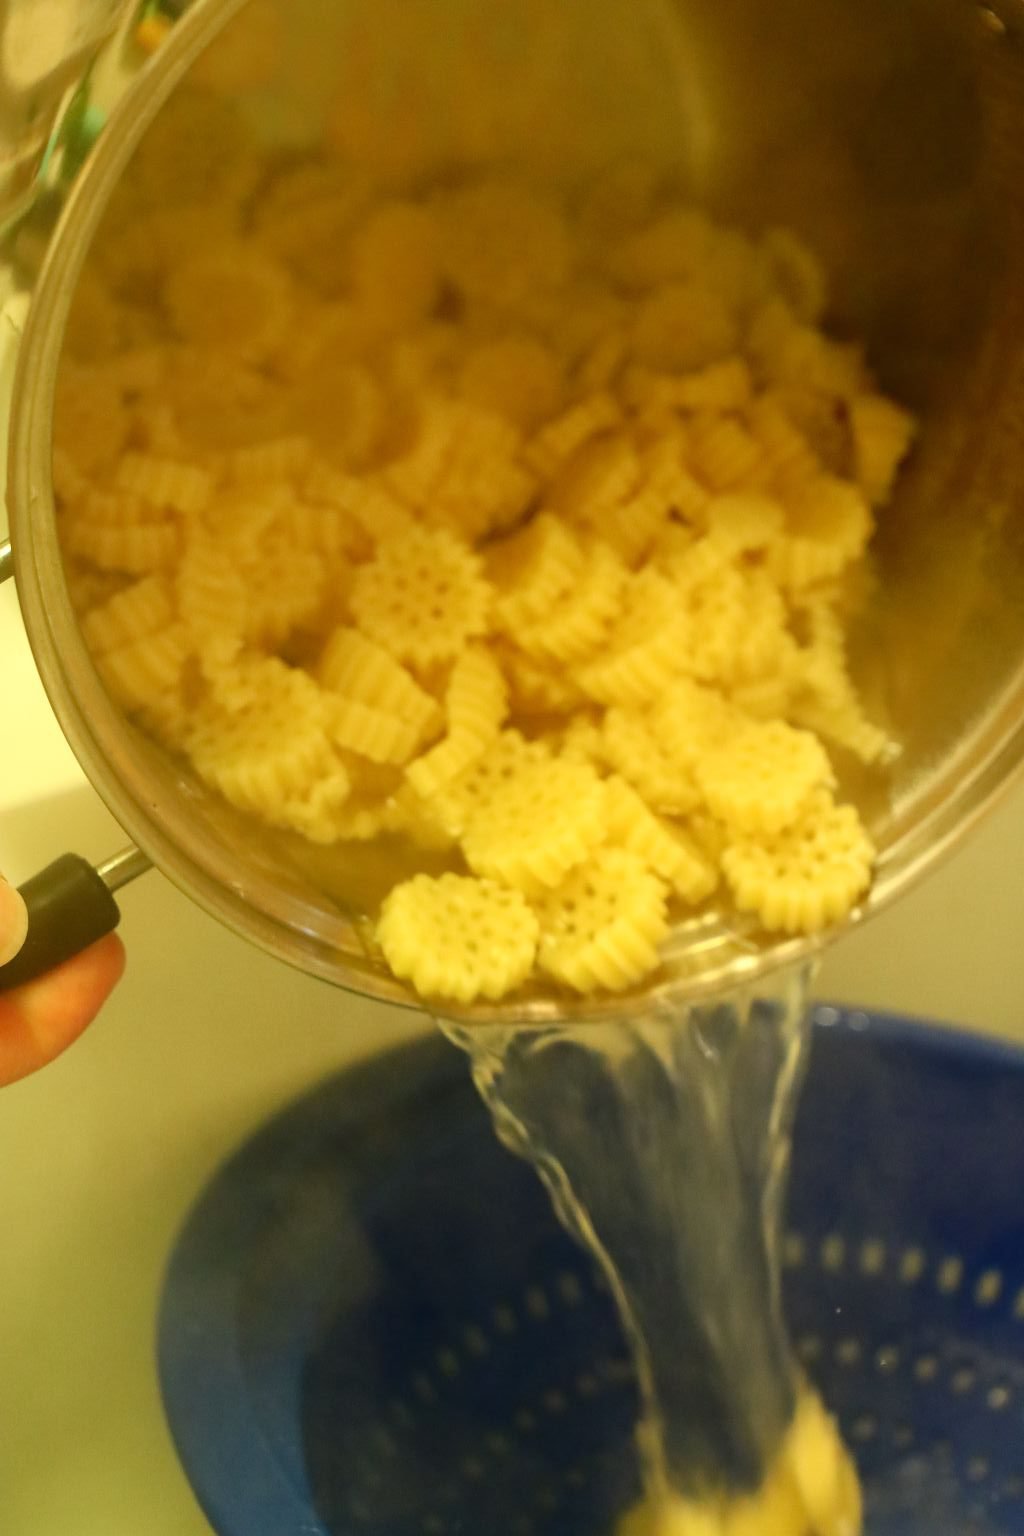
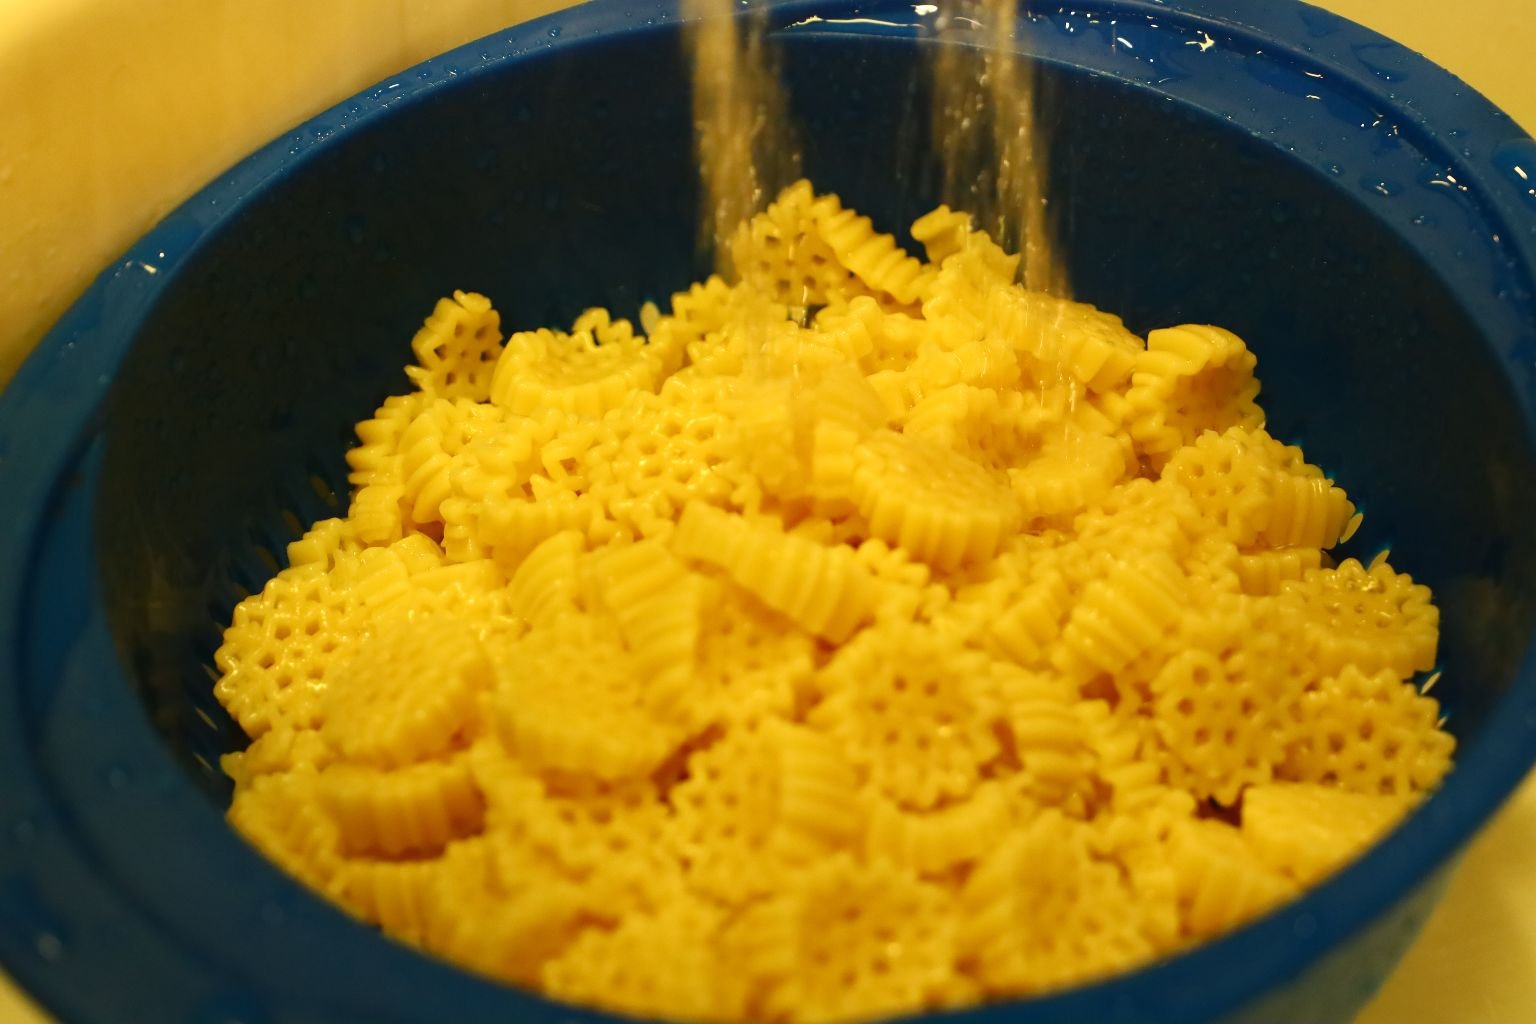
When your pasta is al dente, pour it into a colander and rinse is with cold water to stop the cooking process.
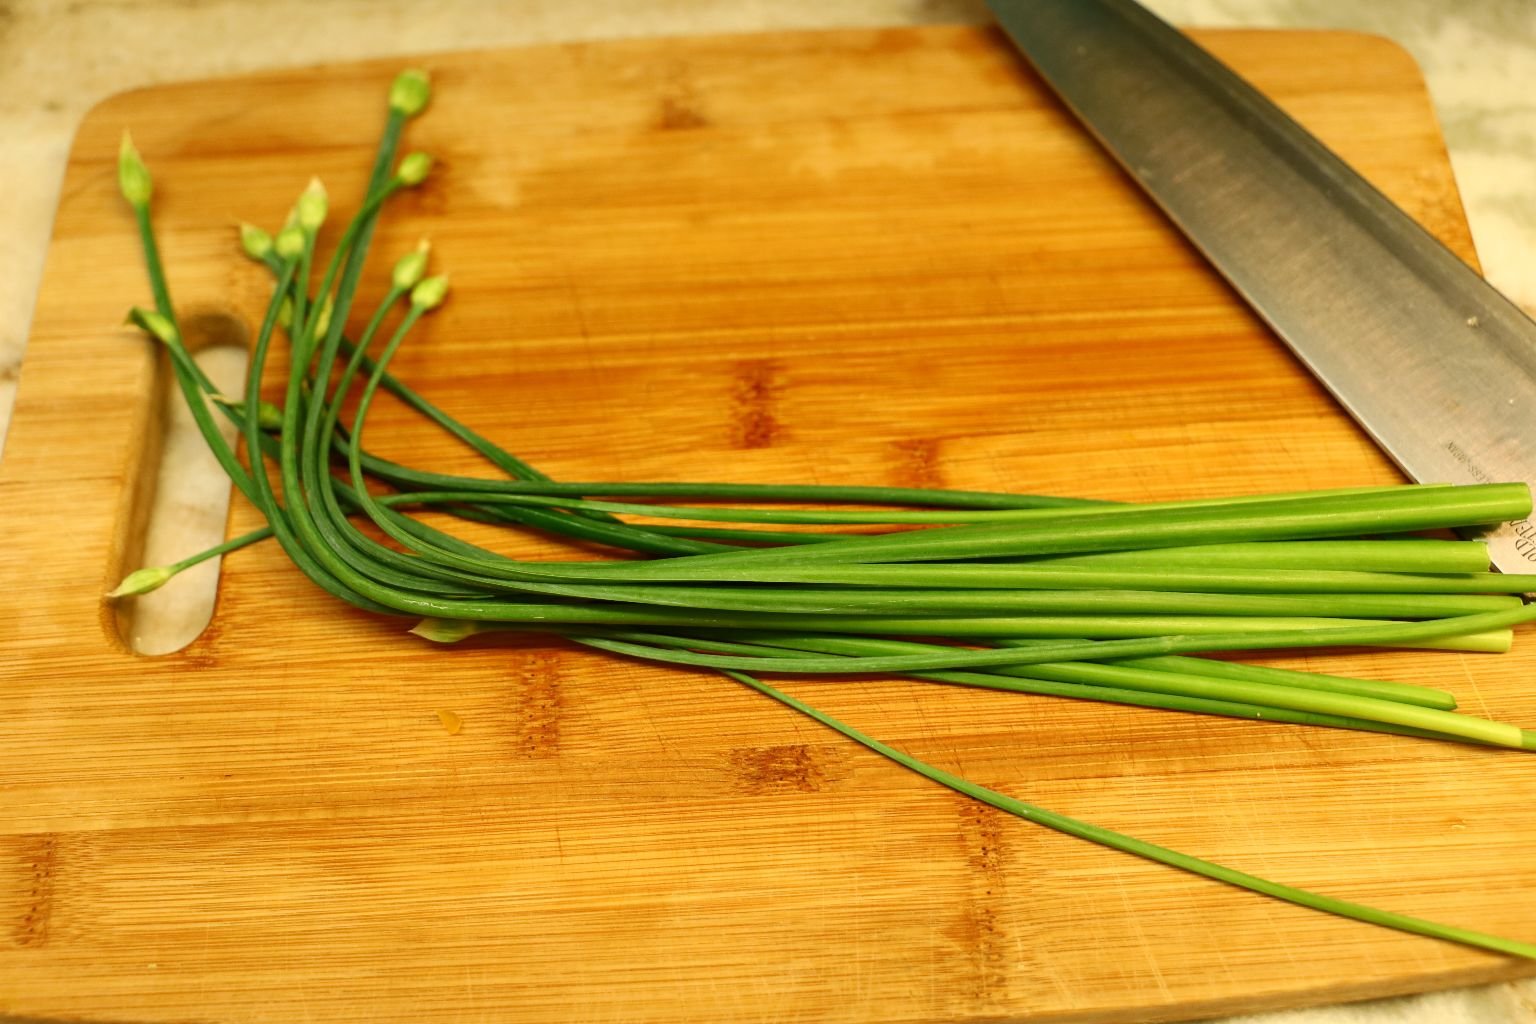
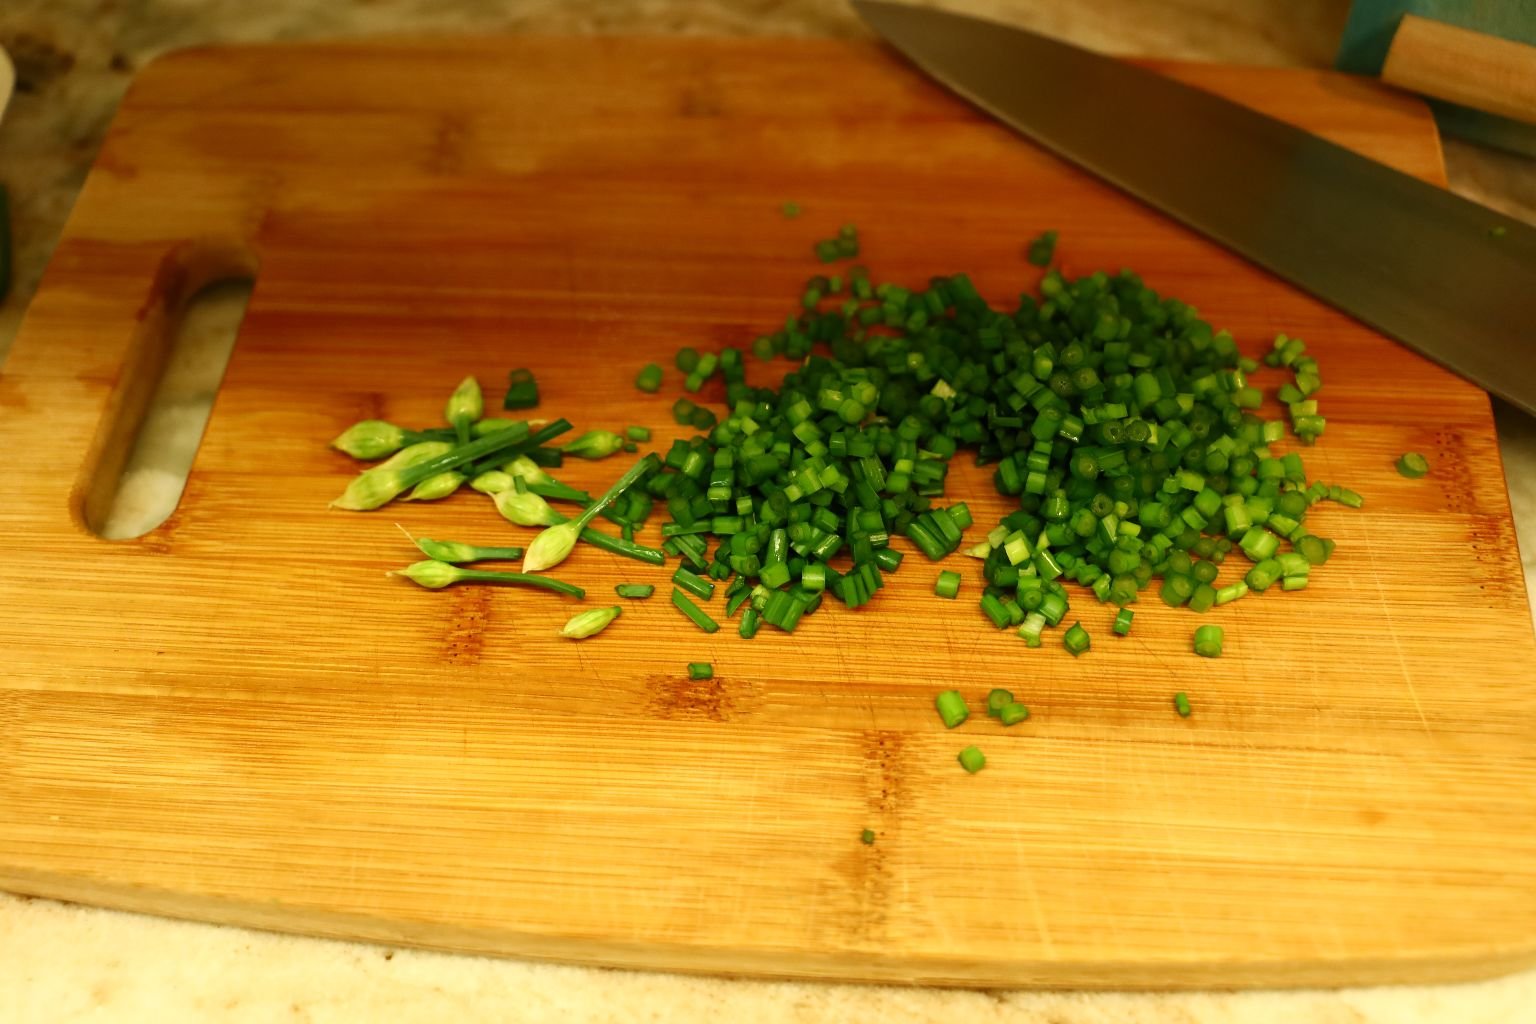
Slice your chives as shown. If you don’t have chives, green onions will work.
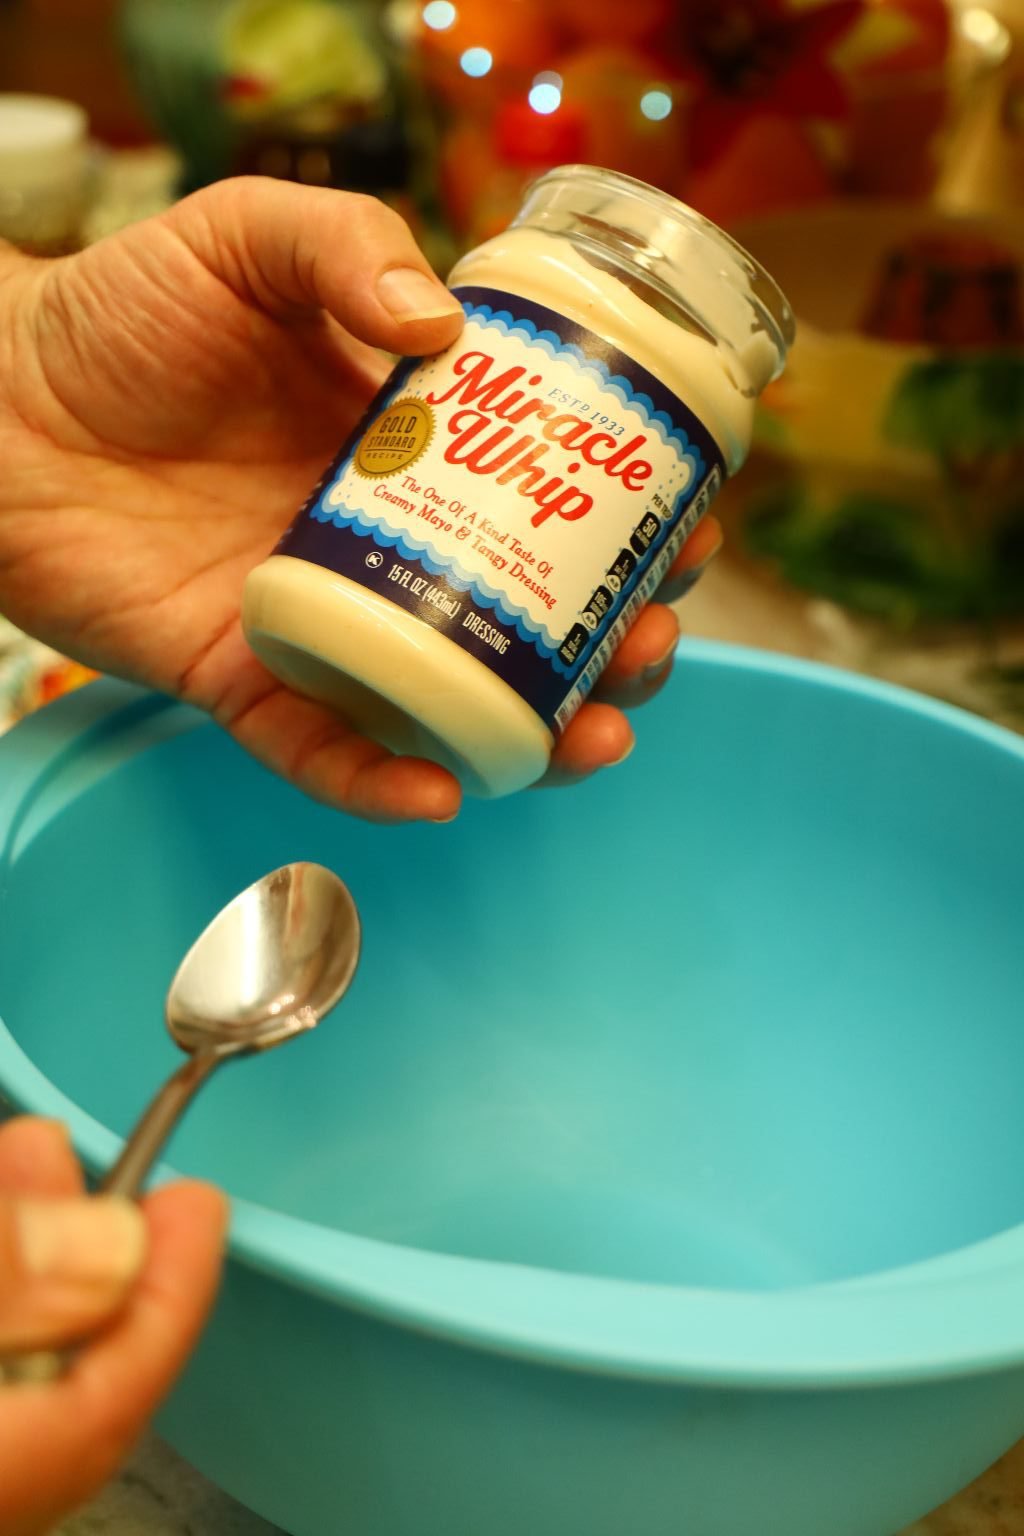
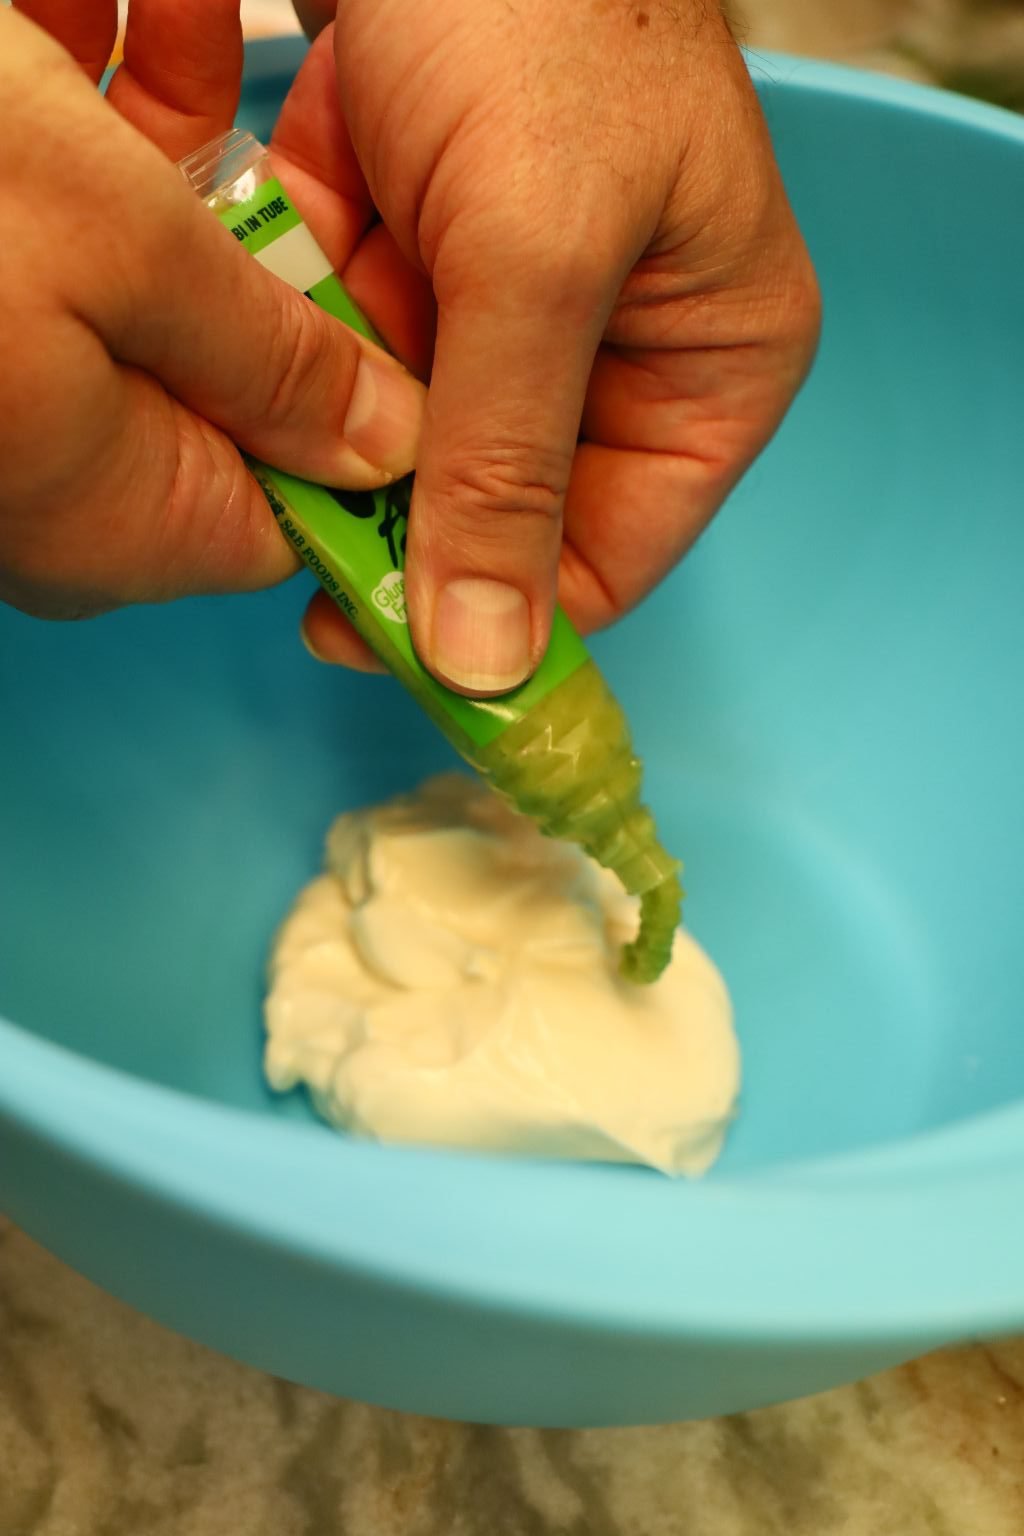
Place your Miracle Whip, or if your prefer you could use Mayonnaise into a large bowl. Then add your Wasabi to taste.
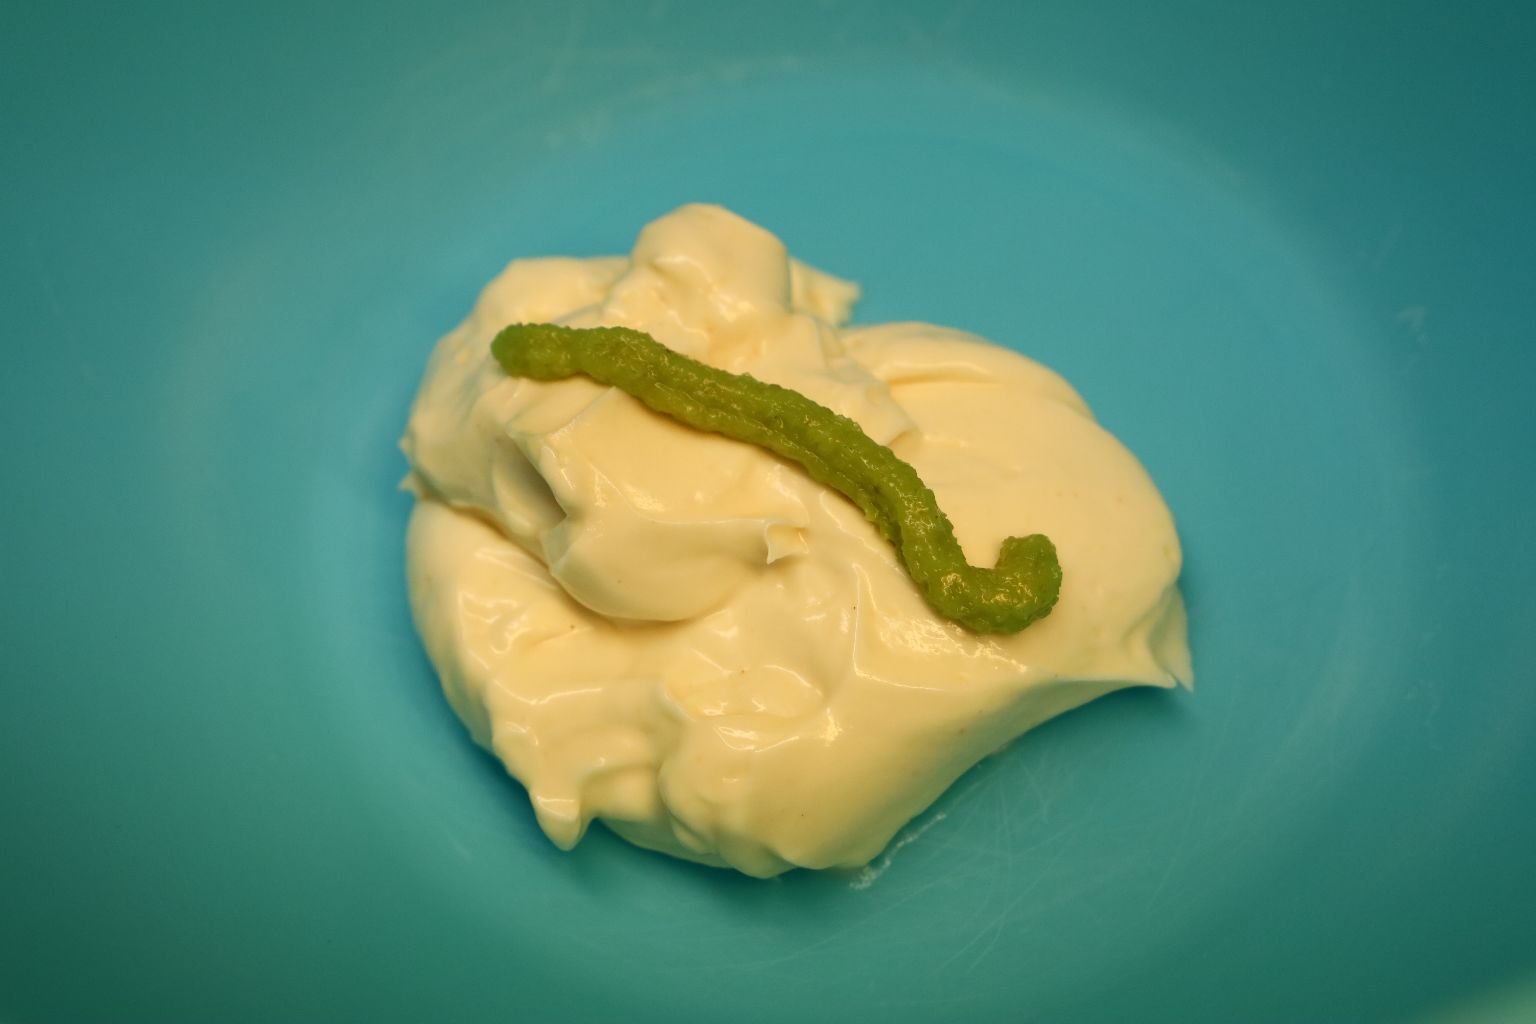
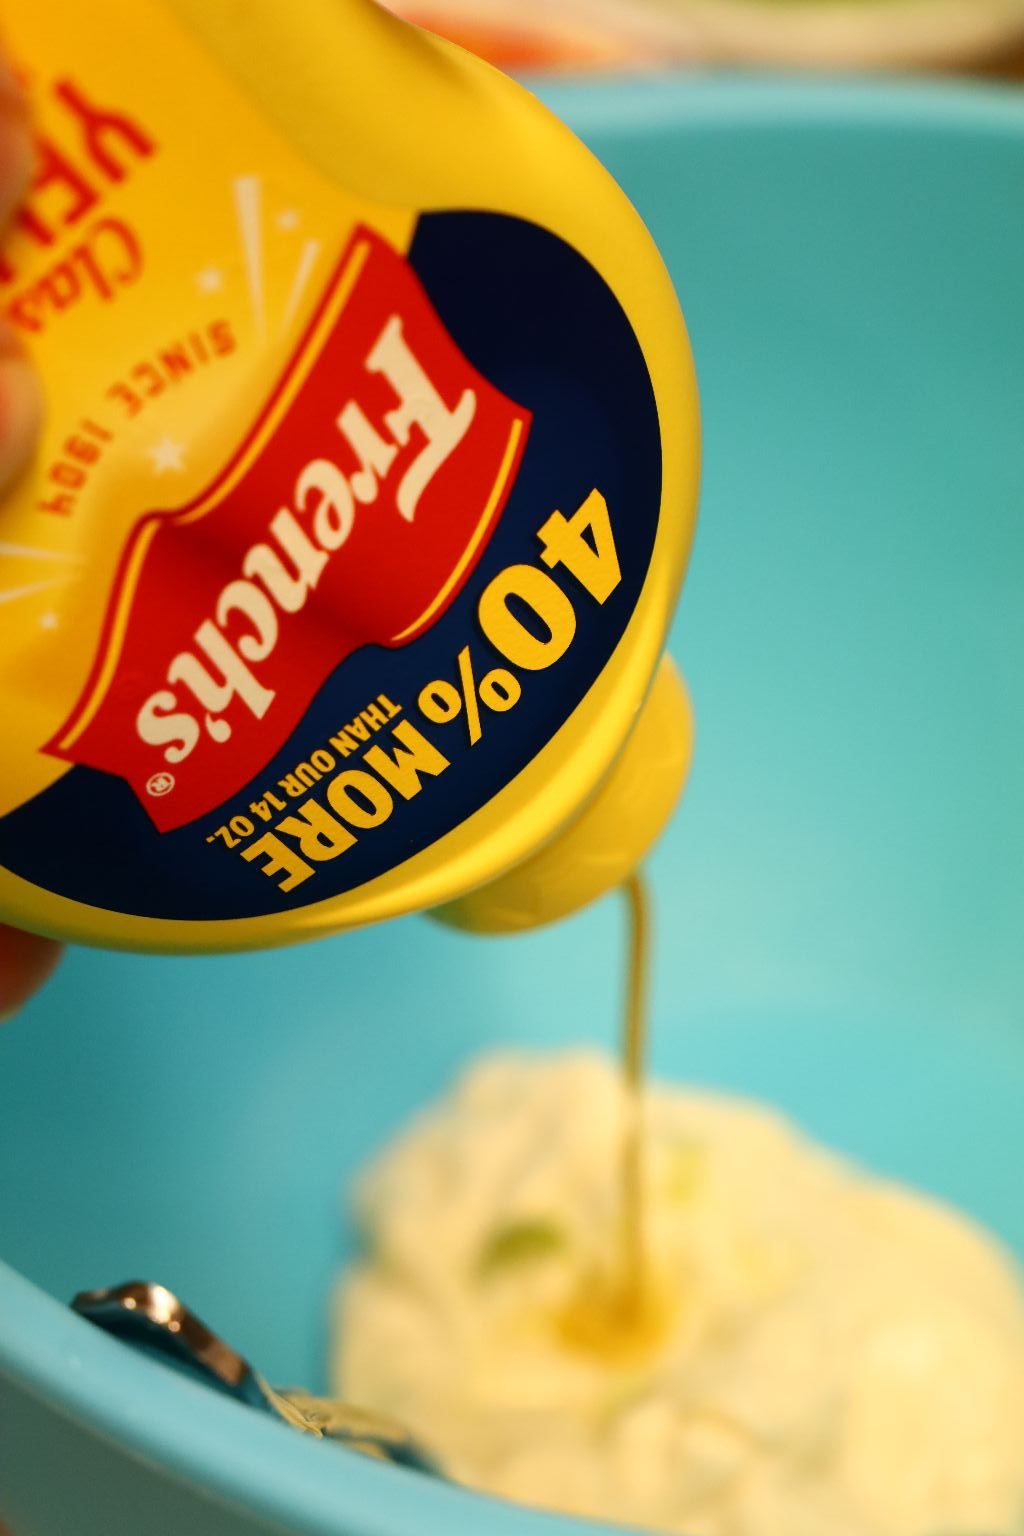
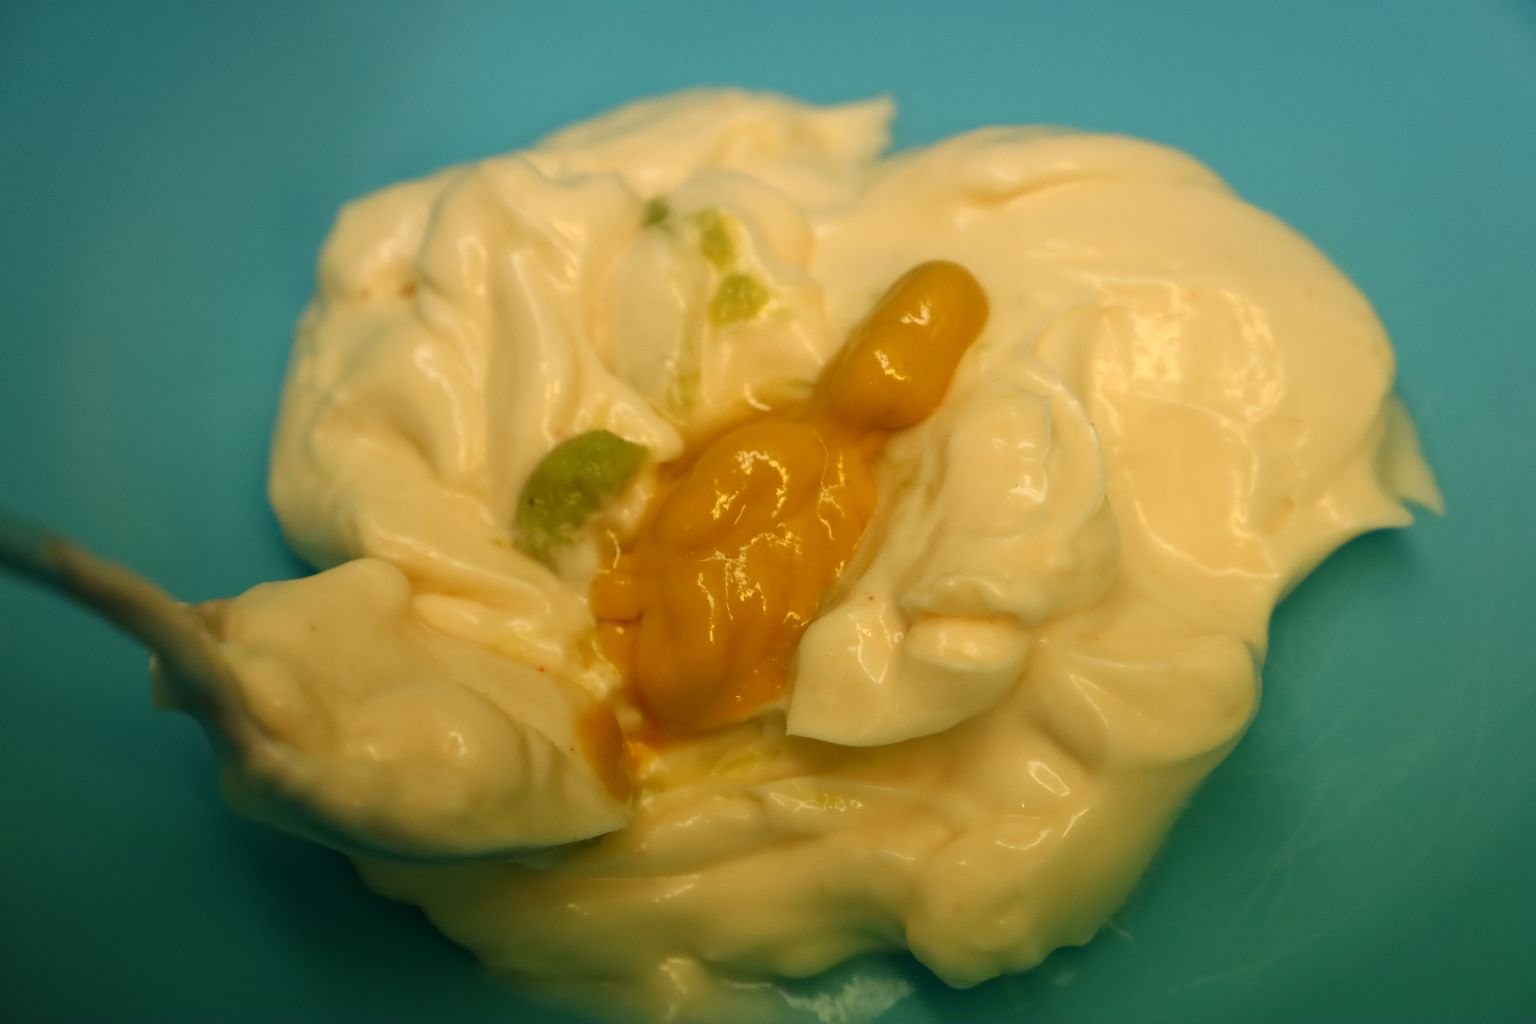
Here you can see we added about 3 inches of Wasabi… go bold! Then add your mustard.
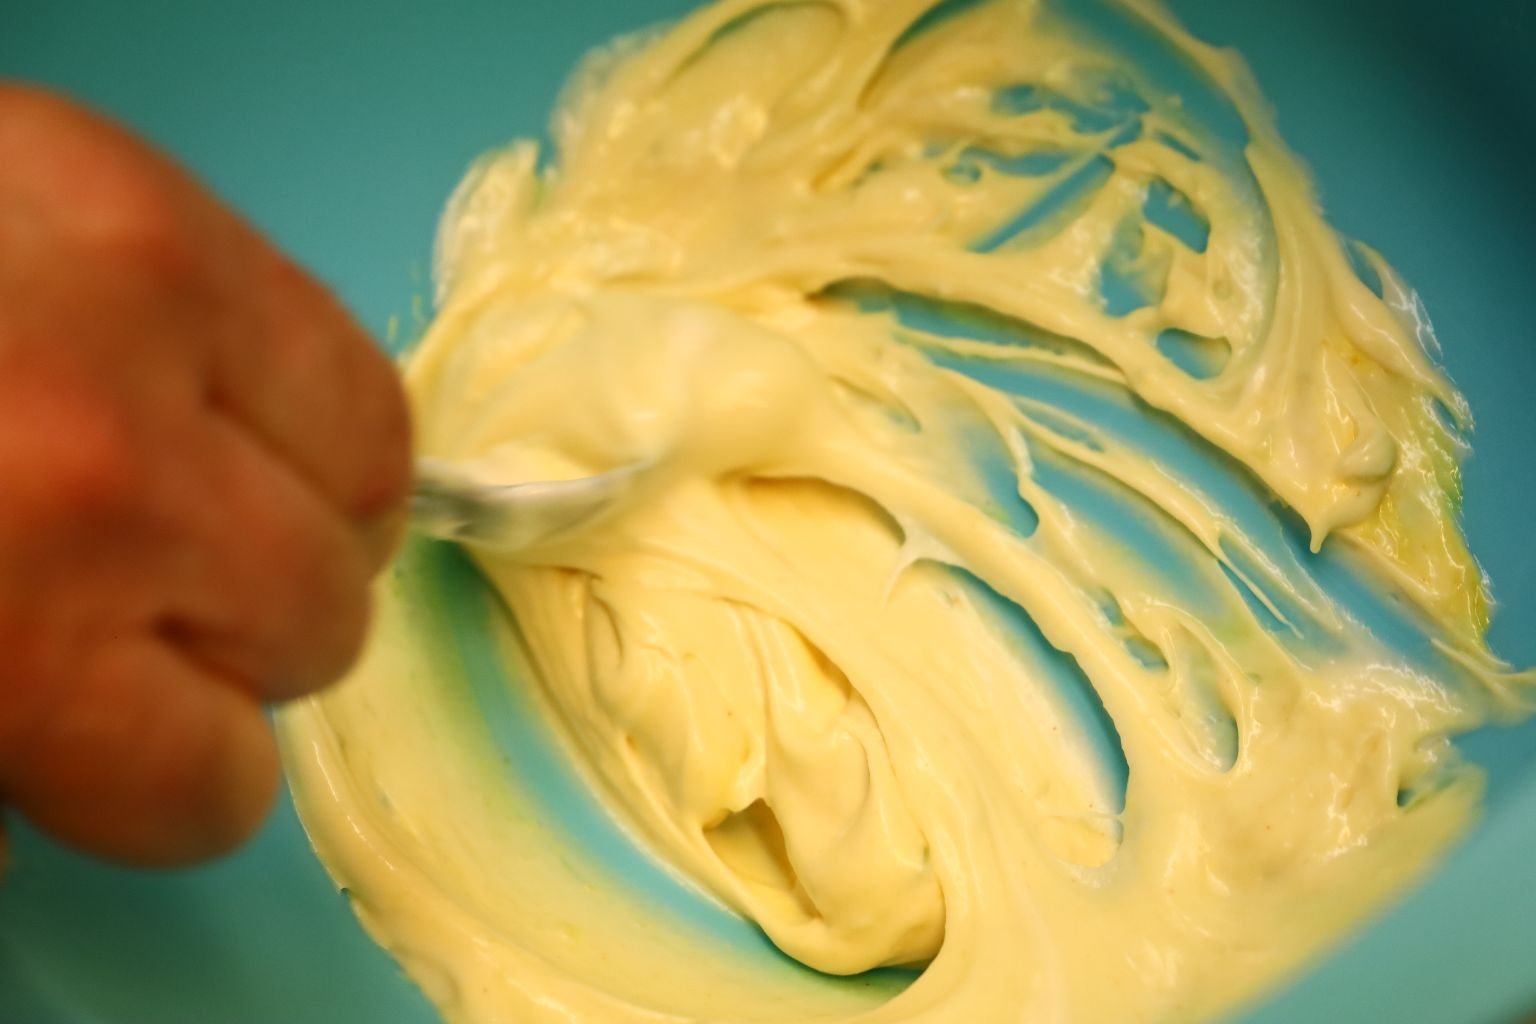
Mix all the ingredients in the sauce well and taste, add more of any ingredient if needed.
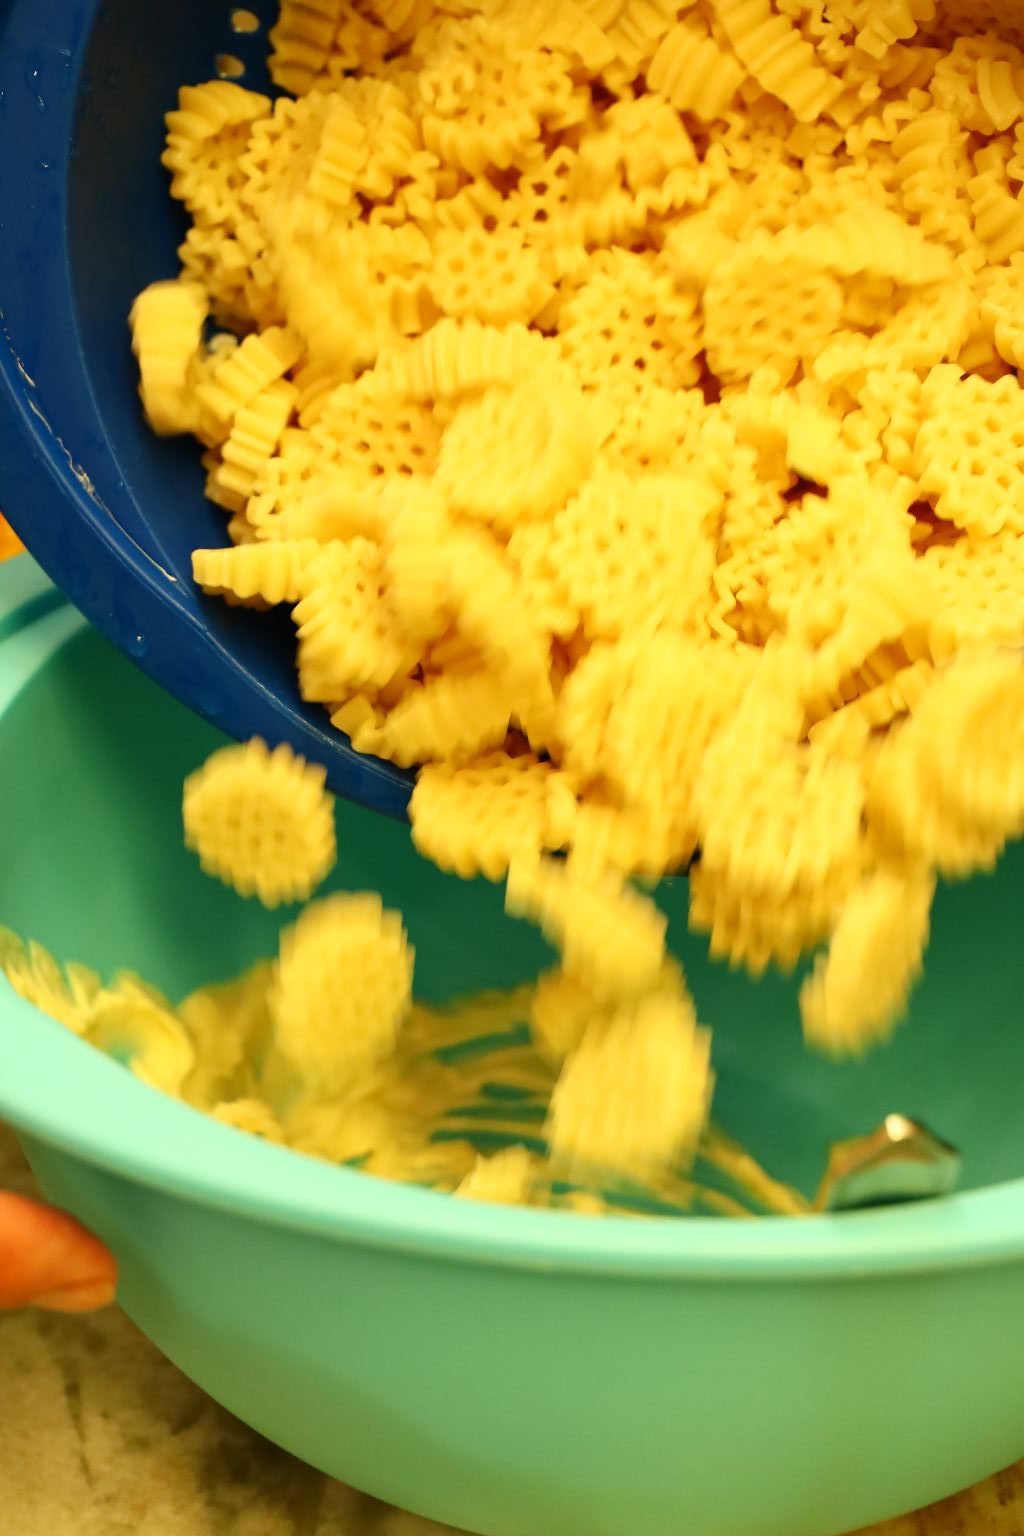
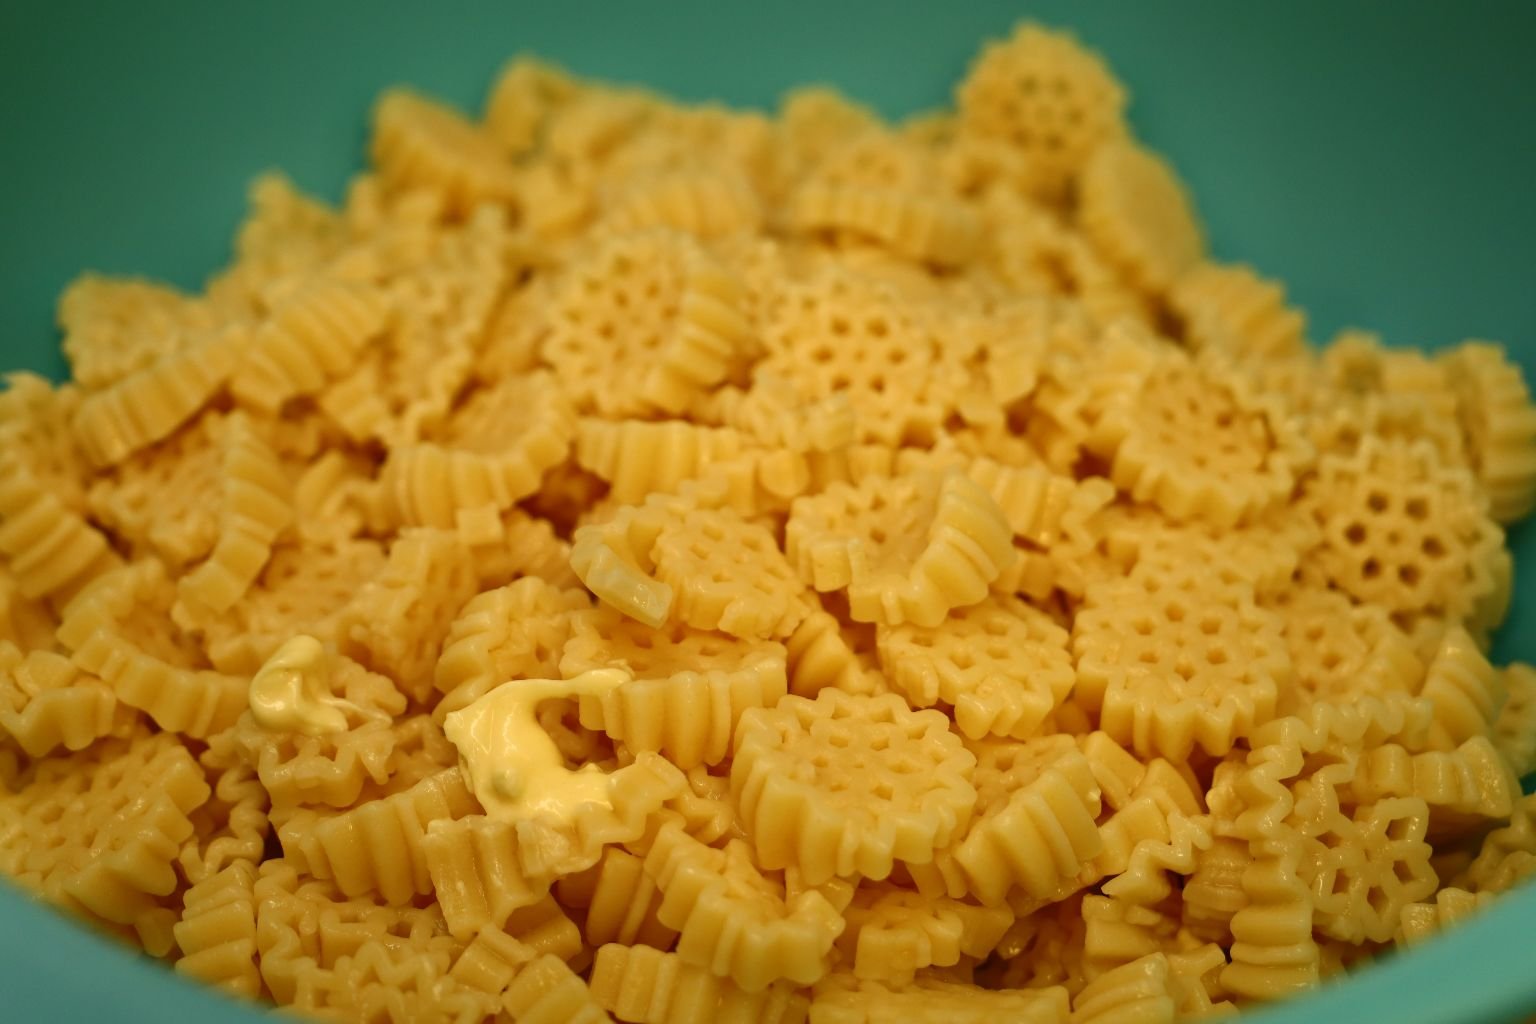
Add your cooled and well drained pasta to the bowl.
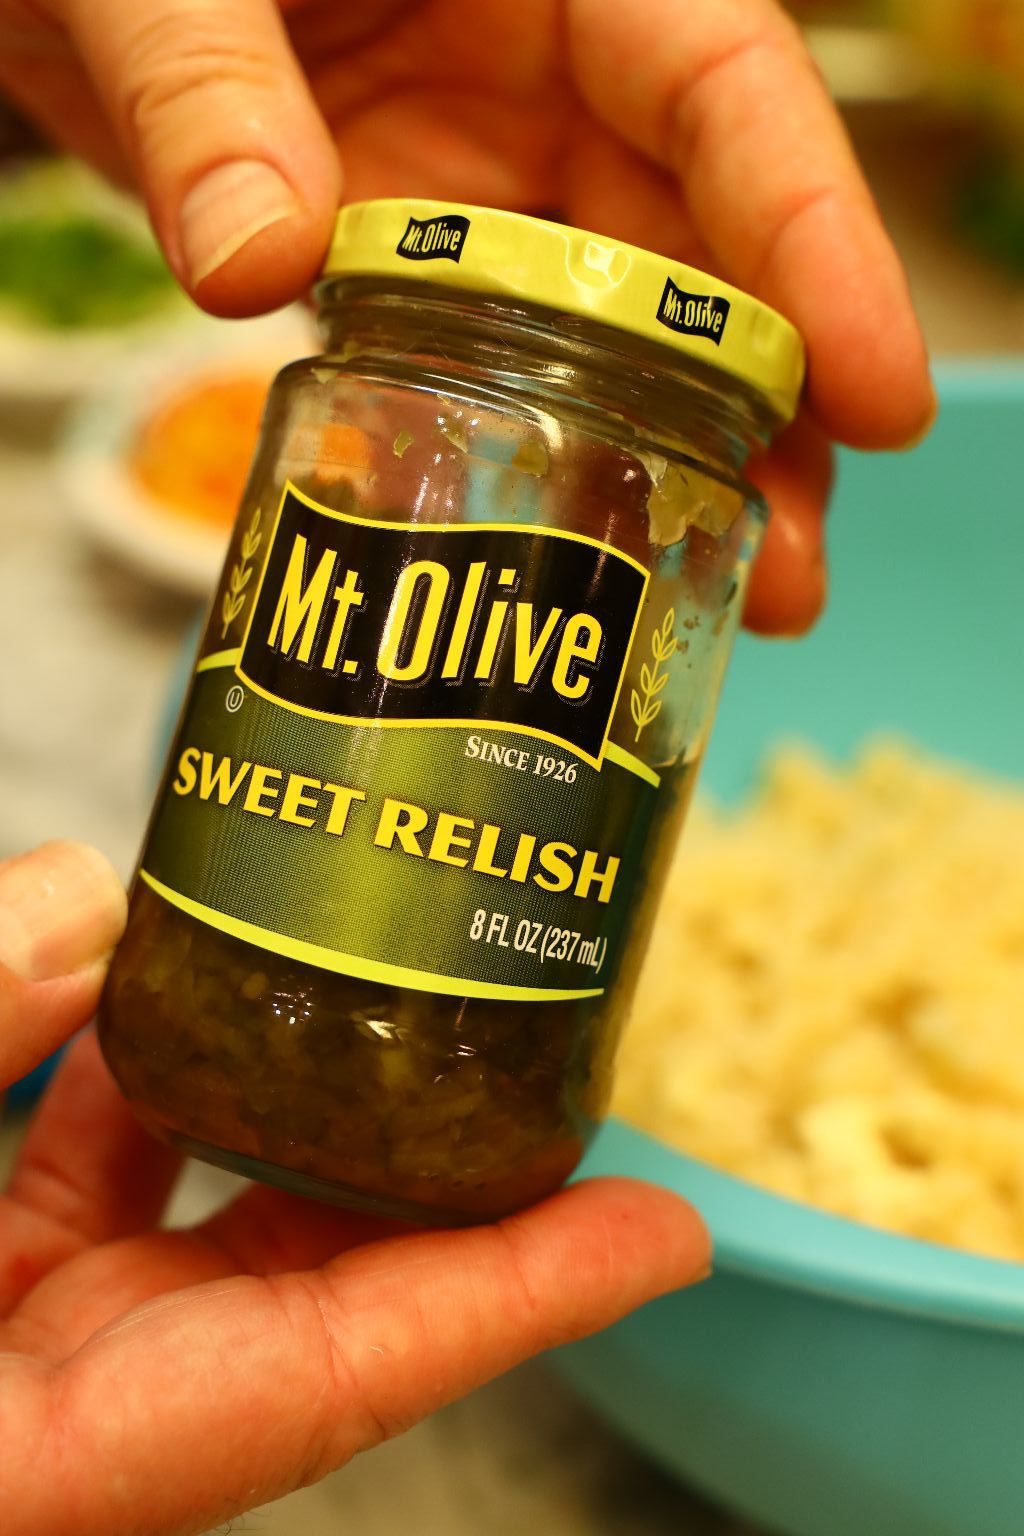
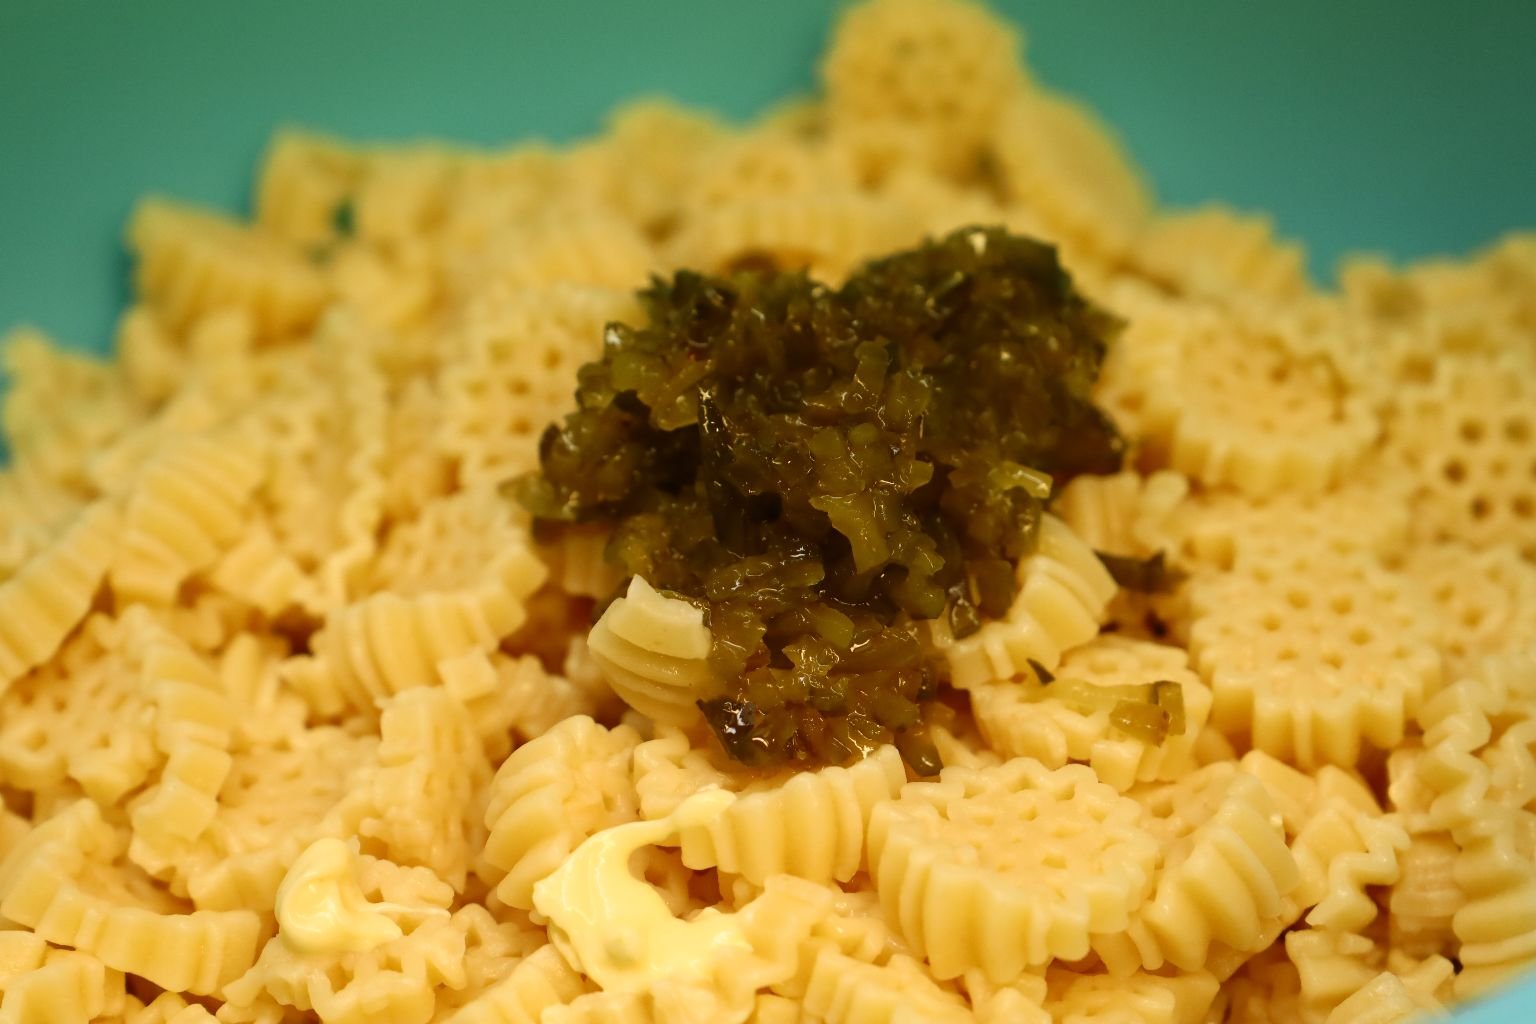
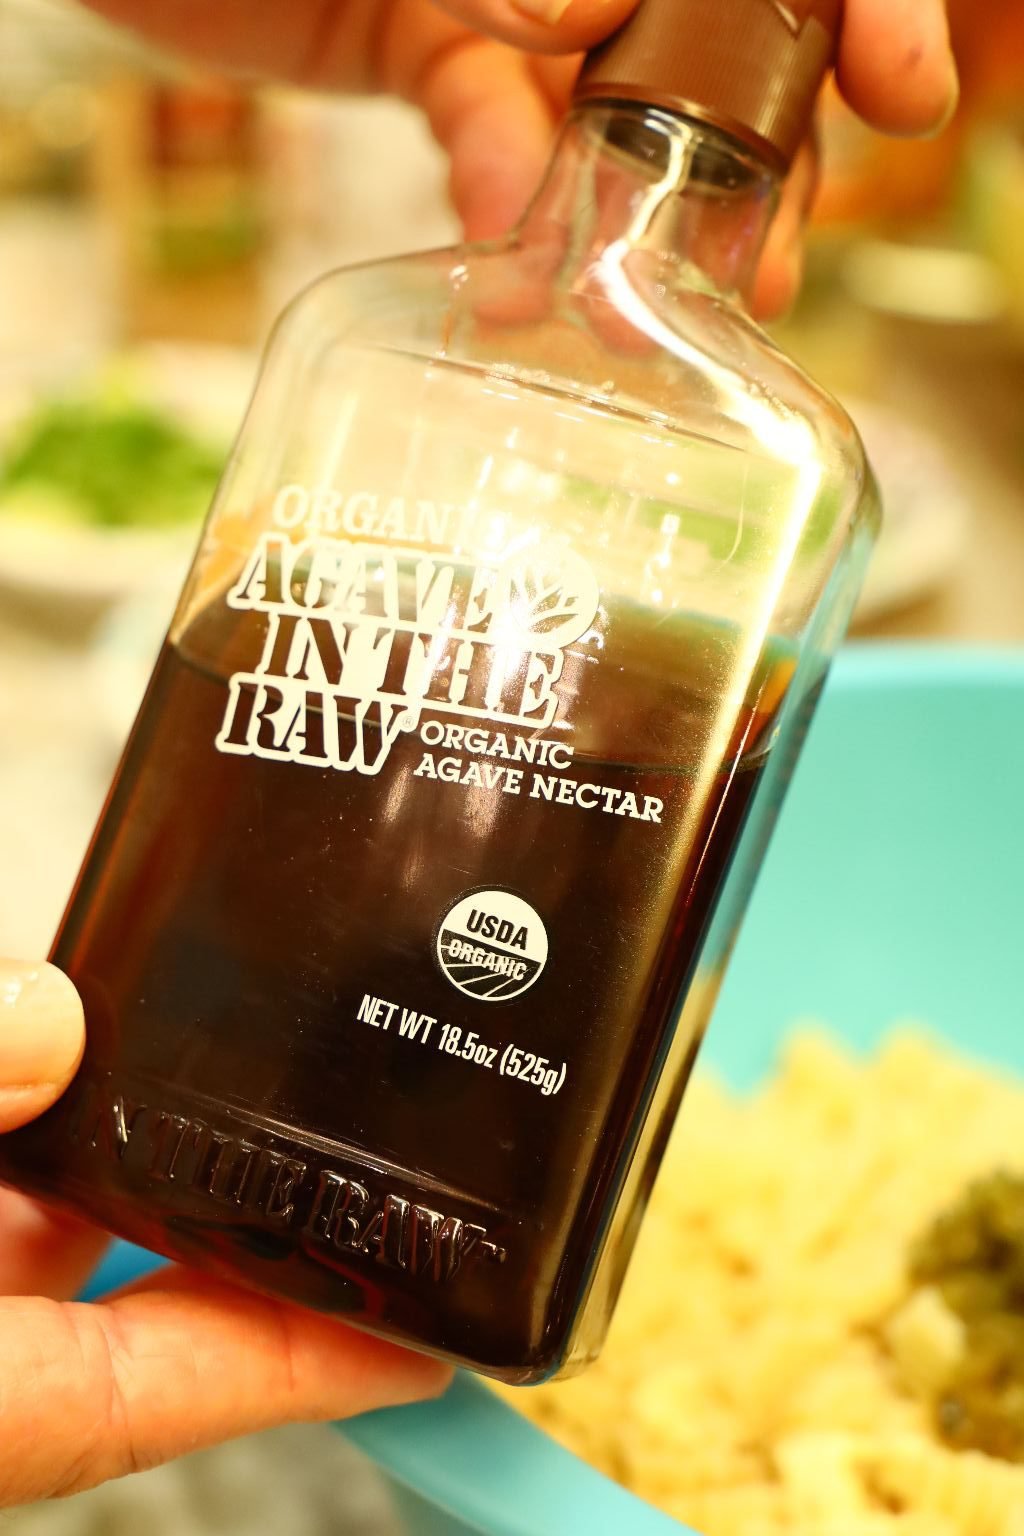
Now add your relish and Agave.
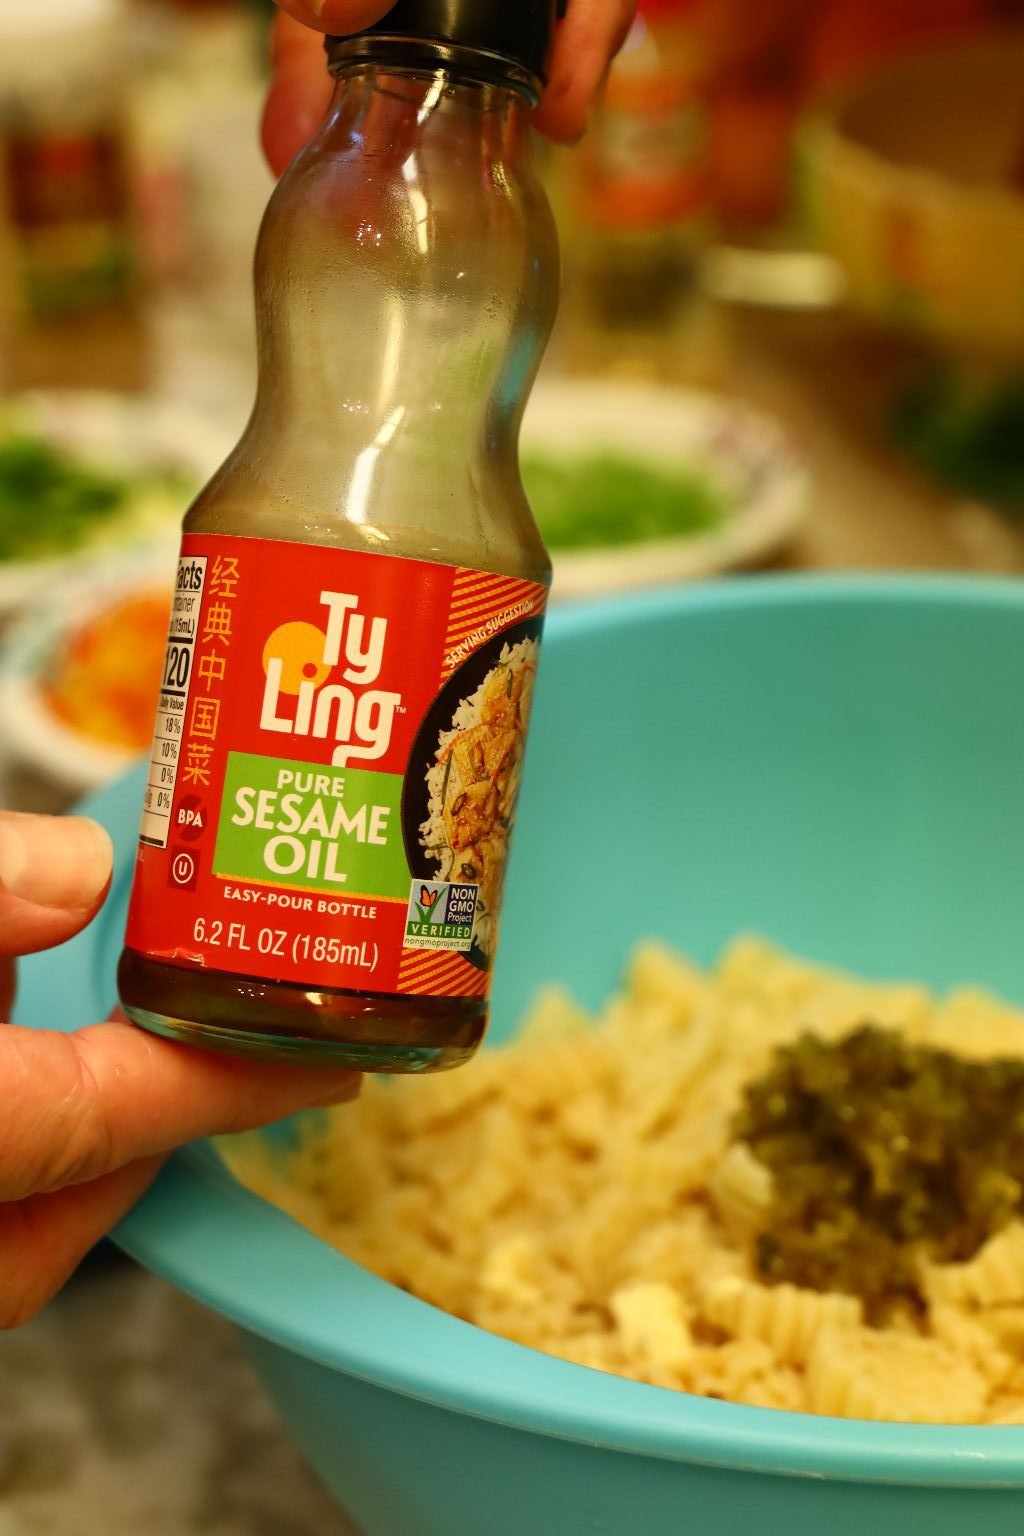
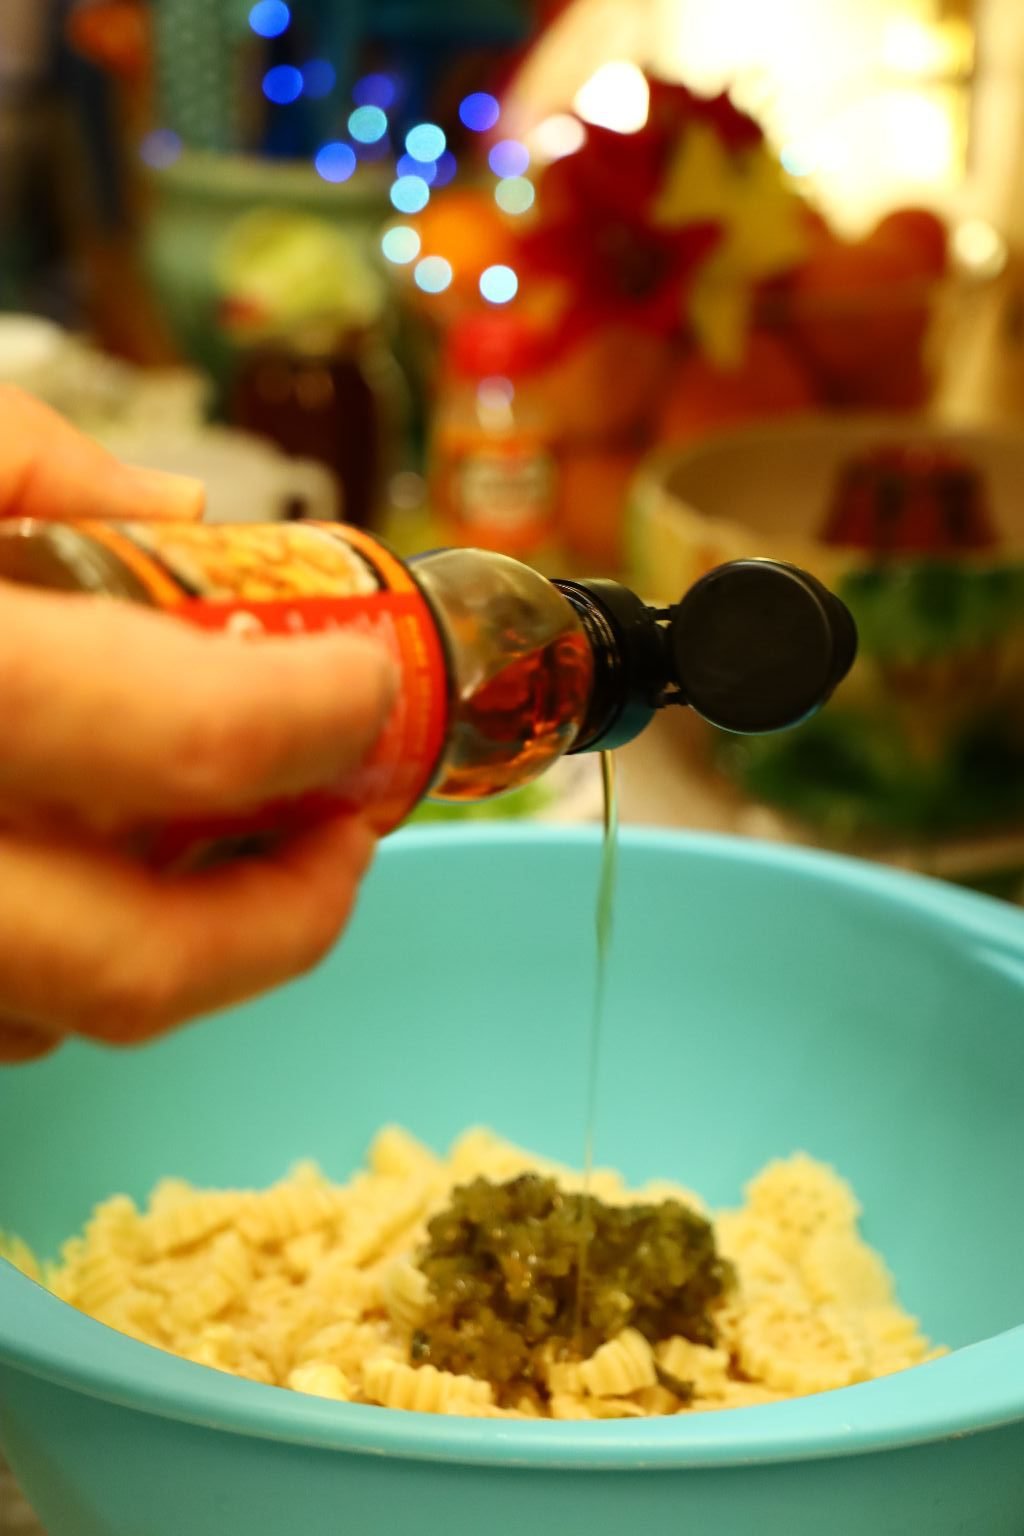
Then your Sesame Oil…
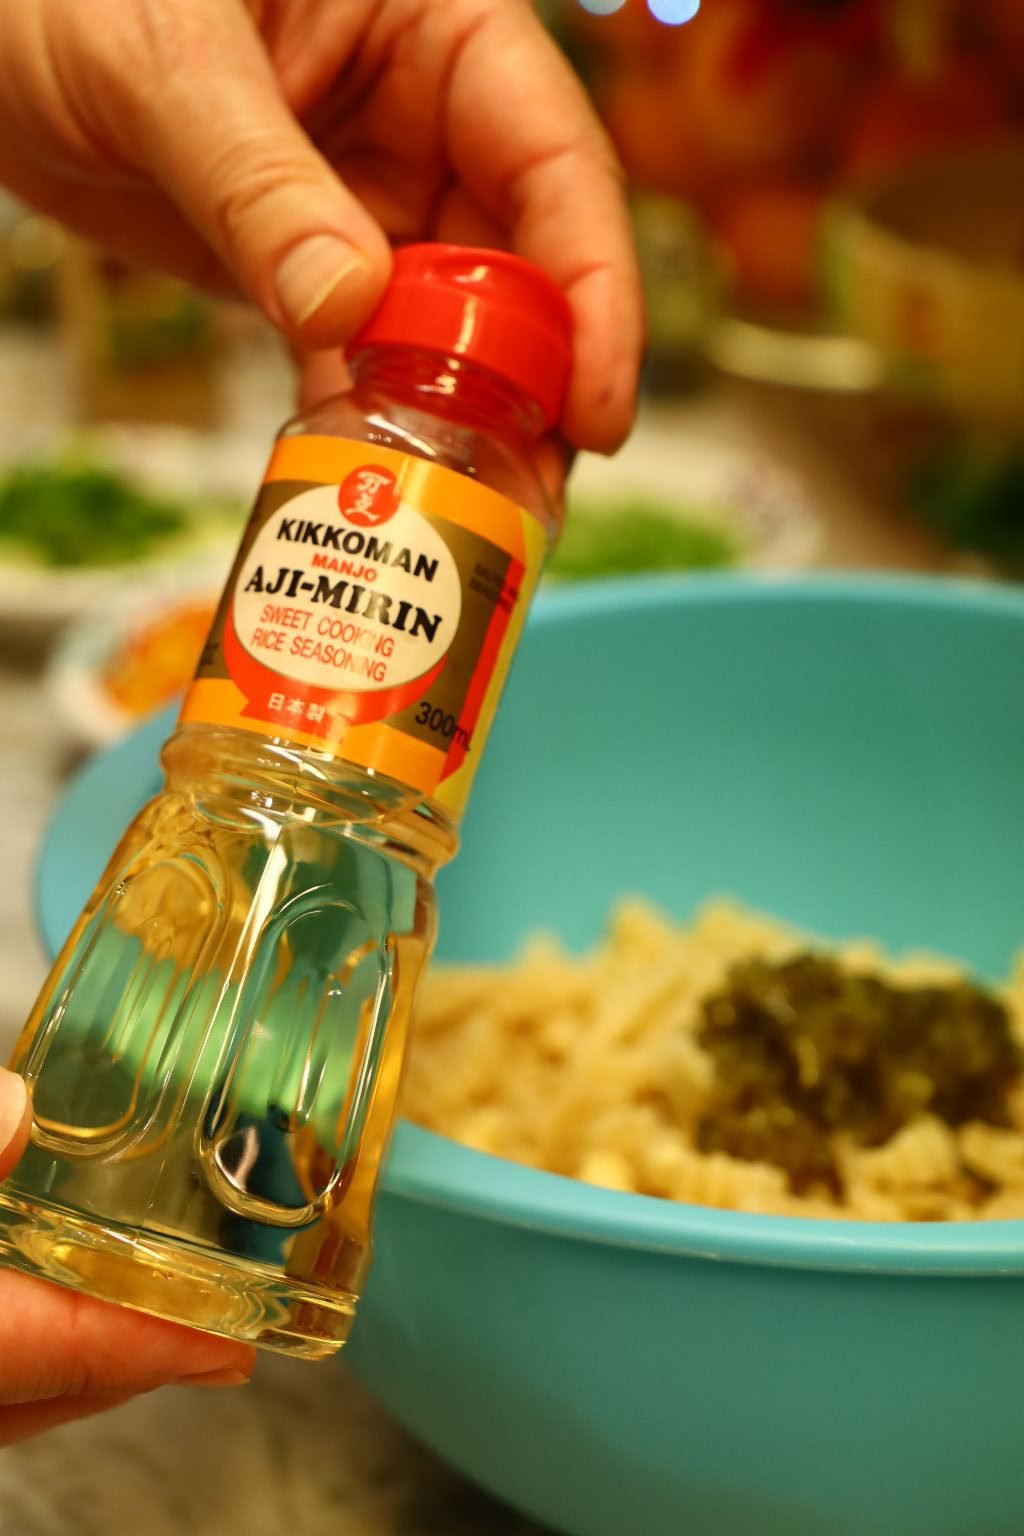
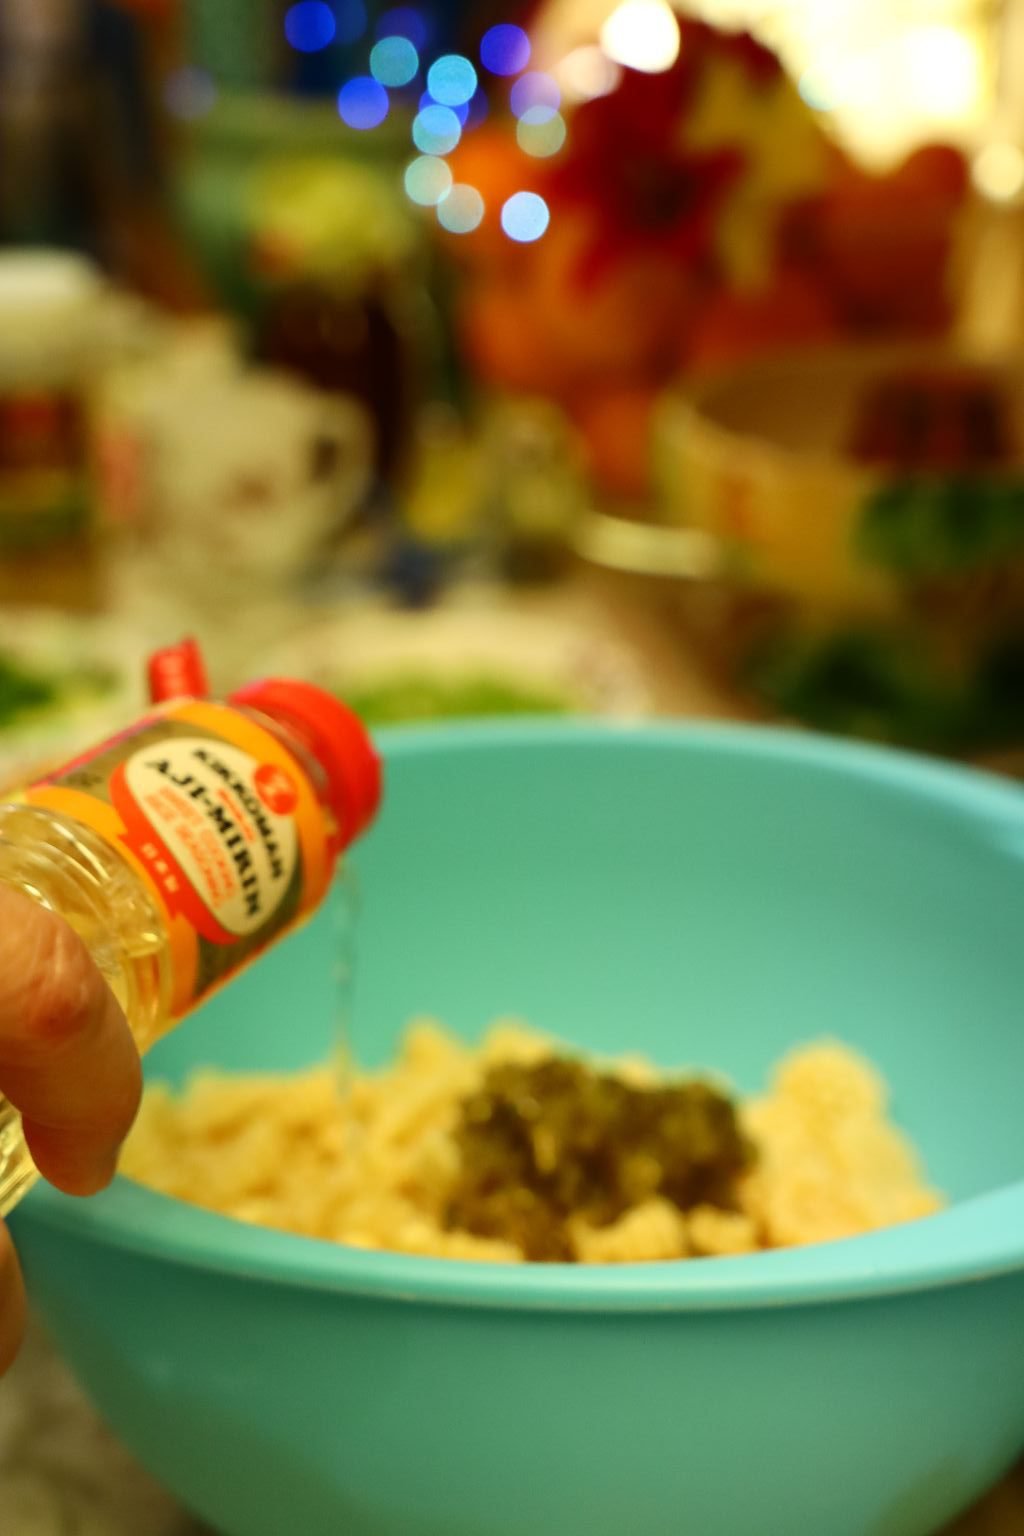
Miran…
—————————————————————–
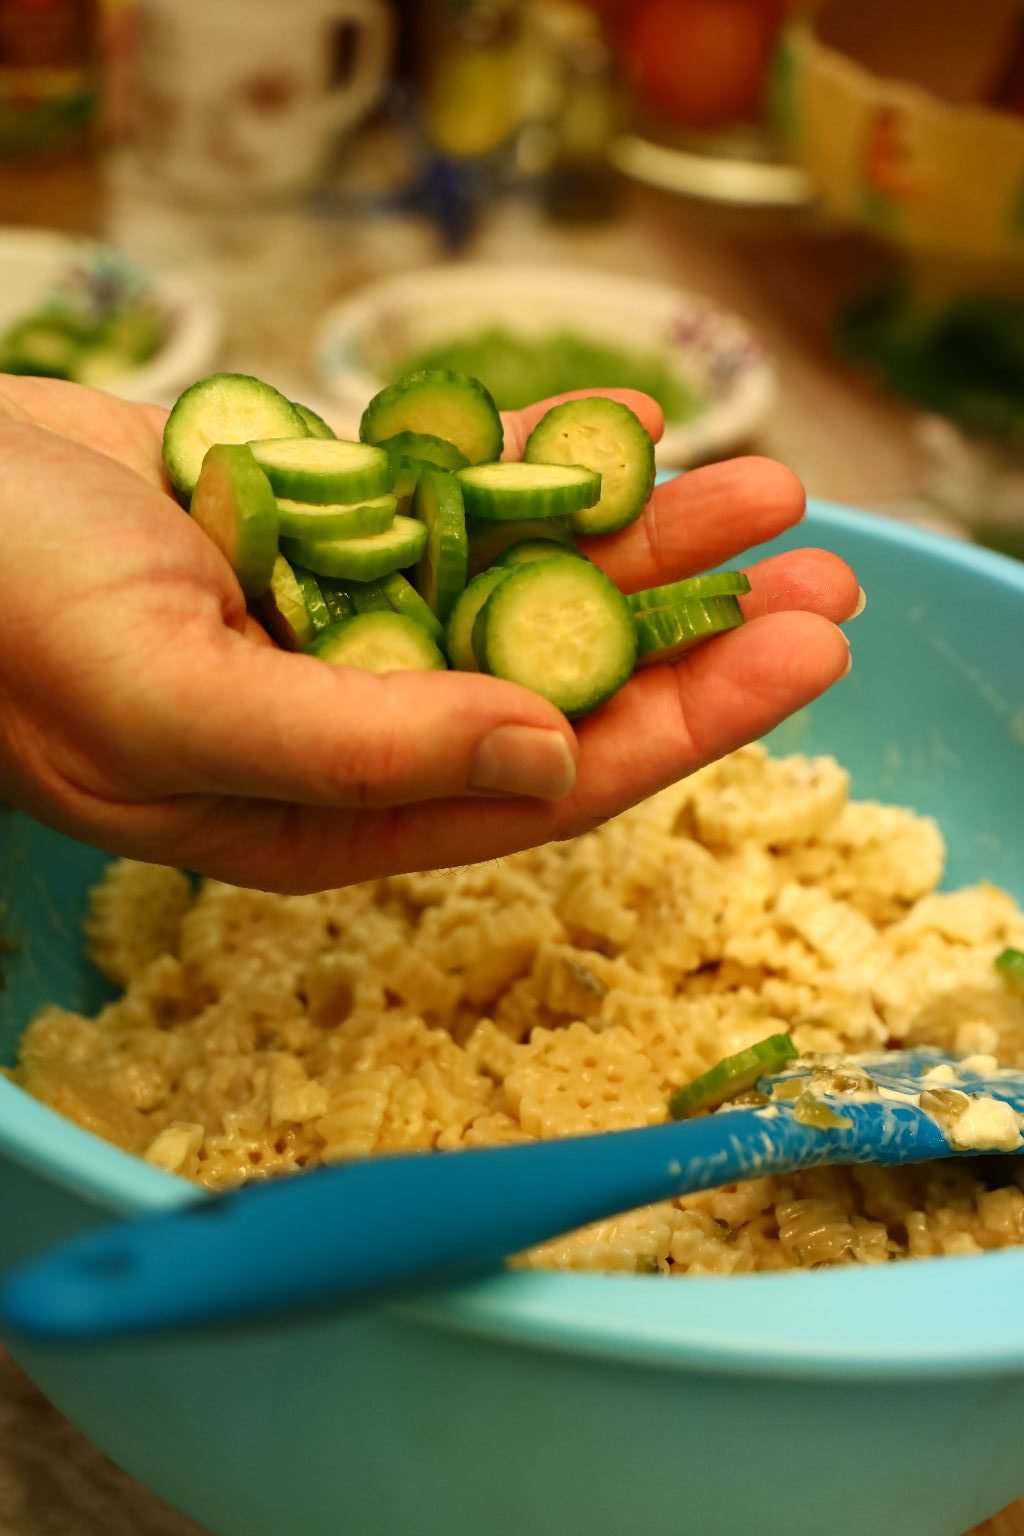
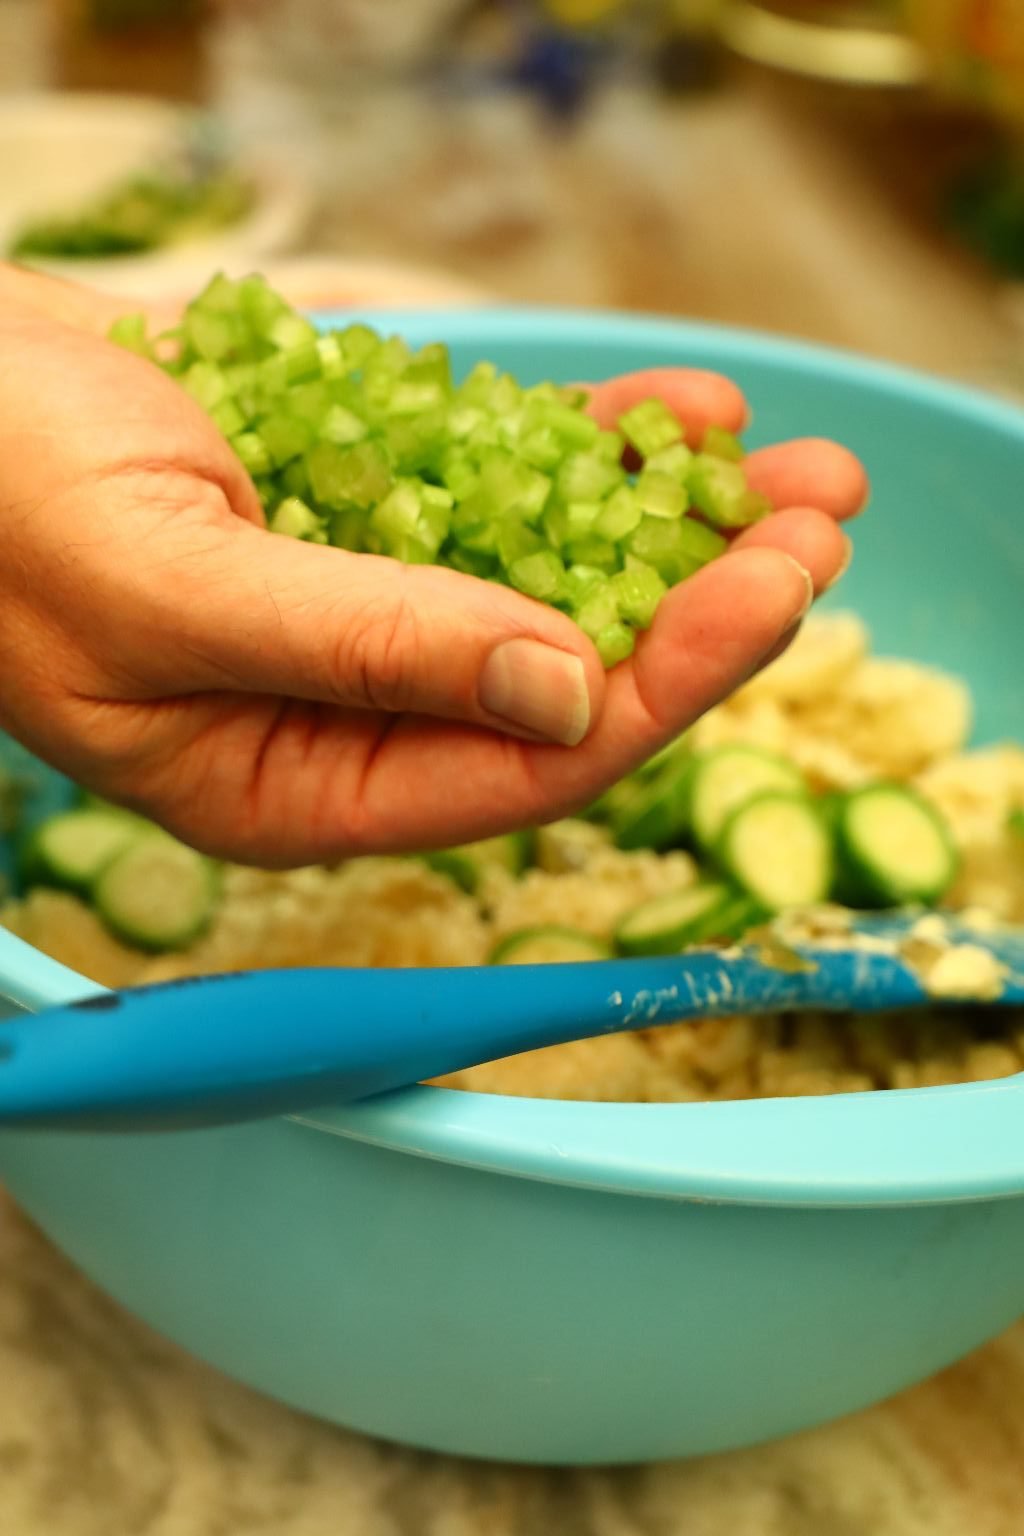
sliced cucumbers and celery…
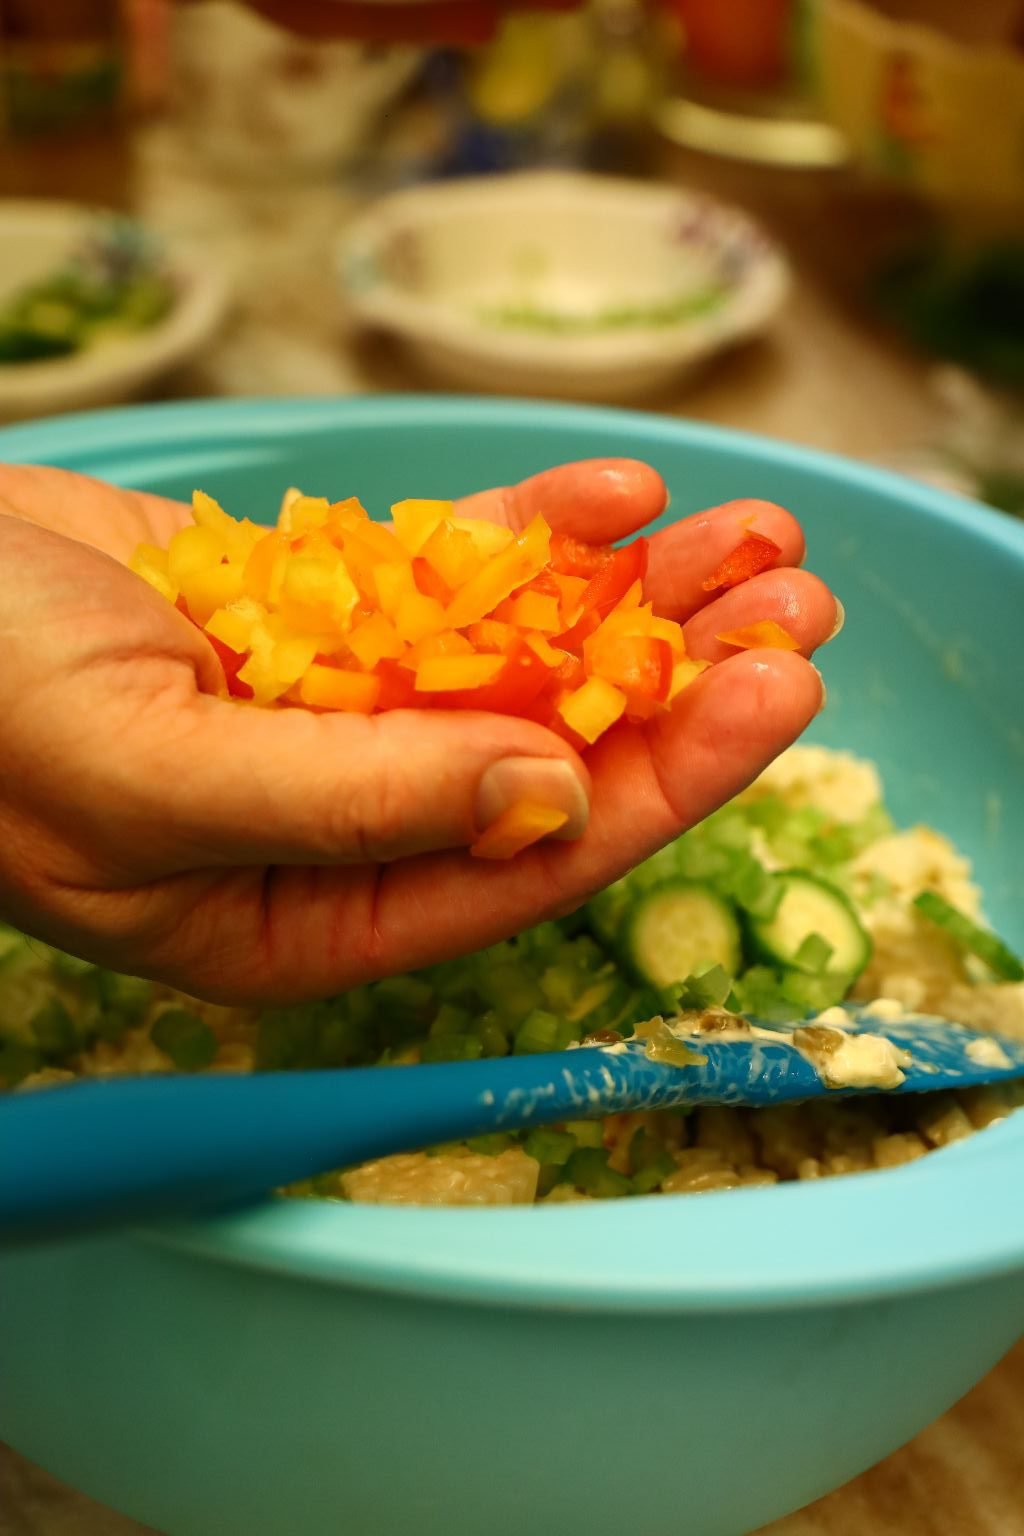
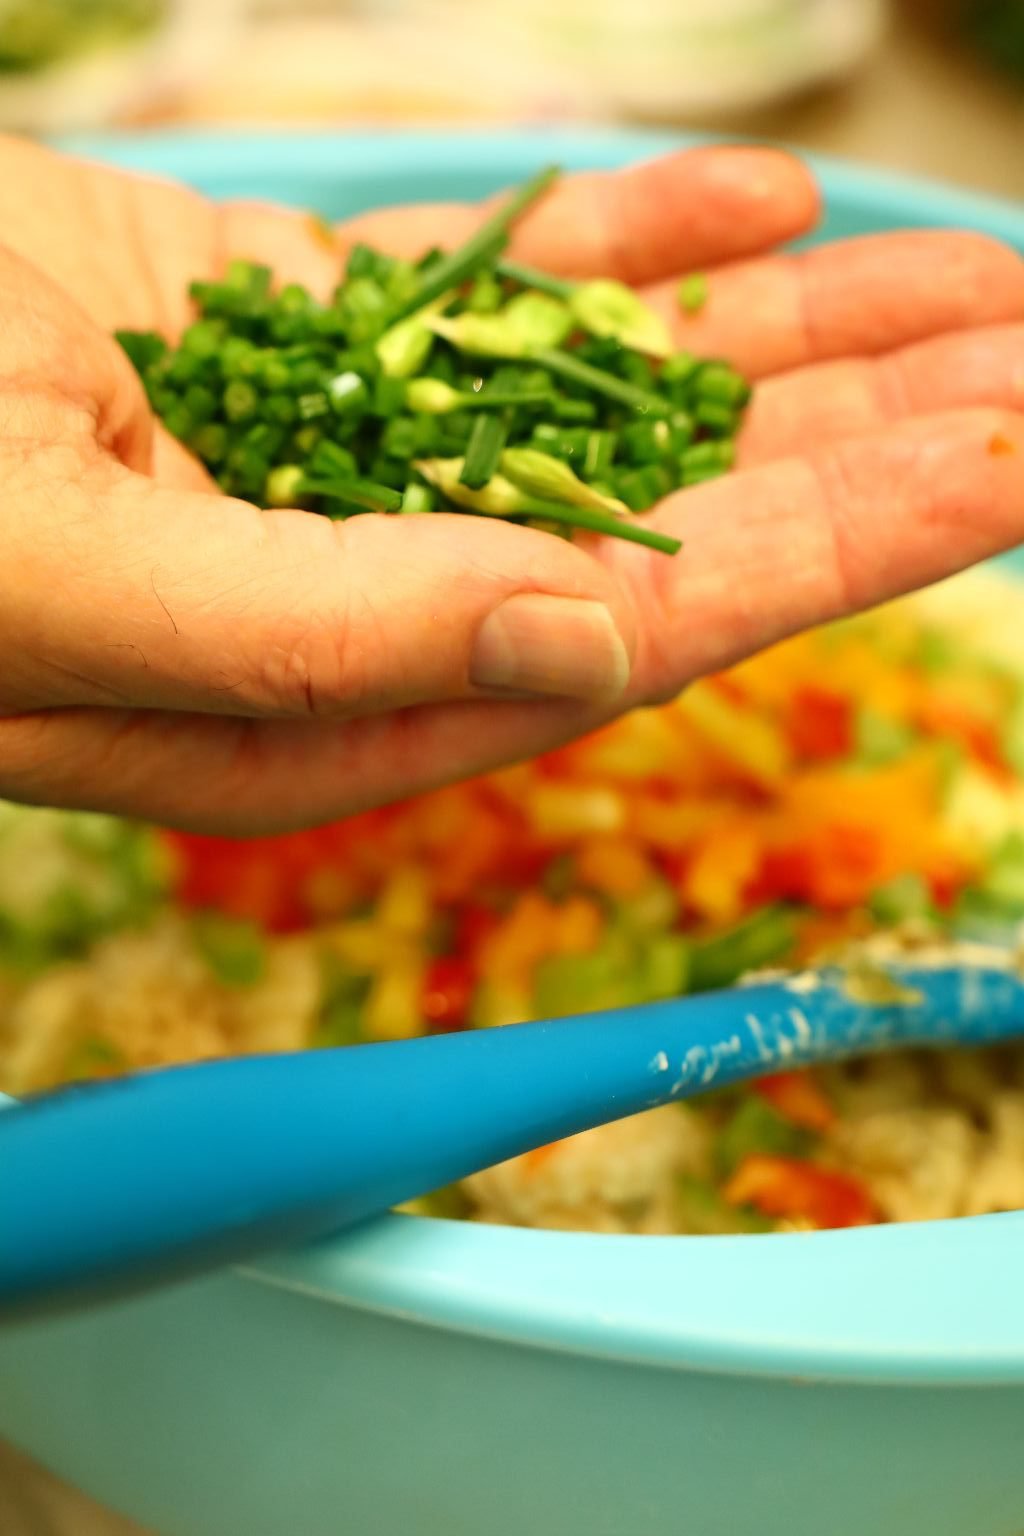
Bell Peppers and sliced Chives and Flowers…
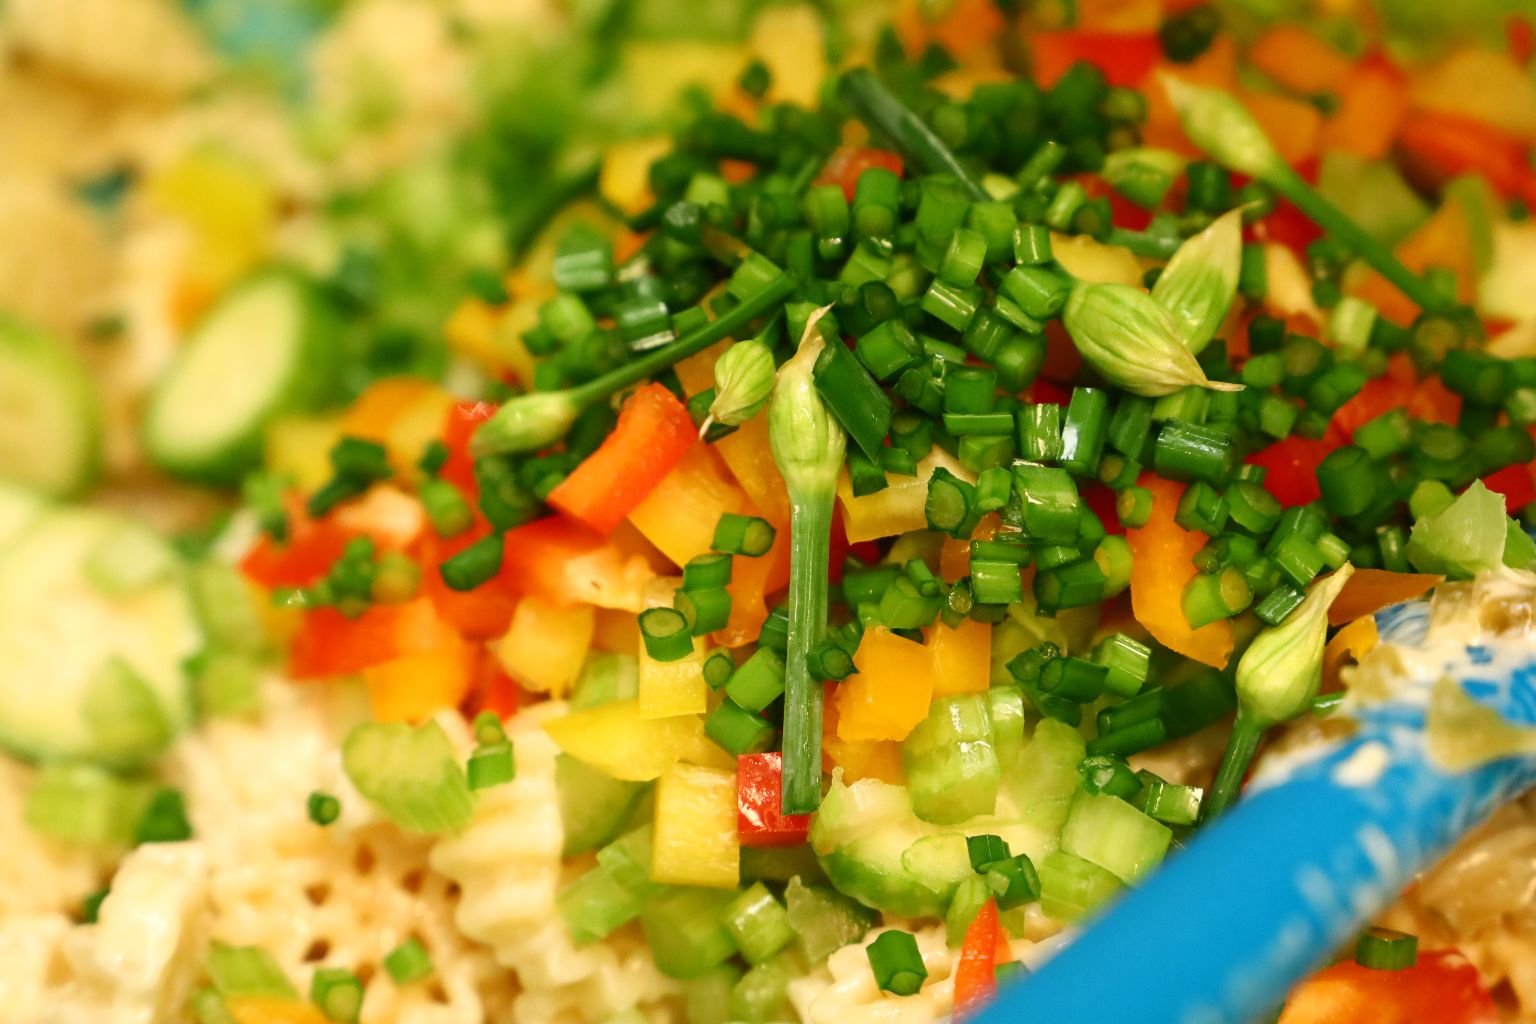
———————————————————————–
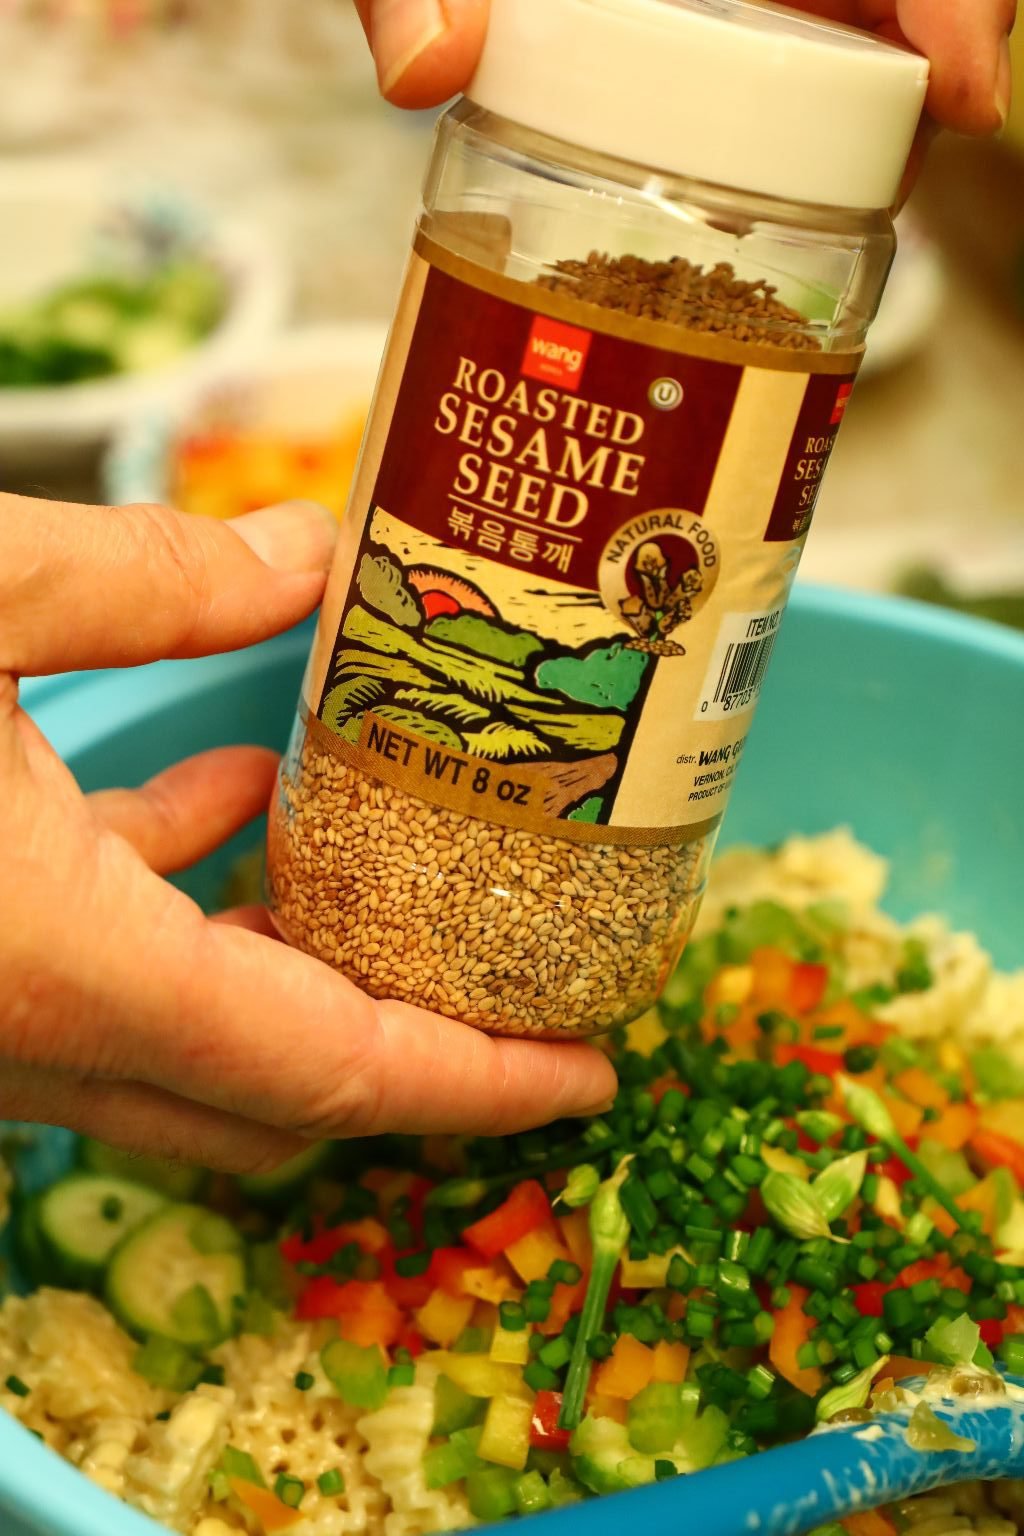
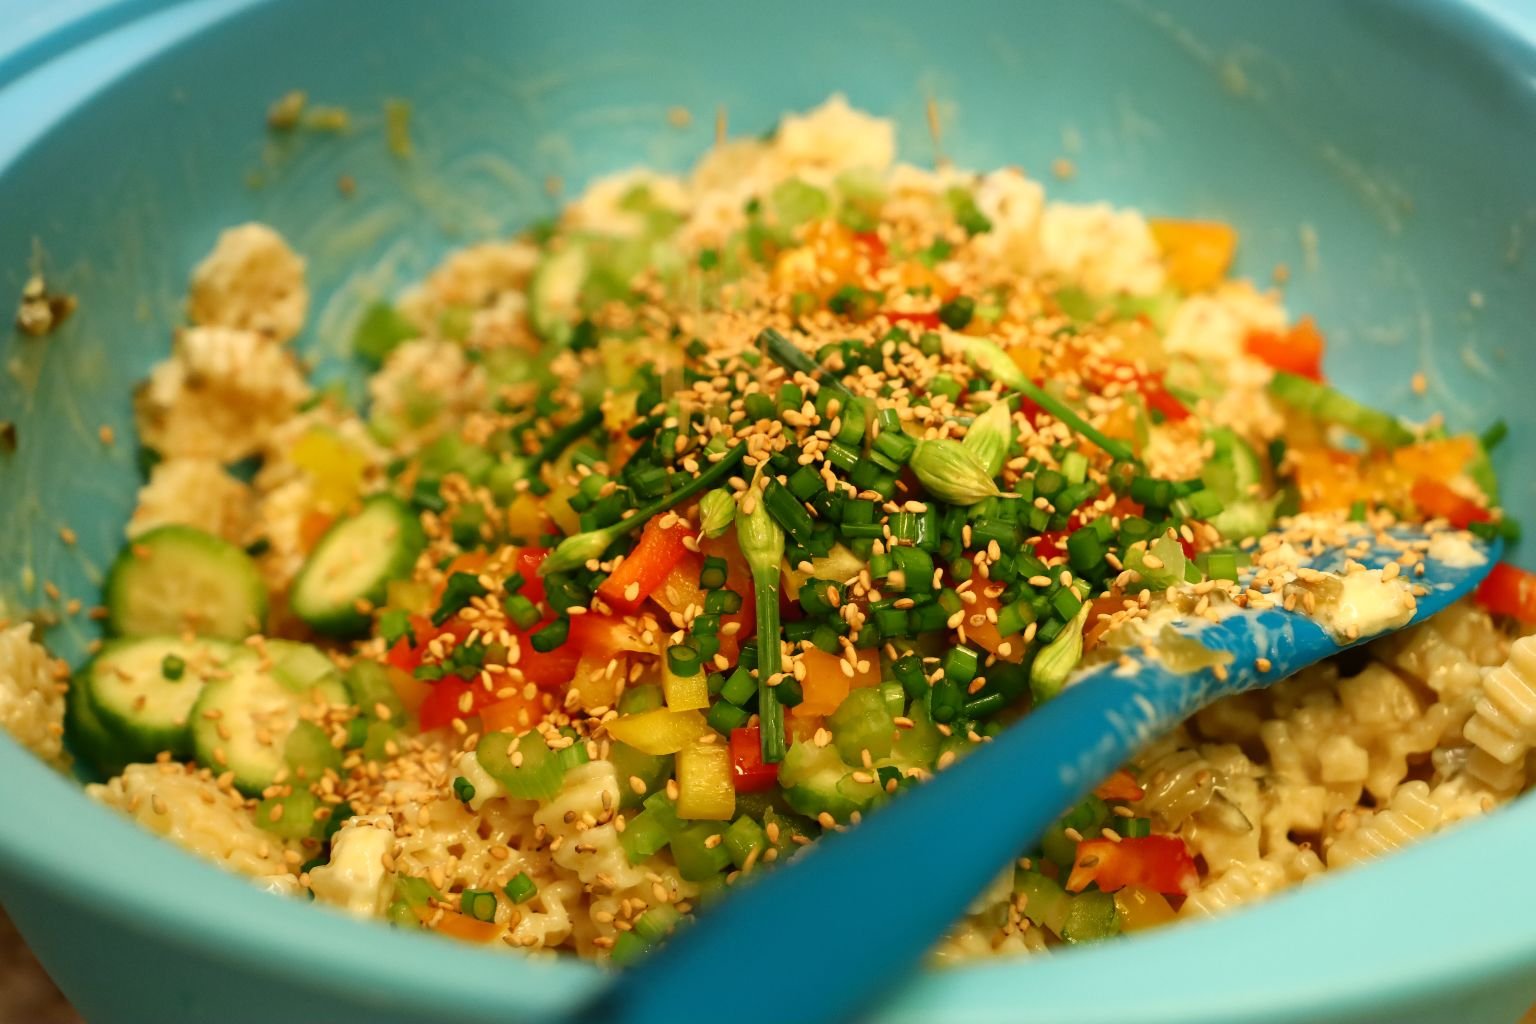
Roasted Sesame Seeds are next…
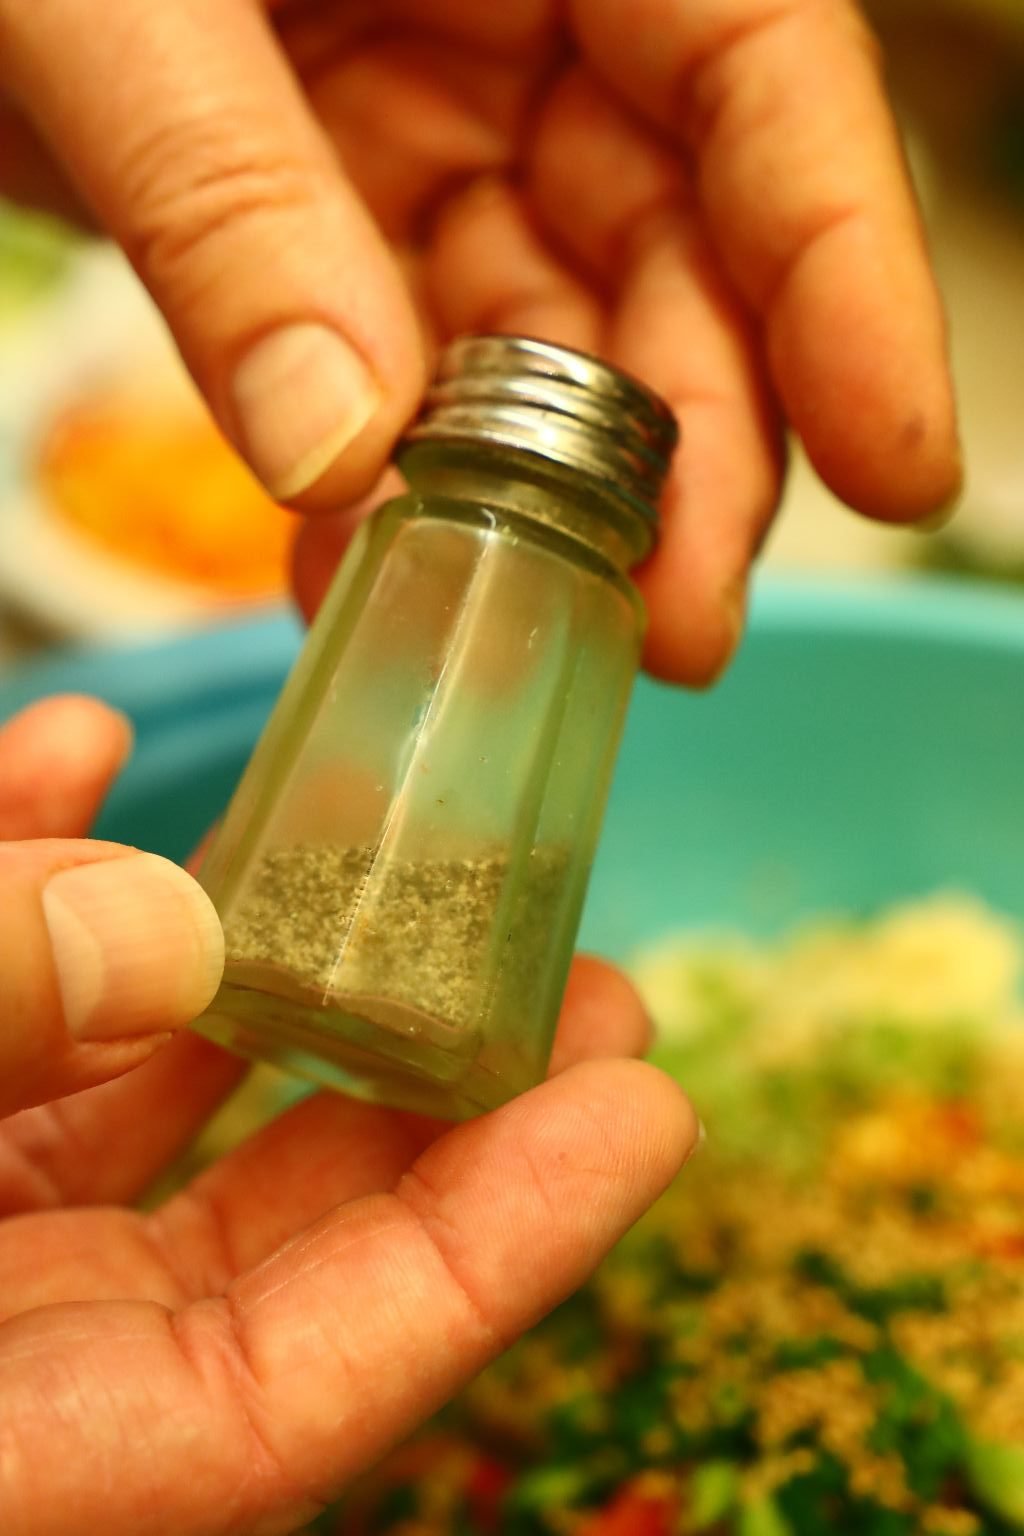
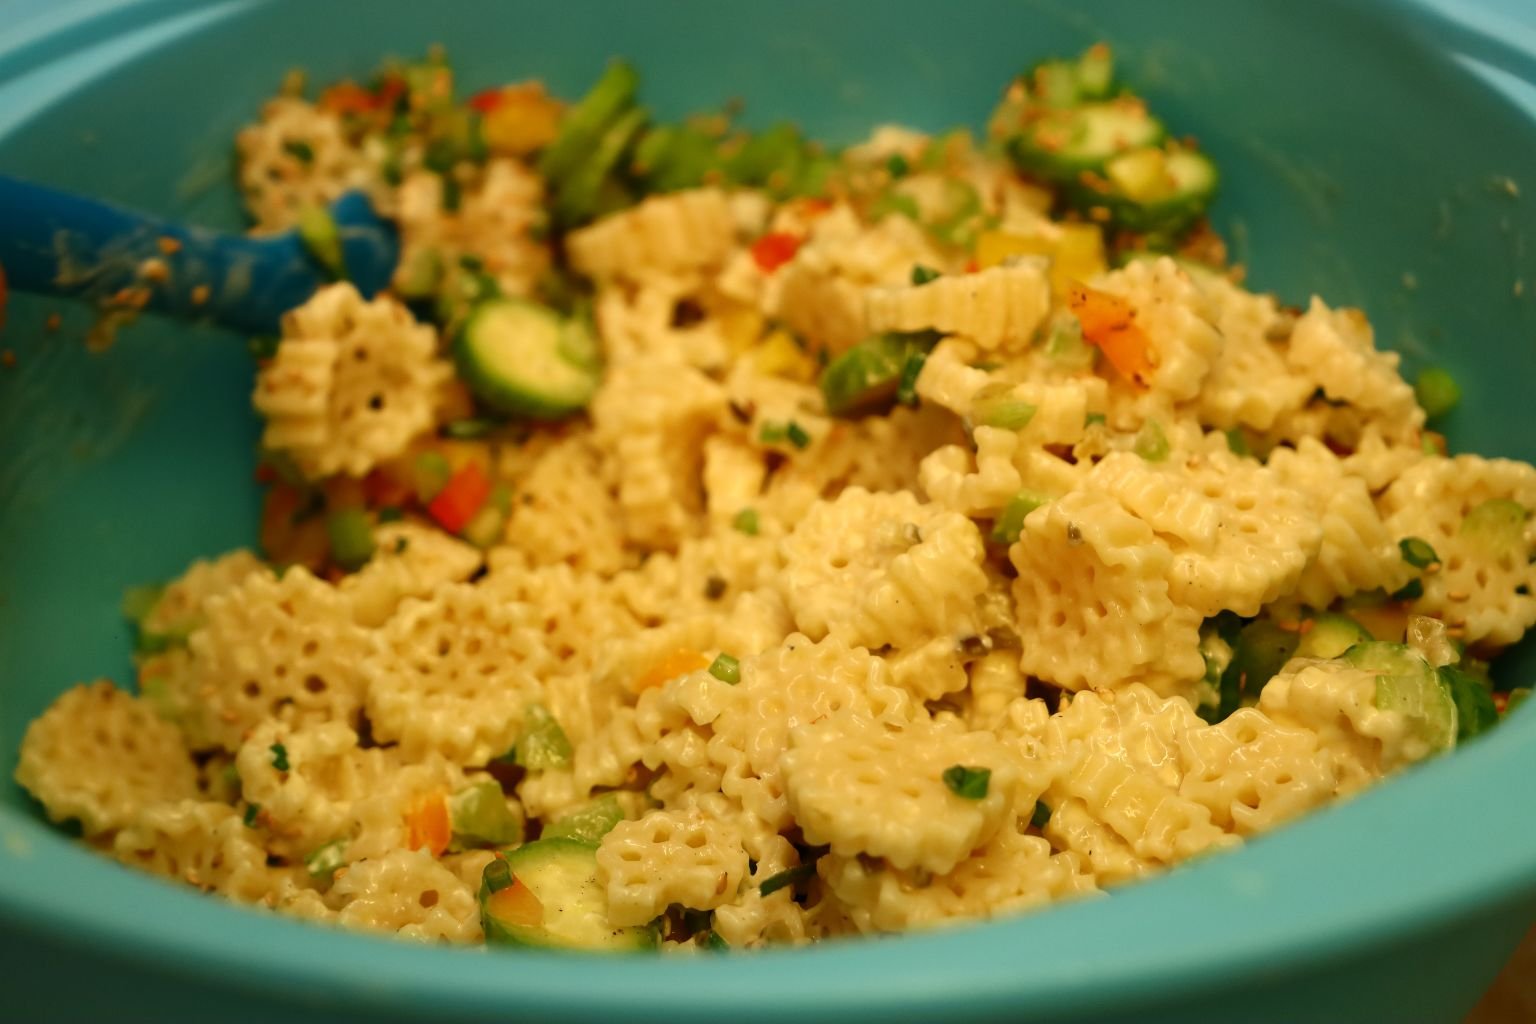
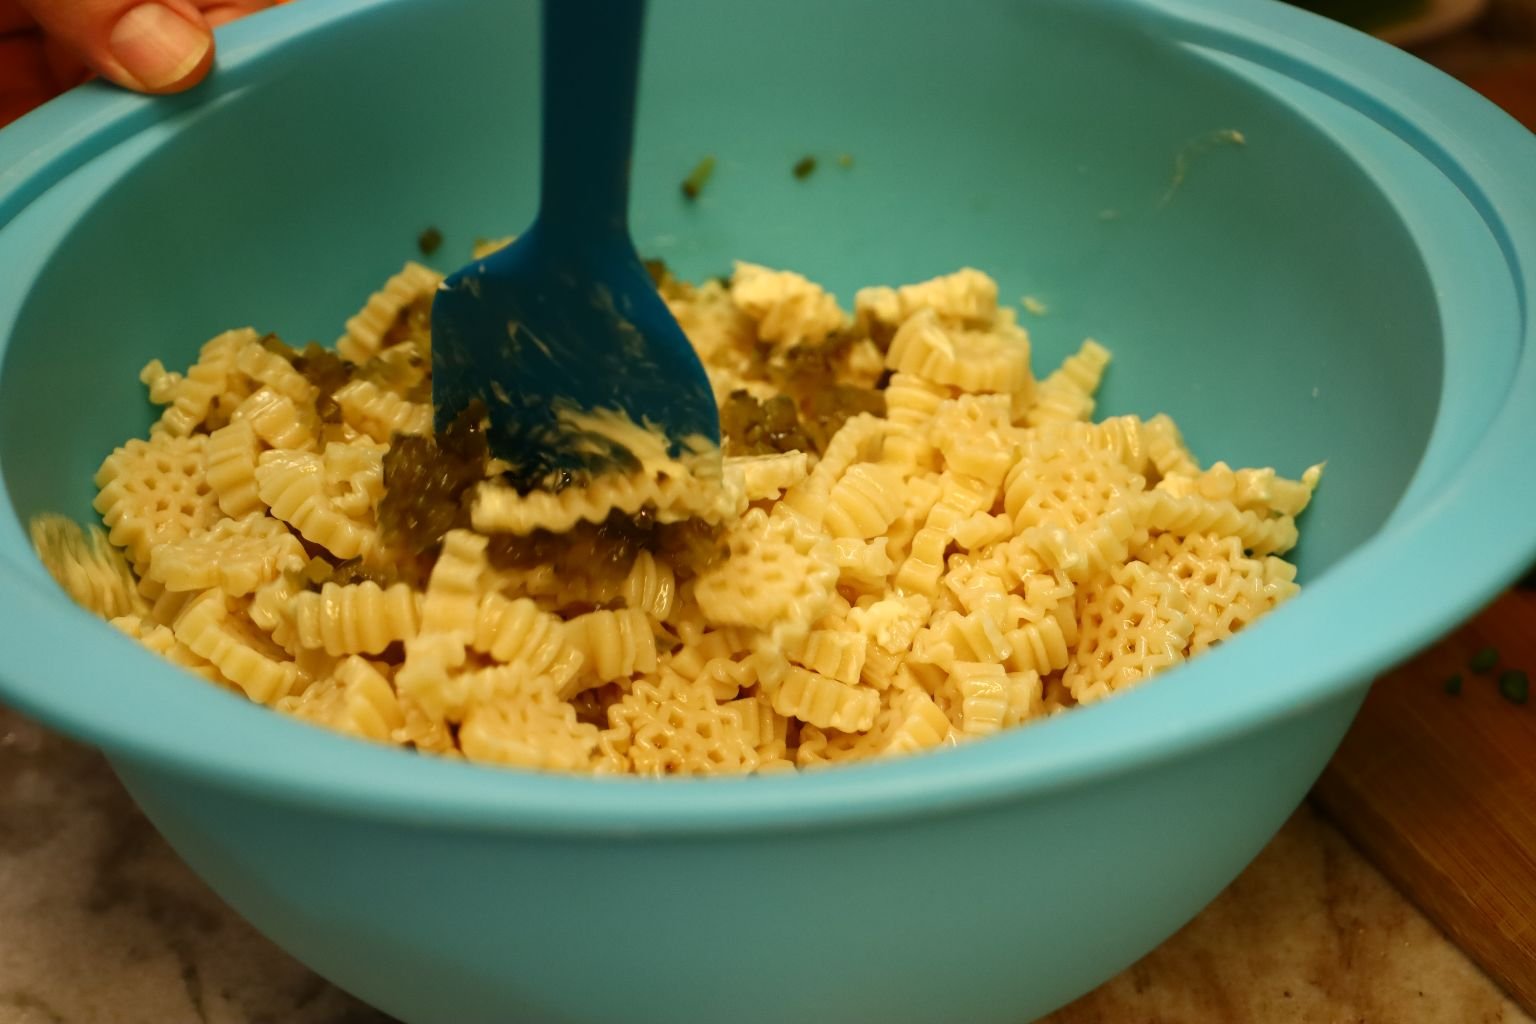
Then add your pepper to taste. Mix all the ingredients well with a rubber spatula using a folding method, so as to not break up the pasta.

Top the salad with some extra Sesame Seeds and Chives!
———————————————————
——————————————————————
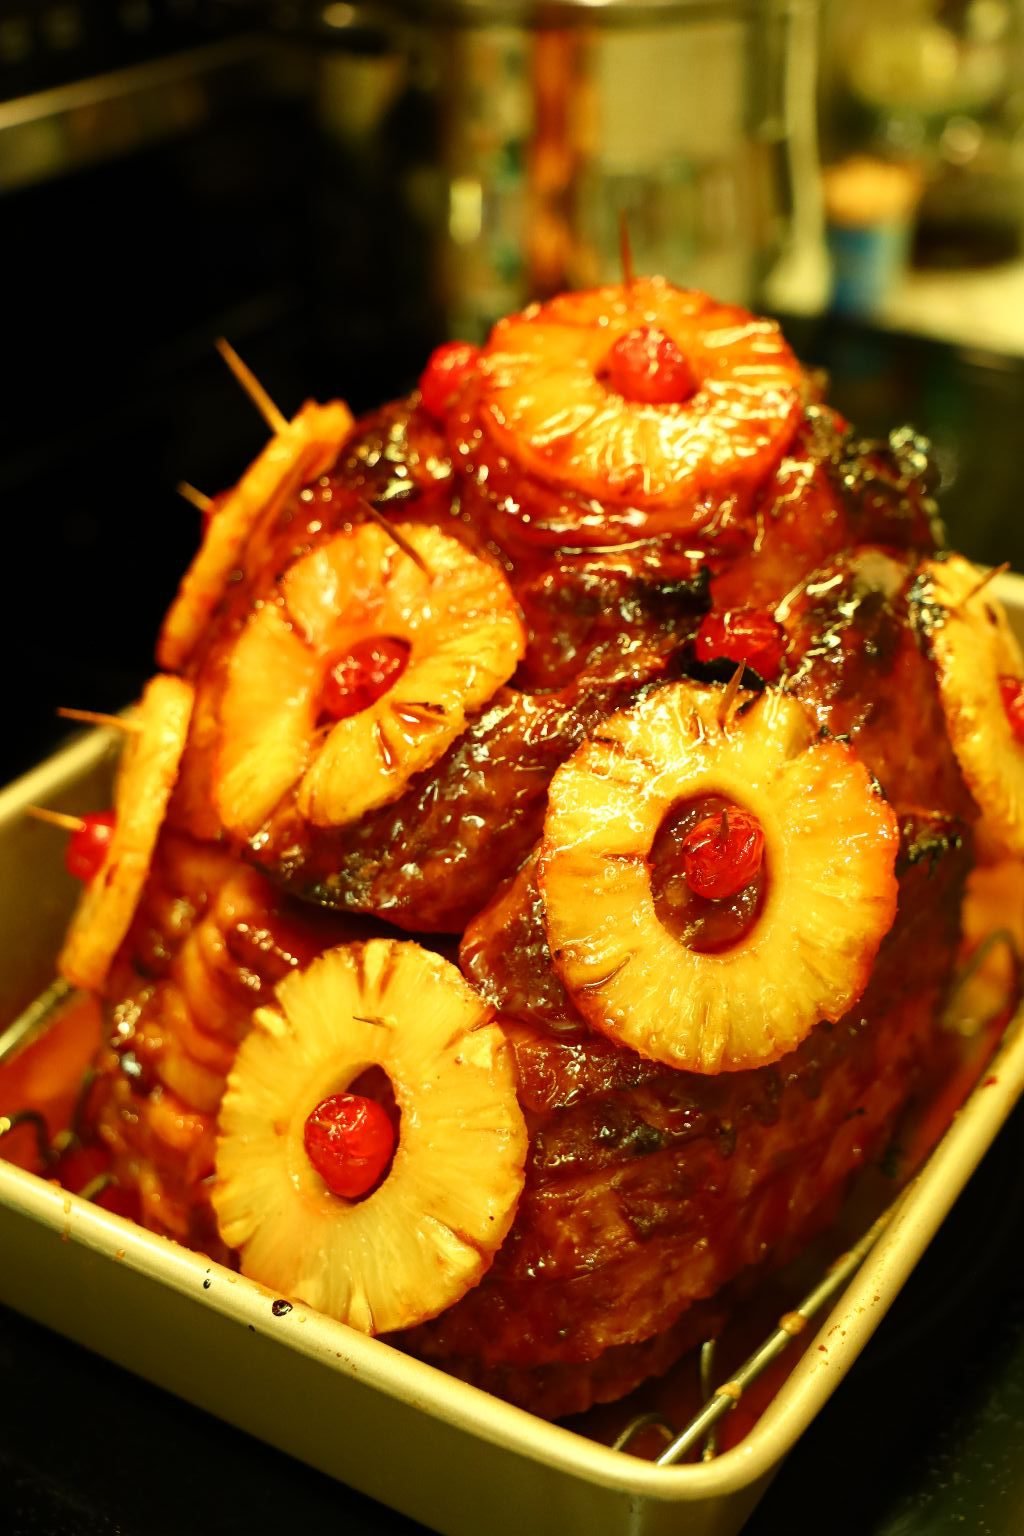
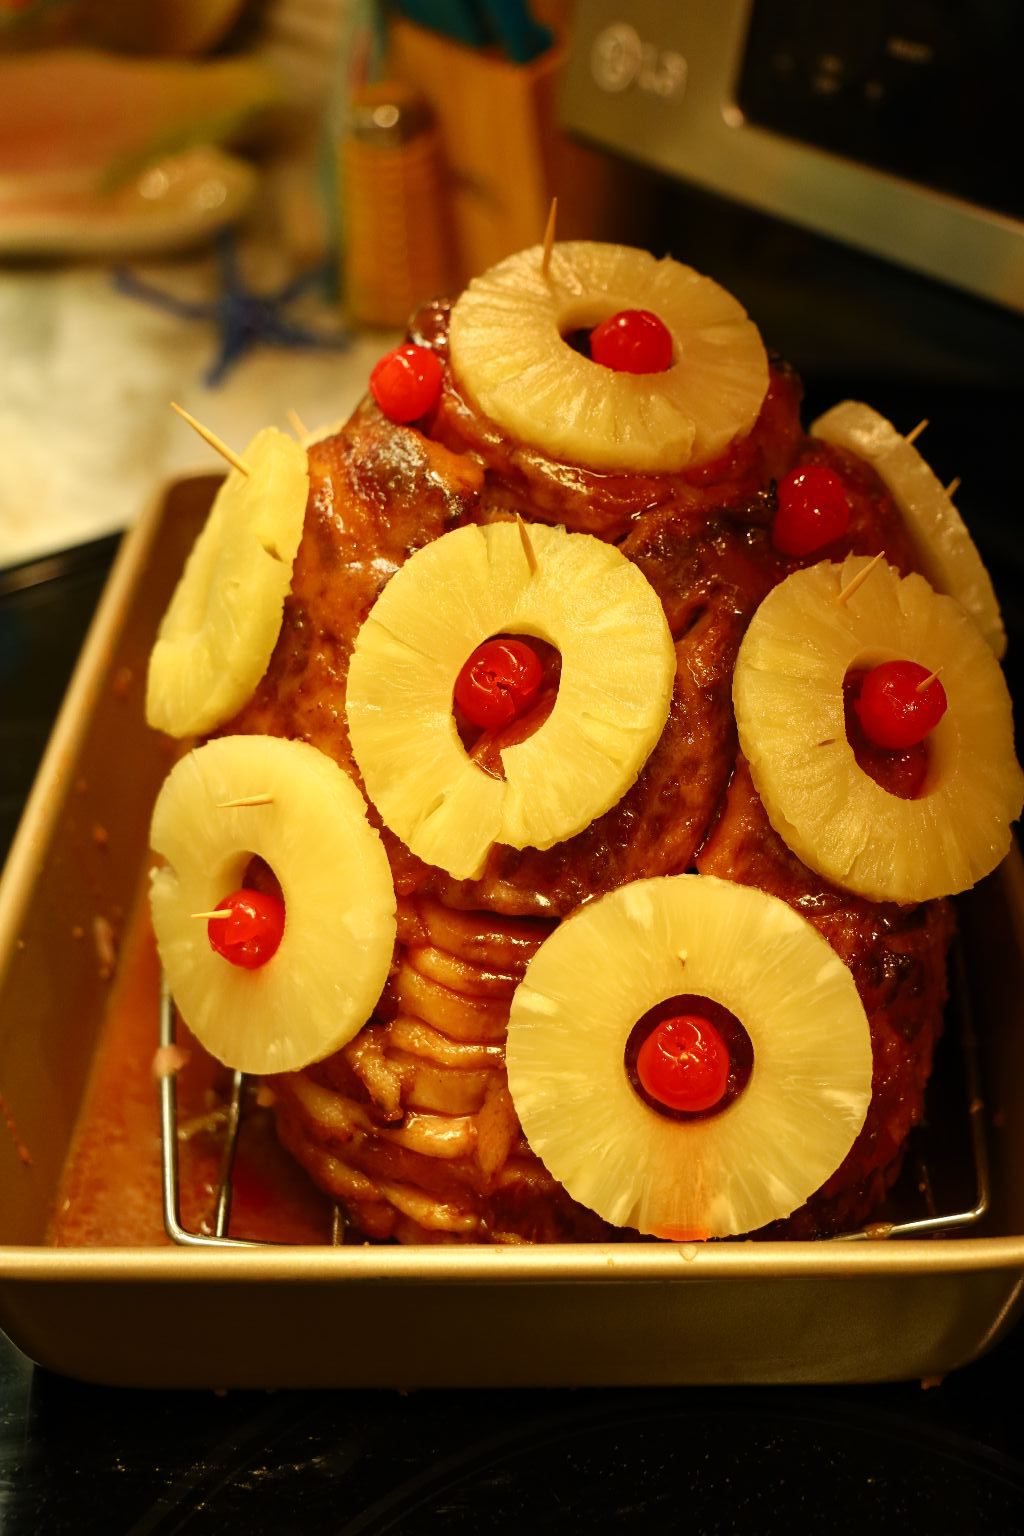
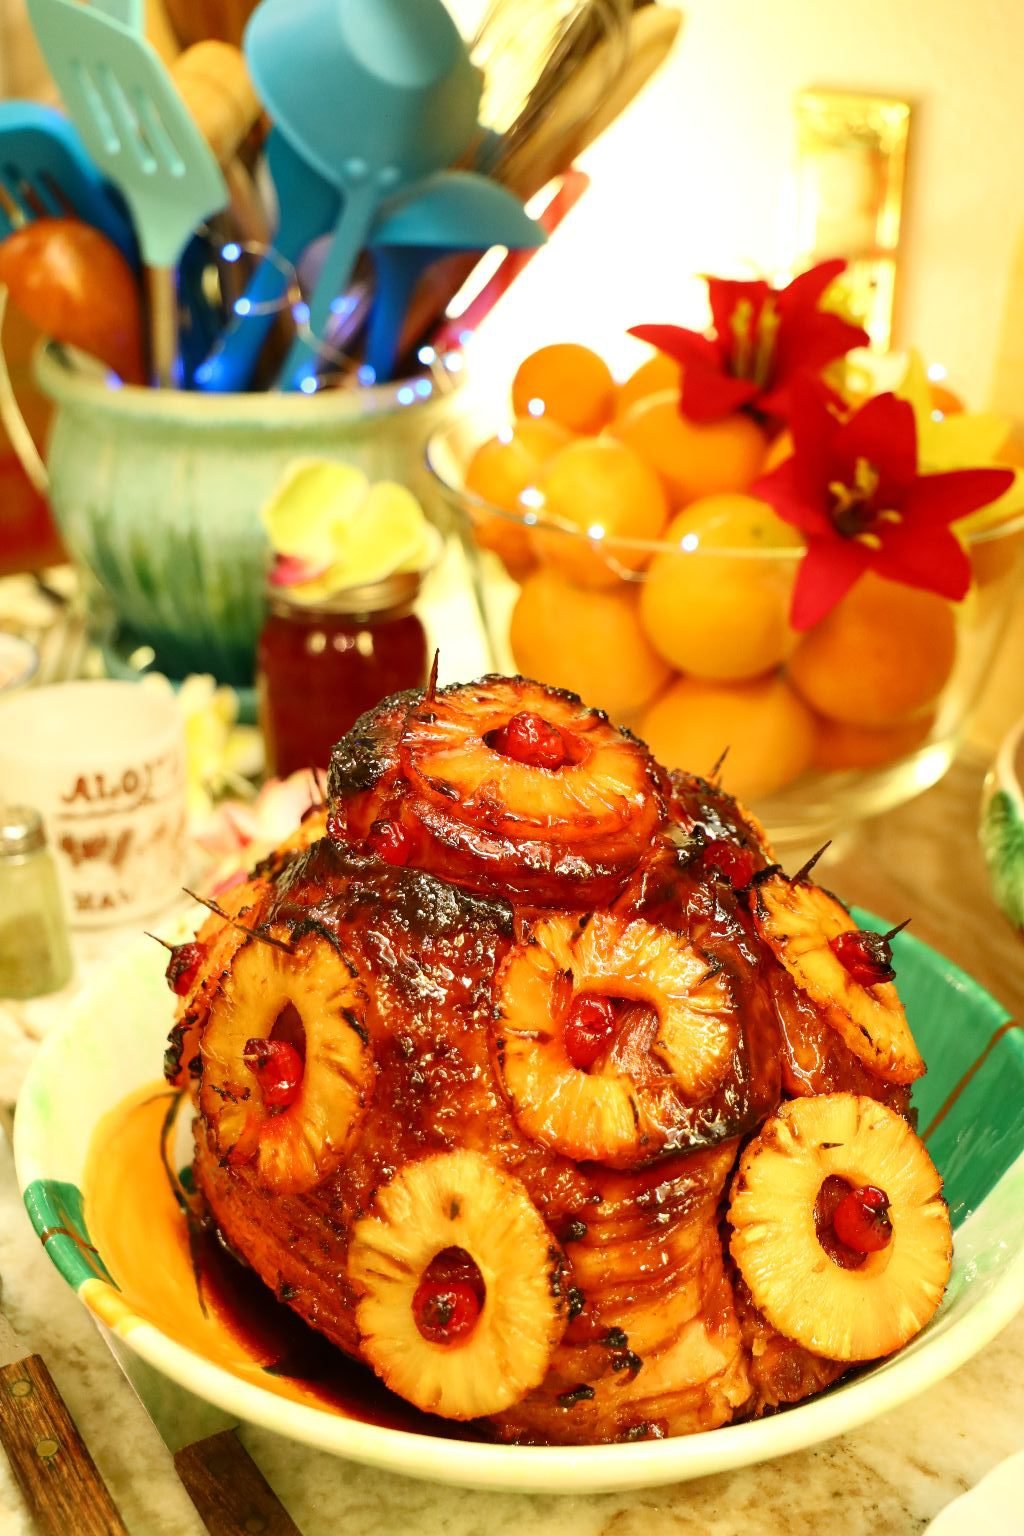
Our Kalikimaka Ham
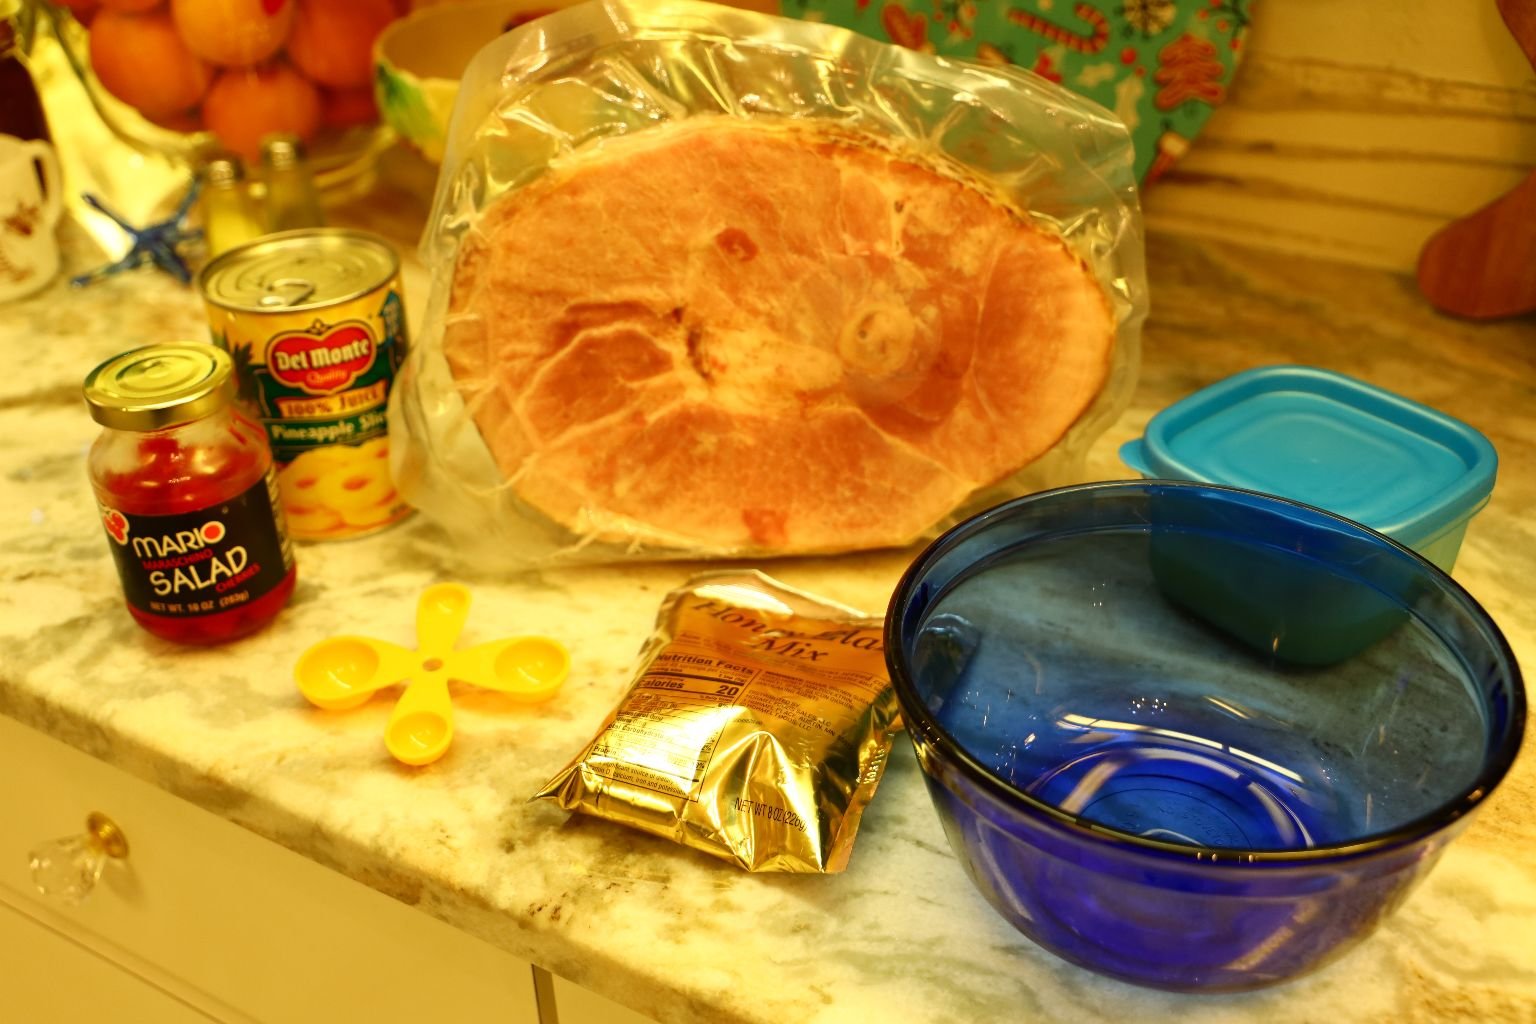
Ingredients:
1 Spiral Sliced Ham
1 pkg. Glaze
1 Jar Maraschino Cherries
1 Can Pineapple Slices
~20 Tooth Picks
————————————————————

Pour the ham glaze in a bowl.
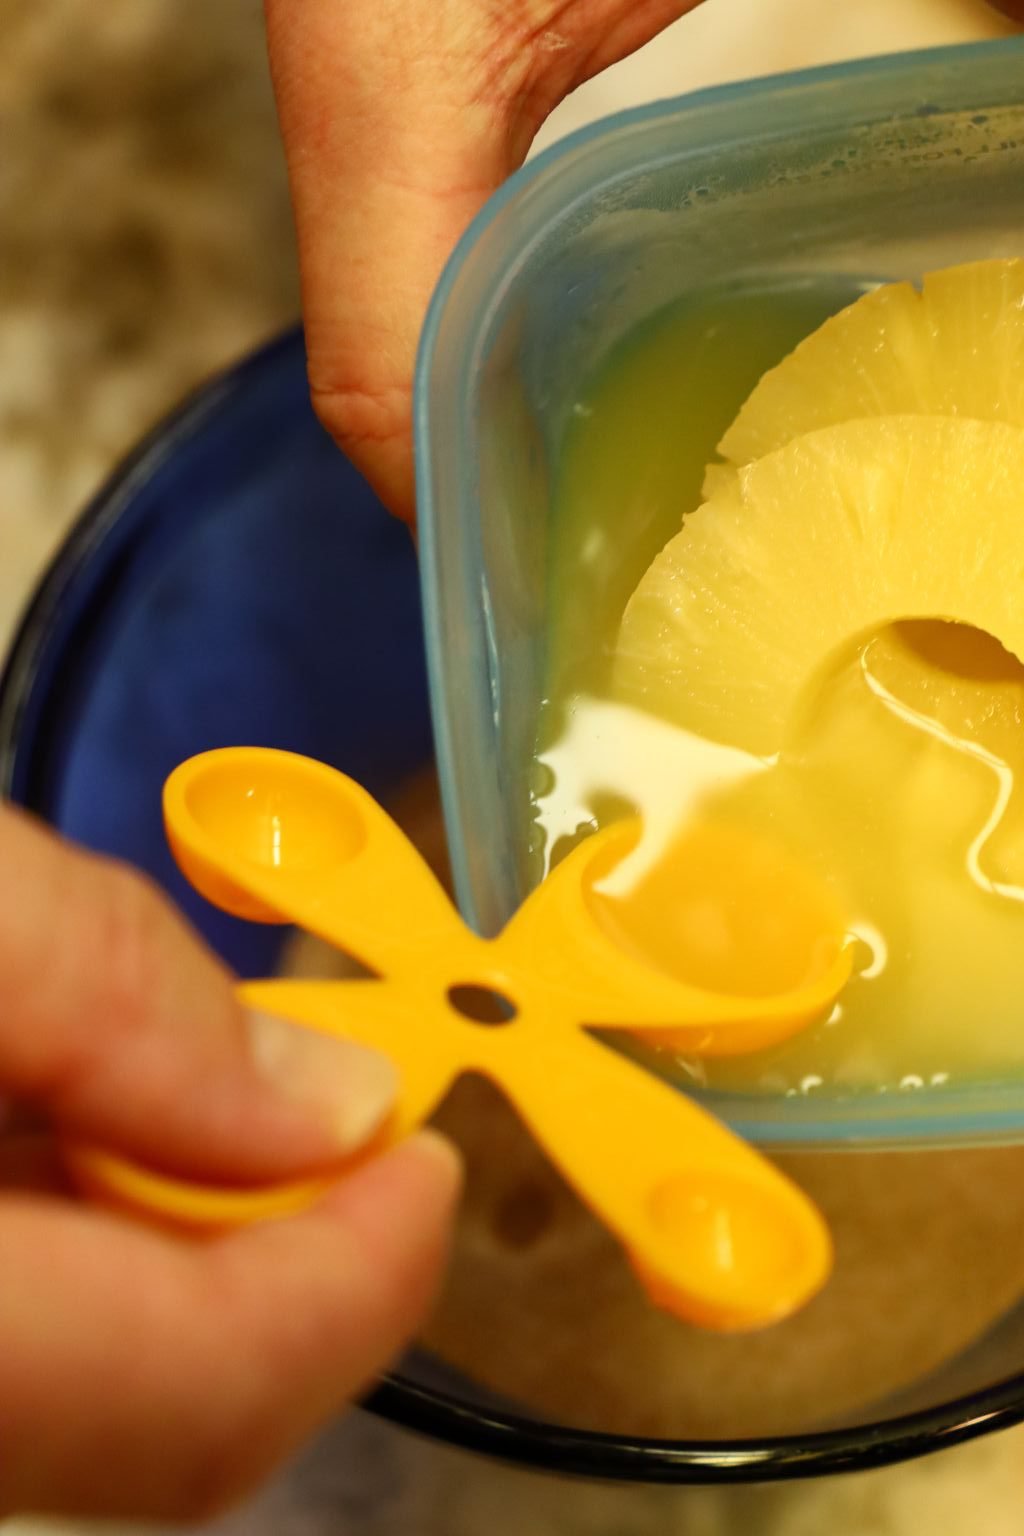
Here you can add water as directed but I added pineapple juice instead. Mix the glaze with a rubber spatula.
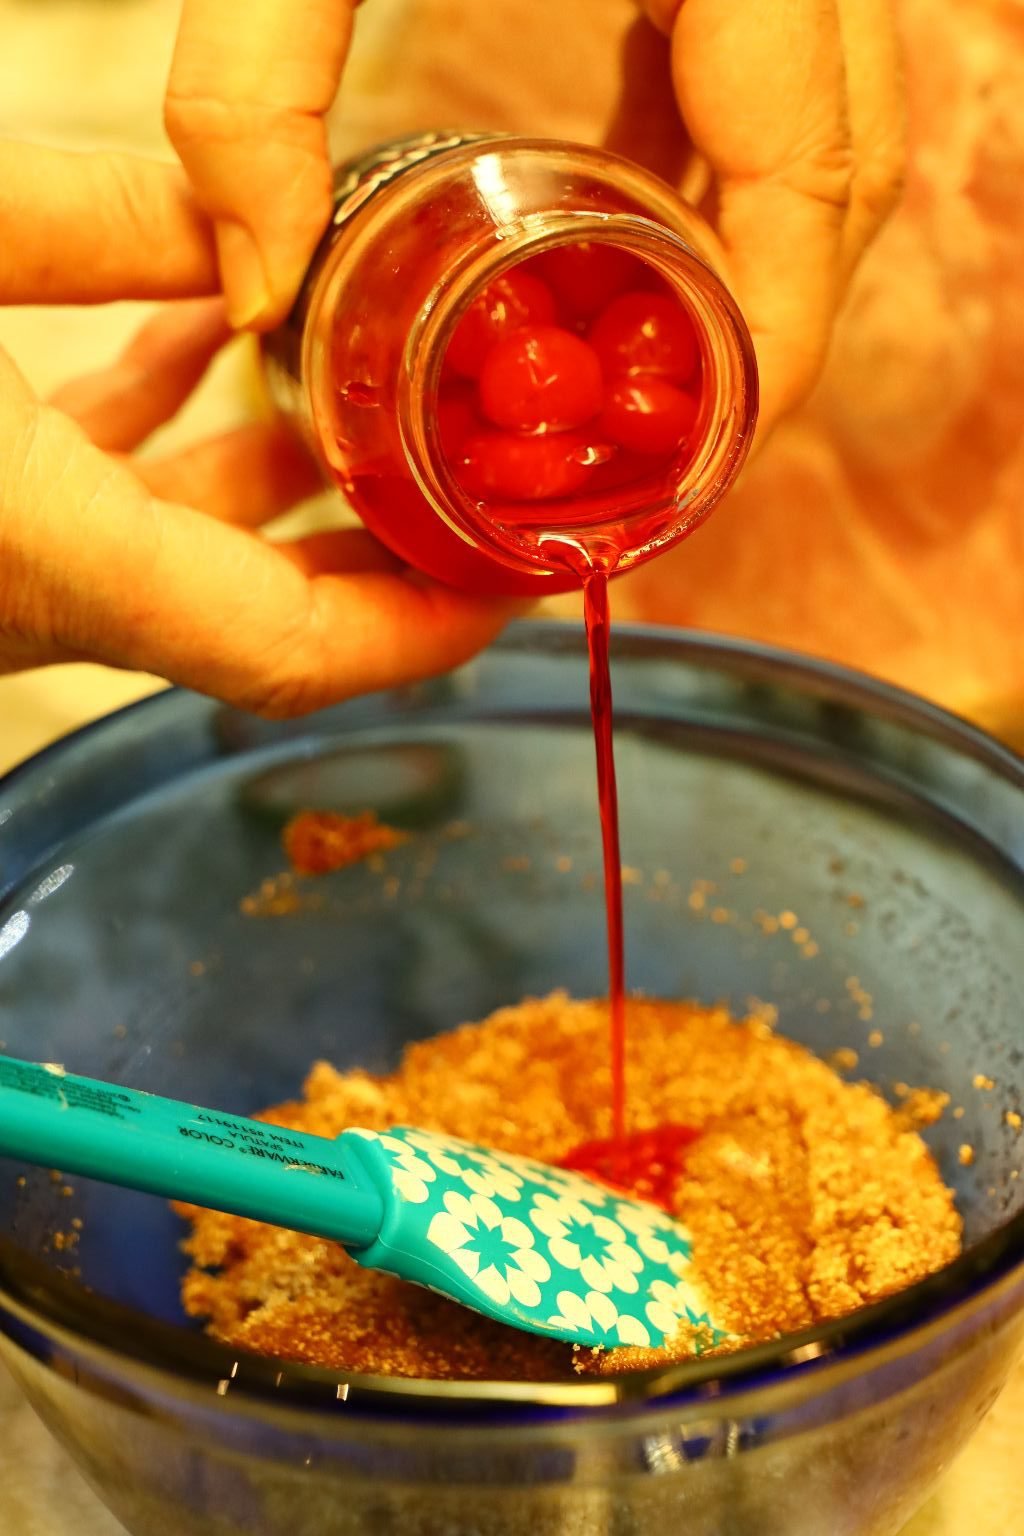
I wanted the glaze to be a little thinner so I added some cherry juice to the glaze mixture. Mix well and set aside.
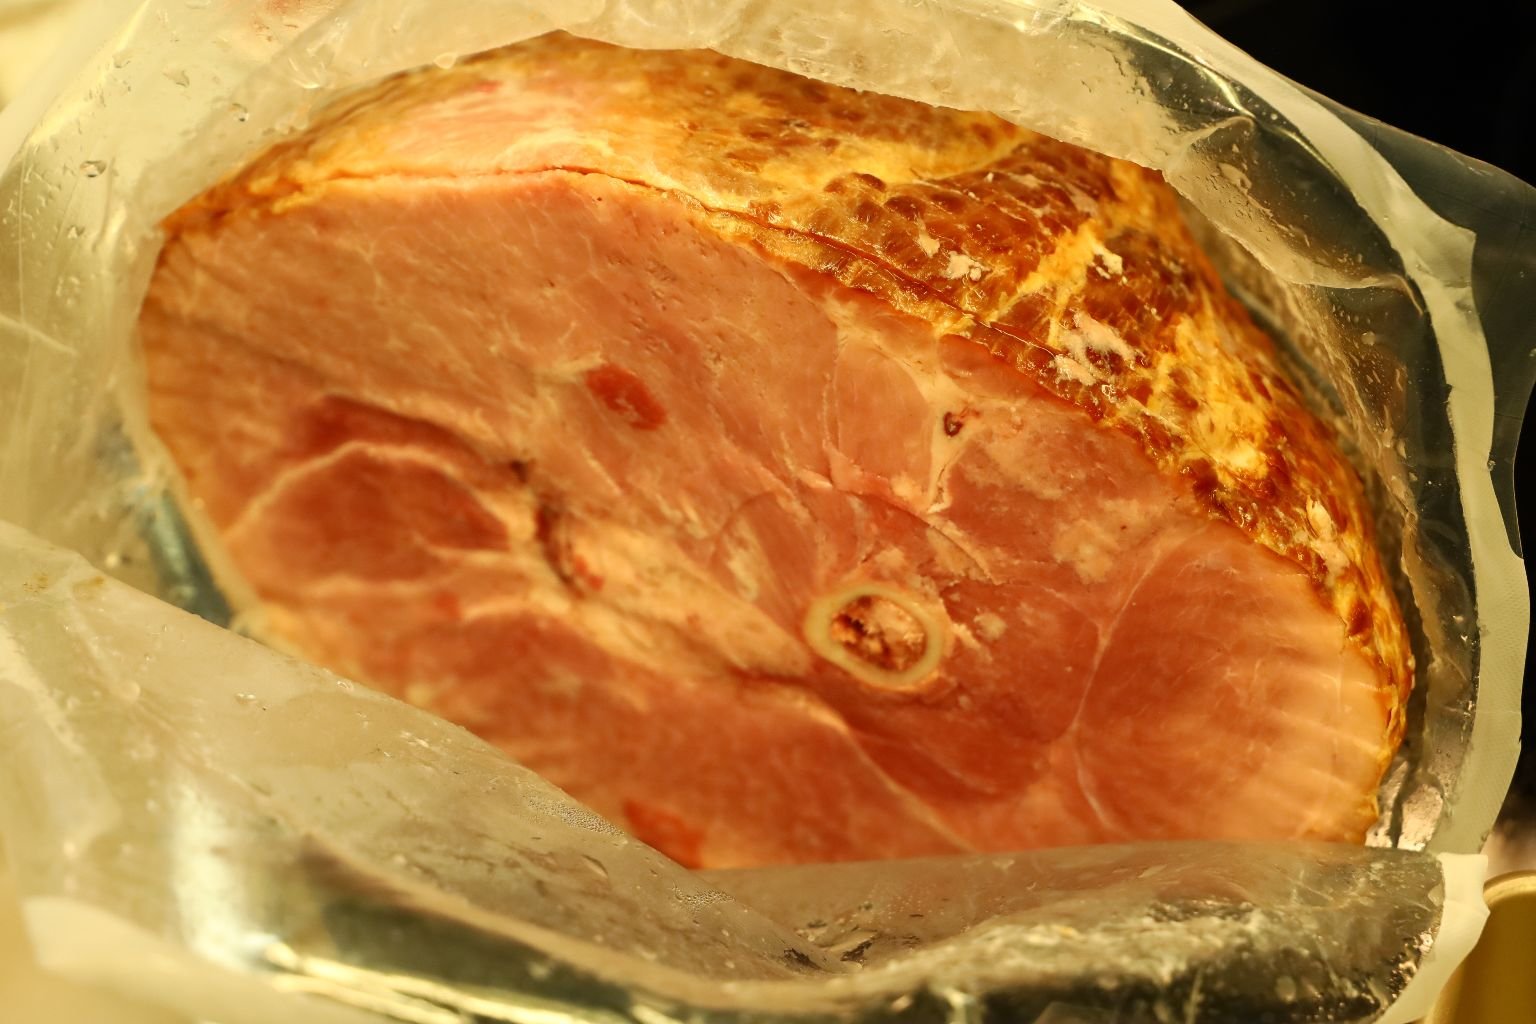
Remove your ham from the packaging and remove the plastic disk (not shown) from the base of the ham covering the bone.
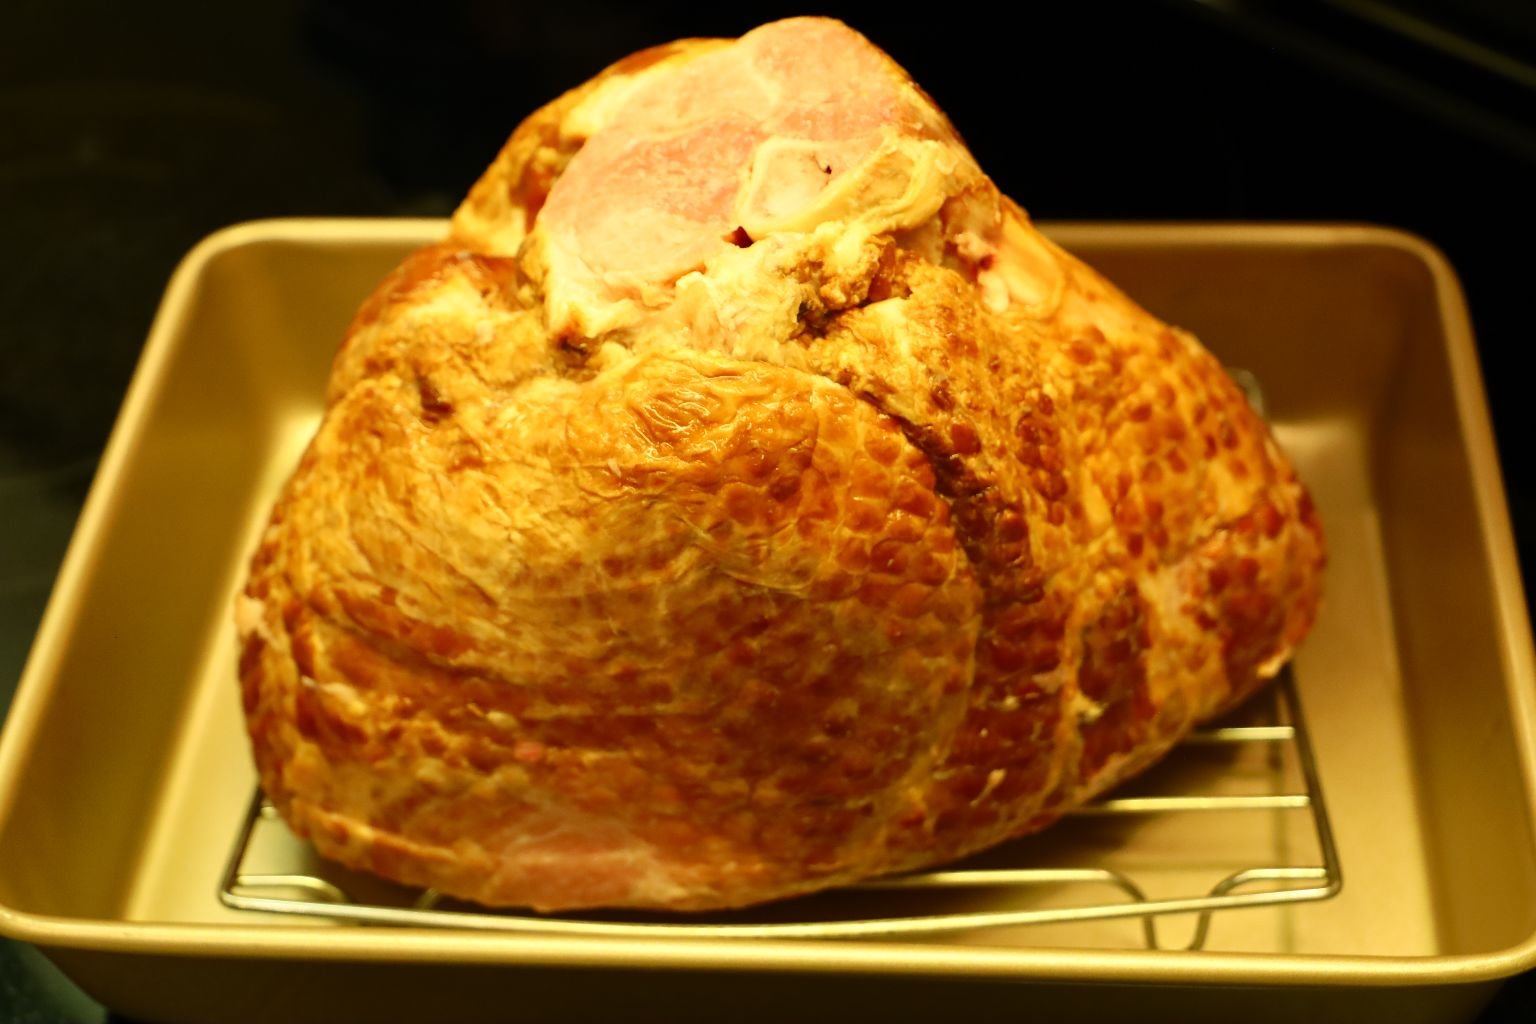
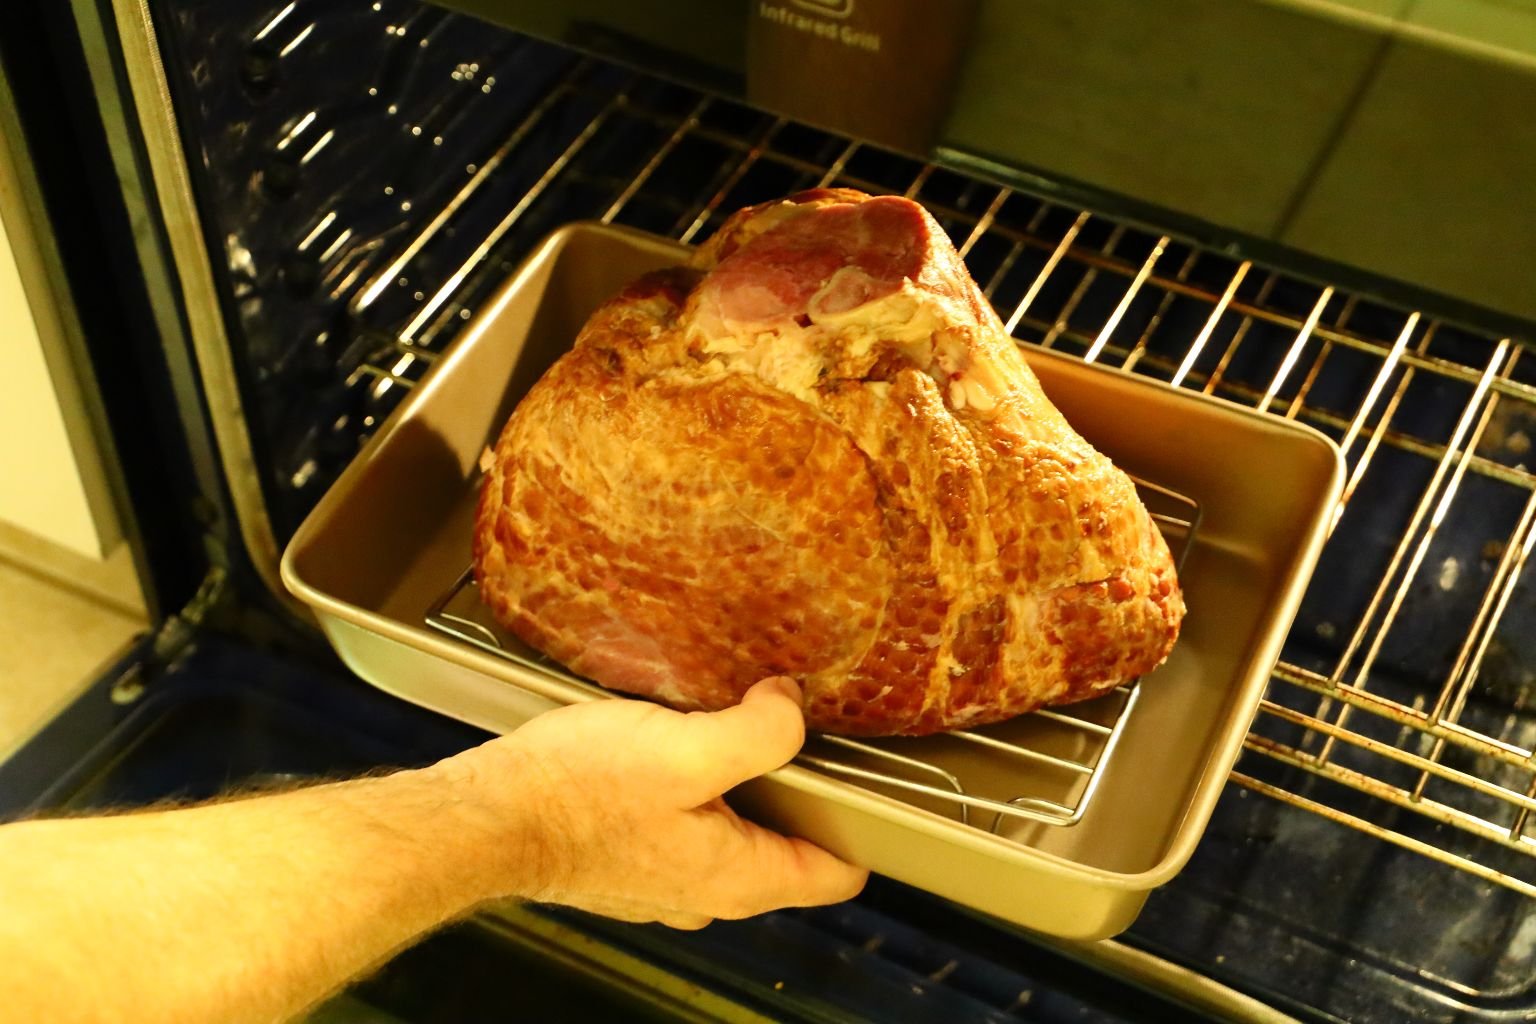
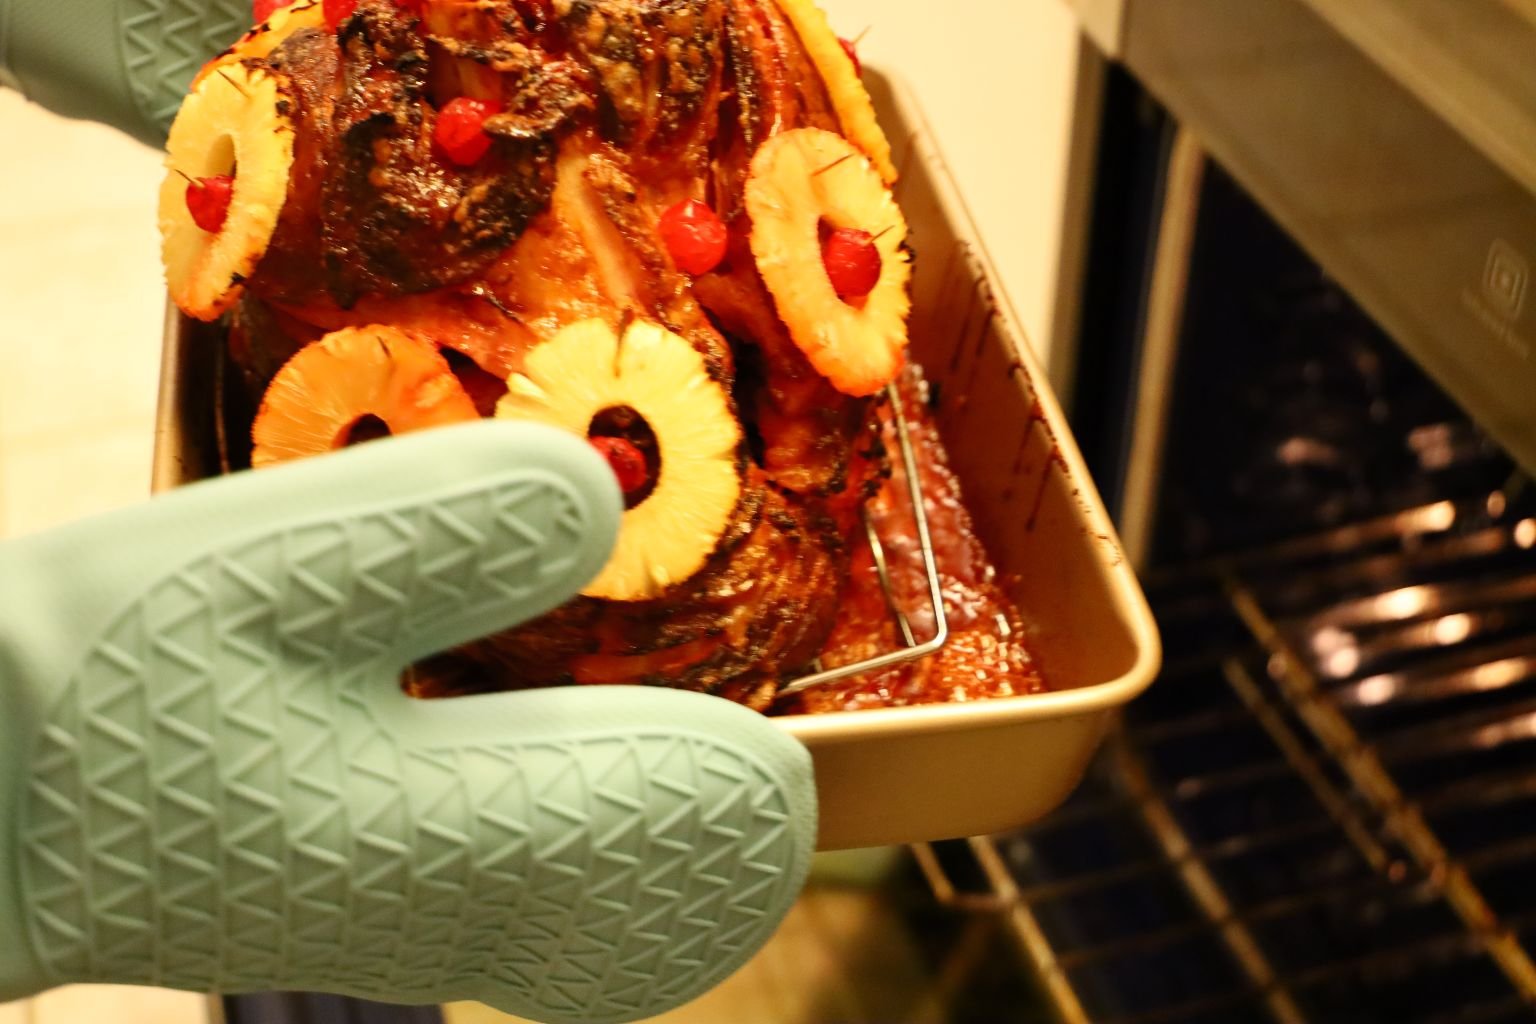
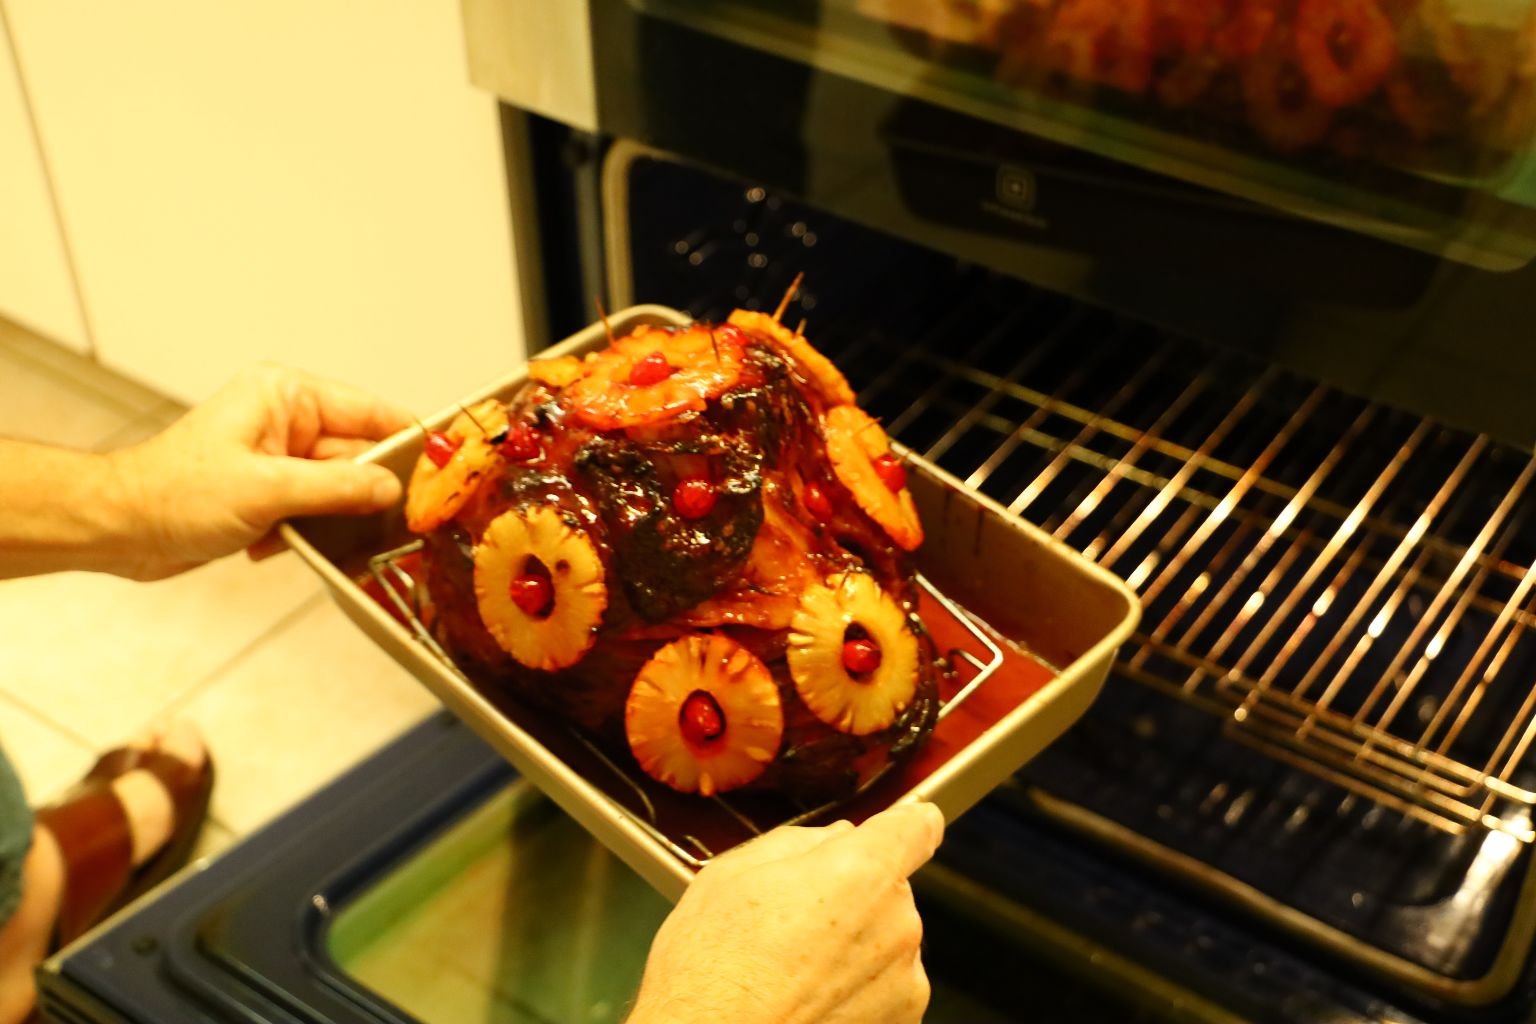
Place the ham on a rack and in a roasting pan as shown. Place the ham in a 400’F oven for about 20 min. to start the cooking process.
It should be slightly browned as shown.
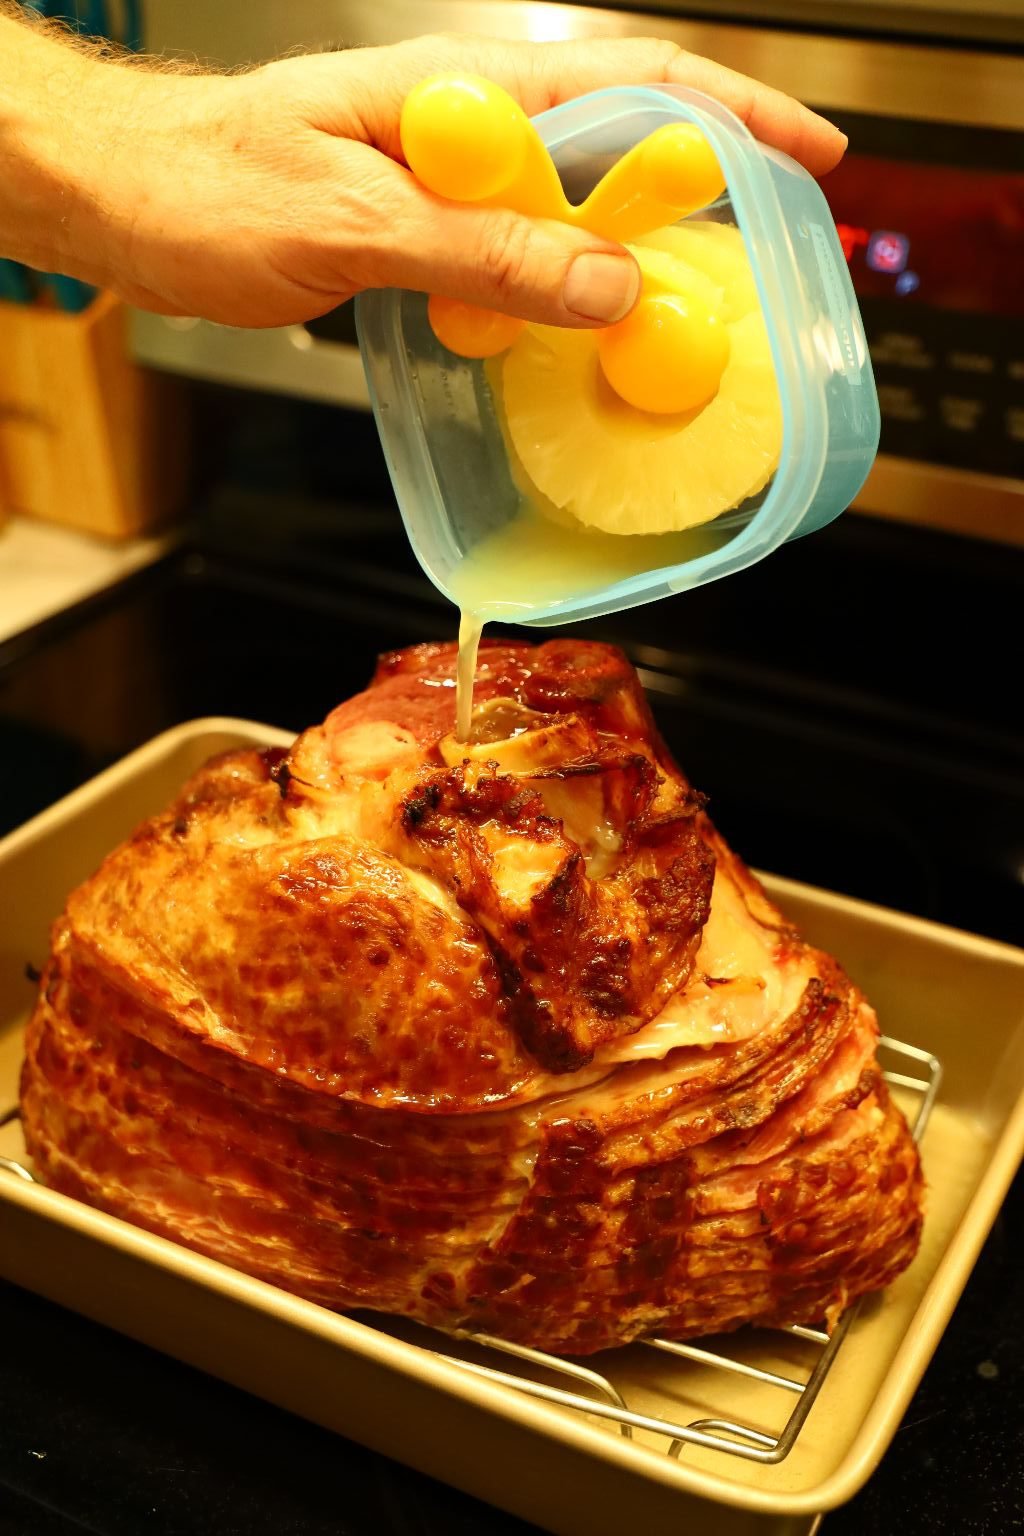
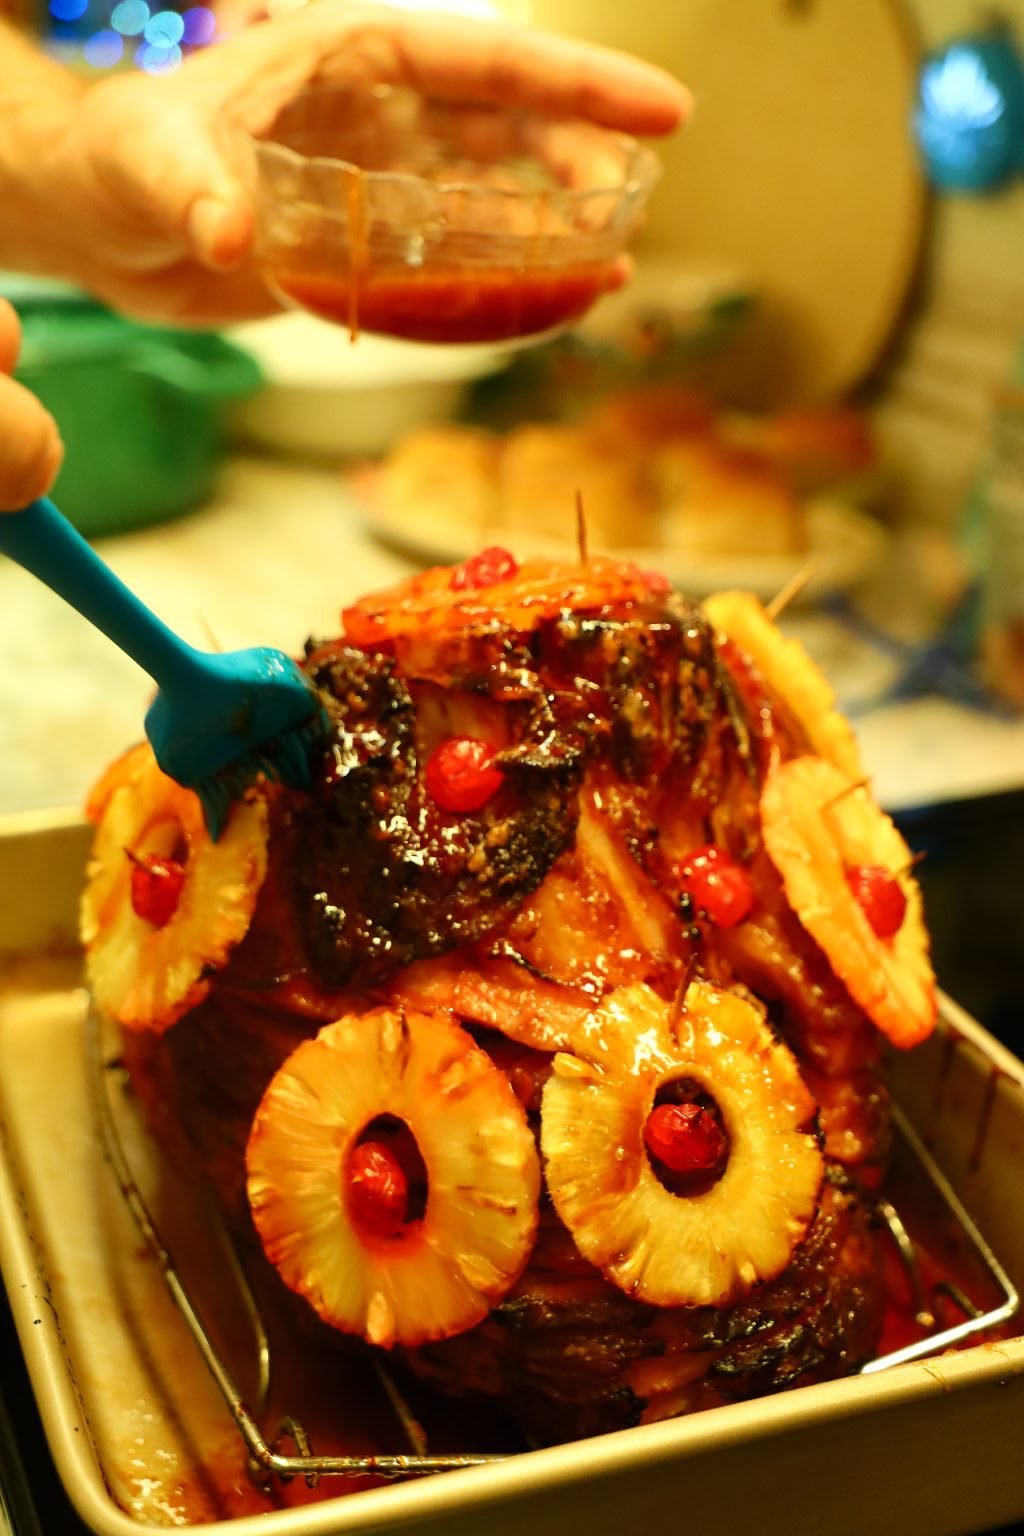
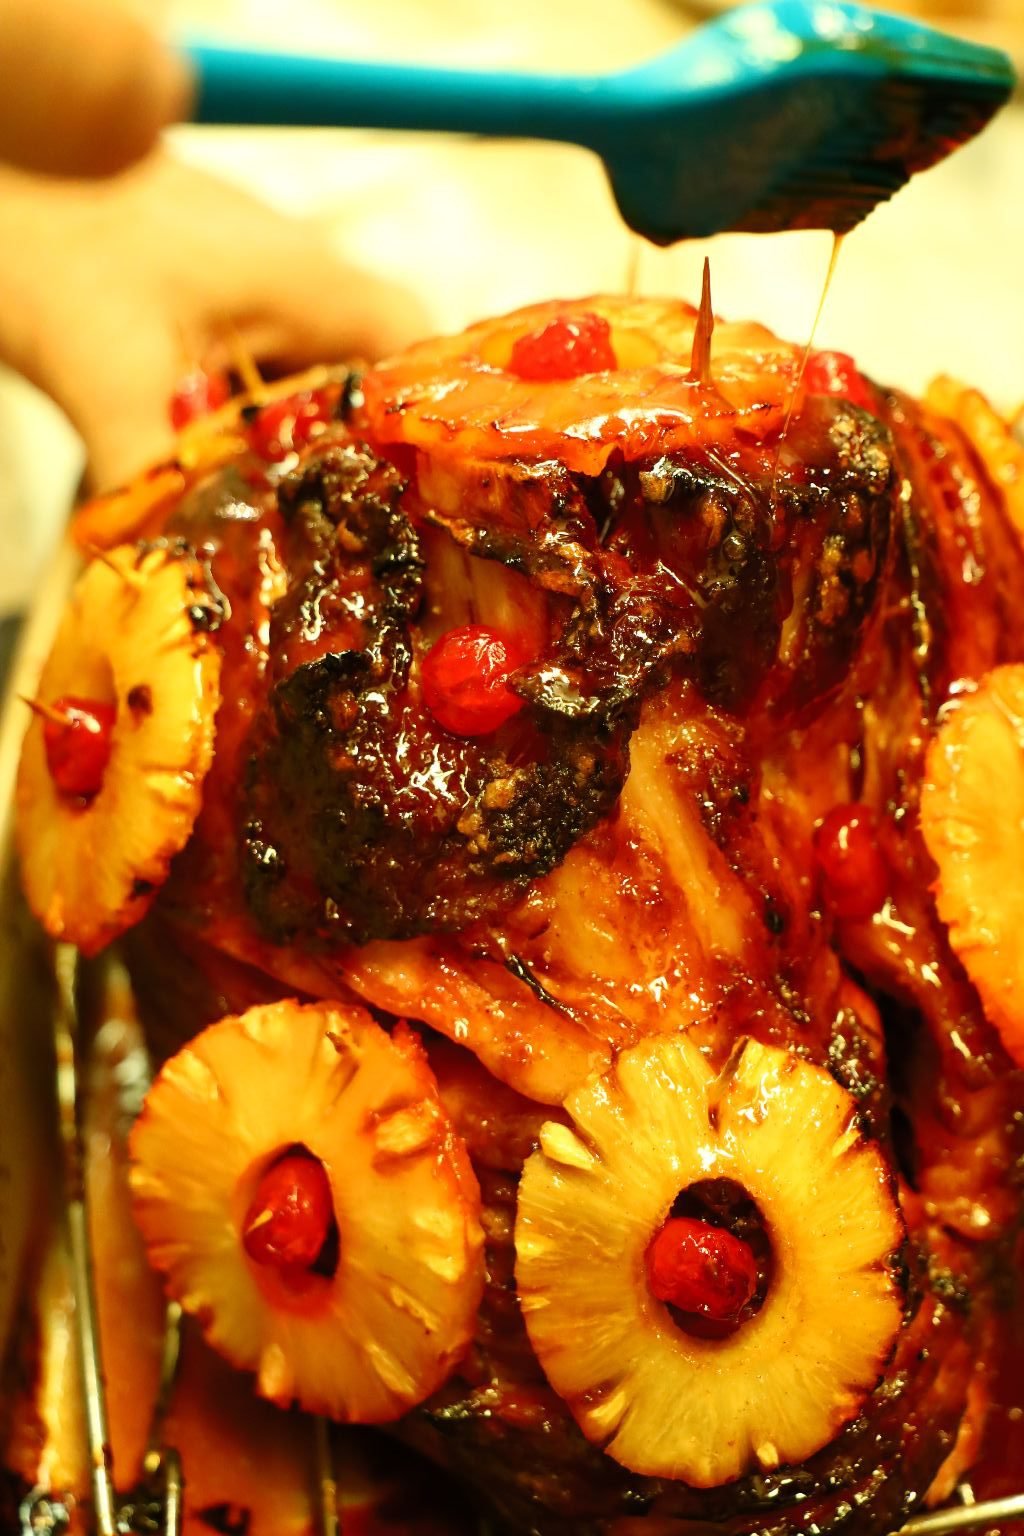
I then like to glaze the ham, but I first start with some of the left over pineapple juice. I then pour most of the glaze over the ham.
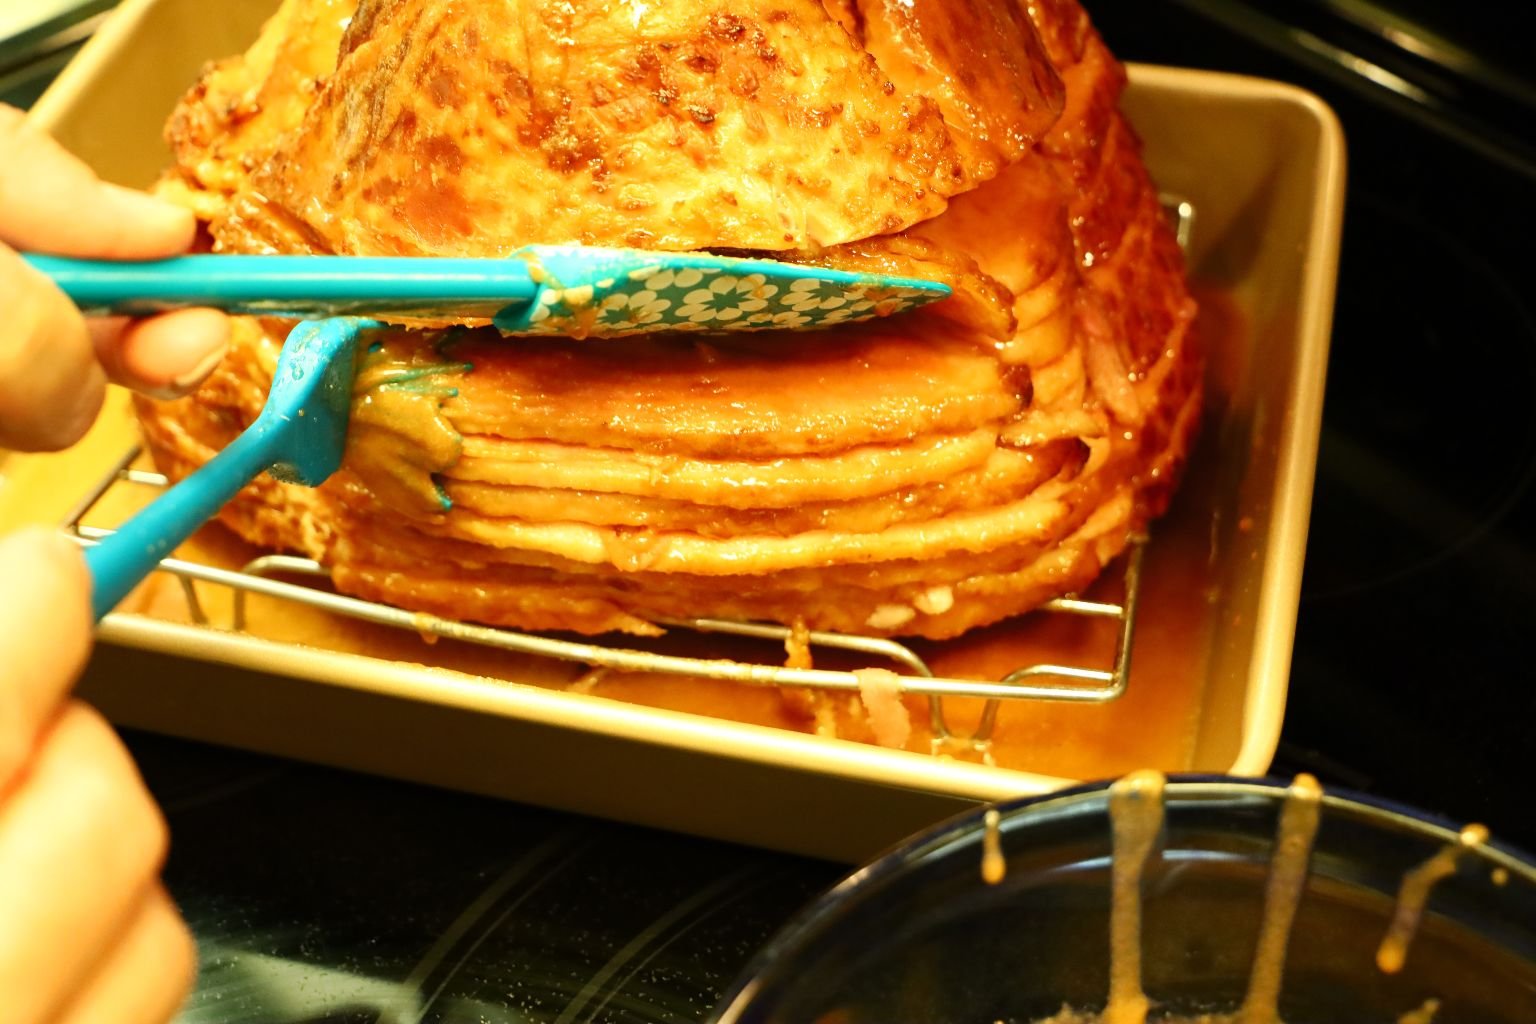
Using a spatula and glazing brush, I maneuver the glaze between the slices as shown.
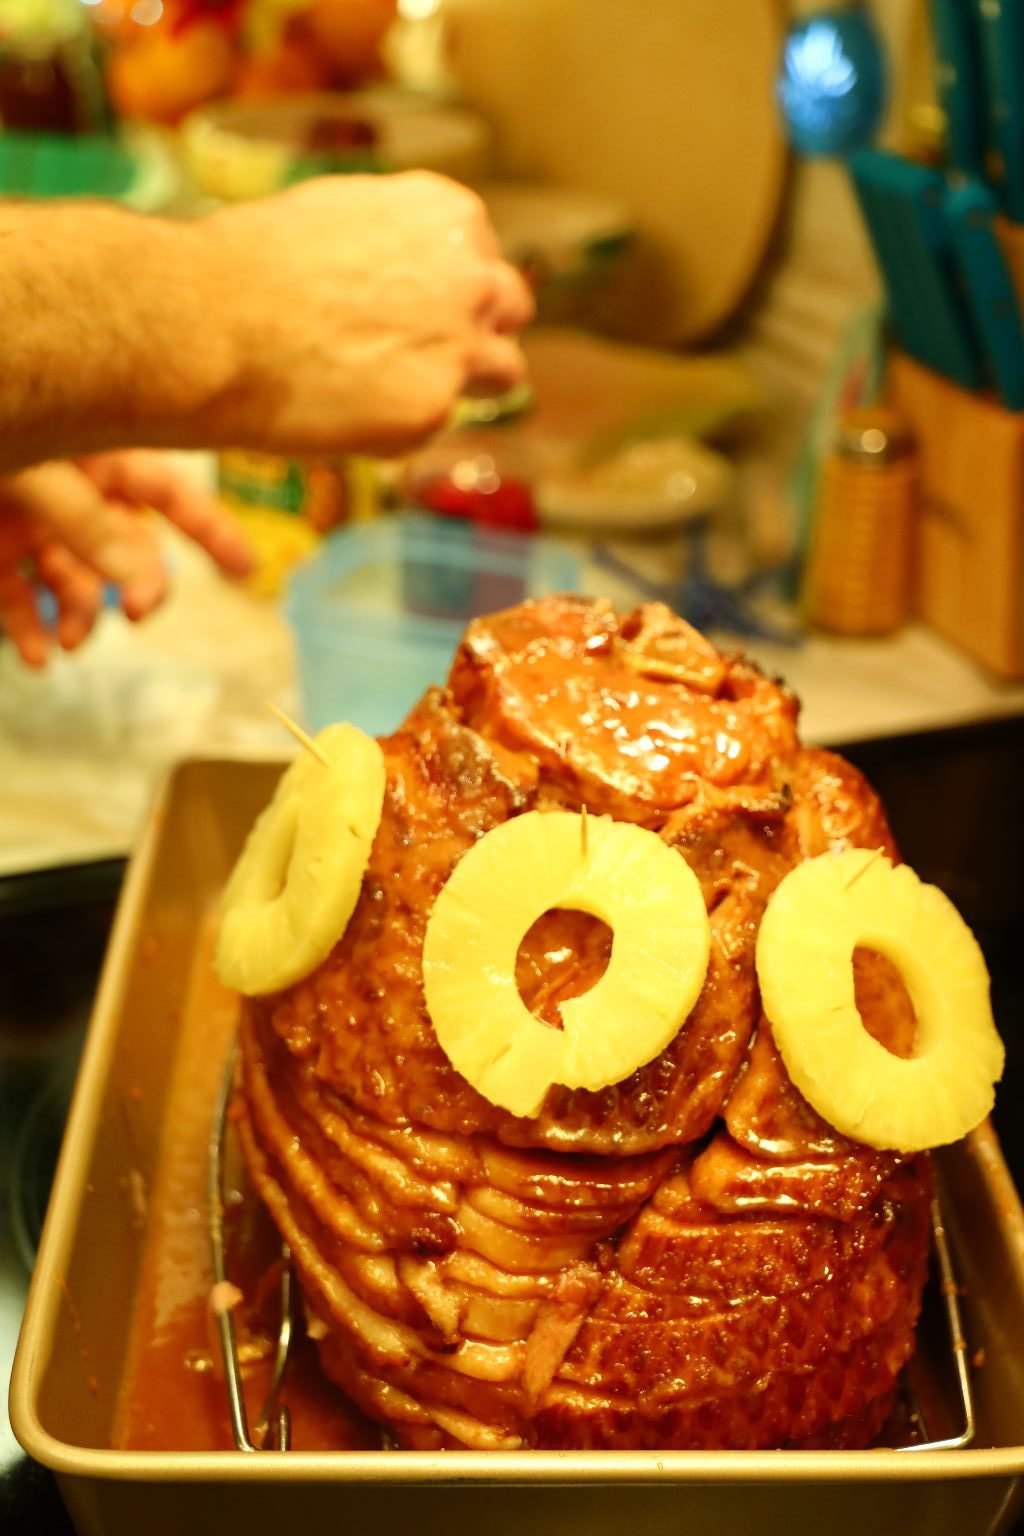
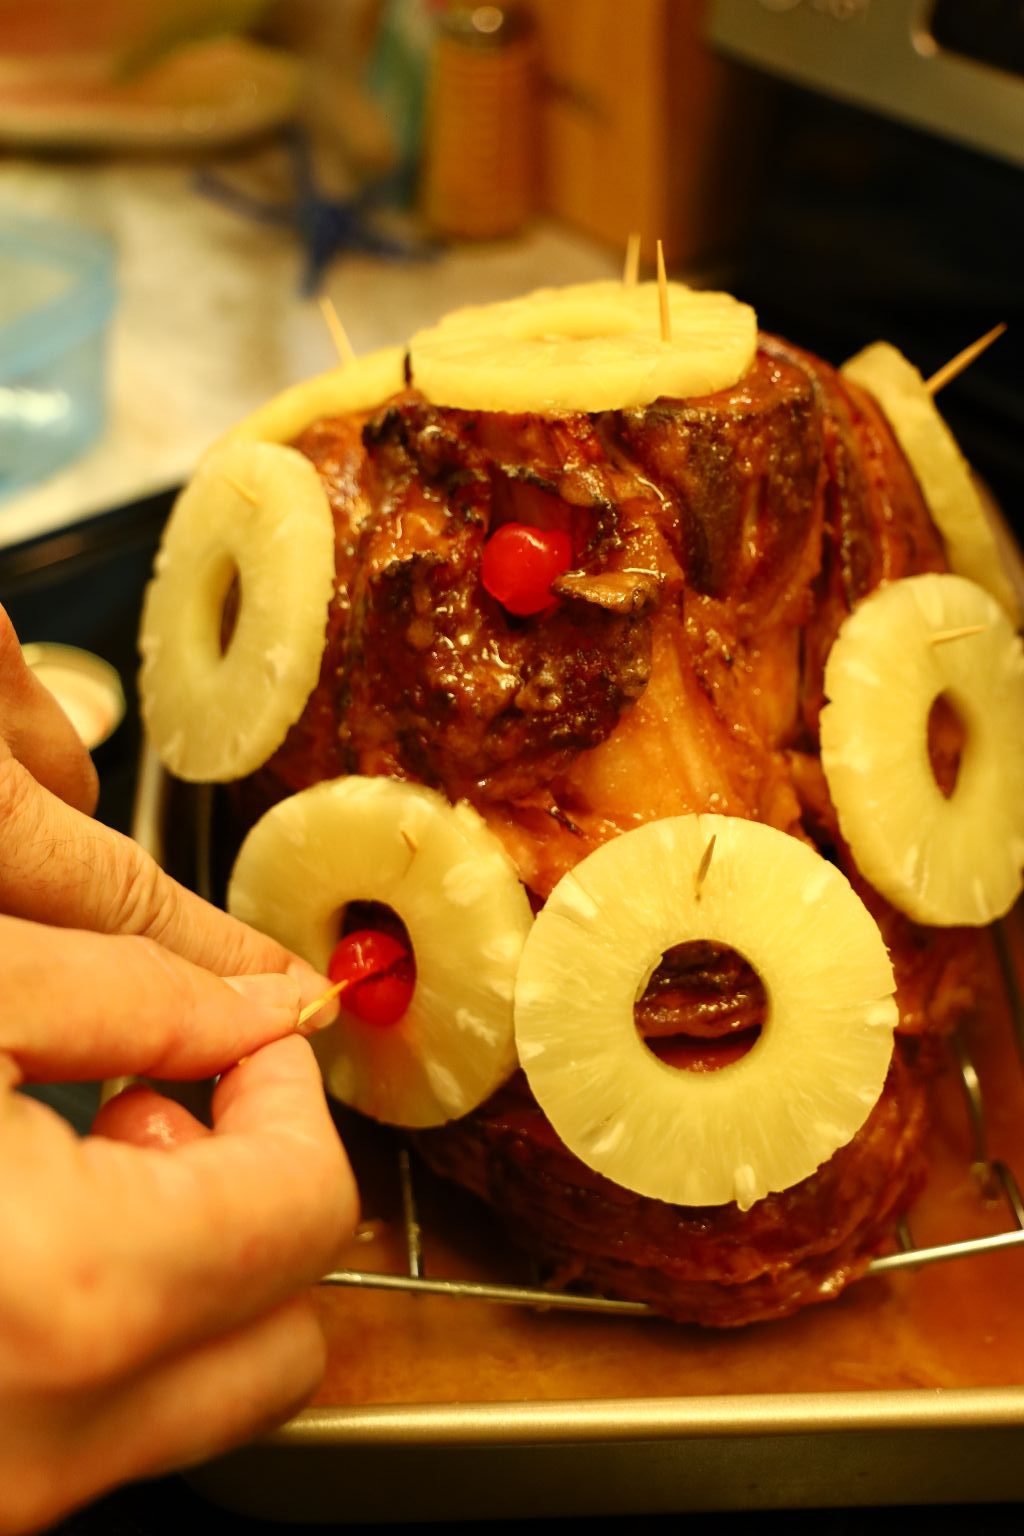
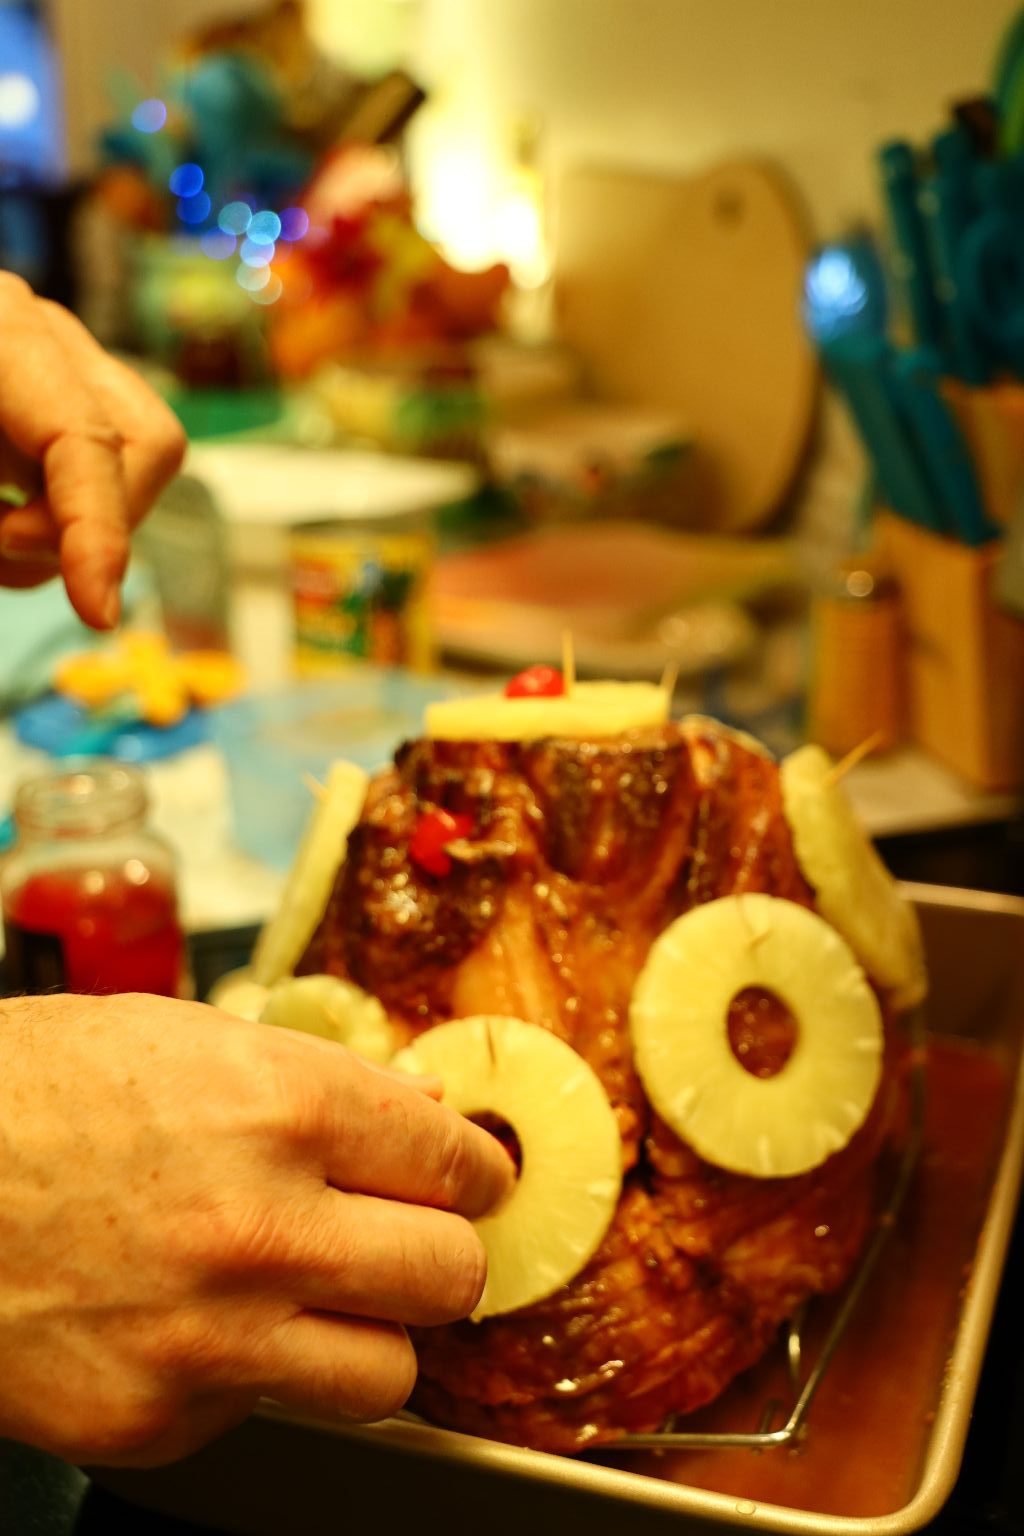
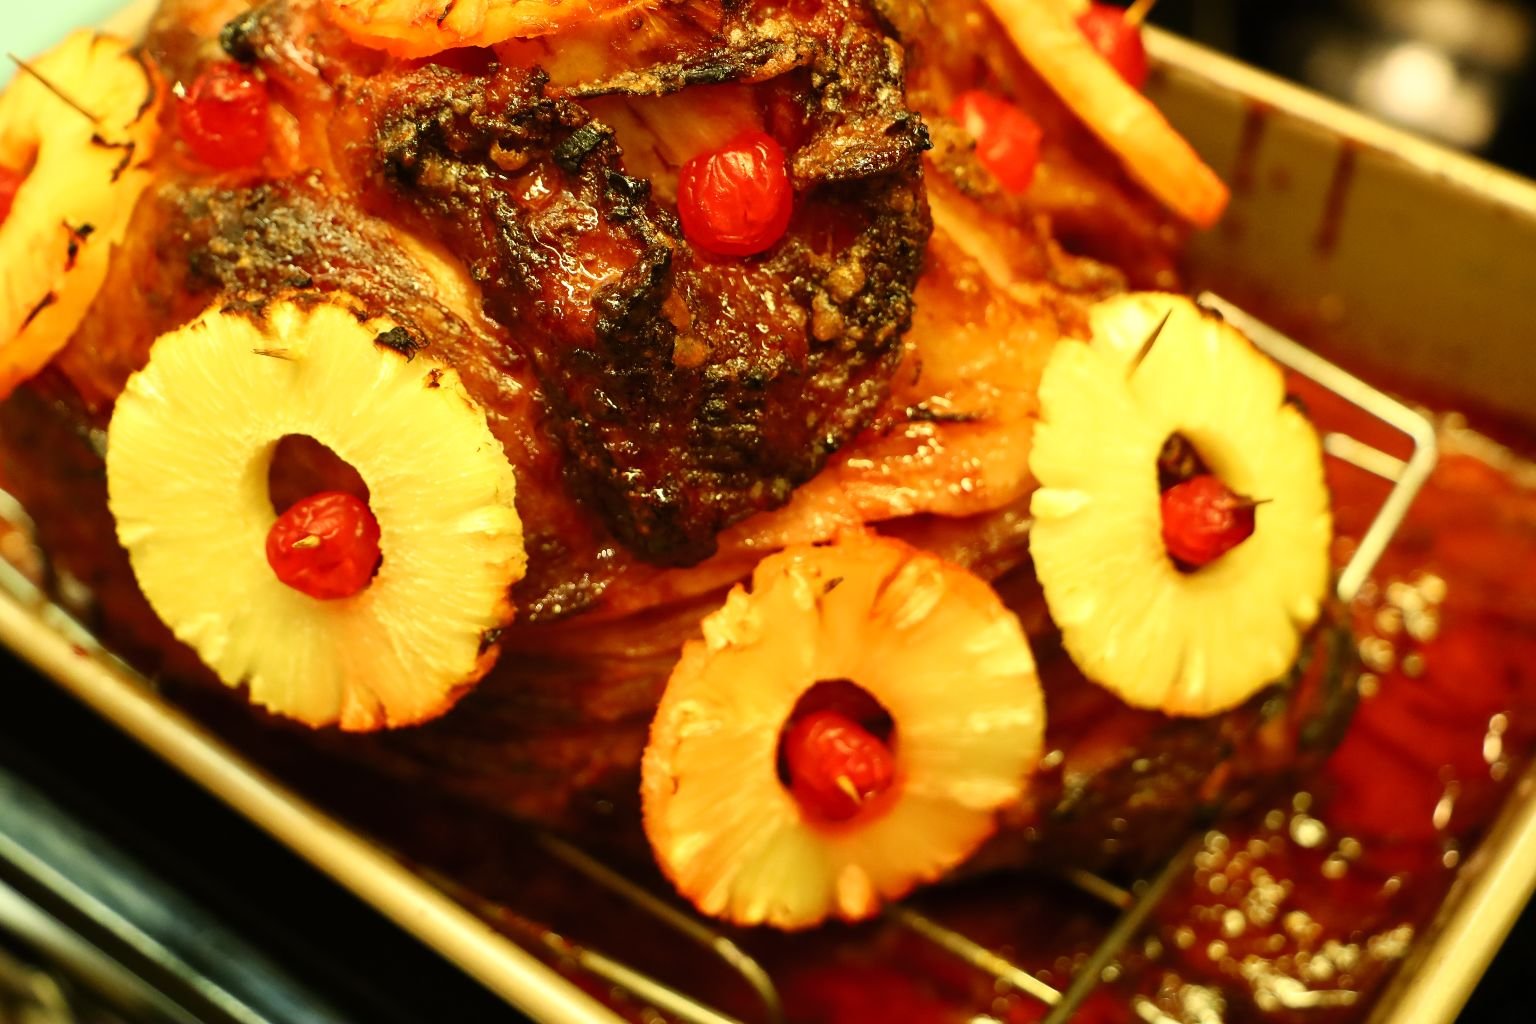
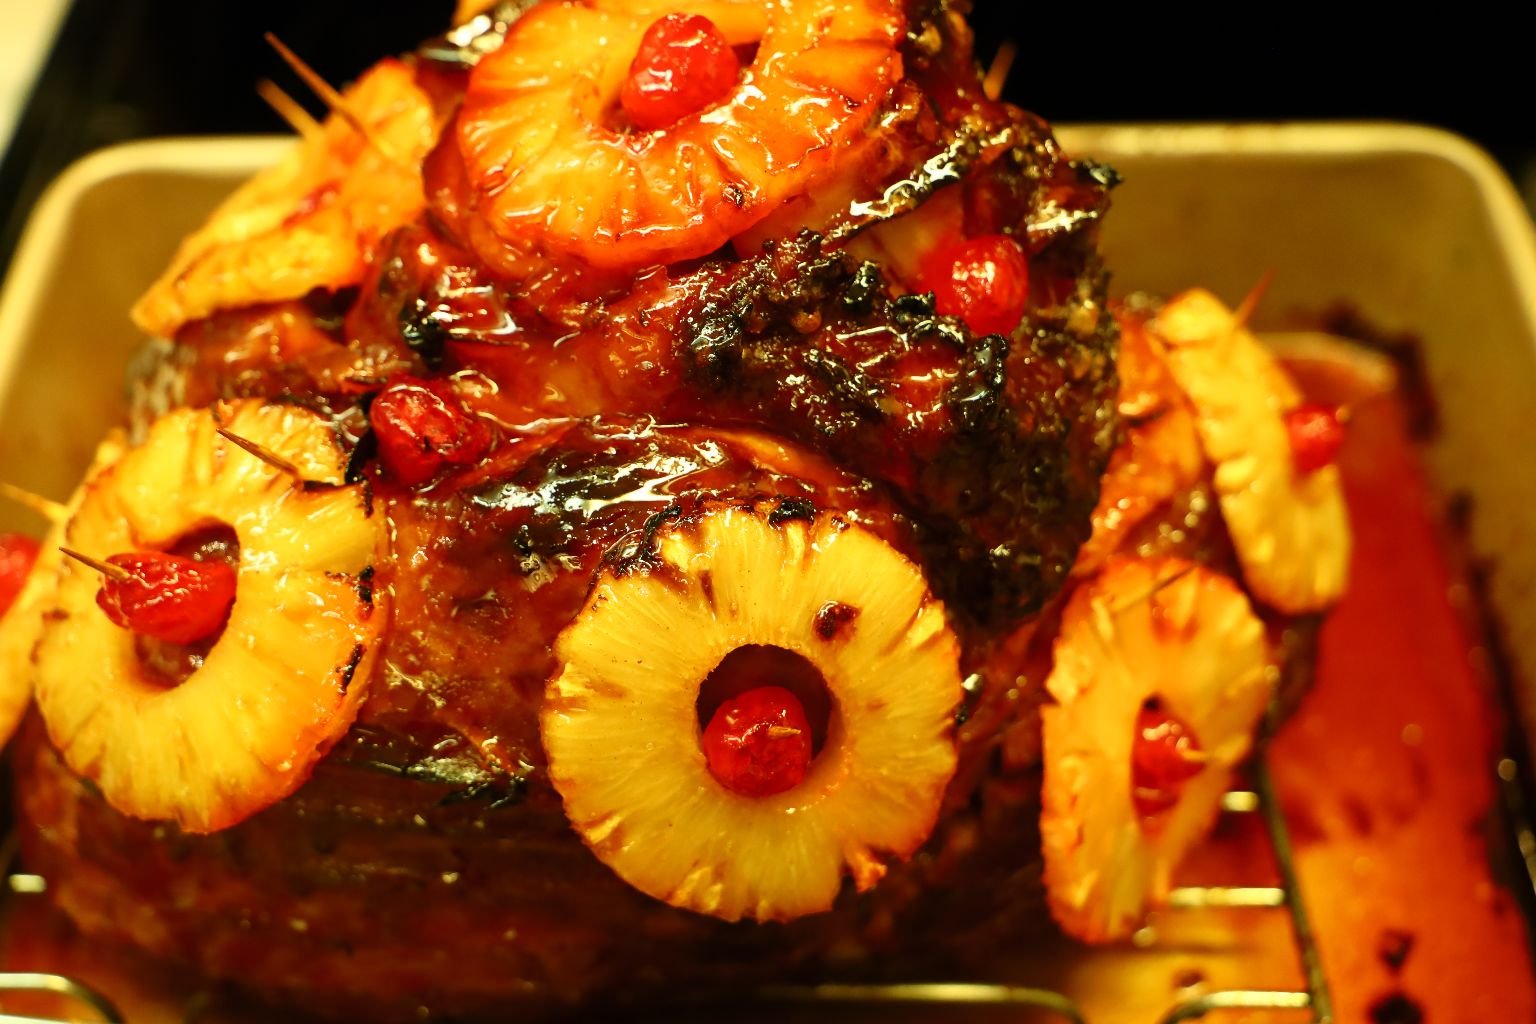
Place the pineapple slices around the ham using toothpicks to keep them in place. Add the cherries to the center of the pineapple and keep them in place with another toothpick if needed.
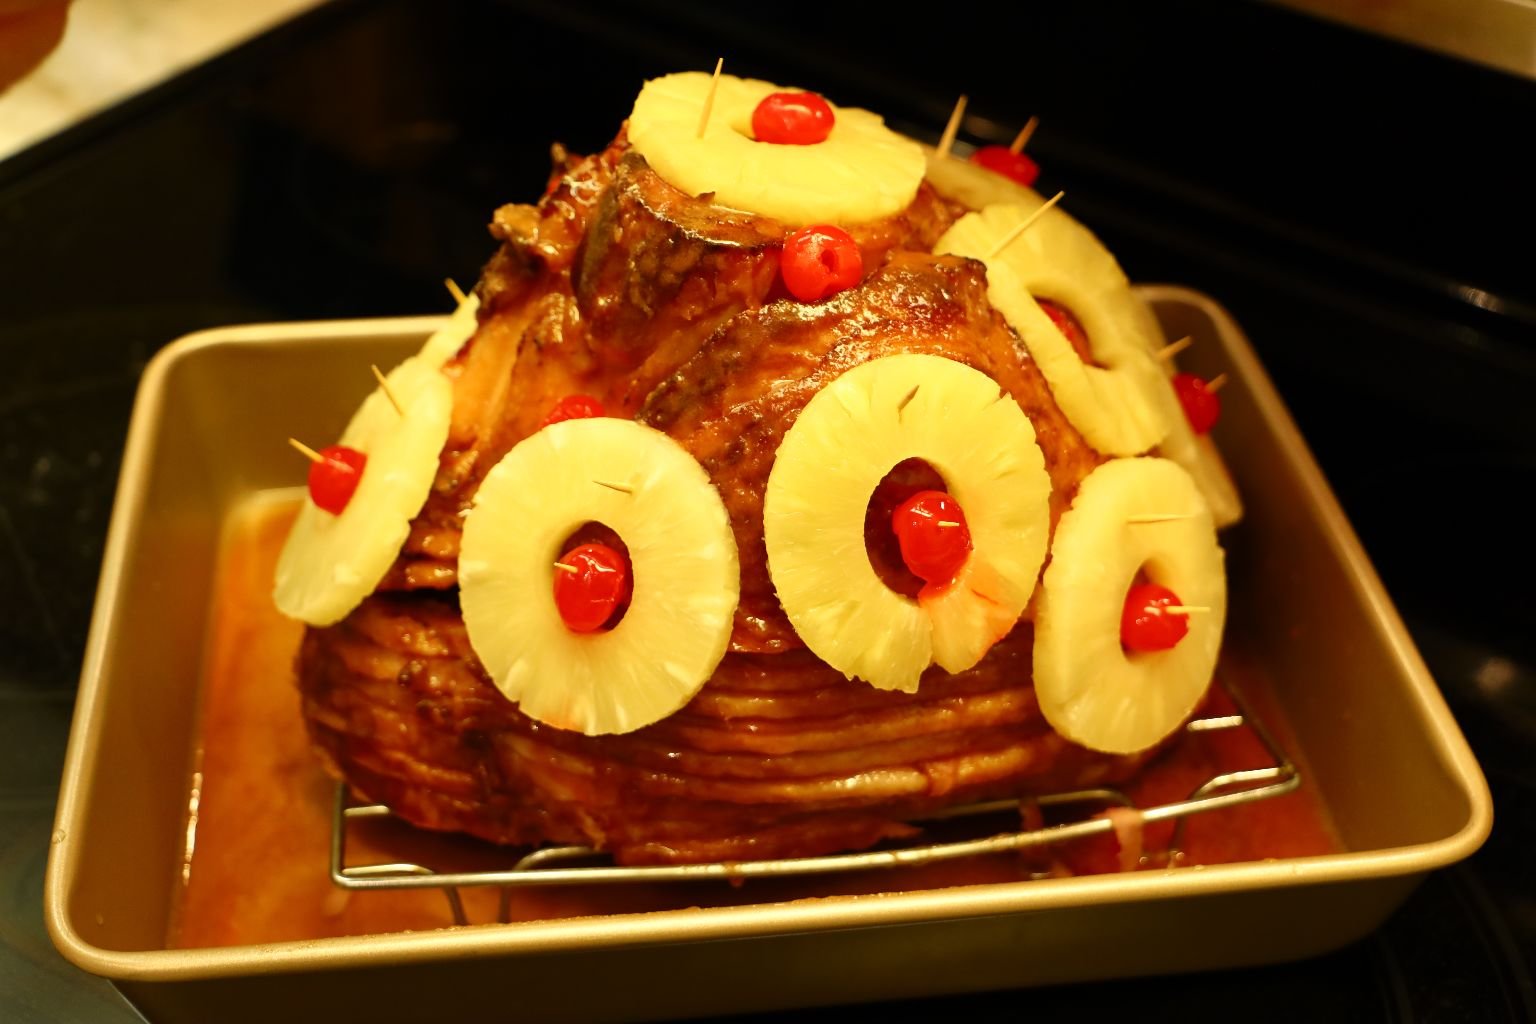
You can brush the glaze in the pan over the pineapple and cherries during the cooking process.
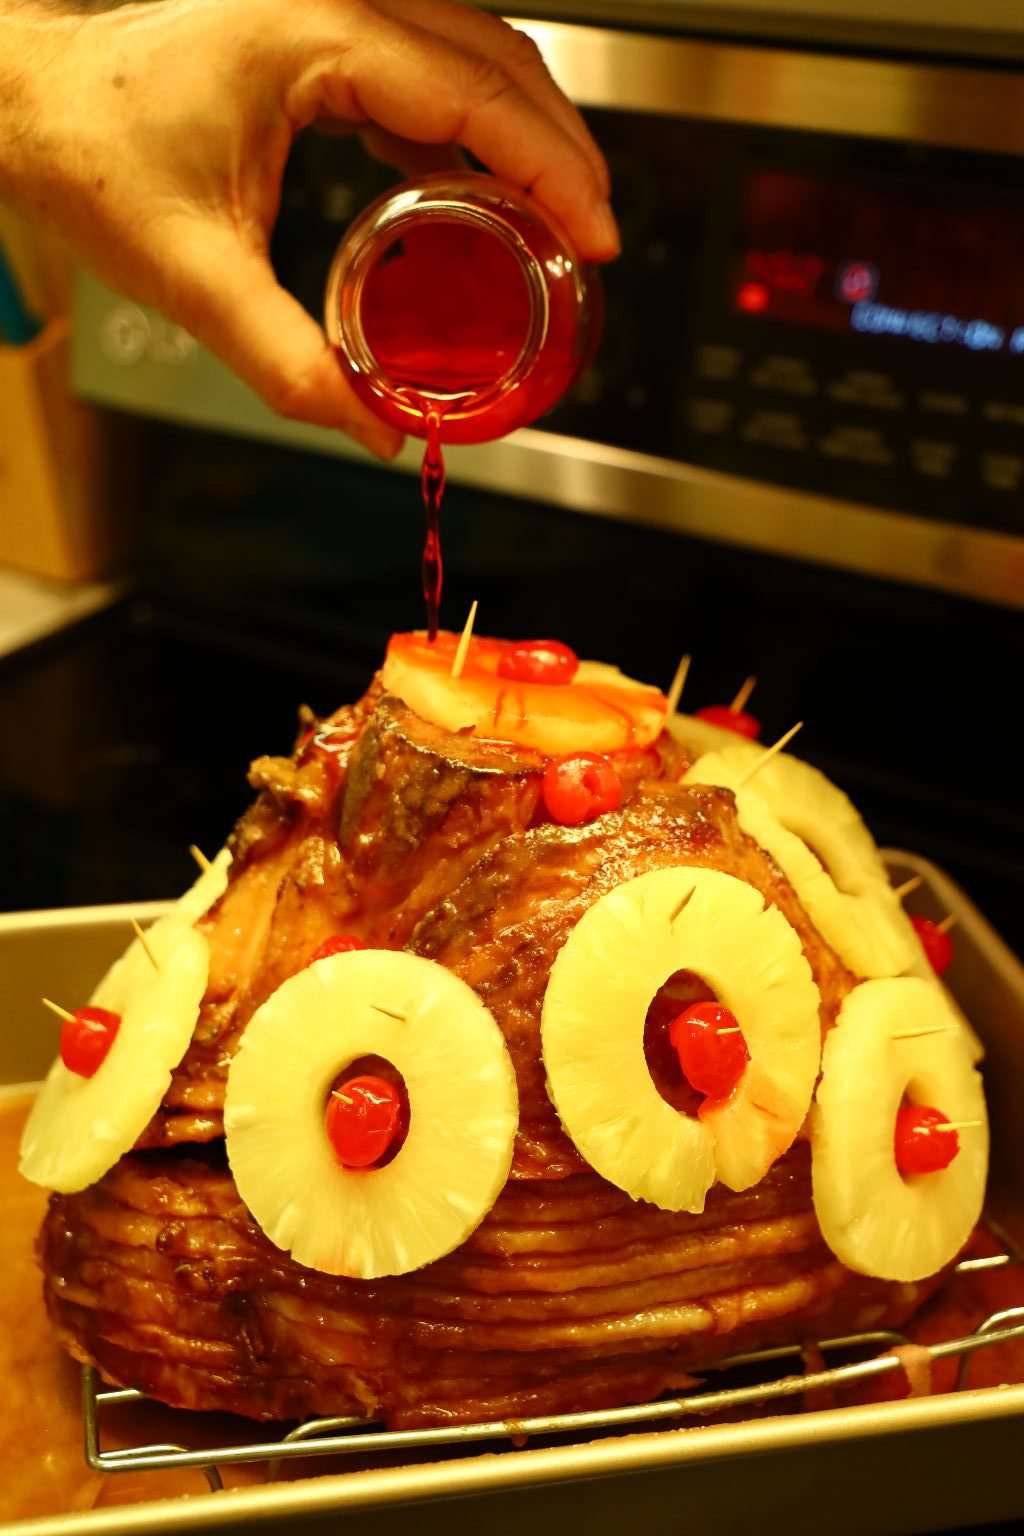
Here I thought I would use the rest of the cherry juice to help glaze the ham.
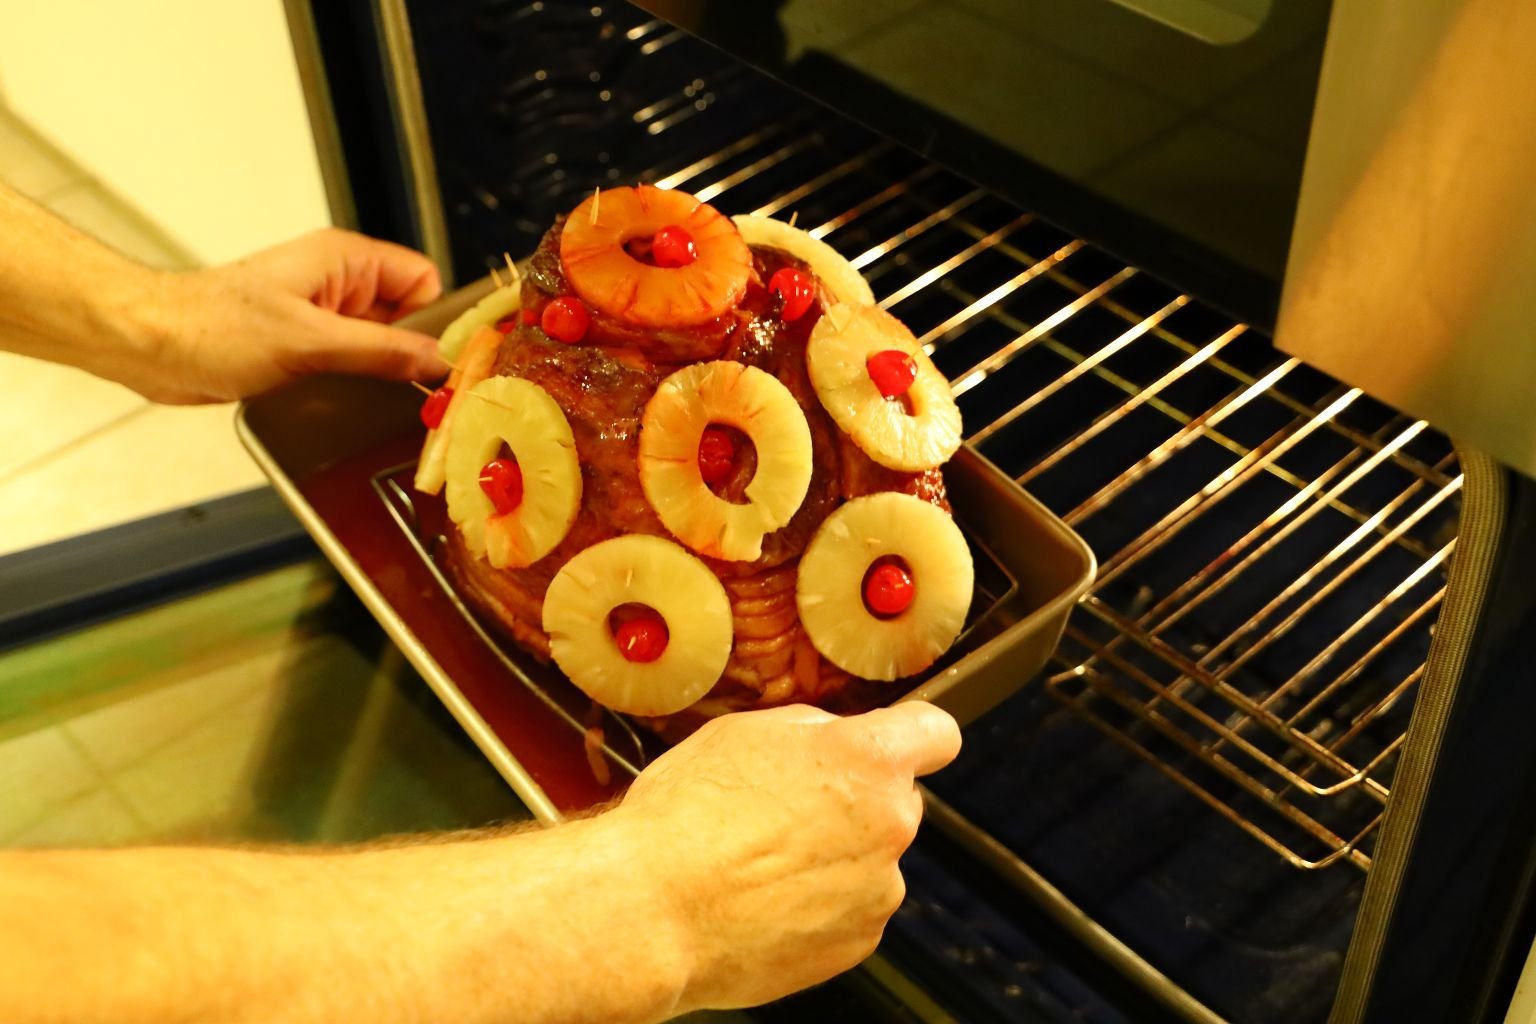
Place the ham back in the oven and continue to cook it as directed.
—————————————————————
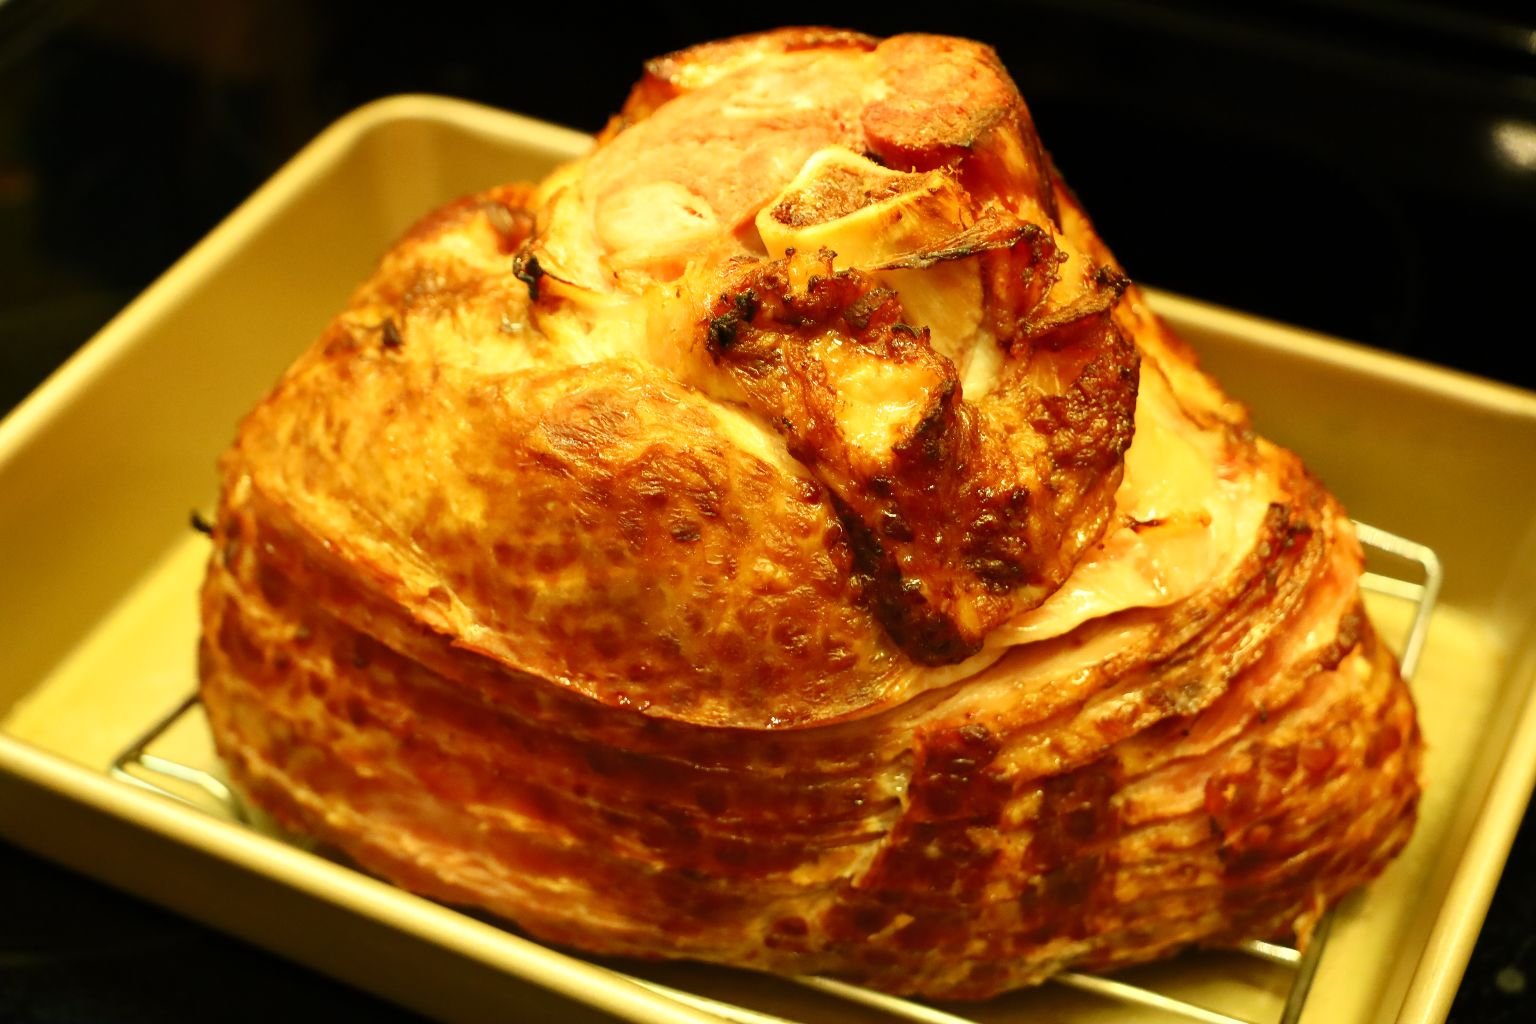
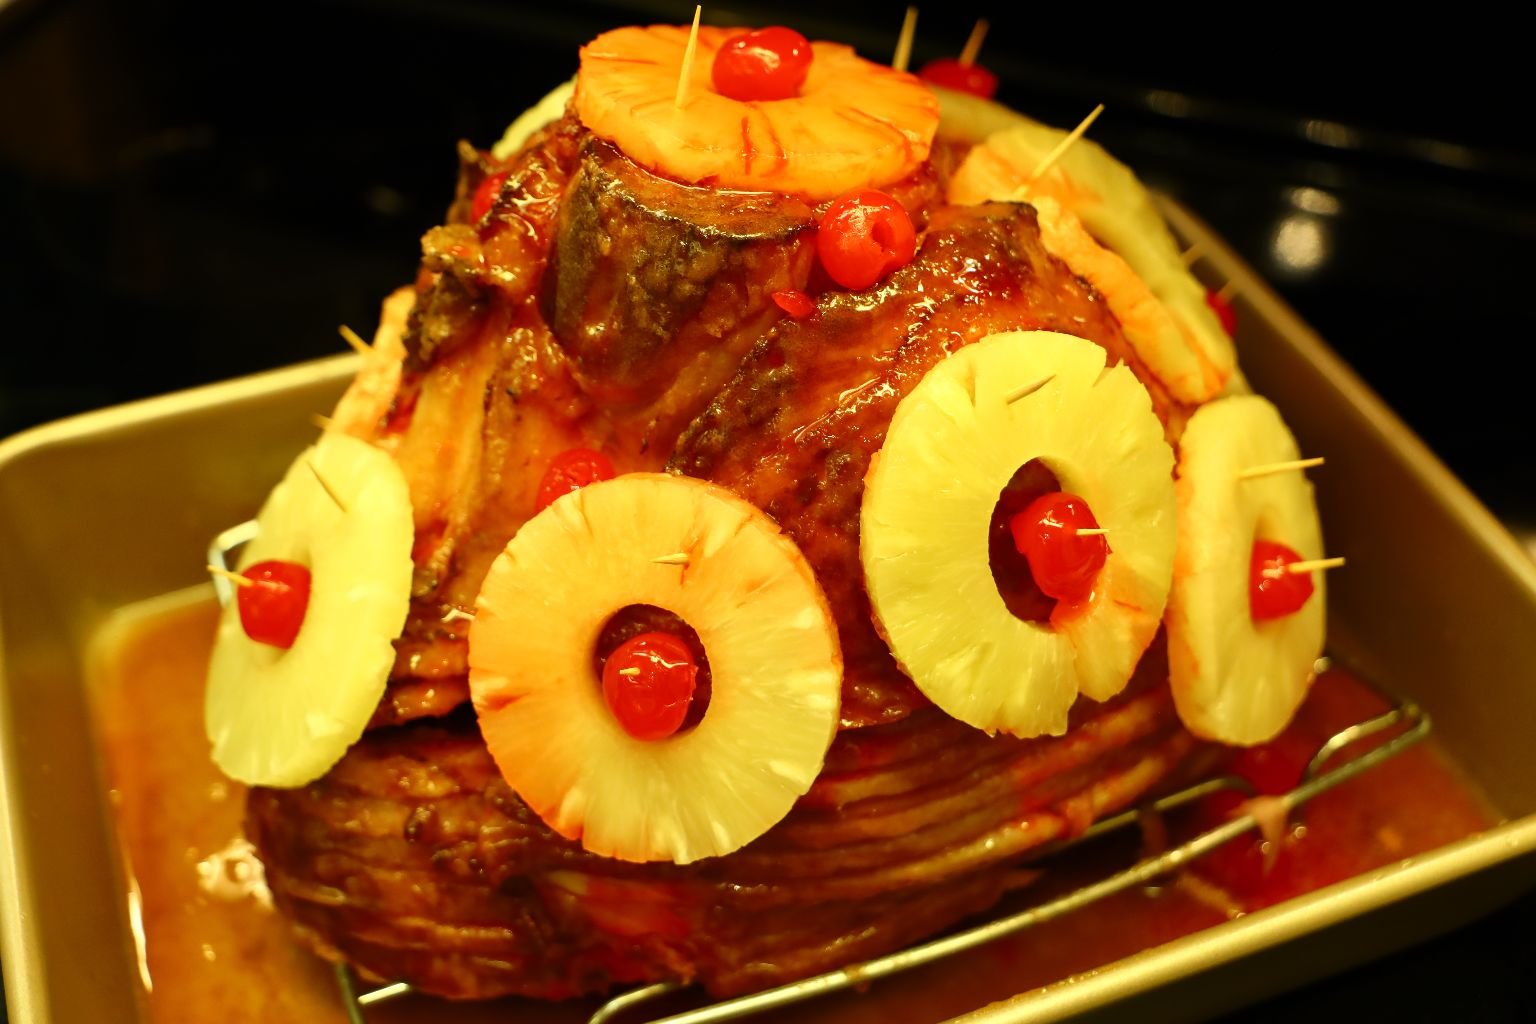
Periodically remove the ham and brush it with the glaze at the bottom of the ham.

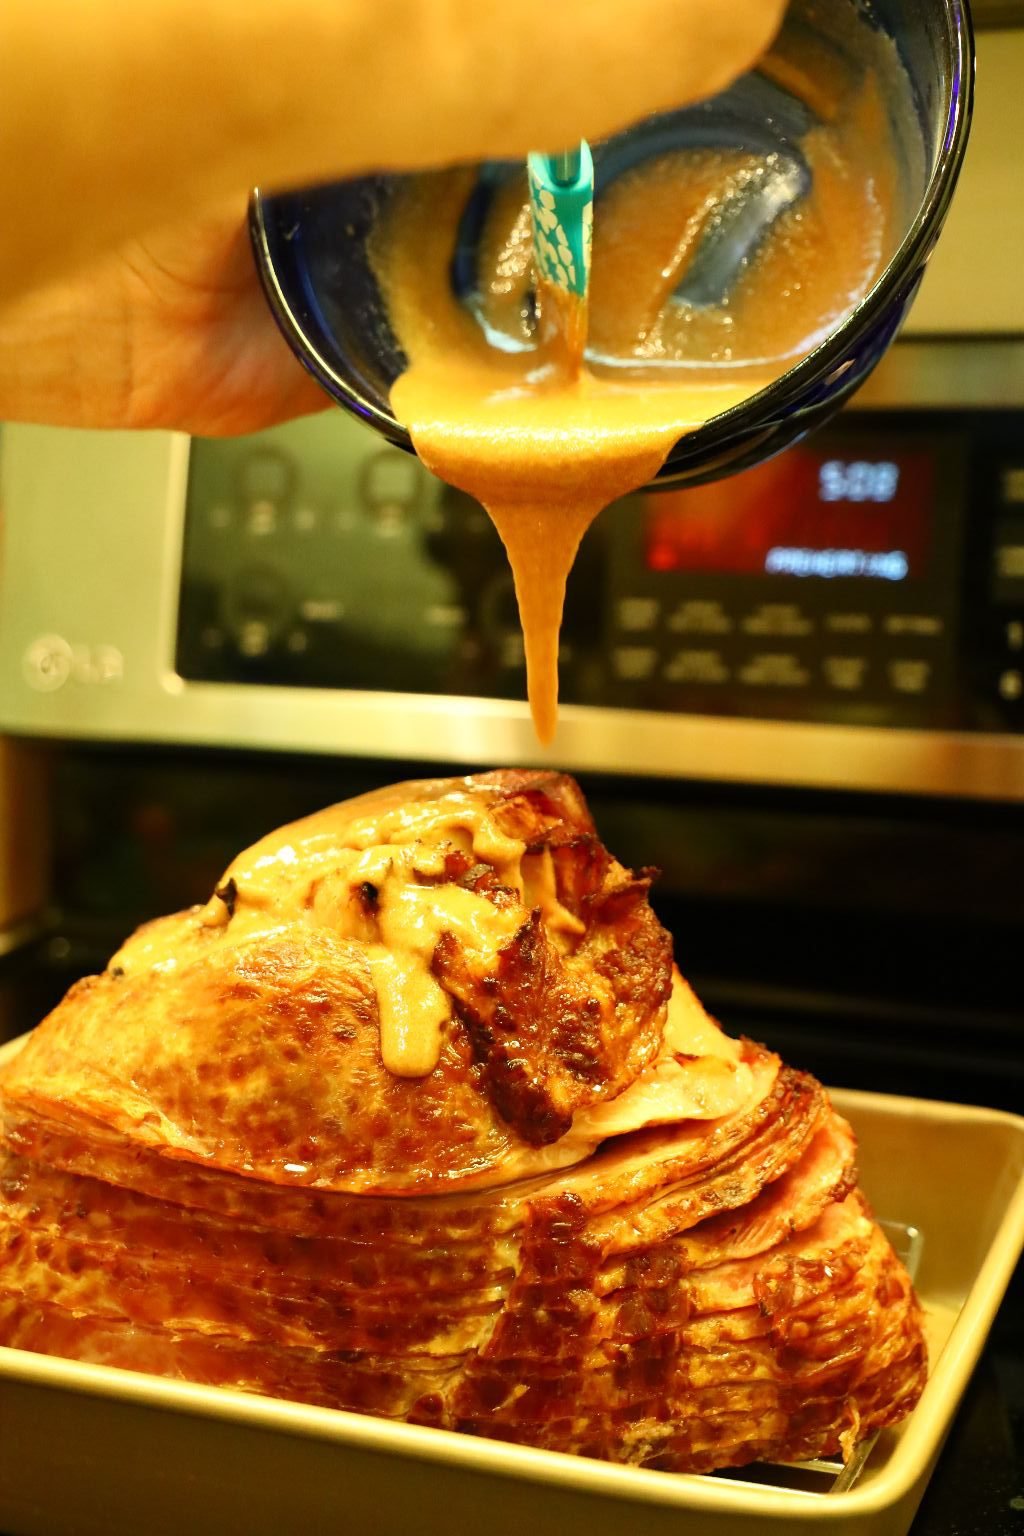
After some time, the glaze will become very thick and sticky.
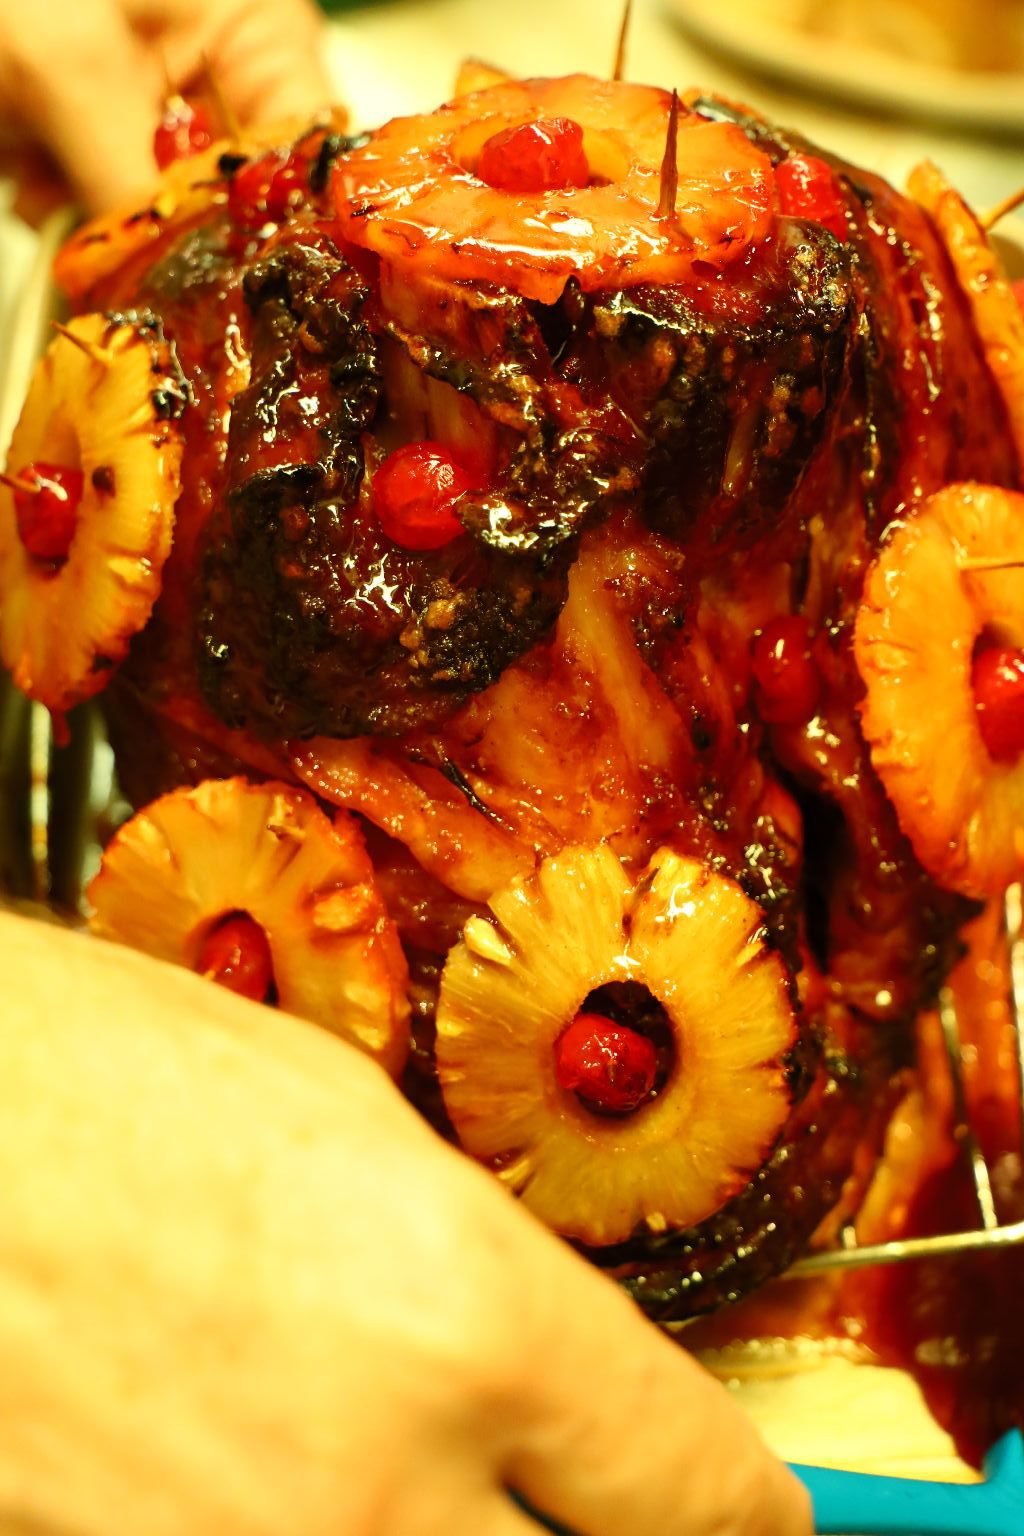
I kept some of the glaze and poured it over the ham when it was almost done cooking.
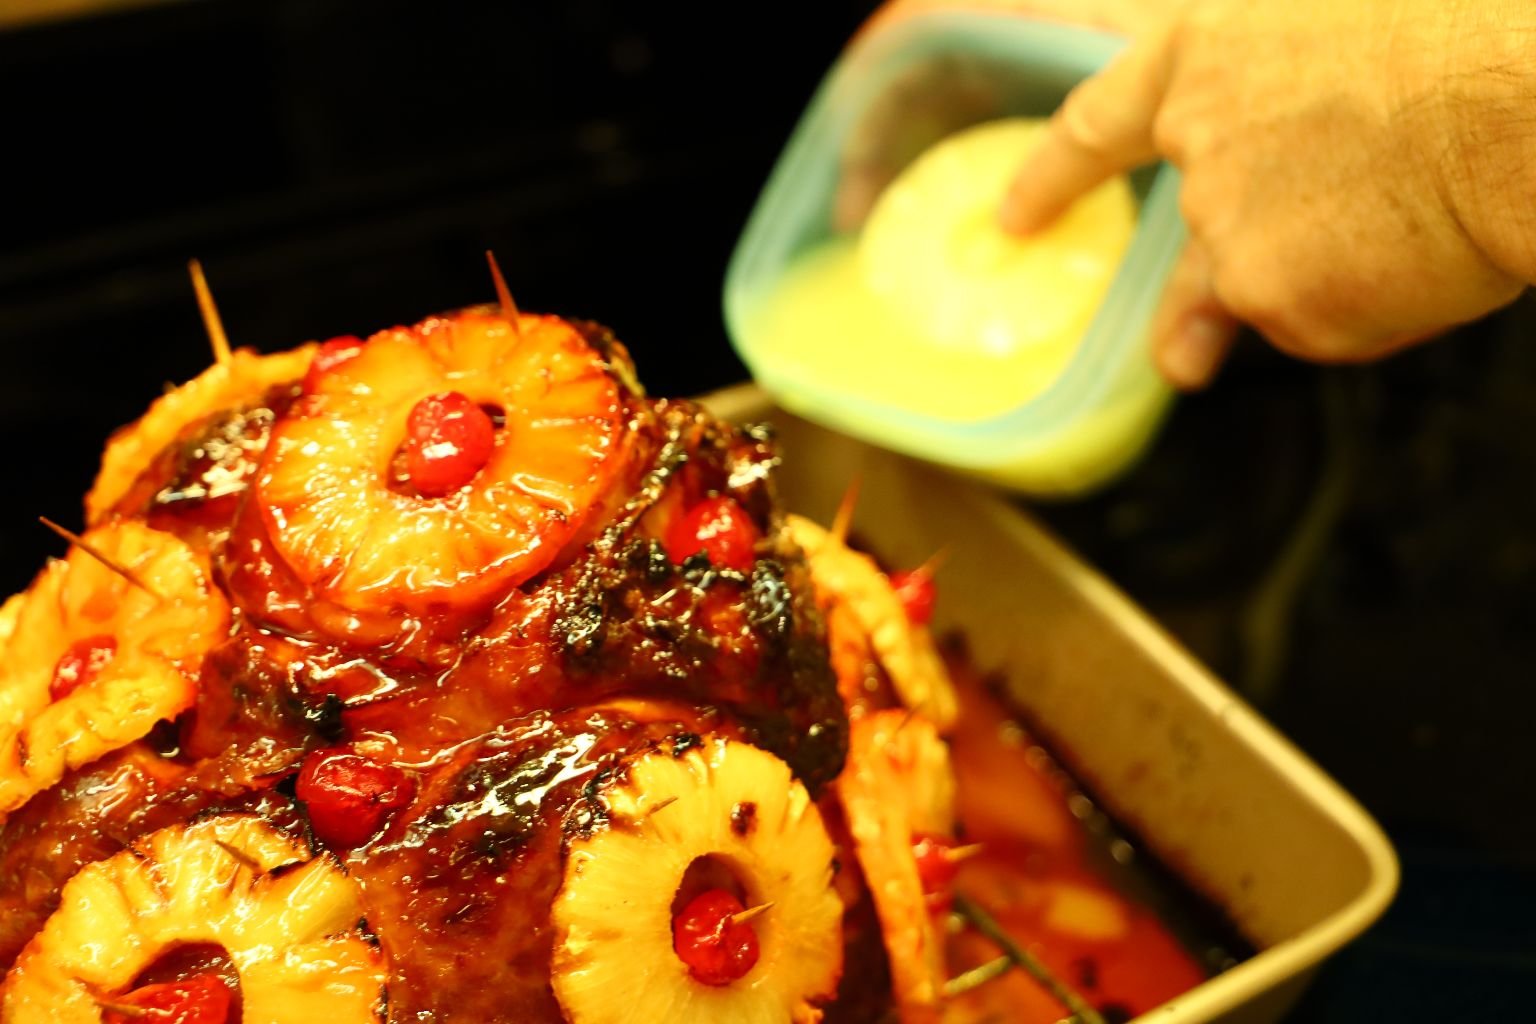
I did the same with the last bit of pineapple juice.
————————————————————————-
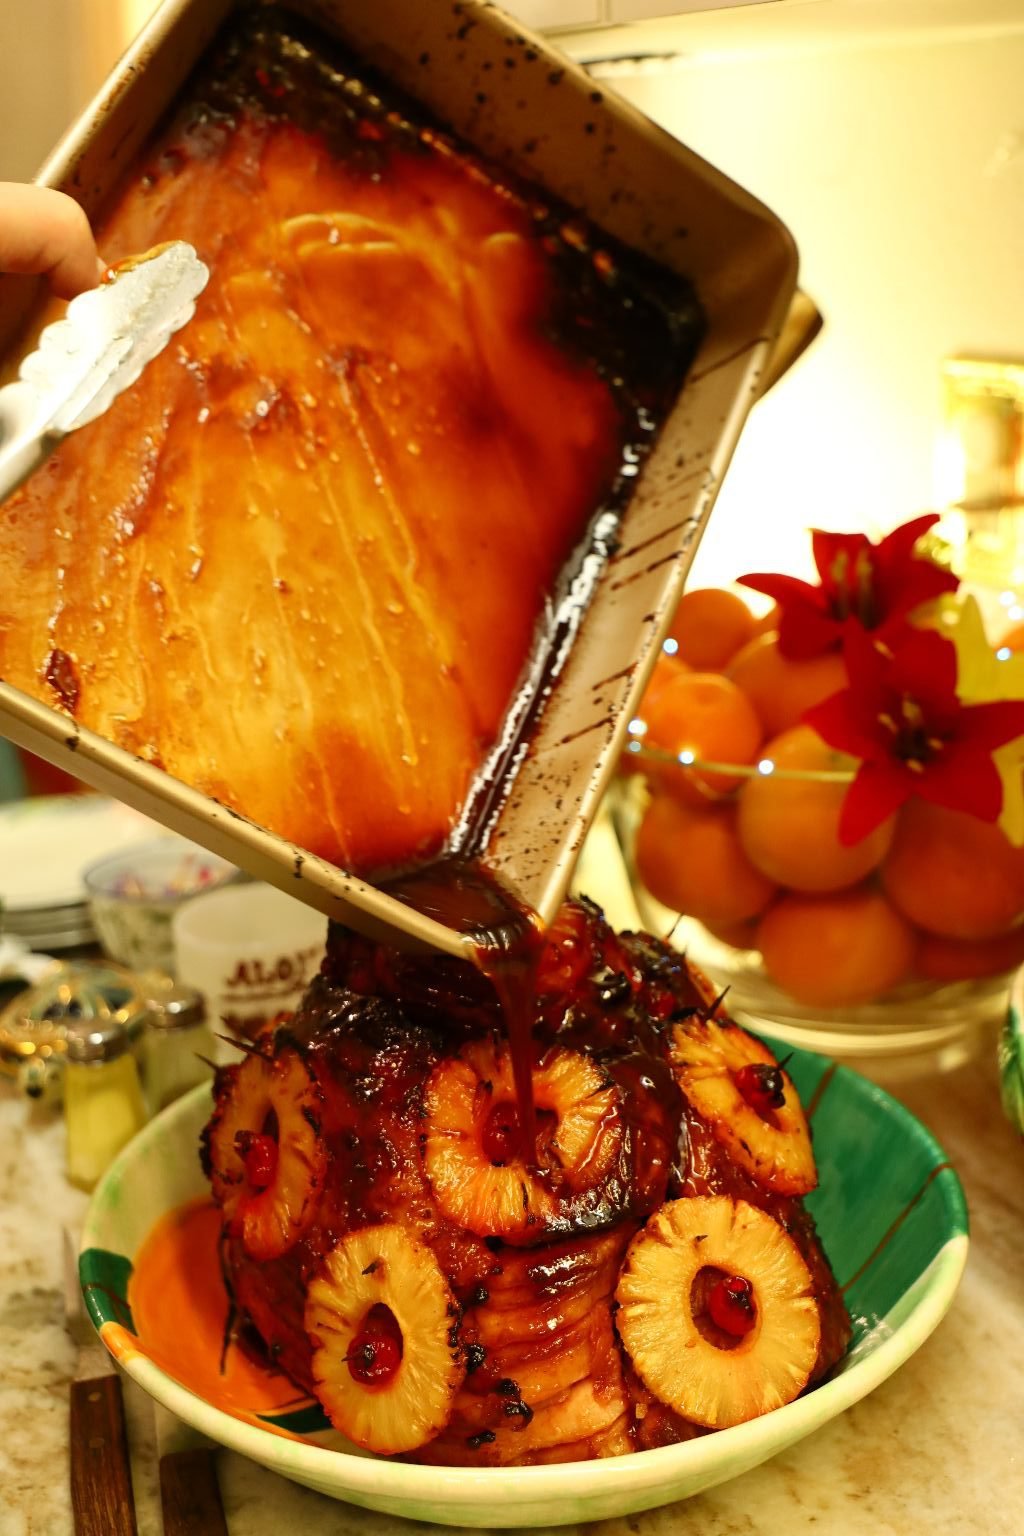
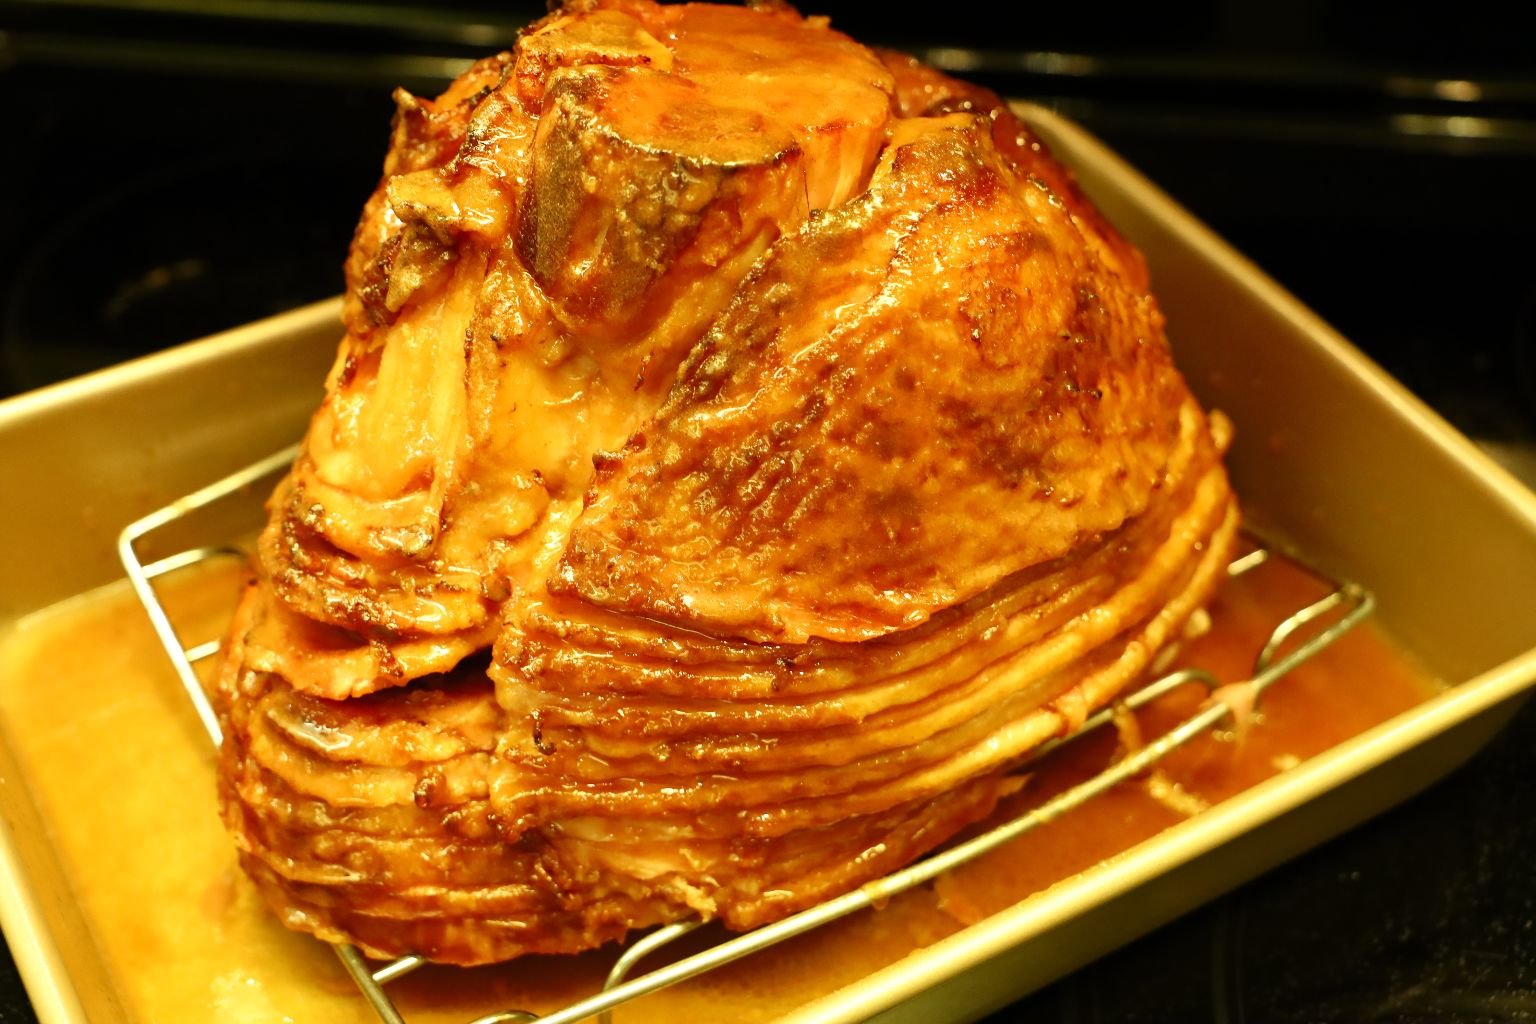
I kept the pan drippings as they didn’t burn and when I plated the ham, I poured it over the ham.

———————————————————————
Enjoy!
——————————————————————–
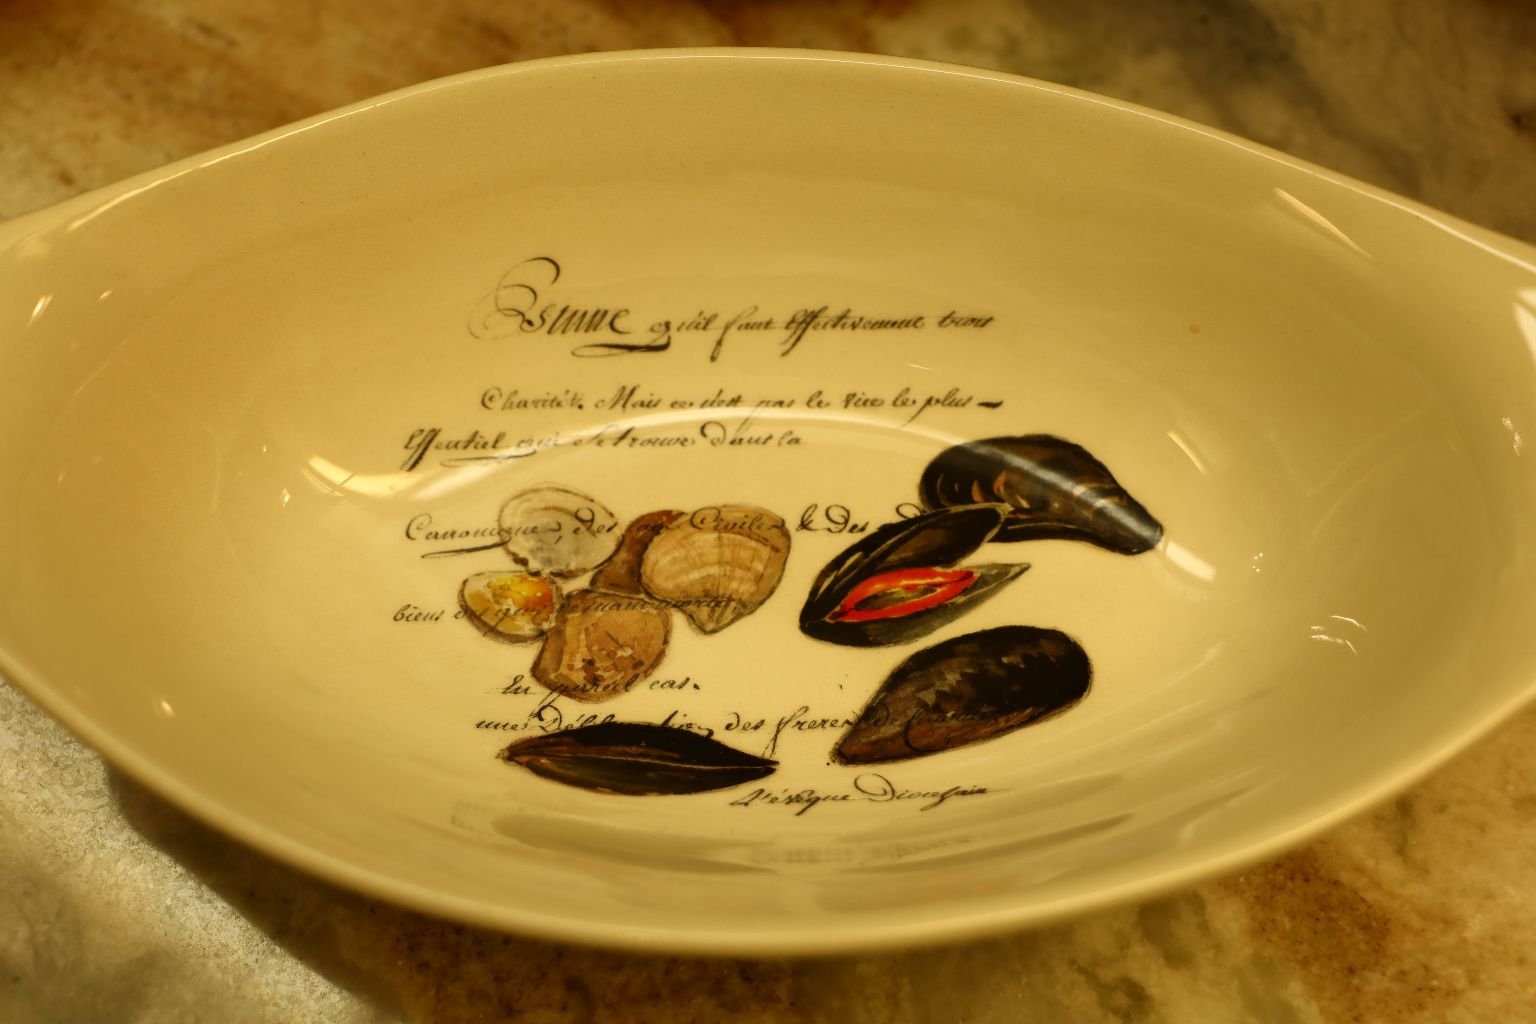
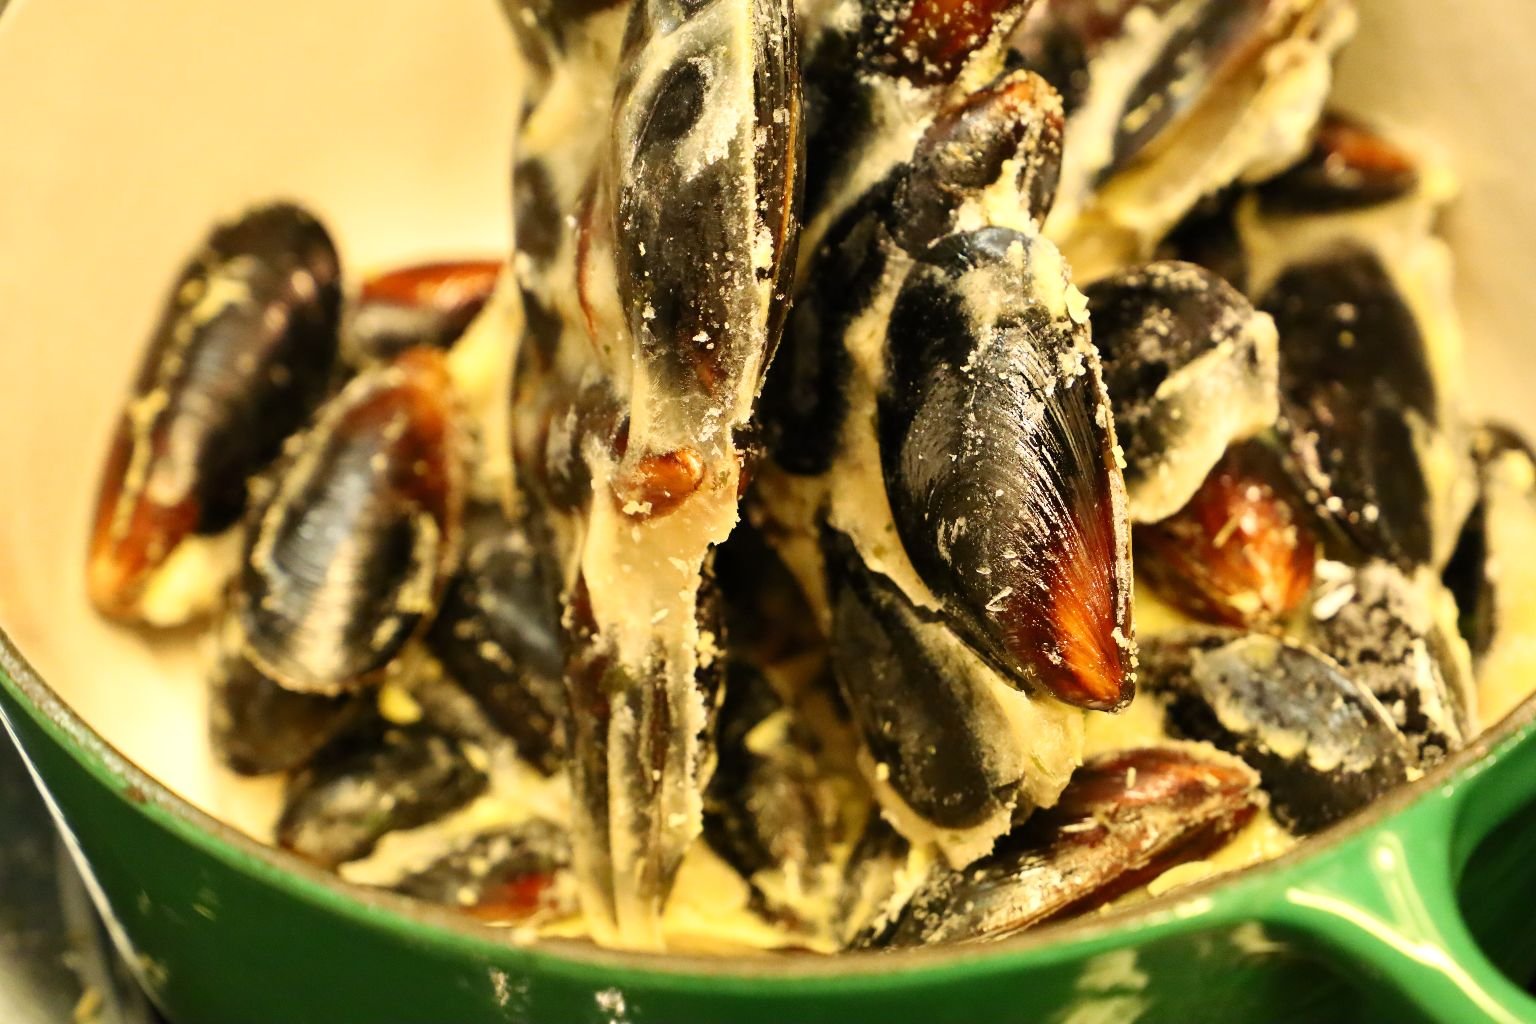
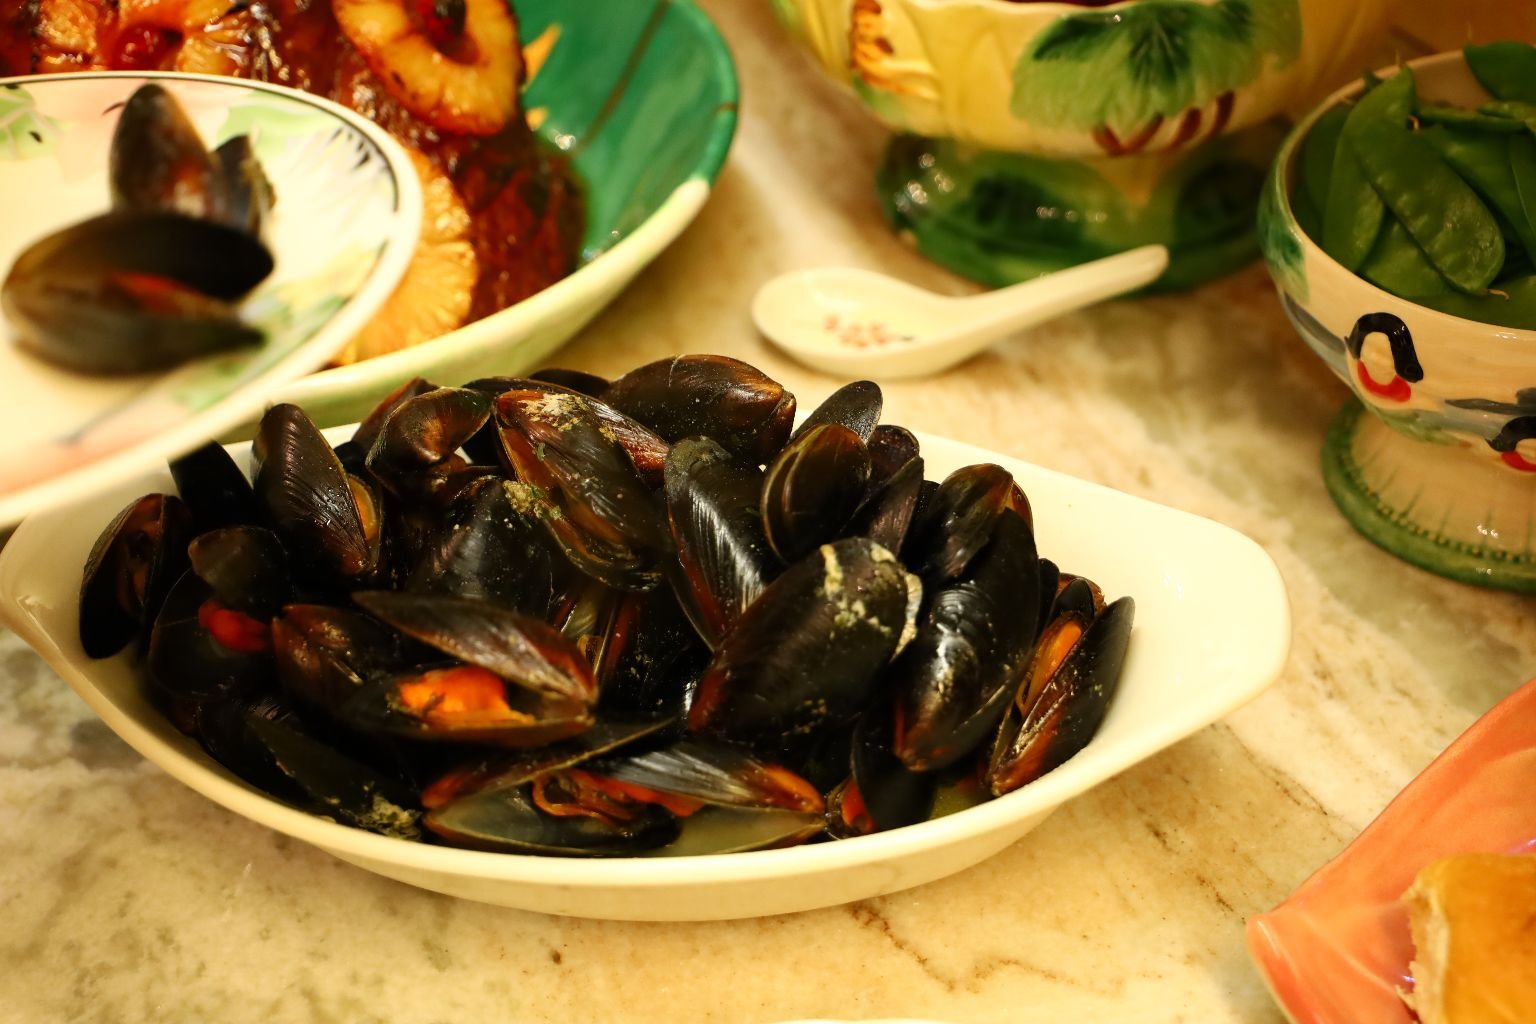
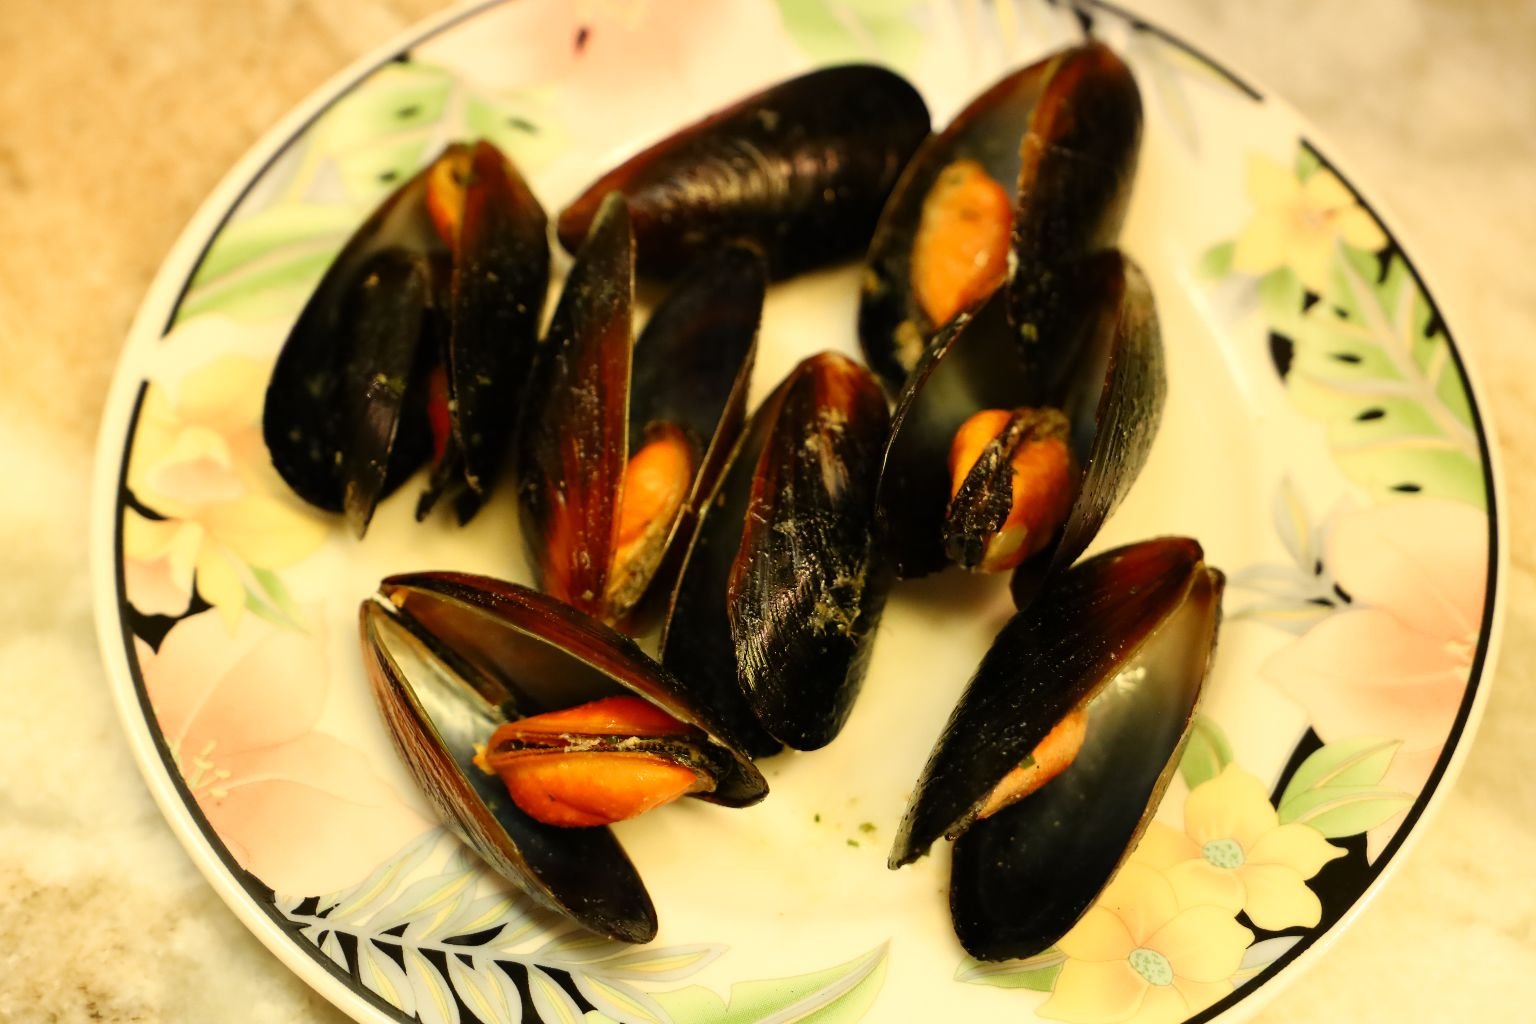
The Mussels
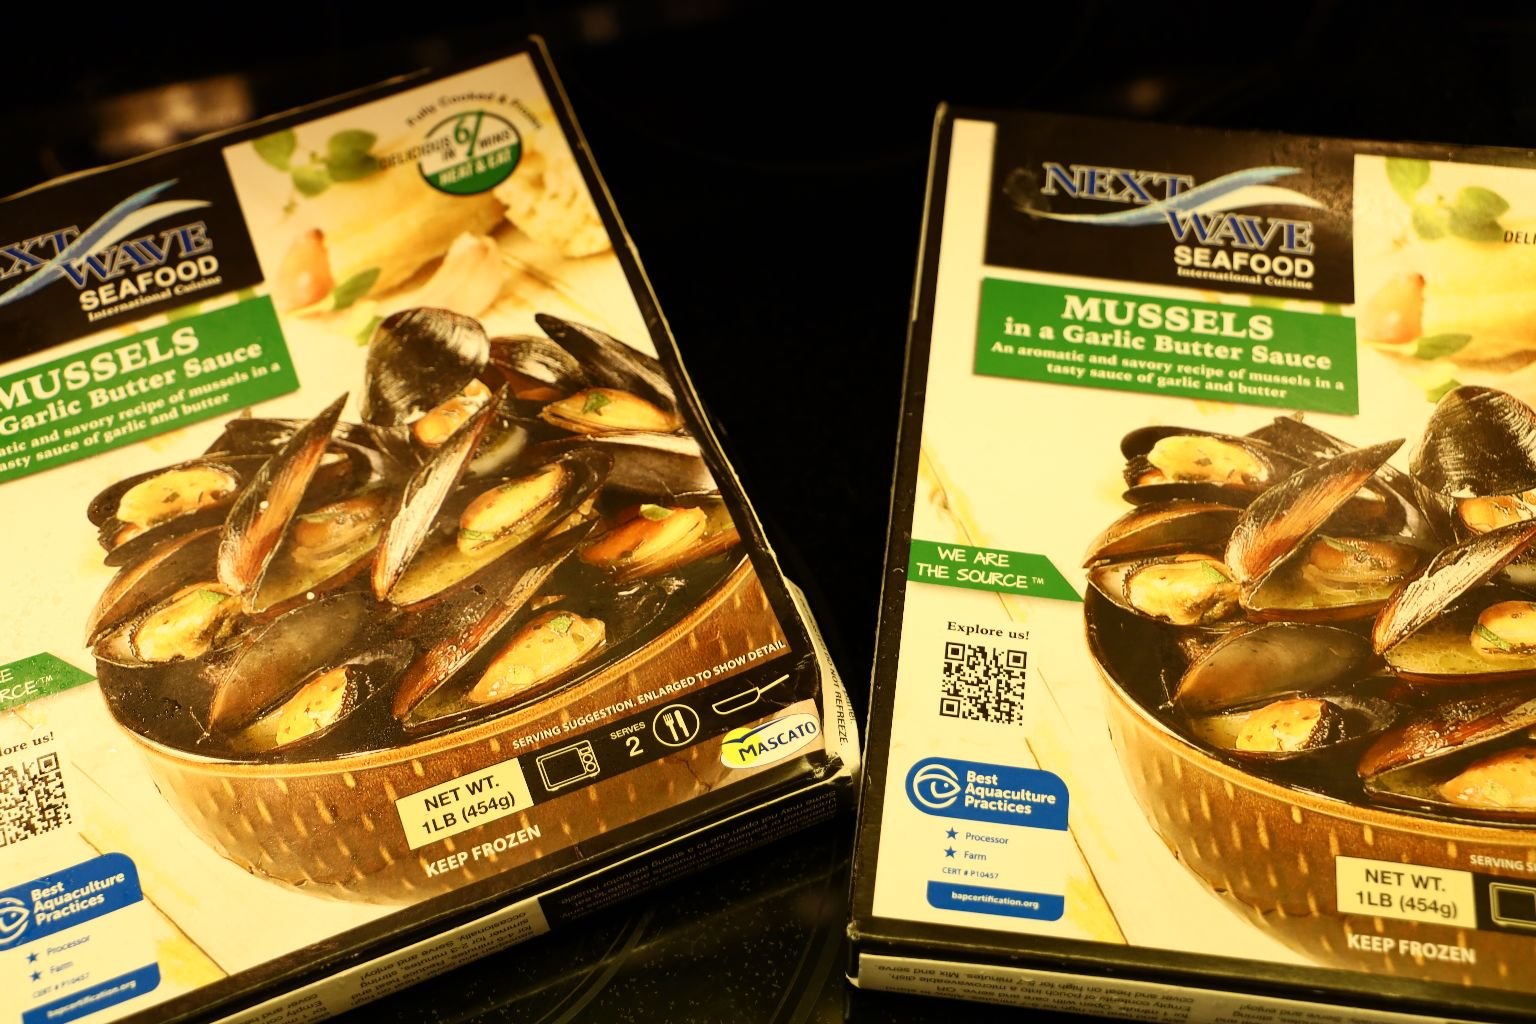
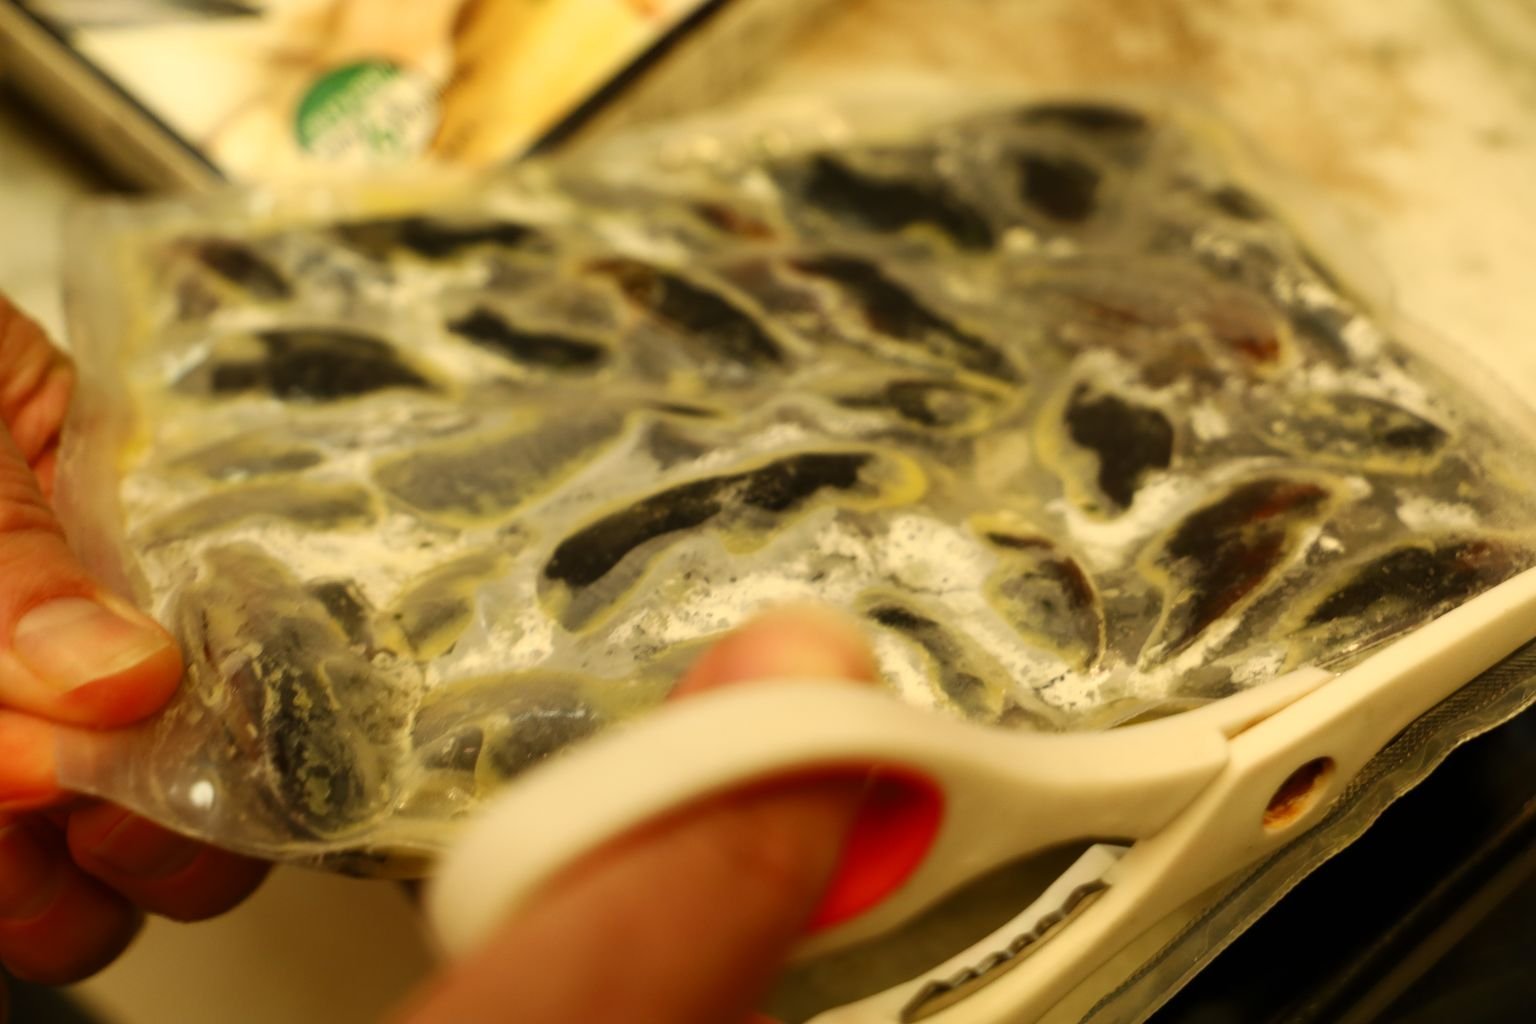
These are Green New Zealand mussels that come frozen and seasoned in garlic butter.
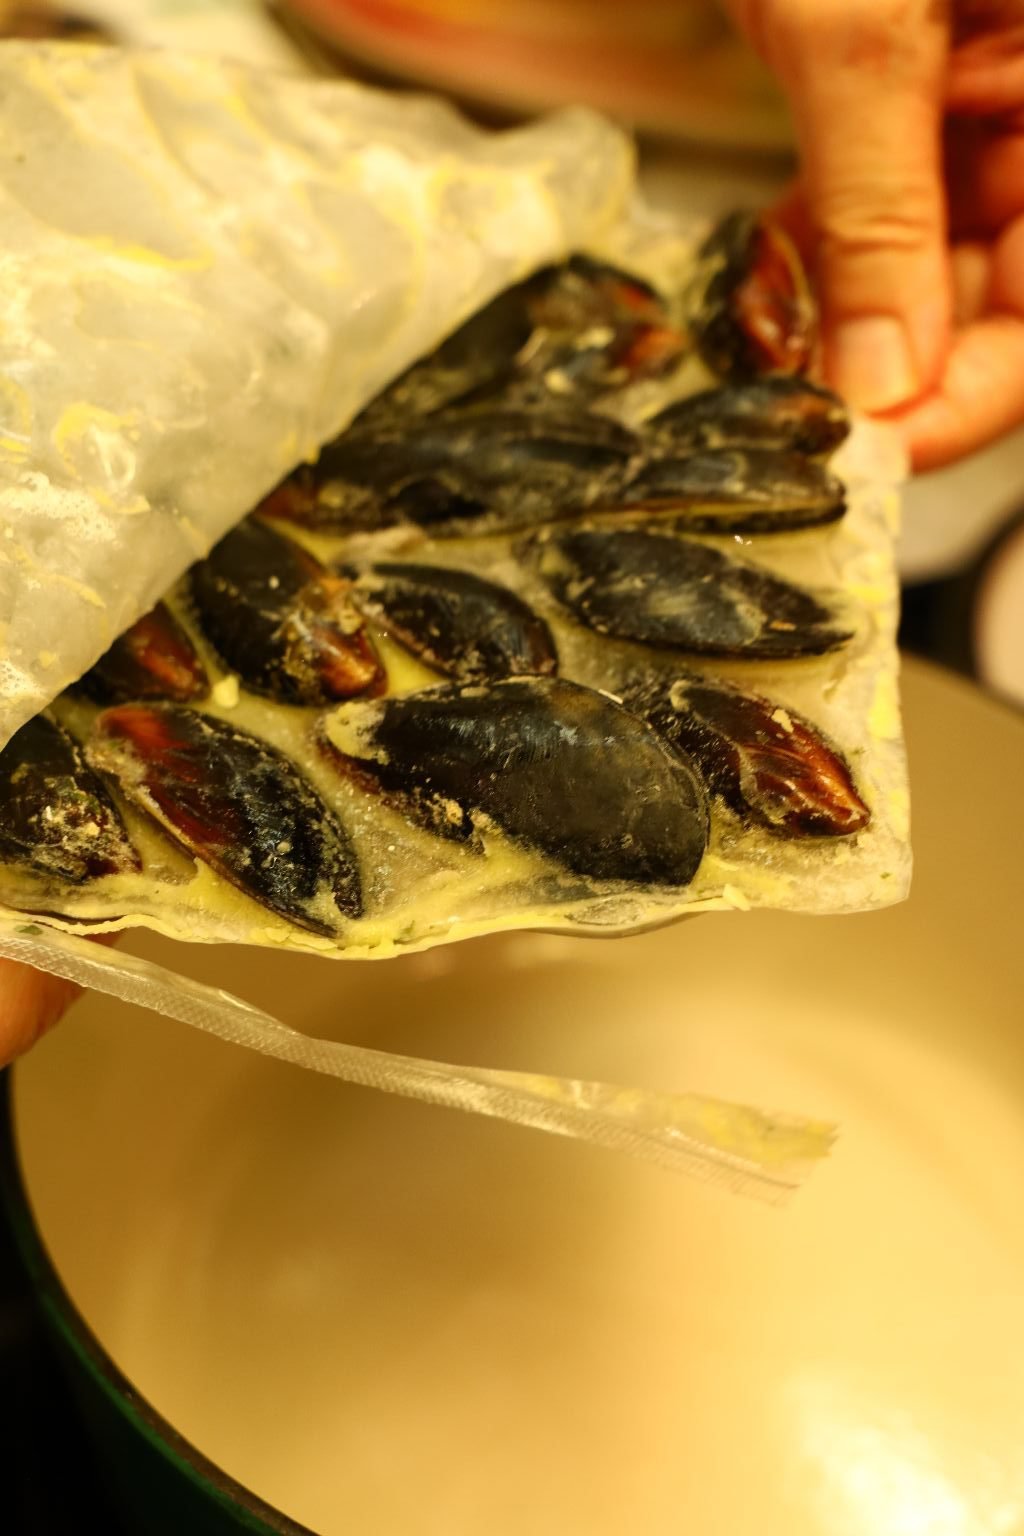
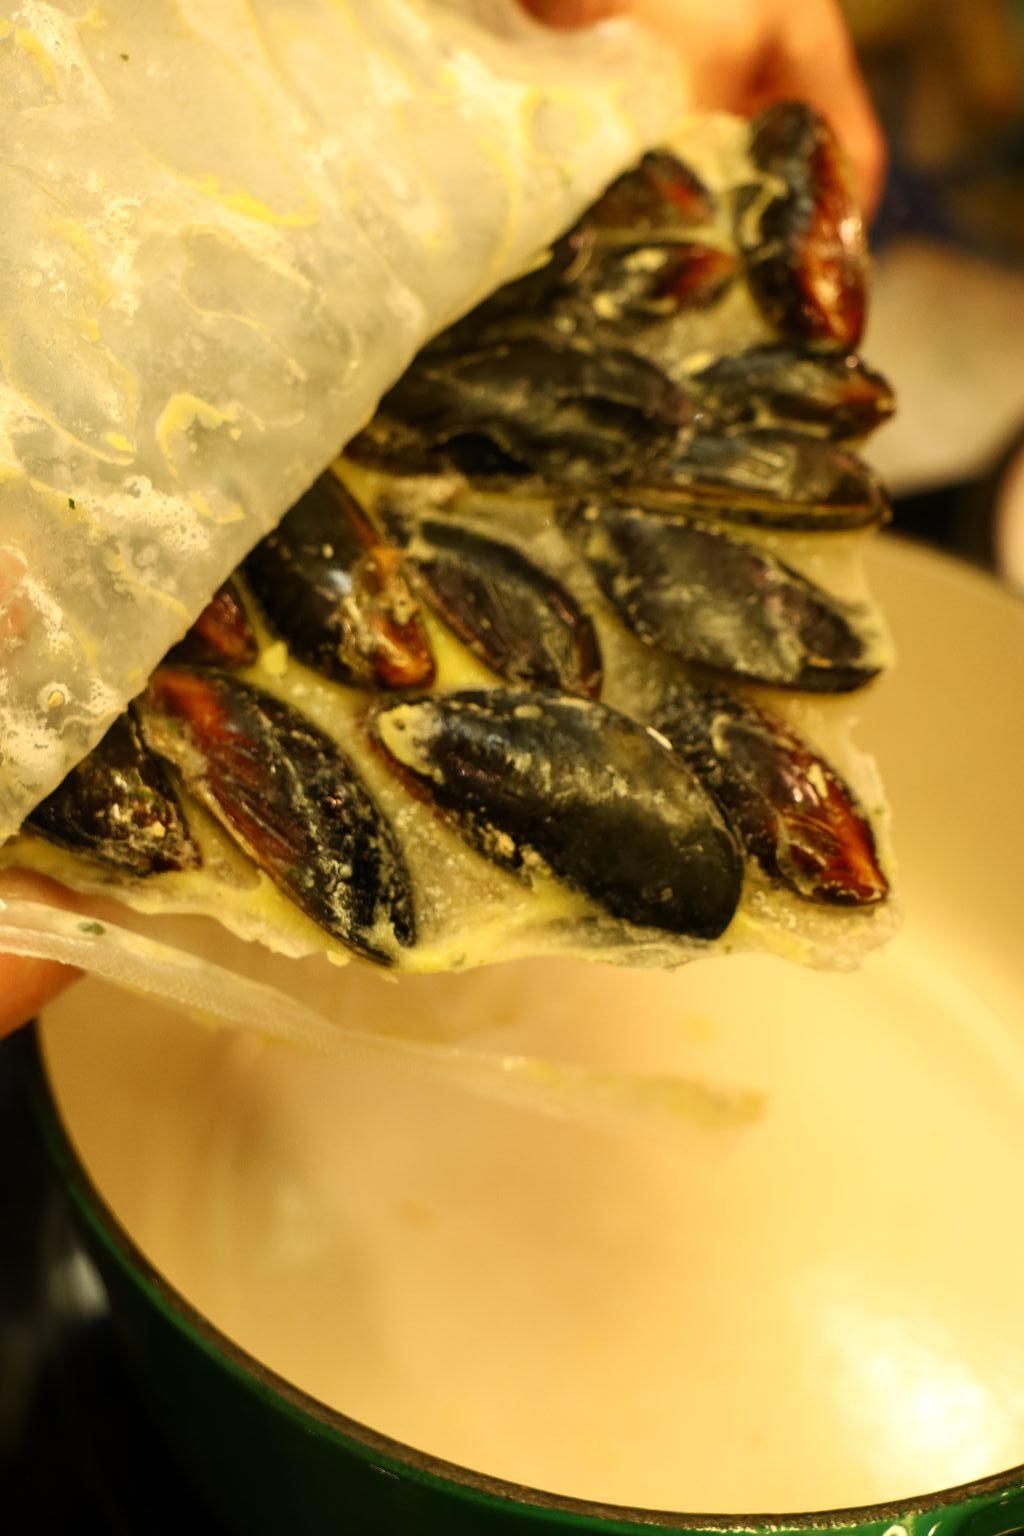
Remove them from their packaging and place them in a medium sized pot.
If you wanted you can add some diced garlic at this point, but they do come well seasoned.
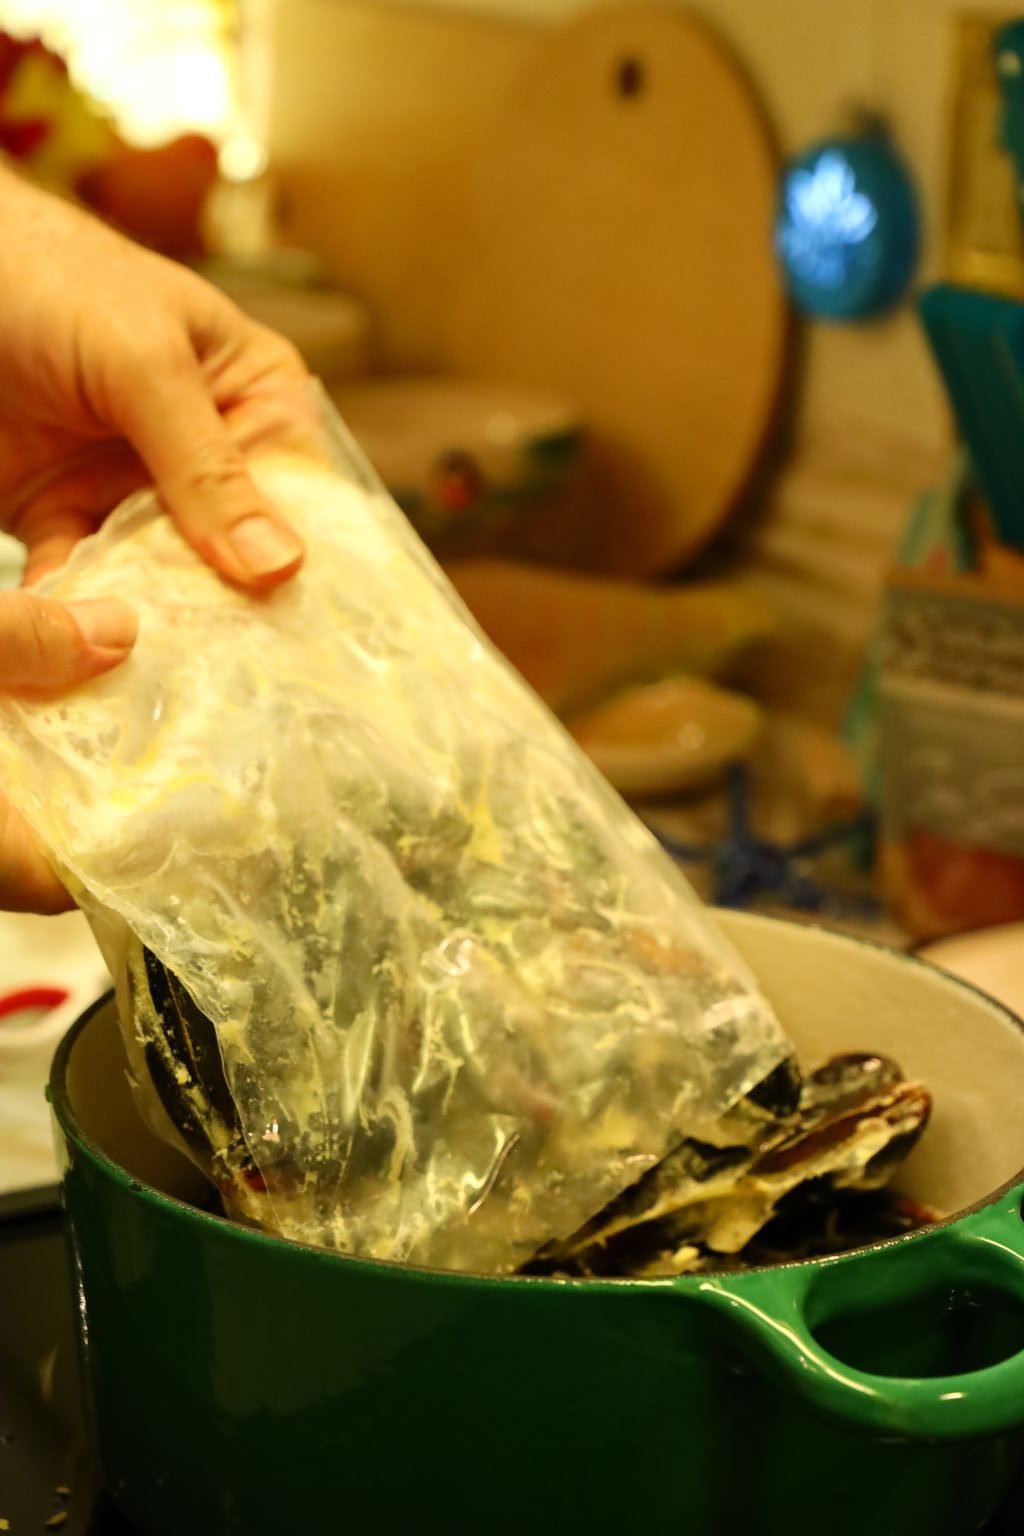
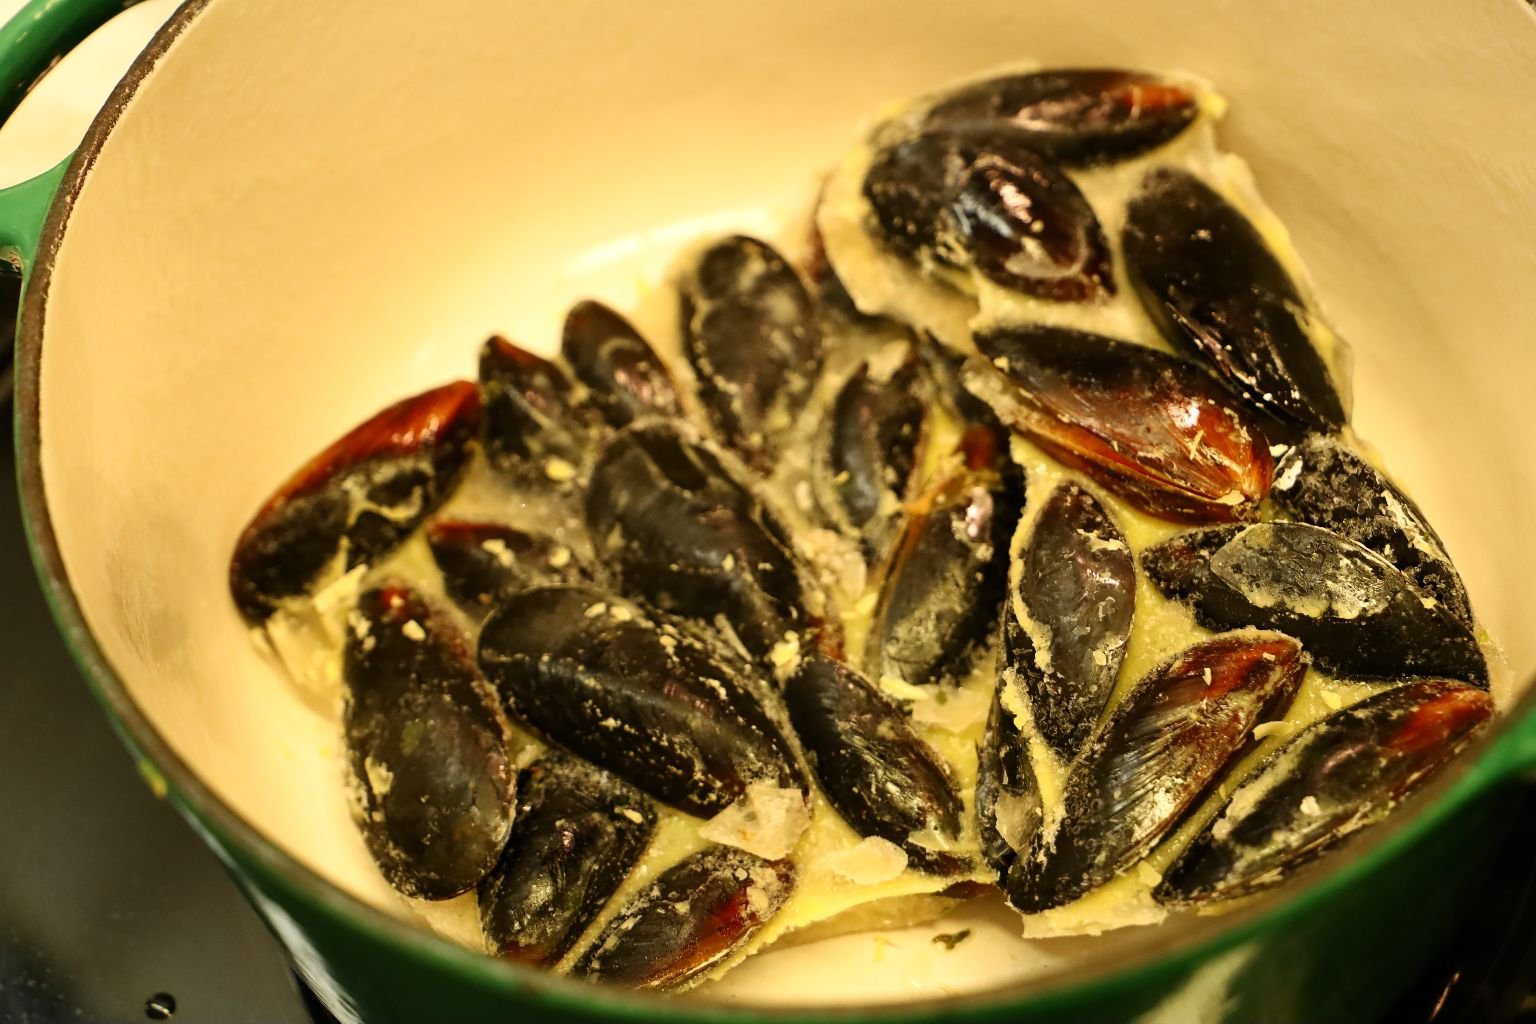
Here we added both packages to the cast iron pot and placed it over medium high heat.
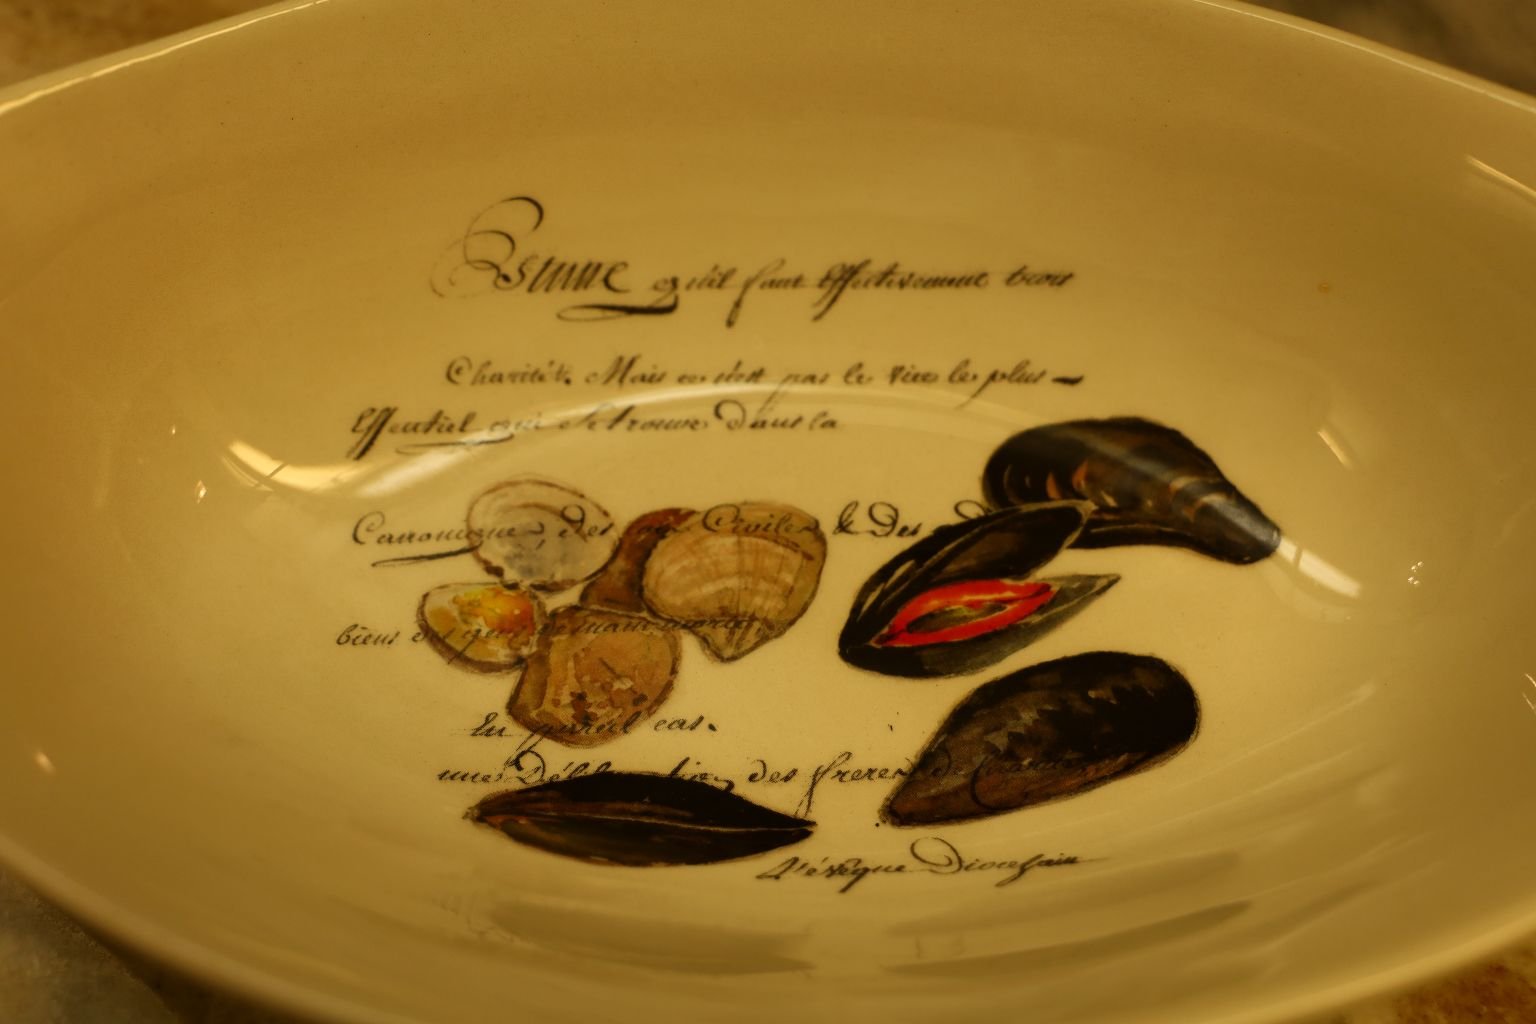
Here is our great mollusk serving bowl. 🙂
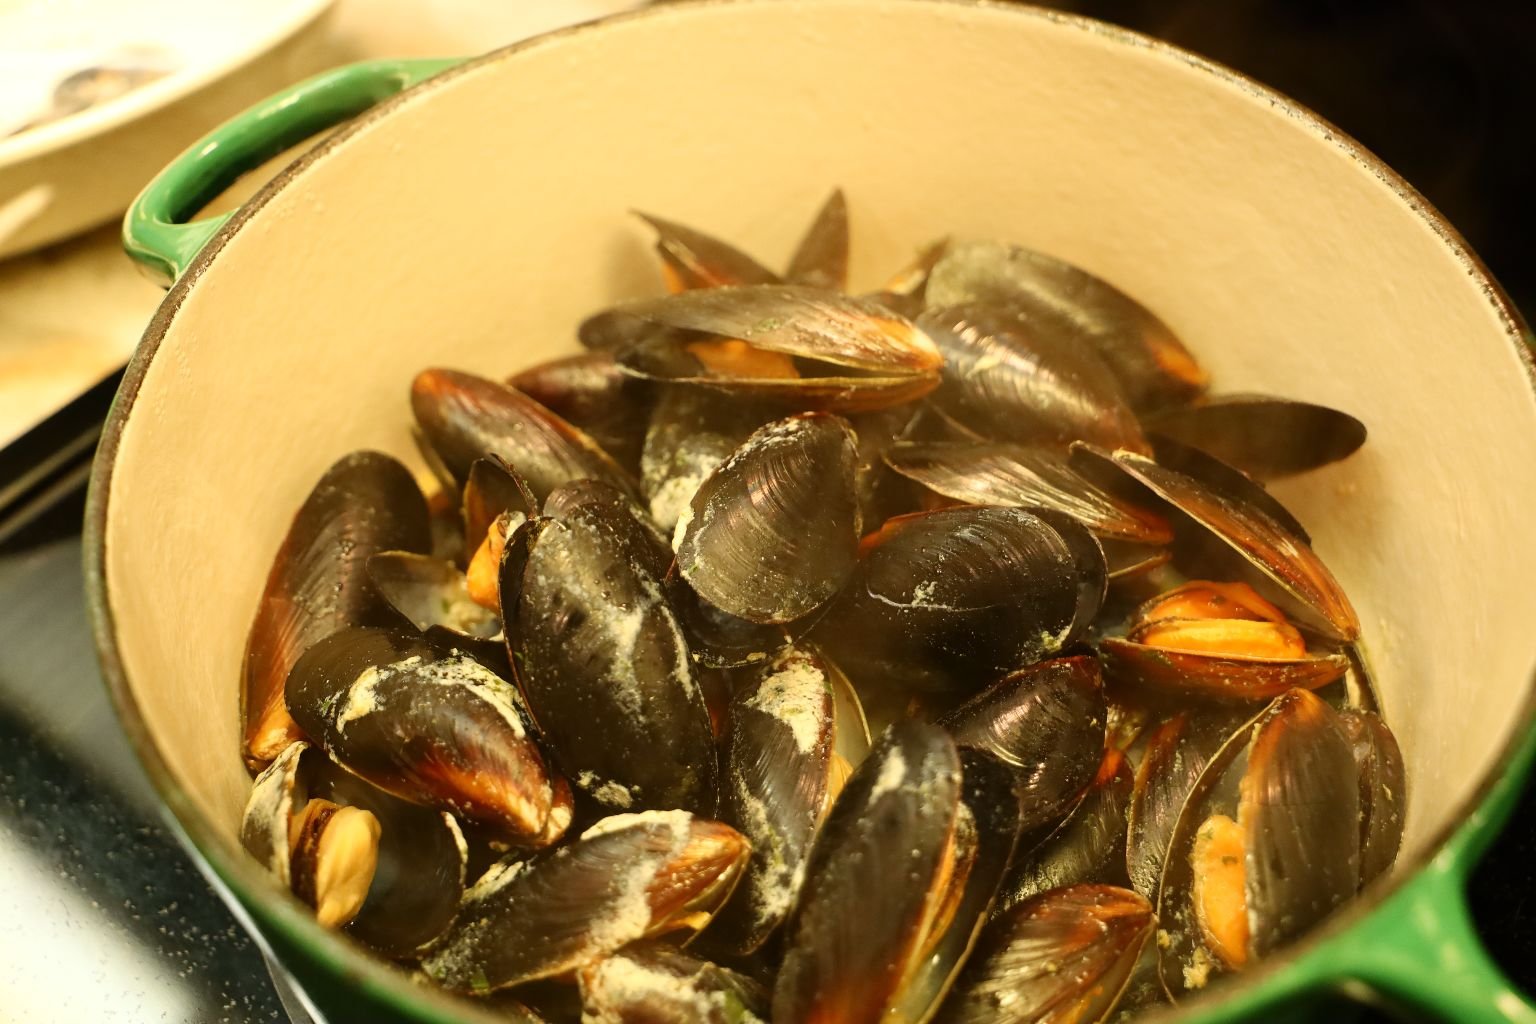
Cook them as directed, being sure not to over cook them as they will become tough. Also be ready to eat them as they are best served warm.
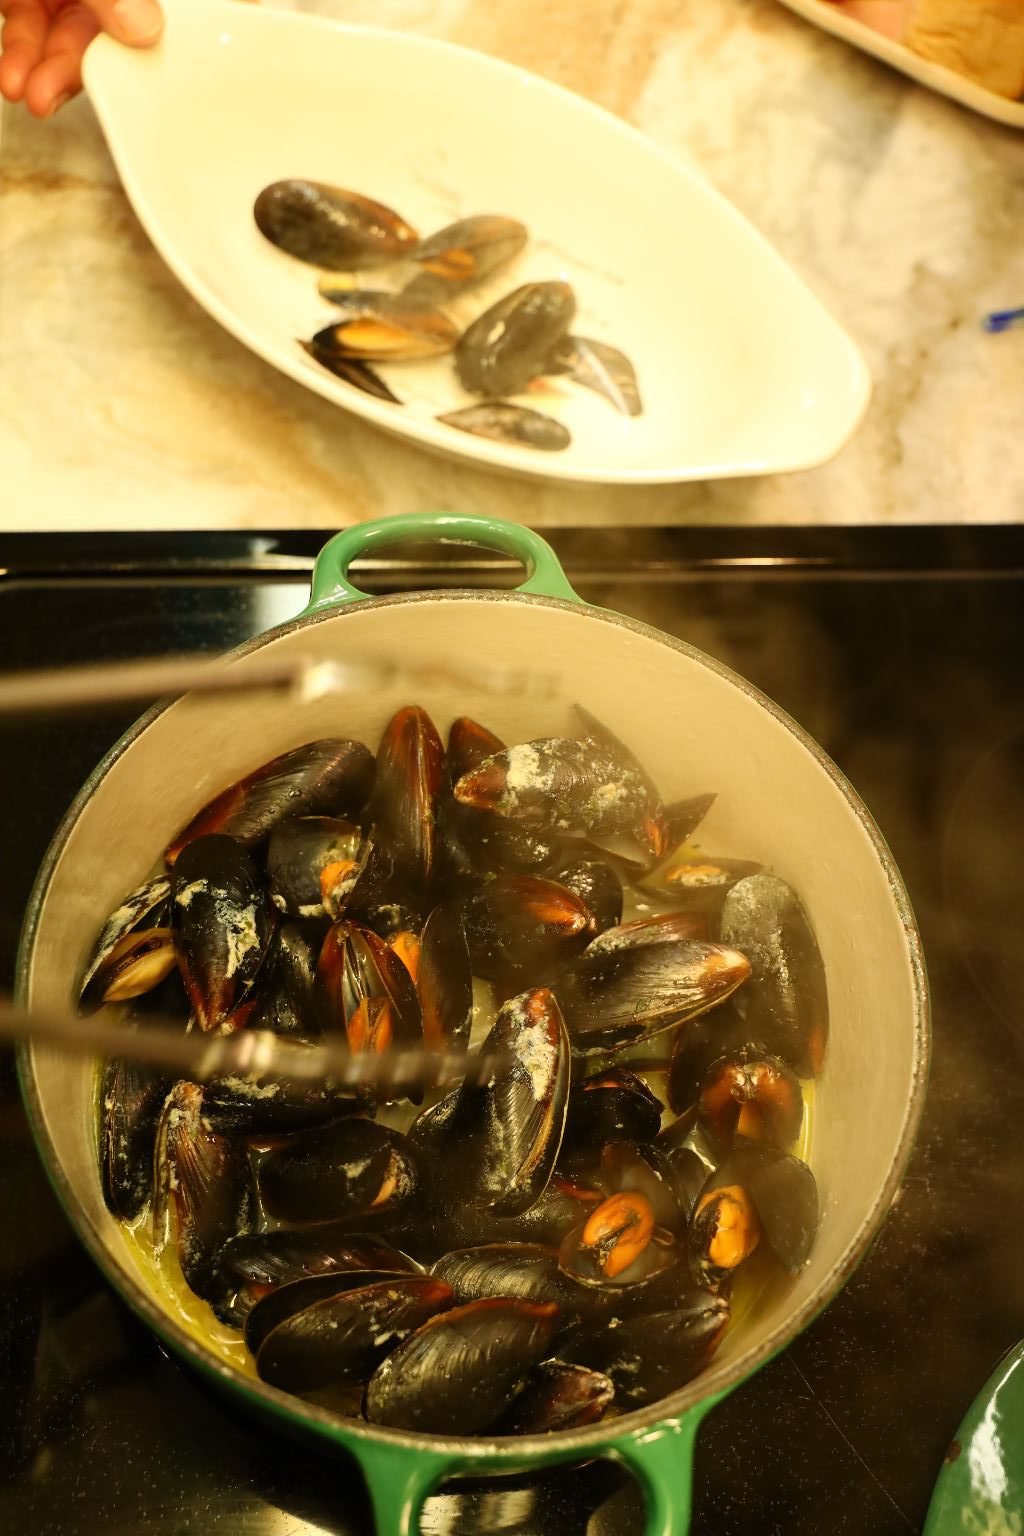
Using tongs, place the mussels in the serving bowl.
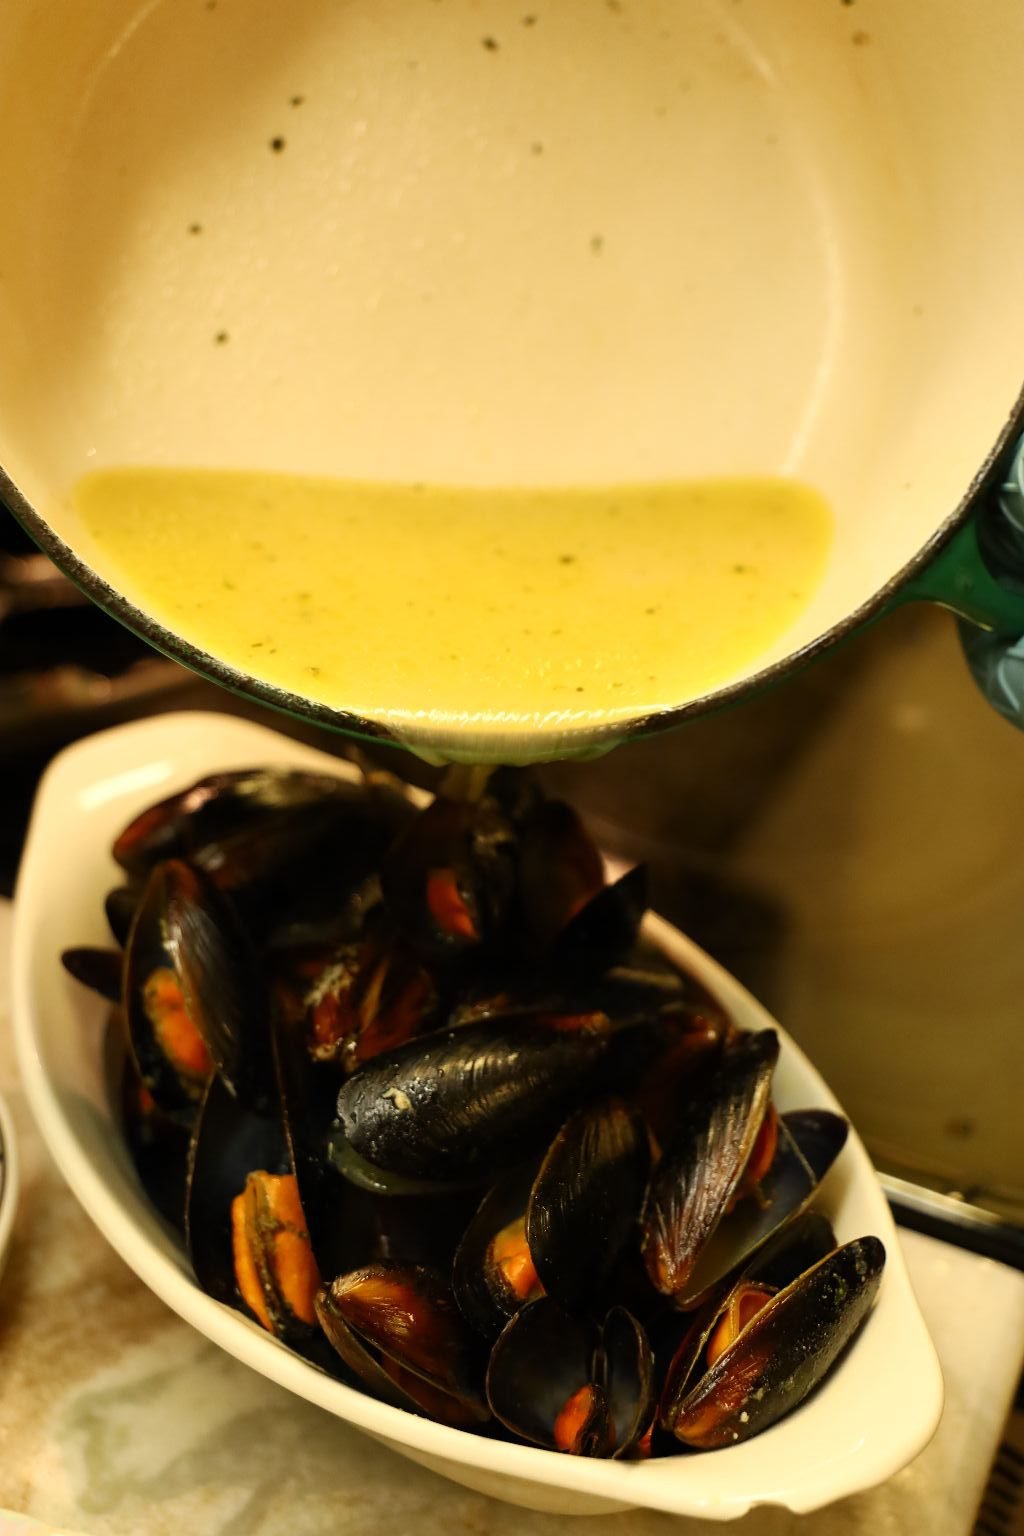
Be sure to pour the garlic butter over them stopping at the broken shells.
These are perfect for a side dish or as a main meal.
——————————————————–
SNOW PEAS
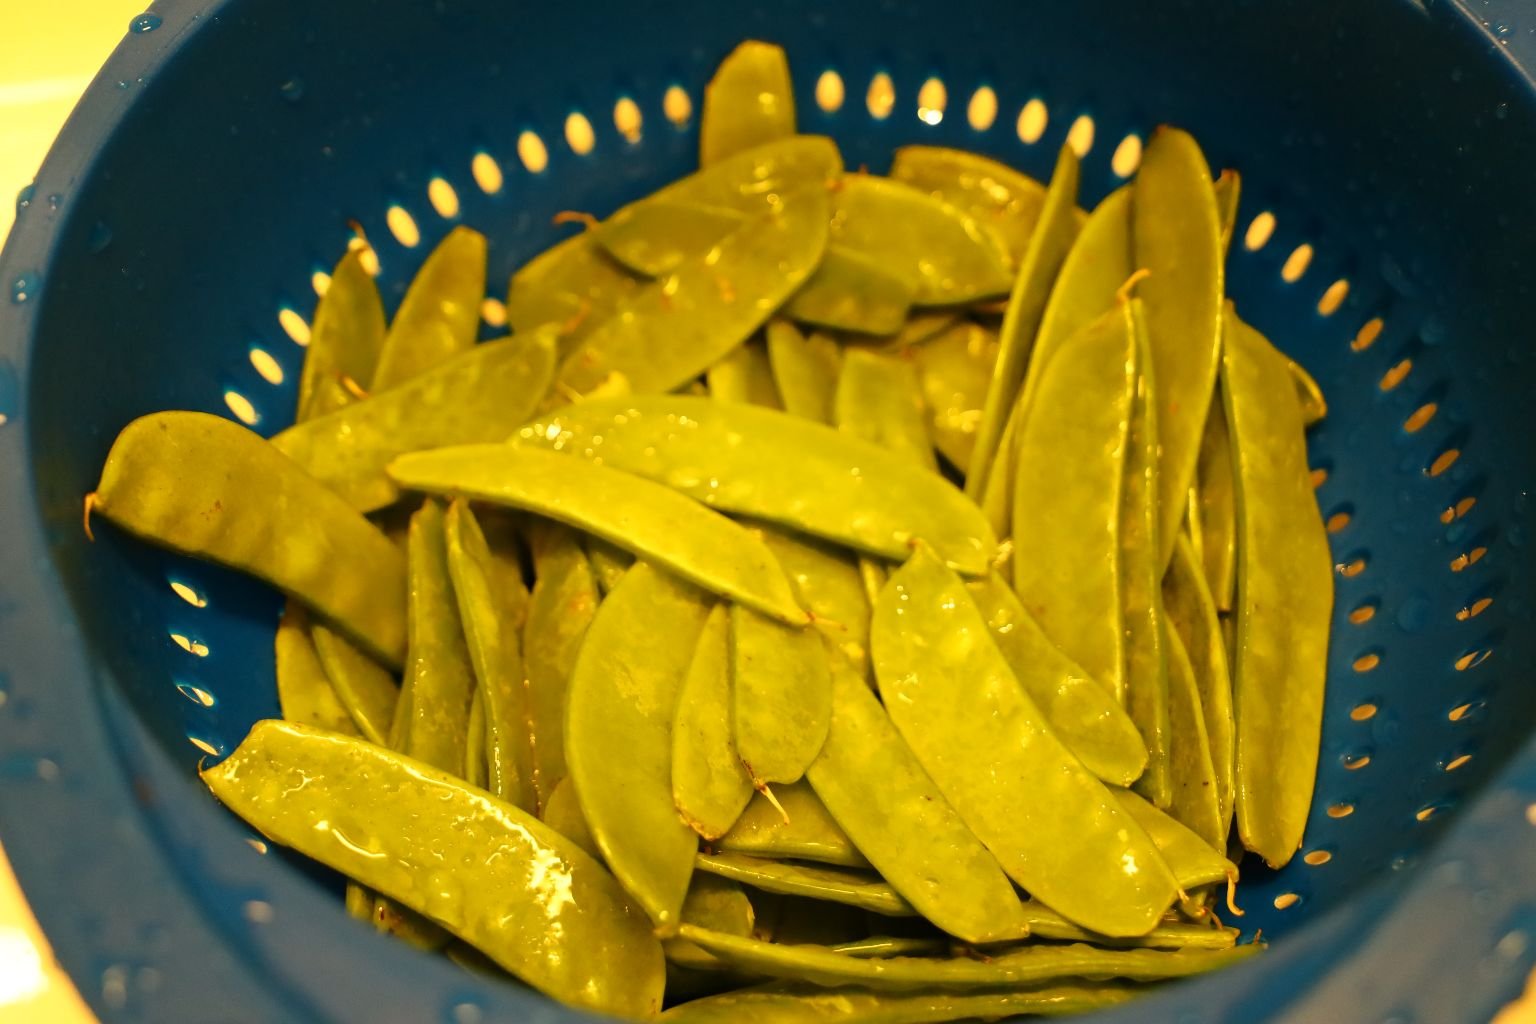
These are a great healthy side dish and are easy to prepare.
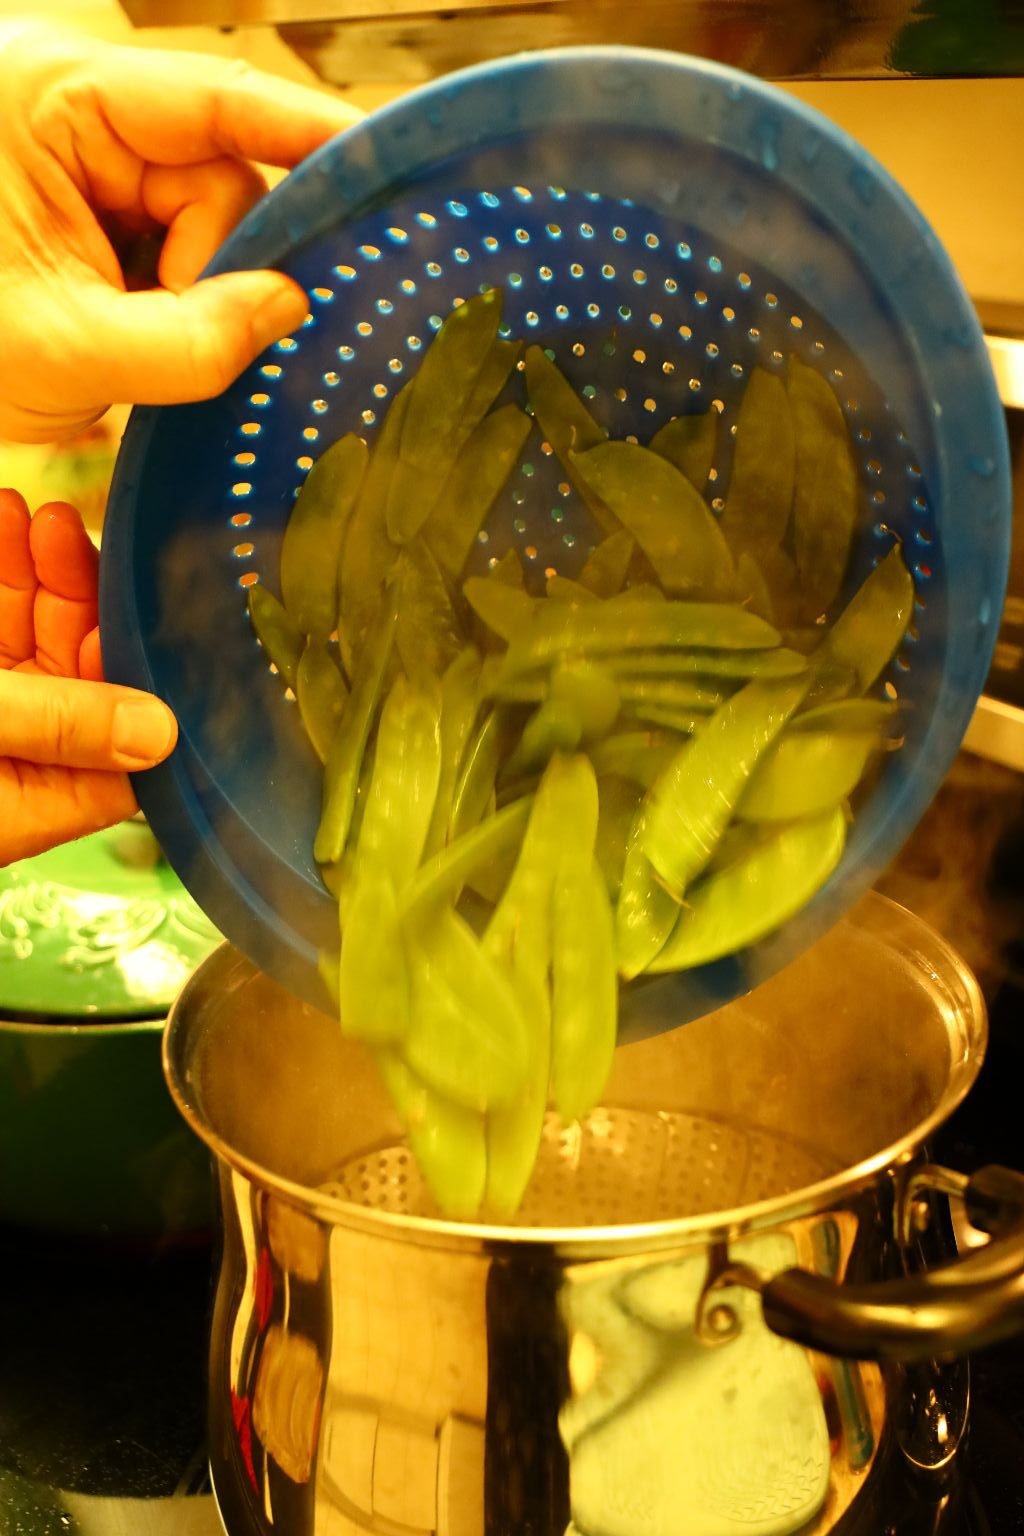
After a good rinsing, place the peas into a steamer with about 1 inch of water under it.
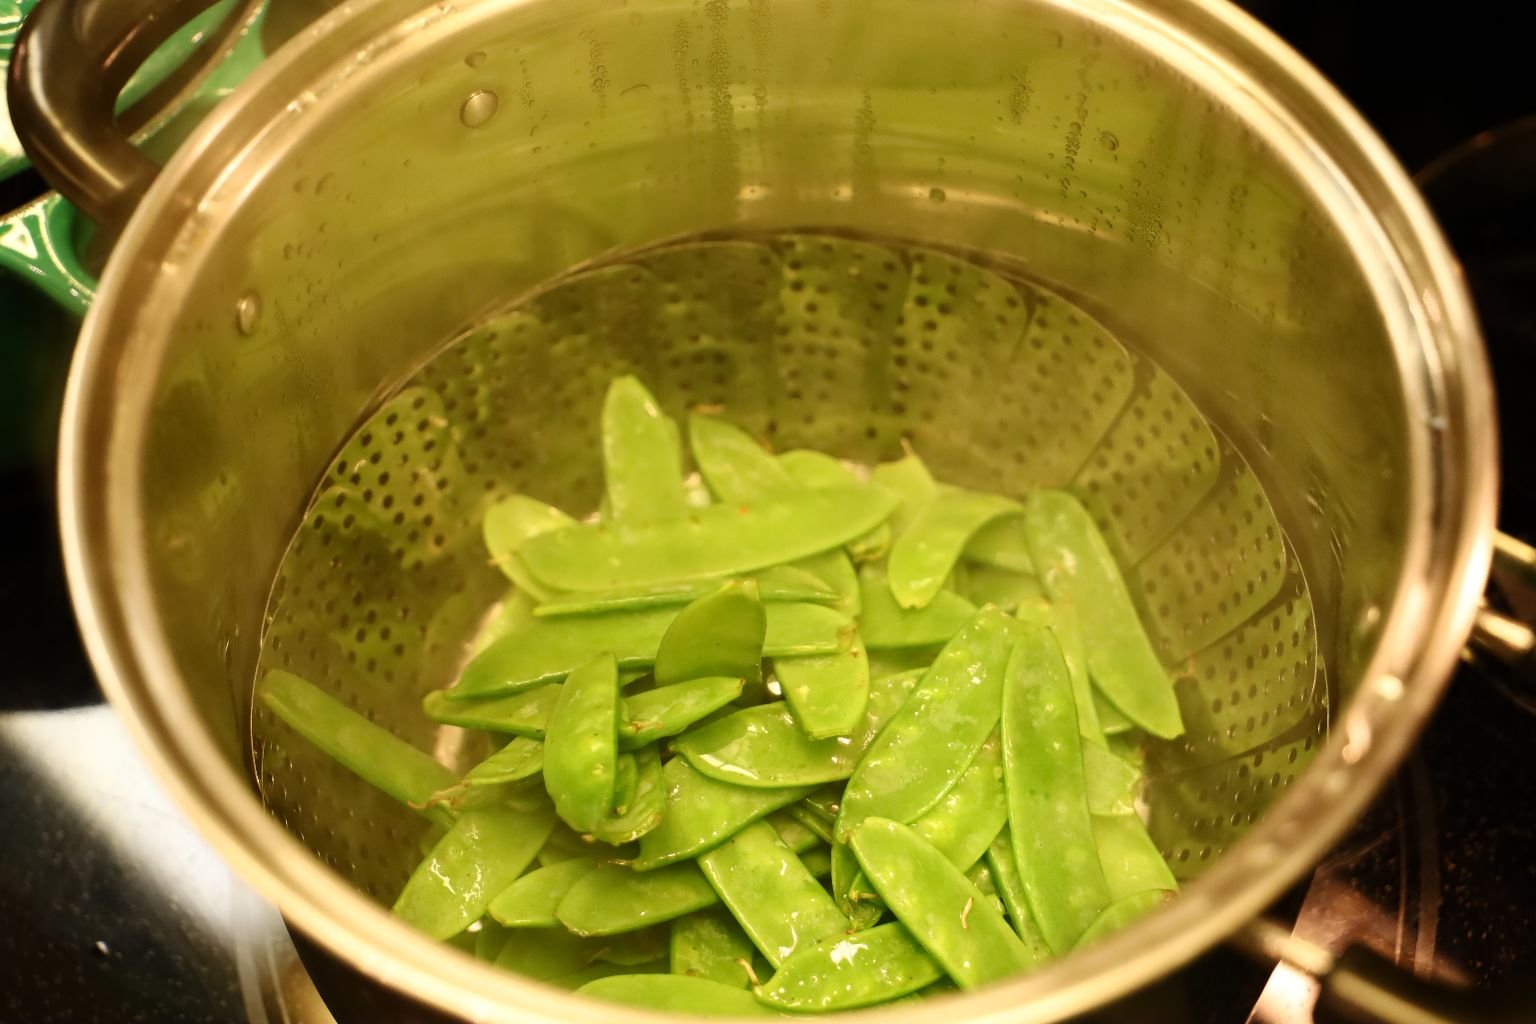
Turn the heat to high and cook by way of steam for about 5 minutes keeping them nice and green.
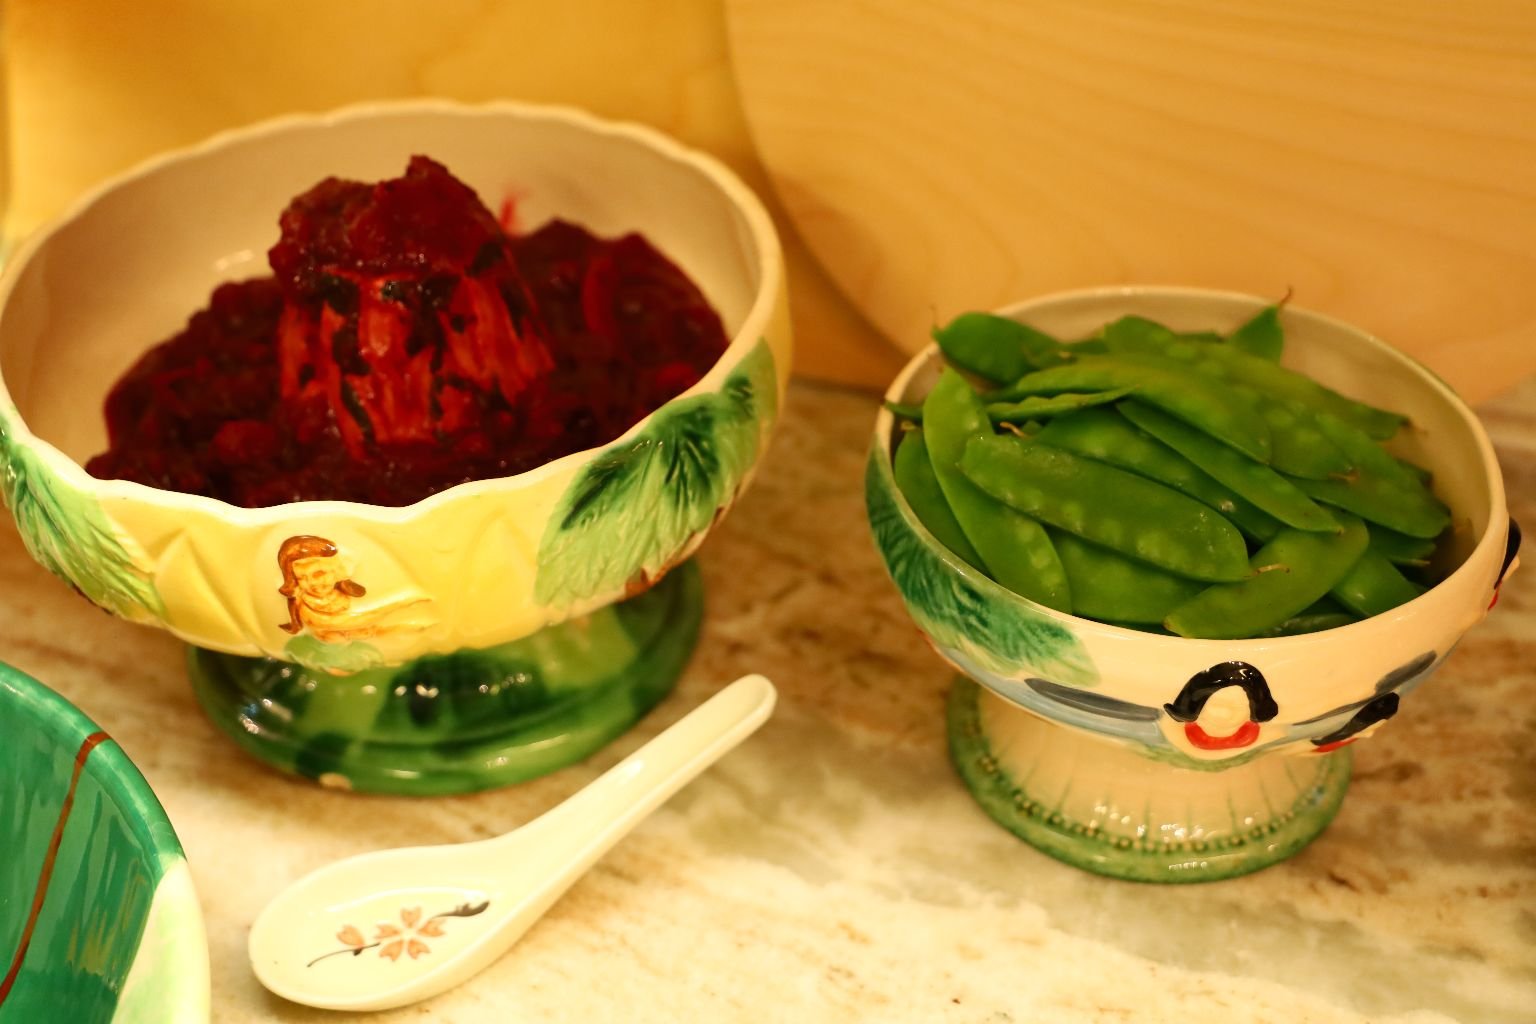
Our Cranberry Sauce and Snow Peas
————————————————————
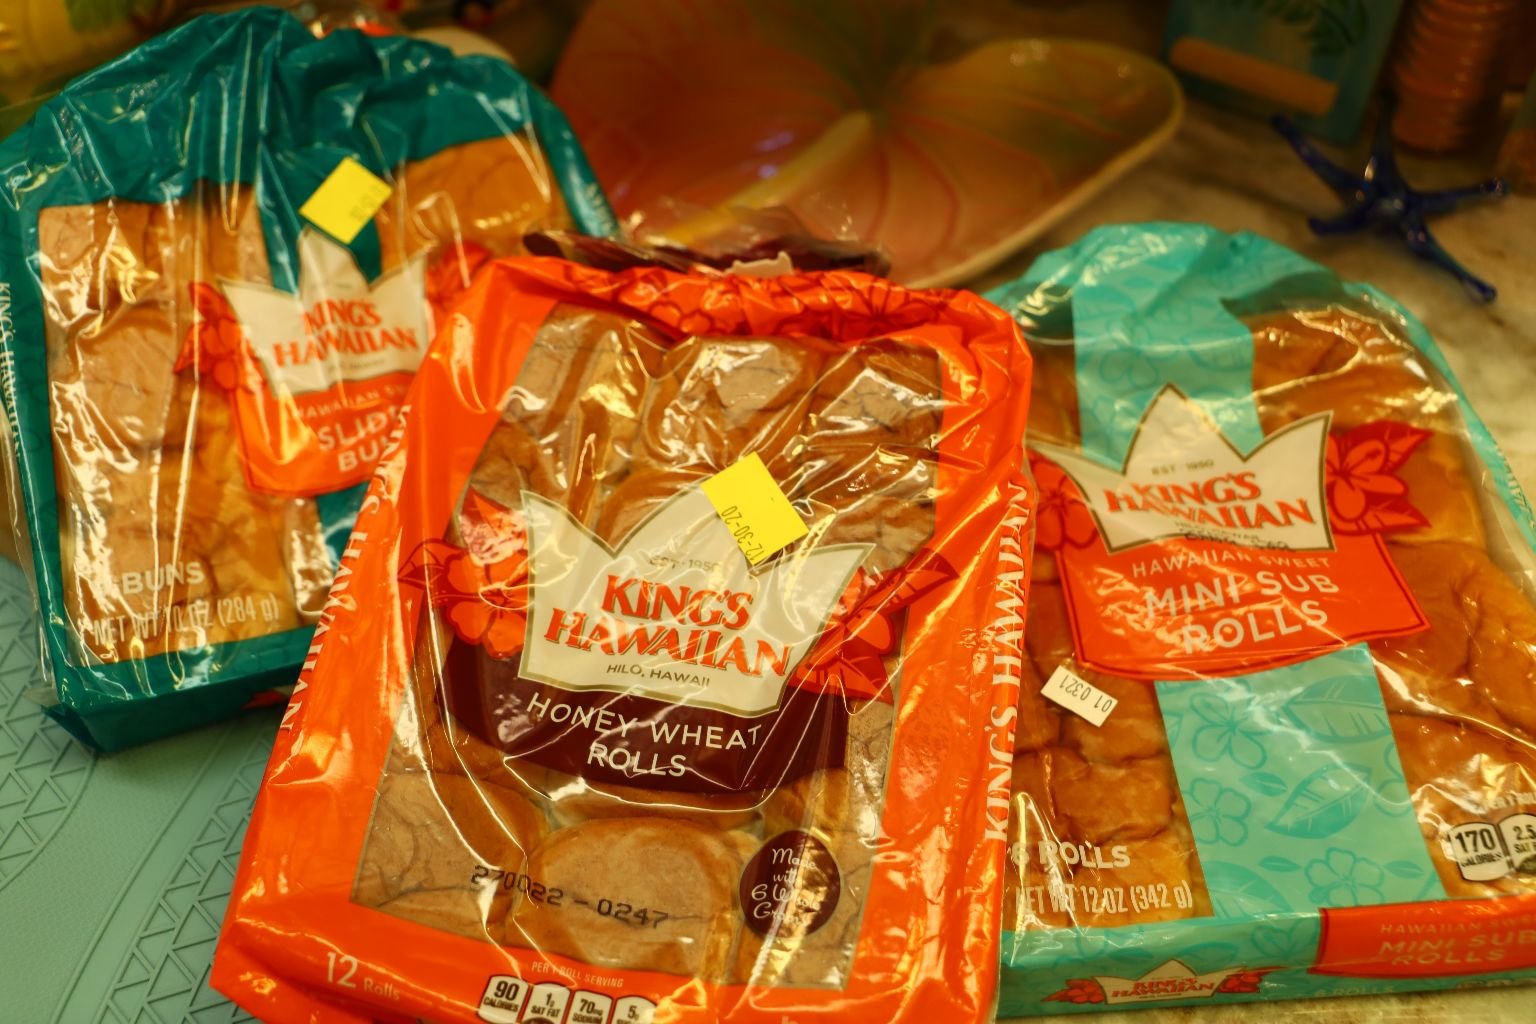
King’s Hawaiian Dinner Rolls
————————————————————–
Serving Ourselves This Great Kalikimaka Dinner

————————————————————————-

—————————————————————-
Food The Next Day
Incorporating Our Leftovers
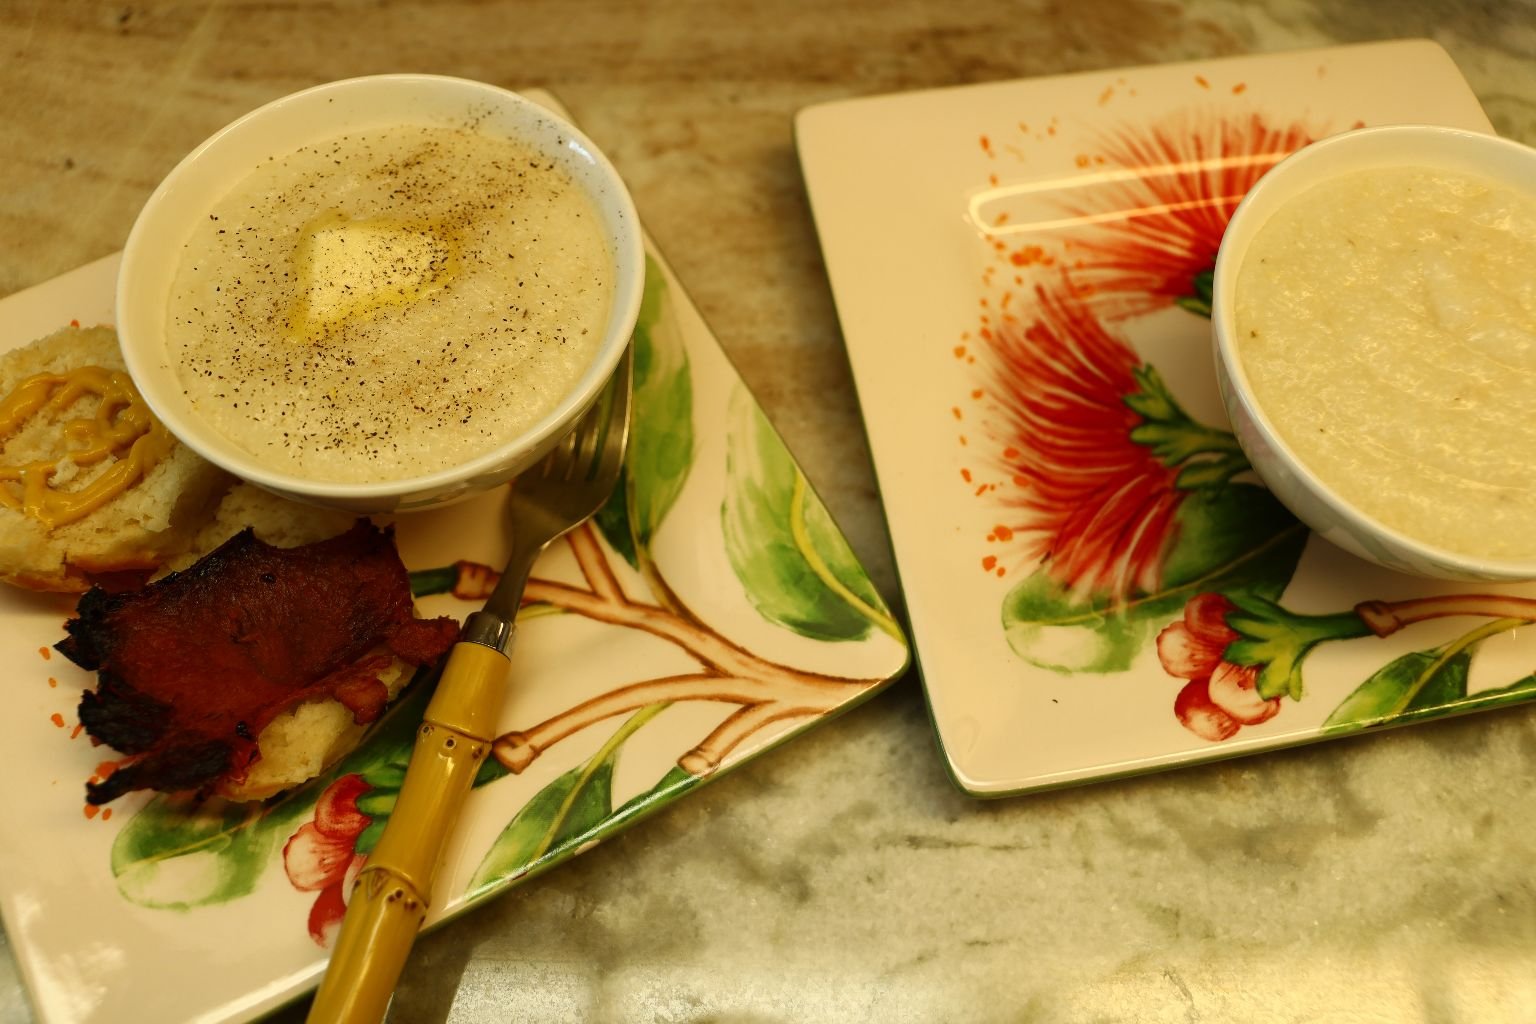
Grits With Leftover Ham on Hawaiian Sweet Rolls
—————————————————————
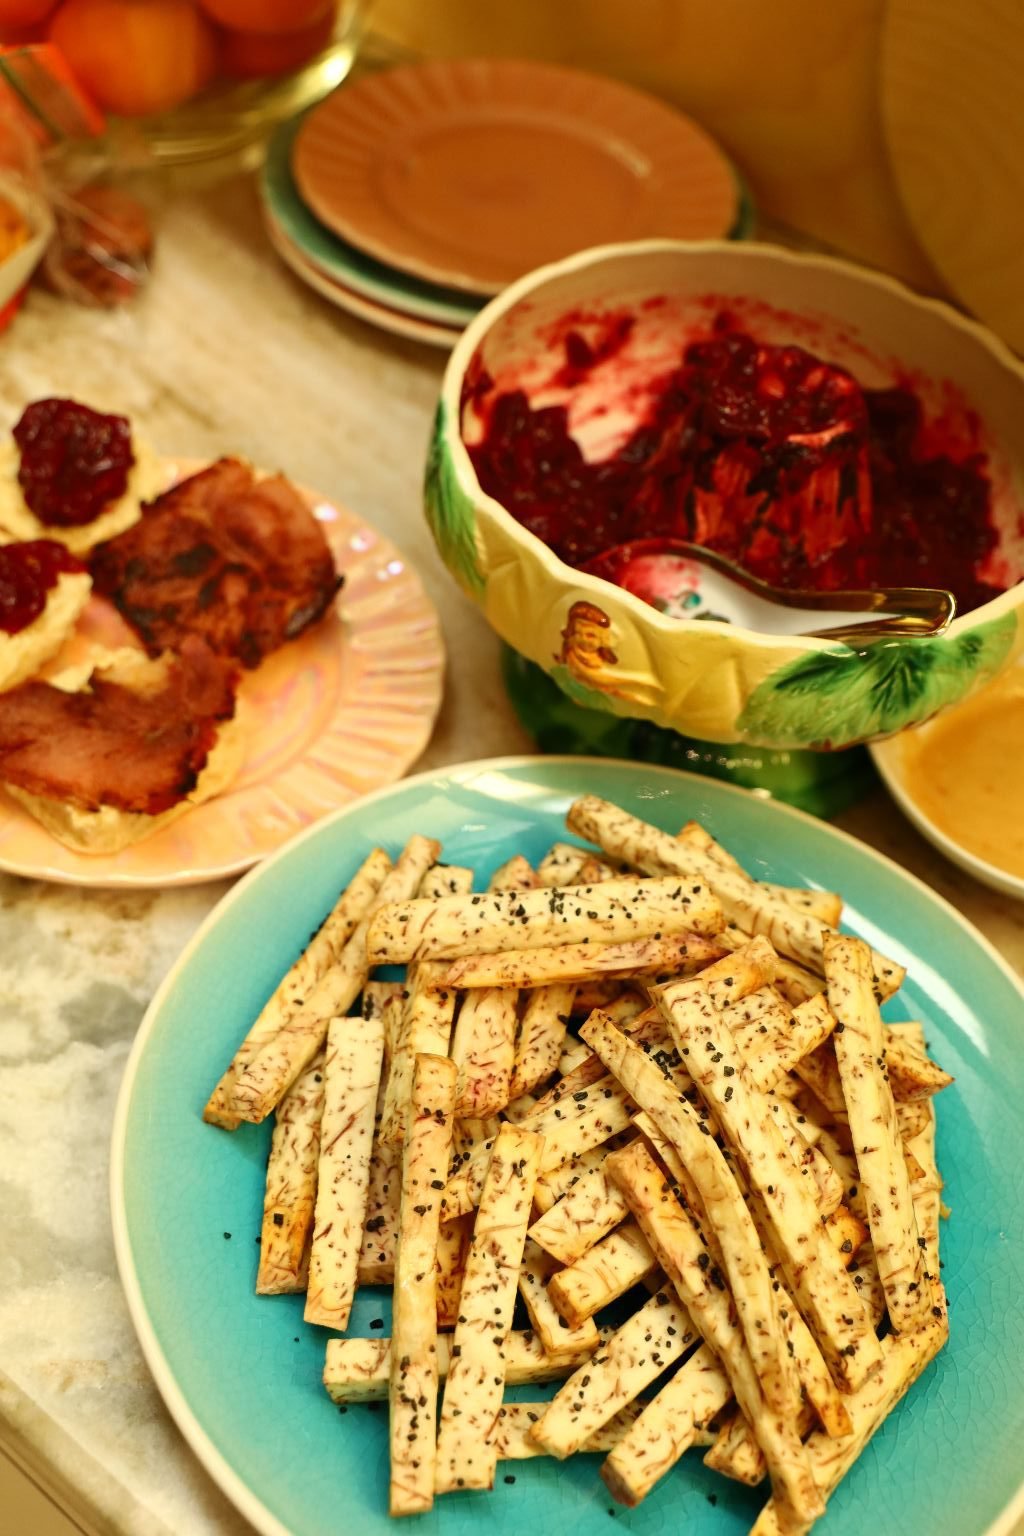
Taro Fries w/ Black Lava Salt and Dipping Sauce
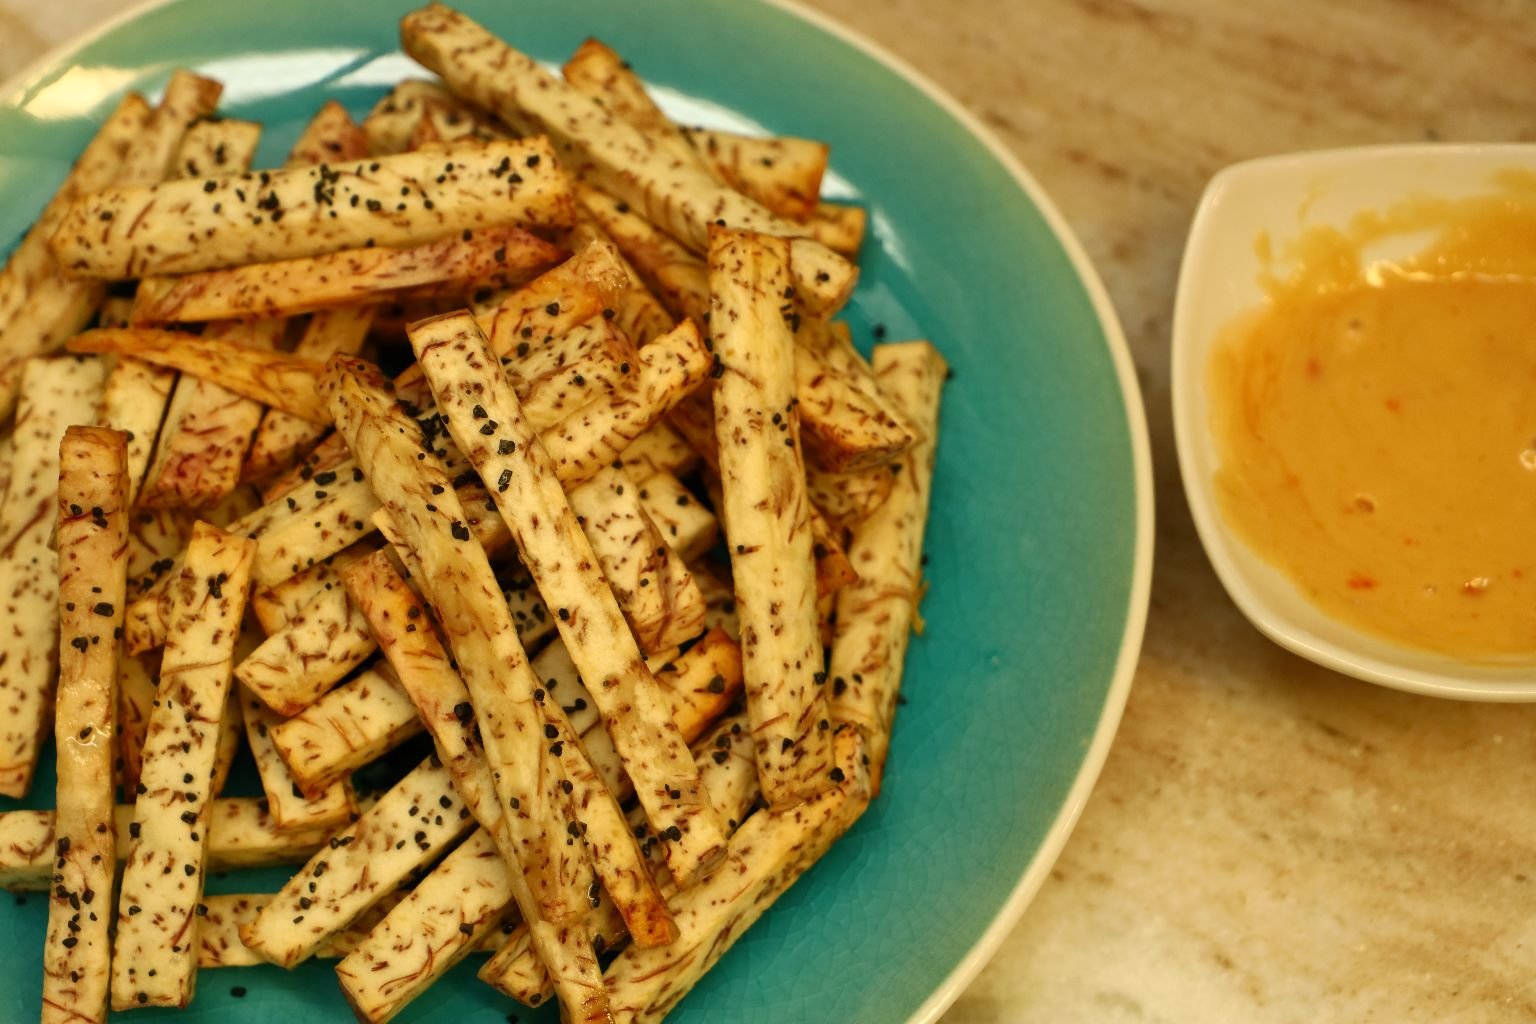
Crispy and Nice

Served With Our Leftover Ham, Hawaiian Sweet Rolls and our Cranberry Sauce
—————————————————————
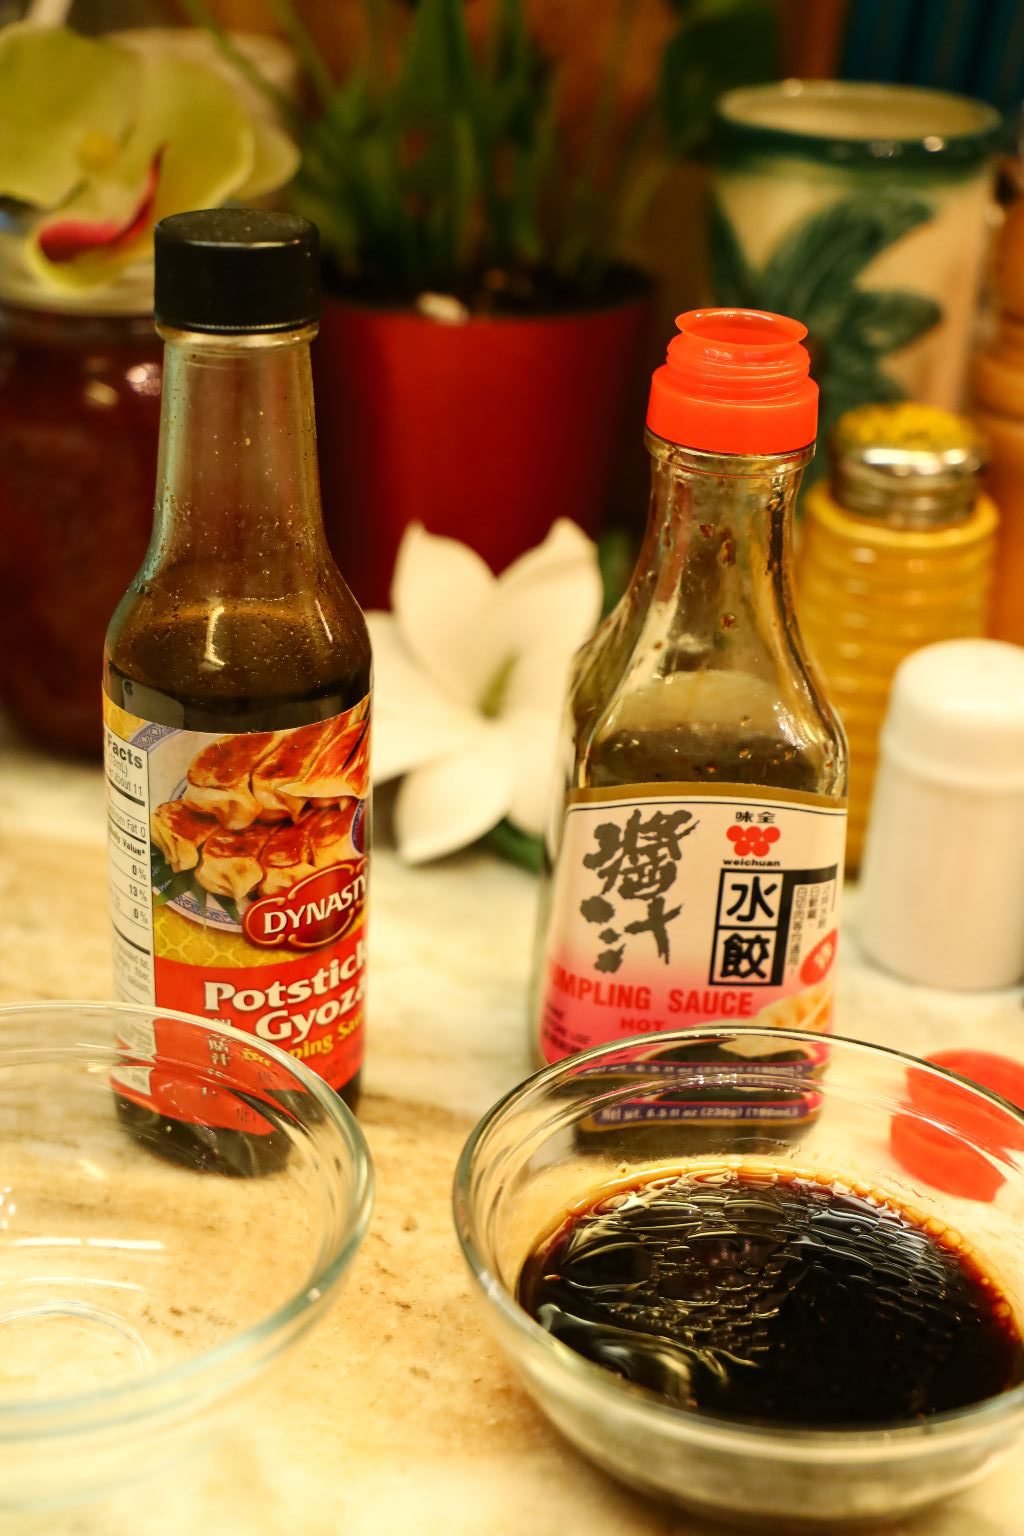
Creating a Dipping Sauce
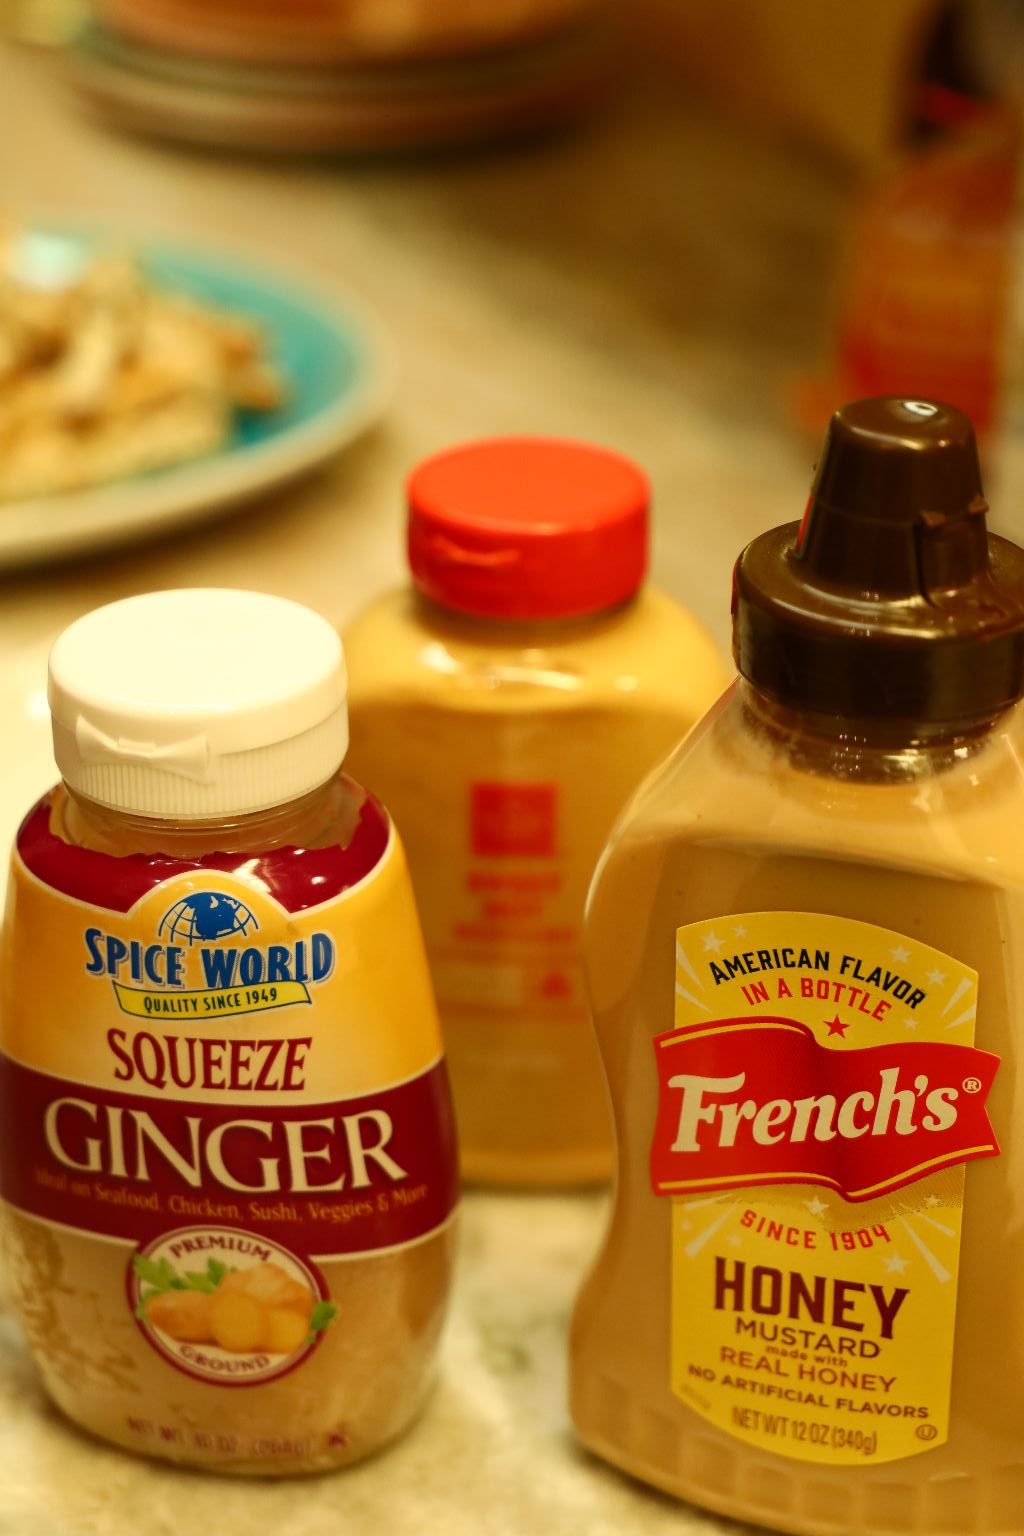
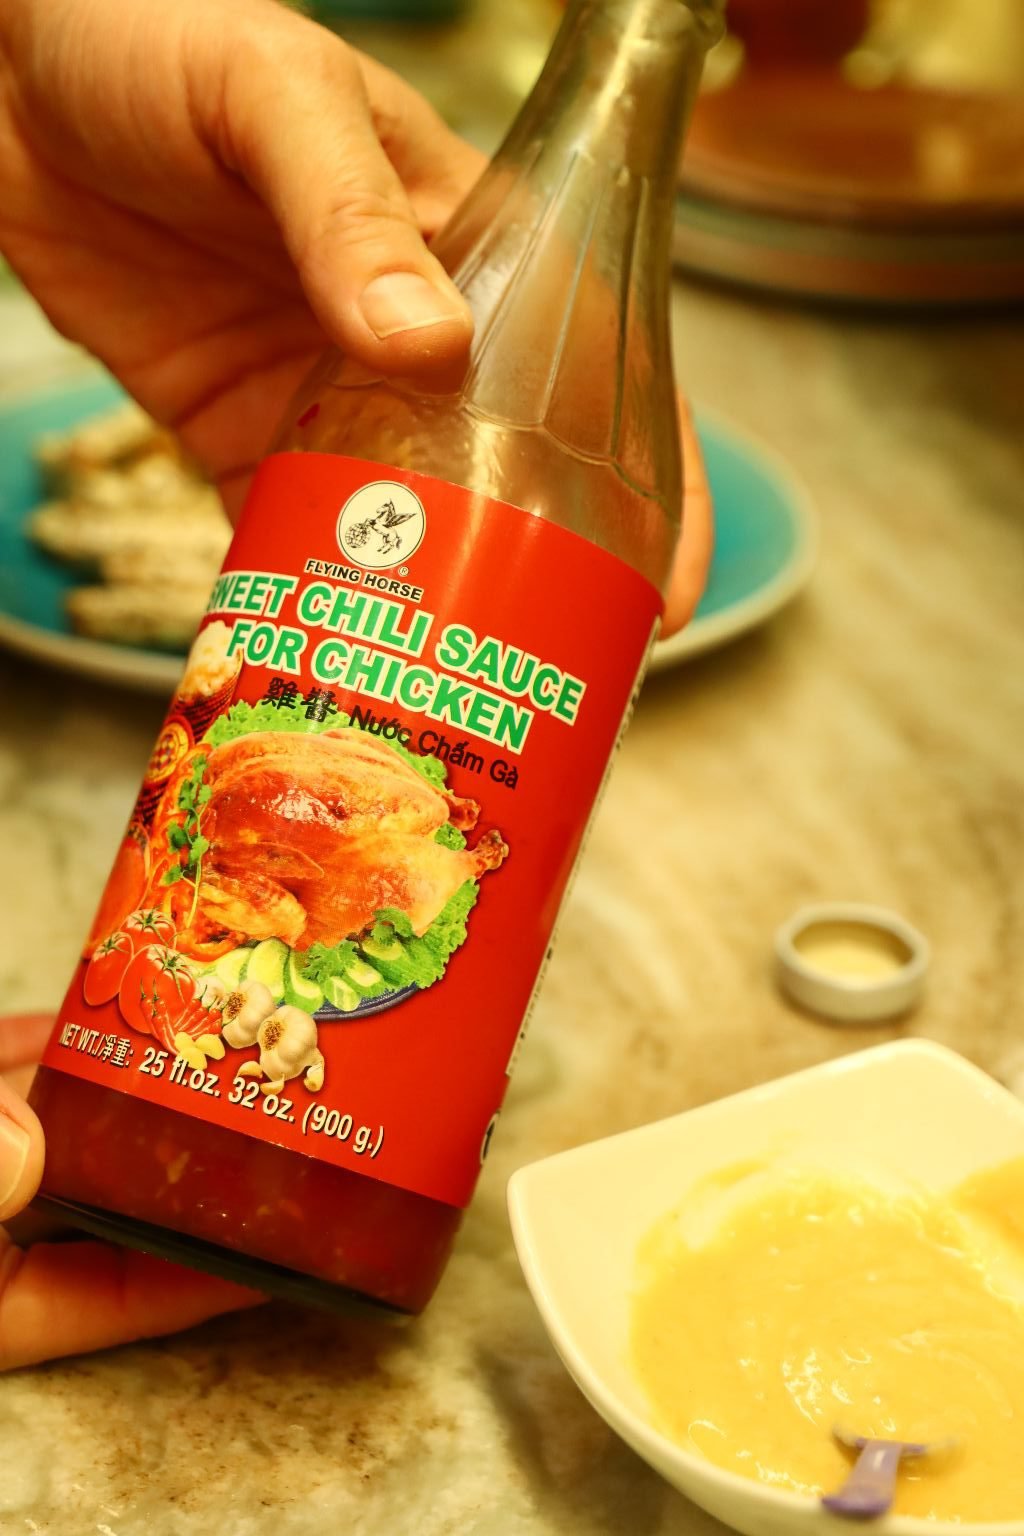
Here are the ingredients for the dipping sauce. I basically added 1/2 Tbsp. of ginger, 1 Tbsp of the Chinese mustard and honey mustard, and then about 1 Tbsp. of the sweet chili sauce
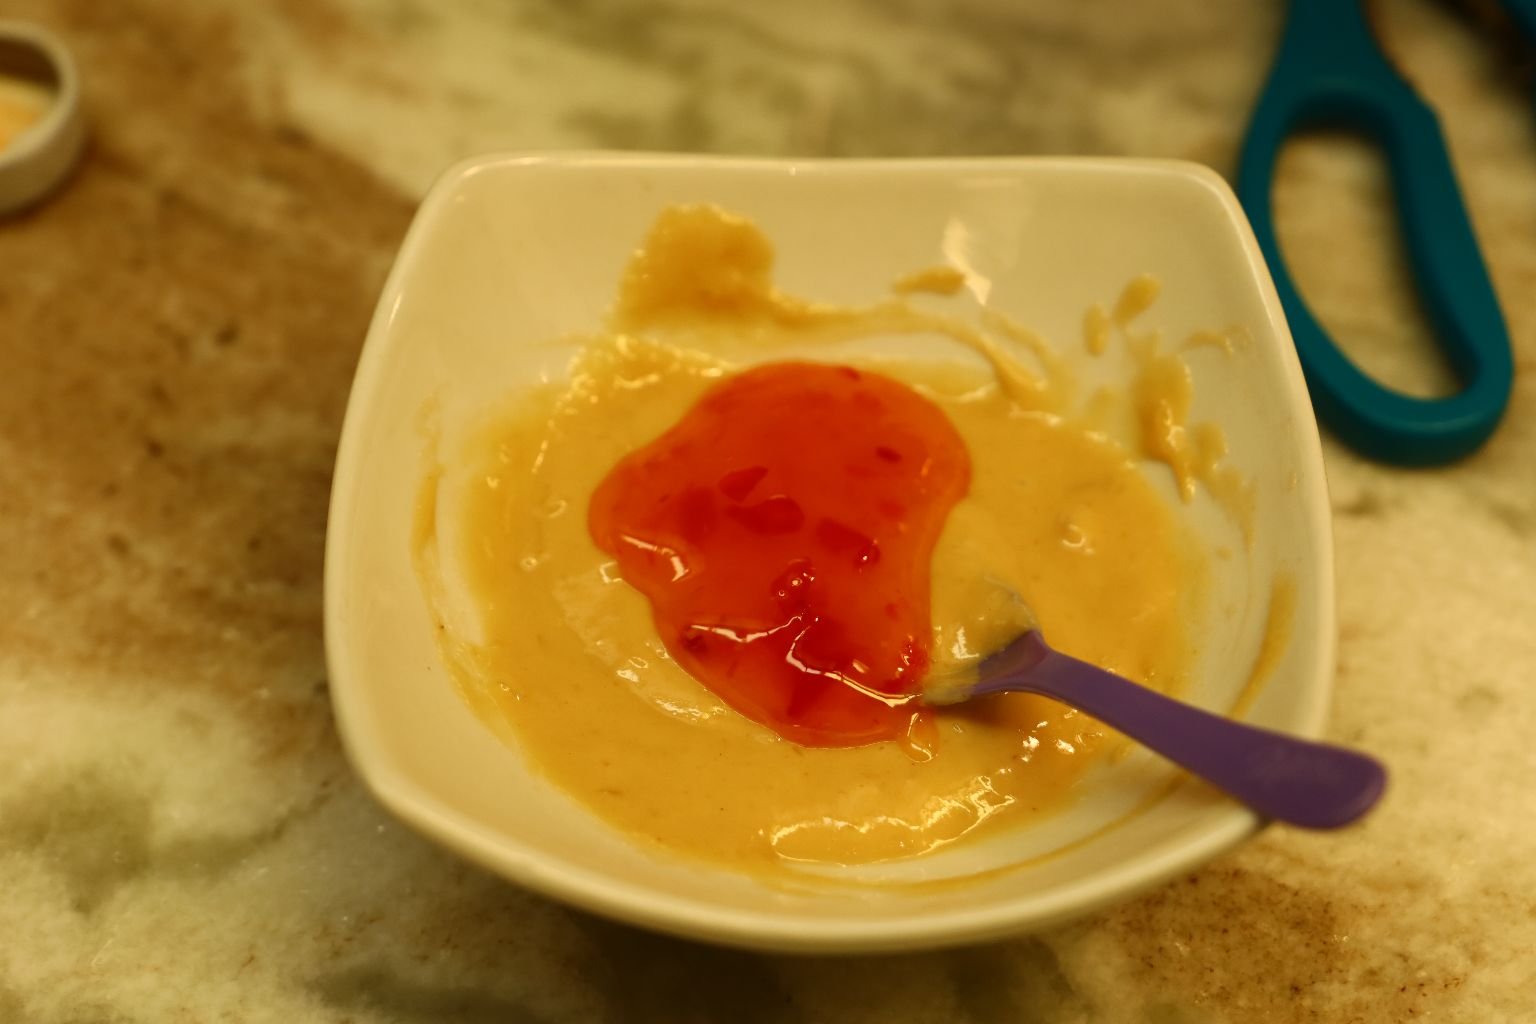
Mix them all together then taste. If you feel it needs a little more of something then add more. Either way, this is a great combination for the Taro Root fries and as a mustard for the leftover ham.
————————————————————–
Taro Root
(Making Fries)
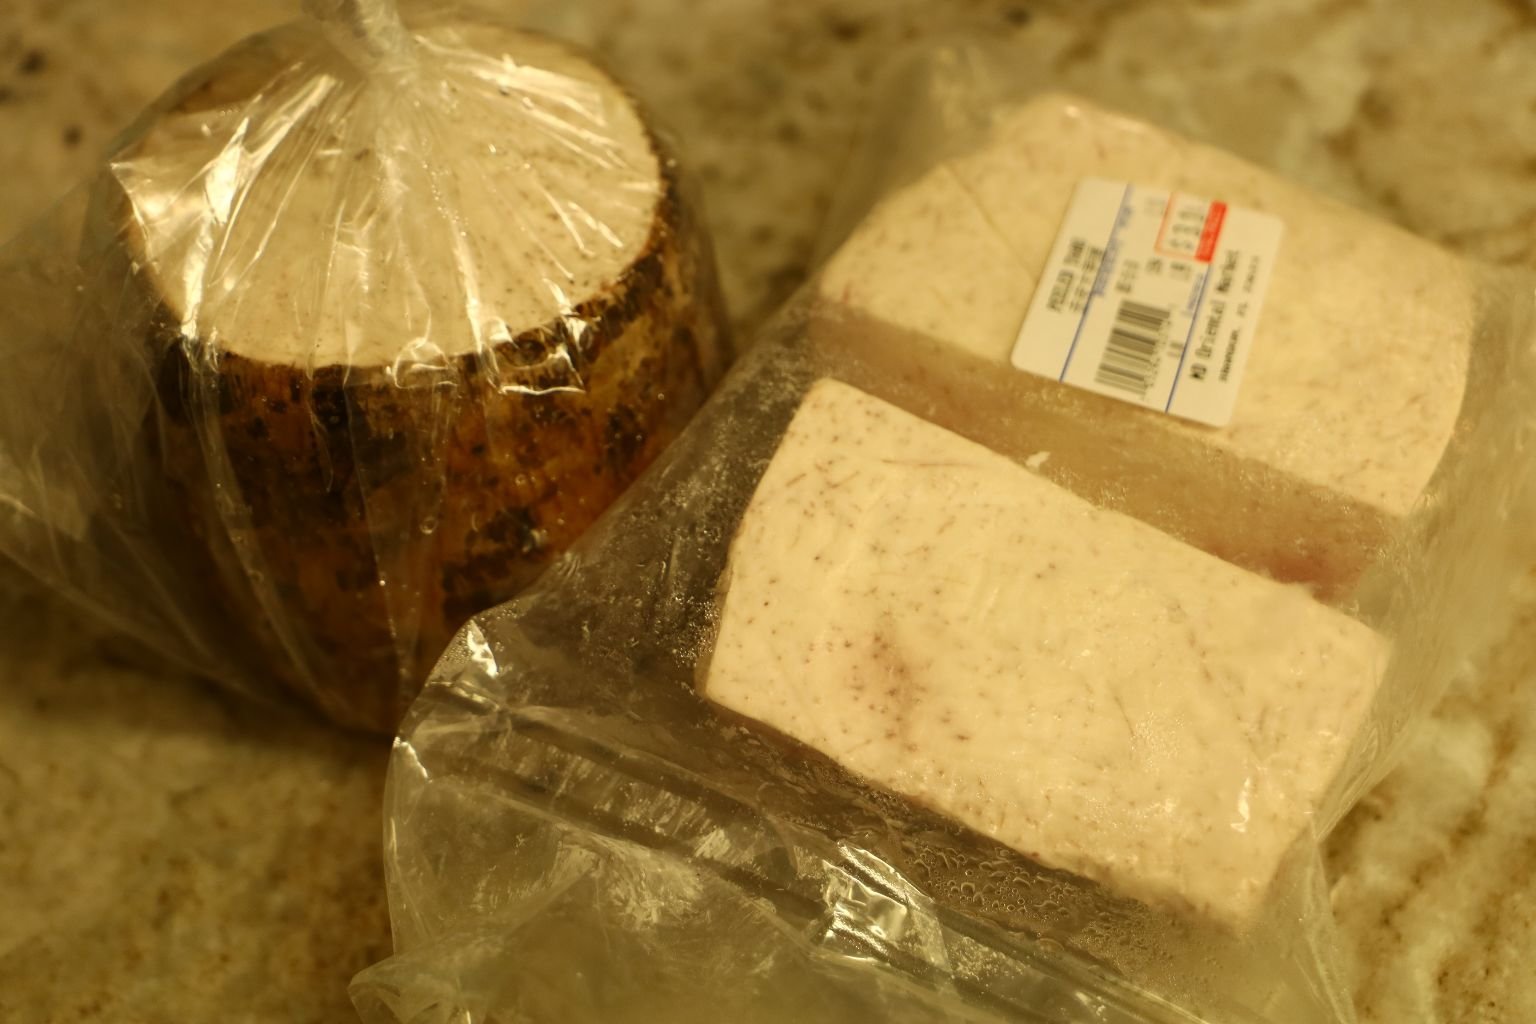

We purchased this Taro Root at the Asian Supermarket. Taro Root is what Poi is made from.

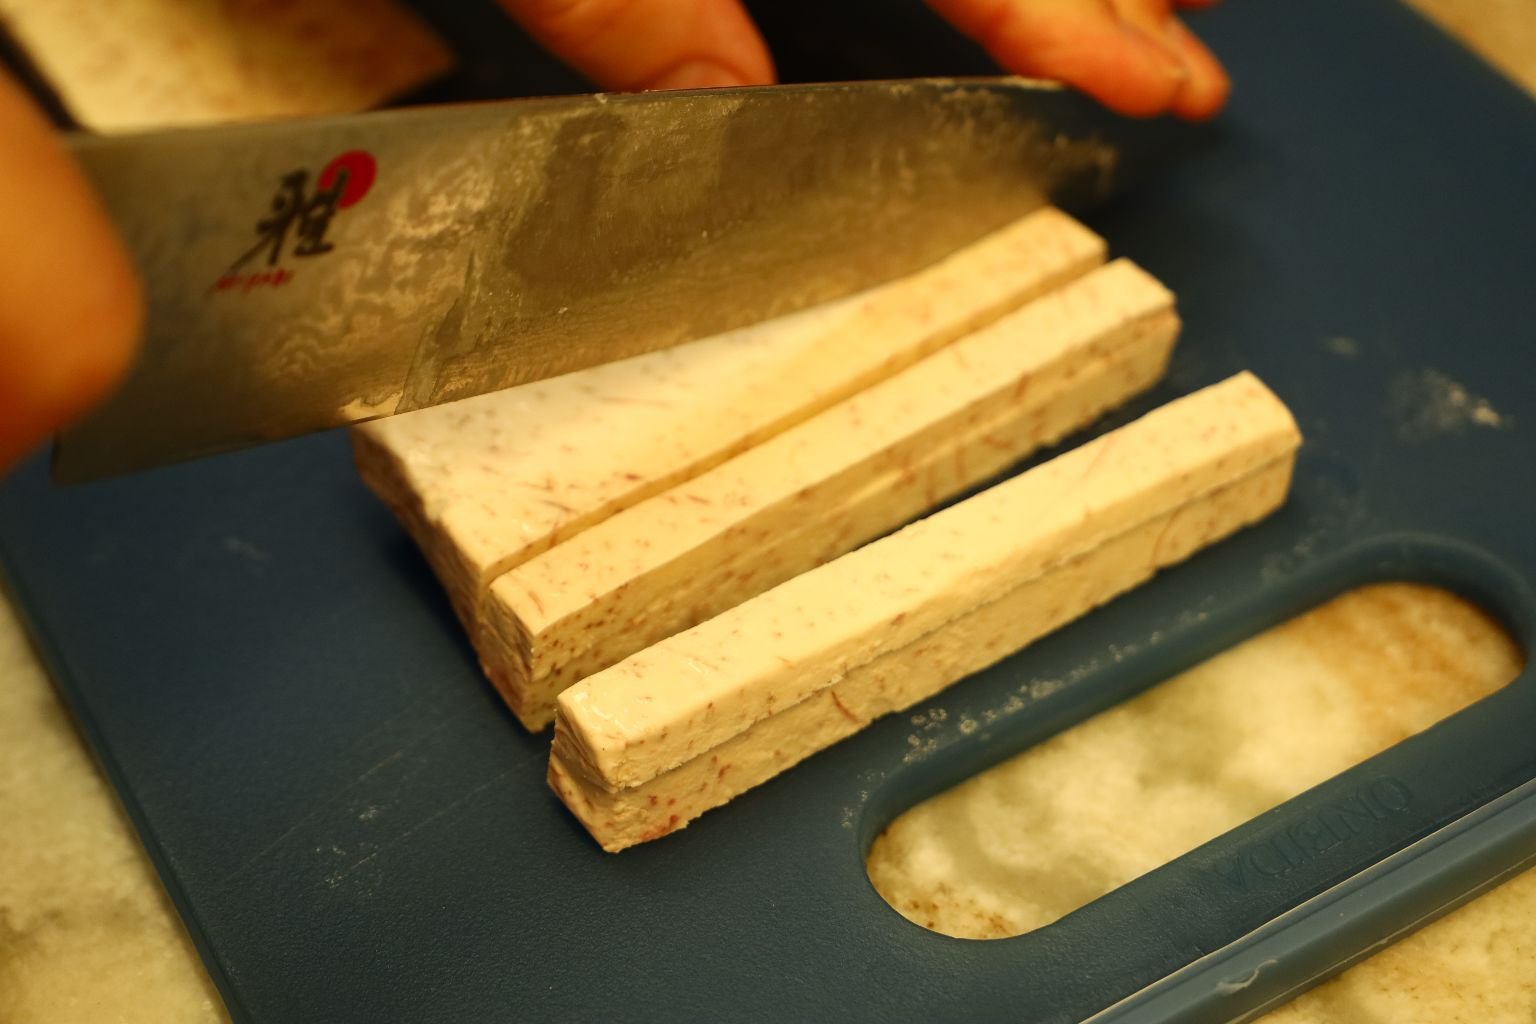
Slice the taro root into 1/2 inch thick slices then slice those into 1/2 inch long fries as shown.
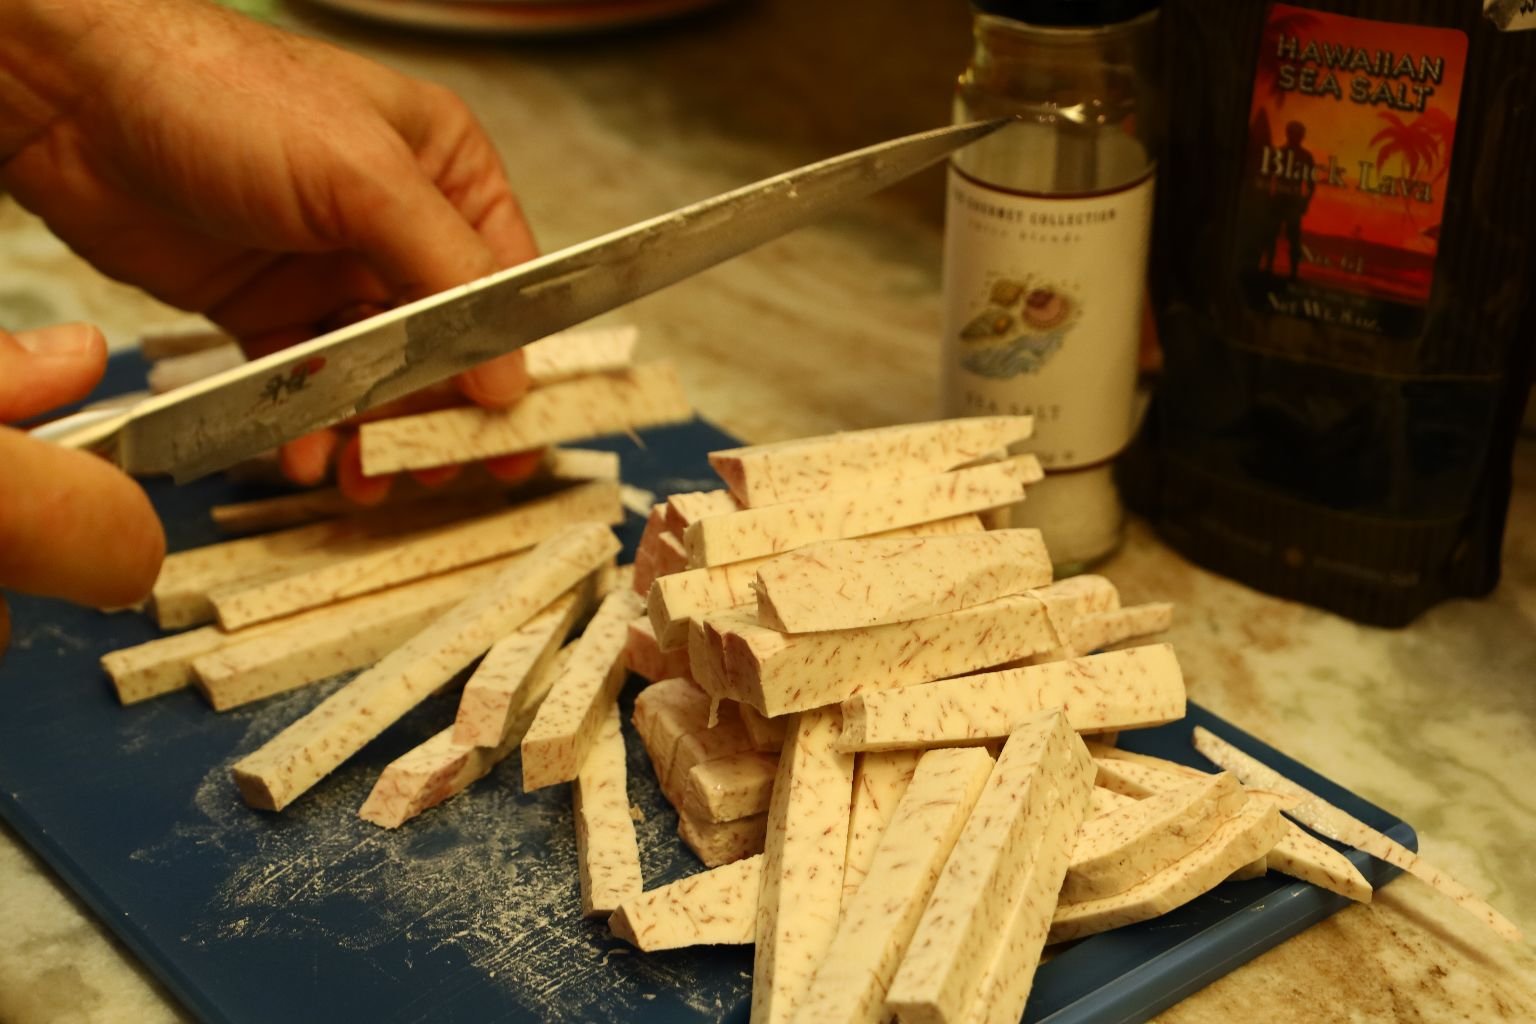
Repeat for the rest of the taro root.
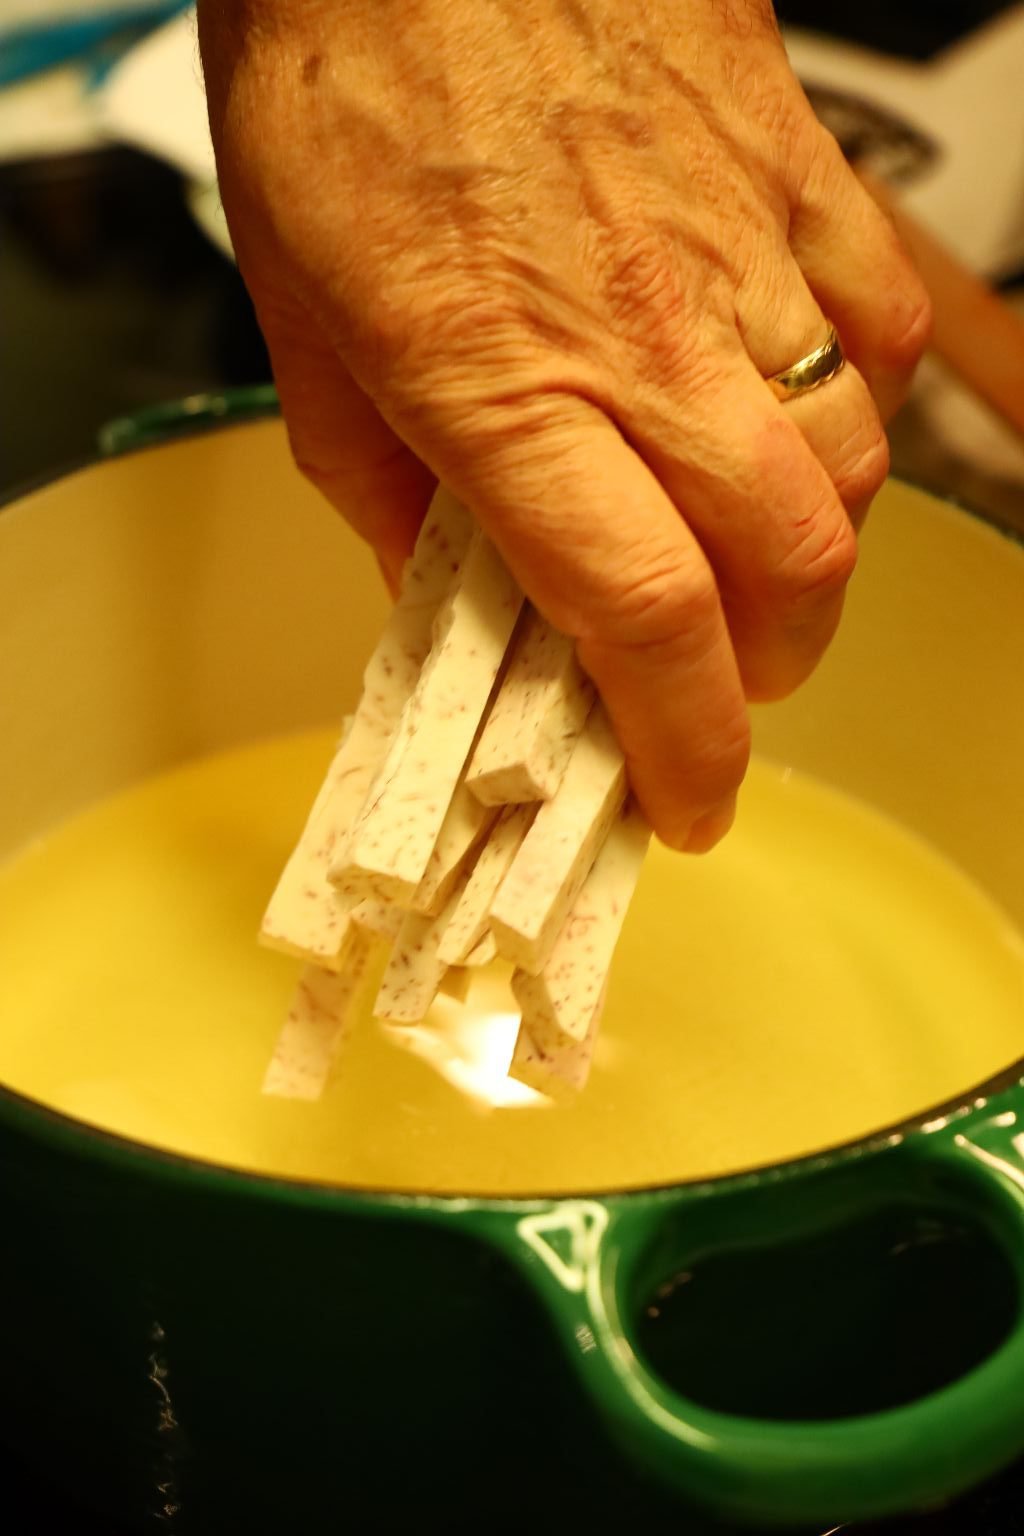
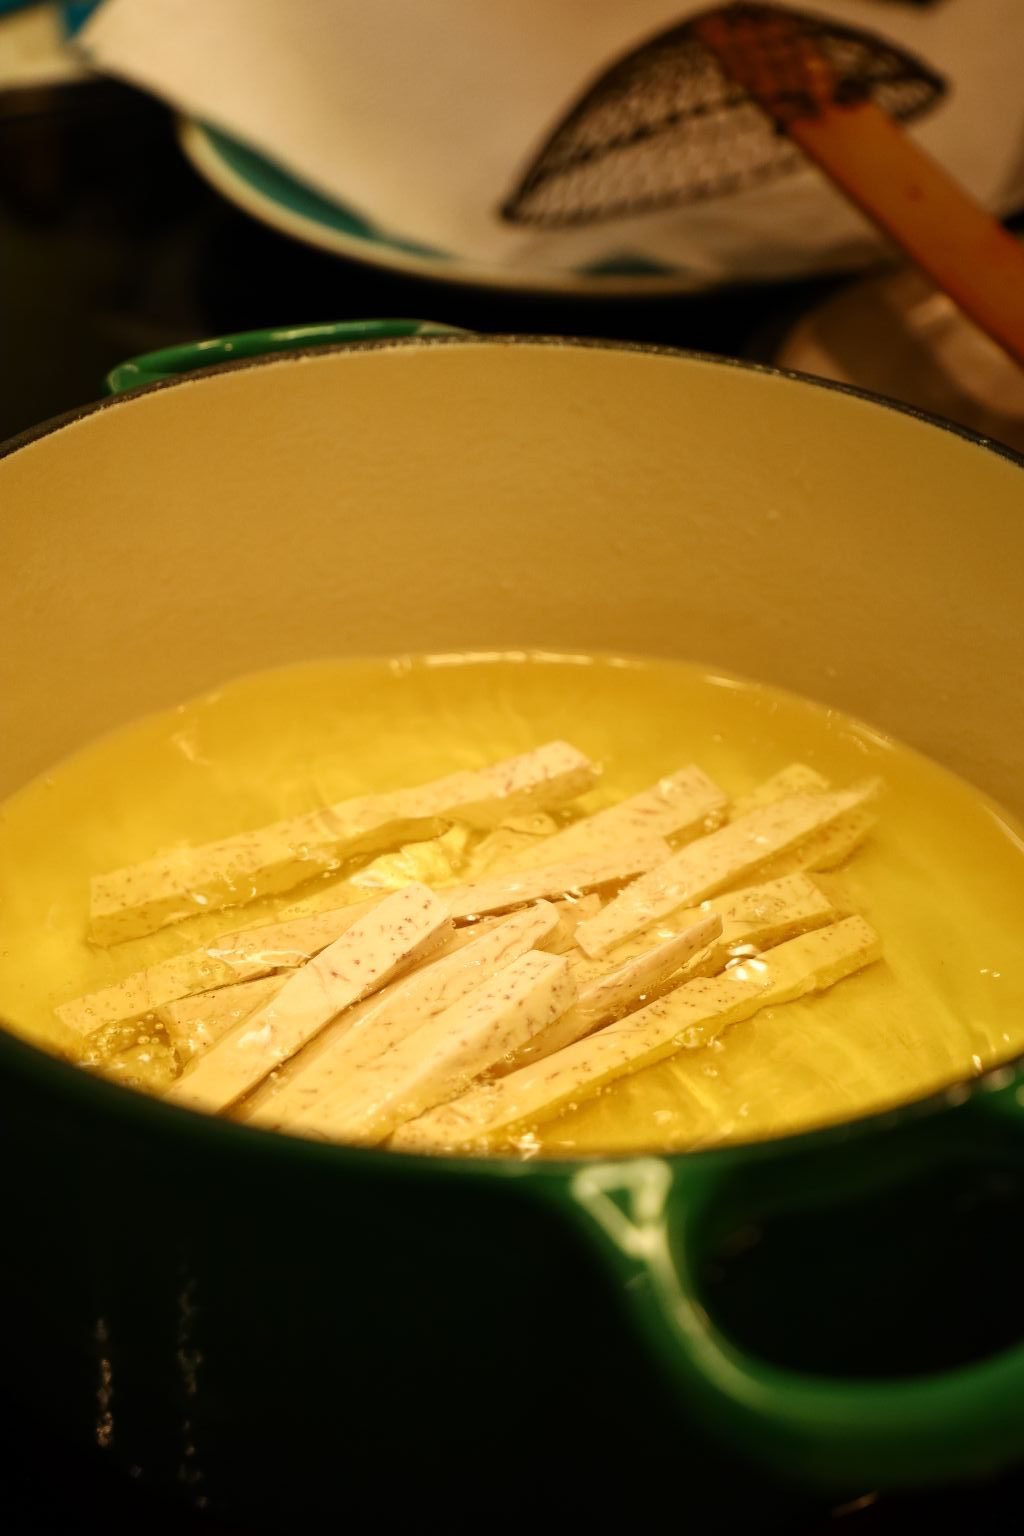
Place some good oil like peanut or vegetable into a medium pot being sure it is about 2 inches deep. Heat the oil to medium high. When at temperature, place the fries into the hot oil and cook them until golden brown… about 3 min.
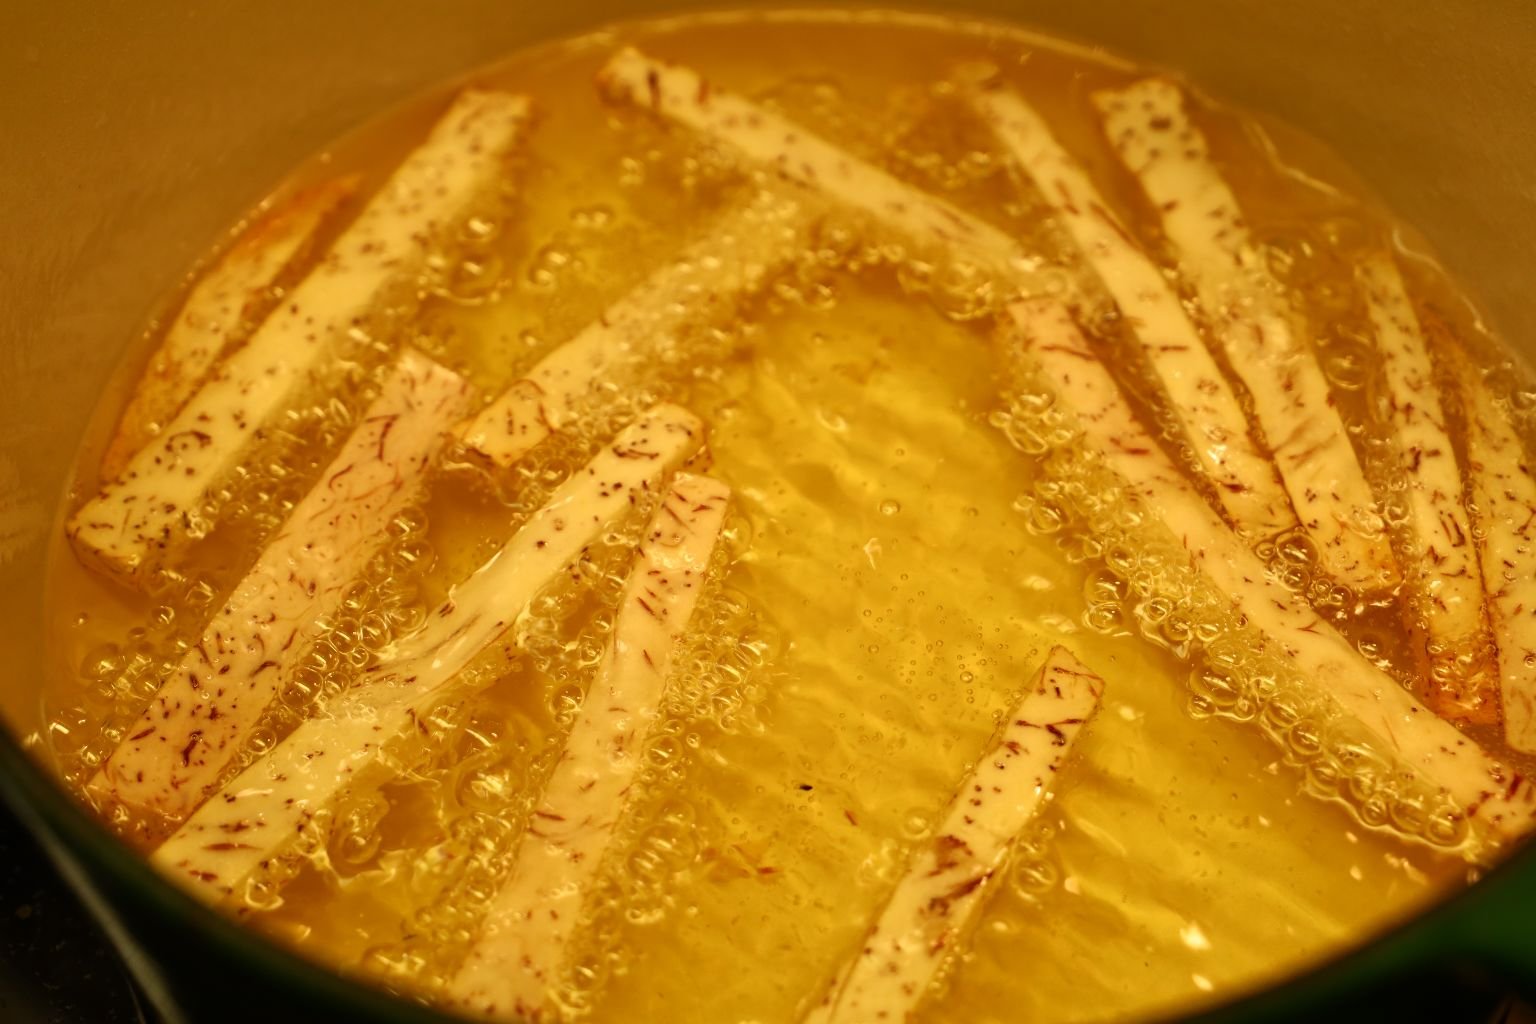
Remove one from the hot oil and test to see if it is done.
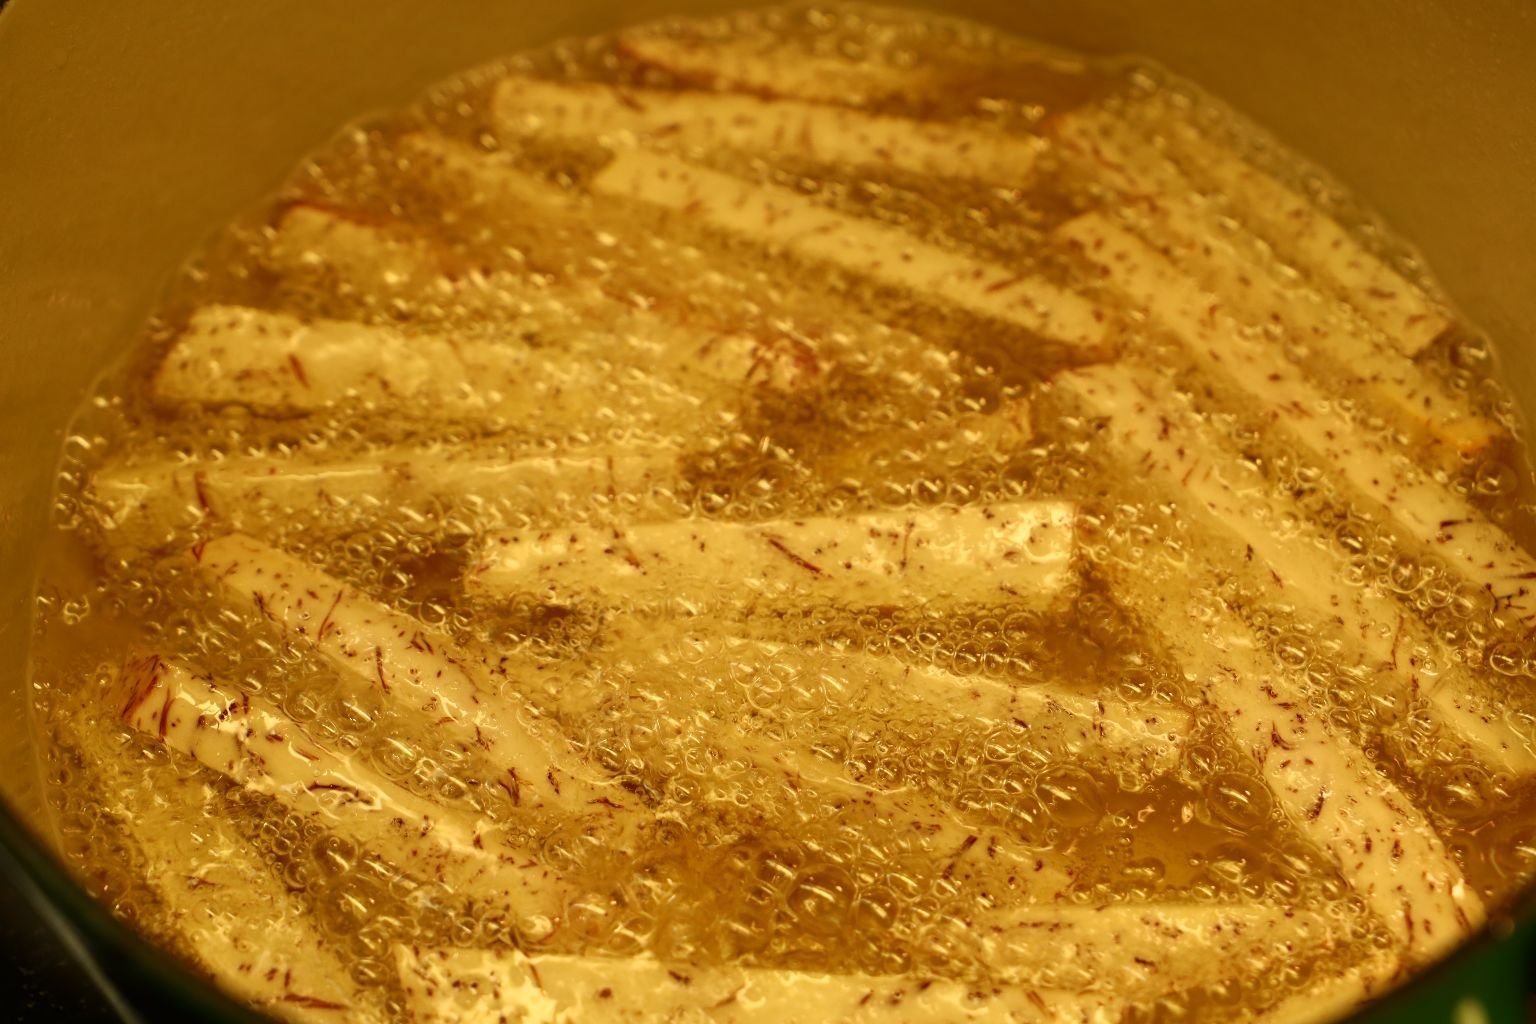
When frying, the oil should be at a low boil as shown.
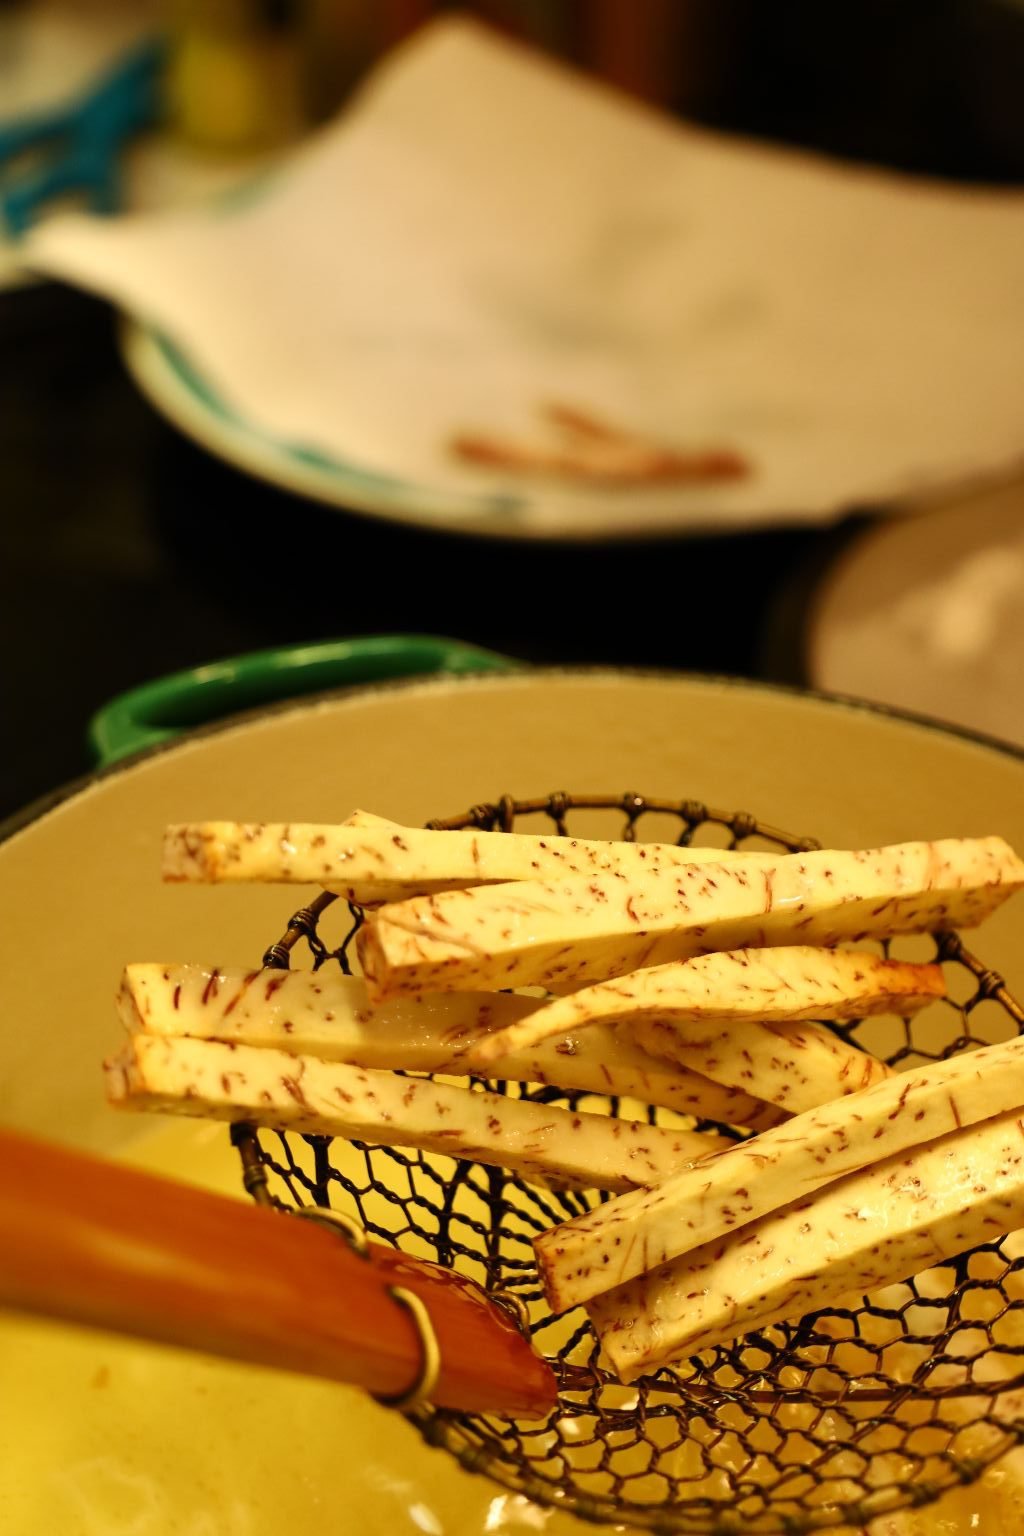
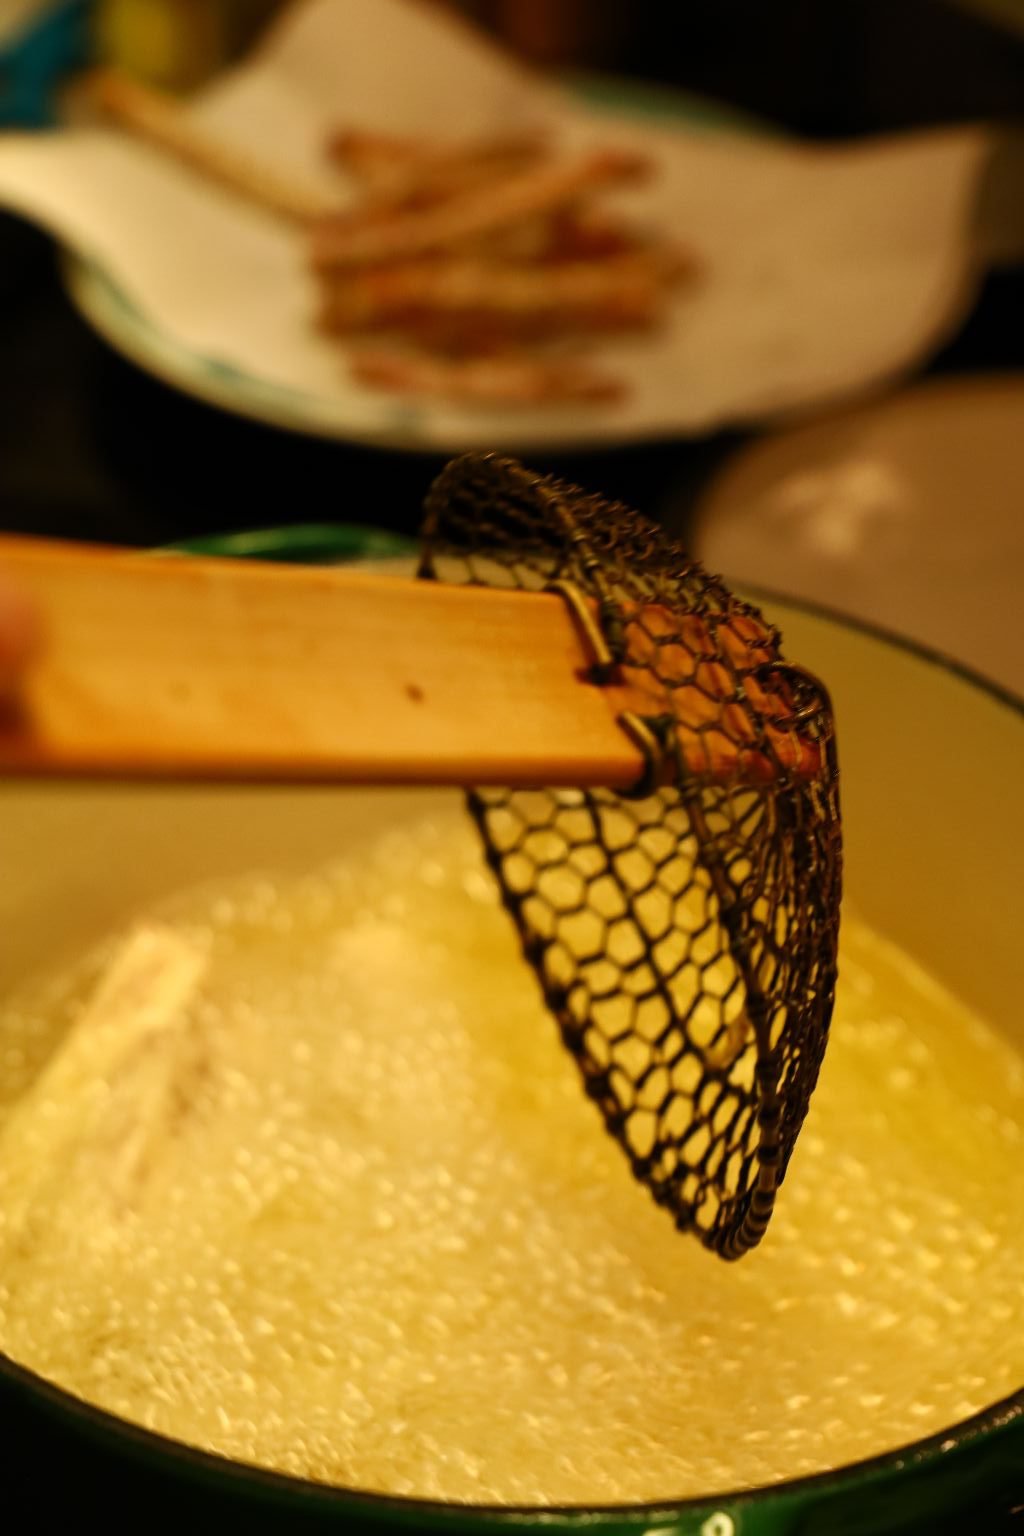
Using a wire mesh strainer, remove the fries…
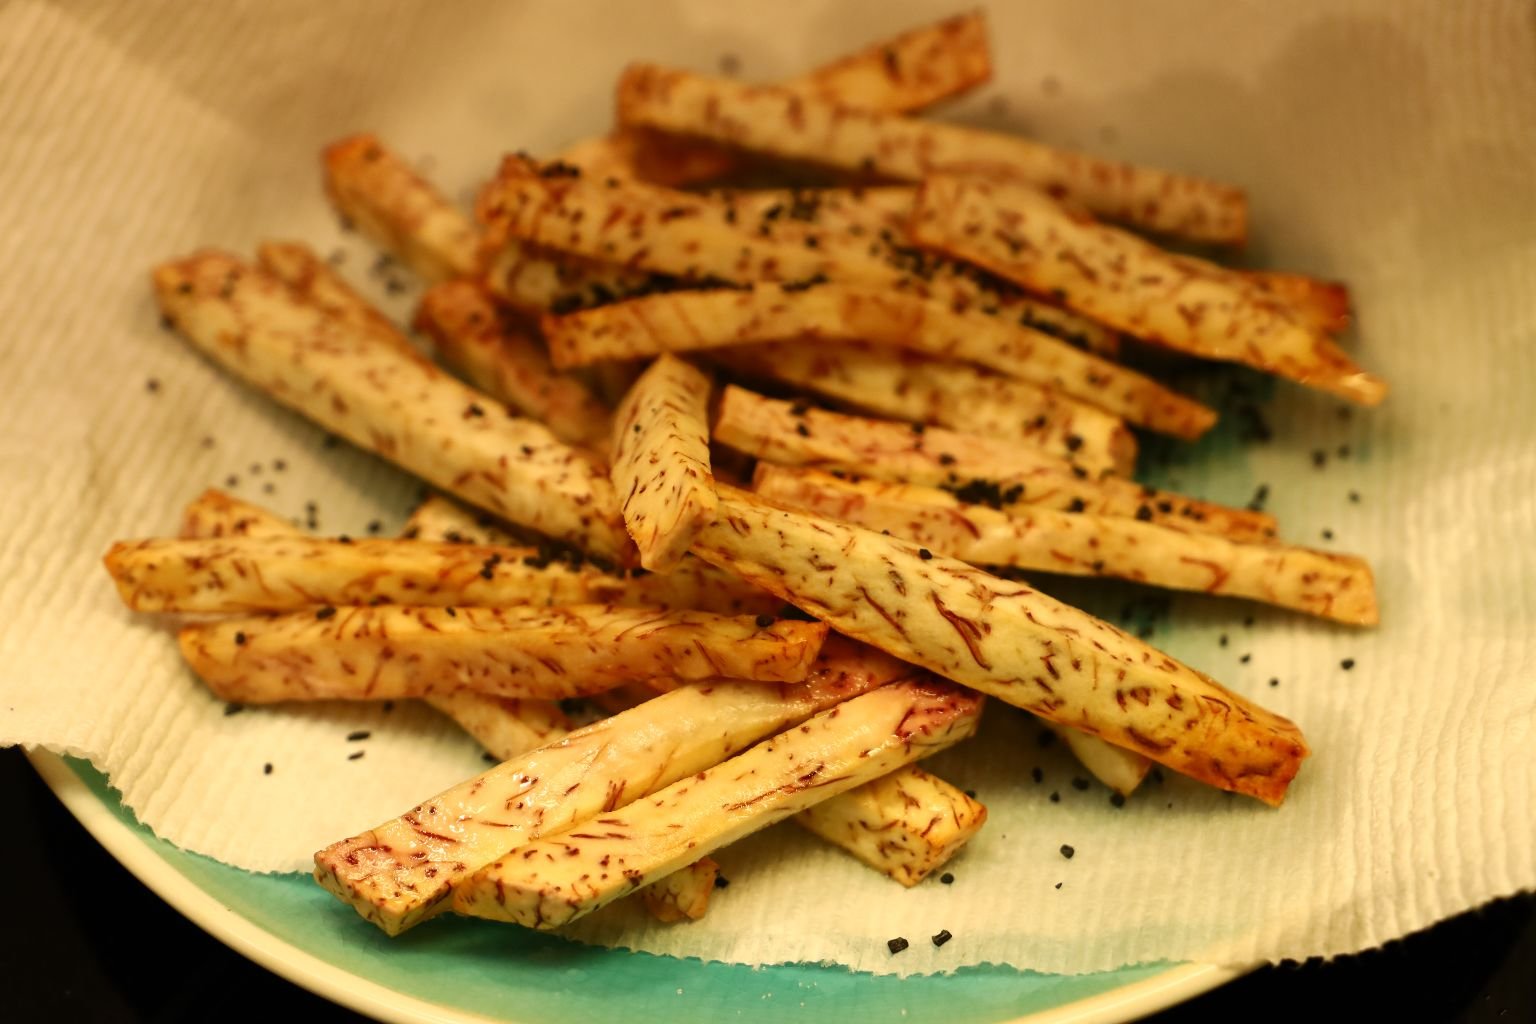
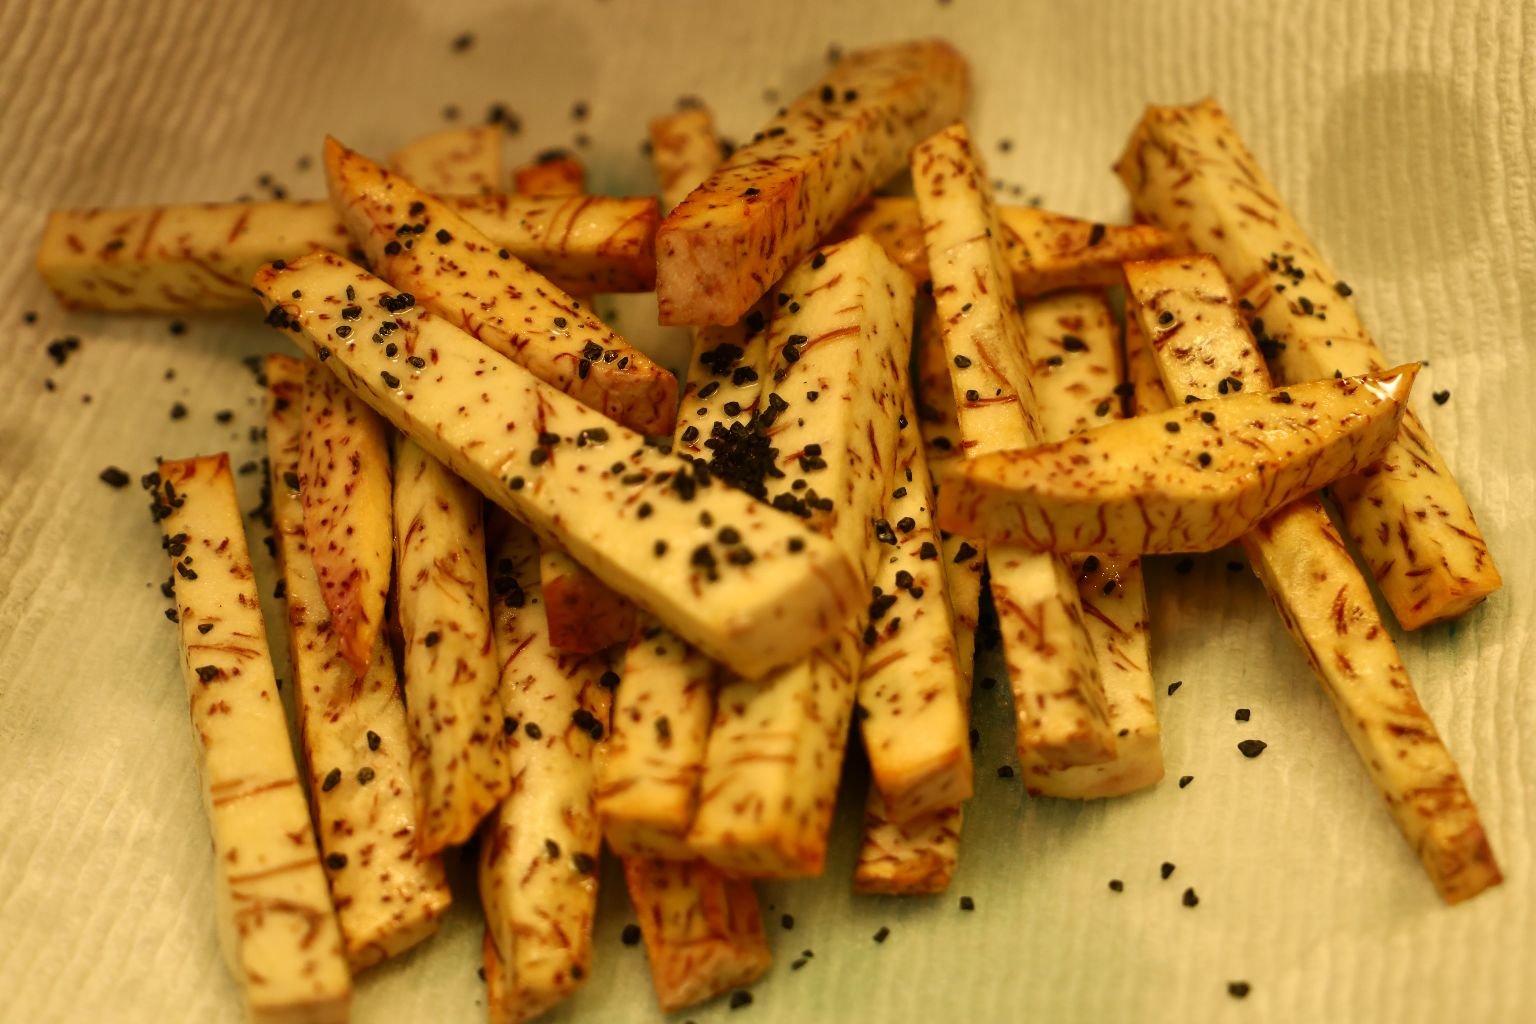
and place them on a plate lined with paper towels. Here we then immediately added some black lava salt to give it a great look and taste.
Another great and healthy side dish!
———————————————————————–
Taro Chips and Steamed Buns
A Healthier Potato Chip
——————————————————————-
Excellent Dipping Sauces
——————————————————————-
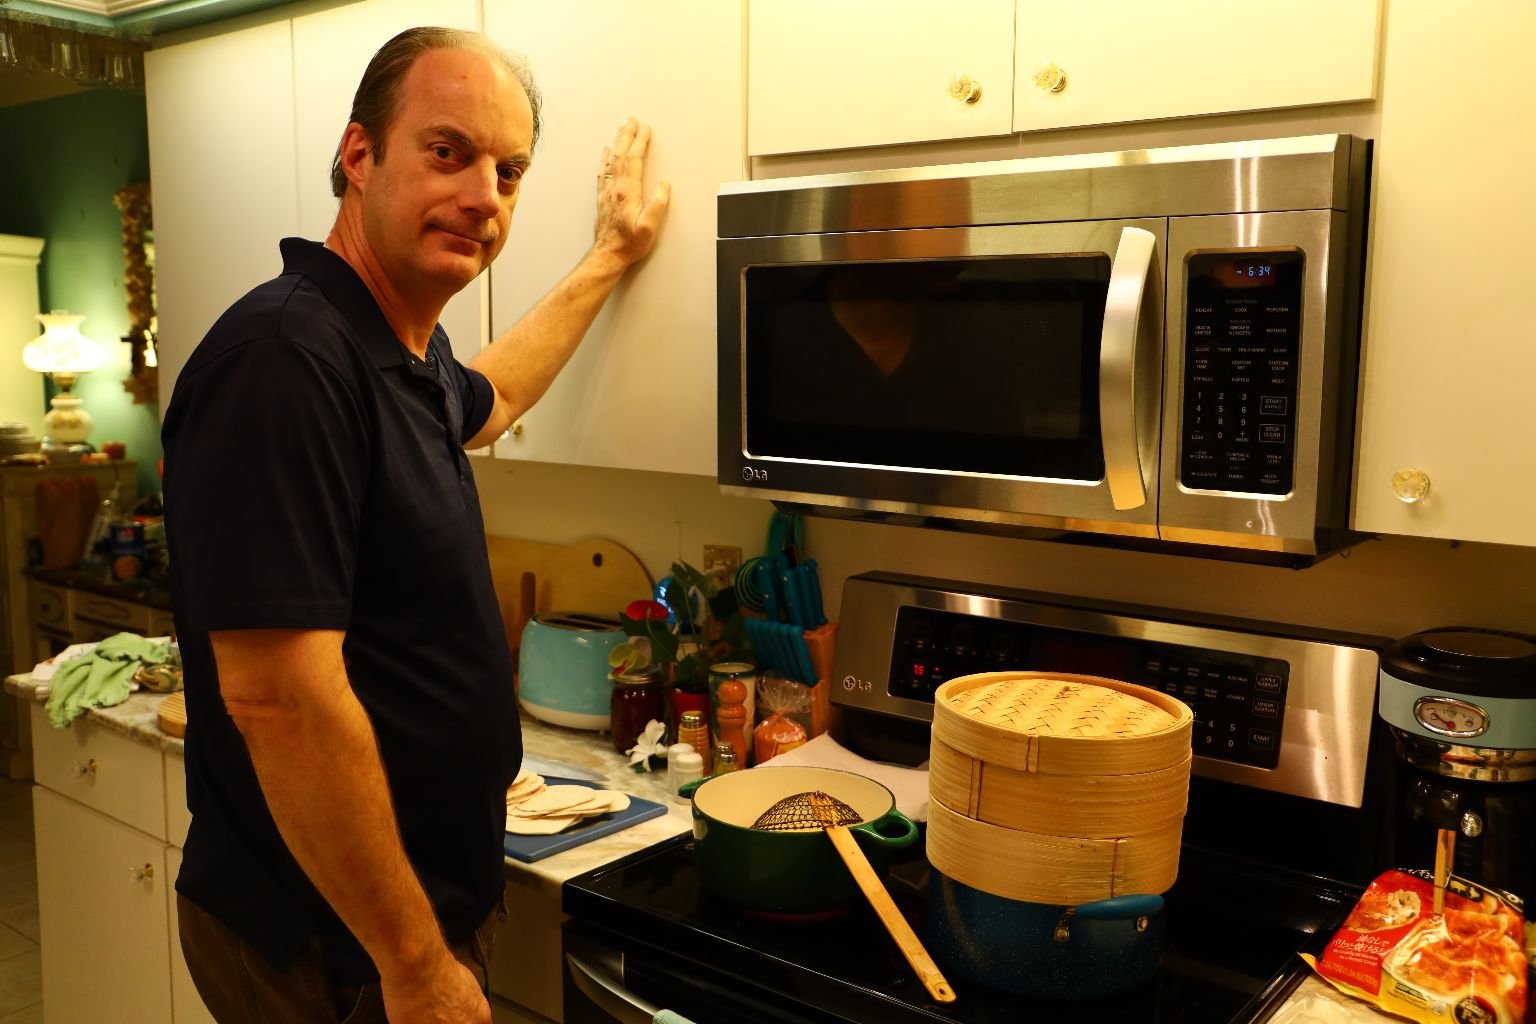
Our Ohana Kitchen
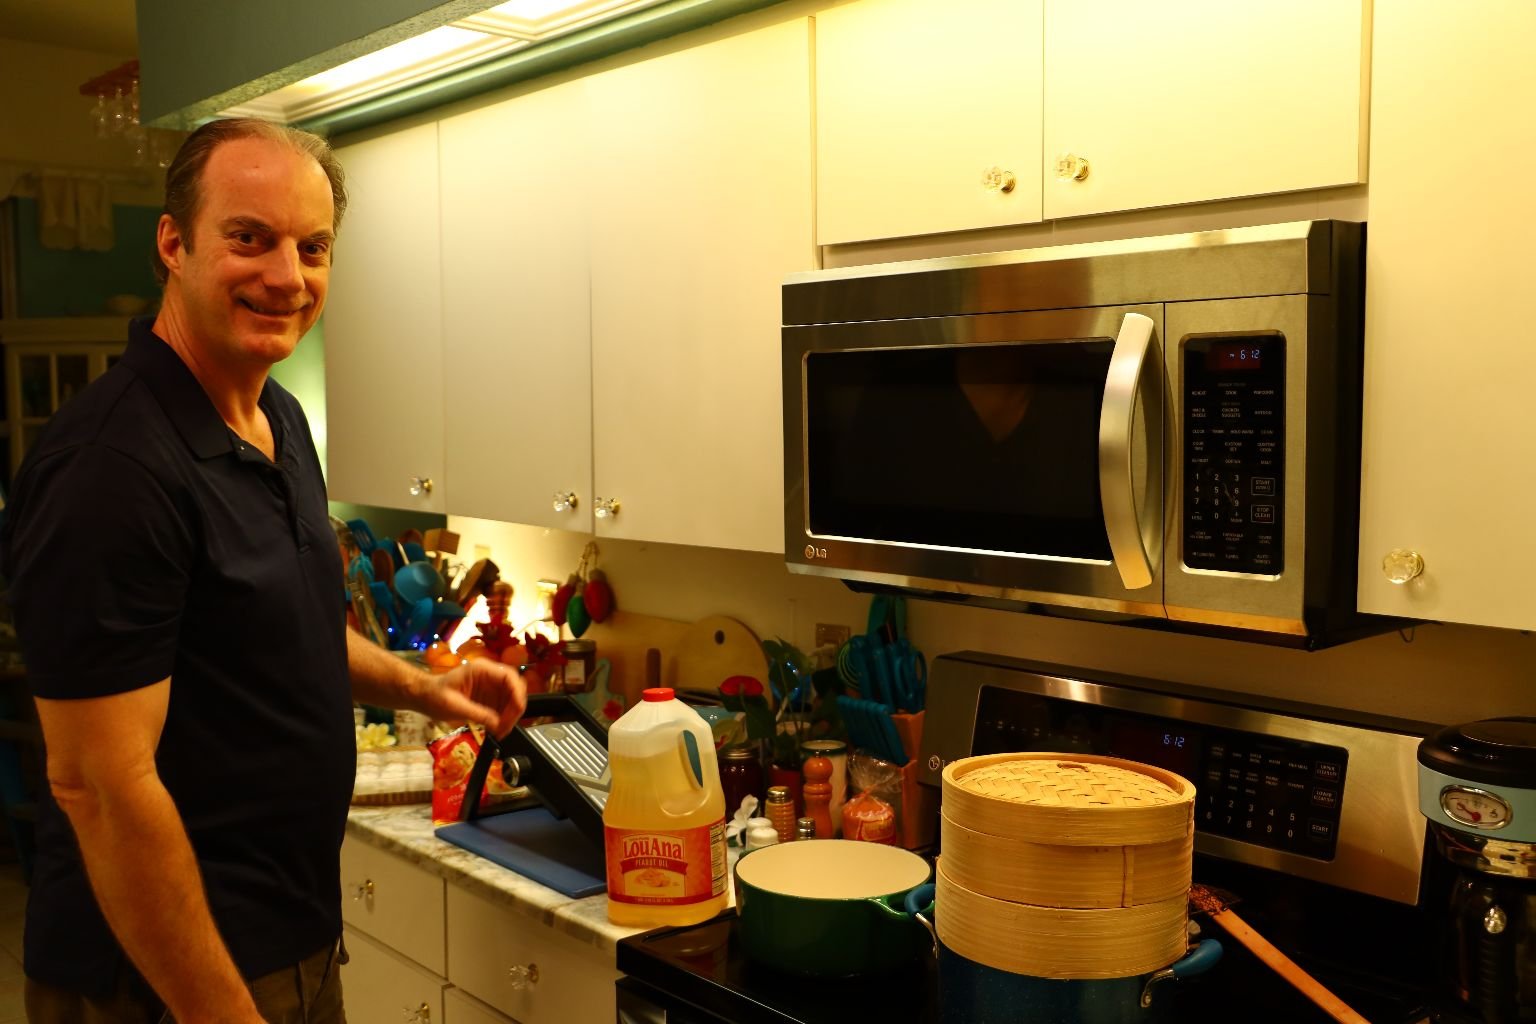
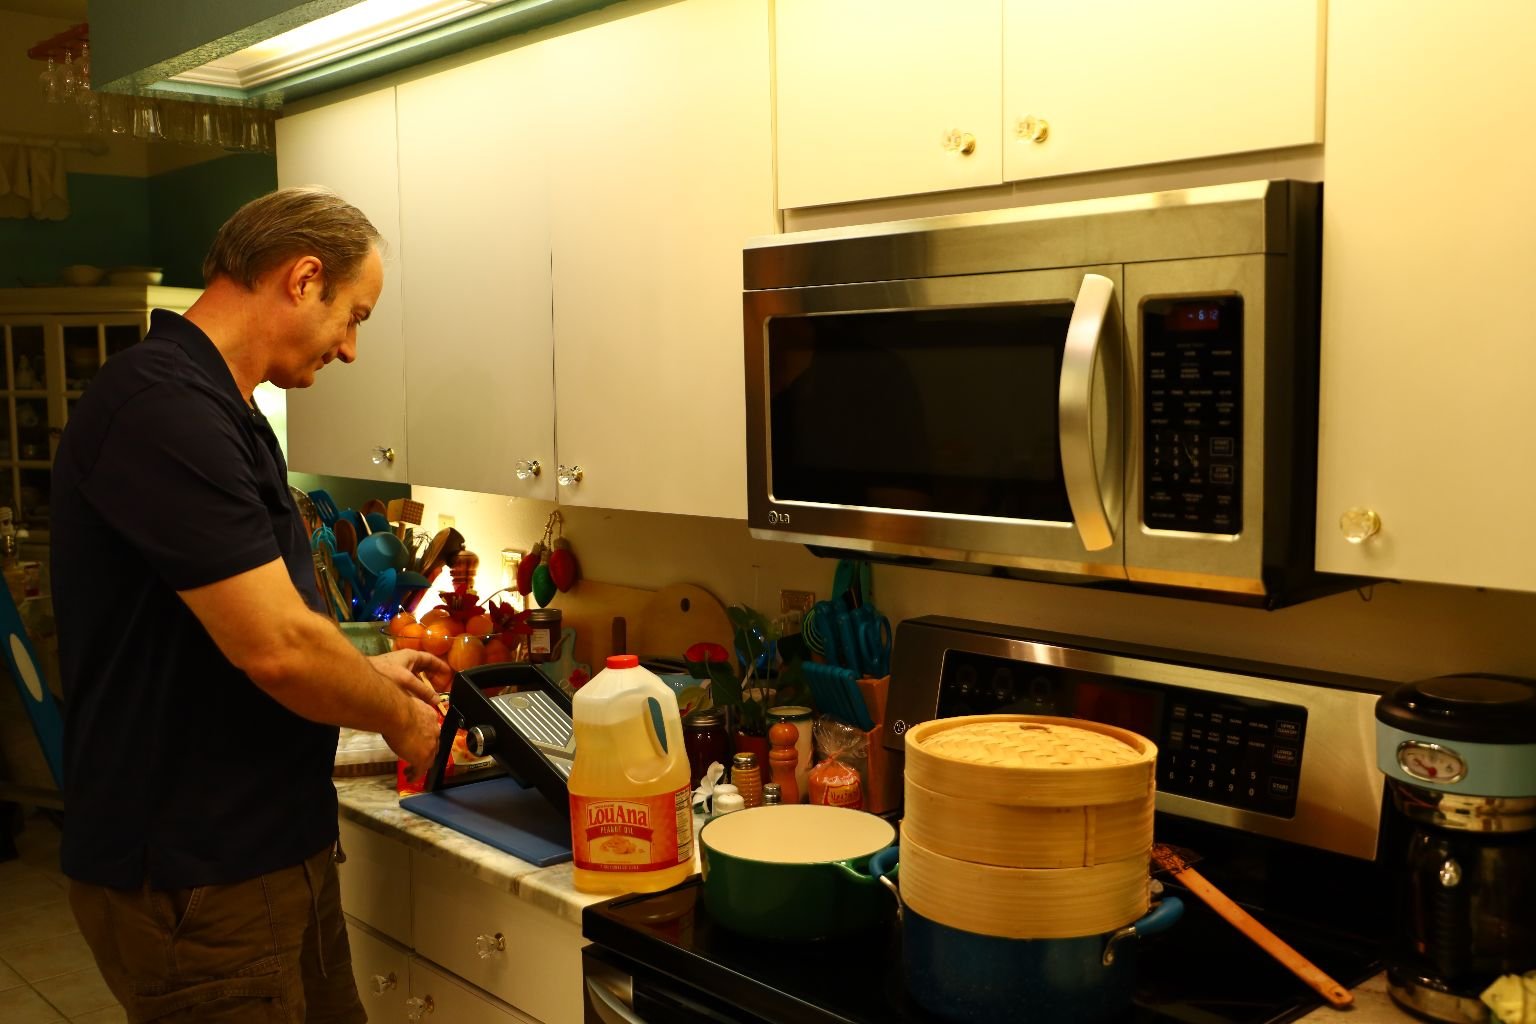
Gordon Kitchen Ready
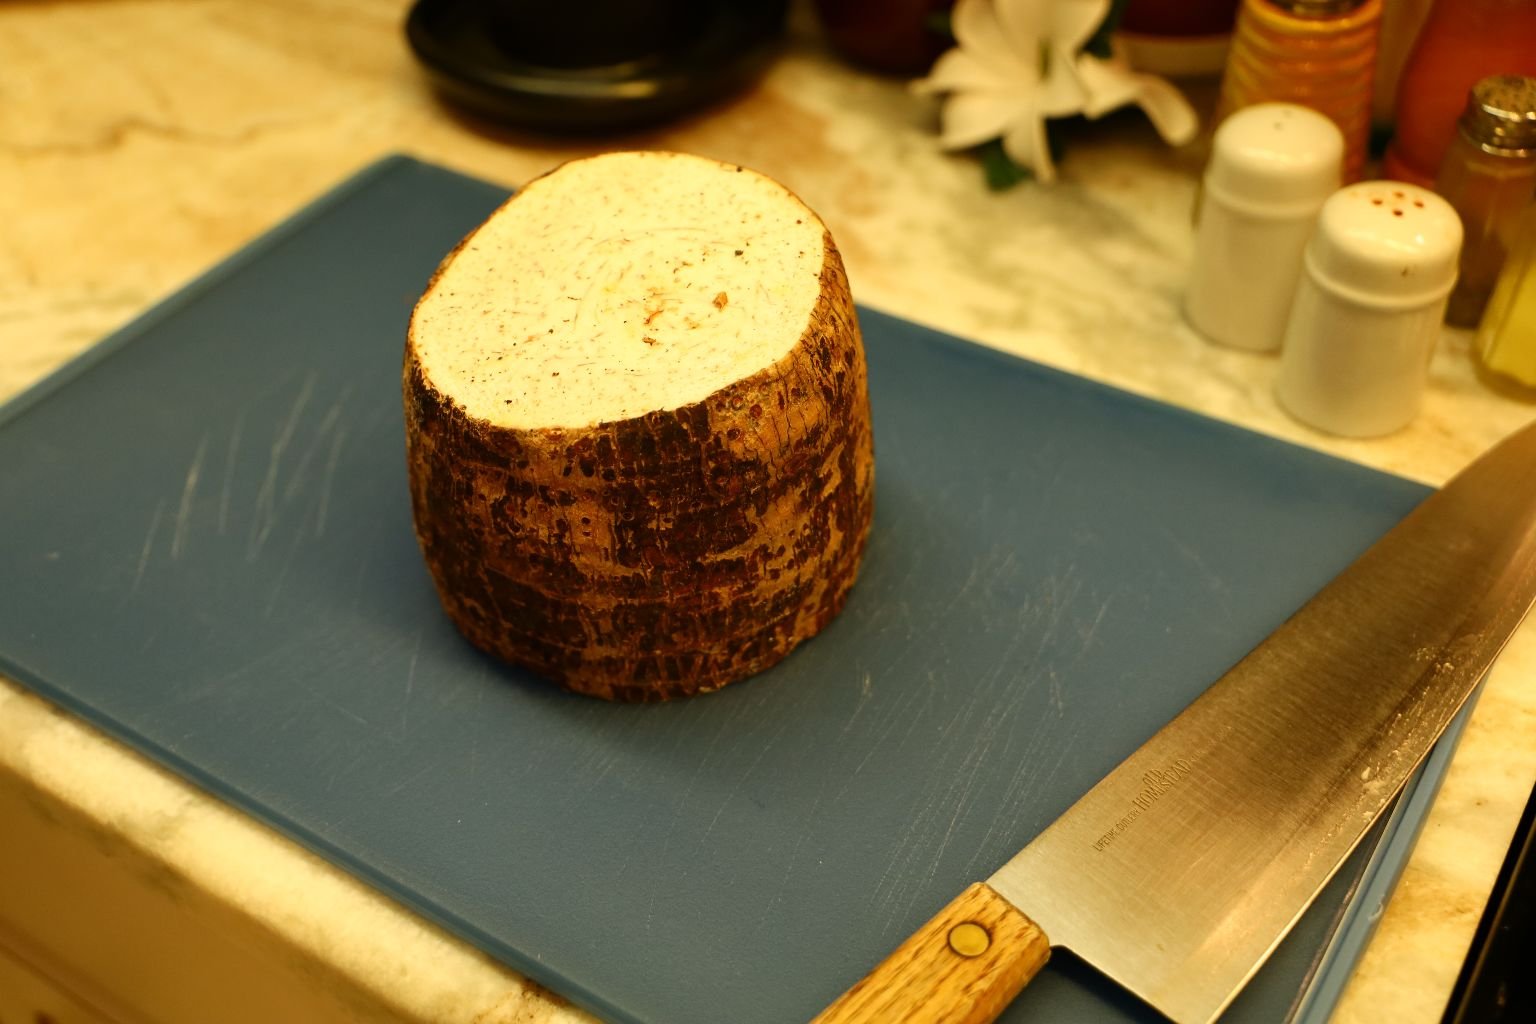
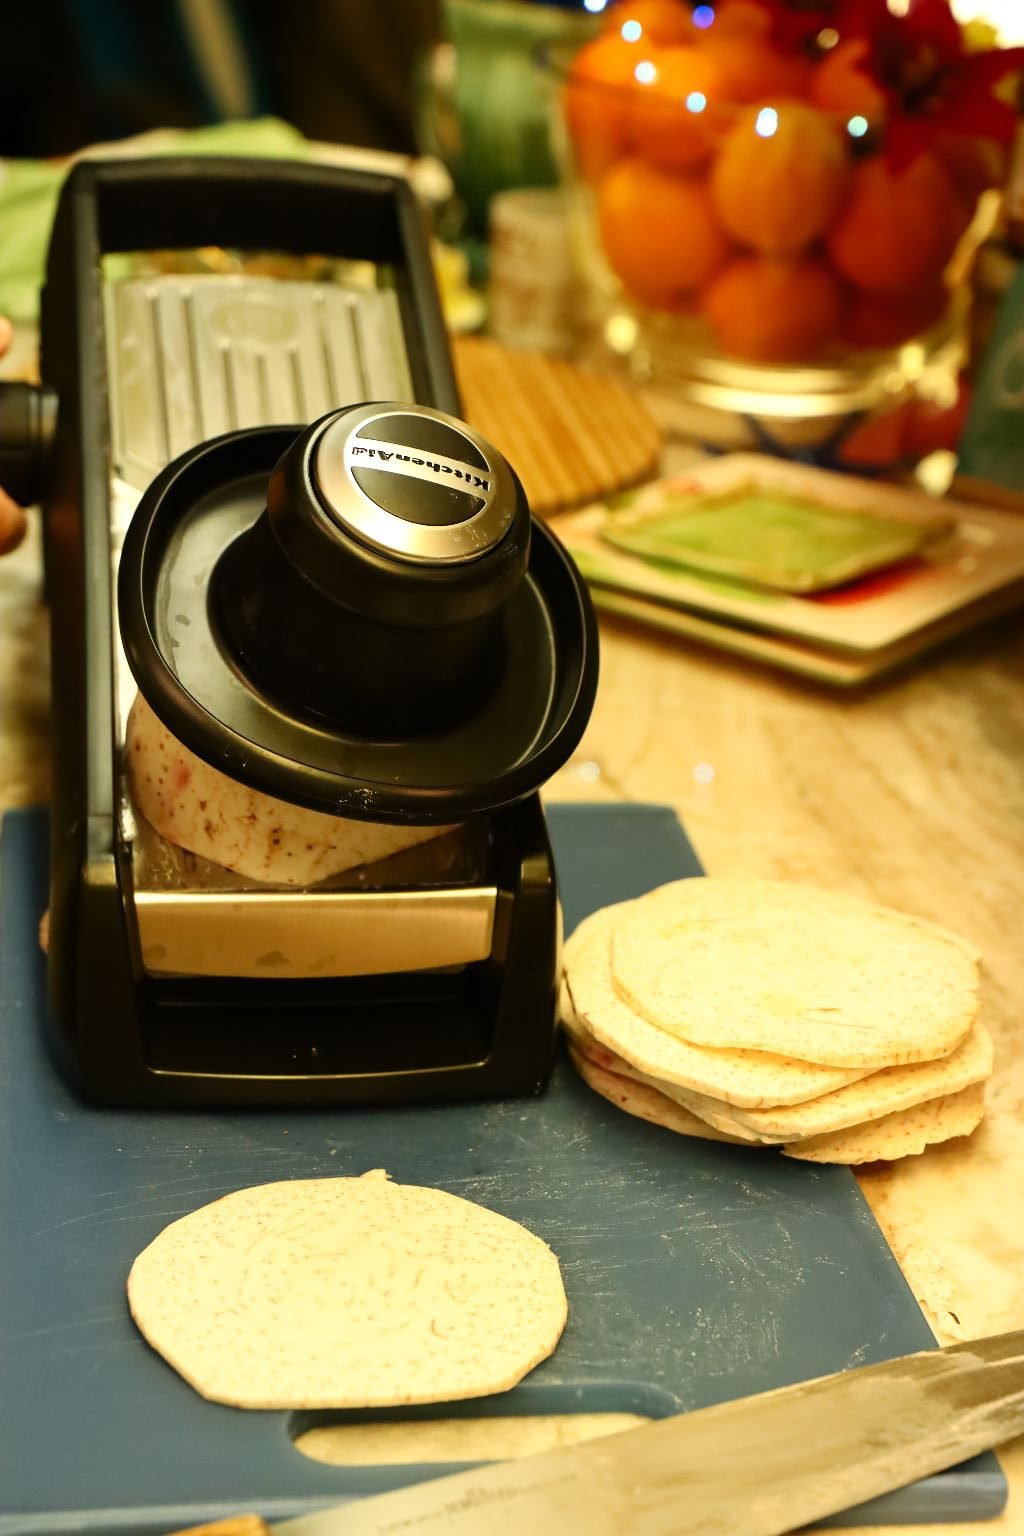
Here is a great Taro Root for making chips.
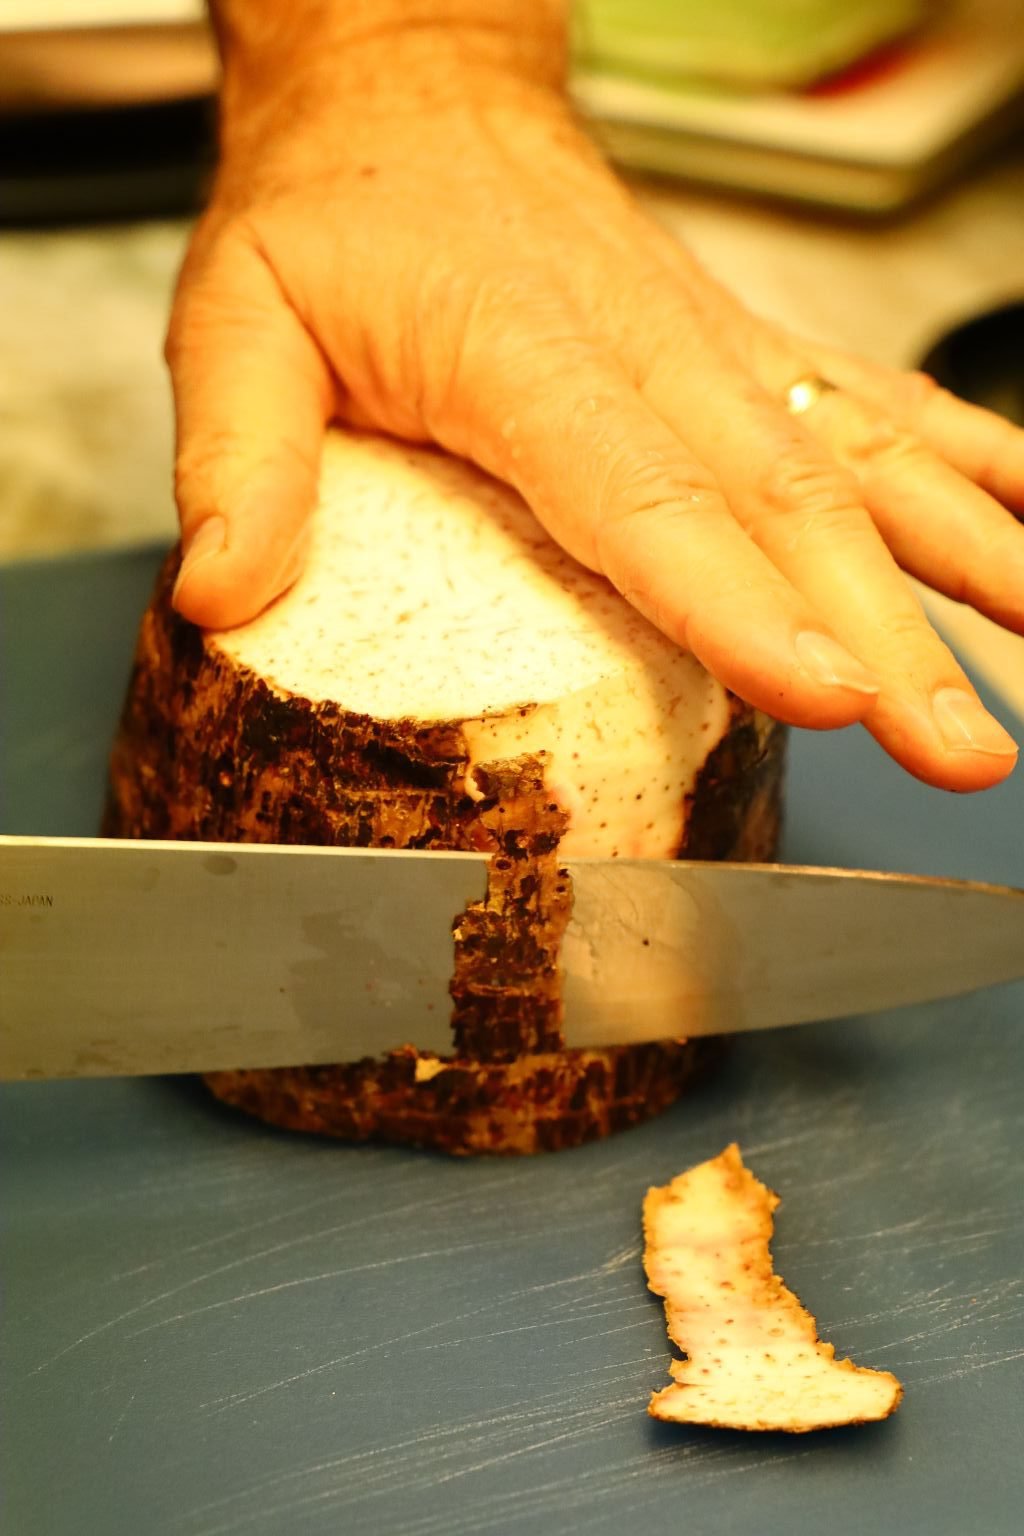
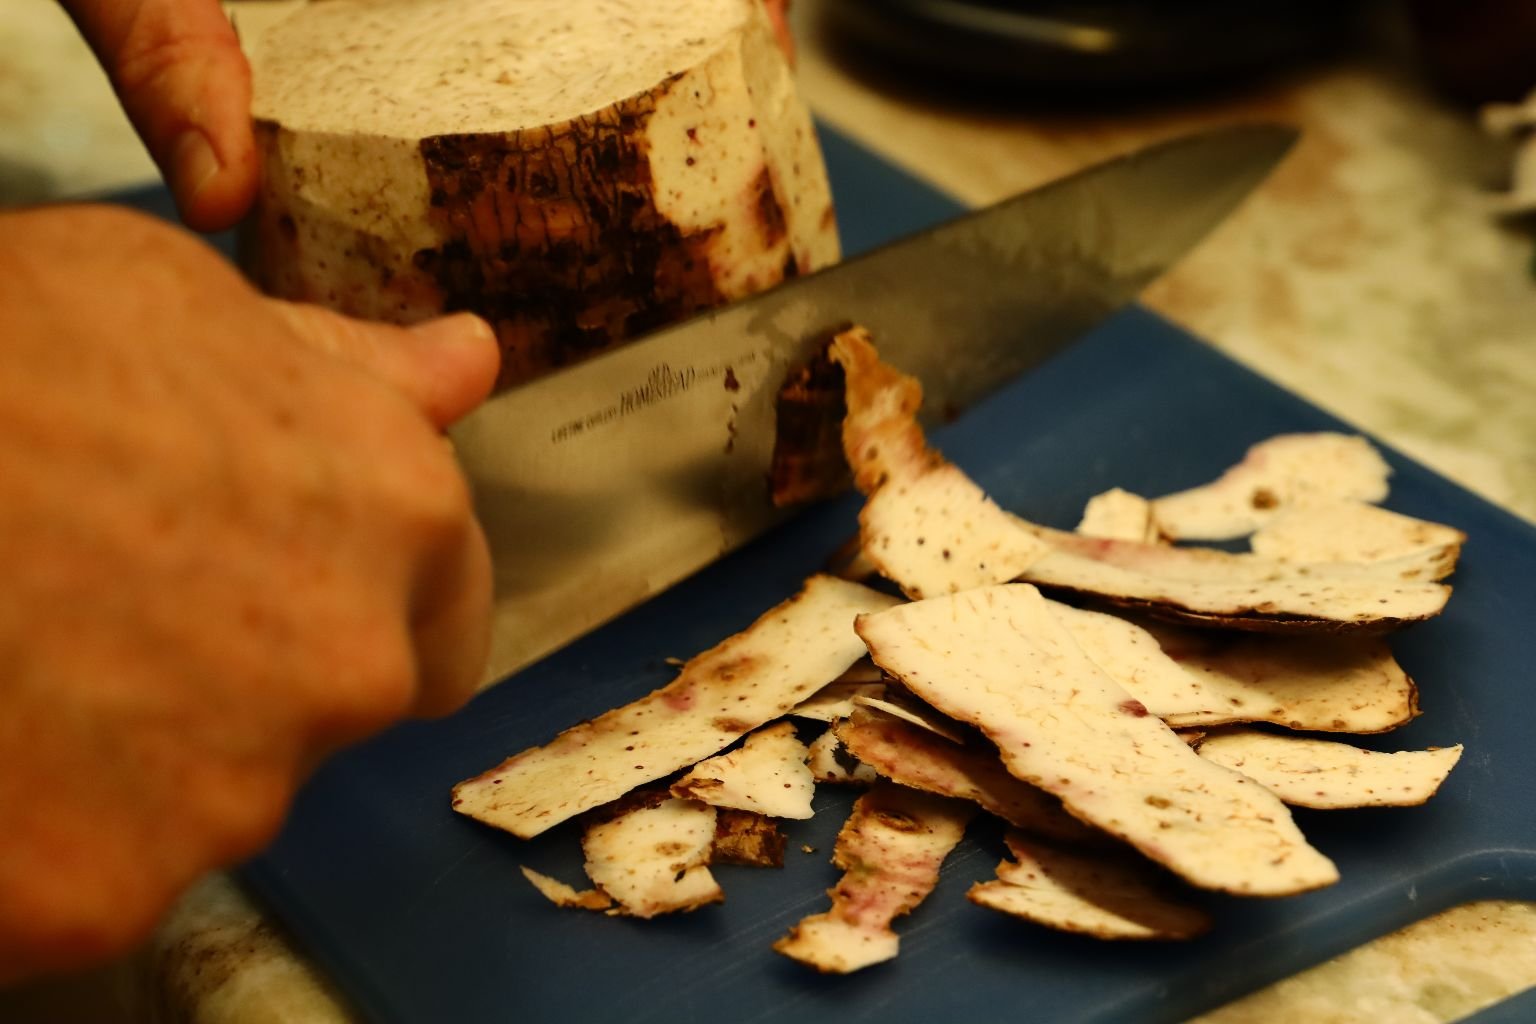
Slice off the outer skin using a sharp knife as shown.
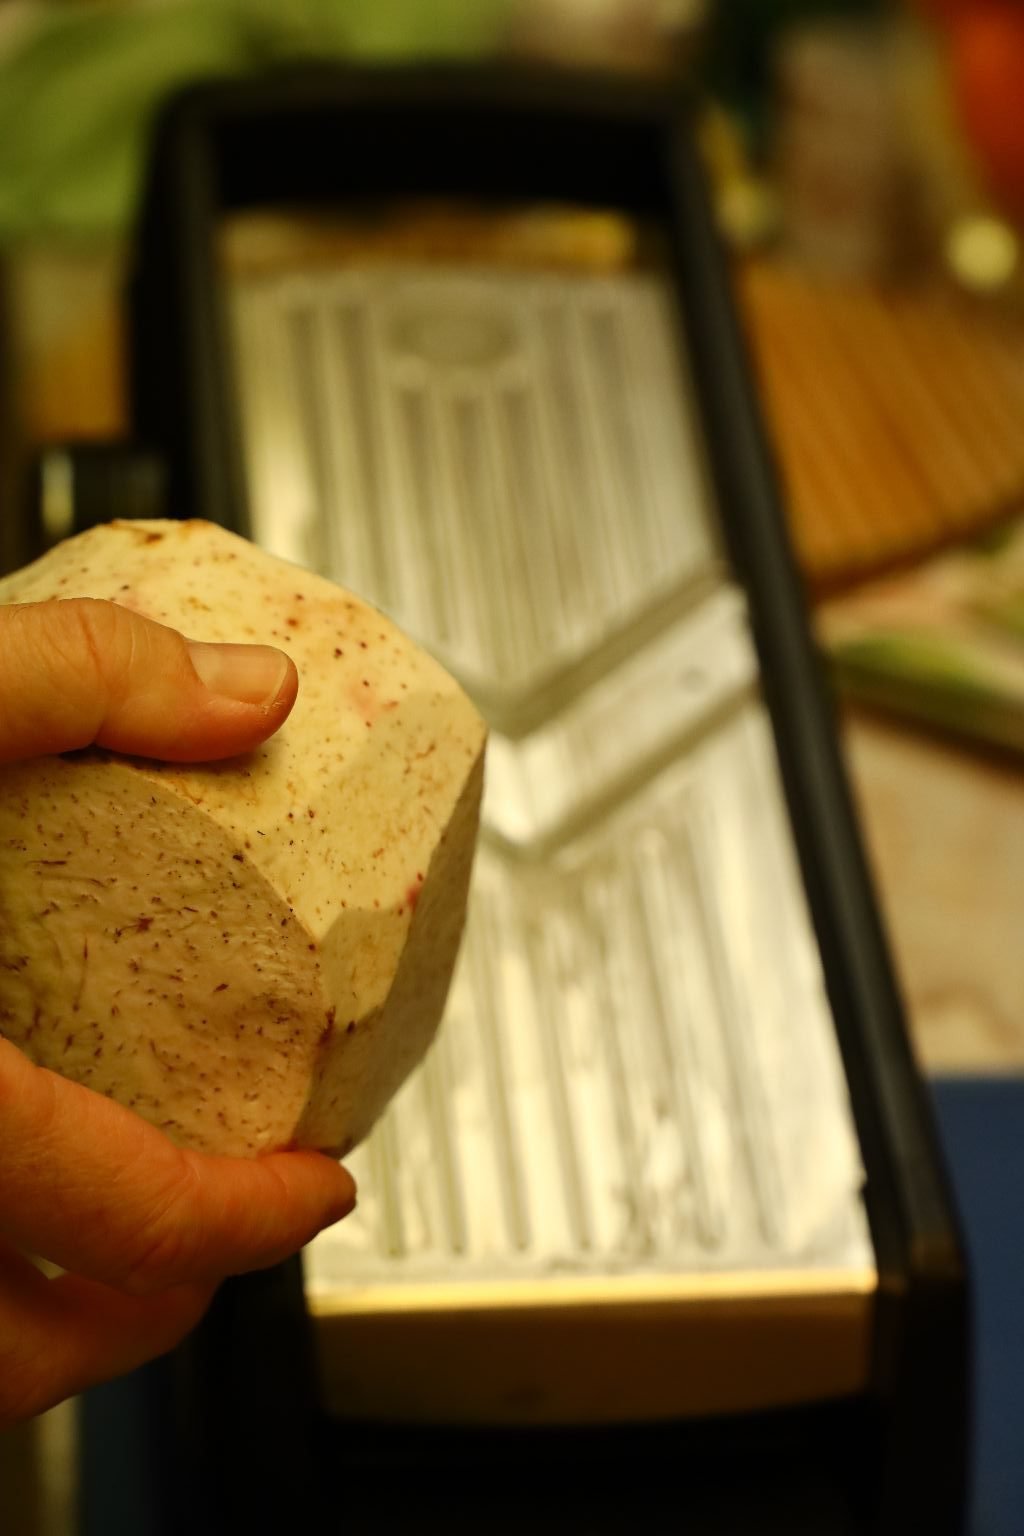
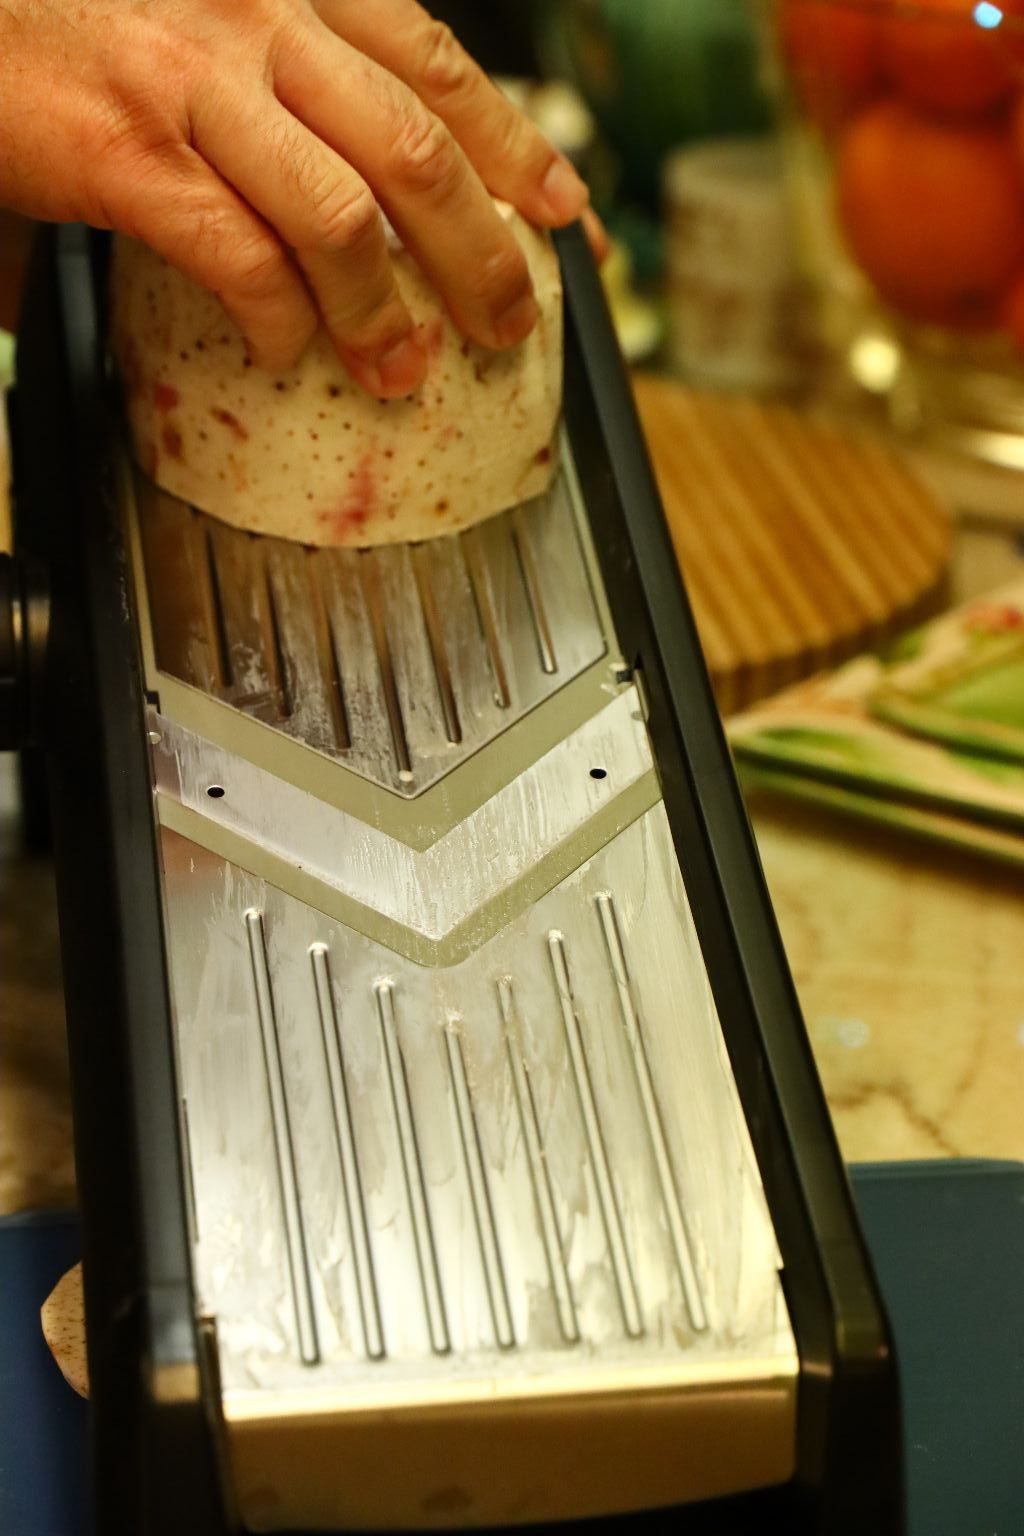
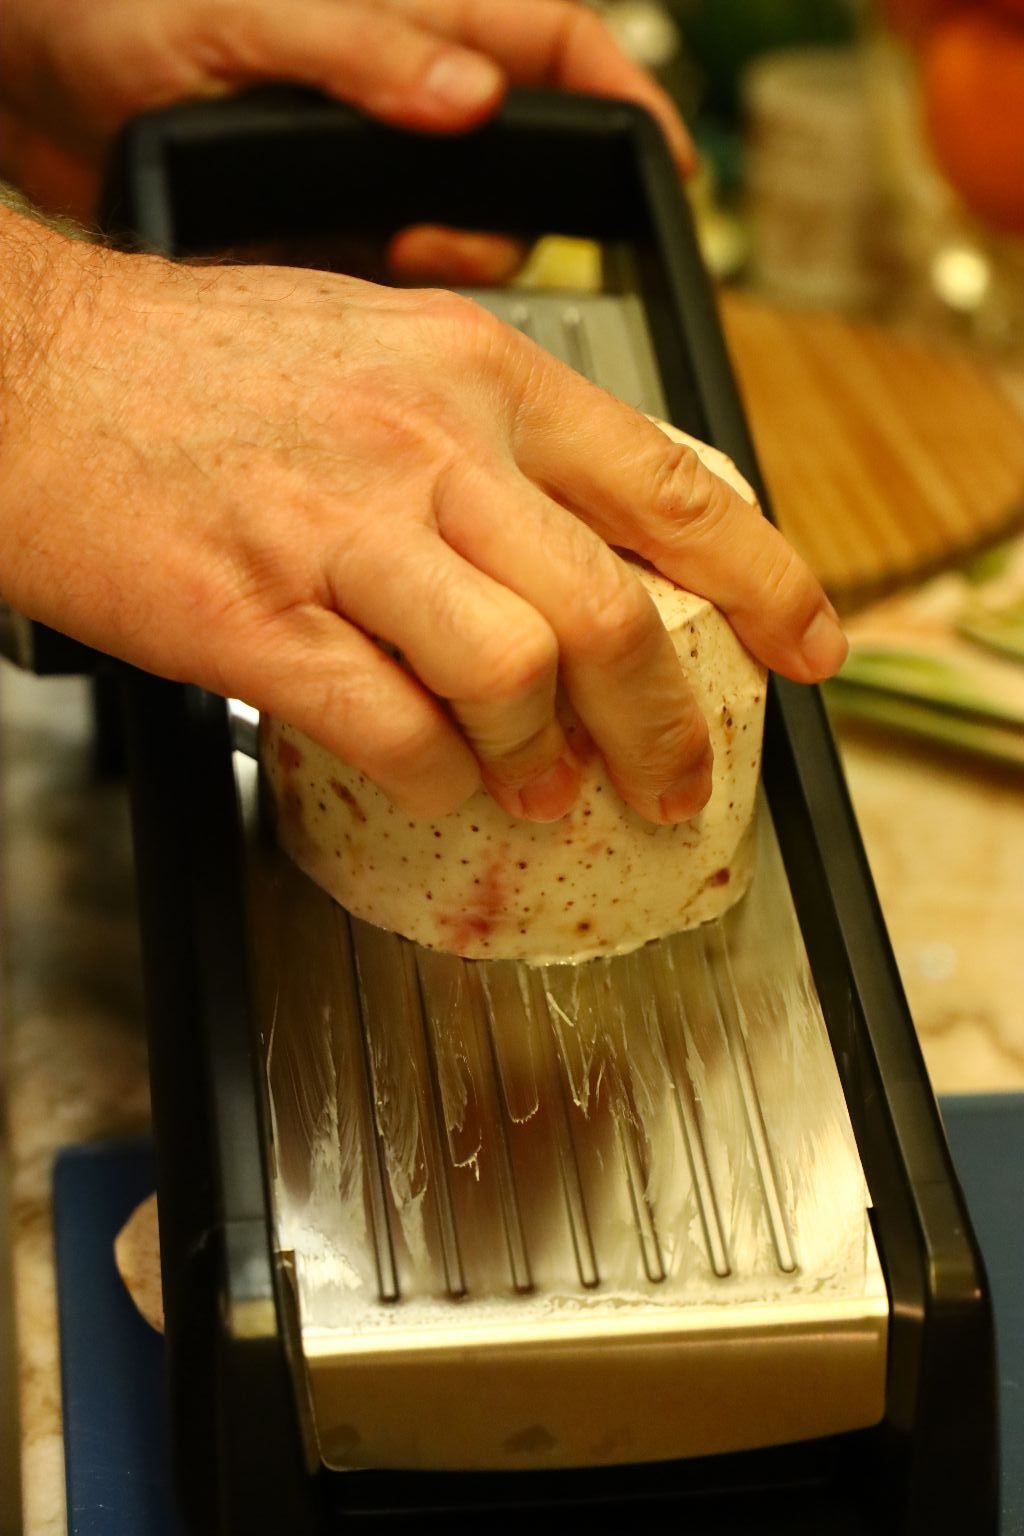
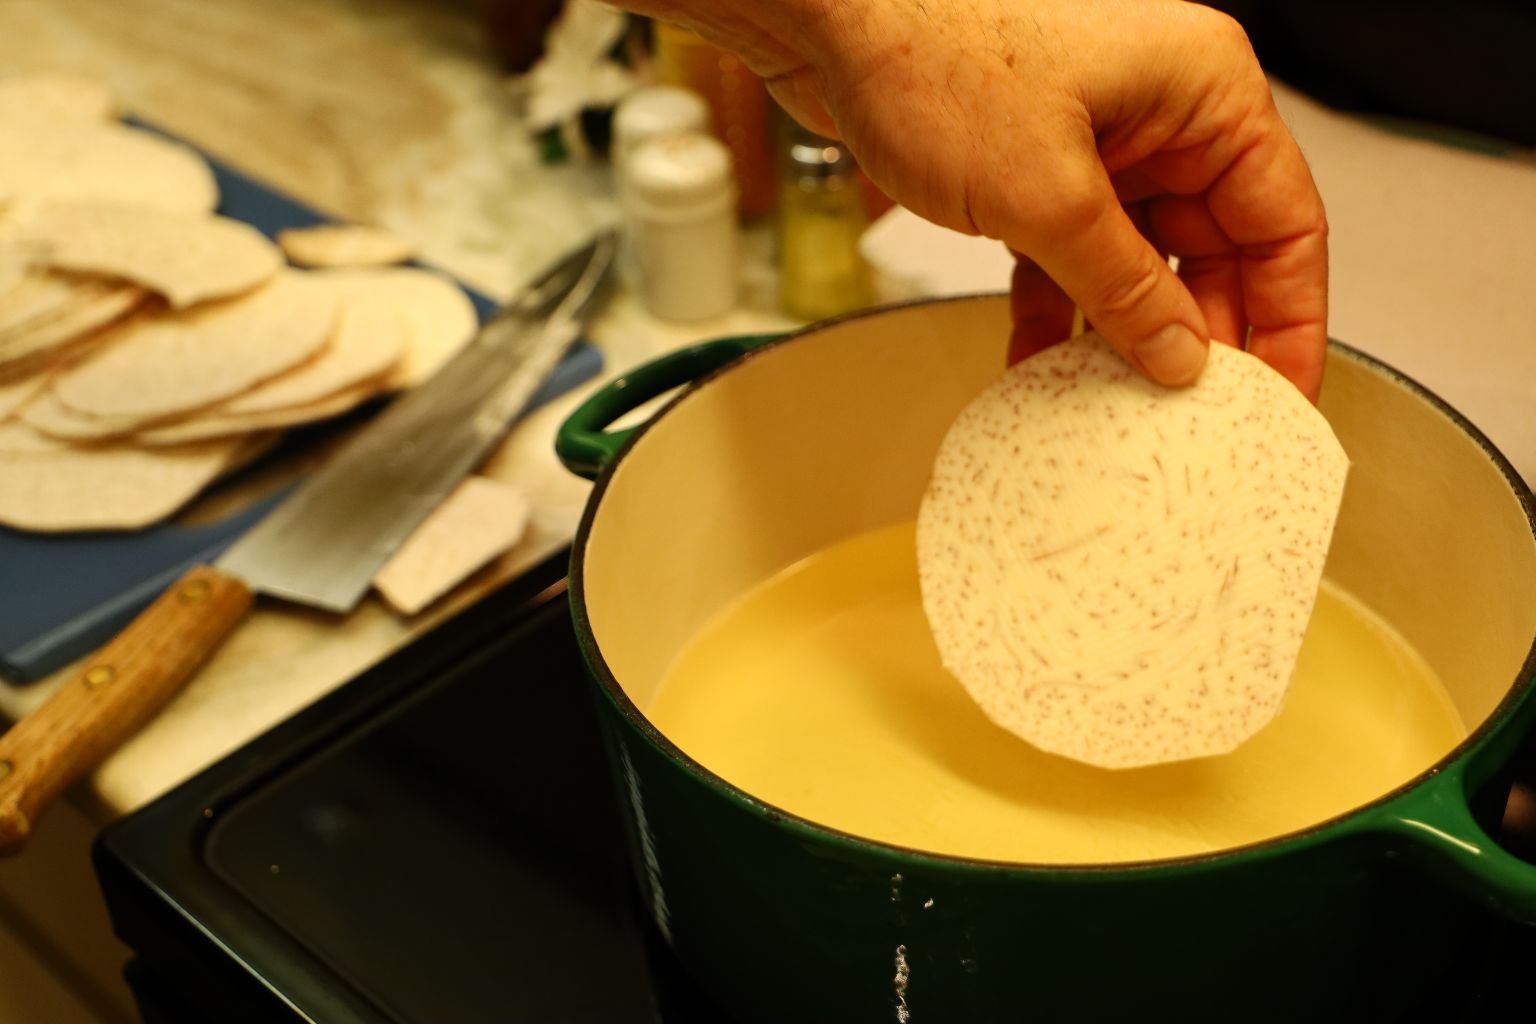
Now, place your mandolin on its thinnest setting and begin to make chips as shown.
This is an excellent kitchen tool to own.
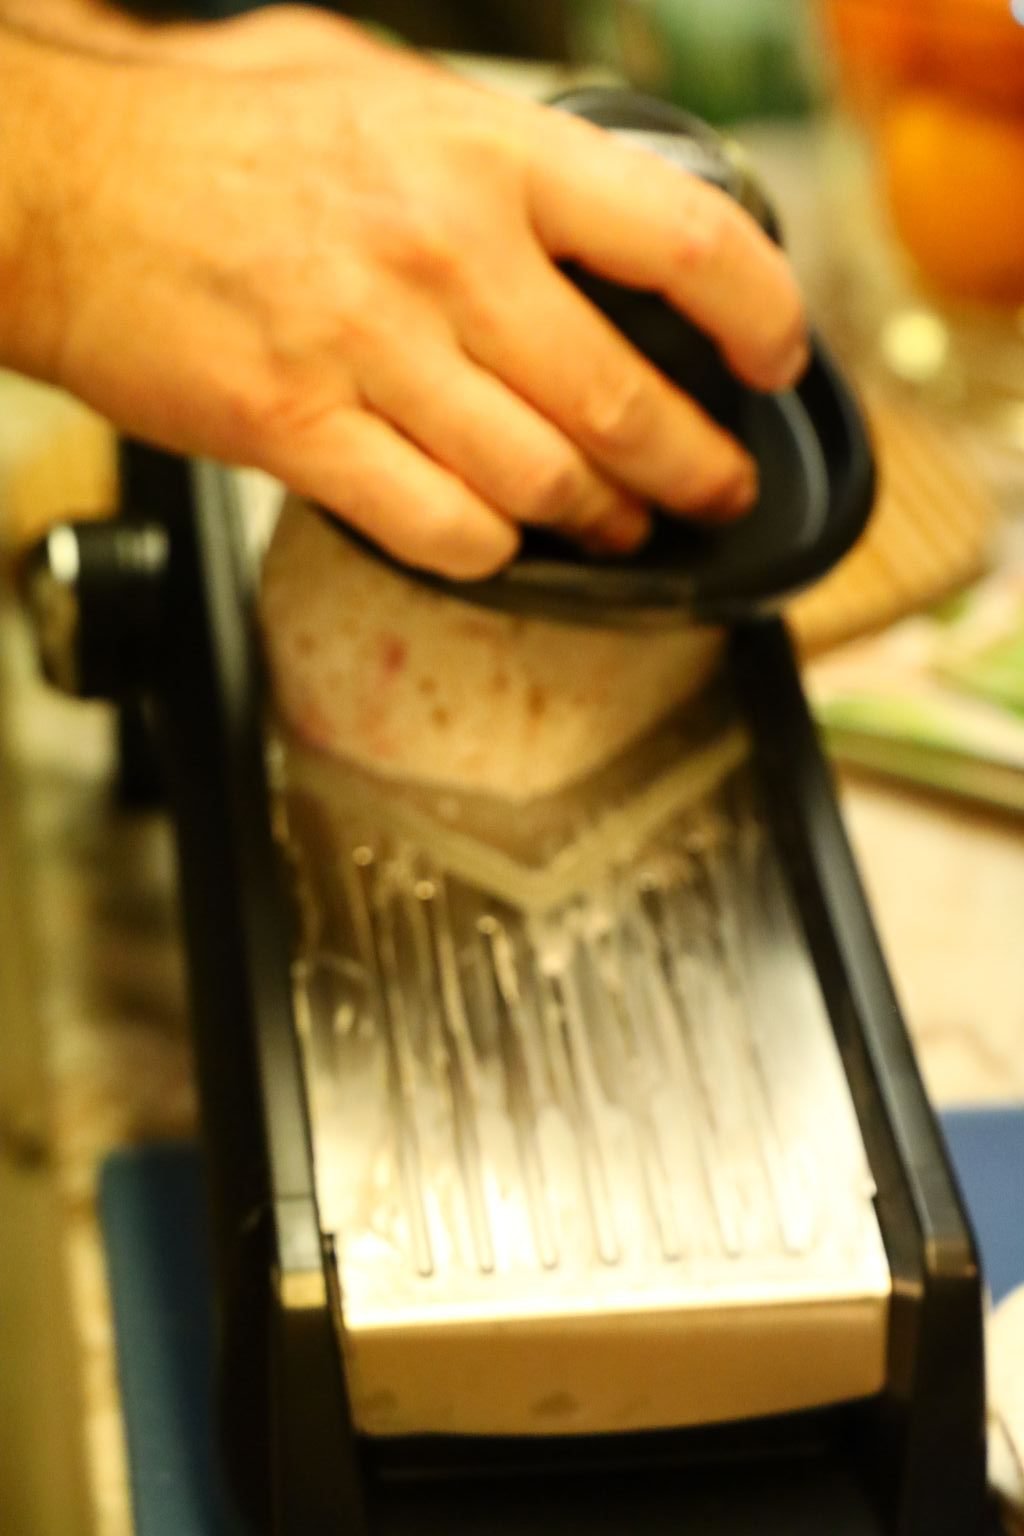
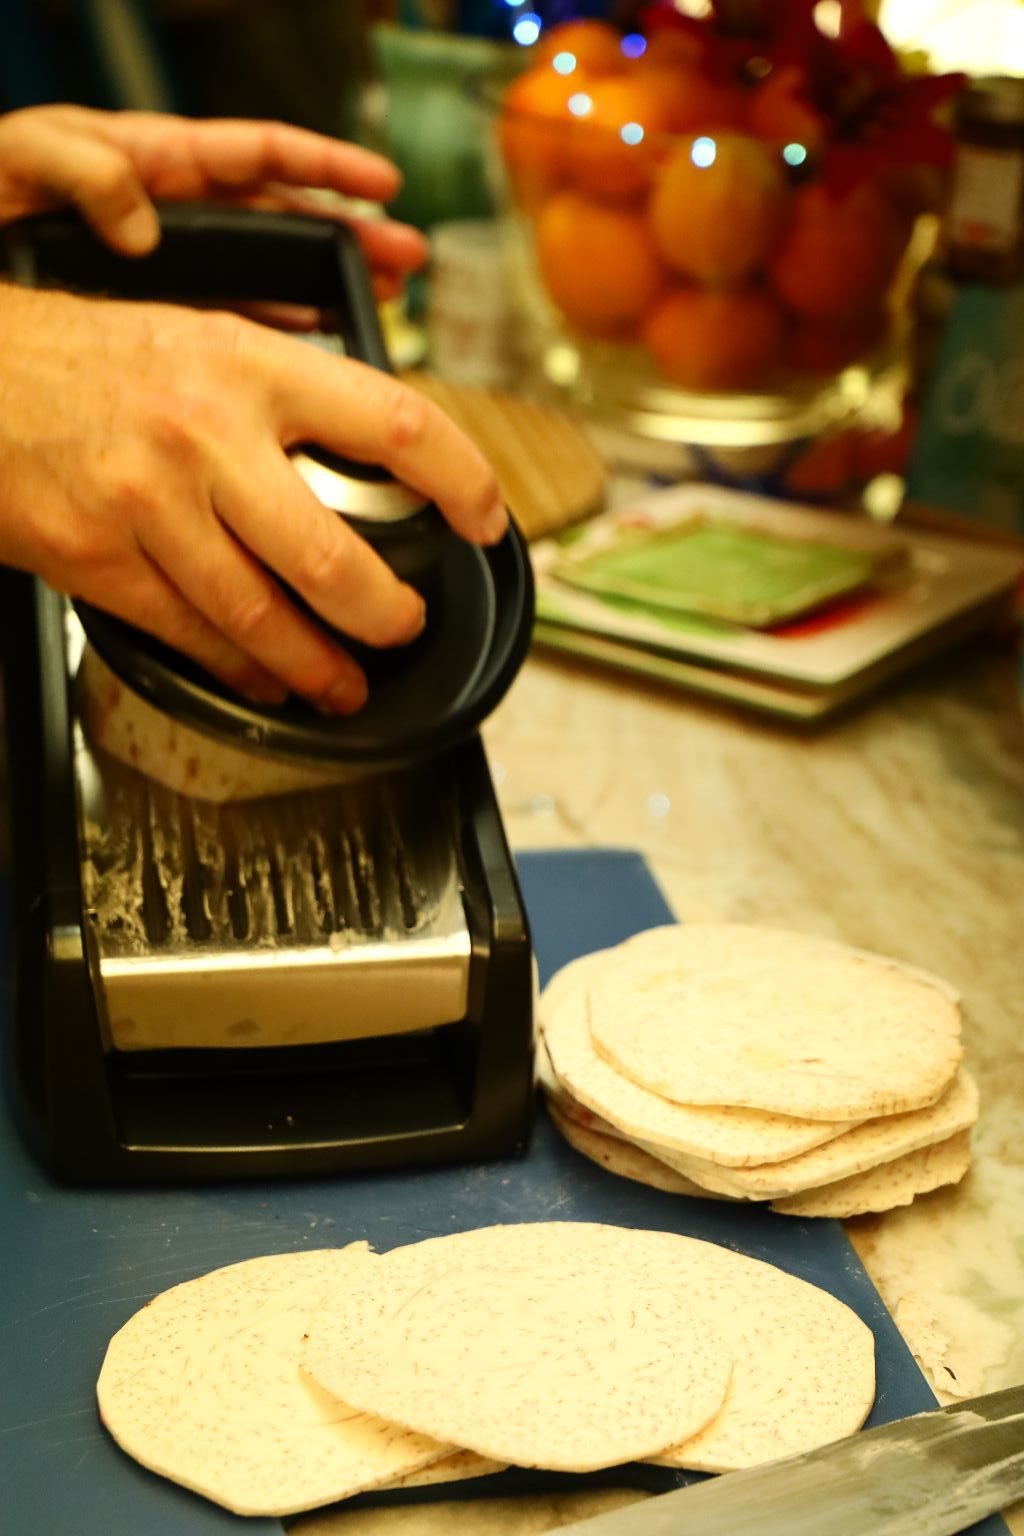
Use the guard when needed to protect your fingers. The chips should be nice an round as shown.
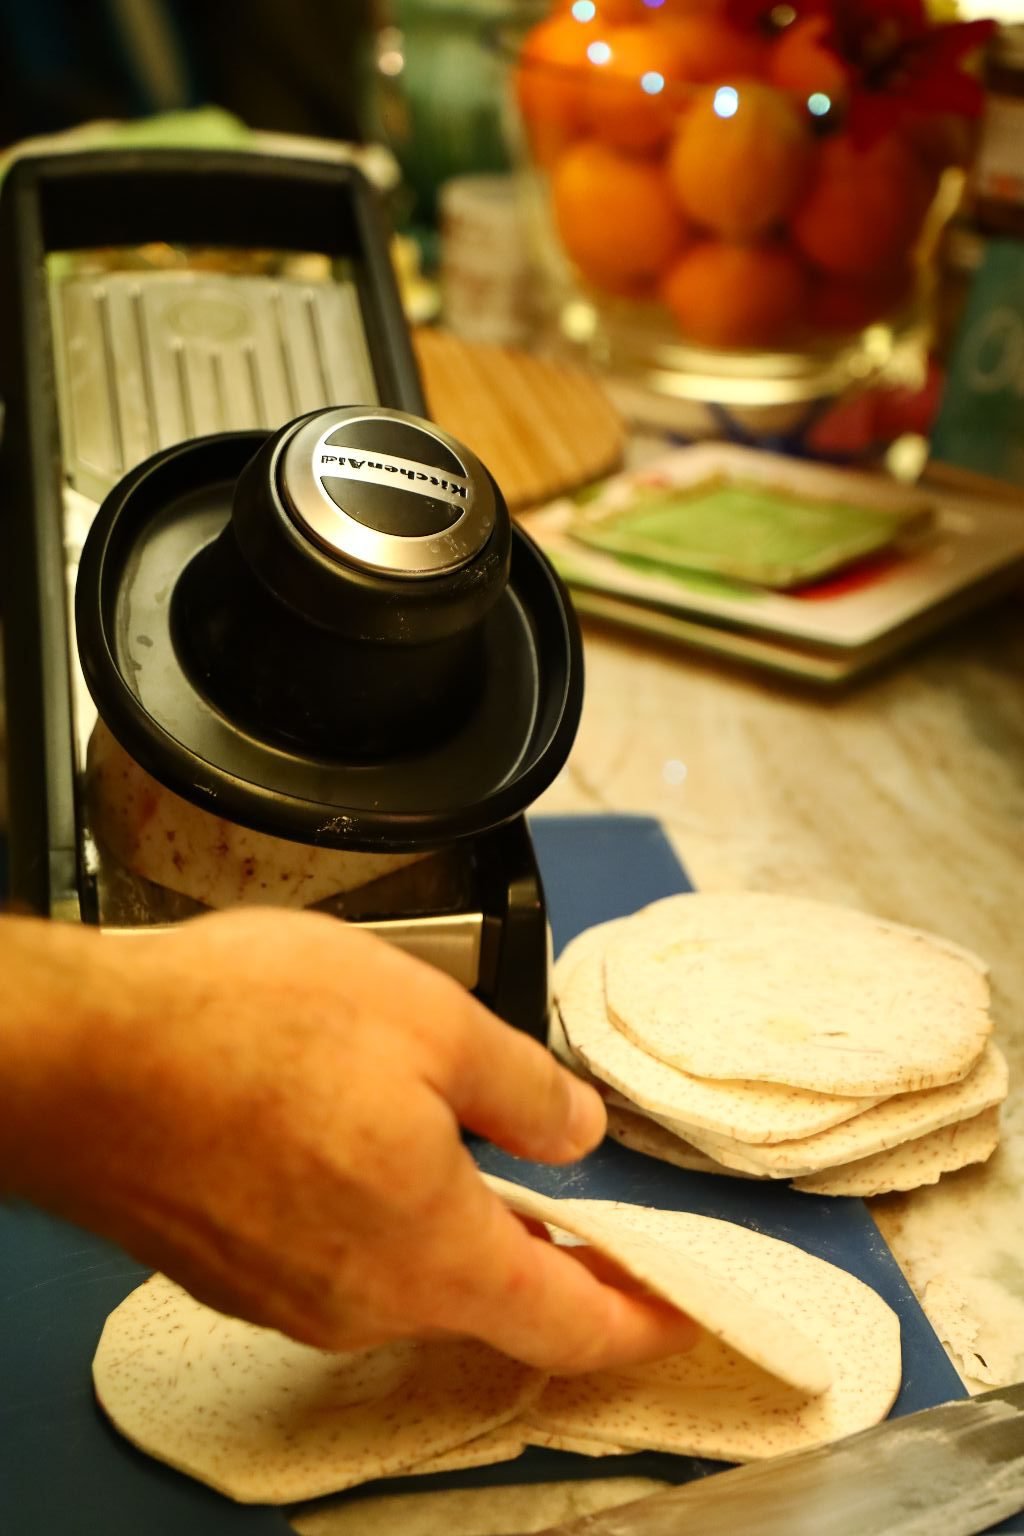
——————————————————————
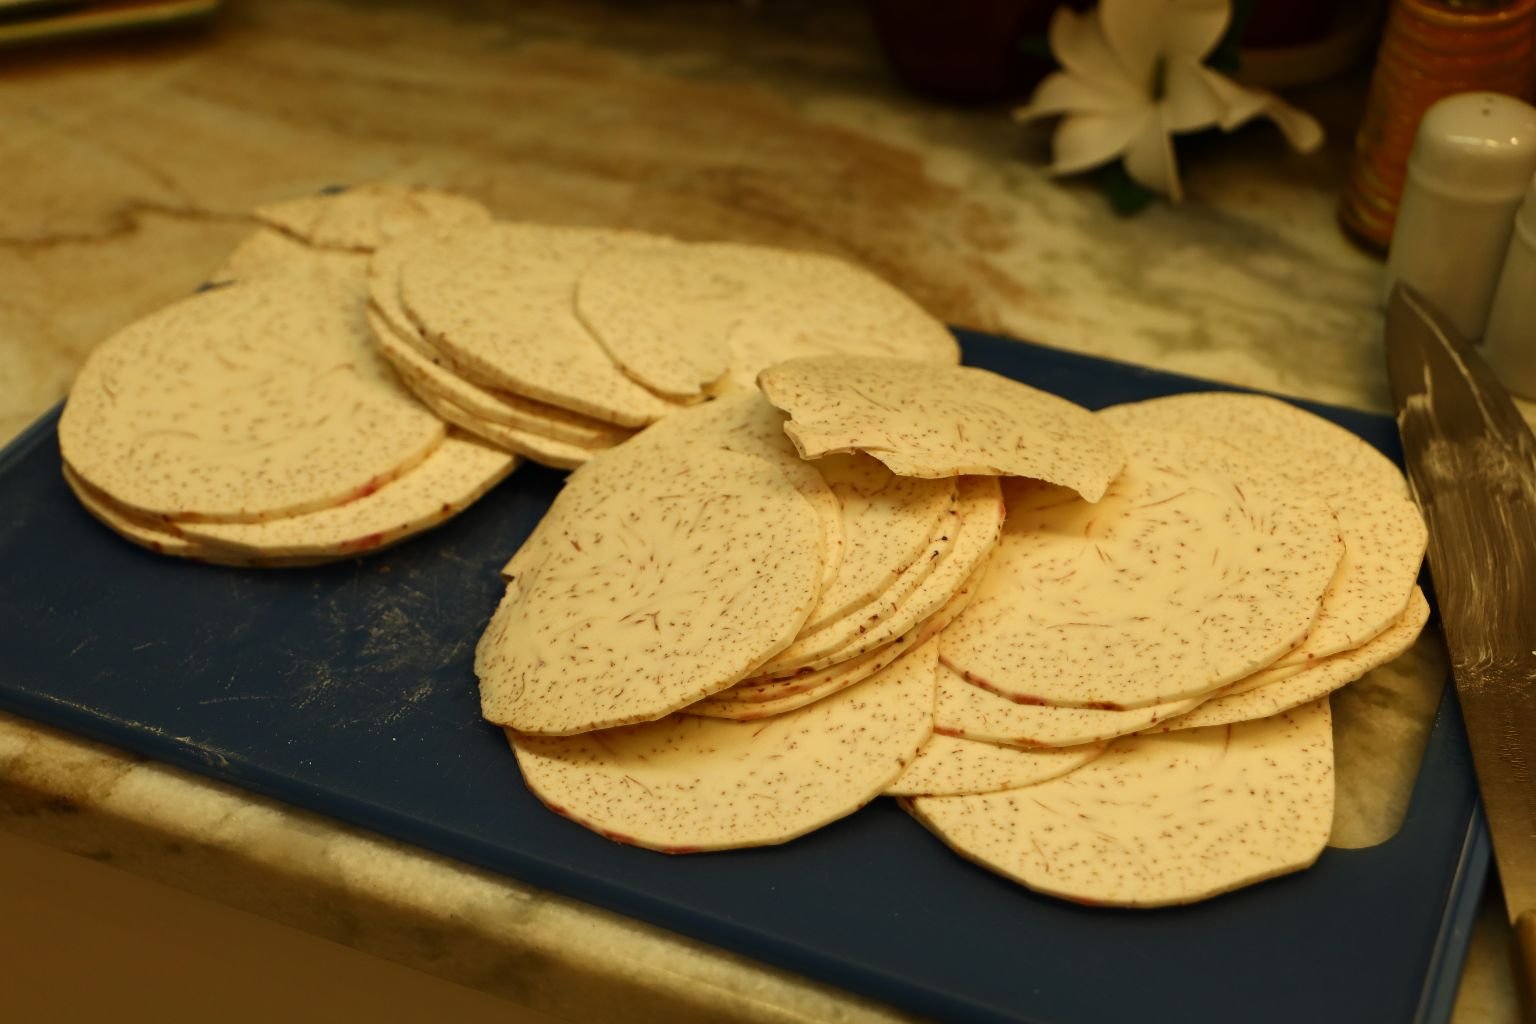
These Are Ready
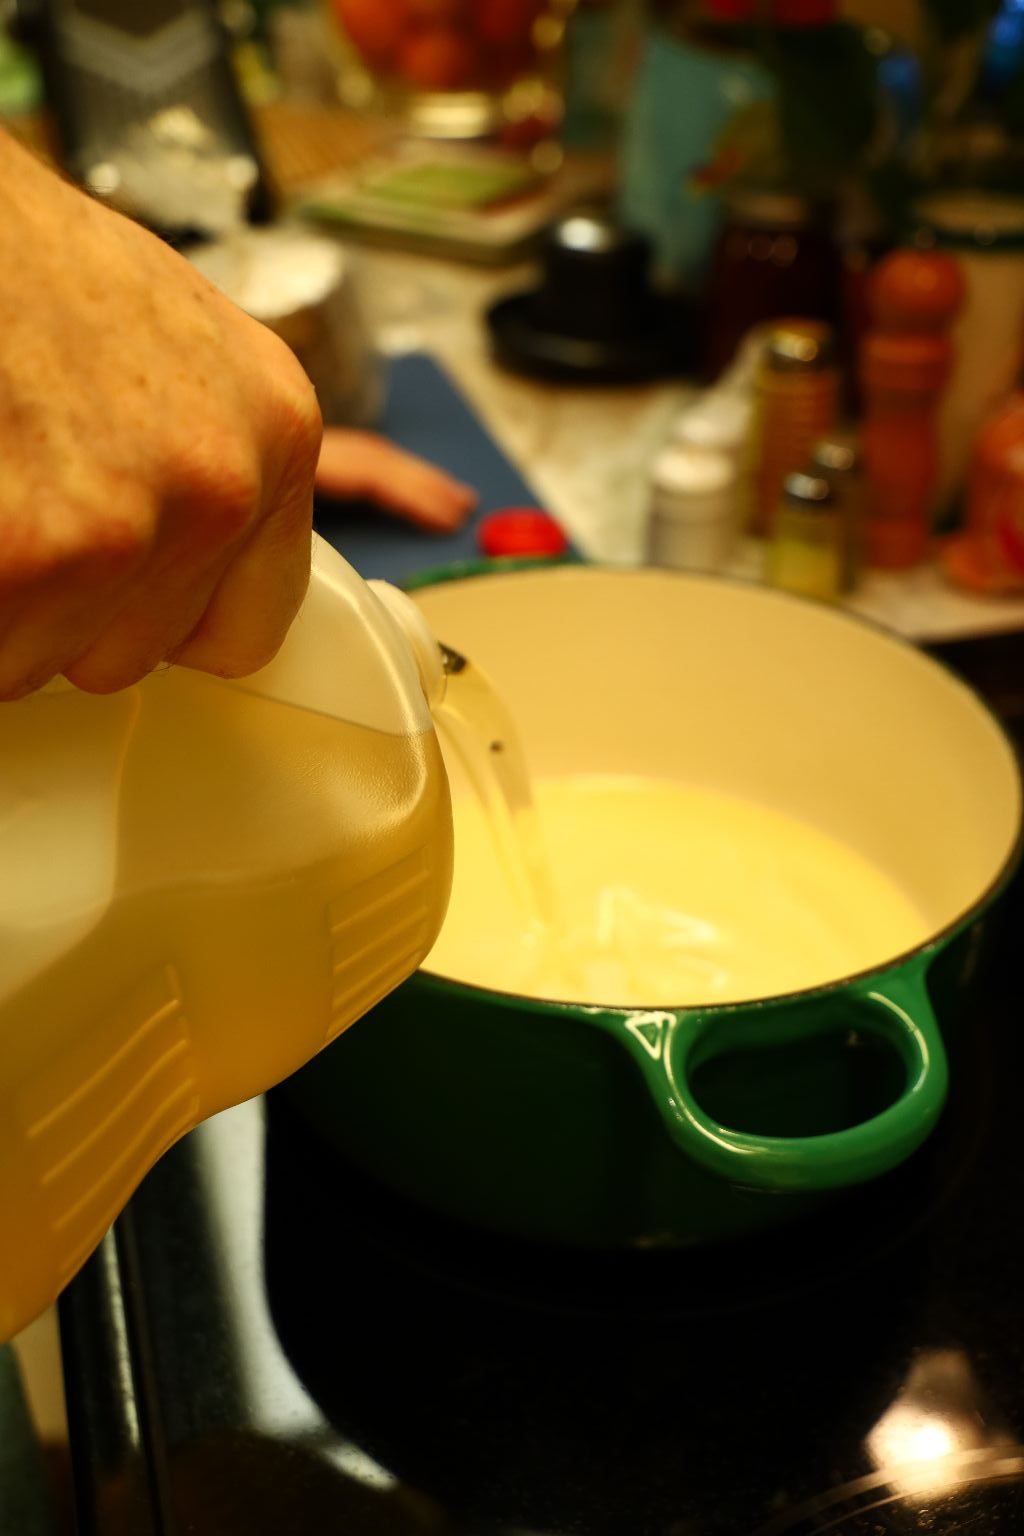
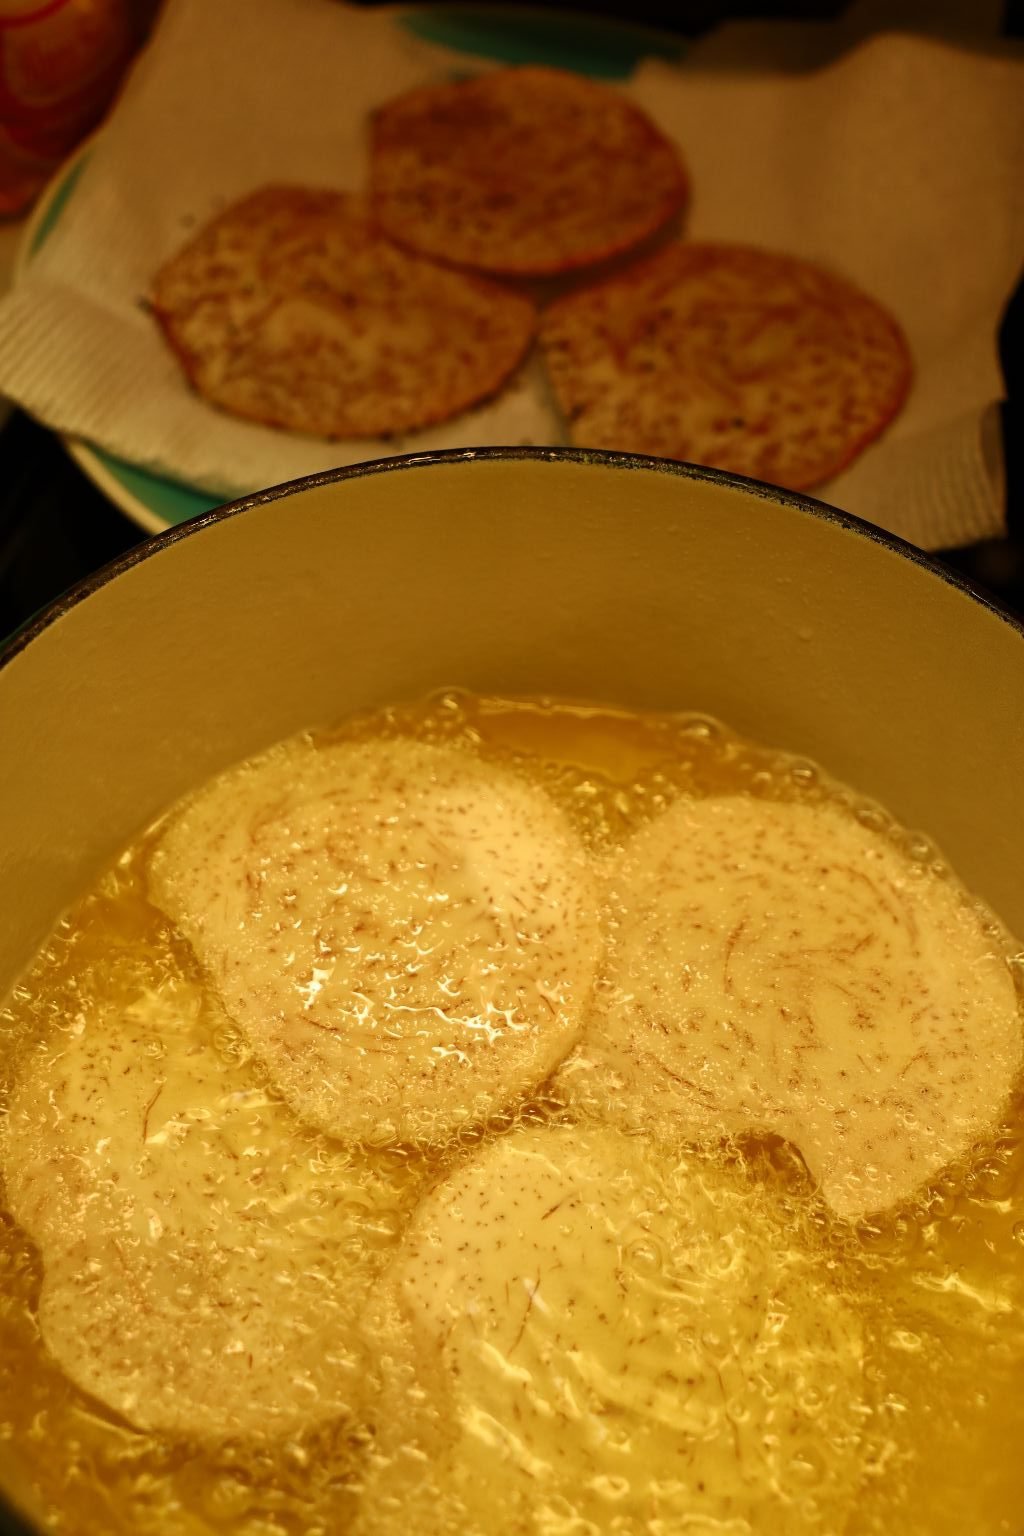
Using a medium sized pot, place in about 2 inches of oil as shown.
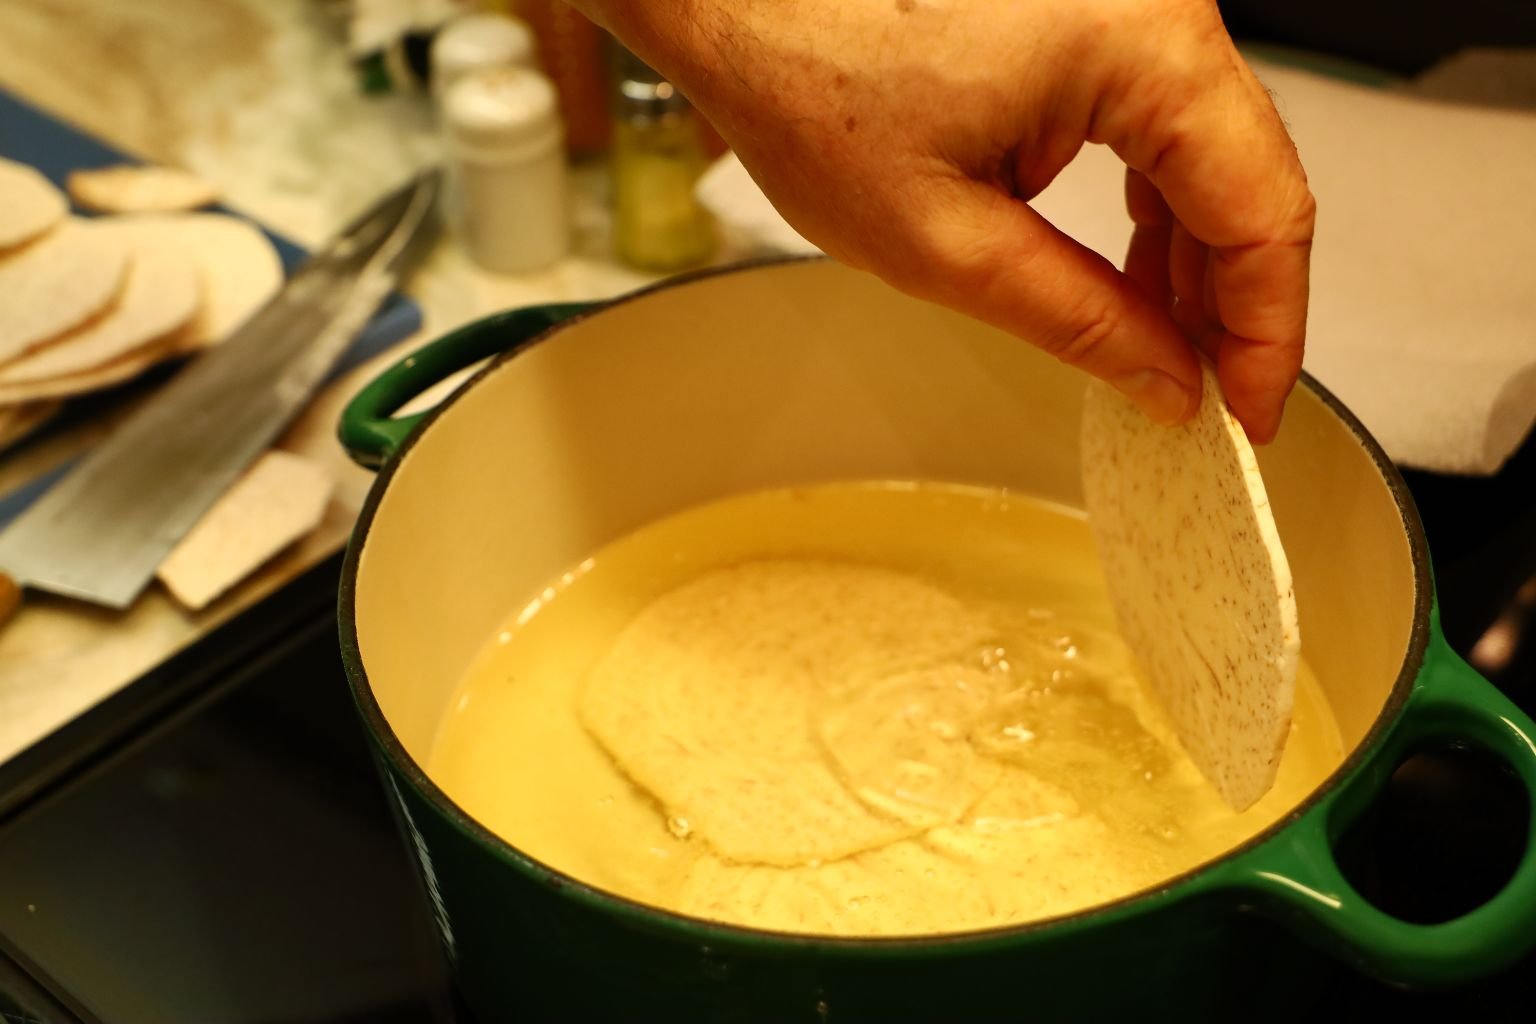
Heat the oil to medium high heat and when at temperature, fry the chips until golden brown.
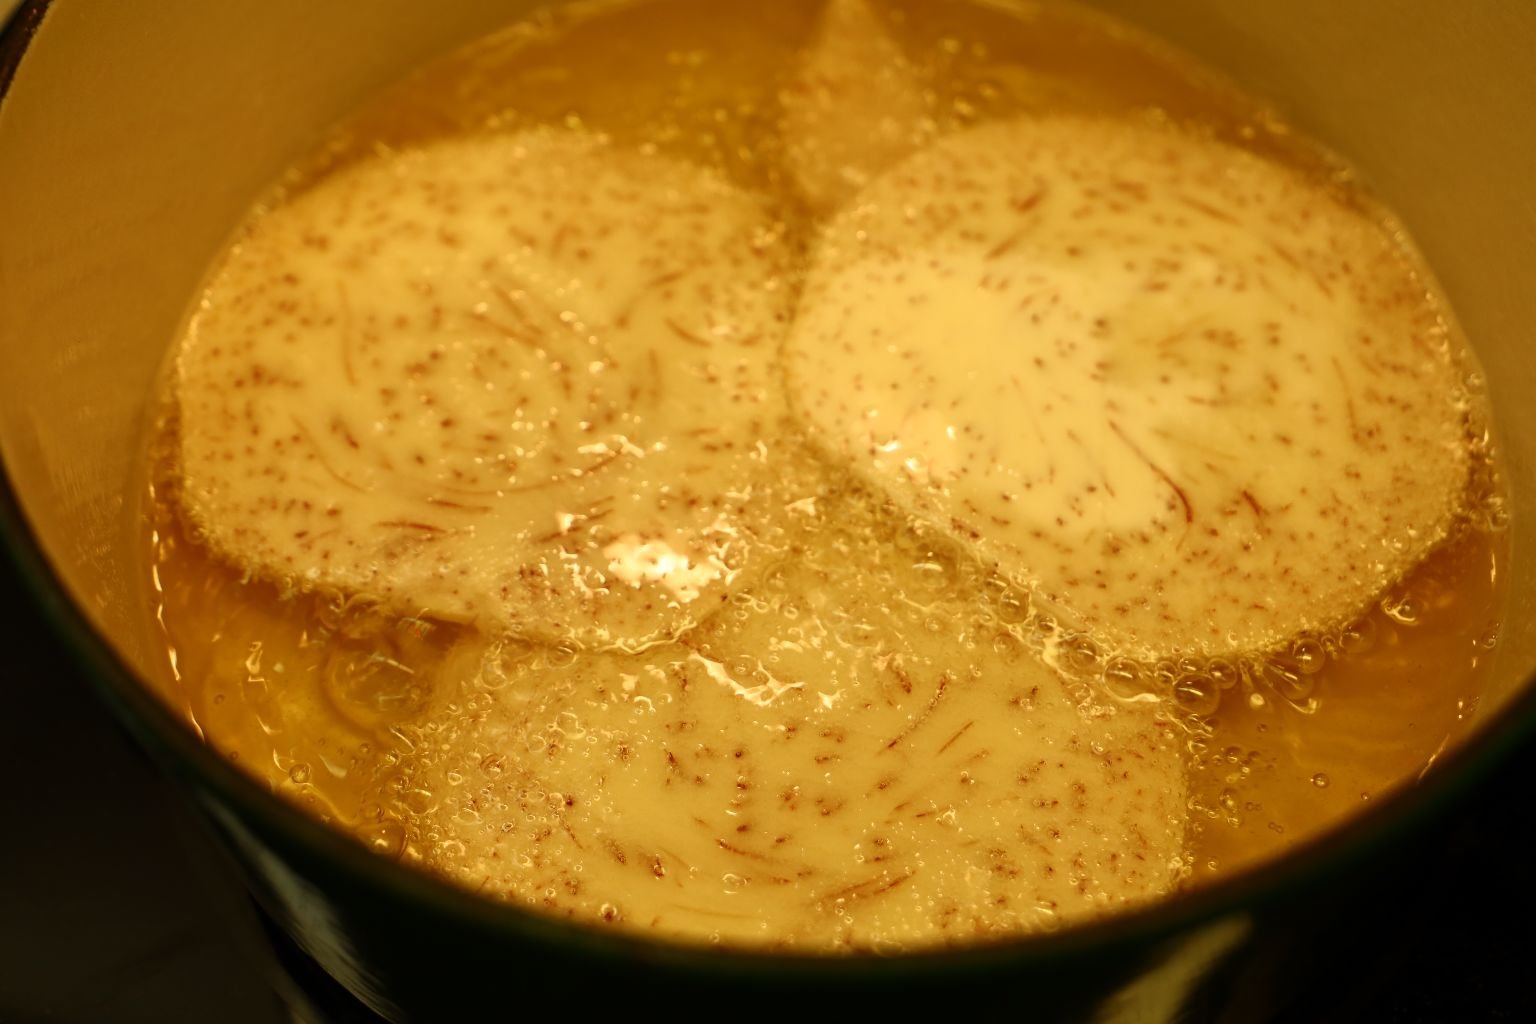
Be sure to only fry about 3 to 6 at a time.
———————————————————————
When done, use tongs or the strainer to remove them and place them on a plate lined with a paper towel.
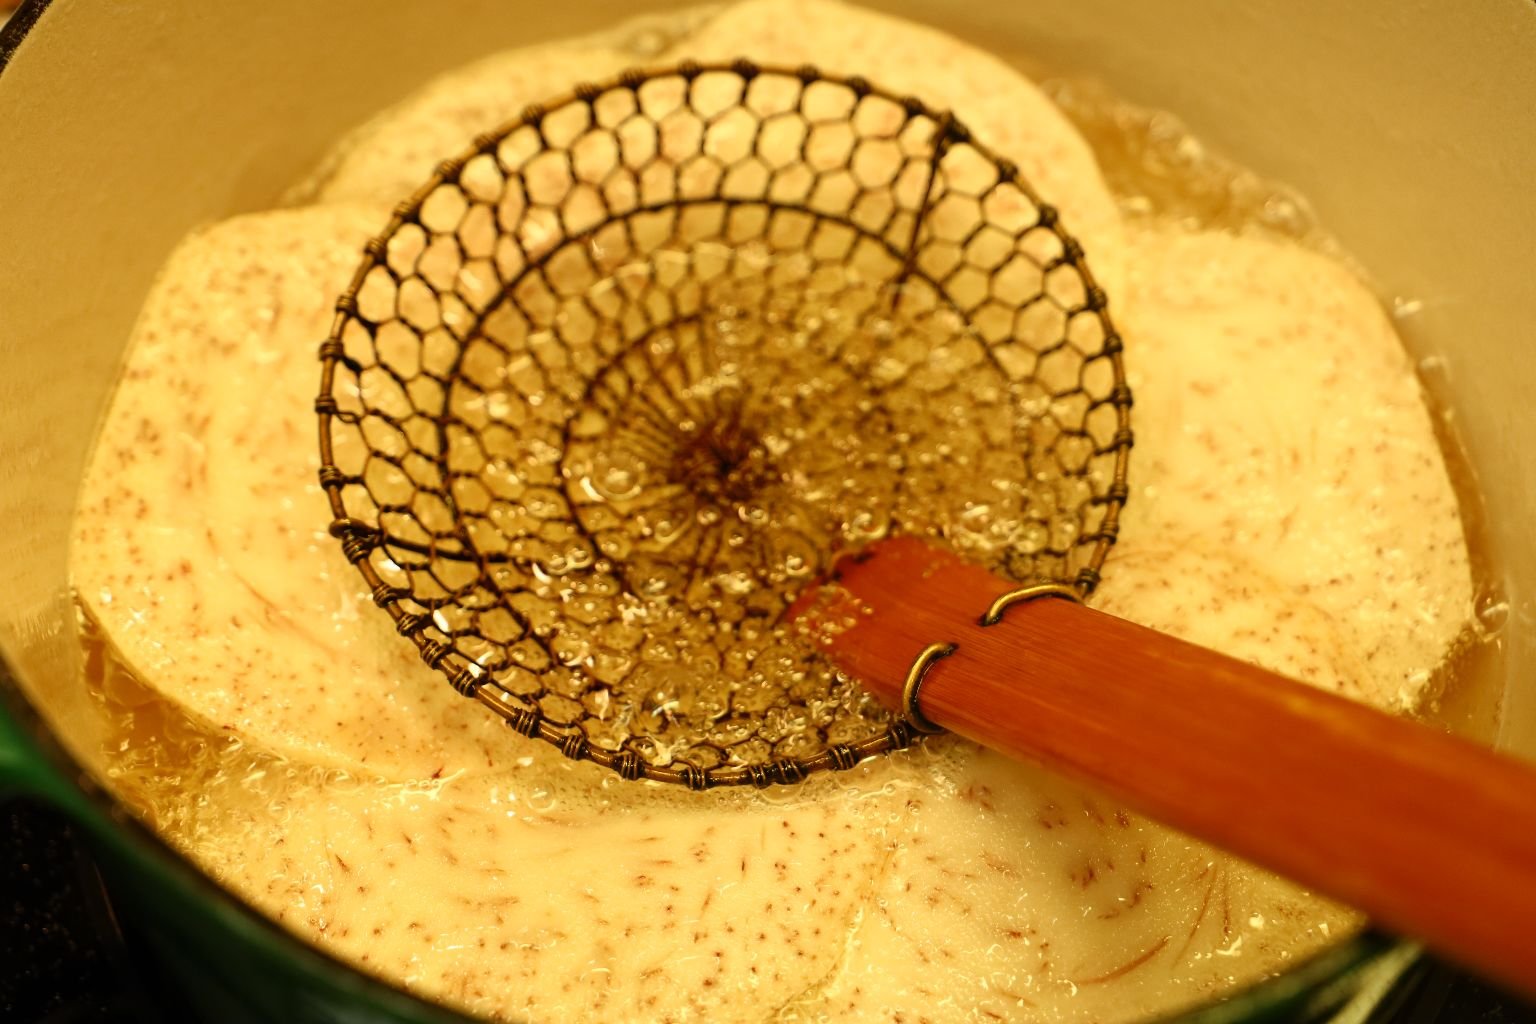
Use the strainer to keep the taro slices in the oil if need be.
They do tend to float.
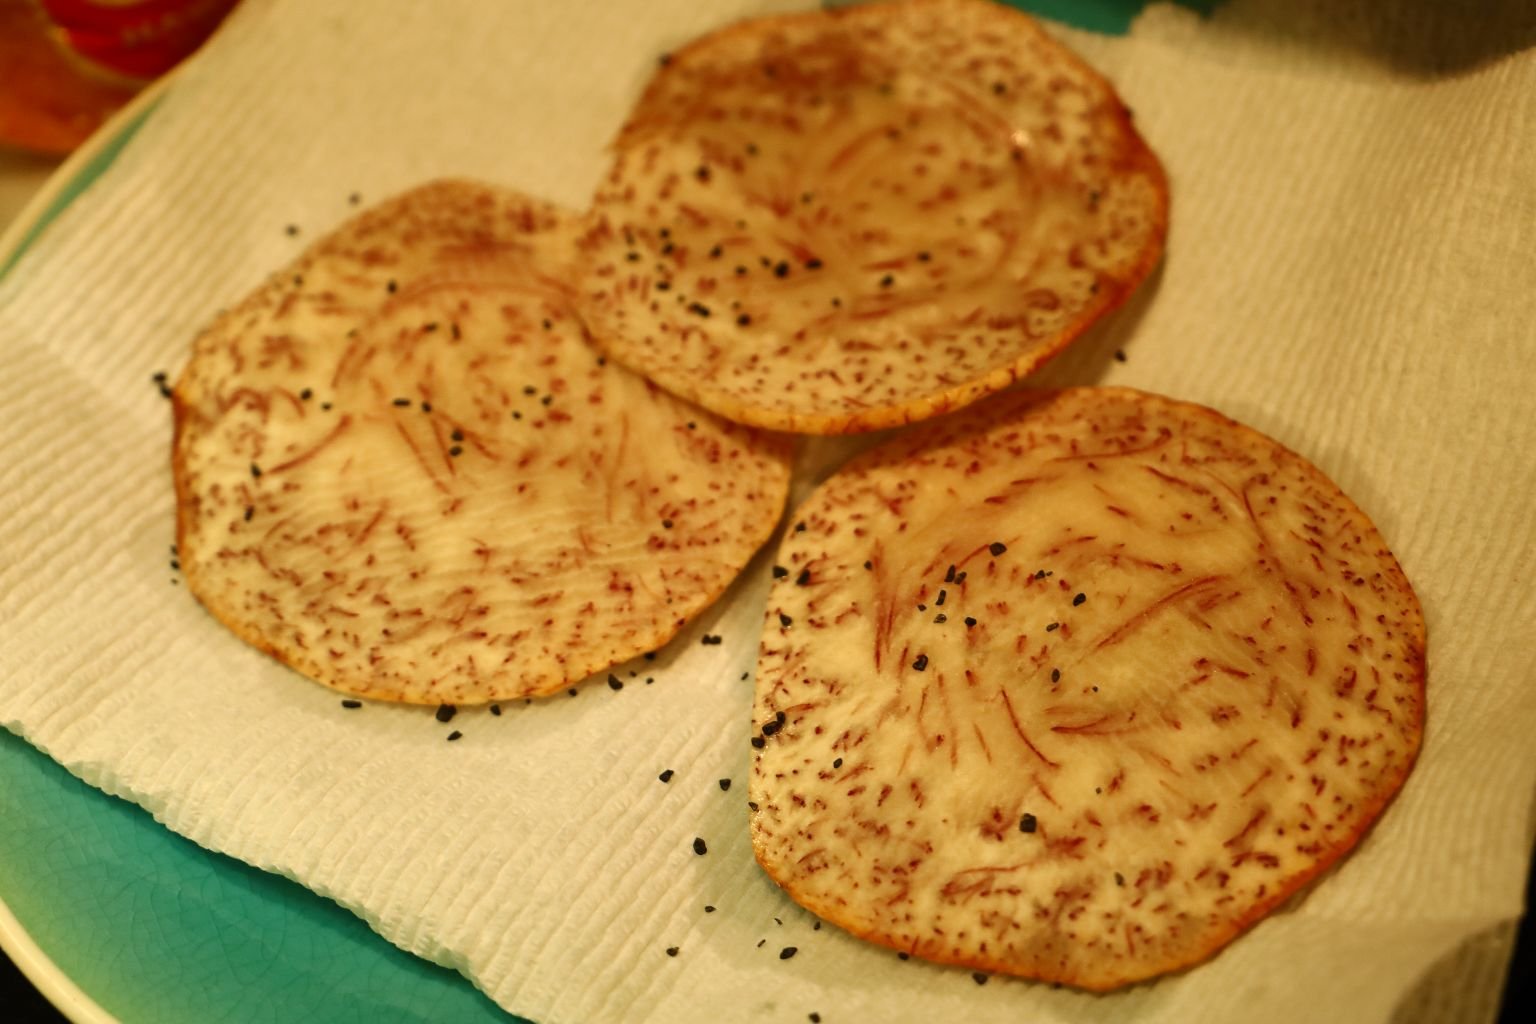
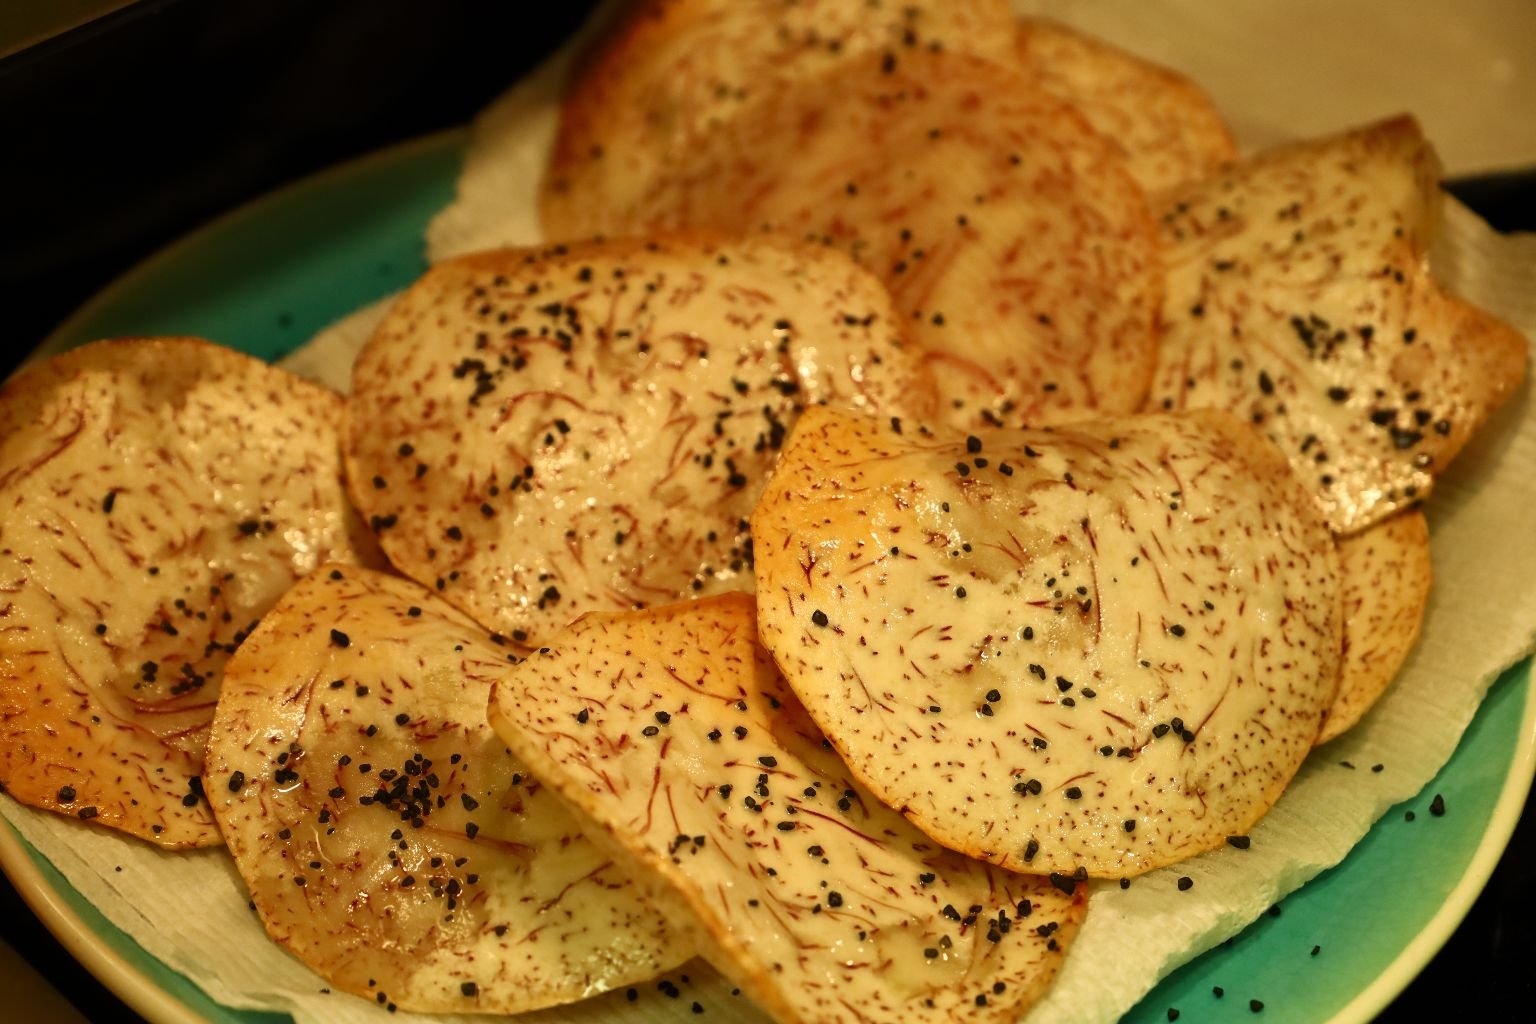
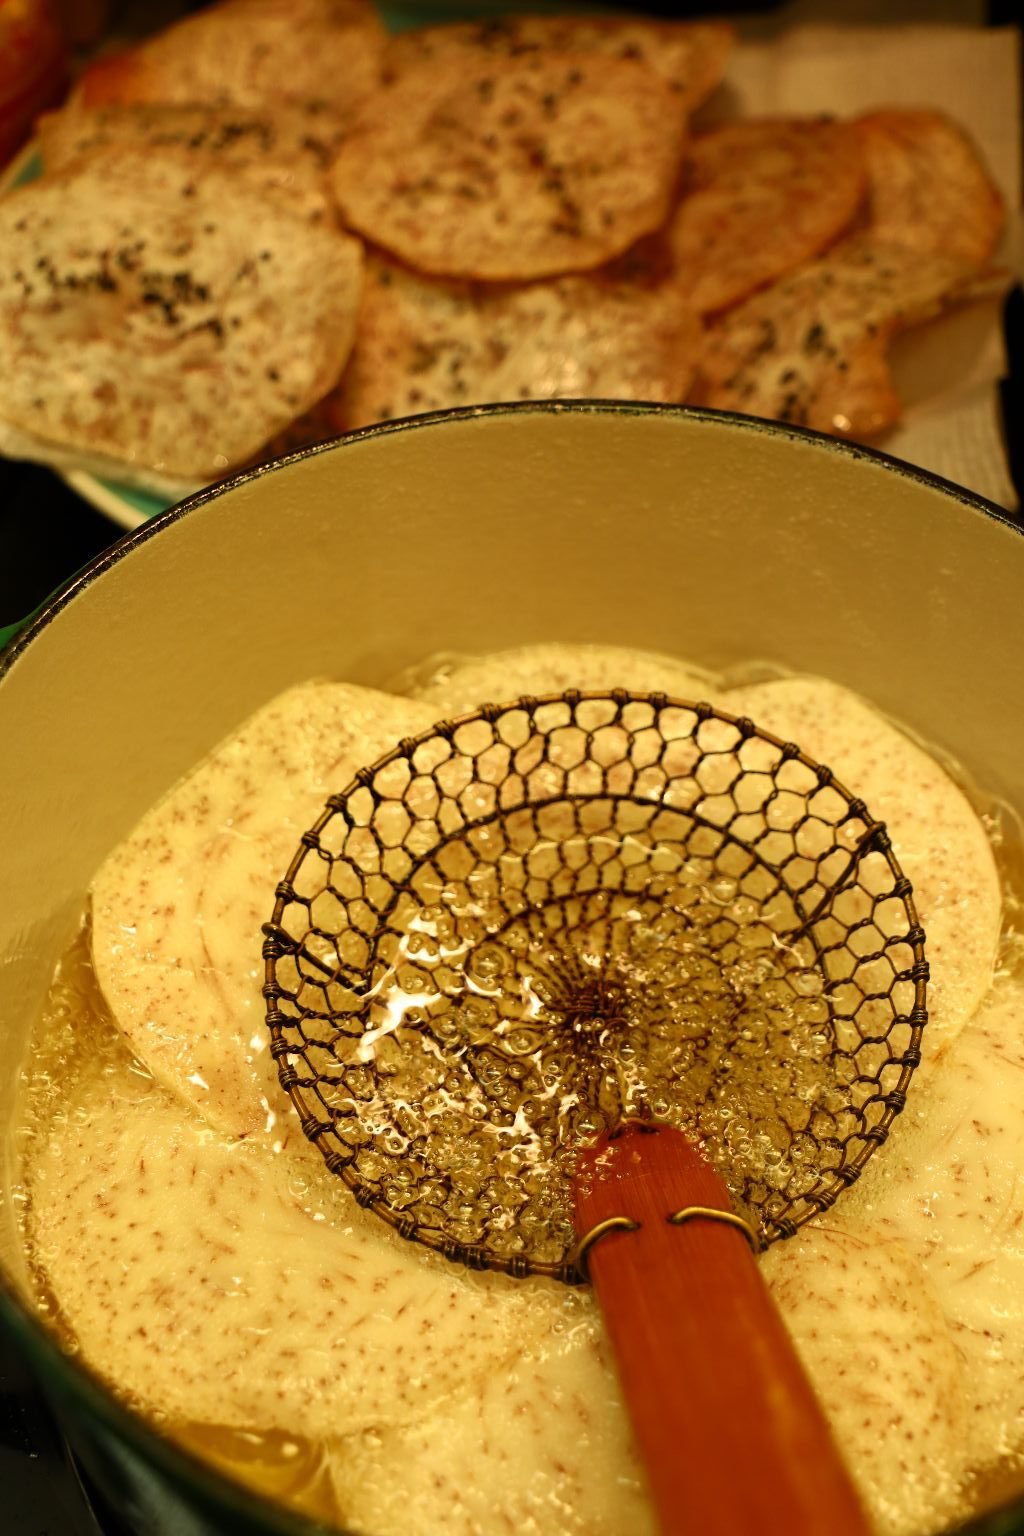
Sprinkle some salt on them immediately when out of the oil. We used the black lava salt as we liked the contrasting colors and the flavor.
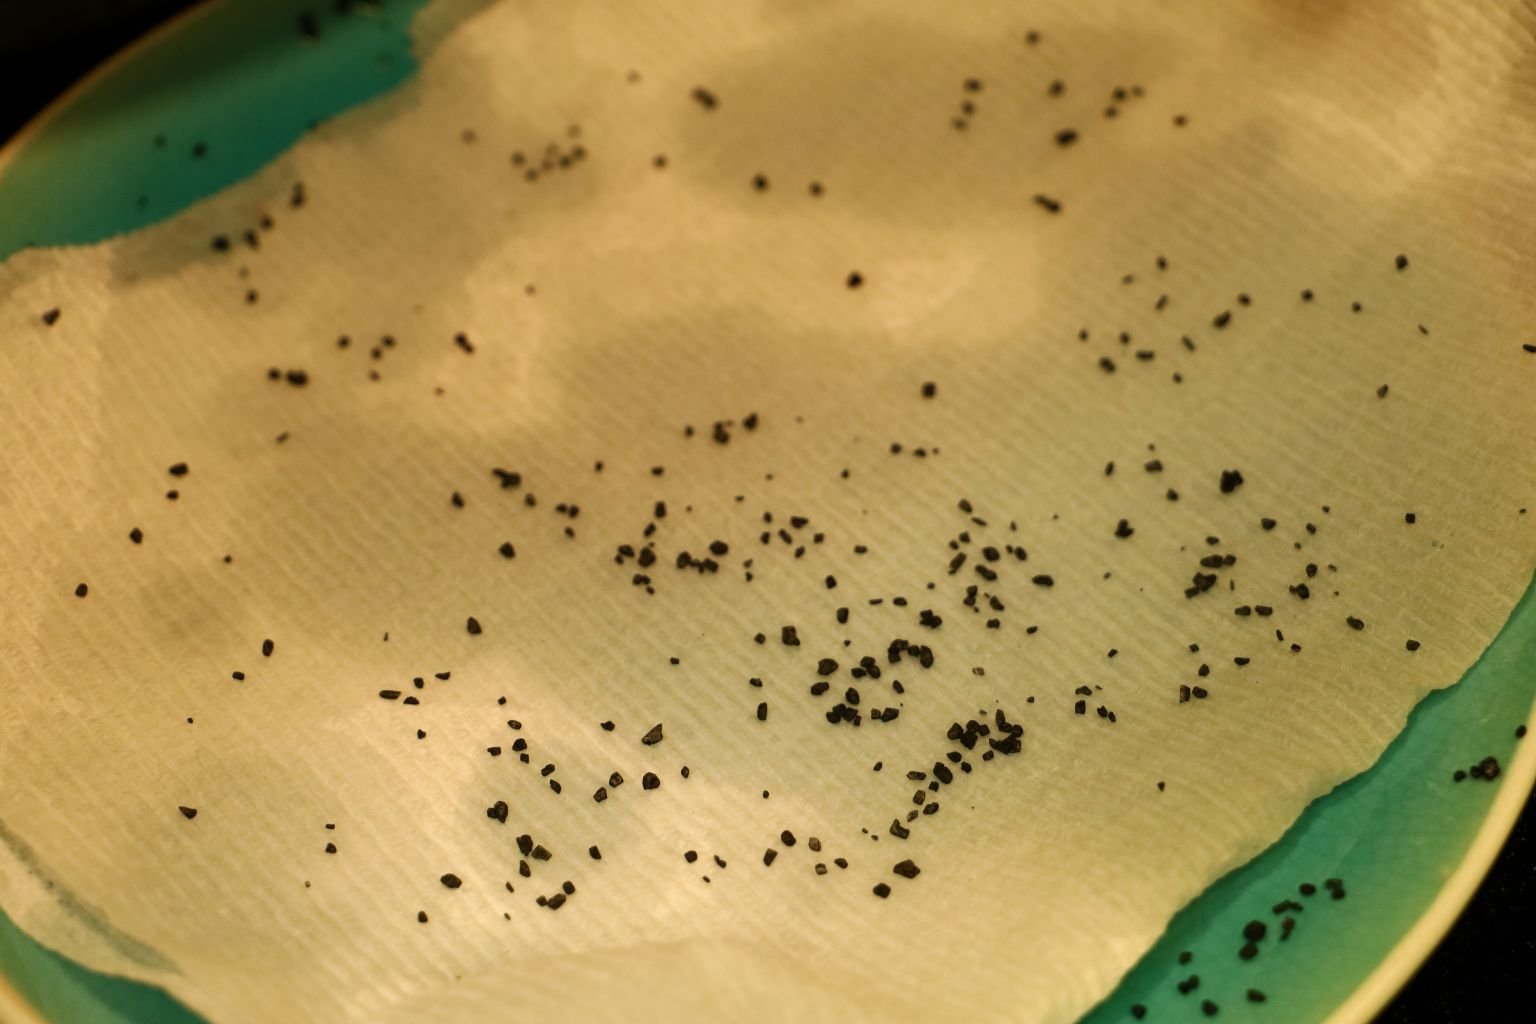
—————————————————————
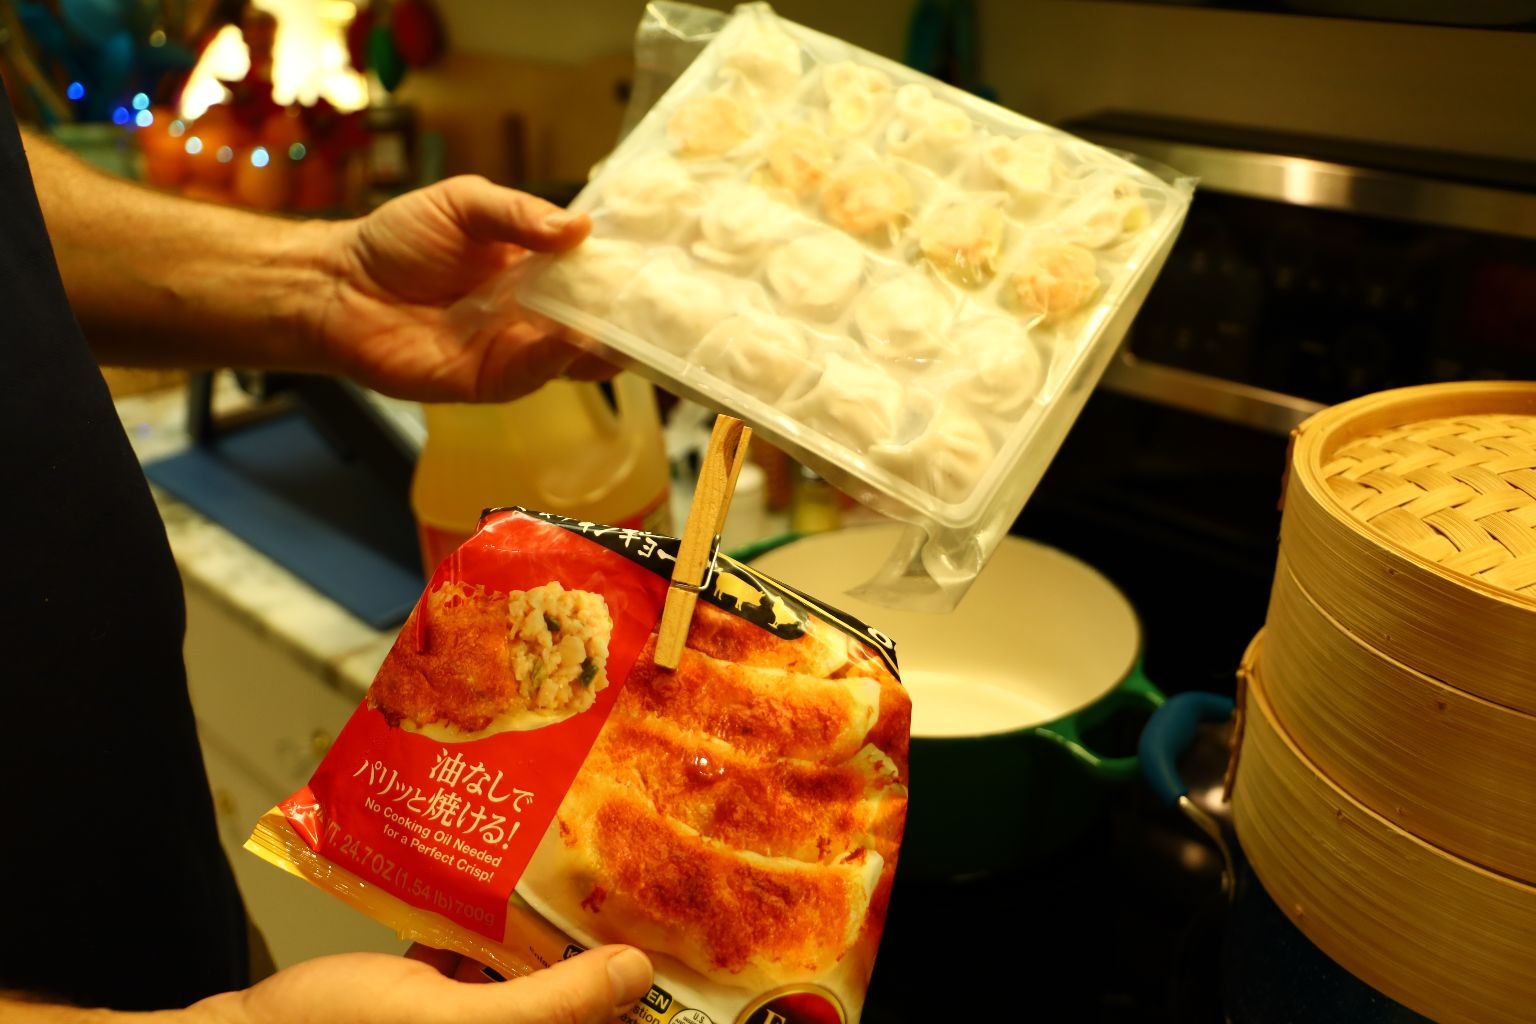
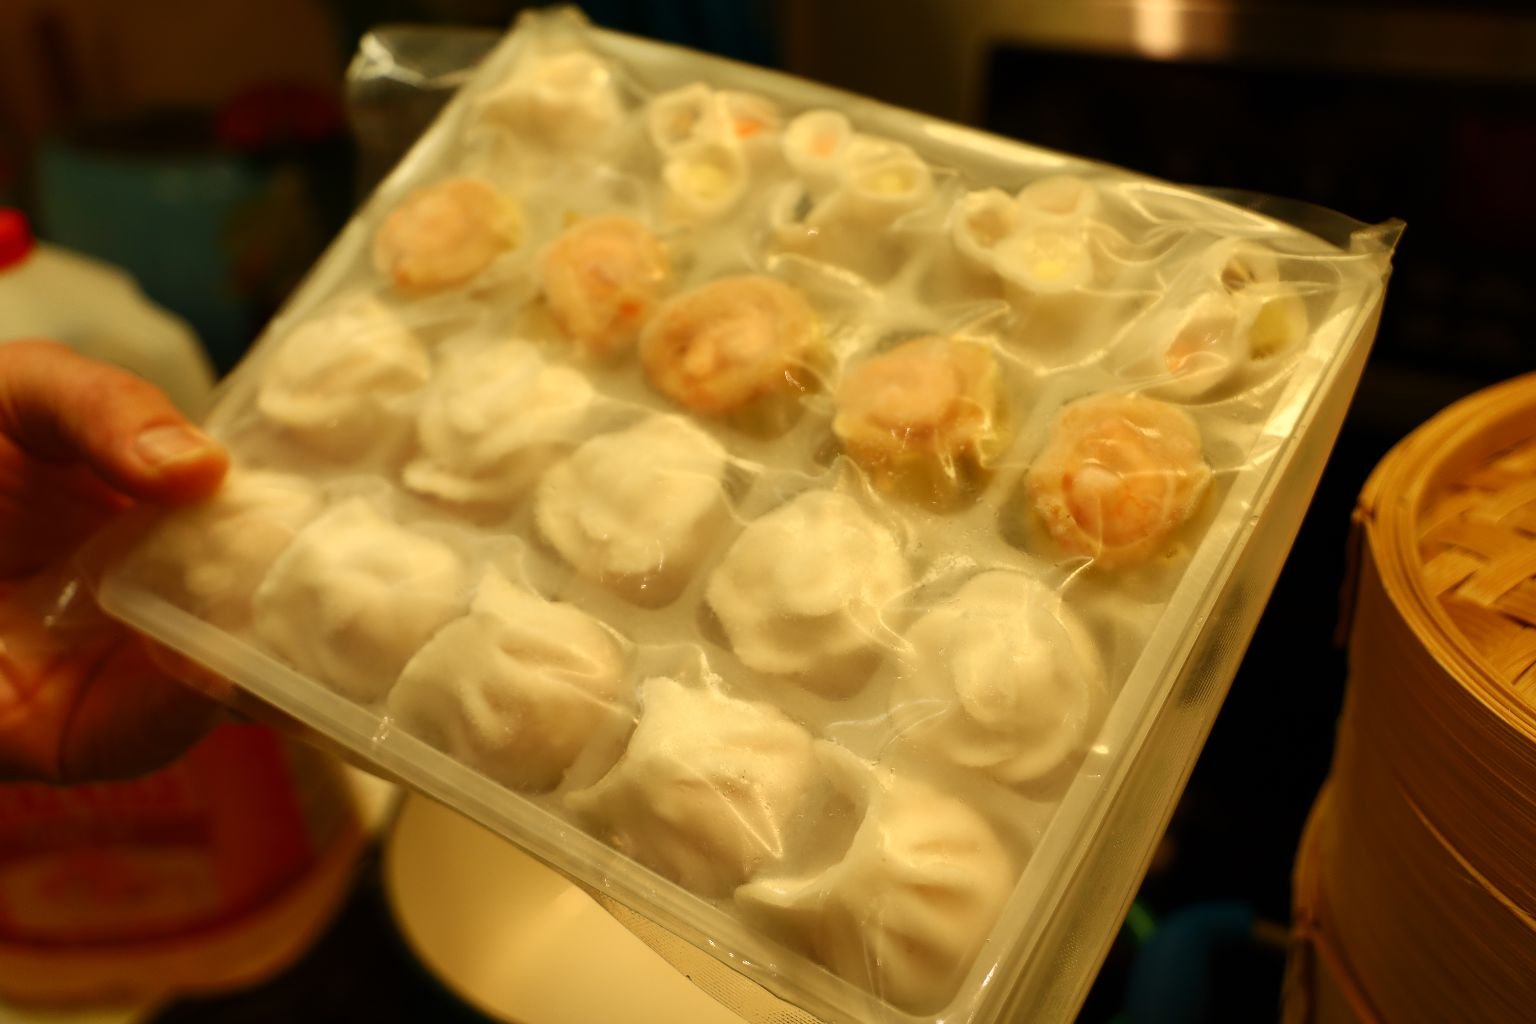
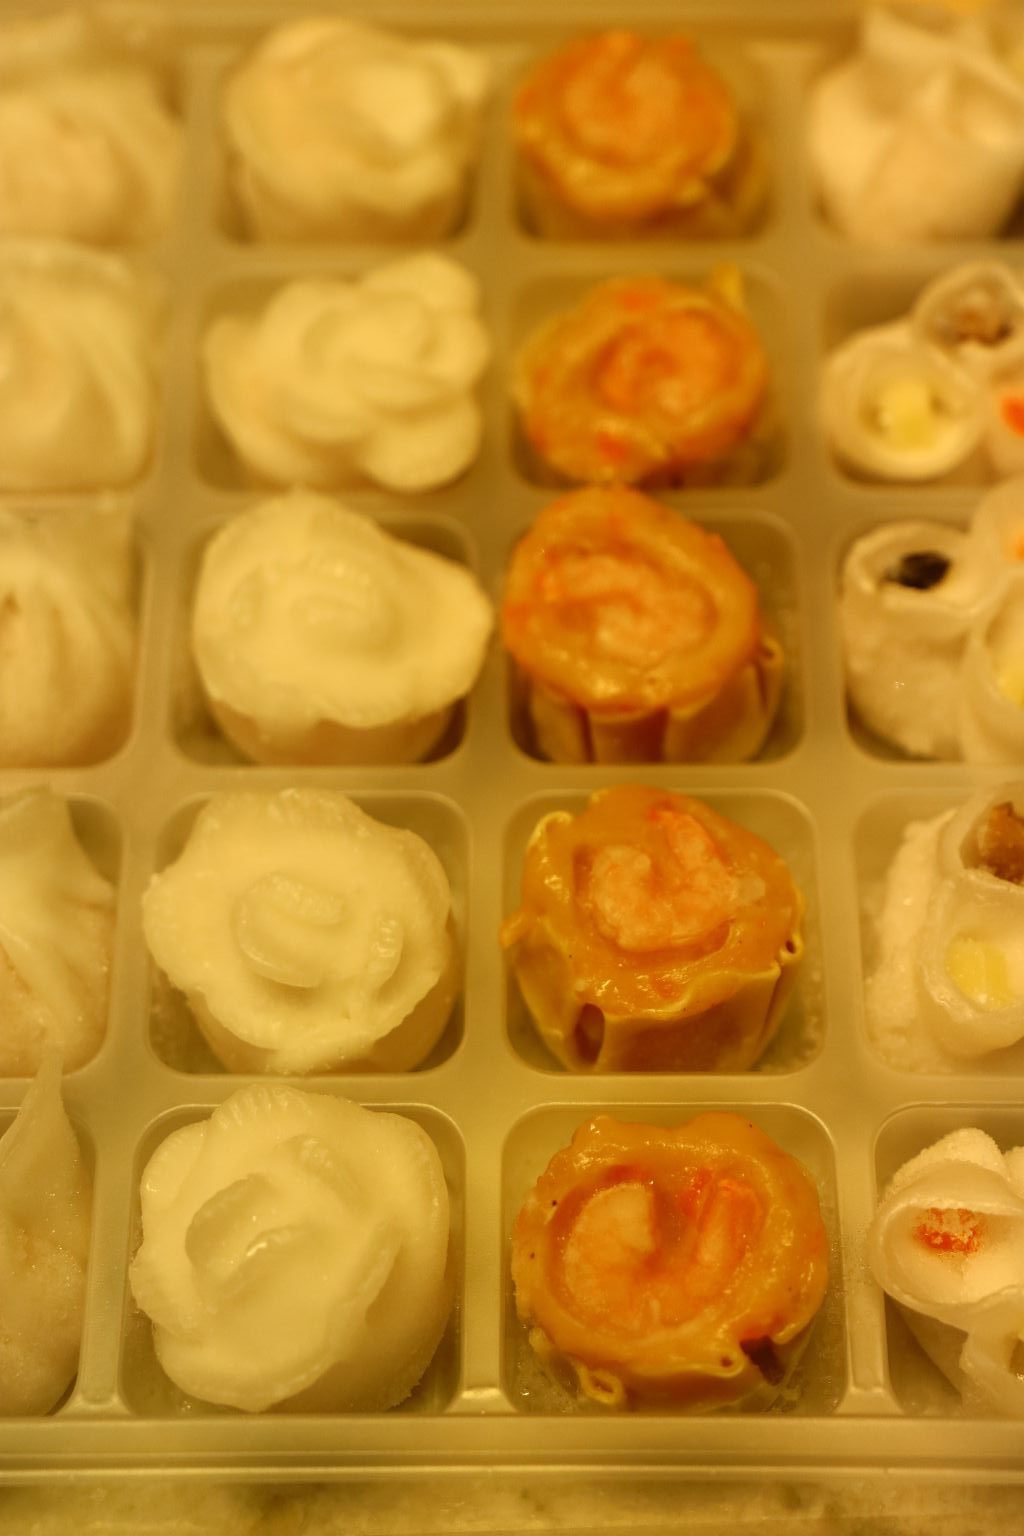
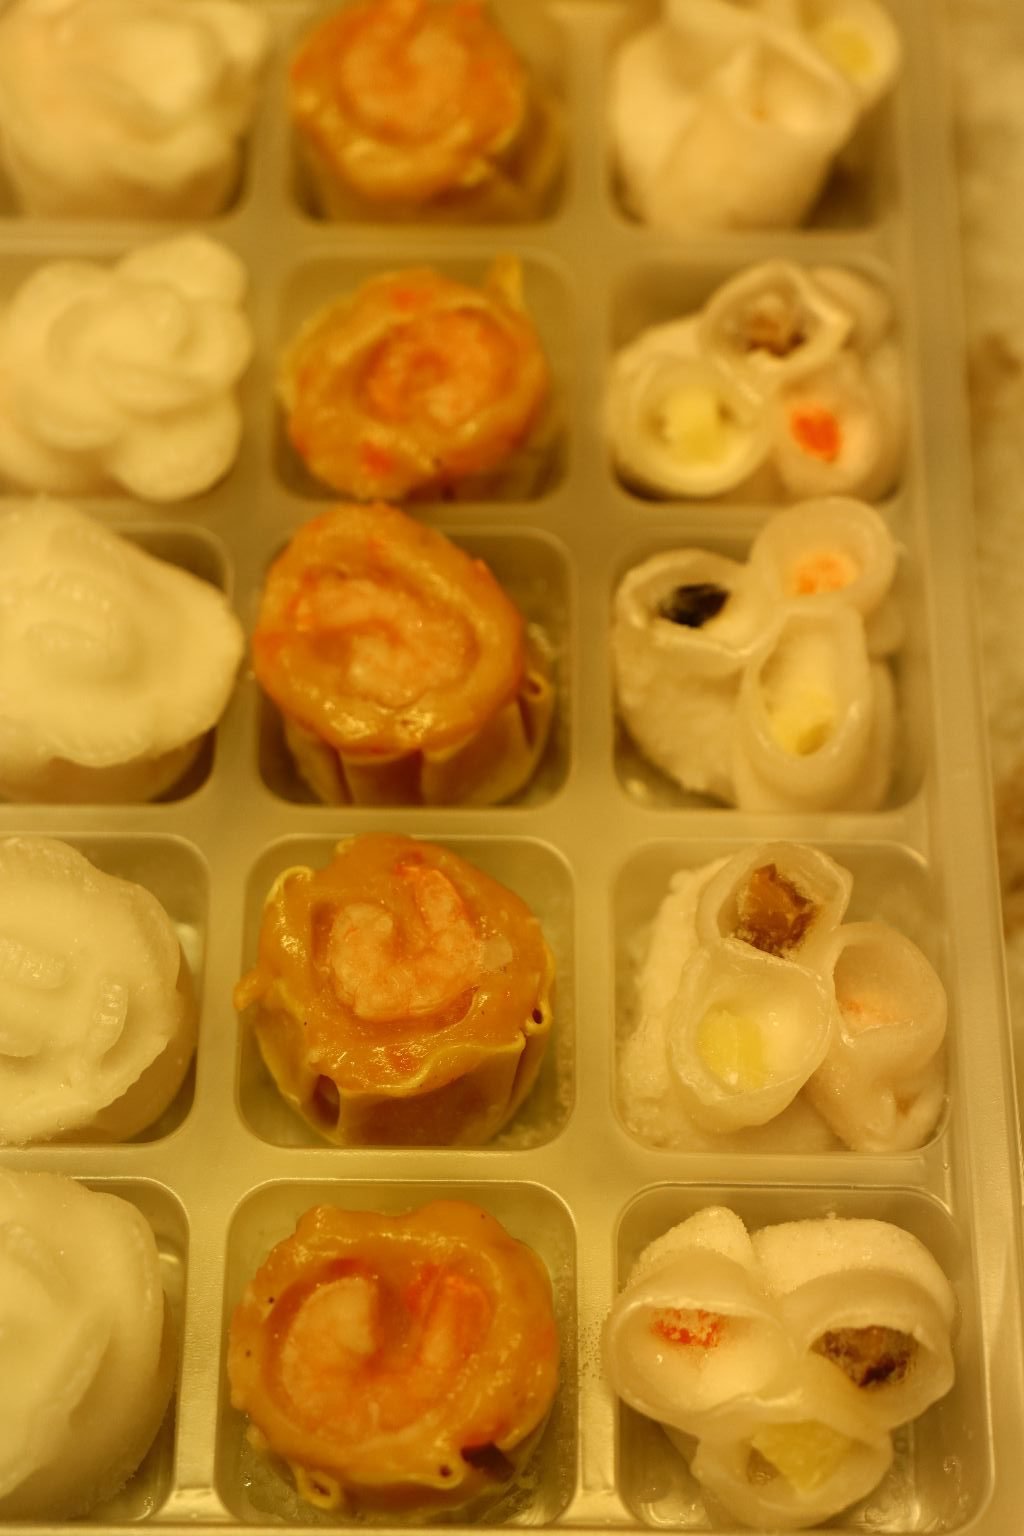
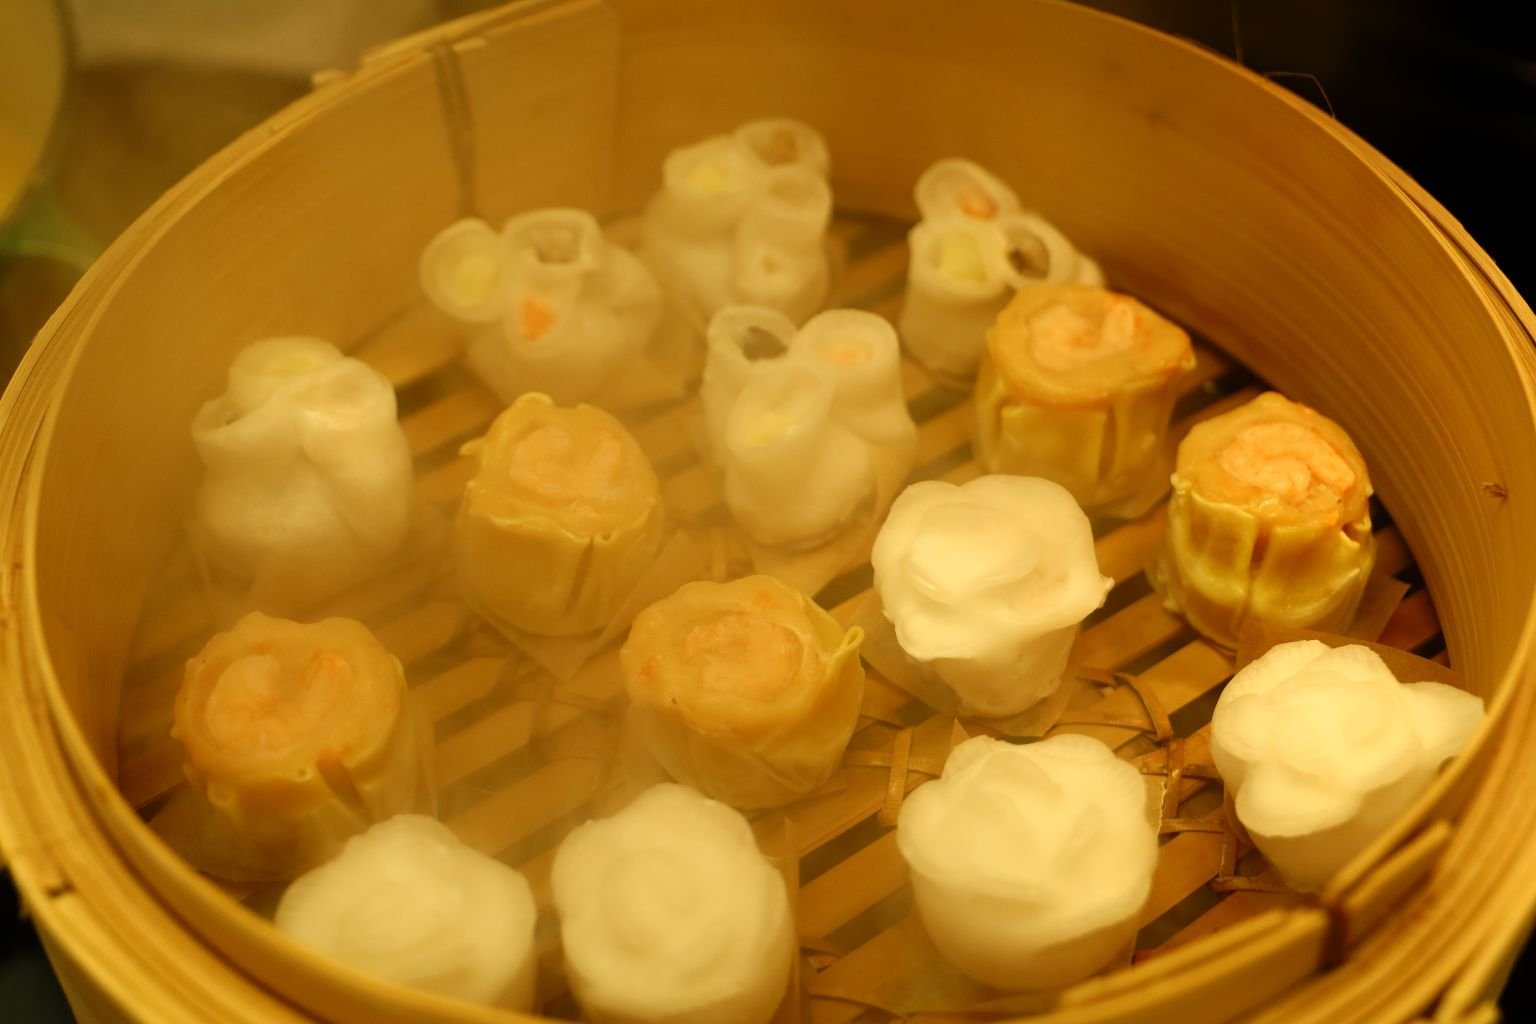
Steamed Dumplings
They Look Just Like Flowers
We purchased these from the frozen food section of our local Asian Supermarket. They are not only beautiful, but tasty as well, especially in our favorite dipping sauces. Asian food really is an art form.
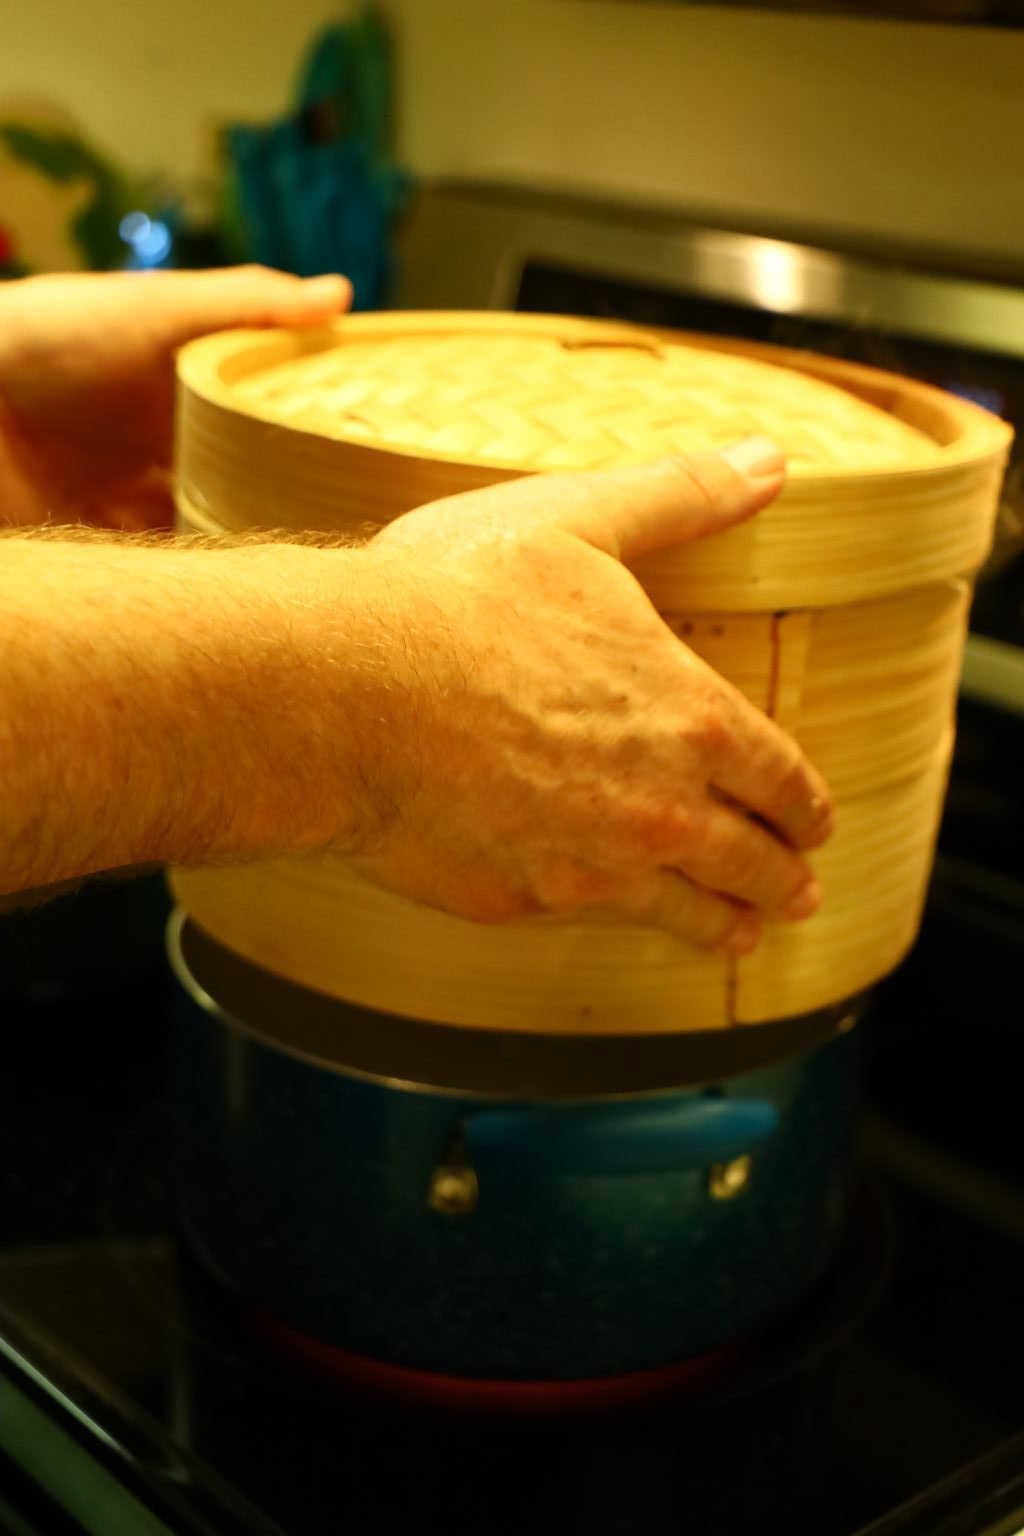
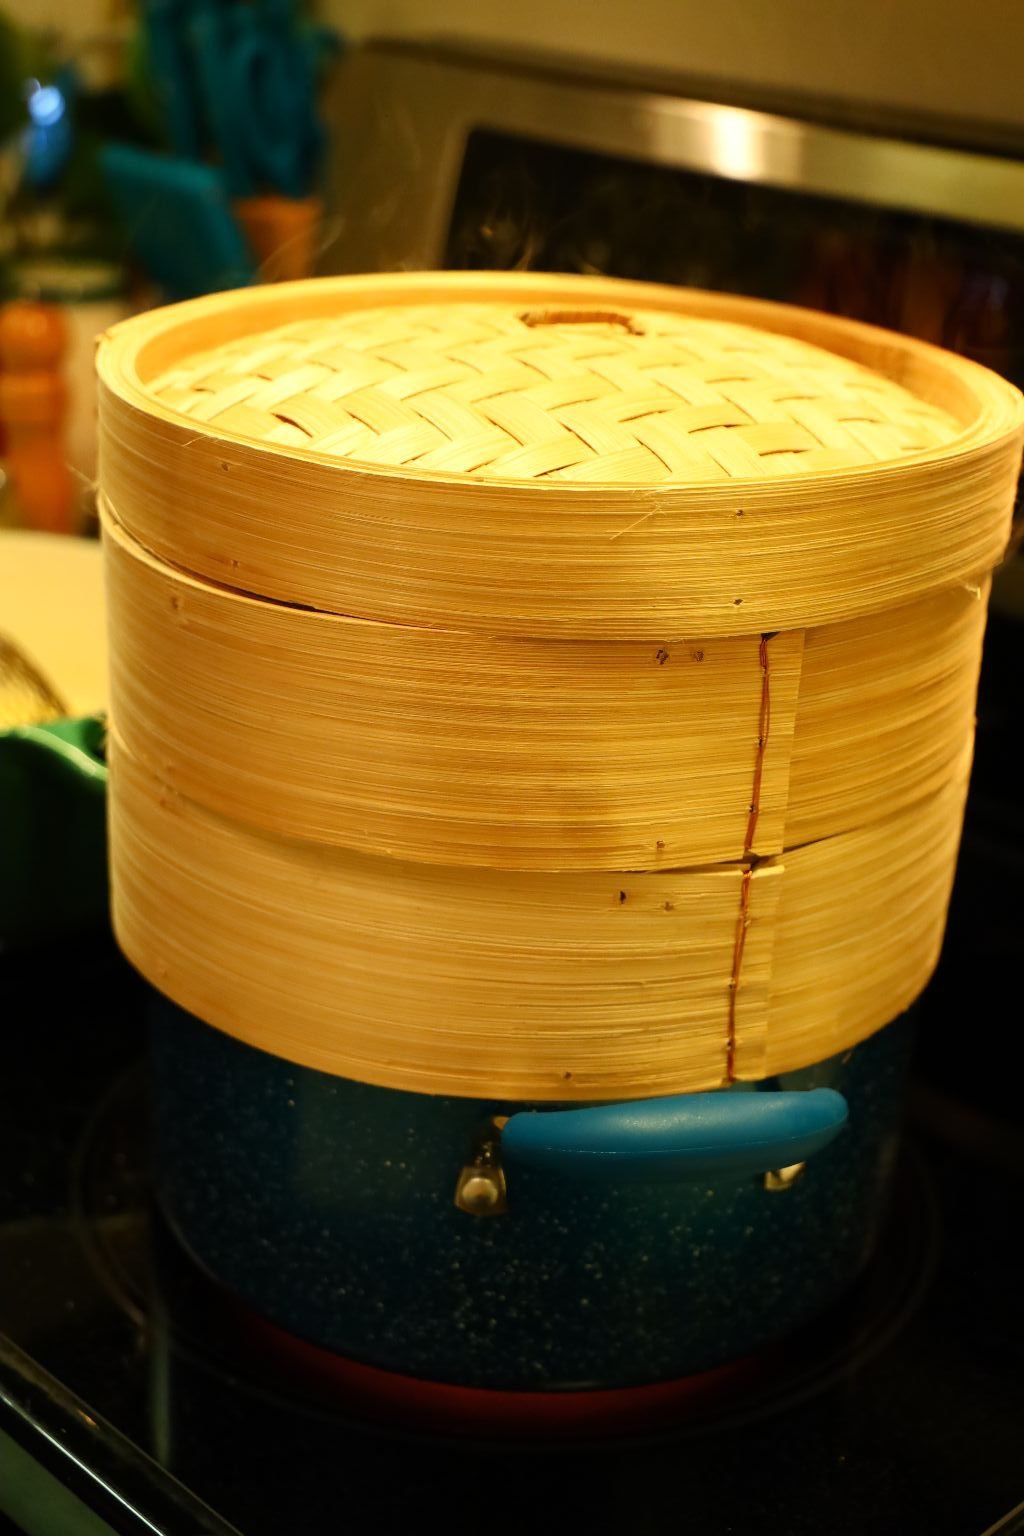
This is our Bamboo Steamer
You can see Gordon placing it on top of our pot with a few inches of water in it. The concept is that the water will start to boil, creating steam that will cook the foods.
You first however, cut little squares out of Parchment Paper to place underneath each dumpling so that they don’t stick to the bamboo.
You want to bring the water to a simmering bowl on a Medium-High heat.
Cook for about 8-10 minutes, or even longer depending on what is cooking.
Then just remove from the heat, and eat!
—————————————————————–


Dipping Sauces
———————————————————————-

Our 2020 Pandemic/Renovation Kalikimaka 🙂
———————————————————————————–
Brodie’s Birthday and Christmas Gifts
(You can see our kitchen torn apart here. That table served as our island.) 🙂
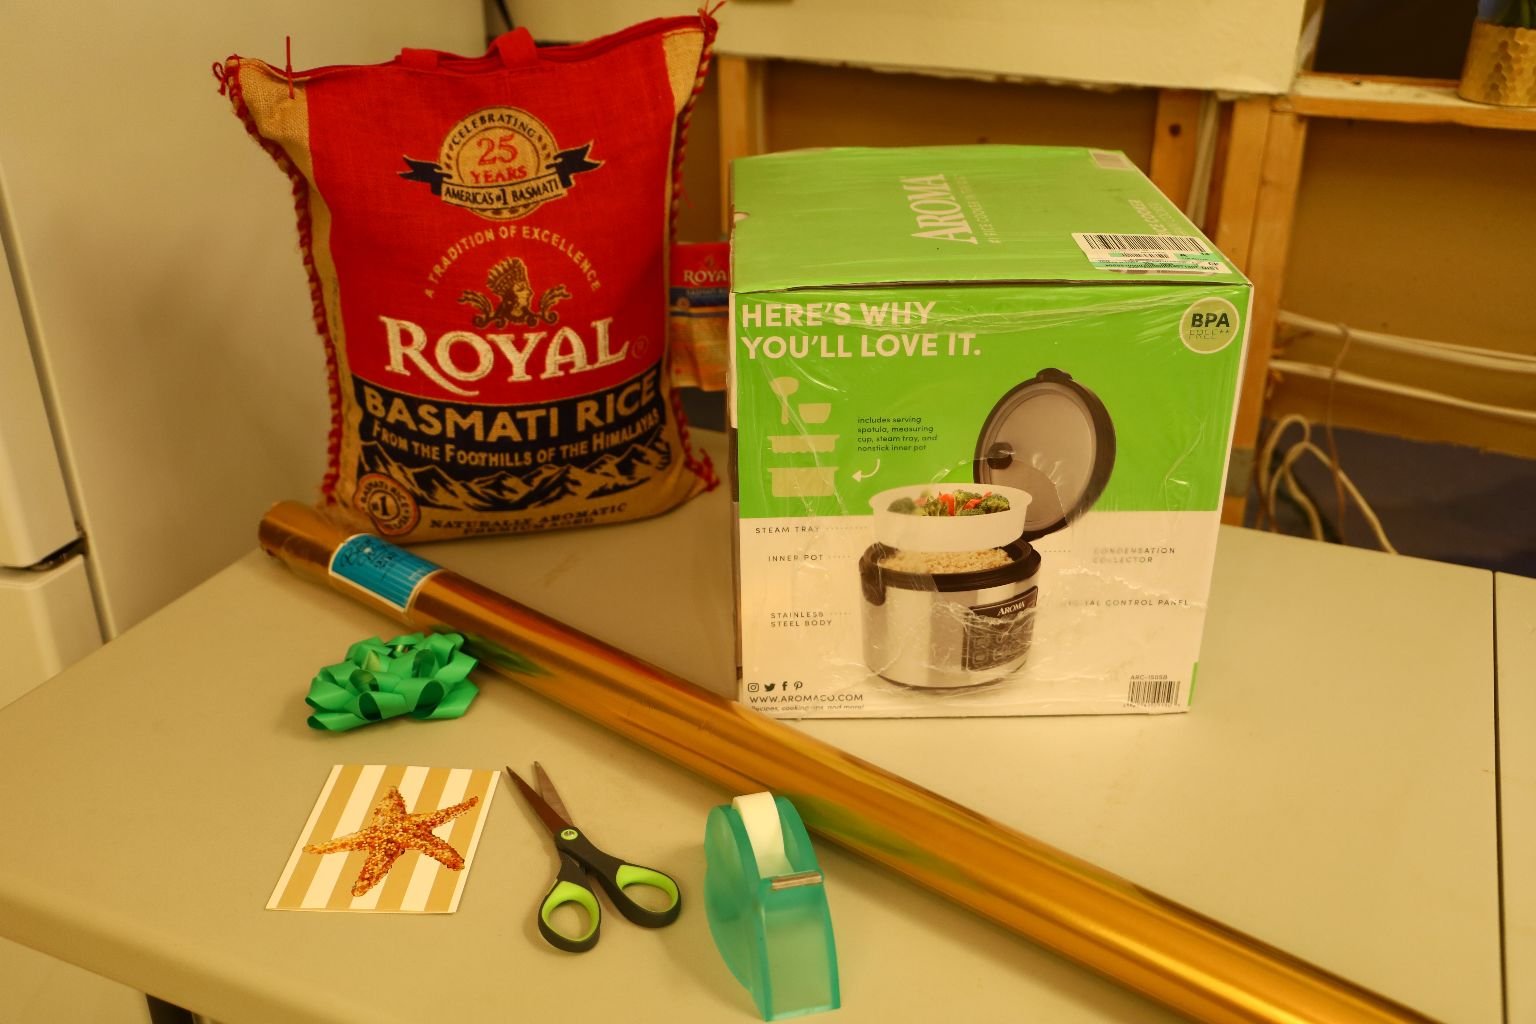
Rice Cooker and Rice
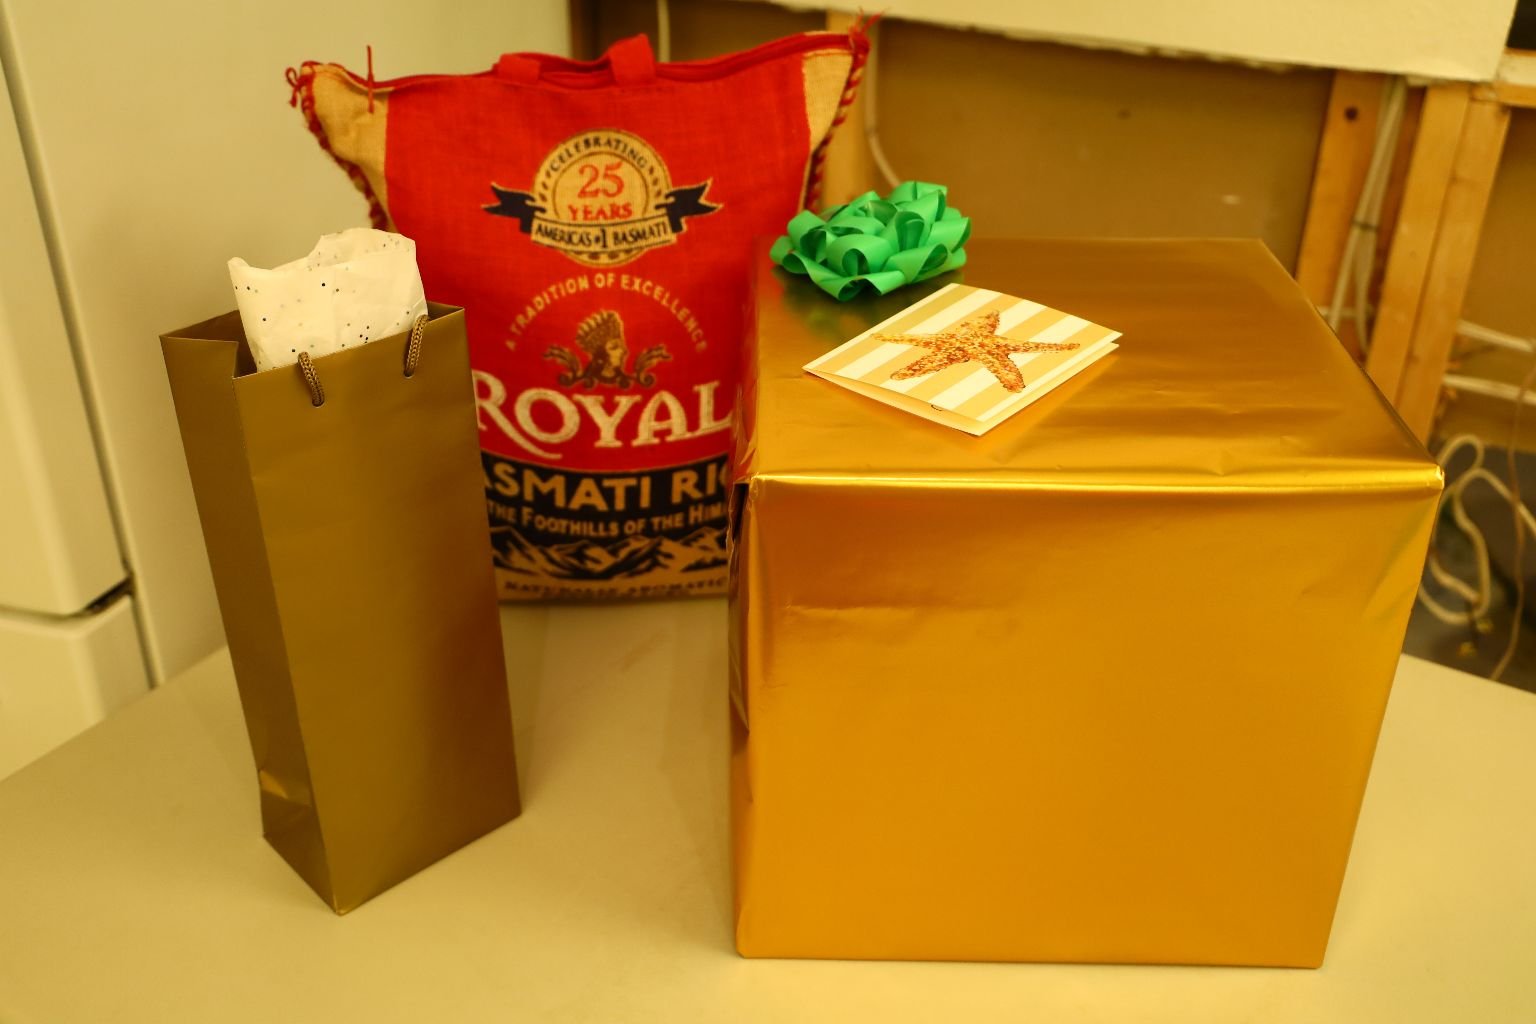
Brodie’s Birthday Gifts
The gifts that we purchased for Brodie for his birthday and Christmas reflect our eating lifestyle from living in Hawaii for 13 years. Both he, and Veronica were born there. The food influences, some of which we have listed here on this page, are a reflection of our time there. A rice cooker is a must! Rice, another must!
Needless to say, he loved them!
———————————————————————–
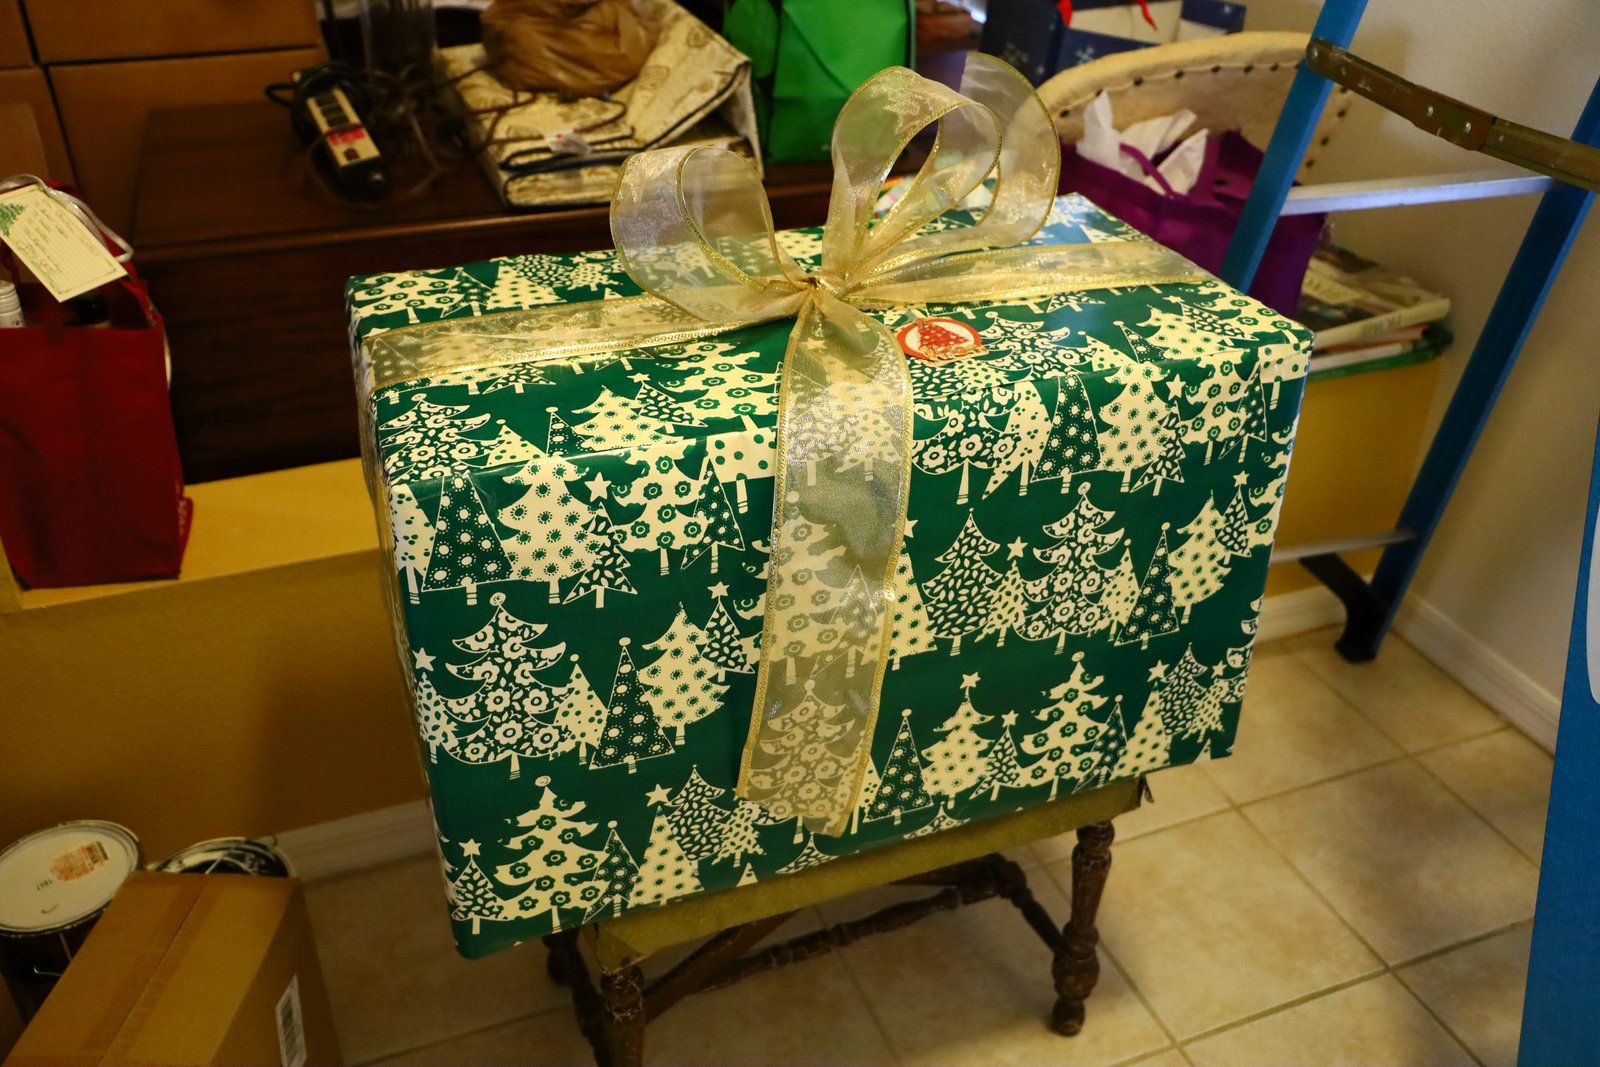
Brodie’s Christmas Present
(You can see a bit of the disarray everywhere here.)
We also carried over the same theme here for Brodie’s Christmas. I wish that I had had taken the time to photograph everything inside the box, they are very Asian and Polynesian in nature. The gifts were a starter for his own kitchen in his own home. A Bamboo Steamer, Bamboo Kitchen Utensils, Measuring Cups, a large Pot, Cutting Board, Dumpling Mold, All Purpose Flour, Baking Soda, Baking Powder, Parchment Paper, Cans of SPAM, his favorite Dipping Sauces, Cooking Pot, Asian Bowls of Large, Medium, and Small, Asian Spoons, Bread Flour, Canola Oil, Some of our Old Canisters, Sesame Oil, Kosher Salt, Yeast, Tongs, Bamboo Fryer Scoop, Strainer, Chef Knife, Sugar, Rice Candies…. and a bunch of other things that I cannot remember. But every item was something he would like and use.
———————————————————-
Update: I Found the LIST!
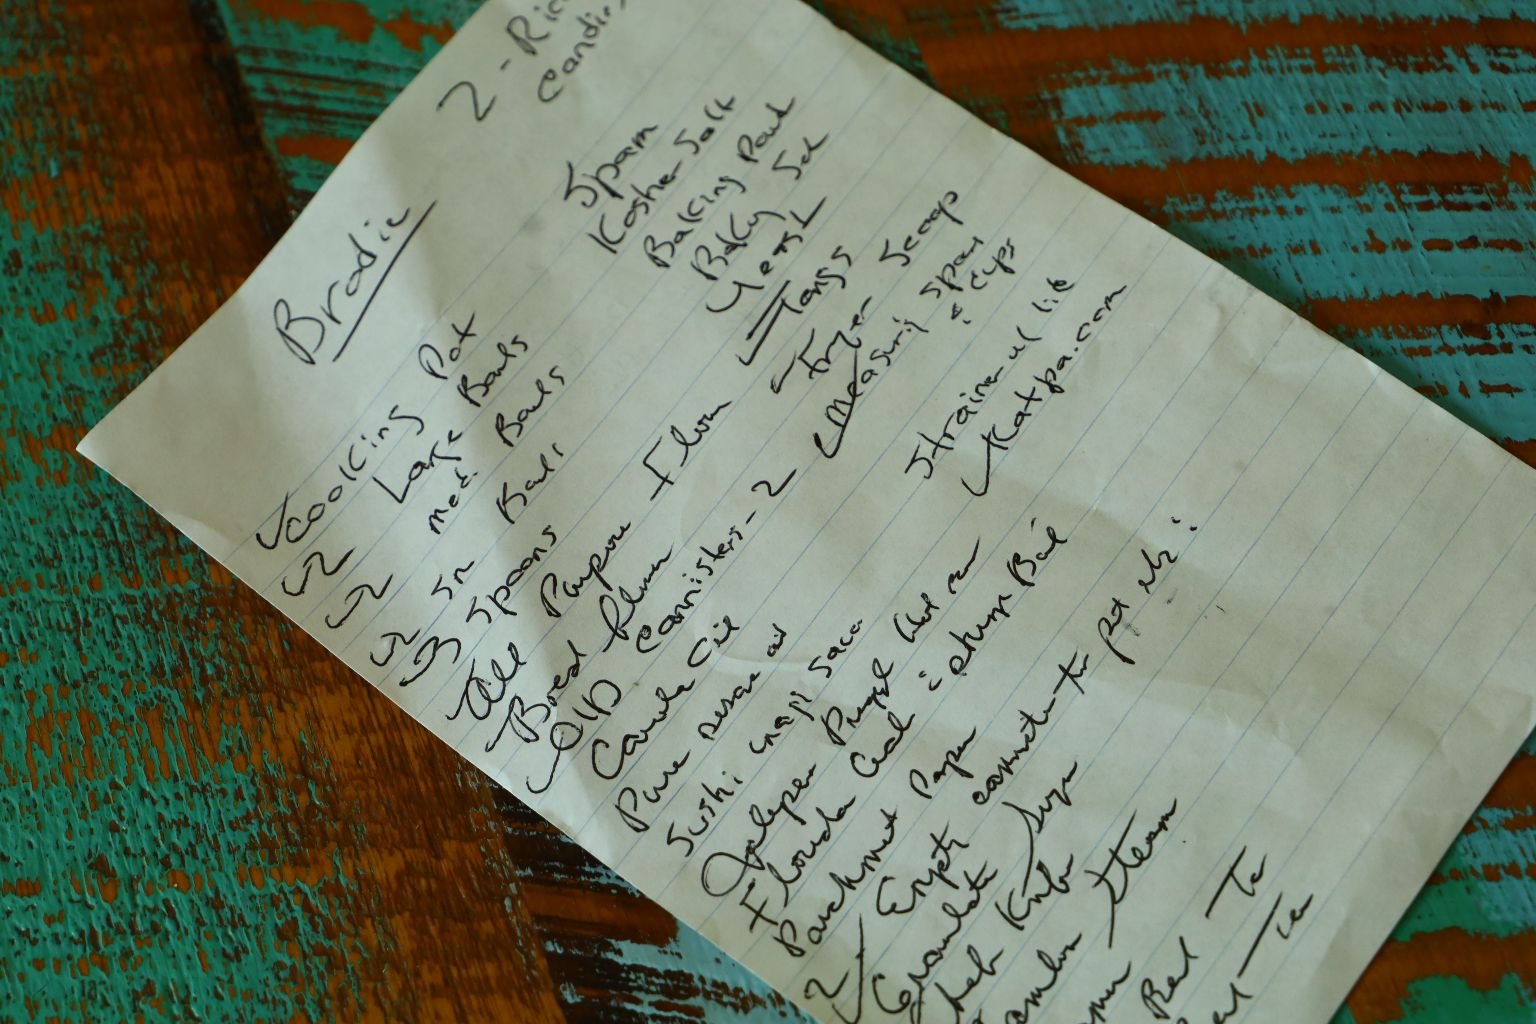
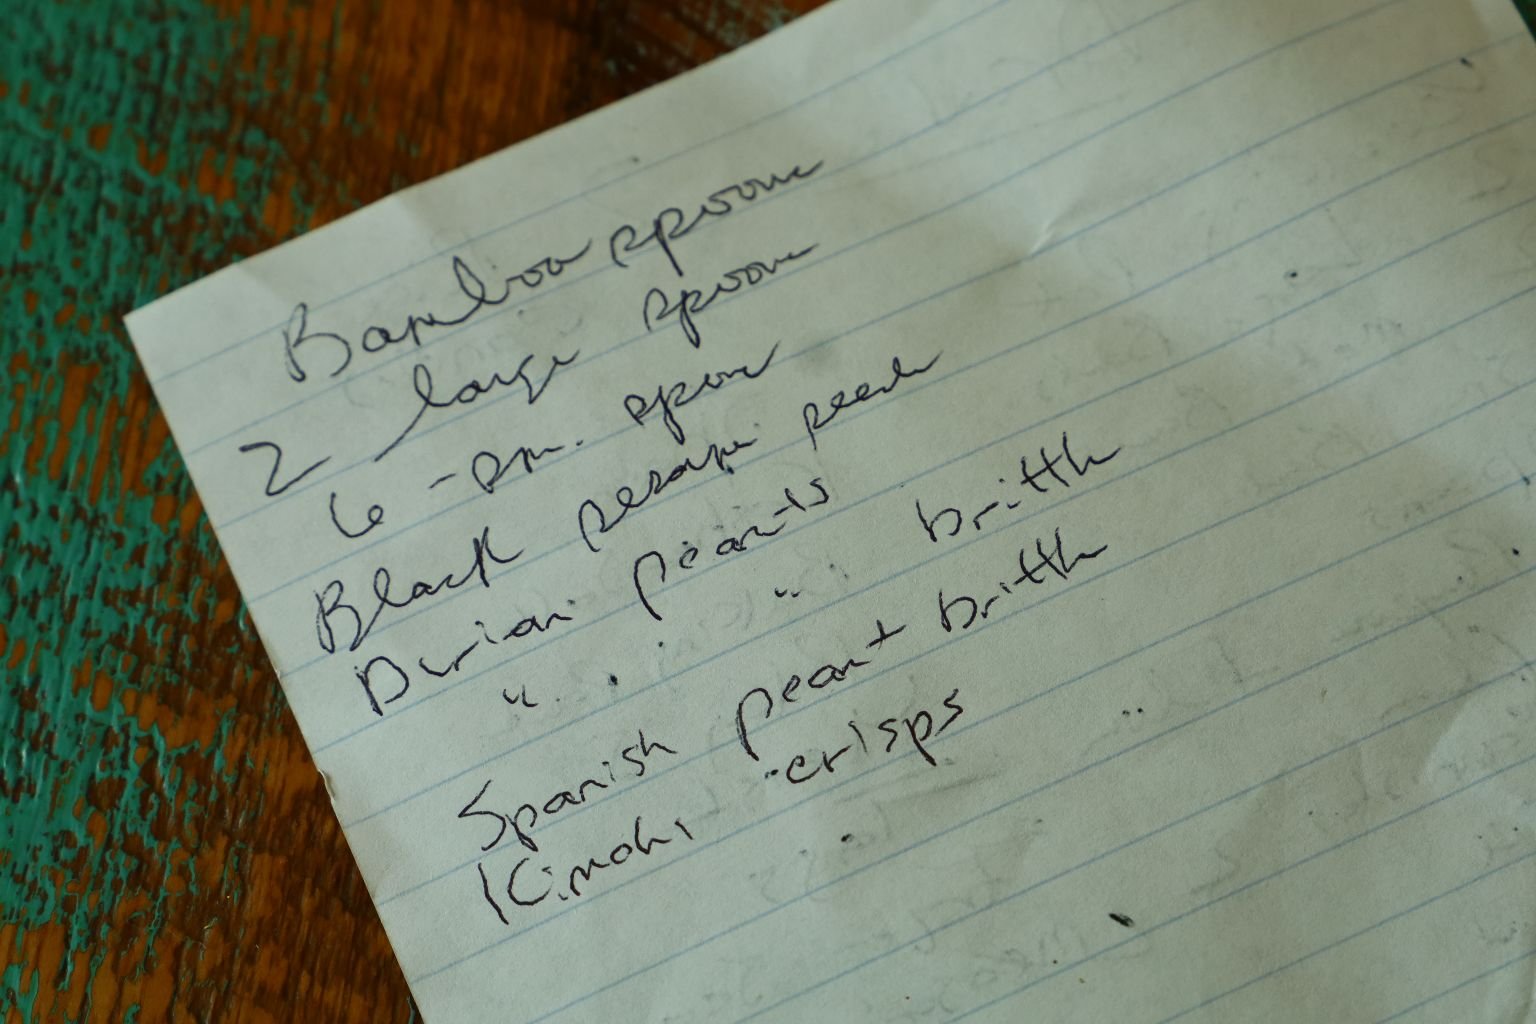
This is my horrible handwriting but, I did write down every single thing in that box. 🙂
————————————————————————-
Kalikimaka Sunset

From Our Backyard 🙂
Mele Kalikimaka,
Julie and Gordon
Me Ka Houoli’ Makahiki Hou!
——————————————————————
Check Out Our Other Hawaiian Pages:
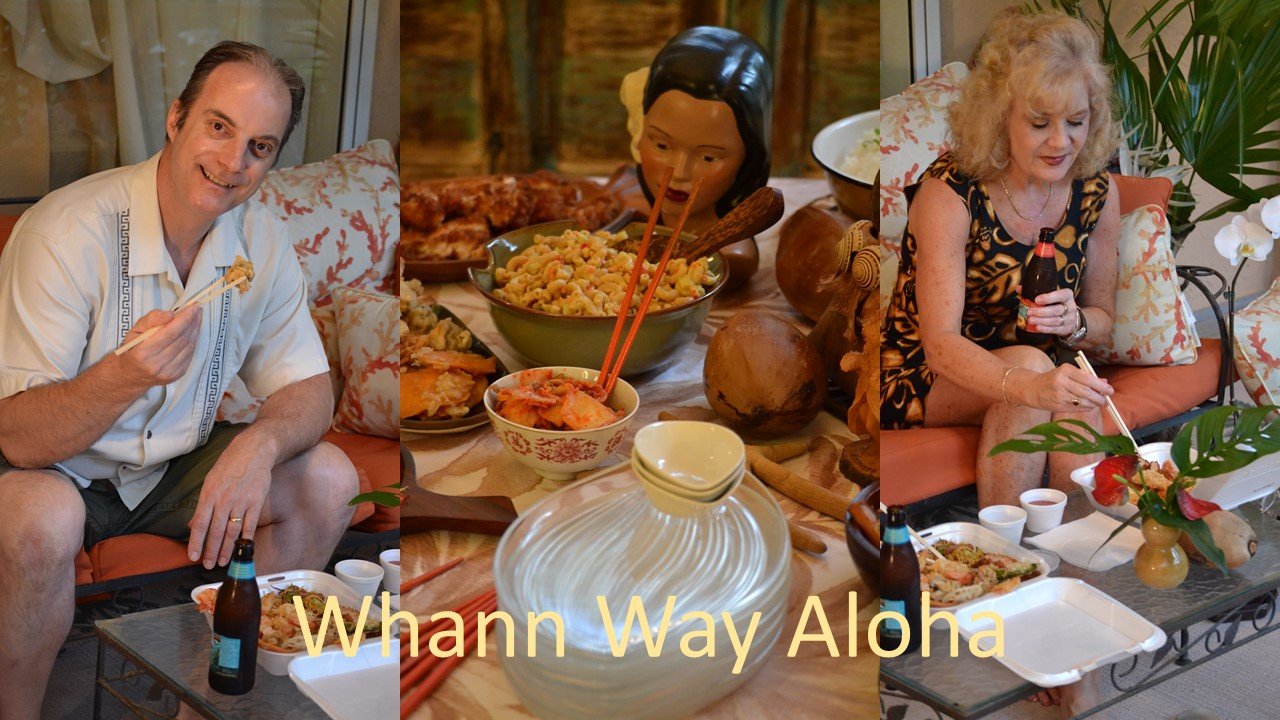
Click Here For: Whann Way Aloha
AND,
Click Here For: Whann Way Aloha, Hapa Elua (Part 2)

AND,
Click Here For: Blue Hawaiians and Huli Huli Chicken

AND,

AND,

AND,
Click Here For: Weekend Spamin’ Spam Musubi

AND,
Click Here For: Julie’s Lunchbox

AND,
Click Here For: Gordon’s Hawaiian Potatoes and Huli Huli Pork Chops

AND,
Click Here For: Whann’s In Not Always Paradise

AND,
Click Here For: Julie Barefoot Cookies and Beachy Edible Gifts

AND,
Click Here For: Grillin’ With Aloha

AND,
Click Here For: Julie’s Vintage Hawaiian Mango-Mac Nut Bread Cake w/ Pasta Flowers

AND,
Click Here For: Gordon’s Dole Pineapple Outrigger Canoe and Cocktail

AND,
Click Here For: Hawaiian Hum Lum Sun Prunes

AND,

AND,
AND,
Click Here For: A Mother’s Day Aloha

AND,
Click Here For: Aloha Wahine Jezebel Sauce
AND,
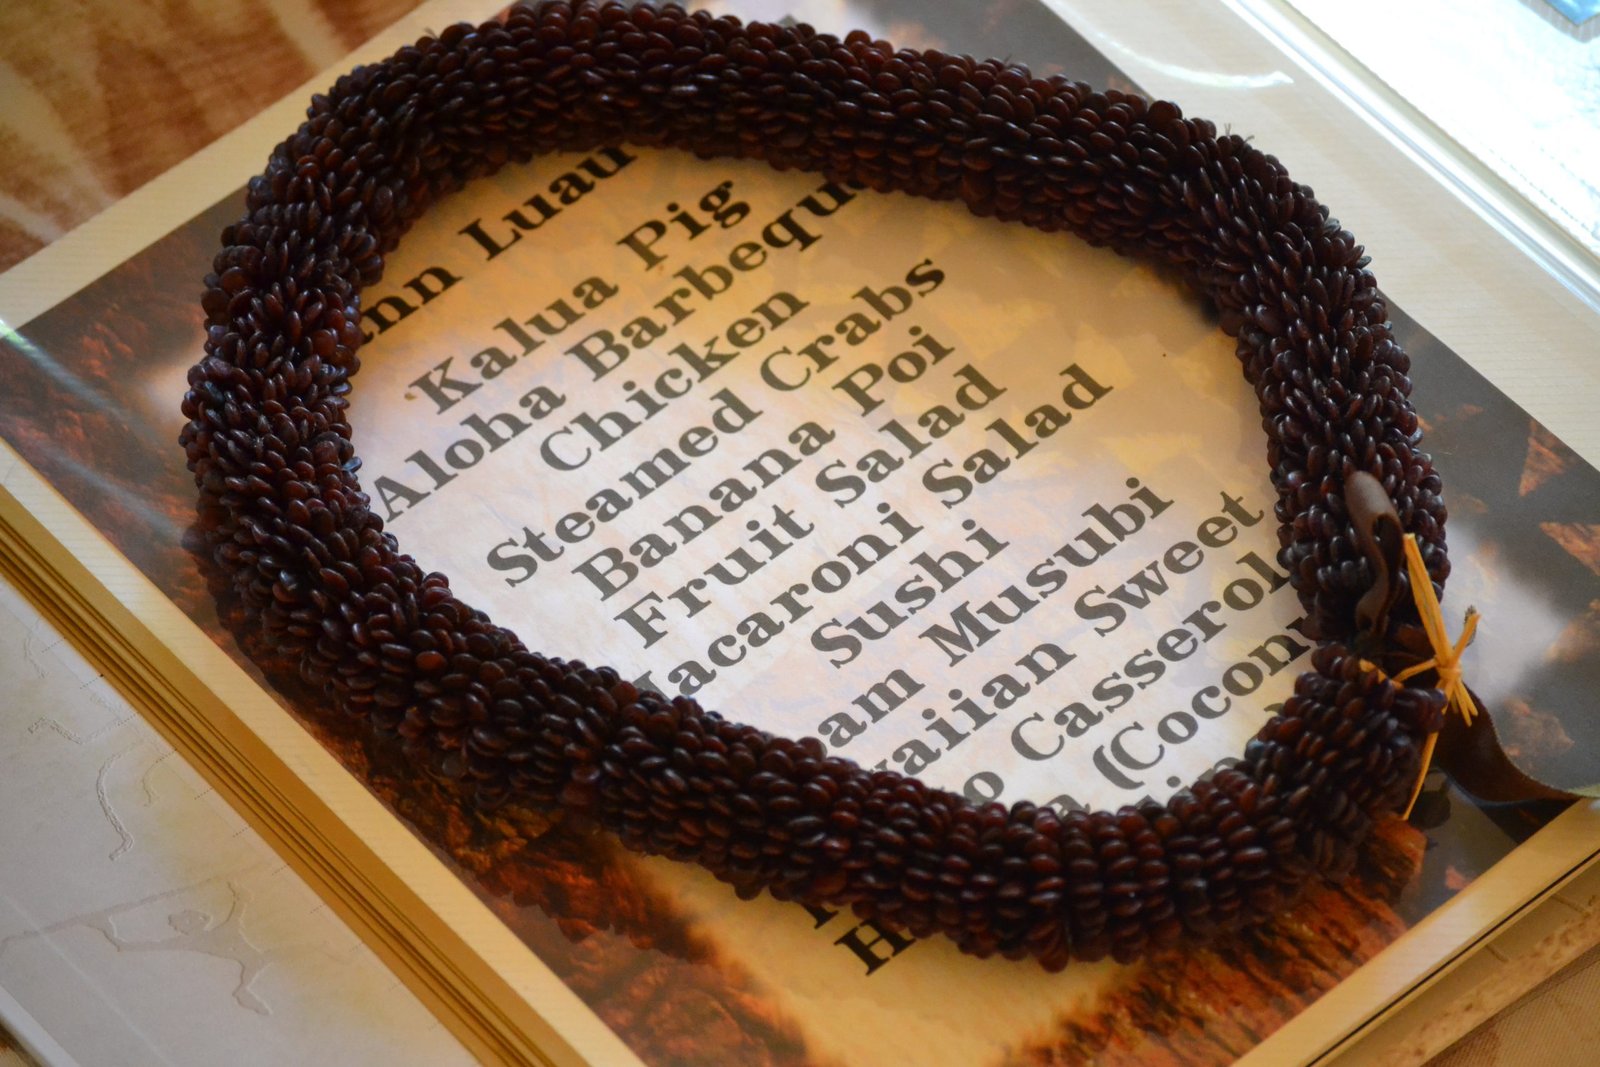
Click Here For: Whann Way Hawaiian Luau
AND,
Click Here For: Hawaiian Popcorn and Moana Maika I’ Loa

AND,
Click Here For: Beachy Hawaiian Thanksgiving Pu Pu’s

AND,
Click Here For: Barefoot Beach Teas

AND,

AND,
Click Here For: Hawaiian Kalikimaka

AND,
Click Here For: Christmas/Kalikimaka Oysters on the Grill

AND,
Click Here For: Tropical Hawaiian Cranberries and our Mele Kalikimaka Me Ka Hauoli Makahiki Hou
