ONO Hawaiian
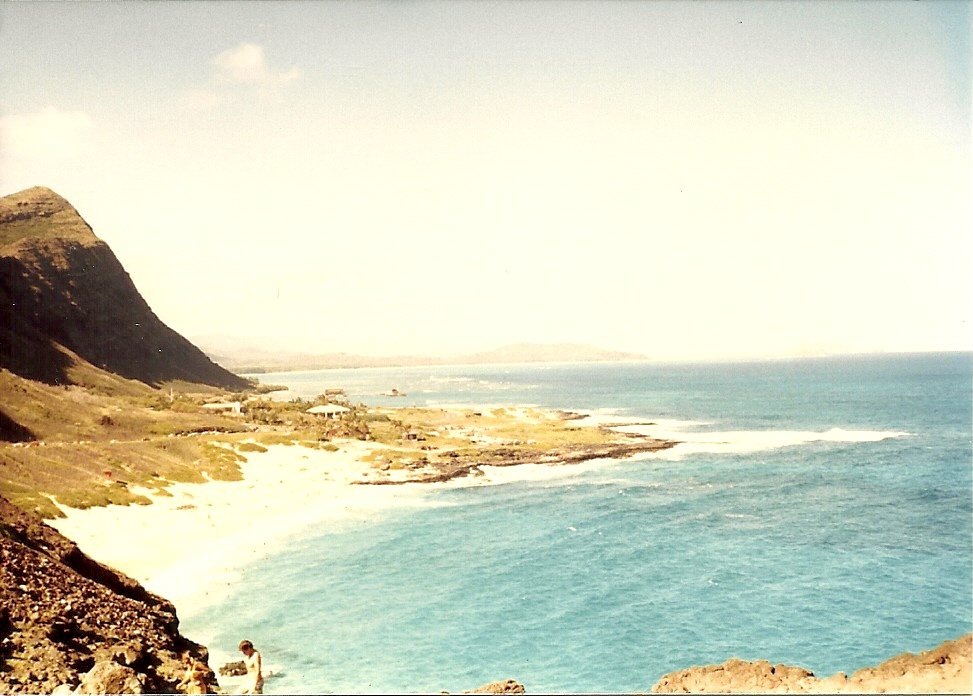
(I took the photo above when we first moved to Hawaii in 1986.
This is Diamond Head side of the island.)

We sure do miss riding around the island playing tourists.
————————————————————–
ALOHA!

May Day is Lei Day

When I was a Girl Scout Leader in Hawaii we made these lei’s from the tops of soda cans with ribbon. It was an excellent way to recycle. When I showed this project to my friend Trish in New Zealand she was very excited to make them for her Girl Guides. I taught her how to do it. Her troop then won some award for them in New Zealand. 🙂
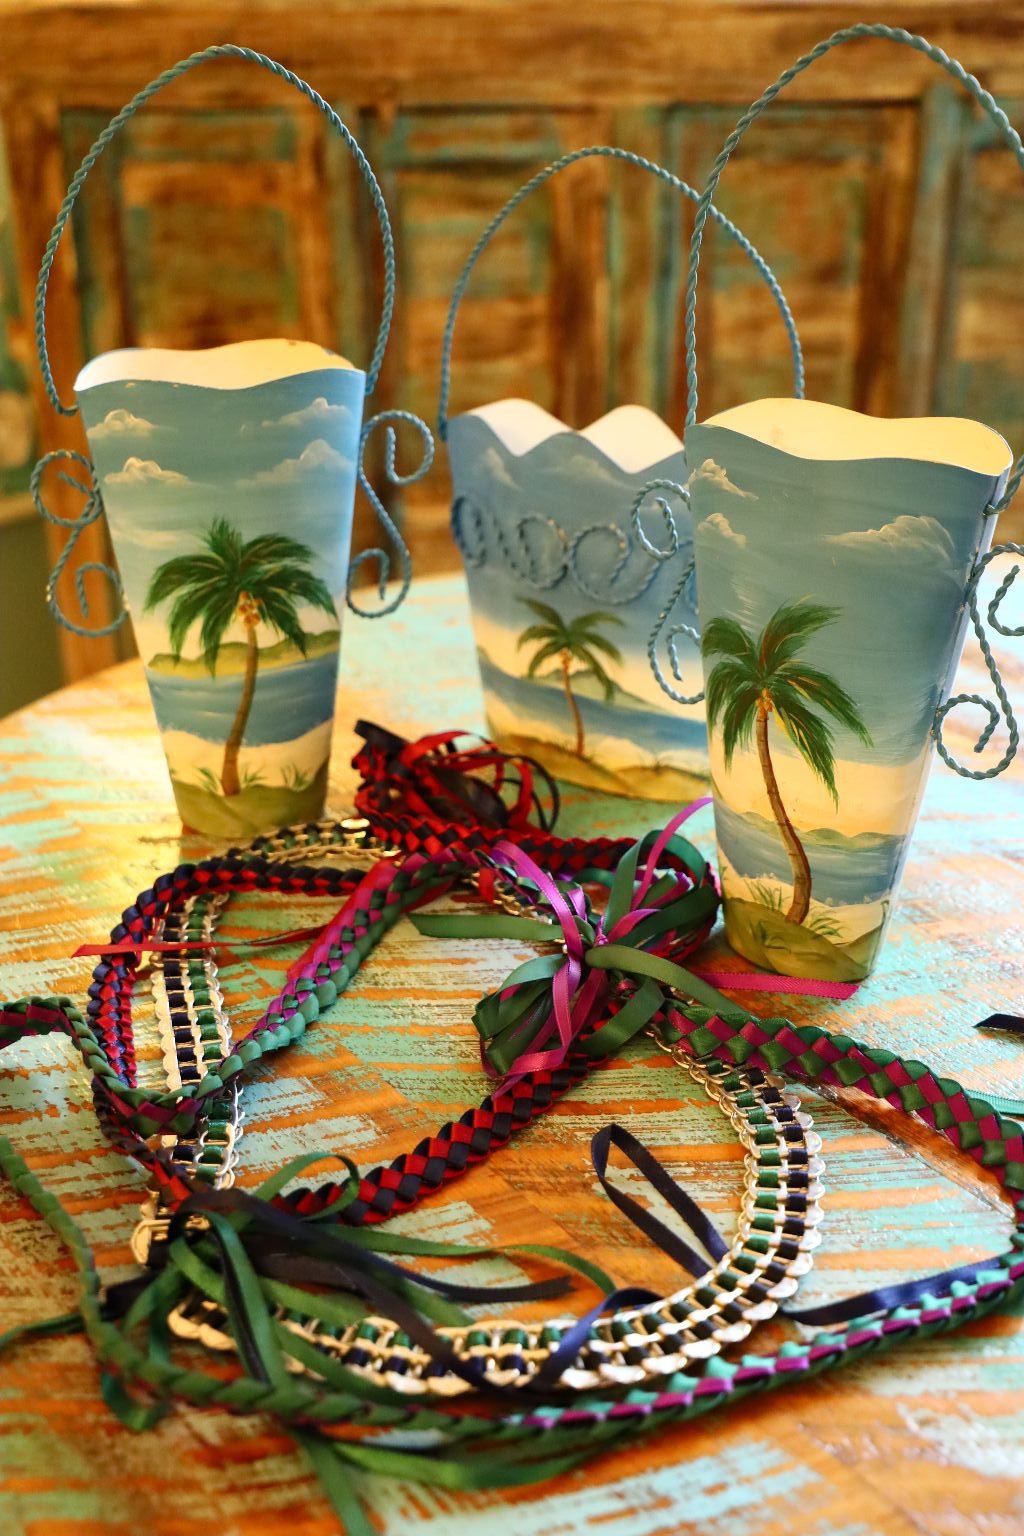
Past Girl Scout Lei’s and Tins
(I passed these on to my daughter when I came across them.)
—————————————————————————
Welcome to ONO Hawaiian
ONO Means Delicious

——————————————————-
Aloha Kakahiaka
(Good Morning)

A Rainbow for Breakfast
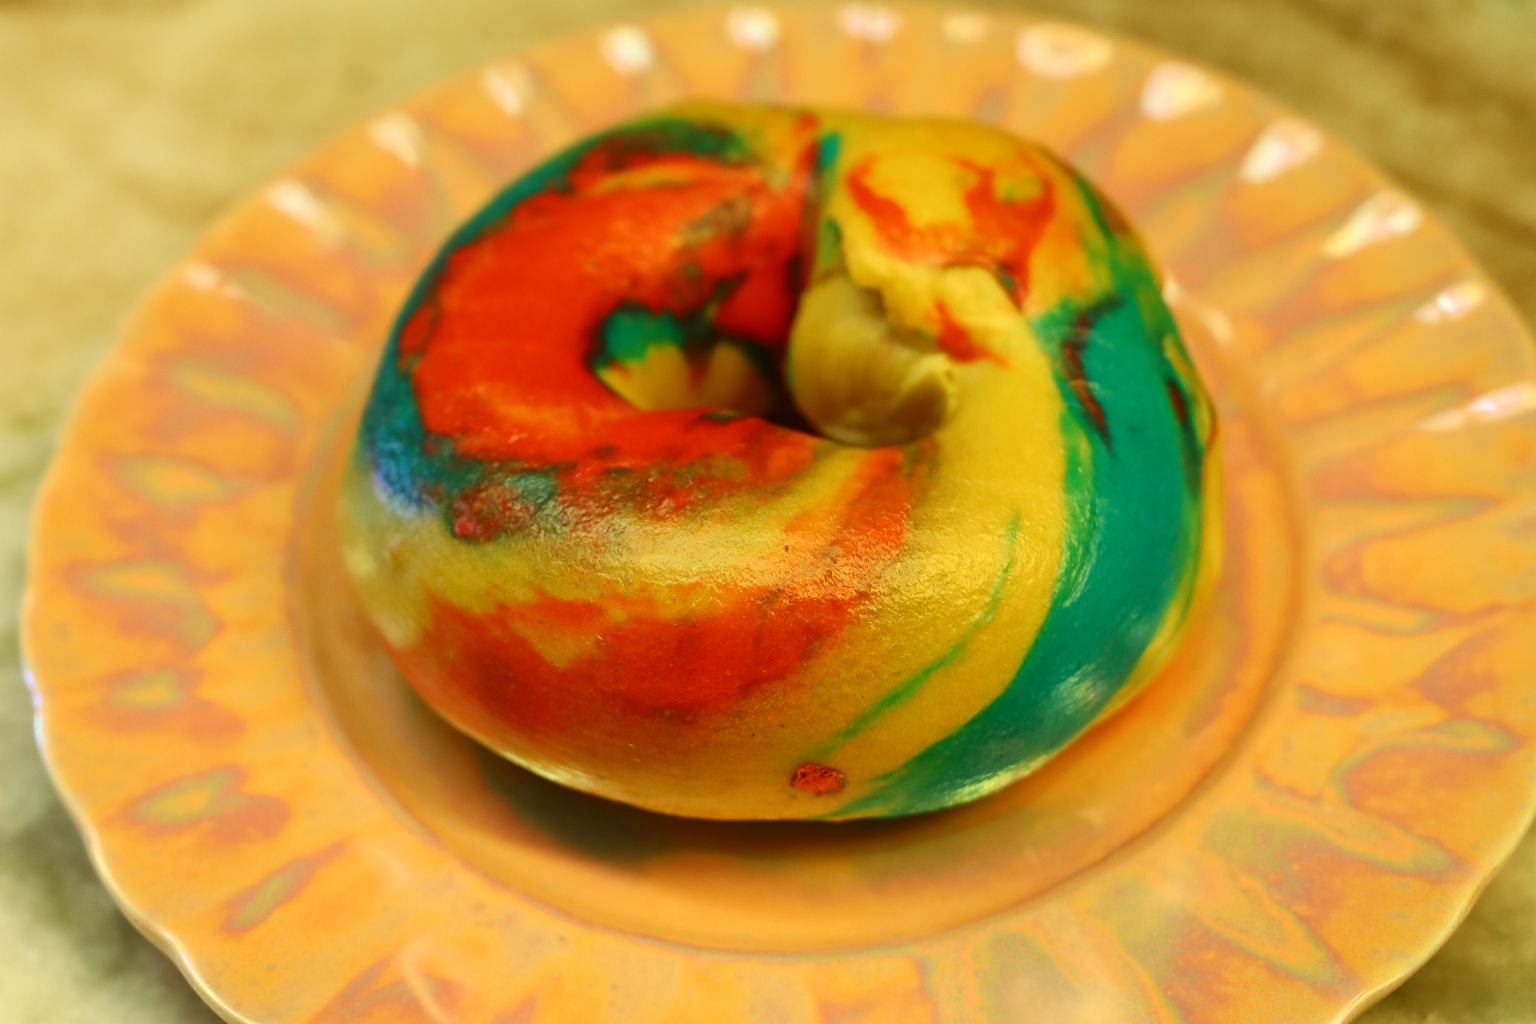
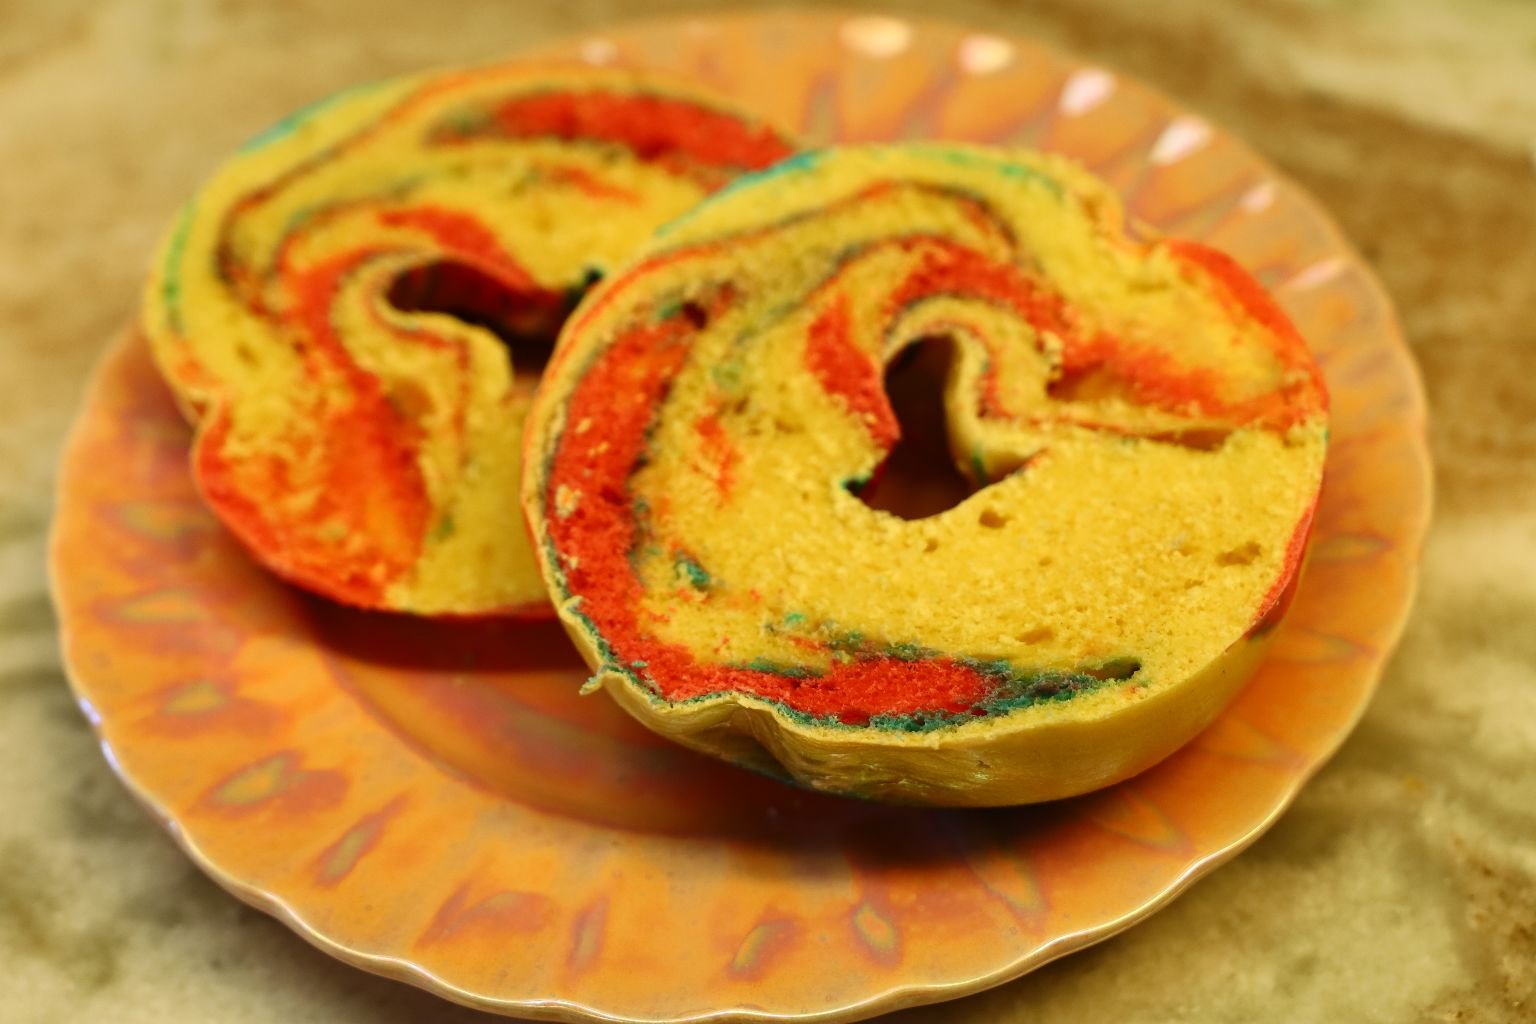
I saw these rainbow bagels at the grocery store and they brought me back to our years of living in Hawaii. You see a rainbow most every day there. Hawaii is known to be called The Aloha State but it is also called The Rainbow State. The Hawaii football team is even known as The Bows, named after all the rainbows.
———————————————————————-

A Bird House our daughter Veronica painted to remind us of Hawaii.
——————————————————————–
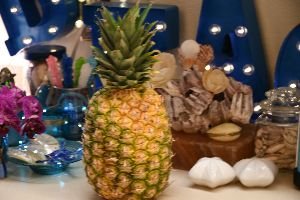
Hawaii = Pineapple
————————————————————
Aloha Right Now

A Hawaiian Birthday Gift to Me from my Daughter
The Maui Cookies are the best I have ever eaten!
————————————————————-

Look at these beautiful peppers we found at our commissary on base?
Grown in Hawaii. They tasted delicious on a garden salad.
————————————————————
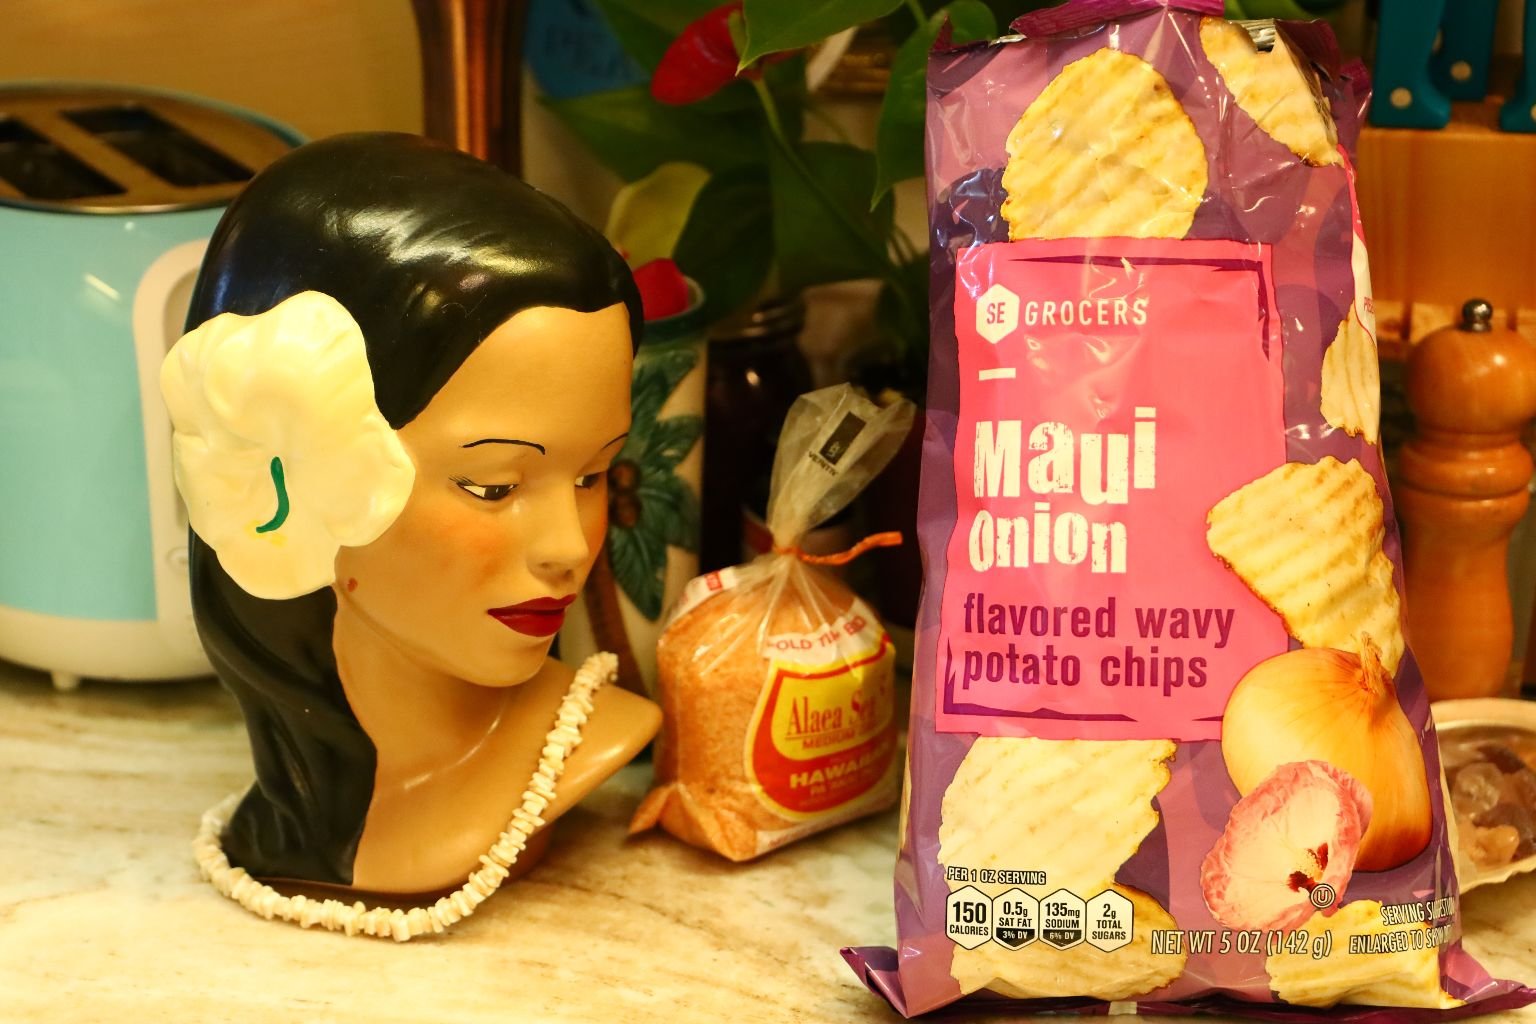
Maui Onion Chips
Just what we needed!
————————————————————–
Lei Day in Hawaii

A Lei for my Honu (Hawaiian for Sea Turtle)
———————————————————————-
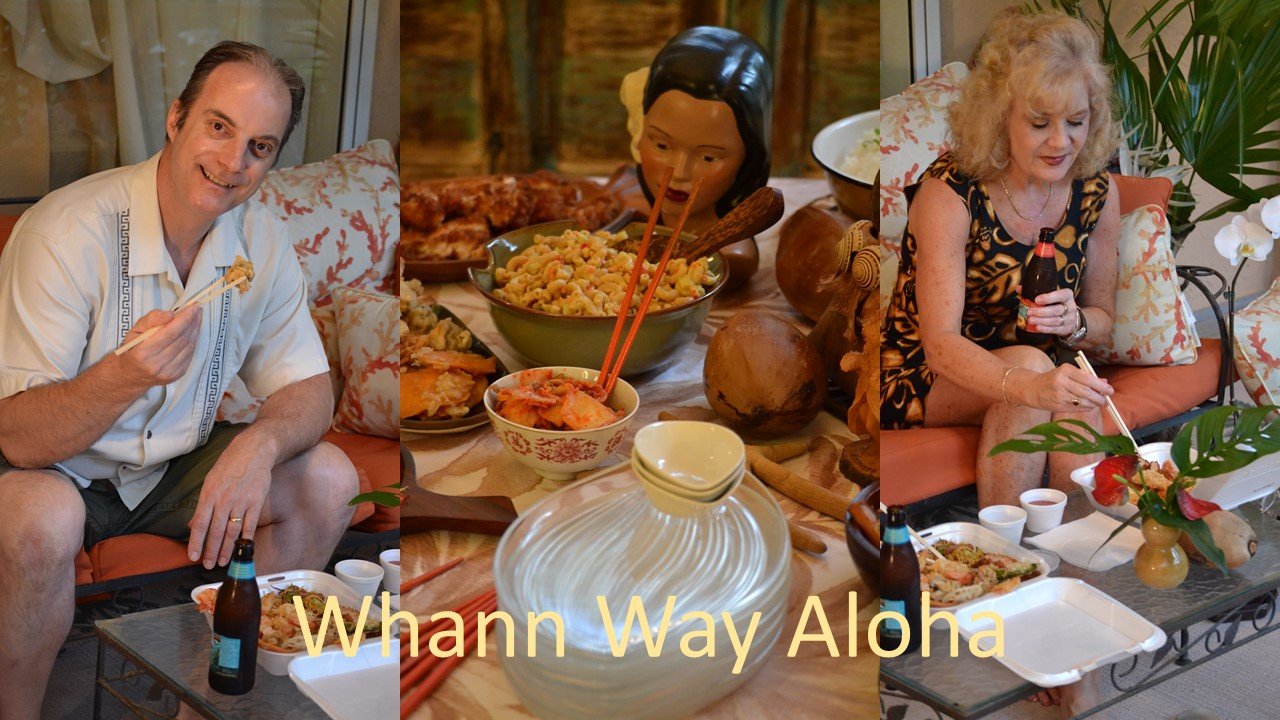
I wanted to start this Hawaii page as a continuation from all of our other Hawaiian website pages. Hawaii means a great deal to us as we lived there for 13 years while Gordon was in the Navy. Also, both Veronica and Brodie (Kanakaleo) were born there and grew up with the many colors and flavors, cultures and traditions, that we all still honor to this day.
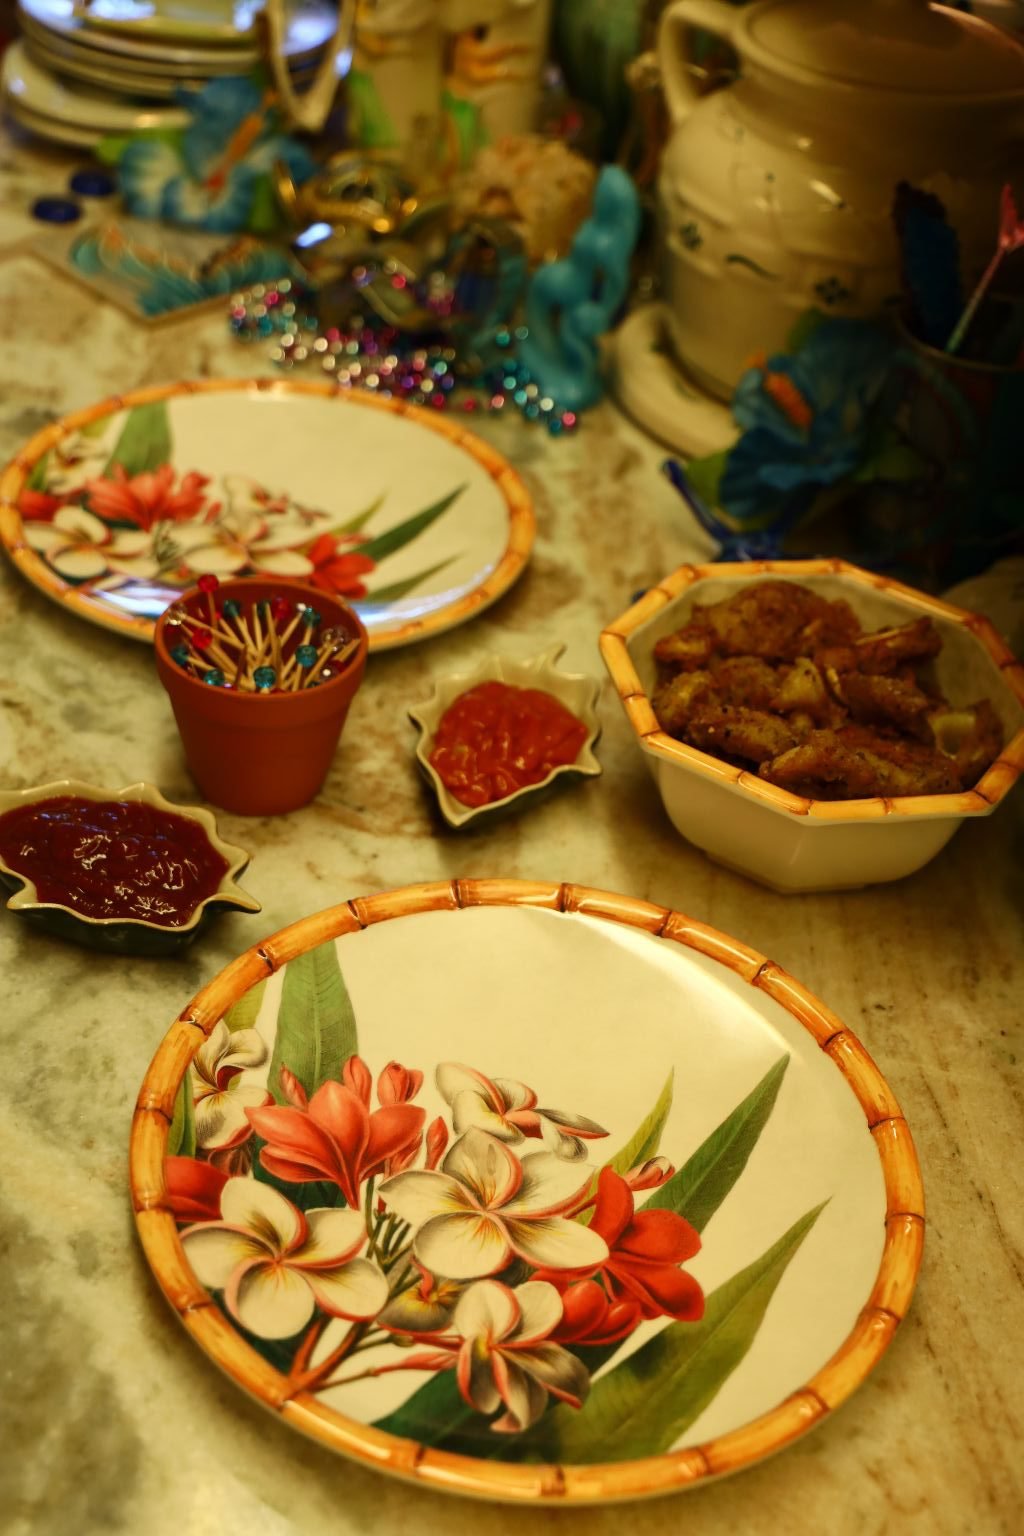
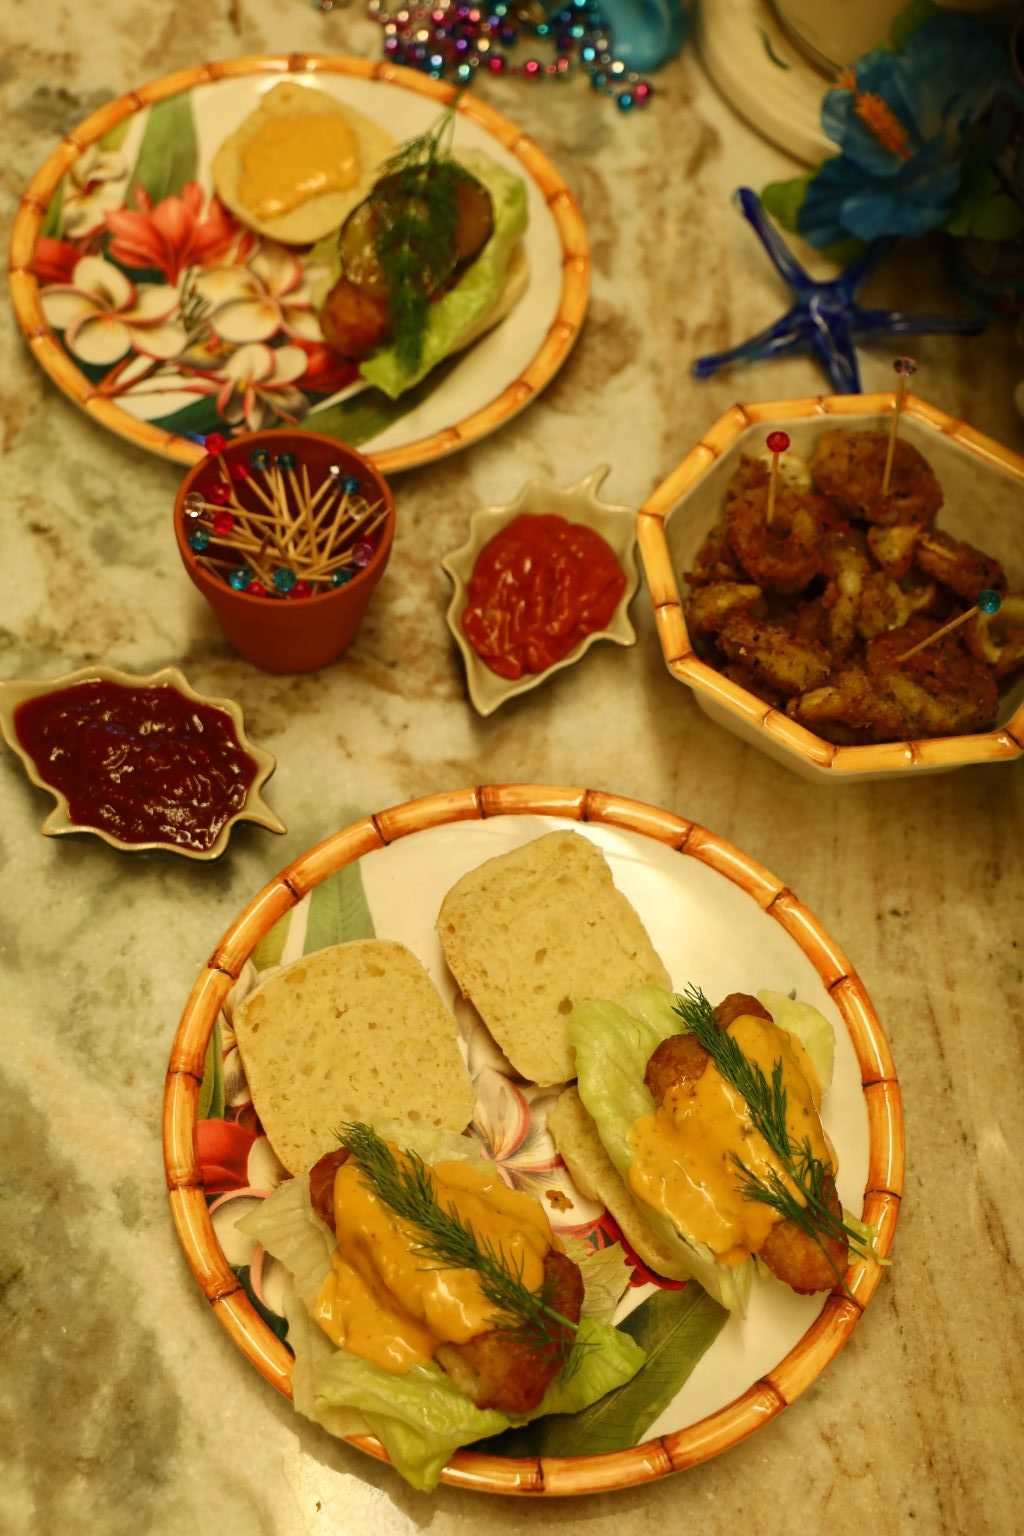
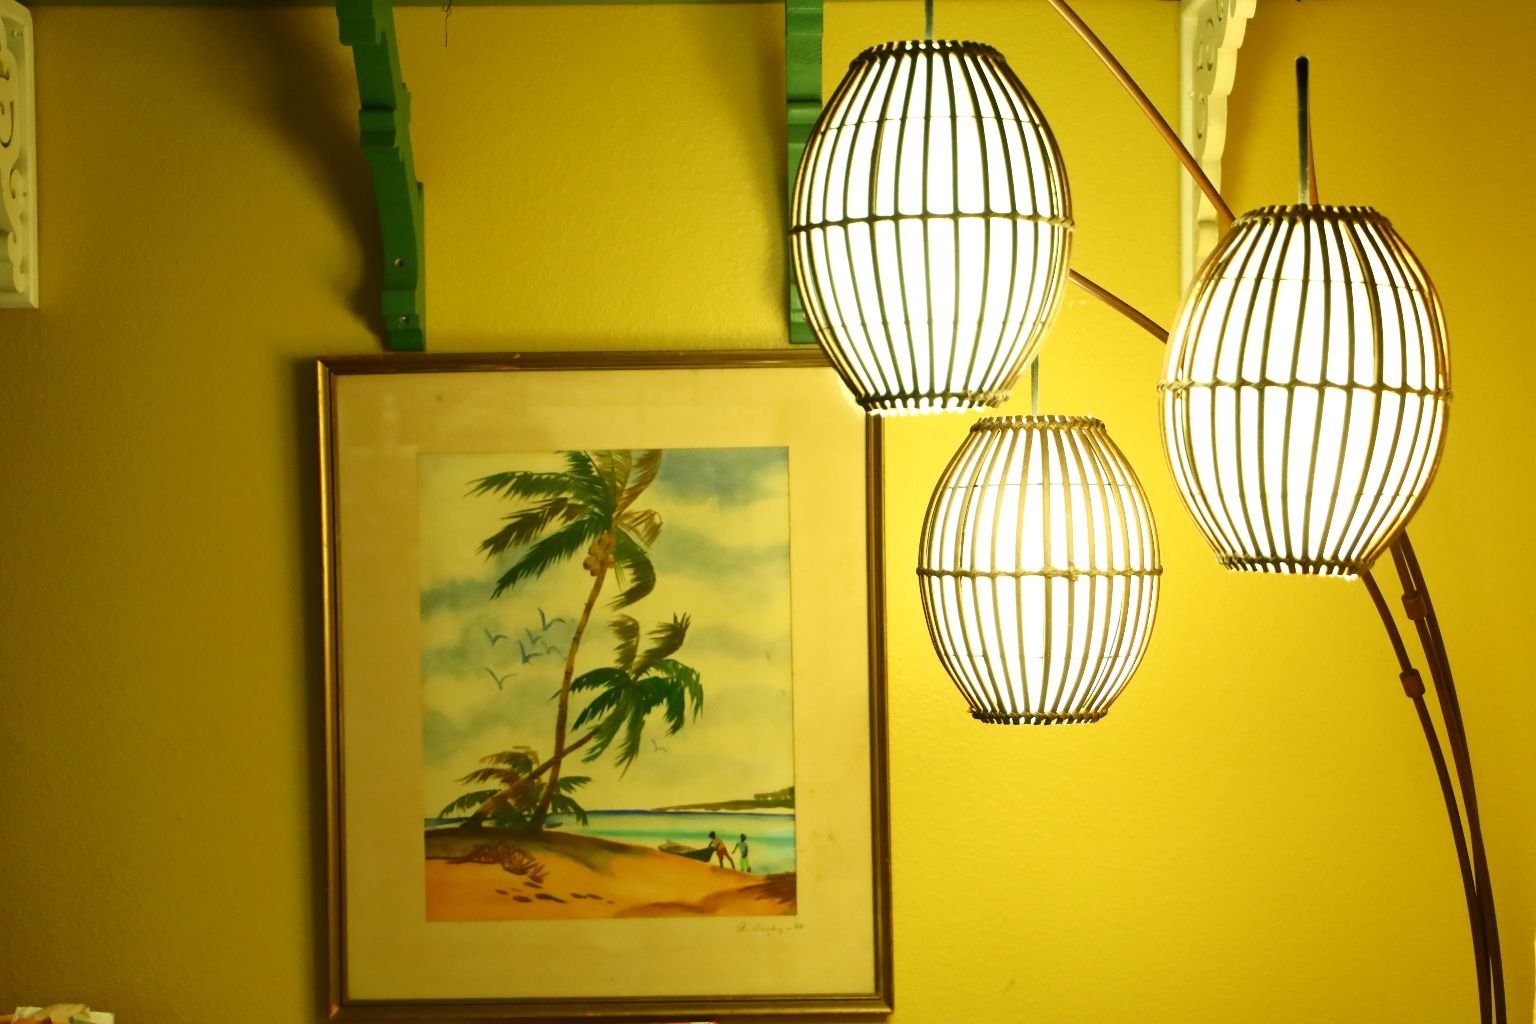
A Fish Sandwich Just Tastes Better on a Plumeria Blossom Plate
The food of Hawaii is made up of many contributing cultures.
Polynesian, Asian, Western…..
Even though we left Hawaii in 1999 we brought the cultures and lifestyle with us and keep them very close to us even now. The foods we enjoyed in Hawaii we still enjoy here in Florida.
It thrills me when Veronica will cook some of the dishes that she grew up on from the islands in her own kitchen now that she is married and has her own home. It also thrills me when Brodie makes his favorite Hawaiian Sticky Rice and steams Potstickers while grilling our favorite Asian Teriyaki Wings, or making his Bao Buns or Manapua. These are the foods they grew up with and the exotic cultures that have shaped them into the adults they have become to this day.
We will always hold a special place in our hearts for our island of Oahu and the people that welcomed us.
Julie and Gordon

Just an Old Oahu Board Game
Roll the Dice!
——————————————————————-

The little ornament I made from Sculpy Clay and then colored in.
My Hand Painted Pots

With Hawaii on my mind I wanted to find my old hand painted pots that I painted from when we were living in Hawaii. I had used to do craft fairs when we lived there and these pots are an example of what I would sell in my booth. Although I think I gave away more than I ever sold.

I pretty much painted whatever I could get my hands on.
Clay pots, tiles, coconuts, driftwood….

On our kitchen table in Hawaii were nothing but paints, paint brushes, along with whatever it was I was painting. Everything was set up for me to just sit down and start painting whether I had 5 minutes or an hour to devote to it. I miss those simple days.

But, it was around Mother’s Day that I wanted to find my extra pots that I had in the garage and set them out to enjoy. We did find these, although I know I have a box full of them all in their packaging from being freshly painted by me and placed into pretty wrappings to be sold at my craft fairs or given away as gifts. They should be in pristine condition too, if I ever find them.

Coffee and Leilani
I also found one of Veronica’s dolls. I just wanted to enjoy her one morning while having my coffee outside. I will pass her on to Veronica this summer.
—————————————————————

Shannon Diana Veronica Whann 🙂
Born and Raised in Hawaii

Veronica, back row, right.
My Girl Scout Troop, Ala Moana State Park
—————————————————————–
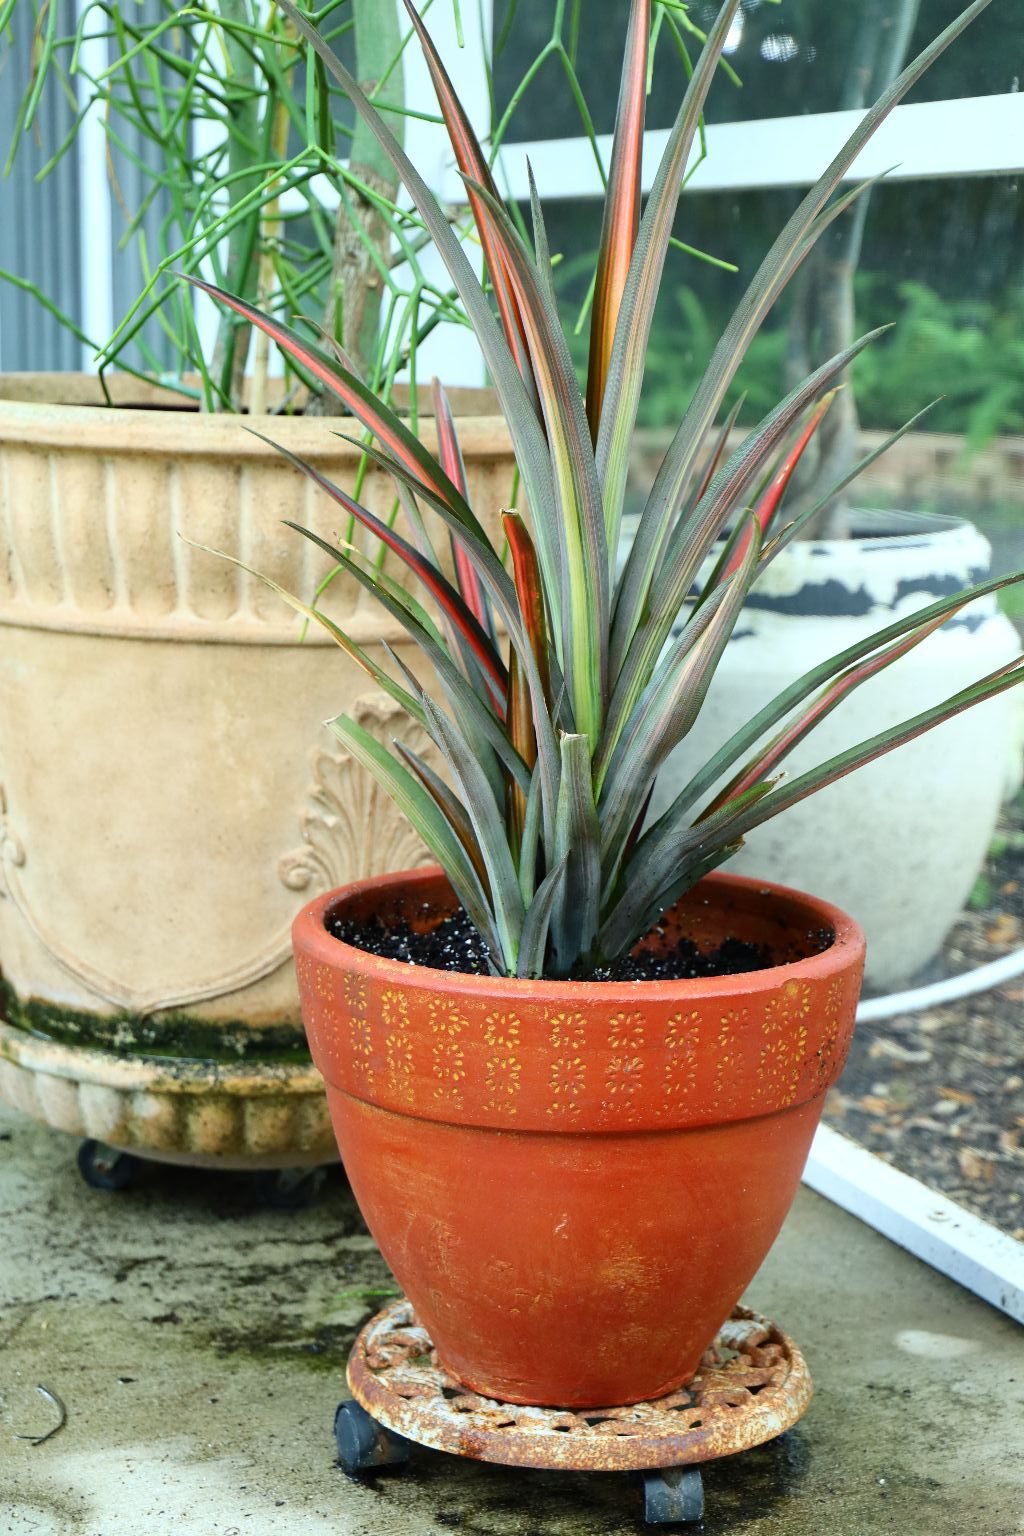
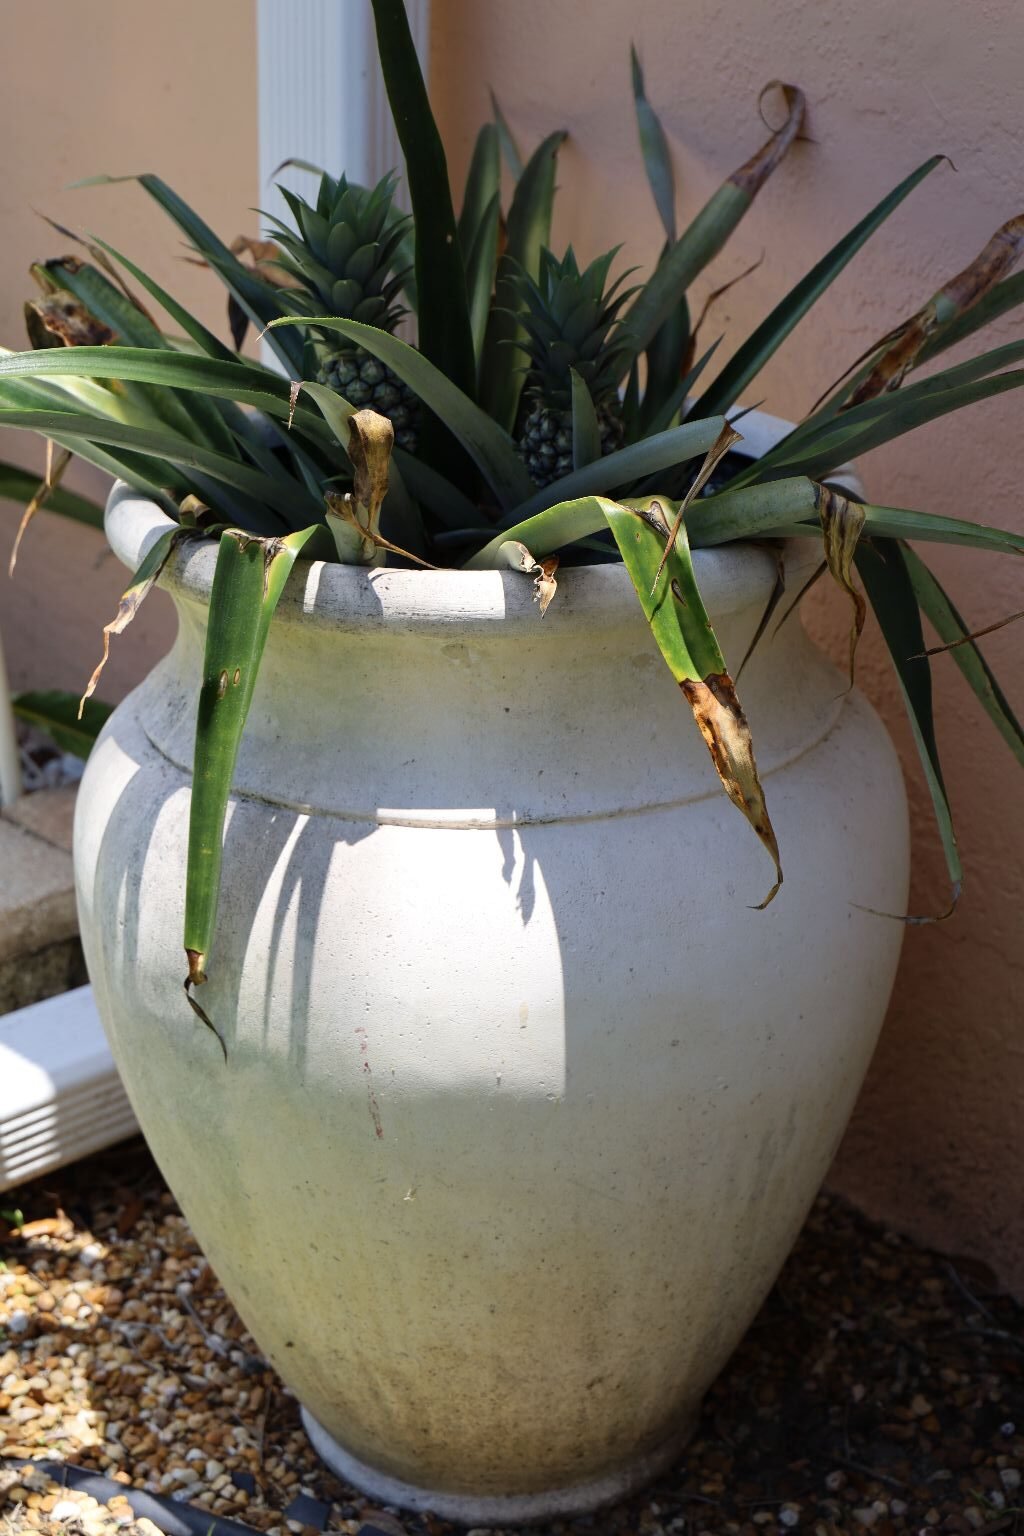
Our New Pineapple Plant on our Lanai
—————————————————————

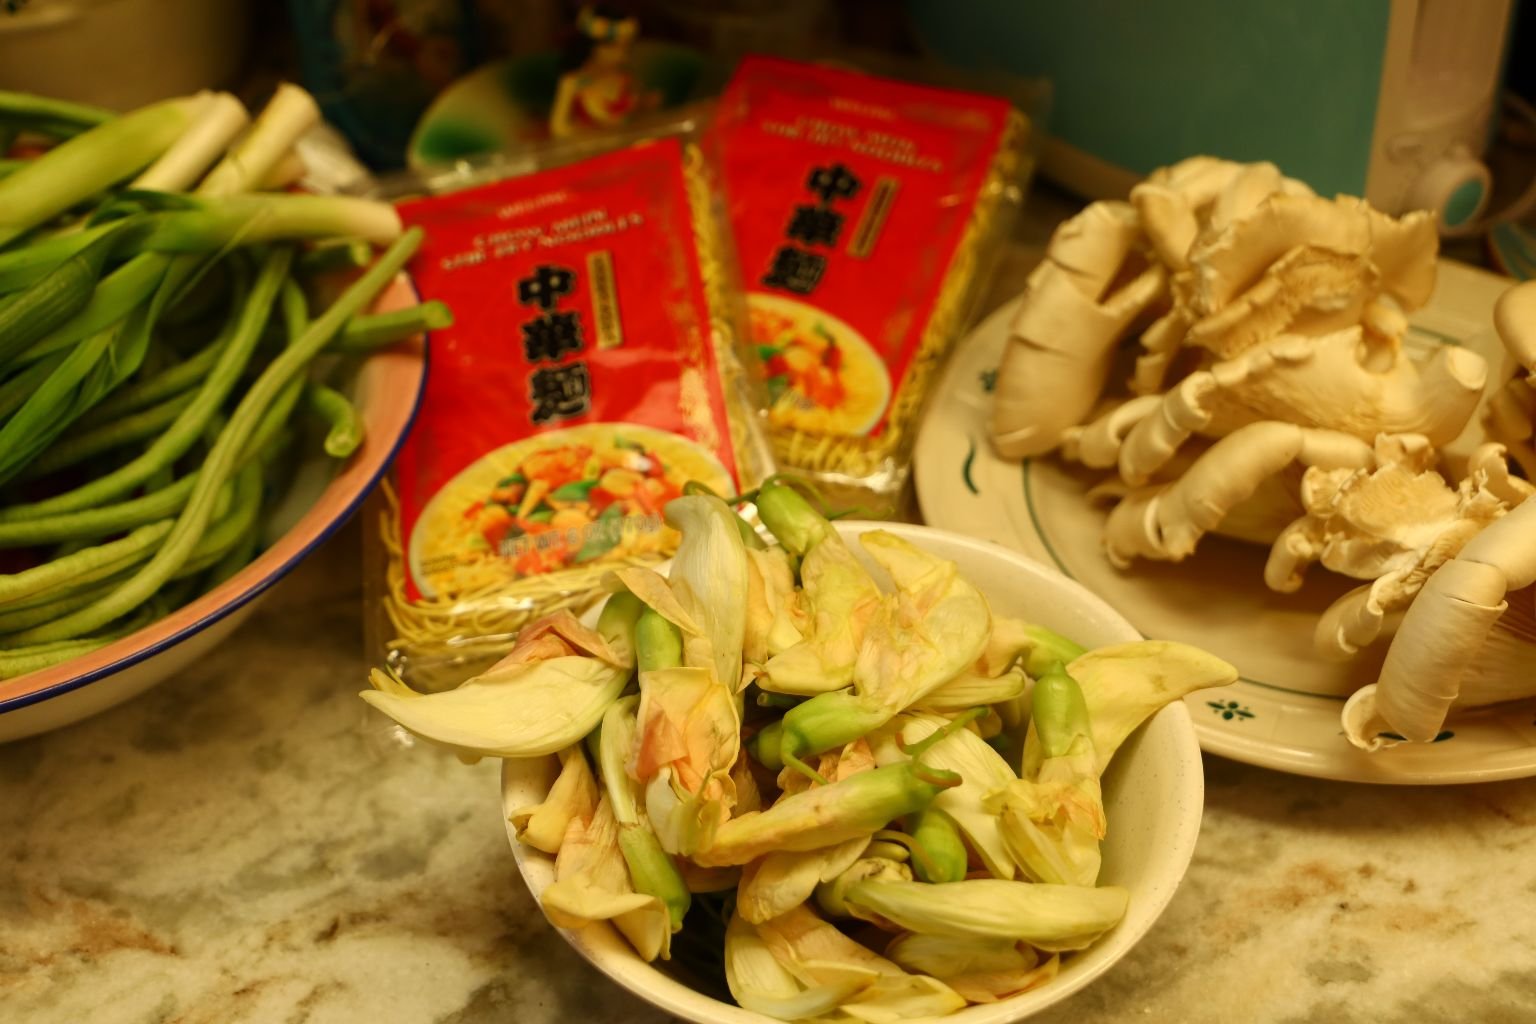
A Few Favorites
(From The Asian Supermarket)

Wax Apples
Edible White Flowers w/ Salad Dressing/Dip
We purchased the White Flowers at our local Asian Supermarket
and then added a salad dressing for dipping.
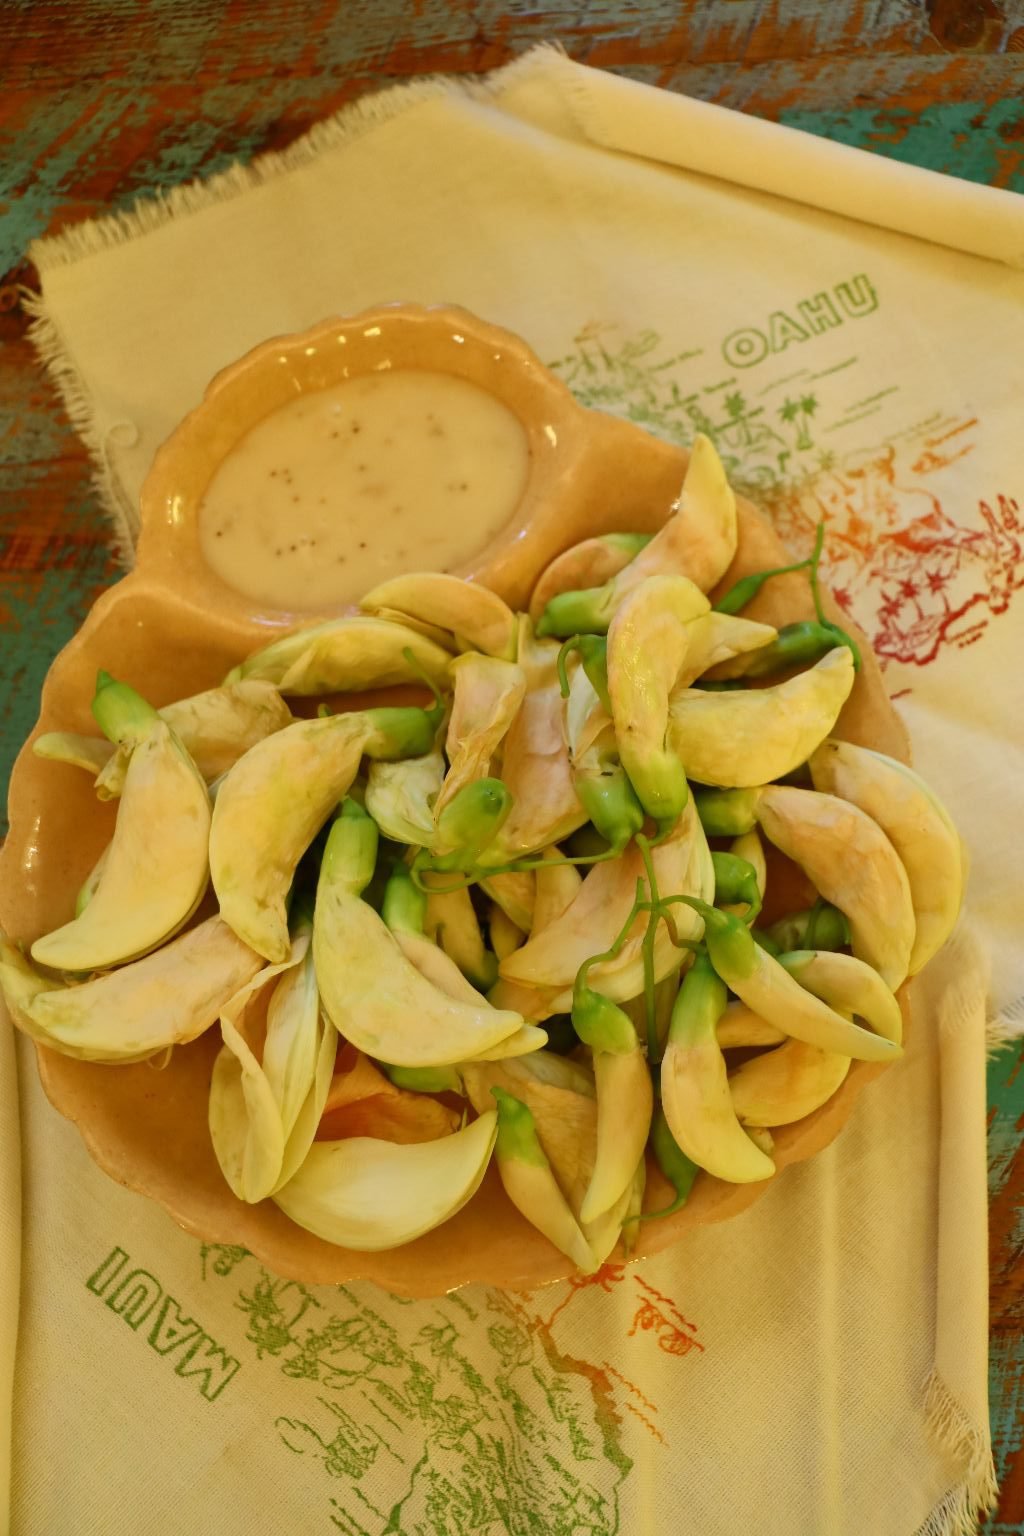

A Beautiful Snack or Appetizer
————————————————————
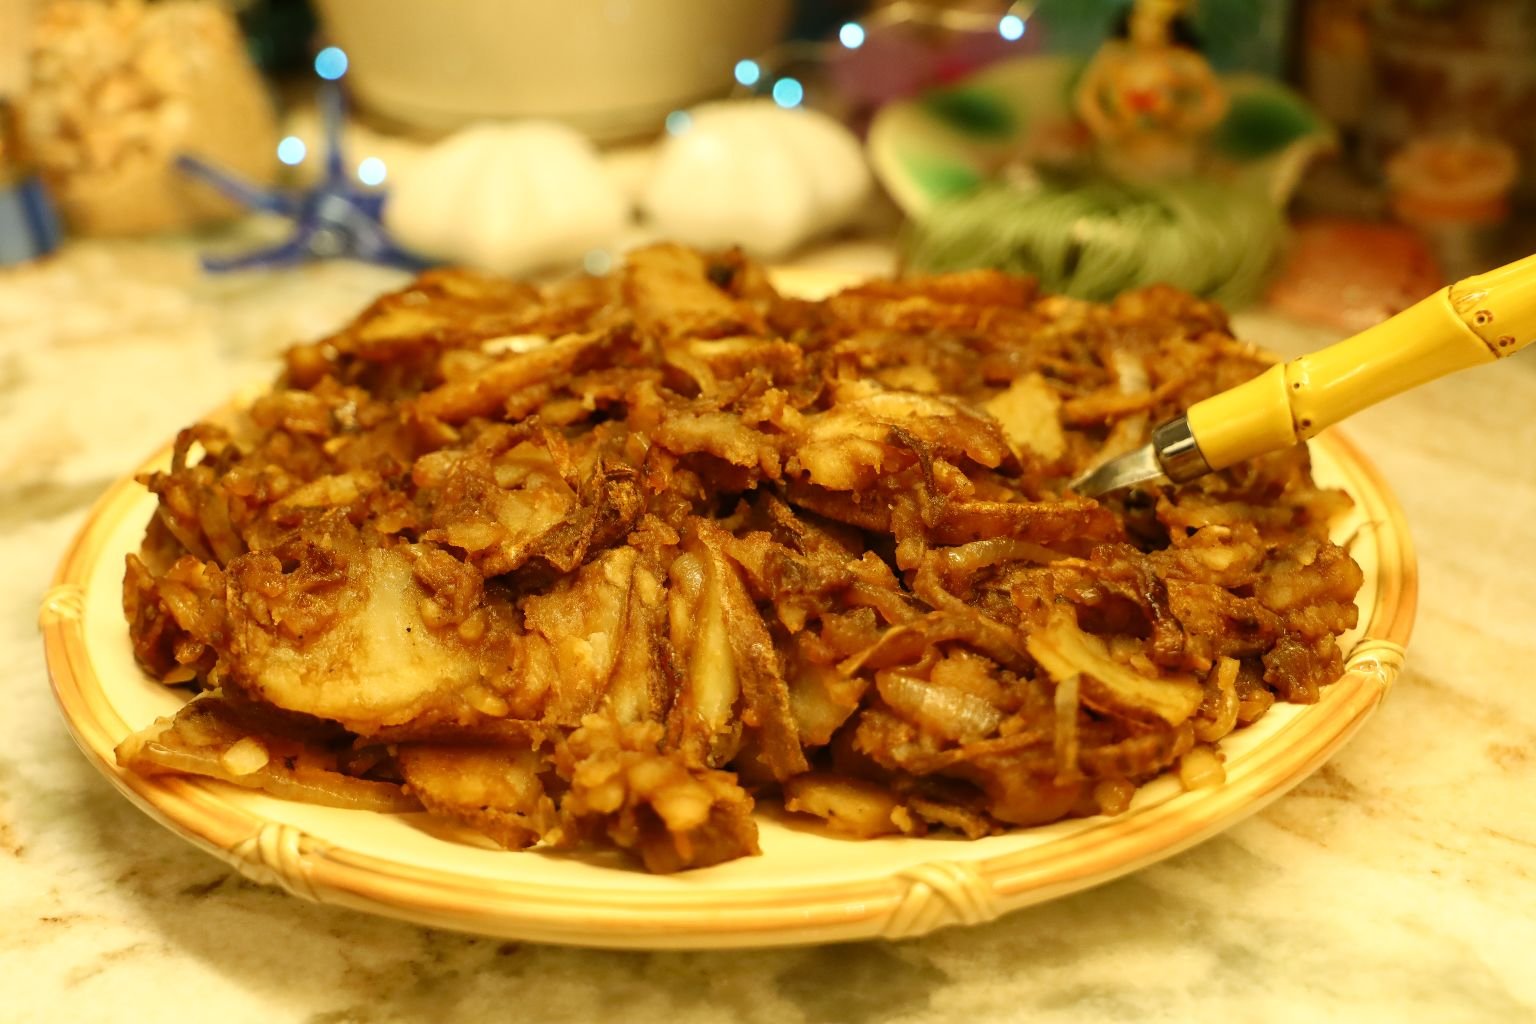
Gordon’s Hawaiian Potatoes

These are a favorite that Gordon created while we were living in Hawaii.
He created them by accident. We eat them quite often.
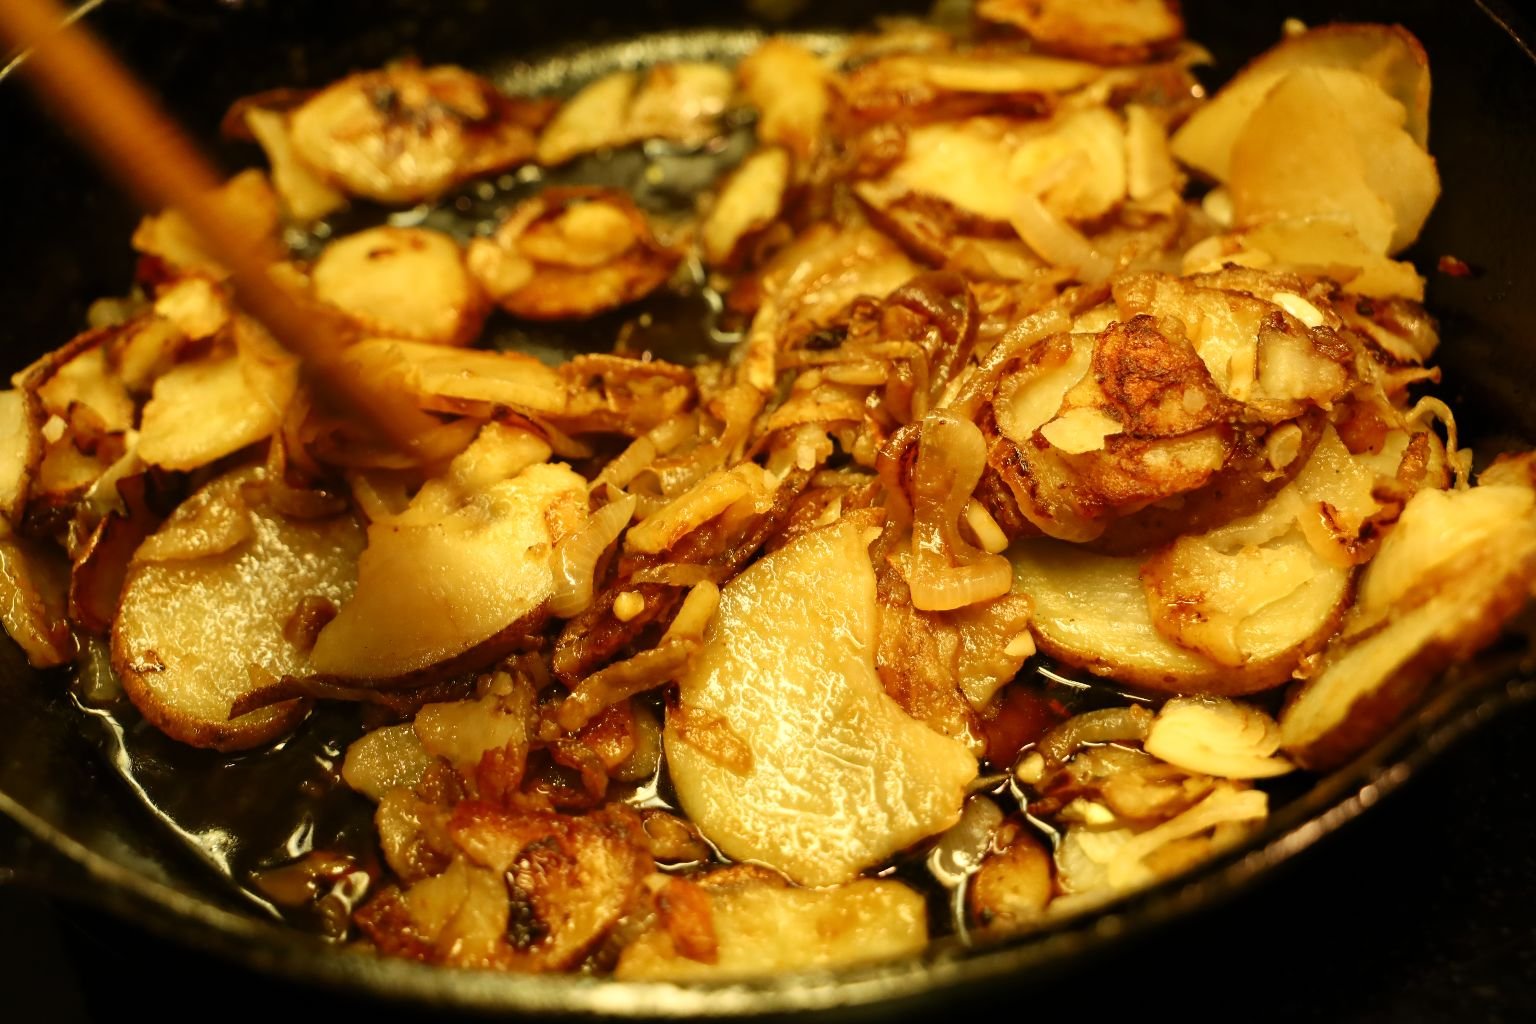
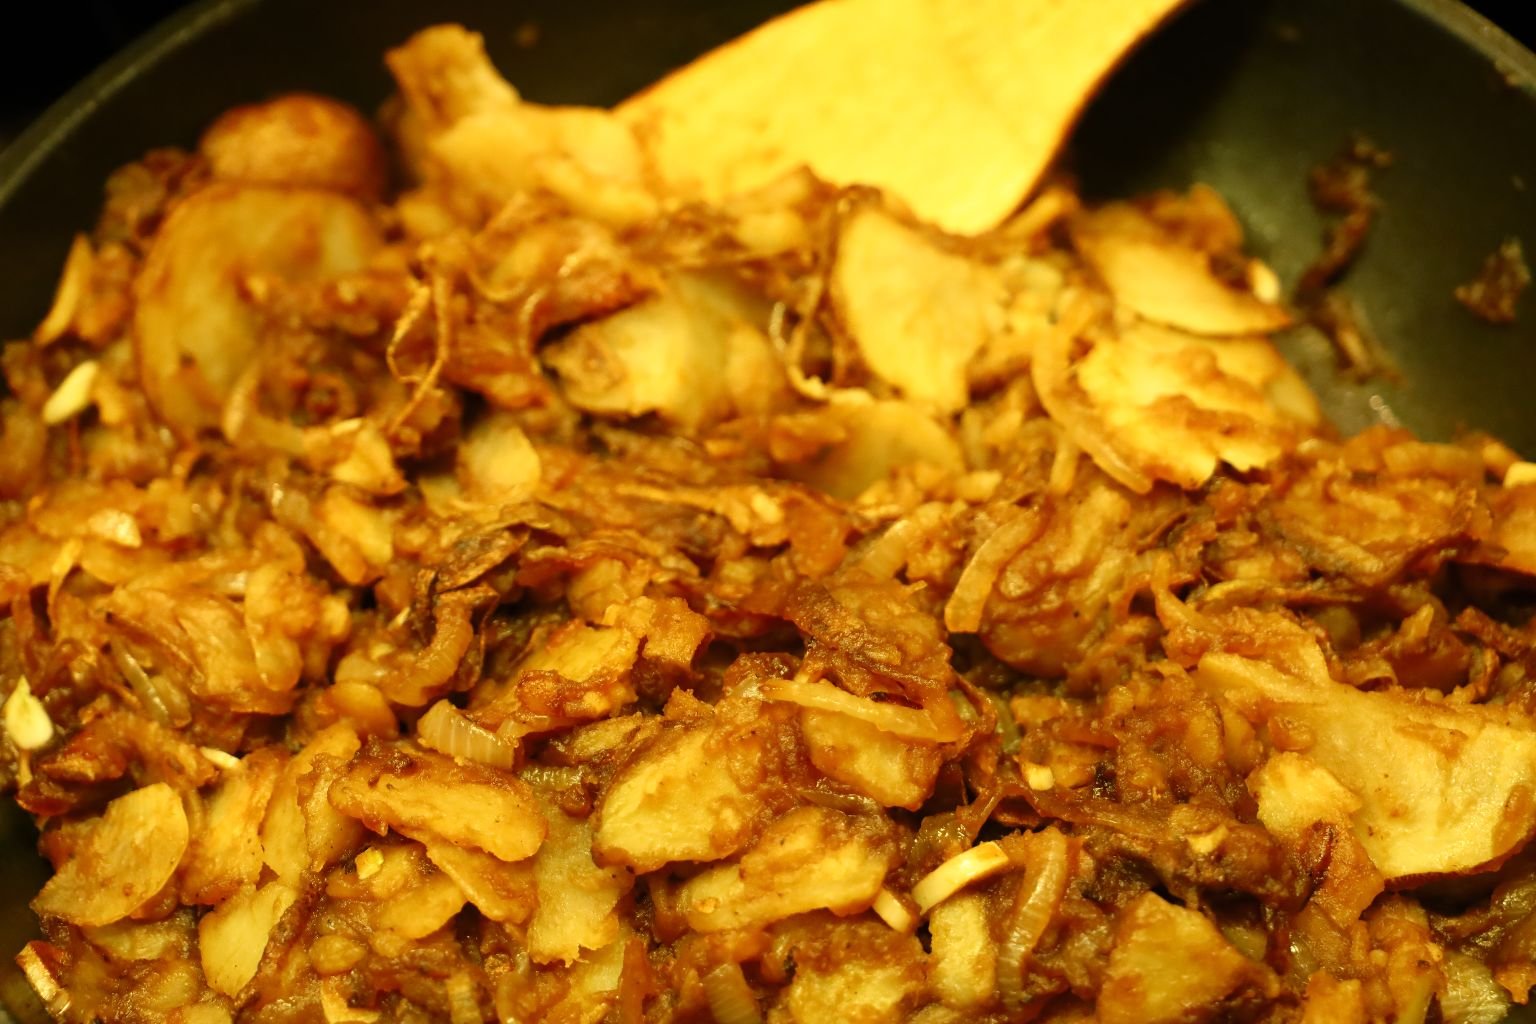
If you would like the recipe:
Click Here For: Gordon’s Hawaiian Potatoes and Huli Huli Pork Chops

——————————————————————-
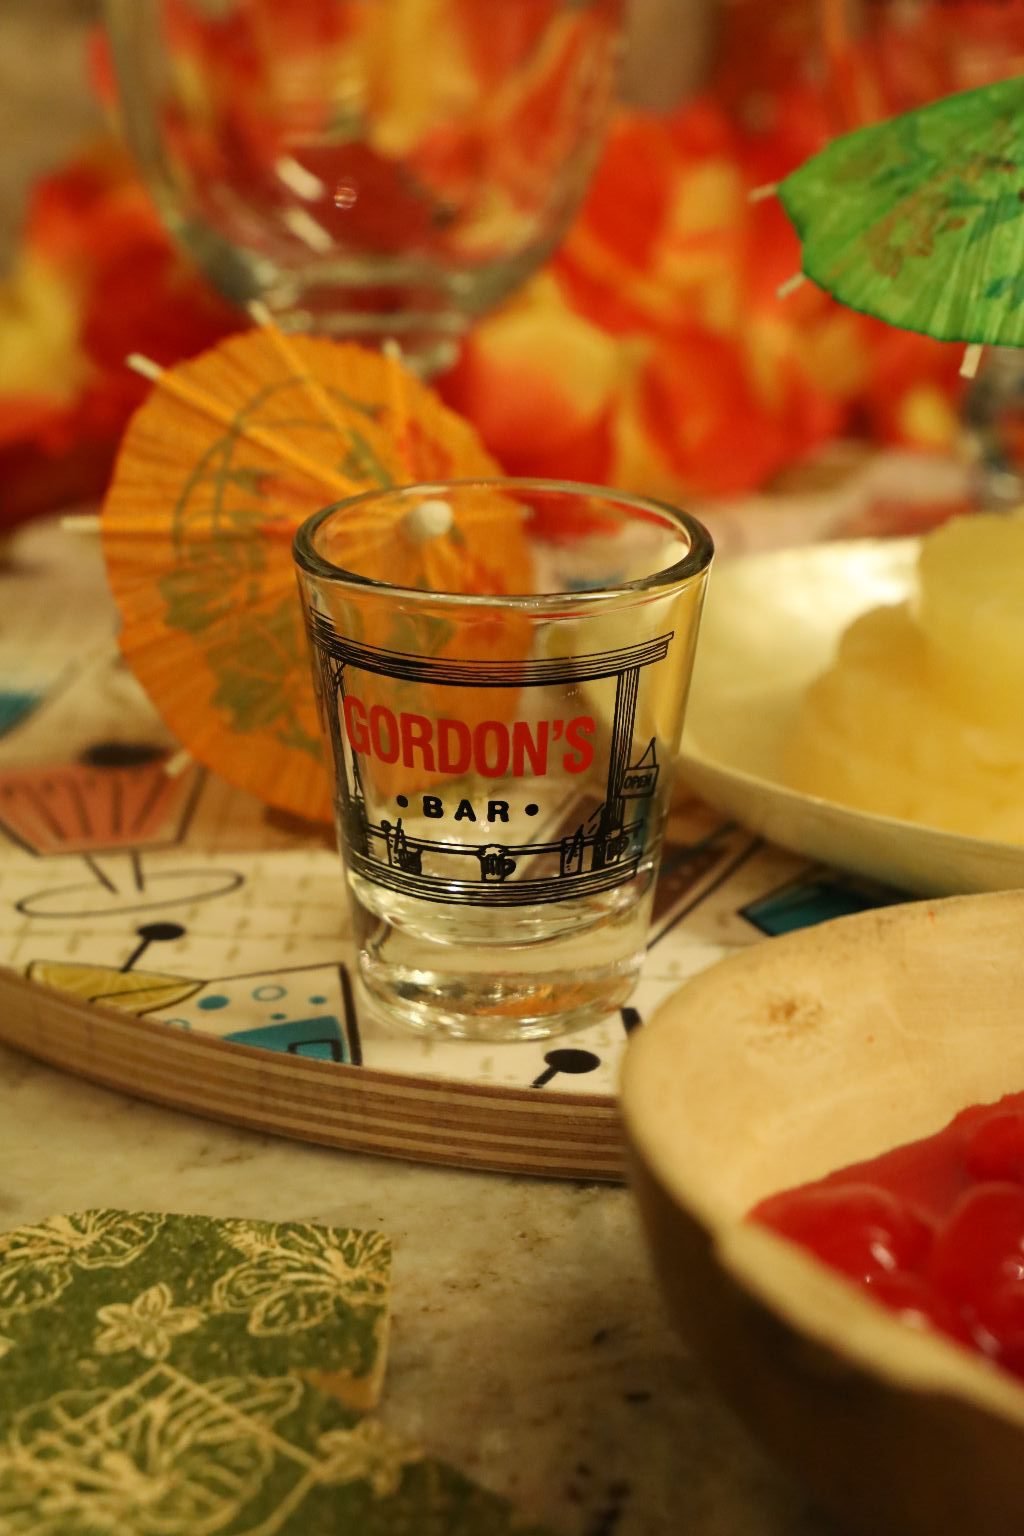
Gordon’s Bar
Honolulu LAVA Rocks!

(Recipe Down Below)
——————————————————————–
Gordon’s Tropical Hawaiian Wings

—————————————————————-


Gordon’s Teriyaki Wings brushed with a Pineapple Glaze and rolled in Toasted Coconut.
(Recipe Down Below)
—————————————————————-
How To Propagate a Pineapple


To grow a pineapple is a really pretty easy process. To start, grasp the top or crown and the bottom of the pineapple and twist off the crown.
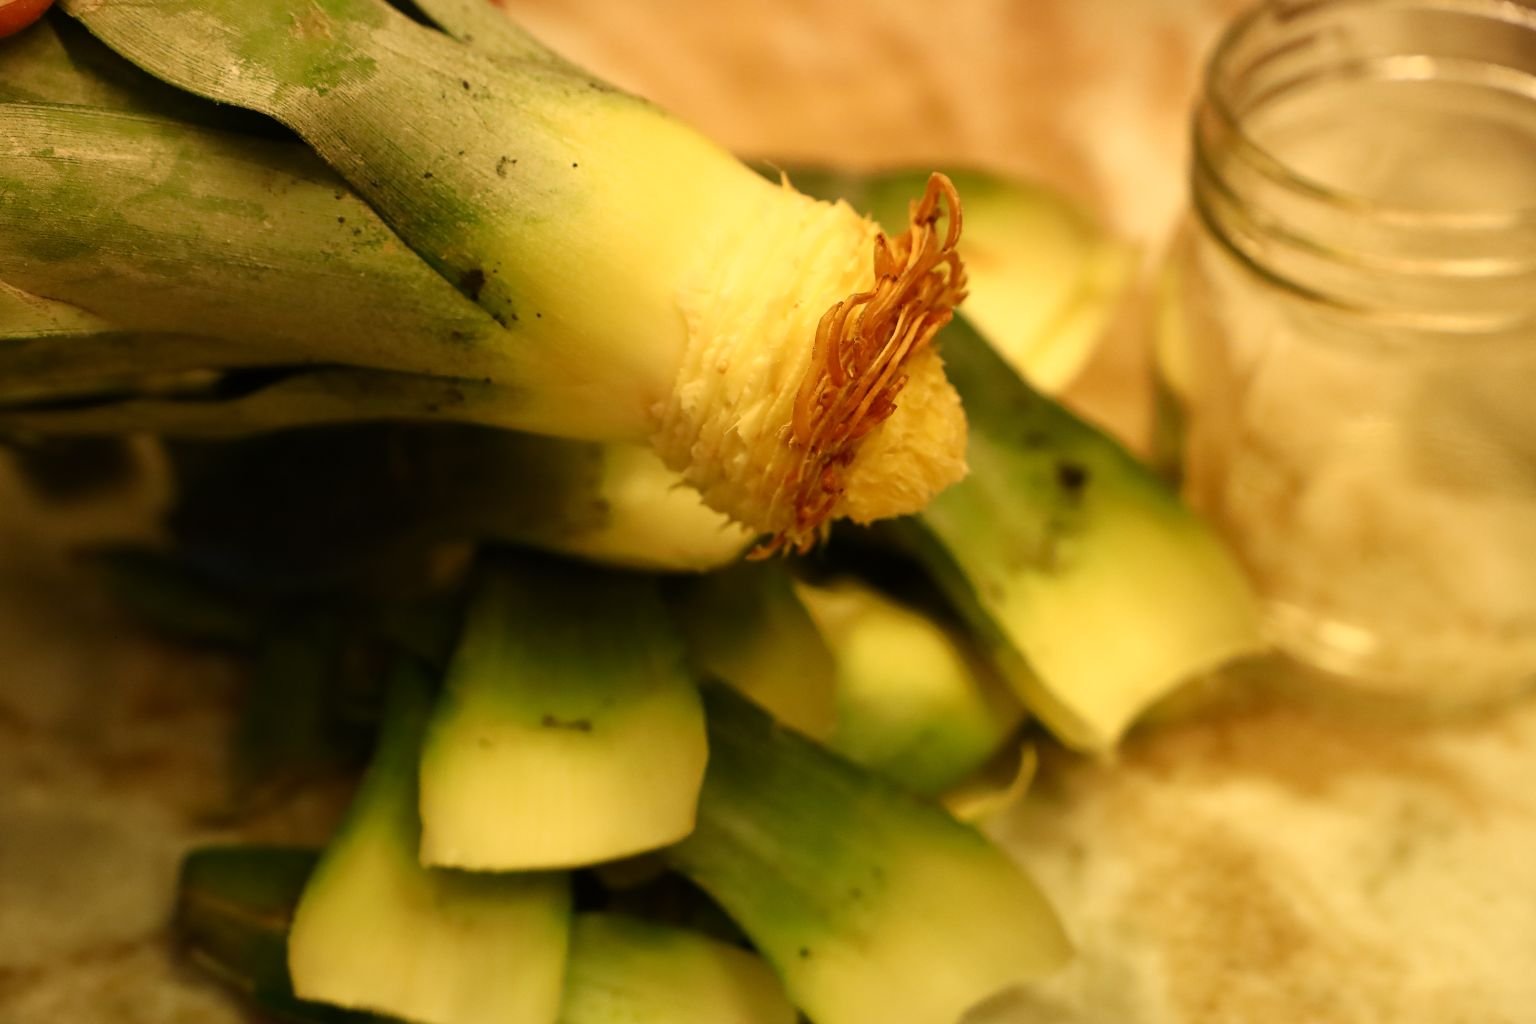
Now, remove about an inch of the leaves surrounding the base of the crown. You may, or may not find roots already growing as either way is fine. Here you can see the brown roots which will make it less time until ready to plant.

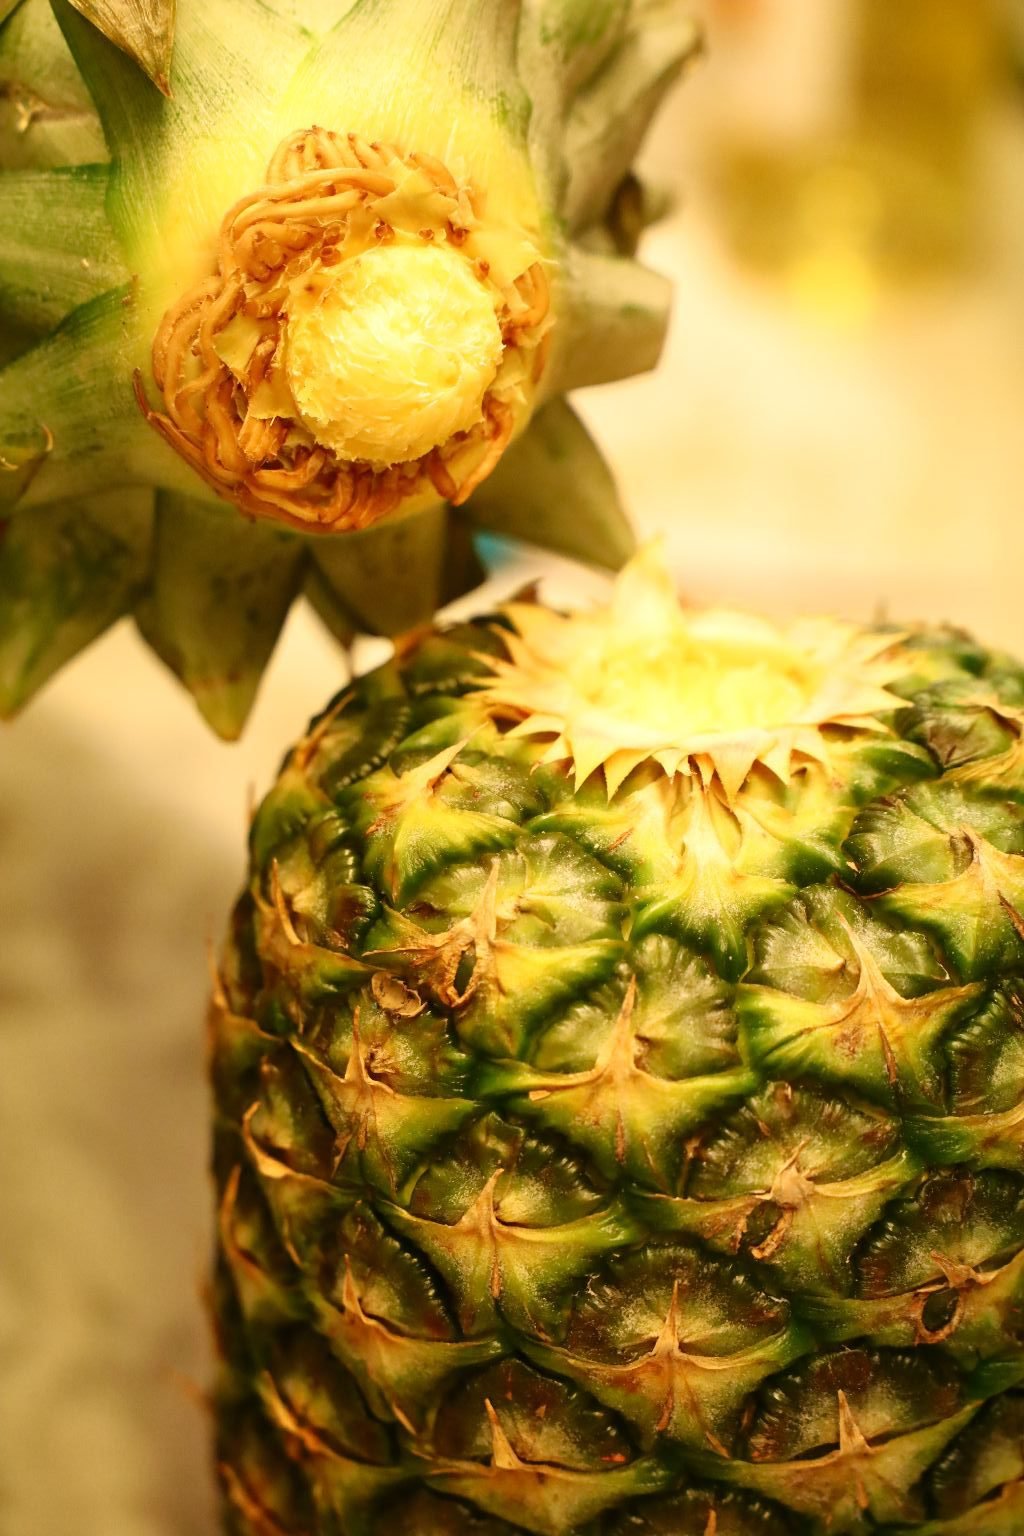
More pictures of the roots. Before you purchase your pineapple, you can peel back the leaves and find one with roots.

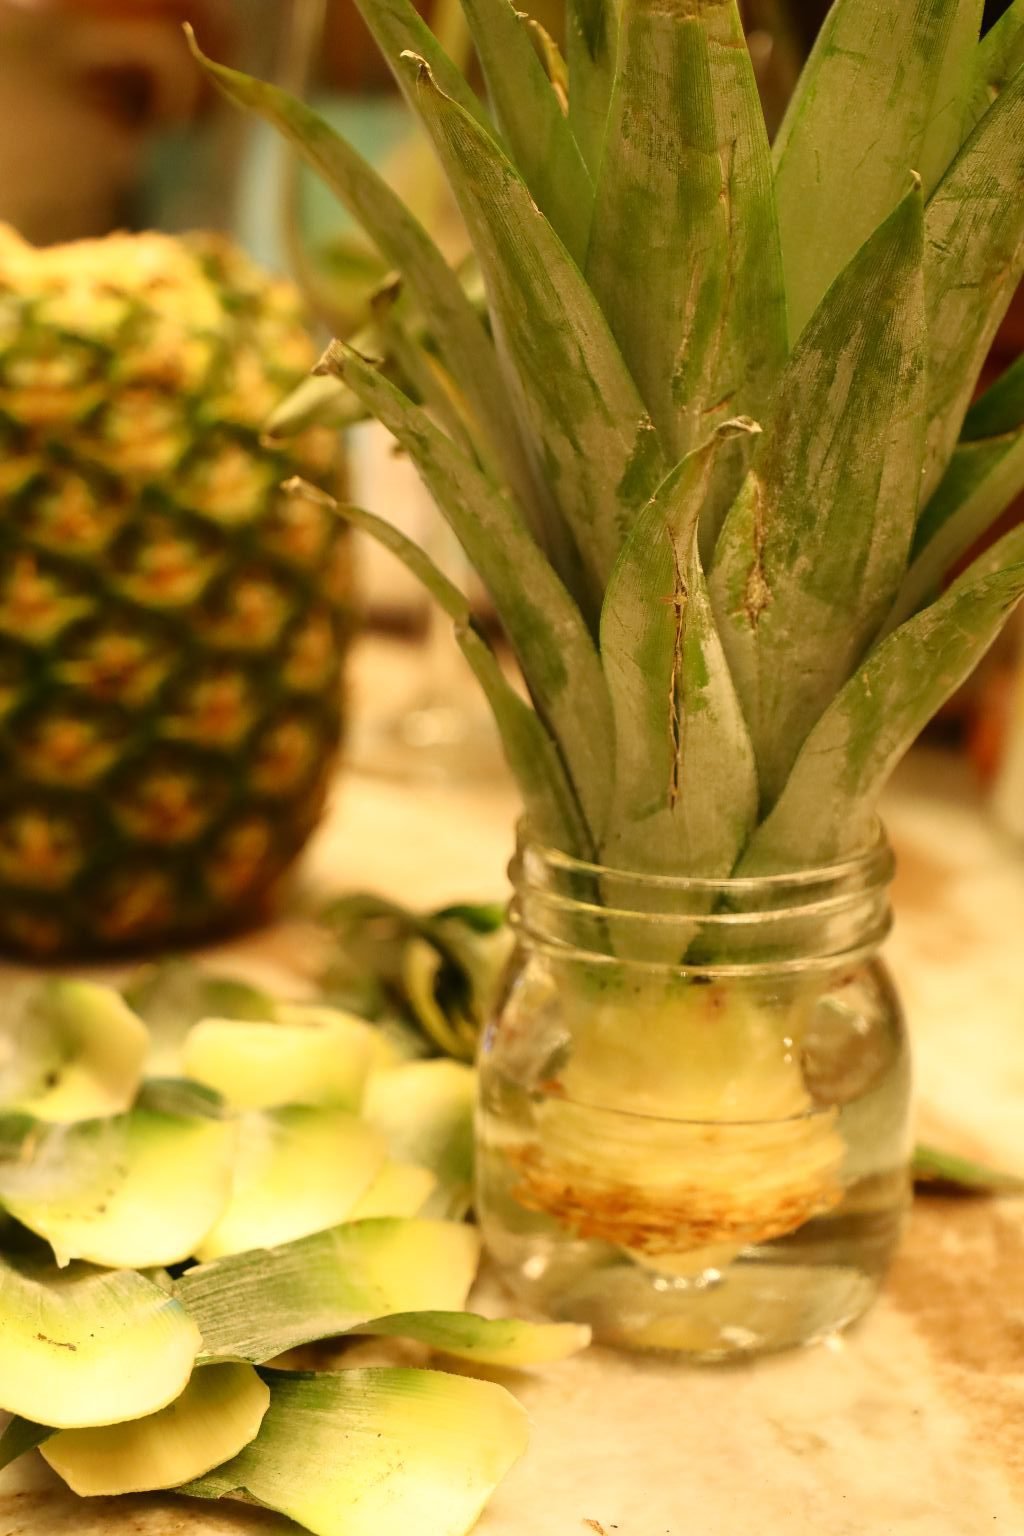
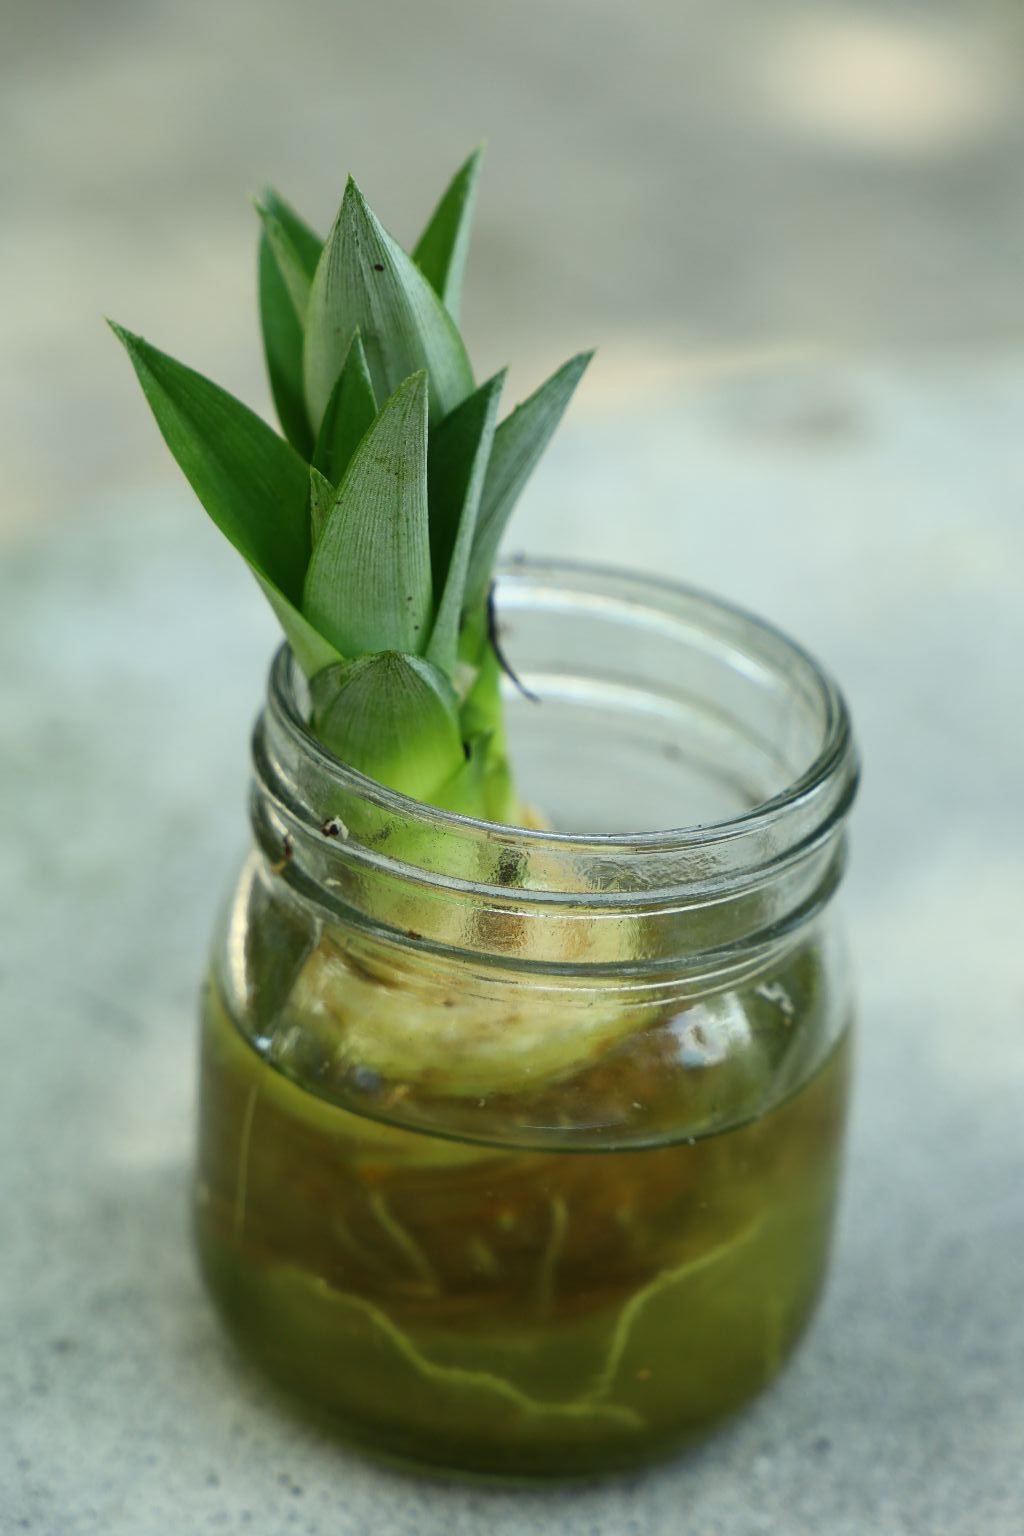
Now, place your pineapple crown into a small jar with enough distilled water to cover the one inch section of peeled back leaves. Use distilled water and not tap water as tab water has chlorine in it, which isn’t the best for starting plants to root.

After just a few days you will see the white roots begin to appear. Change the water when it becomes cloudy. After about two weeks the roots will become more distinctive and about an inch long. Only when you see new green leaves sprouting out of the top of the crown is the pineapple ready to plant. Take a gallon sized pot filled loosely with potting soil and push the small jar into the soil creating a hole for the pineapple. Now, remove your pineapple crown from the jar and carefully pull off all the old leaves as they are dead and not of any use. Lastly, place your pineapple crown into the hole and move the surrounding soil around the plant. Water your pineapple with the distilled water from the jar that it has been in all this time. Place your pineapple in a sunny spot and continue to water the plant every other day or as needed to keep it moist.

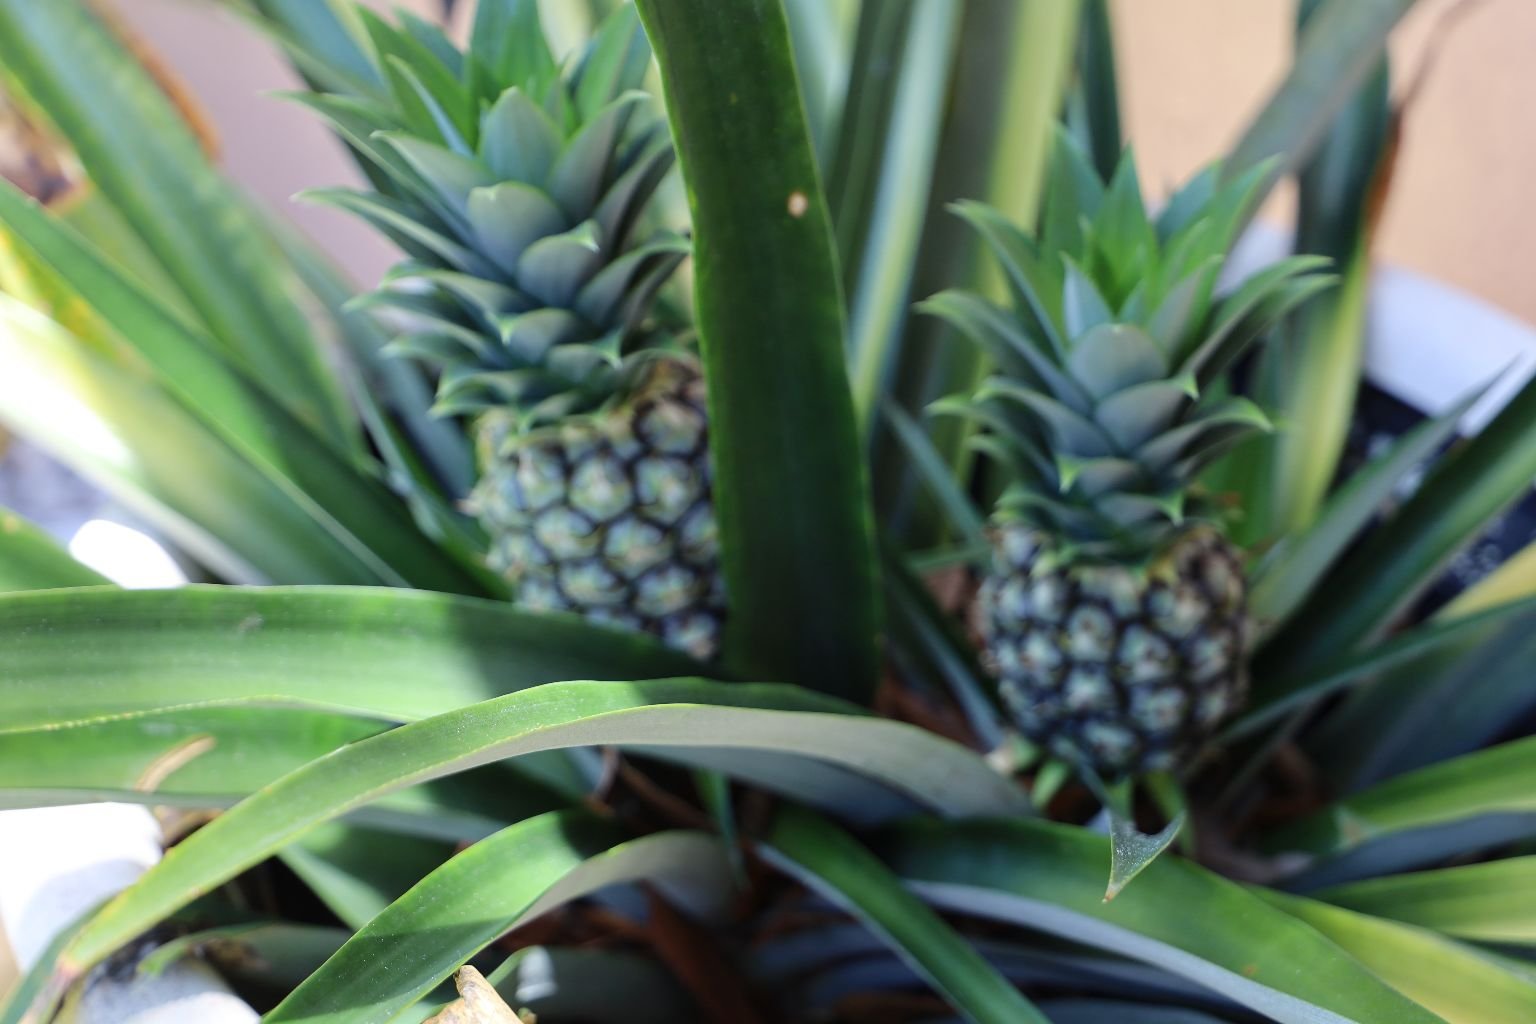
(WE WILL BE BRINGING YOU UPDATES ON OURS A THEY COME IN.)
And Here They Are!


Gordon Planting it into a Pot


We Will Bring It To You As It Progresses
———————————————————-
May 27, 2024
And Here They Are!
The Results 🙂
————————————————————————–
Our Southern Tropical Drink Recipe
Makes 2 Drinks

I Gordon, made this drink as I liked the combination of peach, passion fruit, and pineapple and thought together with some nice Rums would make a great summer drink! The Peach Flavored Skinny Syrup gives it the Southern taste, and the hint of cherry, really brings all the flavors profiles together.
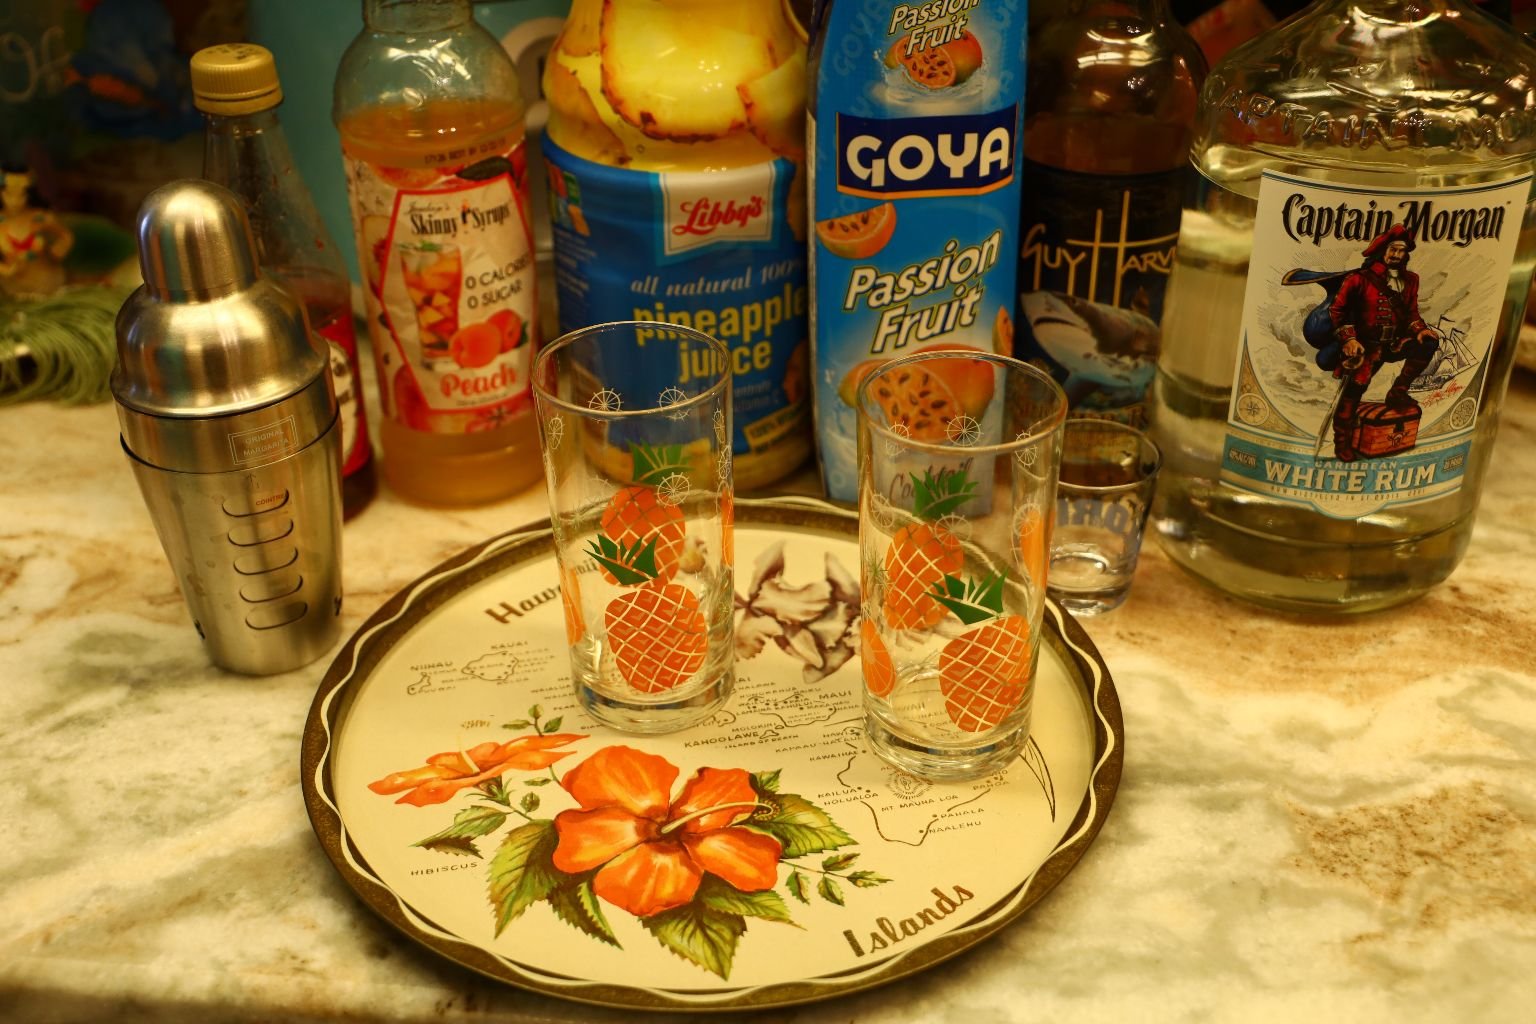
The Ingredients:
2 Tbsp. Grenadine Syrup
2 Shots Guy Harvey Spiced Rum
2 Shots Captain Morgan White Rum
½ Cup Peach Flavored Skinny Syrup
1 Cup Pineapple Juice
1 Cup Passion Fruit
1 Cup Ice
——————————————————————-

Place all the ingredients into a shaker and seal tightly. Shake the mix for about 30 seconds or until the container is very chilled and hard to hold. Pour into your glasses and enjoy!
—————————————————————
Memorial Day 2021
Sometimes people confuse Memorial Day in May, and Veteran’s Day in November. Memorial Day is about honoring those in the military that died while defending our country. Veteran’s Day, November 11th., is about honoring our living veteran’s.
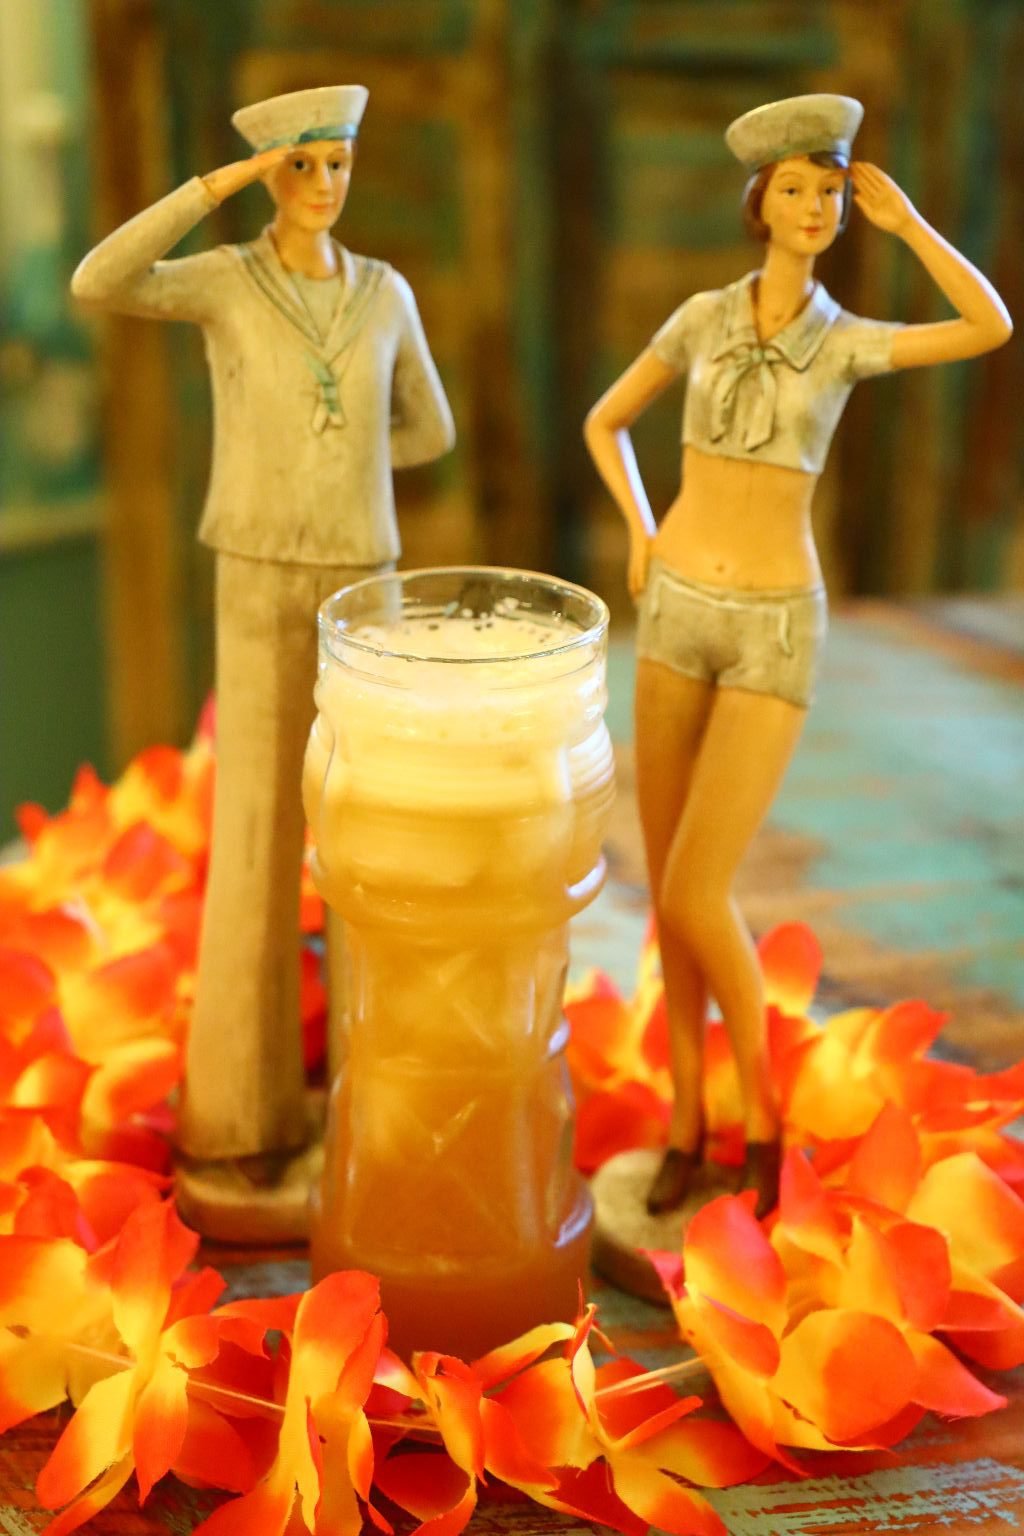
Navy Grog
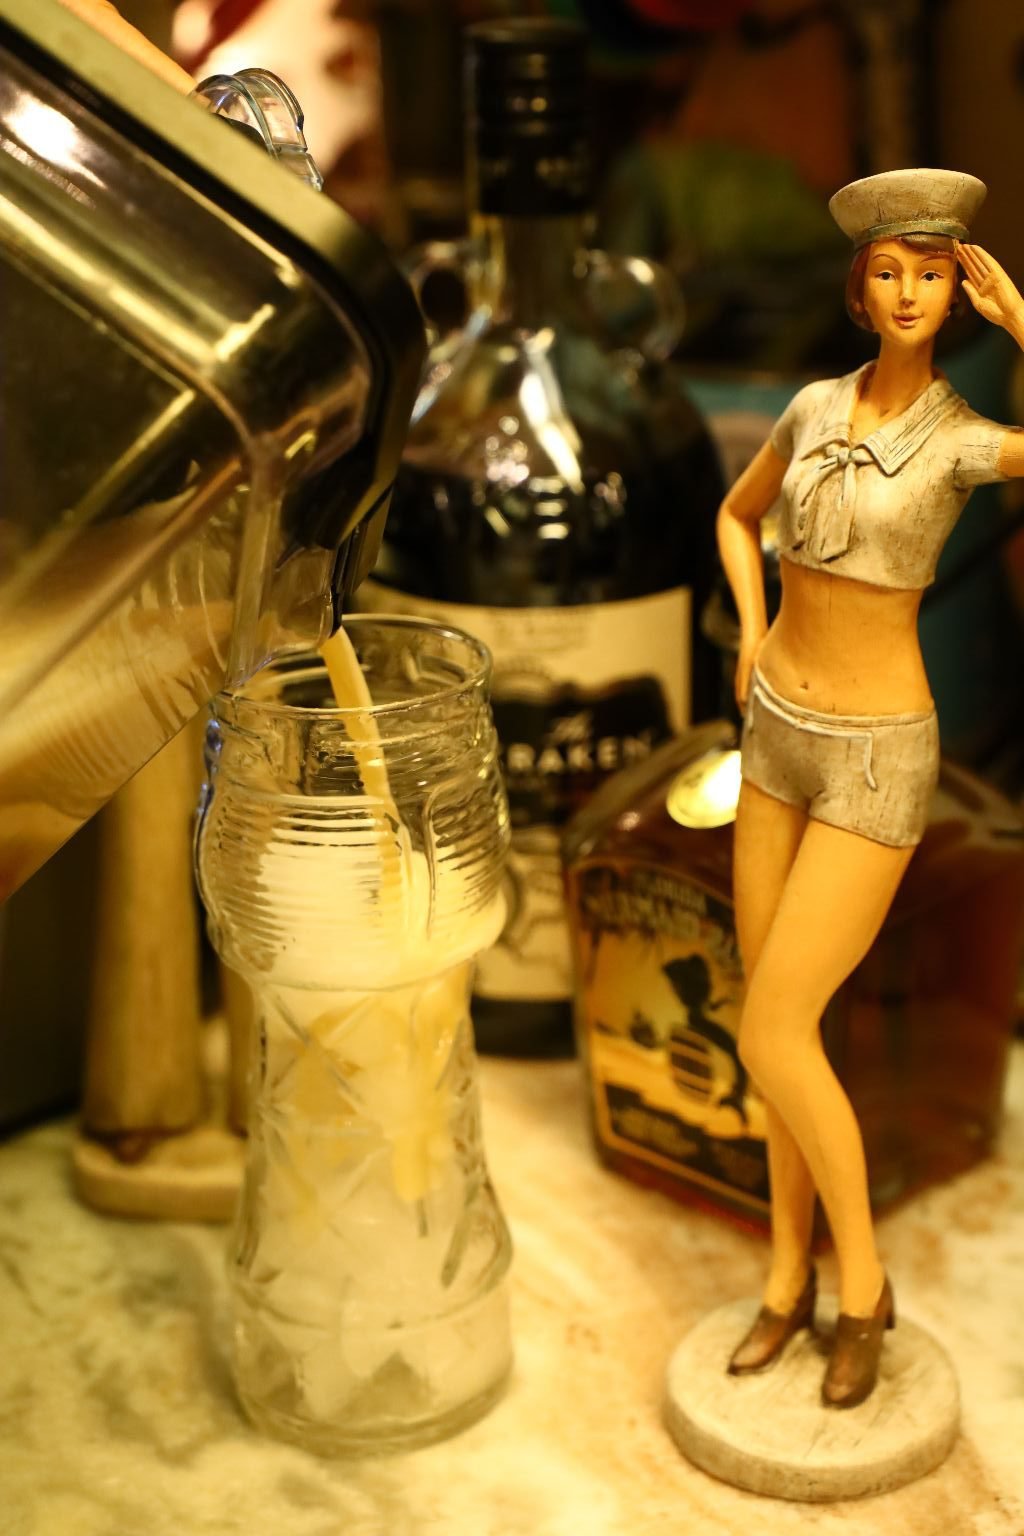
I like using a variety of Rums and mixing it with some fruit juices mainly from Hawaii.
(Write up by Gordon)
Our Navy Grog Recipe:
2 shots Pineapple Juice
1 shot Passion Fruit Nectar
1/2 shot Lemon Juice
2 Tbsp. Honey
1/2 Tbsp. Sugar
2 shots The Kraken Black Spiced Rum
2 shots Florida Mermaid Rum
Mix all the ingredients together in a shaker with a touch of ice and shake until well mixed. Pour the Grog into a tall glass filled with ice and enjoy!
————————————————————–


Gordon is a retired Navy Chief. We spent the majority (13 years) of his 20 year career in Hawaii. So, when it came to creating a Memorial Day feast we chose a Hawaiian one. We pretty much just threw all of this together and made it up as we went along and had a blast doing so. 🙂 Besides, honoring those that died in Pearl Harbor was what our little feast was created from.
——————————————————–
Hawaiian Tray Bakes
(2021)
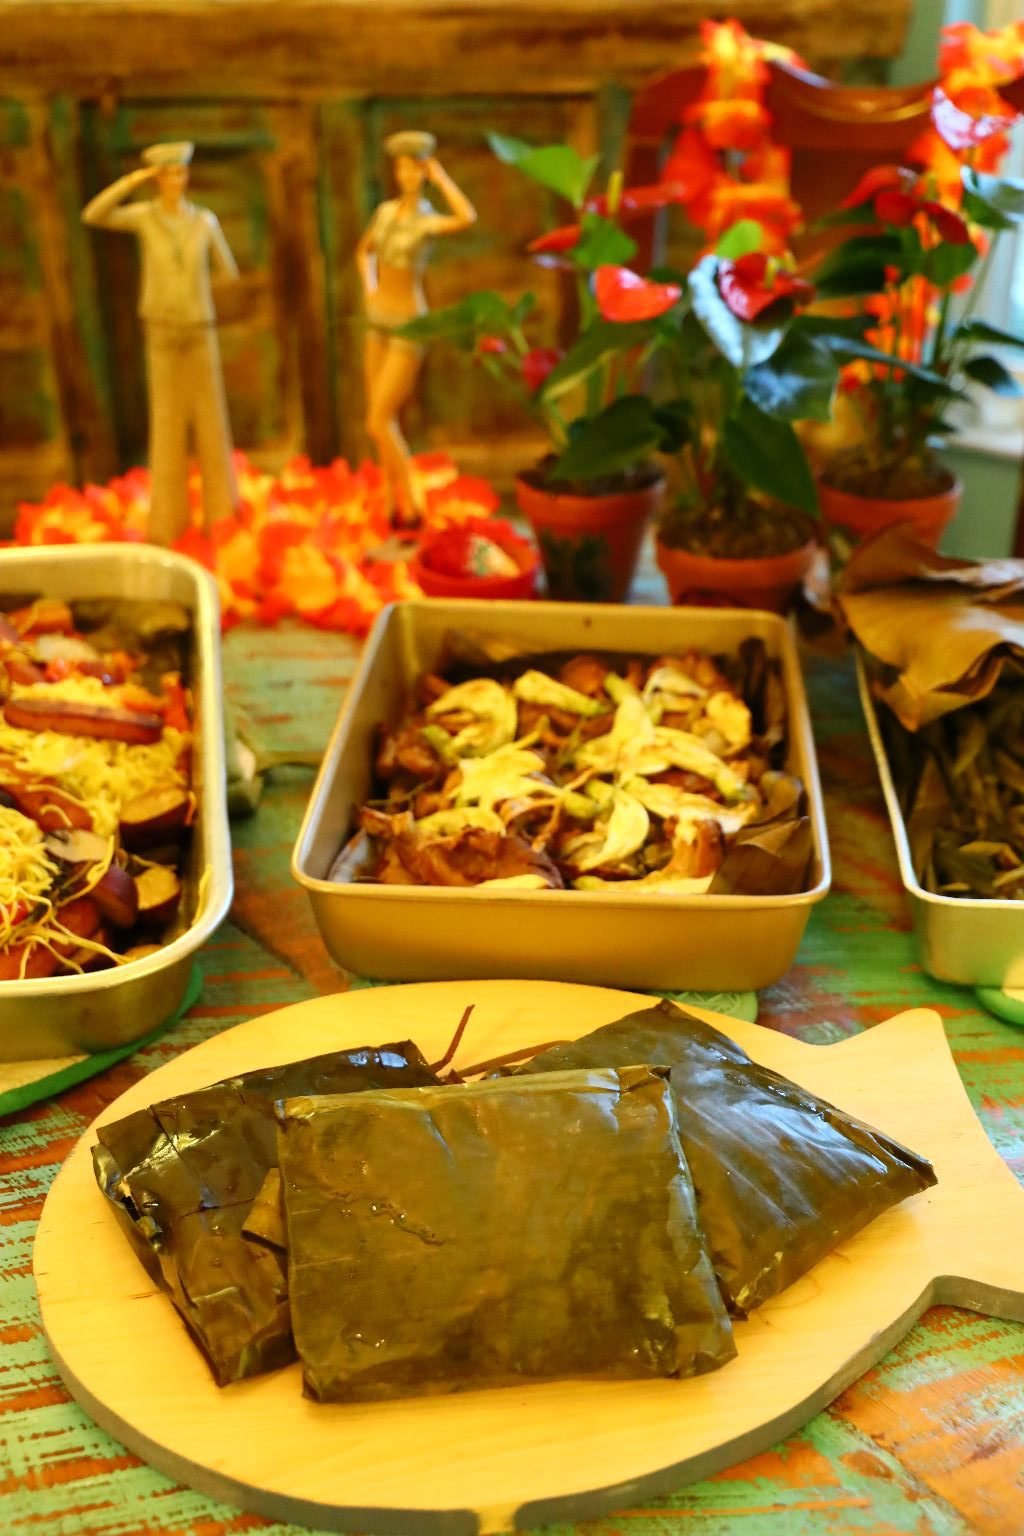

Mahi-Mahi Wrapped in Banana Leaves with Chinese Long Beans
Our Whann Way Hawaiian Traybake
Our Haole Traybake
(Haole is the Hawaiian word for white person. It’s original meaning was to identify a foreigner, although it now just means a caucasian. Sometimes the word haole is used as being offensive, and sometimes it is just used as a description. For example, I was described as being my local friend Cathy’s “haole friend.” Kind of the same way we may describe someone as being our daughter’s “Asian friend.)”
Although to be perfectly honest it really is ridiculous for us to use those terms anyway. A friend should be a friend no matter what color or culture they belong to.

Our ONO Hawaiian Tray Bakes
(Ono Means Delicious in Hawaiian.)

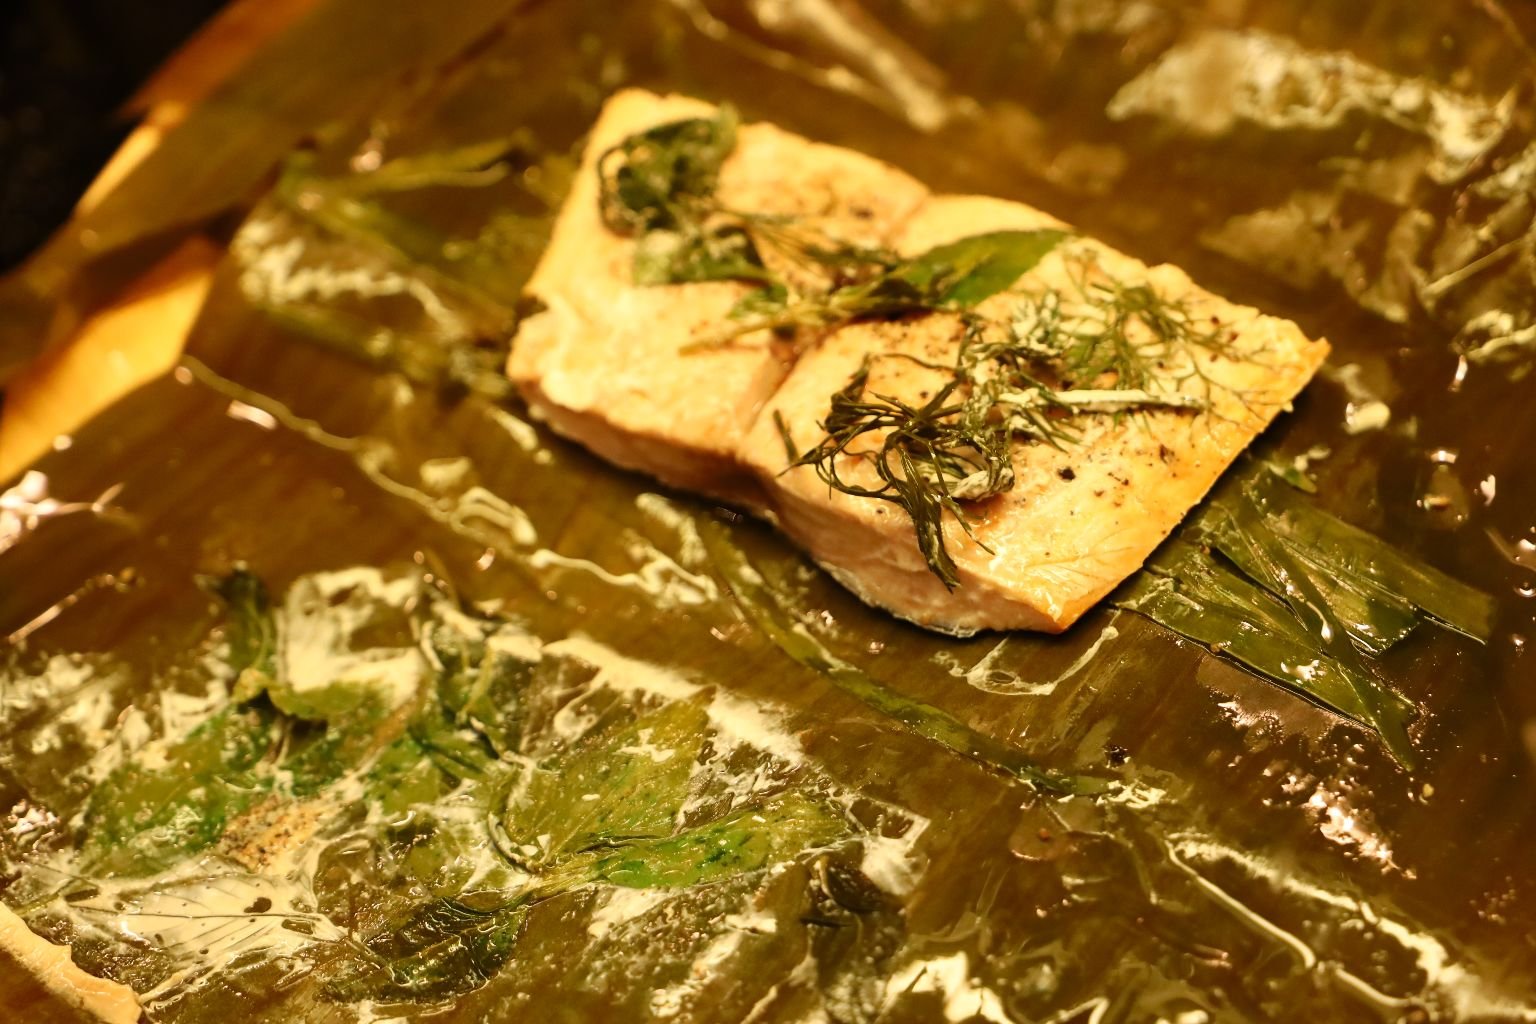
Mahi-Mahi wrapped in our home grown herbs and banana leaves.
When Done…

AI IHO!
(Eat up!)


Gordon and Julie’s Dinner Plates
——————————————————-

Our Leftovers From Memorial Day
(Recipes down below.)
———————————————————
Grilled Pineapple Pizza
Gordon has loved a Pineapple Pizza ever since we were living in Hawaii and he discovered it at a take-out restaurant. This was in the late 1980’s. Ever since then, it is his go-to pizza.
I can take it or leave it. Most of the time, I leave it. 🙂

Gordon’s Pineapple Pizza Ready for the Grill

——————————————————————-

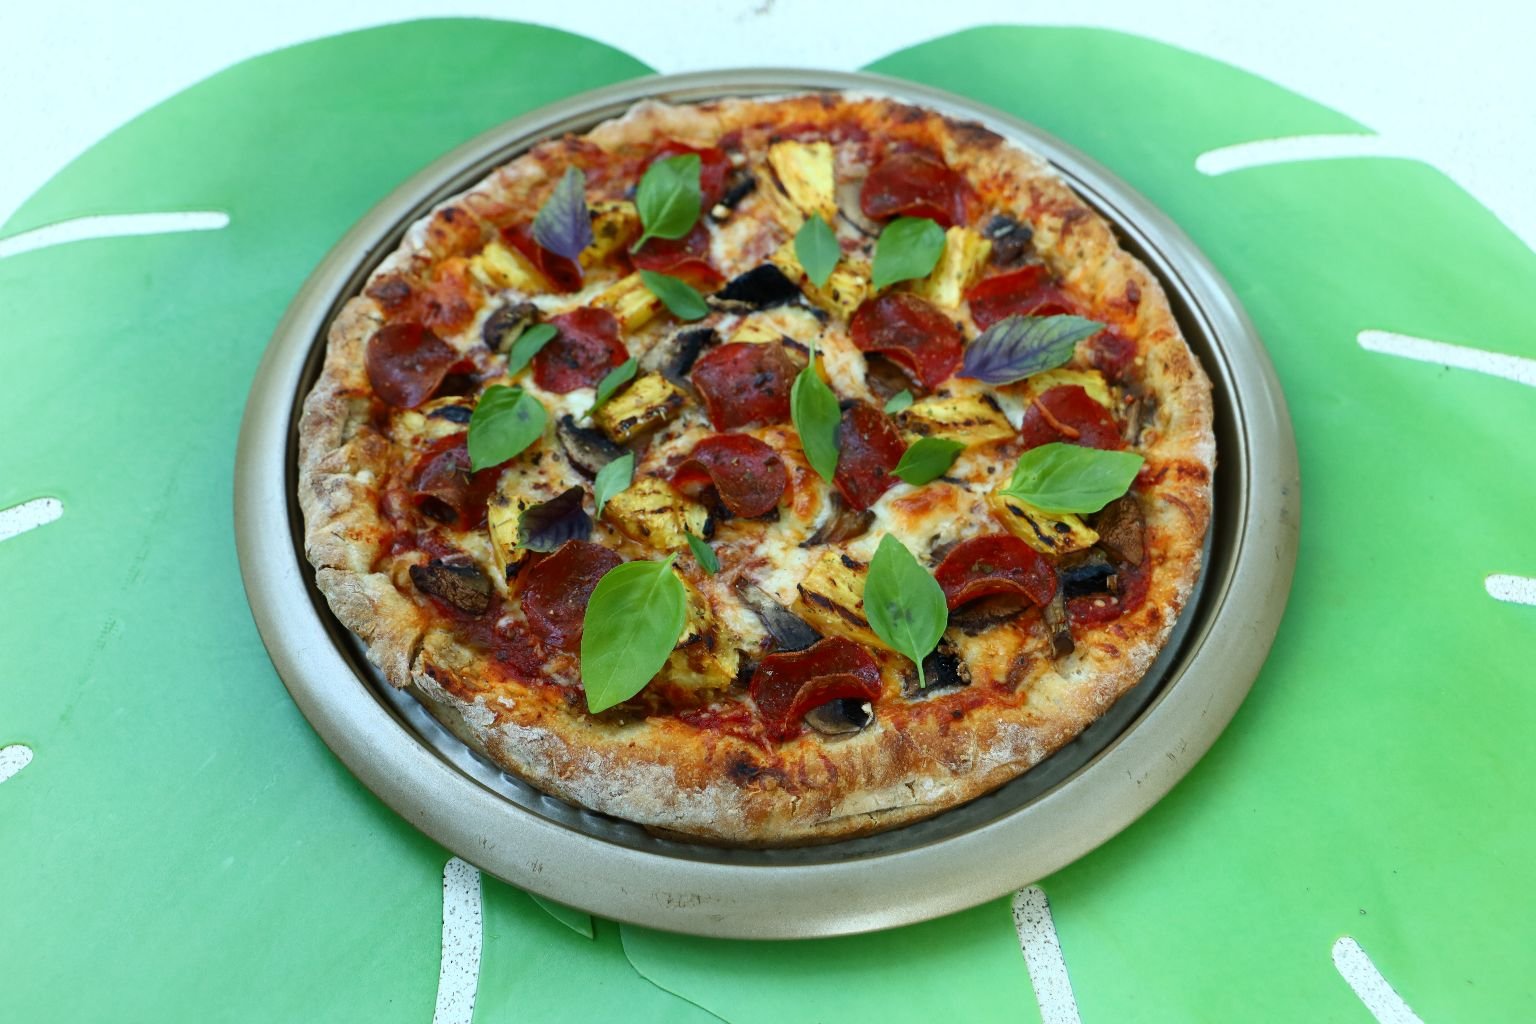
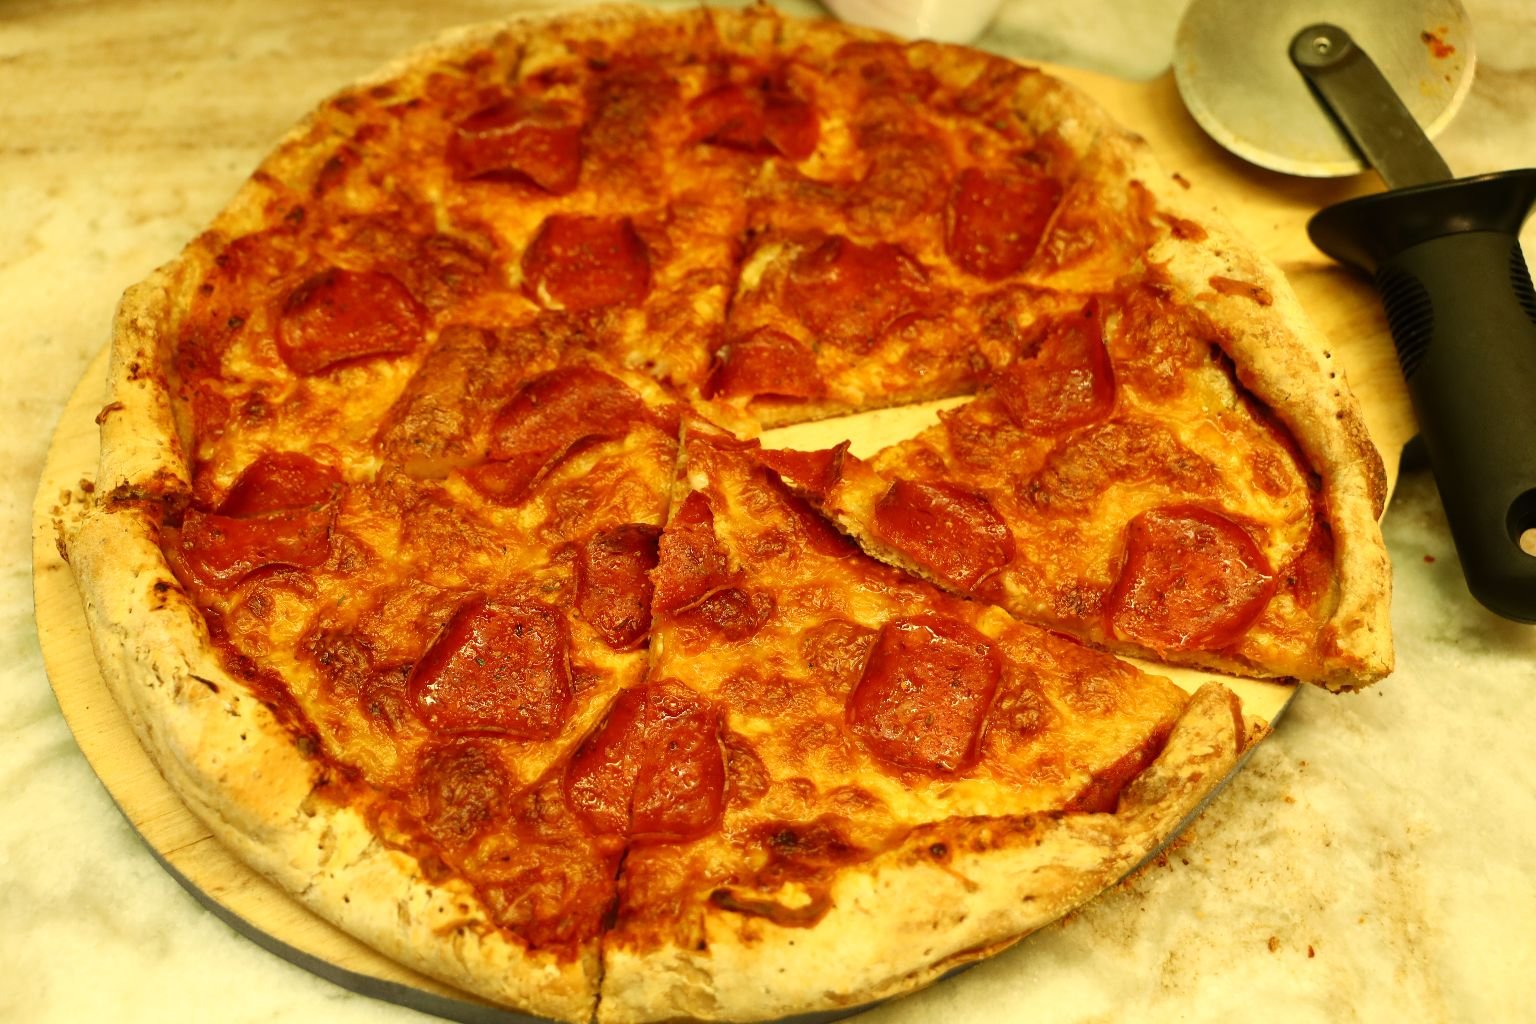
Off the Grill, Topped with Herbs, Ready to Devour


To the Left, and Bottom of the Photo, Right, is MY Pizza!
Just a Simple Pepperoni. And that is fine by ME!

Ready to Devour MY Pizza!
————————————————————-
Grilling The Pineapple
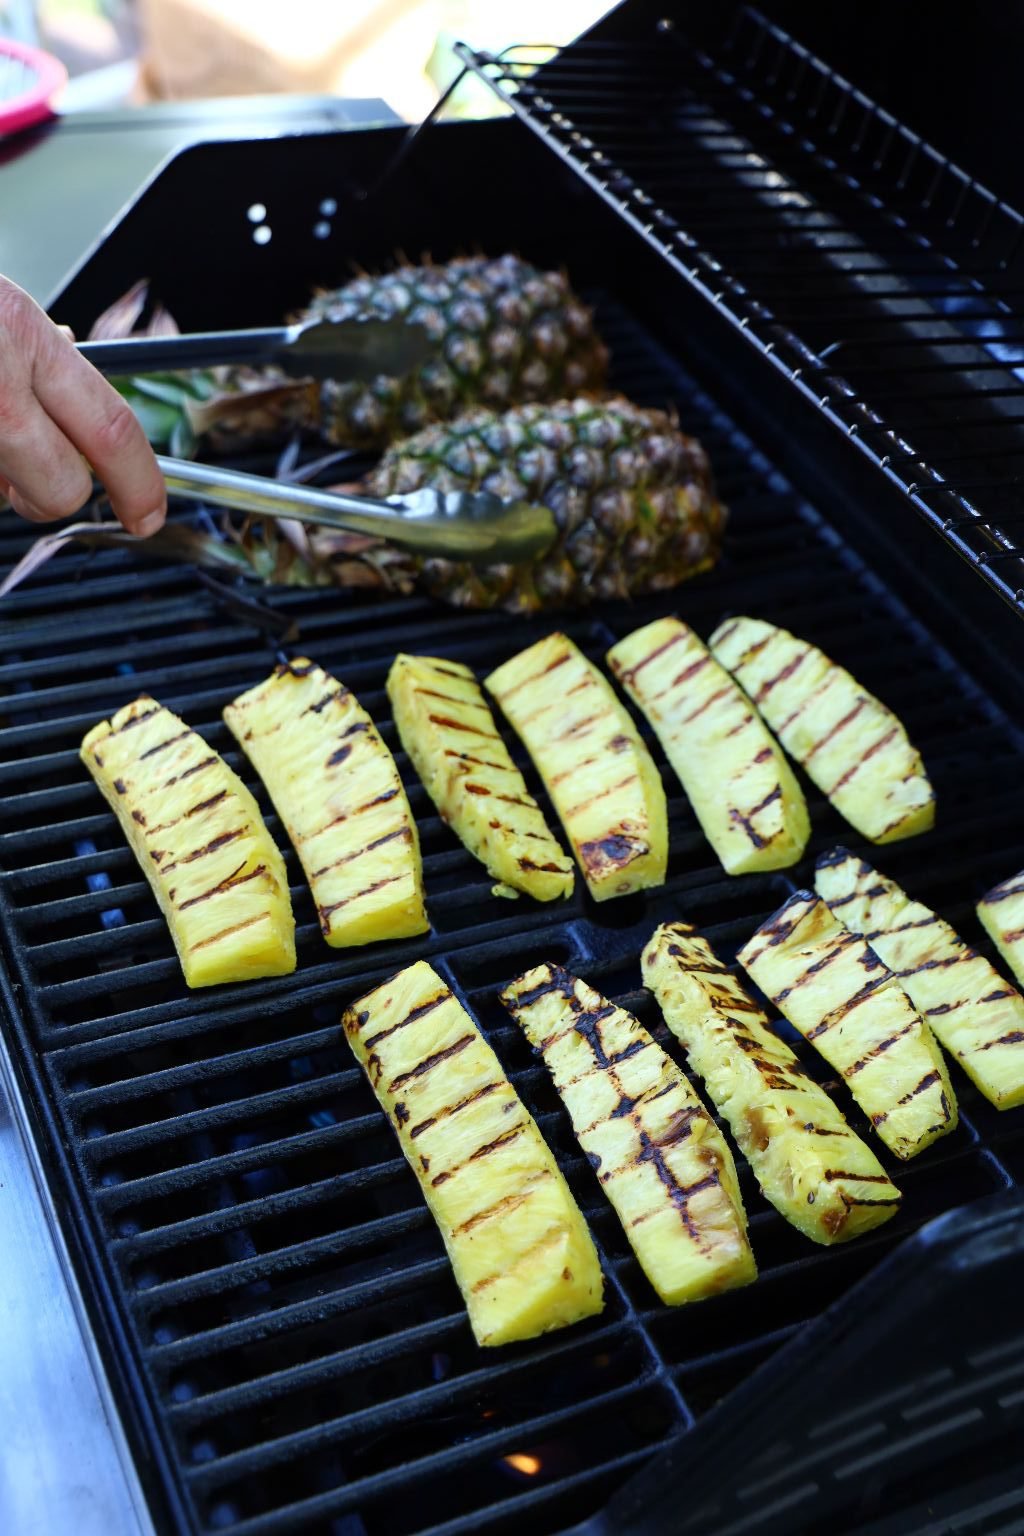

Grilling the Pineapple Brings out the Sweetness

Delicious Eaten Just As Is!
————————————————————–

Pretty Spooky Break 🙂
——————————————————————
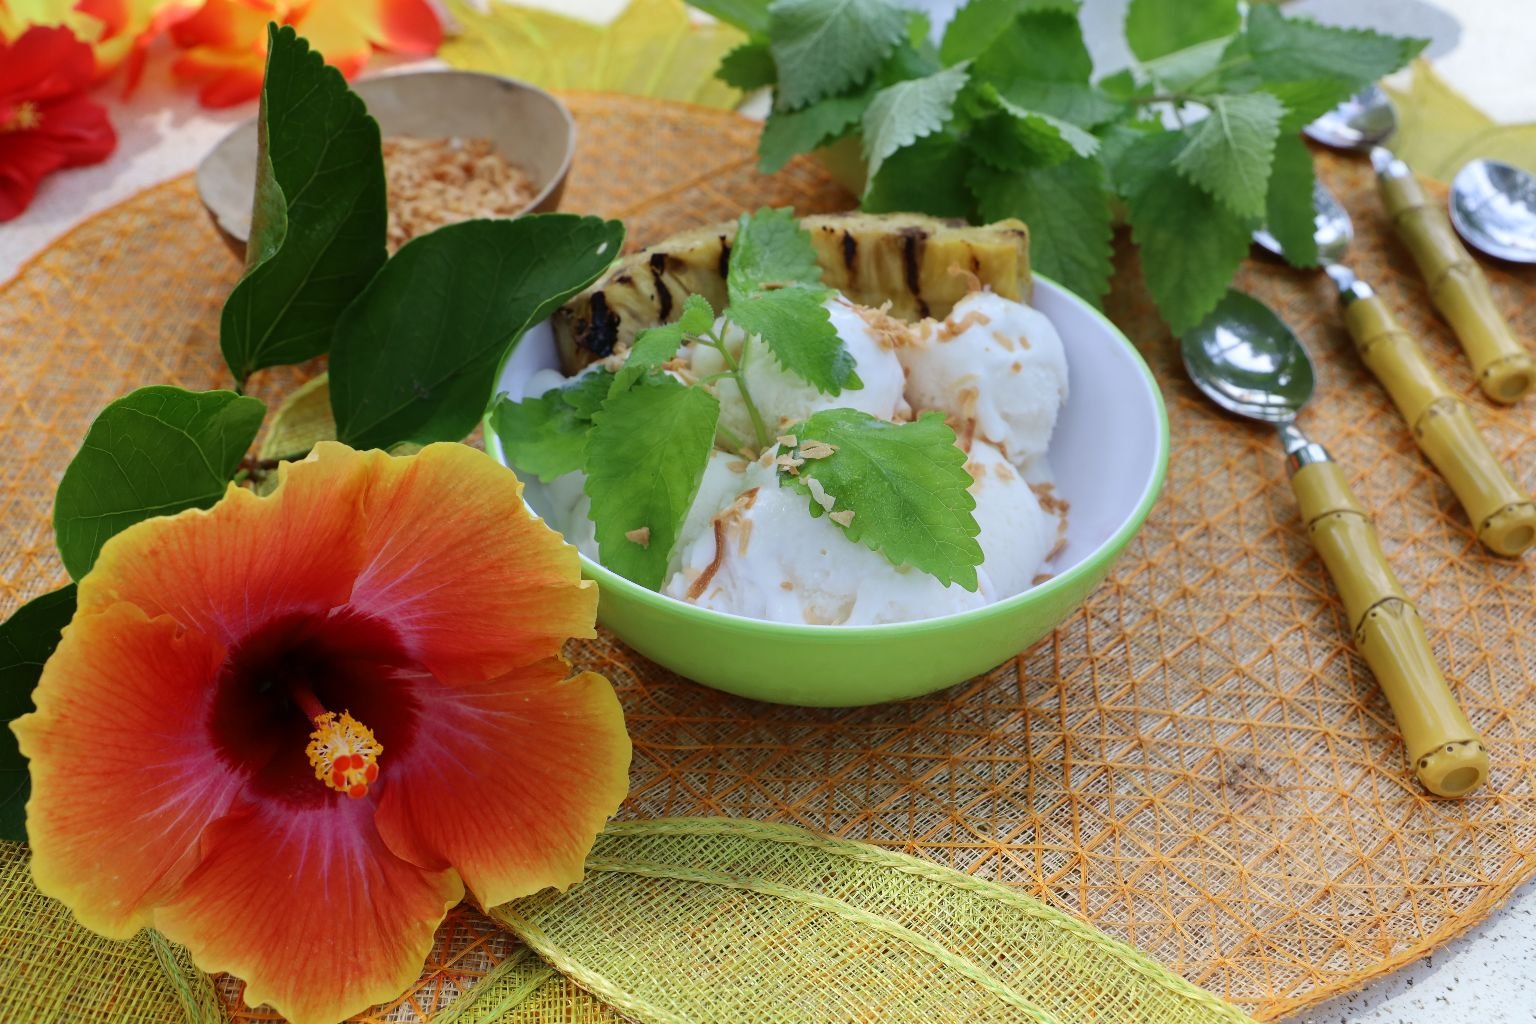
Here We Ate Grilled Pineapple with Coconut Ice Cream,
and Toasted Coconut
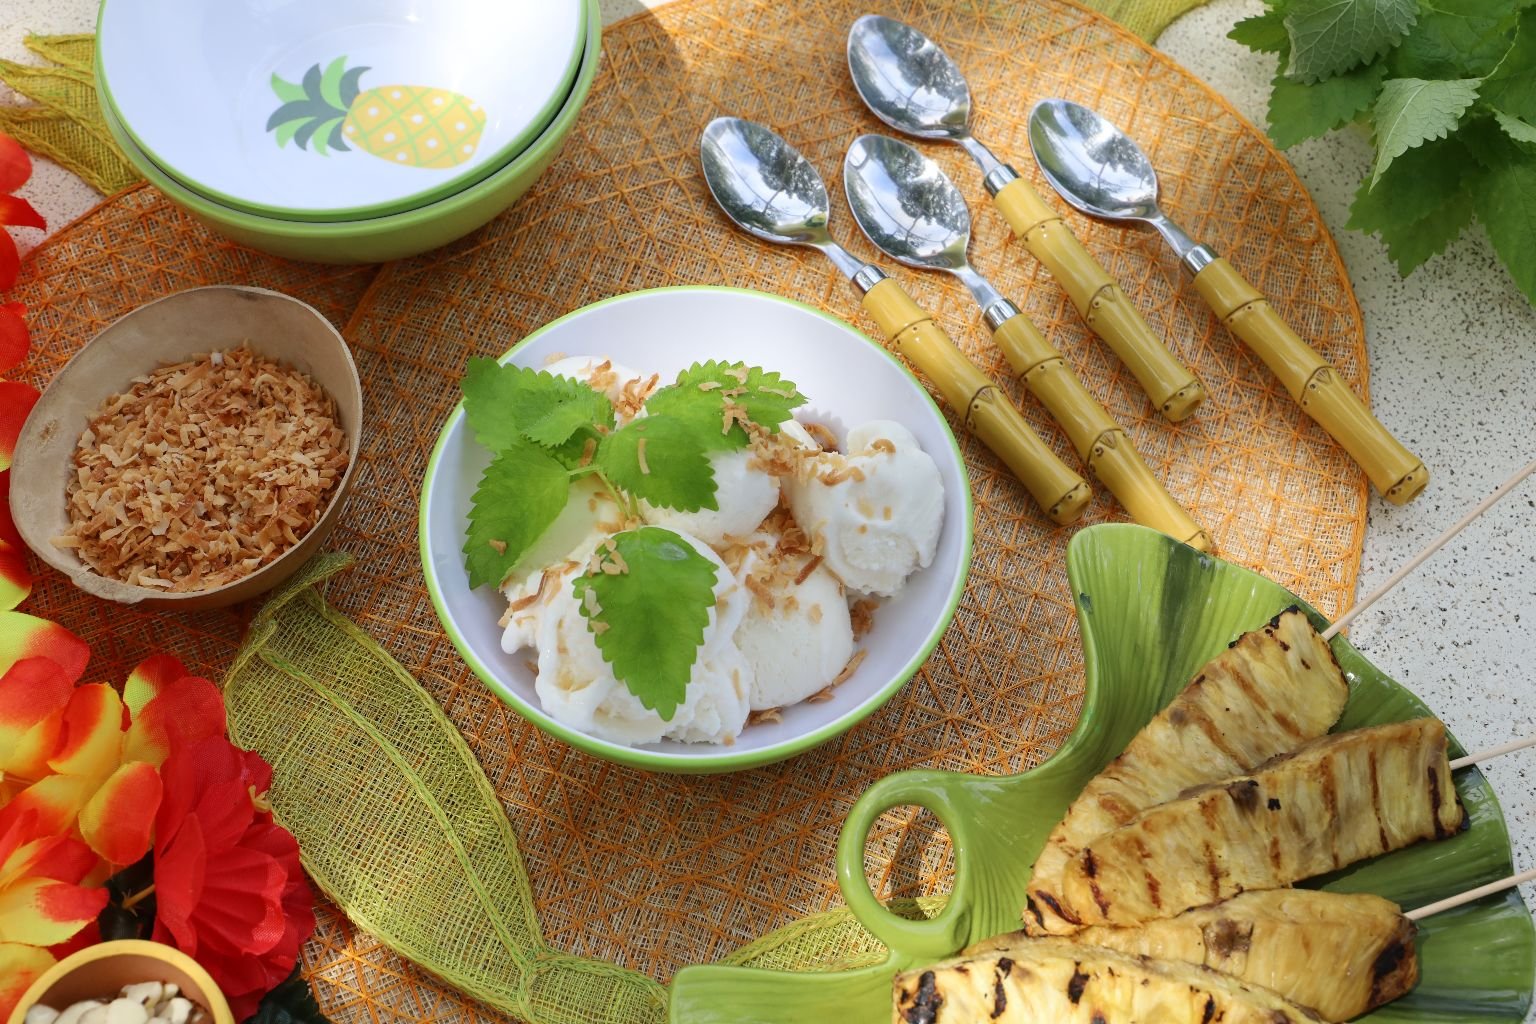
Also, Grilled Pineapple on Skewers
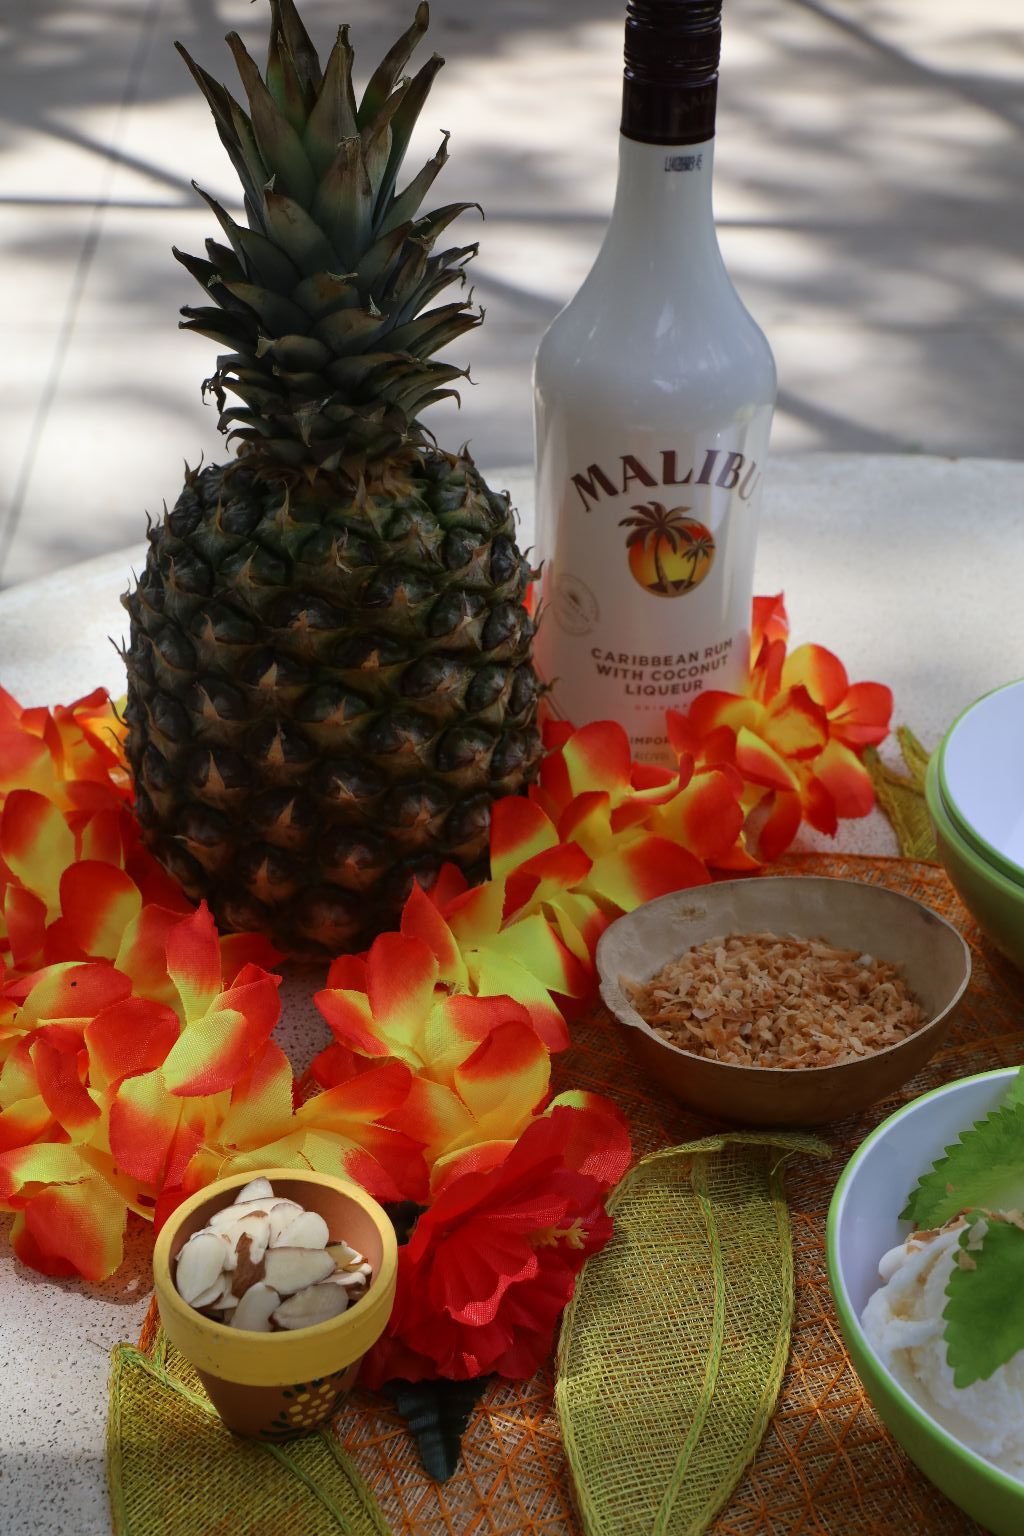

A Bit of Coconut Malibu Rum over top the Ice Cream
———————————————————————-
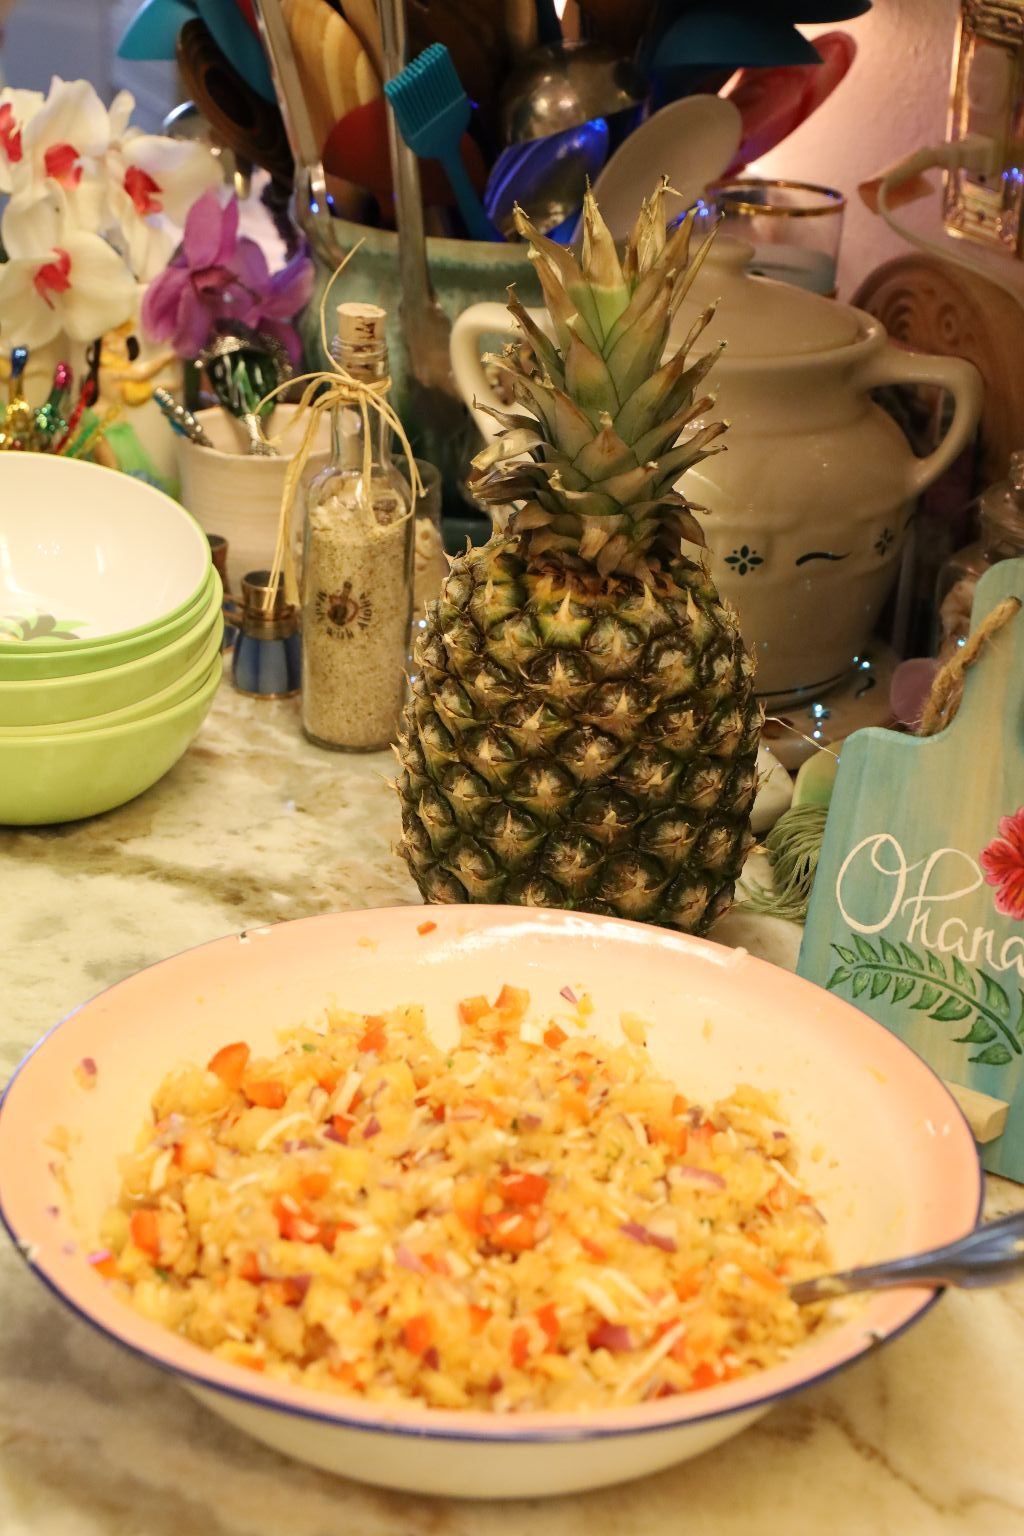
Pineapple Relish

This recipe was given to us many years ago by my Mother-In-Law. I have no Earthly idea where she got it from, but she was a fountain of knowledge when it came to recipes. She has collected them most of her life. From family, friends, acquaintance’s, cookbooks, travels, newspapers, magazines, etc.
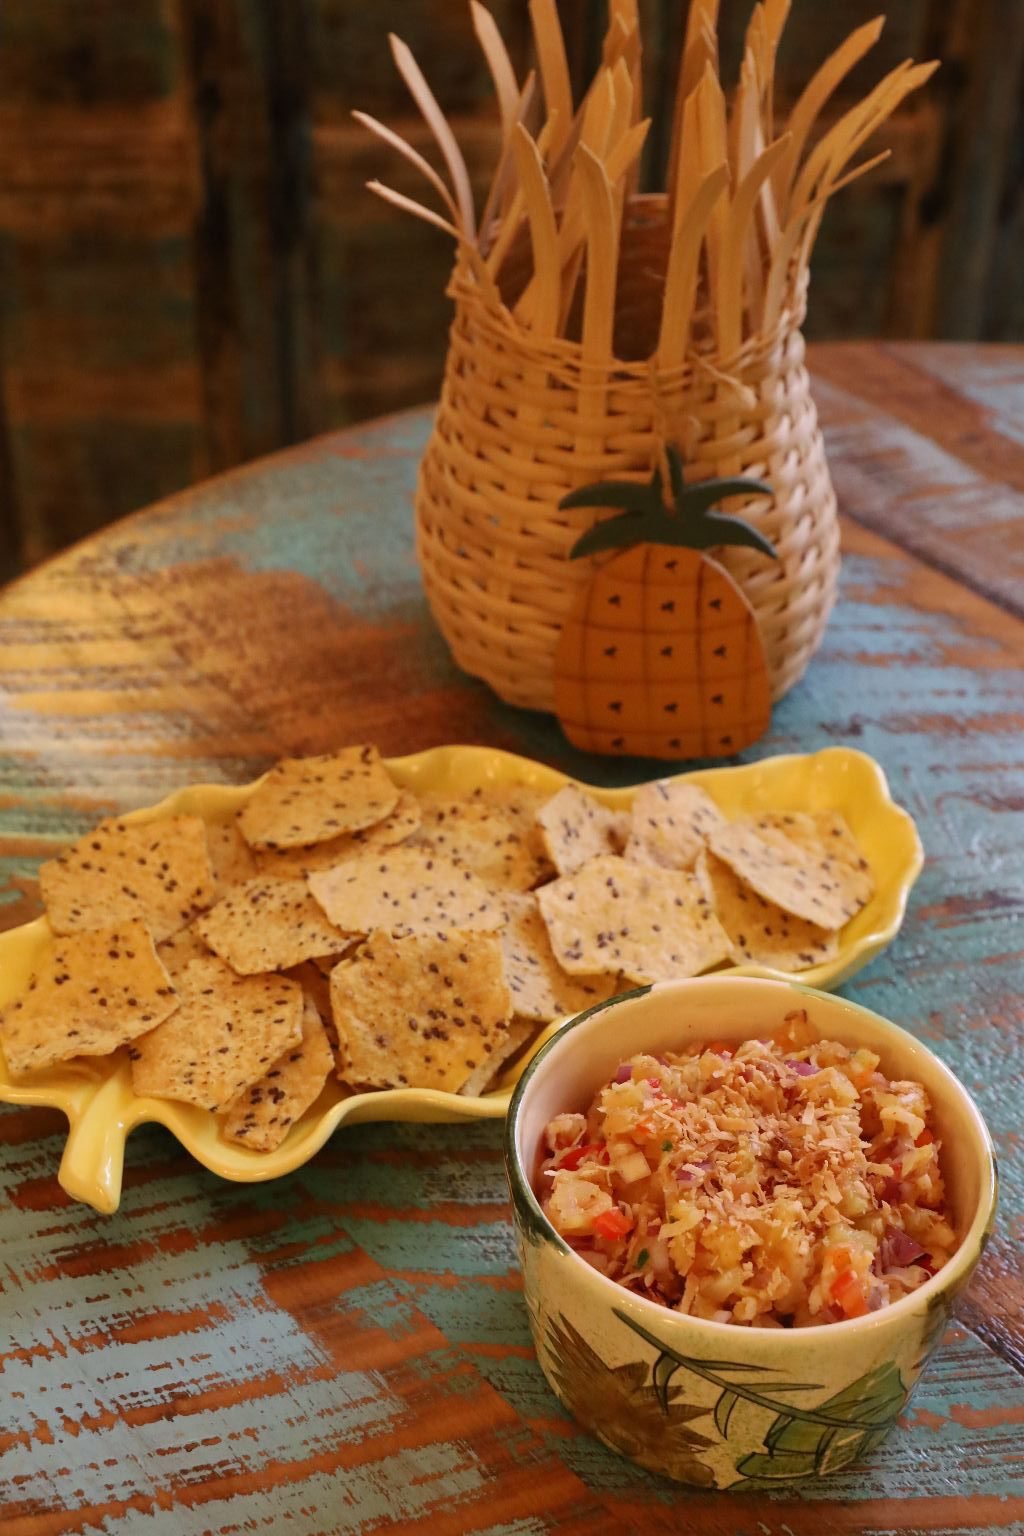

The relish is excellent as a dip for chips. These are Hawaiian chips with black rice in them.
I also got the idea to just carve out our two Pineapple halves and place the relish inside of them. What a great presentation.

———————————————————————-

We also served our relish over top a grilled Pork Tenderloin and even topped it off with some Maraschino Cherries.


Served With Some Sides 🙂
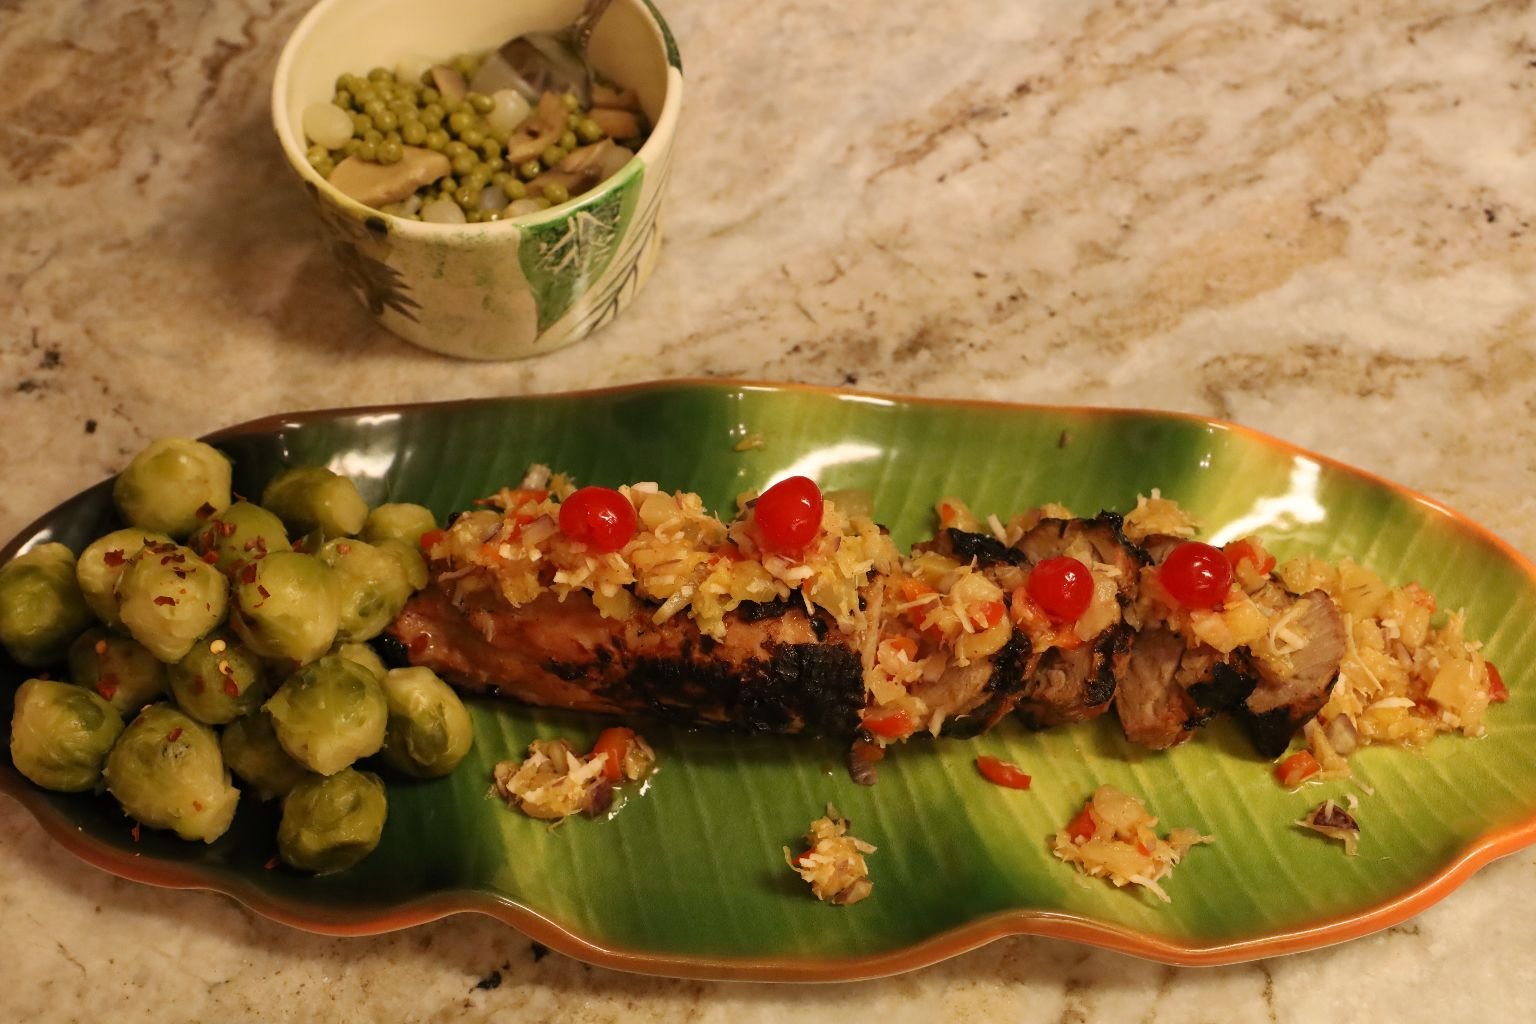
Delicious!
(Recipes Down Below)
——————————————————-
Aloha Kitchen
(Honestly, it’s as if this book were written just for us!)

The Hand Painted Coconuts were done by a young Veronica and Brodie. I came across them during all of our renovations and decided that I needed to start giving them their childhood things so that they can enjoy them.
When I saw this book online I knew that I would instantly love it! And we do! But, I also knew that my children would also love to have a copy so I ended up buying 2 extra copies for Veronica and Brodie as well.

An Inscription From Us
——————————————————————-

It wouldn’t be Hawaii without Sticky Rice.
—————————————————————
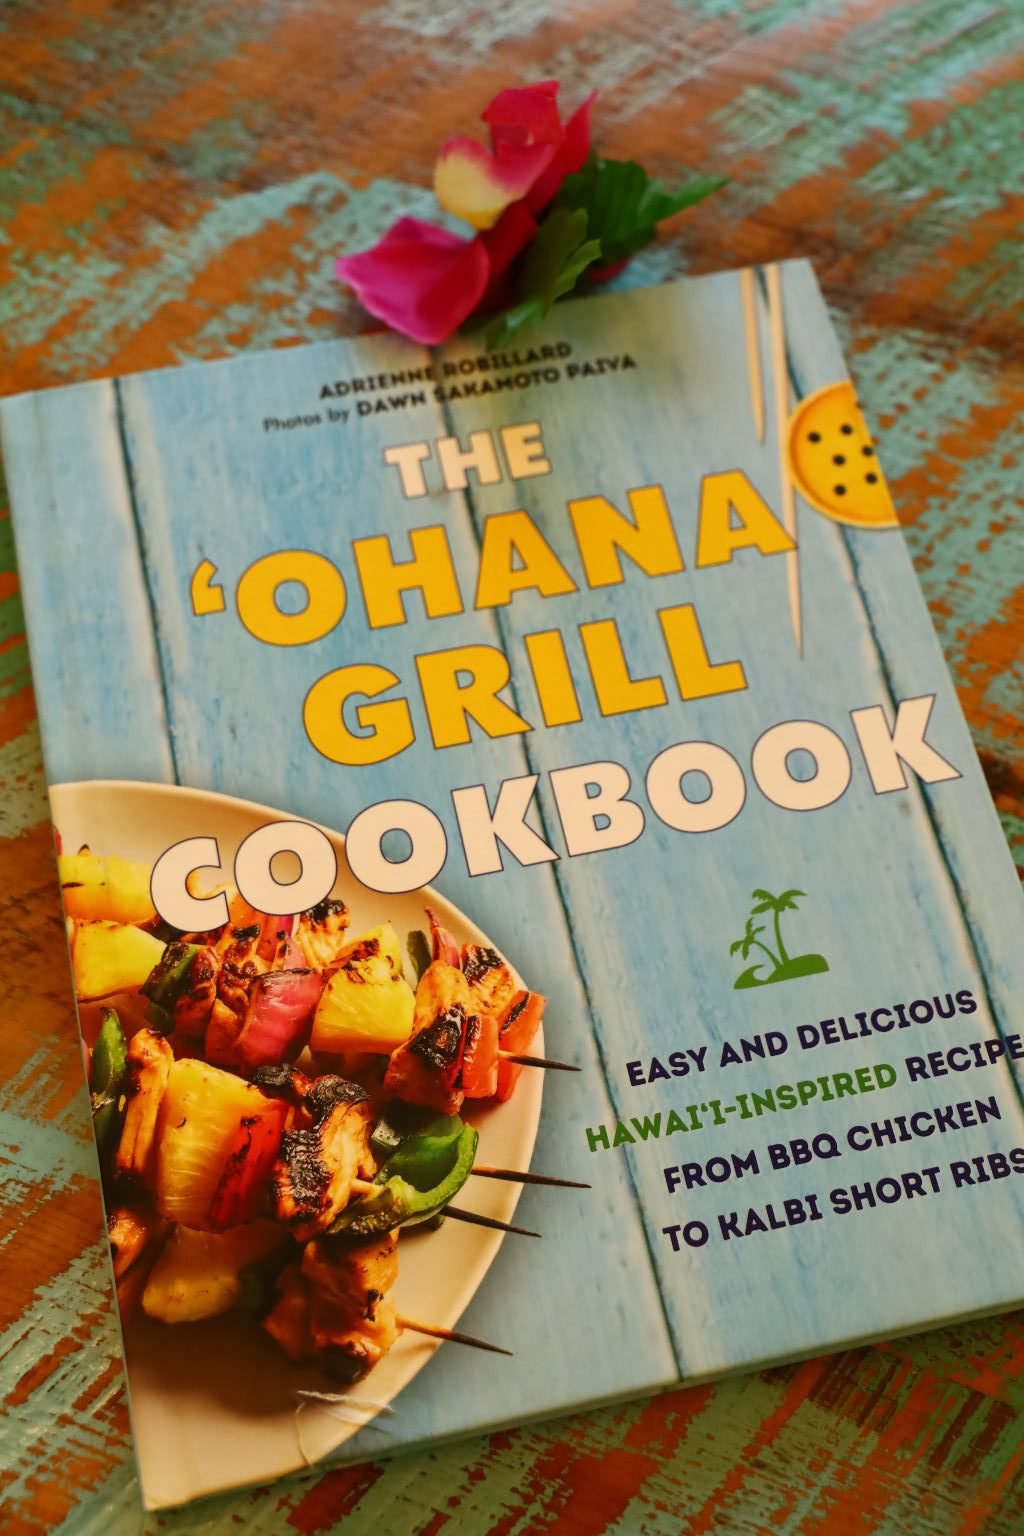

I also saw this cookbook online and bought 3 copies sight unseen.
And we are not disappointed.

Poloki and Walonika
(Brodie and Veronica’s names in Hawaiian)
I have decided to give to Veronica and Brodie my jewelry with their names on it. I’m not sure if Brodie will wear the charm on a necklace, but I know that Veronica will wear the bracelet. And besides, that bracelet will no longer fit over my wrist. Sadly.
————————————————————————

My latest find online. This will most likely be my last Hawaiian cookbook purchase for awhile. All 3 books are giving me such inspiration and satisfying my mental journey back to the islands that I love and miss so very much.
Aloha,
Julie (Kulii)
—————————————————————–
Our Aloha Kitchen

————————————————————–

Hawaiian/Filipino Sliders
Gordon and I had made some Purple Sweet Potato w/ Taro Steamed Buns prior and Gordon got the idea to bake some Tocino Pork to eat with them. They were so delicious! That is when we started thinking about other things that we could eat with that delicious Tocino Pork.

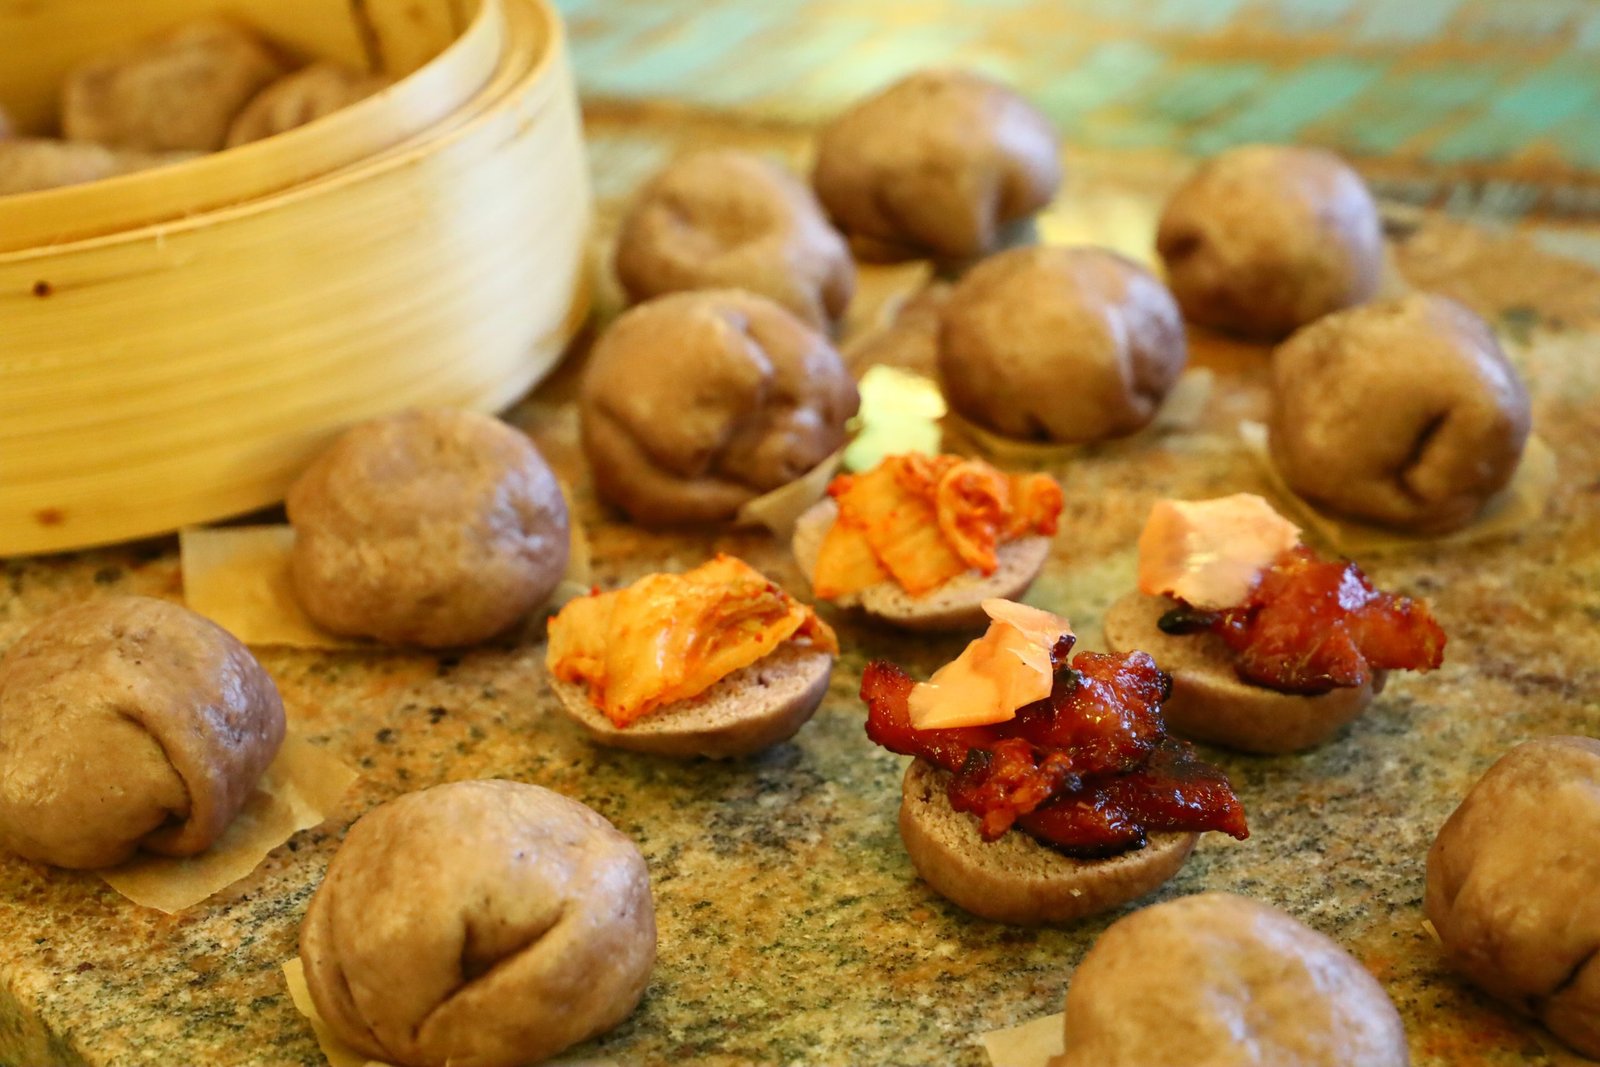
Our Purple Sweet Potato with Taro Steamed Bun Sliders
Here we just used the Tocino Pork with Kimchi and Pickled Ginger
—————————————————
If you would like to see the post:
Our Purple Sweet Potato and Taro Stuffed Steamed Buns and Asian/Pacific Sliders
———————————————————————
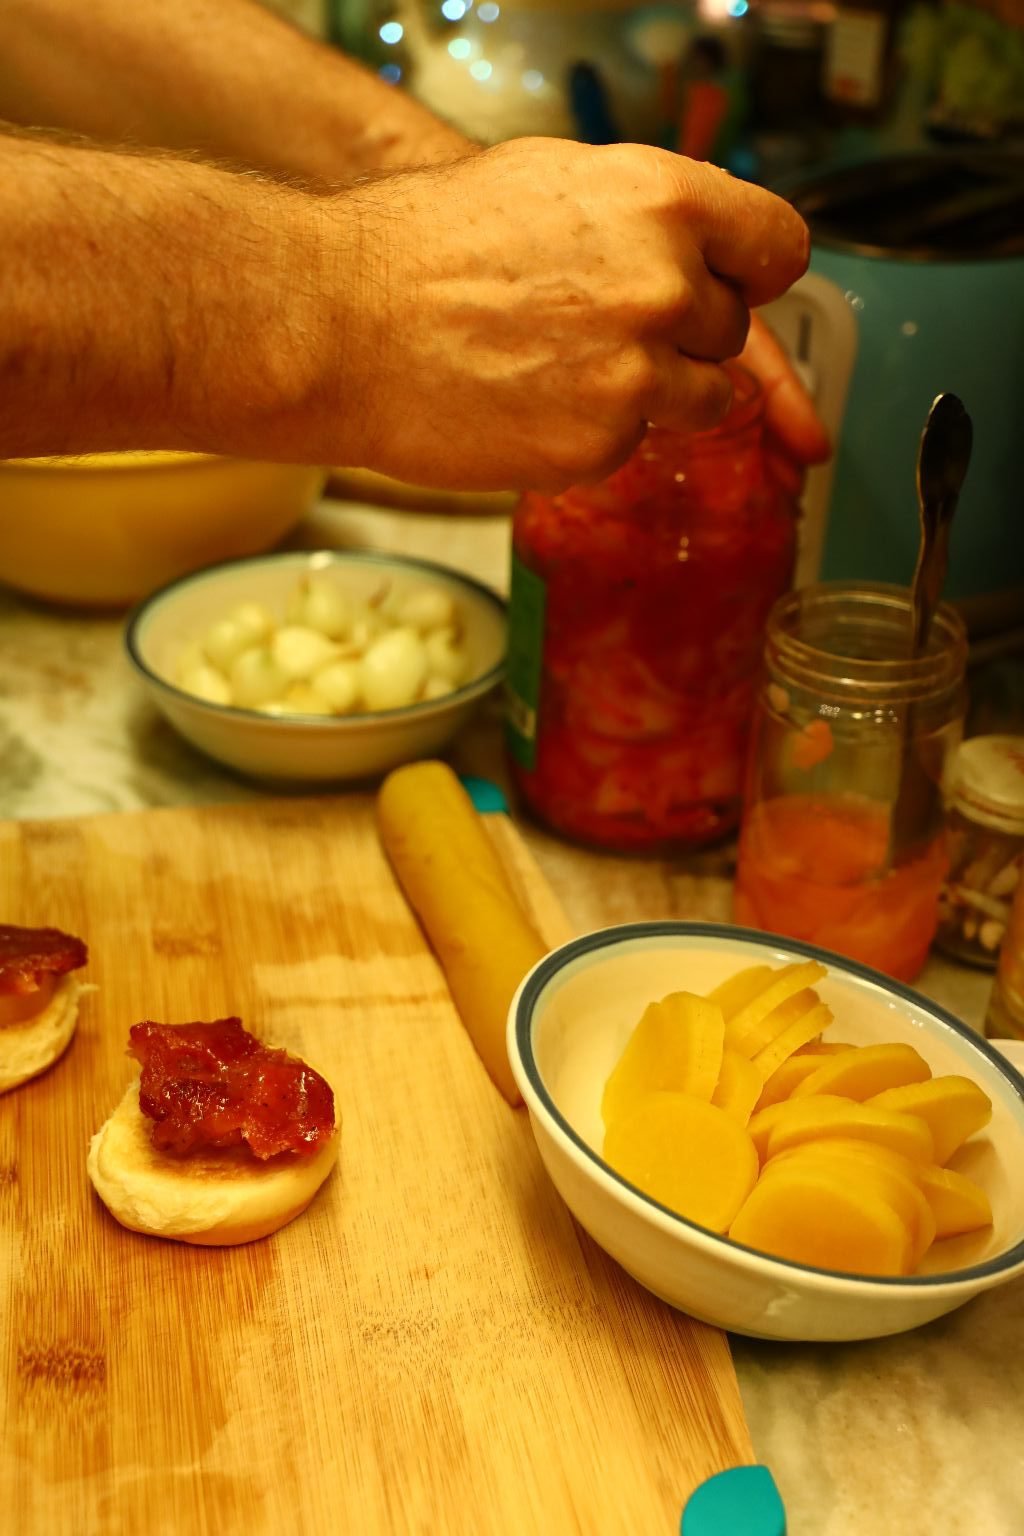
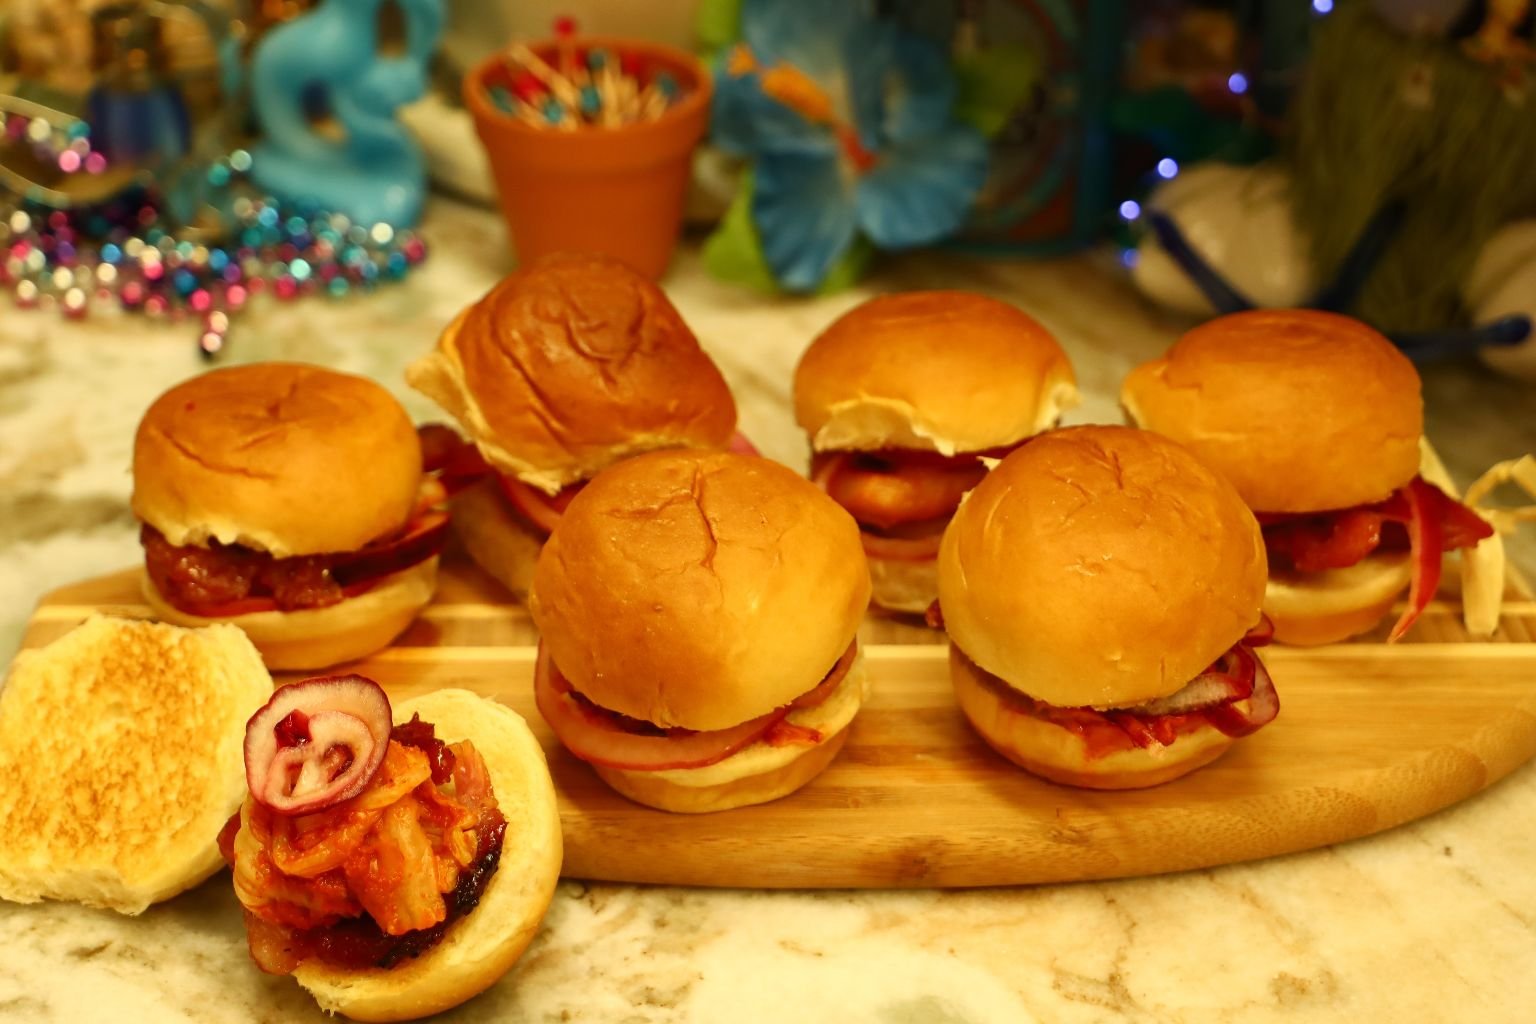
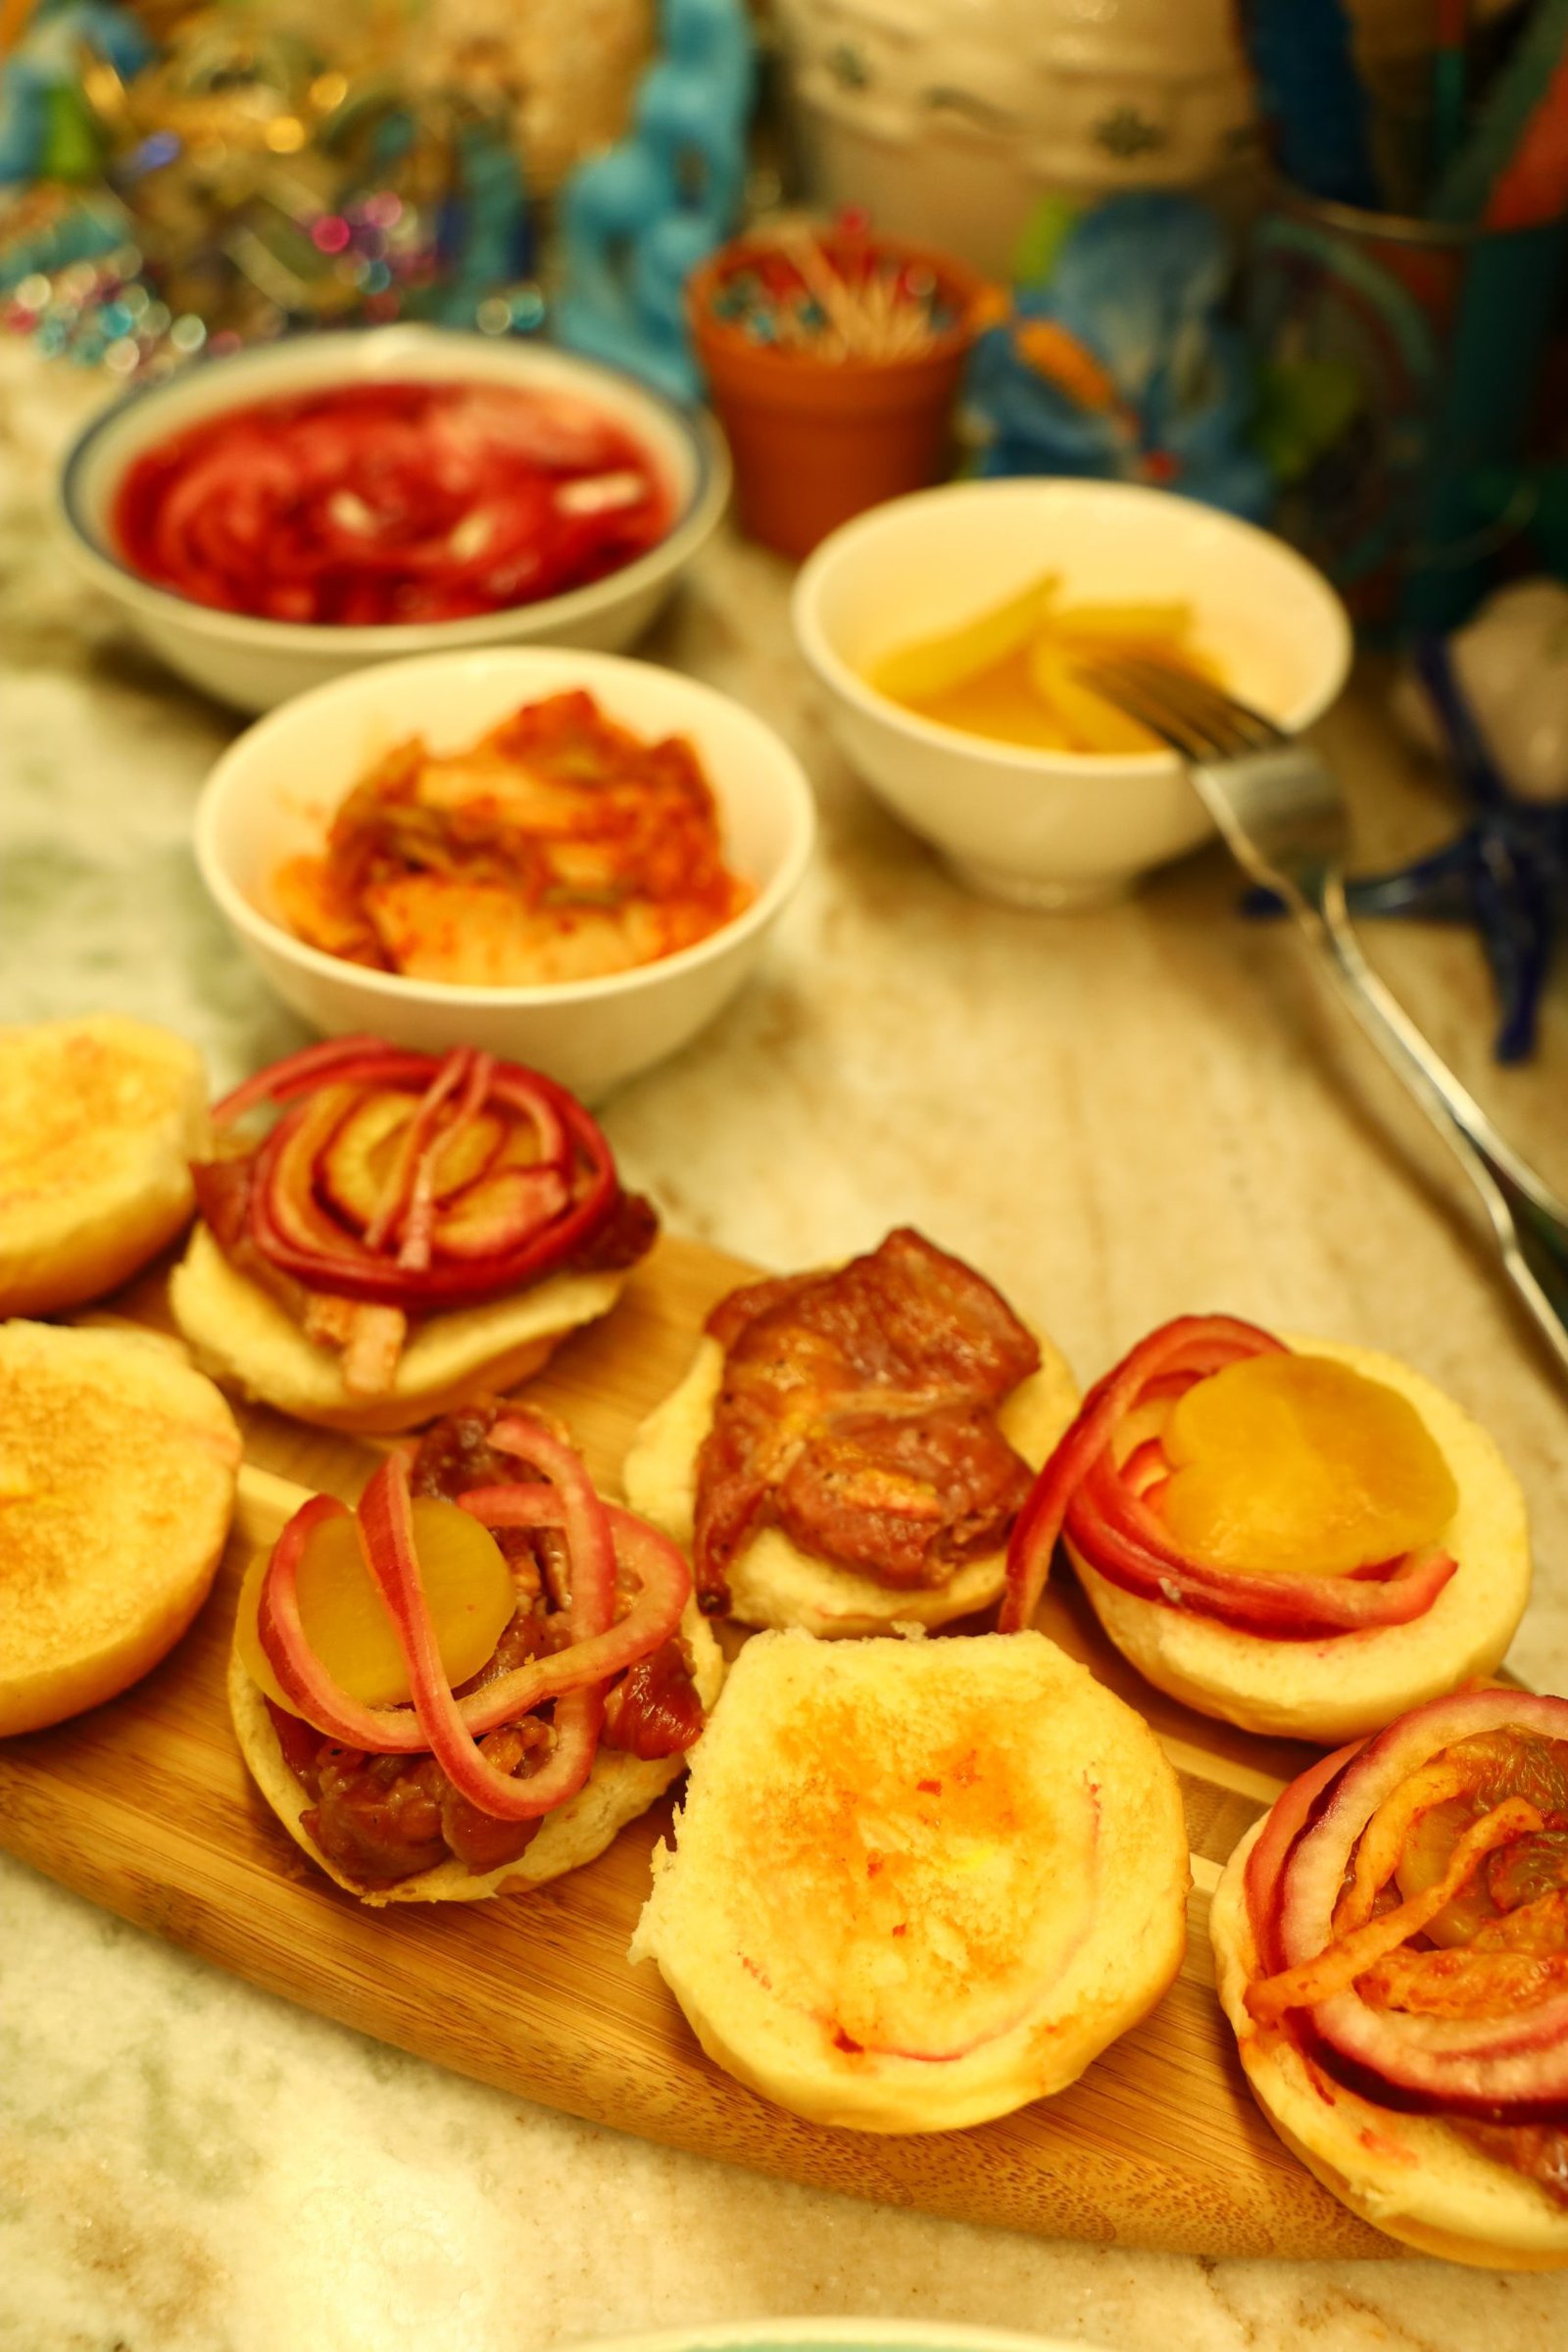
The above sliders were the inspiration for these little sliders.


Here we used the mini Hawaiian Sweet Rolls, some baked Tocino Pork and Tocino Chicken, Kimchi, Pickled Red Onion and Pickled Daikon Radish.
Although we didn’t use any sort of mustard or sauce, a lovely Asian mustard would have gone quite well with these, if there is indeed such a thing? 🙂
——————————————————–
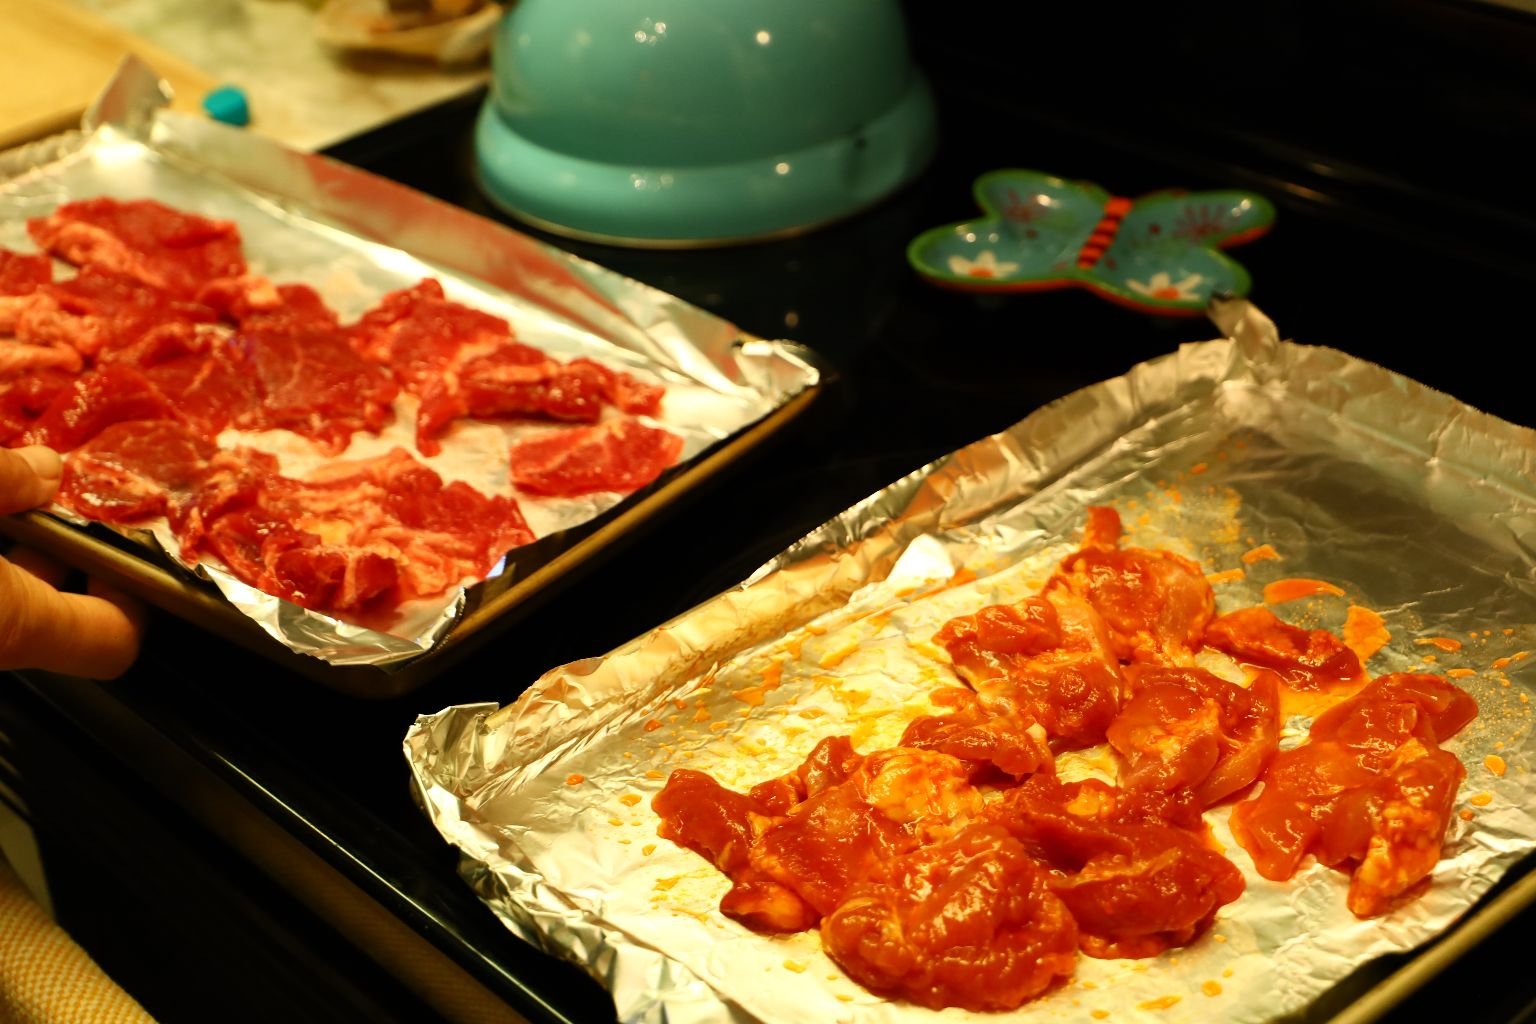
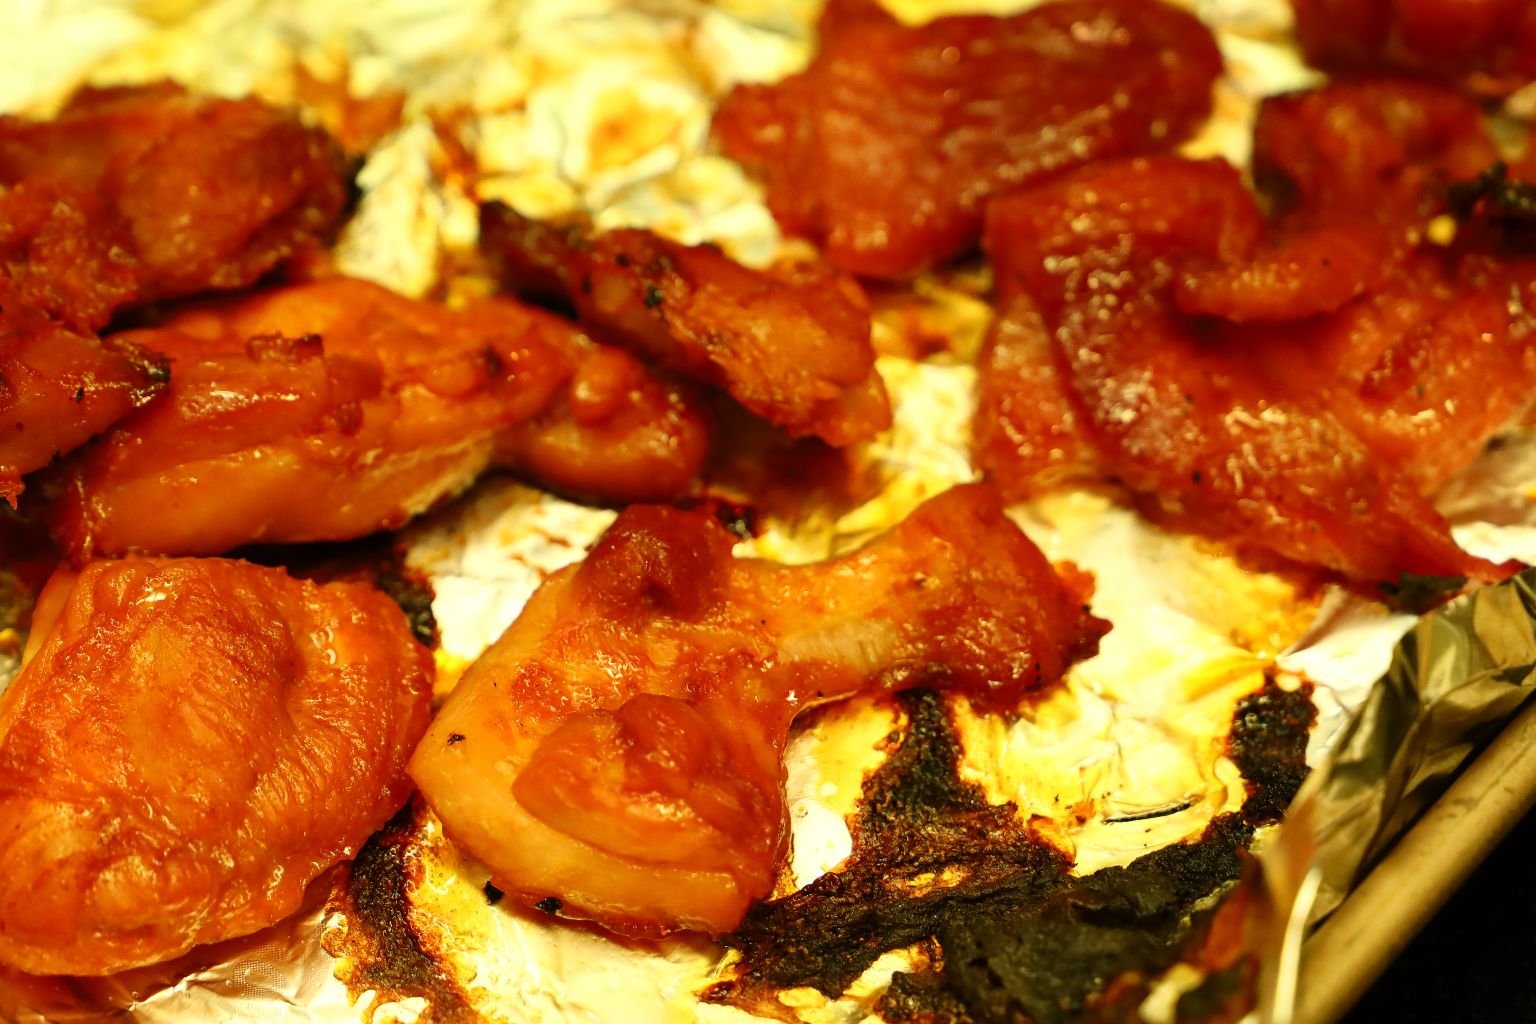
Thawing Out Tocino Pork and Chicken

I don’t know where you can find these marinated meats, but we buy them at our commissary on military bases. However, look for these cured meats in the ethnic section of your grocery stores.

Although the package directions are different from how we are cooking them, we decided just to bake them in the oven, 15 minutes on each side, 350F oven.


Just spread the marinated meats onto a foil lined baking sheet.

Tocino Chicken


Here Gordon is Cutting up the Chicken with Scissors
Ready for the Oven

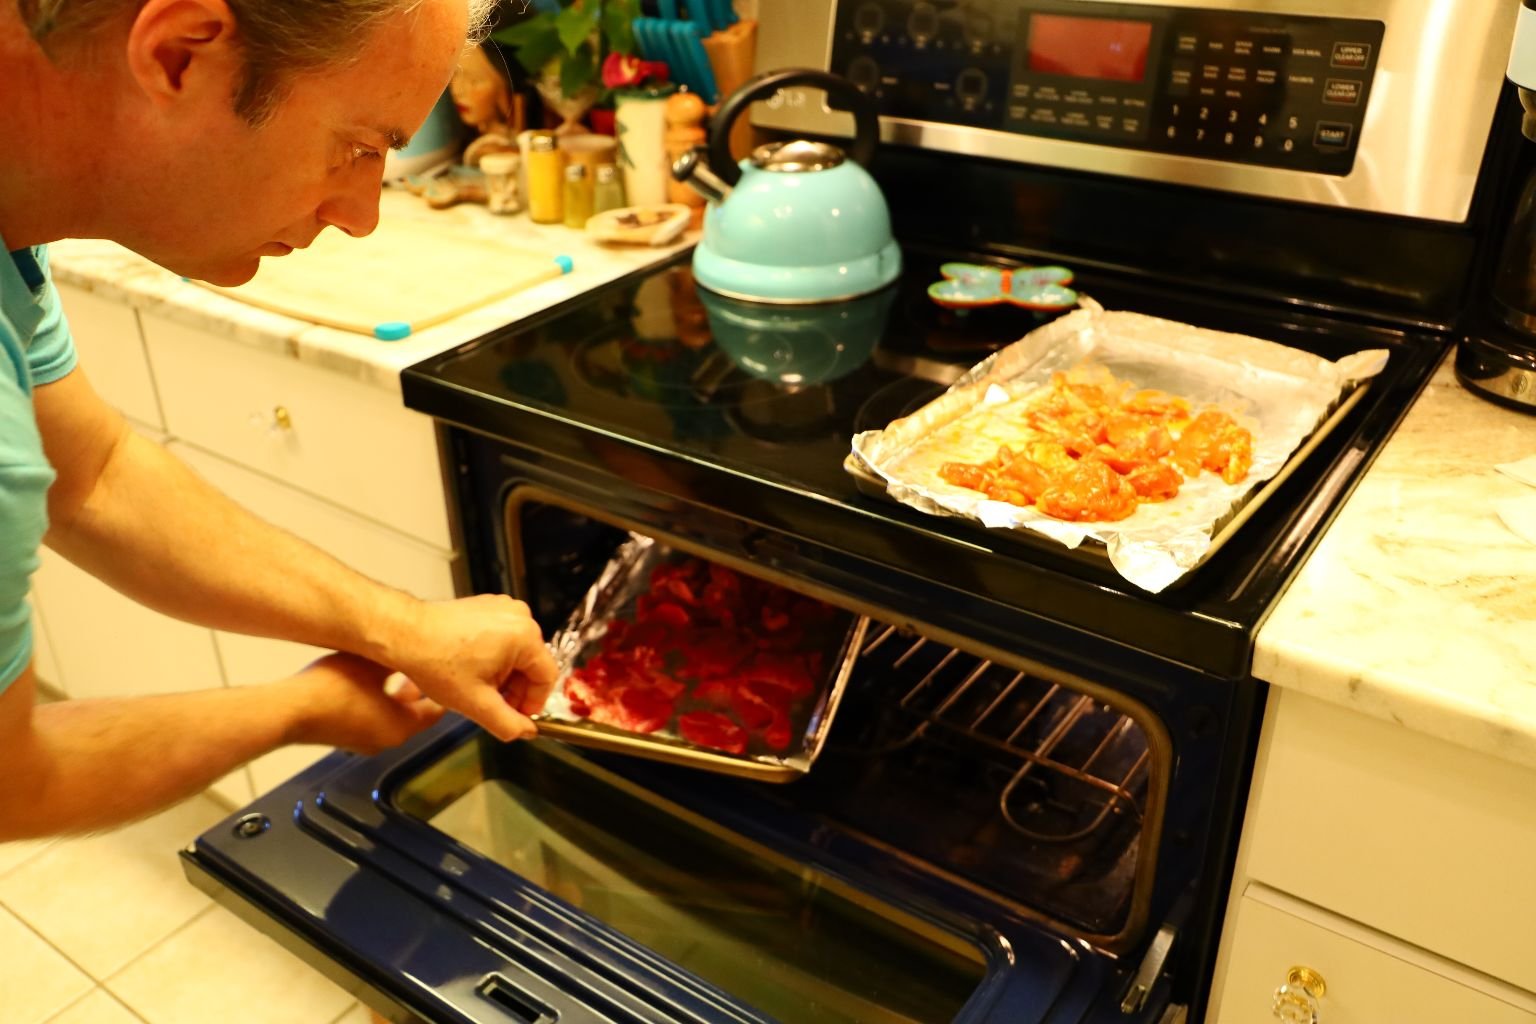
Bake 15 Minutes Each Side
———————————————————
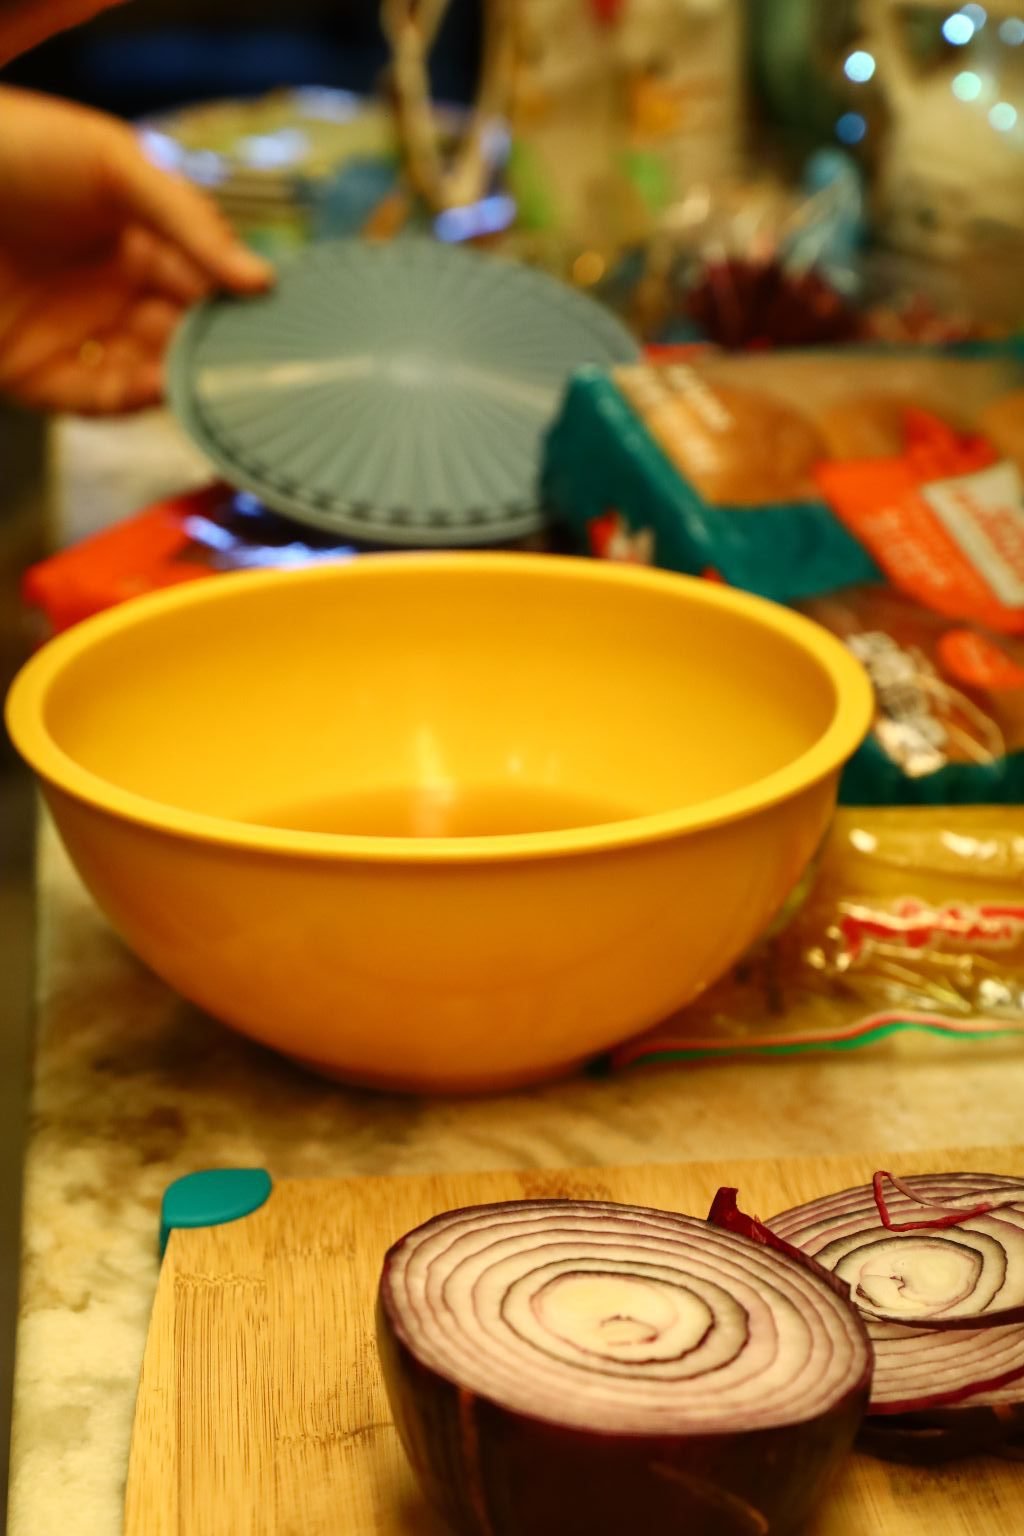
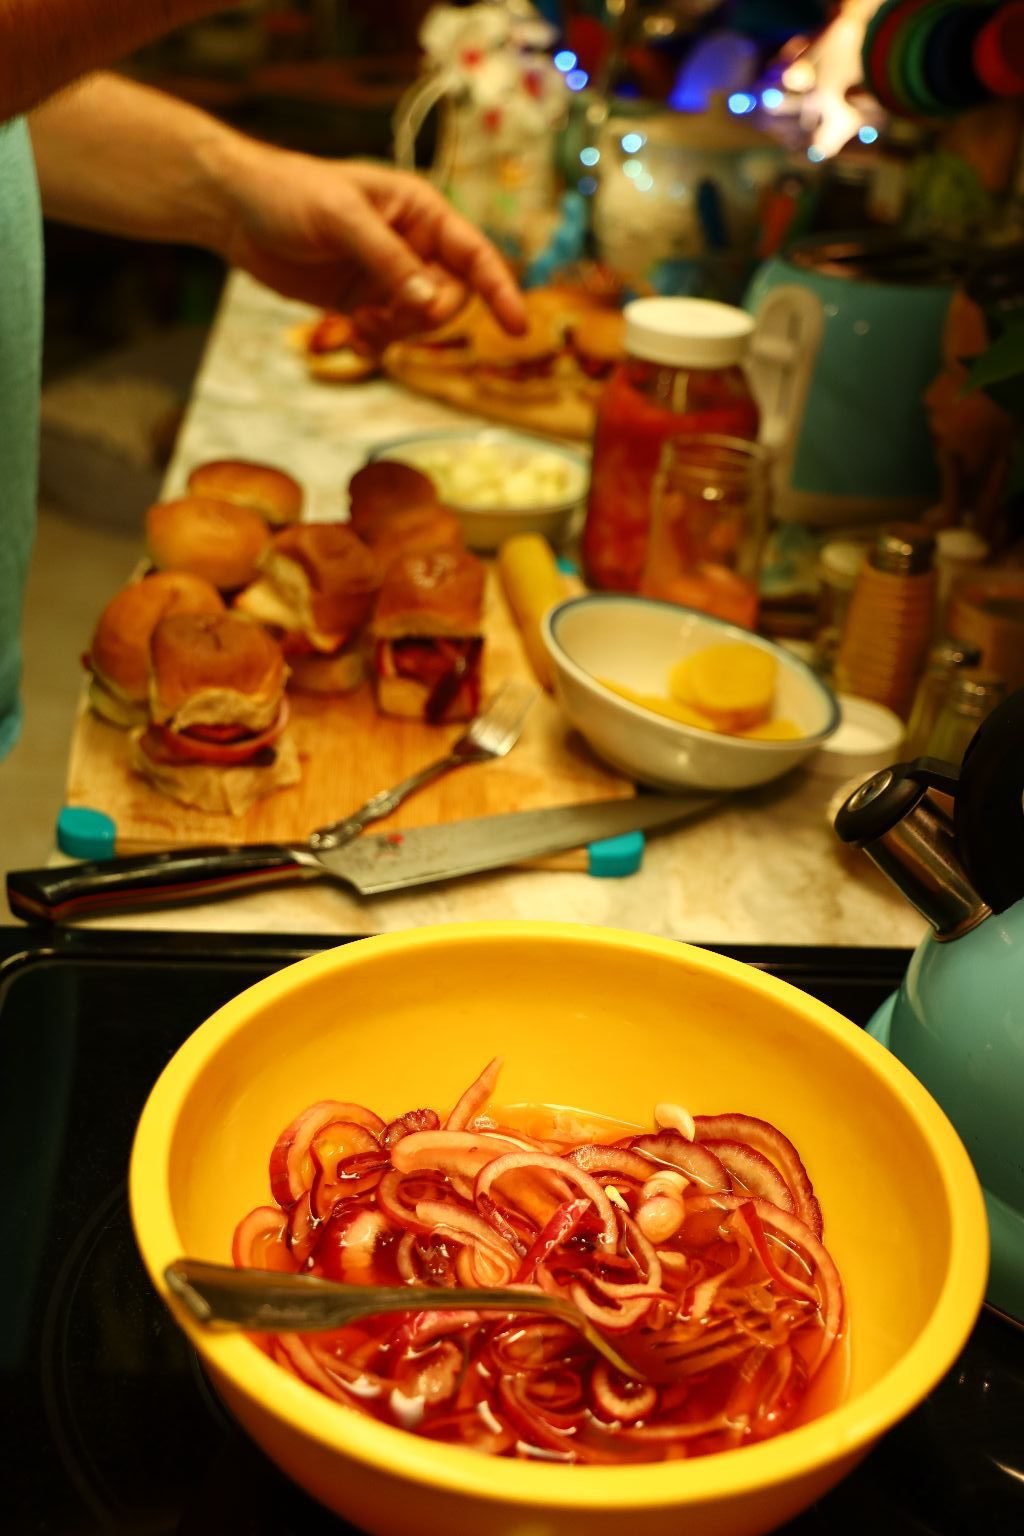
Time to Pickle Some Red Onion

Peel the onion then slice thinly as shown above. The thinner you slice it the quicker it will pickle.

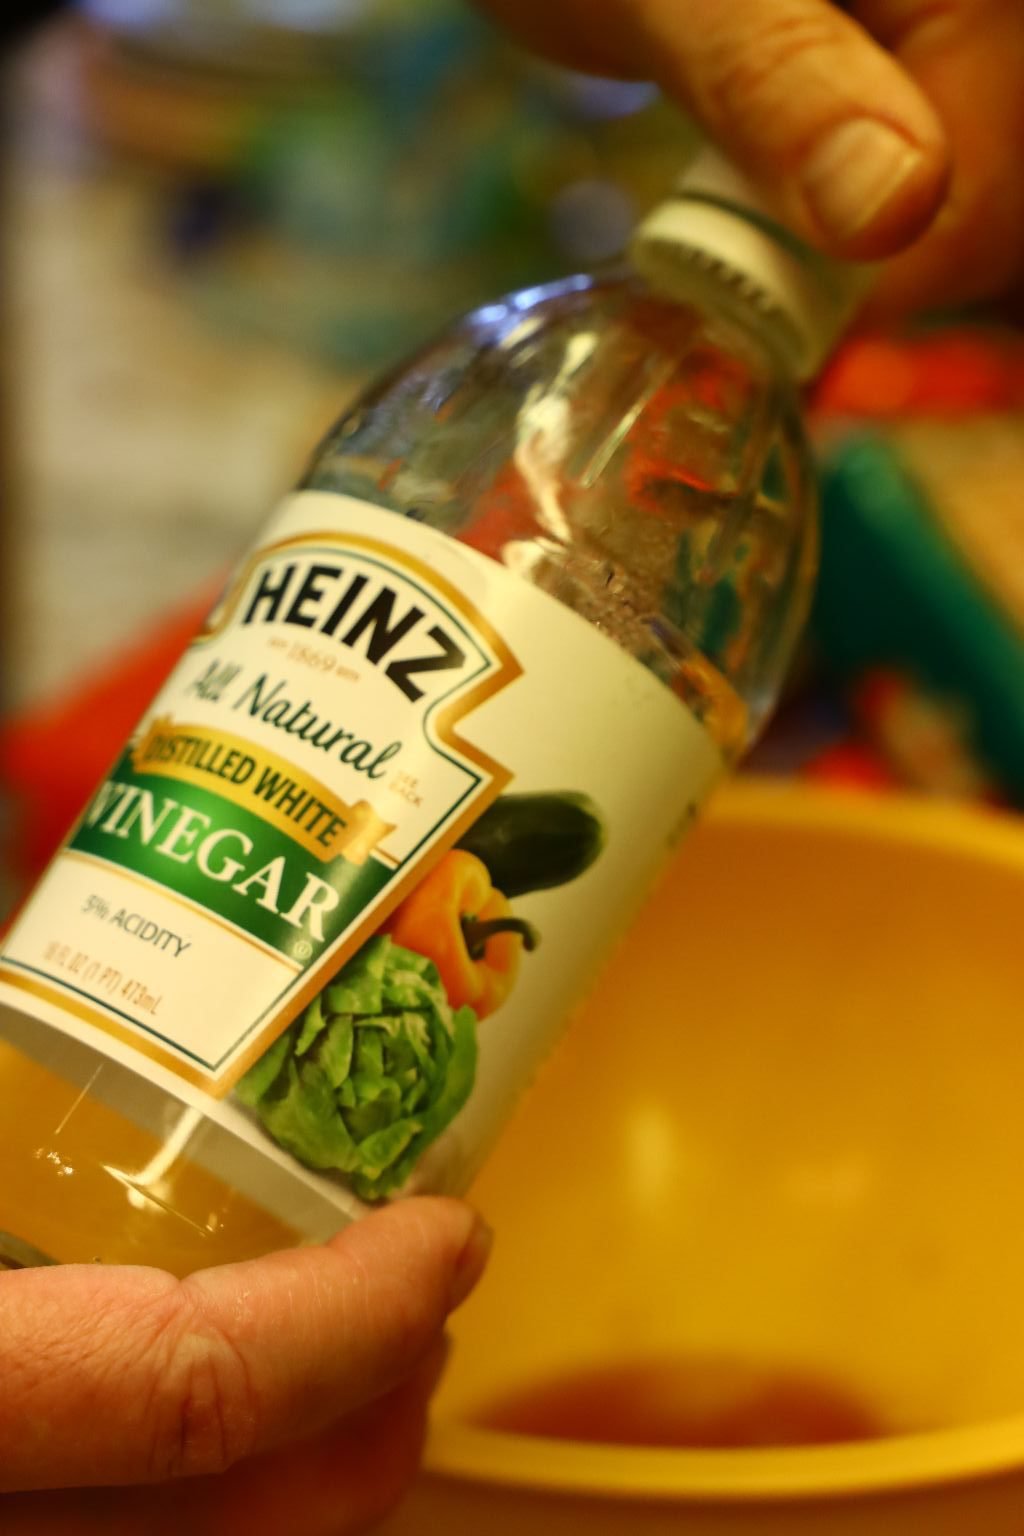

I like to use a variety of vinegar as it will give the onions a great taste. Using a medium sized bowl, I used Malt, White, Rice, and …
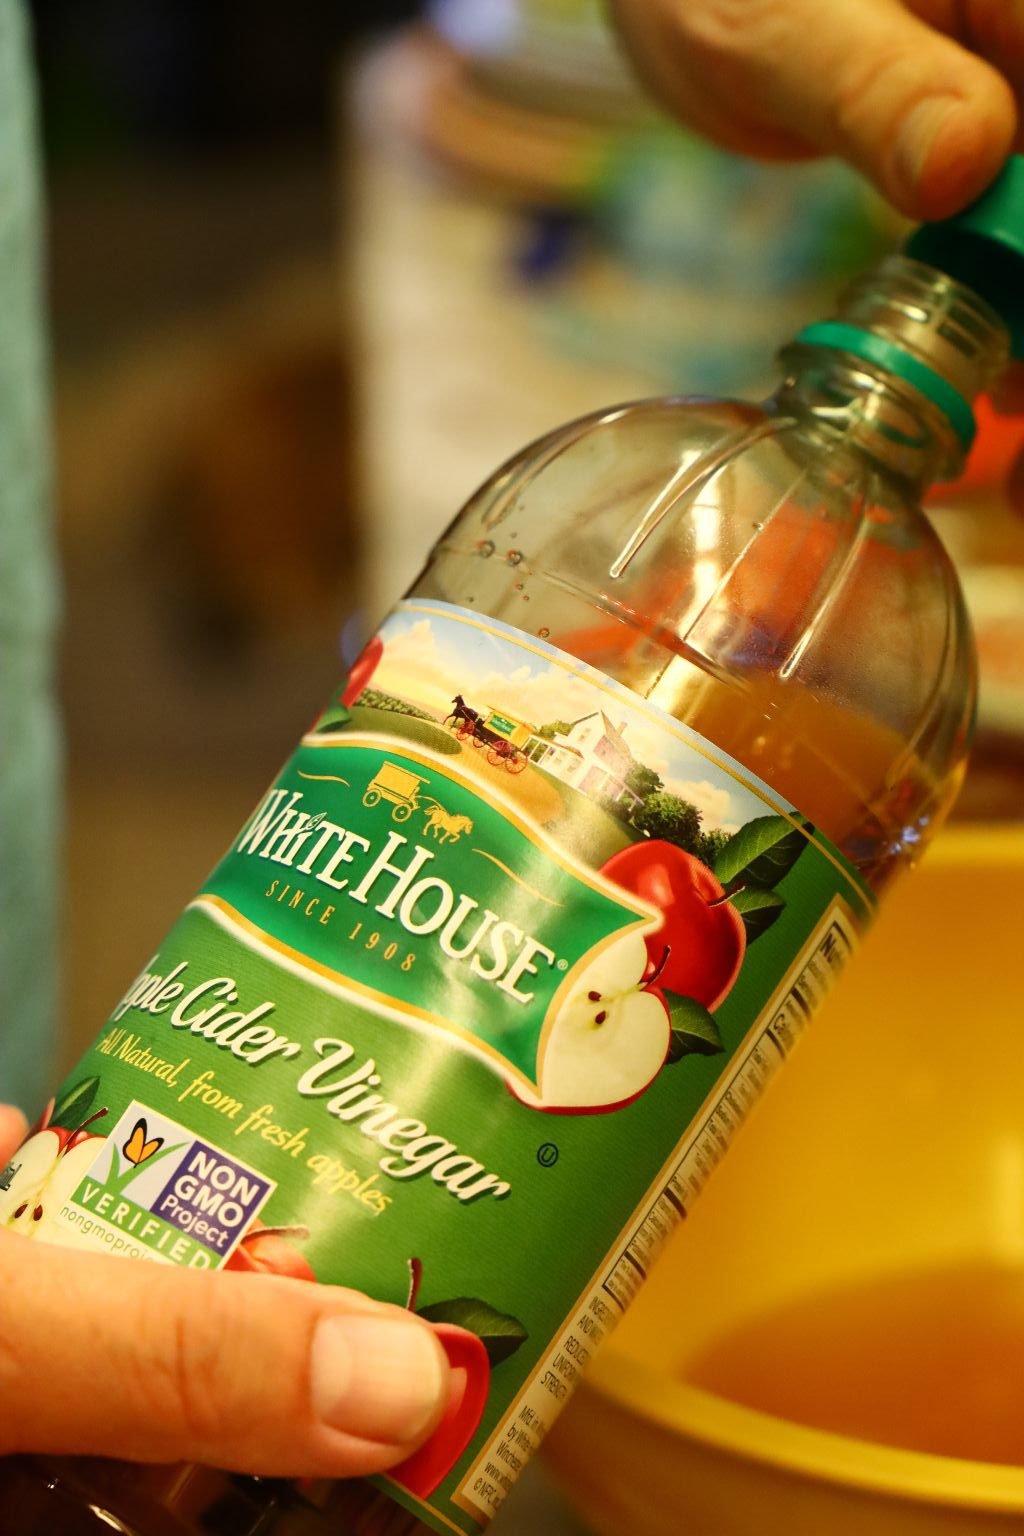

then Apple Cider Vinegar. If you only have one type of vinegar, the recipe will still work. You want to have enough vinegar in the bowl to cover the onions.
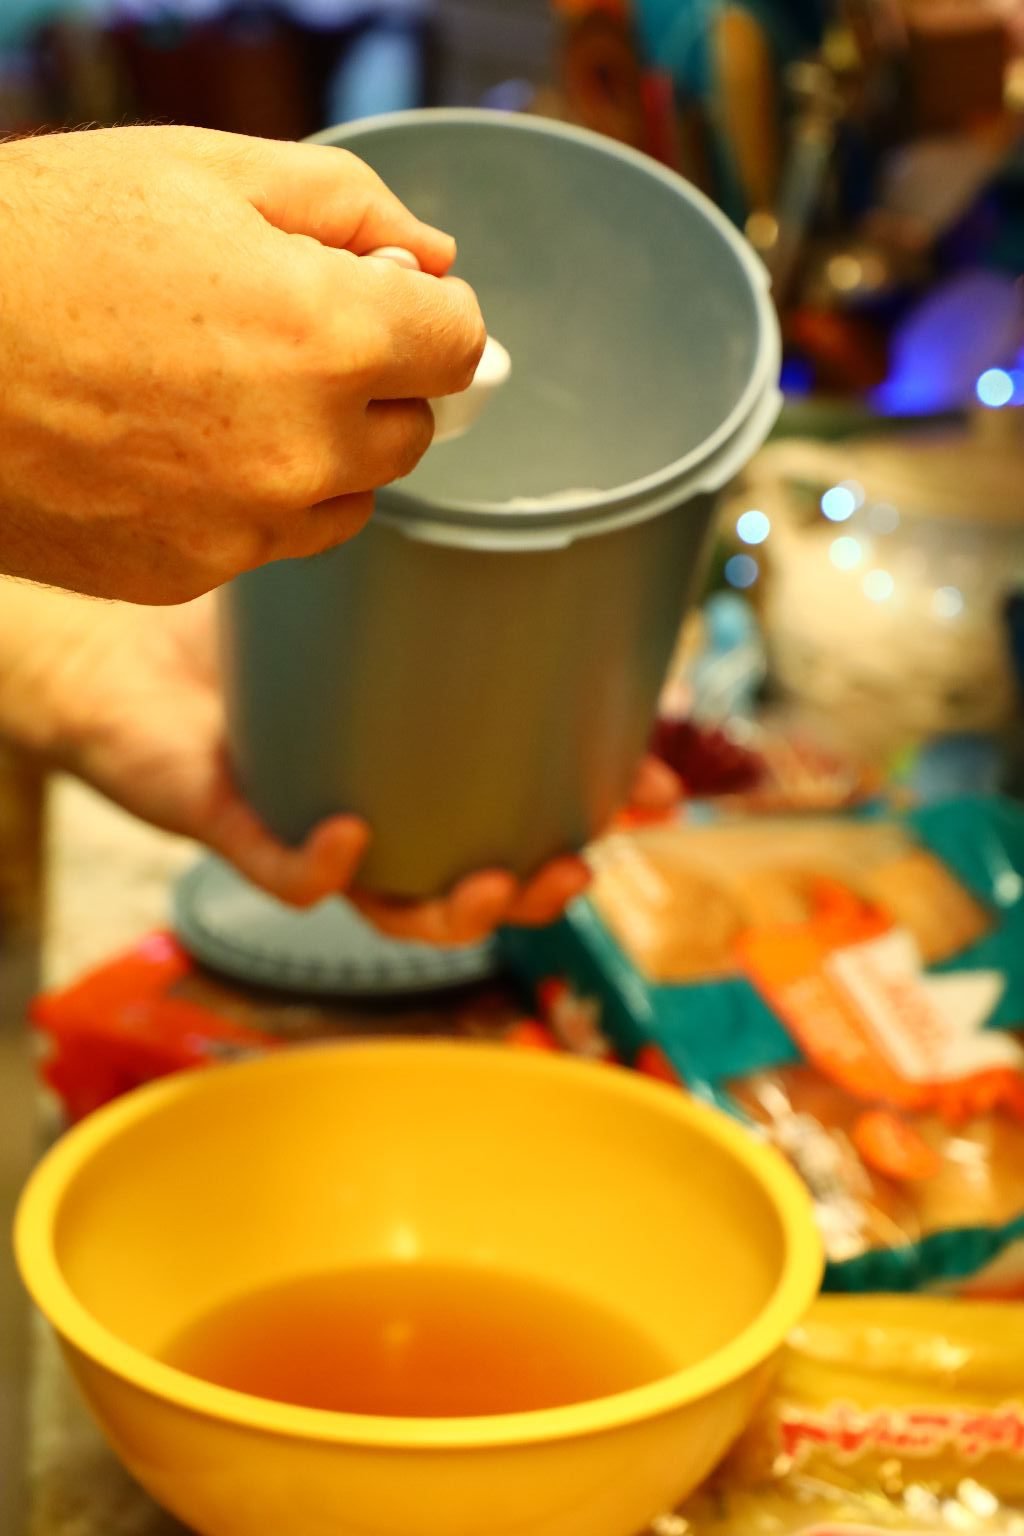
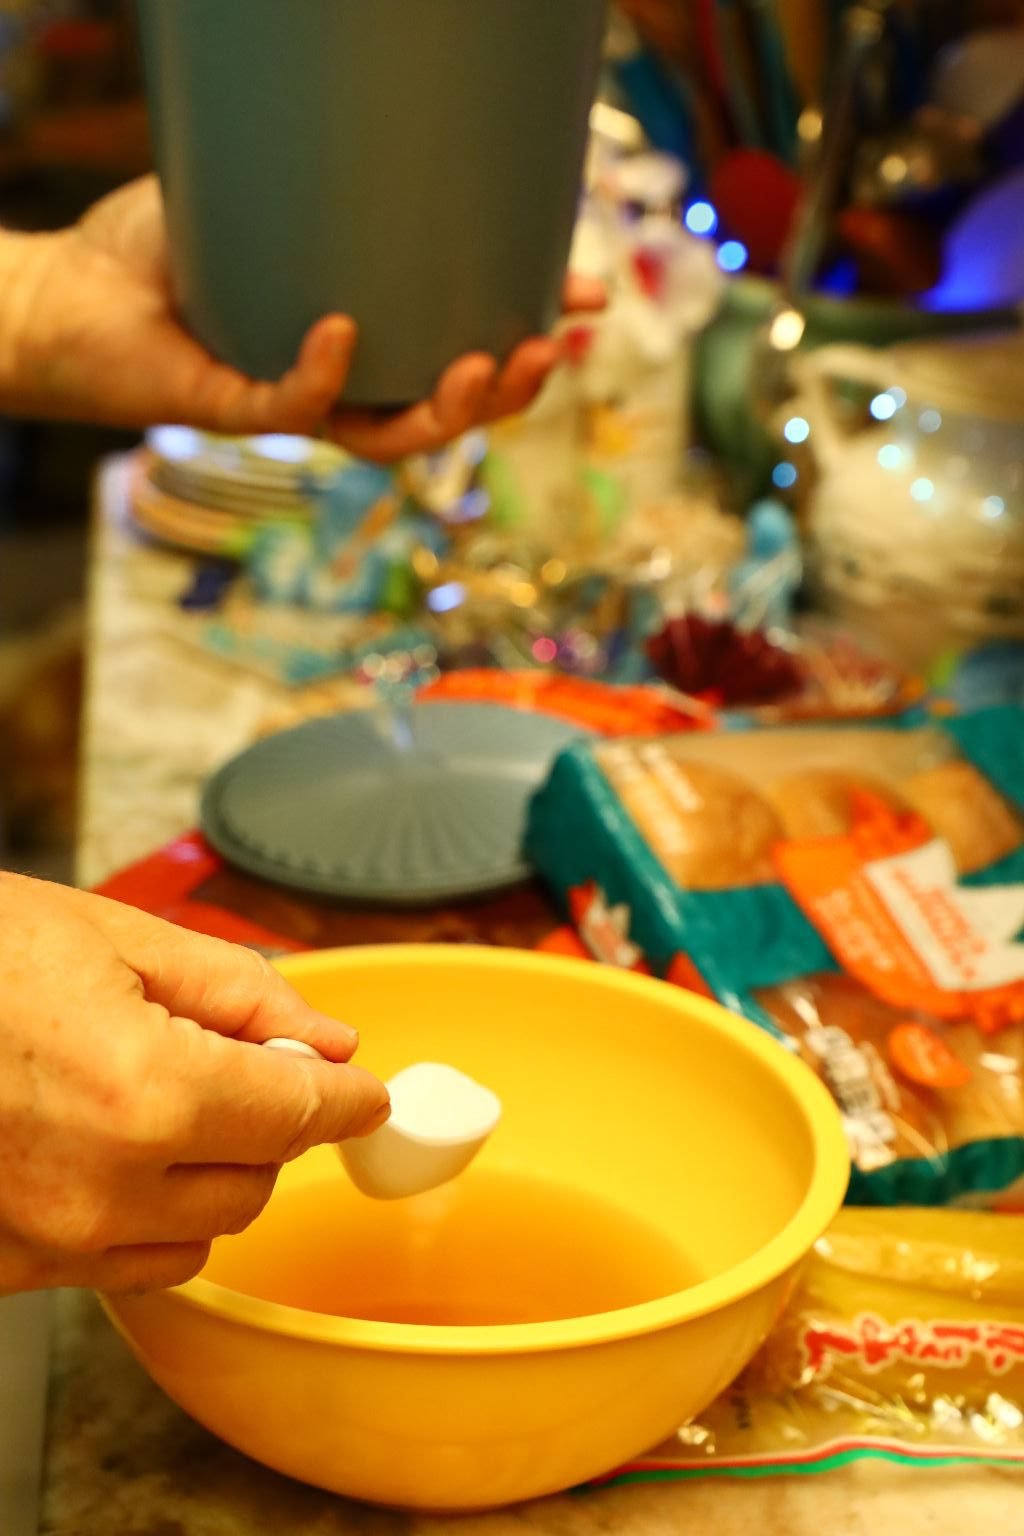
Now, add enough sugar to the vinegar to give it a slight sweet taste. Start with one Tablespoon. Stir the sugar and vinegar together until the sugar is dissolved. Taste the vinegar sugar mixture to see if it is as sweet as you like. Add more sugar until the mixture tastes the way you want.
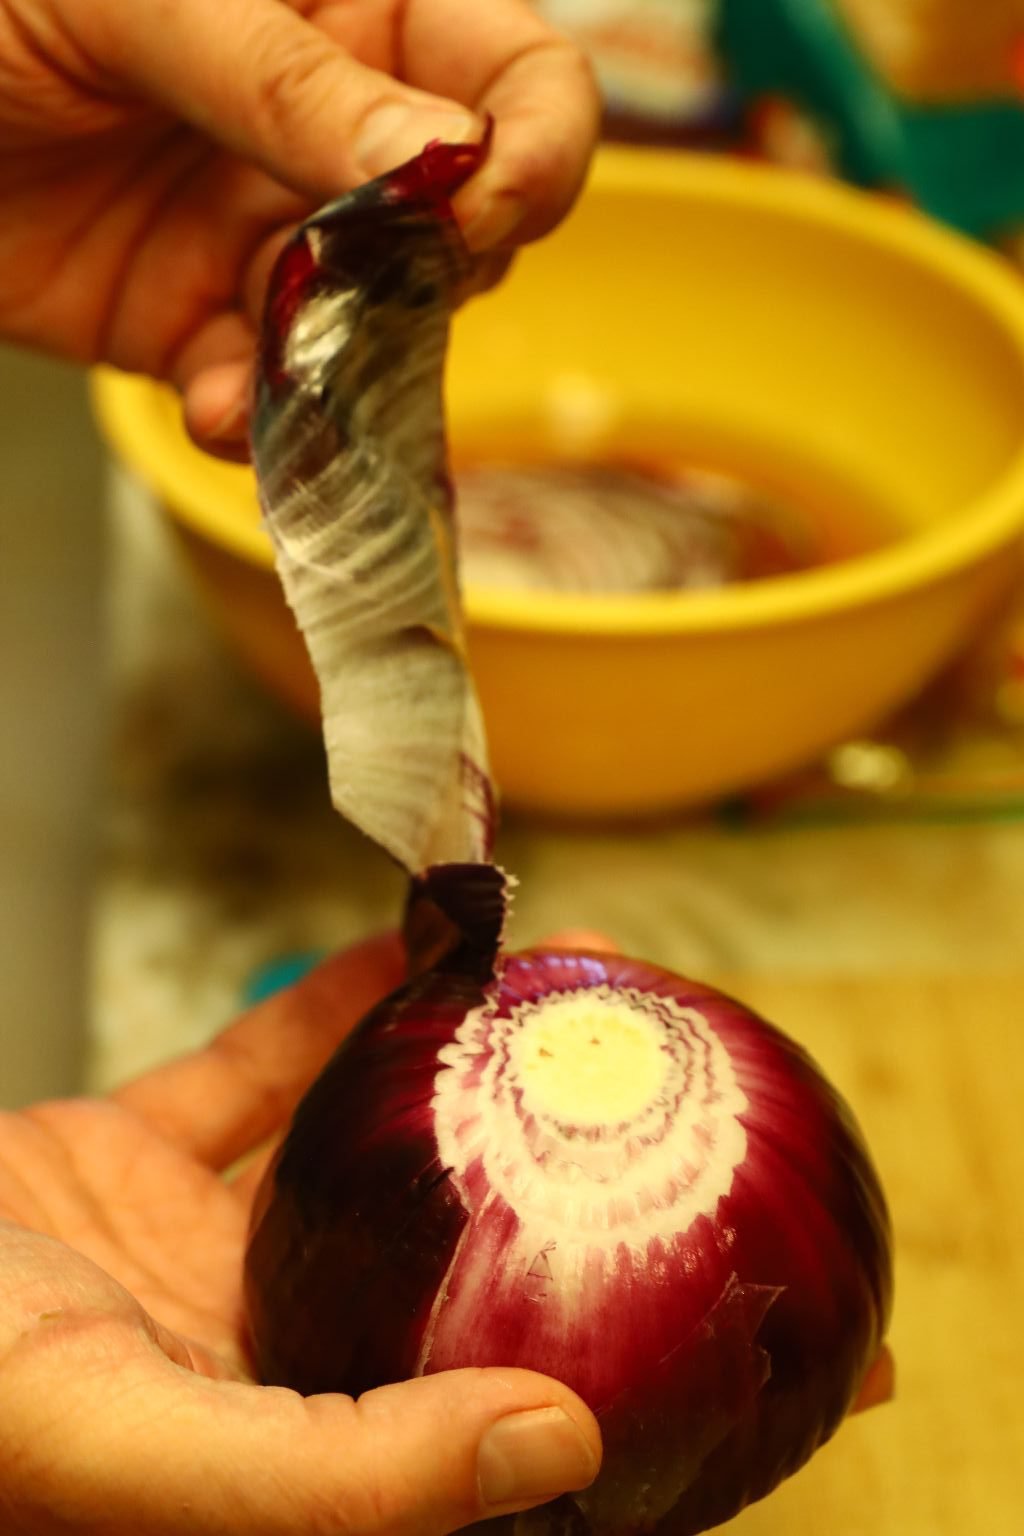
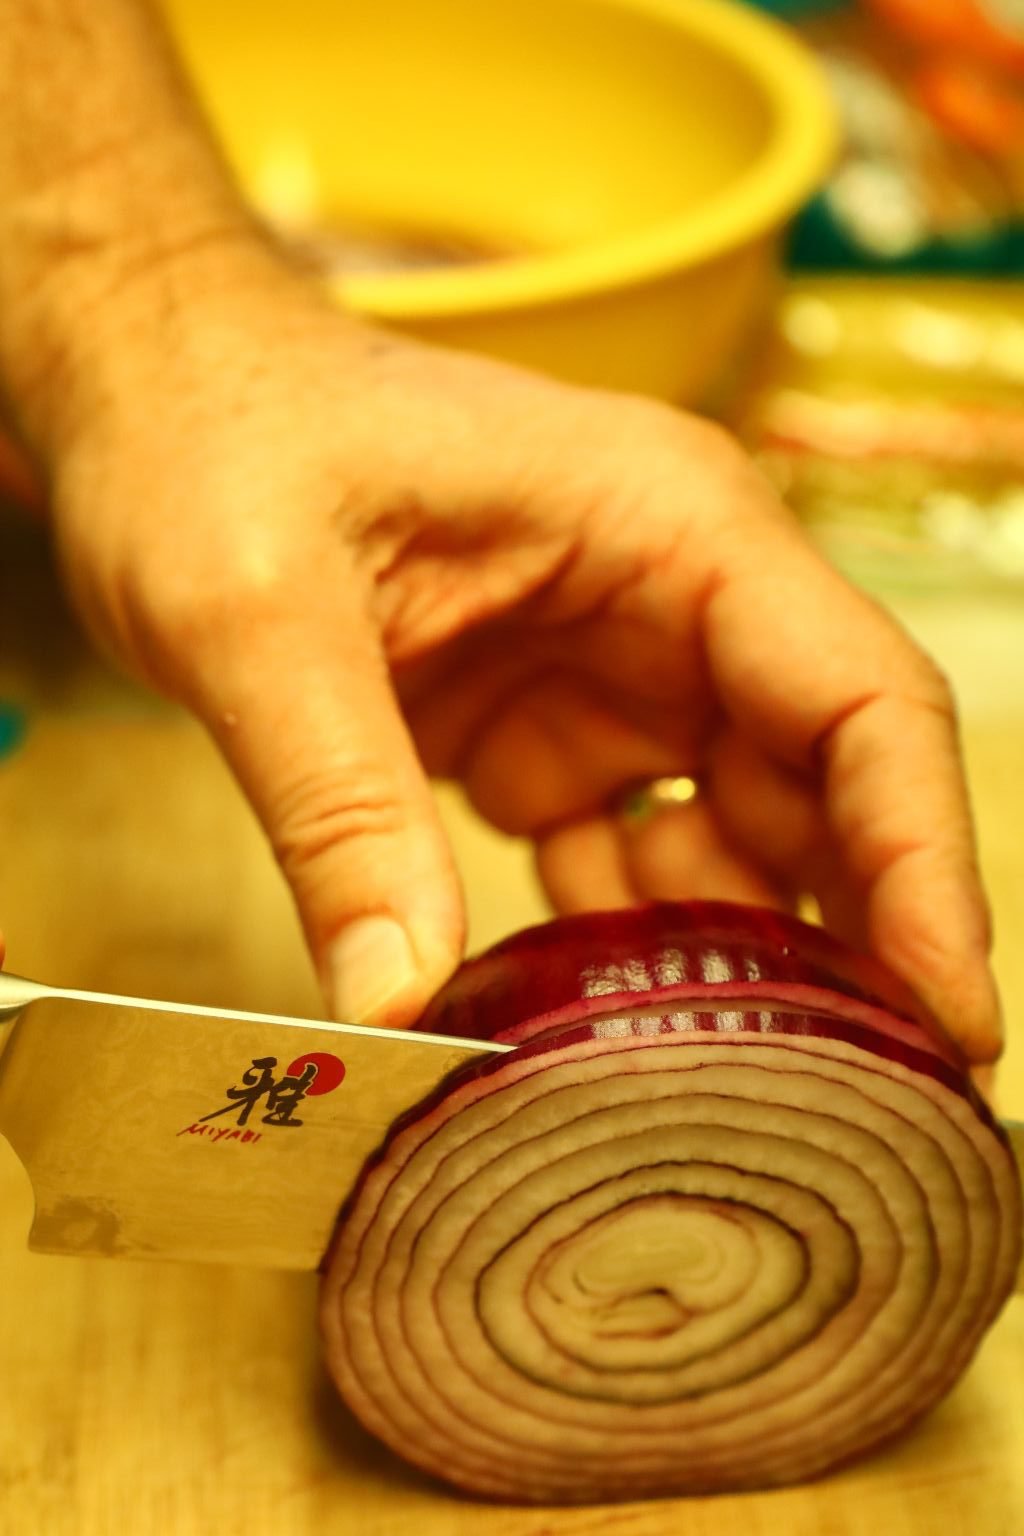
Peel the onion and slice it thinly.
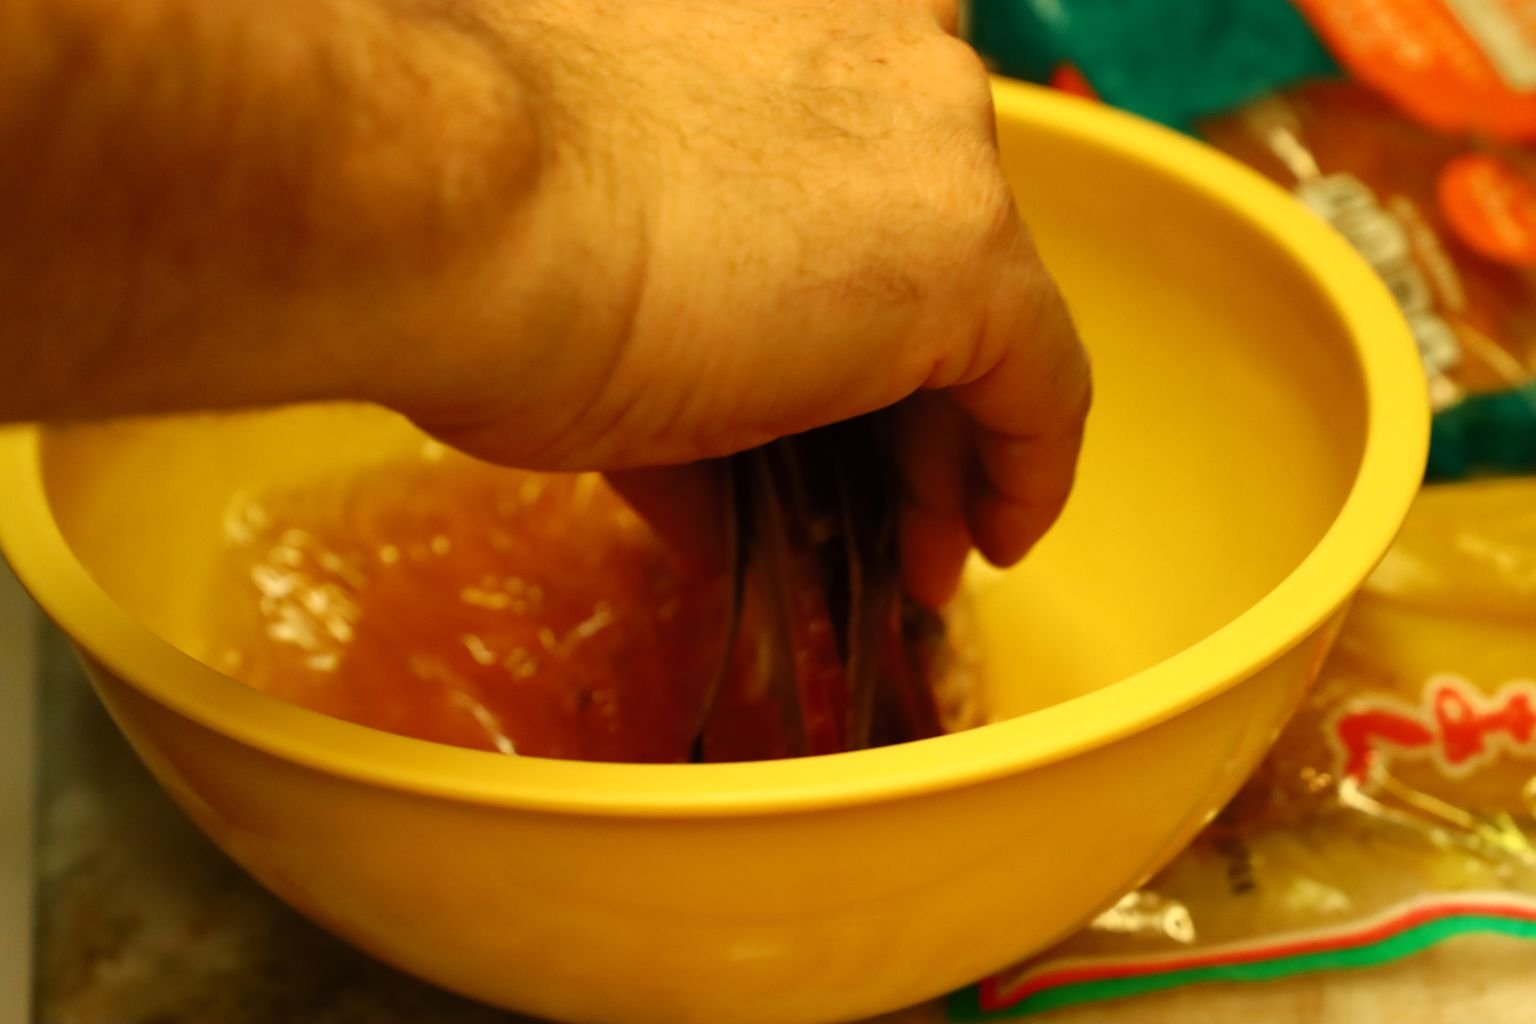

Place the onion slices into the sugar vinegar mixture. In a few hours the onions will be slightly pickled. The longer they sit in the vinegar mixture, the better they will taste.
——————————————————————
Checking on the Tocino Pork and Chicken

——————————————————————
Pickled Daikon Radish


————————————————————————–


Just Slice Into Rounds

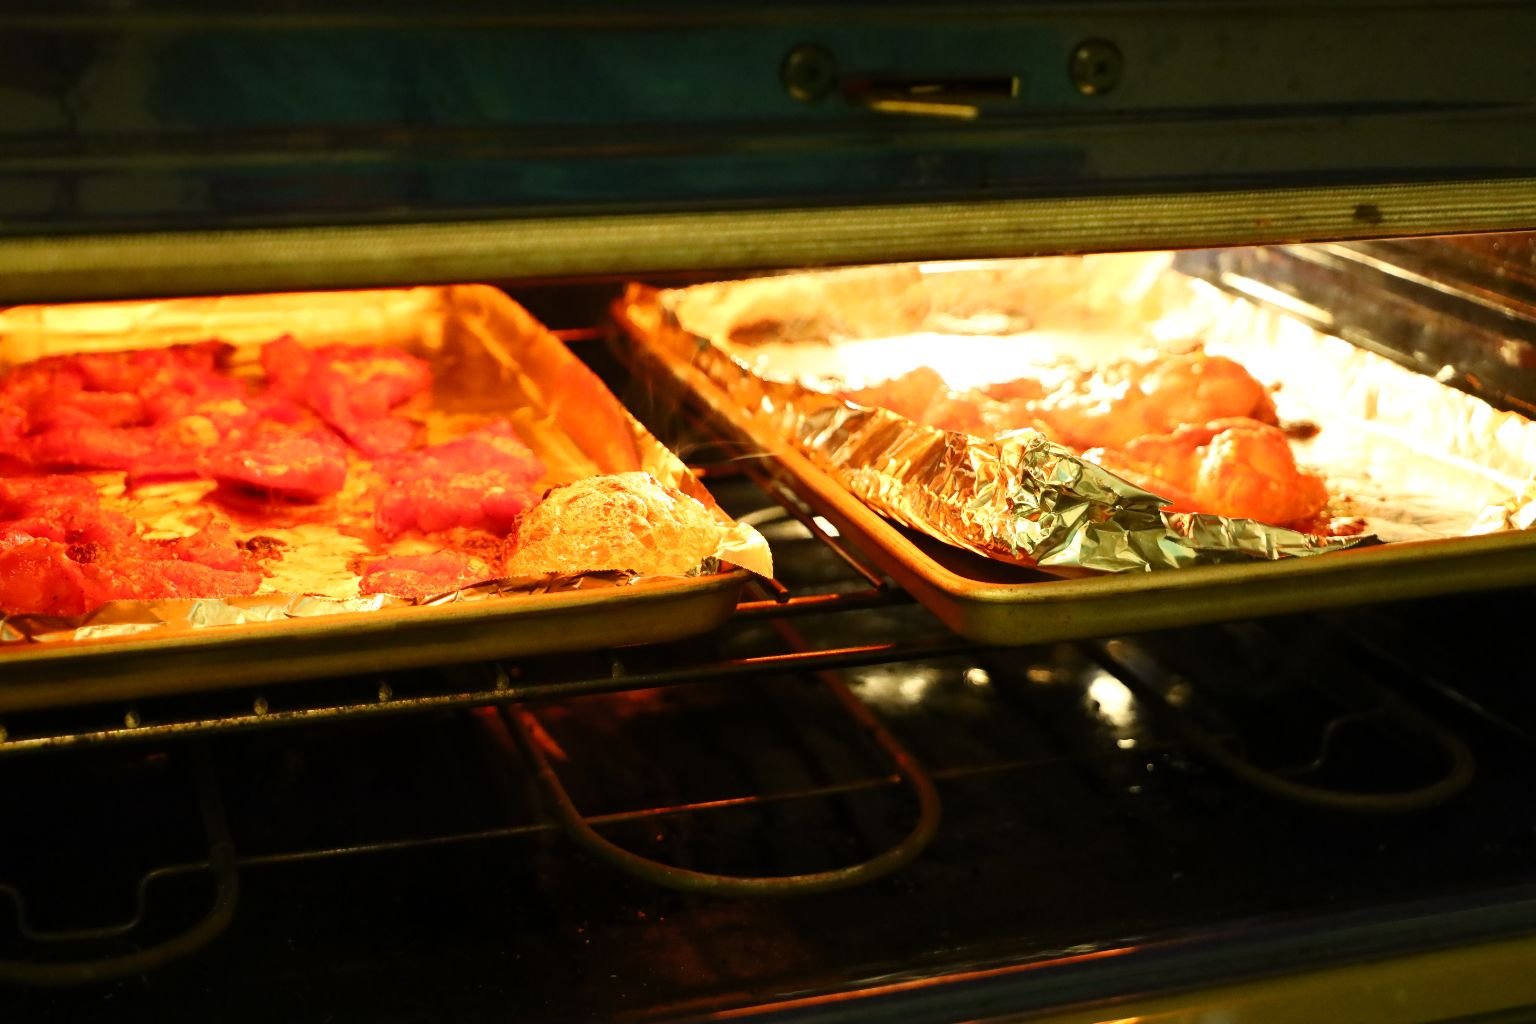
Hawaiian Sweet Buns, Whole Wheat and White
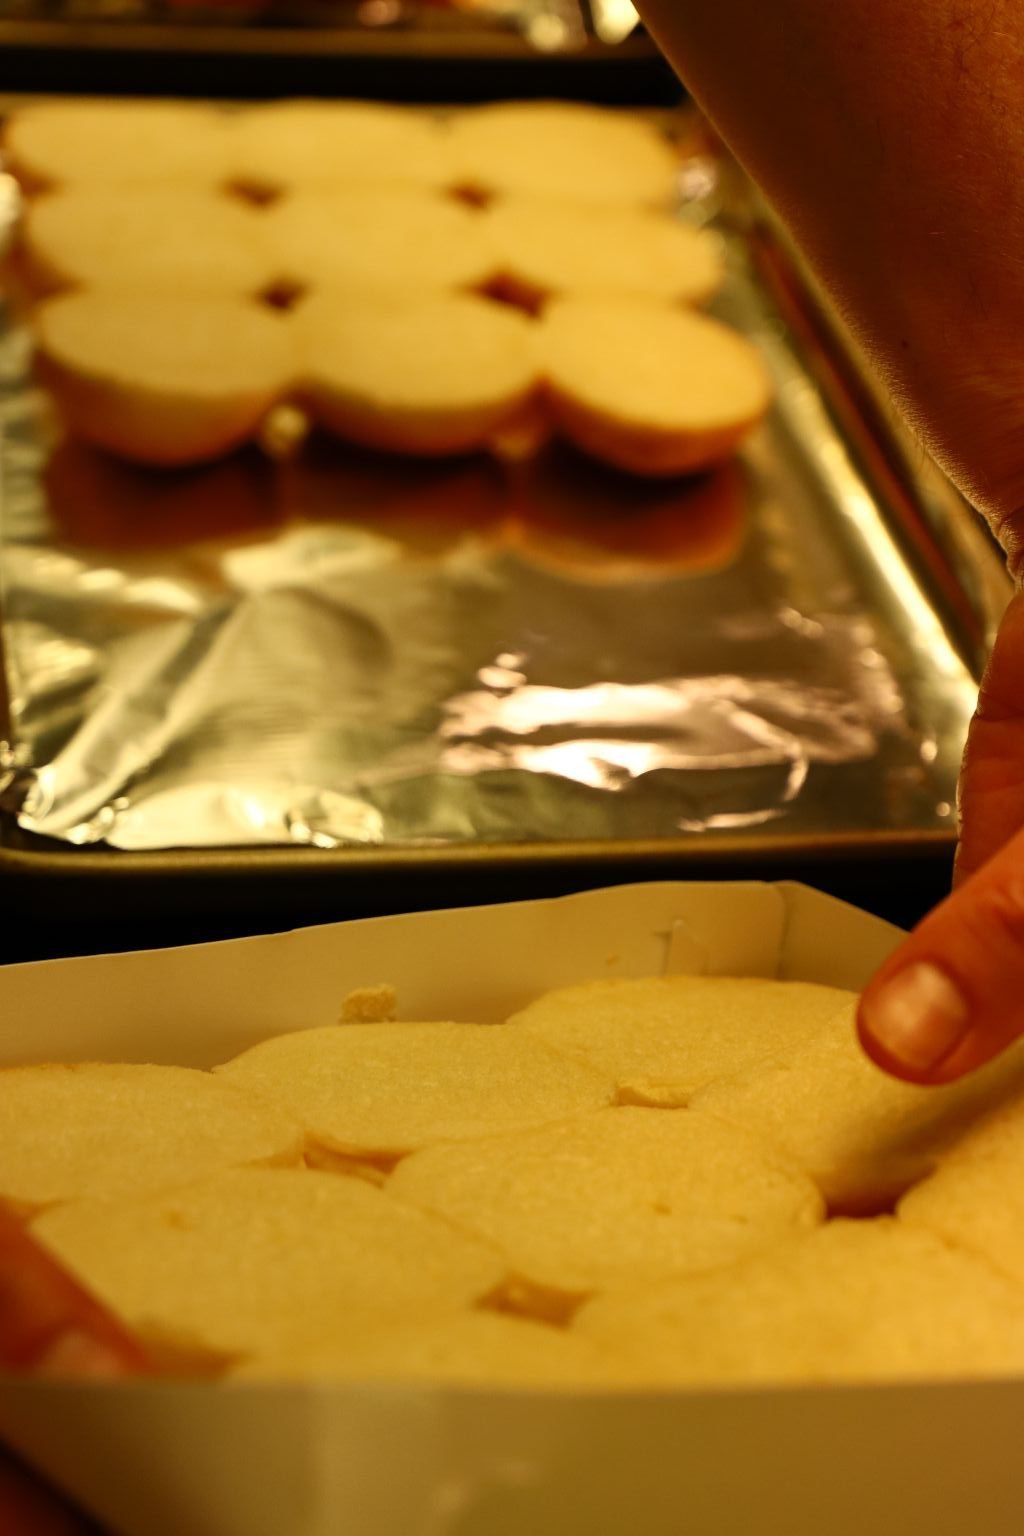
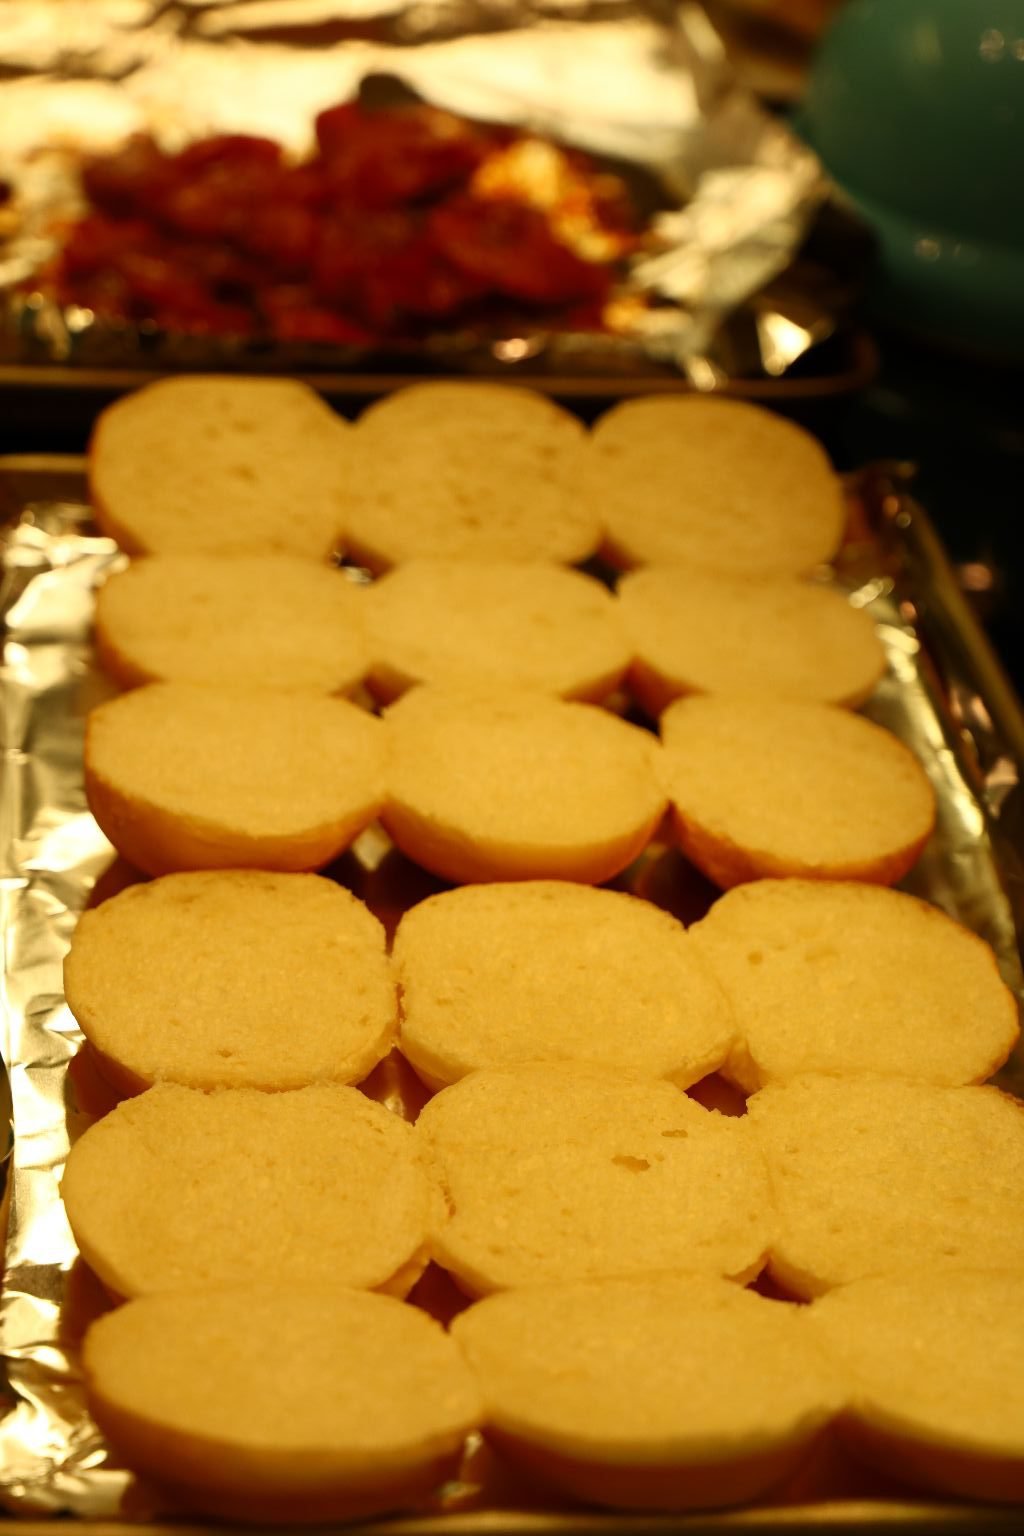
Here Gordon Sliced Them in Half and is Broiling Them to Brown

——————————————————————
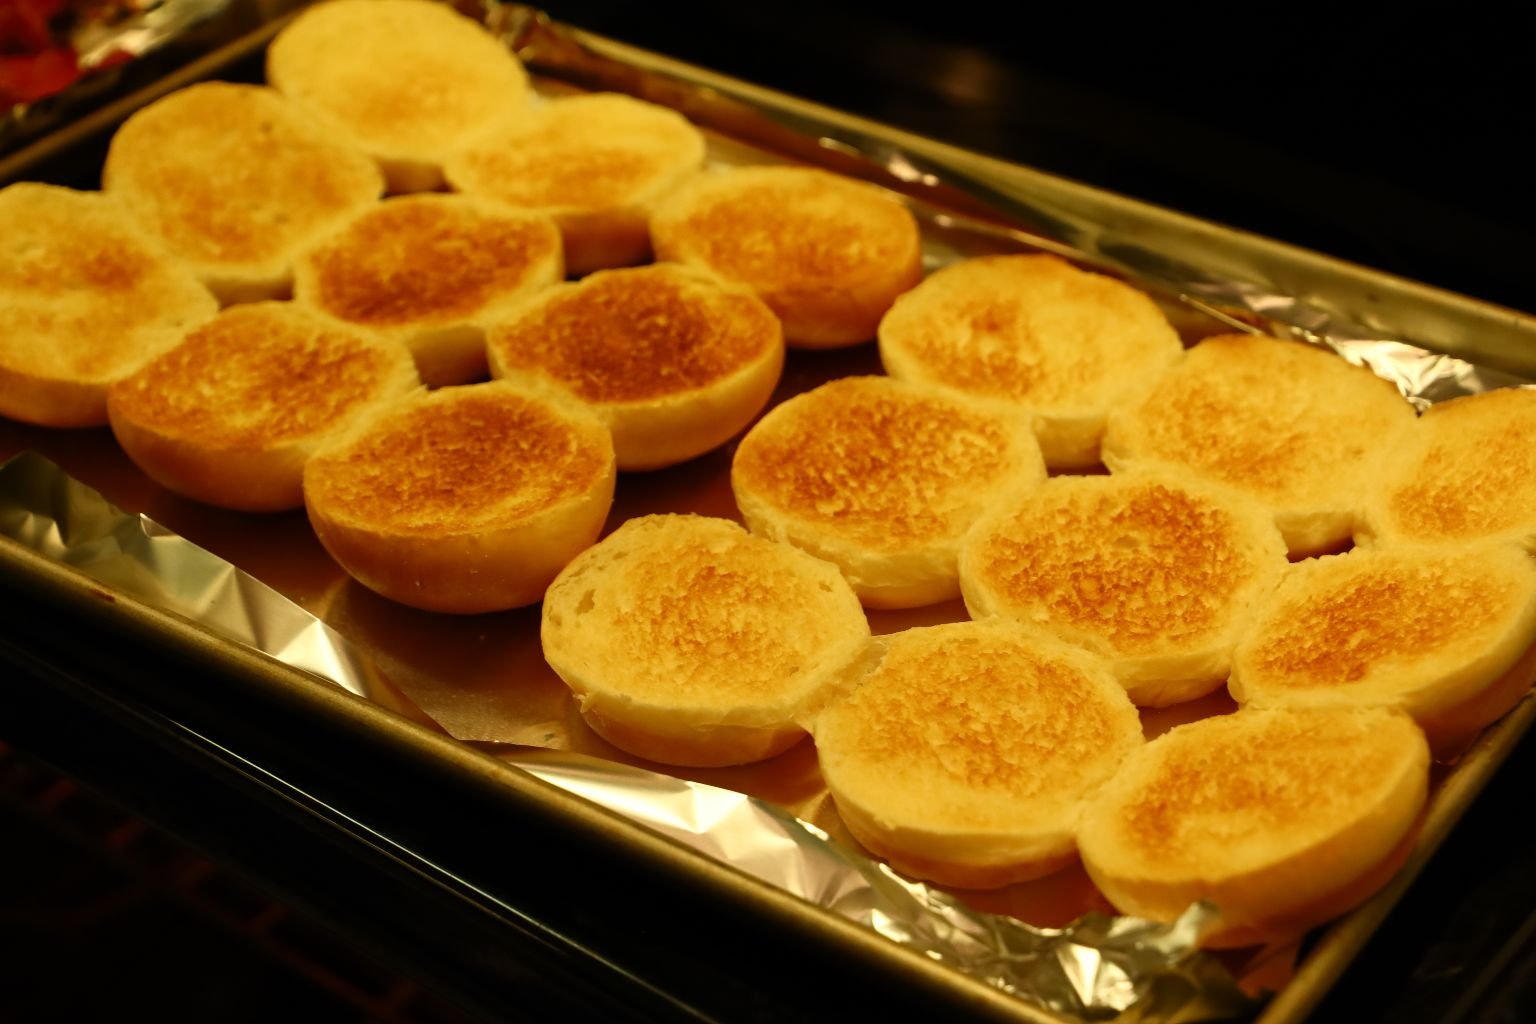
Nice and Browned

—————————————————————–

The Tocino Pork and Chicken is Ready

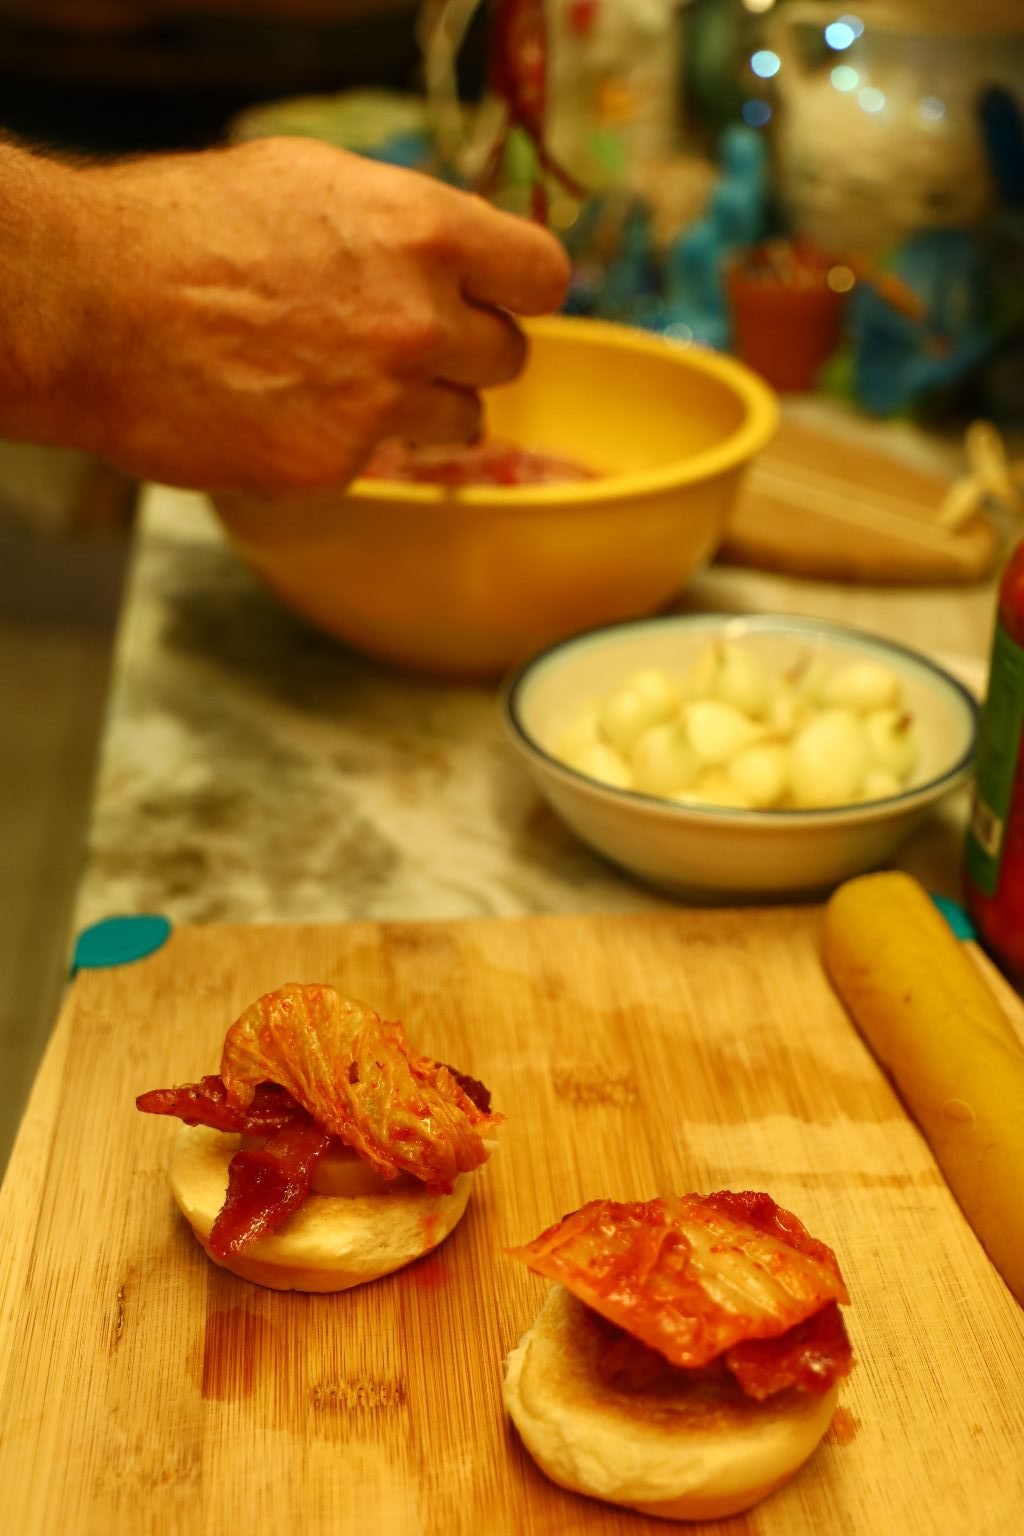
Now It Is Time To Assemble Our Sliders

Hawaiian Sweet Roll, Tocino Pork or Chicken, Kimchi, Pickled Onion, Pickled Daikon Radish


—————————————————————
Manawa E ‘Ai Ai
means…
Time To Eat!
———————————————————————-

Our Hawaiian/Filipino Tocino Pork/Chicken and Egg Sliders
This is just an expansion on the sliders from above.
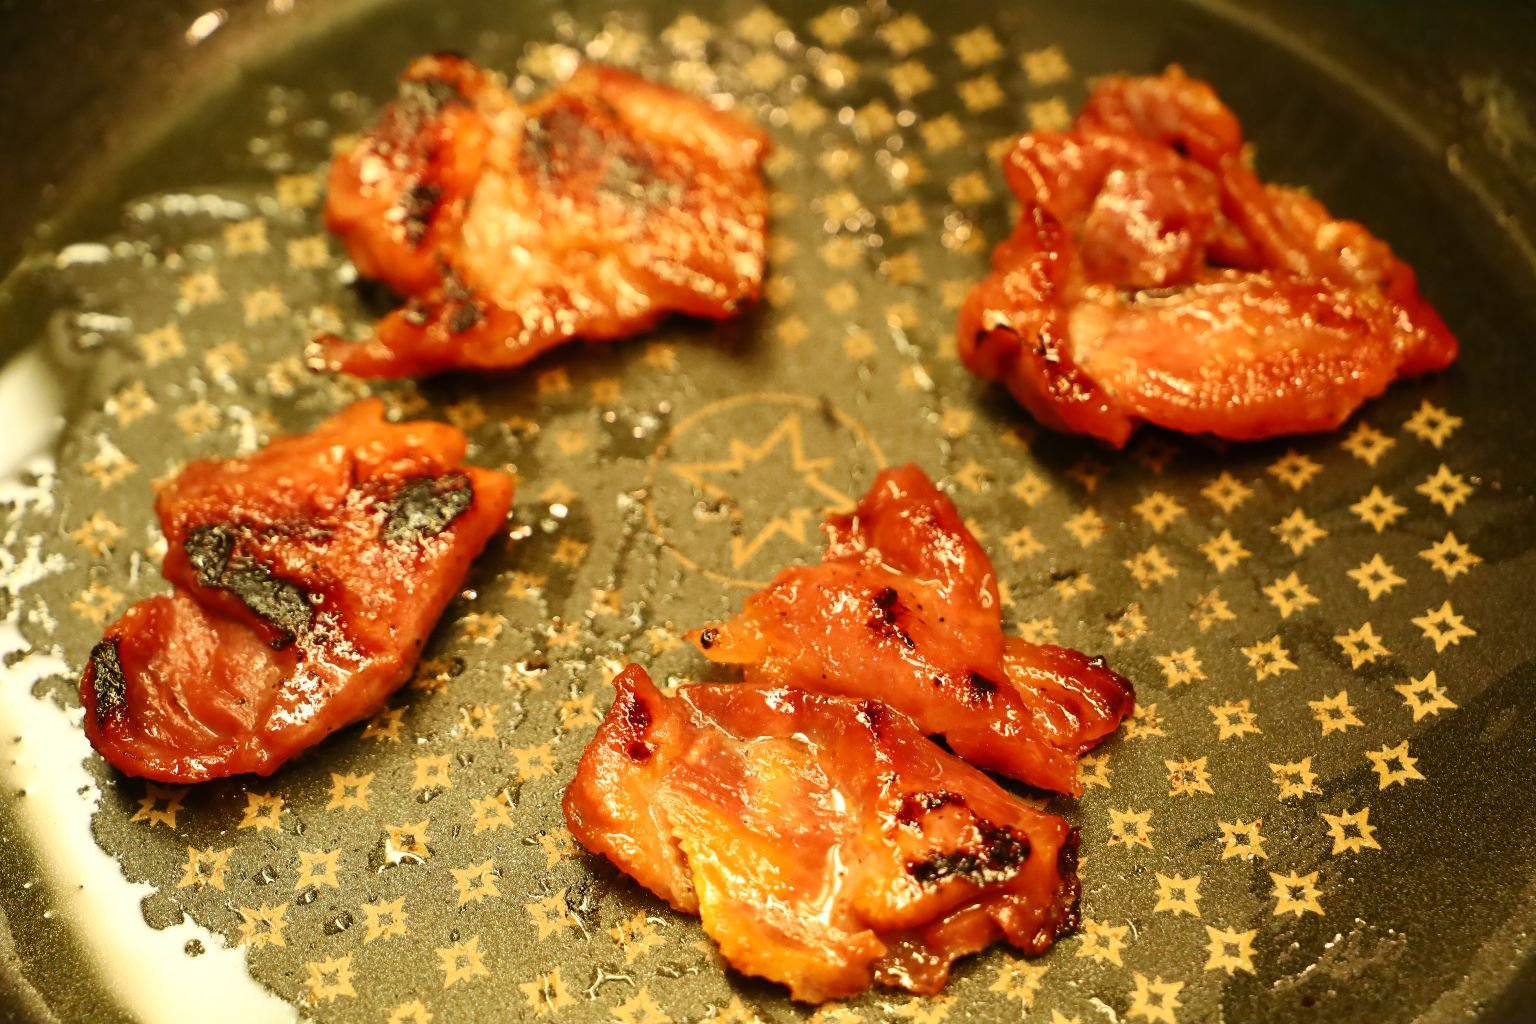
Reheating the Tocino Pork and Chicken

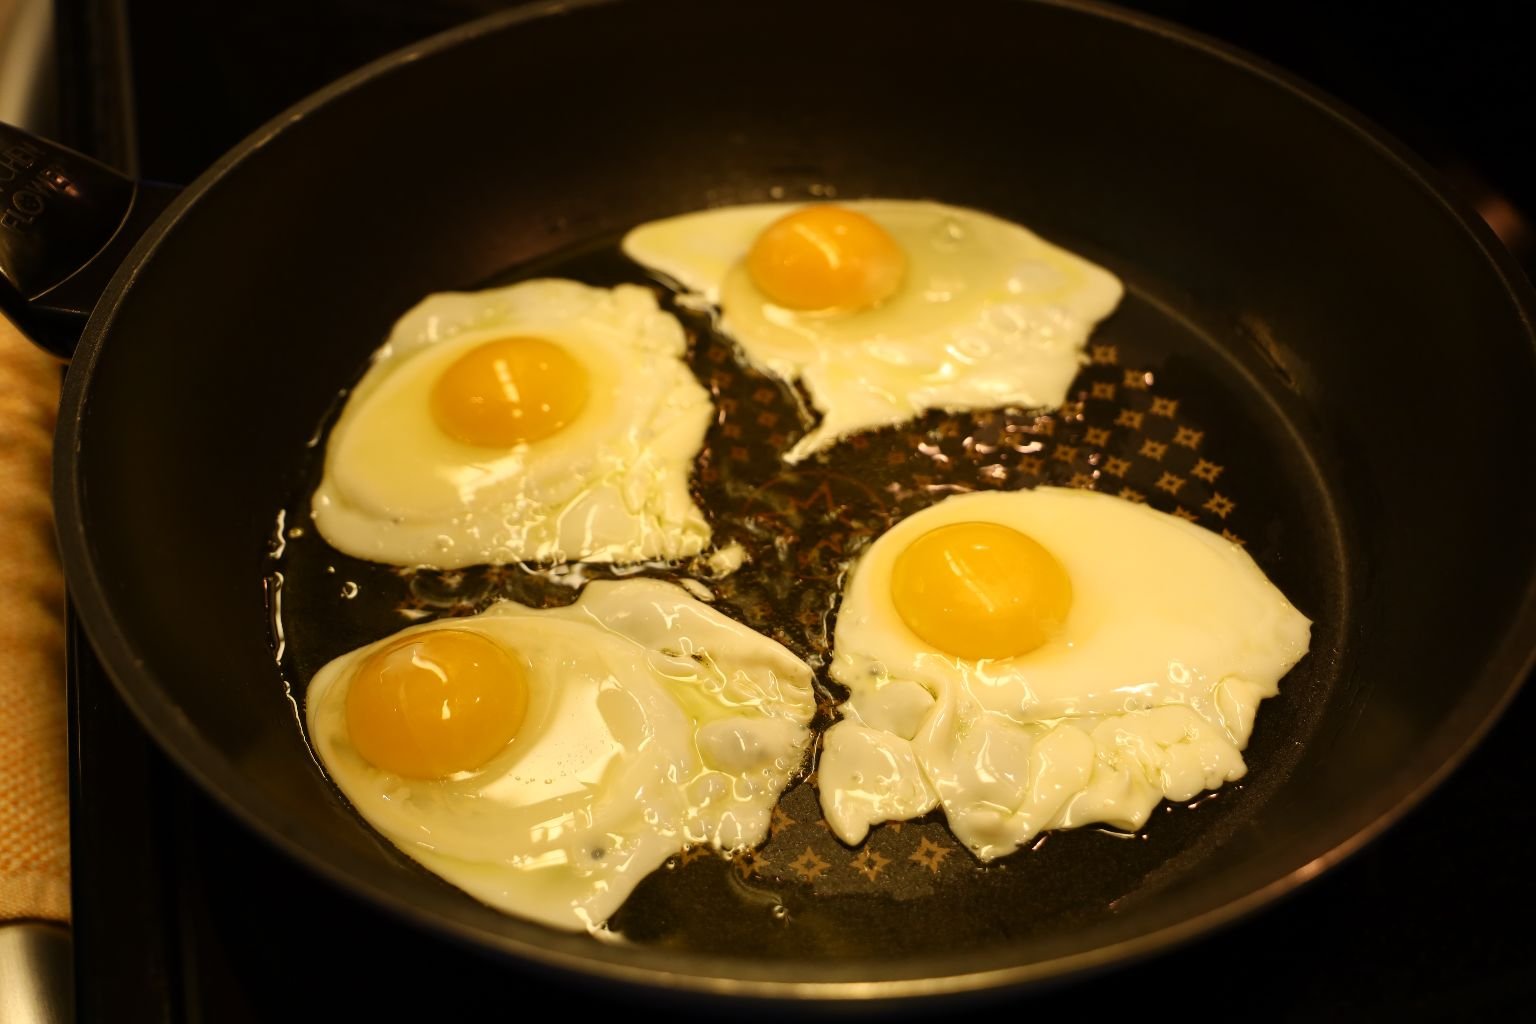
Frying Some Medium Eggs
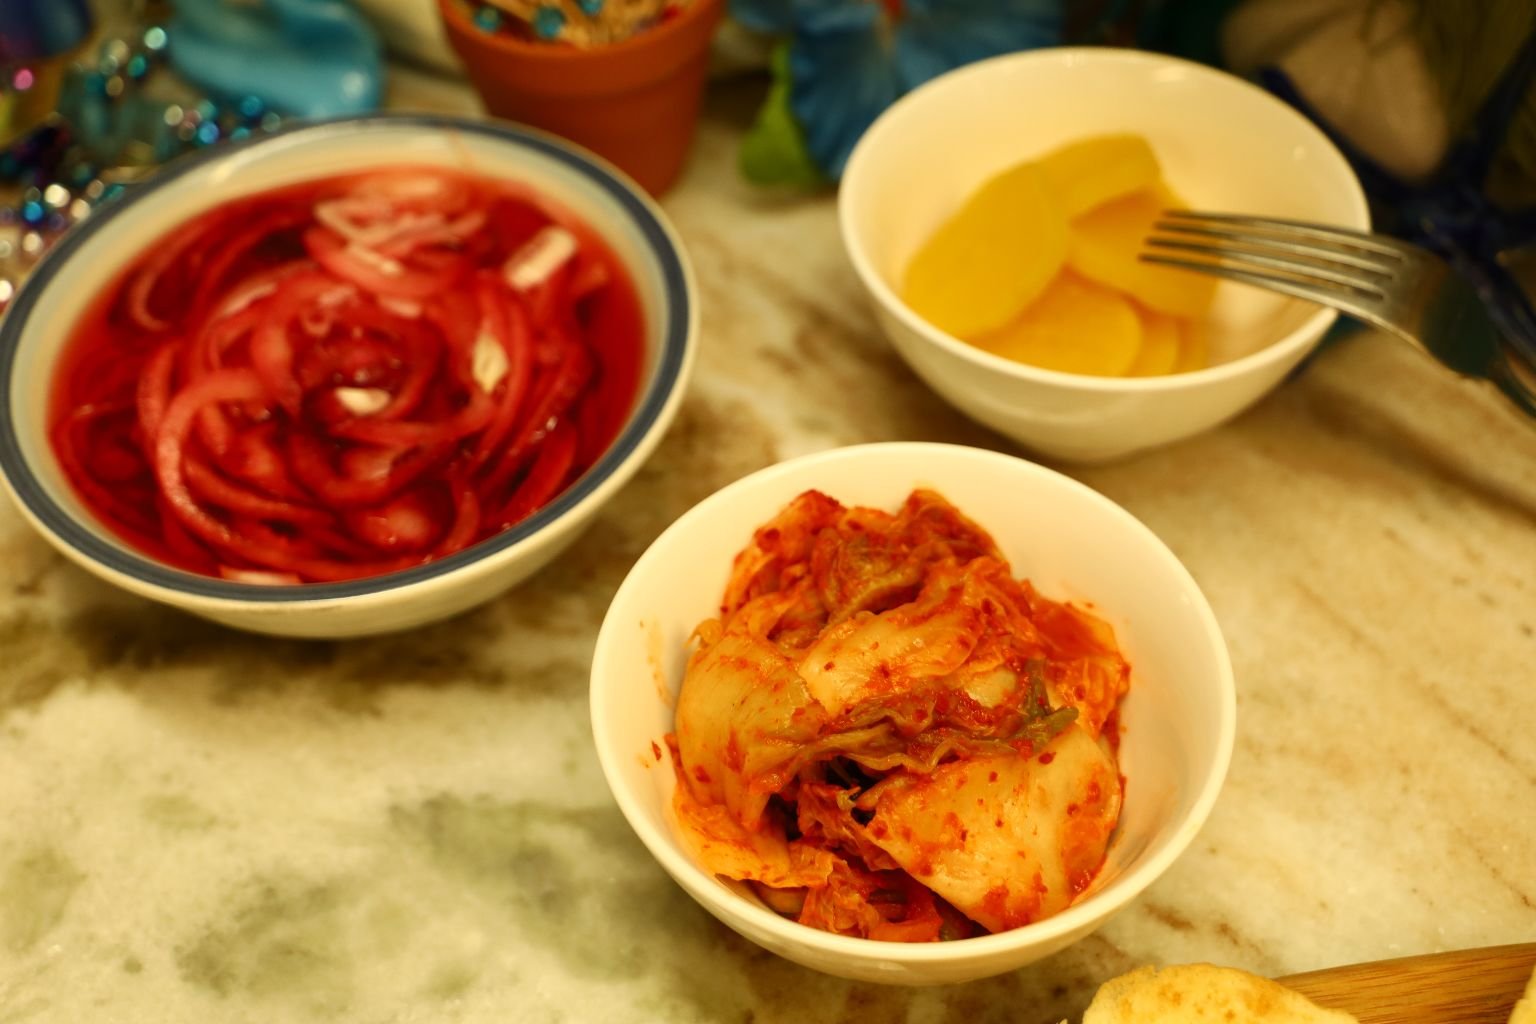
Pickled Red Onion, Kimchi, and Pickled Daikon Radish

Now It’s Time To Assemble

————————————————————

Perfect Little All Day Sliders
Breakfast, Lunch, Dinner
—————————————————————
Hawaiian Tray Bakes
Mahi-Mahi Wrapped in Banana Leaves with Chinese Long Beans
Our Whann Way Hawaiian Traybake
Our Haole Traybake
Our ONO Hawaiian Tray Bakes
Mahi-Mahi wrapped in our home grown herbs and banana leaves.
When Done…
Gordon and Julie’s Dinner Plates
Leftovers Arranged the Aloha Way
————————————————————
Our Whann Way Hawaiian Traybake

Just Washing Some of our Traybake Ingredients

——————————————————————–

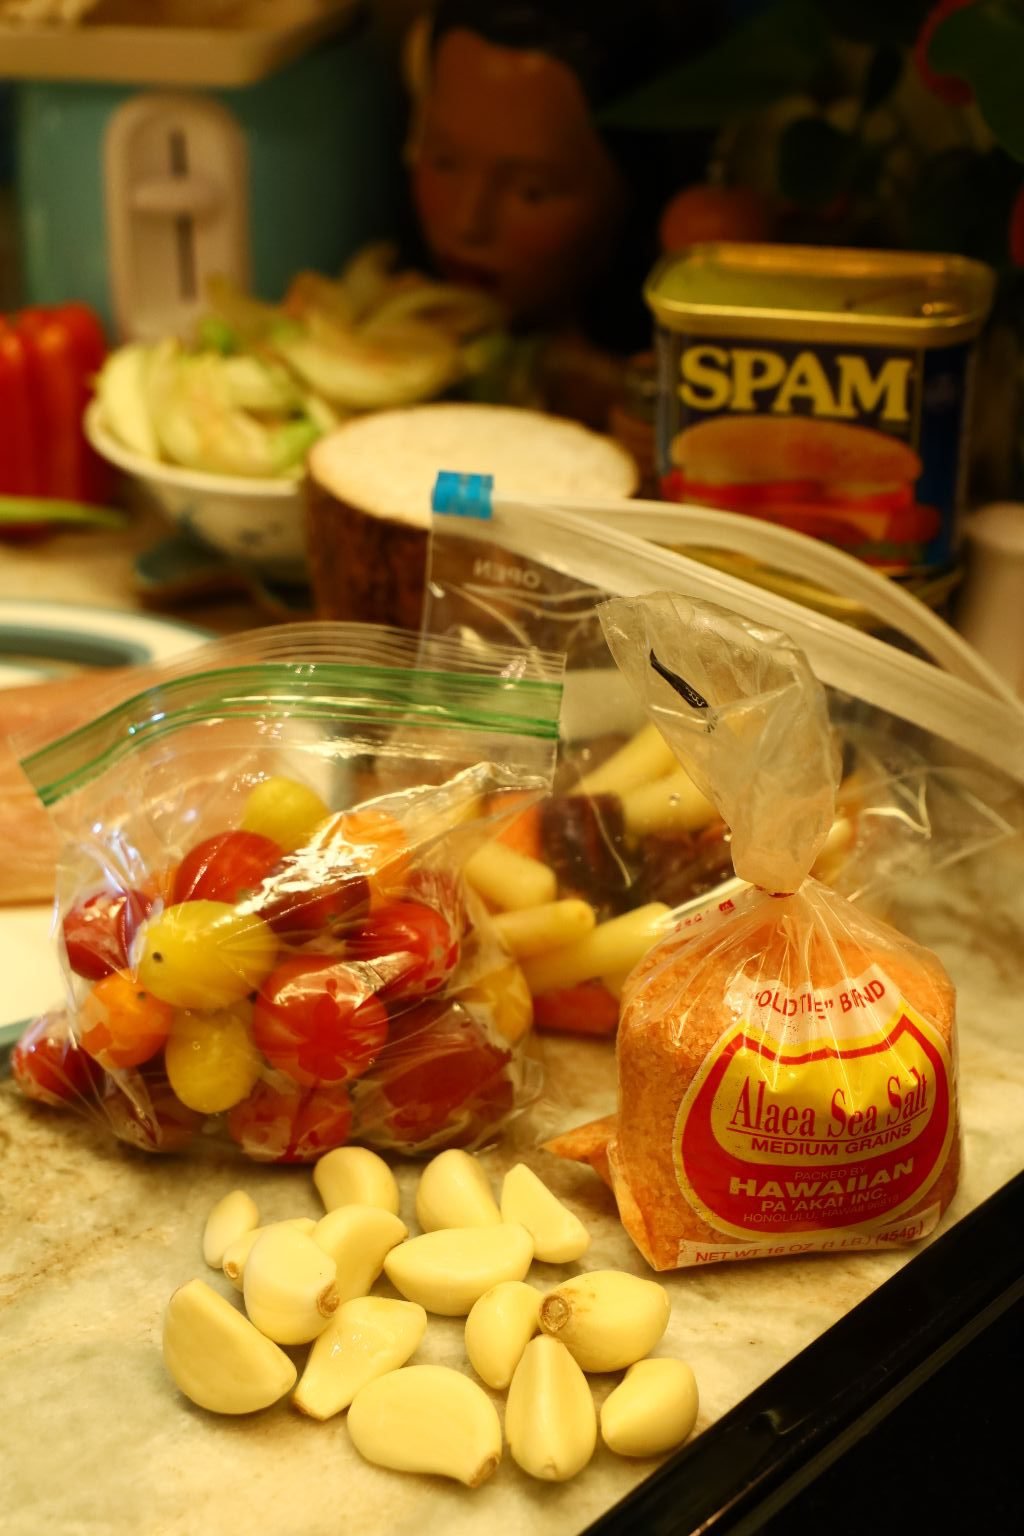
Ingredients:
2 Cans of Spam
(SPAM is a local staple food in Hawaii. It stems back to WWII when our government sent over many cans to feed the sailors and locals alike. It was something that didn’t go bad quickly.)
2 Hawaiian Bell Peppers – sliced to 1 inch thick wide lengths
2 Onions – sliced into quarters
~15 Cherry Heirloom Tomatoes
4 Yams – sliced into 1/2 inch thick rounds
~1/4 Cup Vegetable Oil
Banana Leaves – enough to cover the base of the roasting pan
Hawaiian Sea Salt and Pepper to taste
Sprigs of Tarragon
Chow Mein Stir-Fry Noodles
Salt for the Noodle Water
————————————————————–


Remove the Spam from their tins and place onto a larger cutting board. Now, slice the spam in half then into 1/4 to 1/2 inch wedges.

Place the sliced Spam into a large saute pan with about 2 Tbsp. of vegetable oil. Turn the heat to medium high …


and cook the Spam until they are slightly browned as shown.

Place the browned Spam on a plate lined with a paper towels.


Slice your Bell Peppers in half and remove the seeds and stem. Now, slice the Bell Pepper halves into 1 inch thick wedges.


Place the wedges in a bowl for later use. Peel and slice your onions into quarters as shown.


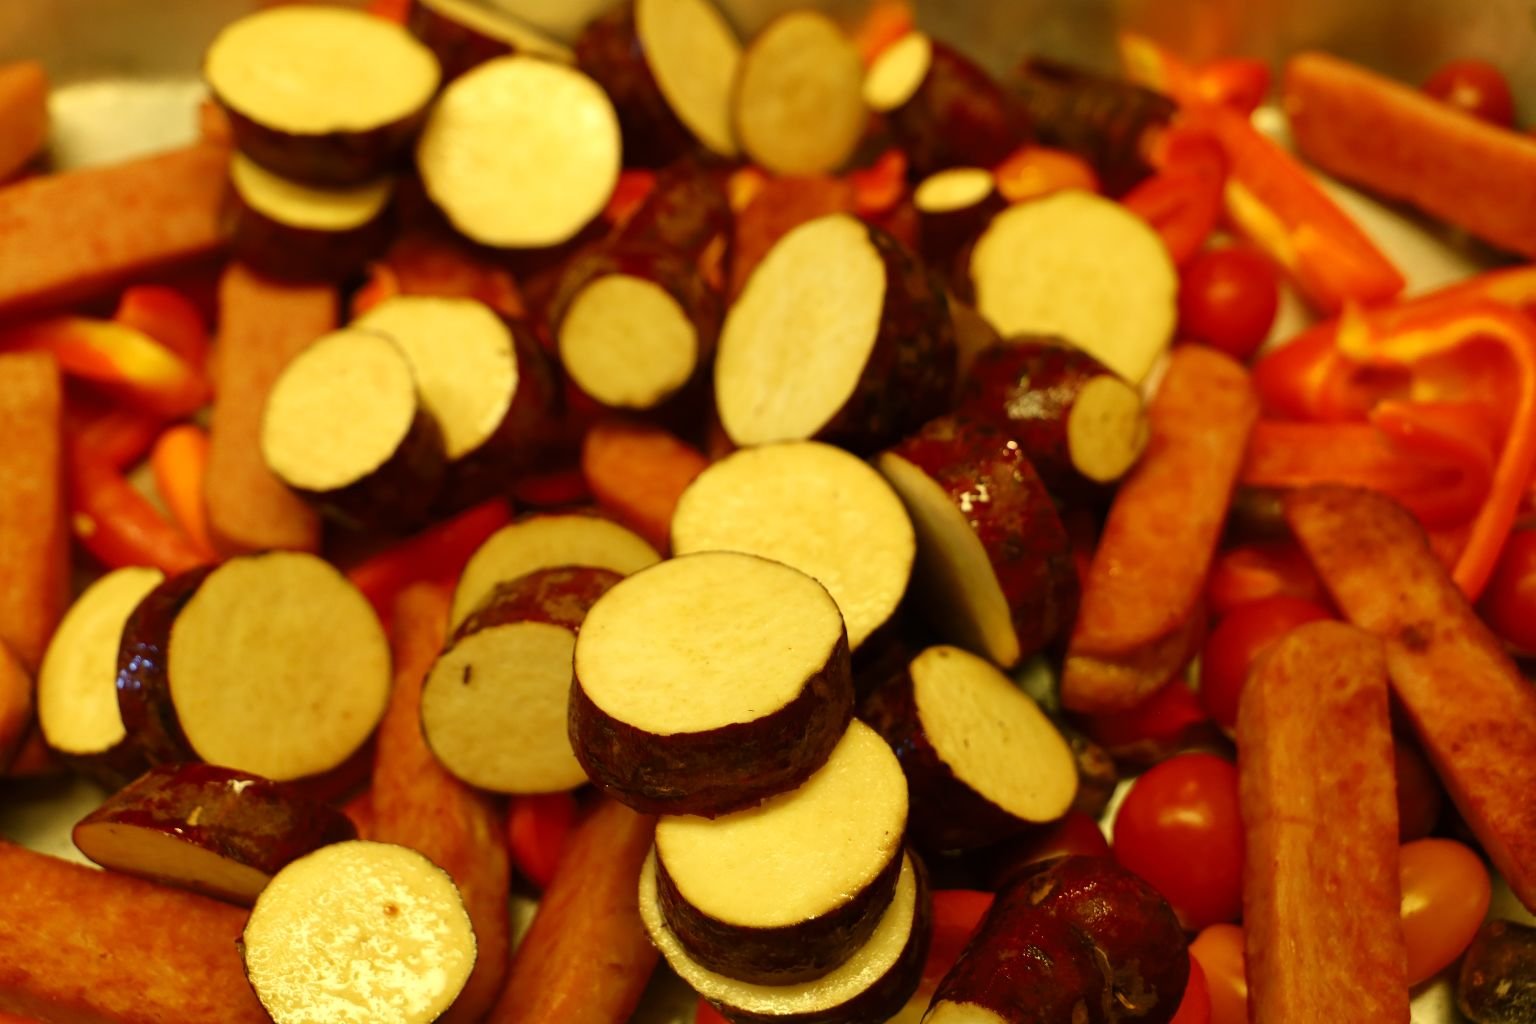
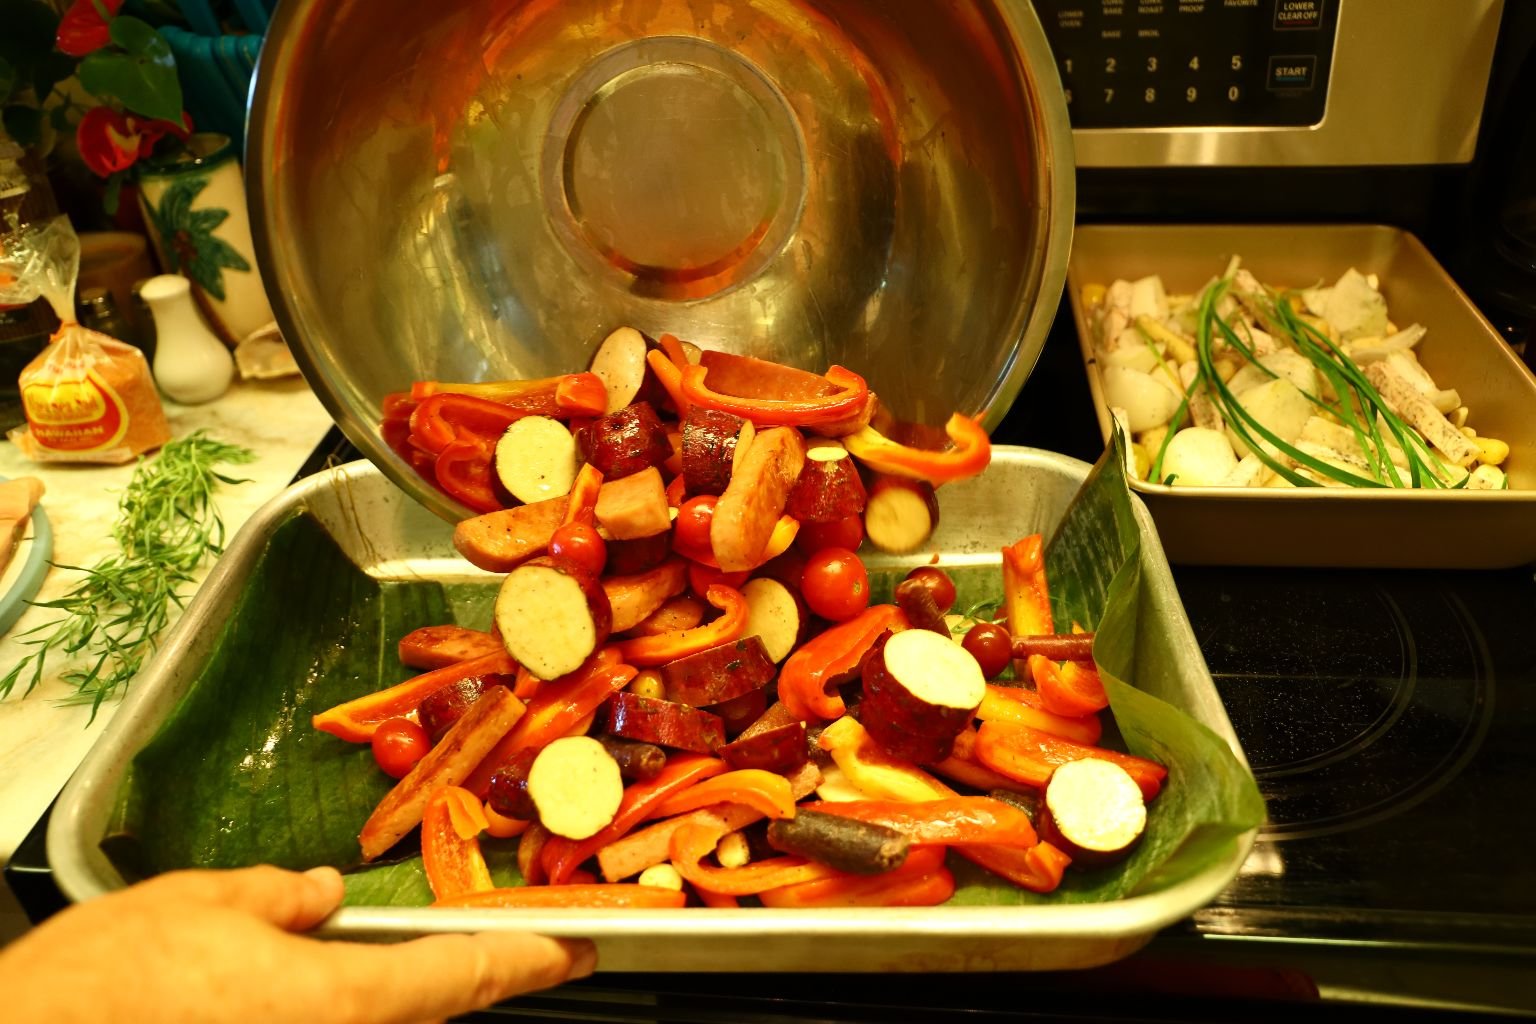
Here we started loading up our large roasting pan with our ingredients.

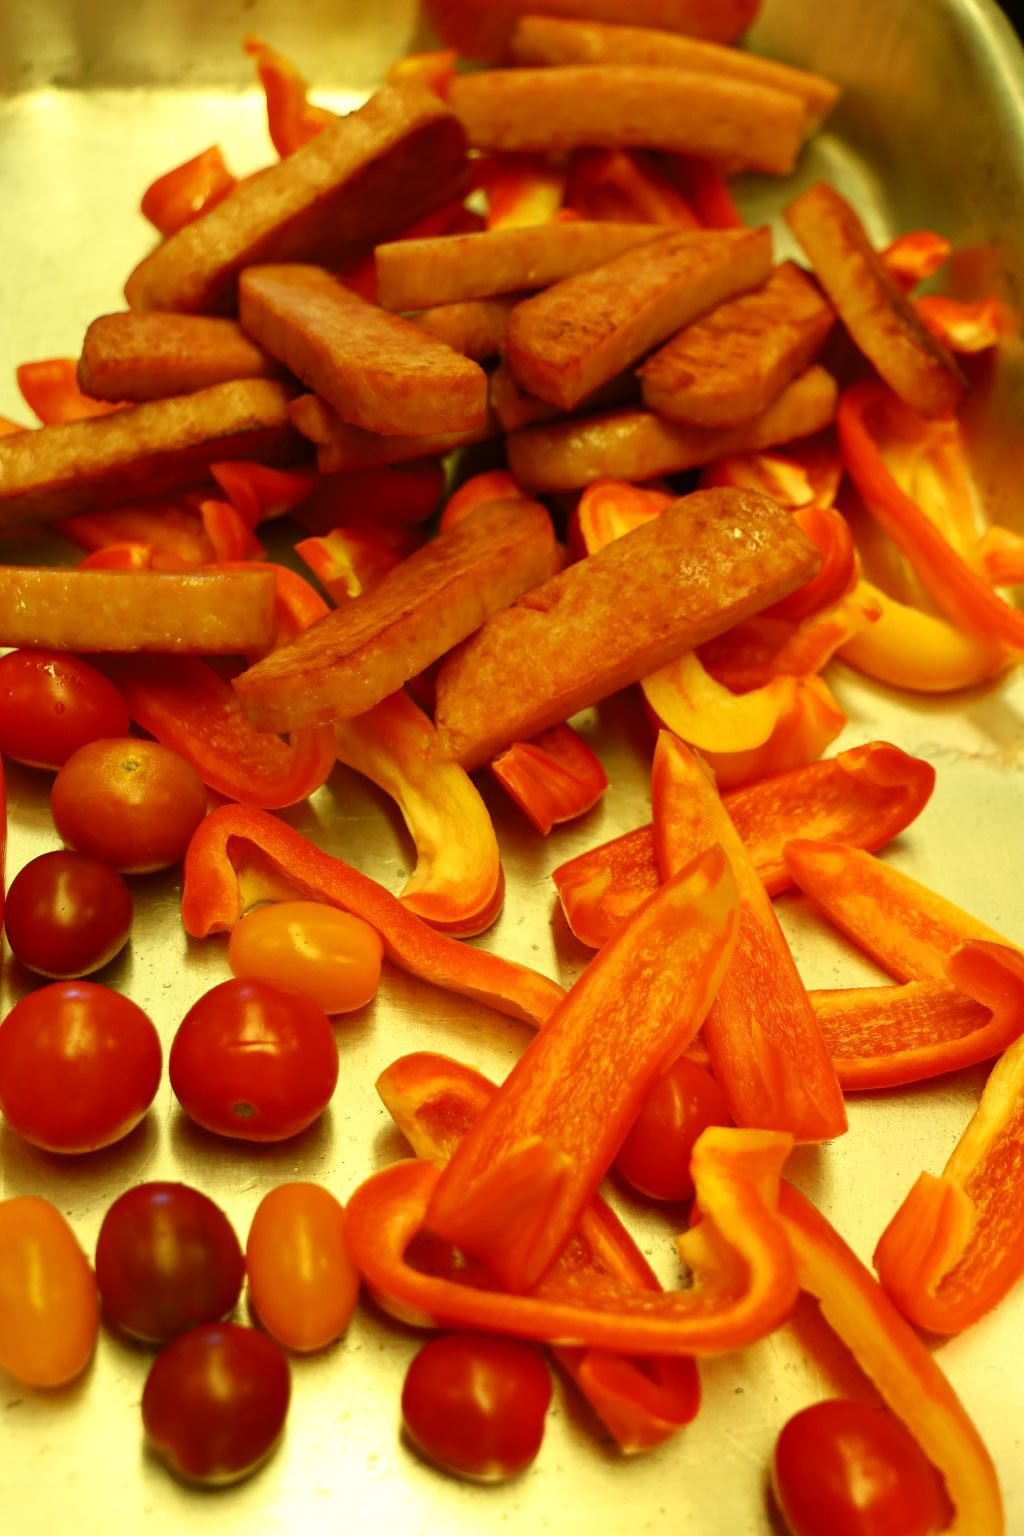
Hawaiian Bell Peppers, SPAM, and Cherry Tomatoes
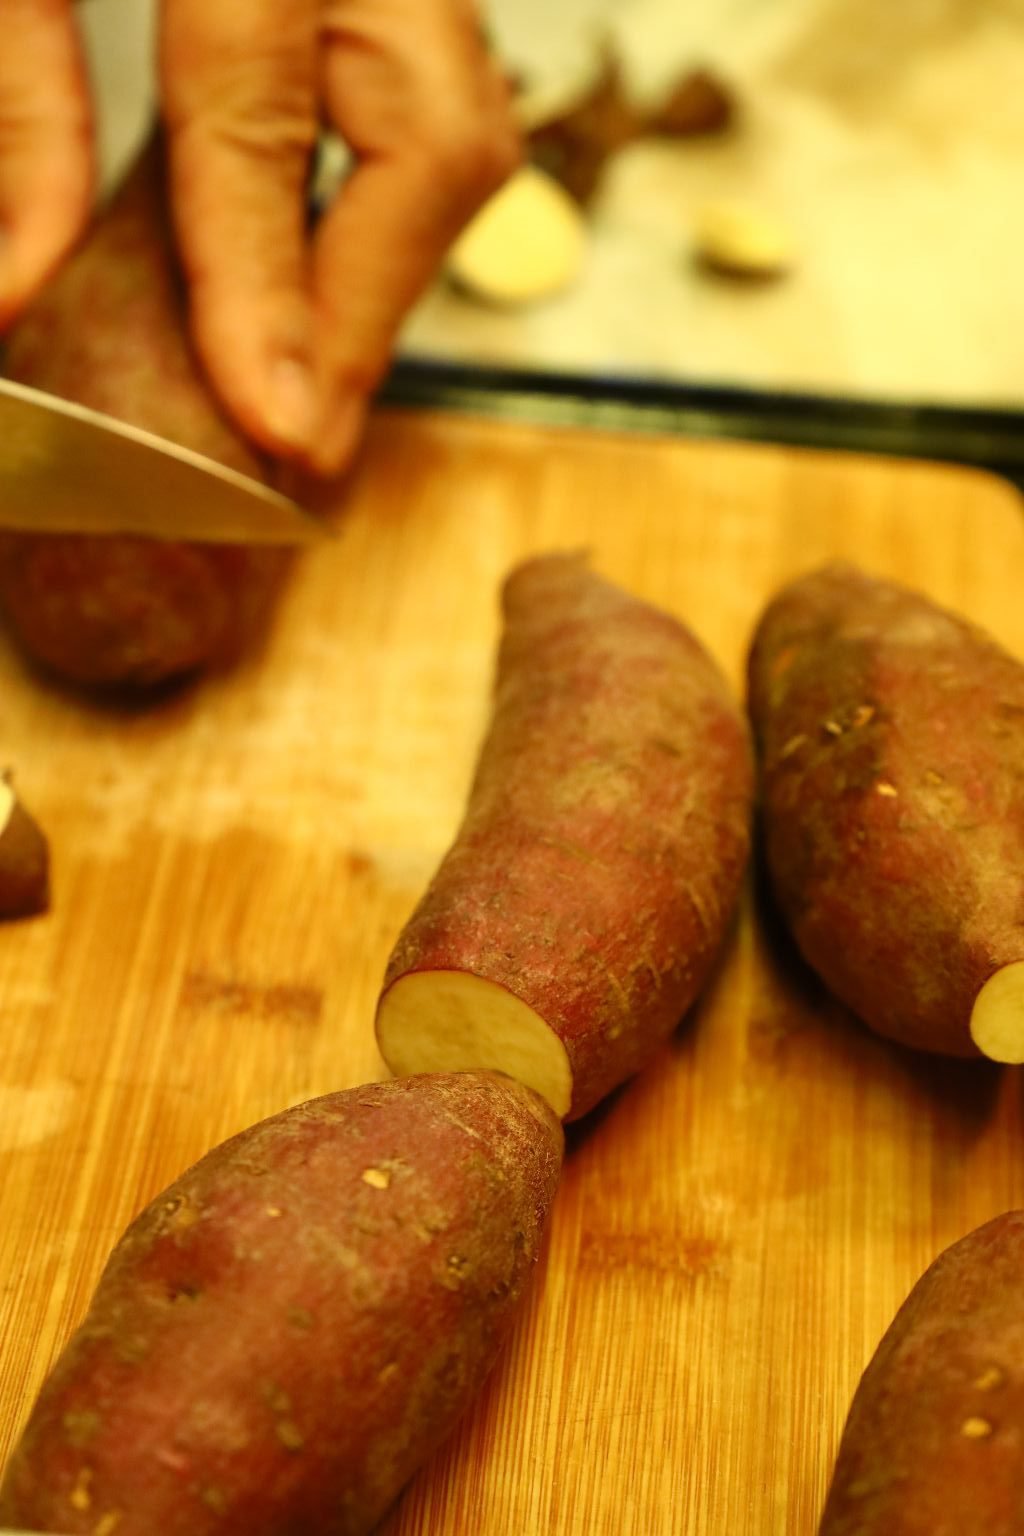

Slice your Yams into 1/2 inch thick rounds.

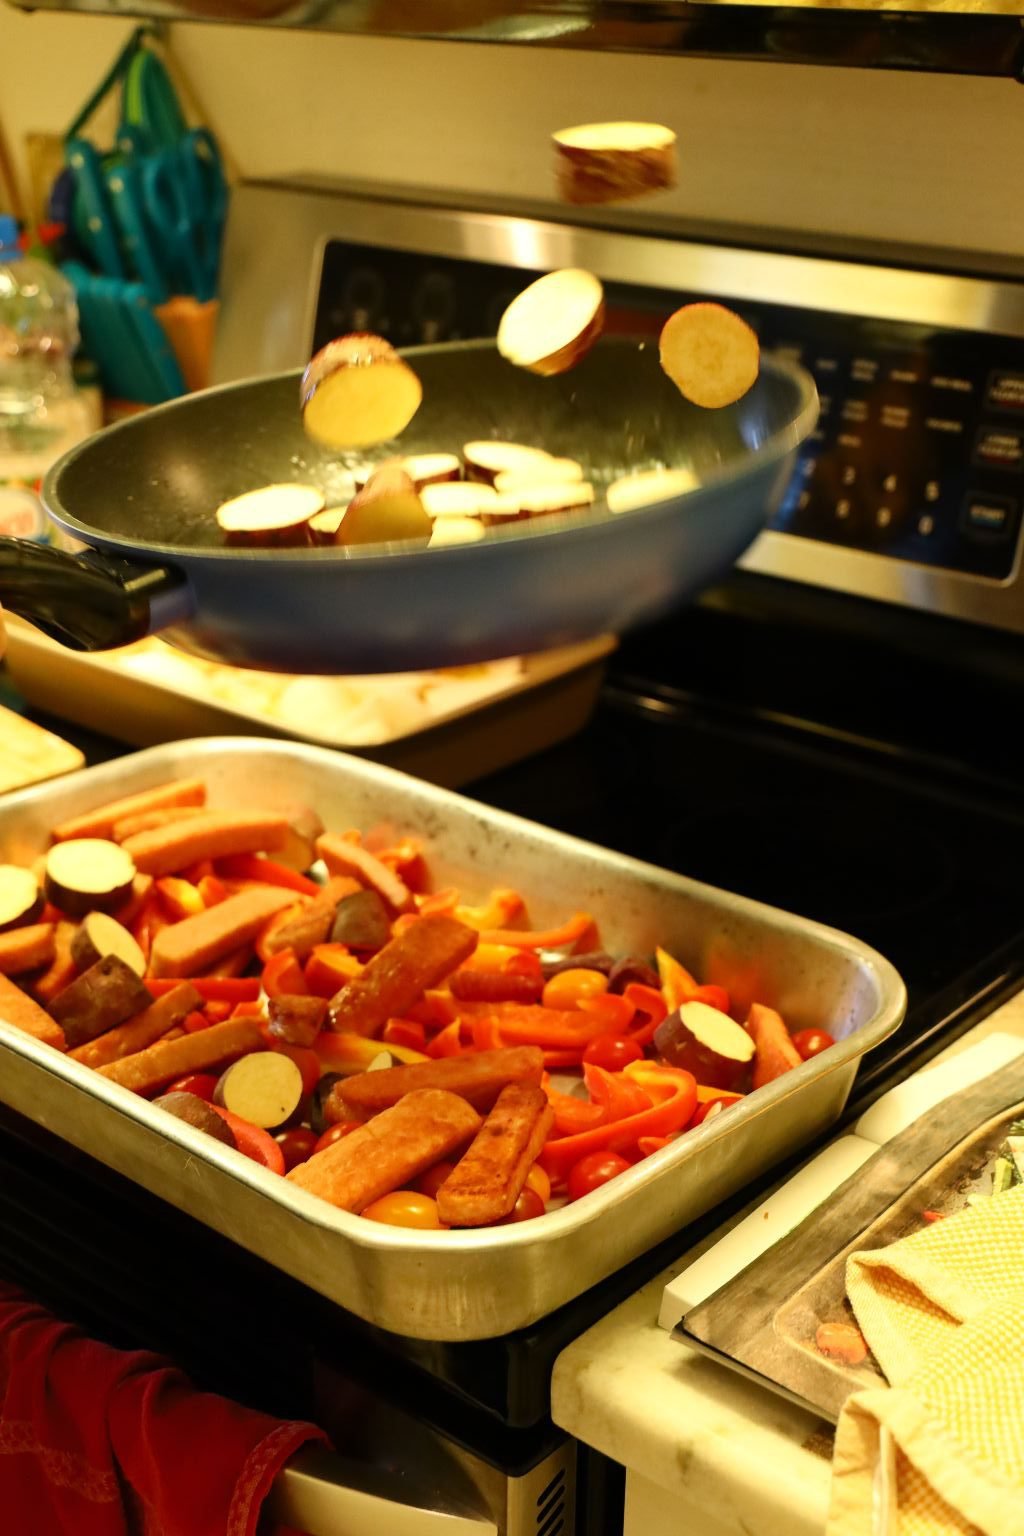
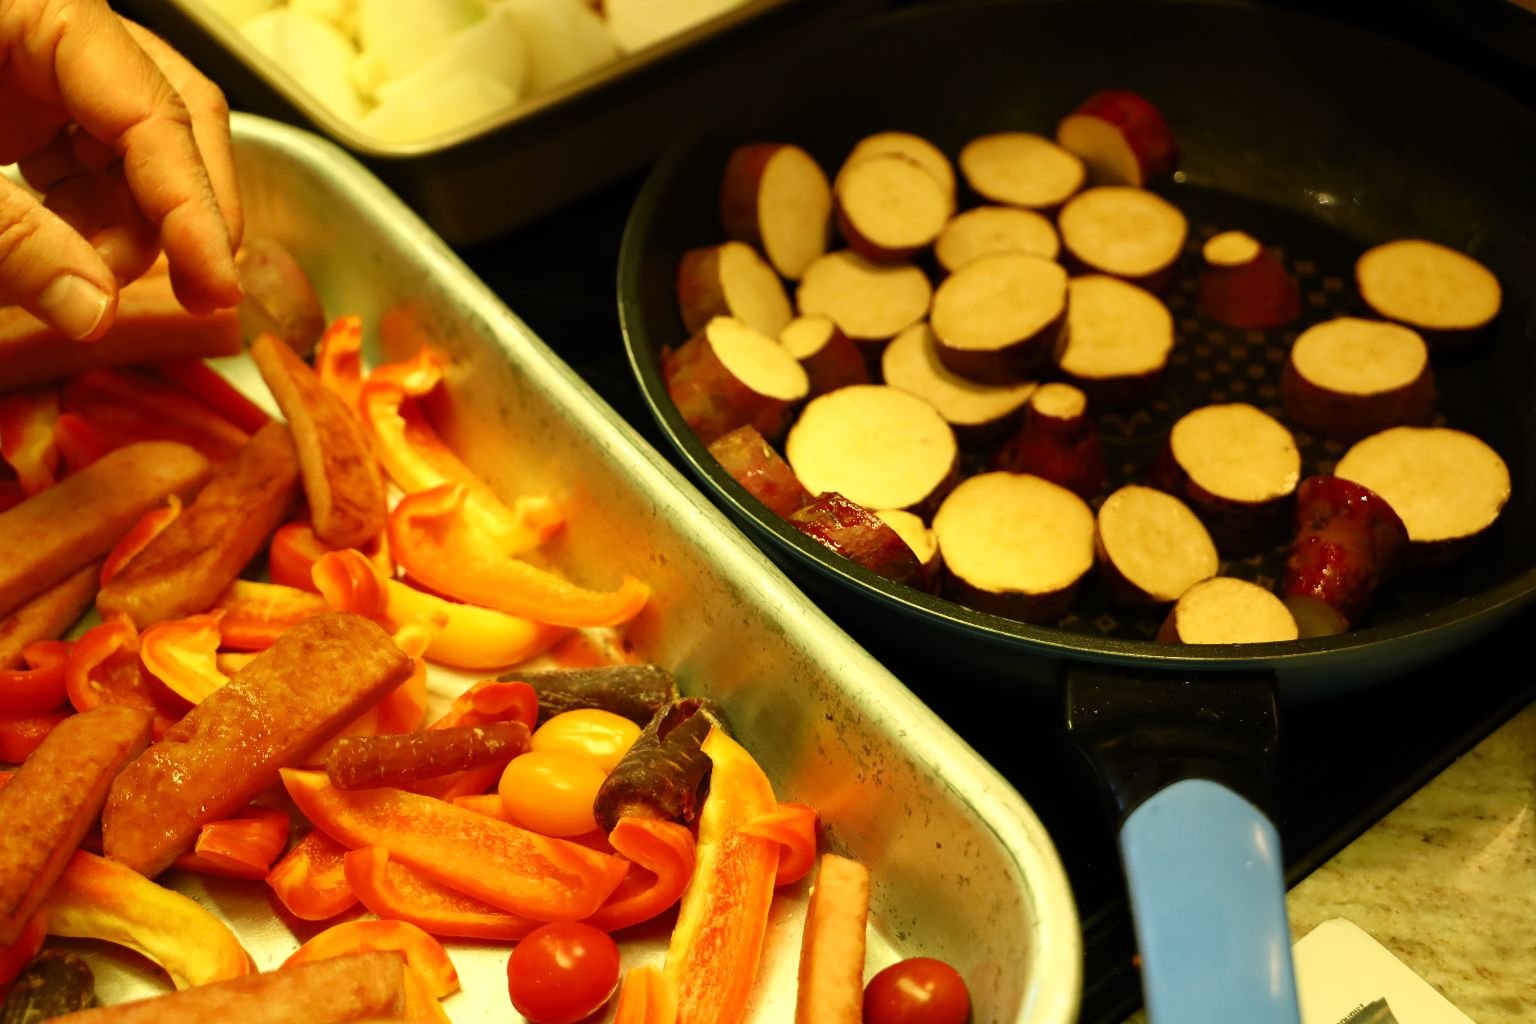
Use a large saute pan and some oil to saute the Yams until slightly cooked for about 5 min. on both sides.

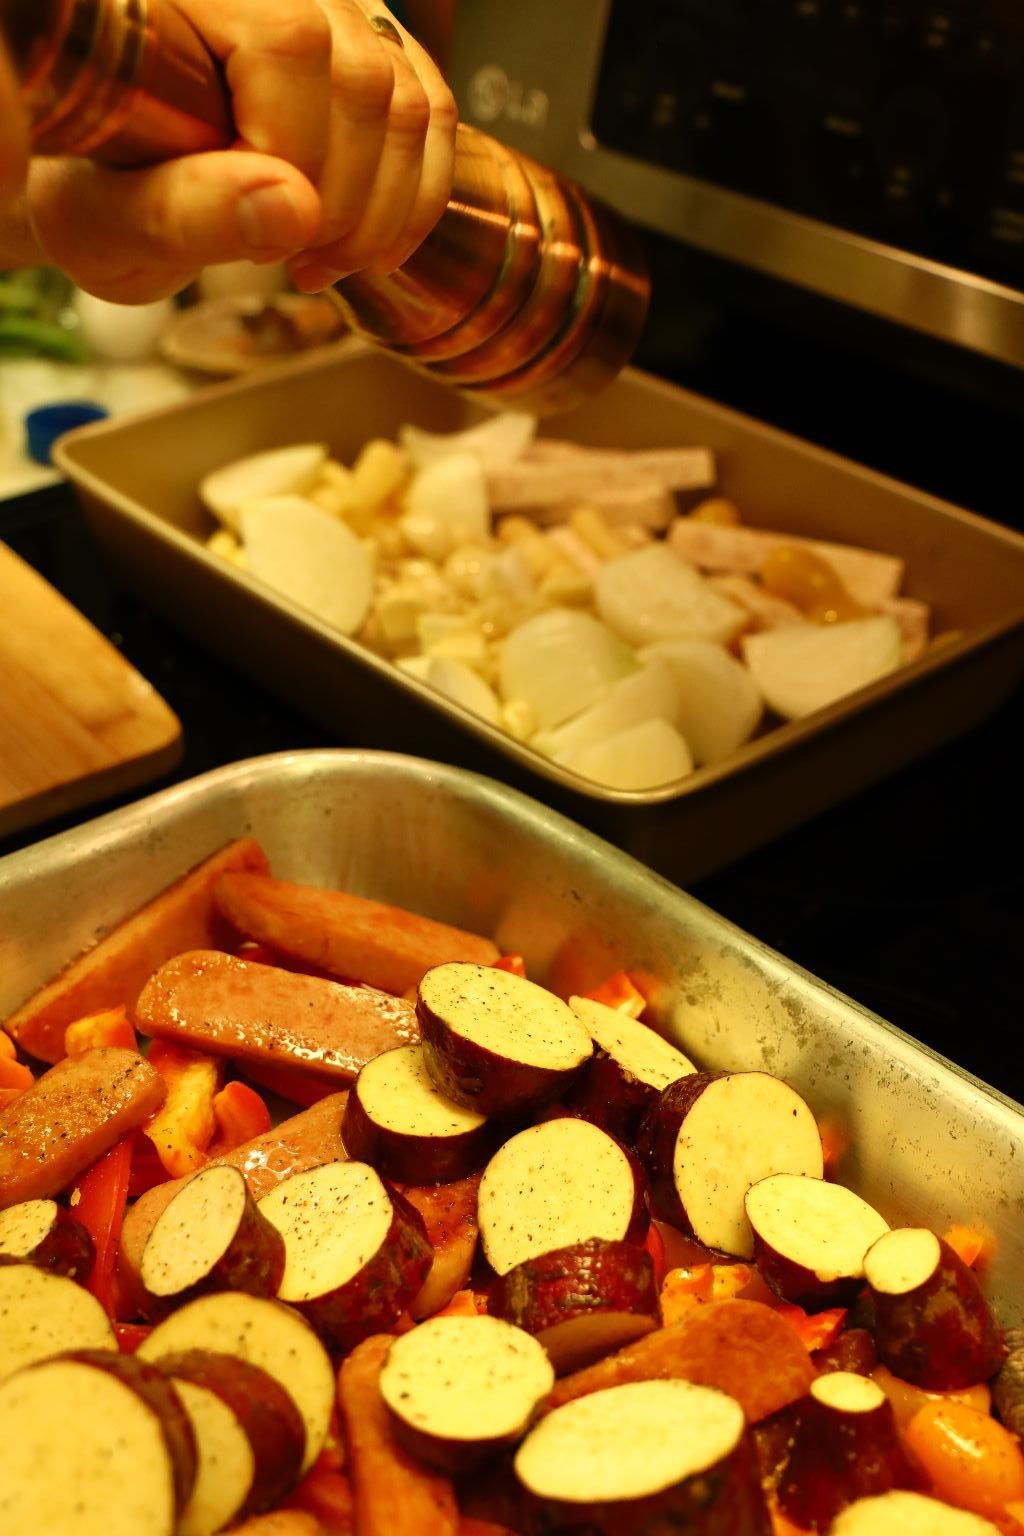
Add all the ingredients into the roasting pan.
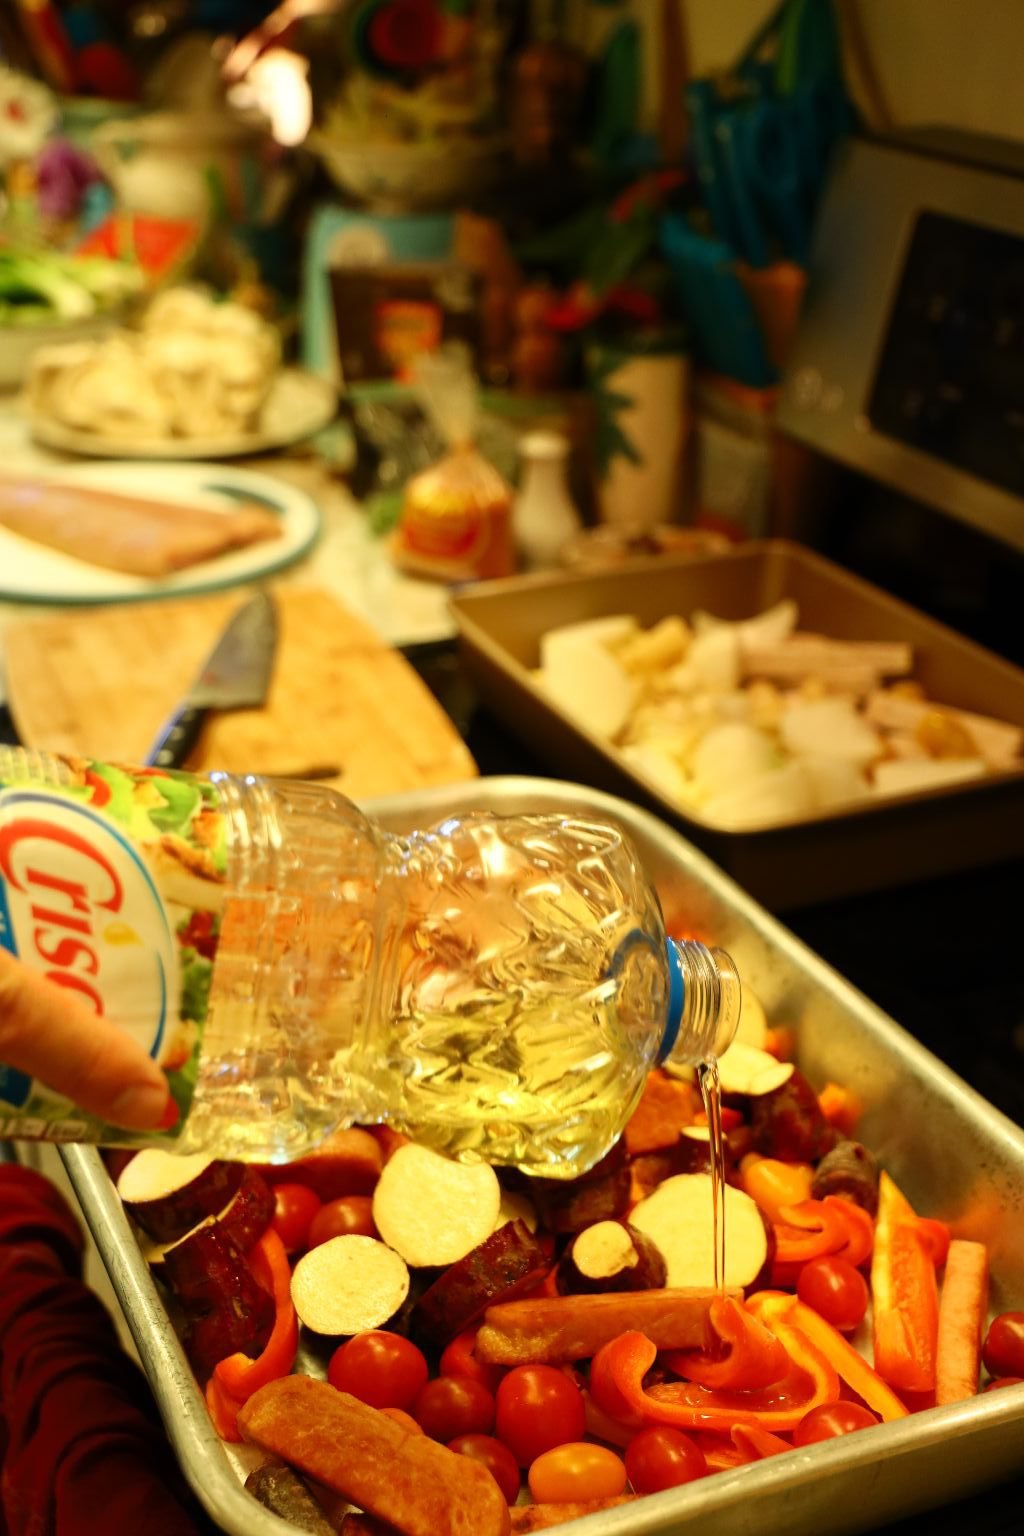
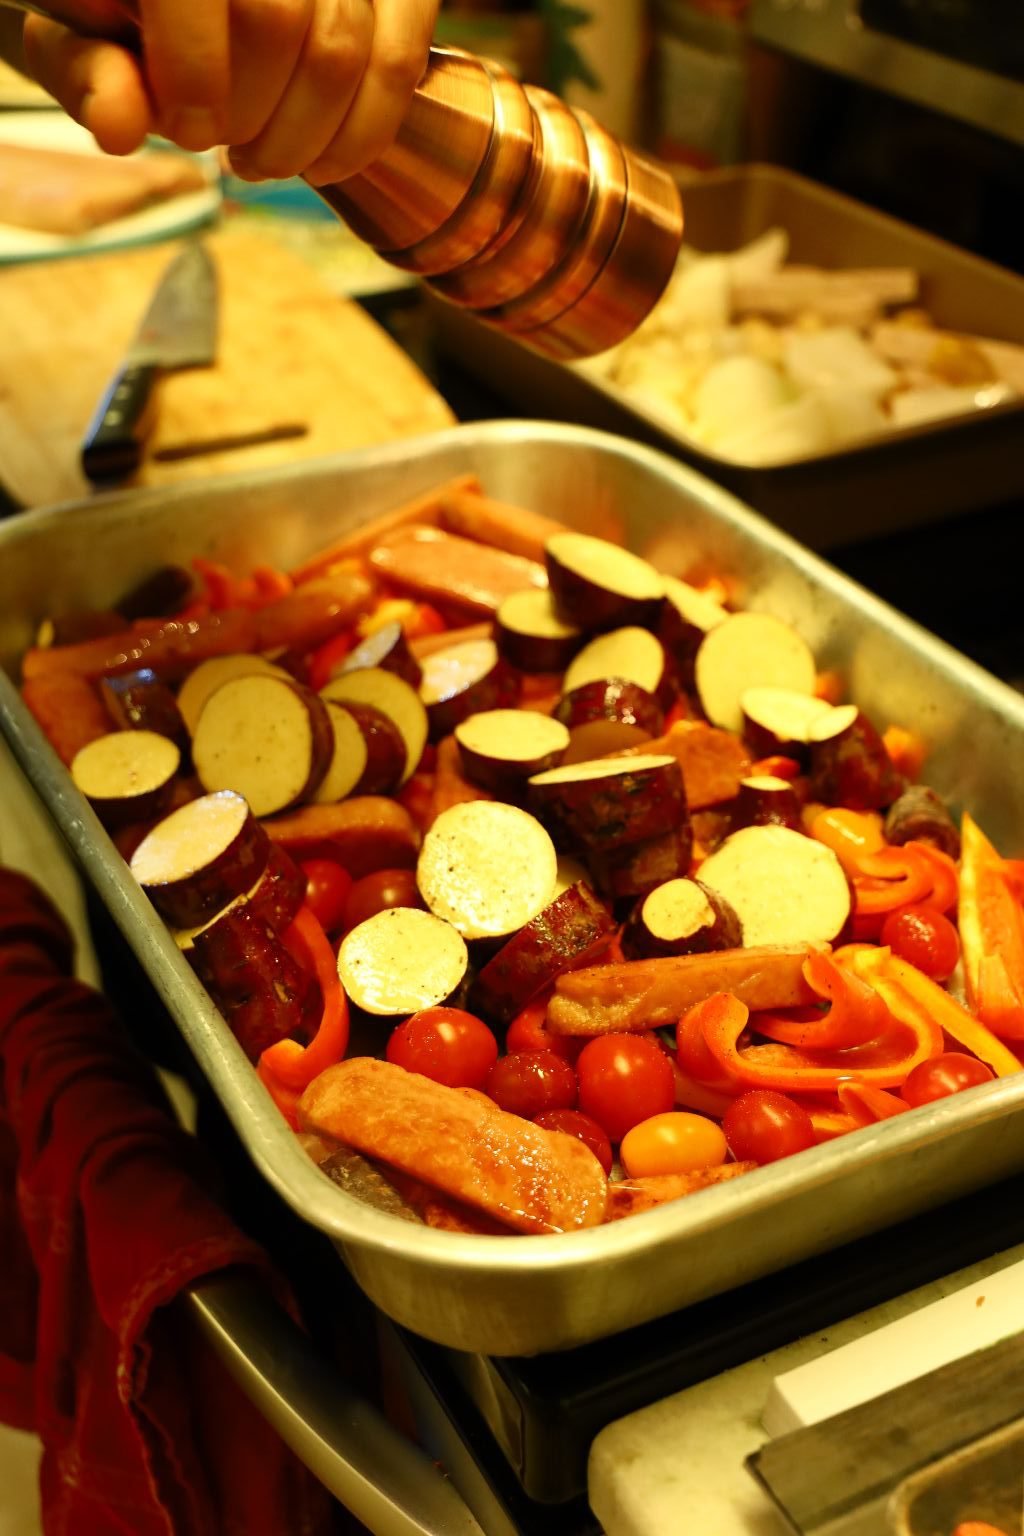
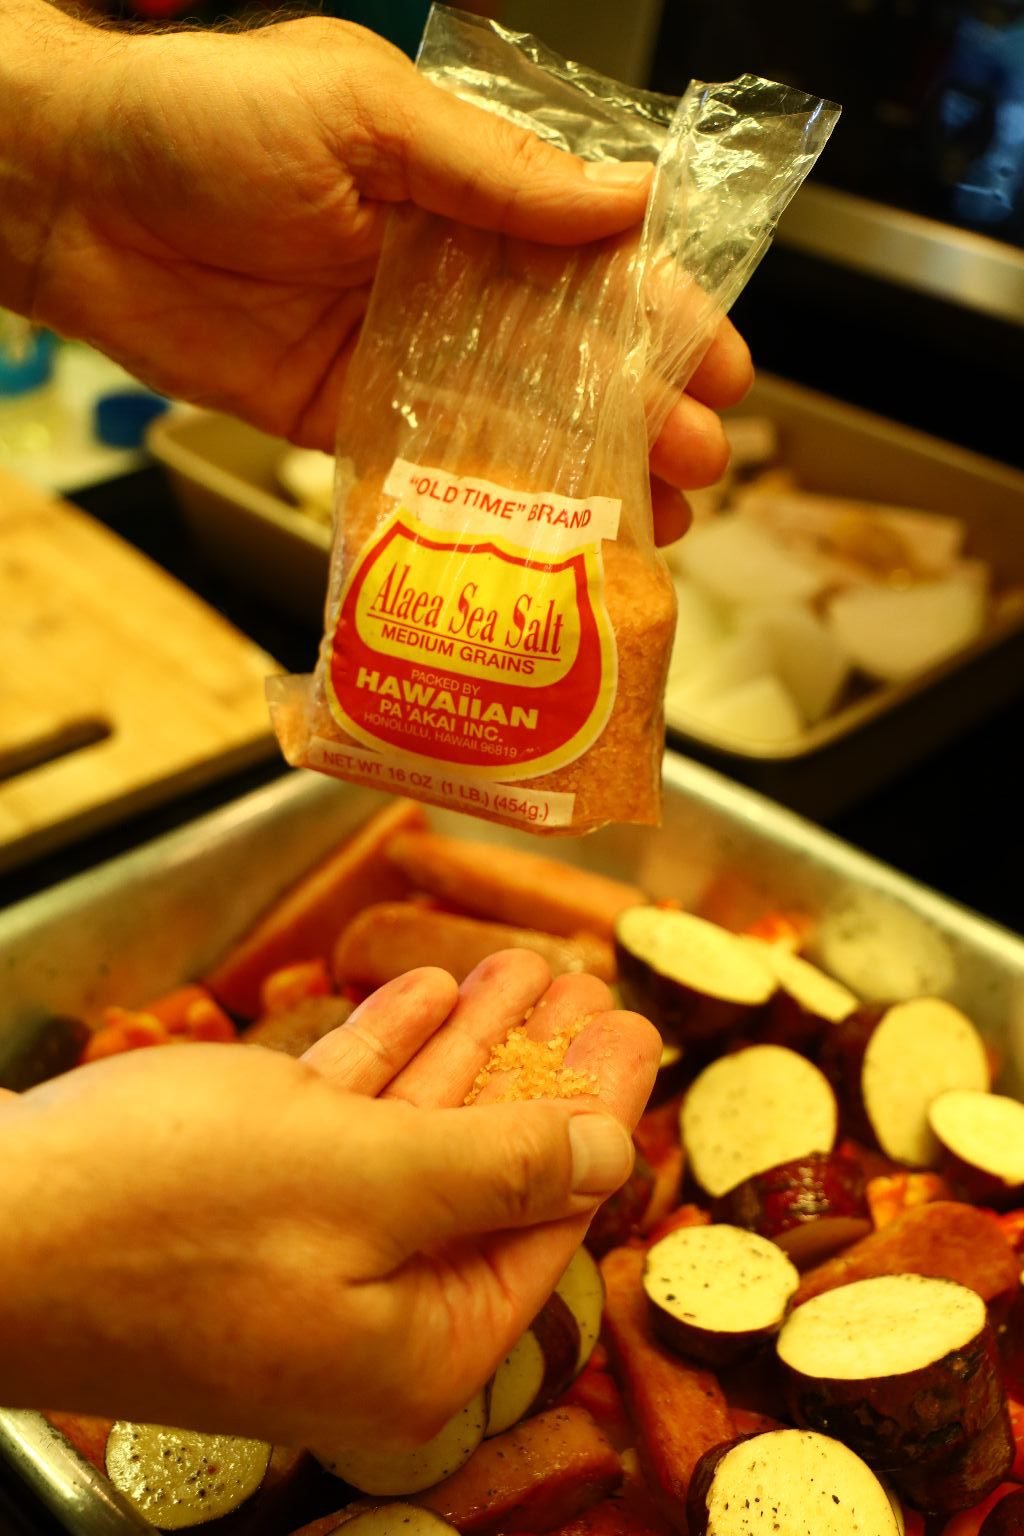
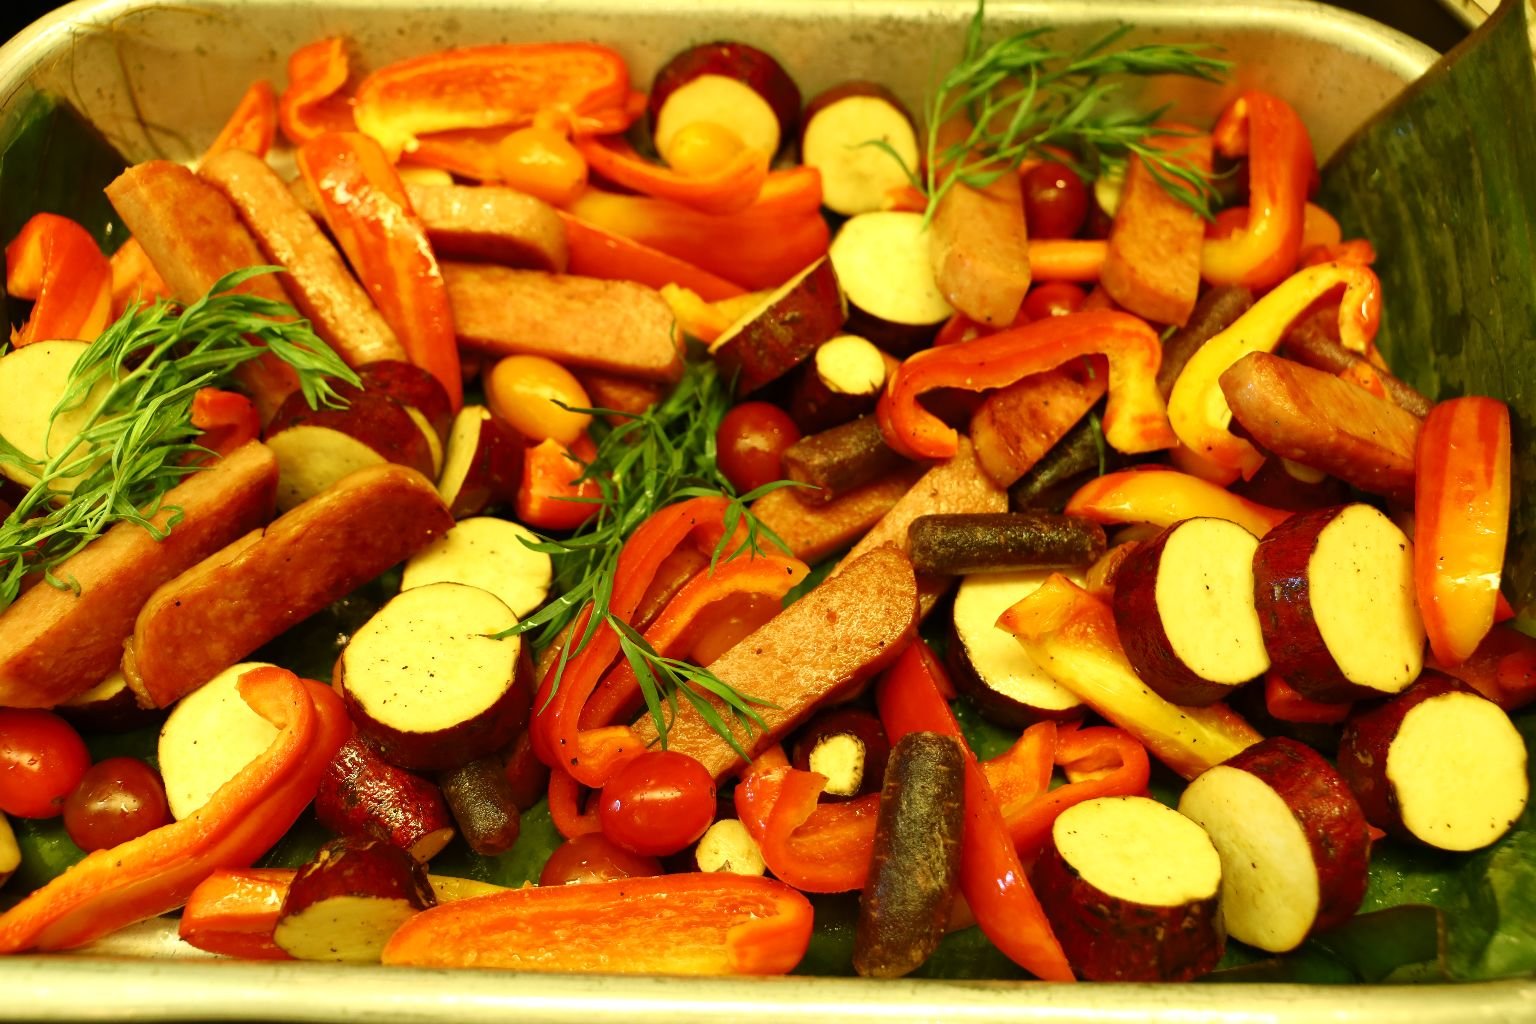
Add enough oil to coat the vegetables and add your freshly ground Pepper and Hawaiian Sea Salt to taste.
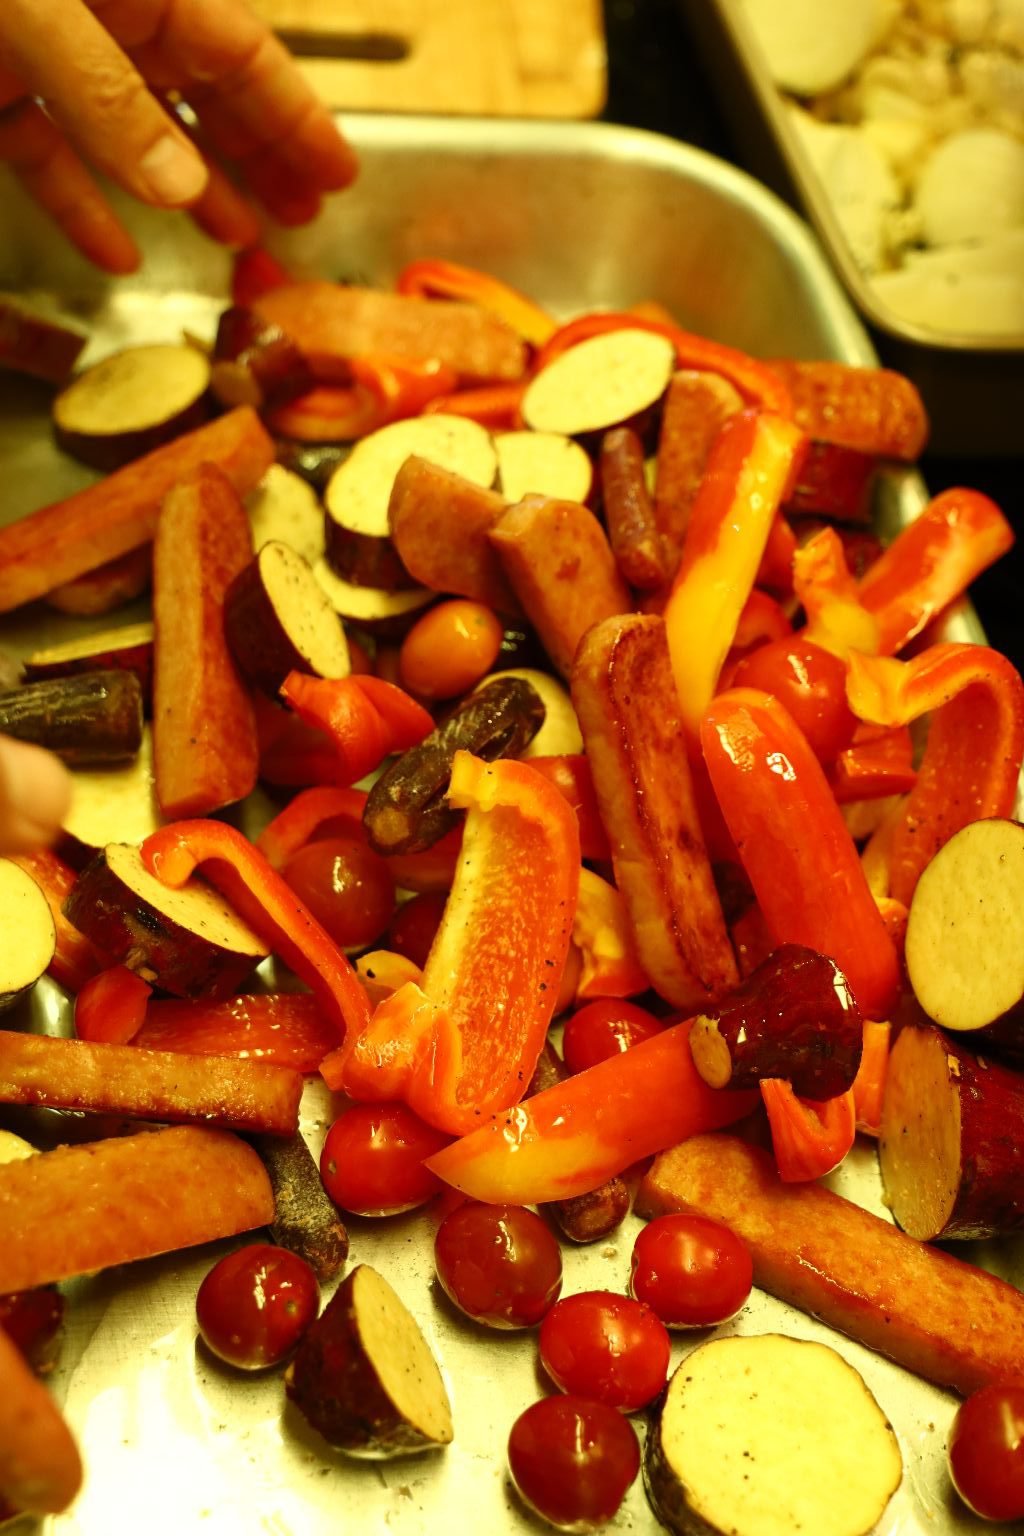
Using your hands, mix all the ingredients together so that the oil and seasonings are distributed well.
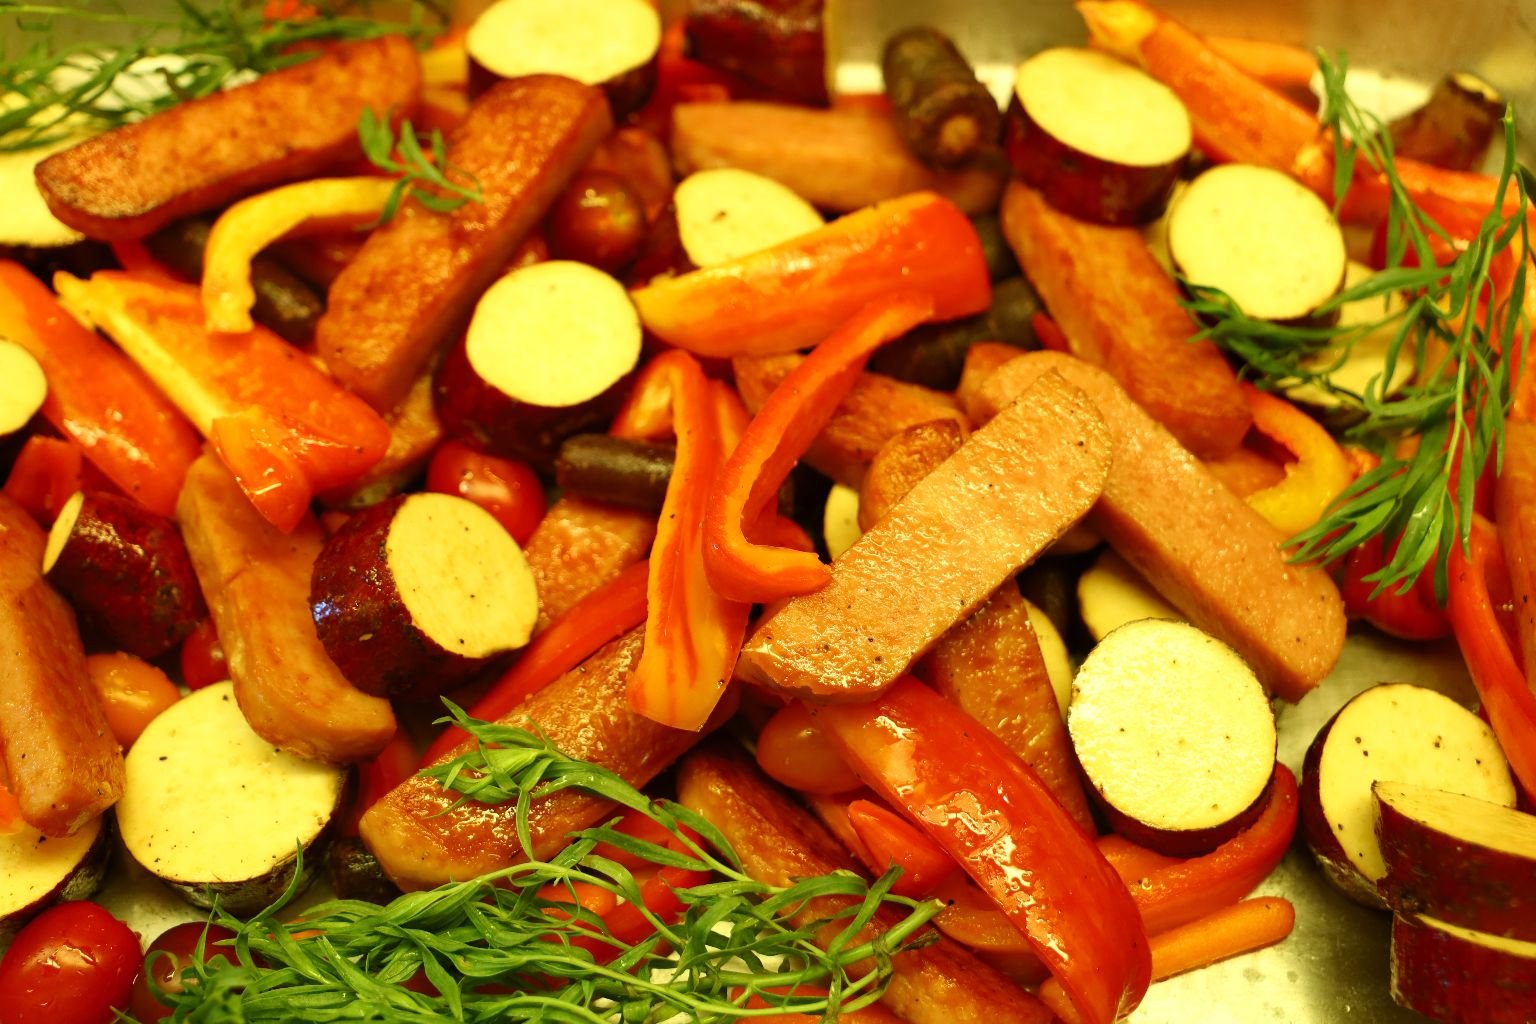
Add your sprigs of Tarragon to the pan.
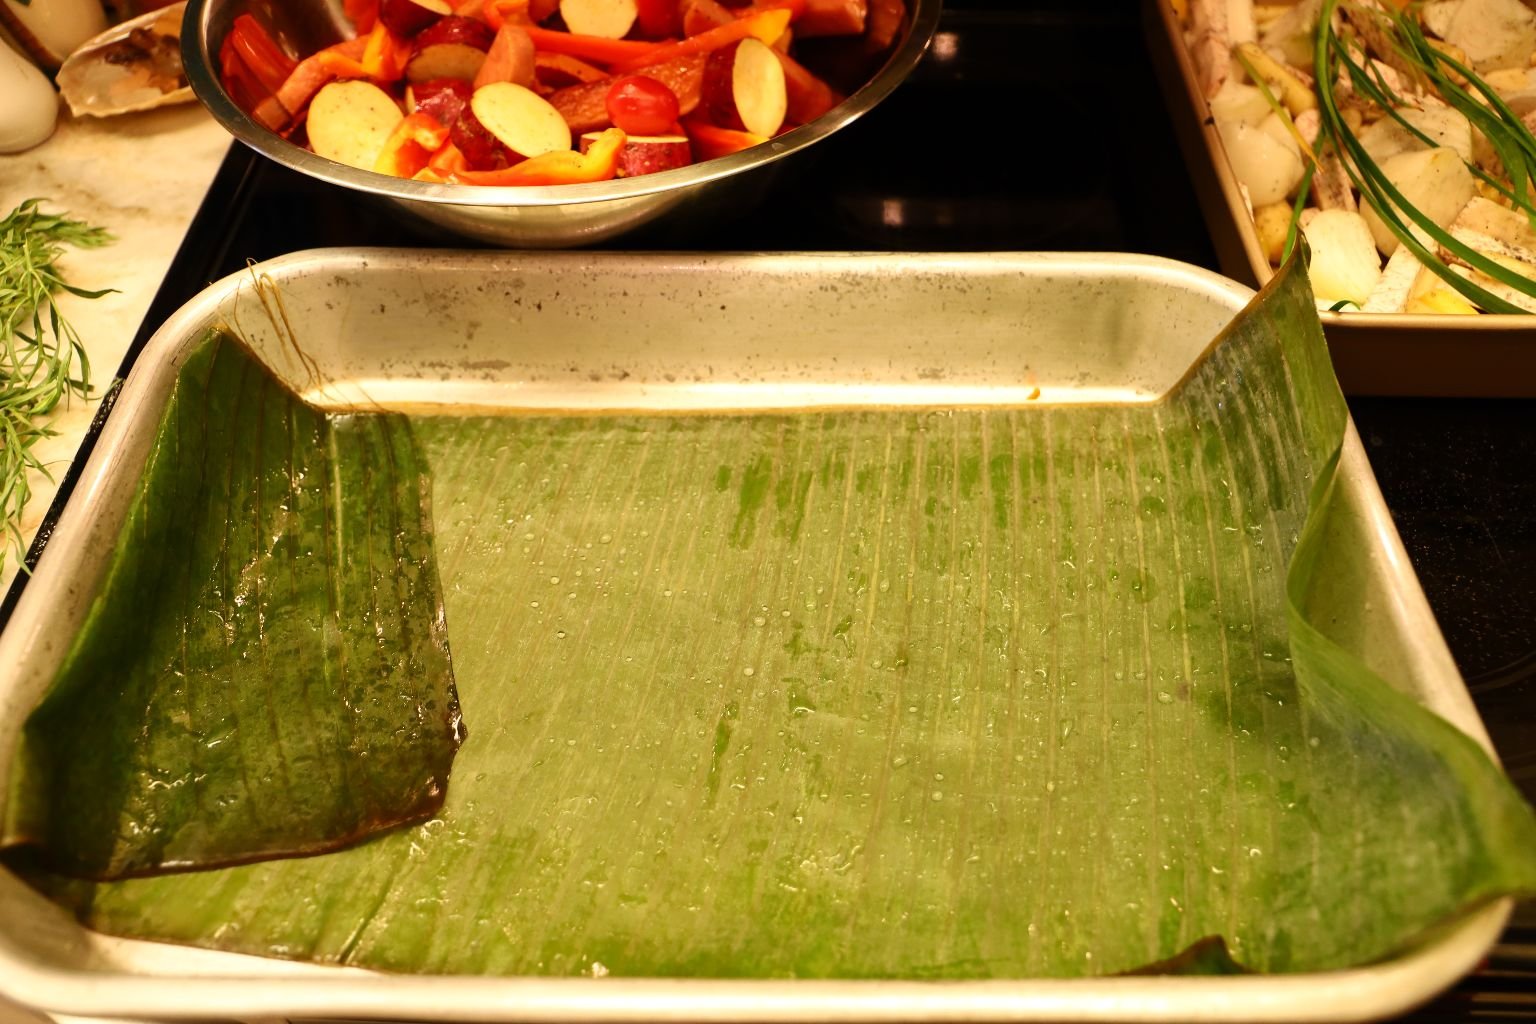
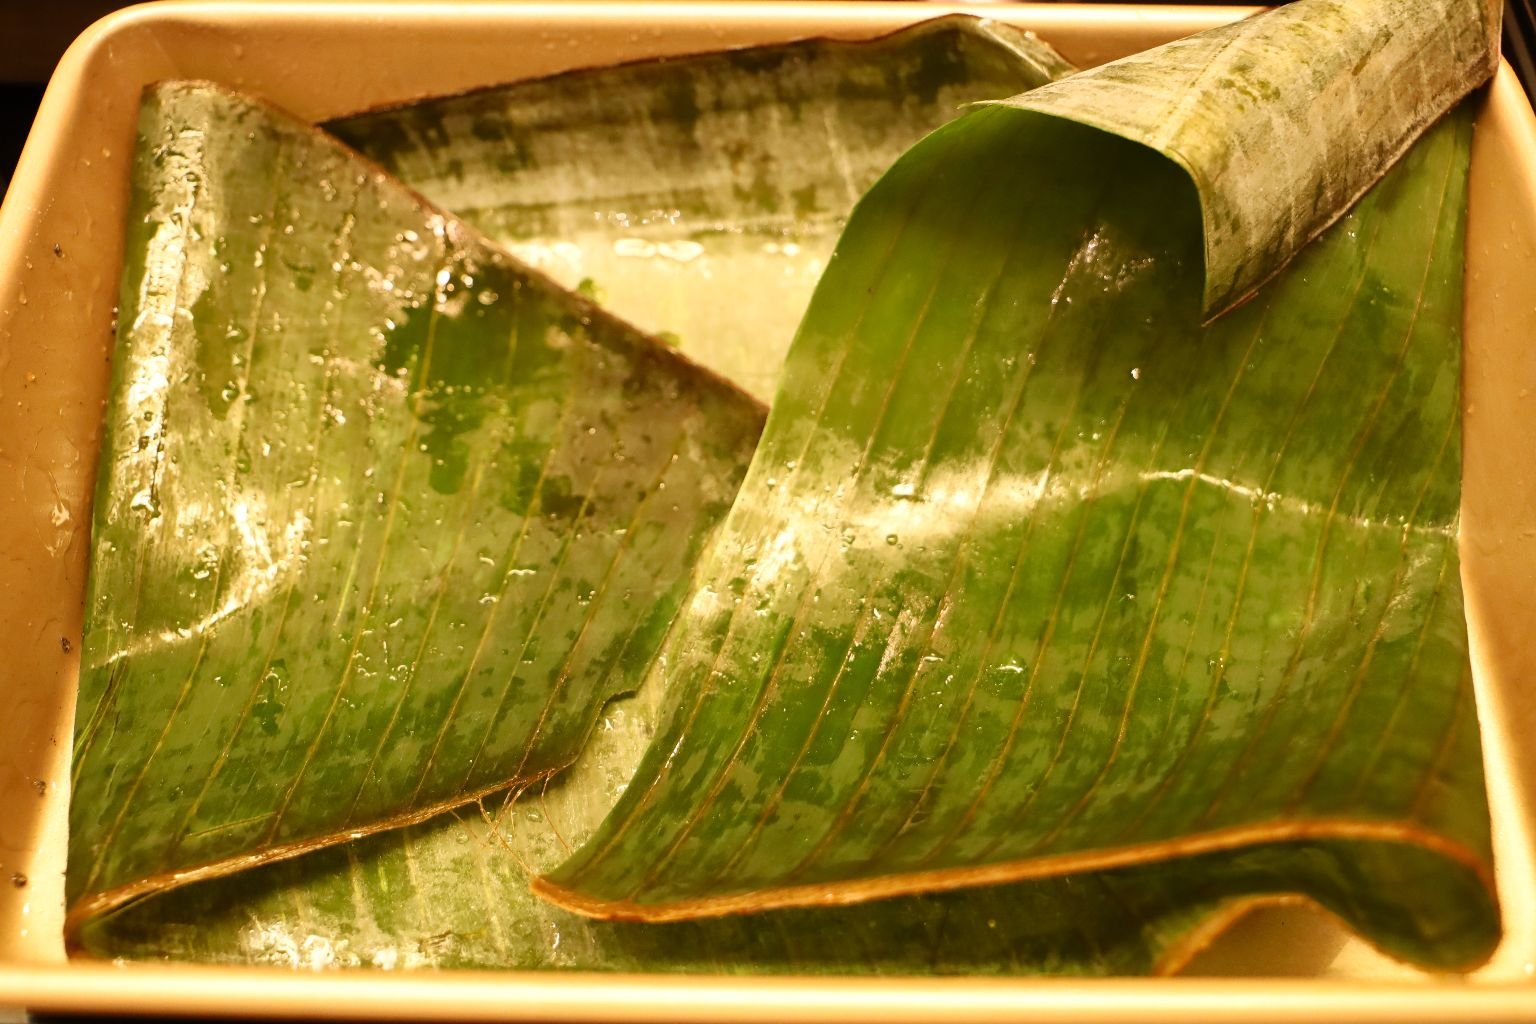
Here, we forgot to place the banana leaves on the bottom of the roasting pan so we removed the ingredients and placed them into a large bowl. Now, line the bottom of the roasting pan with banana leaves.
TIP: When you purchase Banana leaves, they usually come with plenty of leaves. Banana leaves contain a natural tenderizer within them and will help to cook the ingredients.
Now, add the vegetable mixture back to the roasting pan.
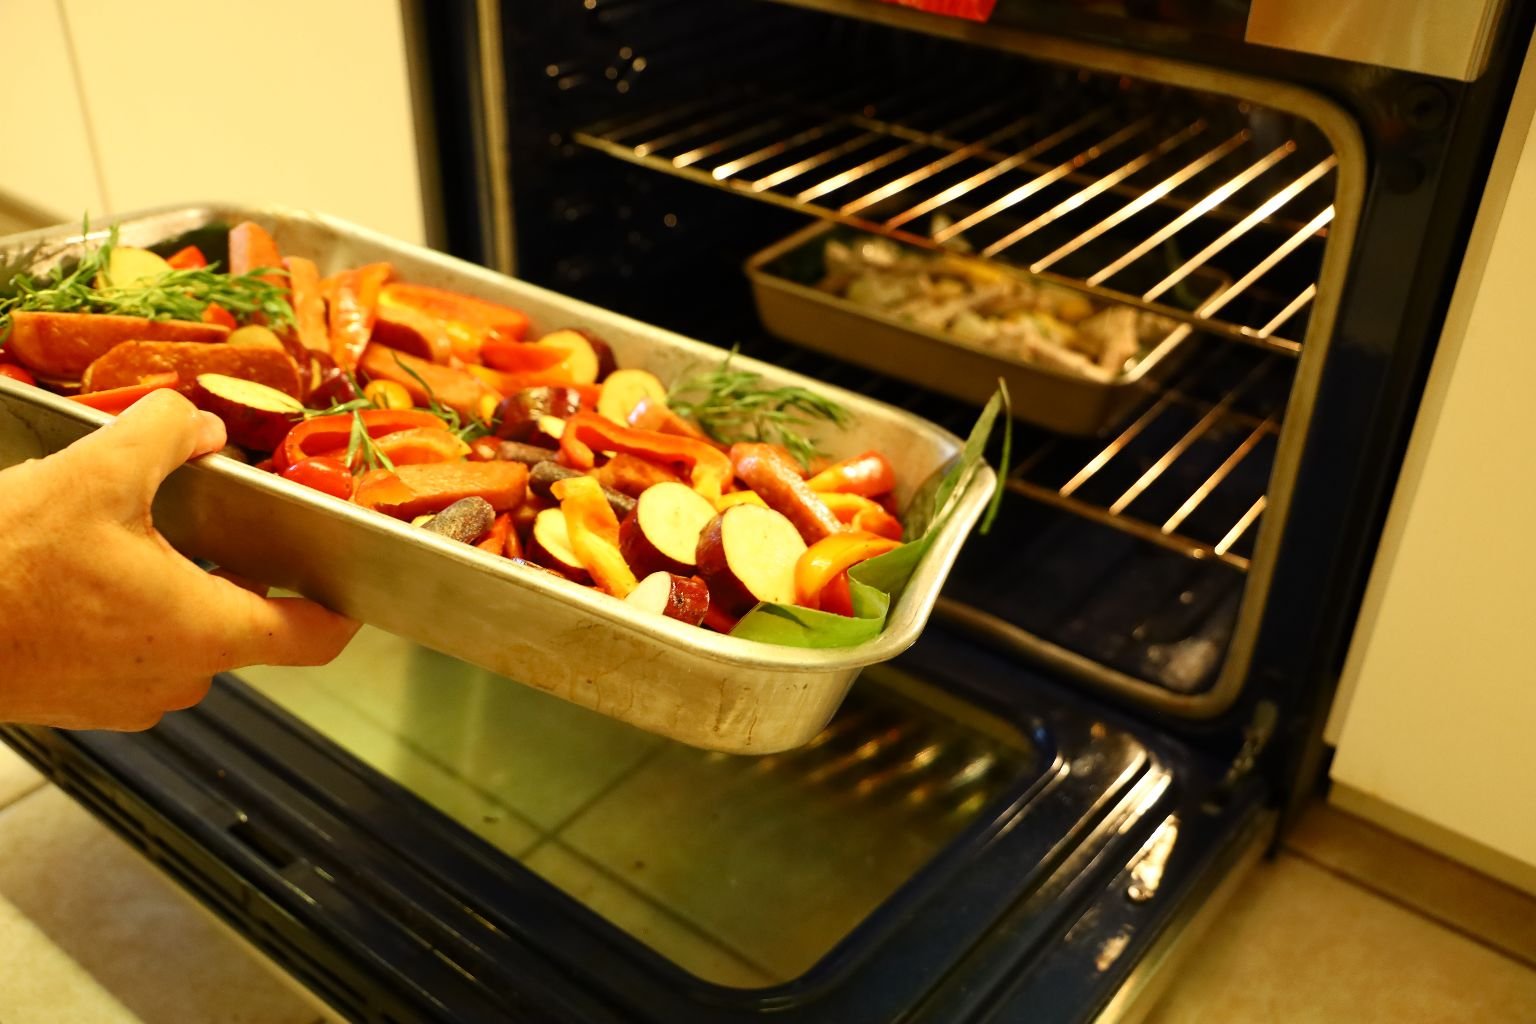
Roast the vegetables in a 350’F oven for 30 min.
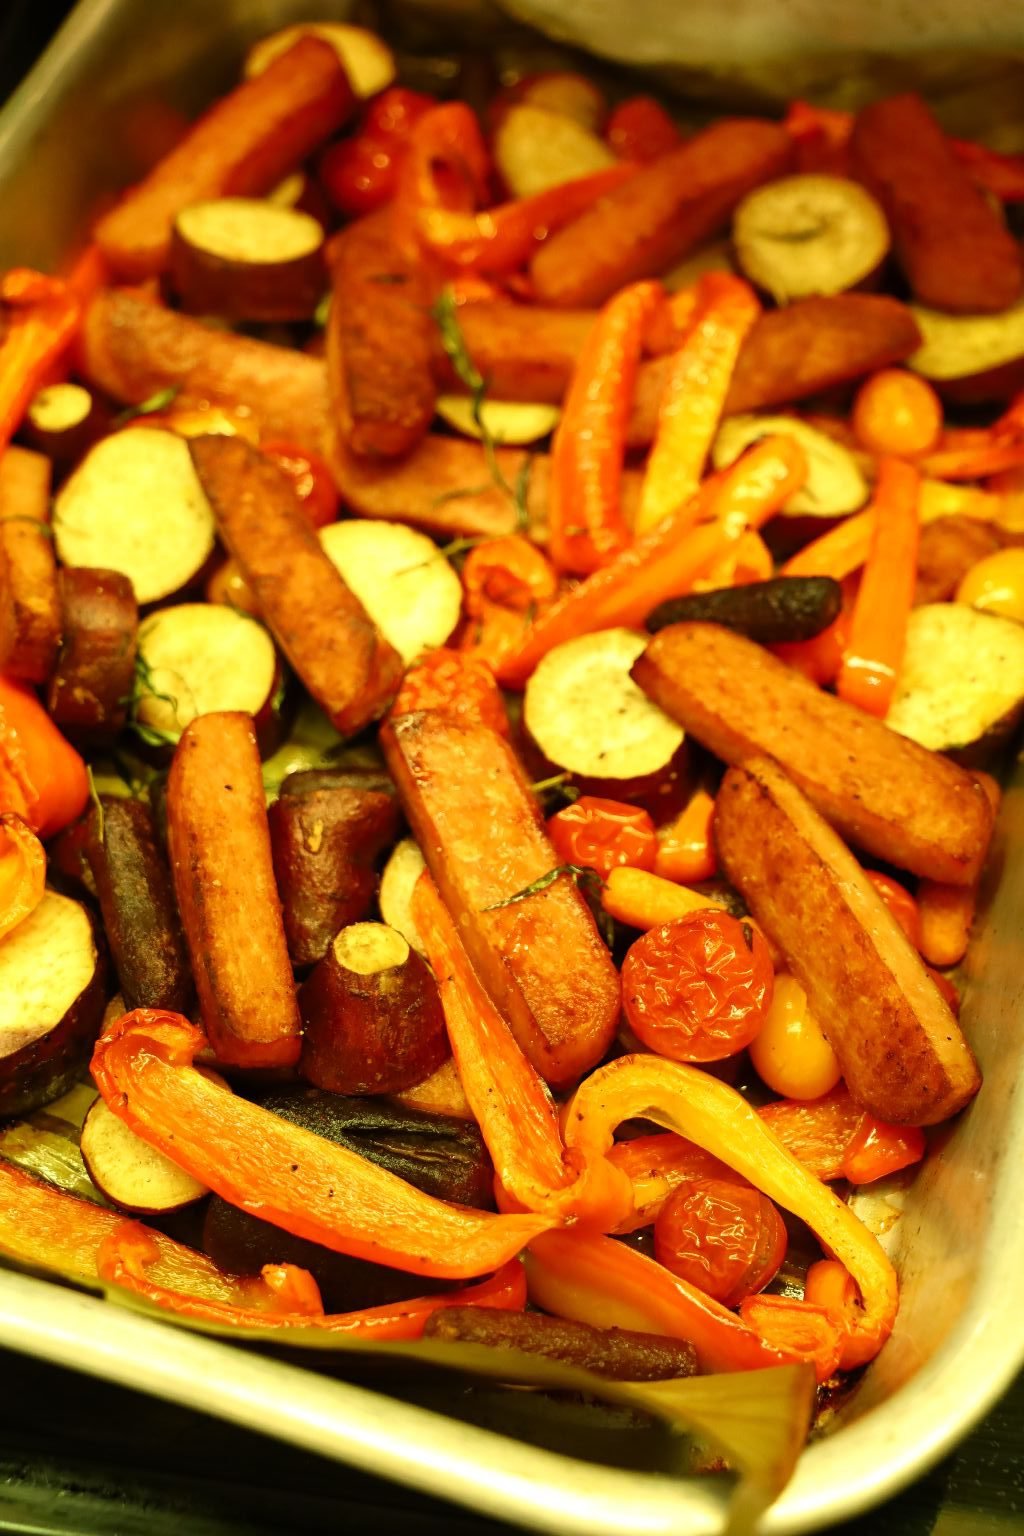

Half way through the cooking process, turn the vegetables over to promote even cooking.

You can see the Banana Leaf on the bottom.

Here is the brand of Chow Mein noodles we used.
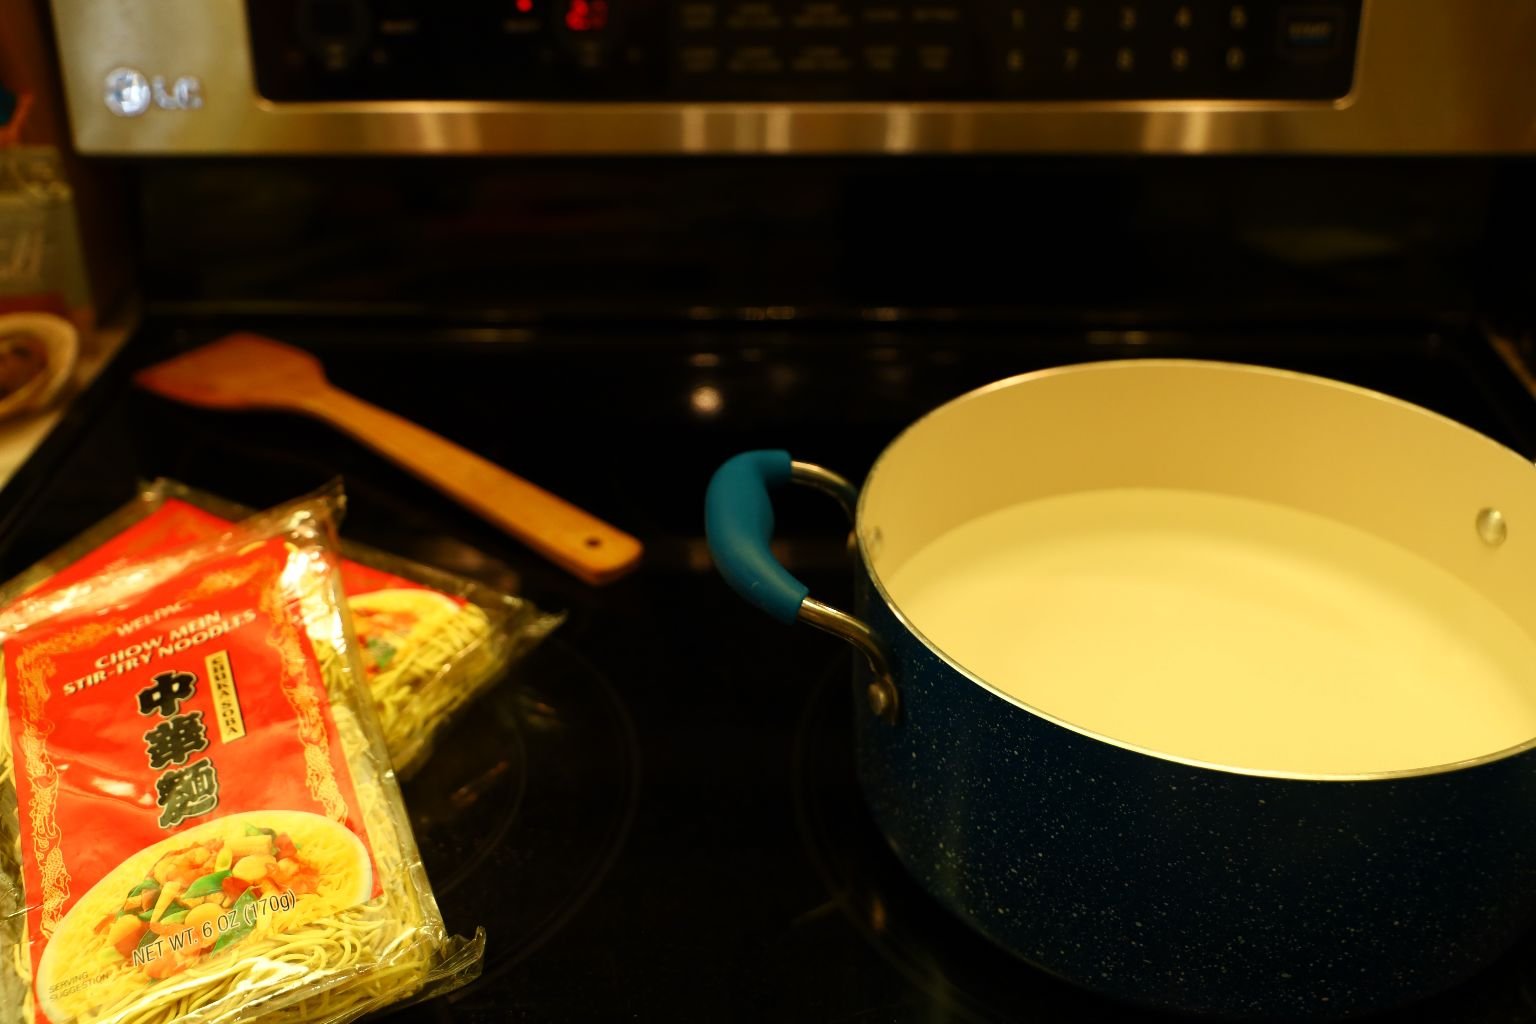
Heat 3 quarts of water to high in a large pot.

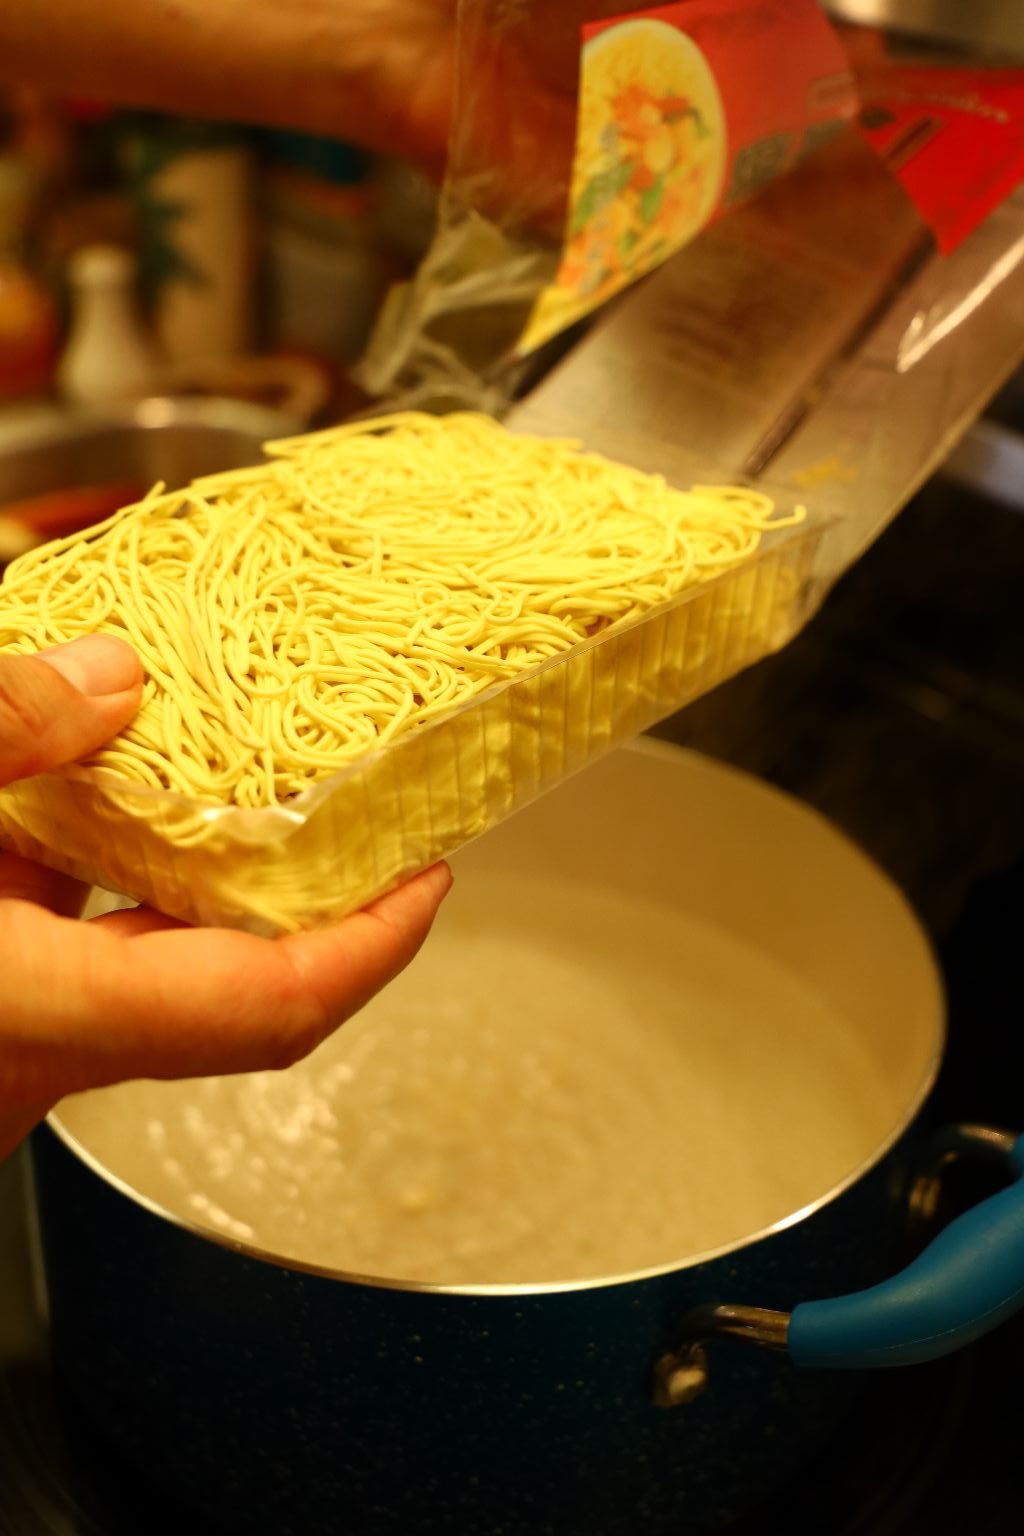
Add a half Tbsp. of Sea Salt to the water then add your Chow Mein noodles.
When the 30 min. cooking time with the roasted noodles is about up.
Remove the roasting pan and set on the oven for later use.

Cook the noodles as directed or until just tender stirring occasionally.


When cooked, drain the noodles into a colander as shown.


When fully drained add the noodles to the roasting pan.
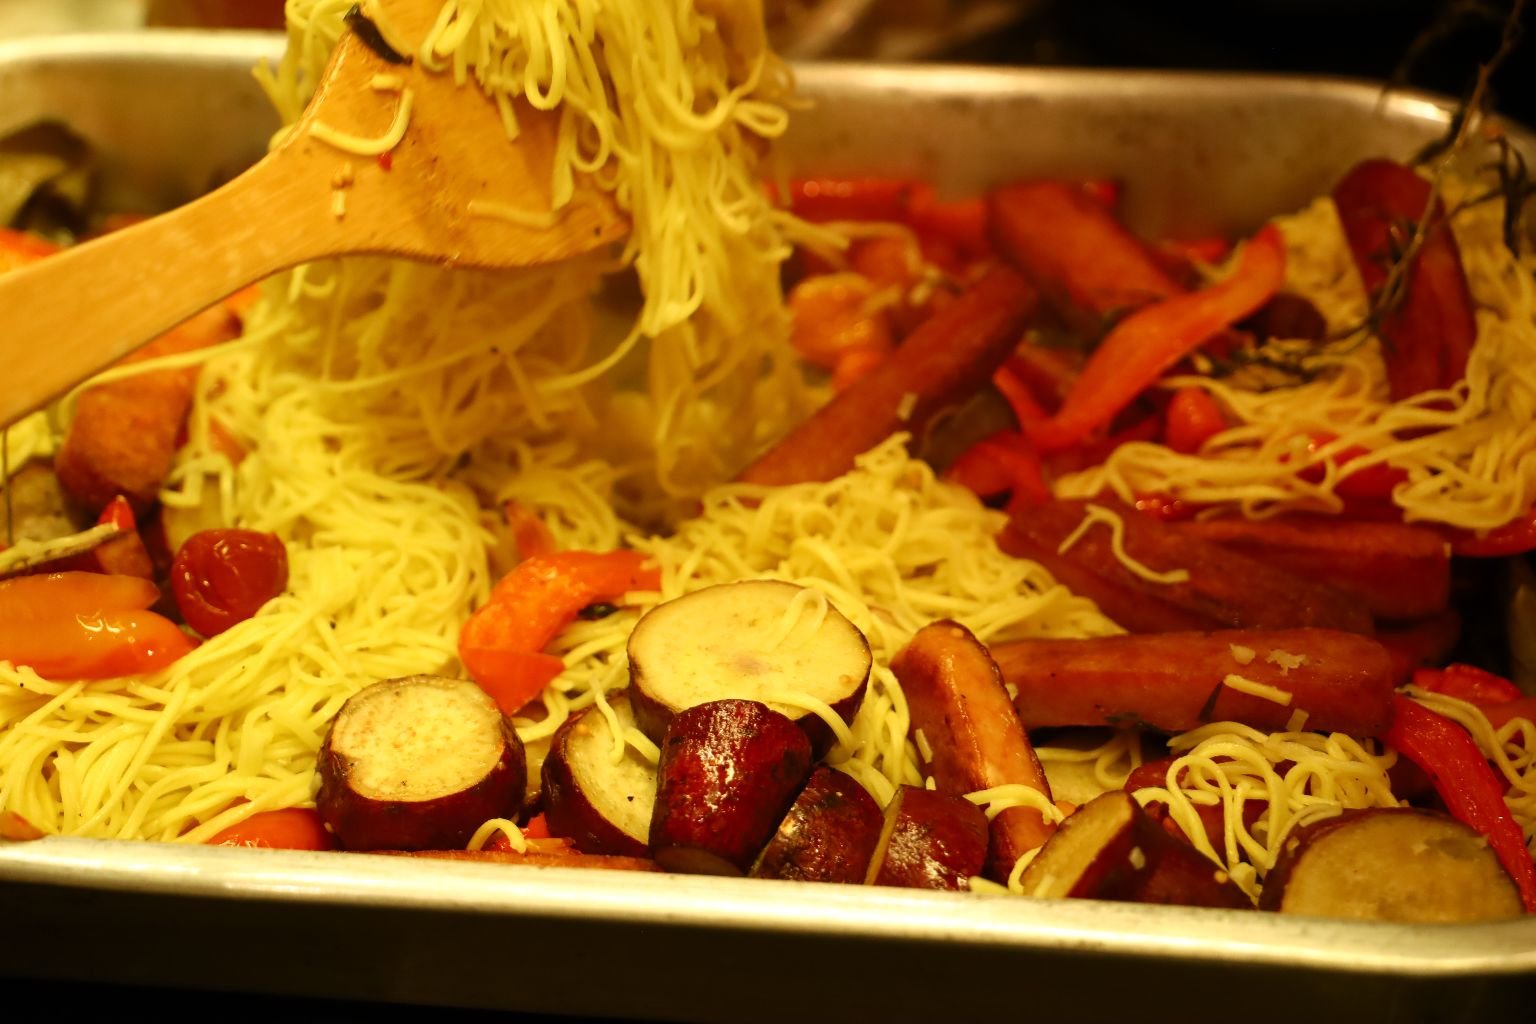
Stir the noodles and roasted ingredients together as shown.

Now, place the ingredients back into the oven for about another 10 min.
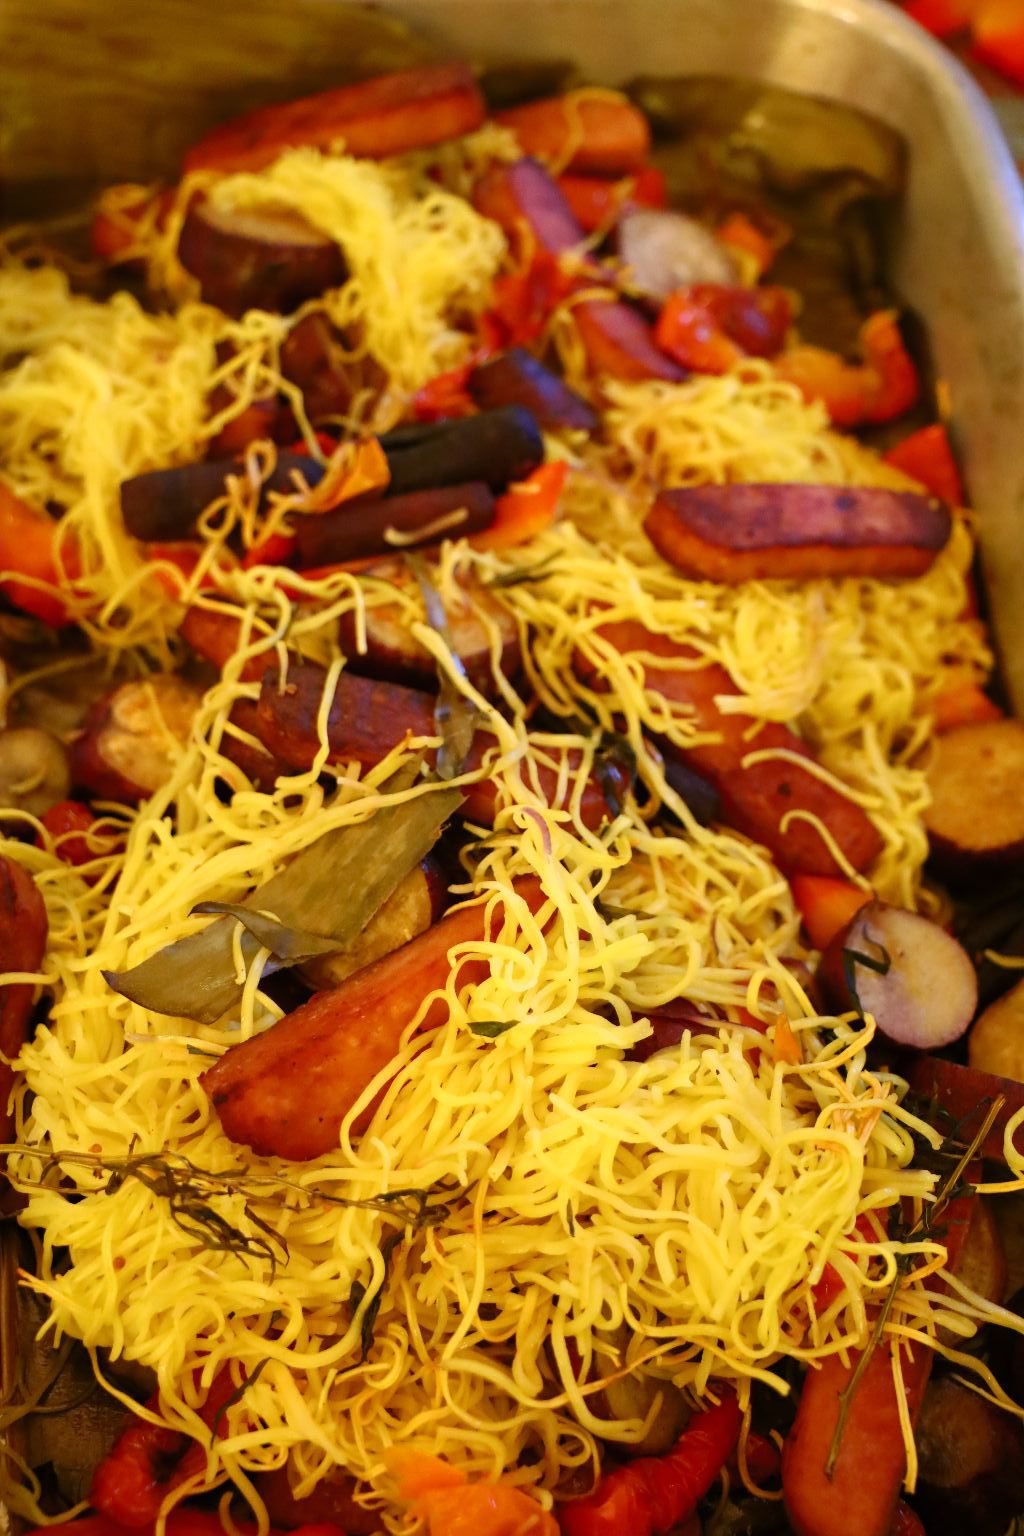
After about 10 min. of roasting, the noodles will become slightly crispy and flavored with all the other ingredients.
What a great easy meal to feed the masses!
(And that is what Hawaii is about, the Kamaaina and feeding those large Ohana’s.)
—————————————————————
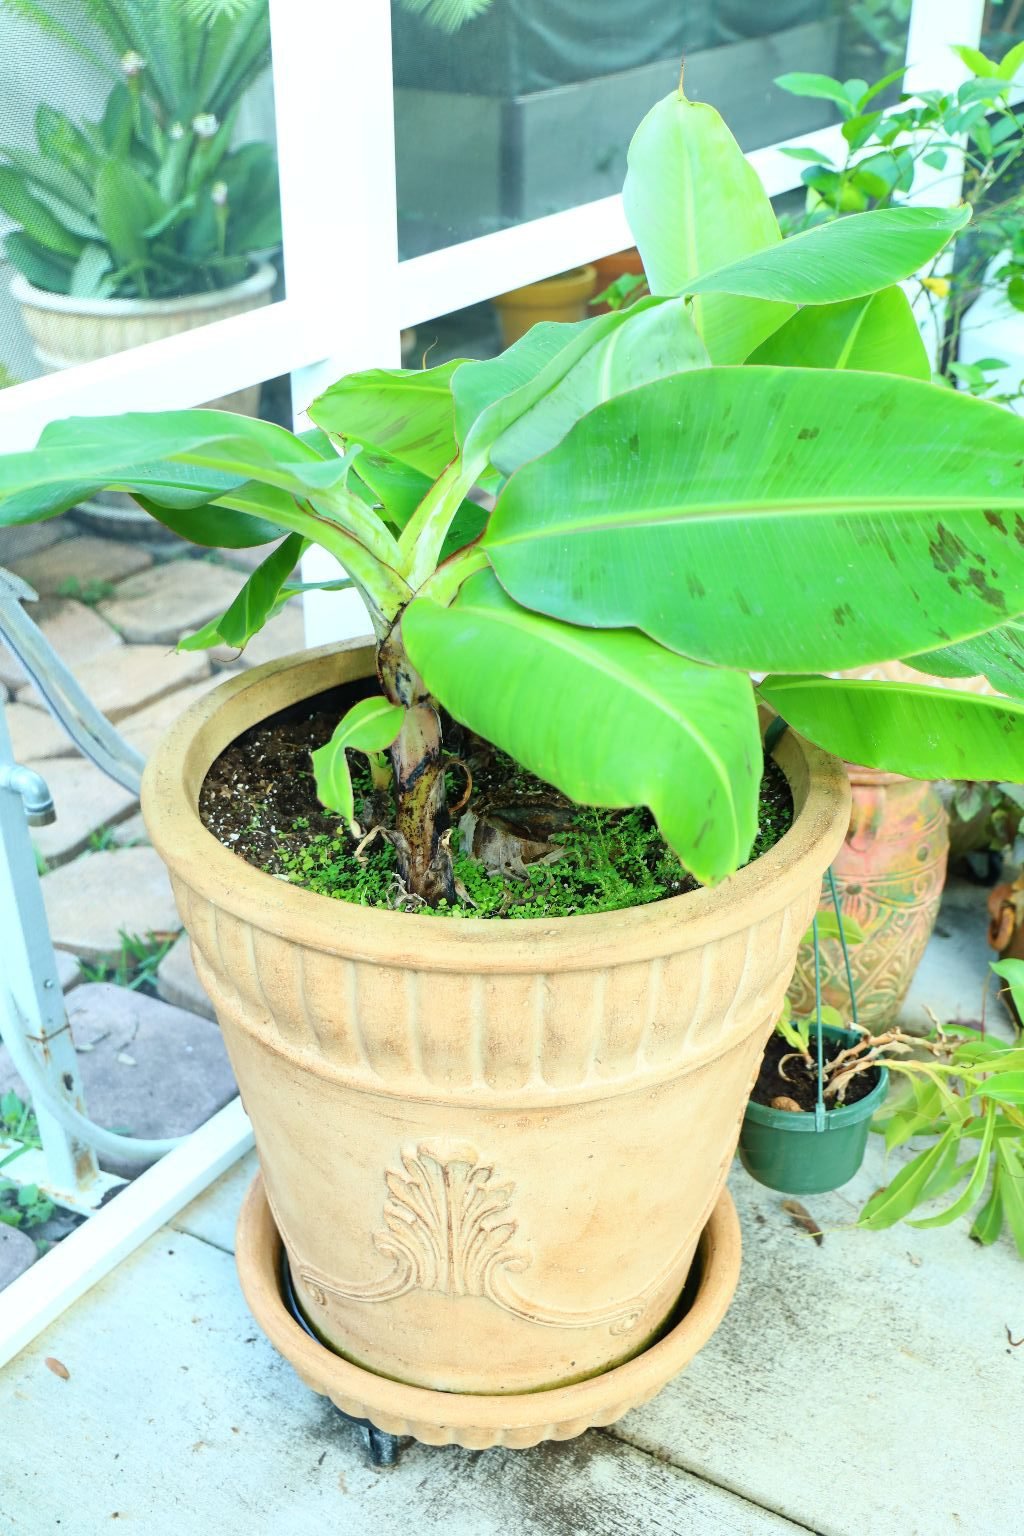
Our Banana Leaves
Here we are growing our own bananas in a large pot on our screened in Lanai.
——————————————————

Here are the banana leaves we purchased from the Latin Supermarket, which usually come frozen.

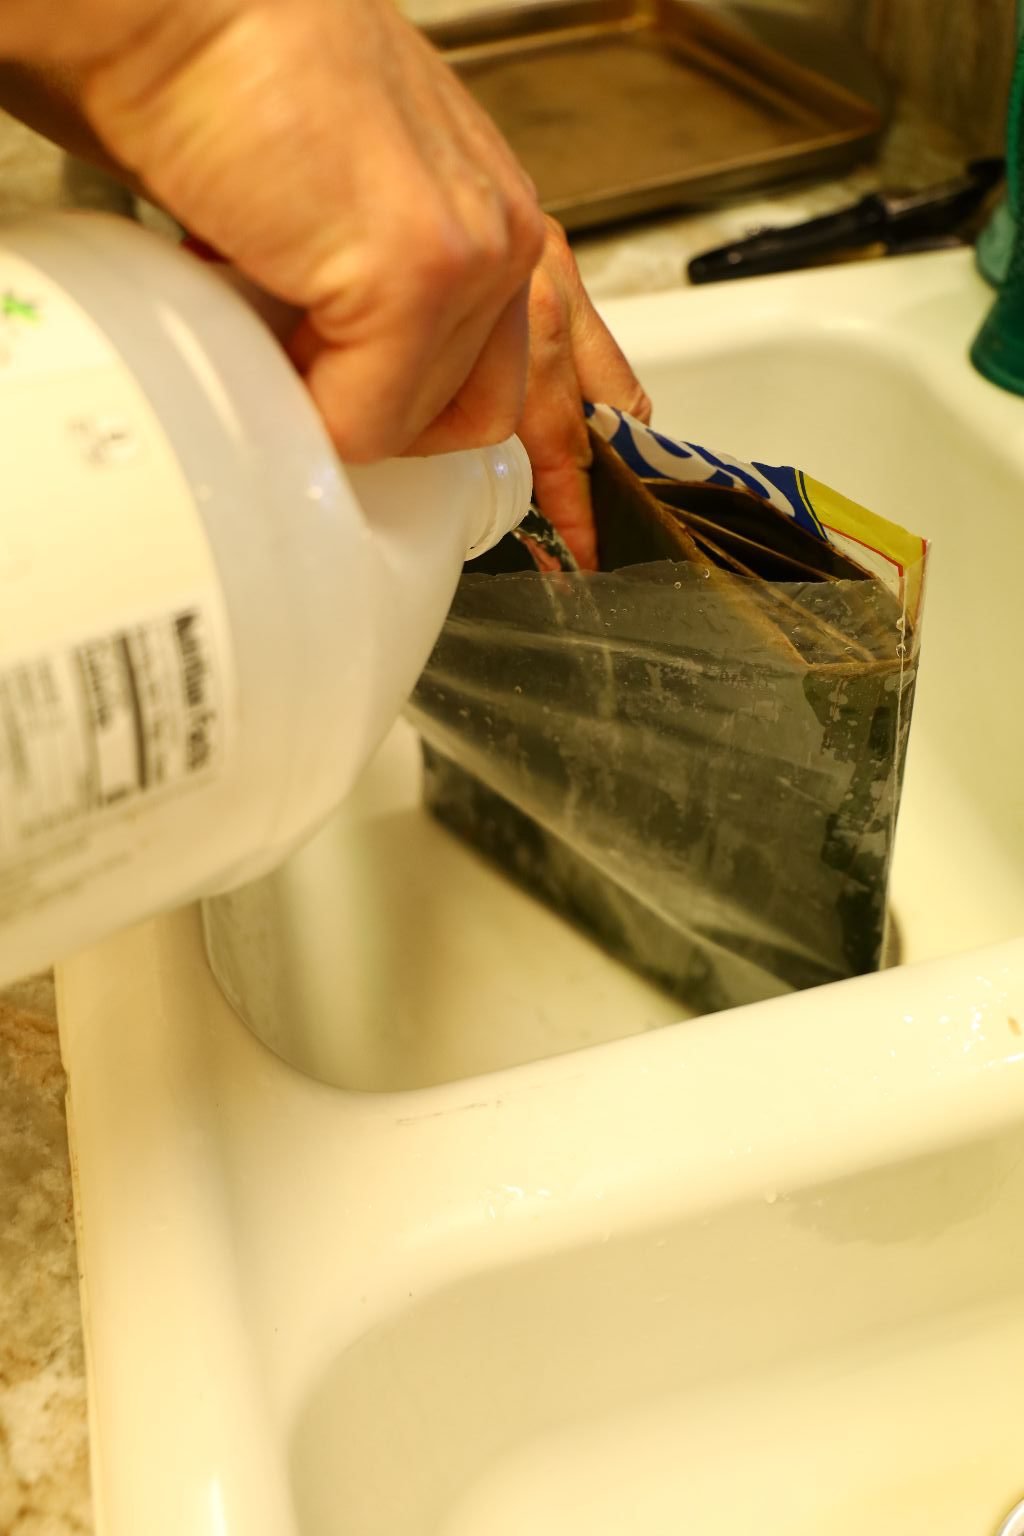
The best way to clean the banana leaves is to let them soak in some distilled vinegar.


Here I poured the vinegar in the bag the leaves came in.
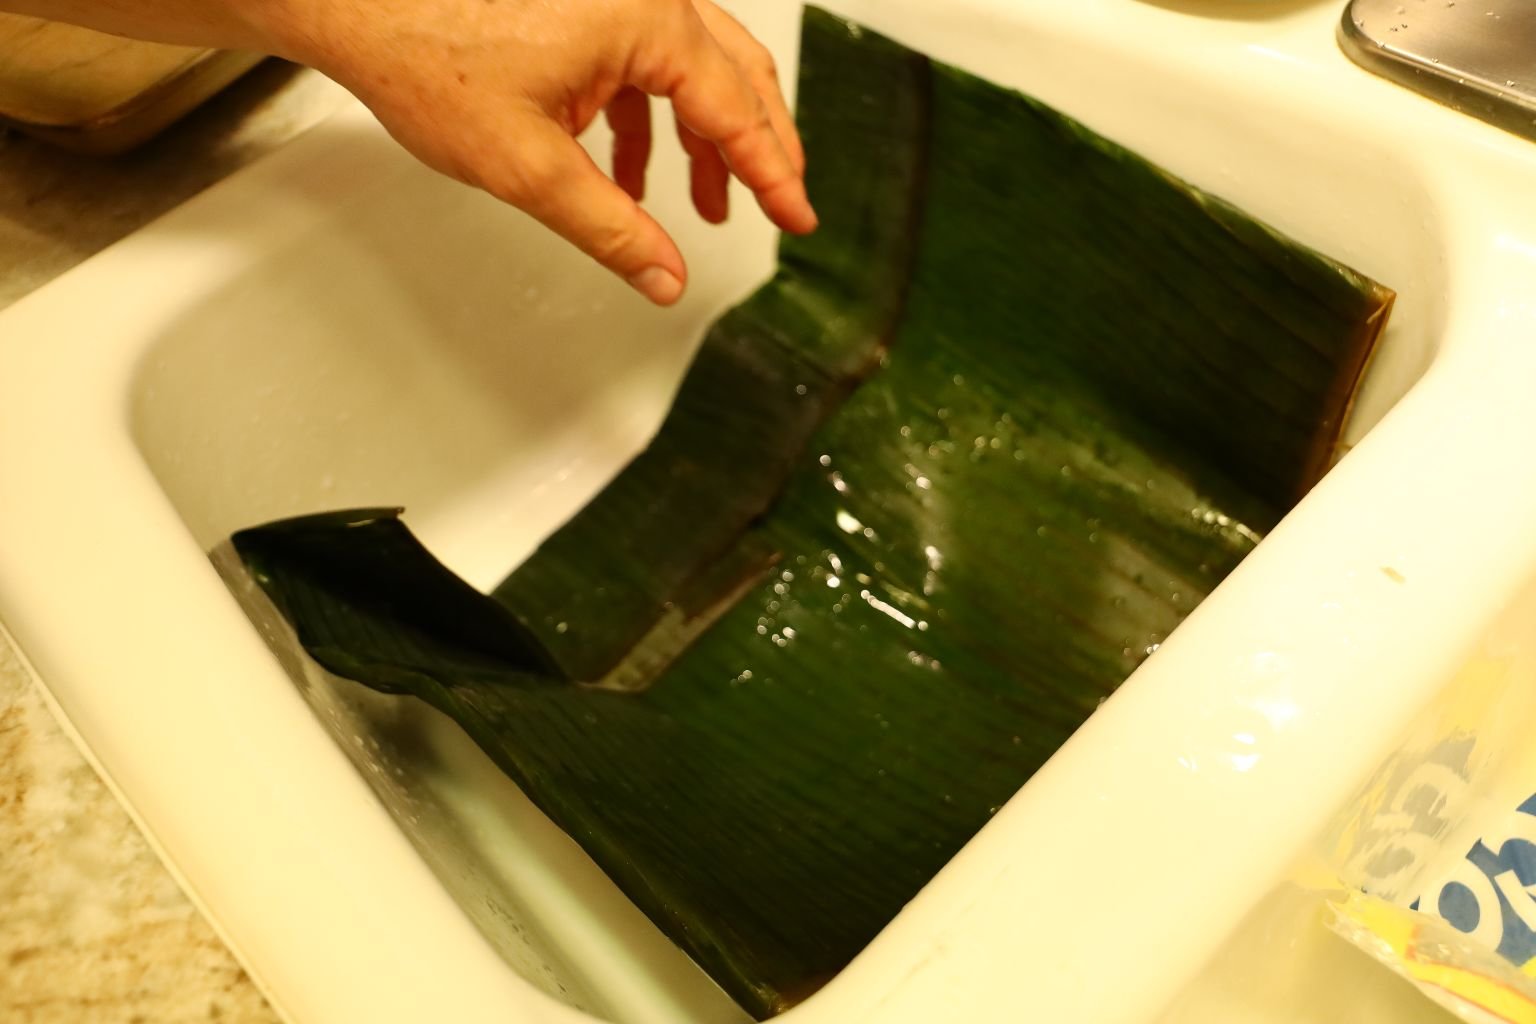

Another way is to remove the leaves and place them into your clean sink. Then pour some vinegar into the sink over the leaves. Open the leaf sections to allow the vinegar to penetrate all sides of the leaves.
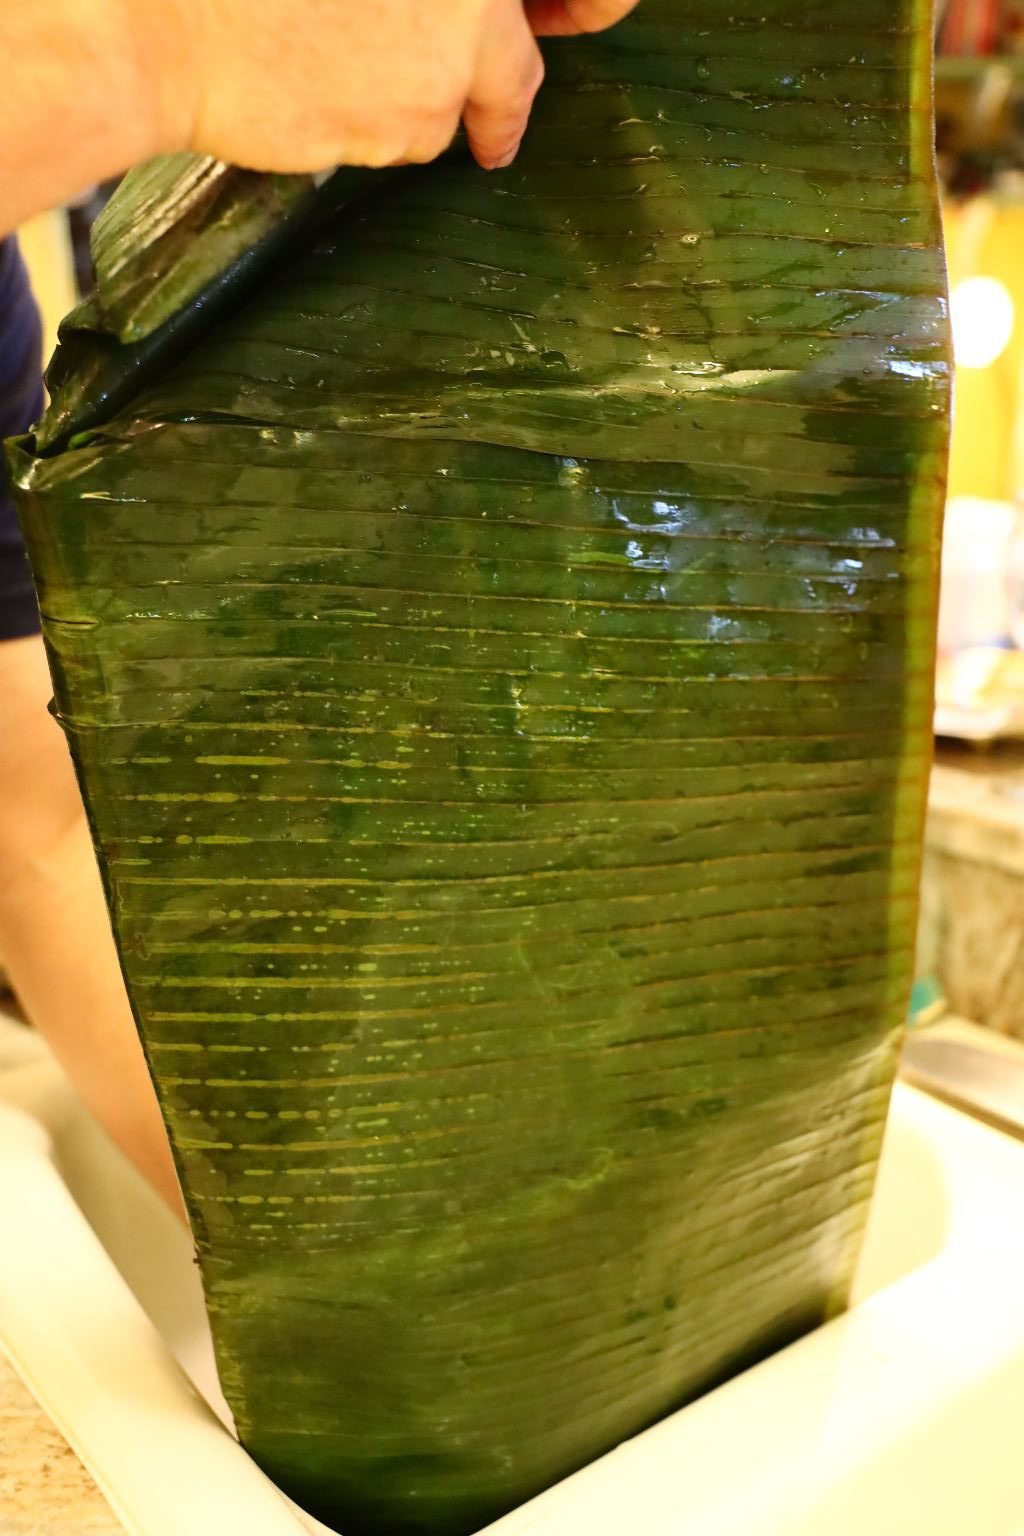
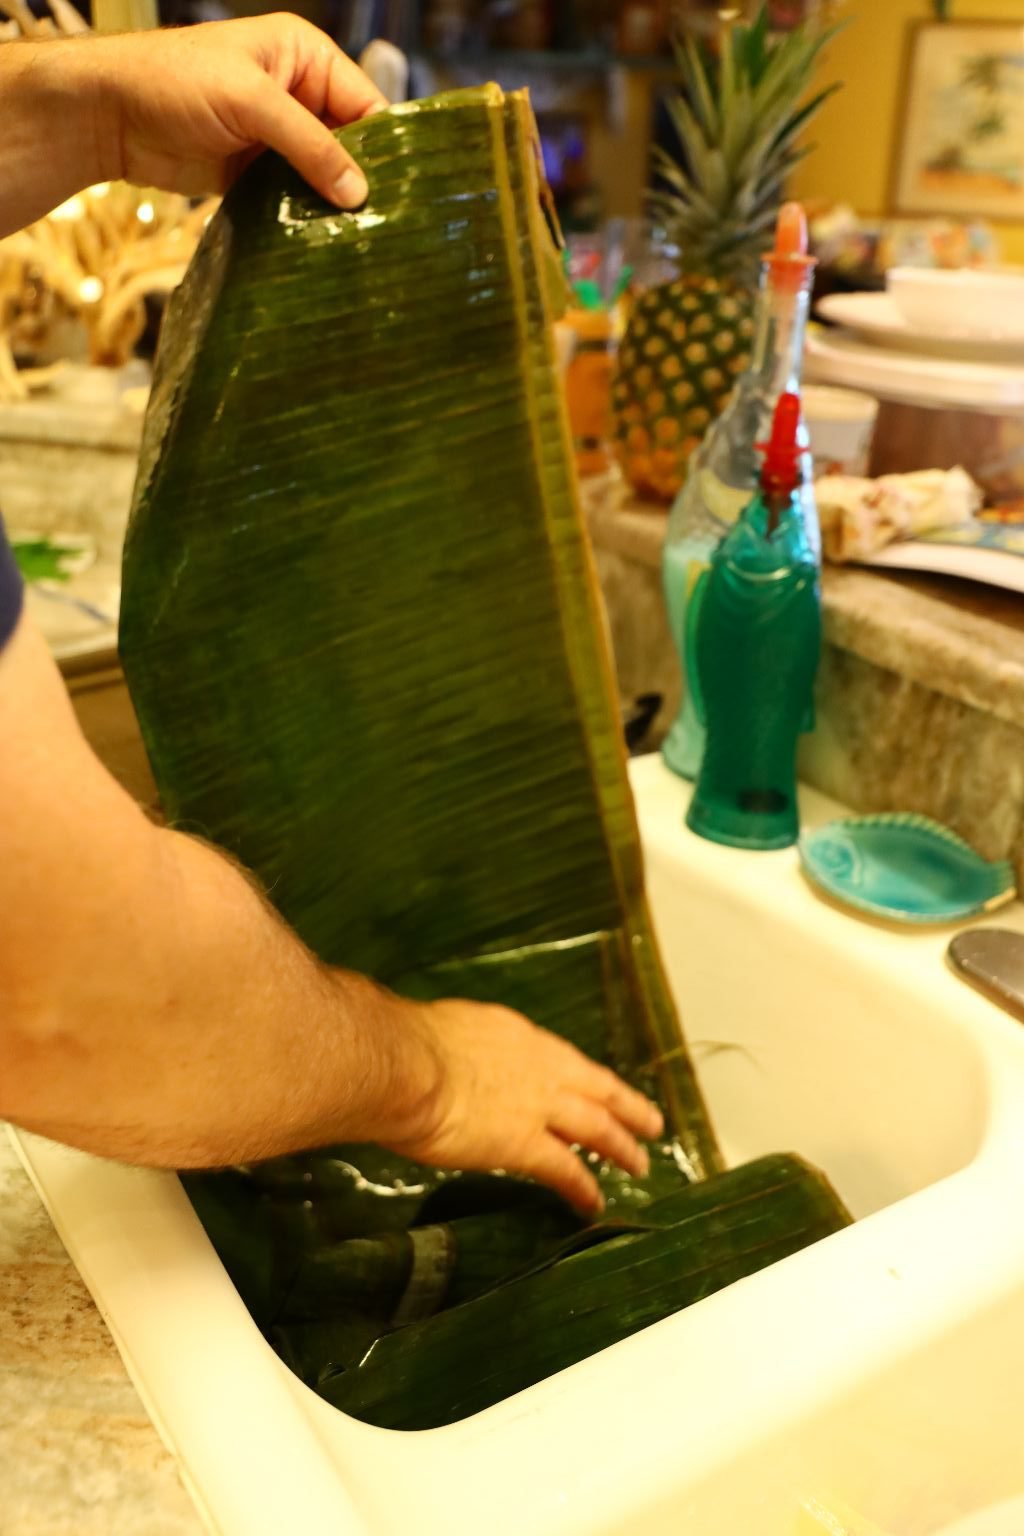
Let the leaves sit in the vinegar for a min. or so to remove and kill all possible bacteria.
———————————————–
Julie’s Herb Garden
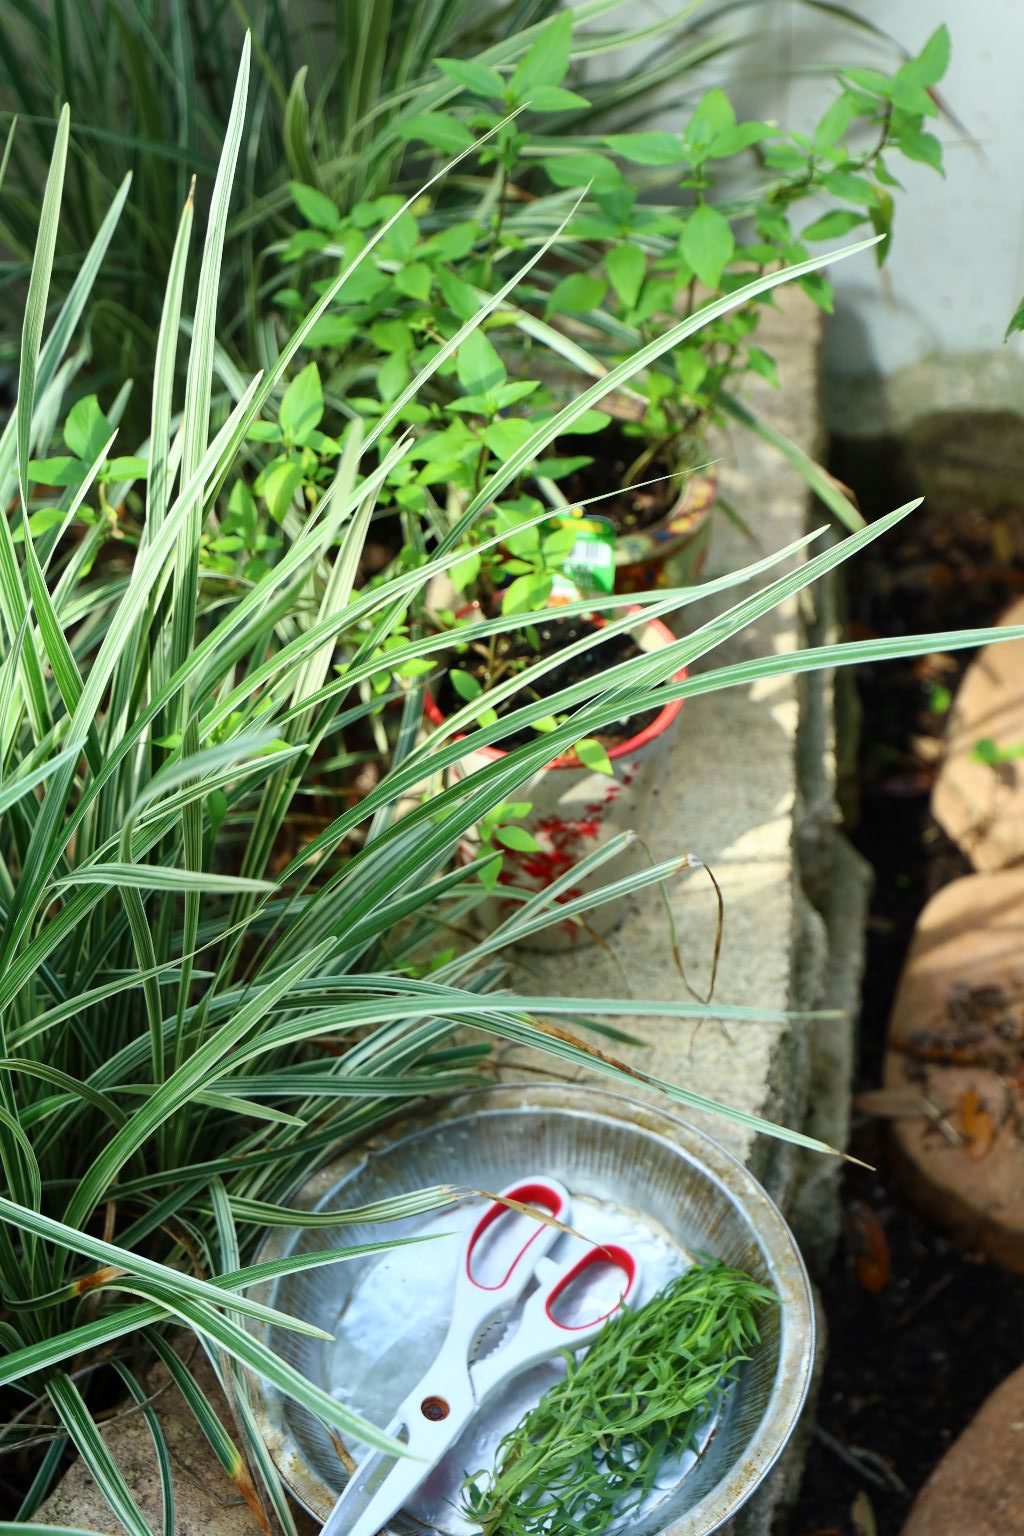

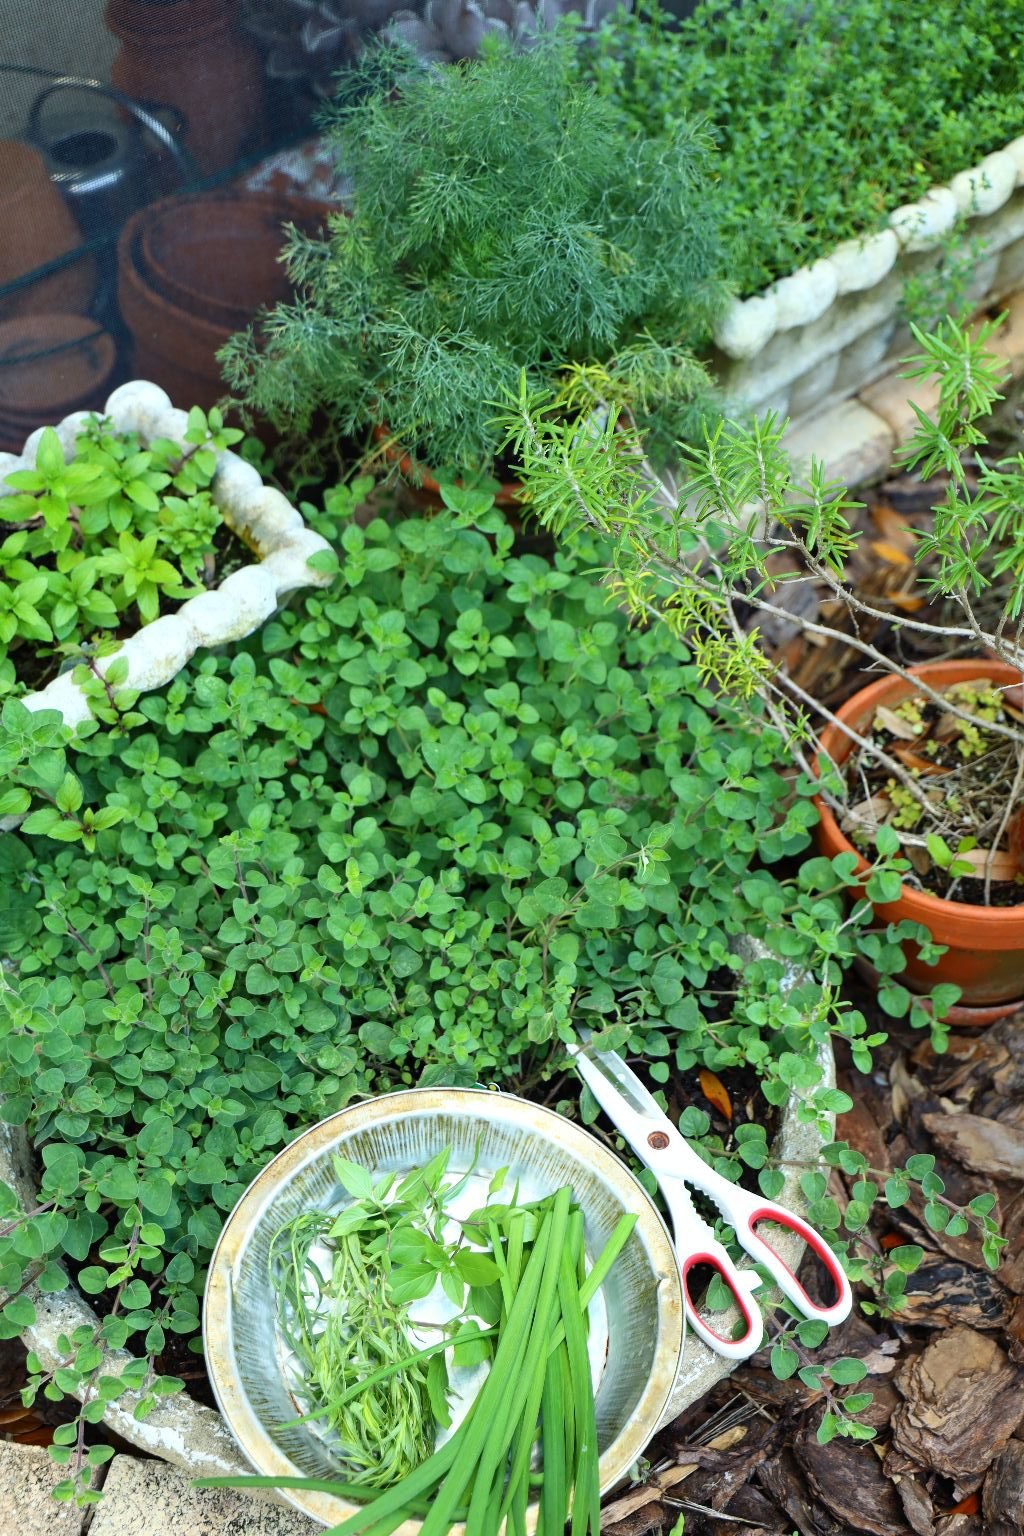
Here is a great example of why we love our herb garden. Fresh herbs are amazing to use in any recipe as they are at their peak of flavor.


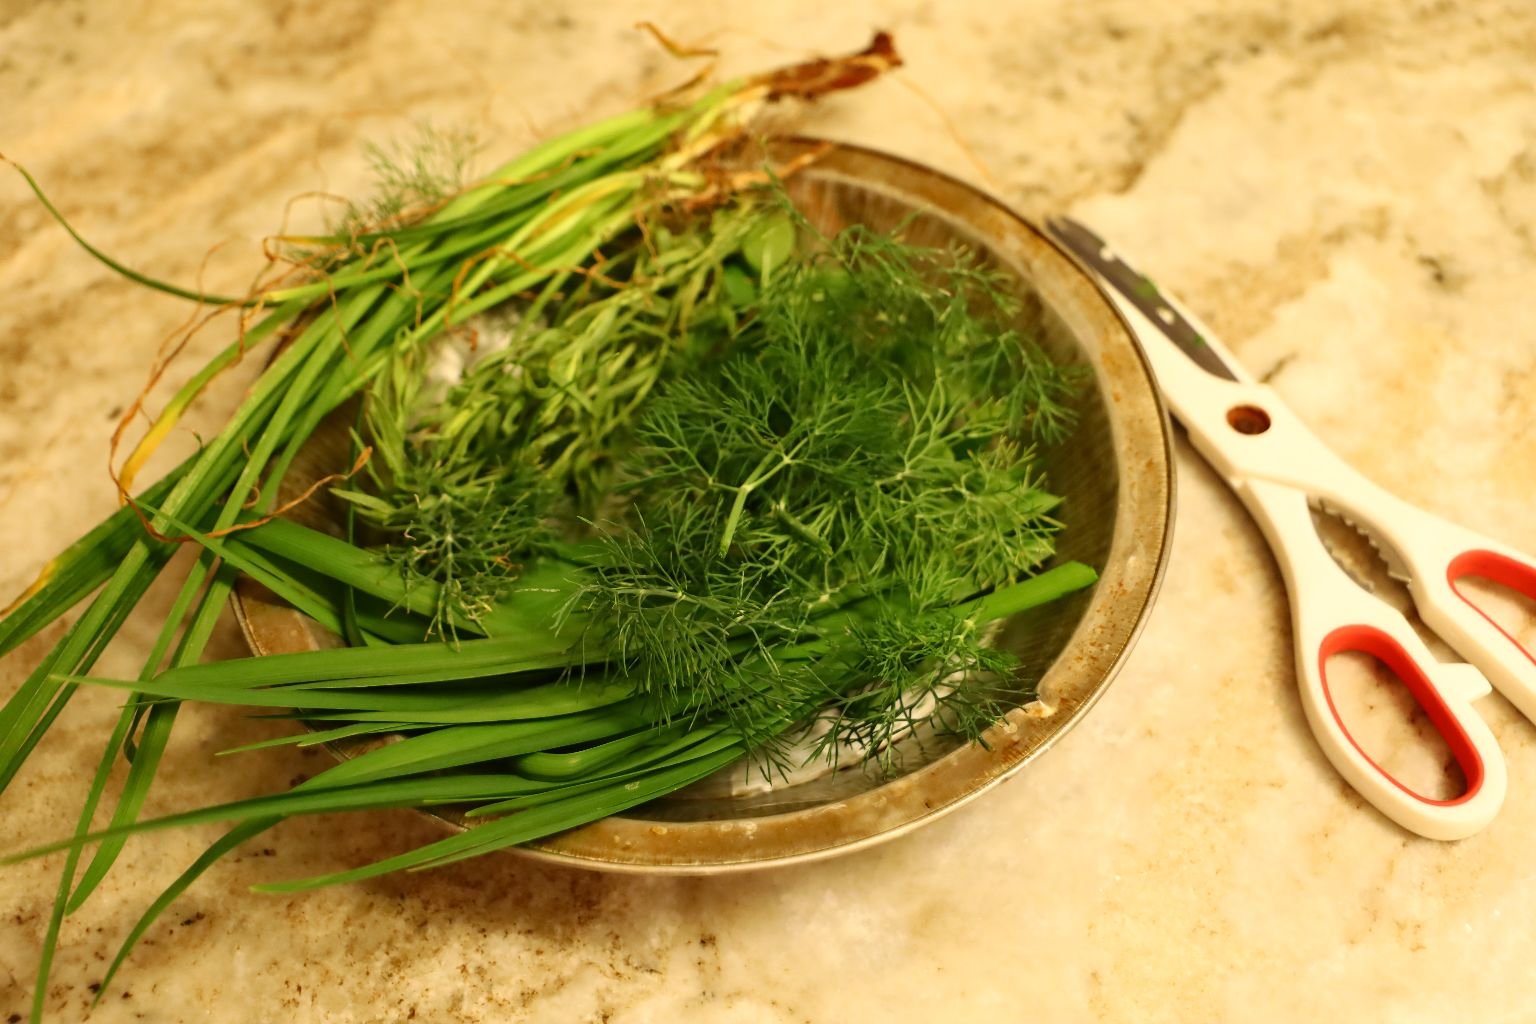
Here we are using Regular Chives, Garlic Chives, Dill, Tarragon, and Thai Basil.

———————————————————————
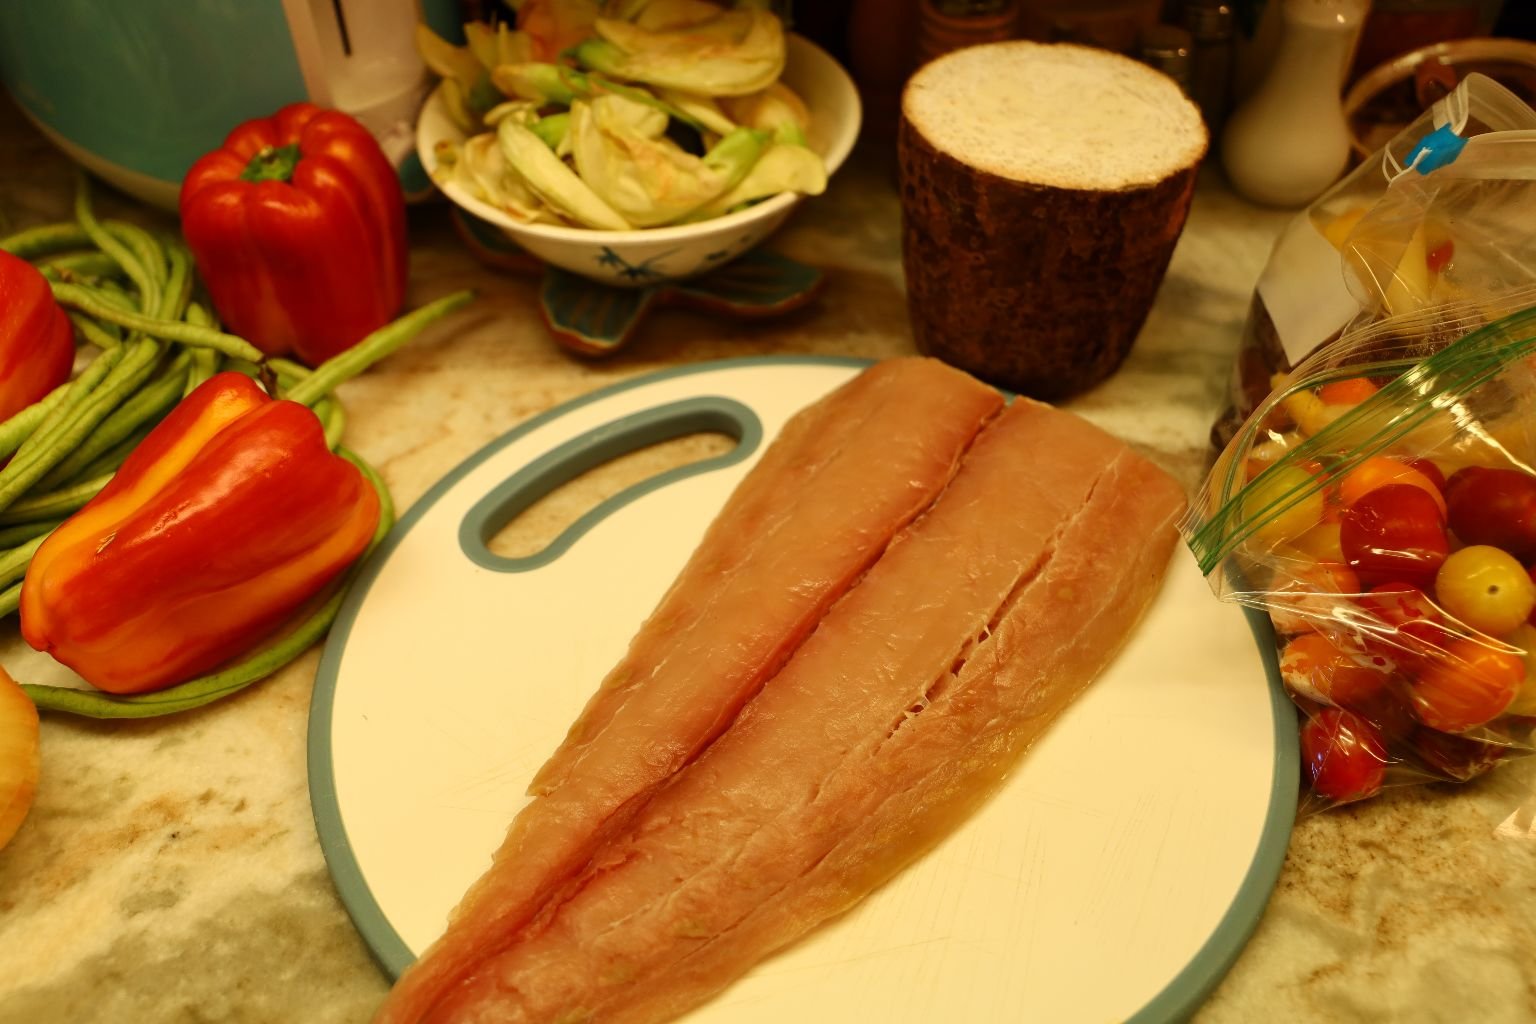
The Mahi-Mahi Fillet
I will explain the recipe as I go. (by Gordon)
I started with an entire Mahi Mahi (Dolphin Fish) fillet.

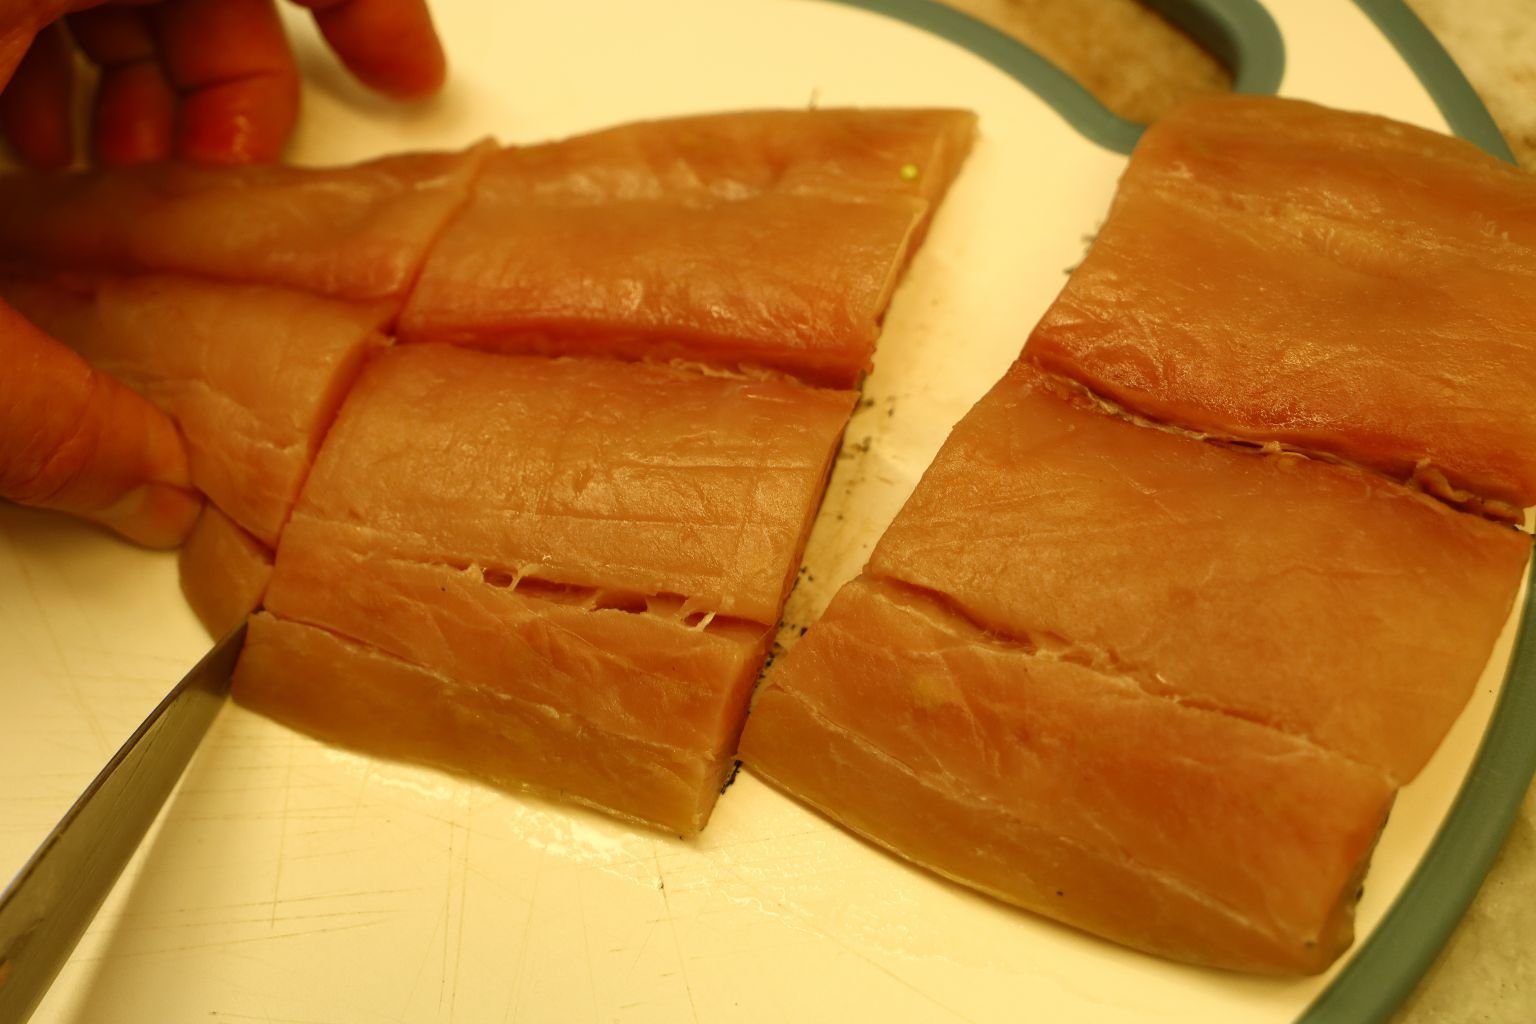
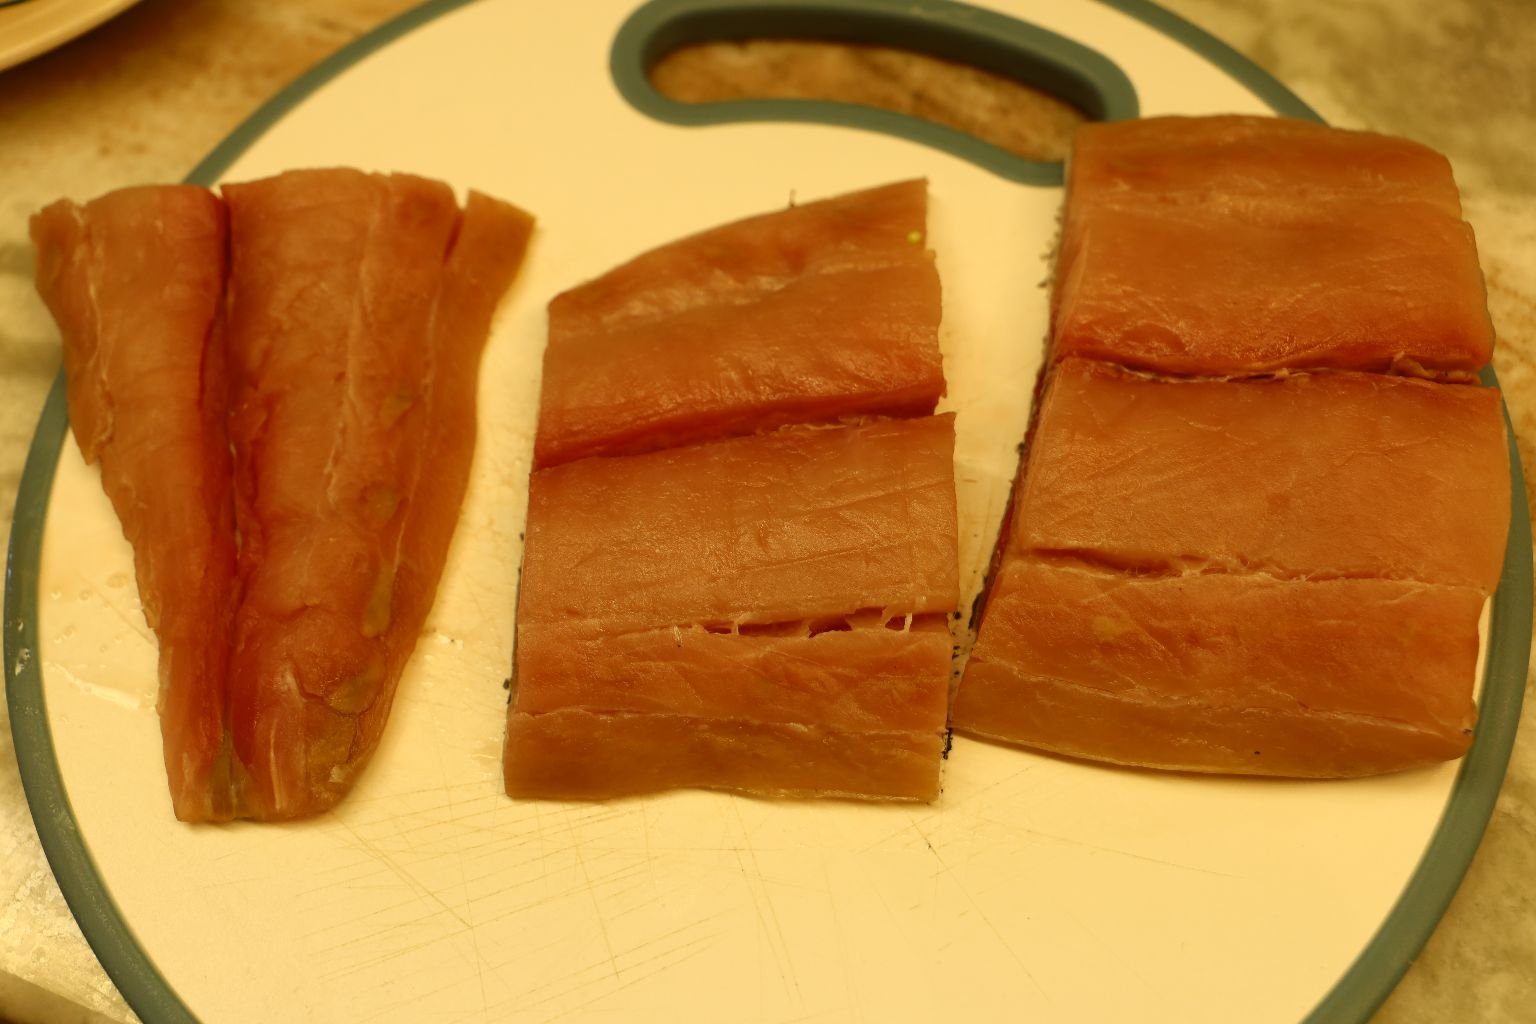
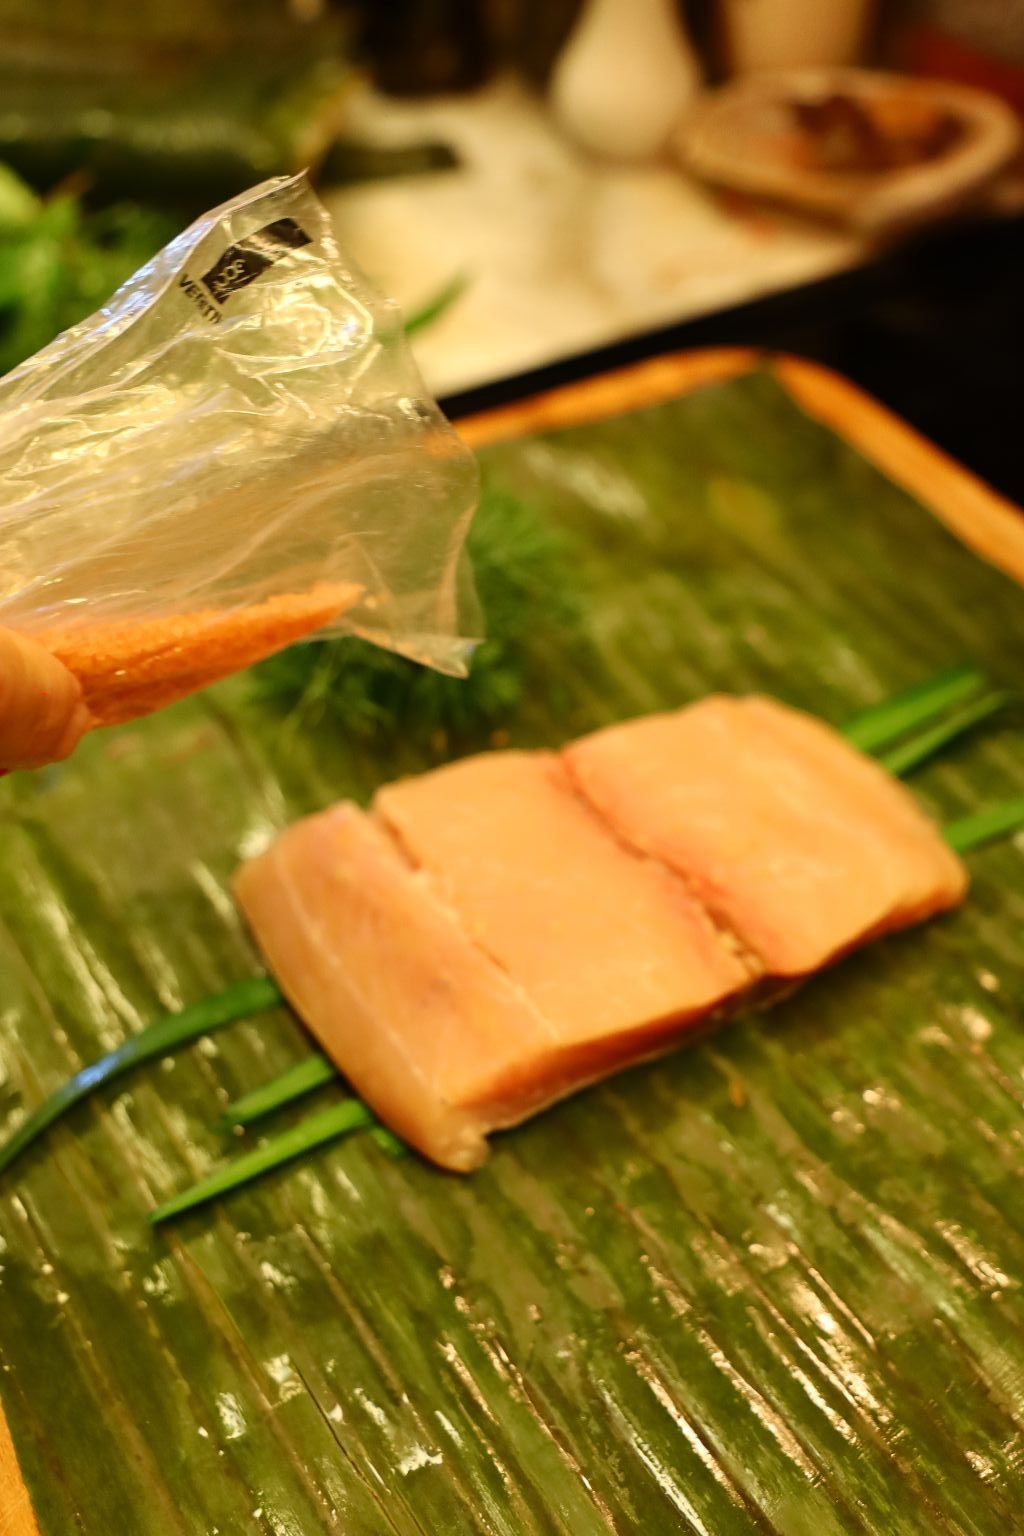
Slice the fillet into three equal portions as shown.
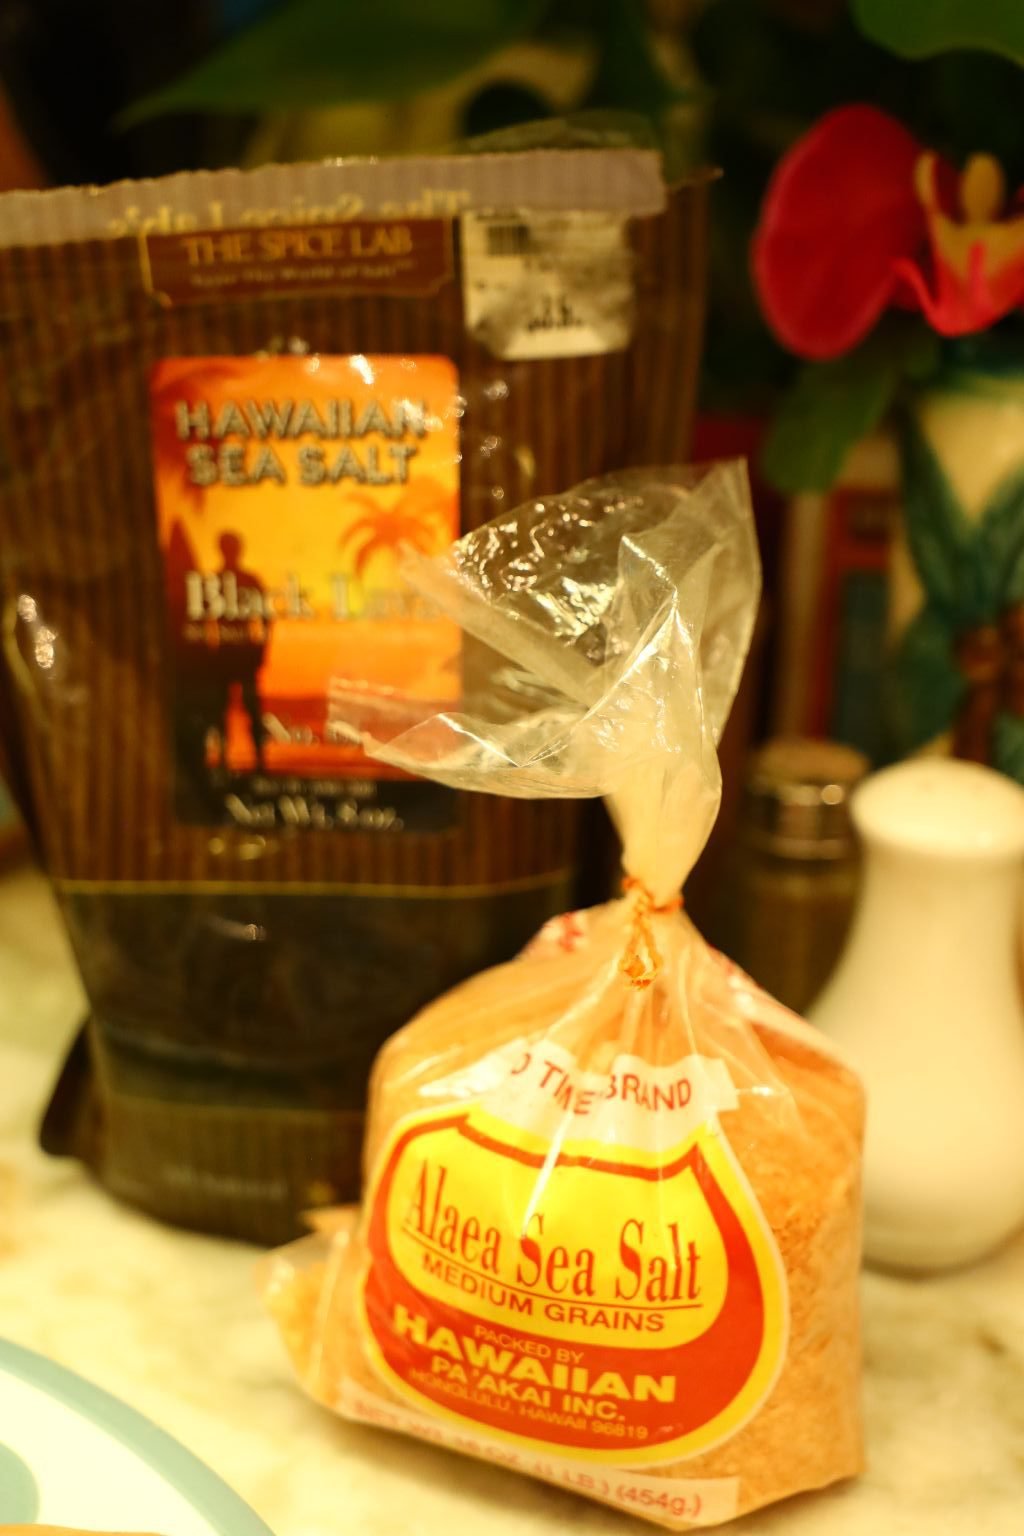
Of course for this Hawaiian recipe you want to use some Hawaiian Sea Salt, and Black Salt. If you don’t have those then any Sea Salt will work.
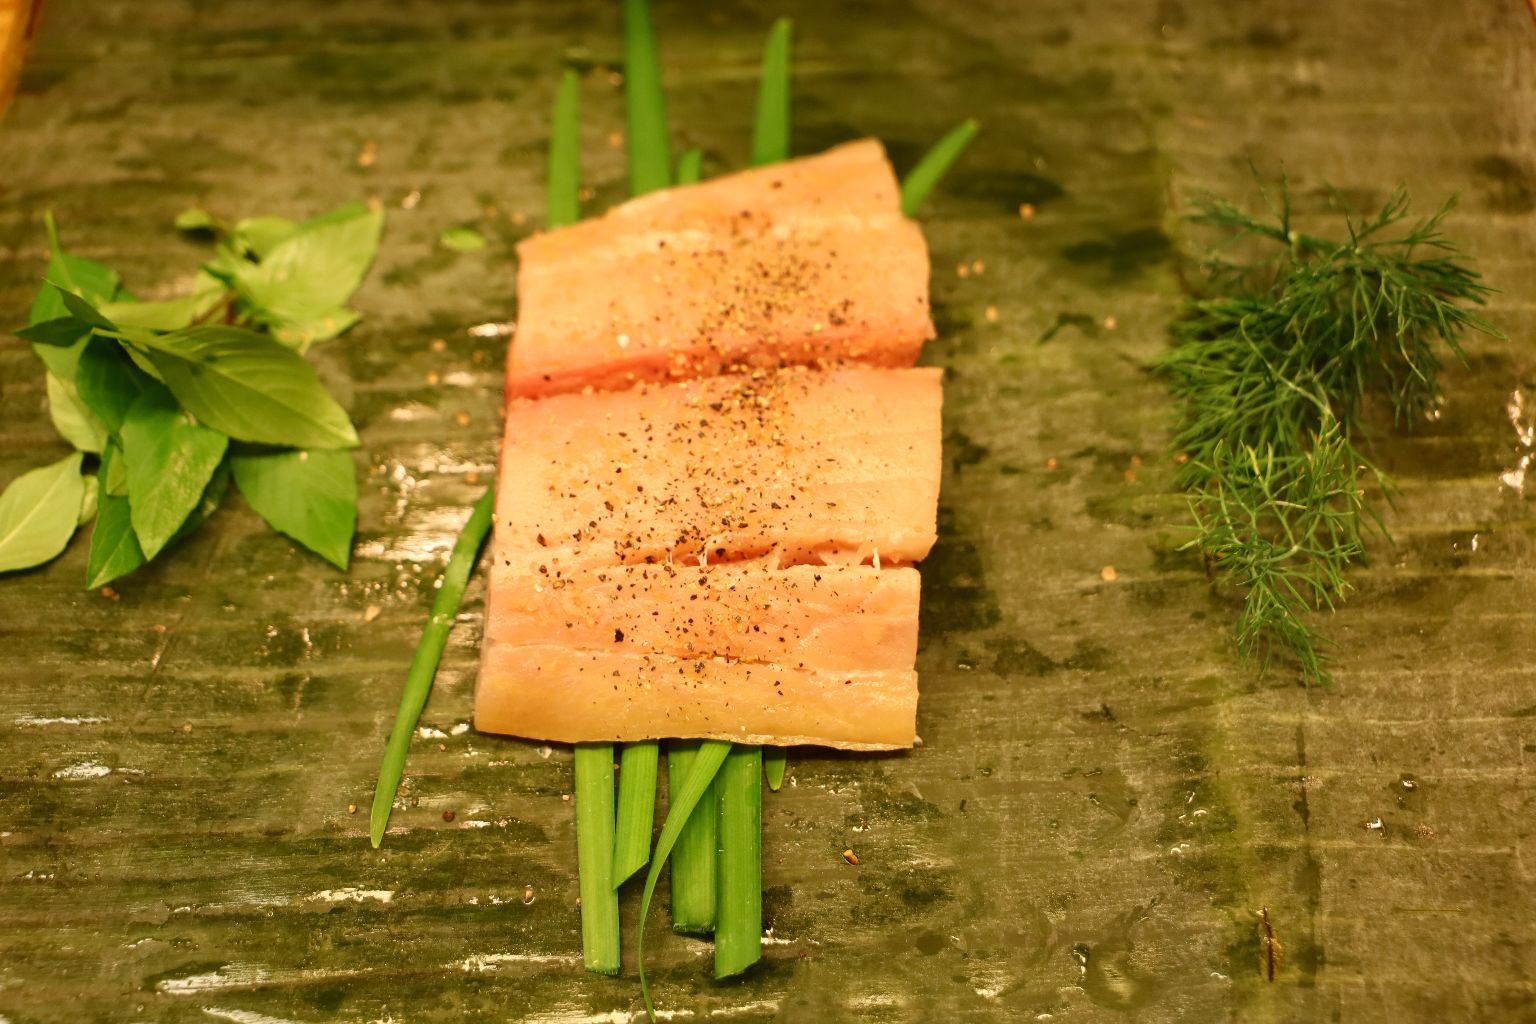

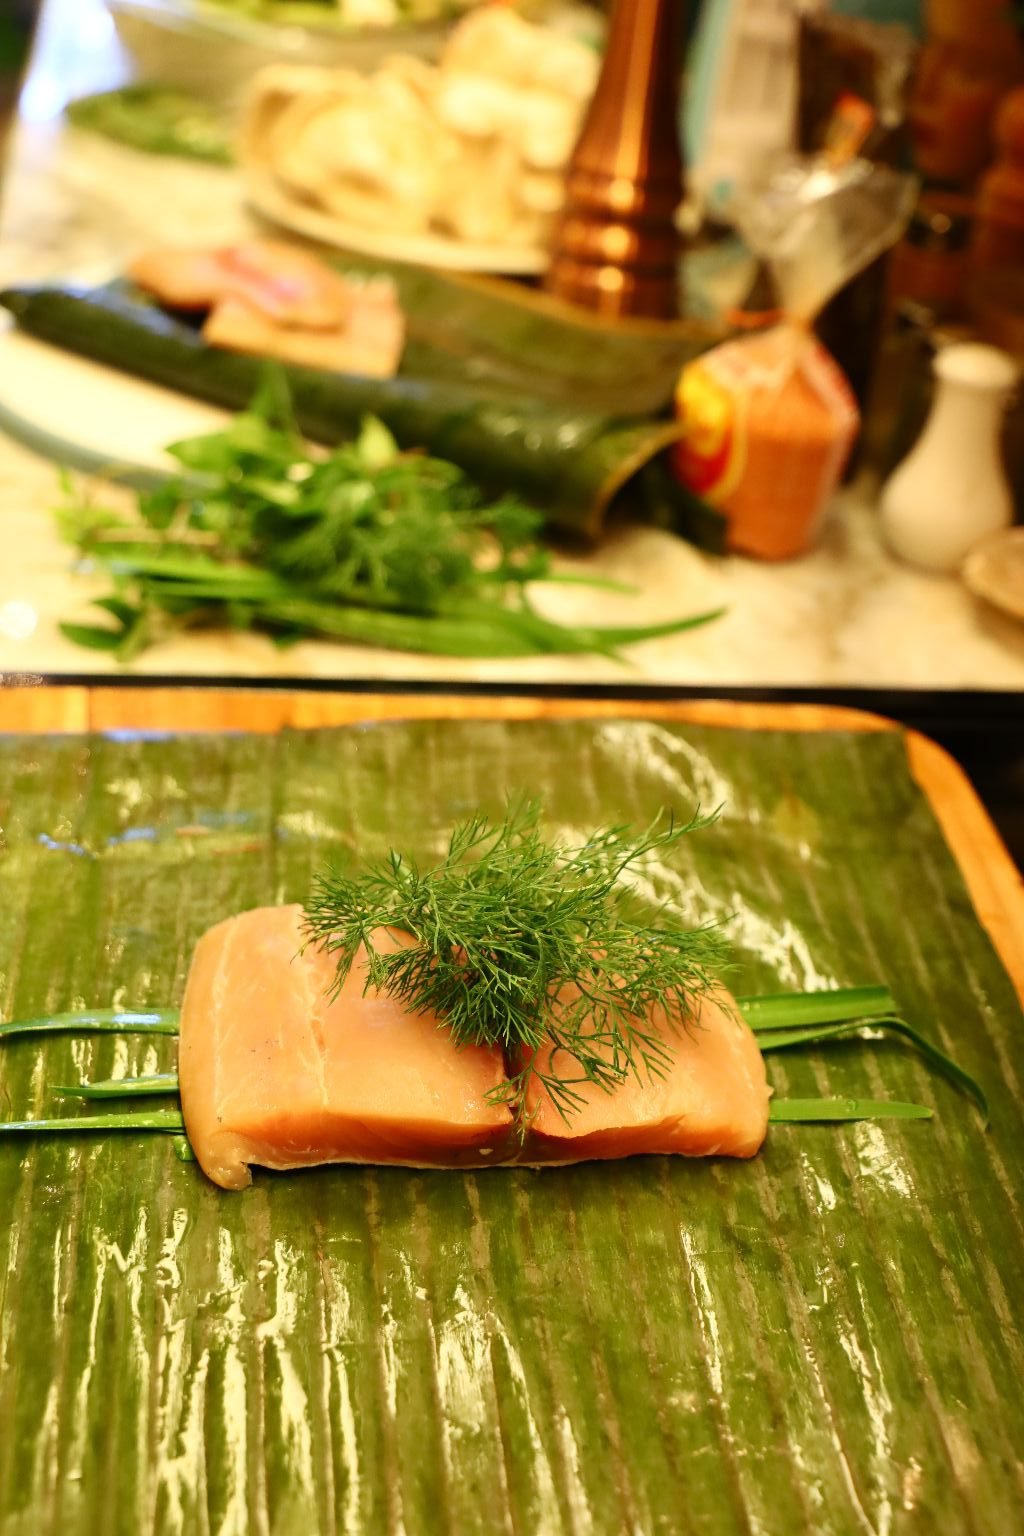
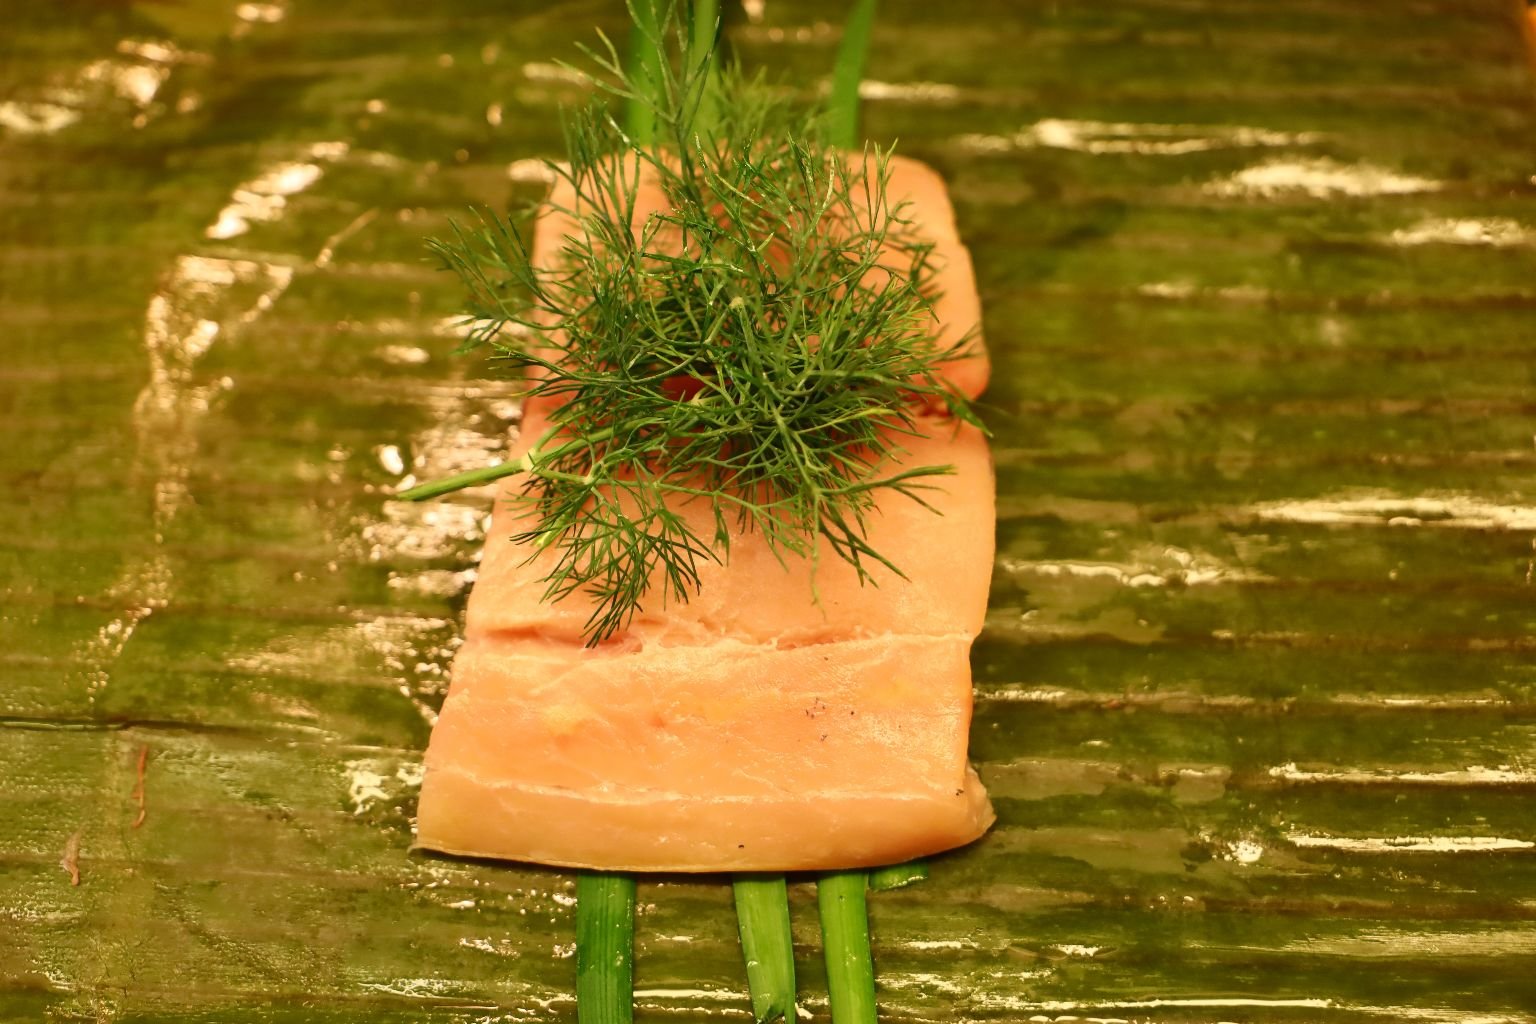
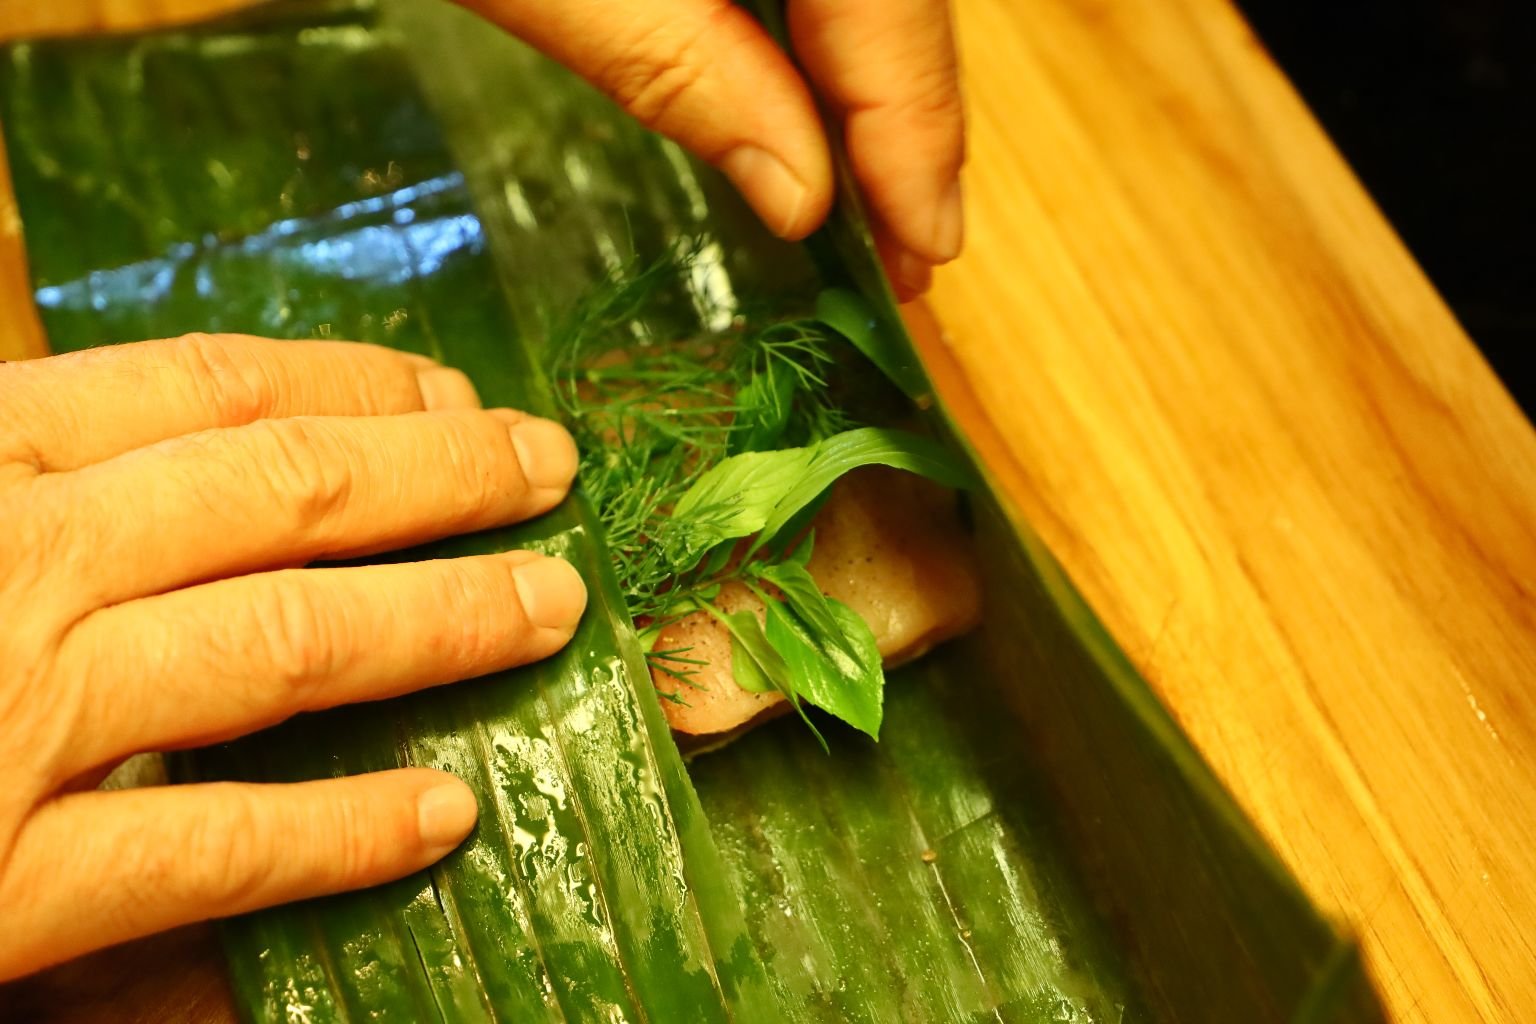
Lay out a piece of Banana leaf large enough to entirely enclose your fish. Place your banana leaf on your cutting board, and place some Chives on the leaf as shown. Then, place your fillet on top of the chives and sprinkle some of your Sea Salt on the fish. Then place some of your herbs on top of the fillet as shown.
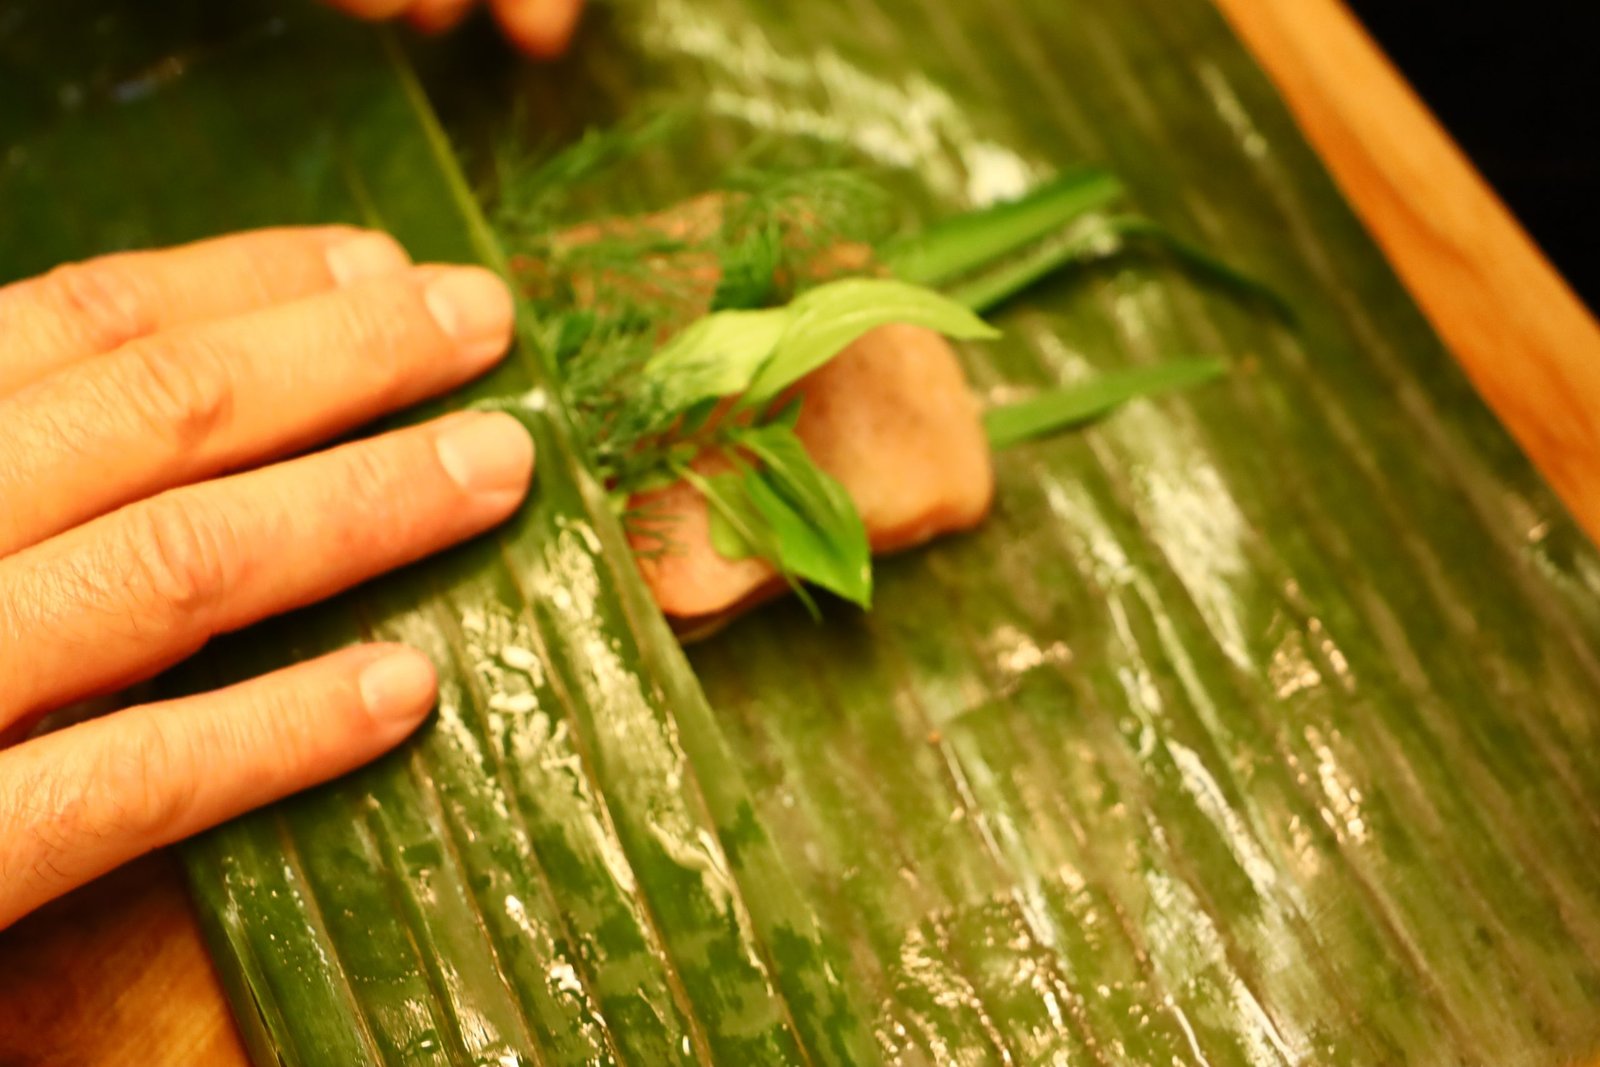

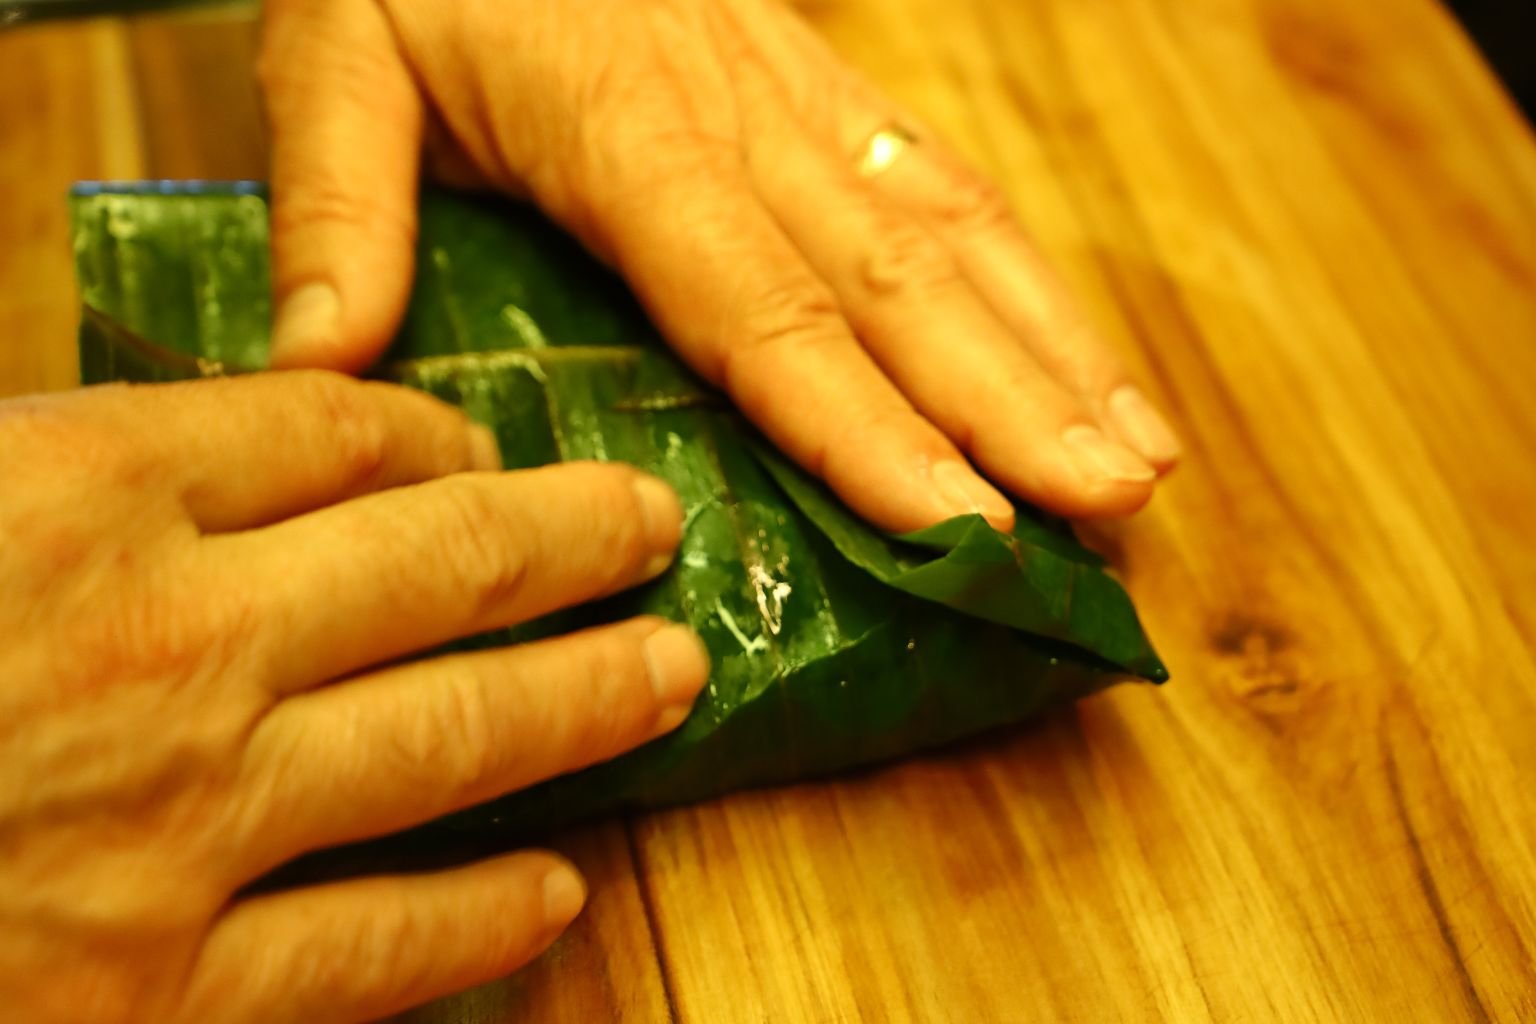
Wrap the fish tightly with the banana leaf. I started folding the bottom section of the leaf up then folded the top portion down. Now, wrap the left and right side of the leaf enclosing the fish tightly within the leaf.
—————————————————————————–
On note: Banana leaves contain a natural tenderizer within them which will help to tenderize anything you wrap them in. They also protect the items within them from the fire as well as to steam them as the leaves hold a great deal of moisture.
Here are more pictures of me folding the Mahi Mahi within the banana leaf.


Yes, I forgot the Chives underneath the fish, but this is easily fixed.
You don’t have to use all the herbs I did as a simple bunch of Dill will work great! You could also use some slices of Lemon or Garlic in this recipe as well as some nice Olive Oil!

More pics of wrapping the fish.

Place your herbs and seasoning on the fish as shown…

Then bring the bottom of the leaf up, then the top of the leaf down.


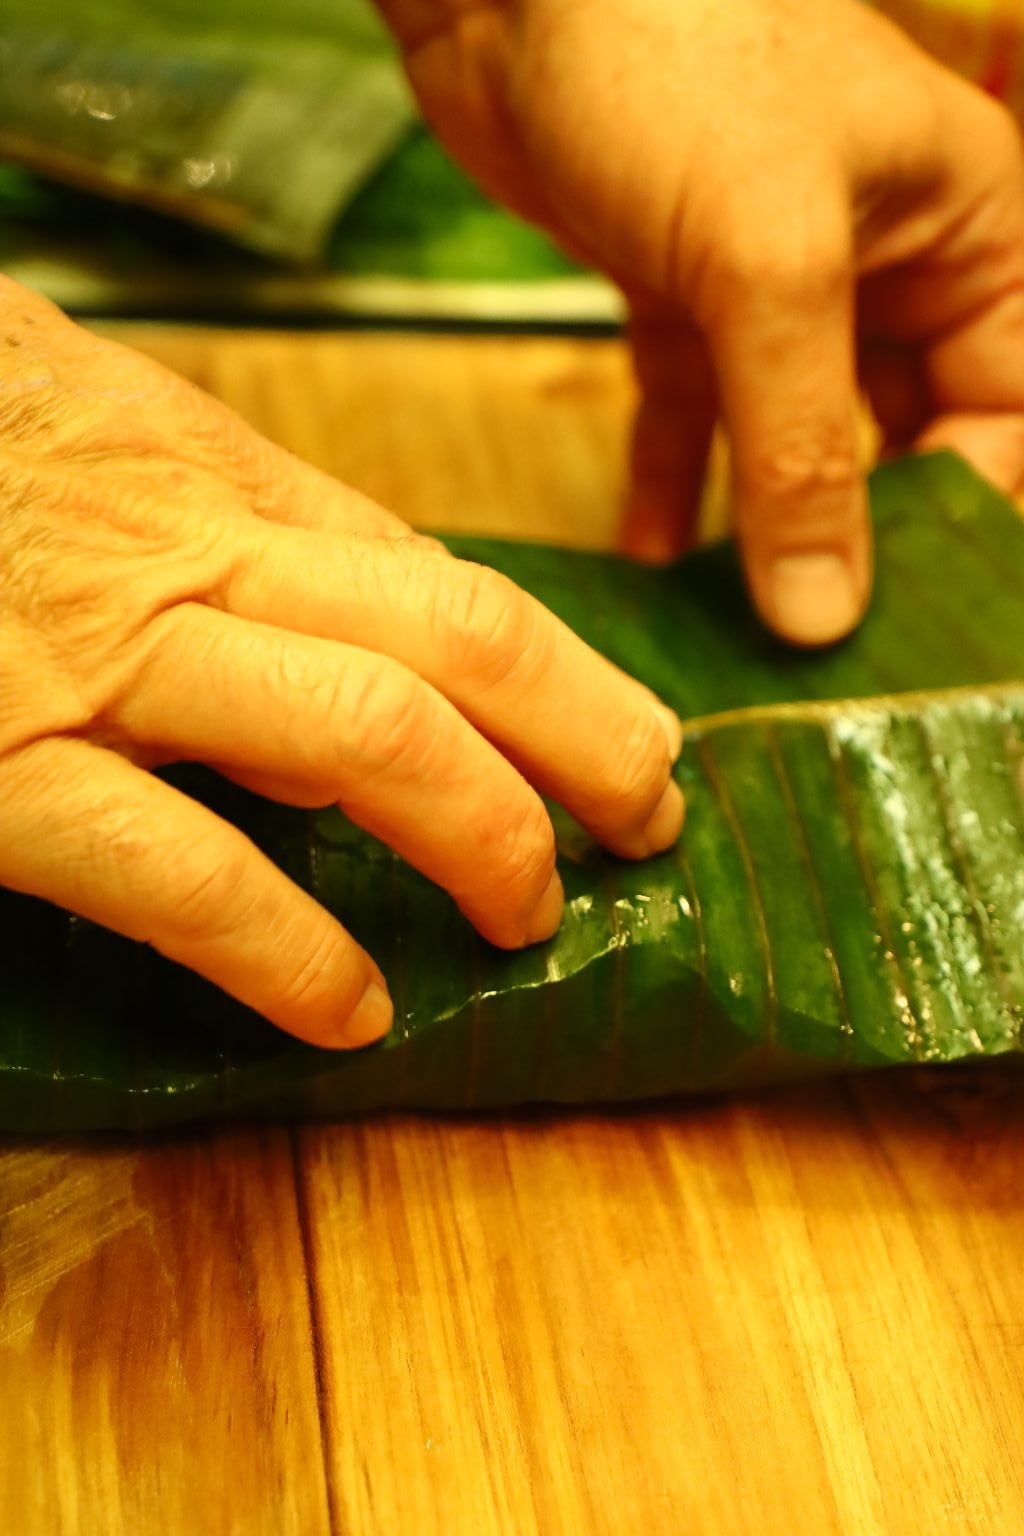
Now, wrap the left and right sides of the leaf creating a purse. Here the leaf ripped a little so I wrapped more banana leaf around the other leaves using the same technique.


Once done, you can then wrap the entire package with aluminum foil using the same technique…


making sure you have a tight seal around the fish.


We wanted to pair the fish with some Chinese Long Beans that we purchased at The Asian Supermarket. Start by cutting off the ends of the Green Beans.
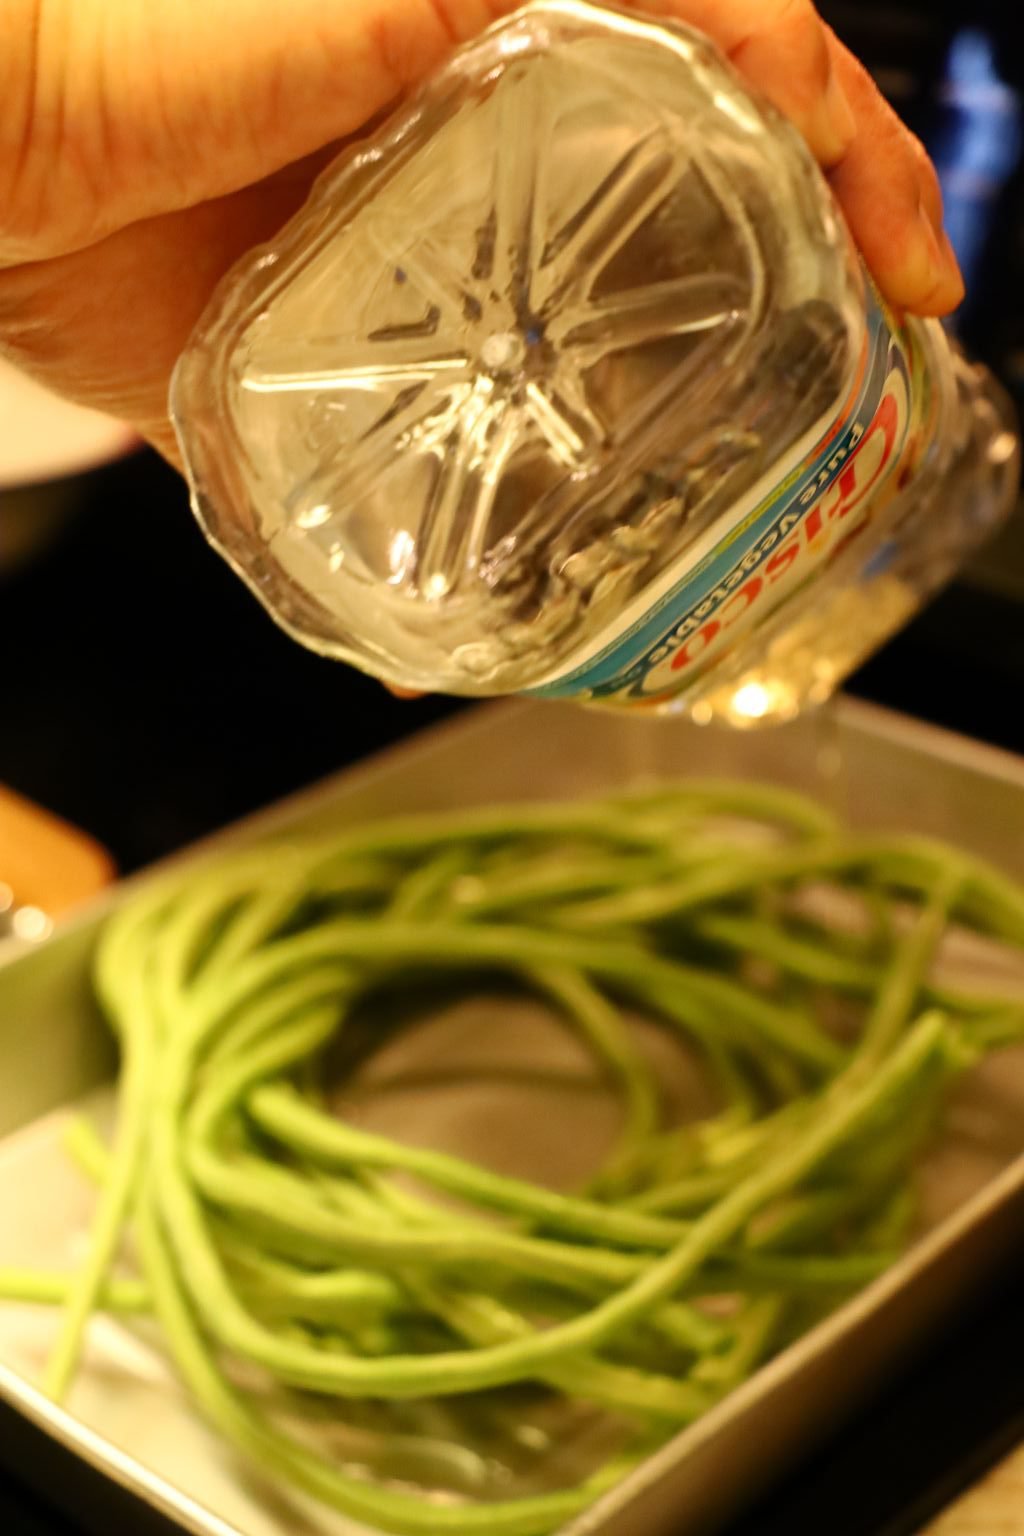
Use enough Vegetable Oil to coat the Green Beans.
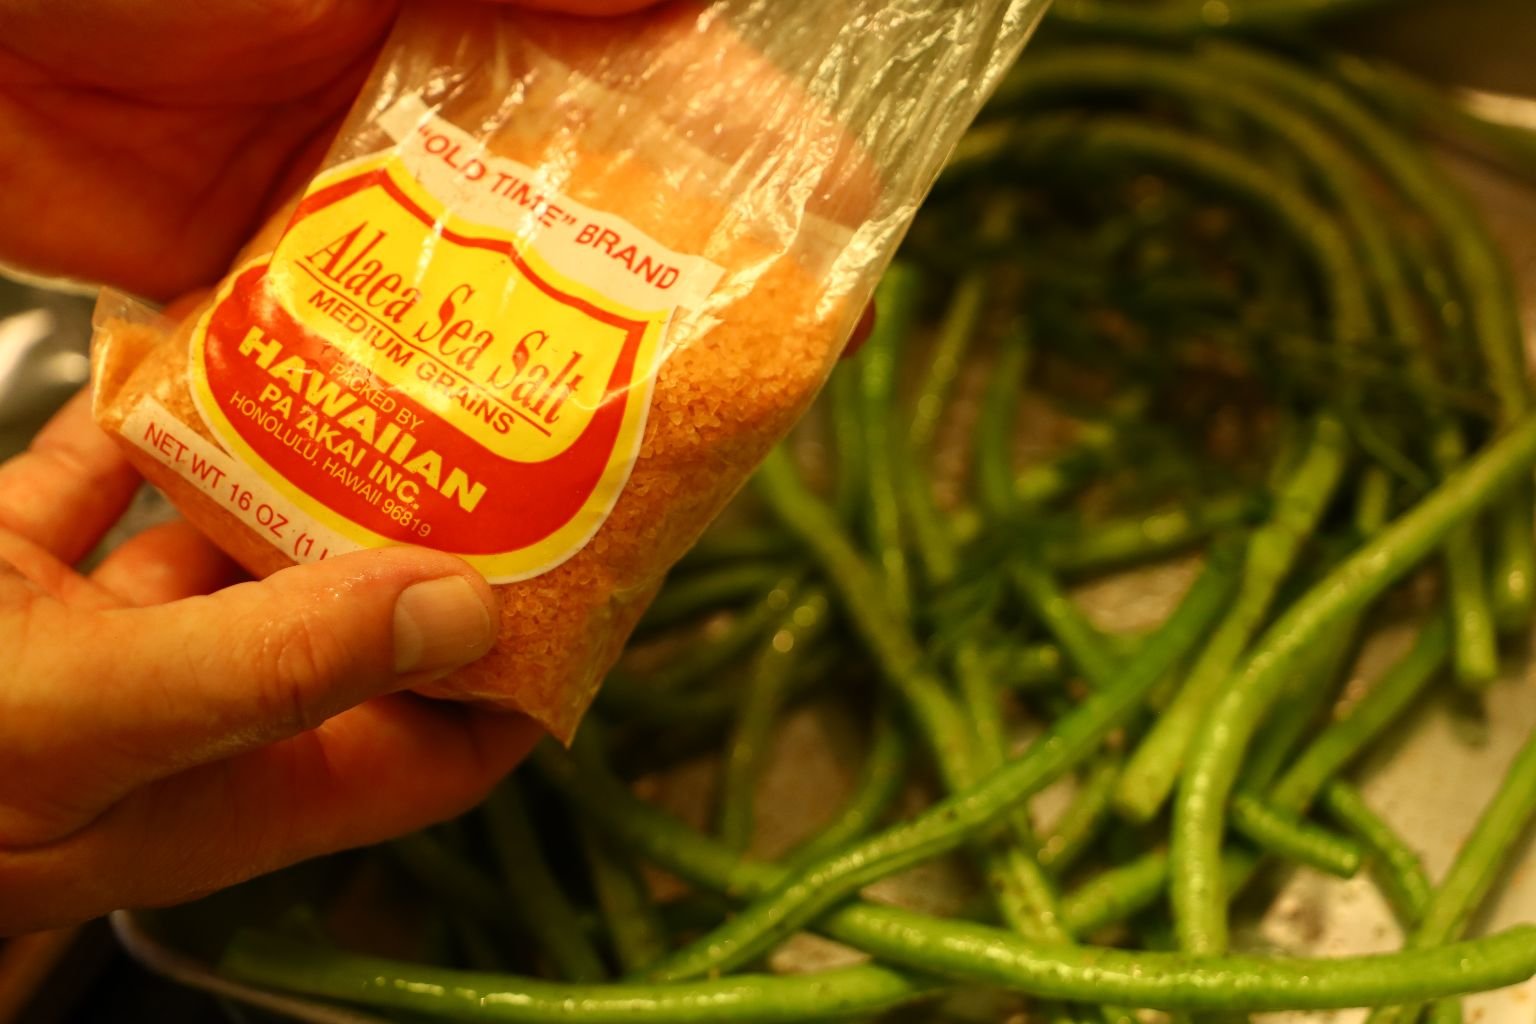
An Excellent Fine Hawaiian Sea Salt
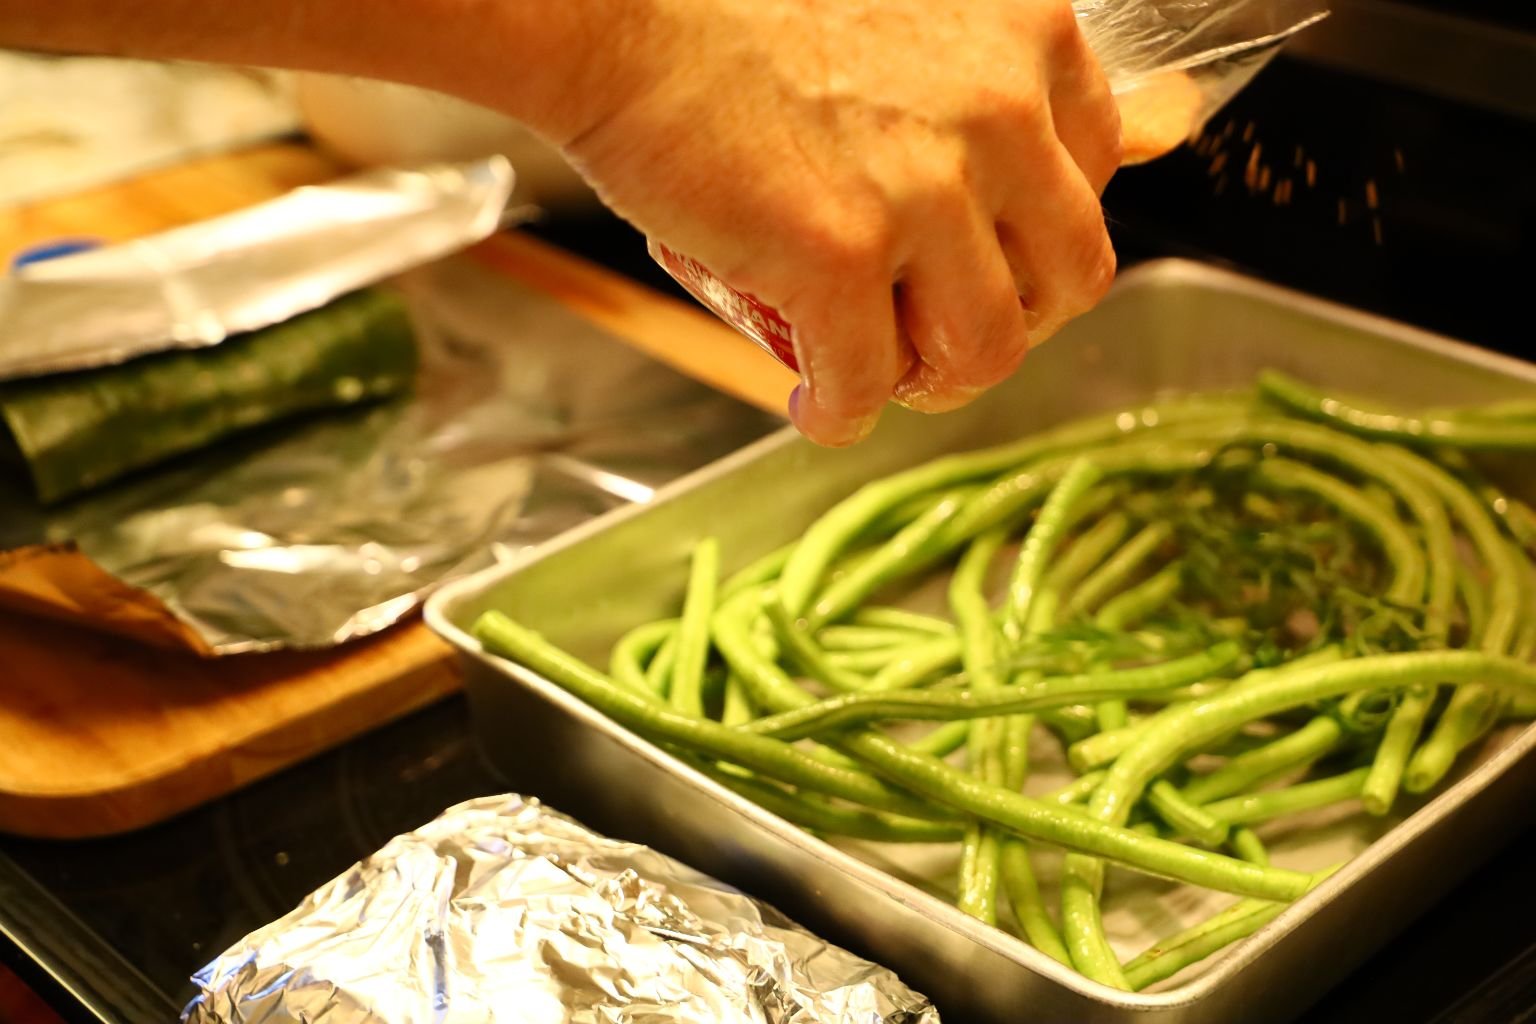
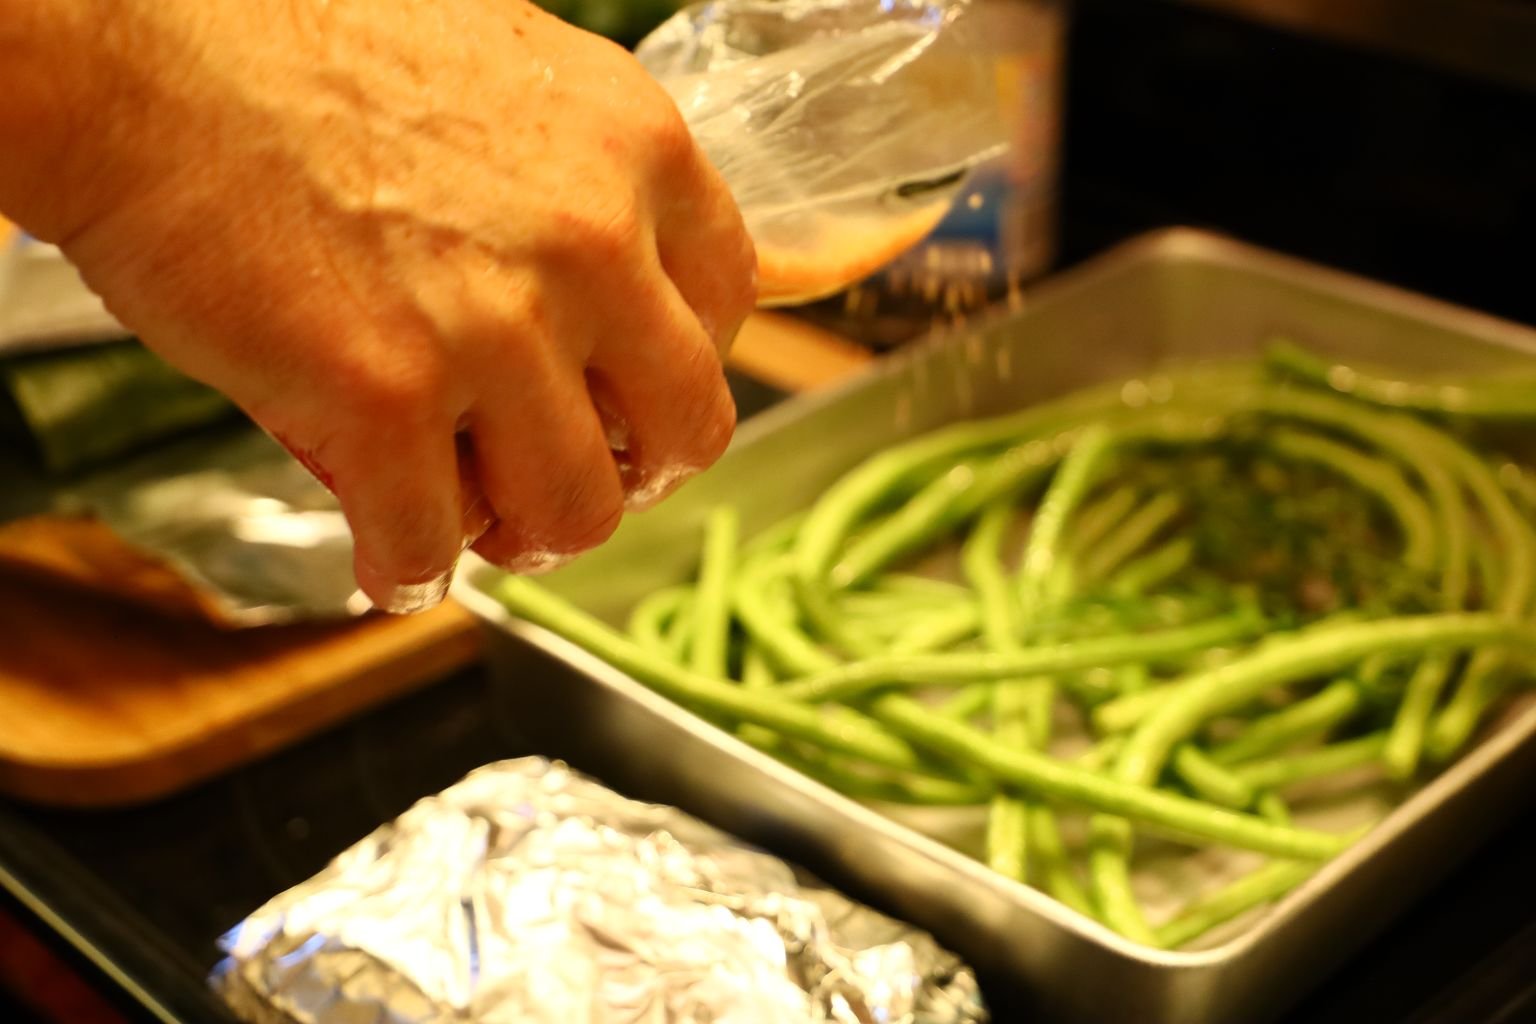
A Sprinkling of Fine Hawaiian Sea Salt
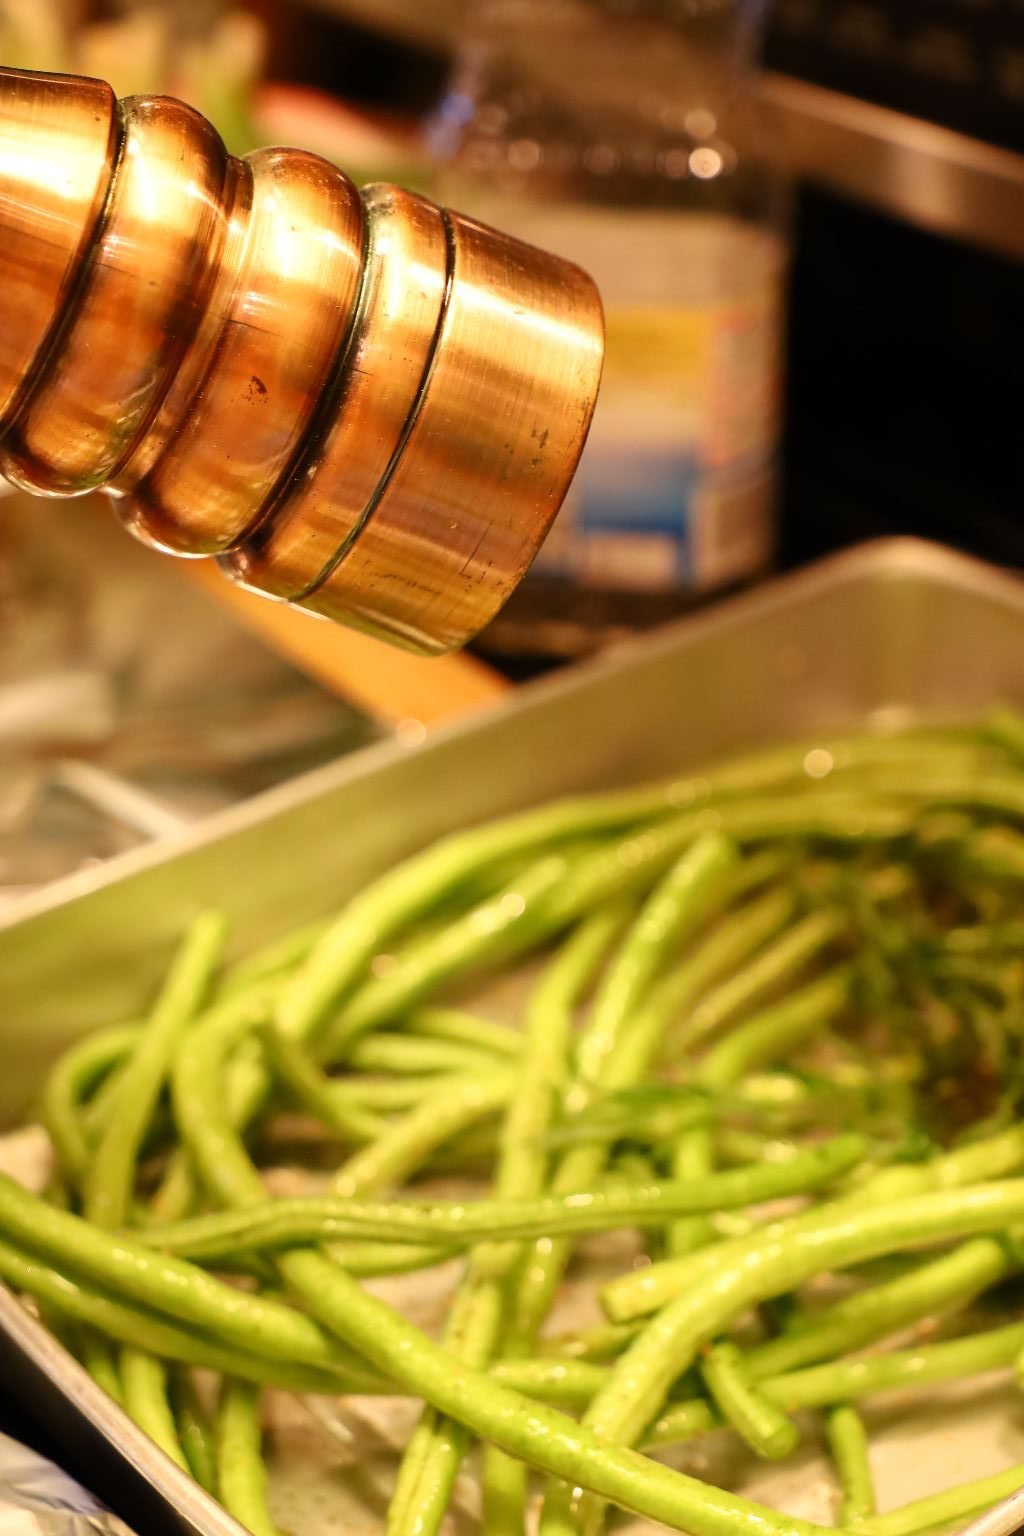
Freshly Ground Black Pepper
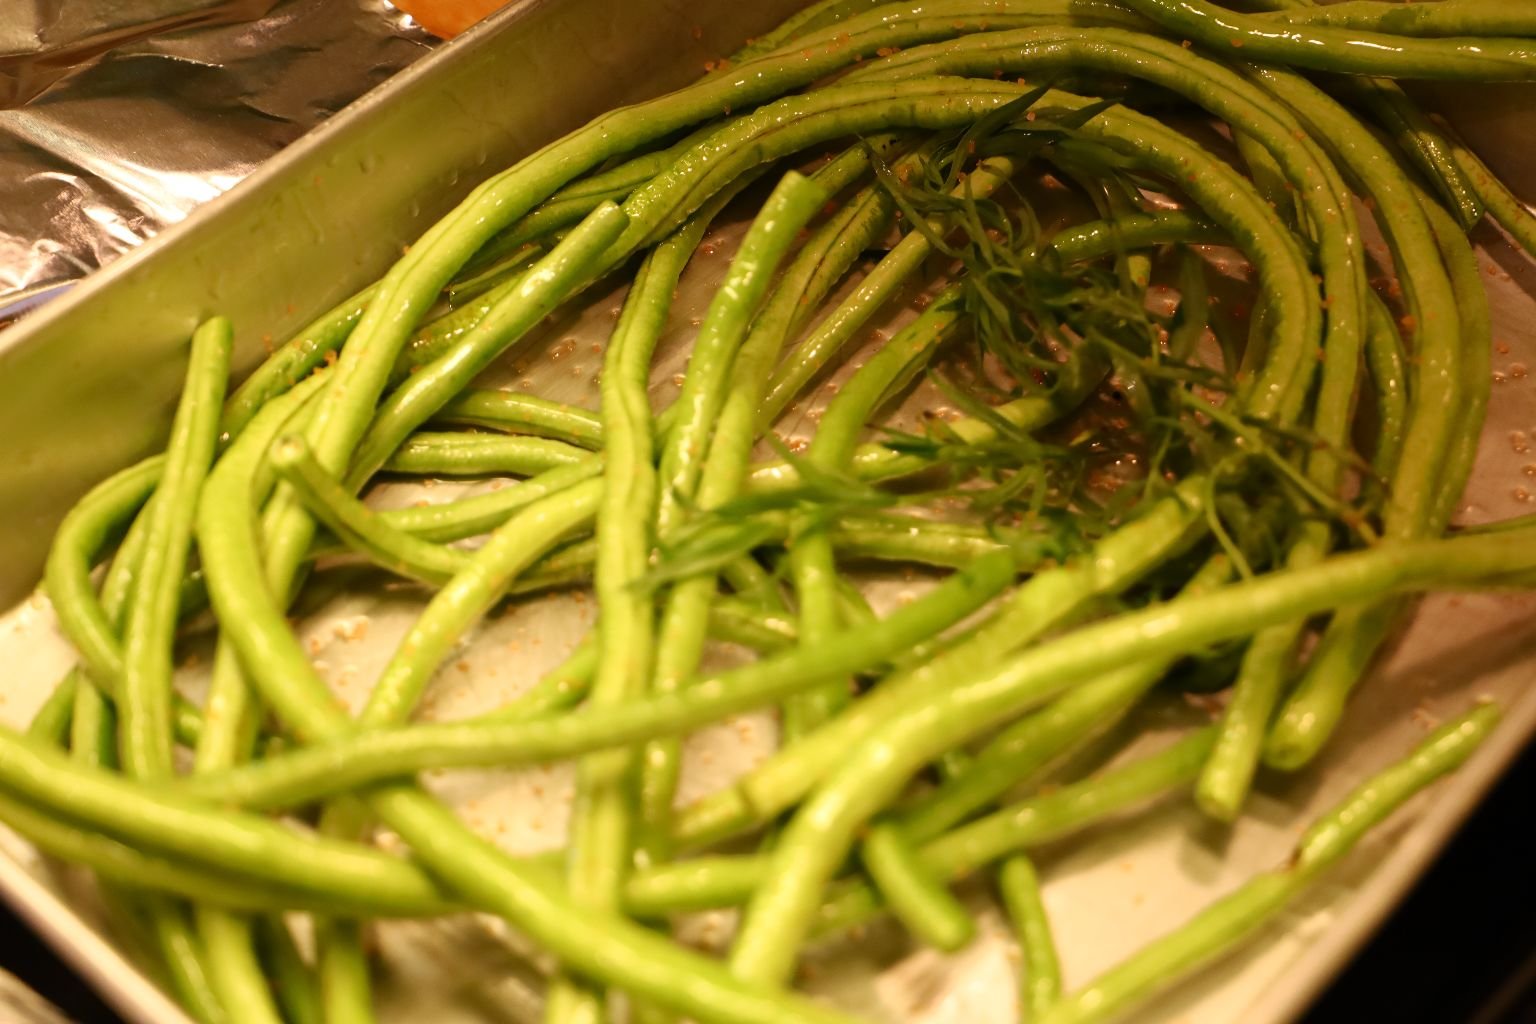
We then added some Tarragon sprigs.


Now we added some Green Onions. Simply cut off the root ends as shown.

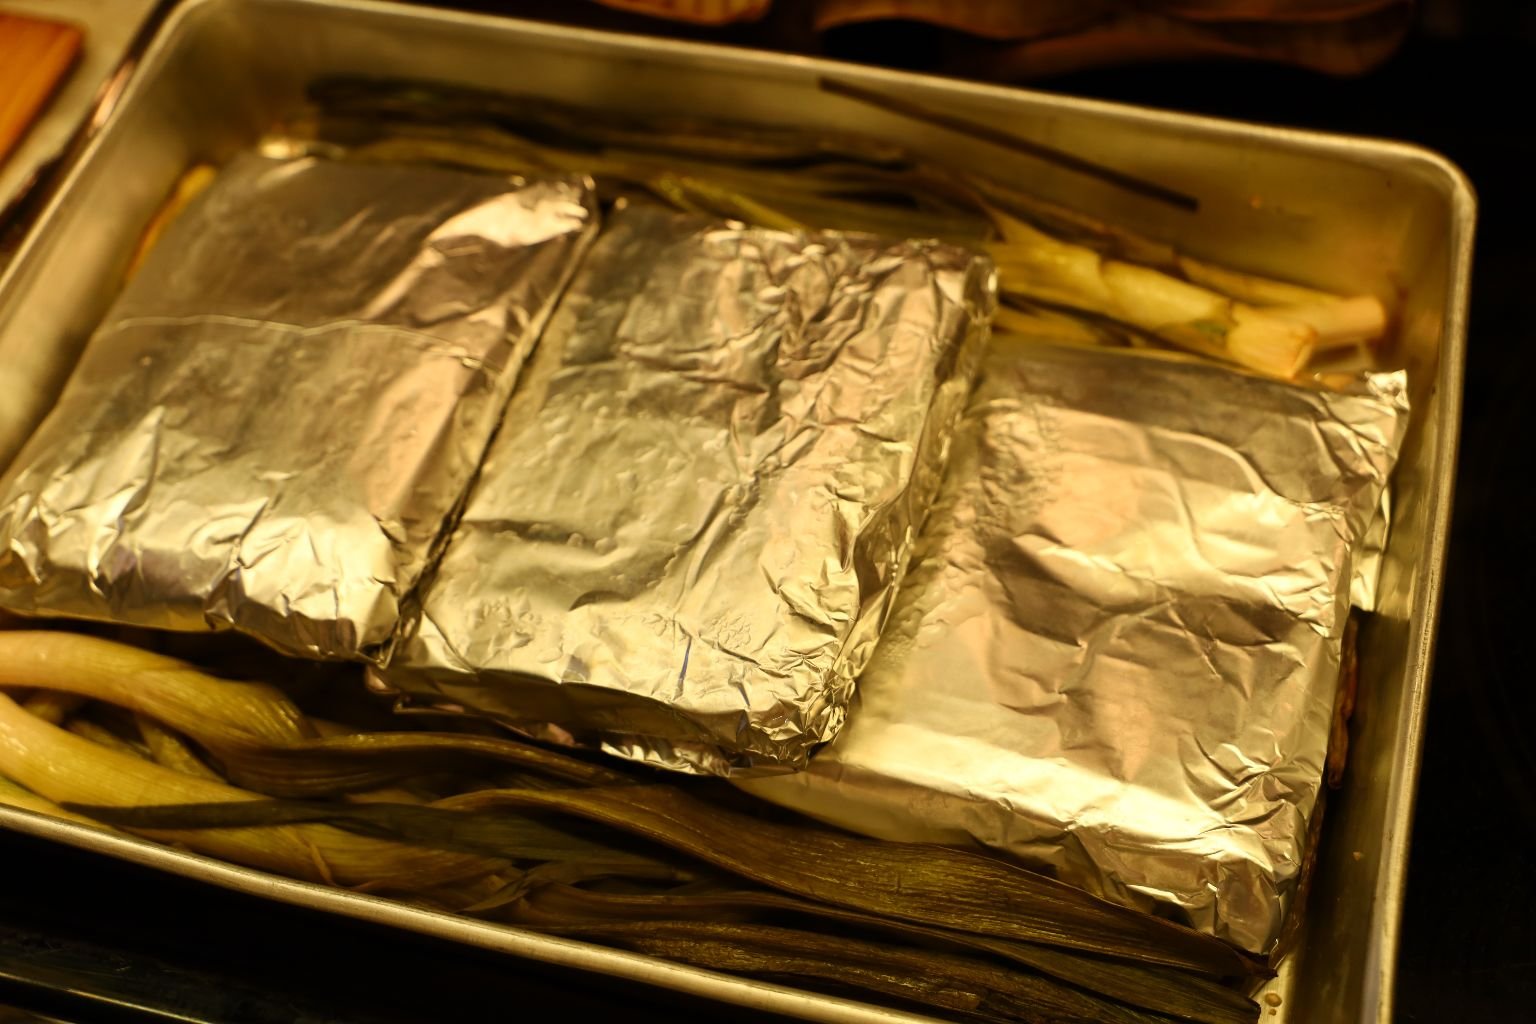
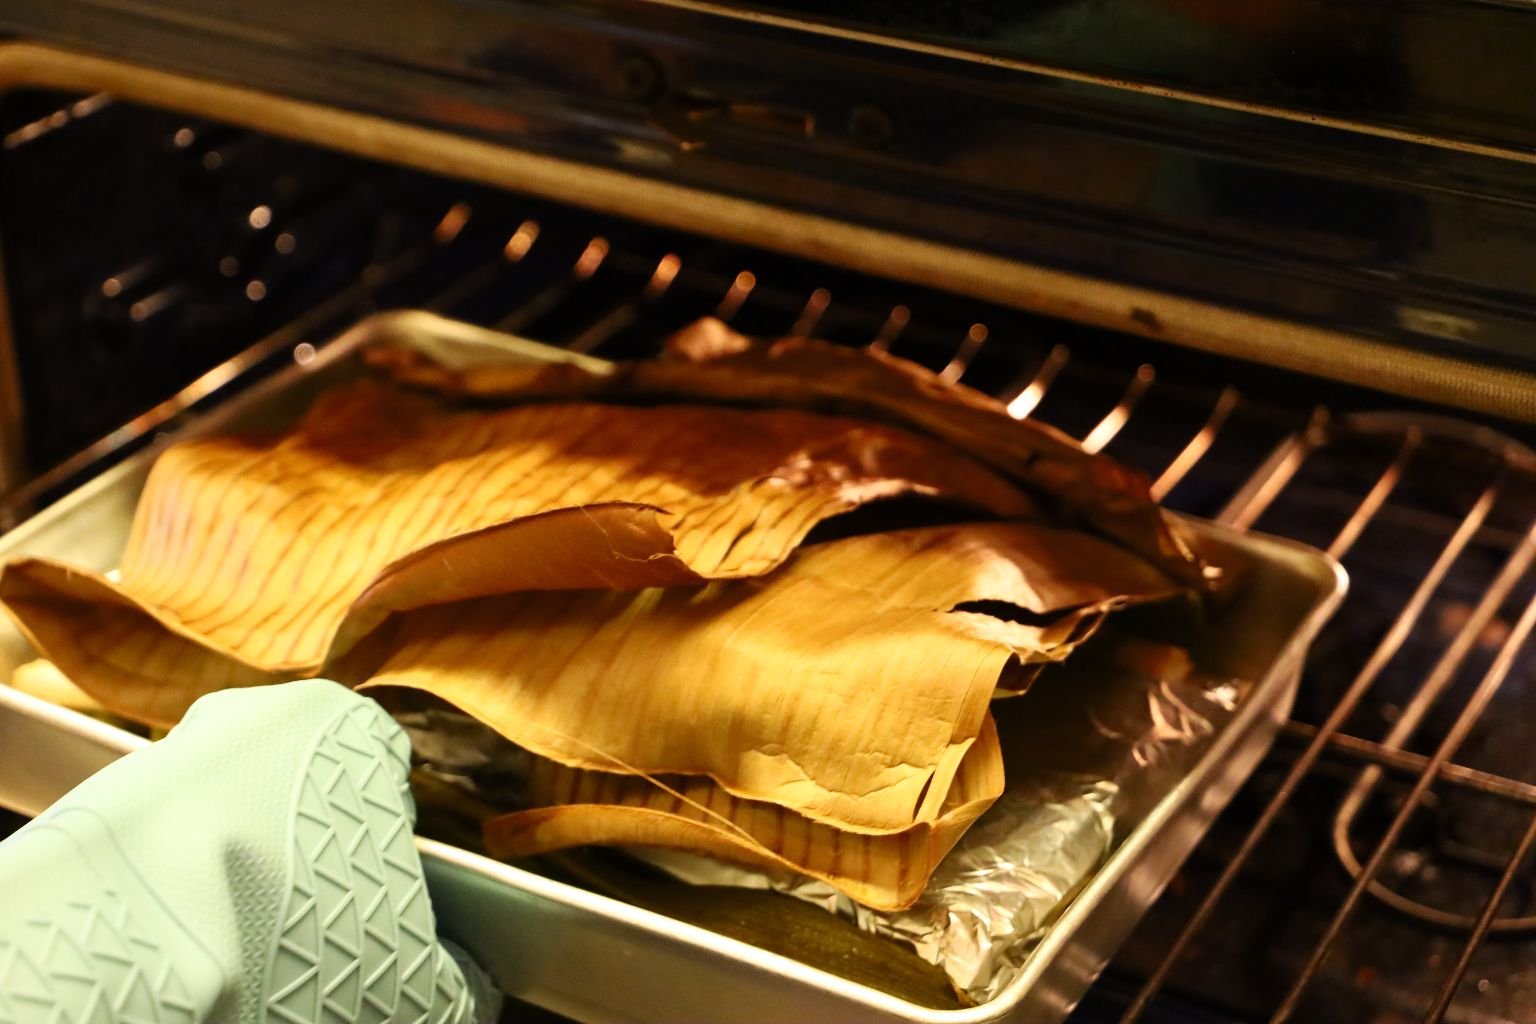
I placed the Chinese Long Beans down first into a large roasting ban. Then placed the fish fillet packages on top then placed the Green Onions on the sides. Lastly, place a Banana Leaf on top of the ingredients tucking in the sides.

A Nice Cover

Preheat your oven to 400’F and cook for about 30-35 min. or until the fish is at a temperature of 137’F. If you were just cooking the wrapped fillets in your oven or grill, the time would only be around 10 to 15 min.
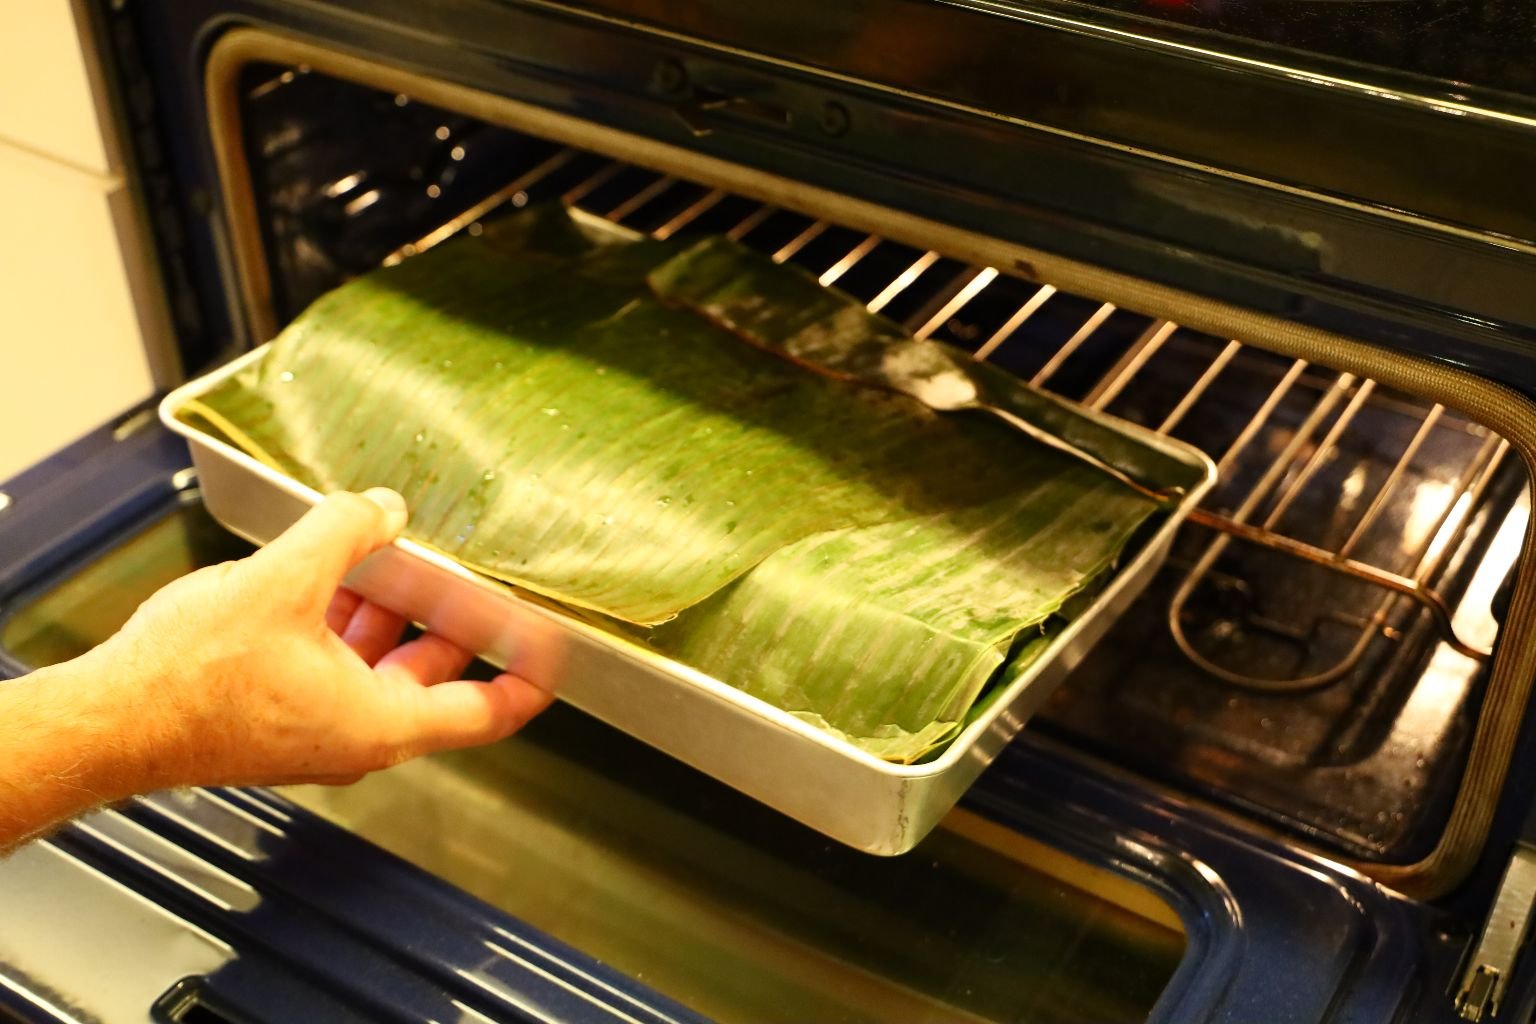

Into the Oven They Go
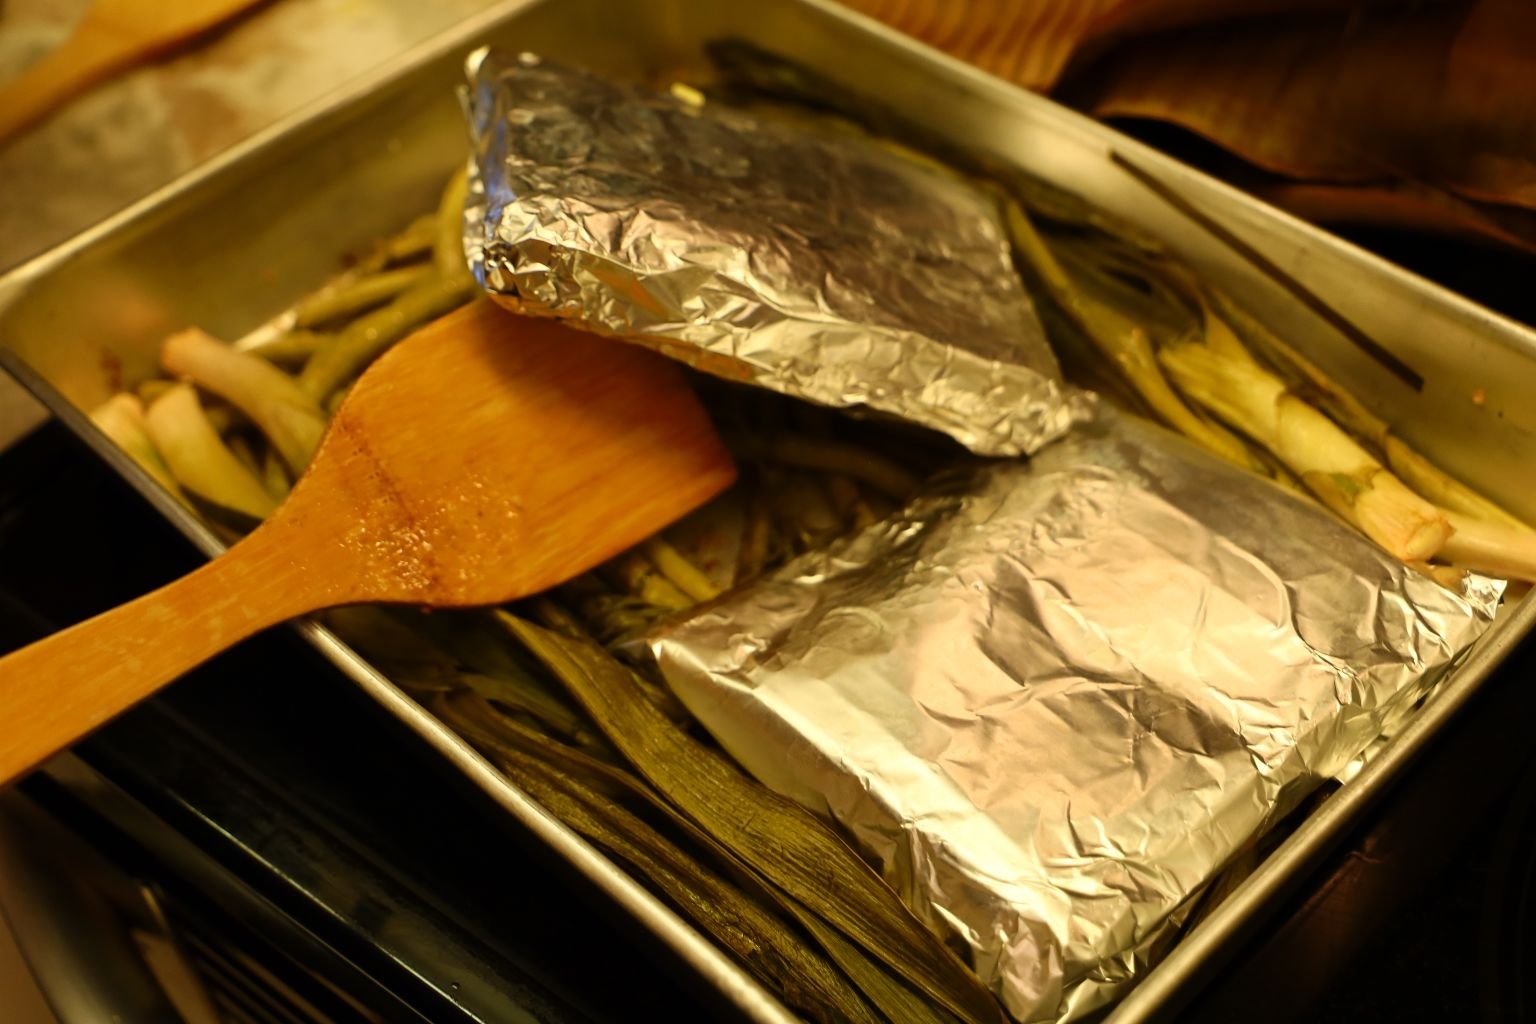
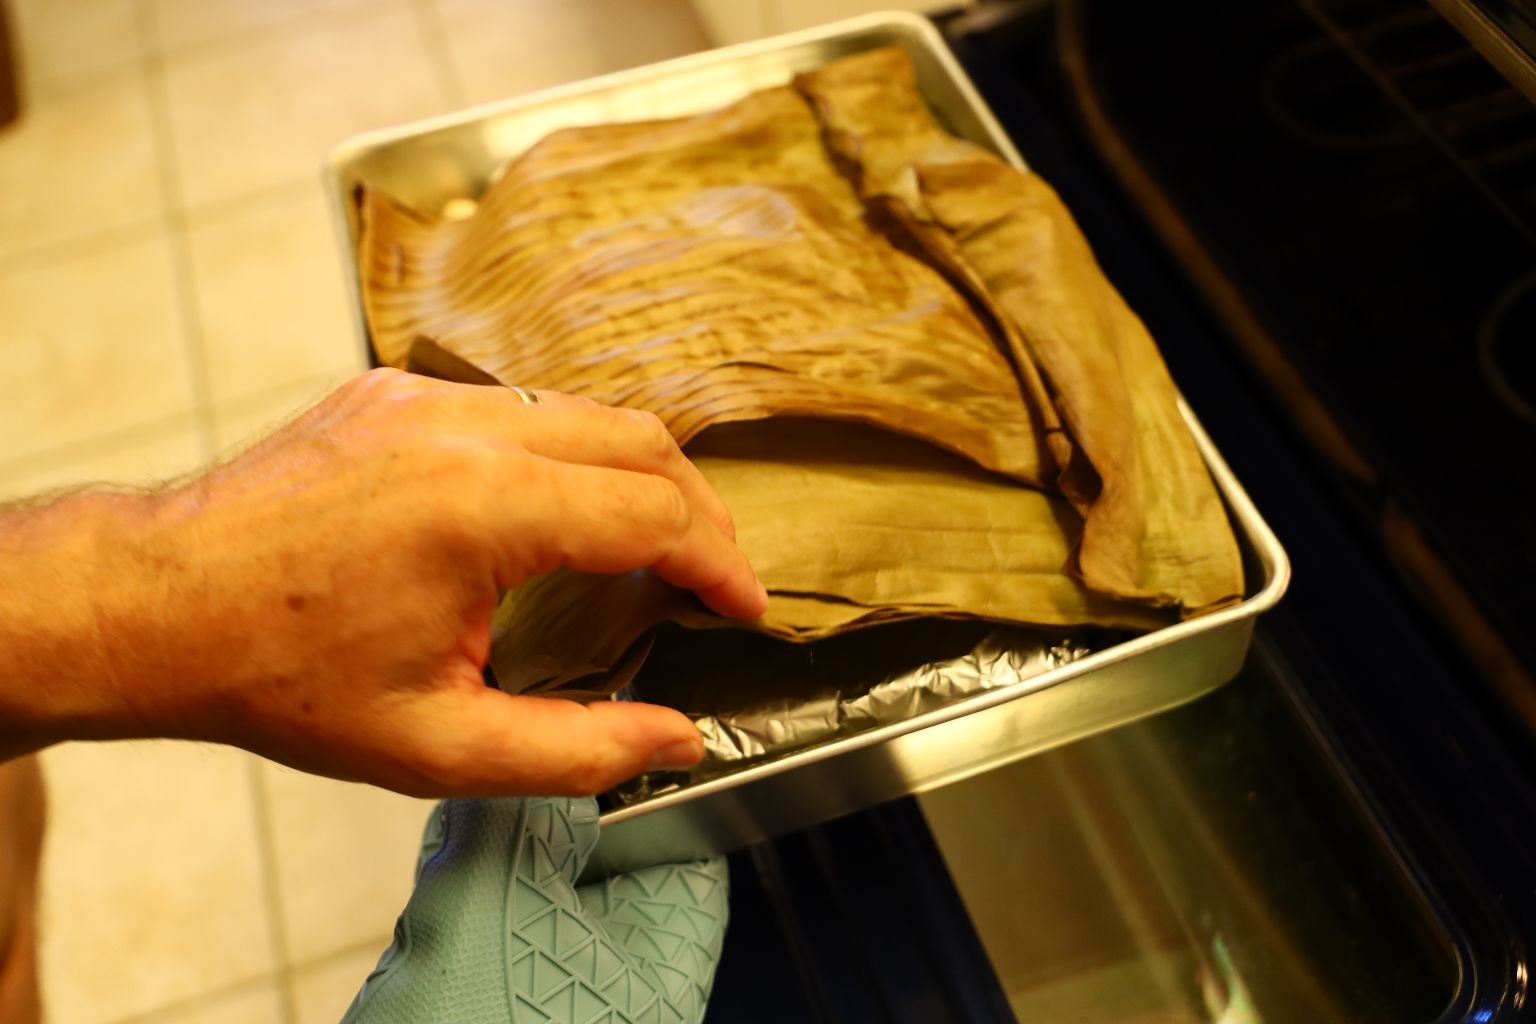
When checking your fish for doneness, remove the packages from the roasting pan.
Carefully unwrap the packages trying to leave the juices inside the package.
I wanted to cook them a little more, so I placed them back in the oven for a few minutes longer.
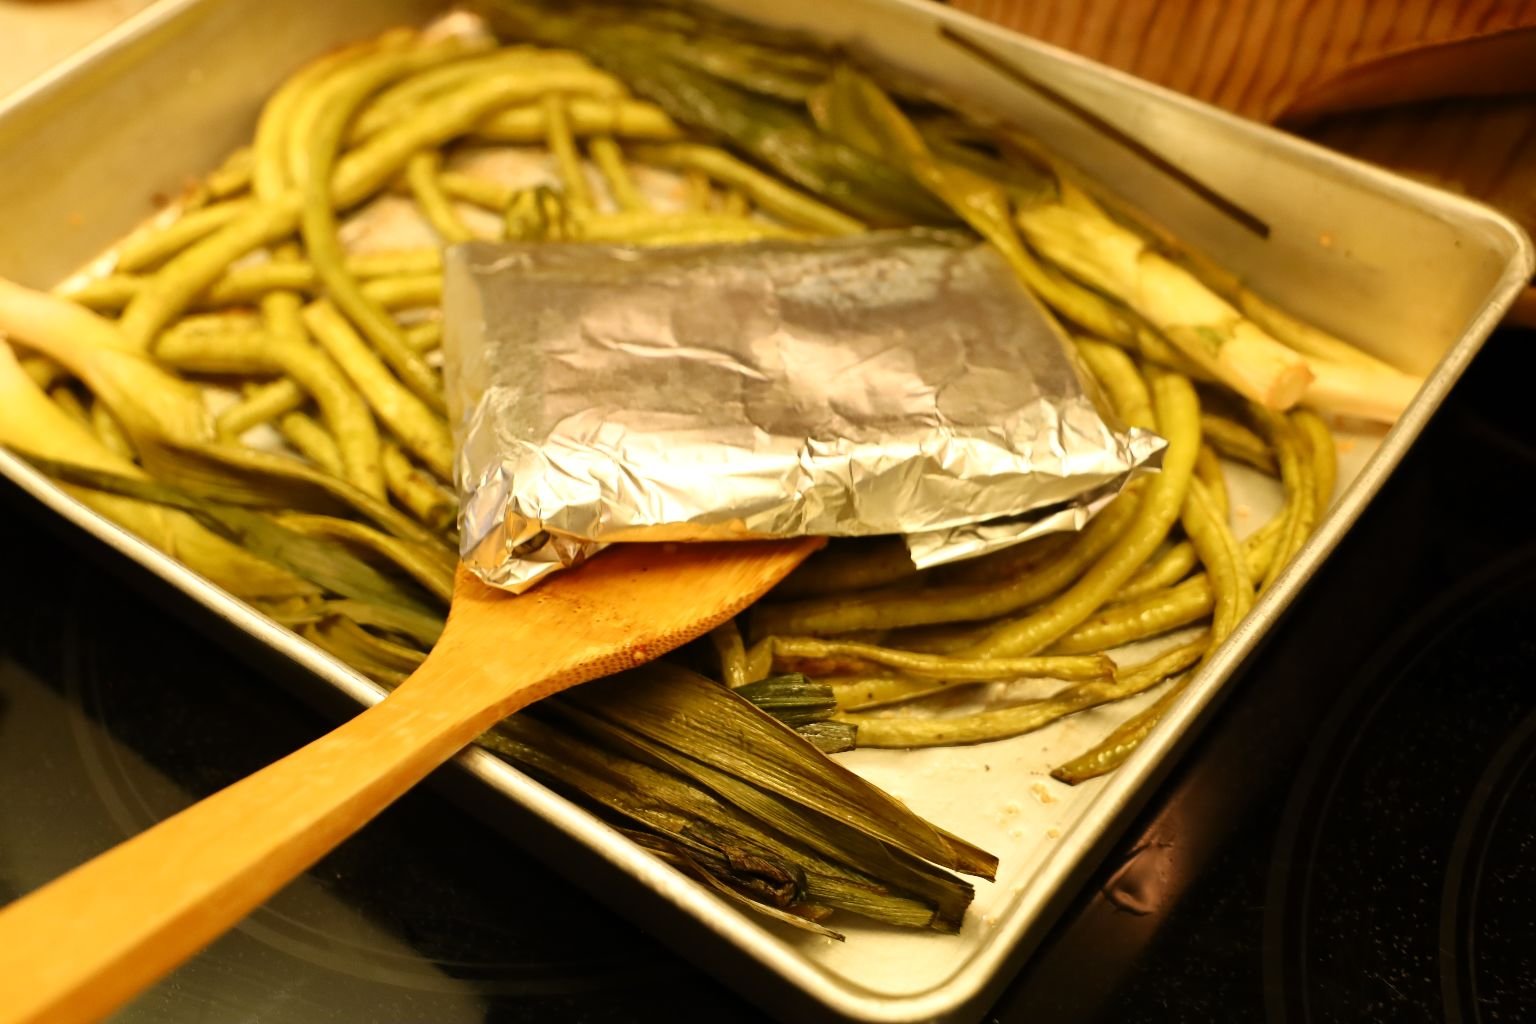
Now that the fish were done, I removed them from the pan and set them aside.

The Chinese Long Beans needed a little more cooking time, so I placed them back in the oven to roast for about 10 more minutes.
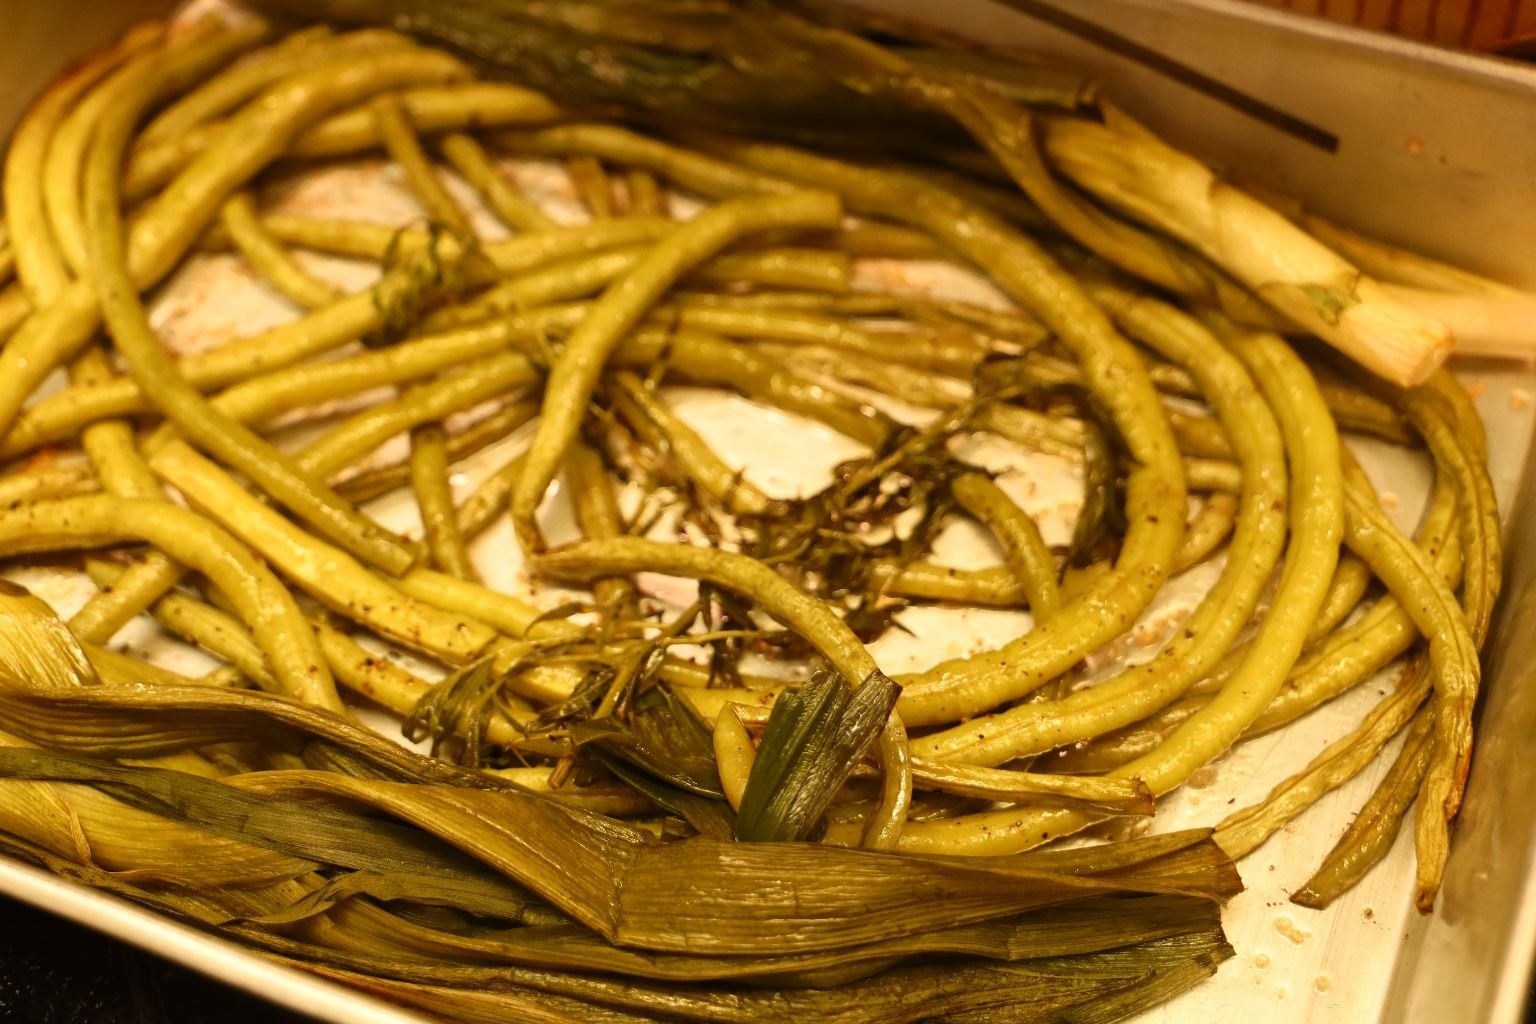
Here the Chinese Long Beans were nice and tender.
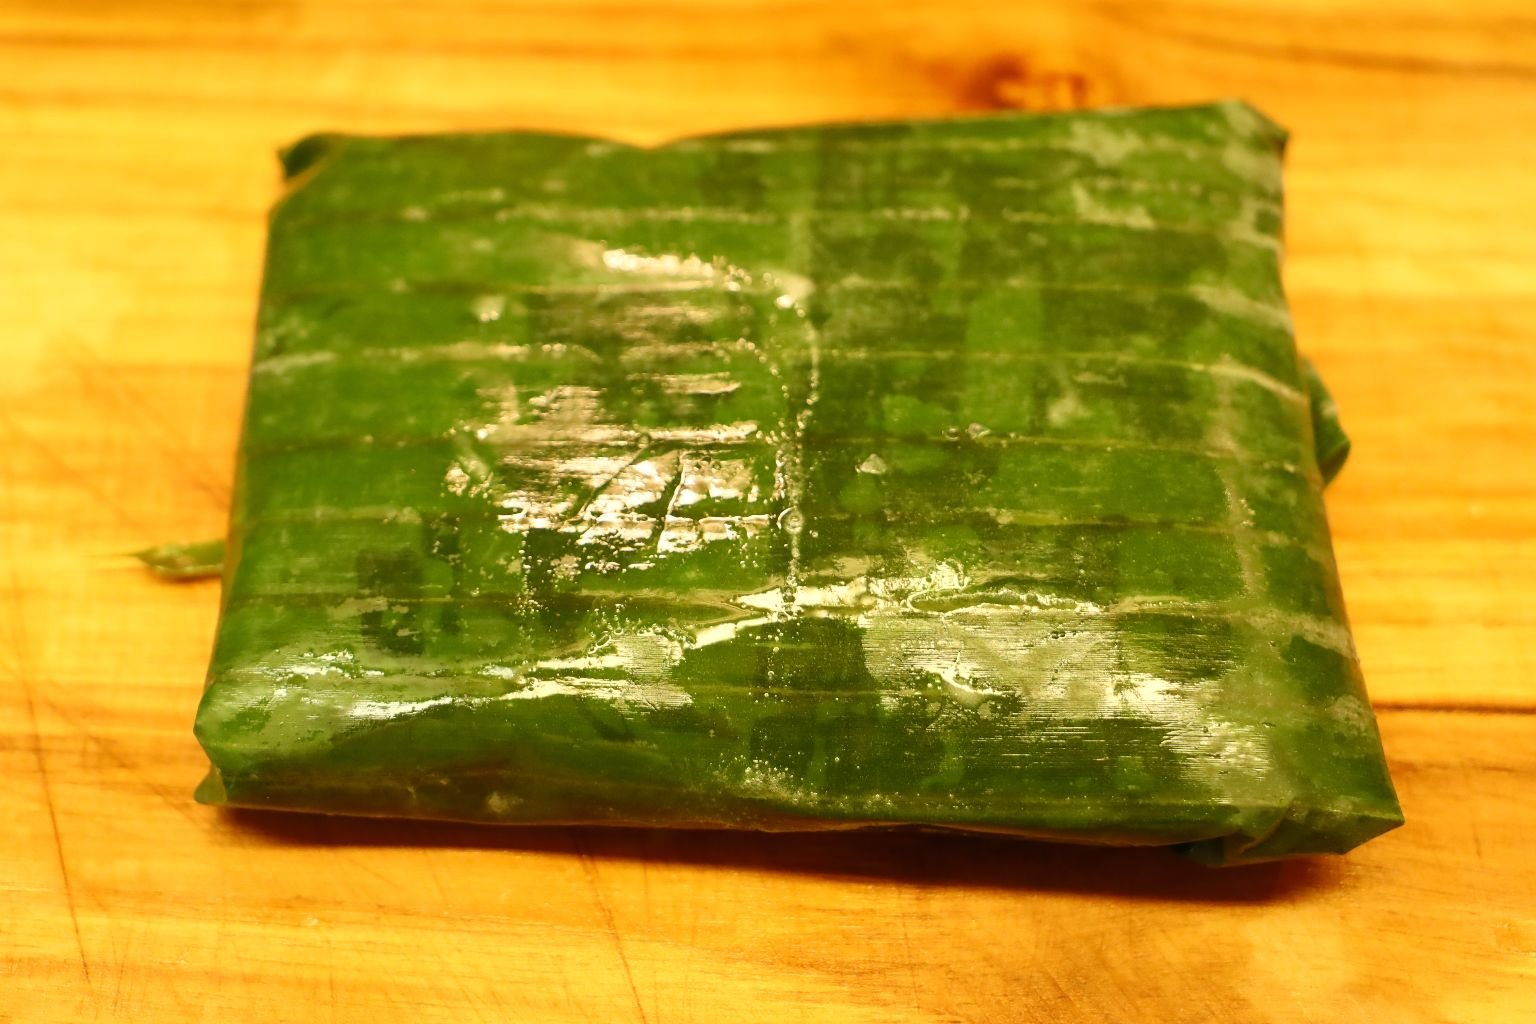
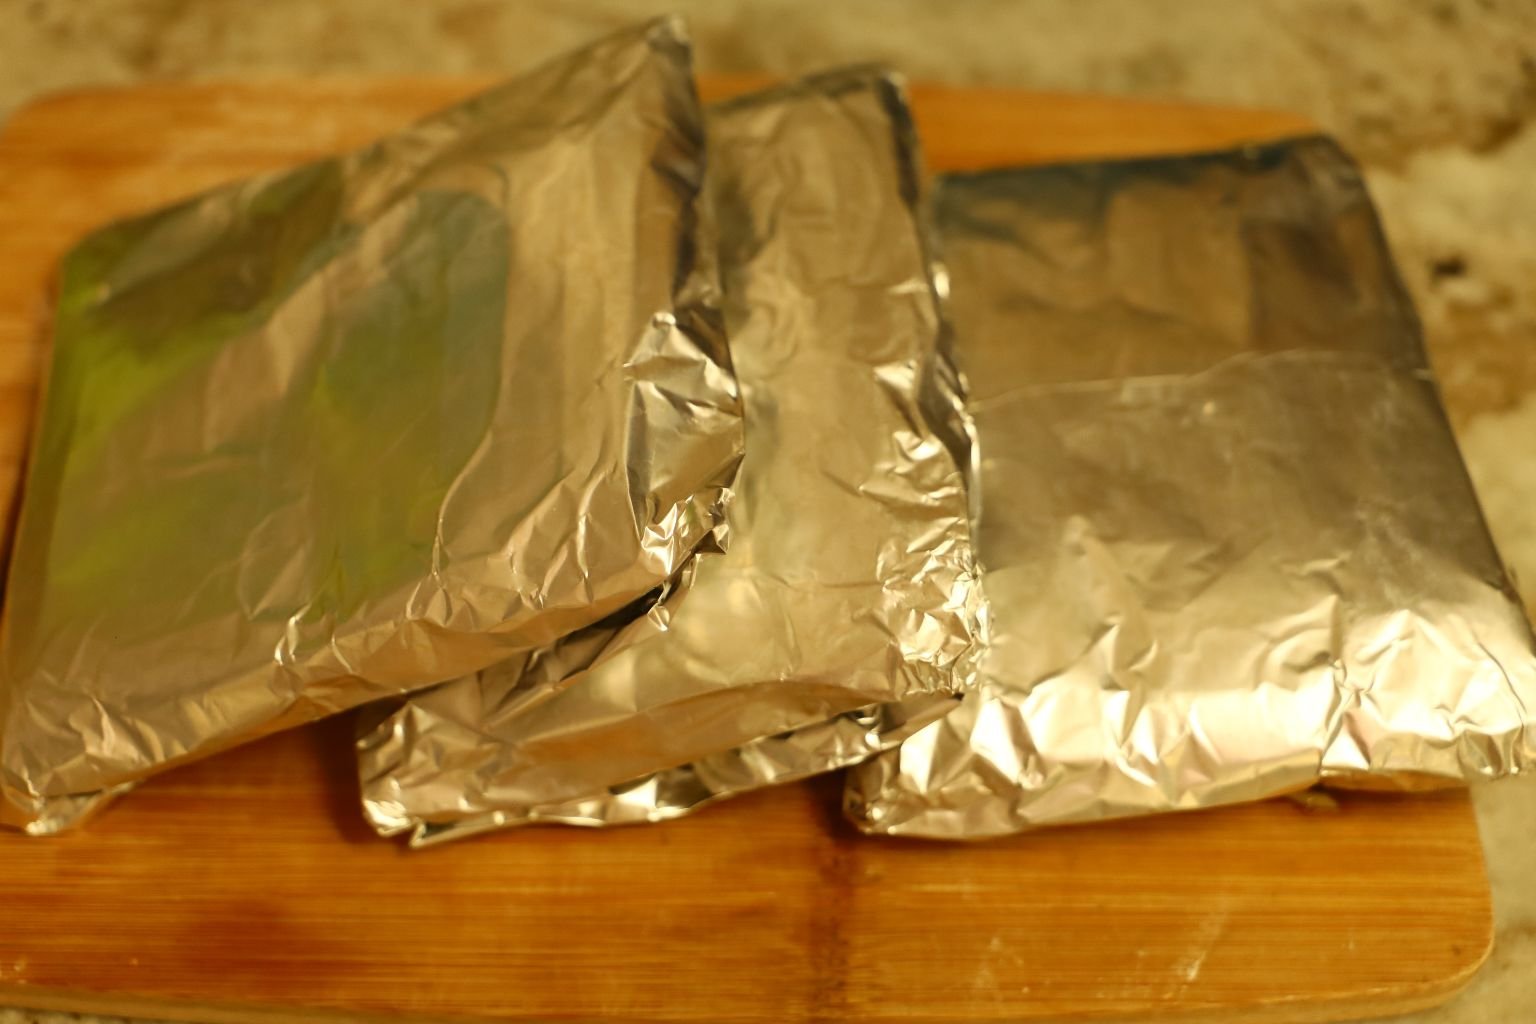
Here is a piece of fish wrapped within the banana leaves.

When Done, it looked like this!
Delicious!
———————————————————-
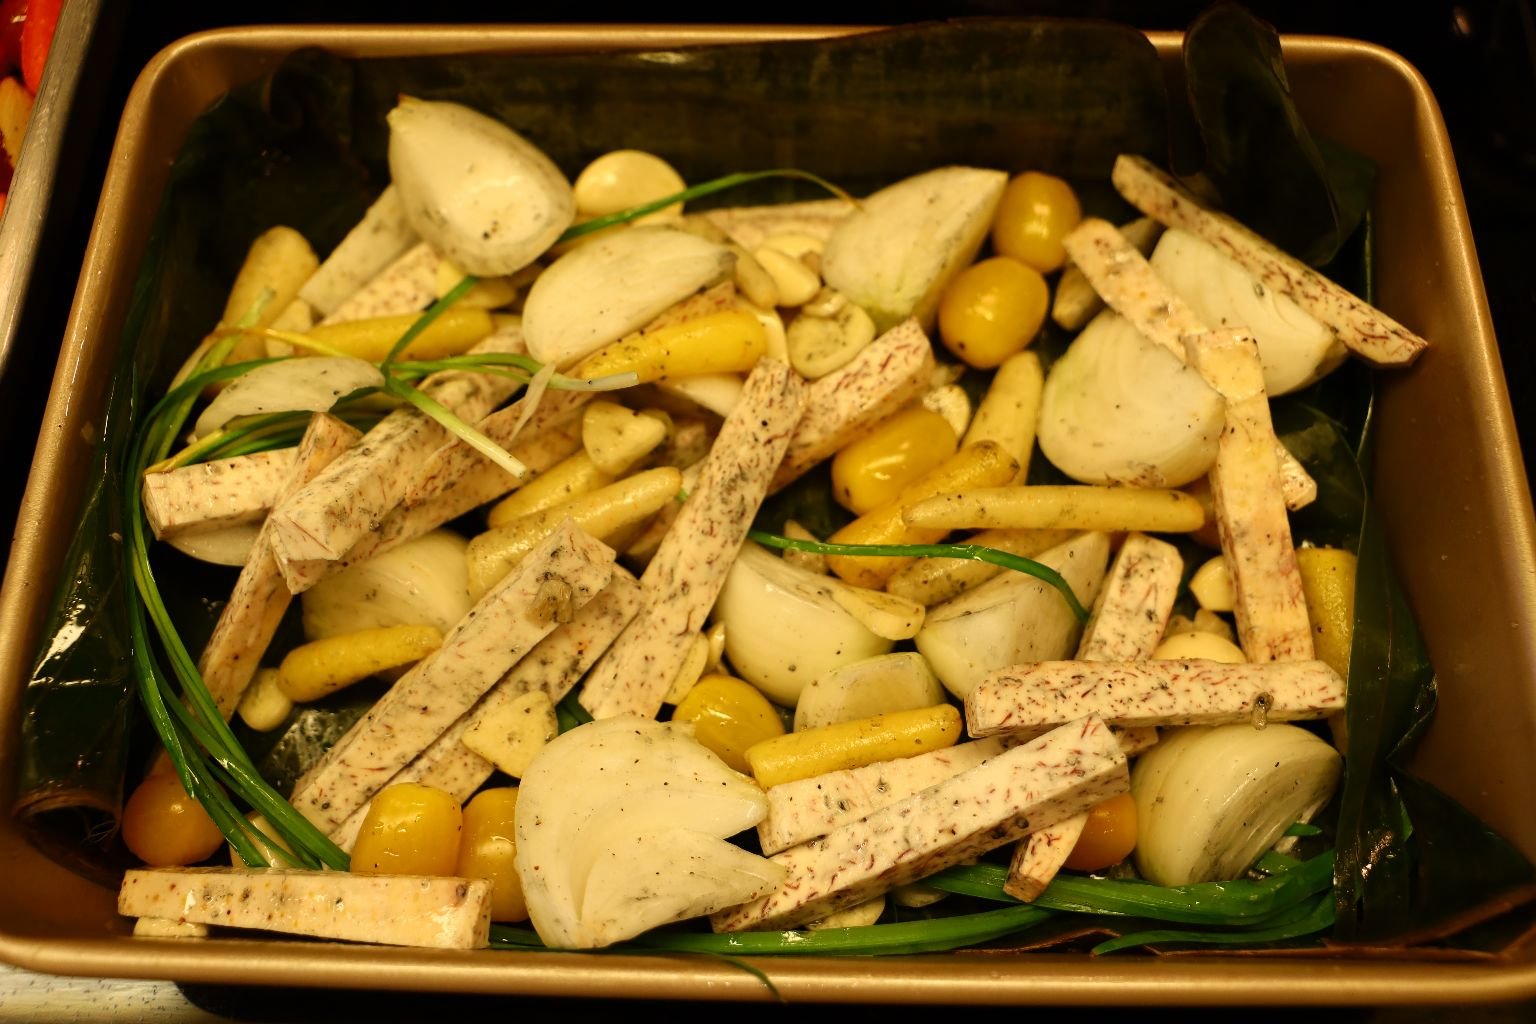
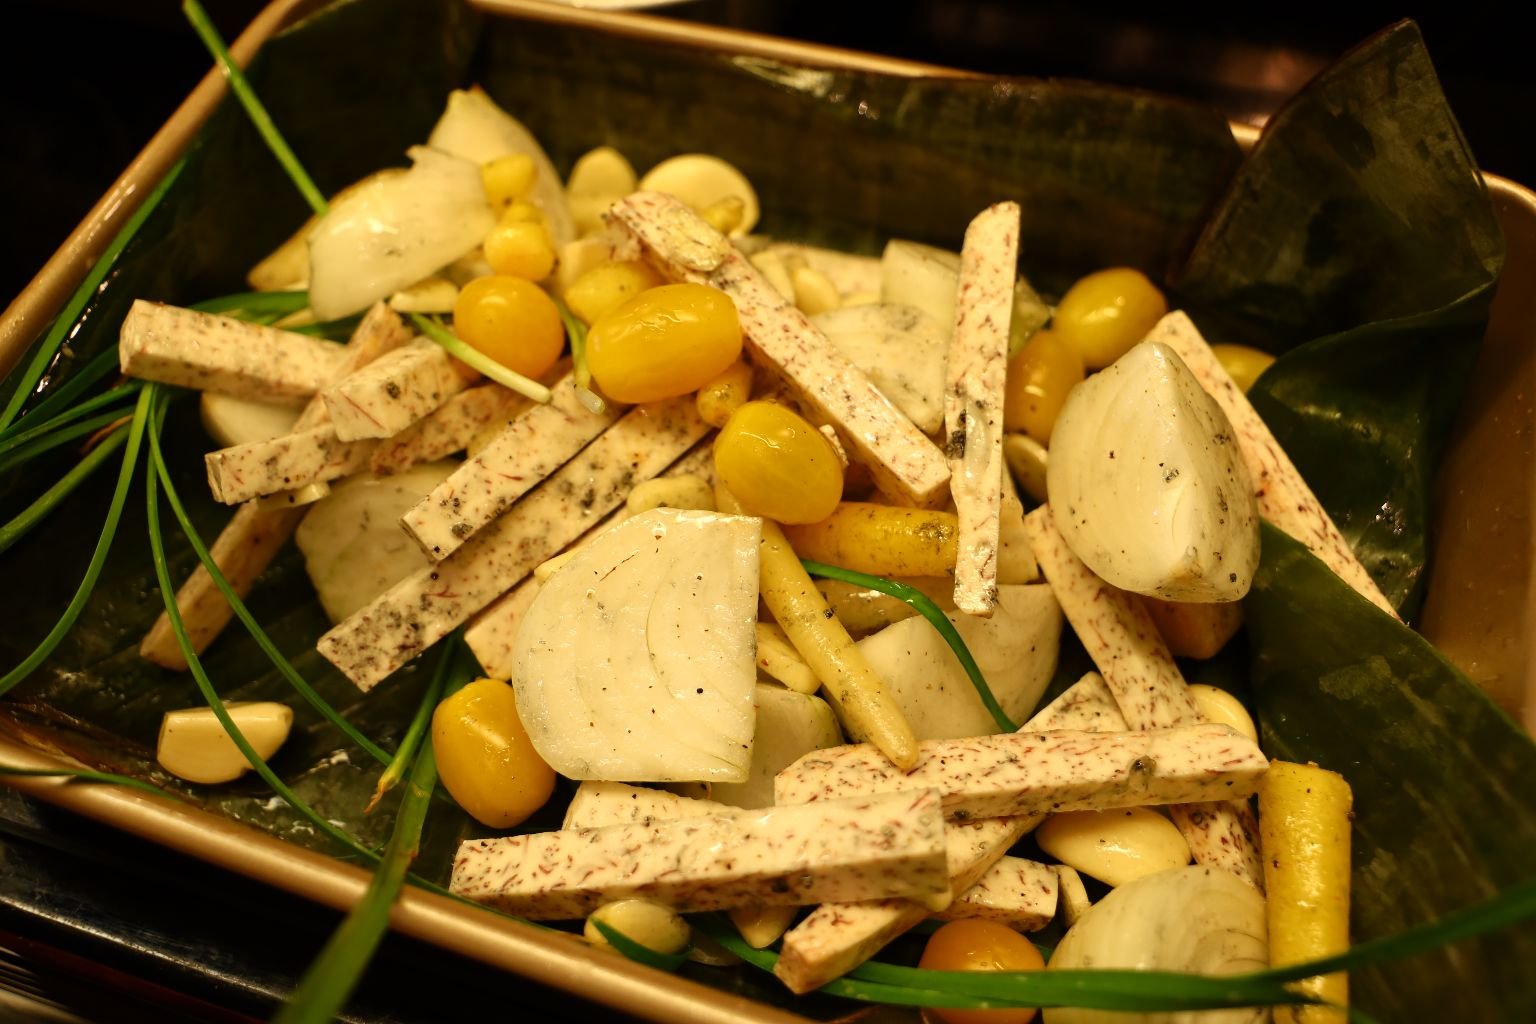
Our Haole Traybake
(Haole is the word that the locals in Hawaii use to refer to white people. Therefore, I wanted to create a Haole Traybake with everything in it being white. Hence, Our Haole Traybake!)
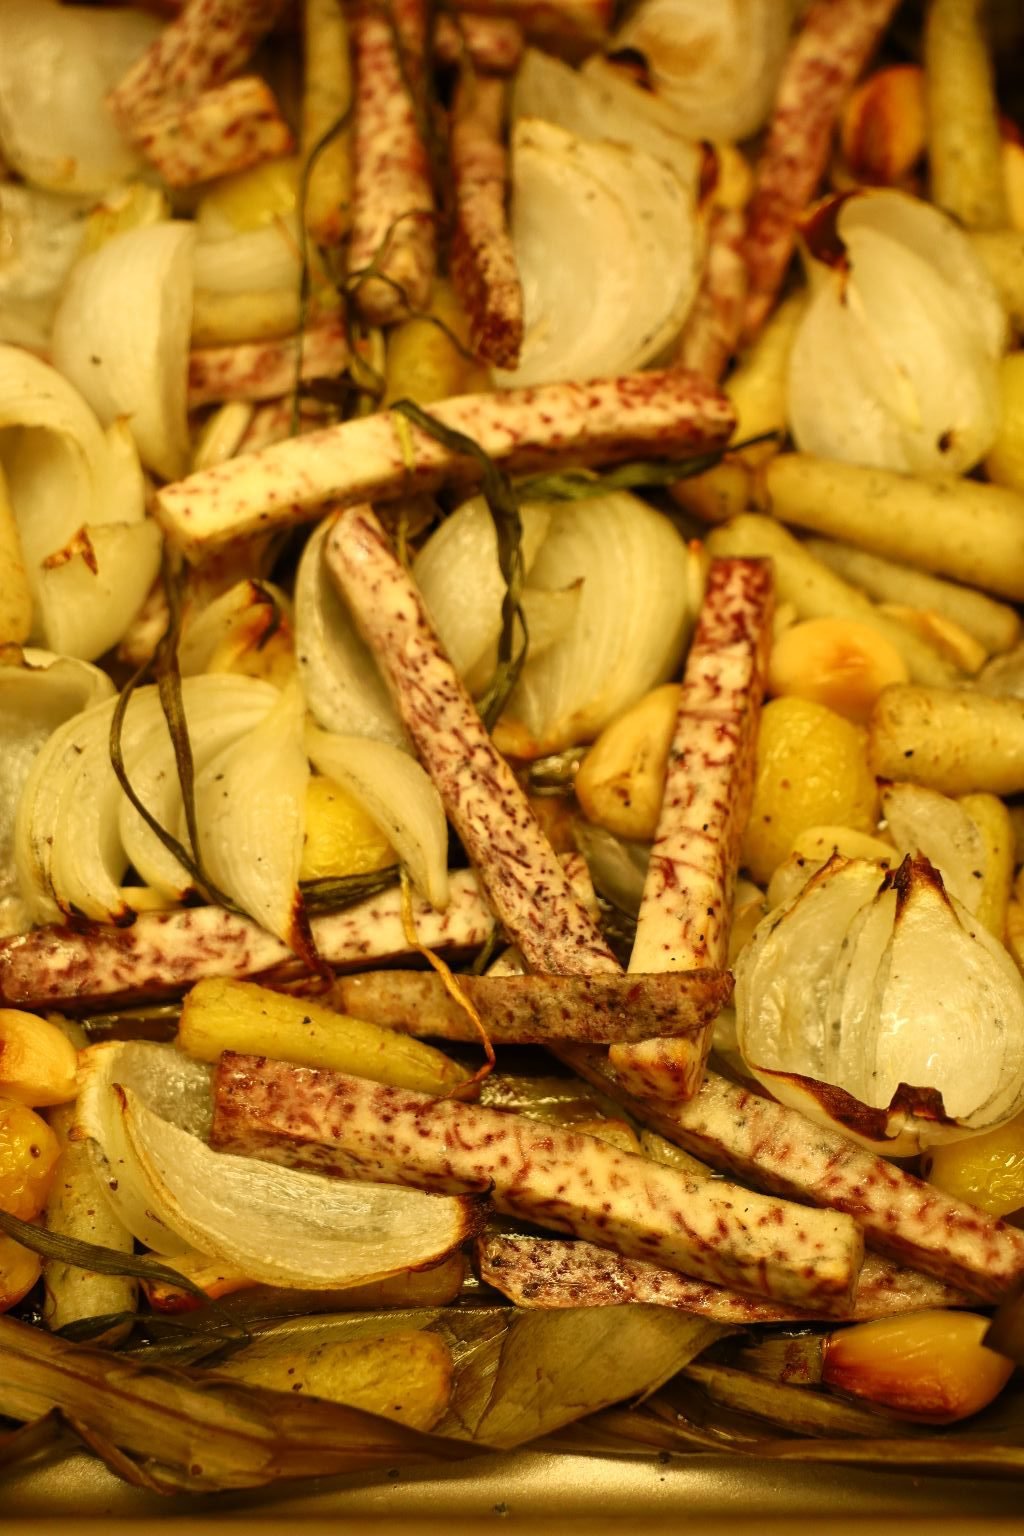
Here is our other Traybake we came up with!
——————————————————-
Ingredients:
2 Onions – sectioned
1 Large section of Taro Root – peeled and sliced into French Fry sections
~20 Whole Cloves
~15 Yellow Cherry Tomatoes
Olive Oil to coat all the ingredients
10 White Carrot sections
Salt and Pepper to taste
~10 Garlic Chives
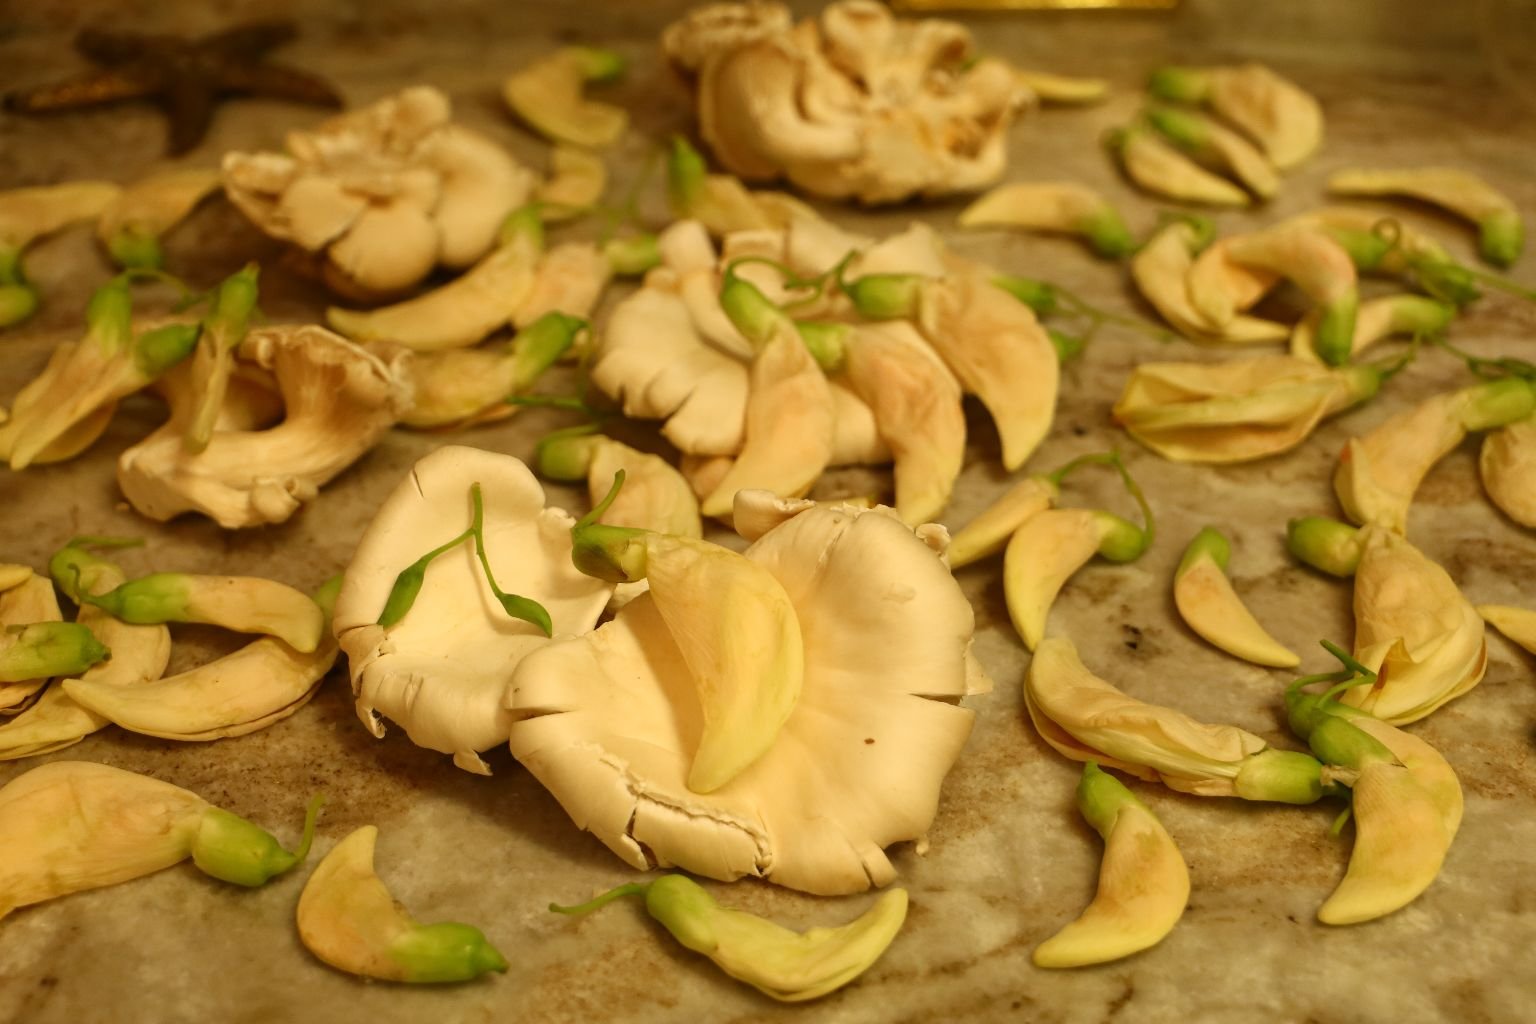
~10 Oyster Mushrooms
~15 Edible White Flowers
—————————————————————


Slice the ends off the onion then slice it into quarters as shown.

Now, peel the Taro Root.
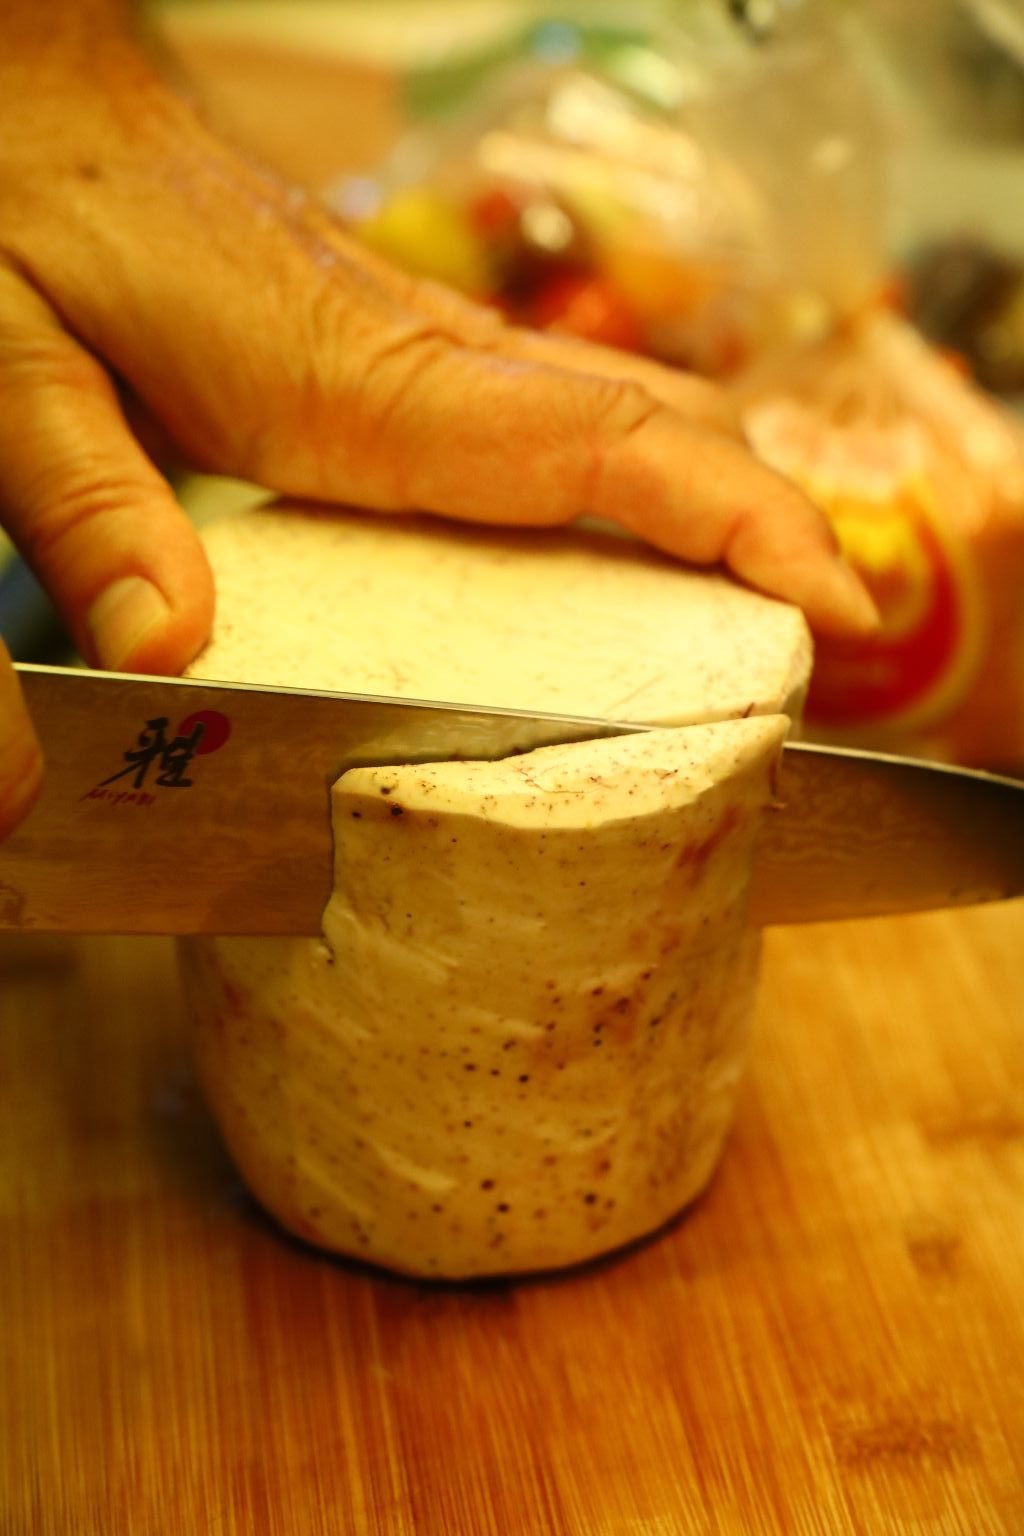

Slice the Taro into 1/2 inch slices as shown.

Then slice the pieces into French Fry sections.

Place the ingredients into a bowl or into a roasting pan. Slice off the root ends of all the Garlic Cloves.
Here I am placing the vegetables into the roasting pan in the back of the stove top.


I also sliced some of the Garlic thinly.
Pictured are the White edible flowers I found at the Asian Supermarket.
Add your freshly ground Black Pepper to the vegetables.


Now, add your Hawaiian Black Sea Salt. If you don’t have this, any Sea Salt will do.


Add your Olive Oil to the vegetables and mix all the ingredients with your hands. Add more oil to coat the vegetables if needed.
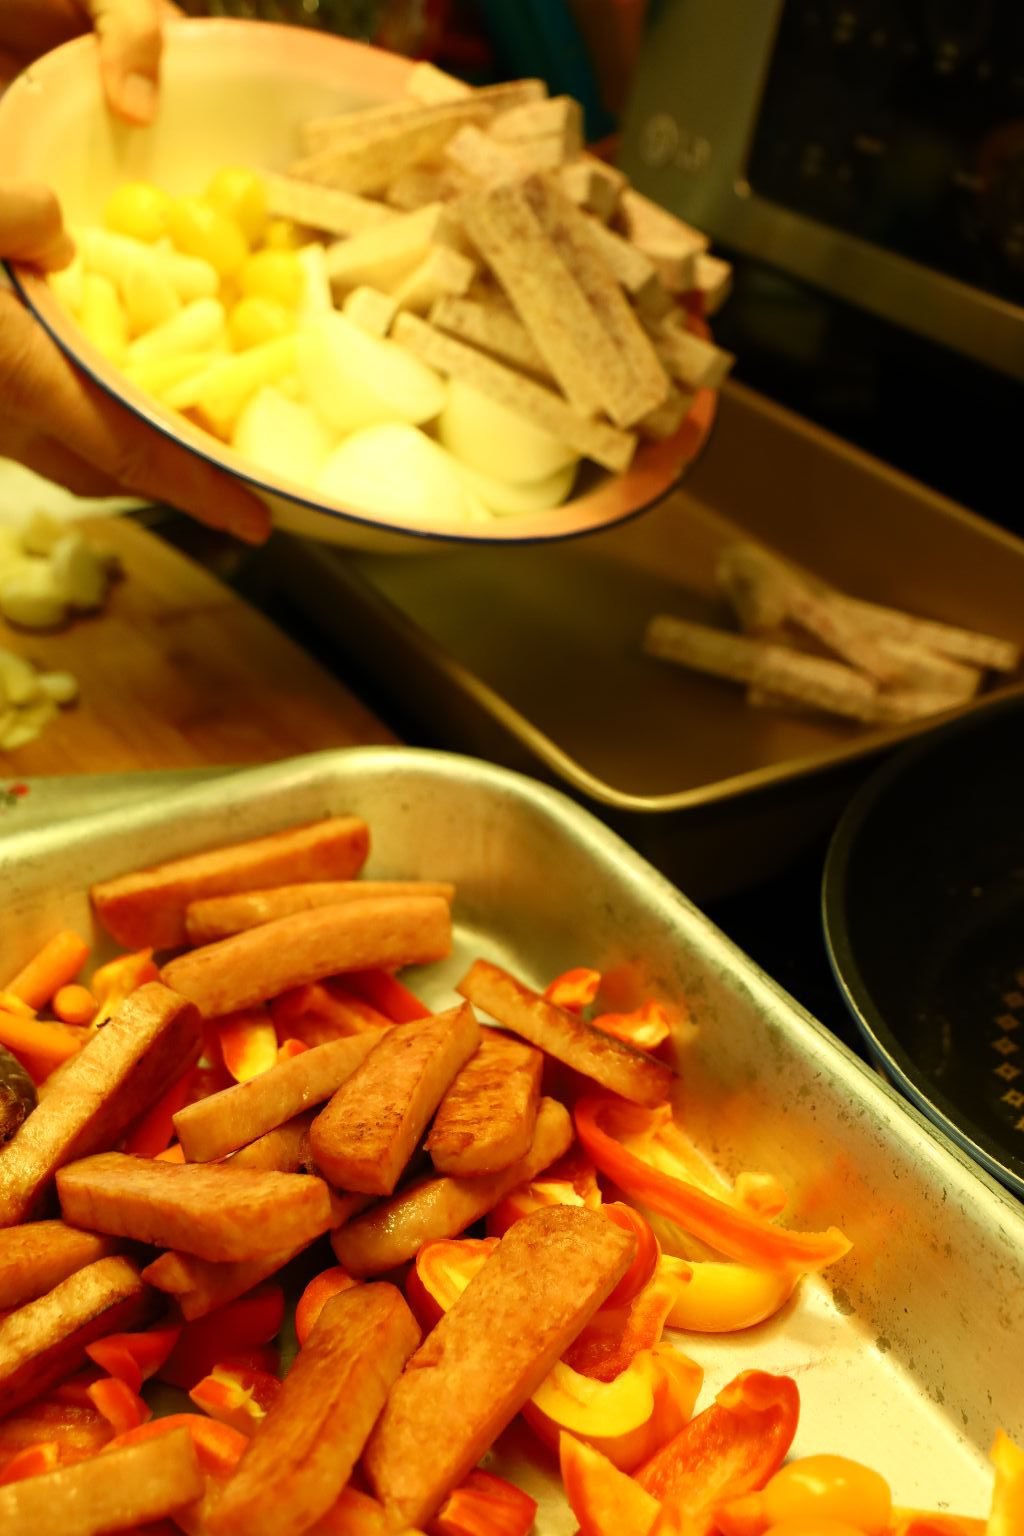
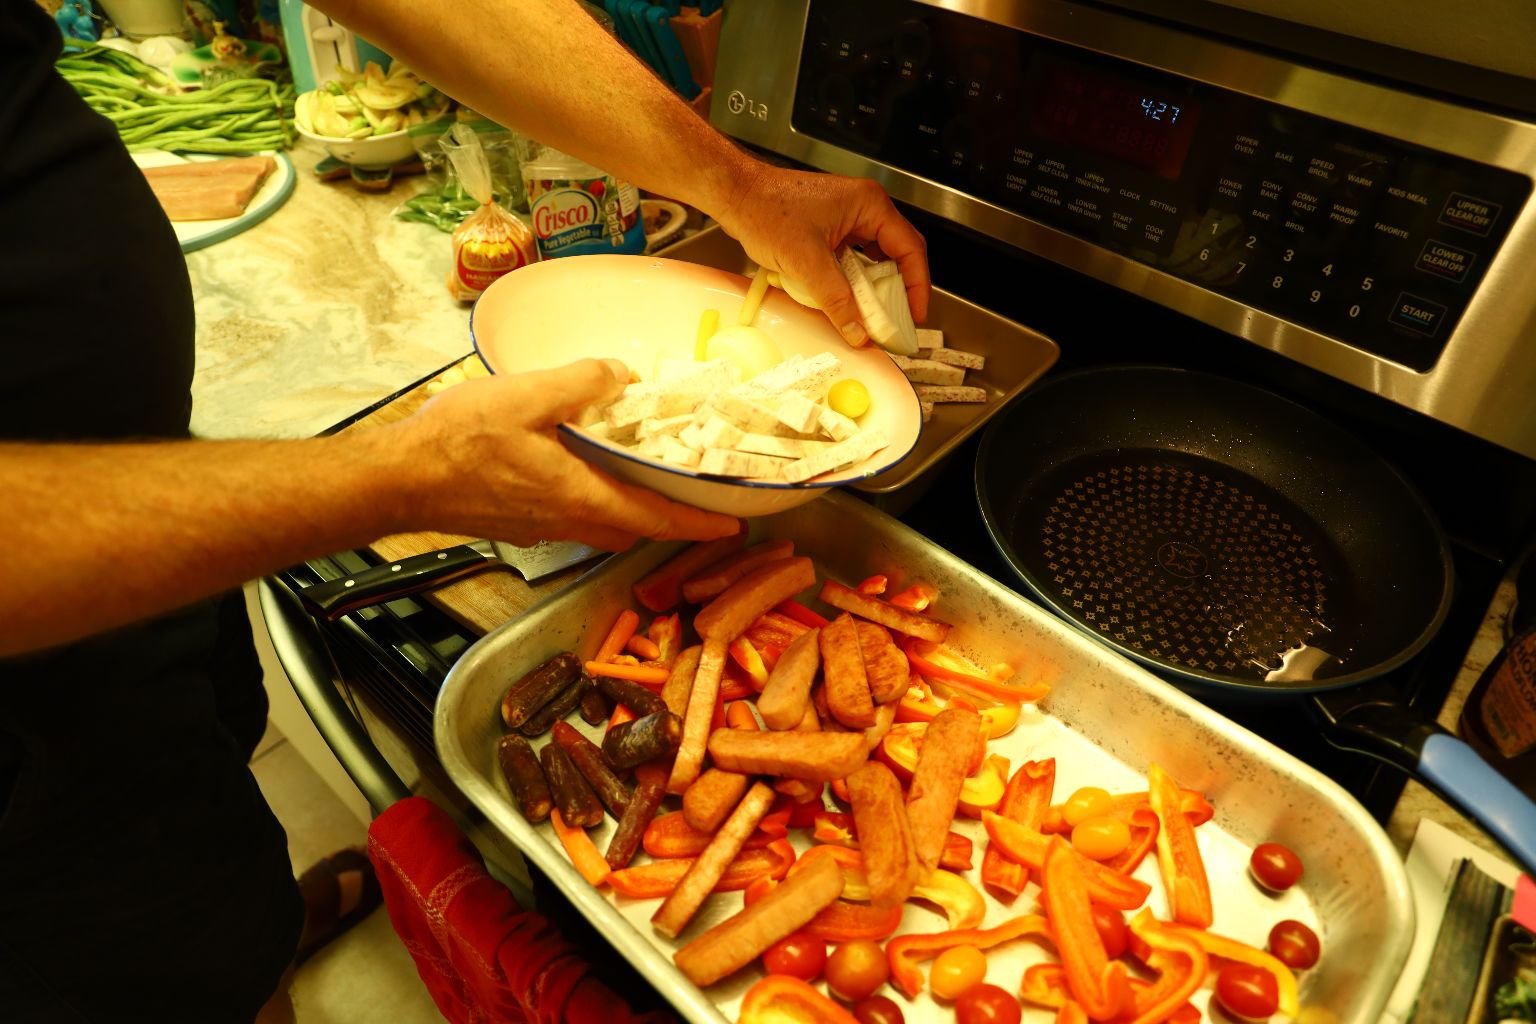
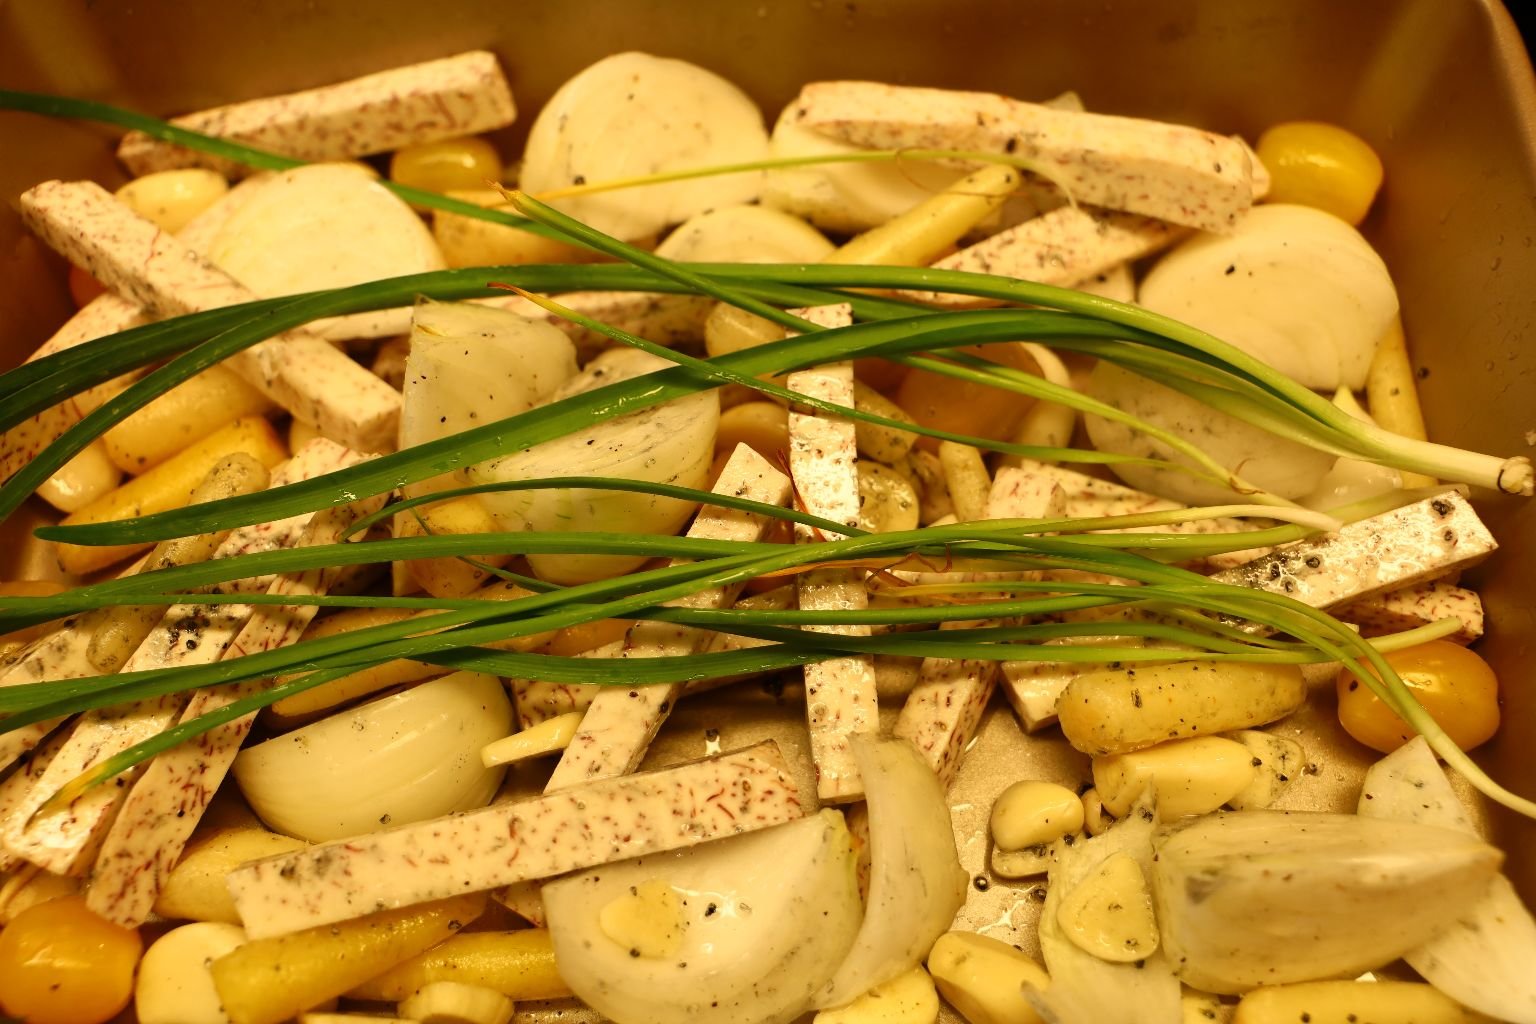
Remove the vegetables from the roasting pan and place a section of banana leaf to the bottom of the pan.

Add your Green Onions and Garlic Chives to the mixture and pour all the vegetables back into the roasting pan.
(Gordon had forgotten to place down the Banana Leaf originally. That’s why he is playing Musical Chairs with the vegetables.) 🙂
—————————————————————
————————————————————–
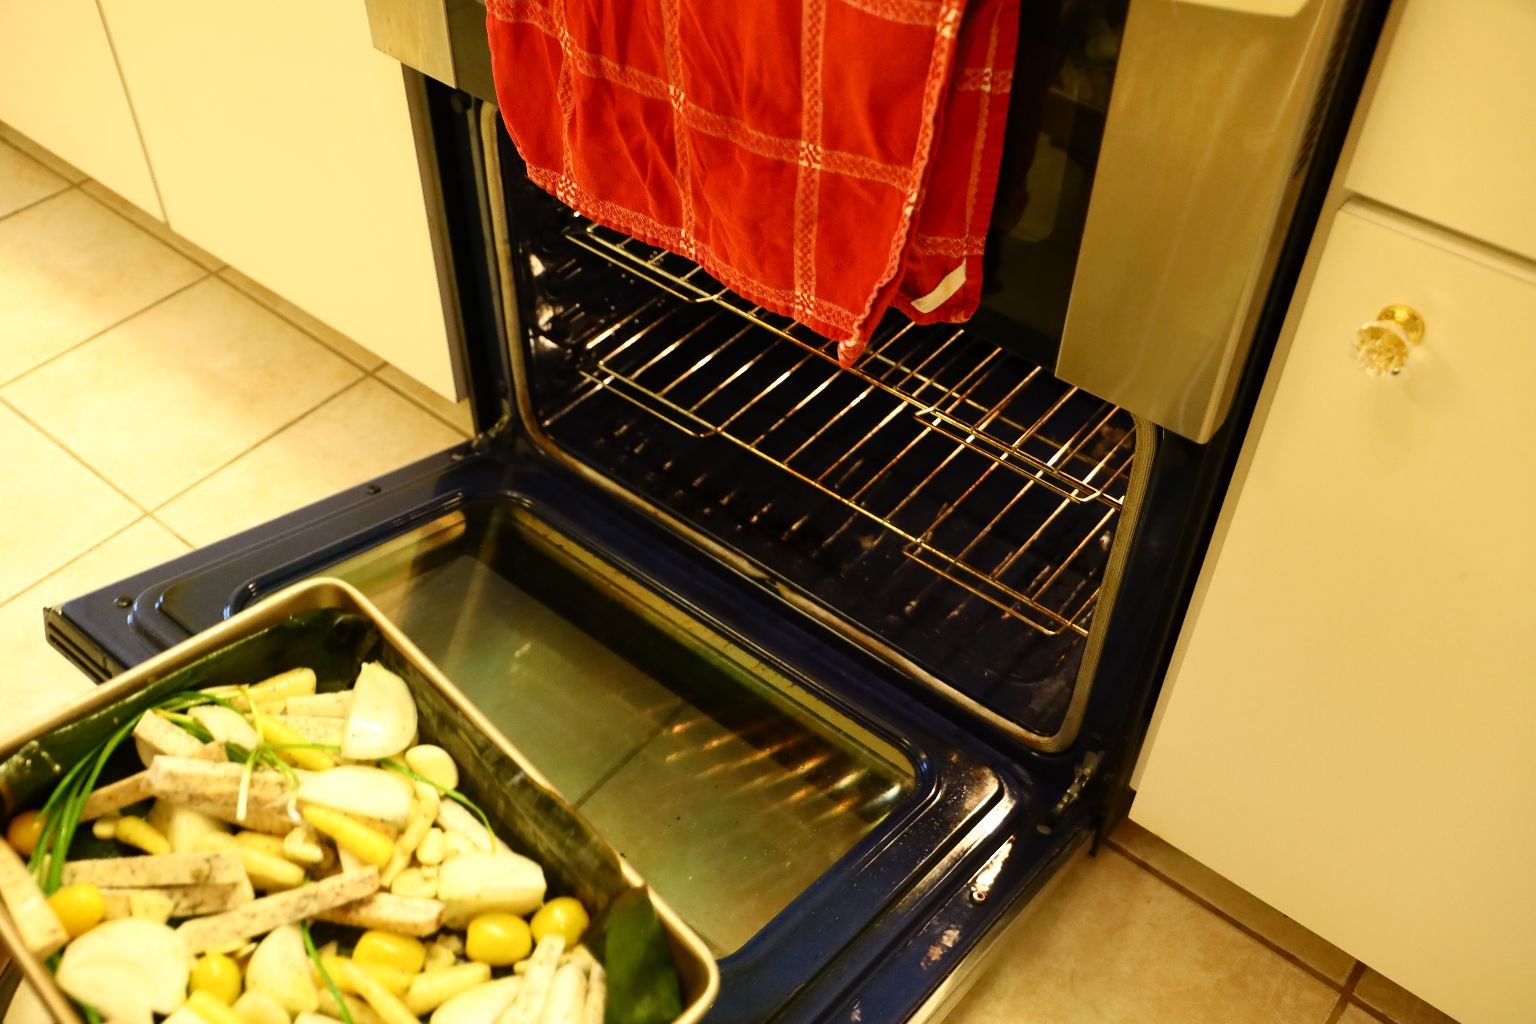
Roast the vegetables in a 350’F oven for about 30 min. turning after 15 min.
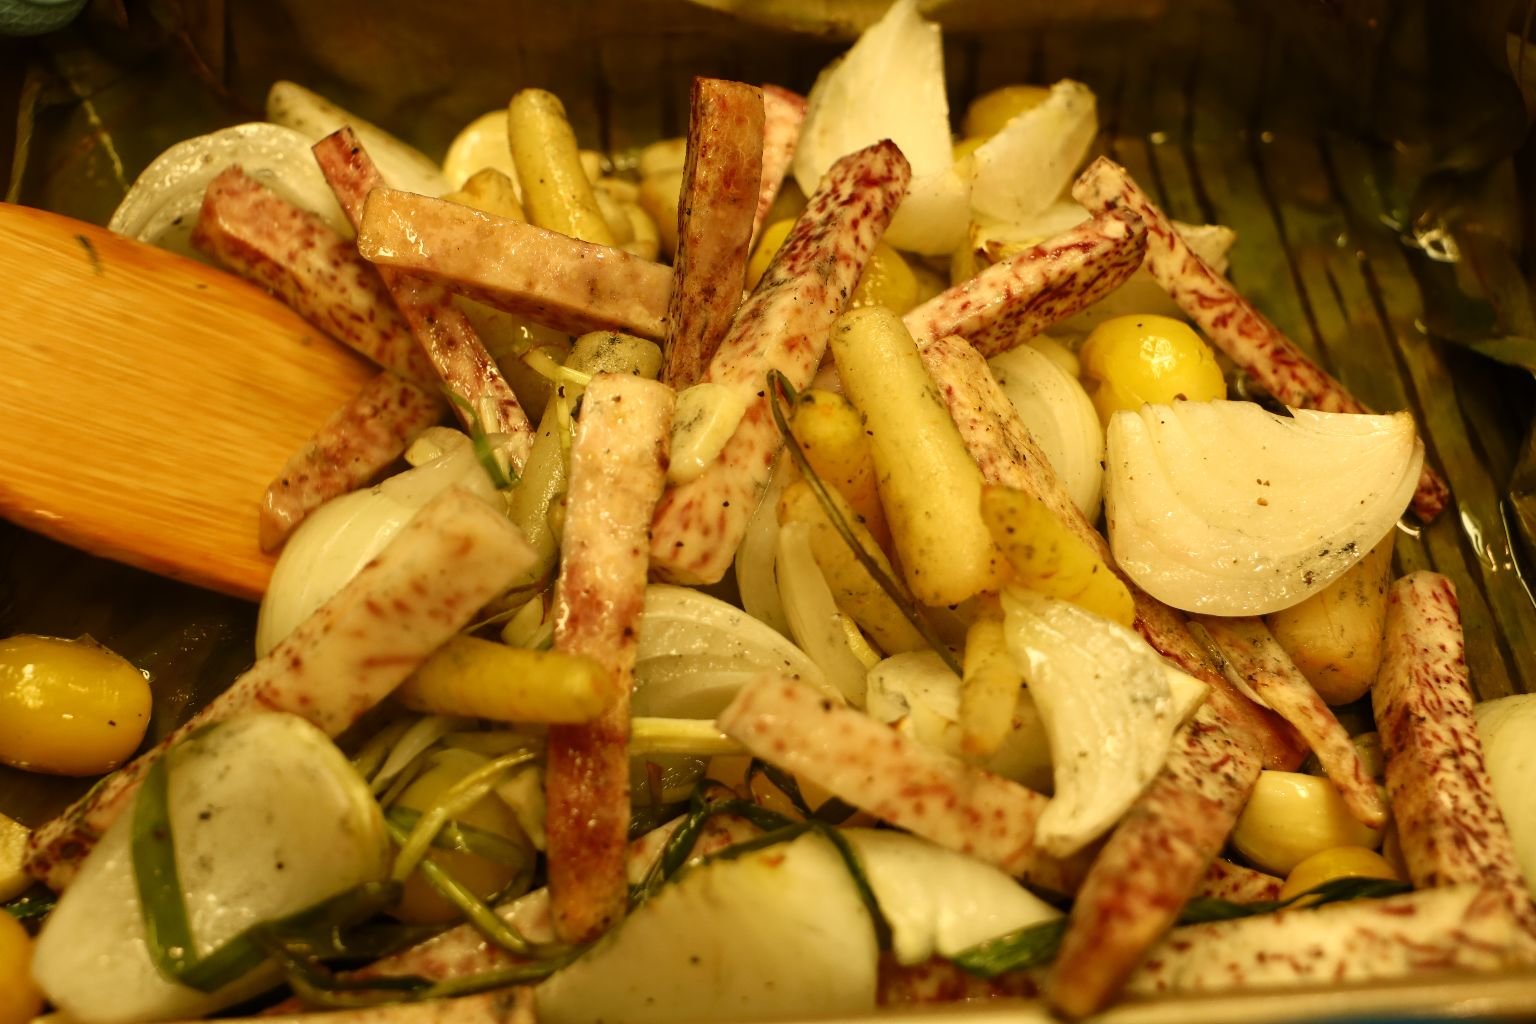
Here the vegetables have cooked for 15 min. so I am turning them for even cooking.


———————————————————————
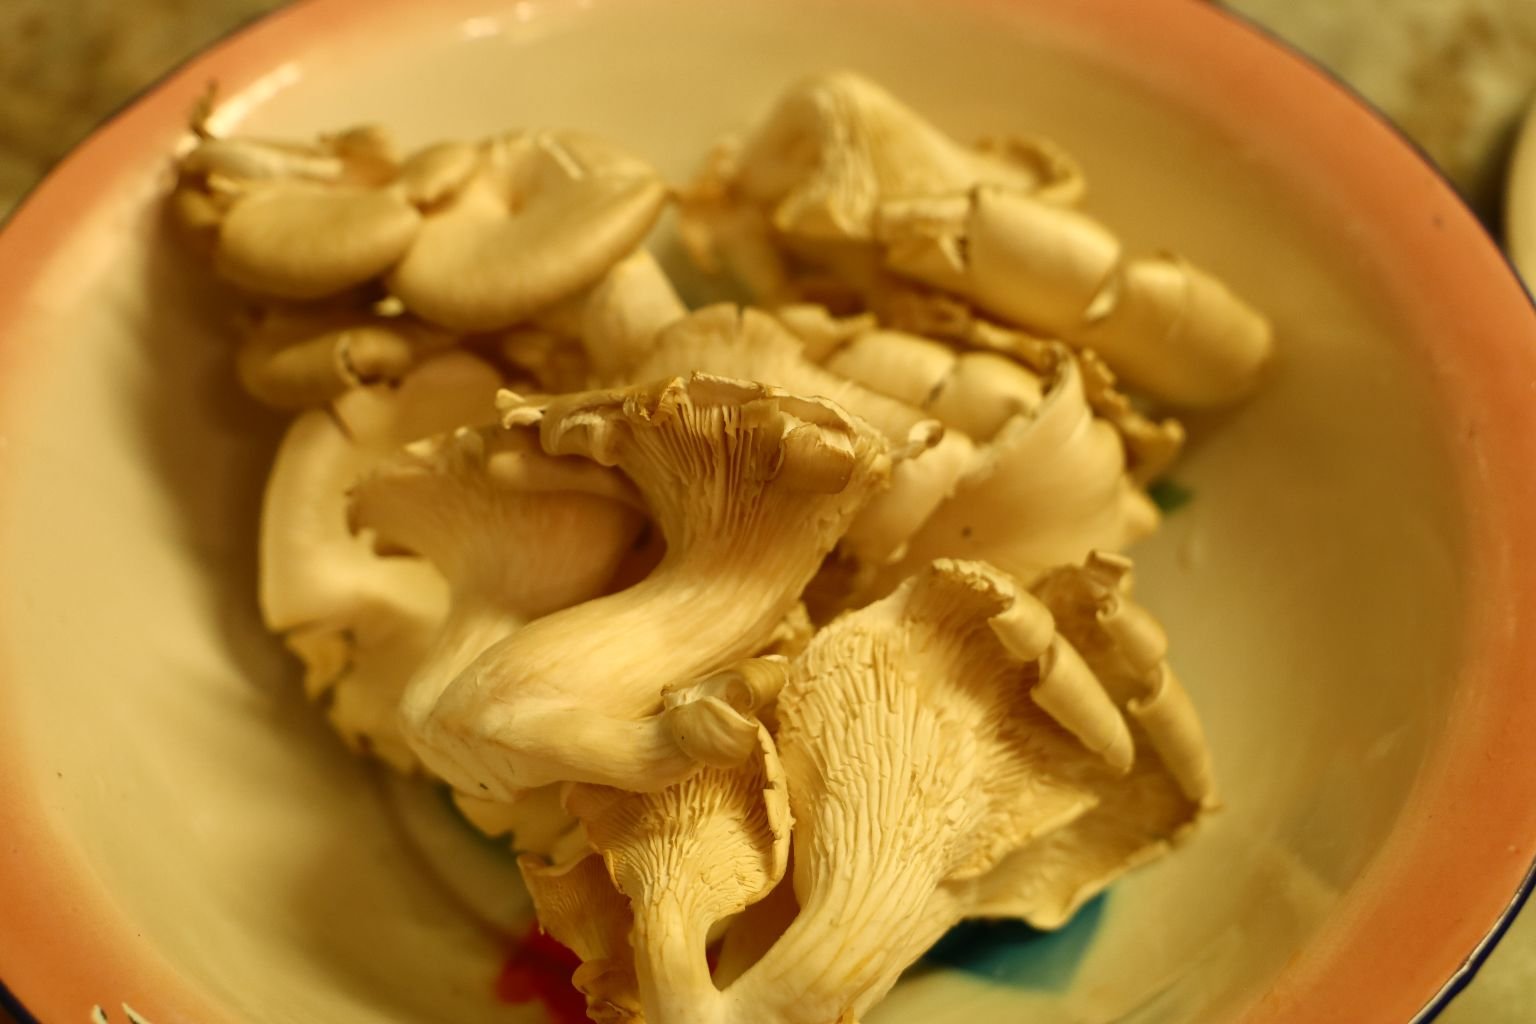
Oyster Mushrooms

After 30 min. add your Oyster Mushrooms to the pan.

————————————————————-

Let the mushrooms cook for about 10 min. then toss them with the other vegetables.
Add more Olive Oil if needed.

Our Traybakes Baking
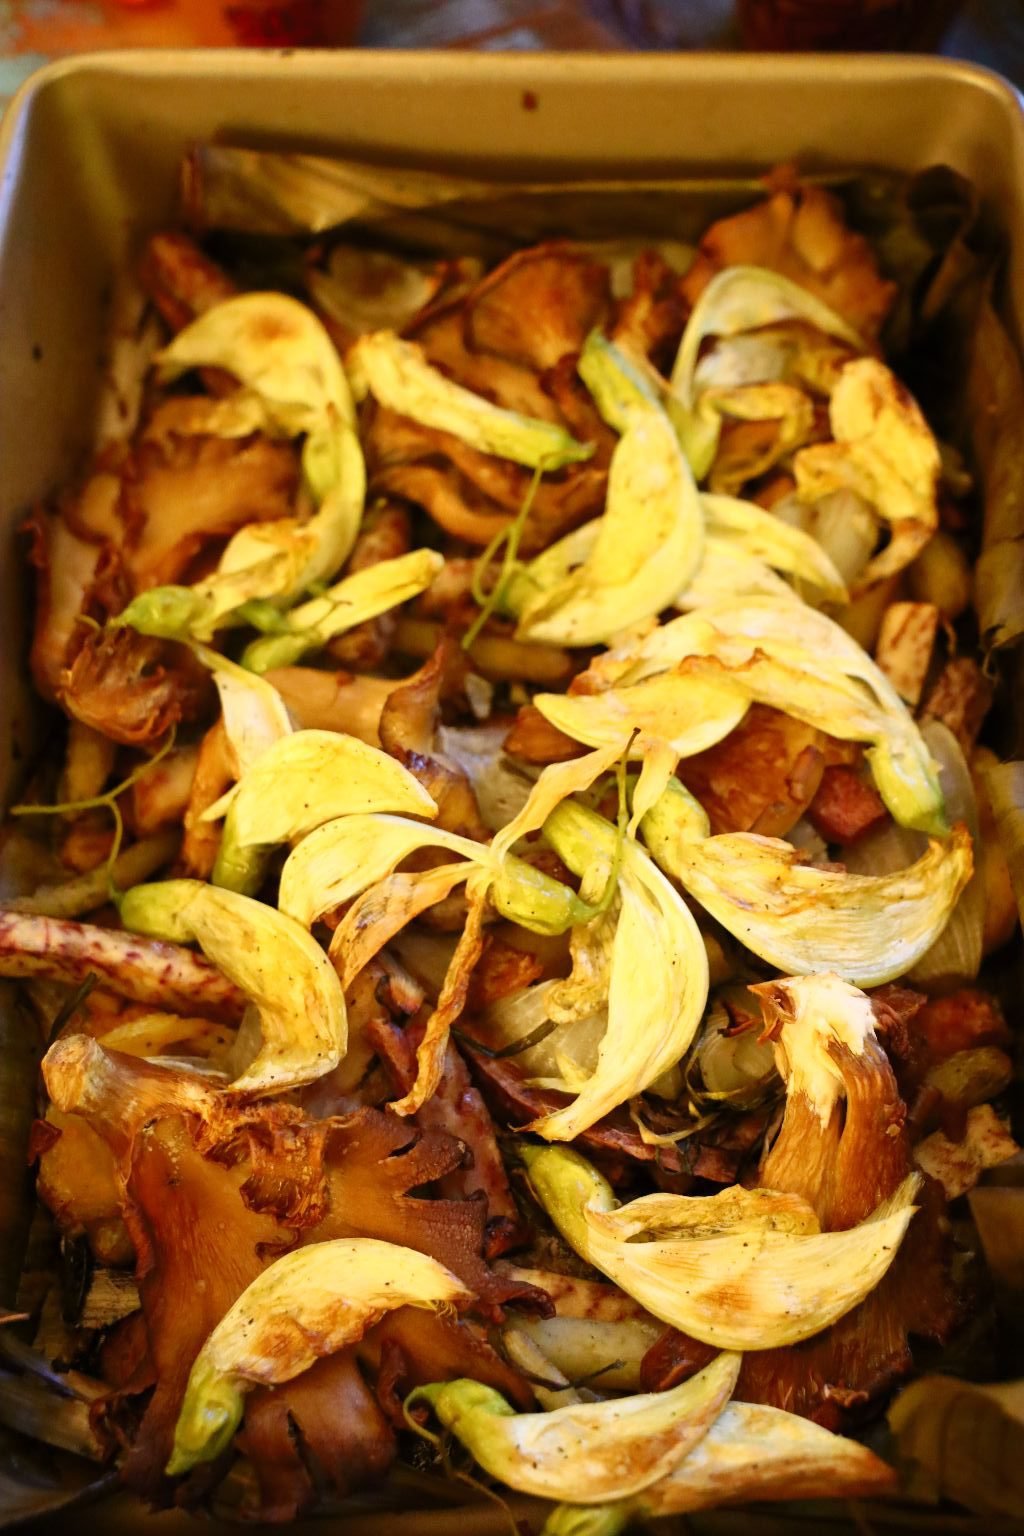
When the mushrooms are tender, add the White Flowers to the pan and let them cook for another 5 min.

Have a nice Memorial Day!
—————————————————
Grilled Pineapple Pizza
(Write Up By Gordon)
Our take on how to make a grilled pizza of which I like pineapple on. You may or may not like pineapple on a pizza, but I find the fruit’s sweetness pairs well with the tang and saltiness of the cheese, tomatoes, pepperoni, and seasonings. The sweet and salty flavors are much like teriyaki sauce that just work so well together.
Here is a close up of the pizza prior to cooking. You can see the grill marks on the pineapple giving it even more flavor.
My grill being used like a pizza oven which you will see worked great!
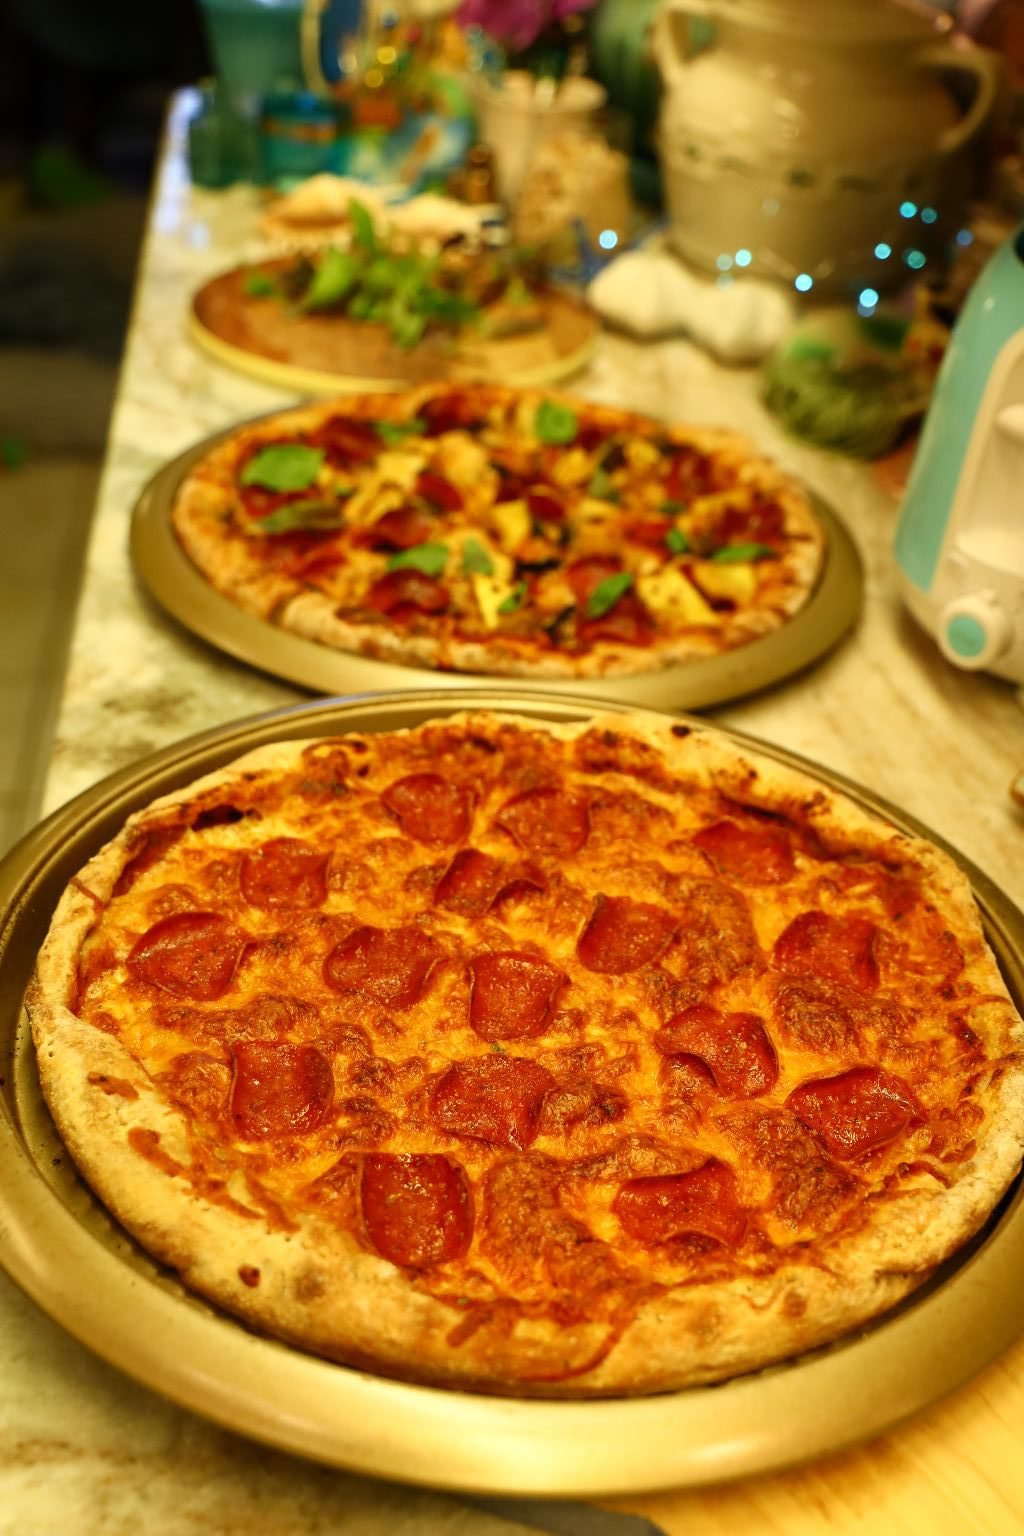
Here are the end results where we even made a classic pepperoni pizza for Julie.
—————————————————————
I started by heating the grill on high for about 5 min. getting the grill nice and hot which makes those great grill marks. I also clean the grill with a wire brush which the high heat will help to more easily remove. Once heated and cleaned, I turn the grill down to medium high and place the pineapple on the grill being sure to simply place it, and leave it. I close the lid and let the heat do the work. After about 8 to 10 min. depending on the temperature, I then take a peak at one of the slices then either turn them all over or let them cook a little more. After turning them, let them again sit without moving for another 8-10 min. repeating the process.
Here you can see the nicely grilled pineapple which will give it a caramelized flavor from the browning of the pineapple’s sugar.
—————————————————————
Making the pizza…
Ingredients:
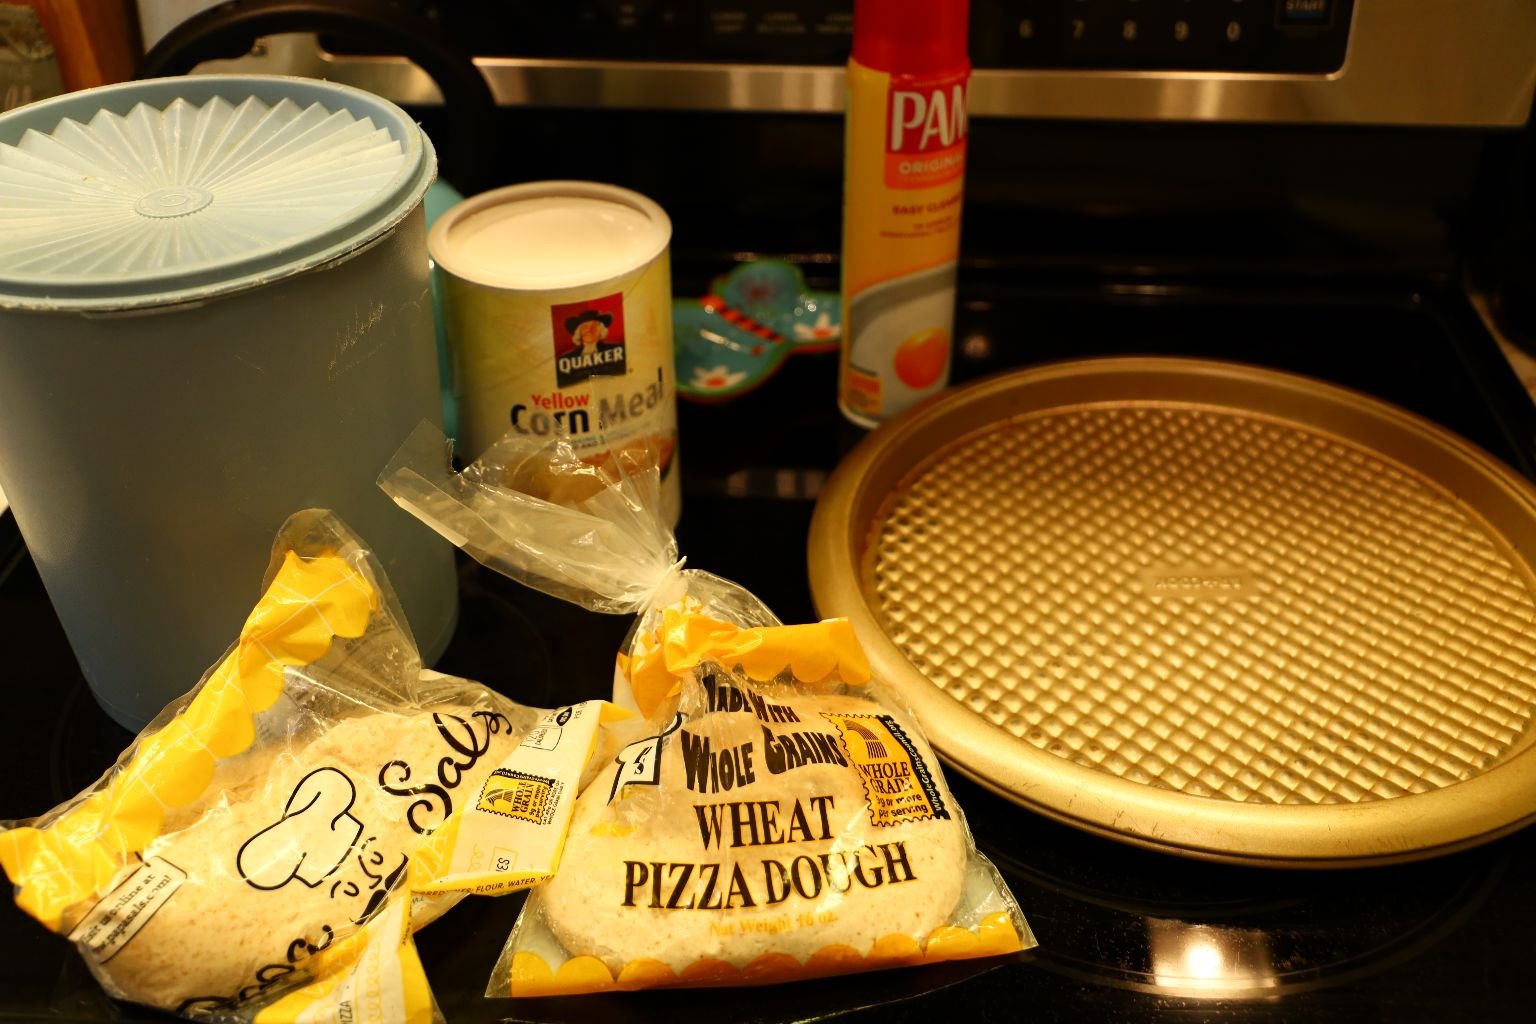
Ready Made Pizza Dough
Cooking spray
~ 2 Tbsp. Yellow corn meal
2 Tbsp. Flour
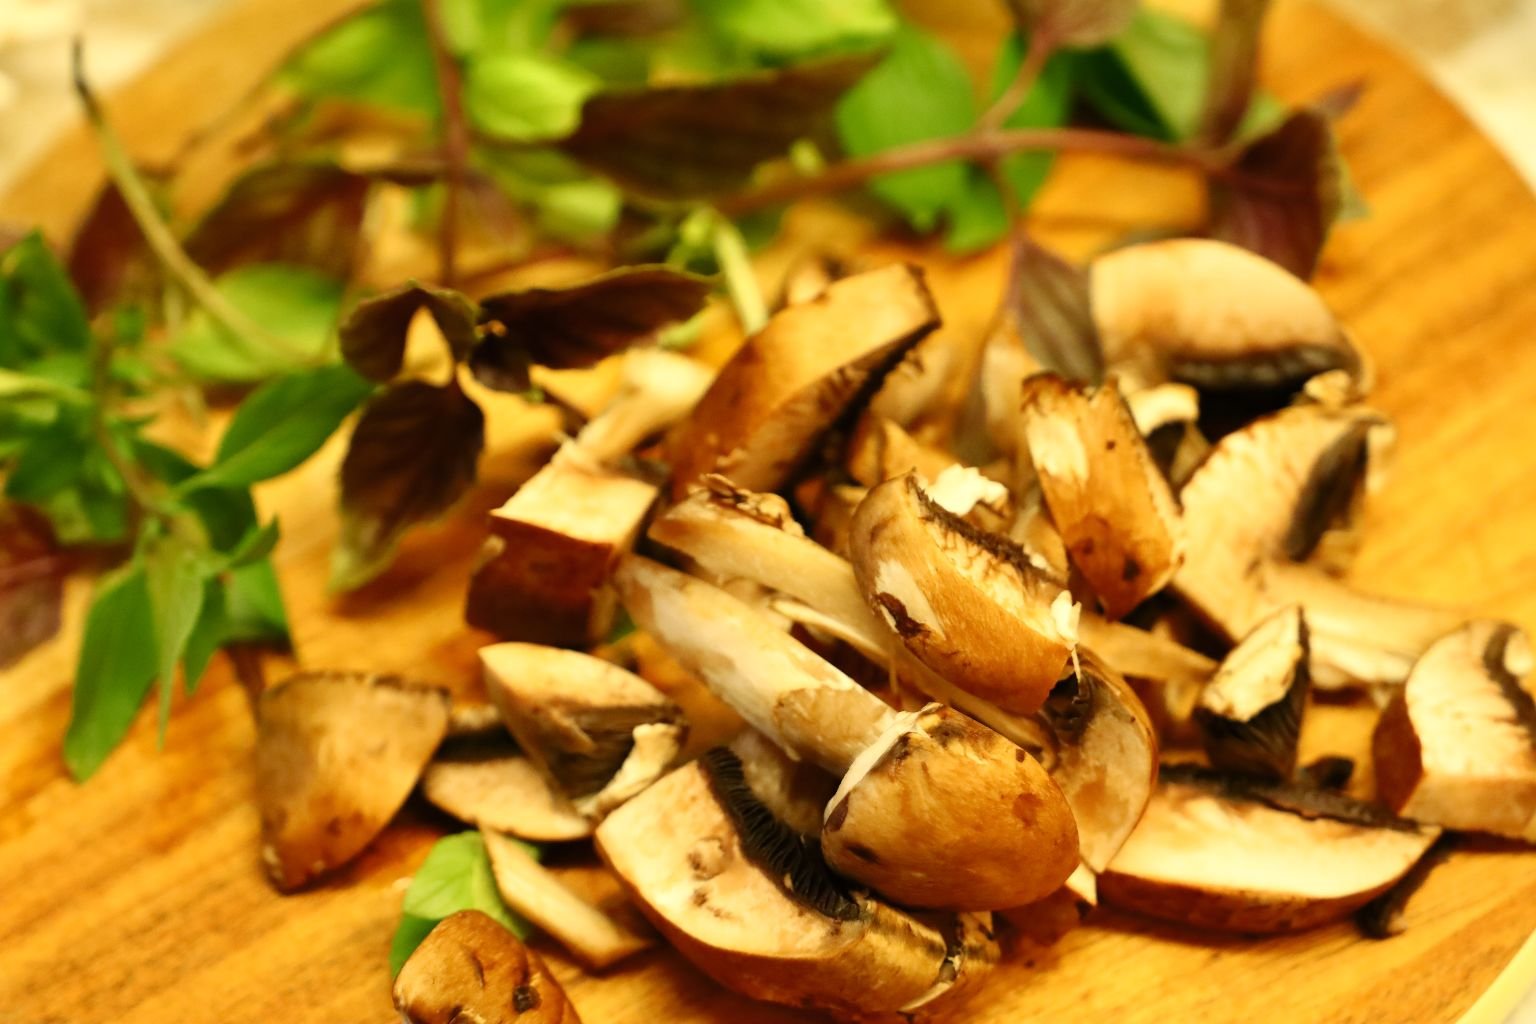
3-4 Baby Bella Mushrooms – sliced
~1/2 Cup Pineapple Tomatillo Salsa
~1/2 Cup Pizza Sauce
~1/4 Cup Mozzarella Cheese
~1/4 Cup Italian Blend Cheese
Grilled Pineapple Chunks – as wanted
Turkey Pepperoni – as wanted
Garlic Salt – to taste
Pizza Palooza Spice Blend – to taste
Red Pepper Flakes – to taste
Fresh Basil – to taste
——————————————————–

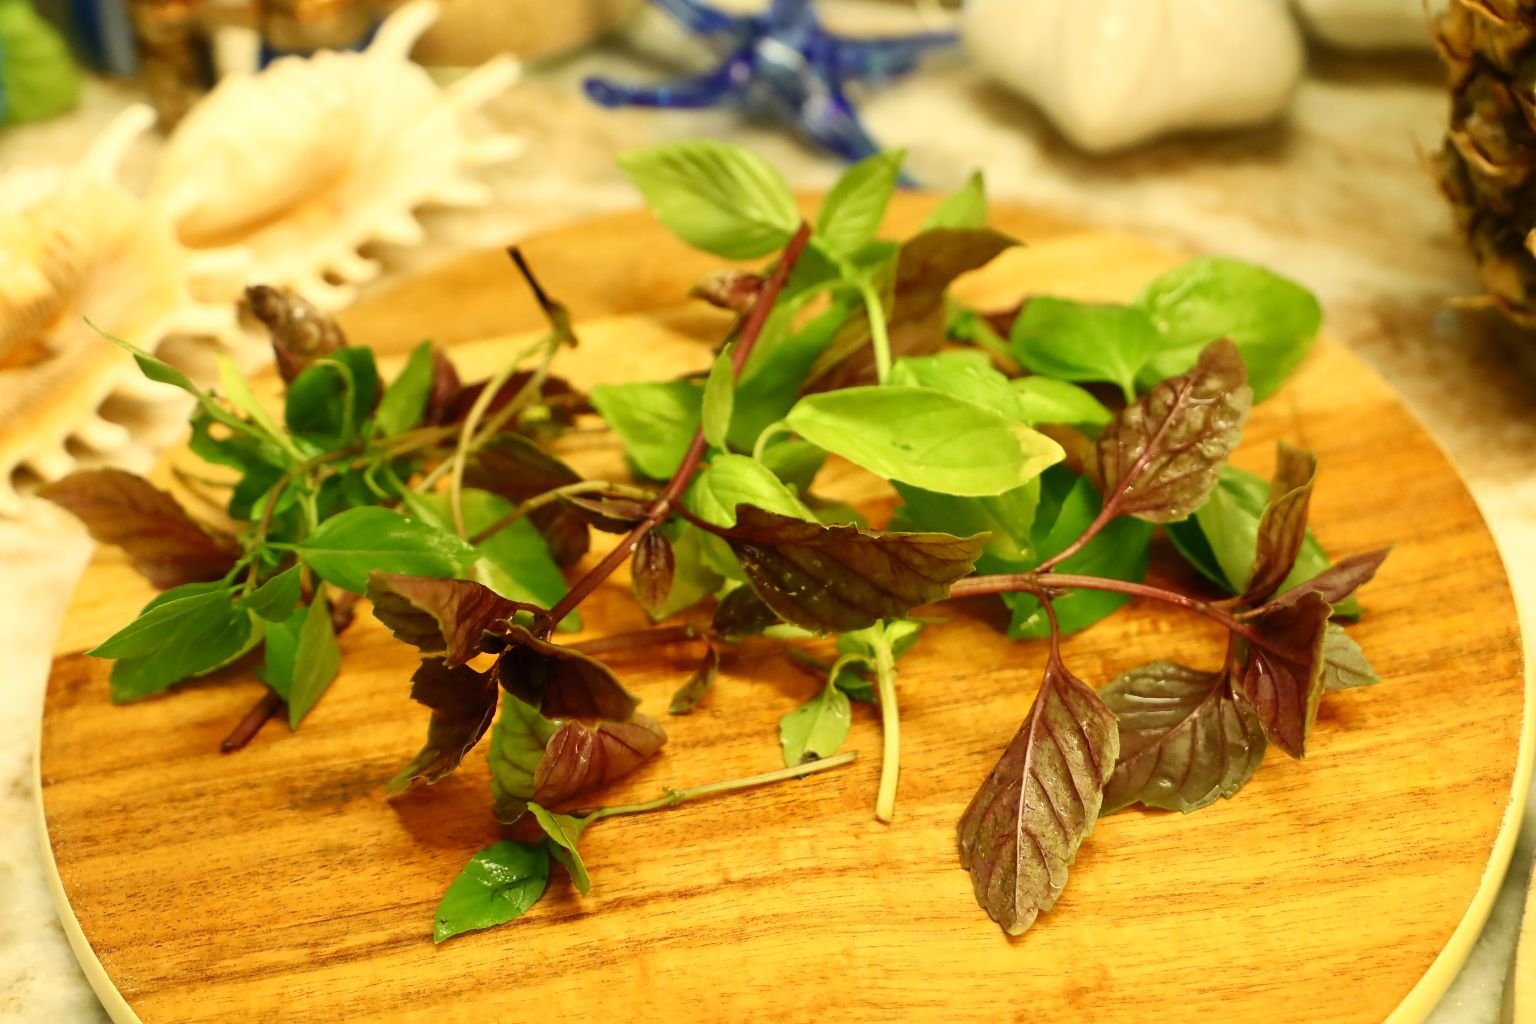
Here is our purple and regular basil from our garden.
————————————————————

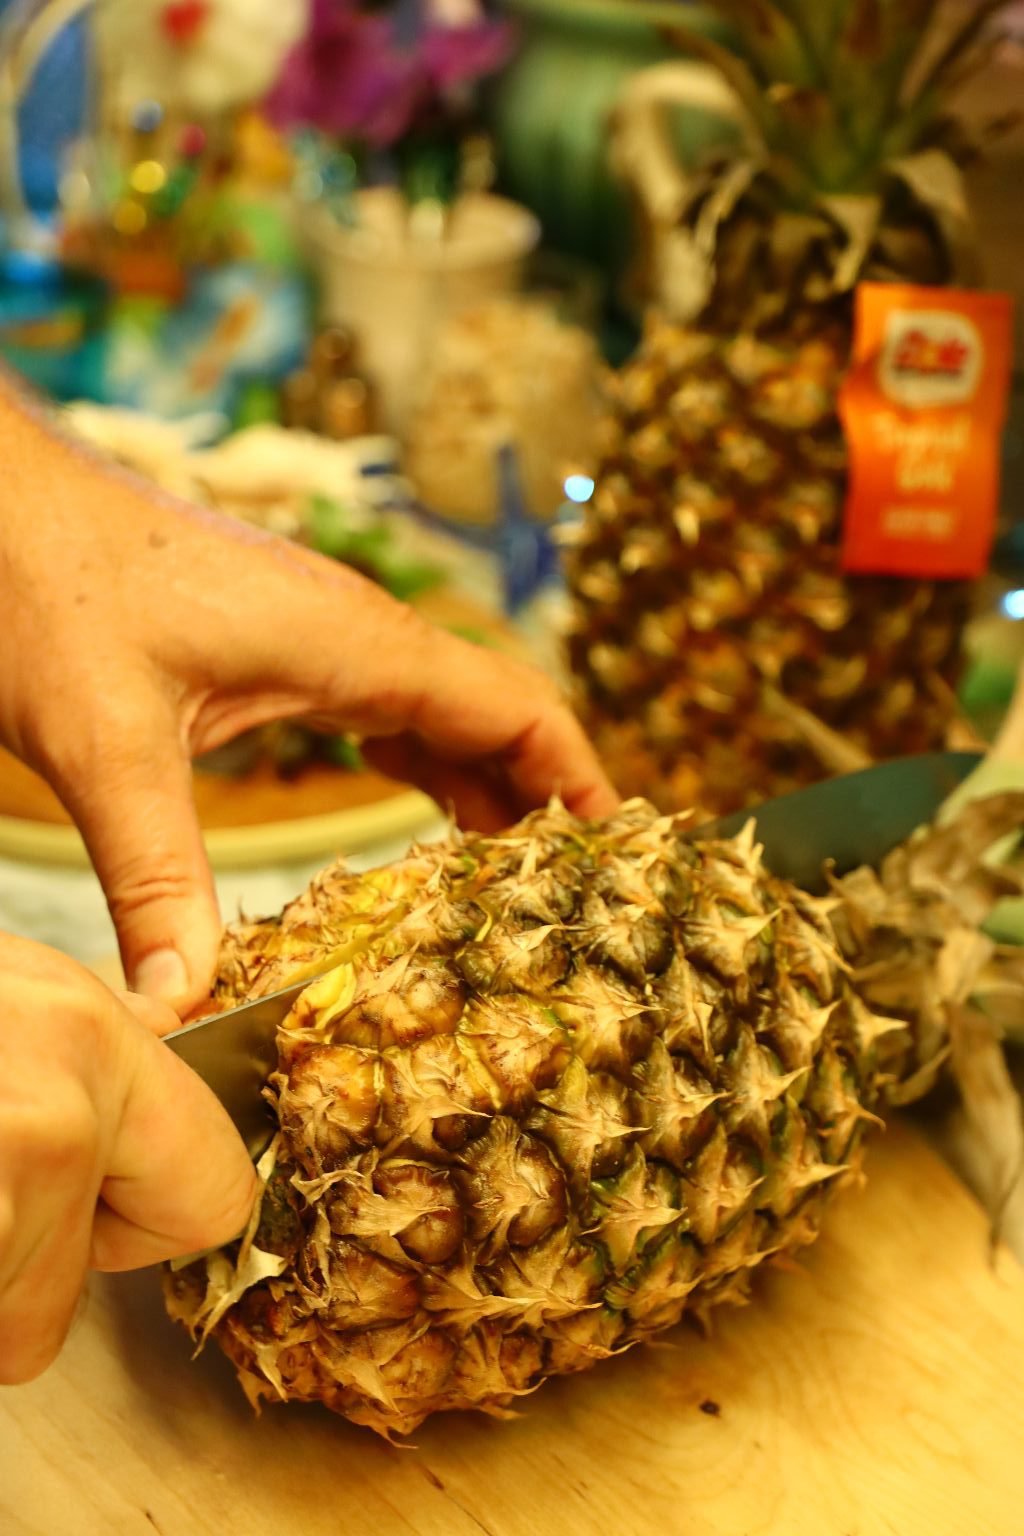
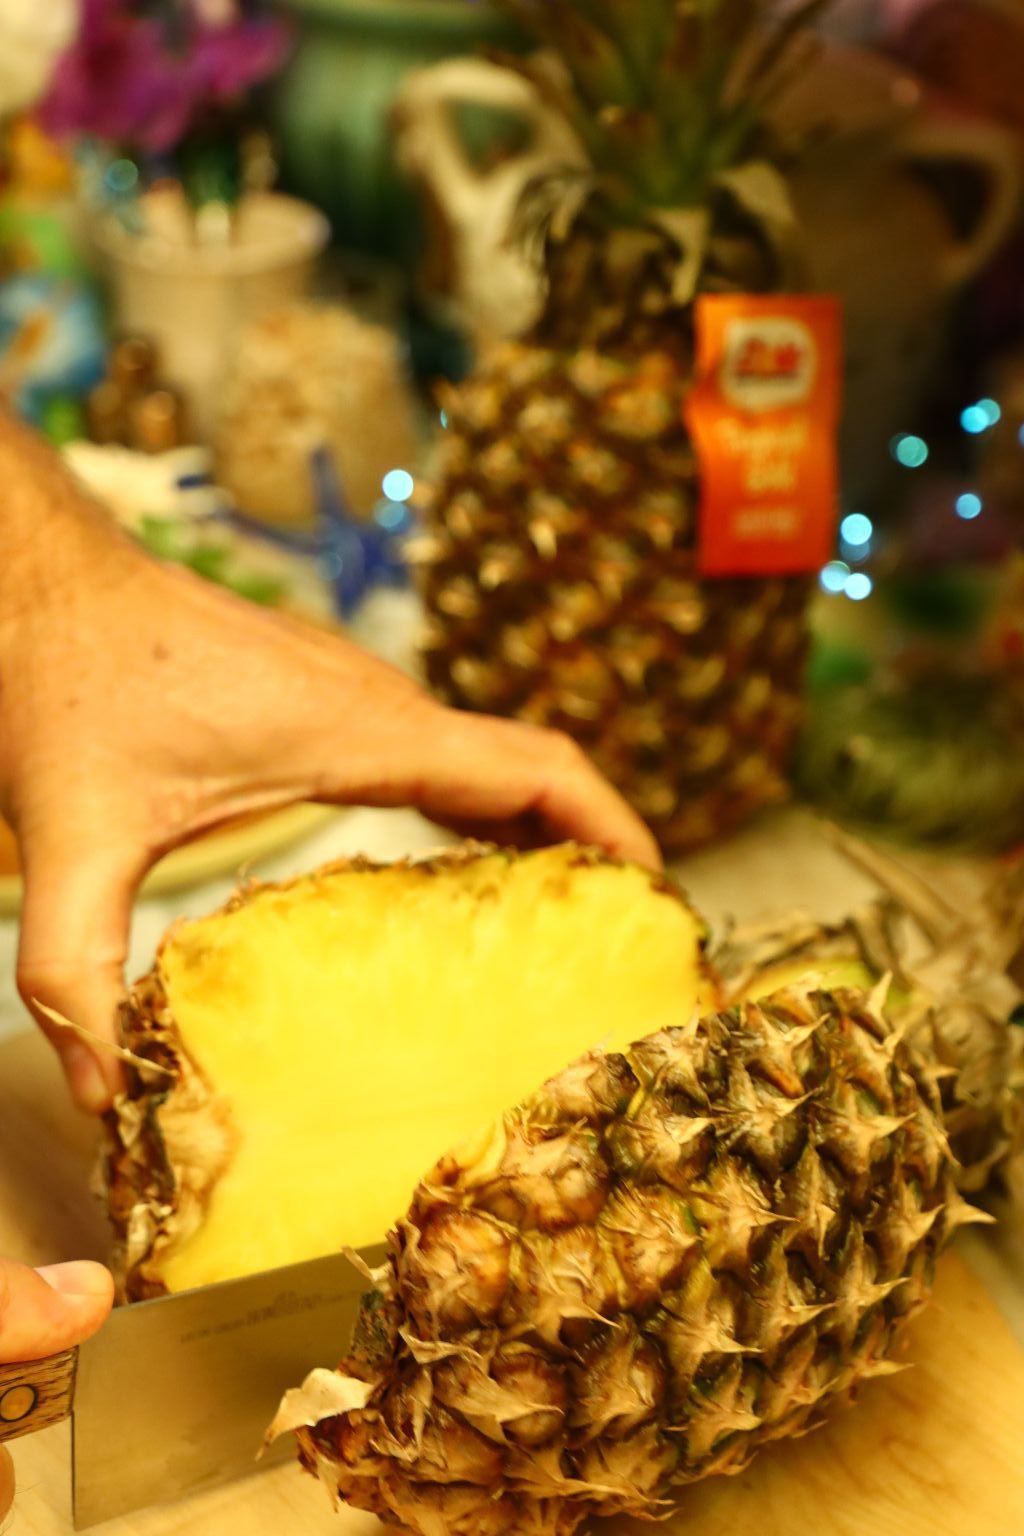
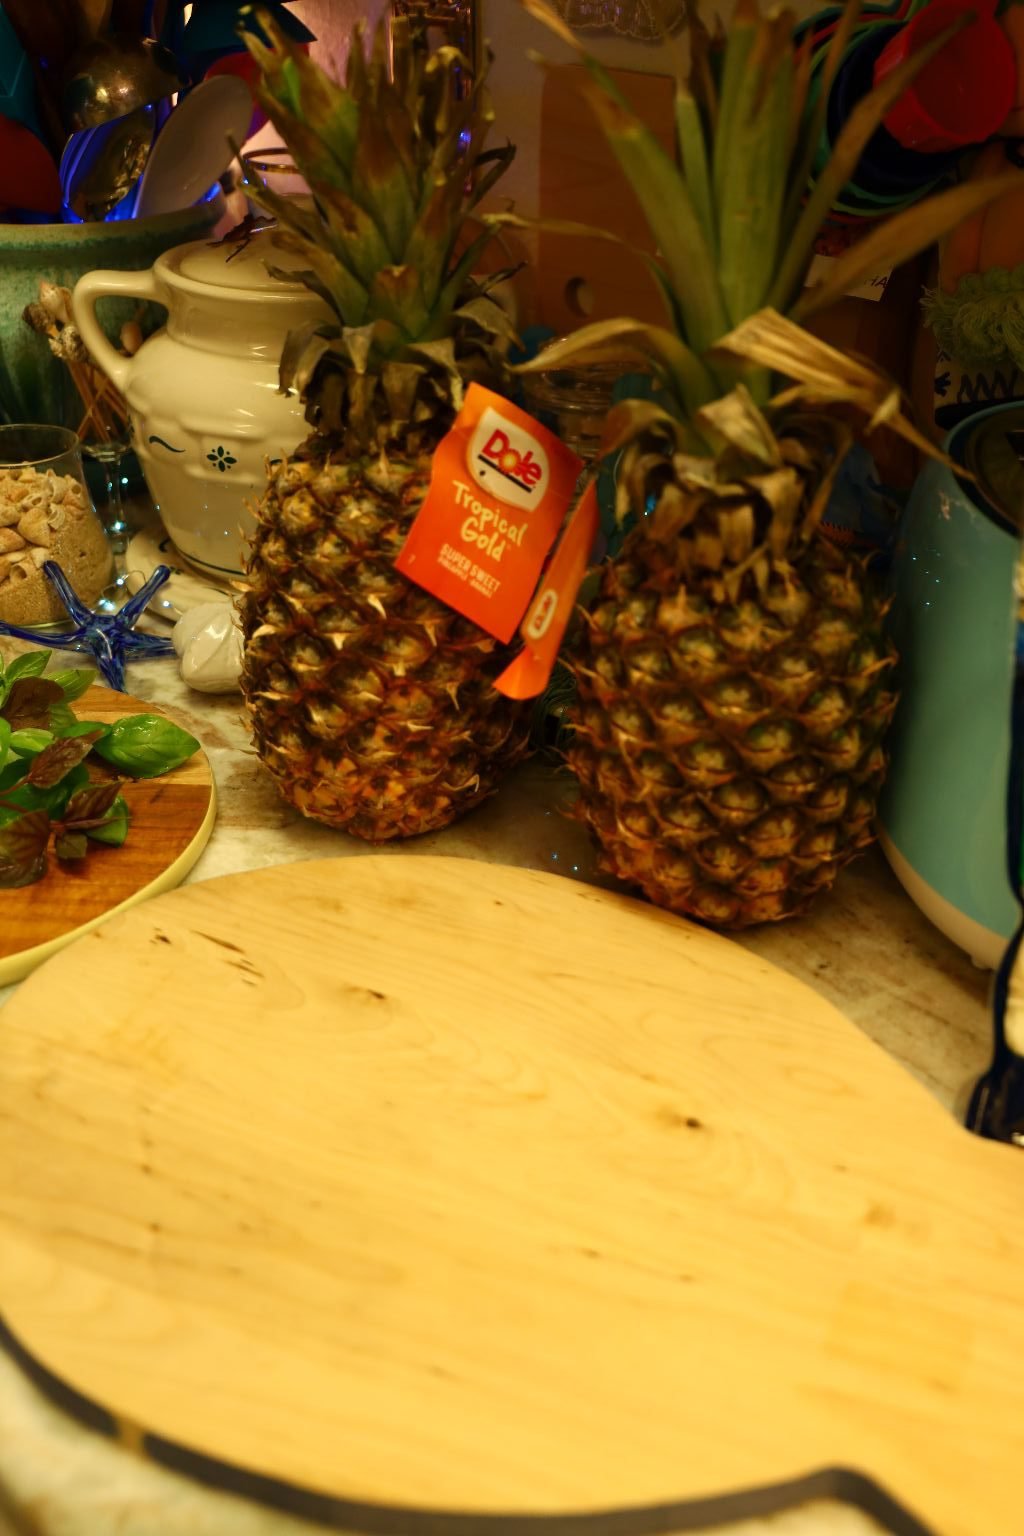
To prepare the pineapple for grilling… first slice it in half as shown.
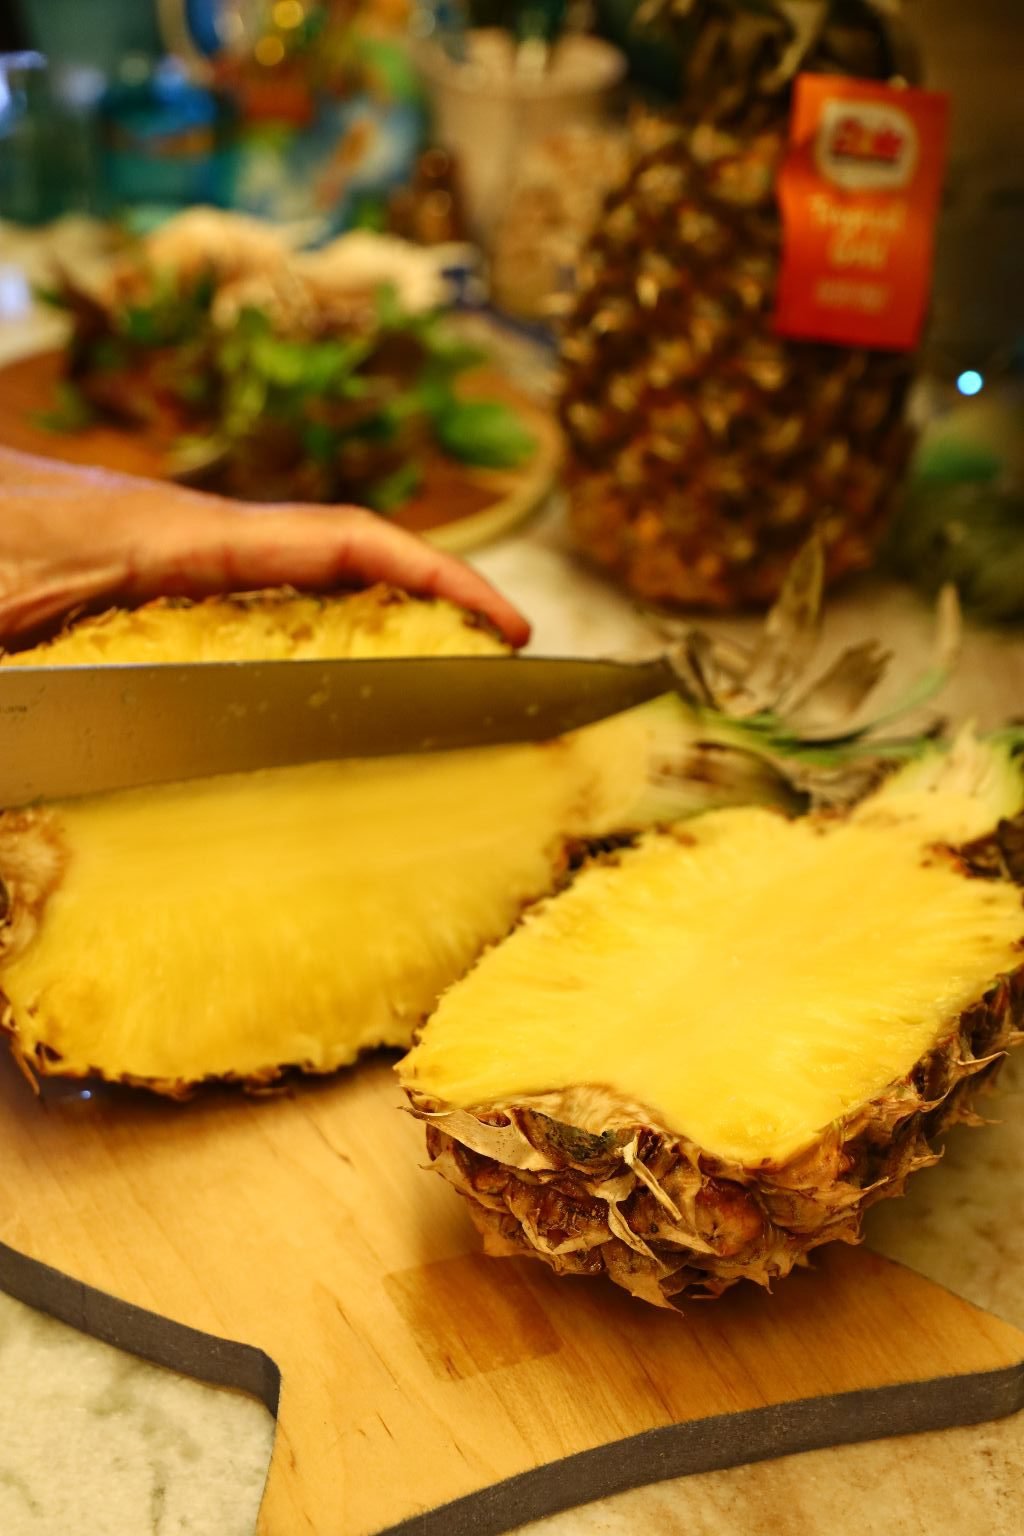
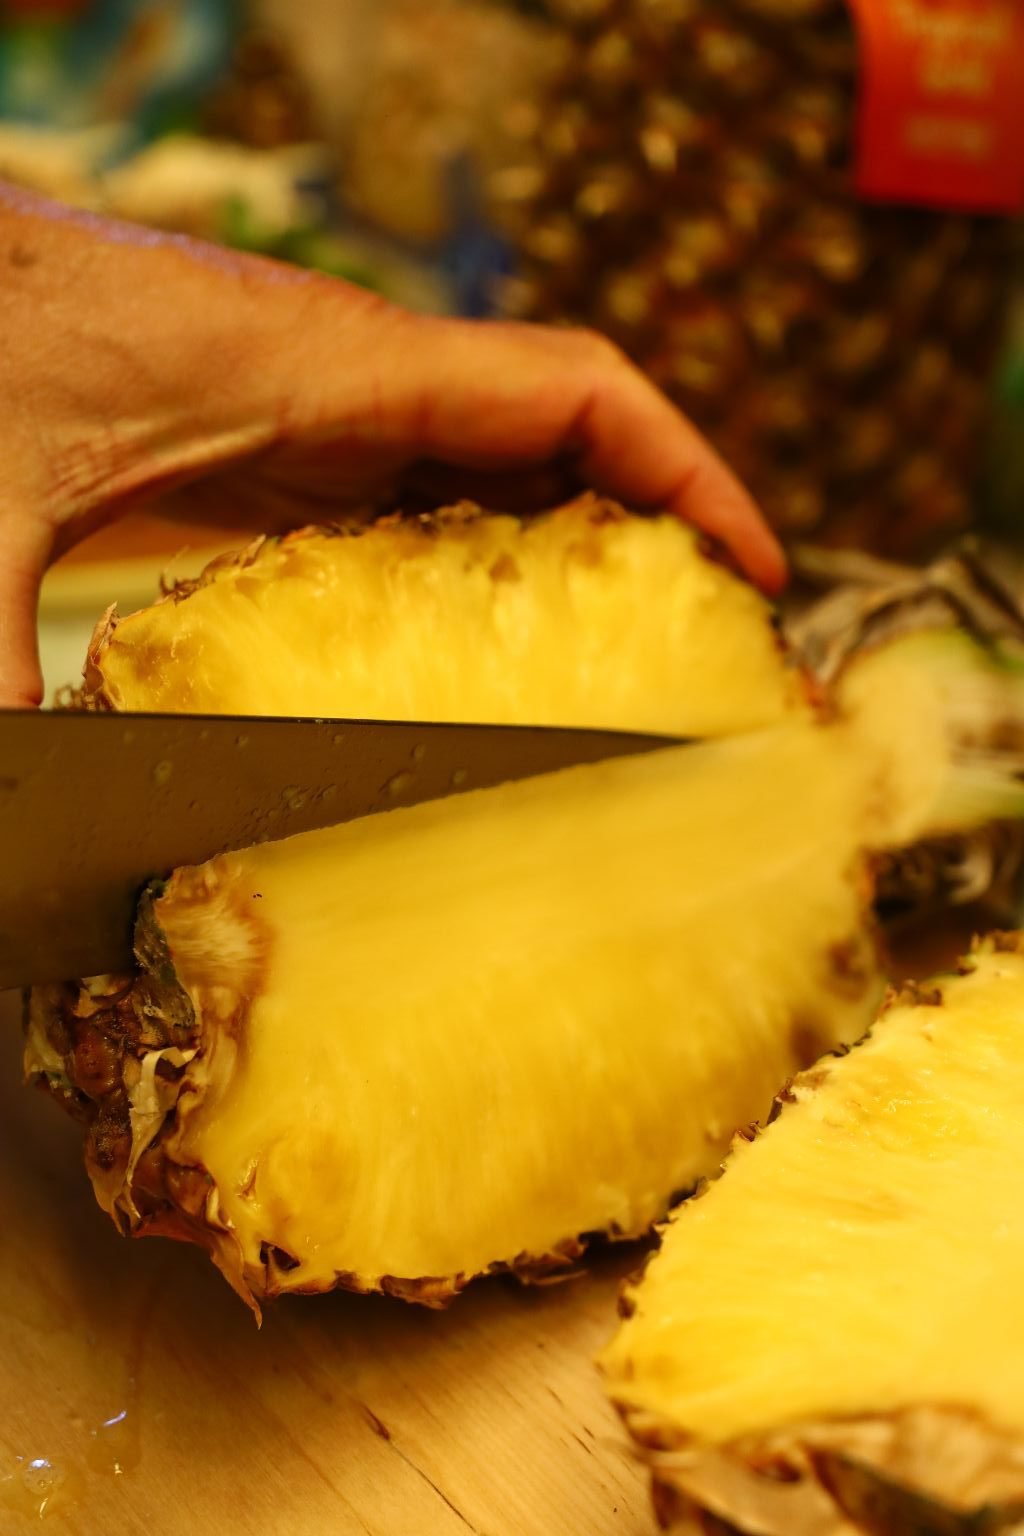
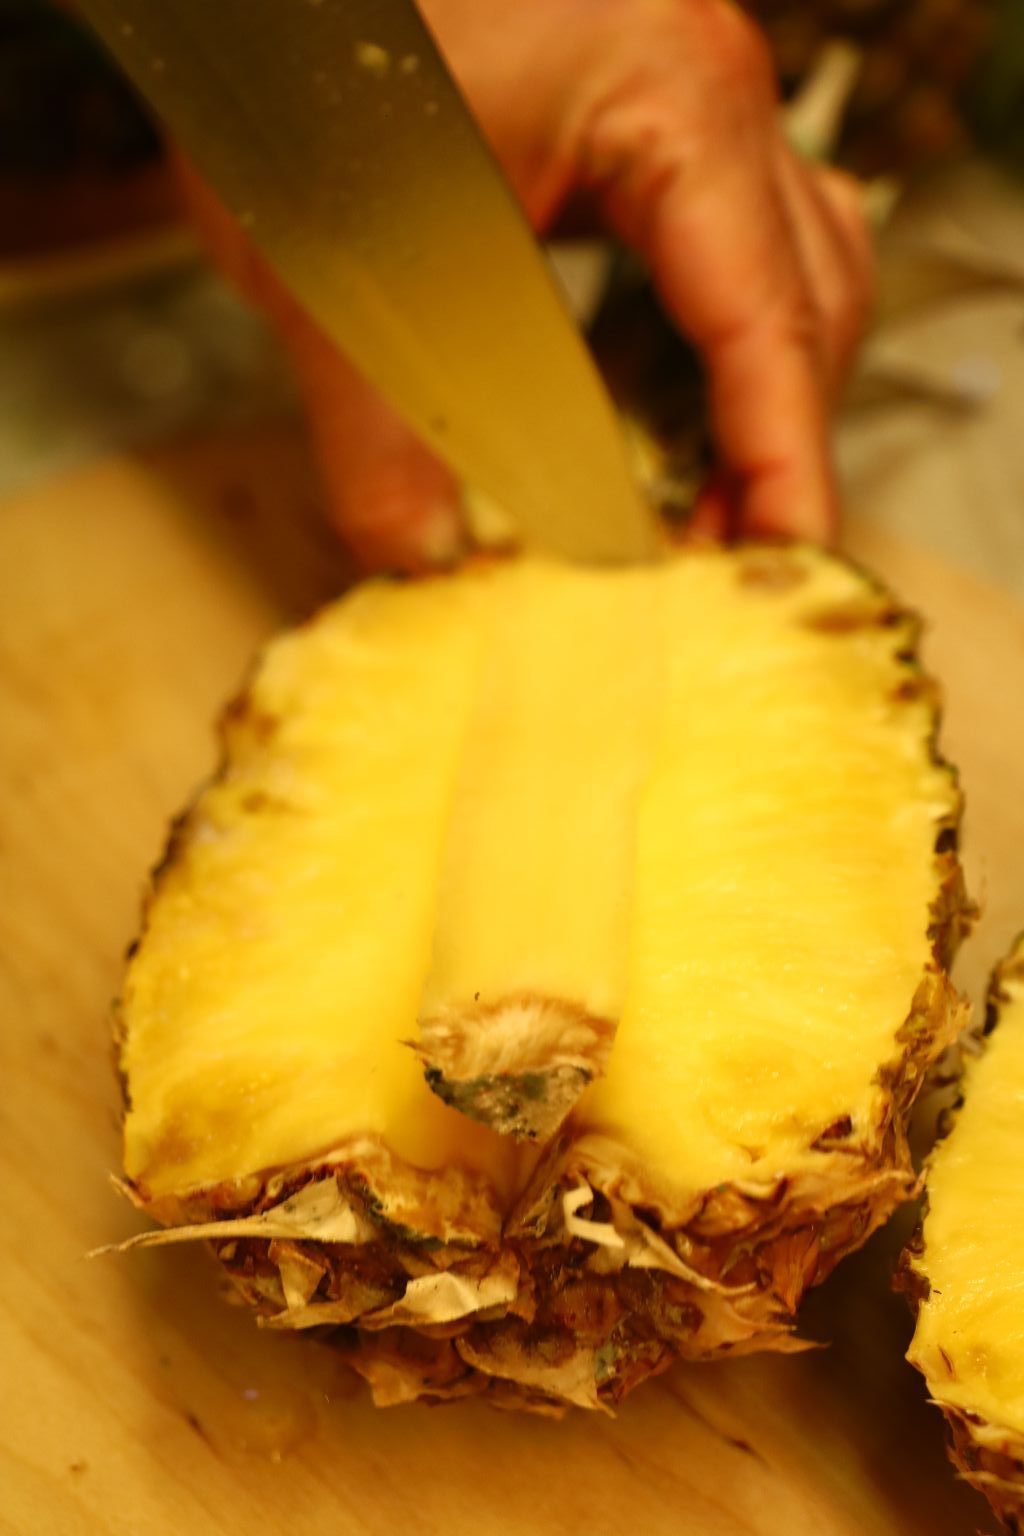
To remove the inedible core, make a diagonal cut on one side of the core just below the stalk, then do the same cut on the other side. Now make a horizontal cut just below the stalk and remove the core. Repeat for both pineapple halves.
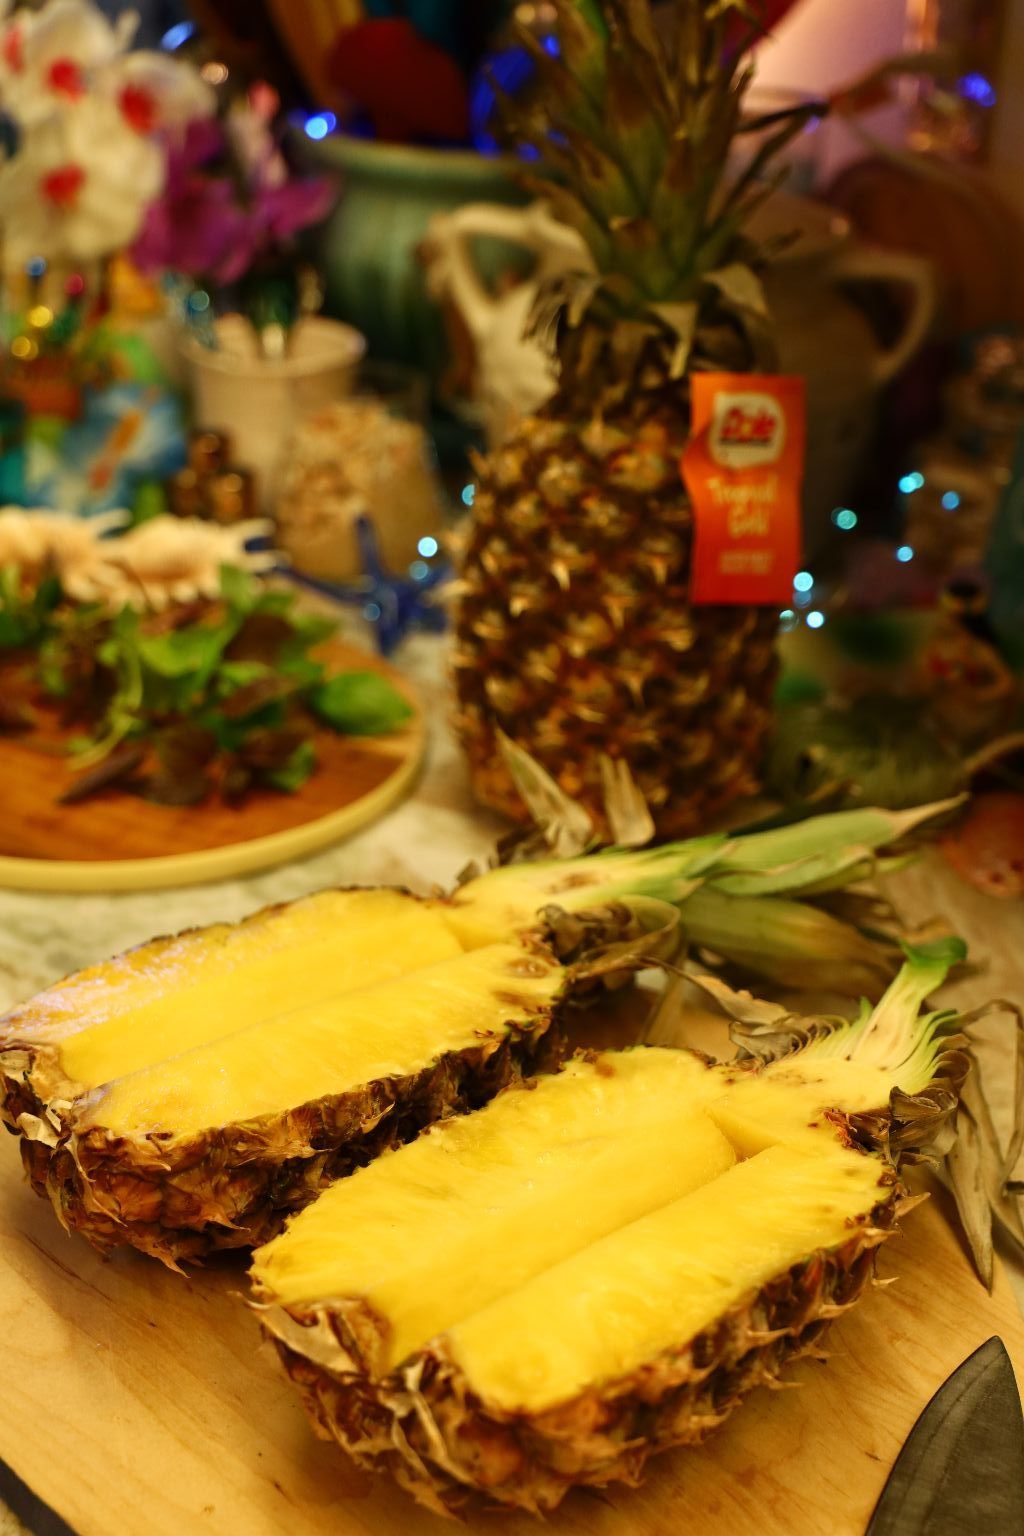
Here you can see both pineapple cores removed.
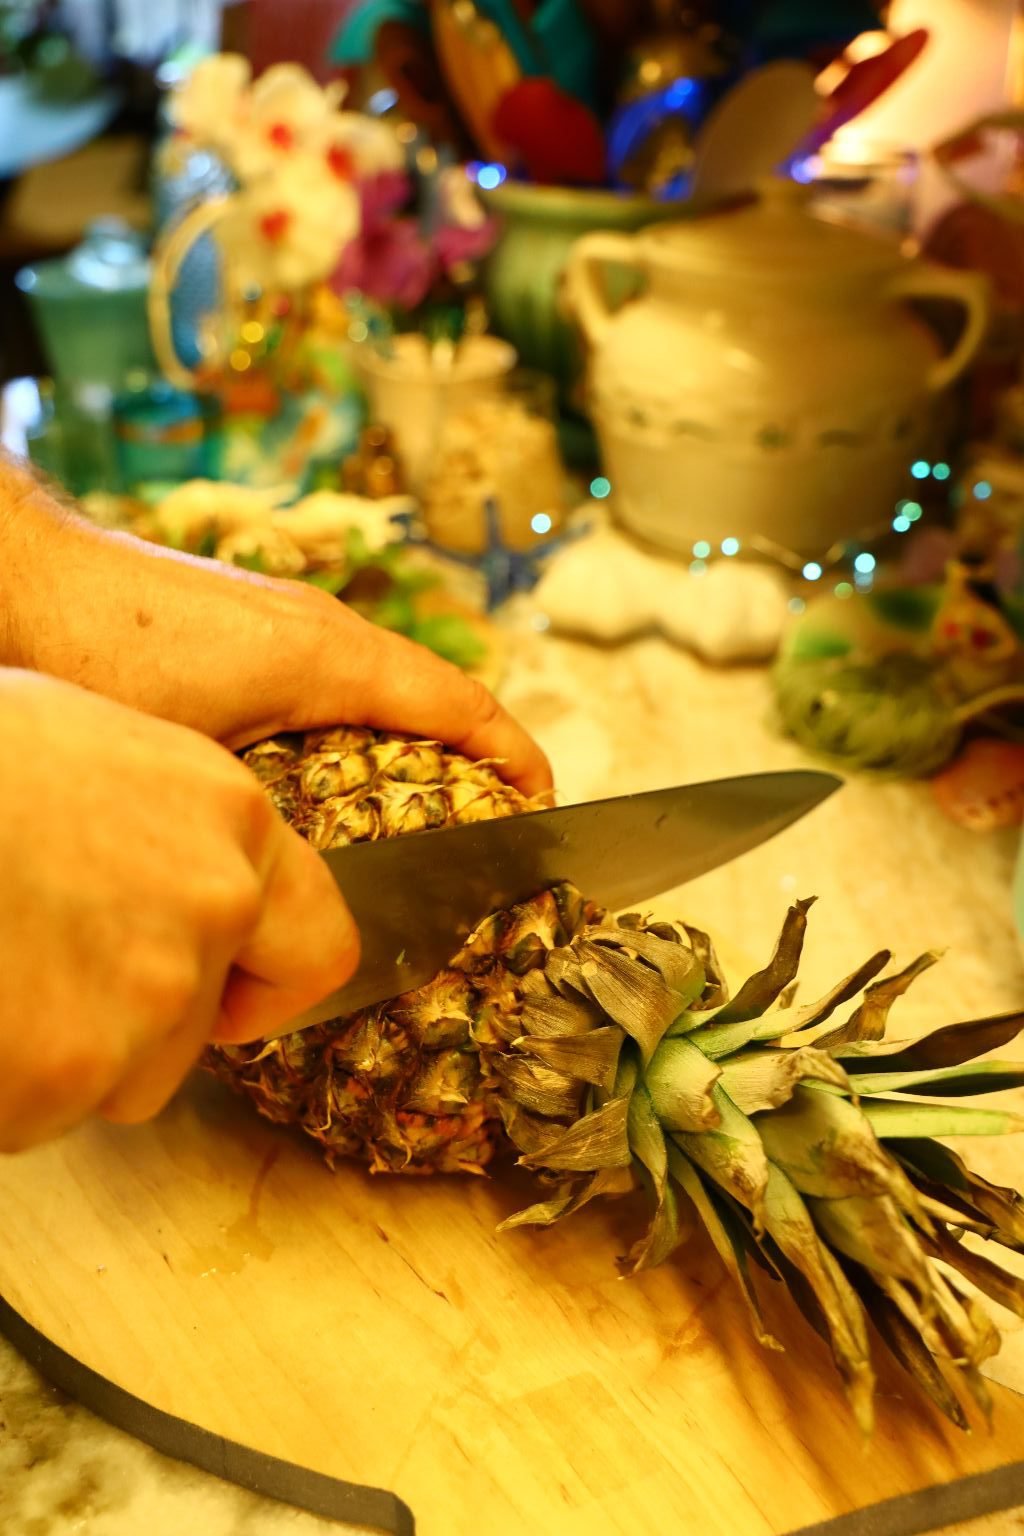
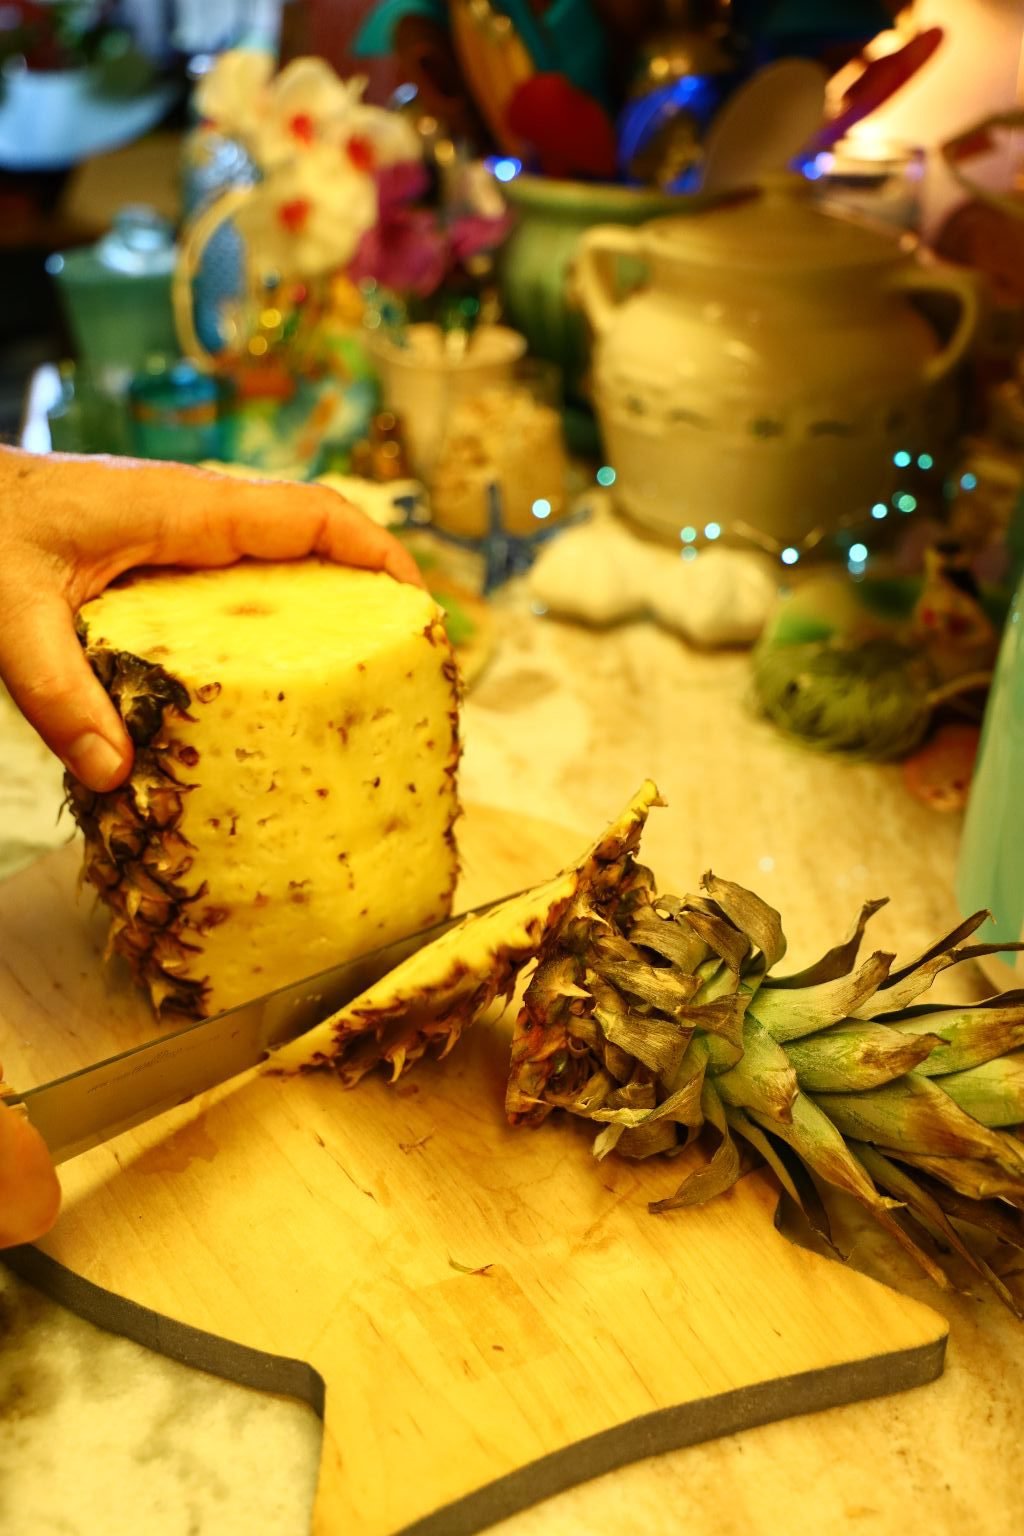
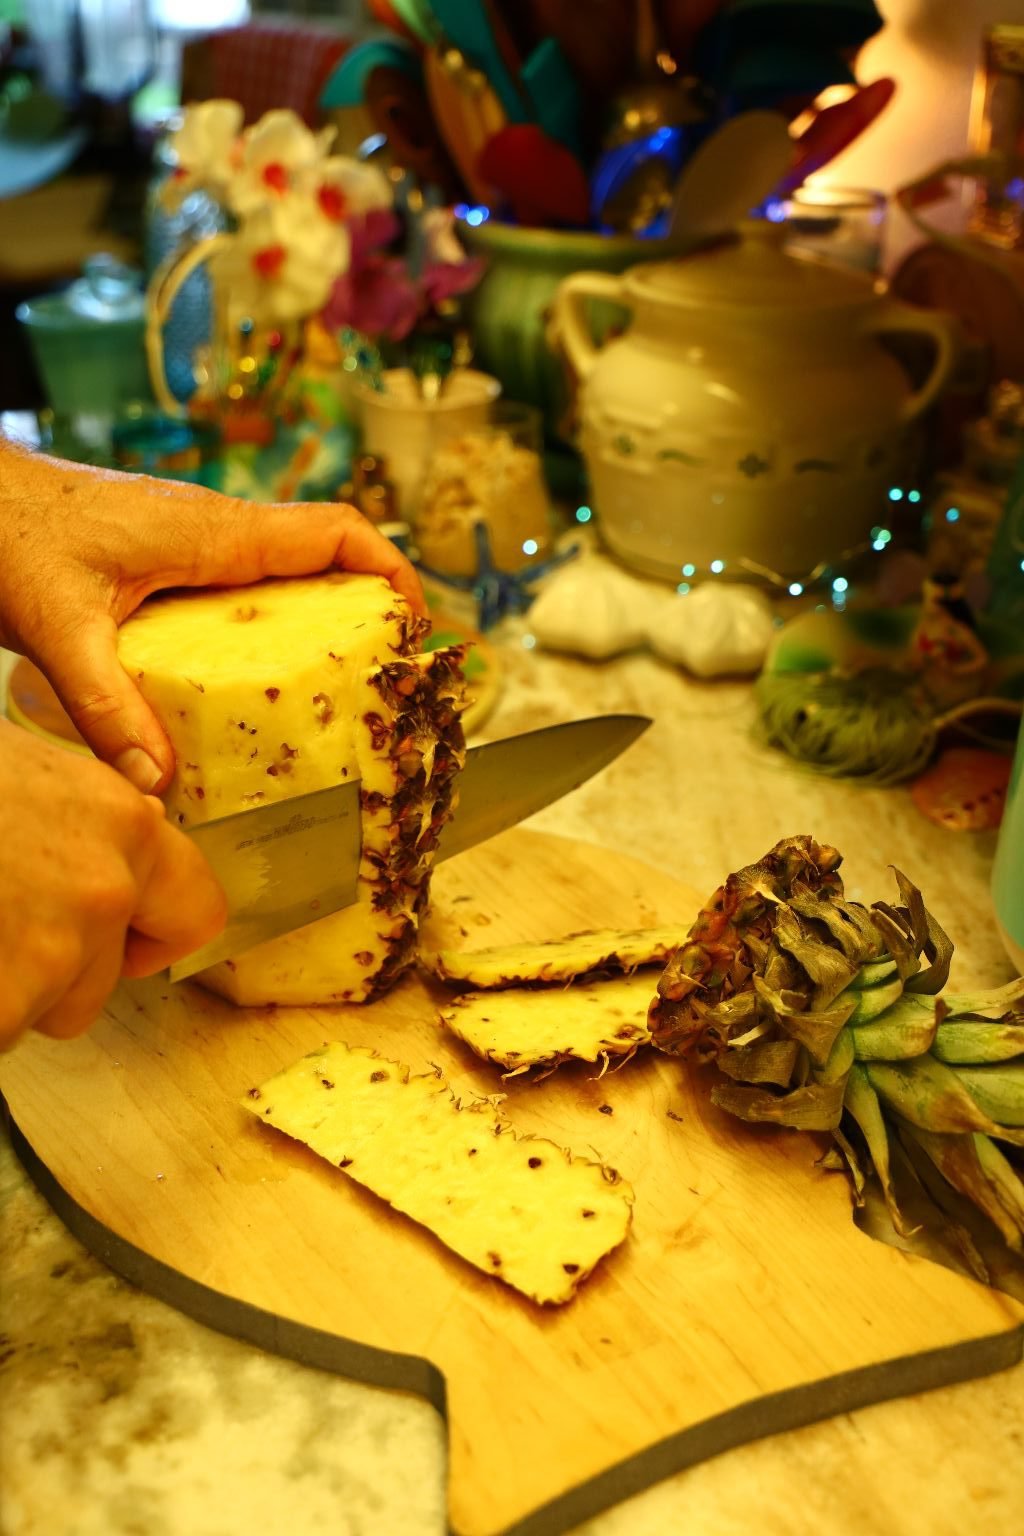
Using another pineapple, cut off the stalk then the bottom of the pineapple. Now, slice down the sides to remove the outer skin.
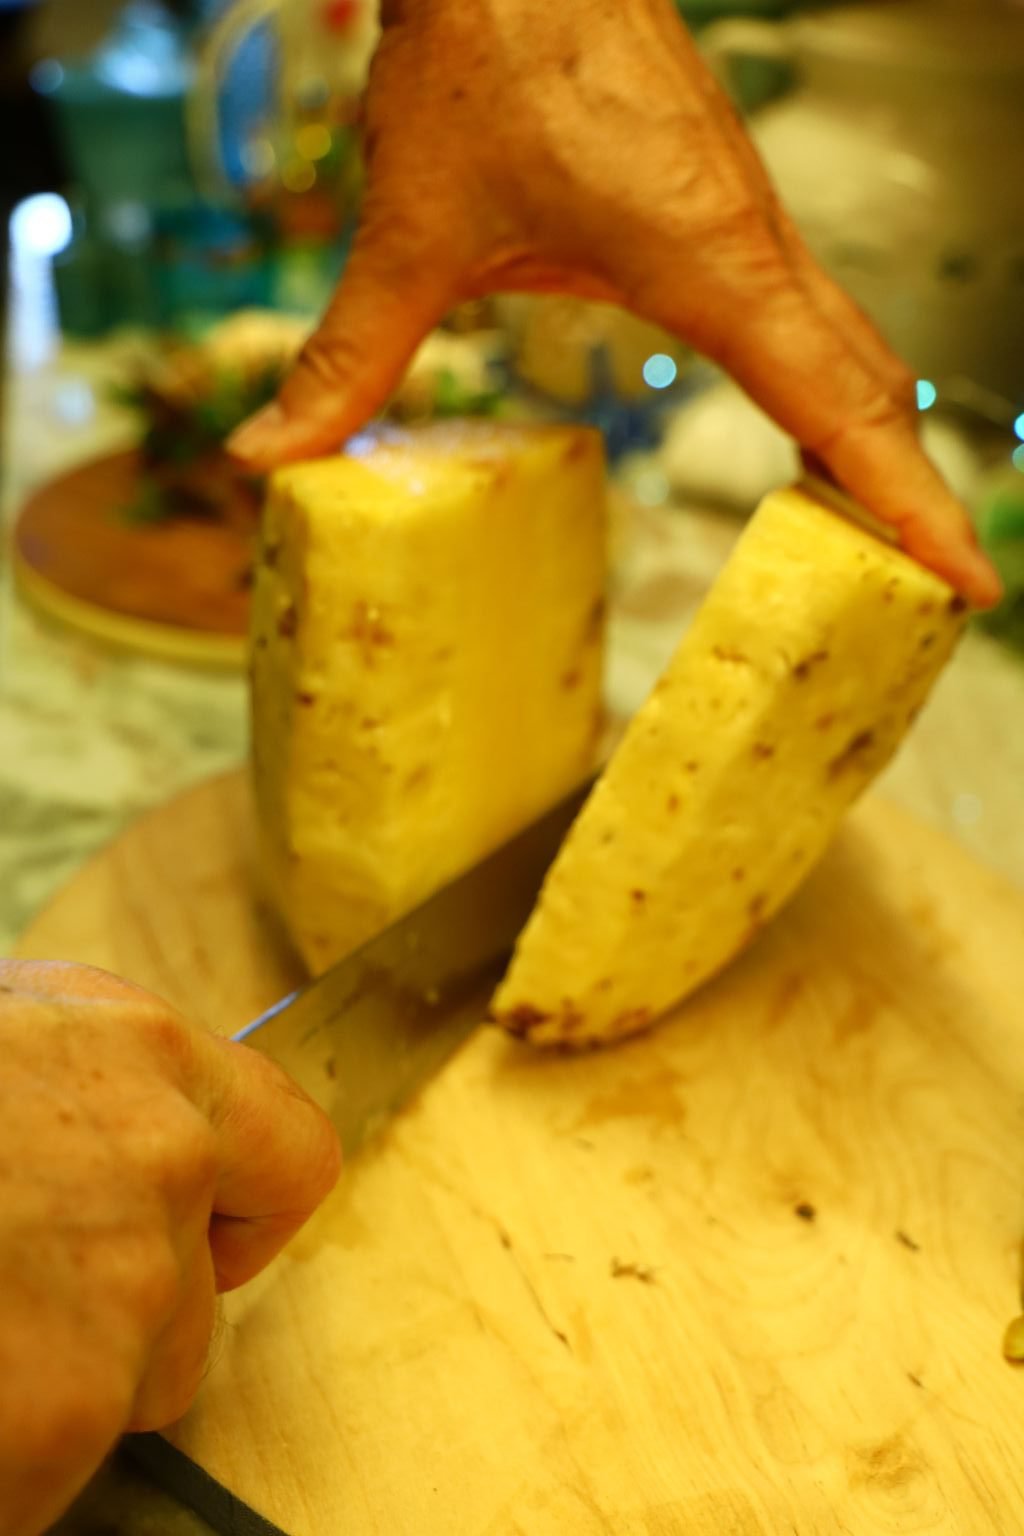
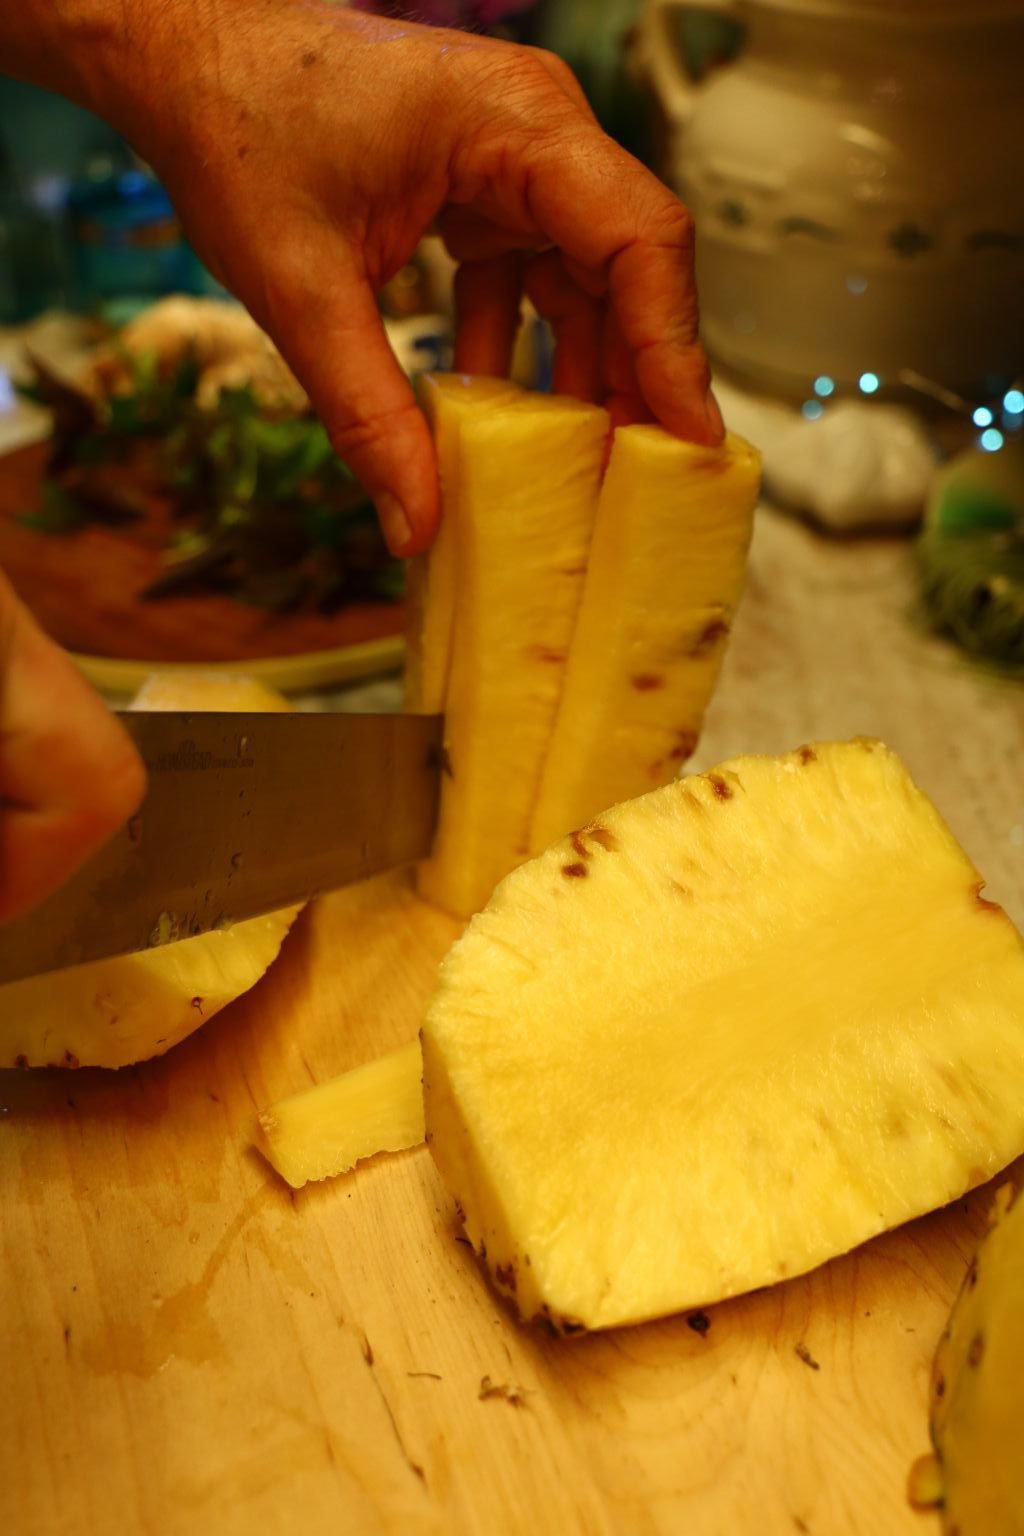
Slice this in half an then into wedges. On each wedge you will then slice off the little section of core.
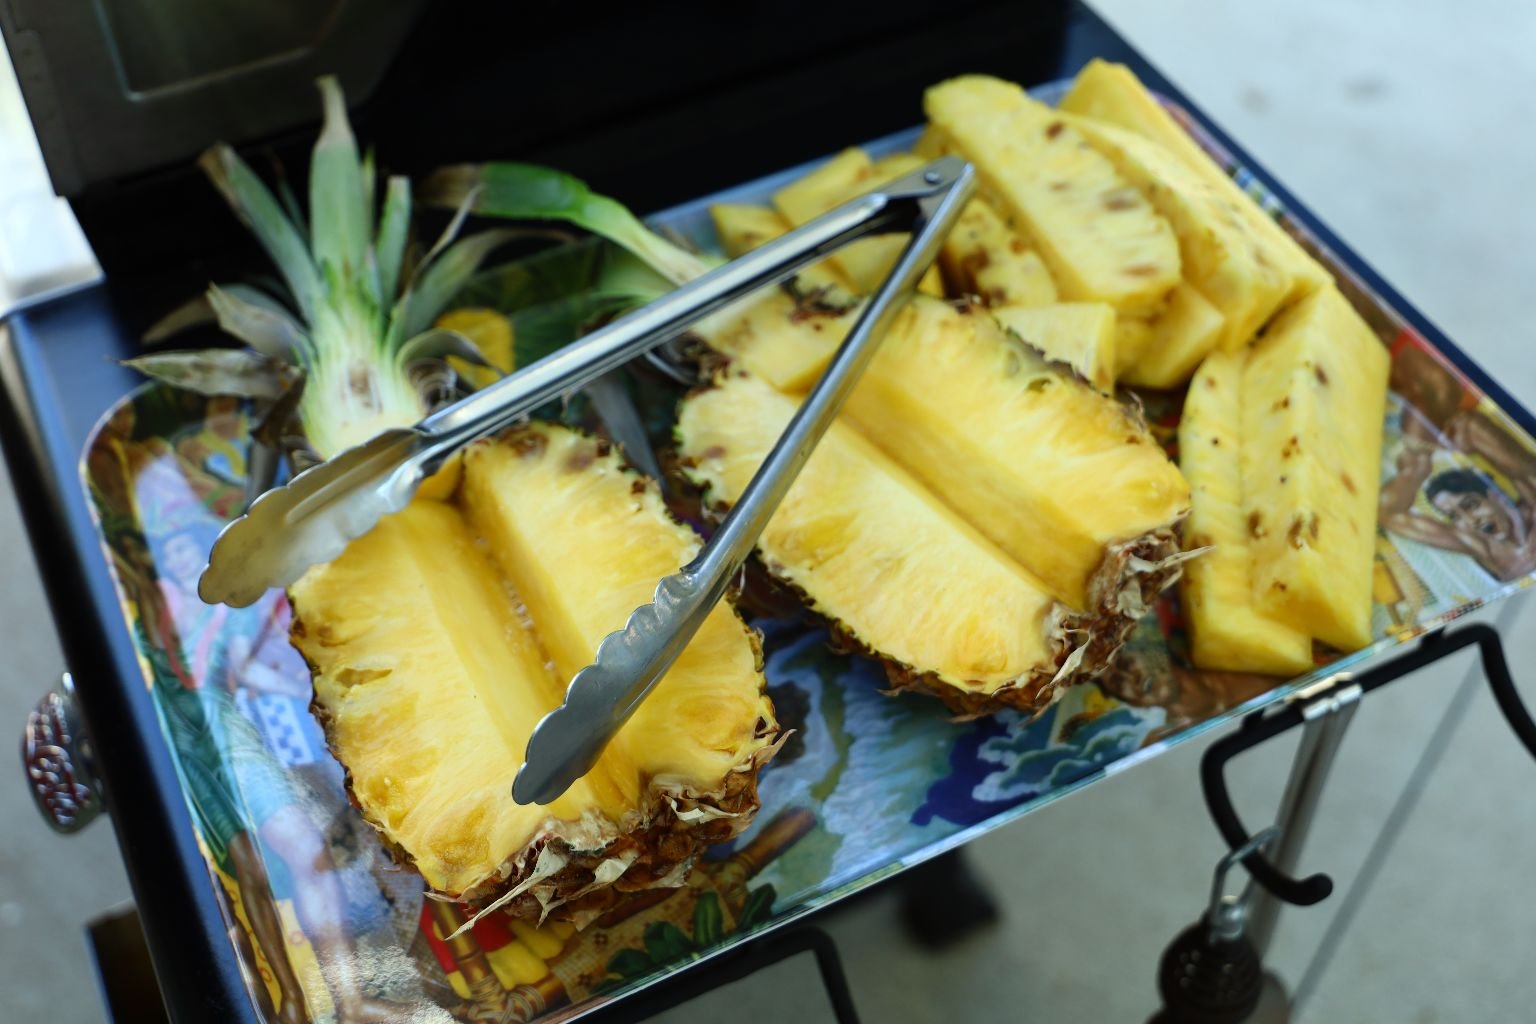
I place them on a try as shown and take them to the grill.
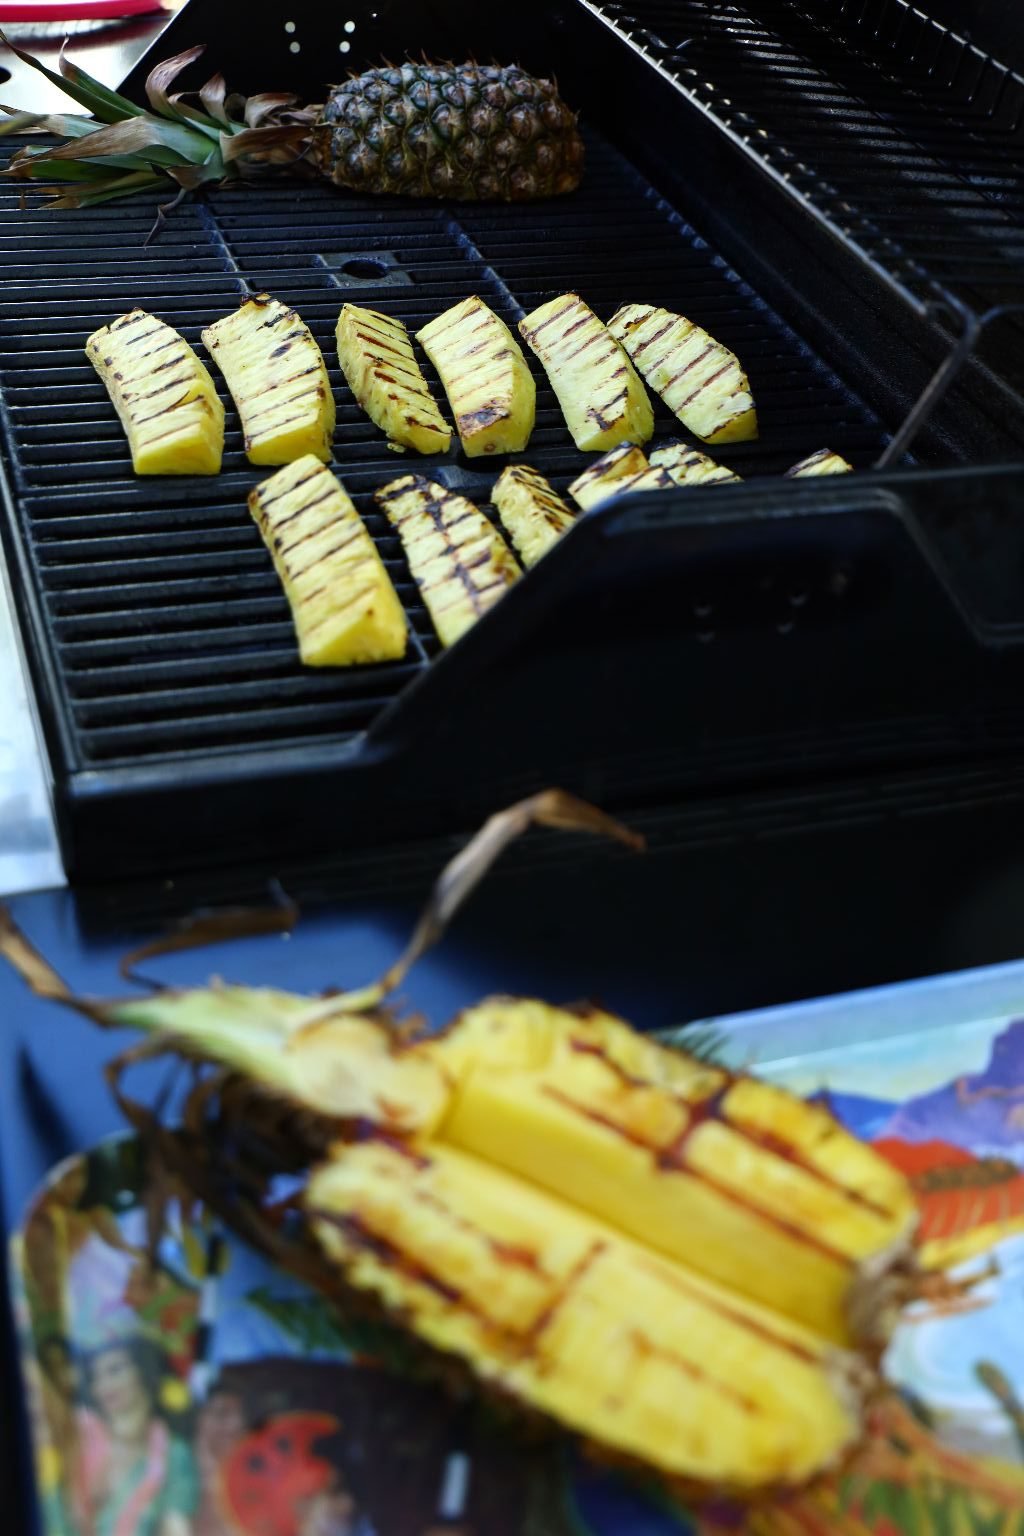

Leaving the section of pineapple where you first placed it will give you great grill marks.
—————————————————————–
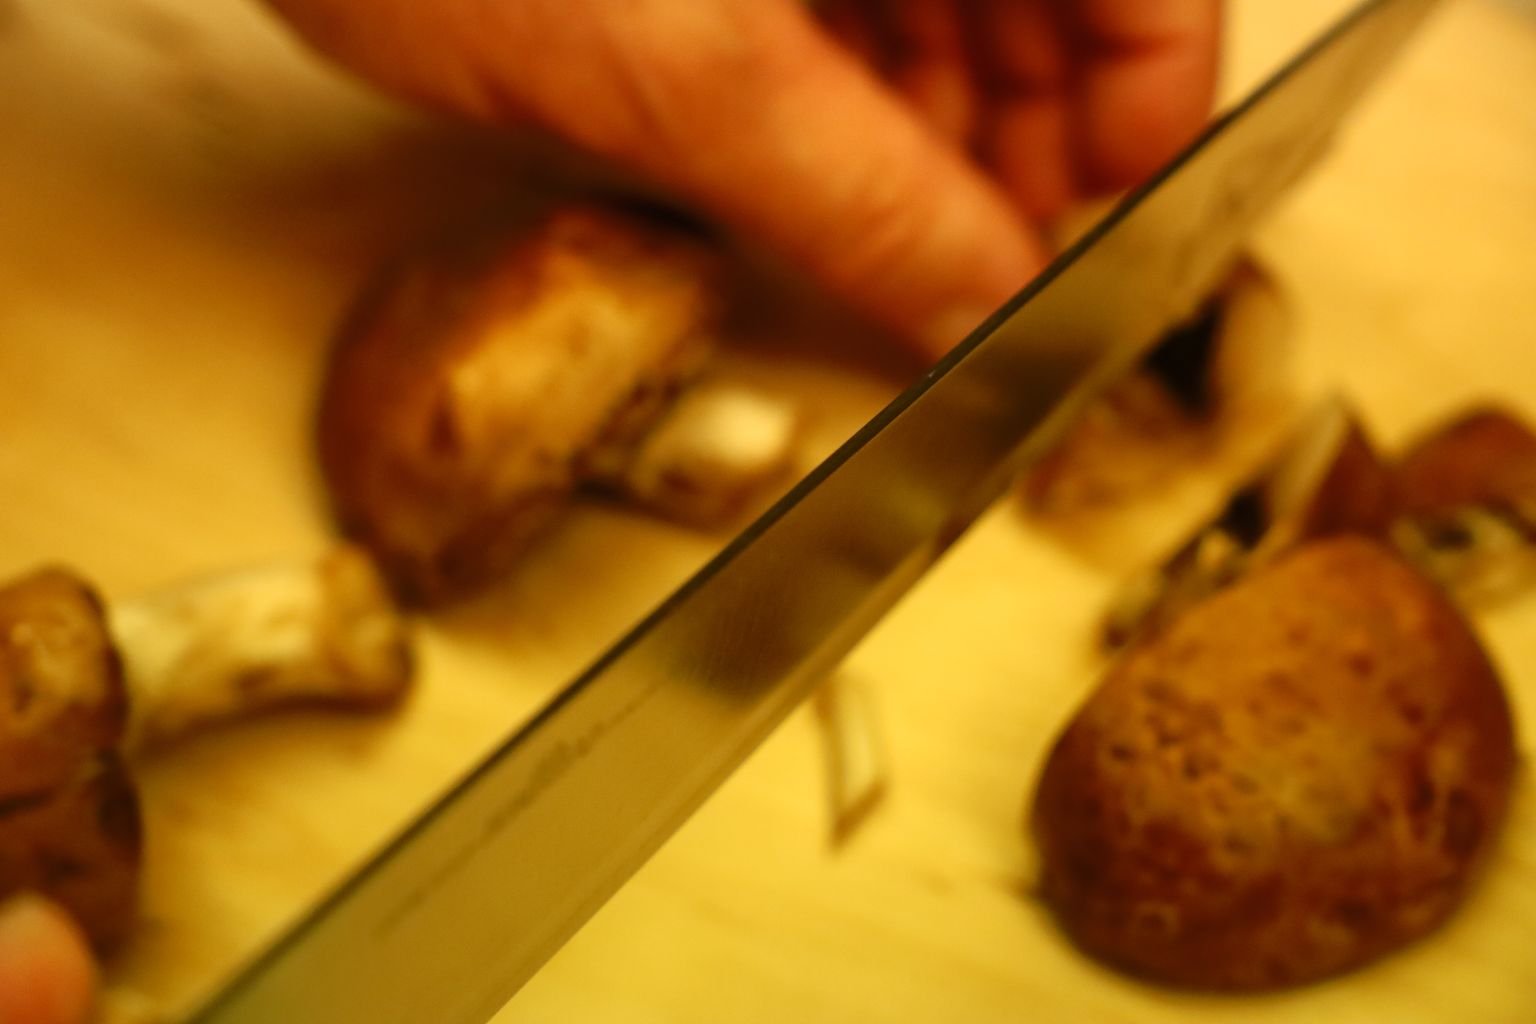
Back to making the pizza… slice your mushrooms.

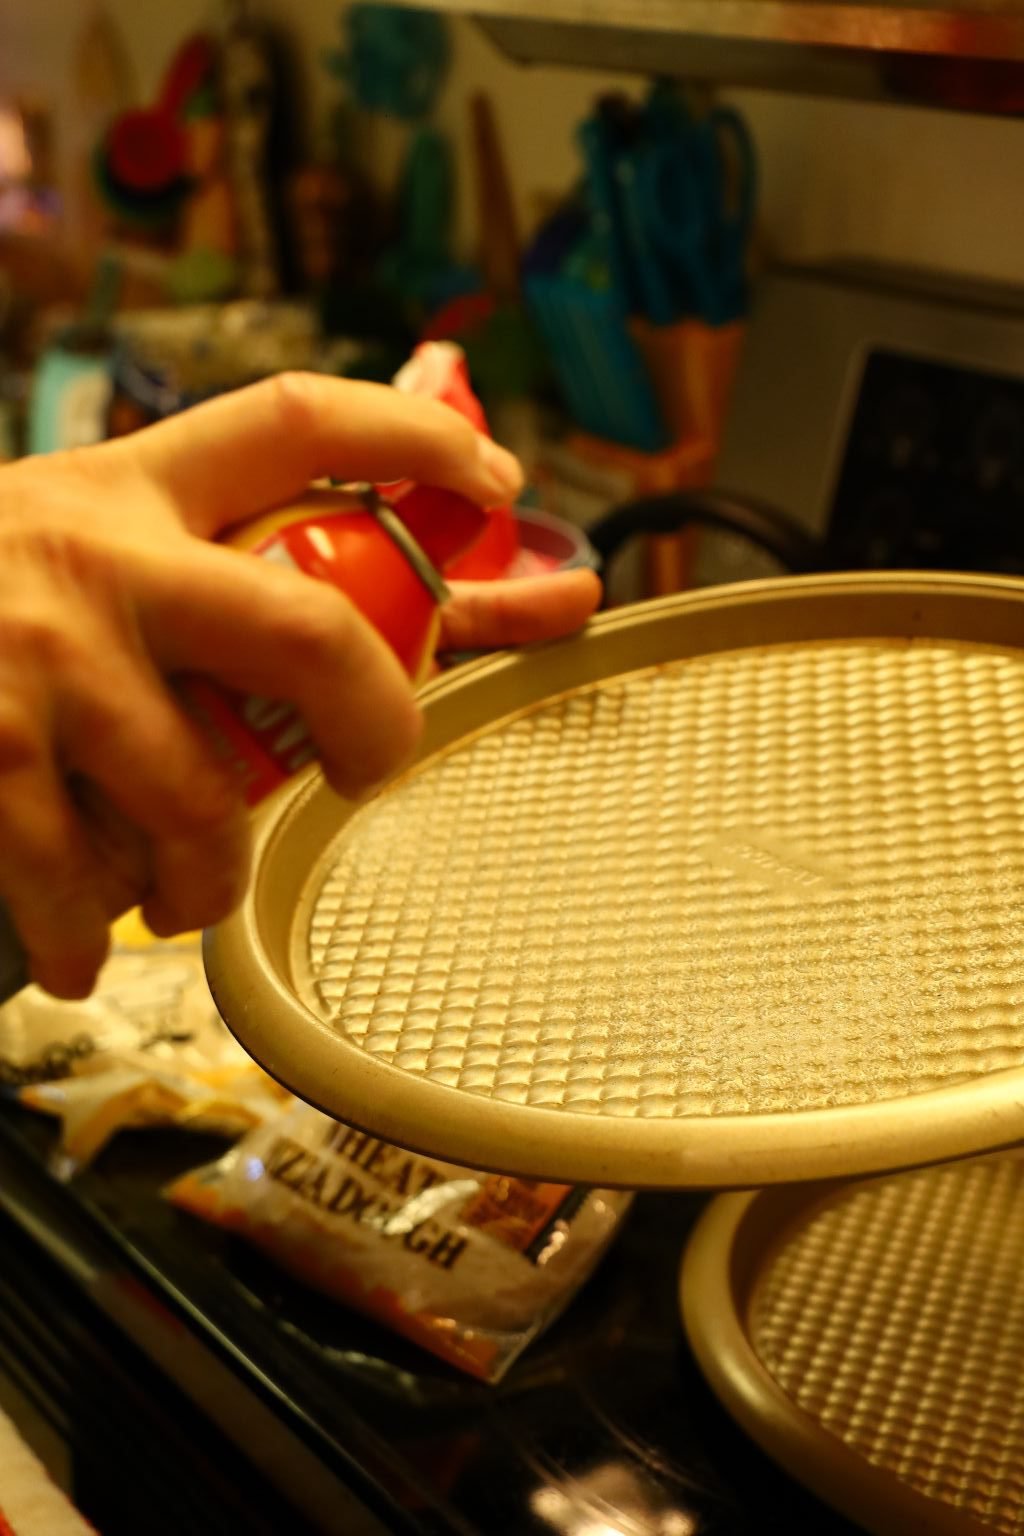
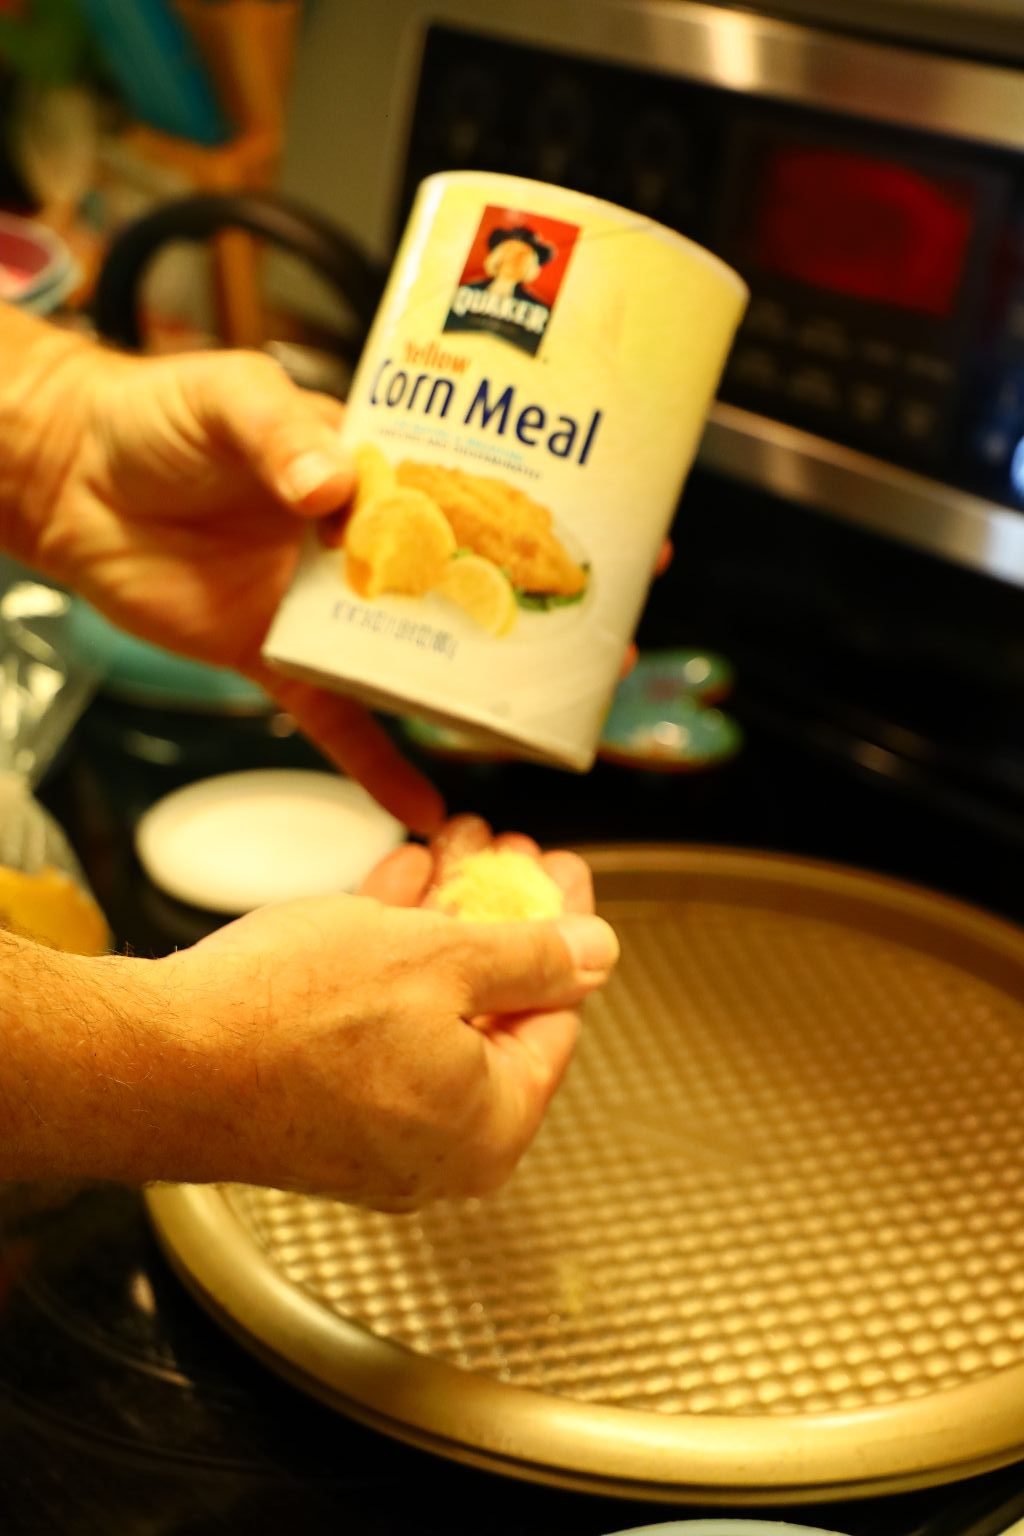
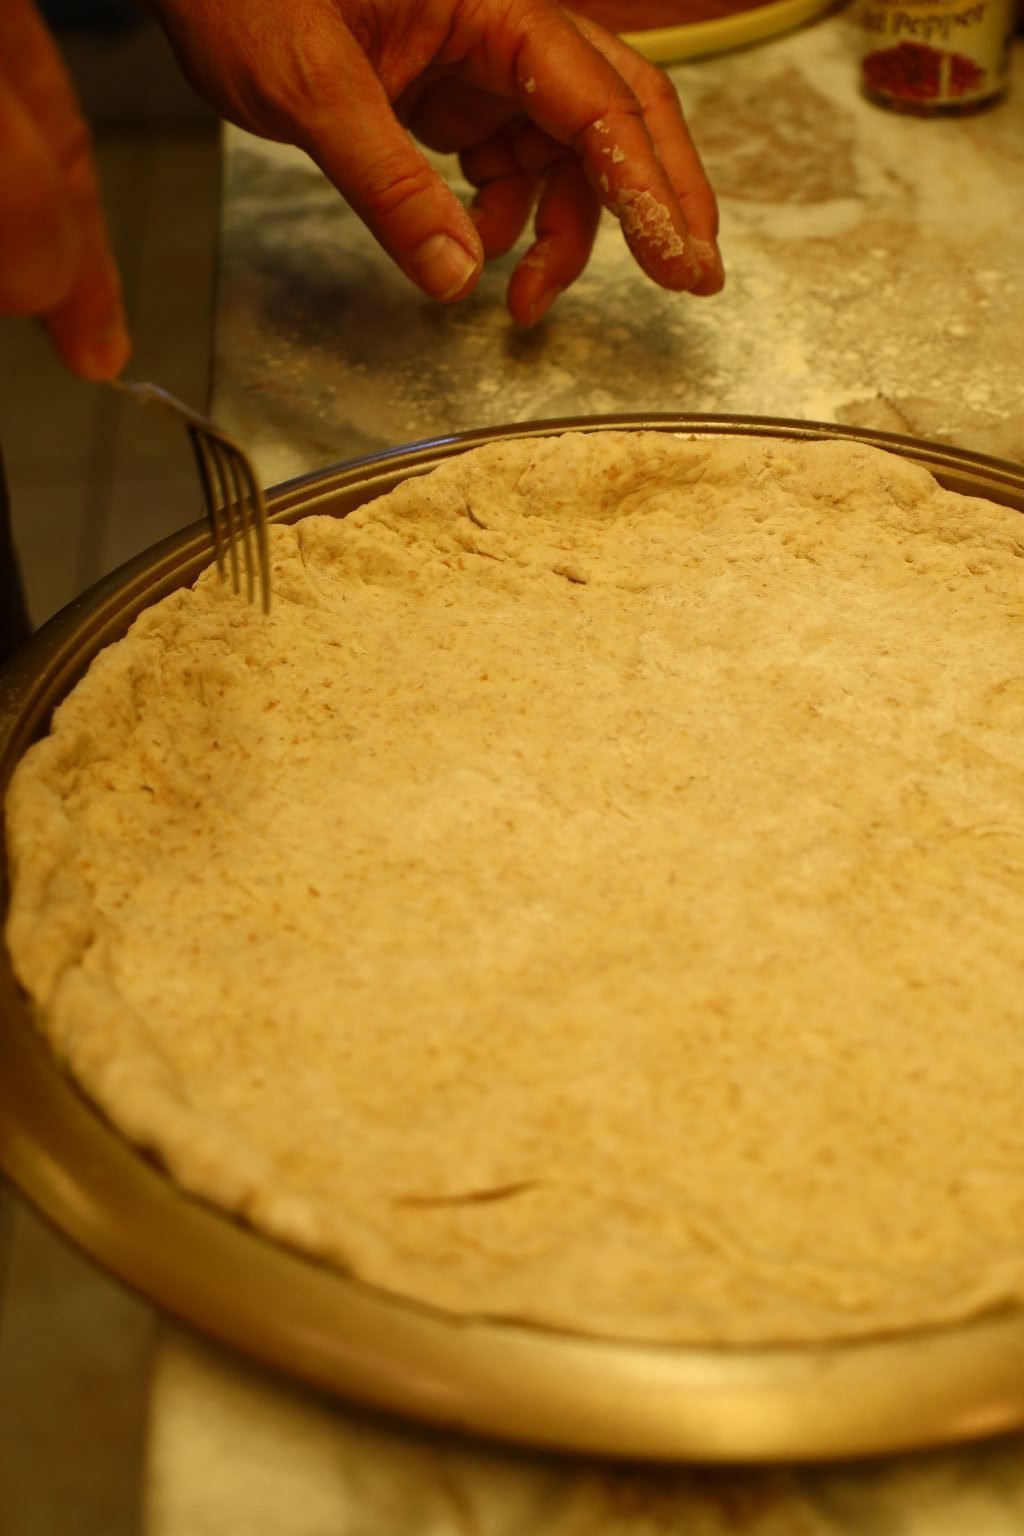
Spray your pizza pan with a little bit of cooking spray then spread some corn meal equally over the pan to help the pizza to not stick, as well as helping to provide a crispy crust.
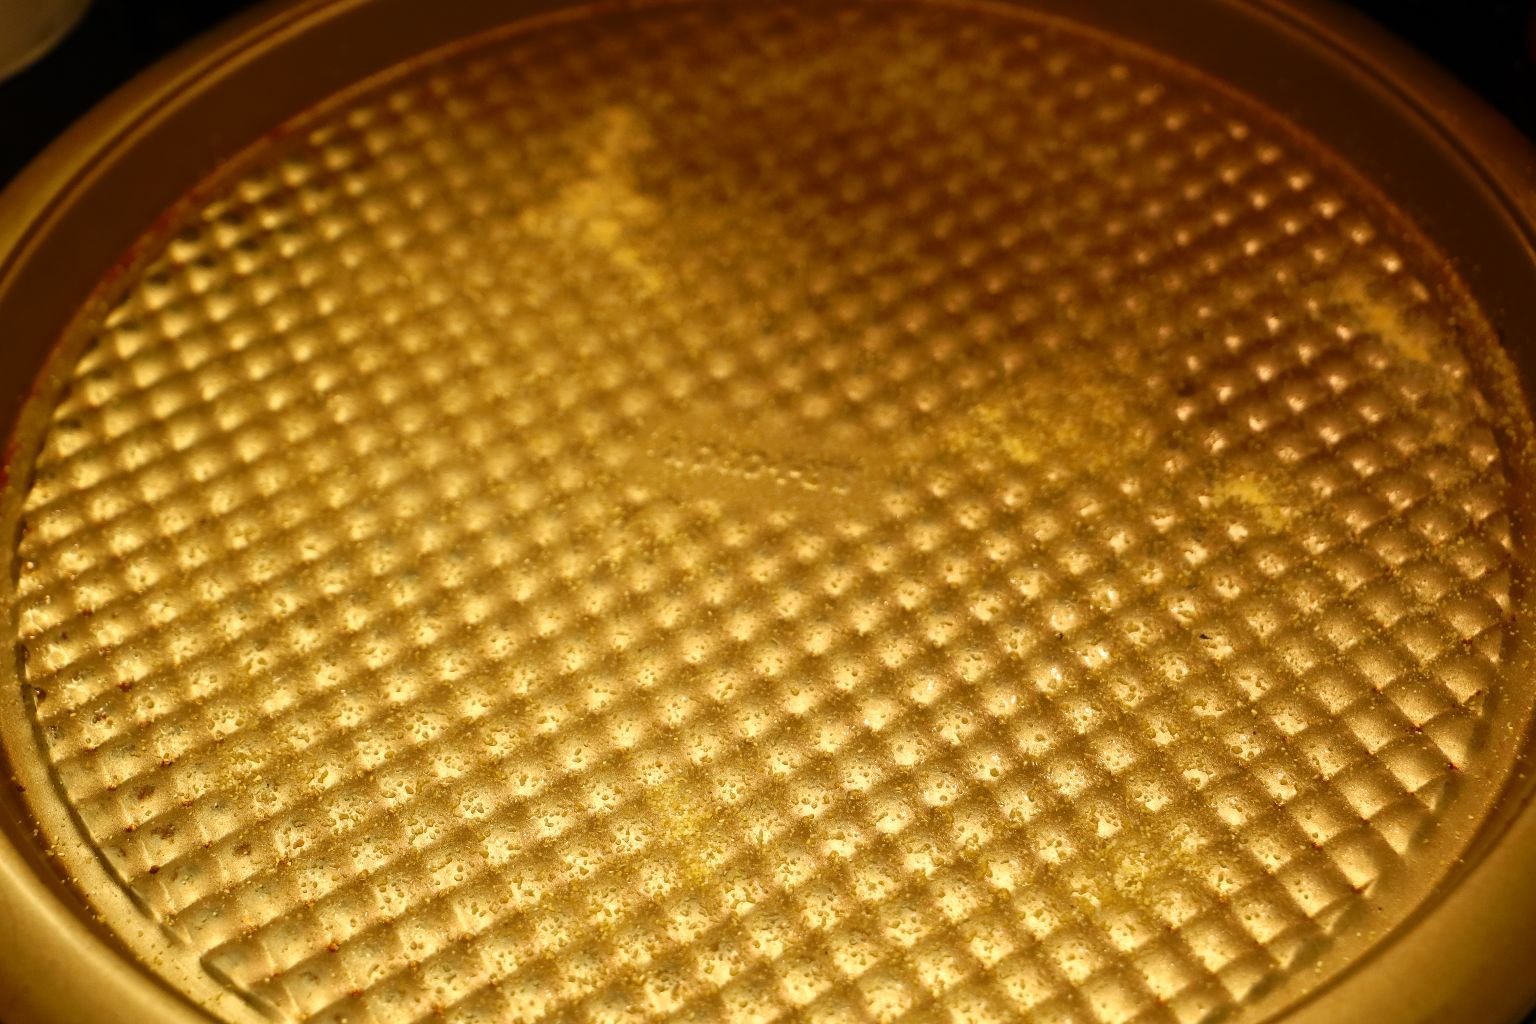
Here you can see I just have a light coating of corn meal.
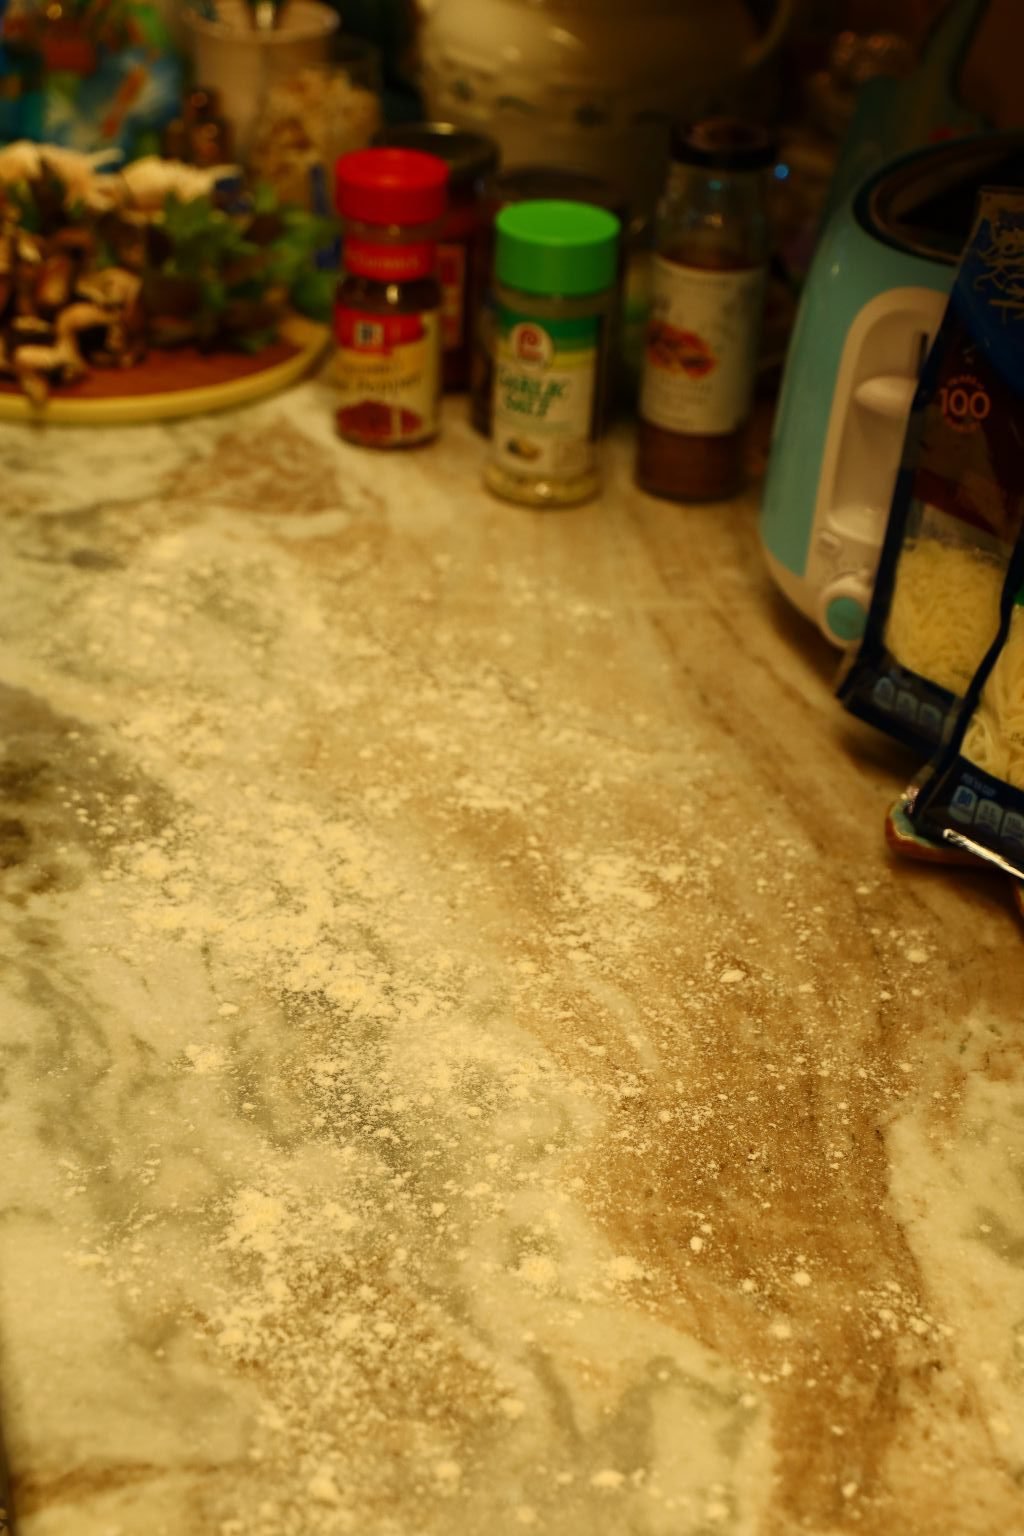
Throw your flour onto your kitchen counter to evenly spread it out.

Your pizza dough should be slightly chilled and not at room temperature.

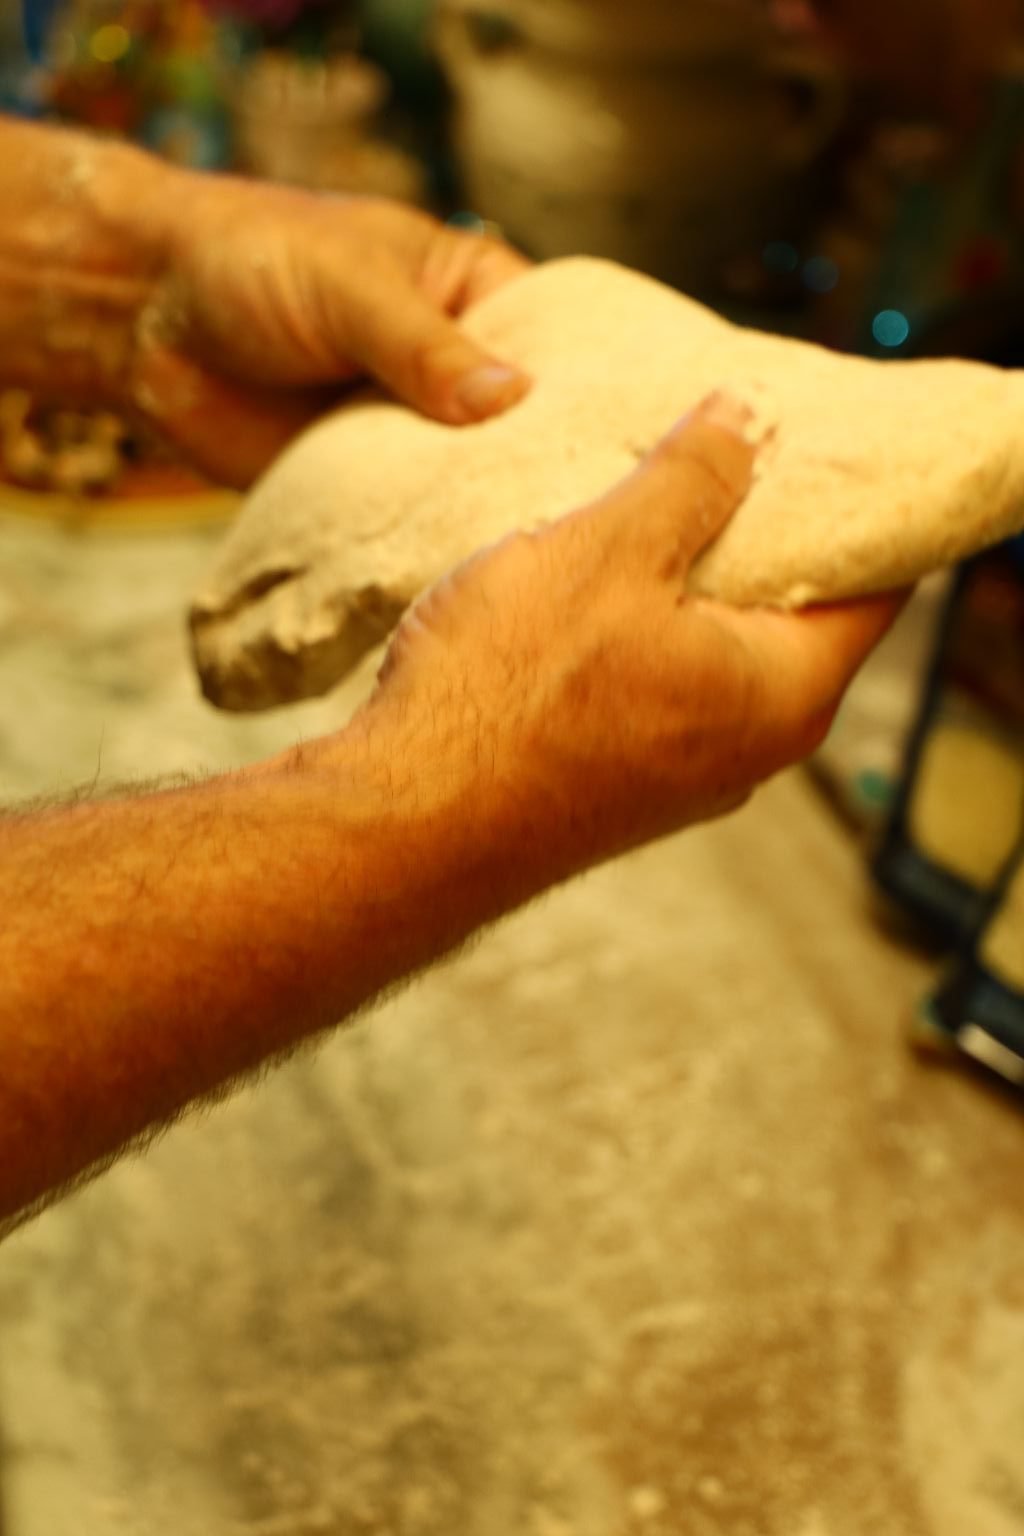

Begin to work your dough by gently pulling and stretching it.
Even let it just hang.
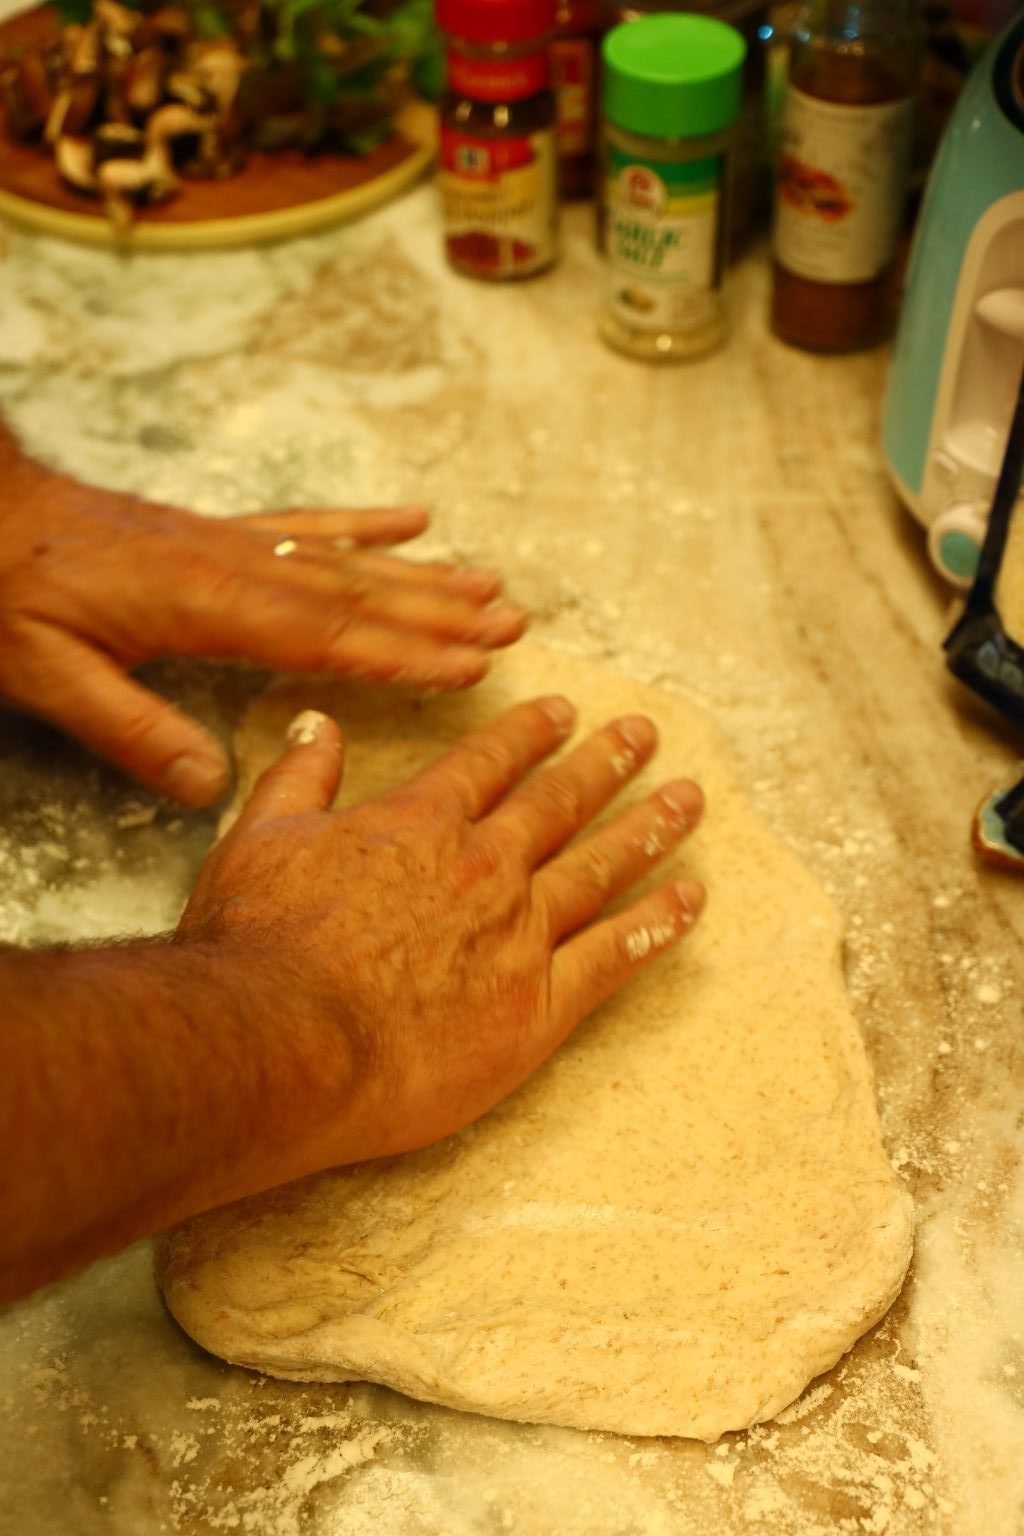

Now you can place it on your counter top and begin to stretch it more with your hands. Turn the dough to make an even circle.
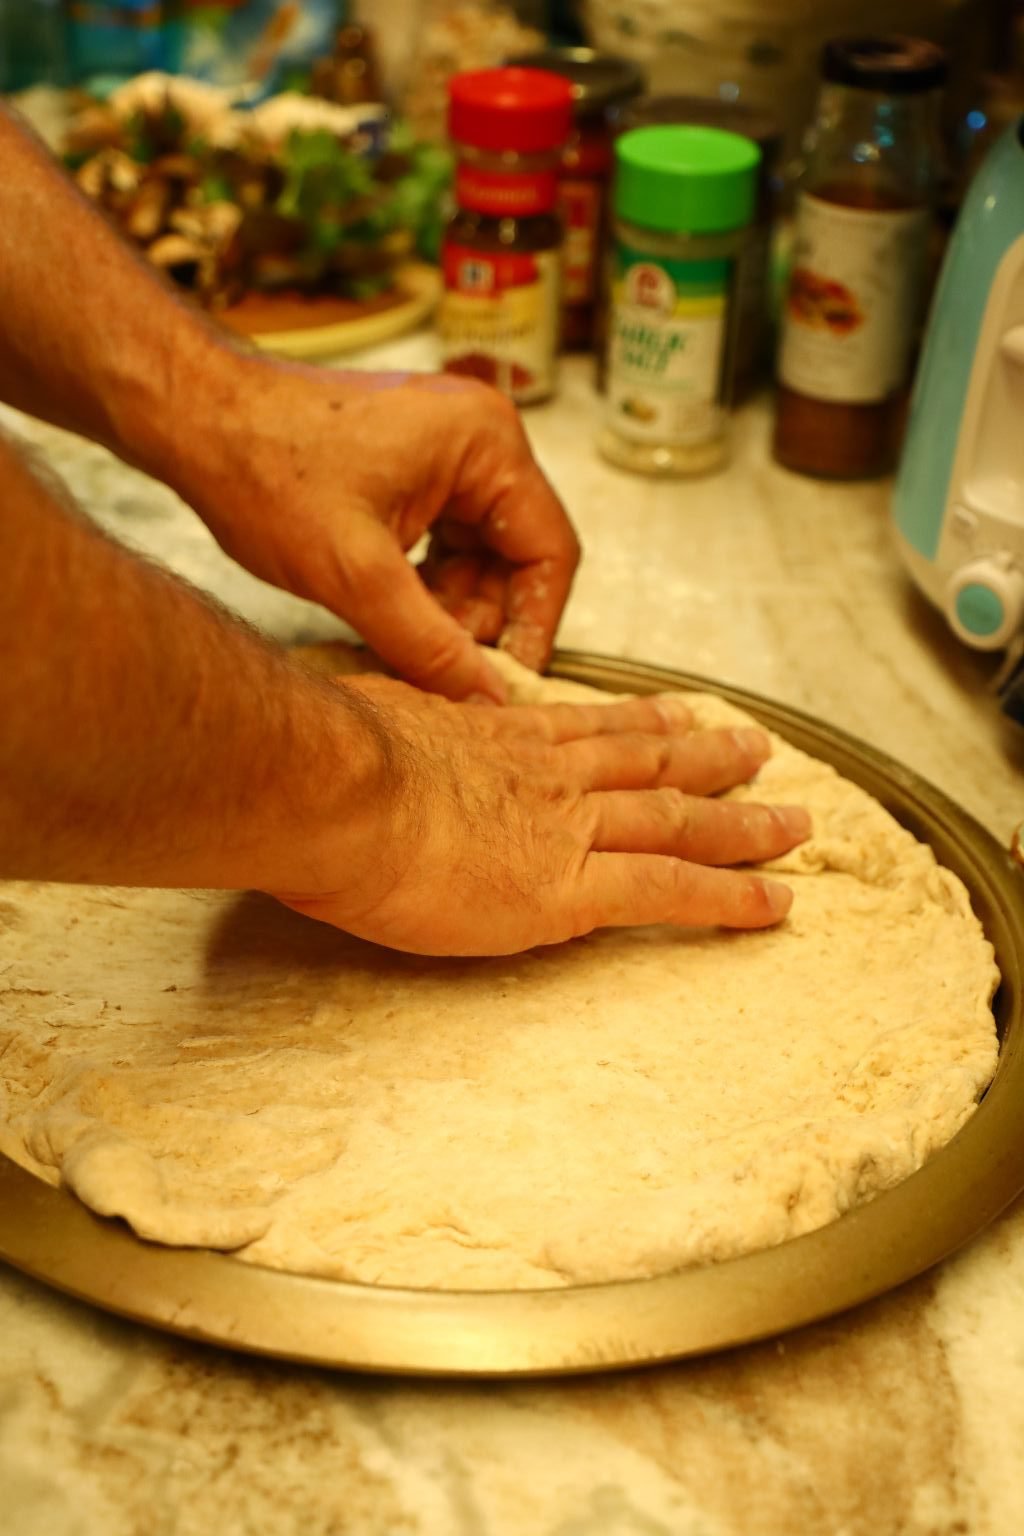

When stretched, place it on your pizza pan and stretch it more if needed to fit the pan.

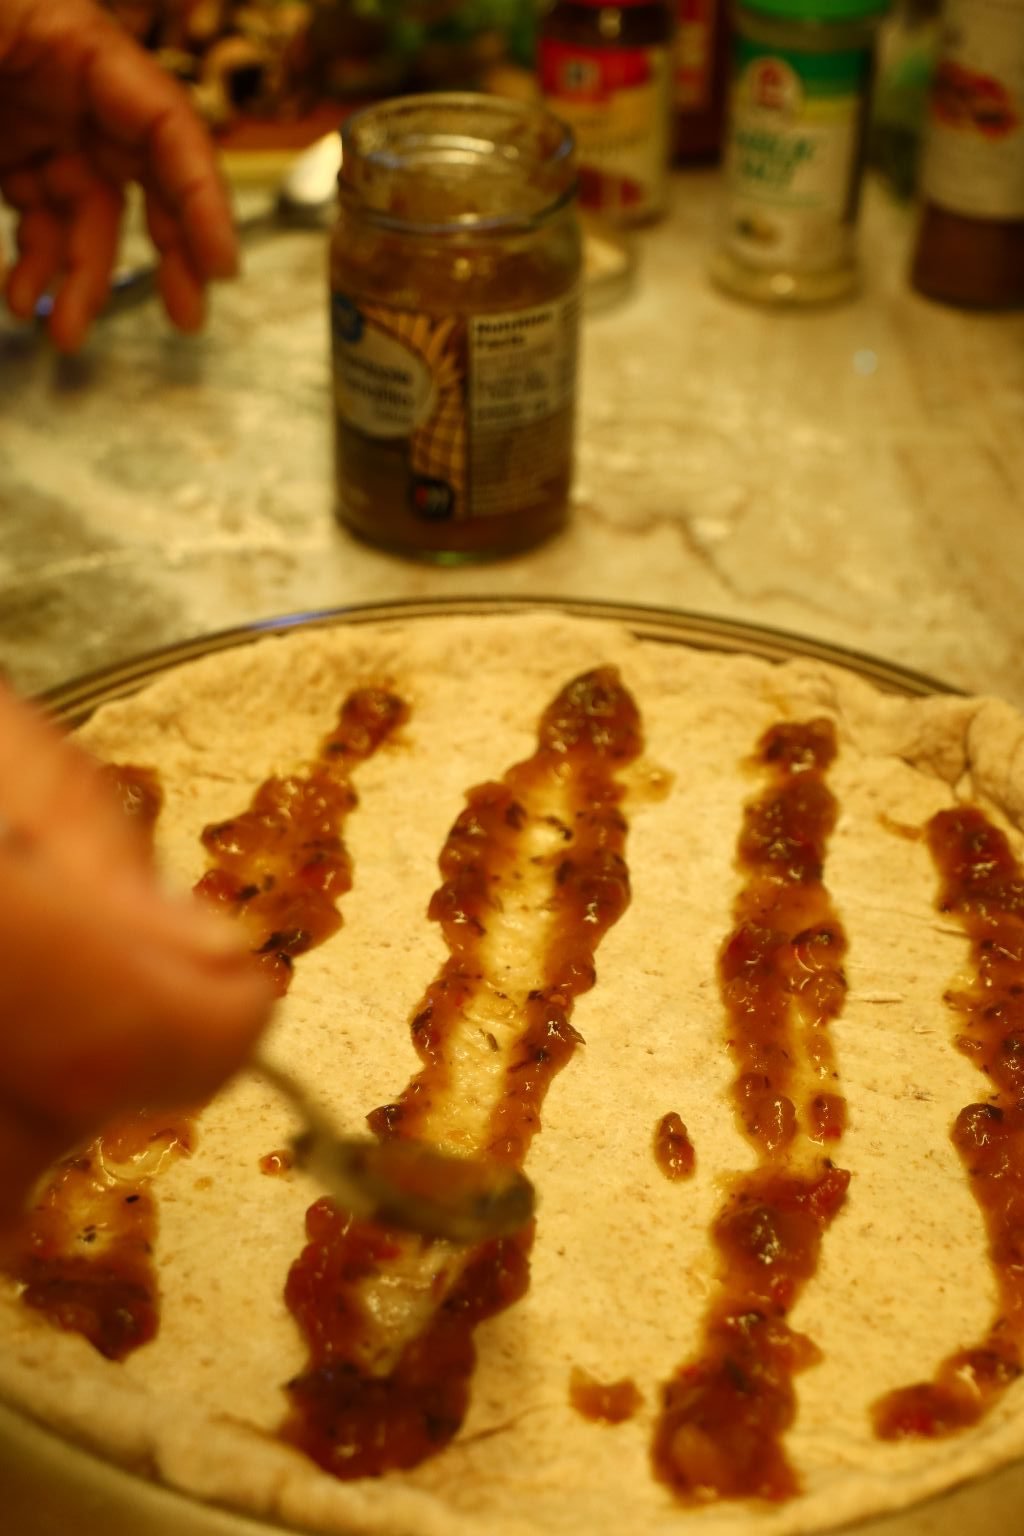
I spread some Pineapple Salsa in lines on the pizza to begin getting that pineapple flavor in the pizza.


I then did the same in the other direction with some Pizza Sauce.

——————————————————————-
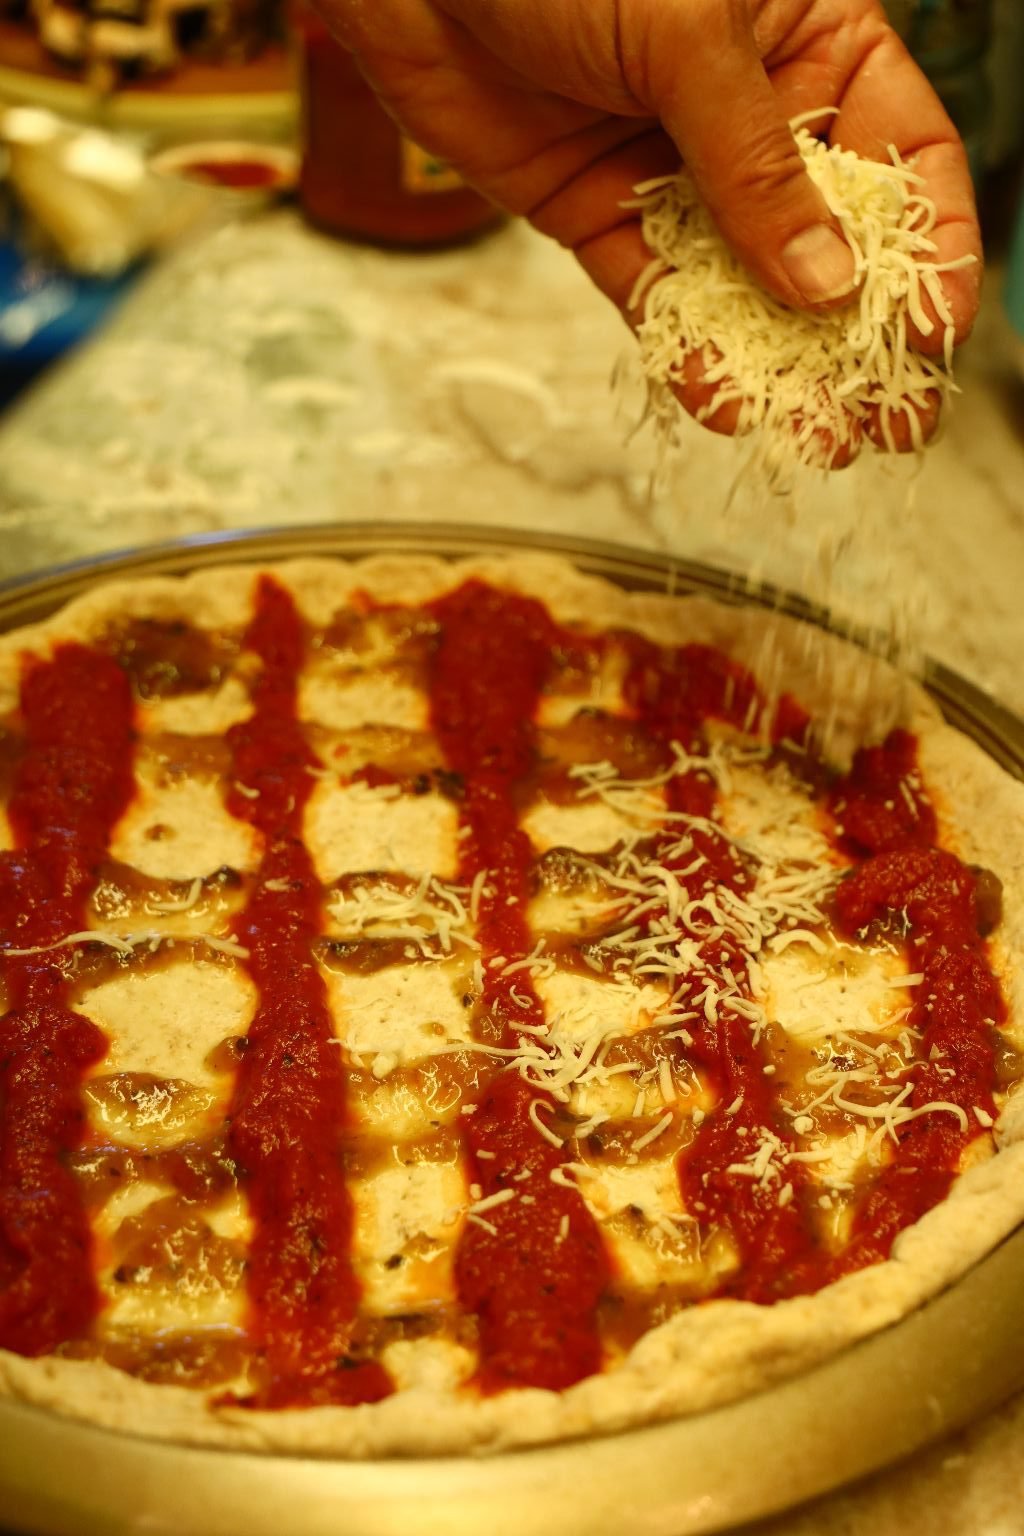
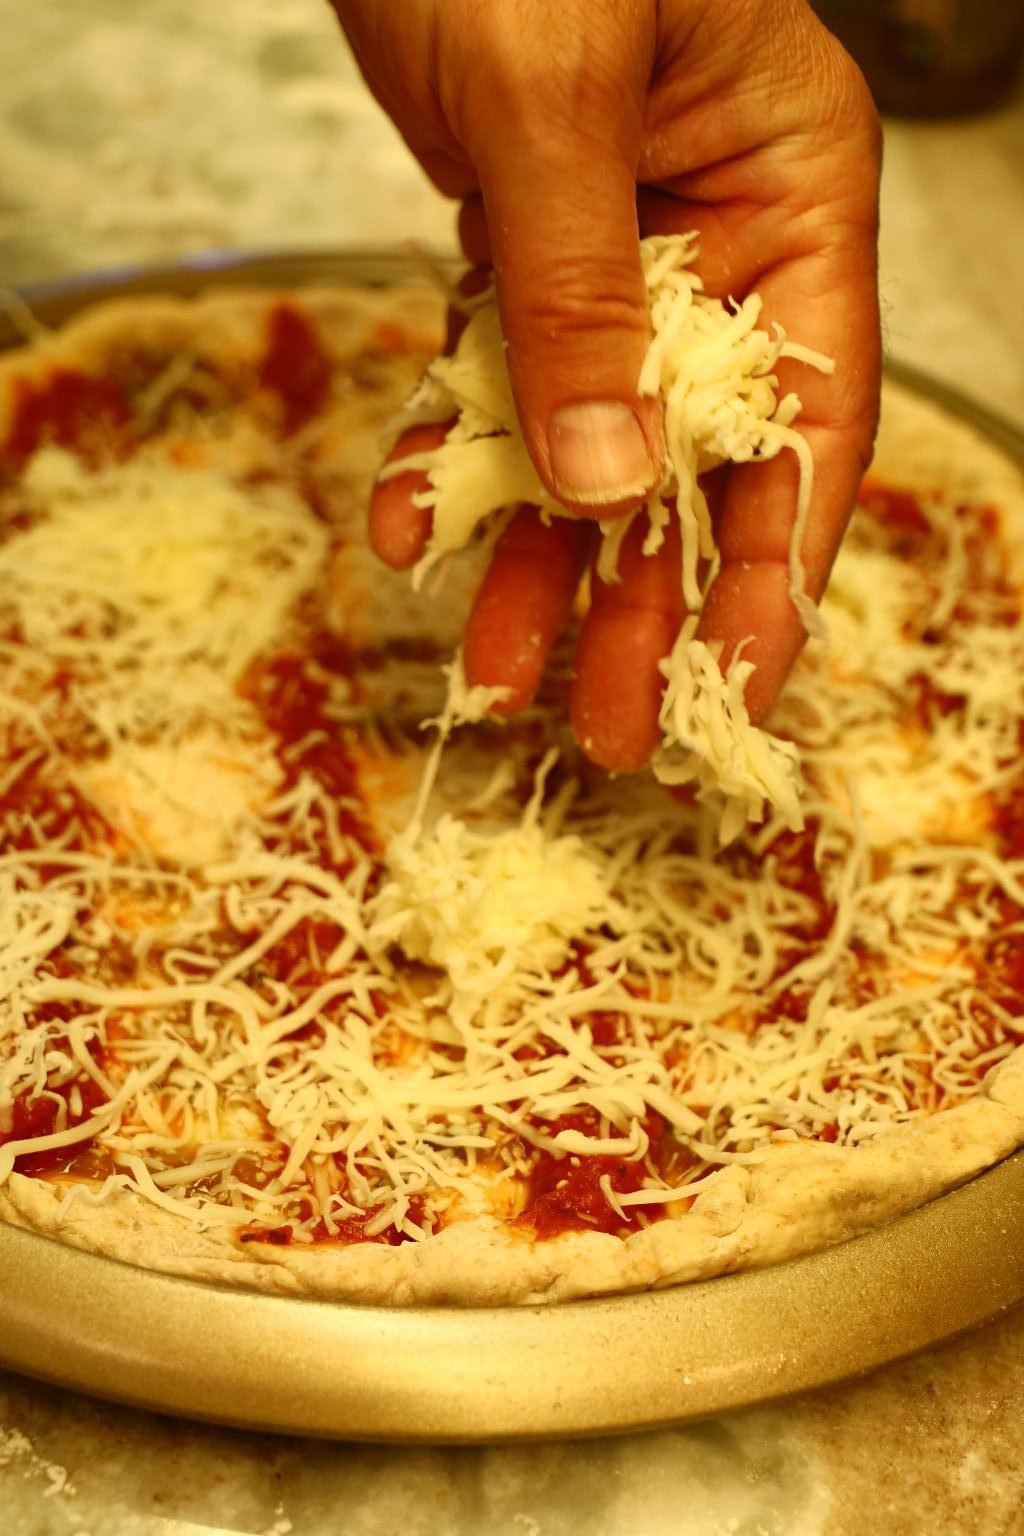
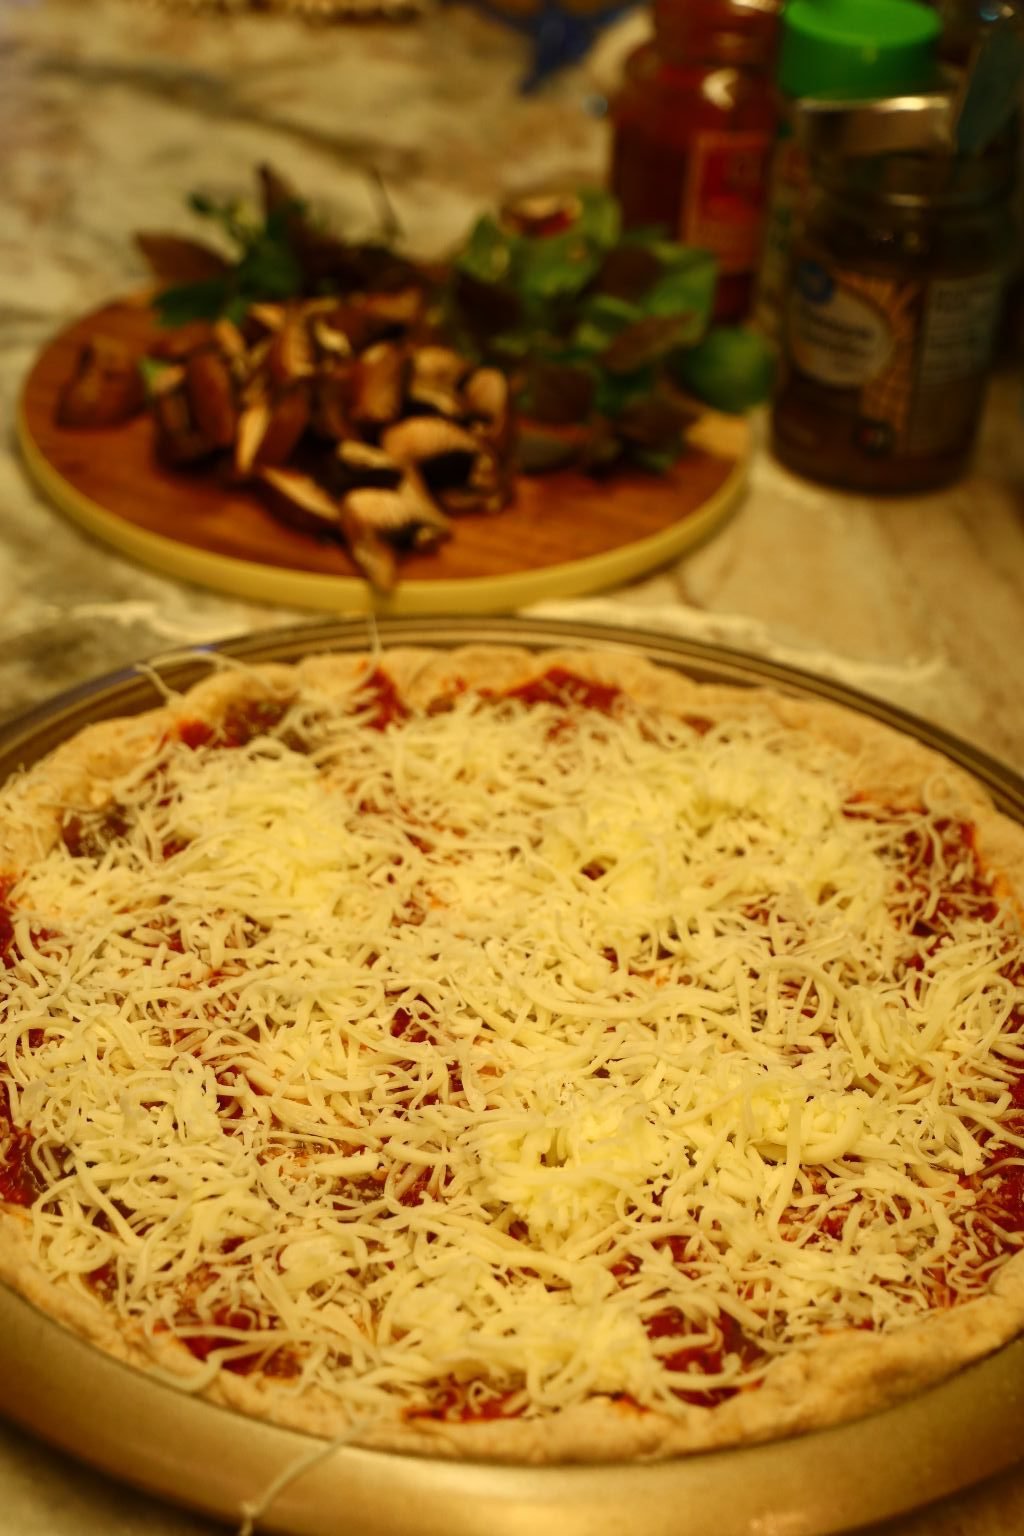
Now, evenly spread your Cheese over the Pizza.

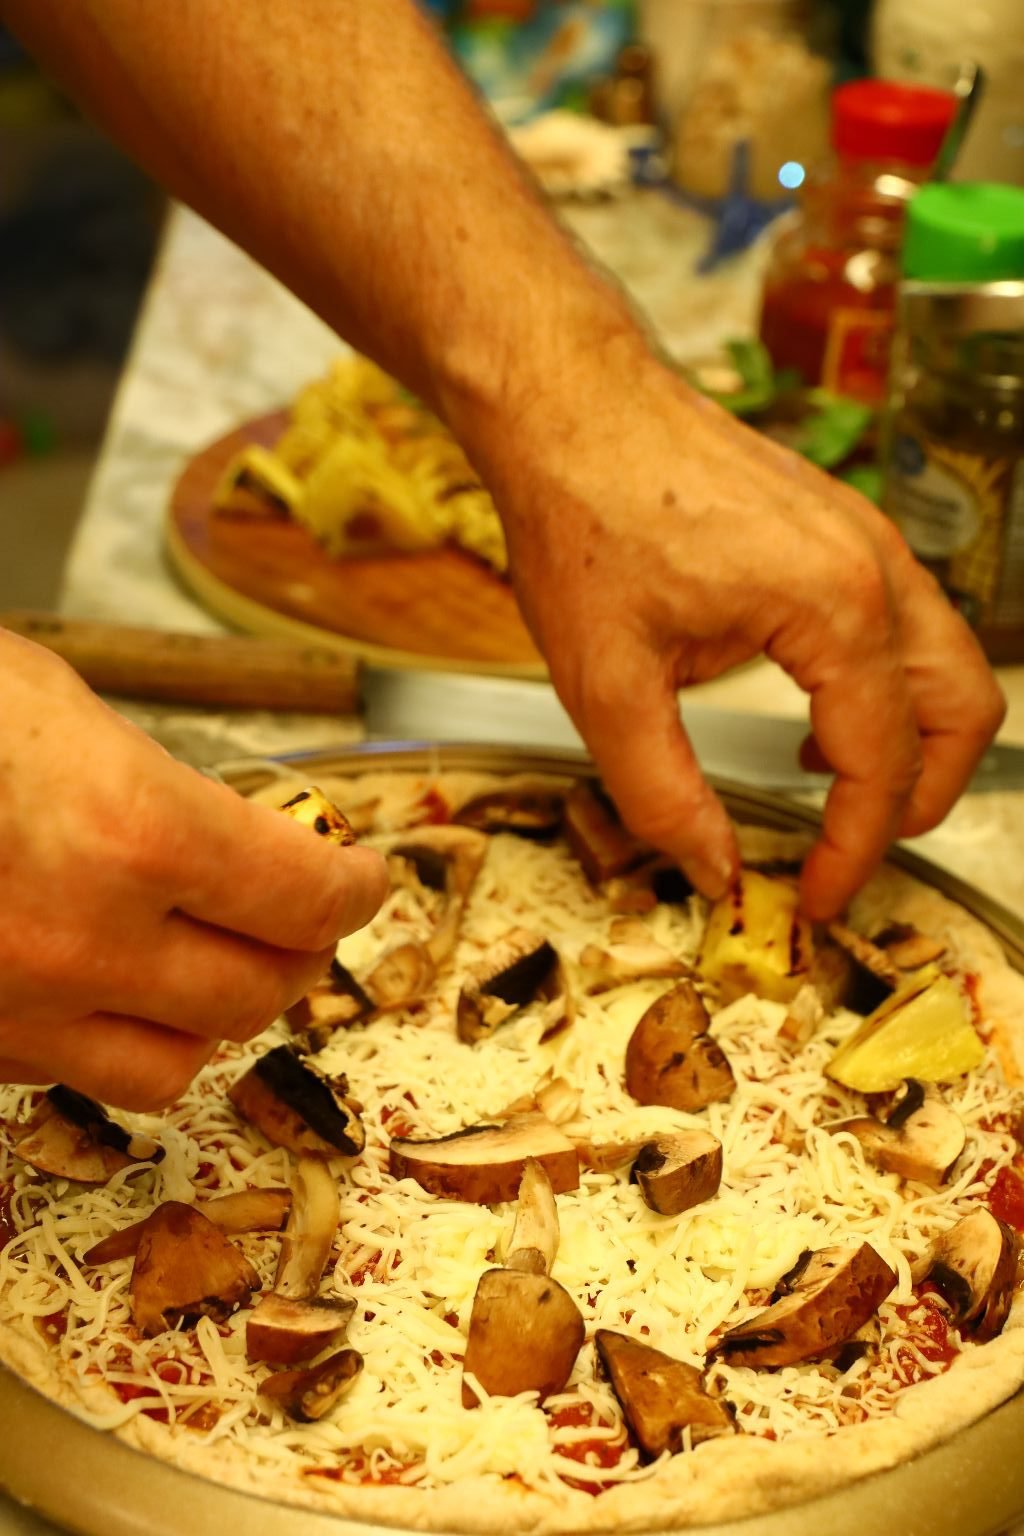
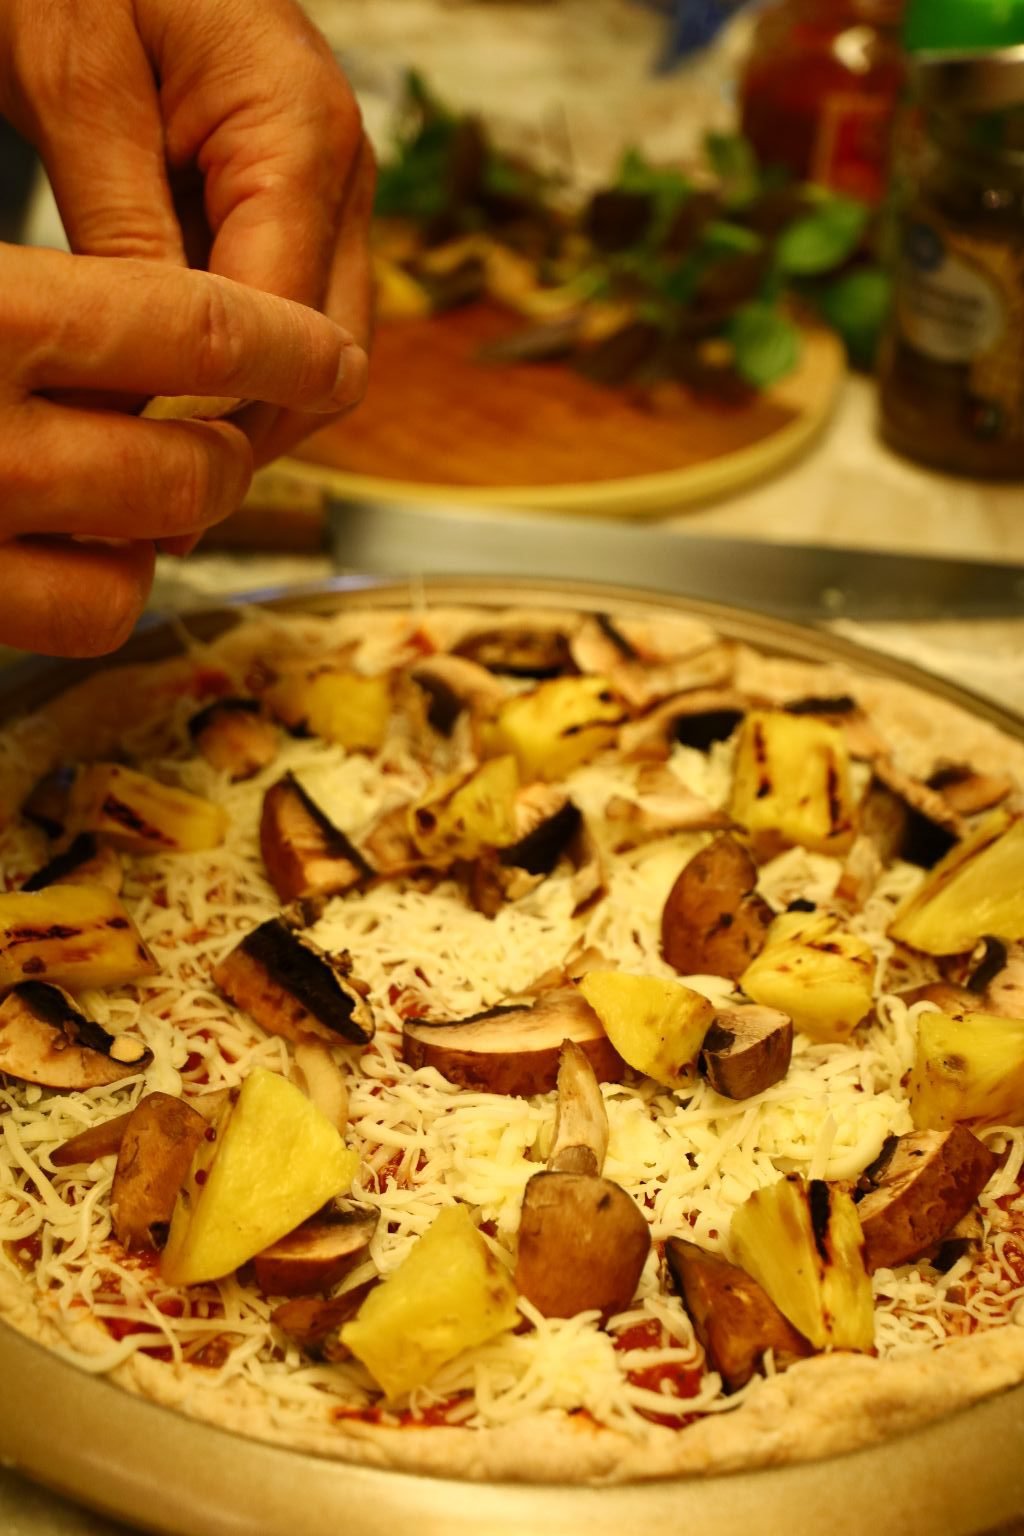
Place your Mushrooms and Pineapple over the Pizza.
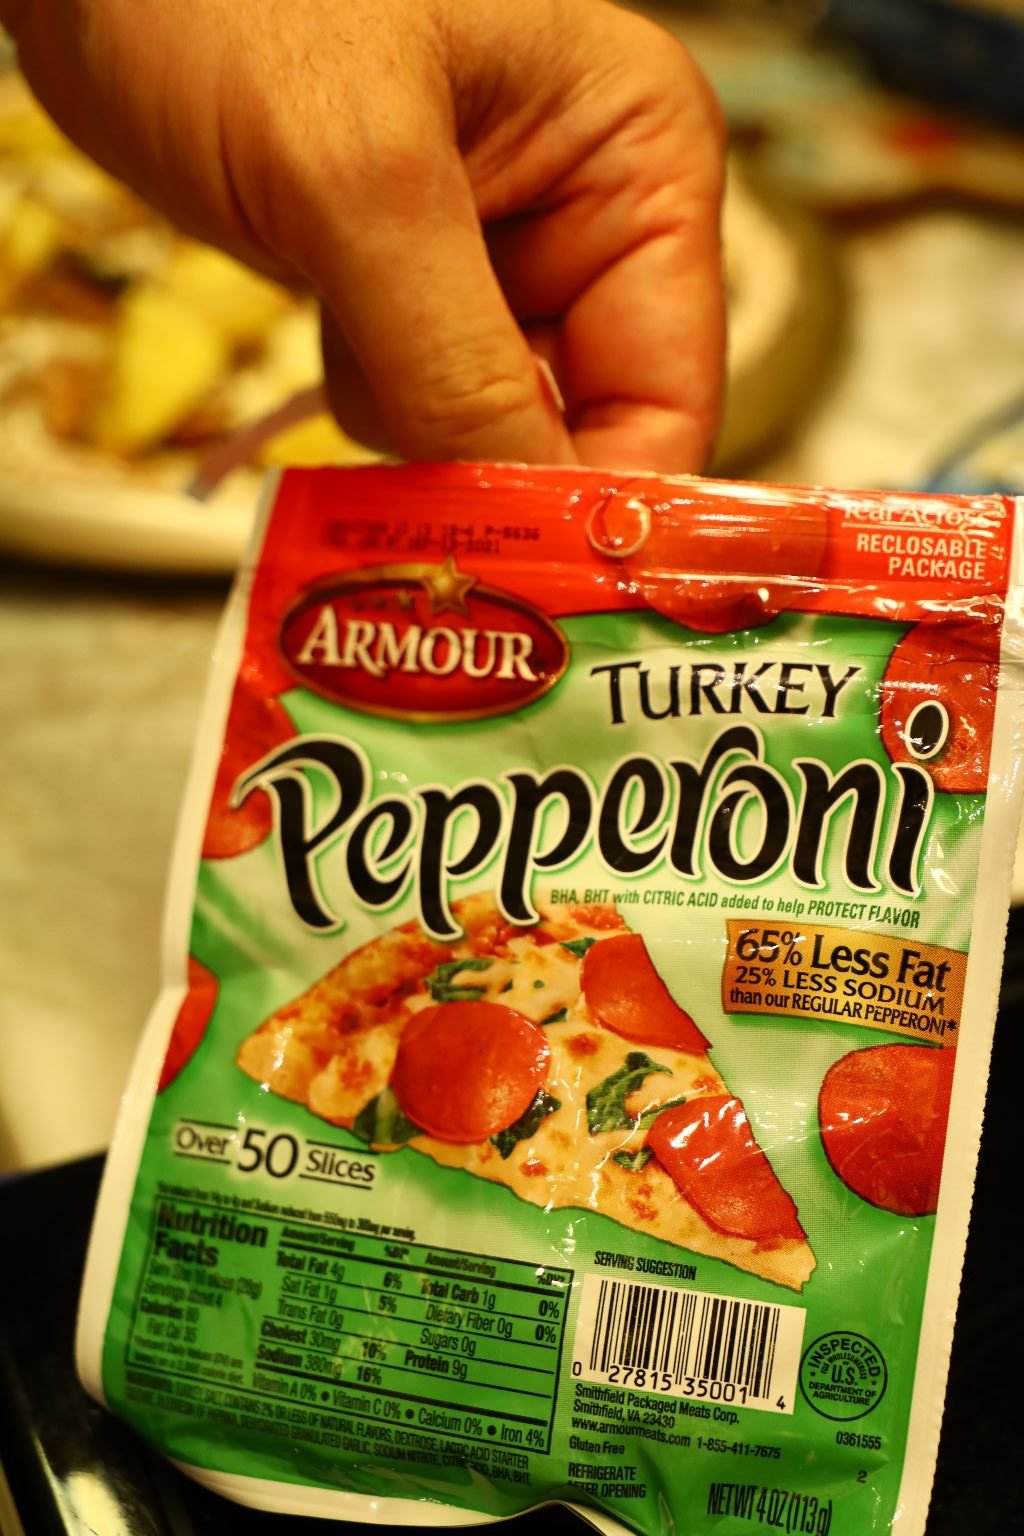
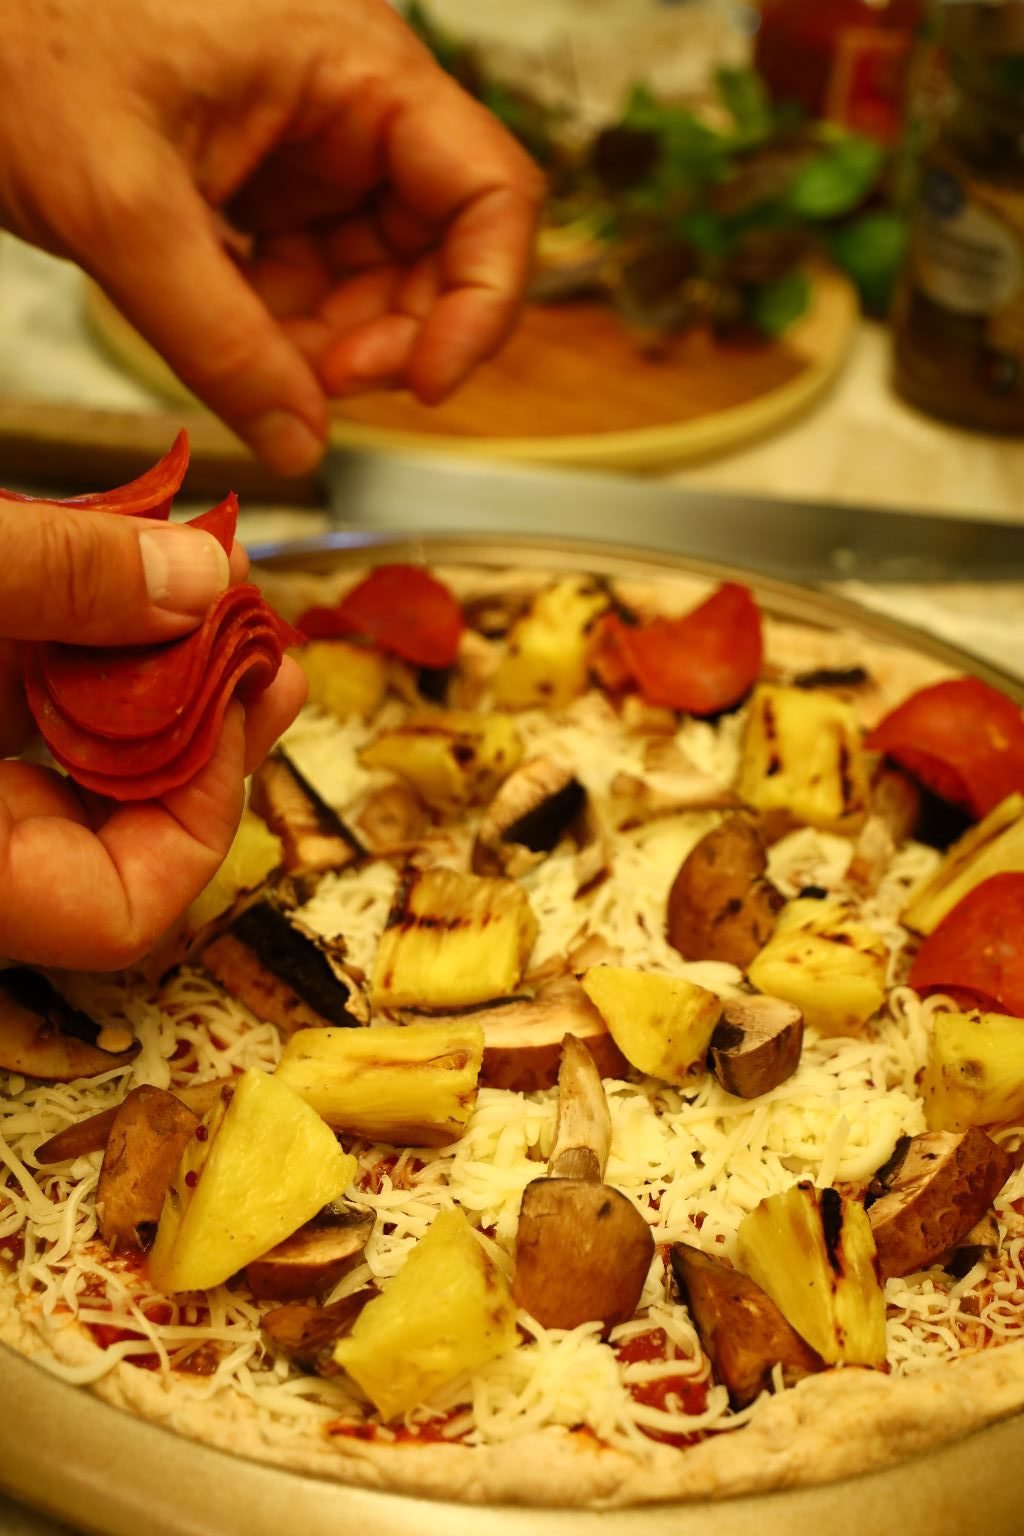
Now, place your Turkey Pepperoni over the pizza.
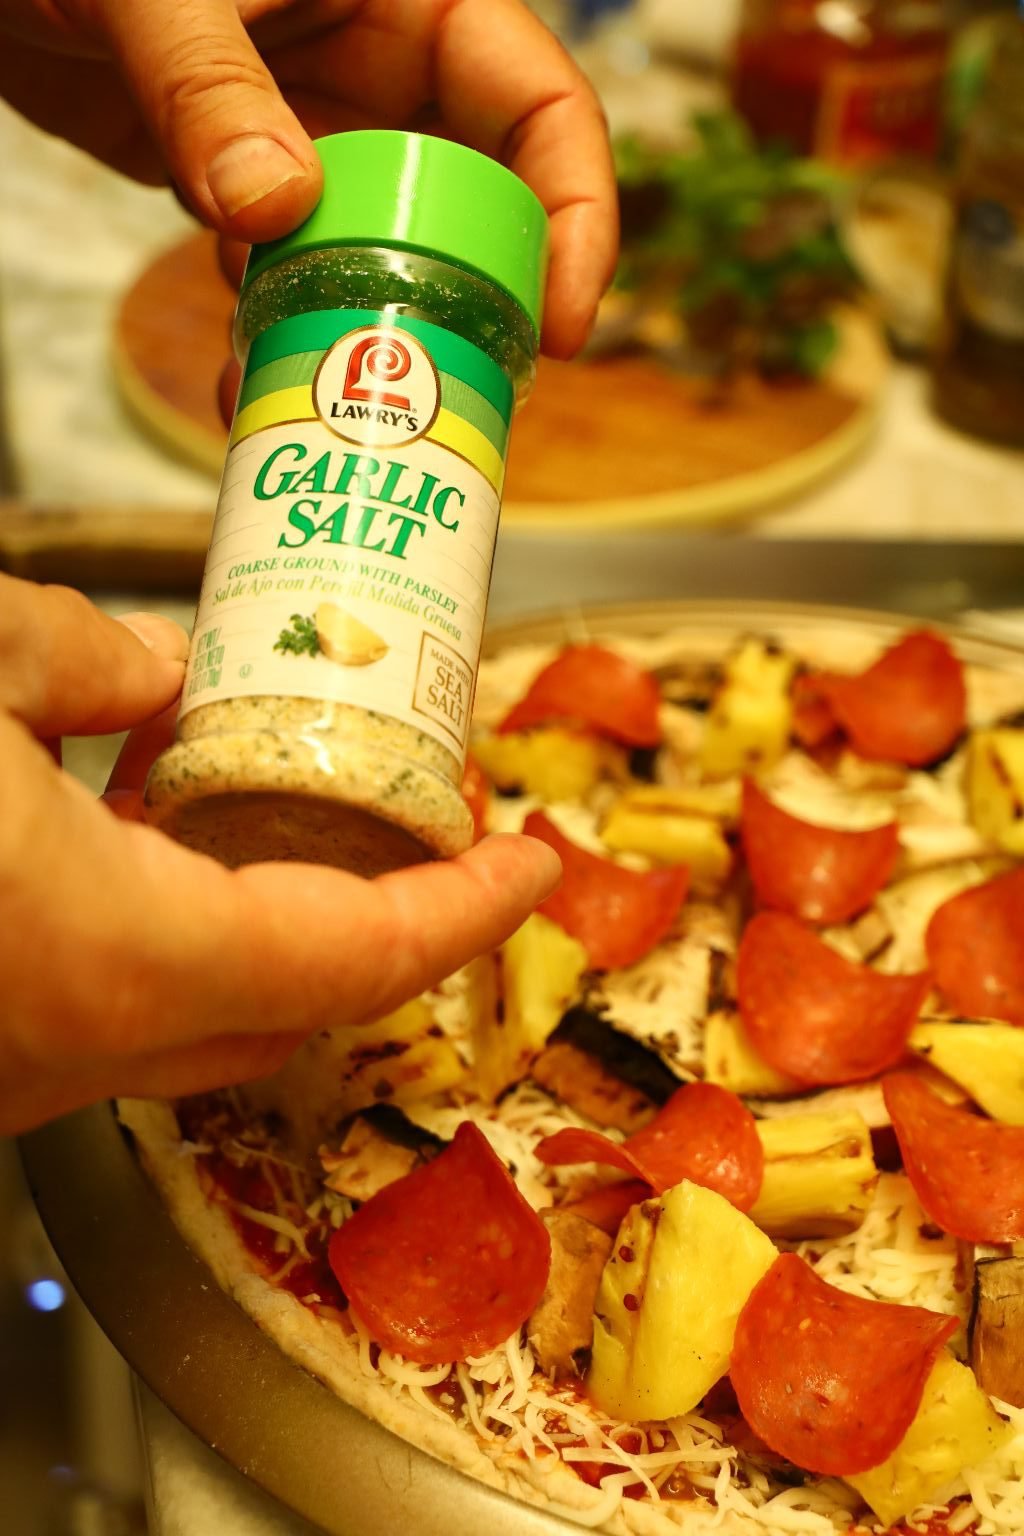
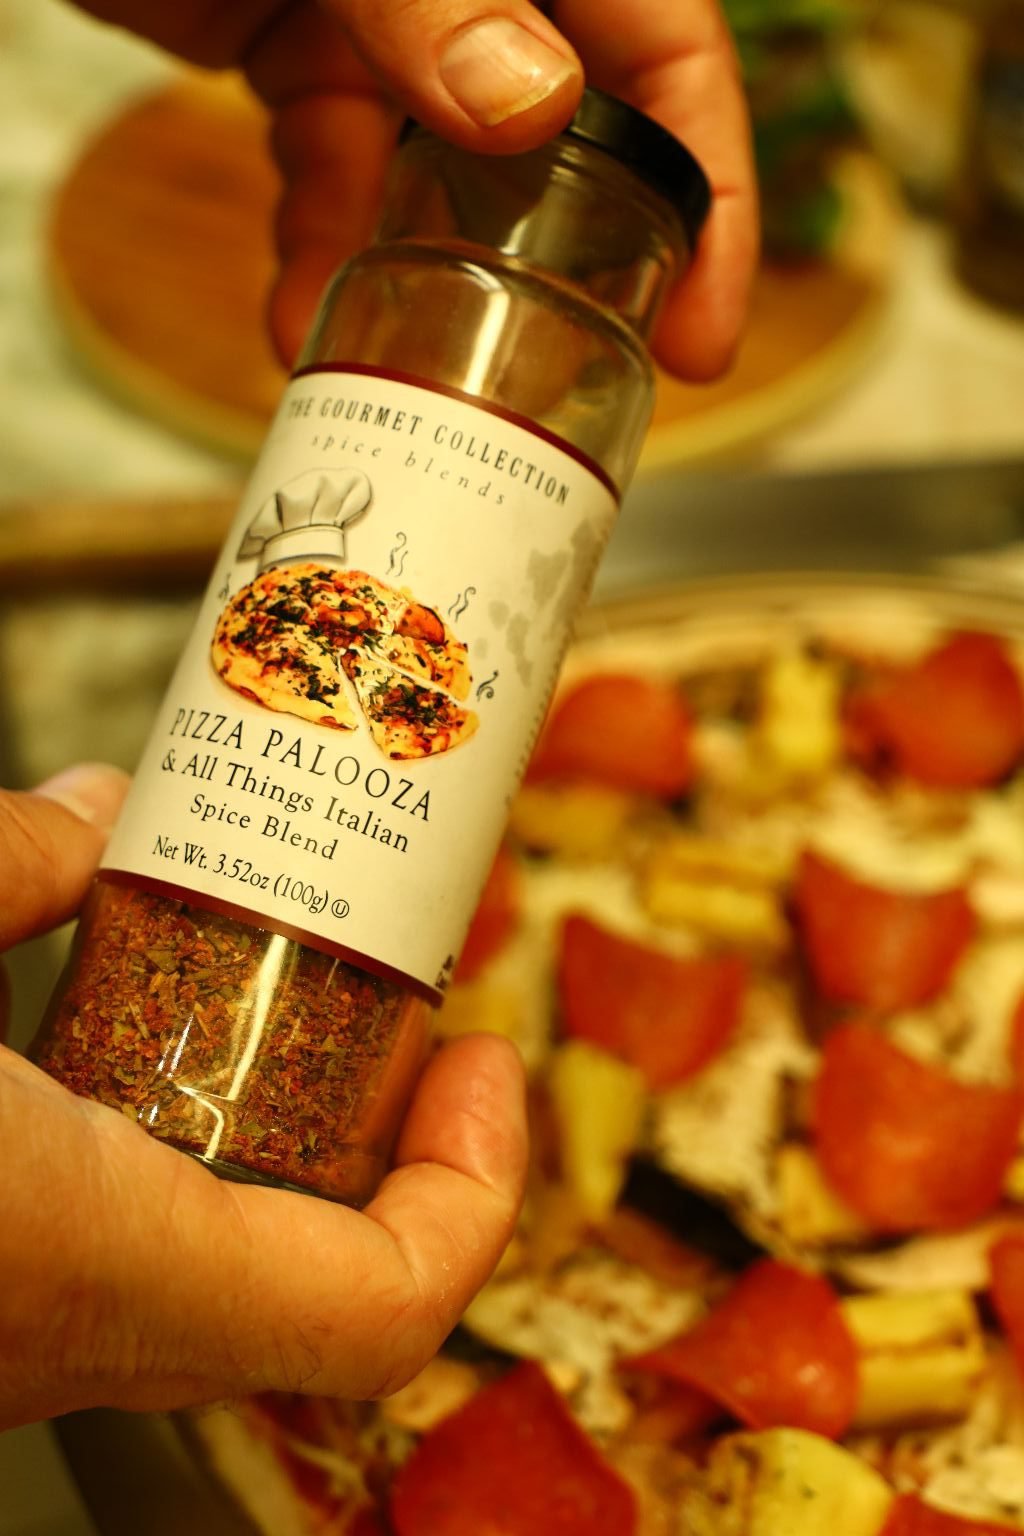
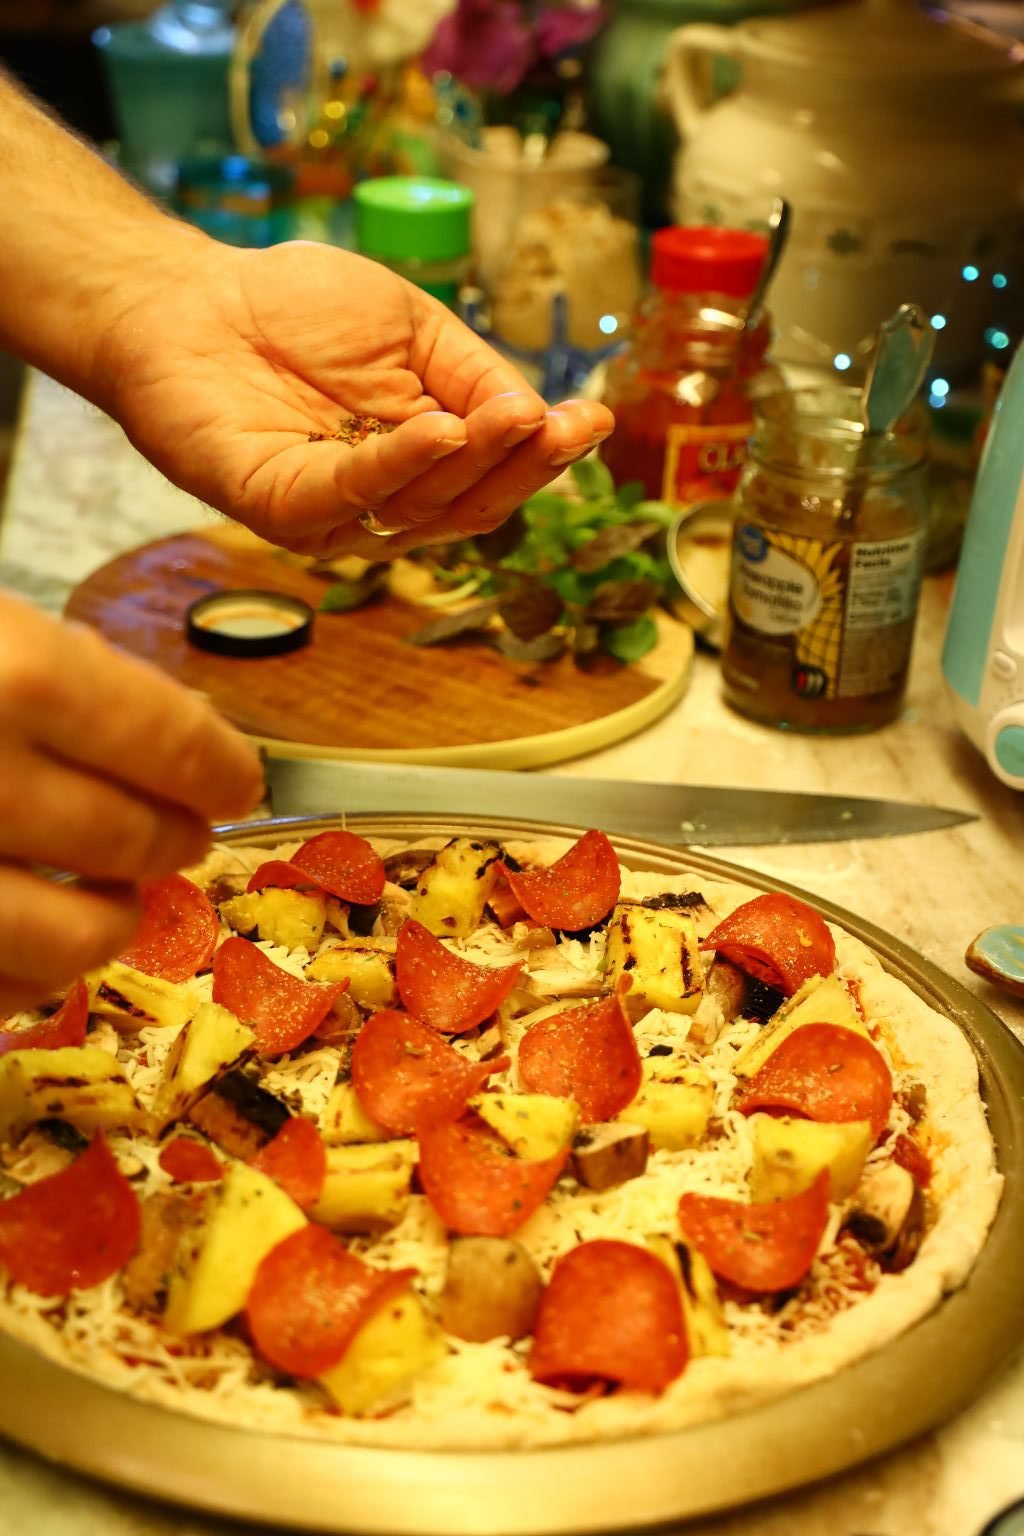
Now place your seasonings on the Pizza like Garlic Salt, Pizza Palooza, and Hot Pepper Flakes.
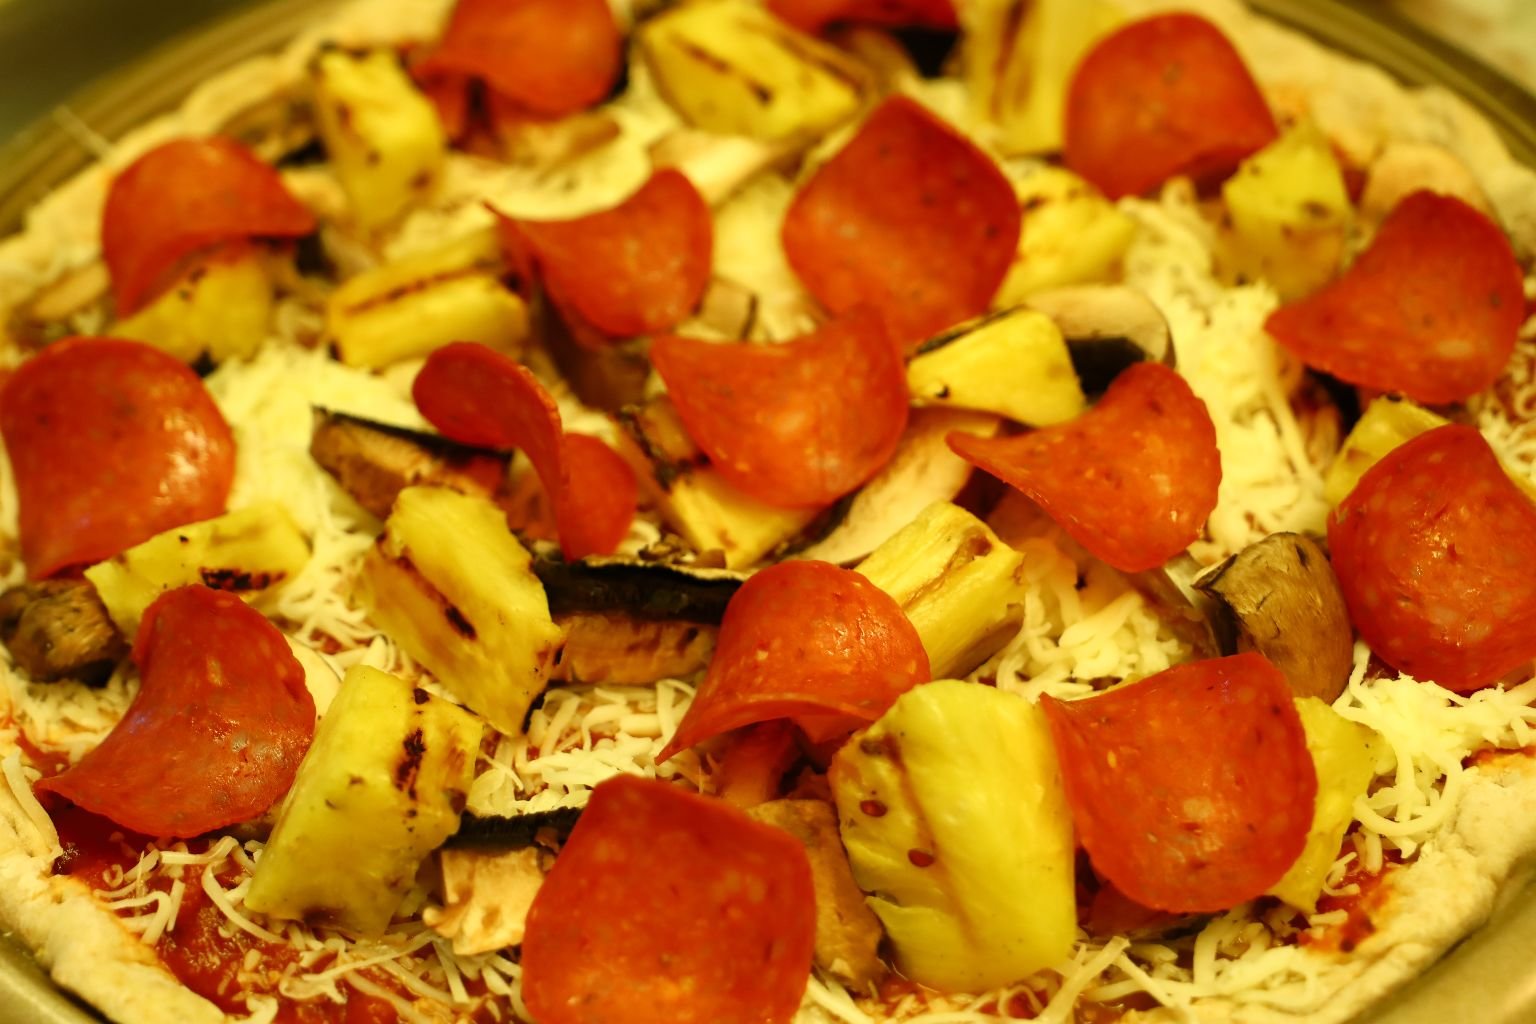
Here the Pizza is Ready for the Grill


I turn the grill on medium high and closed the lid to let the pizza bake. After about 12 minutes I checked the pizza to see if it was cooking evenly. If not, turn the pizza, then let it cook for about another 6 min. depending on your grill’s temperature.
Repeat the same process for your other pizza’s and enjoy!
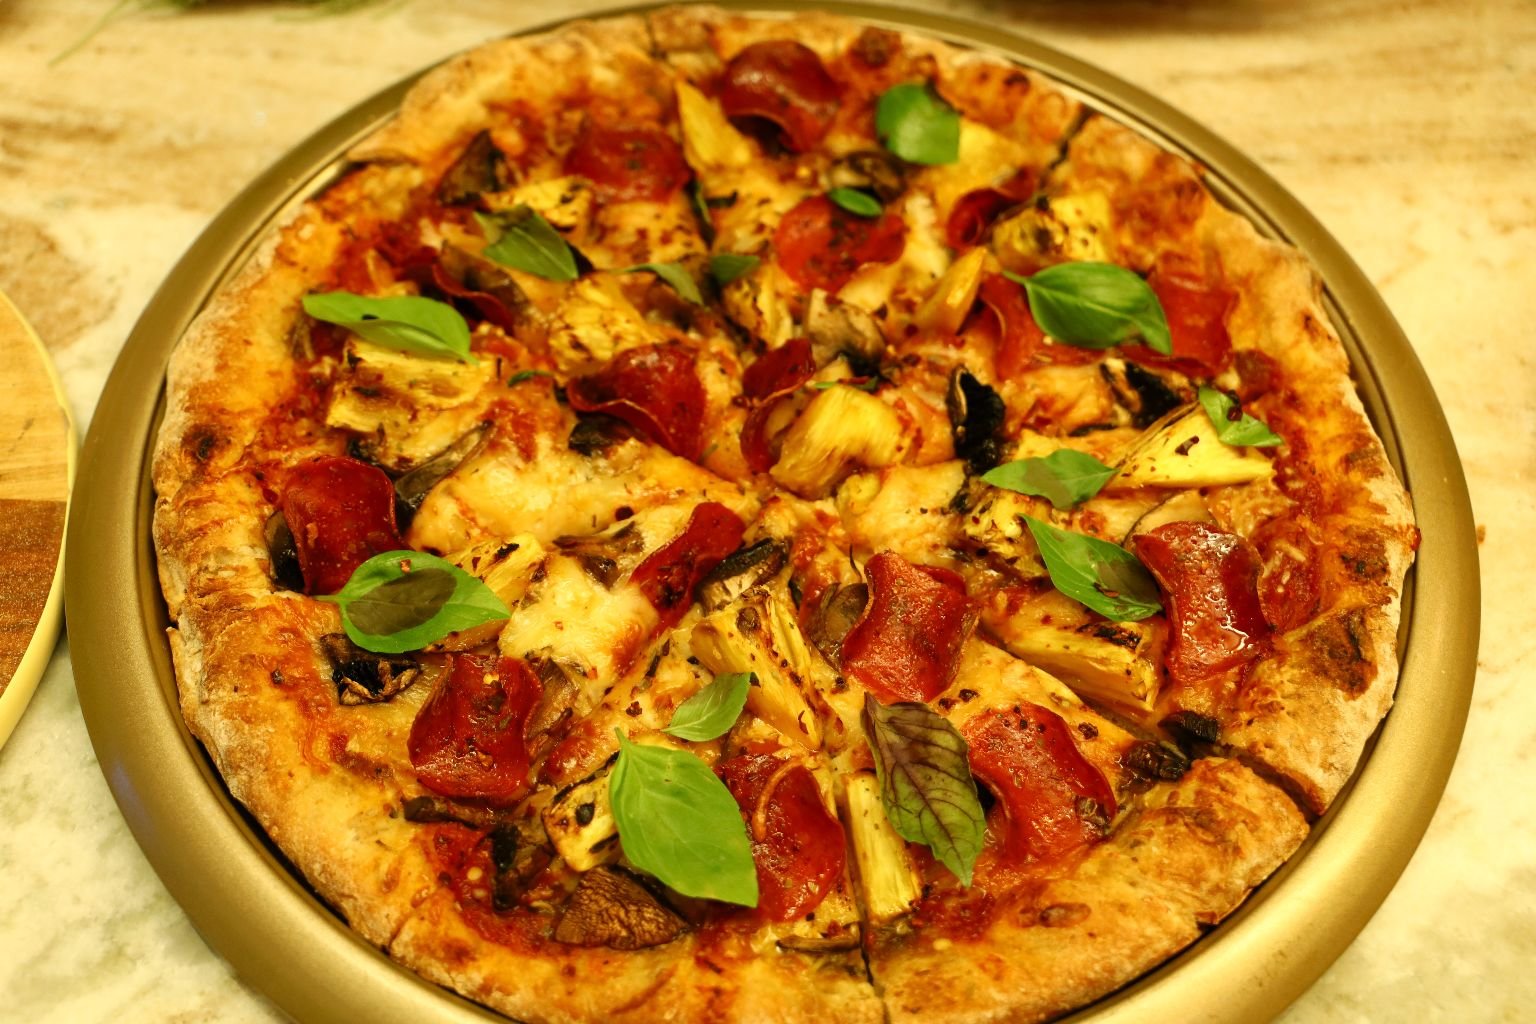
Right after you remove your pizza from the grill, place your fresh basil evenly over the top as shown.
Enjoy!
——————————————————————–

——————————————————————-
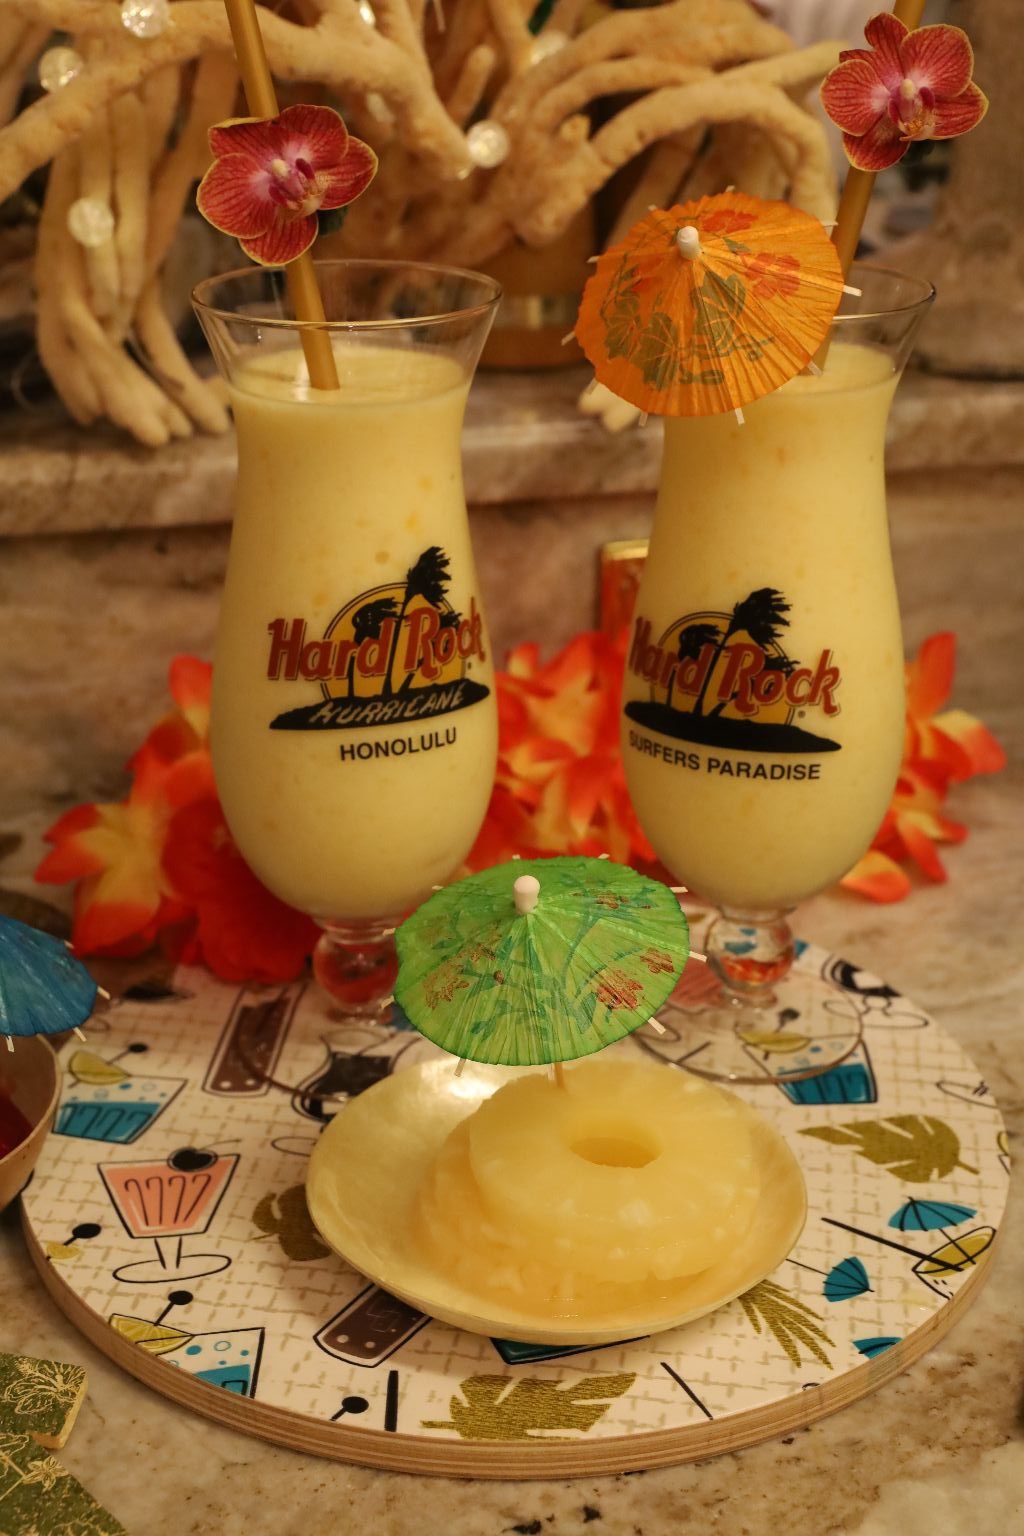
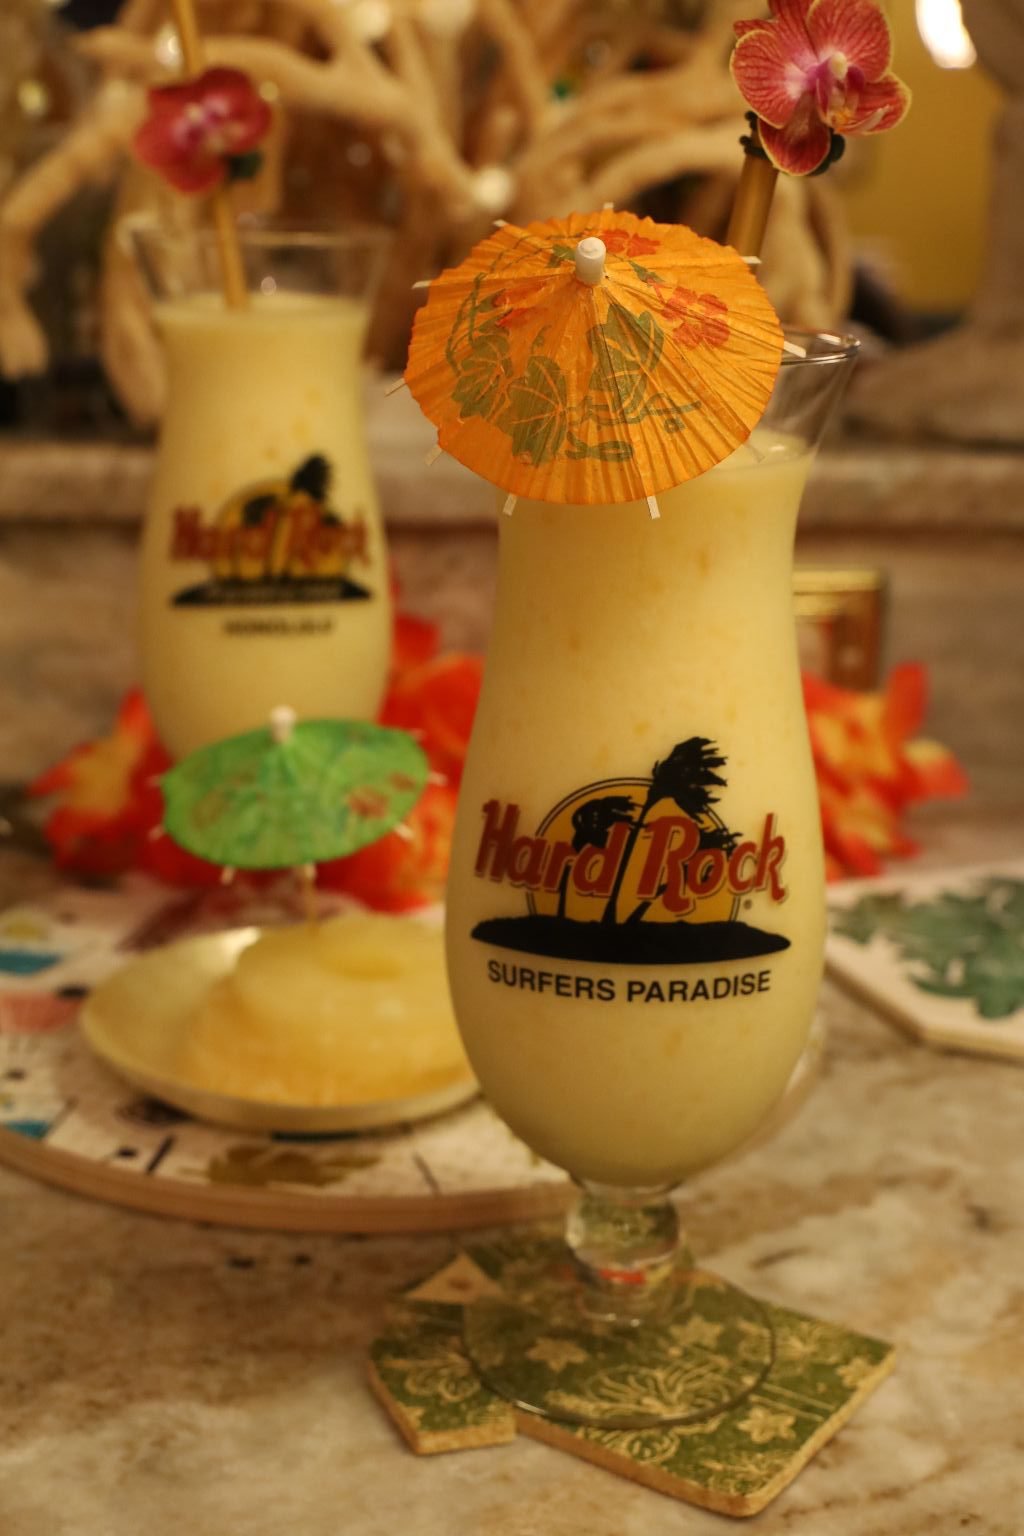
Honolulu LAVA Rocks!
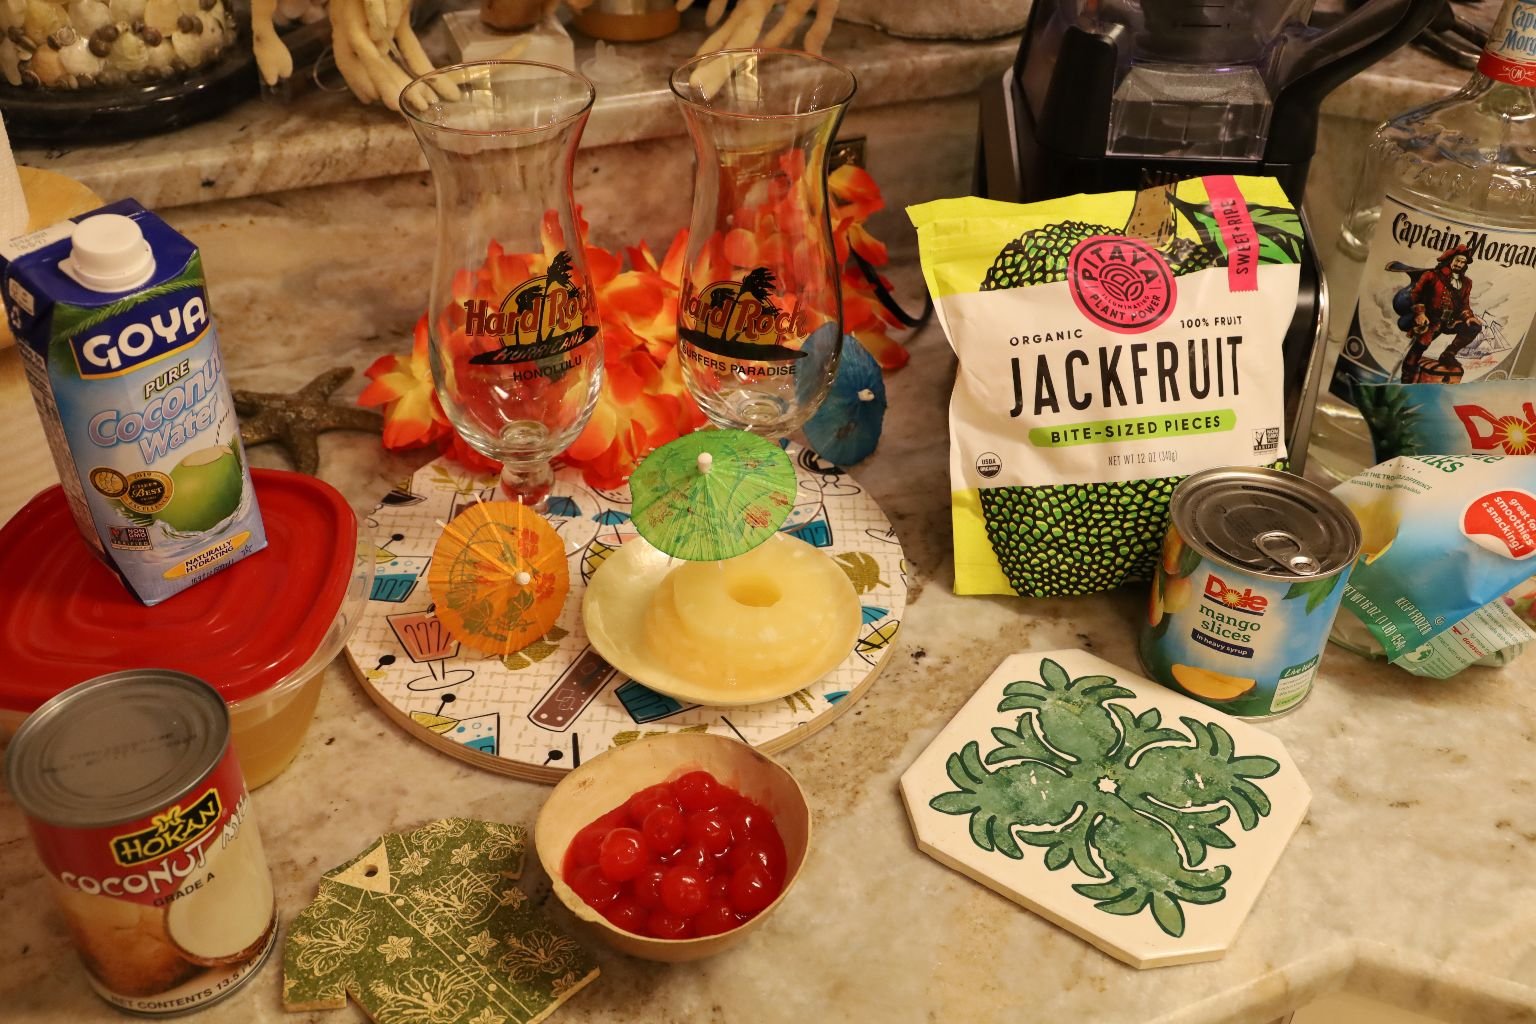
Ingredients:
This recipe makes 4 large drinks
1/2 Blender full of ice
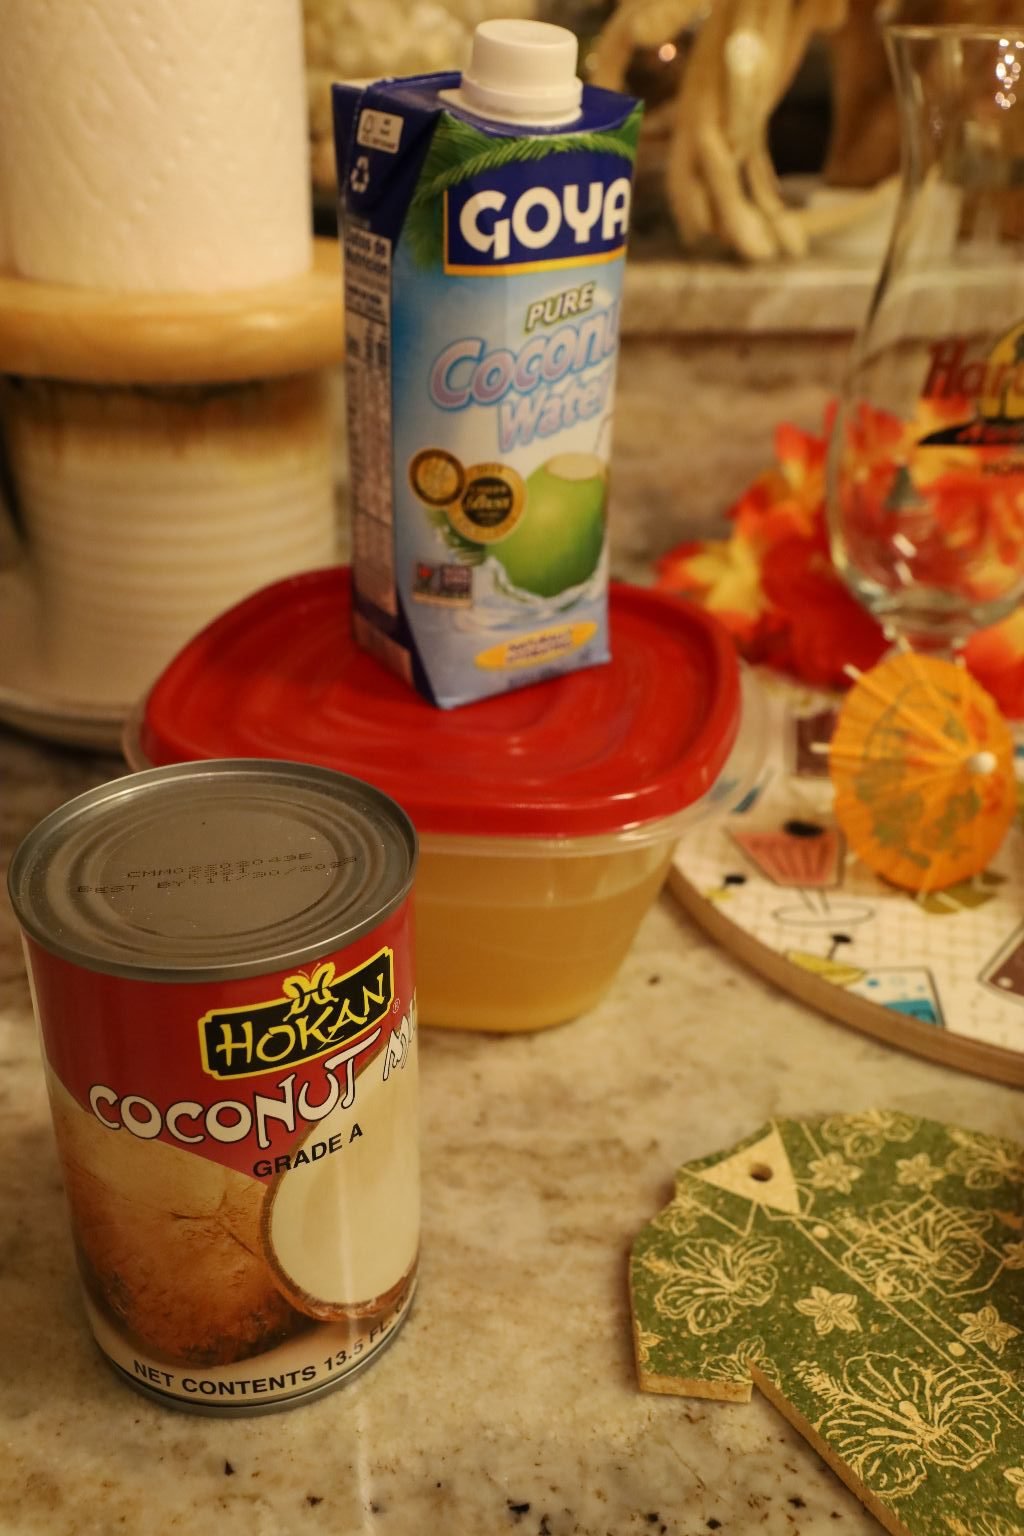
About 8 ounces Coconut Water, or more to taste
~1/2 Cup Pineapple Juice
~1/2 Can Coconut Milk
4 Slices Canned Mango Slices
1 1/2 Cups Frozen Pineapple Chunks
2 Cups Frozen Jackfruit Bite Sized Pieces
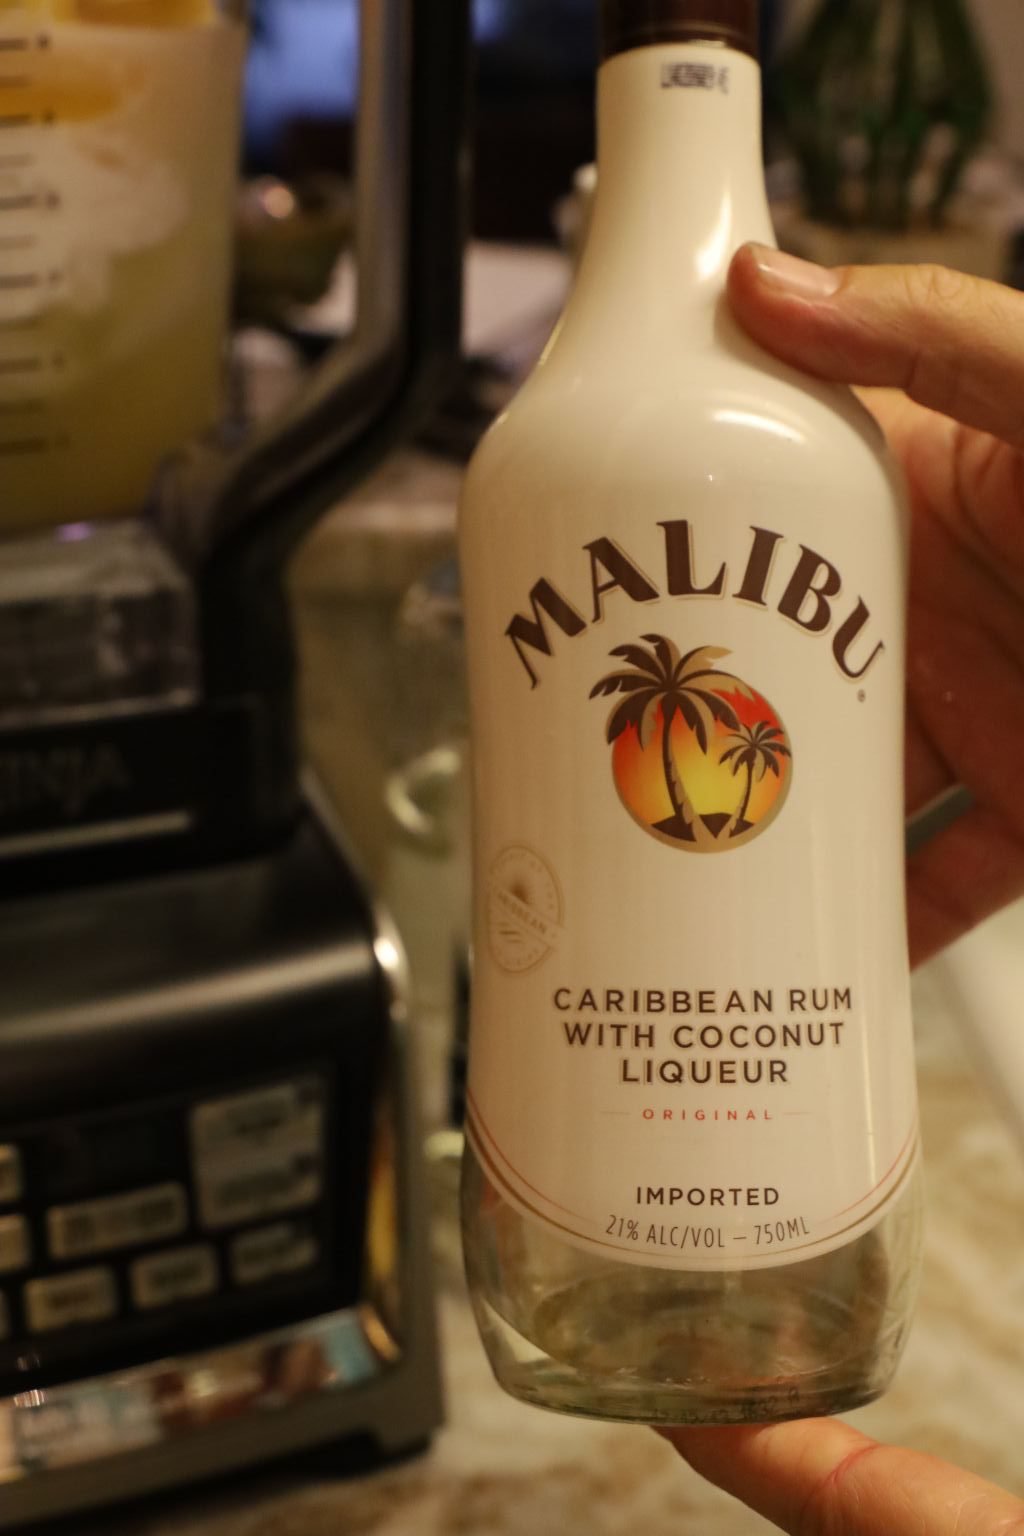
4 Shots Malibu Rum – add more to your taste
4 Shots Captain Morgan White Rum – add more to your taste
Cherry Juice to make the molten lava
Garnish with large straw and Orchid Flower and or Pineapple Rings and Stemmed Cherries
————————————————————


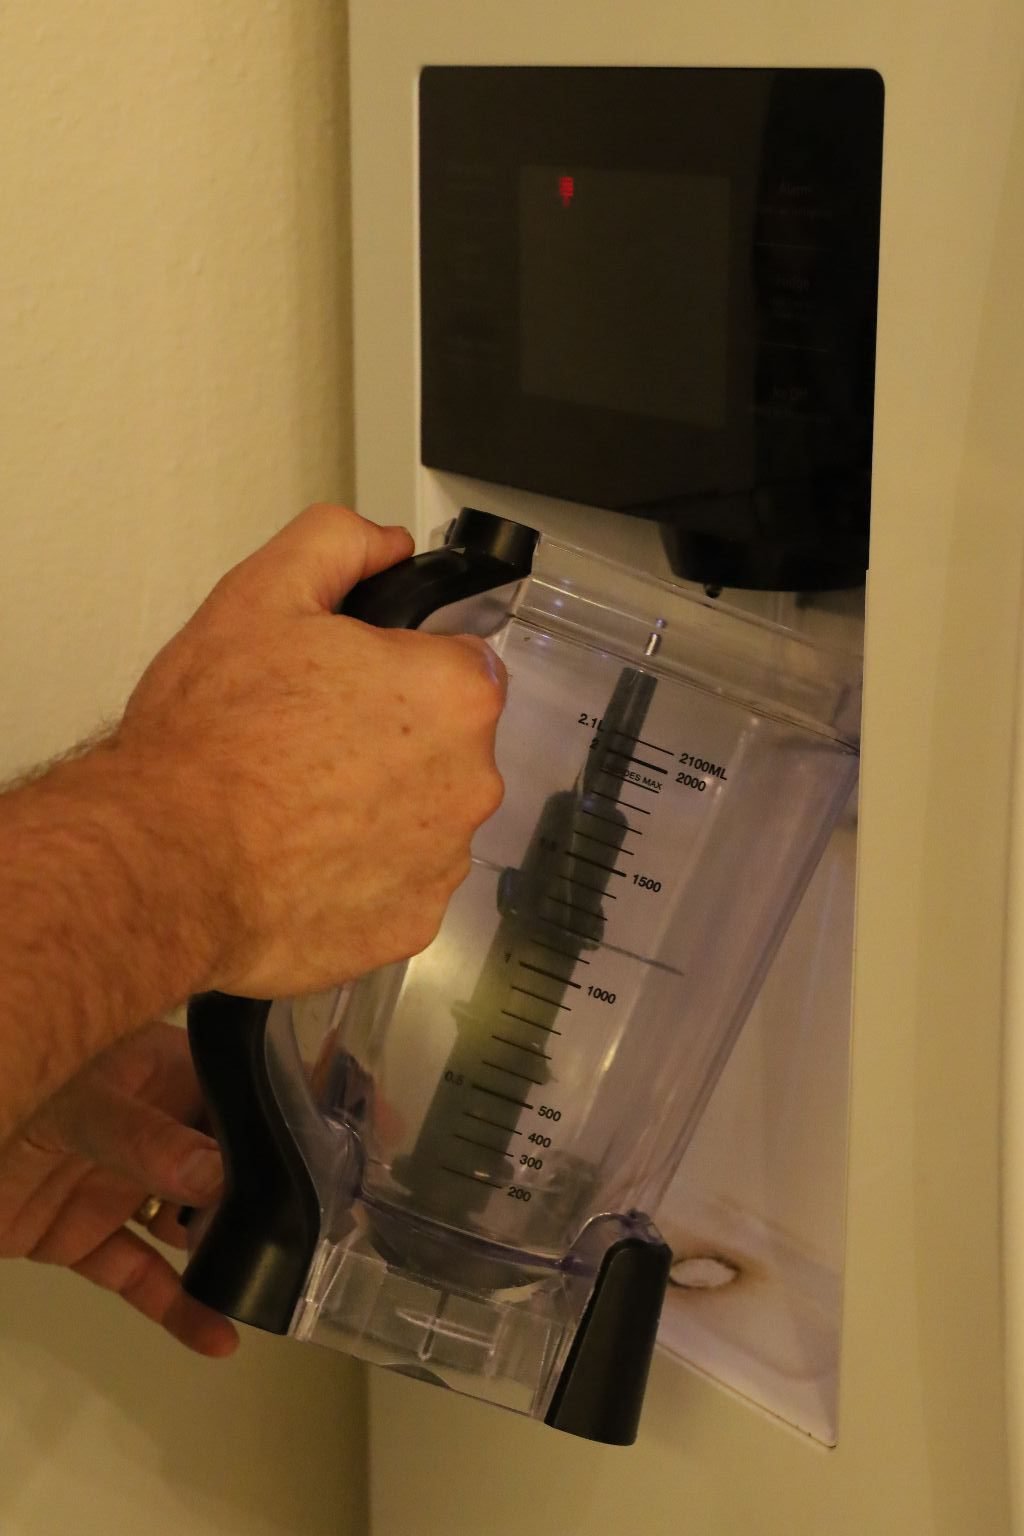
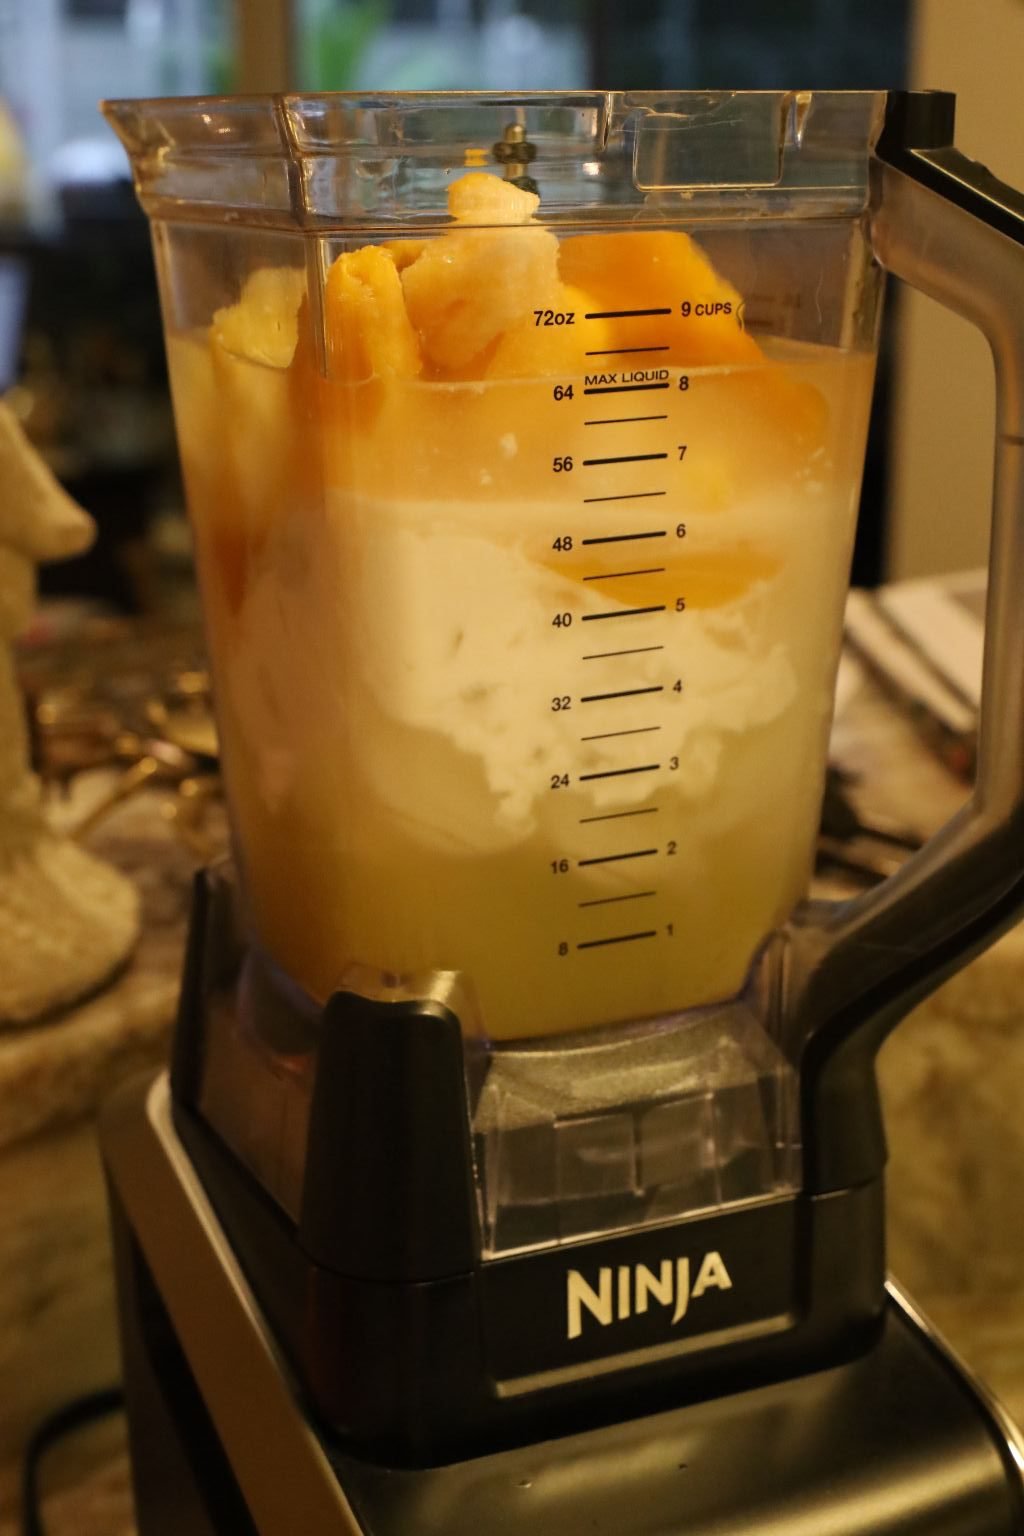
Place the ice into your blender.
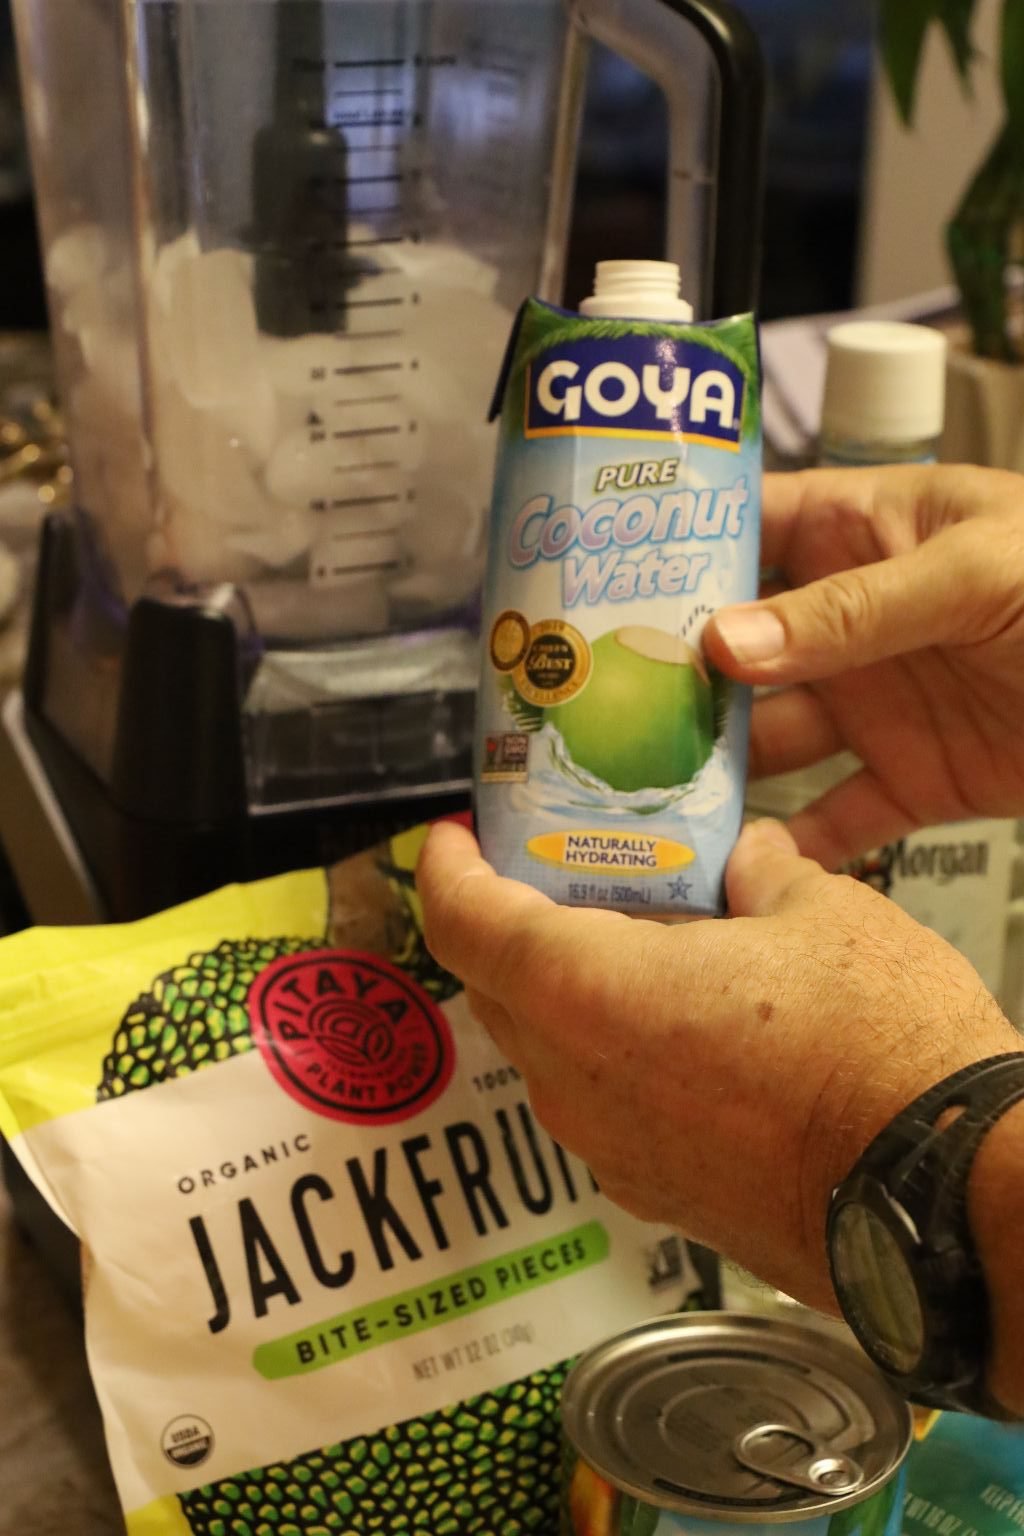

Add your Goya Coconut Water…
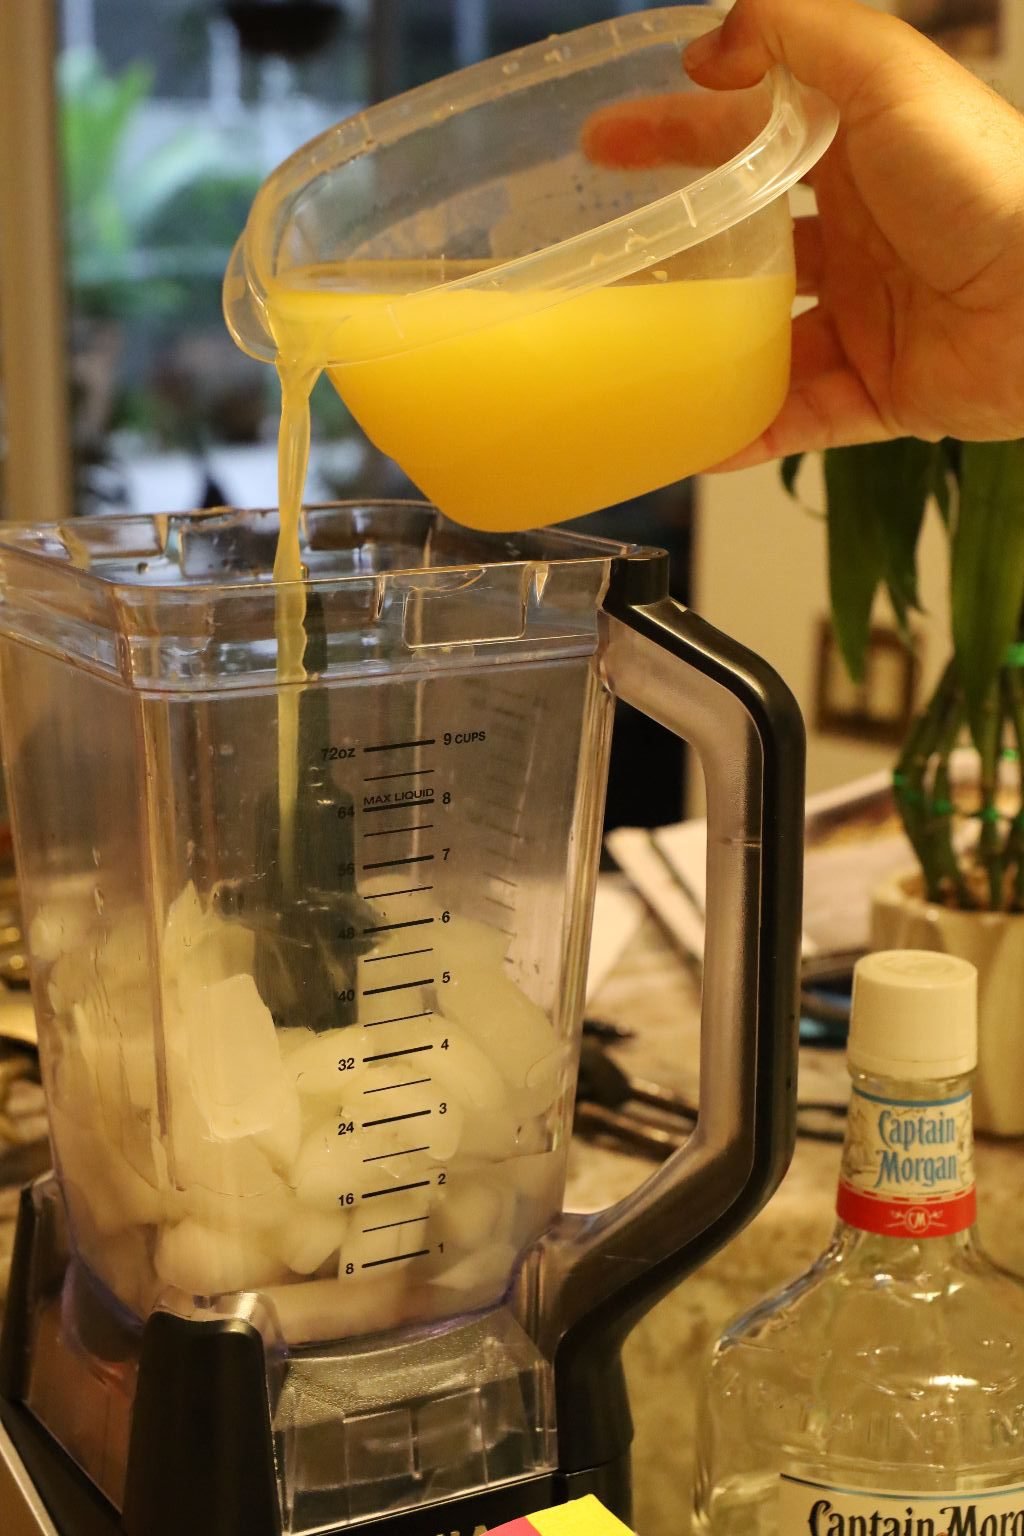
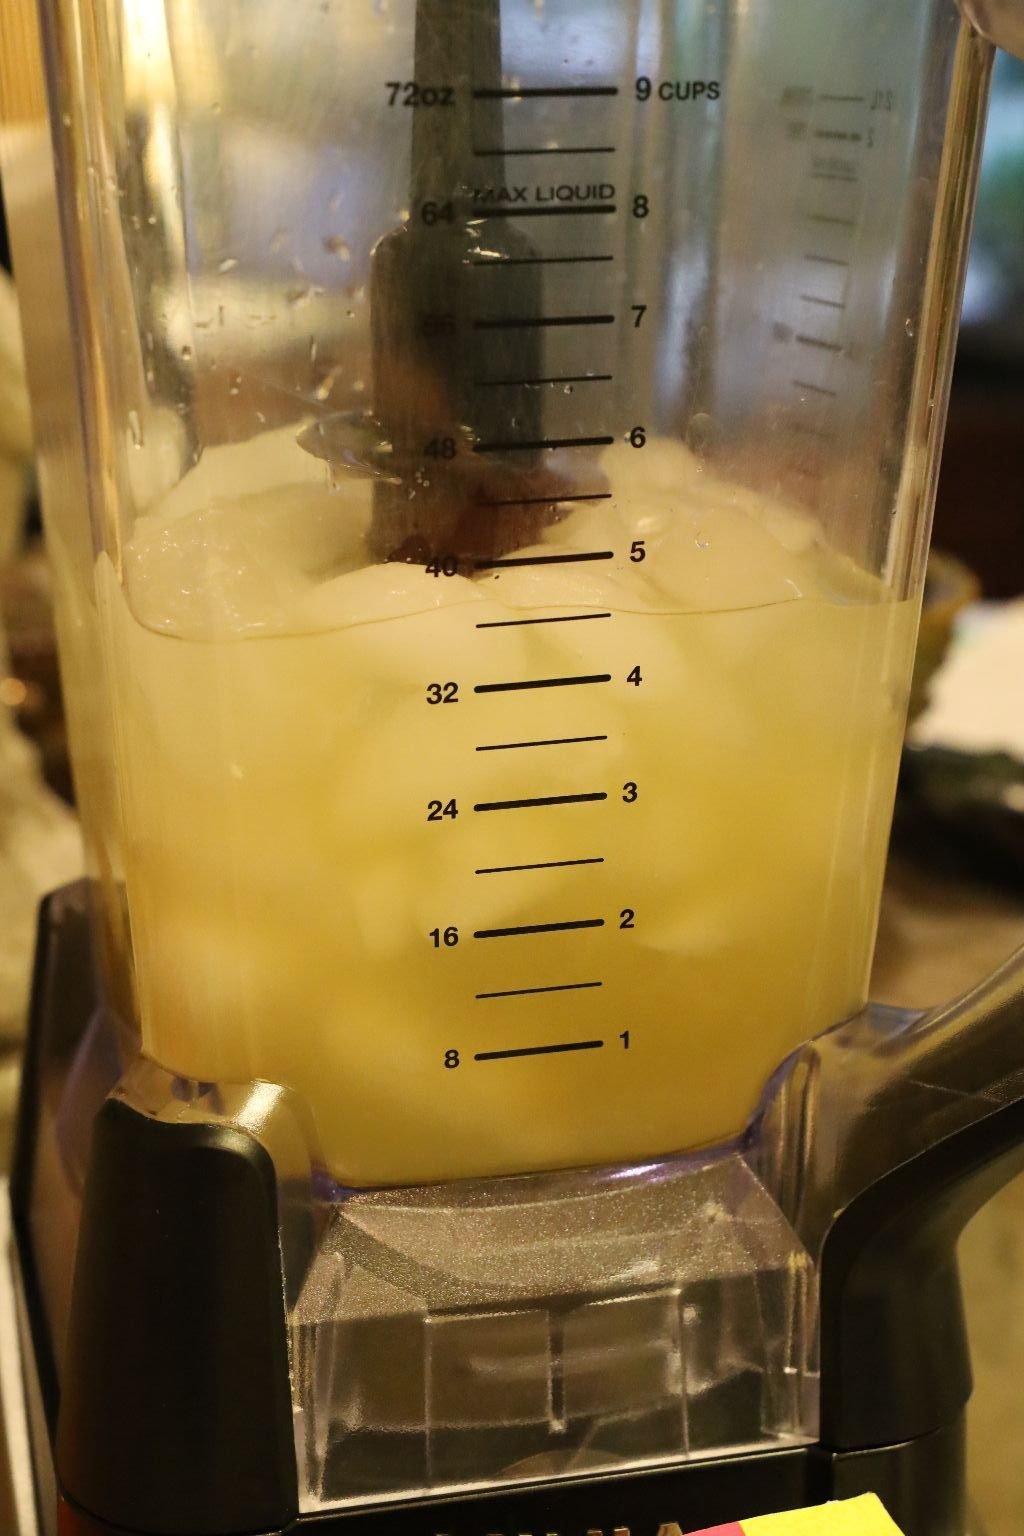
then your Pineapple Juice.

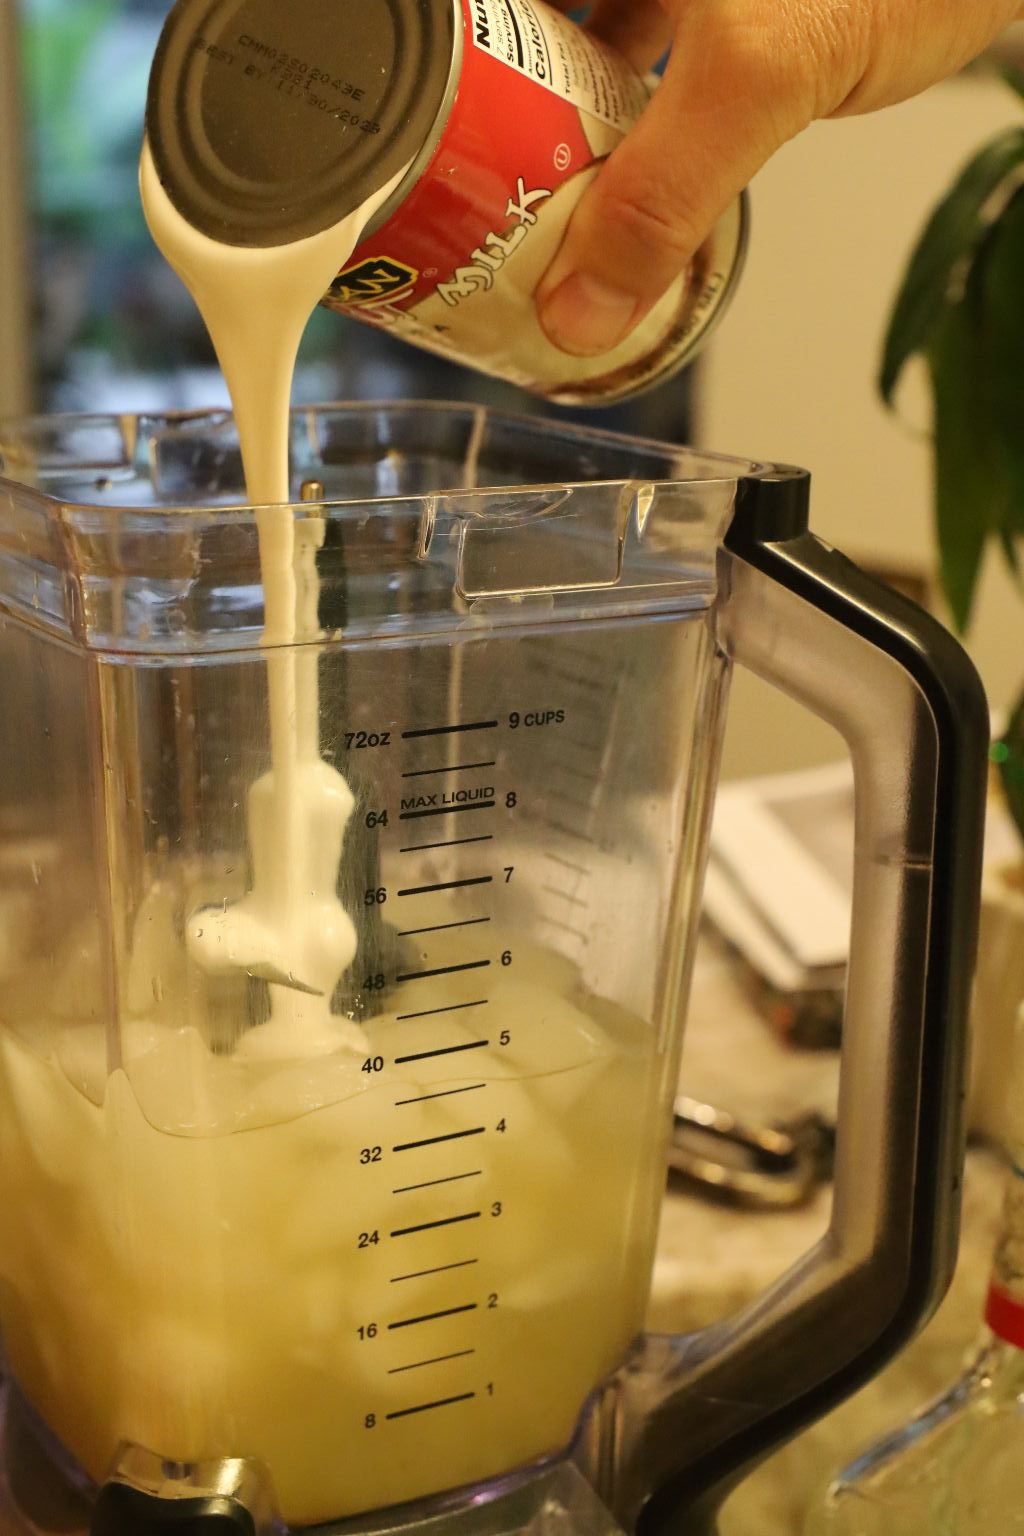
Now add your Coconut Milk
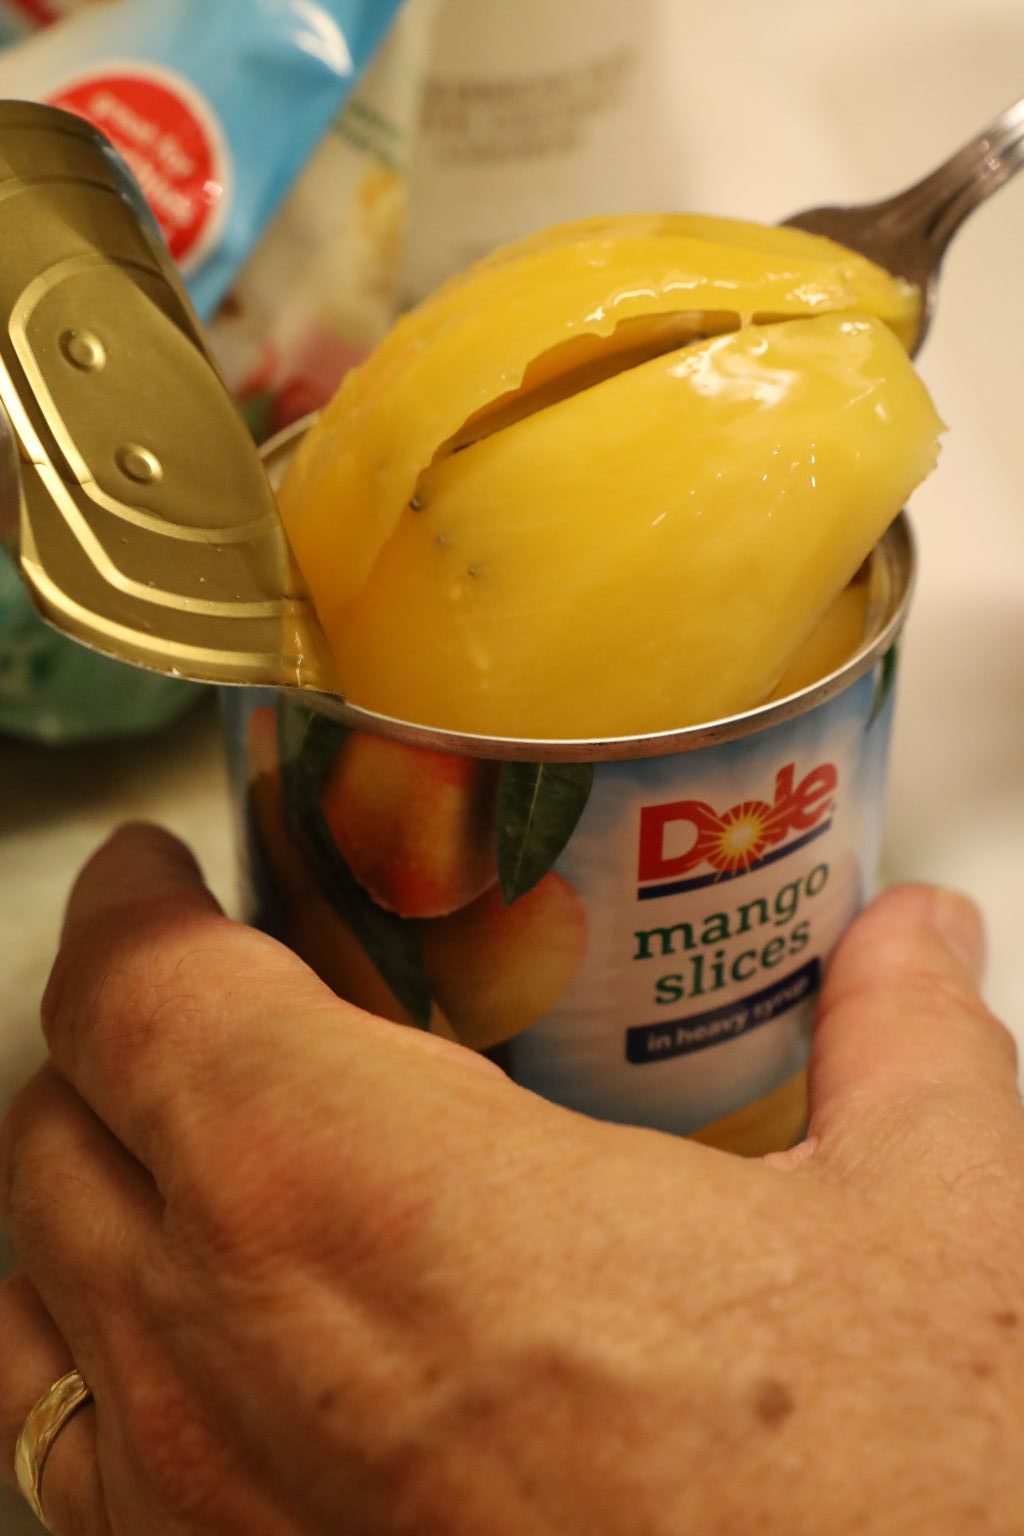
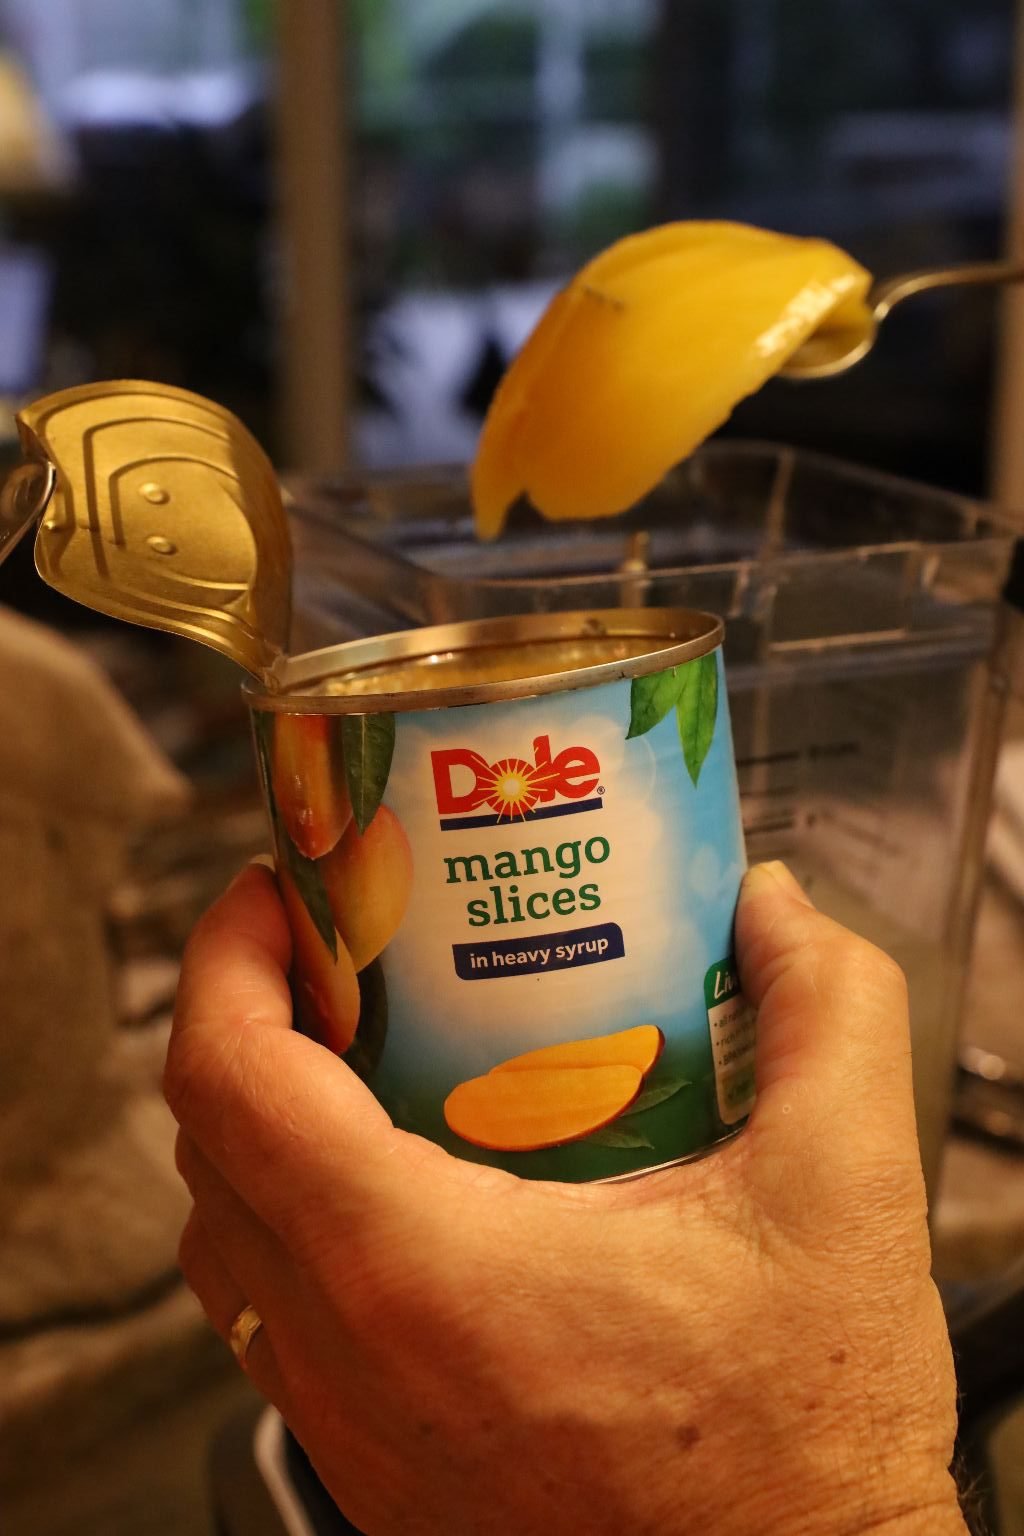
then your Mango Slices to the blender.


Now, add your frozen Pineapple Chunks…
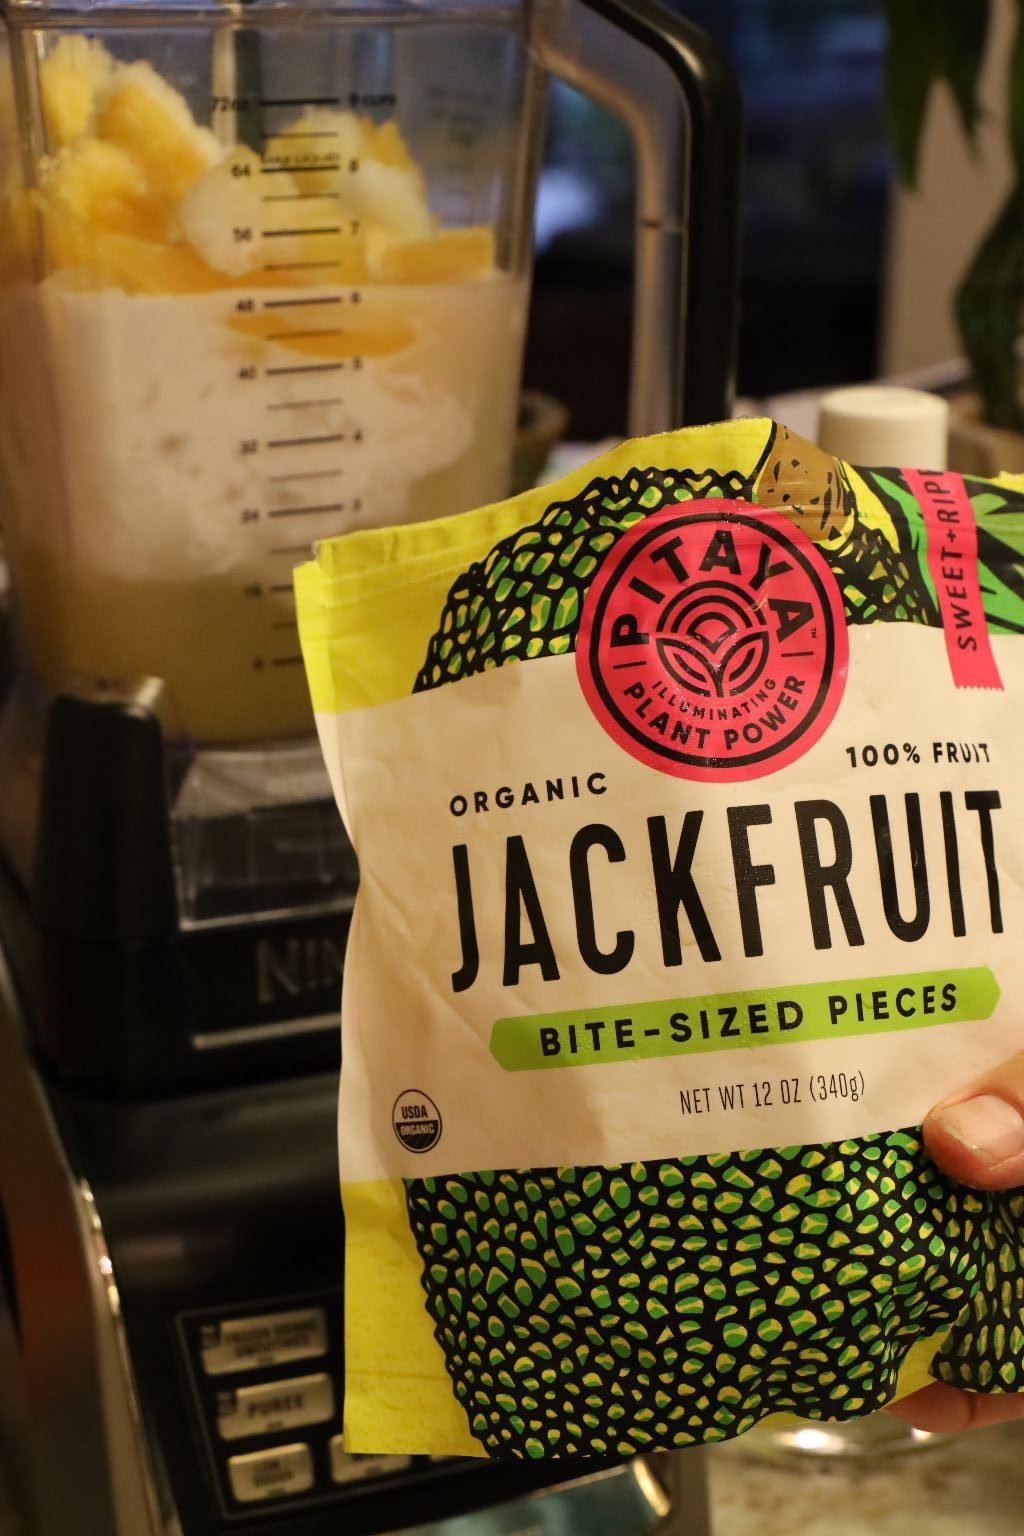
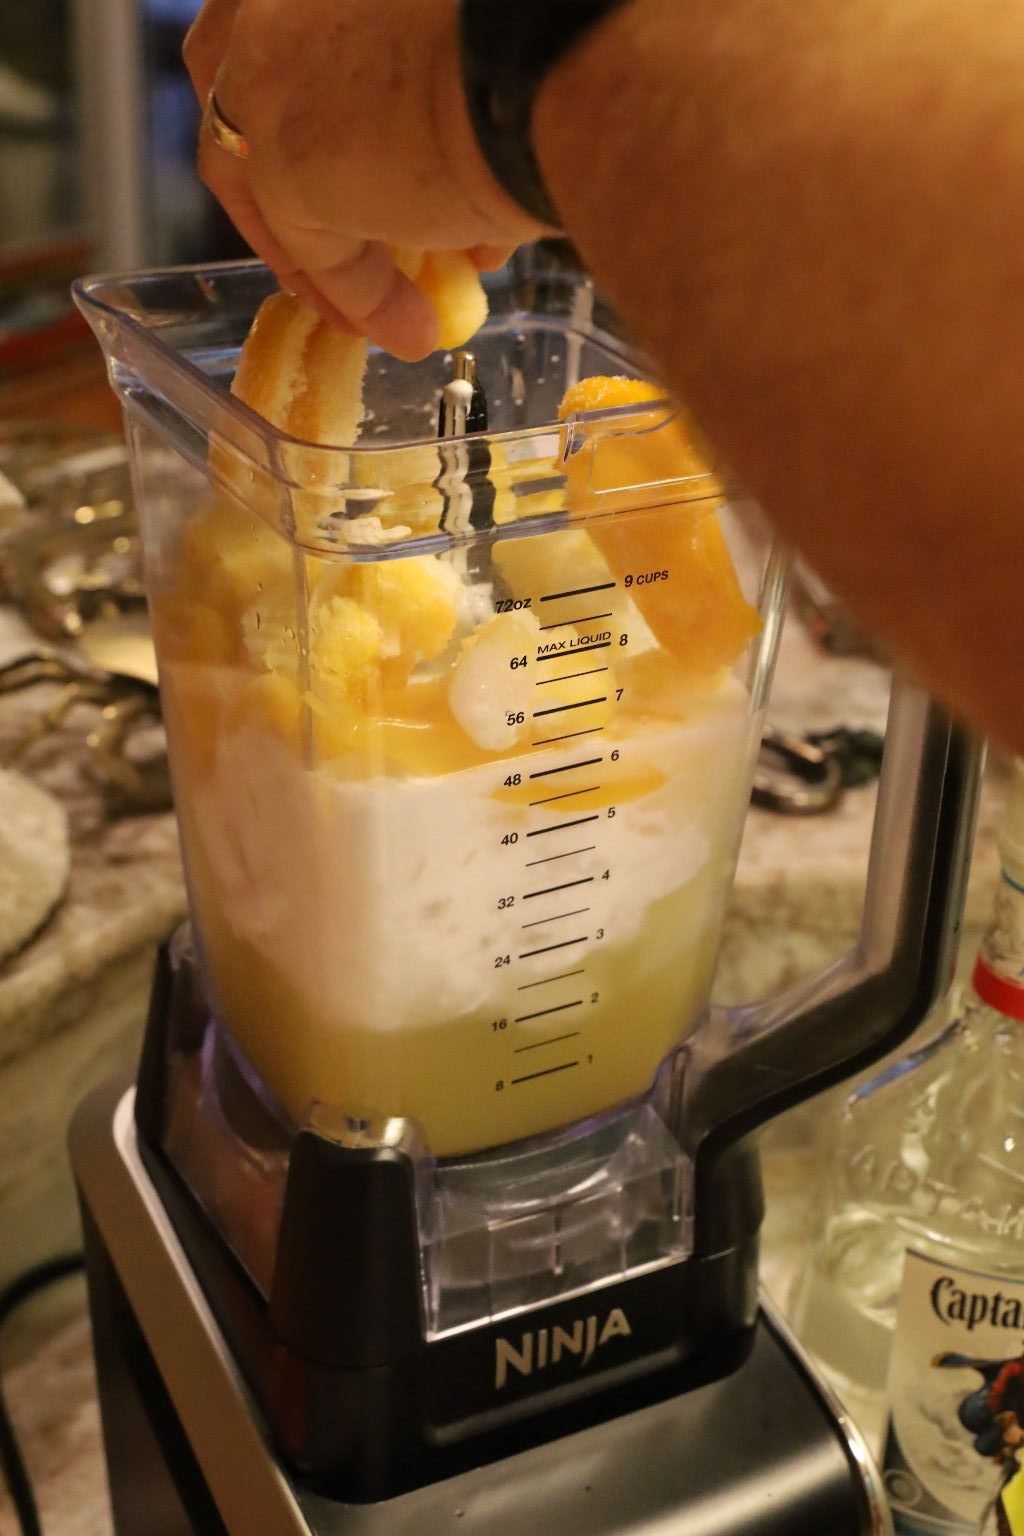
and Frozen Jackfruit pieces.
Here you blend it for the kids,
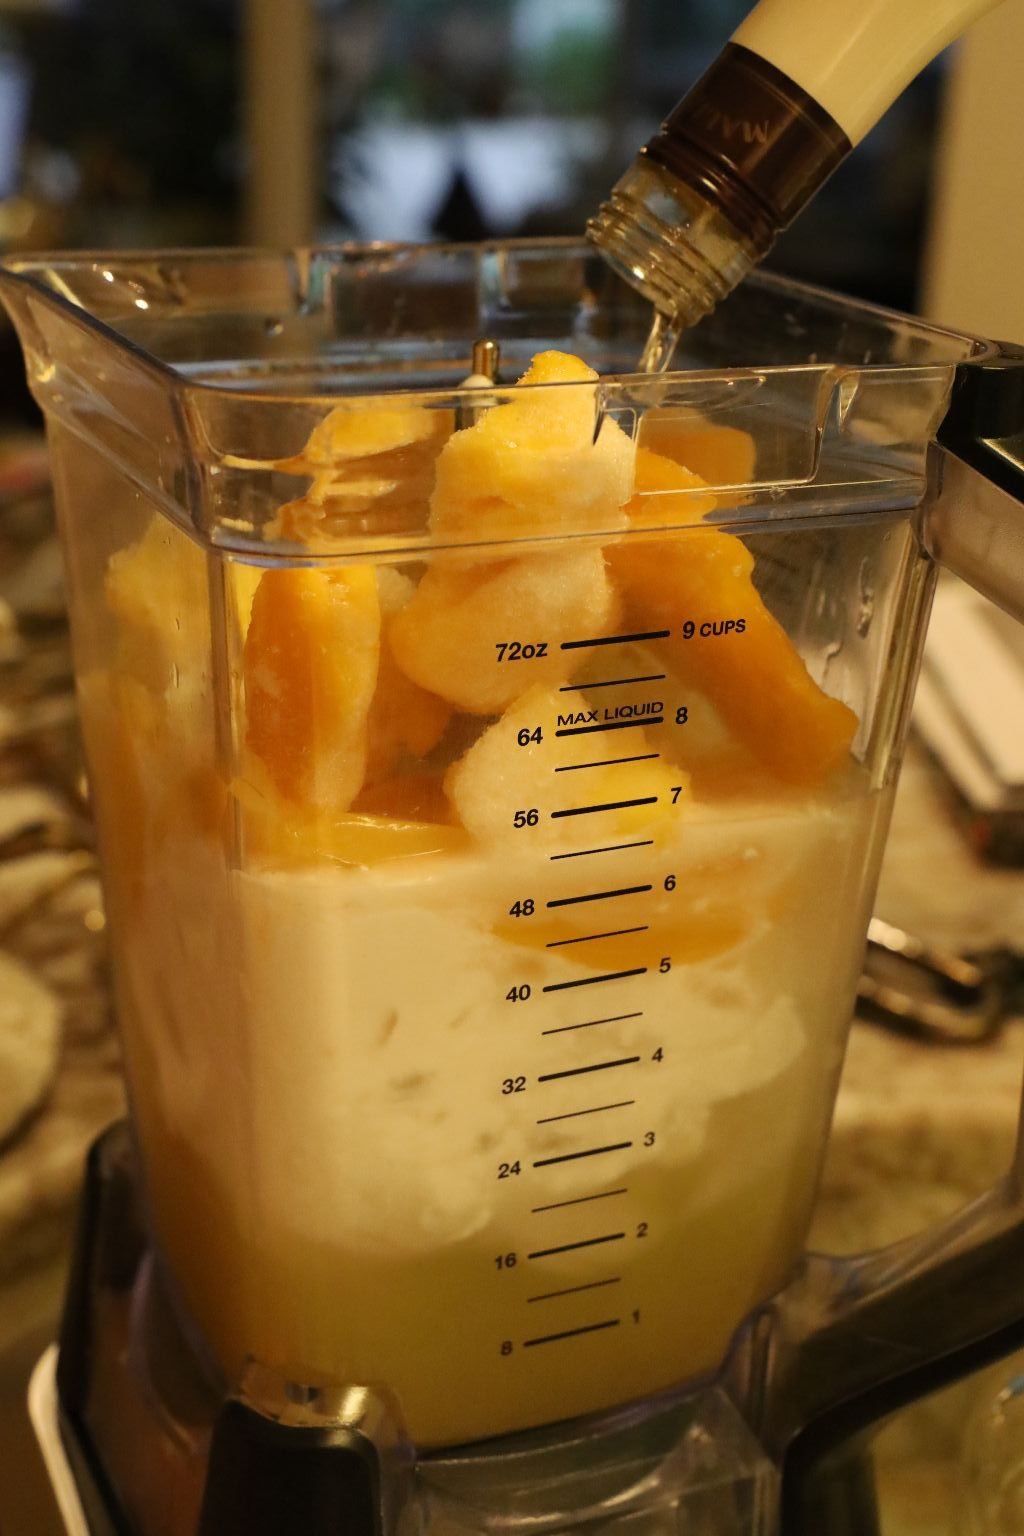
then you can add as little or as much of your Malibu Rum for the adults.
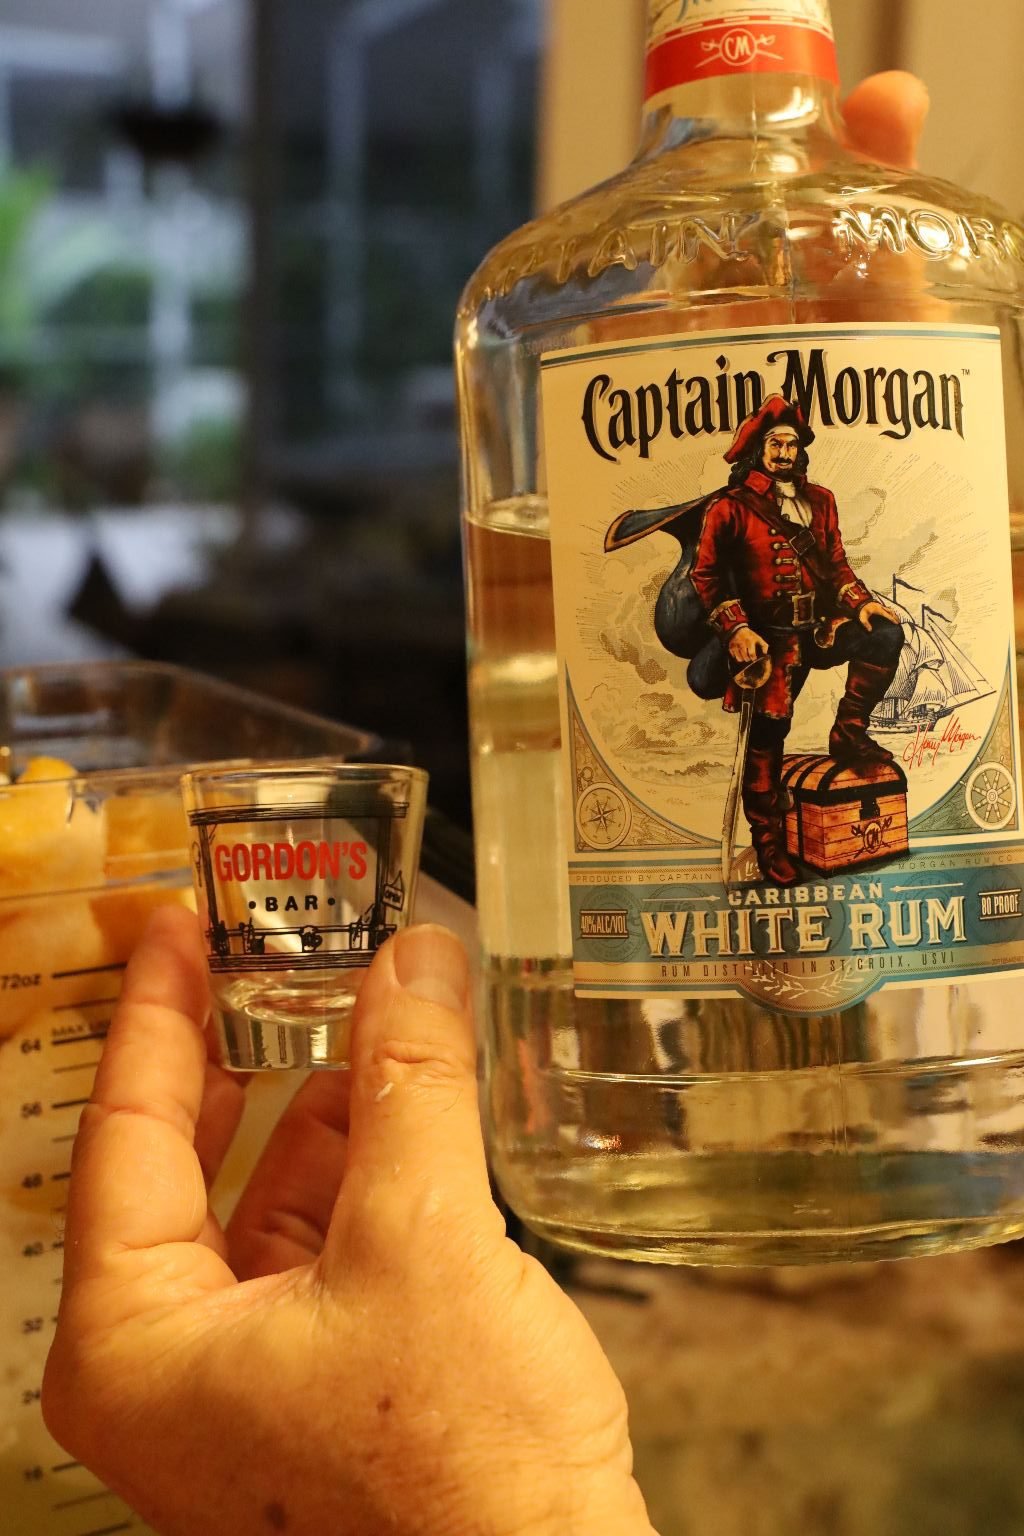
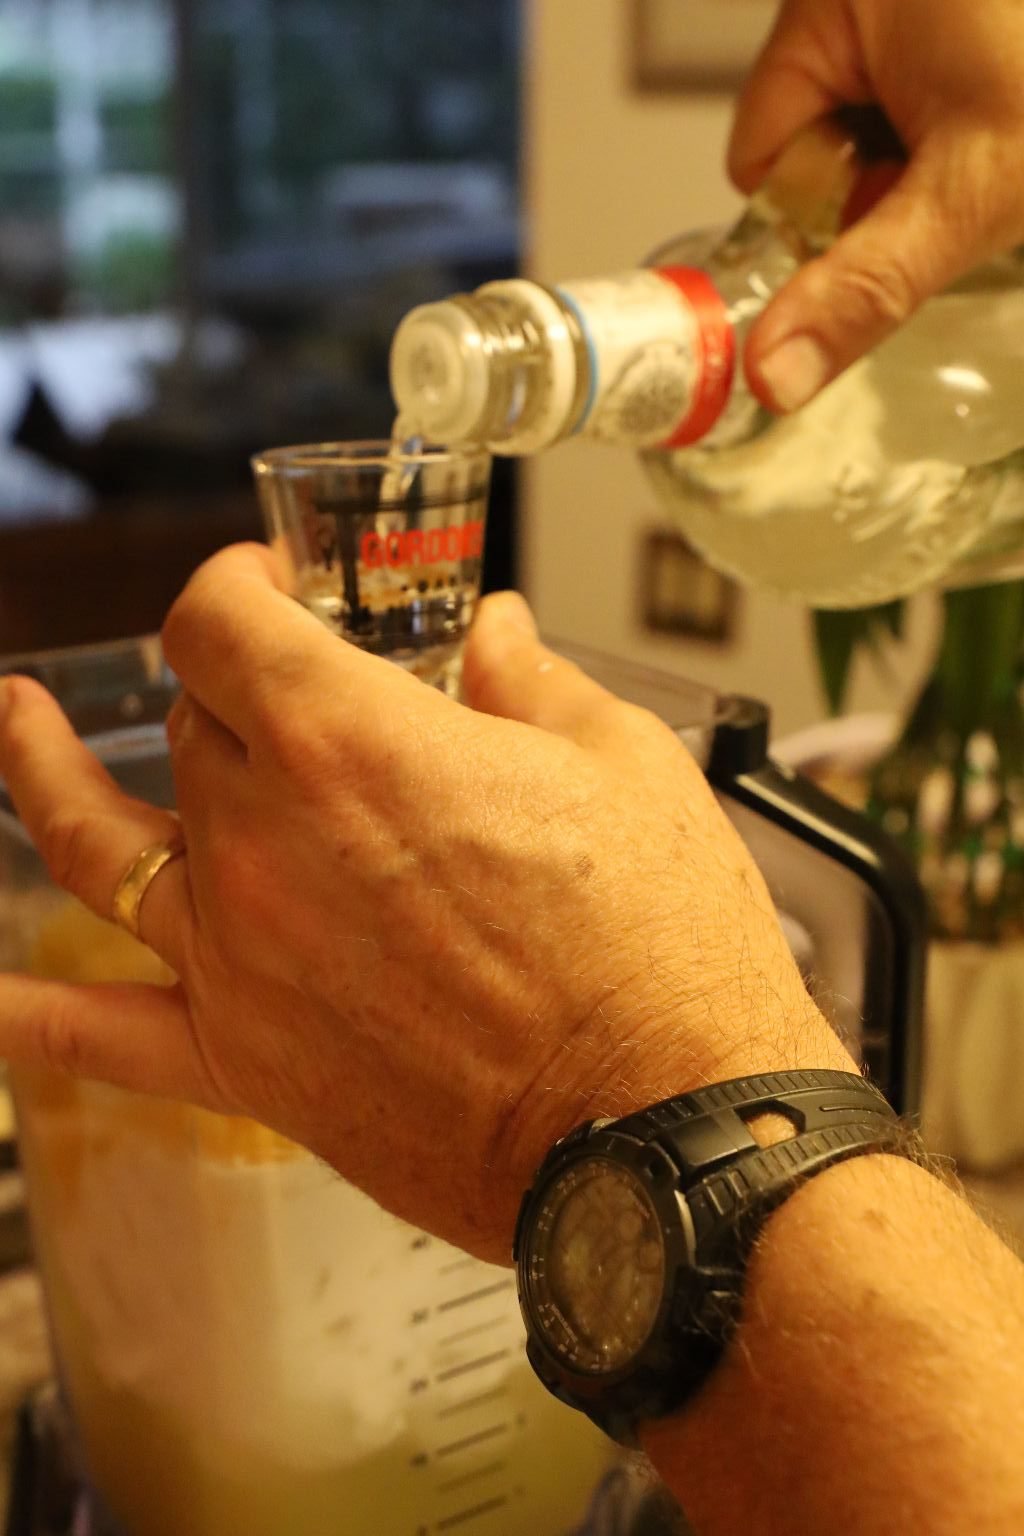
Now, add your White Rum of which we used Captain Morgan.
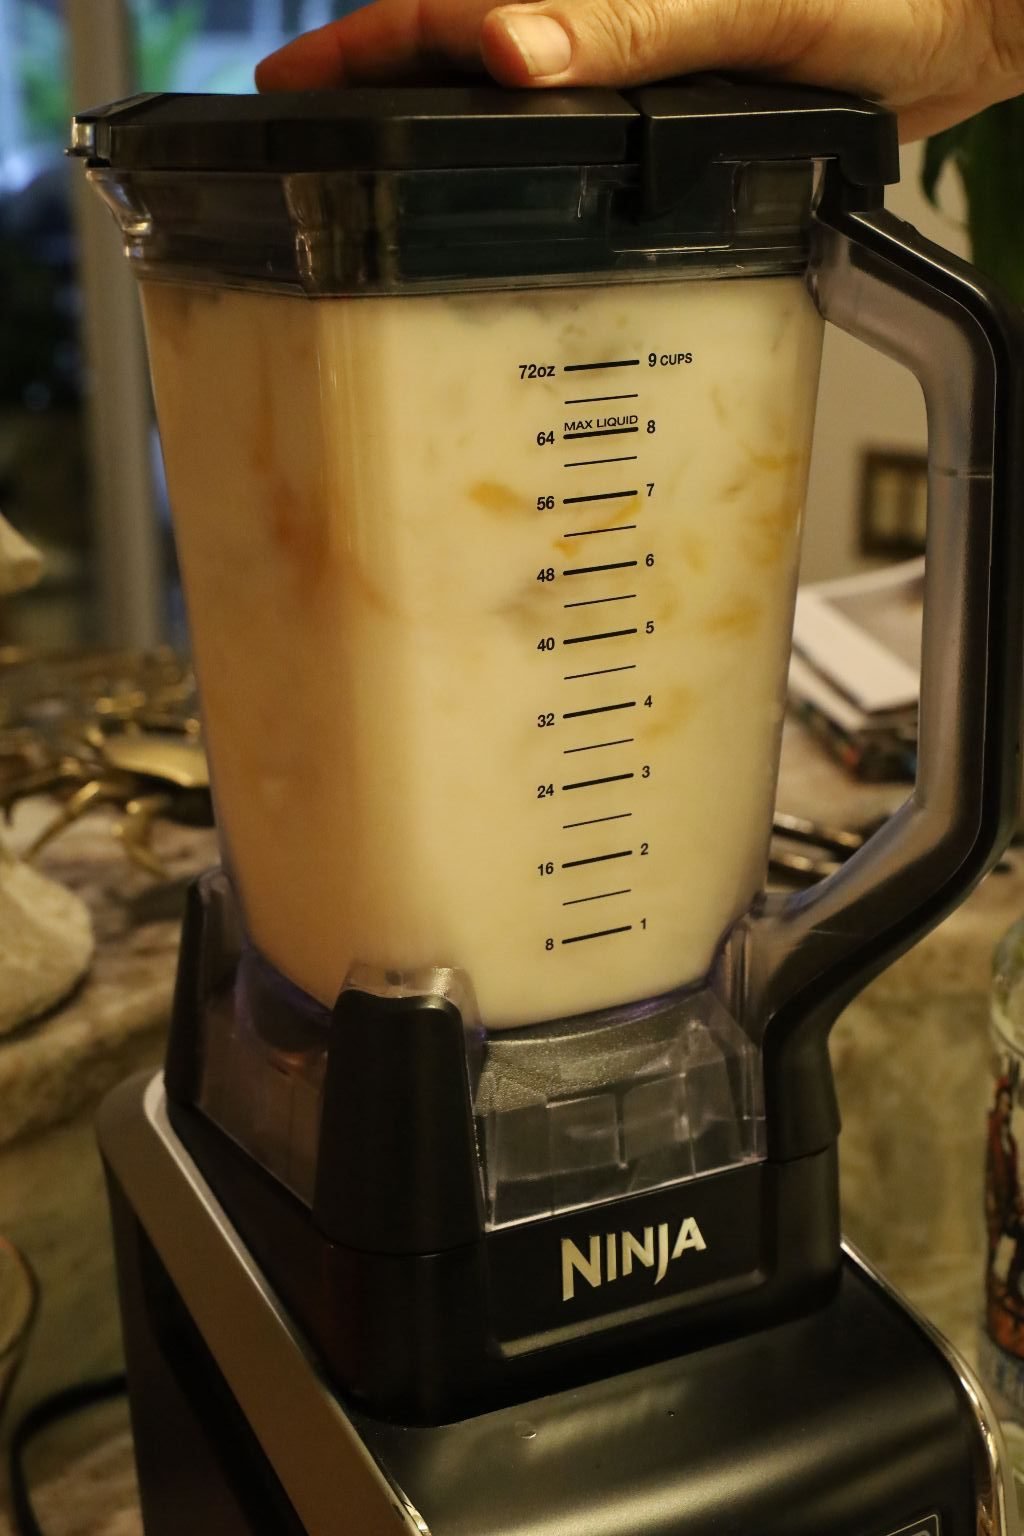
Blend the mixture until smooth and taste the mixture.
Add more ingredients or alcohol to your liking.


By adding the cherry juice close to the inside of the glass will give you this Lava Flow look.
Garnish with a wide straw and an Orchid. Attach the Orchid using a vine clip usually found with live Orchid plants. You could also slice through a pineapple ring and attach it to the glass. The Asian Umbrellas are also a nice touch!
————————————————————————–
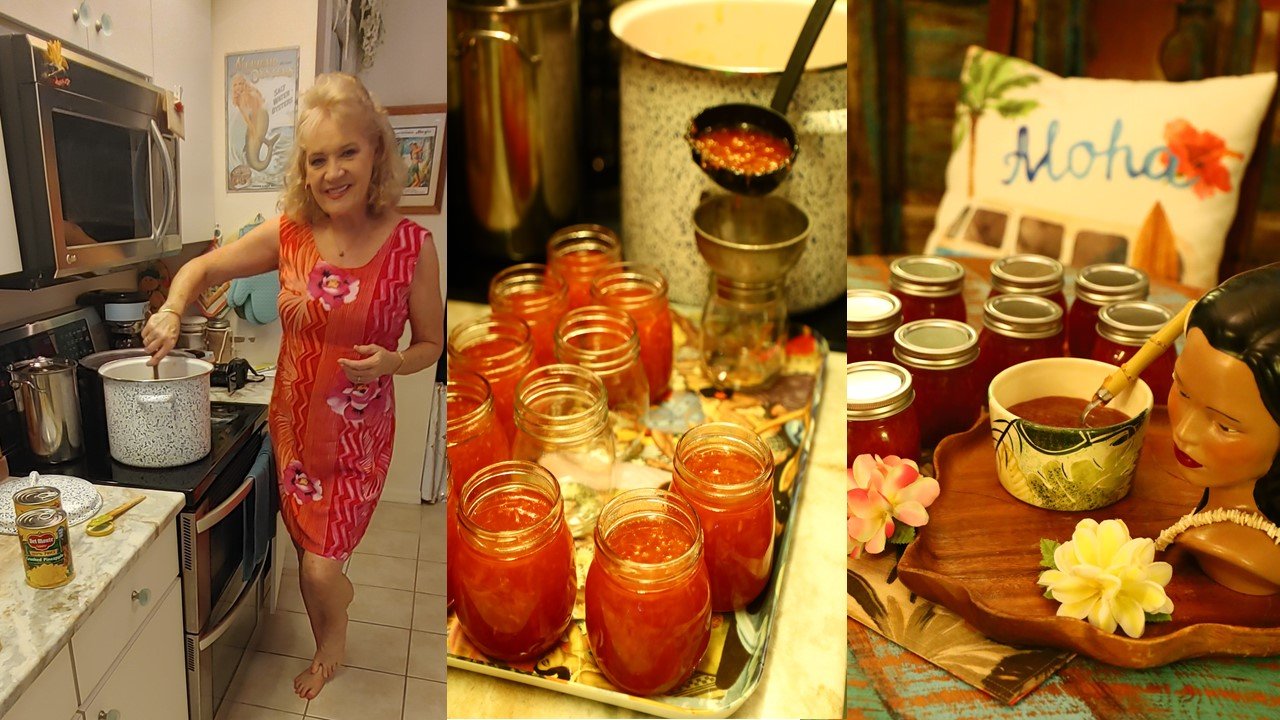
Pineapple Coconut Relish from my Mom’s collection of great recipes!
Here we placed the relish in a bowl and grilled pineapple halves.

Pineapple Bowls and Pineapple
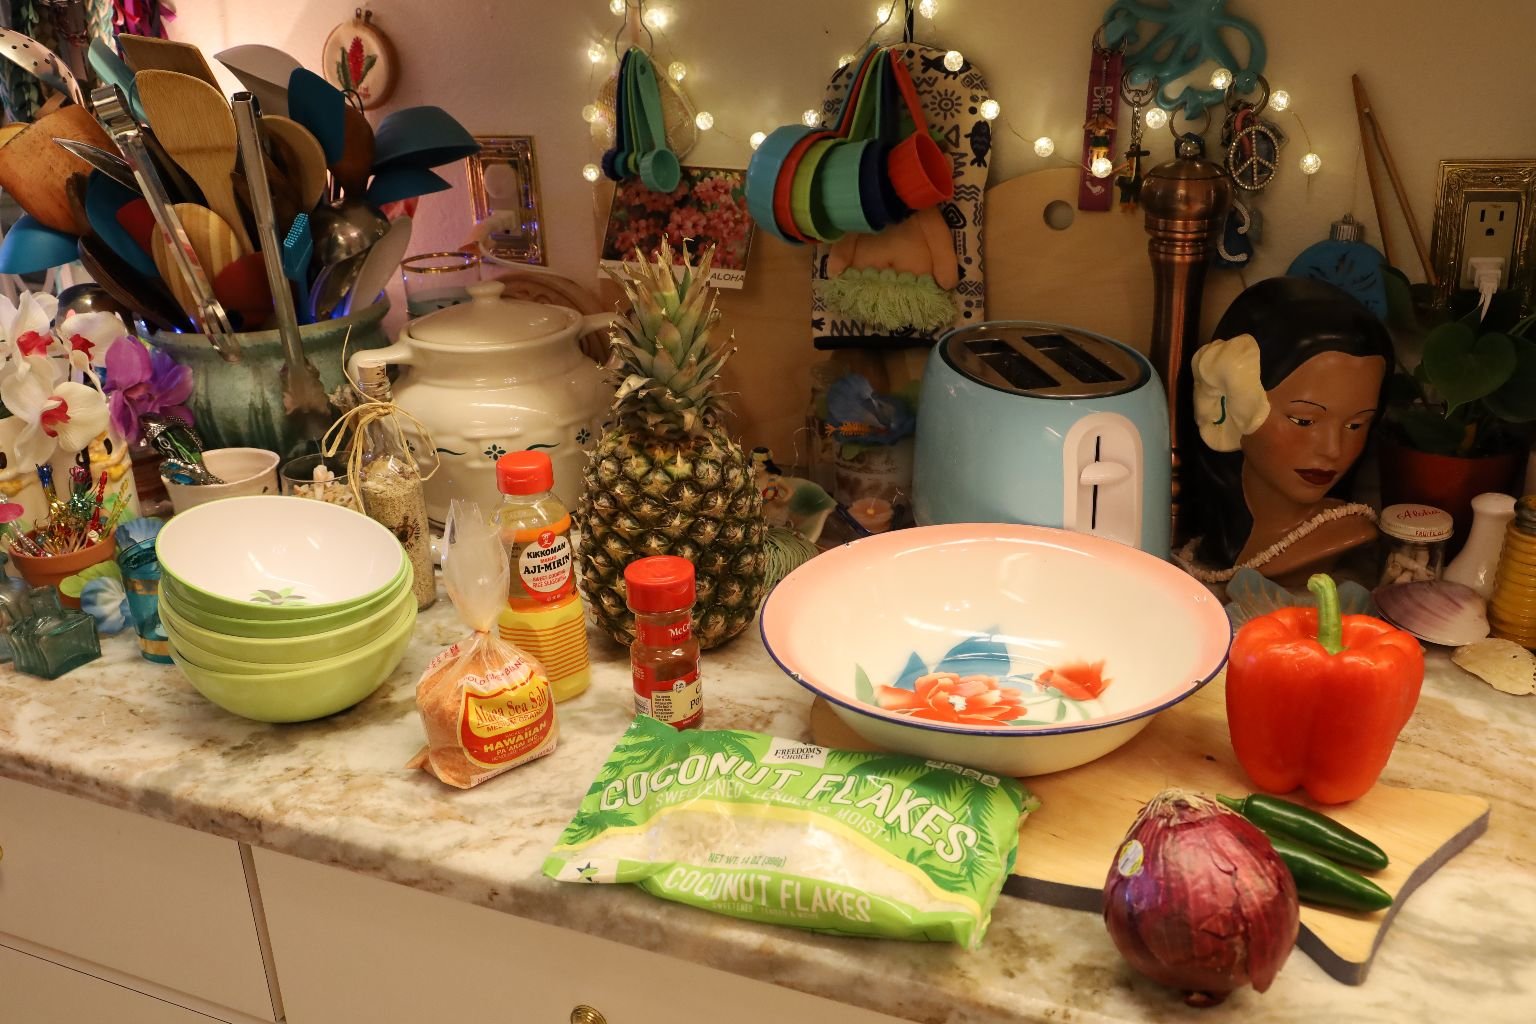
Ingredients:

~1 Cup Red Onion – diced
~1 Cup Red Bell Pepper – diced
1 Jalapeno Pepper – diced
1 Canned Crushed Pineapple – drained
1 Canned Pineapple Chunks – drained
3/4 Cup Sweetened Coconut Flakes
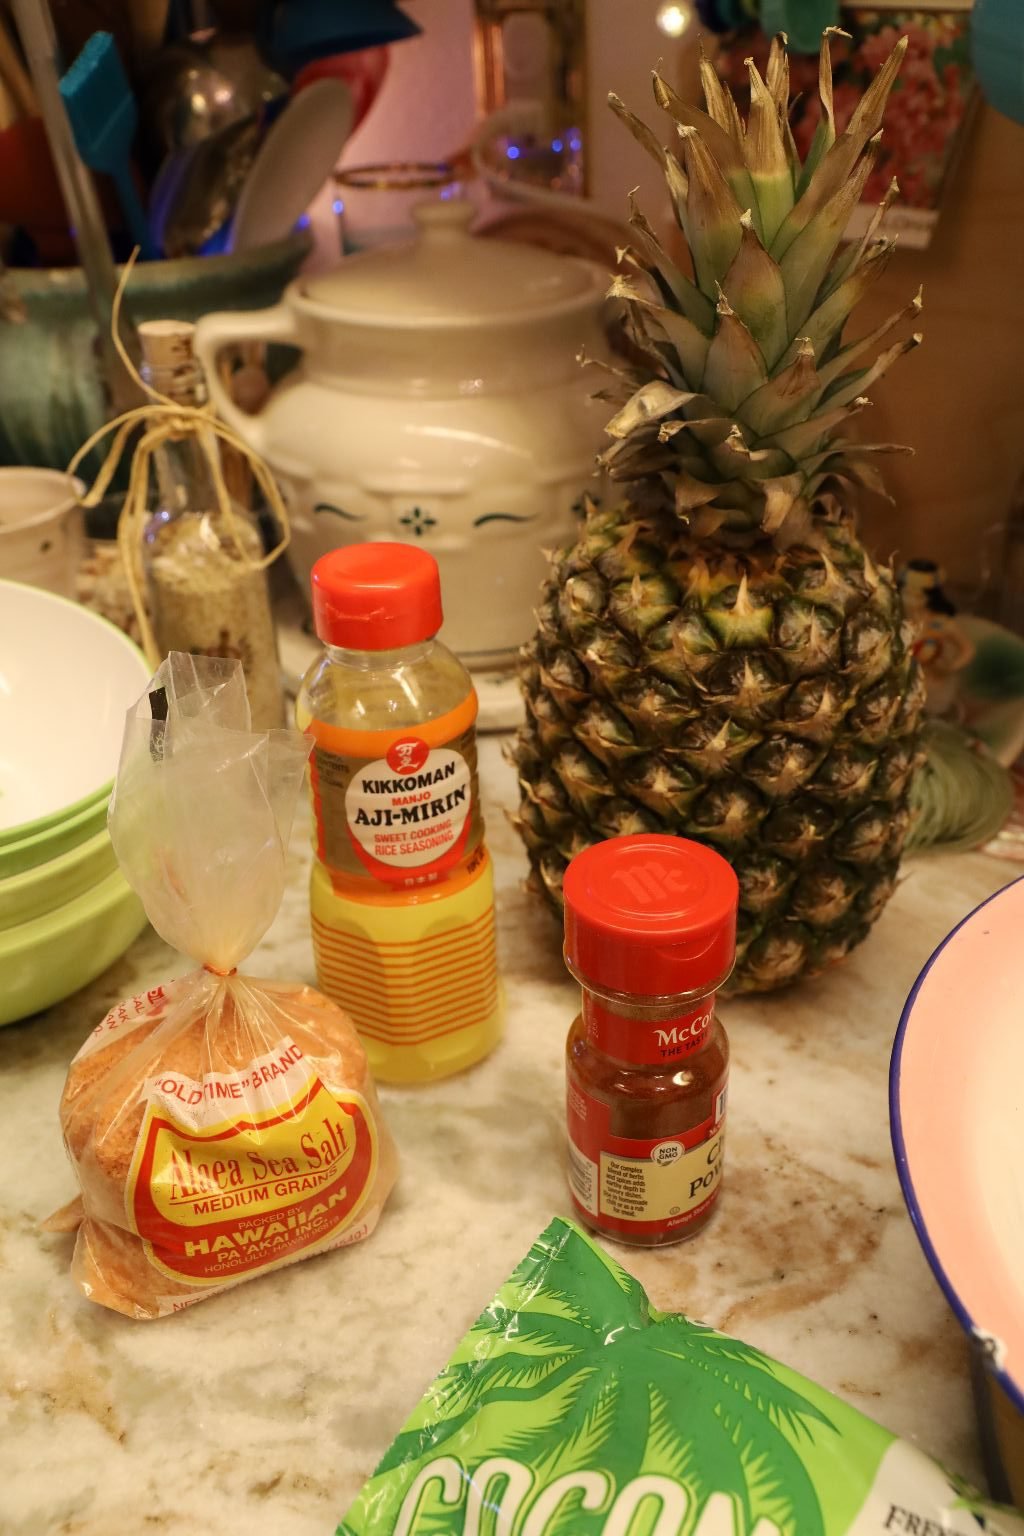
2 Tbsp. Aji-Mirin Sweet Cooking Rice Seasoning
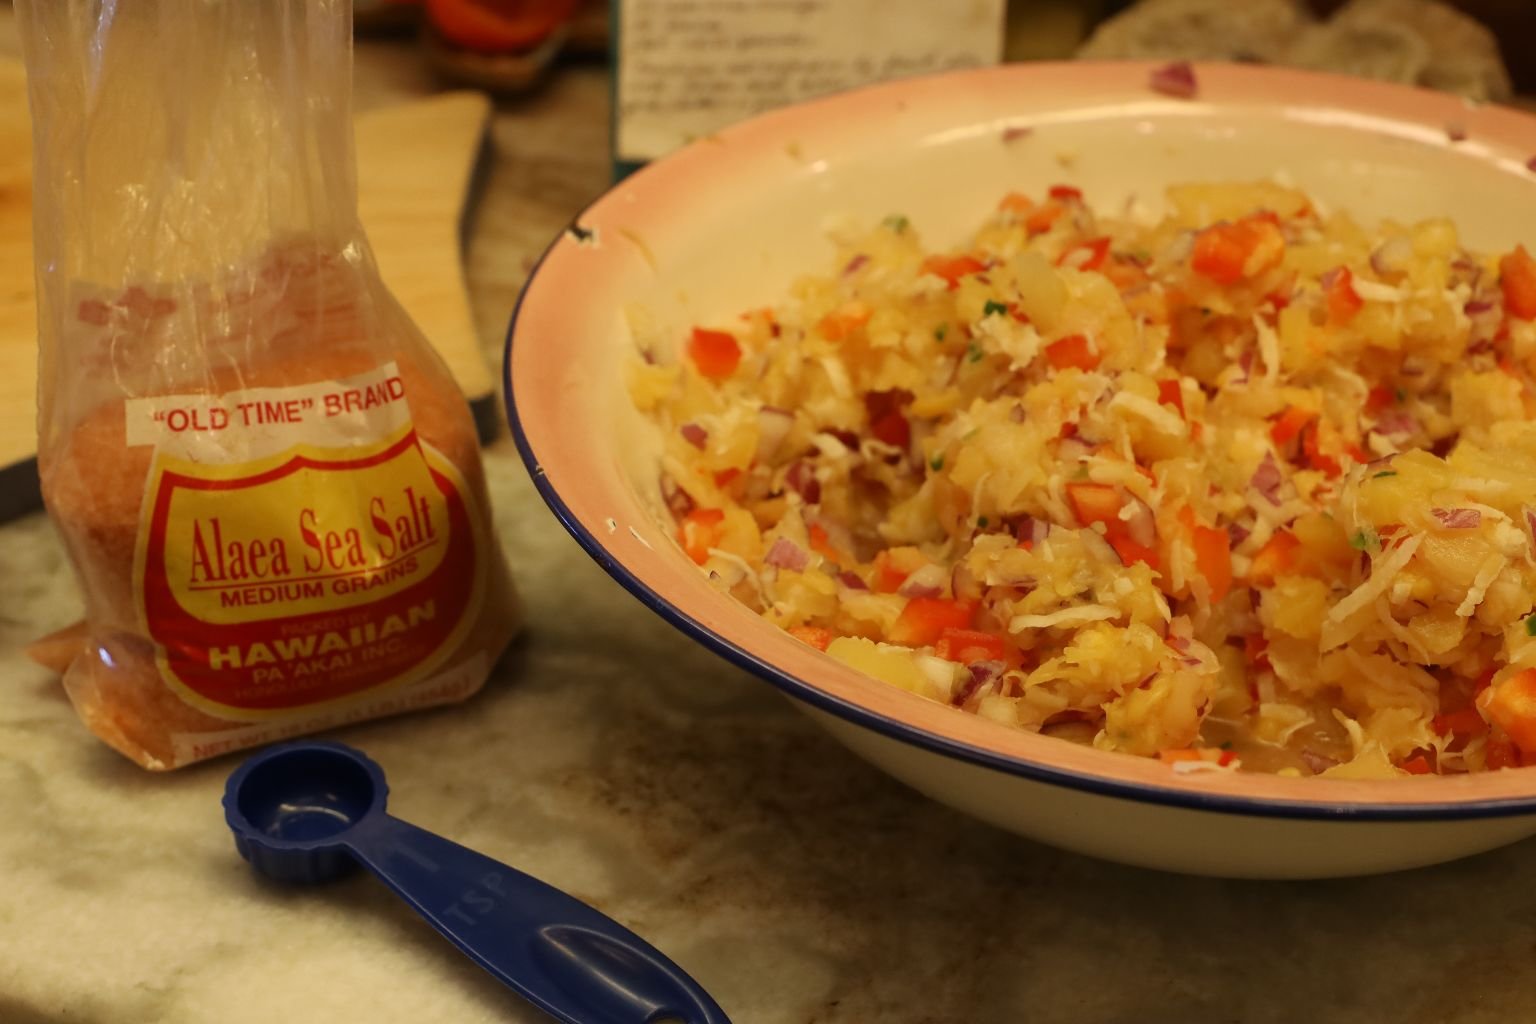
1/2 Tbsp. Hawaiian Sea Salt
1/2 Tbsp. Chili Powder
—————————————————————–

I used canned pineapple in this recipe for the convenience.


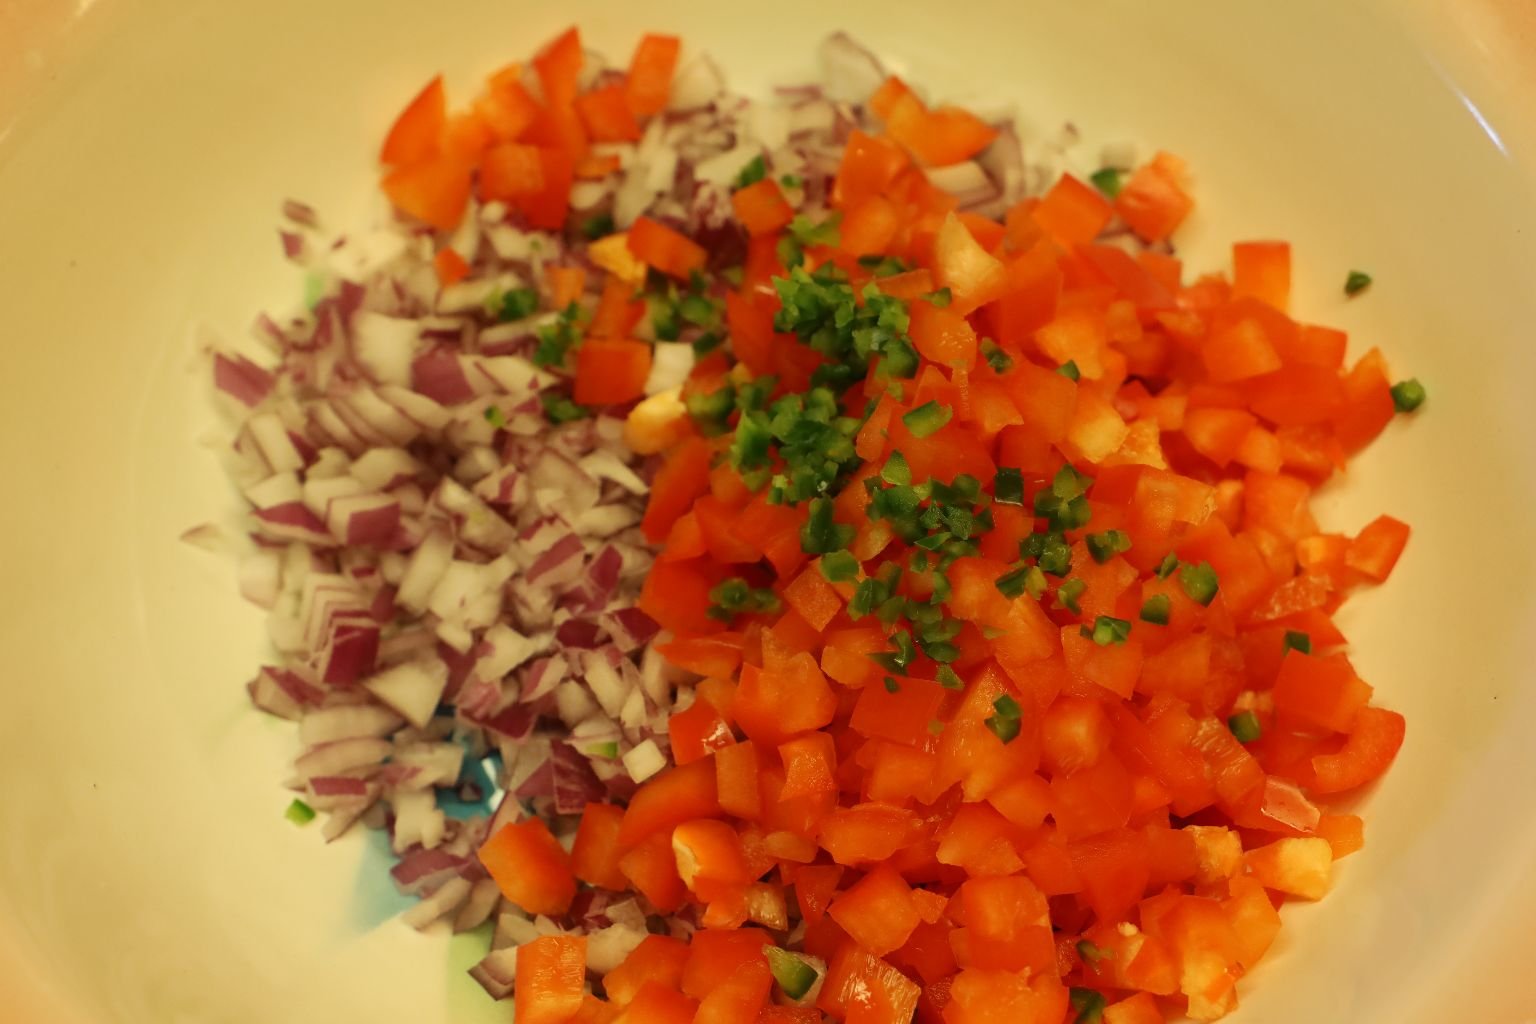
Here you can use as much or as little of the ingredients to suit your taste as well as depending on how much you want to make. I used about a cup of Red Onion. Place all the ingredients into a large bowl.


I also used the same amount of diced Red Bell Pepper. Slice the Bell Pepper in half, then into thin long strips, then dice.


Slice the Jalapeno the same way but into much smaller pieces.
——————————————————————


Drain your pineapple well before placing it into the bowl.
Reserve the pineapple juice for drinks later.

———————————————————————


Here I also drained the Pineapple Chunks.
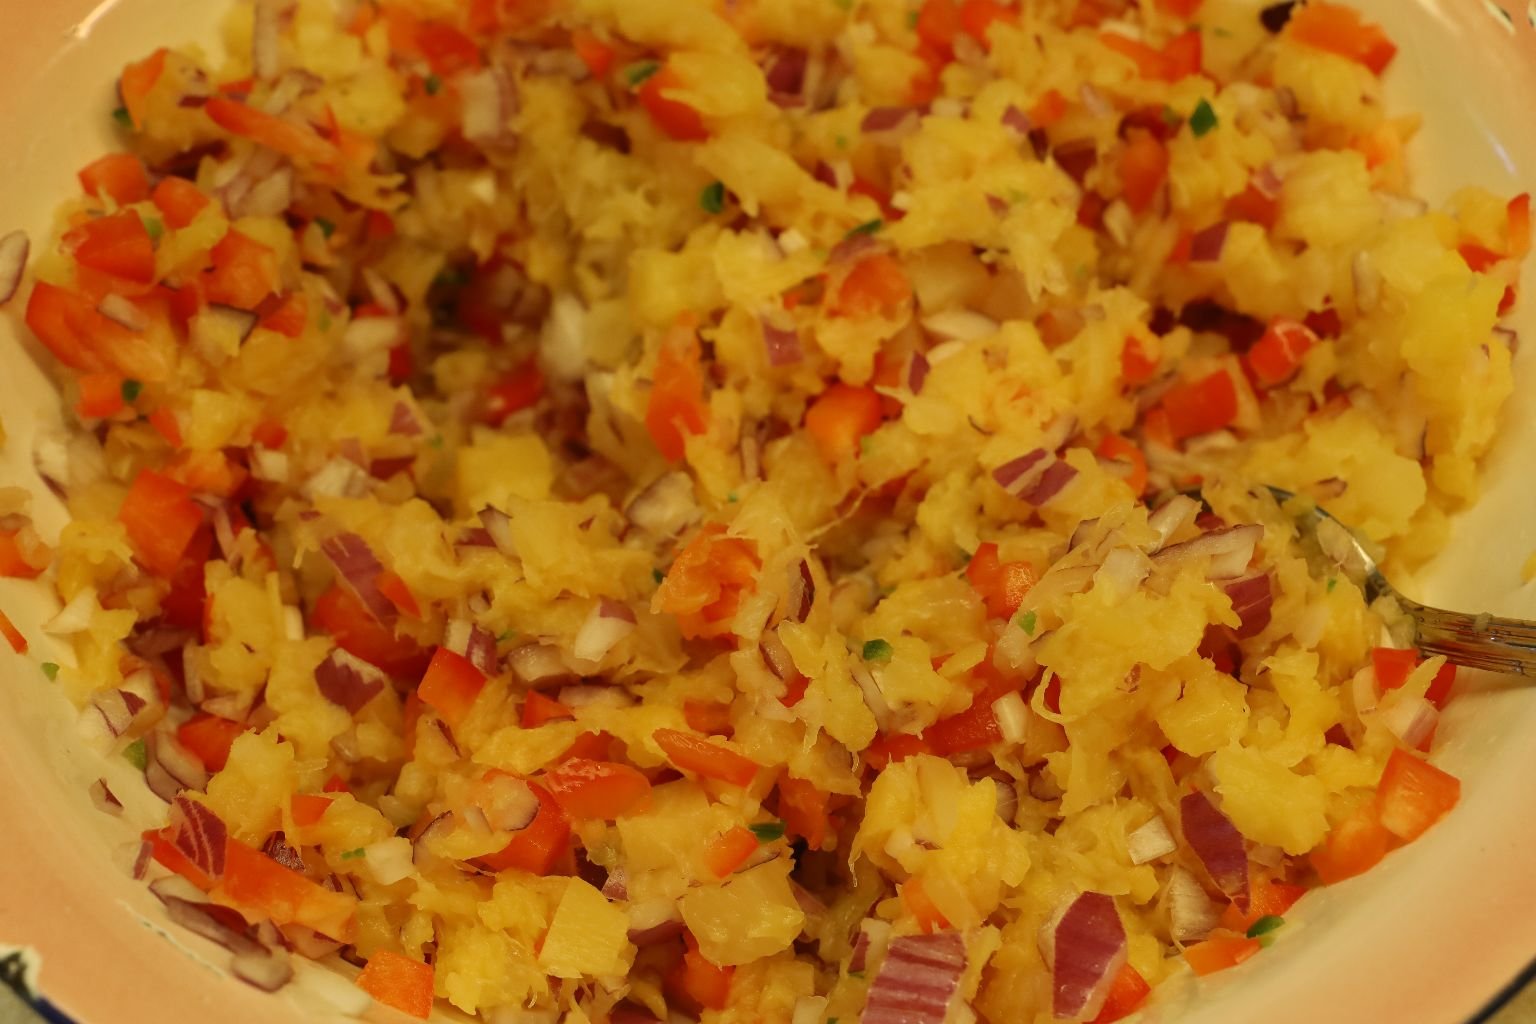
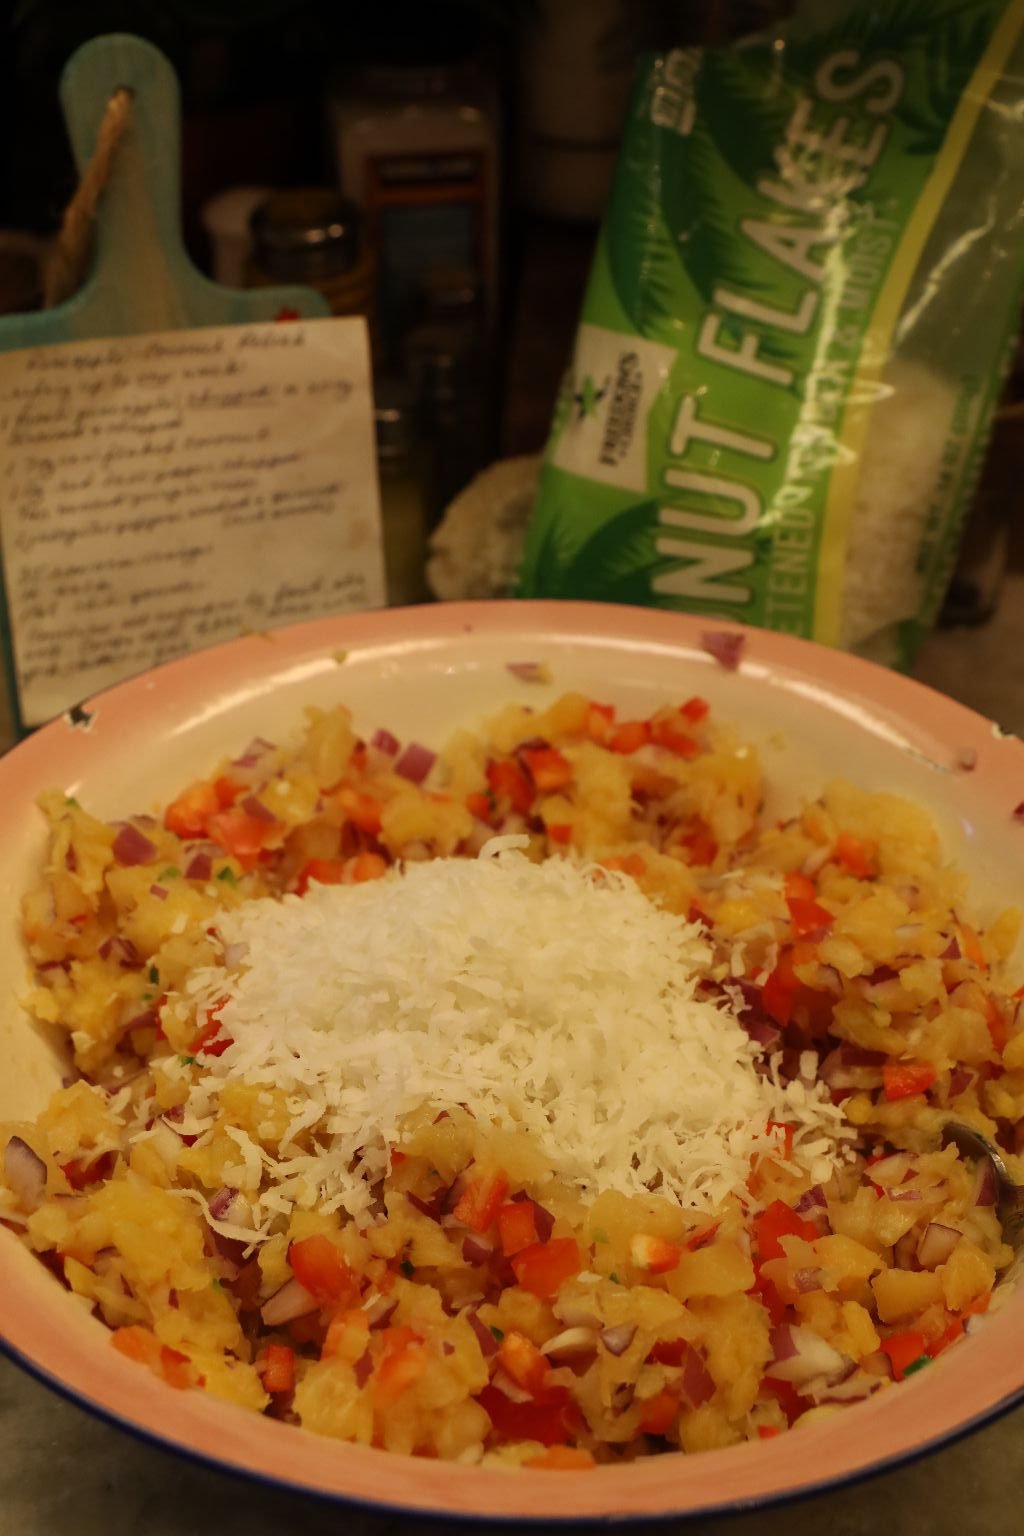
Mix all the ingredients together then I added the Sweetened Coconut Flakes. You could toast the coconut if you wanted.


I love to add Mirin, for the sweetness.
Also add your Hawaiian Sea Salt and Chili Pepper to taste.


Mix all the ingredients well.
Add any other ingredients to suit your taste.

What a great looking relish.
————————————————————
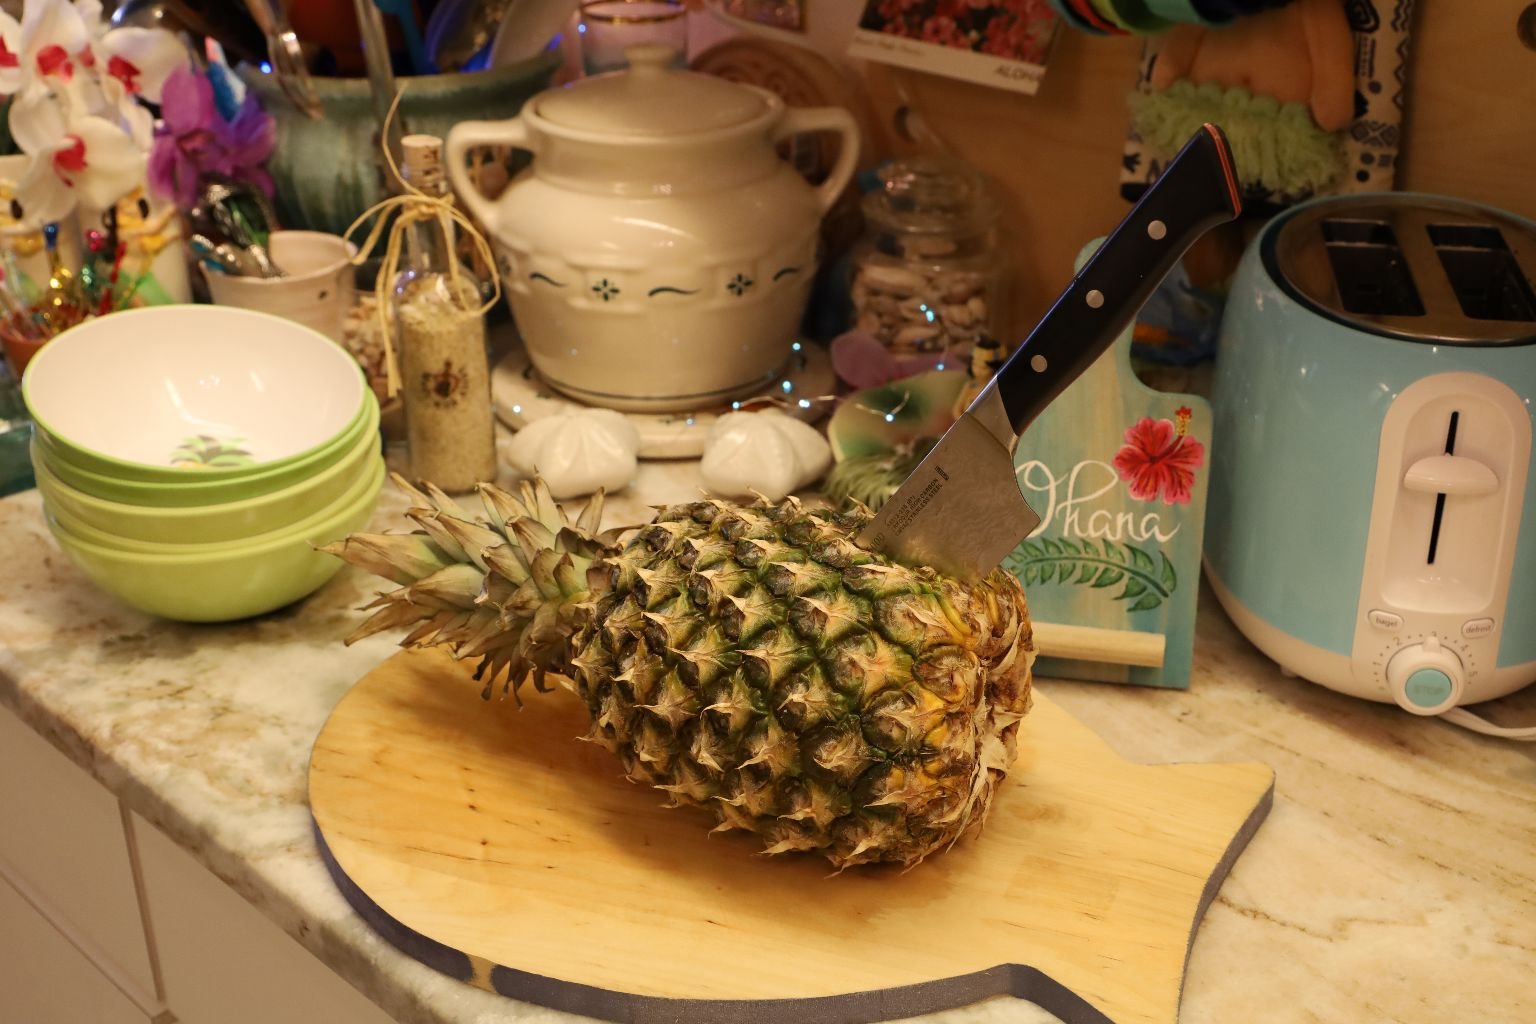
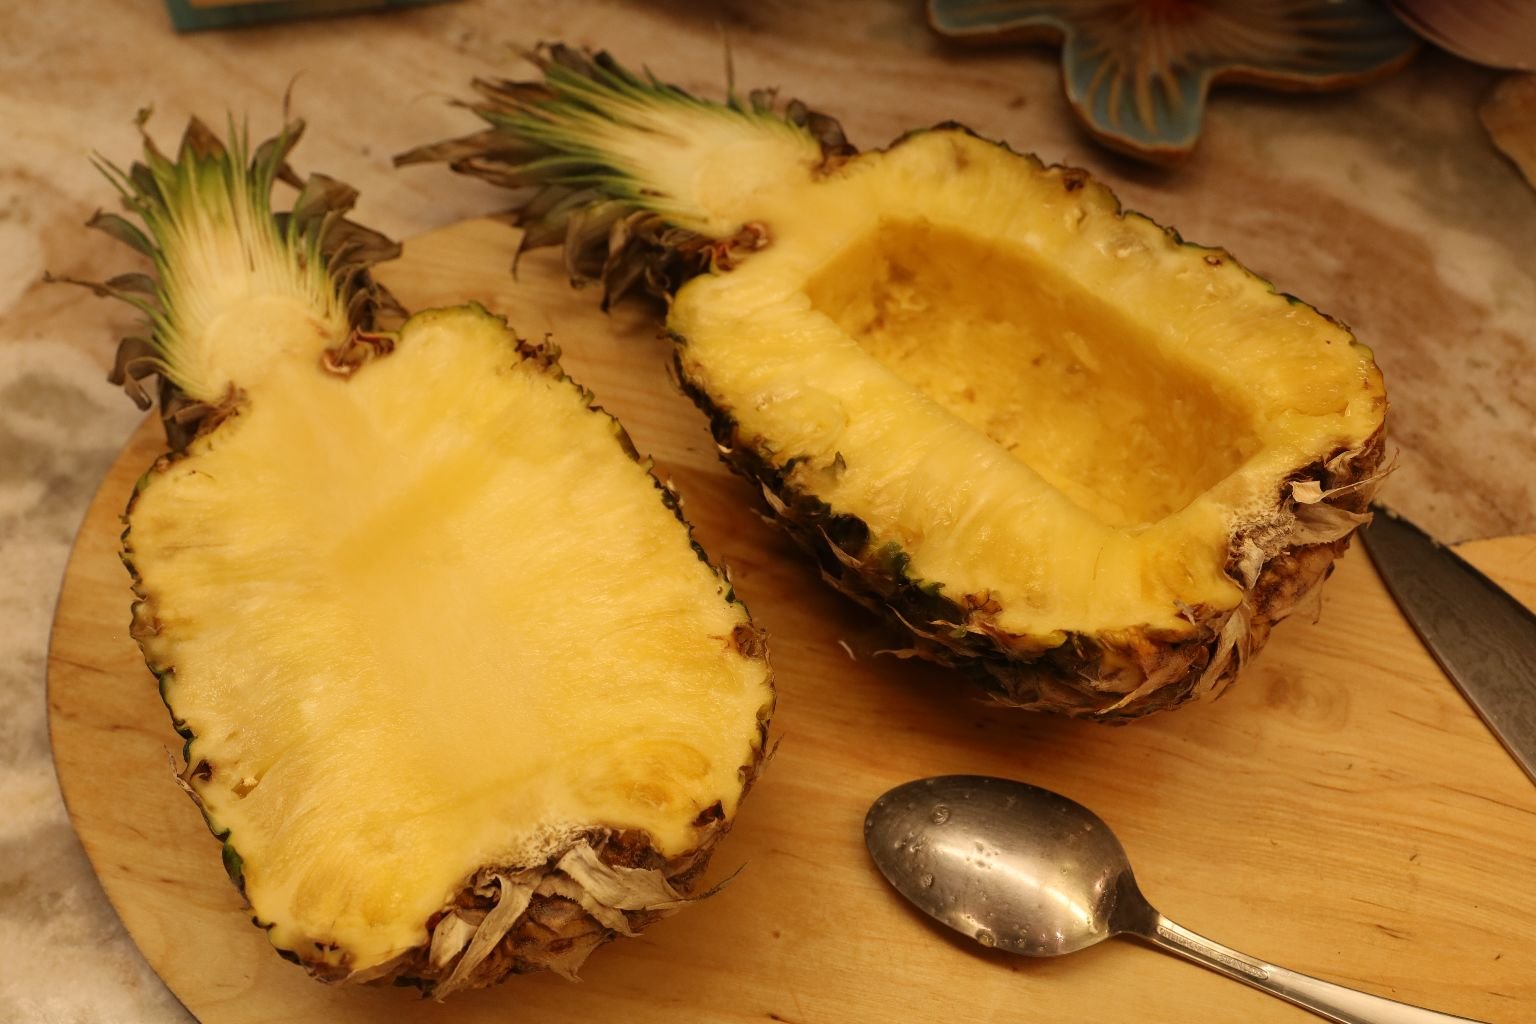
To make the Pineapple Bowl, slice the pineapple in half then use a spoon to remove some of the center.


I kept the Pineapple Juice for later.
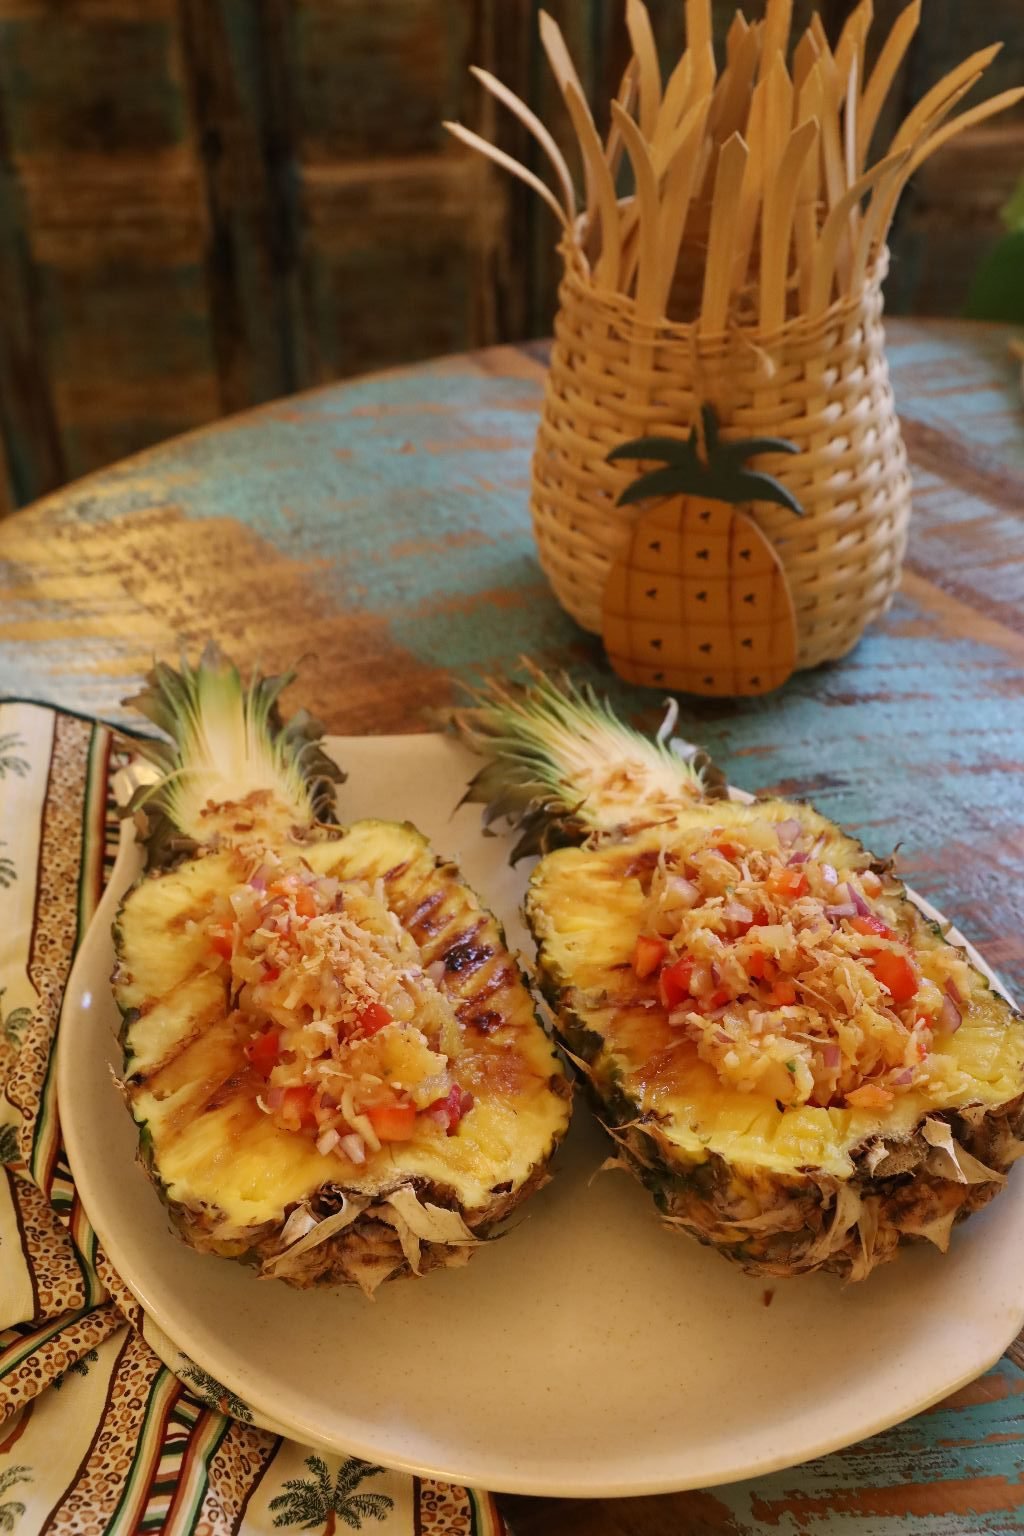
Spoon the relish into the pineapple and place it on a large platter.
————————————————————–

Serve the relish with some nice chips and dig in.
This recipe is also great on fish and chicken!
Cook or grill your fish on one side, flip it over to cook on the other side and top the chicken or fish with some of the relish.
————————————————————————

Grill It! 🙂
Also, great topped on a grilled Pork Tenderloin.
Enjoy, and Thanks Mom, for the Recipe.
——————————————————————–
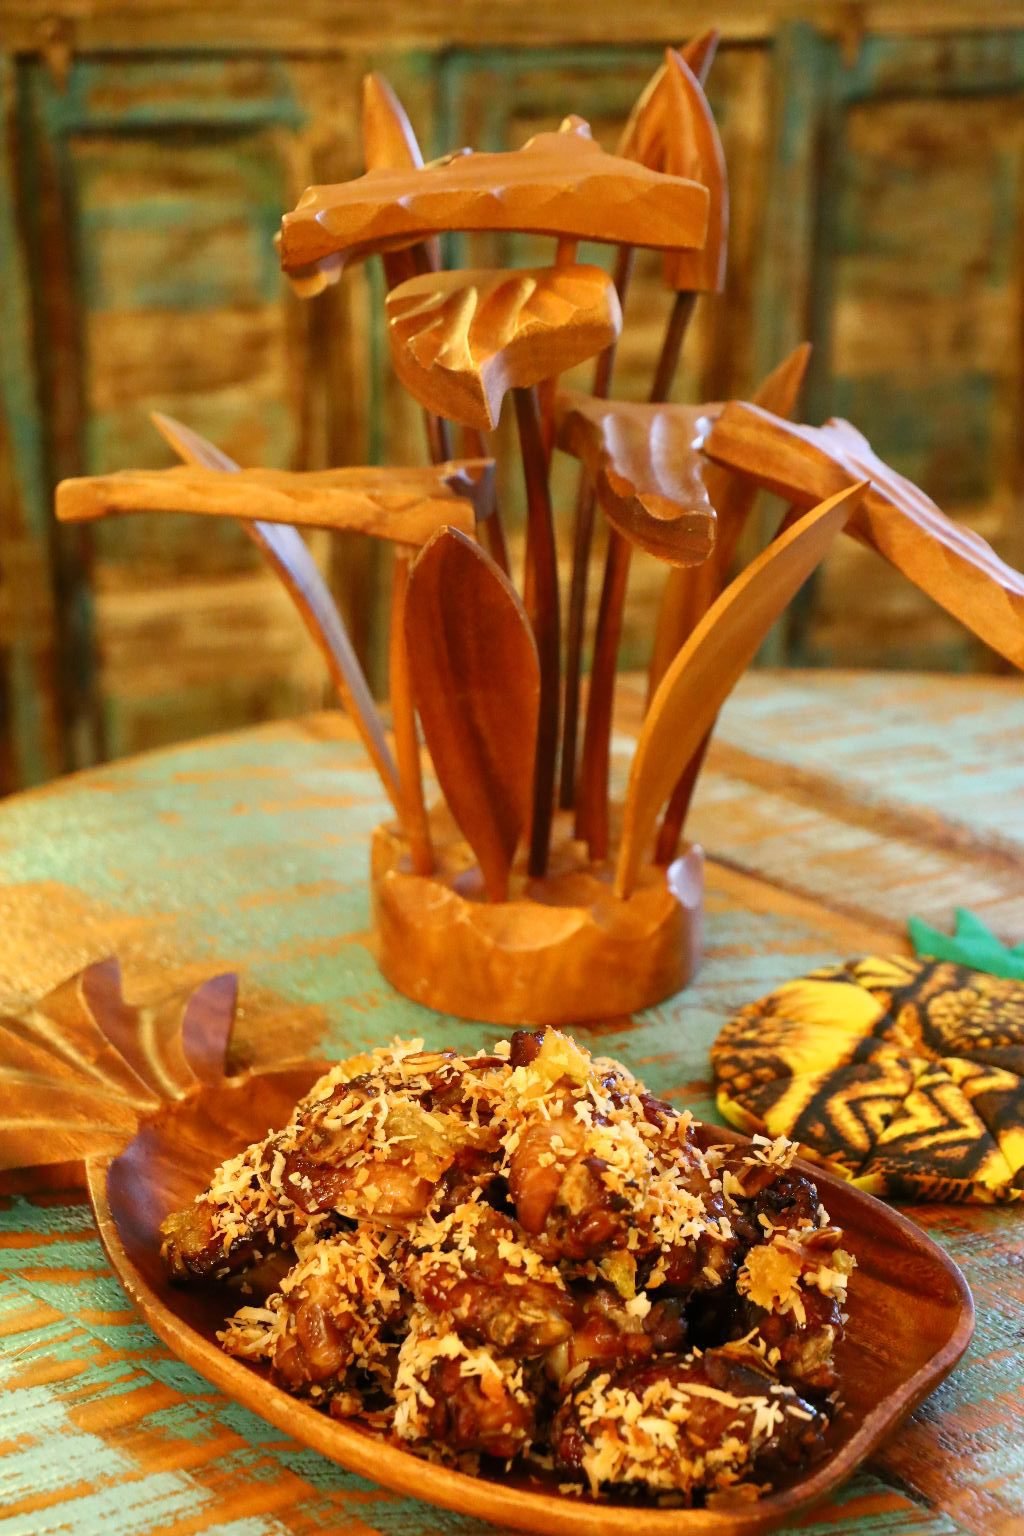
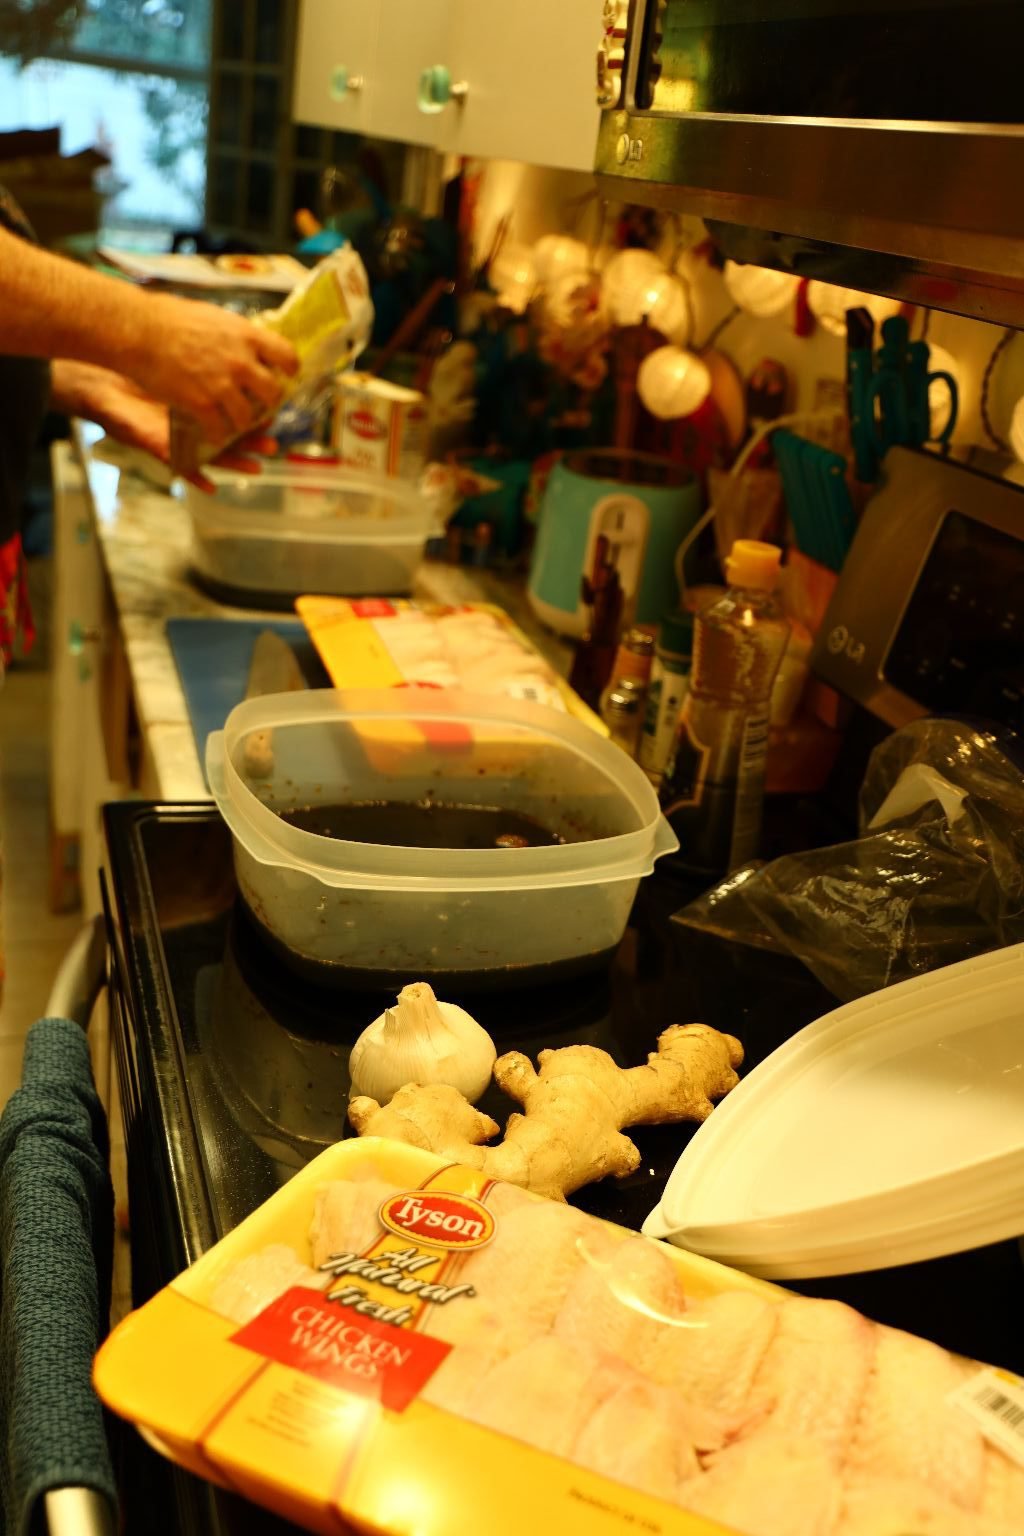
Gordon’s Tropical Hawaiian Wings
—————————————————————-

Ingredients:
Halve the ingredients if only making 1 Family Sized pkg of Chicken Wings.
2 Bottles (750ml each) Datu Puti Soy Sauce – Aloha brand is also great to use
2 pkgs. Family Size Chicken Wings
~1 1/4 Cups Brown Sugar (You can use any, or a mixture of sweeteners (Brown Sugar, Honey, White Sugar, Sweet Soy Sauce for this step)
8-10 Tbsp. Sweet Soy Sauce
4 Tbsp. Sesame Oil
1 large piece of Ginger ~5 inches long – sliced thinly
8 Garlic Cloves – sliced thinly
3/4 pkg. Sweetened Shaved Coconut – Roasted at 350’F on a sheet pan until golden brown, mixing as needed to brown the coconut evenly
1 Jar Pineapple (Smuckers) Preserves
5 Tbsp. canned Crushed Pineapple and 2 Tbsp. Pineapple Juice
——————————————————-
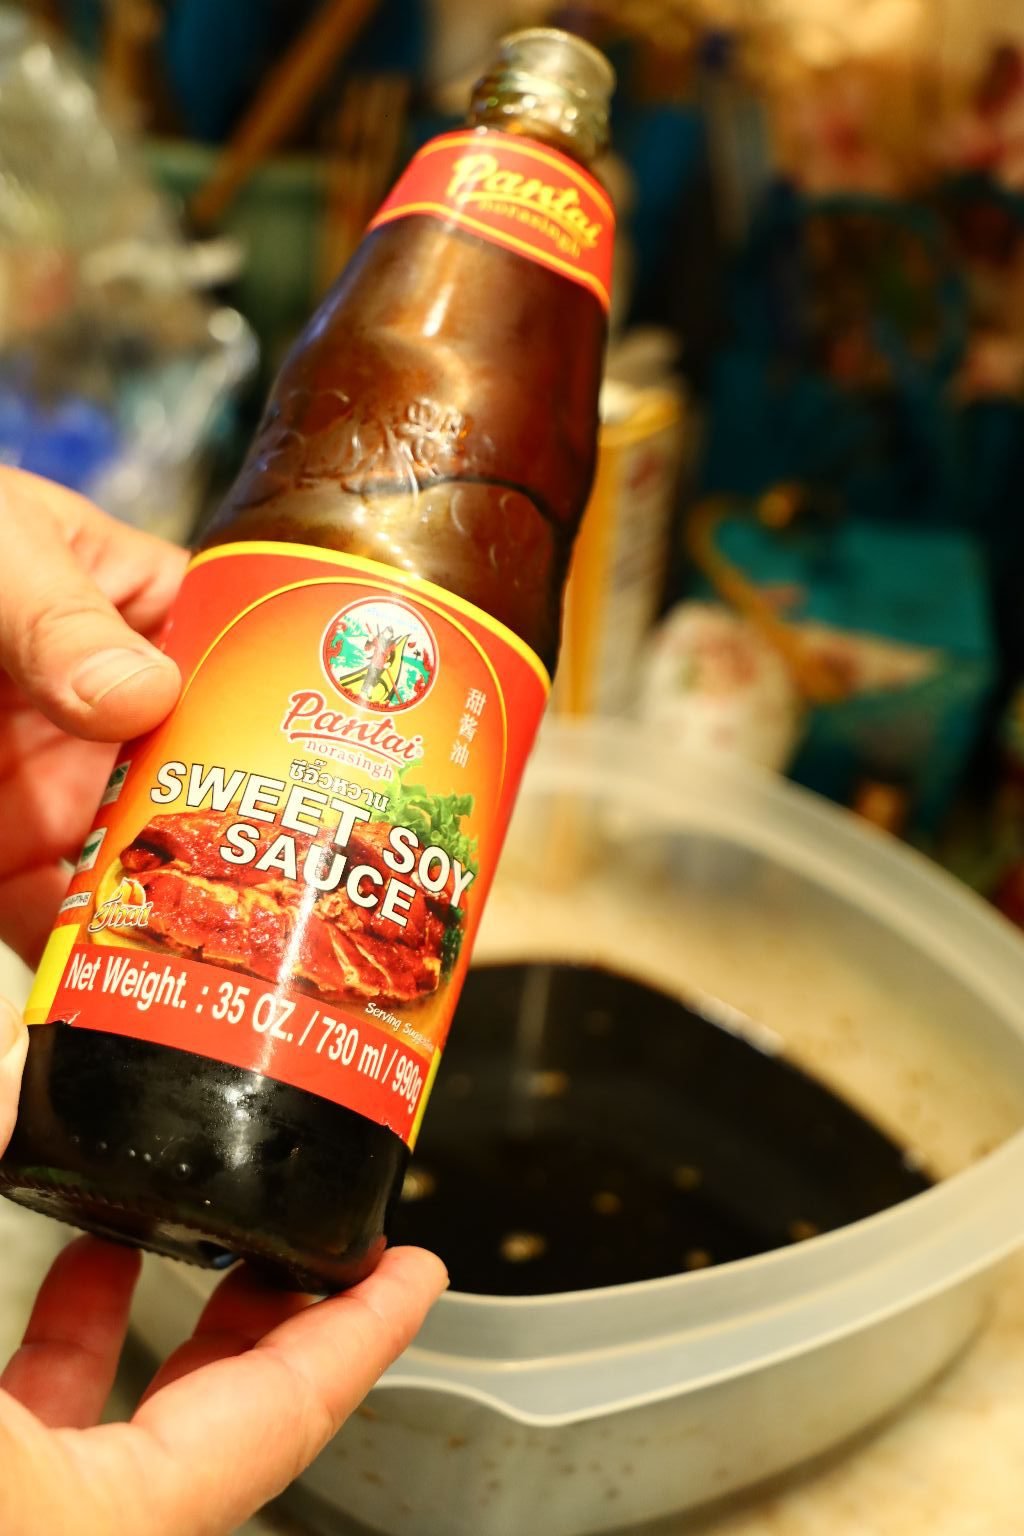
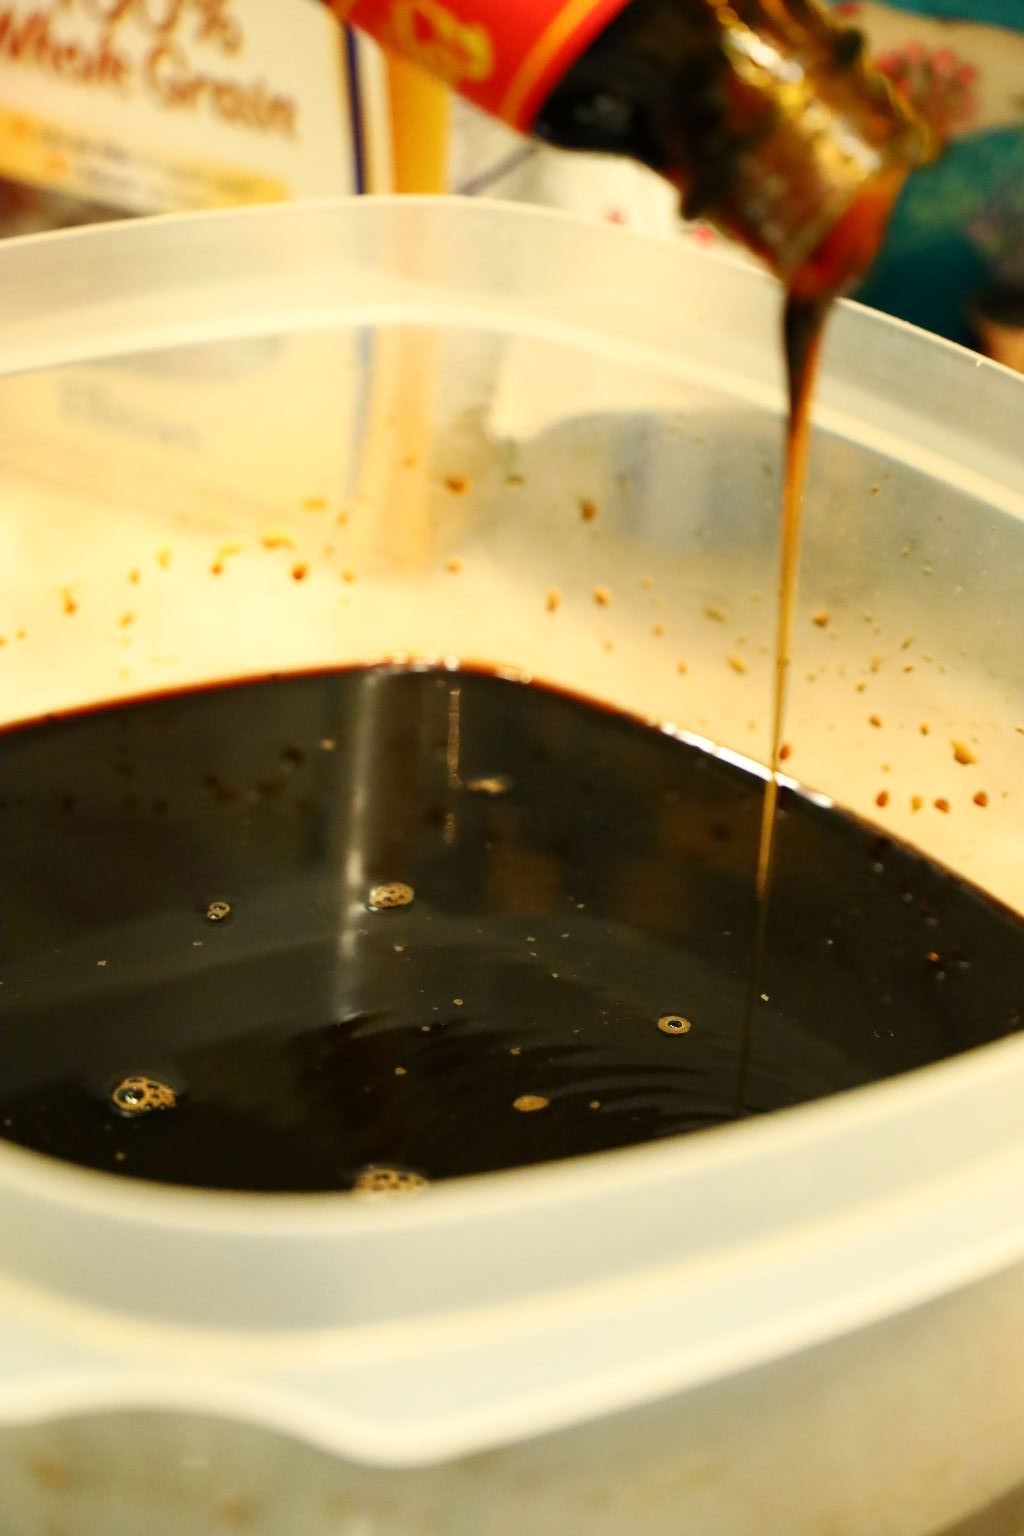

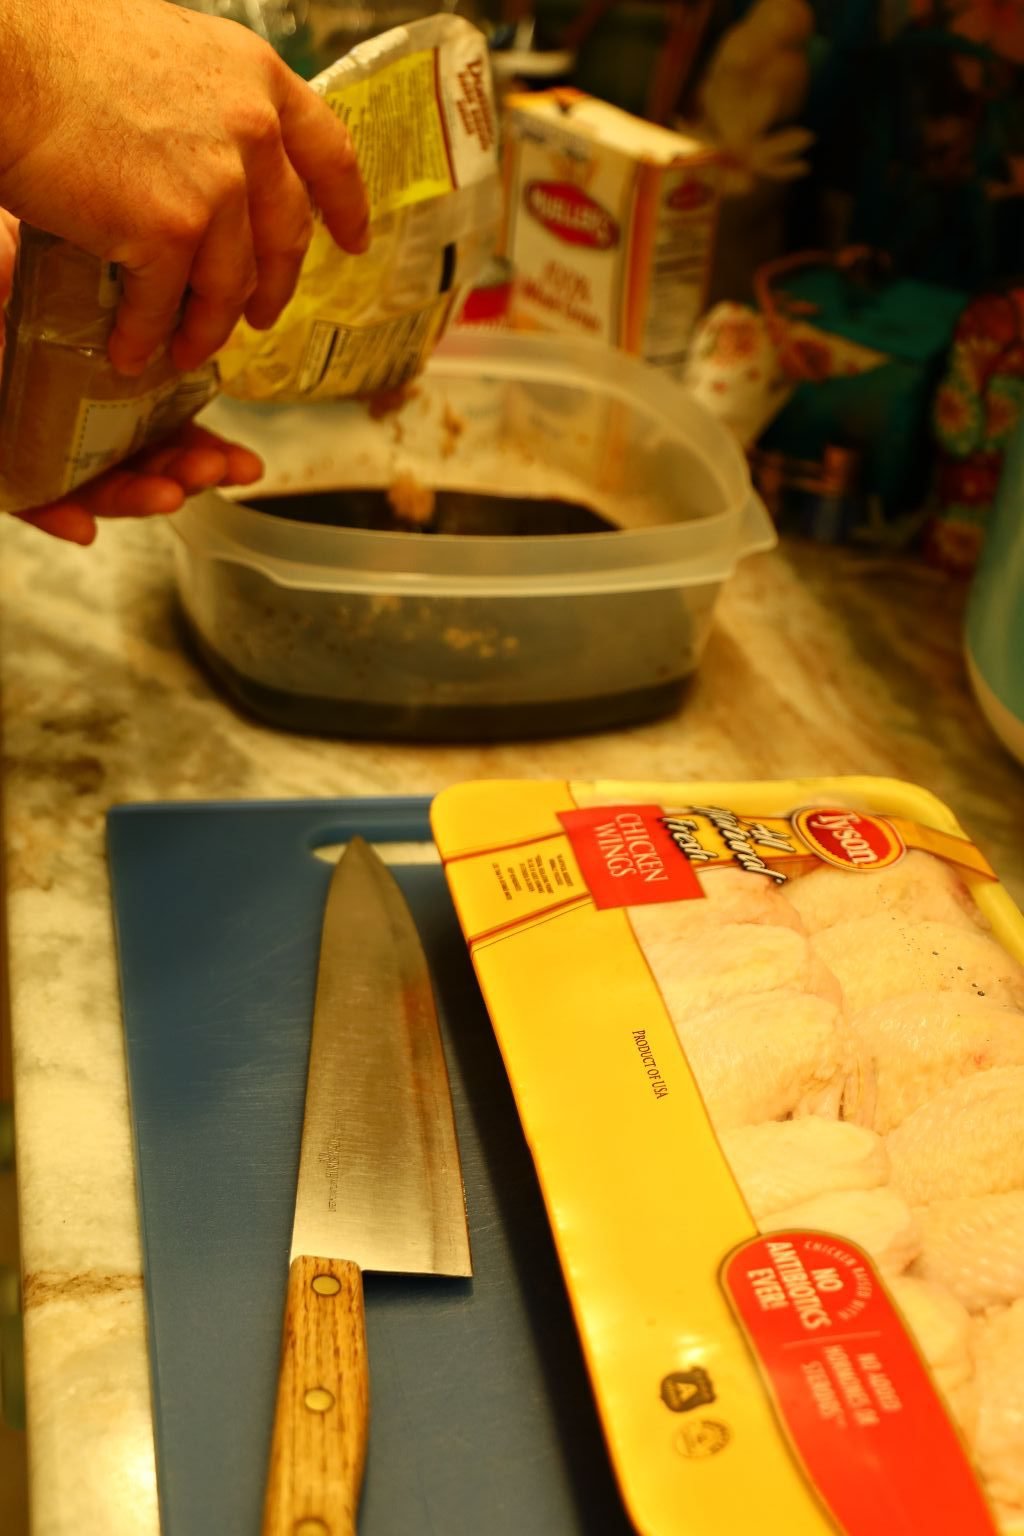
To make the Teriyaki marinade I used two containers, because I didn’t have a single container large enough to hold all the marinade and wing sections. To start, pour one bottle of your Soy Sauce into each large container then add half of your brown sugar into each container. Now add 2 Tbsp. Sweet Soy Sauce to each container and mix all the ingredients making sure the sugar is fully dissolved. If the sugar isn’t fully dissolved you will not get an accurate taste in the next step. Taste the mixture ensuring it is a little more sweet than salty. Add more sweetener (Brown Sugar, Honey, White Sugar, Sweet Soy Sauce) as needed to make it sweeter than salty. If you mess up, you can always use a touch more Soy Sauce to balance out the flavor. Once you have the taste to your liking, you have made your Teriyaki Sauce! Easy right! Now add your Sesame Oil.


Make sure your wings are fully thawed if previously frozen.

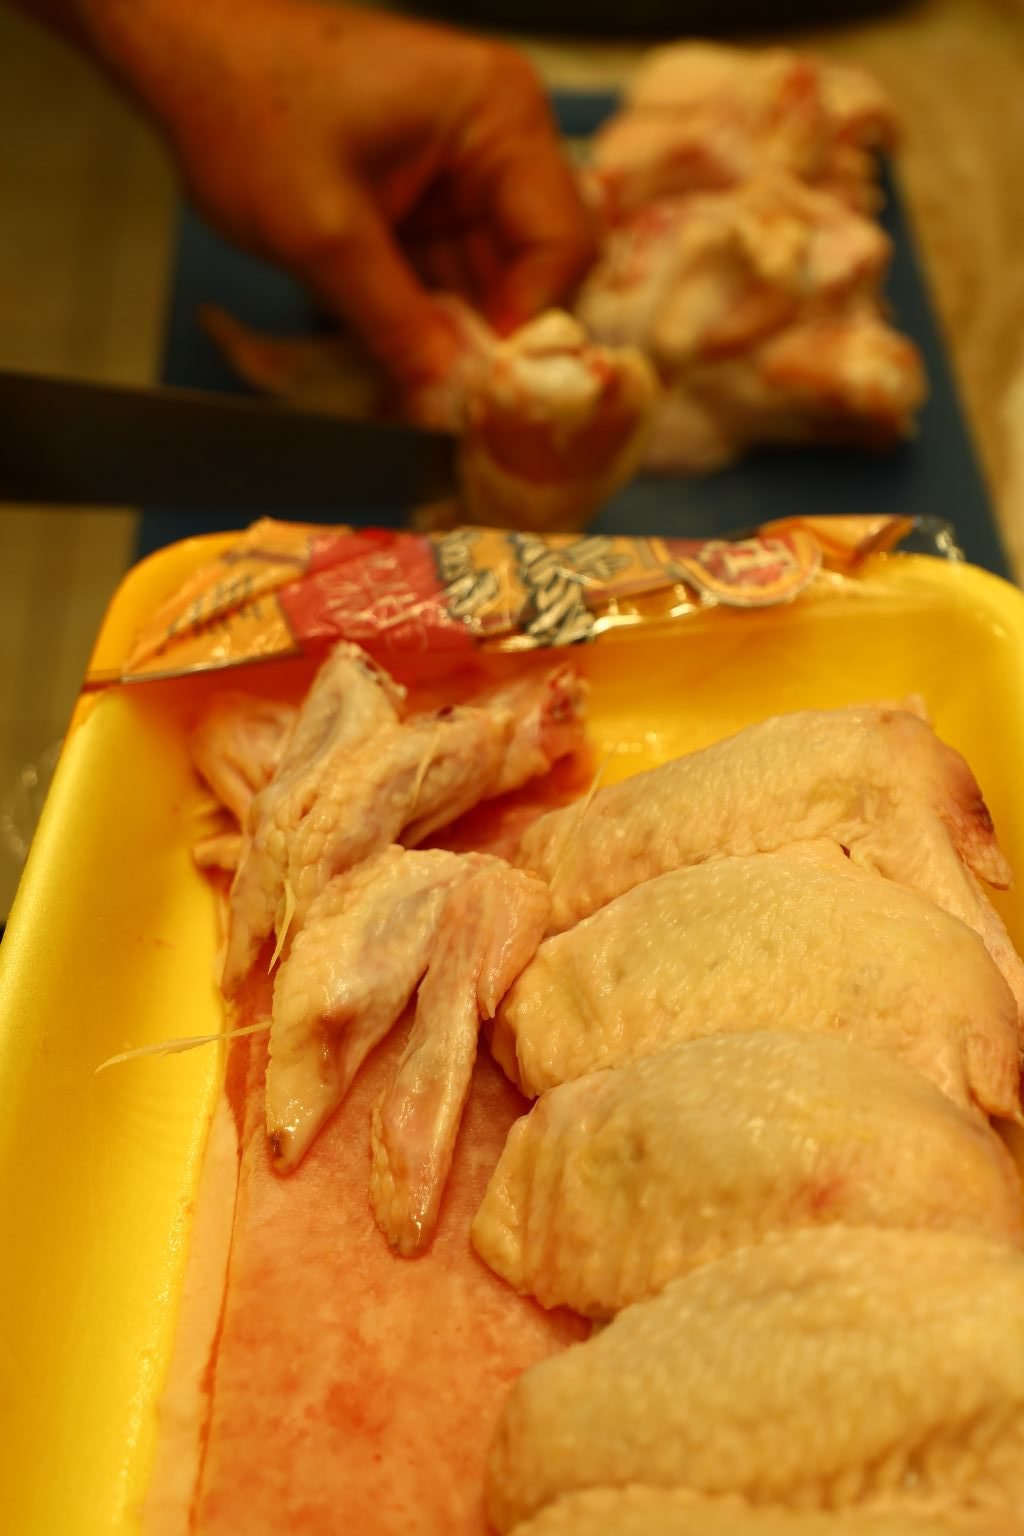
Using a sharp knife, separate the Wingette from the Drumett slicing right between the joint. Then slice off the Tip of the Wingette at the joint and throw the Tip in the trash. Do this for all the chicken then using a colander, rinse the Wingett’s and Drumett’s with cold water to remove any excess bone fragments and blood that may have been left behind.
Here is the Teriyaki marinade showing the Sesame Oil on top.
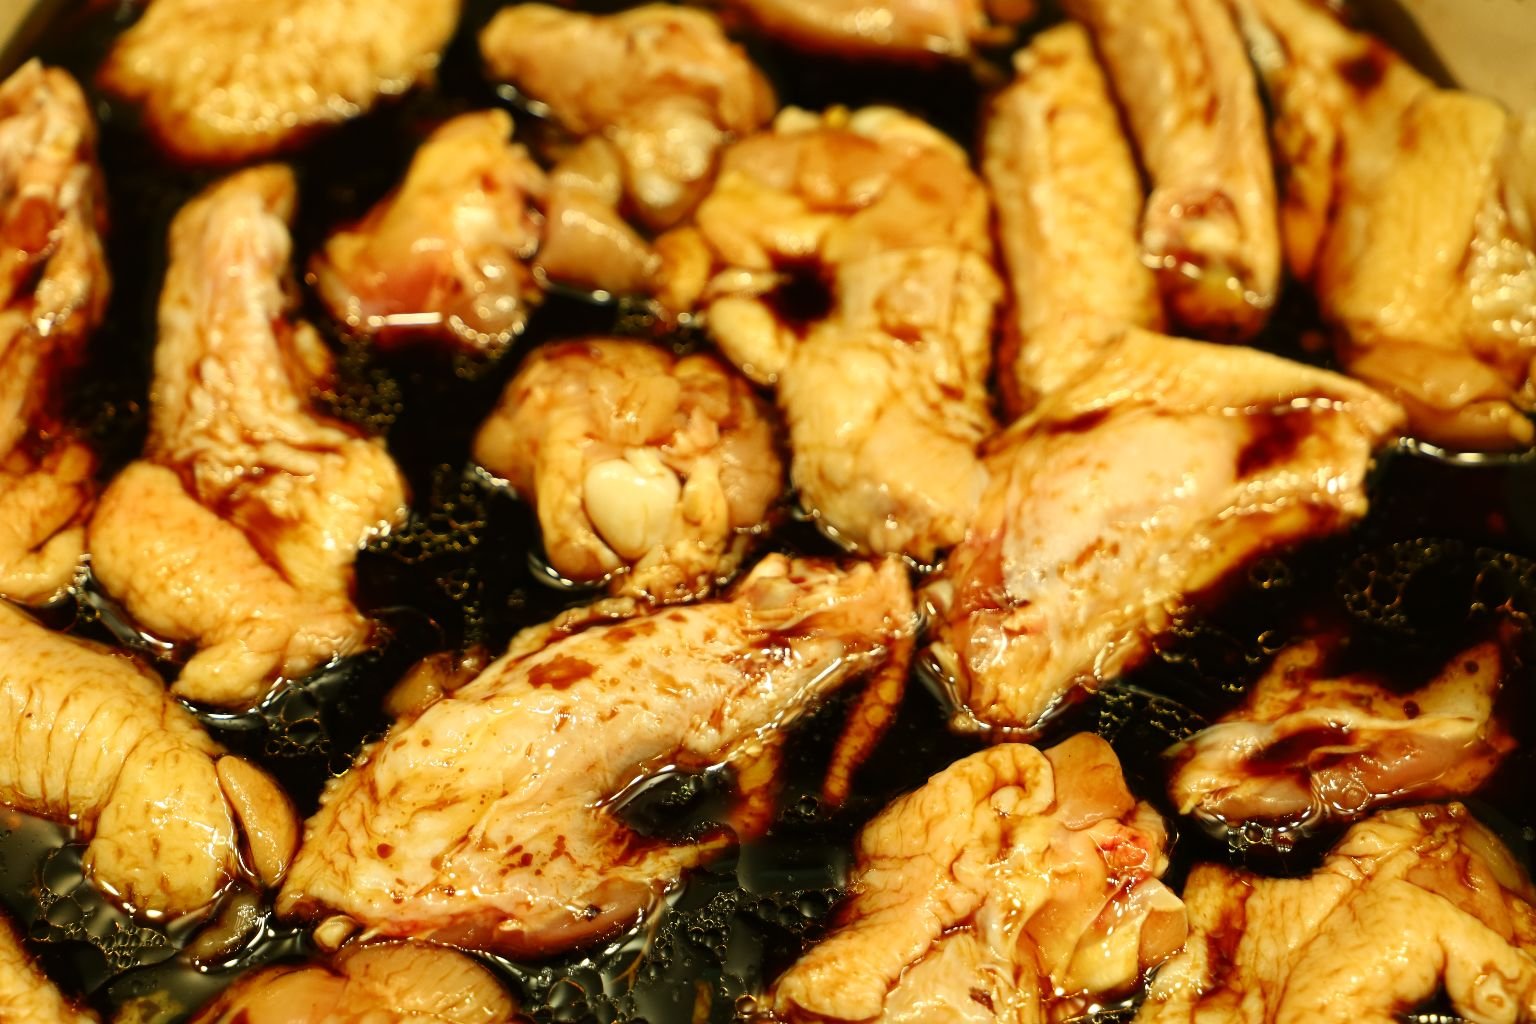
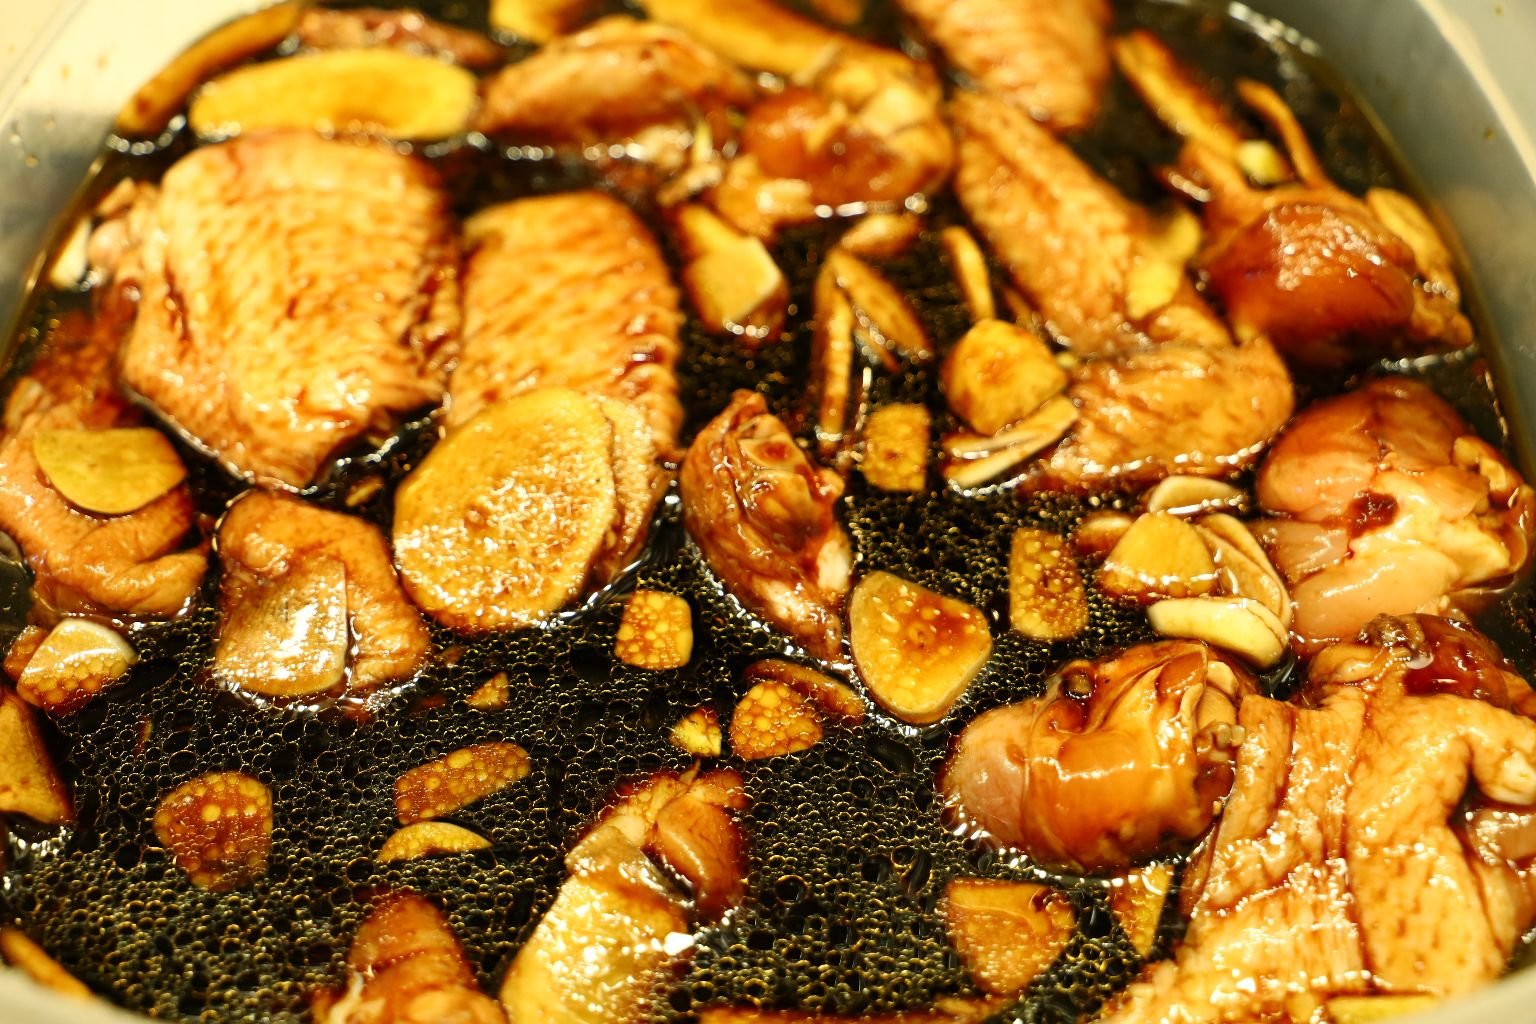
Add your sliced wings to the Teriyaki marinade. Make sure you don’t add too many to each container if making two batches, so they will marinate evenly.

Pictured is the large section of Ginger I used.
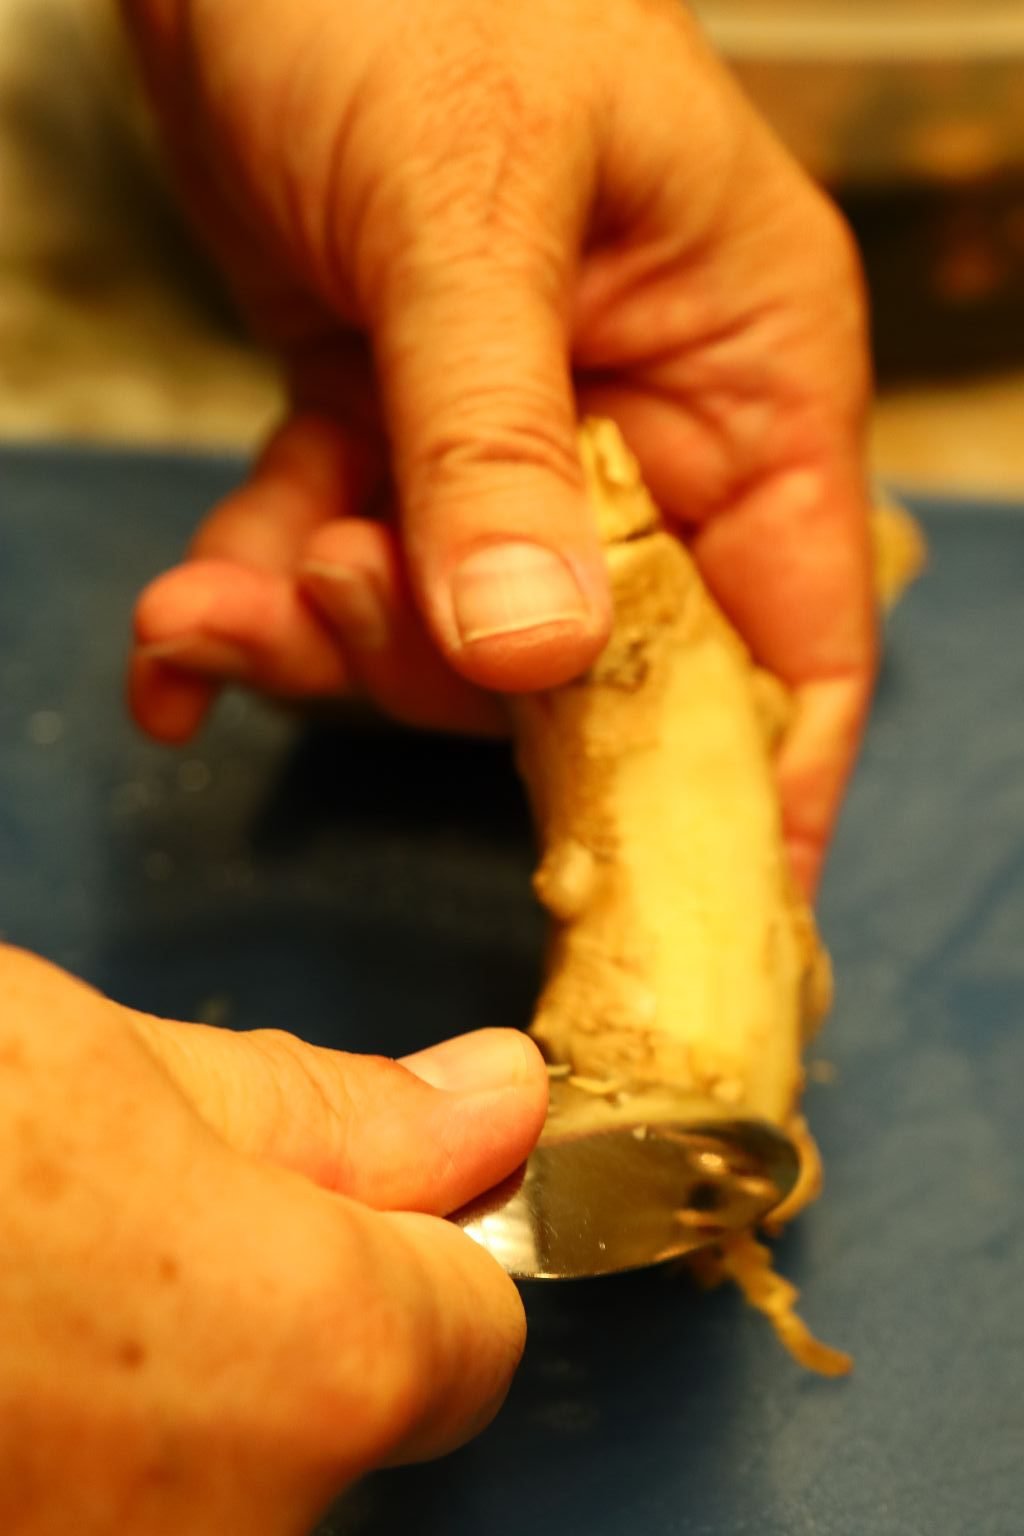
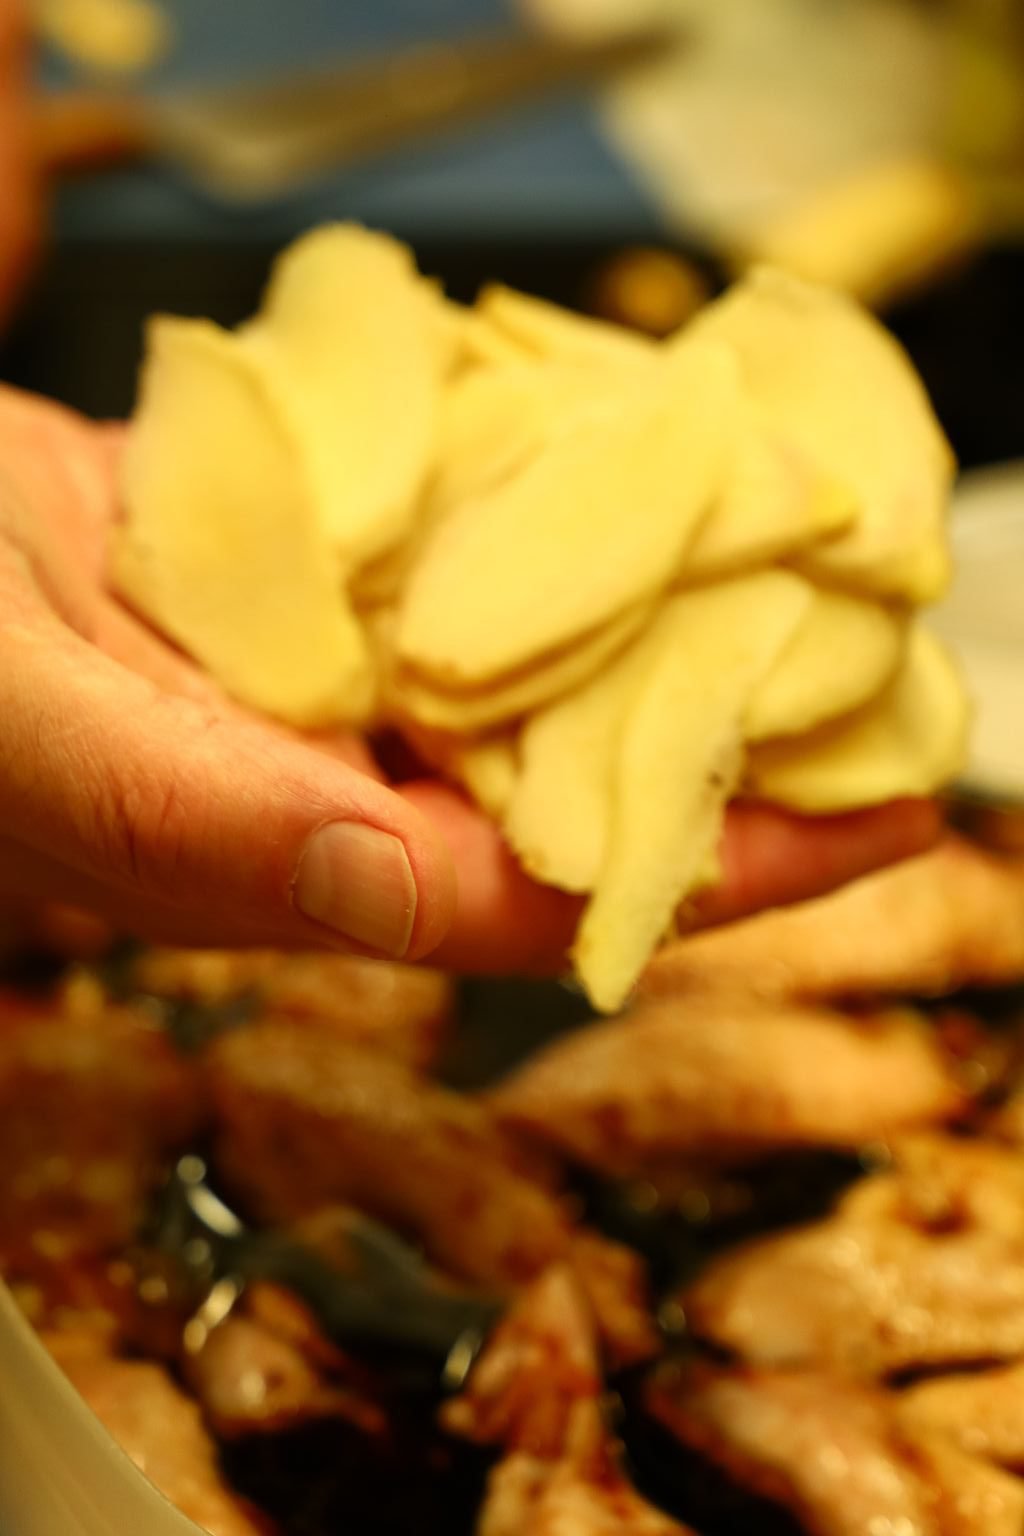
Use a spoon to remove the outer skin of the Ginger. Once removed, slice the Ginger thinly as shown.
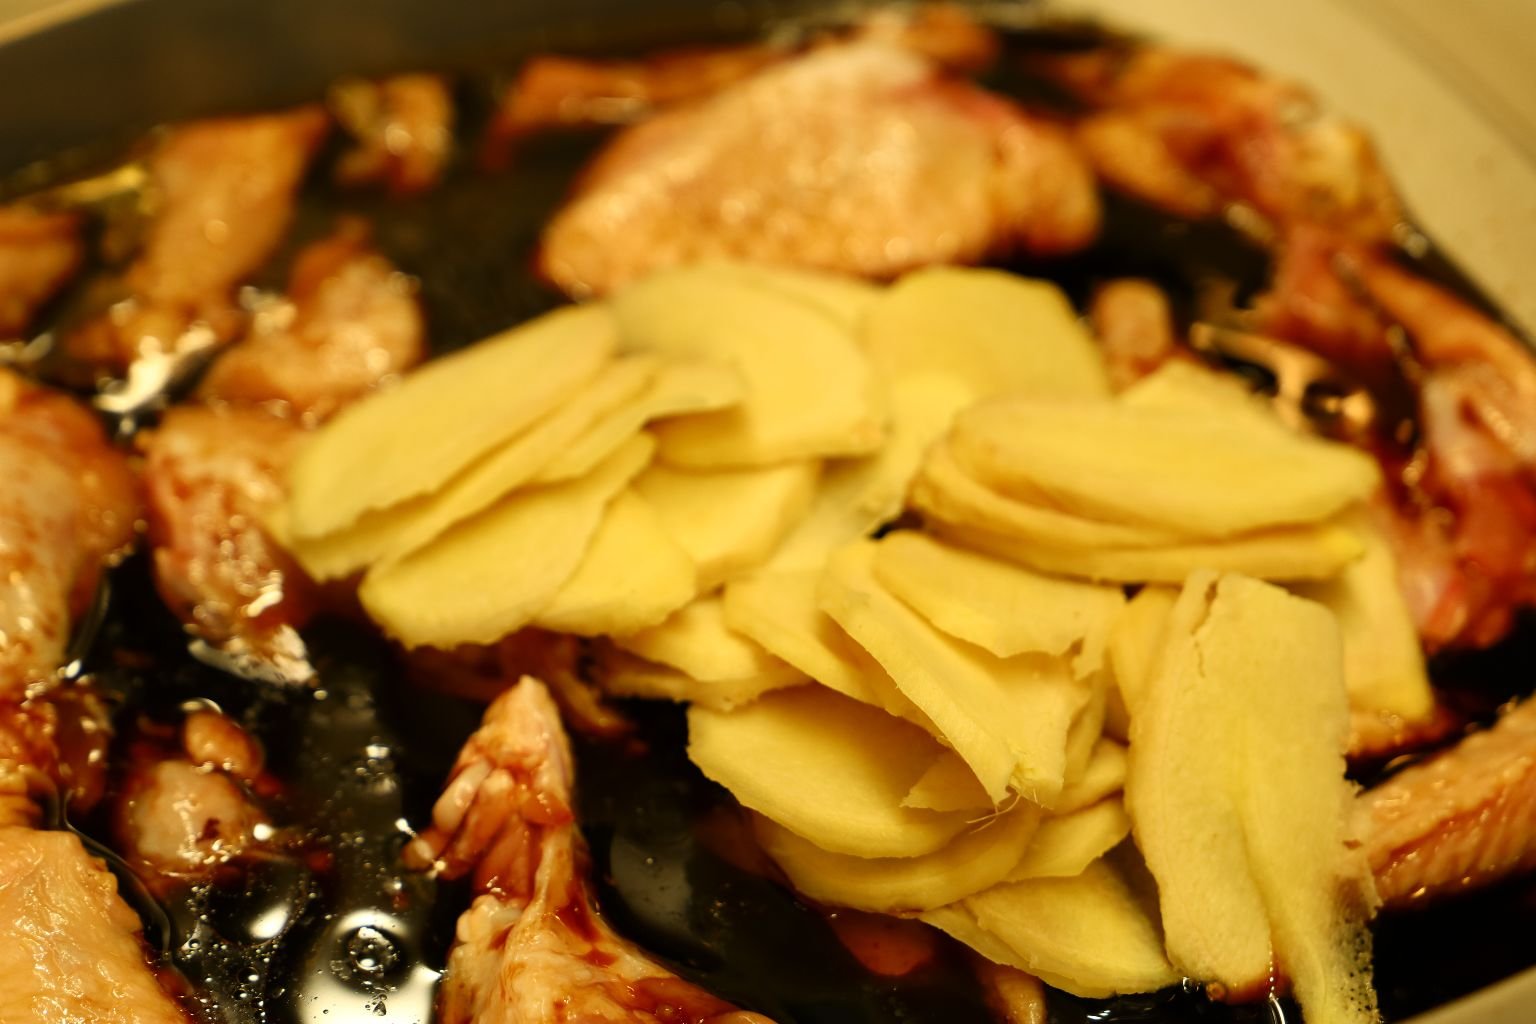
Add as much or as little of the sliced Ginger to the wings.

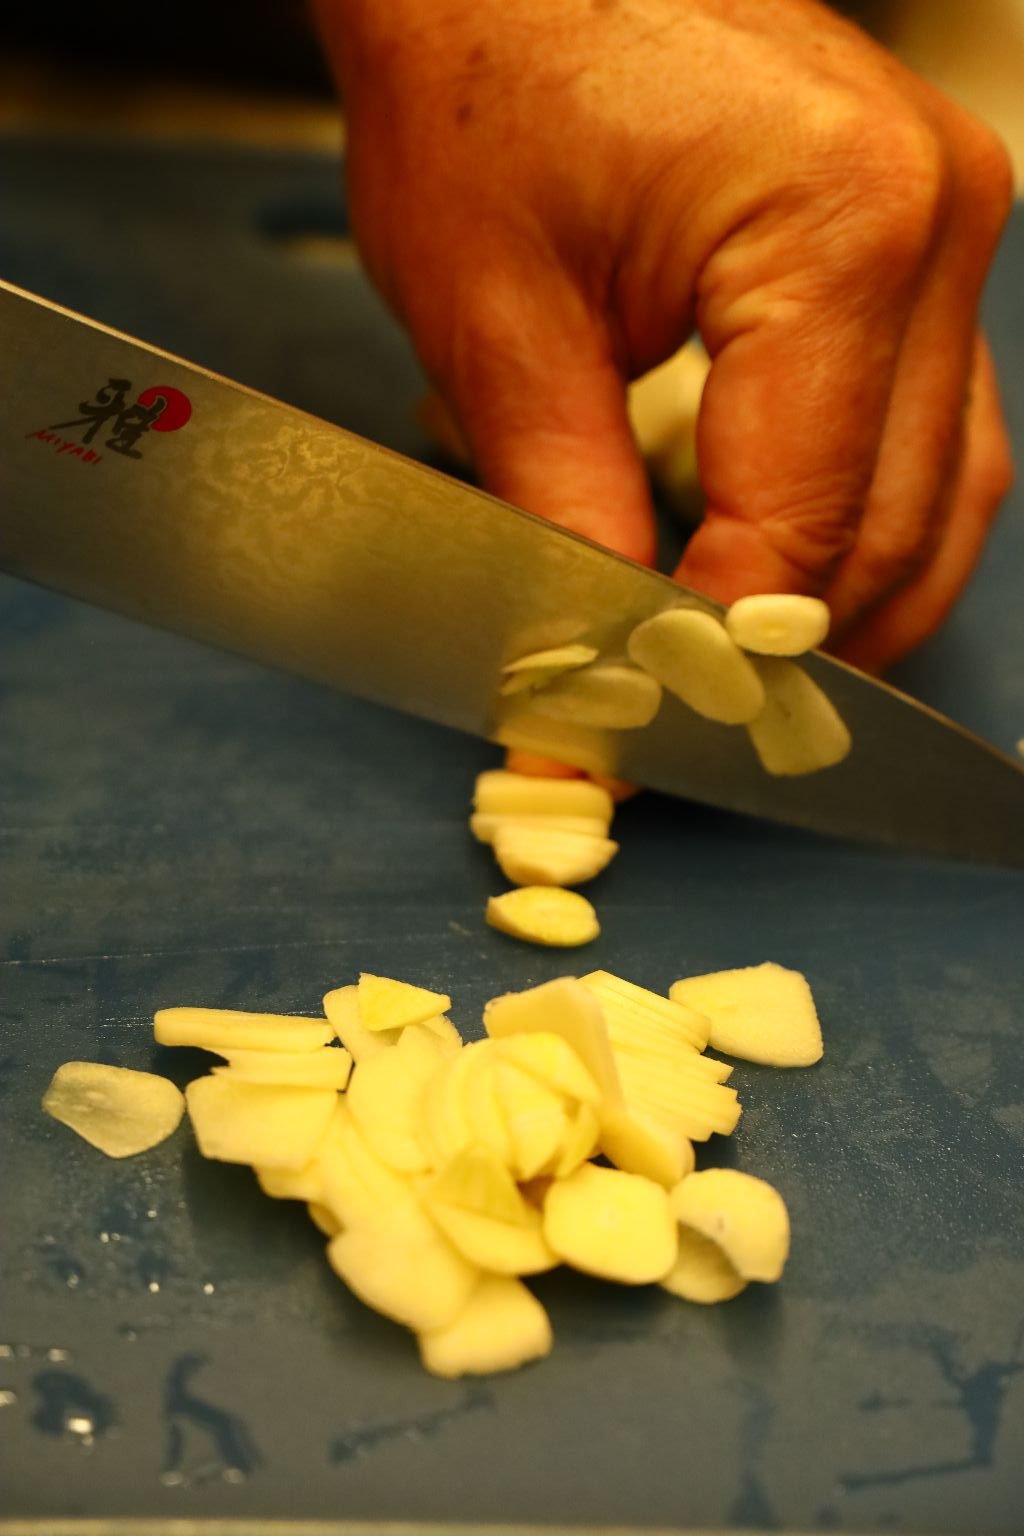
Peel and slice the Garlic thinly as shown.
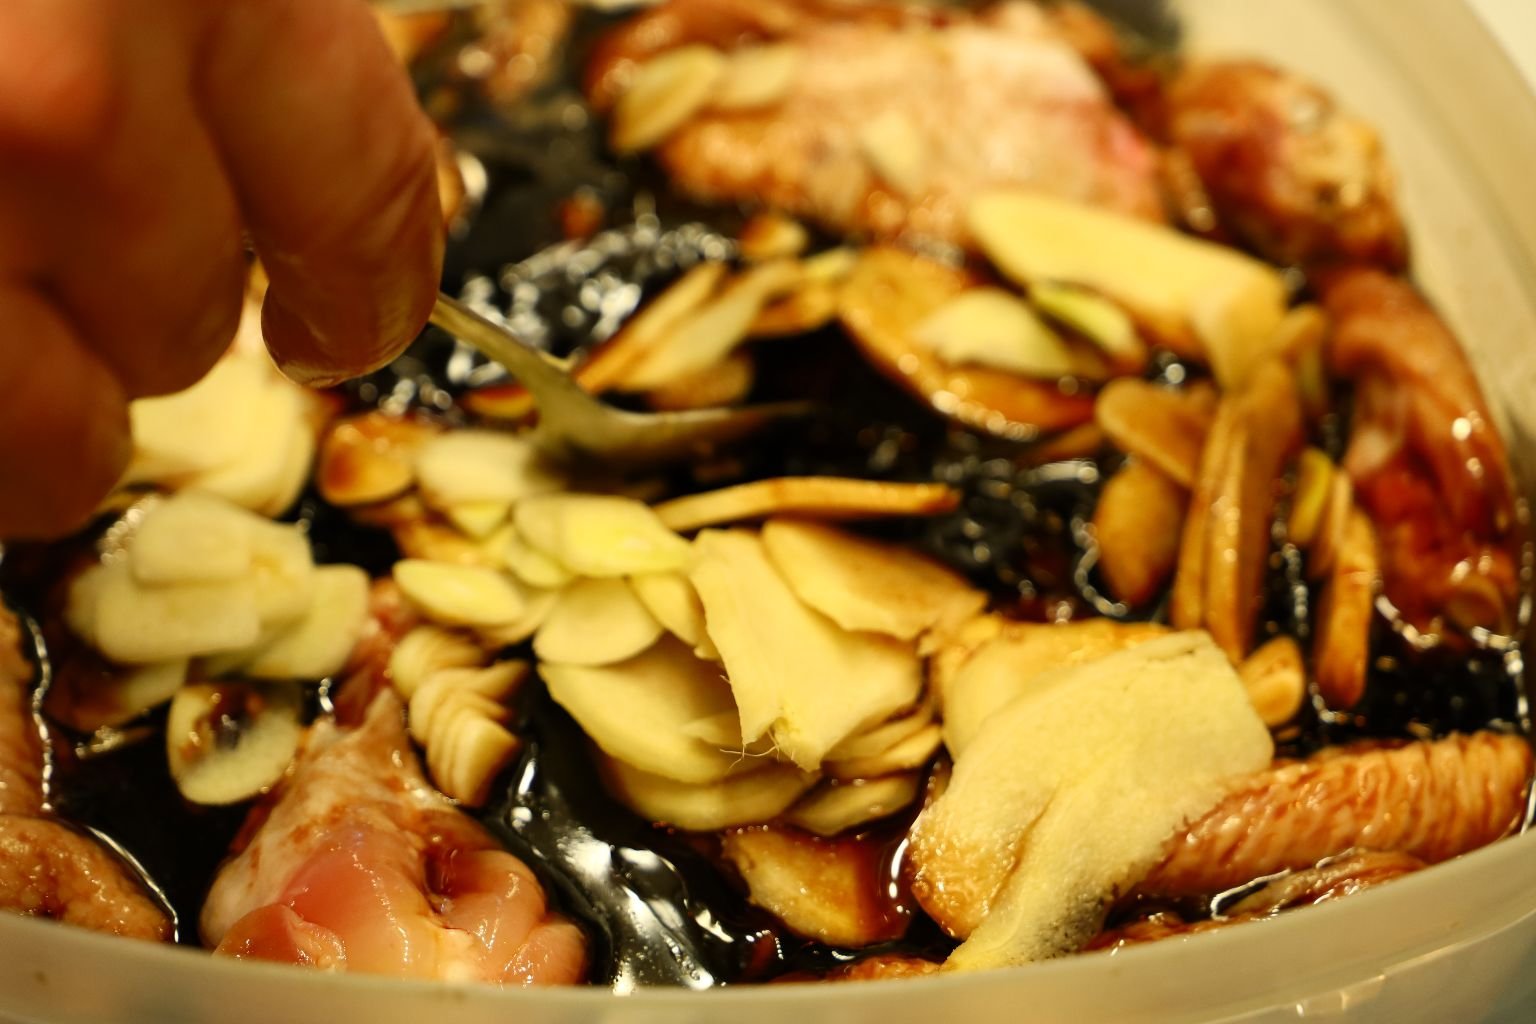
Add as much or as little of the Garlic to the containers of wings and mix well.
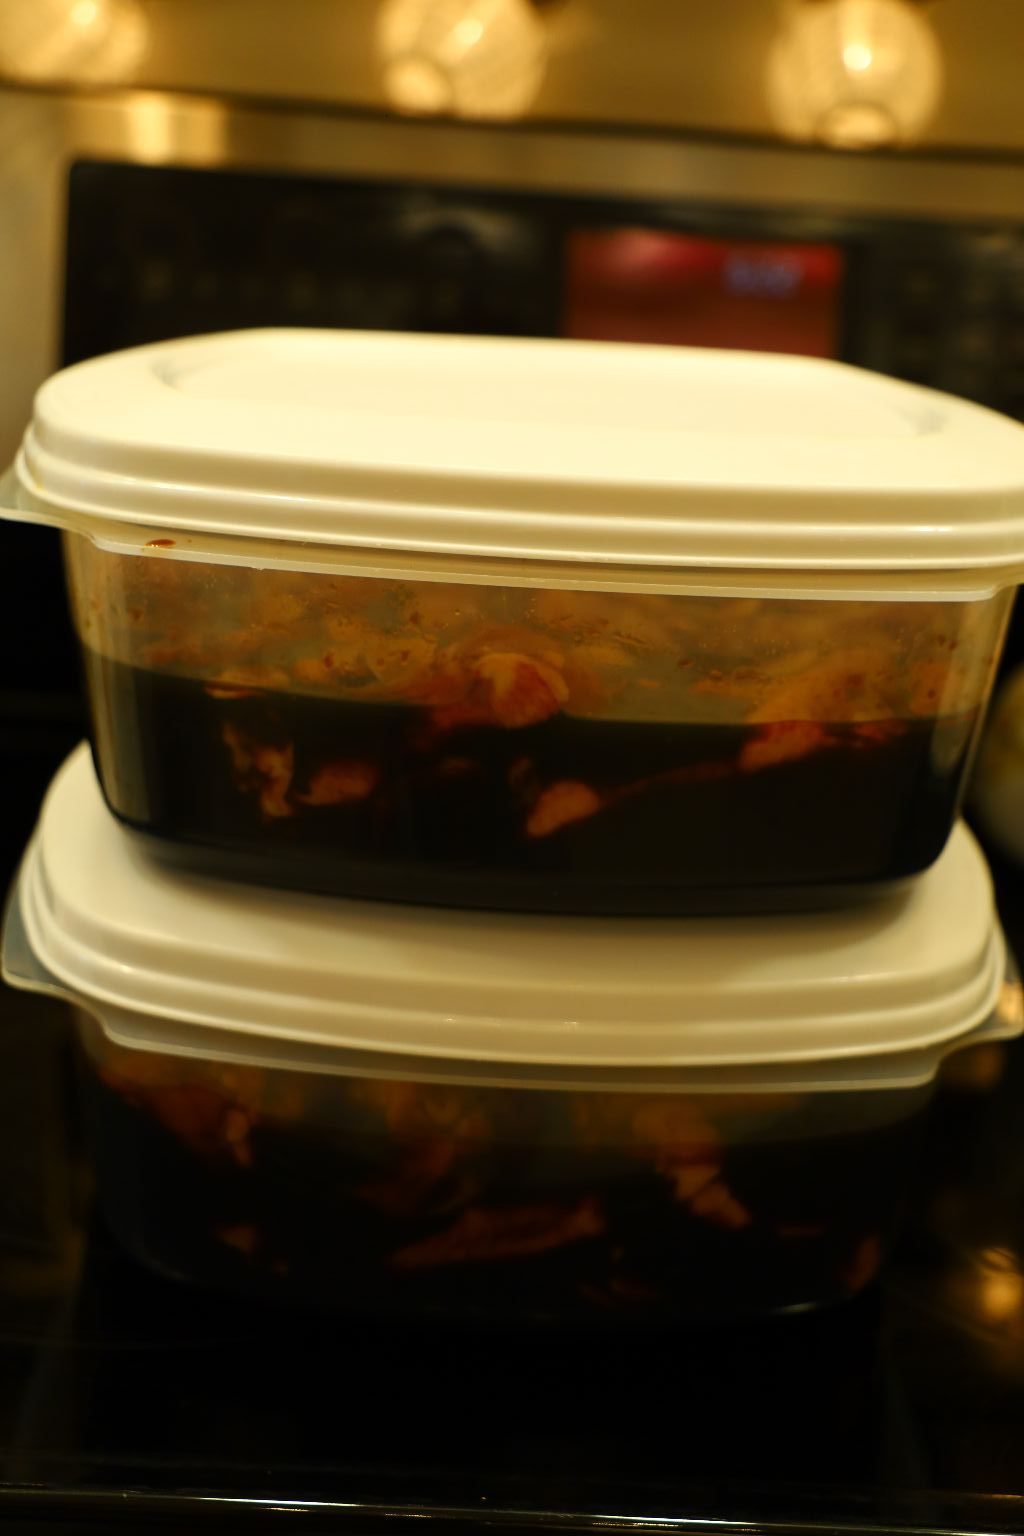
Here you can see the two containers of wings marinating in the Teriyaki sauce. Refrigerate these for at least 24 hour or up to 36 hours. Be sure to gently shake the containers around every 12 hours to ensure the marinade penetrates the wings evenly.

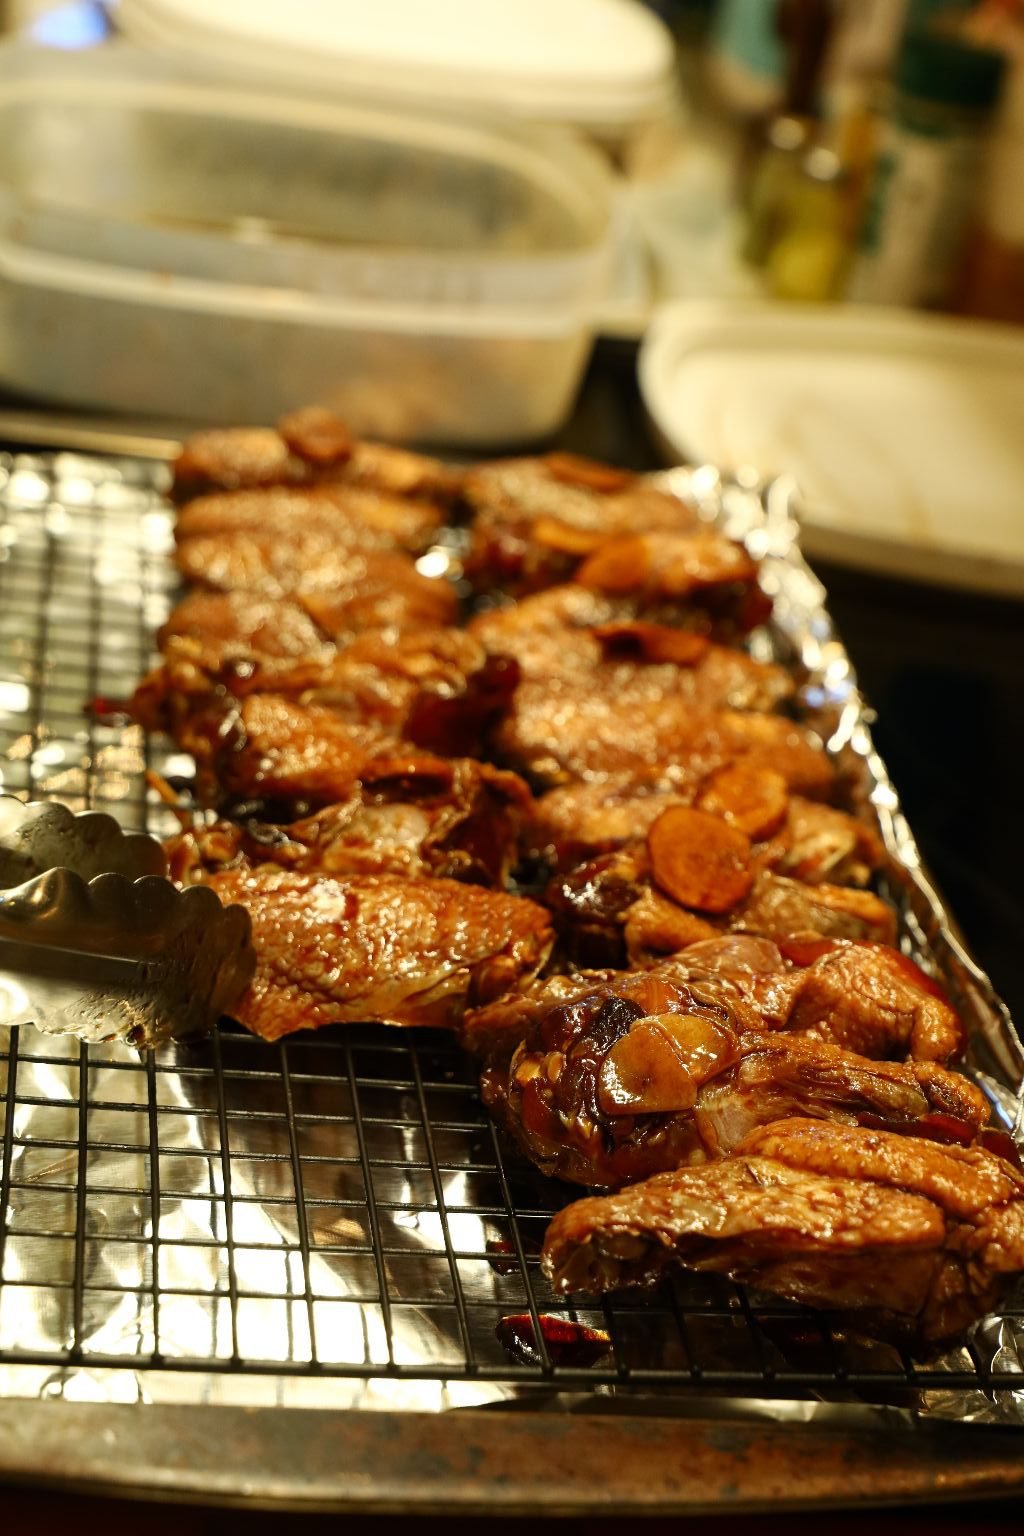
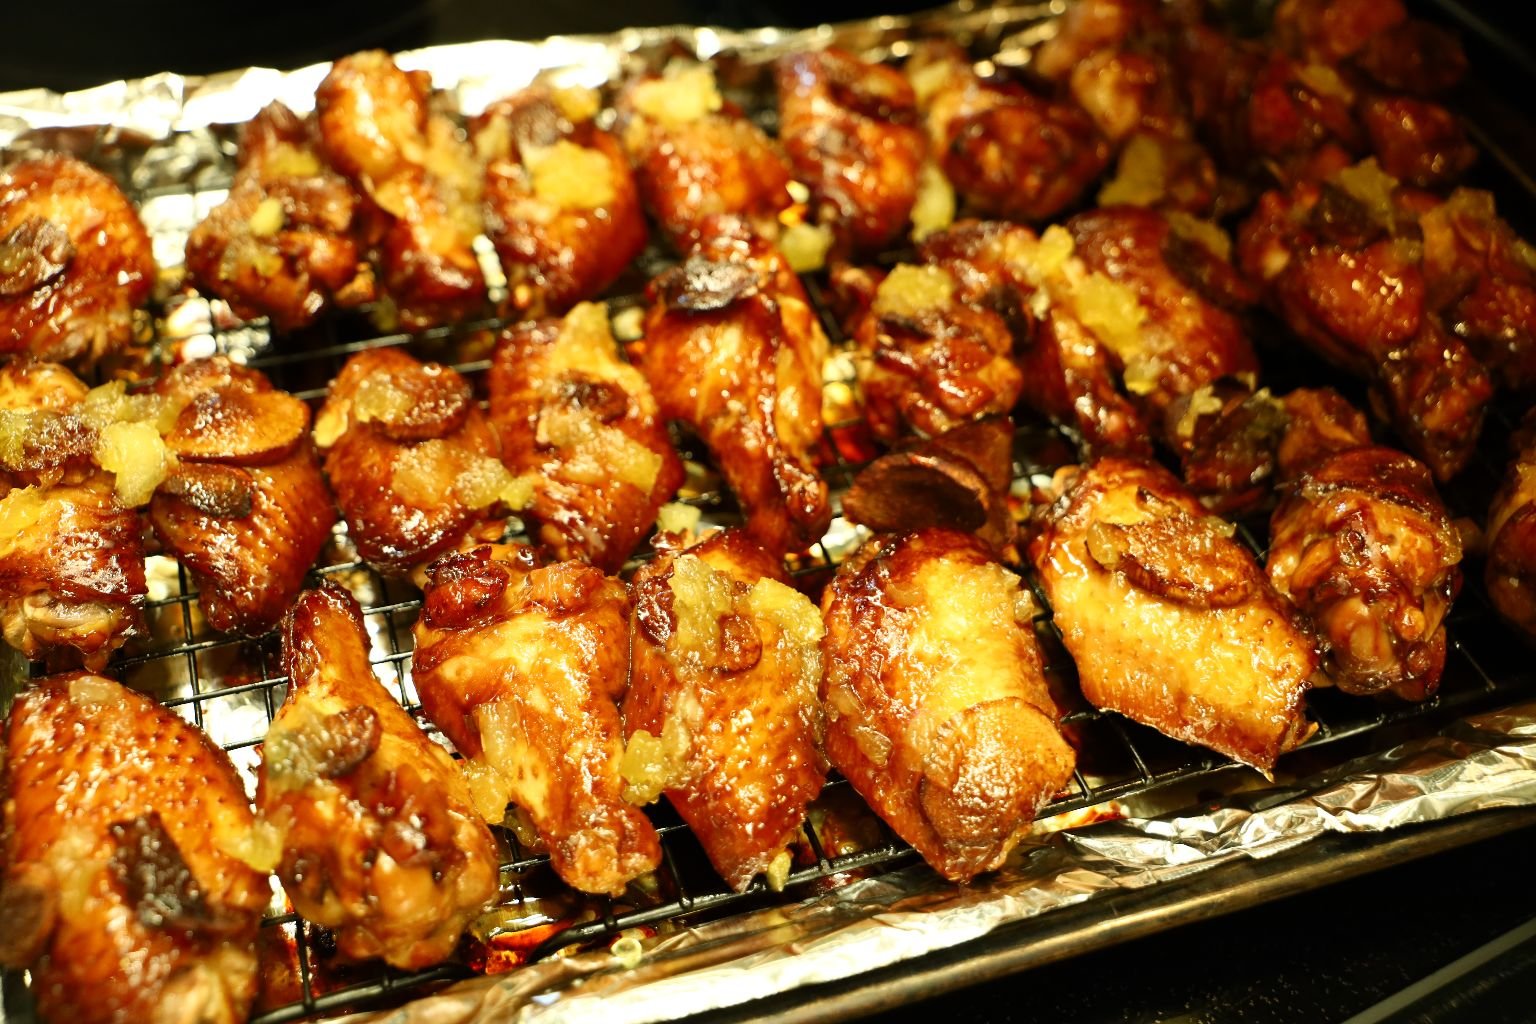
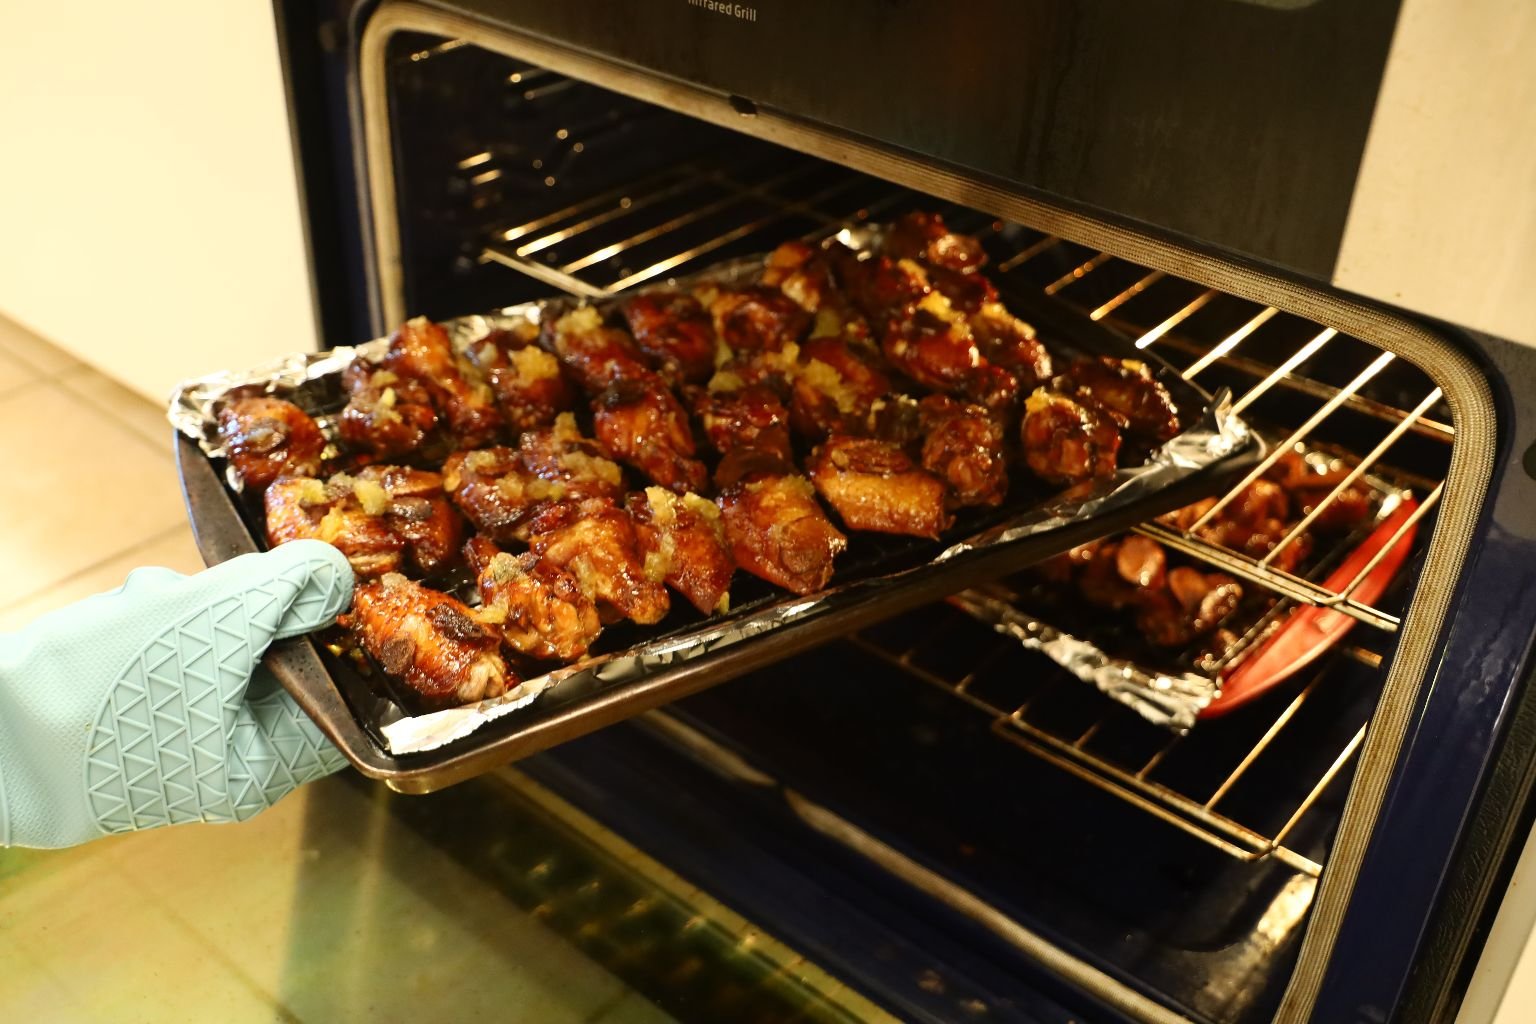
Turn your oven to 400’F. As your oven heats, remove the wing sections and place them on a cooling rack that is on top of a large sheet pan that has been lined with aluminum foil. Ensure your wings have a little space between them so they evenly cook. I like to add the marinated Ginger and Garlic slices to the tops of the wings as when cooked they add a great flavor.
TIP: If you boil the marinade, killing any bacteria, you can use it over rice to make another great addition to this meal.
To kill the bacteria simply place the marinade into a sauce pan and bring the sauce to a boil on a medium-high heat for about 10 minutes. It will then be safe to eat.
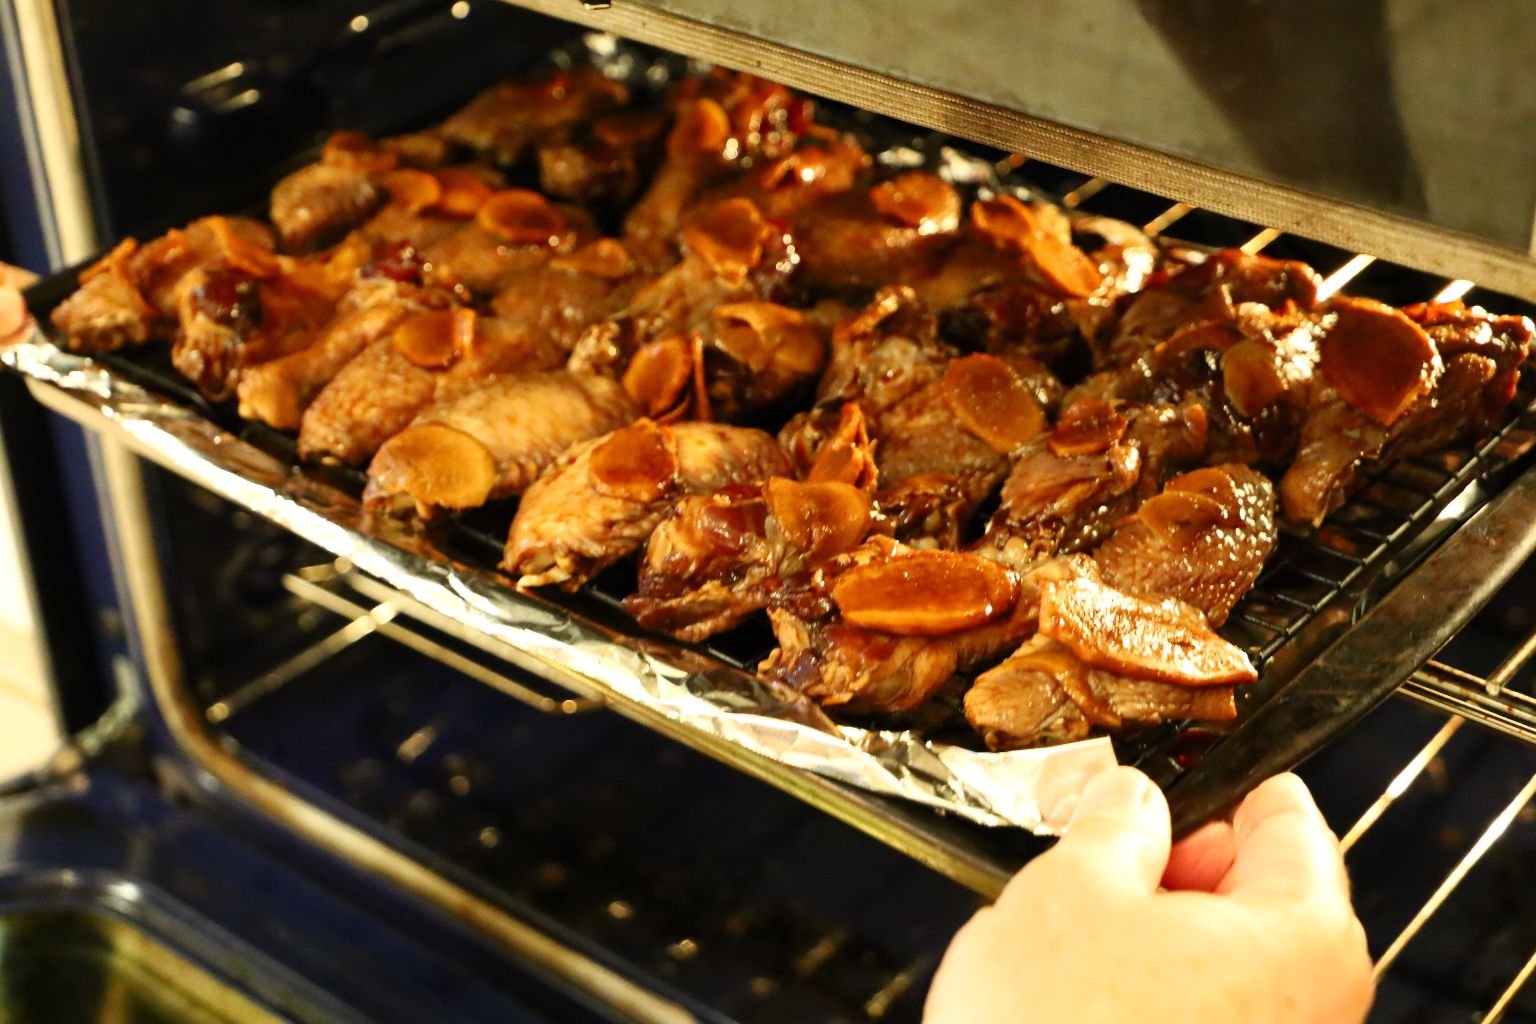
Place your wings into the oven and when at temperature, cook them for about 30 min.


Here I am adding the second batch of wings to the sheet pan. The last picture shows the large section of Ginger on top of the wing to be cooked.

Here I am placing the second set of wings into the oven.
———————————————————————-

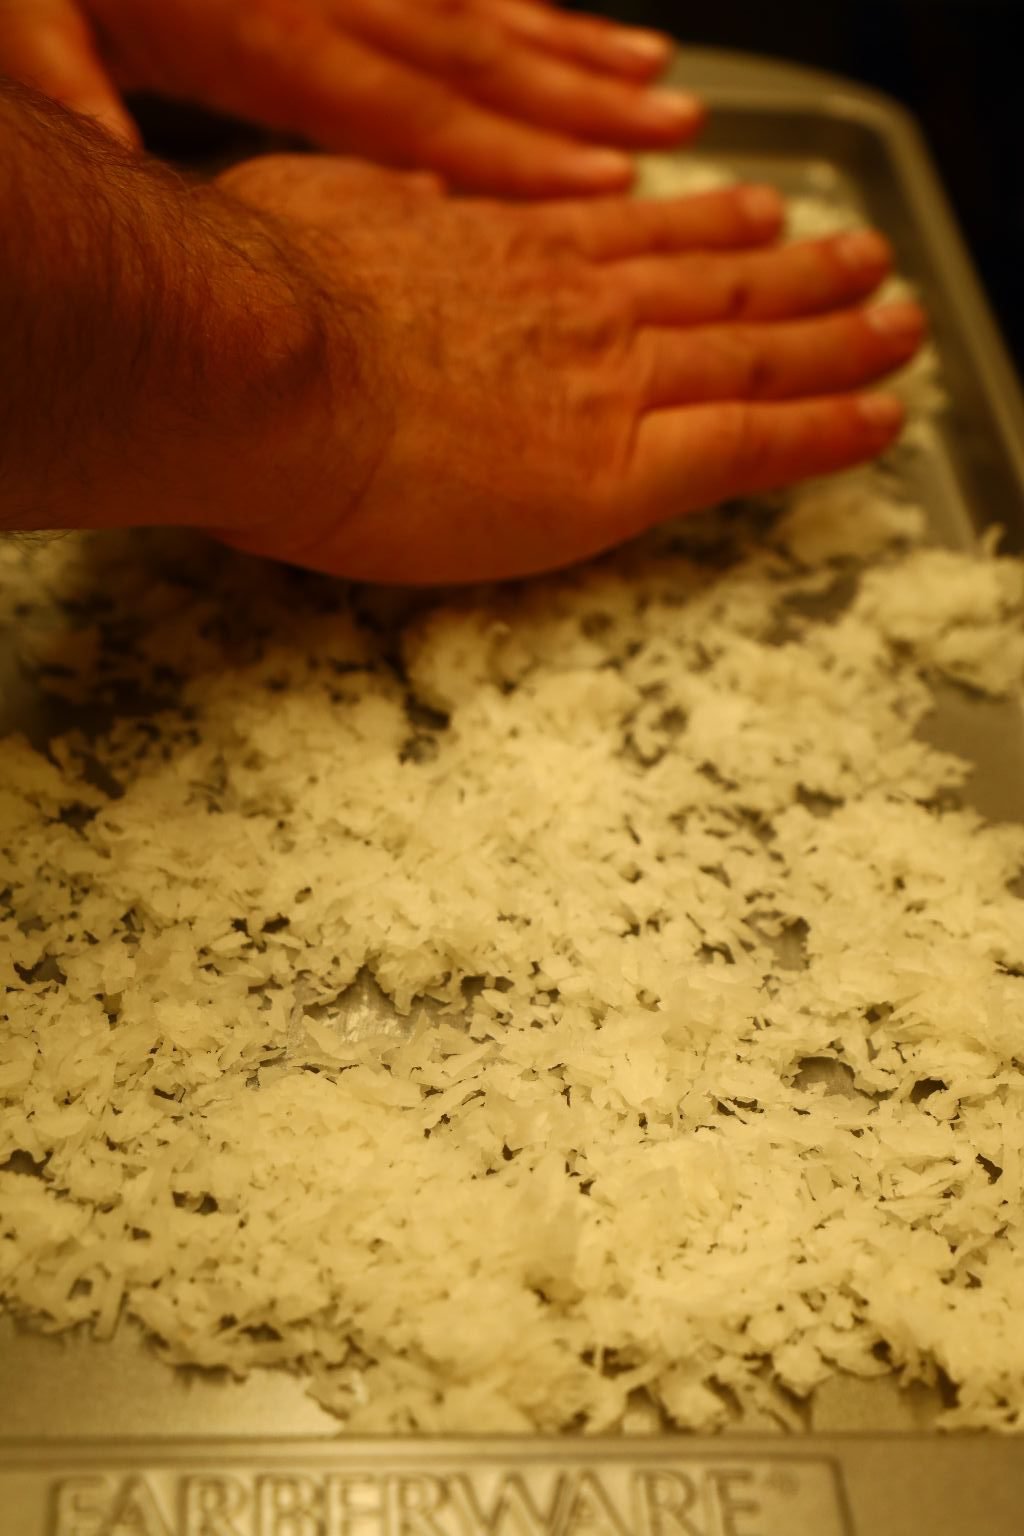
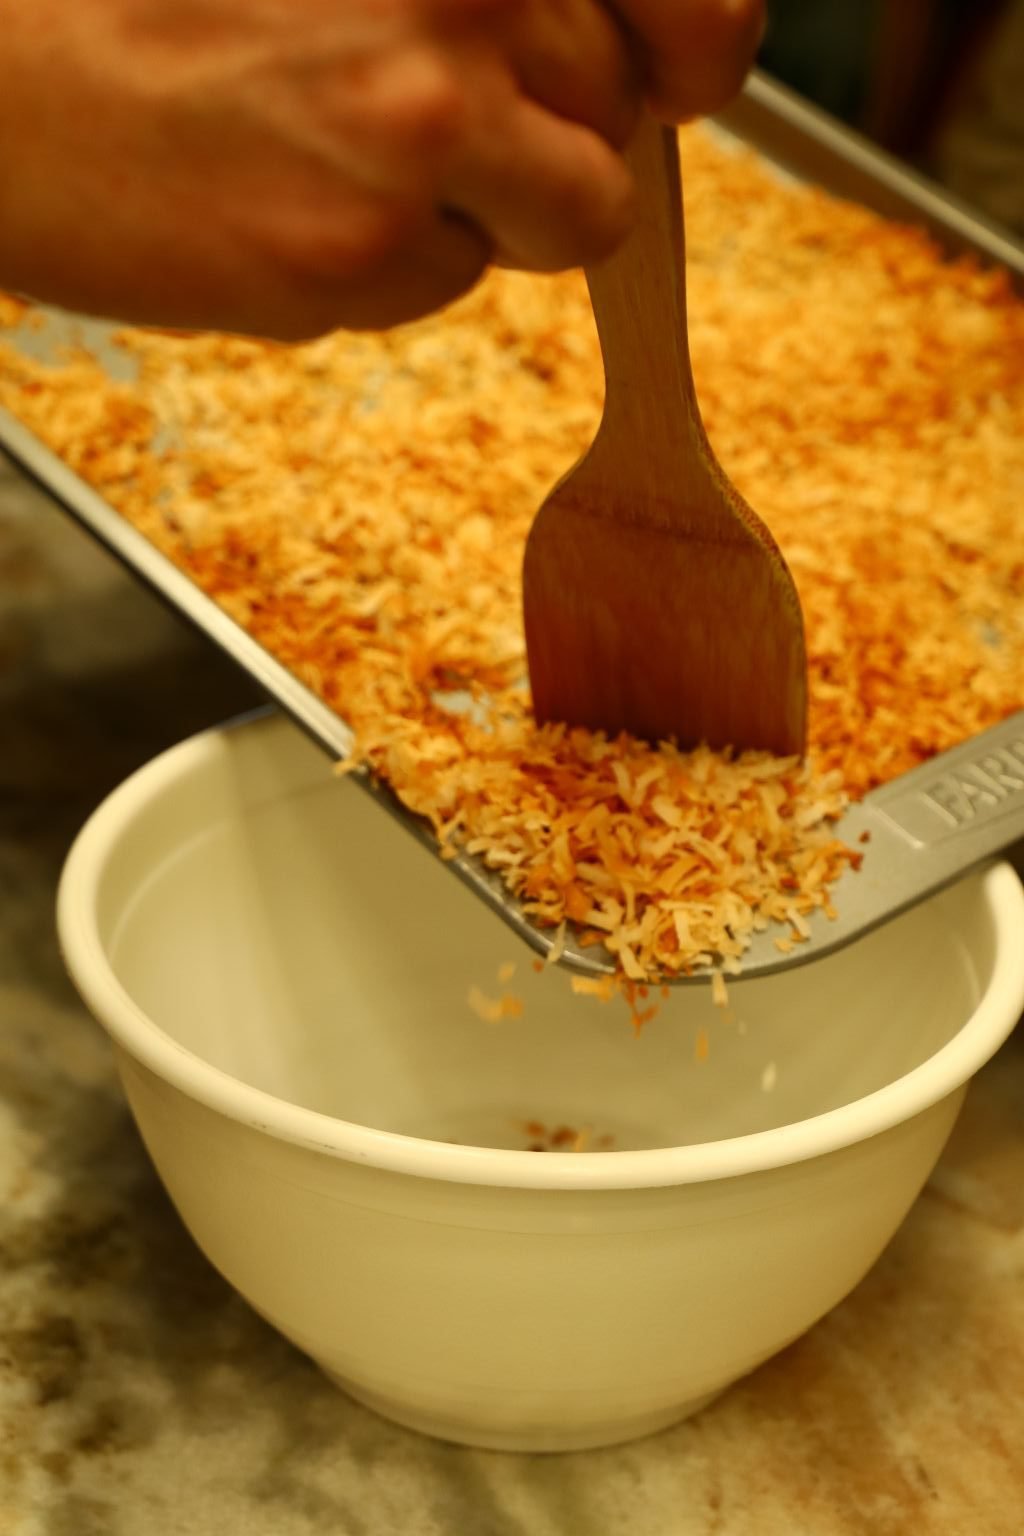
While the wings were marinating, I used about 3/4 of a bag of Sweetened Shaved Coconut and spread it evenly over a sheet pan.
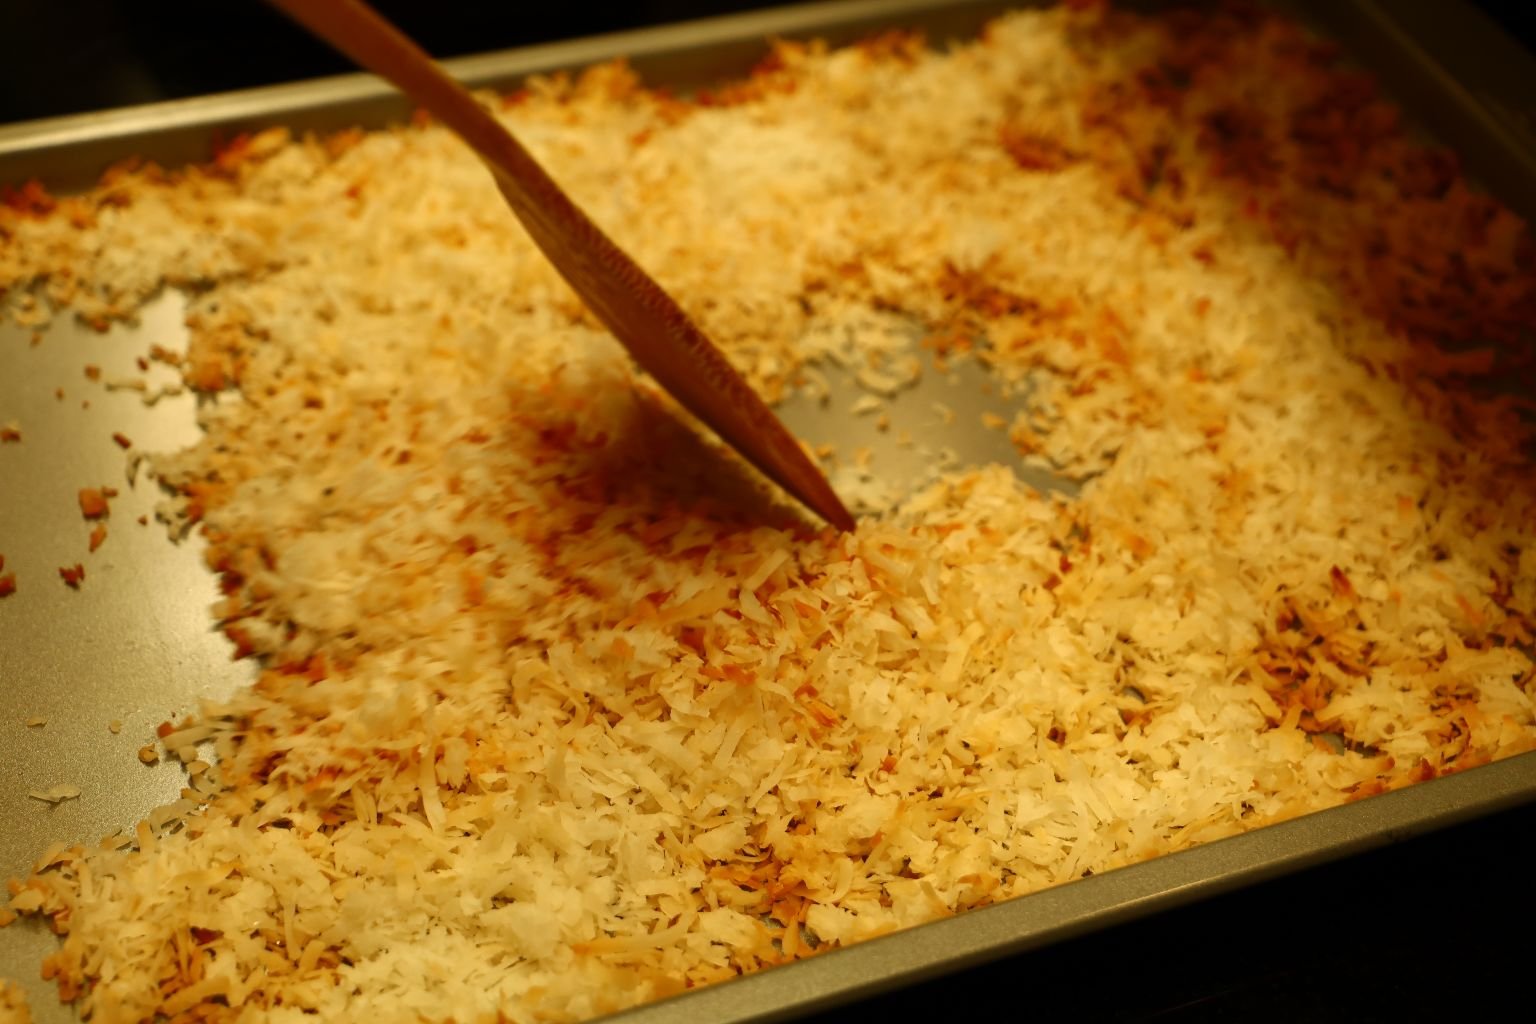
Roast the coconut in a 350’F oven for about 10 min. then use a spatula to mix the browned coconut evenly with the white uncooked coconut. Place the coconut back in the oven for a few minutes at a time, mixing it so that it cooks evenly. Remove the coconut from the oven when cooked and browned to your liking and place in a bowl when done.
——————————————————————–
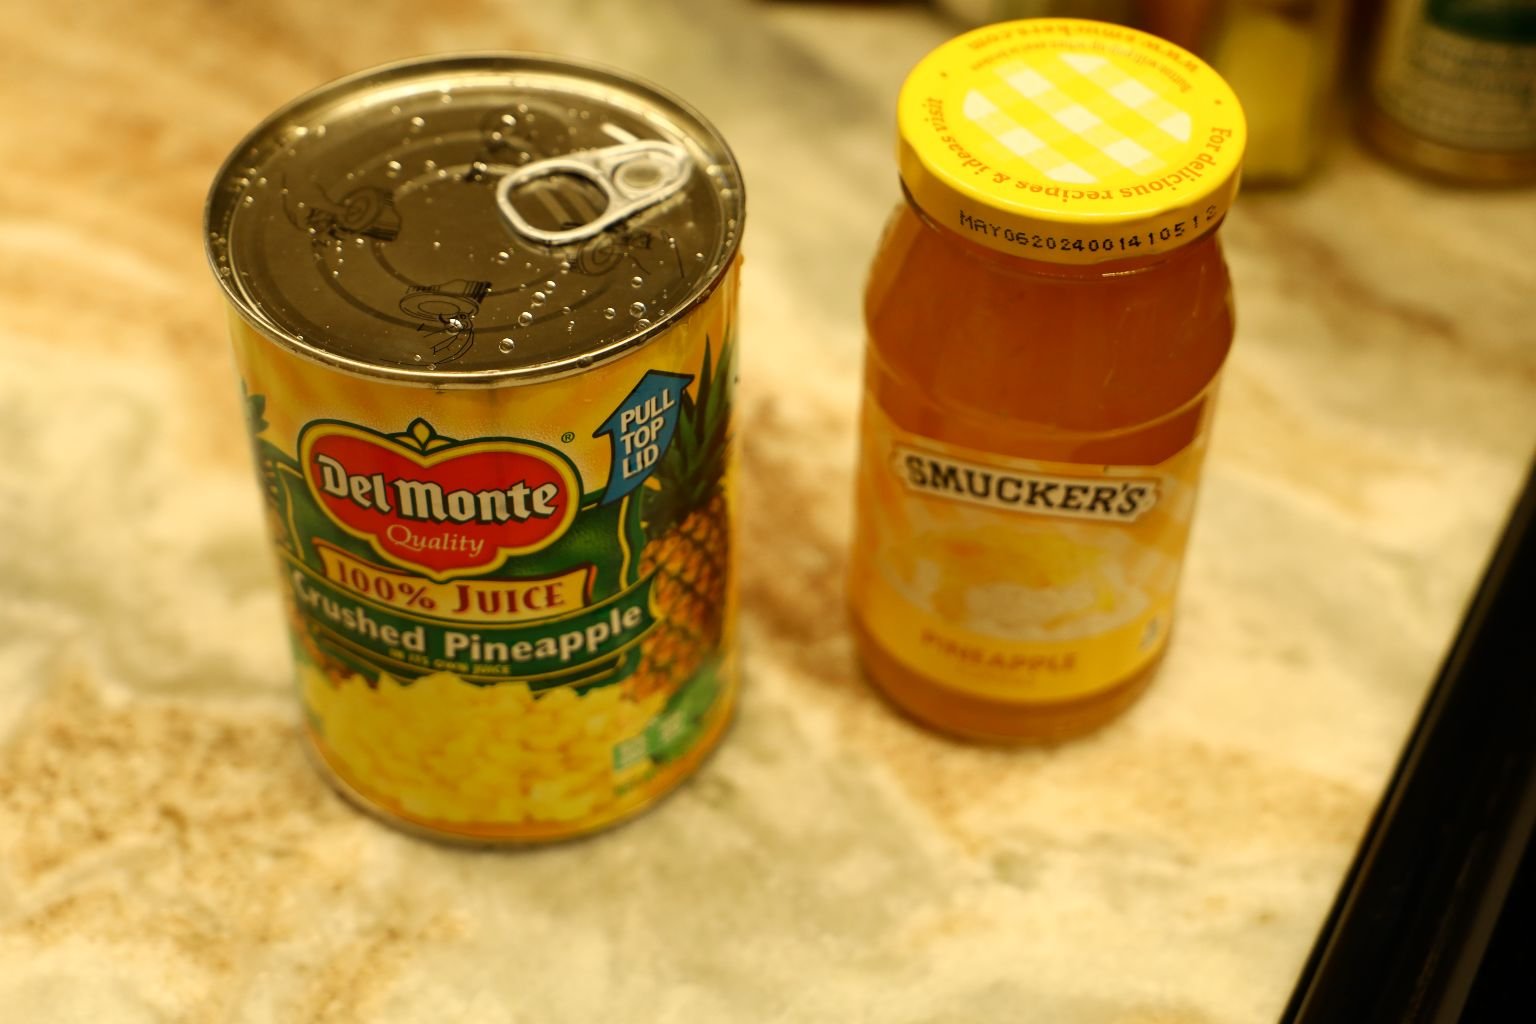
Pictured is the Pineapple Preserves and Crushed Pineapple that I used.


While the wings are cooking, add your Pineapple Preserves, Crushed Pineapple, and juice to a small pot and boil the mixture to slightly reduce the ingredients, making a somewhat thick glaze. Stir as needed.

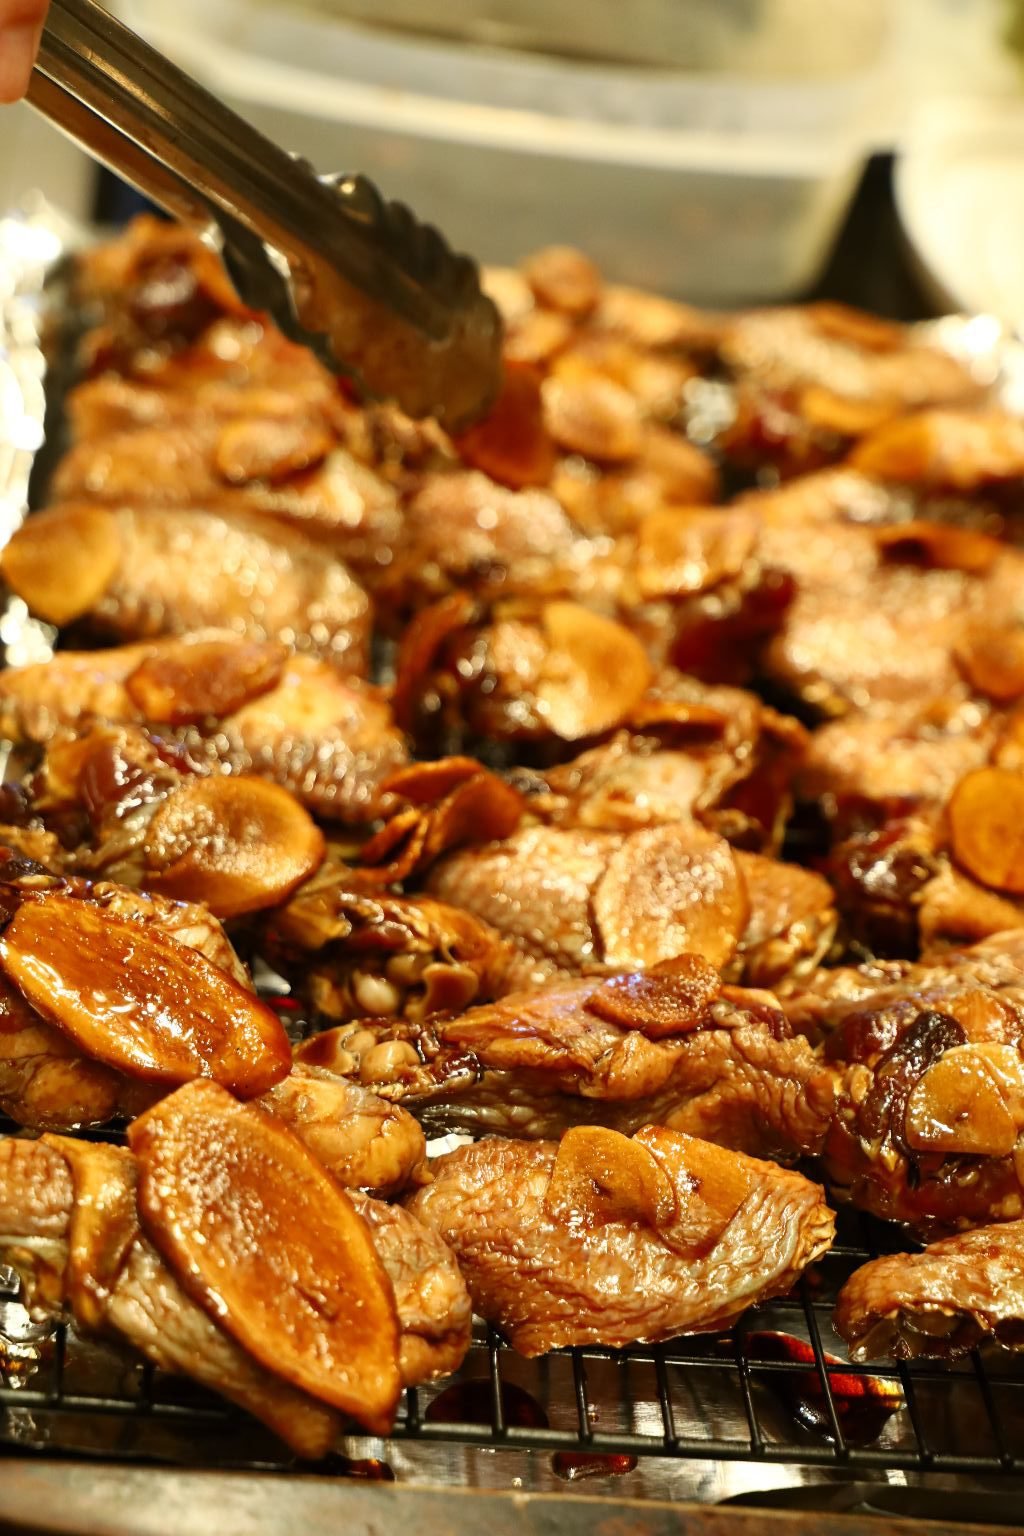
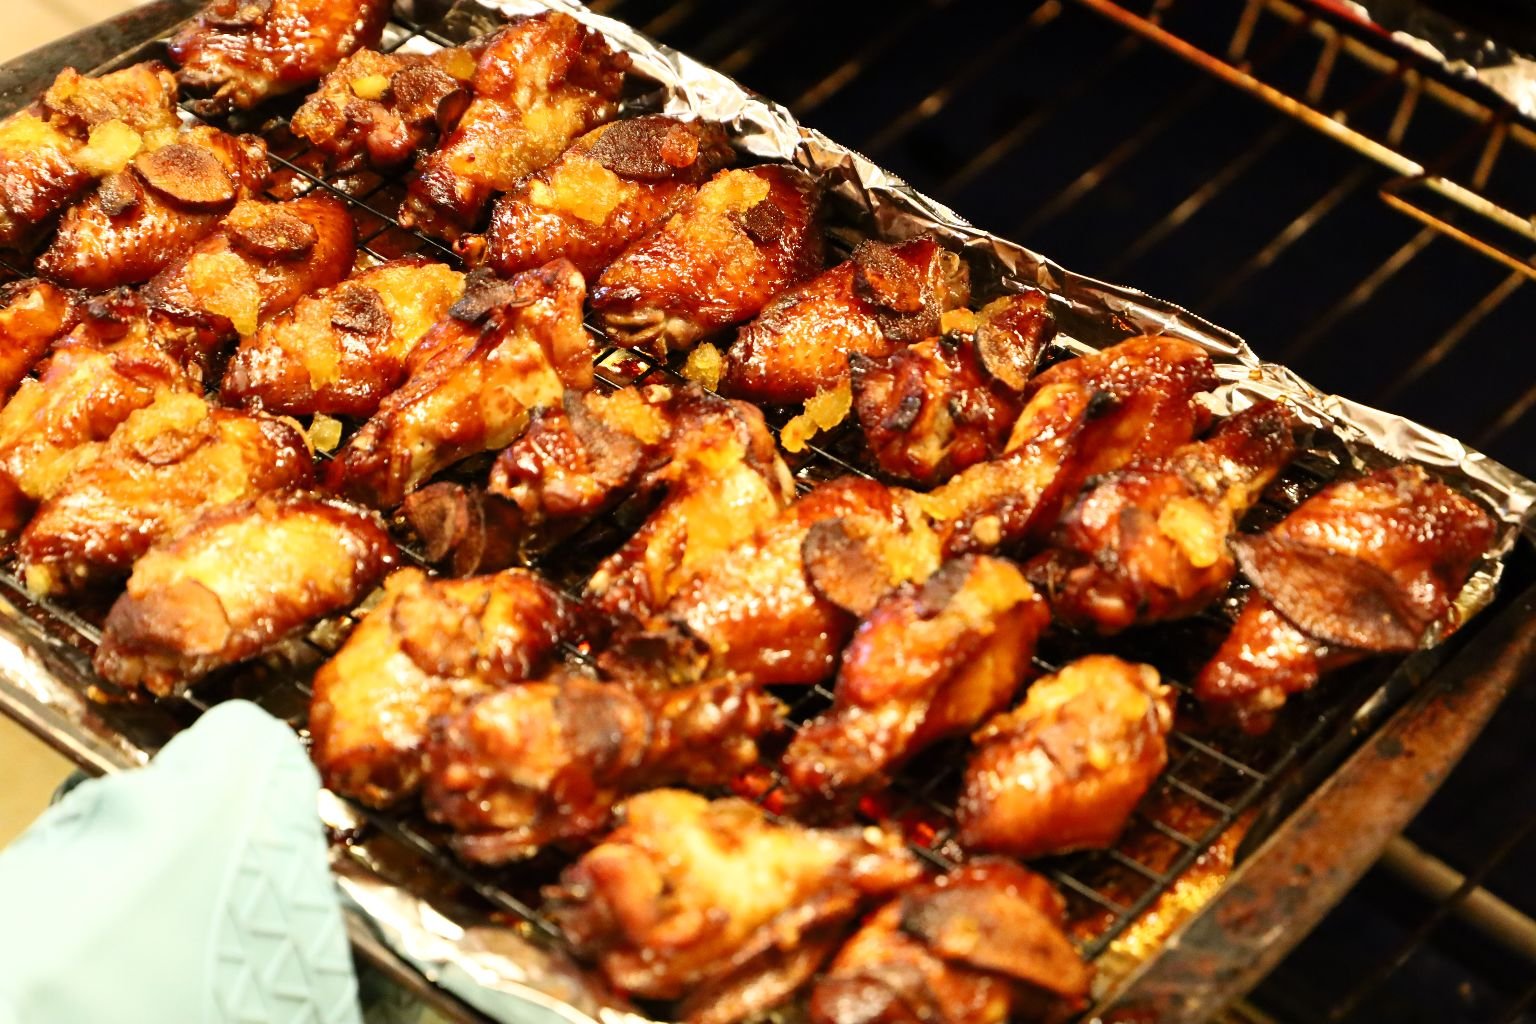
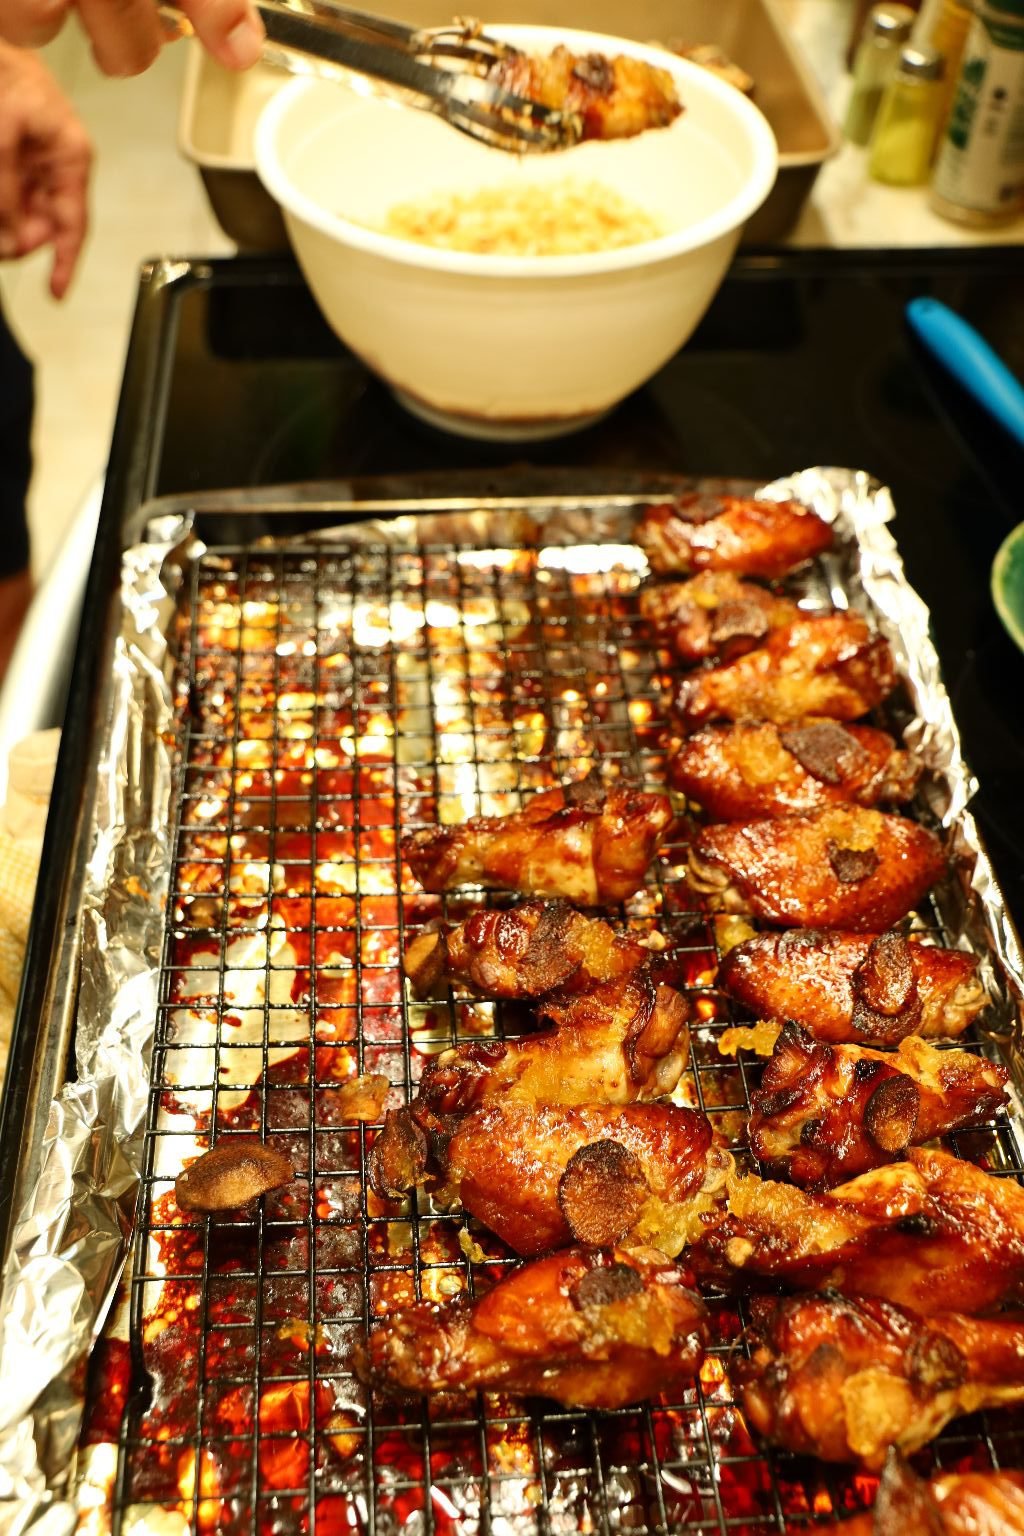
Here I have cooked the wings for about 30 min. and they look great!

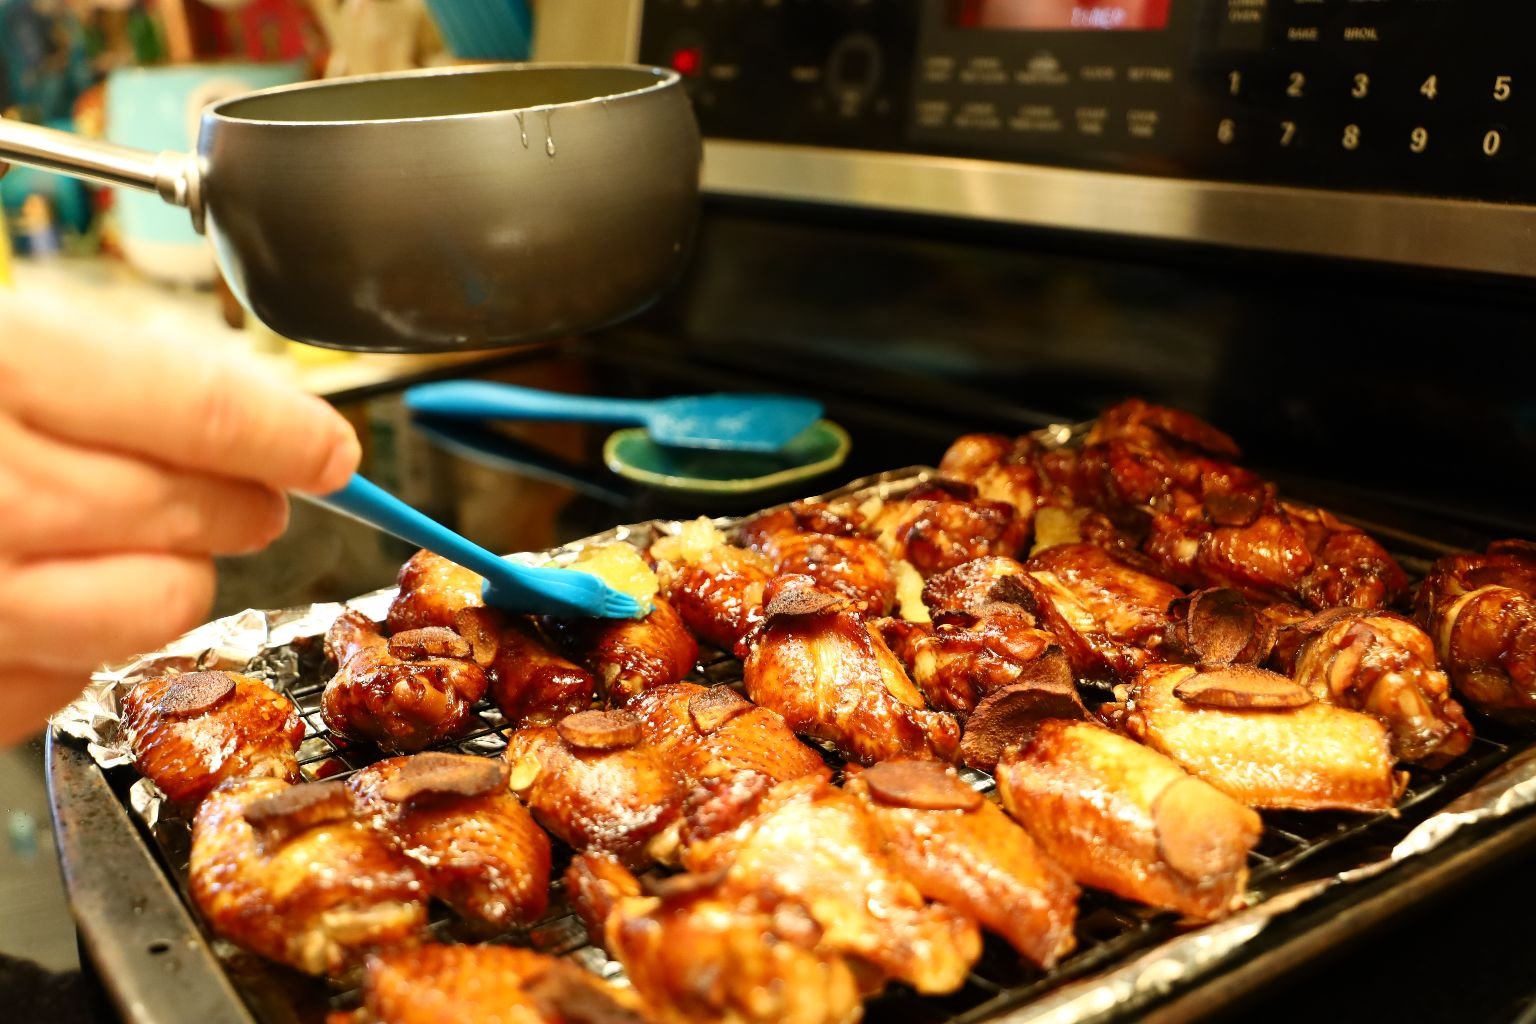

Liberally brush your Pineapple Glaze and Crushed Pineapple onto the tops of each wing.
Now, place the wings back into the oven and cook for another 5-10 min. or until the wings reach an internal temperature of 160’F. If they go a little over, this is fine as when the wings rest out of the oven, the super heated juices (400’F) on the outside of the chicken will go back into the center of the meat and bone, cooking them to ~165’F.
Here I am removing the first set of wings from the oven to let them rest.
————————————————————-


As explained before, I stopped the cooking of the coconut when it still had some variations of color.
—————————————————————–
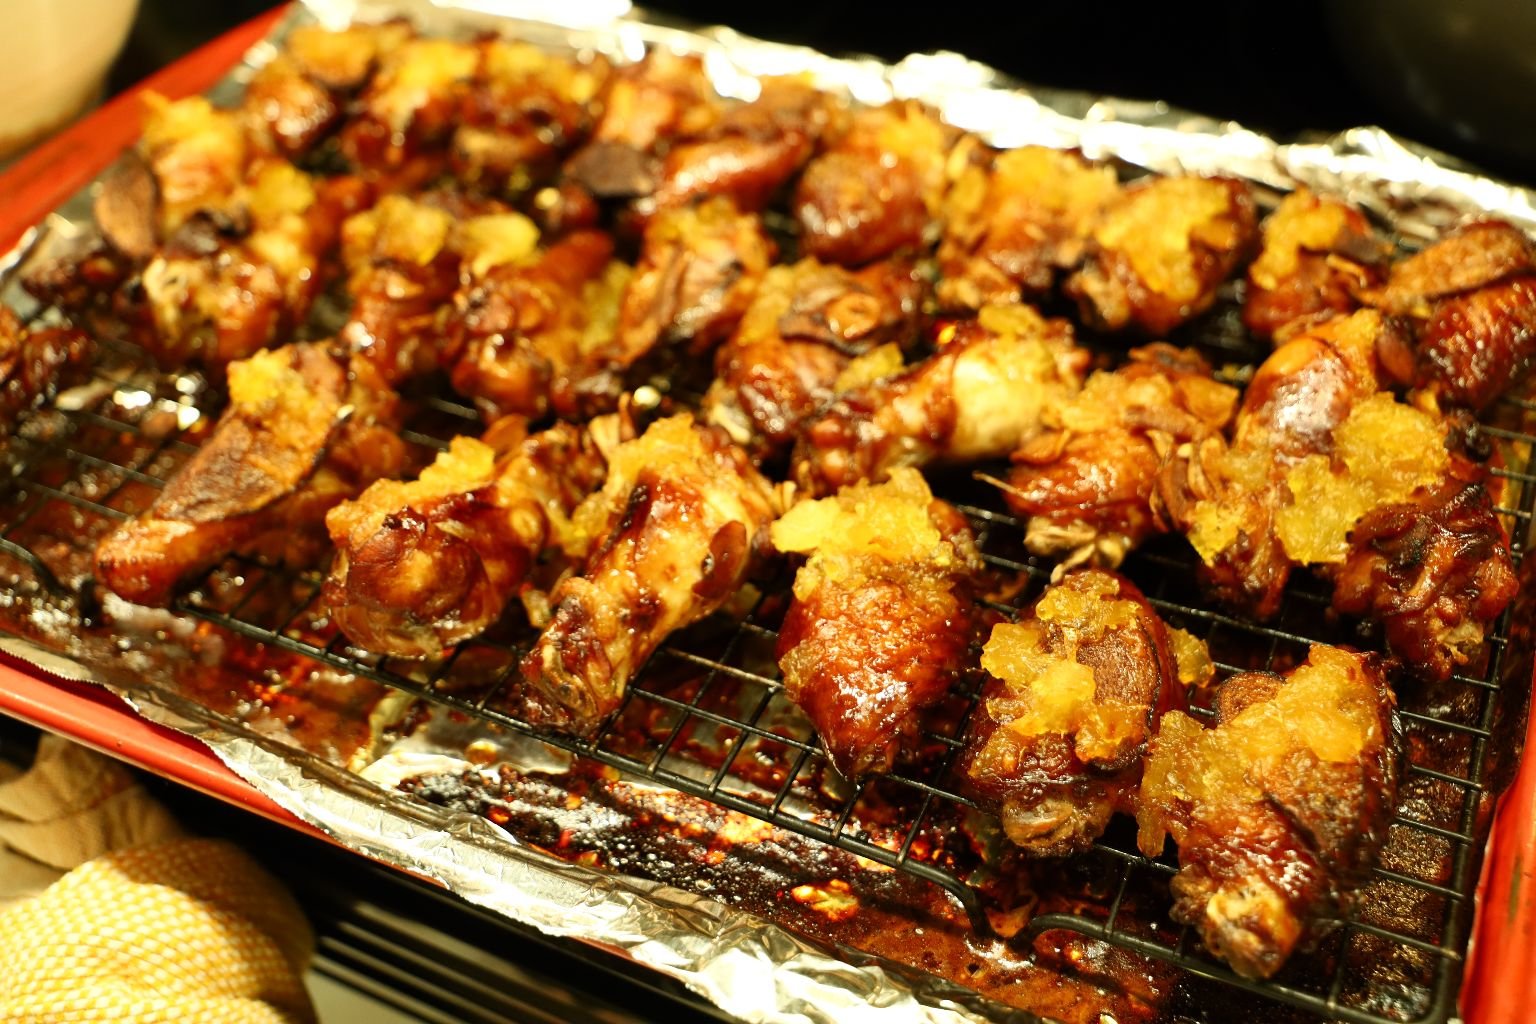
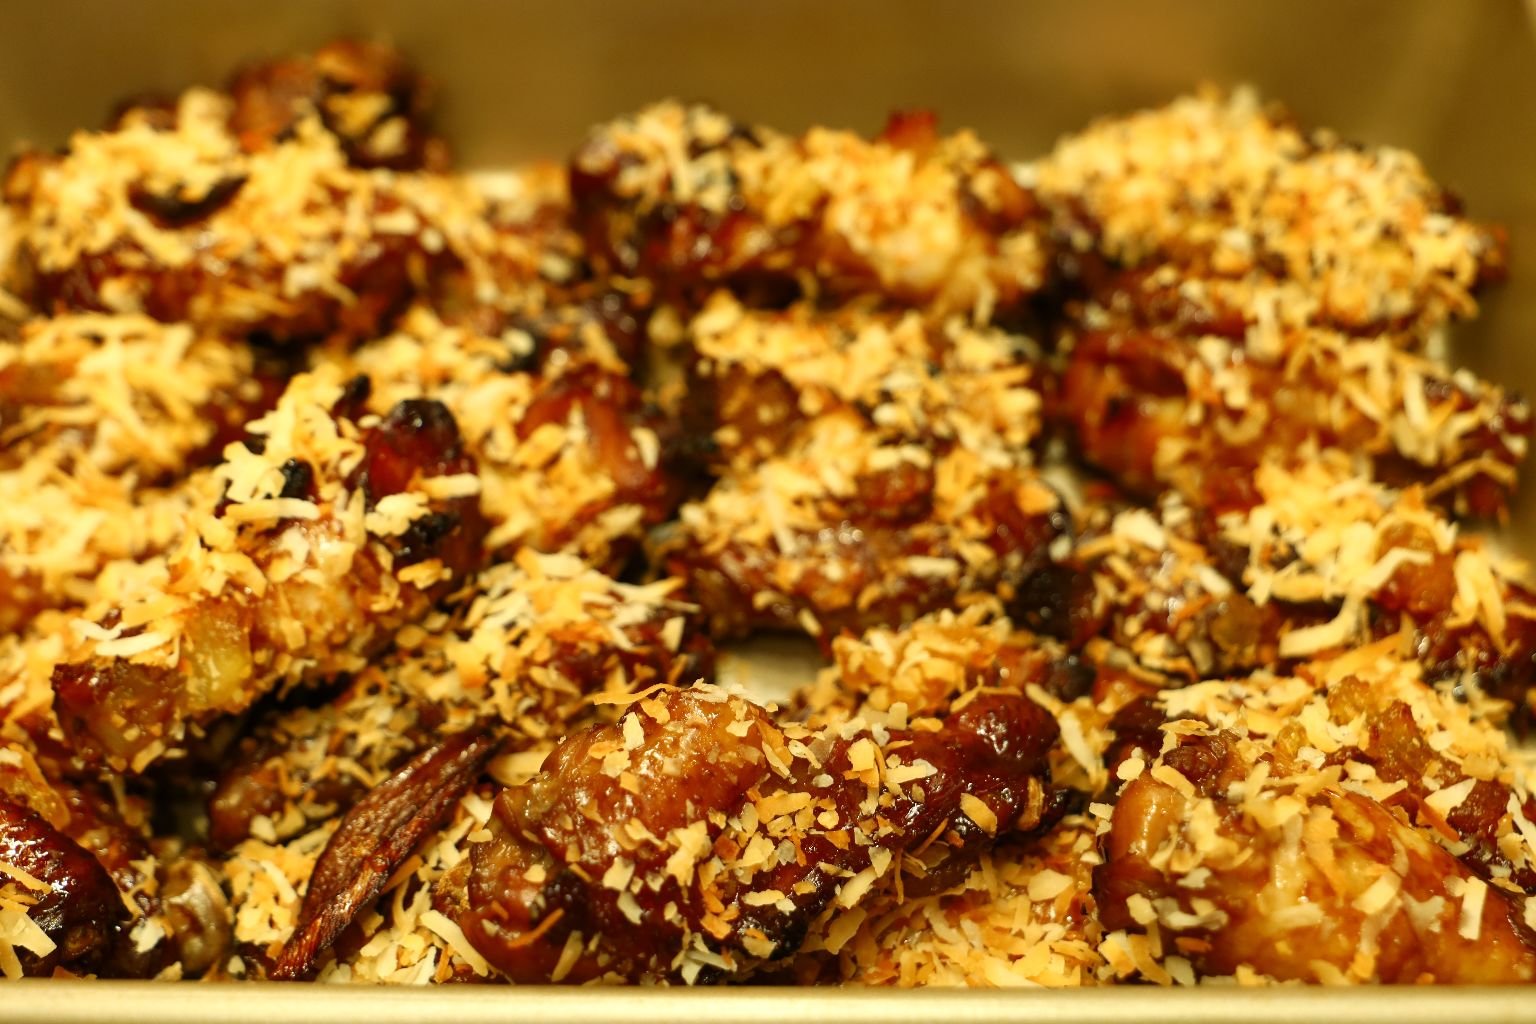
I just pulled these wings out of the oven as they are nice and sticky from the glaze.

I wasn’t sure how to adhere the roasted coconut onto the wings when Julie thought of putting it into a bowl and dunking the wing into it as shown above, and below.
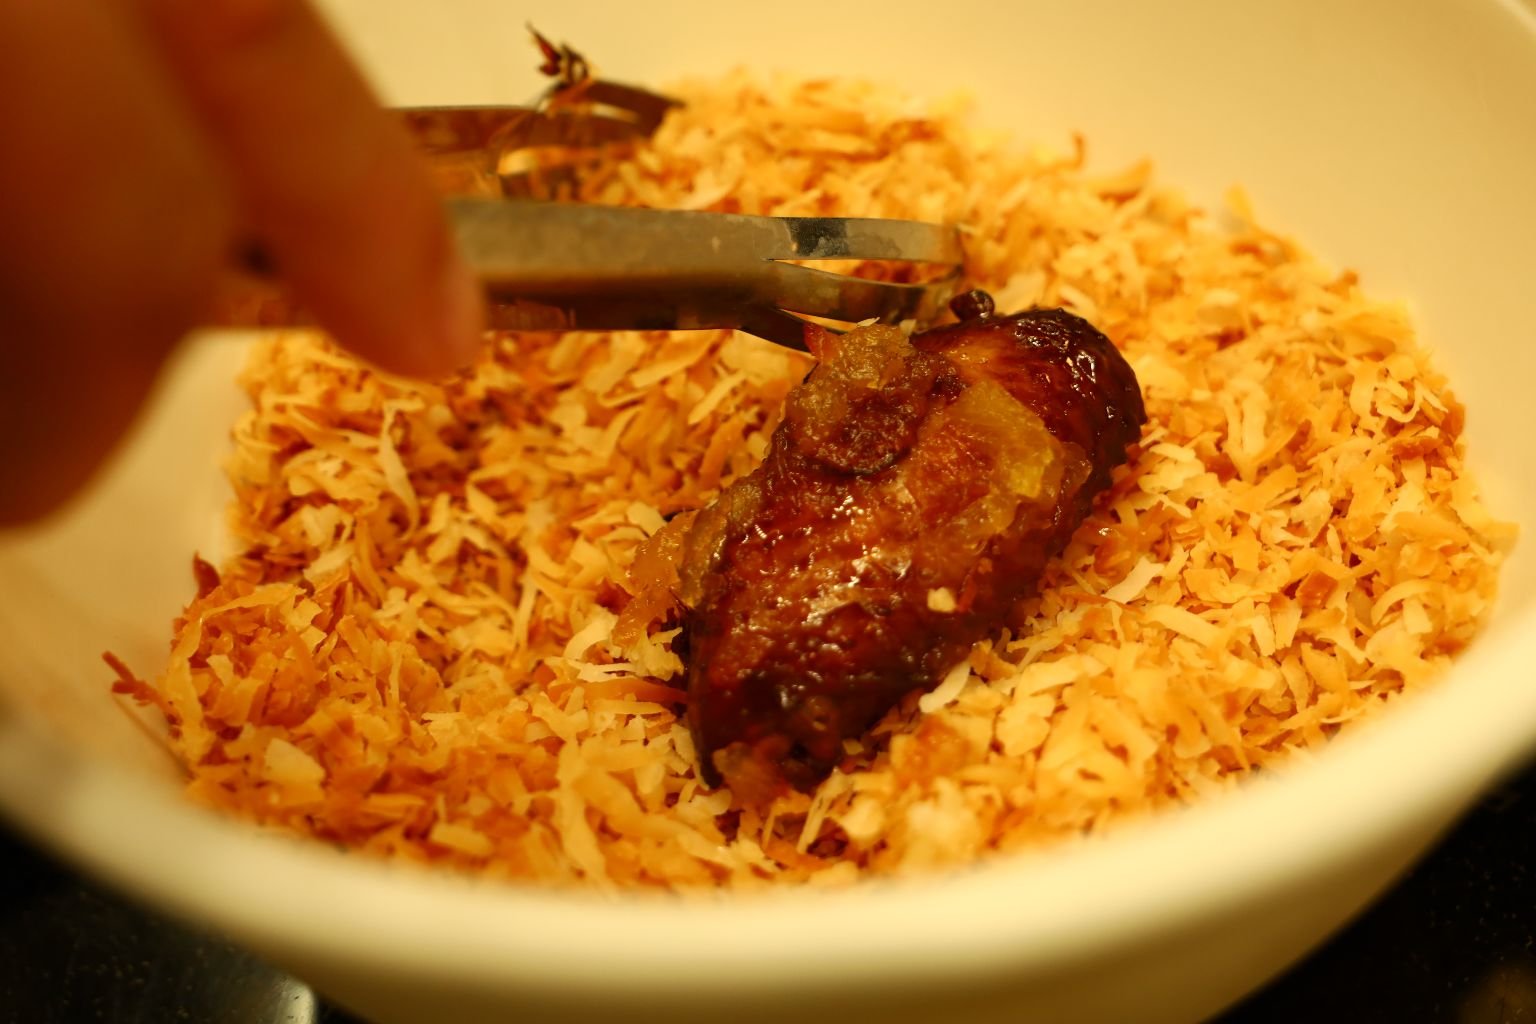
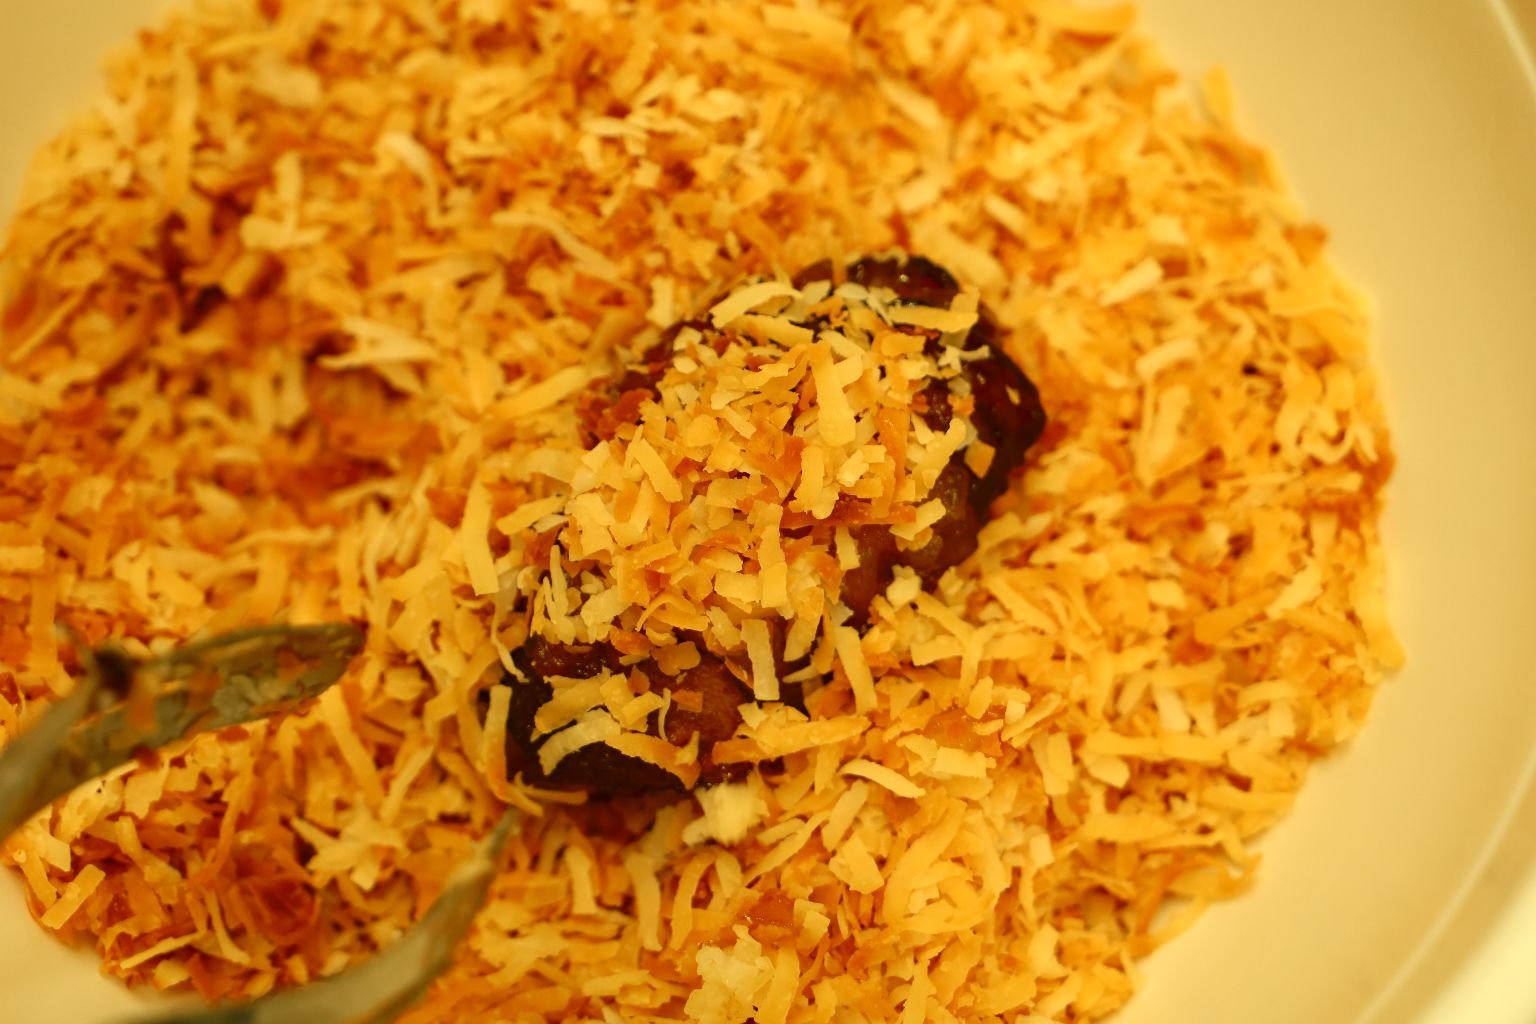
Toss the coconut over the wing and press down gently.
Place the coated wings on a sheet pan to fully rest for about 8 min.
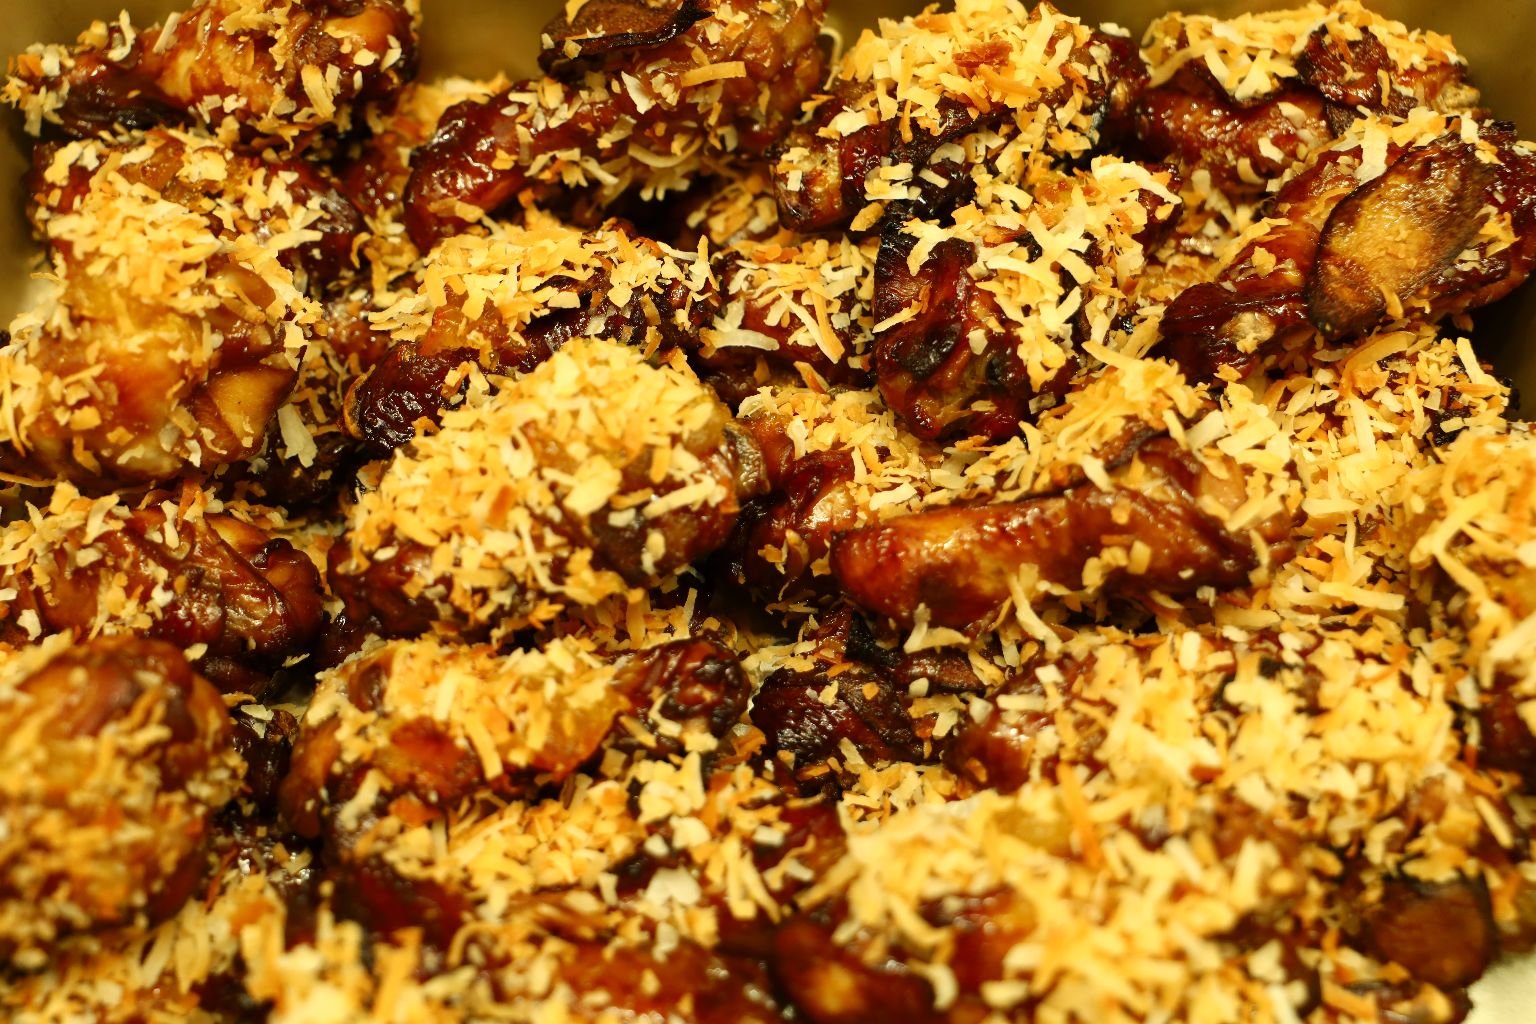
These are some tasty wings!
——————————————————————-
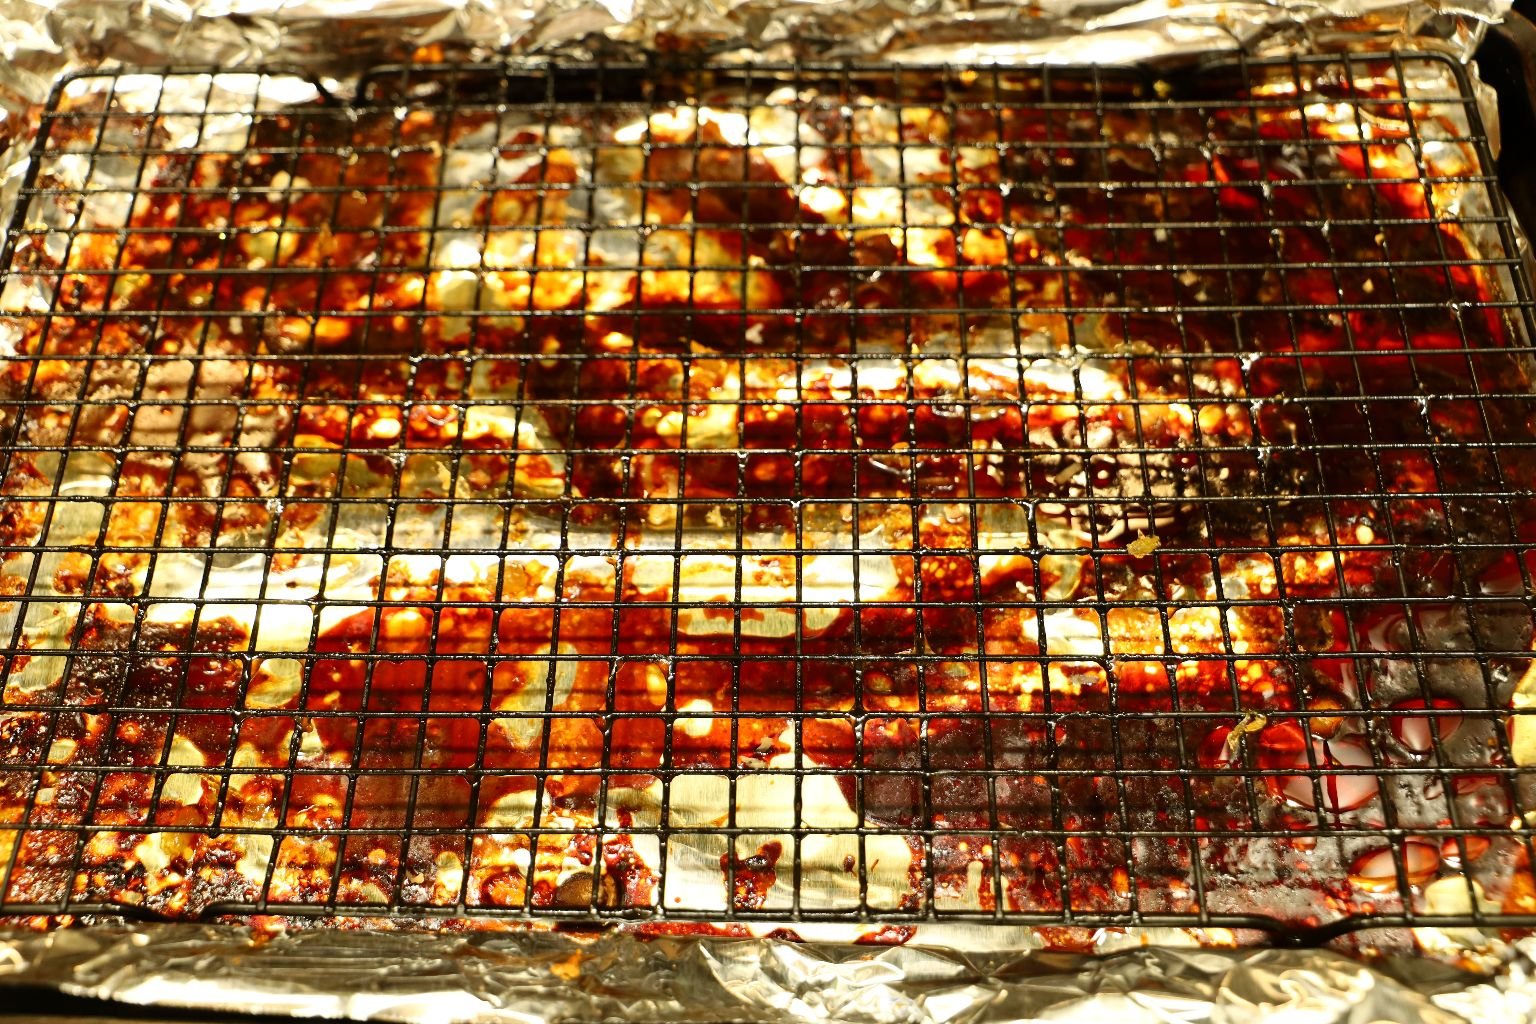
Here is the cooling rack and sheet pan as it looked after we cooked the wings. Be sure to gather and eat all the garlic and ginger that may have fallen off the chicken as it is delicious. I used non-stick aluminum foil for an easier clean up.
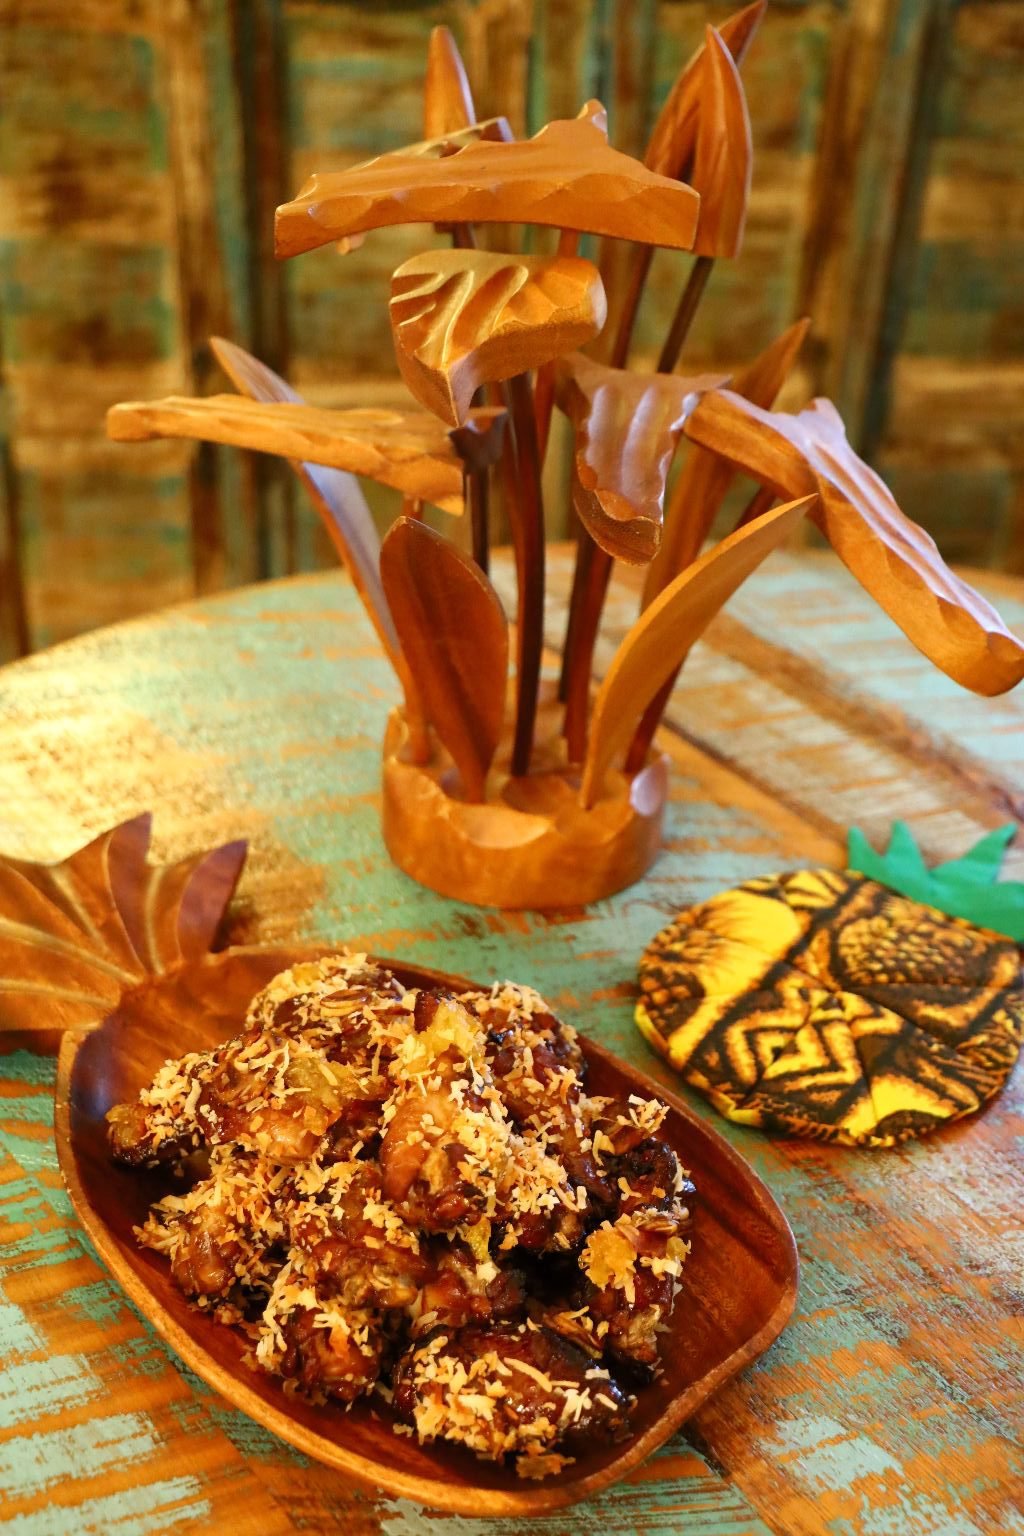
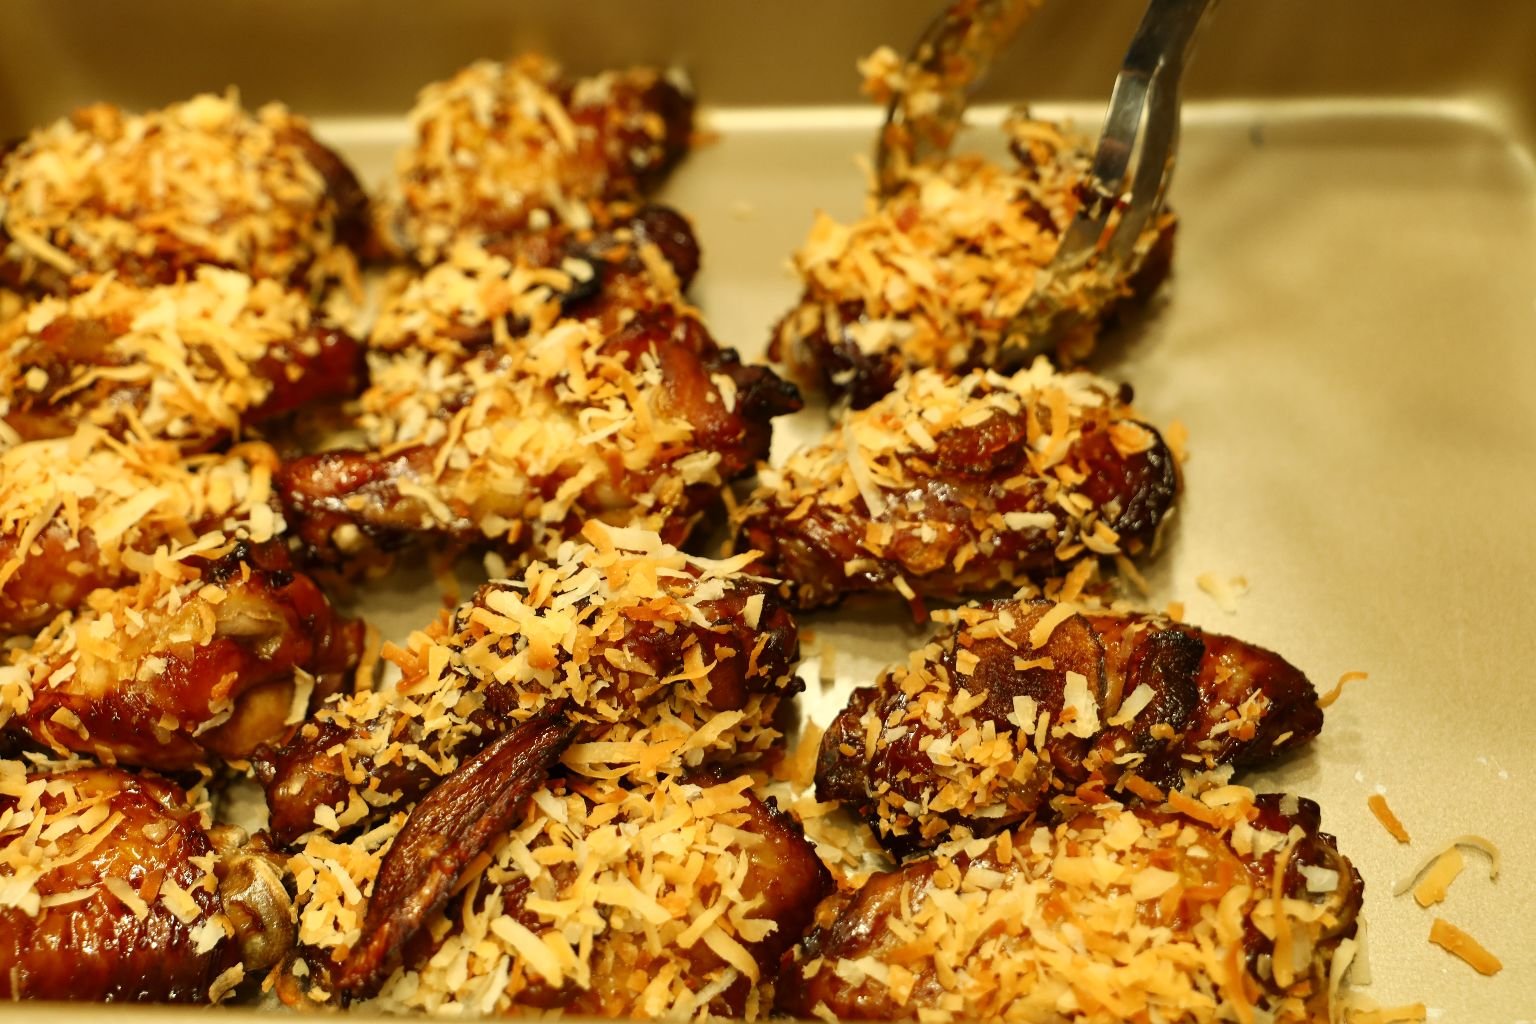
Here is how Julie beautifully displayed our newly invented Tropical Hawaiian Wings!
———————————————————————
Aloha and Mahalo,
Julie and Gordon
————————————————————–
Check Out Our Other Hawaiian Pages:
Click Here For: Whann Way Aloha
AND,
Click Here For: Whann Way Aloha, Hapa Elua (Part 2)

AND,
Click Here For: Blue Hawaiians and Huli Huli Chicken

AND,

AND,

AND,
Click Here For: Weekend Spamin’ Spam Musubi

AND,
Click Here For: Julie’s Lunchbox

AND,
Click Here For: Gordon’s Hawaiian Potatoes and Huli Huli Pork Chops
AND,
Click Here For: Whann’s In Not Always Paradise

AND,
Click Here For: Julie Barefoot Cookies and Beachy Edible Gifts

AND,
Click Here For: Grillin’ With Aloha

AND,
Click Here For: Julie’s Vintage Hawaiian Mango-Mac Nut Bread Cake w/ Pasta Flowers

AND,
Click Here For: Gordon’s Dole Pineapple Outrigger Canoe and Cocktail

AND,
Click Here For: Hawaiian Hum Lum Sun Prunes

AND,

AND,
AND,
Click Here For: A Mother’s Day Aloha

AND,
Click Here For: Aloha Wahine Jezebel Sauce
AND,
Click Here For: Whann Way Hawaiian Luau
AND,
Click Here For: Hawaiian Popcorn and Moana Maika I’ Loa

AND,
Click Here For: Beachy Hawaiian Thanksgiving Pu Pu’s

AND,
Click Here For: Barefoot Beach Teas

AND,

AND,
Click Here For: Hawaiian Kalikimaka

AND,
Click Here For: Christmas/Kalikimaka Oysters on the Grill

AND,
Click Here For: Tropical Hawaiian Cranberries and our Mele Kalikimaka Me Ka Hauoli Makahiki Hou
