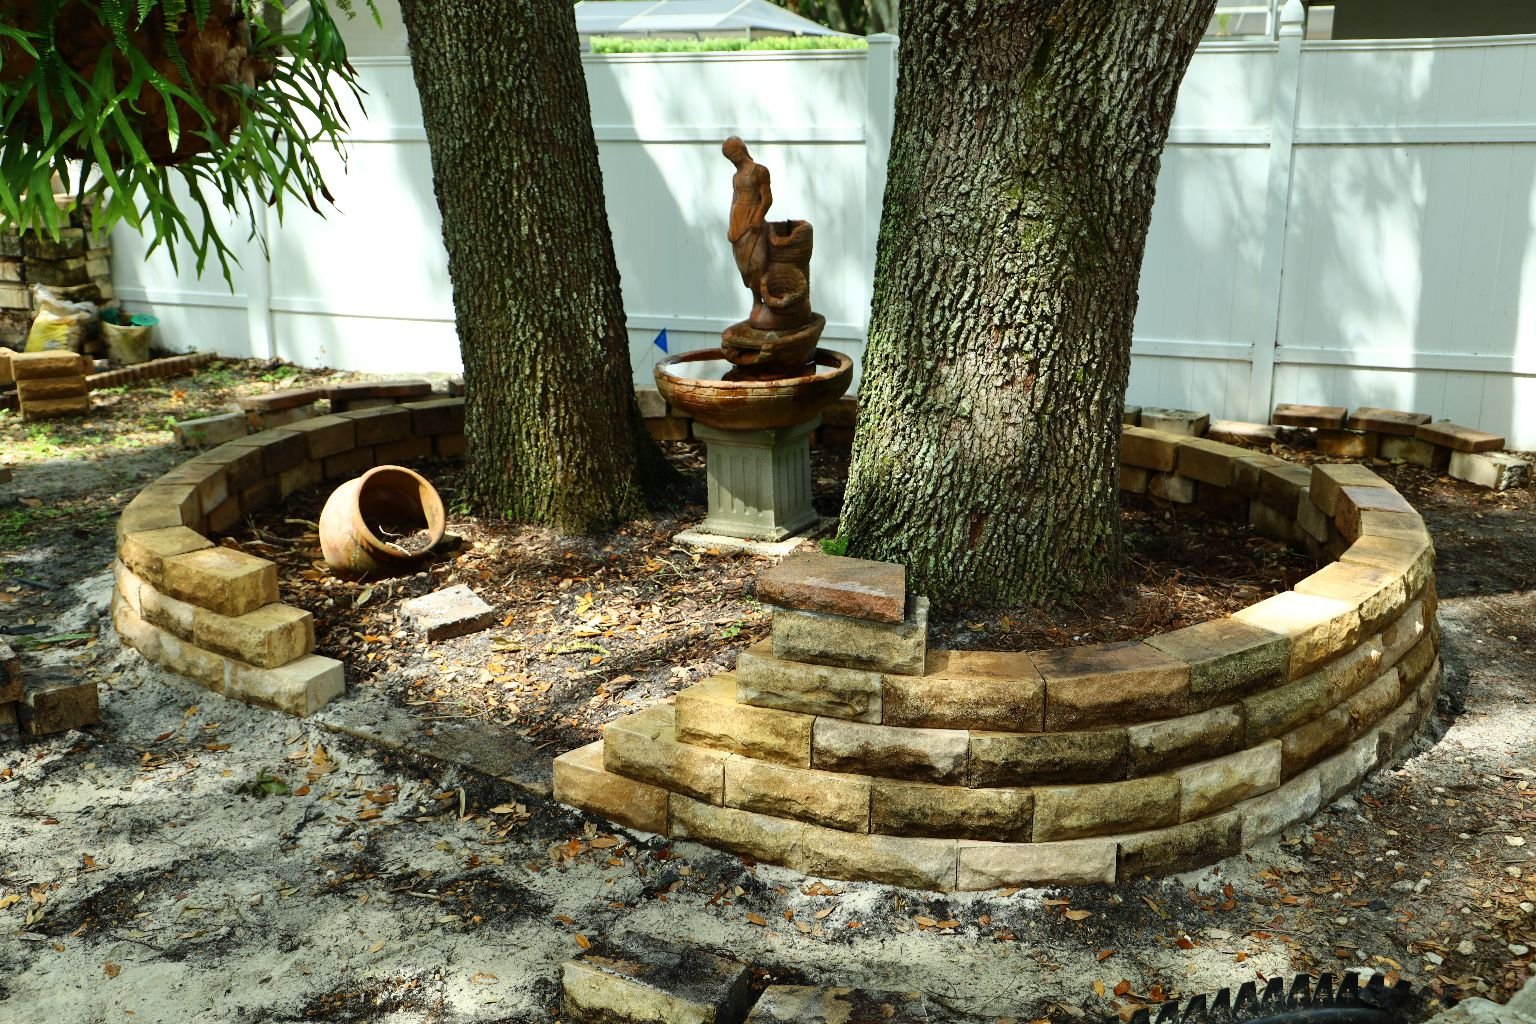
How To Repair and Rebuild a Retaining Wall

UNDER CONSTRUCTION

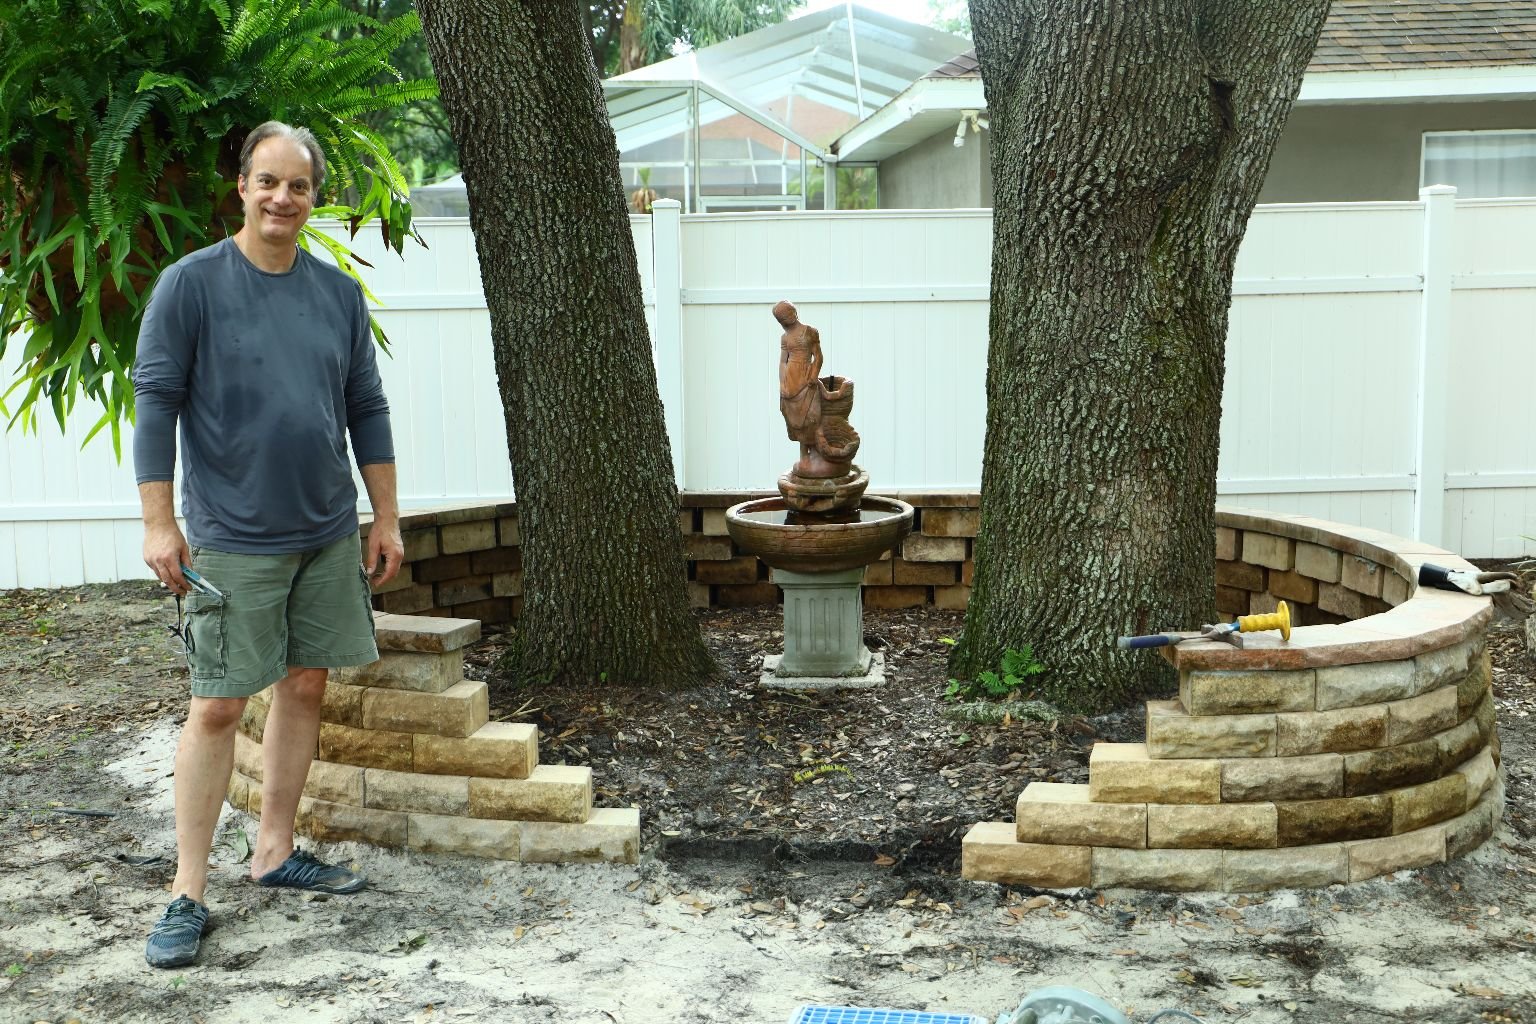
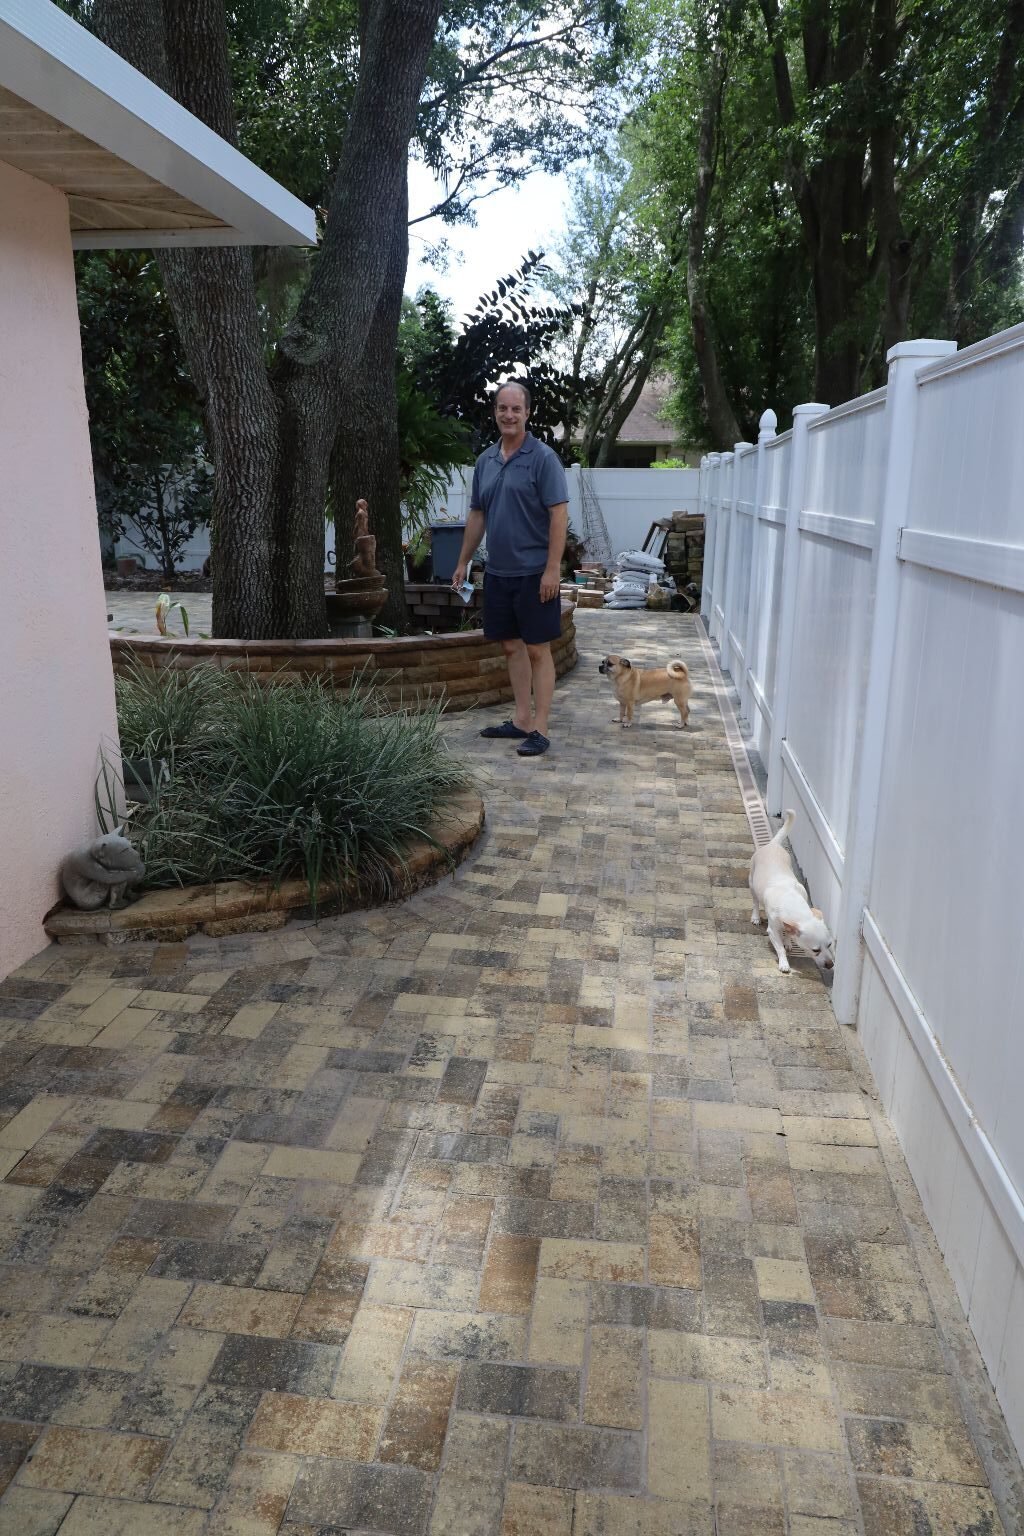
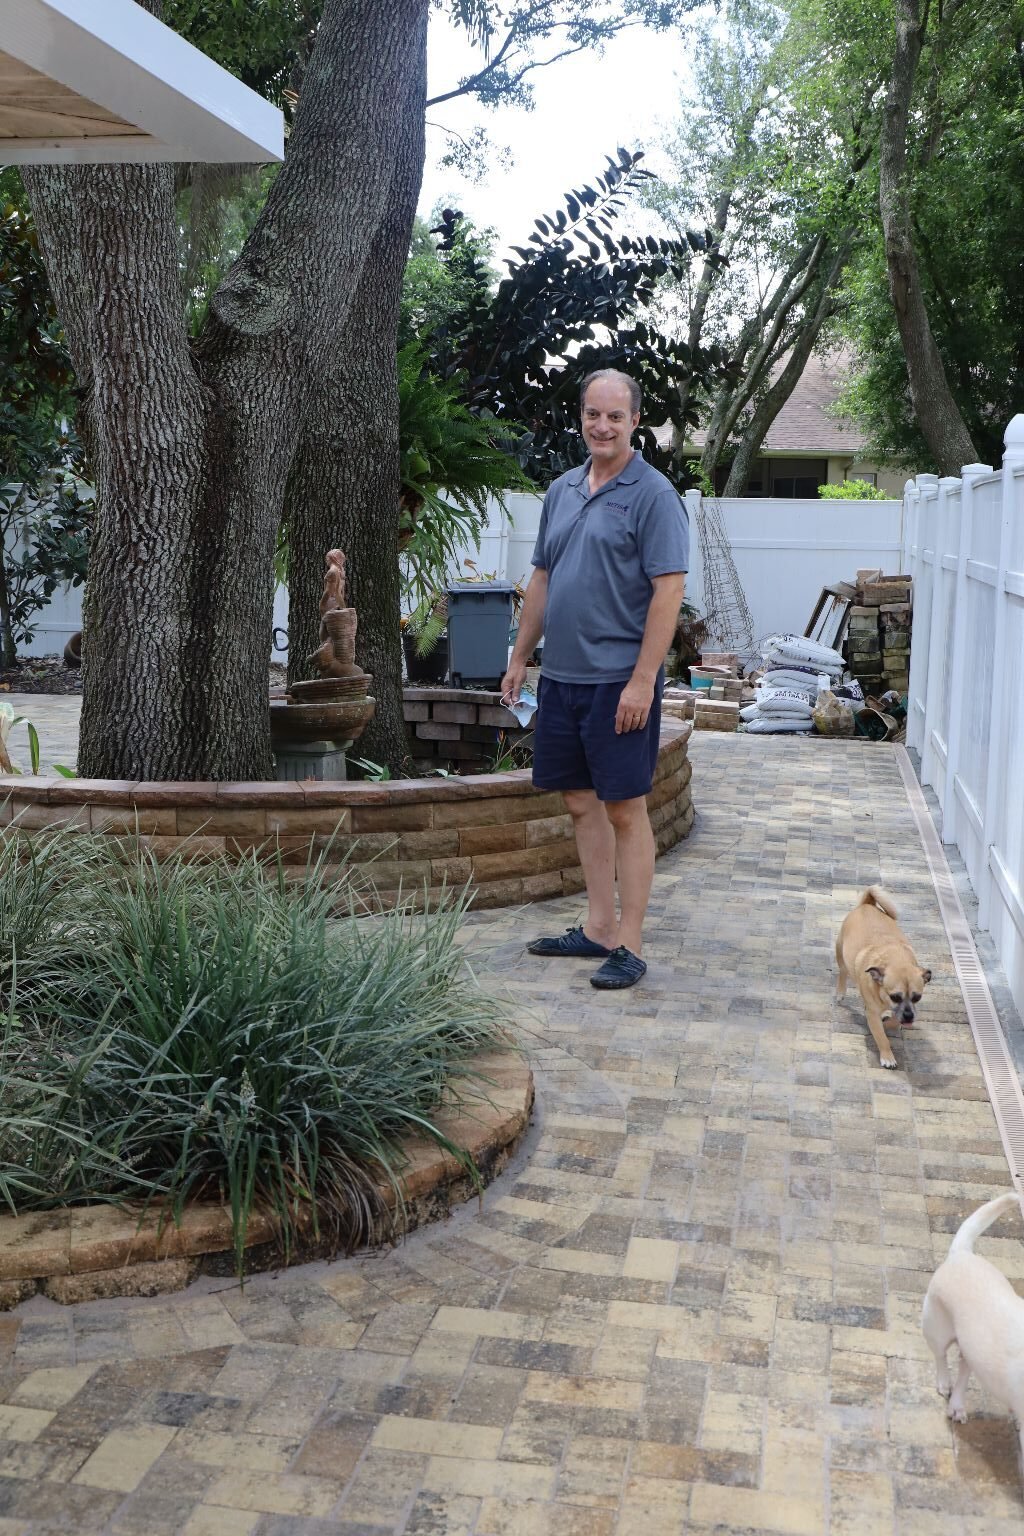
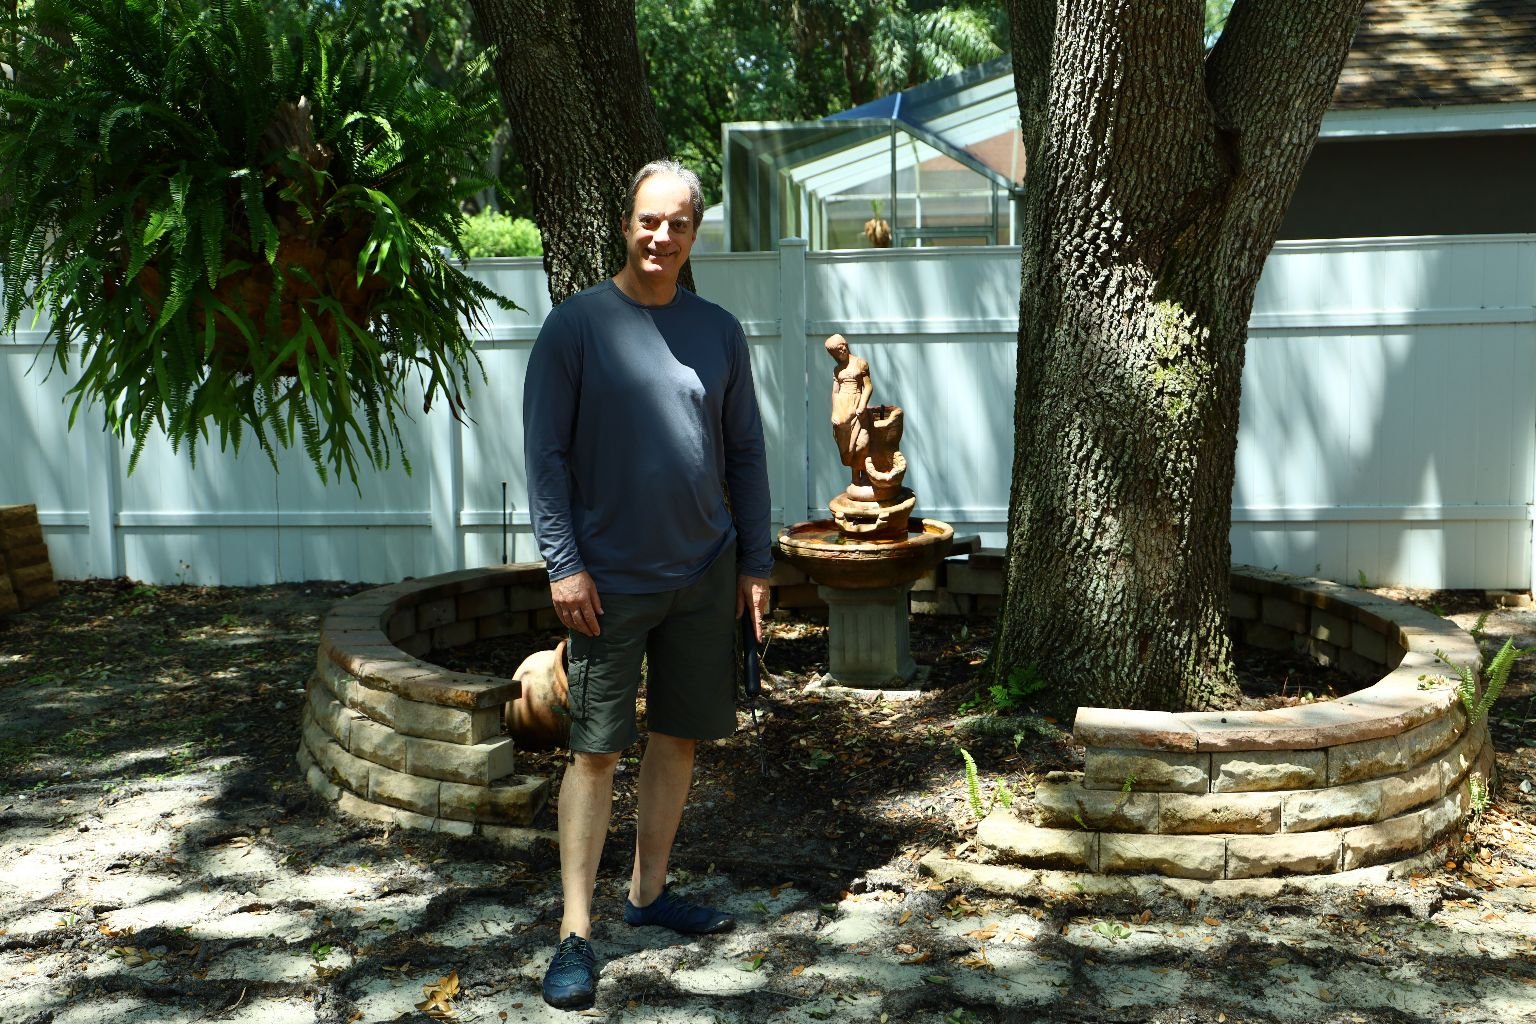
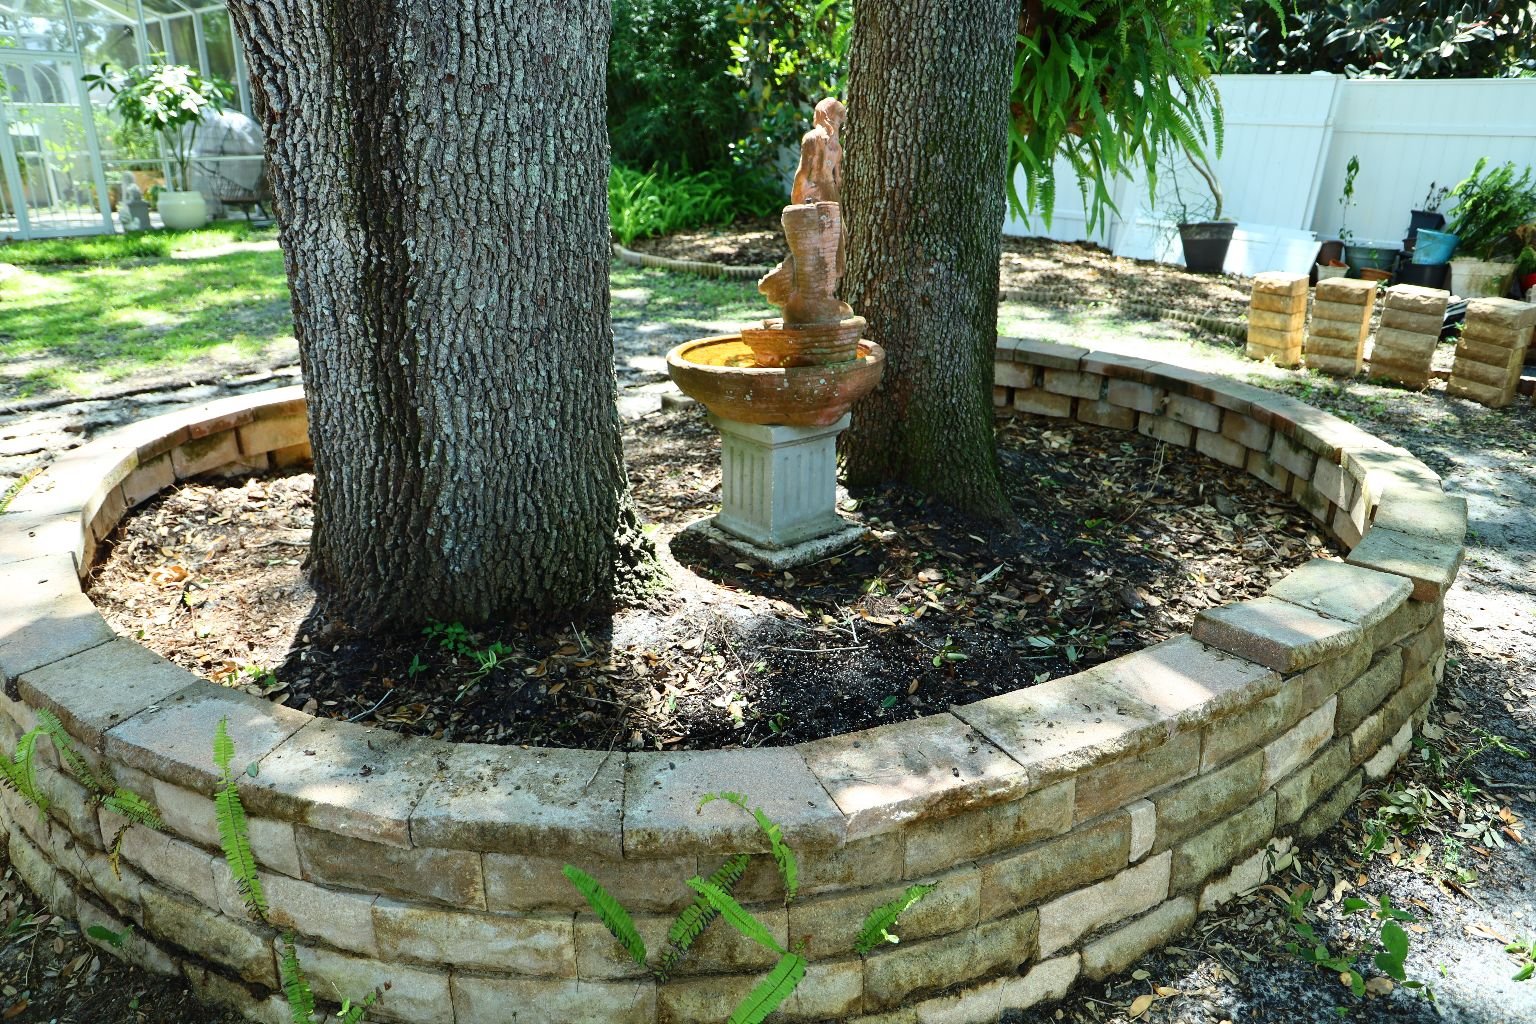
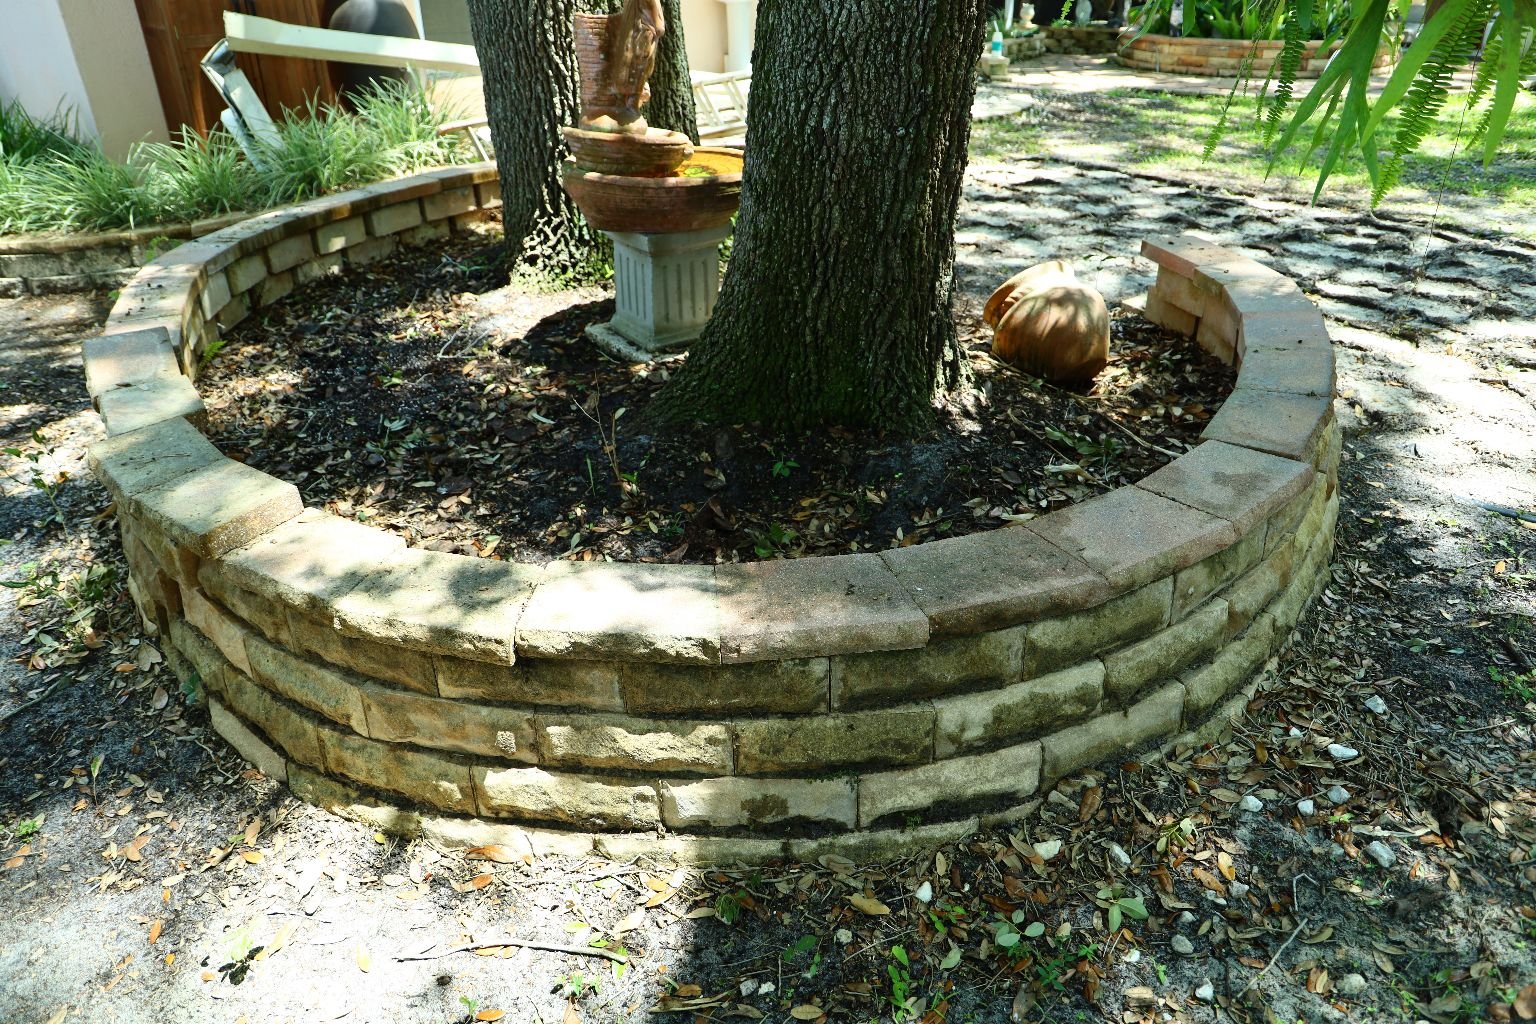
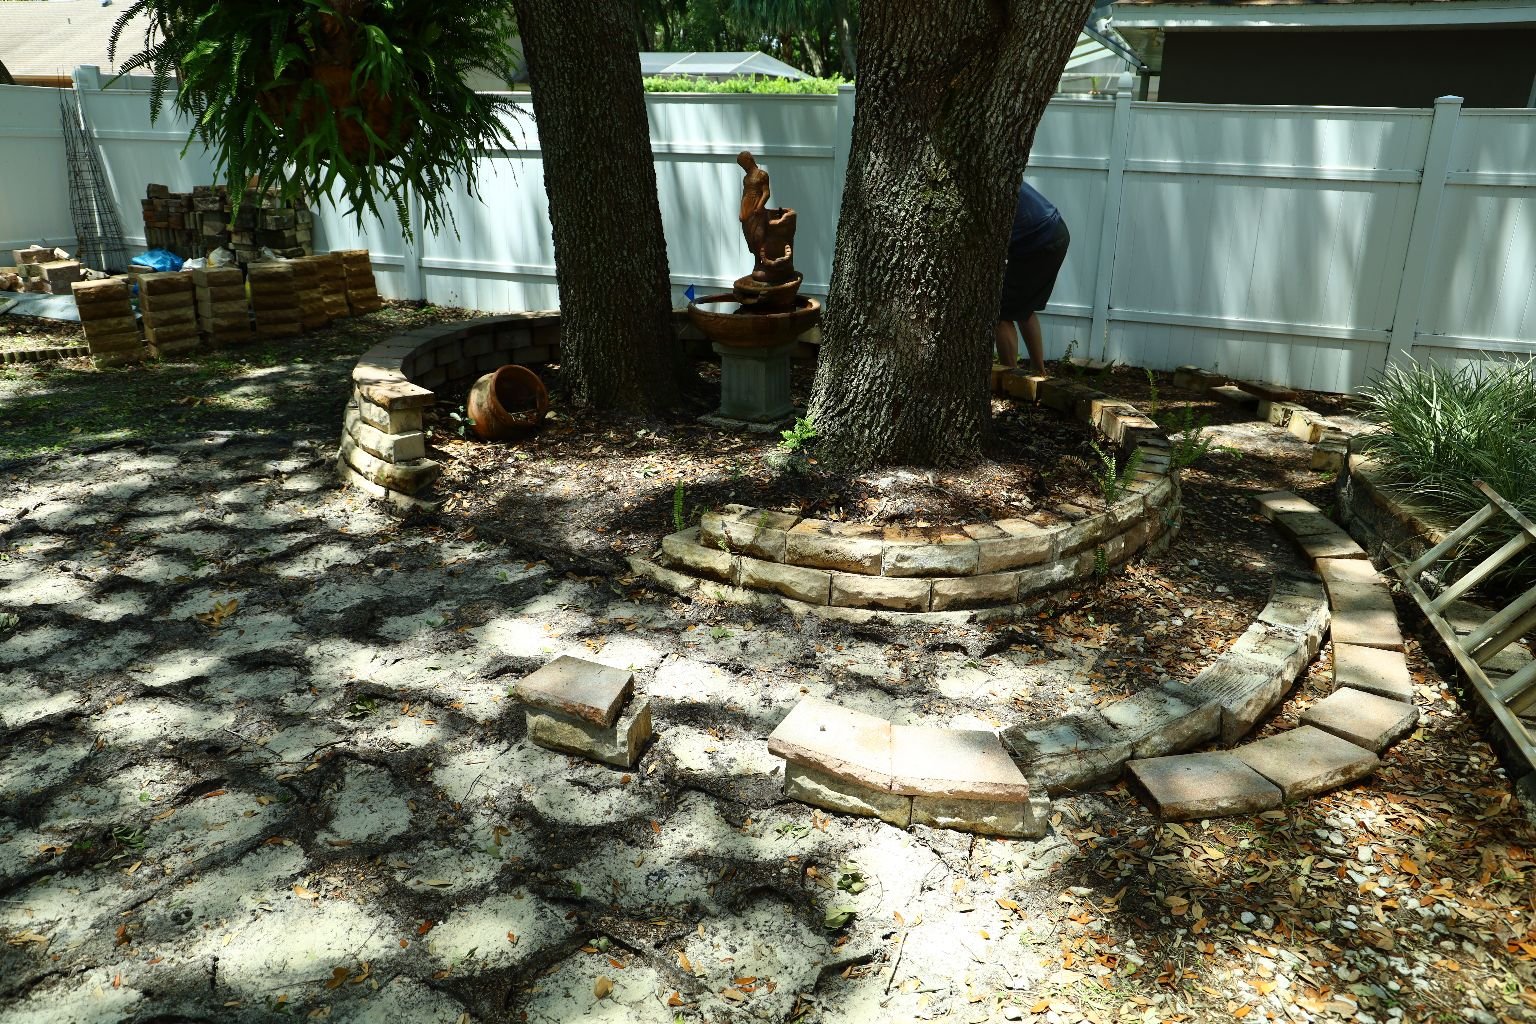
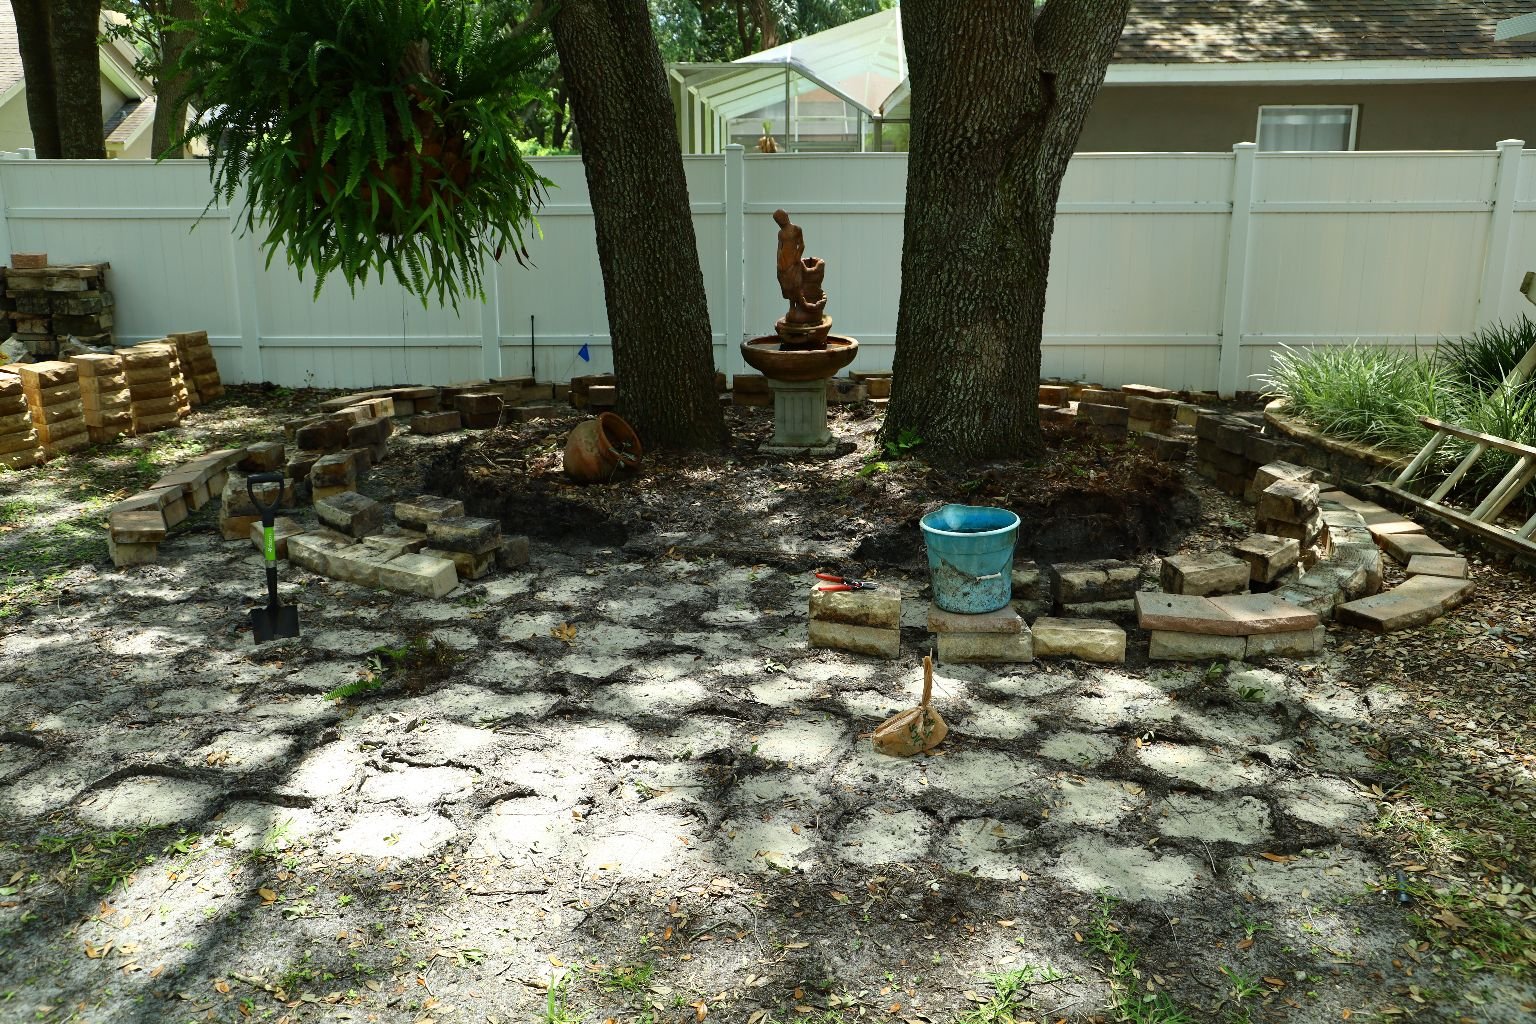
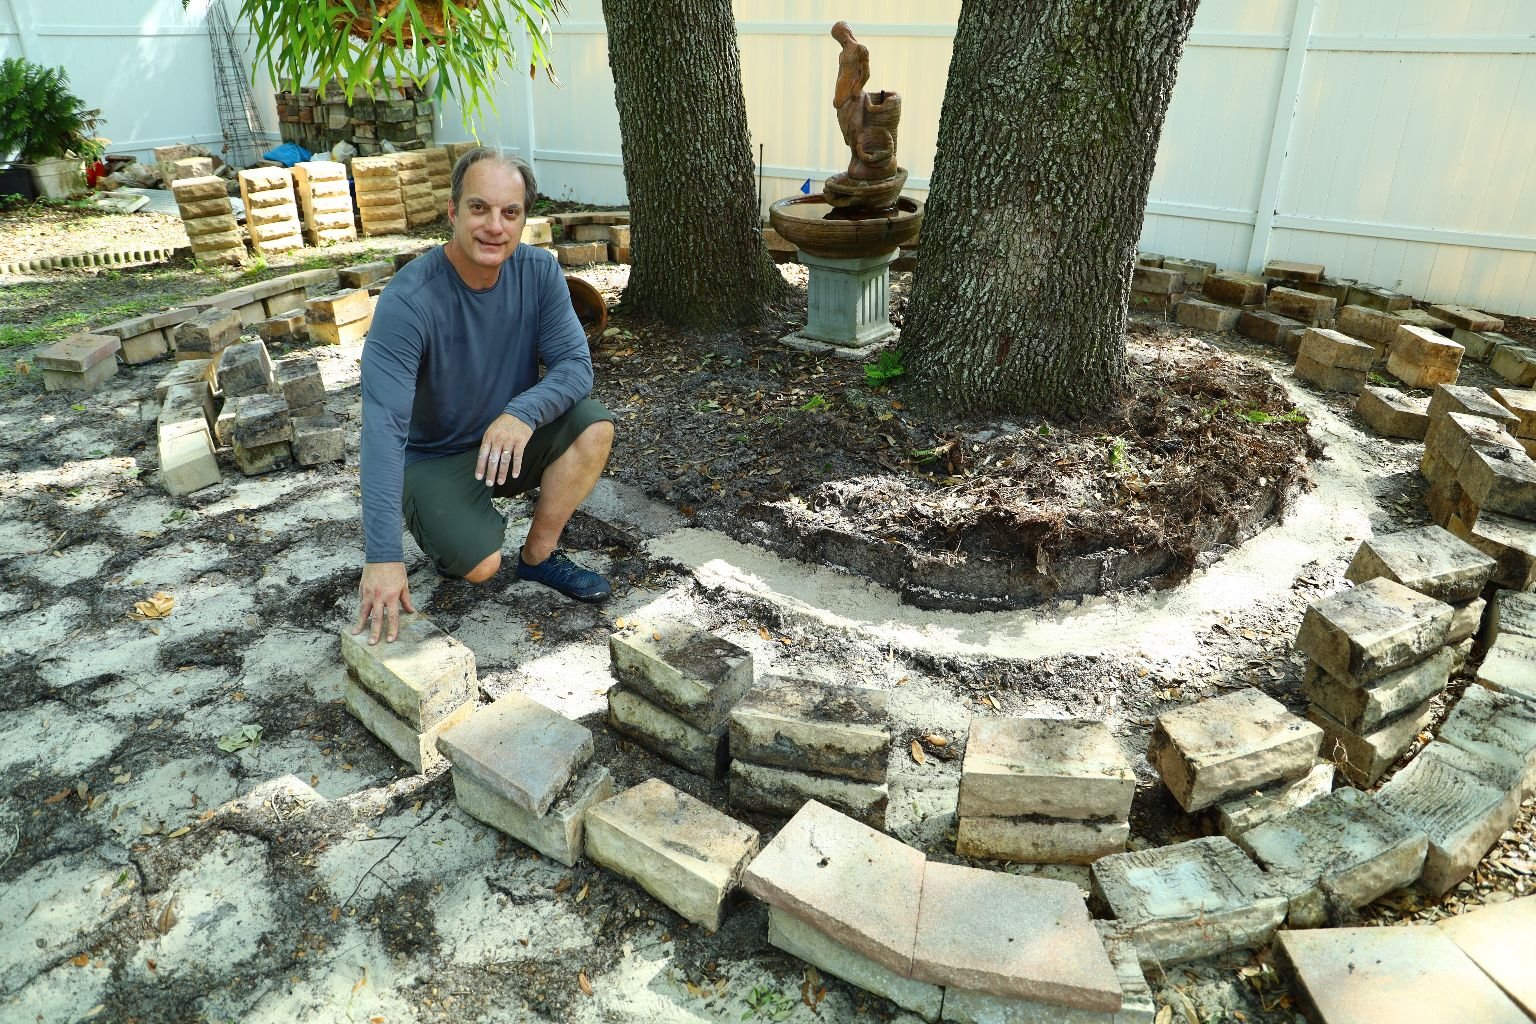
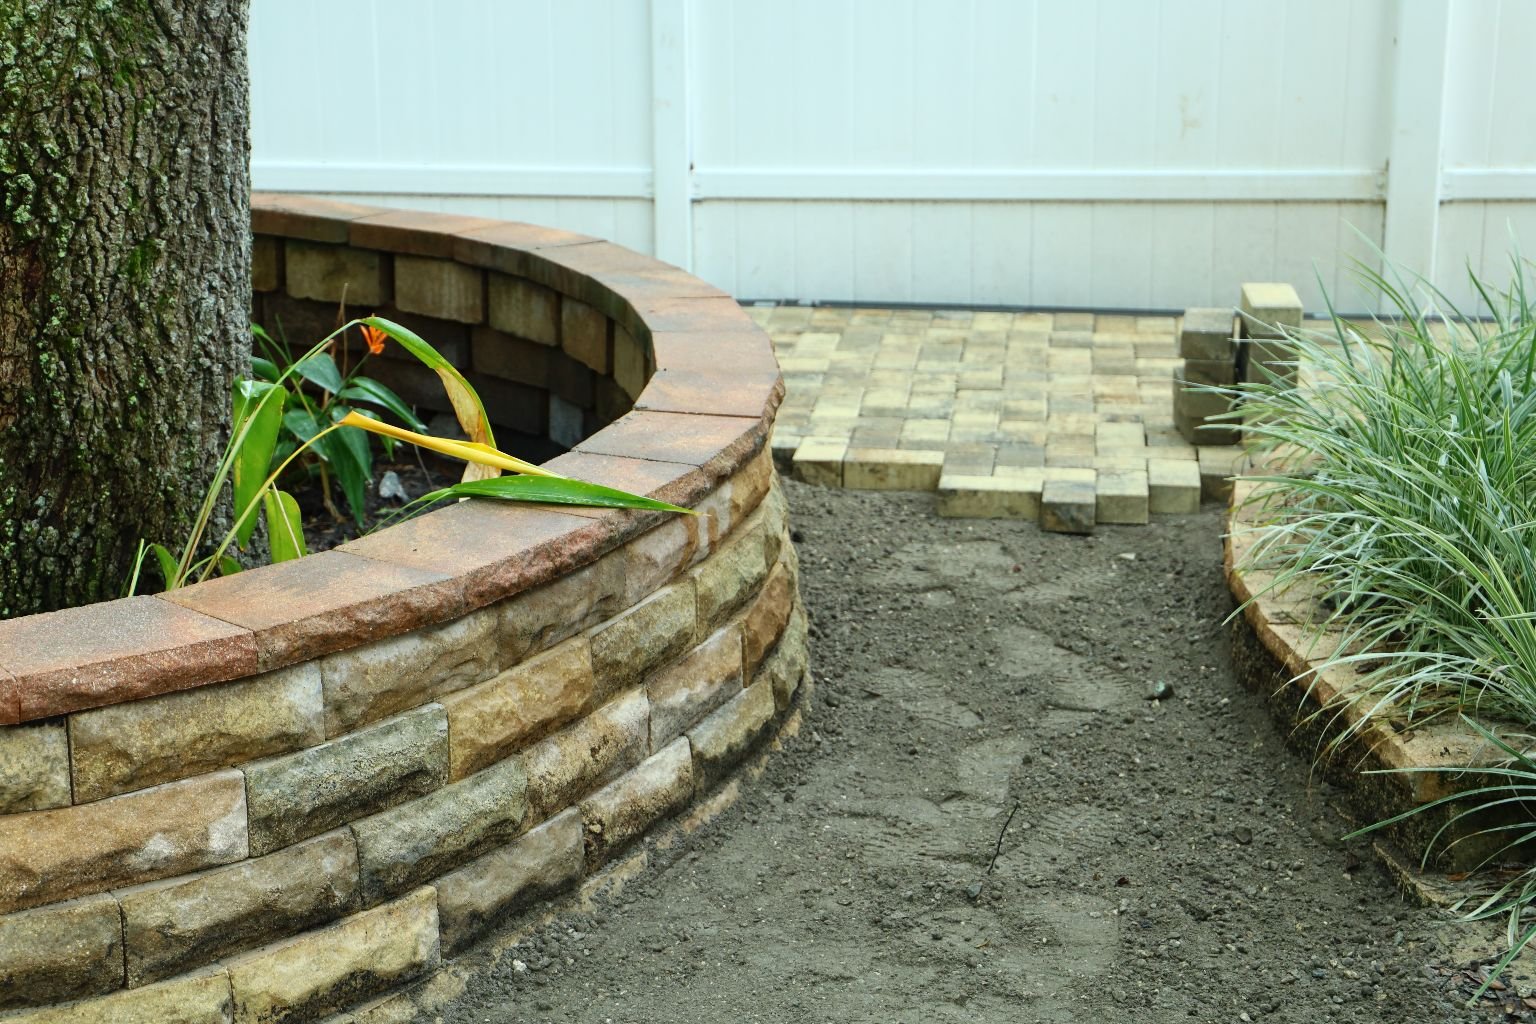
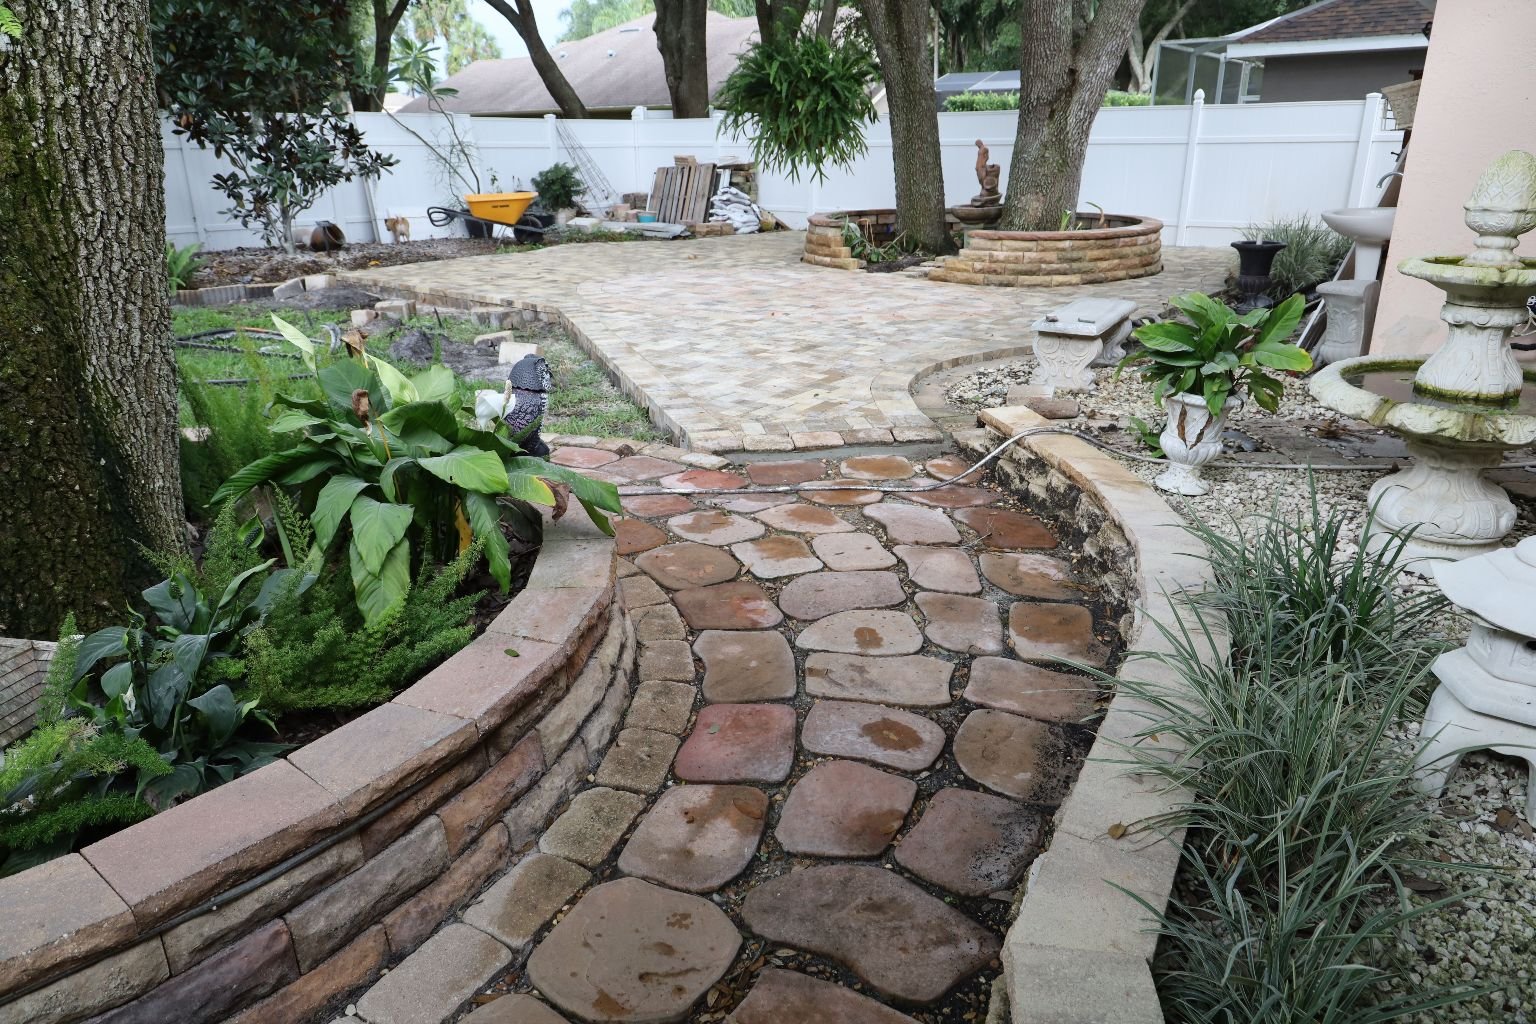
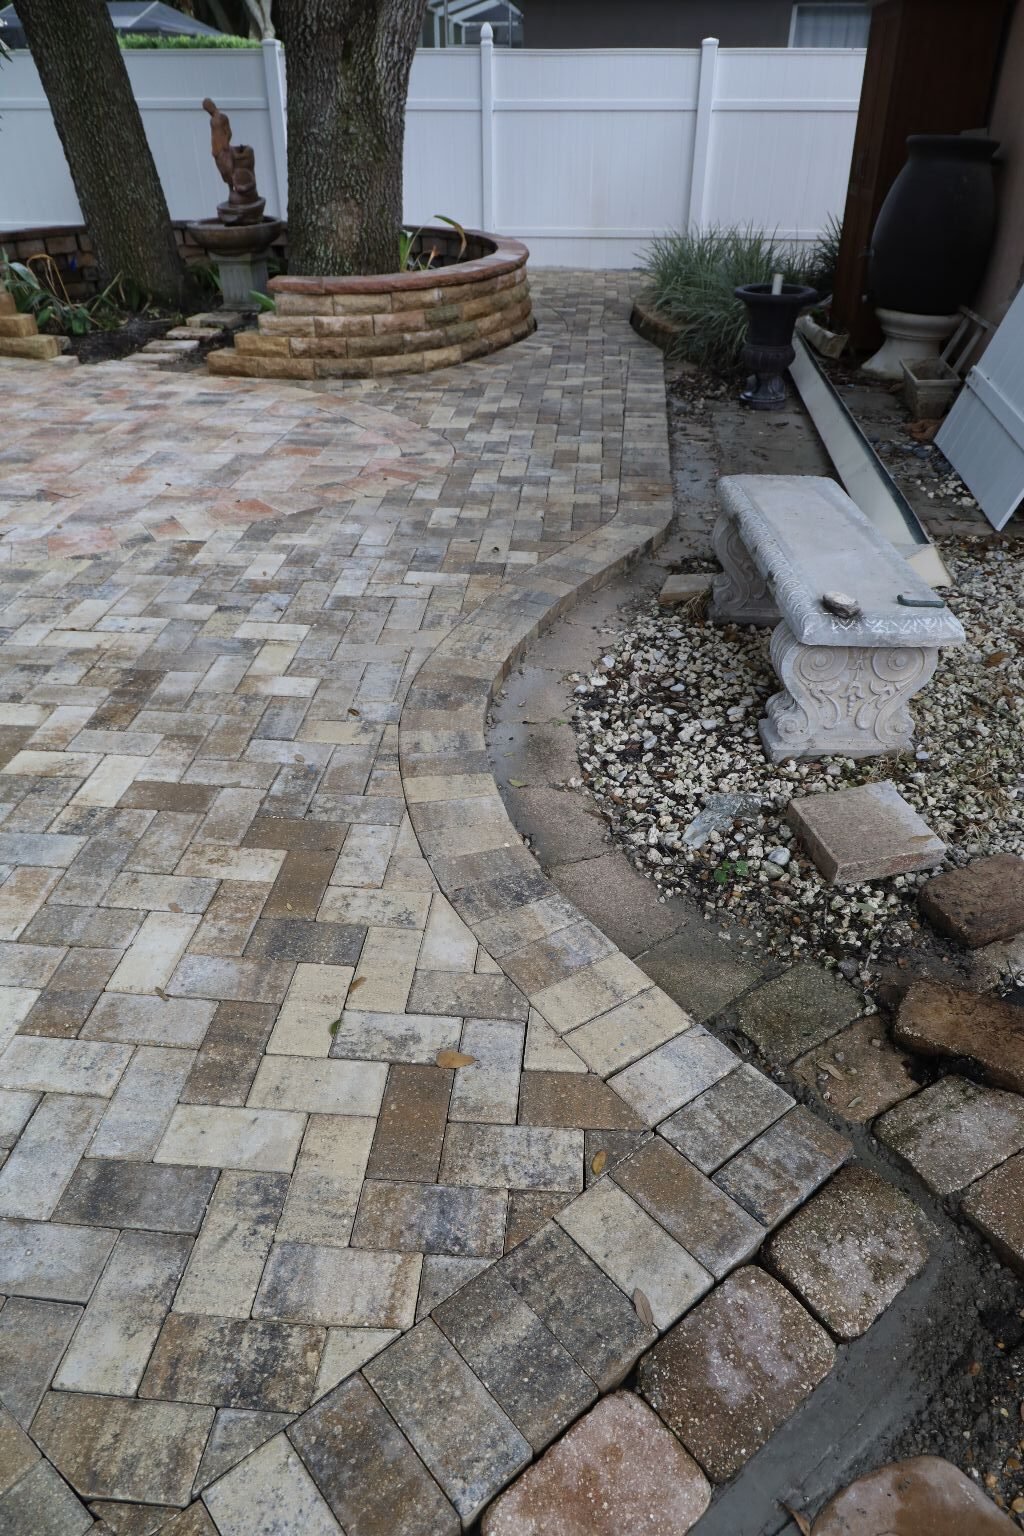
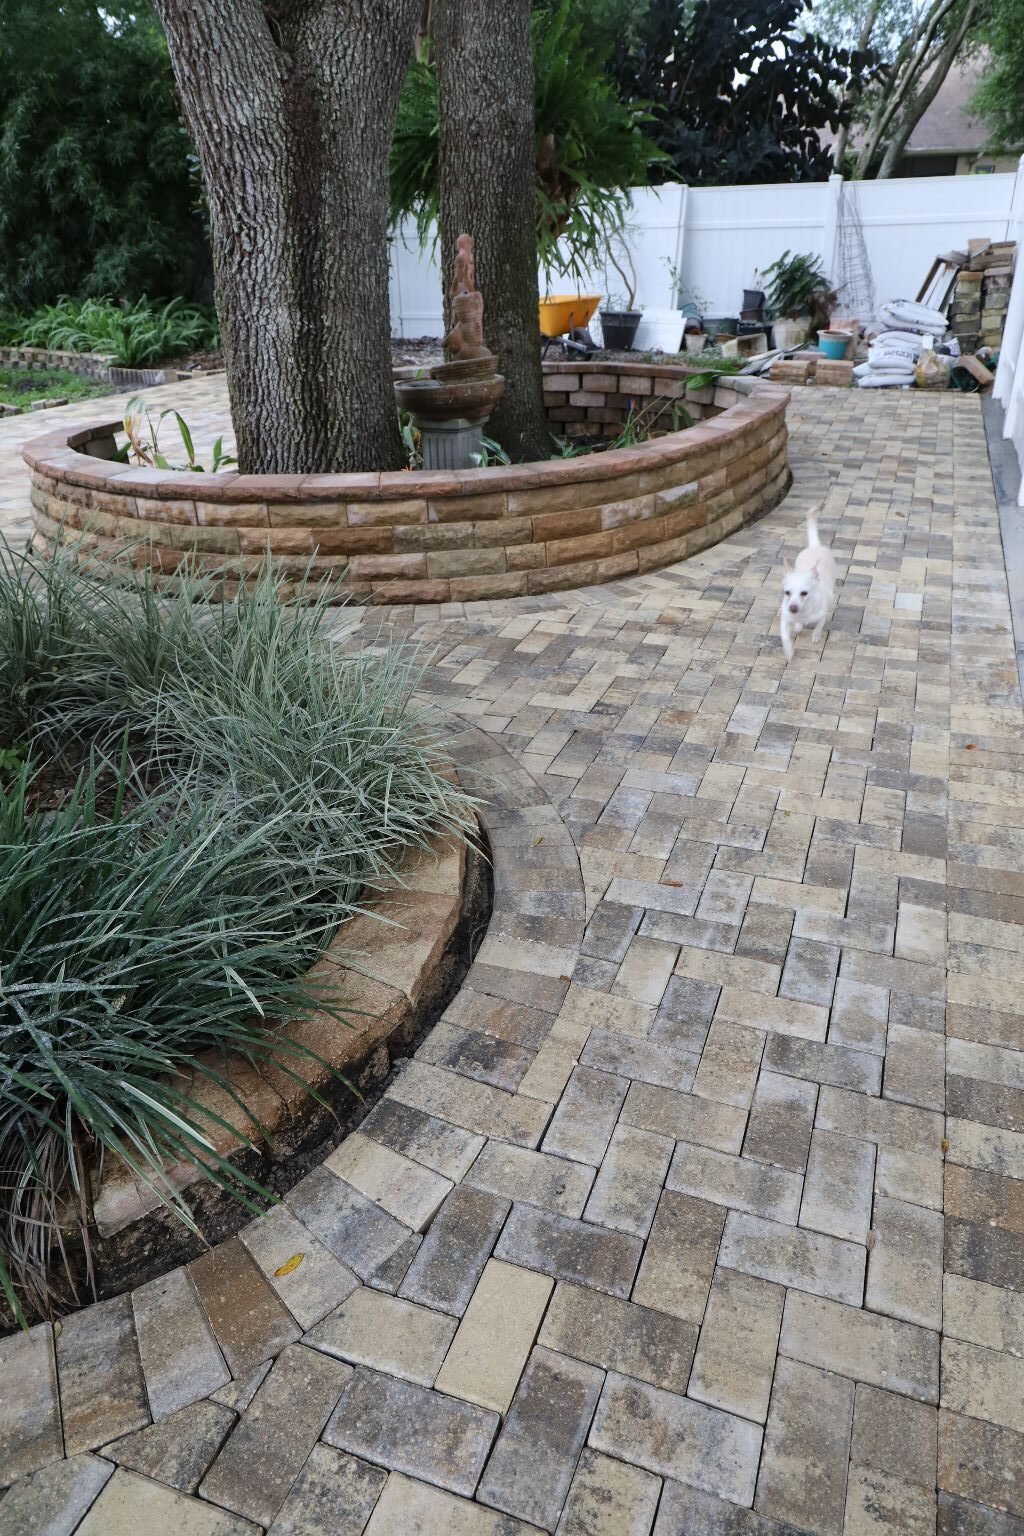
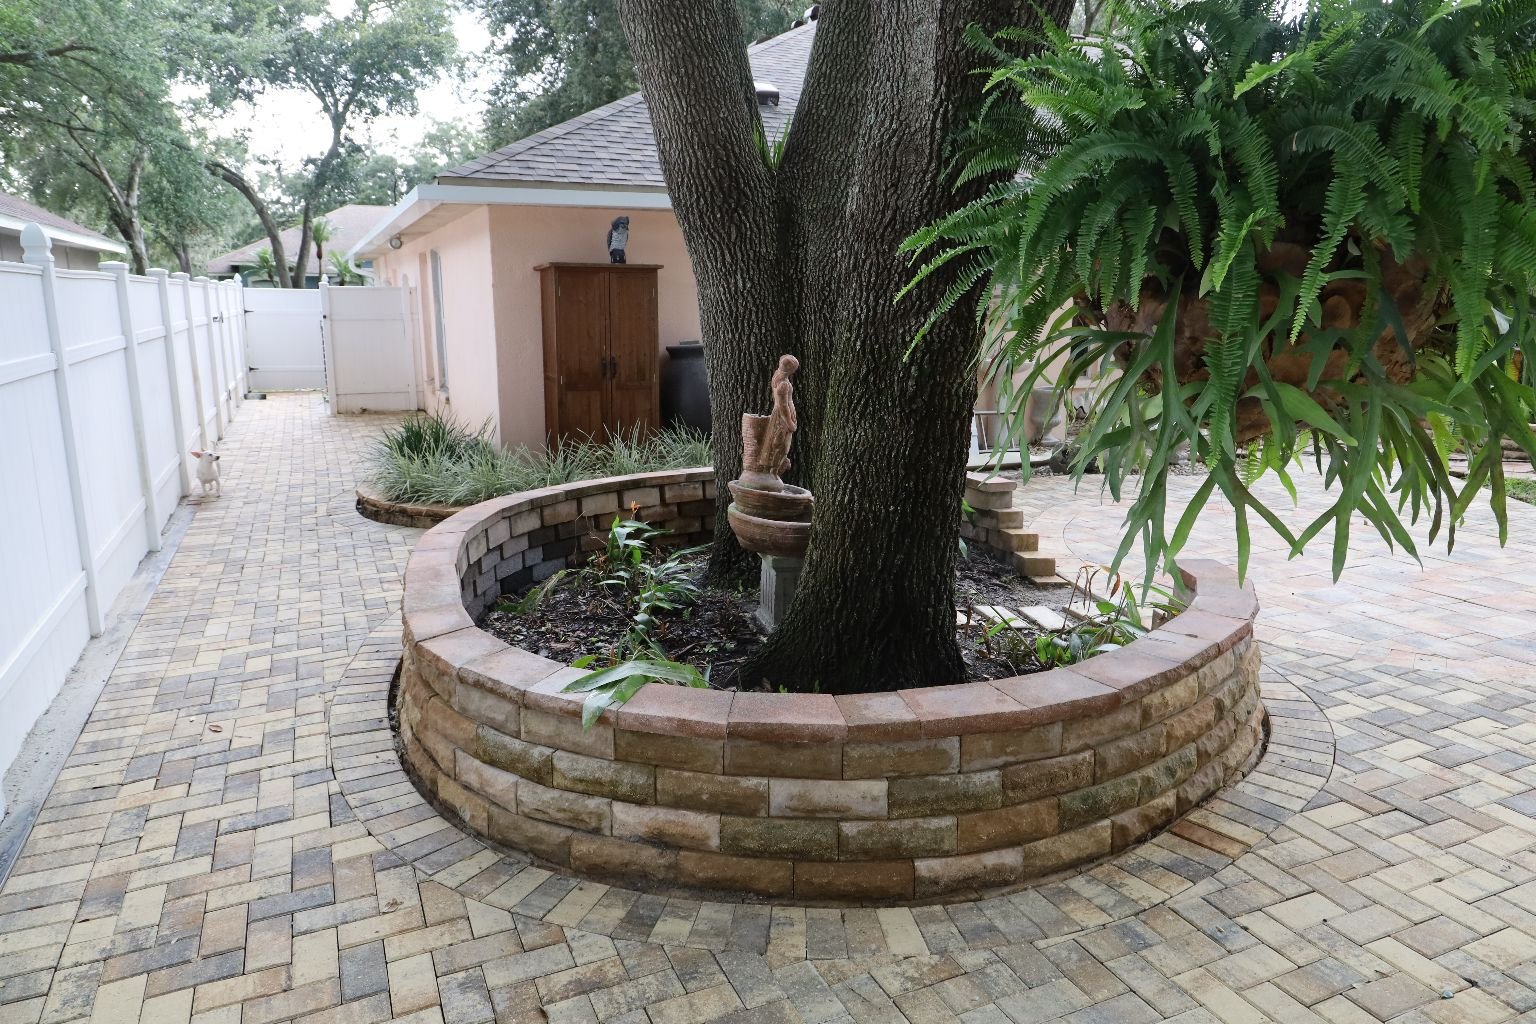
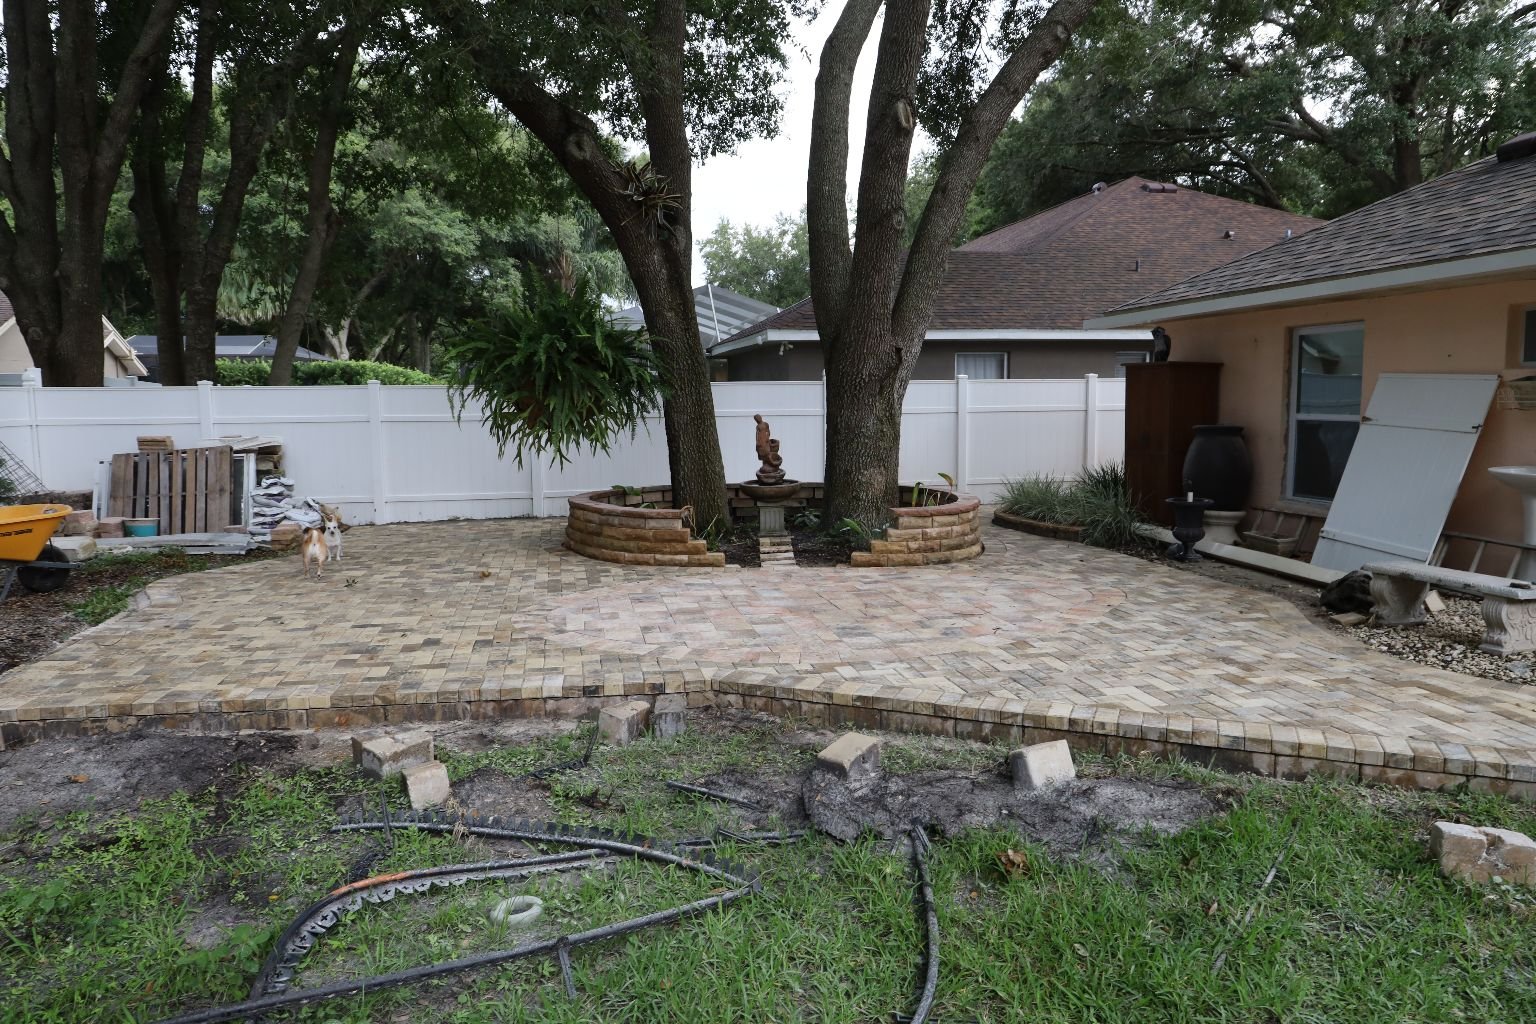
Before Left, After Right
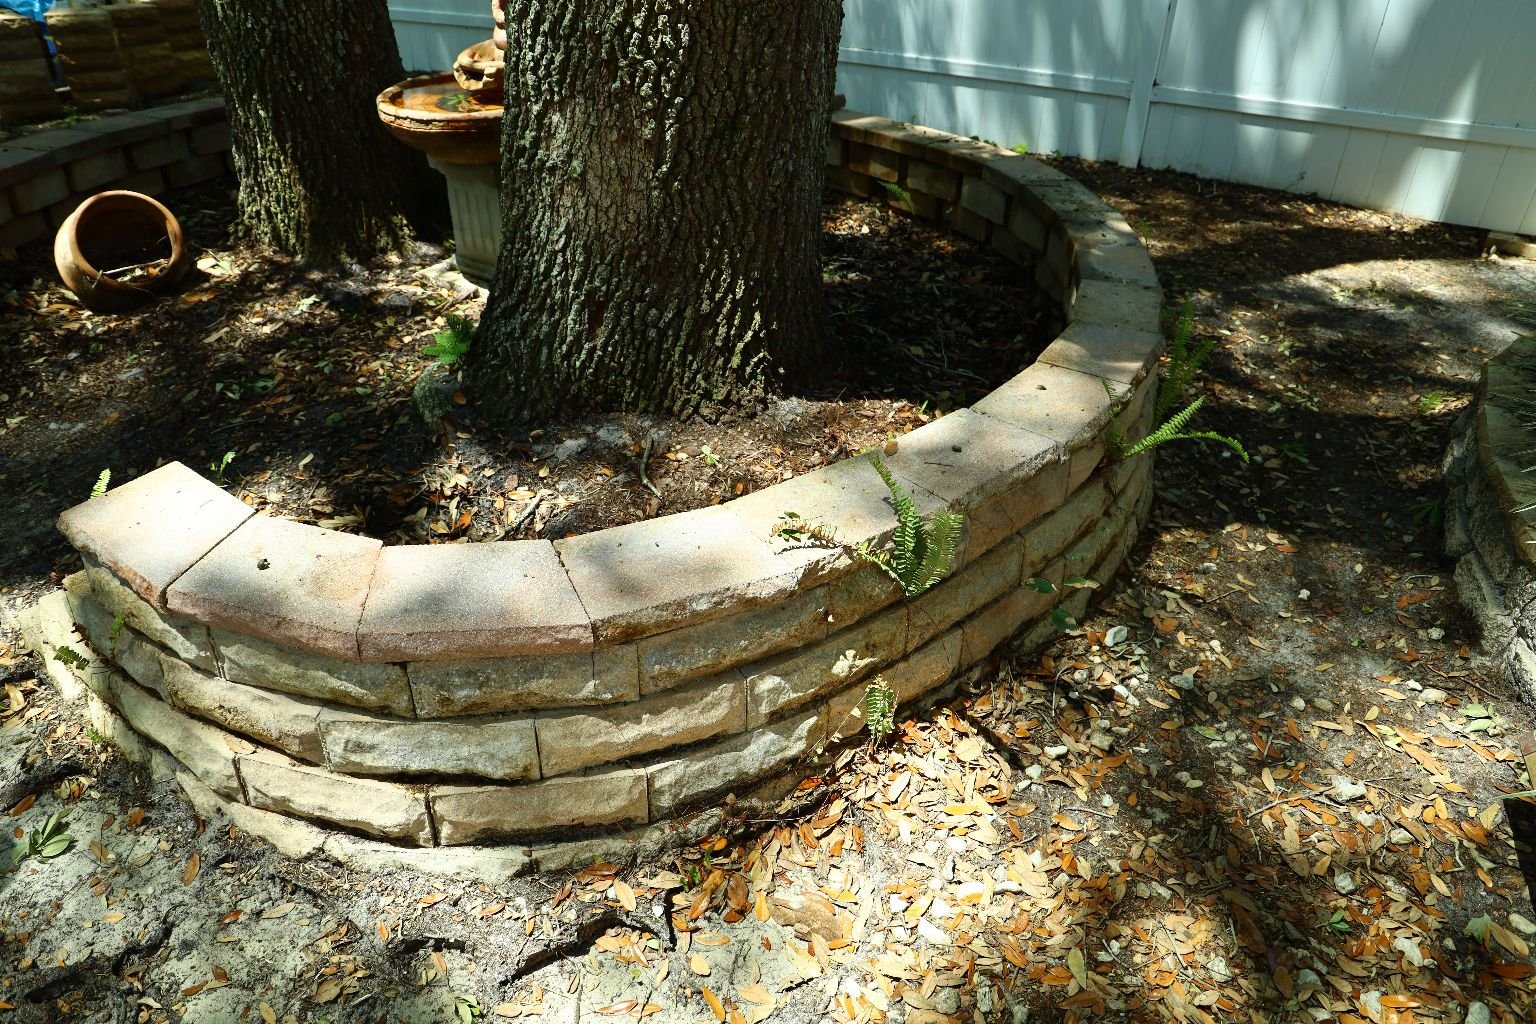
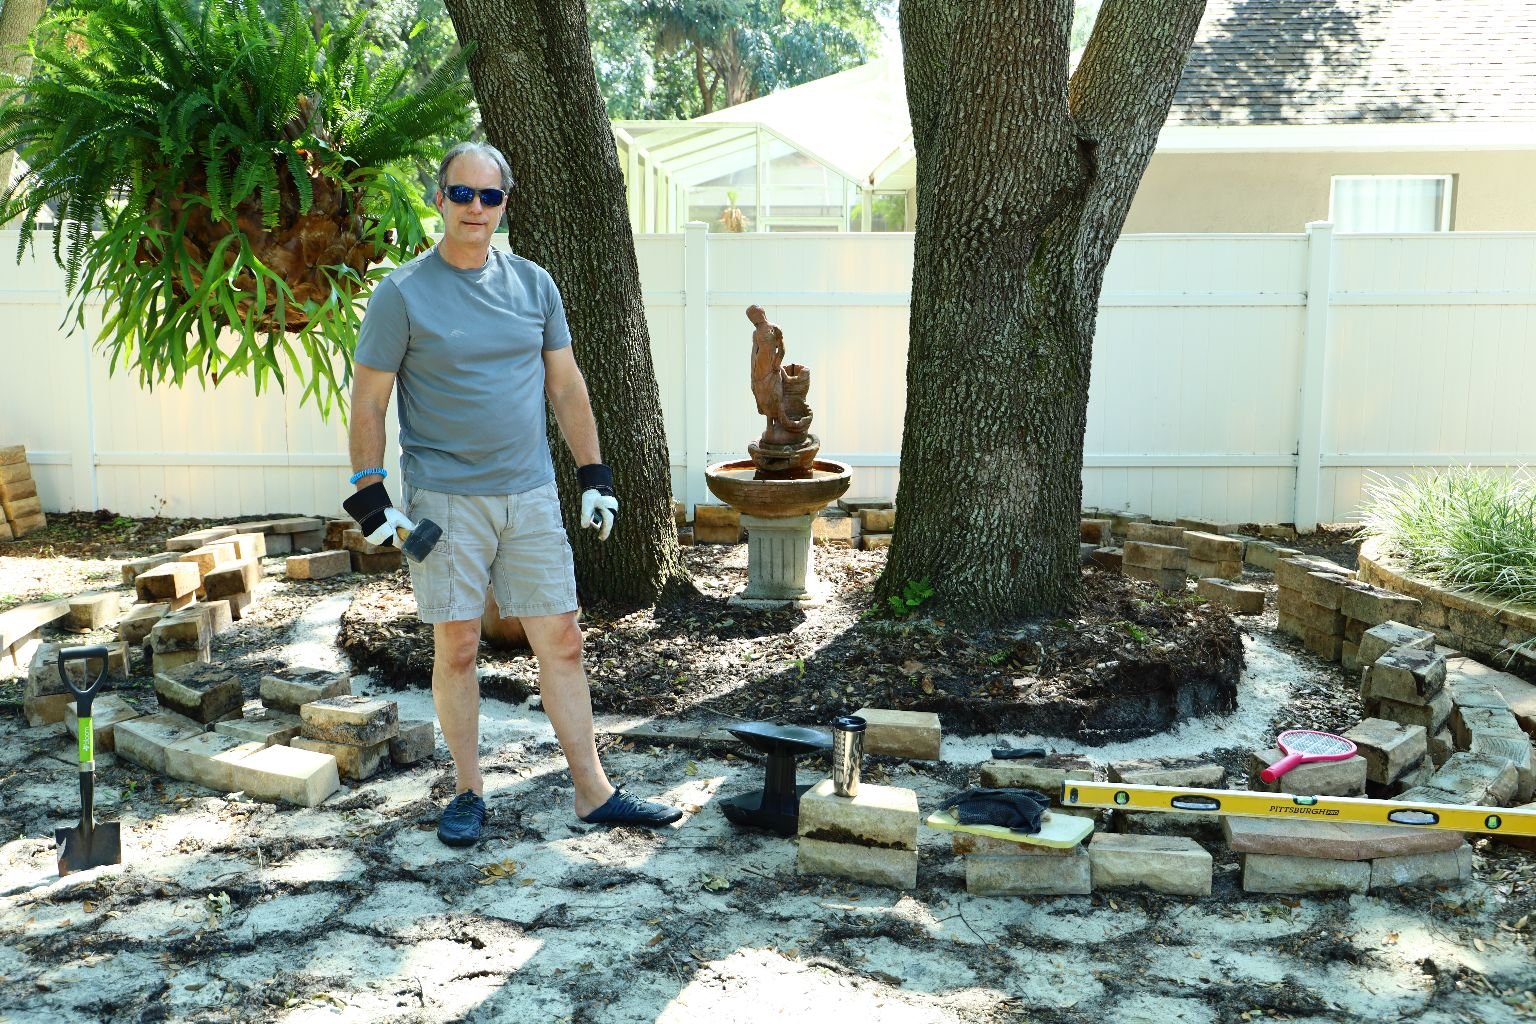
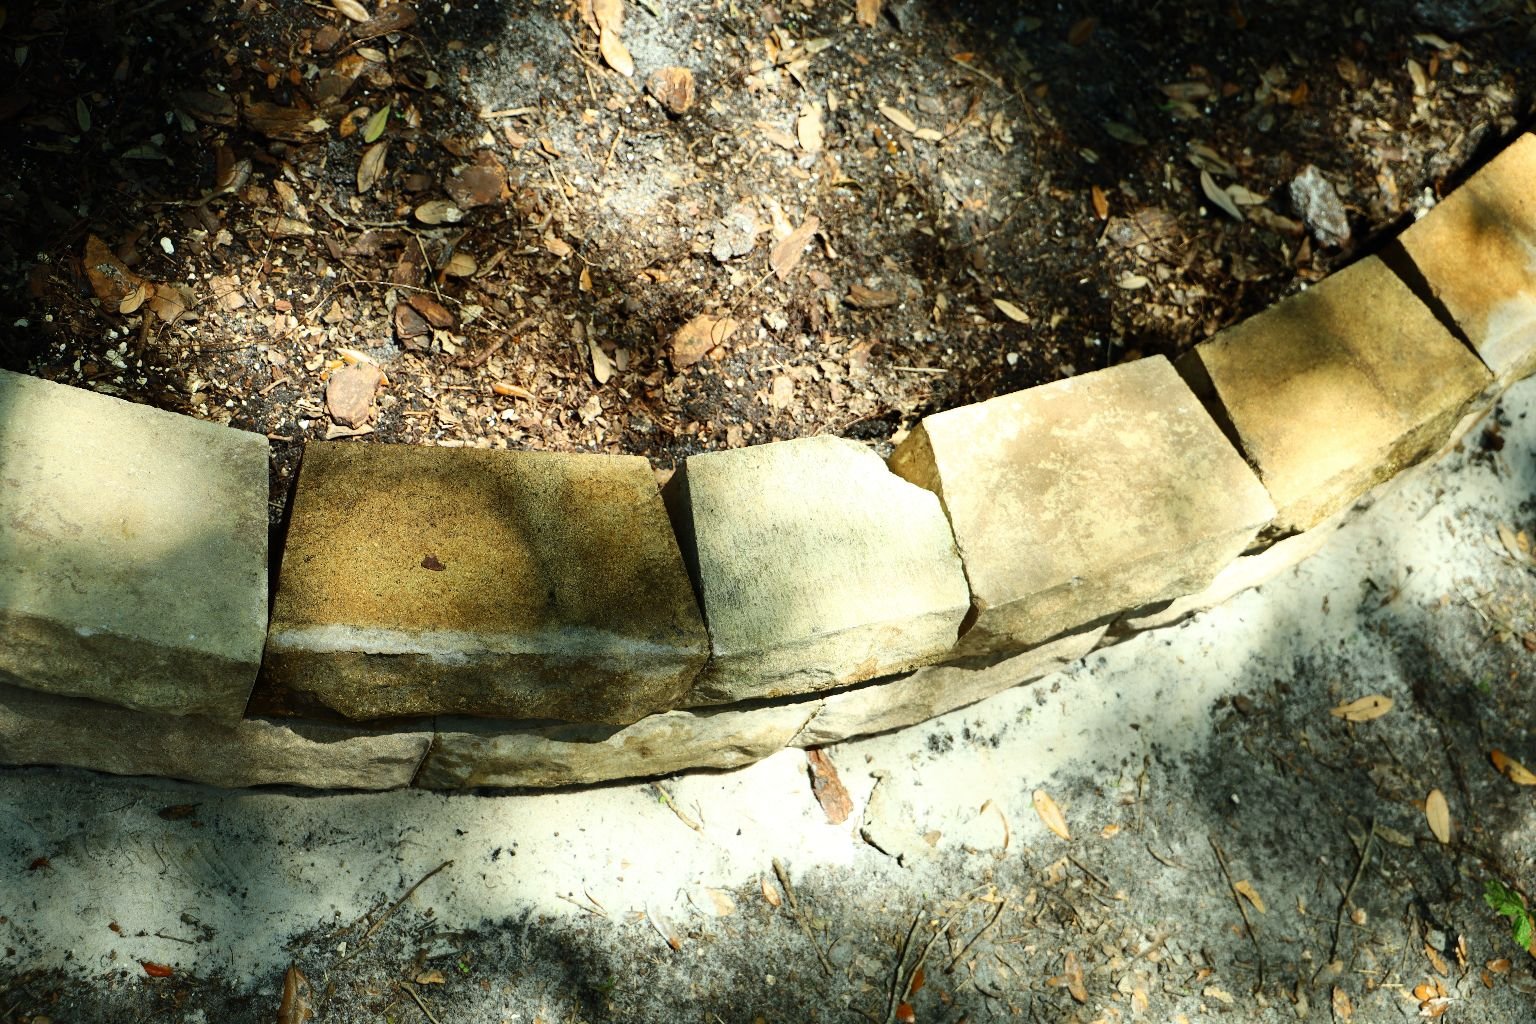
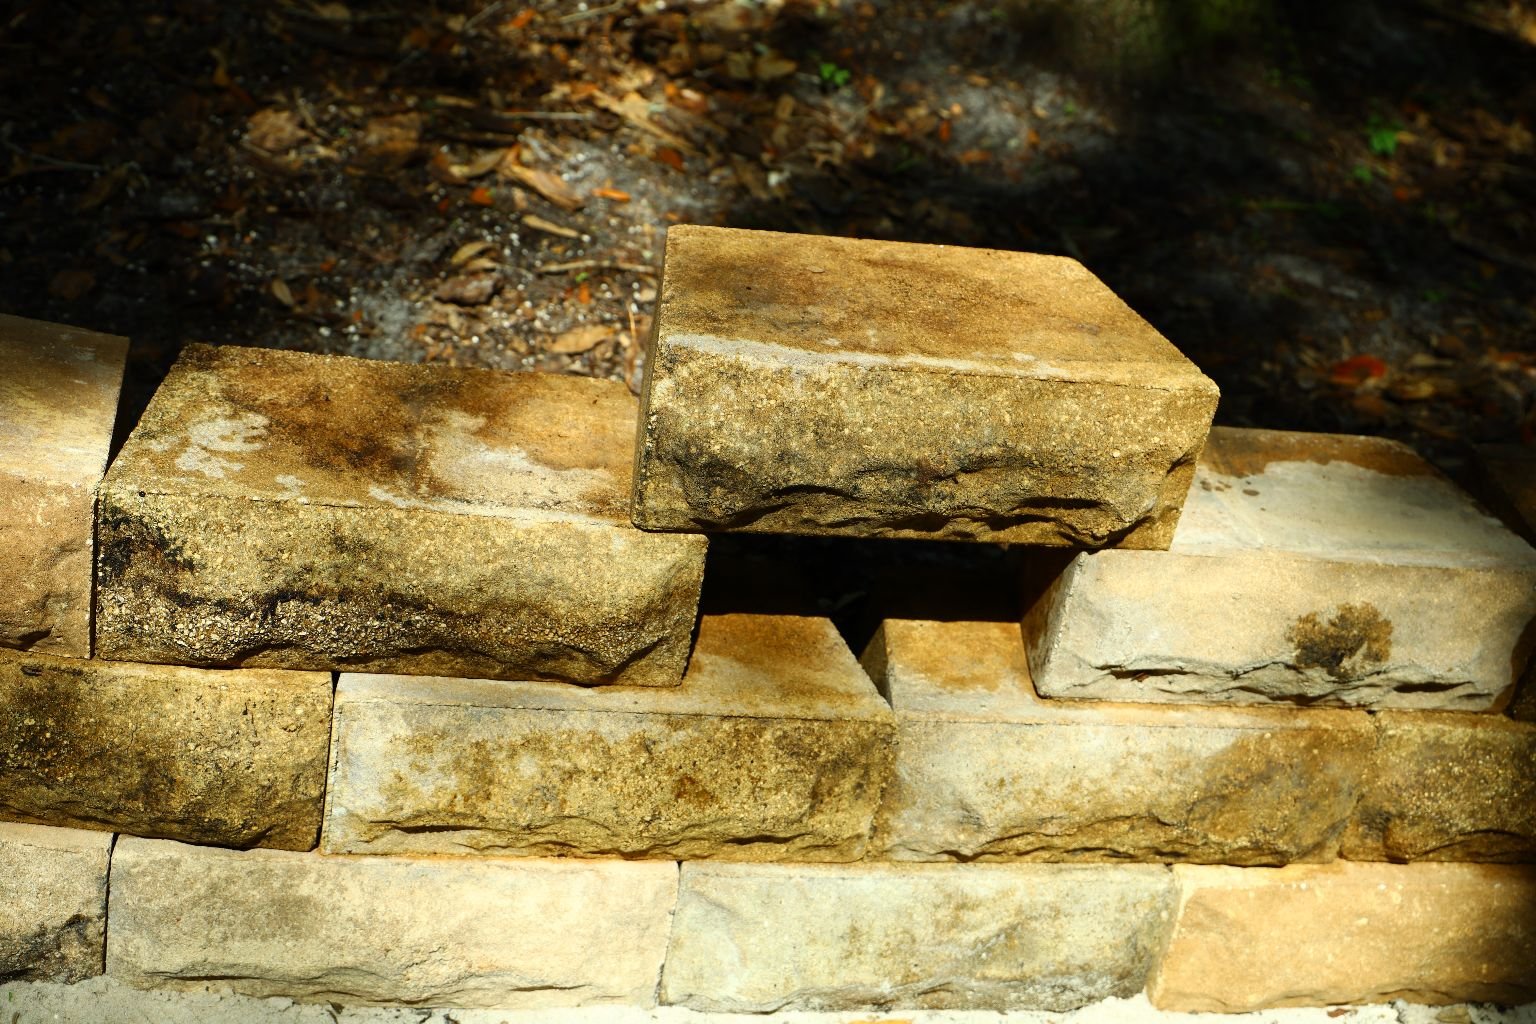
Here you can see the retaining wall is in bad shape due to some overgrowth and tree roots which
are making the wall lopsided. This was is quite a few years old and this is what happens
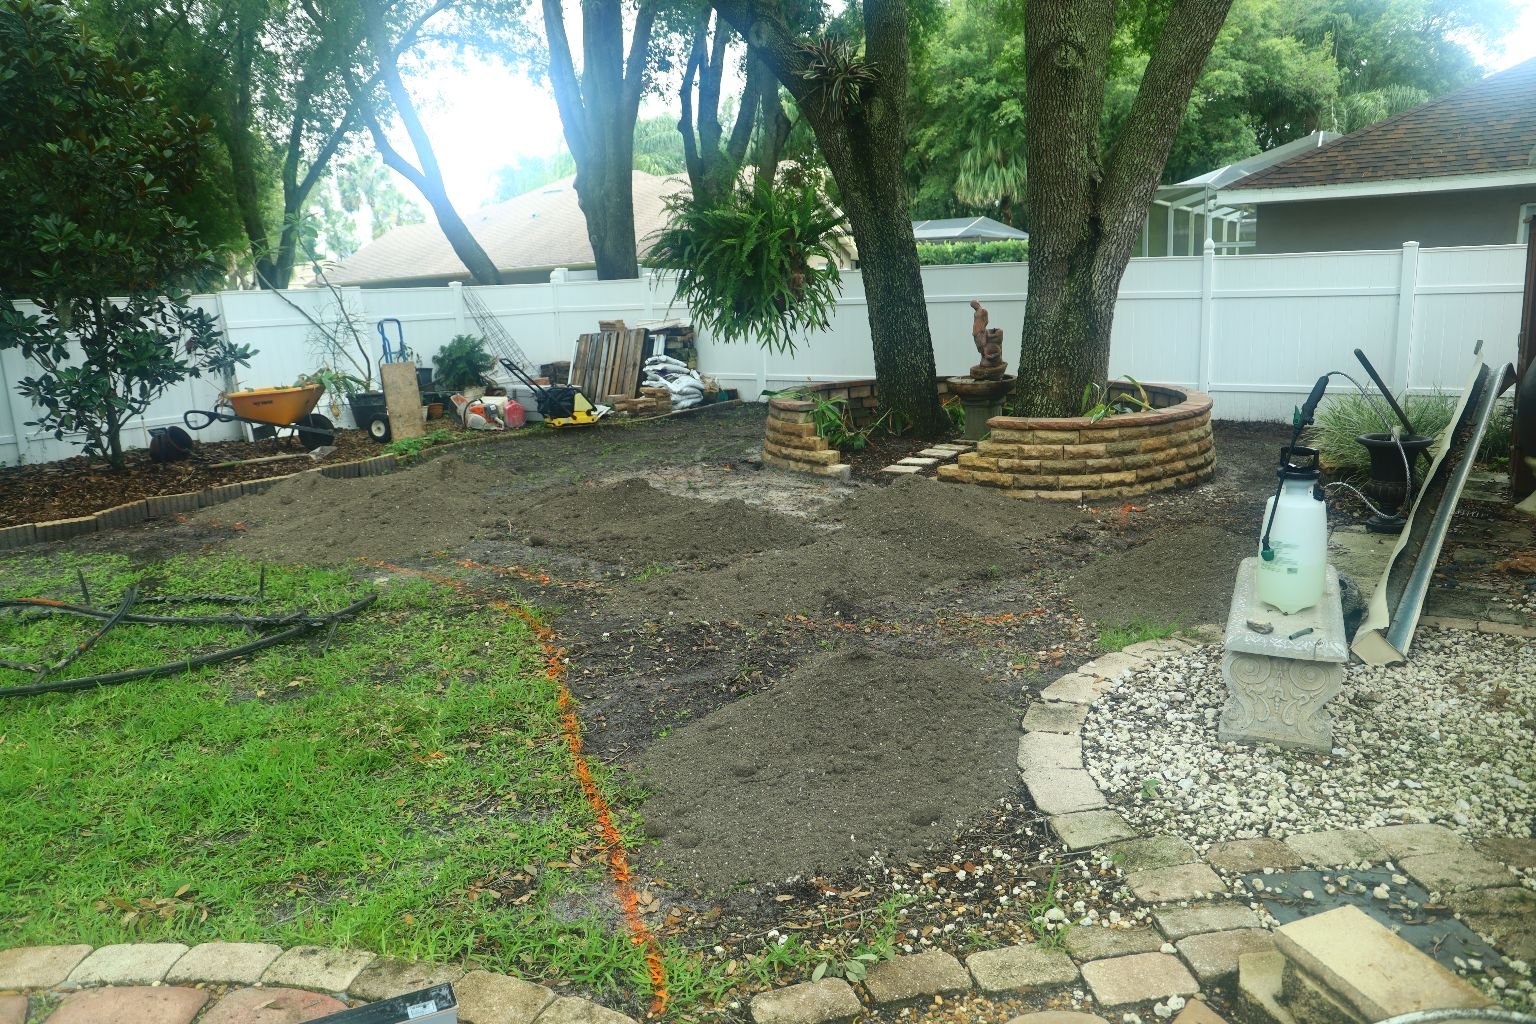
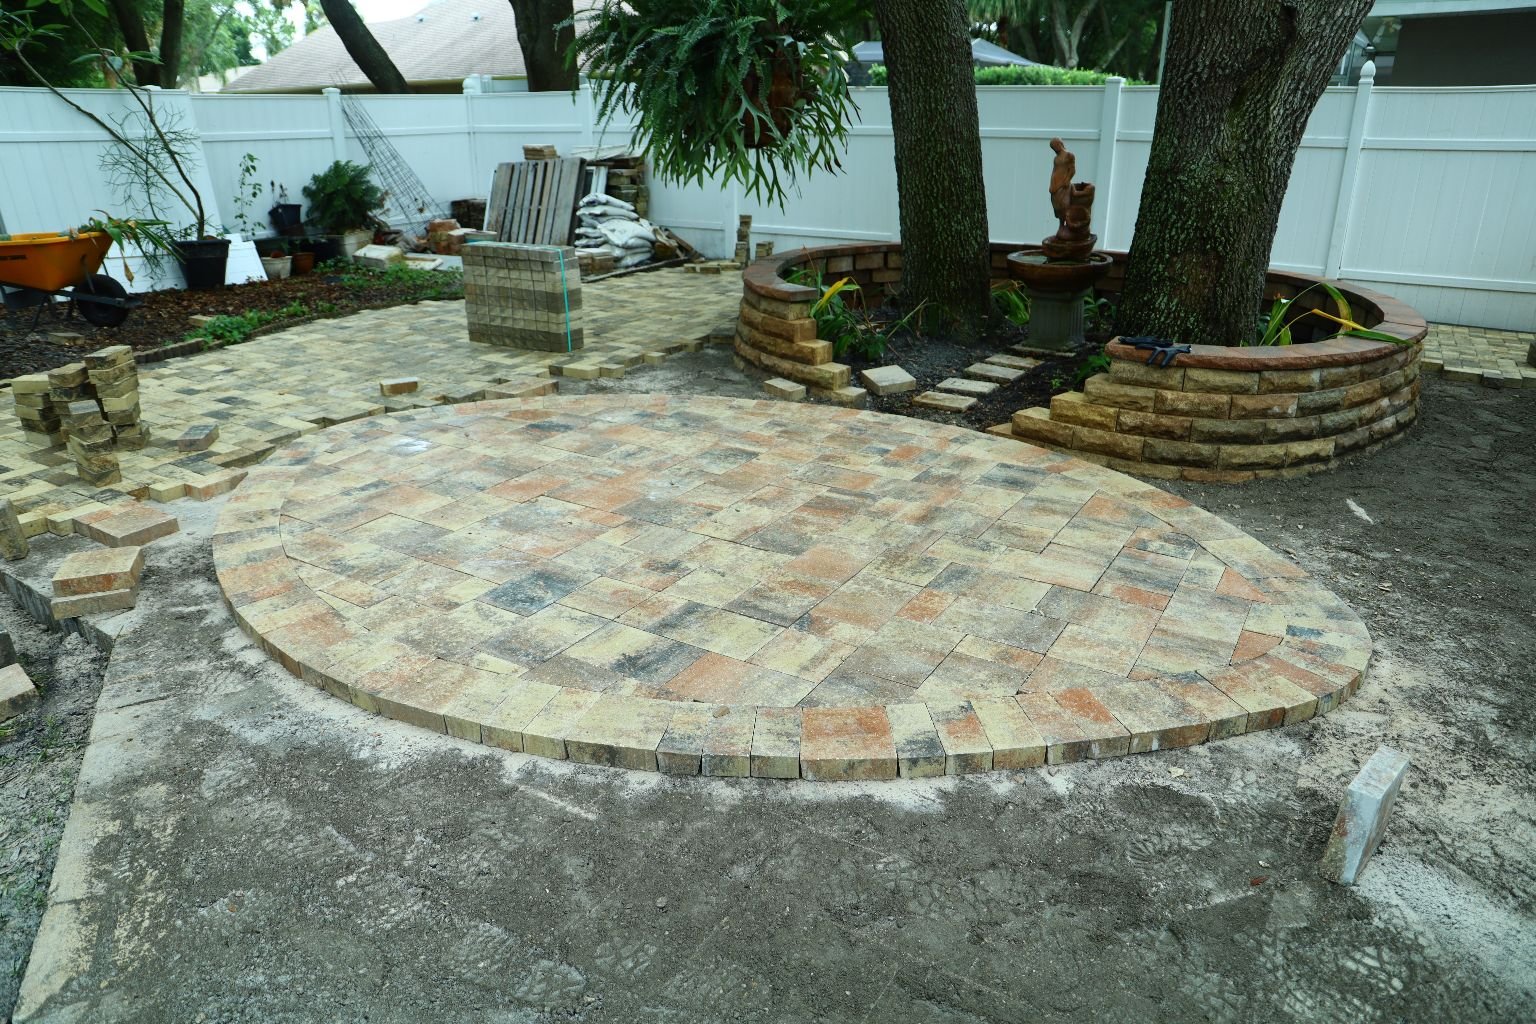
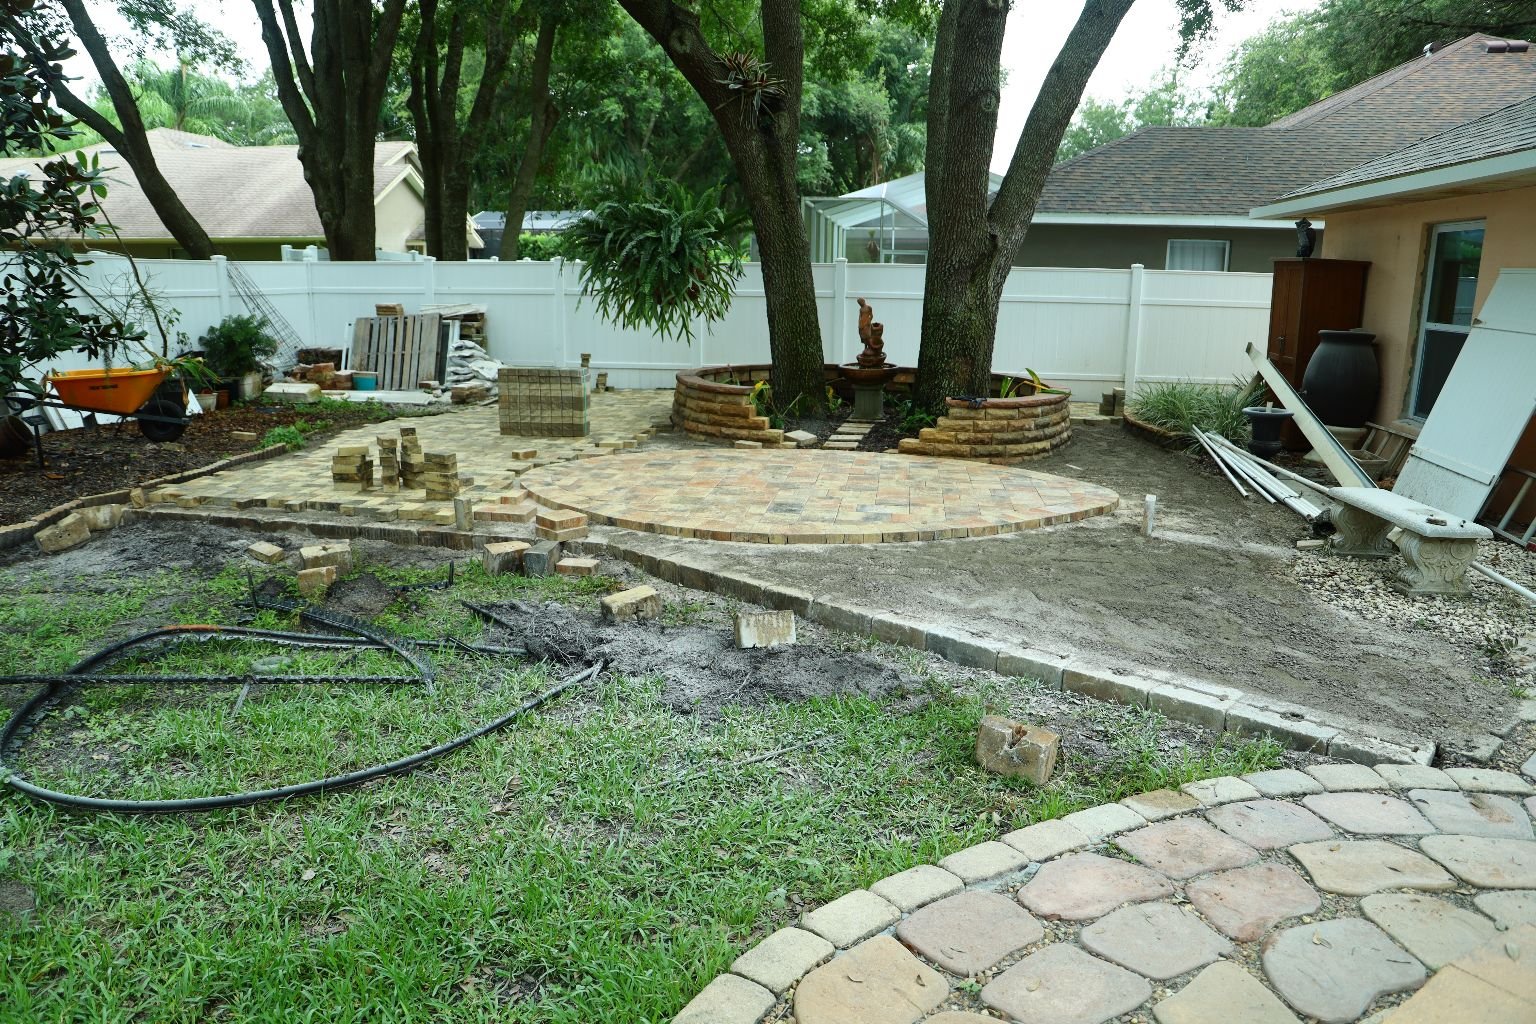
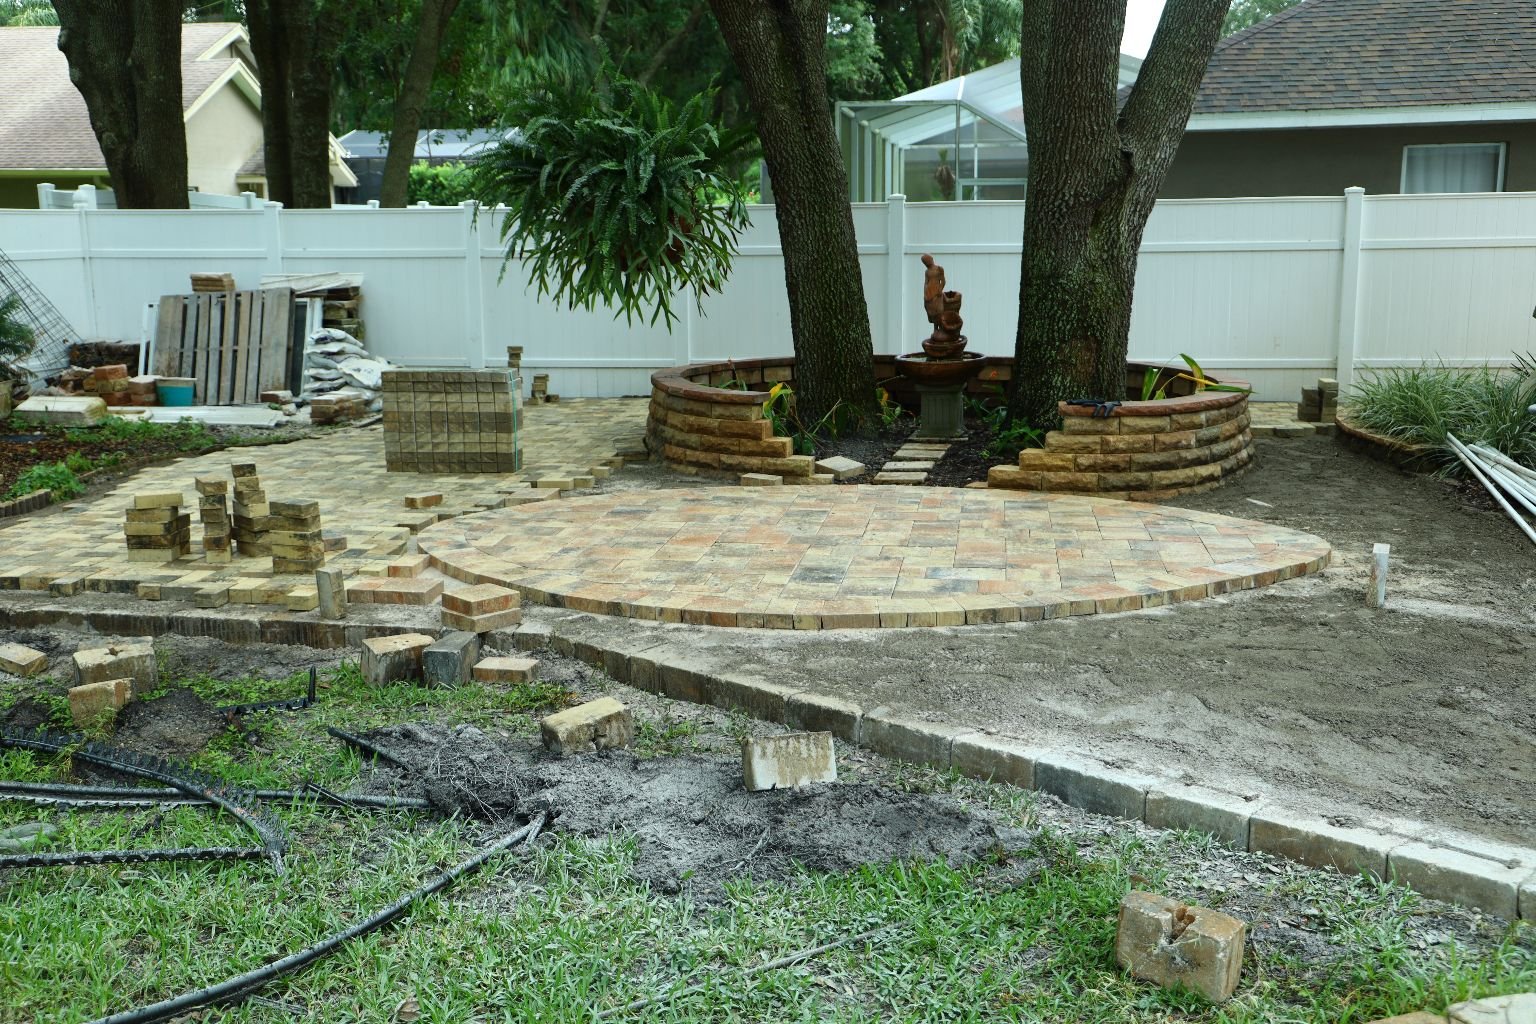
sometimes. We also wanted to have pavers put in this side of the yard surrounding the wall, so it
was a great time for a repair. I will show you my step-by-step processes to get it to looking
brand new again.
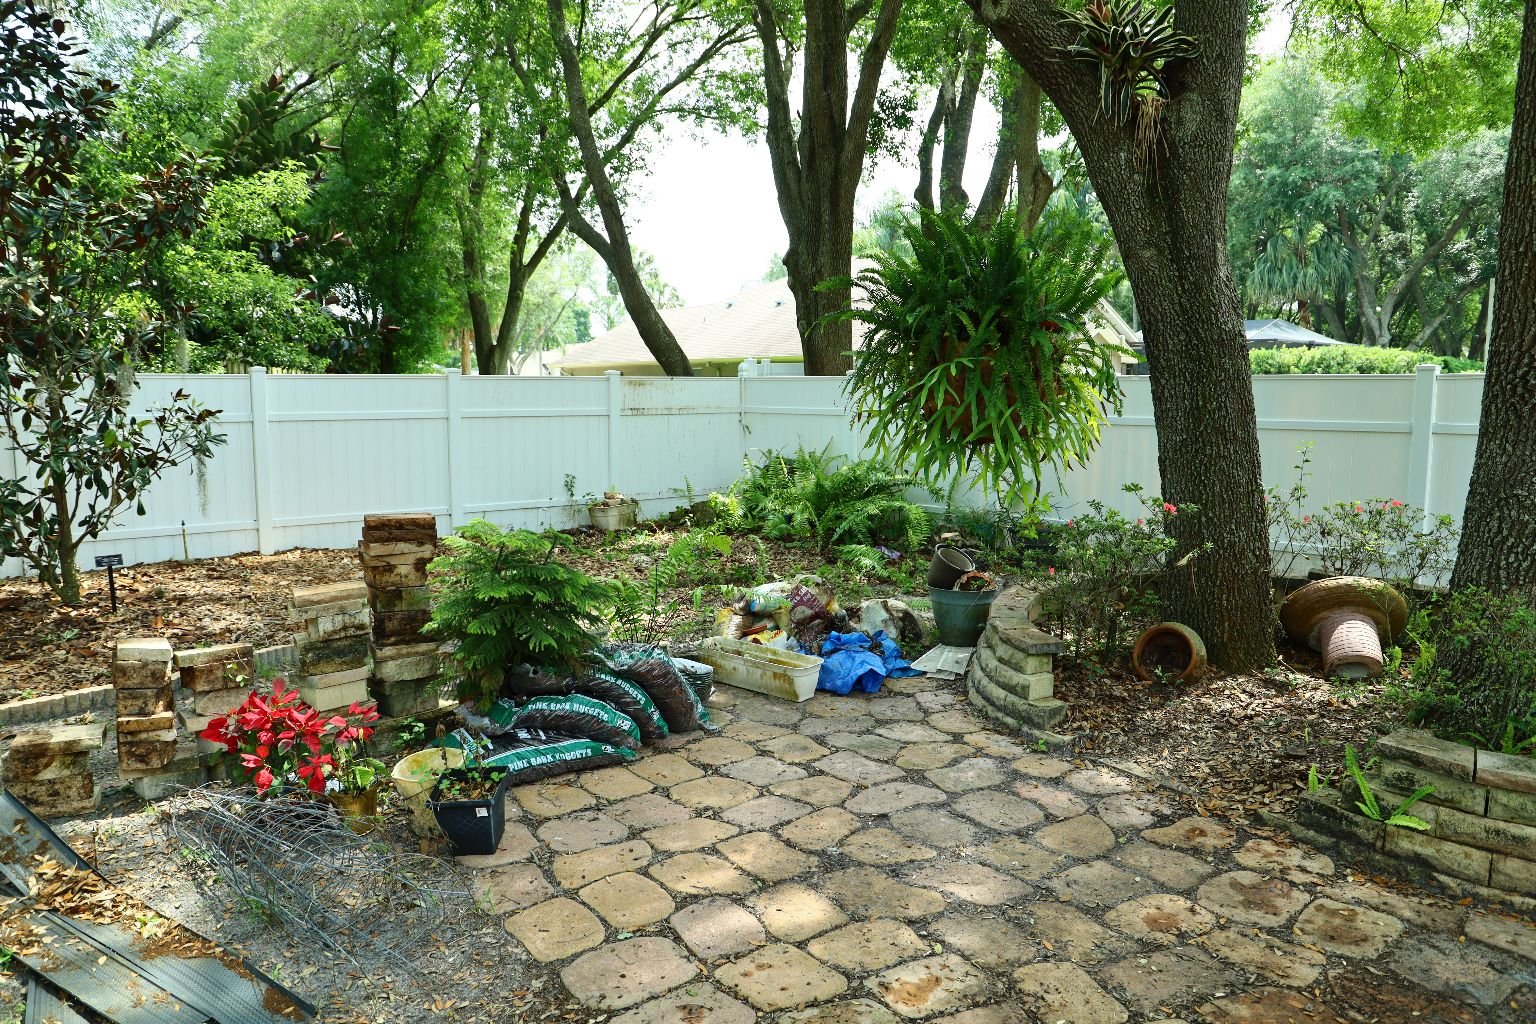
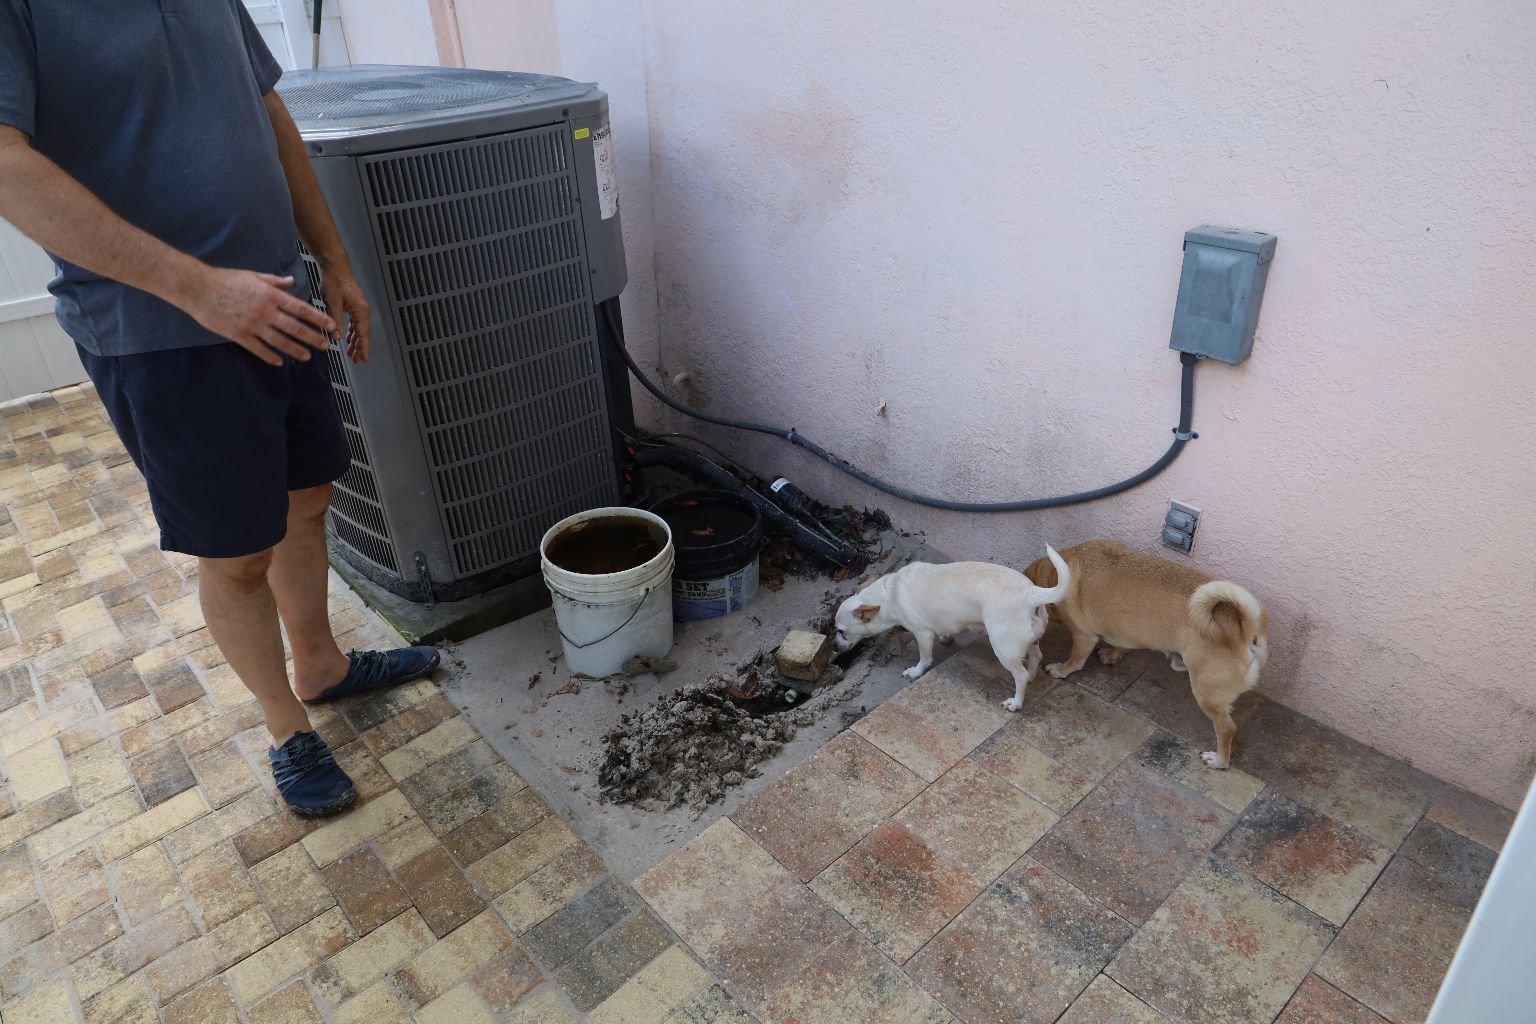
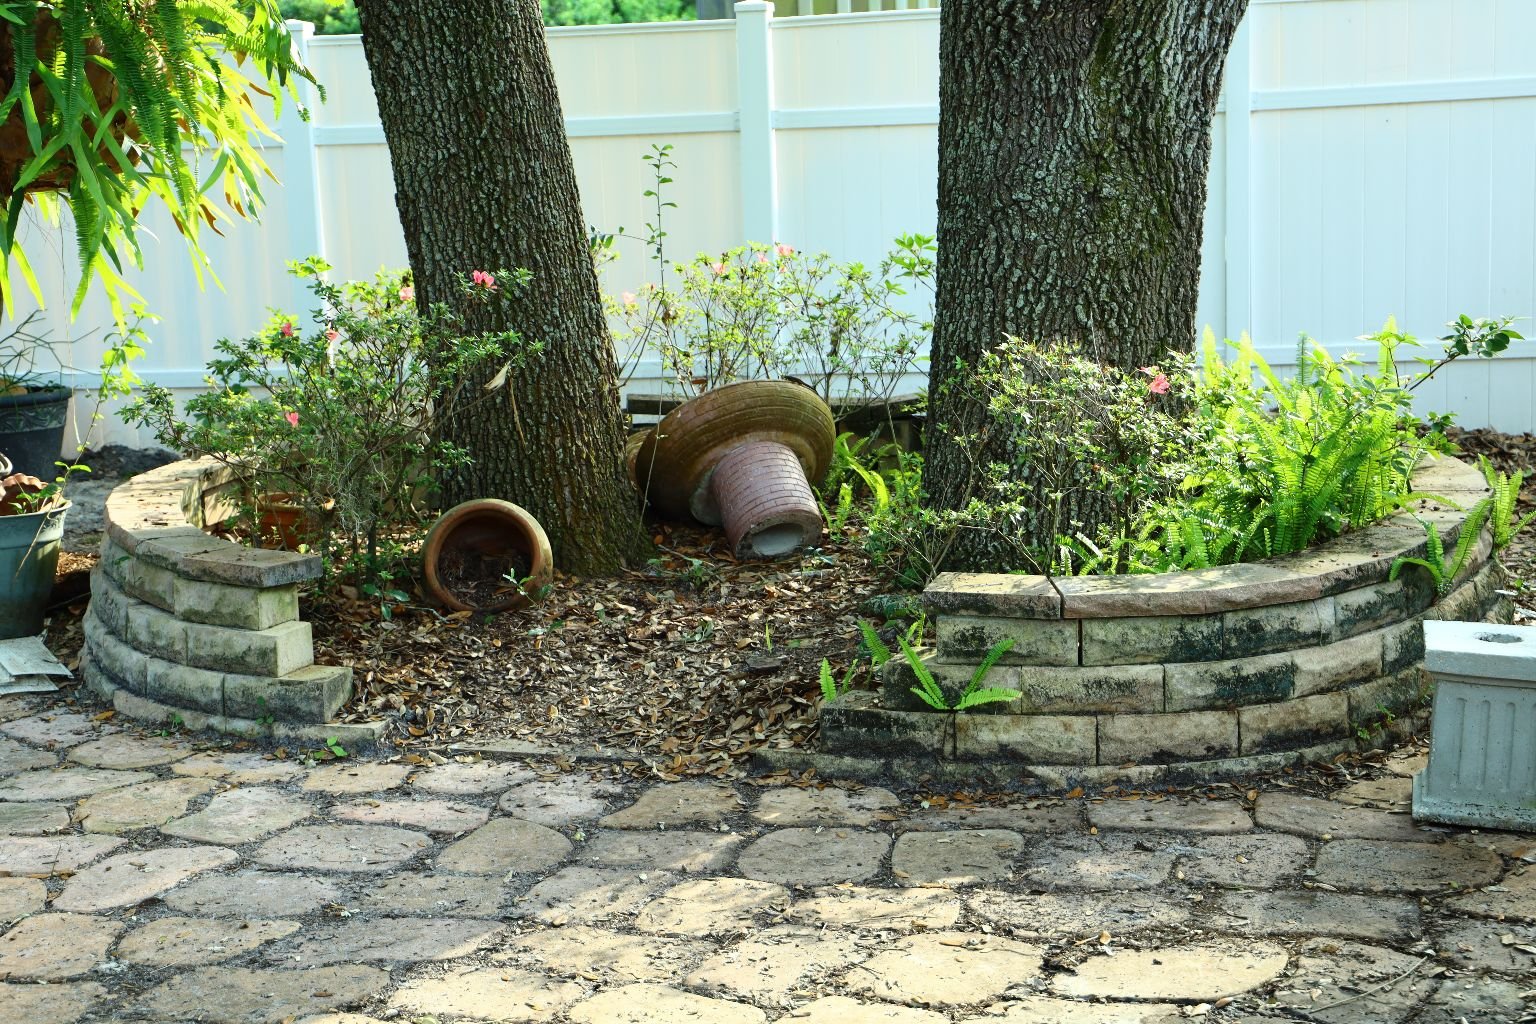
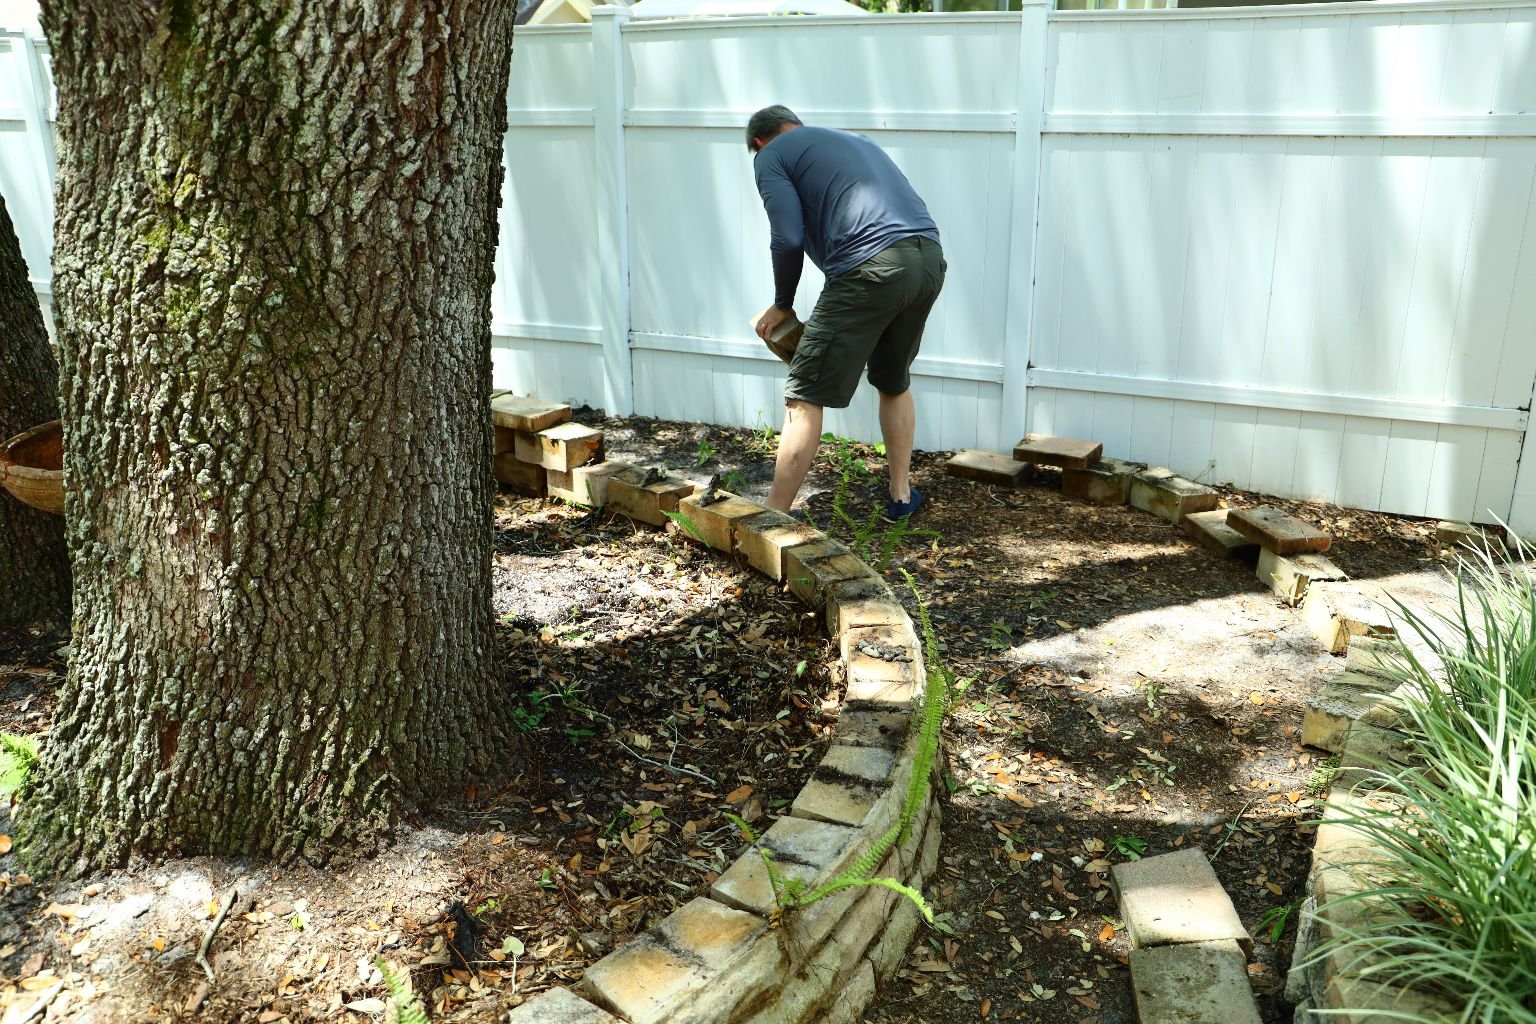
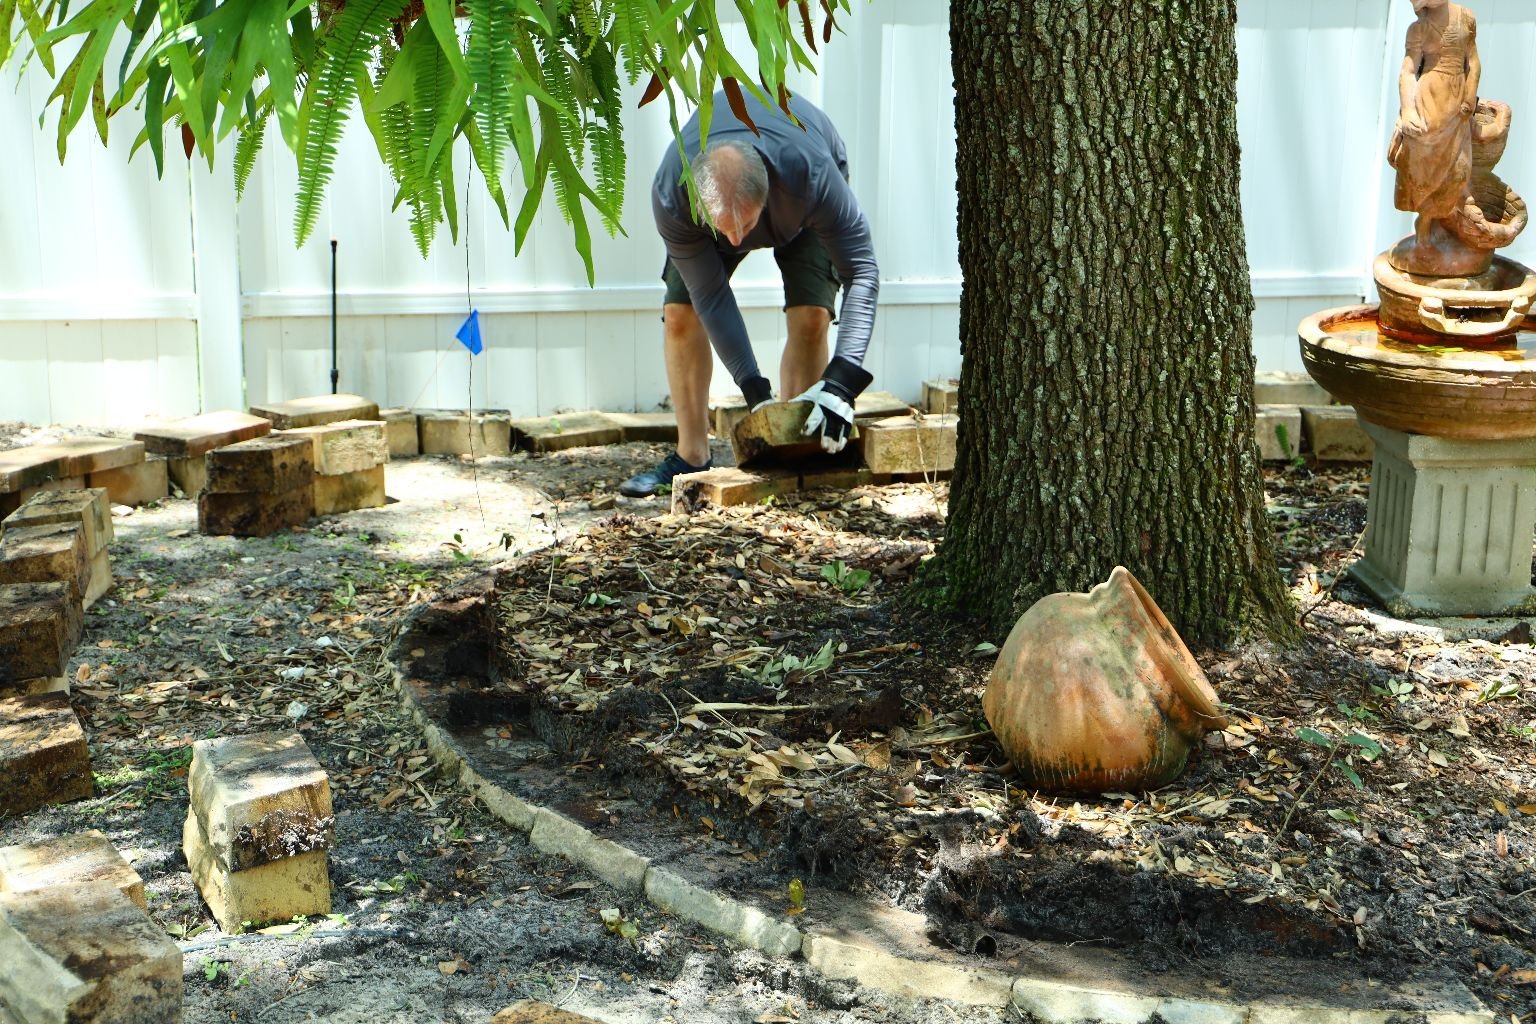
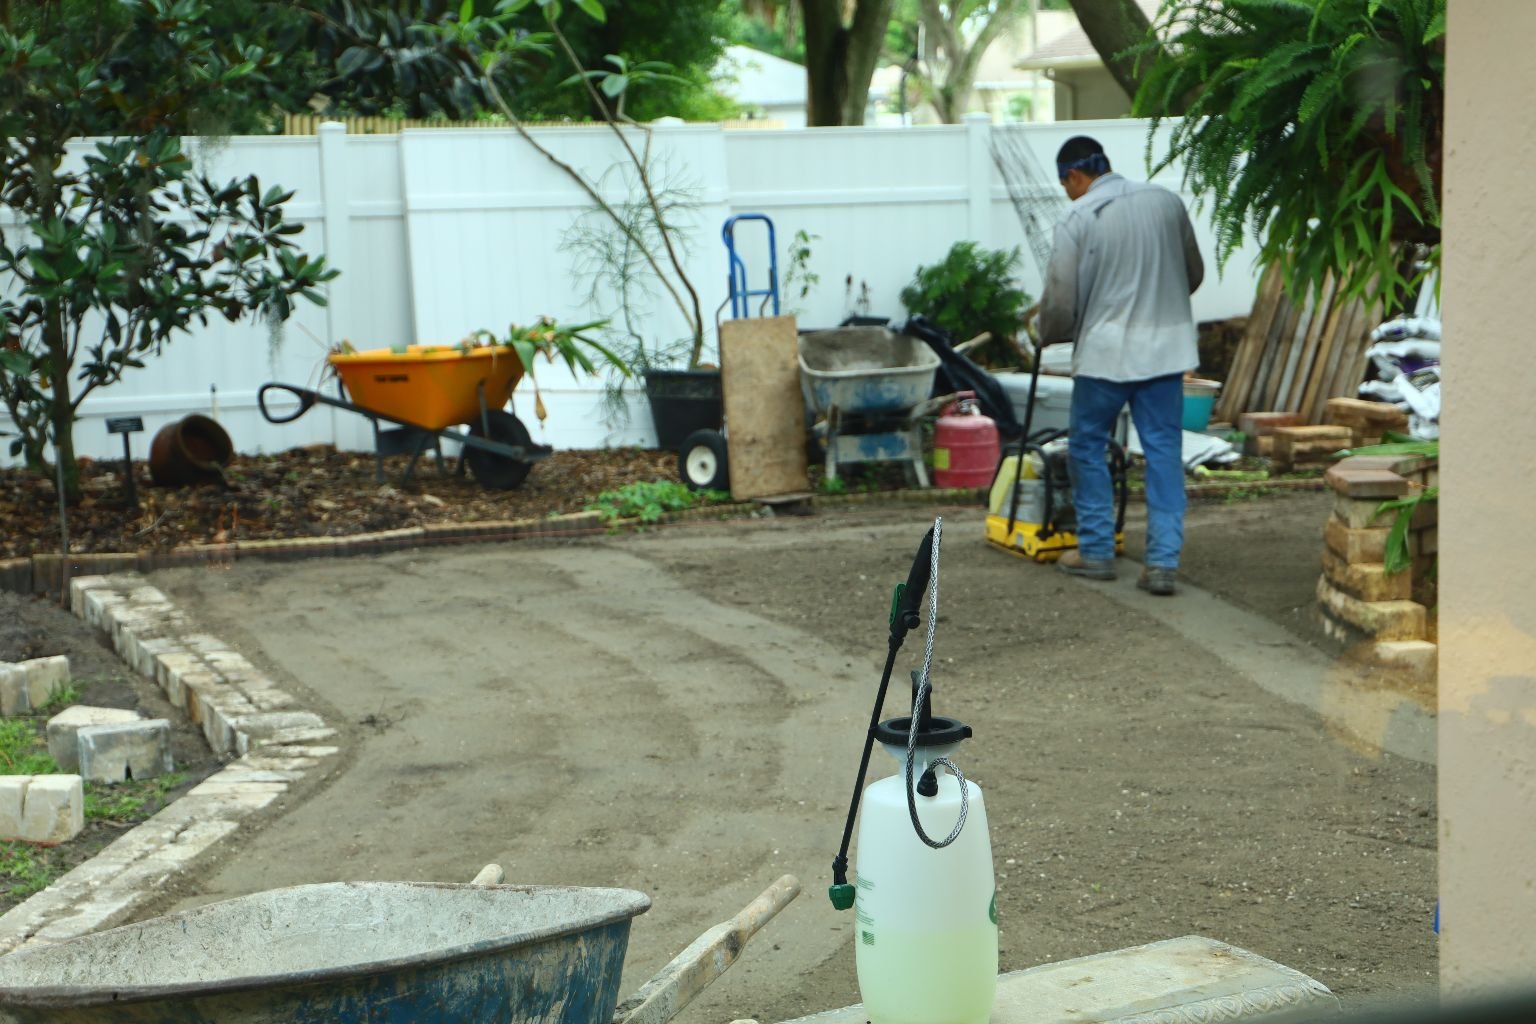
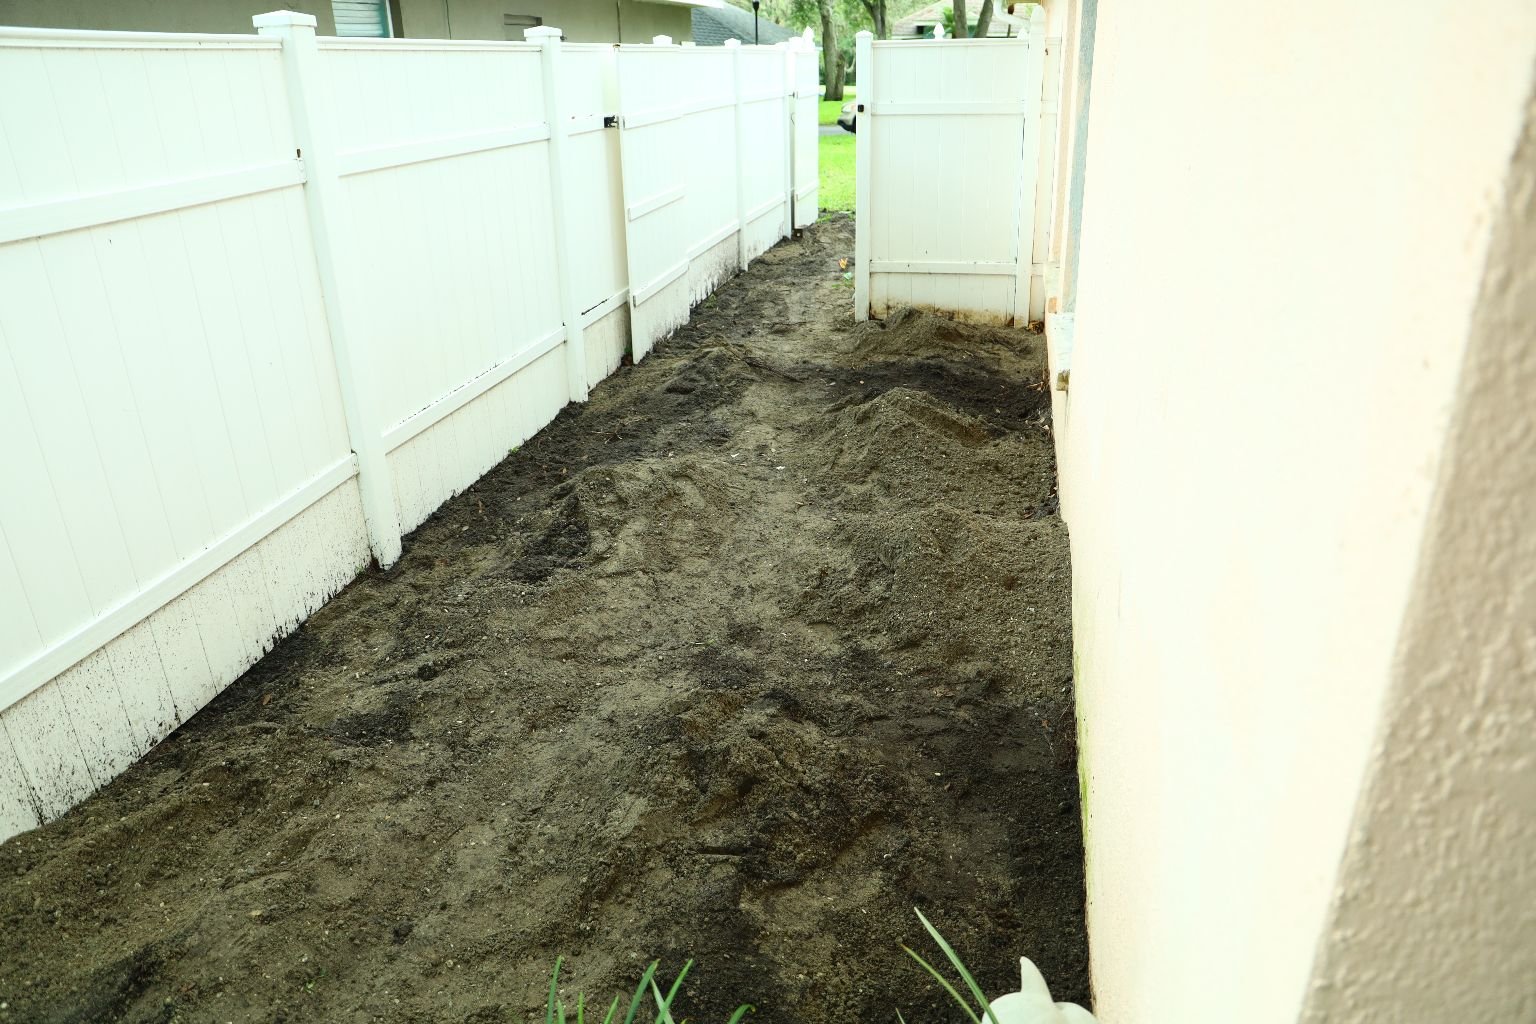
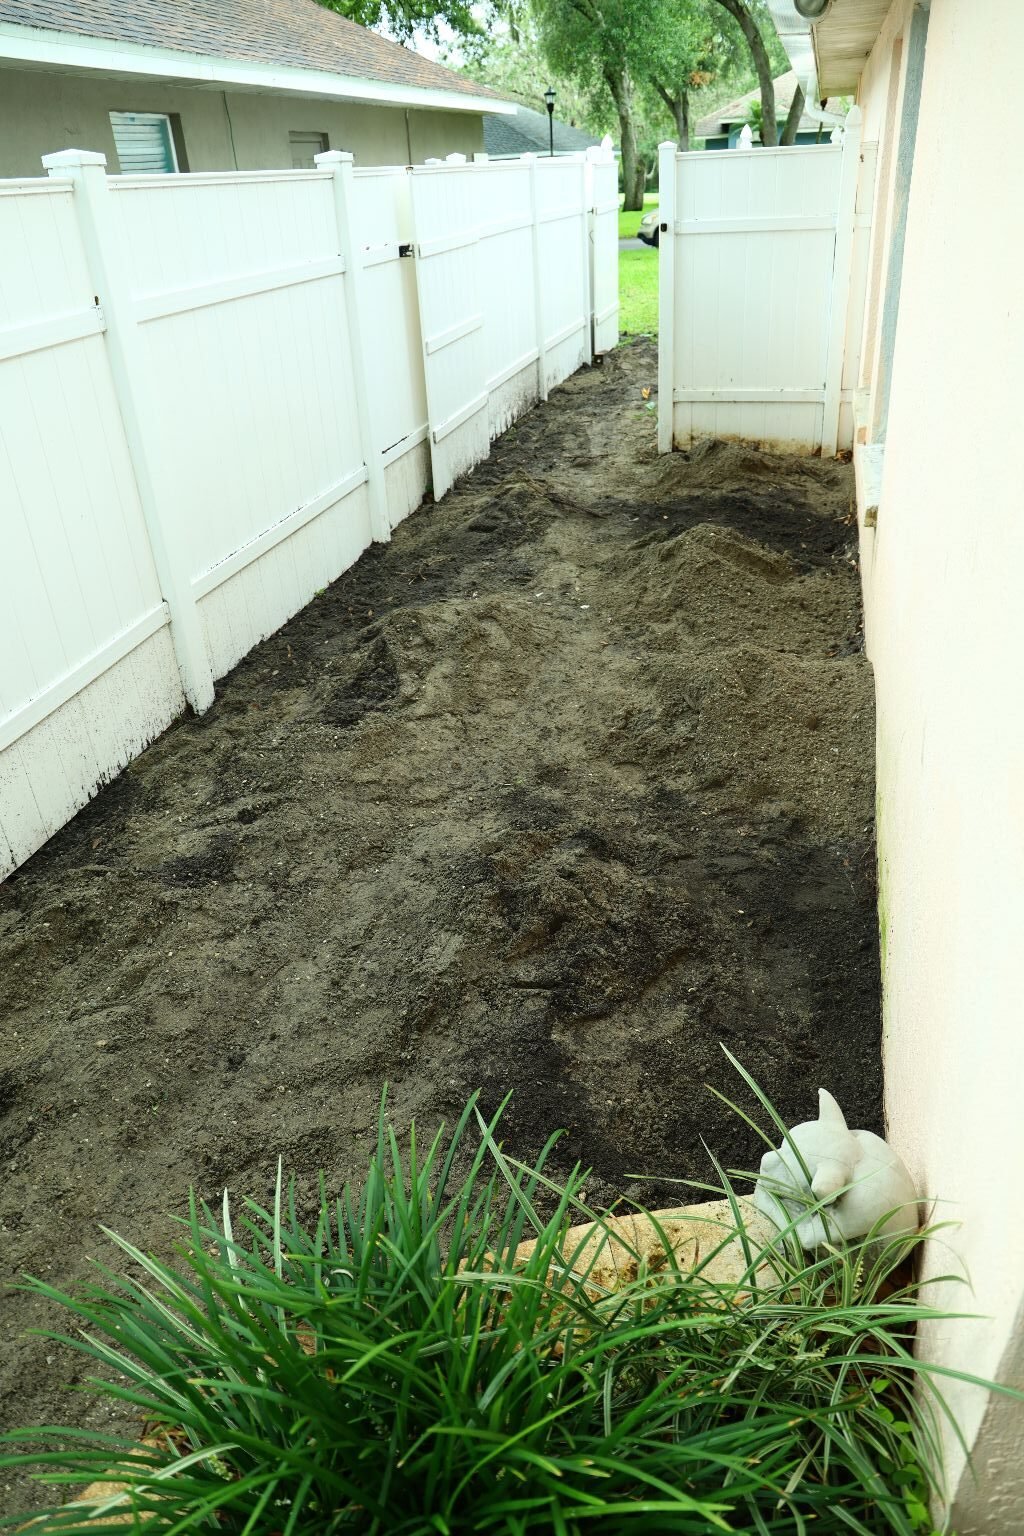
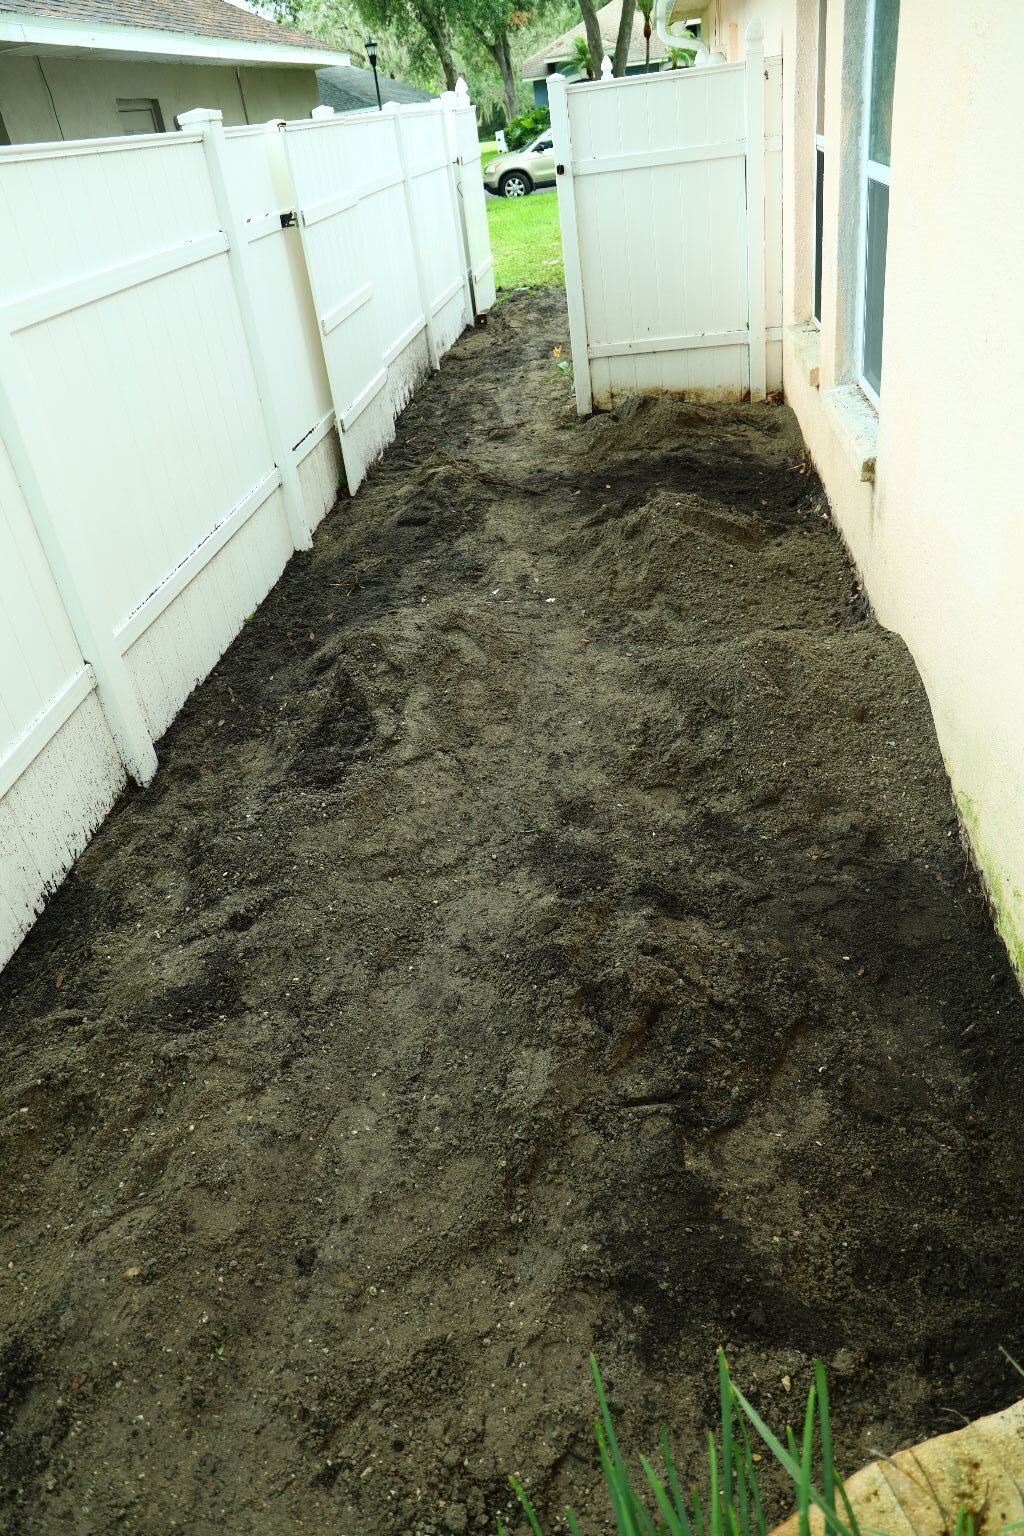
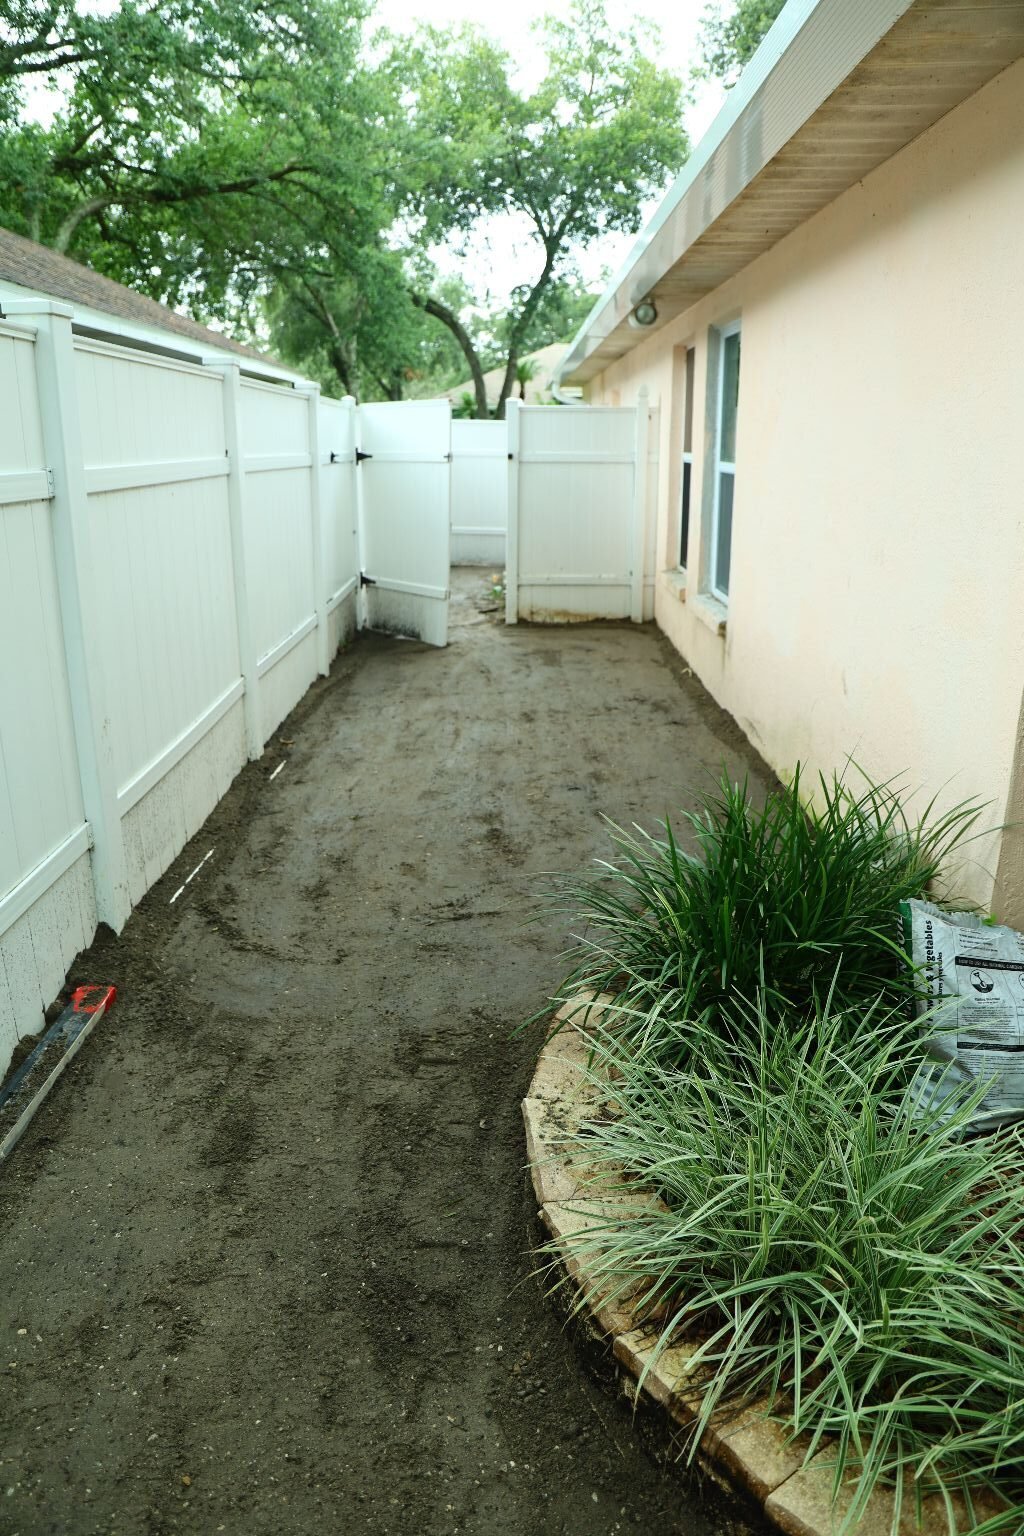
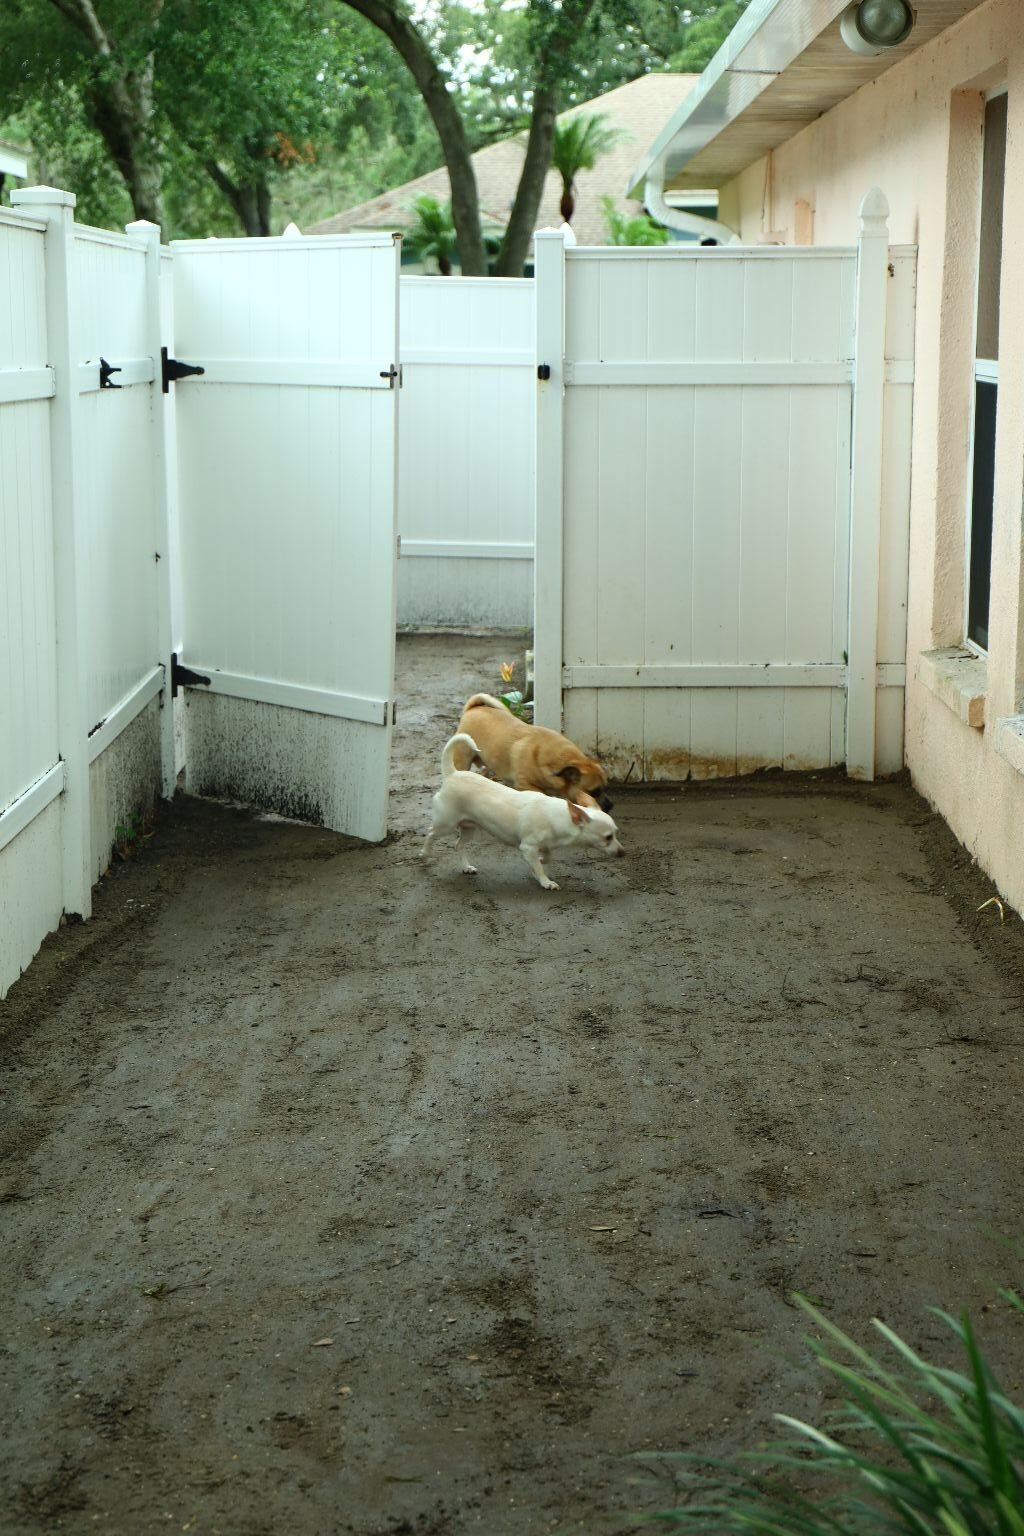
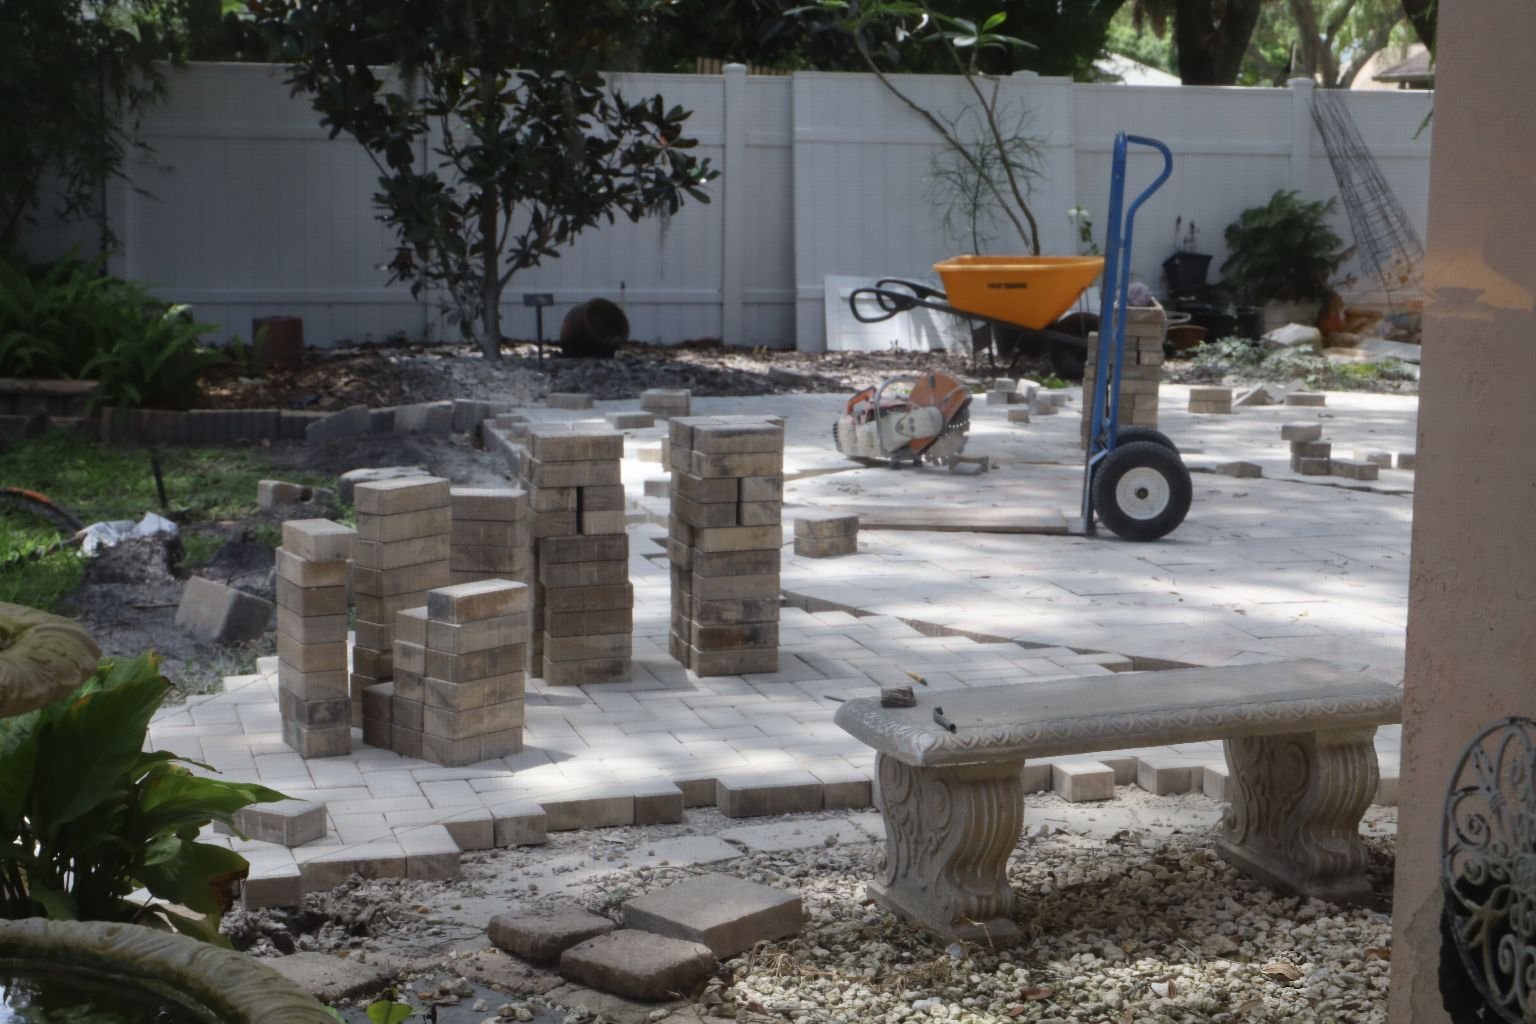
One of the first steps is to clean out the area of the unneeded items.
—————————————————————————————
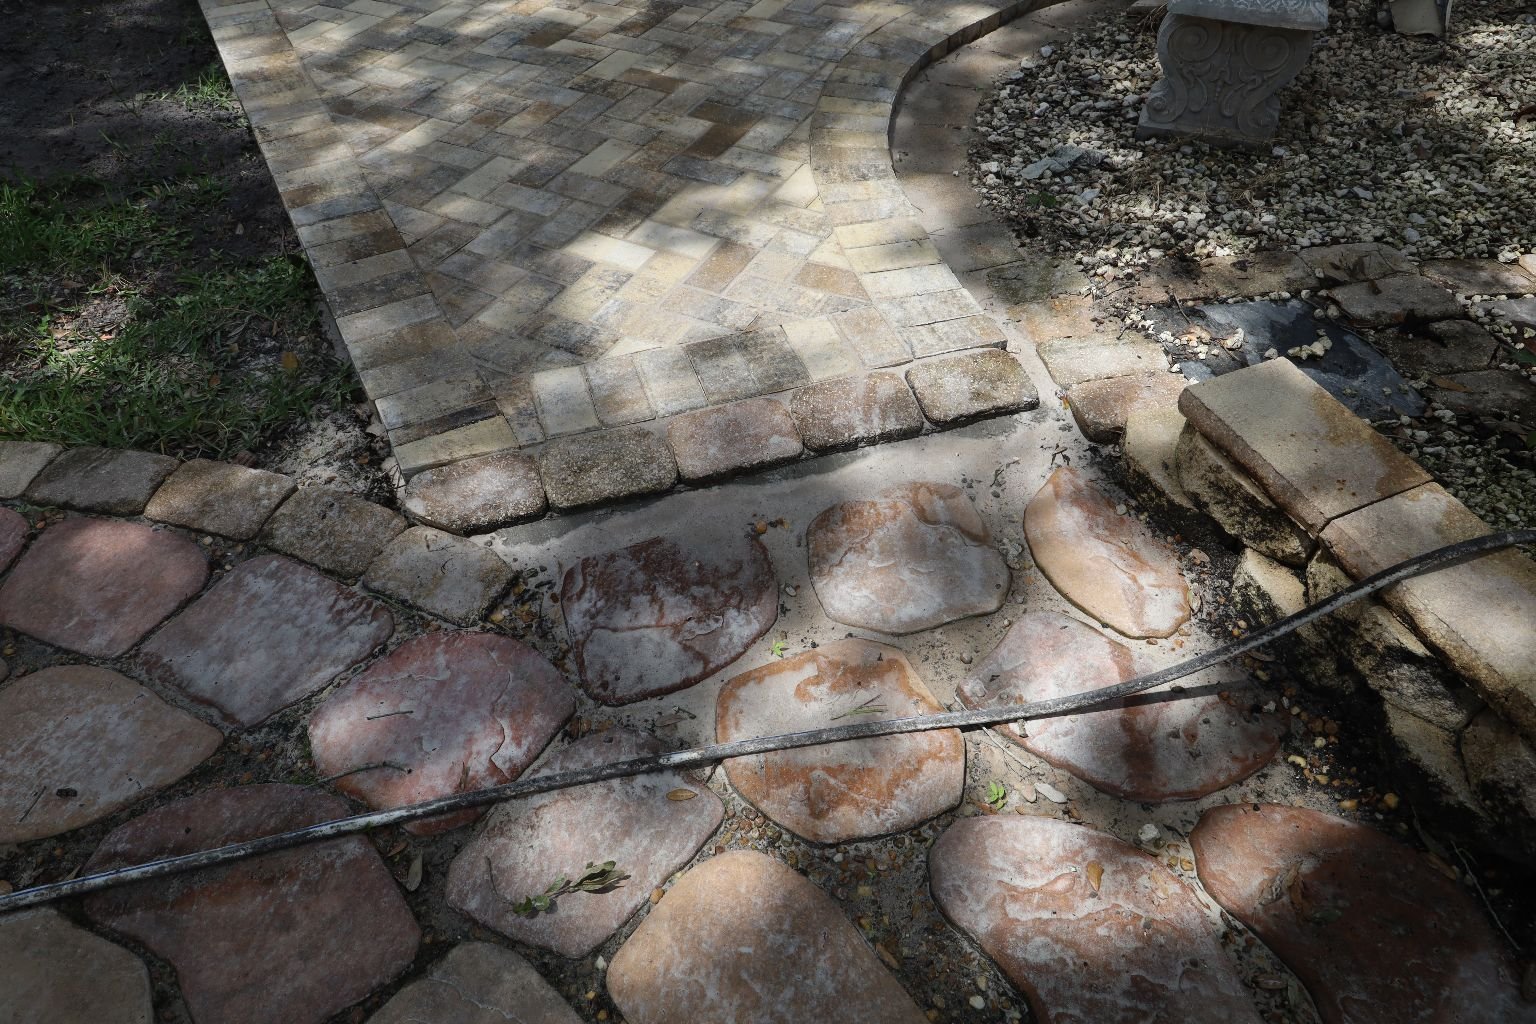
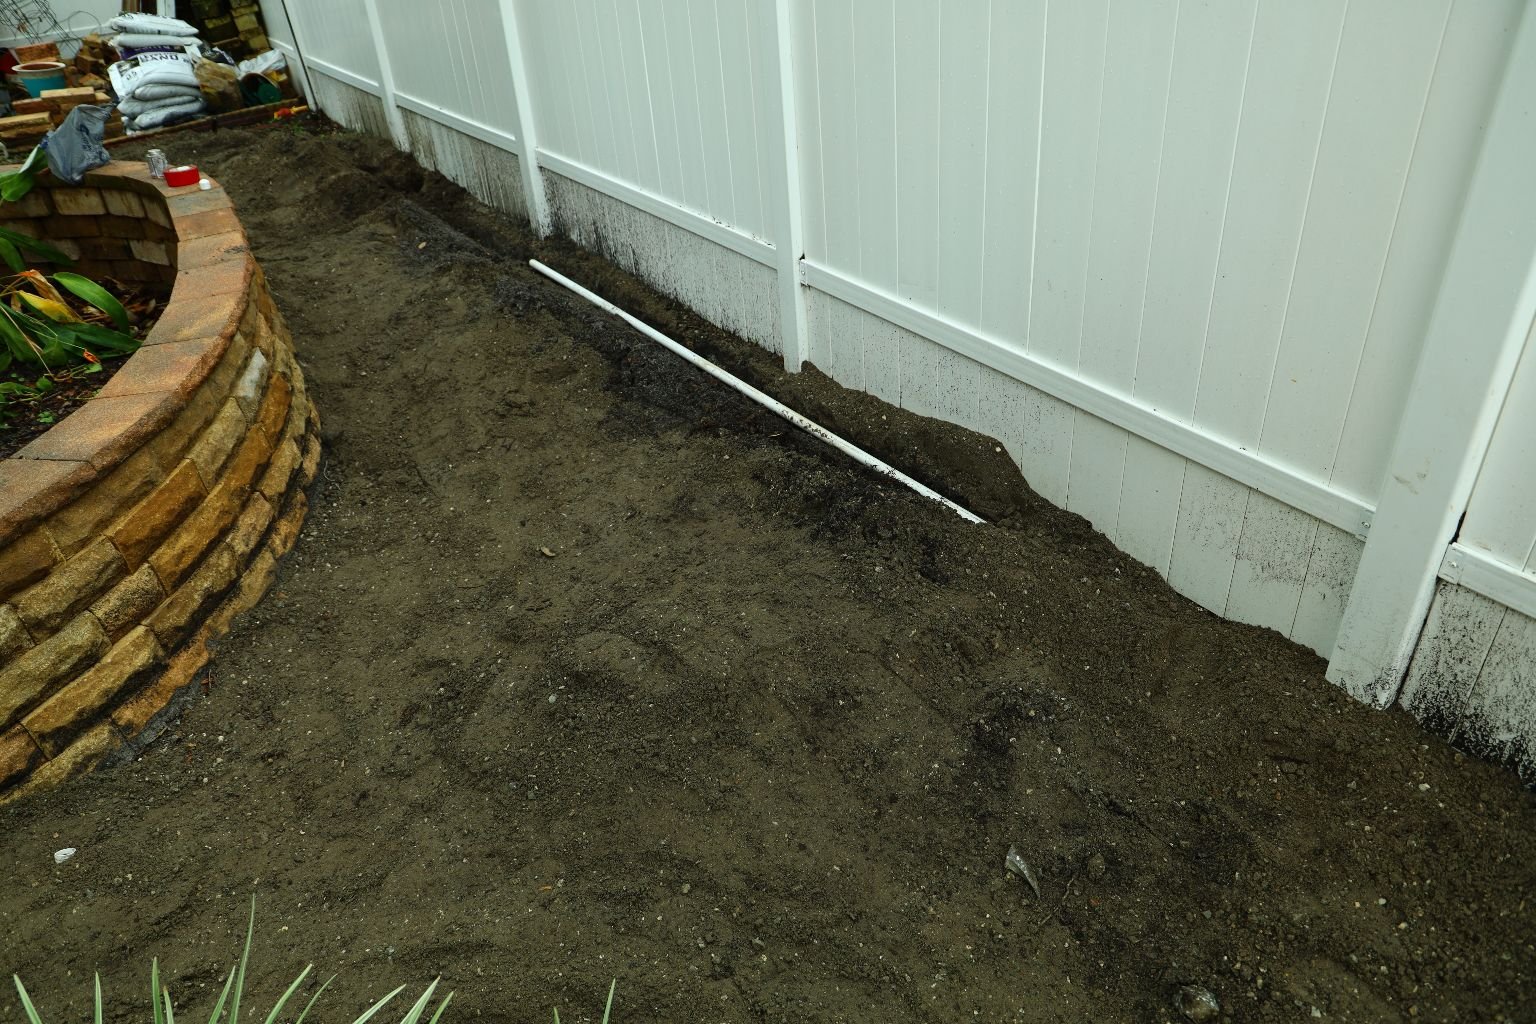
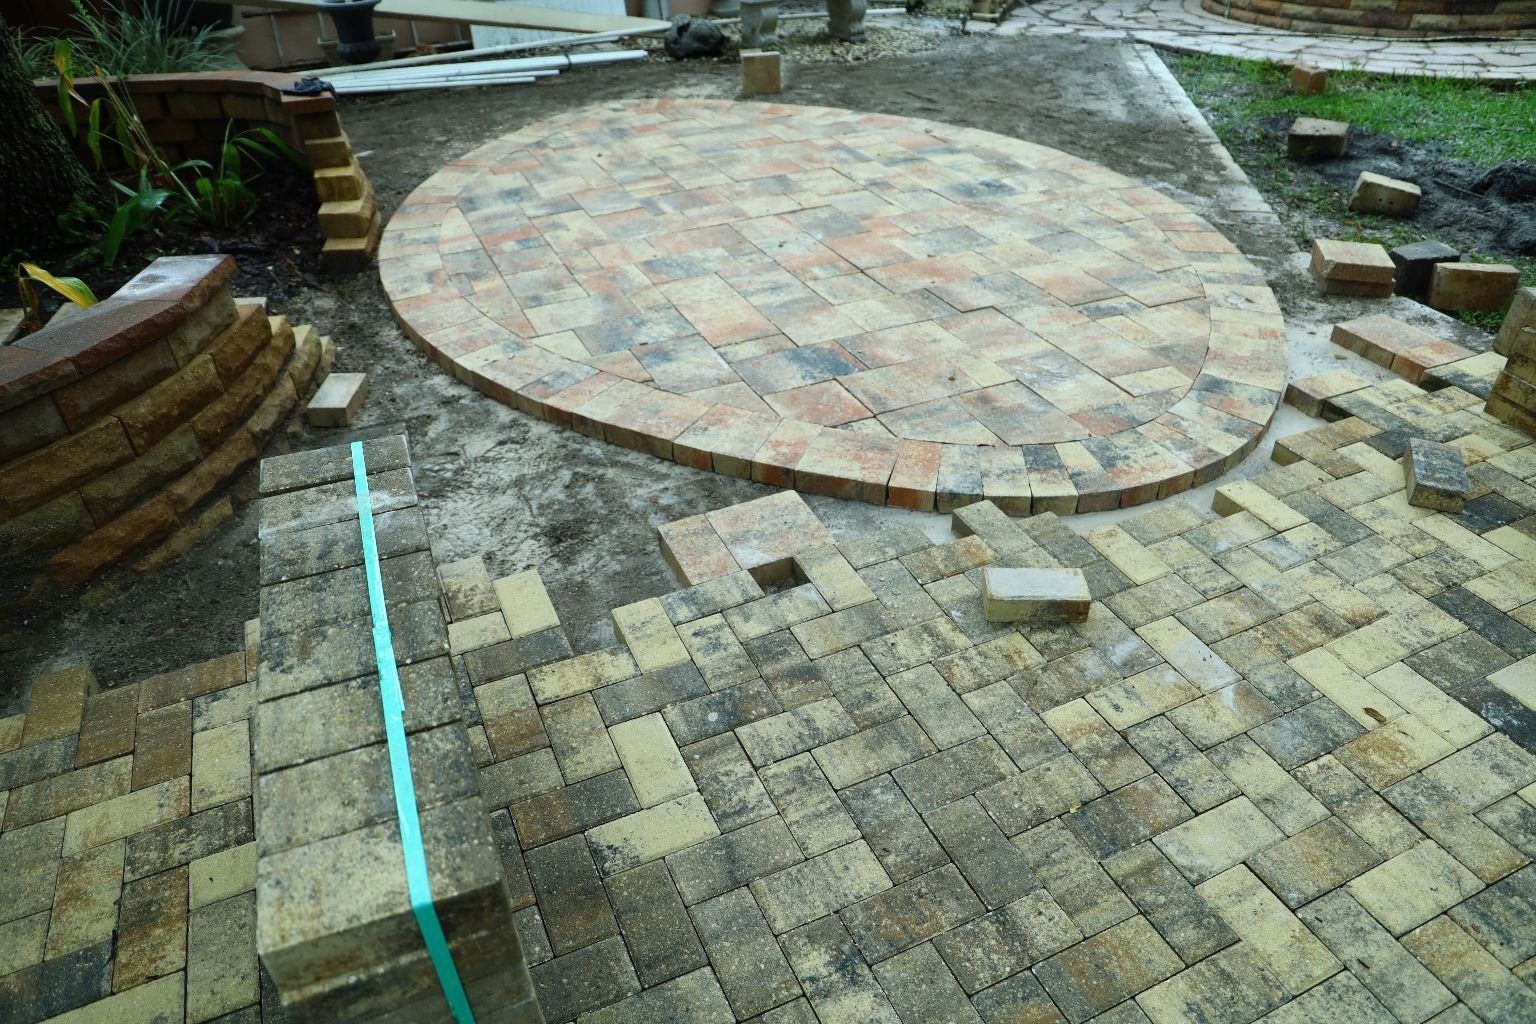
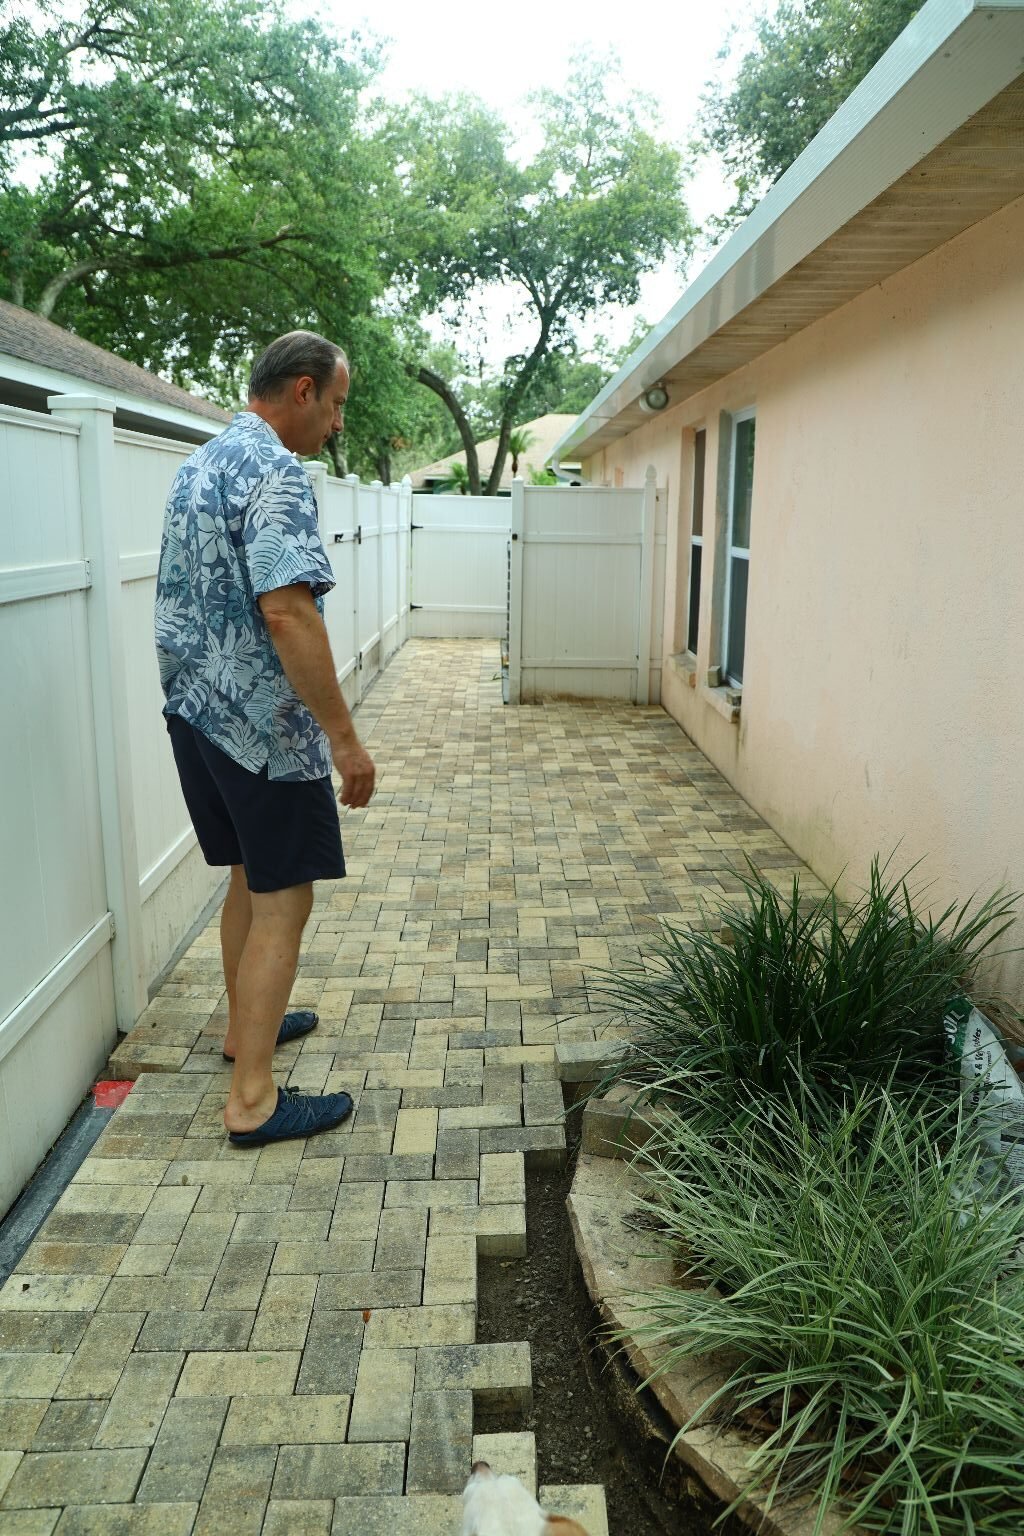
Then I remove the pavers in front of the wall.
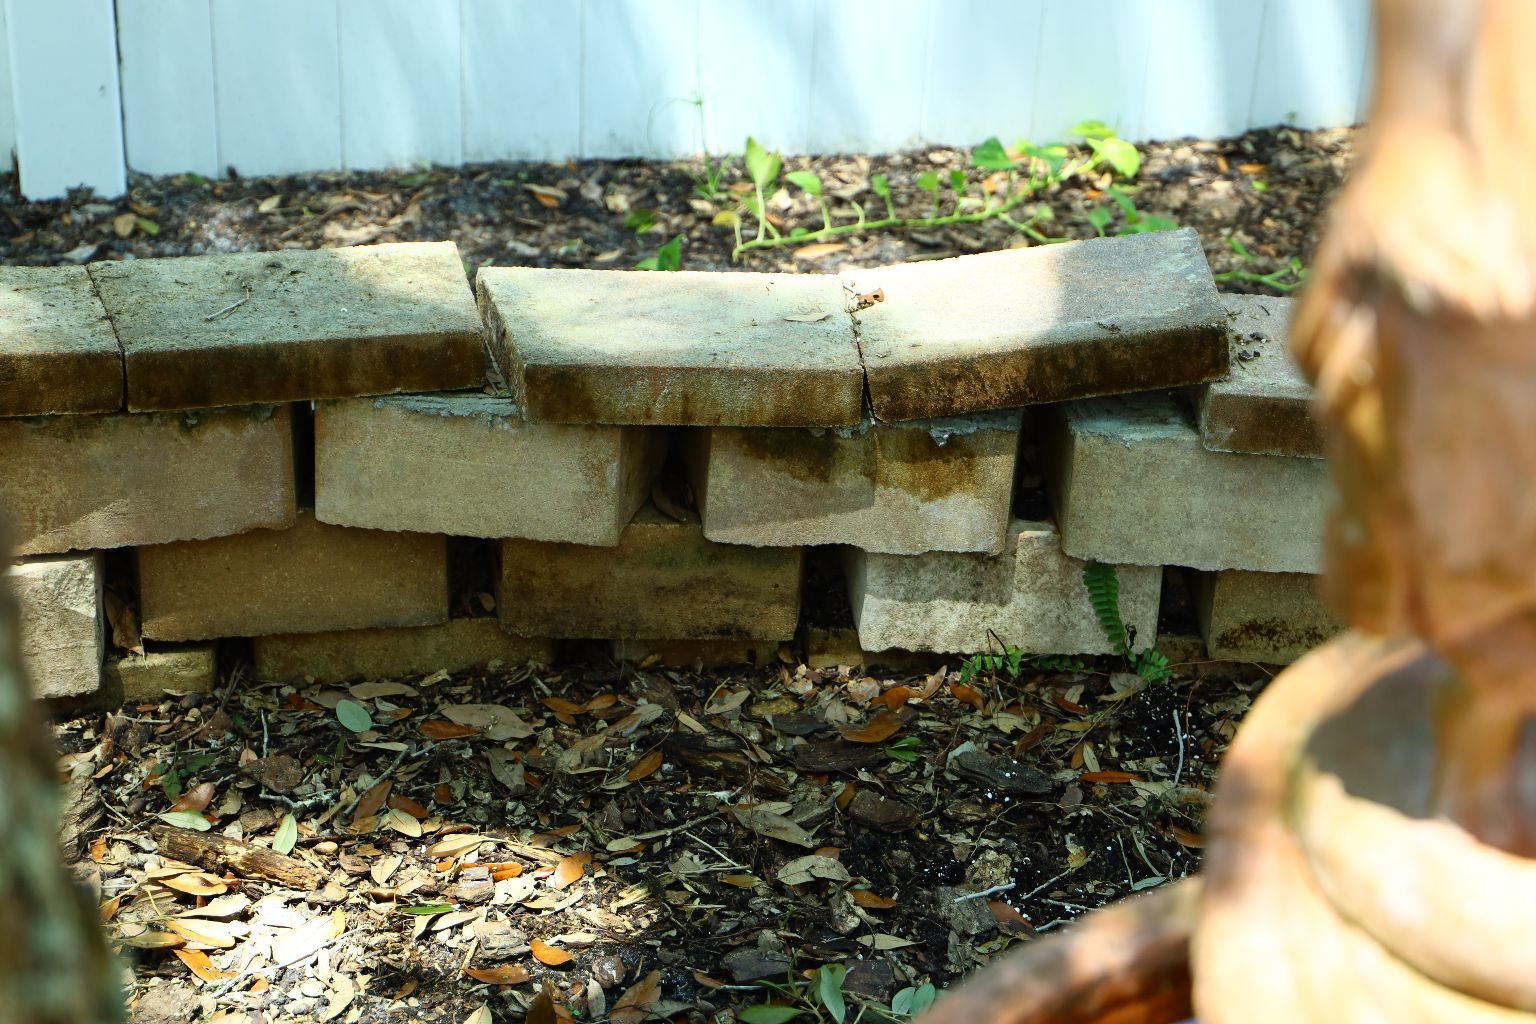
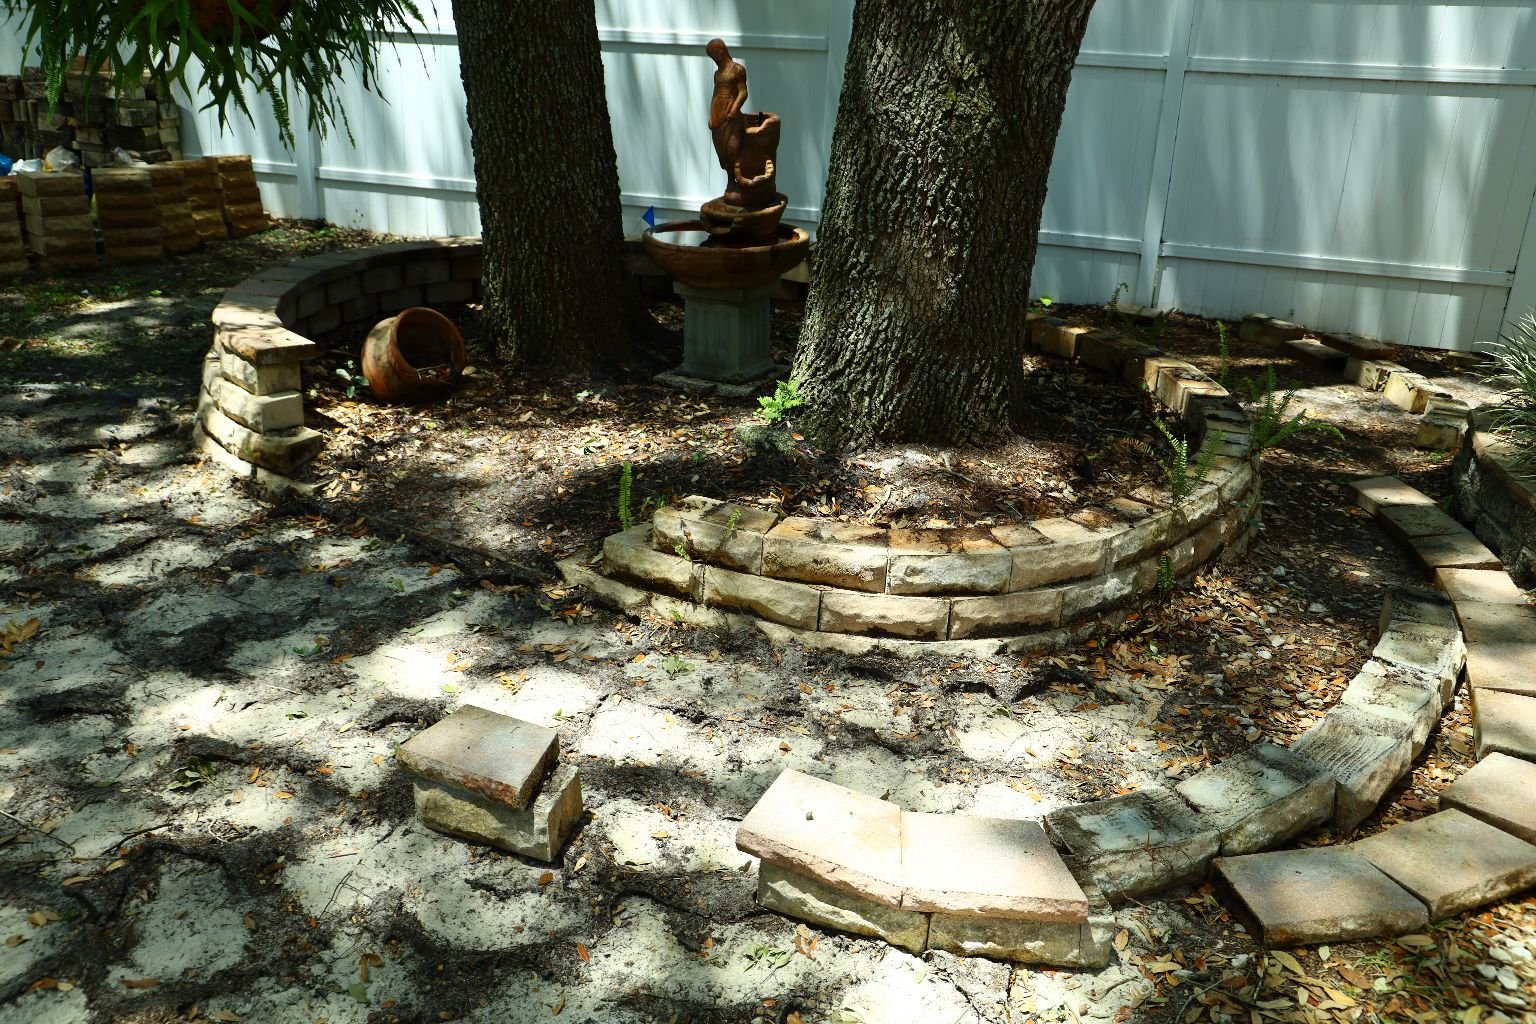
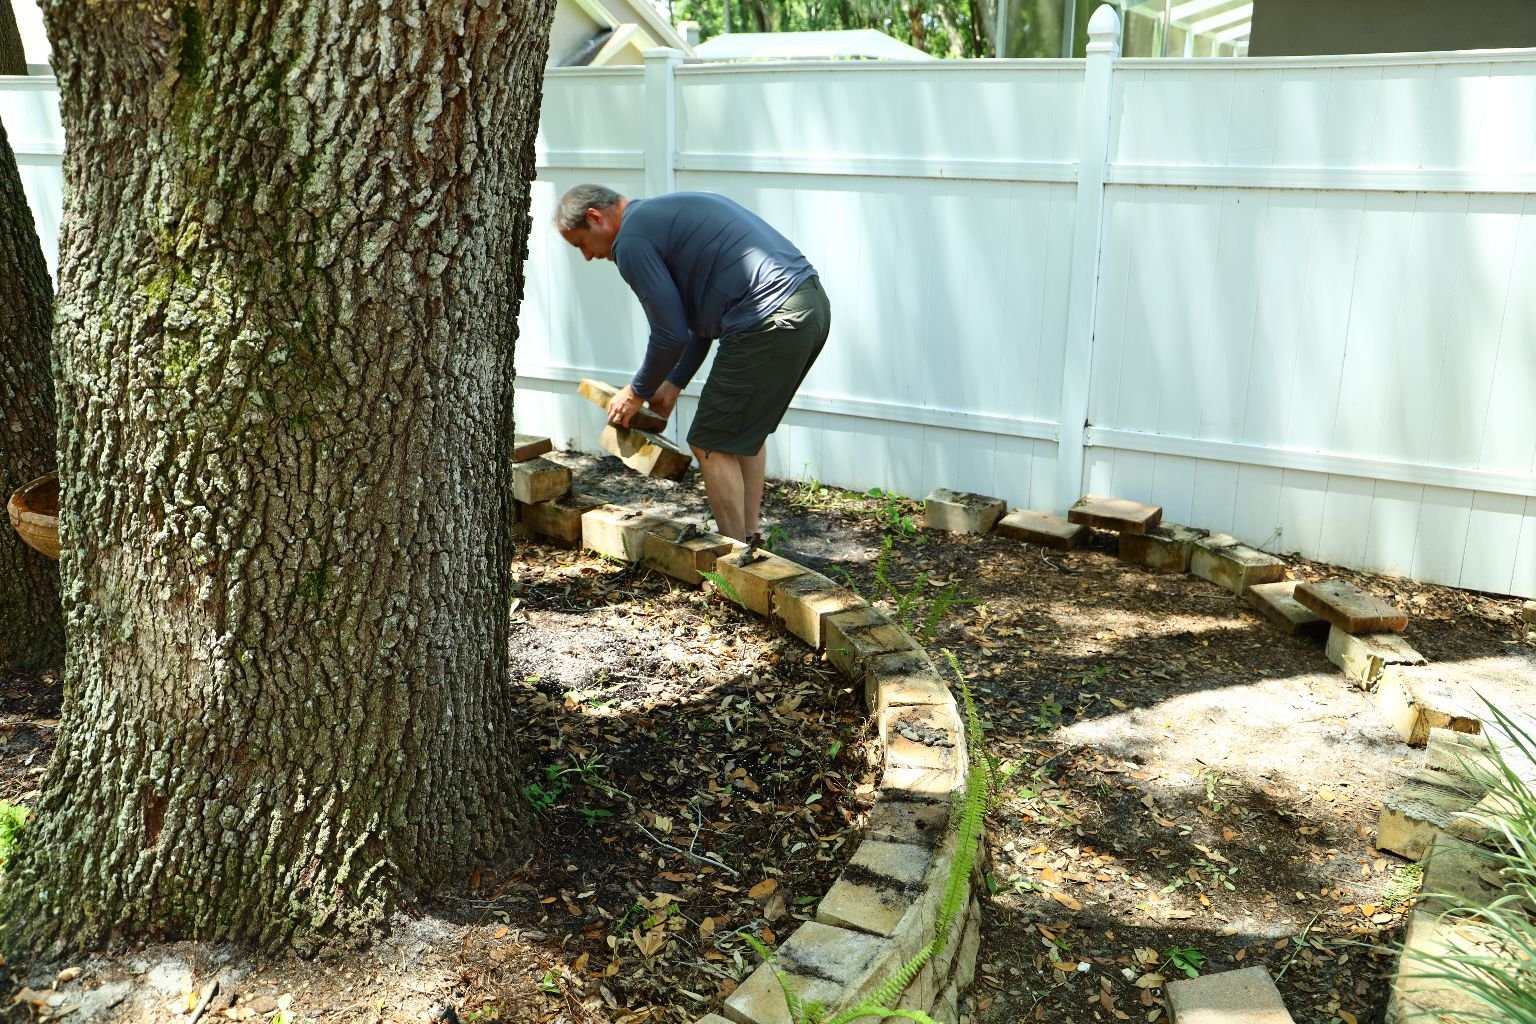
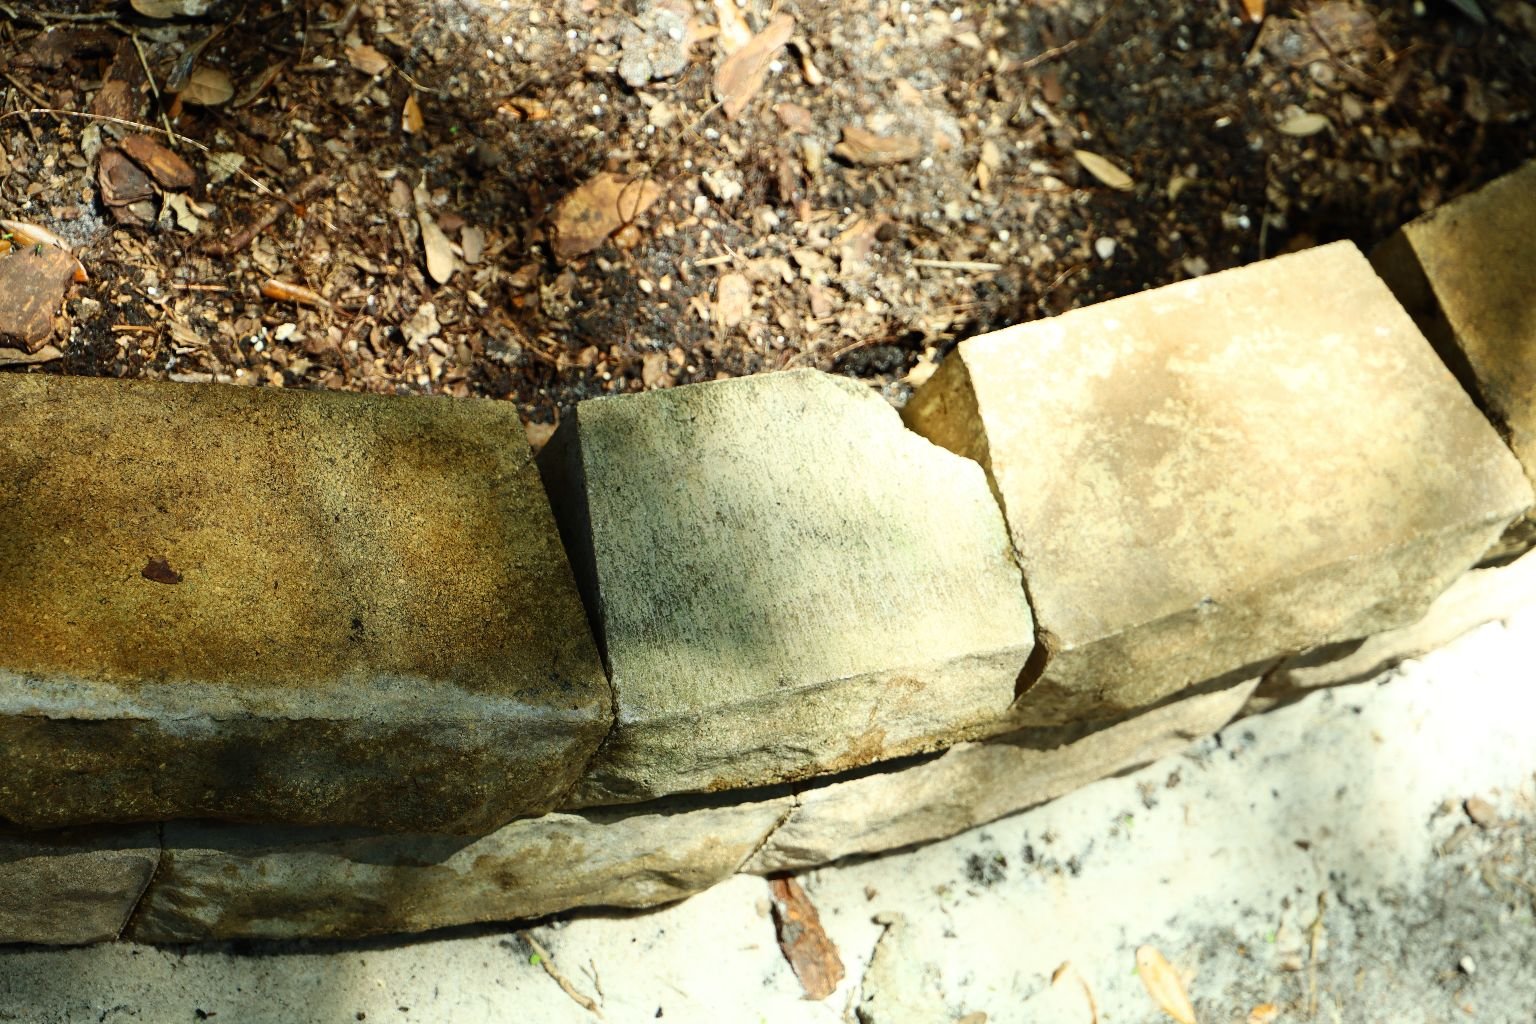
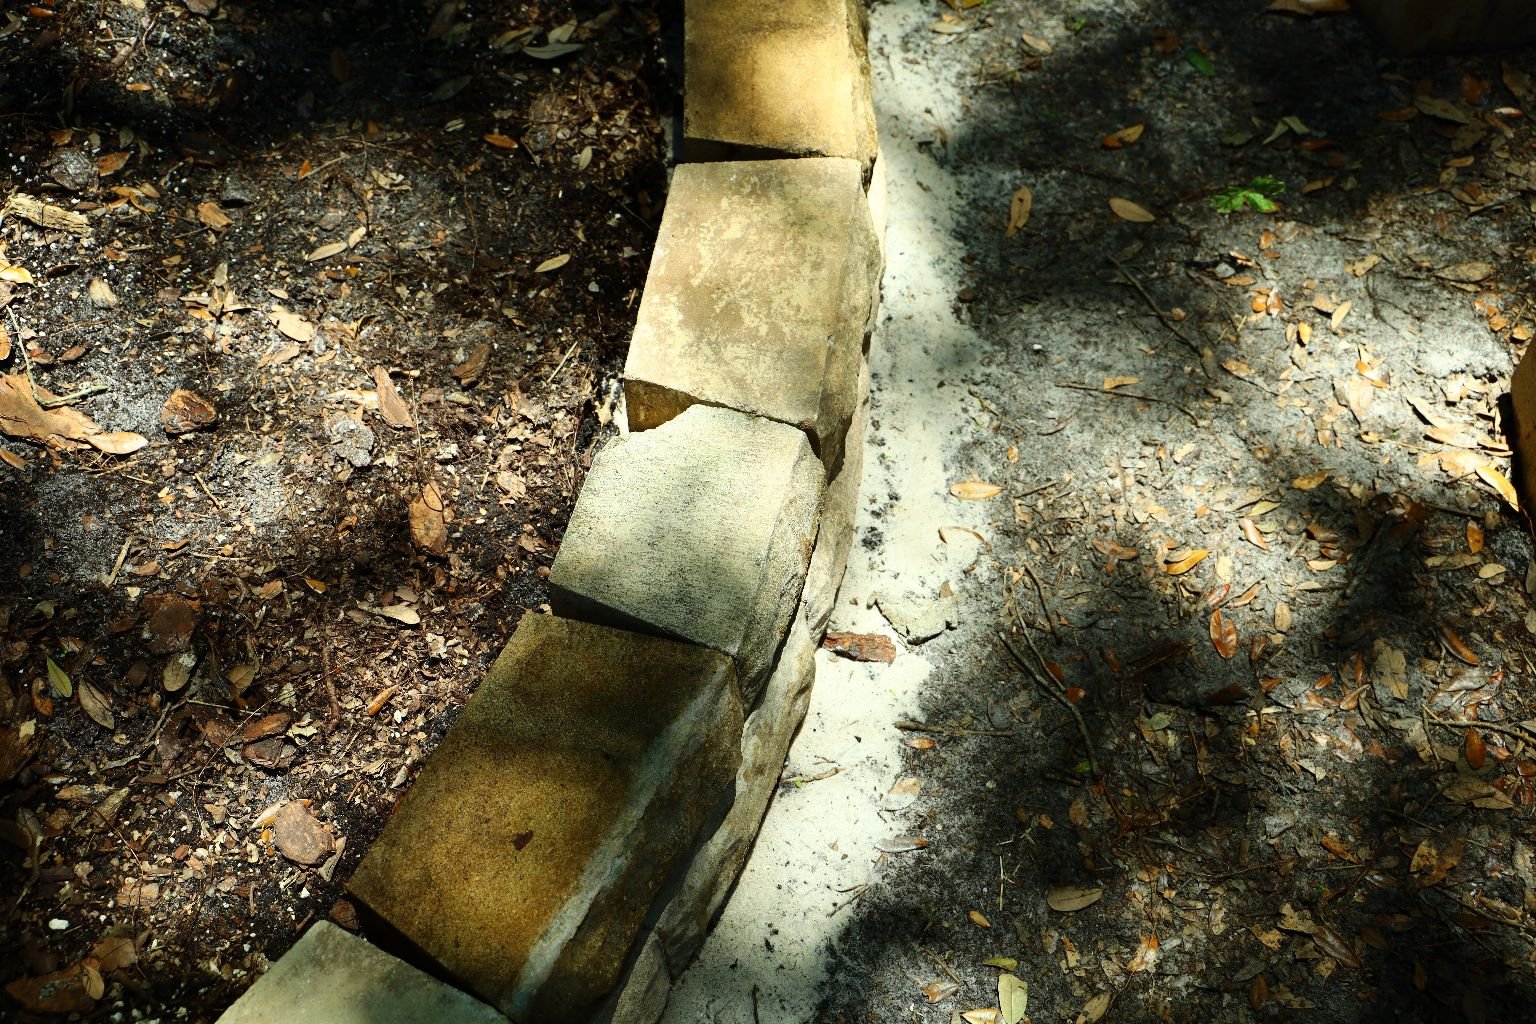
The next few pictures show the reasons I am doing the repair to the wall.
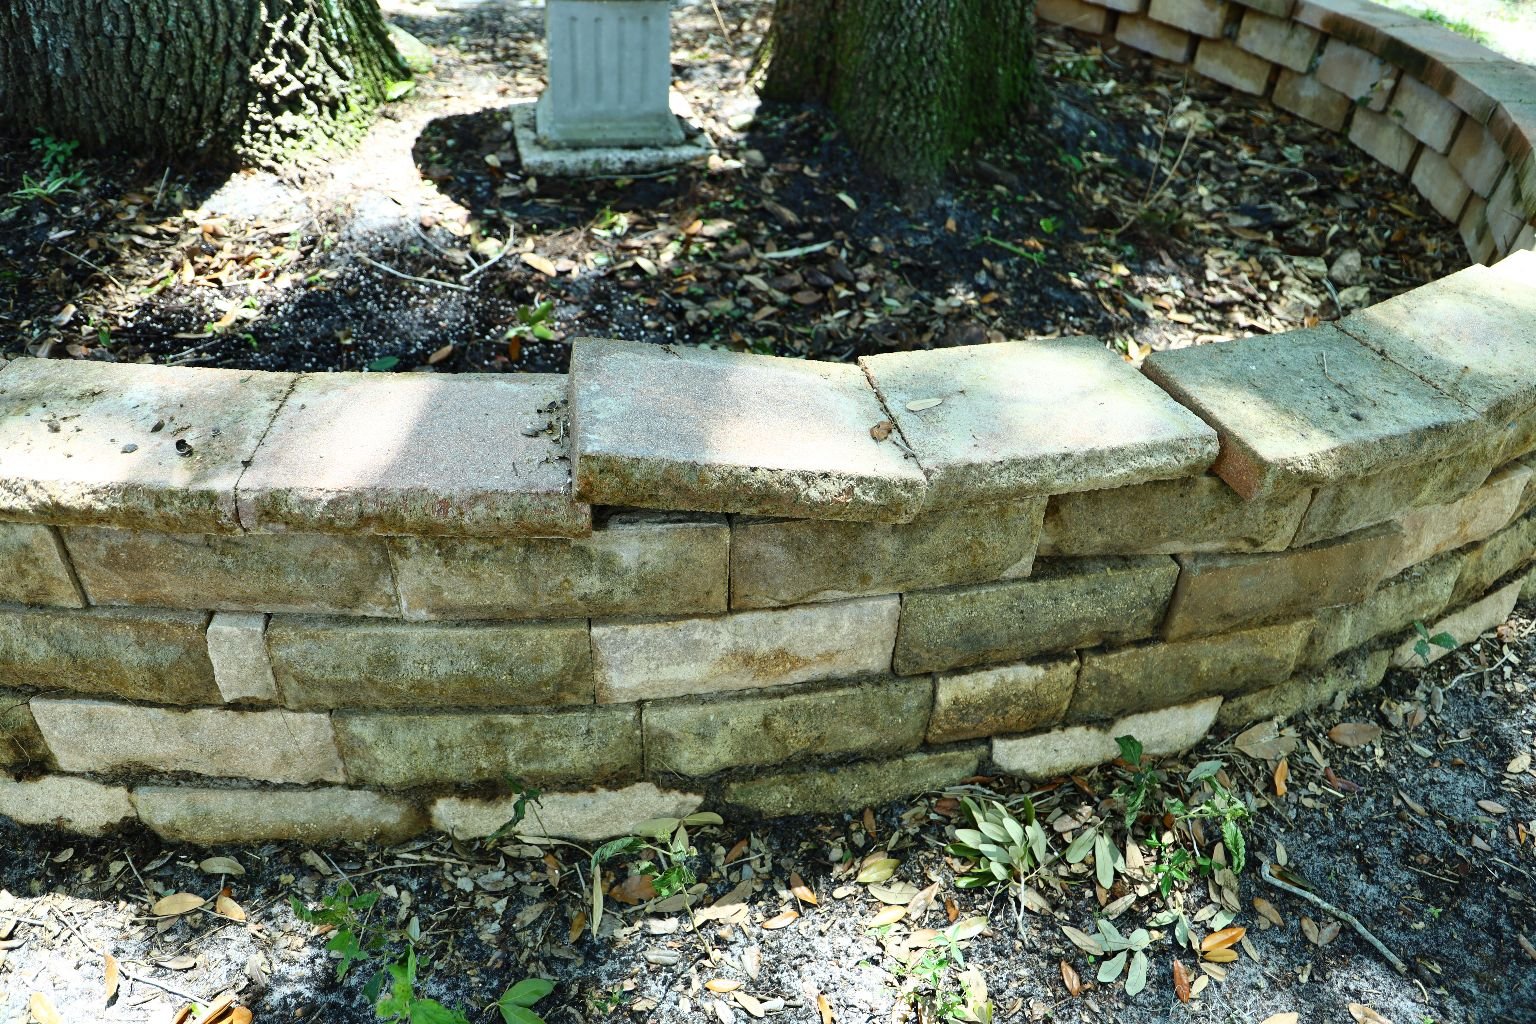
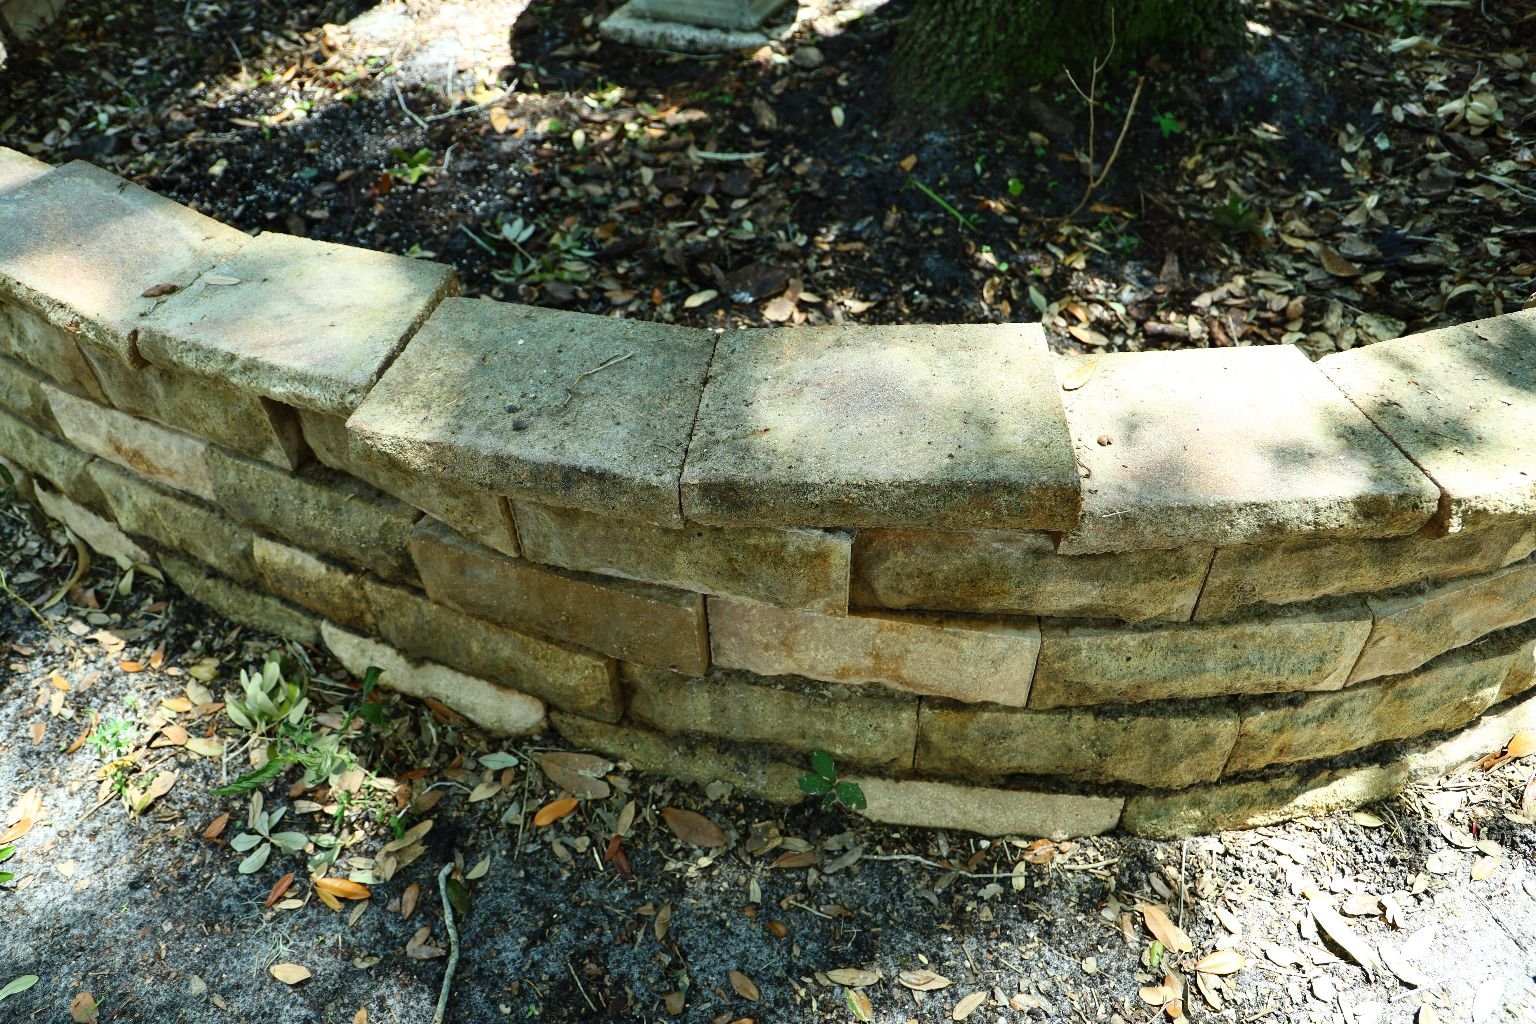
Her you can see where the tree roots are slightly lifting up the wall. I had cemented down the
capstones, but after some bad weather and rain, the cement tends to give way.

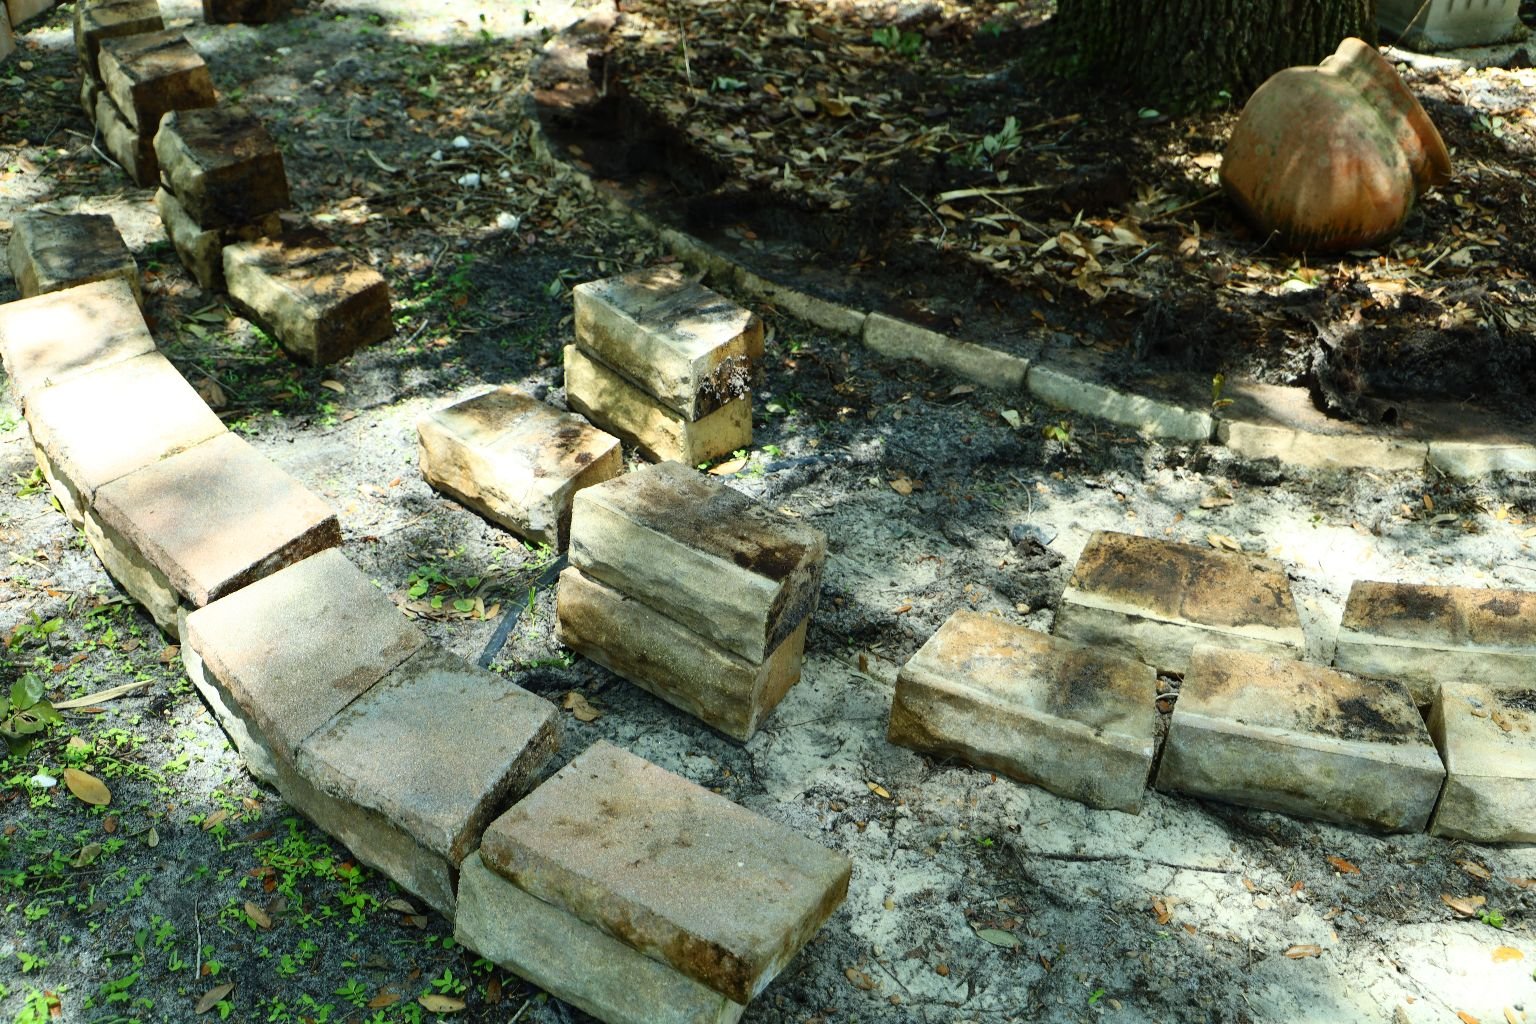
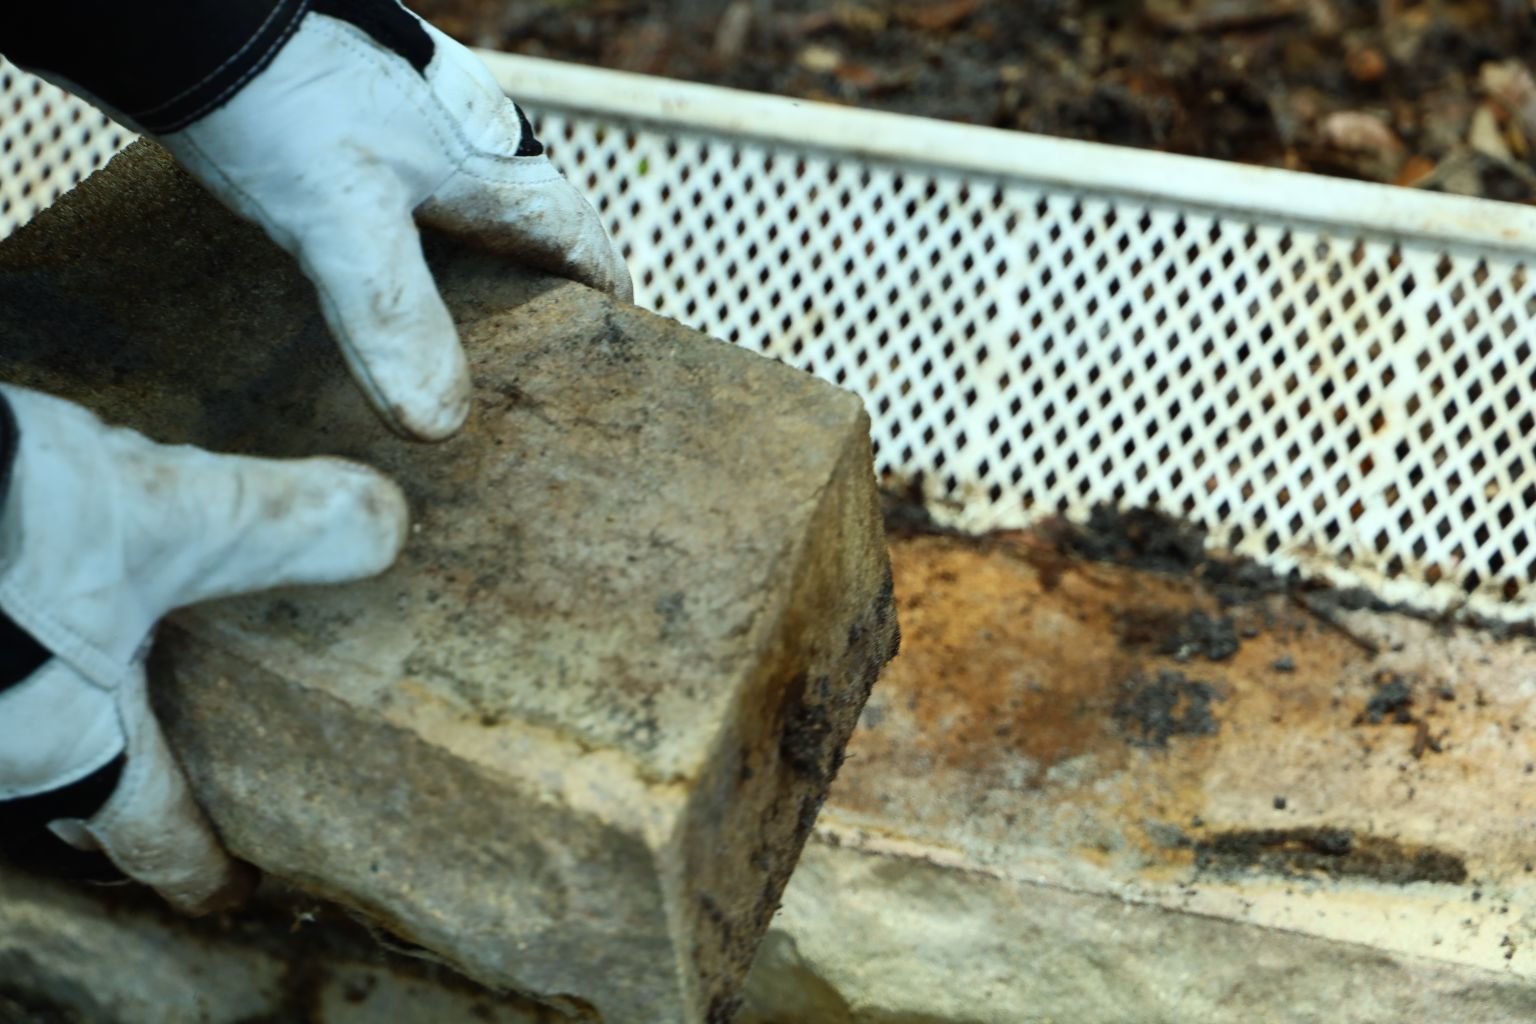
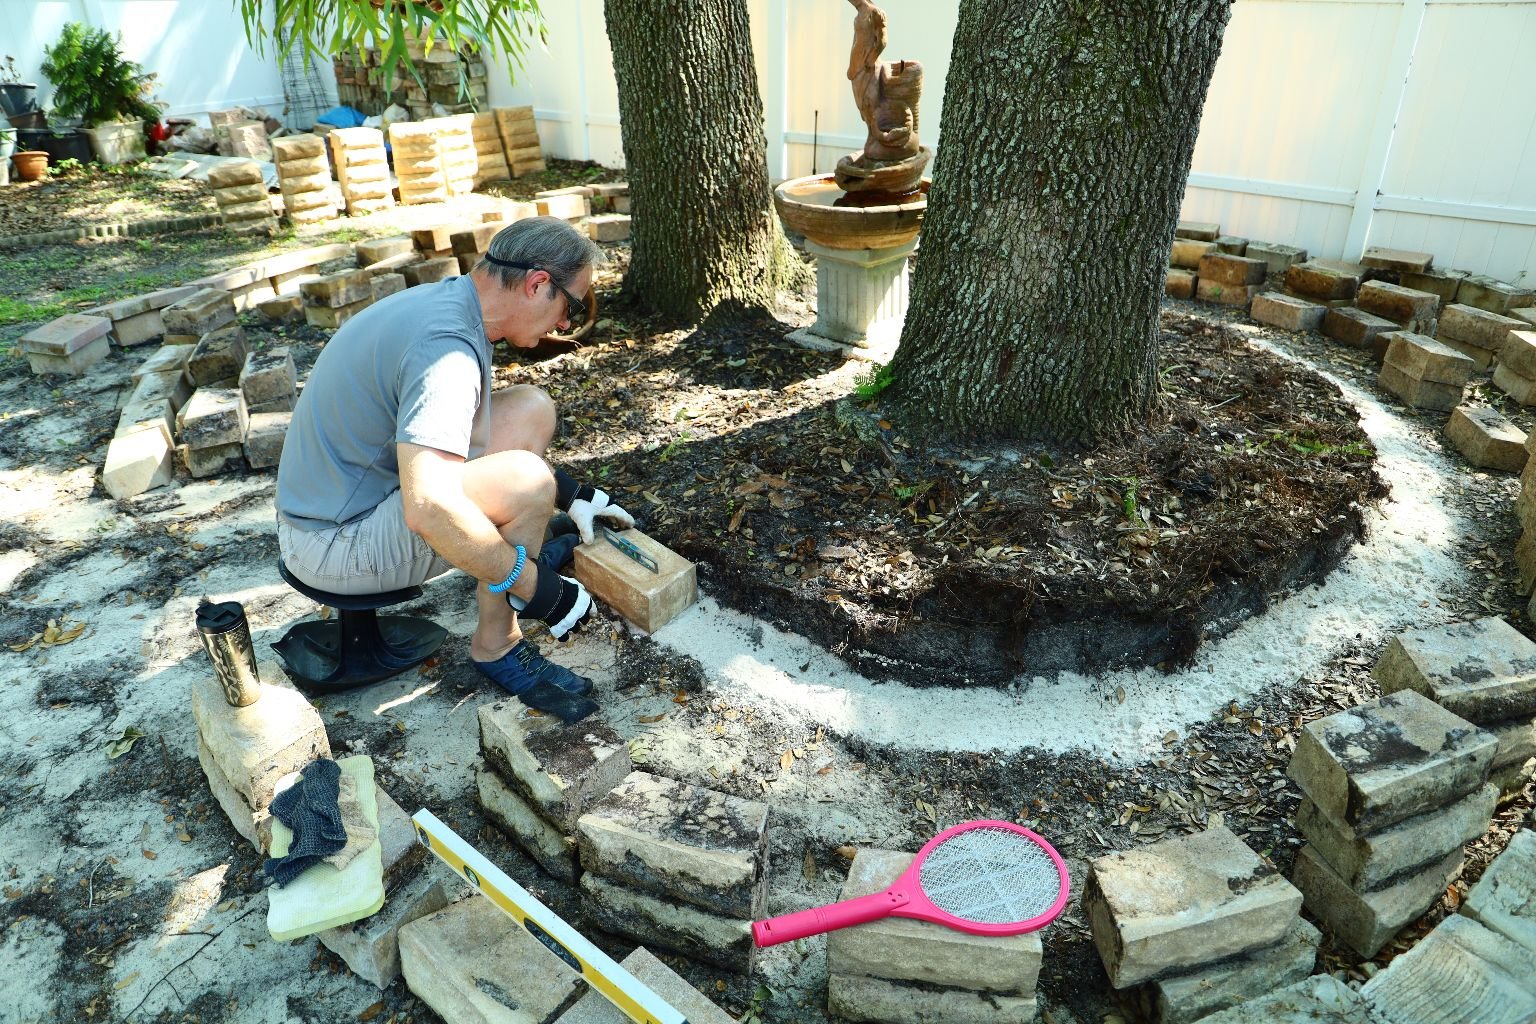
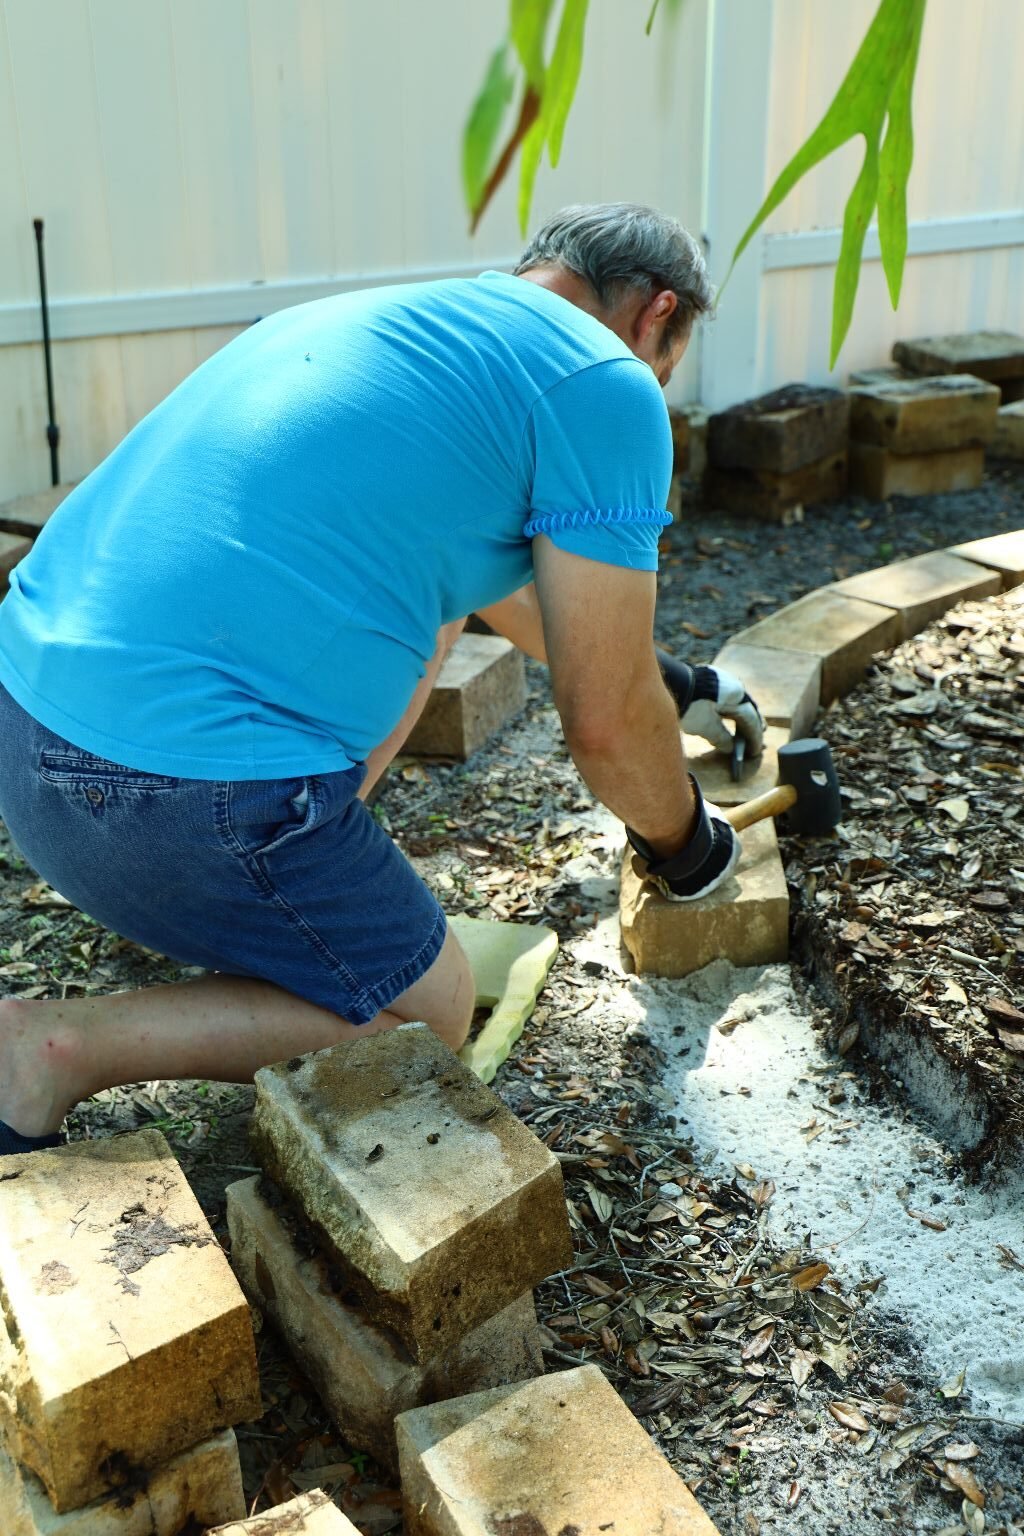
Now it is time to break the wall down by removing the capstones then the rest of the stones.
Here you can see I have begun to remove the stones. I kept them in the area from which they
came from as they would likely go back in the same location.
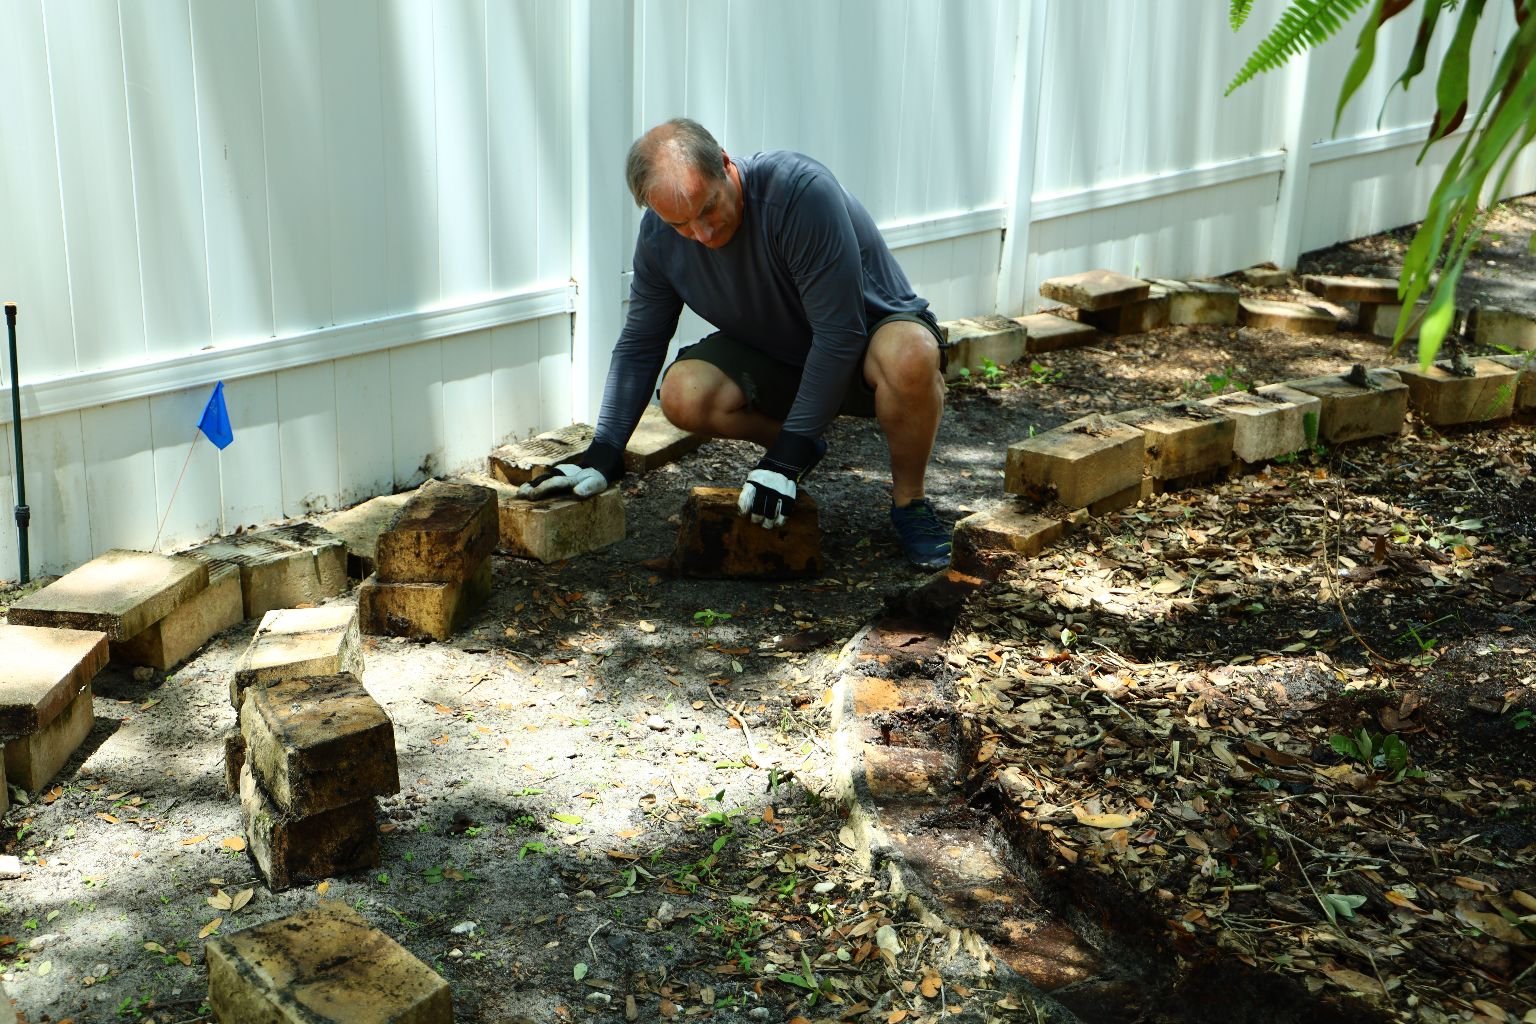
Just understand that these blocks can be quite heavy.
It might be a good idea to look into purchasing a back brace.

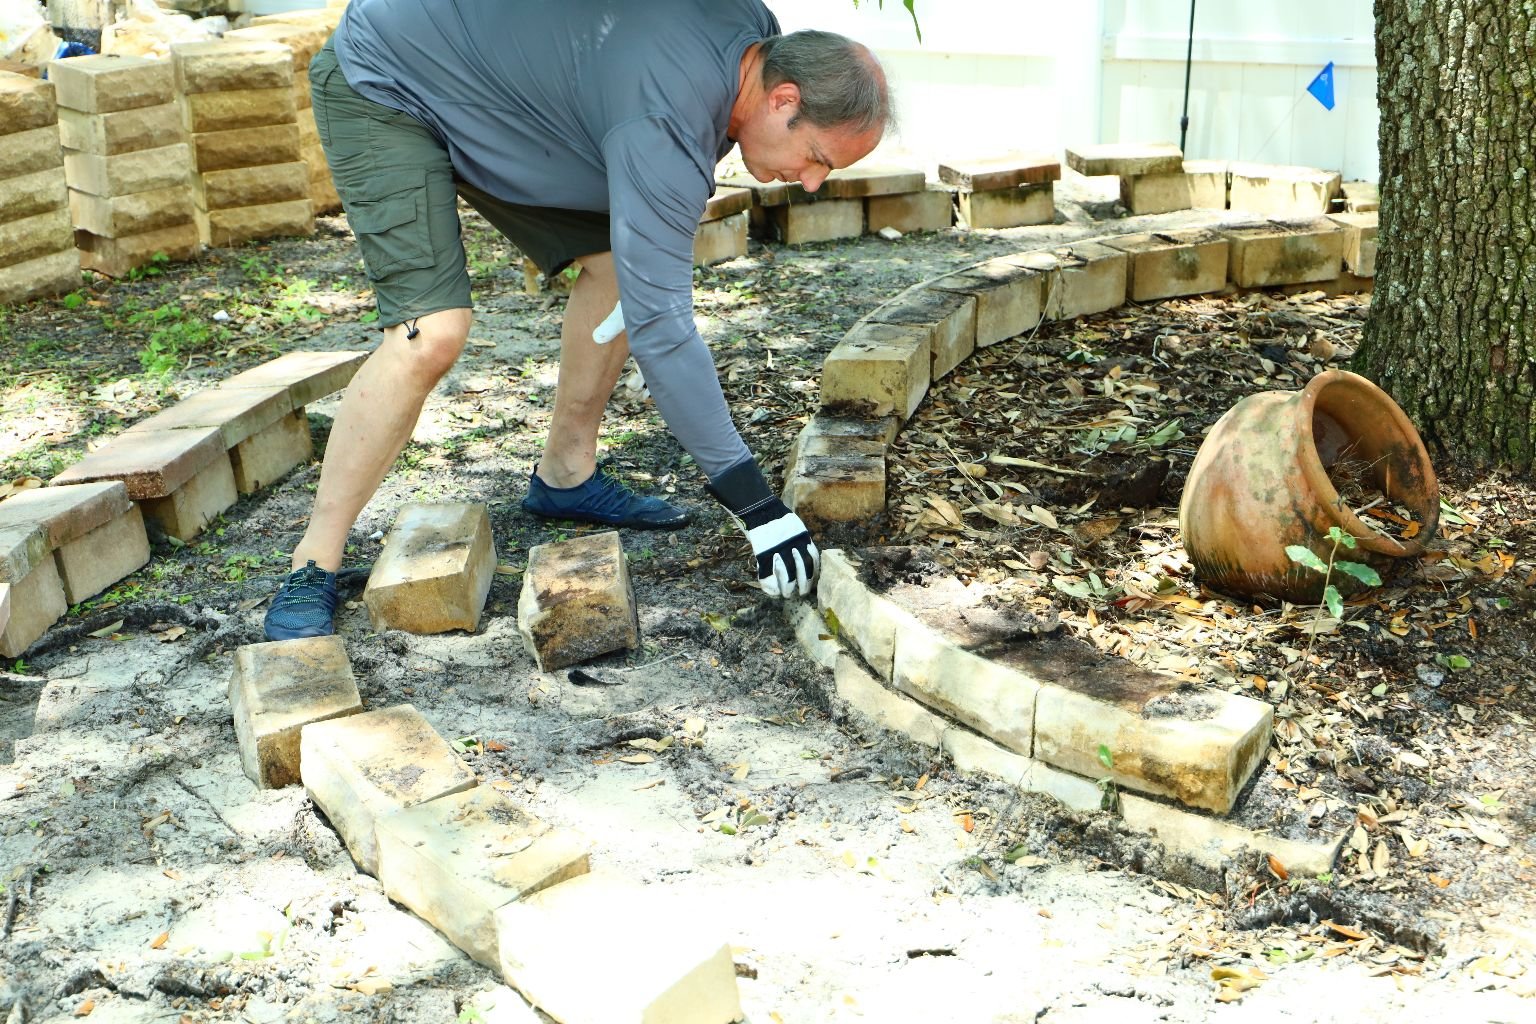
Use a good pair of gloves as the blocks will tear up your hands.
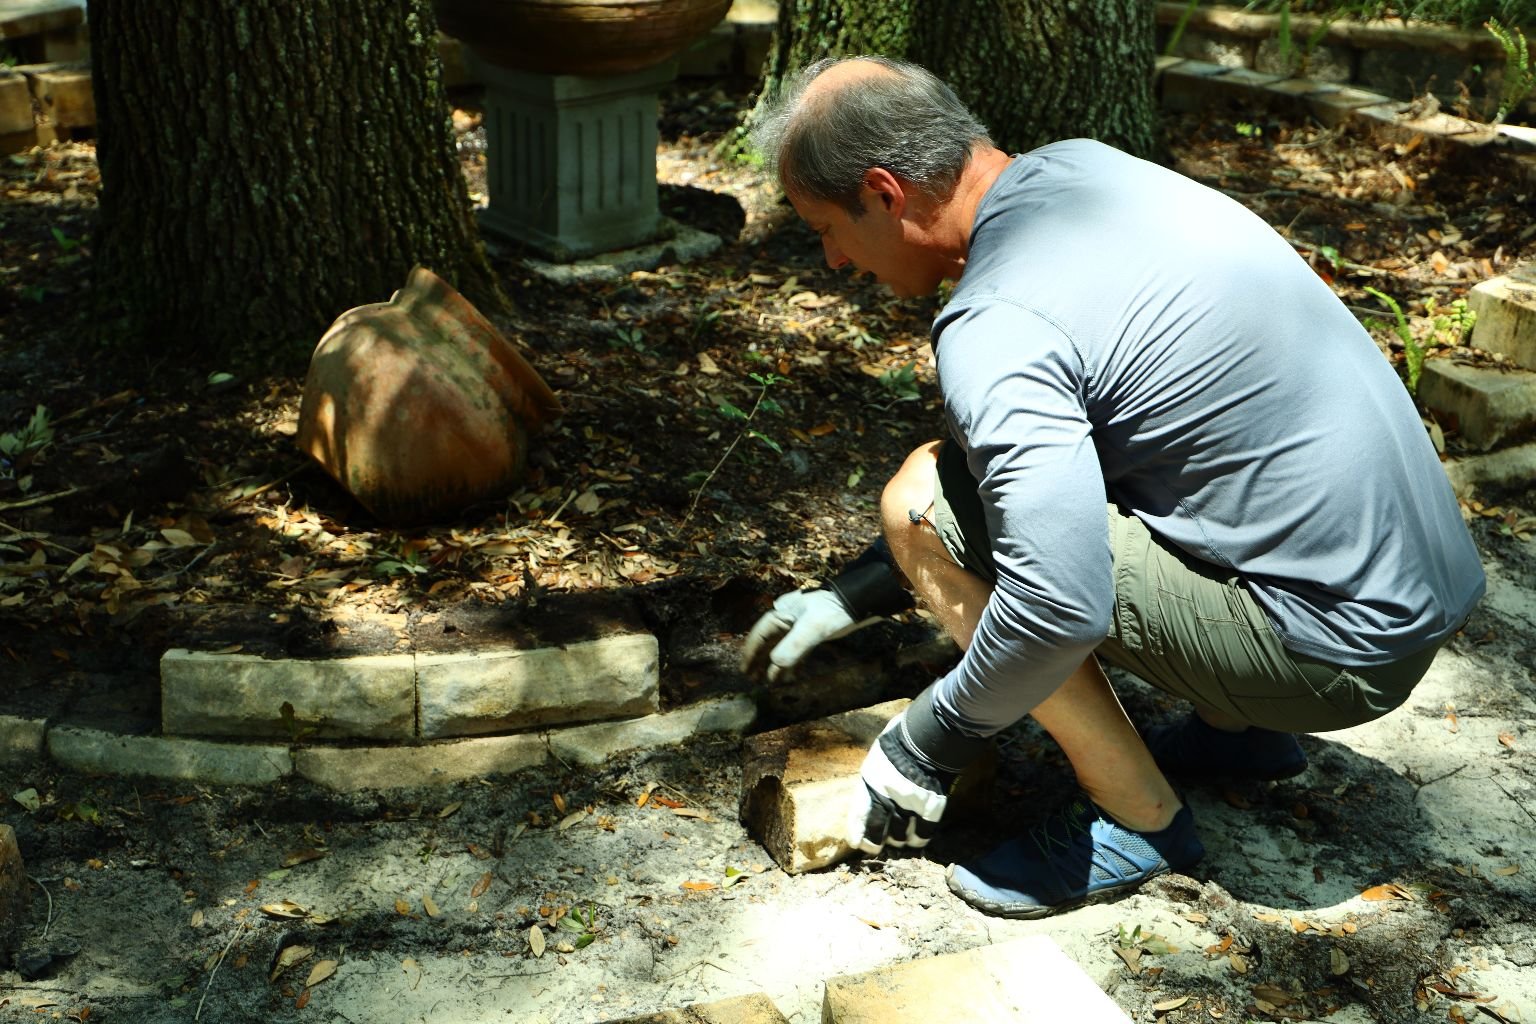
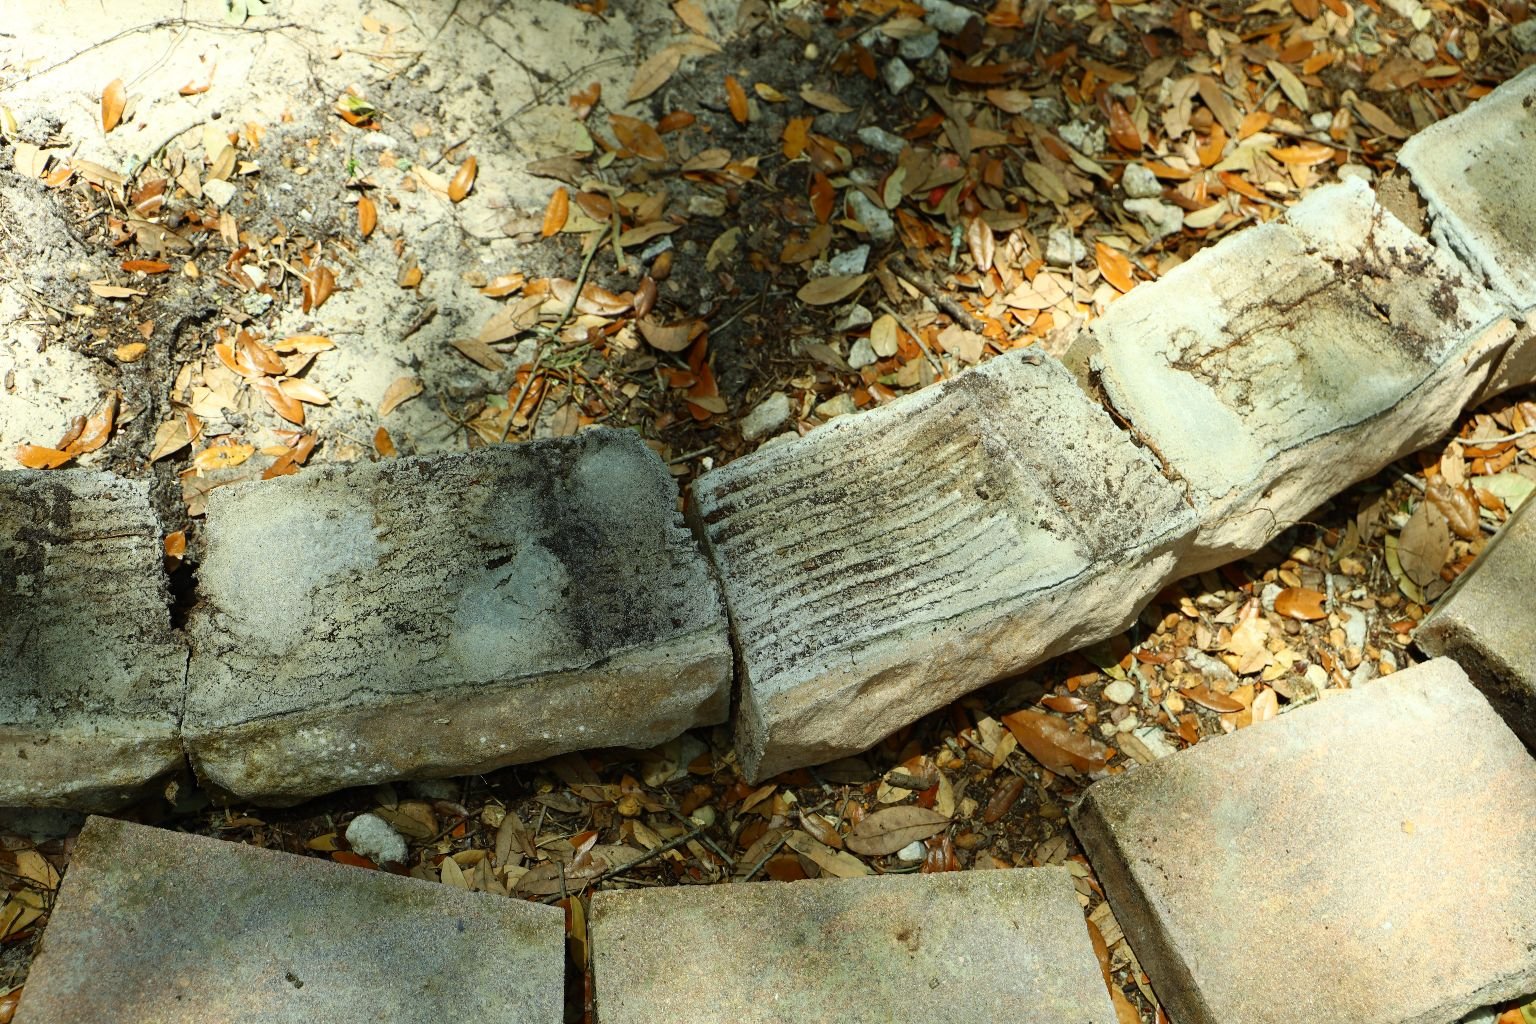
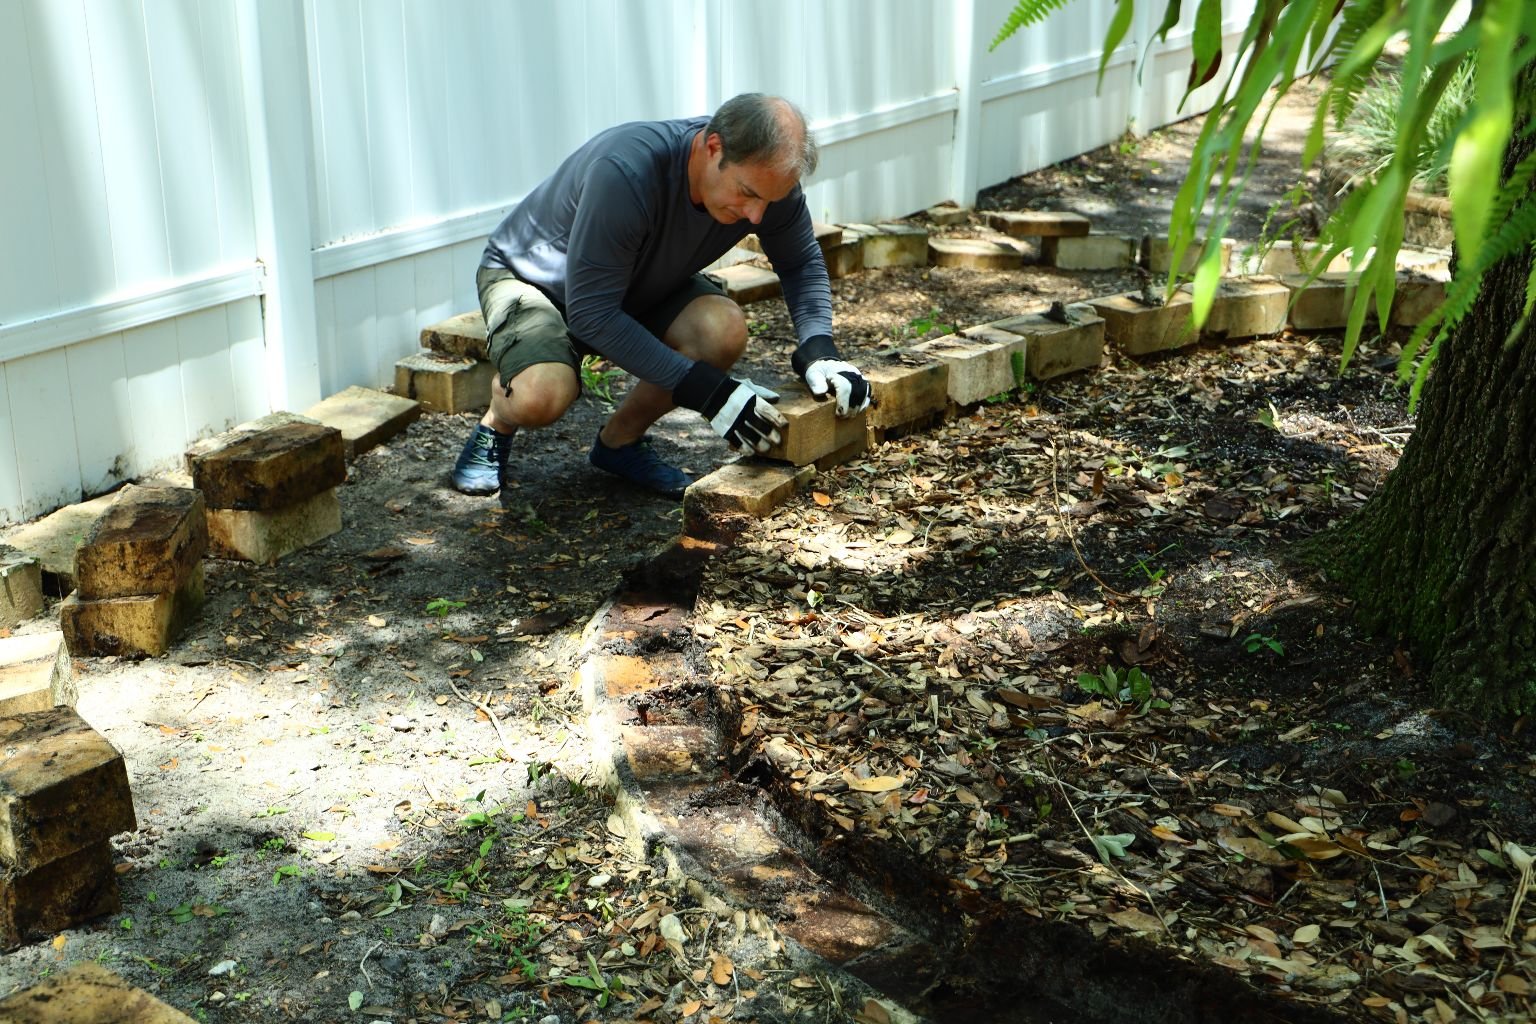
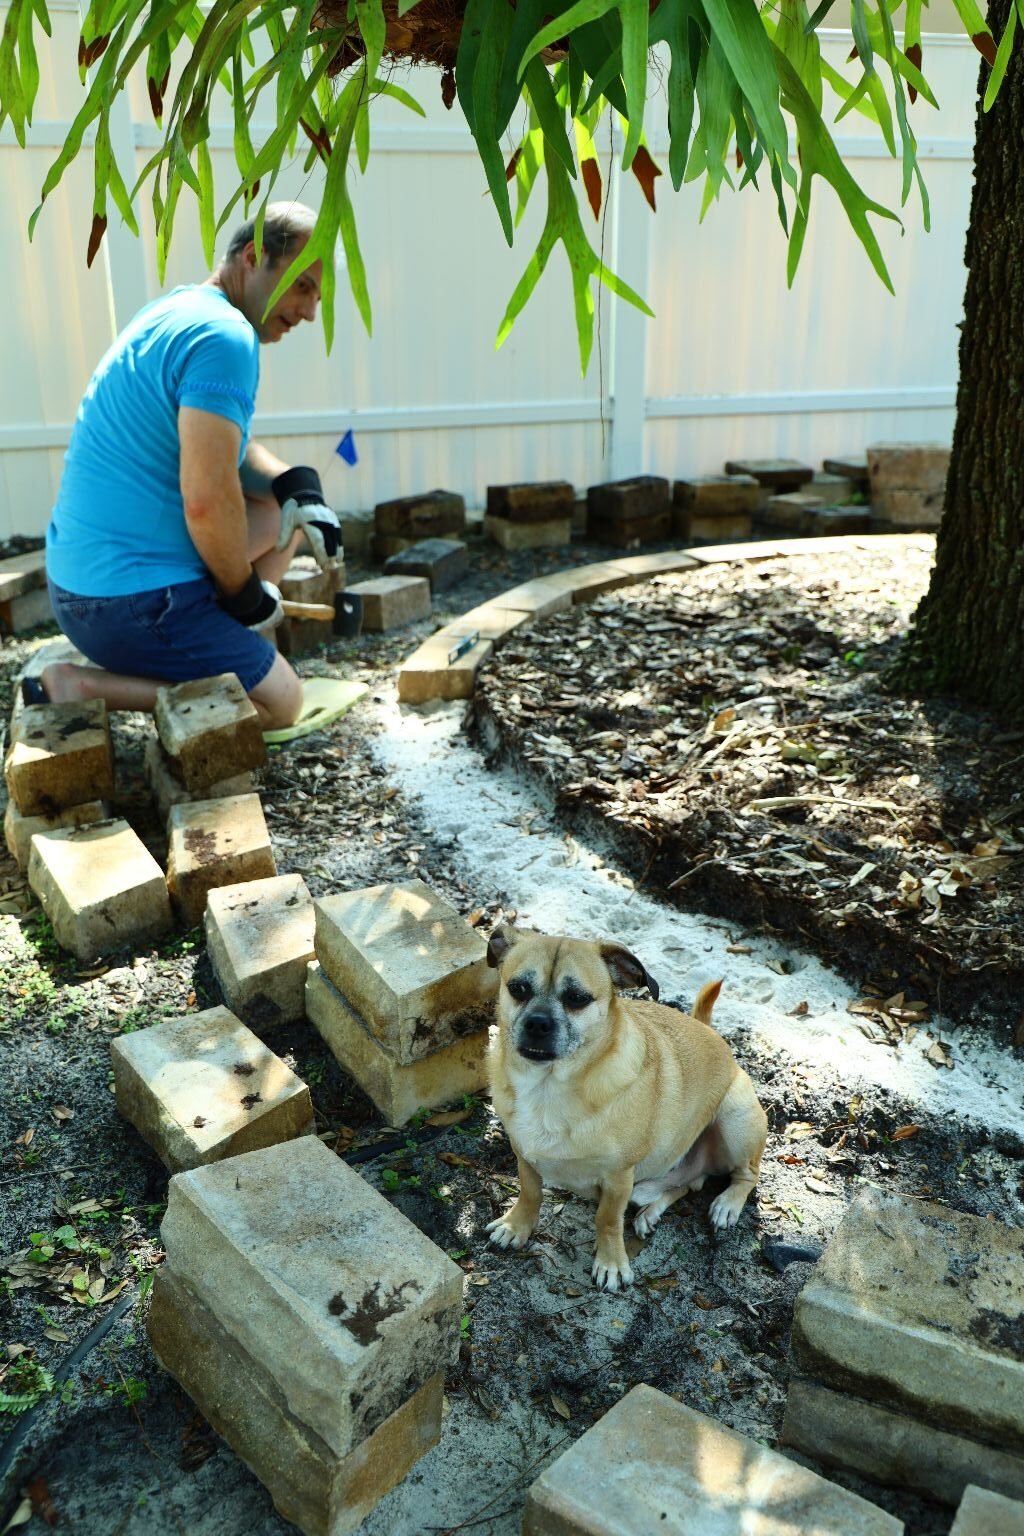
Here I am getting to the end of the tear down phase of this project.
You can see some of the capstones are still adhered to the stones. I will use a hammer and chisel
to separate them later.
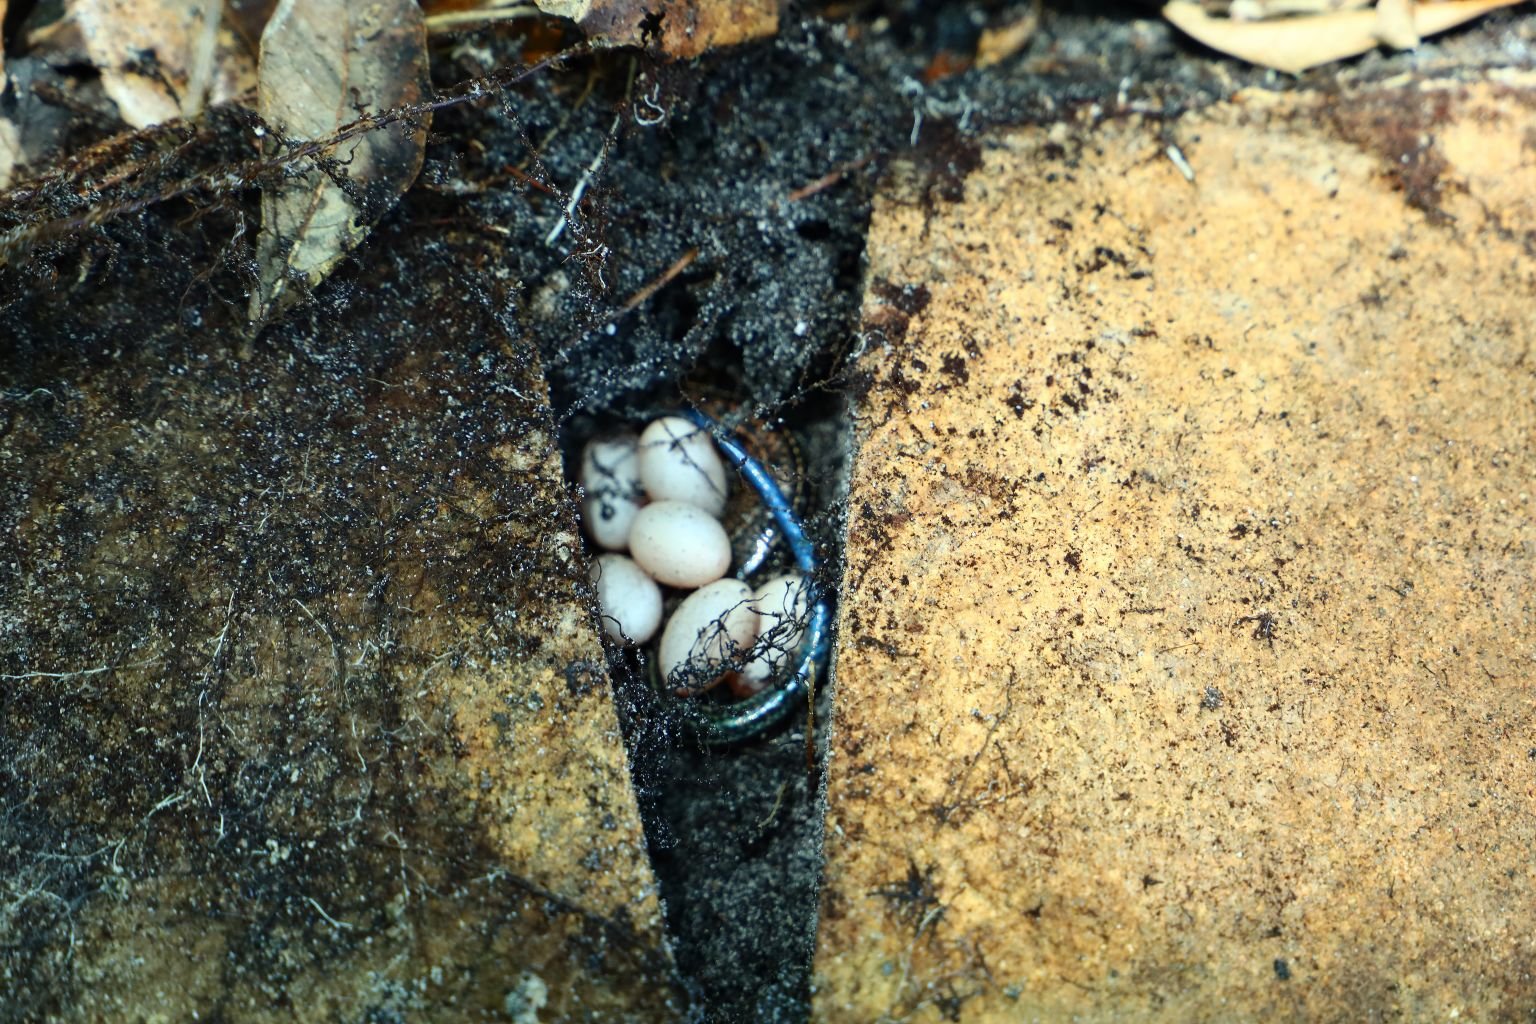
Now here is a surprise, this is a Skink’s nest. You can see she is still guarding the nest and the
clutch of eggs.
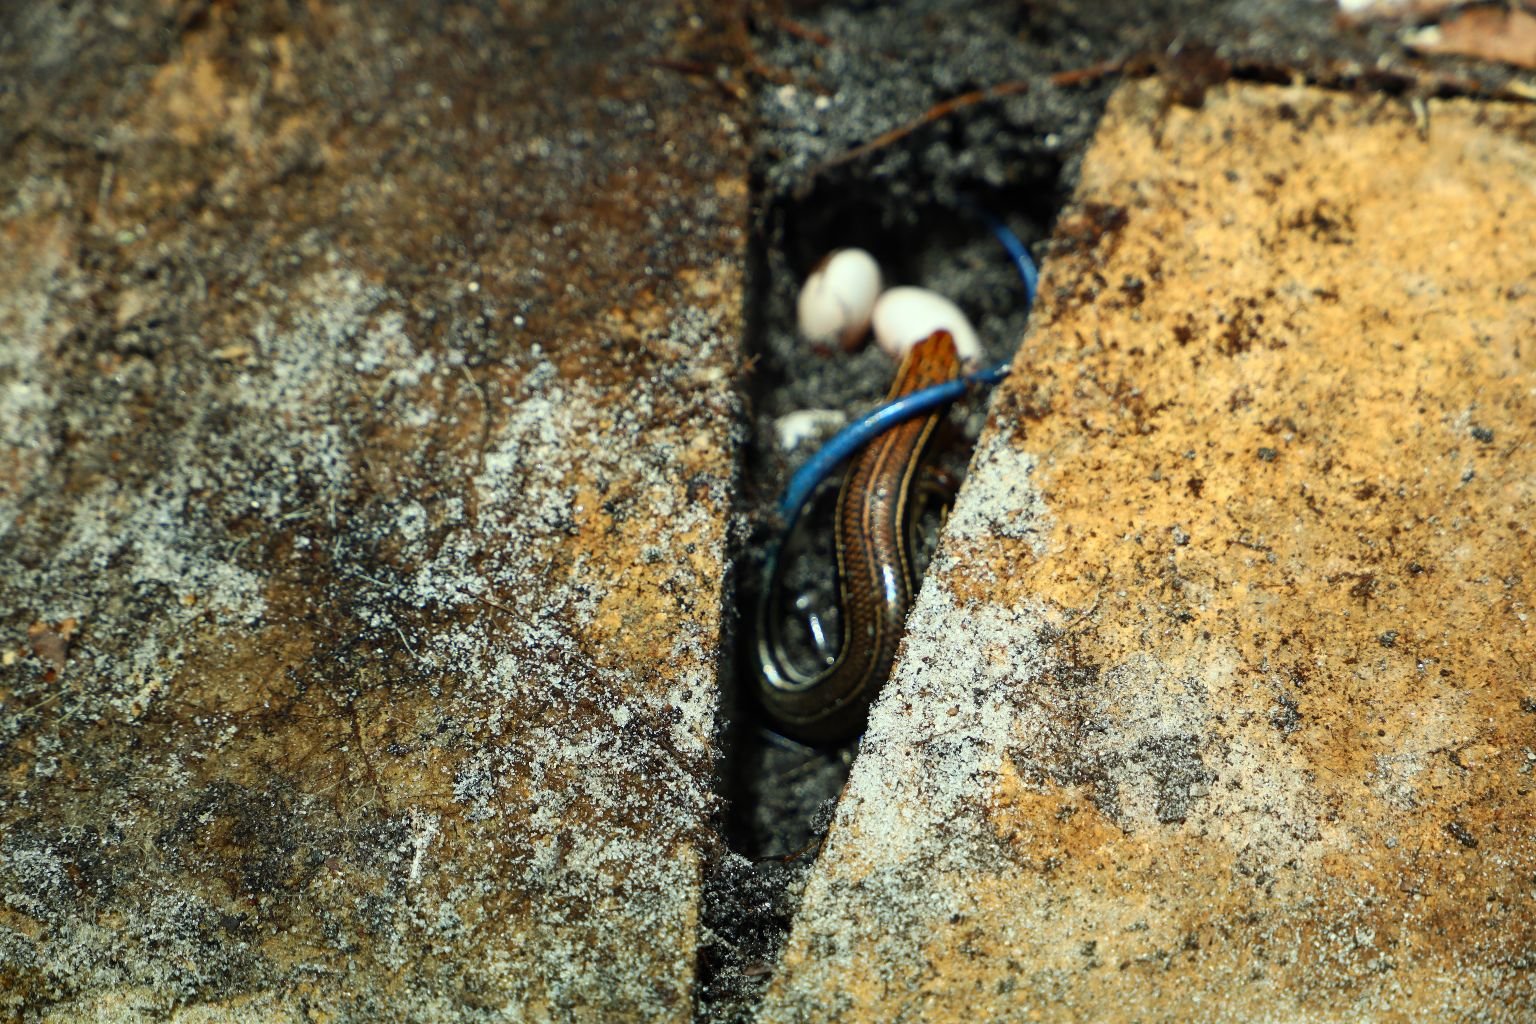
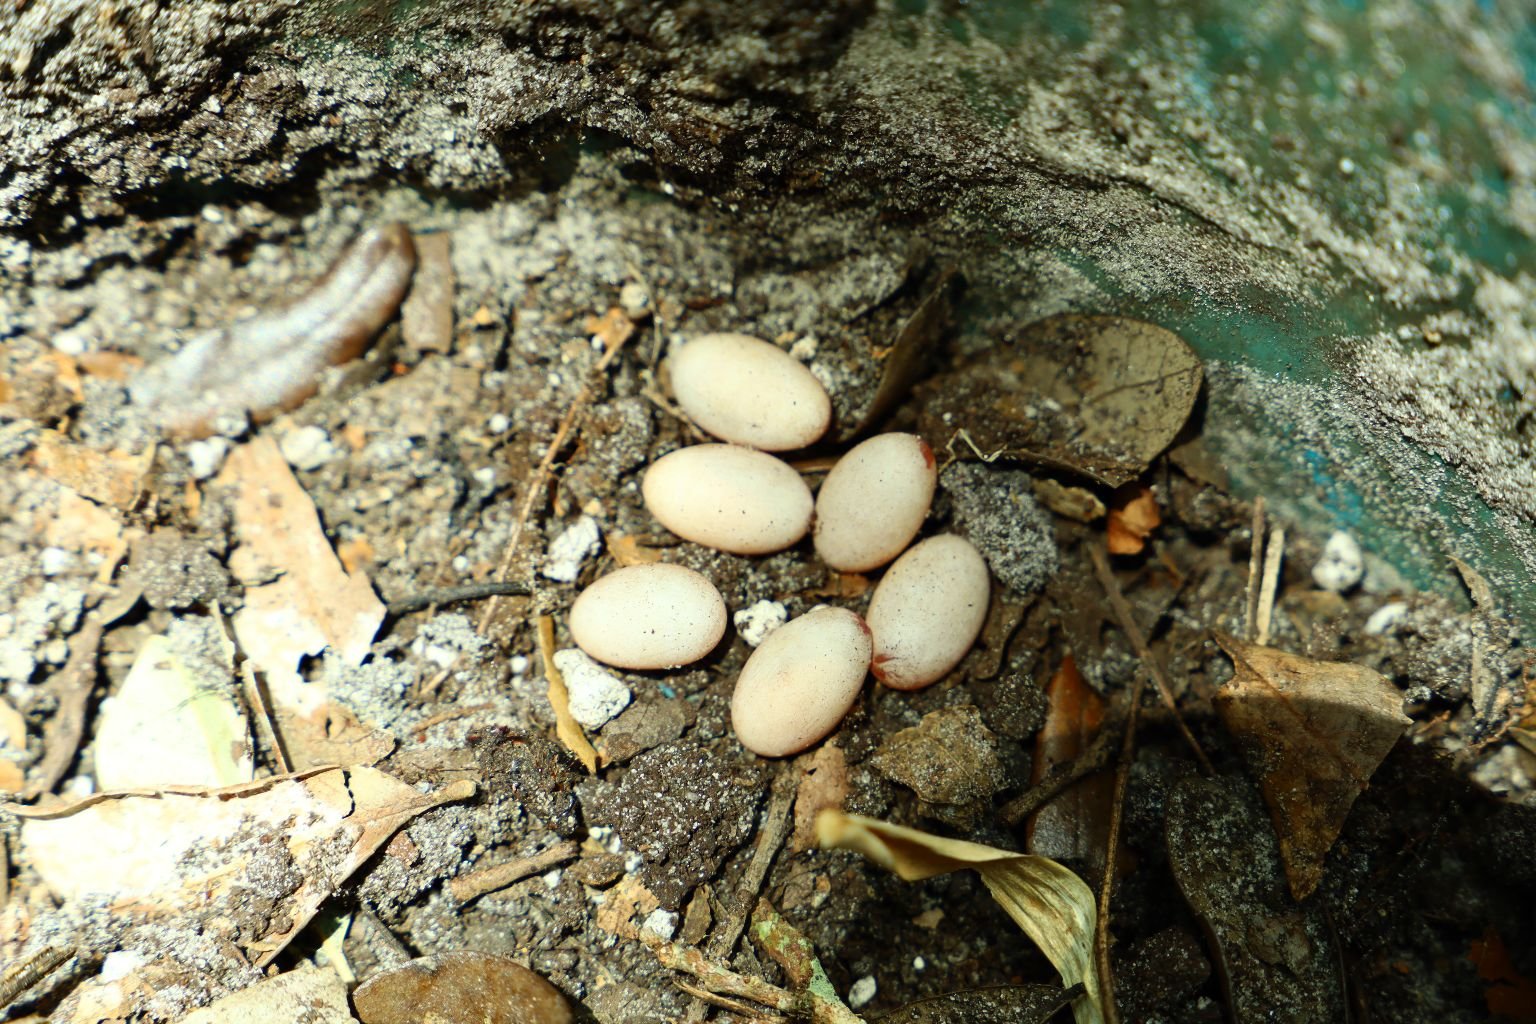
I am trying to be very careful so as not to disturb them much. I placed them in a bucket and will
replace them back to the same location when I am done. I couldn’t catch the lizard, so I hope she
will find them later.
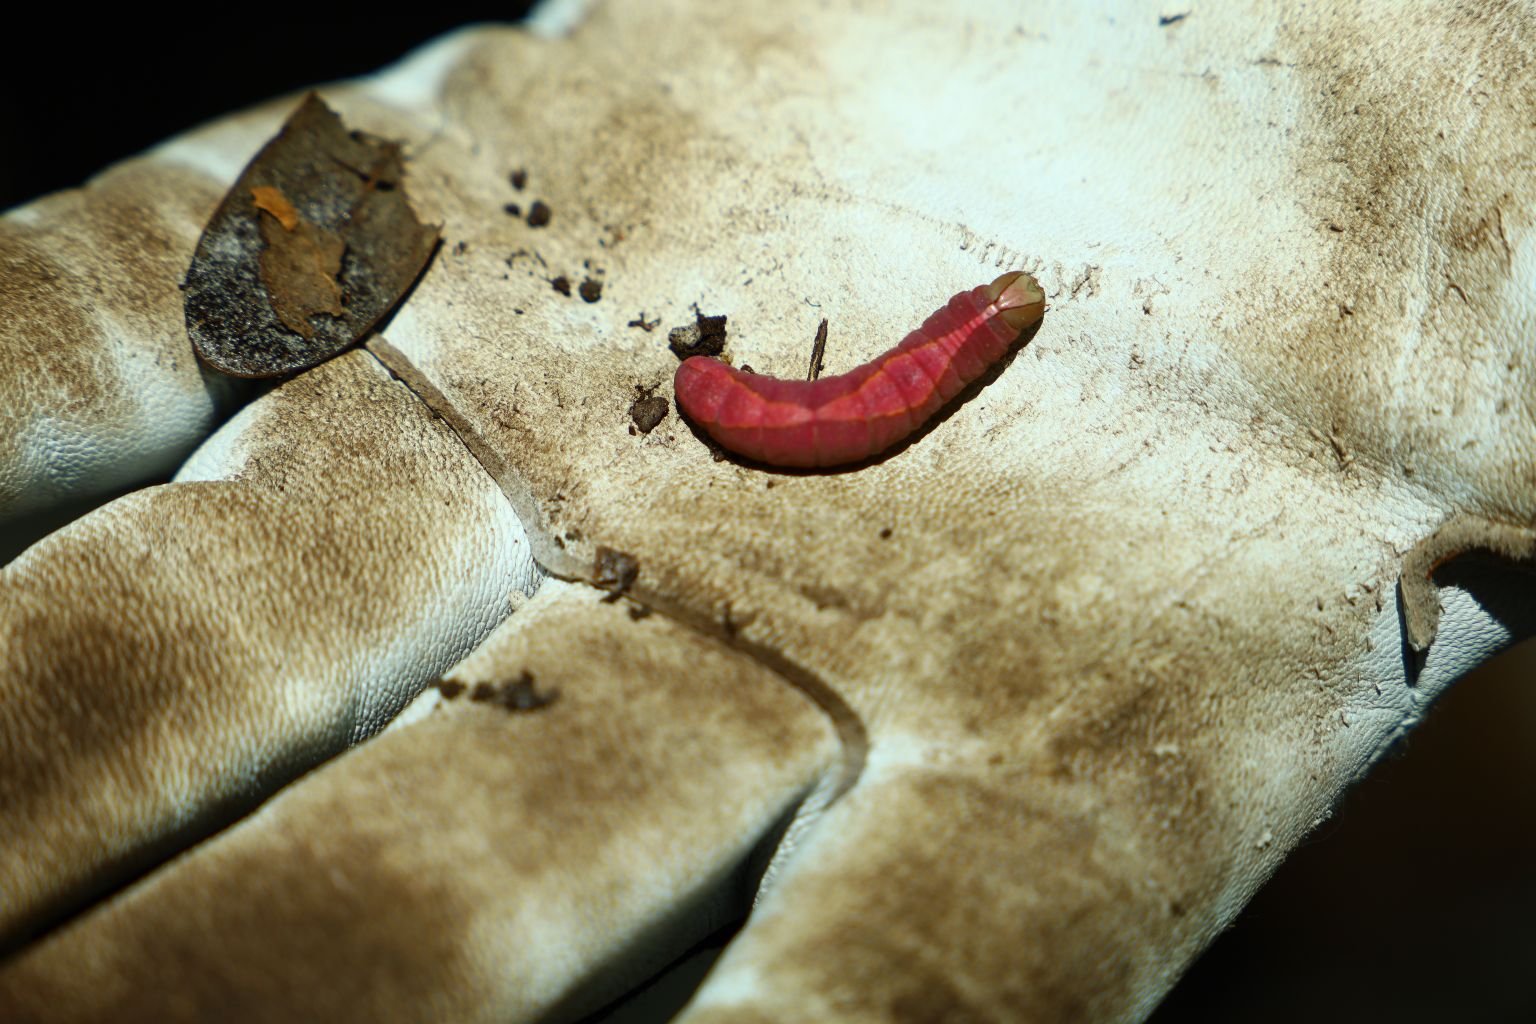
Here is something else interesting that I found.
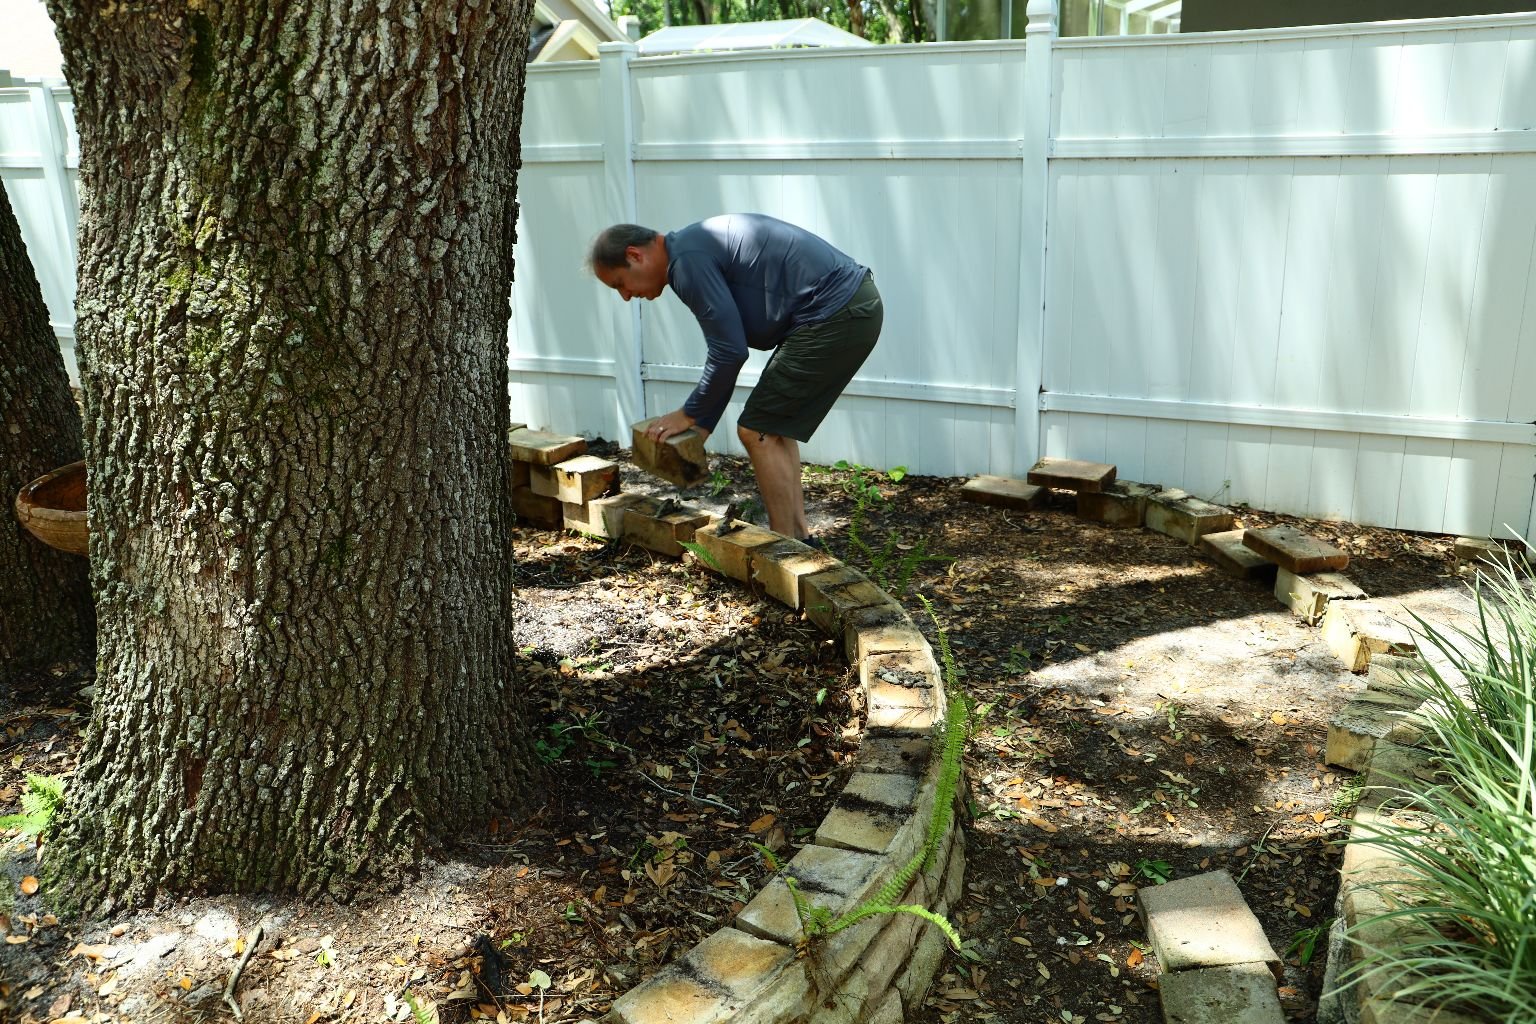
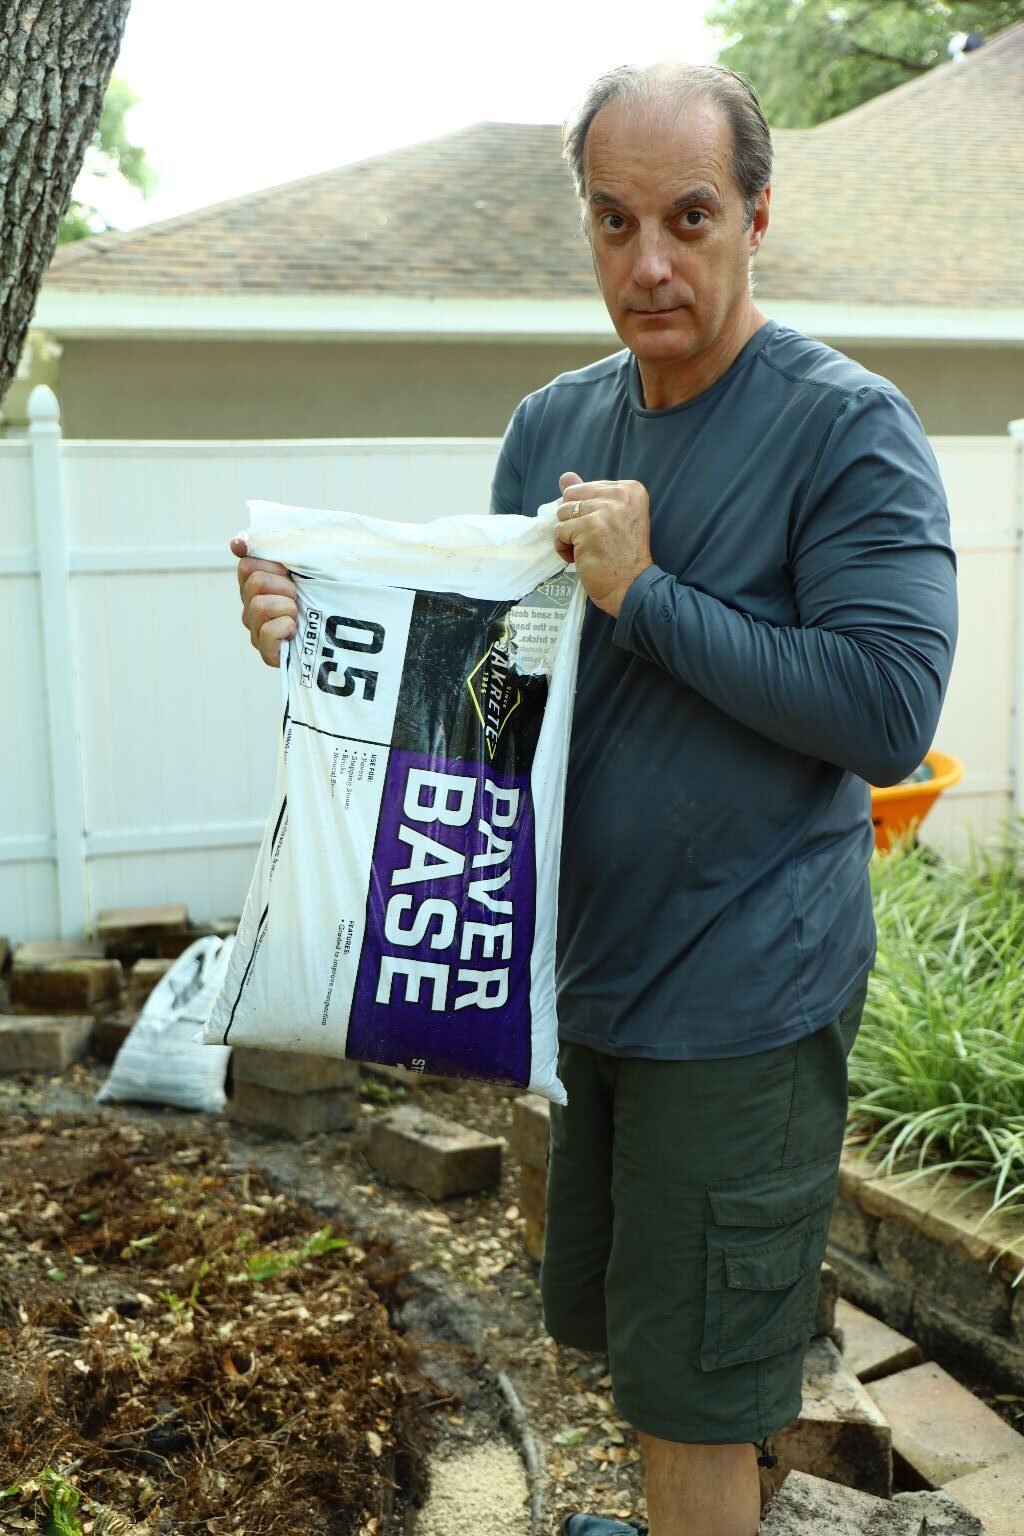
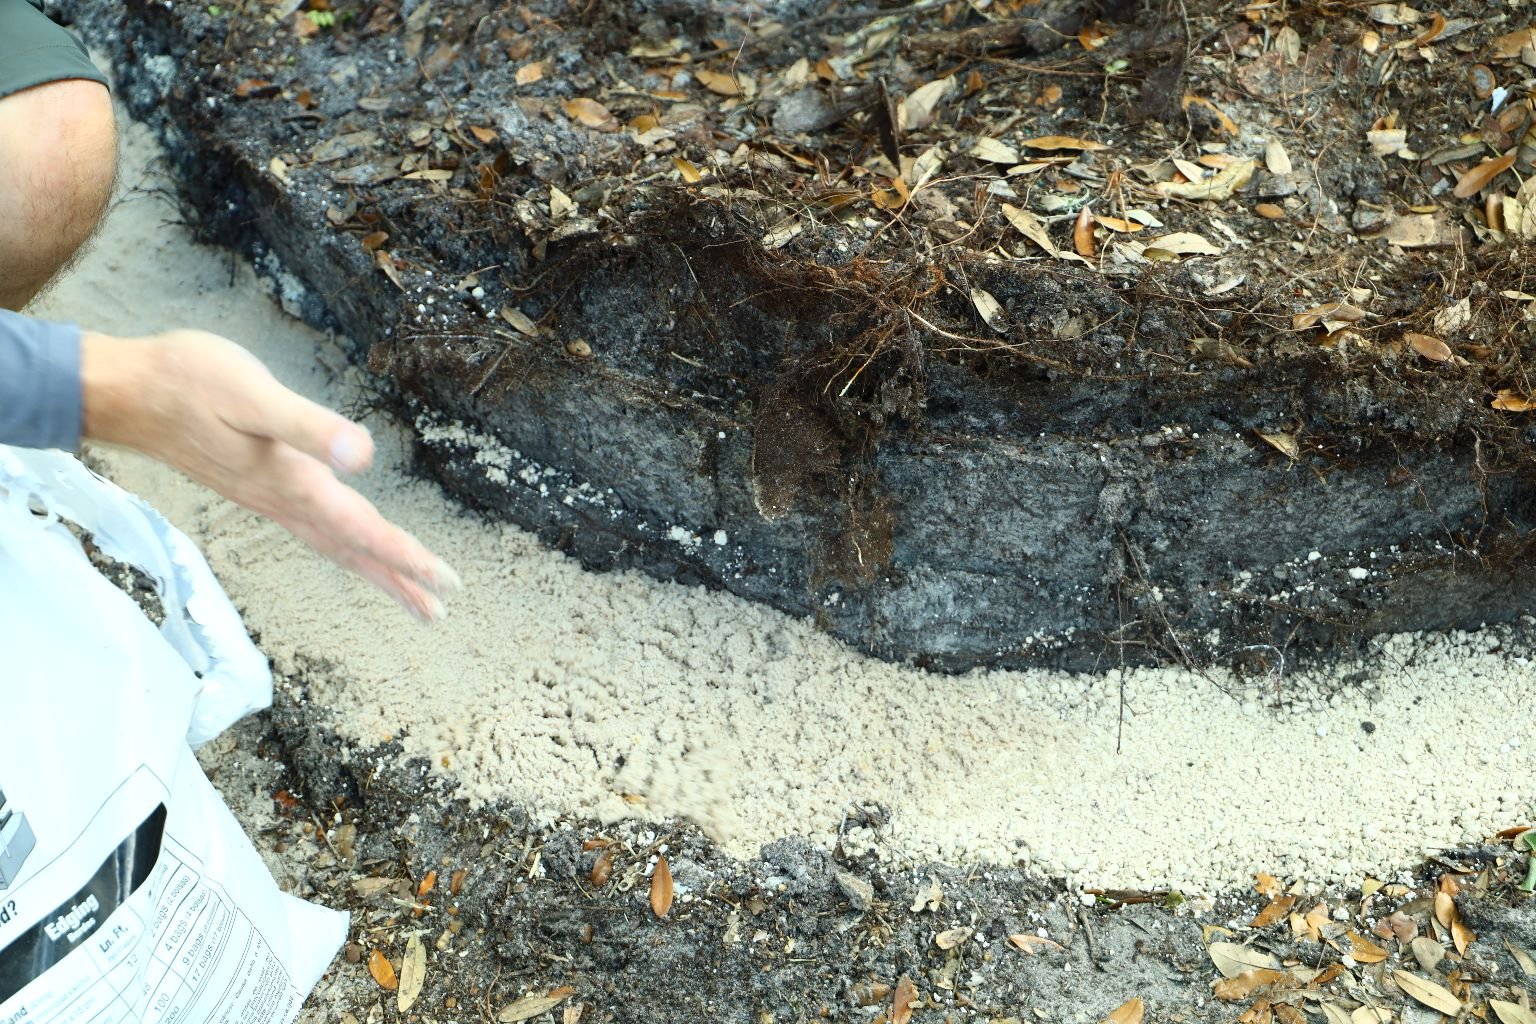
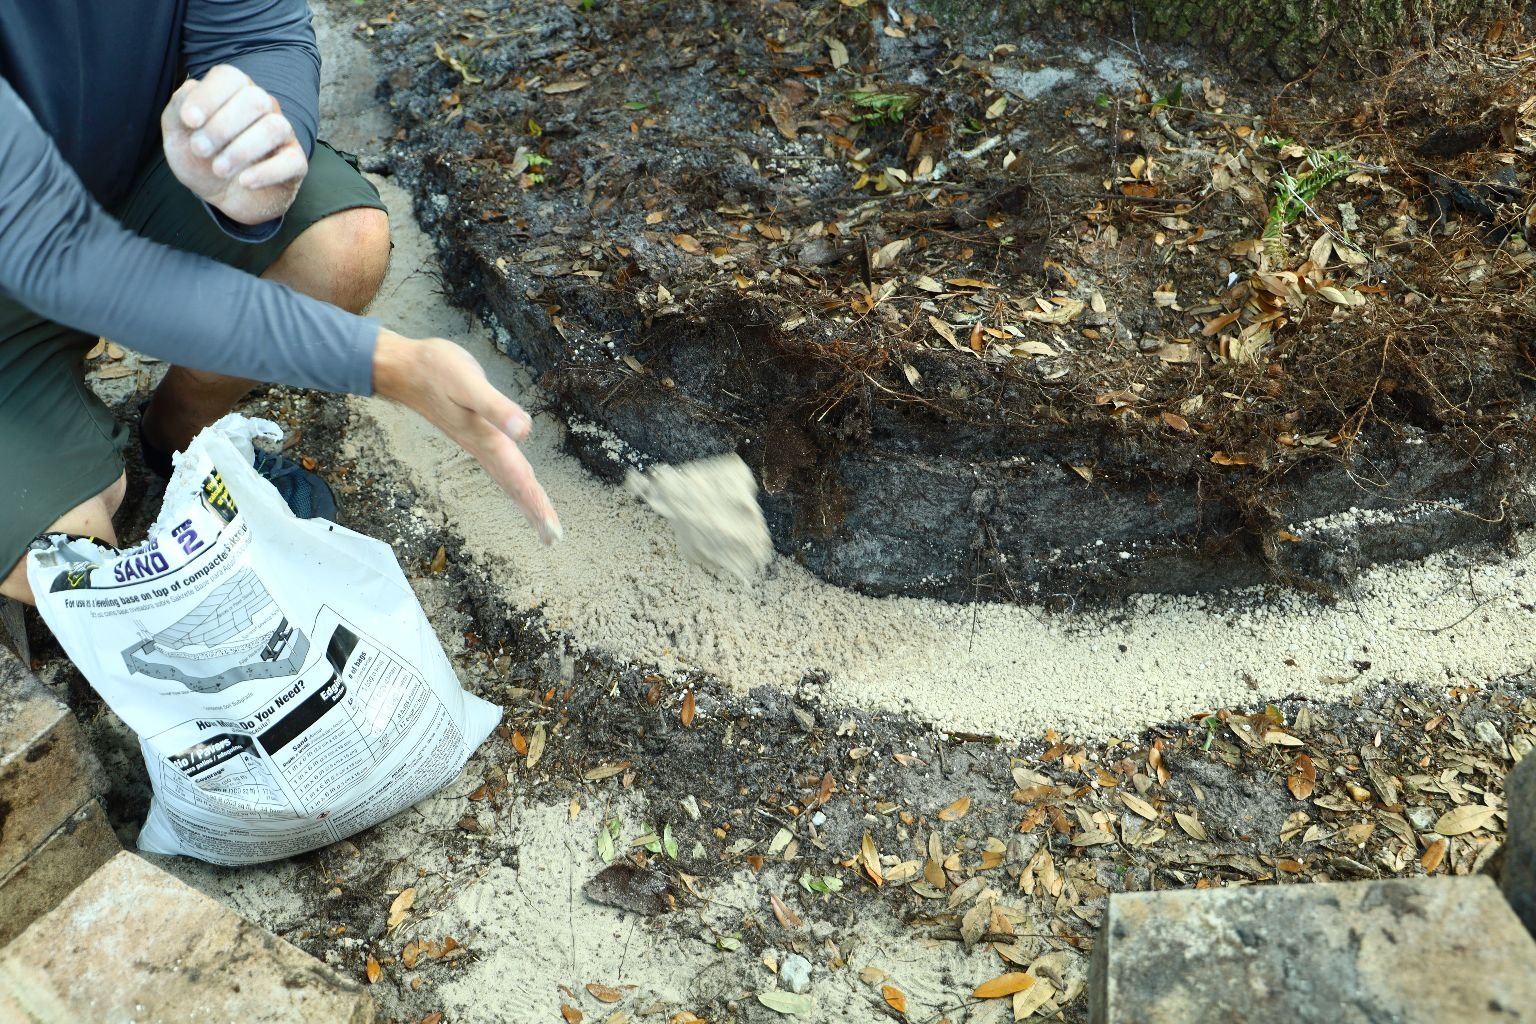
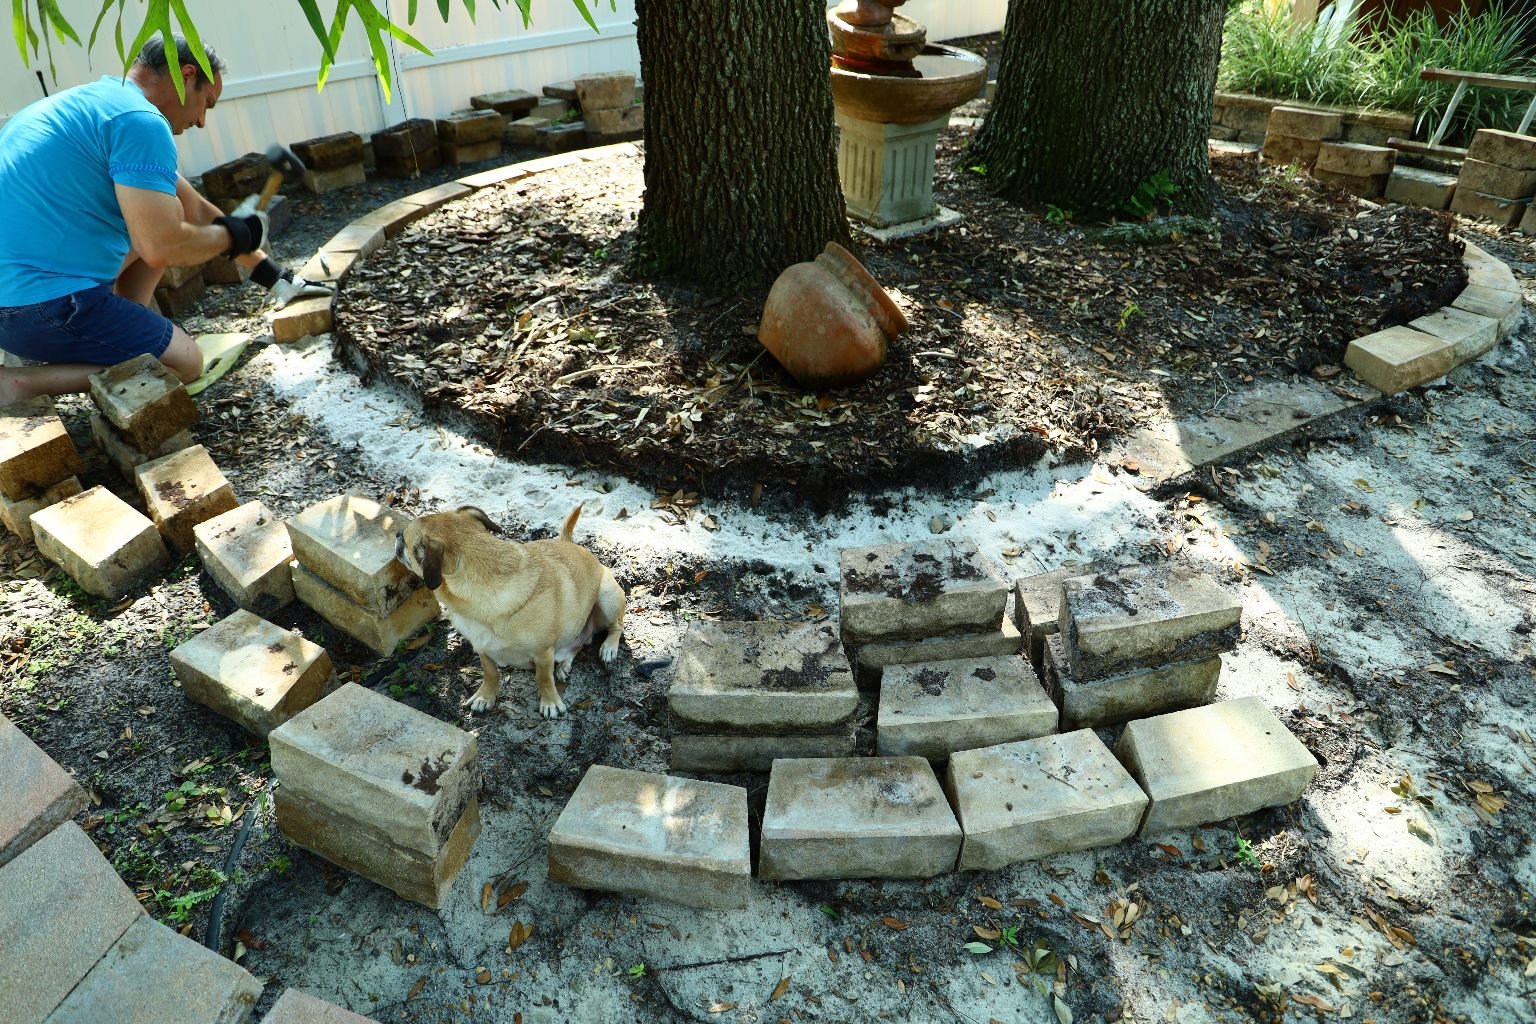
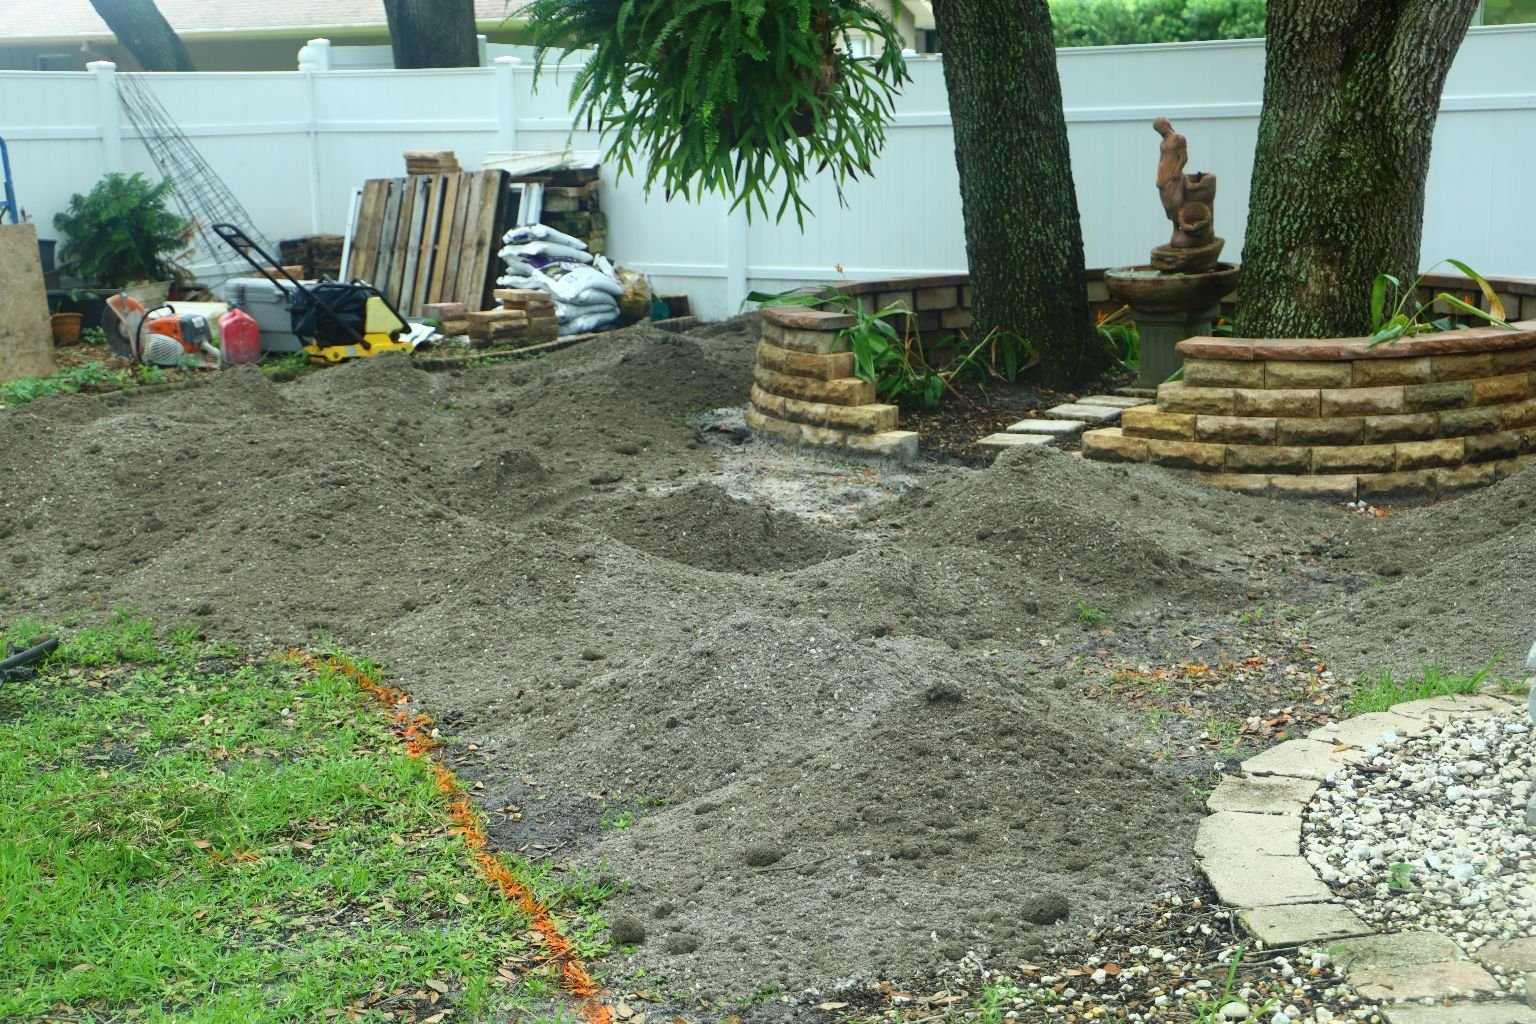
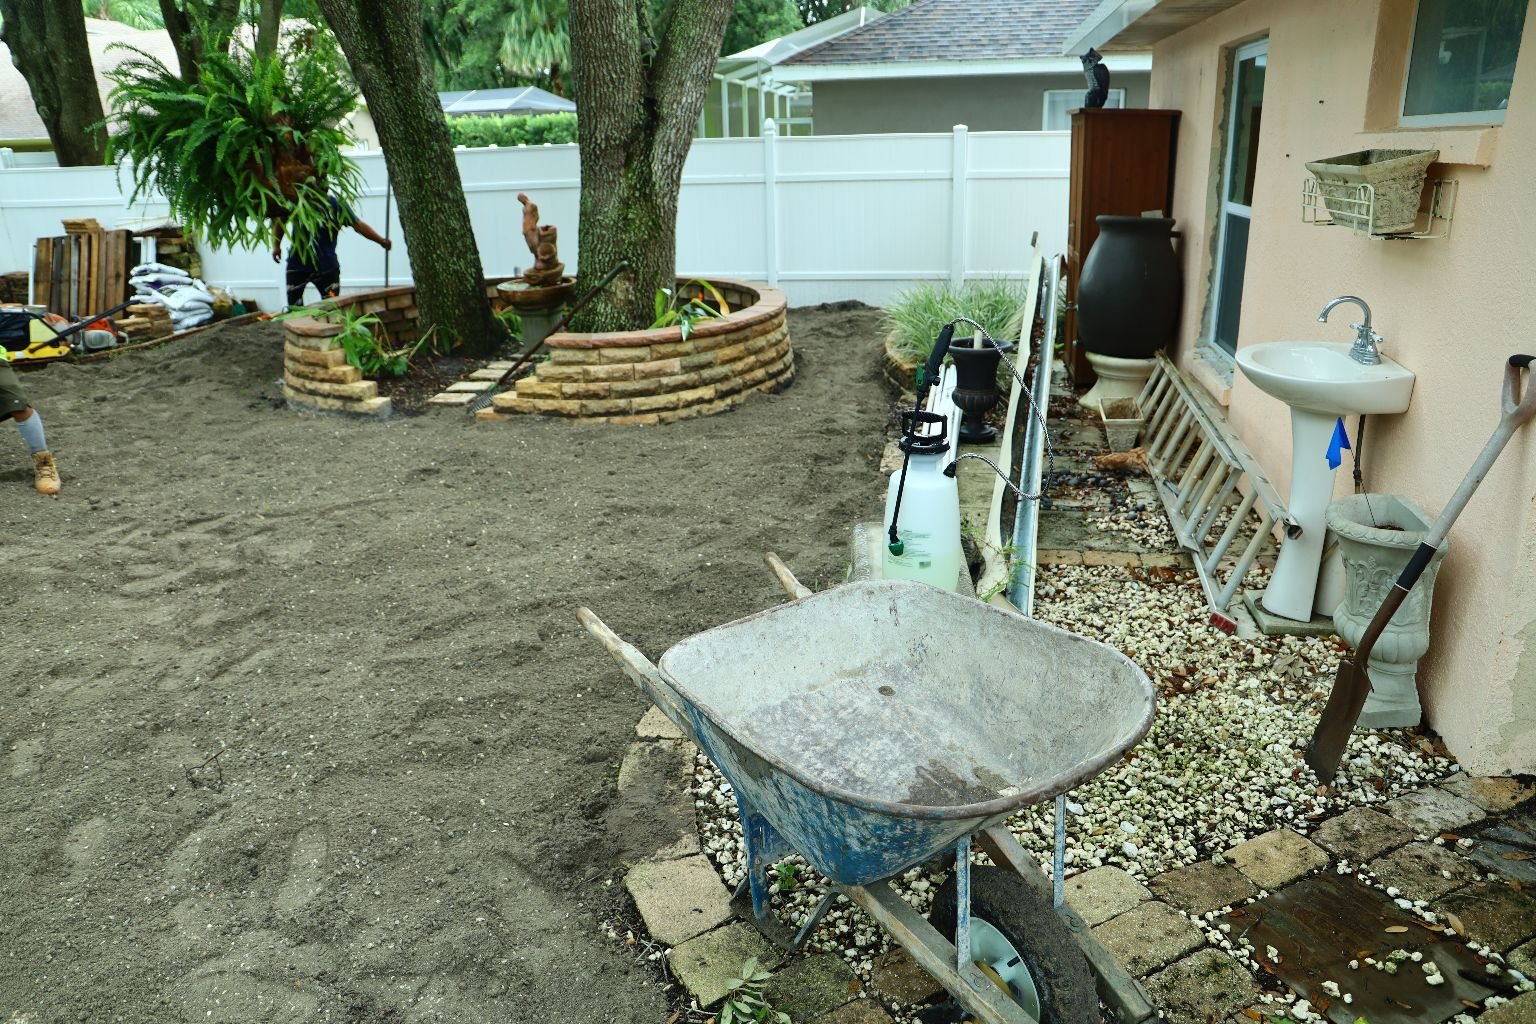
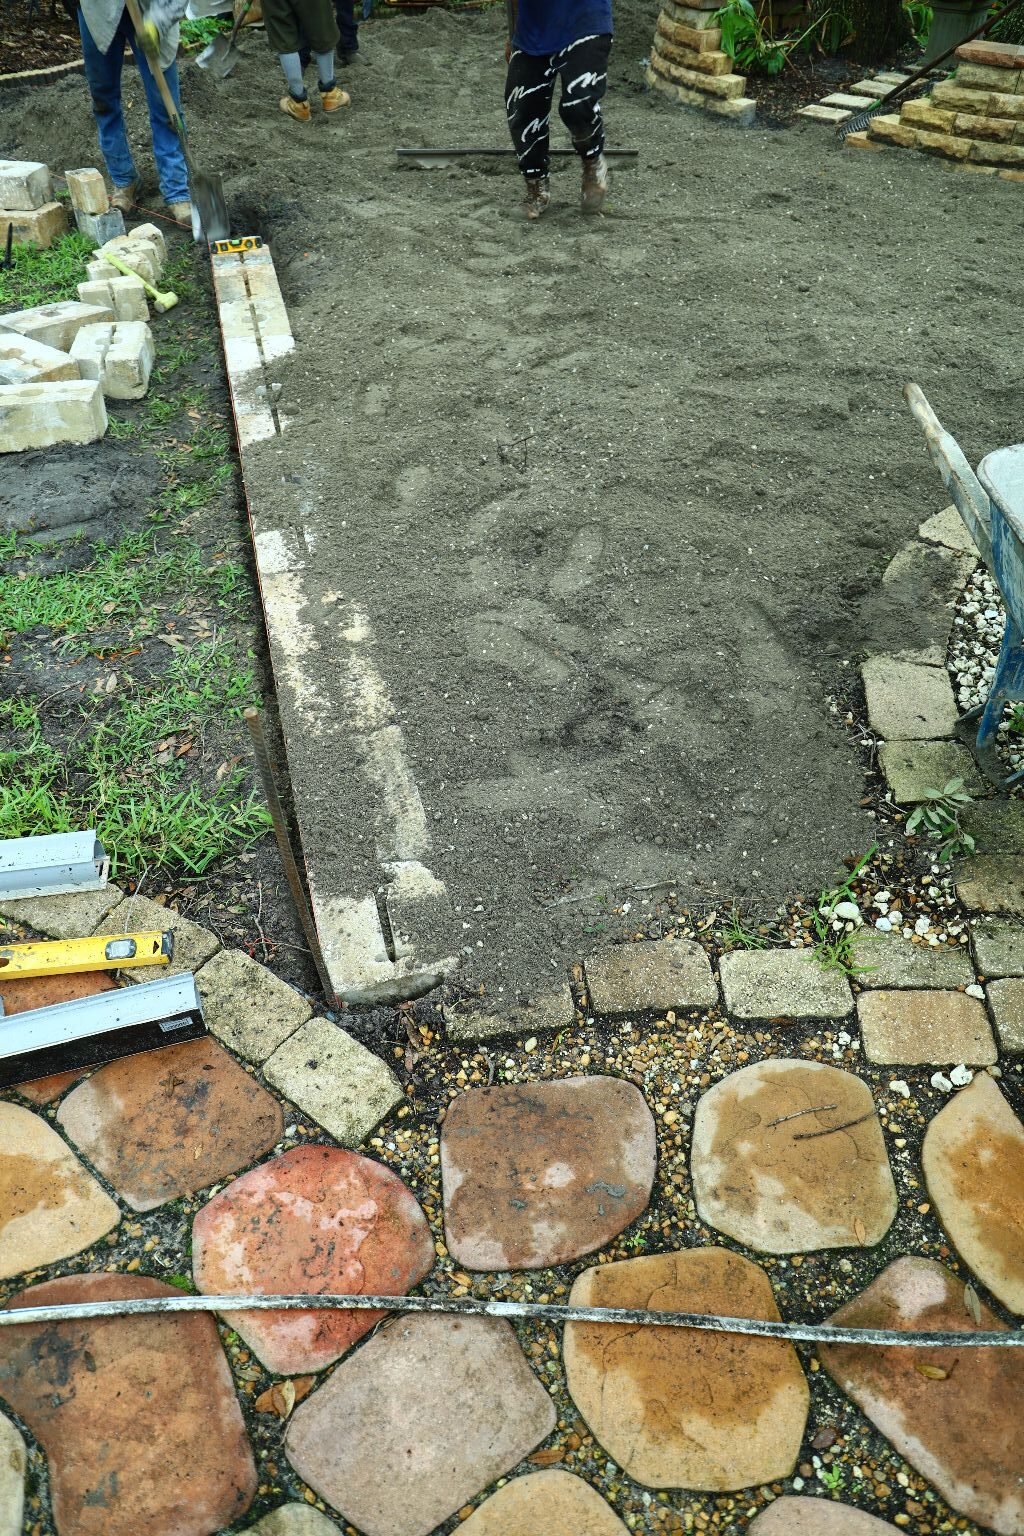
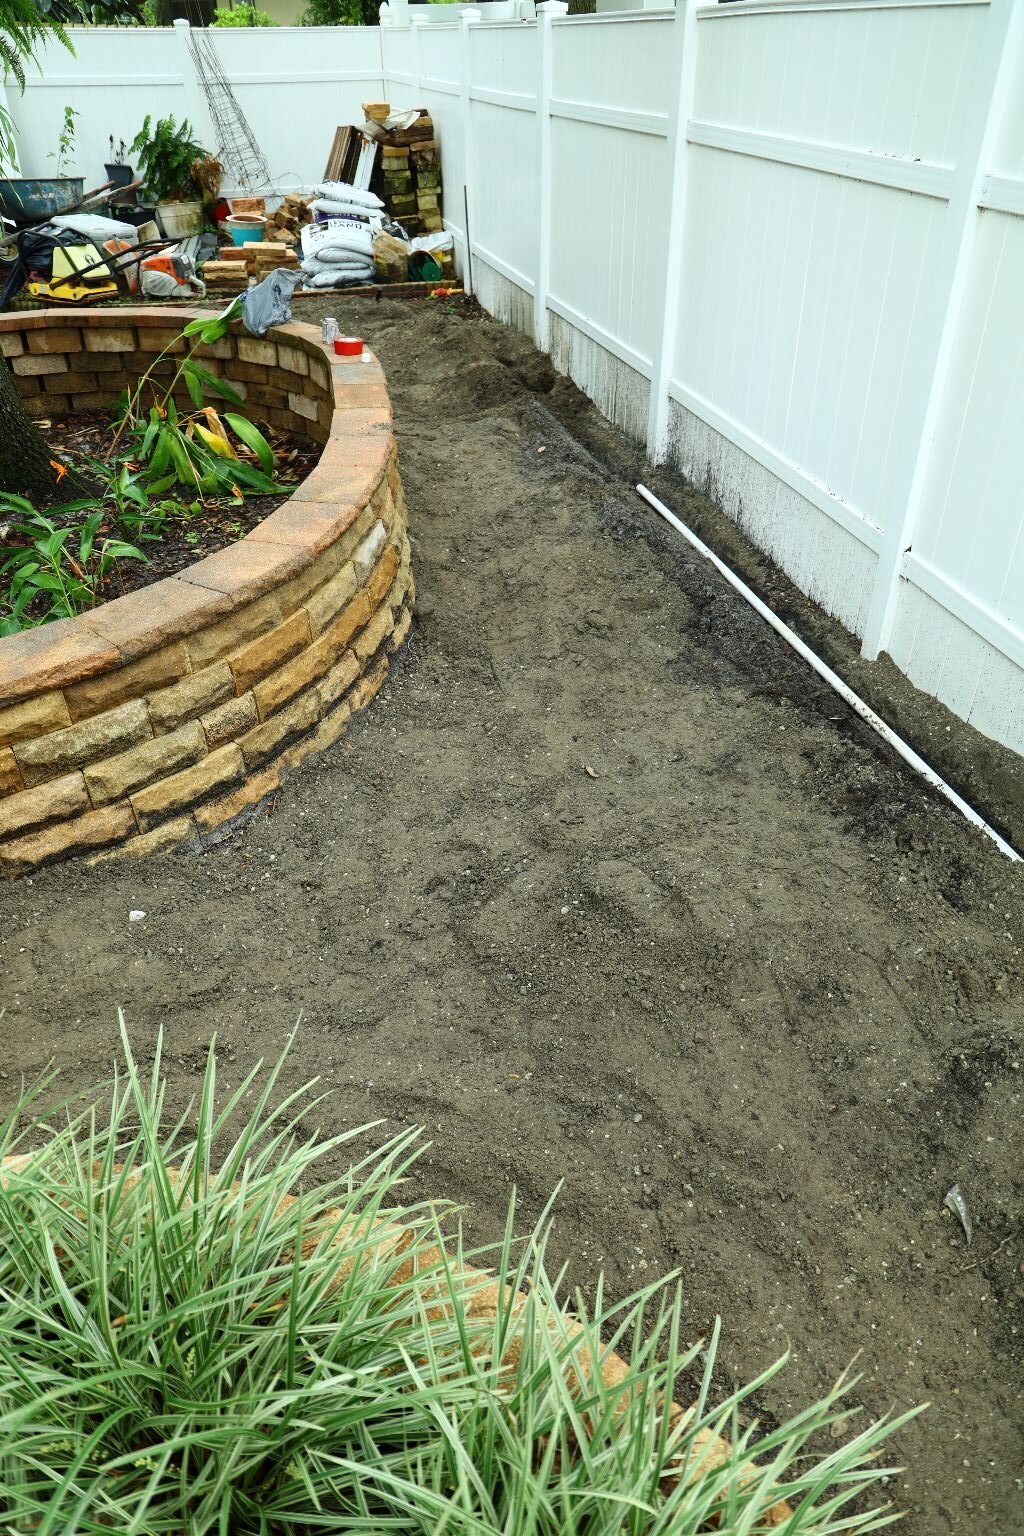
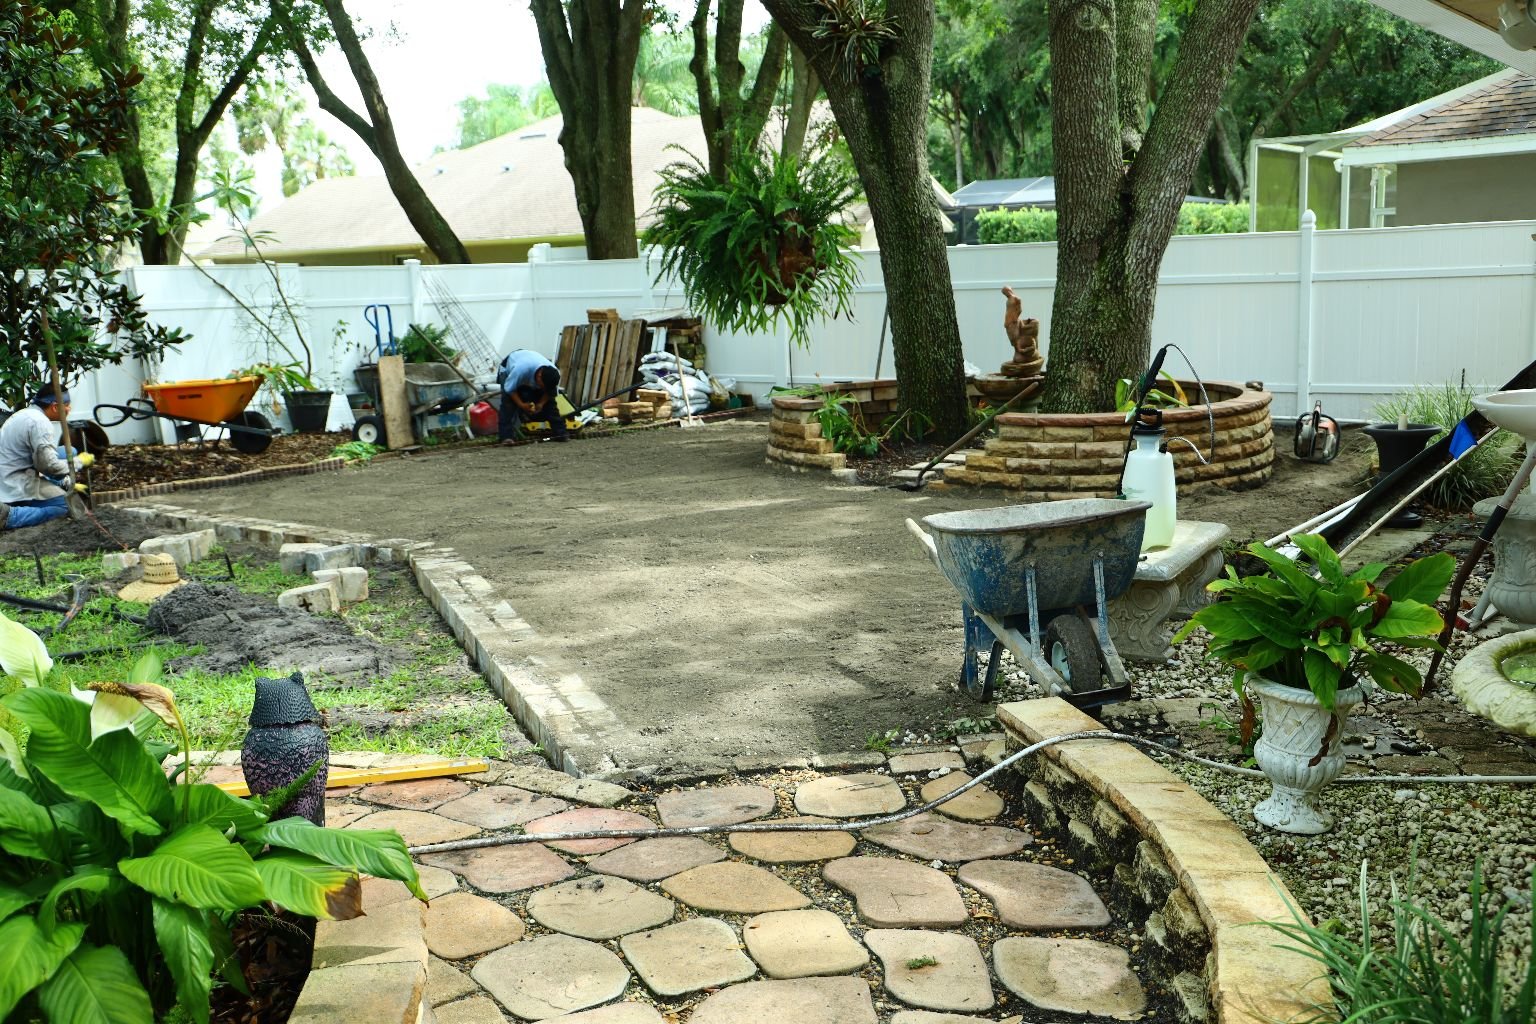
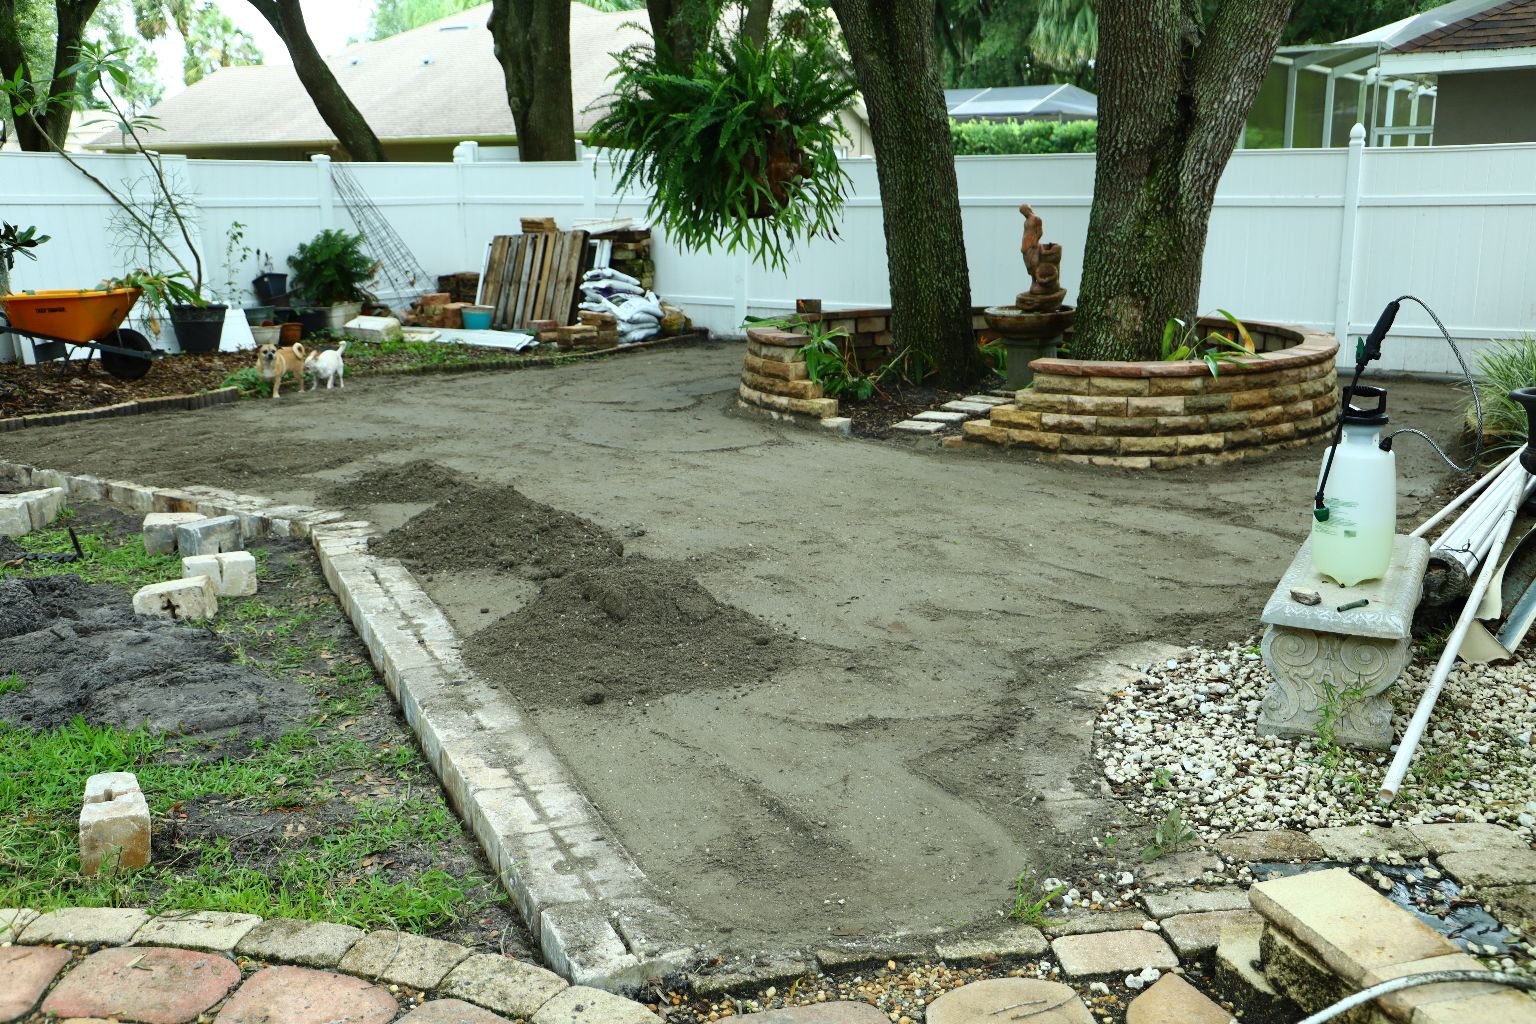
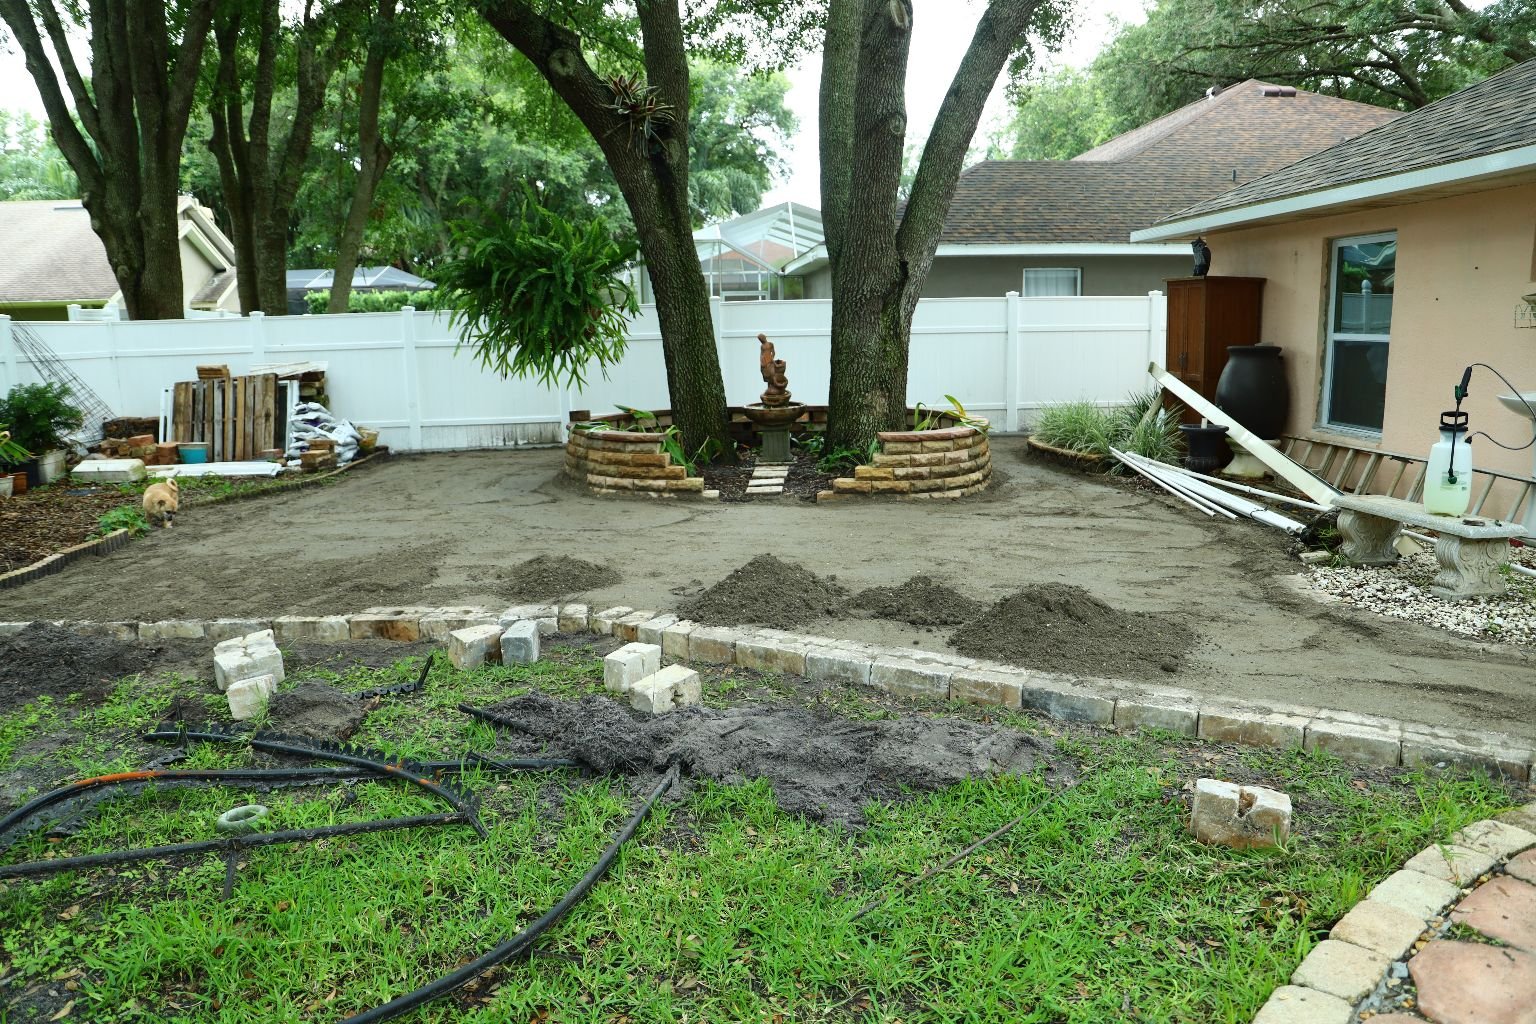
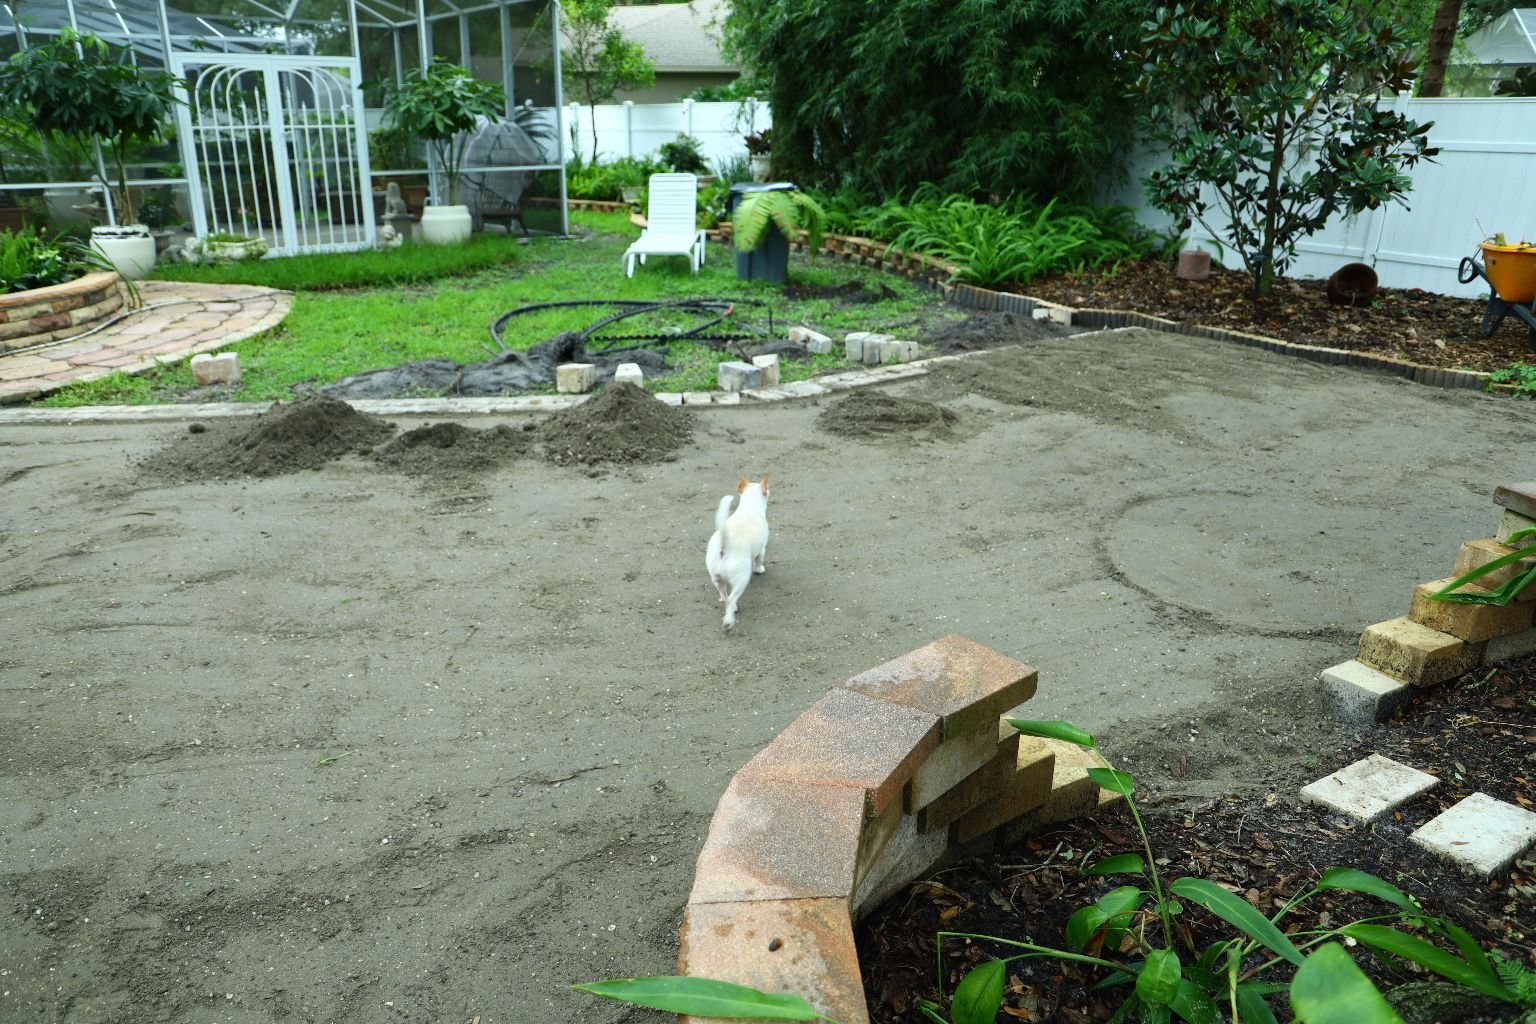
Now that all the blocks have been removed, it is time to lay down the paver base in about a two
in thick layer. Doing this will help prevent the stones from sinking into the dirt.
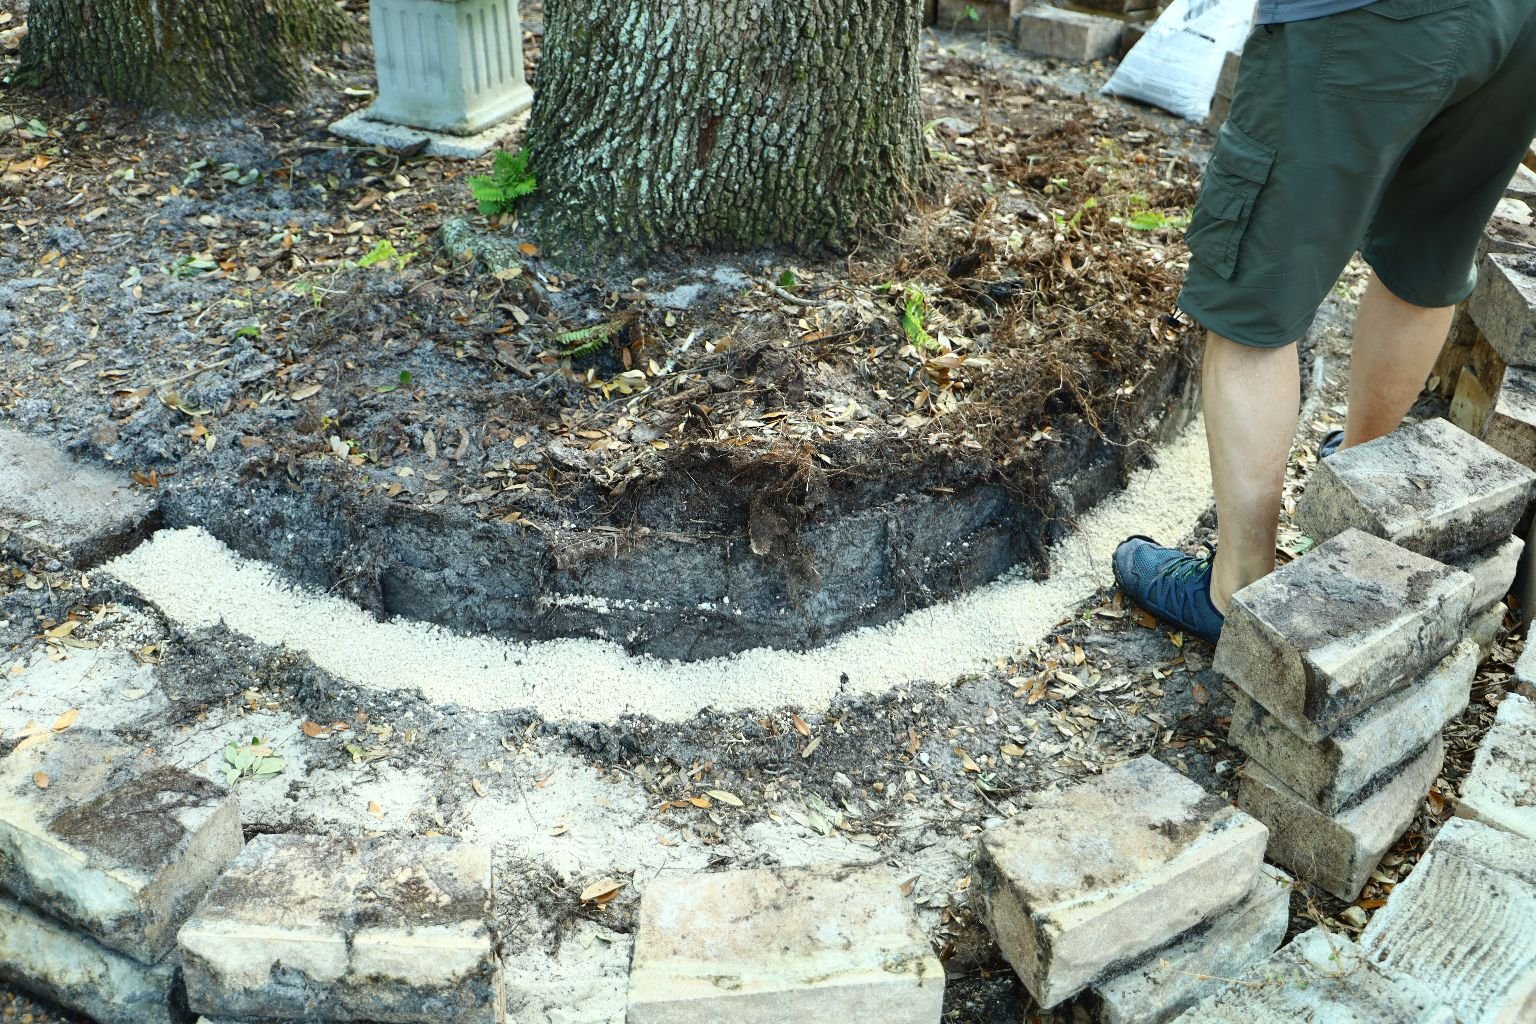
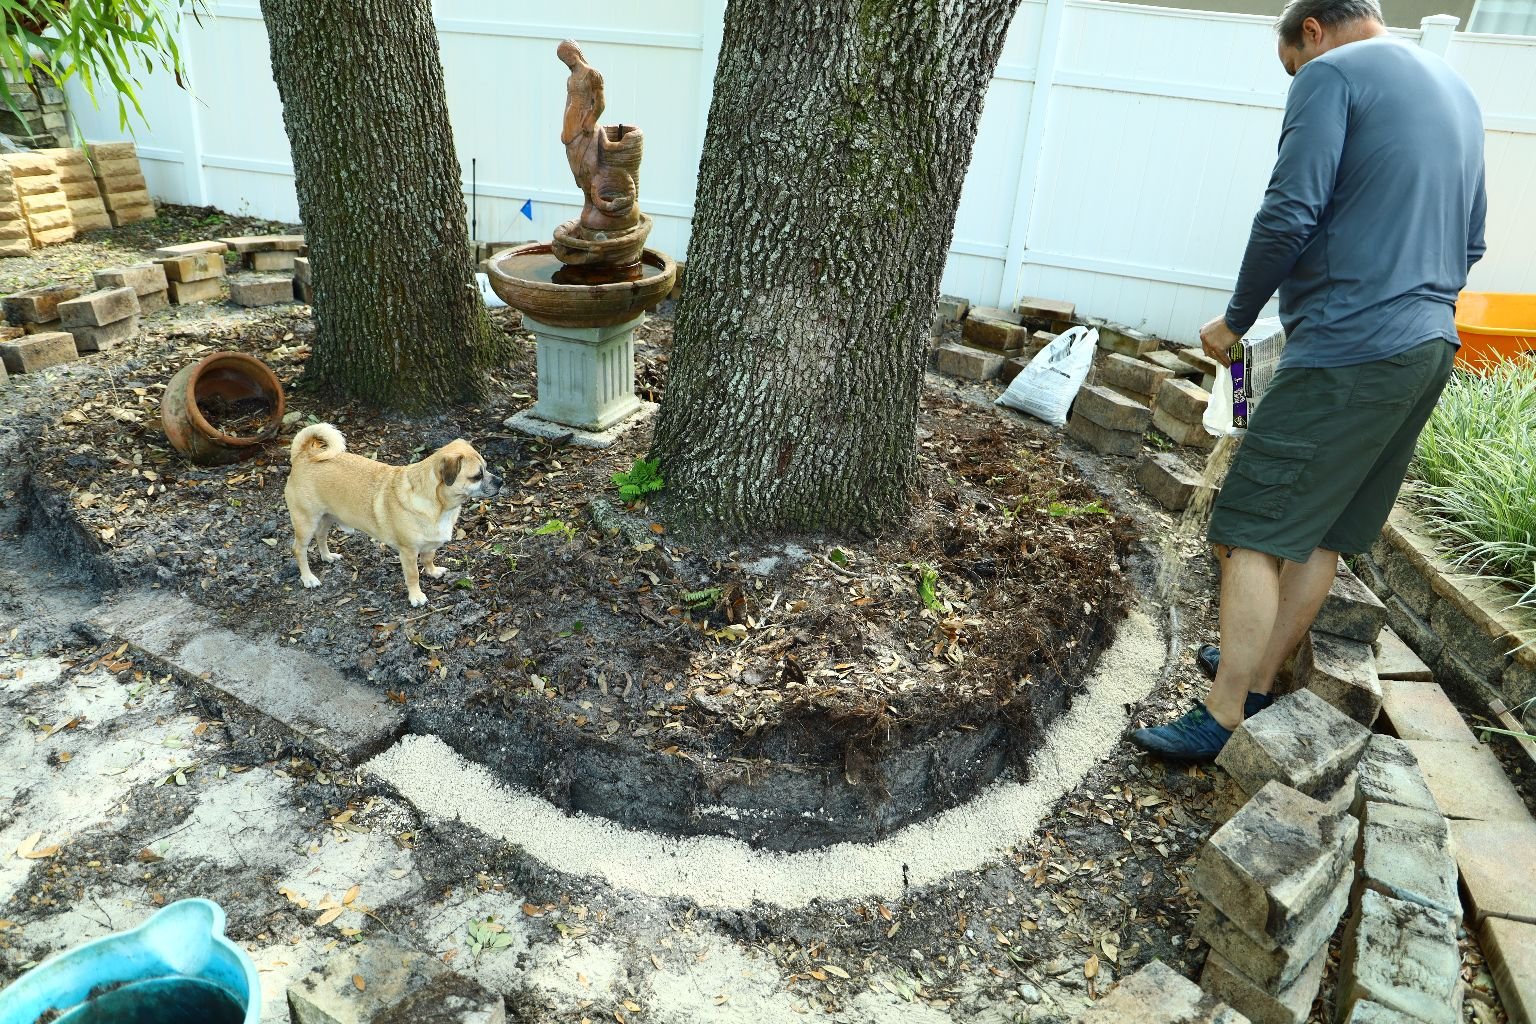
I am trying to use the same location the pavers were in, but I also have to ensure I either remove
the root or go far enough above it that won’t damage the wall again. After spreading about two
inches of the paver base down, I then will simply stomp on it to help flatten it out, while it also
makes the ground firmer to hold the weight of the wall. Once this is done all the way around the
base of the wall, you will then place one inch of sand all the way around again.
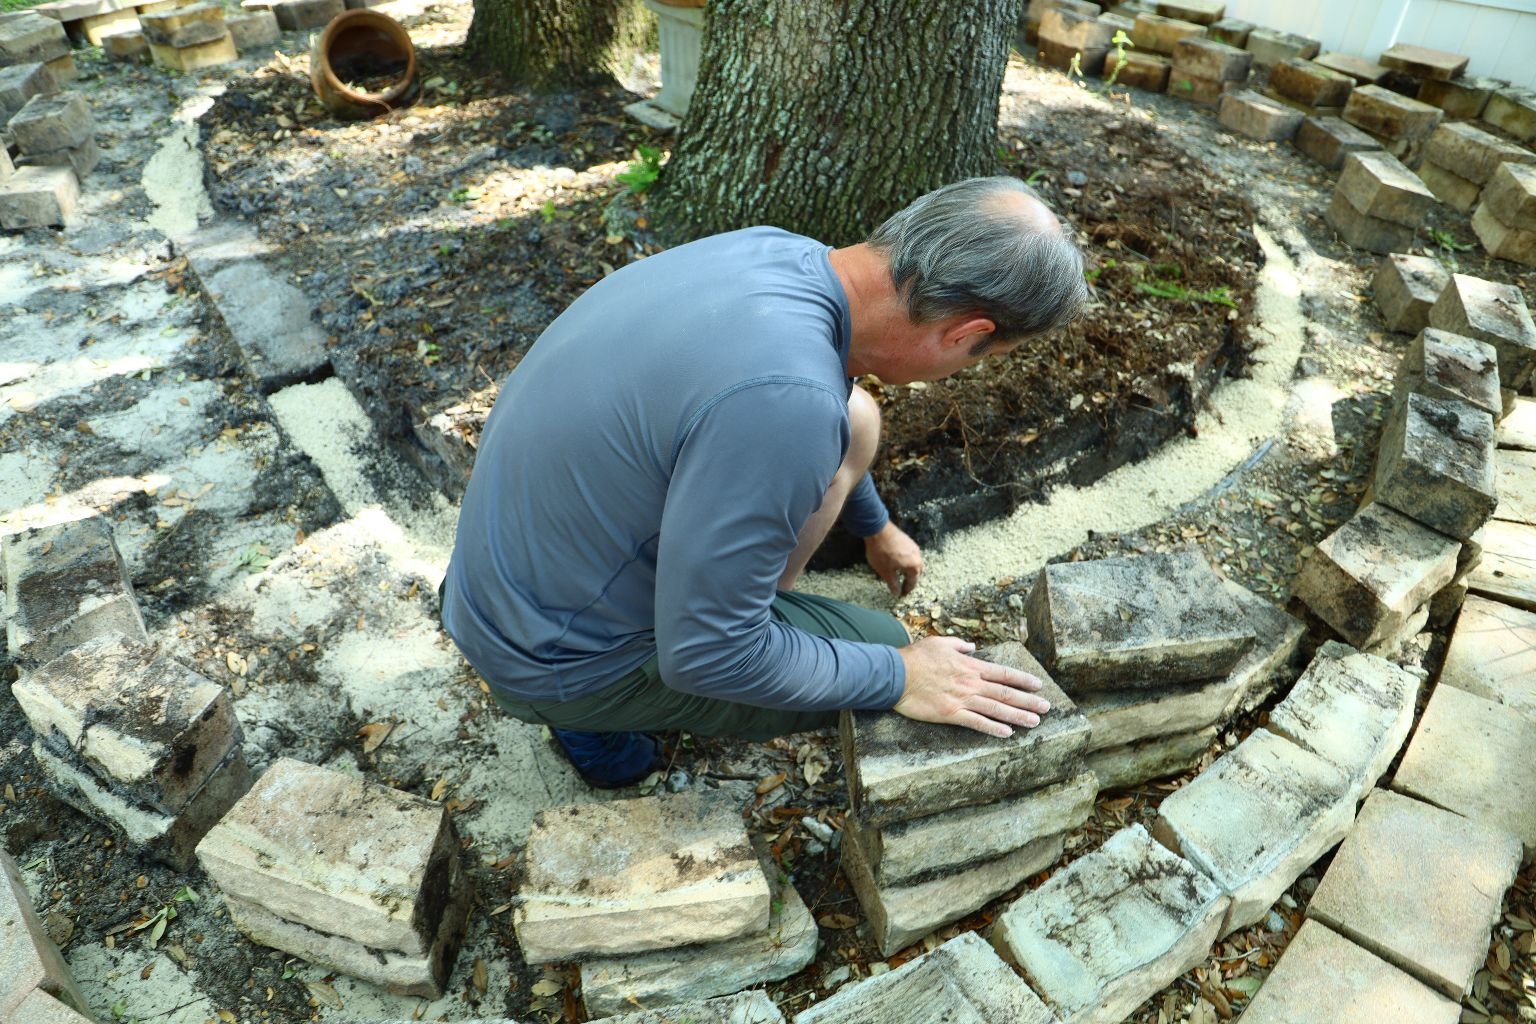
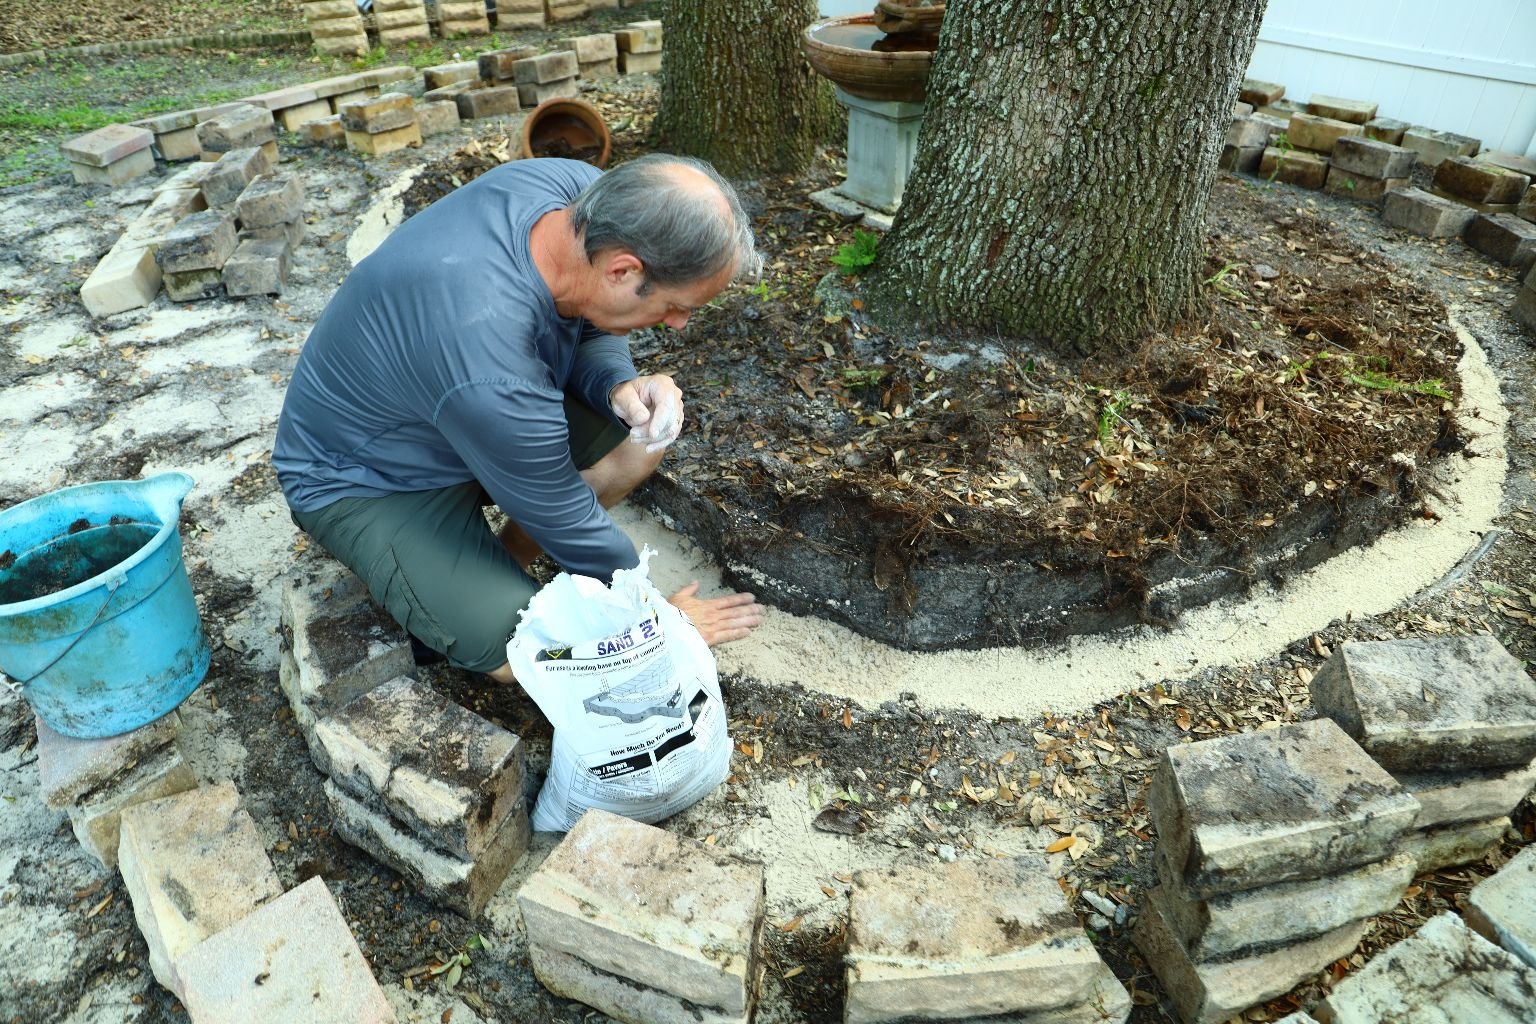
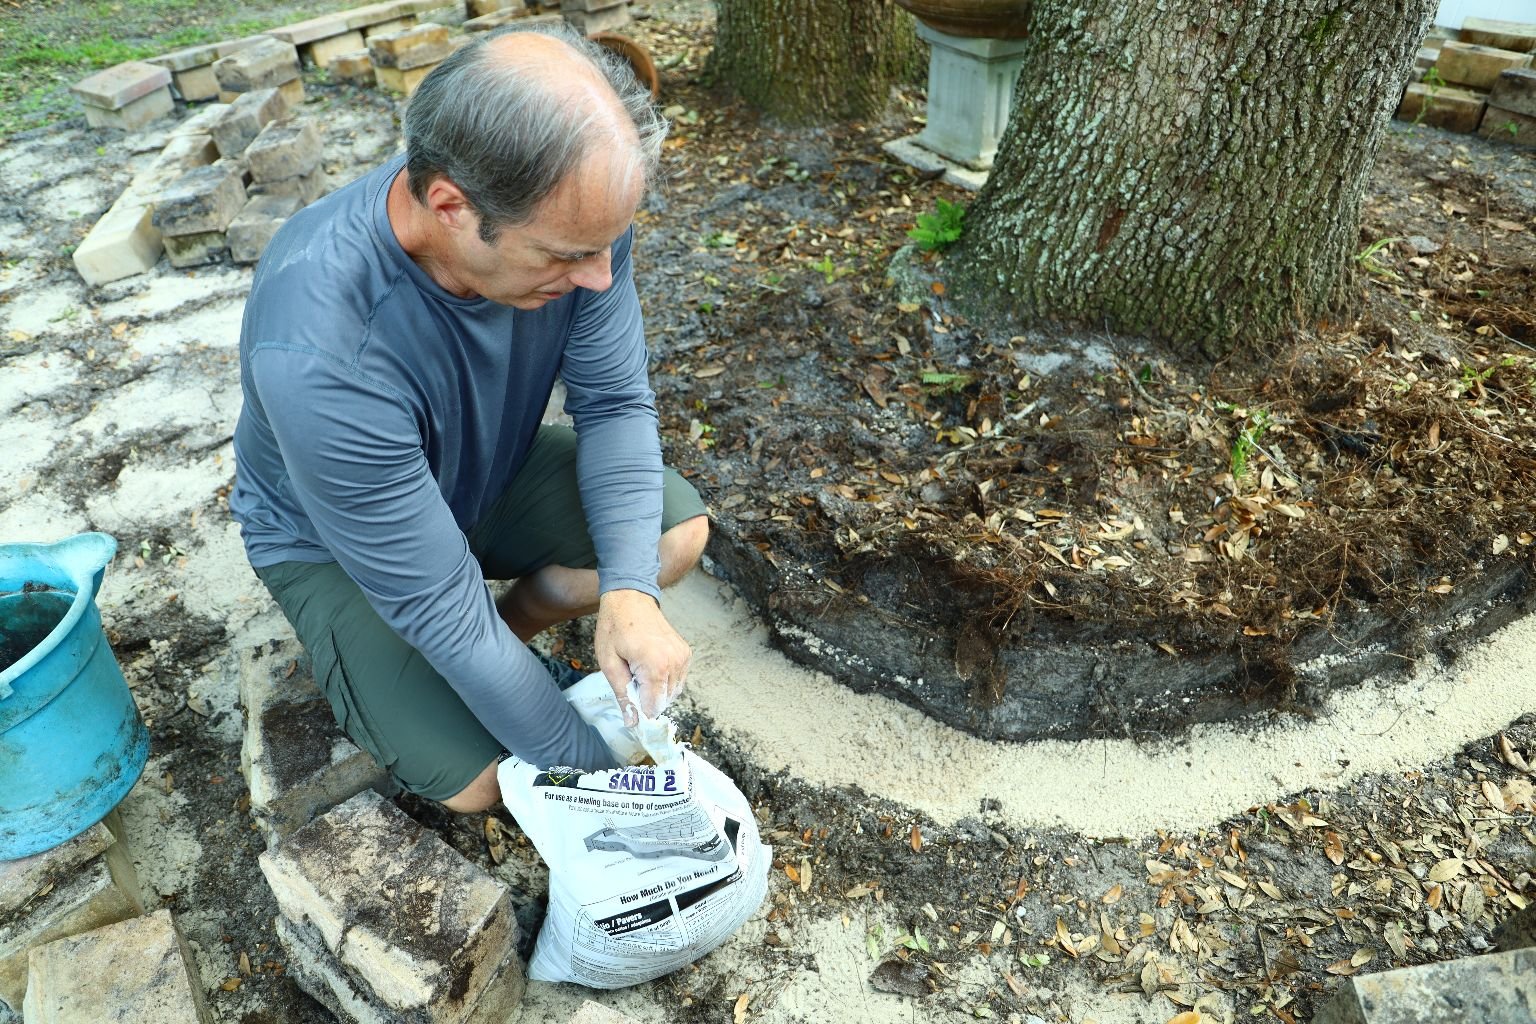
Smooth out the paver base some before adding the sand. You do want the sand to be nice and
flat when you are done. I just throw the sand in the area. As you add your blocks, you may need
more or less to make the block leve.
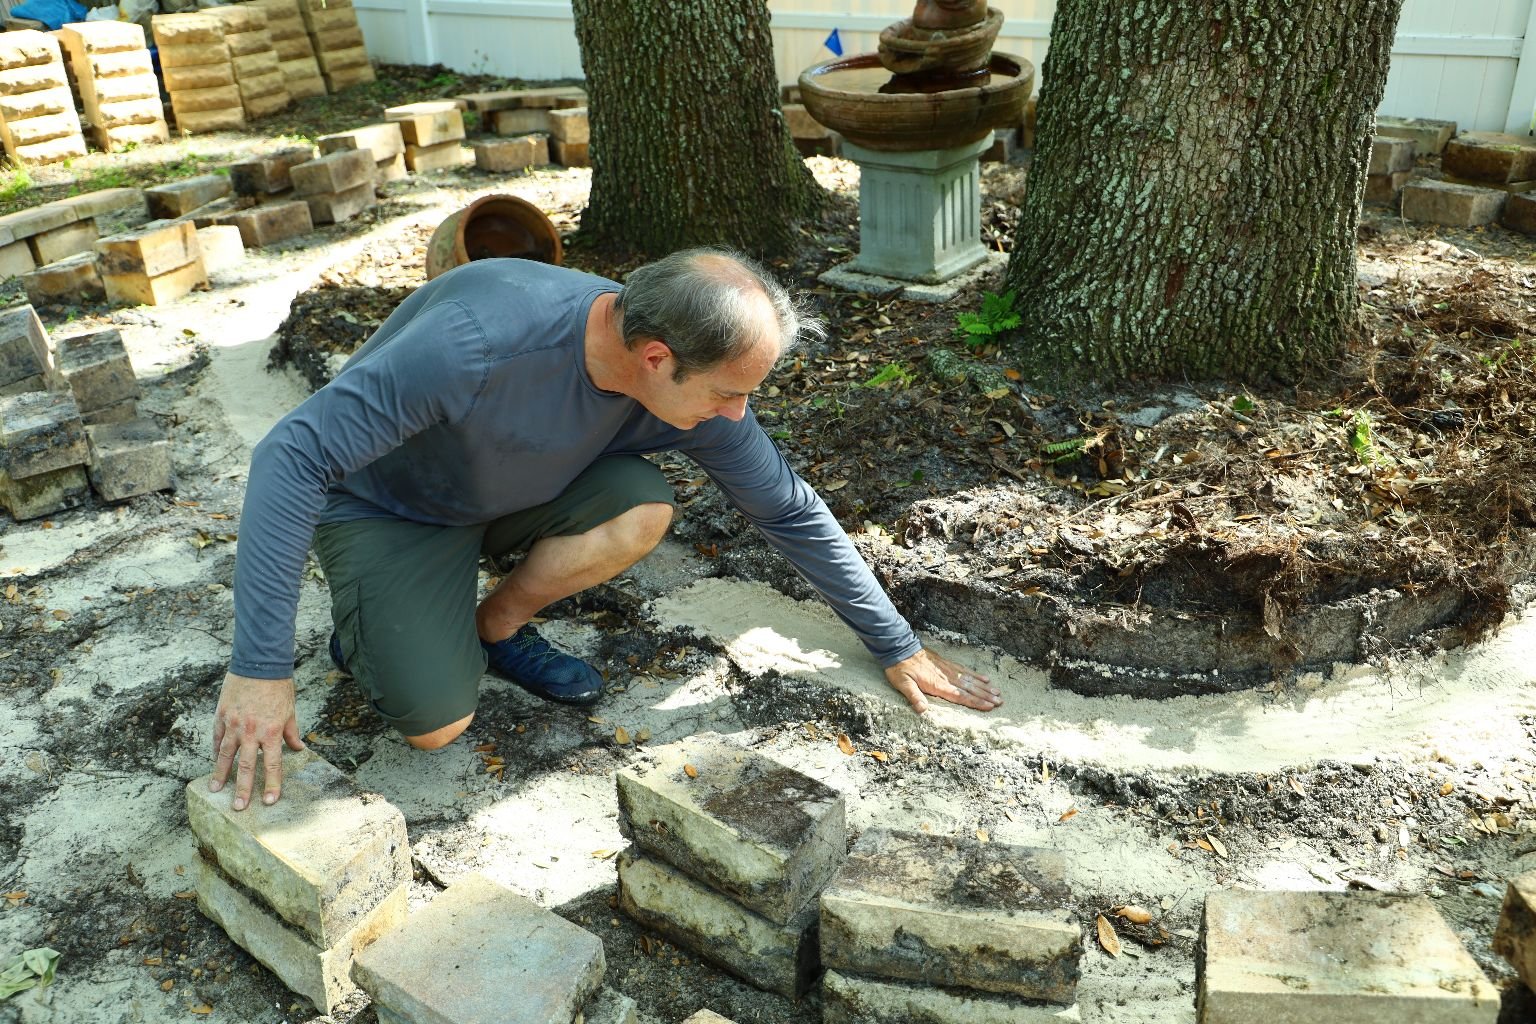
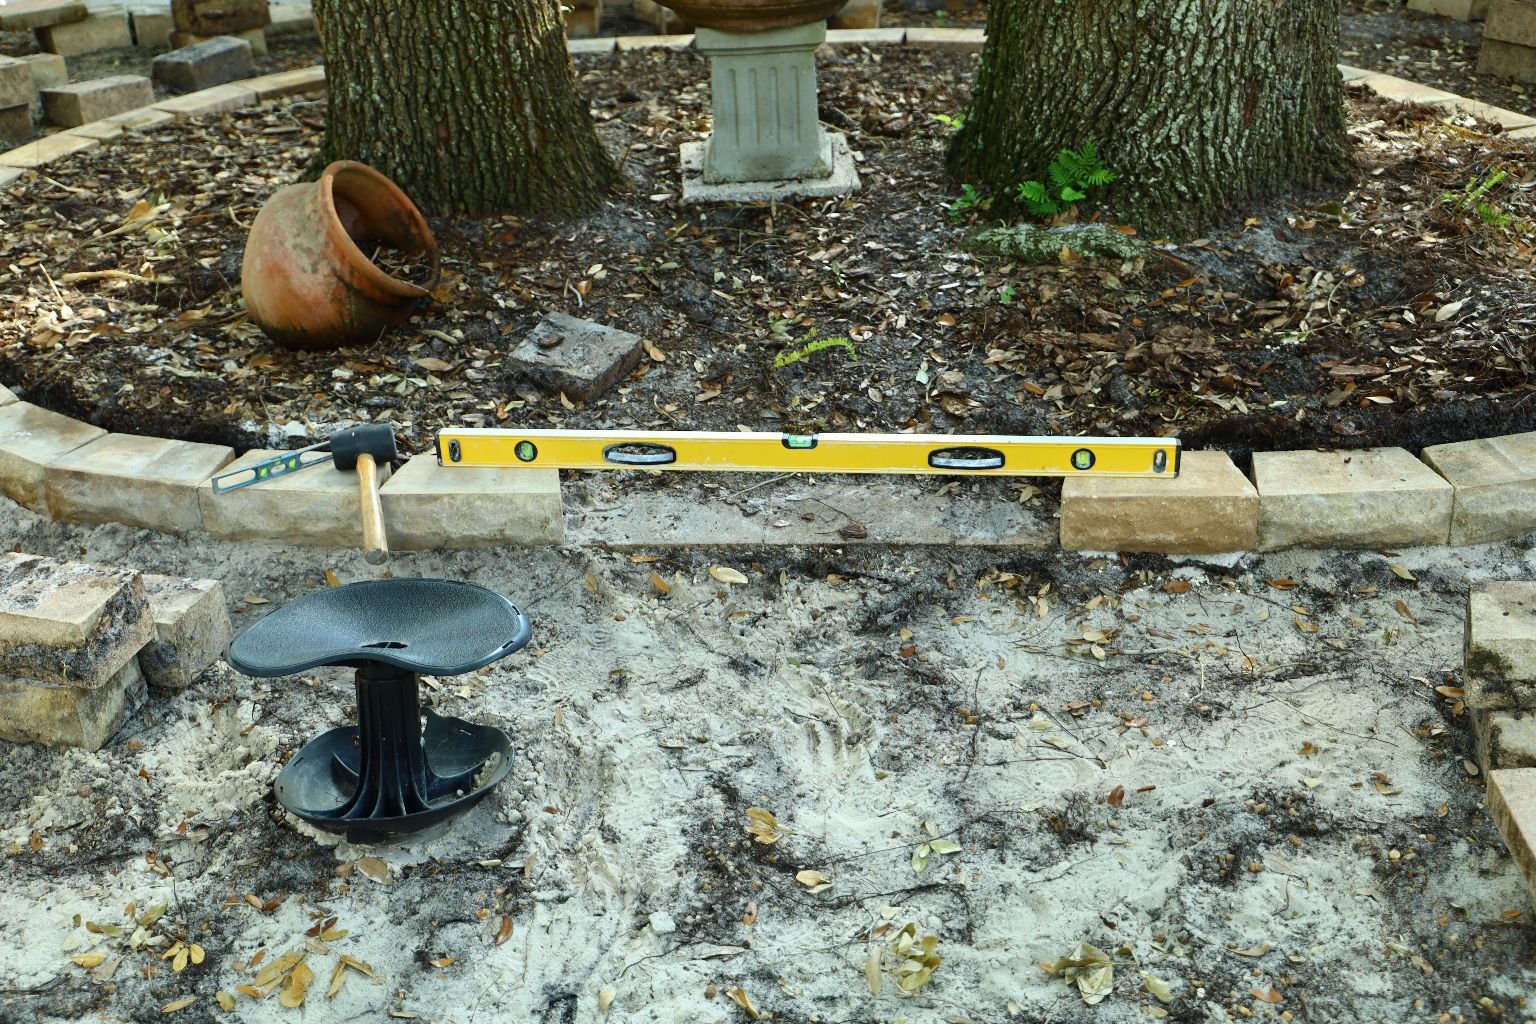
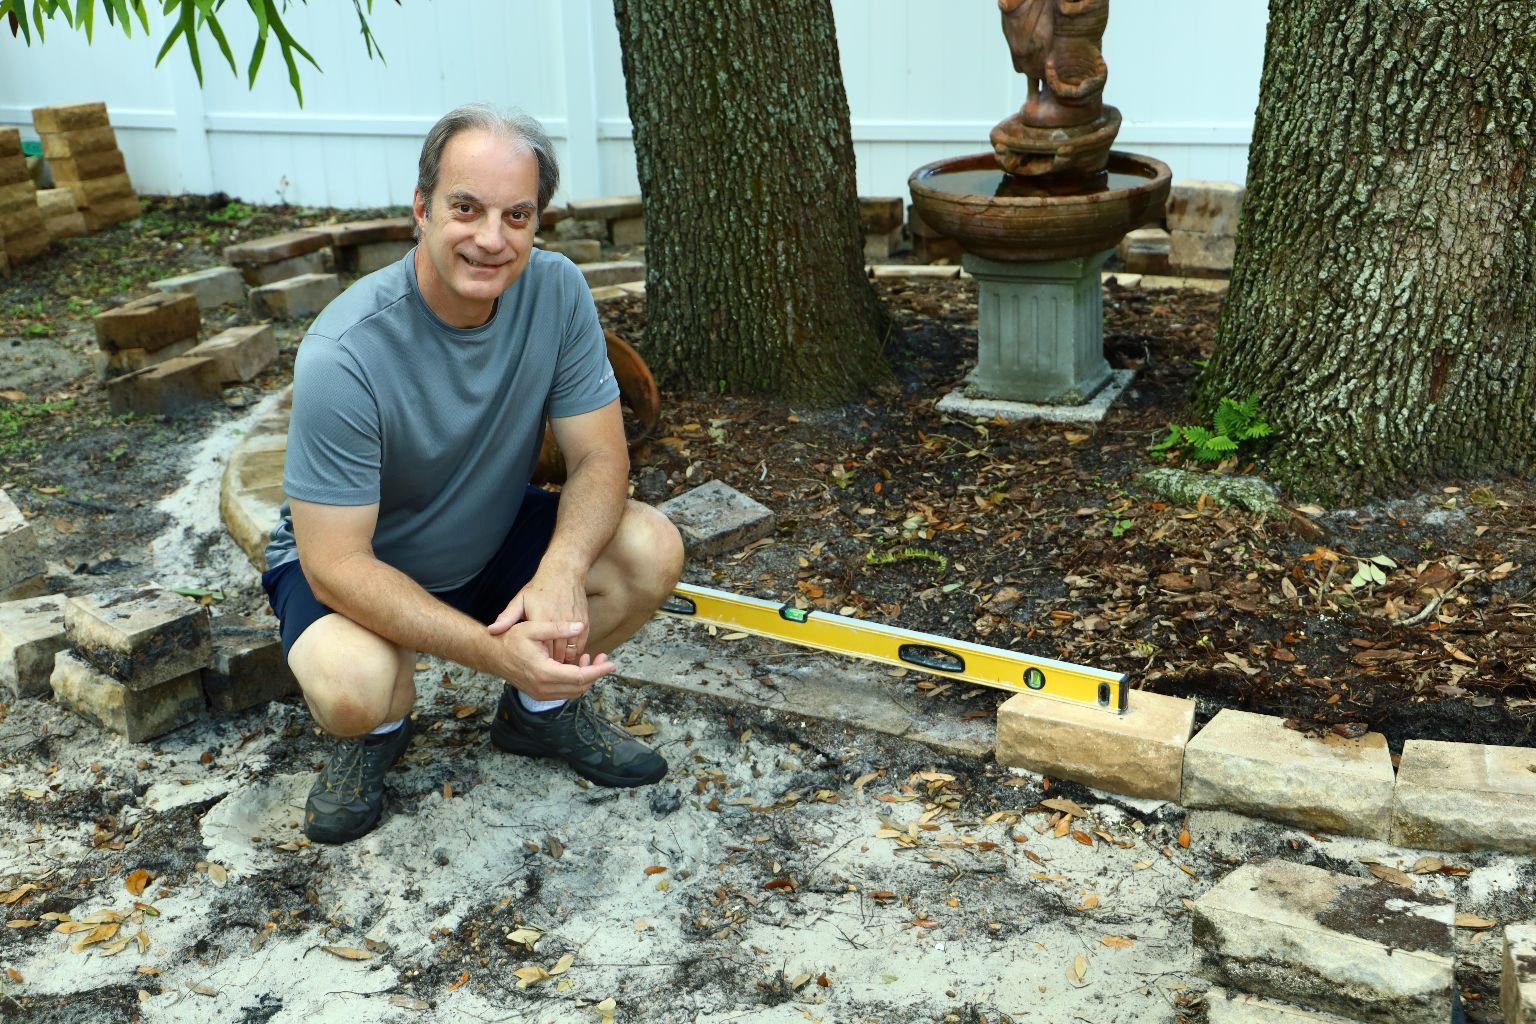
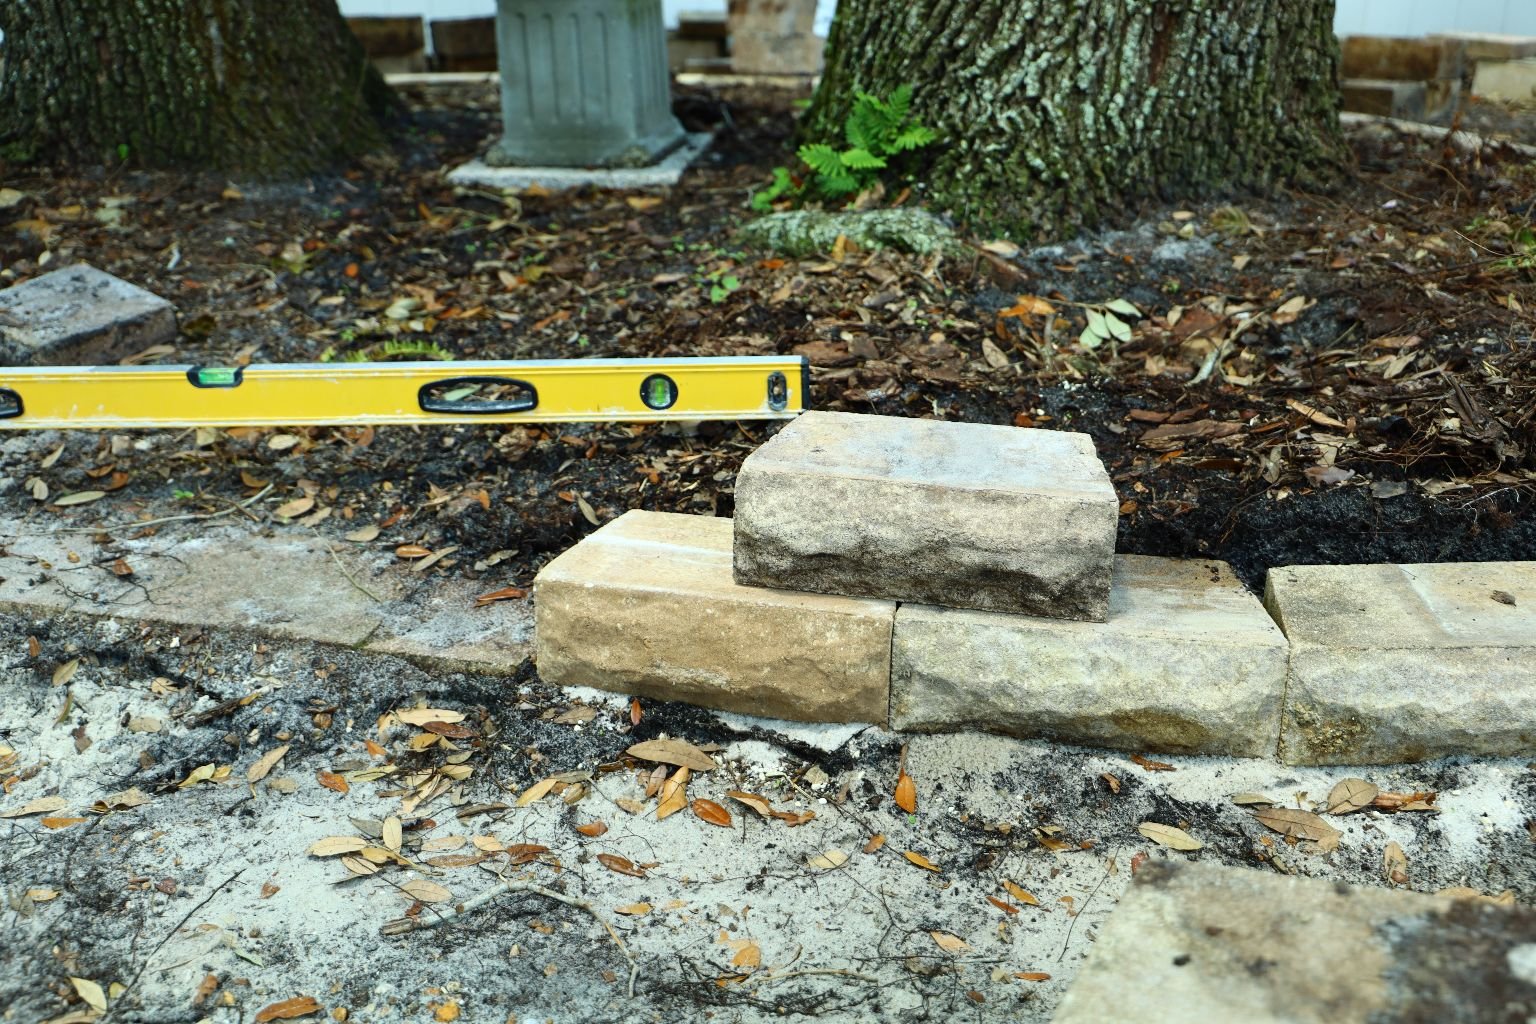
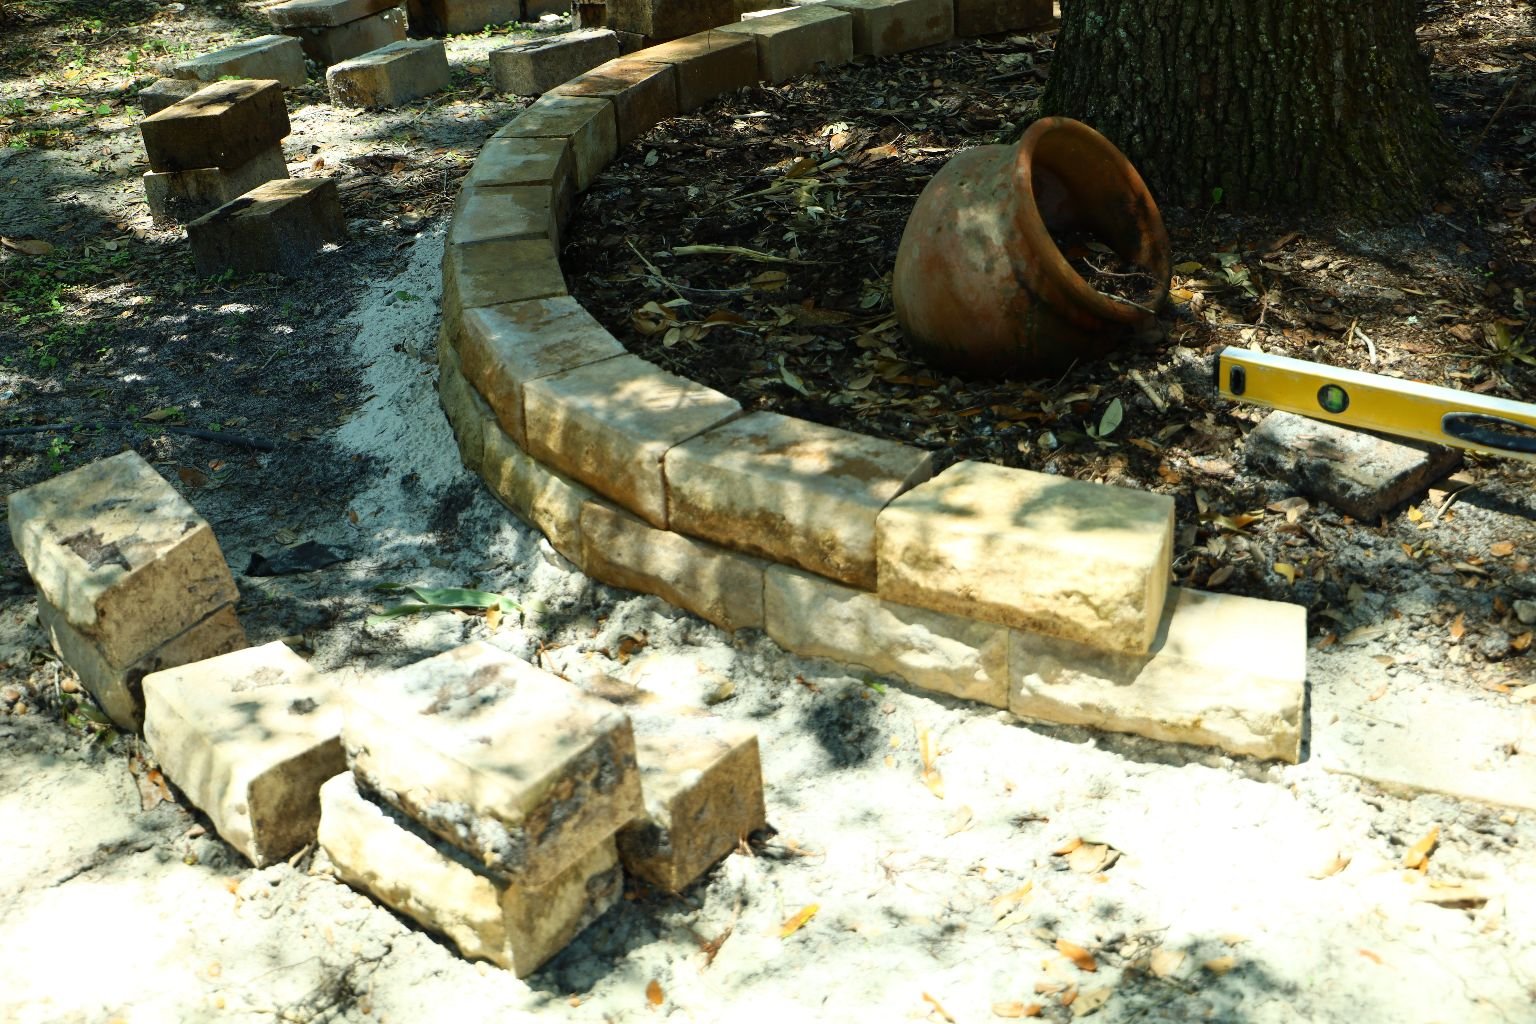
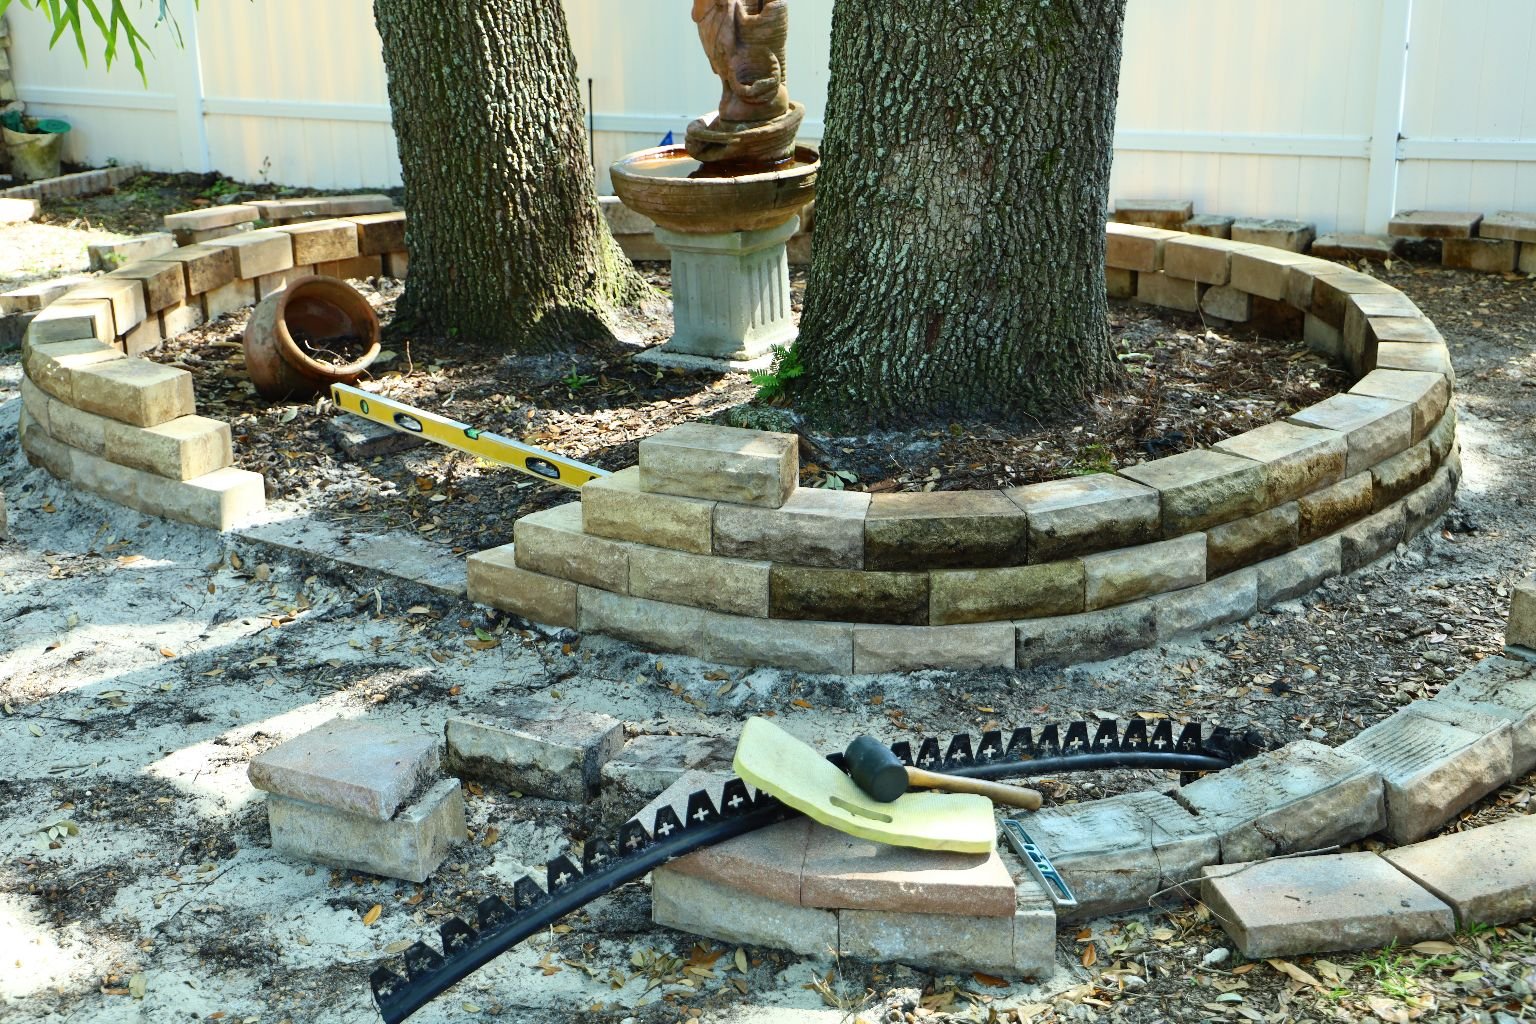
It is time to start to lay down the first block. This block is crucial as this will be the starting
height of the first layer of stones. I had to remove the tree root in the back of the wall, and this
process of adding the paver base then sand, placed the wall a good three inches higher than it
was previously.
I am keeping the same patter I had before using the “C” shape, so I left a gap in the front of the
wall. I then placed the first block down and now I am making it level from front to back and side
to side. Use a rubber mallet to help with this process. Once done, place another block next to it
and make it level with the first block side to side and back to back.
The step is very crucial as all the blocks in the wall are placed upon this first level and if they are
not level, your entire wall won’t be level, so take your time and do it right.

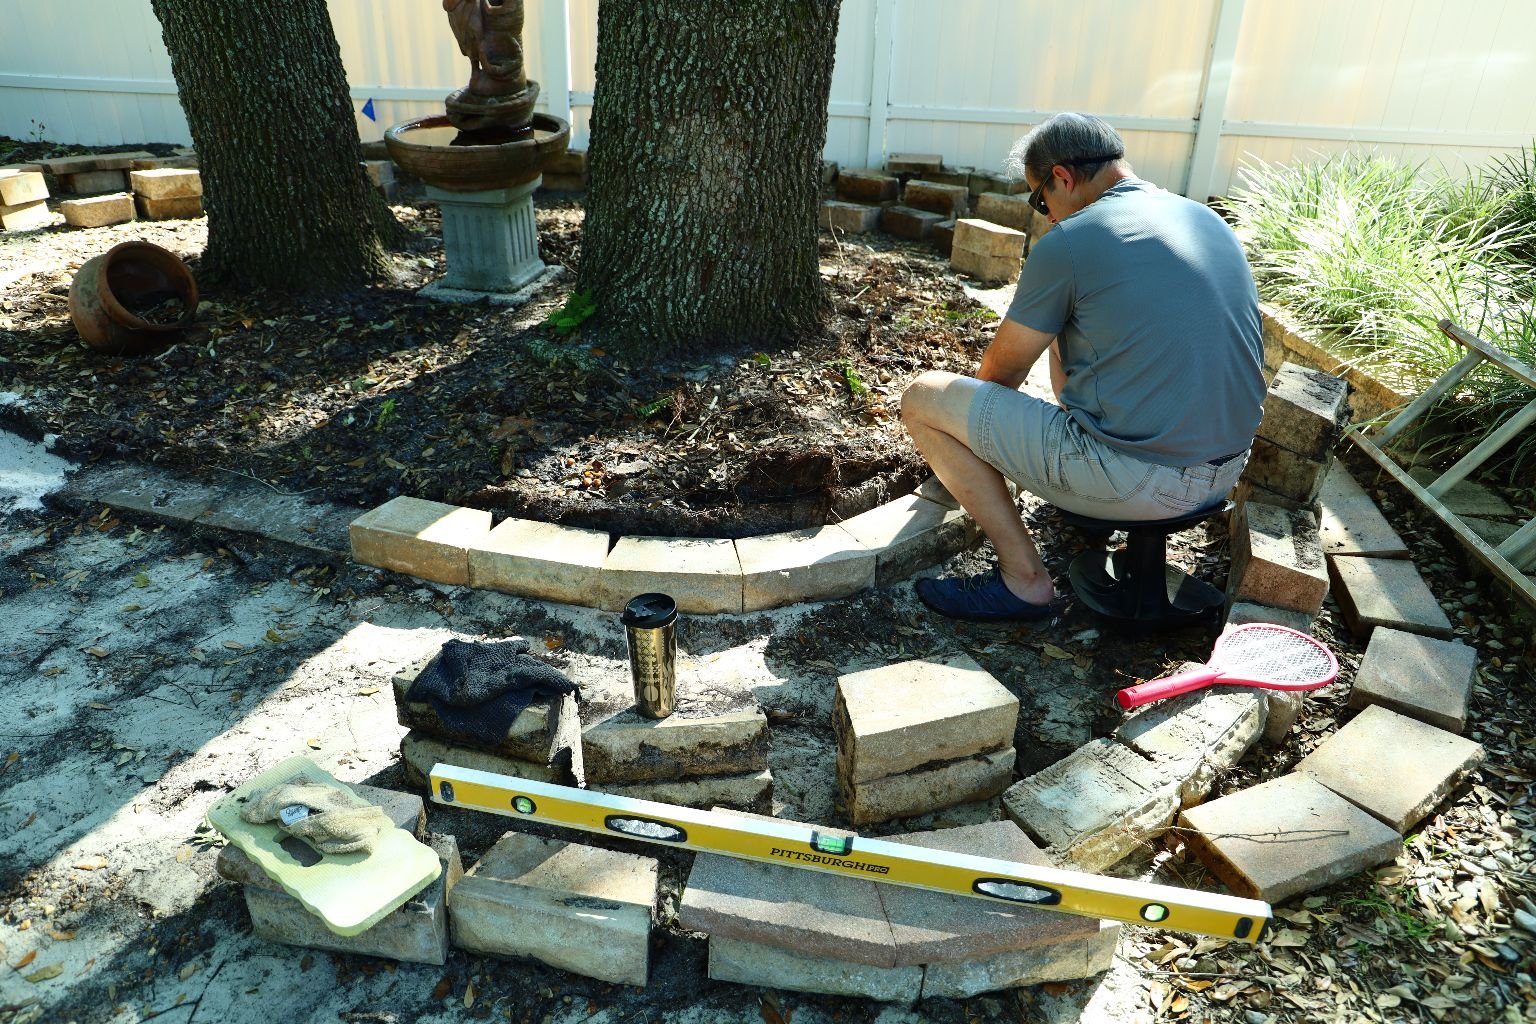
More back breaking work, but once this is done, the rest of the wall goes up fast.
Again, go slow and make each block perfectly level with the one next to it. You may have to add
more sand or even take some away from underneath the stone.
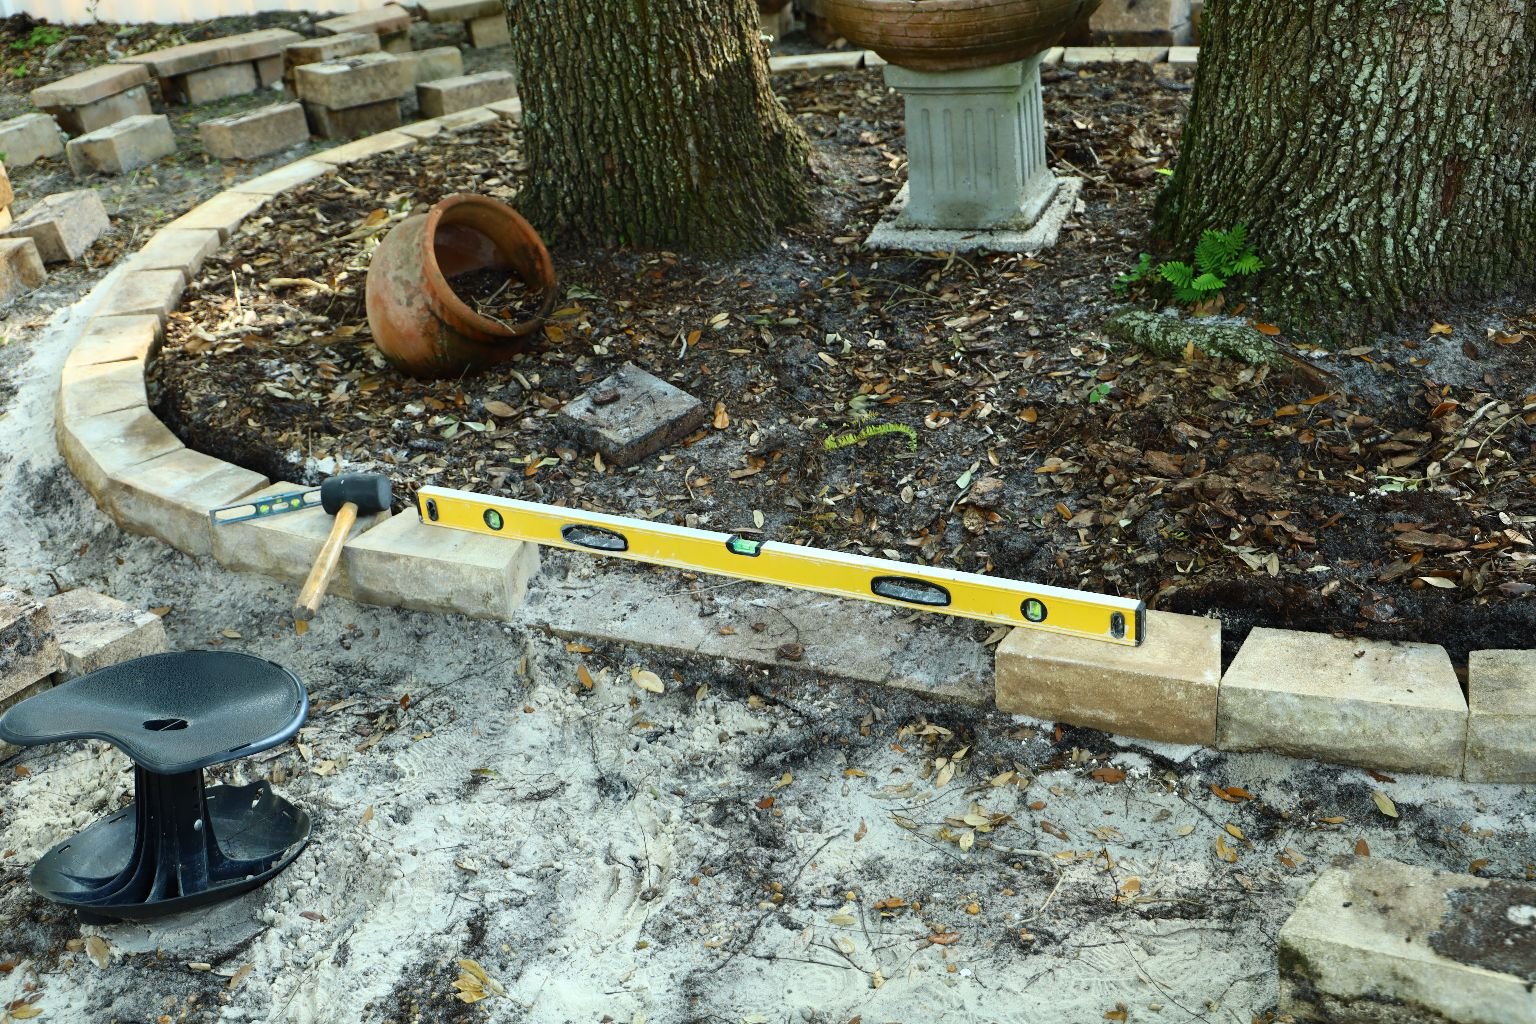
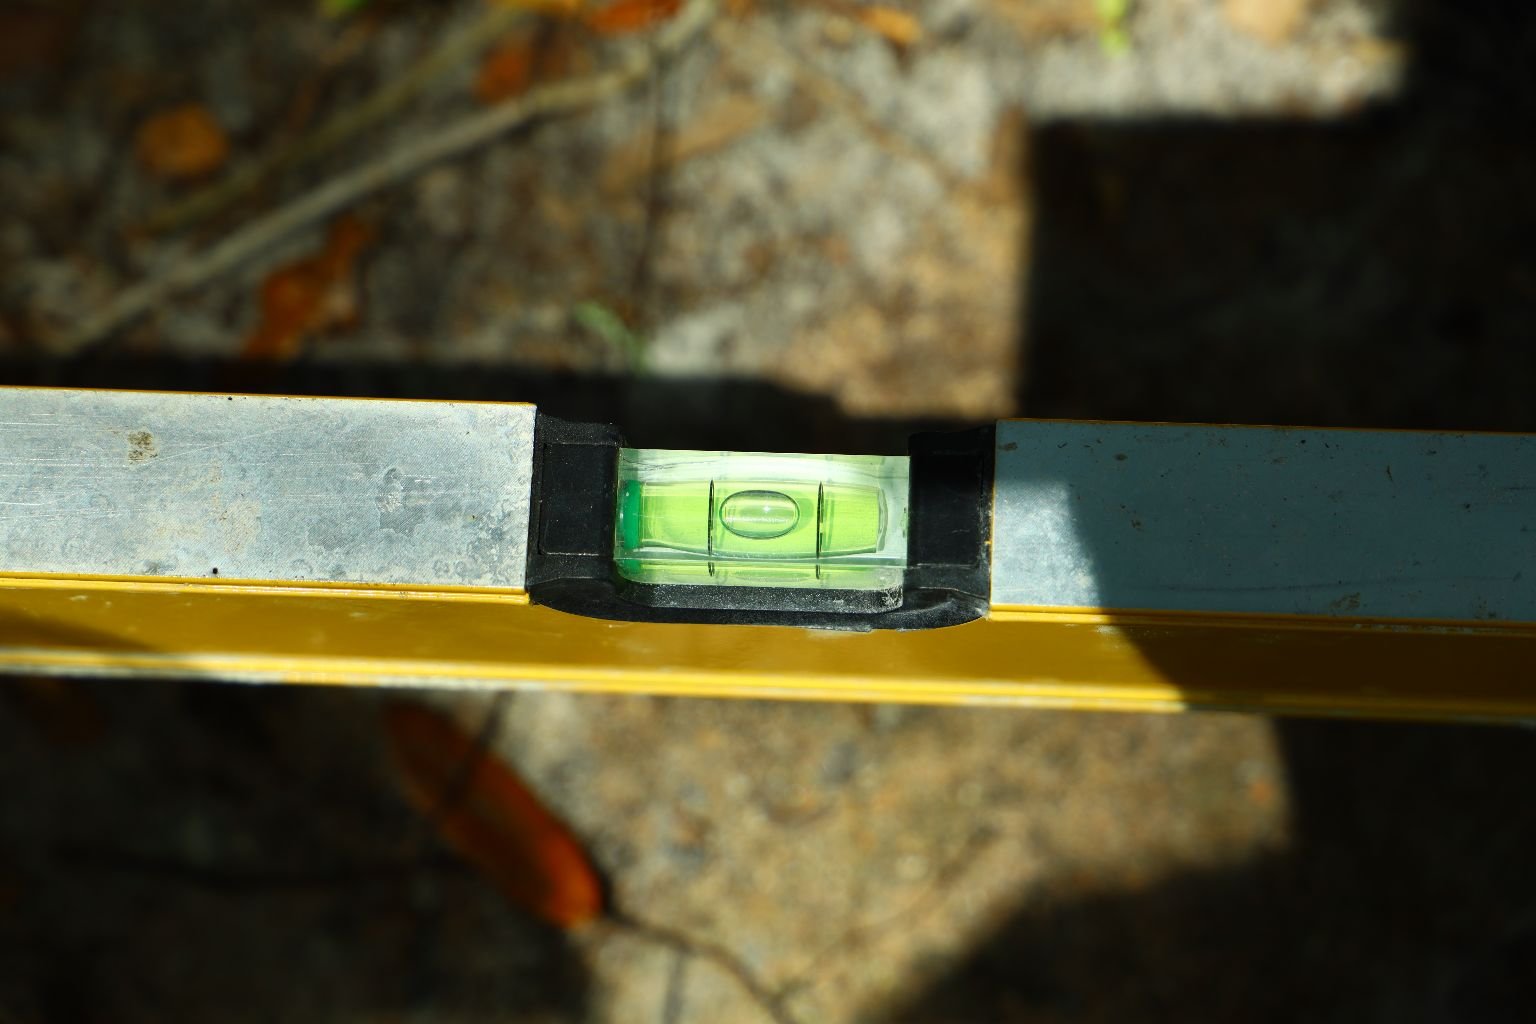
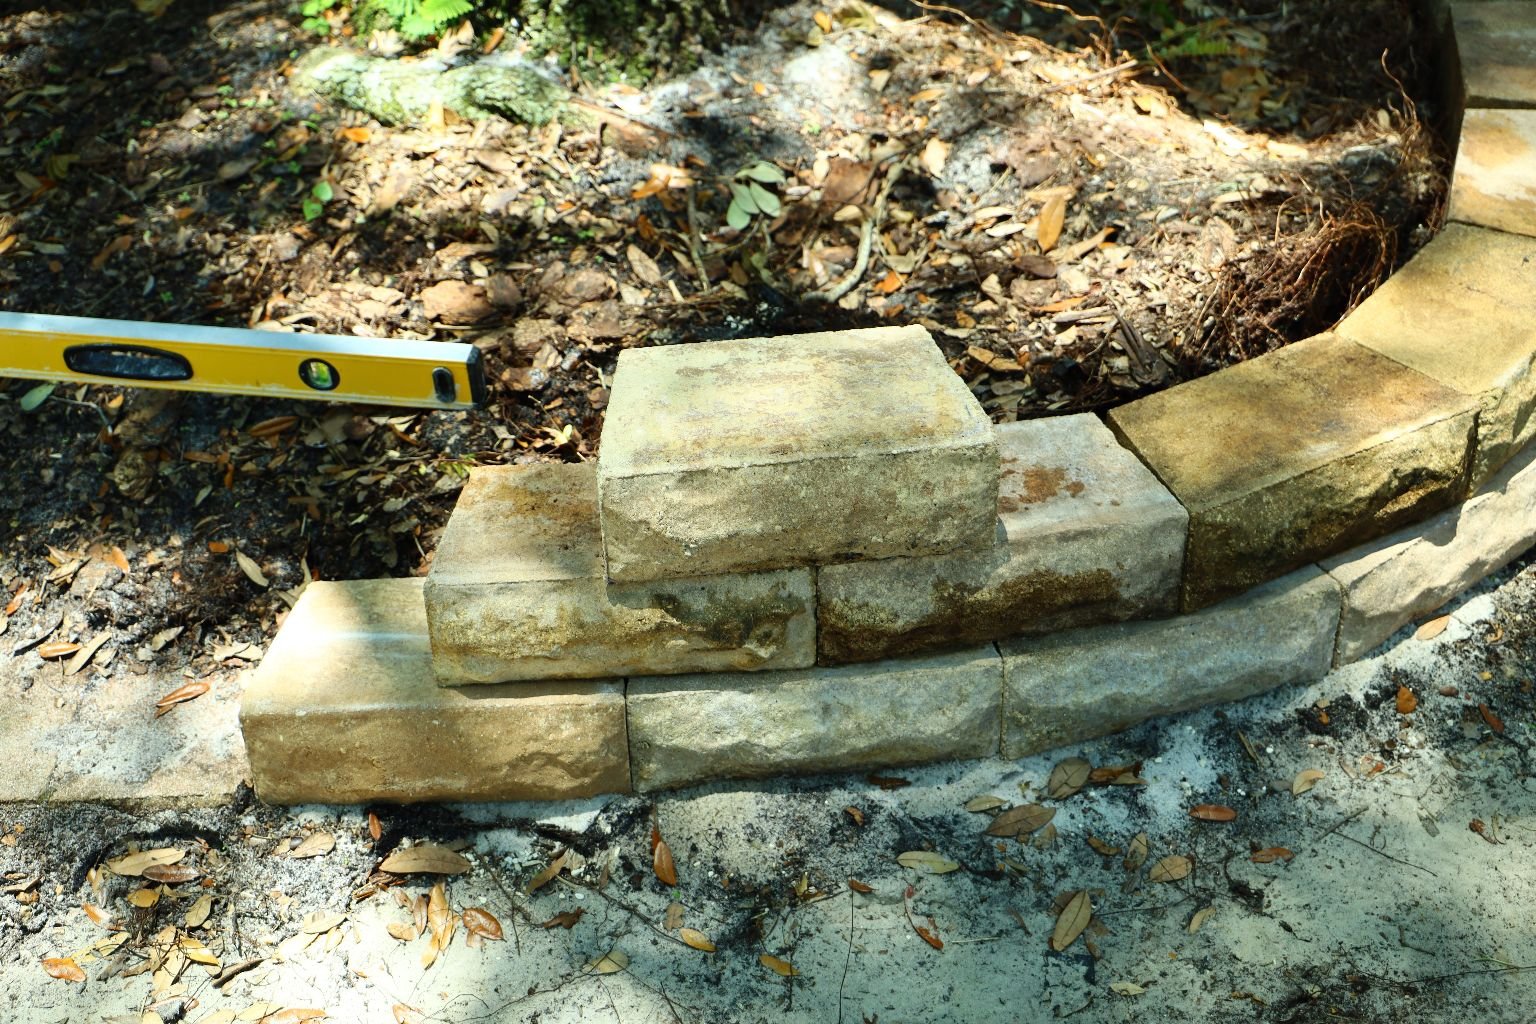
If you do it right, you should have these results. Here I took my long level and placed it on the
first block and the last block.
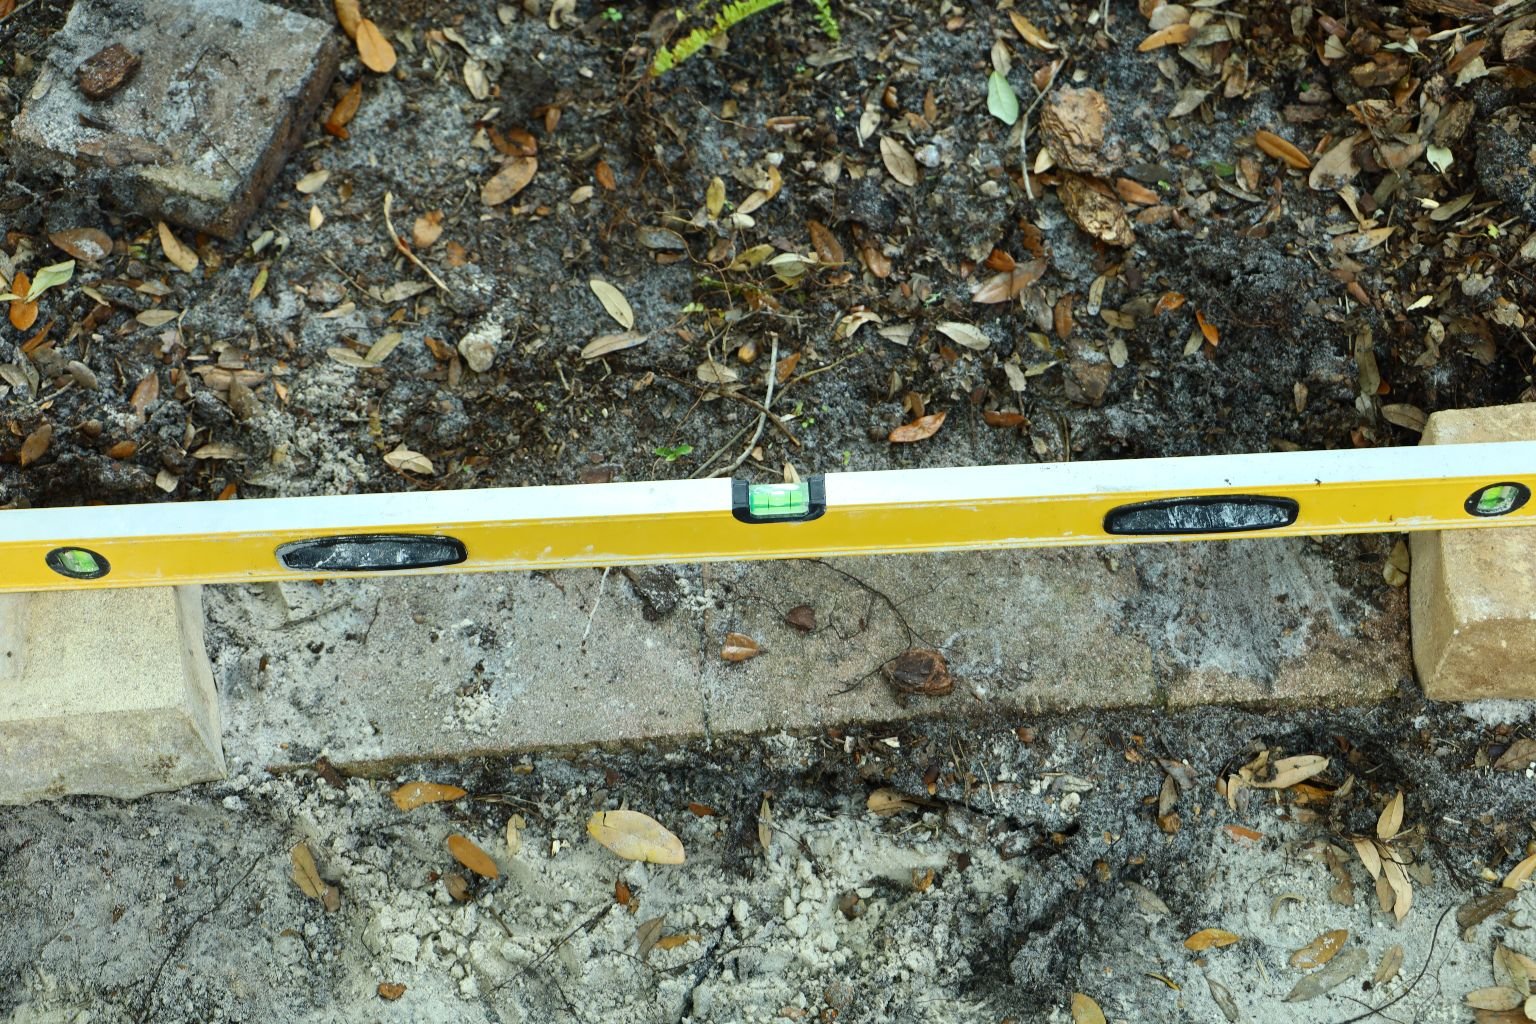

It is perfectly level between the two blocks! This is what doing it right looks like.
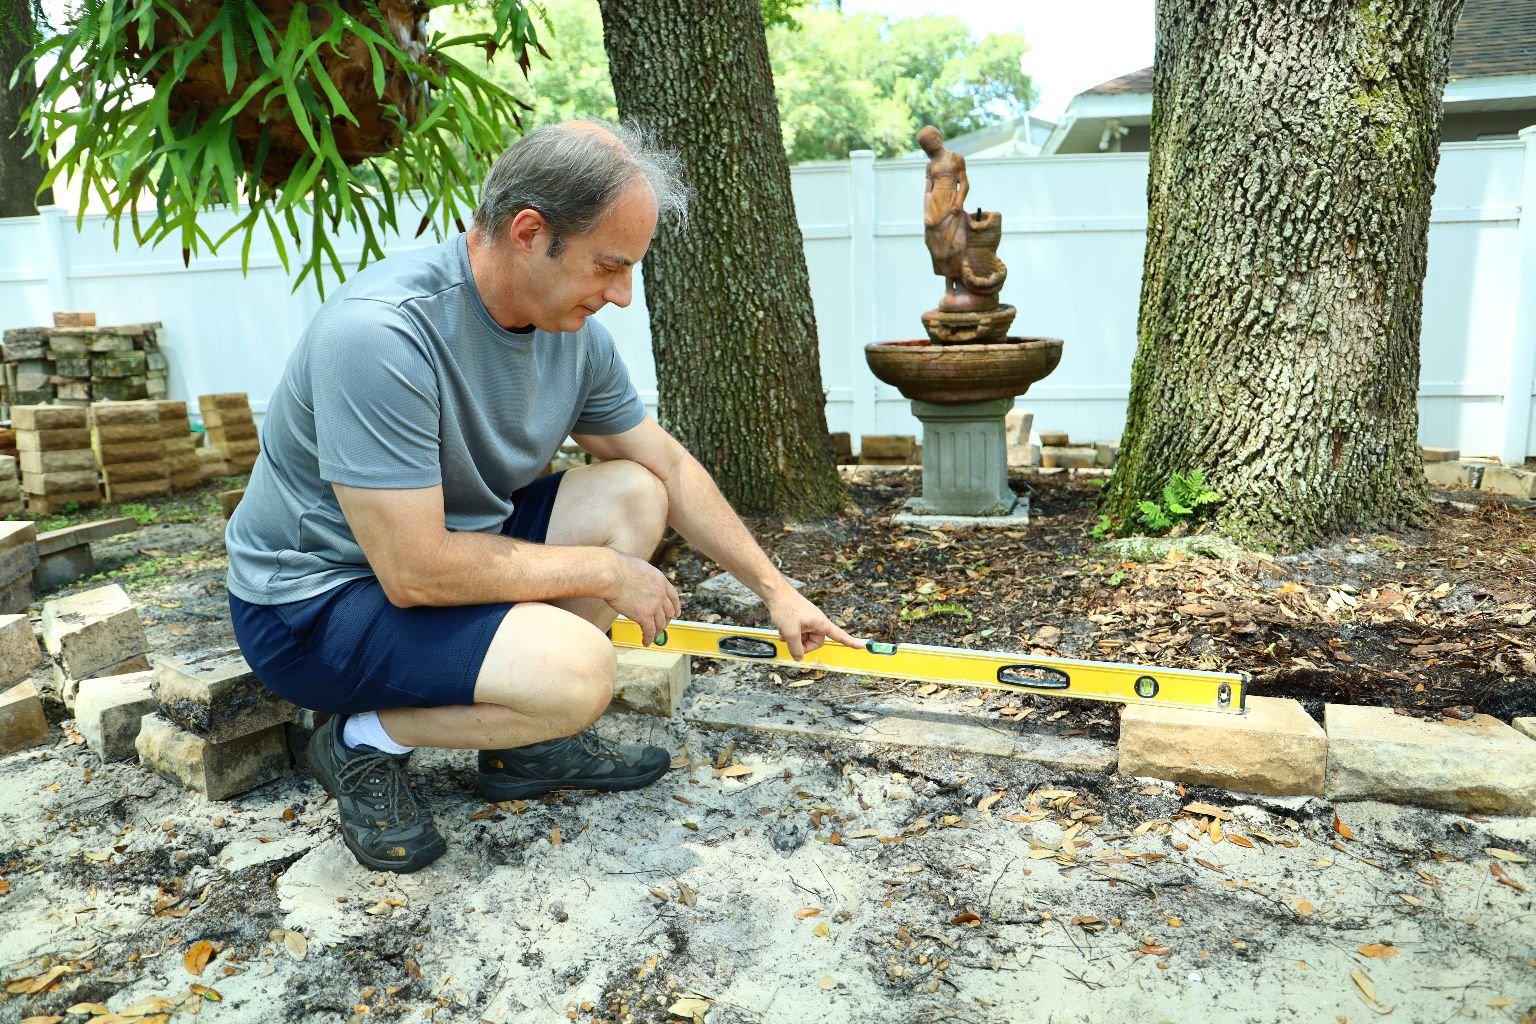
I am so proud!
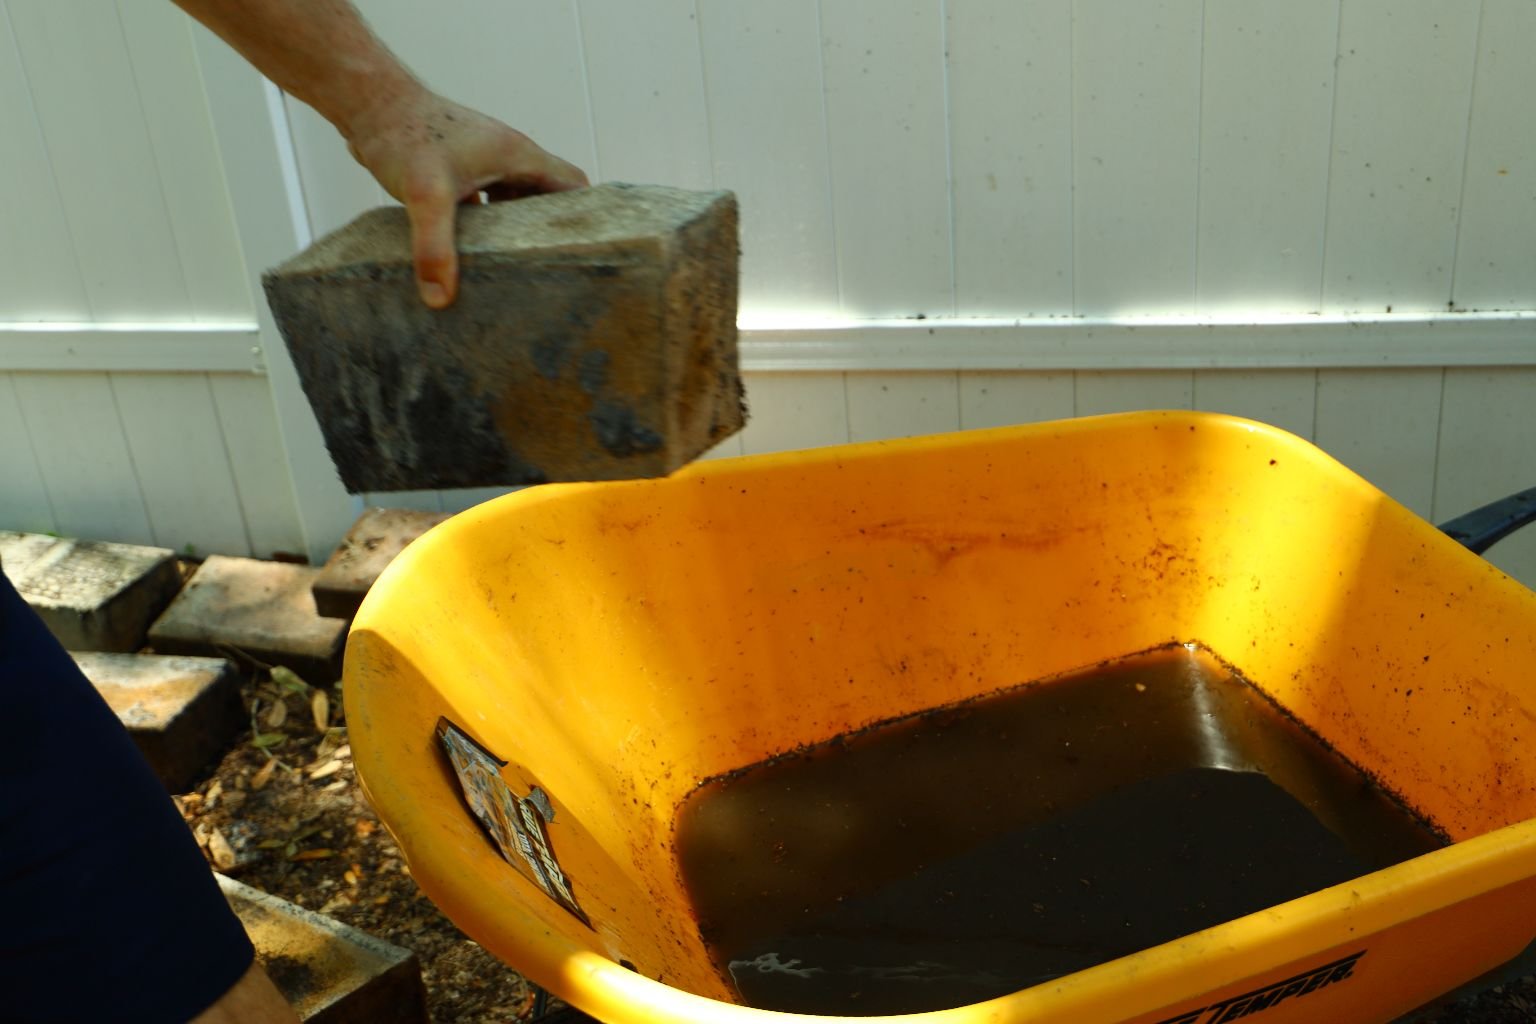
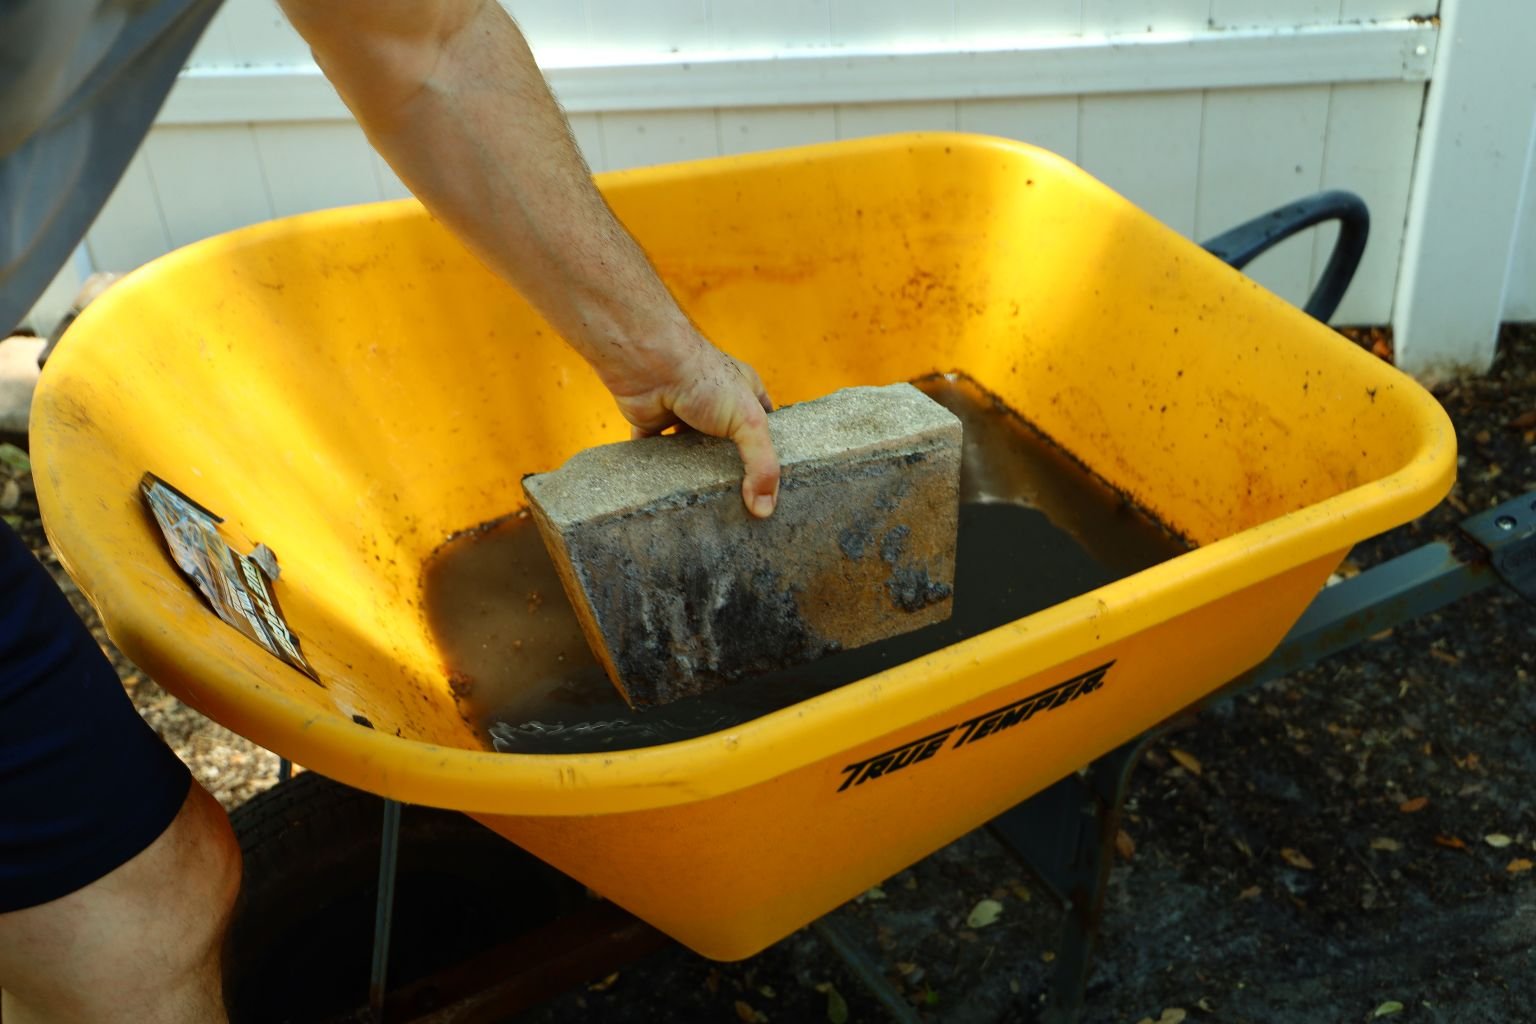
After some rest, it is now time for the second layer of stones, but they need to be cleaned off
before being placed on the wall. You start by scrubbing them down in some water as shown
below, they place the block in the center of the lower two blocks forming a brick pattern.
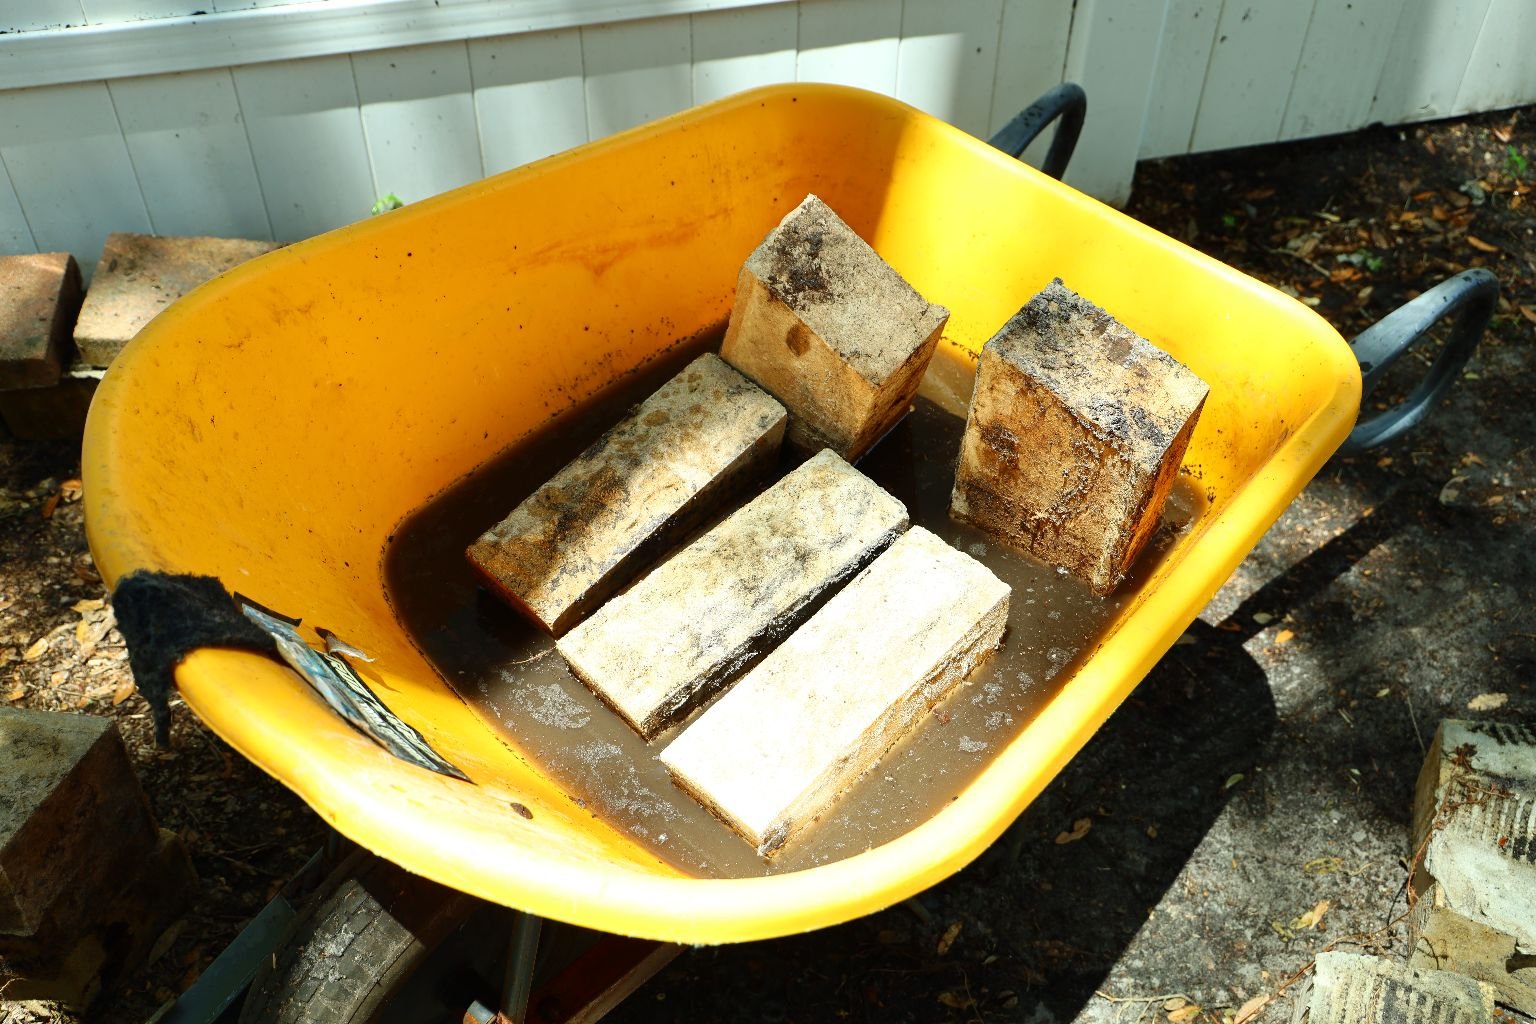
Cleaning the blocks.
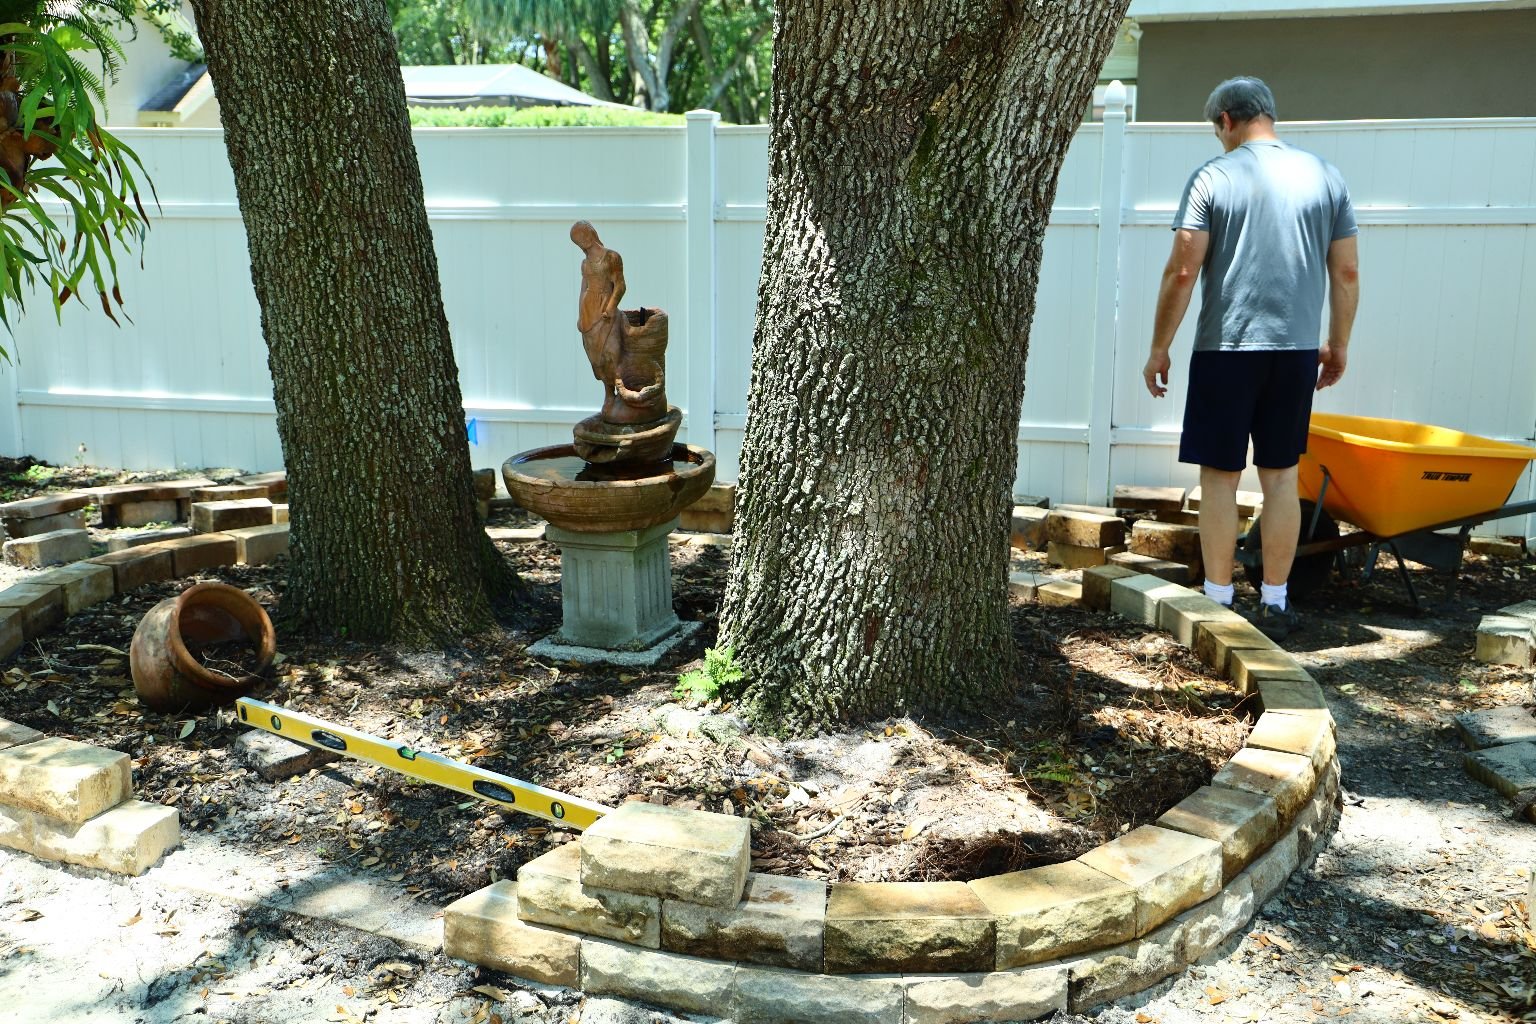
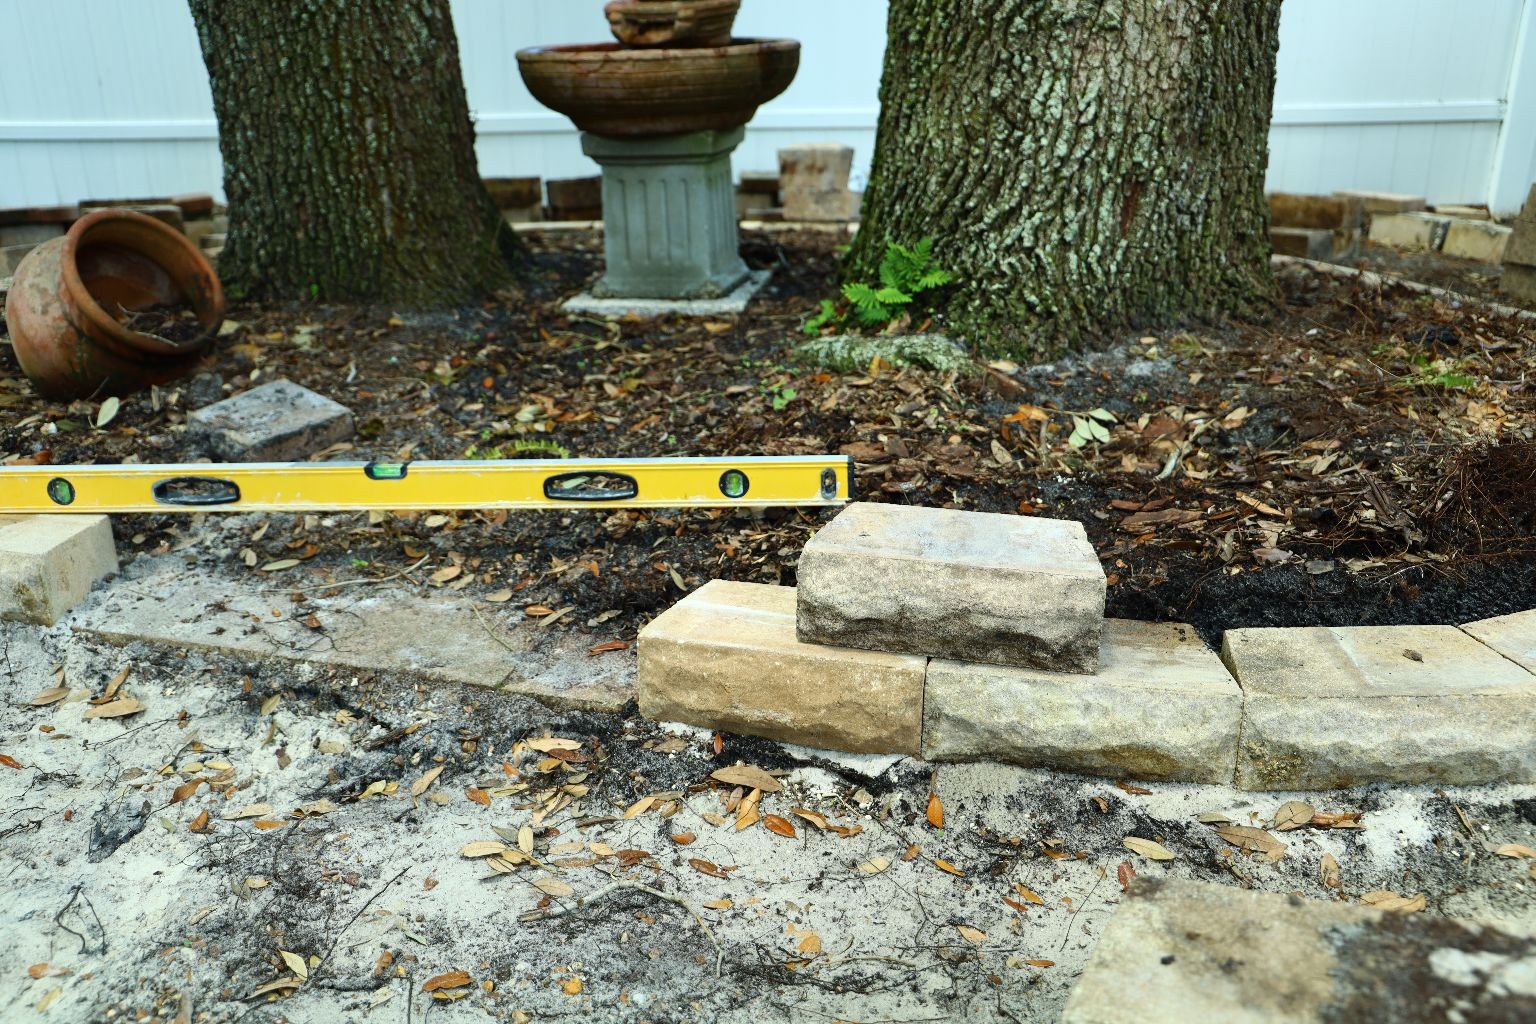
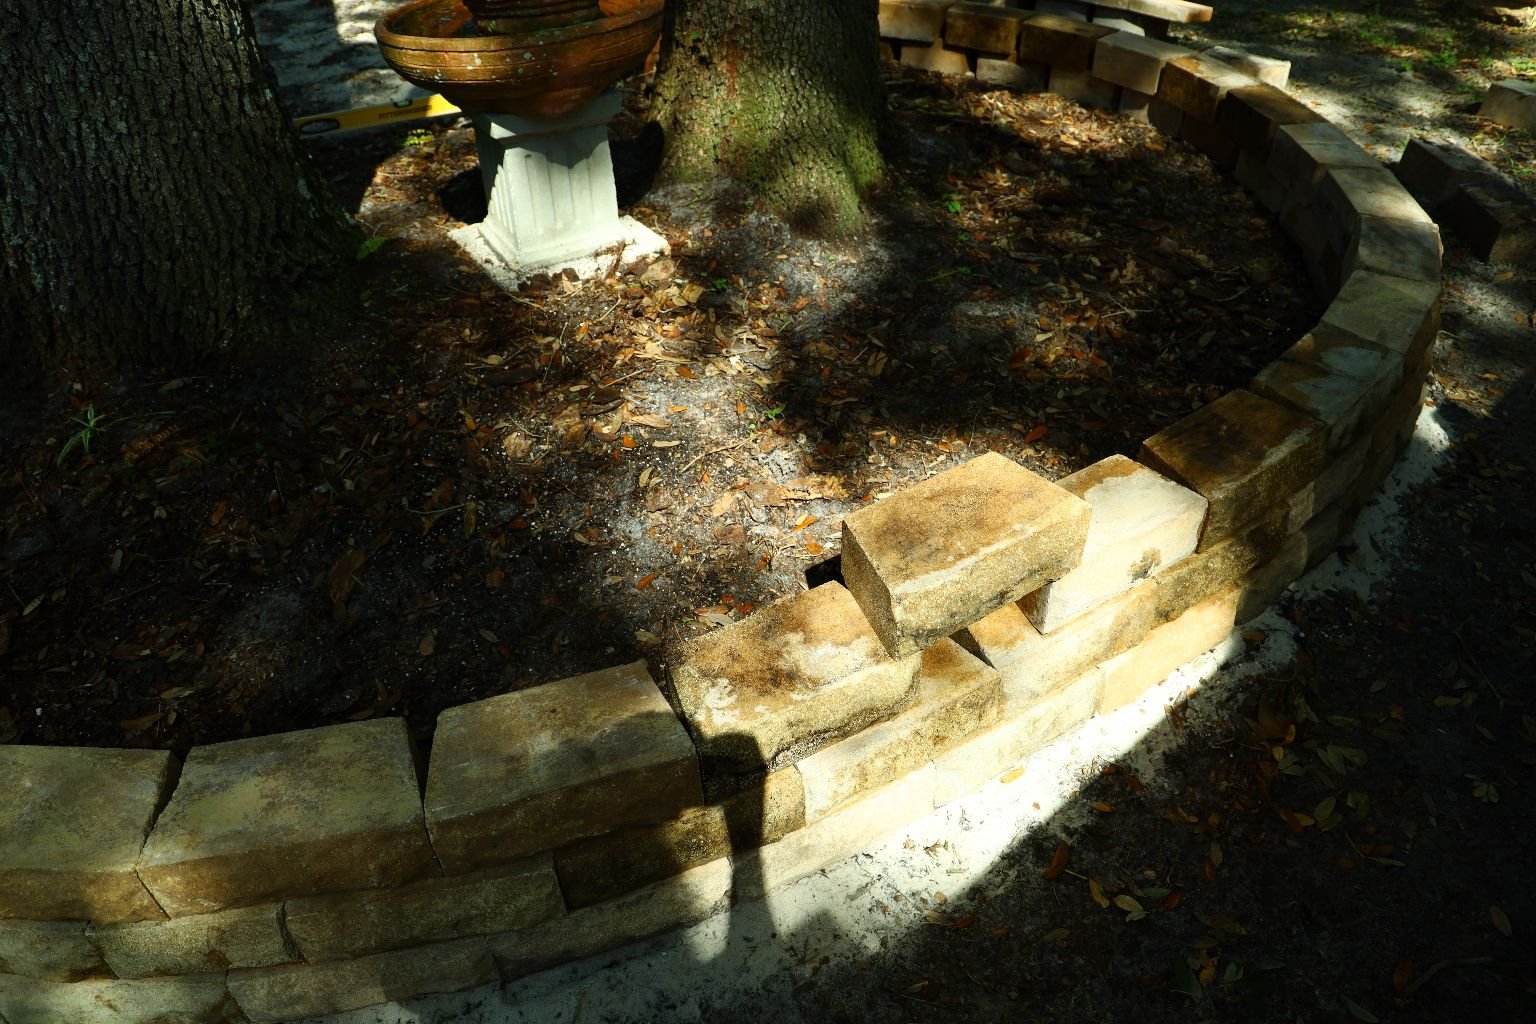
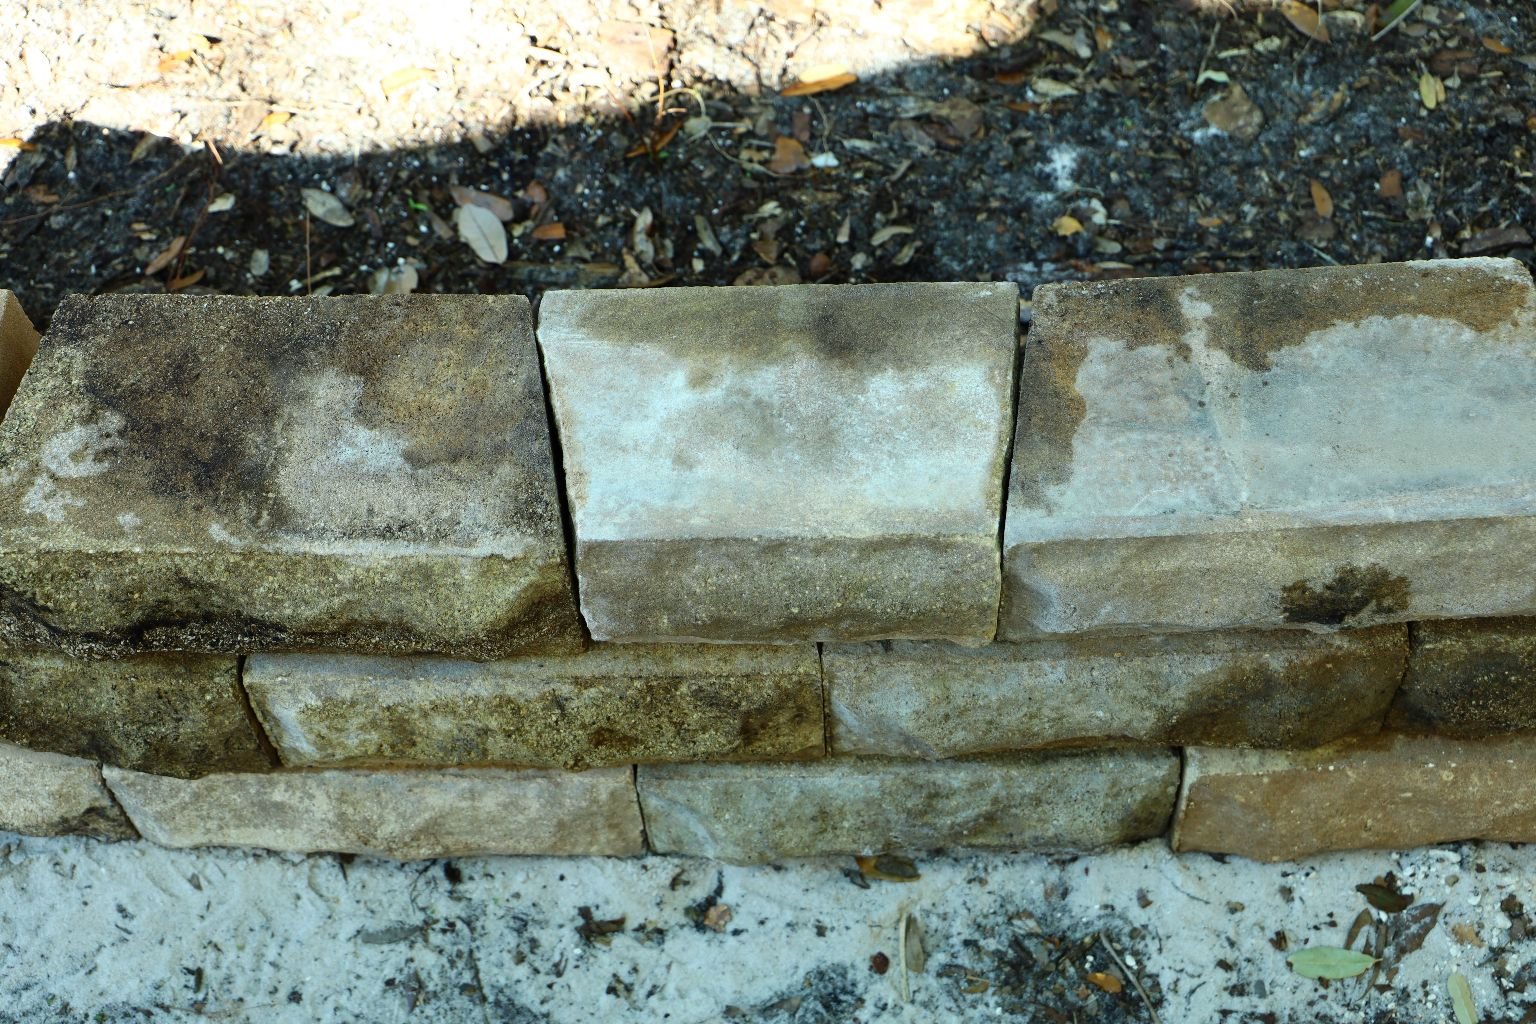
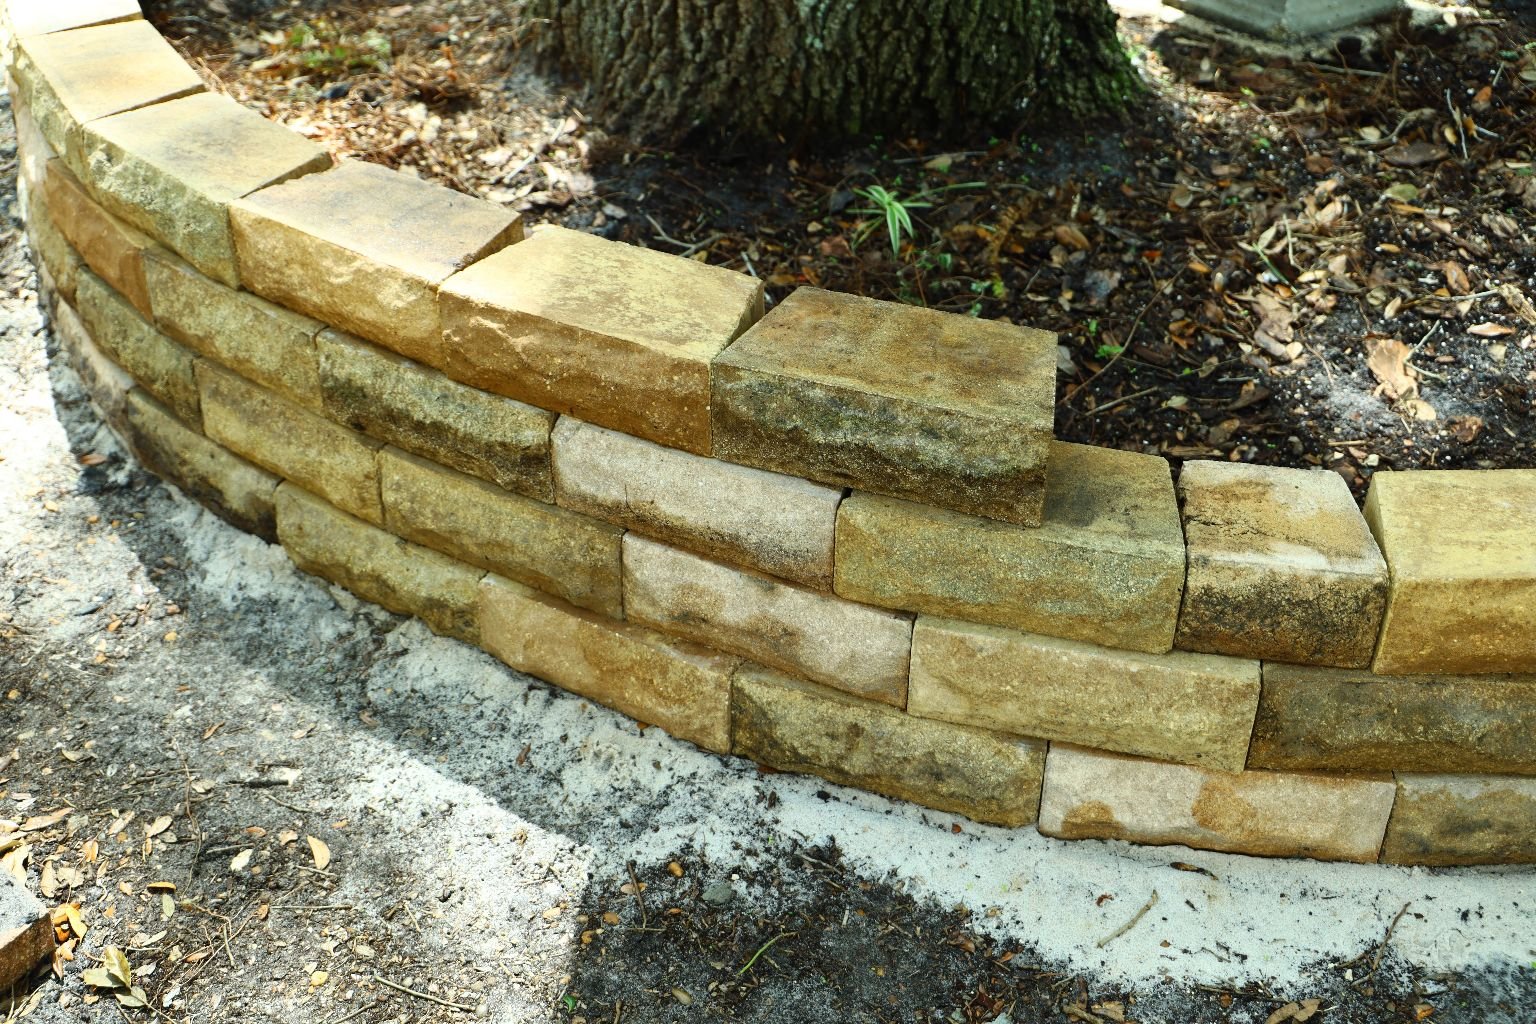
I even started my third row, half way over the block below it.
As you go around, the circle will become smaller and smaller. This will tend to make your
blocks not be at the halfway point between the two blocks below them. When this happens and
it will, you simply have to cut one of your blocks on both sides to make it fit the half way pattern
again.
Cleaning the blocks.
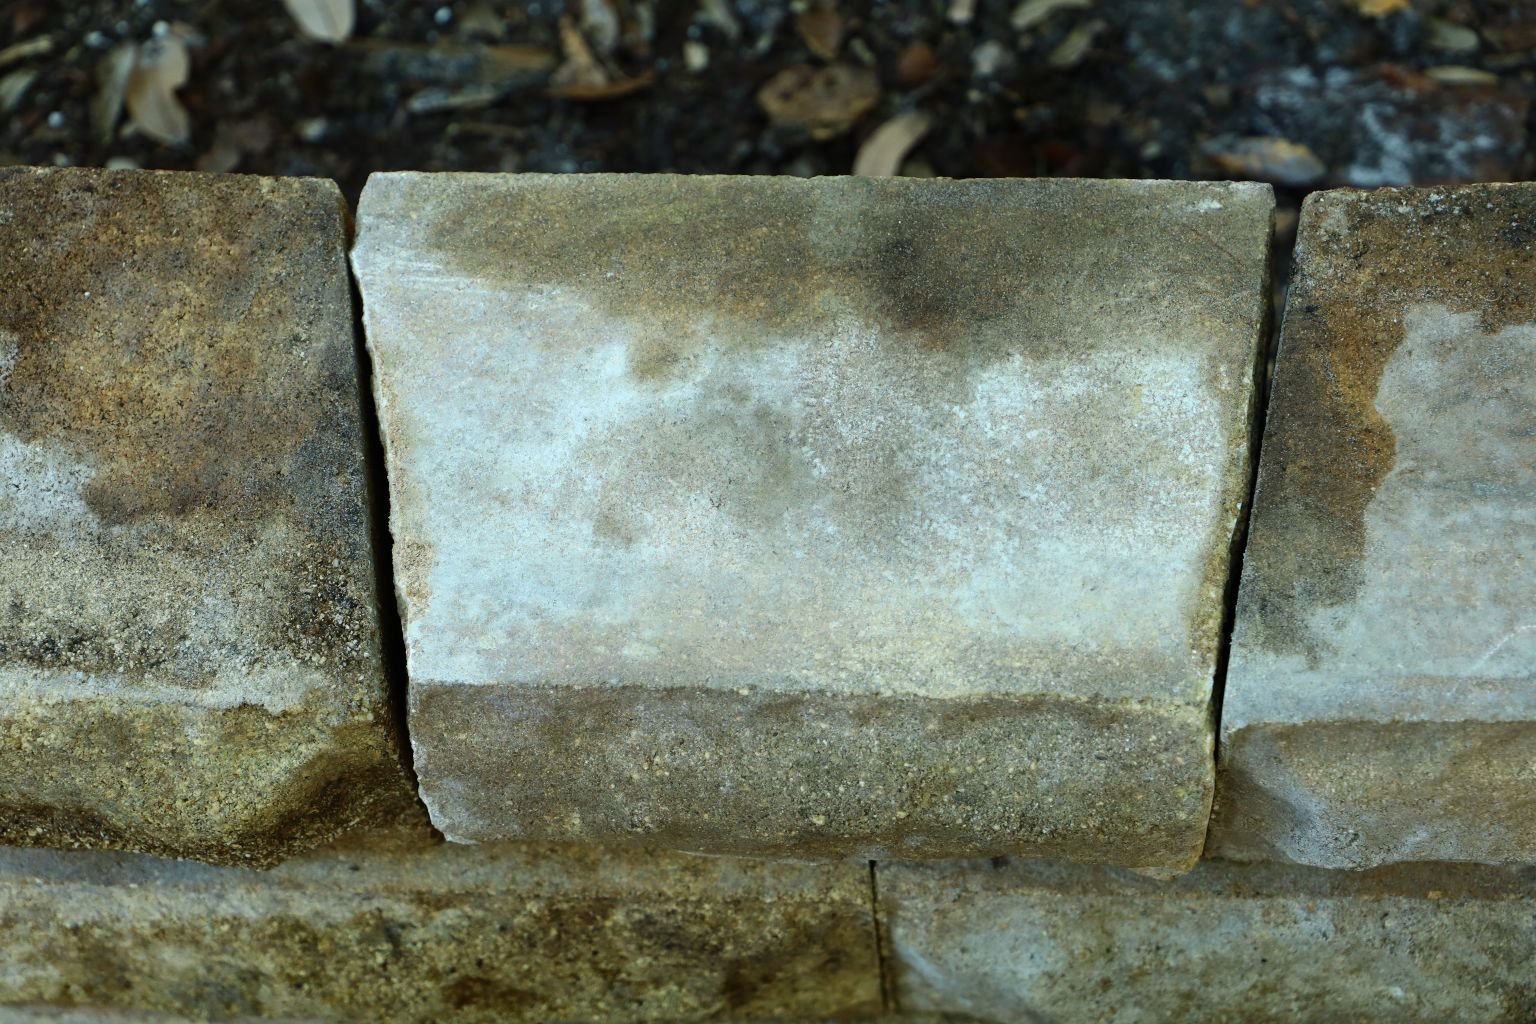
Here is a great example of what I was taking about earlier with cutting a block. You can tell the
block in the center is smaller than the rest. Further down, I will show you how to accomplish
this.

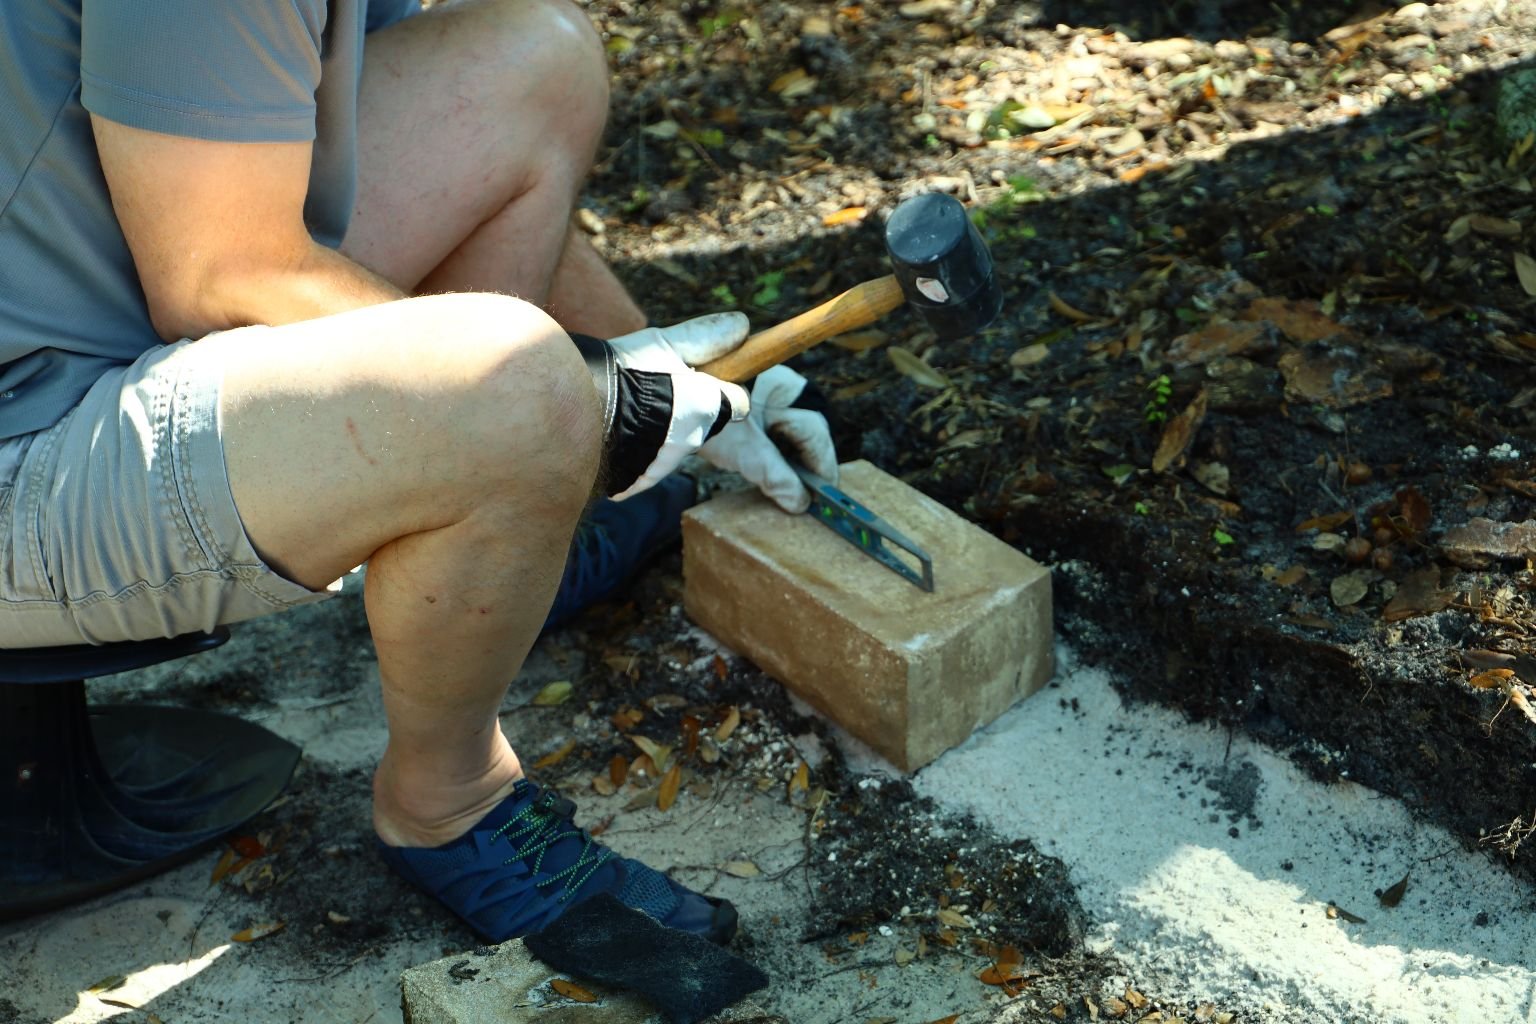
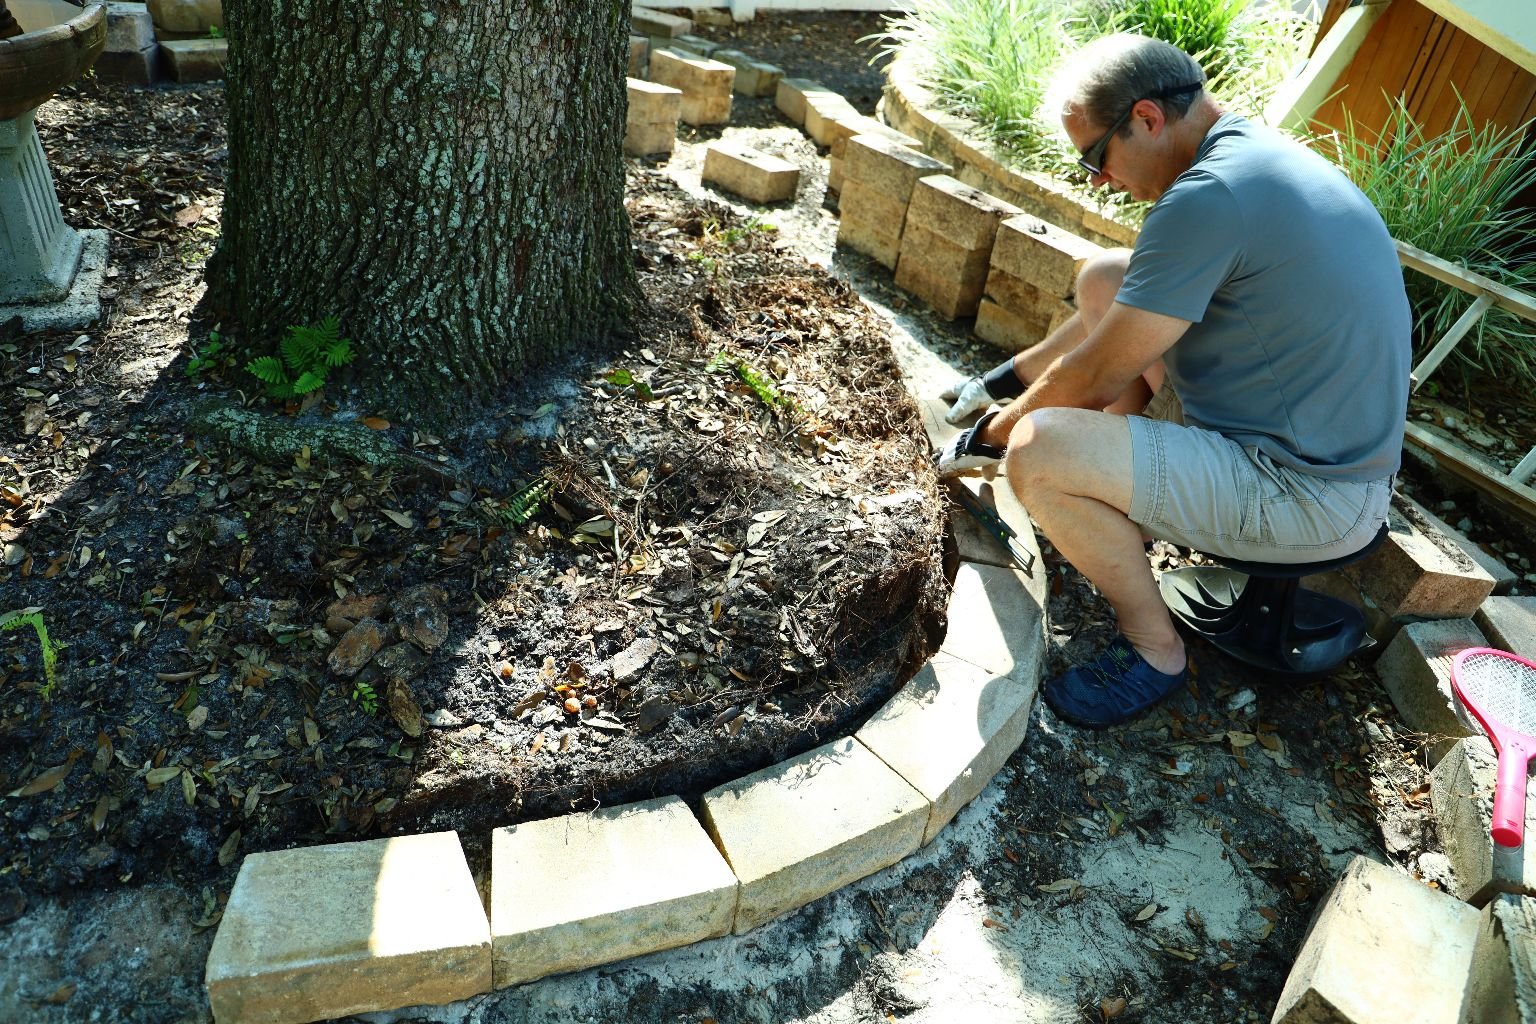
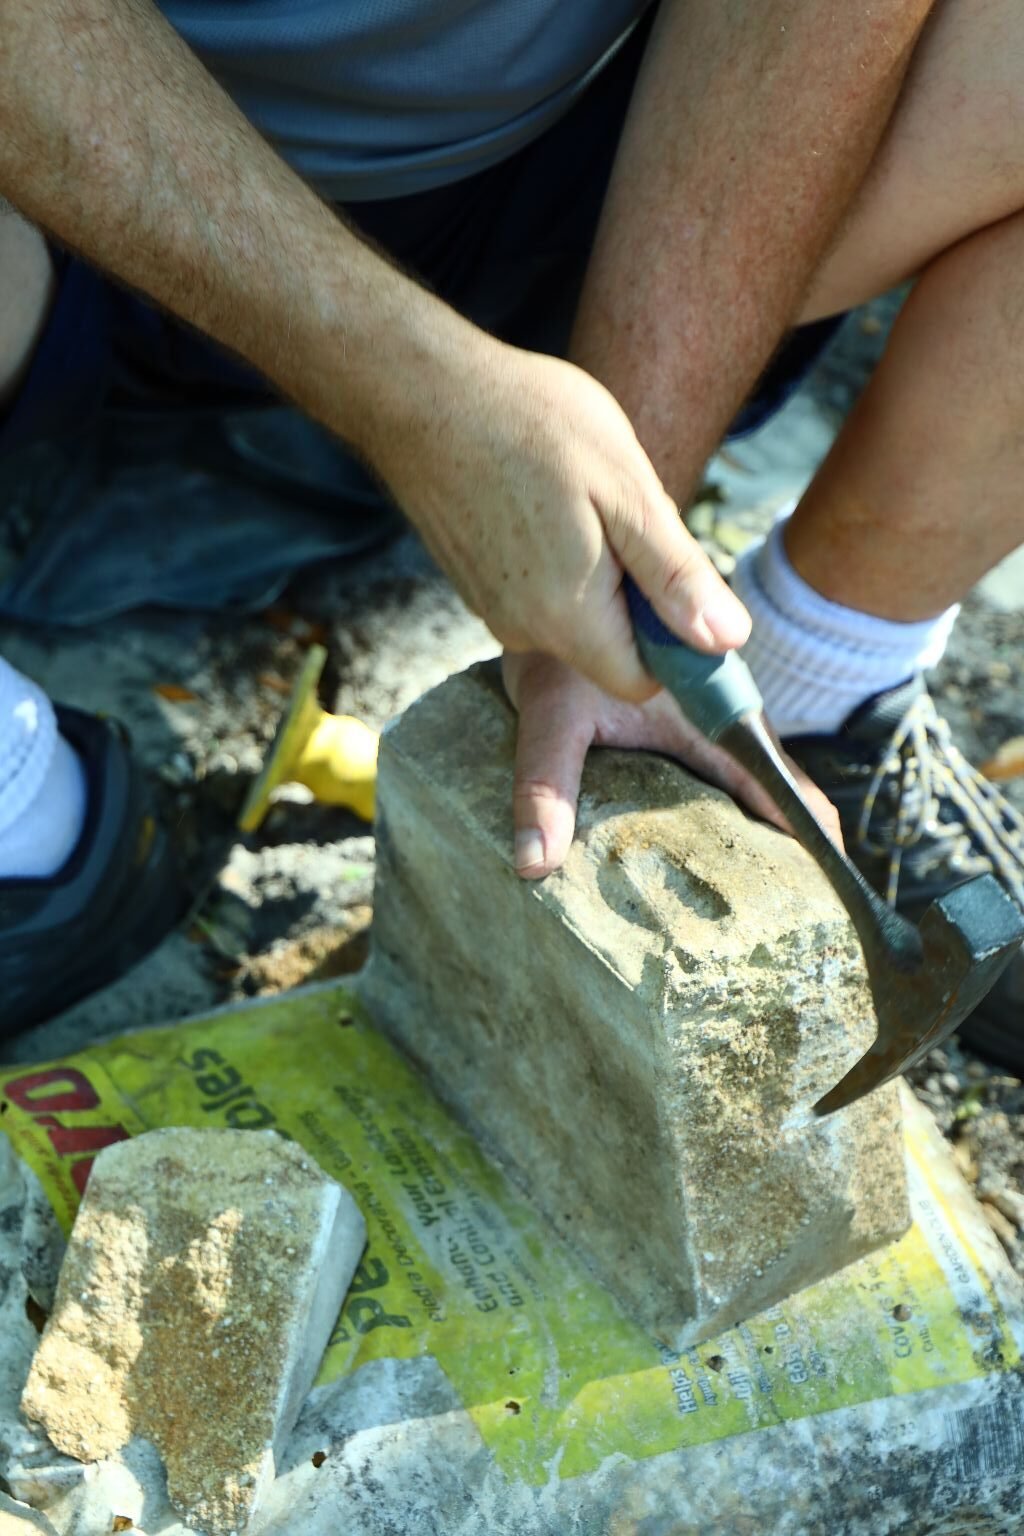
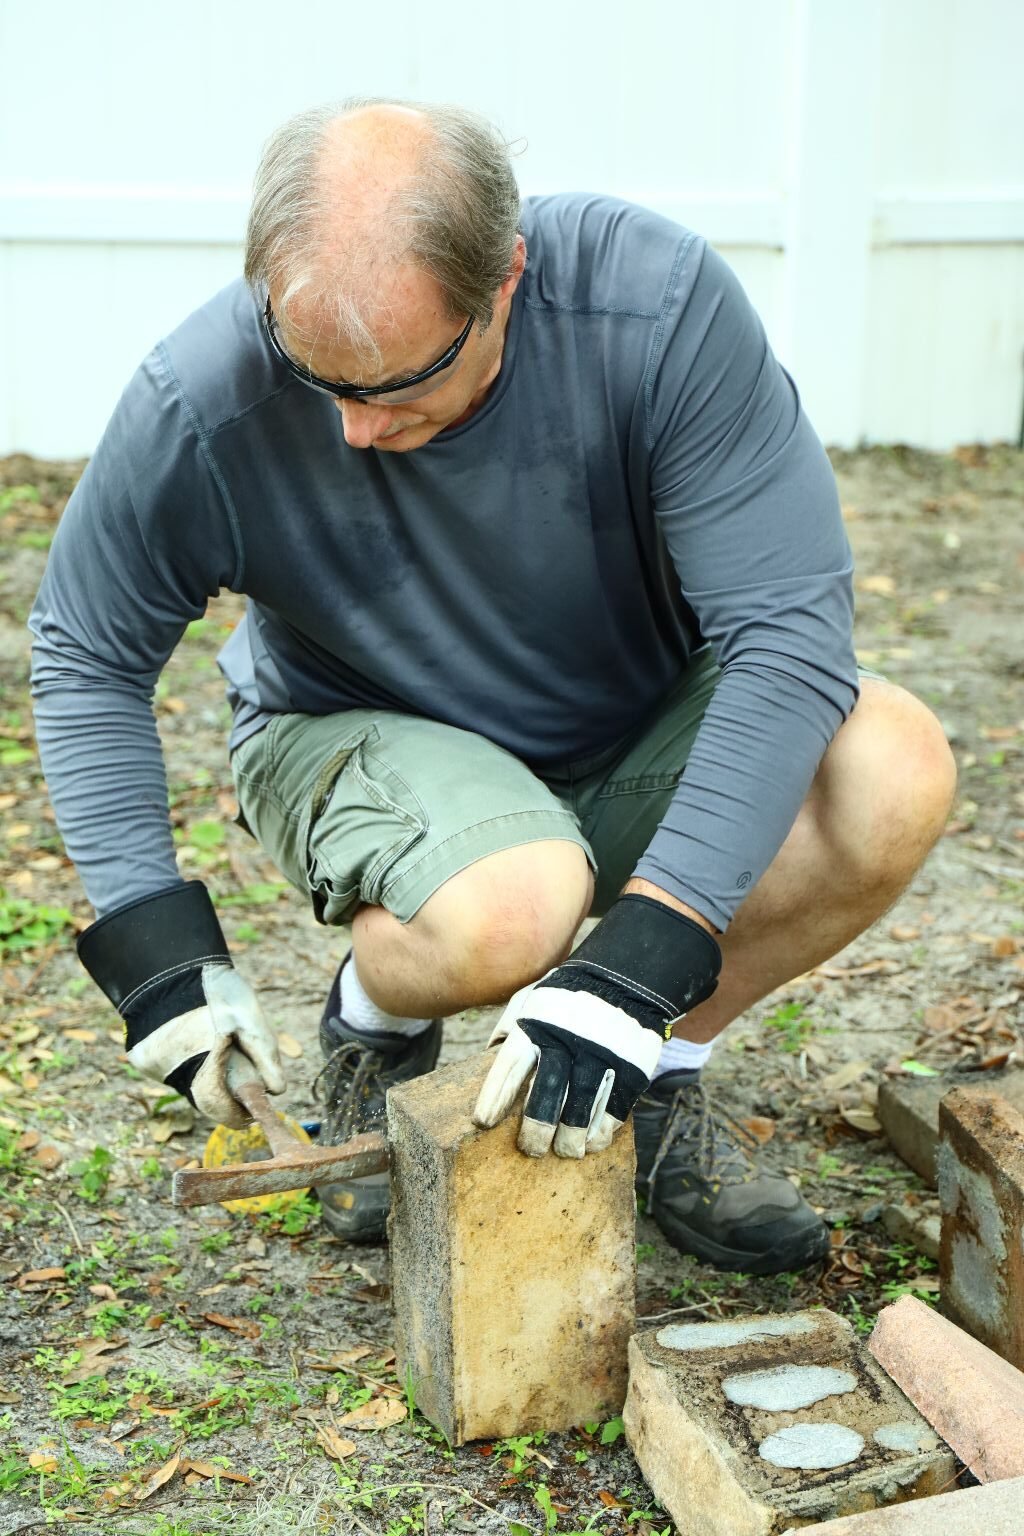
Here I am measuring the length of the block and I will mark the block with a pencil underneath it
as to where I need to cut it in order so it will fit in the space between the other two blocks.
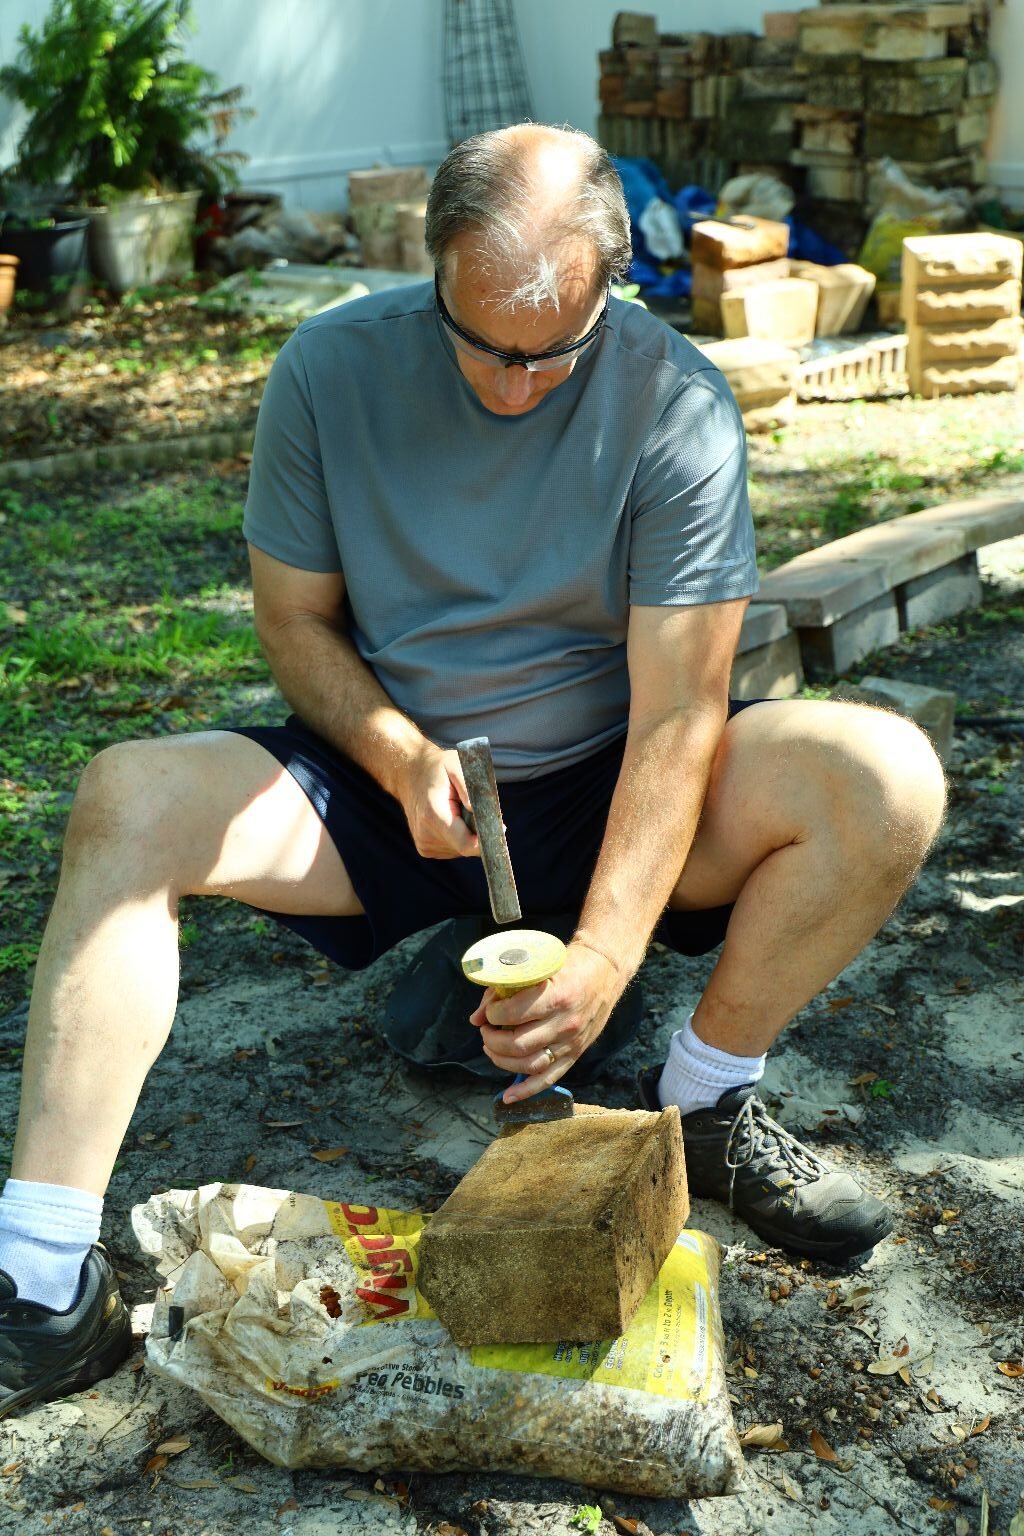
Take you hammer and chisel and slightly hammer the chisel on the line you made creating a
slight indentation on the stone. Do this all the way around the stone on both ends. Remember,
you are right now just creating a slight groove in the stone creating a nice line.
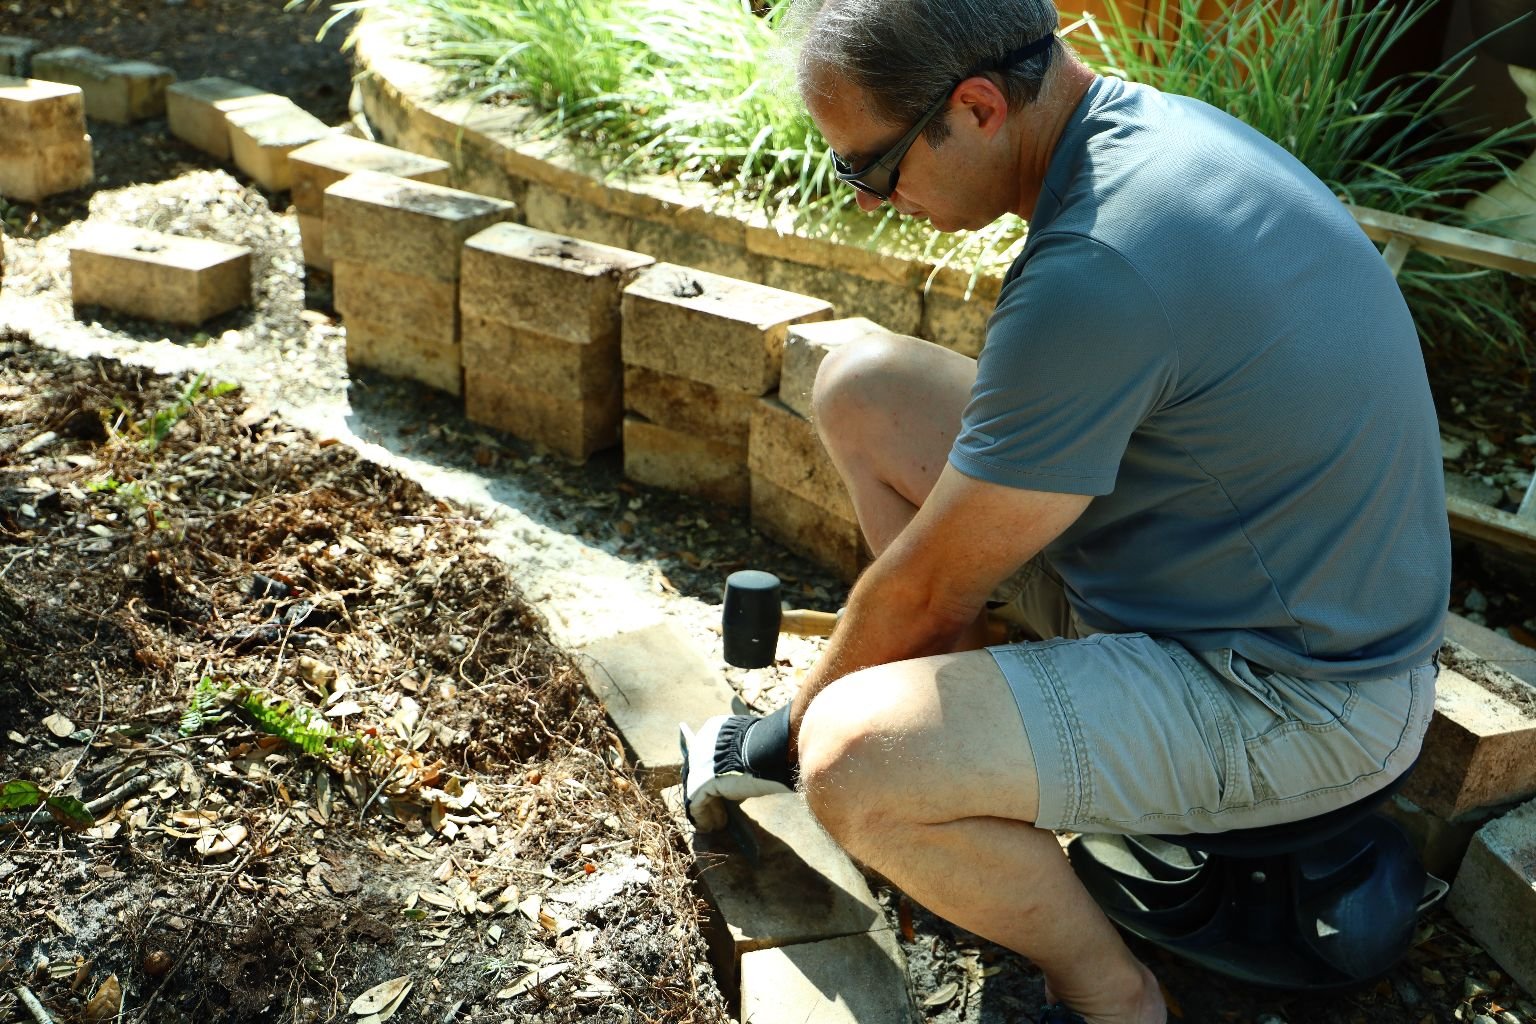
After you have done that, you can now hammer a litter harder on the chisel which is creating
little fishers or weak areas around the stone. Continue to do this all the way around.
With this last step, ensure the chisel’s flat edge is toward the area of the stone you want to keep
and the angled side is towards the area you want to remove. Give the chisel a few firm hits and
the stone should peel away.

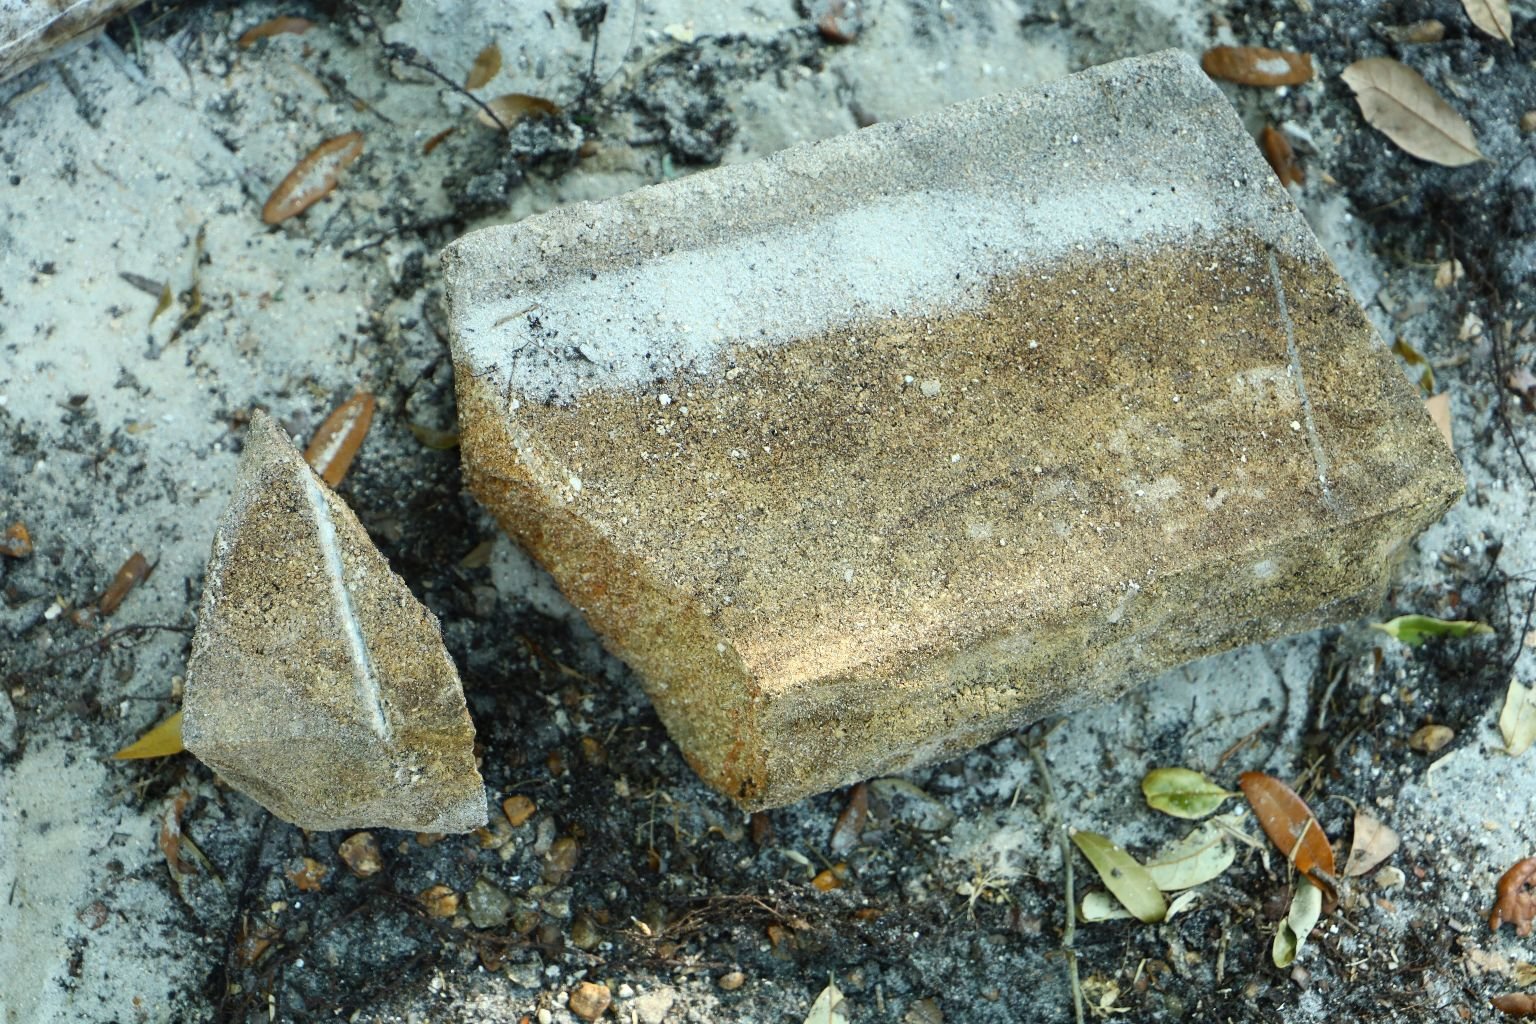
This is a good picture of the stone breaking off right where I marked it.
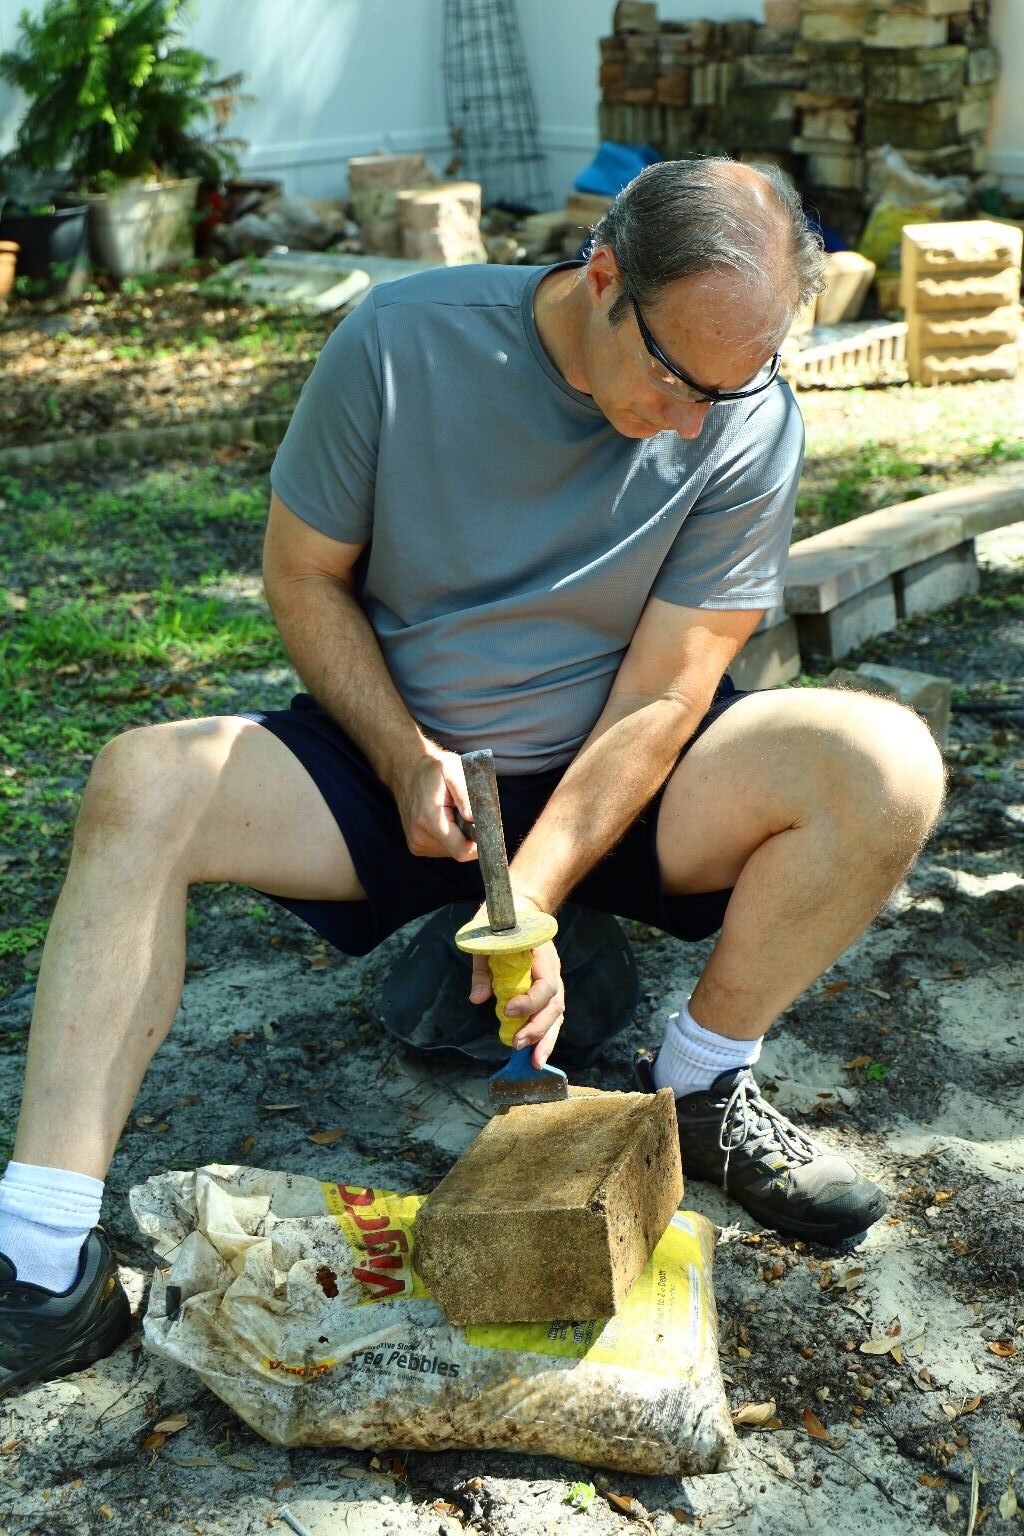
Now I am using my other chisel to carve away the little extra surface that needs to be somewhat
flattened. Just tape the sone with the chisel and you will start to remove the excess. This could
take some time for it to be removed properly.
After about 20 minutes, I completed the stonework and it fits perfectly.
From this angle, you can barely tell it was ever cut.
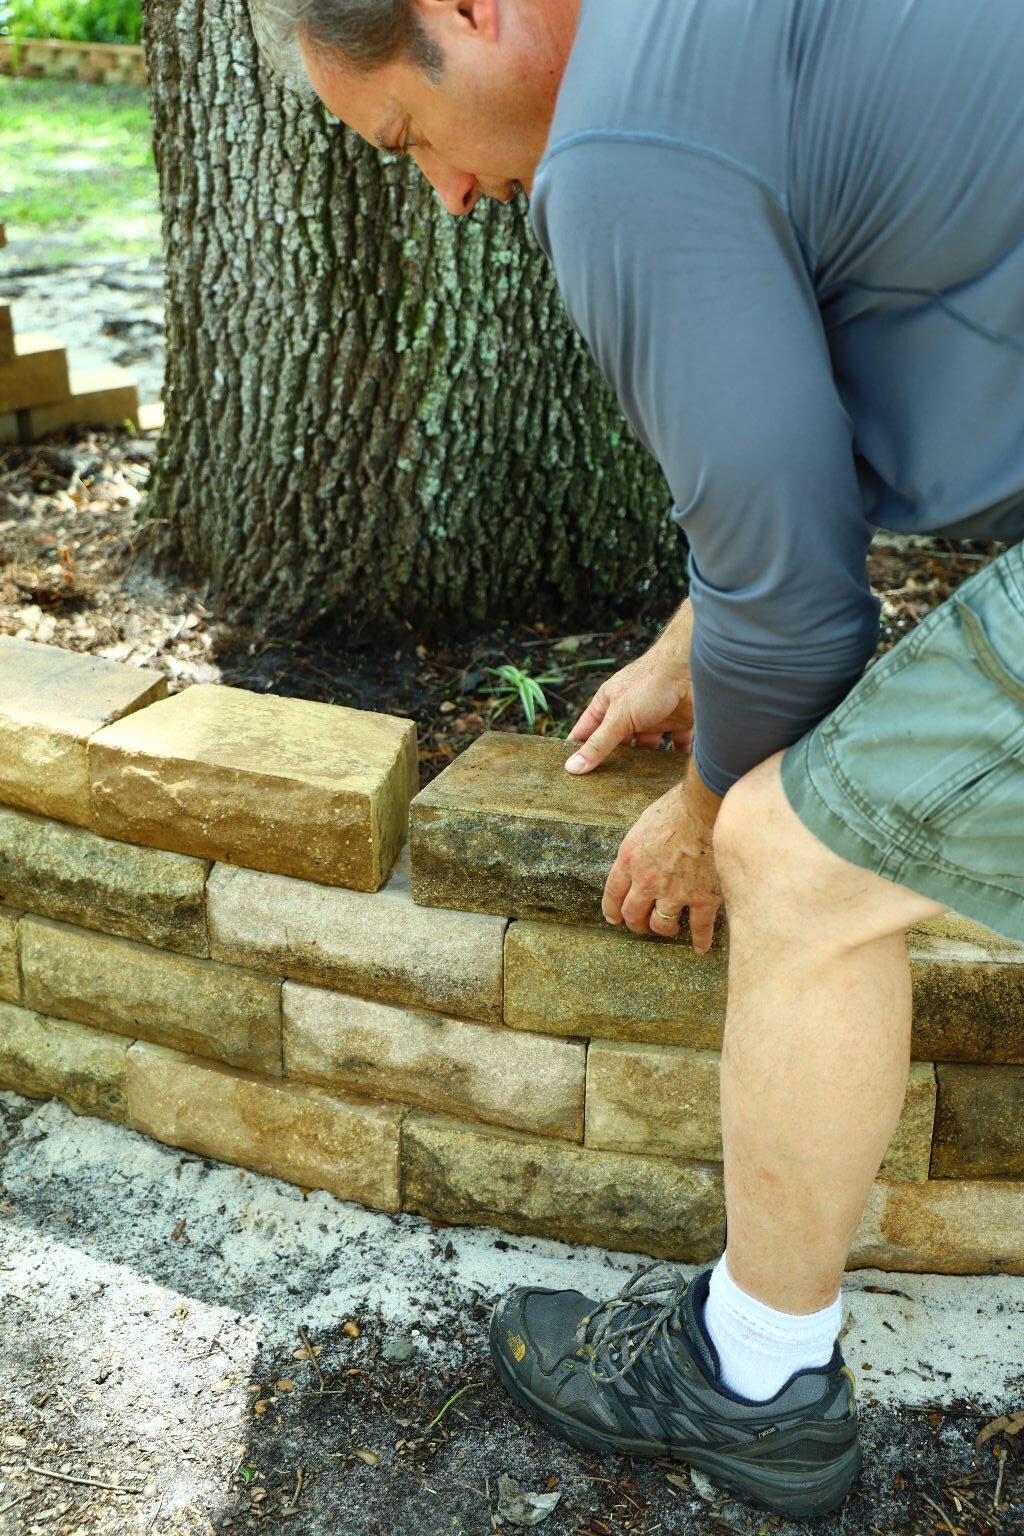
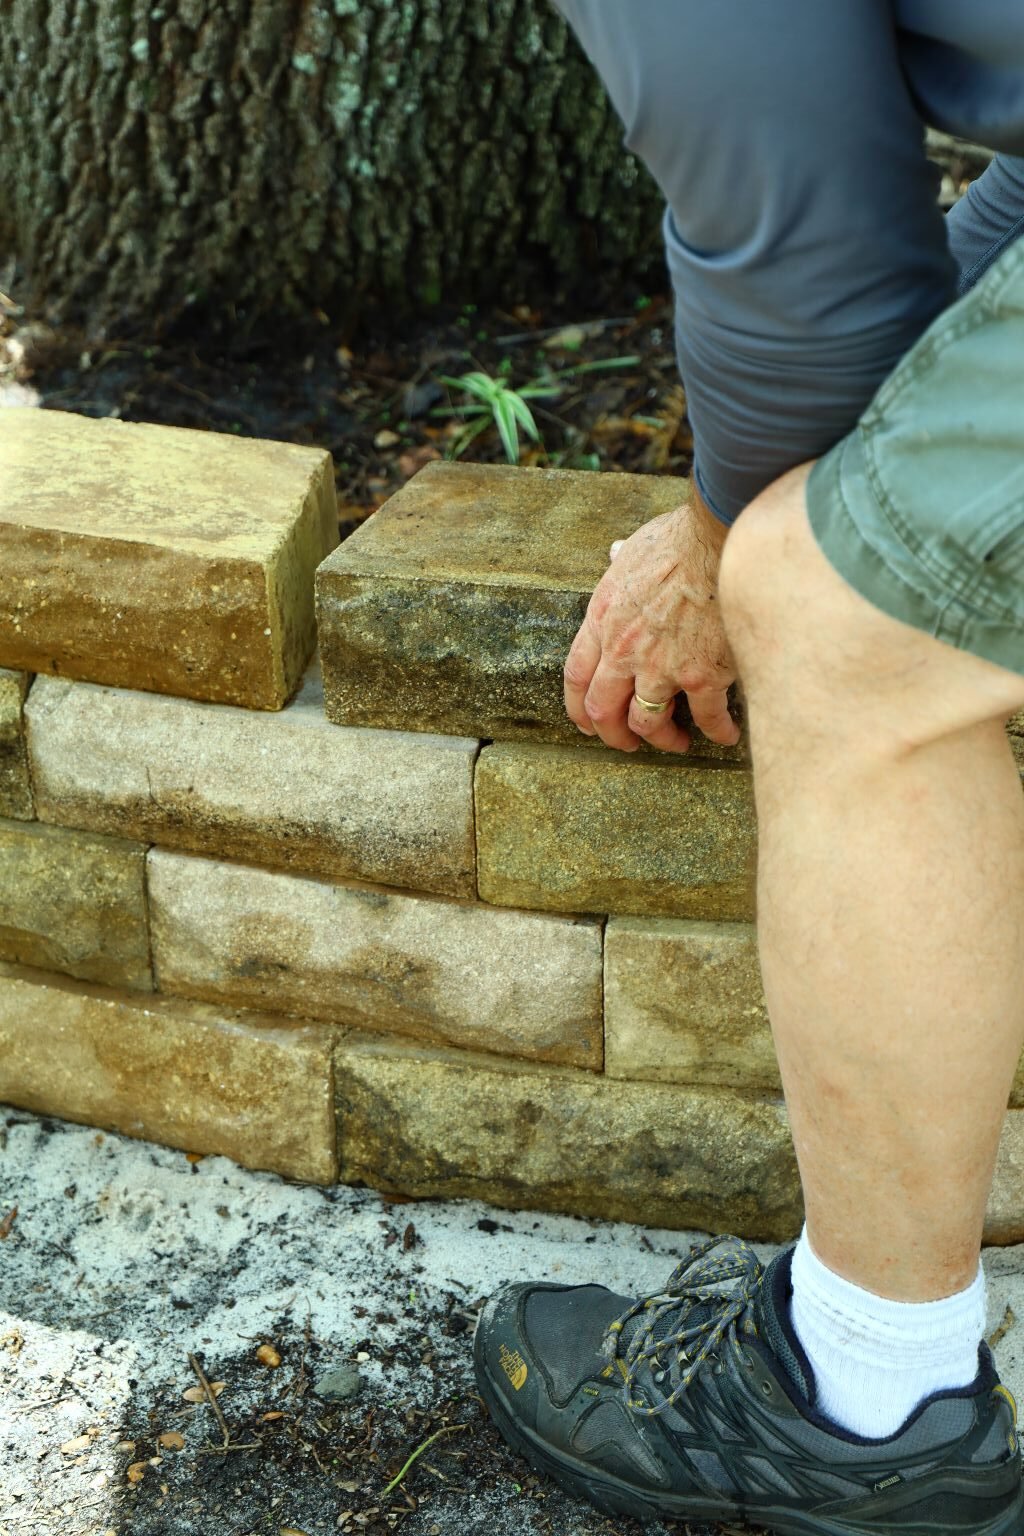
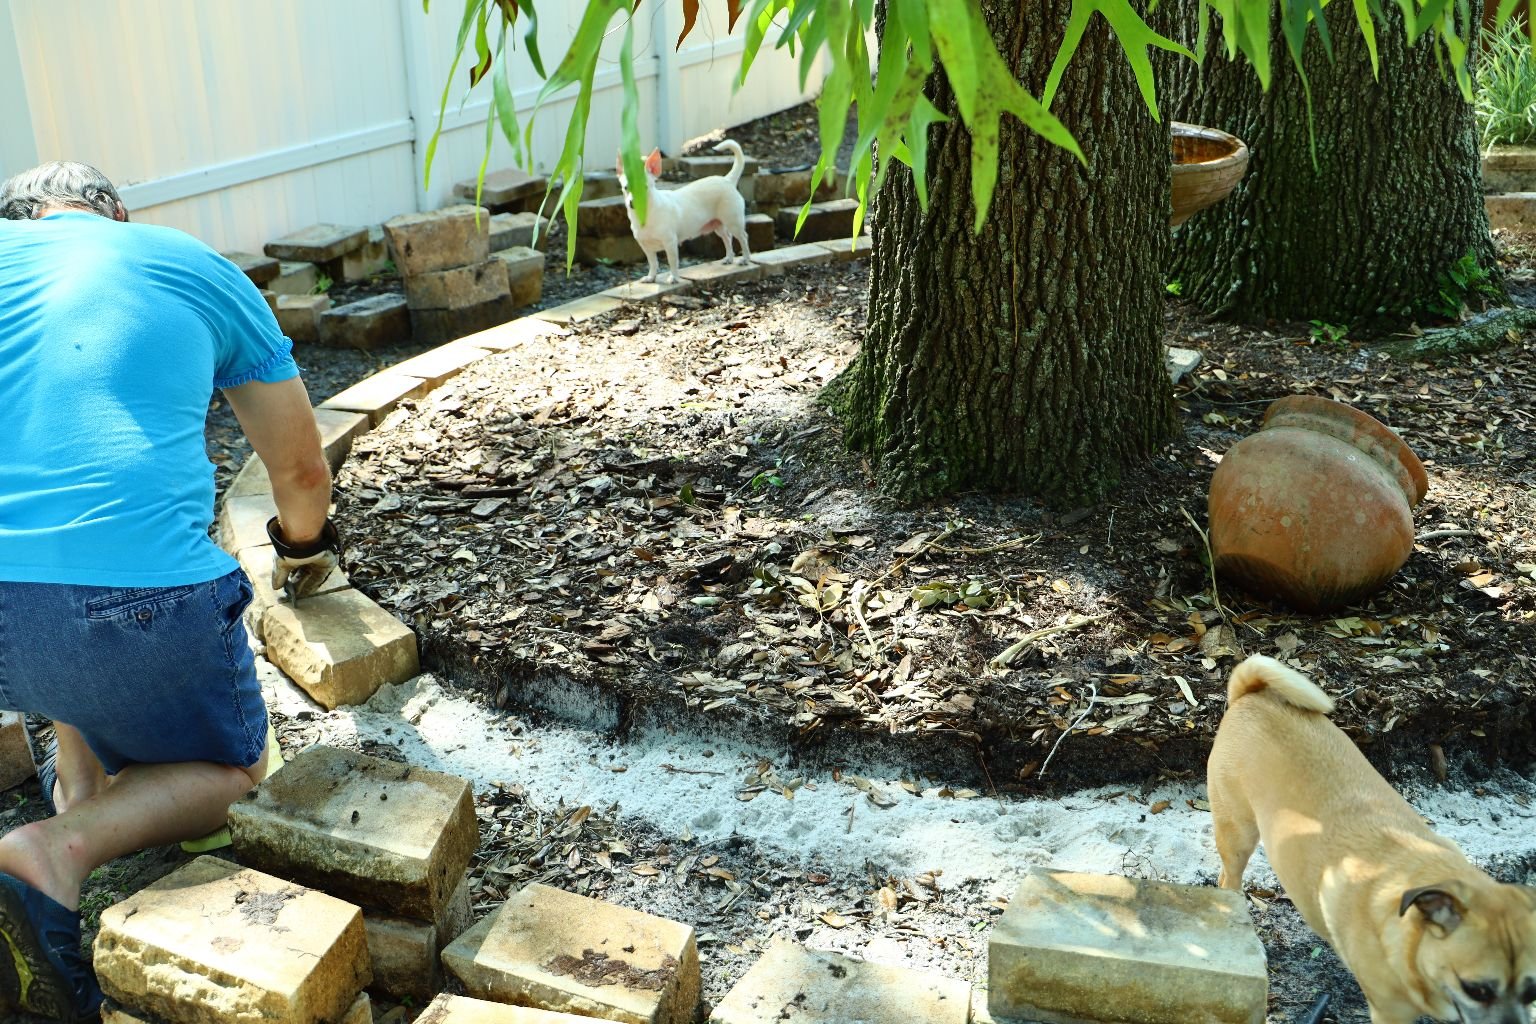
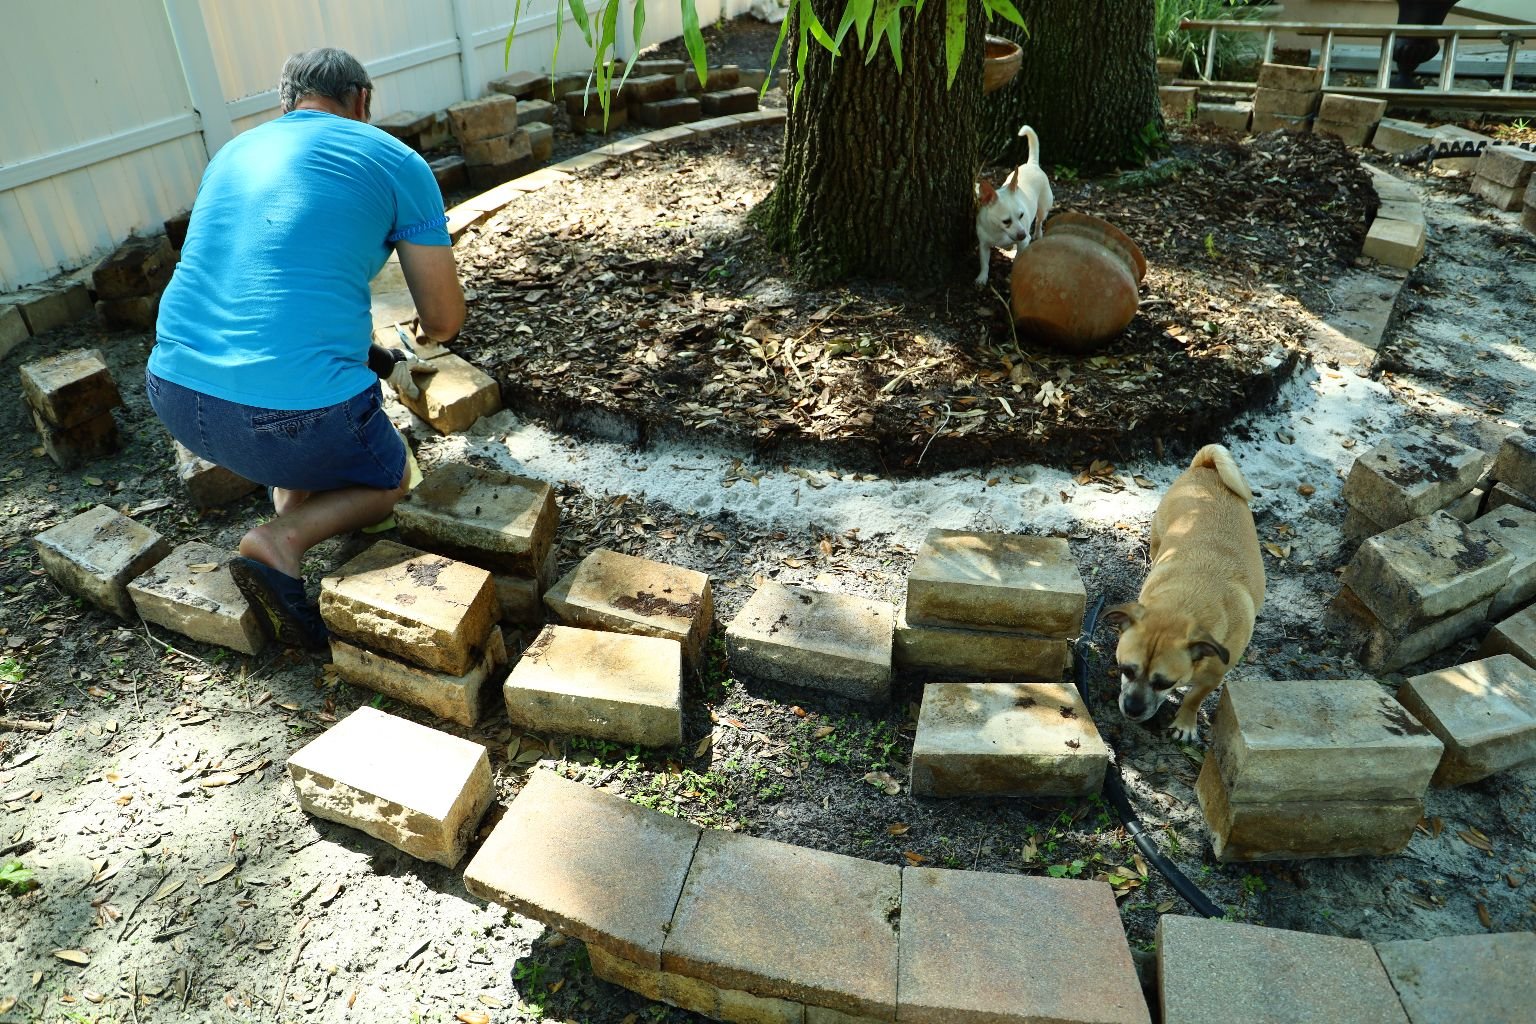
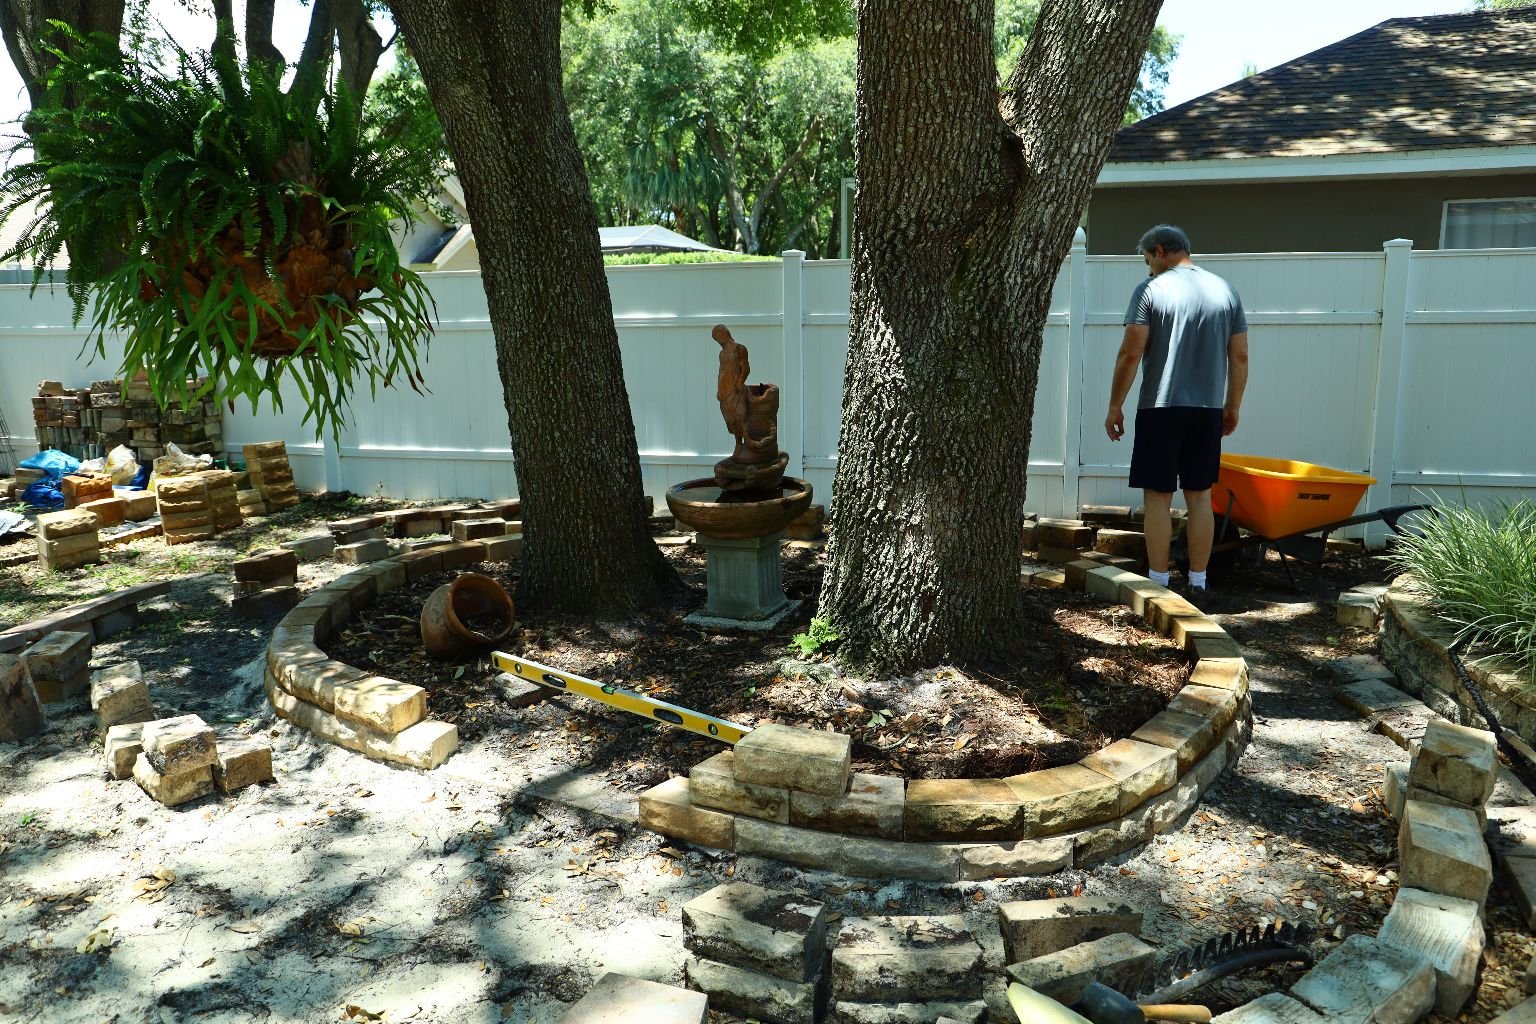
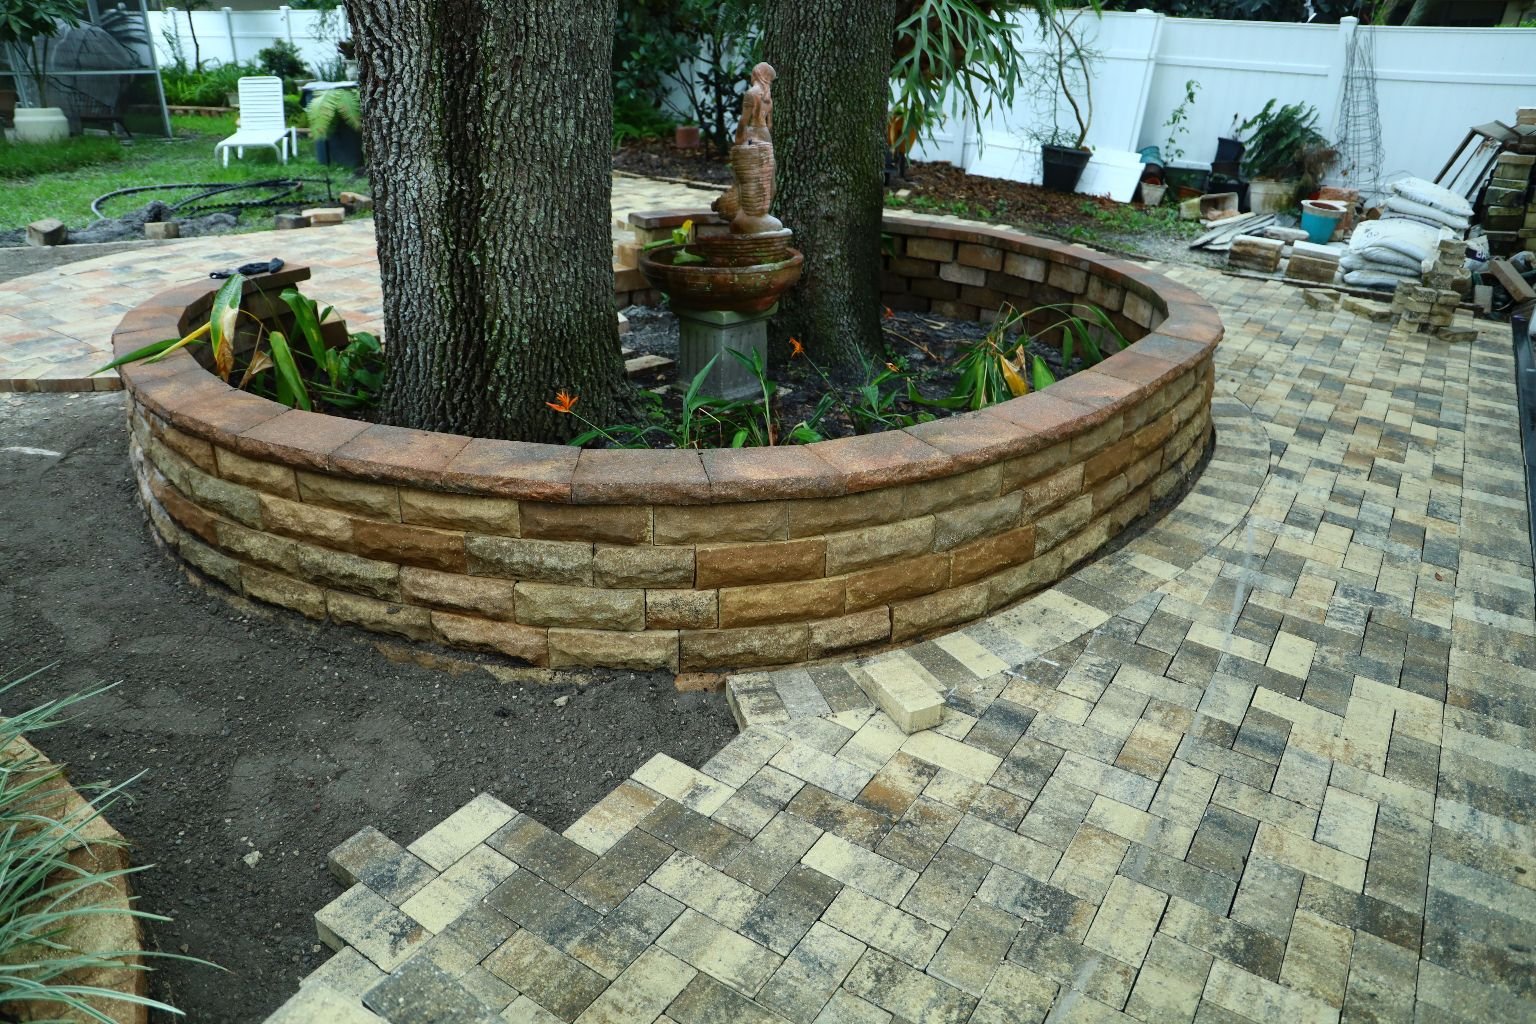
Continue to place the stones on top of each other, cutting one as needed to make it fit to keep the
brick patter.
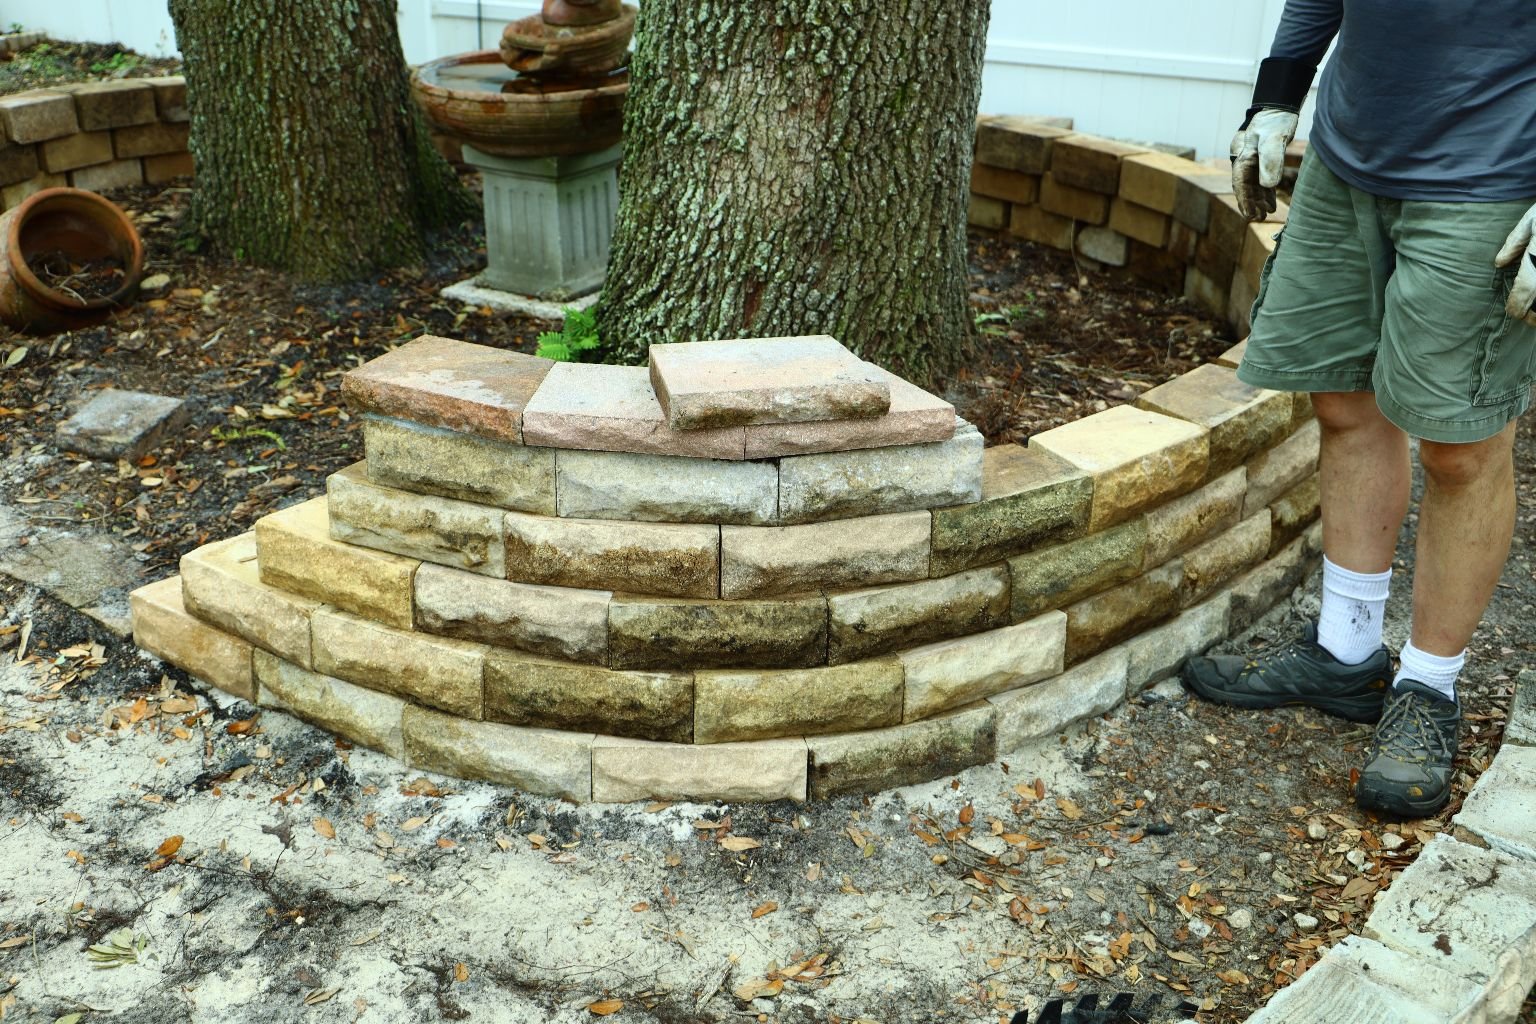
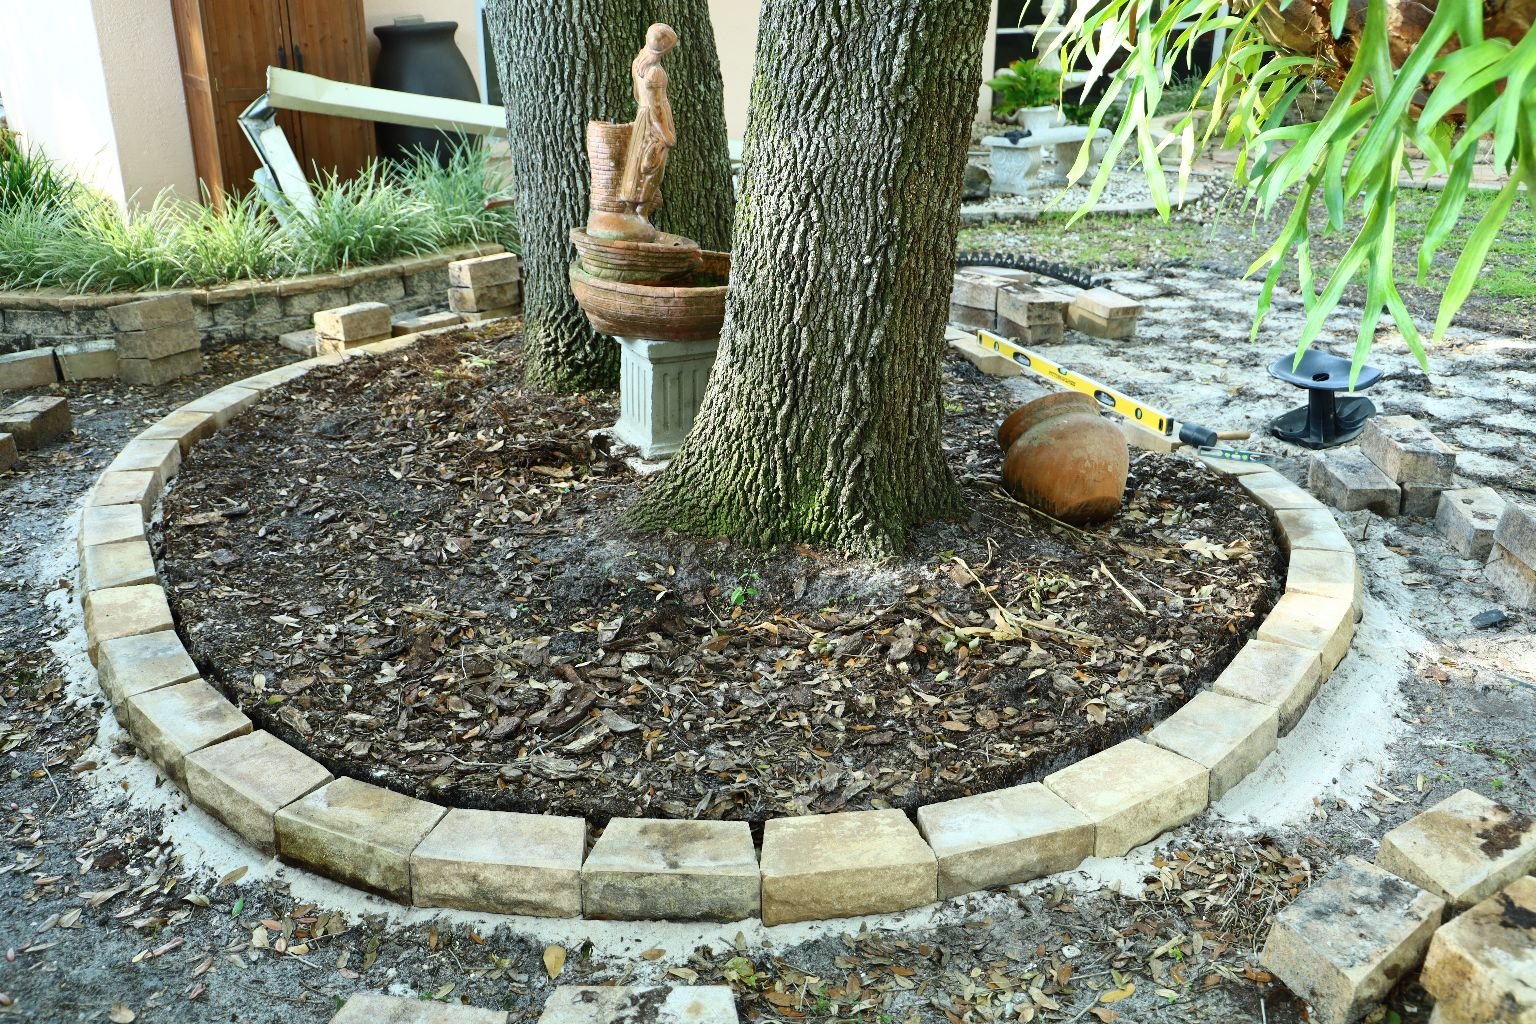
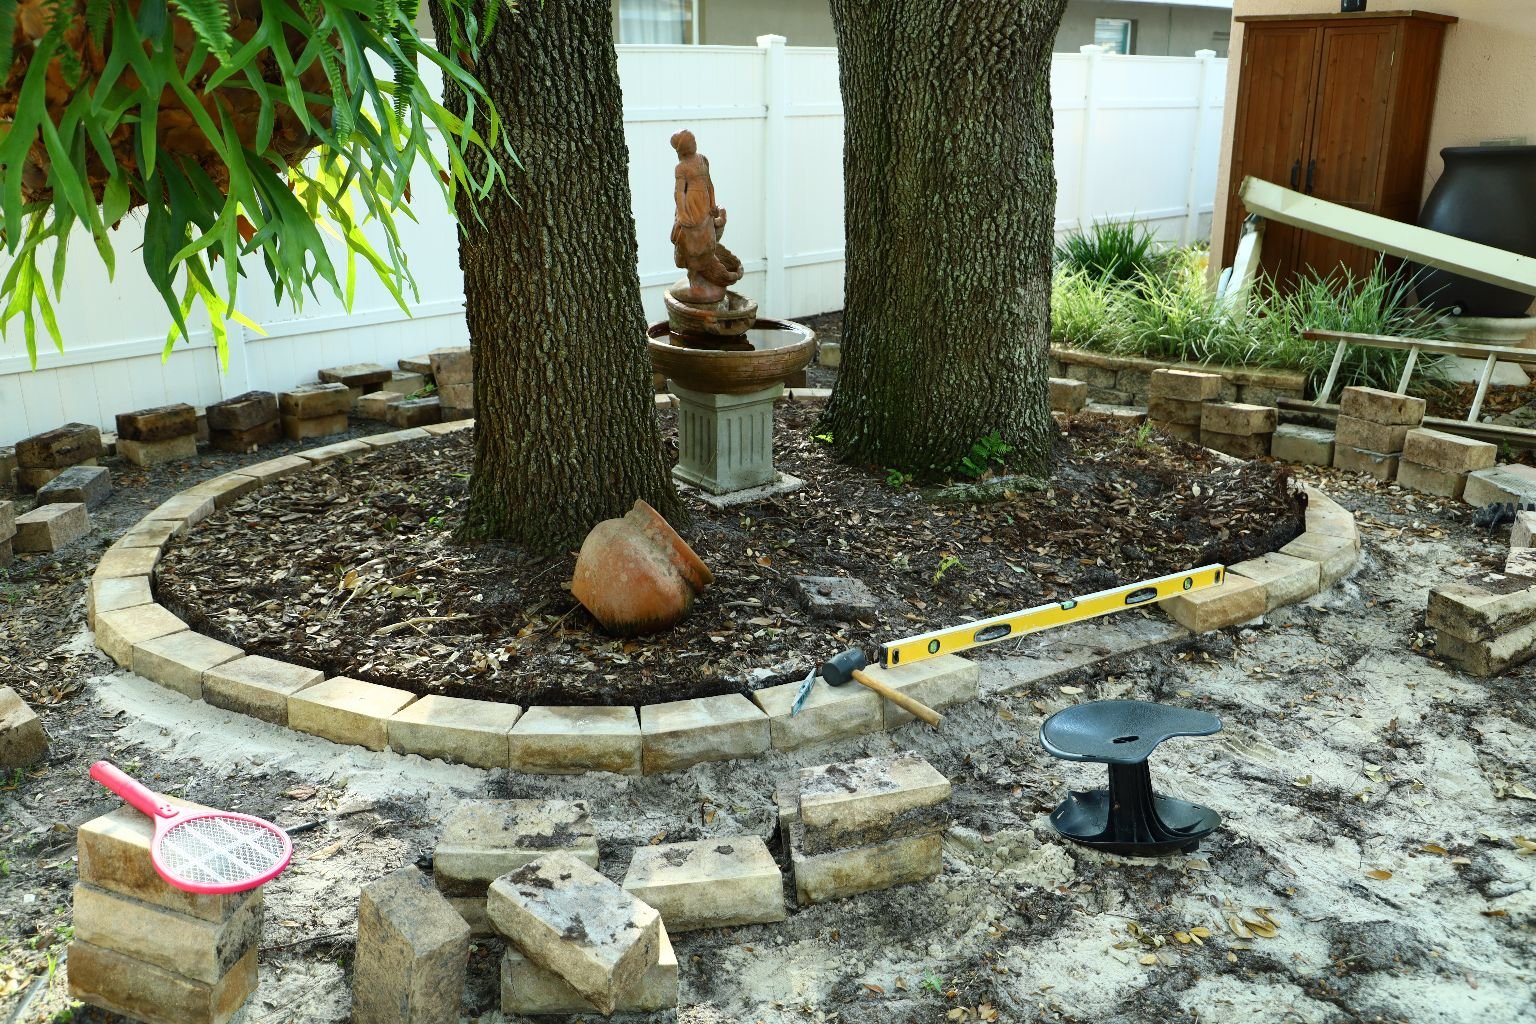
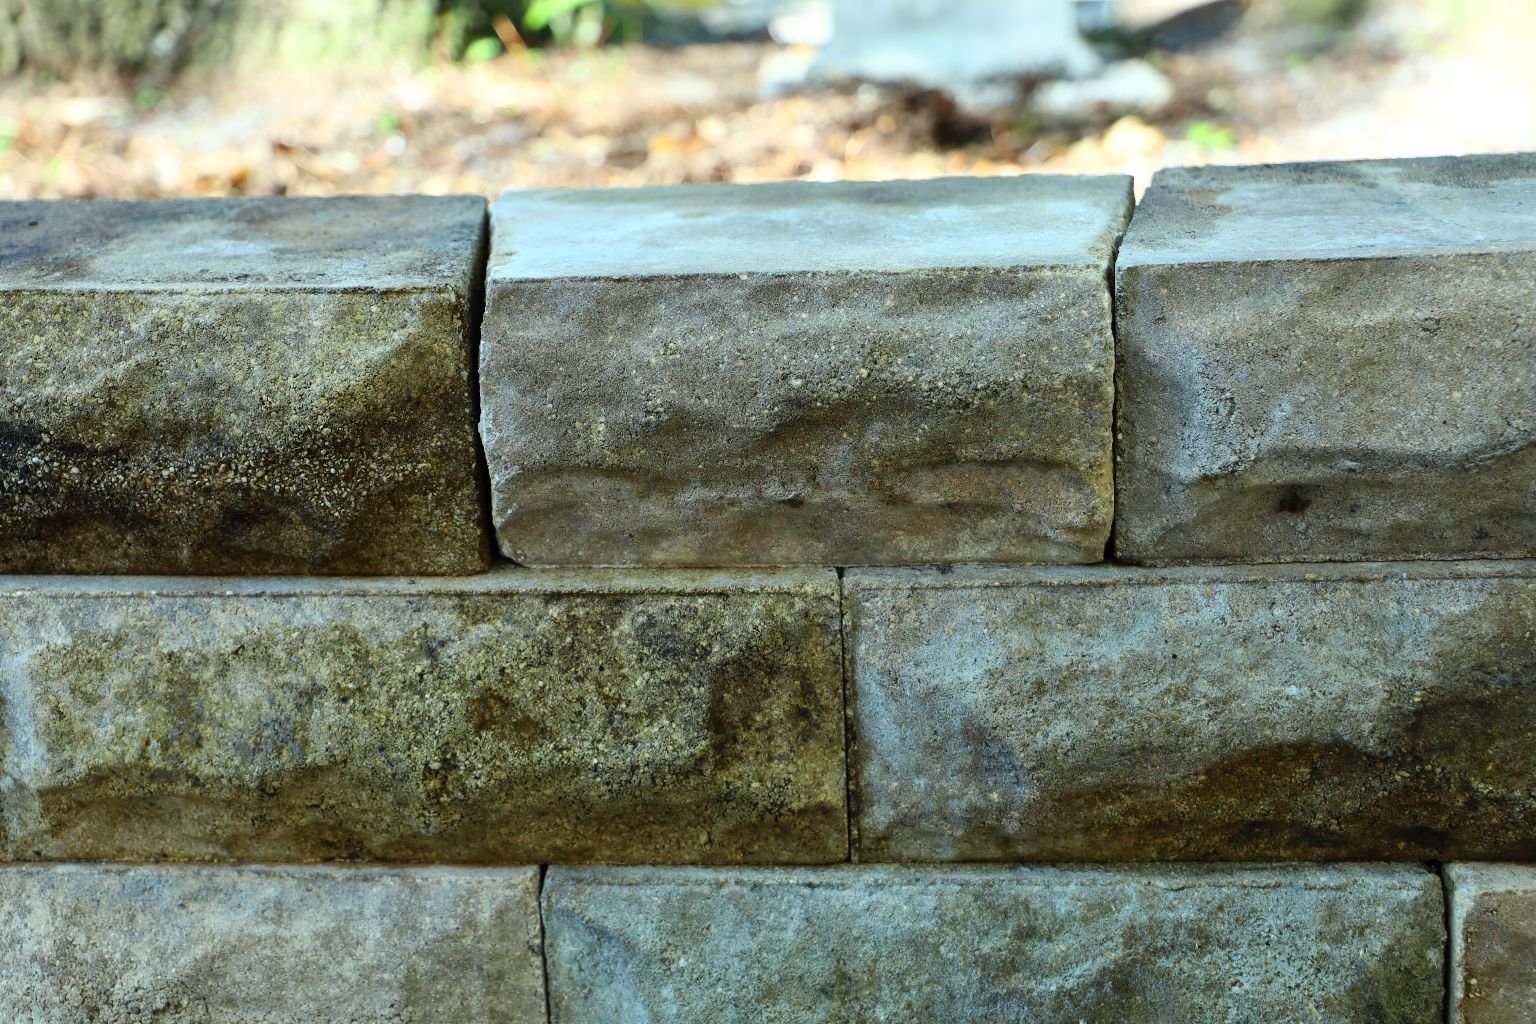
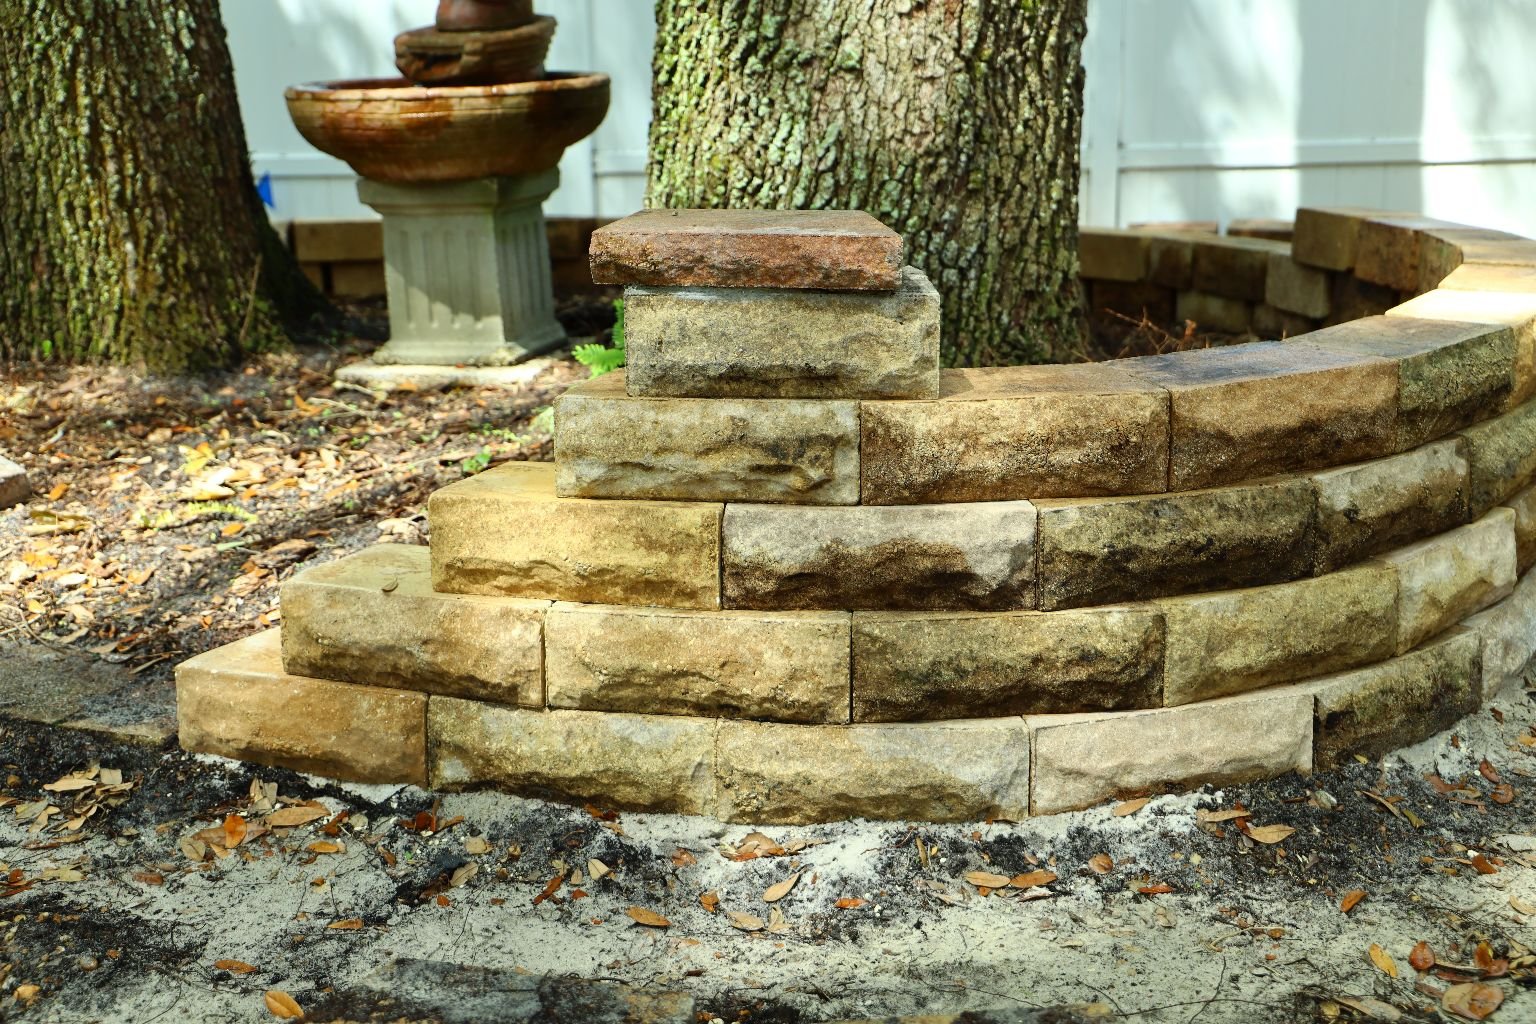
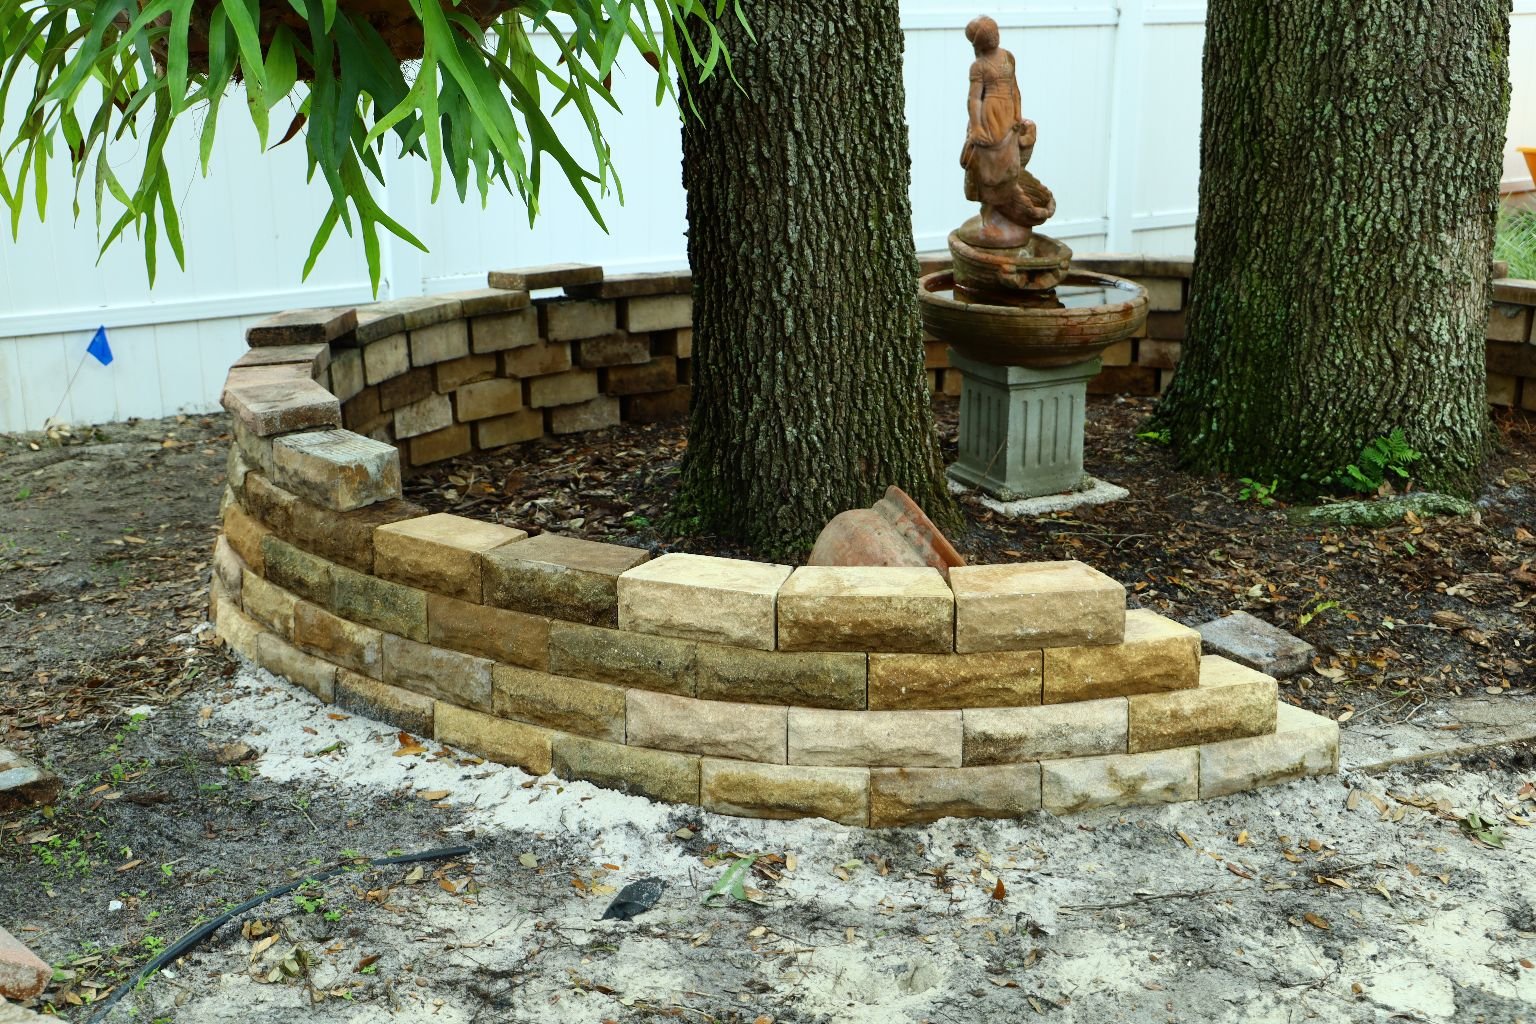
Everything is looking great. I placed another layer on top of the stones to ensure it would be
high enough once the pavers were in place.
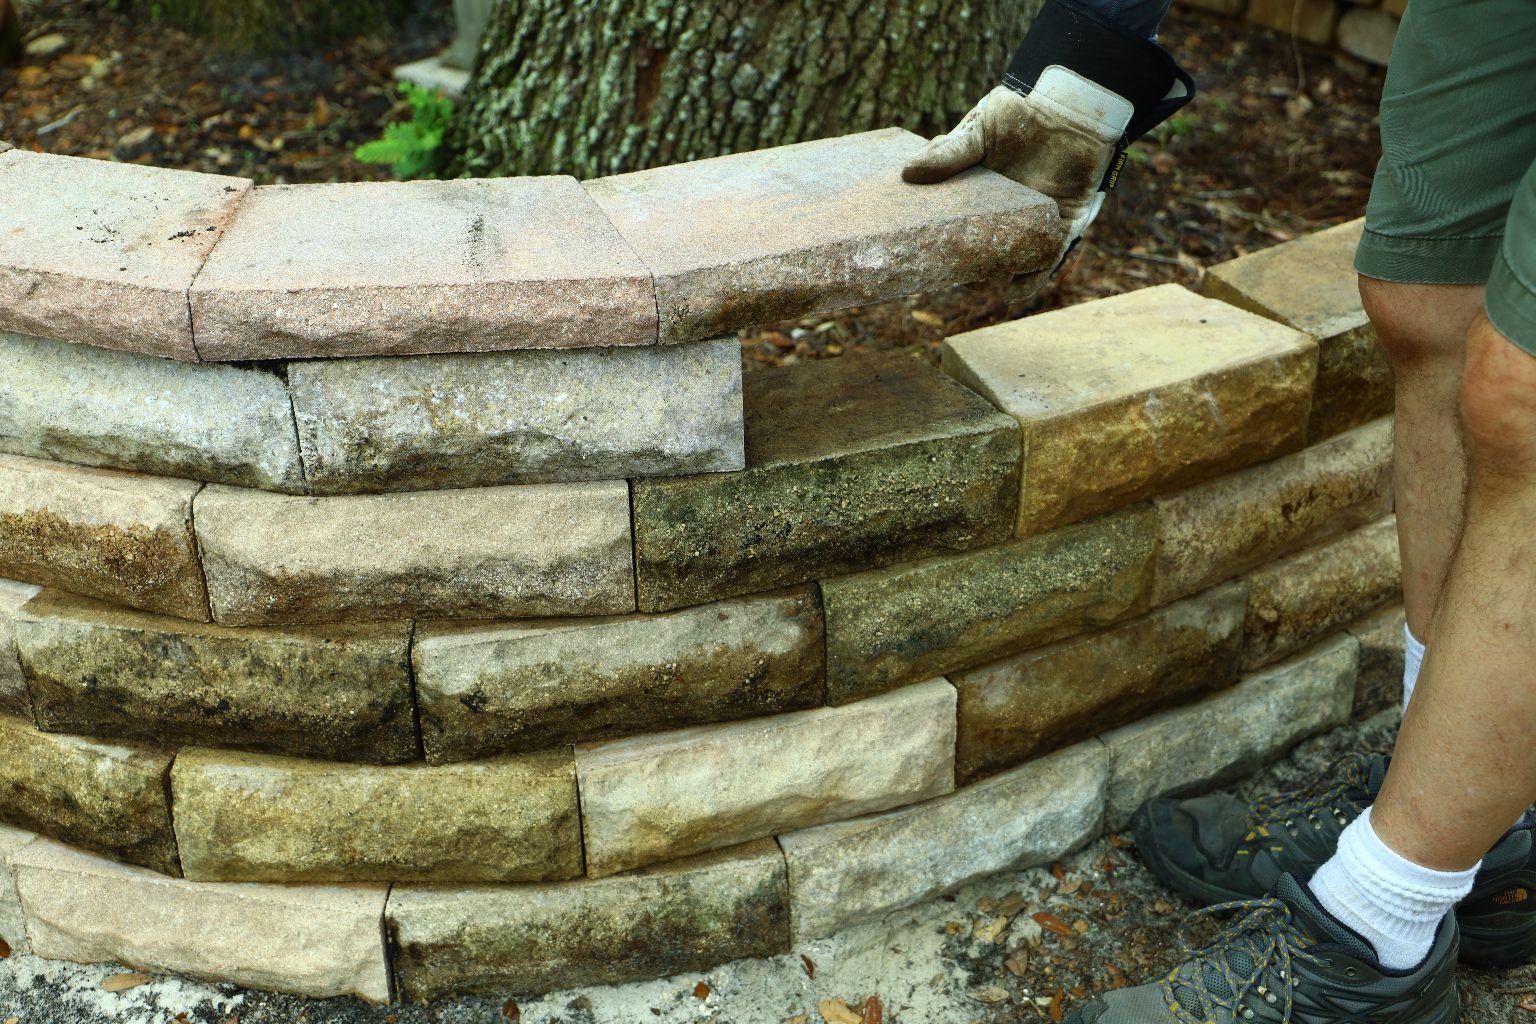
I am going to use the capstones I already had, and am now trying to match the curve of the
stones underneath them. I may have to cut the capstones to fit properly.


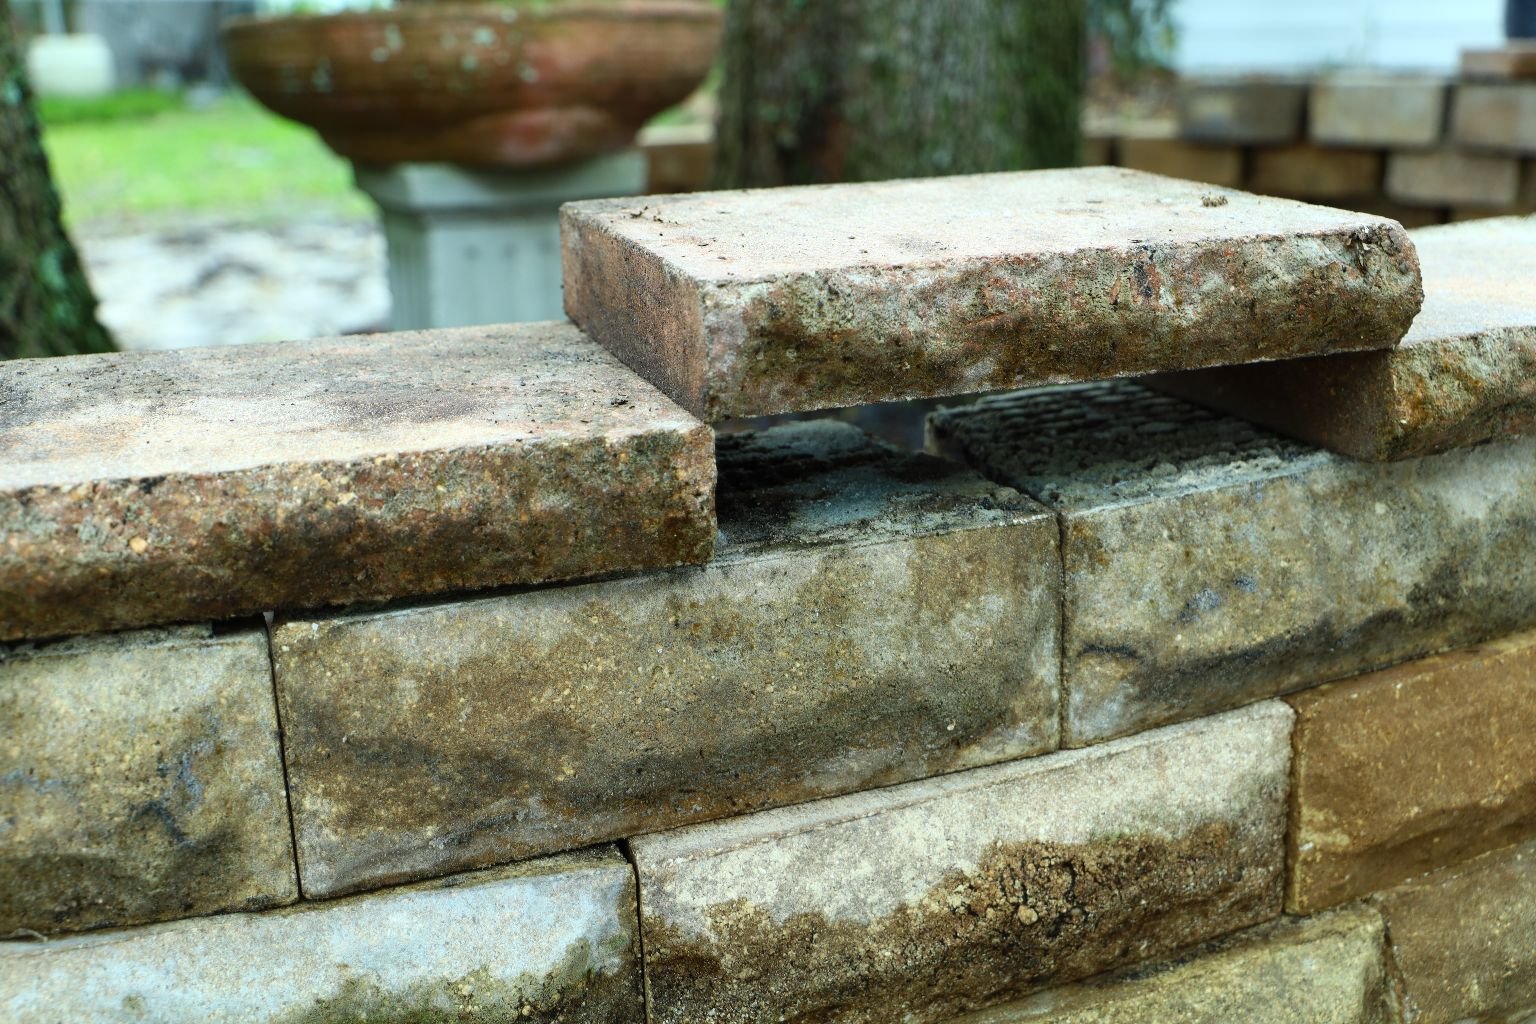
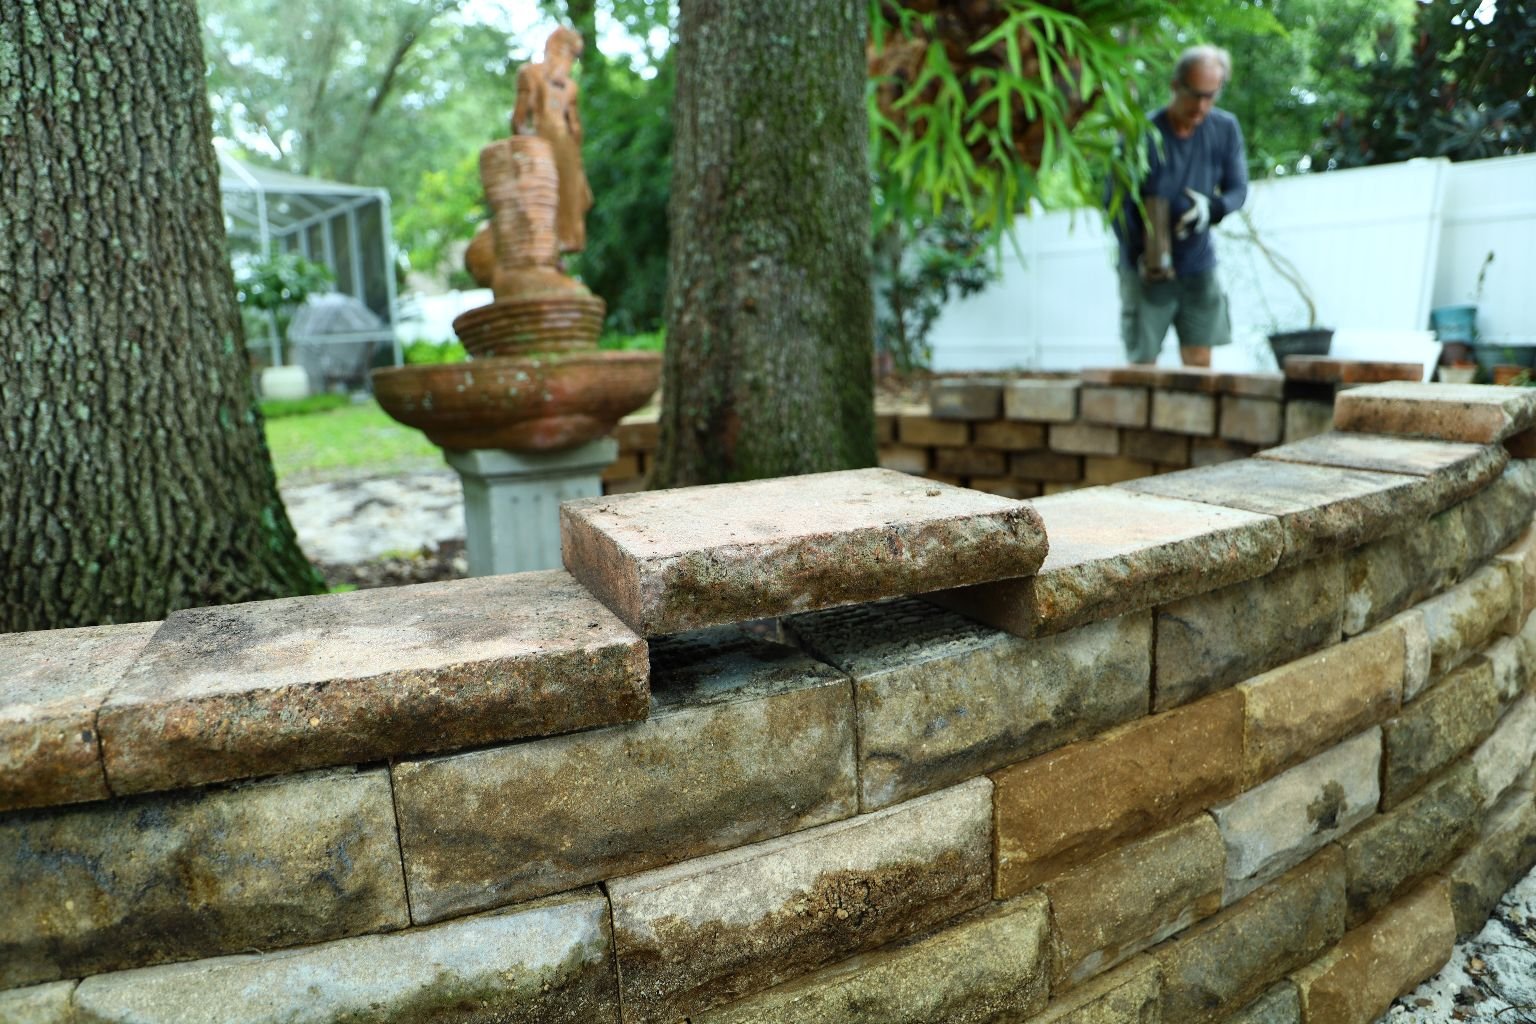
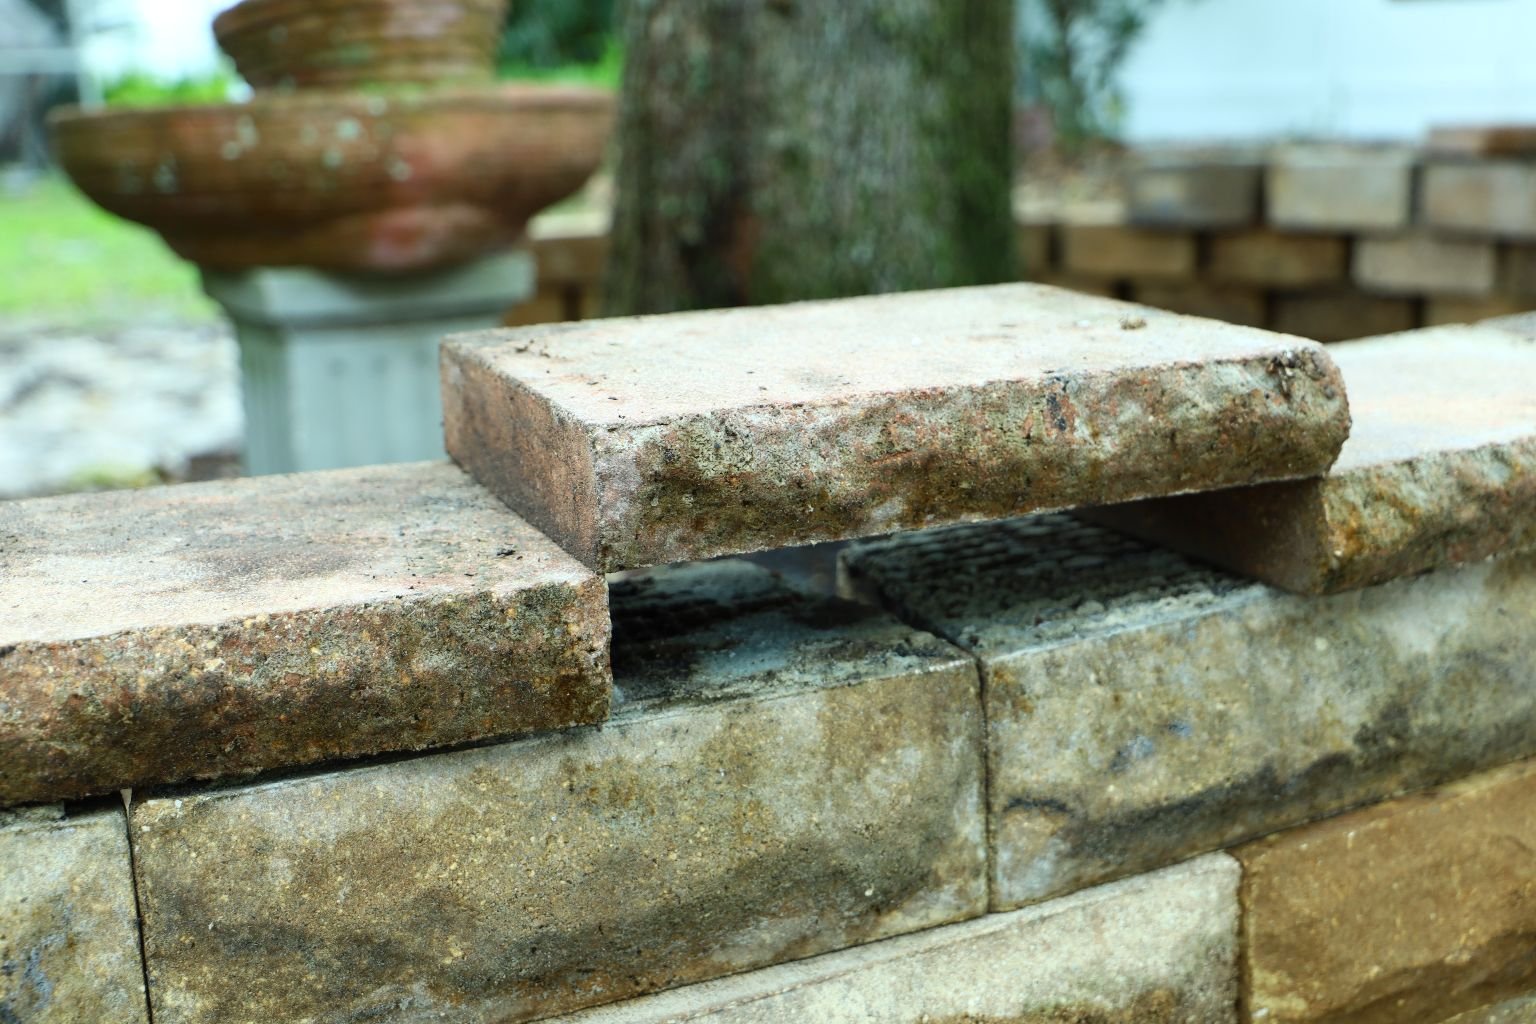
To cut the capstones, I keep the front straight edge and cut the back. This will give me a nice
pattern to the blocks. In this case, I placed the capstones on the front back of the C shape and
worked my way backwards which is why I will have to cut both ends of this capstone to fit in the
area.

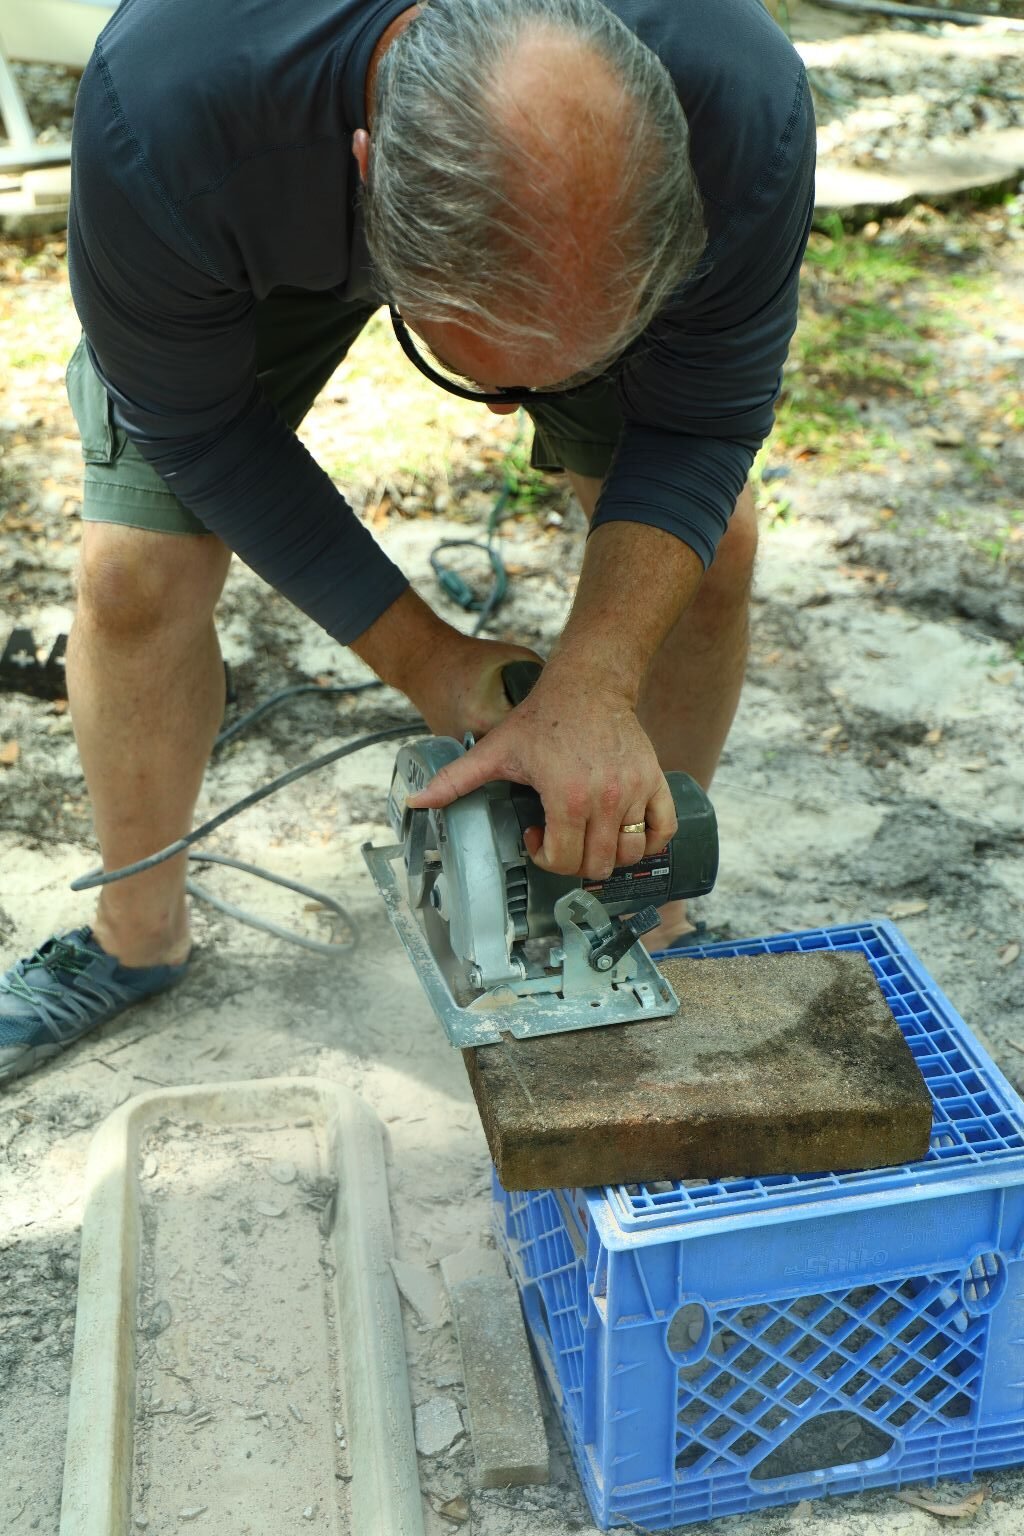
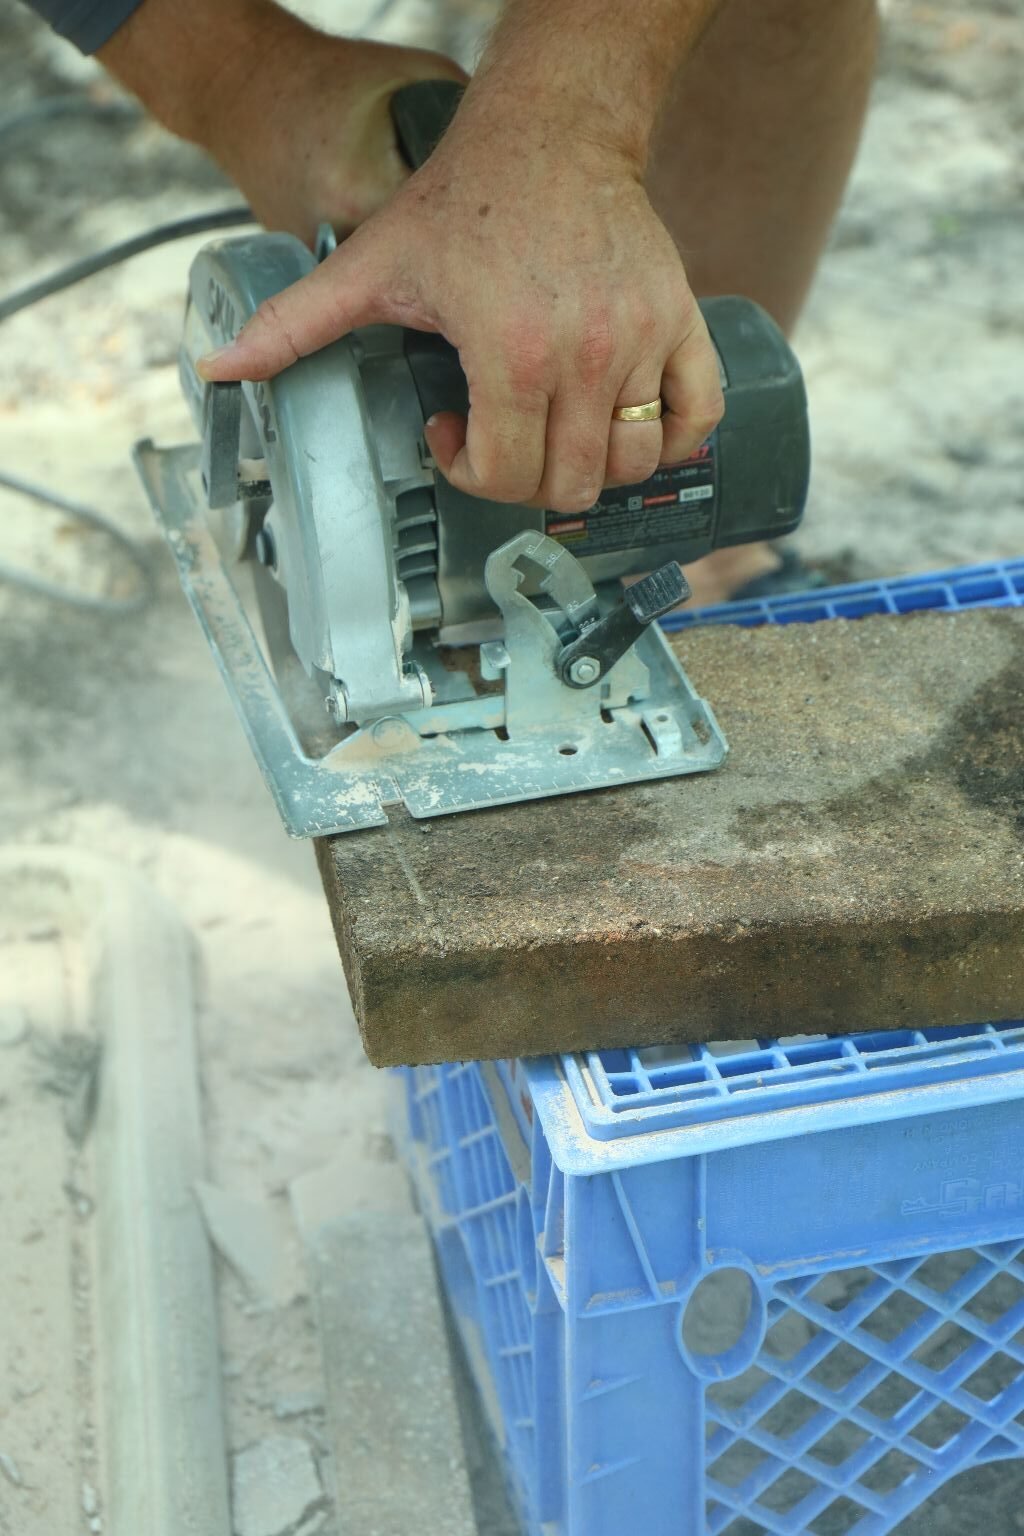
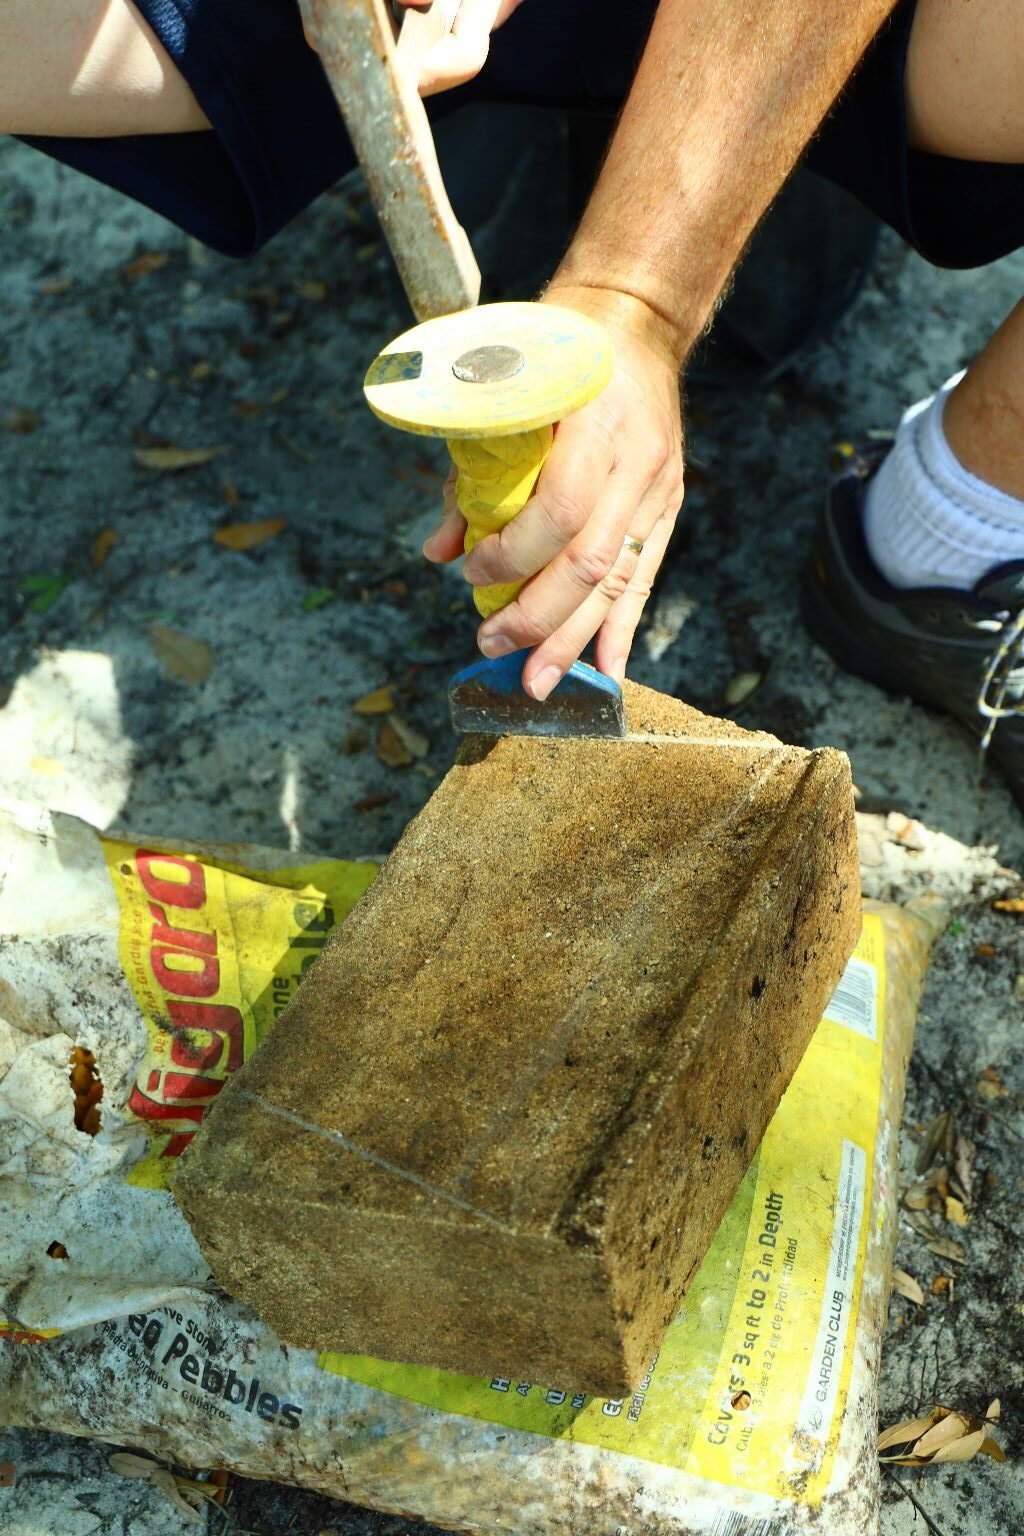
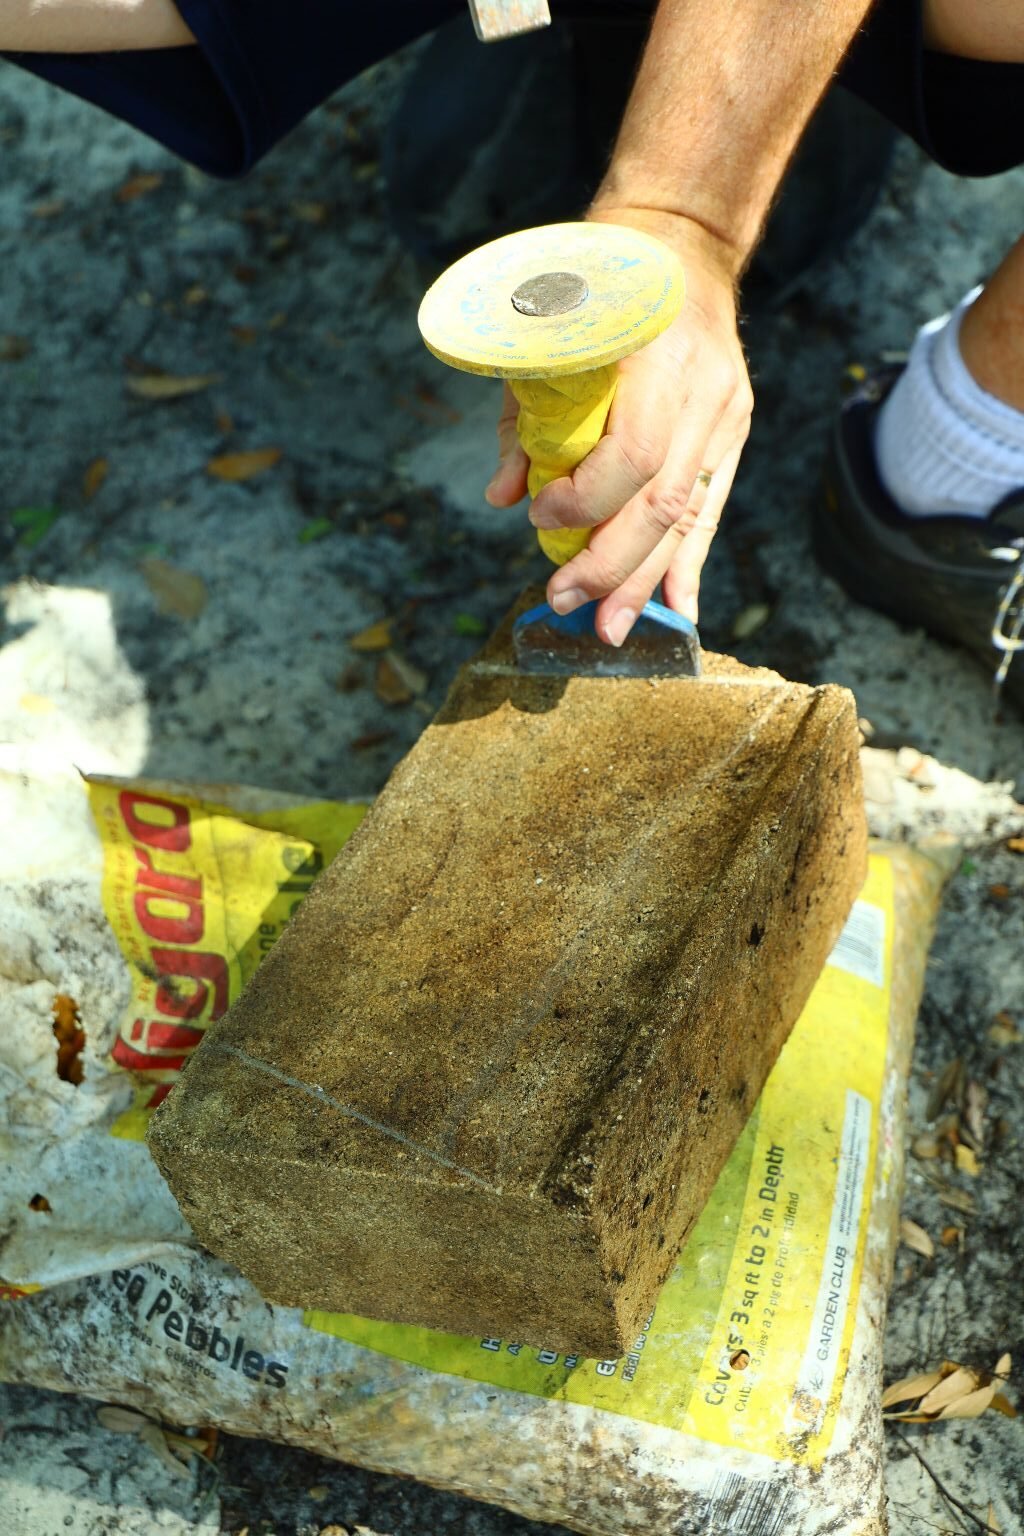
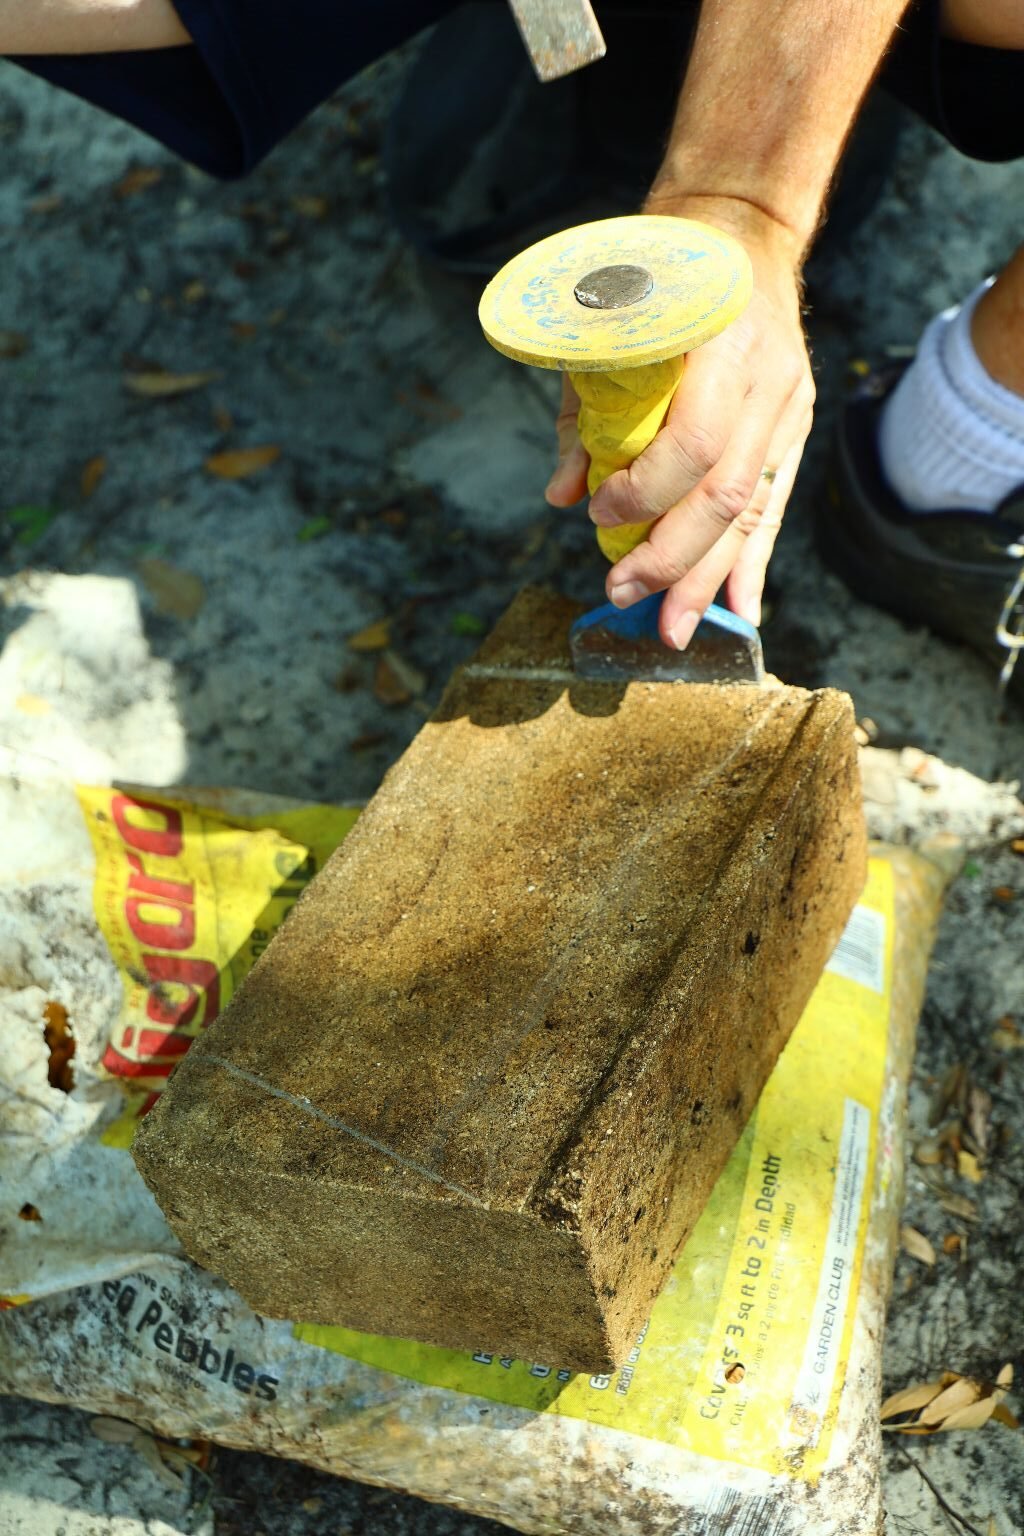
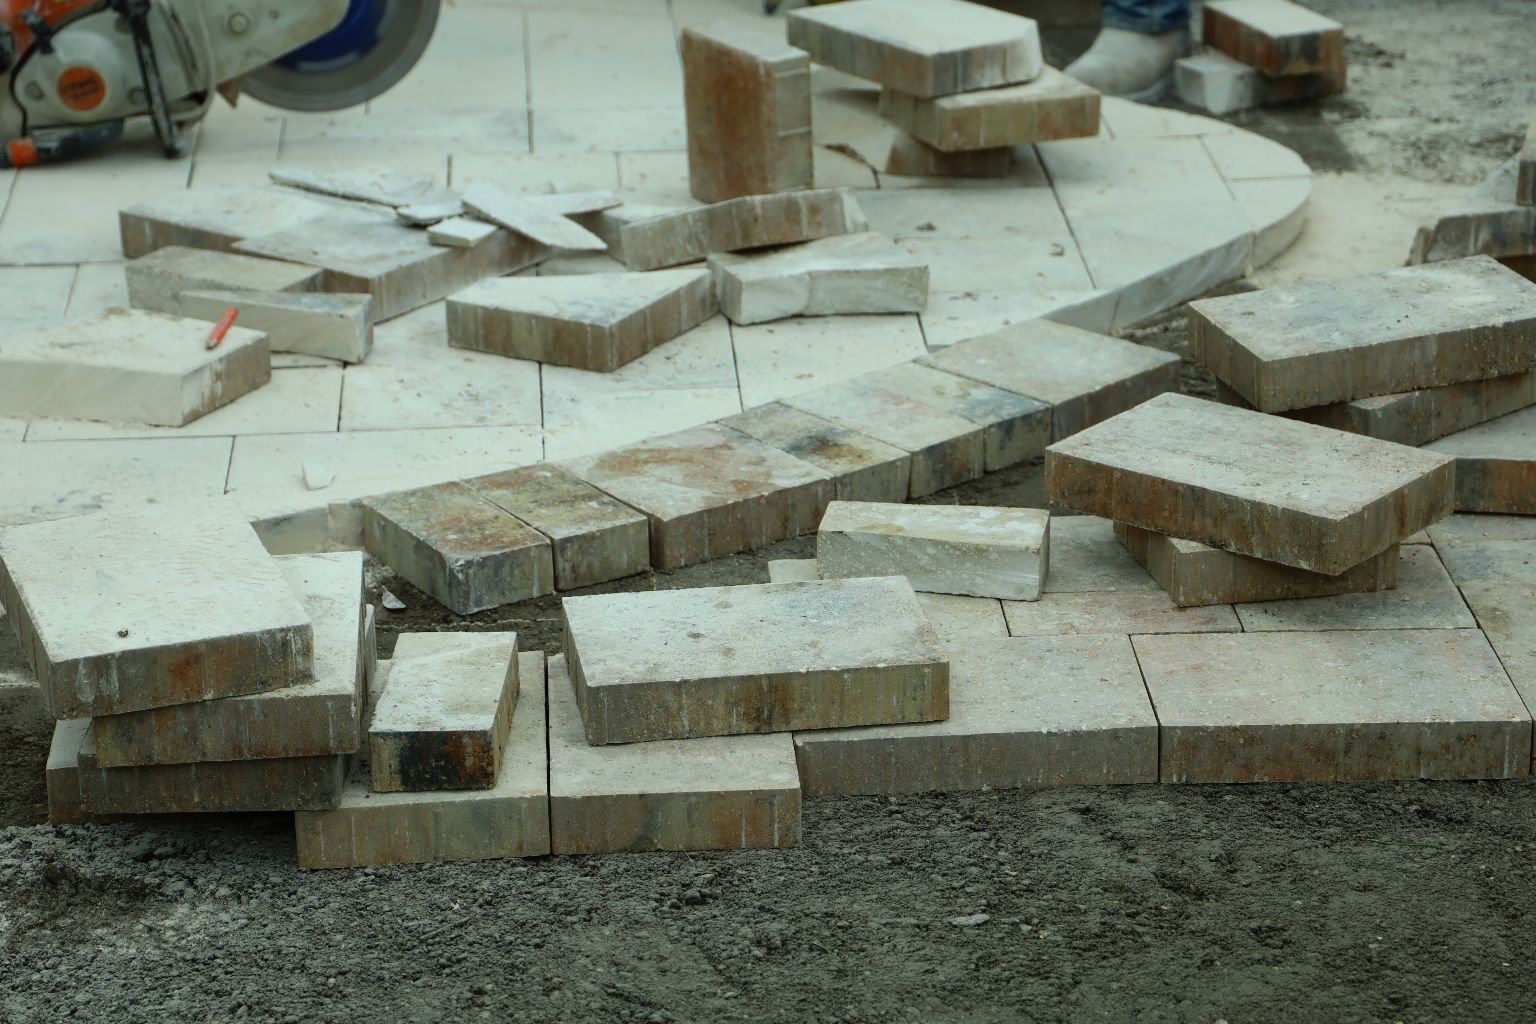
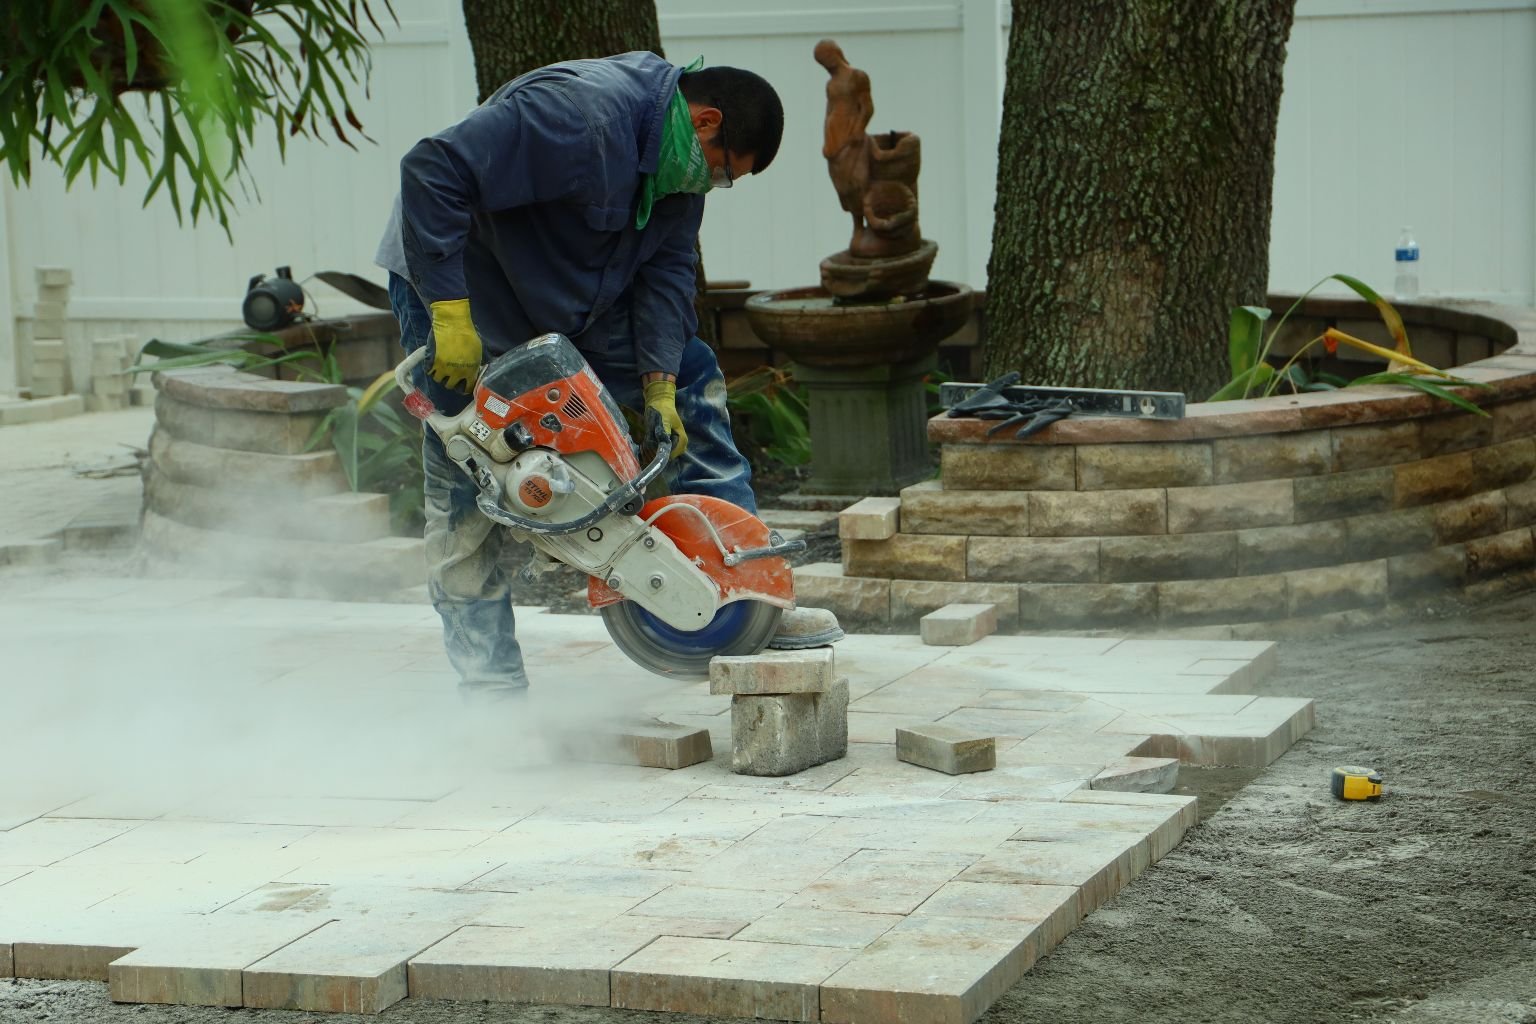
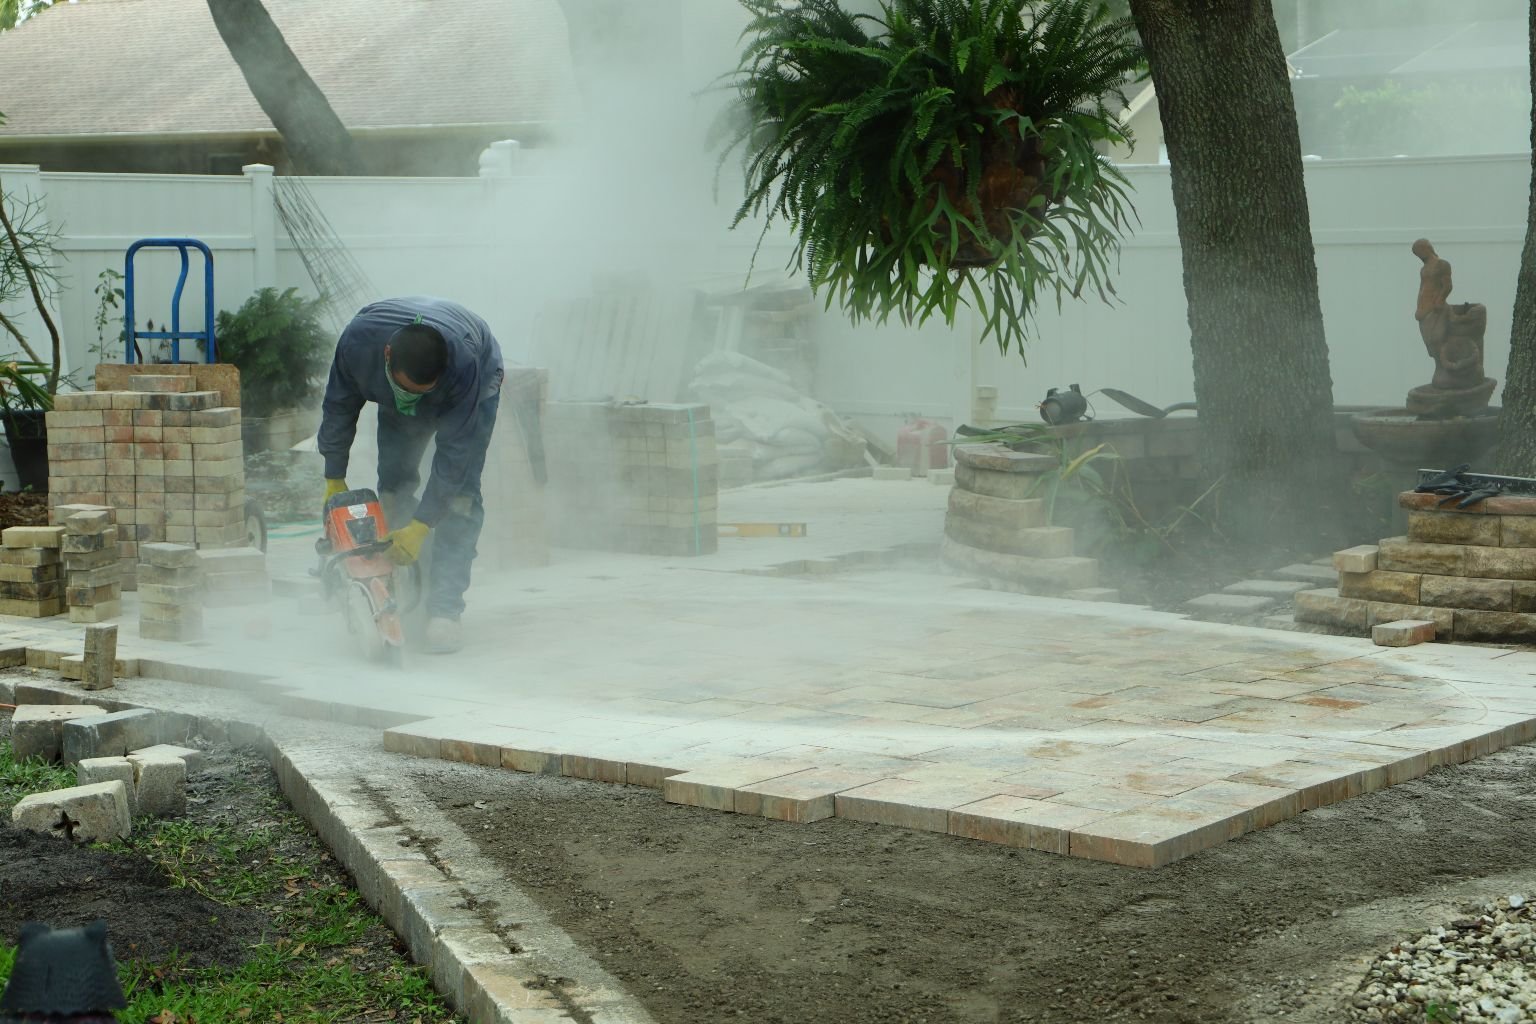
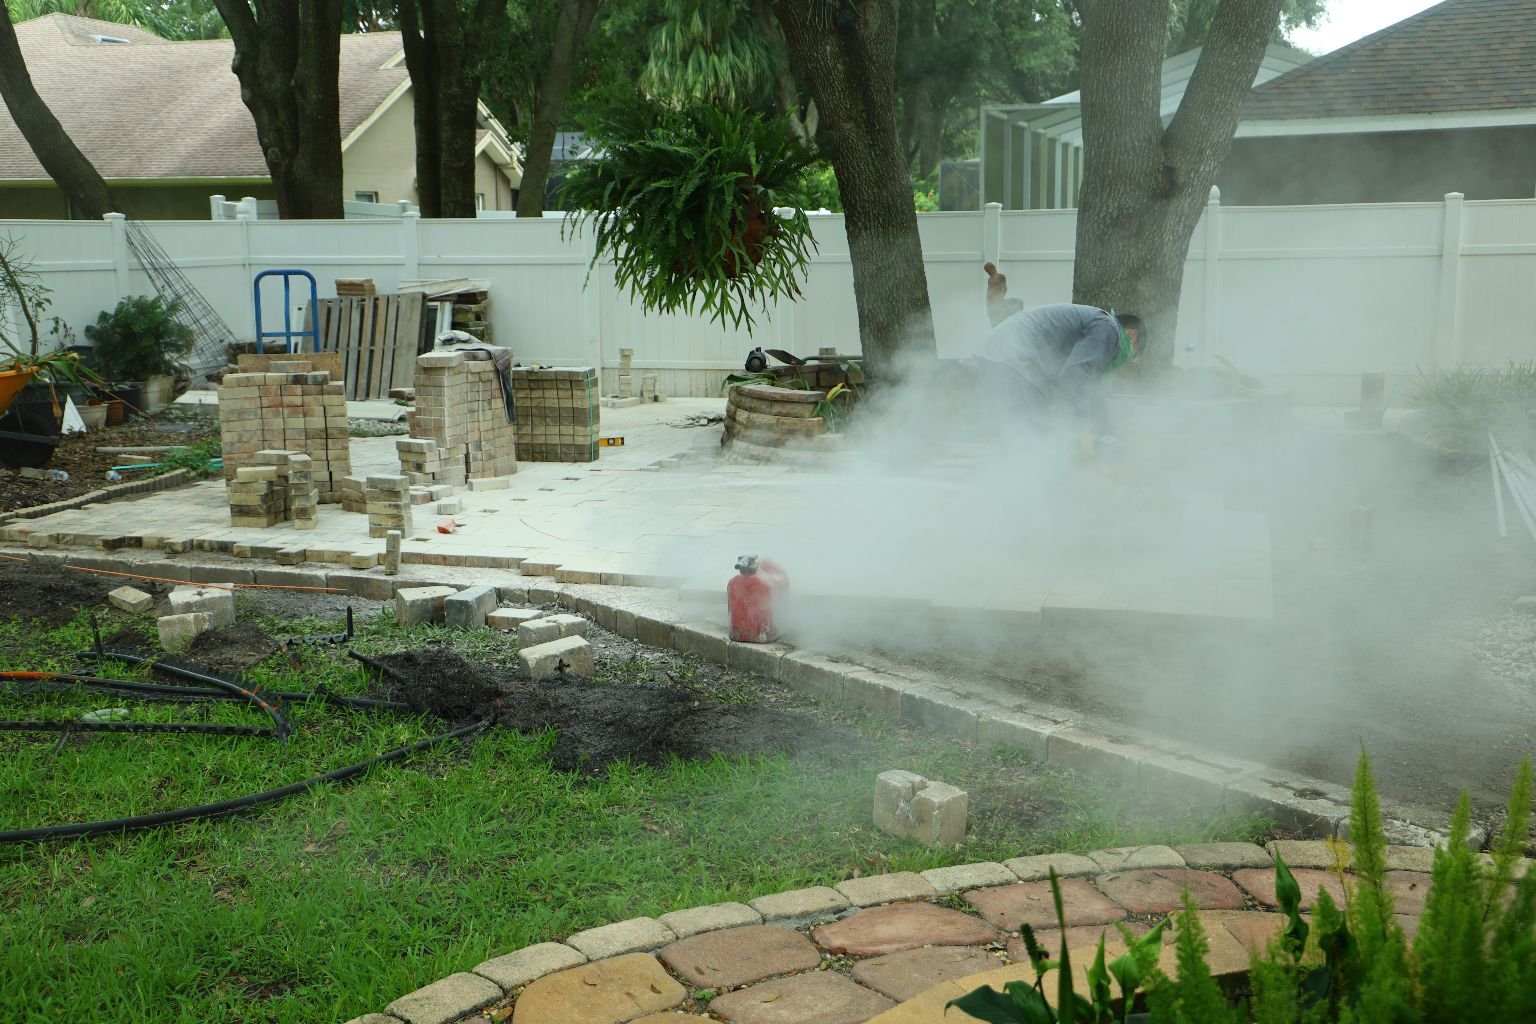
Mark your stone with a pencil or other making pen, they use your circular saw with a concrete
cutting blade to cut the block. I am using a milkcrate as a base. Make sure your cut is nice and
straight and use your safety glasses.
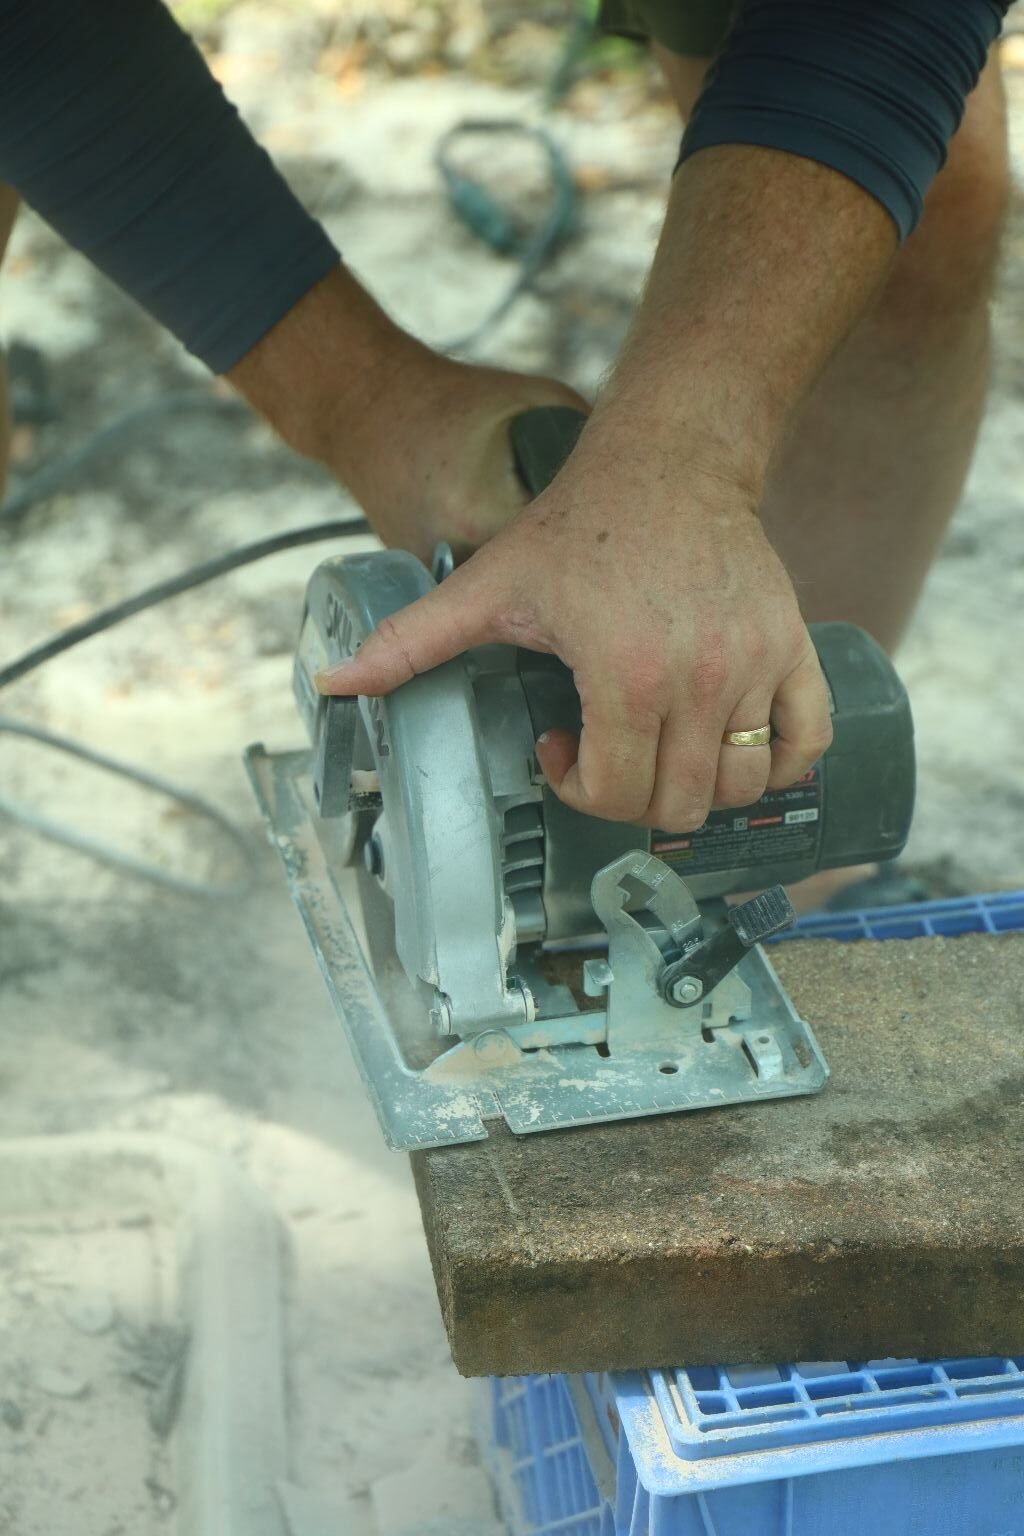

The cuts are very fast.
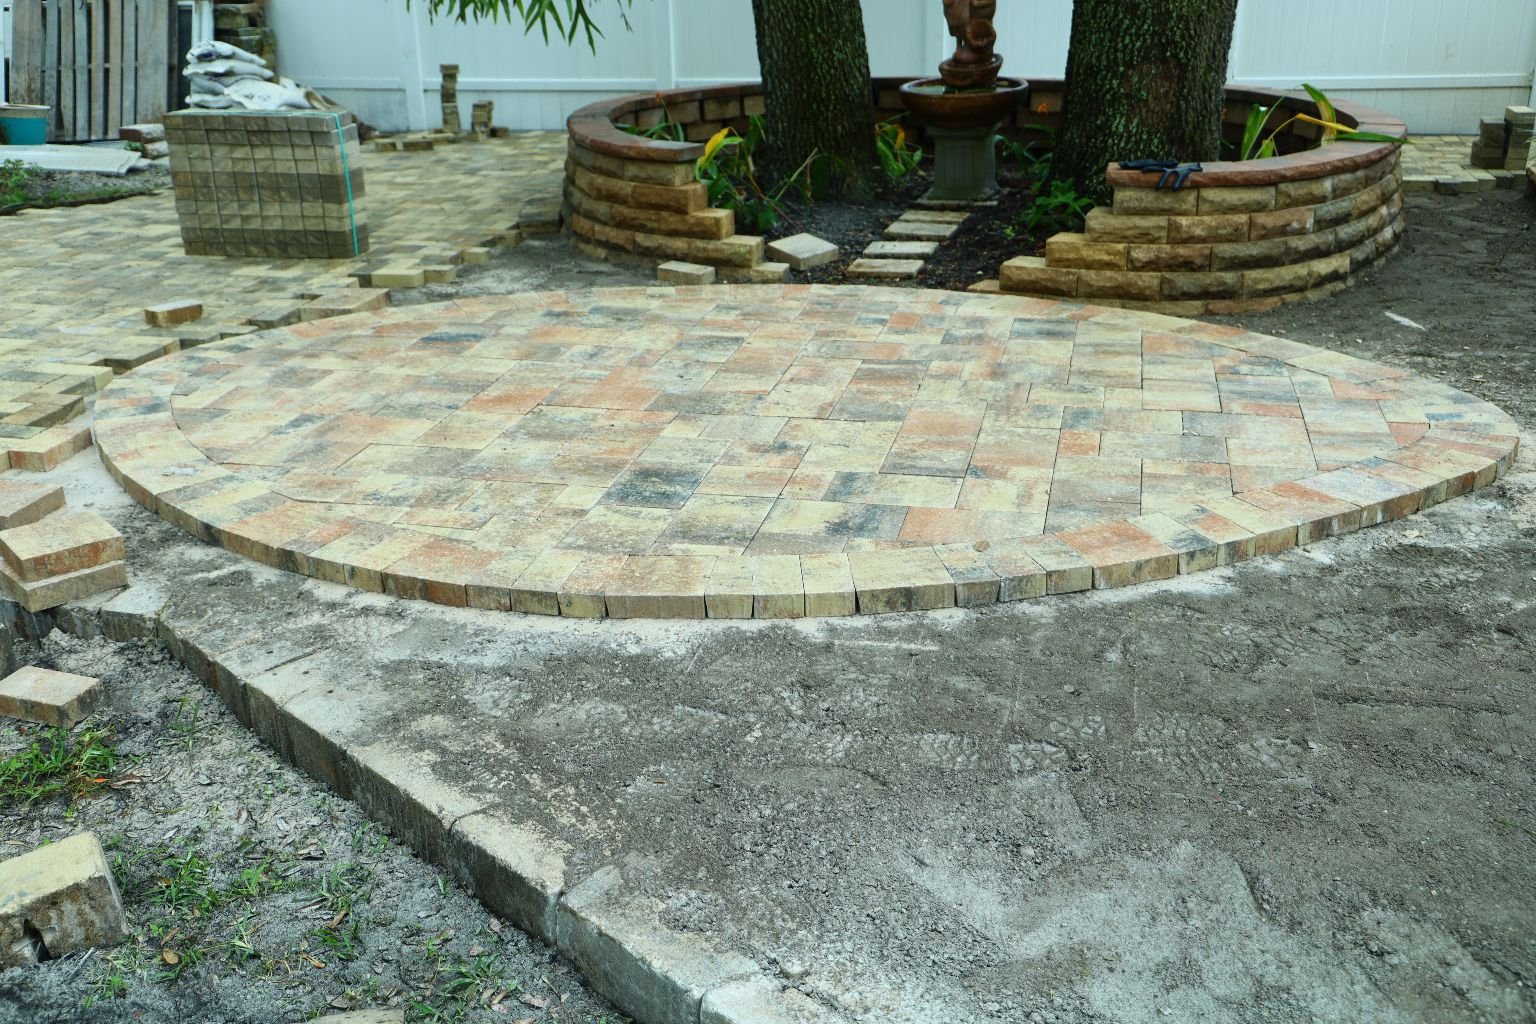
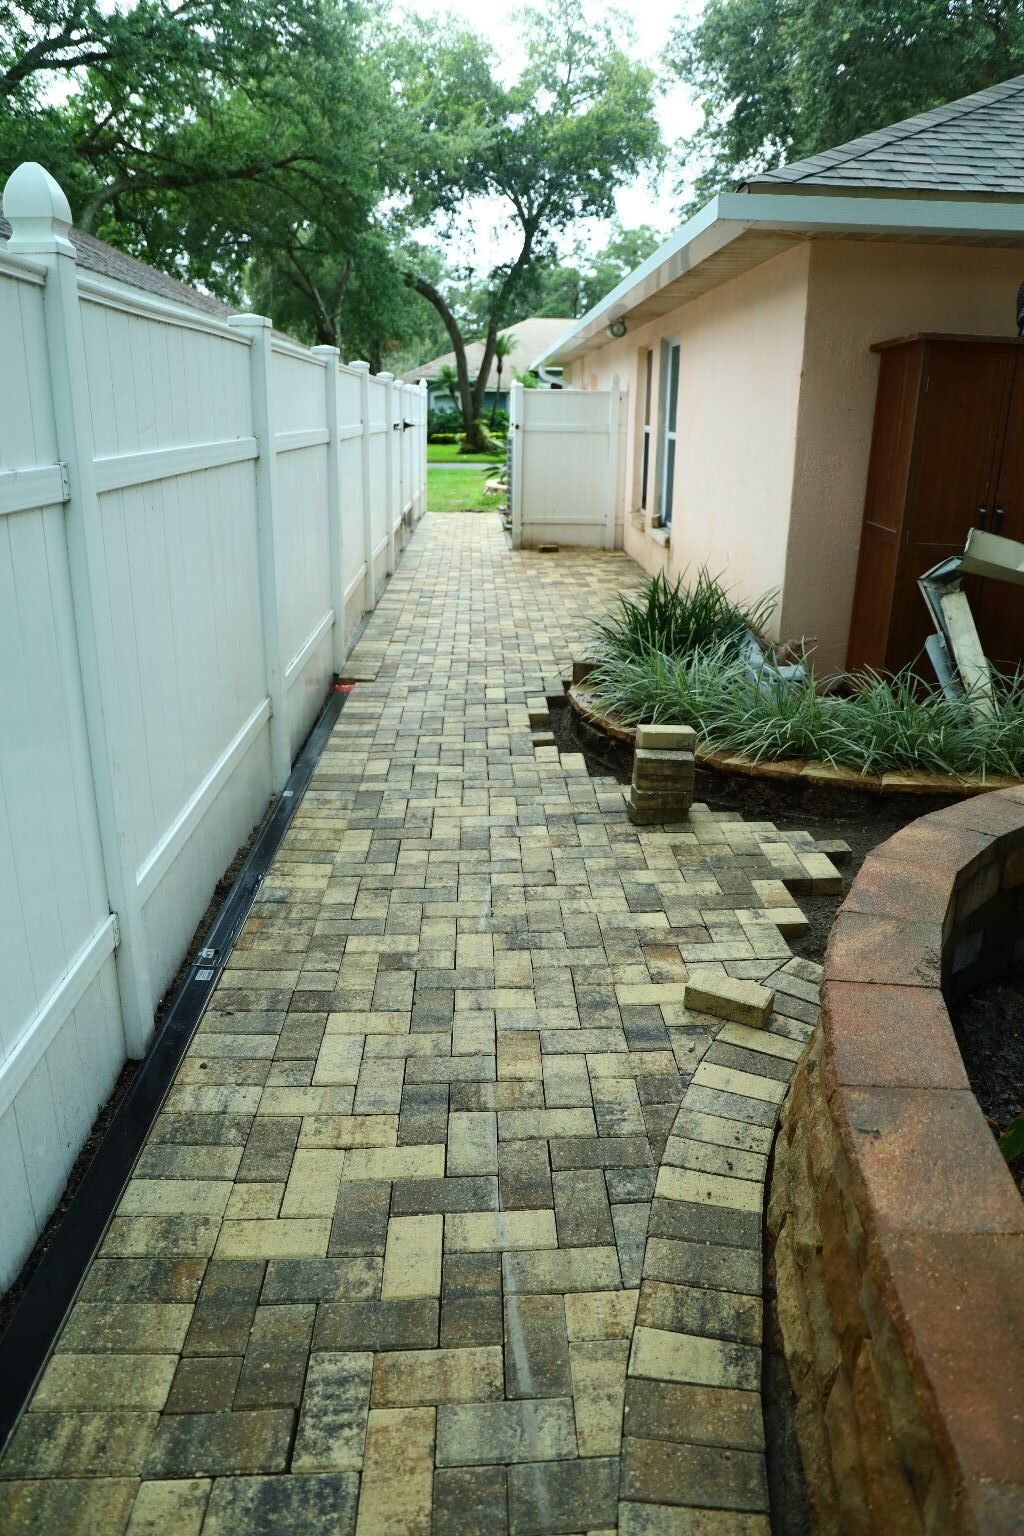
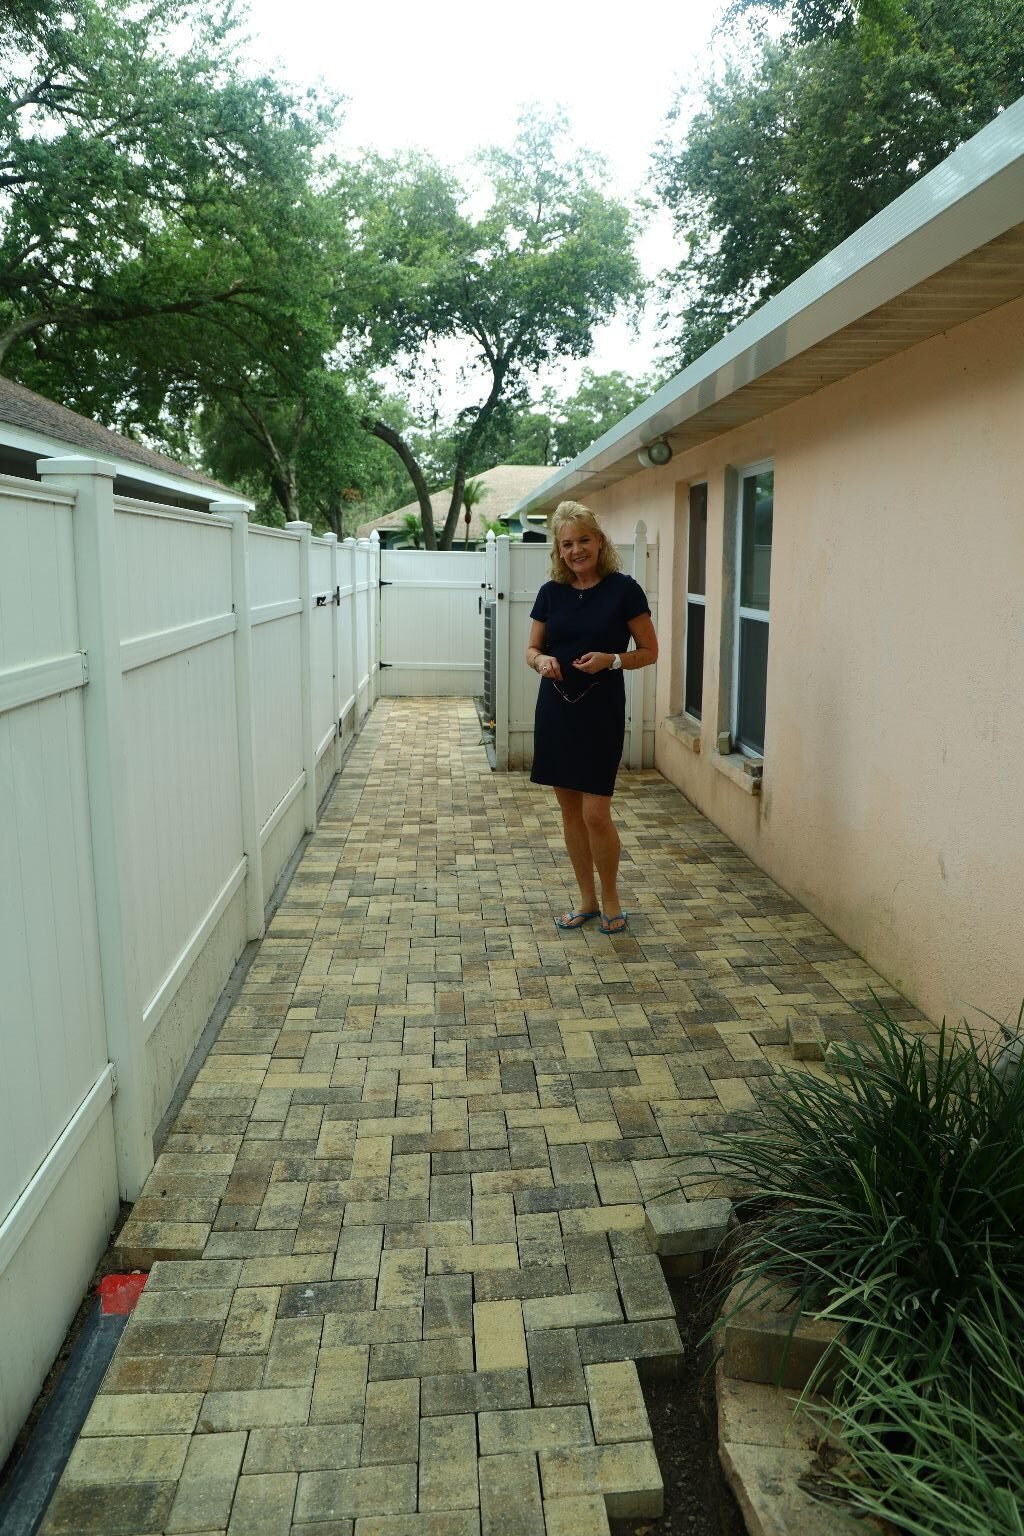
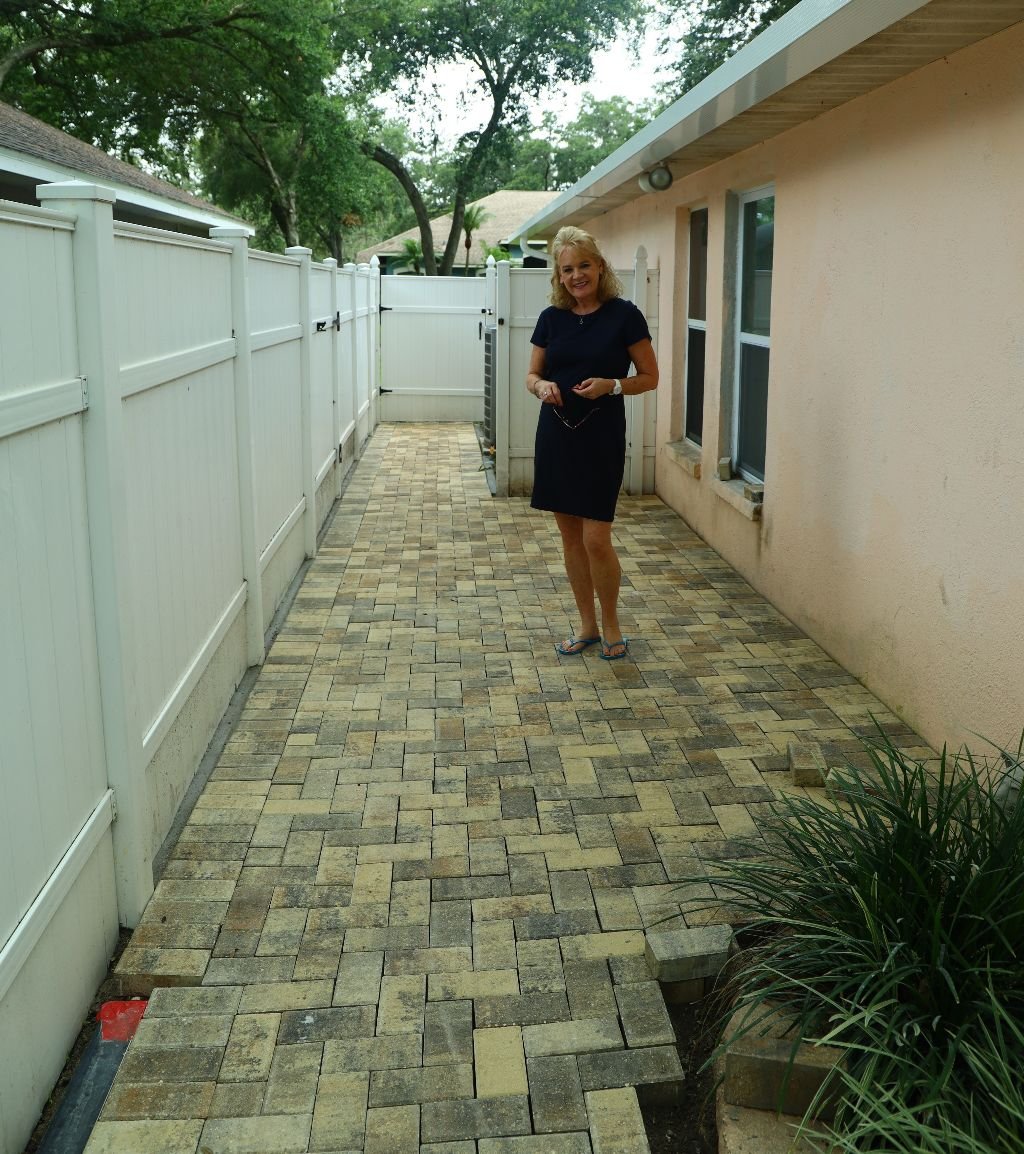
I hope I have provided you good instructions on how to repair your retaining wall as this
was a great DIY project. Bring on the pavers!
—————————————————————————————————-


————————————————————————————-
———————————————————————————