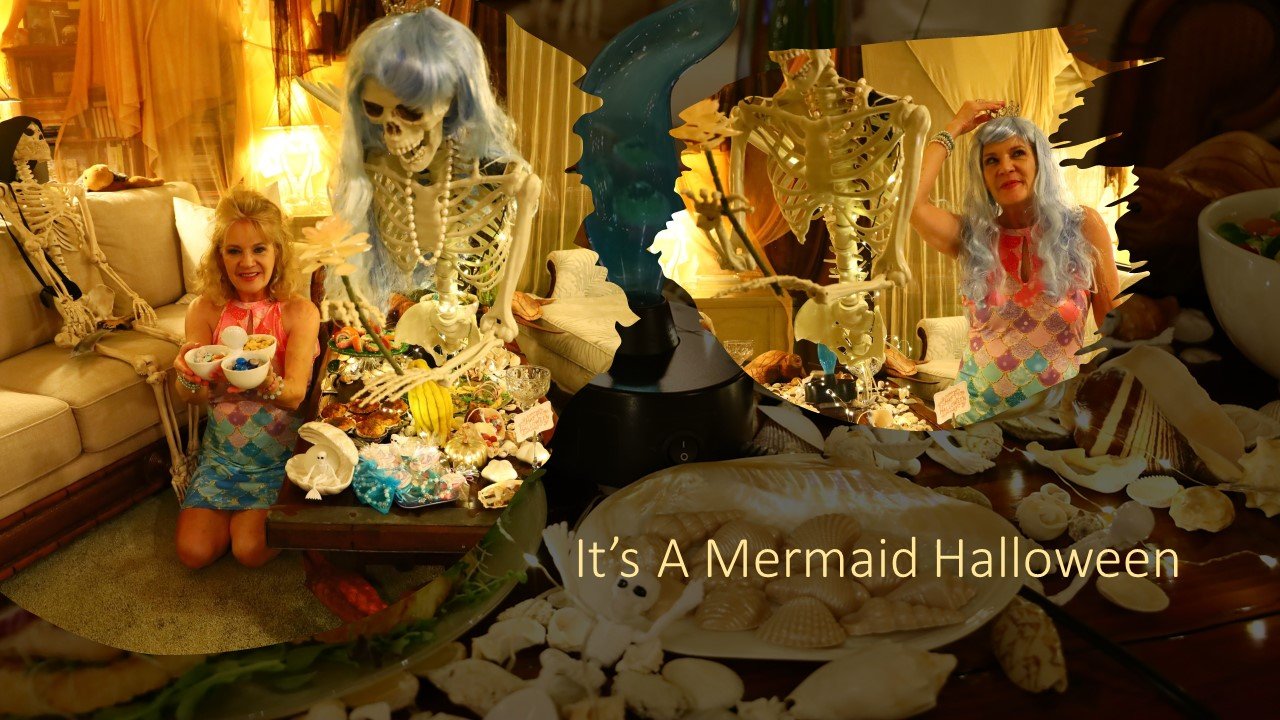
A Mermaid Halloween
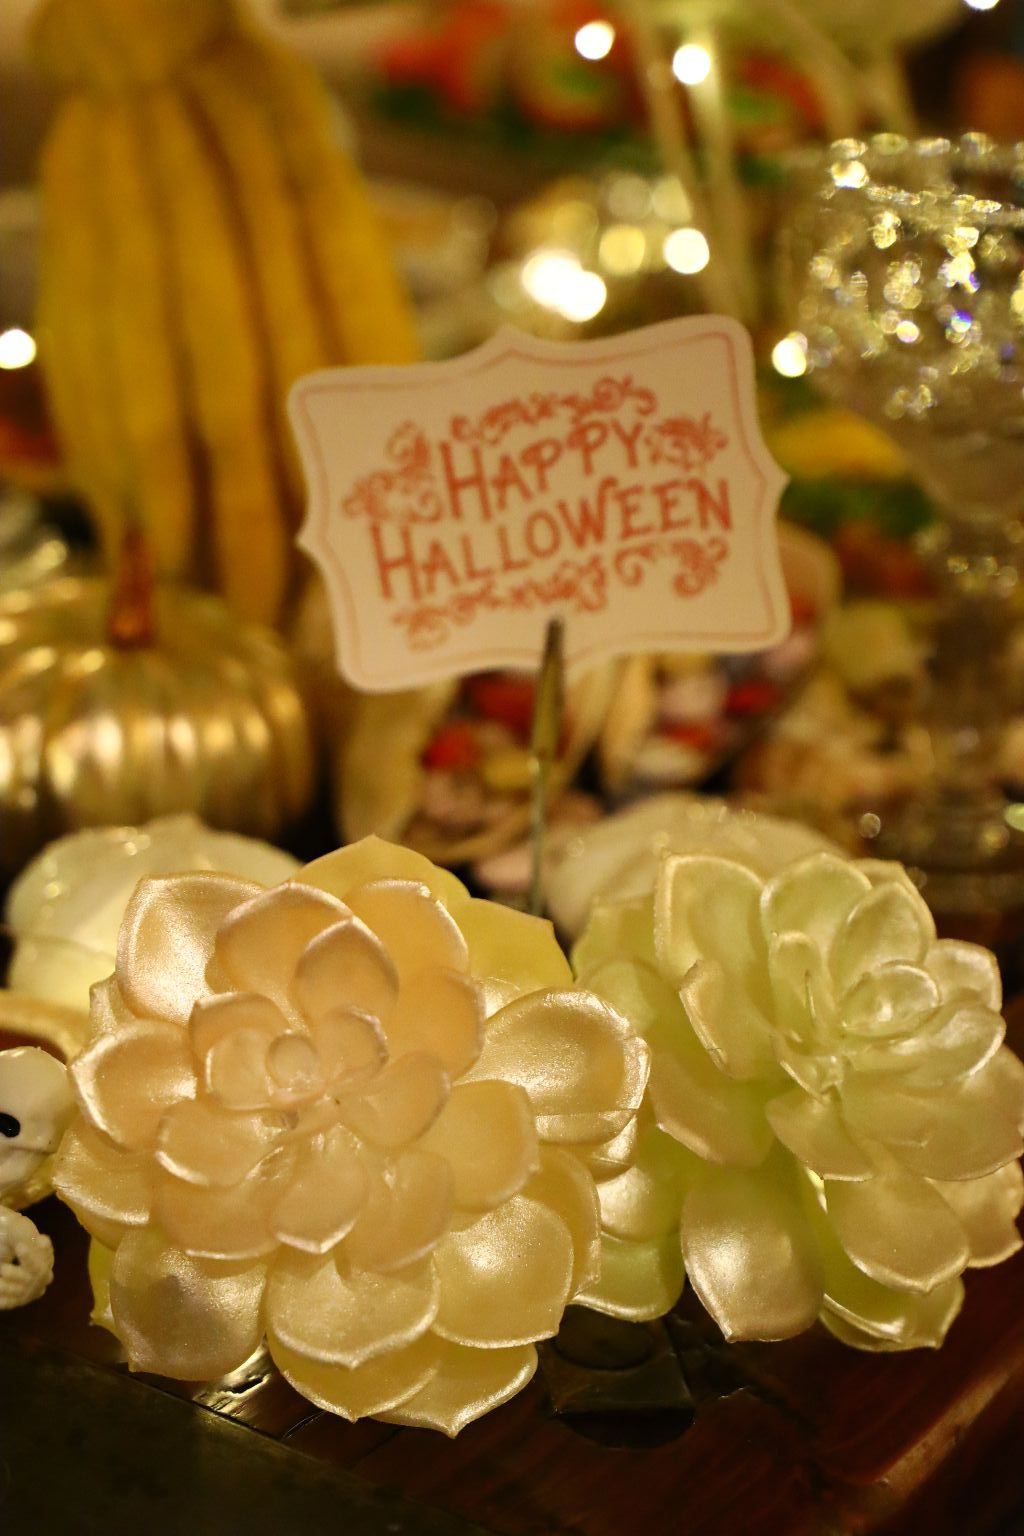
HAPPY HALLOWEEN
Trick-or-Treat
Salty But Sweet!
Mermaid Kisses and Starfish Wishes
Welcome to our Under Sea Halloween!
Can I Offer You a Mermaid Treat from the Reef?
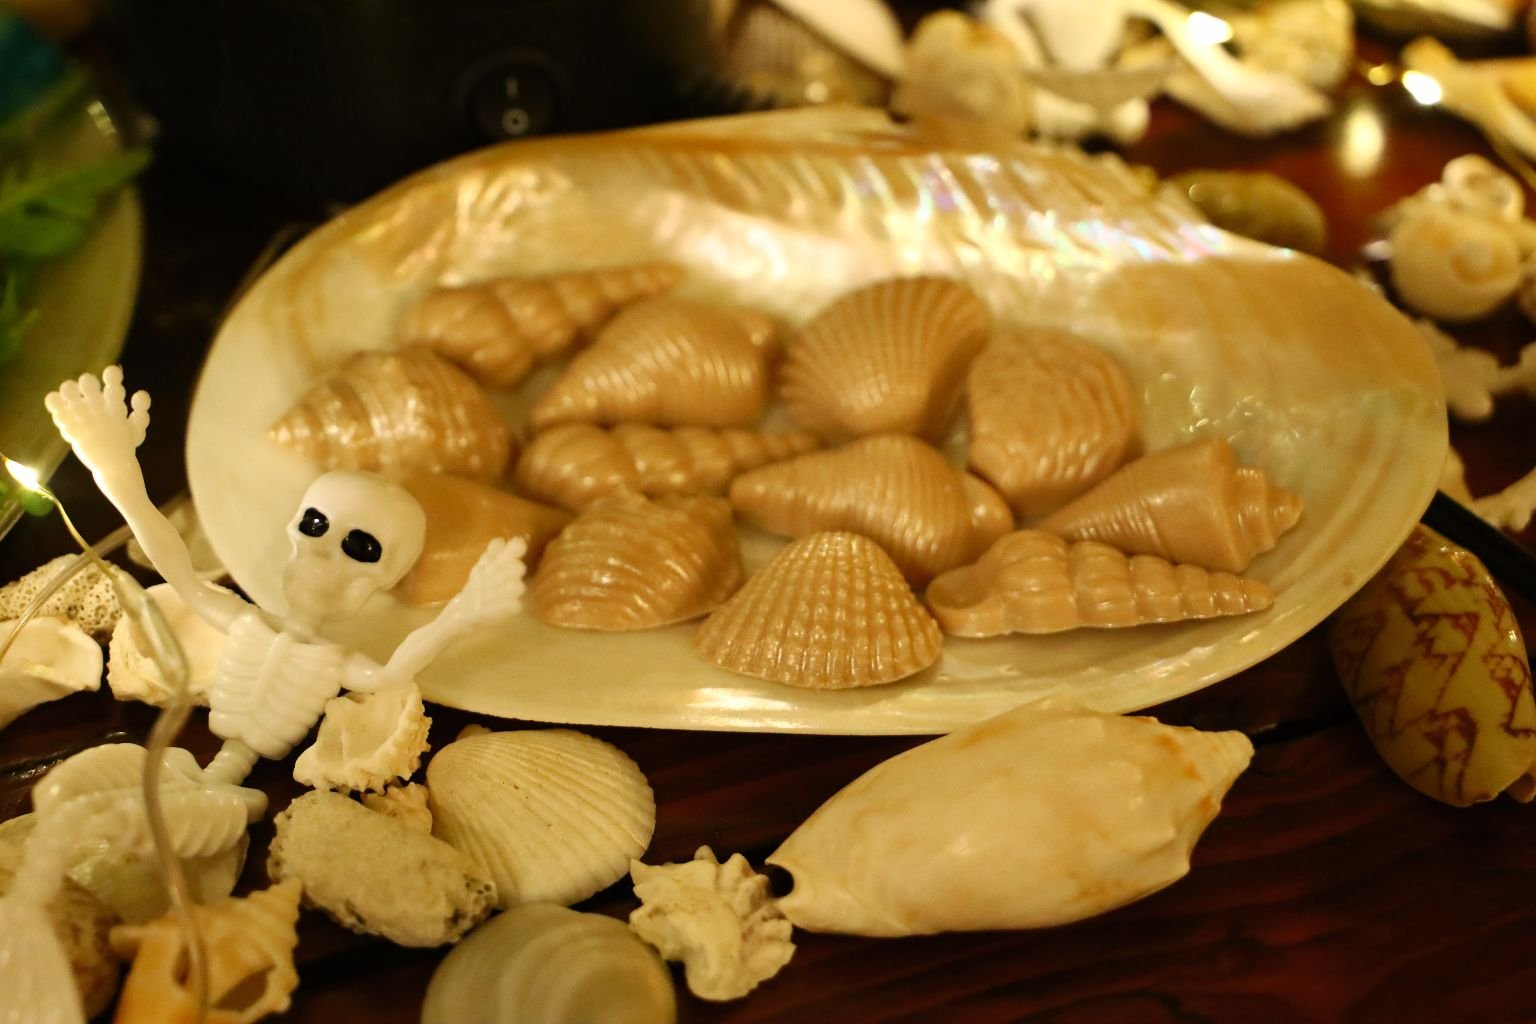
How About a Chocolate Seashell?
You Wish, Jellyfish!
The Mermaid Riches, and Mermaid Dishes
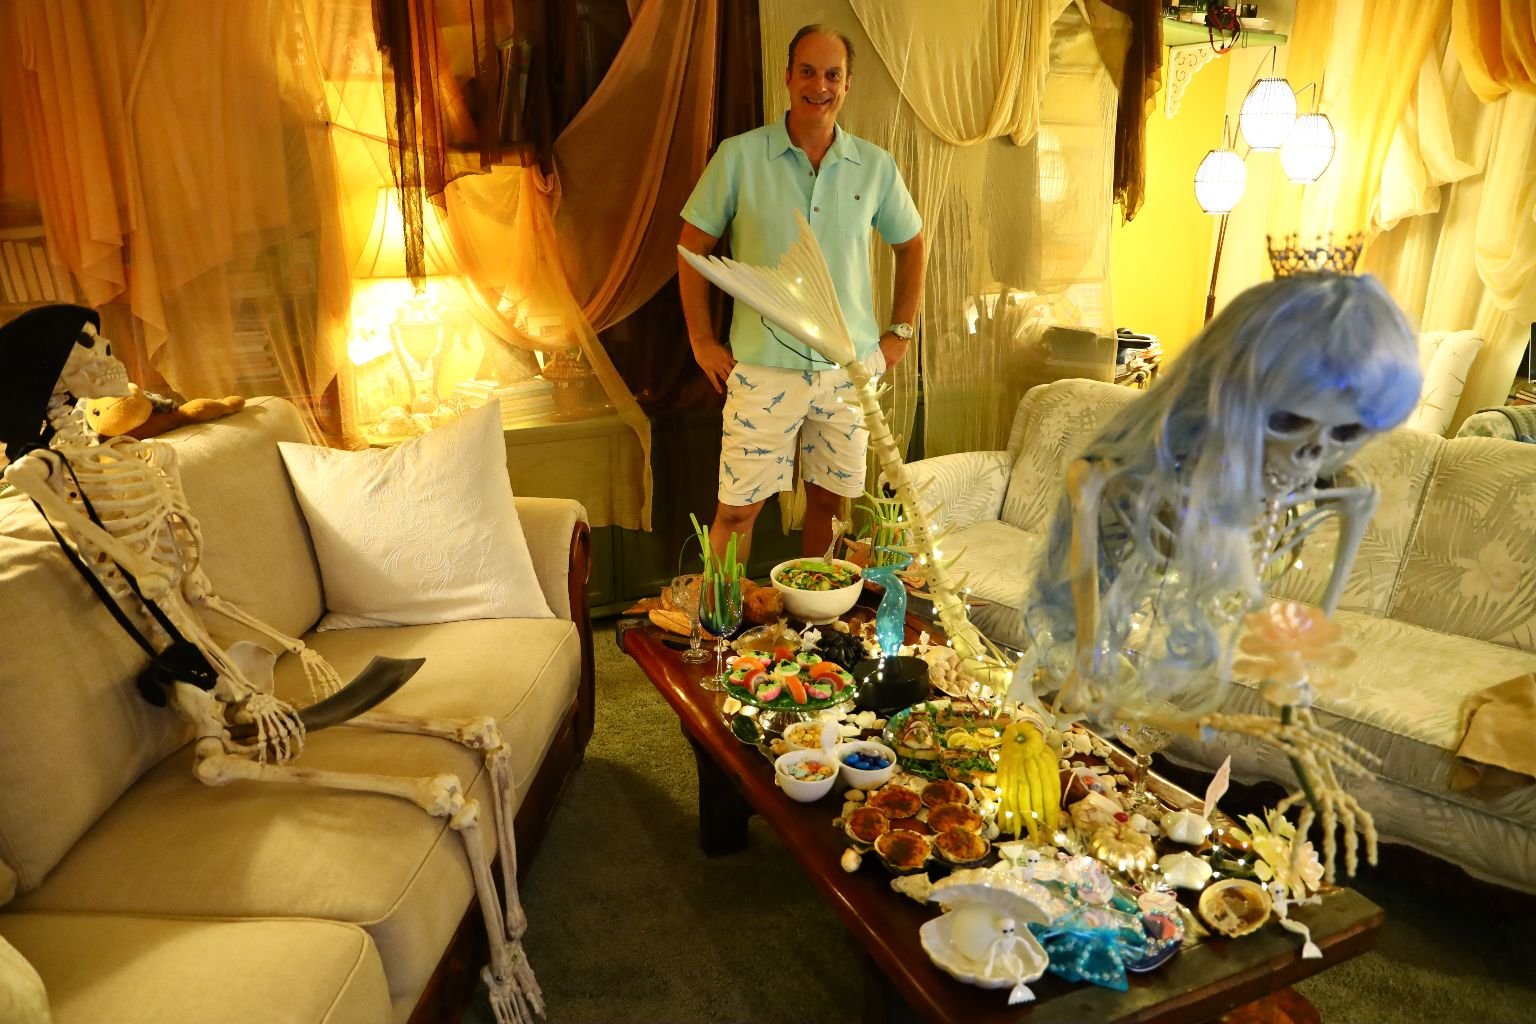
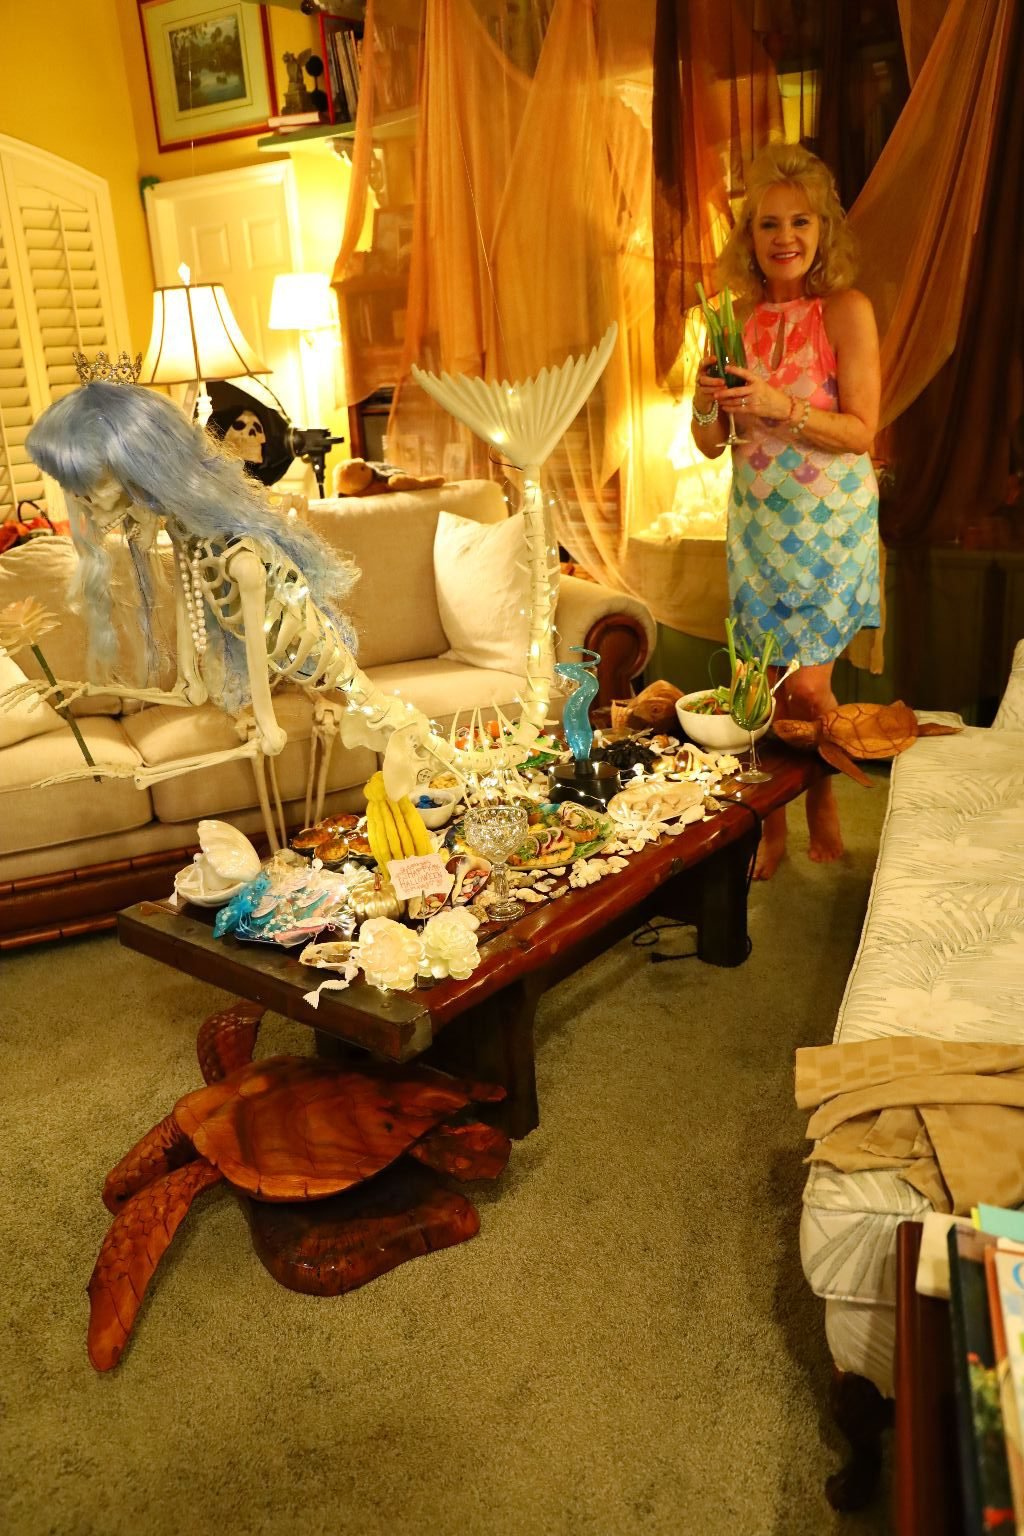
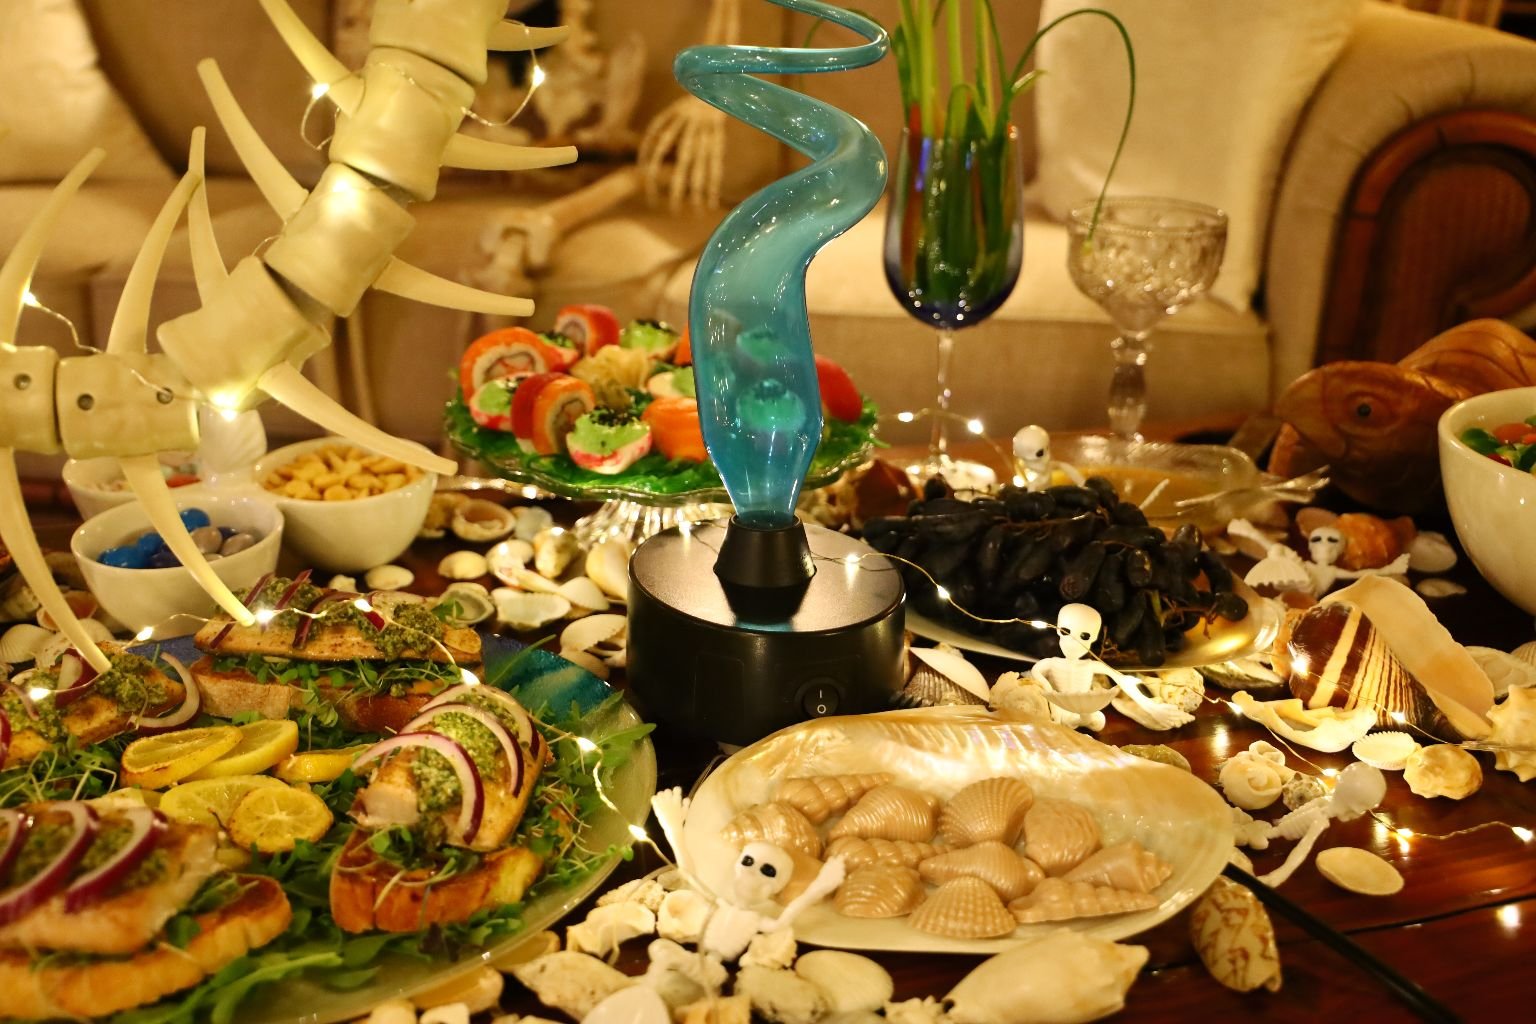
Our Mermaid Table
————————————————————————-
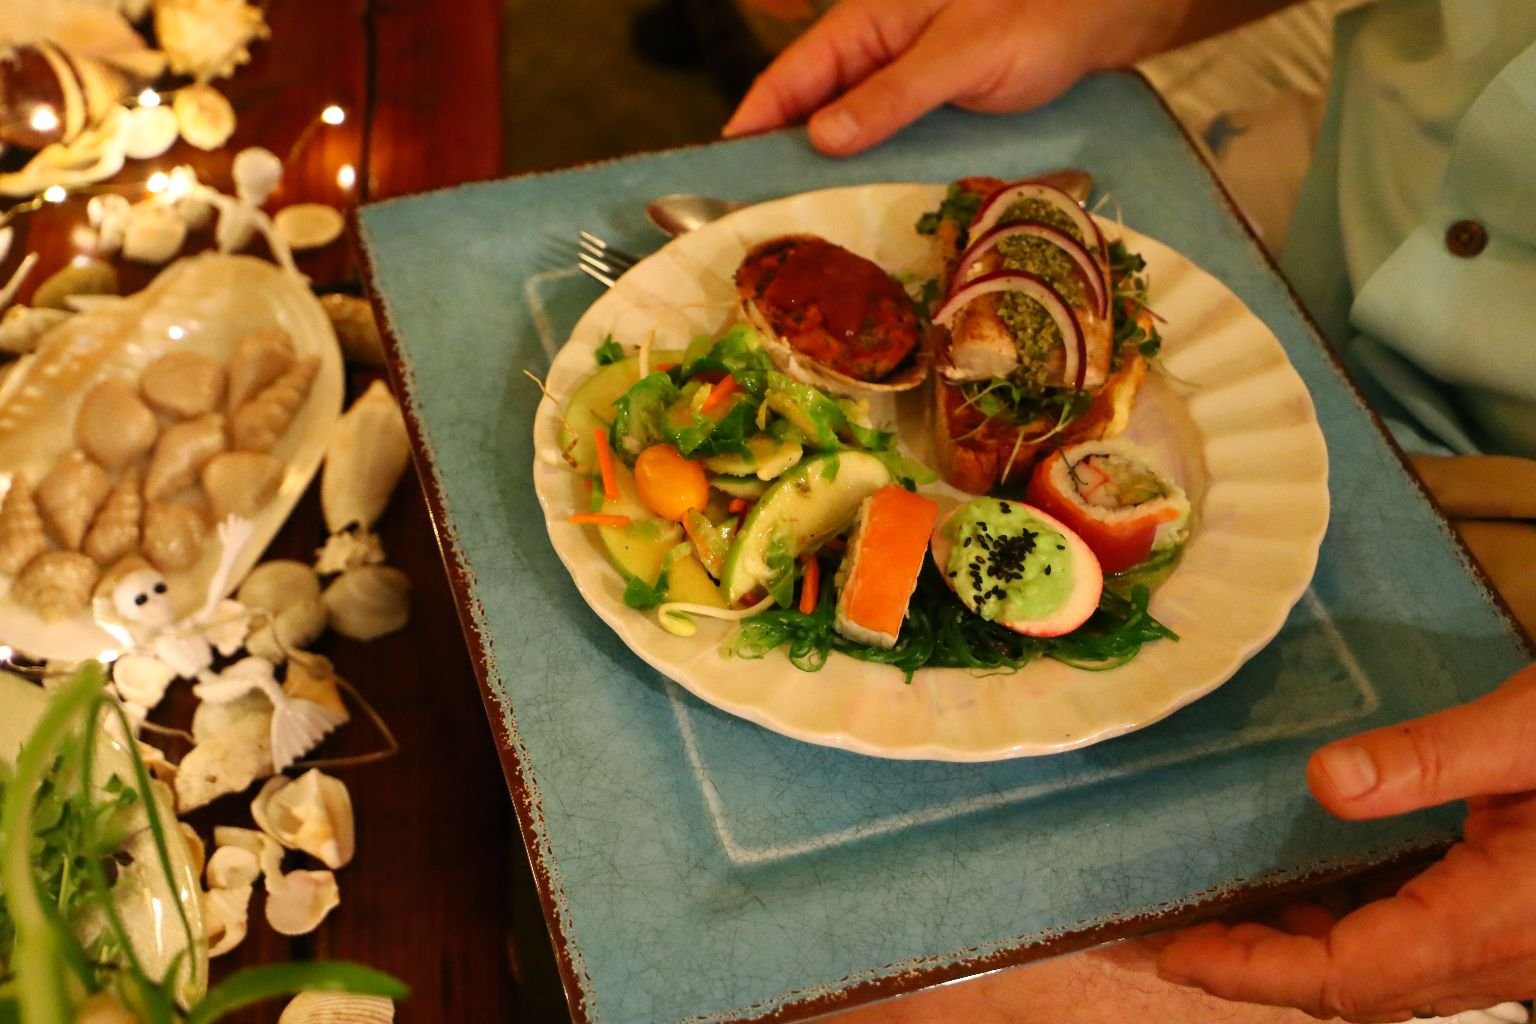
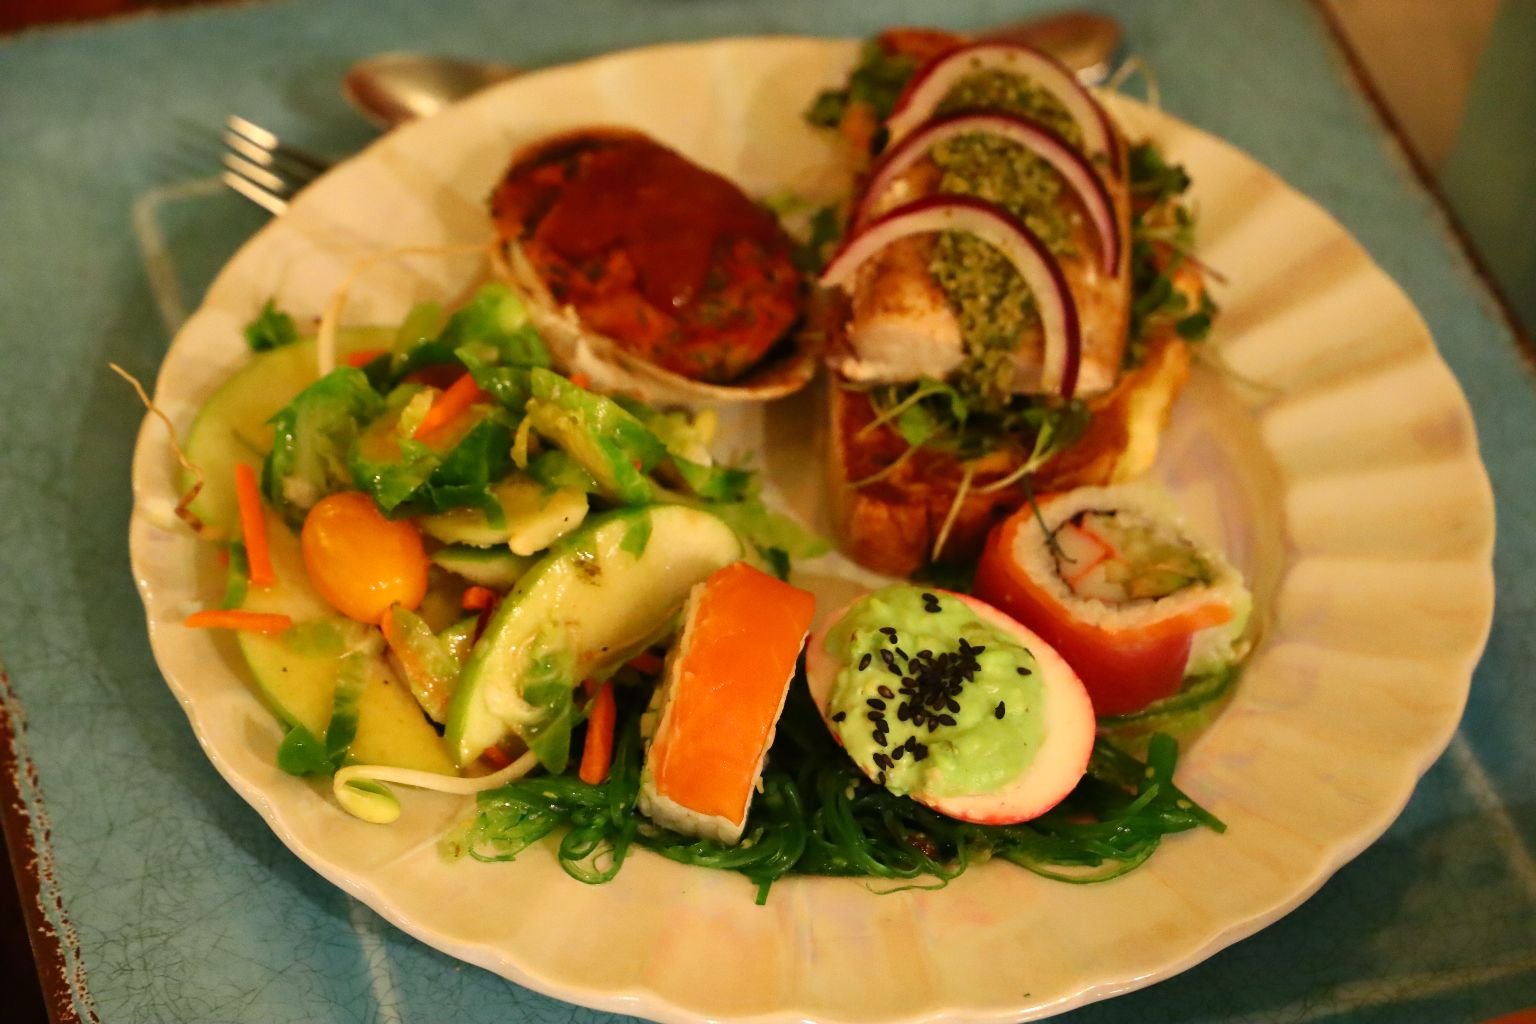
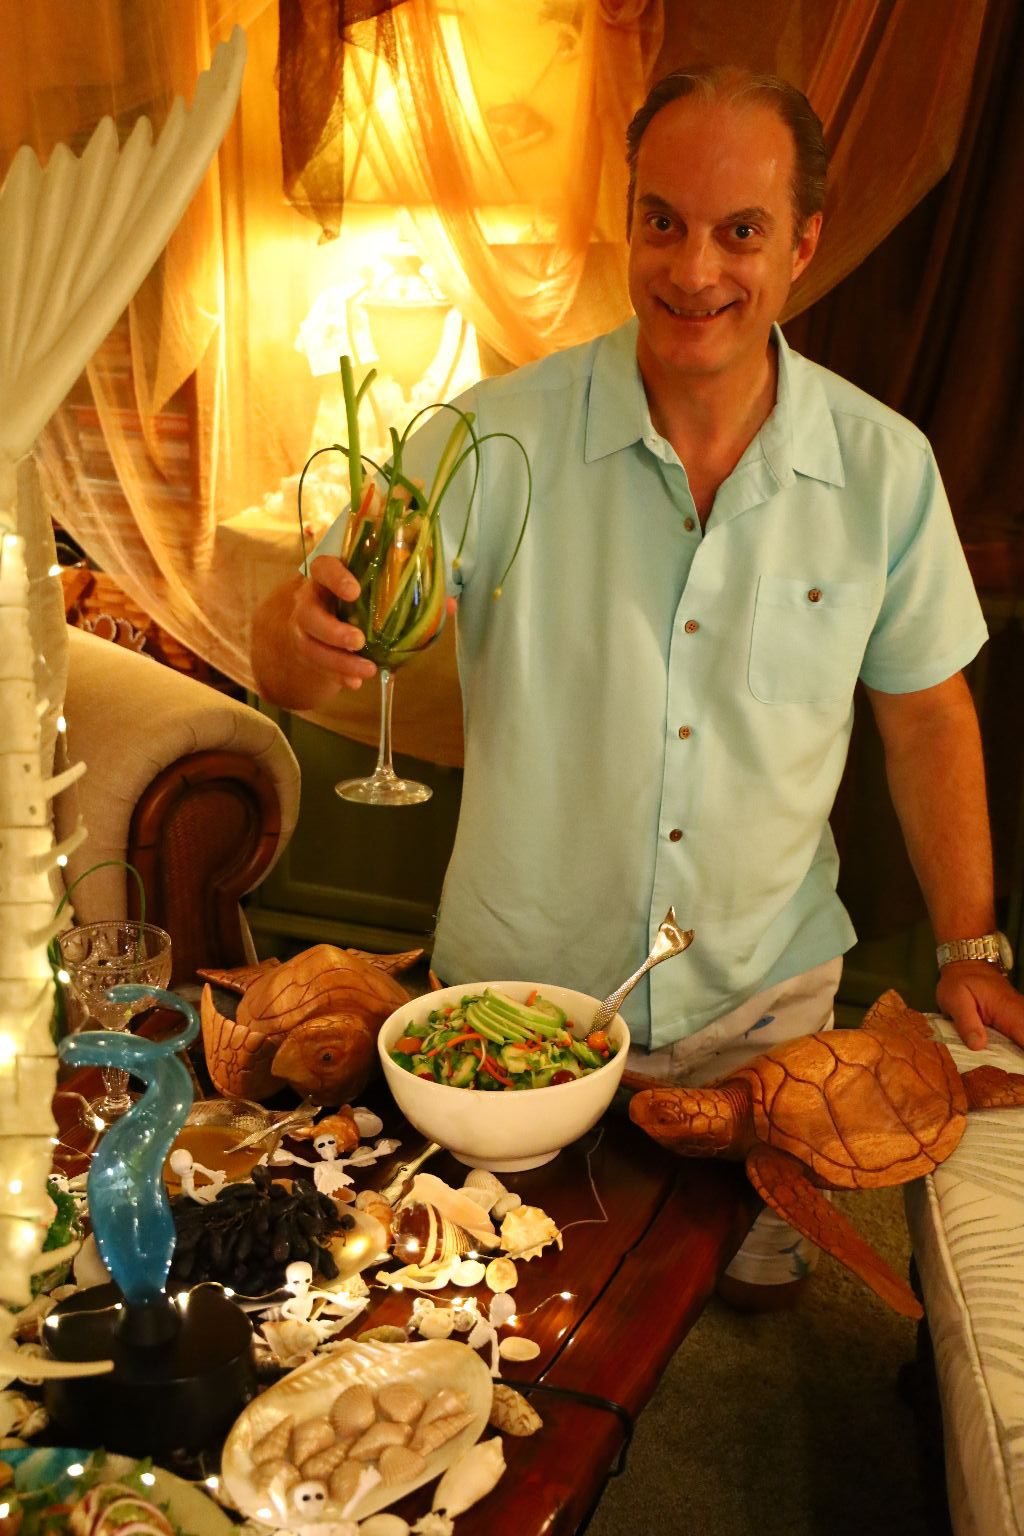
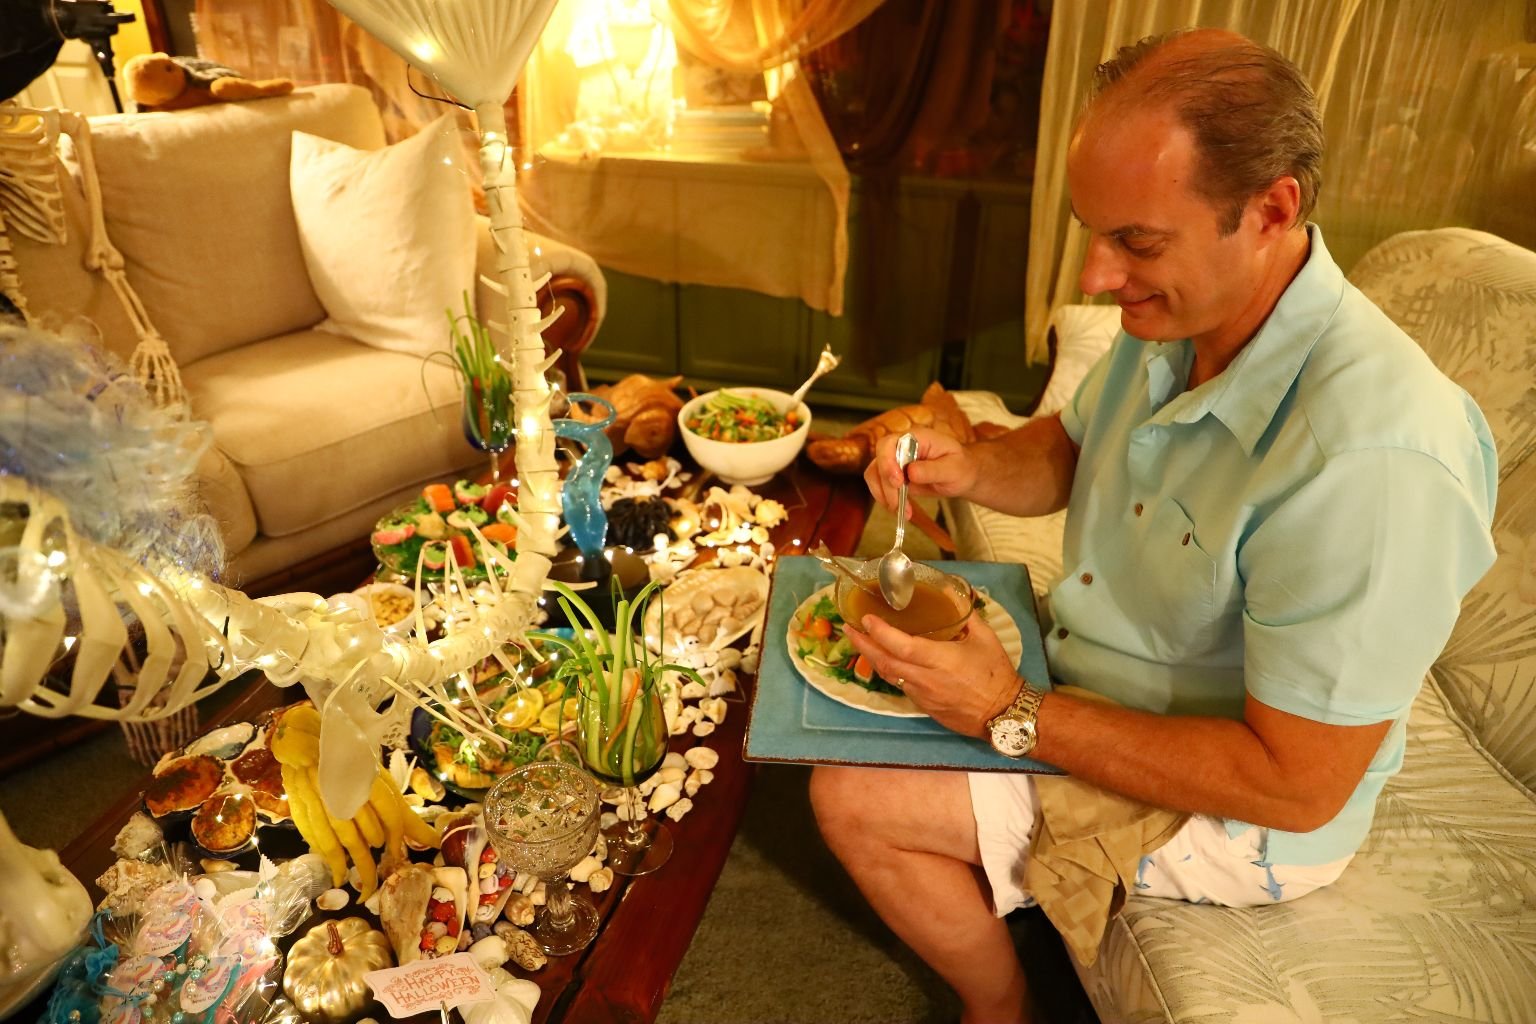
Gordon’s Mer-Man Meal
So, What’s On The Menu?
———————————————————————

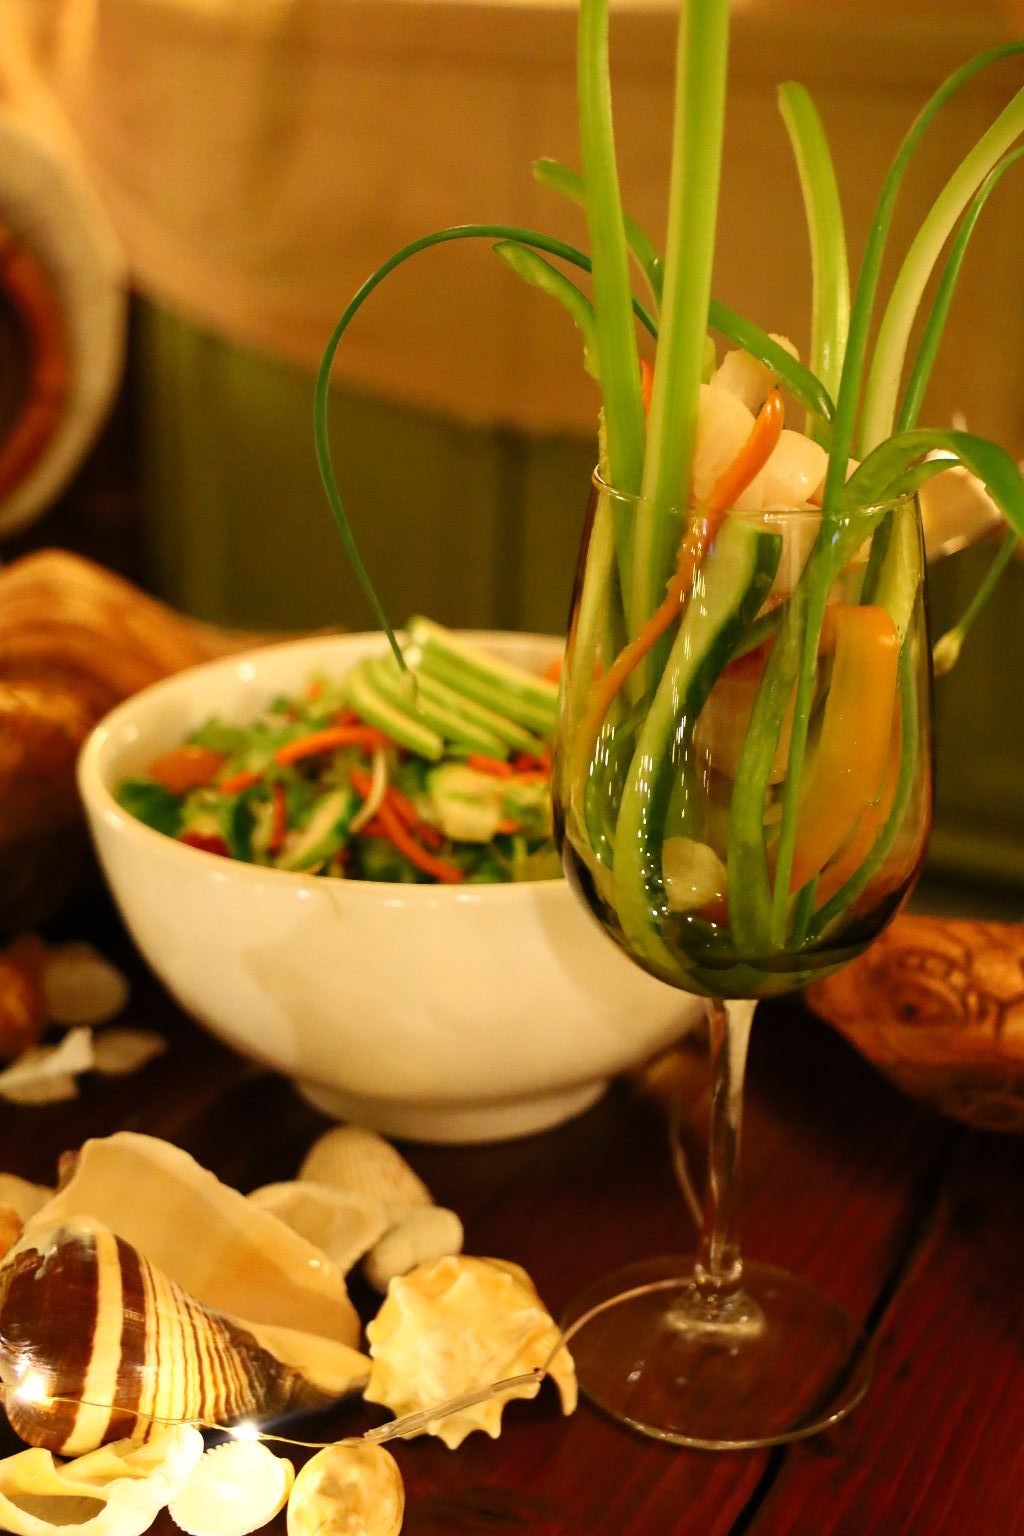
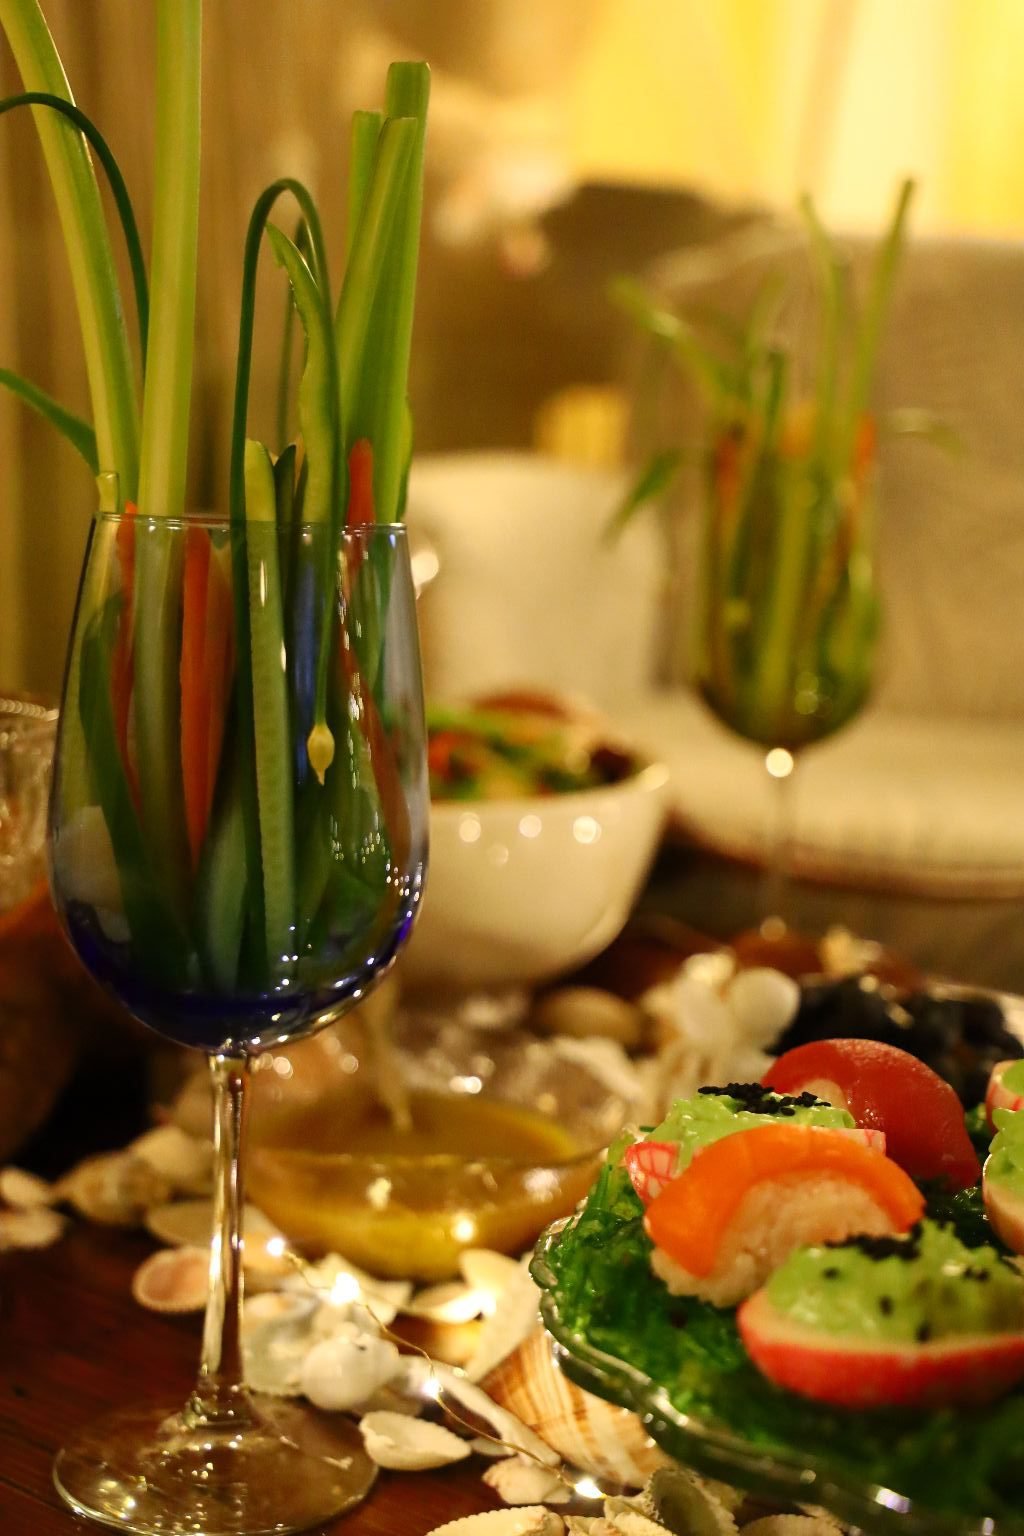
Our Sea Bass and Scallop Ceviche in Wine Glasses
Also, Our Brussels Sprouts and Apple Slaw w/ Apple Cider and Red Wine Vinaigrette
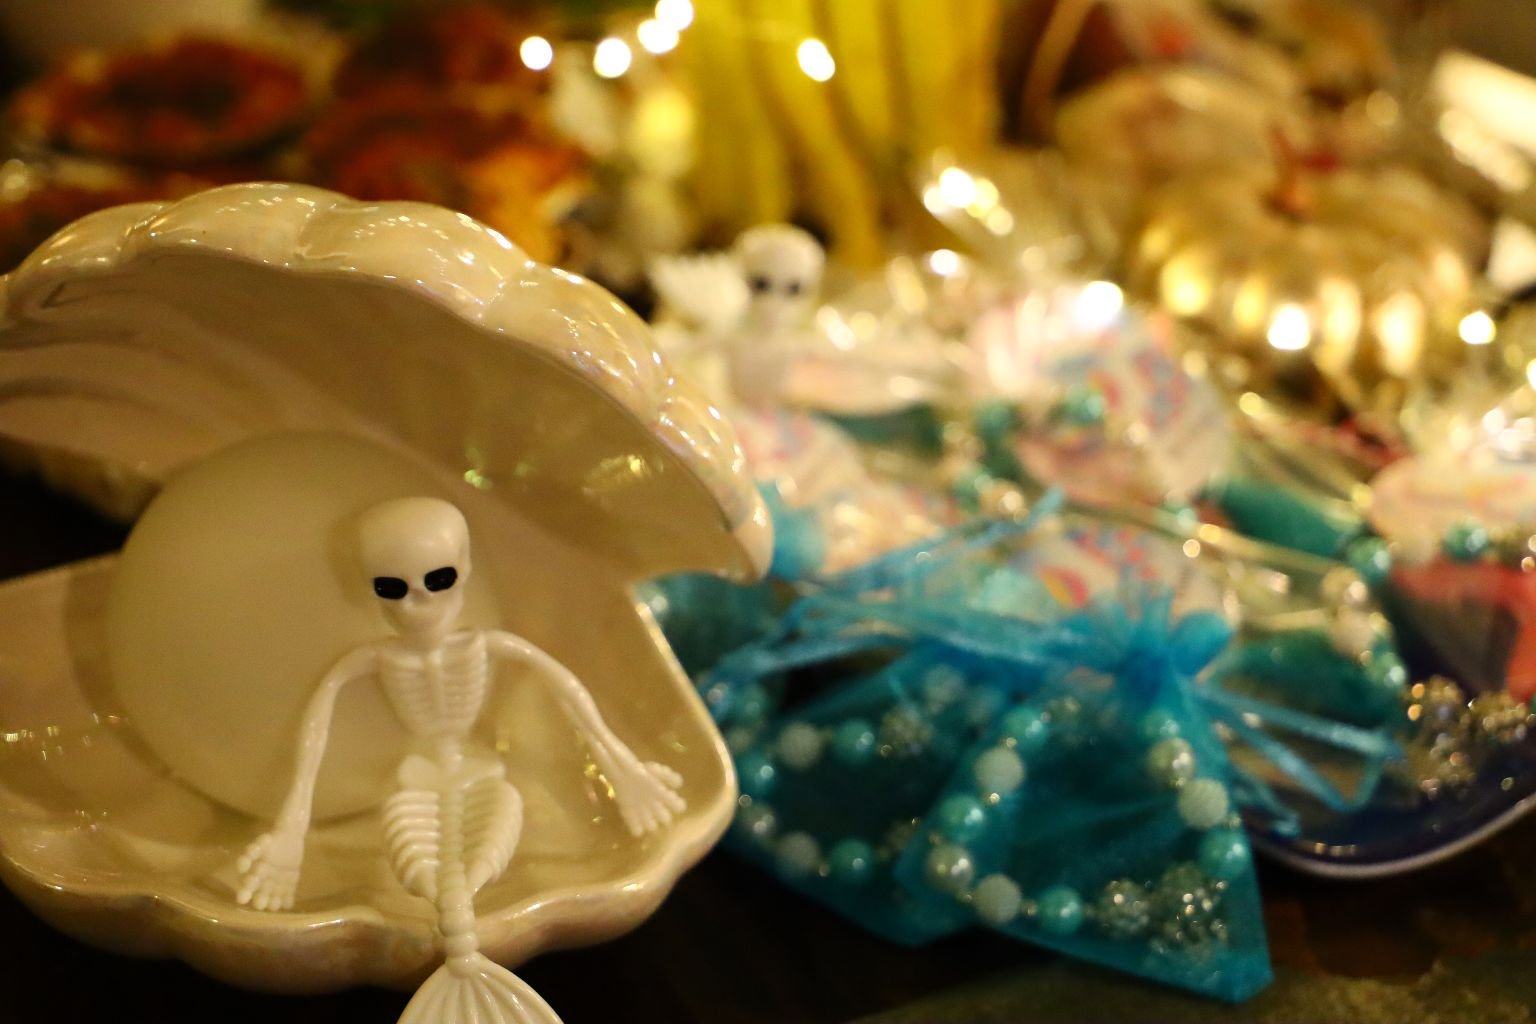
Mermaid Skeletons Nestled All About

Our Mahi-Mahi Open Faced Sandwiches w/ Homemade Pesto
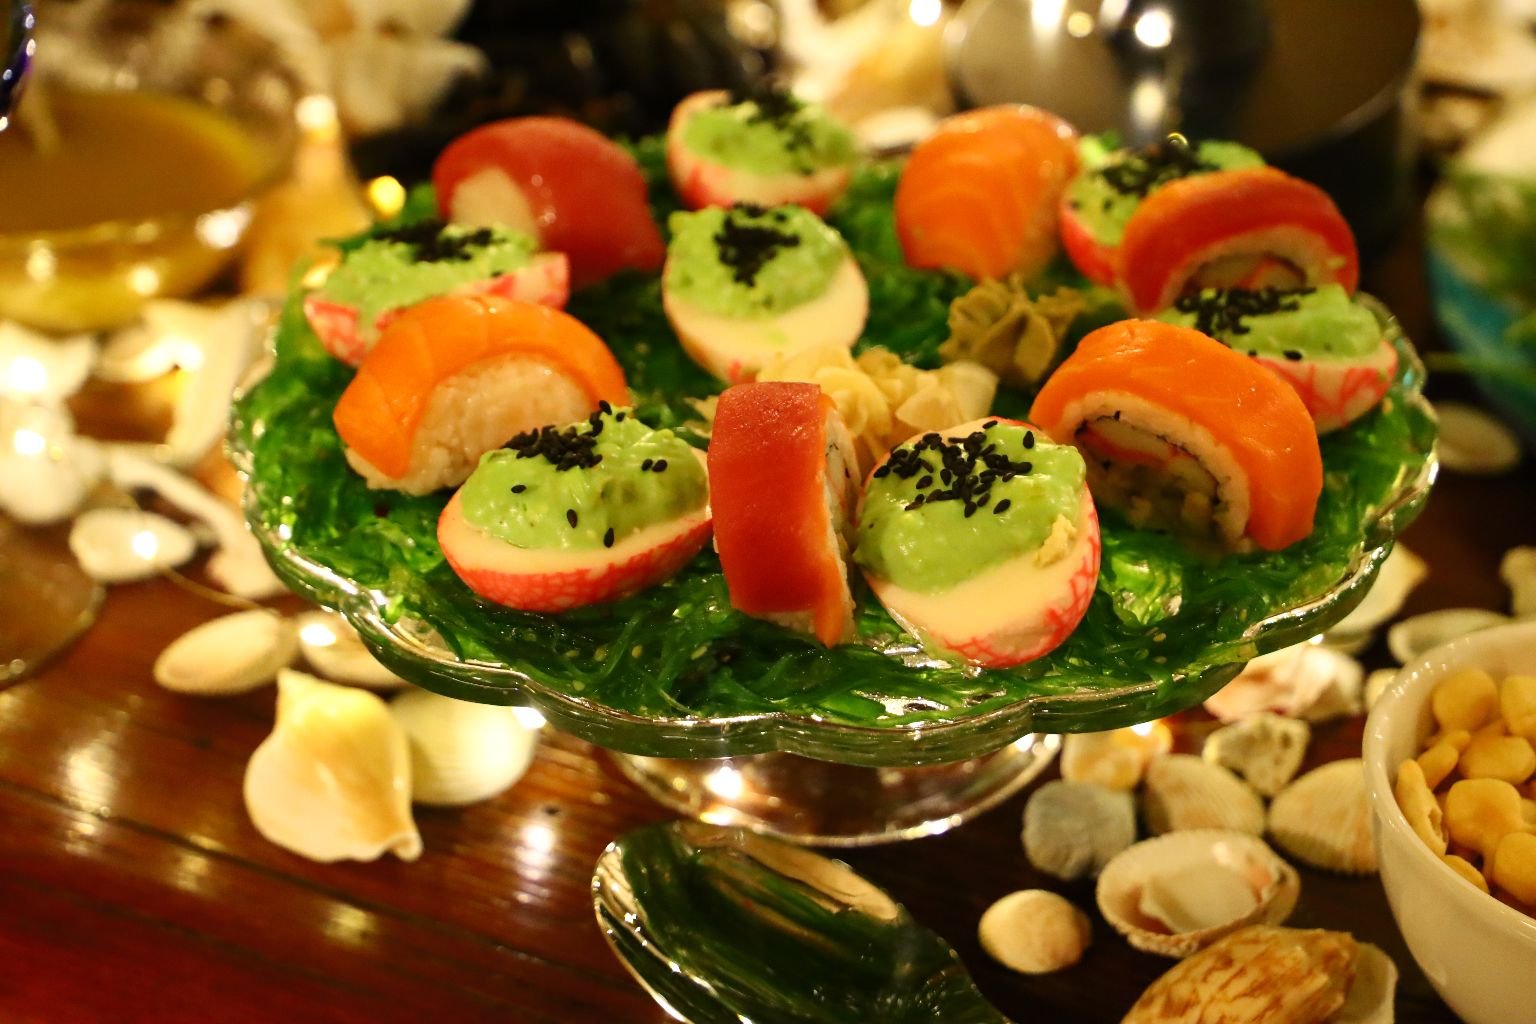
Julie’s Mermaid Eggs w/Caviar (Deviled Eggs) and Sushi
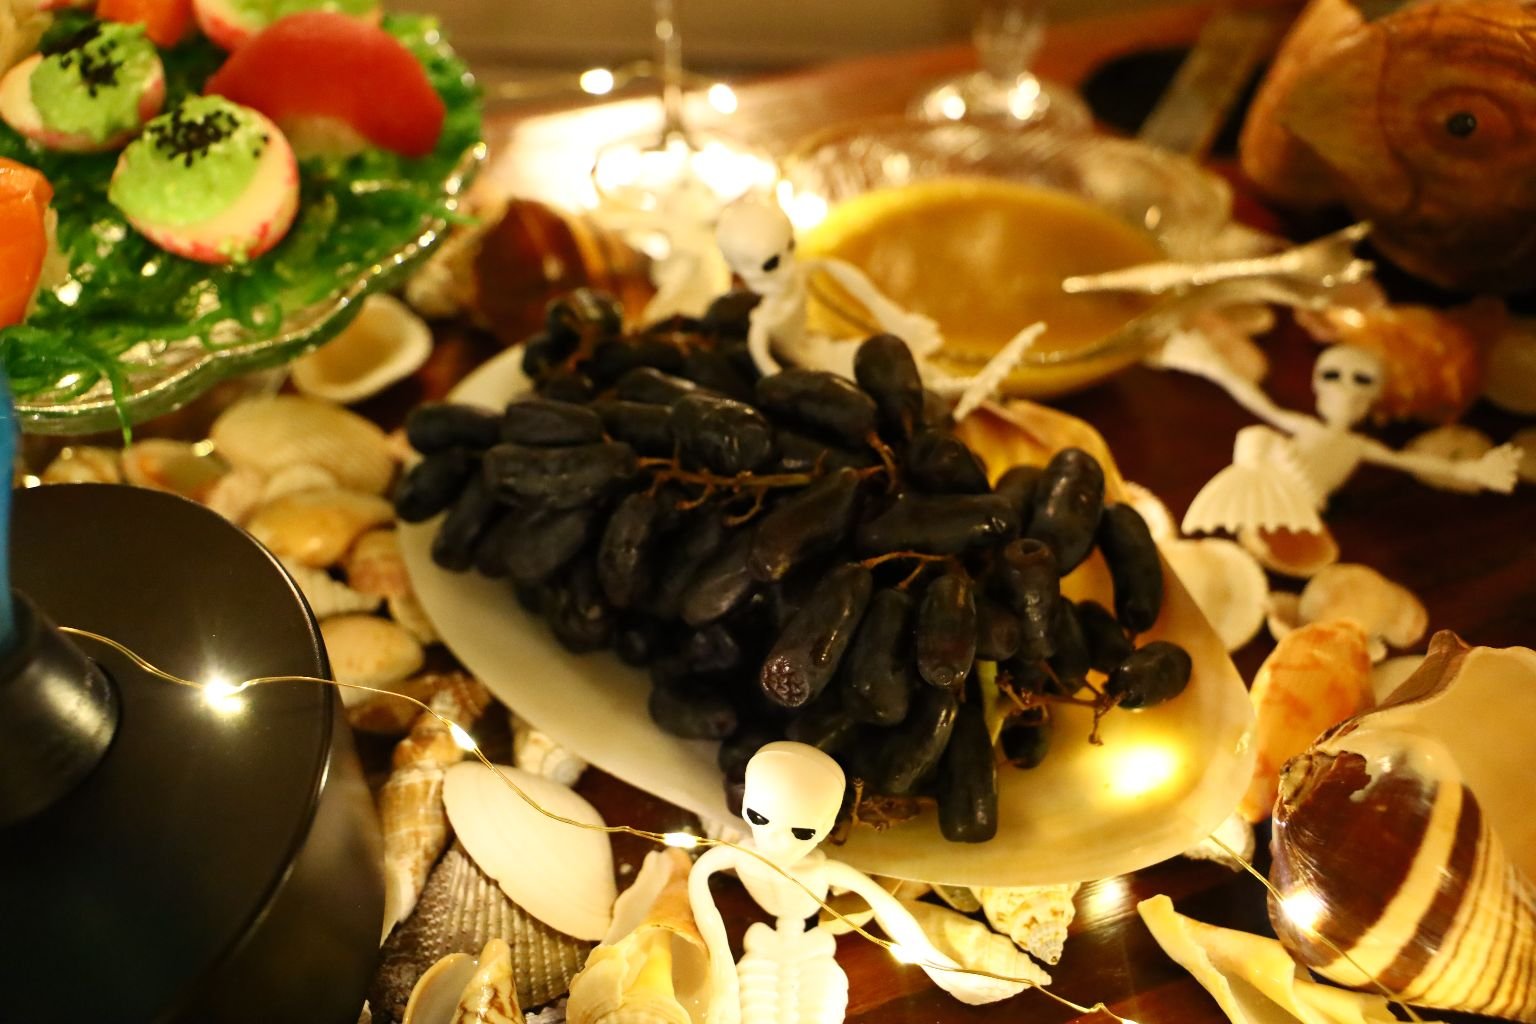
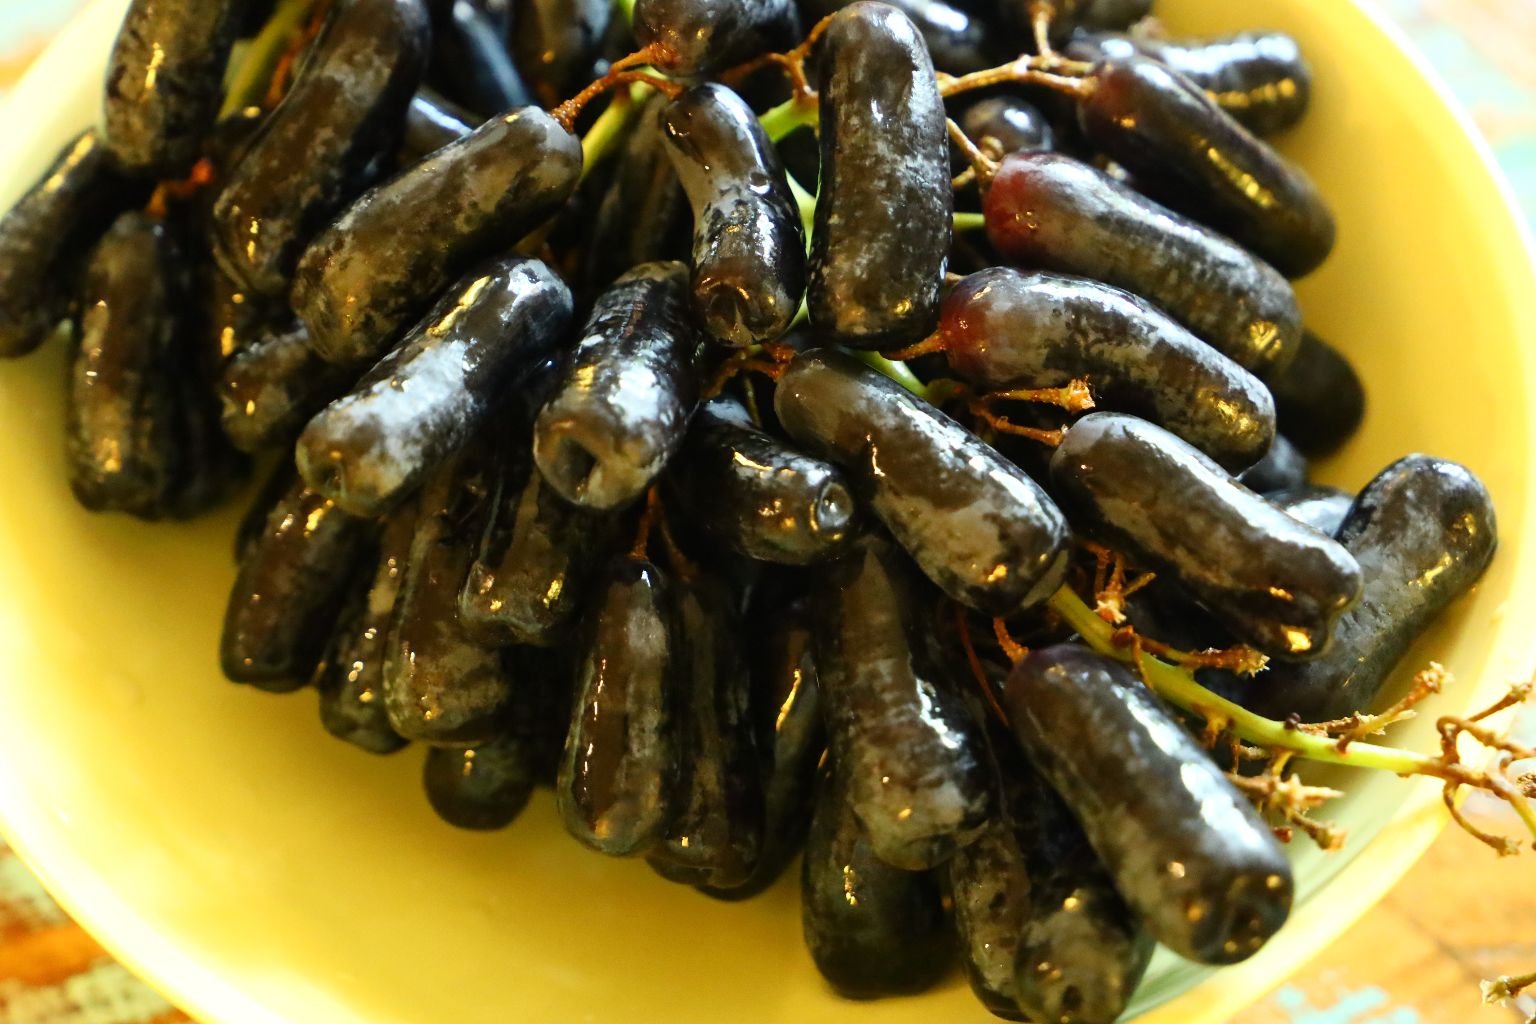
Moon Drop Grapes, photo right.
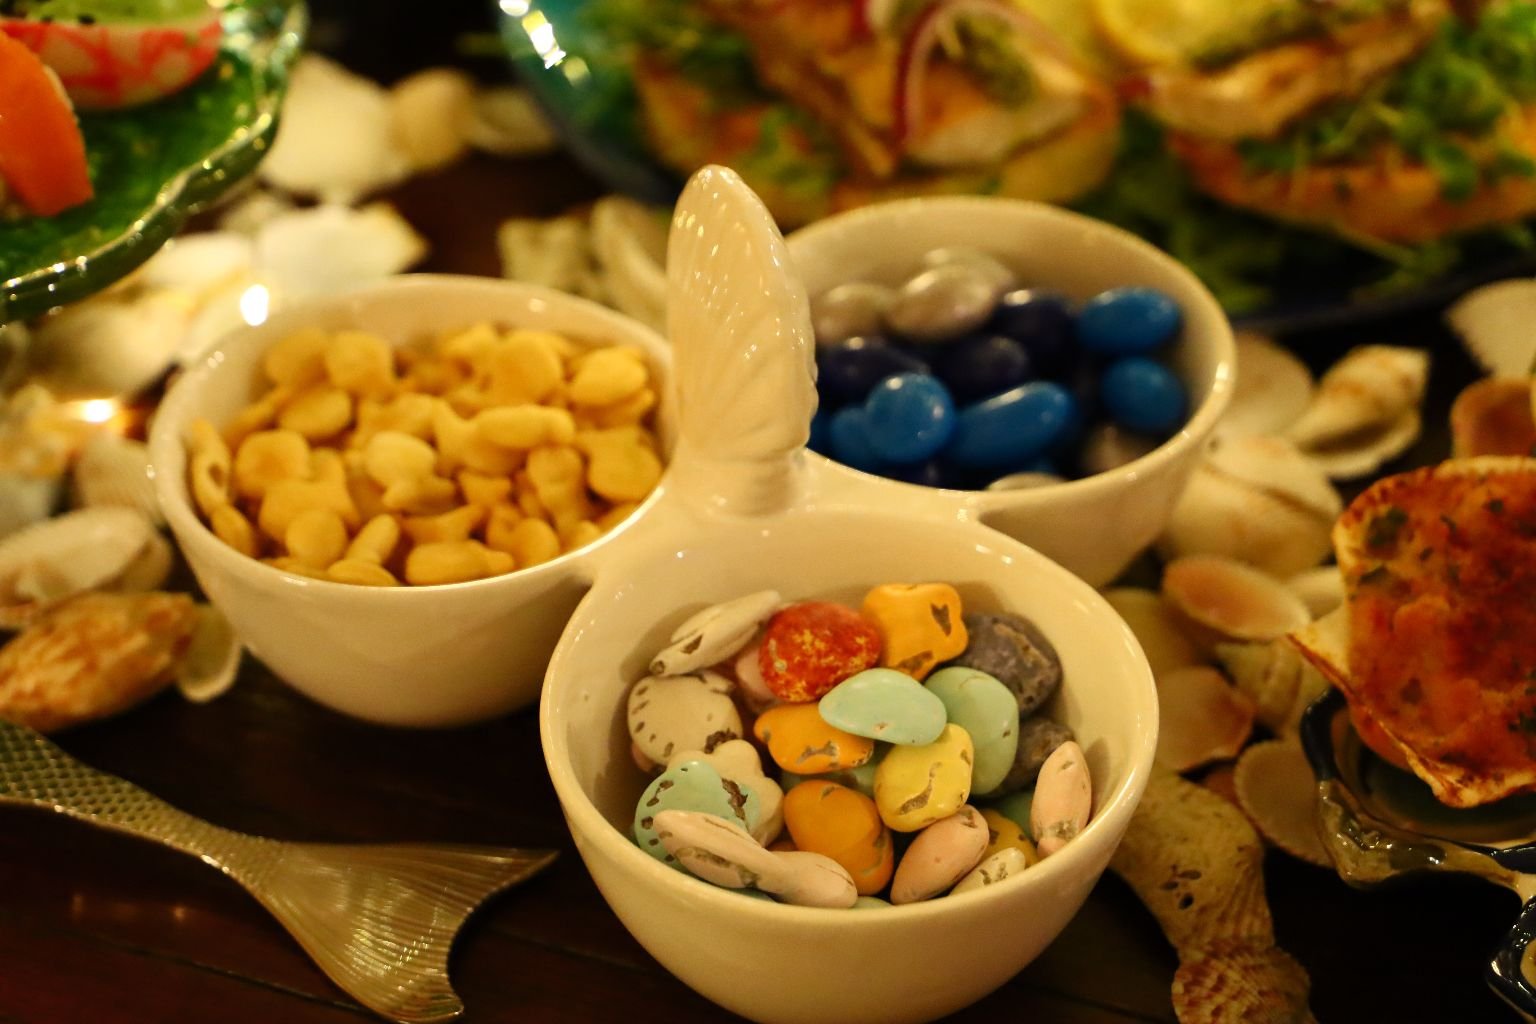

Gold Fish Crackers and Sea Shell Candies, and Chocolates
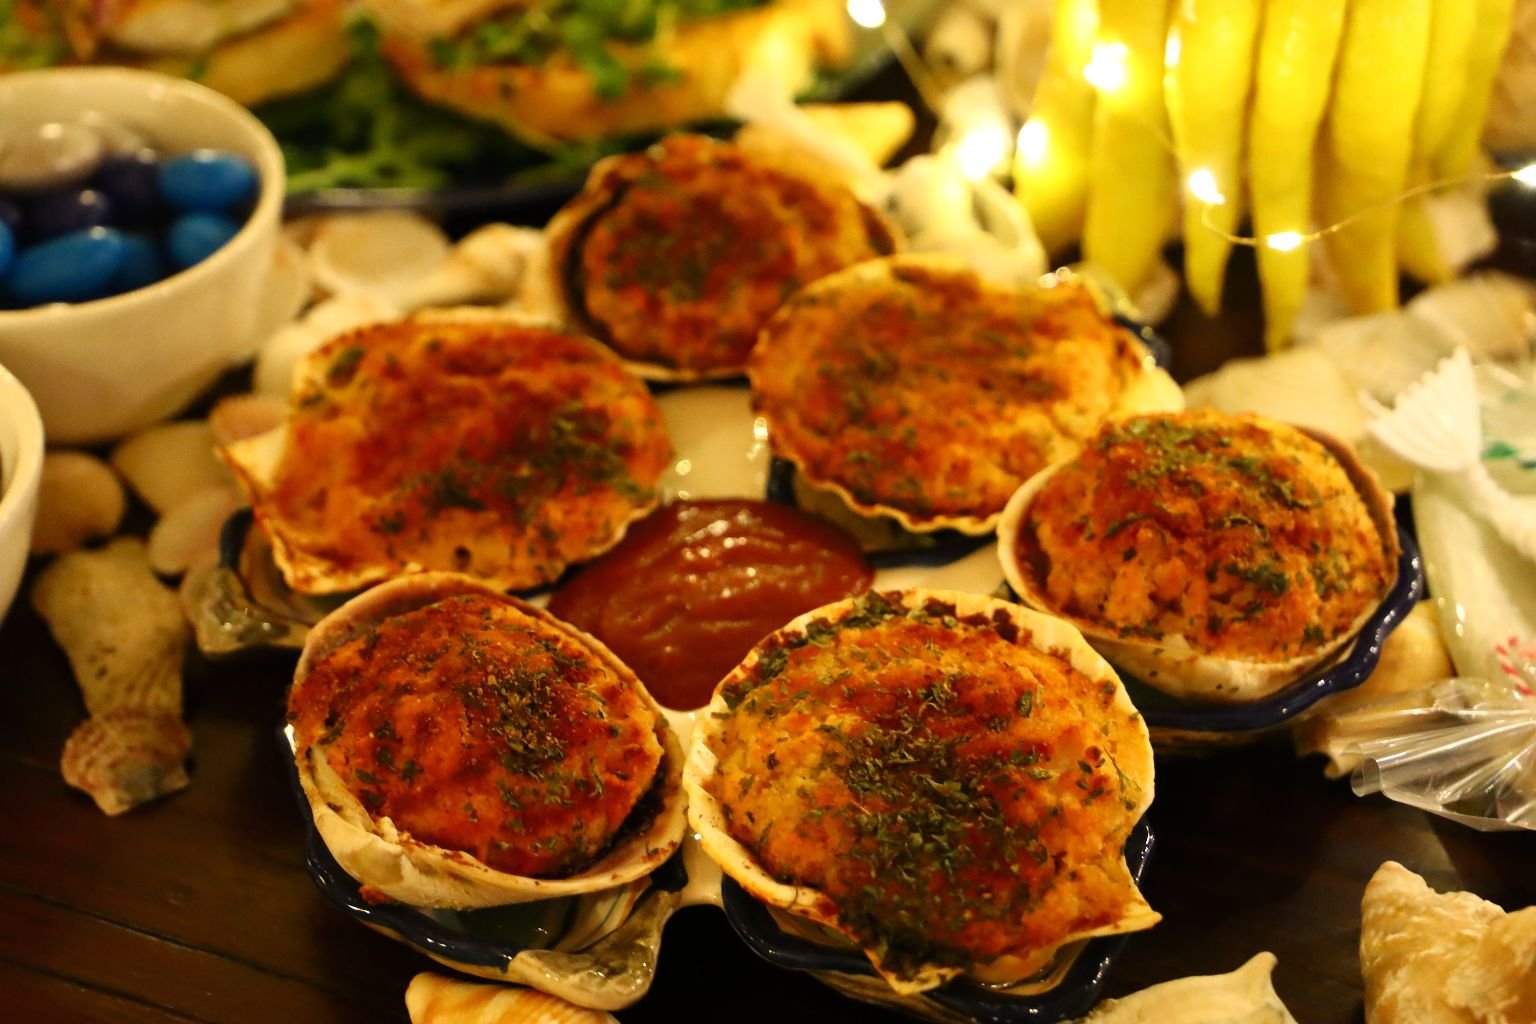
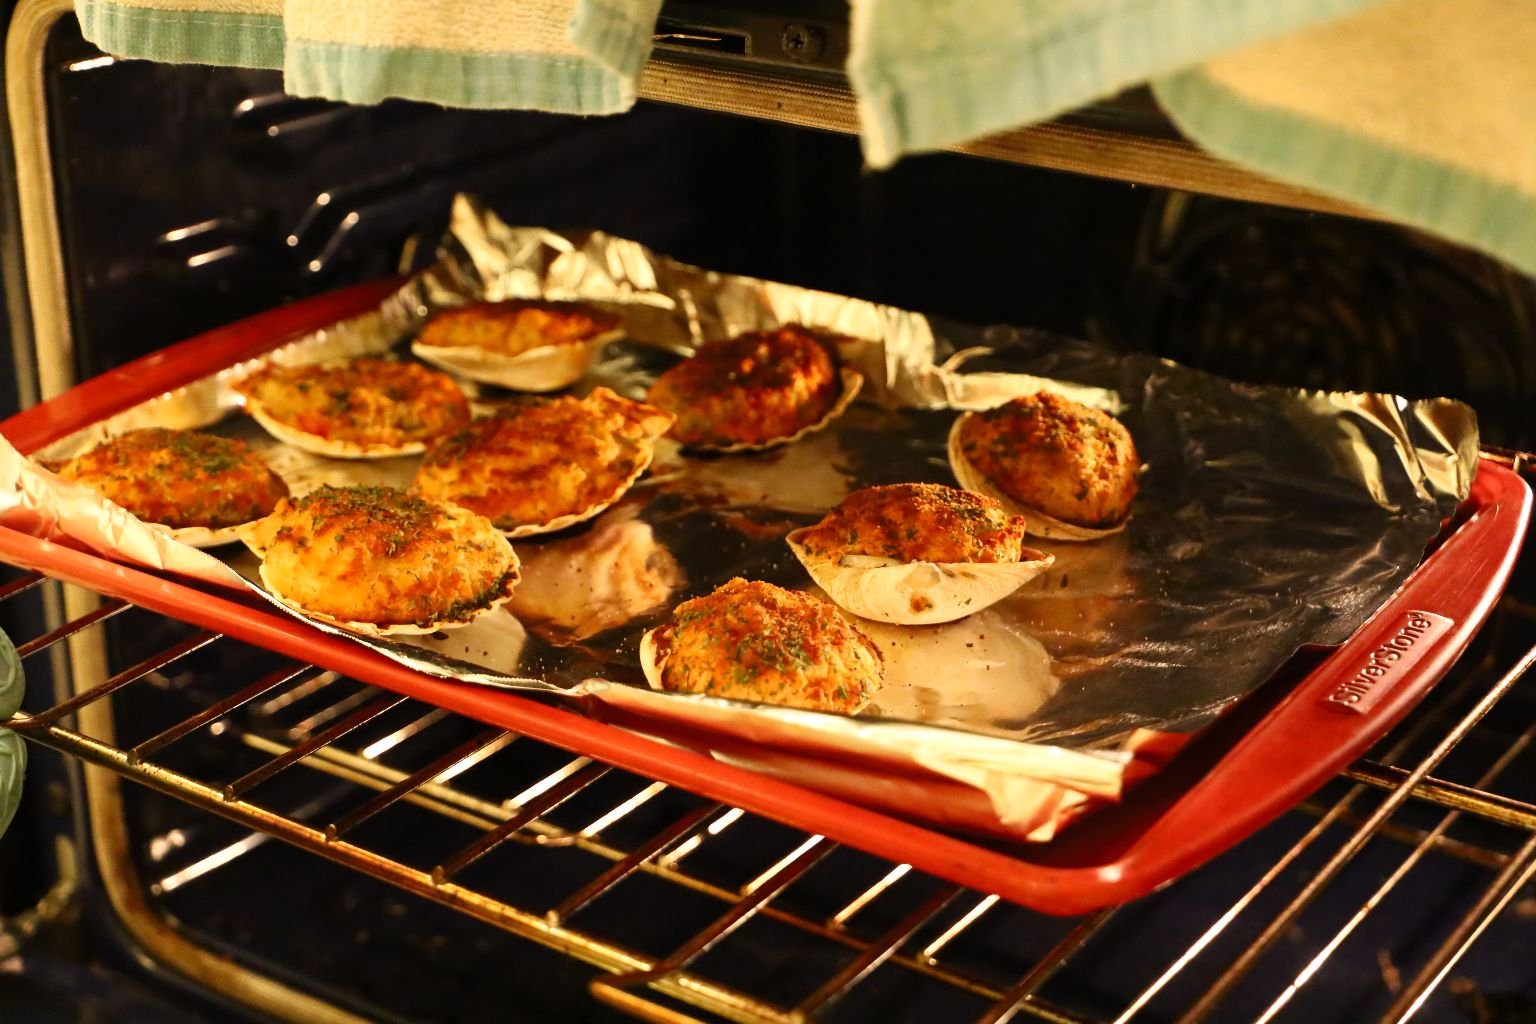
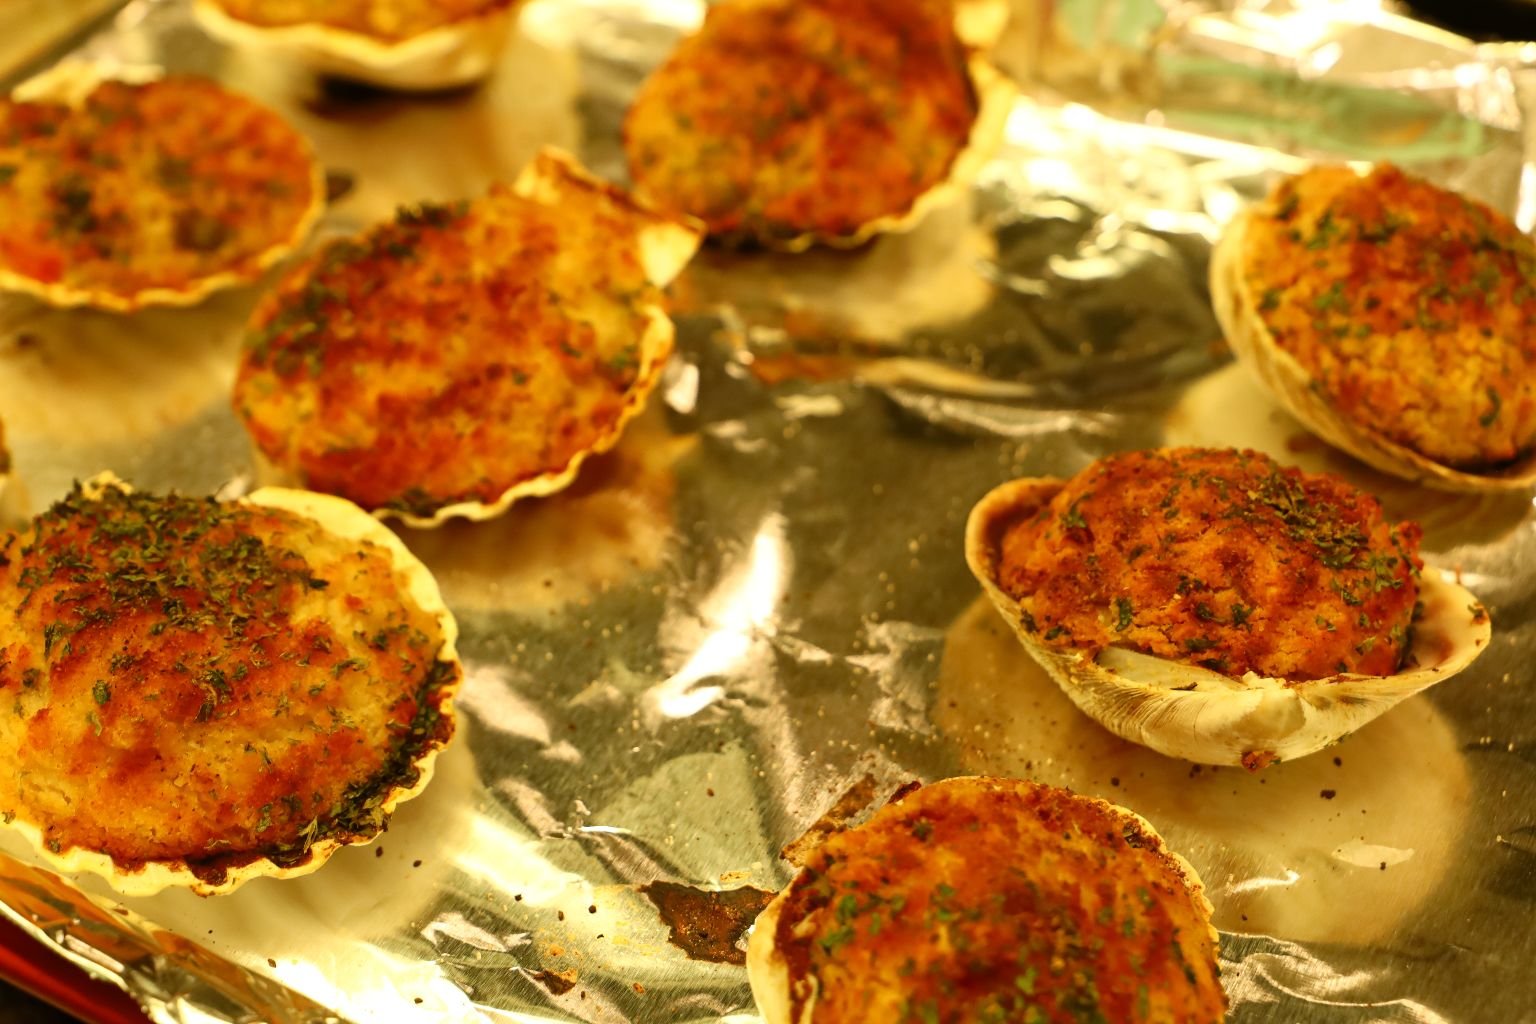
Stuffed Clams and Scallop Shells
——————————————————————
Mermaids
We shot this Halloween in 2021, but am only getting around to doing the write-ups for Halloween 2022.
It’s actually just something of a coincidence that my mermaid website pages of the last few years, just happen to coincide with the new Disney mermaid movie, The Little Mermaid, starring Halle Bailey. The movie is a remake of Disney’s animated movie classic, The Little Mermaid that came out in 1989. That was my daughter Veronica’s very first movie she ever saw at a theater. We were living in Hawaii at the time and she was 2 when I took her to see it.

The Little Mermaid
(Did you know that Ariel’s face was based on Alyssa Milano’s?)
I happen to love Mermaids. The whole mythology and historical lore of these half-human/half-fish mer-people fascinates me. Do they exist? No, I don’t think so. Did they once exist? Perhaps, but not as we know them today. Perhaps some version once existed but that doesn’t mean that we can’t use our imagination and enjoy the magic of the mythology in the now. Mermaids aren’t all about Disney, they certainly didn’t invent them. They just made a few movies about them based on Hans Christian Andersen’s story, The Little Mermaid, that was published into English in 1845, but originally published in 1837 in Denmark.
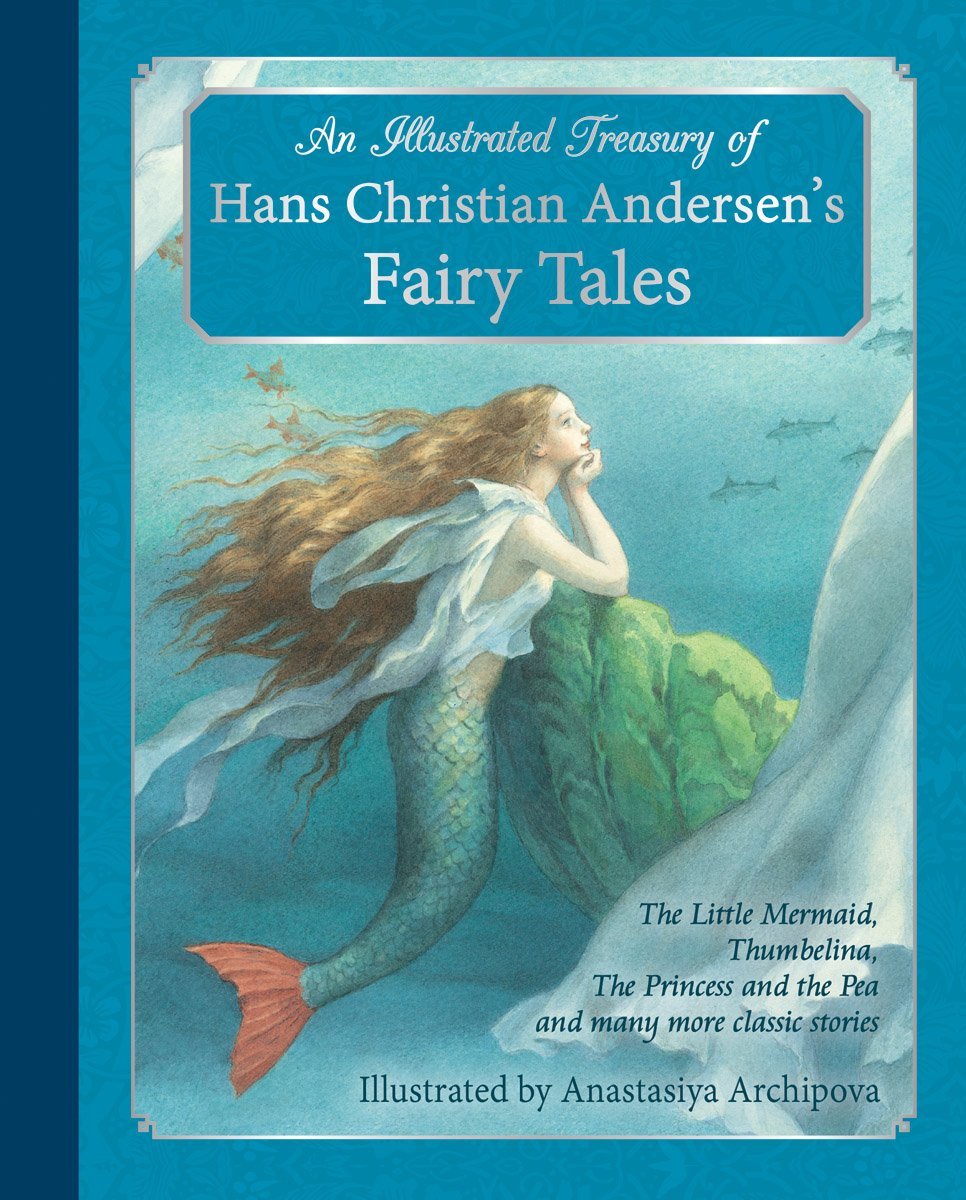
Hans Christian Andersen
Halloween is about being someone else for one night a year. Dressing up in a disguise of our choosing. Donning a mask so that no one will know it’s us when we knock on those doors on Halloween night and say, “TRICK-OR-TREAT!”
Be sure to have a Mer-Mazing Halloween!
Julie
P.S. Be Supportive and Watch the NEW Disney’s, The Little Mermaid coming in 2023!
———————————————————————-
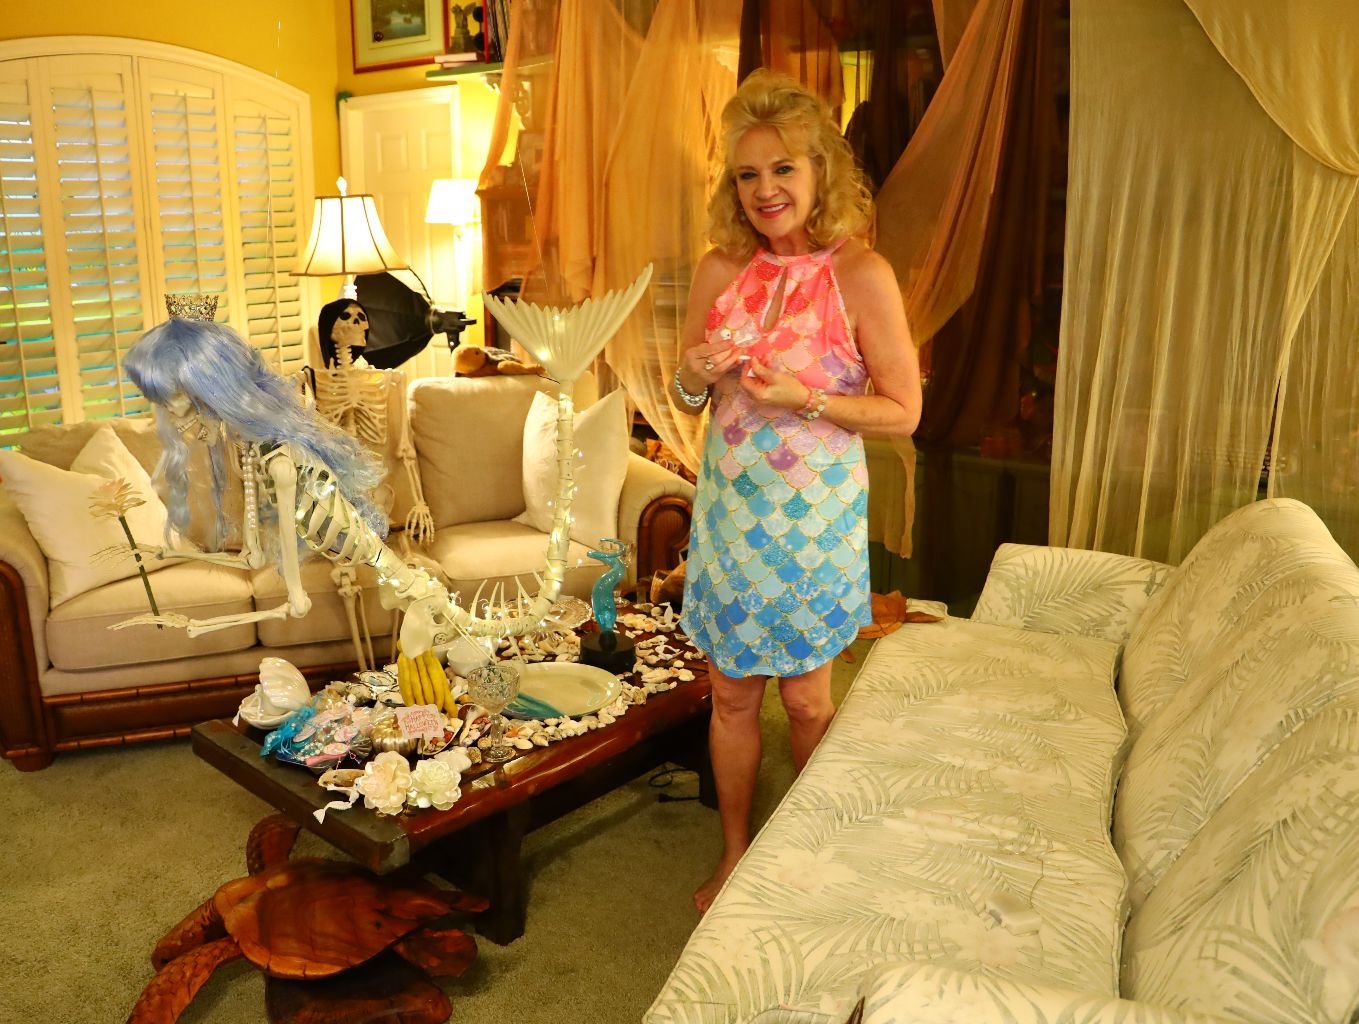
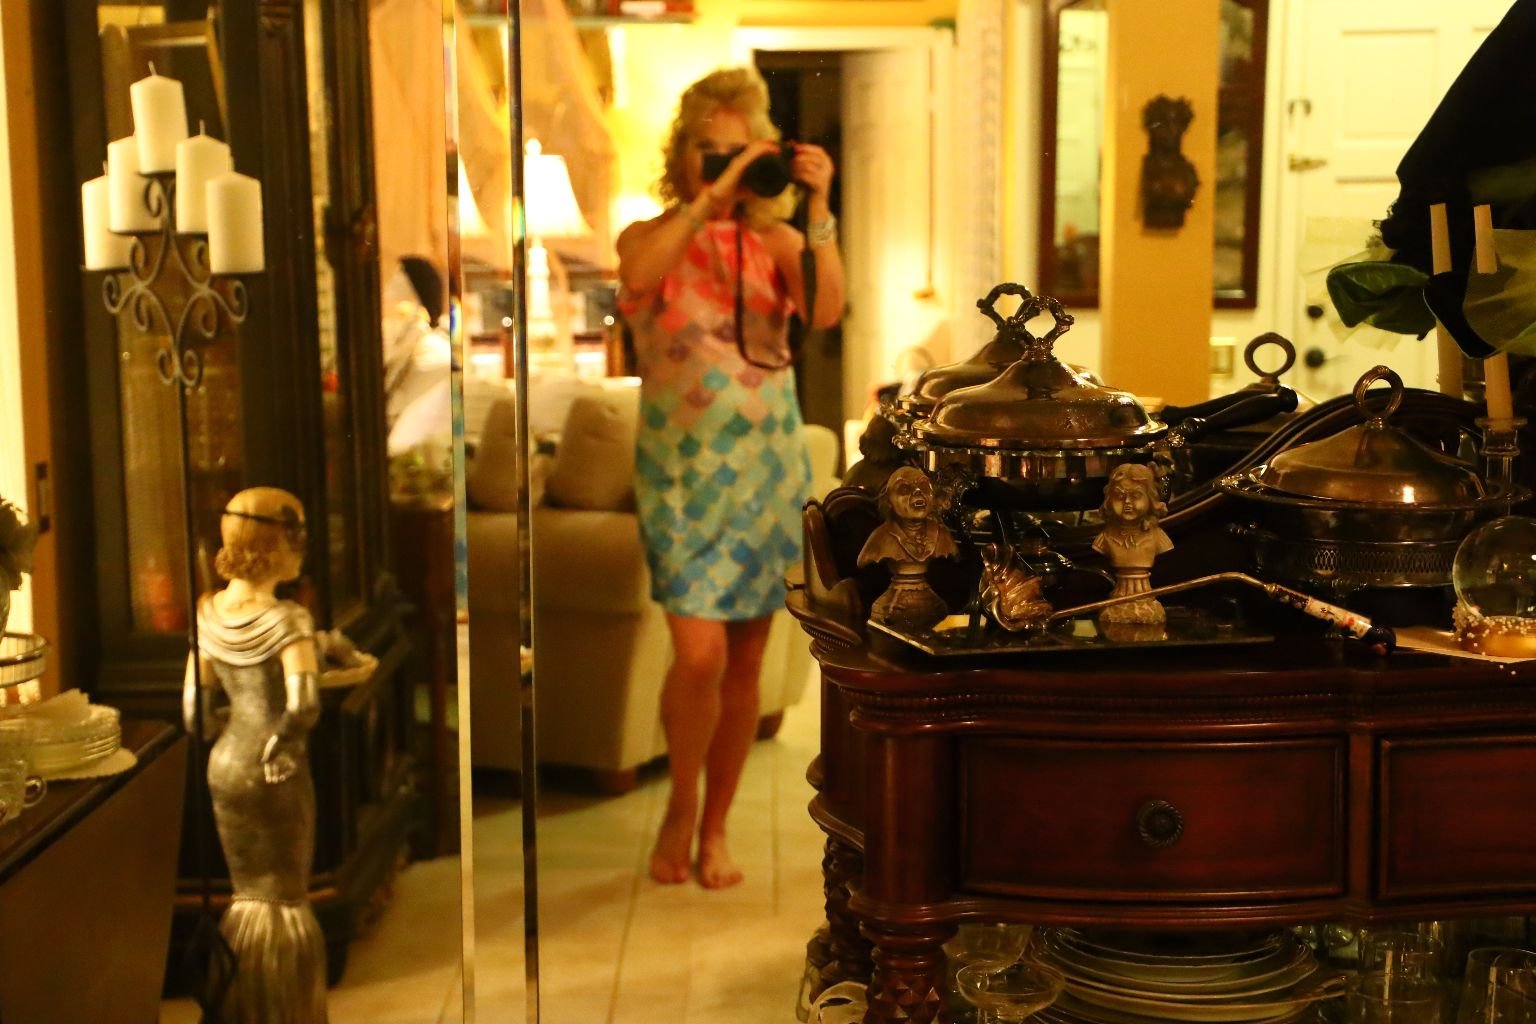
I Do Love a Good Theme…
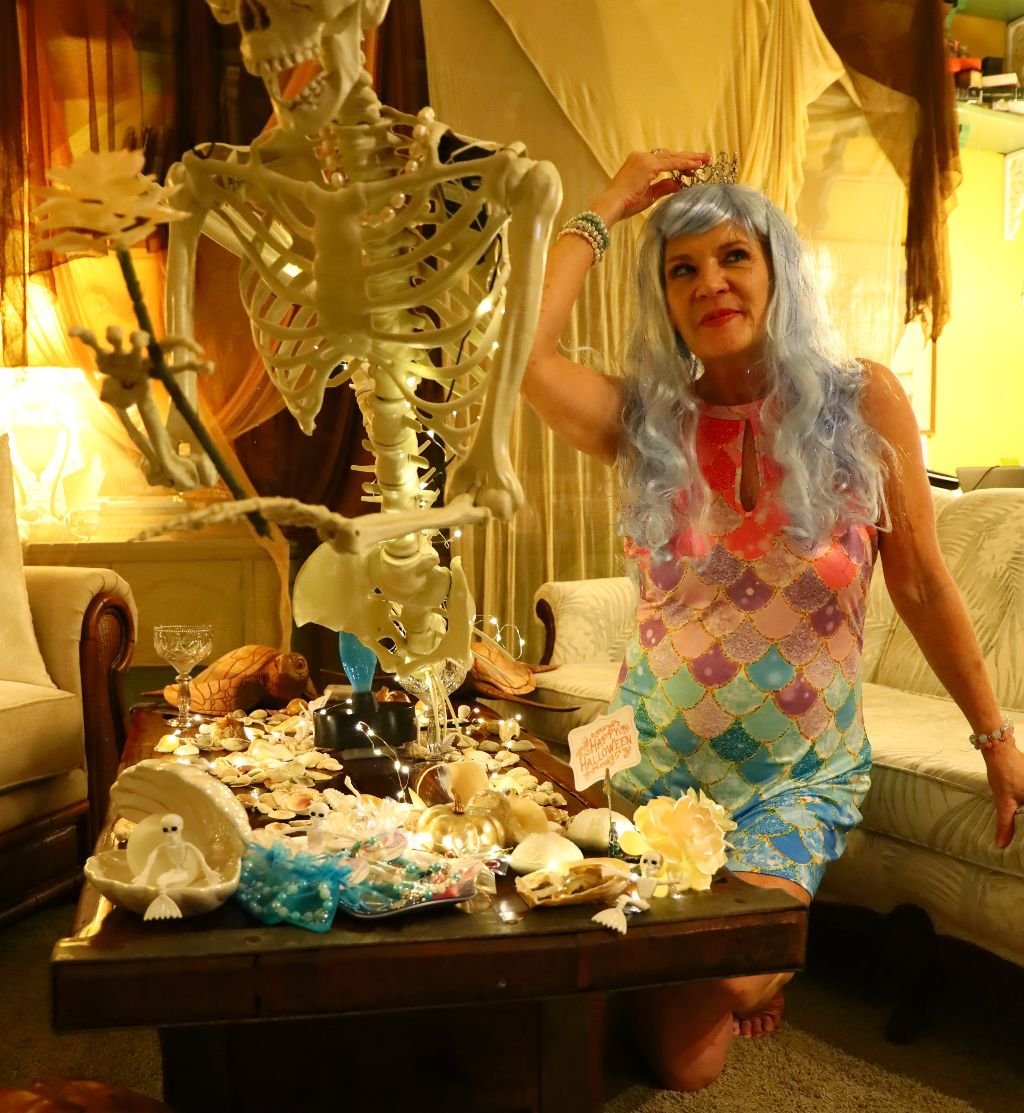

Thought I’d borrow the wig and crown and dub myself The Queen of Halloween!
——————————————————————–
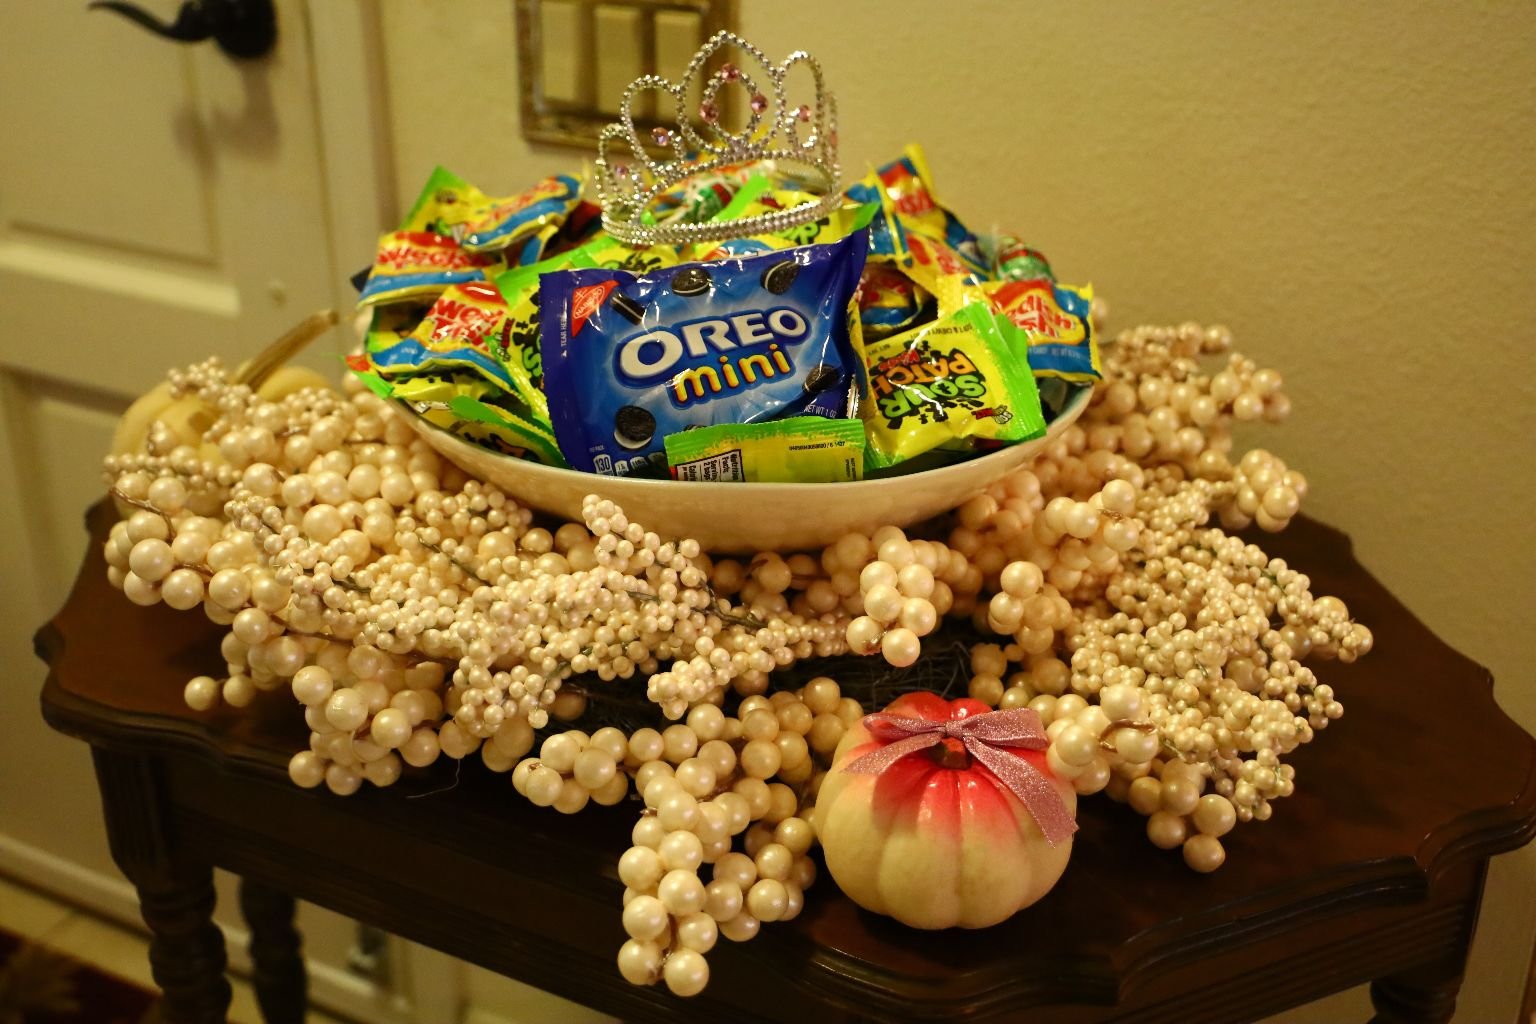
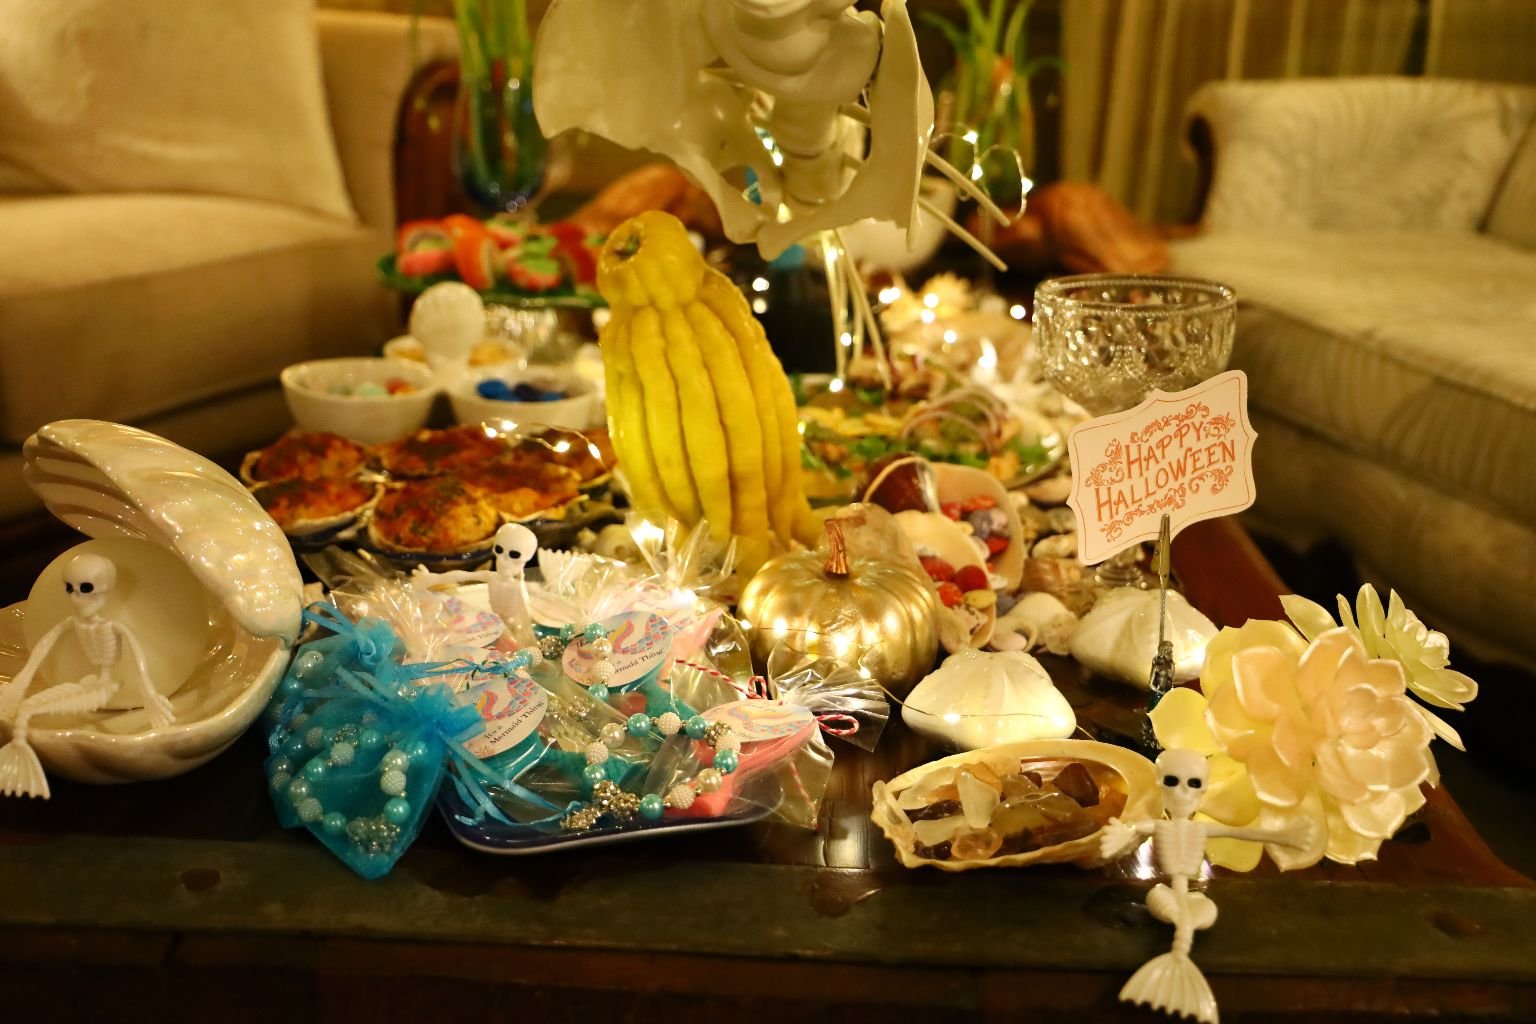
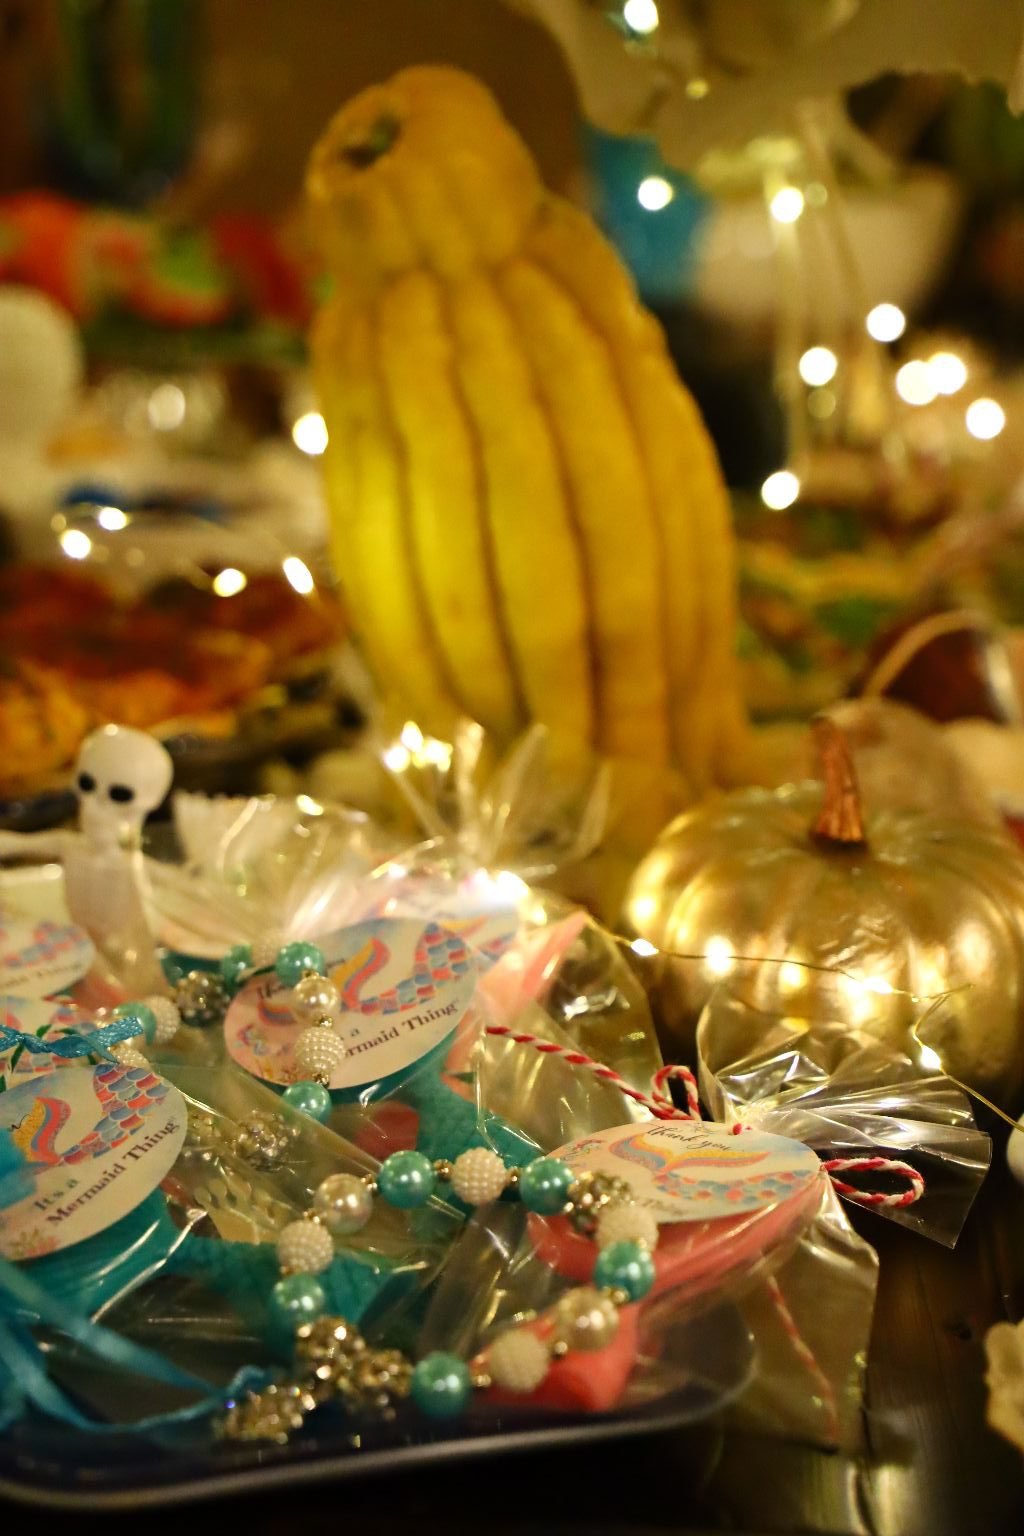
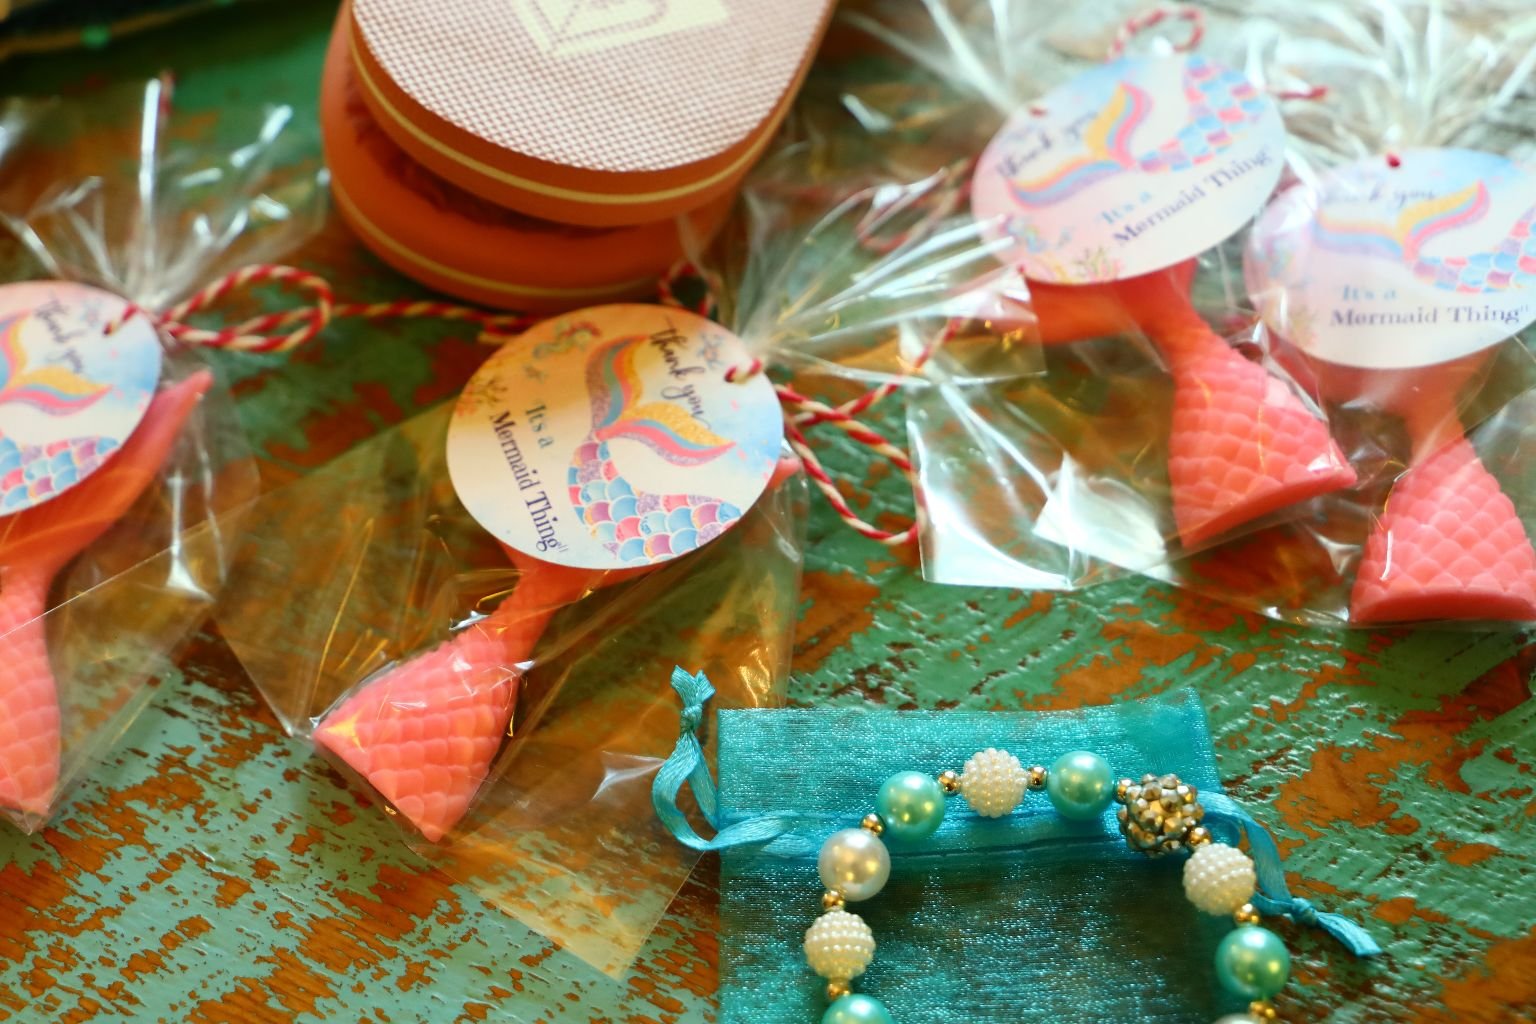
Mermaid Trick-or-Treat Bags
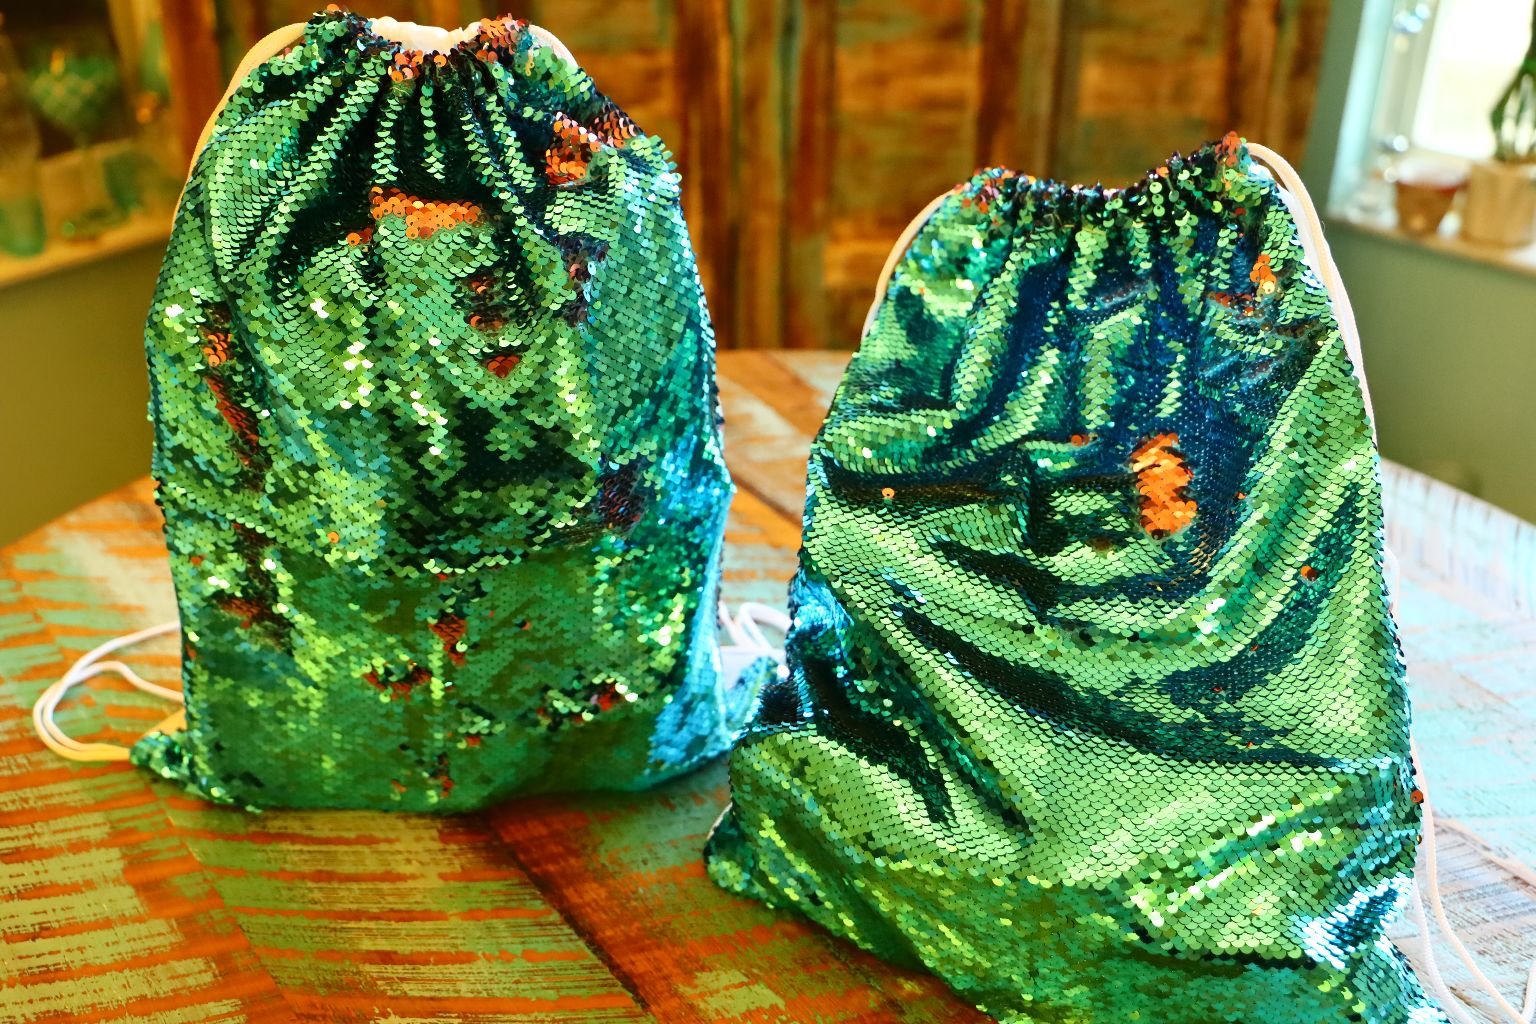
For Those Special Mermaids in My Life
I had so much fun putting these together for those special to me.
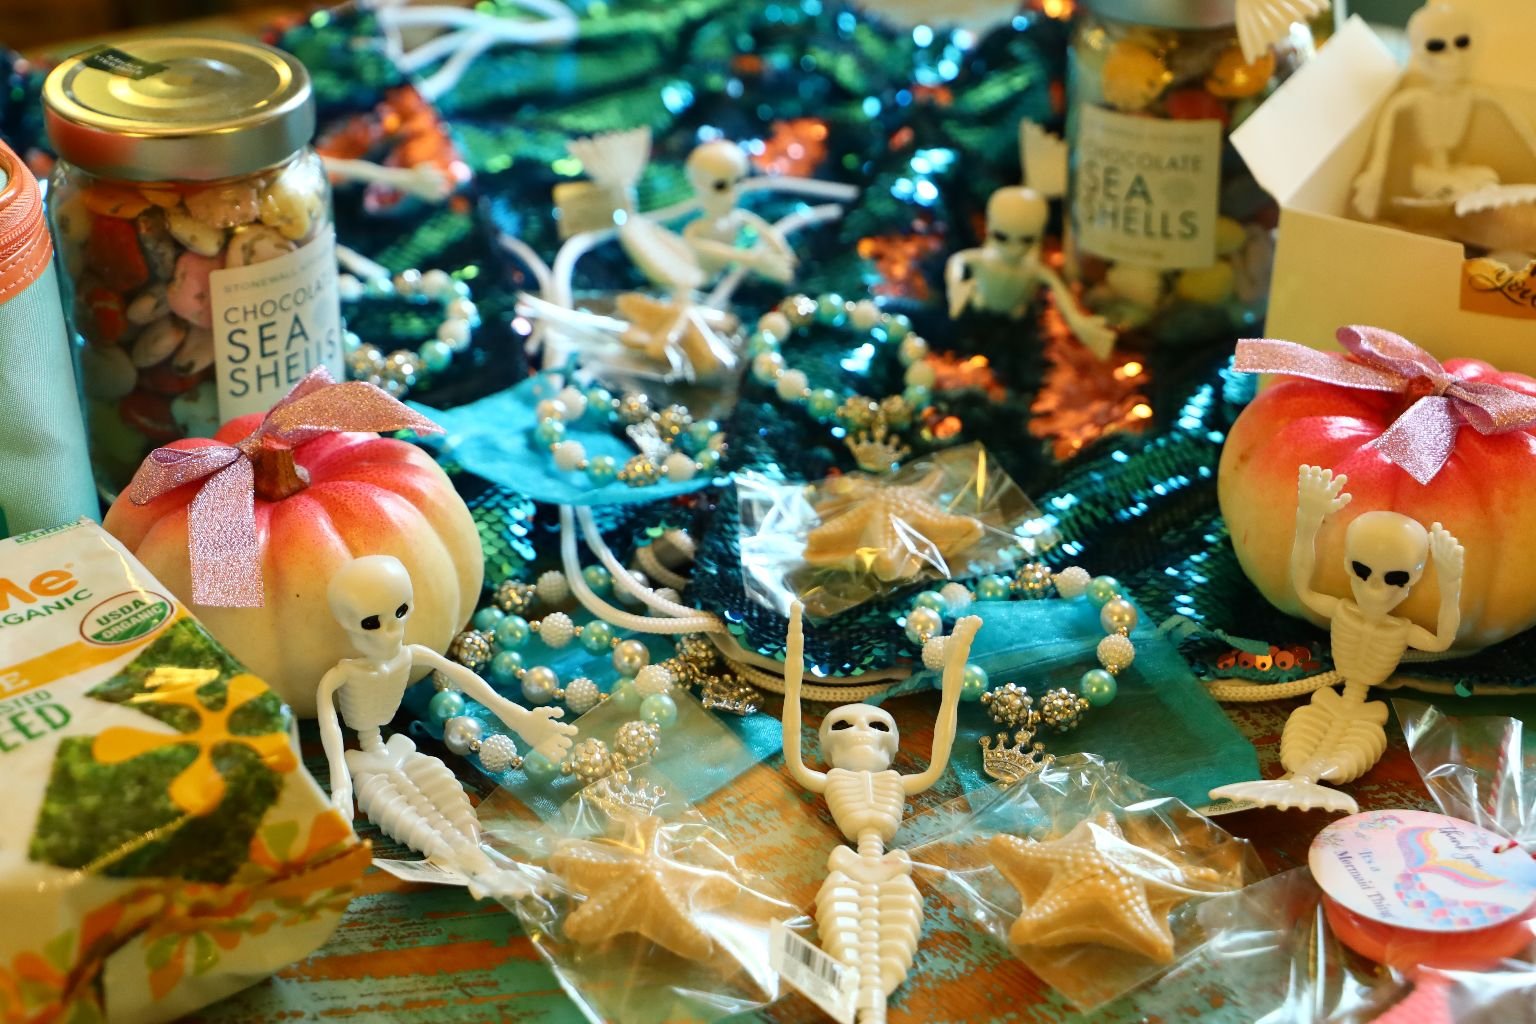
Little Mermaid Skeletons, Candied Seashell Chocolates, Bracelets, Chocolate Sea Shells…
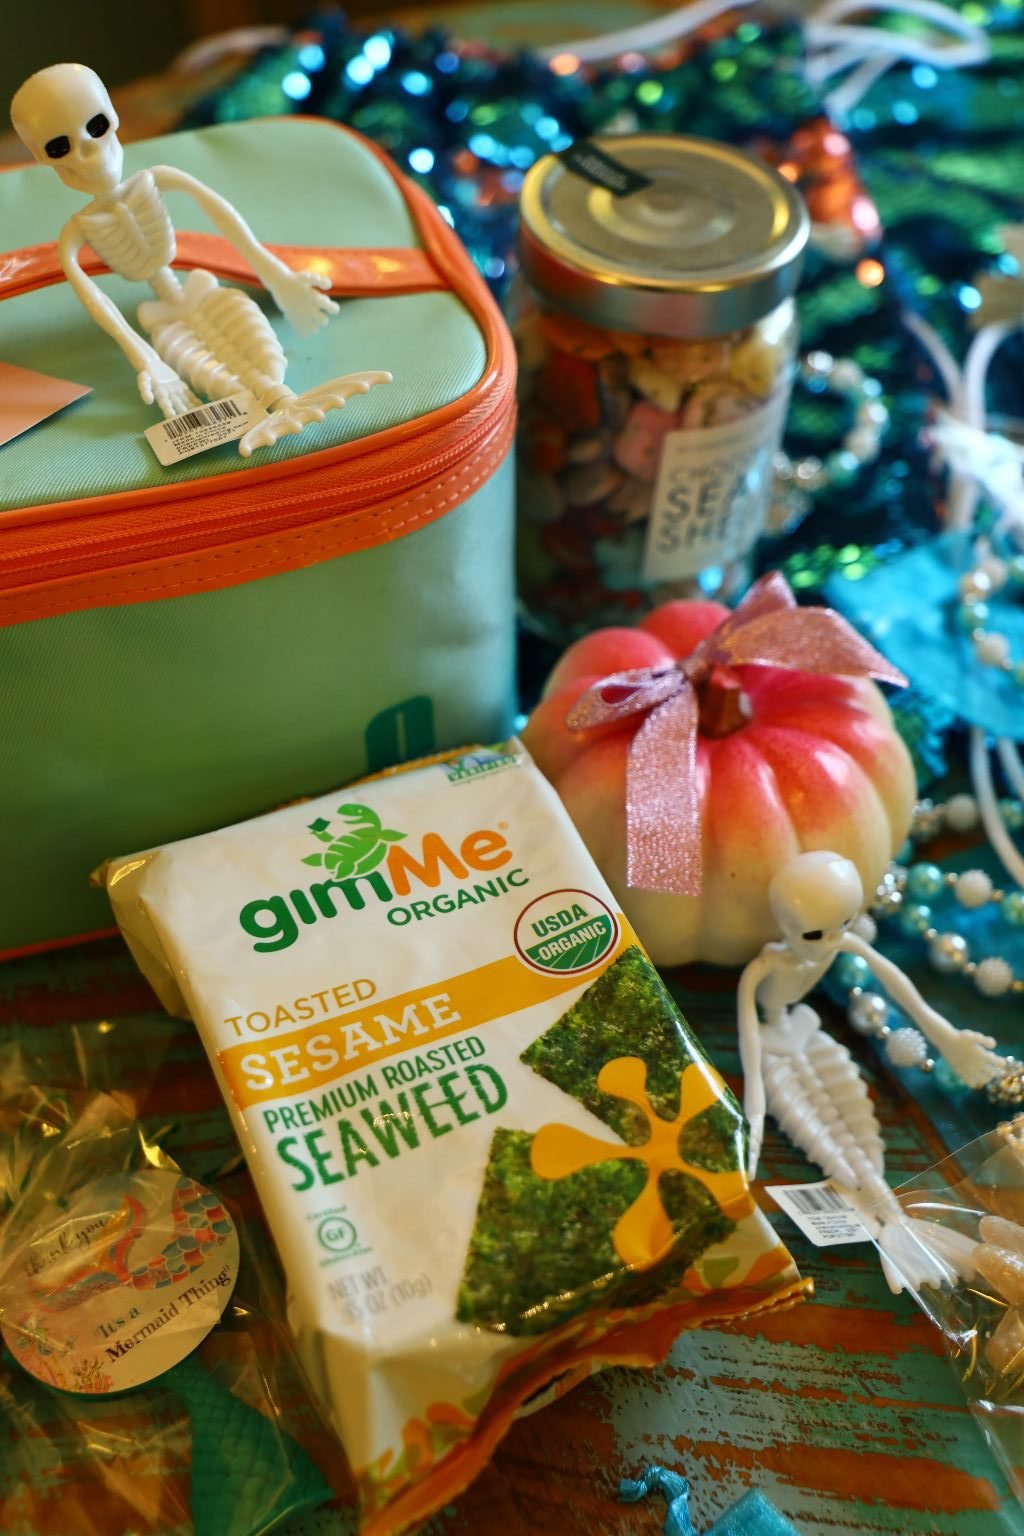
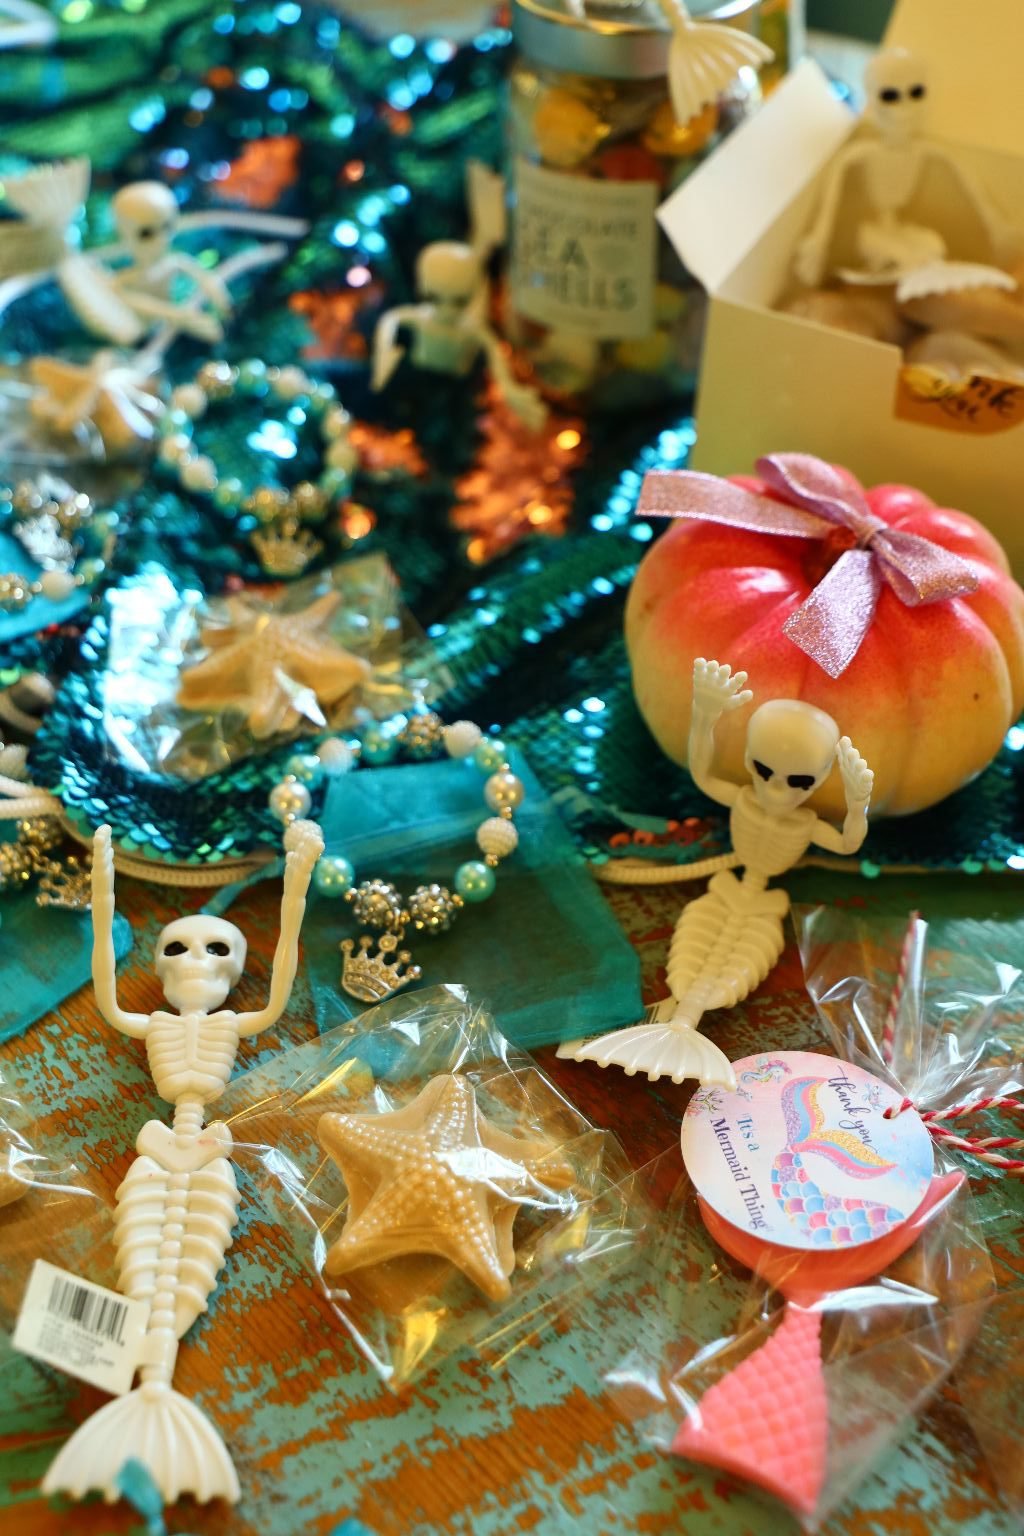
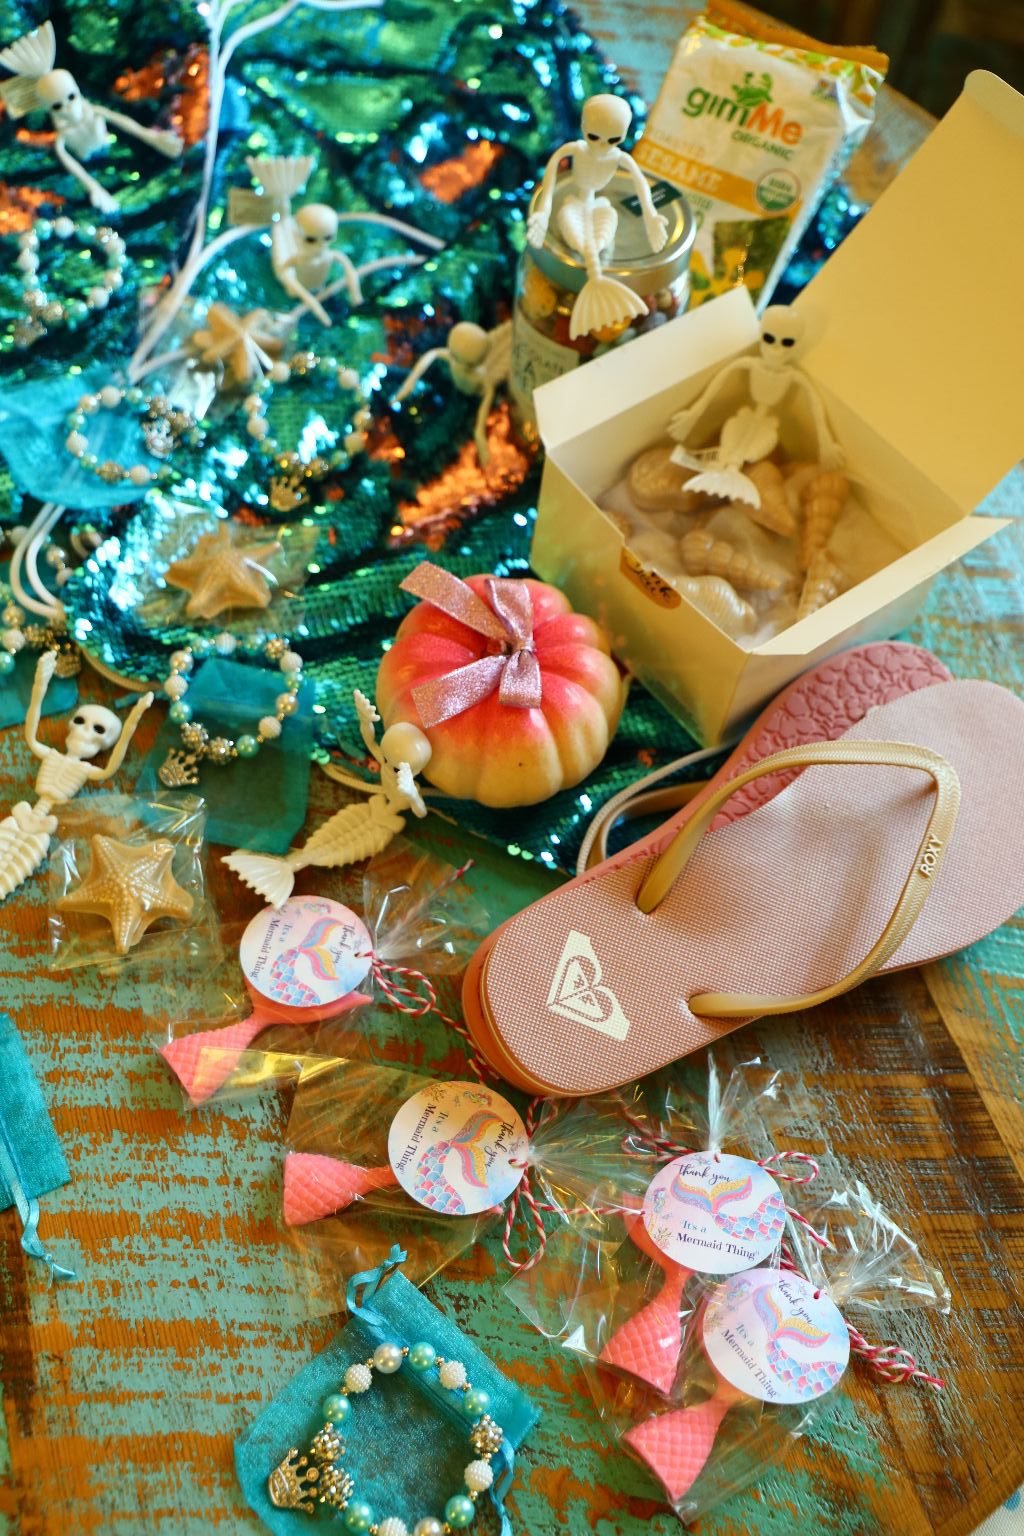
Dried Seaweed Snack, Colorful Pumpkins, Mermaid Tale Soaps..
and even a few gifts geared toward the recipients, such as a pair of Flip Flops.
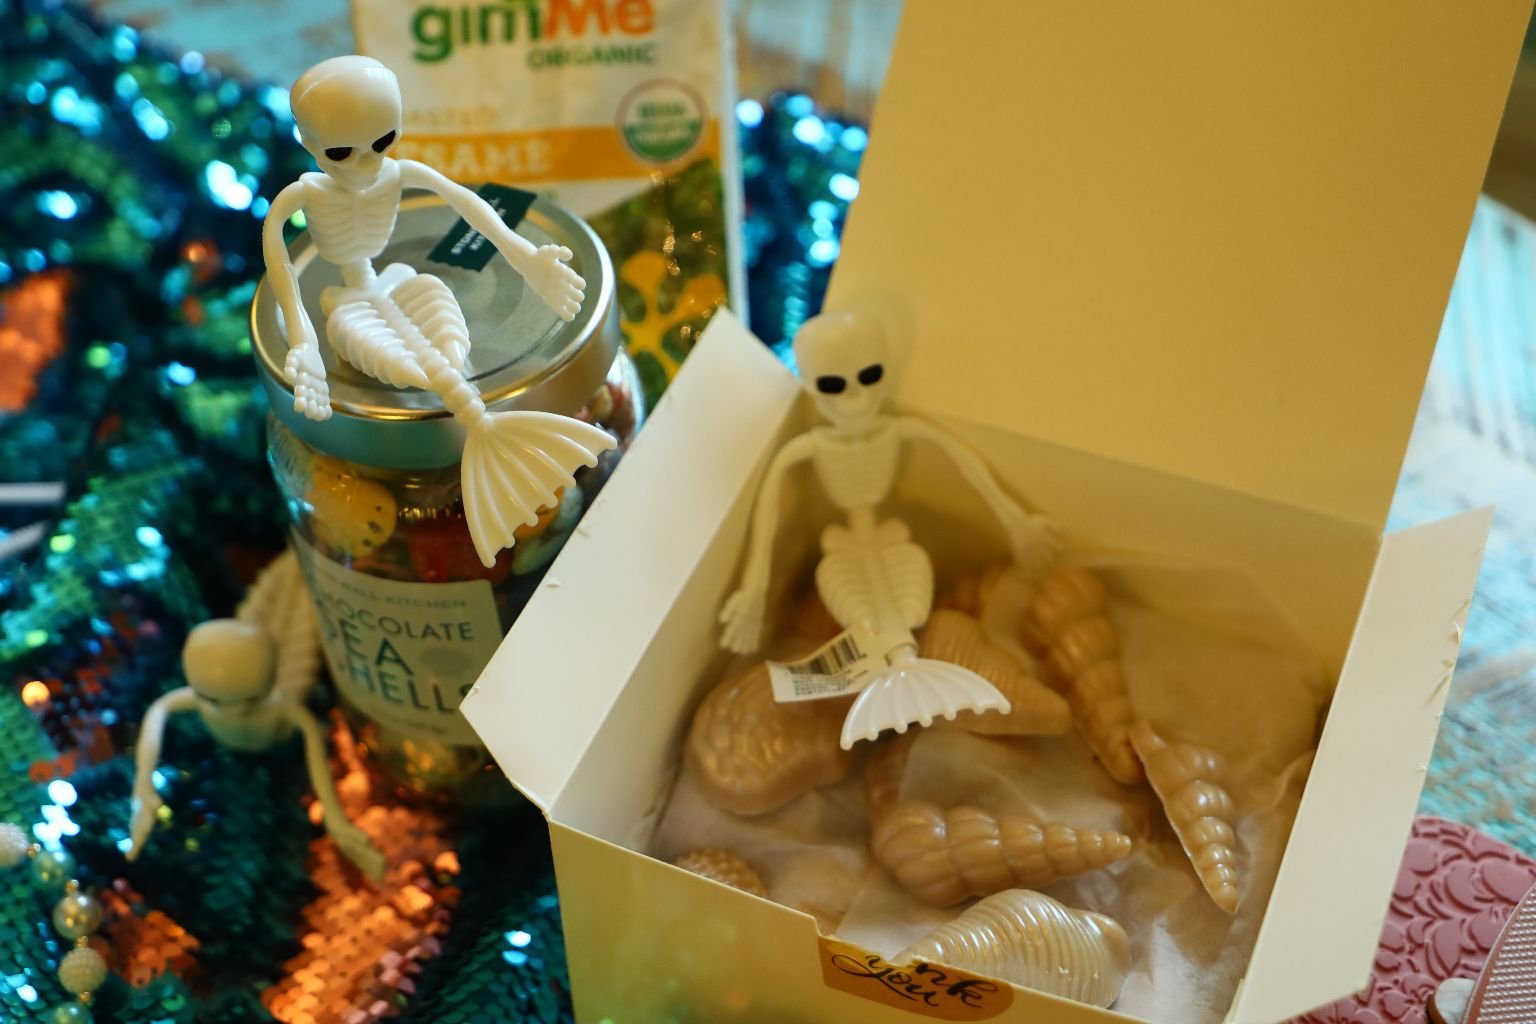
These Sea Shell Chocolates were so melt in your mouth!

——————————————————————————-

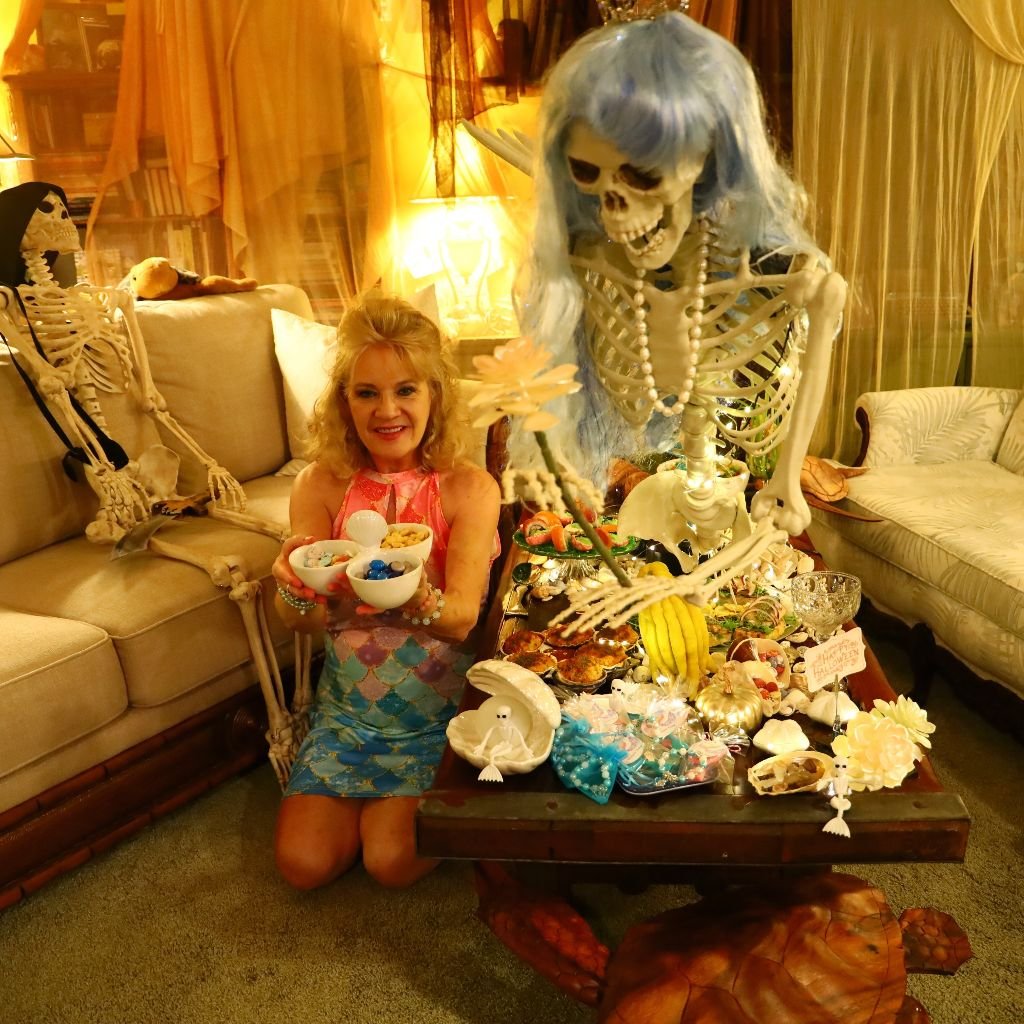
A Happy Halloween Mermaid Selfie
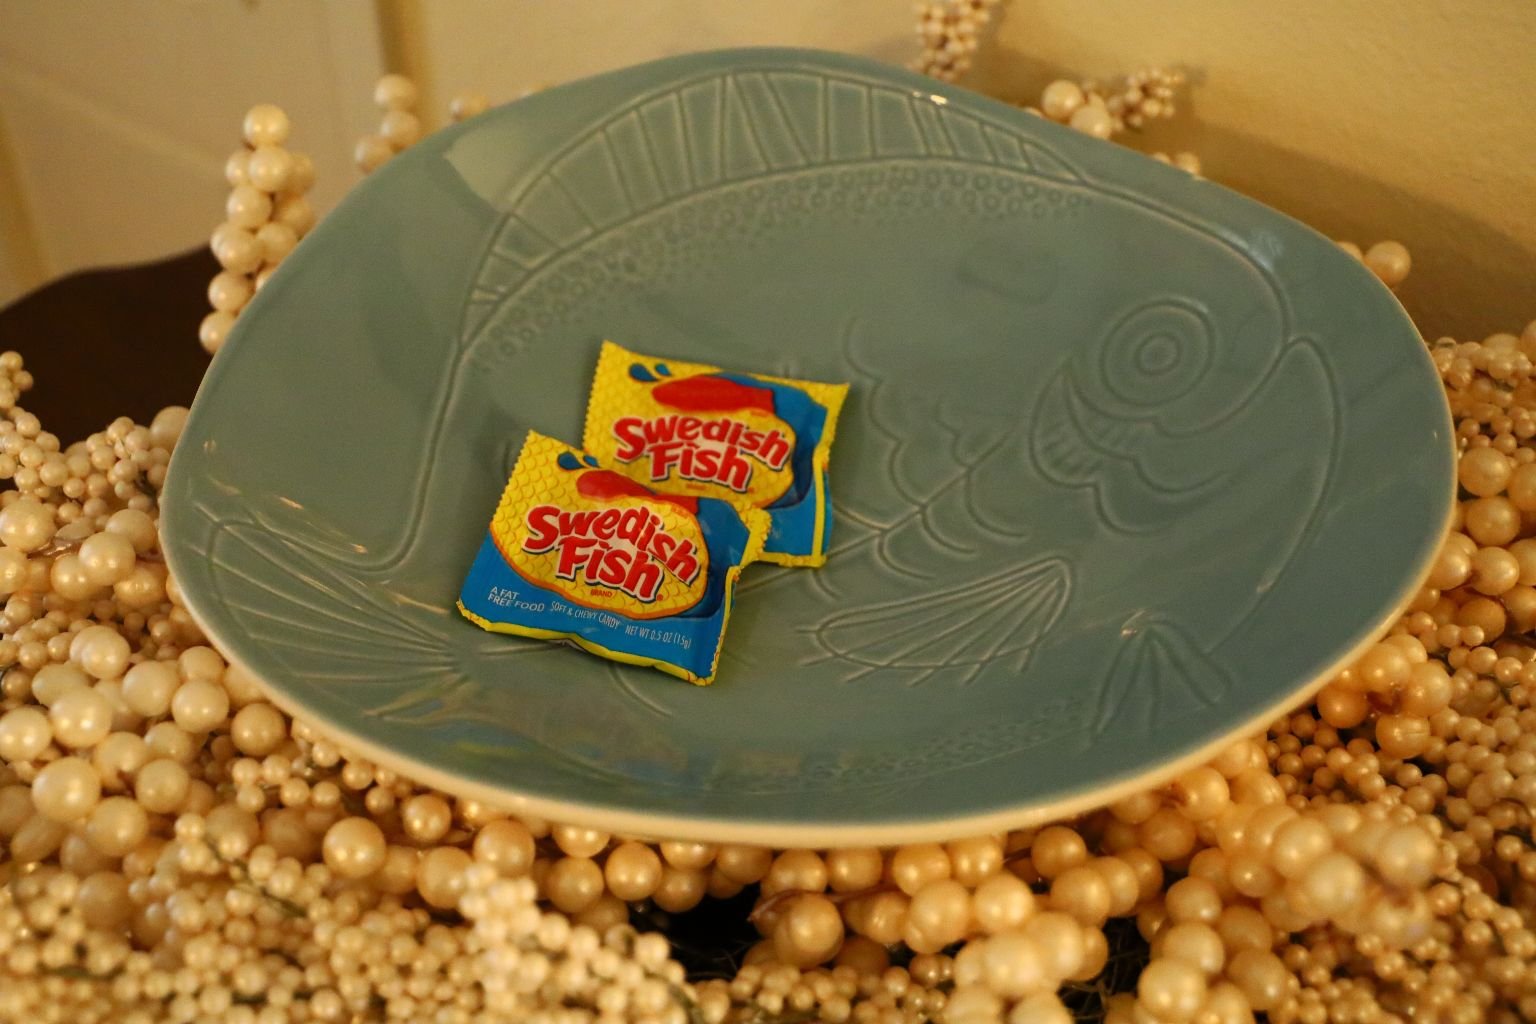
Swedish Fish
(The mermaids ate all the candy.) 🙂
————————————————————————
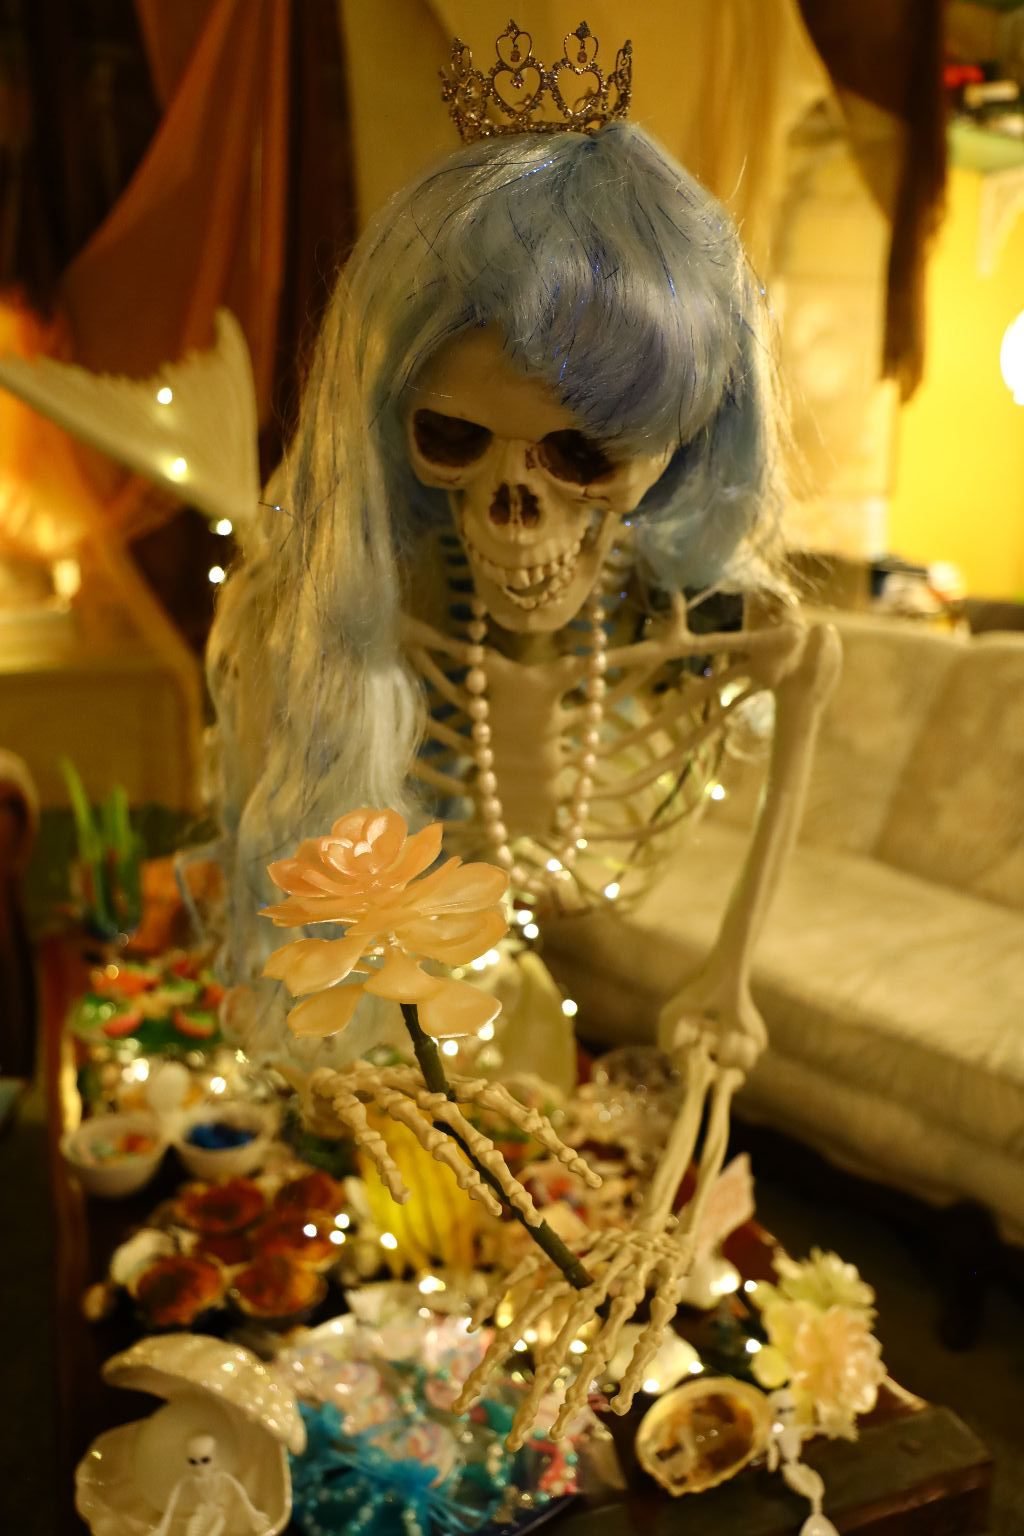
Decorating The Theme
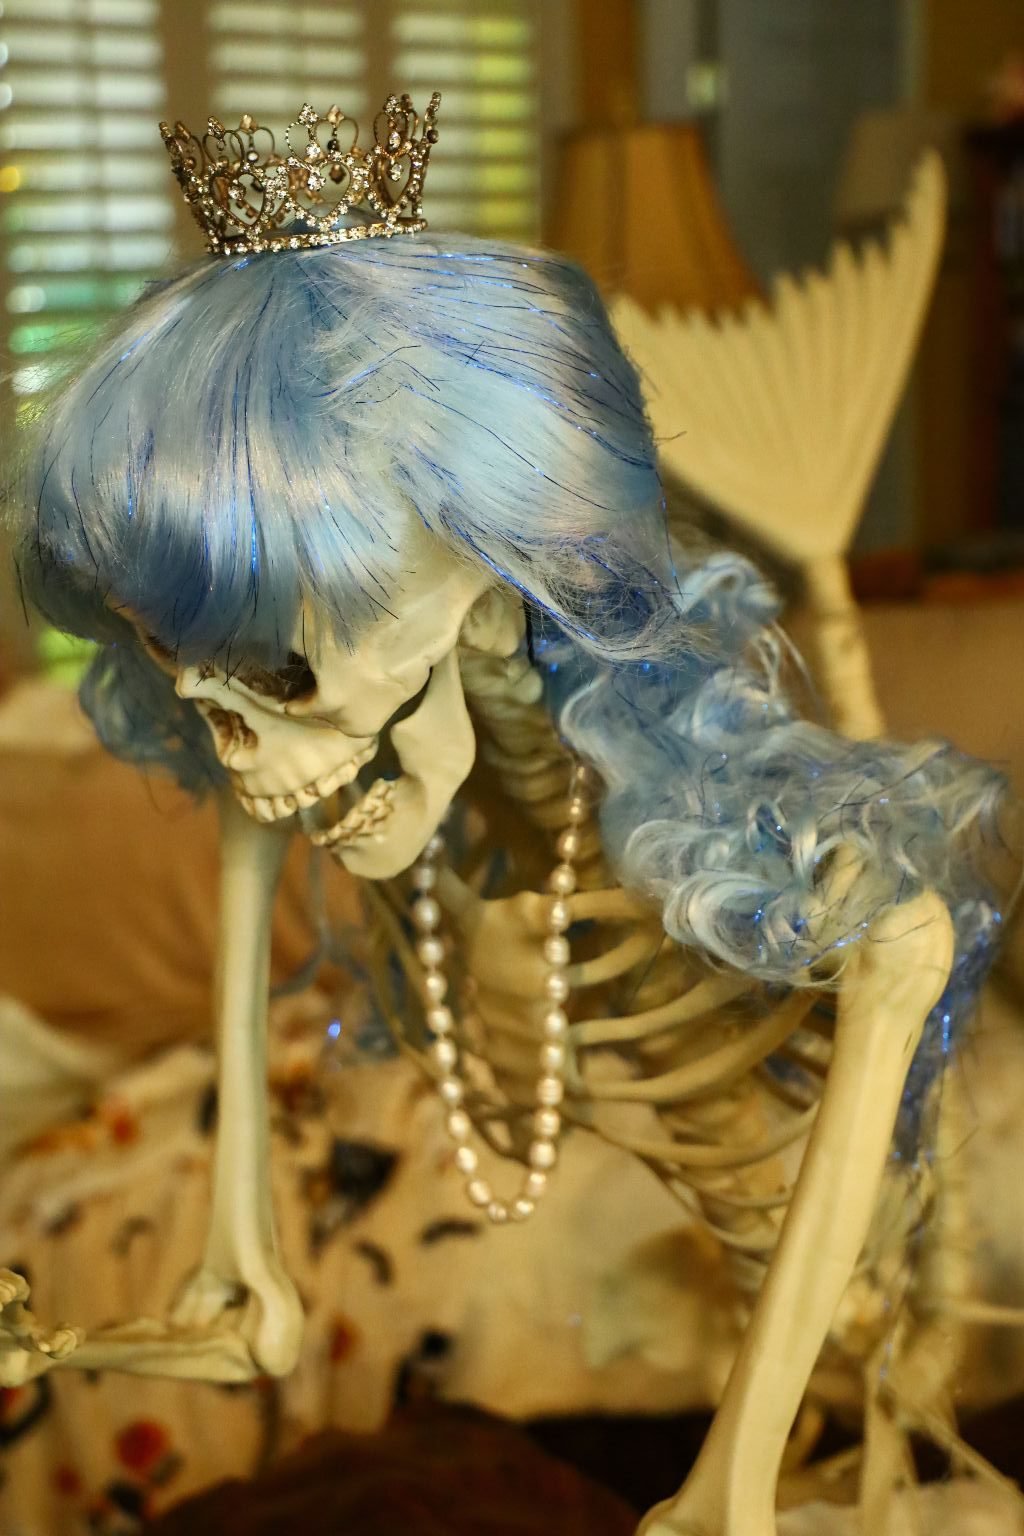
It All Started With a Mermaid Skeleton, a Blue Wig, and a Crown,
And some Moon Drop Grapes…
…Everything Else Just Fell Into Place After That
————————————————————–
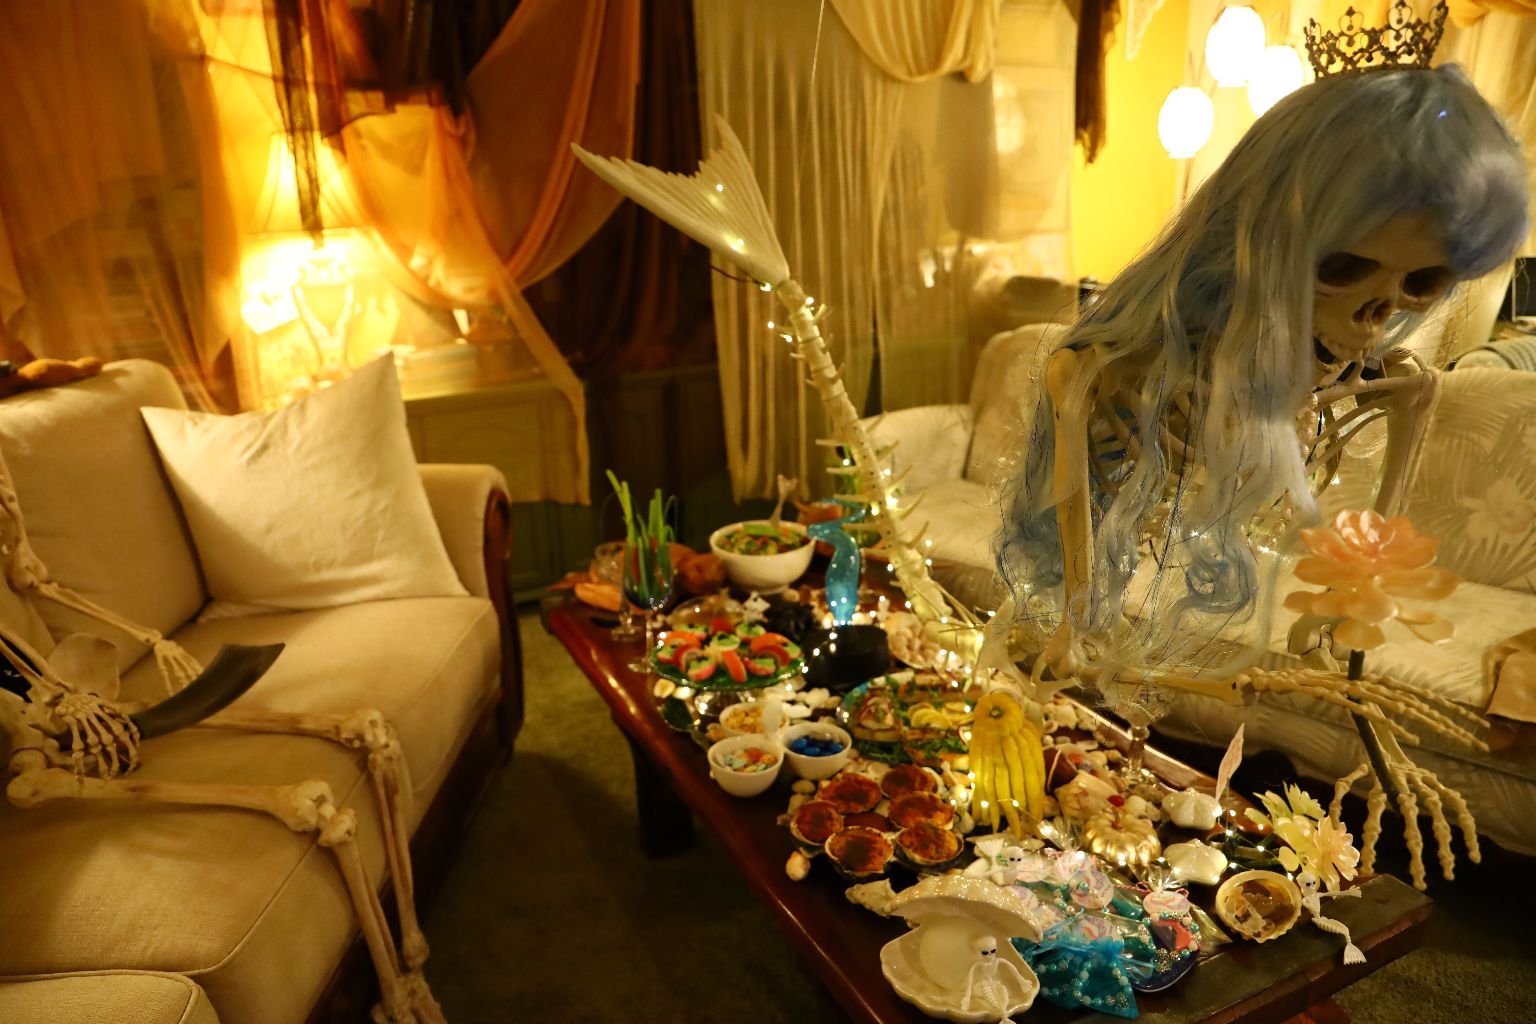
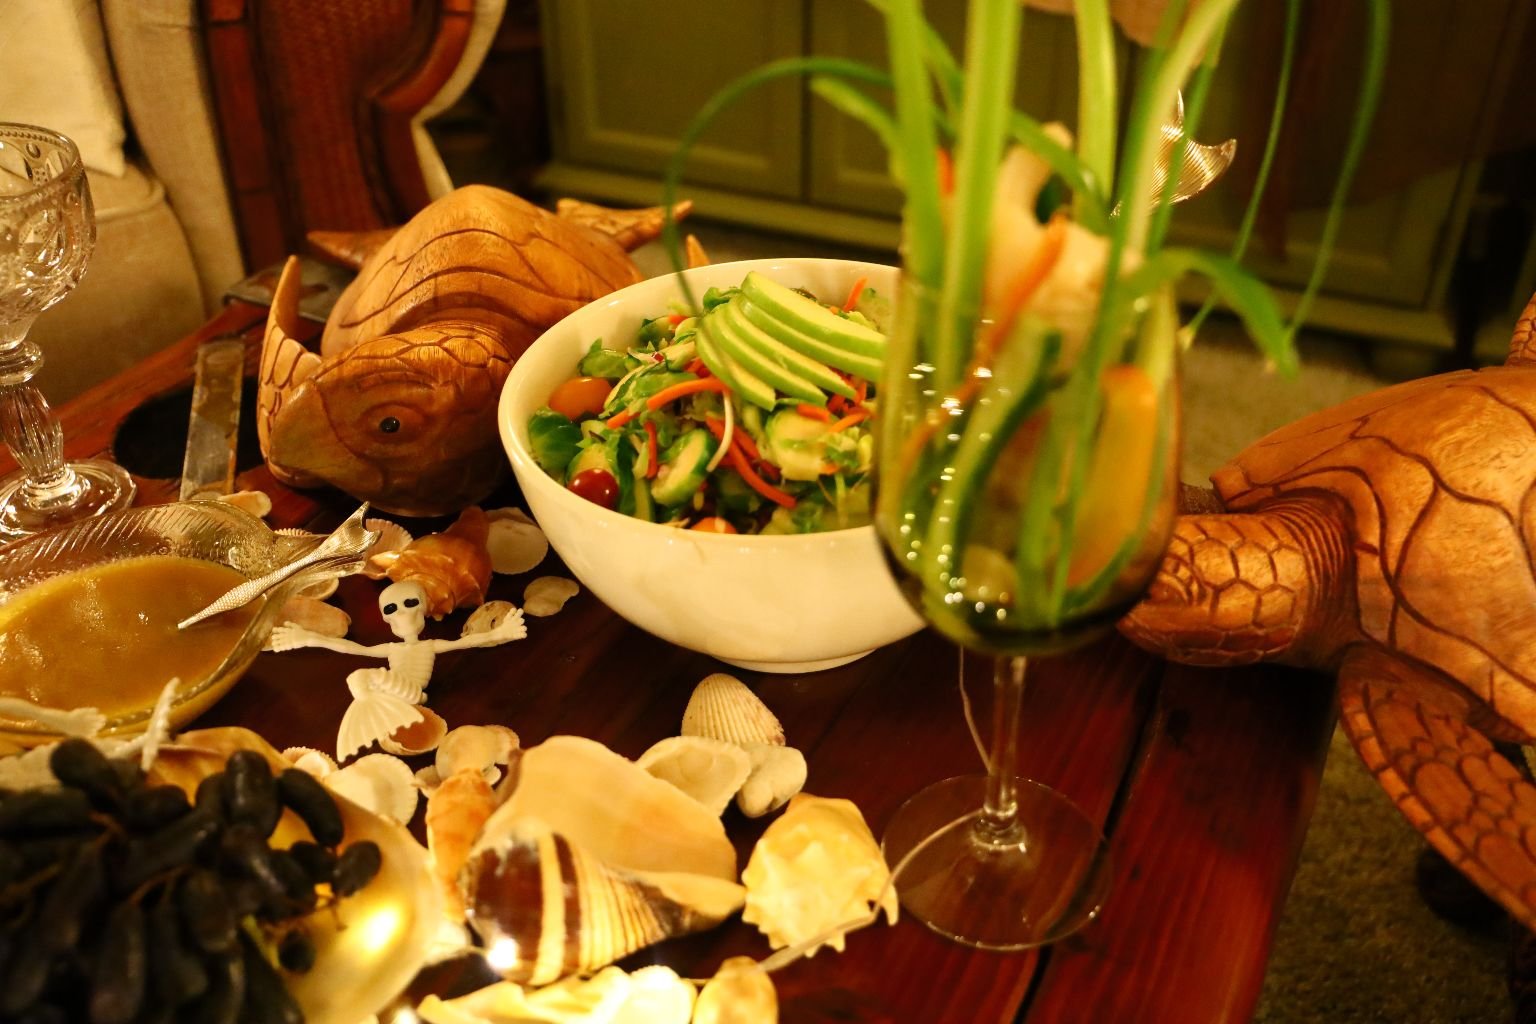
I pretty much wanted our entire Halloween to be spent right here.
Our Hatch Cover Coffee Table was once a Hatch Cover to an old ship. I scattered a lot of my seashells and sand that I had collected over the years onto the top of the table. We then situated all around the table our foods and some of the Halloween gifts. To top it all off, is the skeleton Mermaid hovering above as if she is swimming above it.
I also placed a skeleton on the couch with some pirate decor.
After all, Pirates and Mermaids go very well together.
—————————————————————————–
Our Under The Sea Recipes
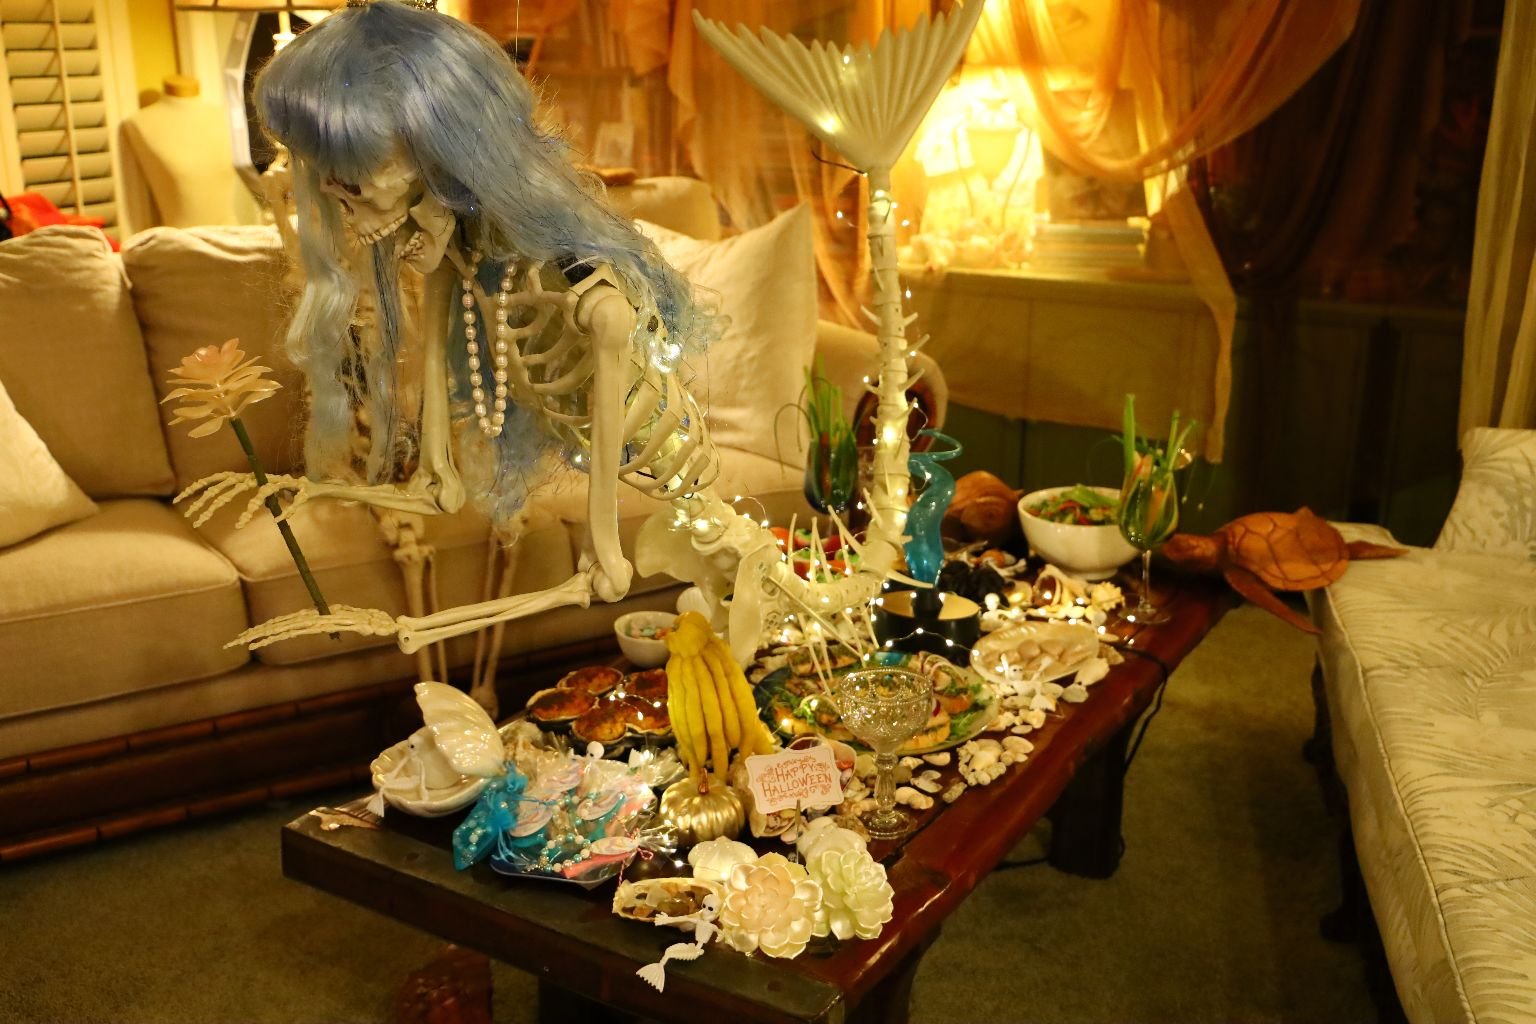
Our Mermaid Under The Sea Hatch Cover Table
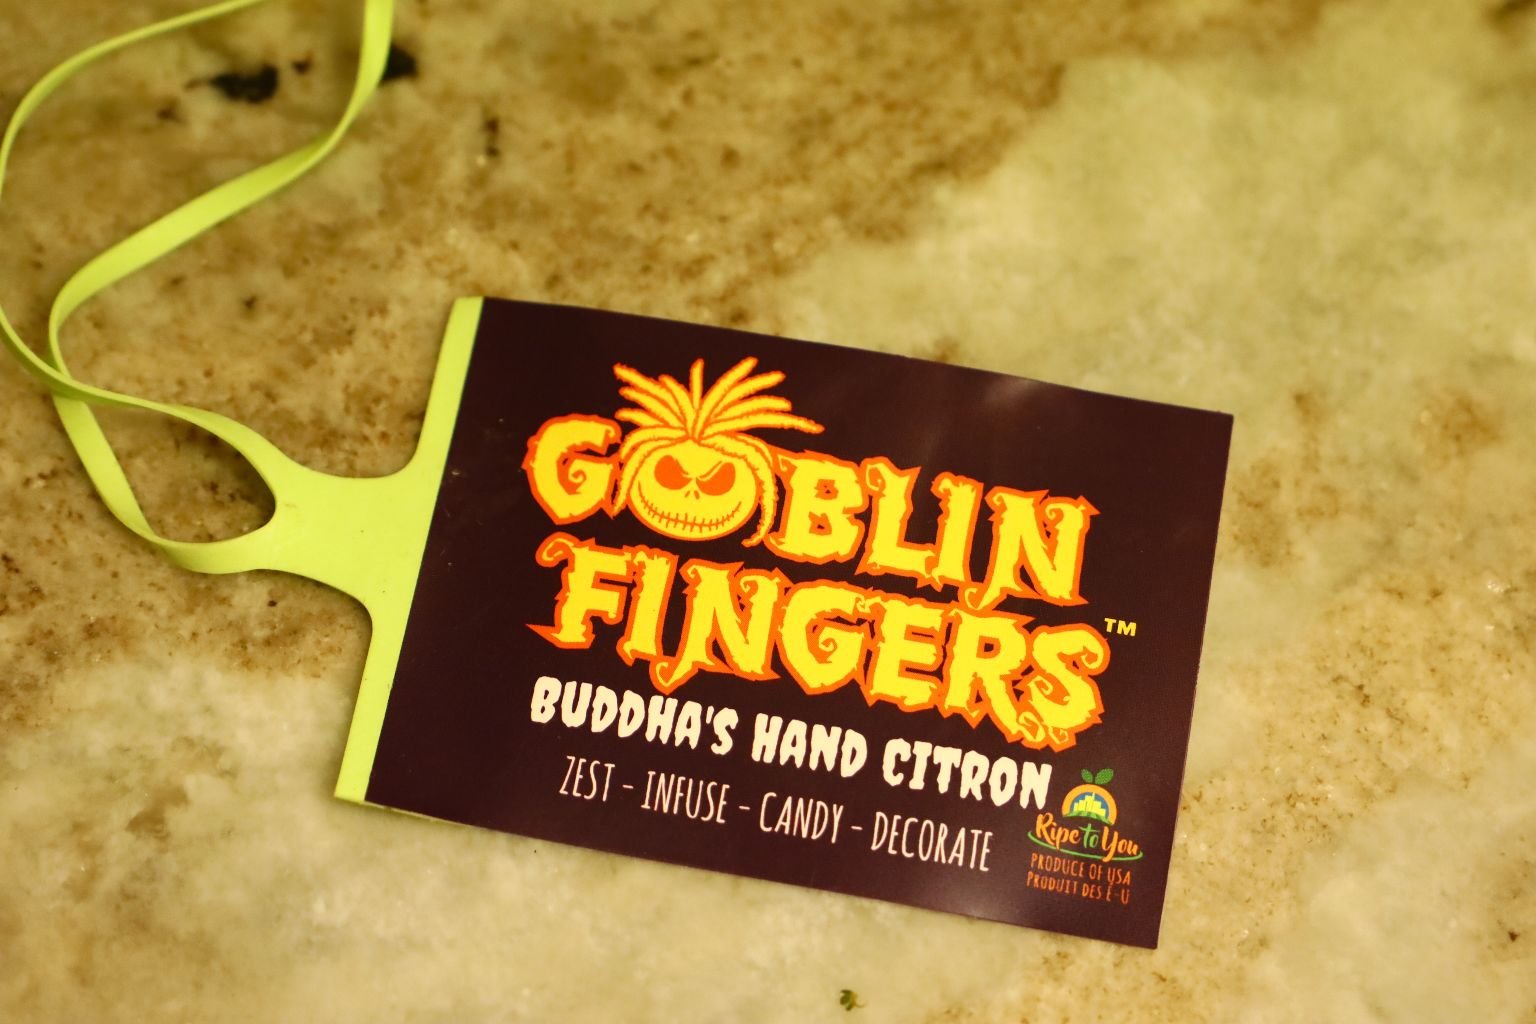
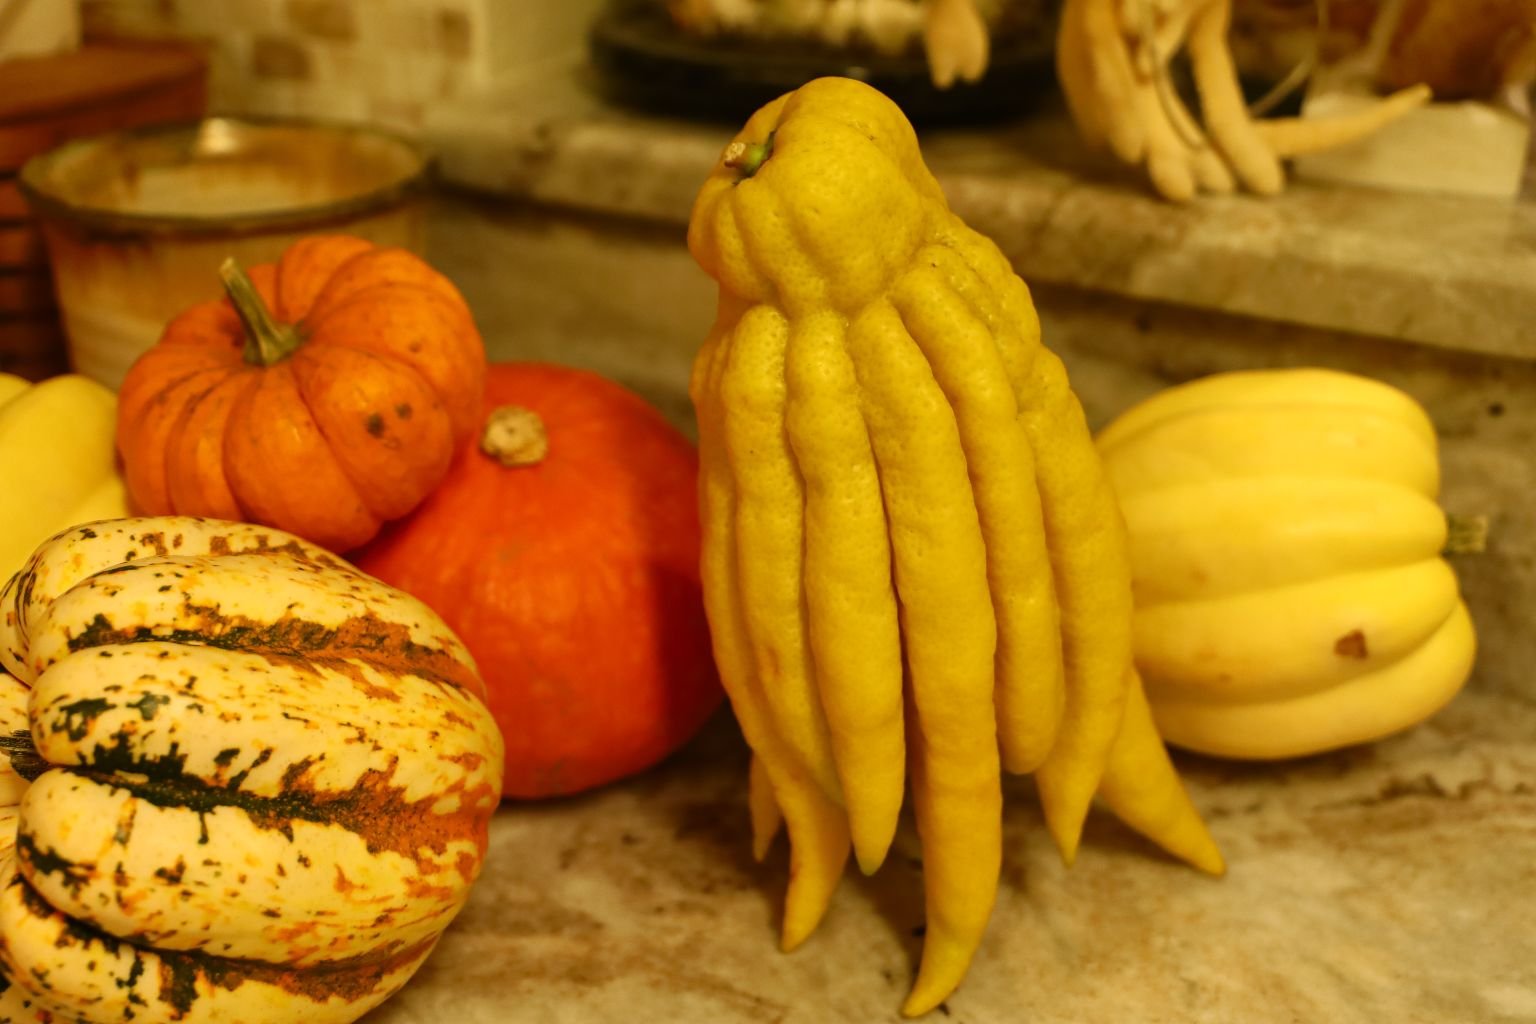
Notice the “Goblin” in the photo, right? It is actually a Lemon. 🙂
——————————————————————————-
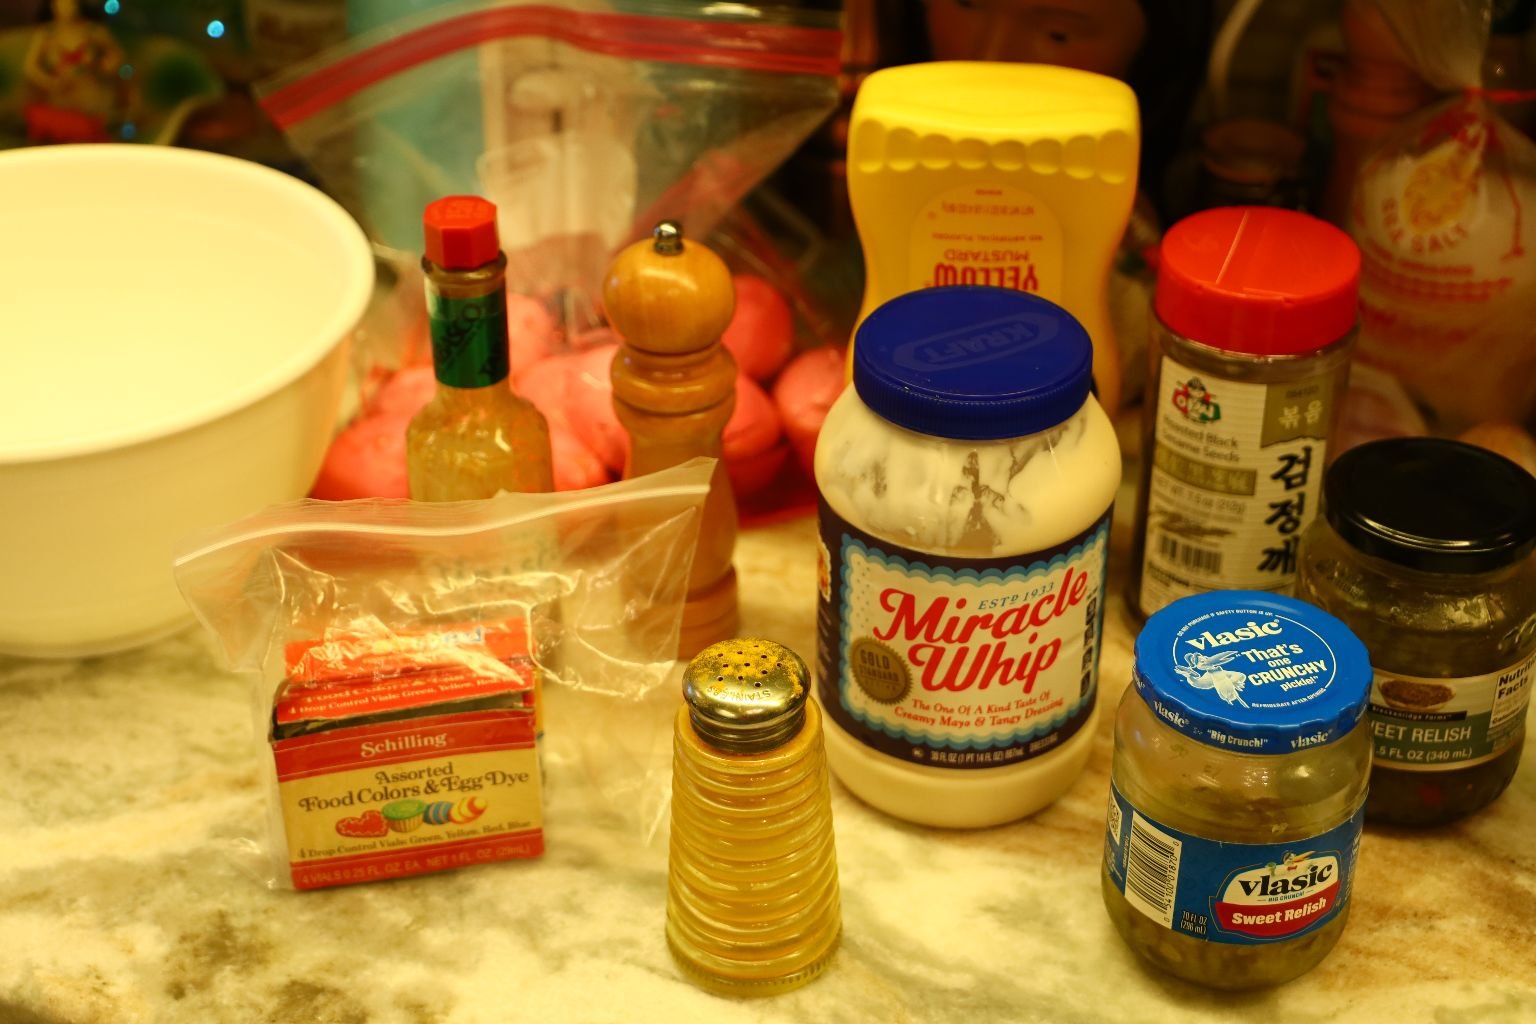
Mermaid Eggs/Caviar
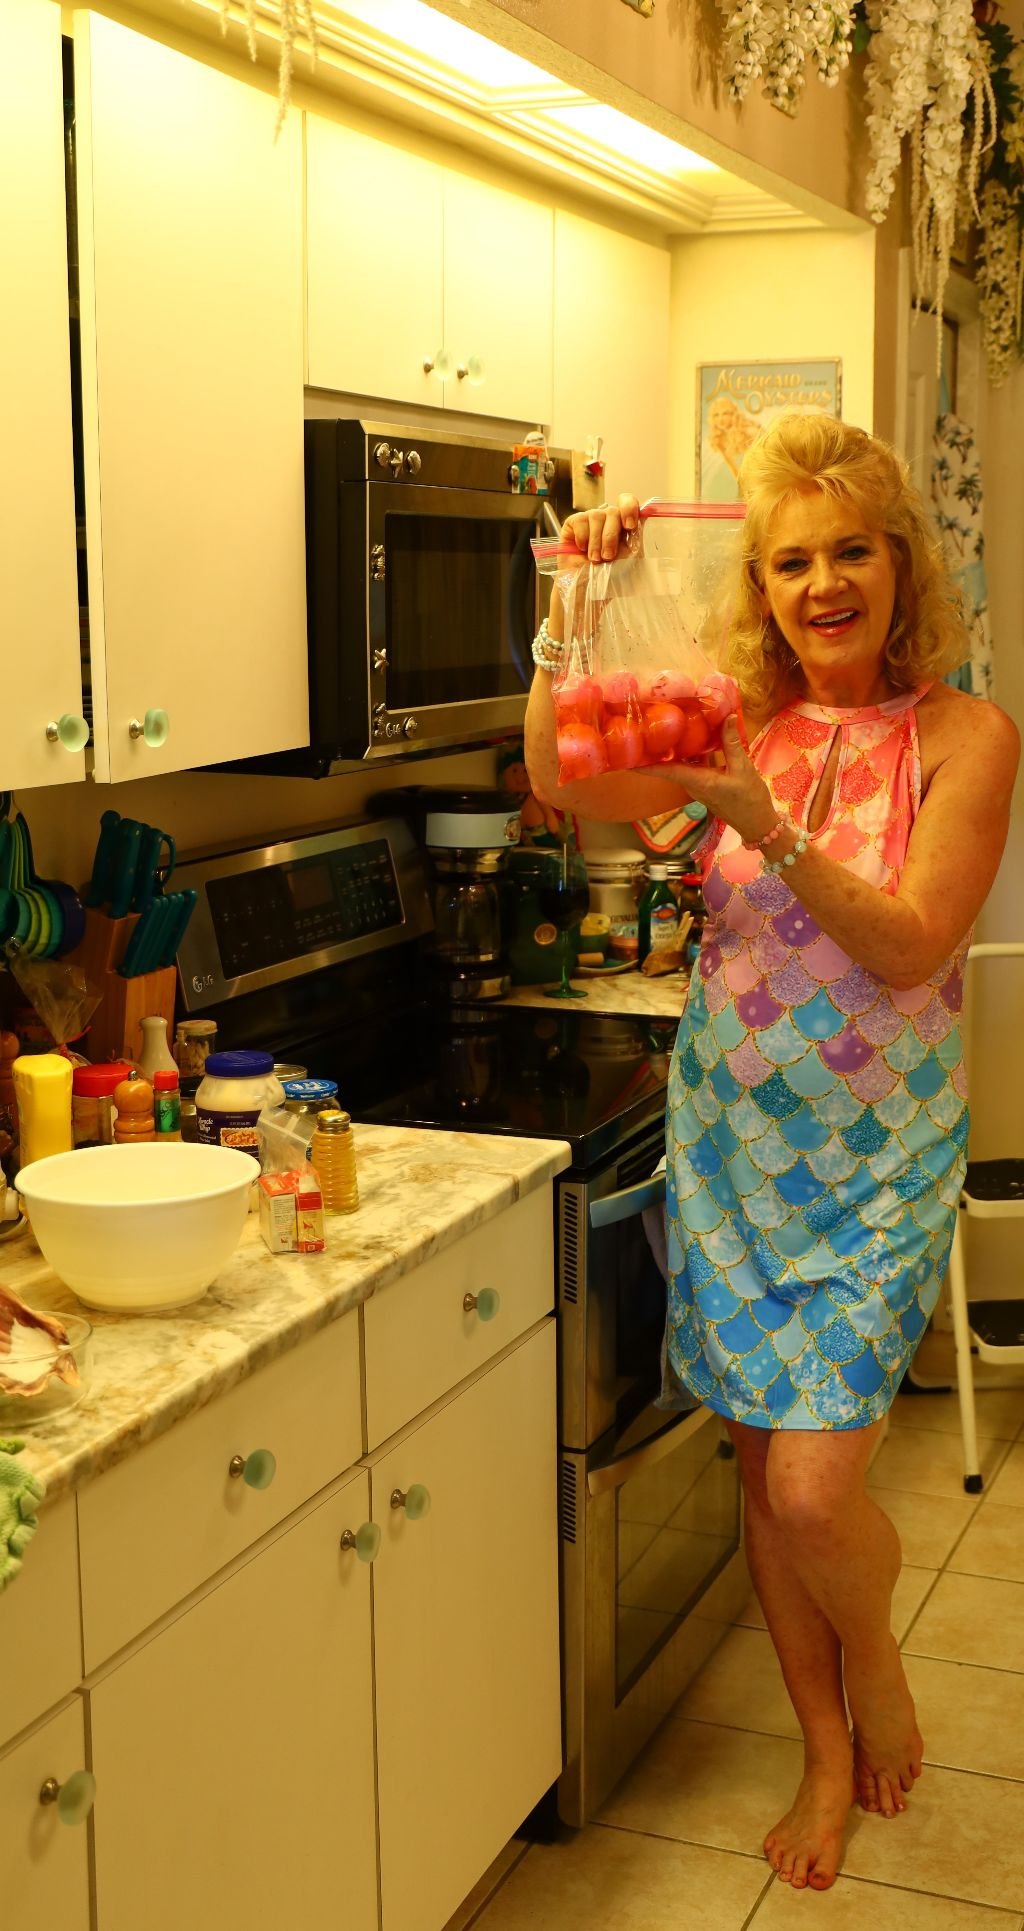
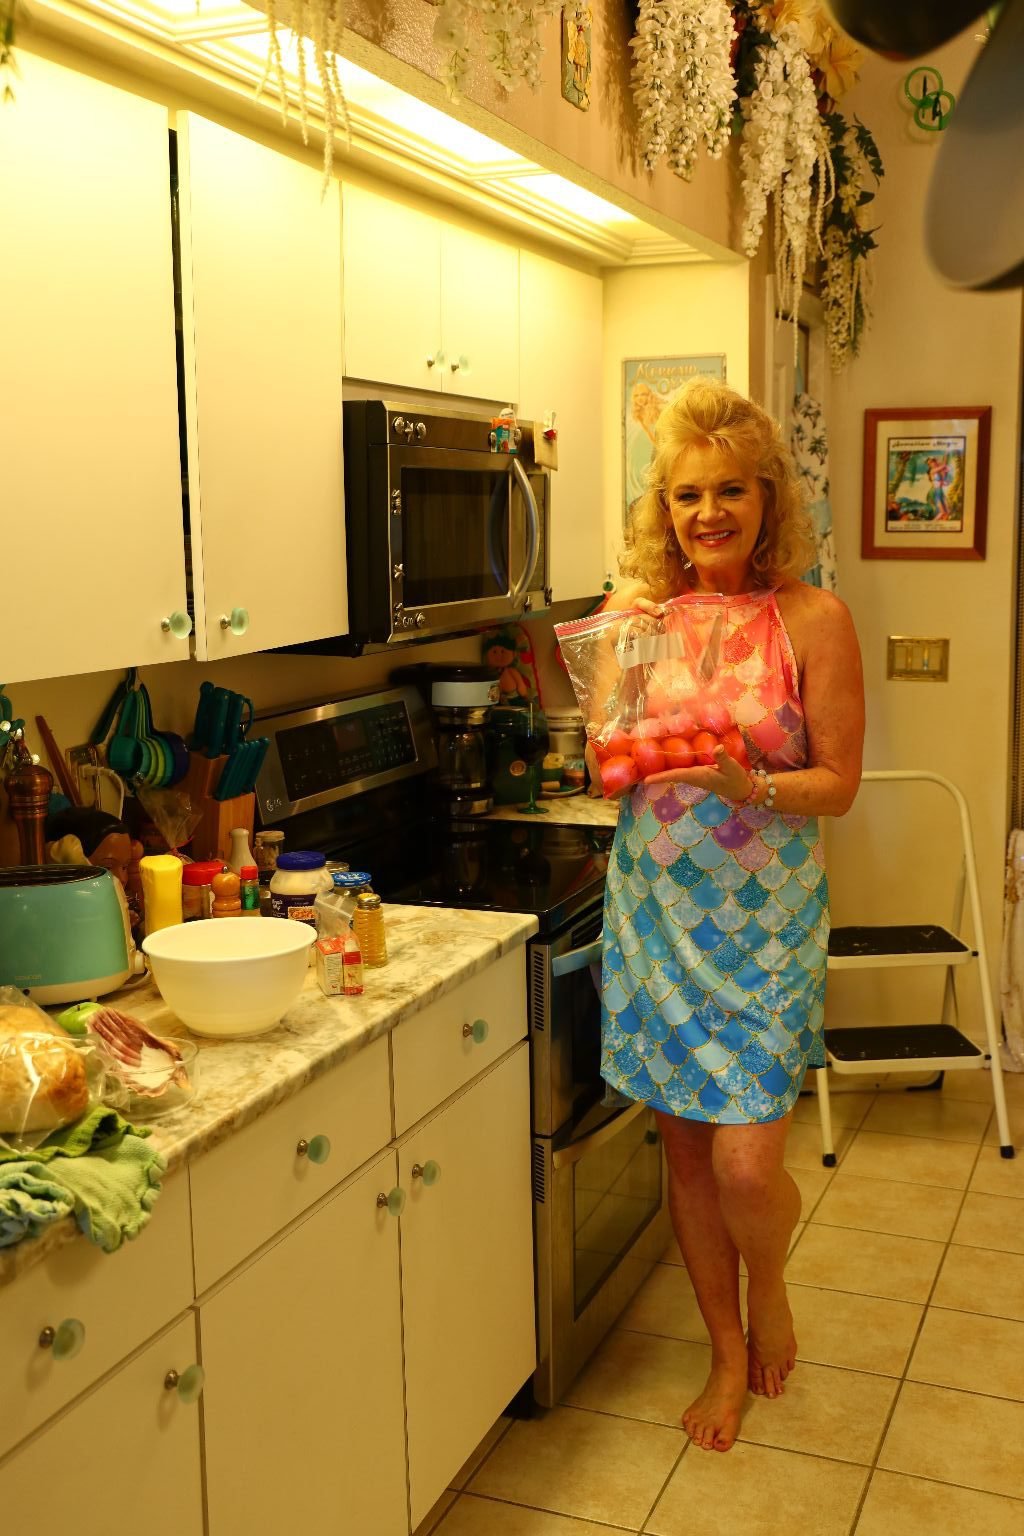
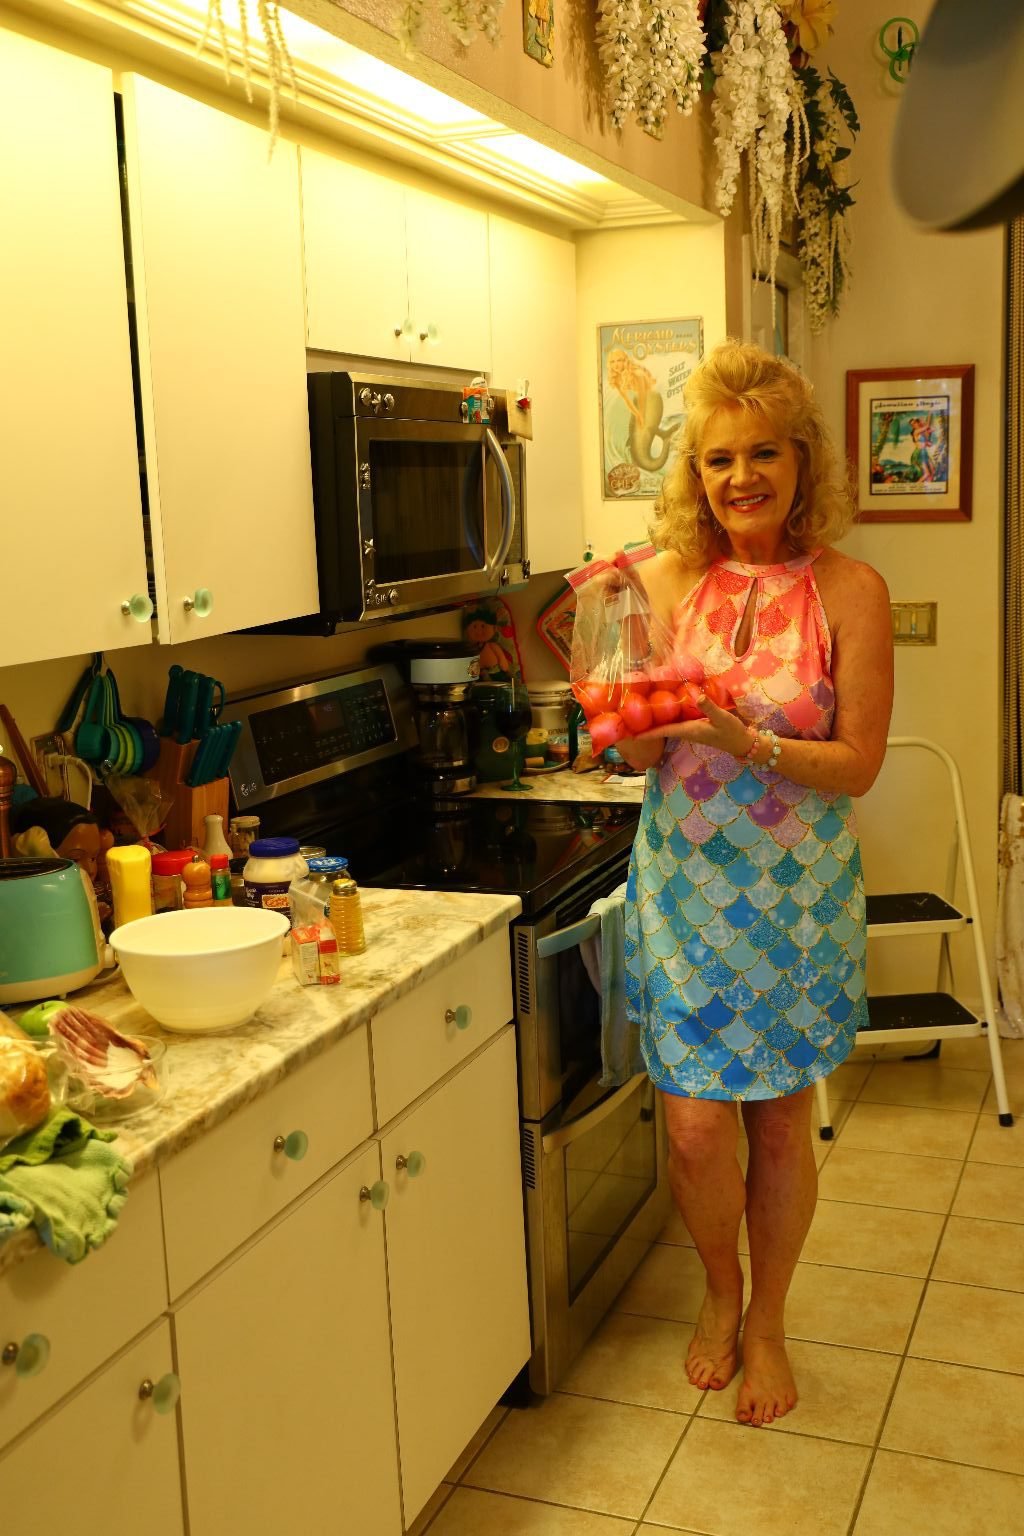
Me, in the Kitchen, Making my Mermaid Eggs
I have made Deviled Eggs in my lifetime probably a million times. I would say that I have at least made them a few dozen here on the website. Well, here is yet another Deviled Egg recipe to add to this website resume.
You first start by boiling as many Eggs as you like. They work best if they are older eggs. Meaning, that they are about a week and a half to two weeks old in your refrigerator. Old eggs are important because they are easier to peel once boiled.
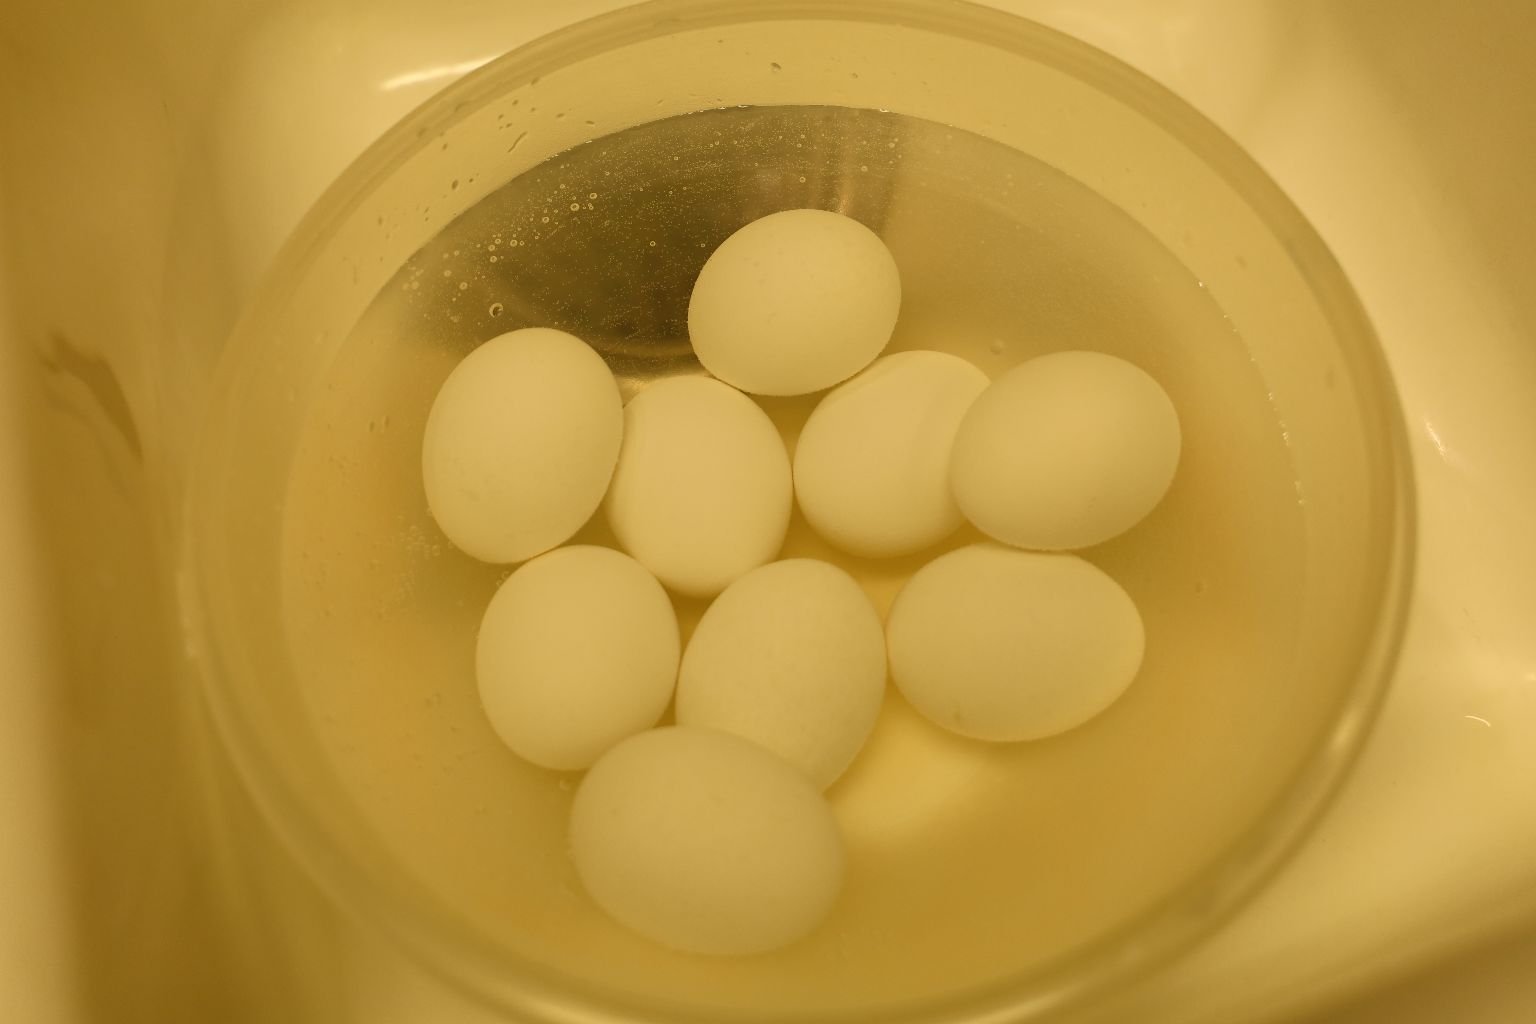
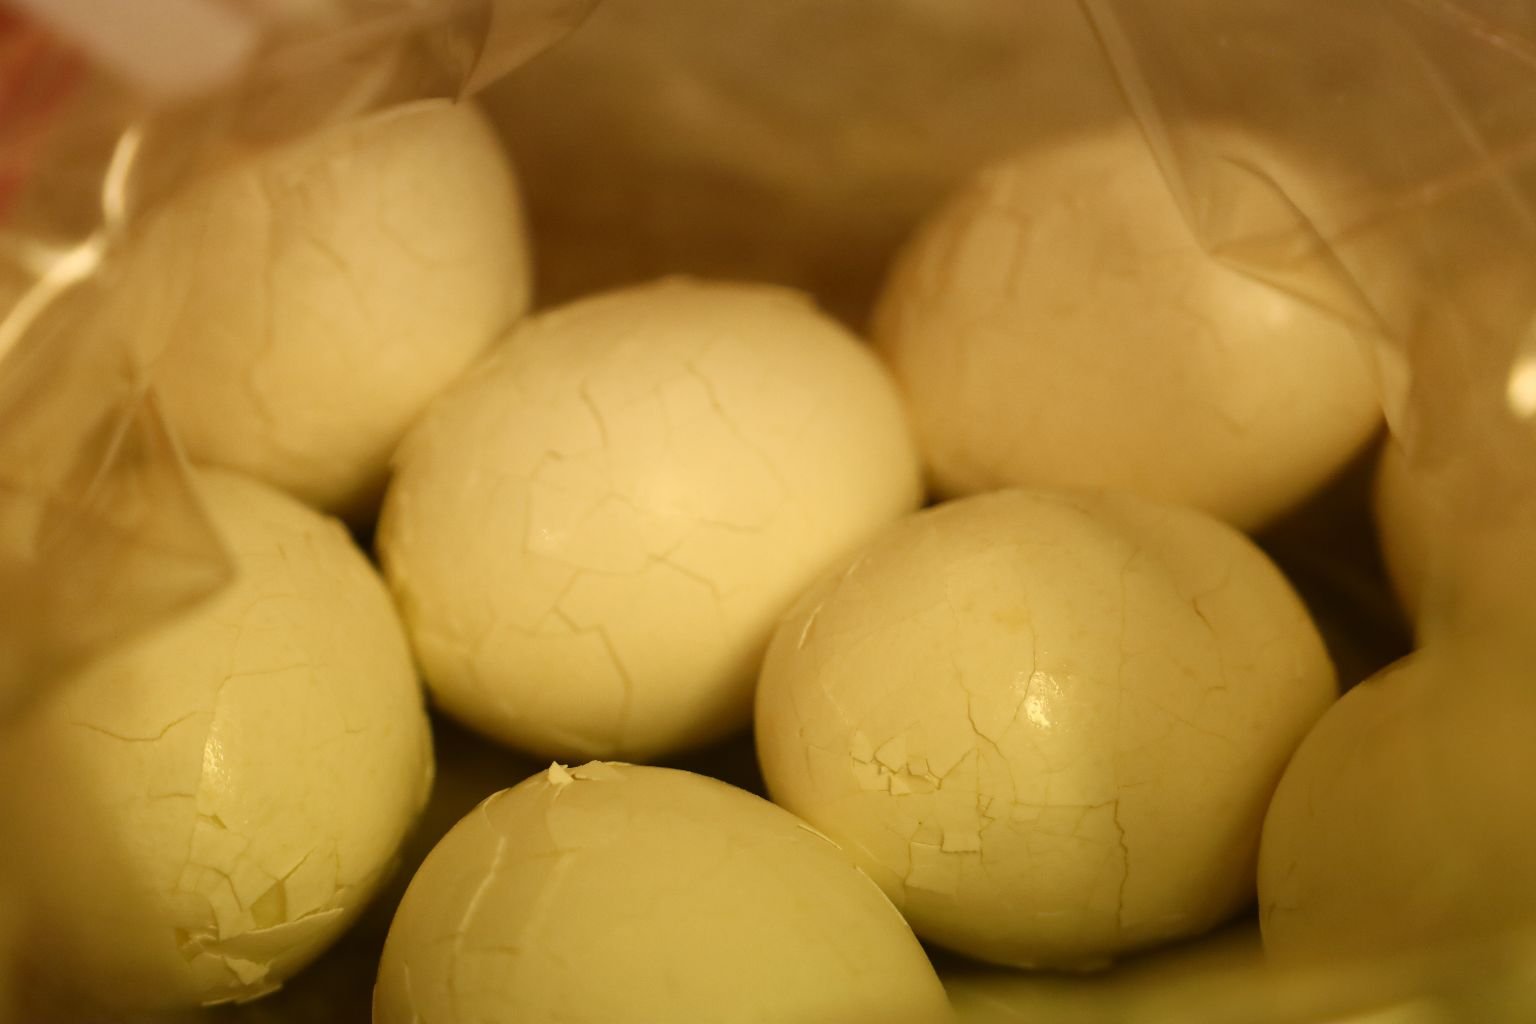
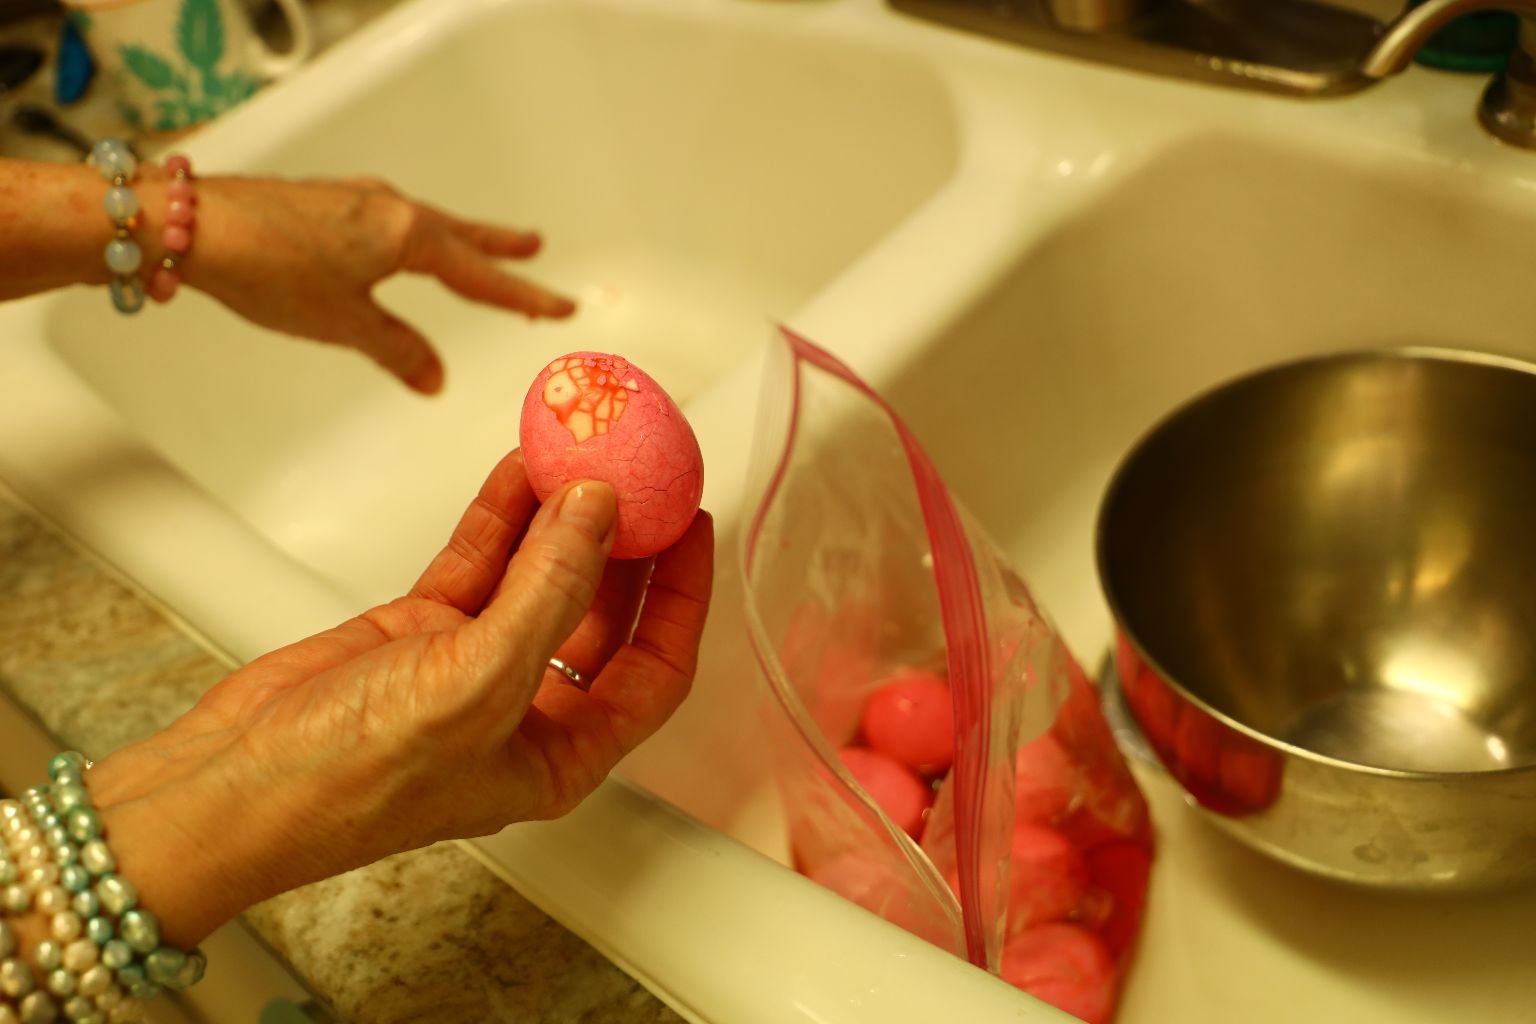
In the photos above, you can see that I hard boiled 9 of the eggs. I then submerged them into cold water to stop the cooking process. Once that is done I crush them in order to make cracks all around them. I don’t want to peel them yet. I just want them to be a bit crushed.
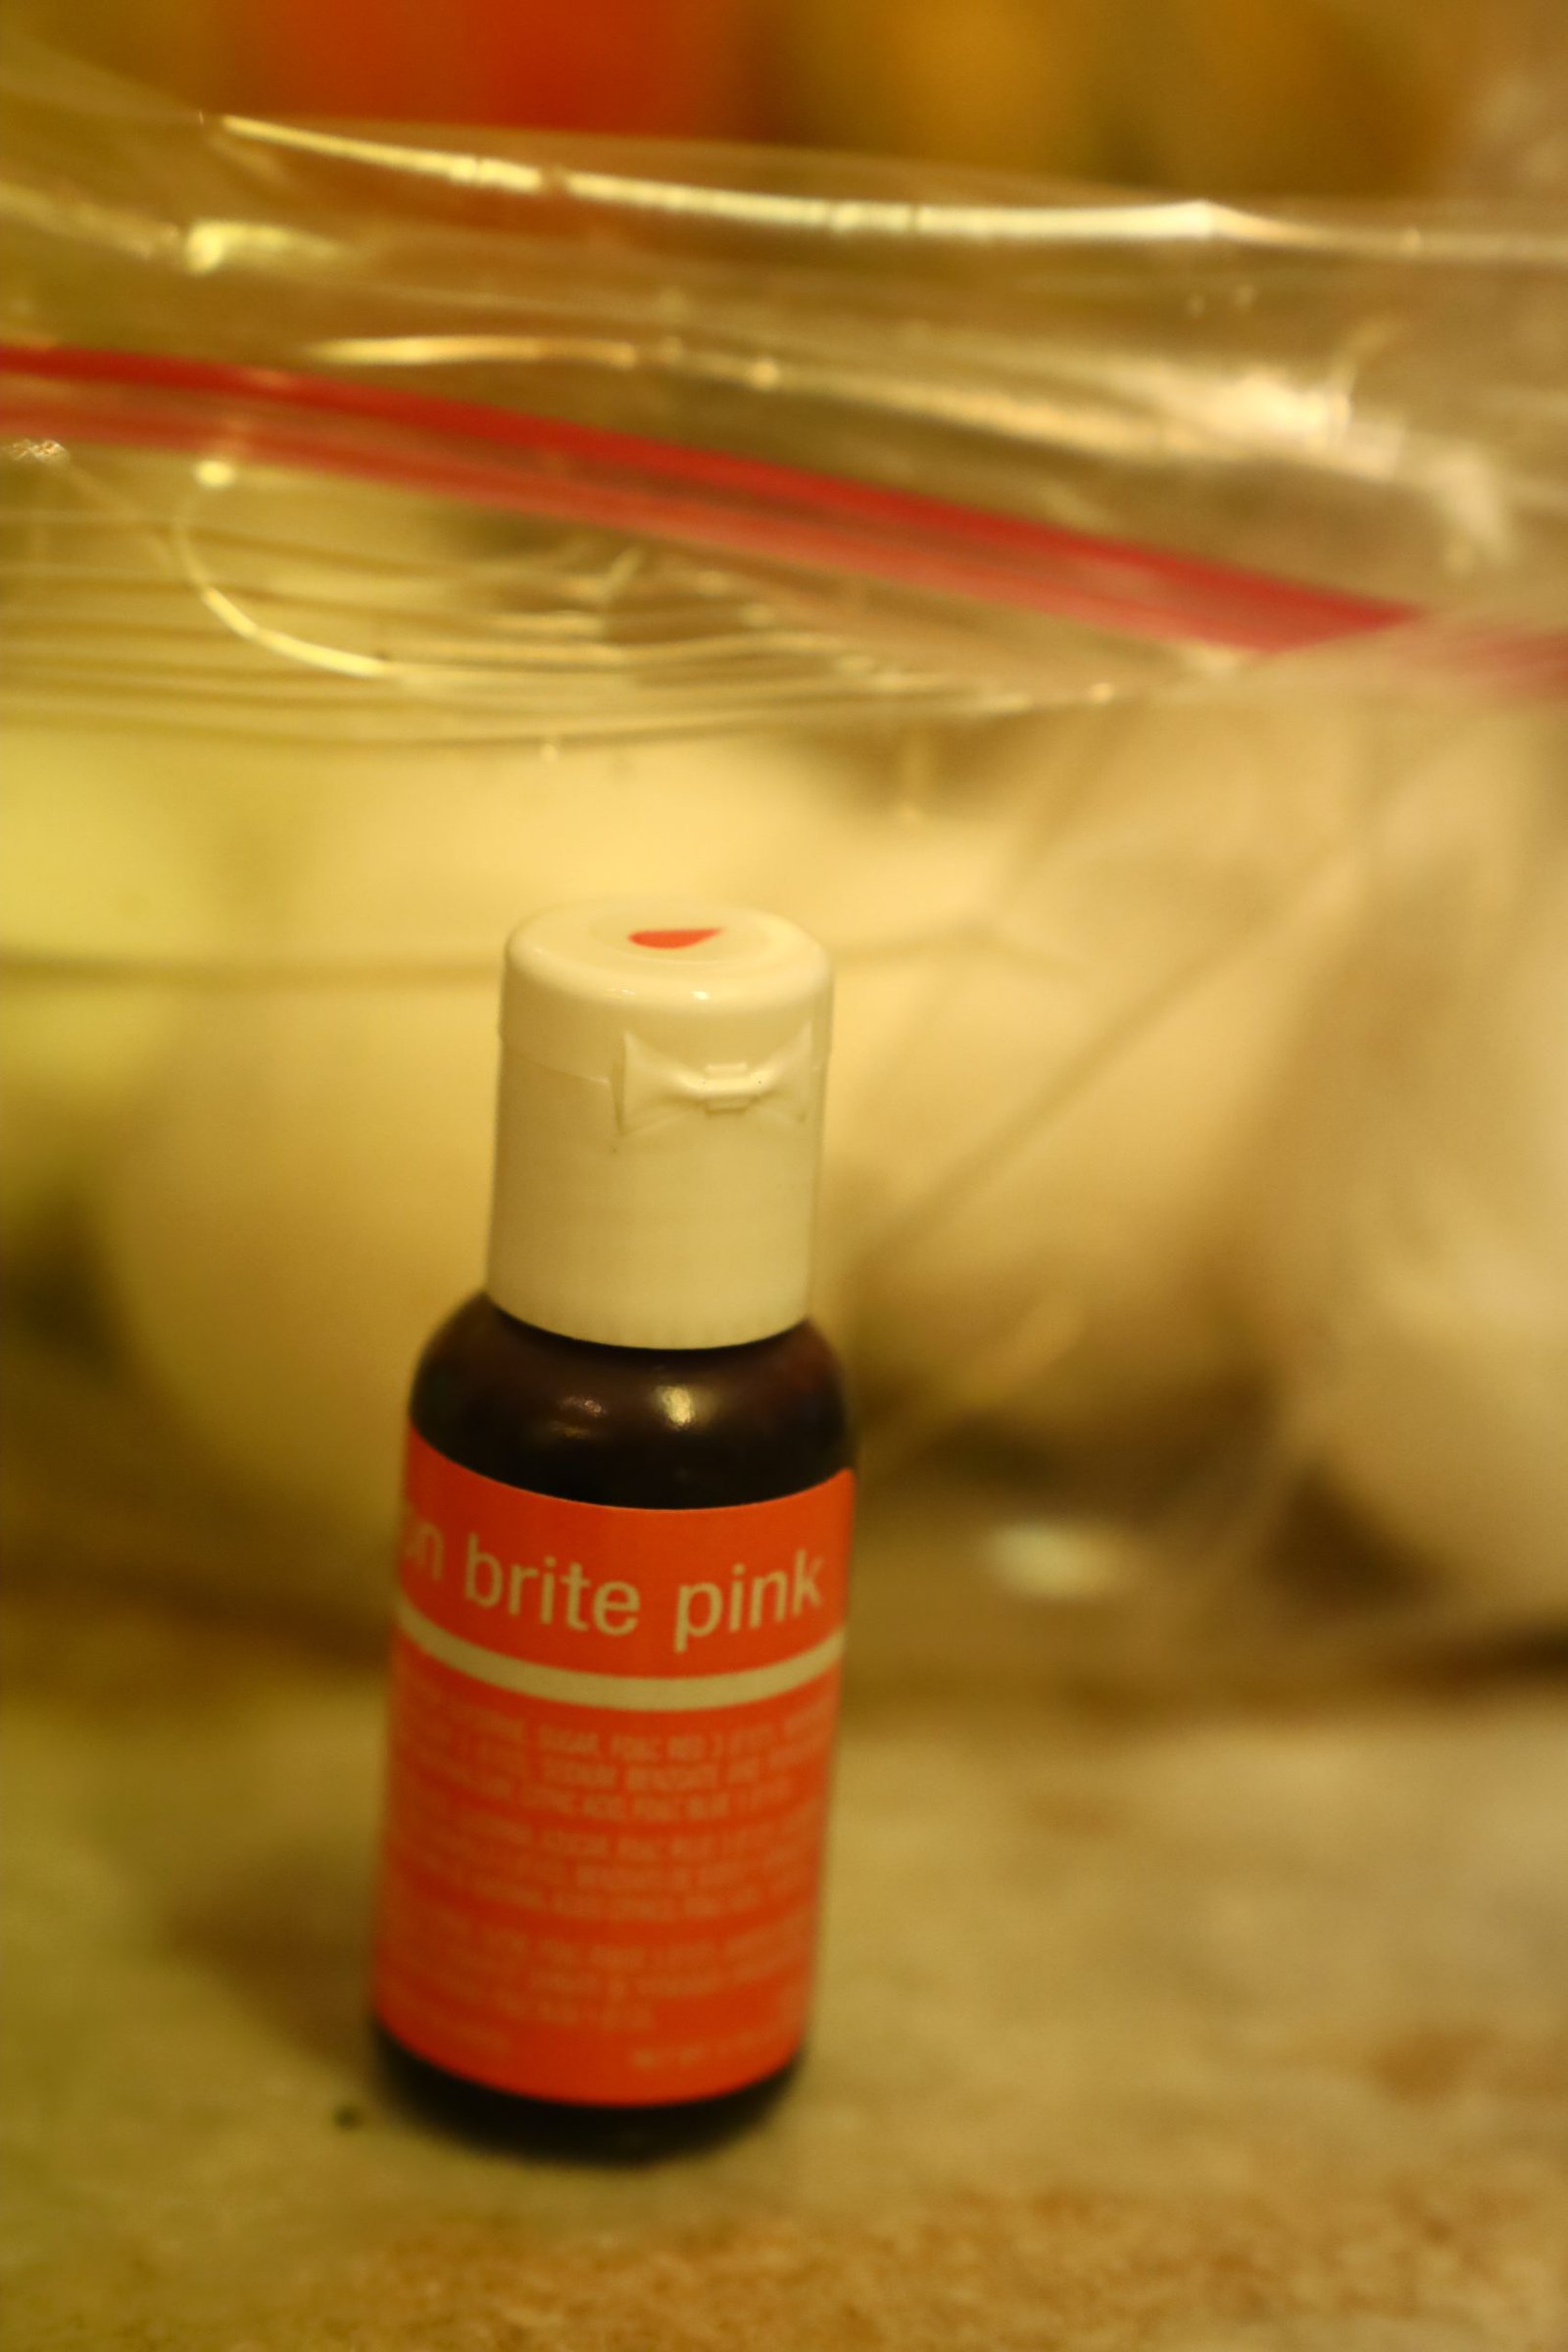
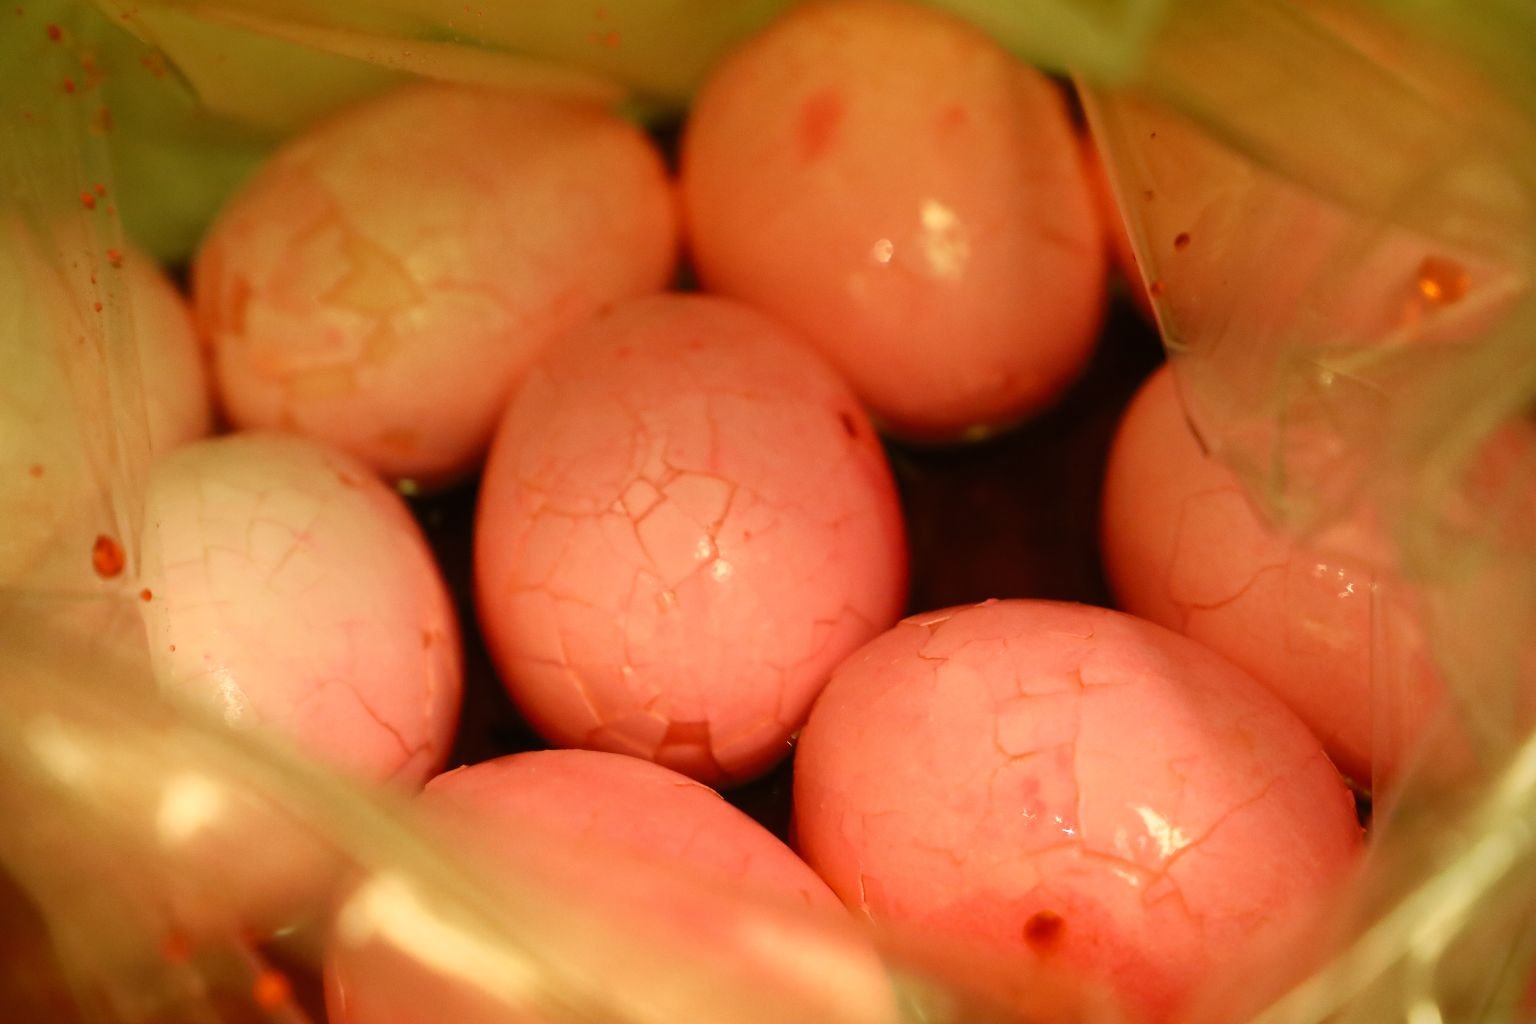
I then place the crushed eggs into a baggie with some water in it, and I’m adding some pink food coloring.
This will color the eggs pink and give them a marbled appearance.
I then place them into the refrigerator for a few days in order for them to stain.
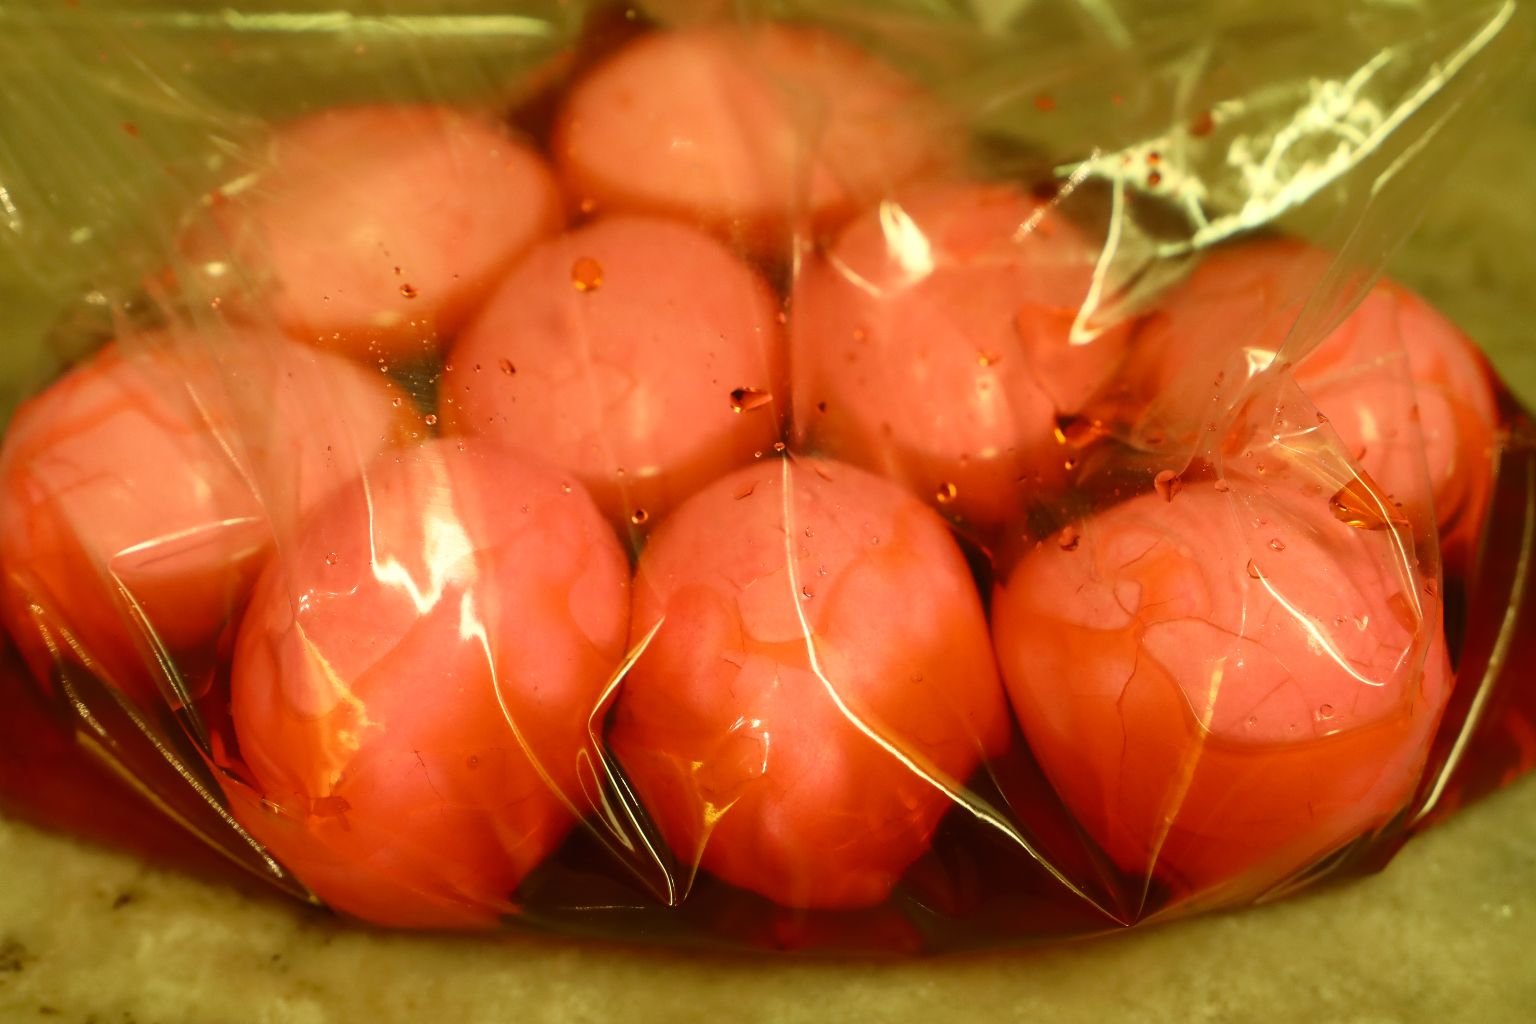
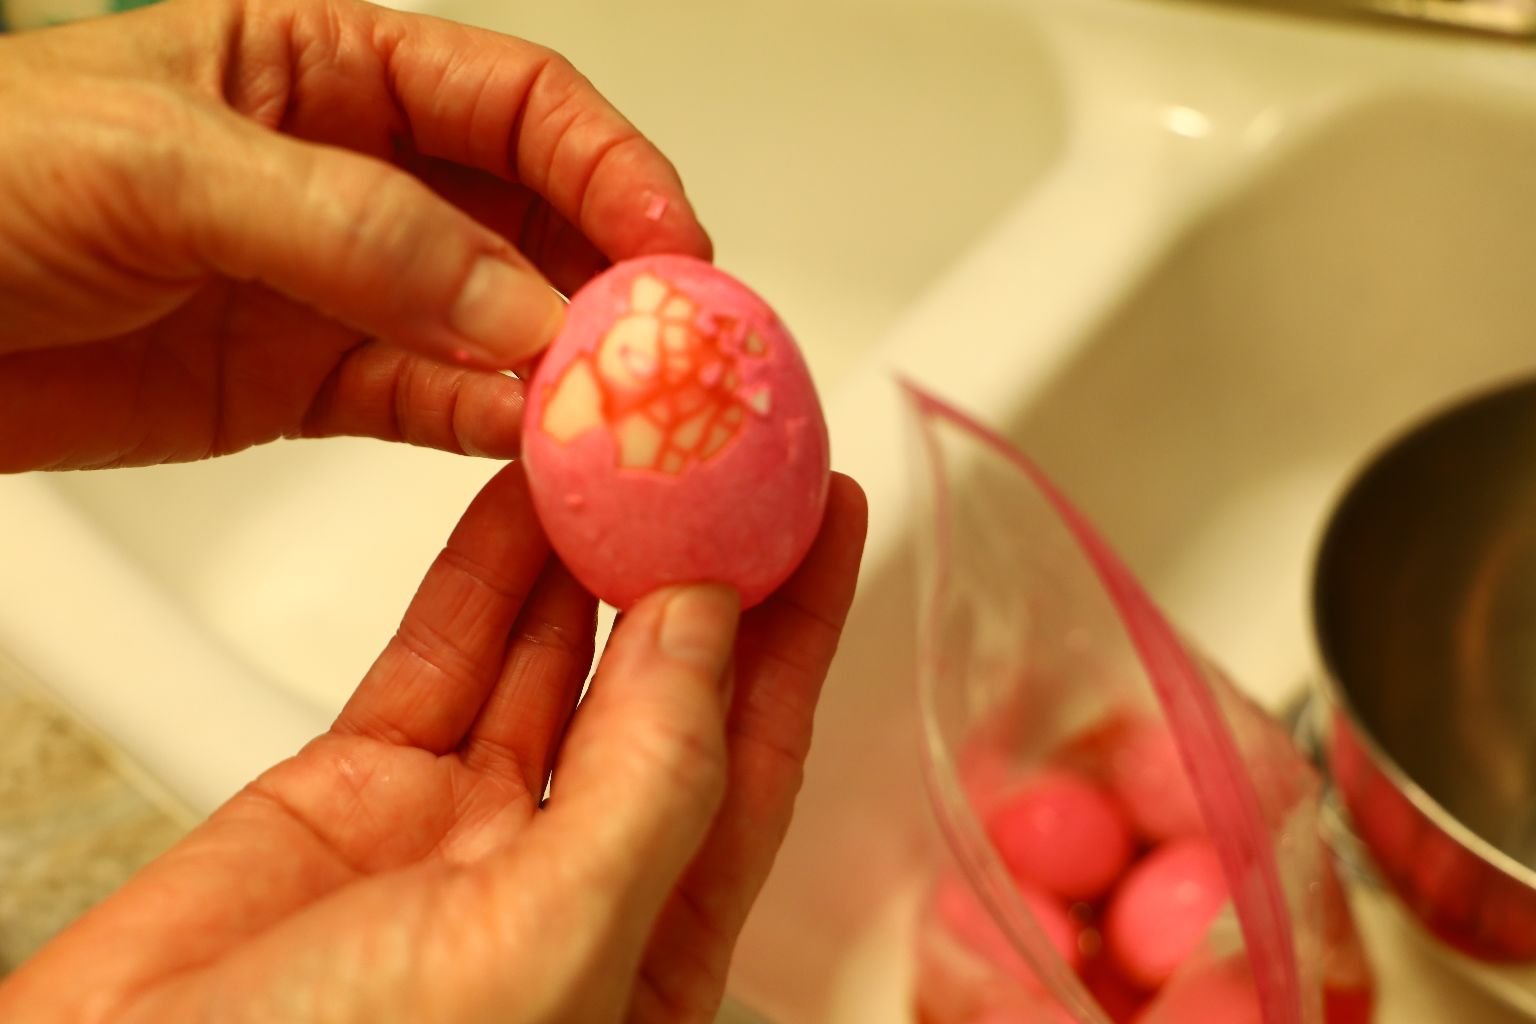
Coloring In The Pink Dye In The Refrigerator
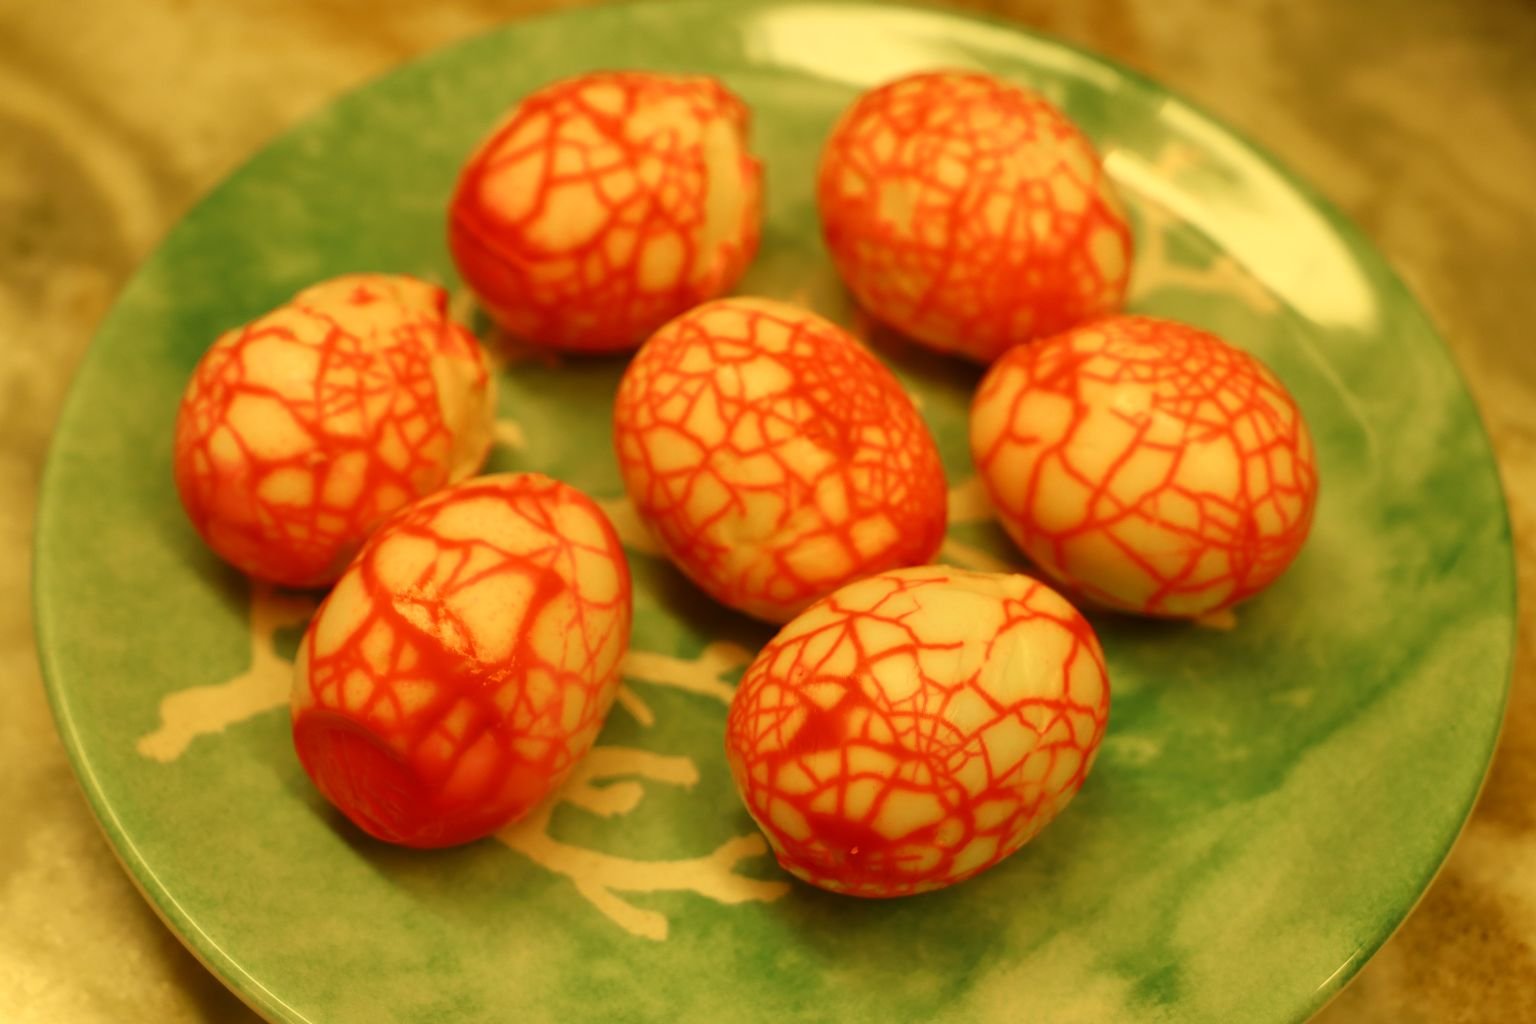
After a few days peel the shells off the eggs and this is the look you will get.
Beautiful, huh? See the marbled effect?
—————————————————————————-
Now That The Eggs Are Ready, Make Them As You Would Deviled Eggs
I believe that a lot of people have their very own Deviled Egg recipe and I don’t dare intrude into that tradition. But, if you don’t, then you can very easily borrow mine. It does take some free-styling though. You’ll see. 🙂
I was very busy photographing other things that I neglected my own recipe here where photographing was concerned. But, once you have peeled the eggs you give them a rinse to remove any shells and then set them aside onto paper towels. You can pat them dry if you like.
You now want to slice them in half and remove the yellow cooked yolk. Place the yolk into a medium sized bowl. Place the pink egg outer whites into some plate or platter to be filled.
Add to the Yellow Yolk some Mayonnaise, Yellow Mustard, Freshly Ground Black Pepper, a few dashed of Tabasco Sauce, and even a teaspoon or so of Turmeric. I also like to add some Pickle Relish and even some sweet pickle juice to sweeten it. You will eyeball this in order to gear it to your own personal tastes.
It is now that I added some GREEN Food Coloring to the mixture.
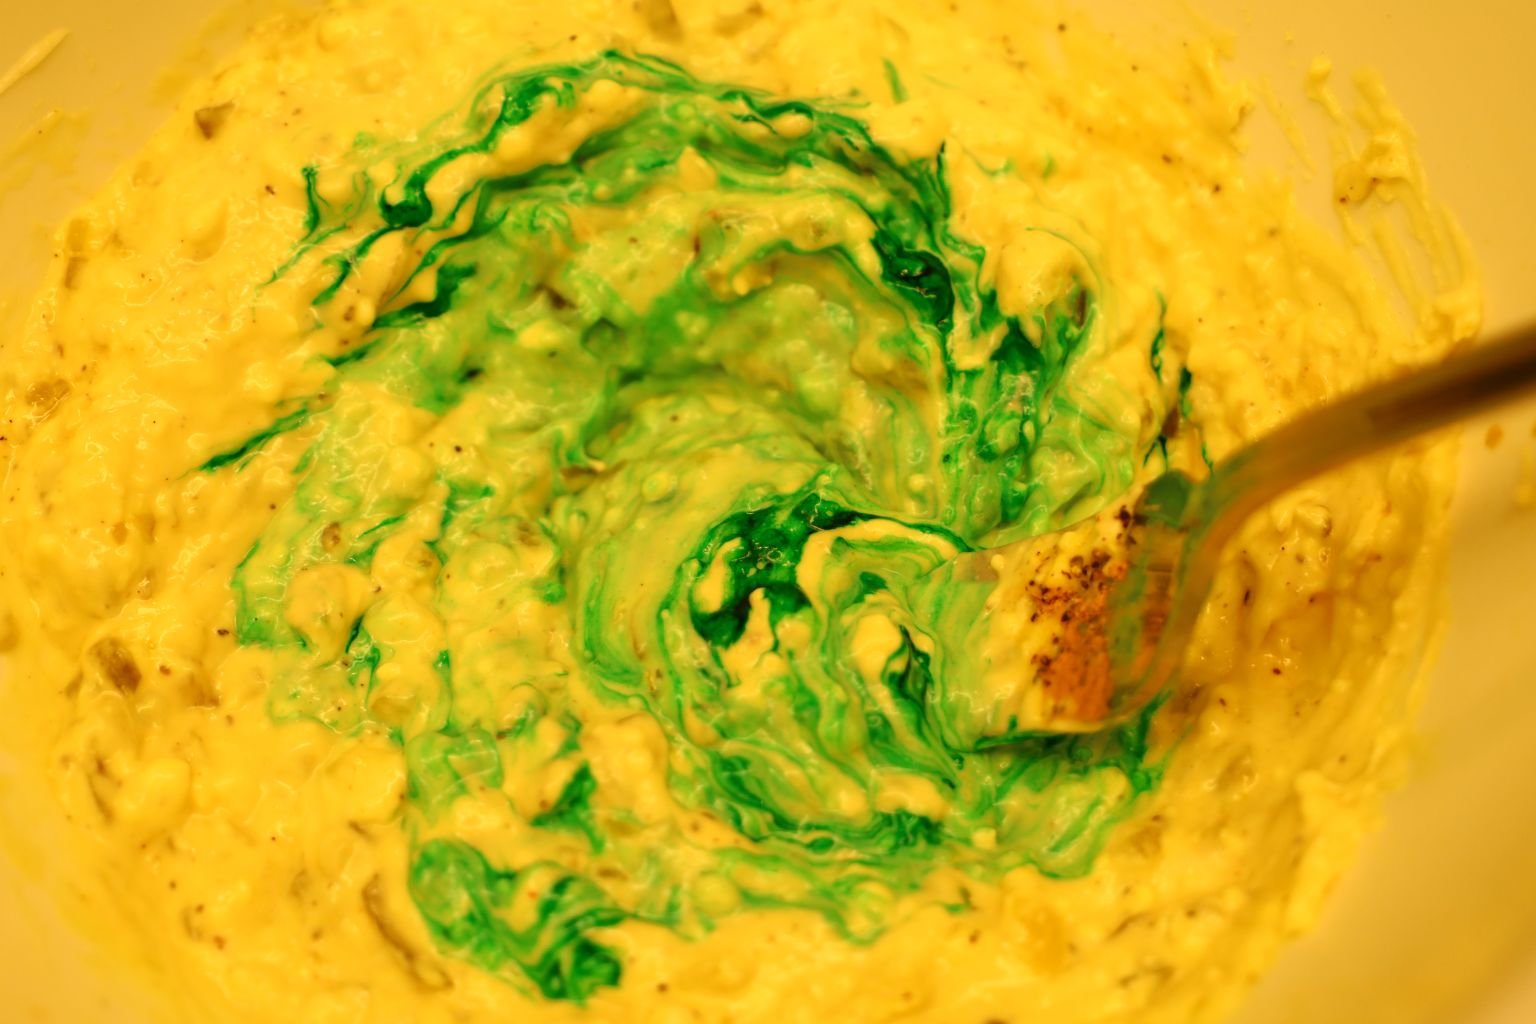
The Green looks great inserted into the Pink outer Egg White.
It almost looks like something you might find in the ocean to eat.
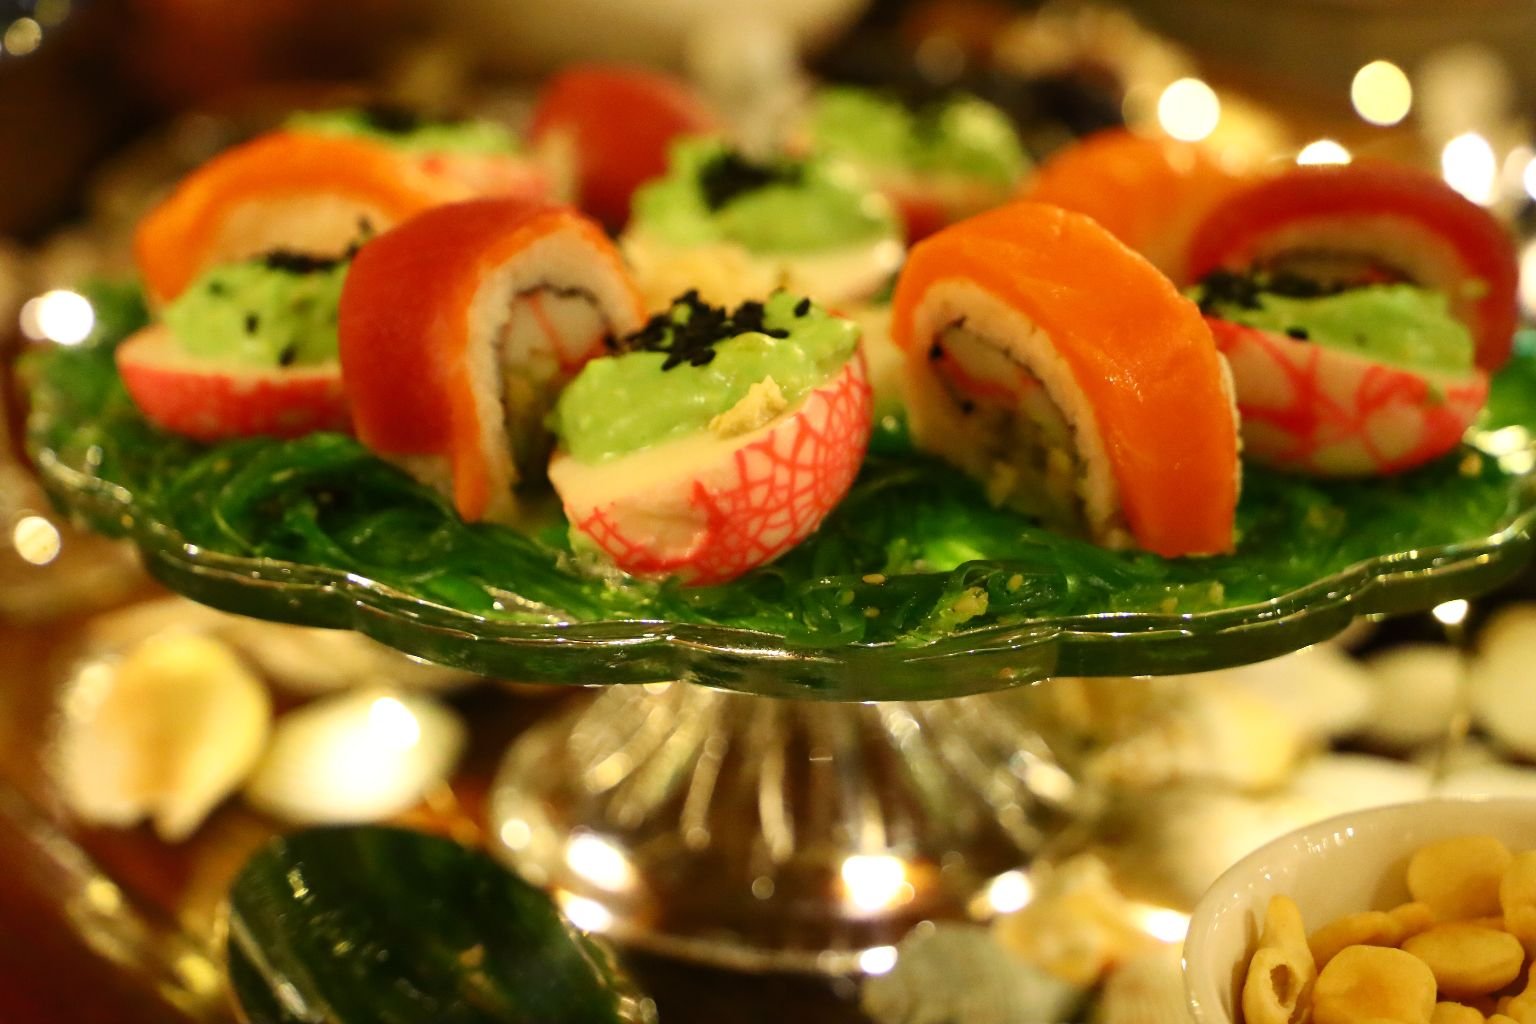
I then sprinkled some Black Sesame Seeds on top to look as if it is Caviar.
Here we added some store bought Sushi to the platter. Also, the bottom is delicious Sea Weed from our Commissary.
Very tasty, very edible.
————————————————————

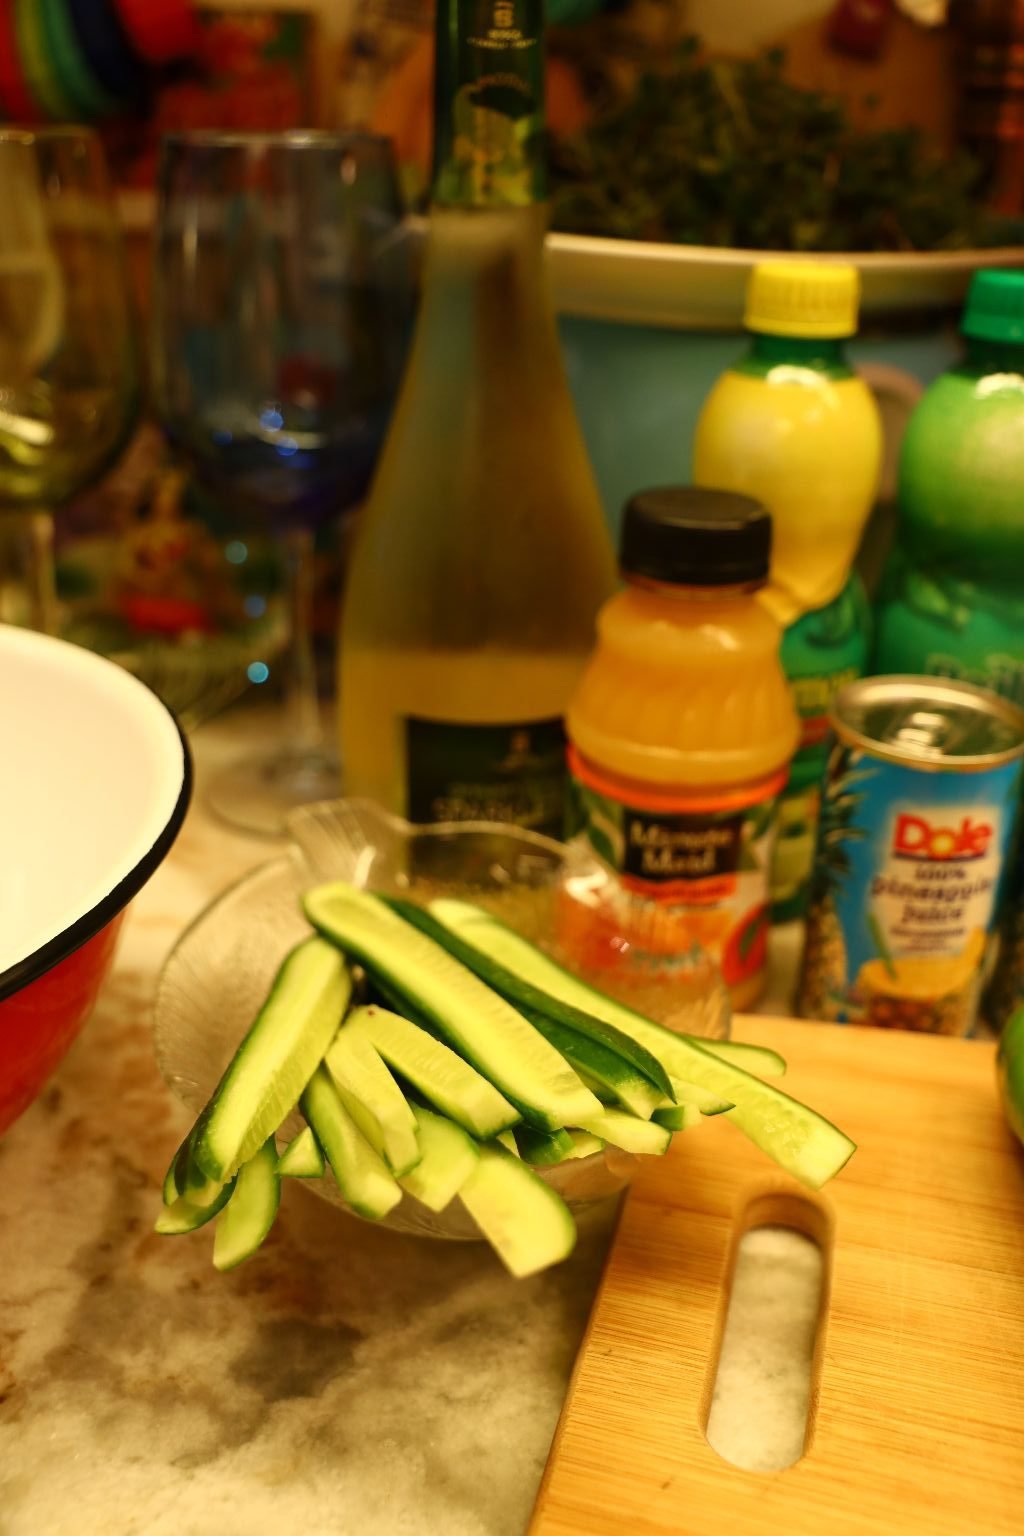
Scallop and Sea Bass Ceviche
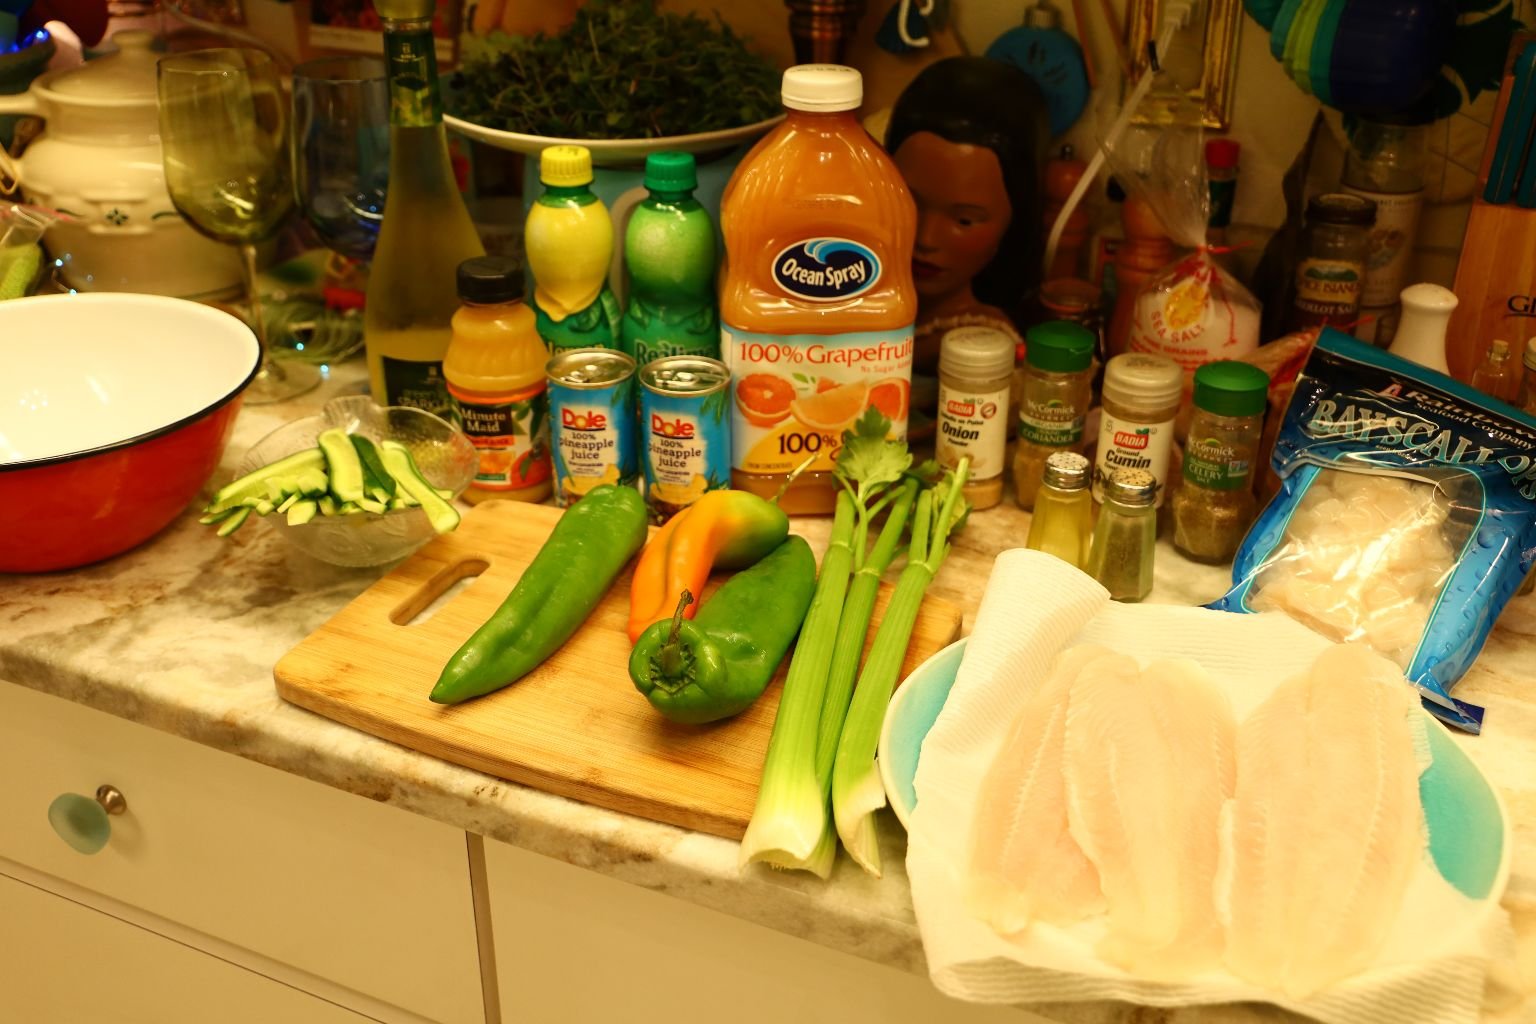
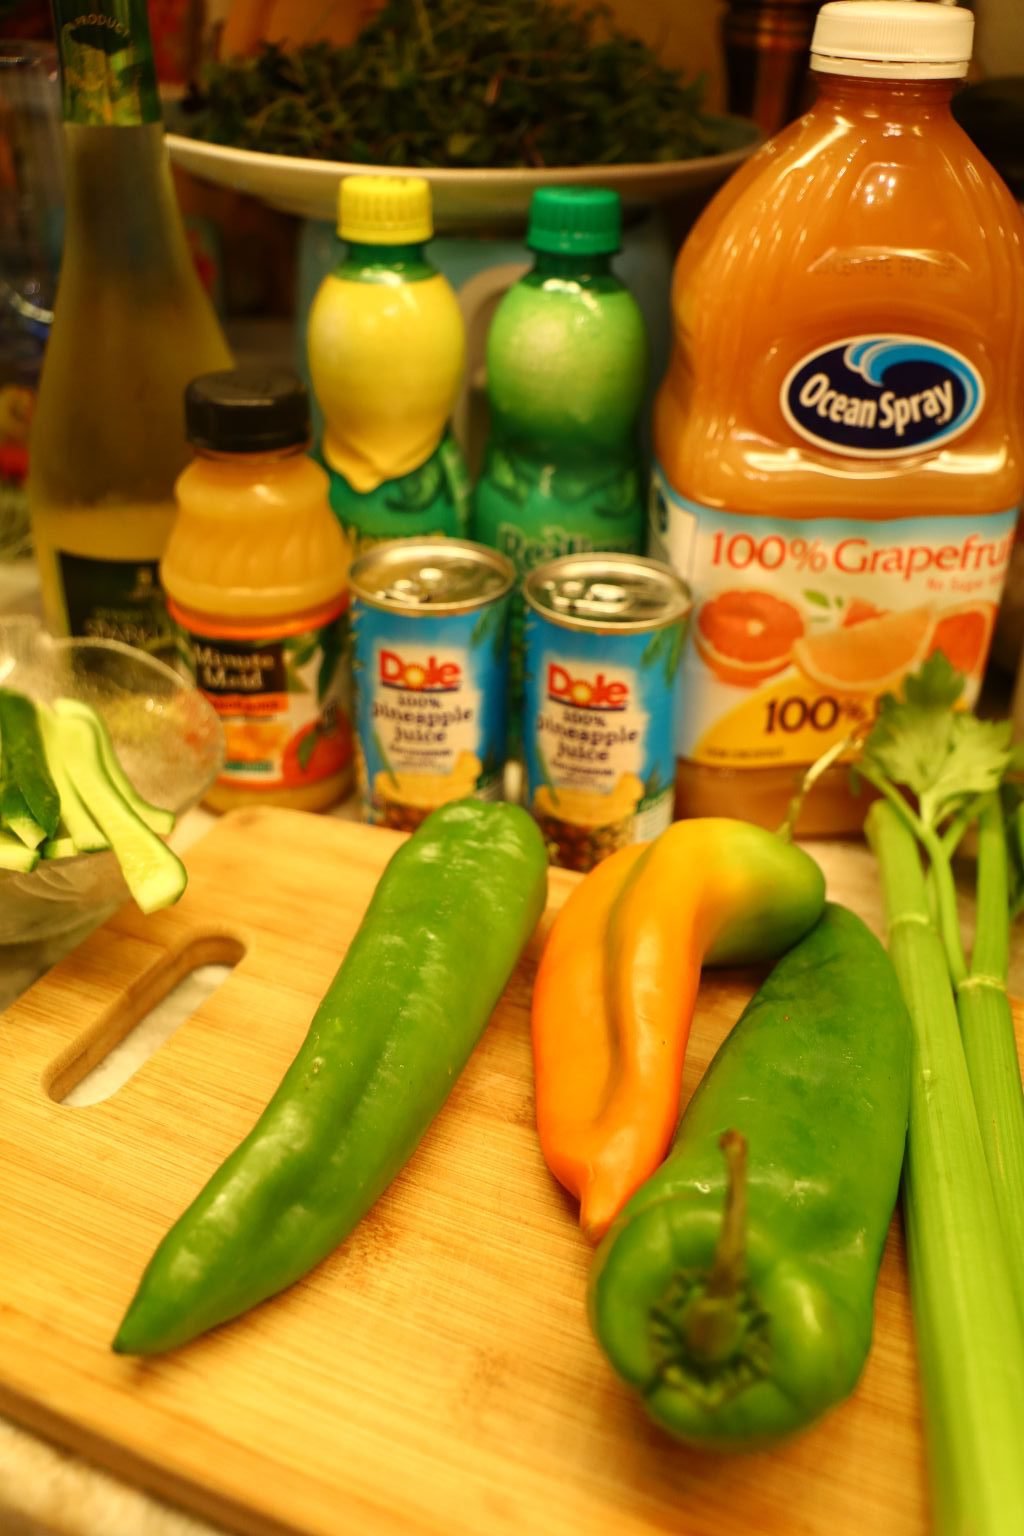
Ingredients:
1 Cucumber – sliced thinly lengthwise
Celery Stalks – sliced thinly lengthwise
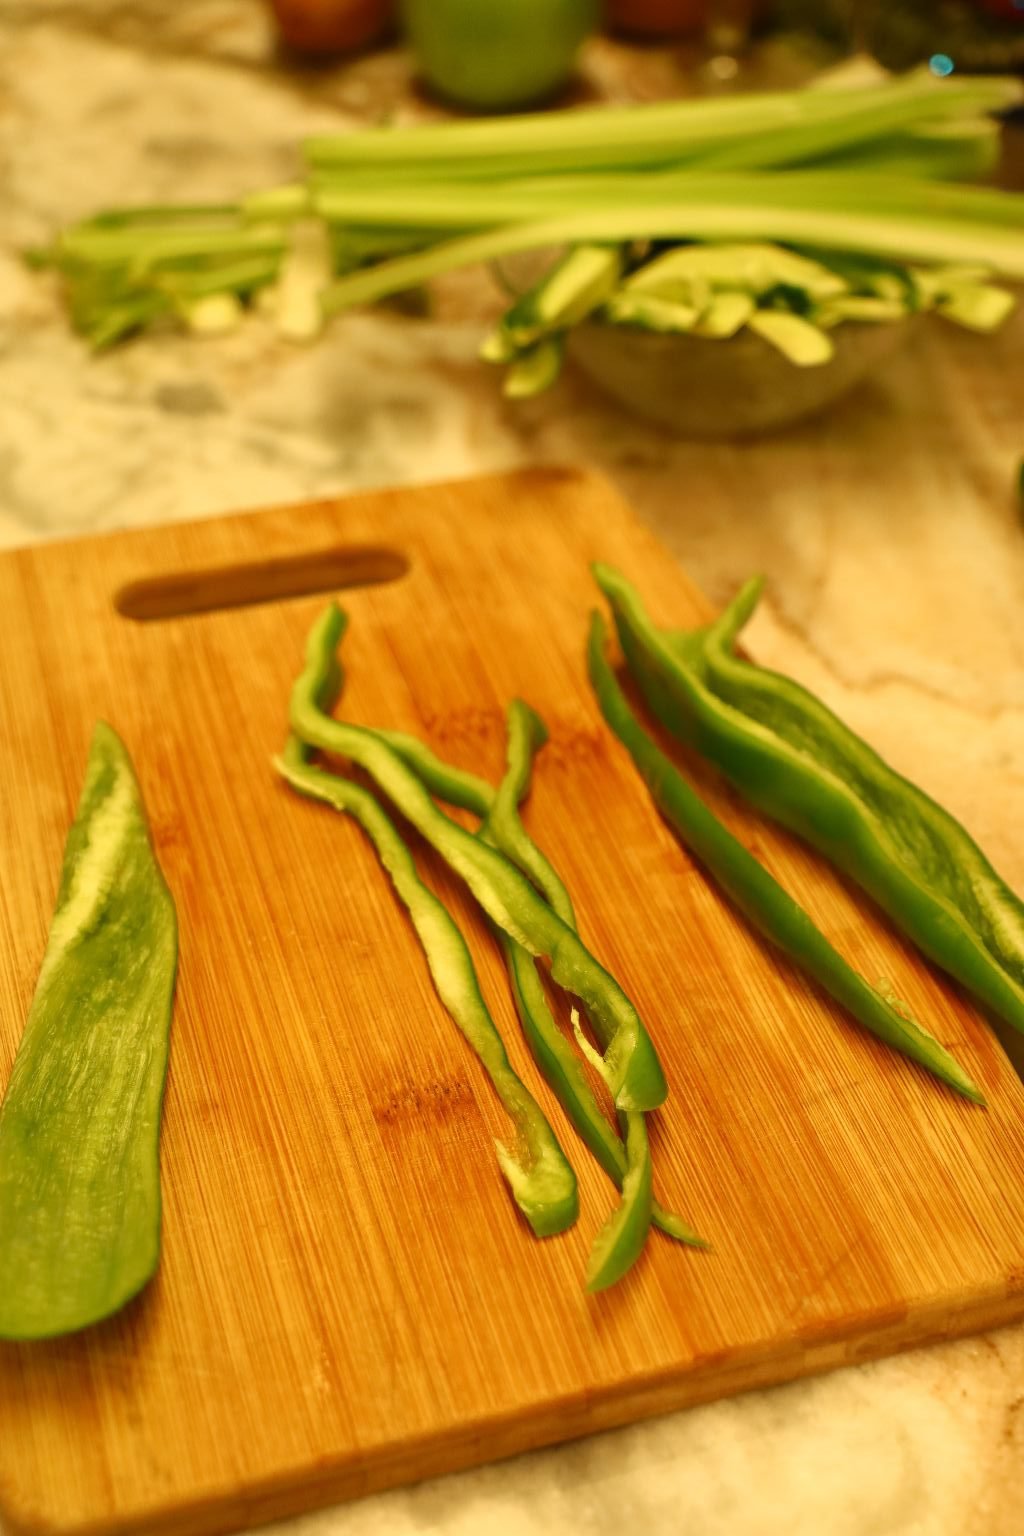
Anaheim Peppers – sliced thinly lengthwise
Chives with Flowers –
3 Sea Bass Fillets – sliced lengthwise into 1 1/2 – 2 inch strips
10 oz. pkg. Frozen Bay Scallops – thawed
1 Cup Grapefruit Juice
1/4 Cup Orange Juice
1/4 Cup Pineapple Juice
2 Tbsp. Lime Juice
2 Tbsp. Lemon Juice
1/4 Cup Green Apple Sparkletini
1 Tbsp. Celery Salt
1 tsp. Onion Powder
1 tsp. Ground Cumin
1 Tbsp. Ground Coriander
Salt and Pepper to taste
Wine Glasses as Needed
————————————————————-
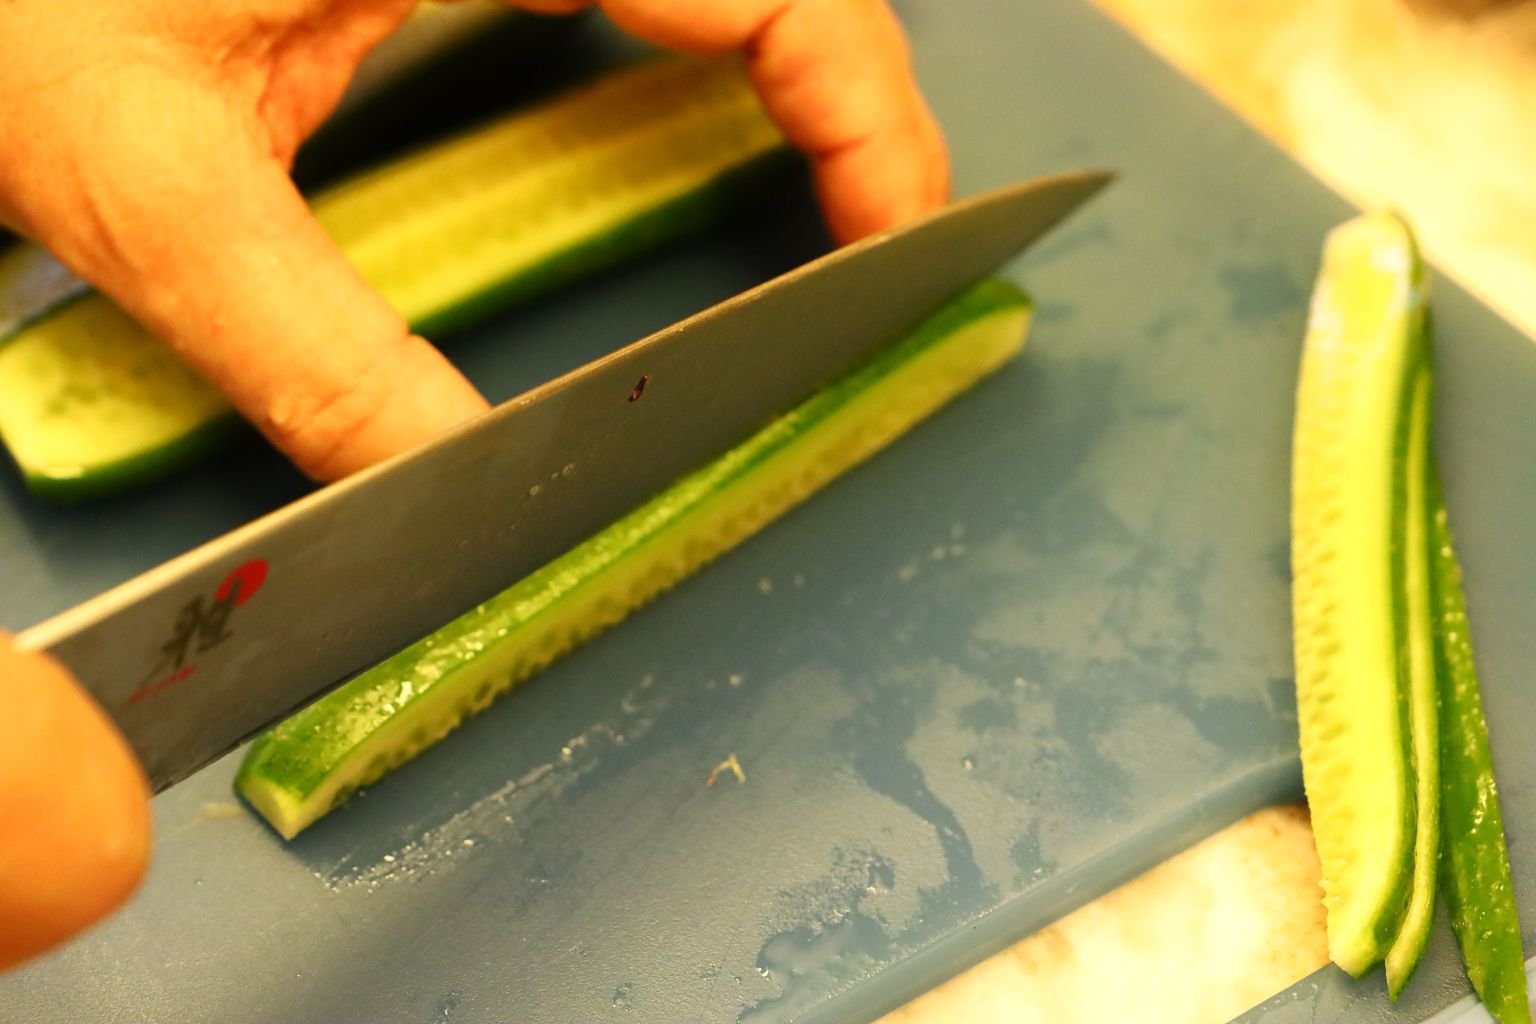

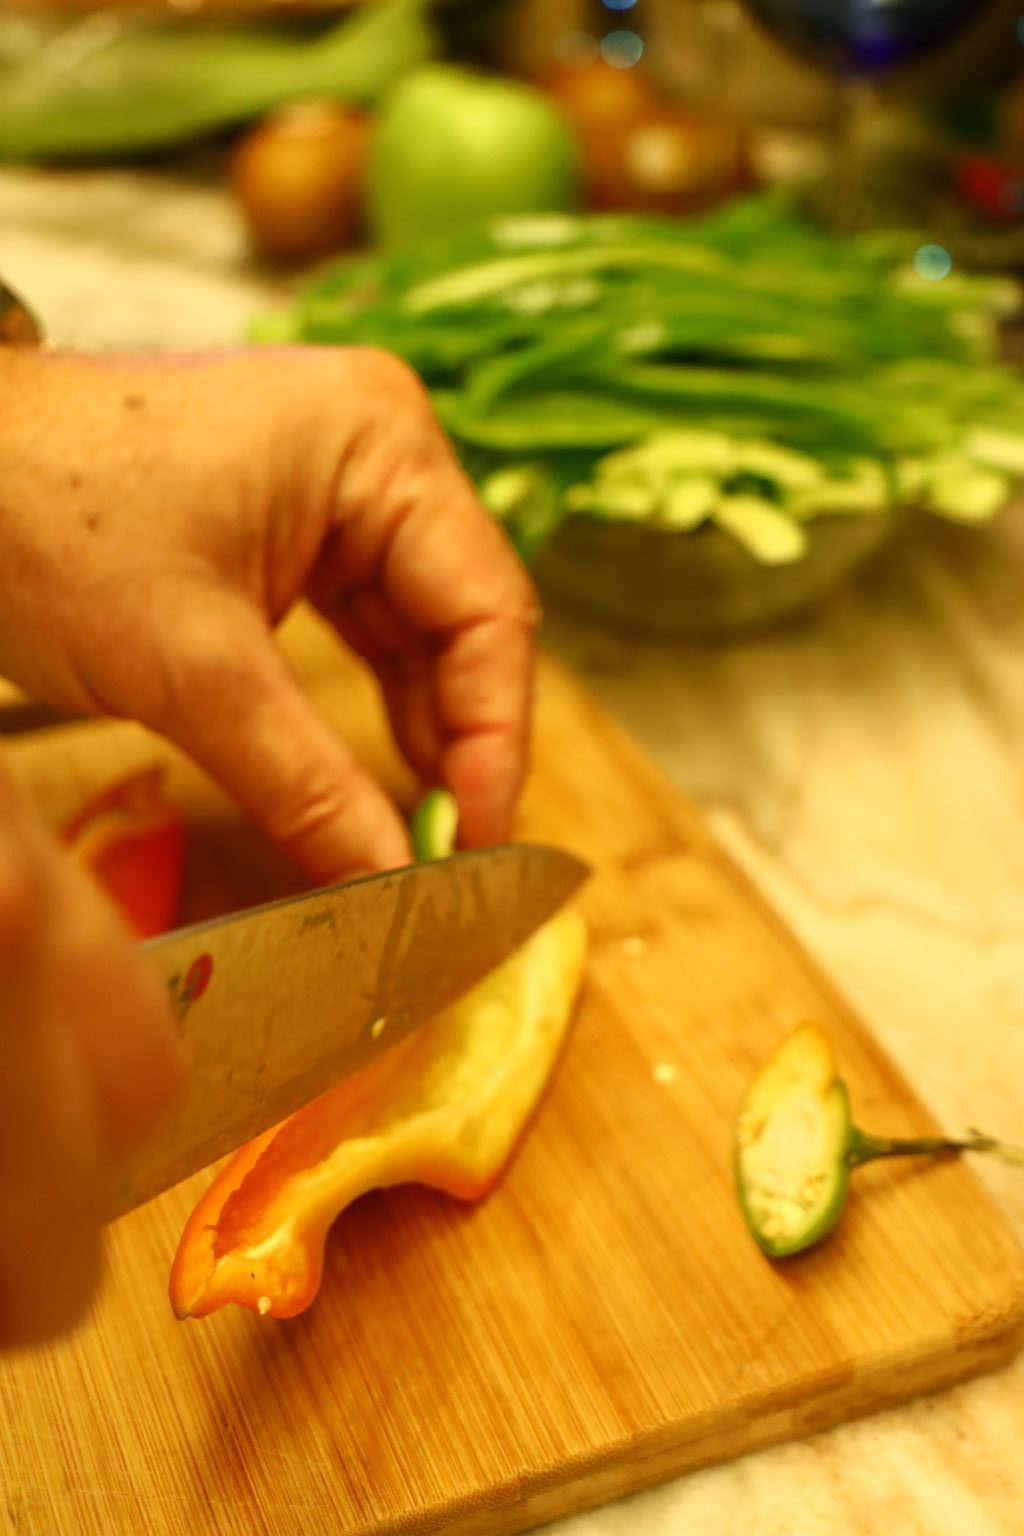
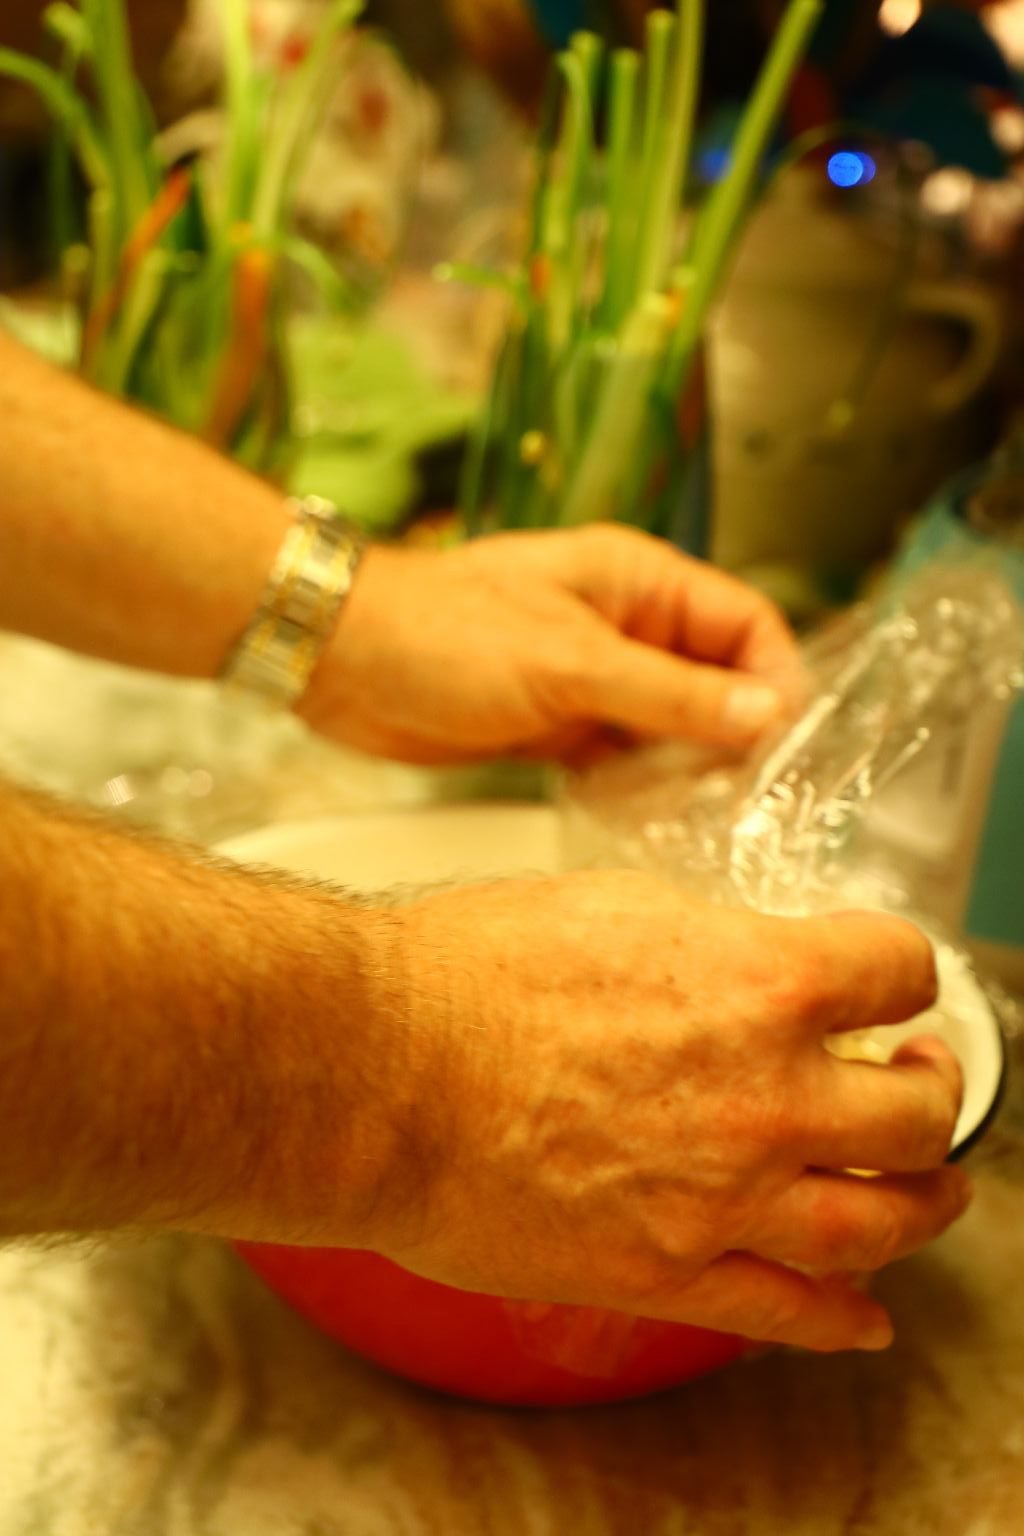
Slice your Cucumber lengthwise and thinly as shown.
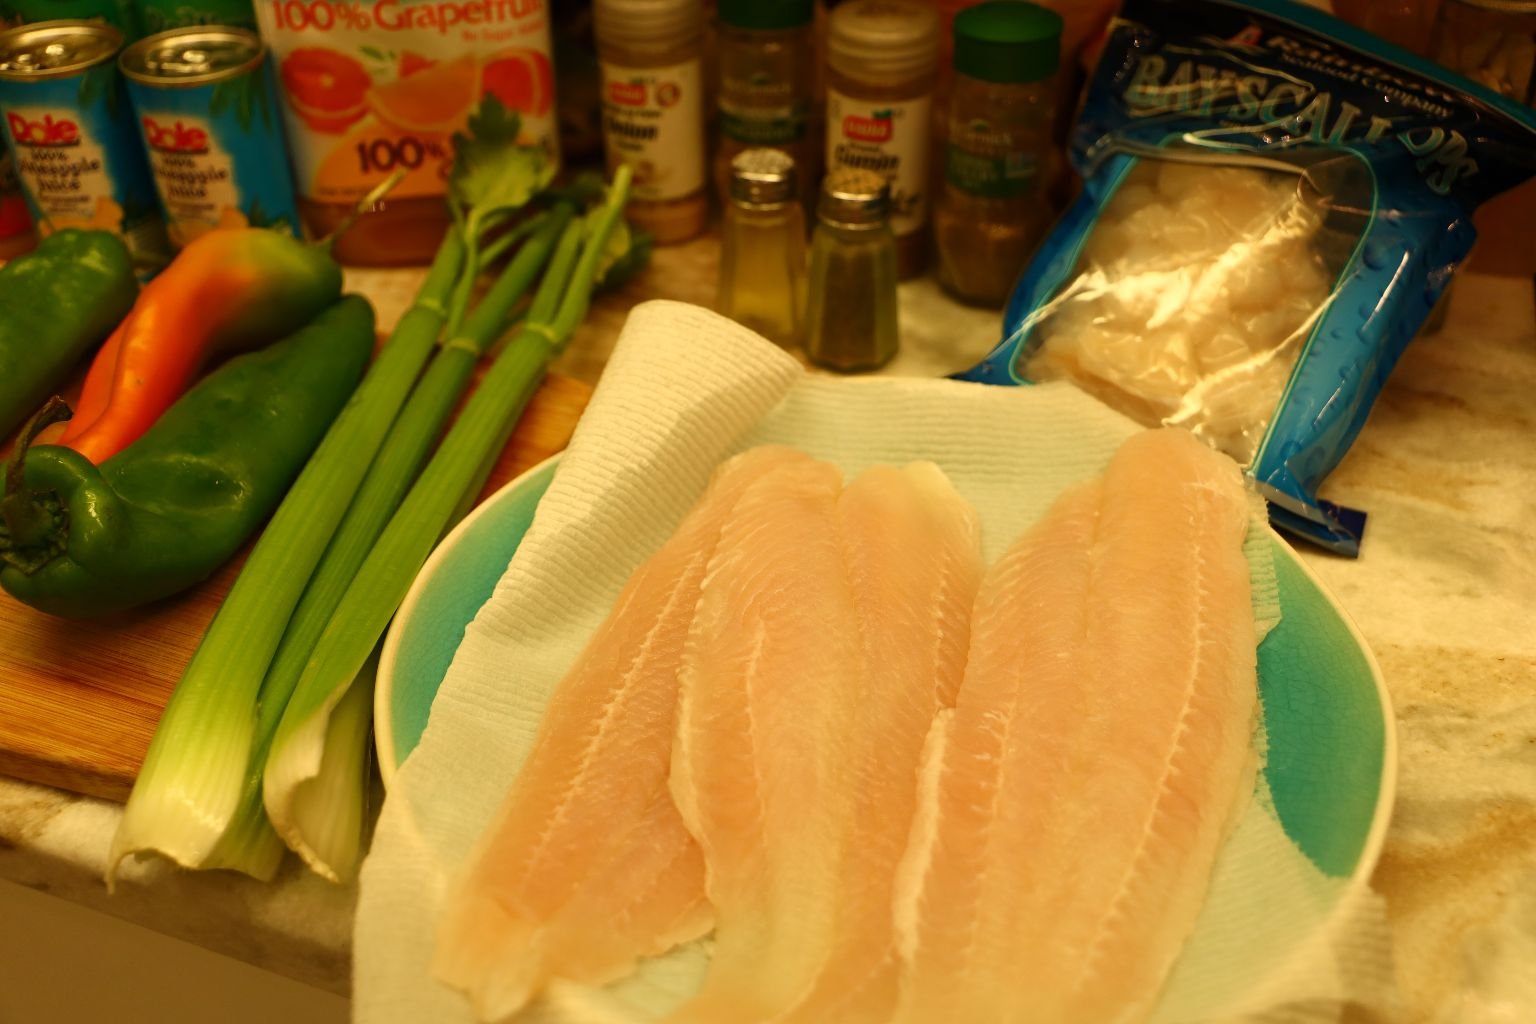
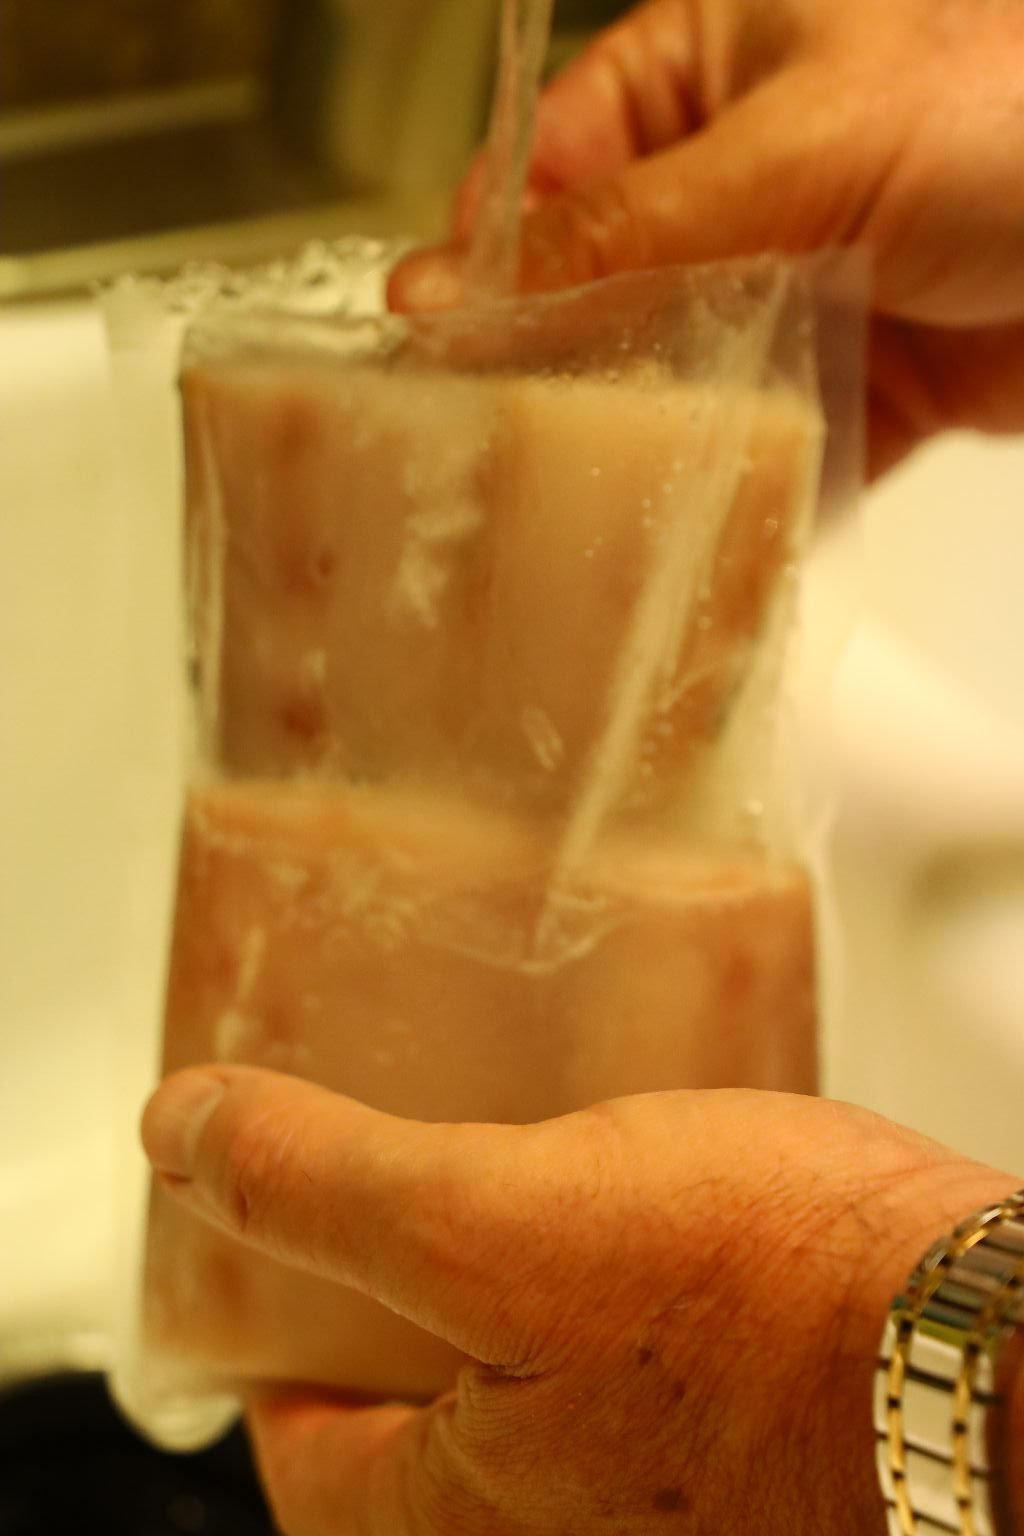
Be sure your Sea Bass fillets are thawed if previously frozen.

———————————————————————–

Sea Bass and Scallops

————————————————————————
———————————————————————-
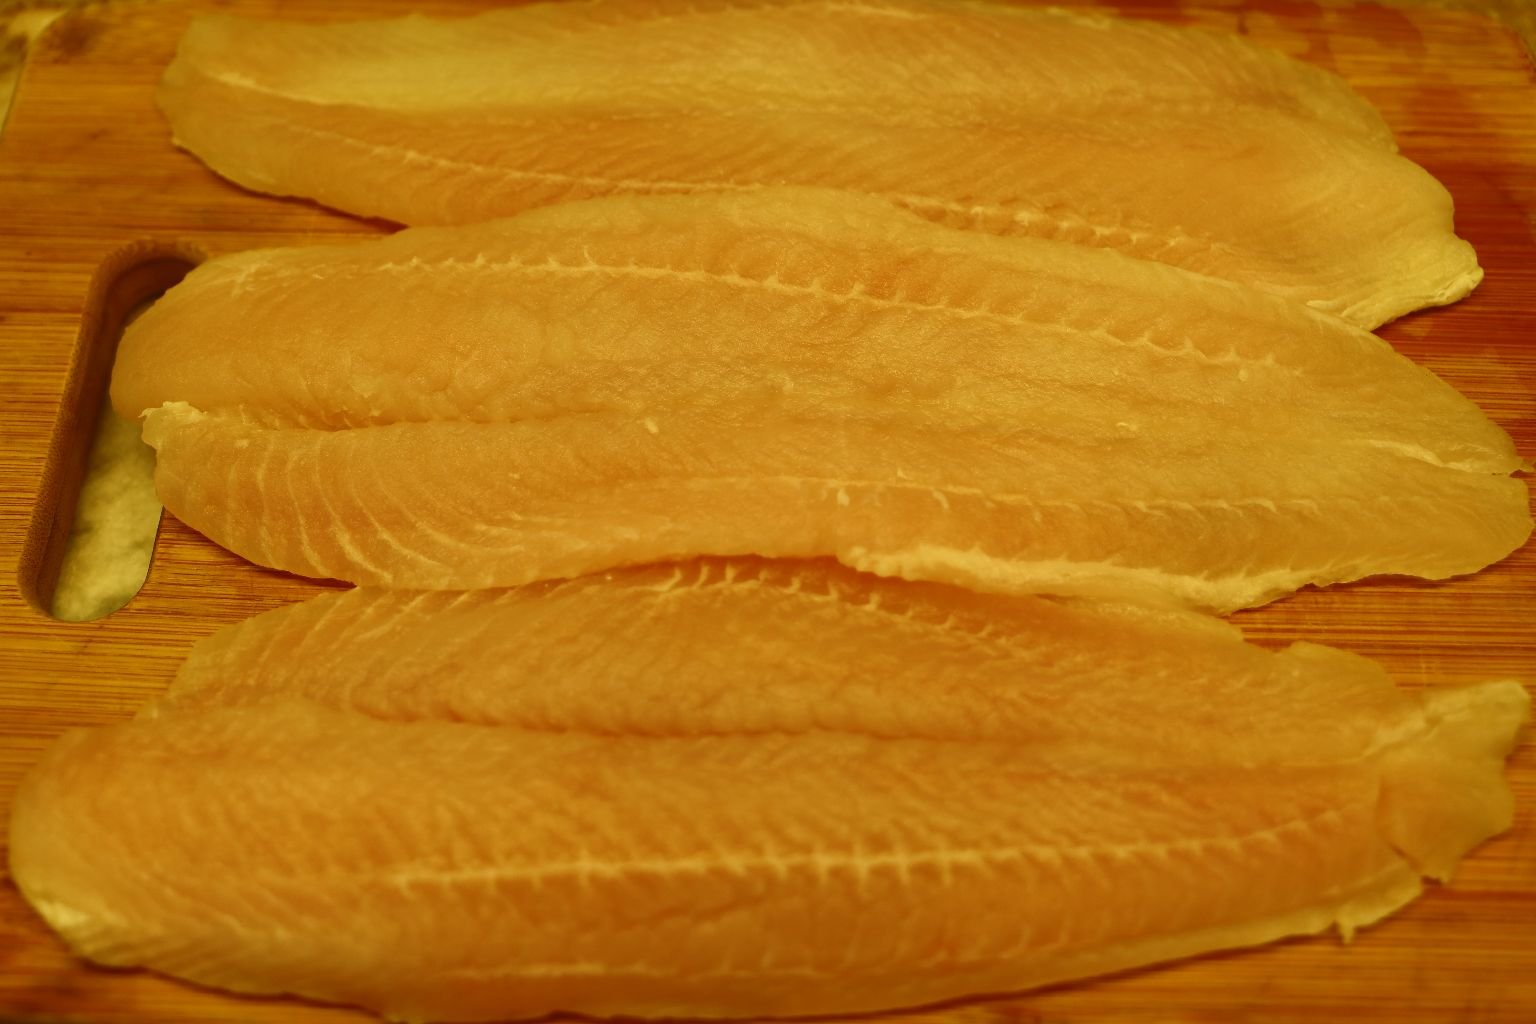
Sea Bass
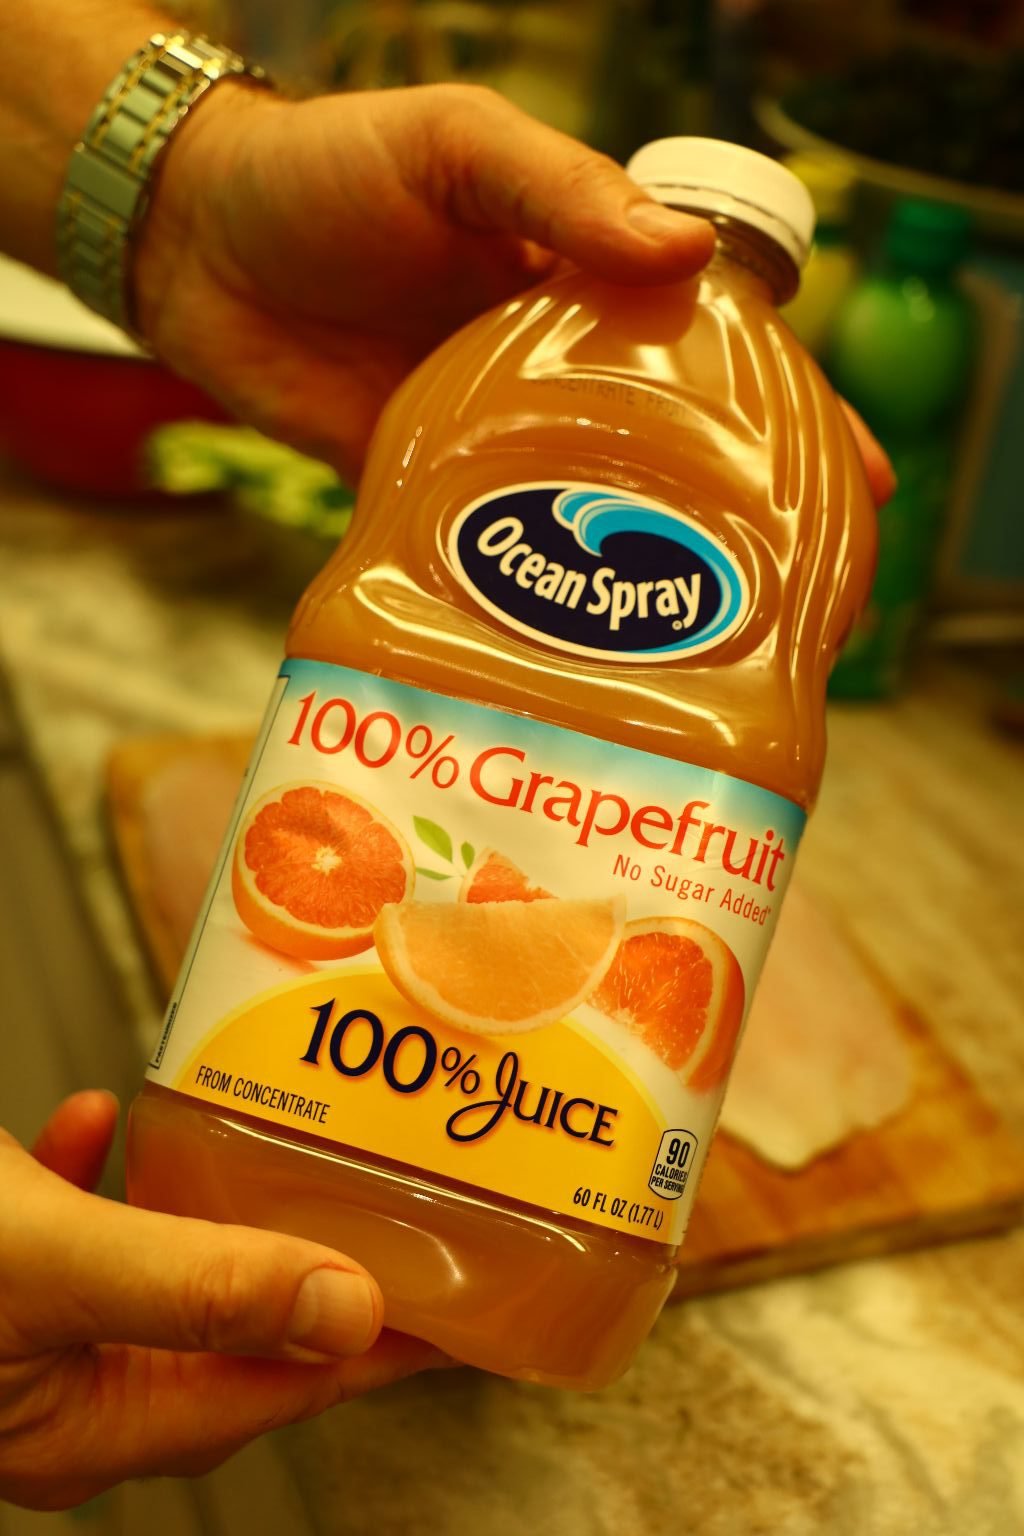
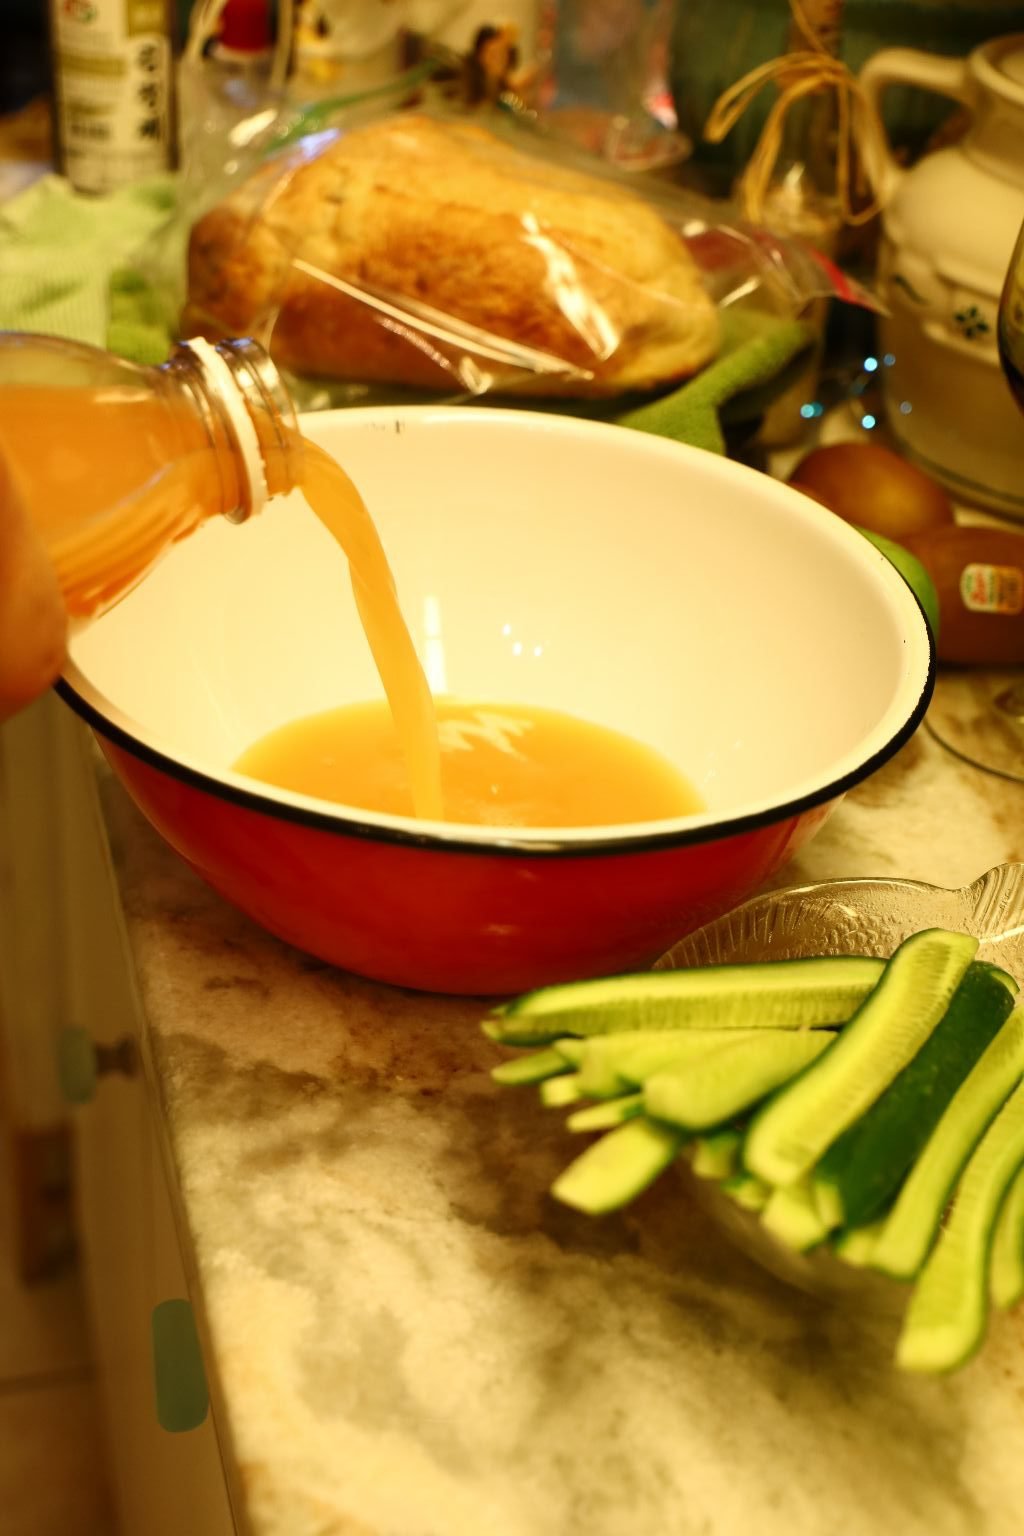
Pour your grapefruit juice into a large bowl as shown.
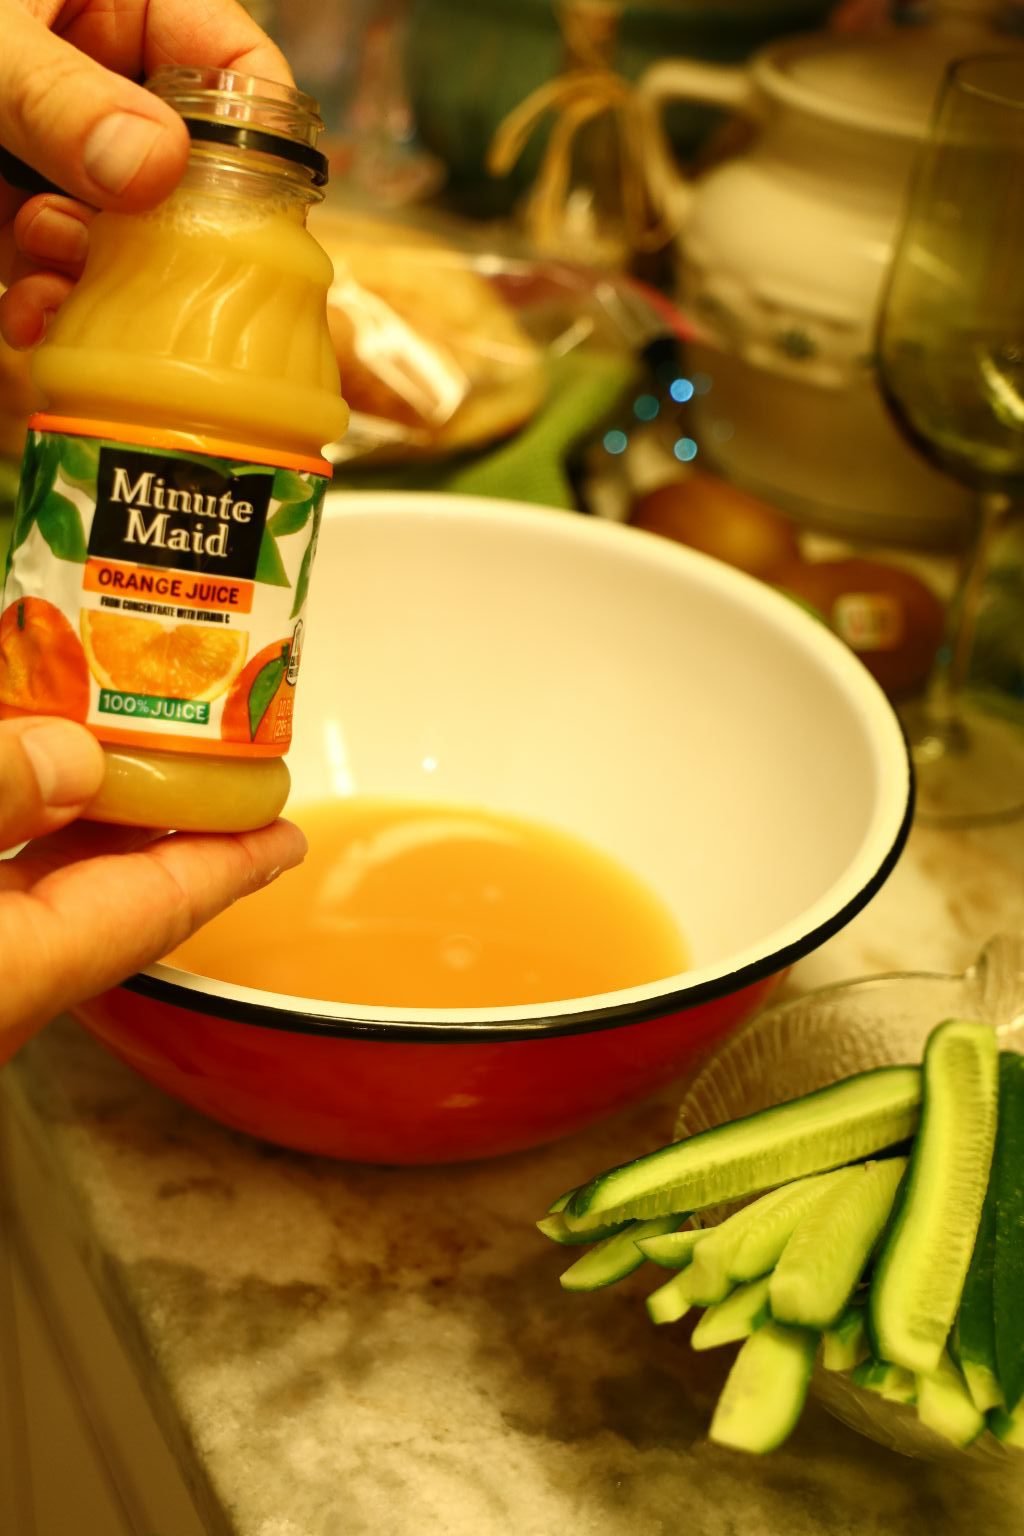
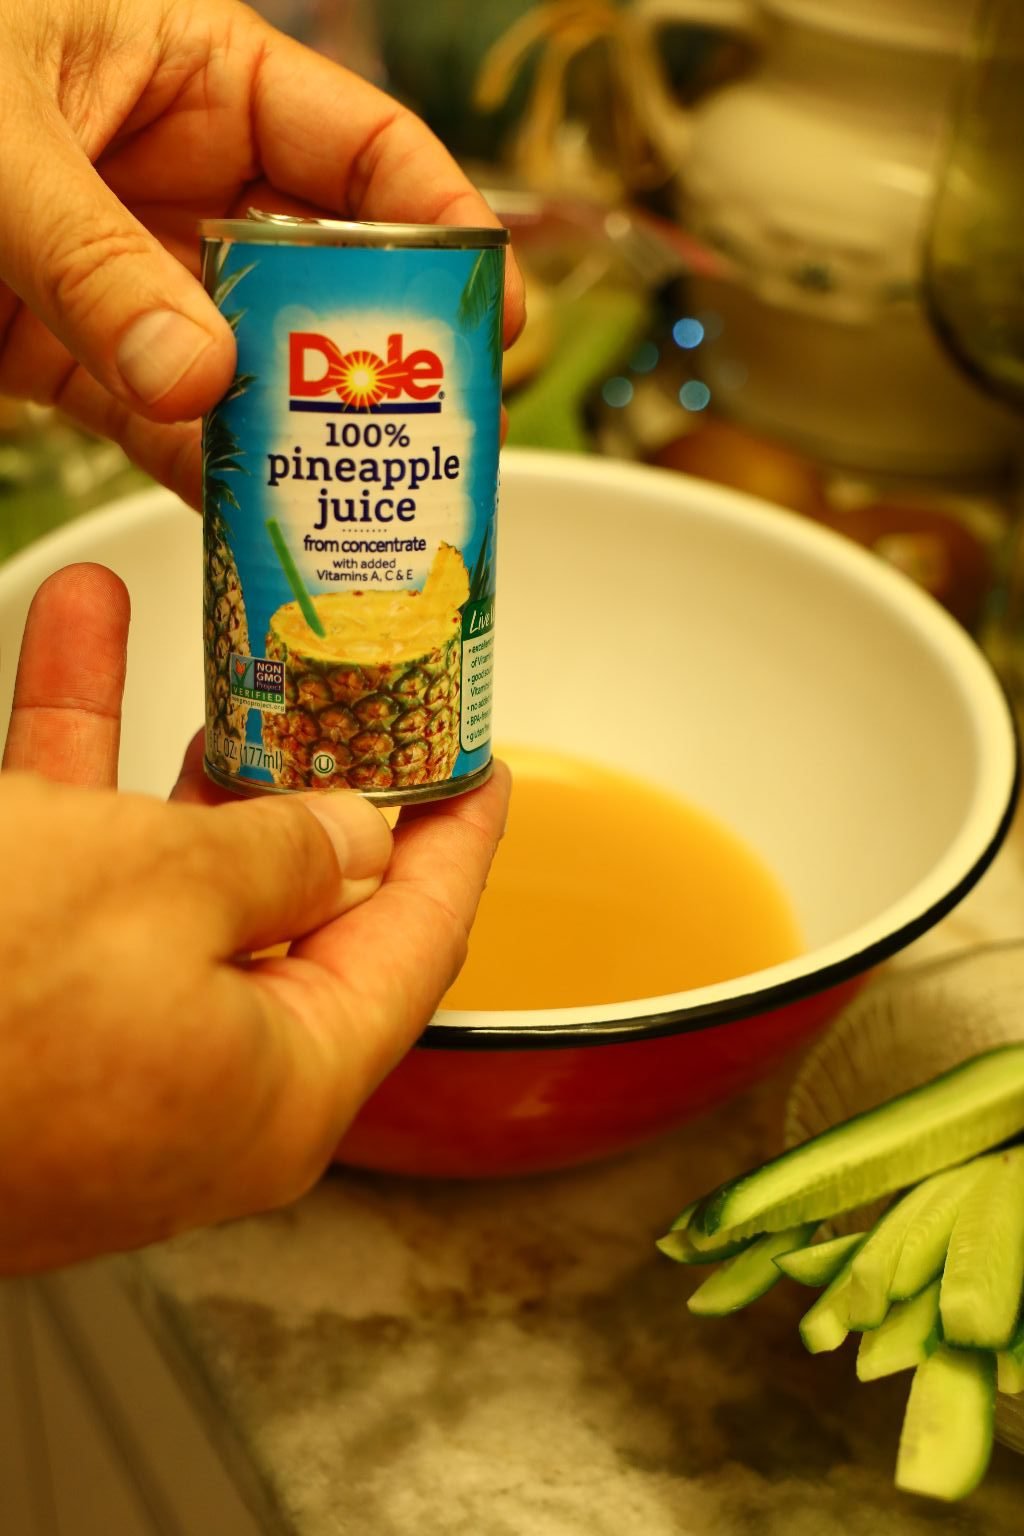
Then add your Orange, and Pineapple Juices…
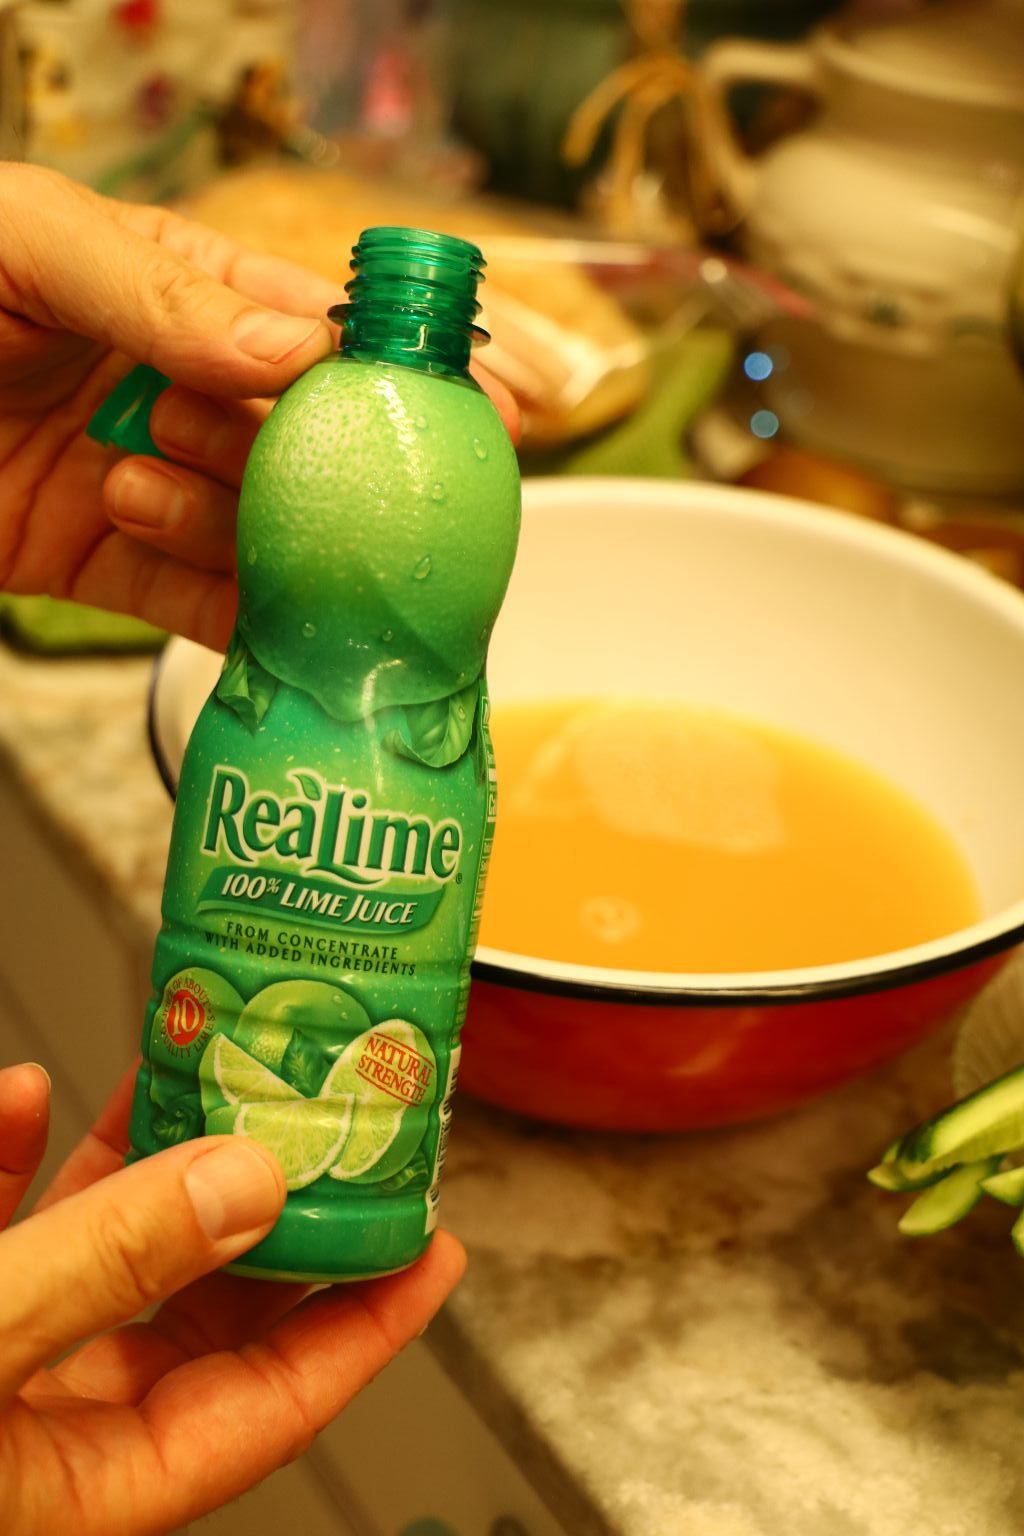
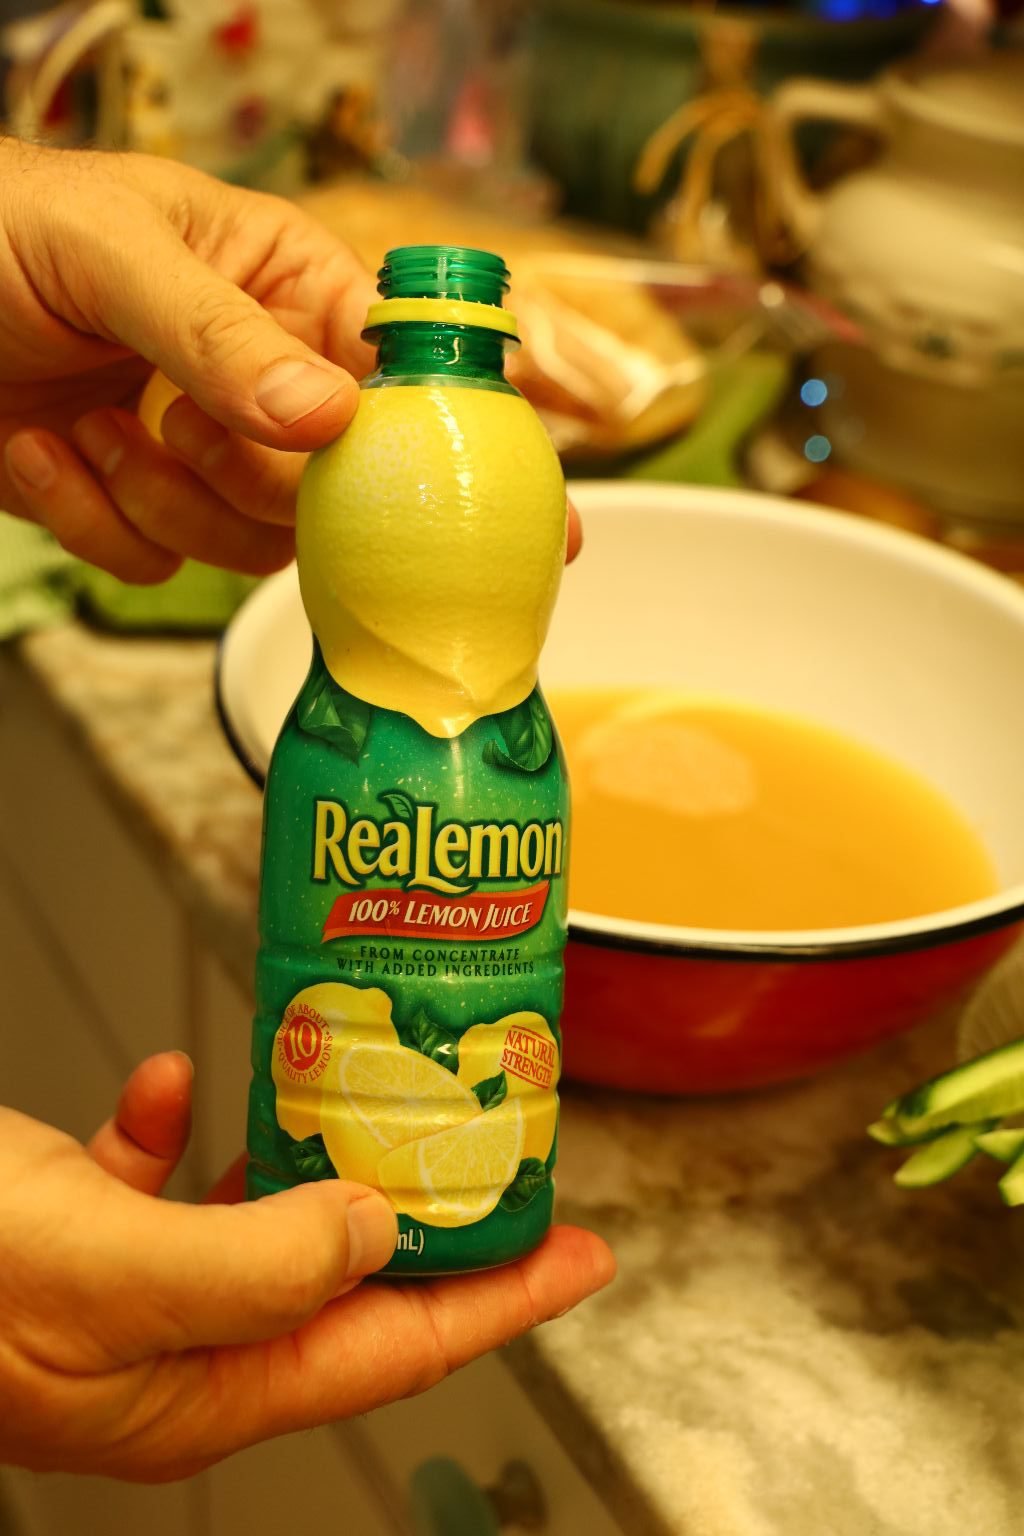
Lime and Lemon Juices…
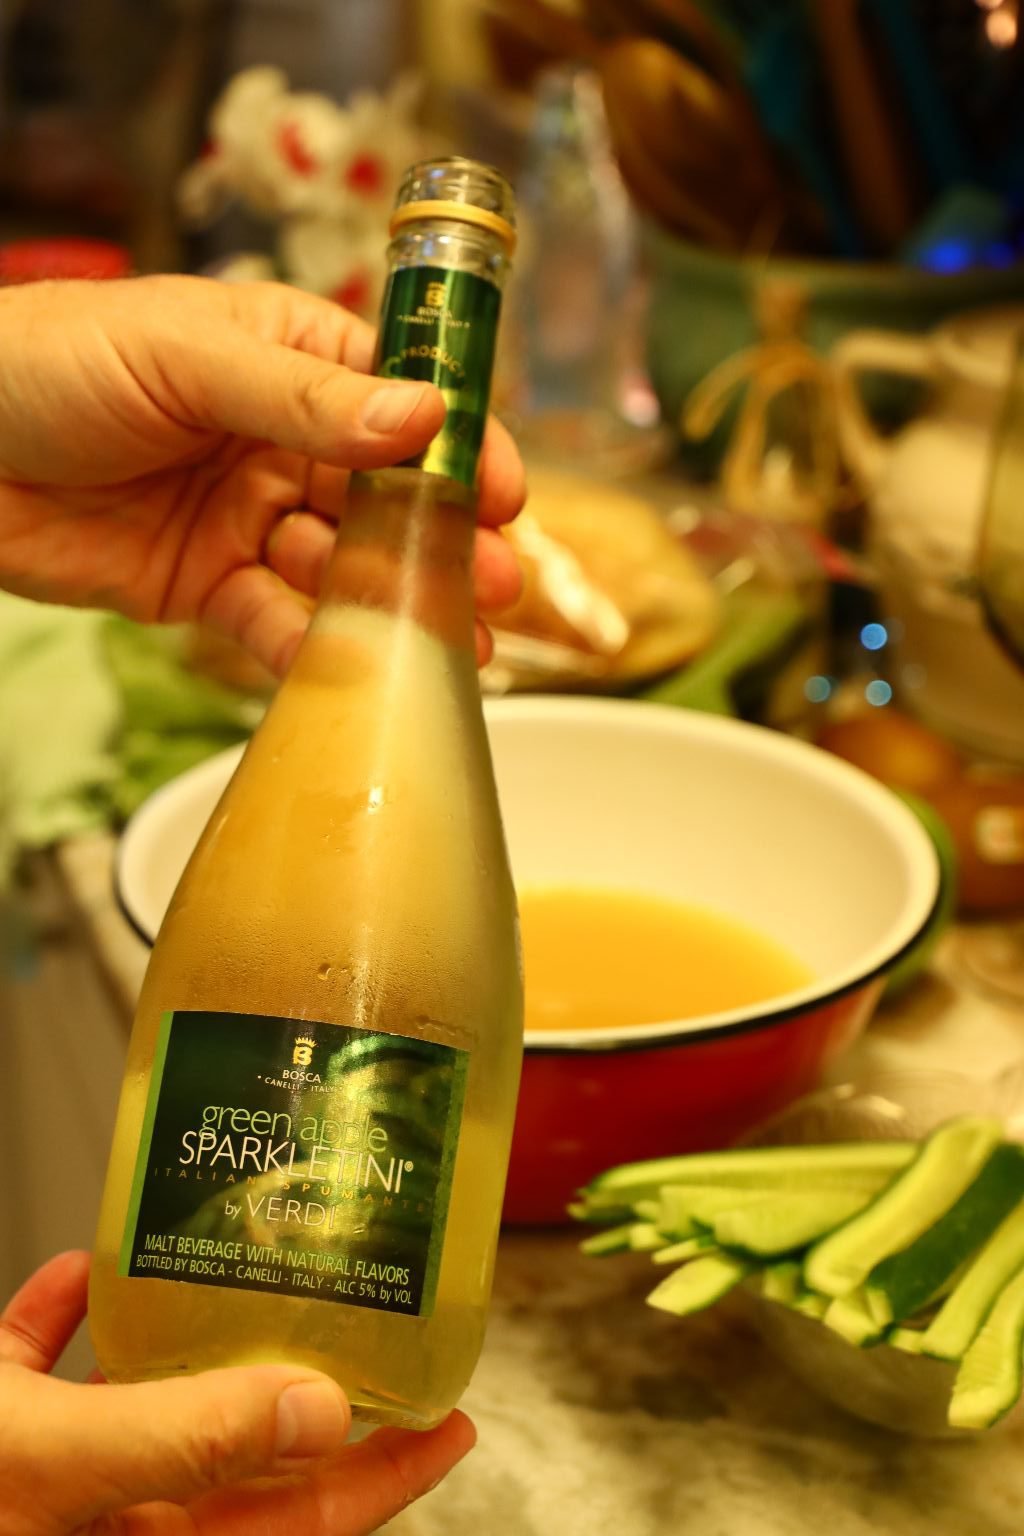
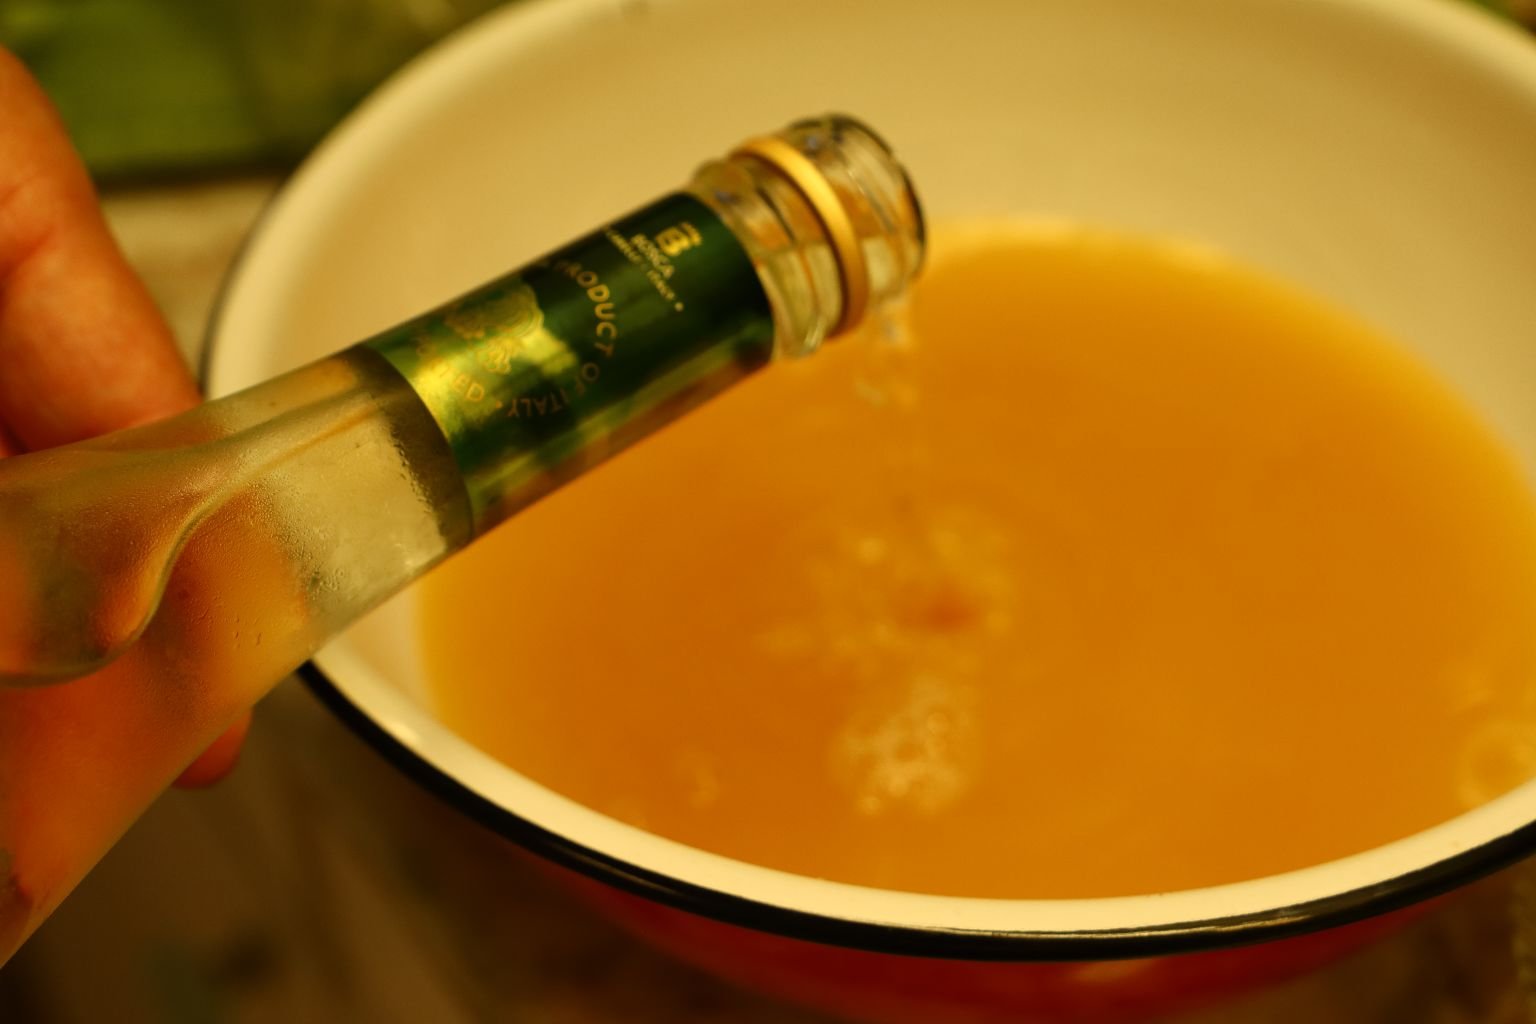
Then to give it an extra kick, some Green Apple Sparkletini. The mixture of acidic juices can be whatever you would like. The acid from the citrus juices is what cooks and flavors the seafood.
————————————————————————
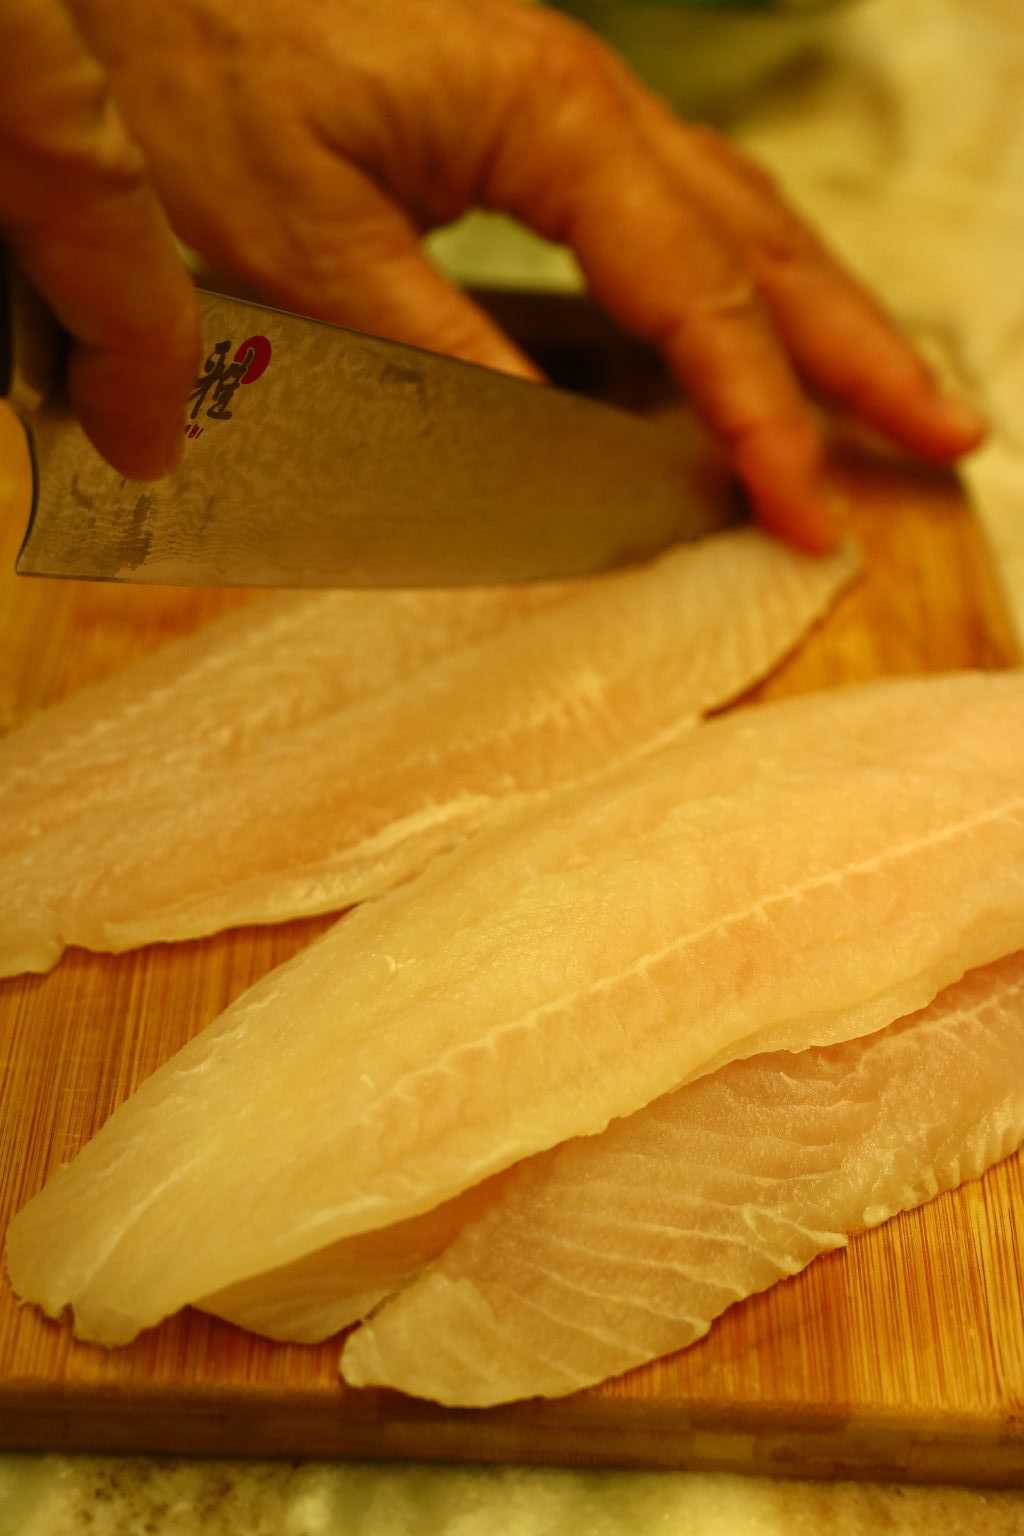

Slice your Sea Bass into thin strips as shown.
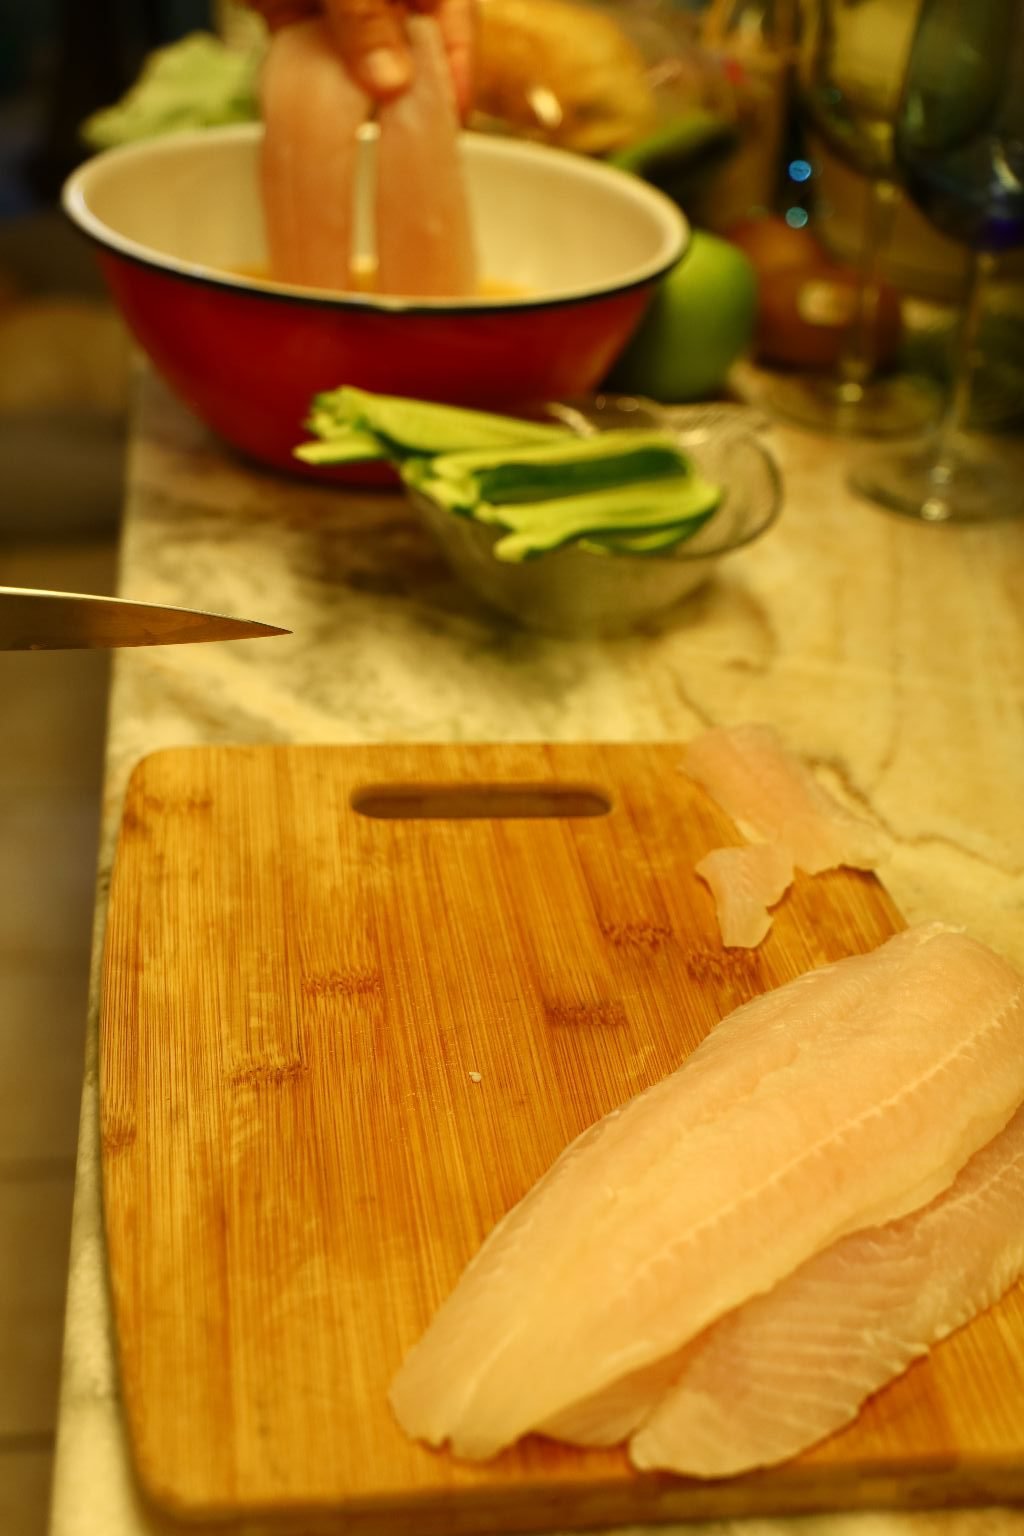
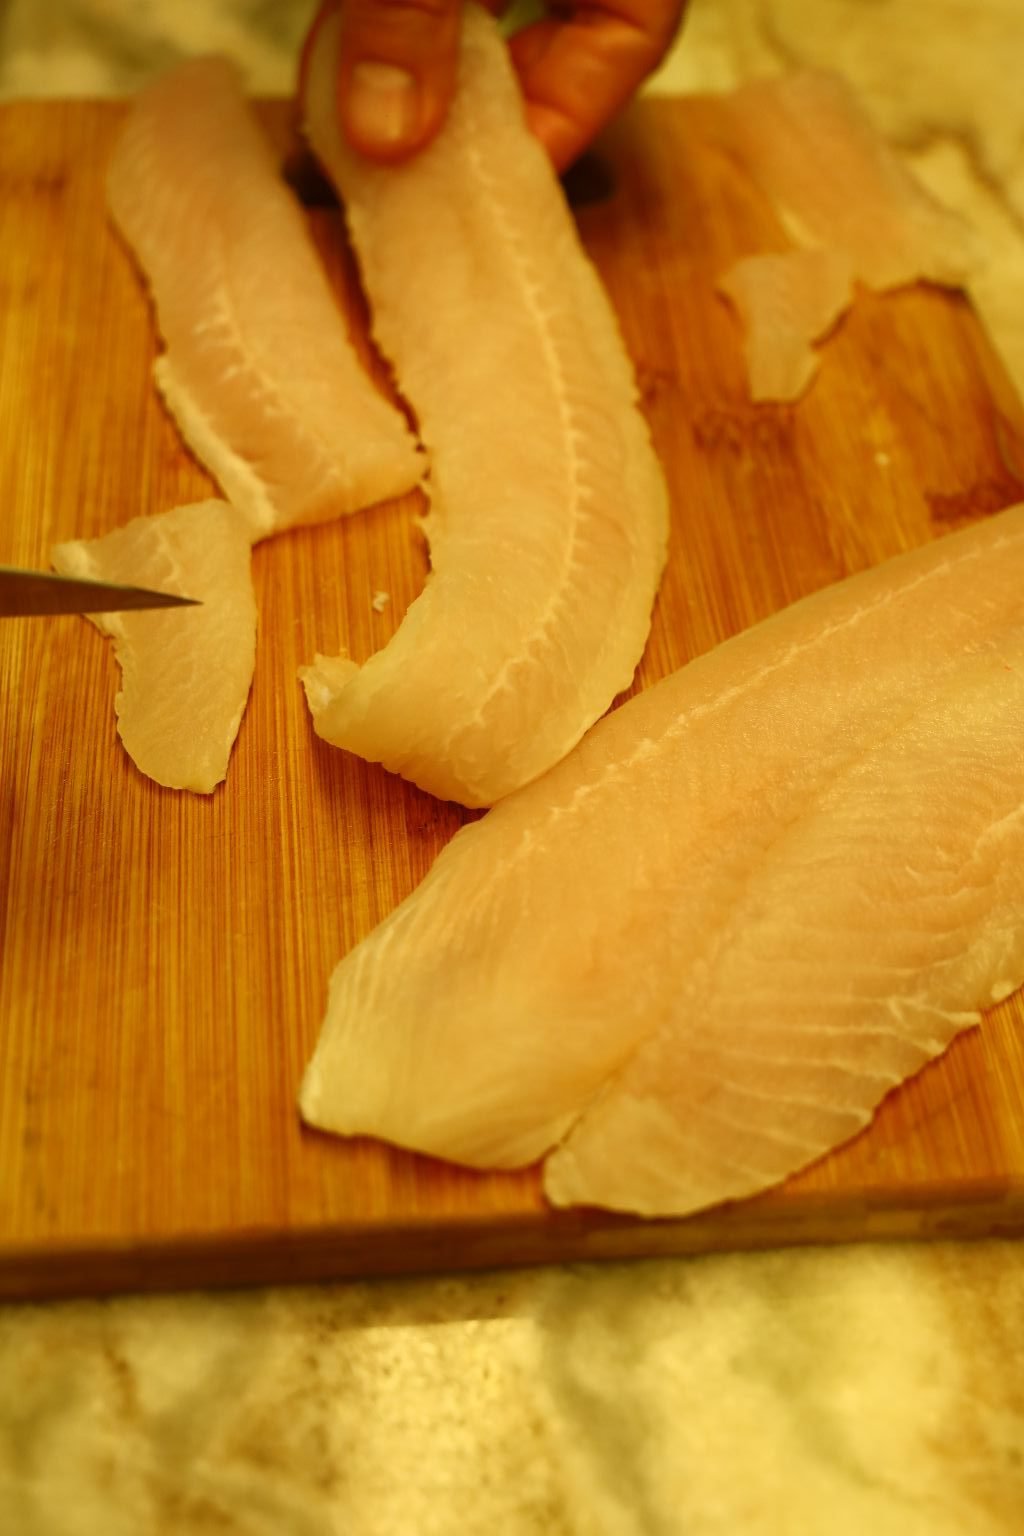
The fish can be whatever size you would like.
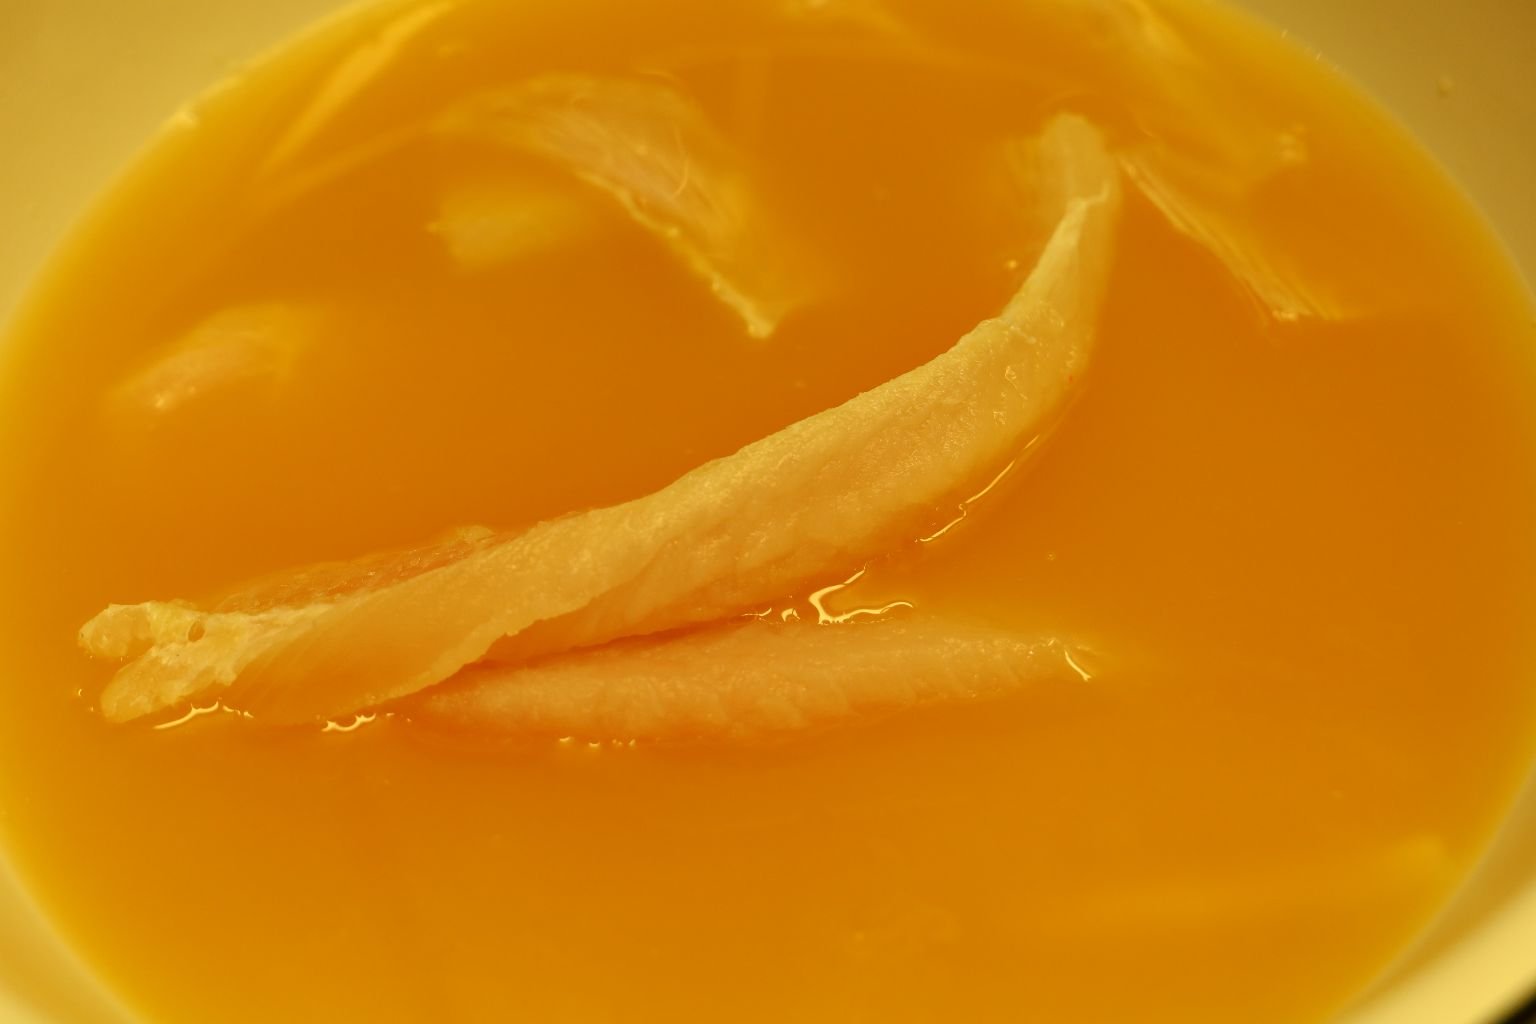
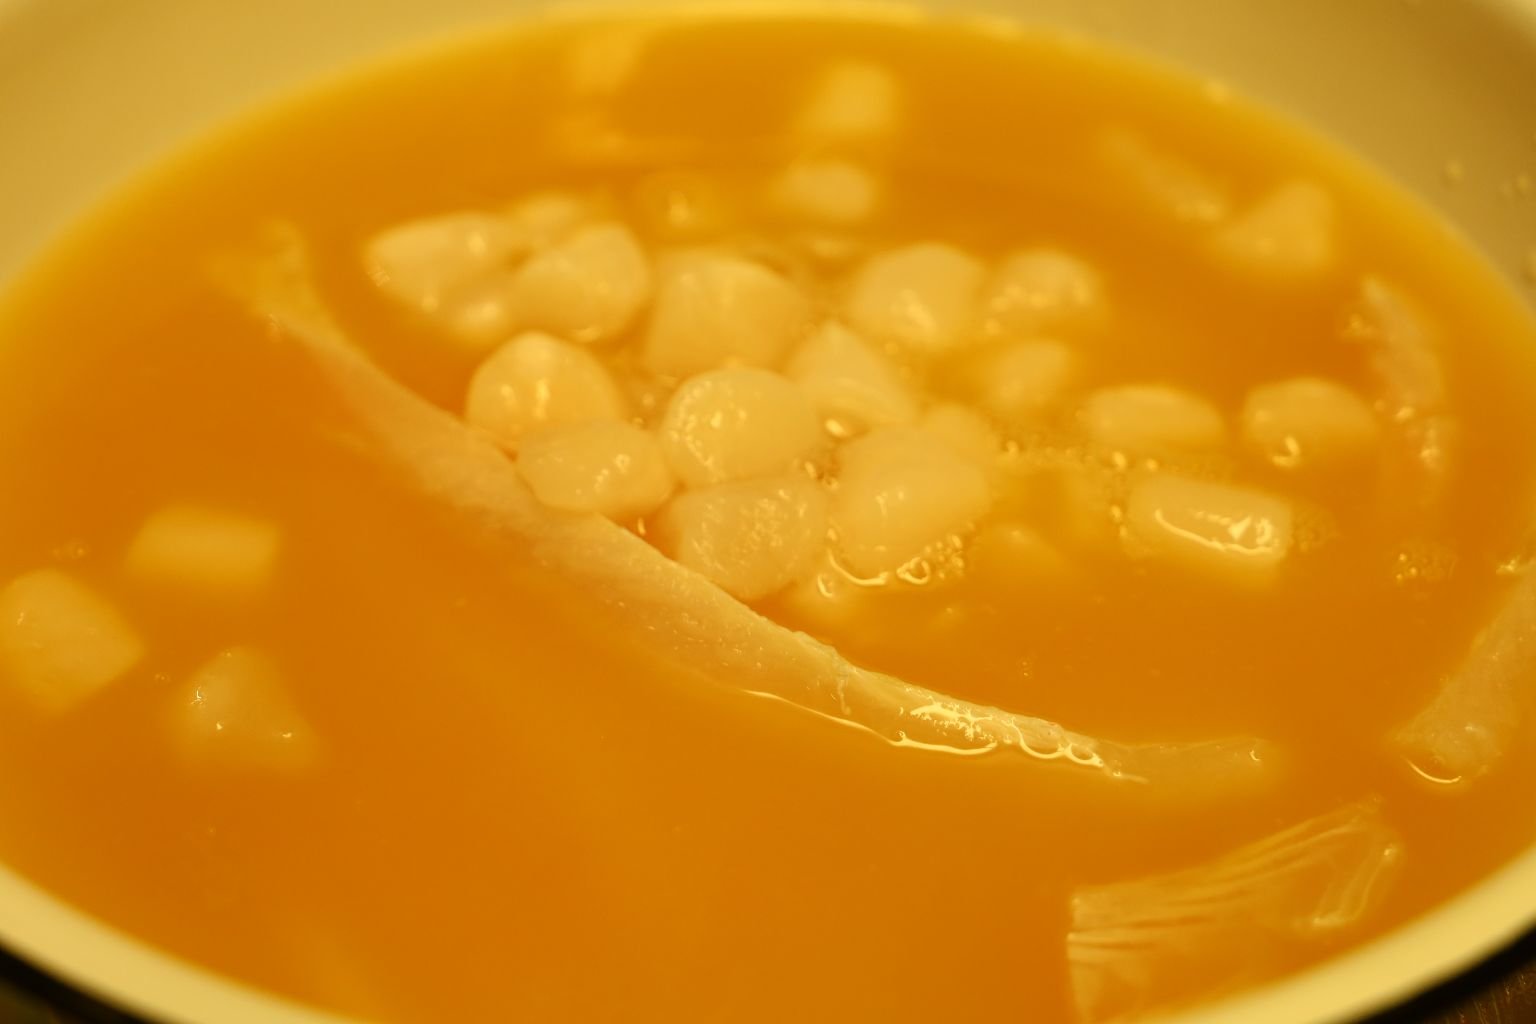
Place the Sea Bass into the bowl of citrus juices. You will quickly begin to see the fish turn white as it cooks in the acid of the juices.
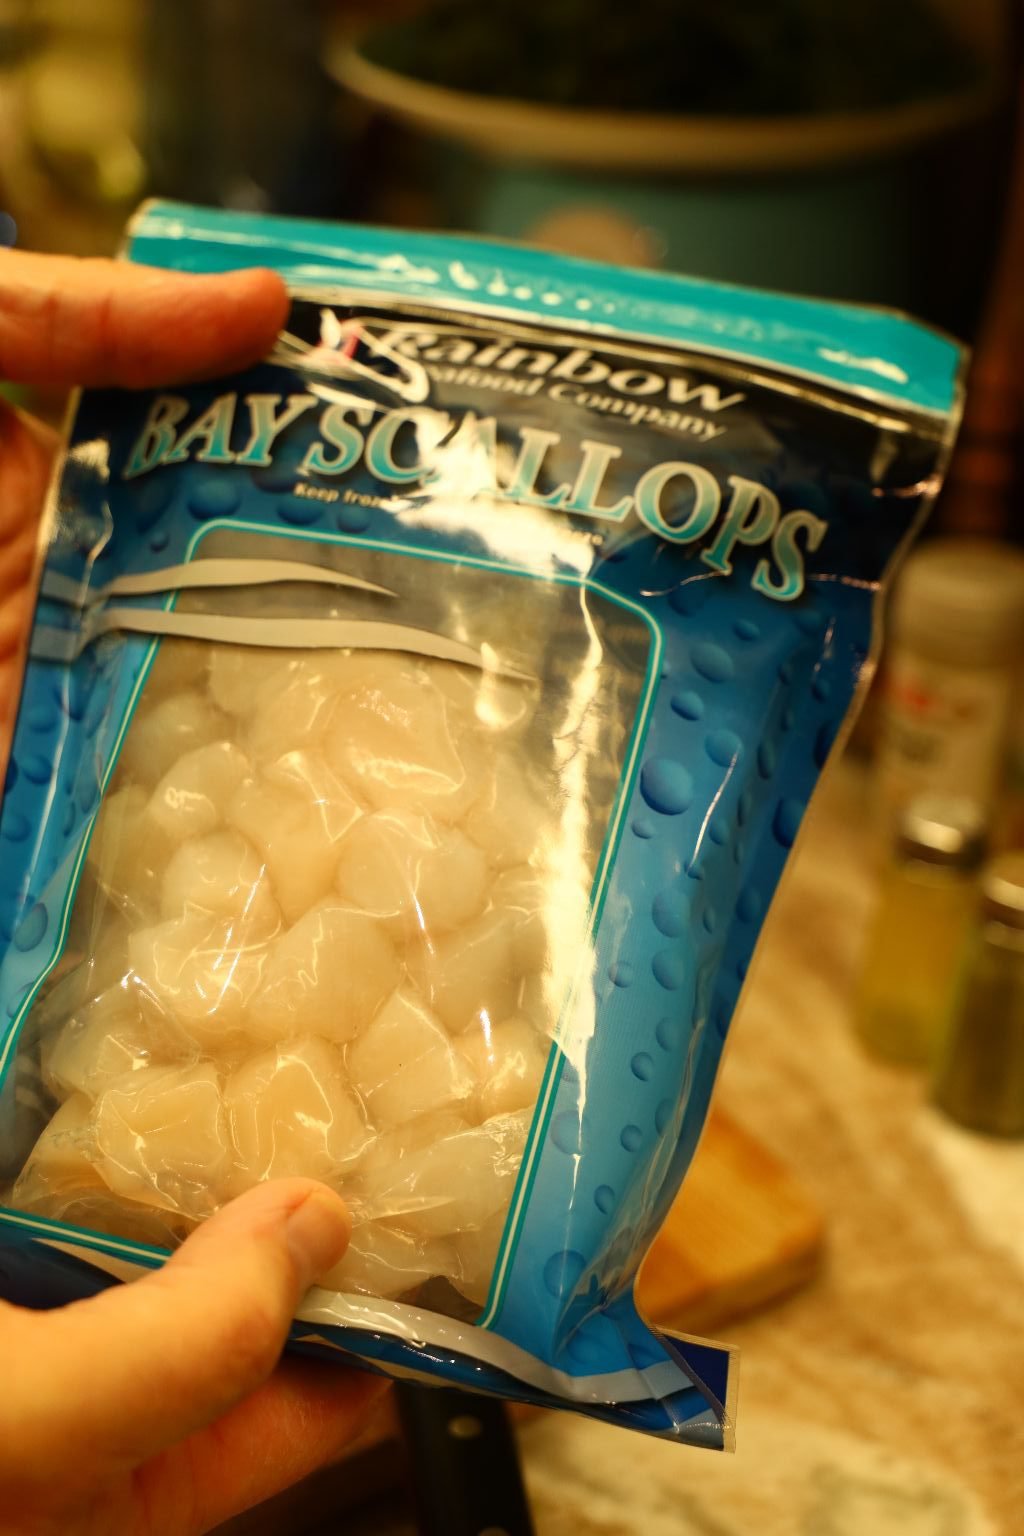
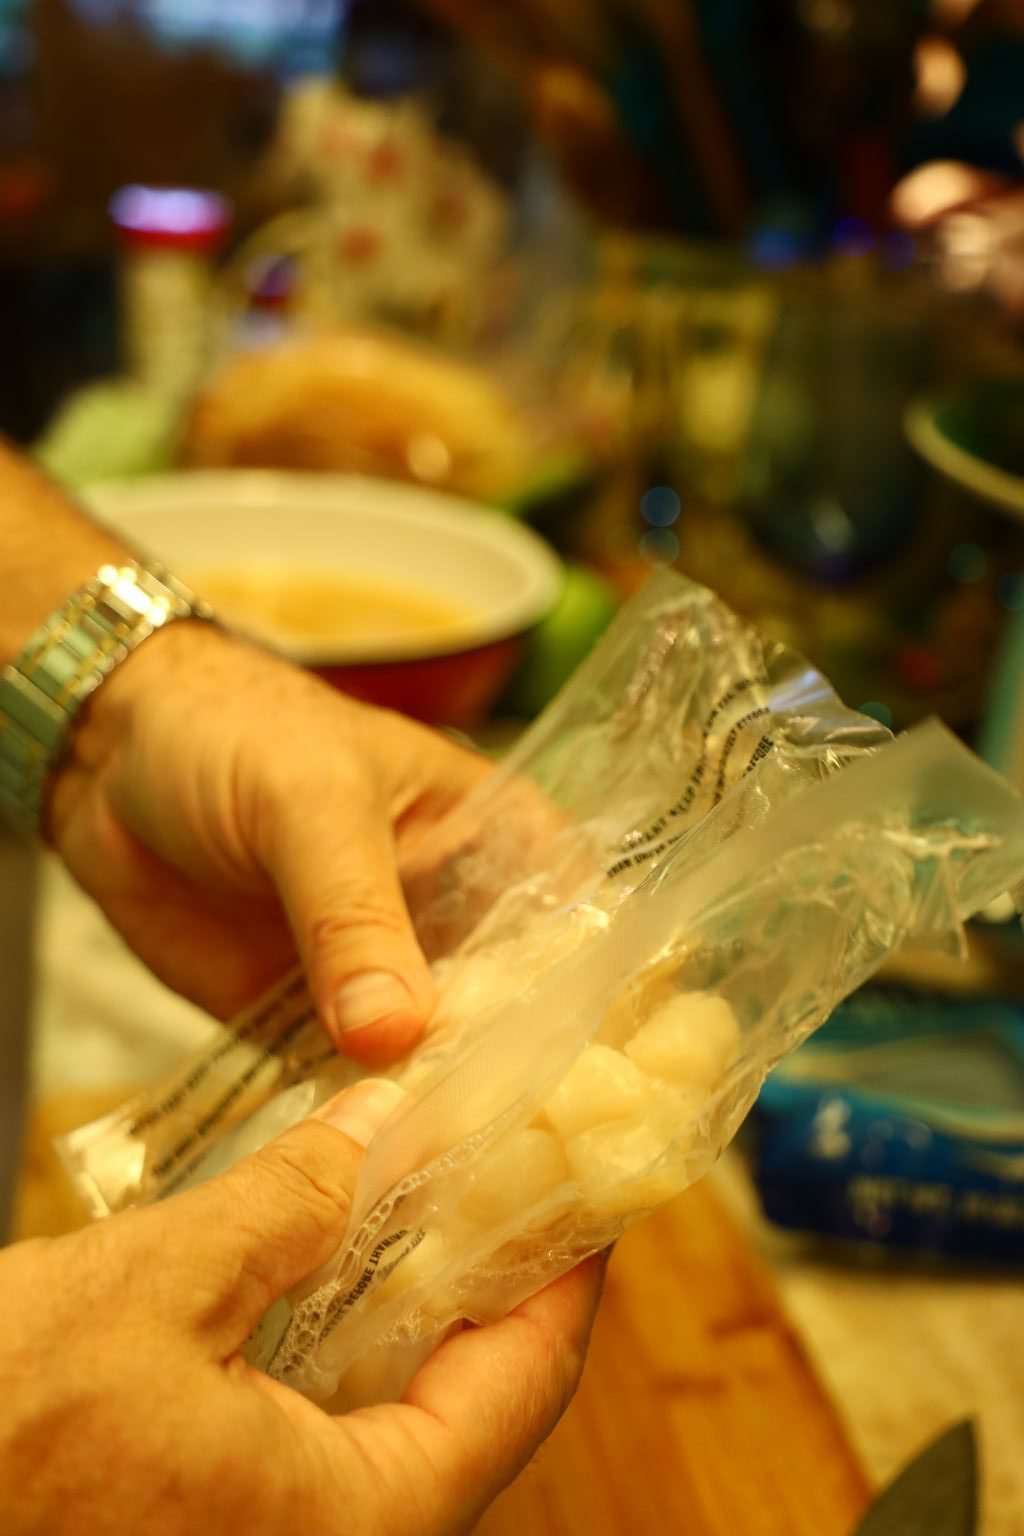
Our Scallops
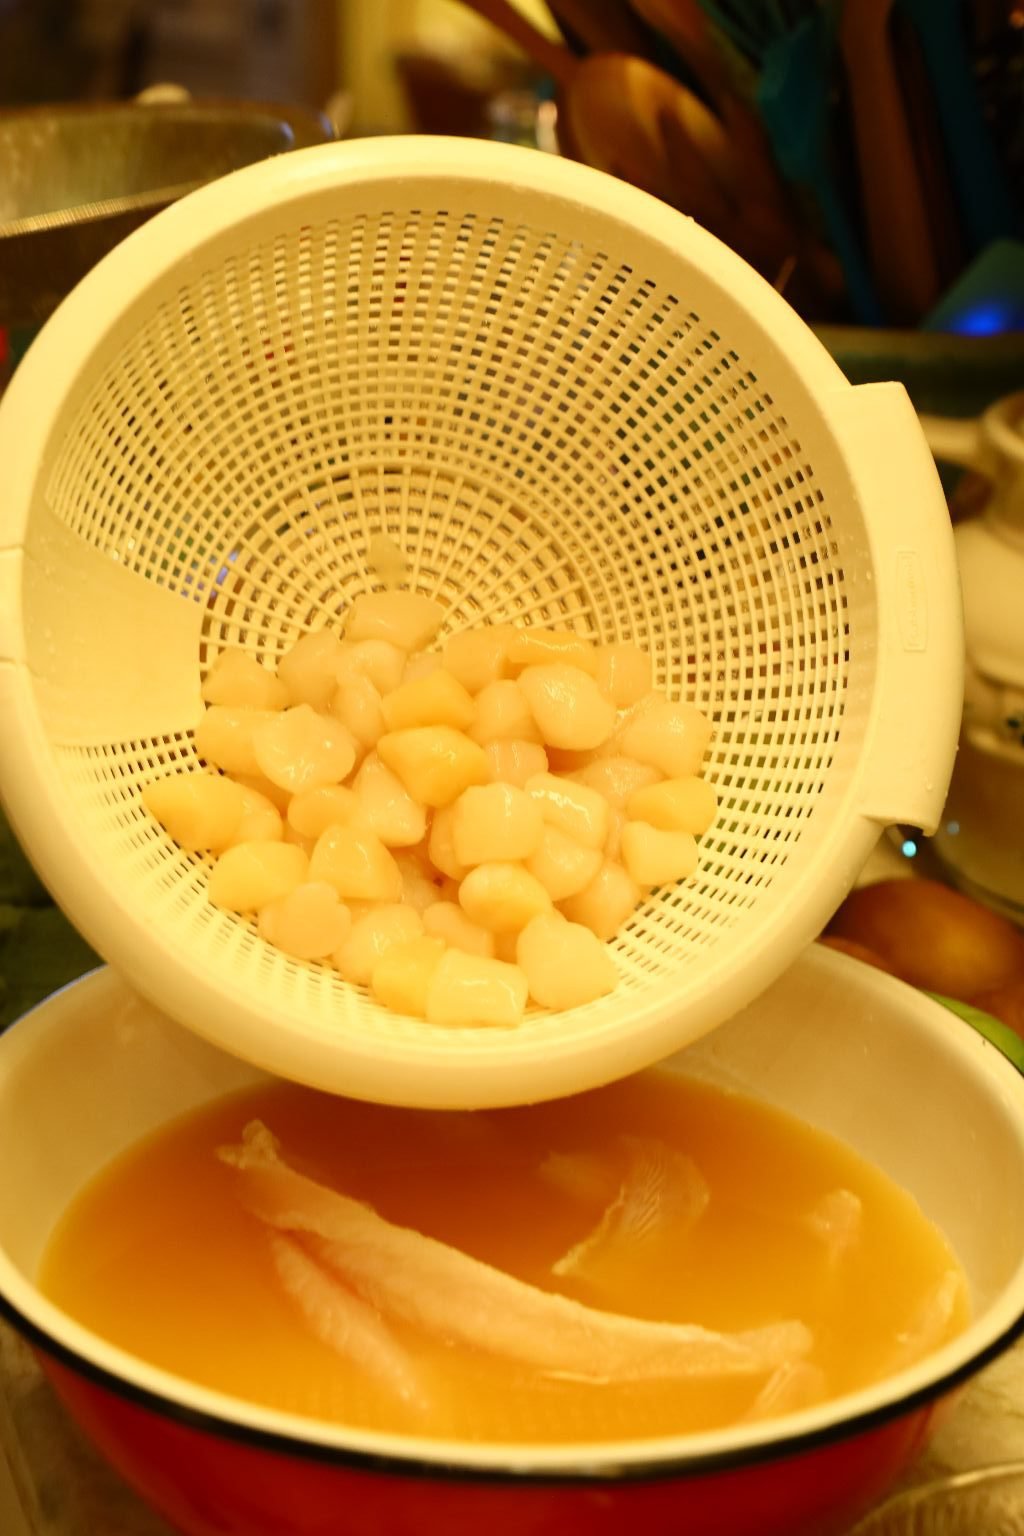
Drain your thawed Sea Scallops in a colander then place them into the bowl with the Sea Bass.
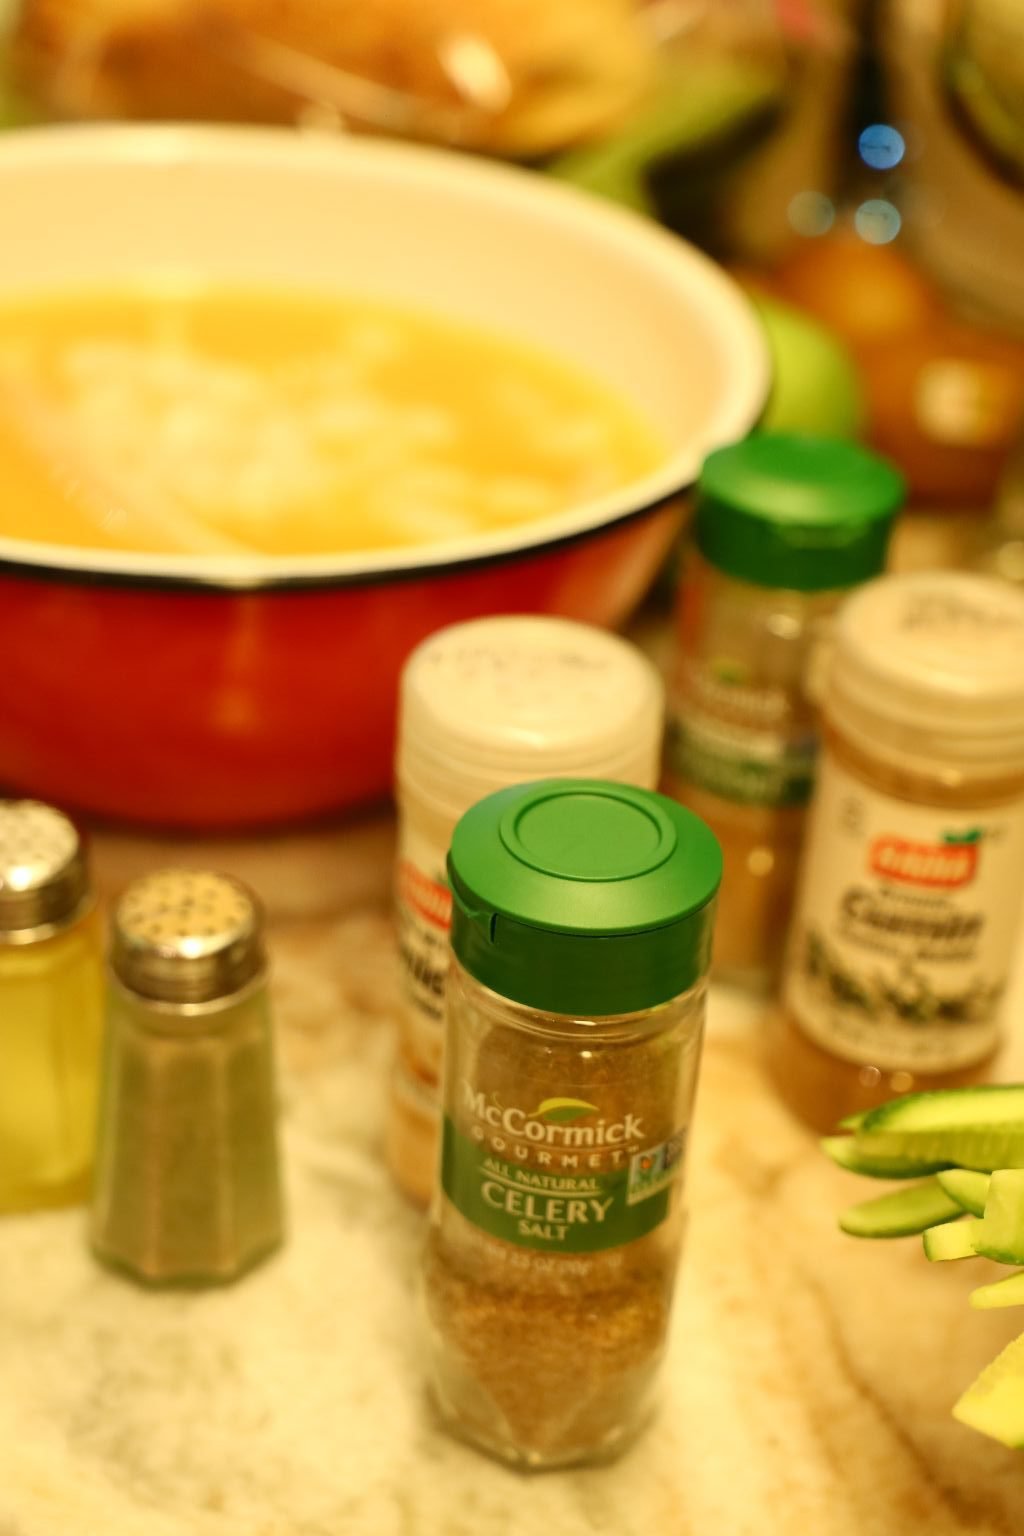
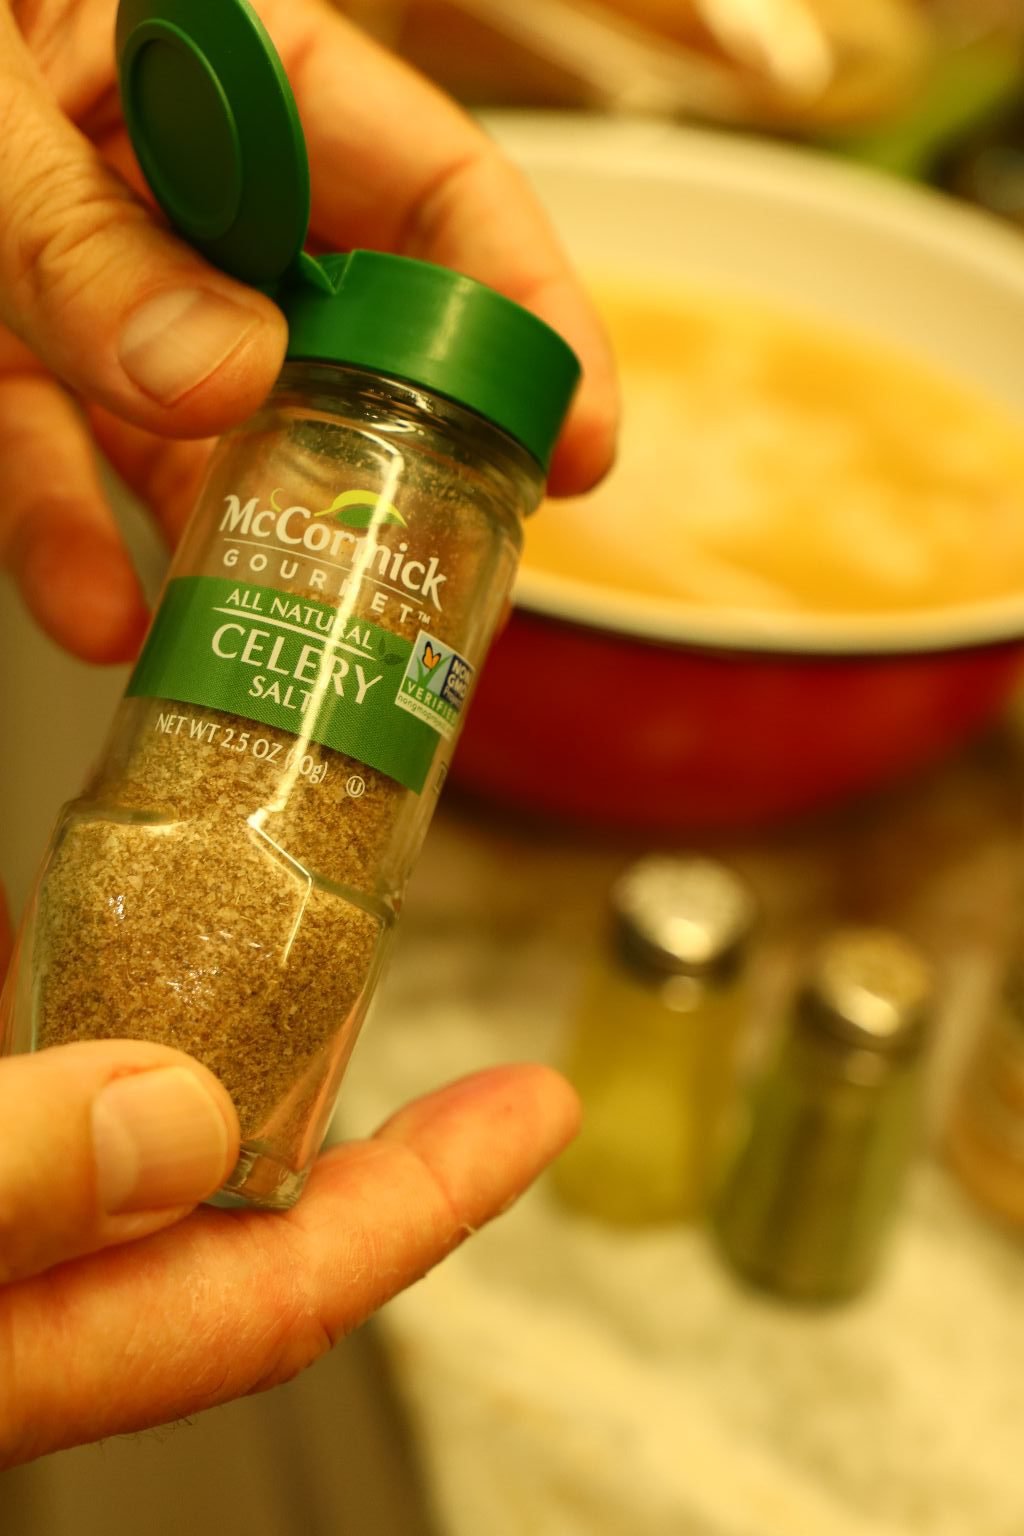
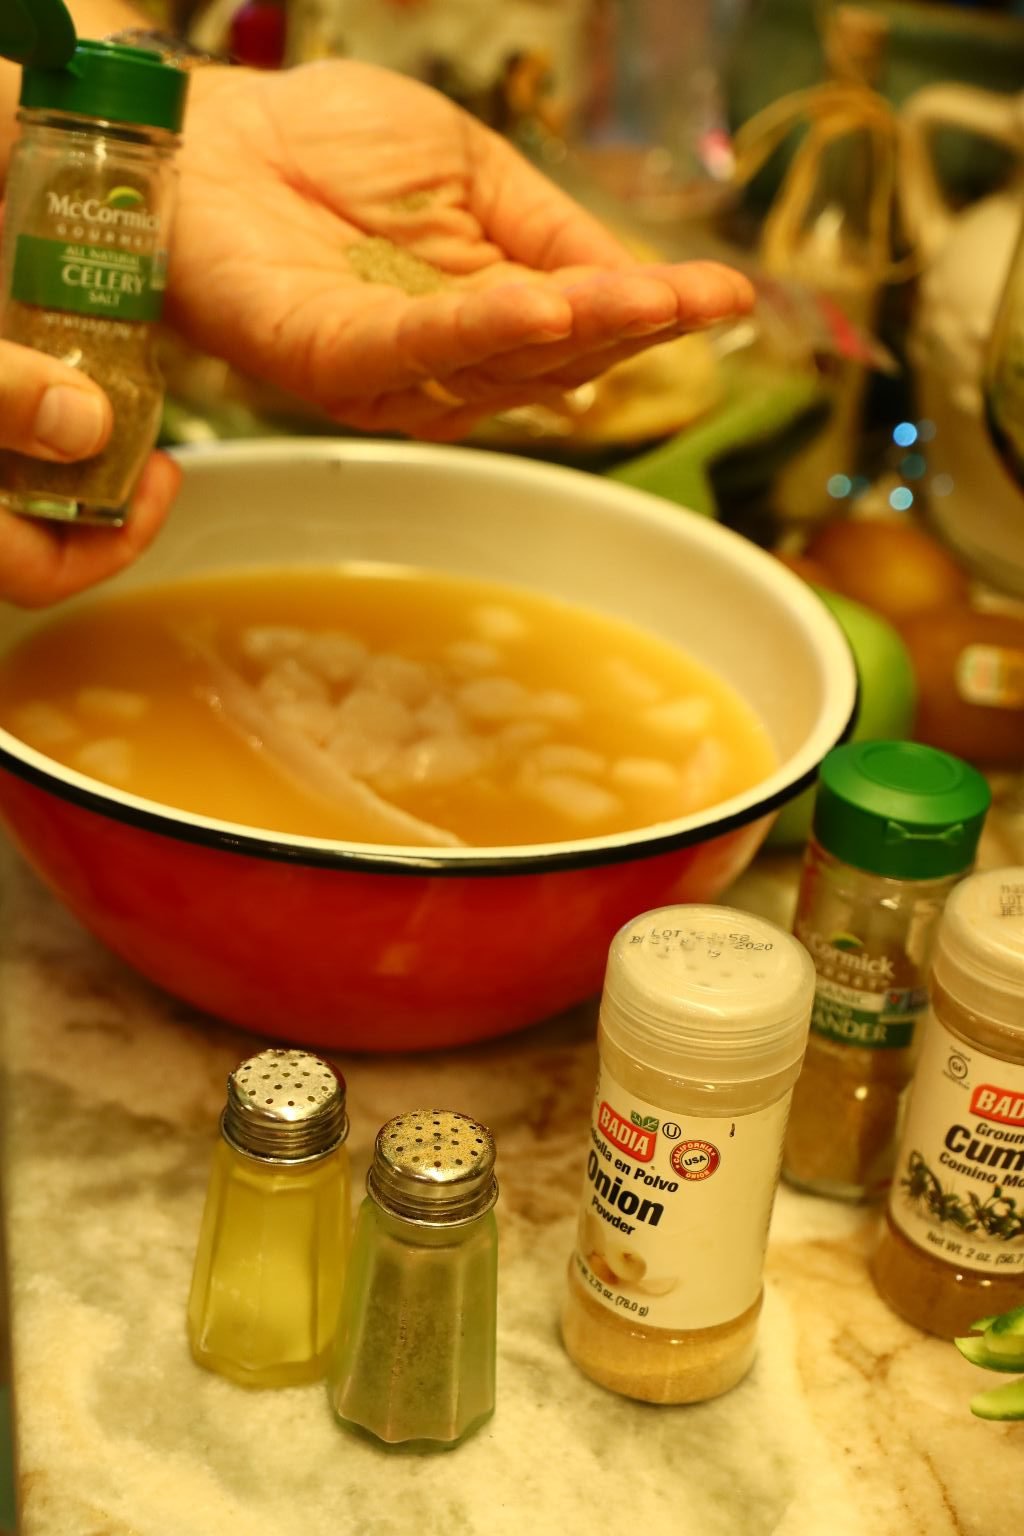
Season the juices with Celery Salt…
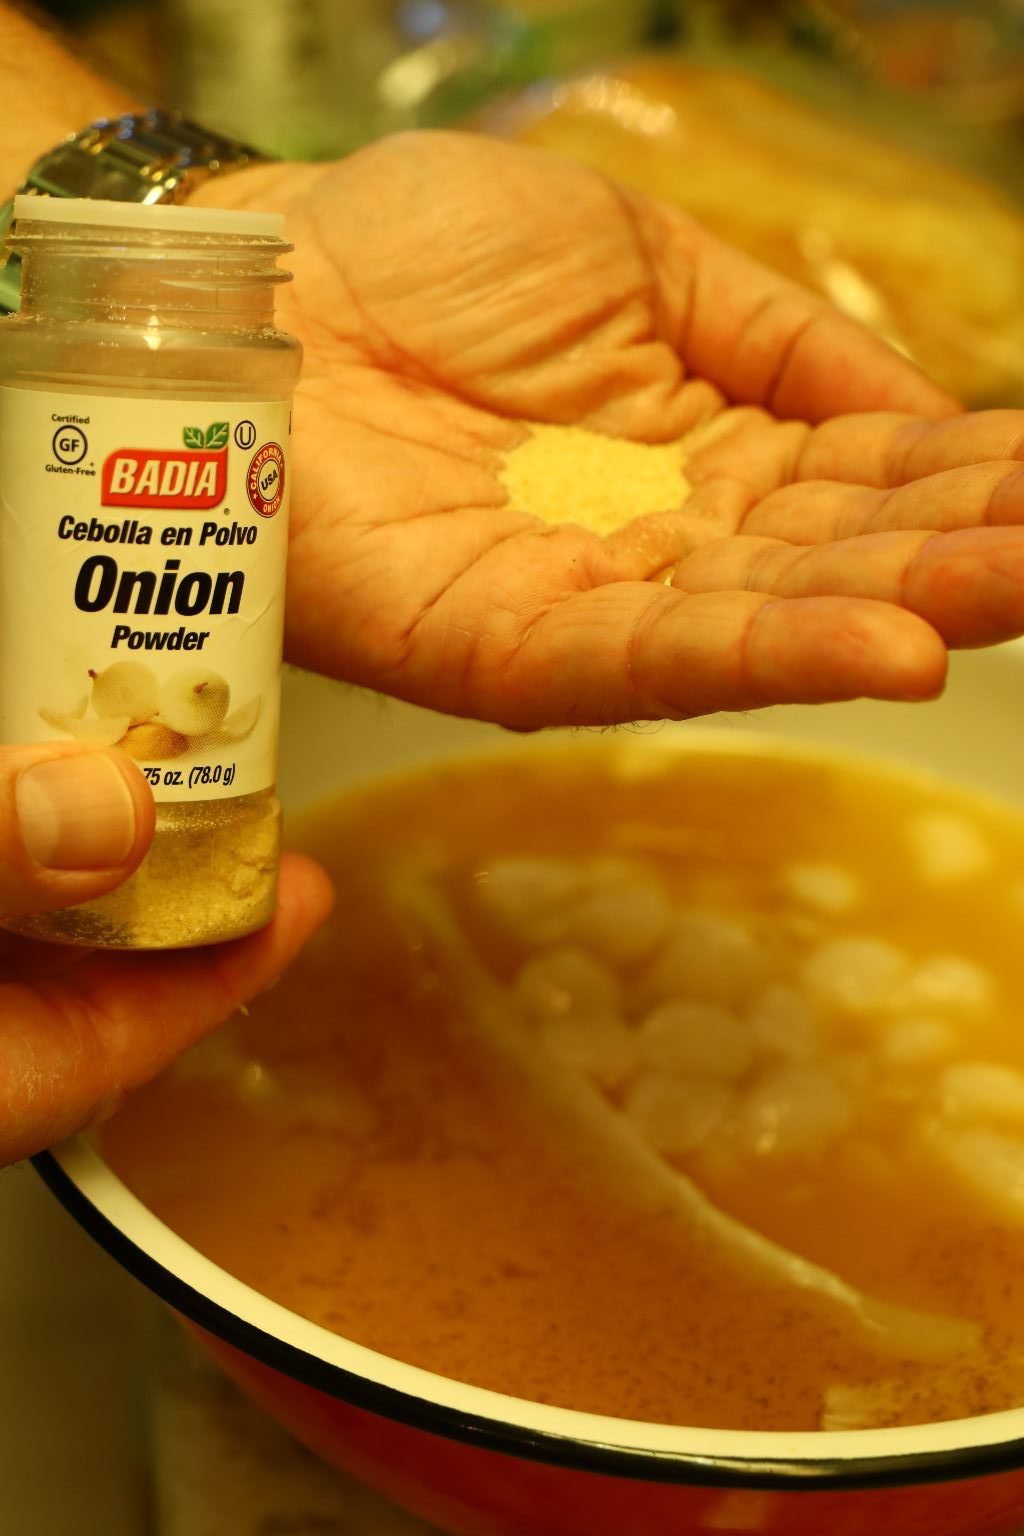

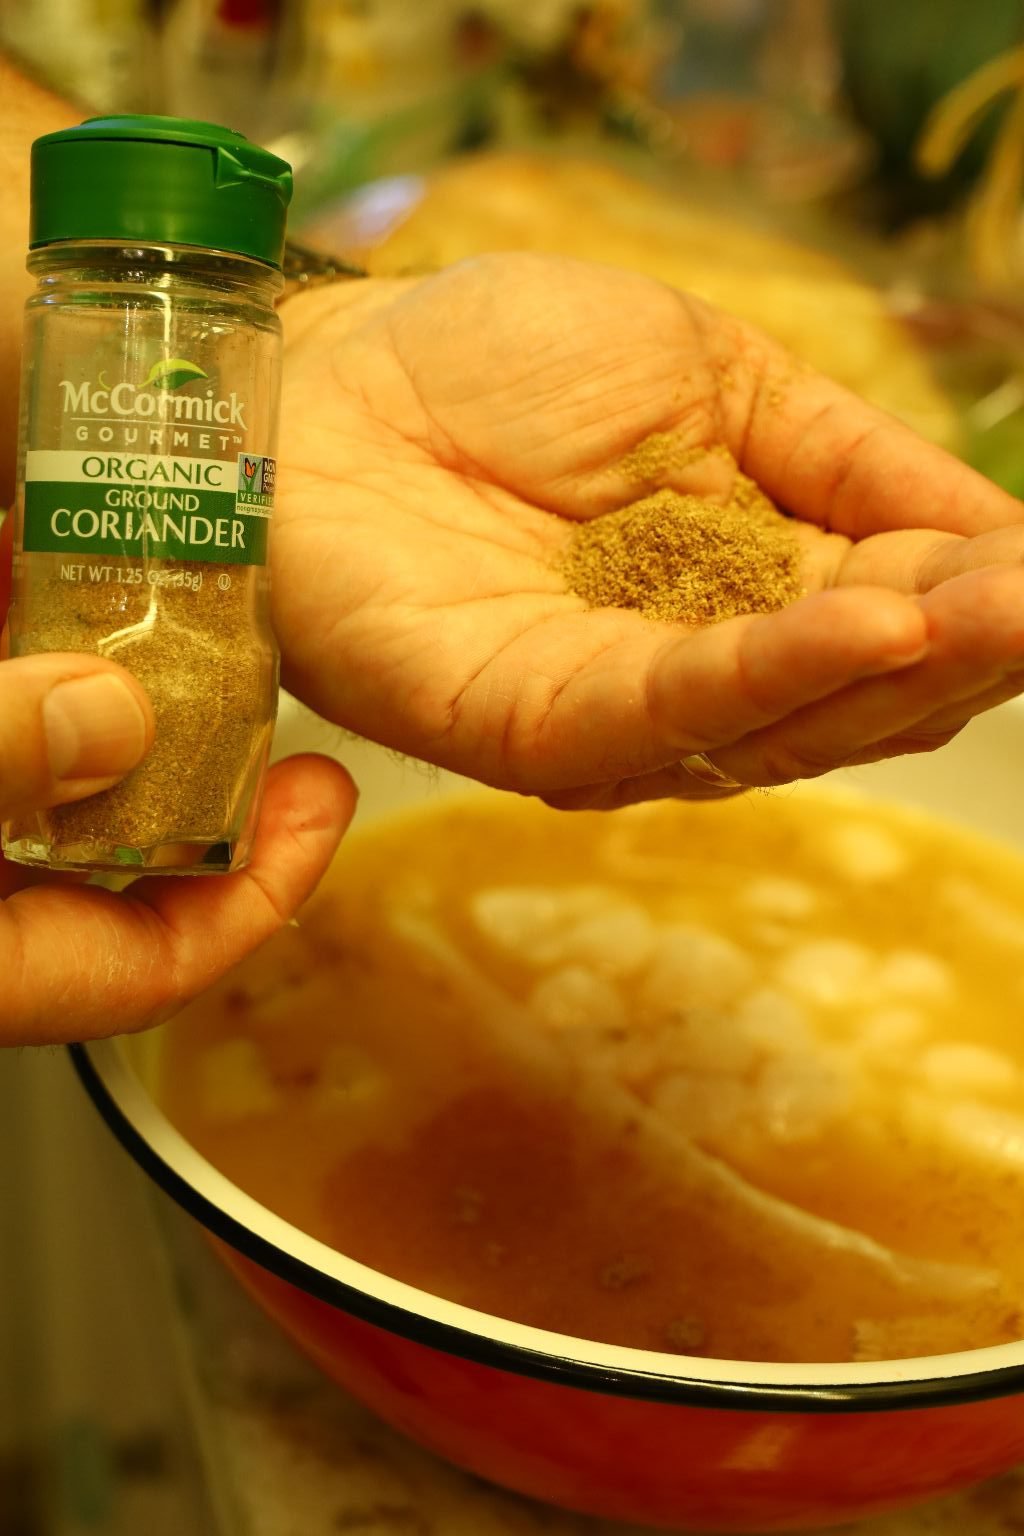
Onion Powder, Ground Cumin, and Ground Coriander.
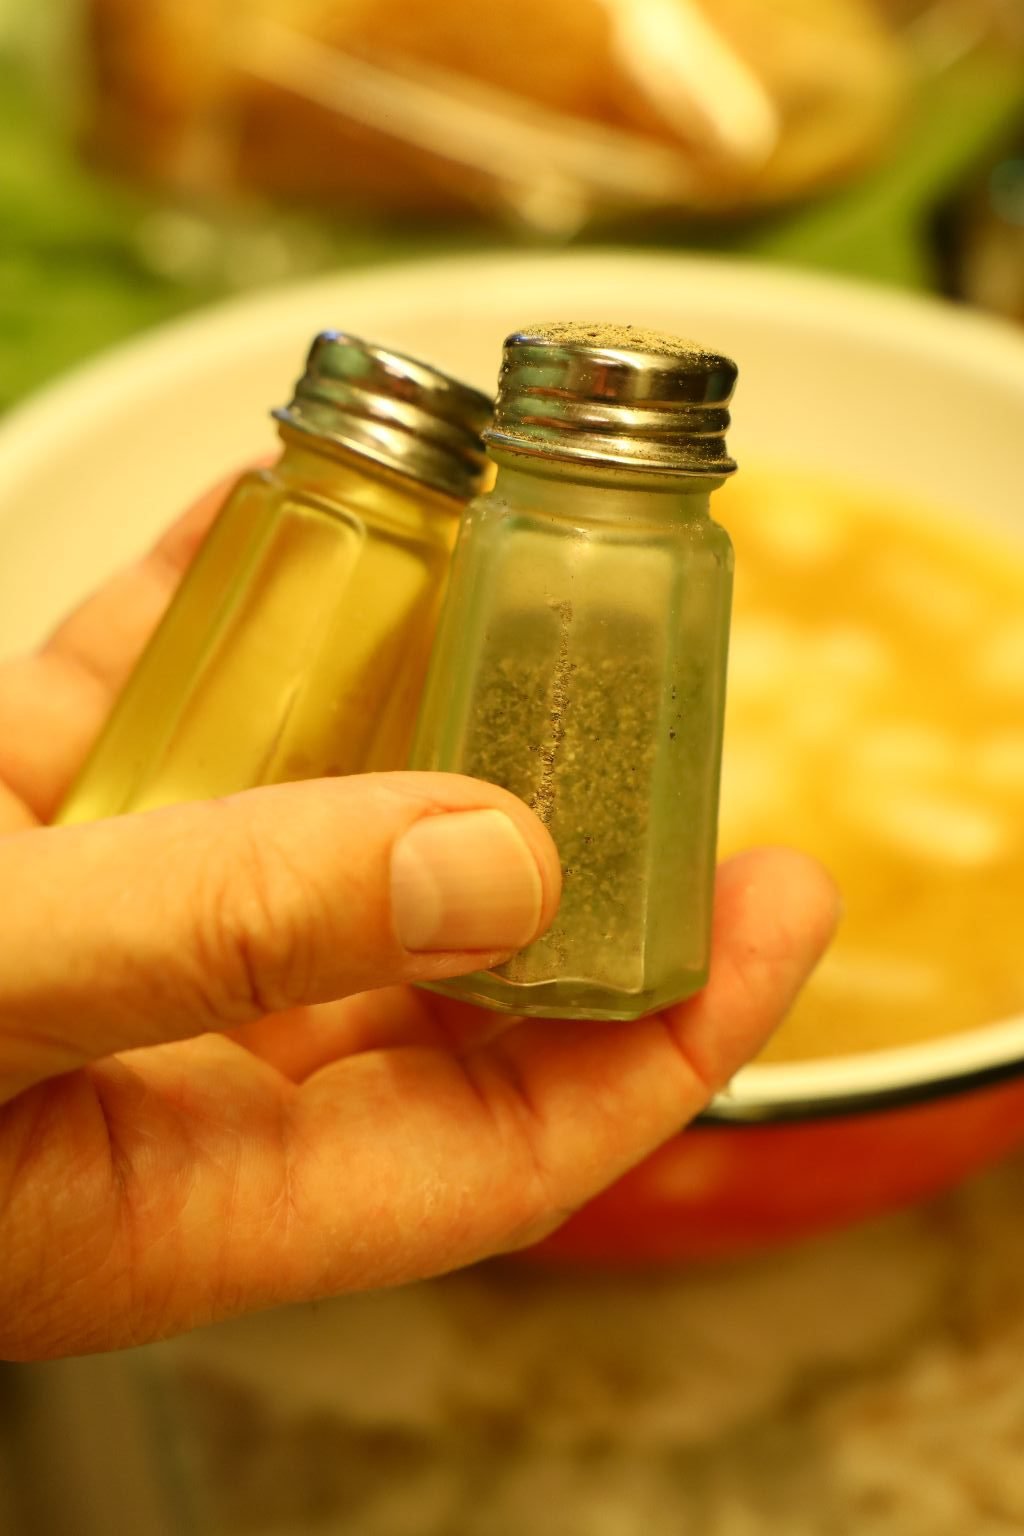
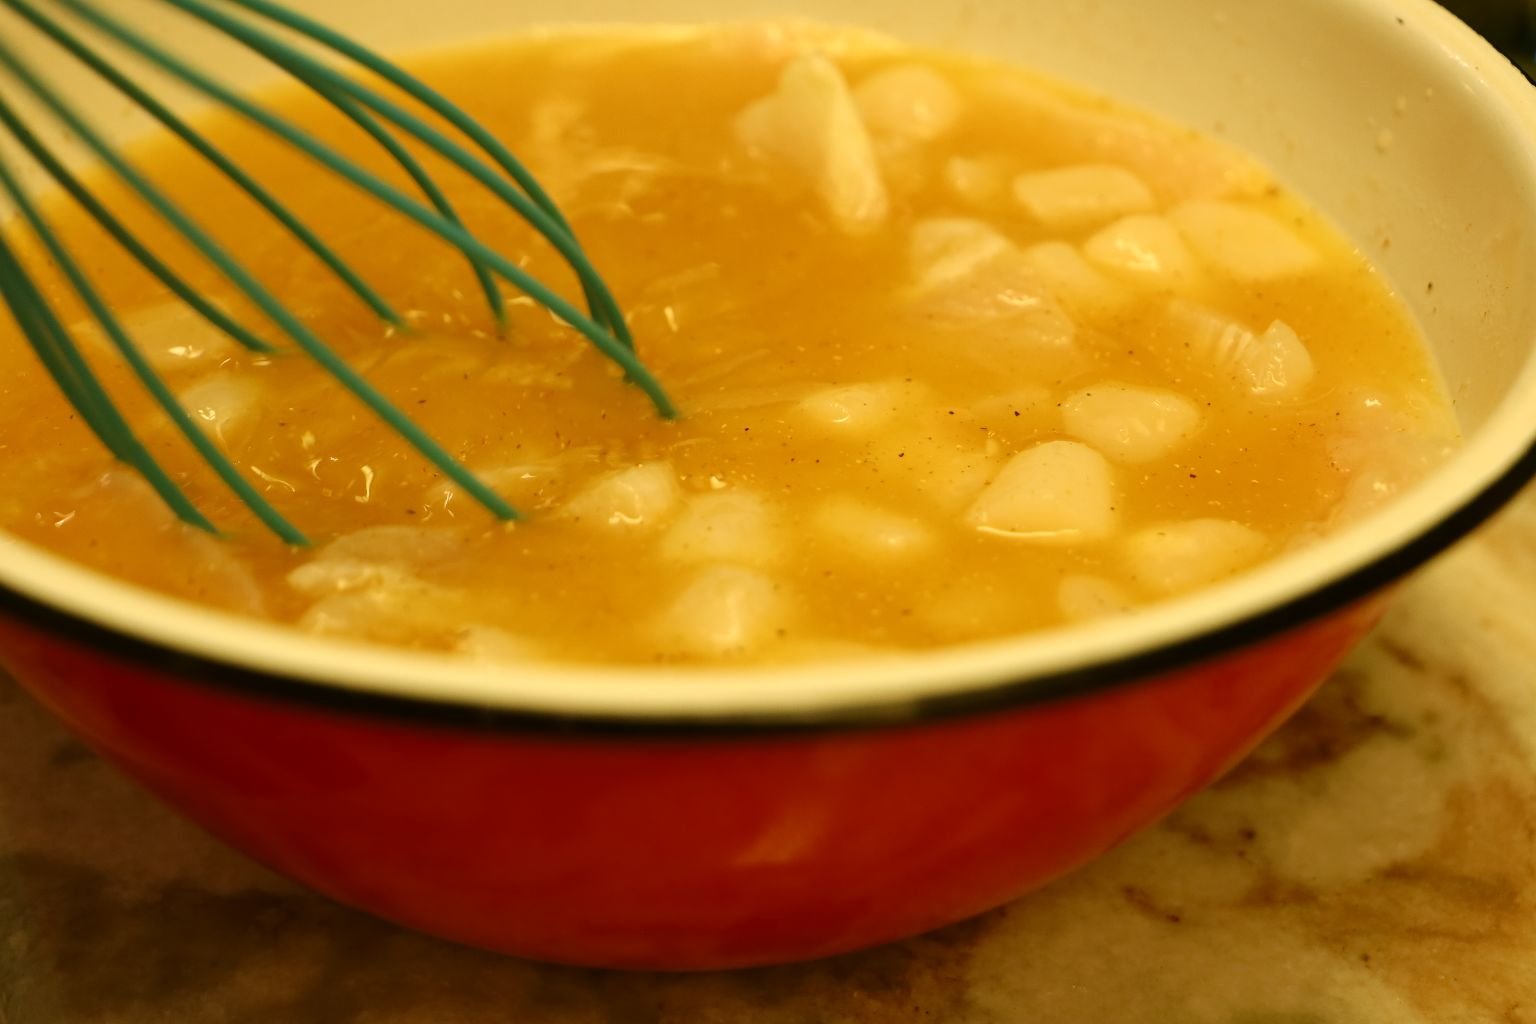
Add some salt and pepper to taste and mix all the ingredients well. Pending on the size and thickness of your fish and scallops, they could take a few hours to cook. You will know they are done when they are white. You can eat the fish and scallops raw just as you would Sushi. These scallops are small, so they won’t take but a few hours to cook. Cover the bowl with plastic wrap and place in your refrigerator.
———————————————————————
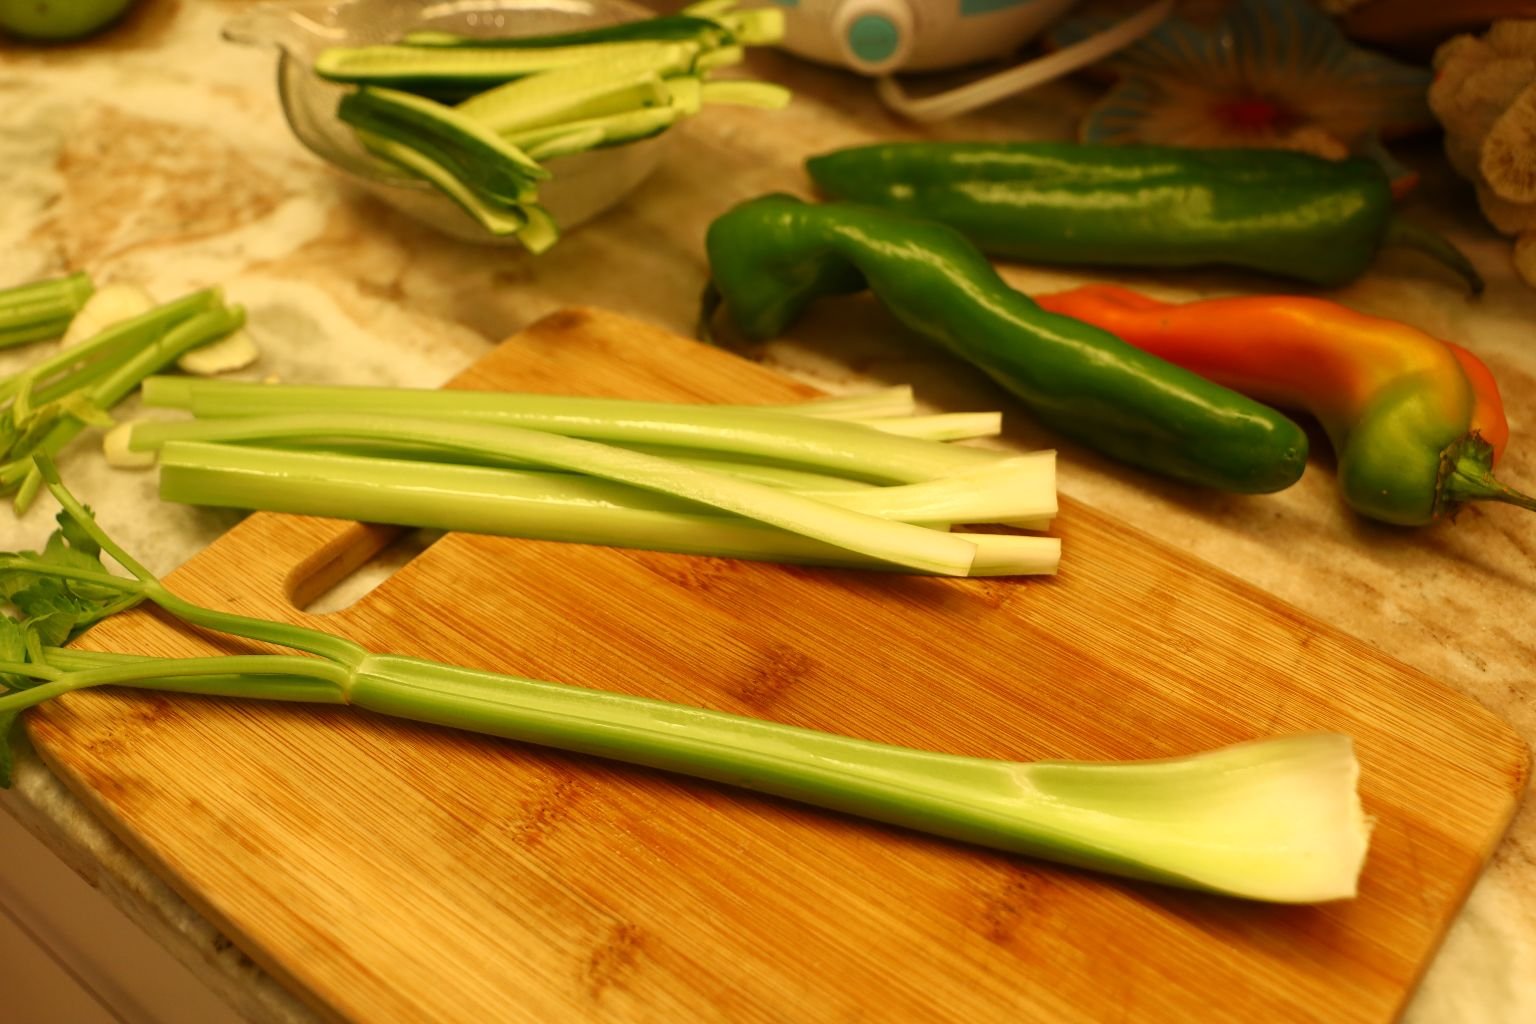
While the seafood is cooking, slice your vegetables to place into your wine glasses for serving.
—————————————————————————–
————————————————————————
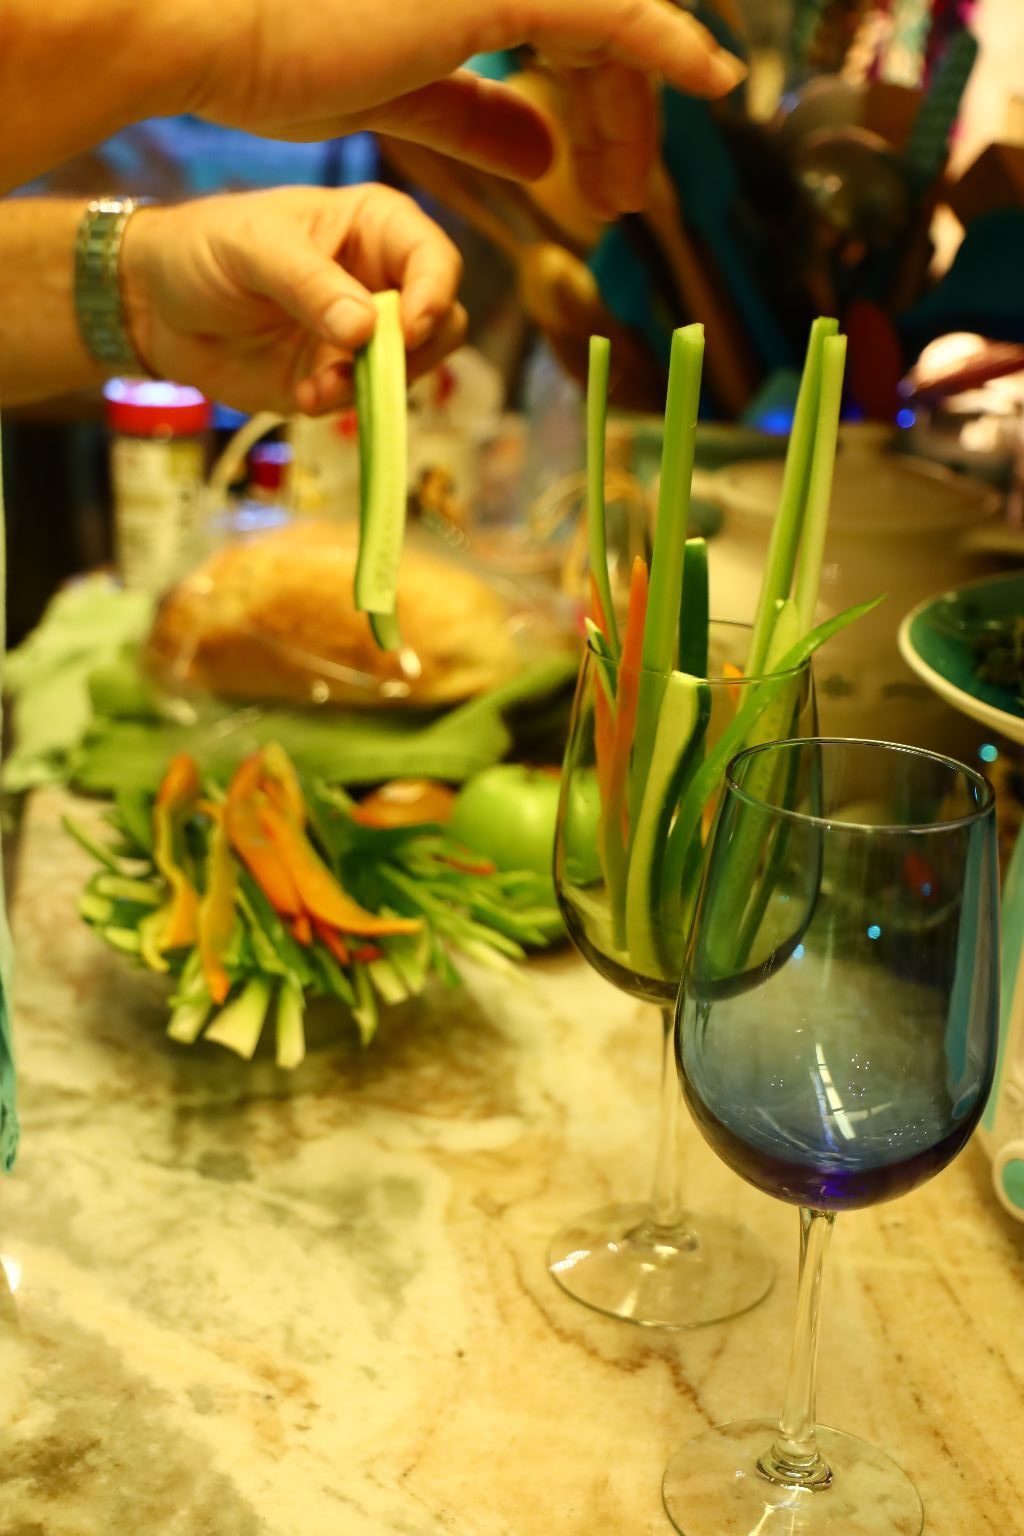

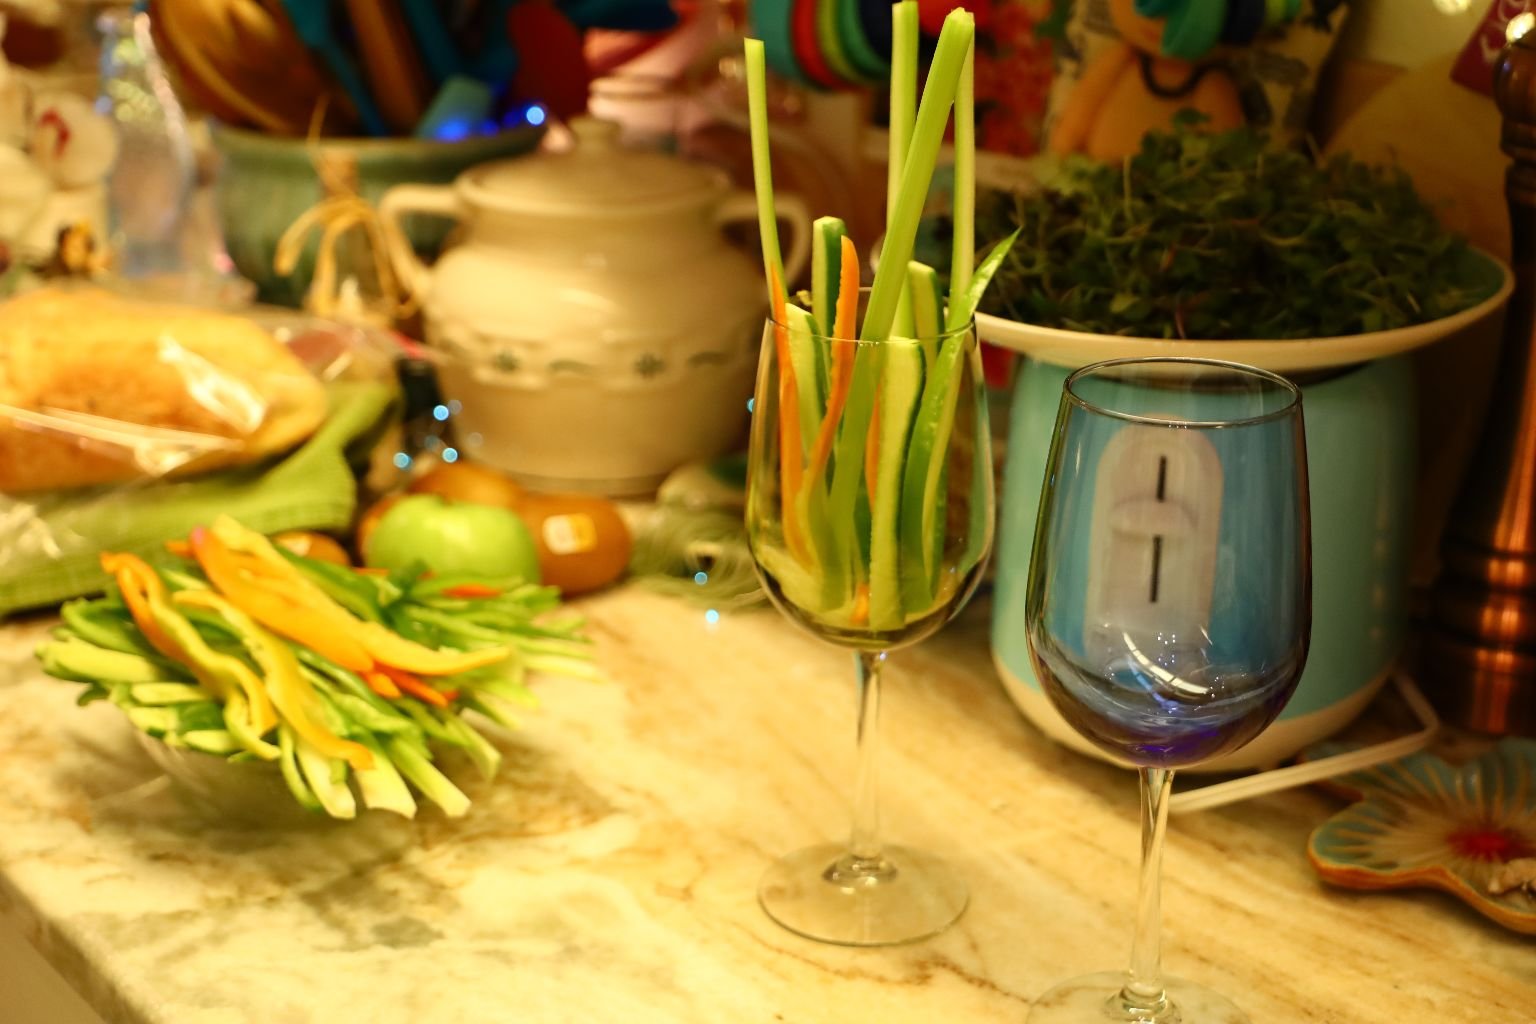
Decorate your wine glasses with the sliced vegetables as shown.
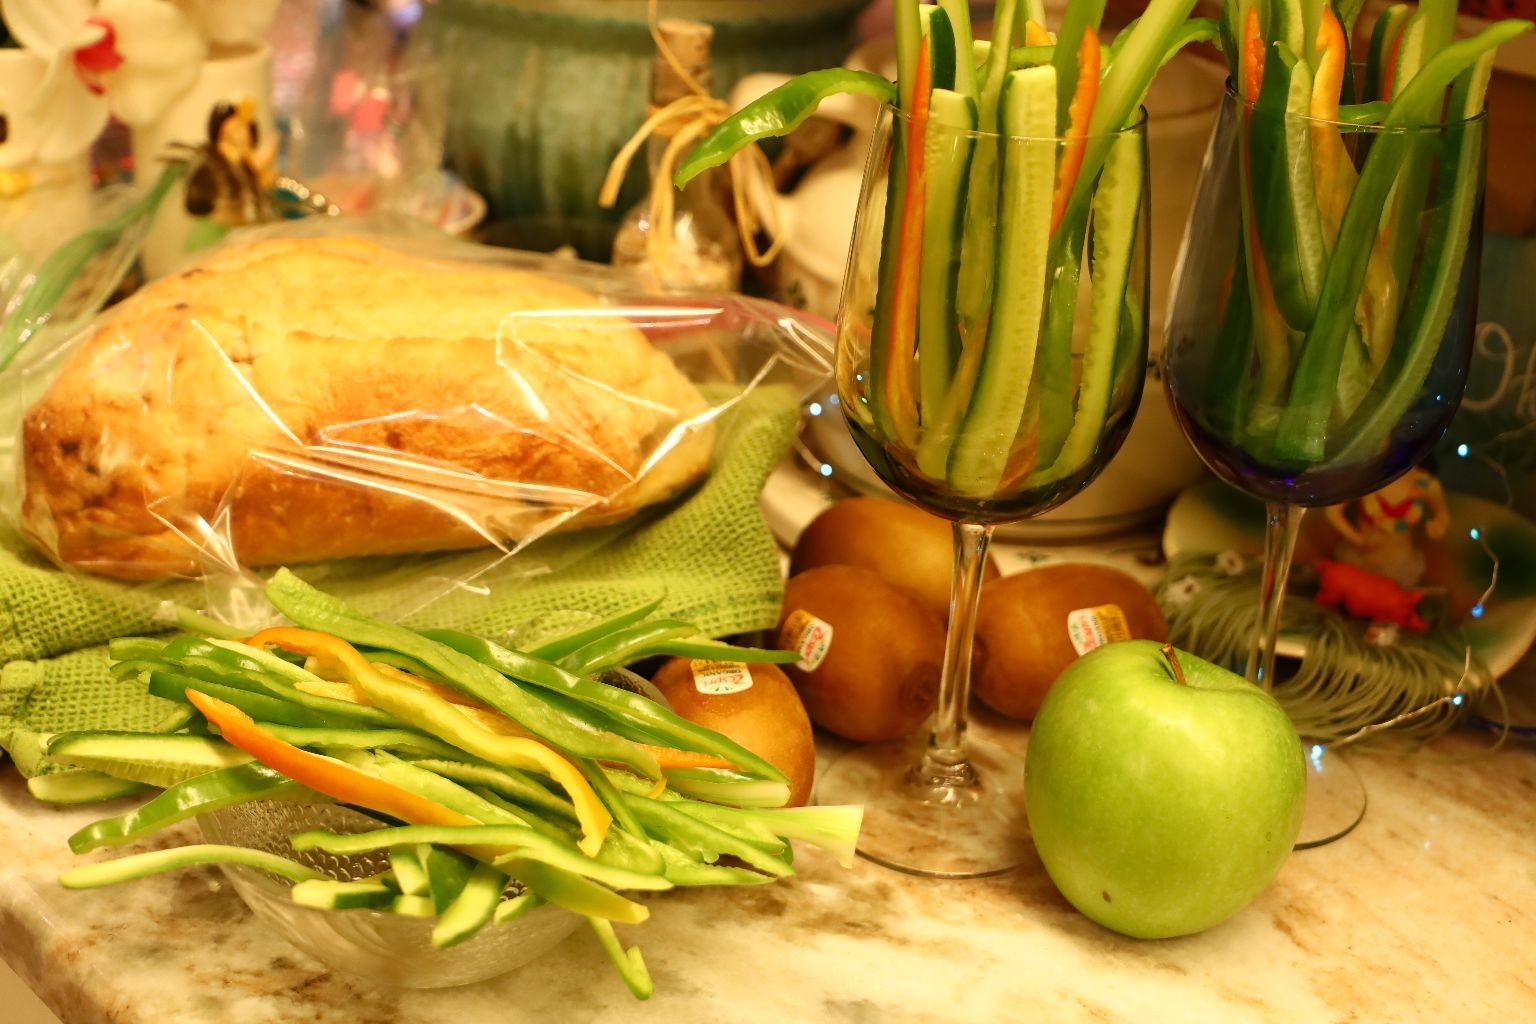
They Look Wonderful!
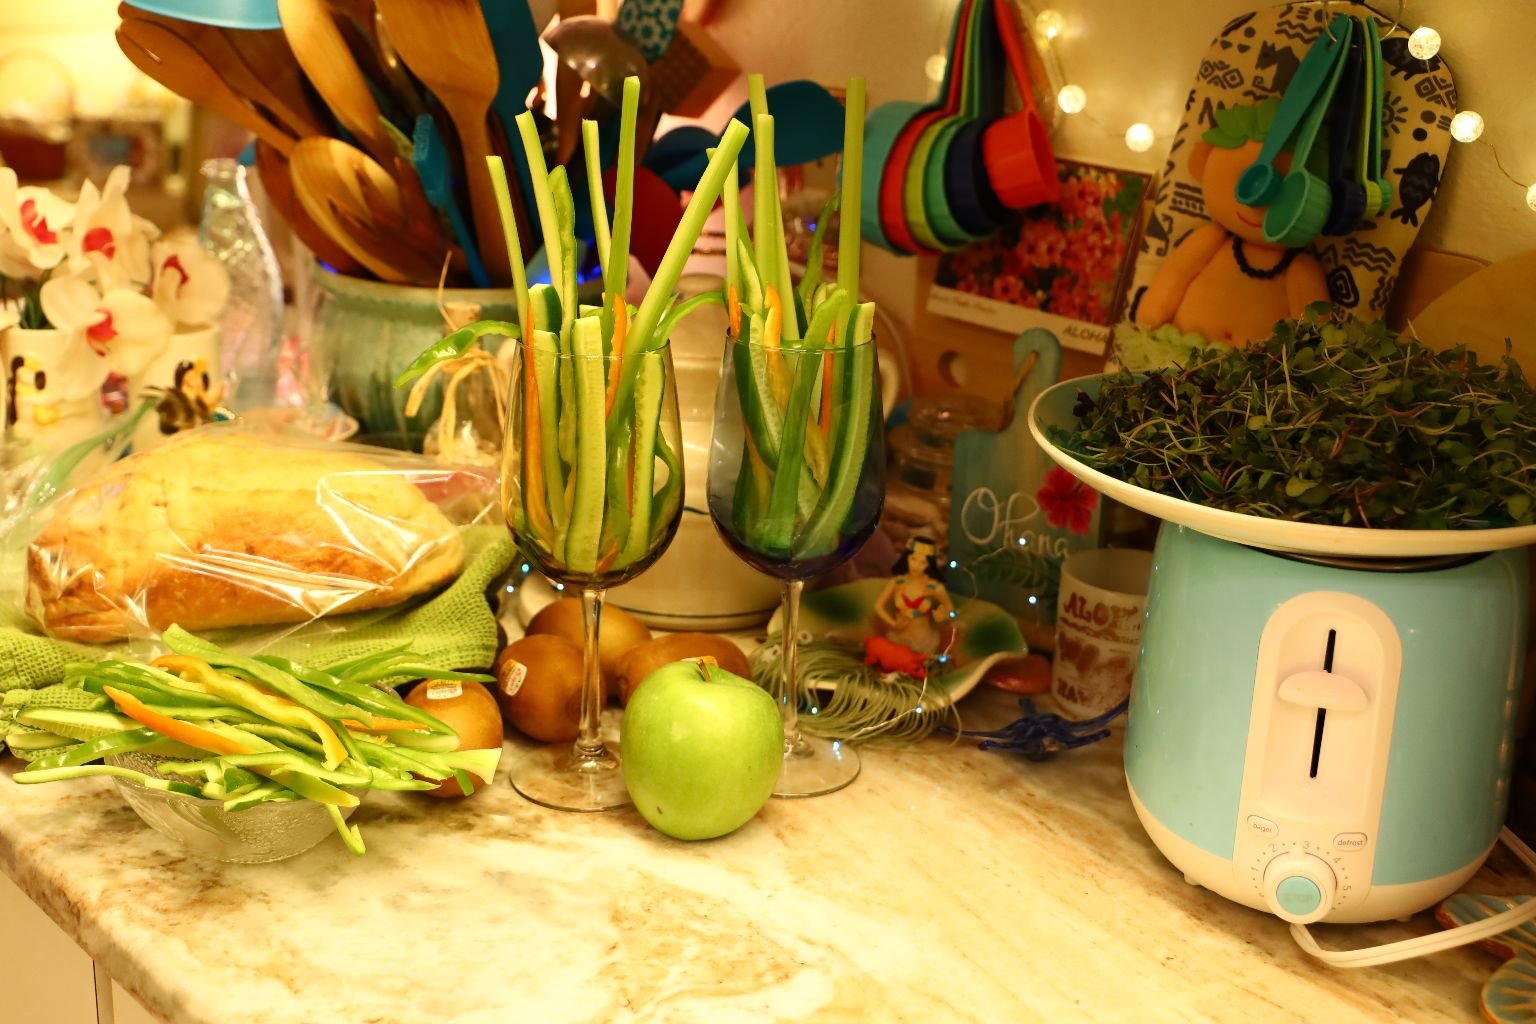
(Ignore the Apple, it goes in our Brussels Sprouts and Apple Slaw)
———————————————————-

After a few hours I checked the seafood and liked the color of the fish and scallops.
We like Sushi, so the fish doesn’t have to be pure white and fully cooked.
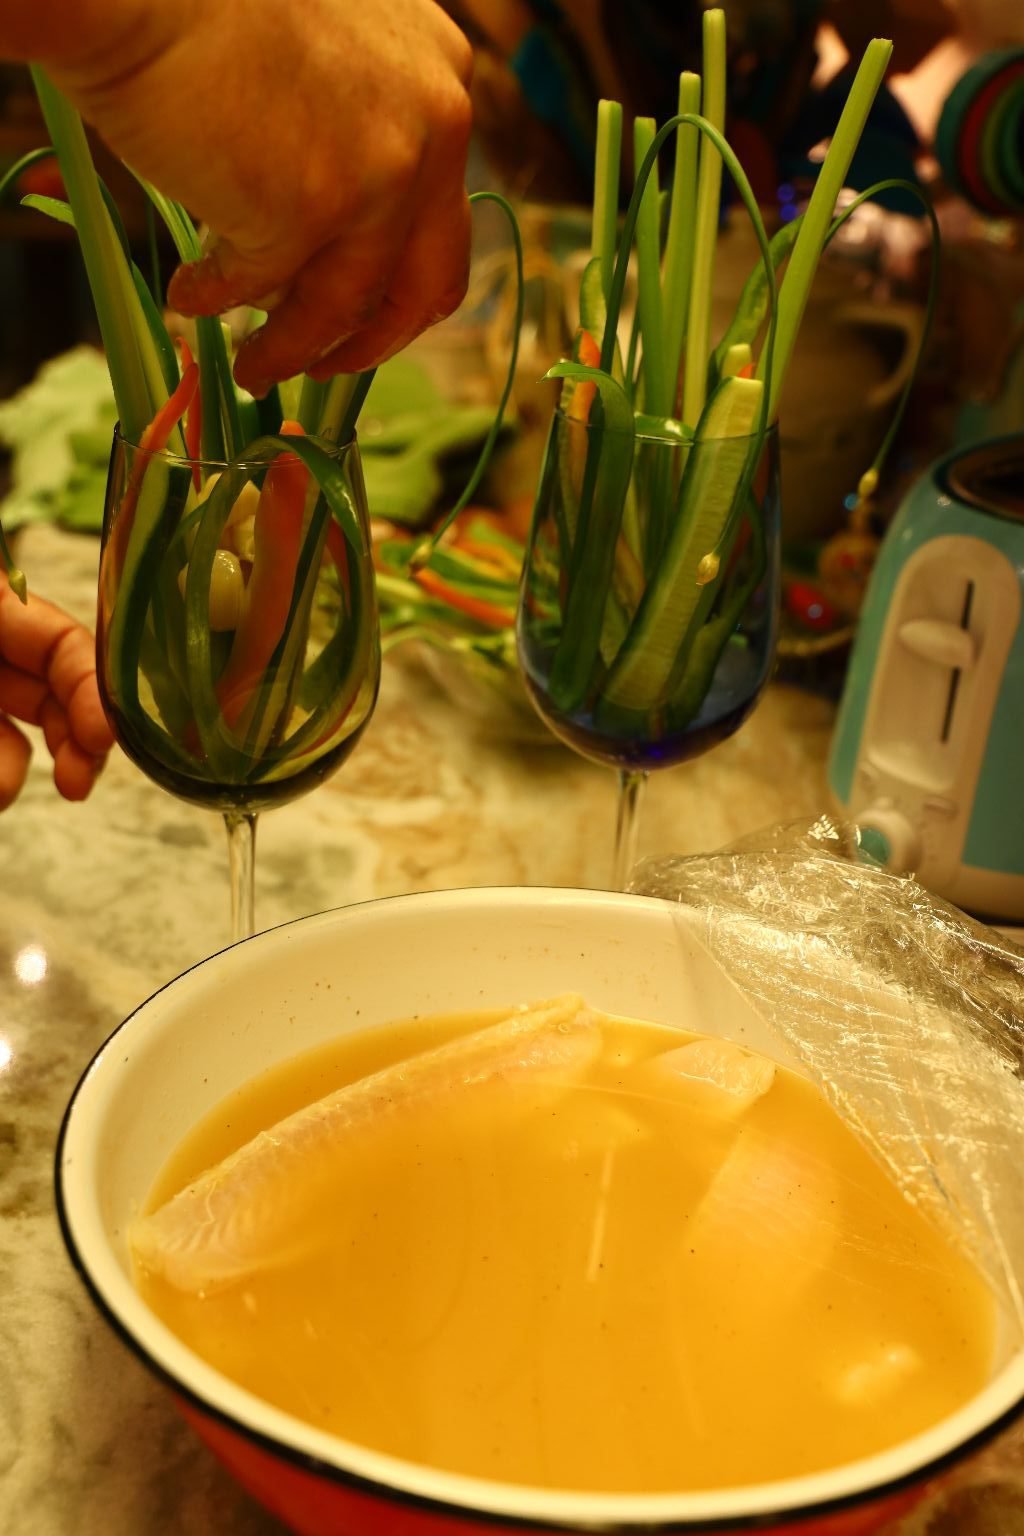

Remove the fish and scallops and place them in your wine glasses for serving.
Enjoy this recipe with some Sushi as we did!!
————————————————————————
Spooky and Sparky

Our Cooking in the Kitchen Buddy Support System
———————————————————————

Brussels Sprouts and Apple Slaw w/Apple Cider and Red Wine Vinaigrette
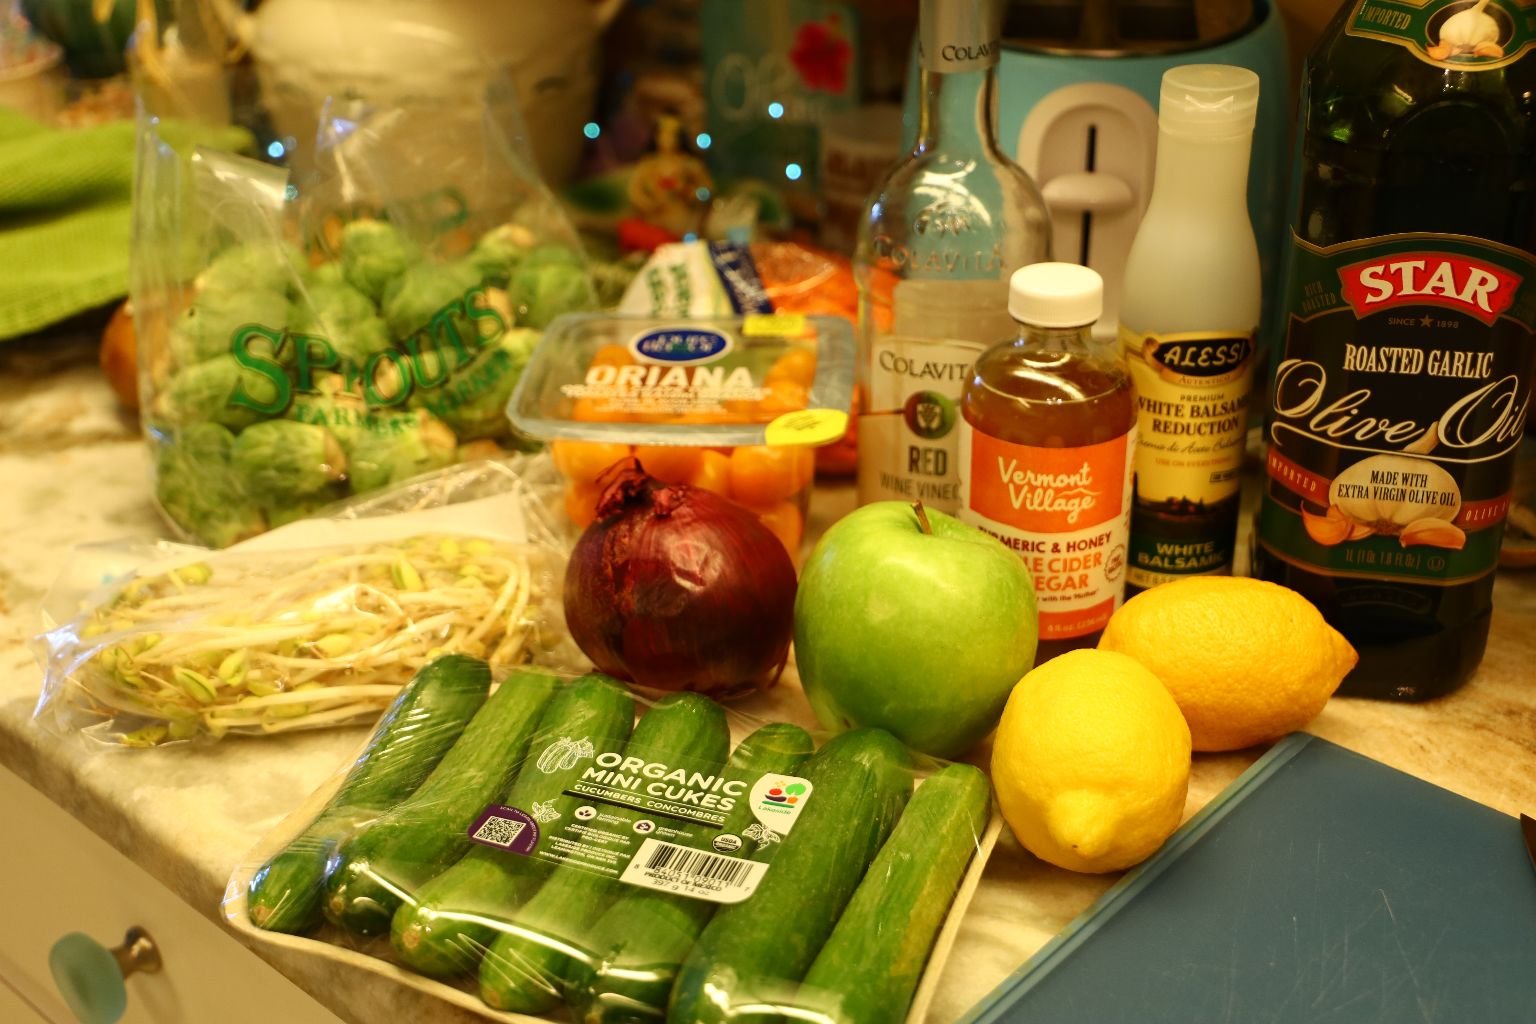
Slaw Ingredients:
~30 Fresh Brussels Sprouts – cleaned and stems removed
1 tsp. Sea Salt for boiling water
1/2 Red Onion – sliced into a small dice
1 Small Bag of Julienned Carrots
1 Bunch Bean Sprouts
3-4 small Cucumbers – sliced into thin rounds
~1 Cup Yellow Cherry Tomatoes
~1 Cup Heirloom Cherry Tomatoes
1 Green Apple – sliced thinly
—————————————————————-
Vinaigrette Ingredients:
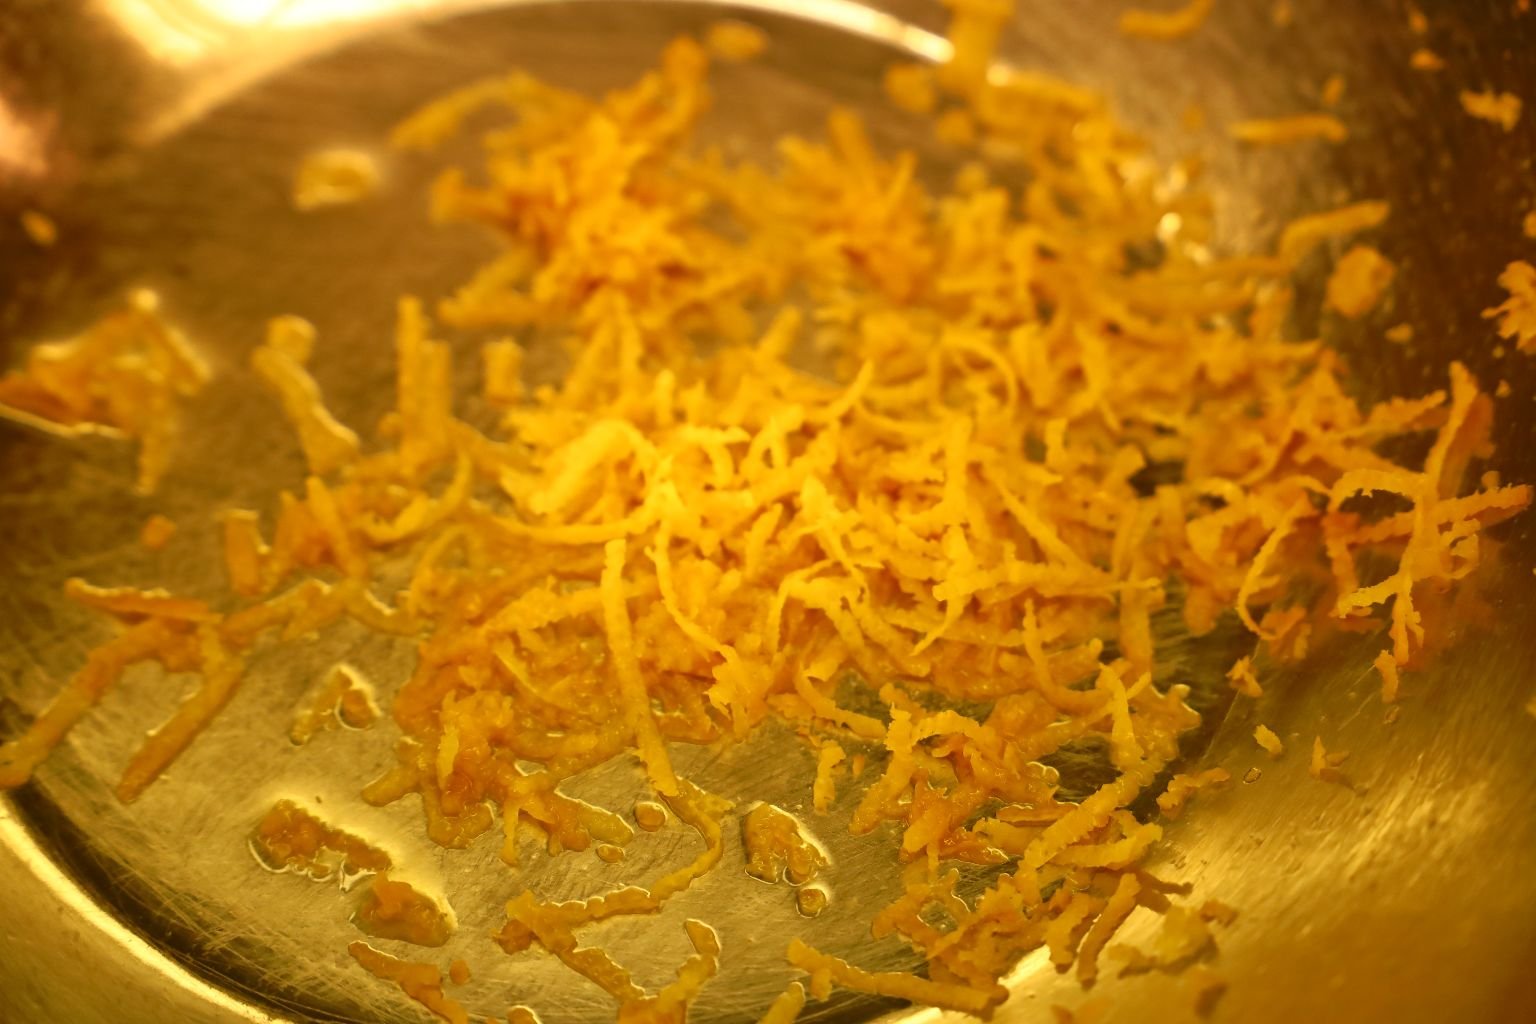
Zest and Juice of 2 Lemons
2 Tbsp. Sweet and Spicy Mustard
1/4 Cup Red Wine Vinegar – Colavita Brand
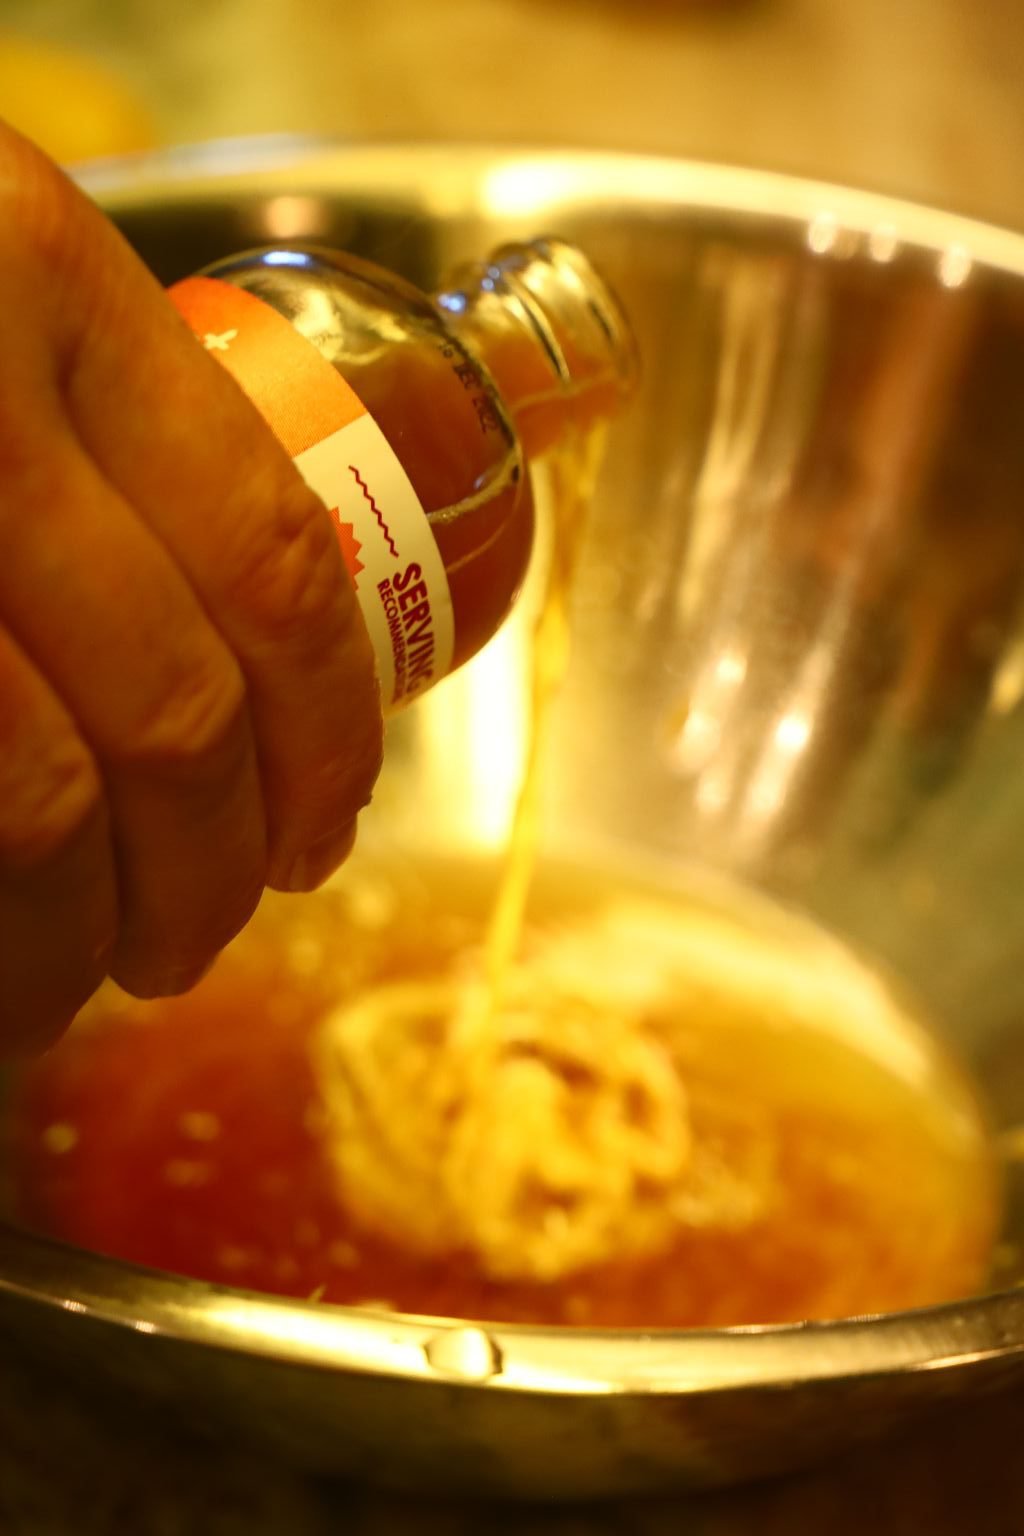
1/4 Cup Turmeric and Honey Apple Cider Vinegar
2 Tbsp. Premium White Balsamic Reduction – Alessi Brand
~ 1 1/4 Cups Roasted Garlic Olive Oil – Star Brand
2 Tbsp. Organic Agave in the Raw
Salt and Pepper to taste
———————————————————————
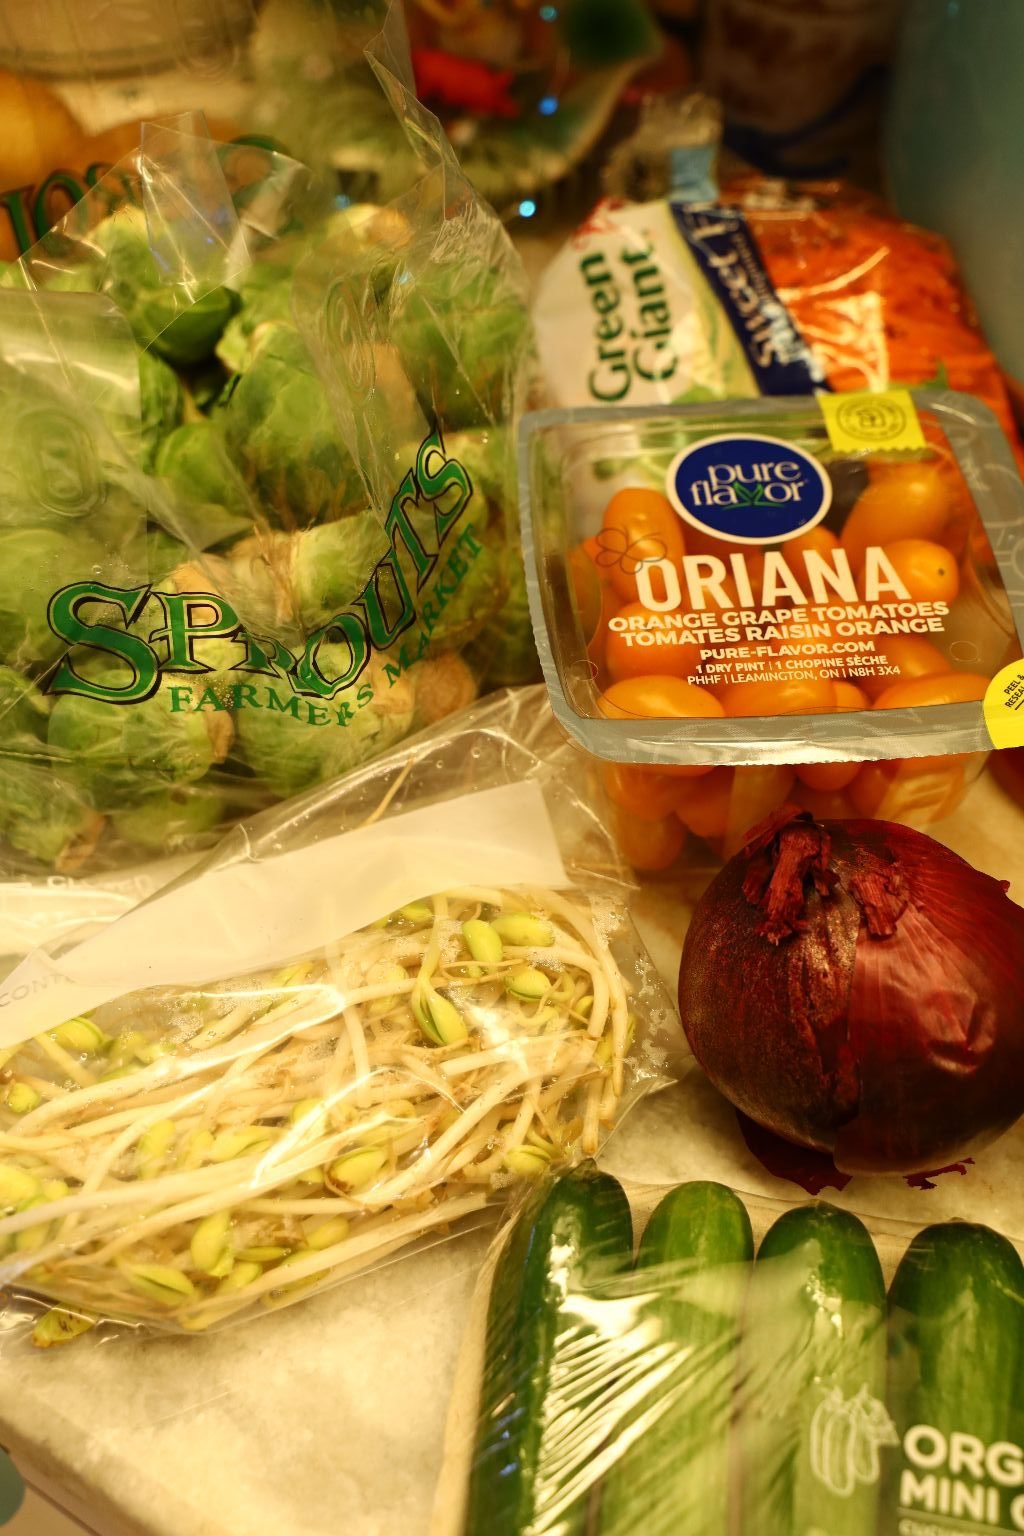
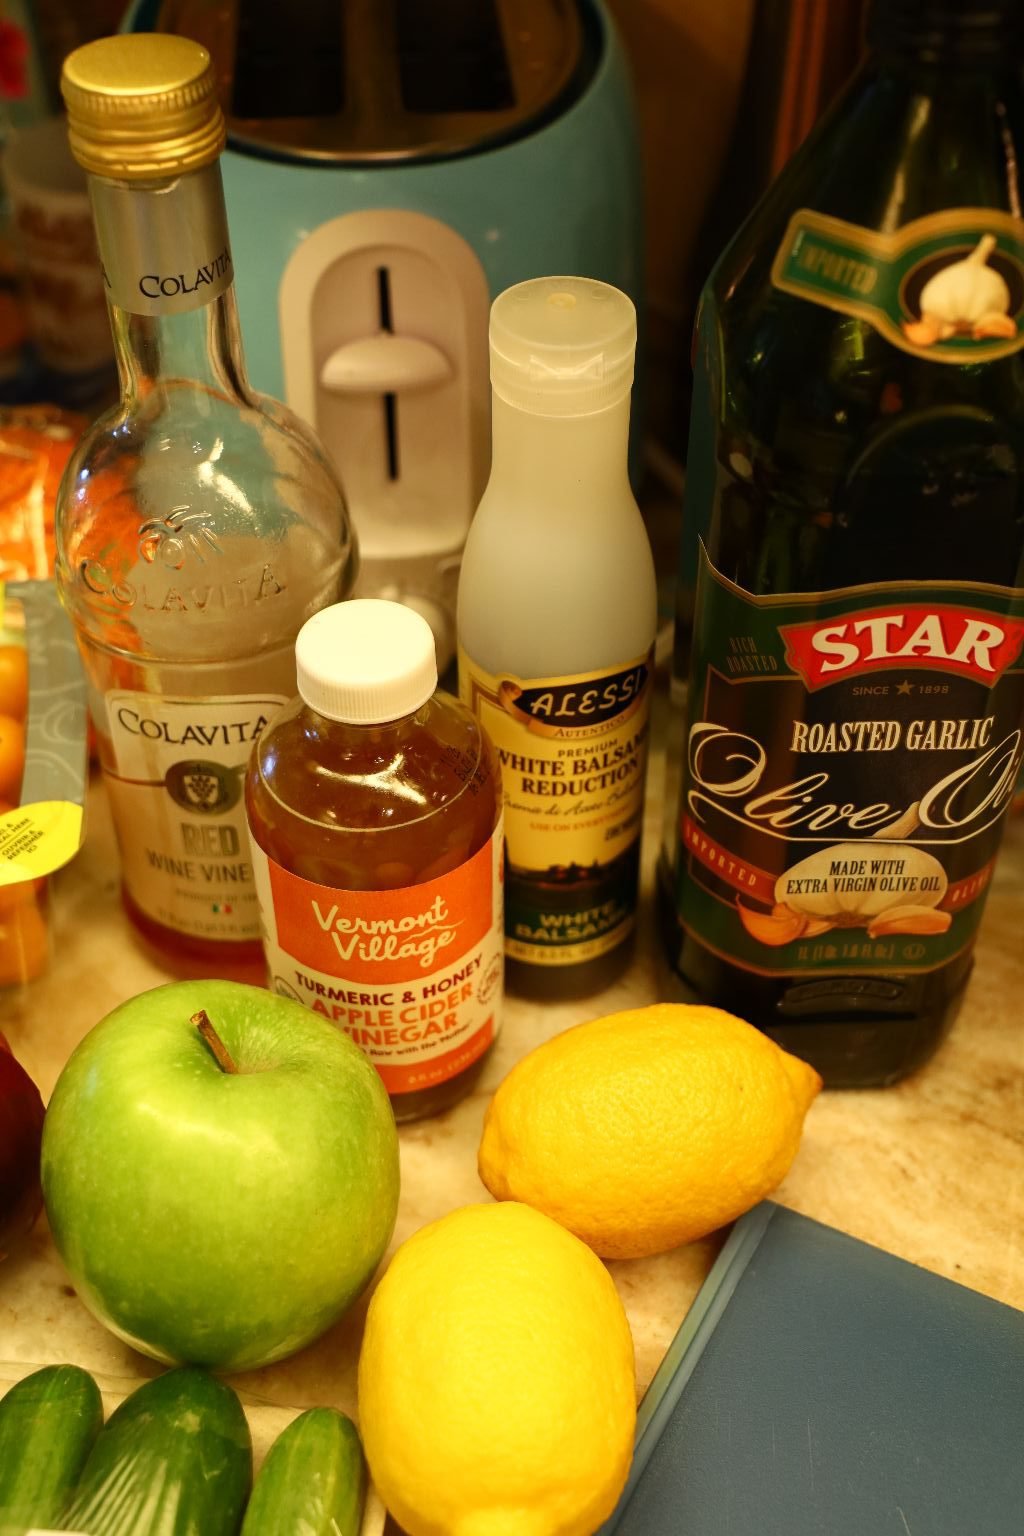
All Of Our Ingredients
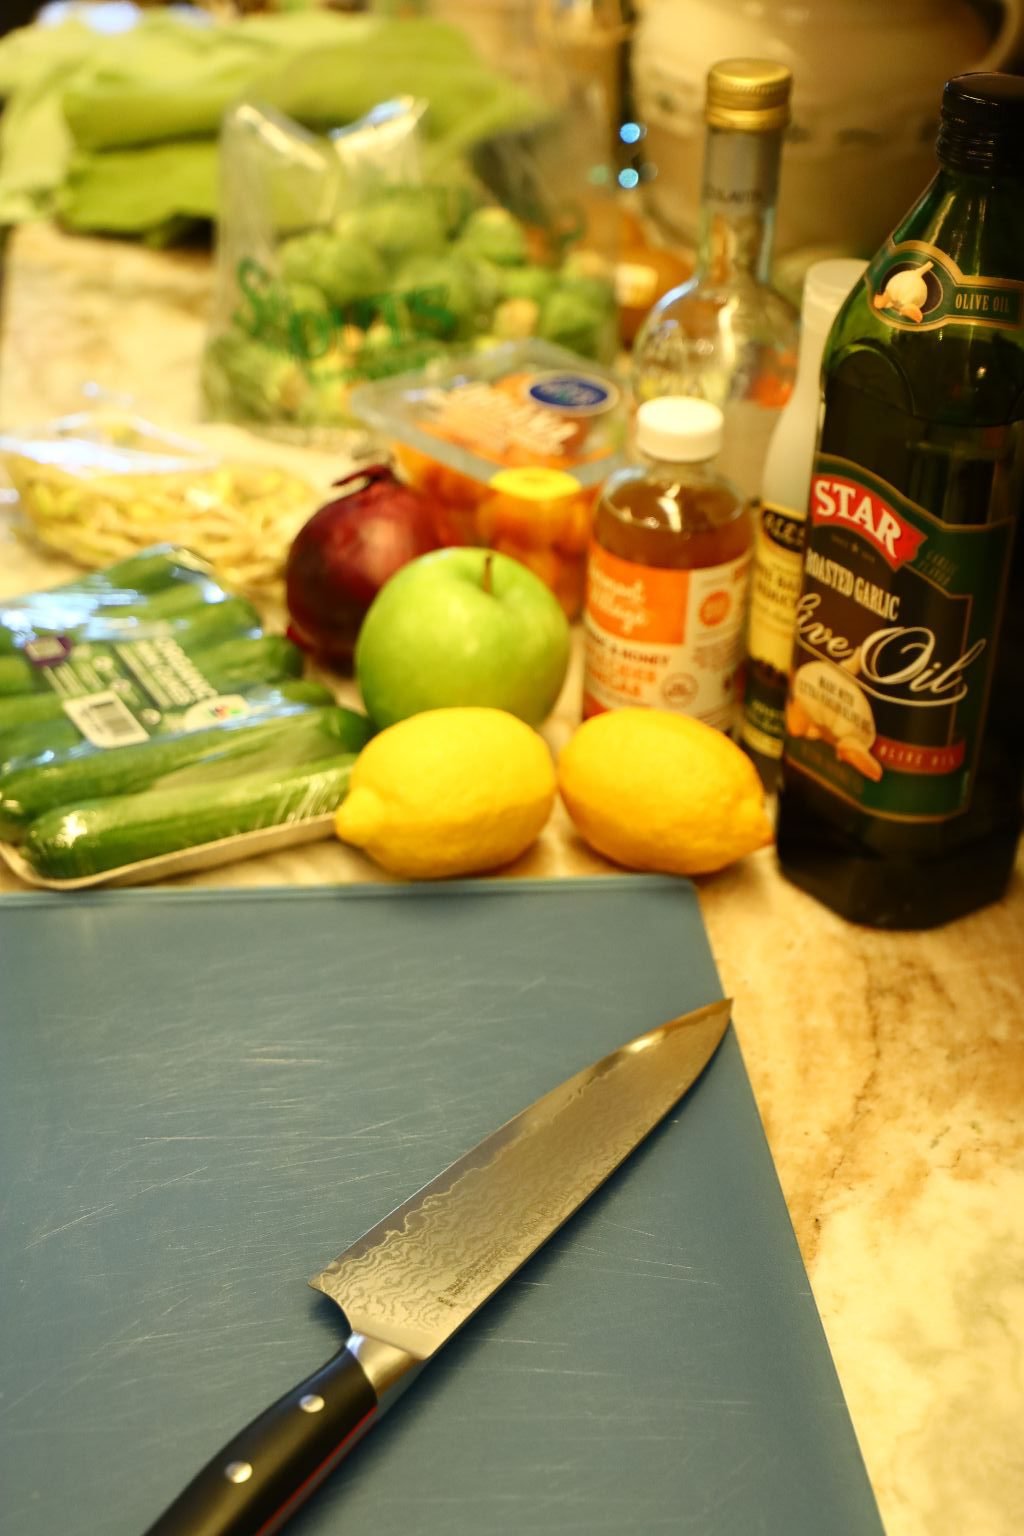
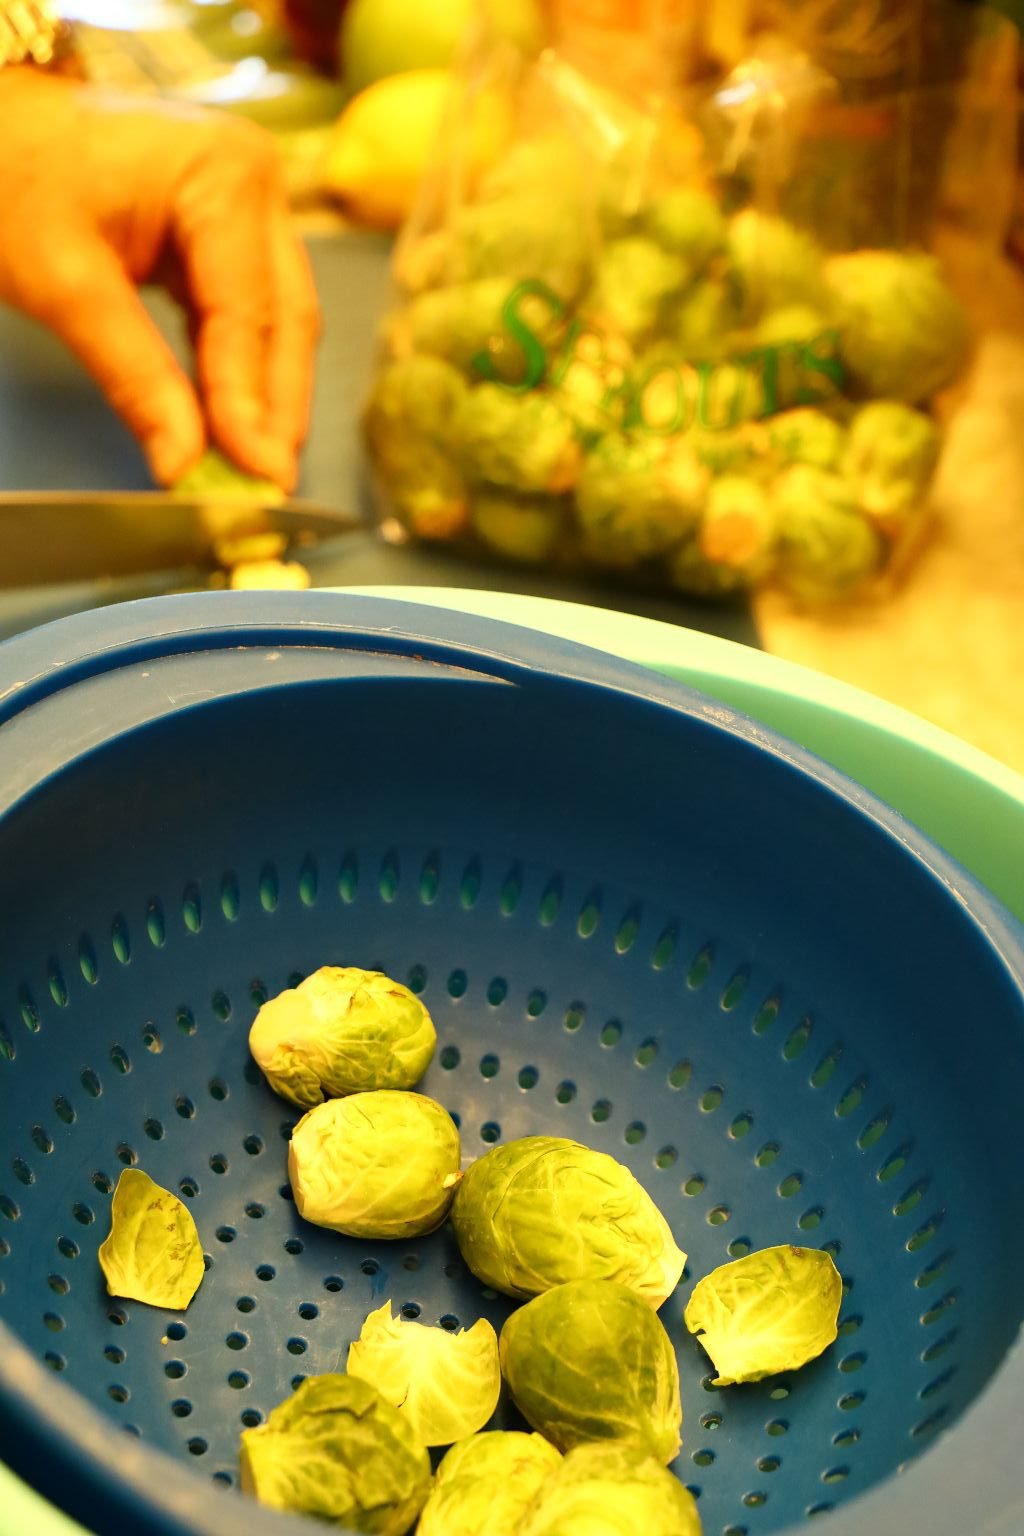
Using a sharp knife, remove just the end of the Brussels Sprout that was attached to the stalk.
This is usually dry and hard.

When done, place them all into a large colander.
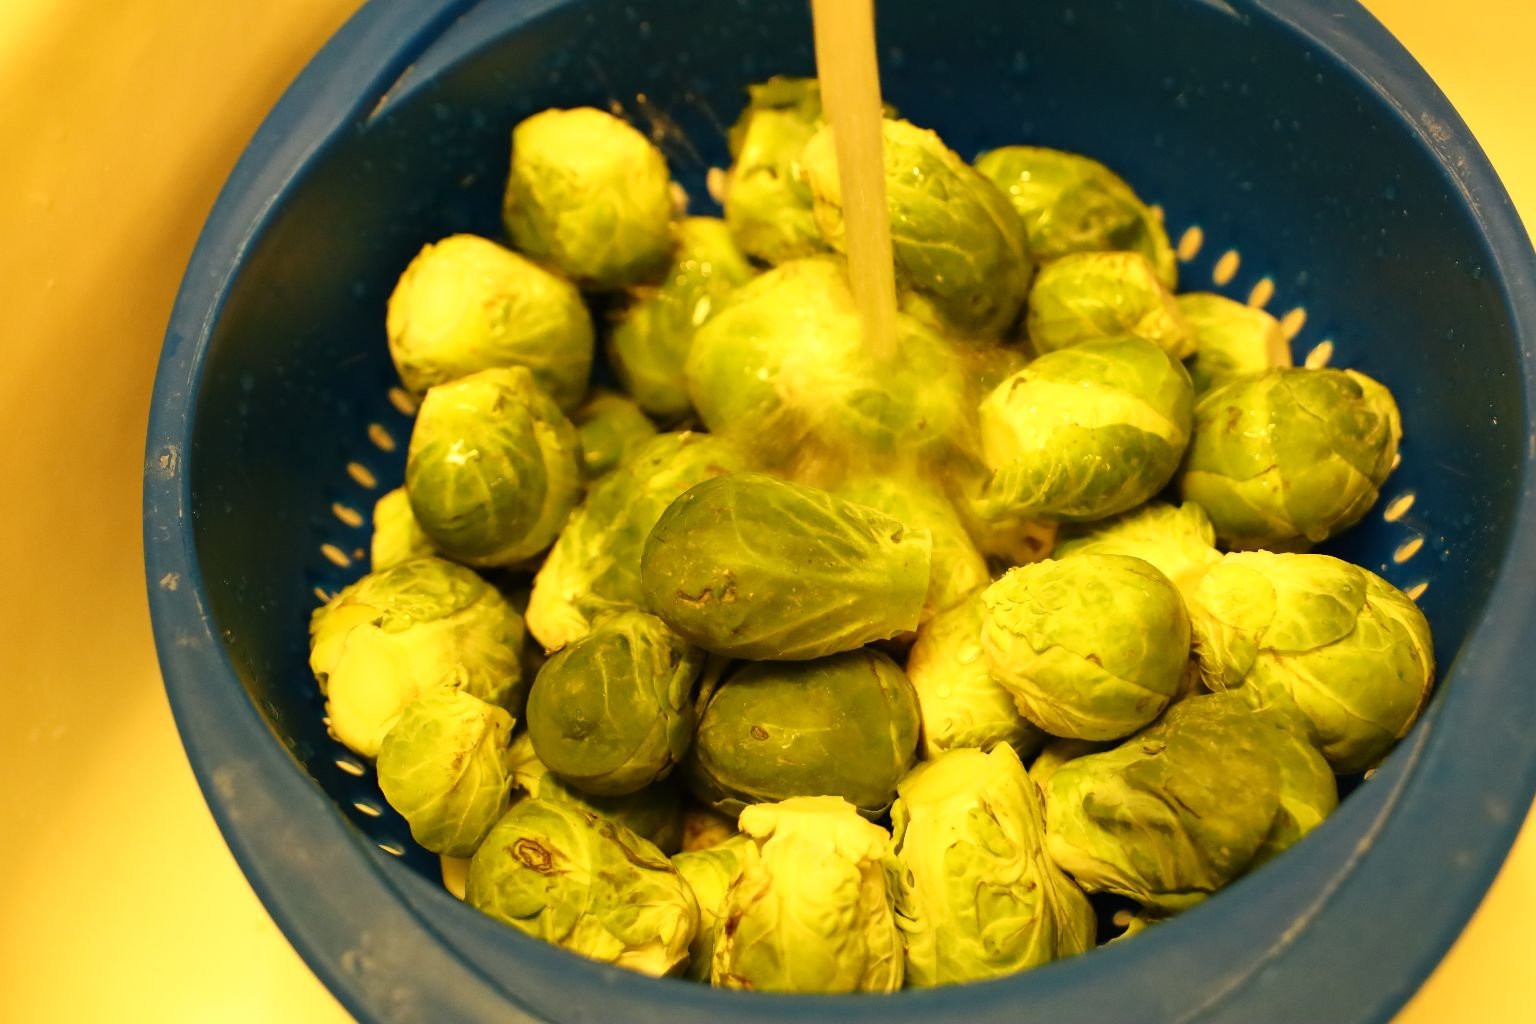
Rinse the Sprouts well with running water.
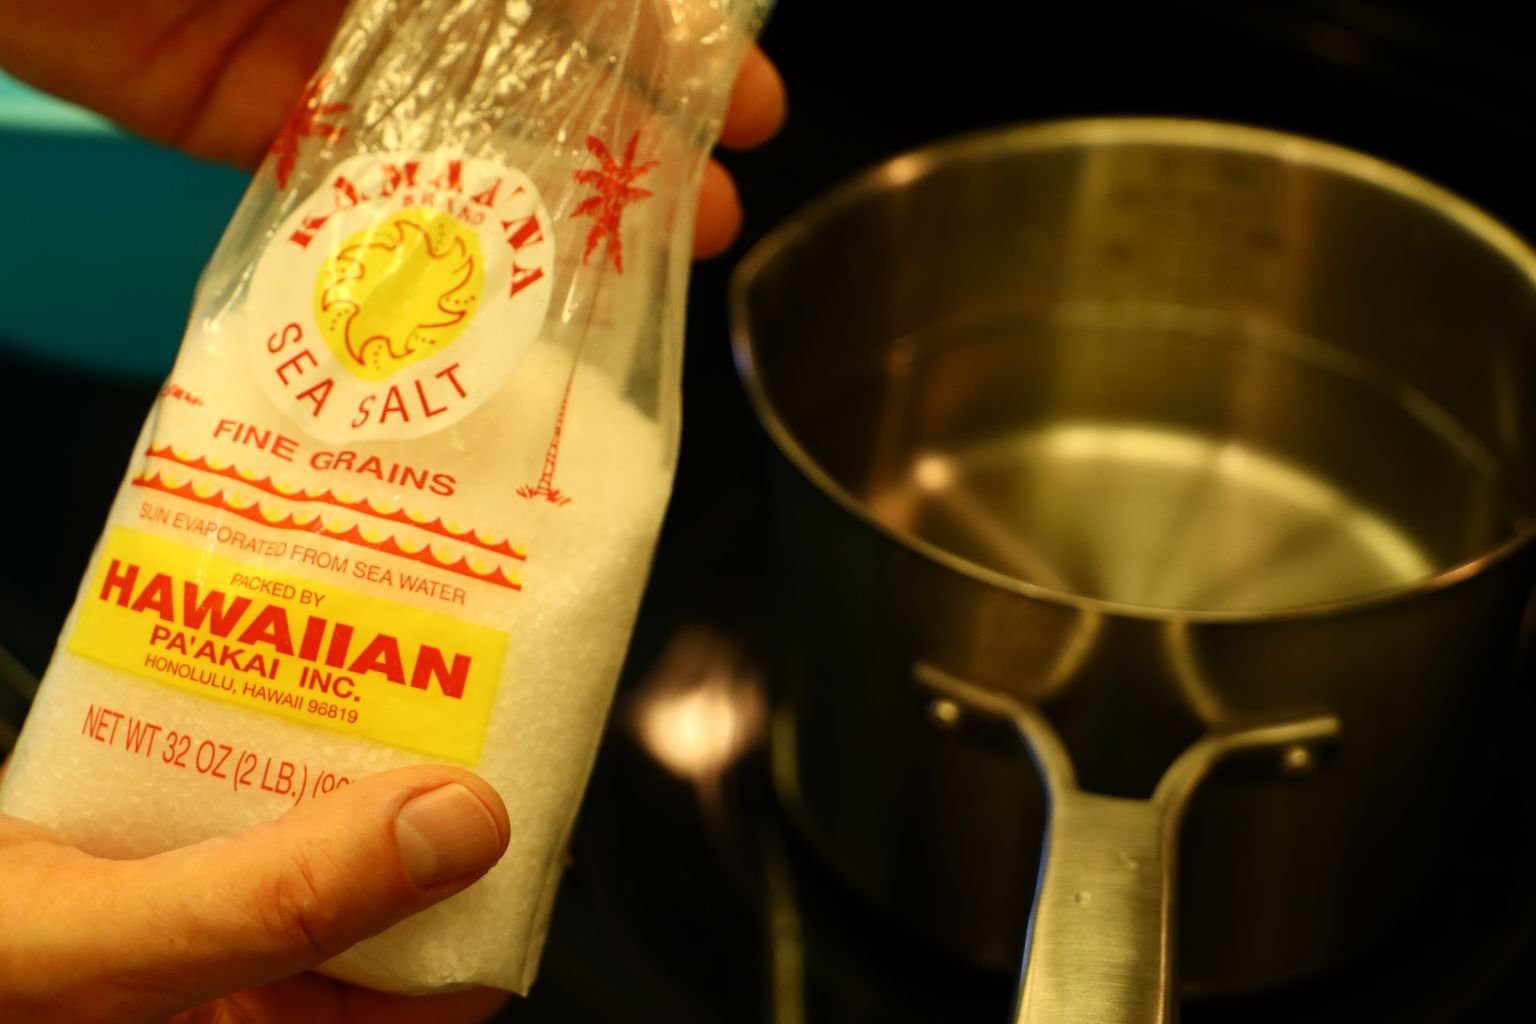
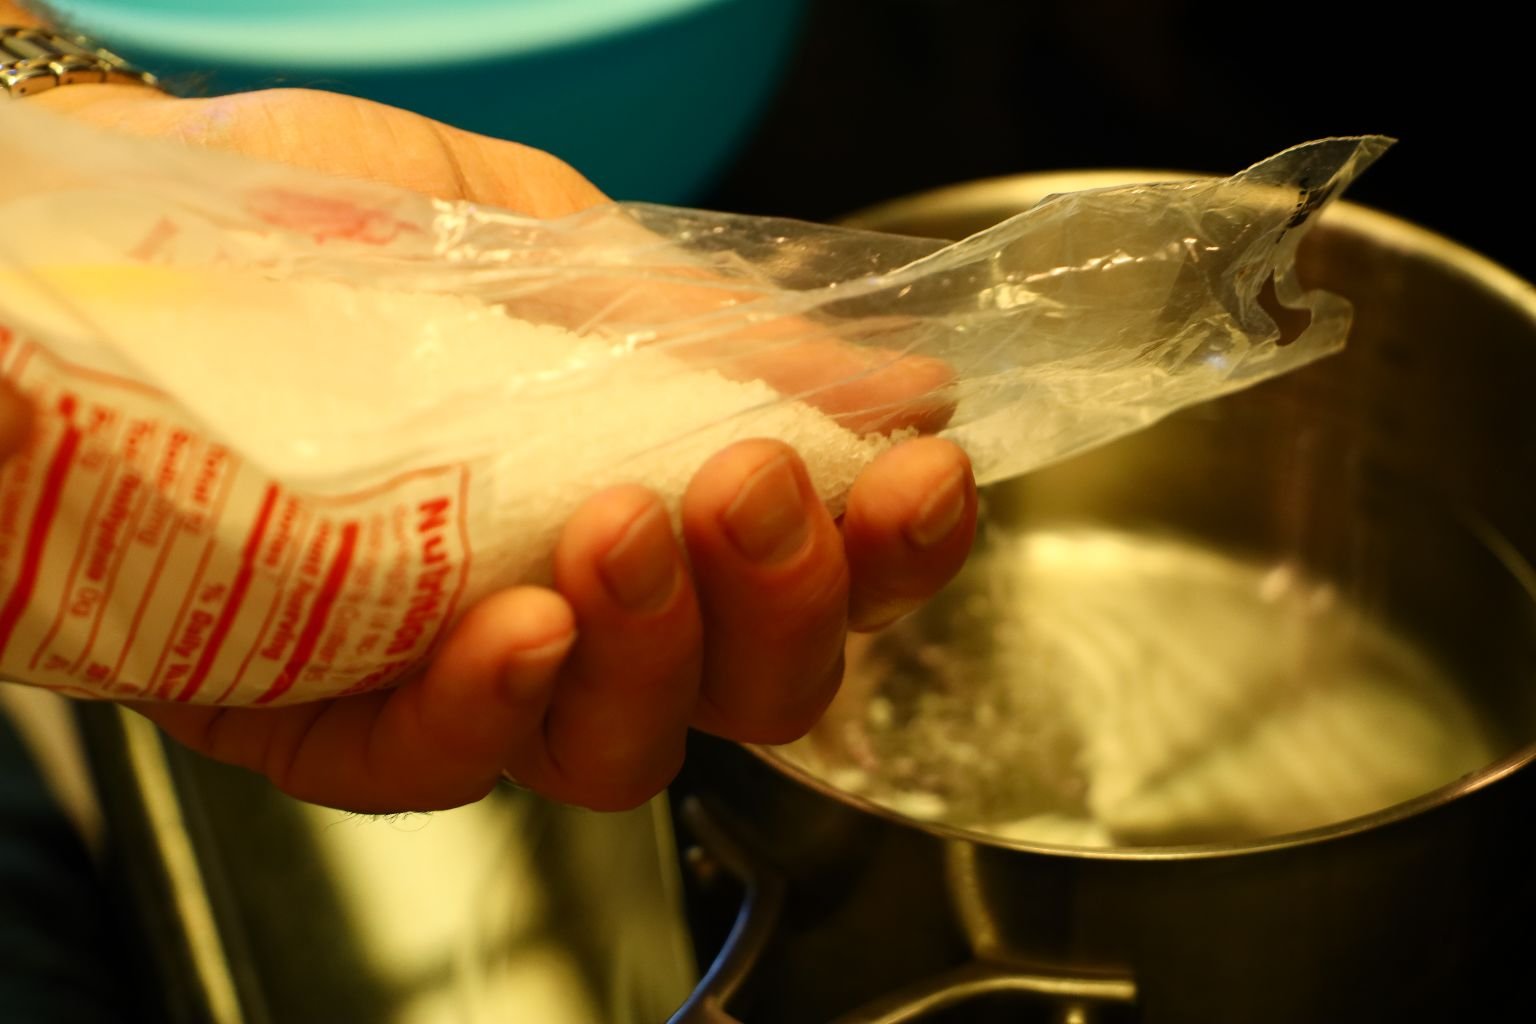
Add your Sea Salt into a large pot to season the Sprouts and turn the pot on high heat to boil the water.
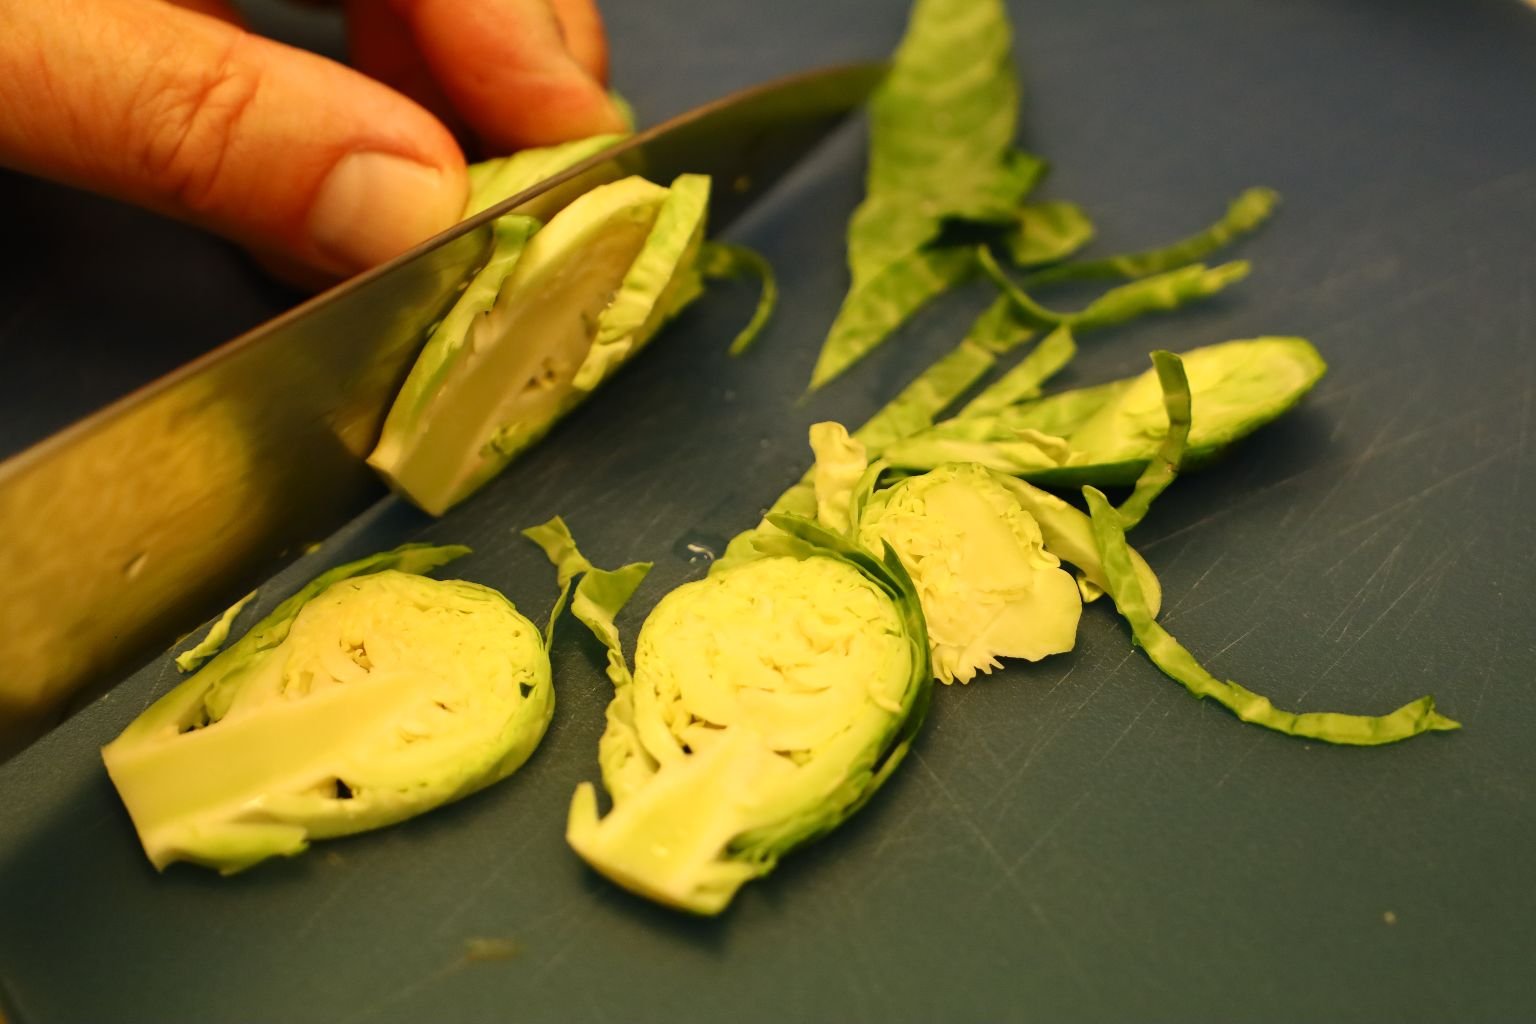
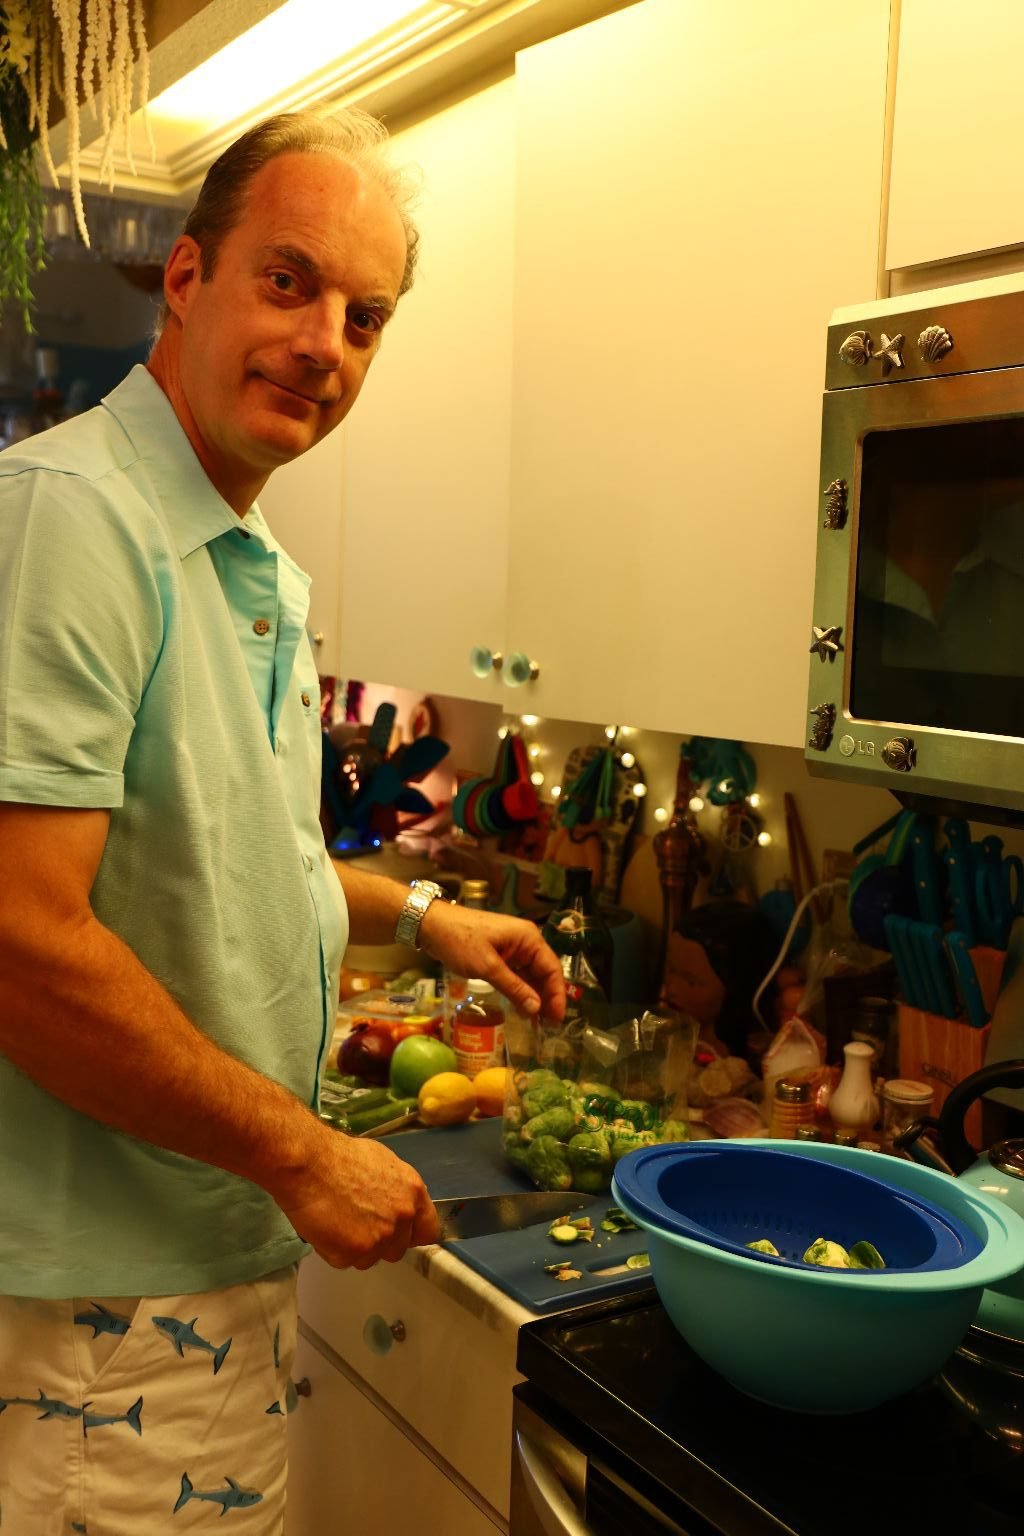
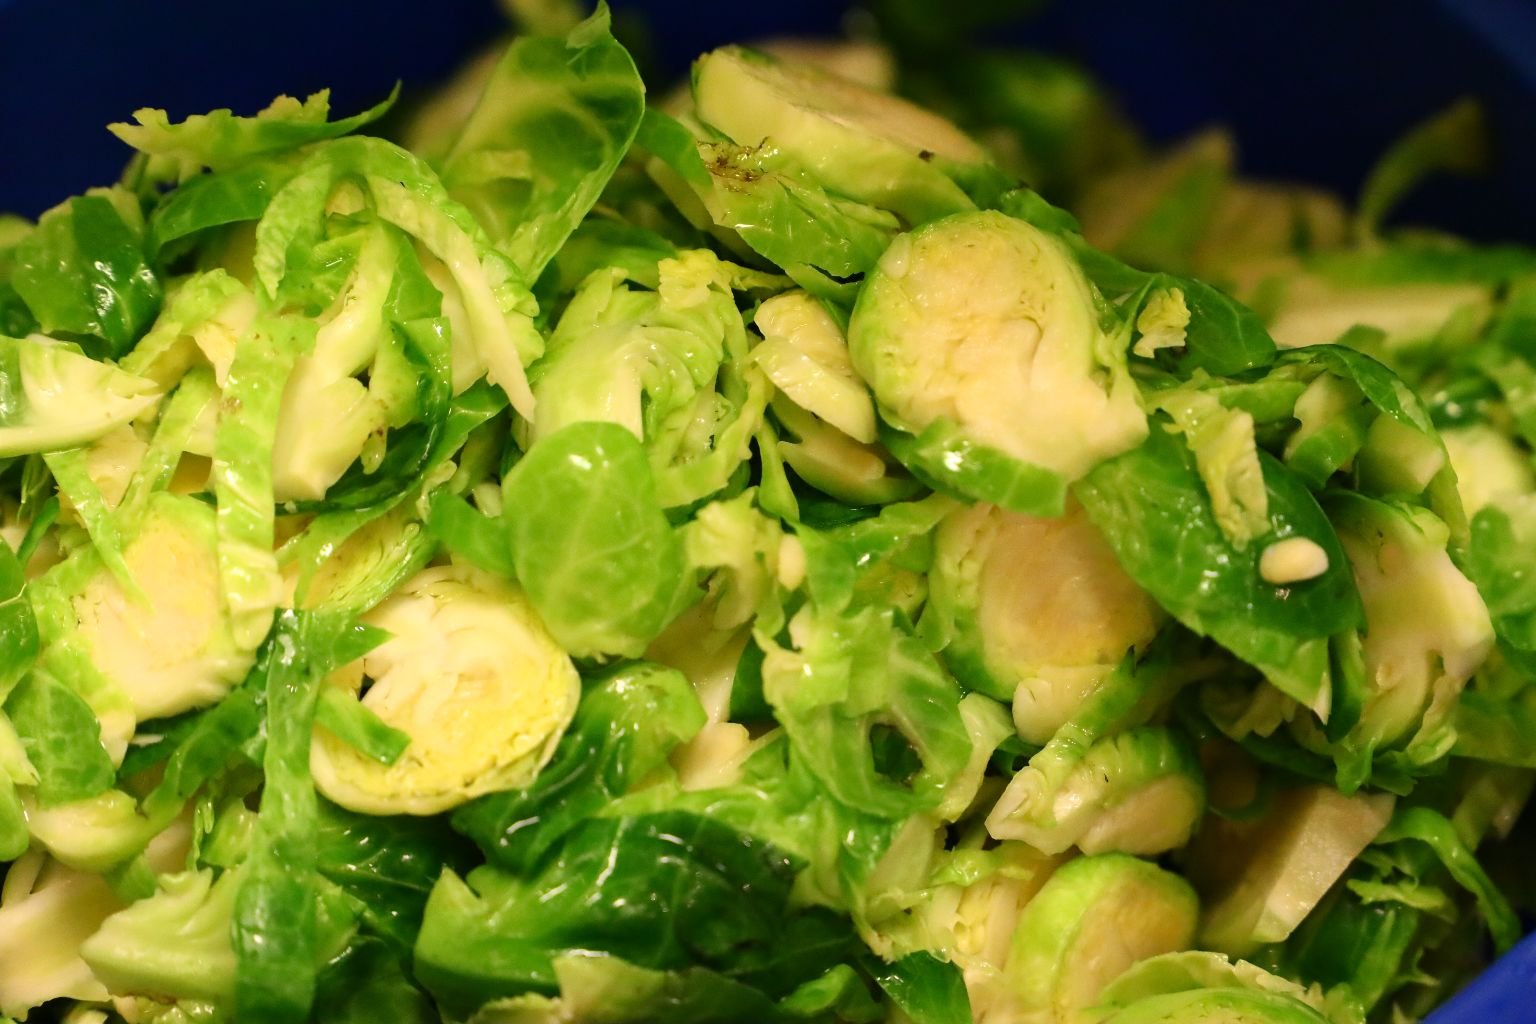
Thinly slice the Sprouts as shown.
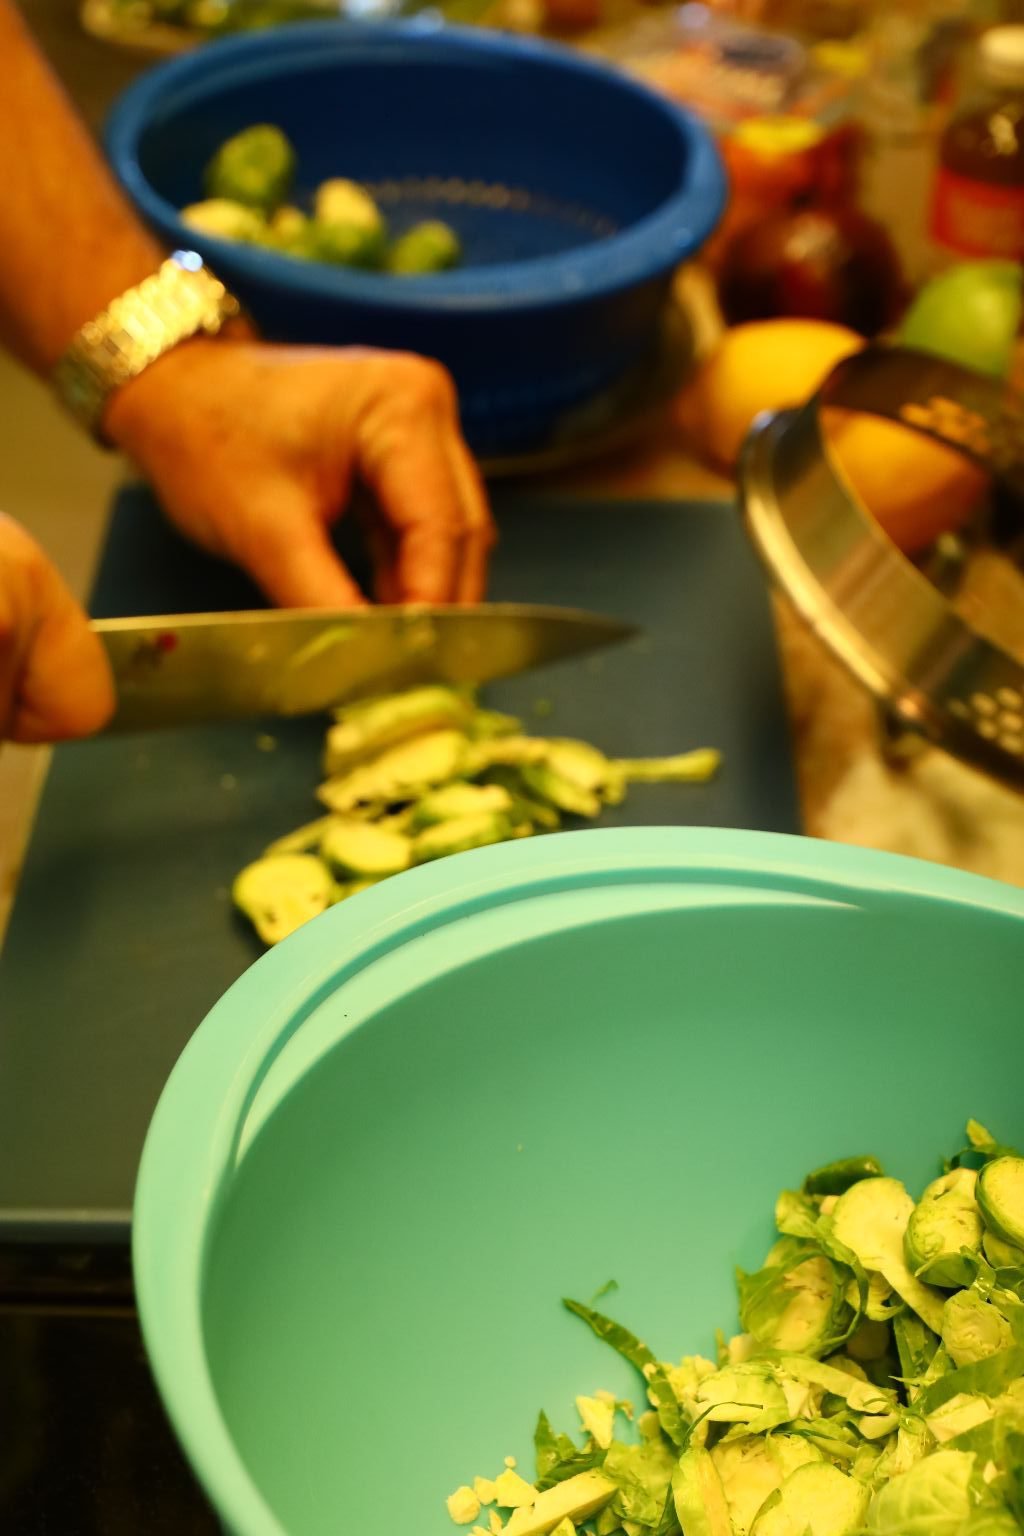
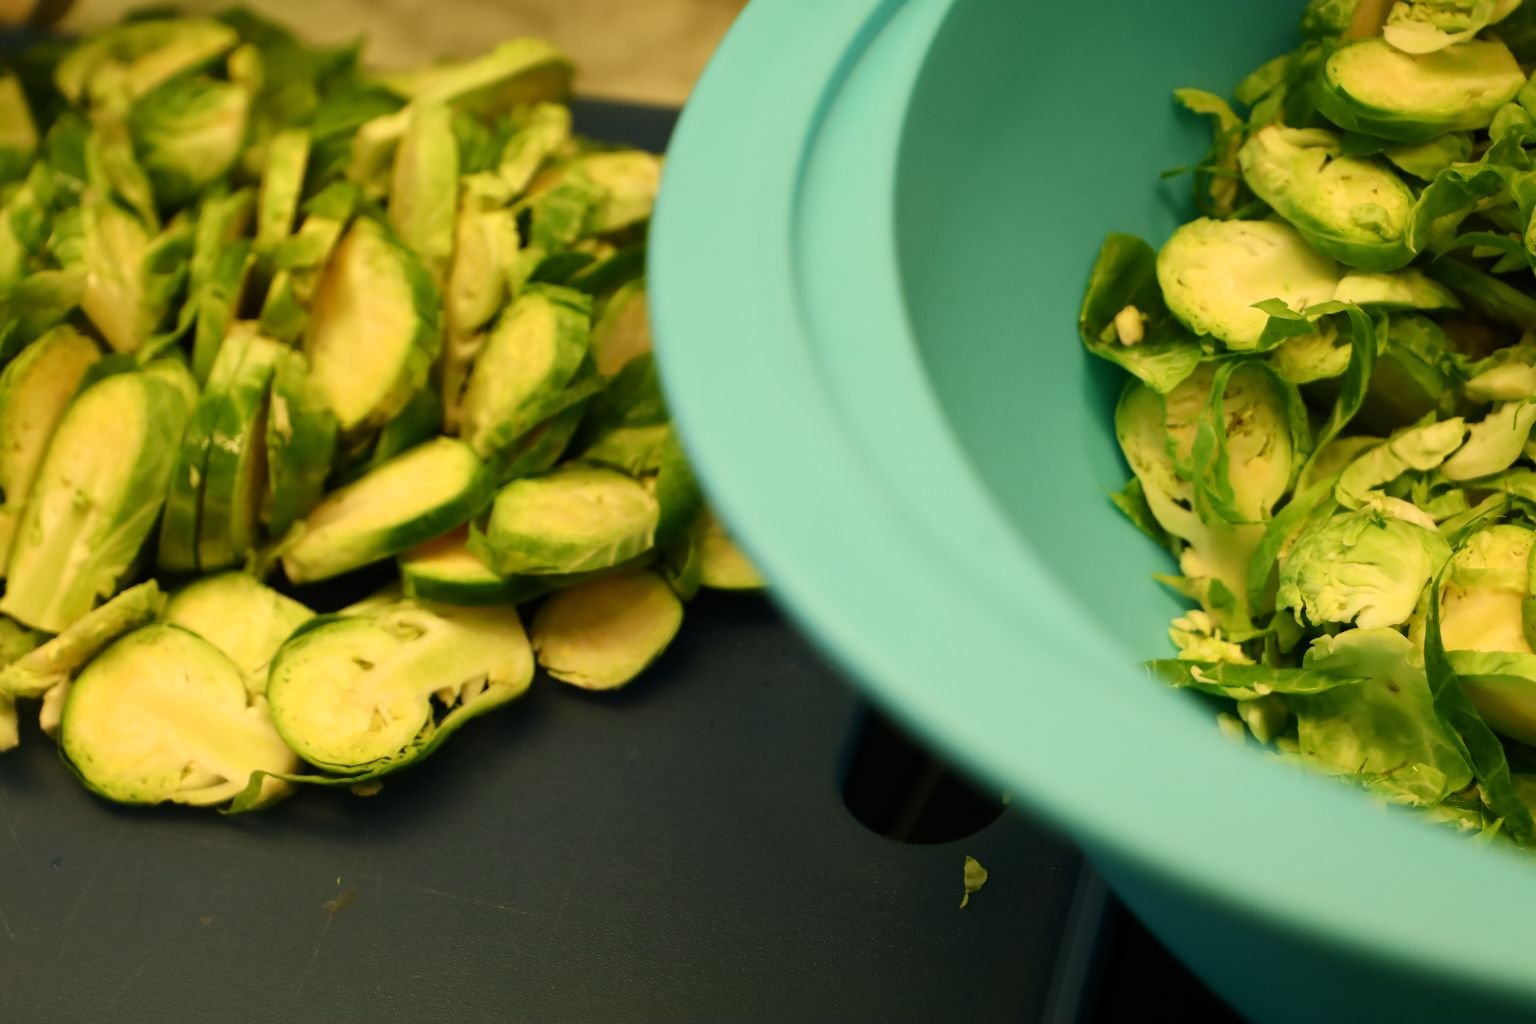
When done, place them all into a large bowl.
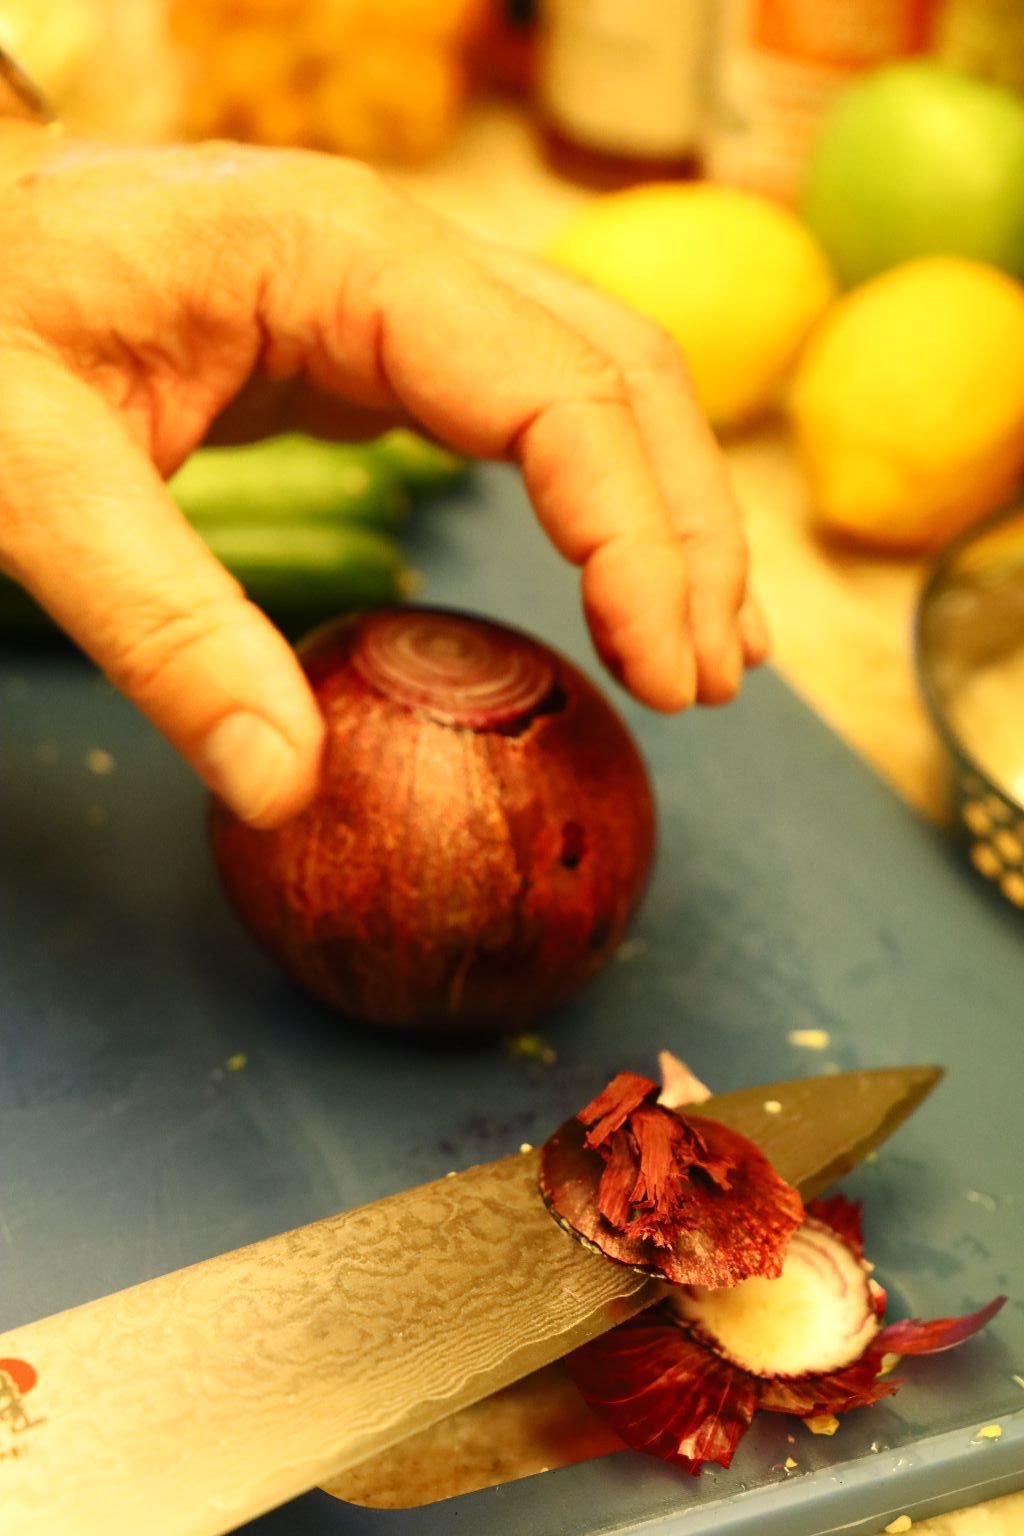
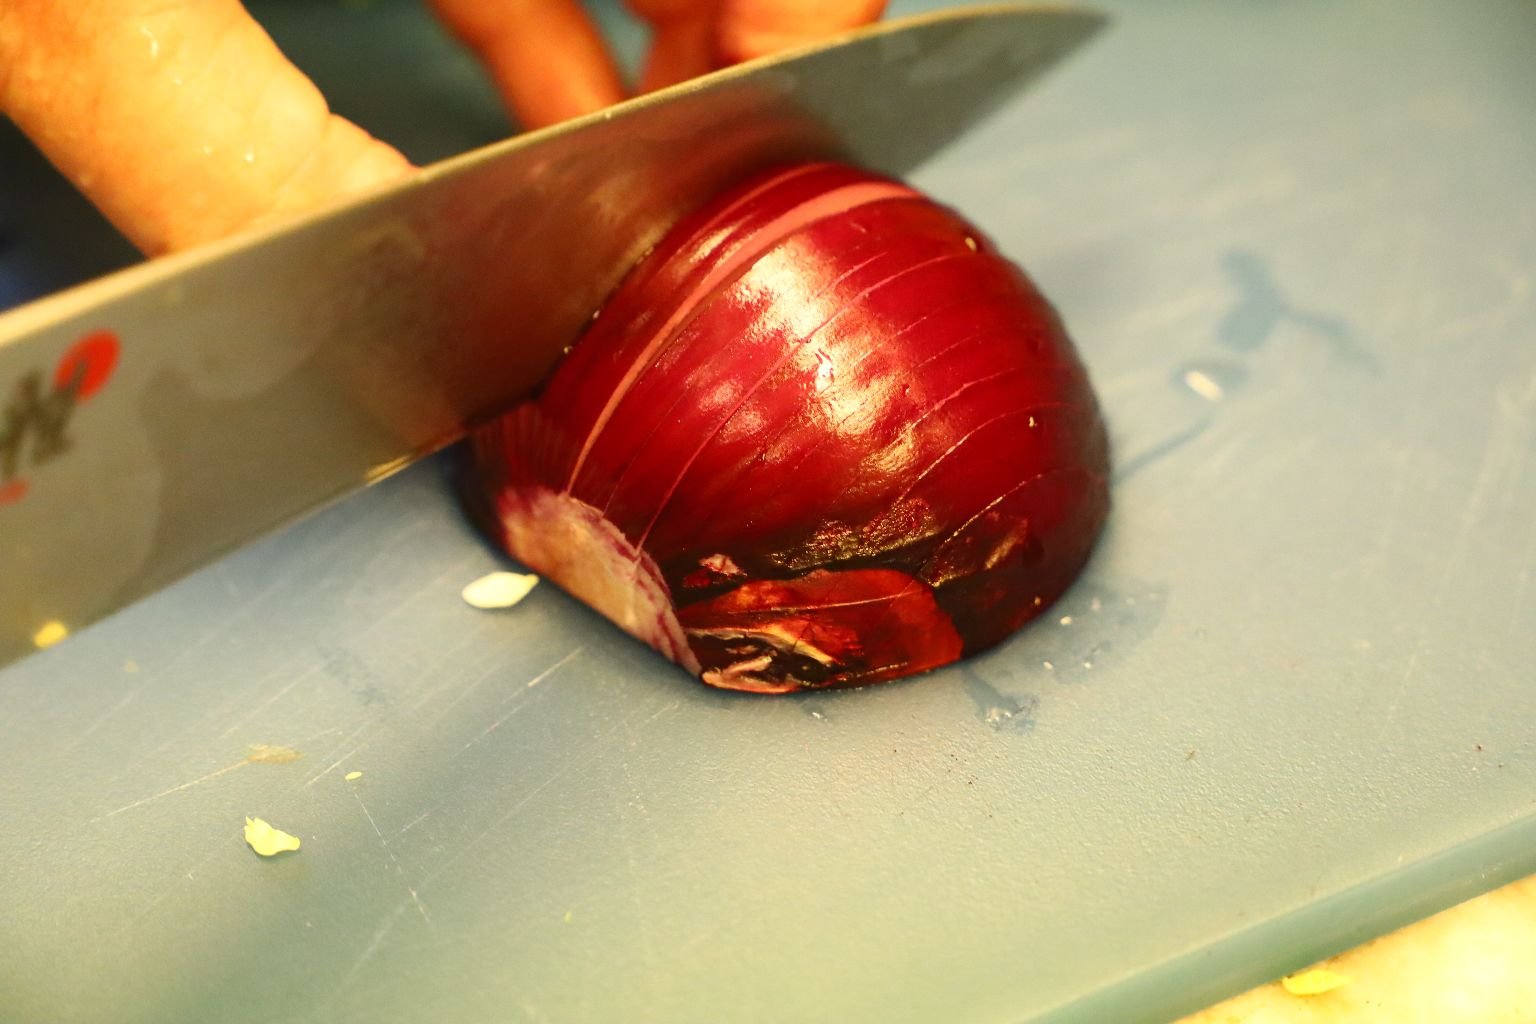
While waiting for your water to boil, remove the skin, root, and stem of your Red Onion.
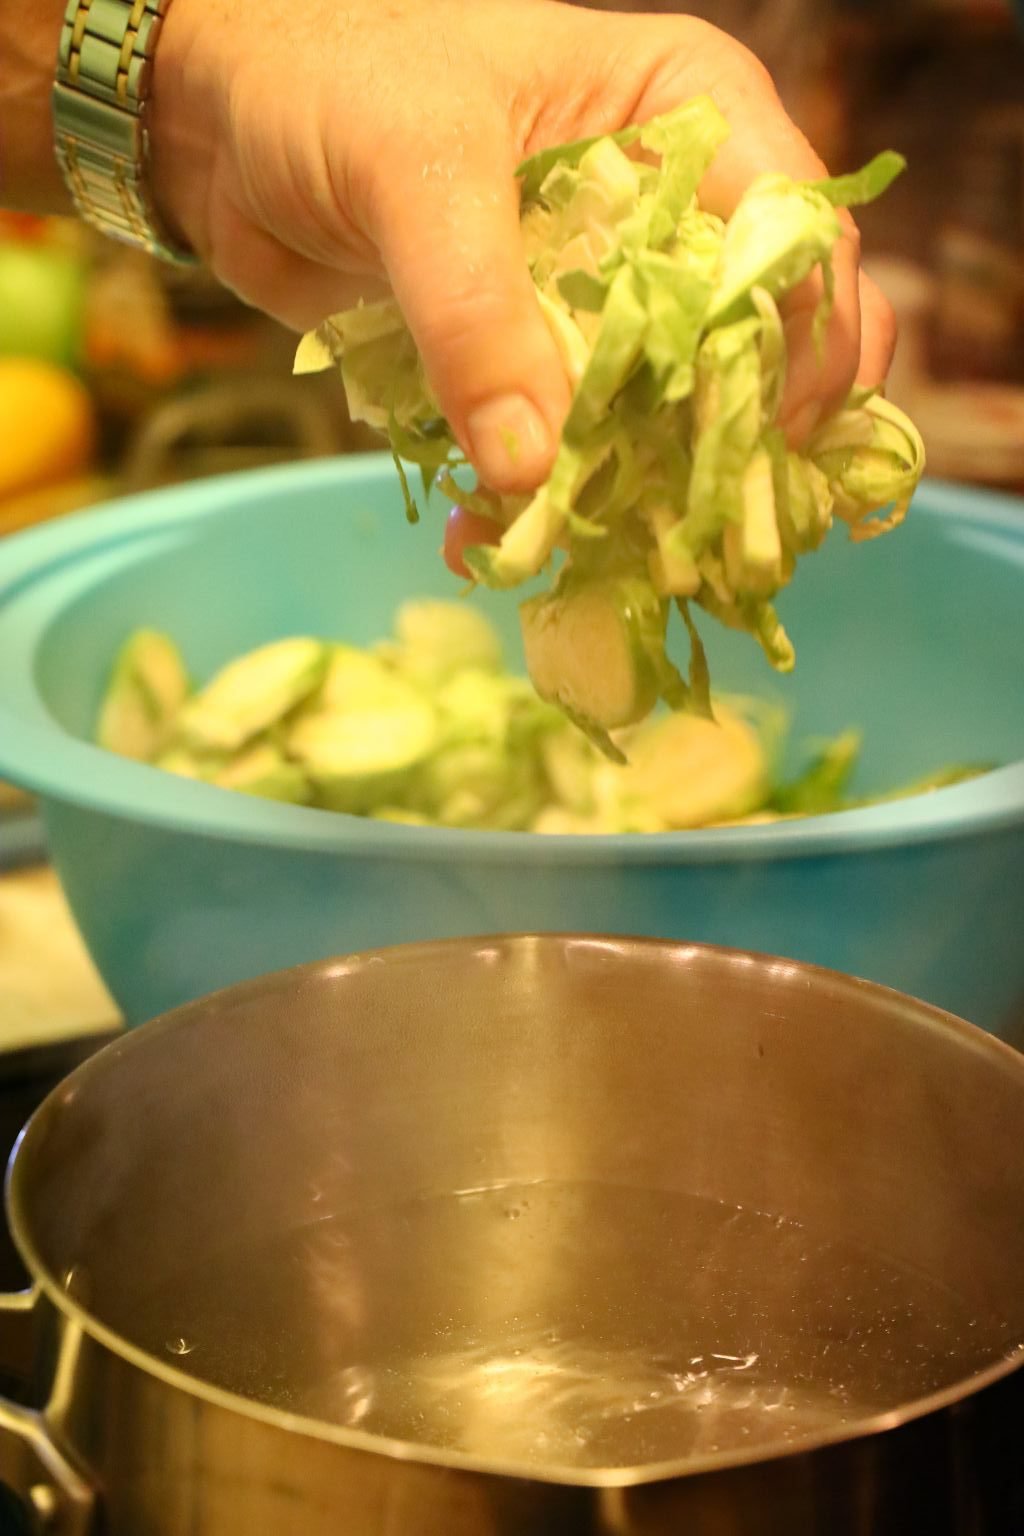
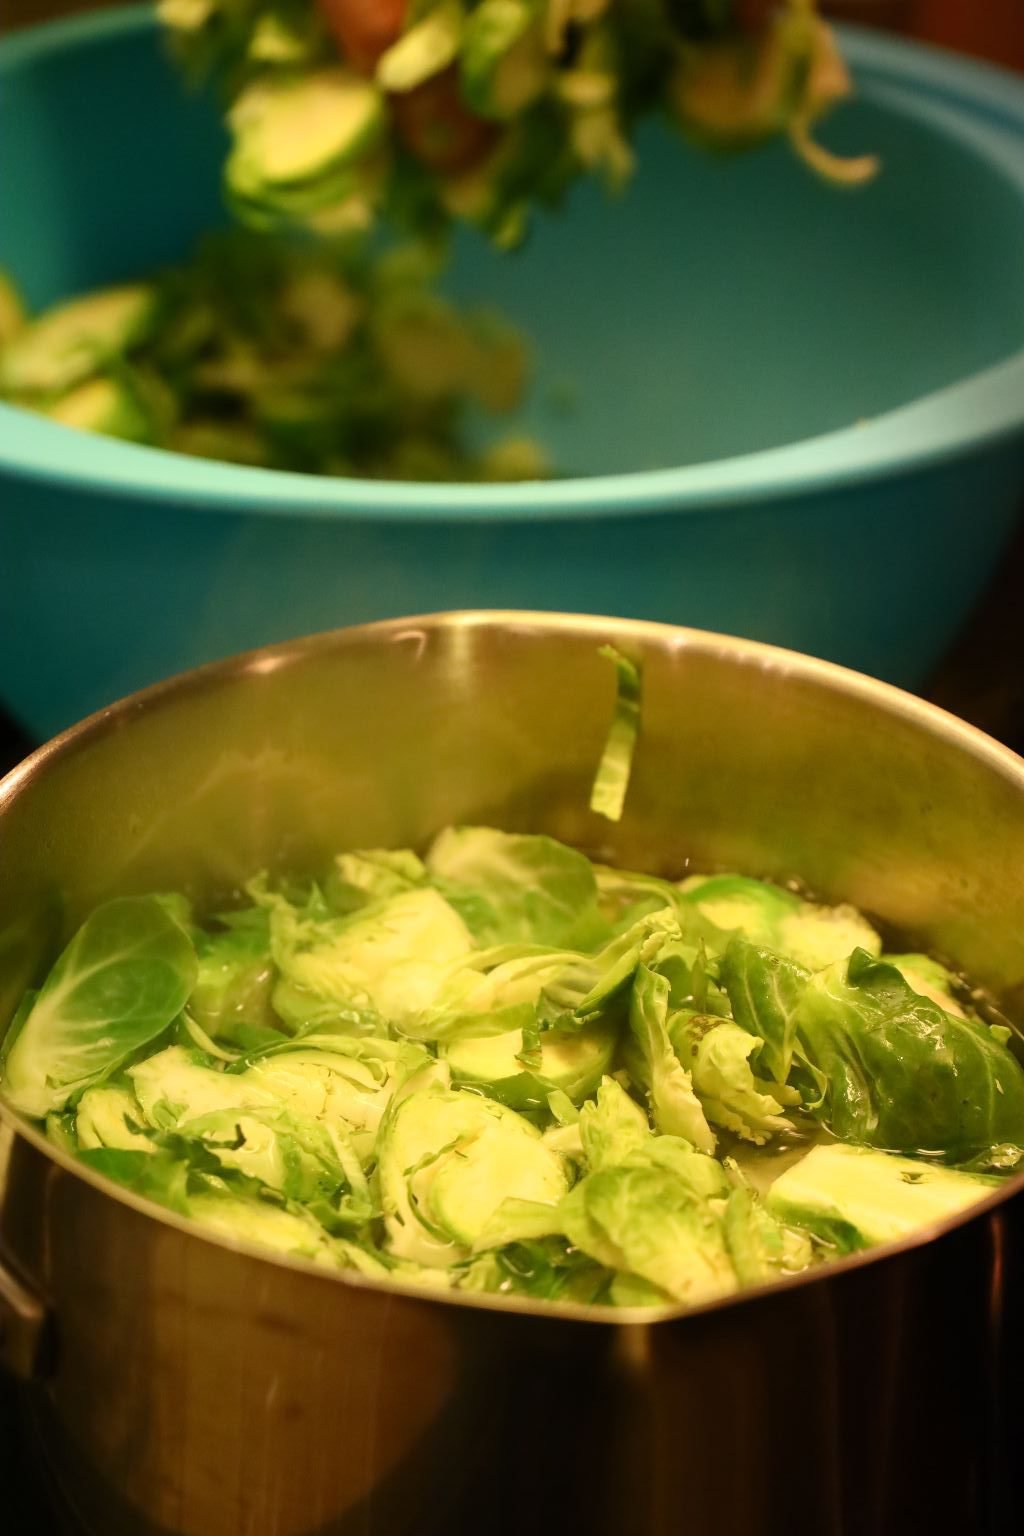
Now that your water is boiling, add your Brussels Sprouts.
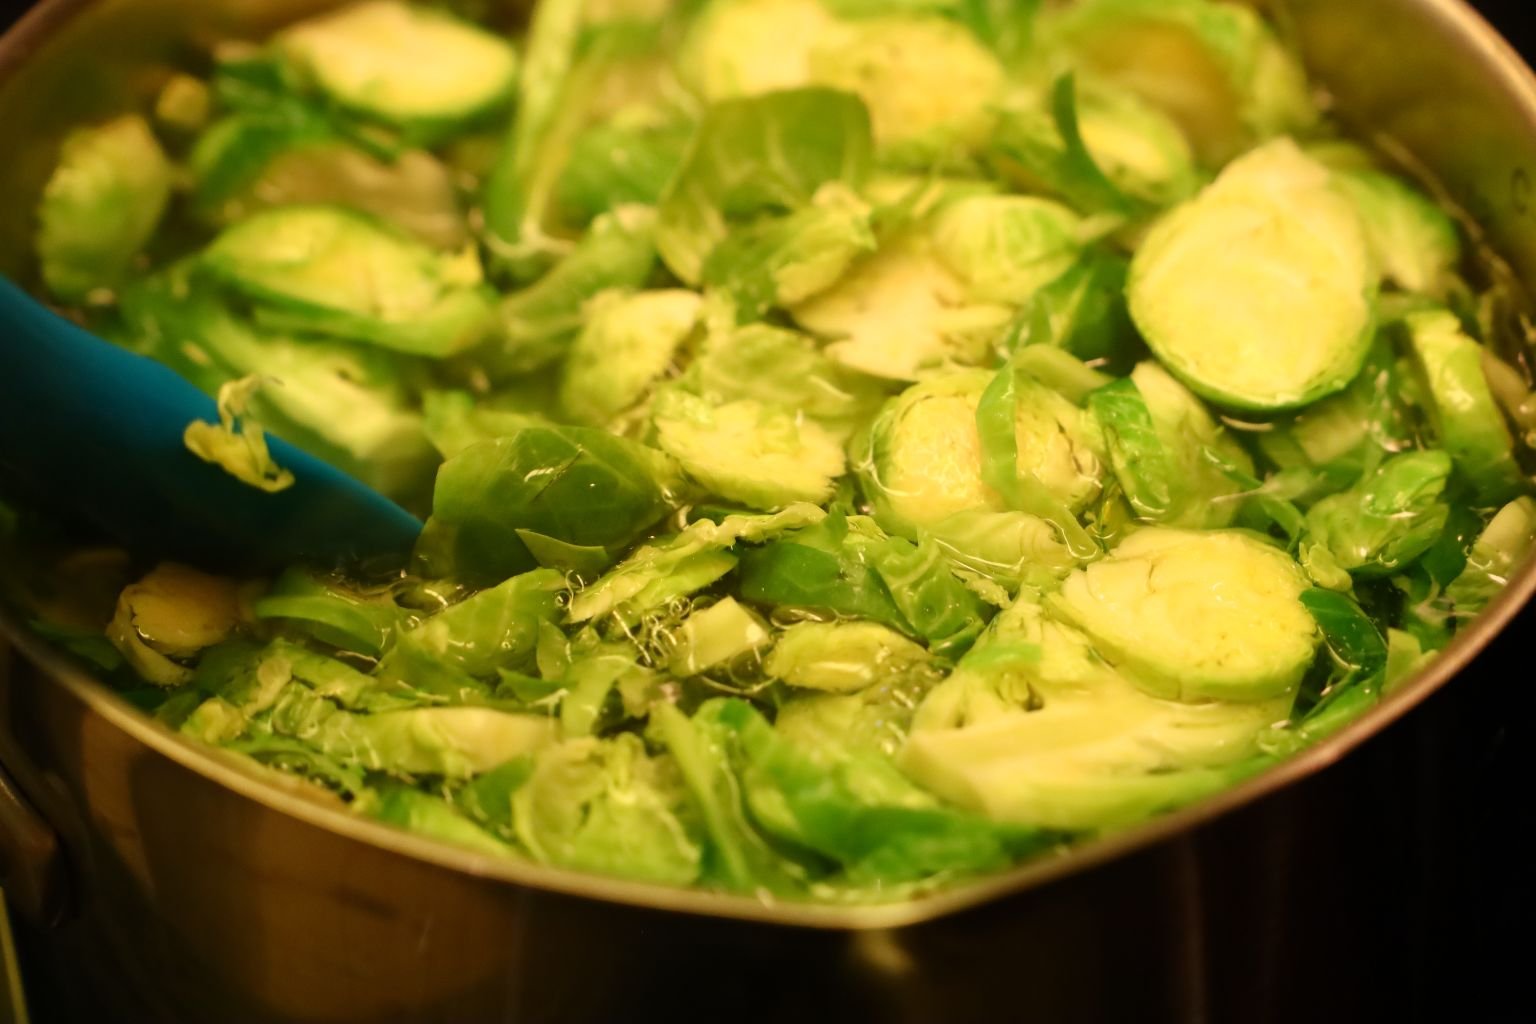
Boil the Brussels Sprouts for about 8 min. or until just tender and bright green.
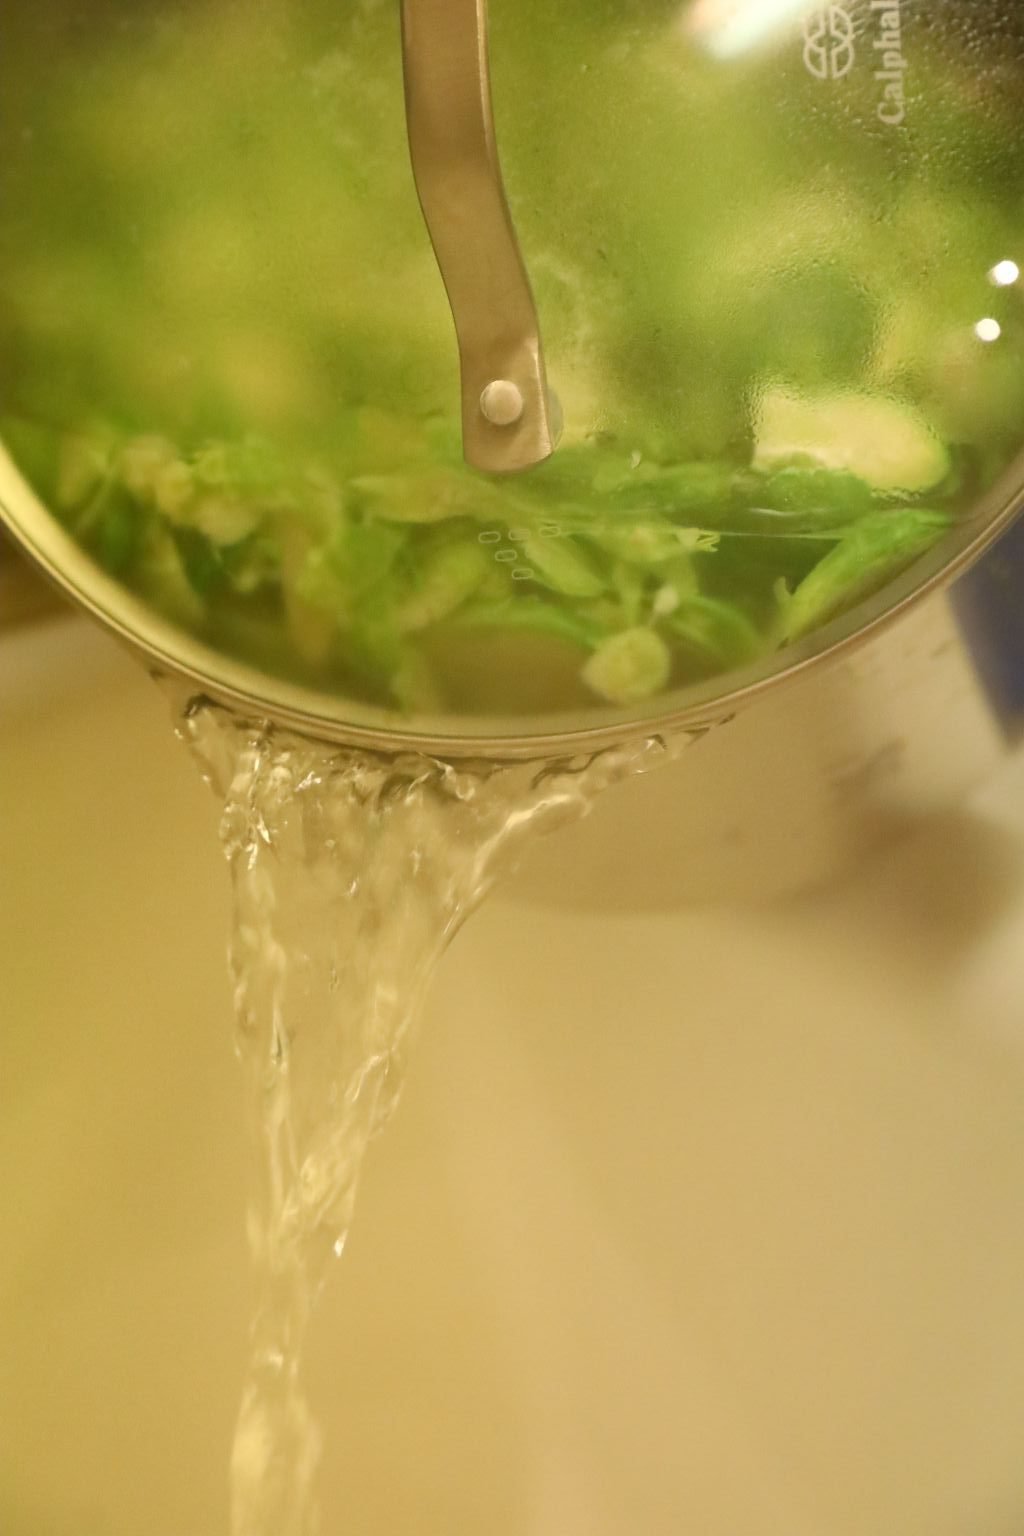
When cooked to your liking, drain the water and add cold water to stop the cooking process. When cooled, pour in a colander and set aside until well drained.
———————————————————————–
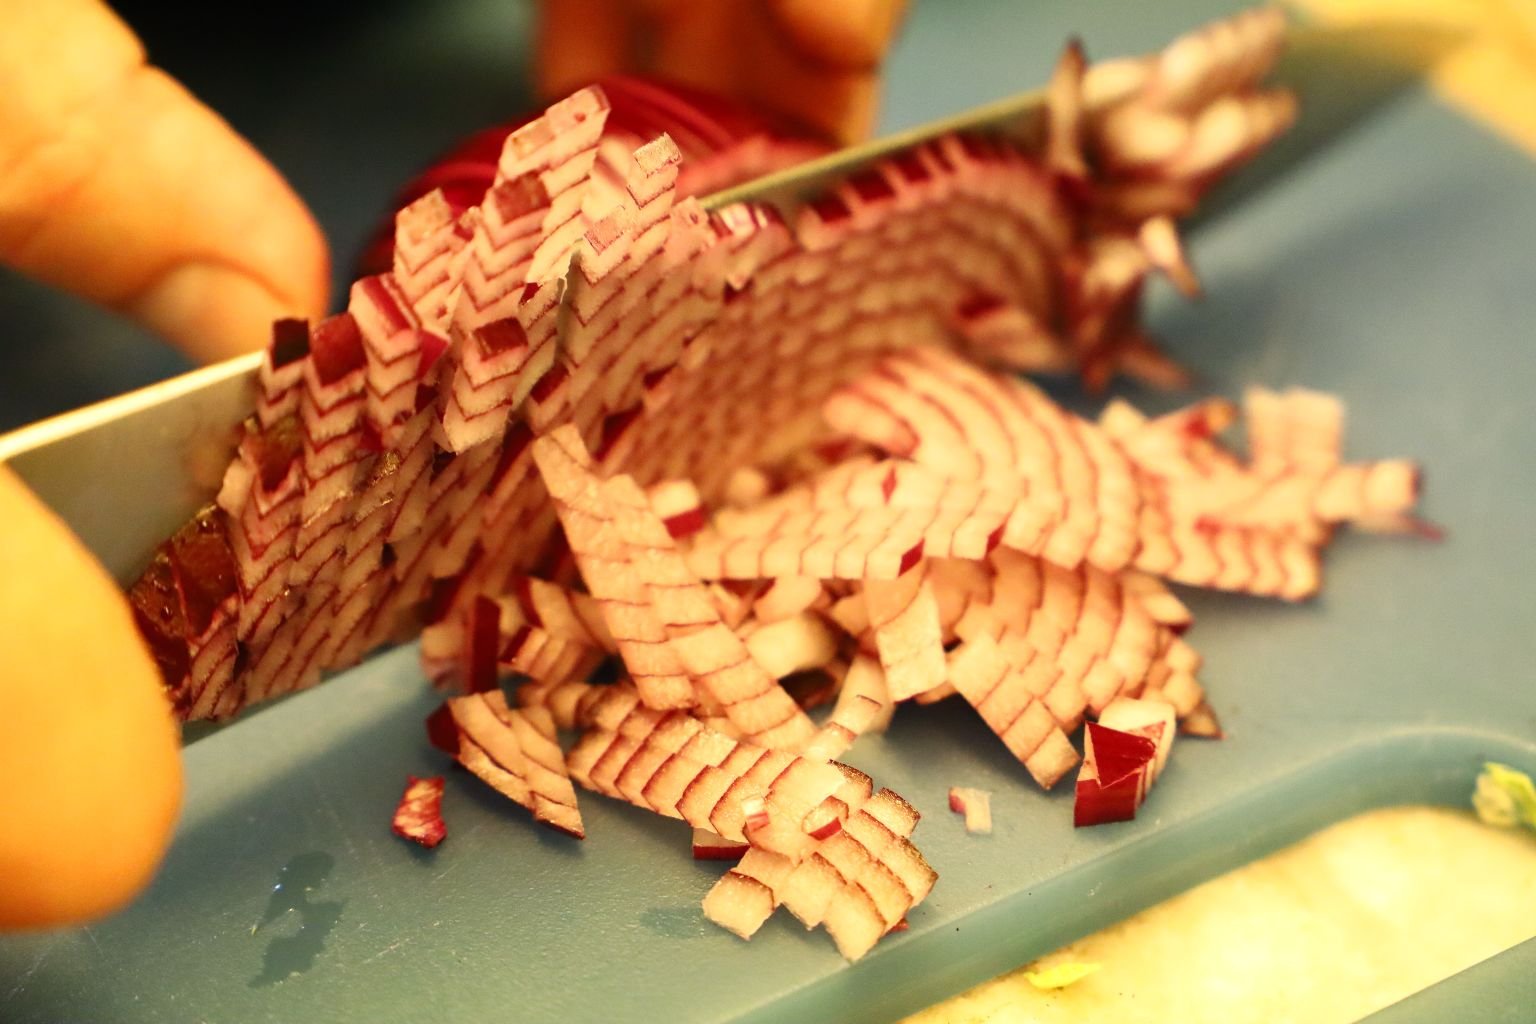
Here are my still crunchy and bright green Brussels Sprouts. I am also slicing the Red Onion into a small dice.
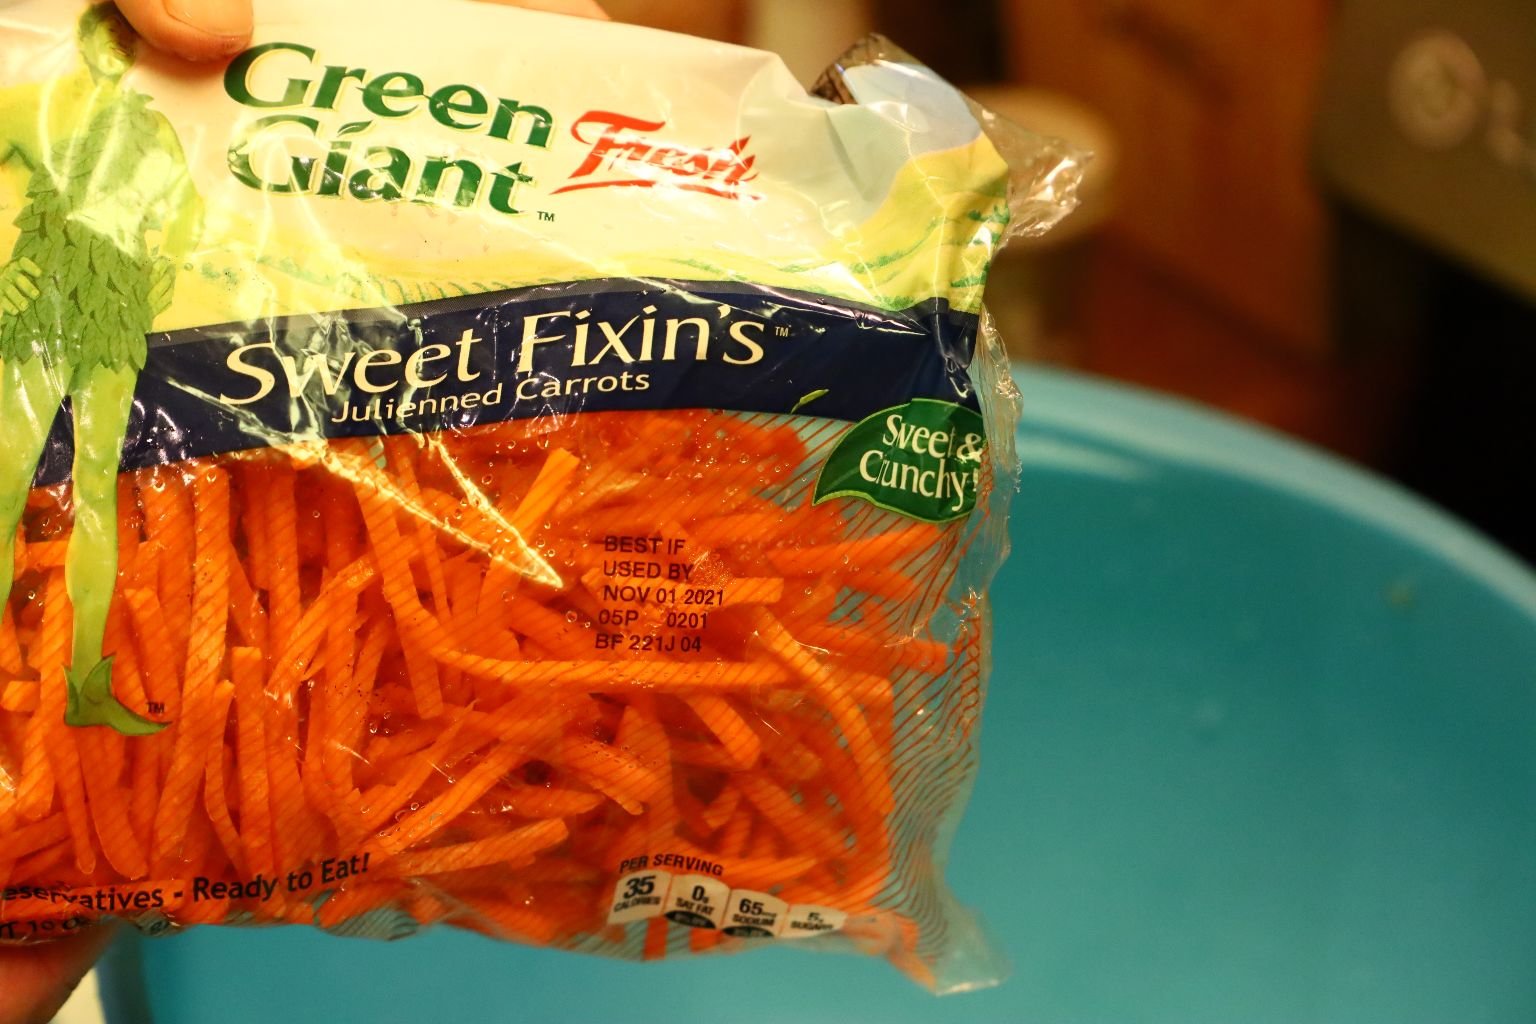
Pour your Julienned Carrots into a large bowl.
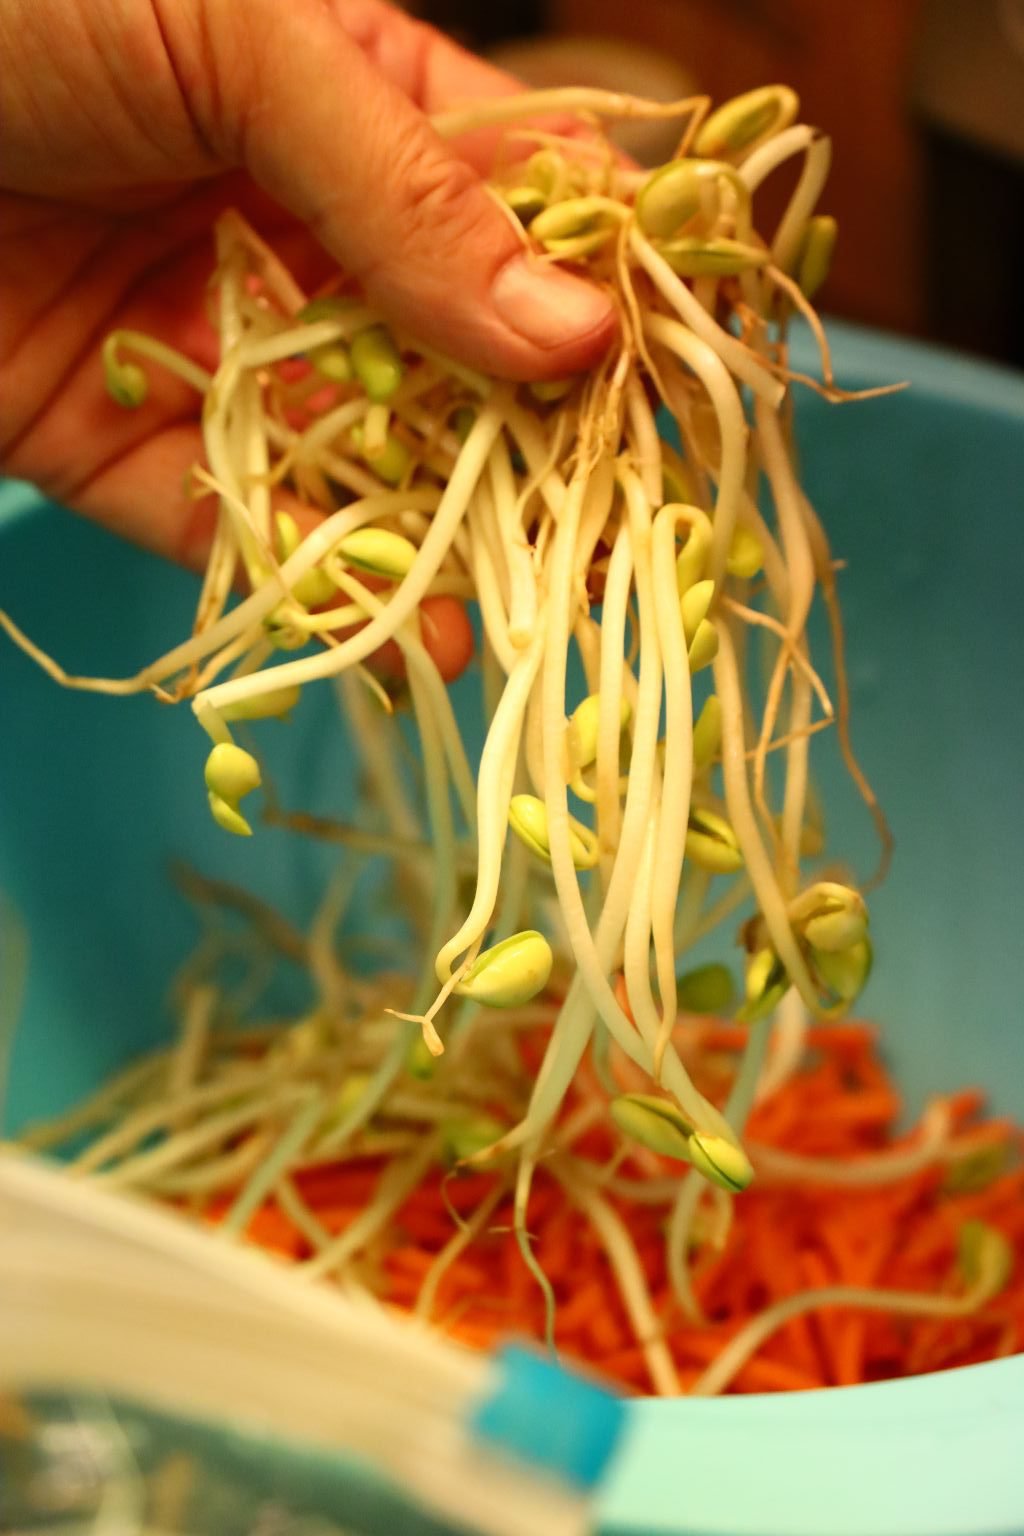
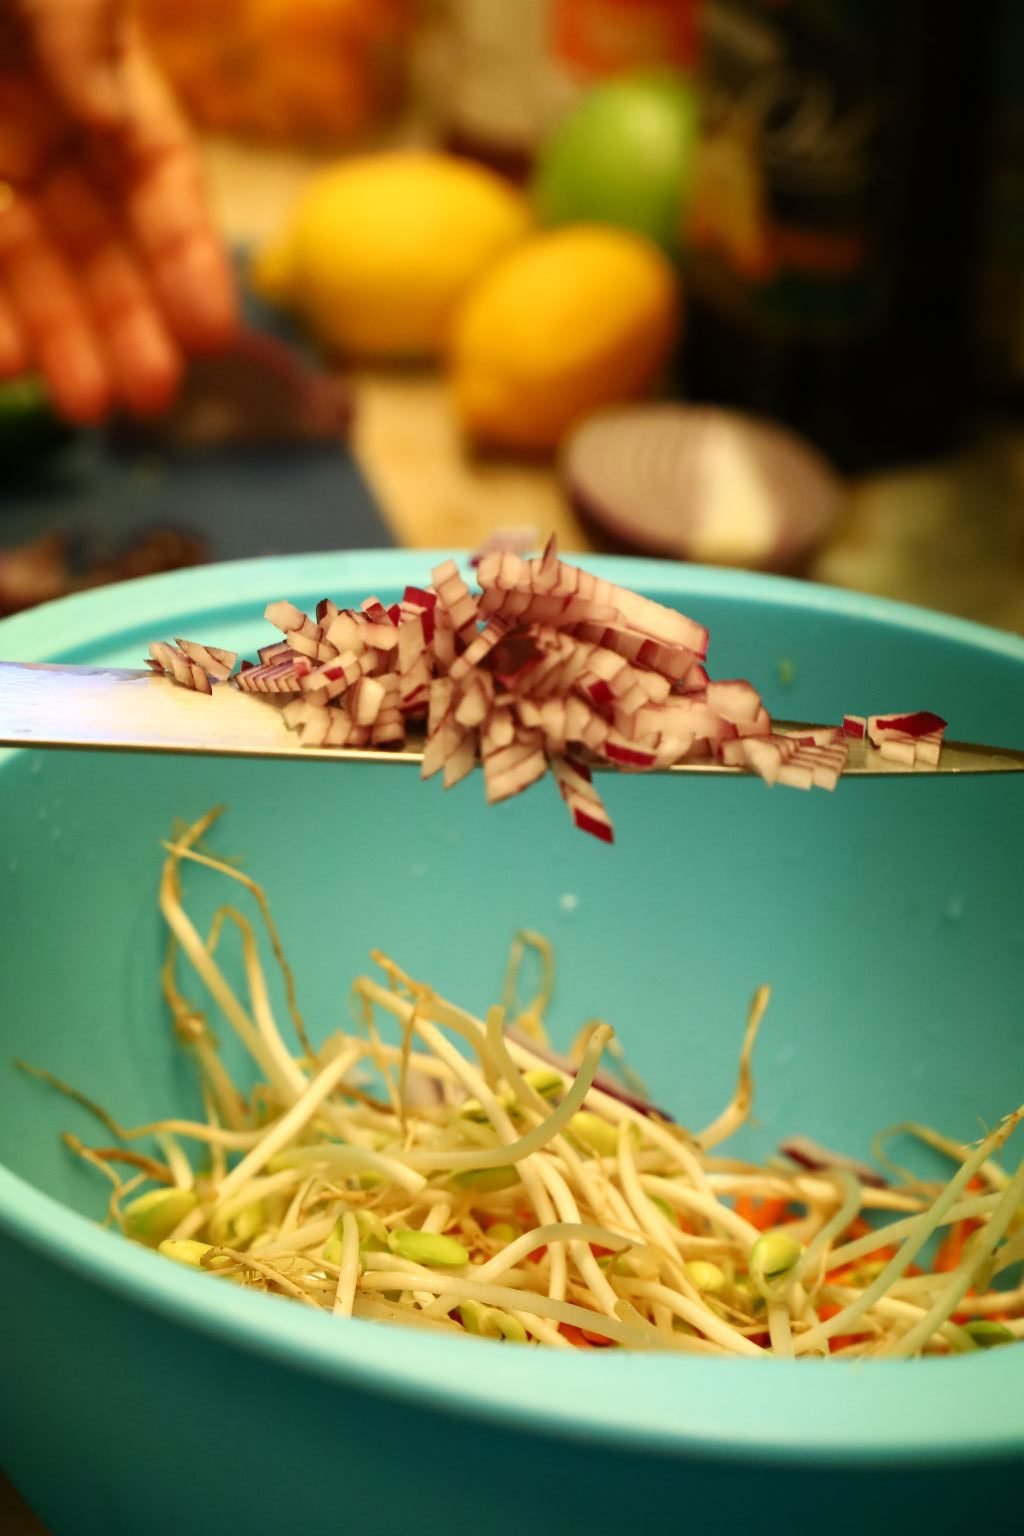
Then add your Bean Sprouts and diced Red Onions to the bowl.
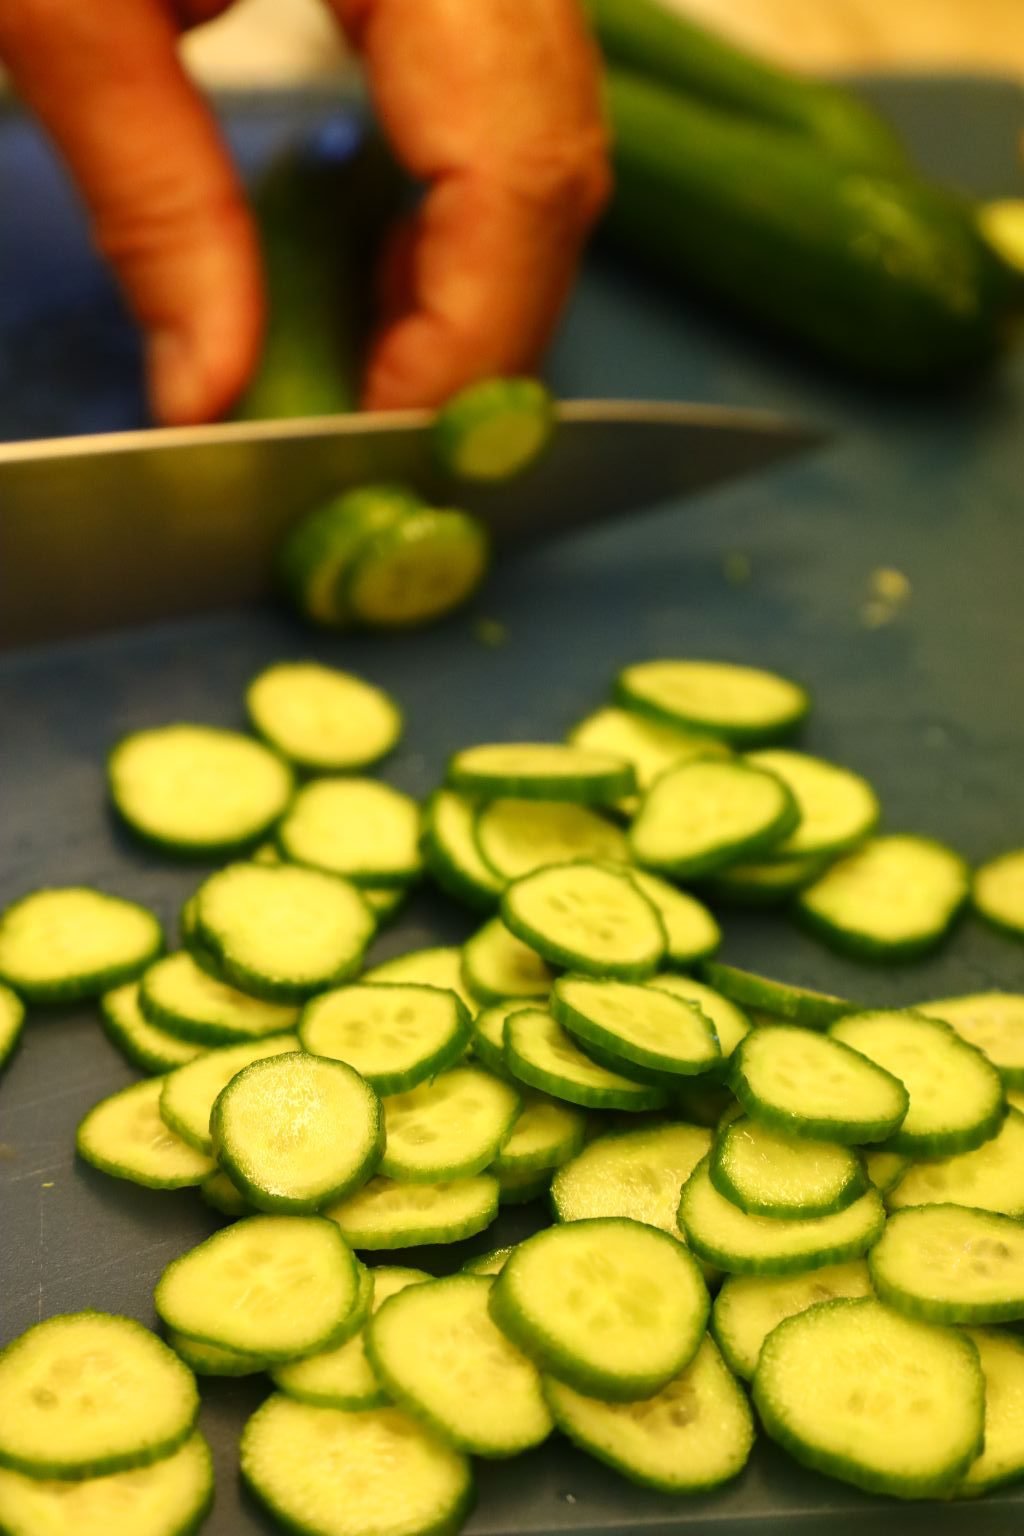
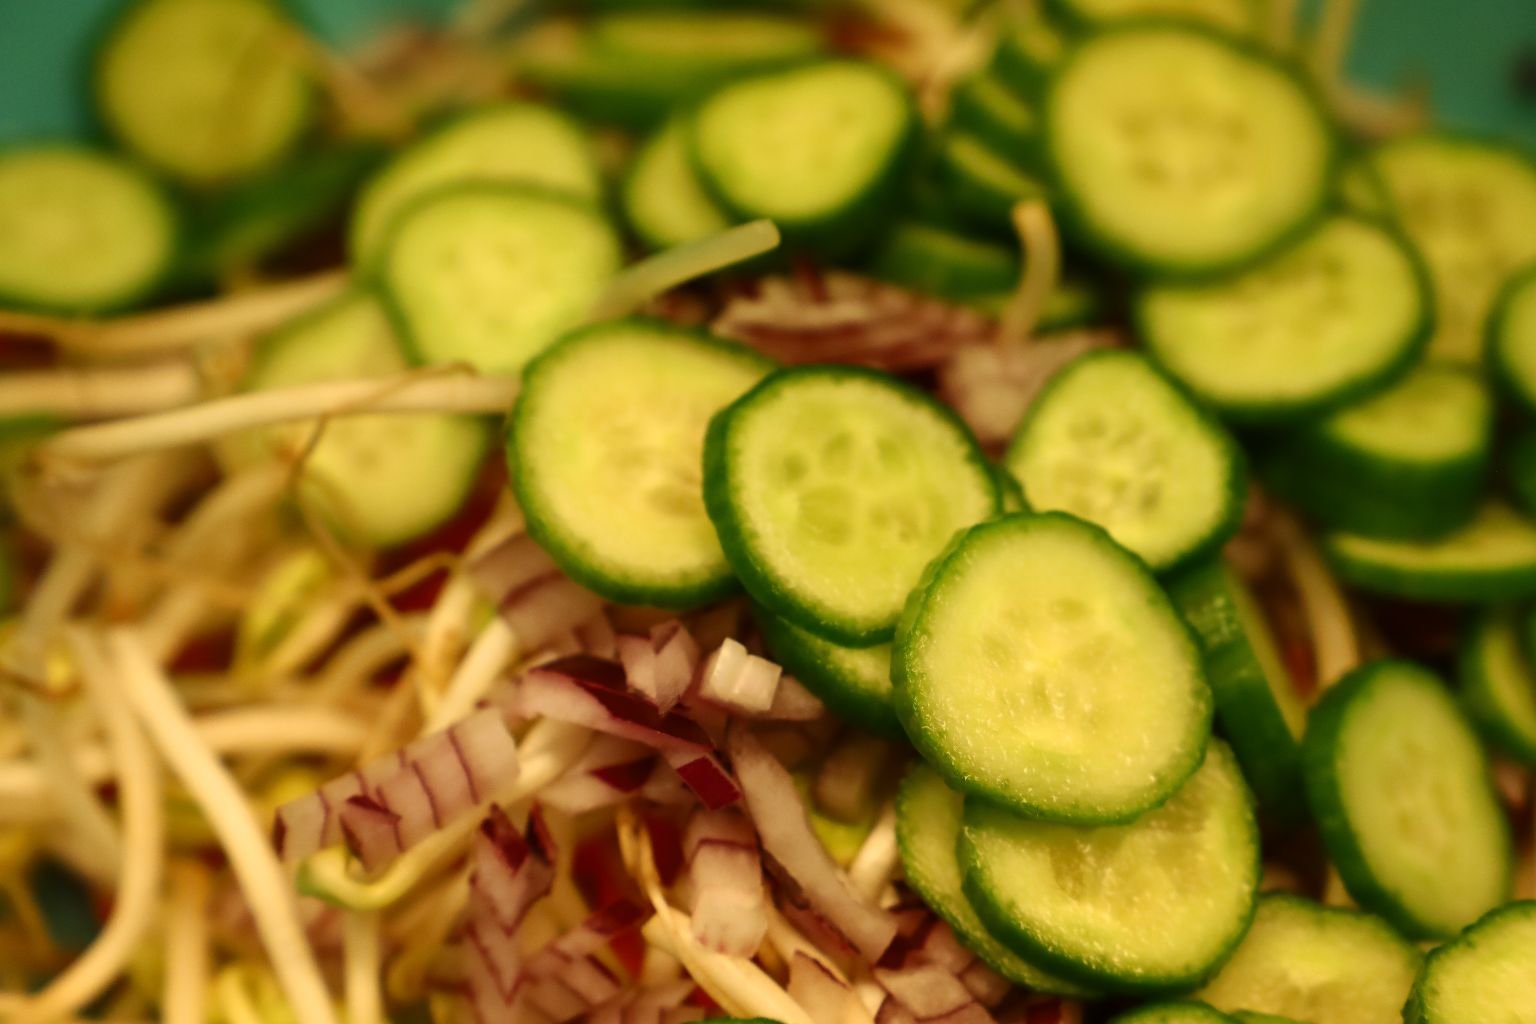
Slice your small cucumbers into thin rounds as shown. Place your sliced Cucumbers into the bowl.
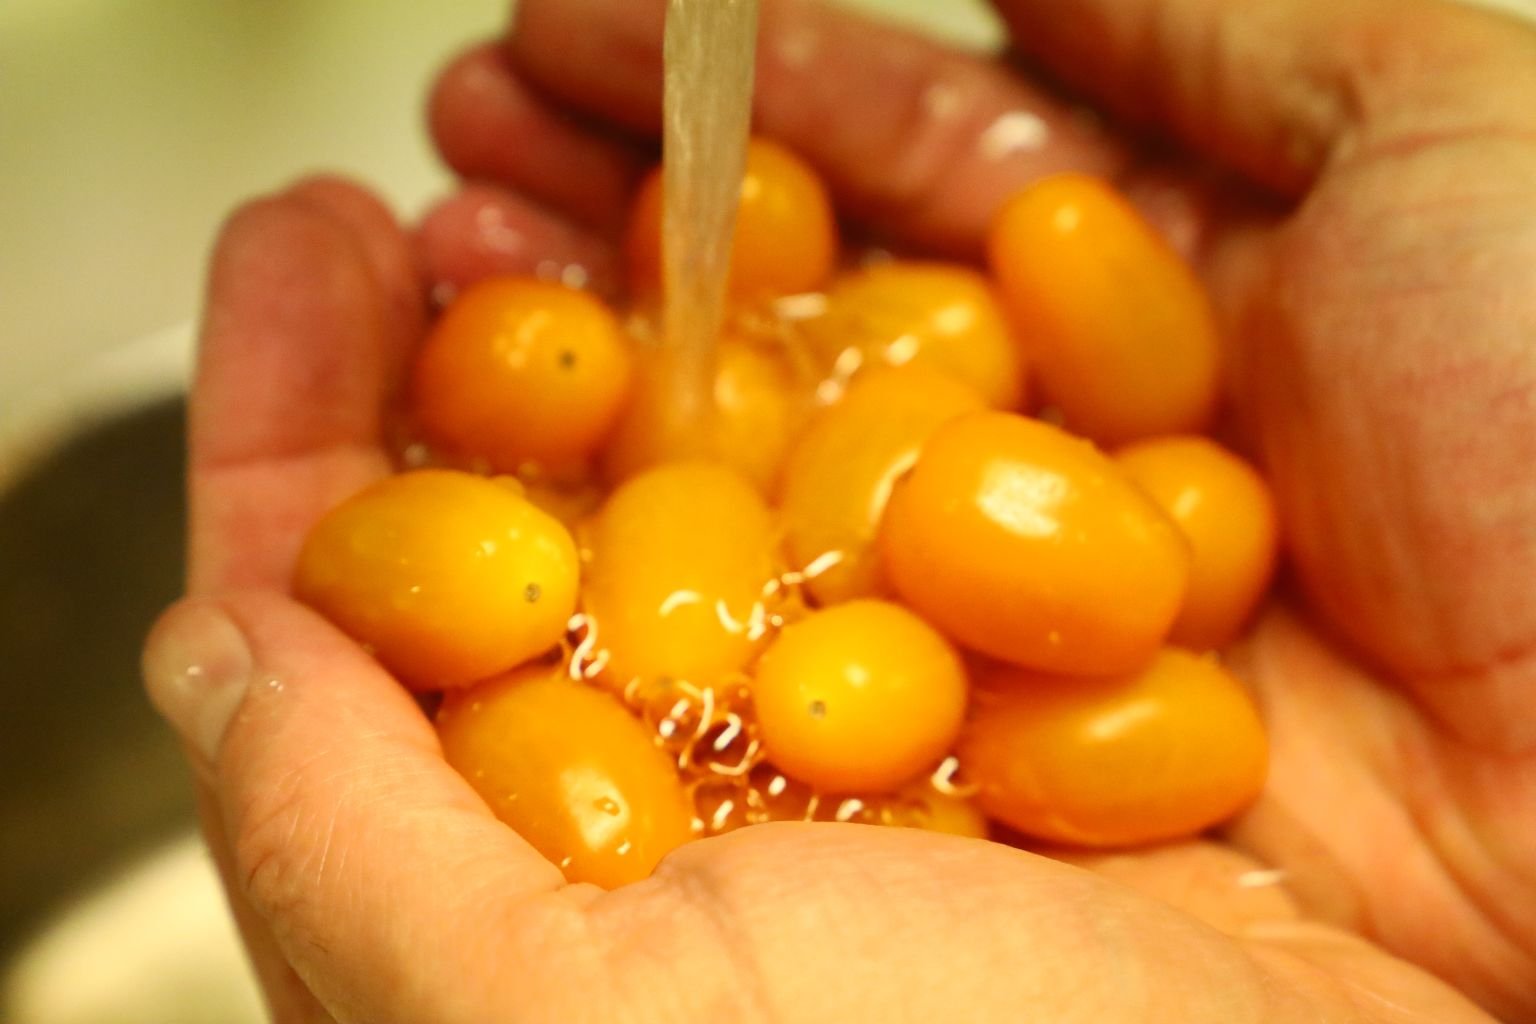
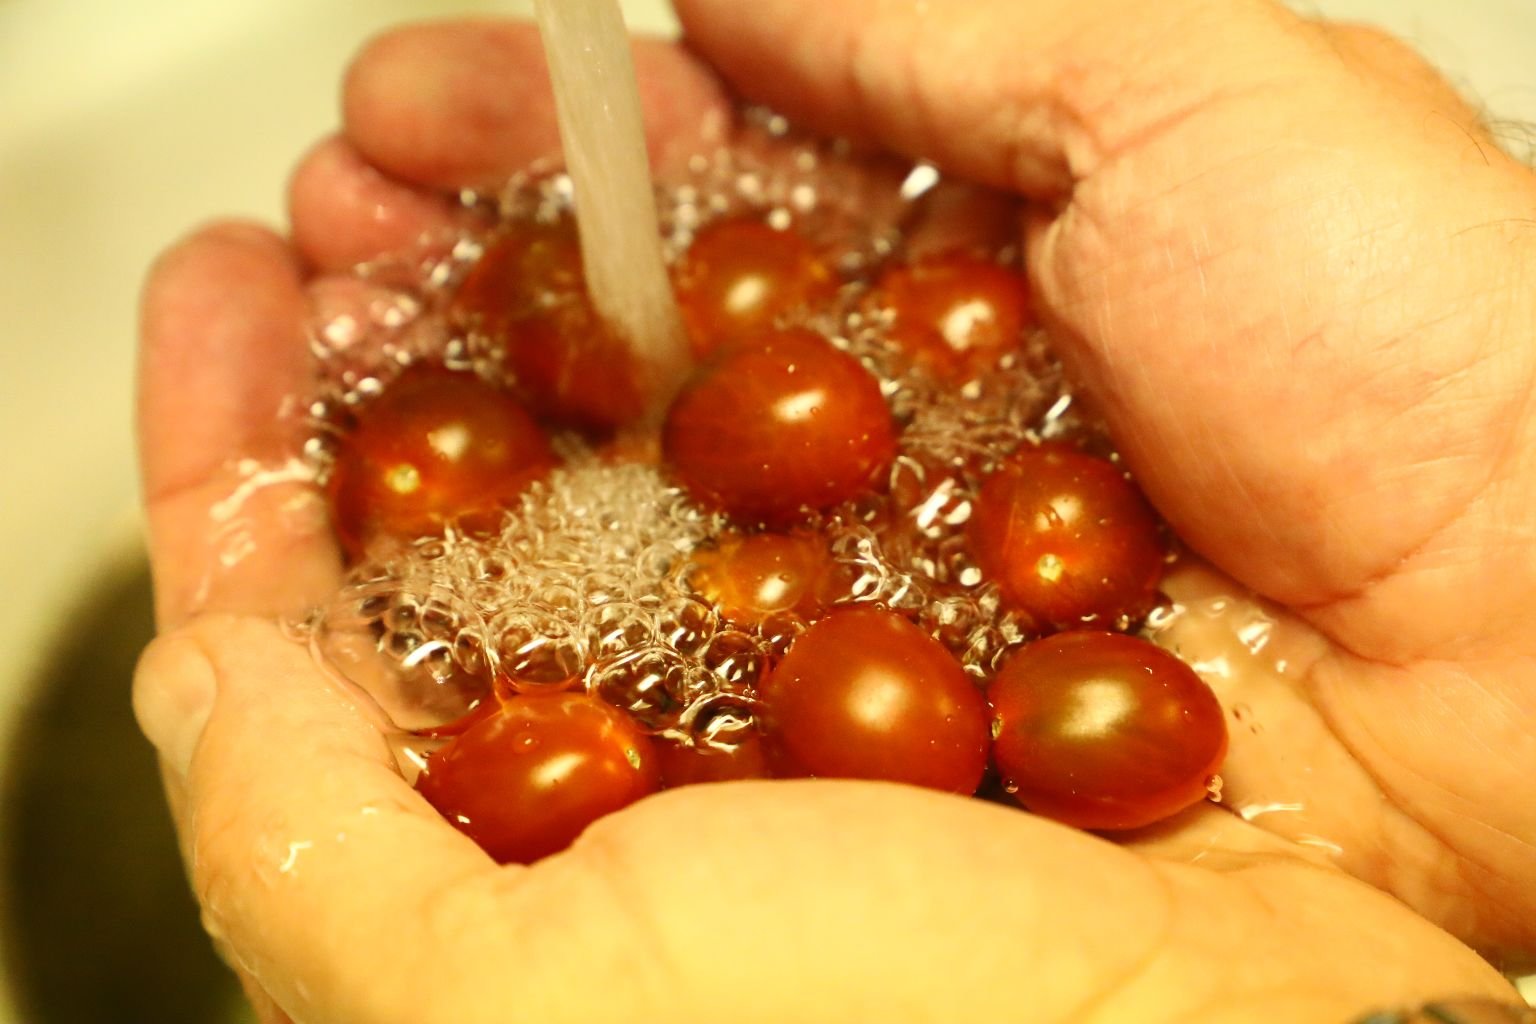
Rinse your Cherry Tomatoes with cold running water and add them to the bowl.
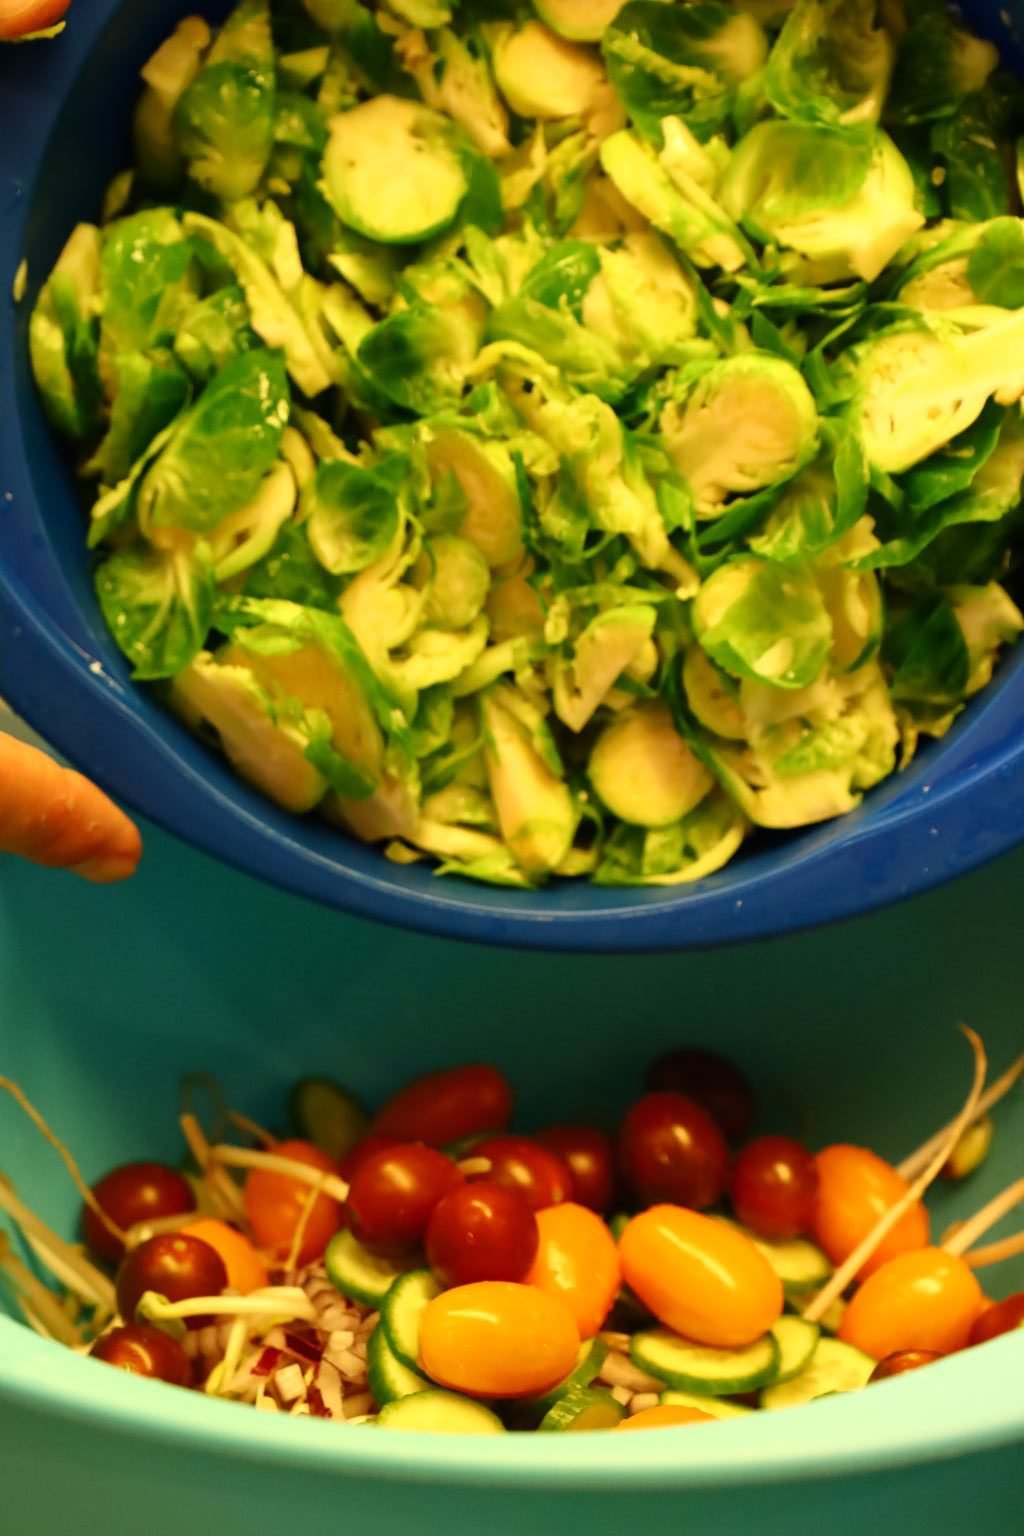
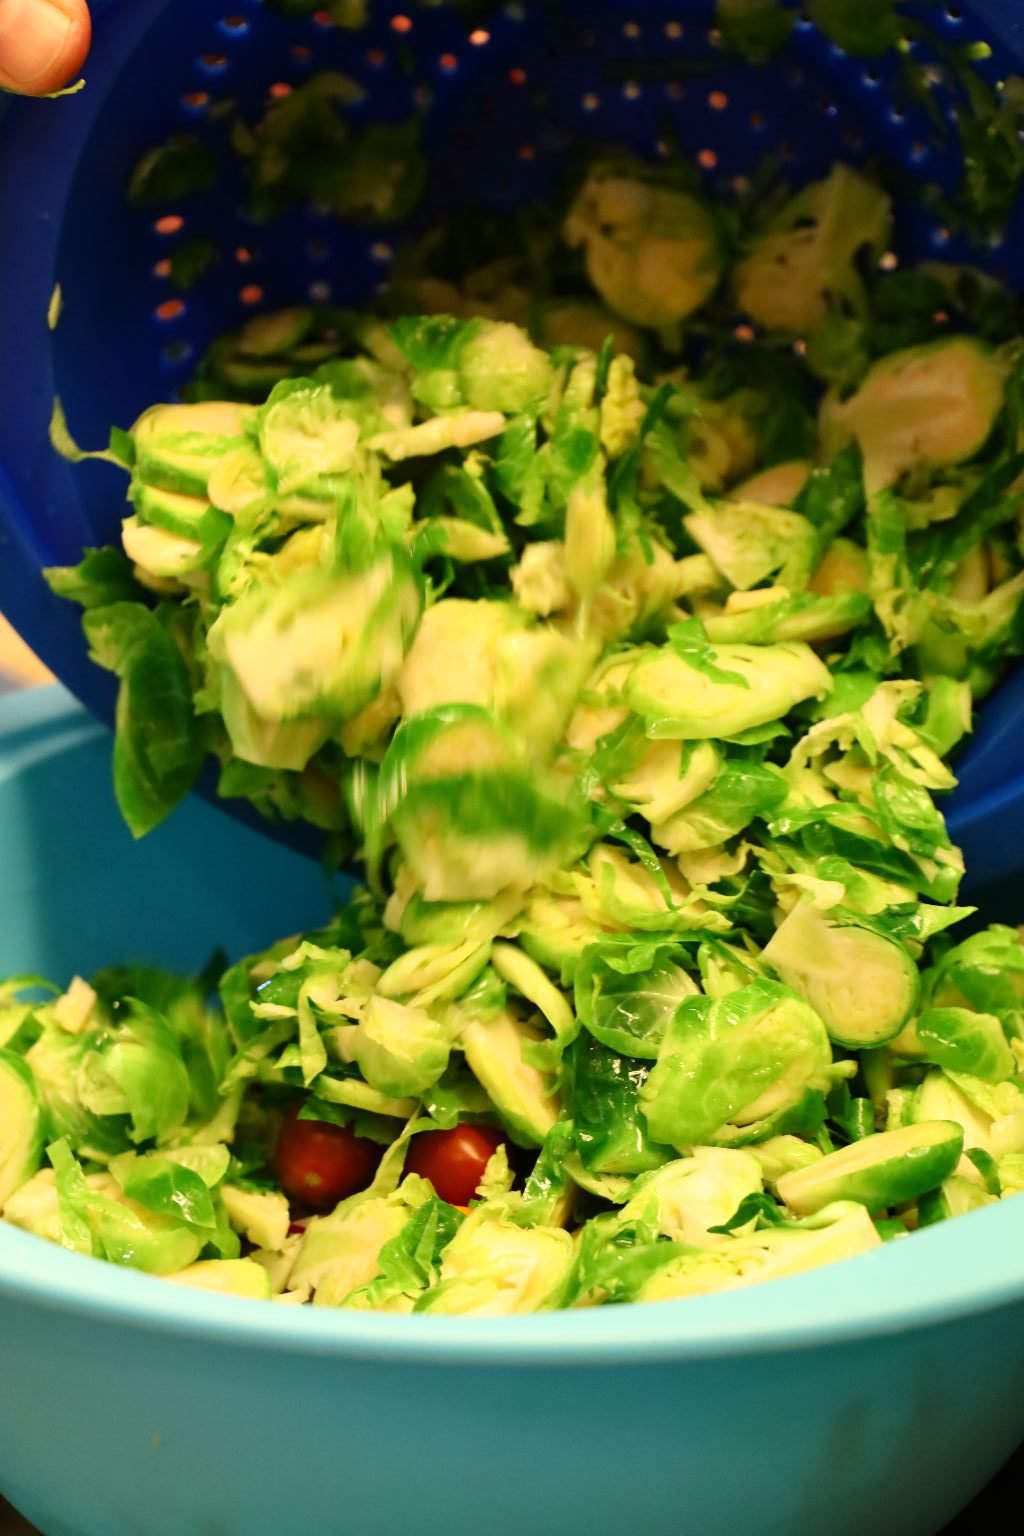
Now, add your well drained Brussels Sprouts to the bowl.
Mix all the ingredients well.
——————————————————————–
Apple Cider and Red Wine Vinaigrette

Gordon likes making his own Vinaigrette as it is easy to do and tastes better than anything store bought. He especially likes it when he finds odd or different ingredients like the Honey and Turmeric Apple Cider Vinegar and the Garlic infused Olive Oil. In culinary school, he made one in just a few minutes using four vinegar’s and a nice Italian Extra Virgin Olive Oil. All it has to do is taste good. The normal Vinegar to Oil ration is 1 to 3. That means 1 part Vinegar to 3 parts Oil or 1 Tbsp. Vinegar to 3 Tbsp. Oil. This ratio is not set in stone as you want the vinegar to give you a bite in the back of your throat when you taste it. You can use any vinegar and any good tasting oil, so go out and search your store’s shelves for various vinegar’s and experiment.
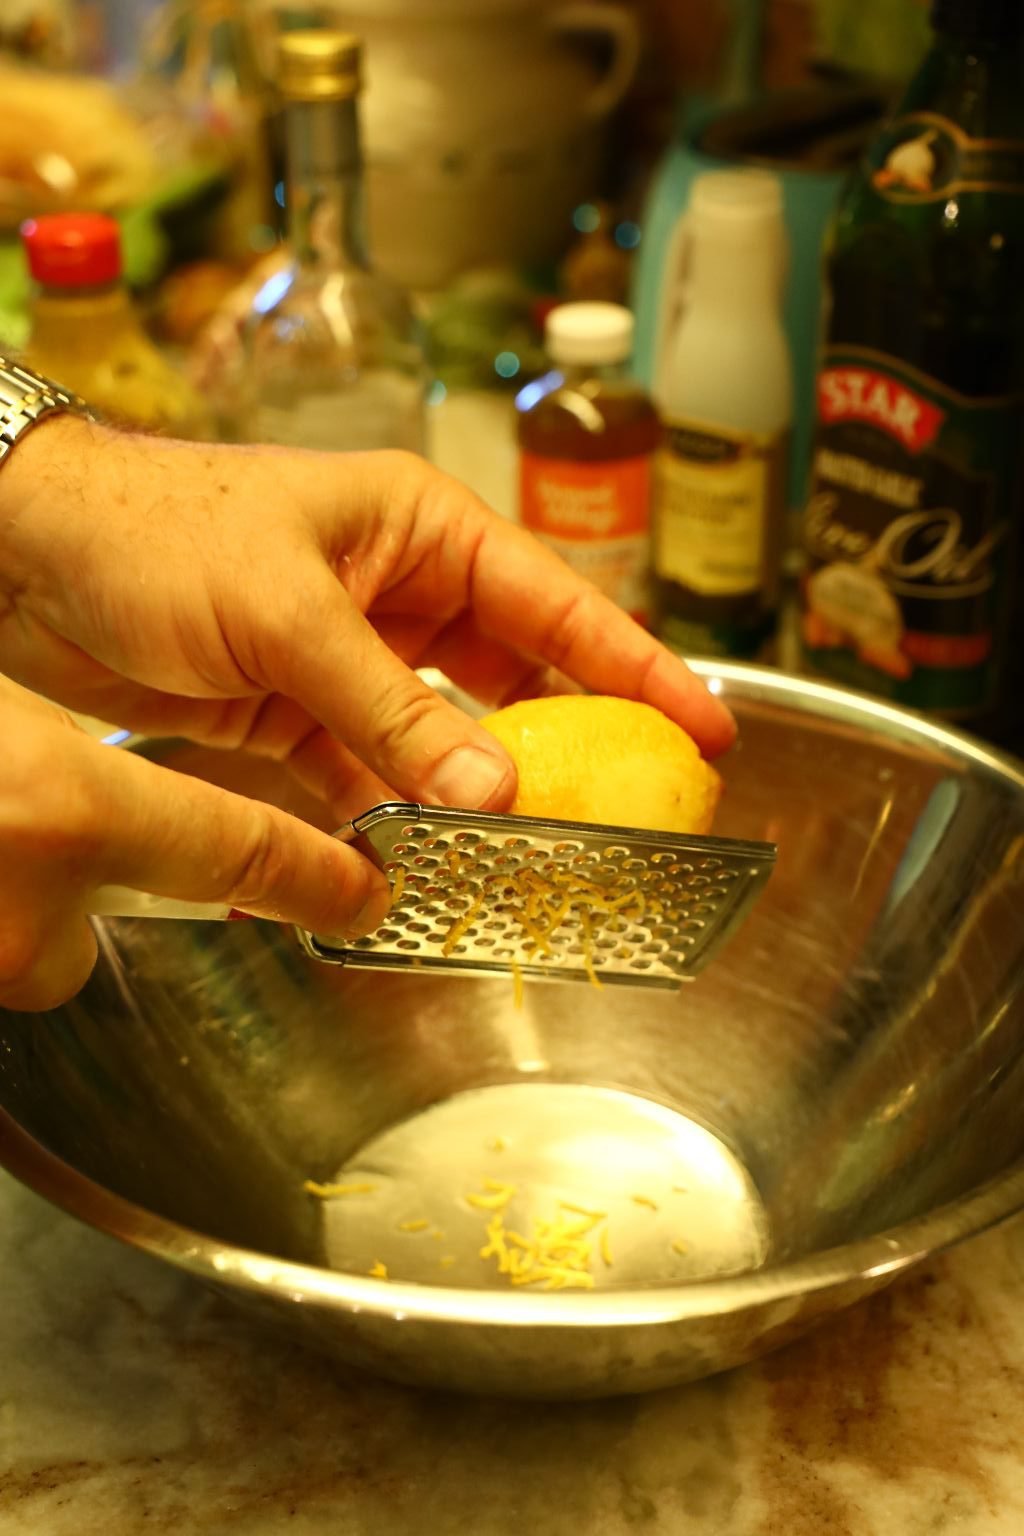

Here he started with the acid of the vinaigrette and lemon is bright and tastes of spring, which he thought would go well with this slaw. Zest your lemons first into a medium sized bowl, then slice them in half and squeeze out the juice.
——————————————————————————
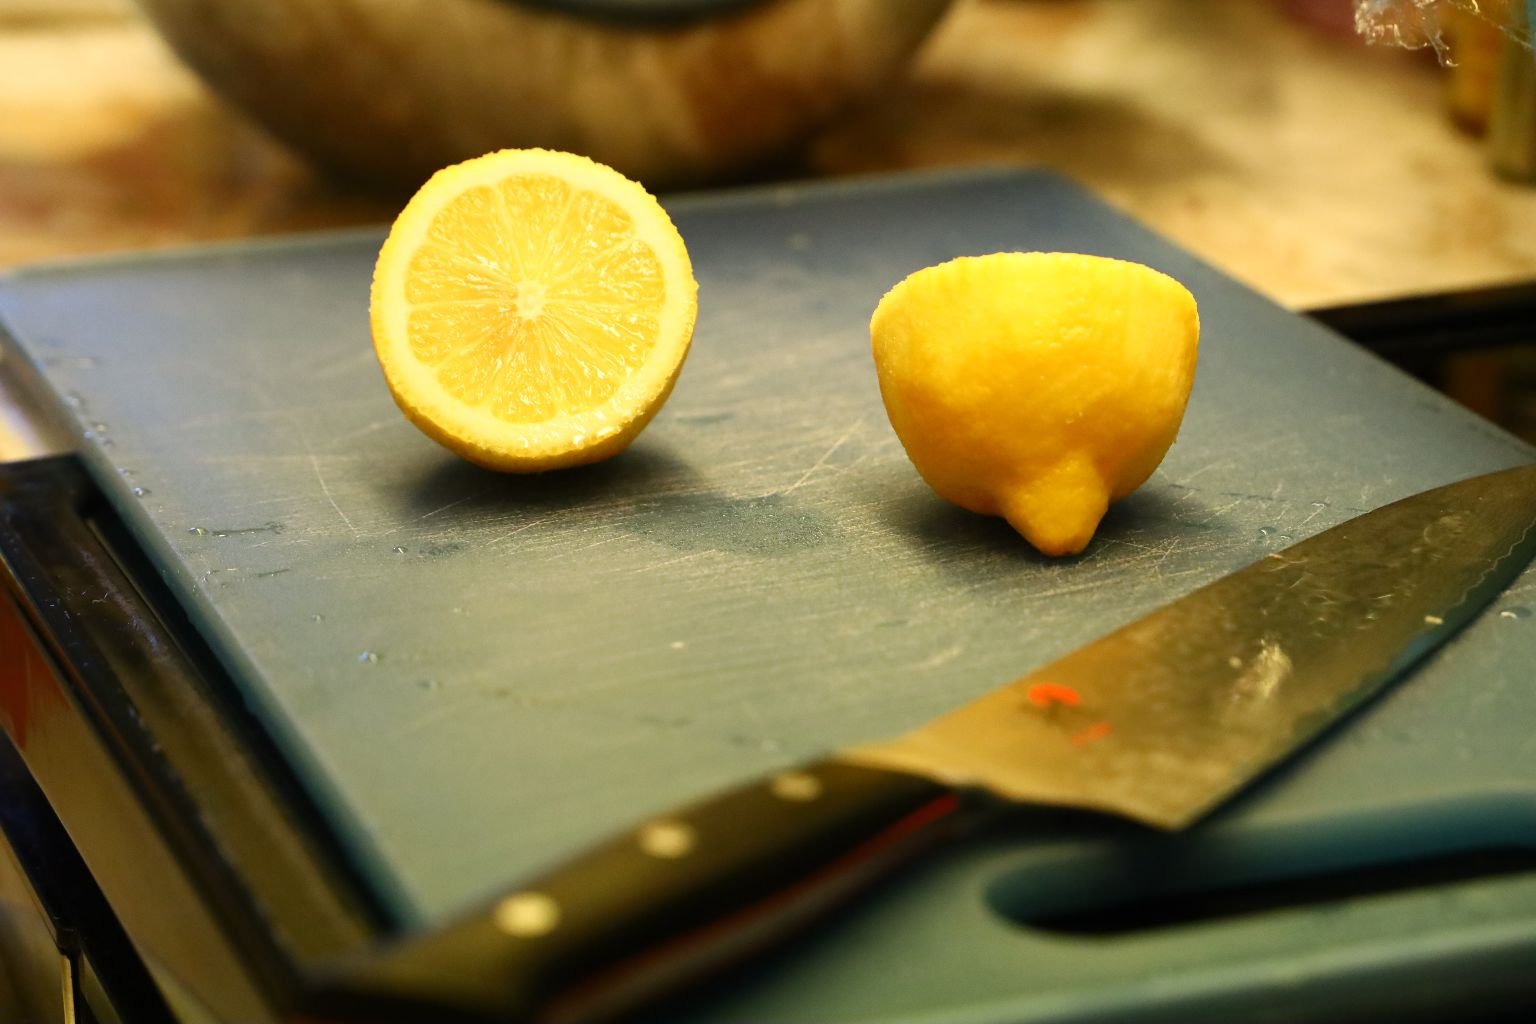
The Sliced Lemon
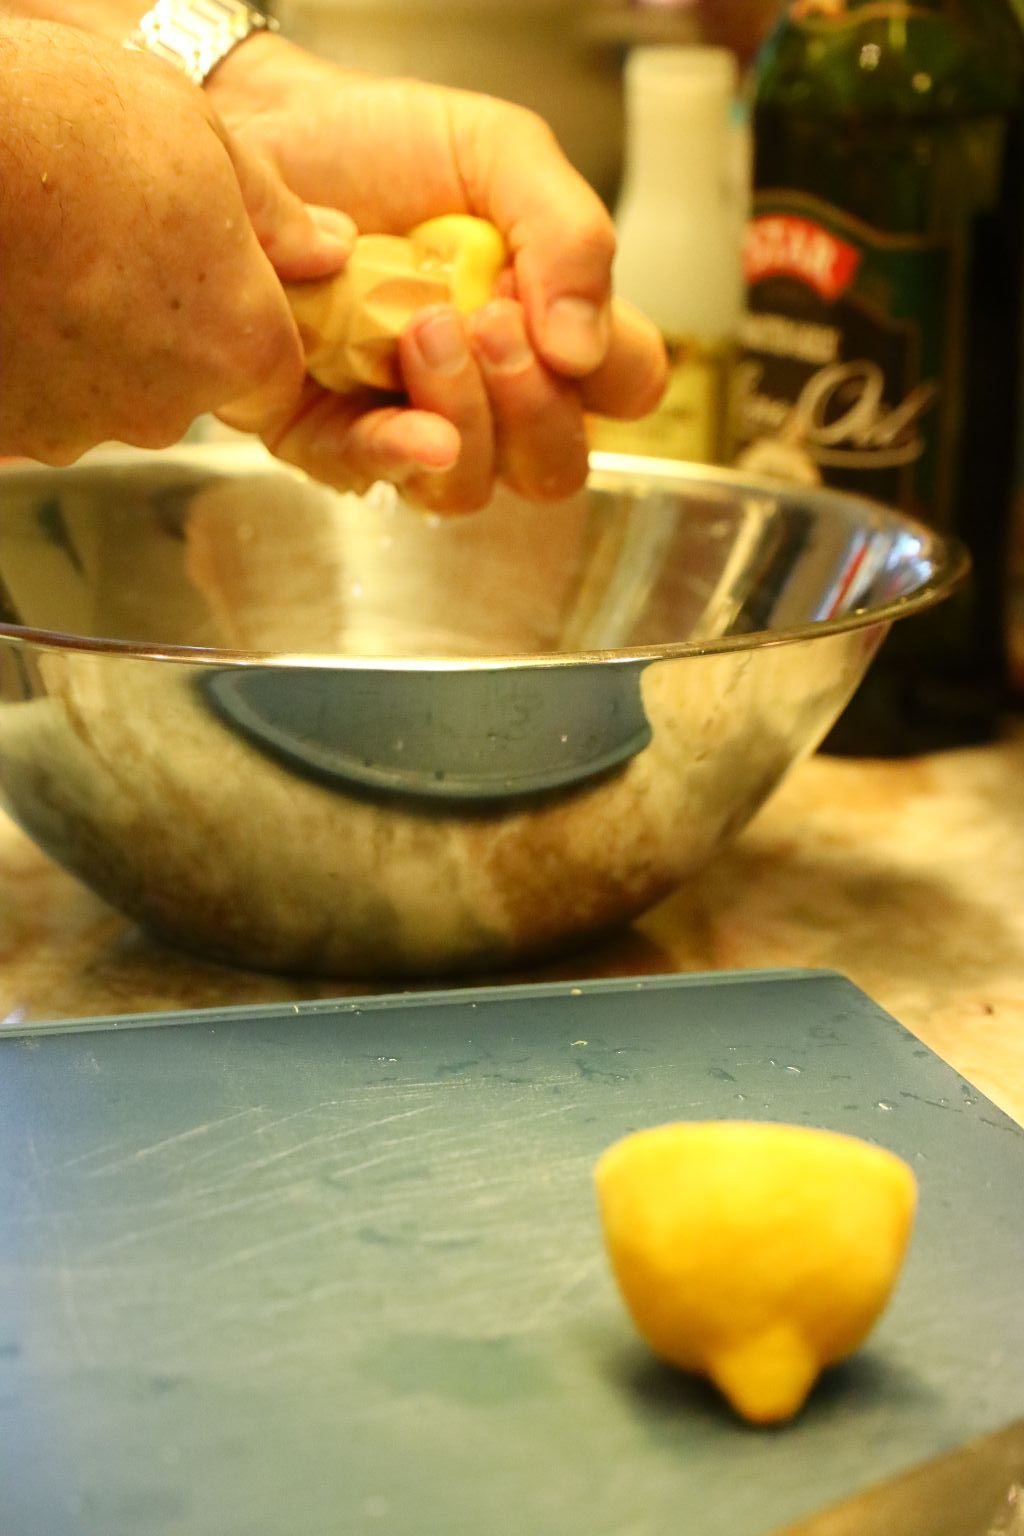
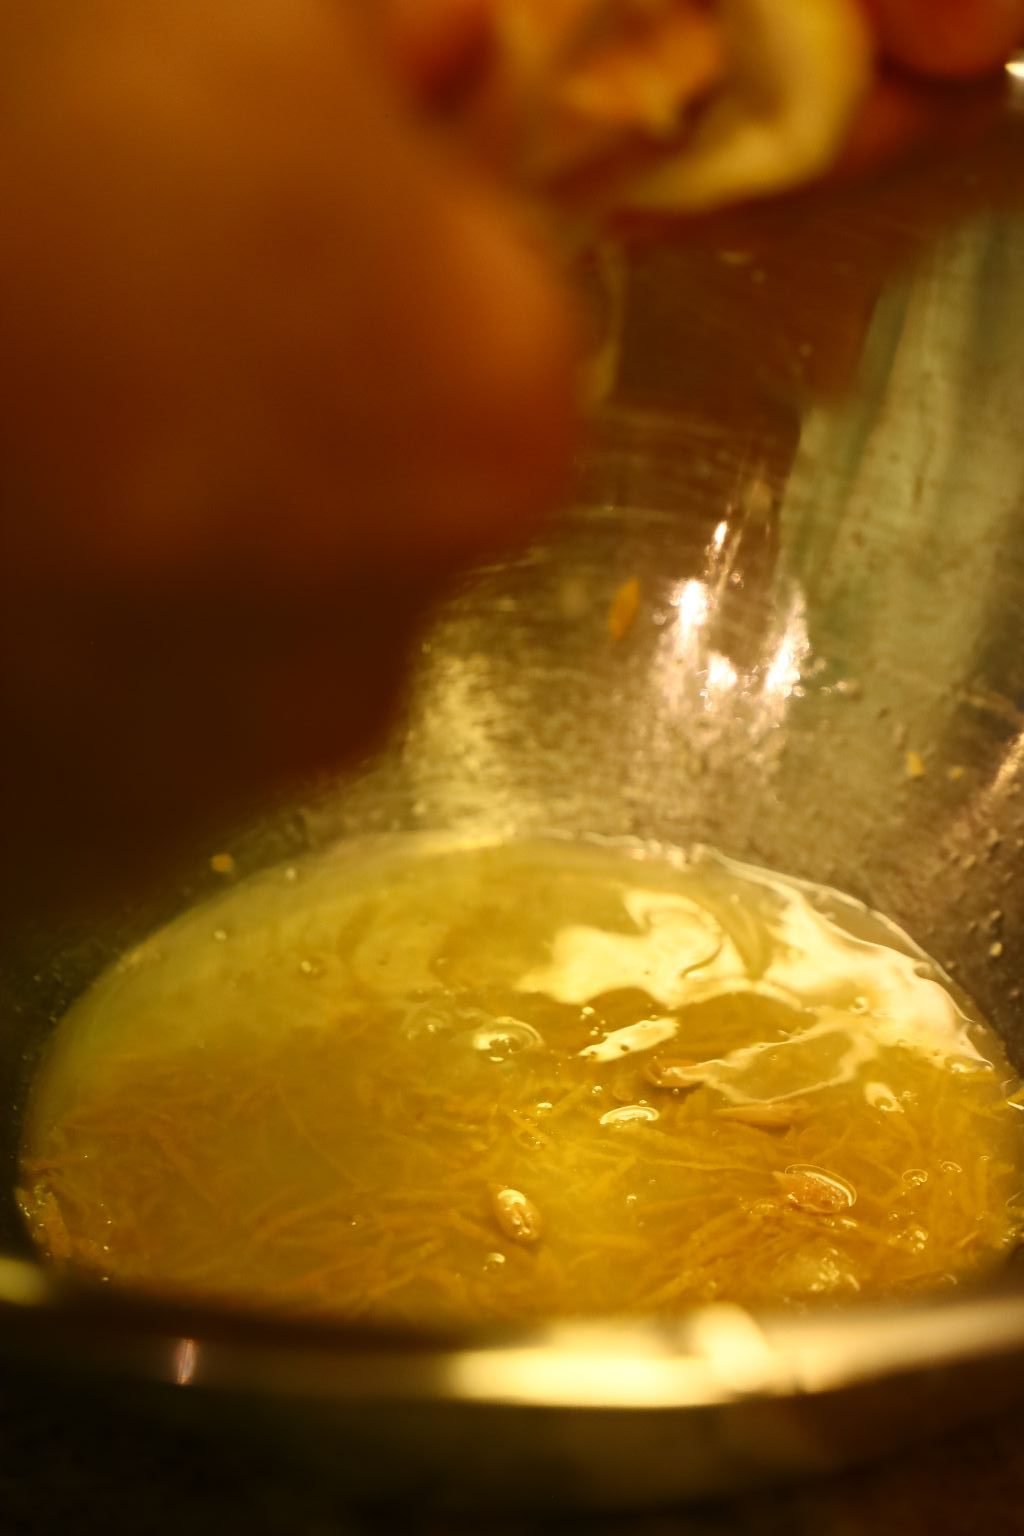
They make a great wooden tool to help do this. Be sure to remove any seeds that may fall into the bowl.

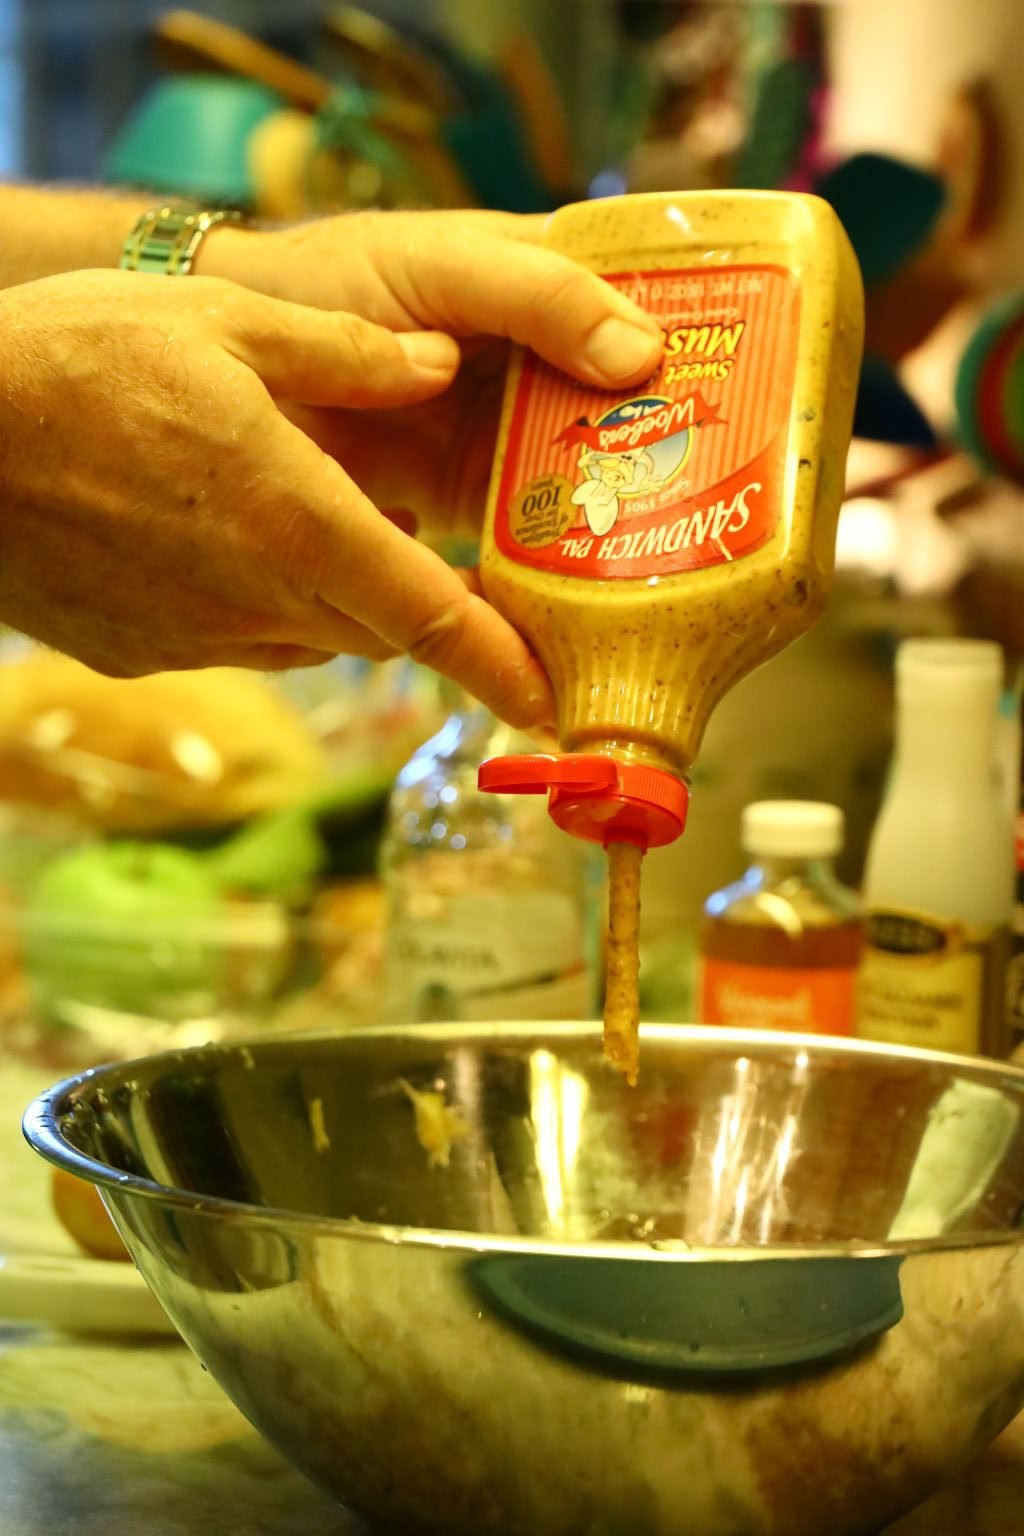
A Vinaigrette needs a binder as oil and vinegar won’t mix. This binder or mustard makes a temporary emulsion of the oil and vinegar as over time you will have to mix the ingredients again to make it temporarily combine. Here the taste of this sweet and spicy mustard is perfect.
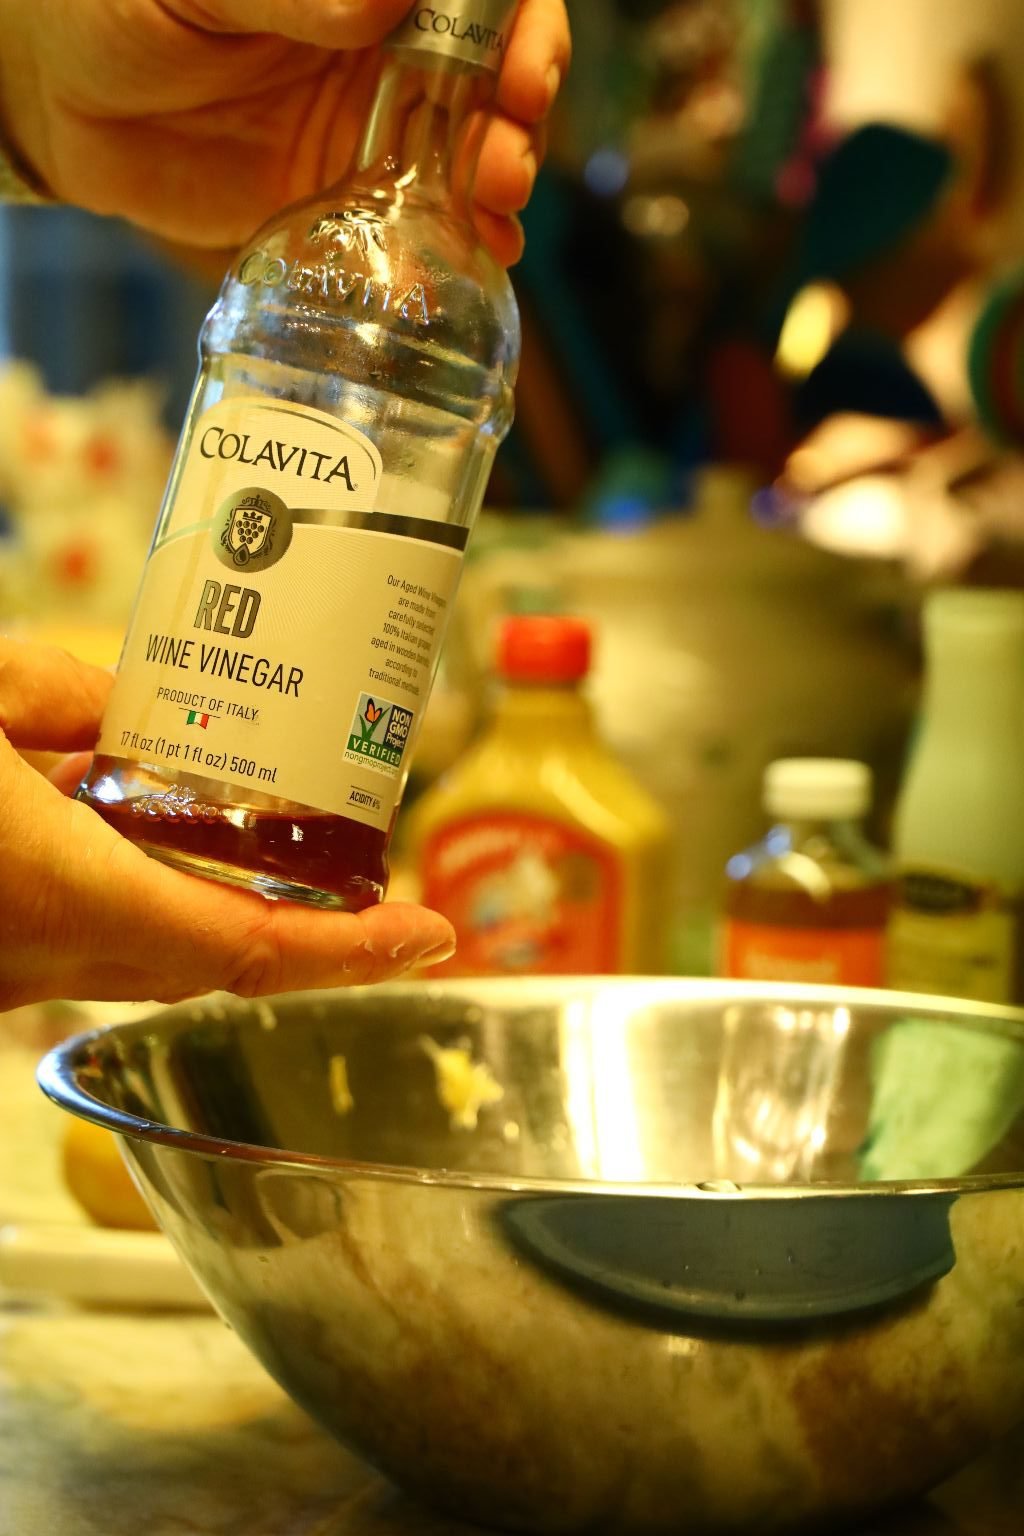
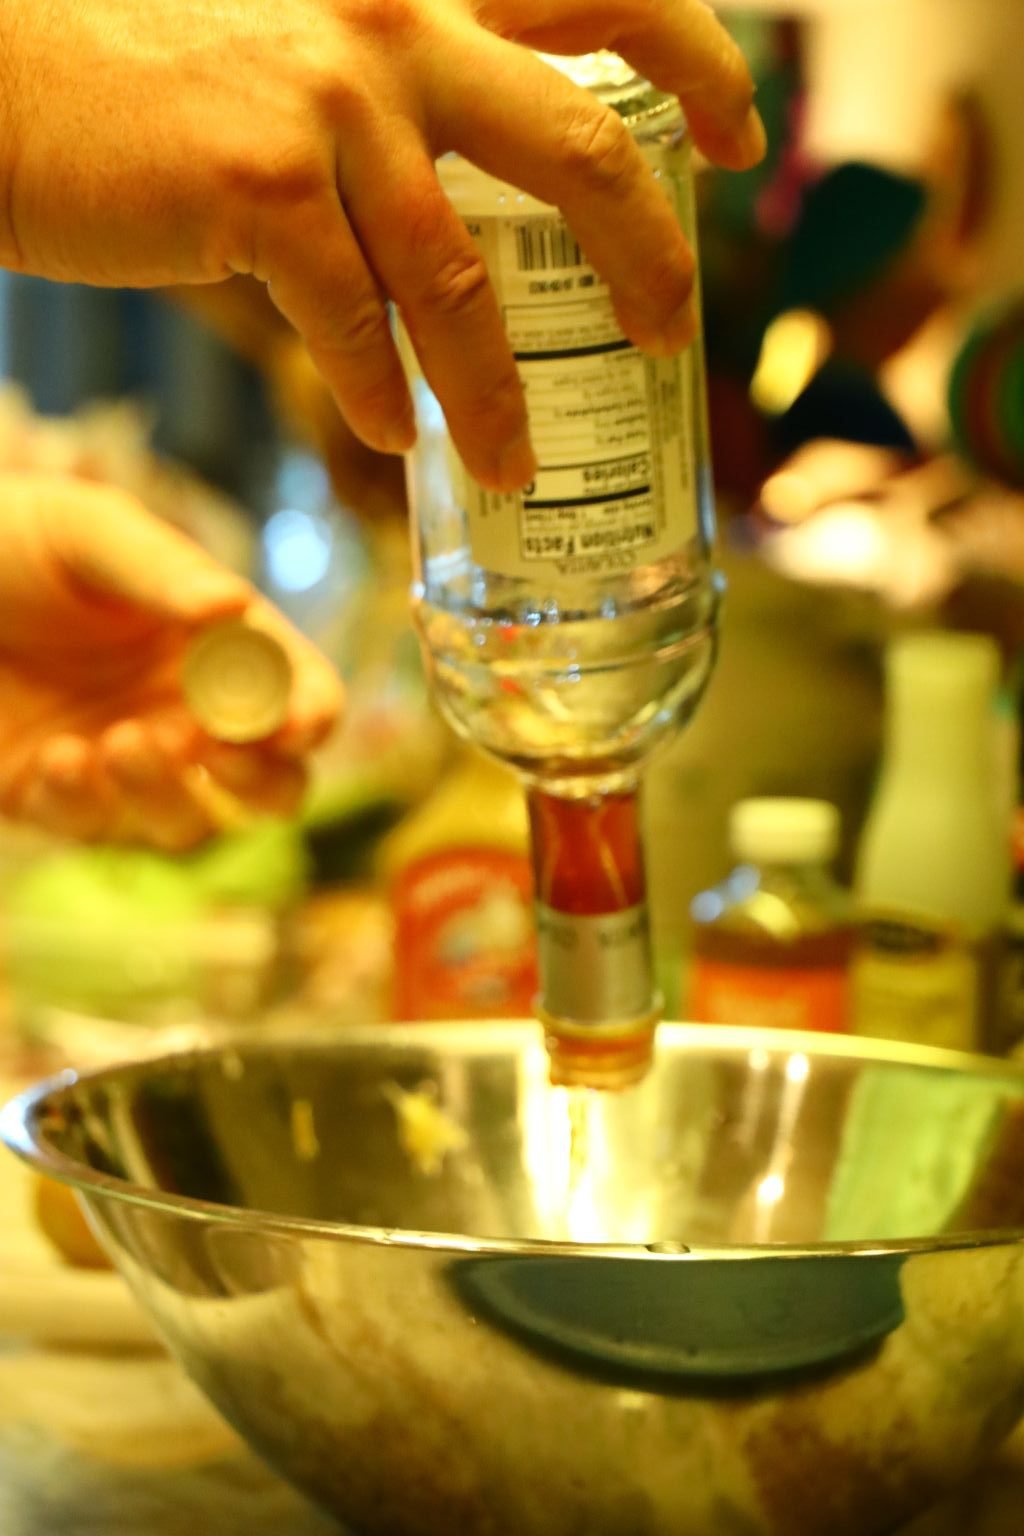
Now here is Italian Red Wine Vinegar.

Here you can see what it looks like in the bowl.
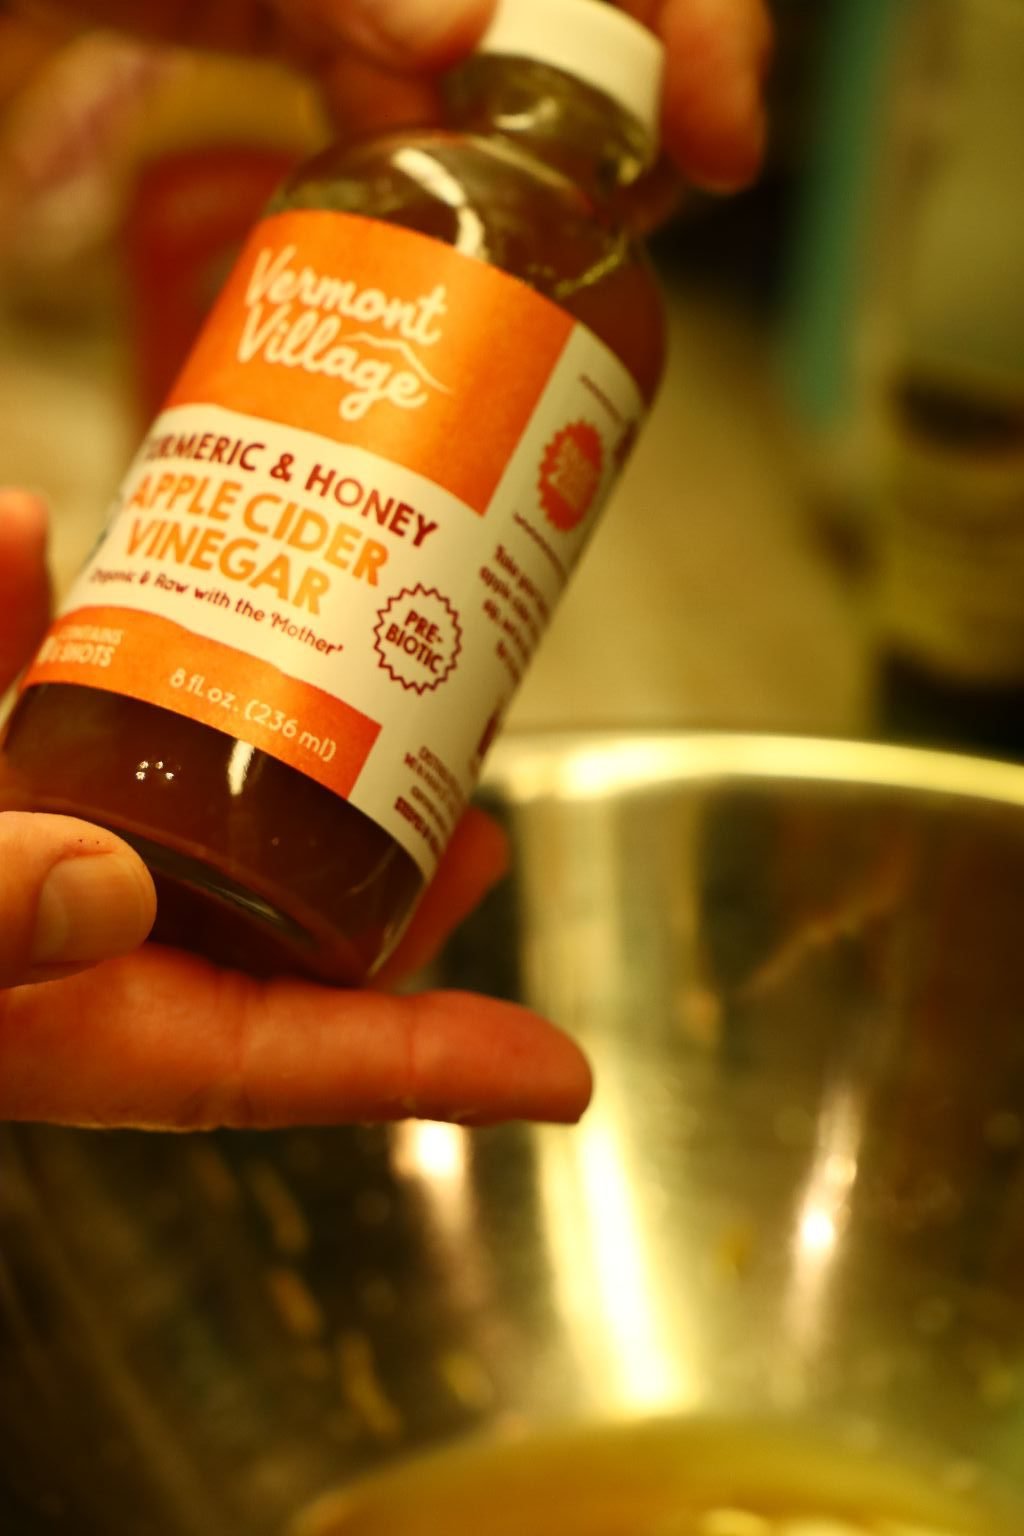
This was a great find! This has a great sweet taste which will go with the mustard, and had all the benefits of Turmeric… how can it be bad? We also love Apple Cider Vinegar which will go with the Apple in our slaw.
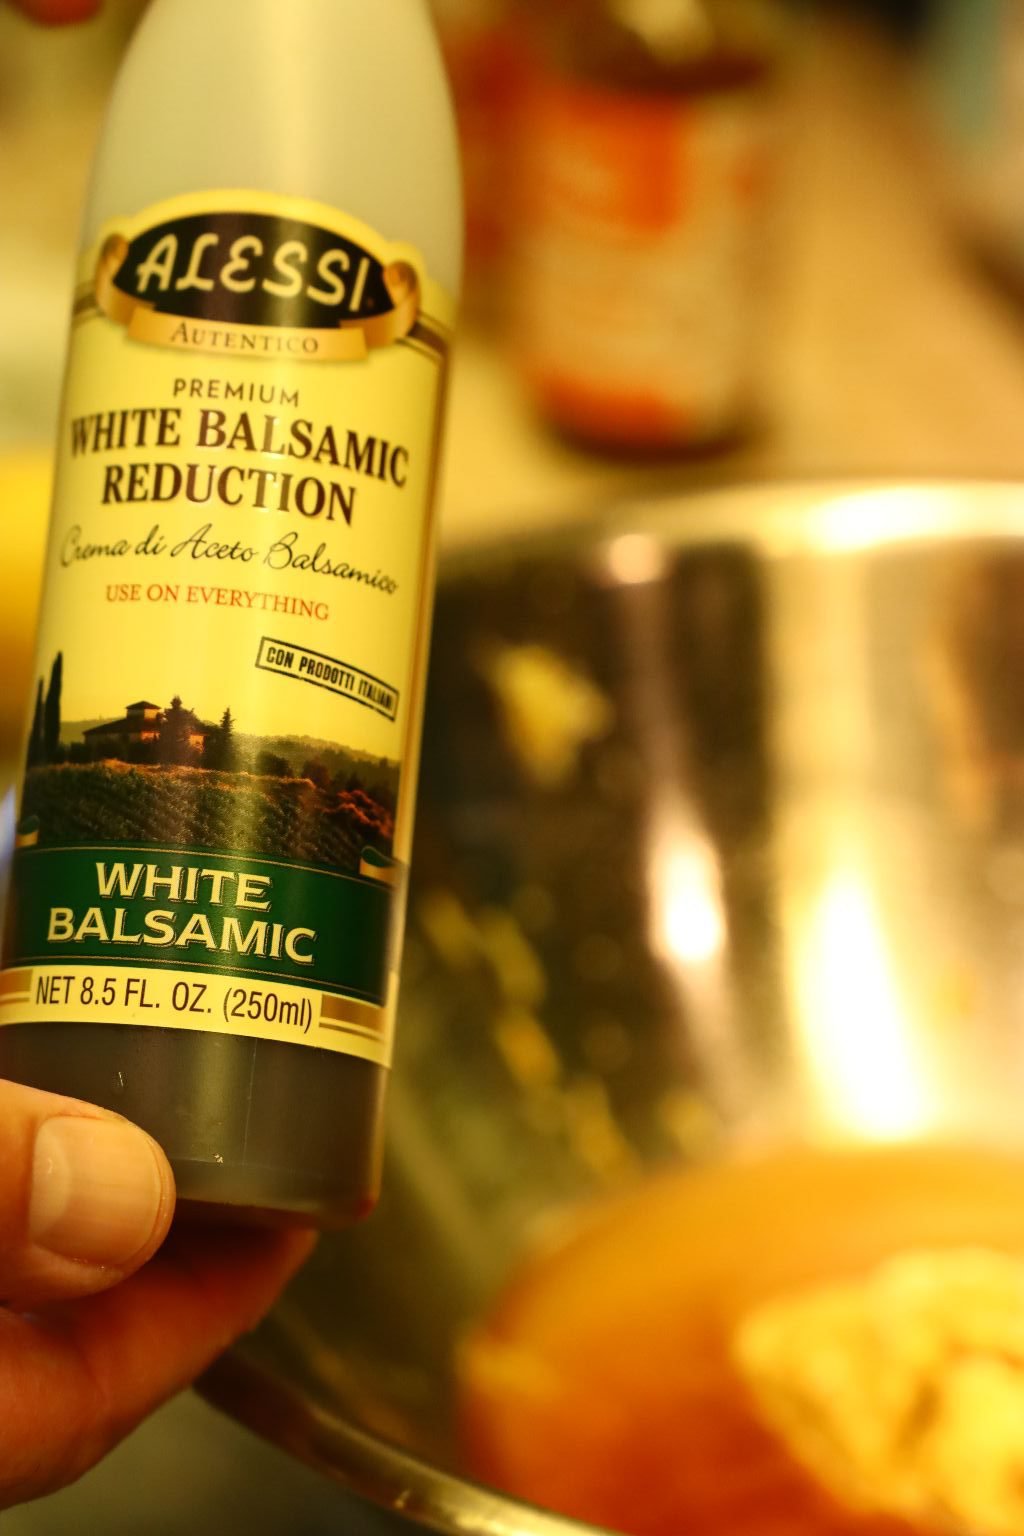

This White Balsamic was another great find and adds some sweetness and a nice vinegar reduction, adding to the acid of the Vinaigrette.
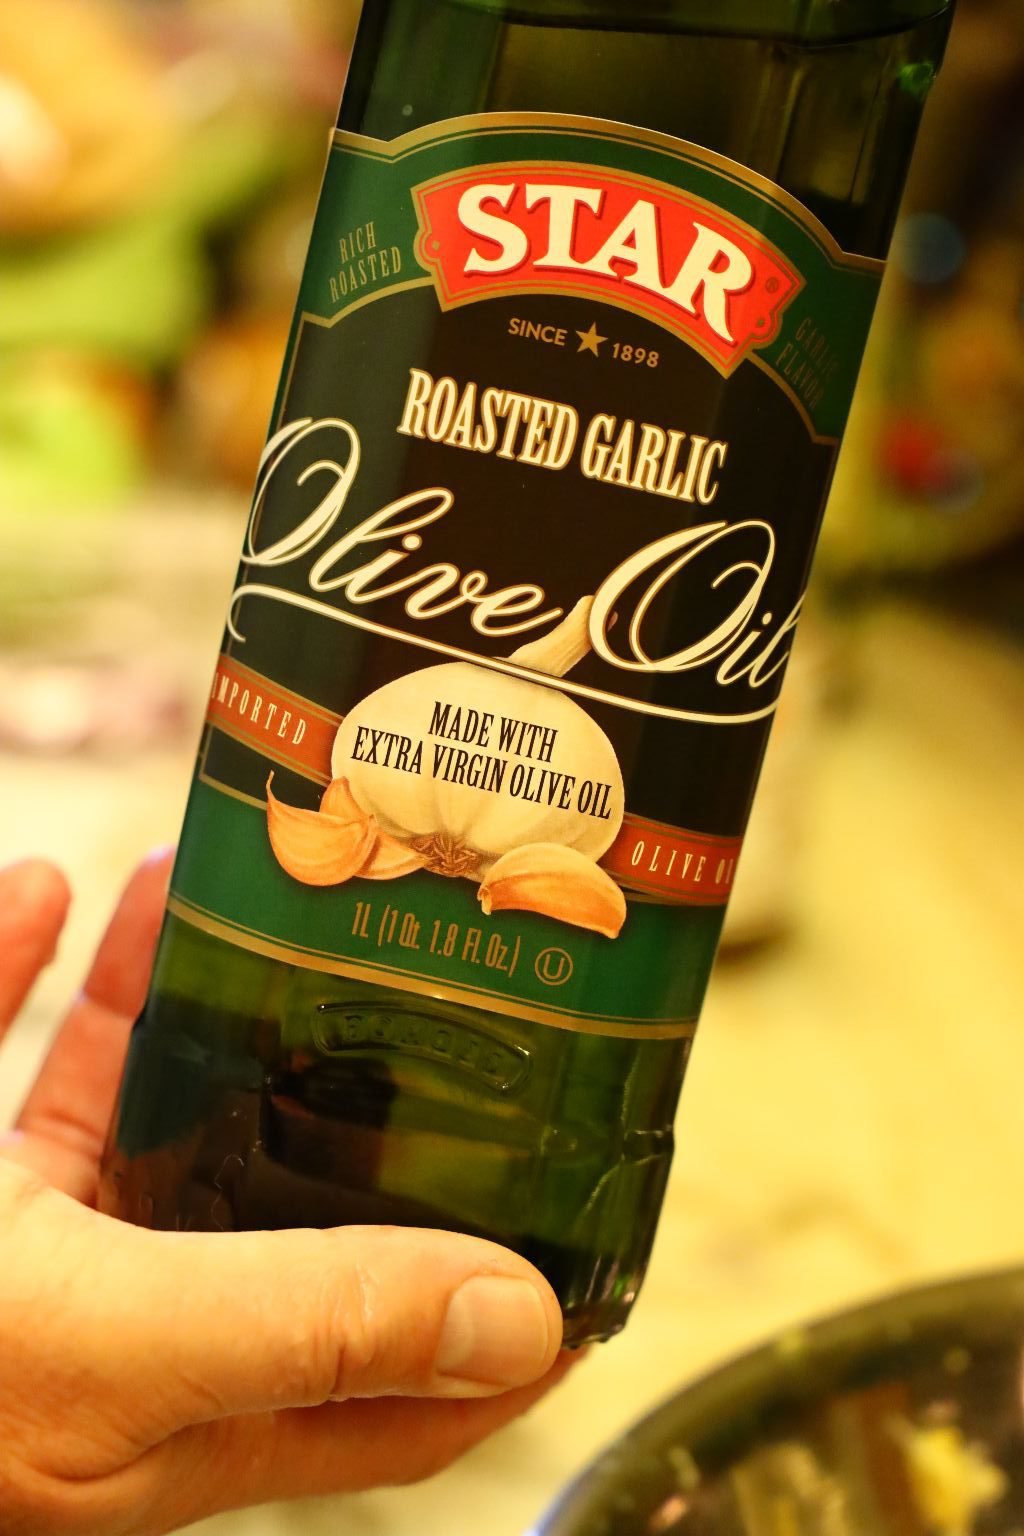
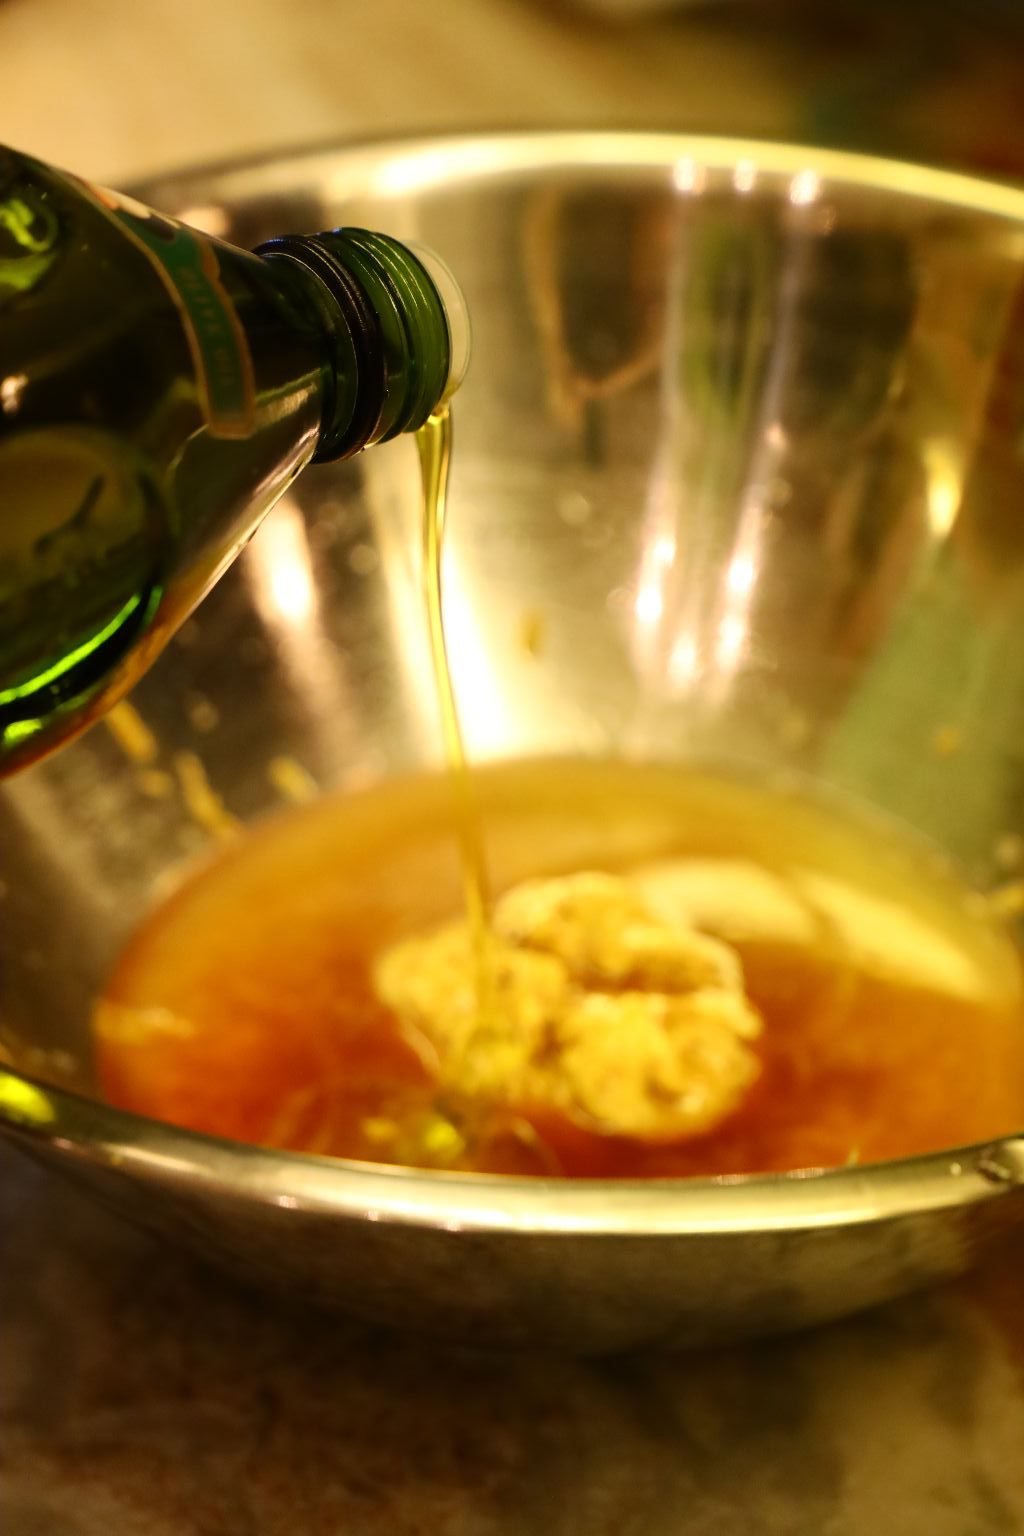
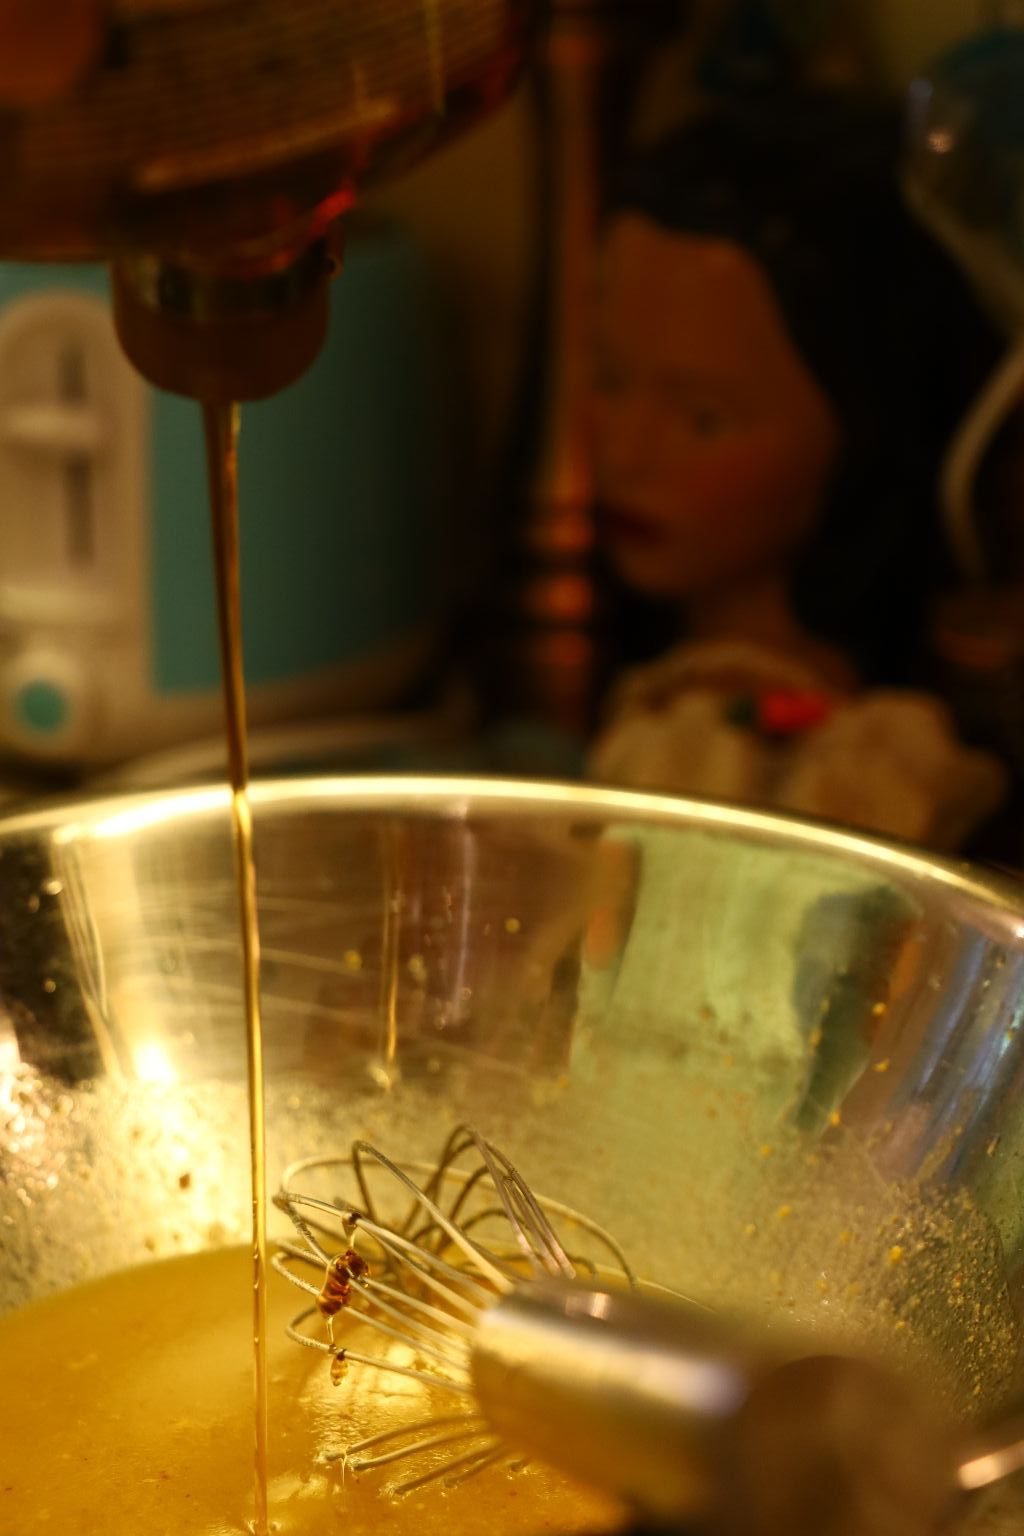
Now for some really nice Olive Oil which is infused with Roasted Garlic.

————————————————————————

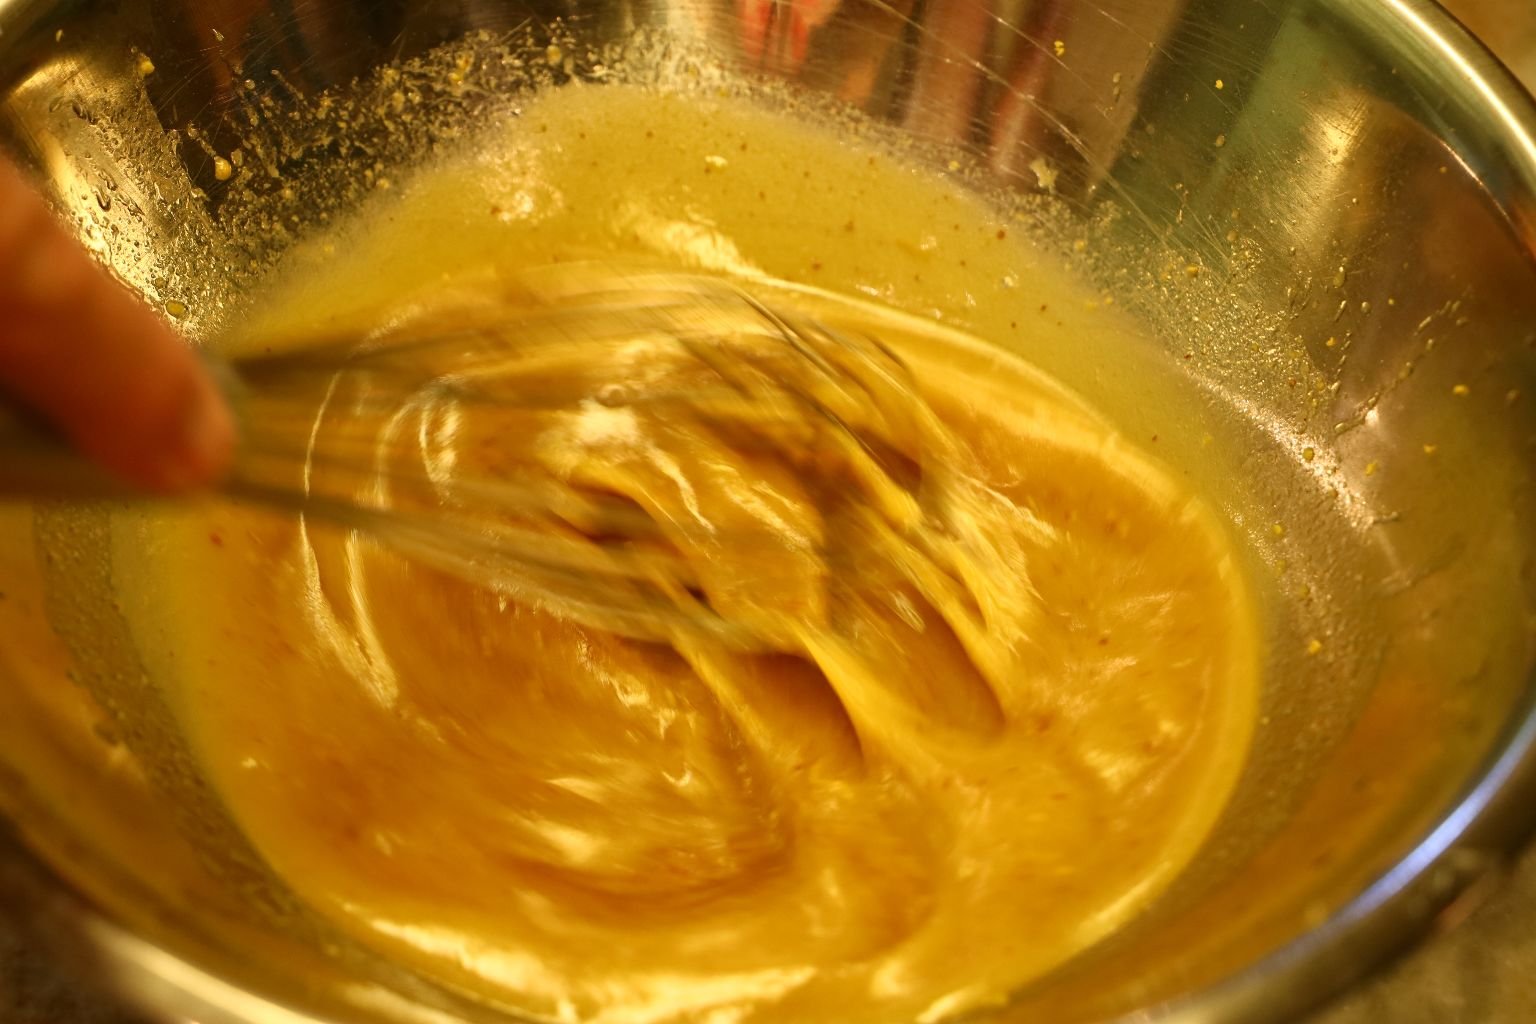
Mix with a whisk to emulsify (temporarily combine) the ingredients.
Now taste the Vinaigrette!

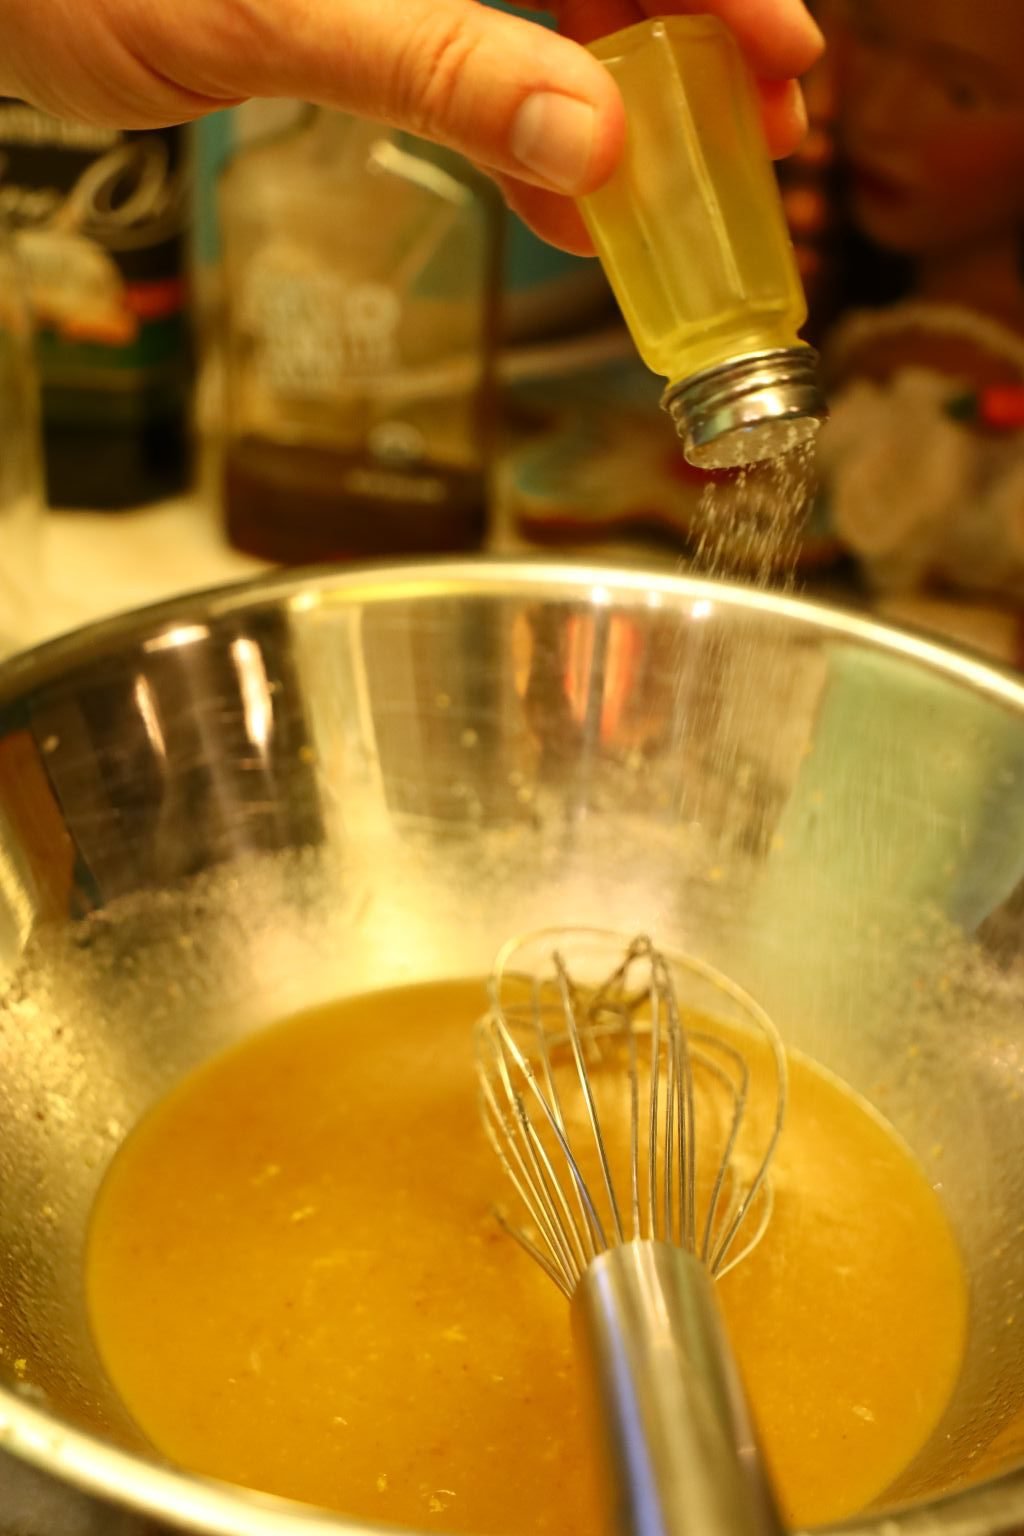
Thought it needed a little more sweetness, so we added some Agave, a light sweetener that is a little lighter than honey.
Emulsify the ingredients again to combine the Agave…
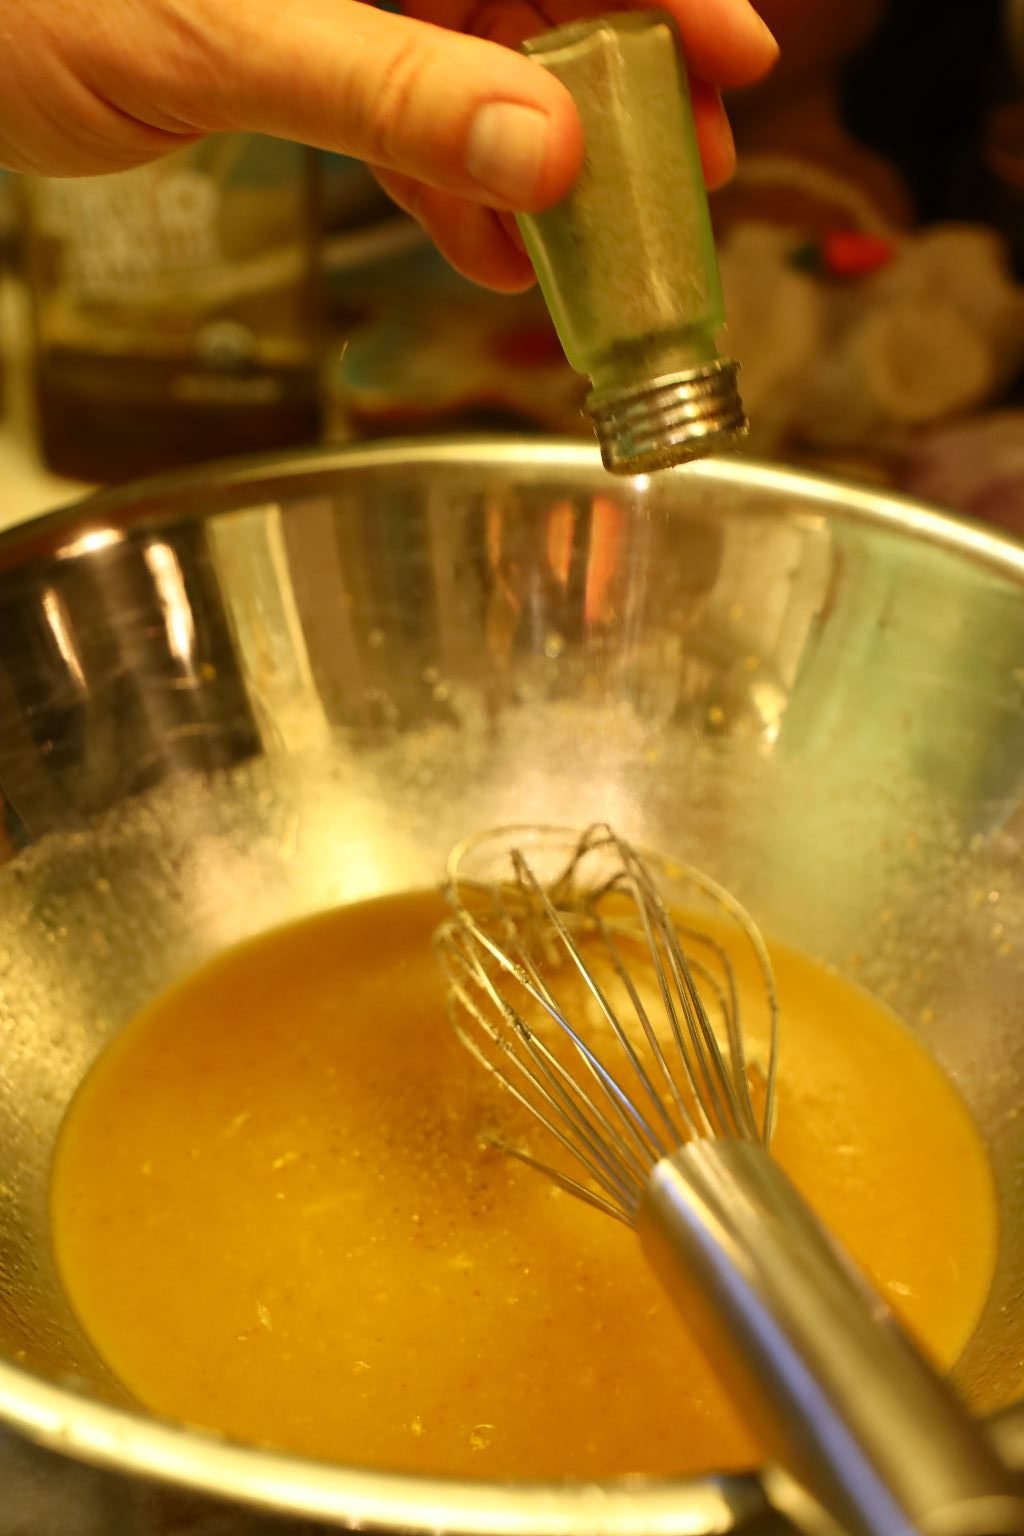
then add some salt and pepper to taste.
You need some salt to bring out/highlight the sweetness.
Taste again!
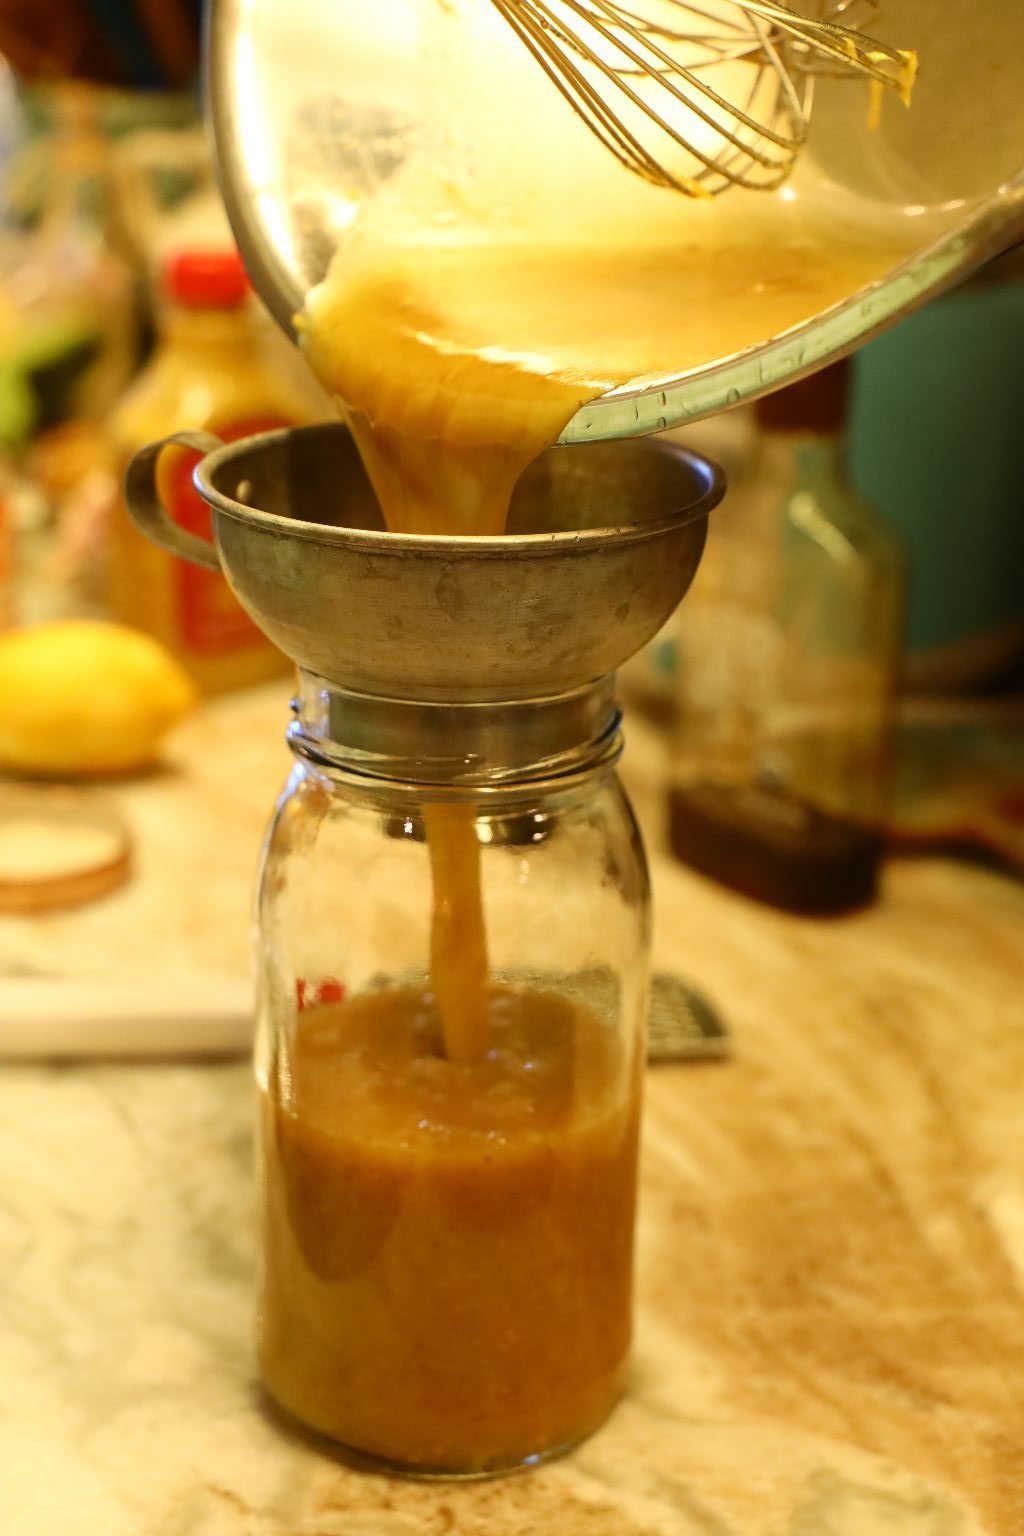
It was perfect, so we added it to a jar with a lid so that we could easily mix it again when needed.
——————————————————————–
Lastly, Adding The Green Apple
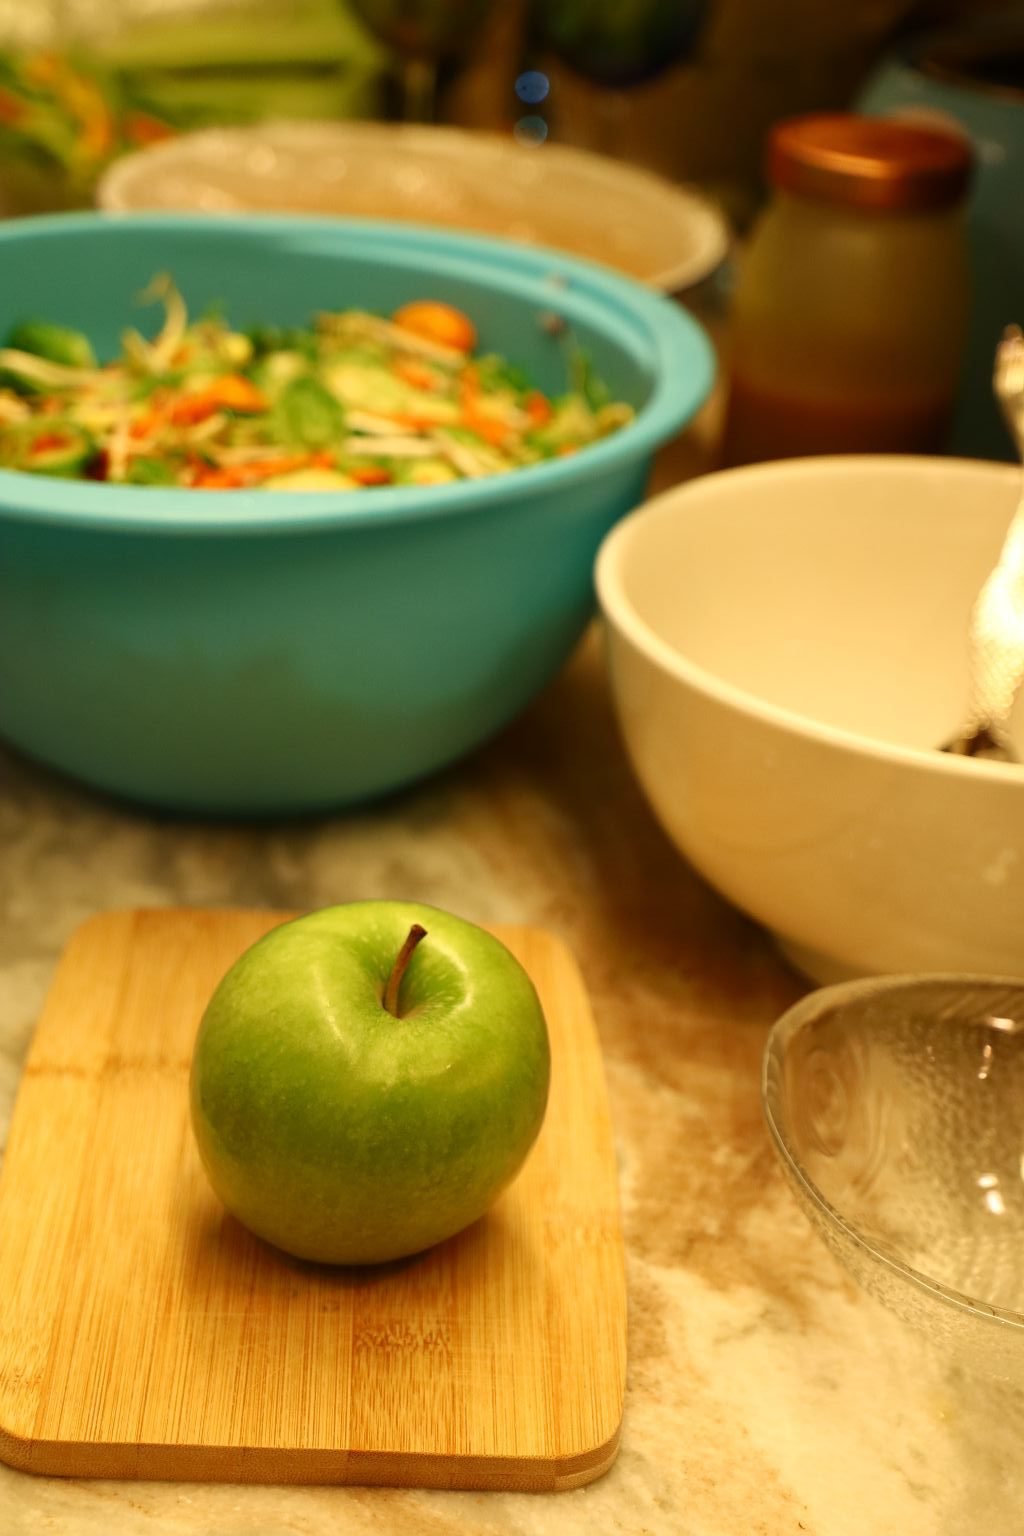
Now that we are ready to serve, I will slice the Green Apple.
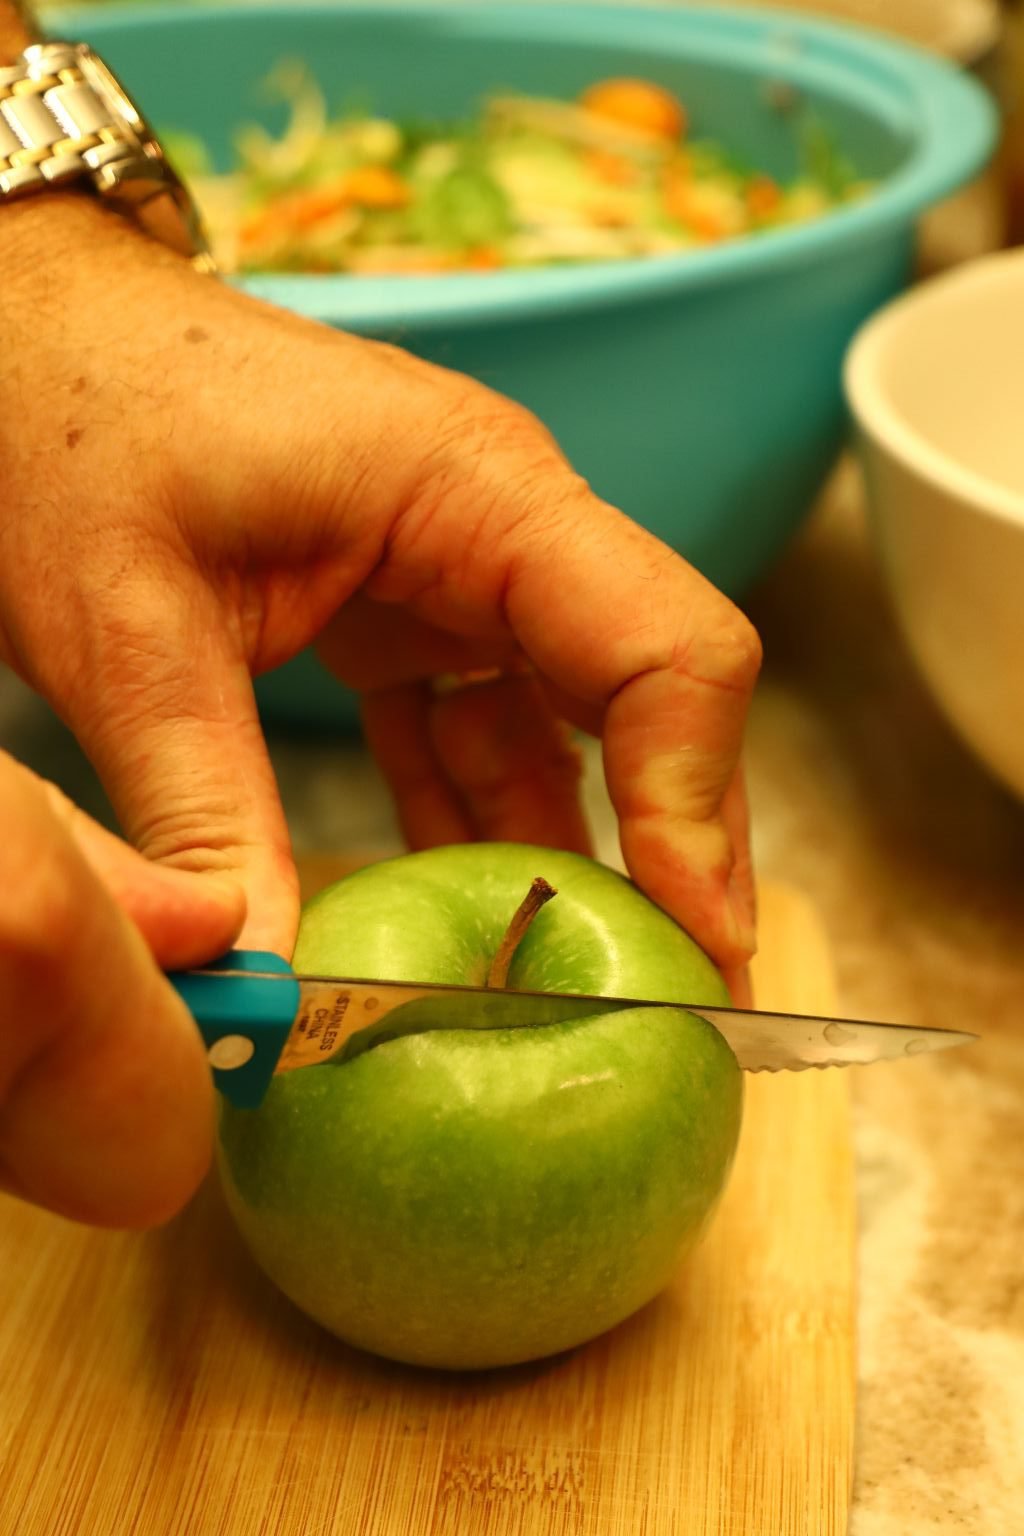
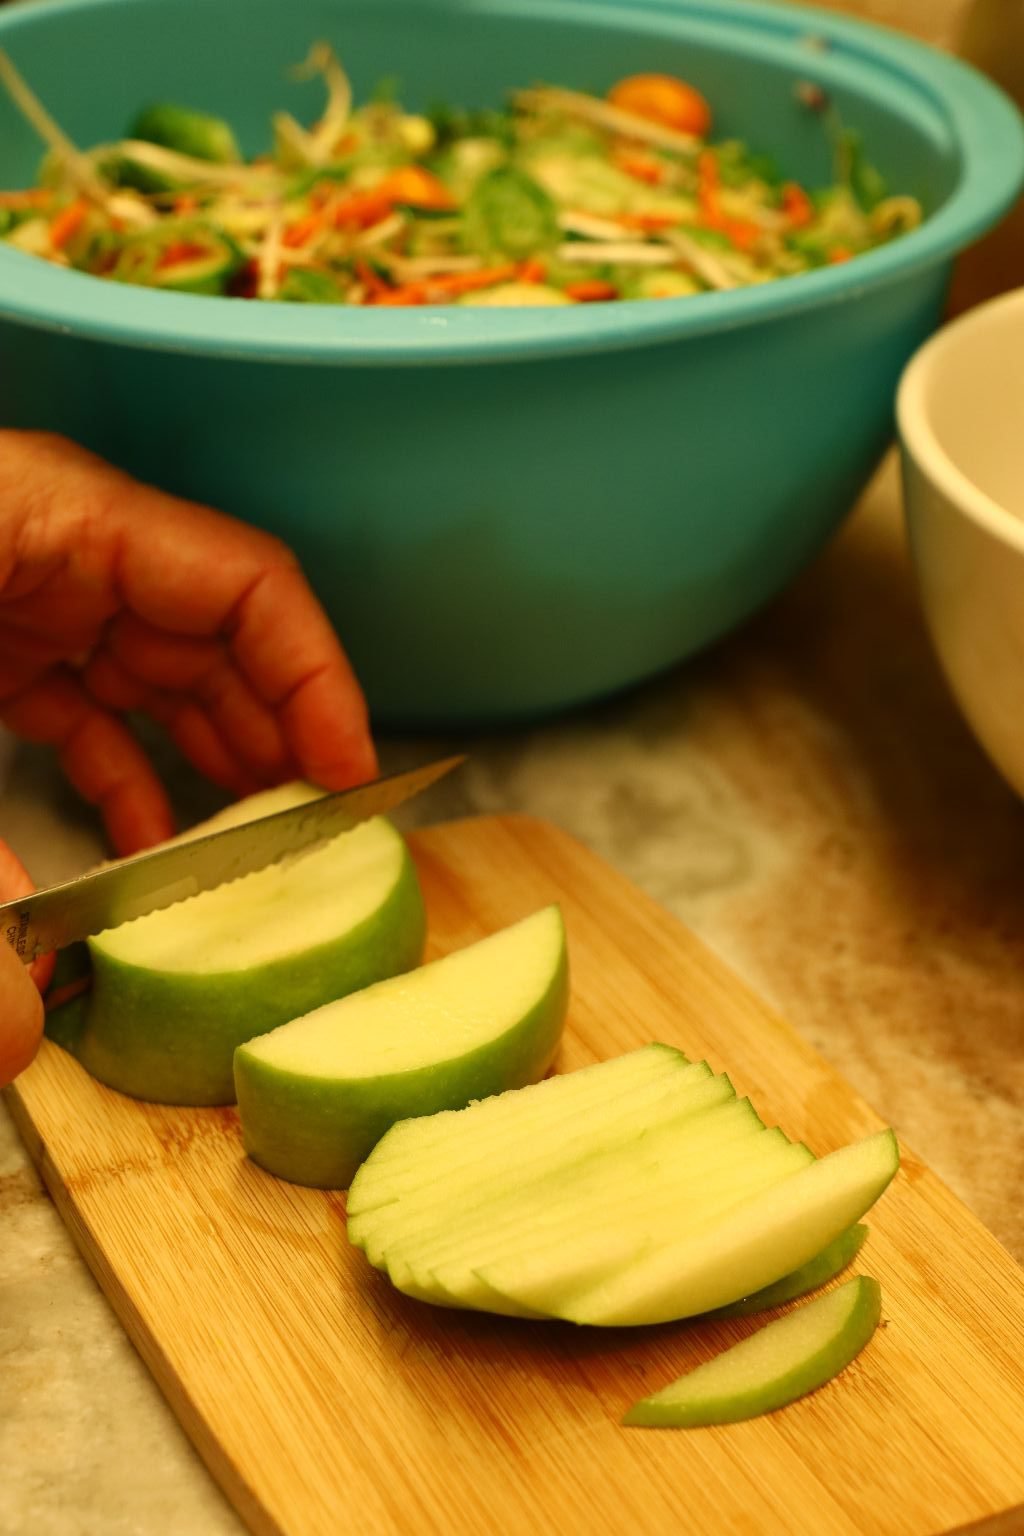
I started by slicing down one side of the apple’s core then the other. Then slice down the other to the side of the core. Now, slice the sections evenly as shown.

To keep the slices from browning add some lemon juice to the slices before adding them to your slaw vegetables.

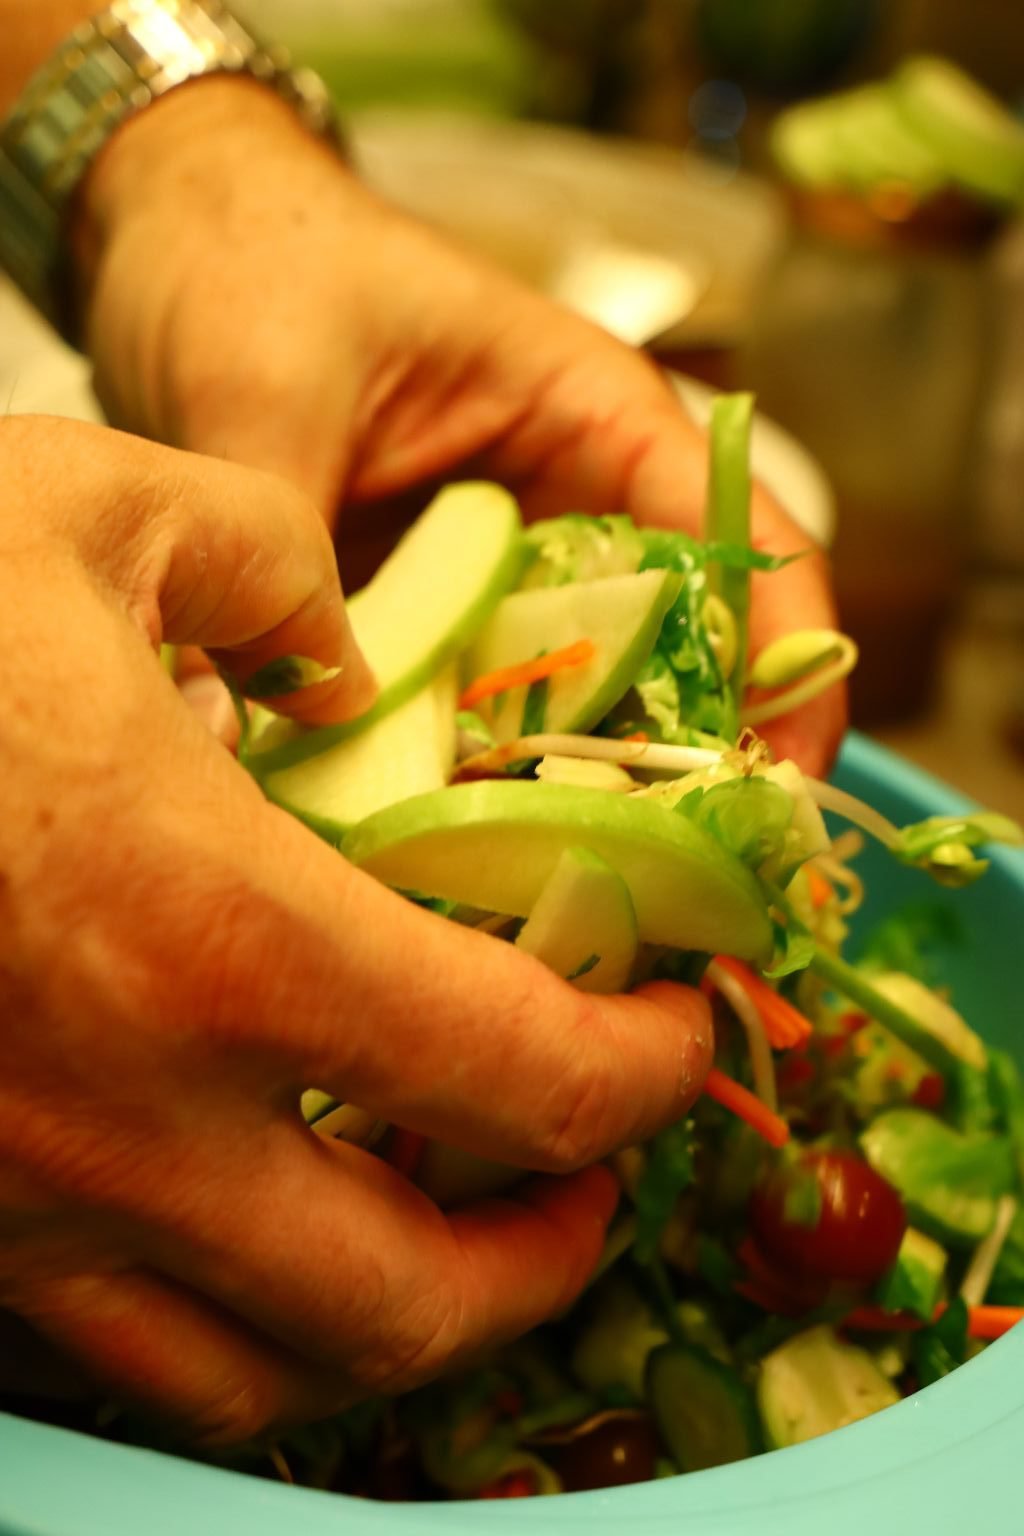
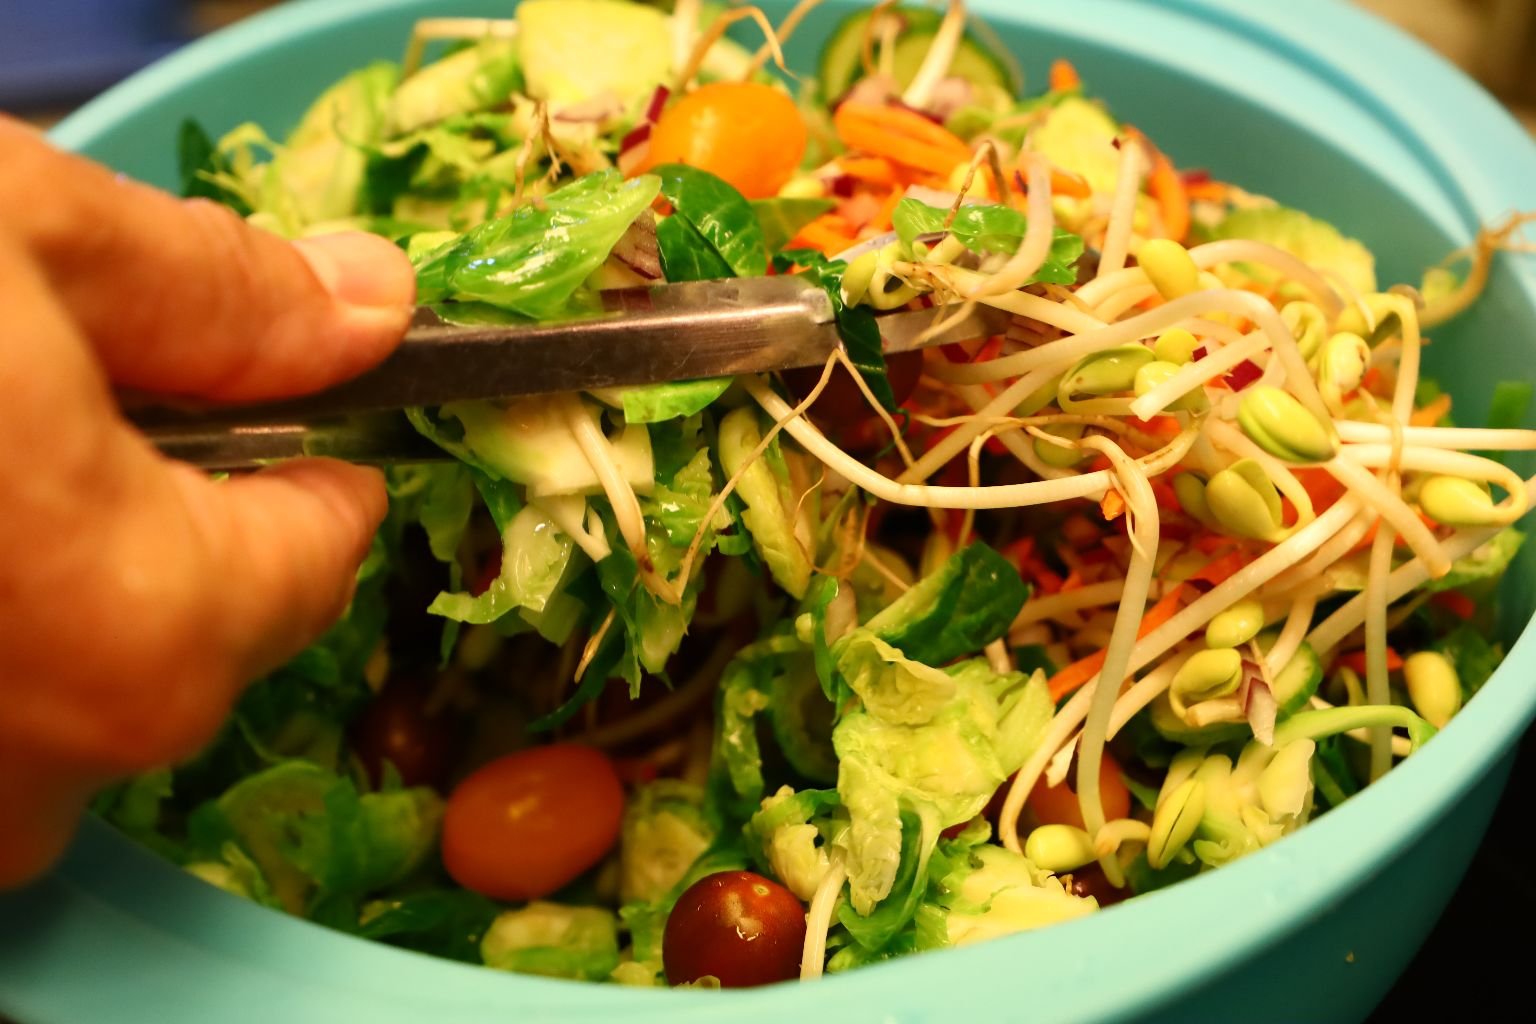
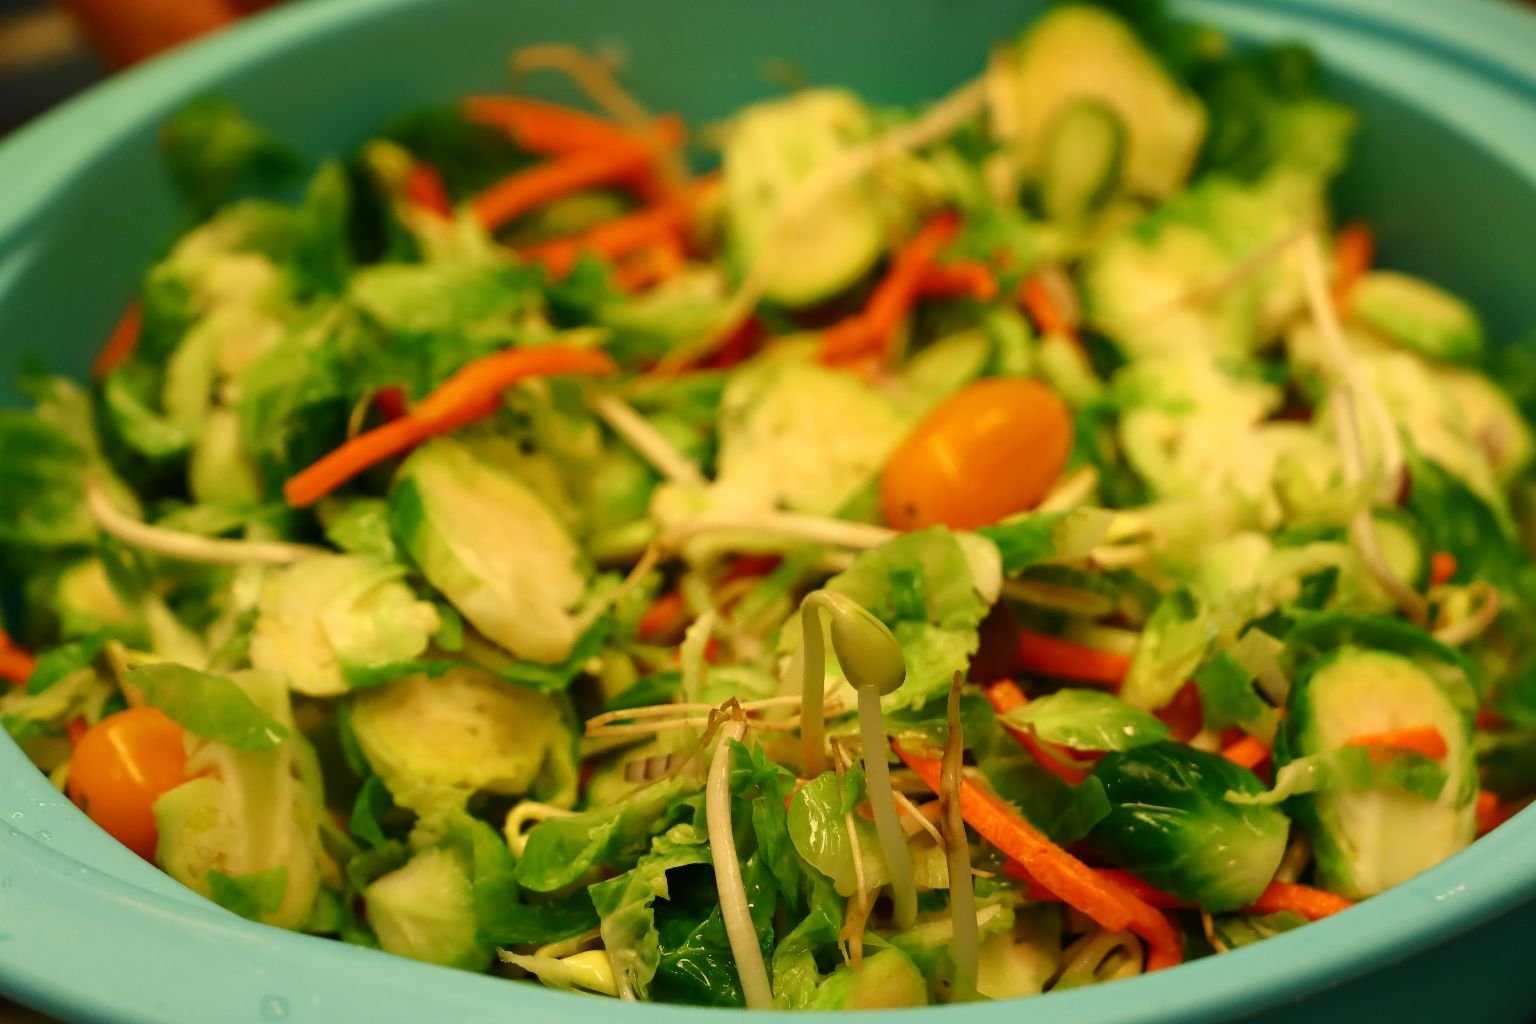
Here I made a large slaw that I don’t think we could eat in one day, which is why I didn’t add the Vinaigrette to it. I will let the guests add it to their own bowl and mix it themselves. The Vinaigrette won’t take long to wilt the vegetables.
We hope you enjoy this great Brussels Sprouts and Apple Slaw w/Apple Cider and Red Wine Vinaigrette!
———————————————————————–
Homemade Pesto
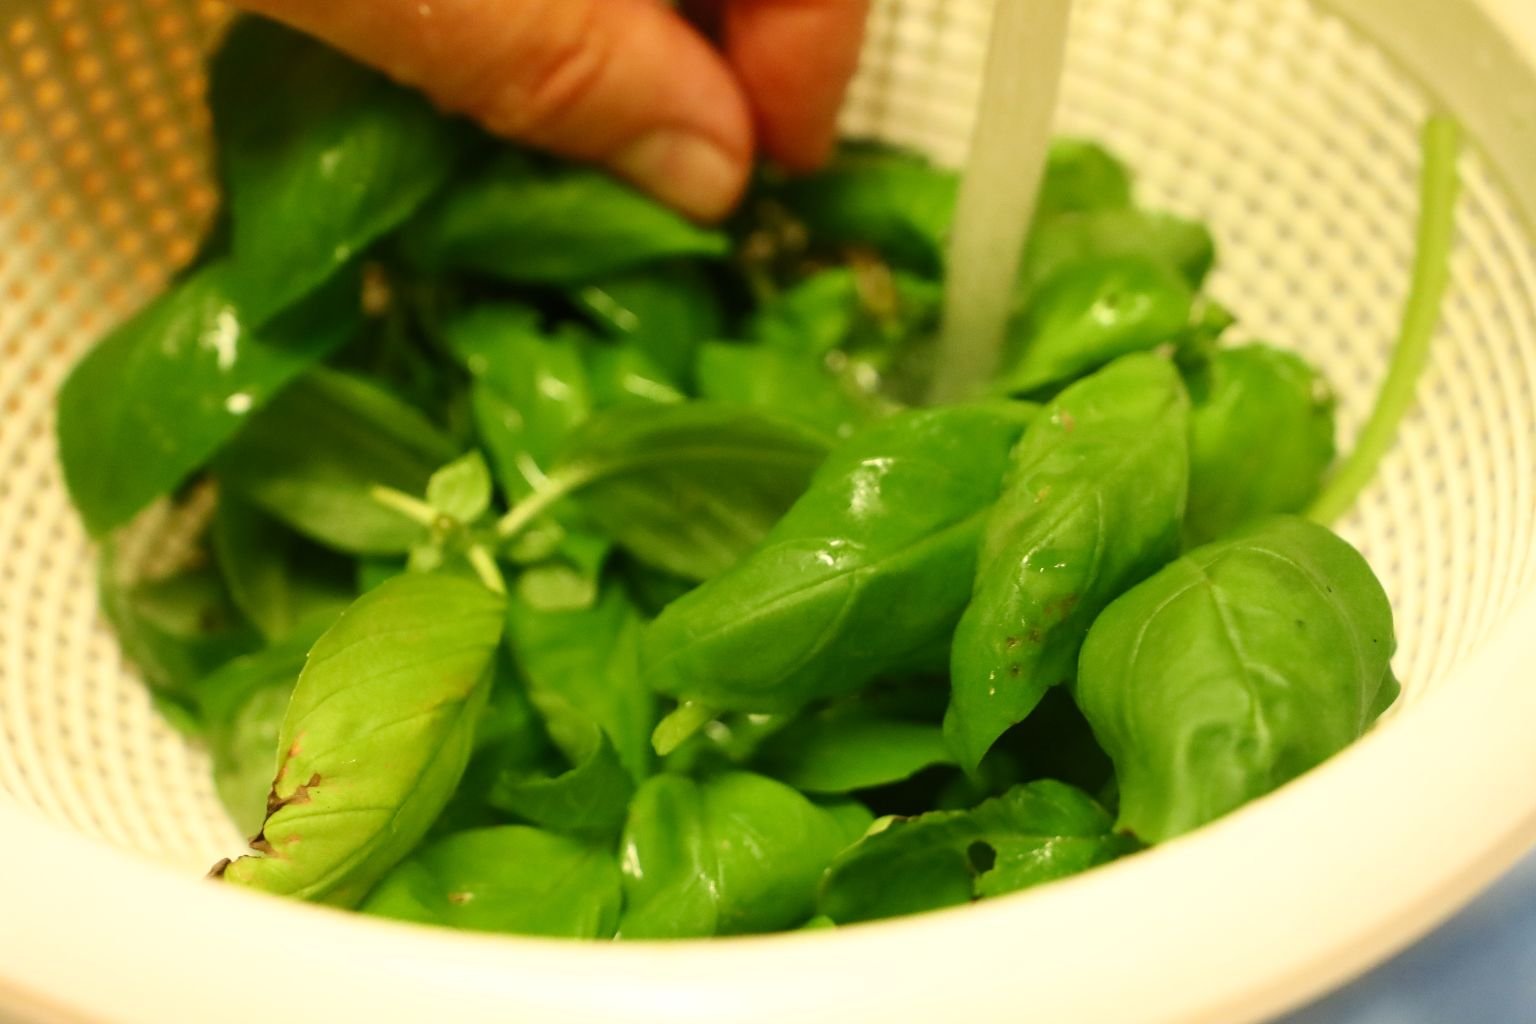

Our Basil From Our Herb Garden

Ingredients:
1 Bunch of Fresh Basil Leaves
4 Garlic Cloves
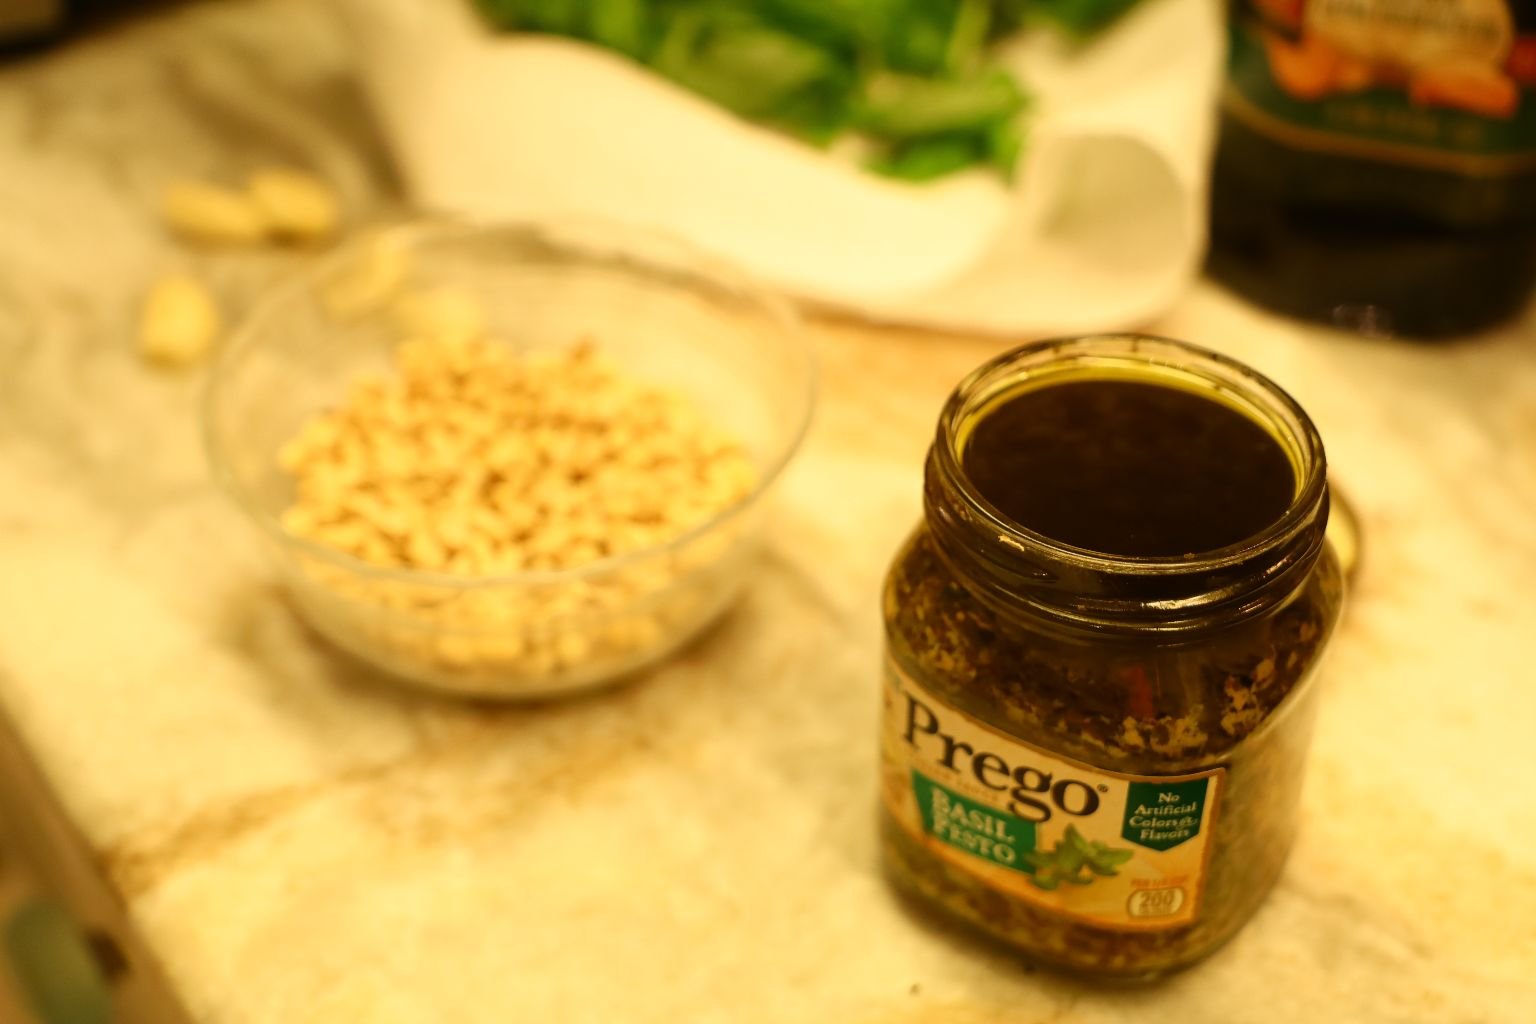
~1/4 Cup Toasted Pine Nuts
~1/2 Cup Roasted Garlic Olive Oil
Salt and Pepper to taste
Half Jar Leftover Pesto in your Fridge 🙂
Just Trying To Use It Up.
————————————————————————-
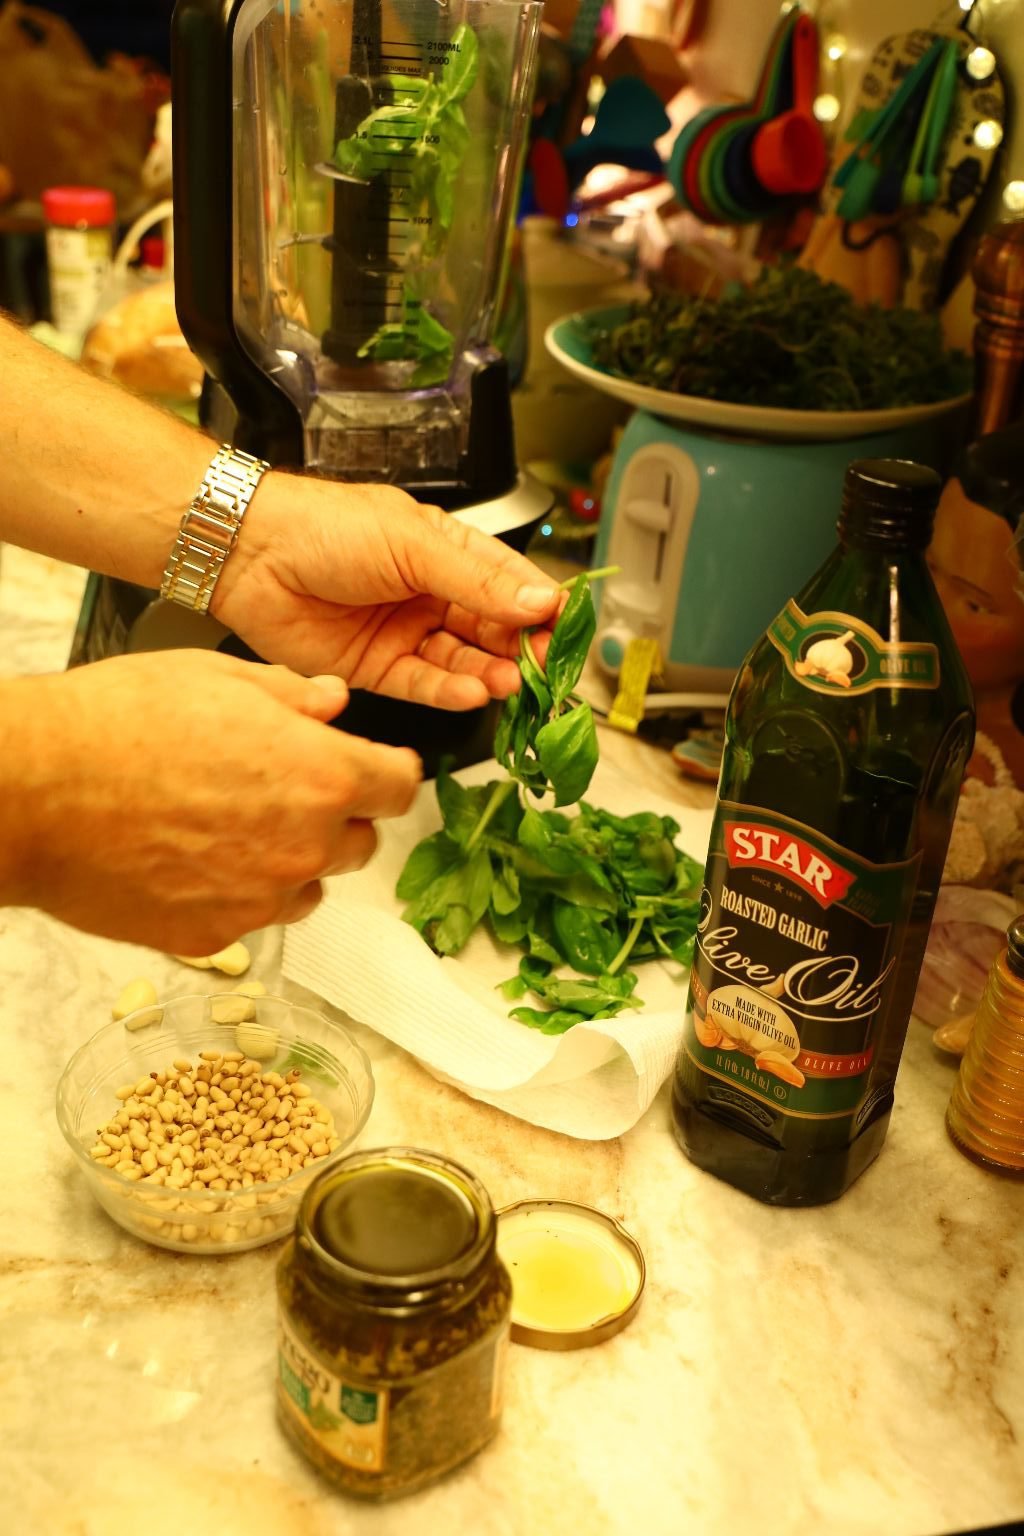
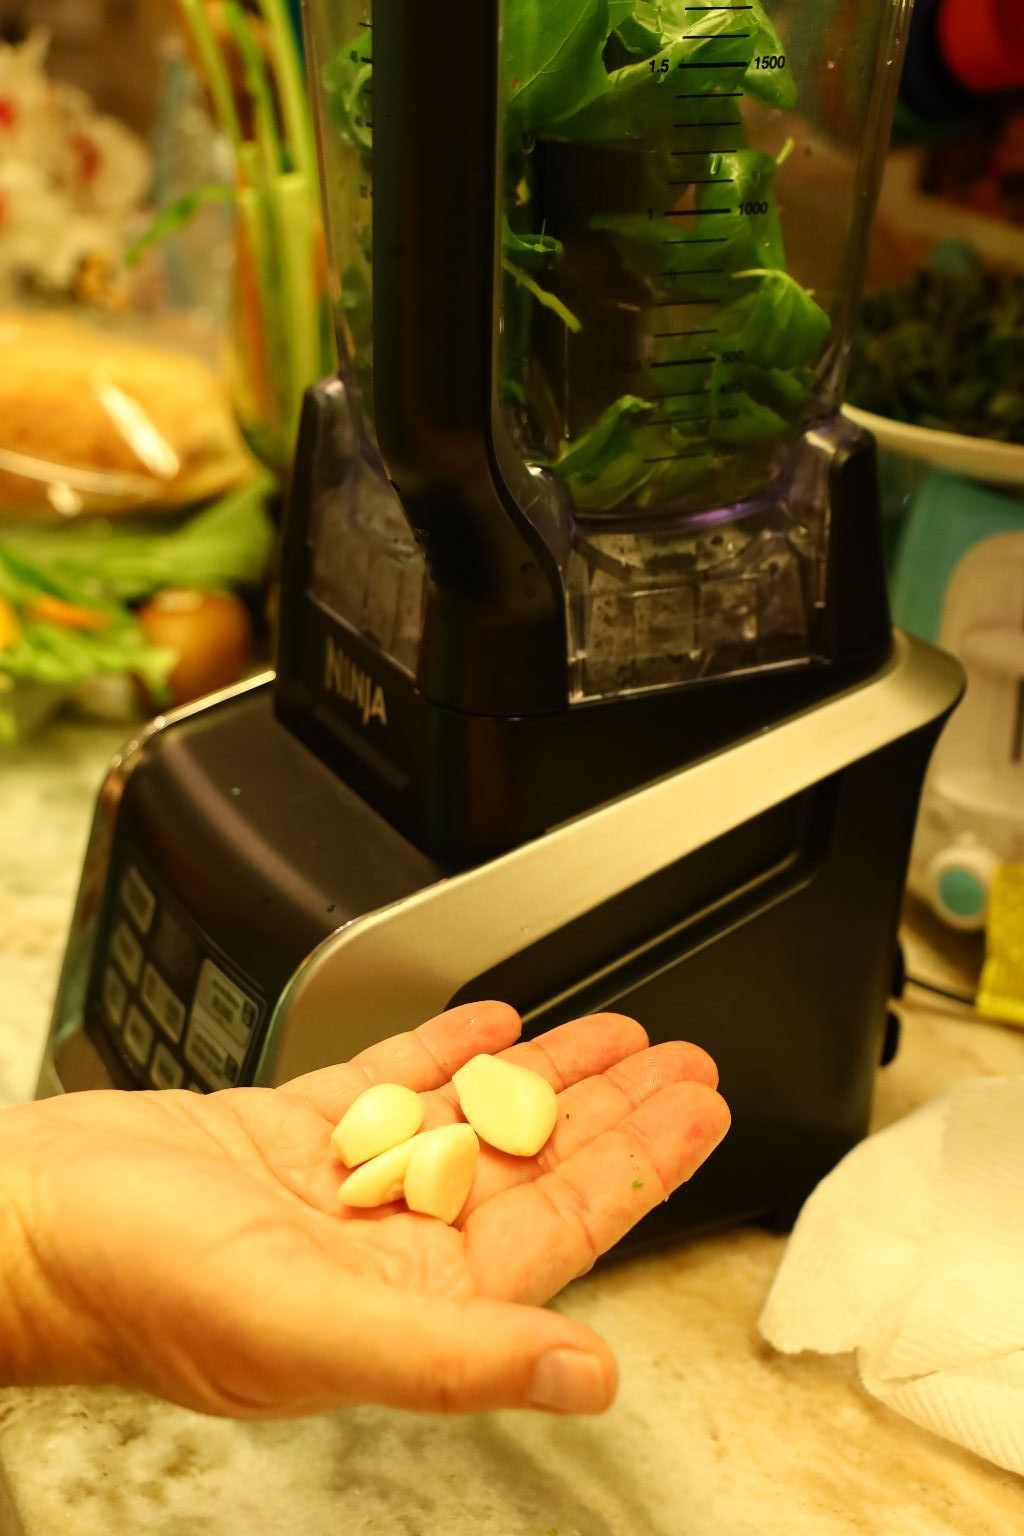
Place your cleaned fresh Basil Leaves into the blender and add your Garlic Cloves.
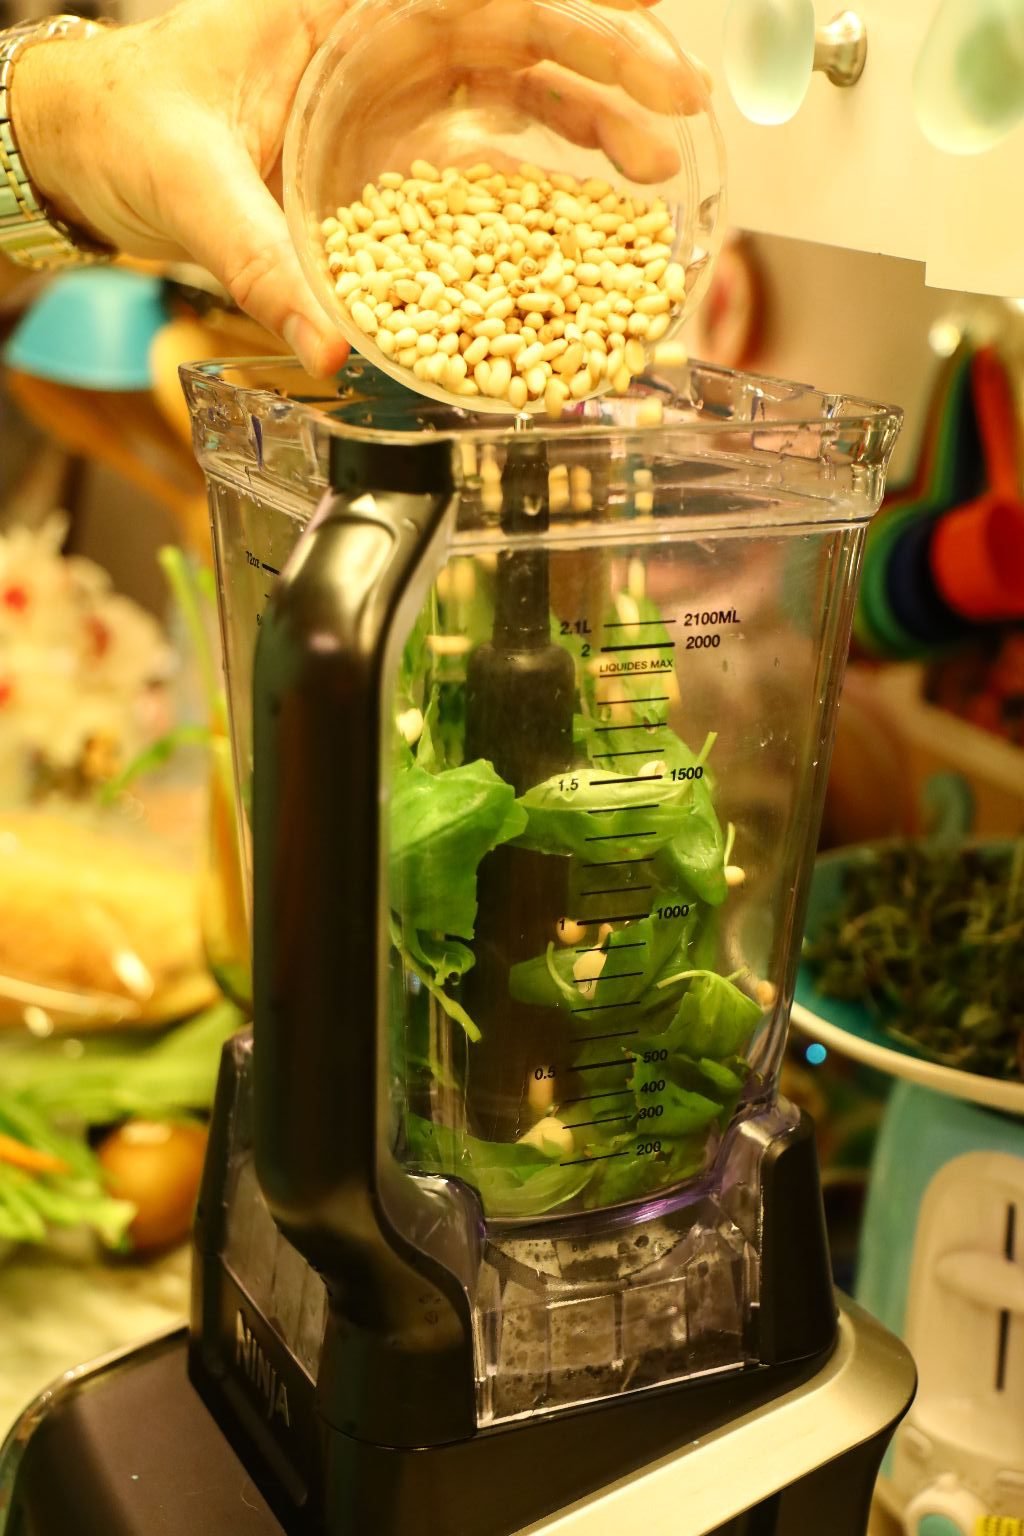
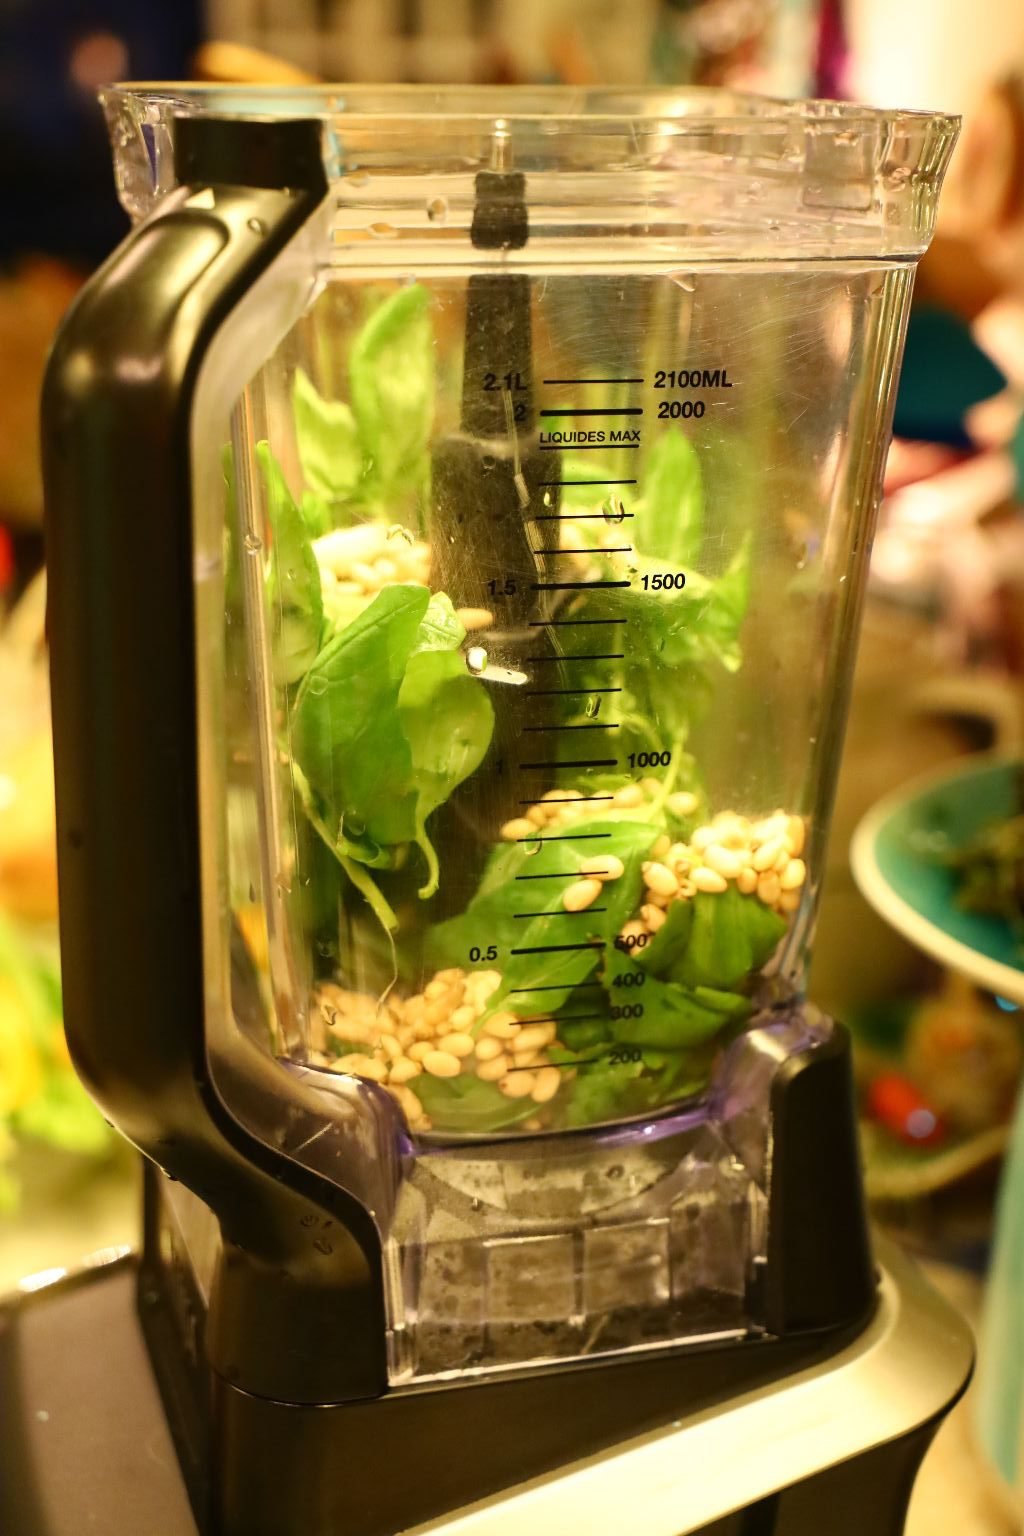
Now, add your Toasted Pine Nuts to the blender. Toasting the Pine Nuts brings out the flavor of the nuts. To toast them, simply place them in a pan over medium heat. Turn them often in the pan until they become a little brown and you can begin to smell them.
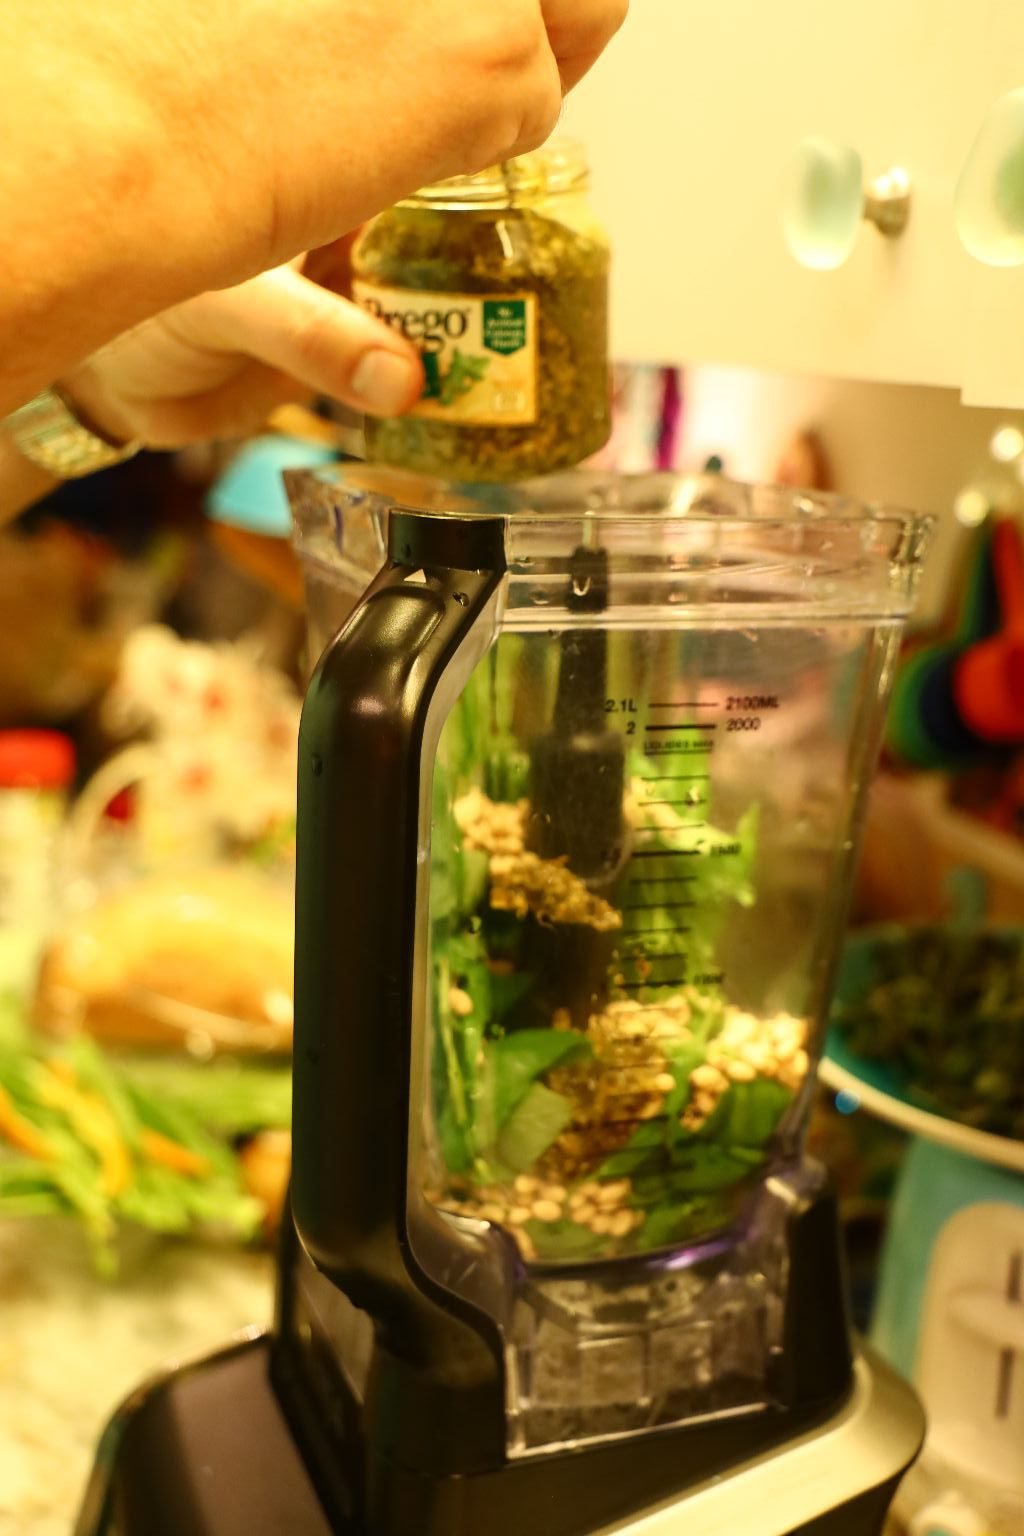
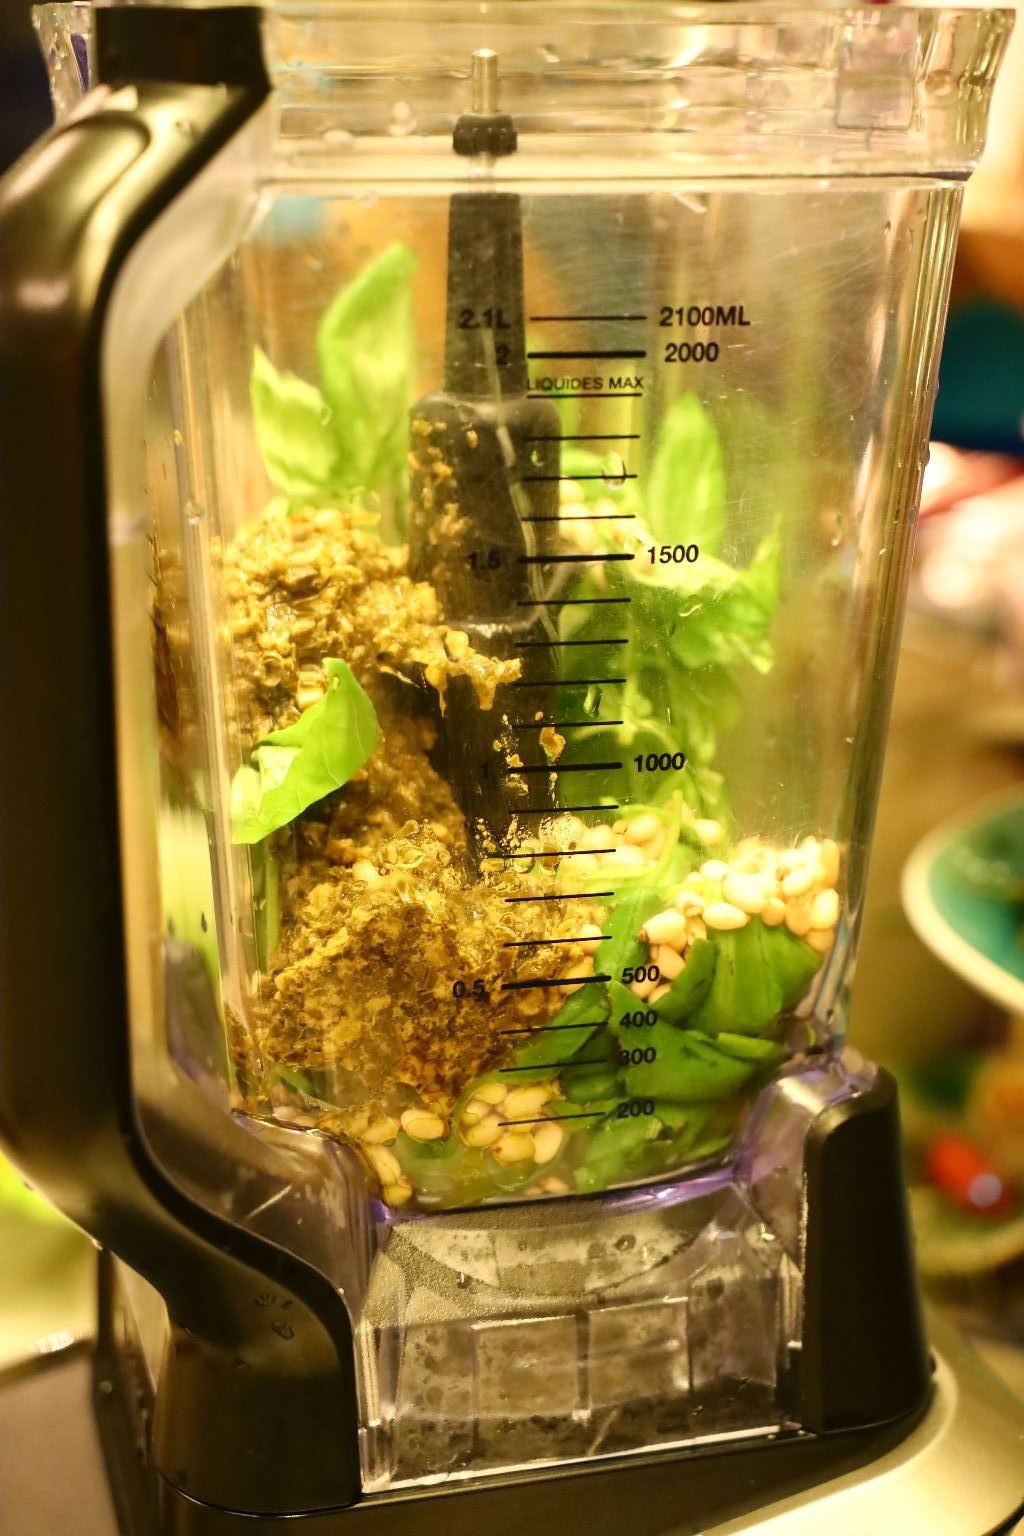
Here, you can add a little store bought Pesto if you like, but not necessary.
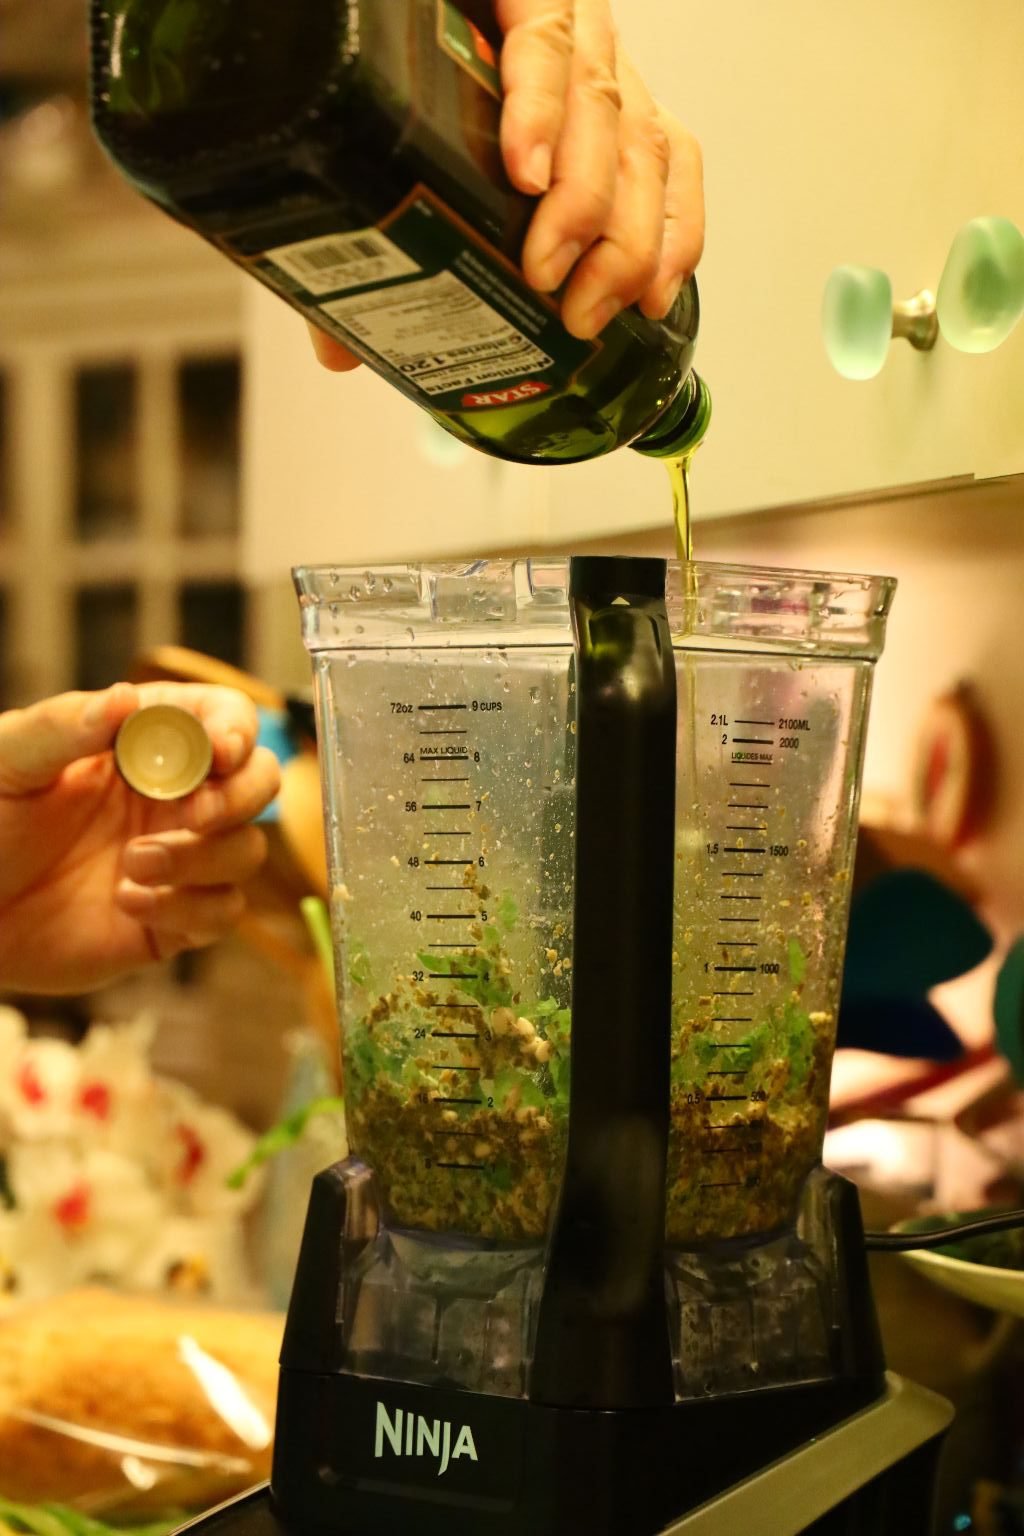

Now add a little bit of your Olive Oil which we chose to use our one that is Roasted Garlic infused. The little bit of Olive Oil will help to get the ingredients moving in the blender.
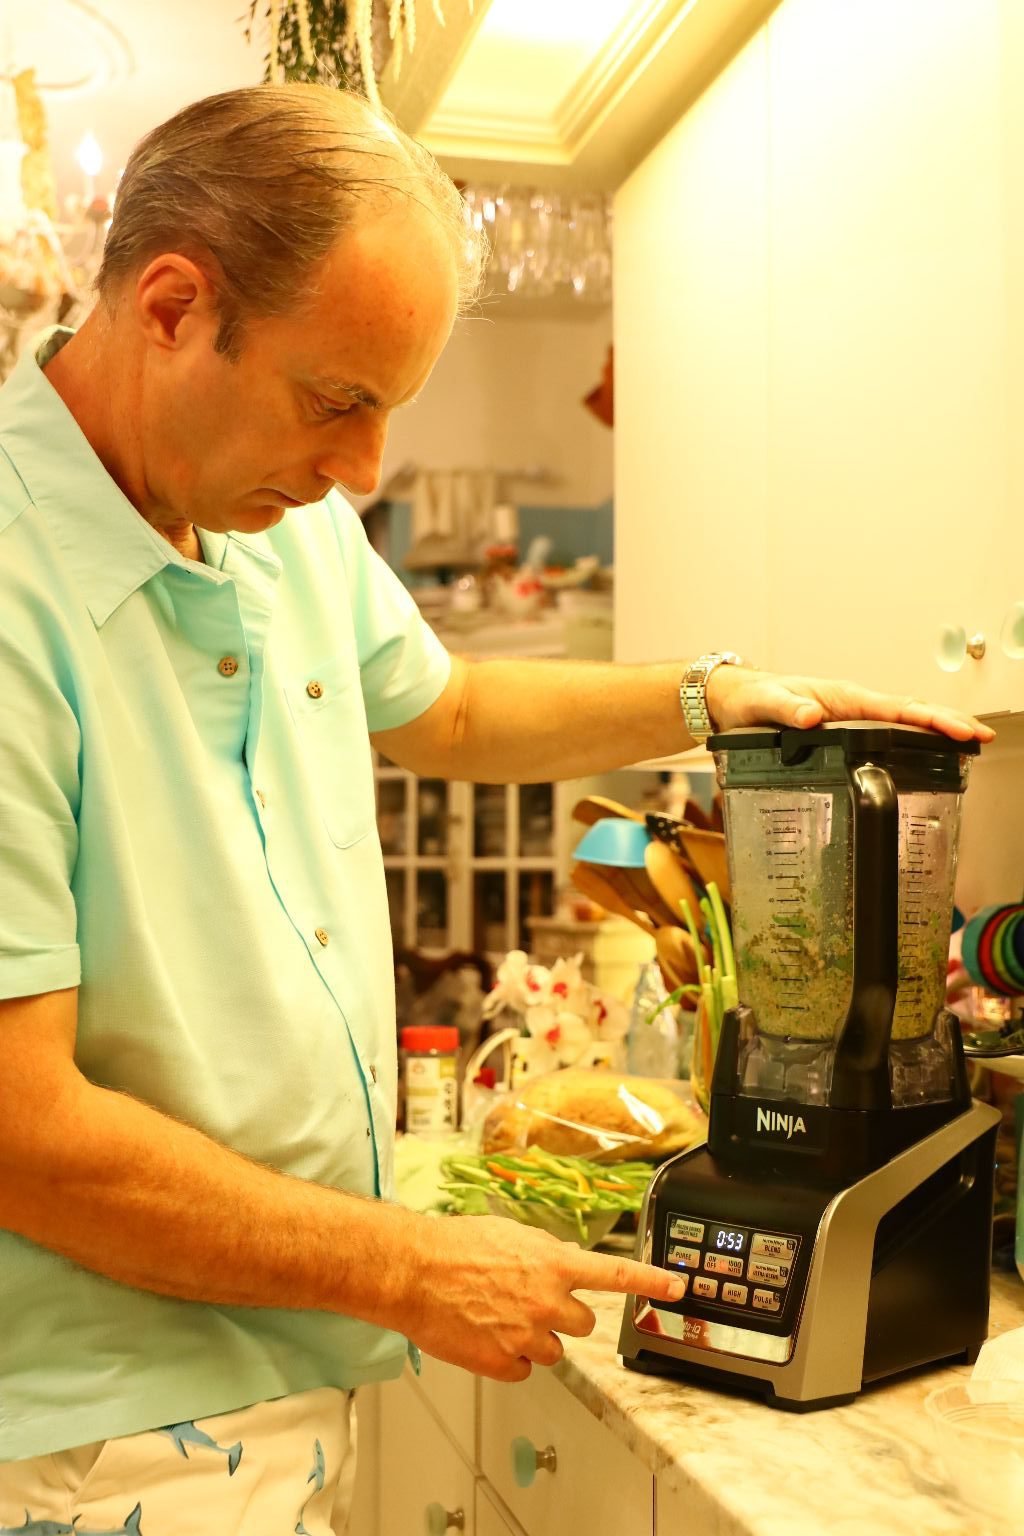

As the ingredients begin to move you can add more Olive Oil to your liking.
Now is a good time to add your salt and pepper to taste.
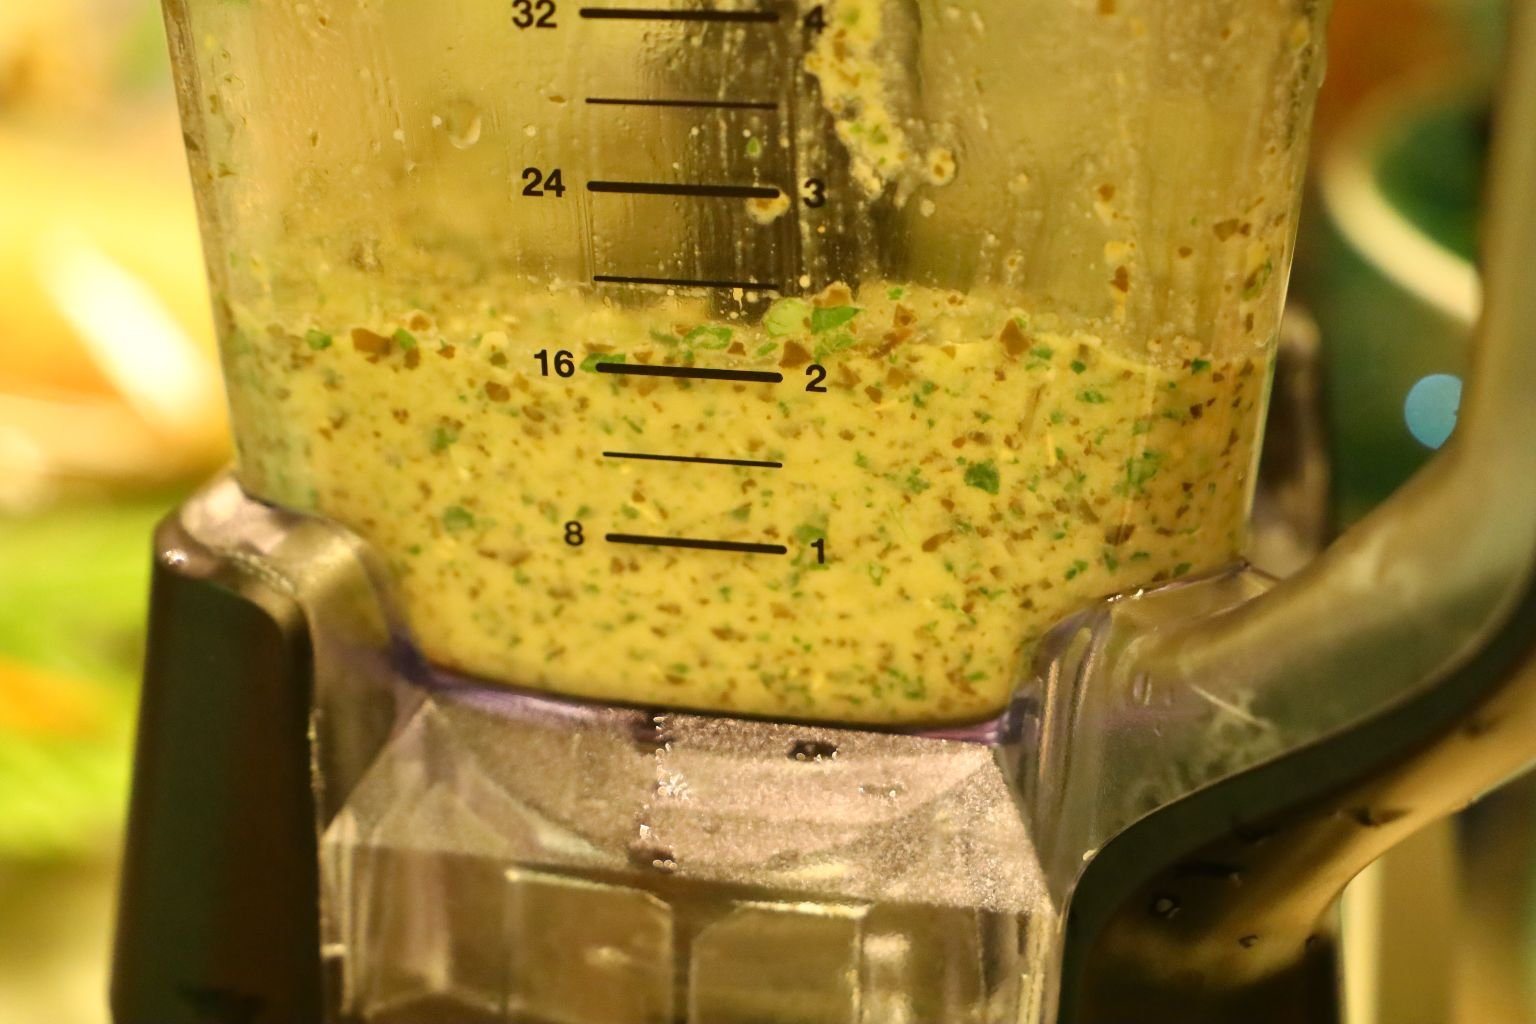
TIP: You can also add a little bit of fresh Parsley to the Basil as the Parsley will help the Pesto to retain its bright green color.
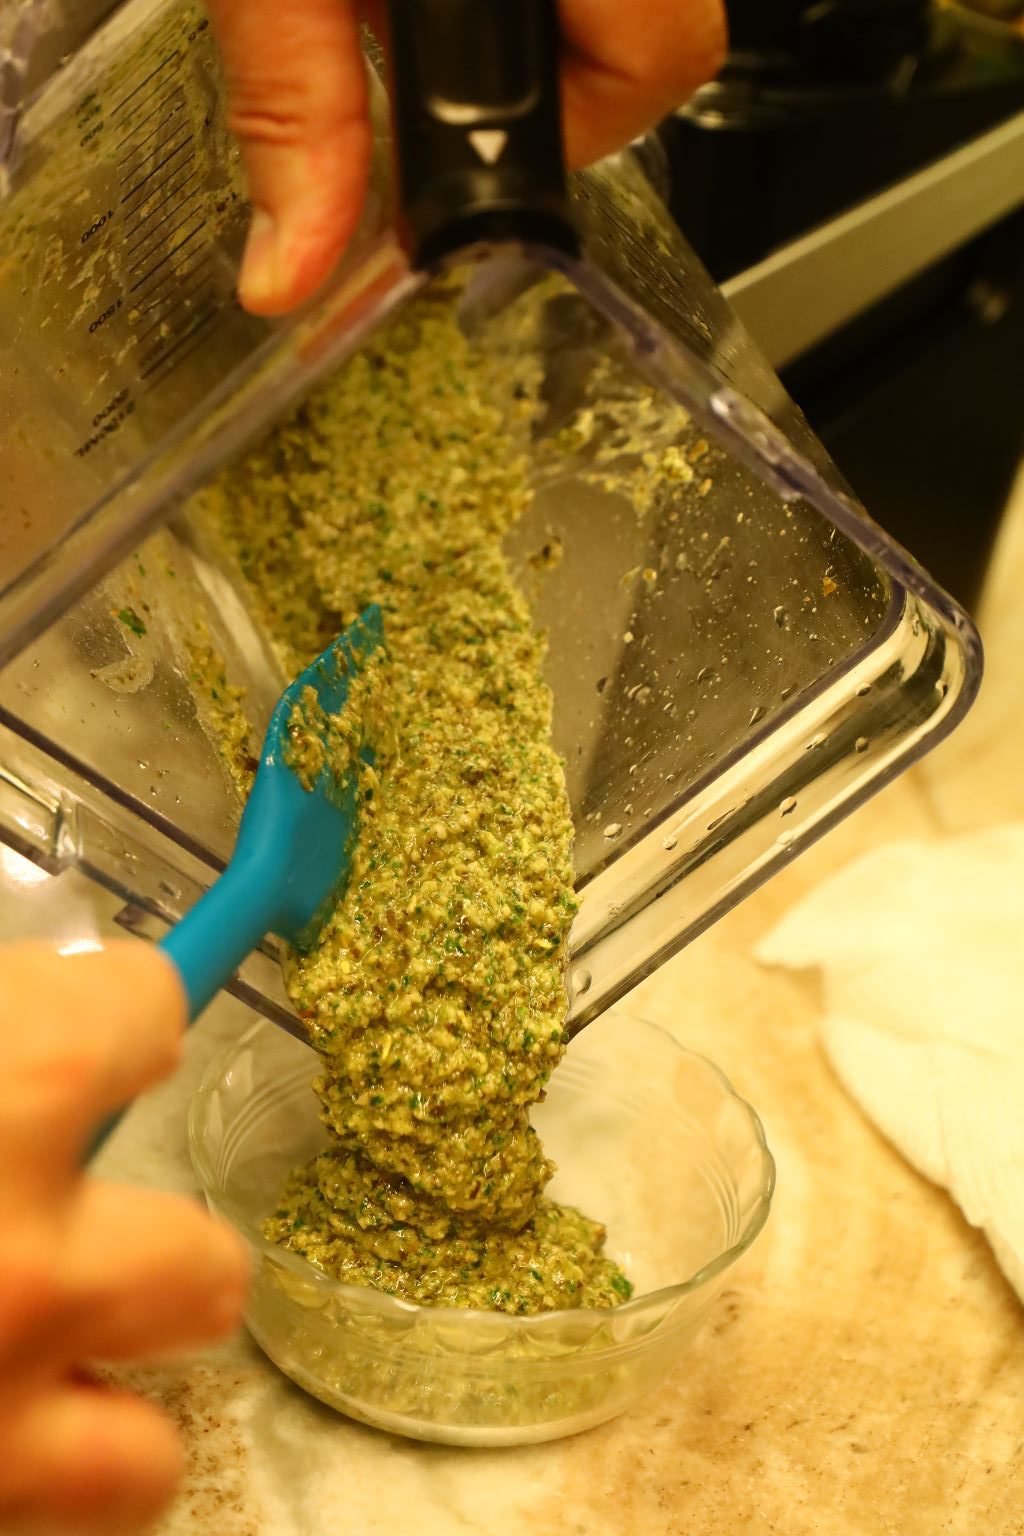
Here is our fresh Pesto ready for our Open-Faced Mahi-Mahi Sandwiches!
—————————————————————–
Our Open-Faced Mahi-Mahi Sandwiches
Ingredients:
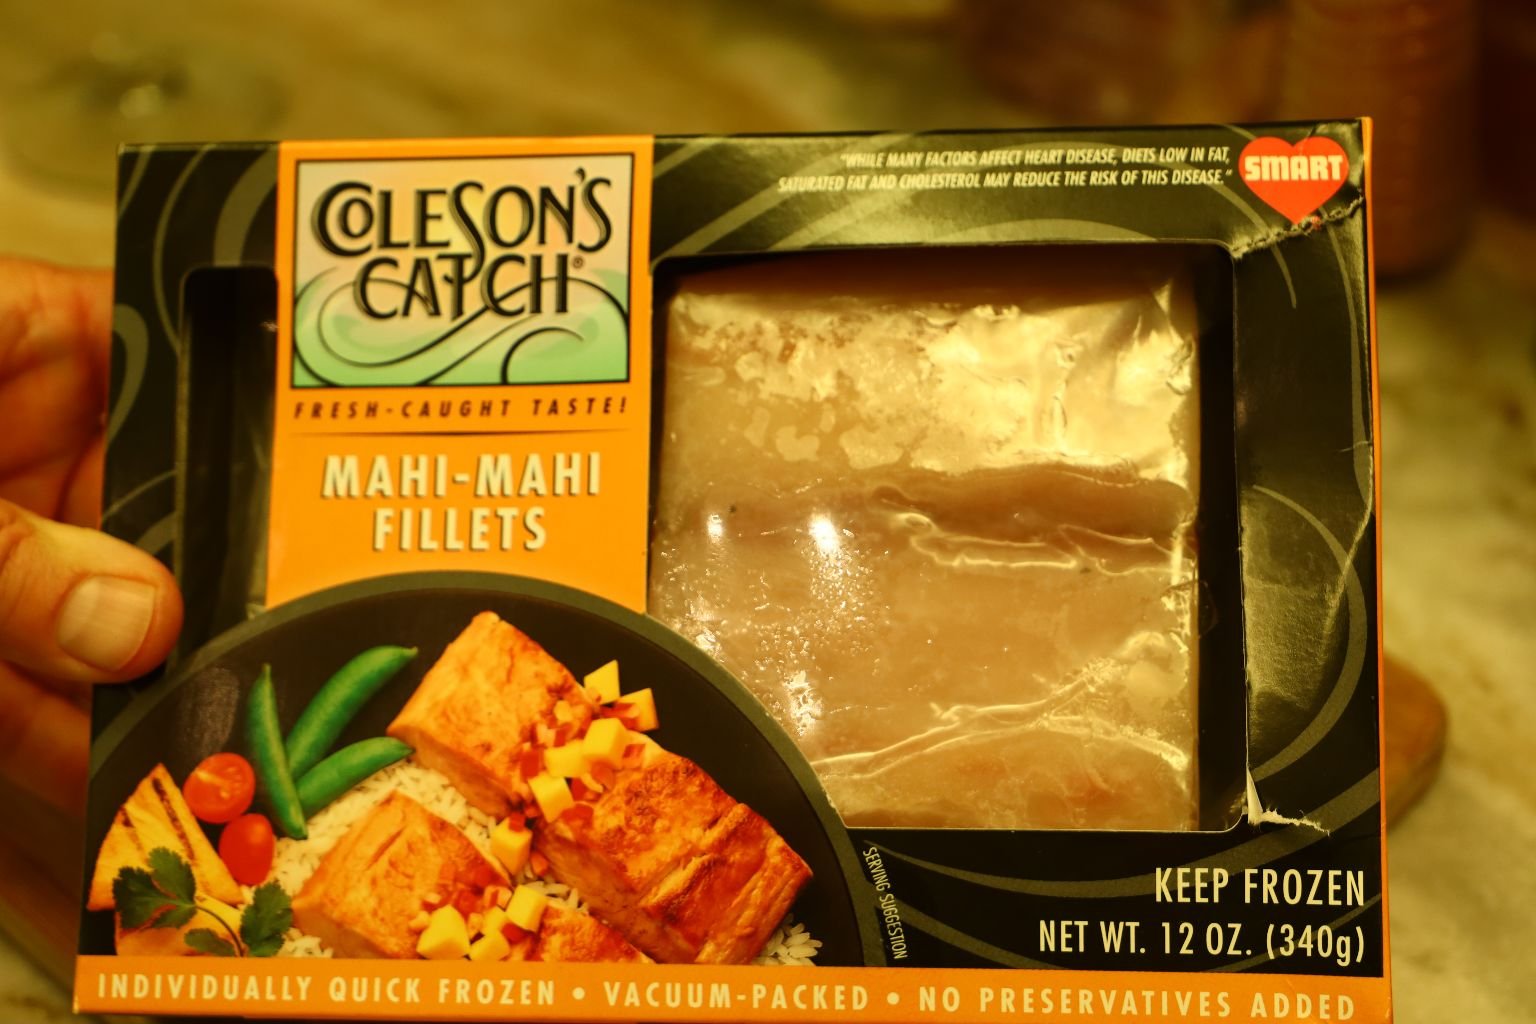
Mahi Mahi Fillets
2-3 Tbsp. Roasted Garlic Olive Oil
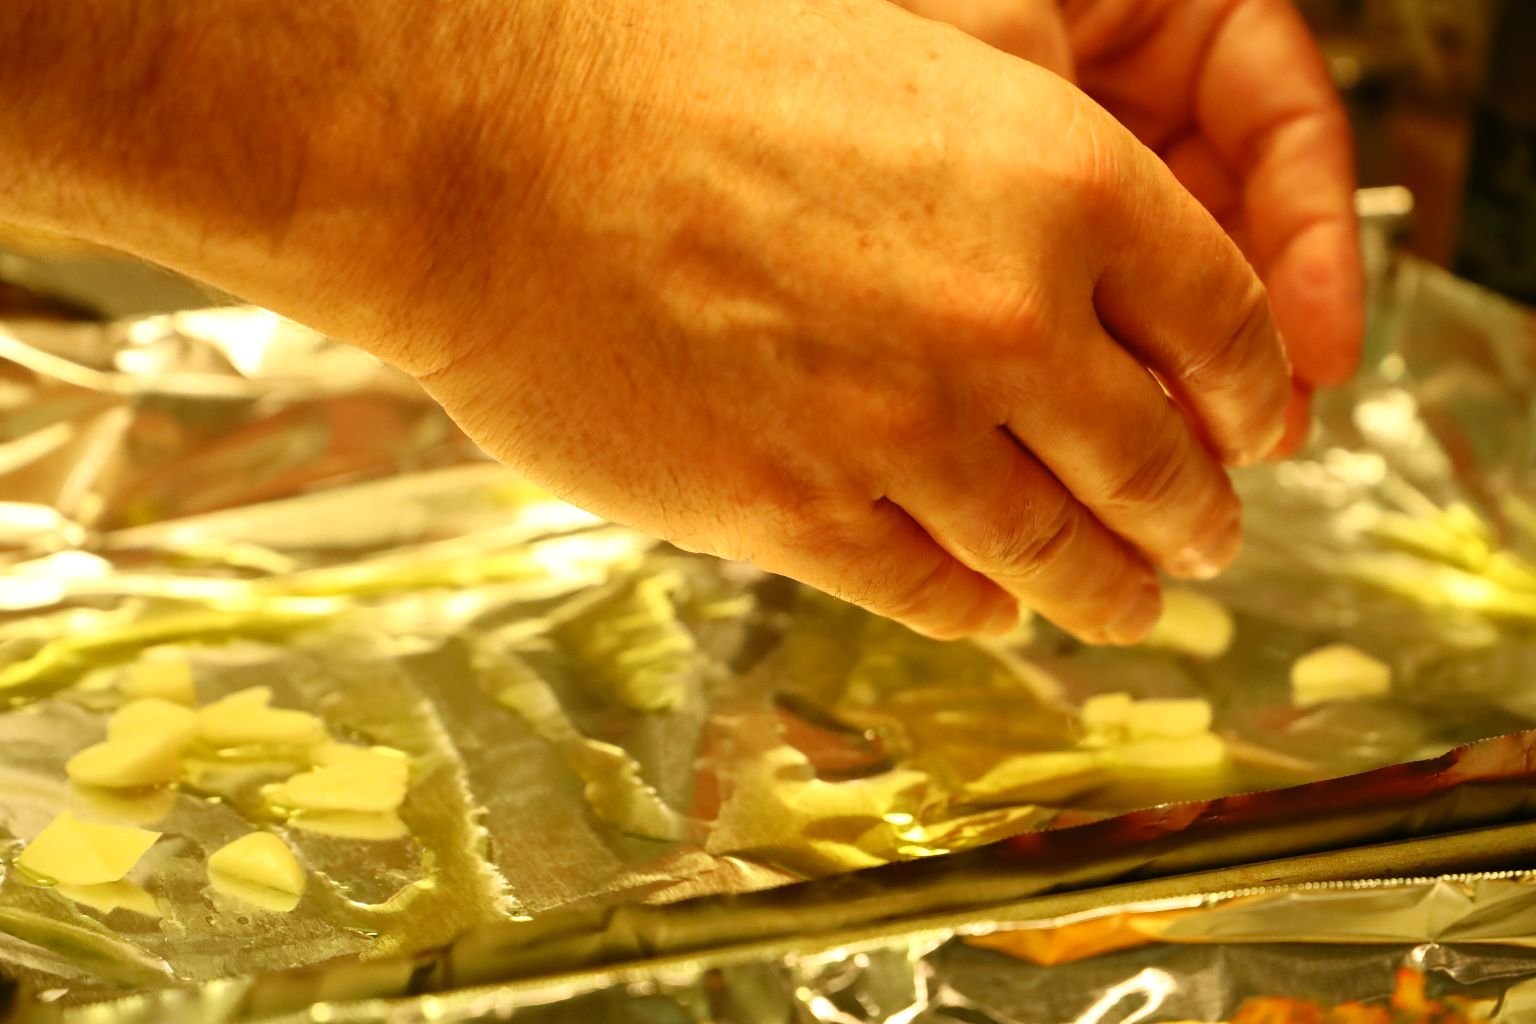
~10 Garlic Cloves
3 Tbsp. Old Bay Seasoning
2 Lemons – sliced into rings
Good Crusty Bread
Key Lime Tartar Sauce – The Golden Lion Cafe brand
4 Tbsp. Pesto
1/2 Red Onion – sliced thinly
Garnish the plate with Arugula or Micro-Greens
——————————————————————–
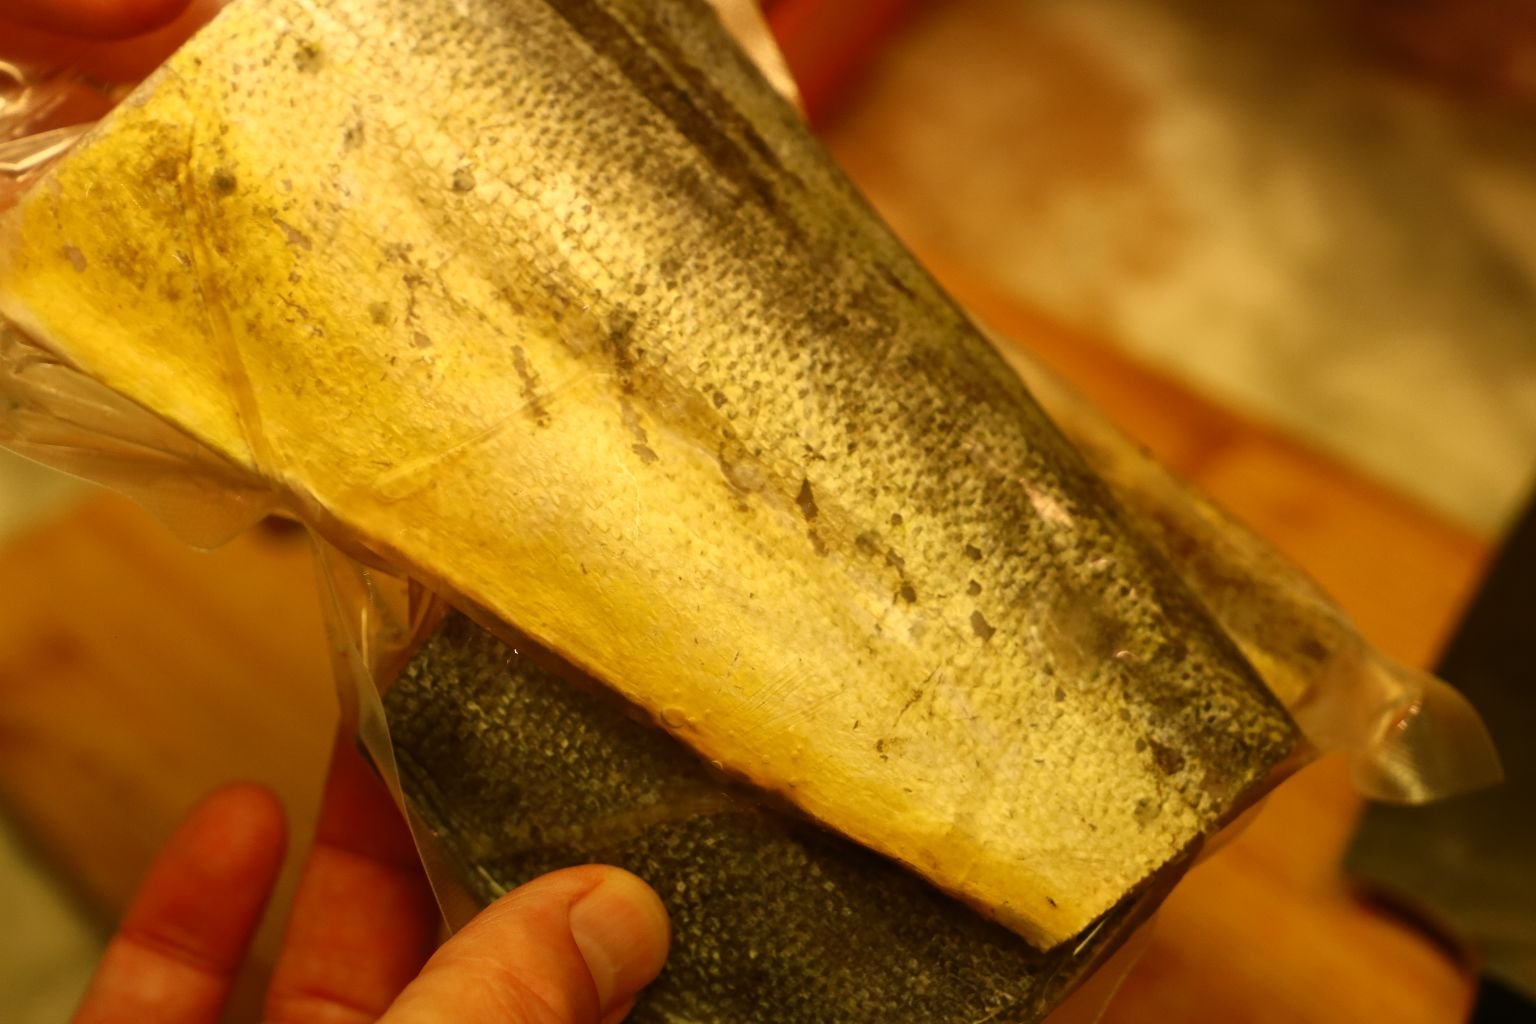
Here are the Mahi-Mahi fillets we used.
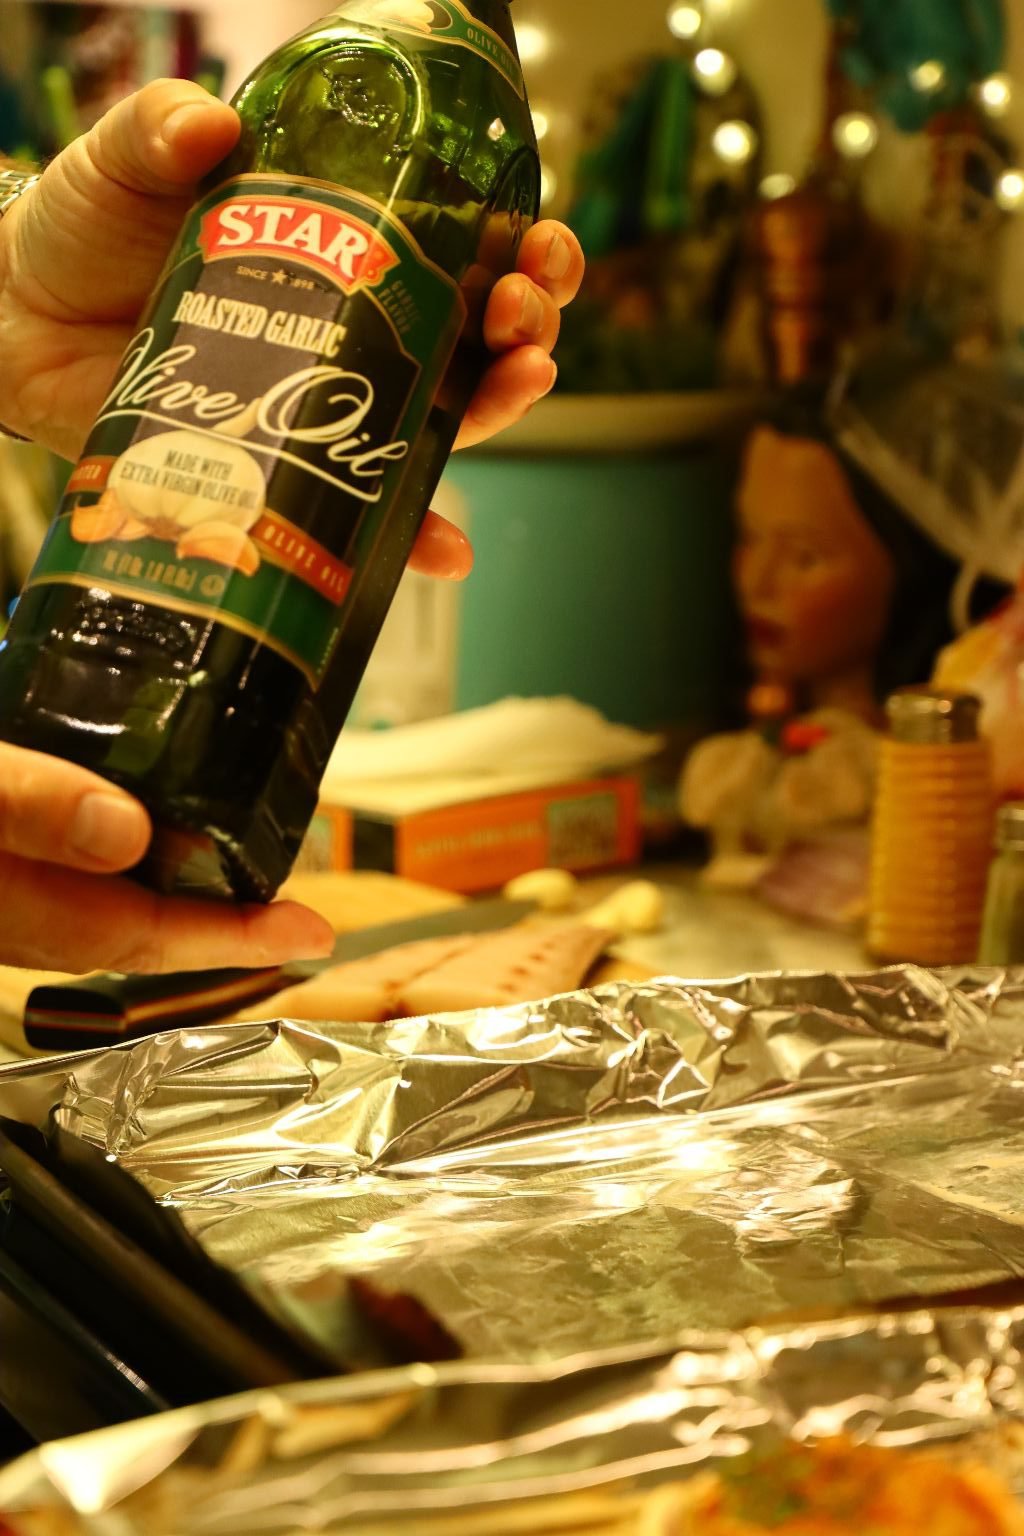

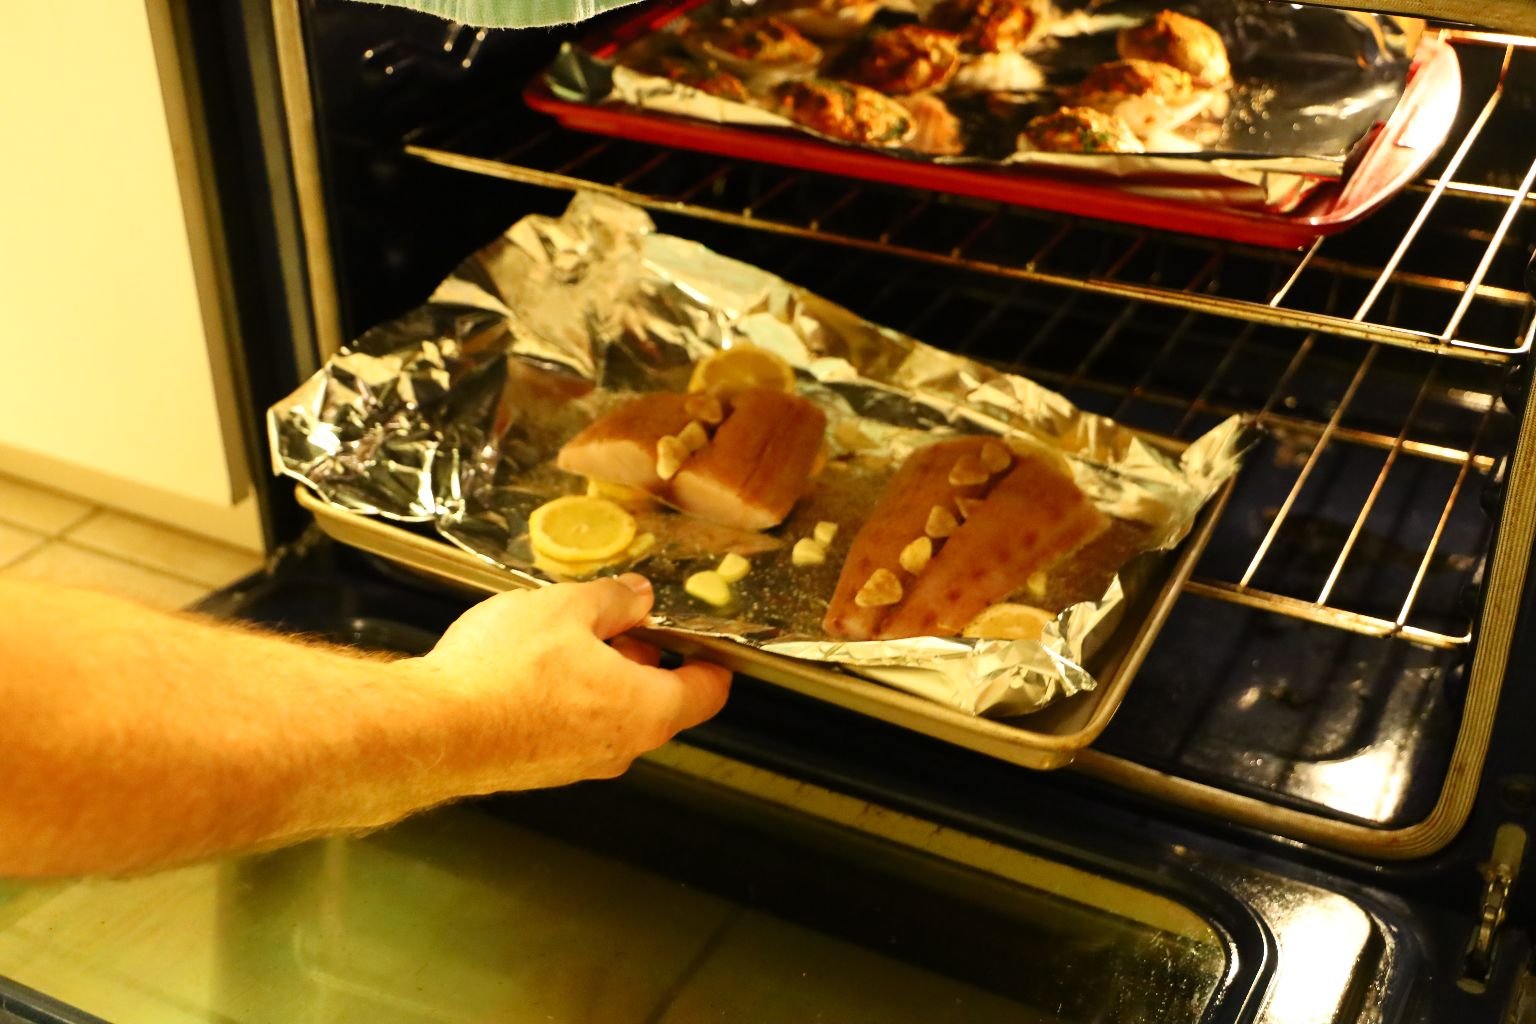
Place aluminum foil on a sheet pan and pour your Olive Oil over the foil.
Use one of your fillets to disperse the oil over the pan with the skin side down.
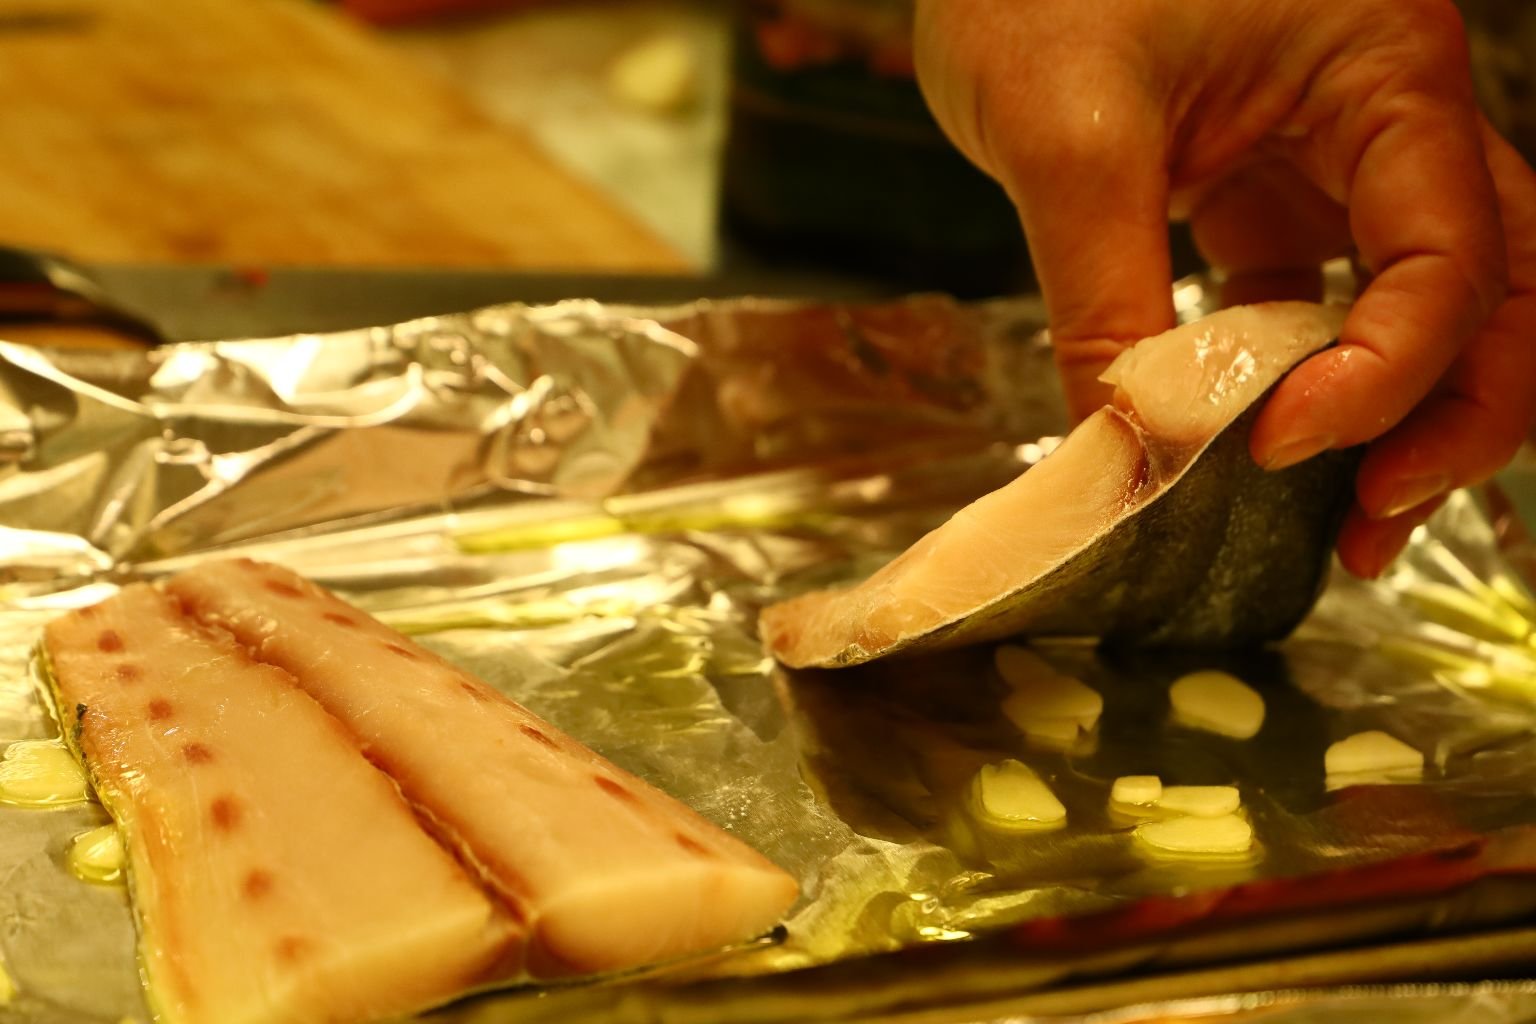
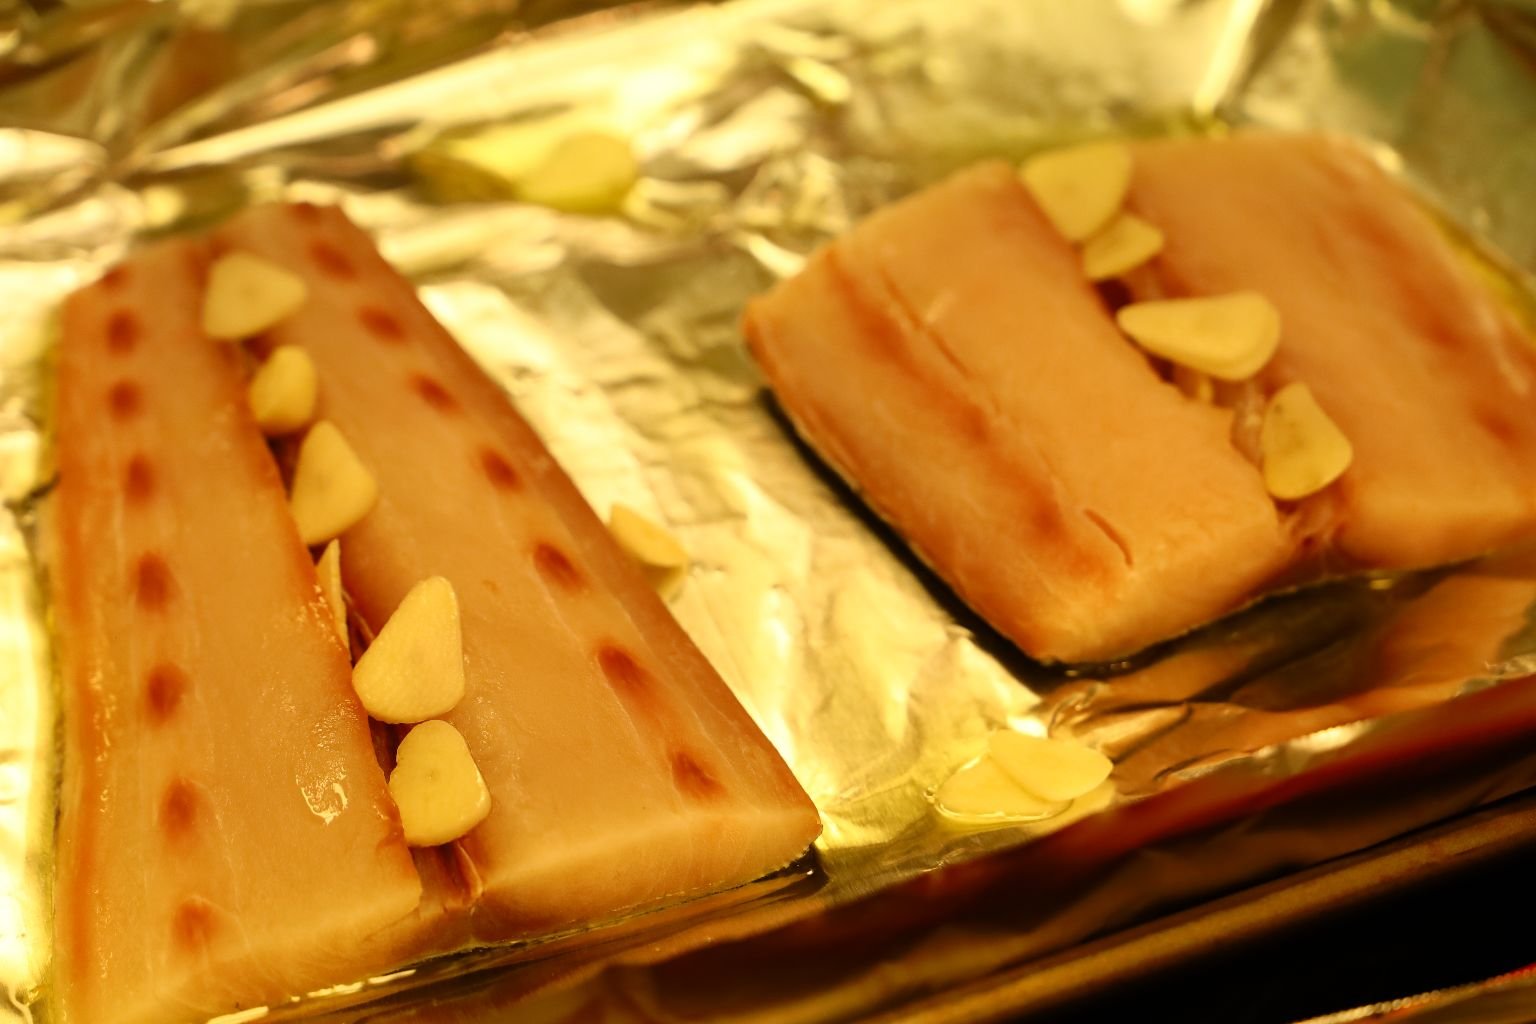
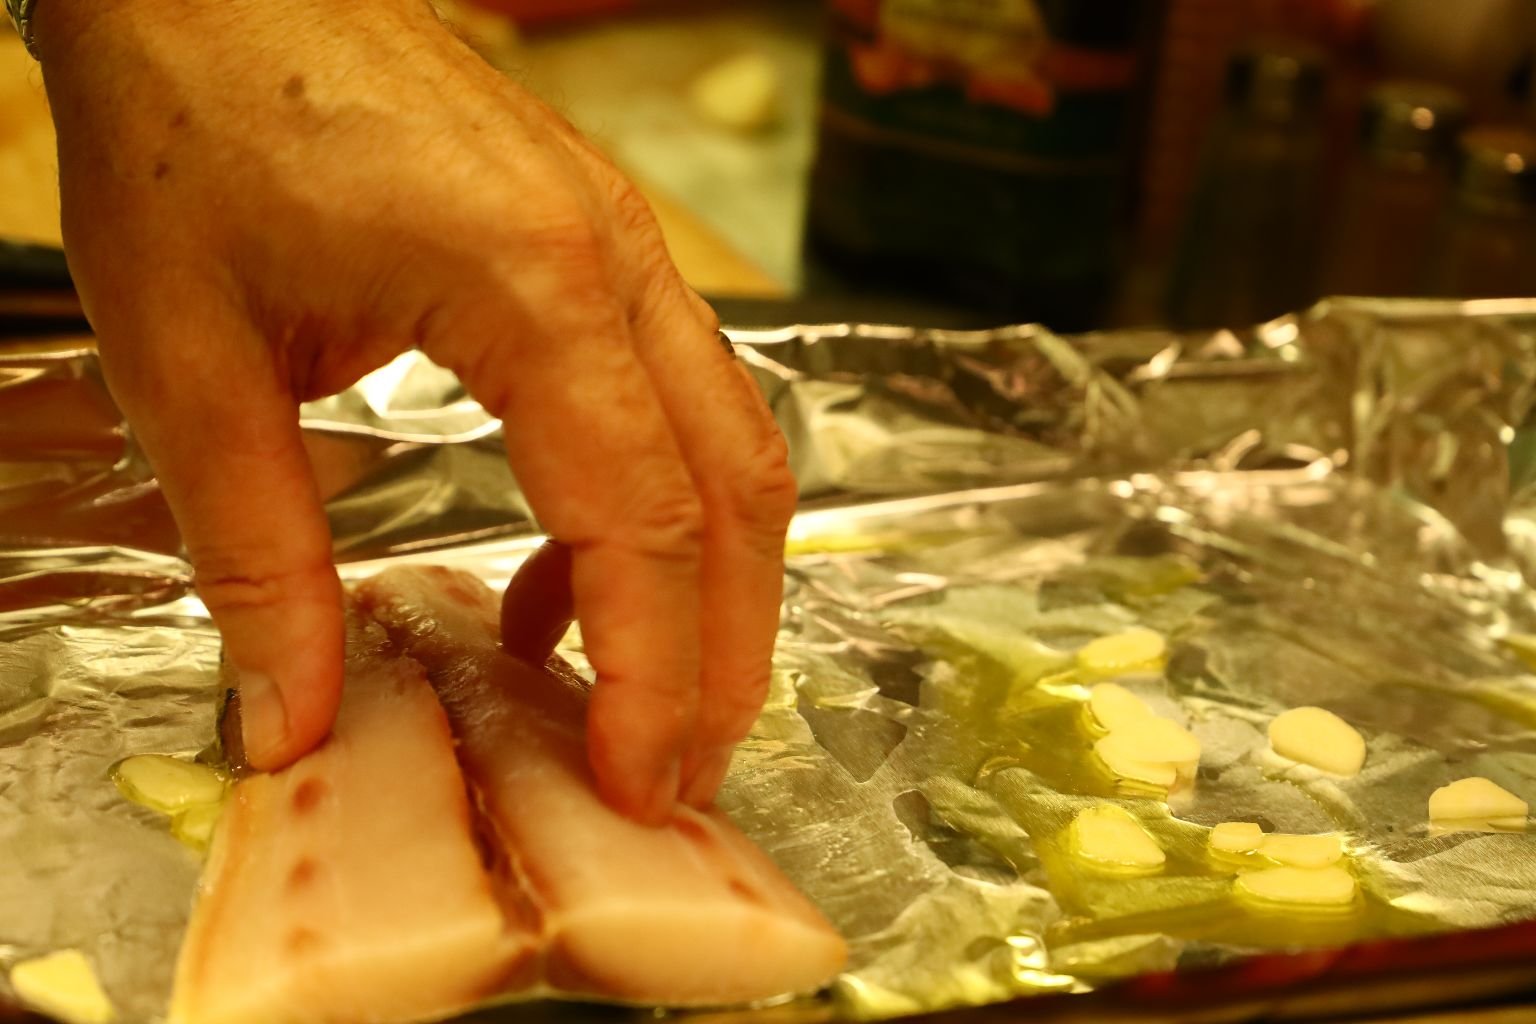
To season the fish, I placed some Garlic Cloves under and on top of the fish.
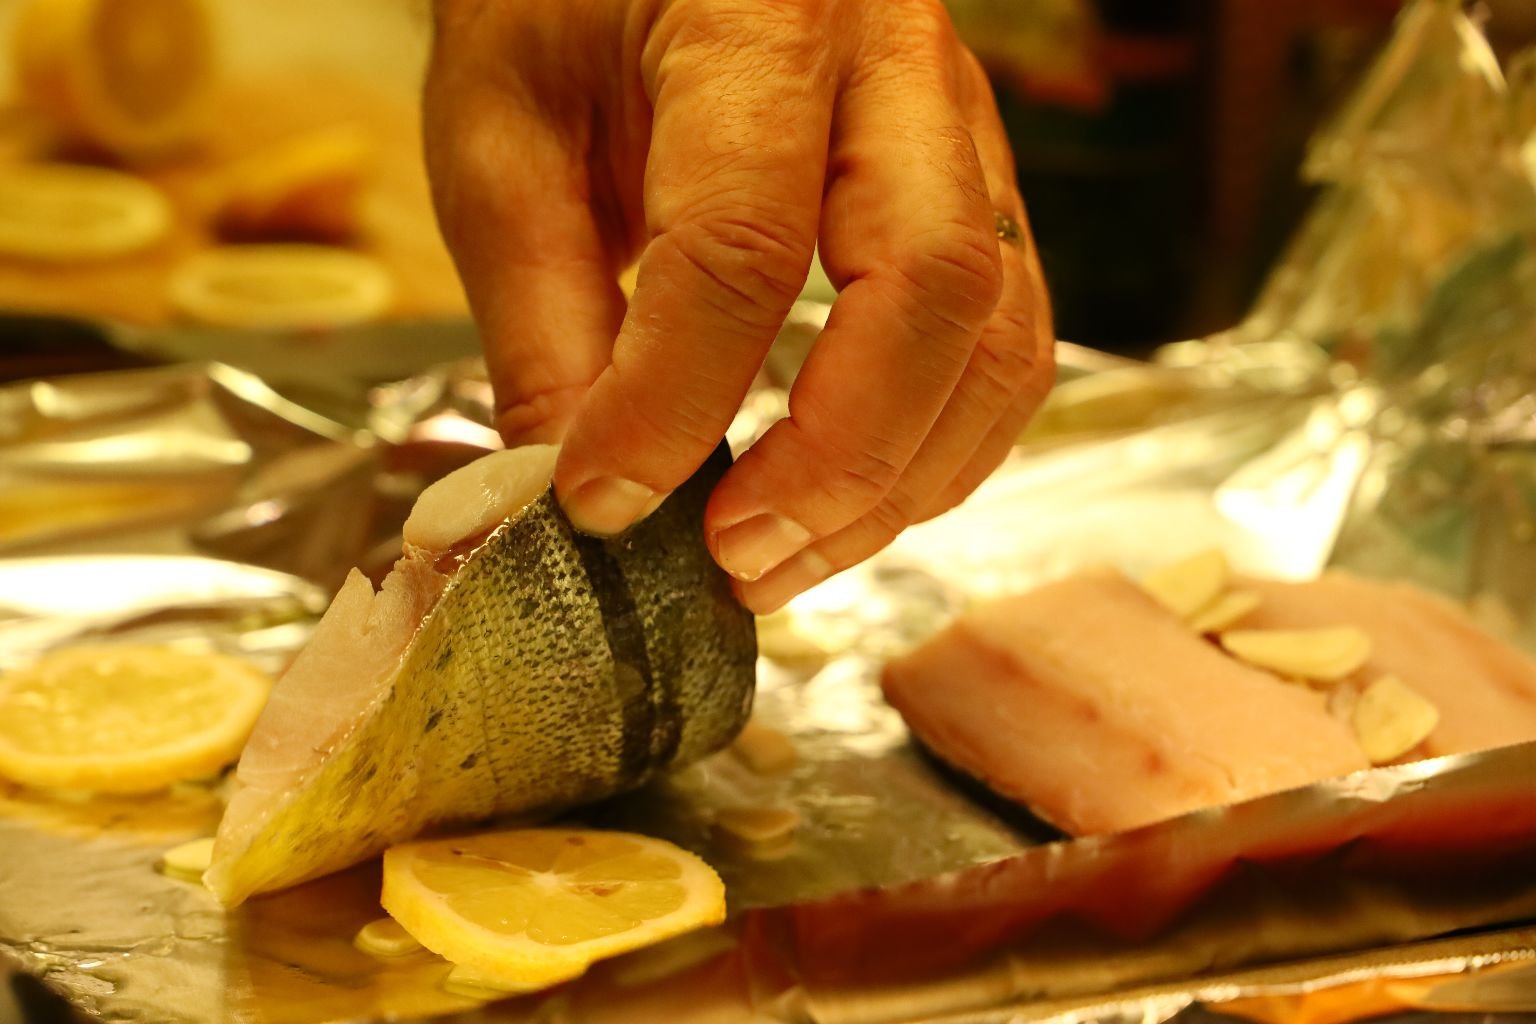
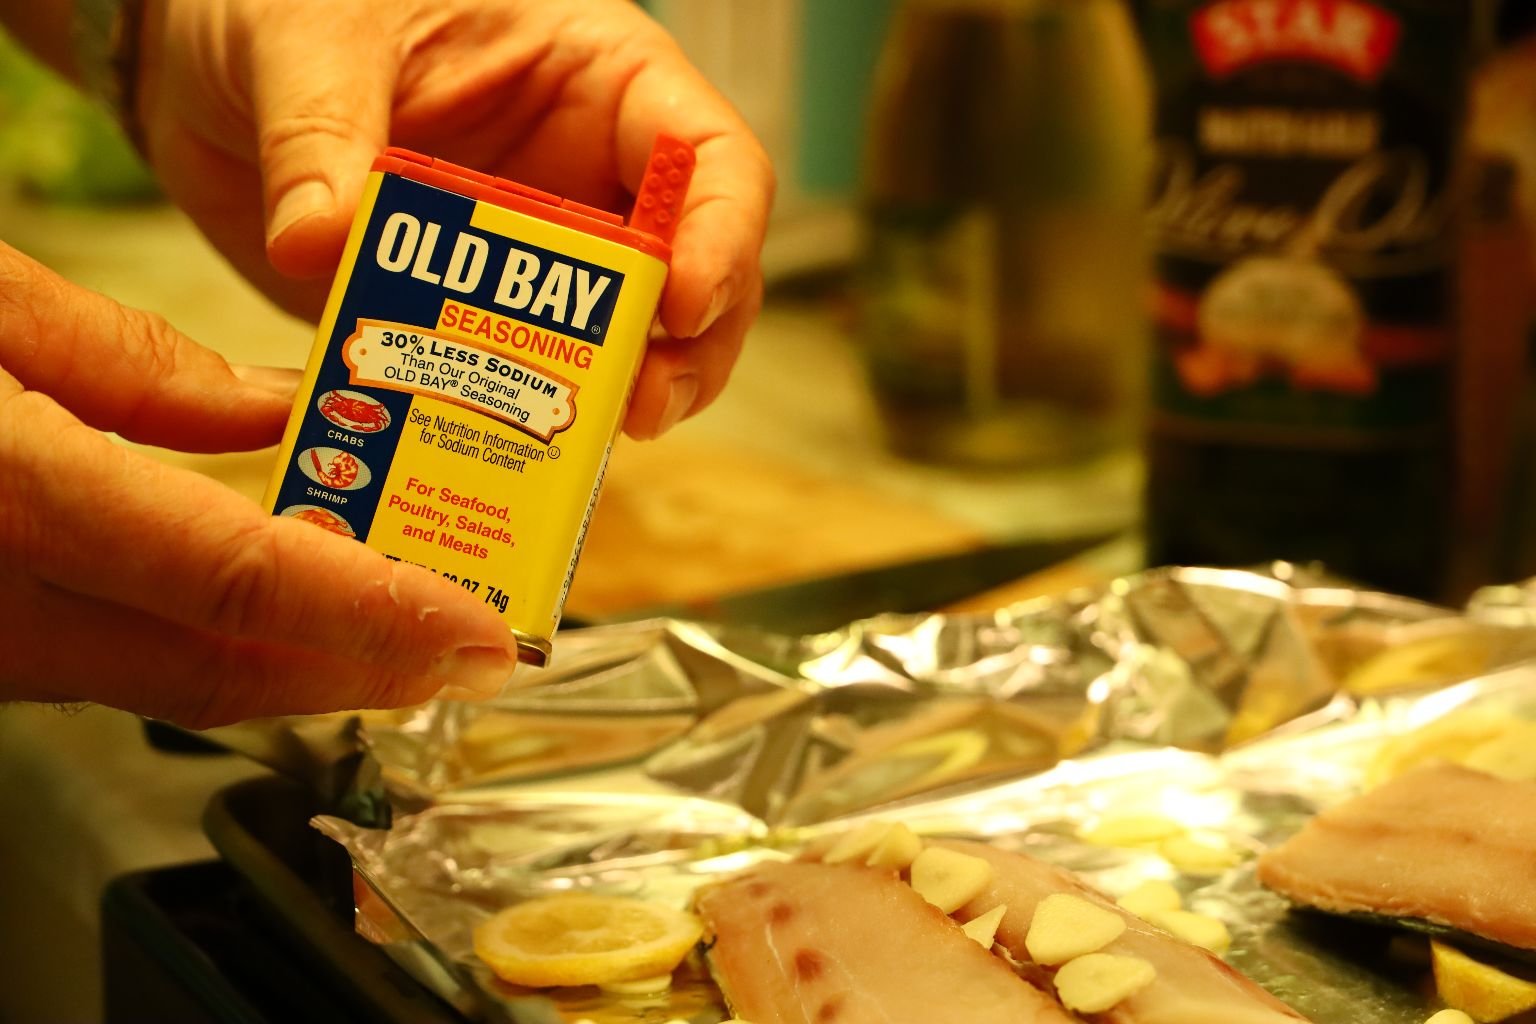
I also placed some lemon slices under the fish then liberally seasoned the fish with Old Bay Seasoning.
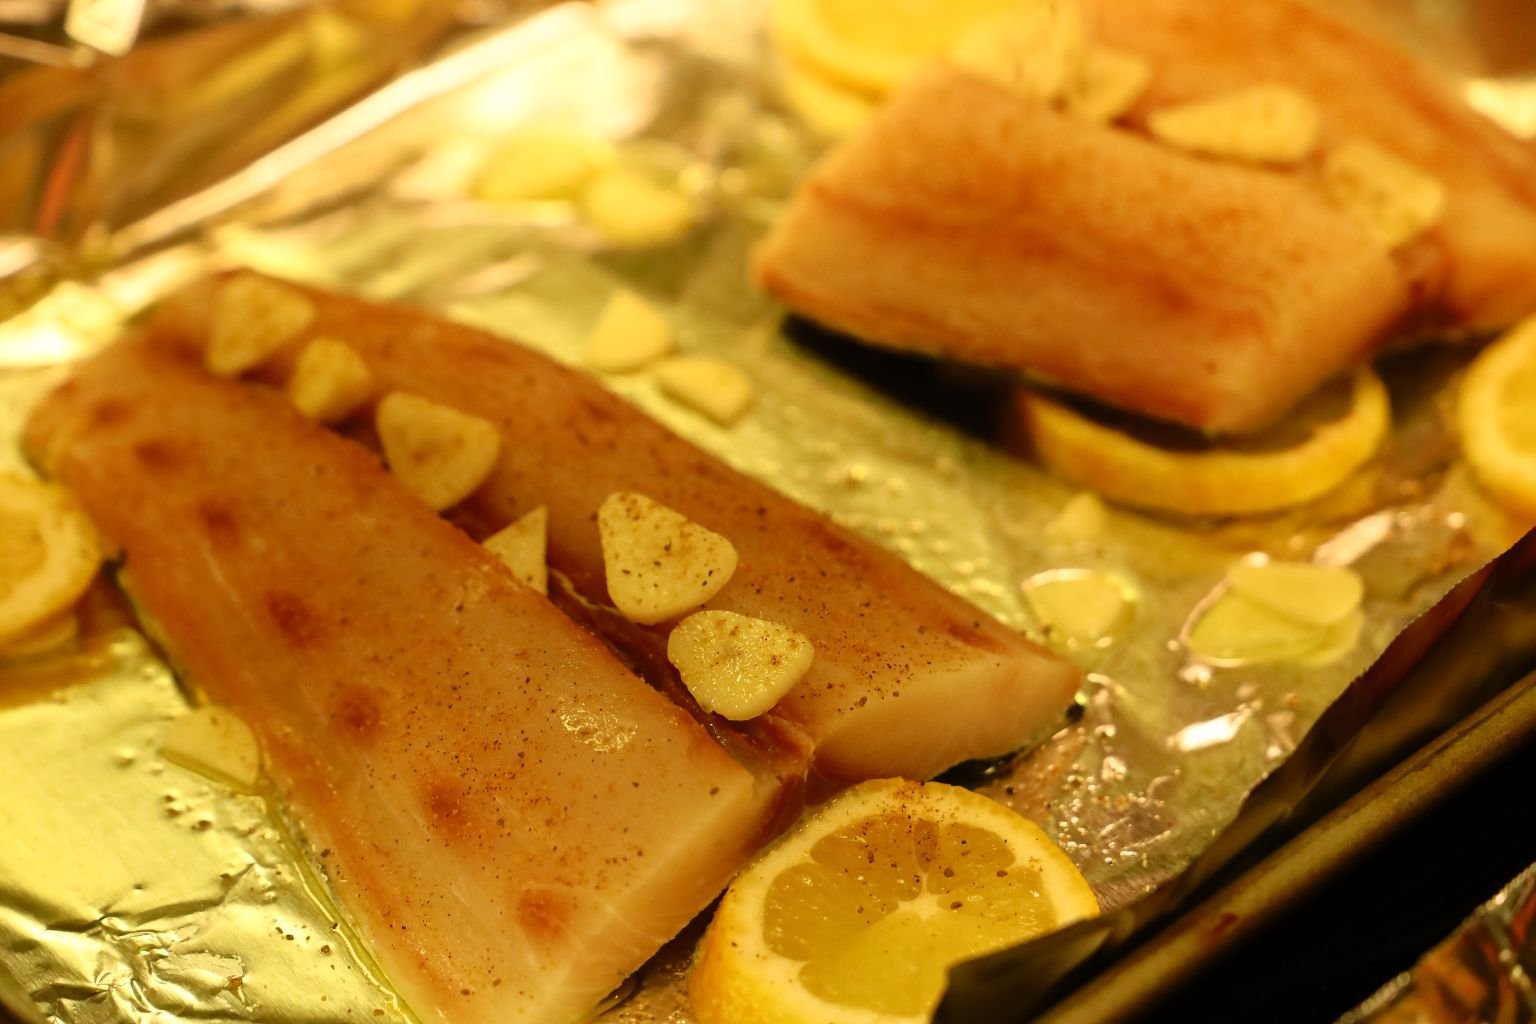
Here the fish is ready to bake. Bake the fish in a 400’F oven for ~10-12 min.
——————————————————————-

———————————————————-
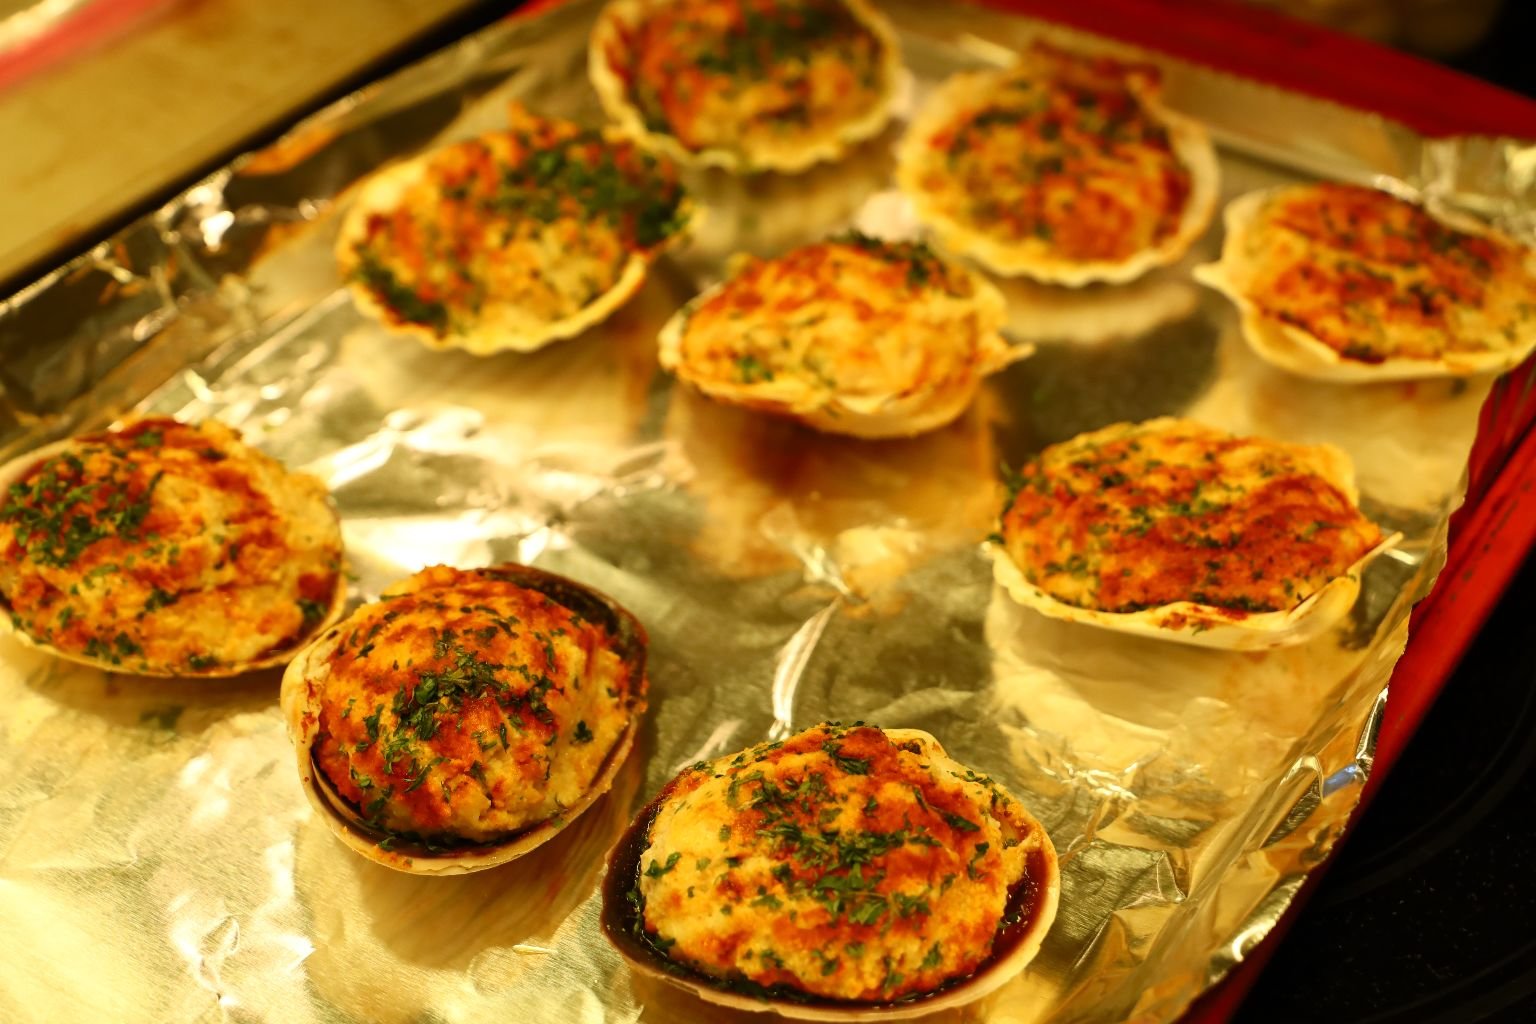
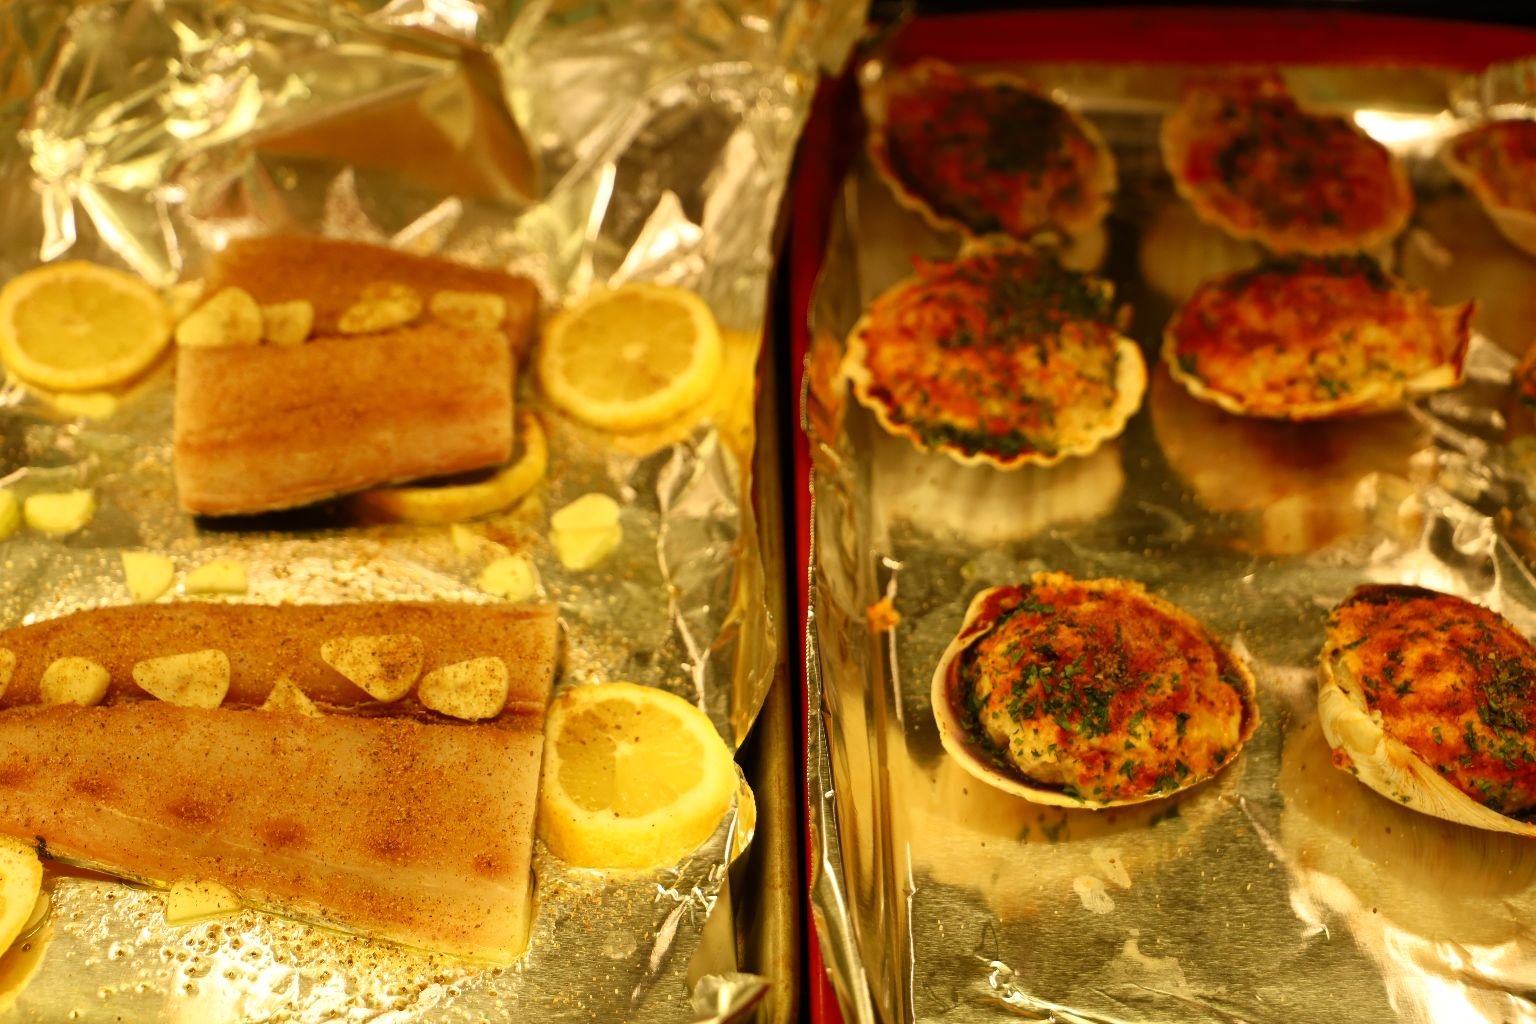
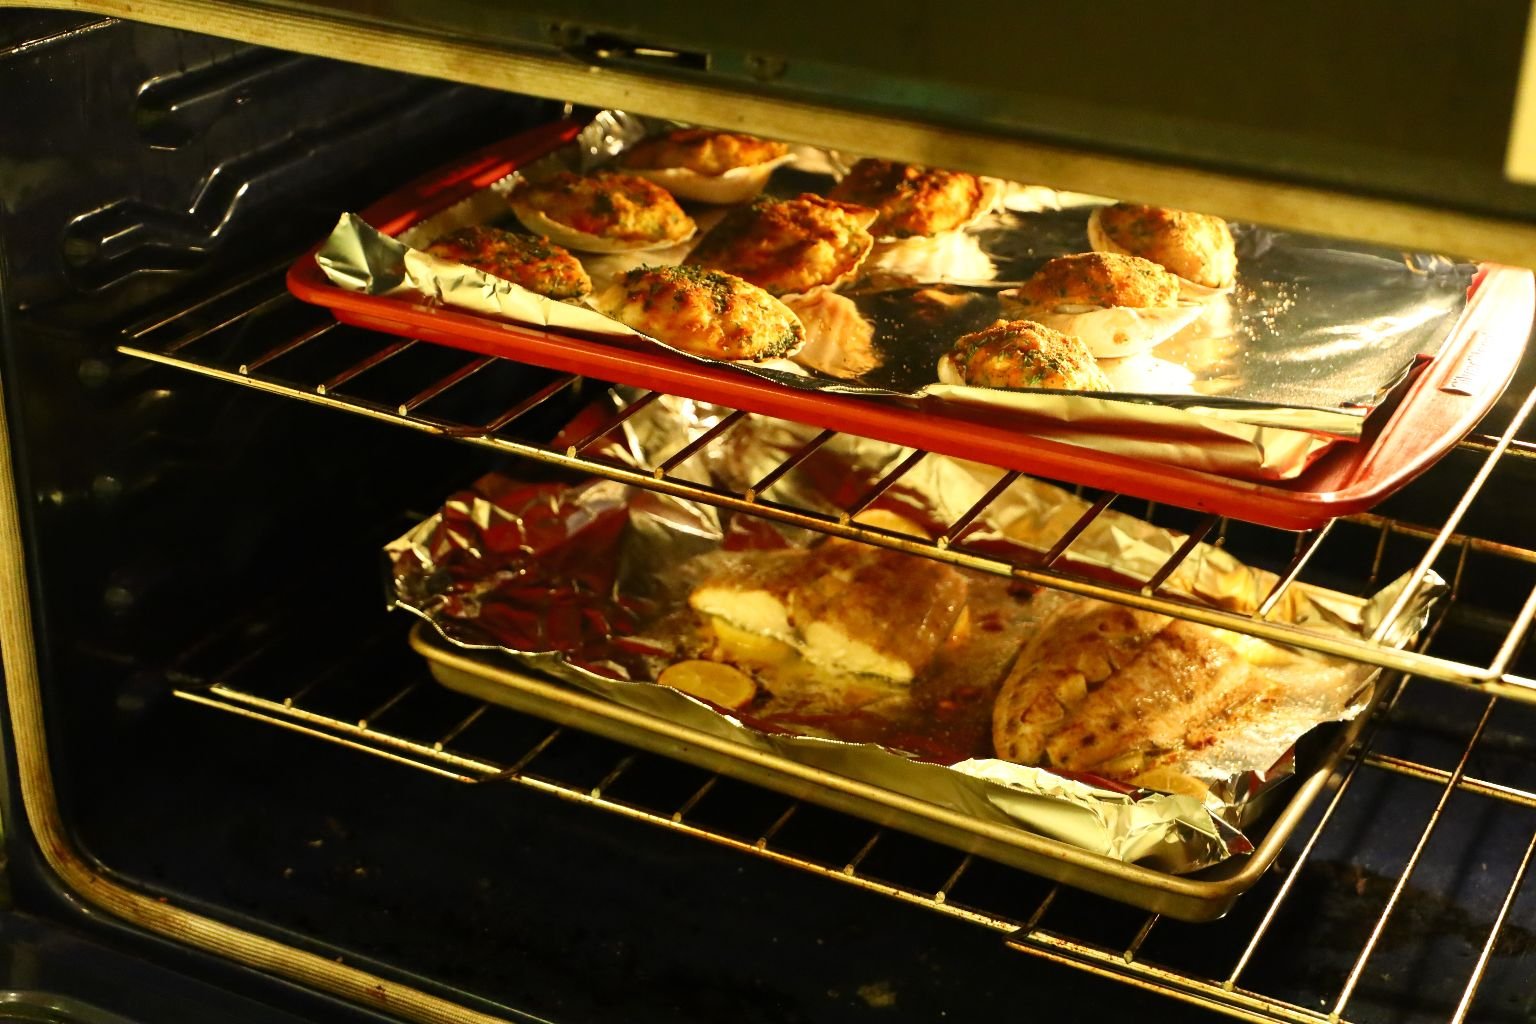
Here we are also cooking some stuffed clams and scallops which I also seasoned with Old Bay Seasoning.
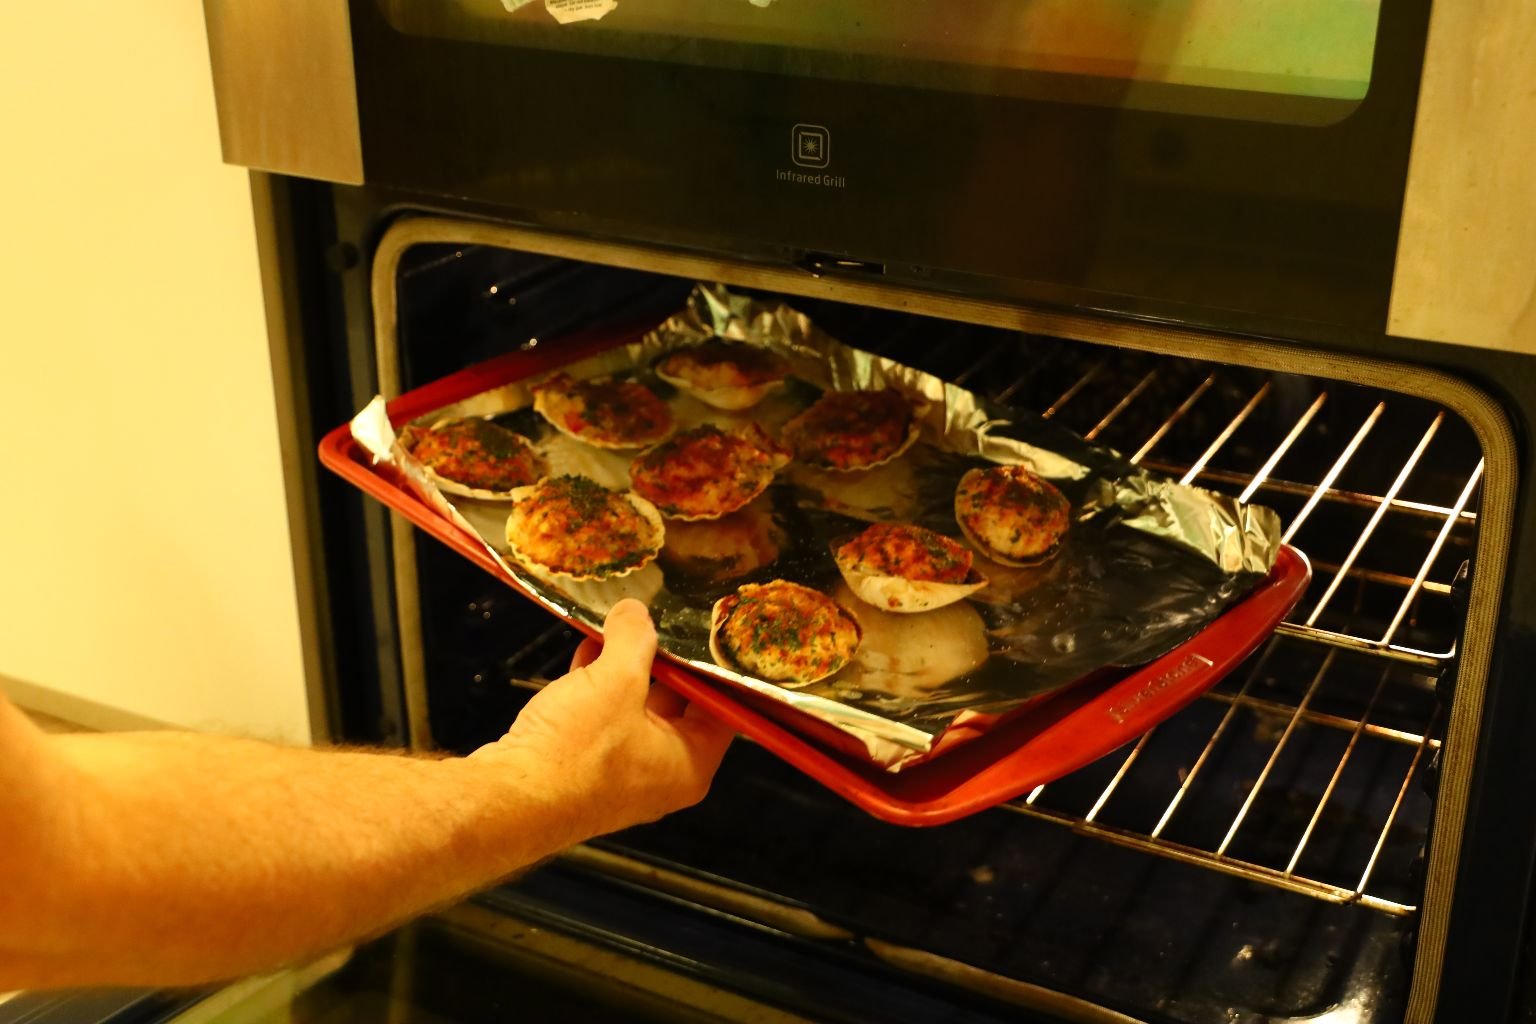
Into the Oven They Go
Just Follow The Package Instructions
——————————————————————
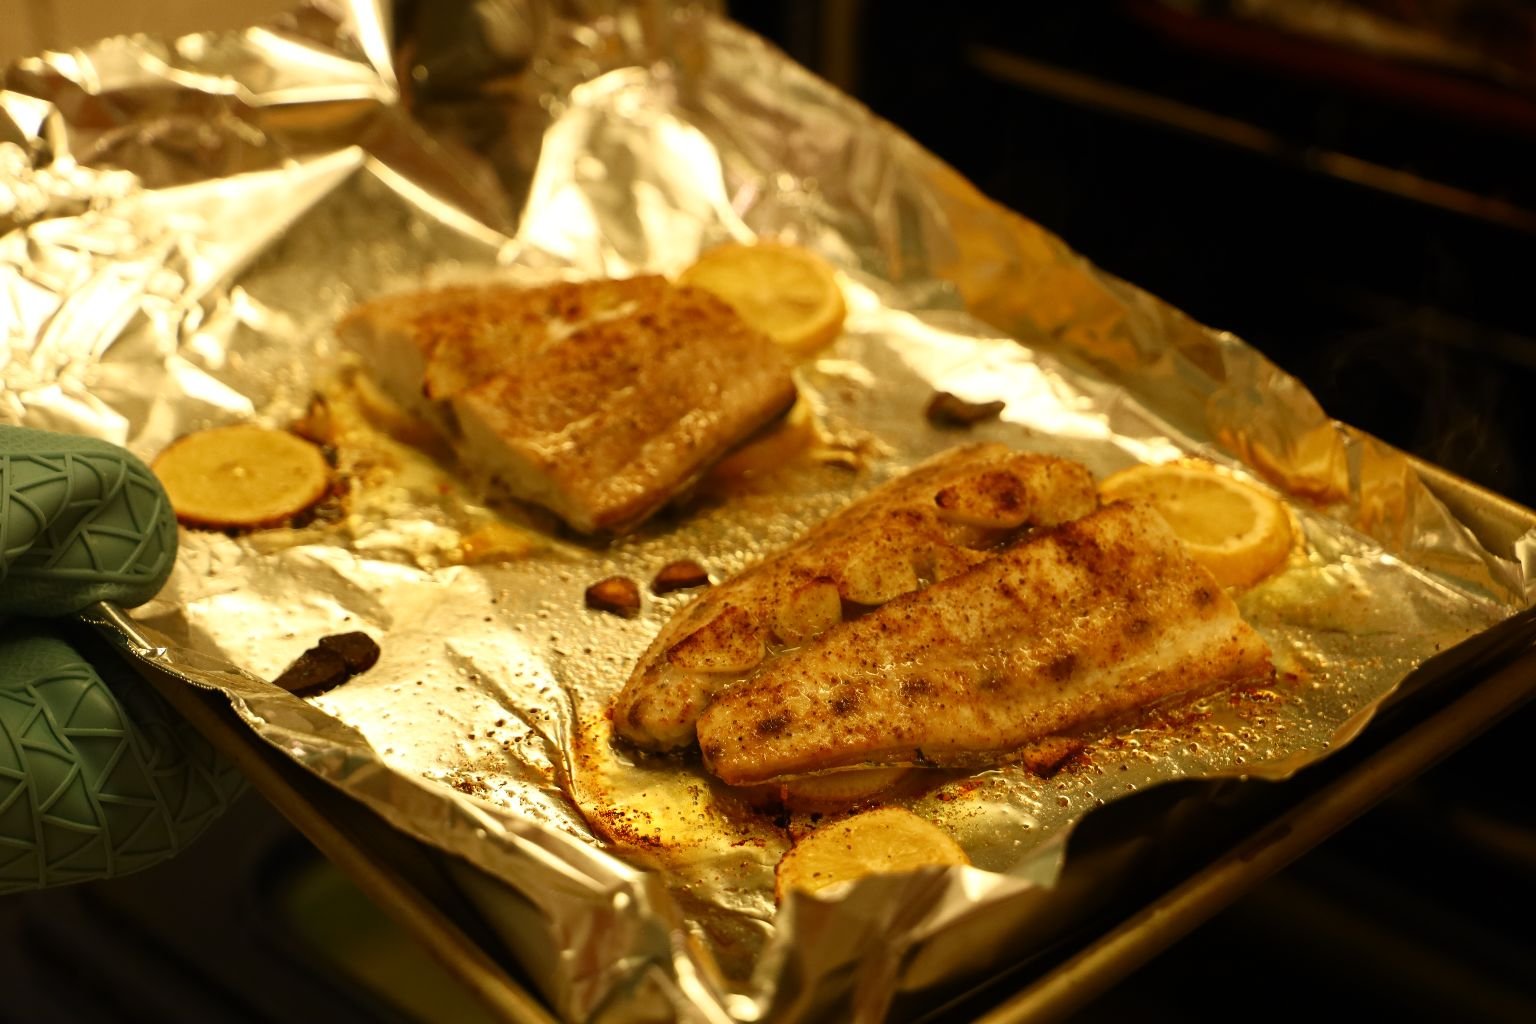
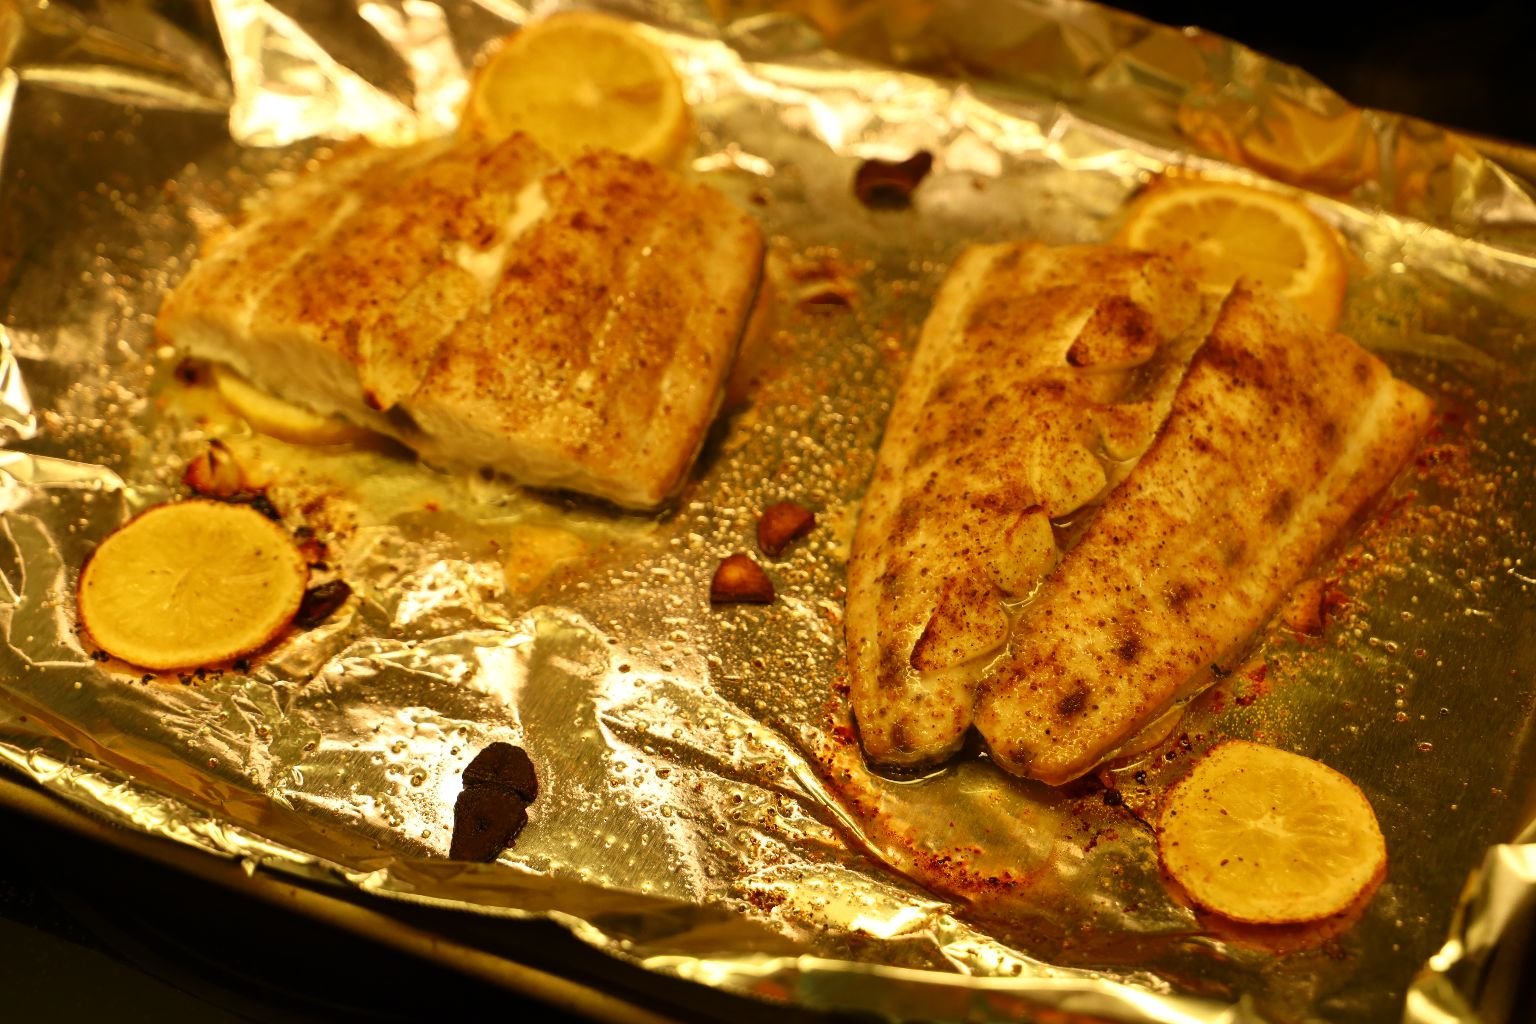
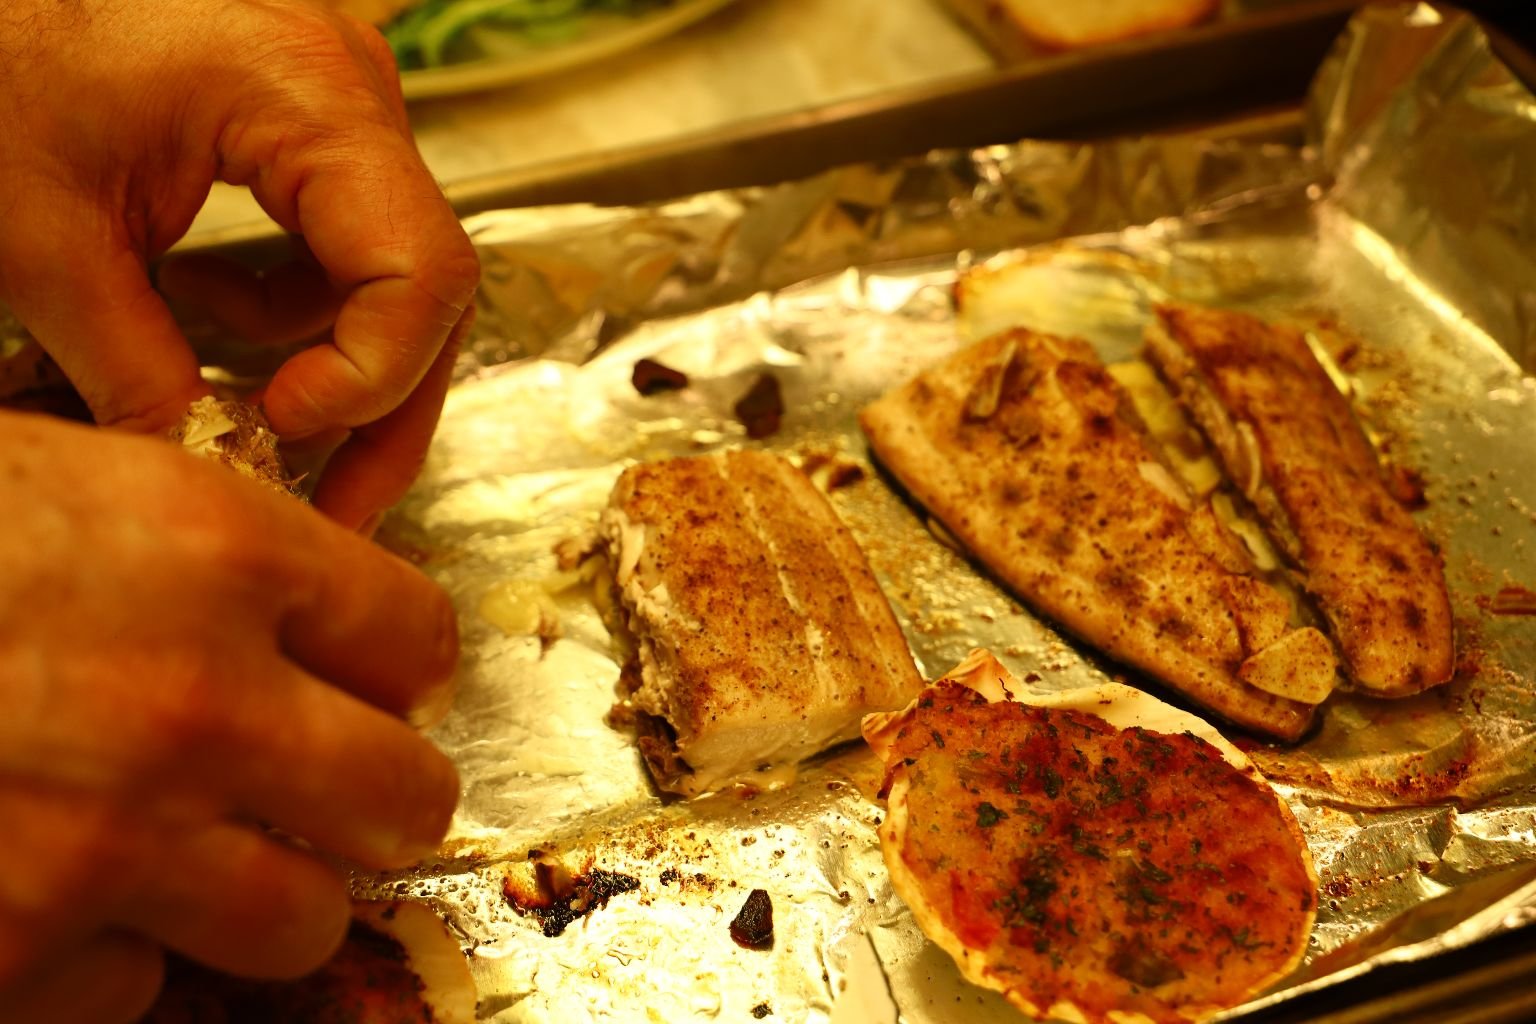
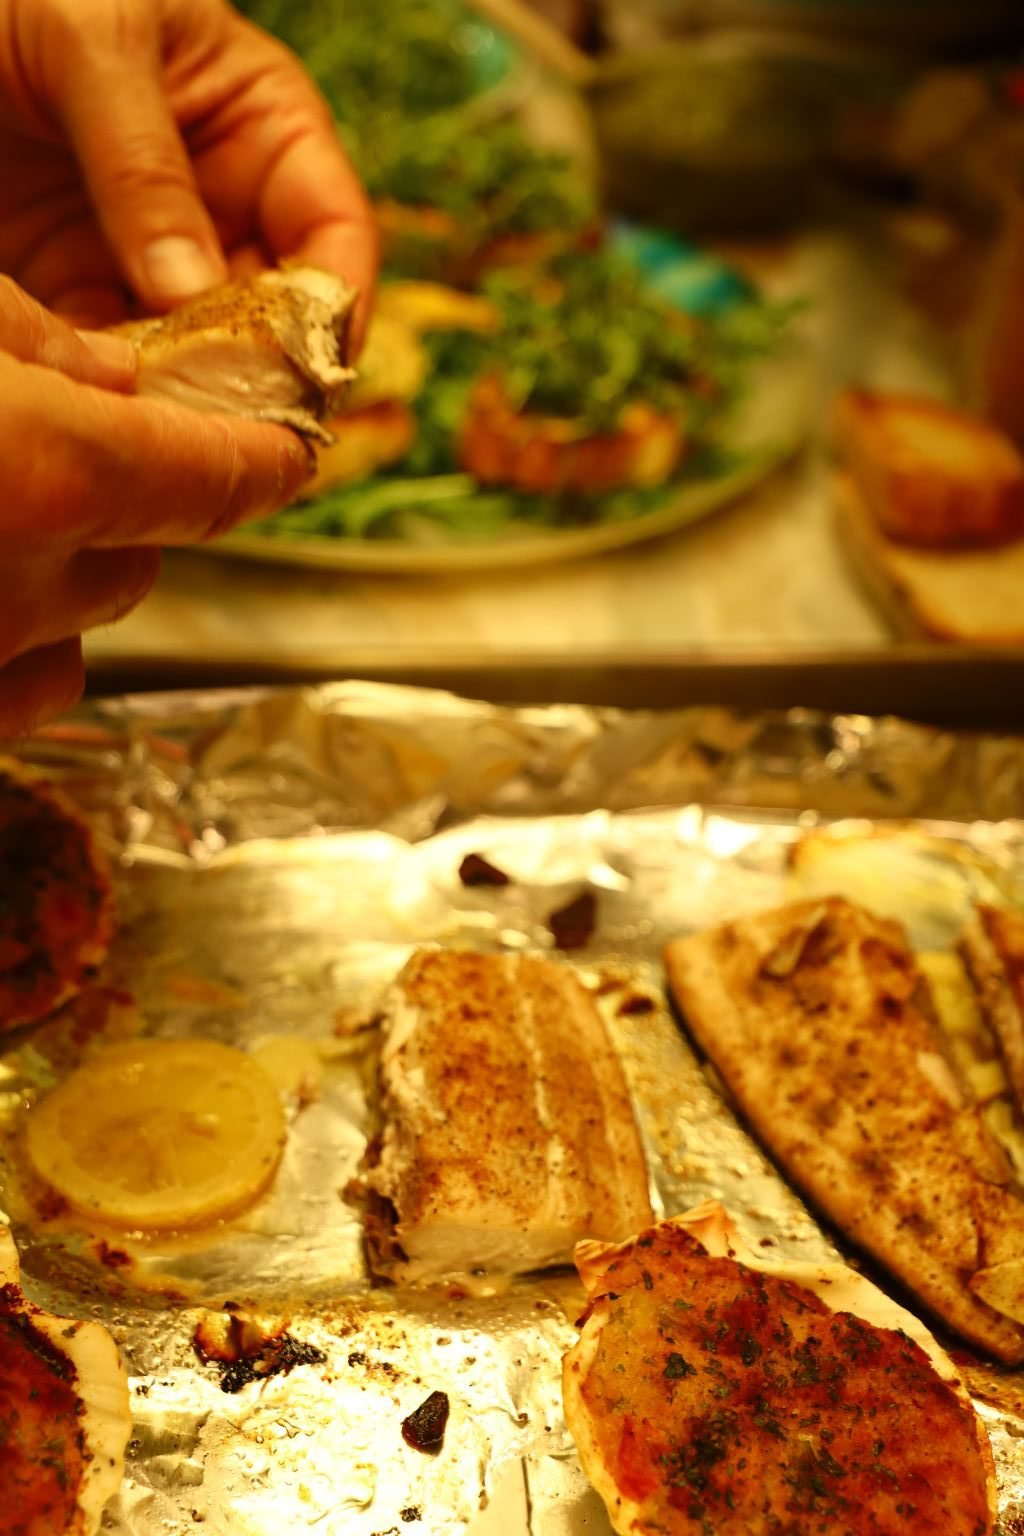
Here the Mahi-Mahi Fillets are cooked having some of the fat seeping out of the top of the fillet.
The fish is also white and flaky.
These Are Ready!
———————————————————————–
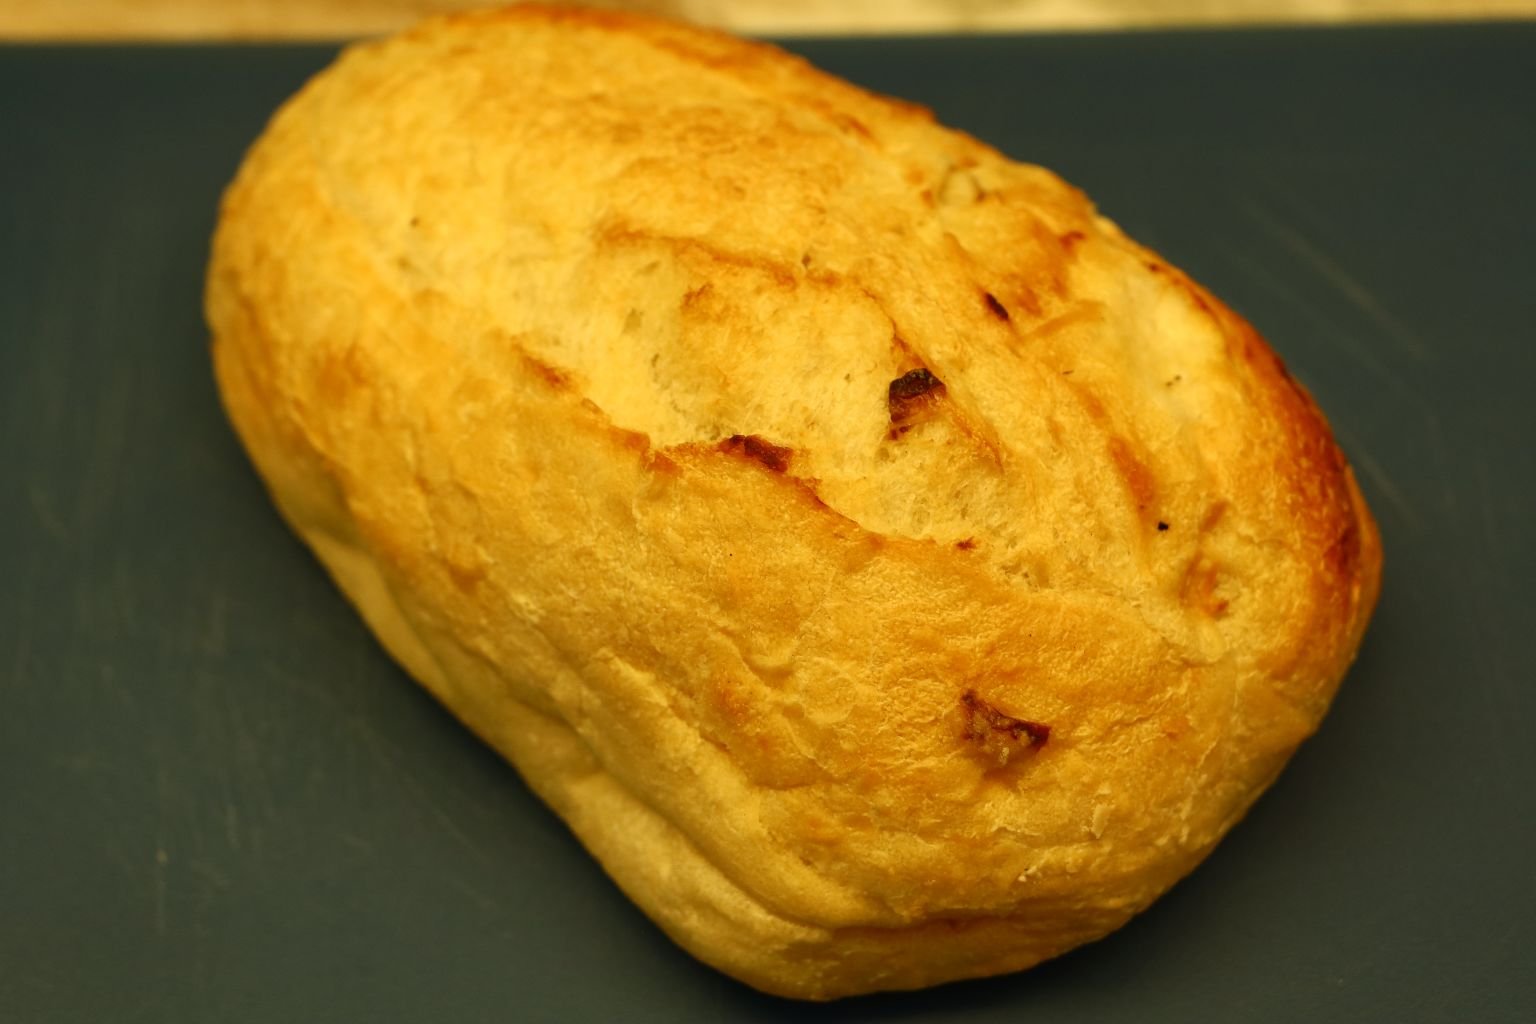
Our Crusty Bread

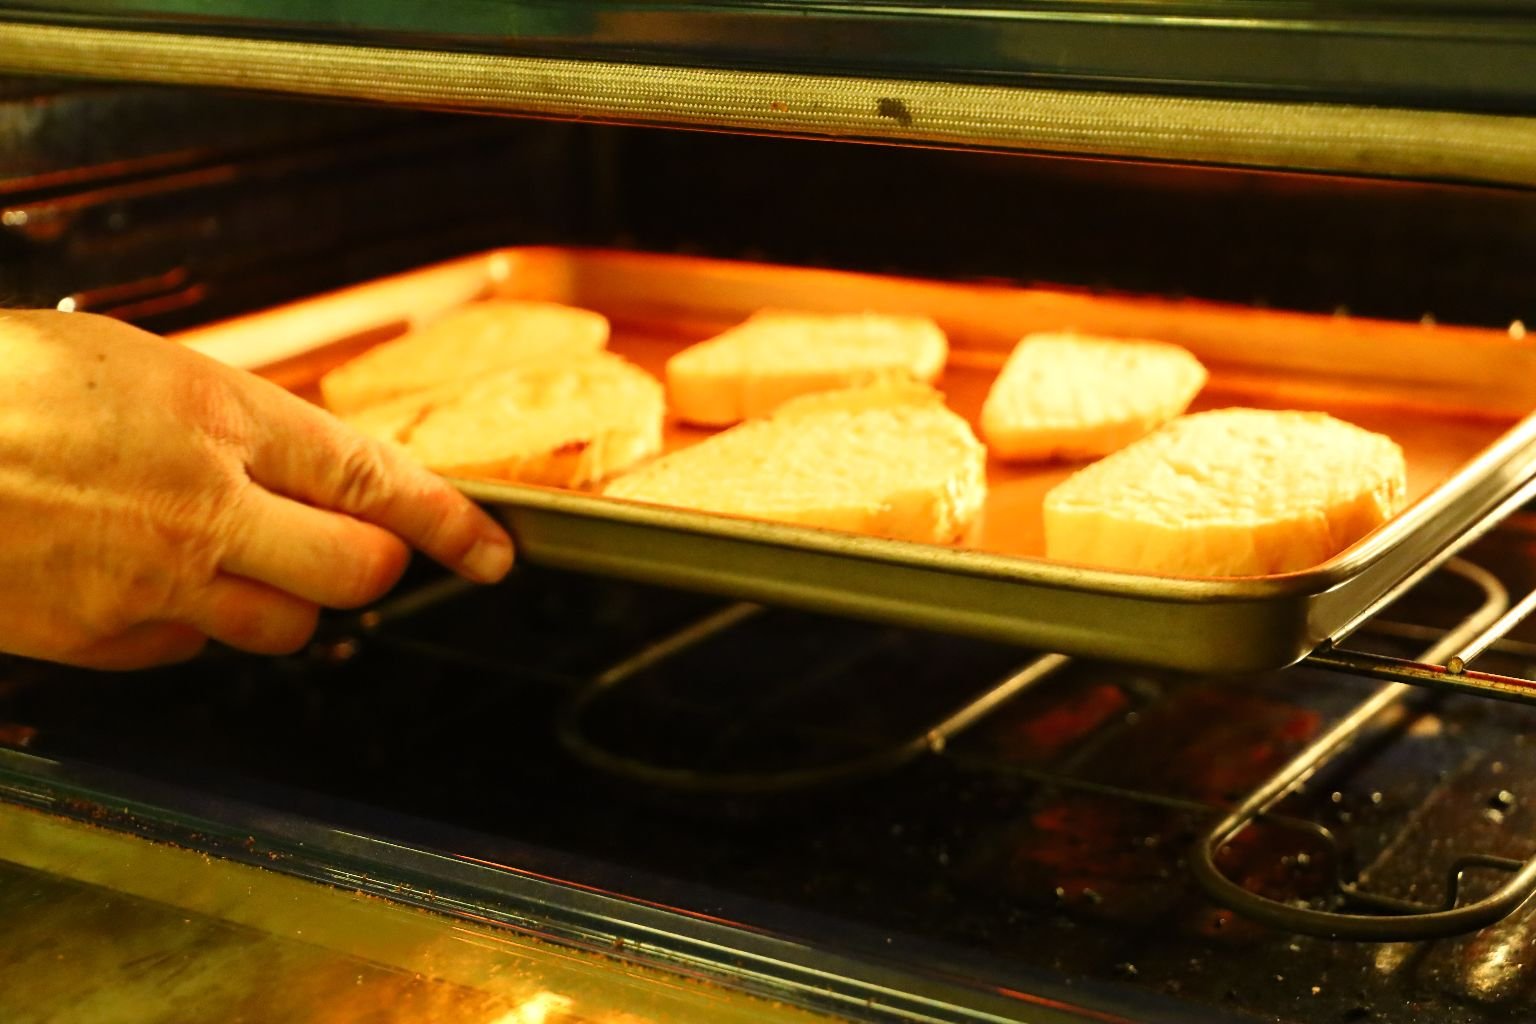
Slice your bread into 3/4 inch slices as shown and bake or broil them until browned.
————————————————————————–
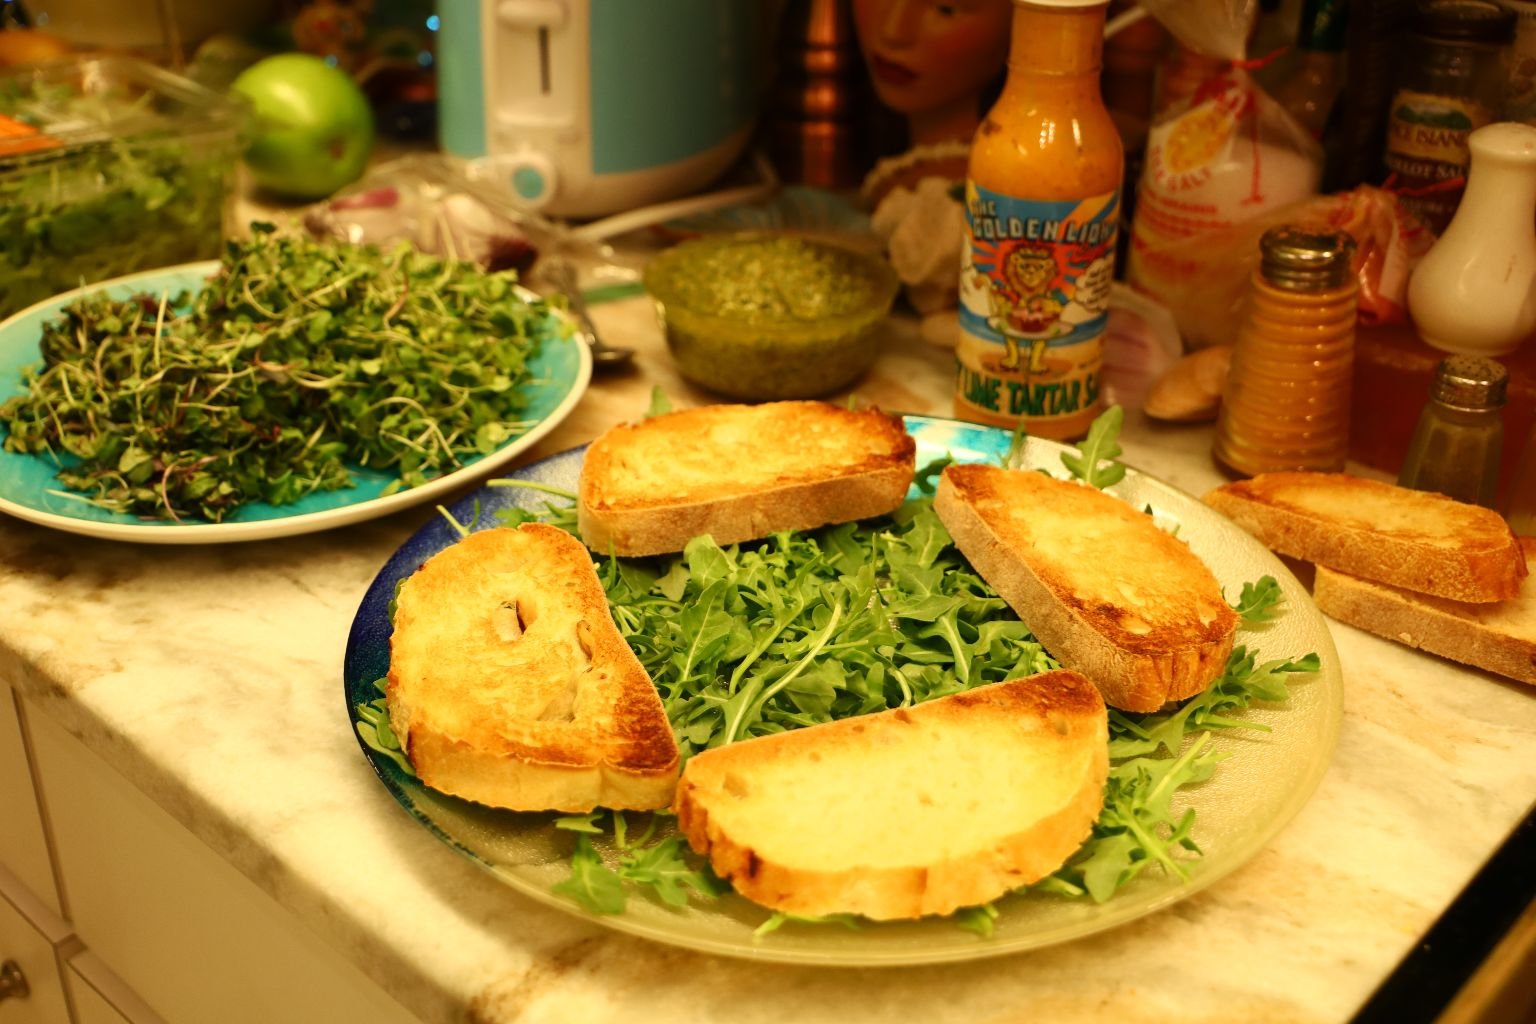
To serve, place some Arugula or Micro-Greens on a plate topped with your bread slices.
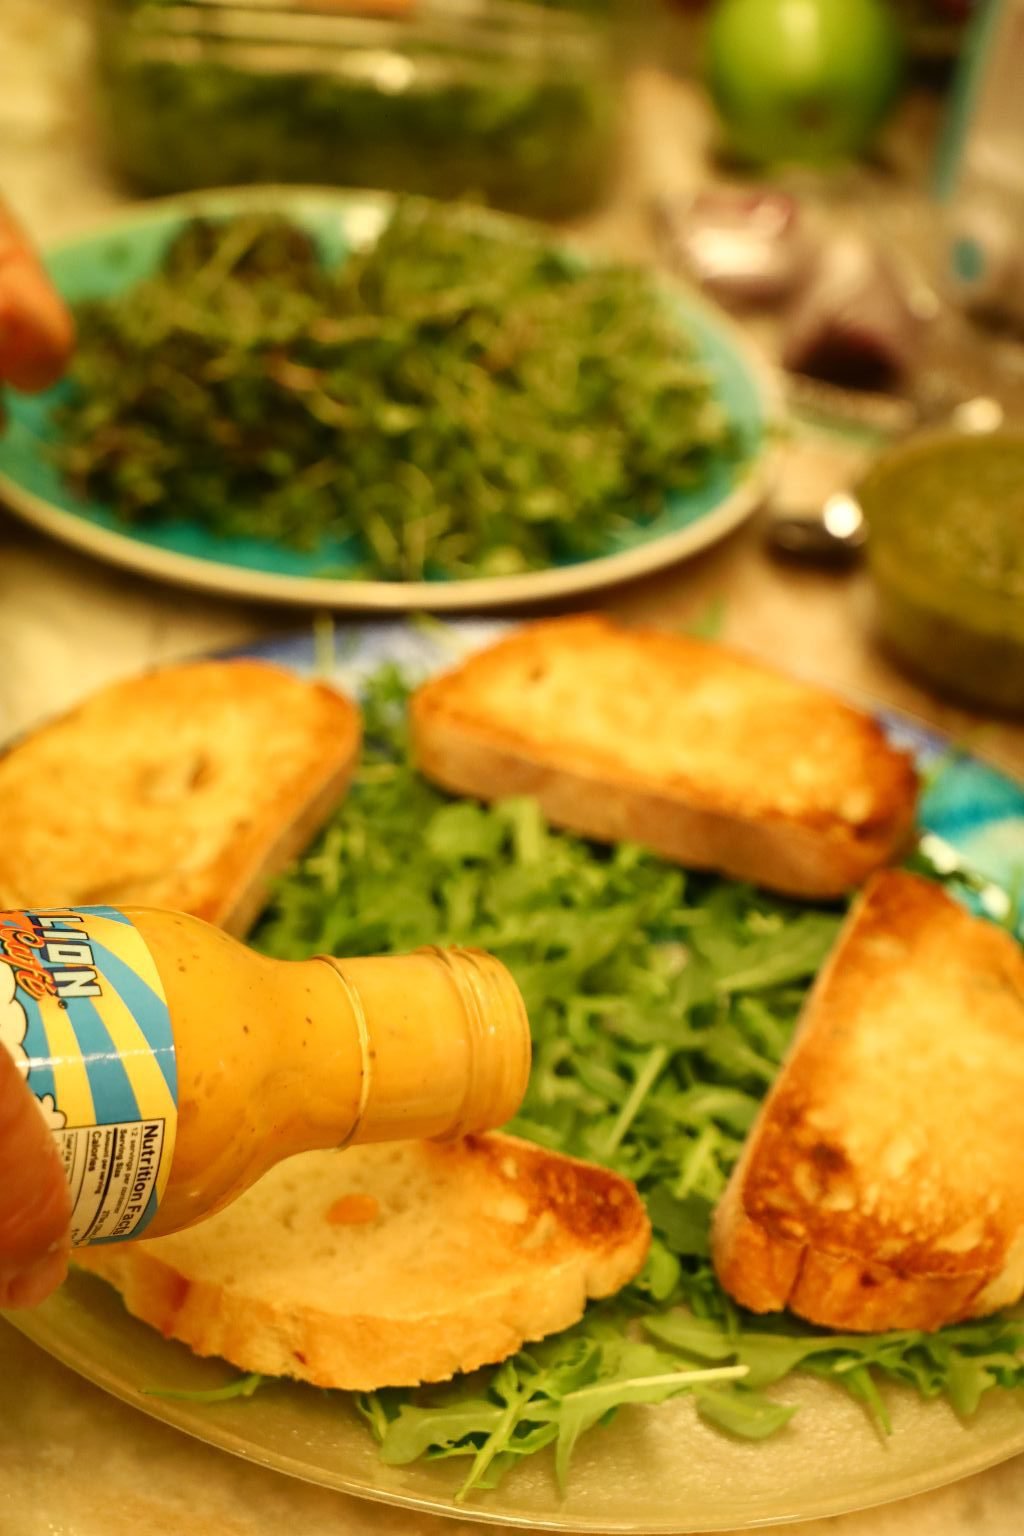
Add your favorite Tartar Sauce to the top of the bread slices …
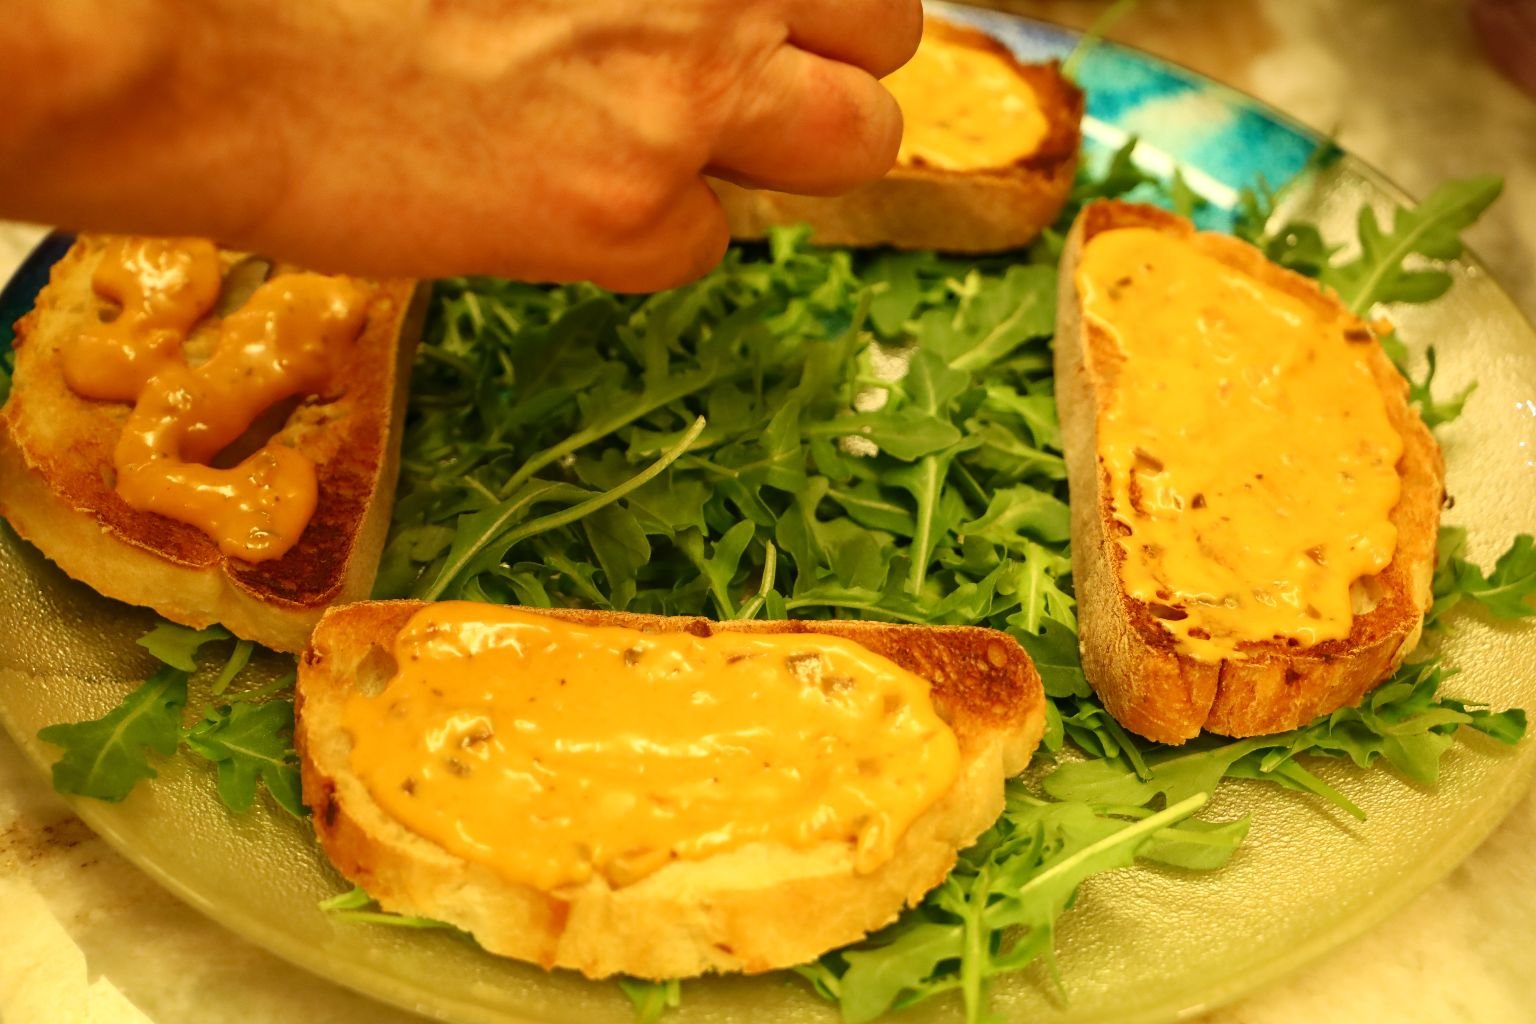
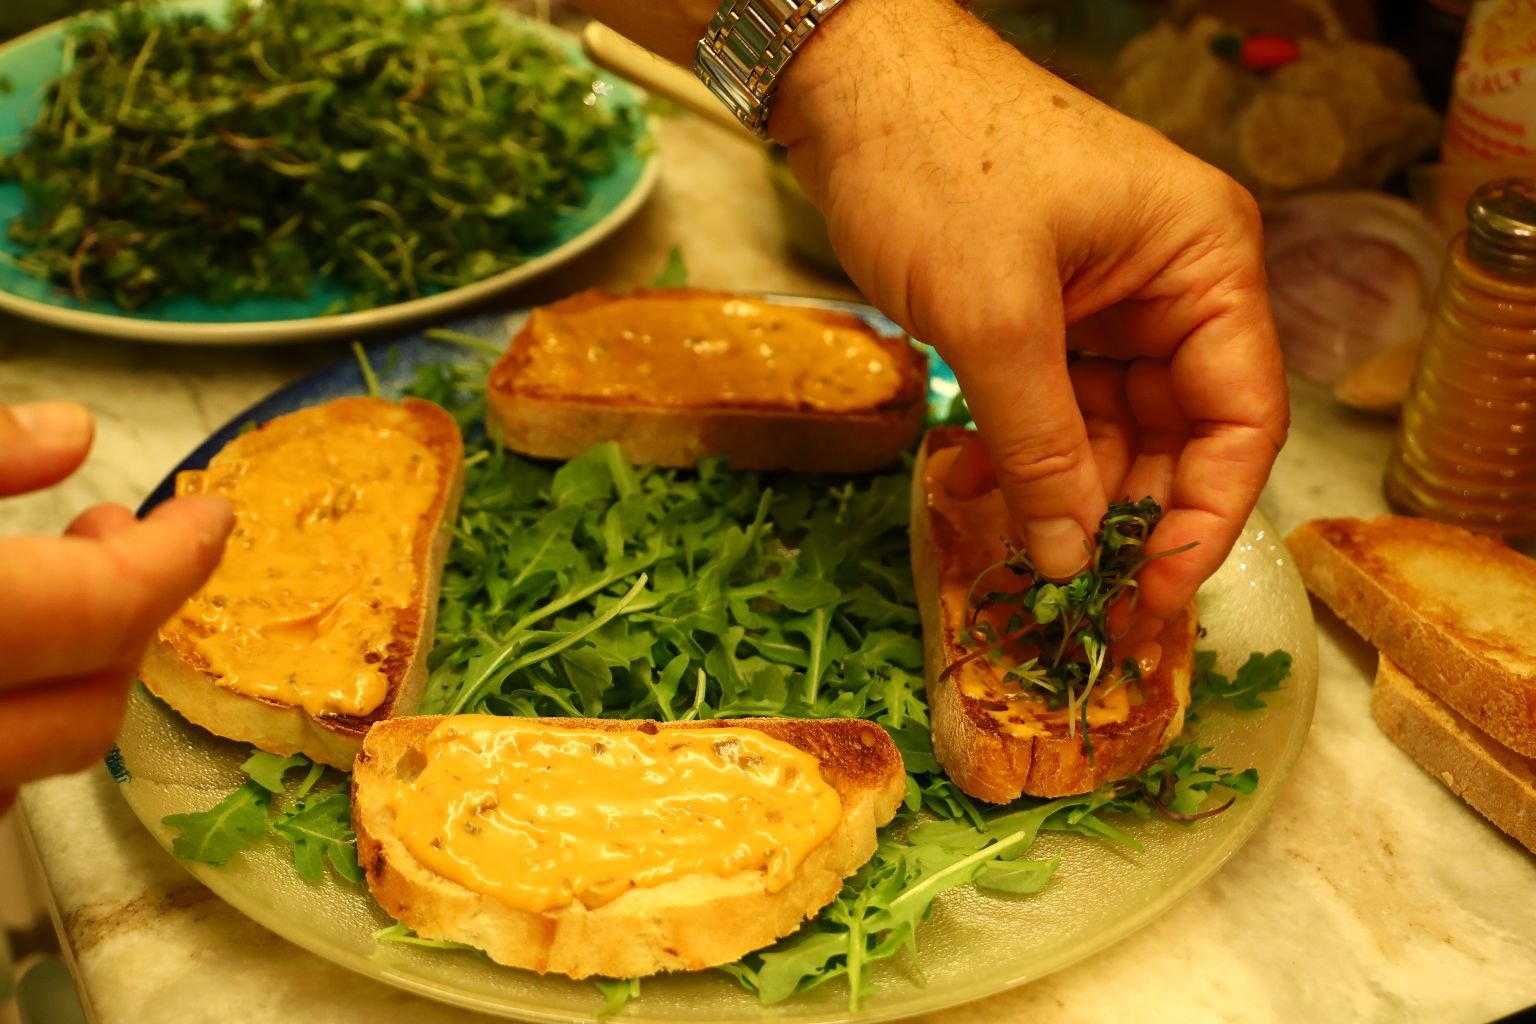
then top some of the bread with some of the greens.
———————————————————————-
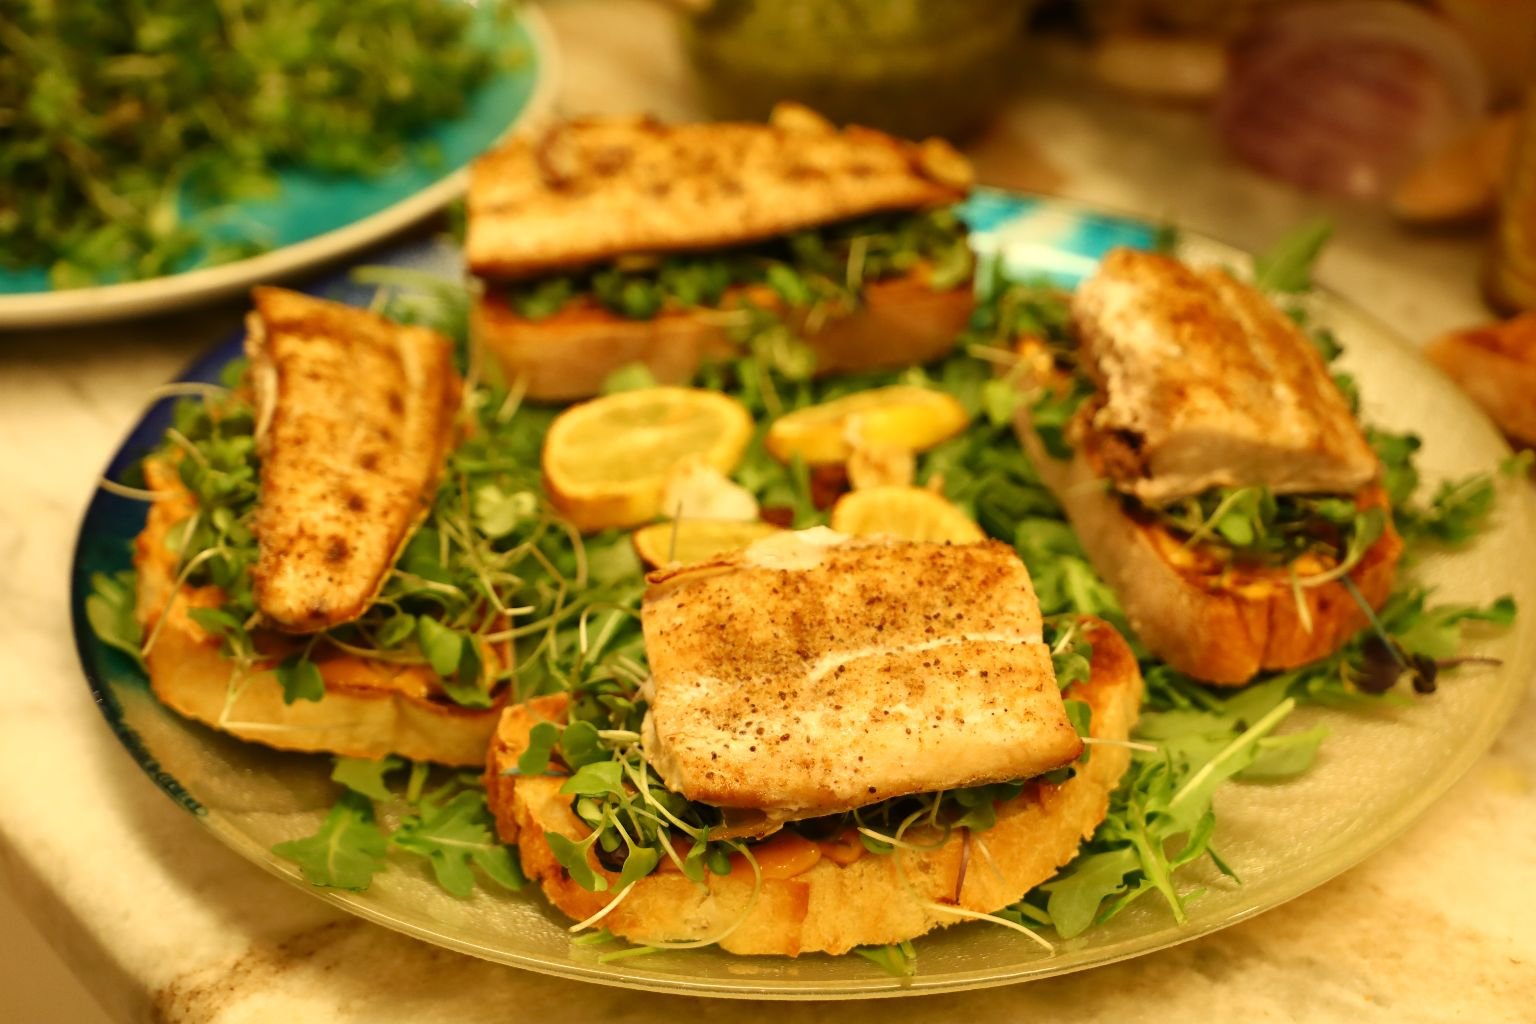
Place some of your fillets on top of the bread…
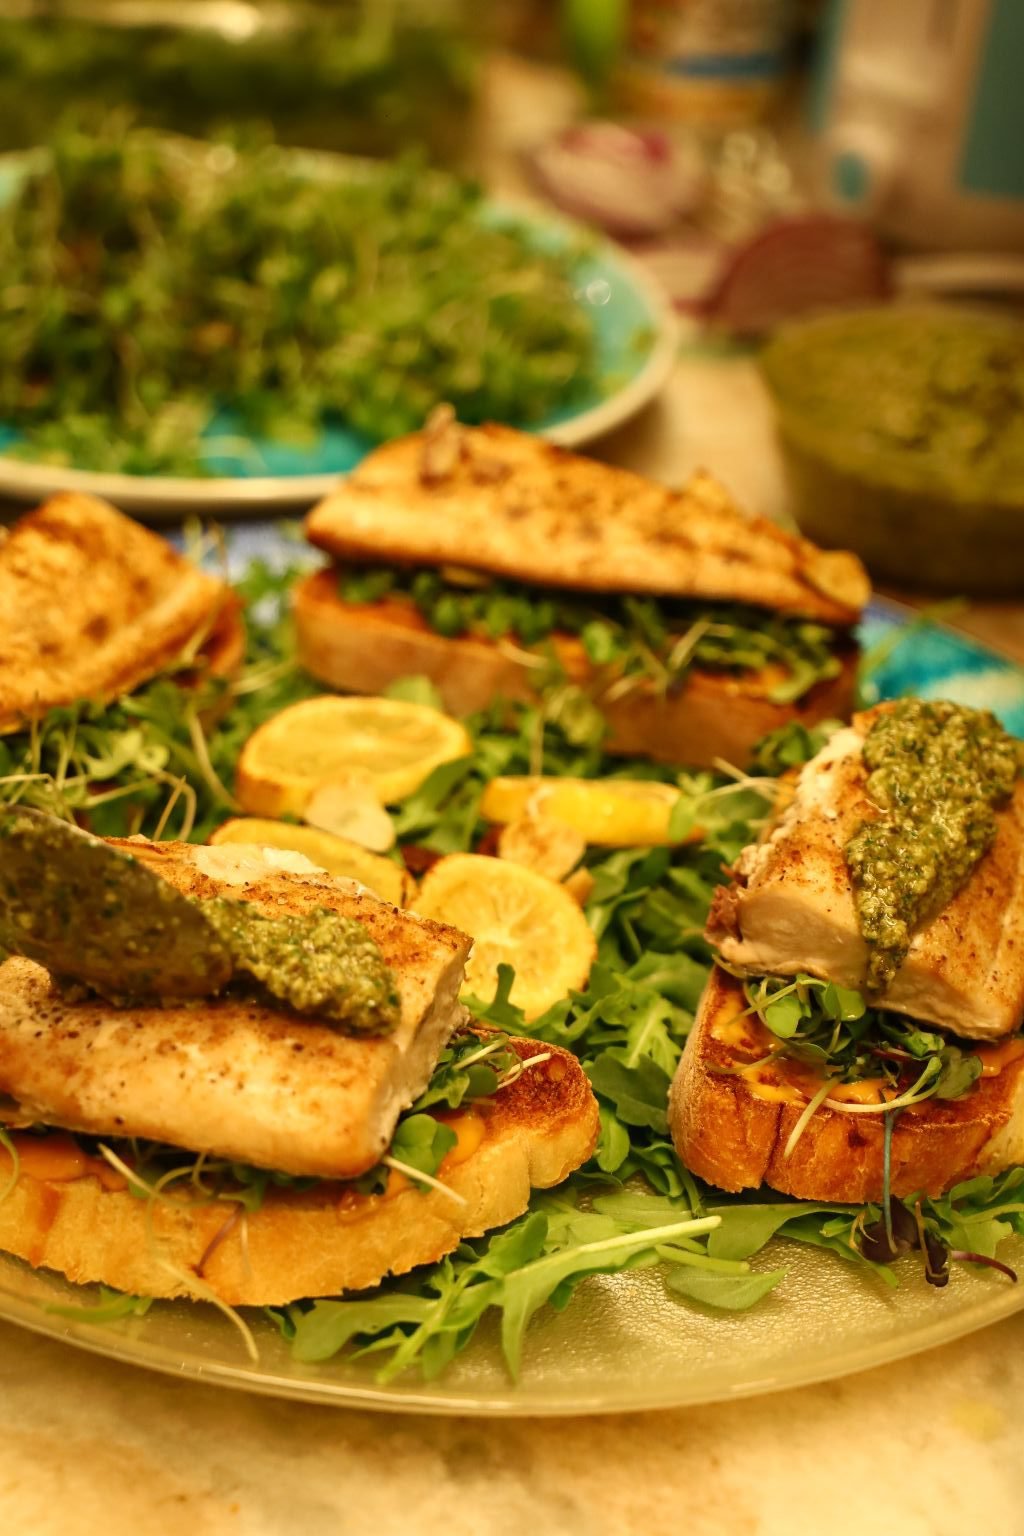
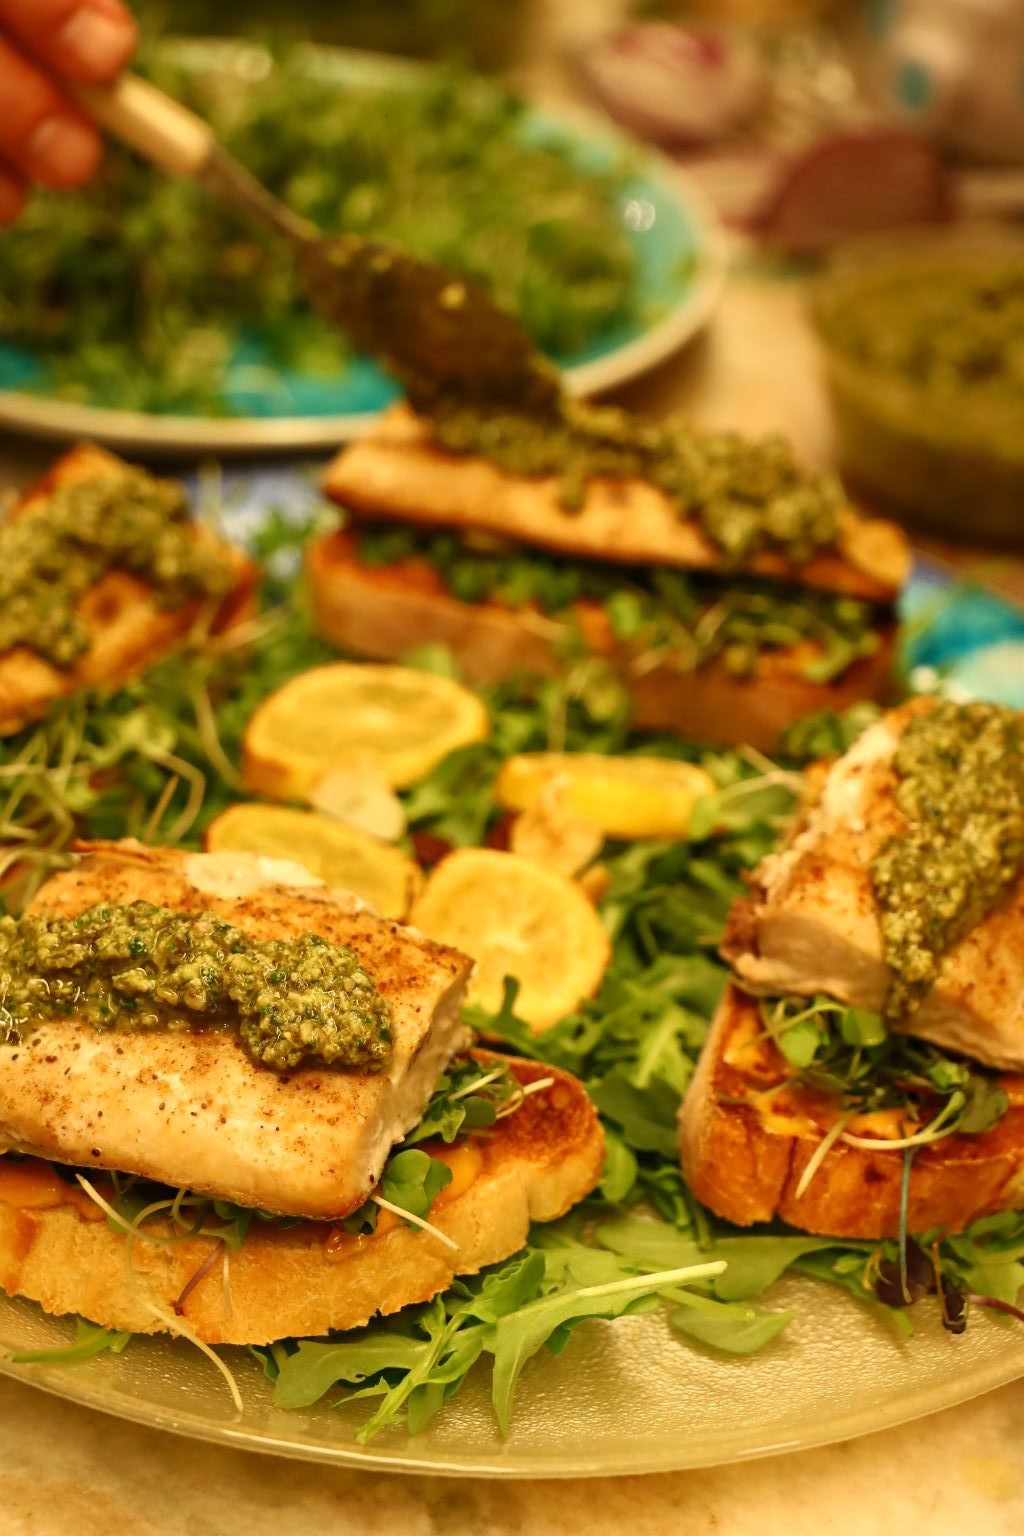
then top them with some fresh Pesto as shown.
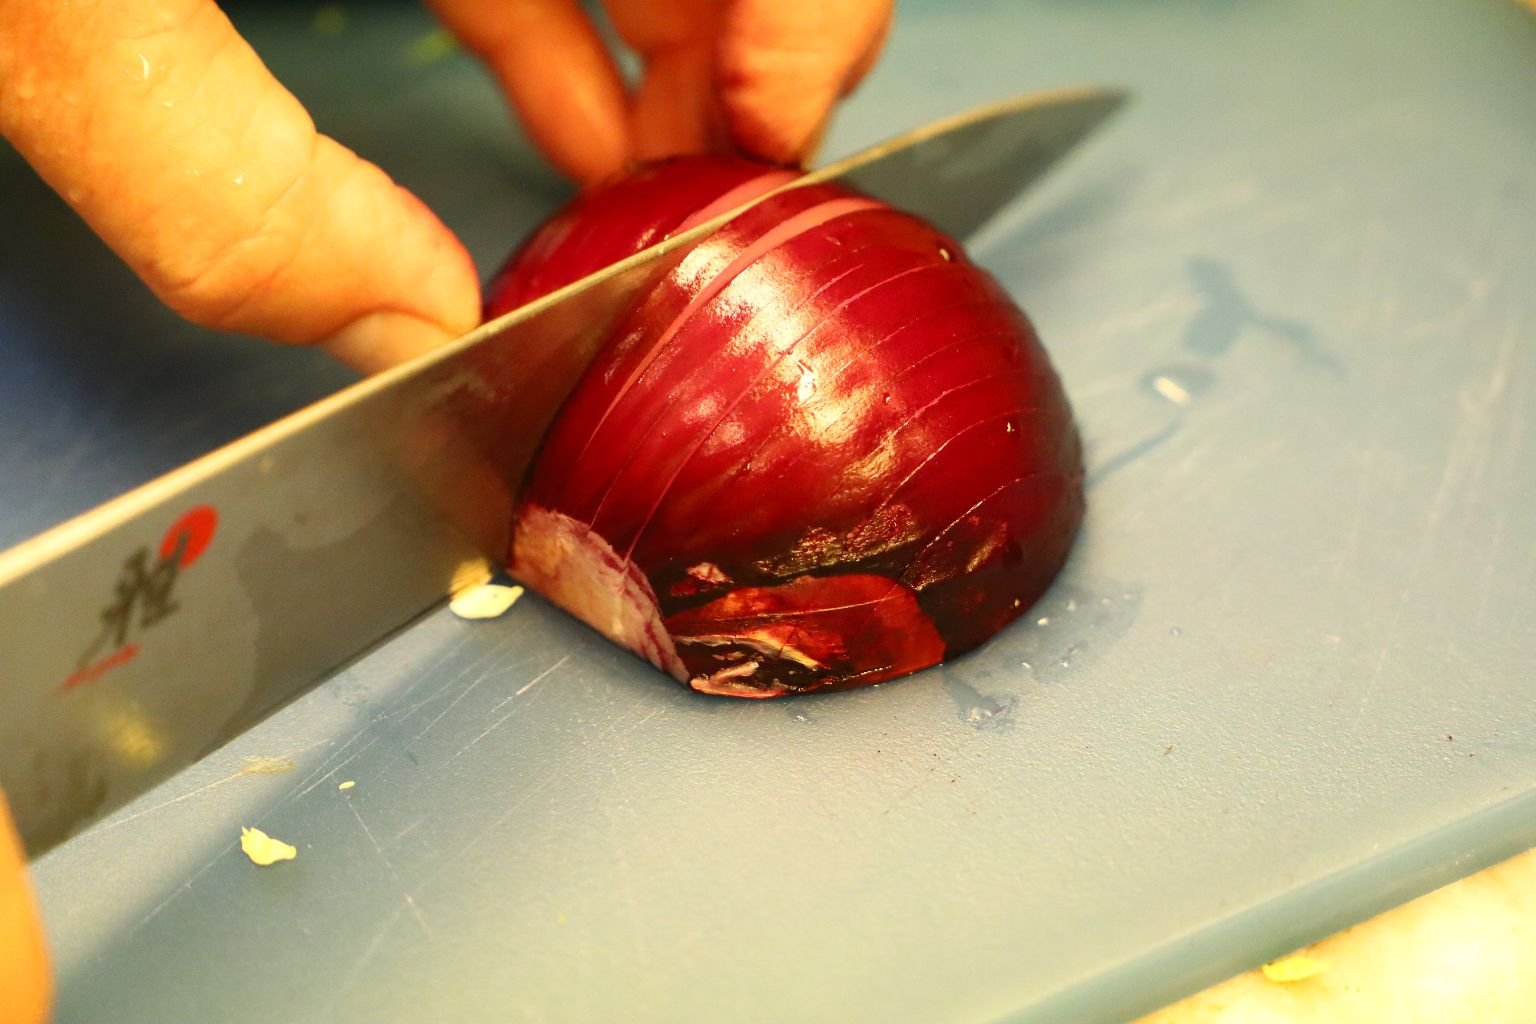
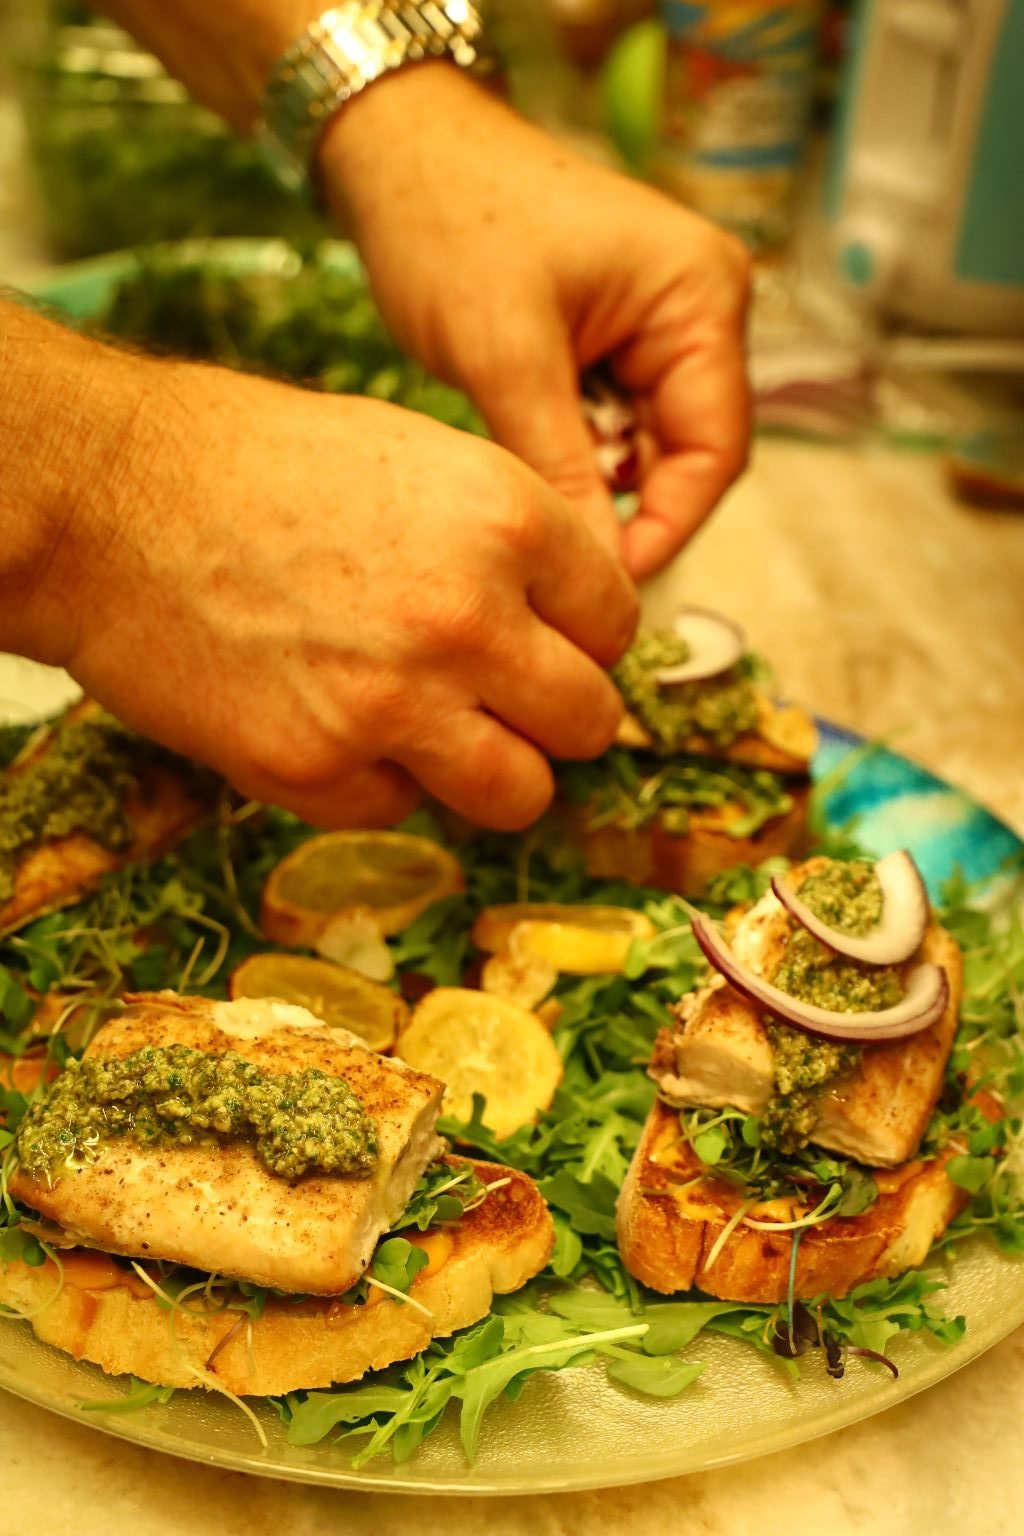
Slice your Red Onion thinly as shown and …
Top your fillets with some of the Red Onion slices as shown.
We hope you enjoy these open face Mahi-Mahi fillets.
—————————————————————-
Have a Mer-Mazing Halloween!
Julie and Gordon
—————————————————————————-
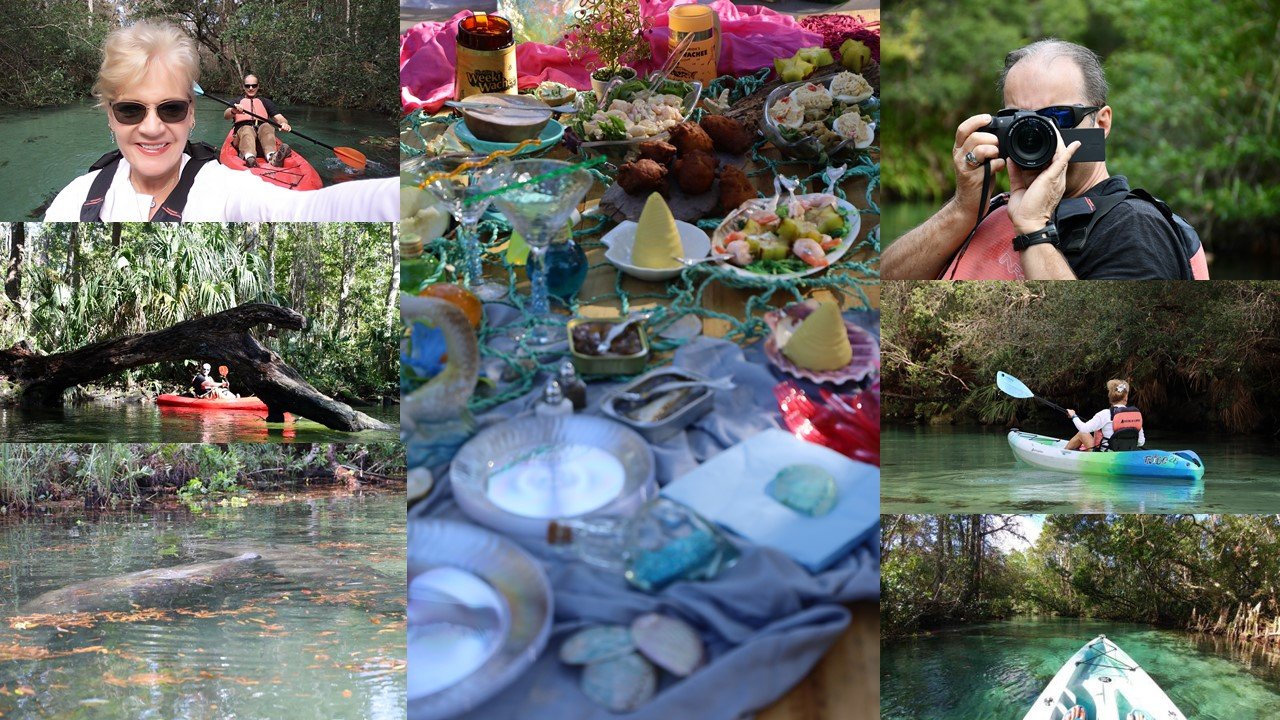
To View Our Other Mermaid Website Pages:
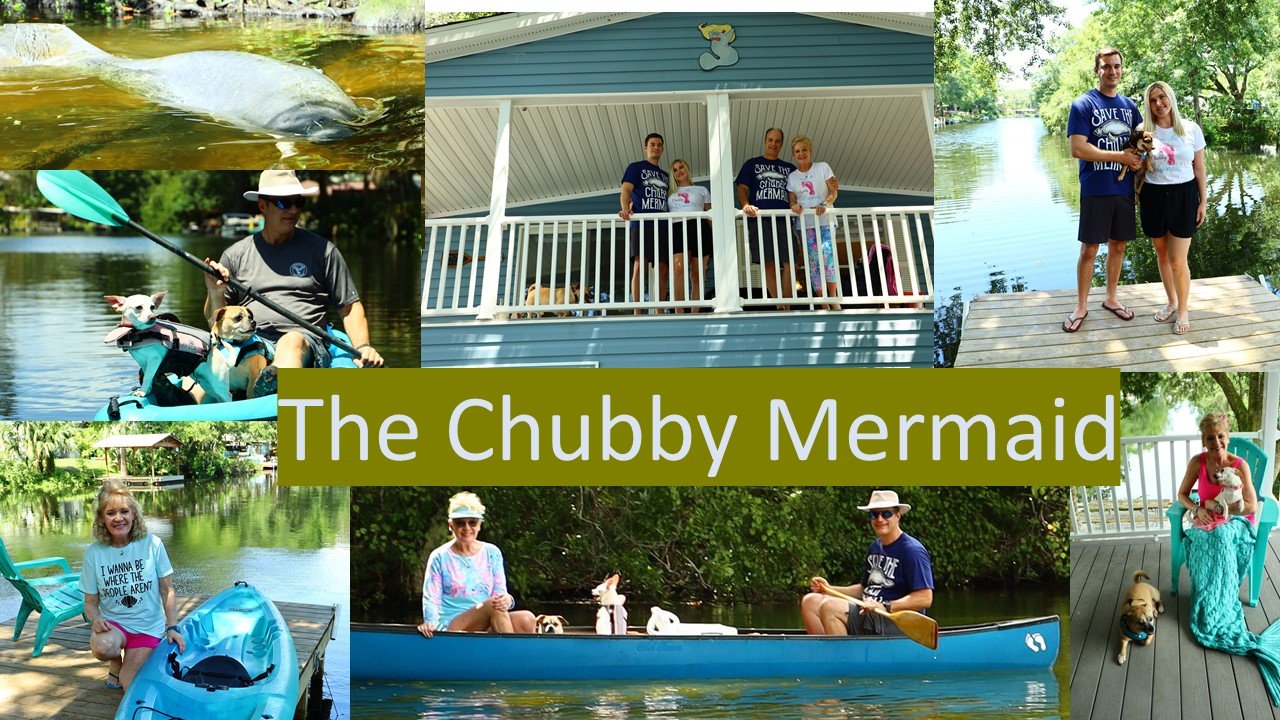
Click Here For: Kayaking in Florida With Julie and Gordon: Adventure, Food and Fun Blogging

AND,
Kayak Weeki Wachee Springs, Florida

AND,
Weeki Wachee Weekend For Christmas
AND,

AND,
My Mermaid Lagoon Christmas in the Nook

AND,
AND,
AND,

——————————————————————————