Gordon’s Guide to Repair and Customizing Used Kayaks
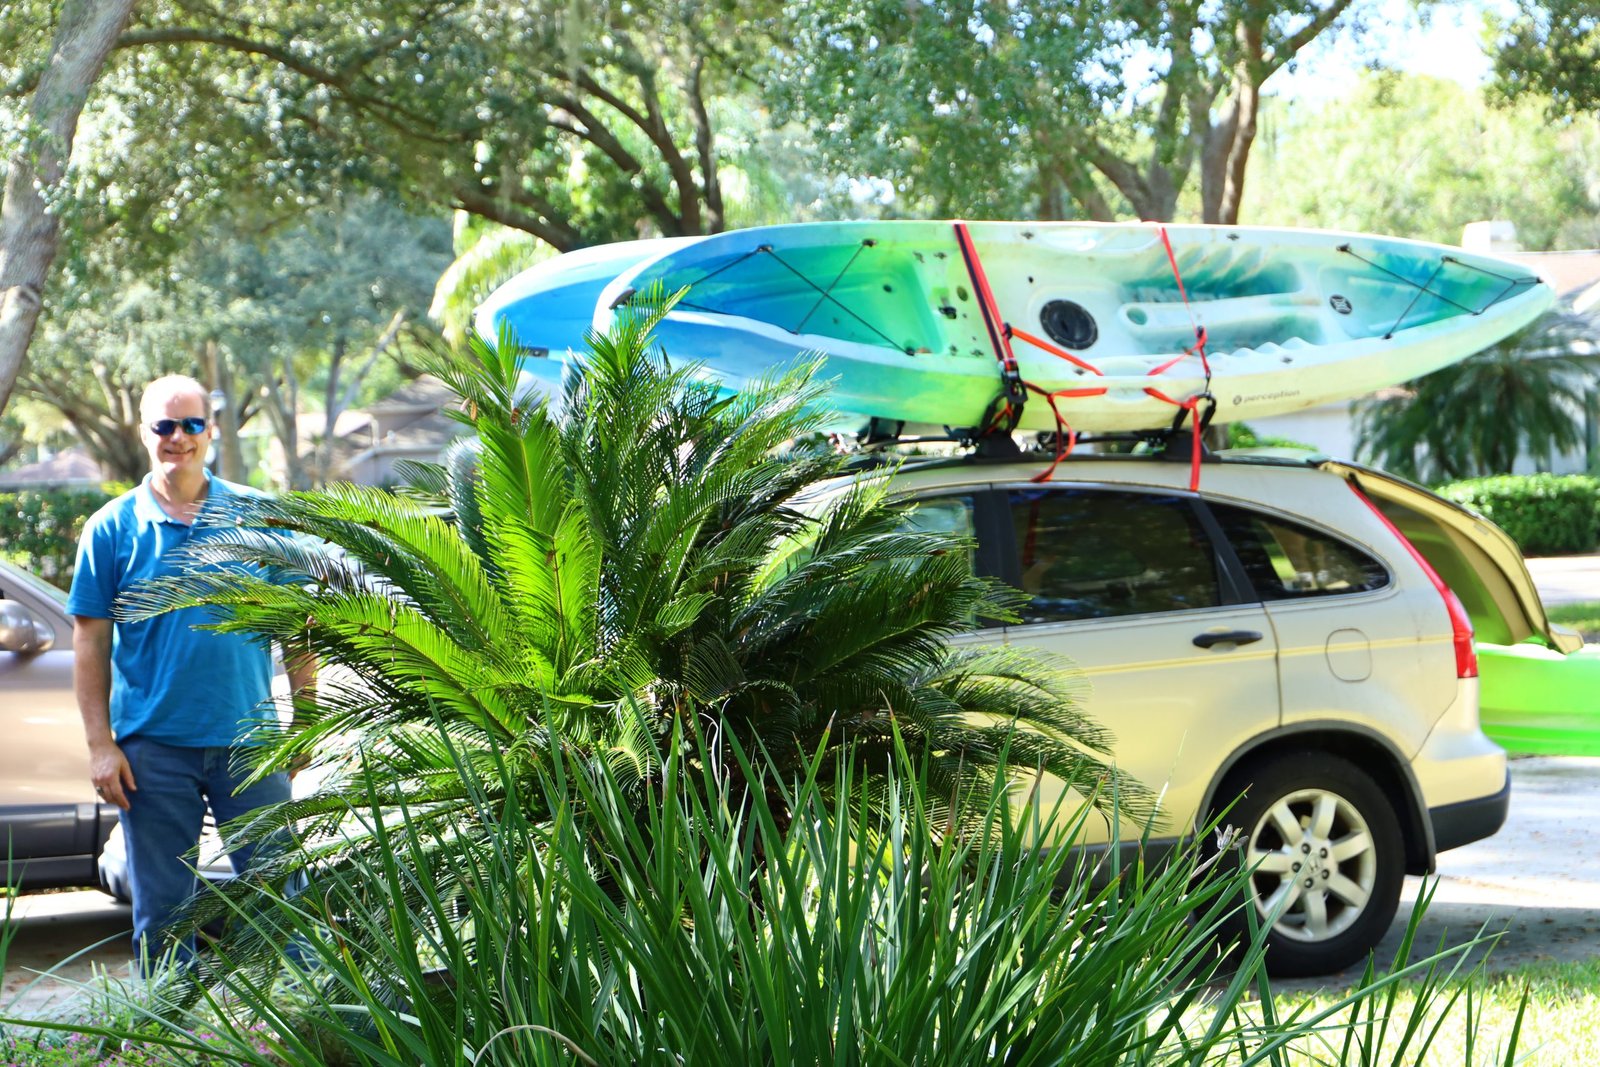
(In the above, and below photos you can see Gordon arriving home with our new (used) Kayaks.)

Ready to Unload the Car of the Kayaks and Take them Around to the Back of the House
——————————————————————-
Shopping Around For Used Kayaks

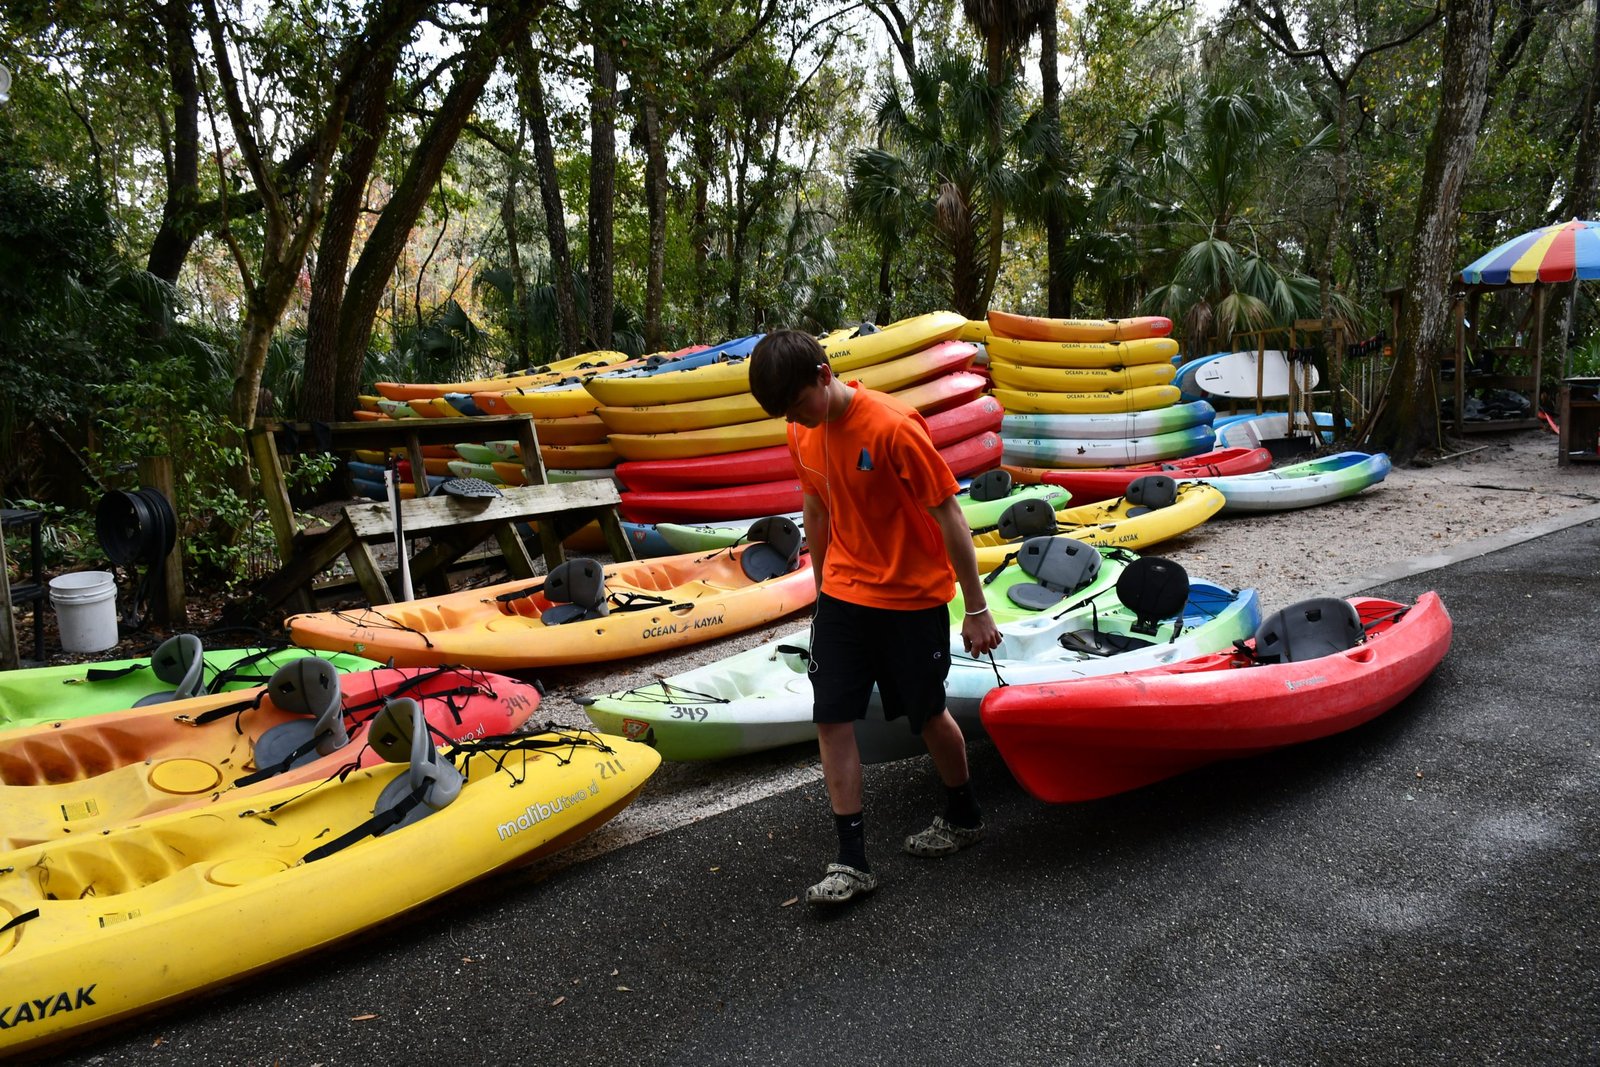
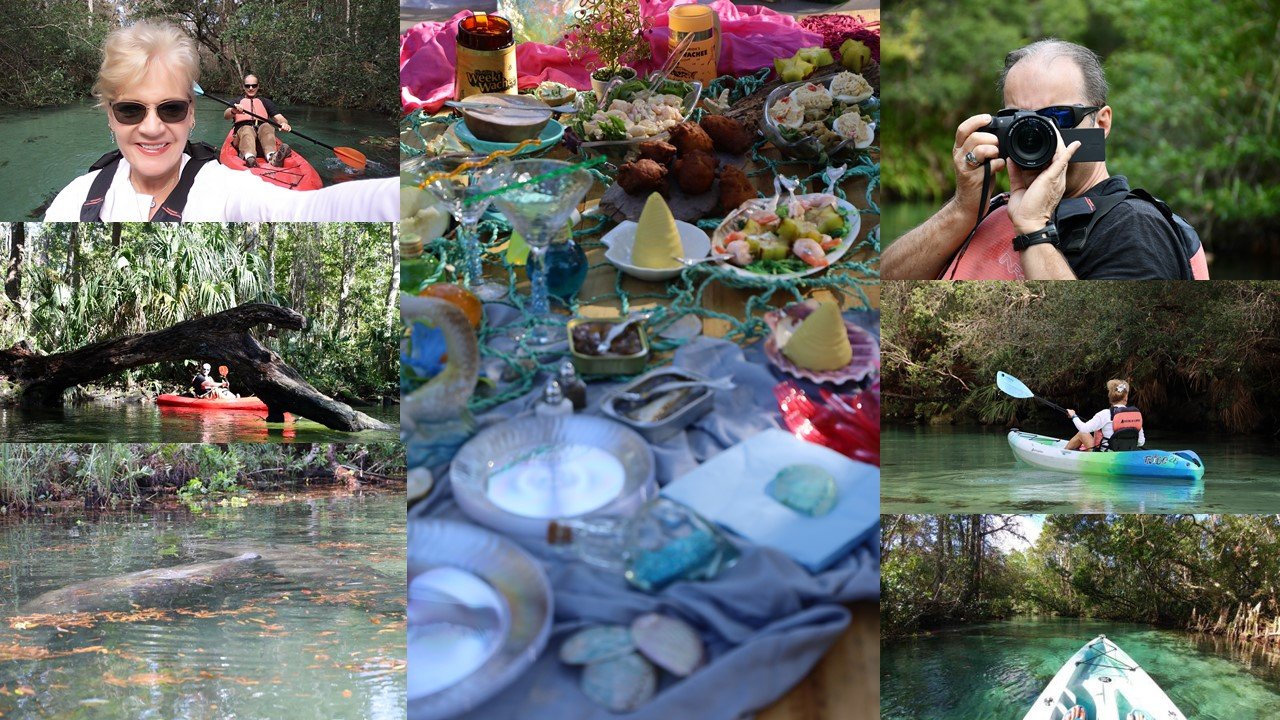
Gordon and Brian Checking Out the Used Kayaks at Weeki Wachee
At most of the Kayak and Canoe Rentals they do sell their older Kayaks and you can pick one up for quite a cheap price. You may need to do some repairs yourself, but if you know what you are doing it is a steal to buy one.
(Some rental companies have up to 75 to choose from, while others may just have a few choices.)
————————————————————————————-
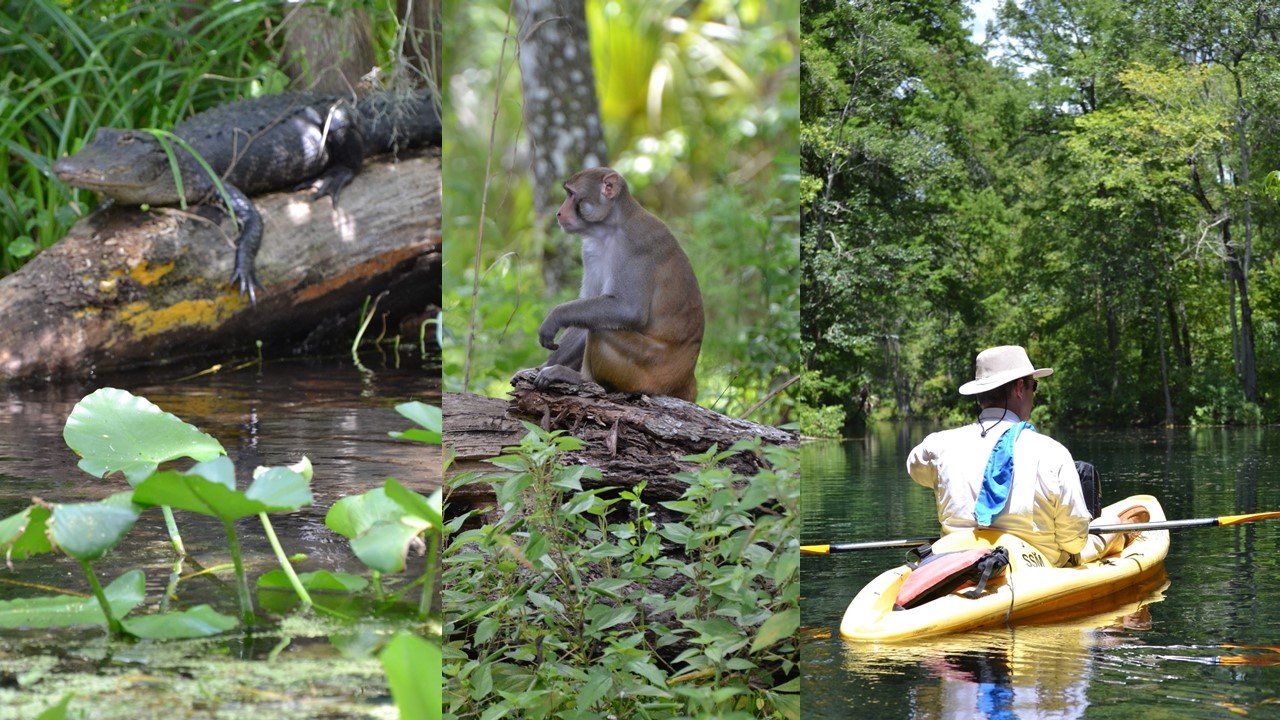
Julie and I love to explore the many sites in Florida, so going down a spring seeing Manatees and other wildlife was right up our alley. We first went to Kayaking at Silver Springs, Florida to experience their famous glass bottom boat rides. There, you could also rent kayaks and Julie and I jumped at the chance. We had gone canoeing before, so kayaking was a good next step. Julie took to it very easily, as she sped off leaving me in the dust when we first got into the water at Silver Springs. I had some balancing issues at first, as it seemed I was a little top heavy. I sat further down in the kayak a little more and then things were fine. The Silver Springs area is known for their wildlife, which we saw firsthand some monkey’s leftover from the Tarzan filming days. Alligators were also plentiful, which when we turned one corner, we were only feet away from three, four ft. long ones sunning themselves on a log. The water was so clear and blue, with many types of fish and turtles all around. The area is also known for the filming of the movie “The Creature From The Black Lagoon” and the James Bond movie “Moonraker” as well as the TV show “Sea Hunt” starring Lloyd Bridges. After this trip, Julie and I were hooked, and I set off to find us some kayaks to own. I learned at most of the kayak rental shops they sell their older used Kayaks where you can pick one up for quite a good price. I was able to get each Kayak seen below, for $100 each. I made sure no cracks were on the bottom of the kayaks, as that would be a more difficult repair since I was new to all of this. You will need to do some repairs, but if you know what you are doing, it is a steal to buy one from one of these kayak rental companies.
I looked on the internet and watched many videos on tips and tricks to Kayak repair, and found it wasn’t that difficult to do. Below, I will explain what I did to repair our three kayaks with a few simple tools. I also spent money on new seats, storage/hatch covers, bungee cord, scupper plugs, drain plugs, skid plates, cleats, accessories, and various grommets, but I am still well below the cost of a new one.
———————————————————————-
If You Would Like To See Our Silver Springs Glass Bottom Boat And Kayak Adventures..
Click Here For: Silver Springs, Florida and the Creature From The Black Lagoon
—————————————————————————
Below are the How-To’s in repairing used Kayaks.
Here is a short update on our first Test Drive:
Time To Try Out The Kayaks
(This is an update added 10/24.)


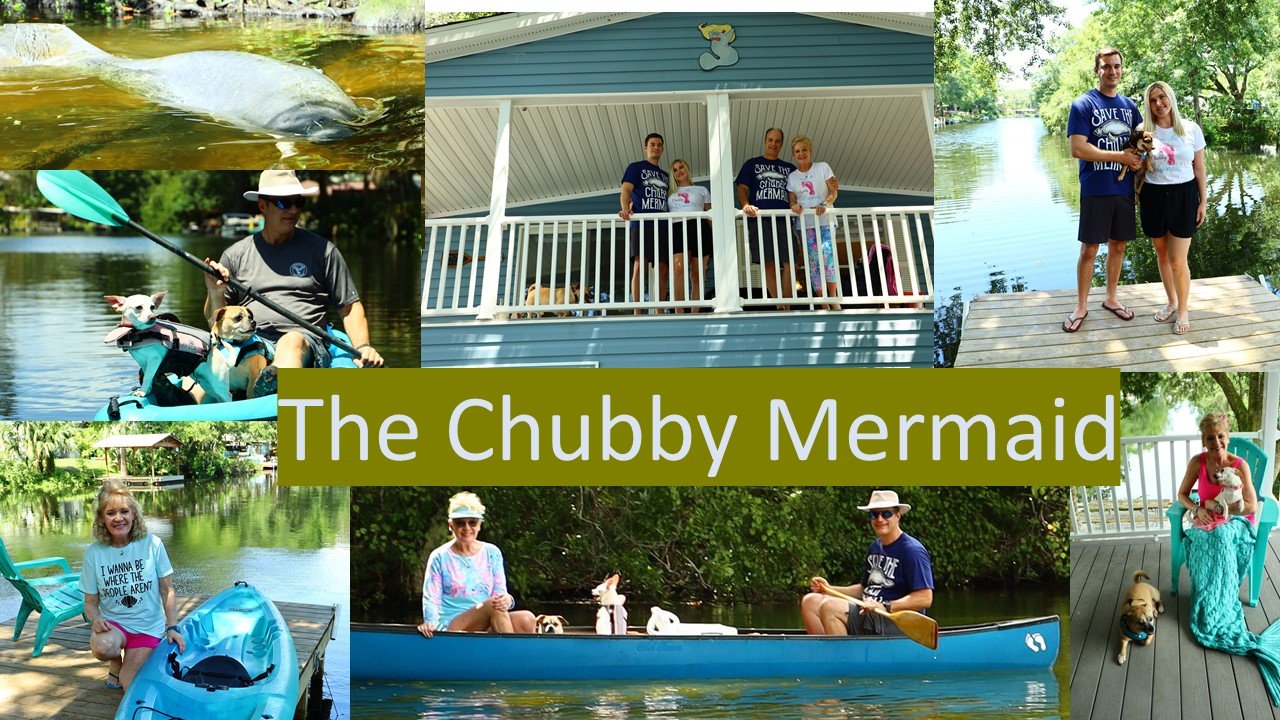
These are two of our three kayaks that I bought used and were in need of repair. Luckily, there were no cracks on the bottom, which would have been a more difficult repair, but still doable. I used a heat gun to smooth out all the rough edges making them look almost brand new. I bought new seats, paddles, storage bags, and some new cord, but the cost was well worth it as I only paid $100 for each kayak. The yellow and green one is a two-seater. Tying them to the car was also simple as they aren’t really all that heavy. We arranged to test float them in Brodie and Mackenzie’s pool, to ensure they were seaworthy.


Here we are in the pool giving them a test run. Julie picked up a guest rider, the kids dog Hank. He is such a good, sweet dog! You can see how much longer her kayak is to the one I am in… and what a great deal for only $100.


Now we have some cold Cuban Beer to go with the great company.
Cheers!

Moreno’s Bakery
———————————————————————————–
Time To Start On The Kayaks

Here are the three Kayaks I chose as they only had cracks on the top and not on the underside where they would be more prone to leaking.

I love this two-seater one on the left of the picture as well. I specifically bought it just in case Julie and I didn’t want to haul around two kayaks. This way, she can also take some beautiful pictures up front, while I guide us down the waterway in the back seat.
——————————————————————————-
Gordon Pressure Washing The Kayaks

Before any type of work is done, I wanted to clean all the mud, sand, and grit out of the many deep scratches mainly on the bottom of the kayaks. Pressure washing them will clean them up nicely.

————————————————————————


Scrapes From Being Dragged
————————————————————————————–
Here you can see a kayak employee pulling the kayaks down the ramp to the water. This is where a good deal of the damage to the bottom of the kayaks comes from. One of the kayaks I purchased, didn’t even have a skid plate, which is a separate harder piece of plastic at the very end of the bottom of the kayak. In later pictures you will see what I am talking about.
——————————————————————-
Once purchased, I looked over all the kayaks and wrote down for each, all the items that were missing, or in need of repair.

All of them were missing seats, and a back rest device that would help you to lean back in your seat. A back rest device would provide a more comfortable kayaking experience while providing your back with support. I had the idea to use PVC Pipe to possibly use in place of this, which is why you see me fitting some pieces together that I had on hand, to see if my concept might work.


I ended up scrapping the idea once I did a little more research into the seats I wanted to purchase.


(Gordon is showing you here an idea that he had that he decided not to go with. That doesn’t mean that someone else can’t expand on this idea and have it be helpful, which is why we are featuring it here.)


——————————————————————————
The Storage Hatch


Here are the storage/hatch covers which were the screw top lid type. This type must be screwed down hard to seal, and they were glued completely shut, making them even more difficult to remove. They should have a bag underneath the cover, which is why I needed to get them off without damaging the kayak.


I thought for awhile and came up with this idea. I used a pair of bolt cutters and a pipe wrench. The handle of the bolt cutters would fit into the slots of the hatch cover, and the pipe wrench would add leverage to help me turn them.

As you can see… it worked.
No storage bag in sight.


I went online and ordered new hatch covers, storage bags, and screws and bolts to affix the hatch cover back again. Once the hatch cover is screwed down to the kayak, this type simply seals by pushing the lid down and turning the knob.

And there you go!
——————————————————————————————-
In This Next Step We Recommend an Open Air Working Area, or Wearing a Mask Because of the Chemicals in the Plastic

To remove all the deep scratches and abrasions which make the kayak look sort of white, simply use a heat gun. This will make the plastic look new again. Practice on some plastic bottles before you work directly on your kayak, as you can easily melt through the kayak’s surface if you are not careful.

Kayaks are made of #2 plastic, which is categorized as High-Density Polyethylene (HDPE) and can be found on many harder plastic containers in your house. Just look for the #2 triangular arrow symbol on the bottom of plastic bottles.


Here it may be difficult to see, but there are many scratches and abrasions all over the kayak.


By using the heat gun somewhat close to the kayak’s surface, you will see the scratches simply melt away. You can only work on a small patch at a time and move slowly to the next area using a continuous motion. I also used some new gardening gloves to help smooth out the surface. The cuts and grooves will melt back into the main plastic, almost like magic.

You can see the plastic is flat and shinny directly underneath the heat gun, making the surface look new again.

I also used a metal putty knife to help flatten the curved scratches, smoothing them down as they melted.

In the photo below, I am pointing out where the surface is shiny and looking brand new. To me, doing this was kind of therapeutic as I loved the immediate results.

———————————————————-

Here you can see the kayaks clean smooth surface.
—————————————————————–
Kayak Seats

After looking over numerous seats, I chose these.
They have a good amount of padding on the seat and backrest, which to me is crucial during long adventures.


It also had a good amount of tiedowns to attach it to the kayak, making the backrest an unneeded device.

———————————————————————————

I am out again working on the kayaks using a large fan to help with the sweltering Florida heat and humidity, as well as some of the chemicals released from the heat gun.


I am again fixing the storage/hatch covers.

This kayak had some cracks in the plastic near the scupper holes. I found a white Downy fabric softener #2 plastic container and cut off a section of it. I then used my heat gun and plastic welding tool to melt strips of the plastic into the crack. Go slow and you will see the plastic strip melt, then simply work it around and into the crack. It really isn’t that hard once you start.


There were some other minor cracks which I then fixed the same way using the plastic strips of the white Downy bottle.

———————————————————————————-


Here you can see the blue repair where I used a Lowes 5-gallon bucket. It isn’t the same blue color, but it matches the overall theme of the kayak.

Pictured are other repairs.


This one is at the bottom and back end of the Kayak where the black skid plate is located. There were a few deep gashes located just in front of the skid plate.

Here I am removing the skid plate.

—————————————————————————–

Here you can see some sand that got caught in the old skid plate.


The new skid plate will work great!
—————————————————————————————
Kayak Pull

Here I am going to replace the cord for the handle. The new cord better matches the kayak’s colors and is strong enough to pull the kayak.

The handle is a piece of thick plastic pipe that is used for underground sprinkler systems. To make the handle, simply cut a section of pipe about four inches in length then drill a small hole in the center to feed the cord through. Then tie the cords together making a large oversized knot so the cords won’t pull through the hole.
——————————————————————————-
A Hurricane Is Coming, We Can Always Flee in the Kayaks 🙂

——————————————————————————————–
There is more to come as we will be testing the Kayaks to make sure they are “Sea Worthy.” We will also be taking them out on their Maiden Voyage. So, Stay Tuned….
Fair Winds and Following Seas,
Gordon and Julie
————————————————————————–
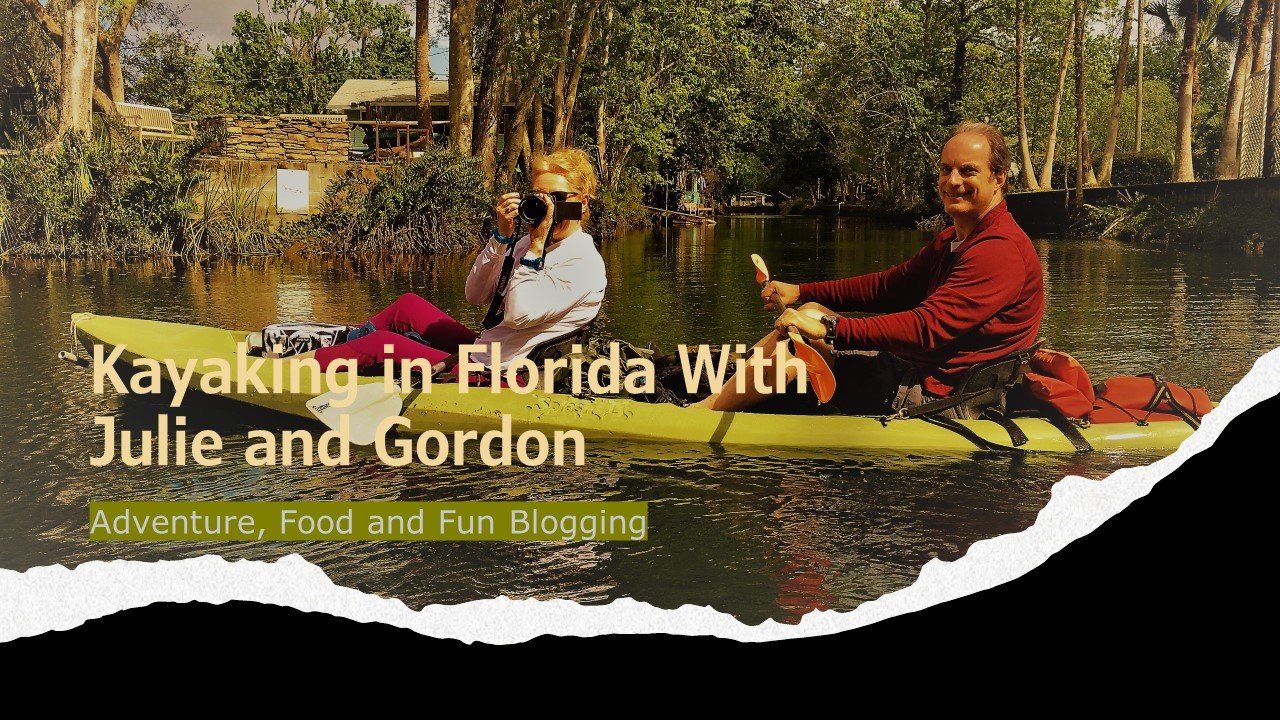
If you would like to check out our other Weeki Wachee and Mermaid pages:
Click Here For: Kayaking in Florida With Julie and Gordon: Adventure, Food and Fun Blogging
AND,
Kayak Weeki Wachee Springs, Florida

AND,
Weeki Wachee Weekend For Christmas
AND,

AND,
My Mermaid Lagoon Christmas in the Nook

AND,
AND,

AND,

It’s a Mermaid Thing…. 🙂