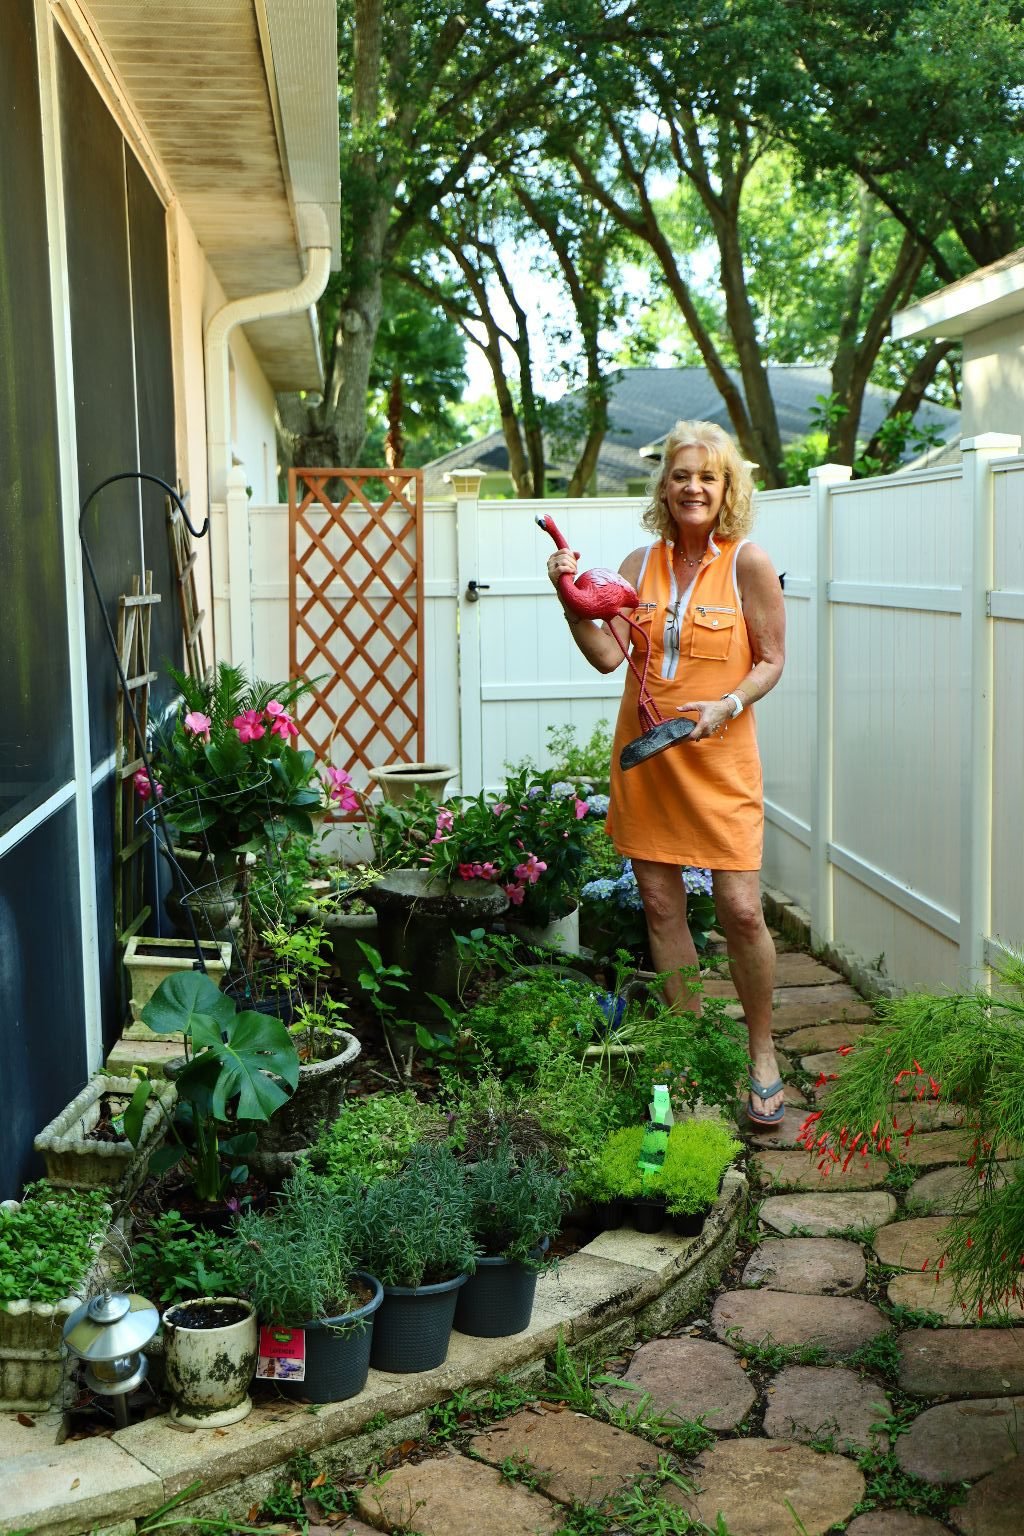
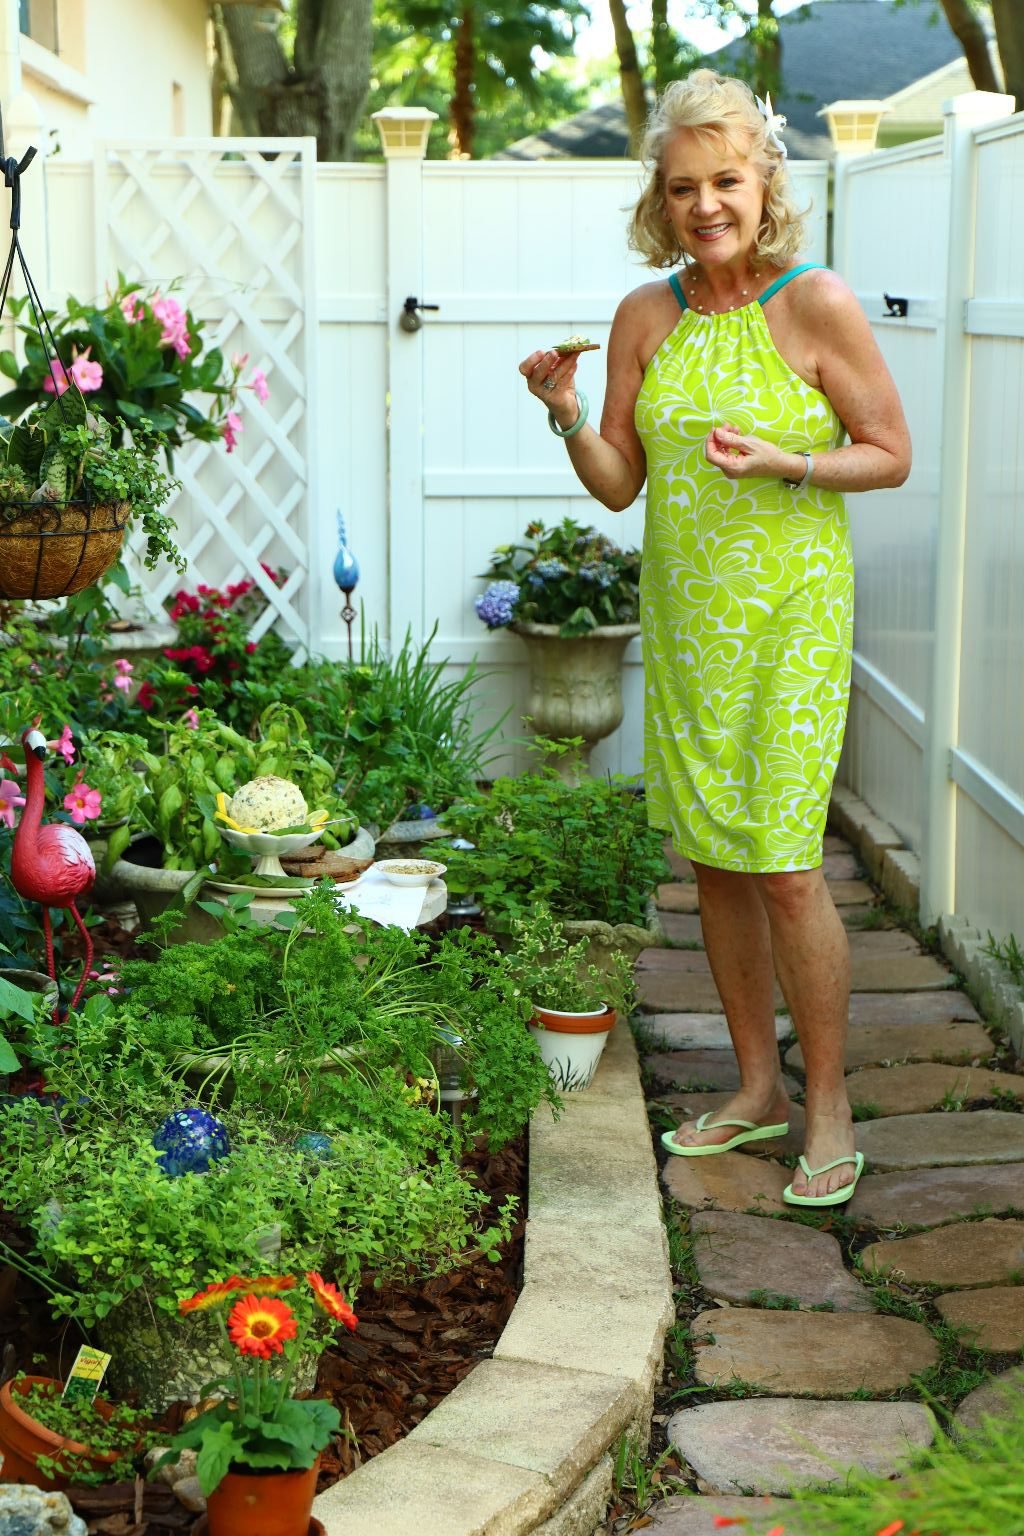
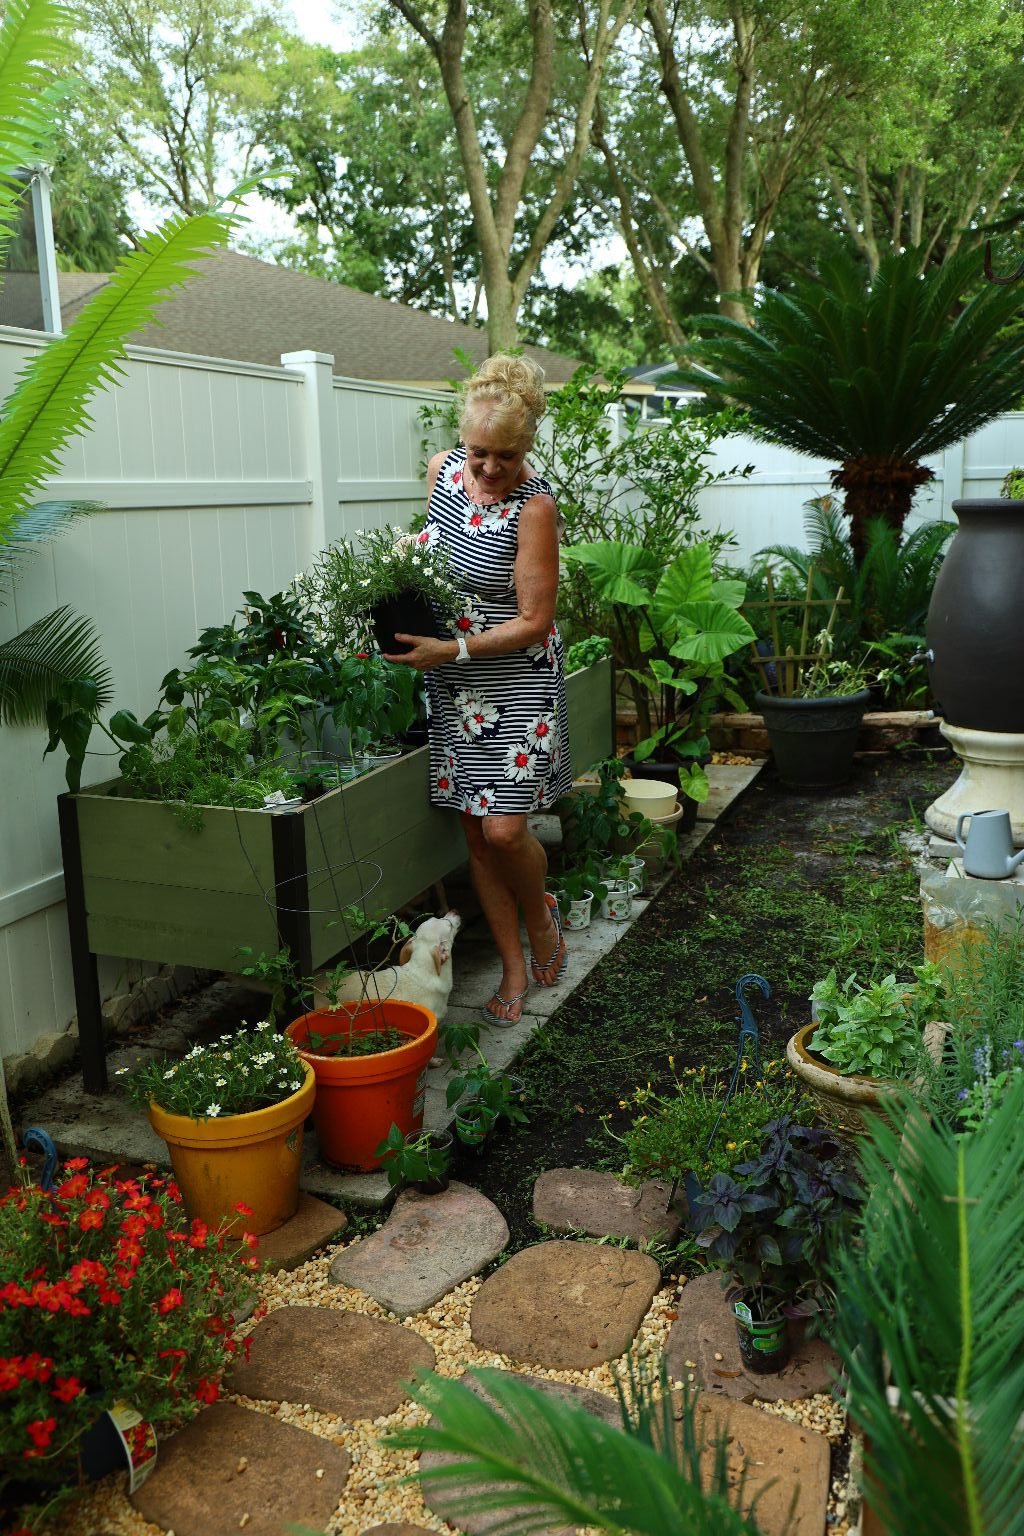
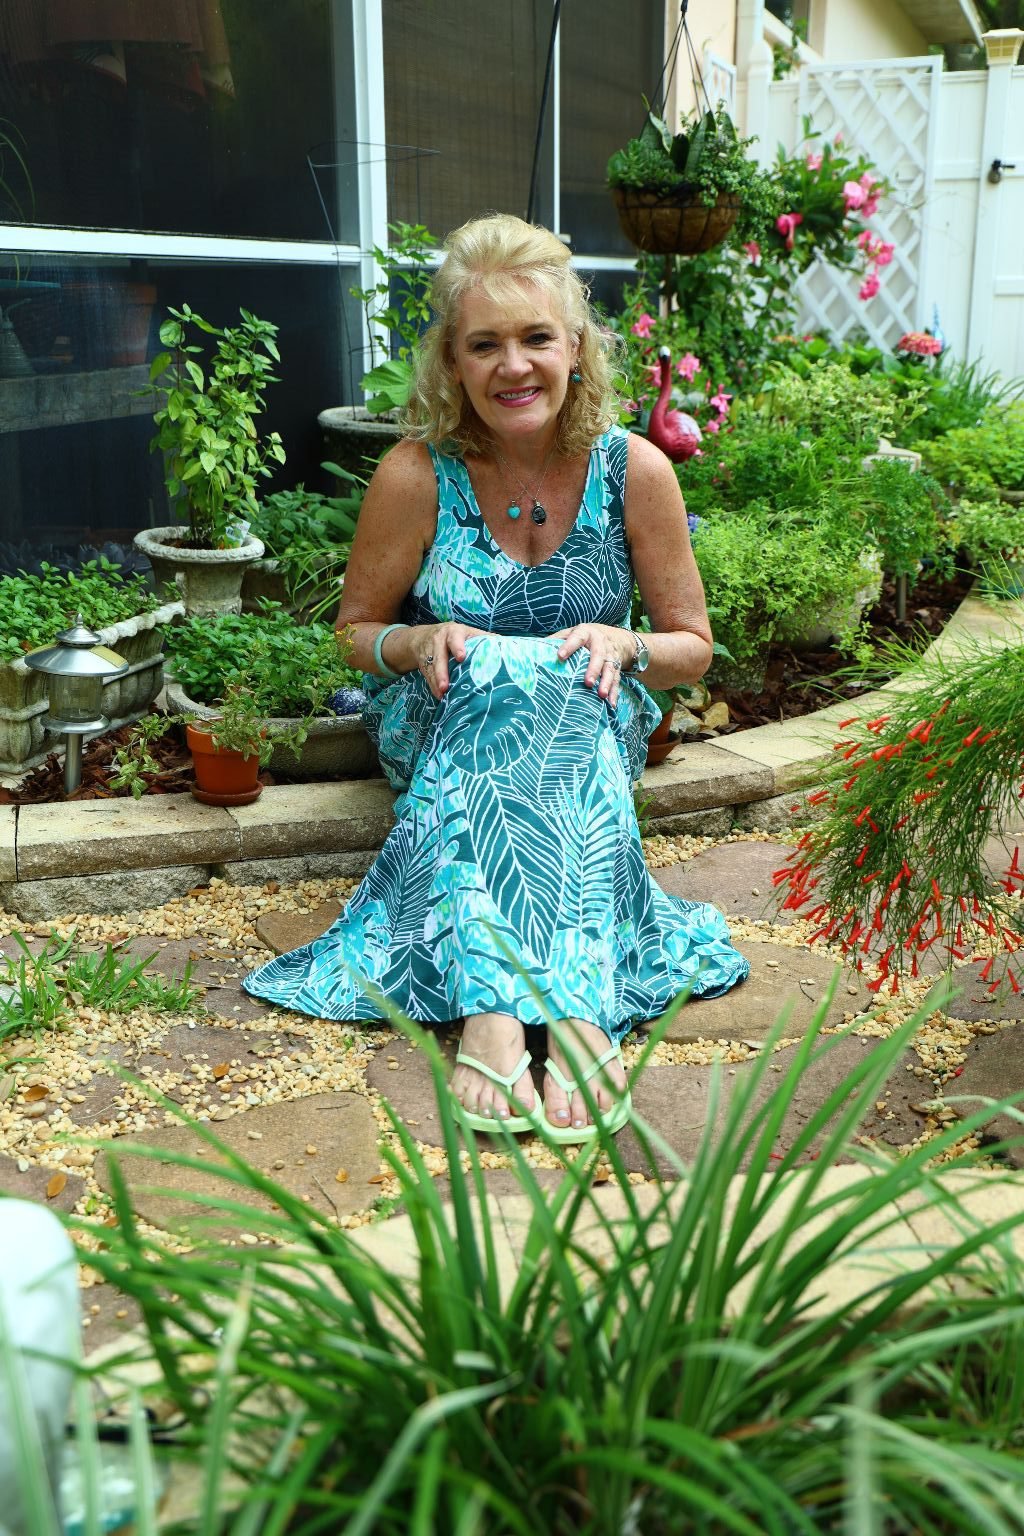
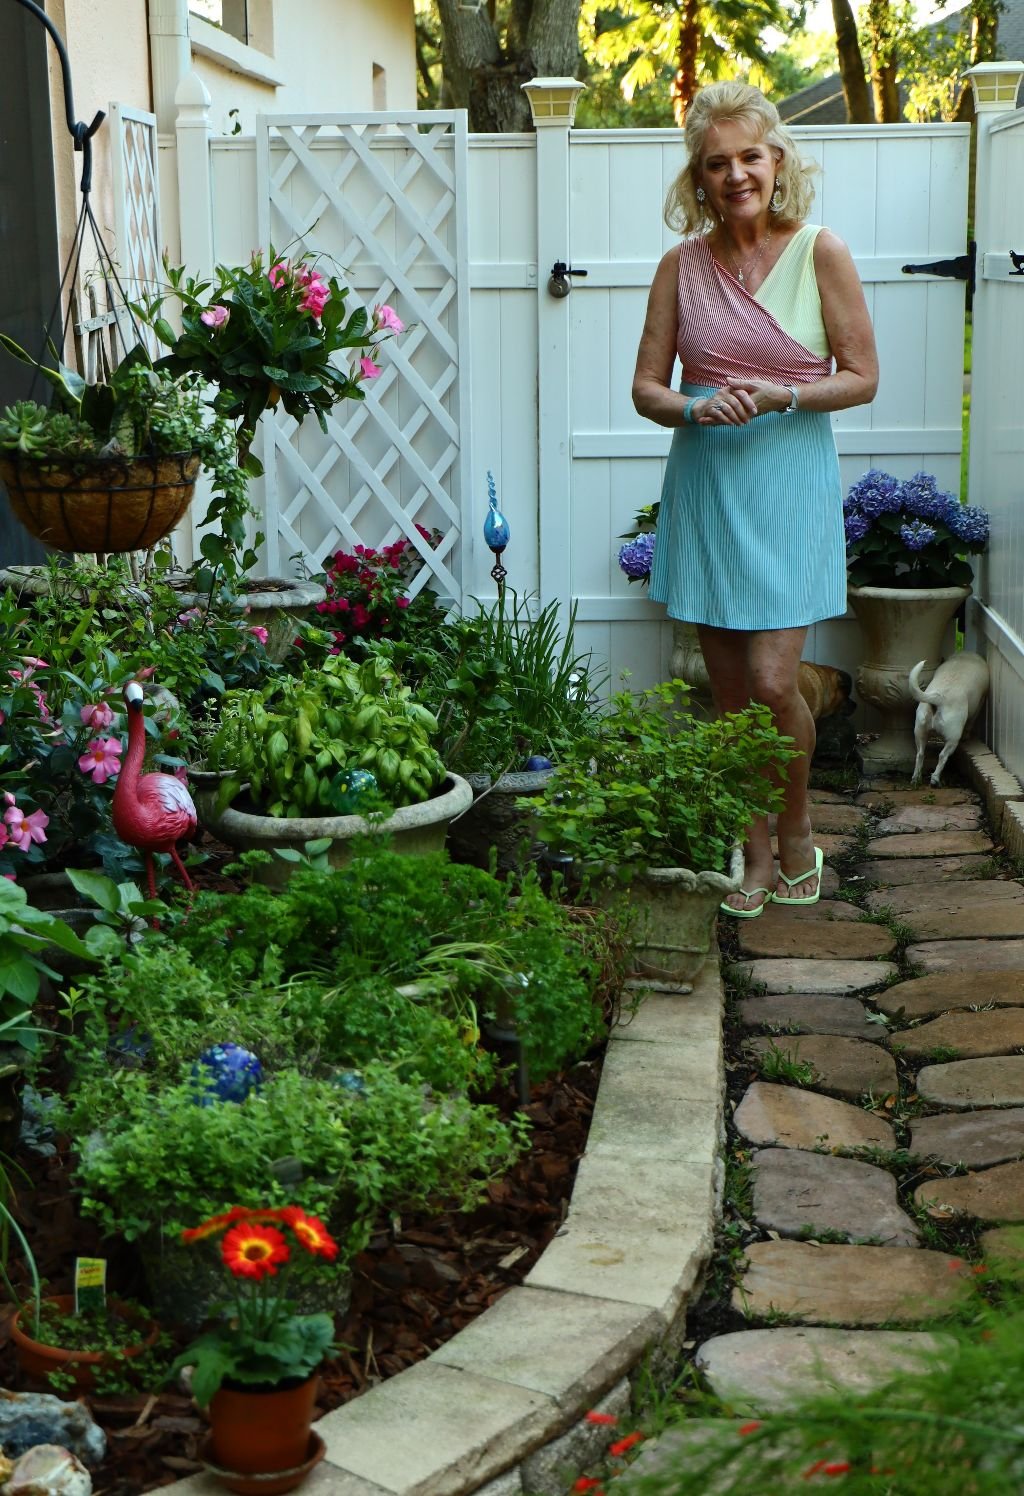
An Herb Garden Redo


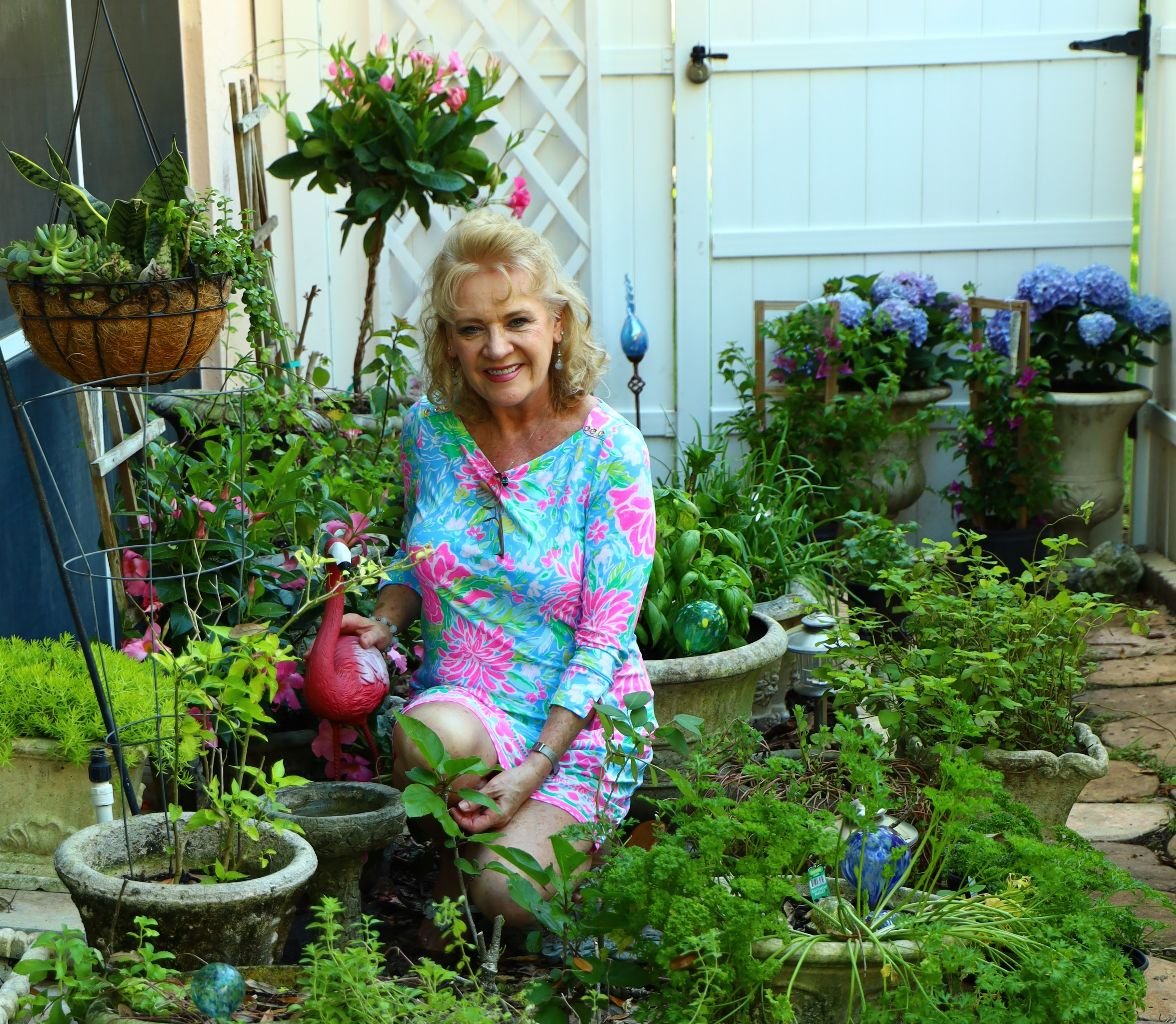
(I love to garden in swim dresses and flip flops.)
————————————————————-


So Excited For This Redo
—————————————————————
I LOVE MY Herb Garden

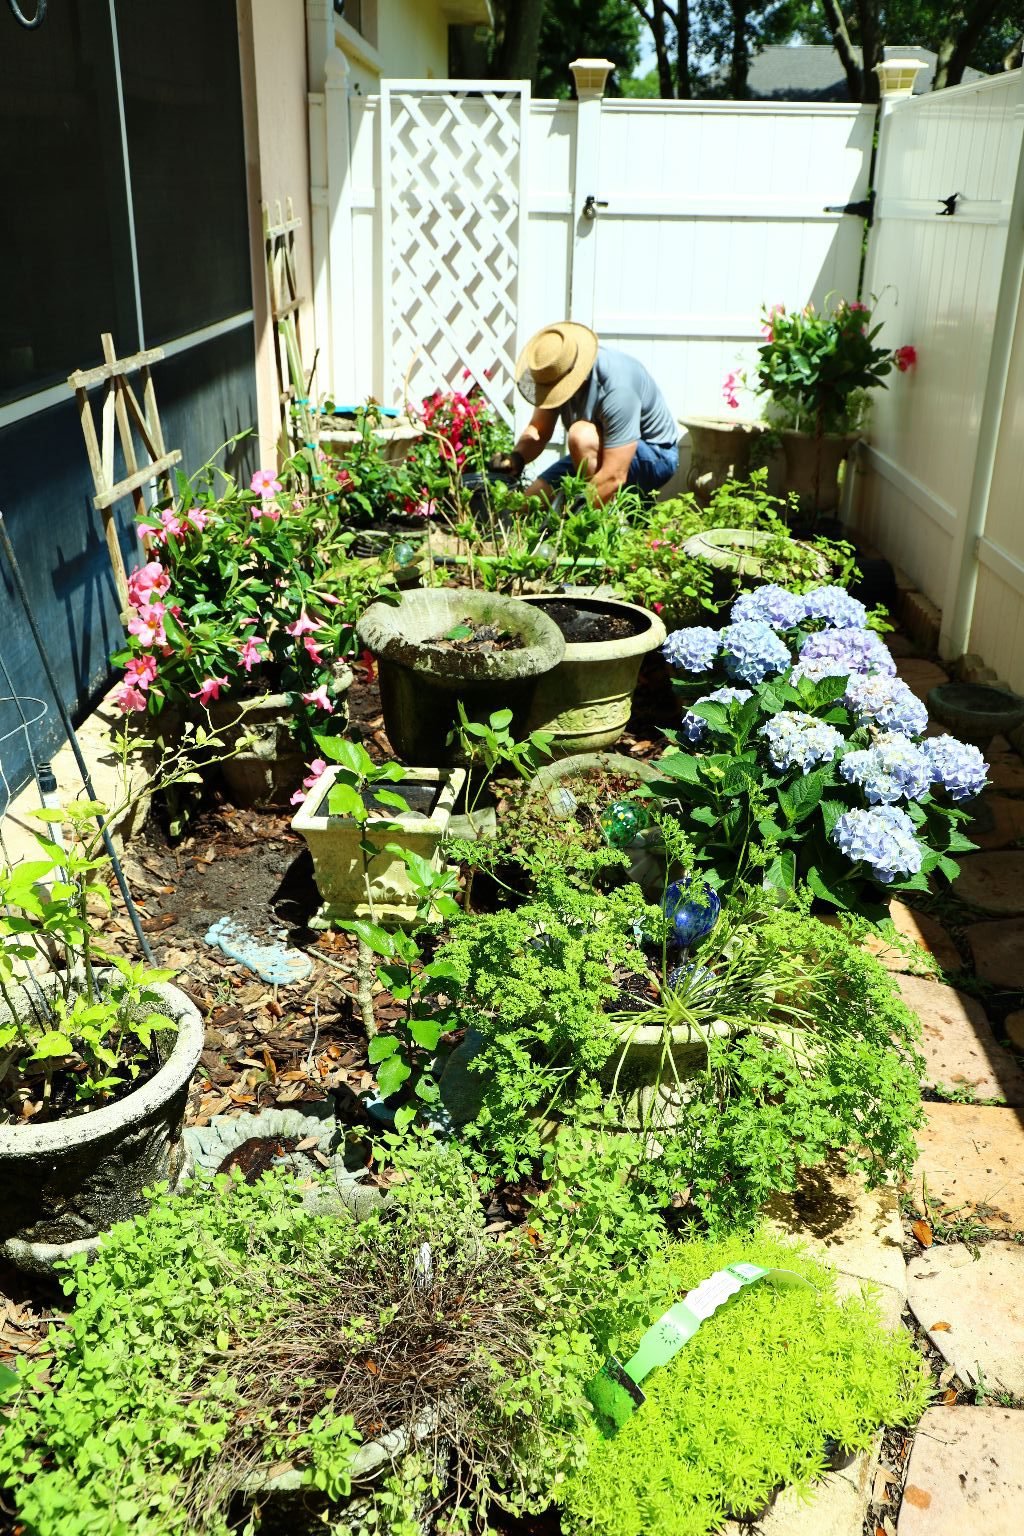
Previous Version of My Herb Garden
(Notice the Air Plants on the Trellis? When I decided to redo my Herb Garden I moved them over to our Elk Horn.)
The Trellis you see above is Rotting and we Needed to Remove It
Gordon made it years ago, sorry to have to get rid of it.
———————————————————
Our Elk Horn 2017

This is a photo of our Elk Horn in 2017.
You can see how the fern’s have overtaken it in 2021 in the photo below.

I’m so tired of all these ferns taking over our garden so we removed quite a few of them and placed the Air Plants in our Elk Horn.

We Also Have Air Plants in the Nooks of our Trees,
And Going up the Chain

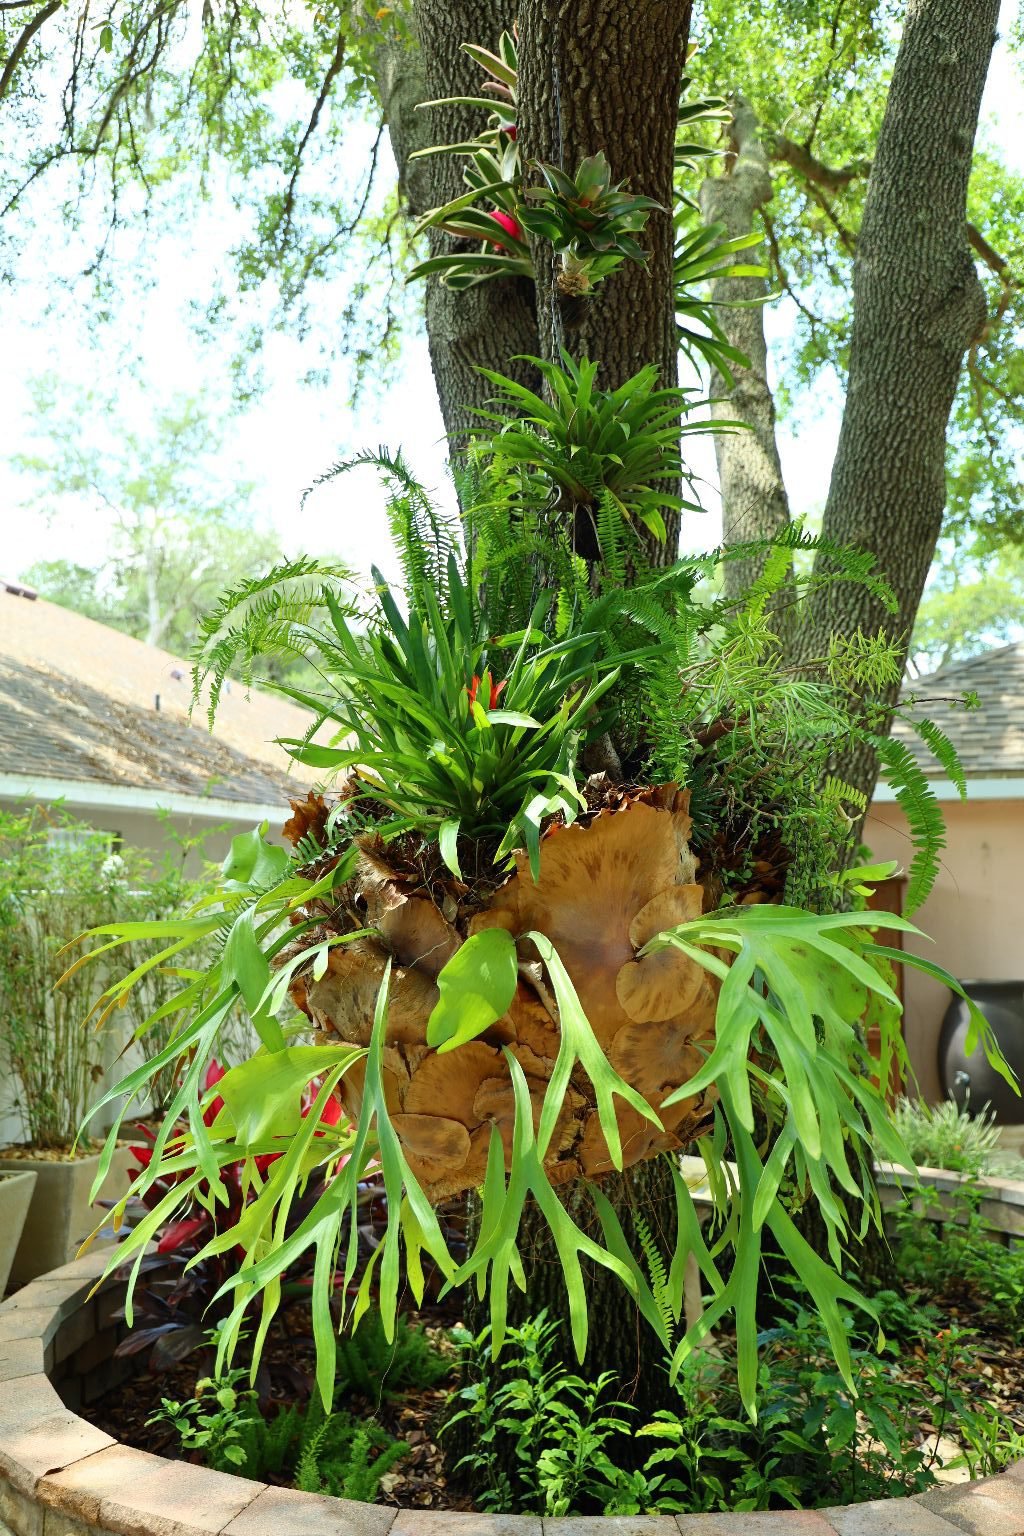
It Looks Much Better
An Elk Horn Redesign
———————————————————-
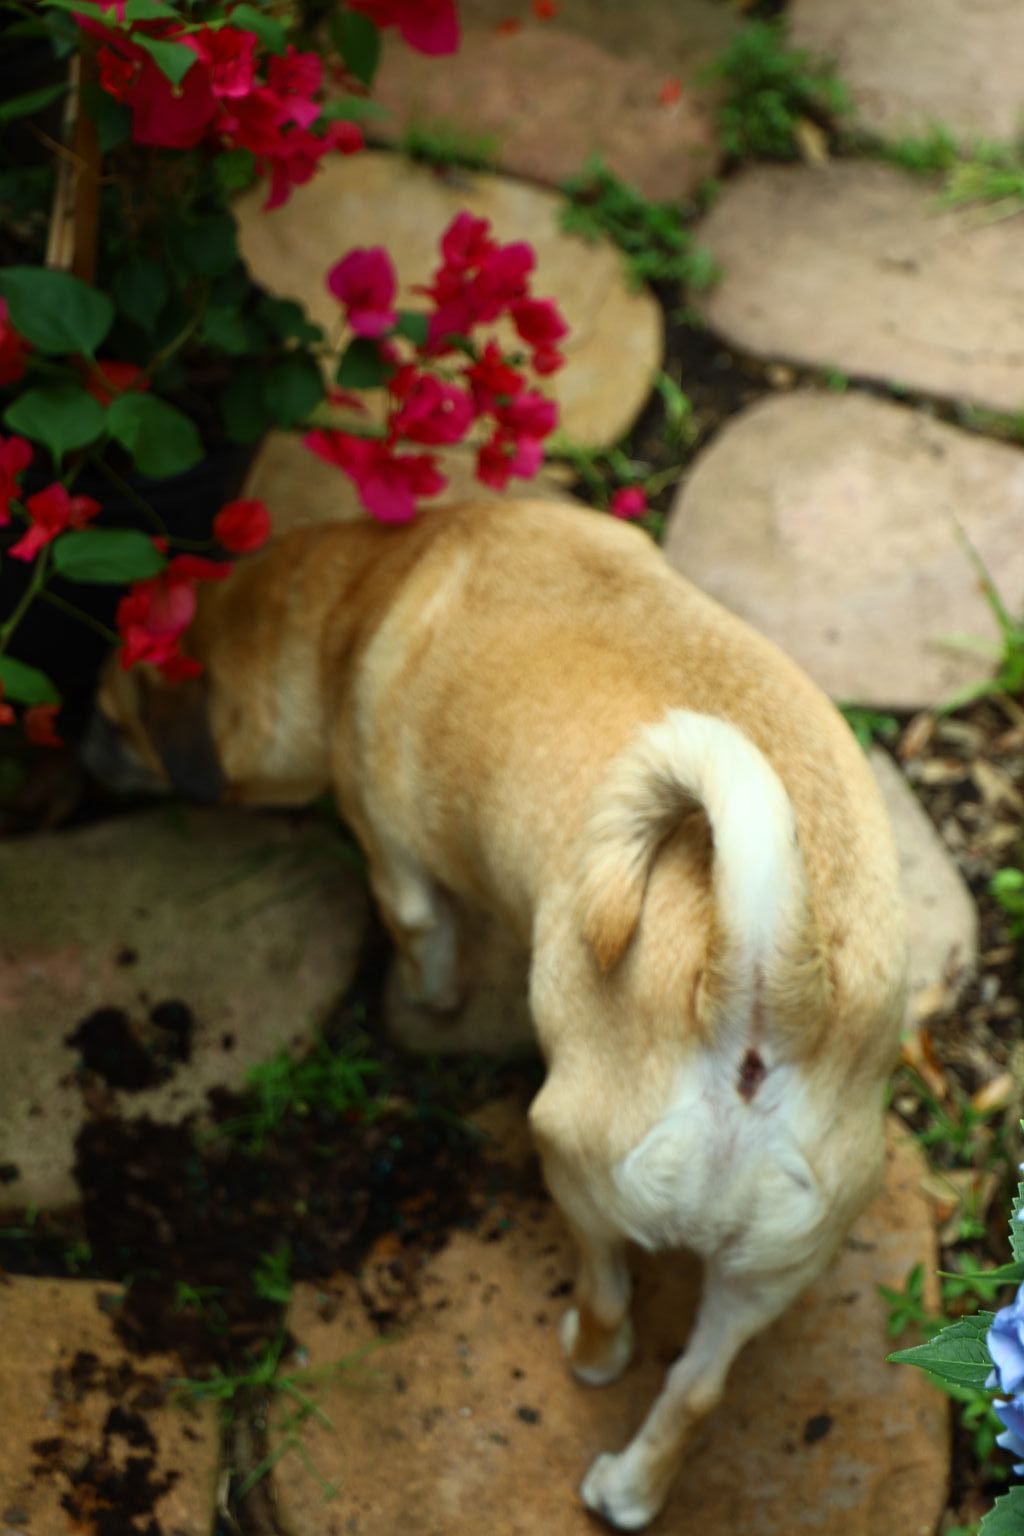

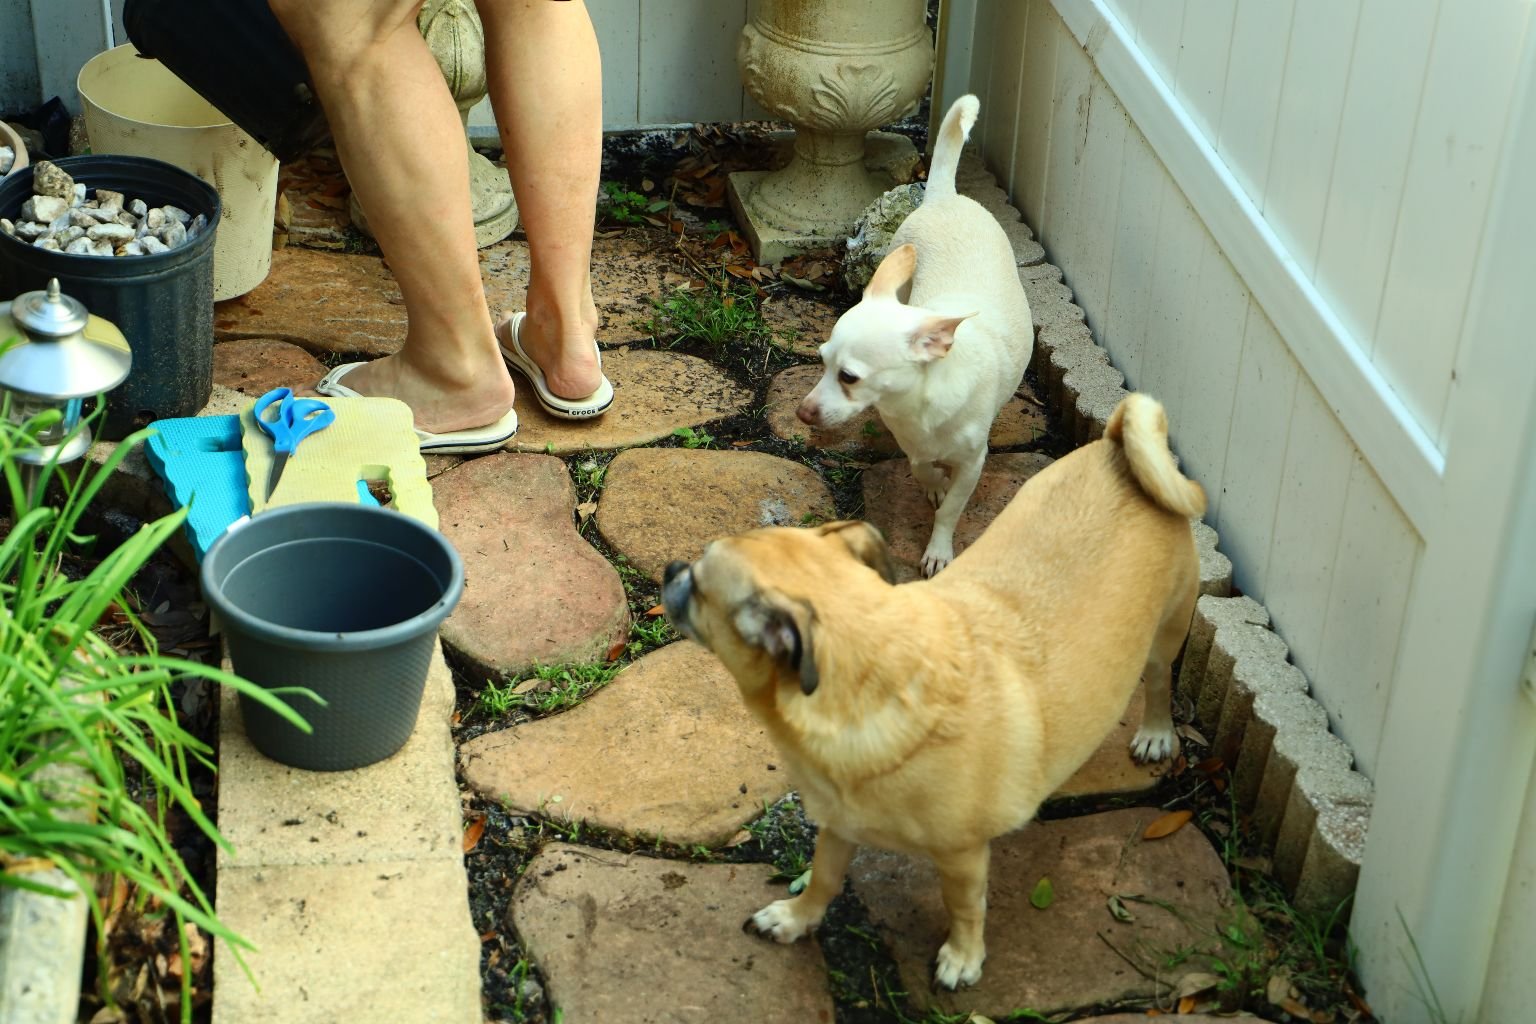
Sparky and Spooky … helping. 🙂


—————————————————————-

Just Thinking…
———————————————————–

Hanging Succulents

It’s Finished!
Cannot Wait to Bring it to You Below!


I have to have something uniquely Florida. 🙂

I love some color in my herb garden, as well as height and depth.

I Also Love PINK!

—————————————————-
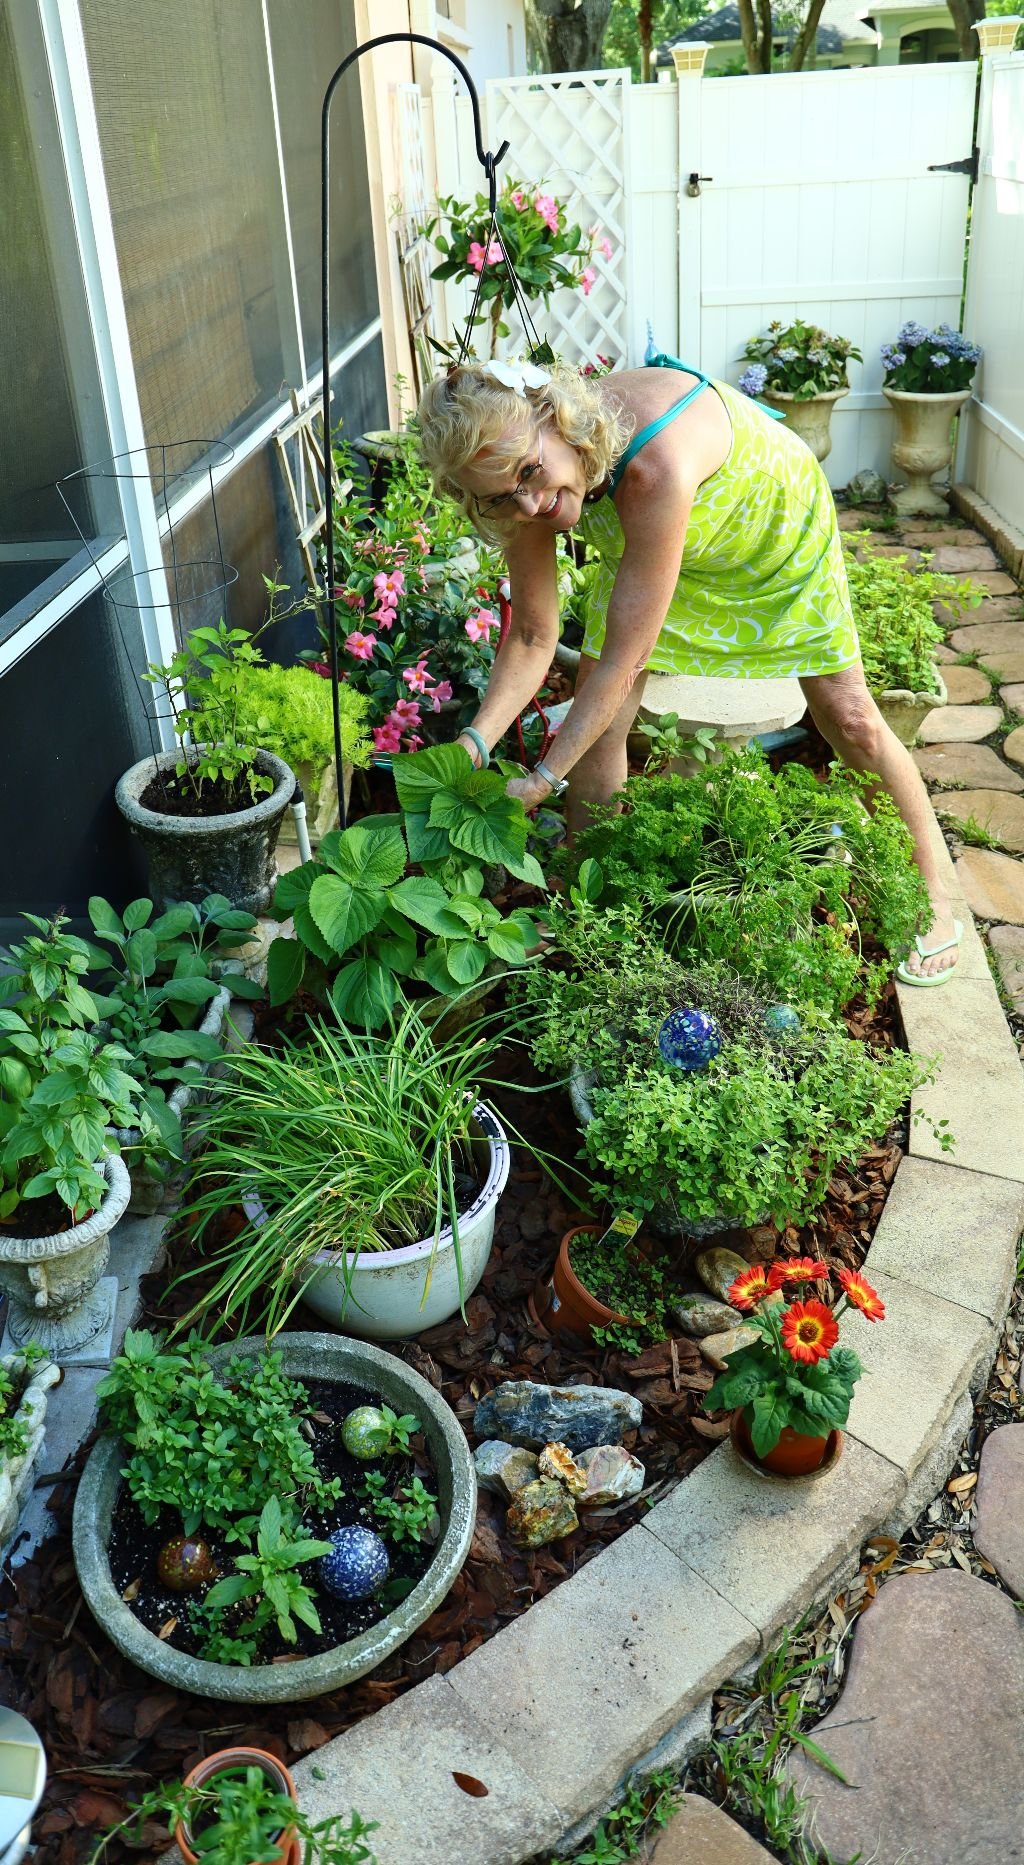
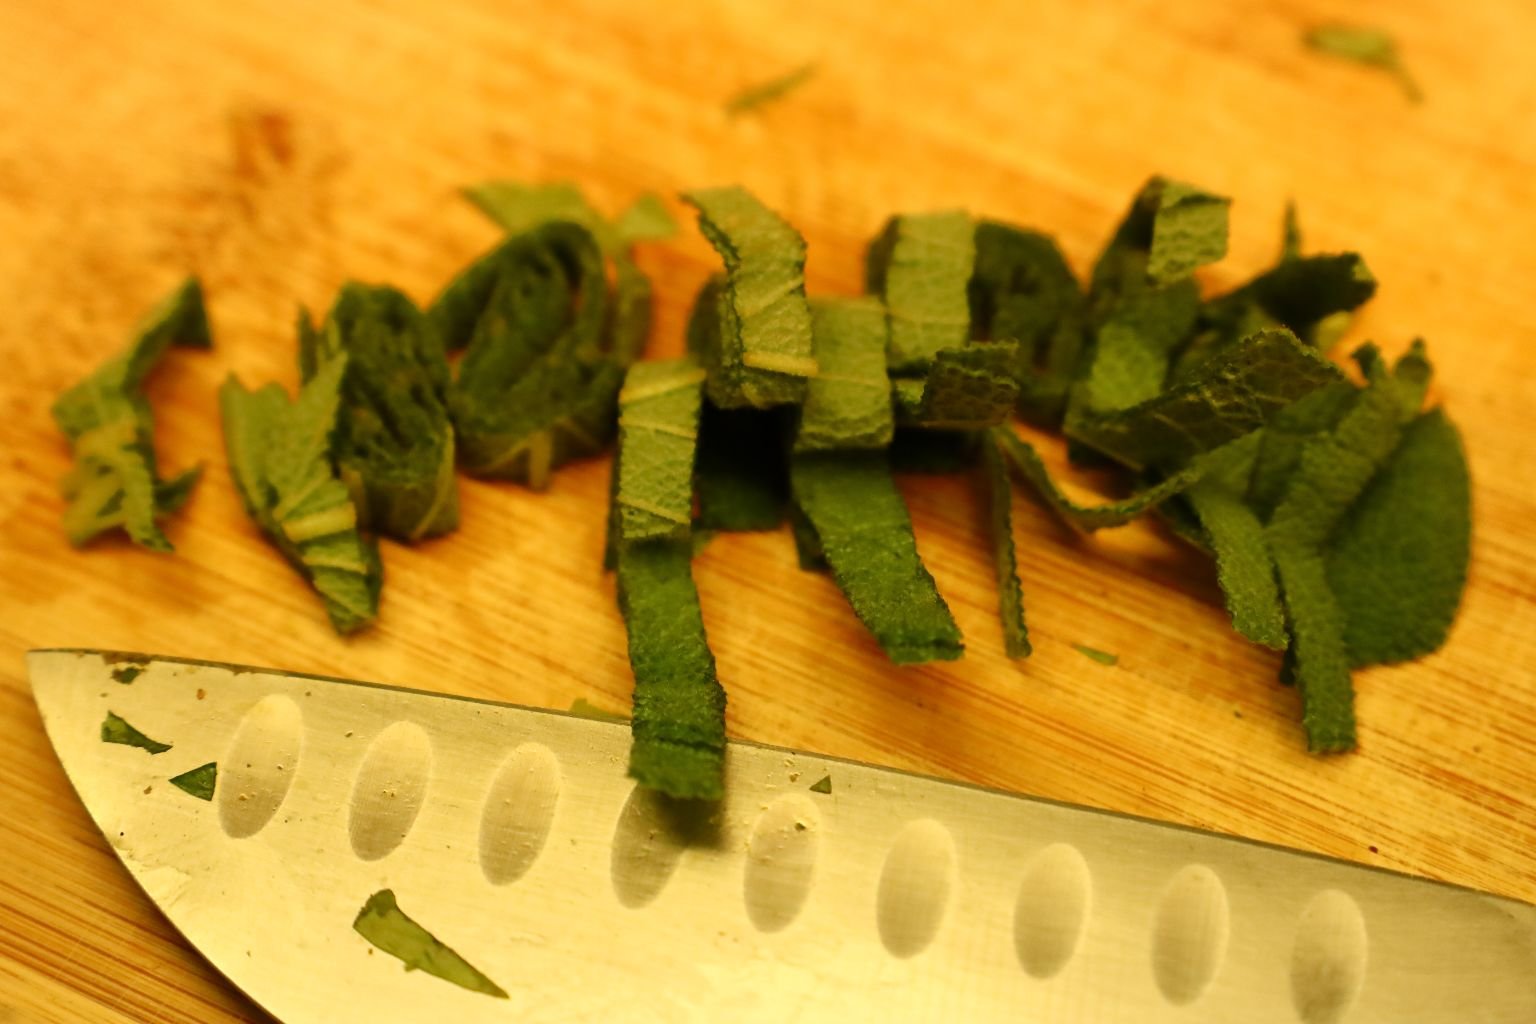
Doing a Bit of Harvesting

Shiso, Our New Favorite Herb
Shiso is an excellent replacement herb if you are out of Mint, Basil, Cilantro, Parsley, etc.

It is also that little green leafy paper that you find in sushi? The Japanese use the actual Shiso Herb Leaf, while we use the green paper here in America. Shiso Herb also aids in digestion.


The Imitation Shiso Leaf
The Japanese also use the Shiso Leaf to wrap rice and sushi in, roll it up, and eat it.
Sounds good! We hope to try doing that soon.
————————————————————


Just Cutting Some Shiso
————————————————————
Gift of Shiso For Our Kids


And a few other things.
——————————————————————-

Green Tea in the Herb Garden

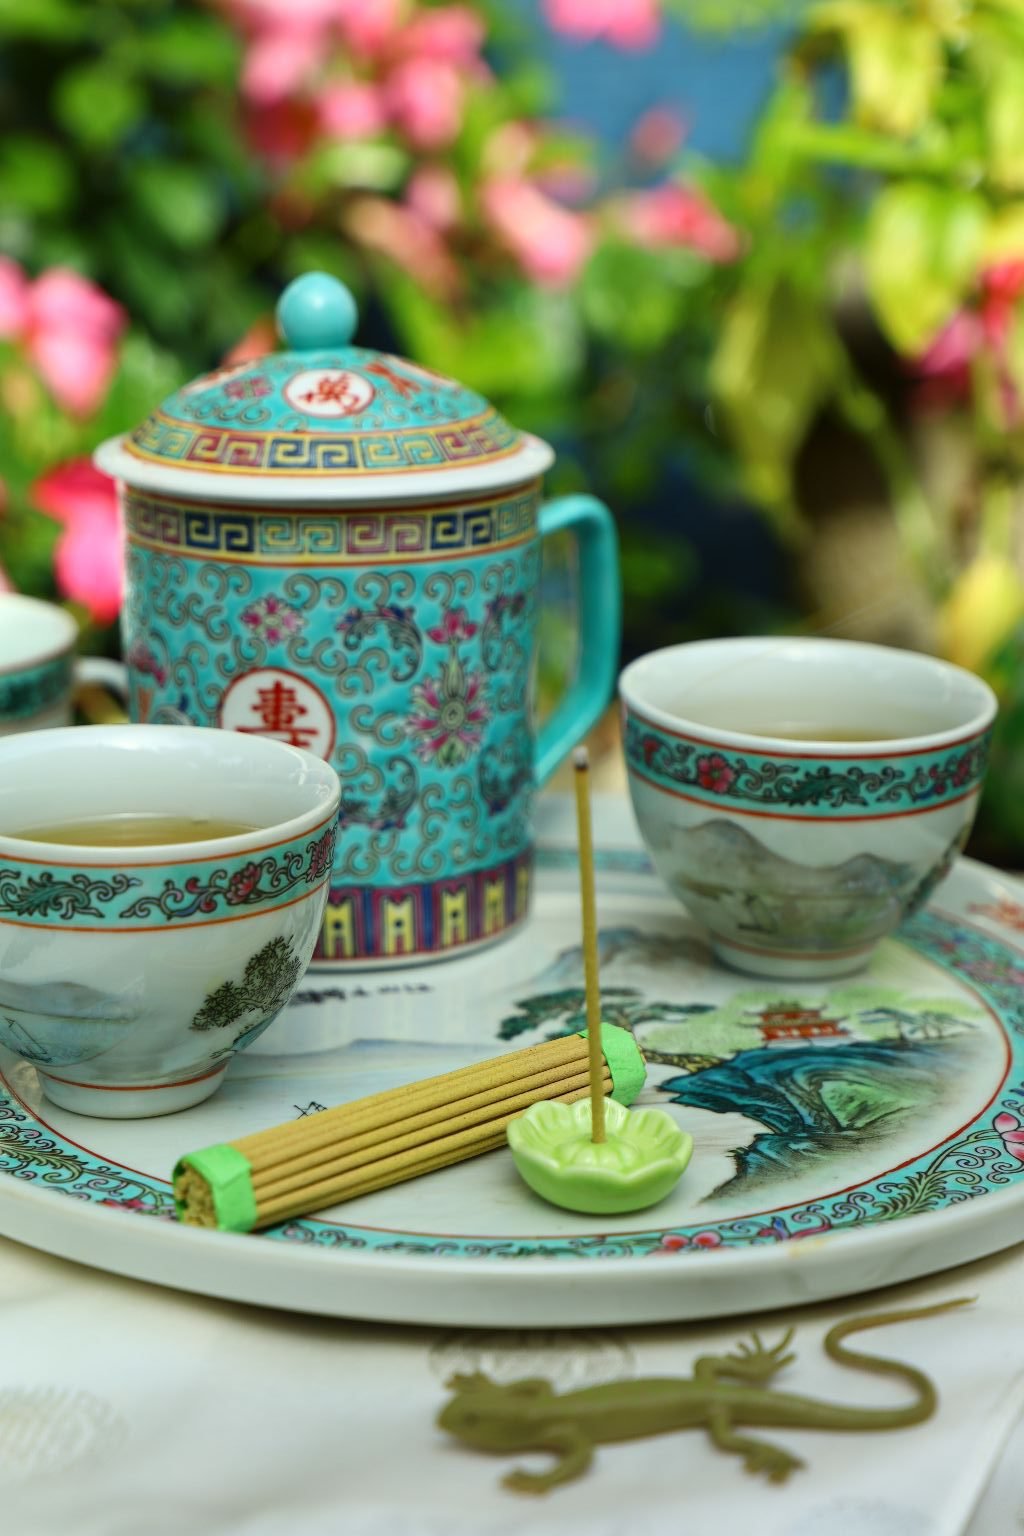
I drink a lot of Green Tea
My Incense, and my little fake Lizard

Reflecting in My Herb Garden
————————————————————-
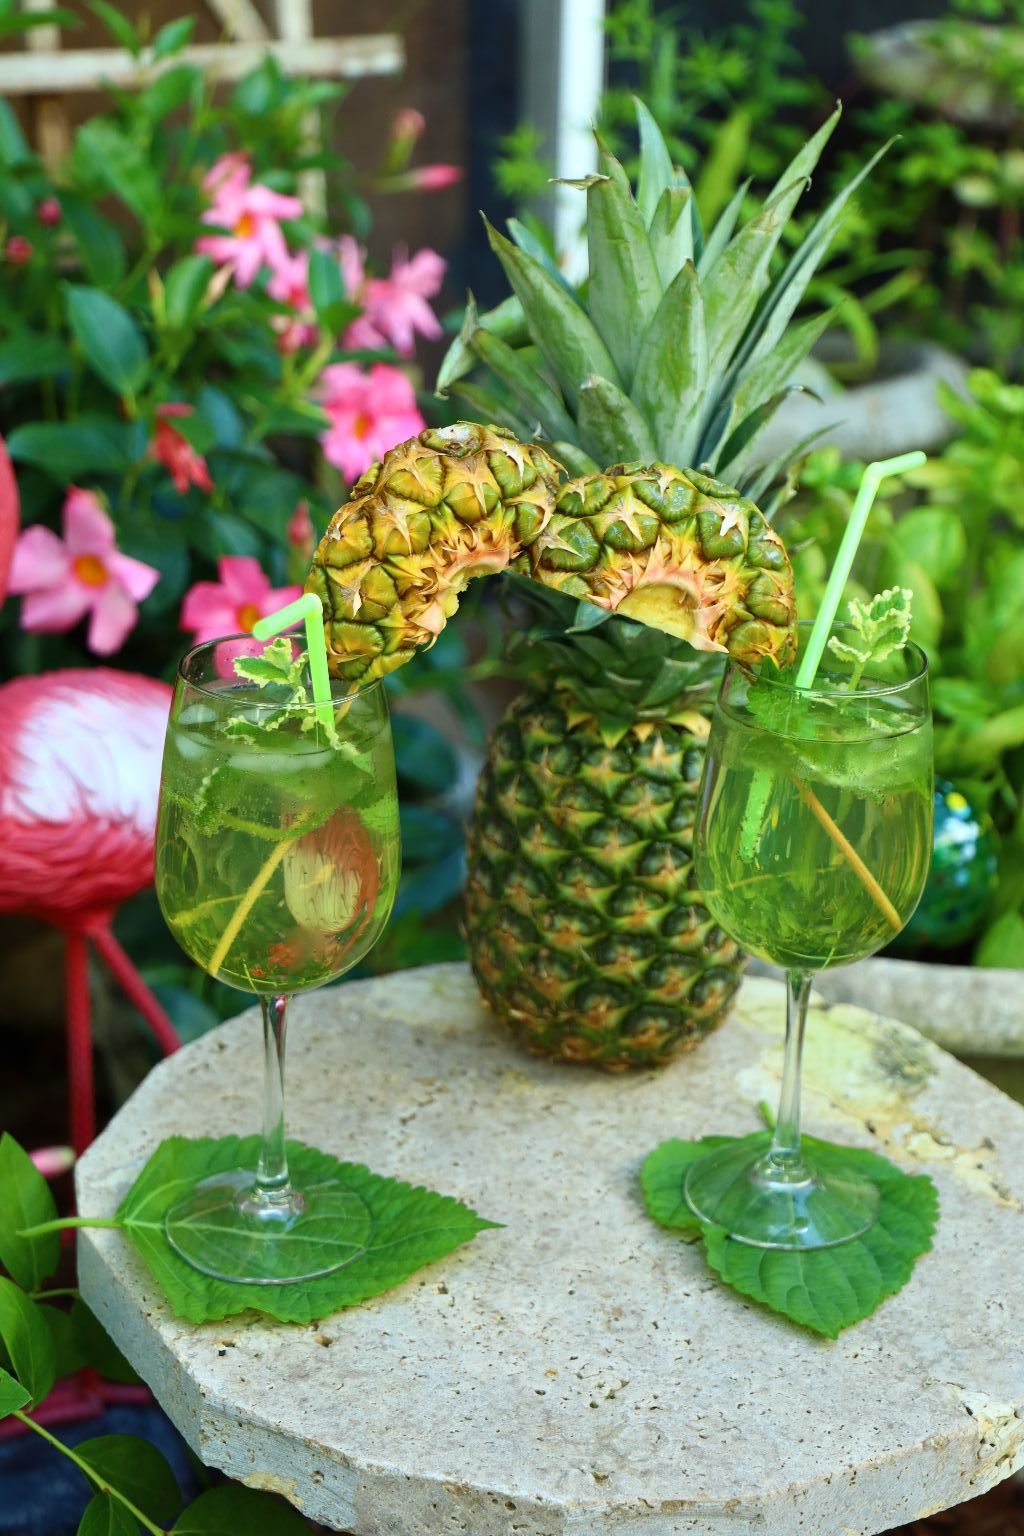

Enjoying Our Shiso/Pineapple/Pineapple Herb Cocktail
Check Out Our:

For the Recipe
————————————————————

Our Herbal, Lemon and Nut Cheeseball
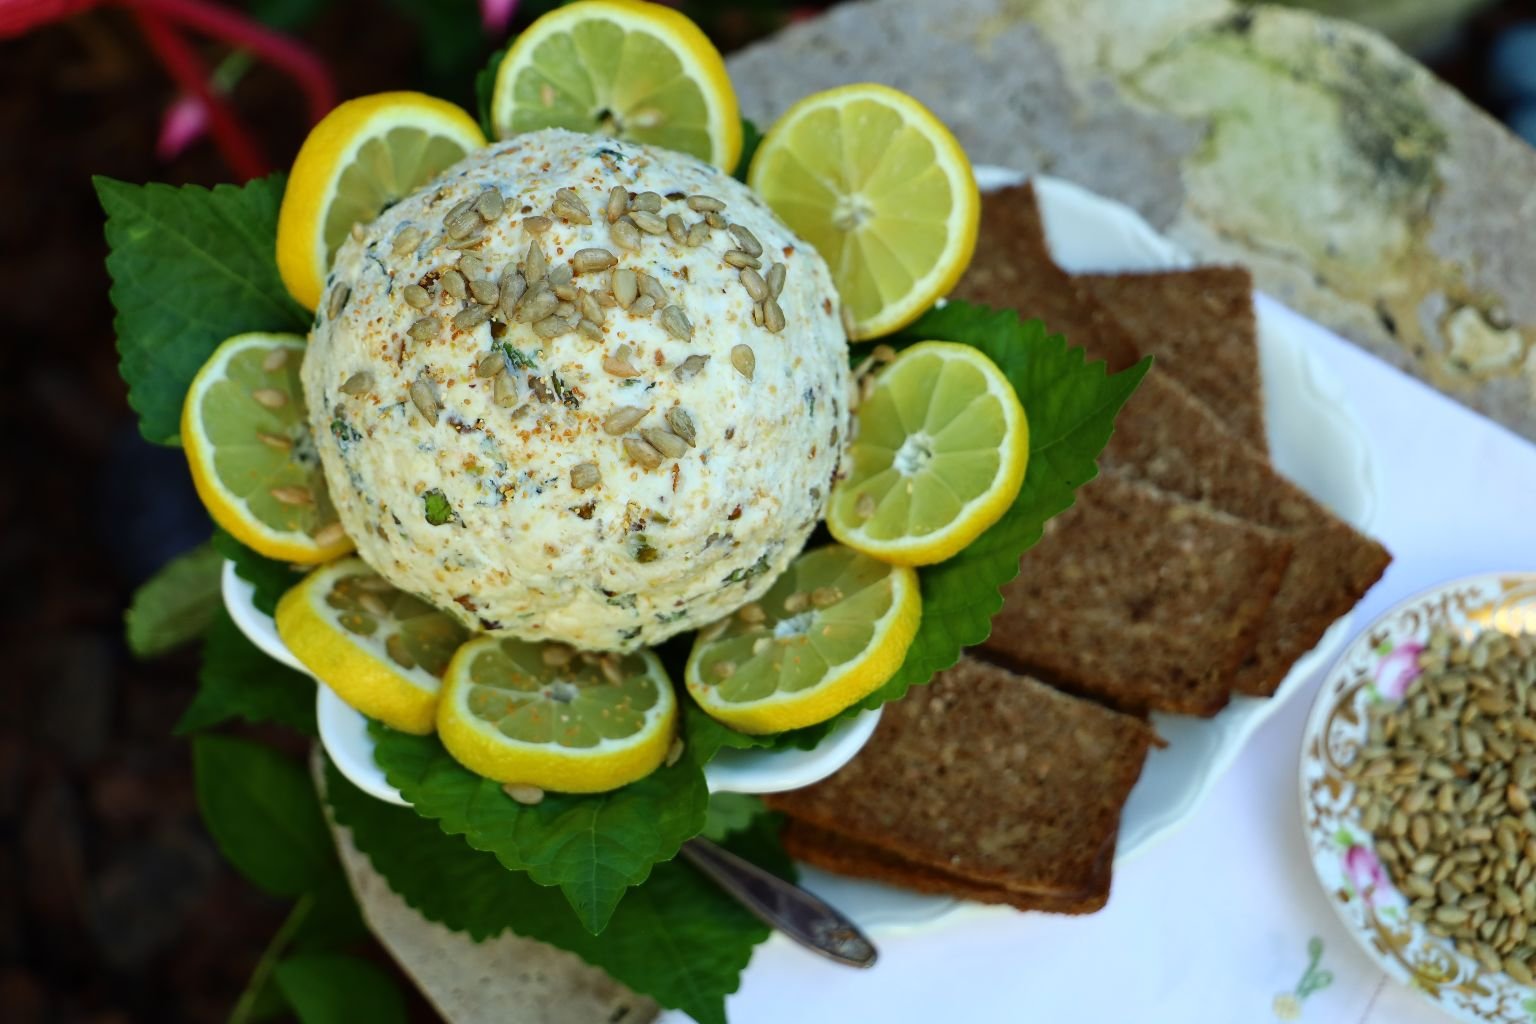
Served on Sunflower Bread on top of Shiso Leaves, and a sprinkling of Sunflower Seeds

A Beautiful Herb Garden Appetizer


(Recipe Down Below)
————————————————————–


Our Shiso Garden Pho

——————————————————————-
Enhancing Store-Bought Pho
This is a great way to use just a few vegetables and seasonings to make store-bought Pho absolutely amazing!


The ingredients below are for ONE store-bought Pho soup
Ingredients:
1 Pho Soup
2 Green Onions – sliced thinly
1 1/2 Baby Bella Mushrooms – sliced thinly
1/4 Red Bell Pepper – sliced into small diced size pieces
1/2 tsp. Turmeric Powder
1 Tbsp. Sesame Oil
1 tsp. Roasted or Black Sesame Seeds
Garnish:
Shiso Leaves and or Small Sheets of Seaweed or Nori
———————————————————-


Boil enough water for the Pho soup as per the soup’s directions. While your water is boiling, add the seasoning and vegetable packets to the soup’s bowl as shown.

Slice your Green Onions, Mushrooms, and Red Bell Peppers while waiting for your boiling water.


We will use the original bowl and lid to help steam the Pho ingredients. When done, we will use the more decorative bowls in the picture to serve the Pho.


Add your chopped vegetables, Turmeric, and Sesame Oil to the bowl. Sesame Oil has a strong taste, so use it sparingly if you are not used to the taste. We love it, so we actually use more than what I annotated in this recipe’s ingredients. When your water is boiling, add just a little more above the line in the bowl to ensure all the ingredients are submerged. Place the lid tightly to seal the bowl to allow the ingredients to cook. This will take a little longer than directed as we have added more than the original ingredients. I let it sit for about 8-10 min.

When cooked, pour your Pho into the decorative bowl and garnish with the seaweed and Shiso leaves as shown. I also added more Sesame Seeds. Shiso leaves are what Japanese sushi chef’s added to their sushi to help with any stomach disagreements their patrons might have due to eating their sometimes not so fresh fish due to its healing properties. Here in the U.S., the leaf was replaced with a small piece of plastic with the same zig-zag cuts as seen on the top edge of the Shiso leaf. The leaf has more to offer health wise than its curing stomach ailments. Shiso leaves have anti-inflammatory properties and are loaded with anti-oxidants, the leaves are a great source of calcium, potassium, iron, vitamins A, B2 and C, which provide benefits for cardiovascular health, bones and eyes.. Tea can be made from the leaves and stems, which Asian countries use as a natural allergy, cough or flu medicines.

Enjoying Pho in the Herb Garden

————————————————————–

Me, Always Gathering Herbs
(All Recipes Down Below)
————————————————————
A Side Project Redo ‘The Before’


————————————————————
A Side Project Redo ‘After’


It’s Coming Together Beautifully
(This section of our backyard is connected to my herb garden. This is the extension.)


Basil and Sweet Peppers
(With my little Lady Bug my old friend Trish gave me.)

Peppers, Purple Basil…
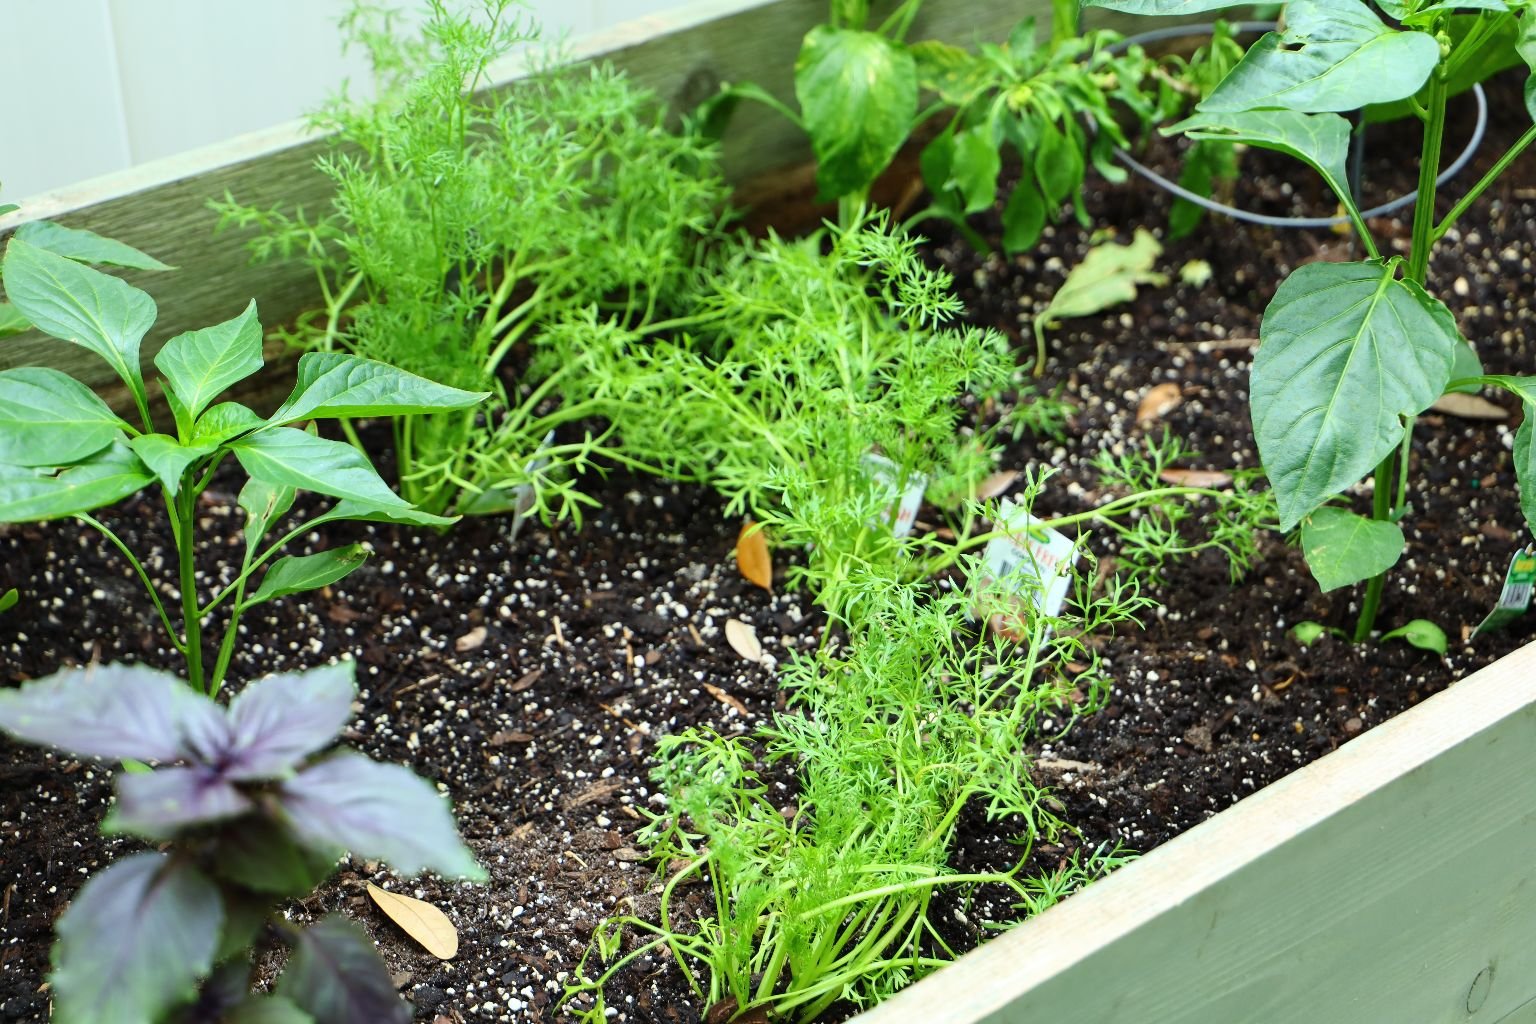

Cilantro Confetti, and Colorful Bell Peppers Coming Up

I love this beautiful area of the side of our yard.
And, It’s all MINE!
————————————————————-


Although we did not grow these particular Bell Peppers I have pictured, I am surrounded by a growing garden that will yield them in the near future.
——————————————————————-

Our Bell Pepper Garden Breads

Eaten With Our Julie’s Jezebel Glazed Ham and our Green Egg Omelets


(A.K.A. Green Eggs and Ham) 🙂
——————————————————————–
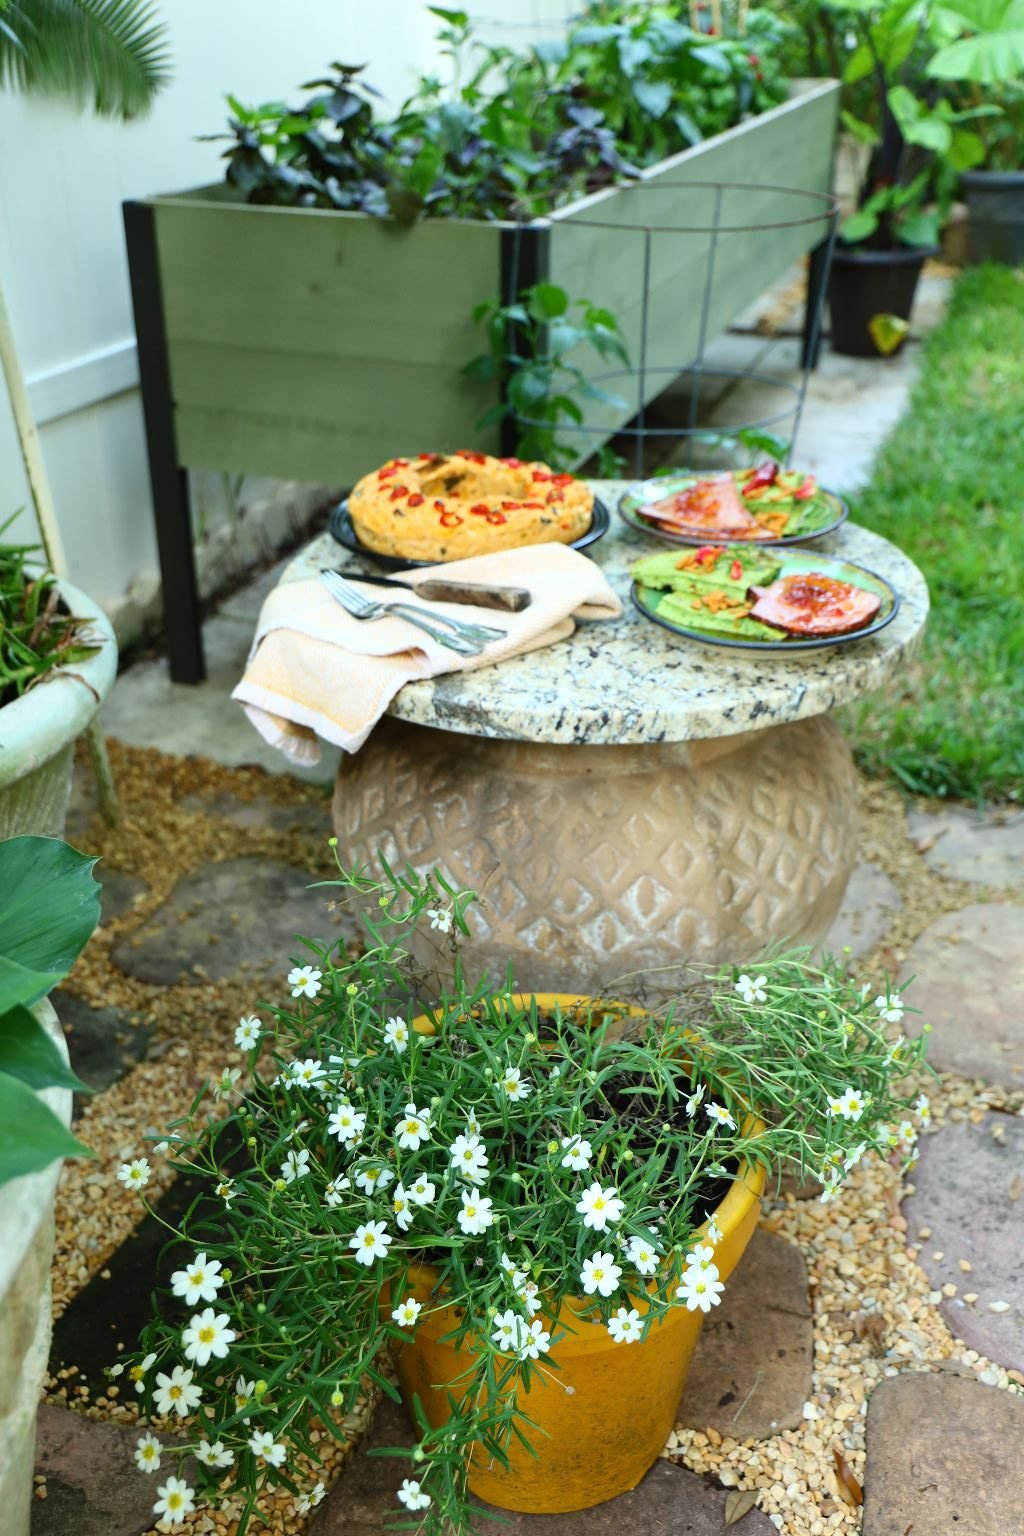
Al Fresco in the Garden
—————————————————————————
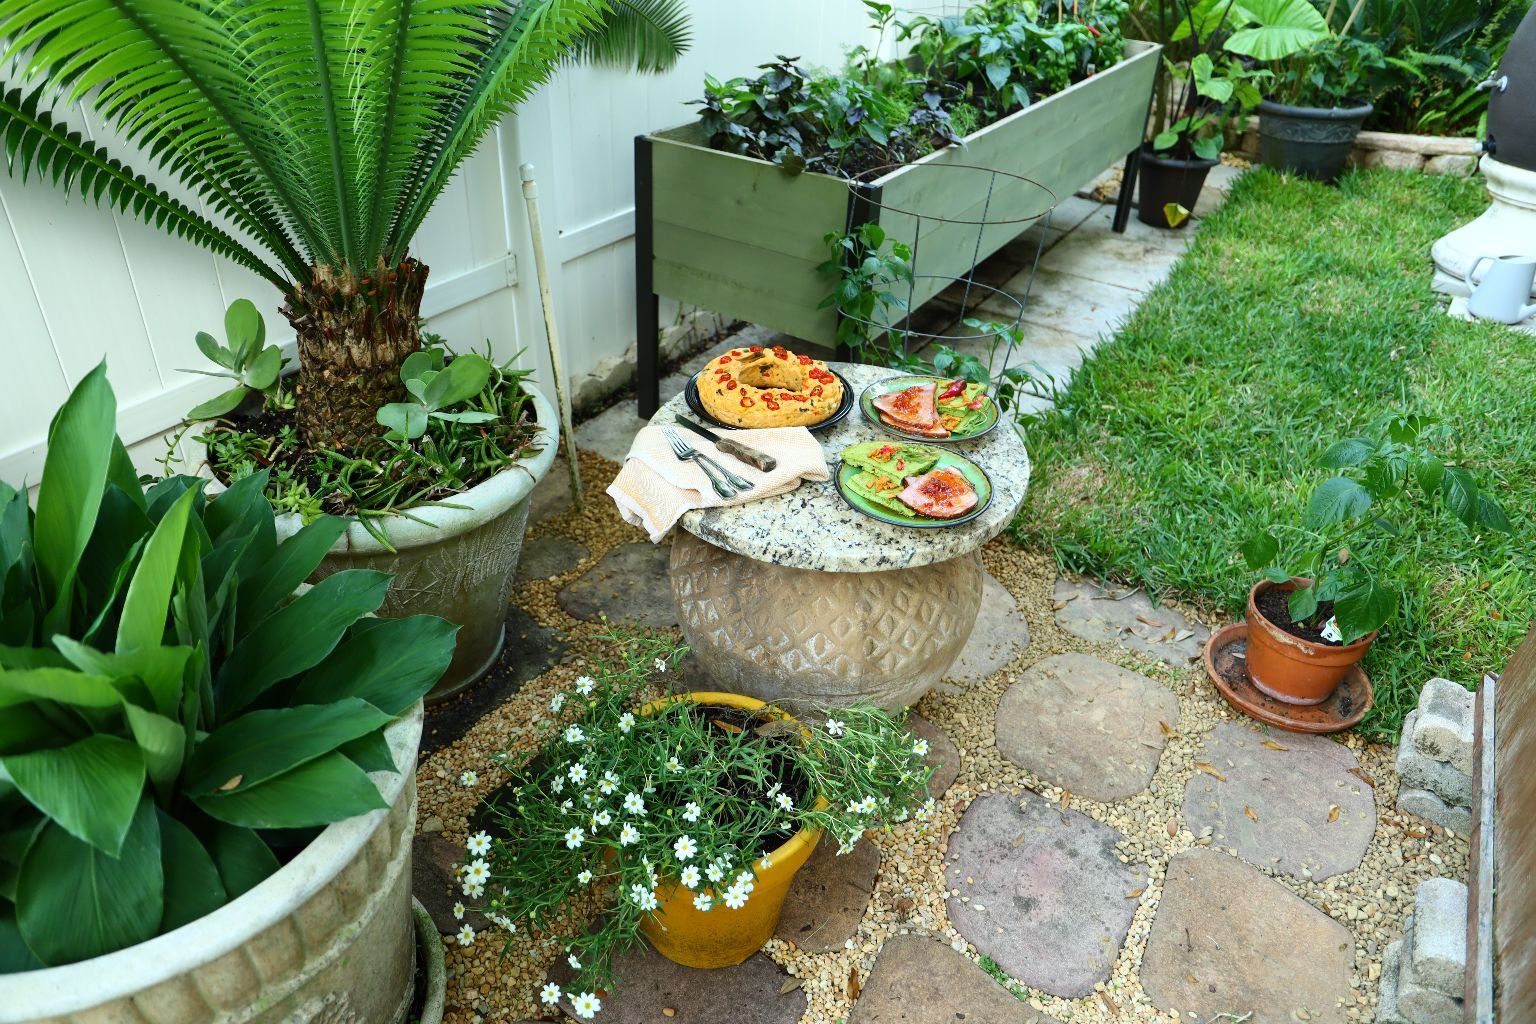
I created this little garden table by placing a granite slab over a big sturdy pot. You can buy these granite pieces from businesses that sell granite. There is usually a scrap pile of various sizes you can choose from. The one above cost us about $30.00. Nice table top, huh?

Our Delicious Green Eggs and Ham and Garden Bread Breakfast

Our Beautiful Bell Pepper Garden Bread Ring

We Also Made a Garden Grilled Cheese Here…

W/ Heirloom Tomatoes…

(See How We Did It Down Below)
(All Recipes Down Below)
—————————————————————-


We Also Have Herb Garden Recipes for Dinner

We made an Herb Sauce with Peas for our Red Lintel and Quinoa Pasta…

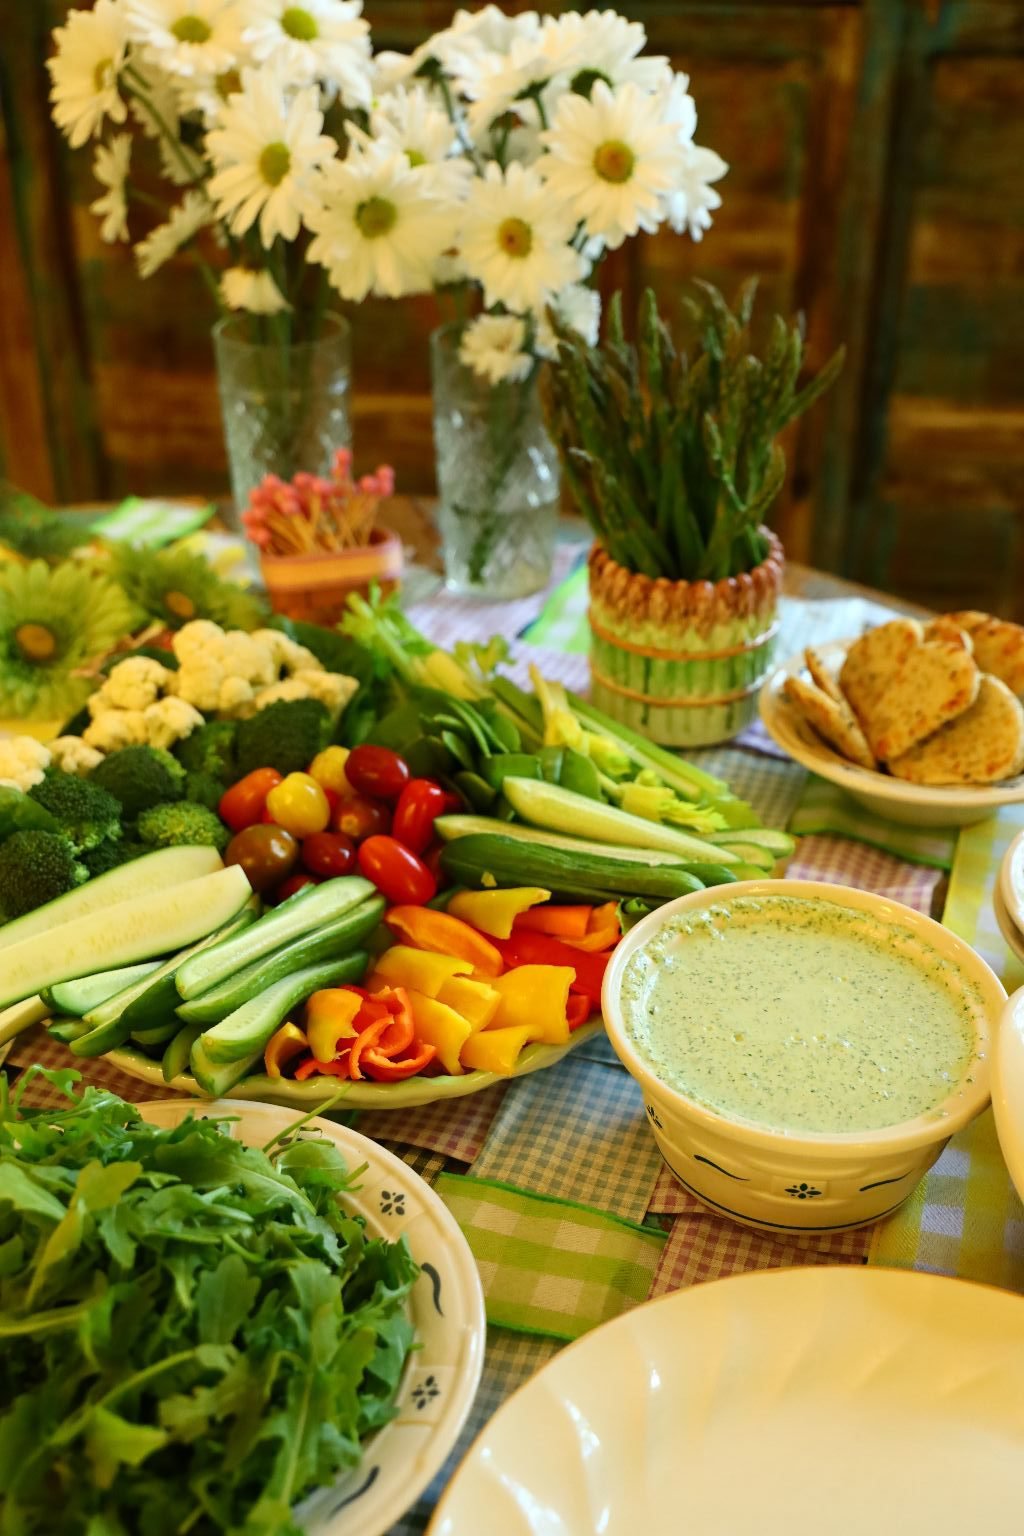
…we also made an Herb Dip for our Veggies

Our Delicious Herb Dip

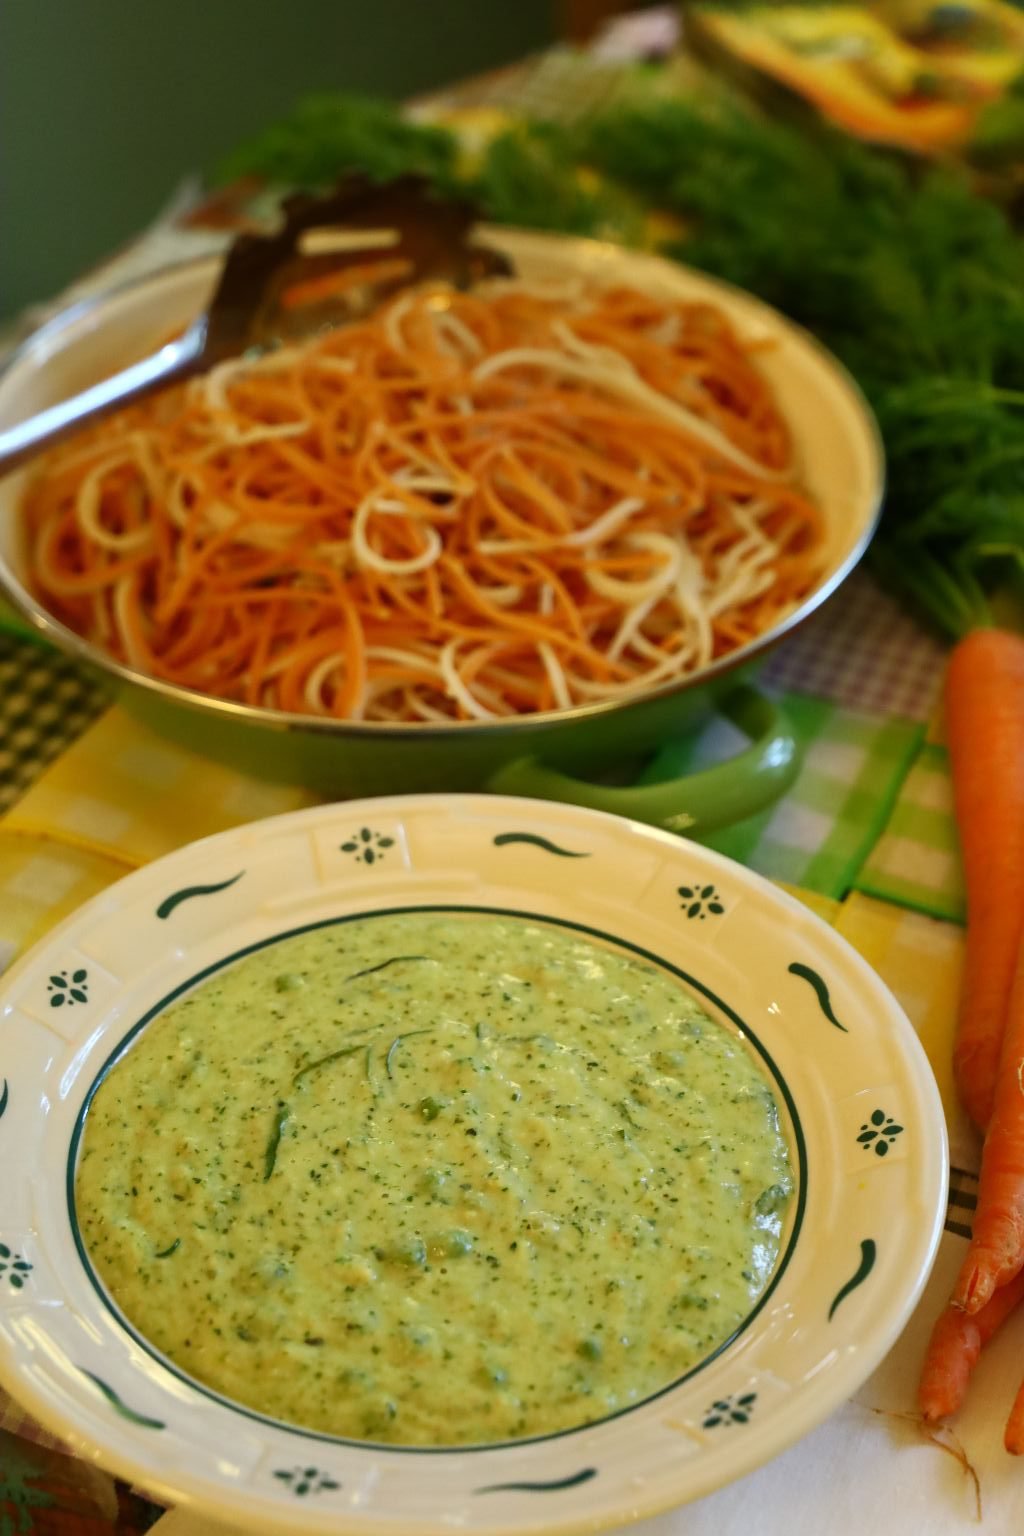
Our Herb Sauce with Peas Eaten with our Organic Pastas on a bed of Arugula
(We tried to make everything as green as possible.)
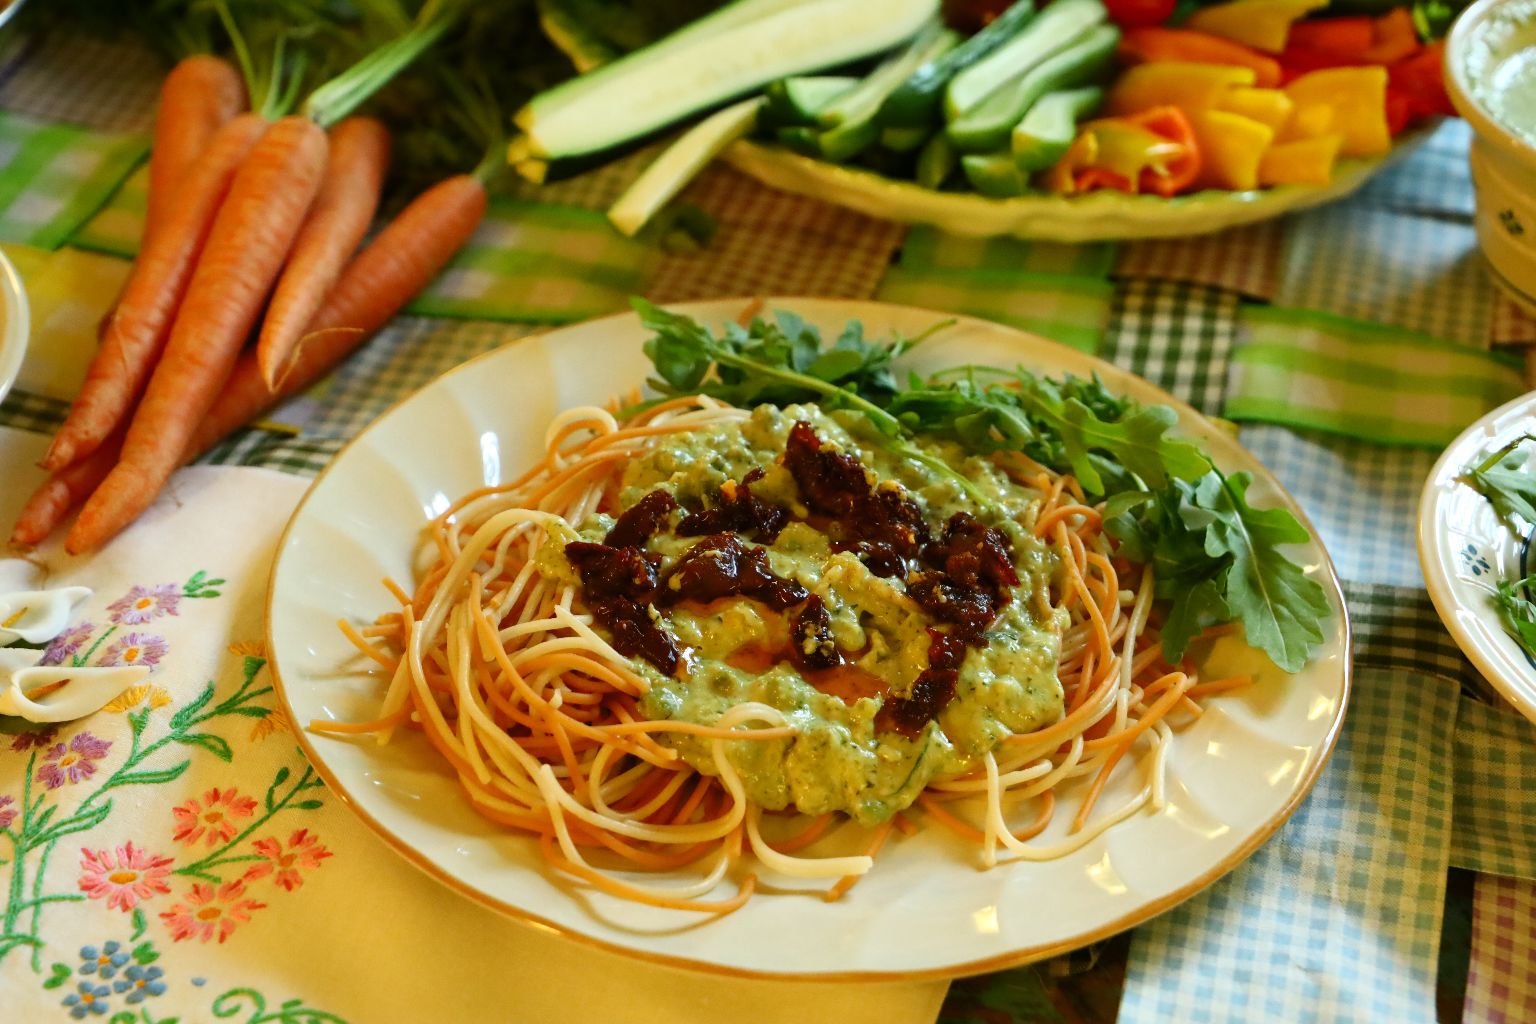
Here I added some leftover Sundried Tomatoes to Mine

Next Day Leftovers:
Pastas Blended with our Herb and Pea Sauce,
Topped with our Herb Dip

Herbal Healthy!
(Recipes Down Below)
————————————————————-

(The Beautiful Plate and Cup my Mother-In-Law Gave us. Looks very Spring.)
———————————————————
Sarajane’s Herb Book
(This book is the base and inspiration of all we are doing here.)

When my In-Laws downsized and moved from their home into an Independent Living Apartment last summer (2021), they did get rid of quite a few things. One of the casualties that she parted with was her Herb Book. I think we were the only ones what wanted it. To give you a bit of background, my Mother-In-Law is a very interesting person. She comes from class and money. Her Grandfather was a politician in Pennsylvania when she was a girl growing up. They had servants. She had her “Coming Out” ball at age 16. She grew up in privilege and class. However, she married Gordon’s father who was from a middle class background. At Milton and Sarajane’s wedding, Sarajane’s family didn’t invite the Whann family. They didn’t even tell them where the reception was to take place. The Whann’s found out, and crashed the party! 🙂
My Mother-In-Law learned to be a thrifty person, but to still be able to enjoy the riches of her youth teachings and upbringing.

This is her Herb Book
The Tabs Make No Sense
They are just Tabs to separate information.
They are not informative as to the content of what is between them.
She just used them to separate this and that.
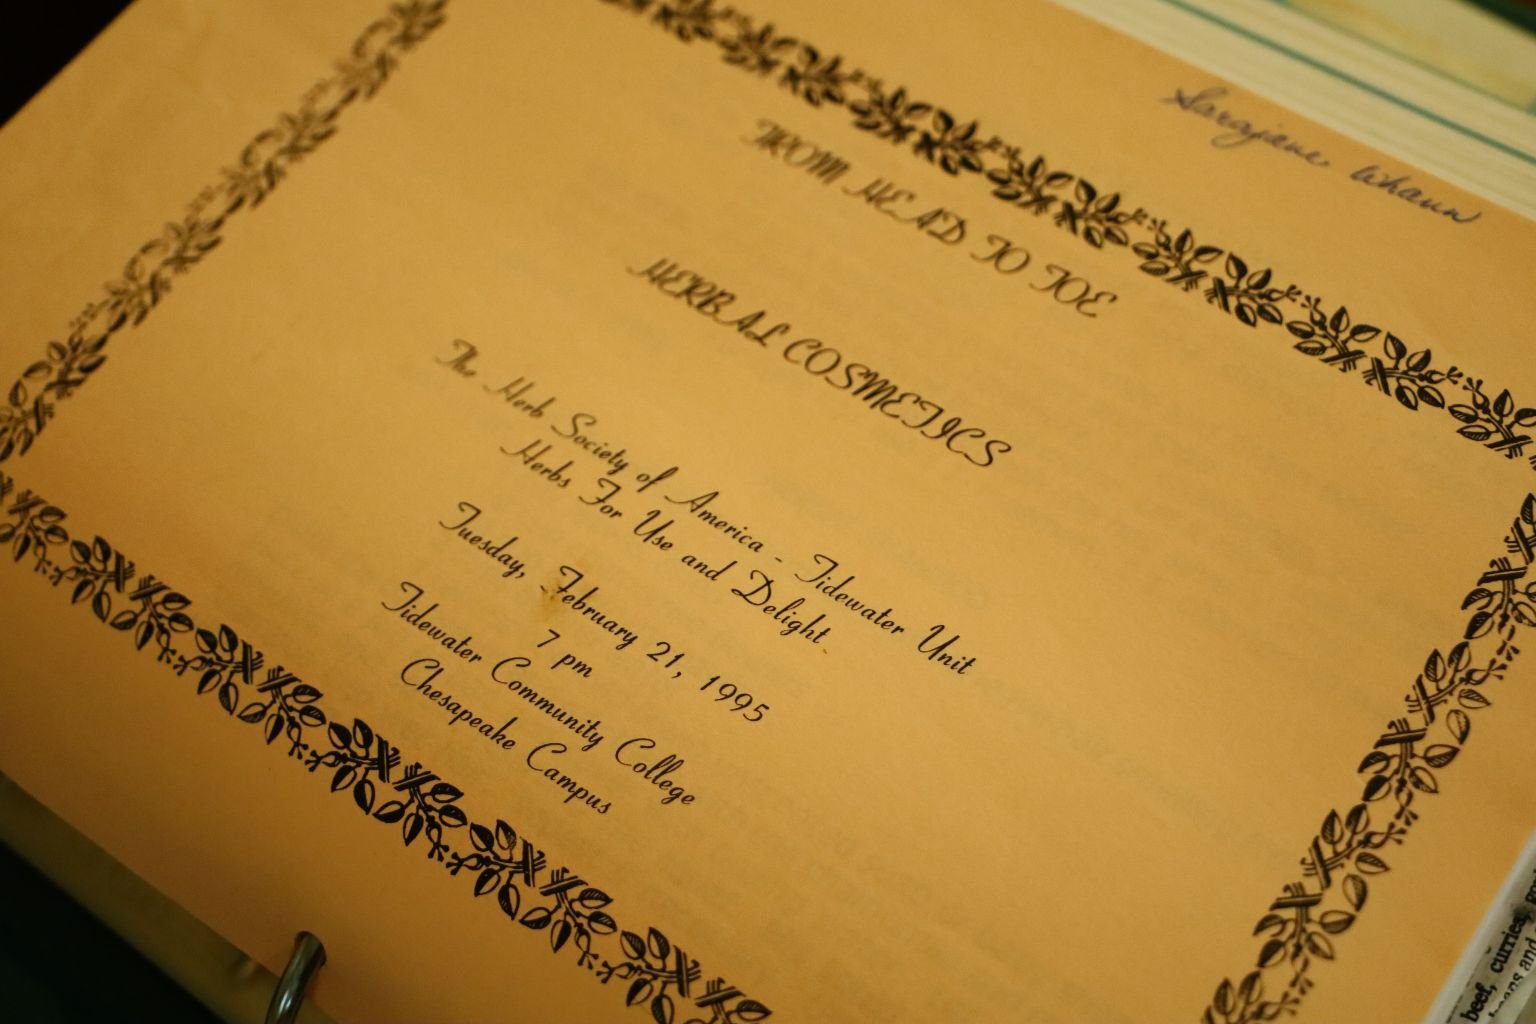
The Herbal Society


Herbal Shampoo’s
Chamomile Tea Baths and Coolers


Herbal Butter’s
Marinated Herbal Cheese


Herbs and Spices


Recipes and Many Handwritten Notes


Books, Articles, and Bottled Herbs


Recipes and so very many Hand Written Notes

And More Recipes….

I guarantee you that my Mother-In-Law attended classes, checked out many books from the library, and even Xeroxed copies of those books she checked out in order to create this huge Herb Book of Knowledge. It is quite interesting. I was very excited when Gordon brought it home to us last summer, but I didn’t get around to looking at it until a few months ago. It is a wealth of information, just like she is.
We will be consulting this book from now on. Never overlook that very unattractive notebook that nobody wants. It just might be a source of treasure for you and yours. 🙂
——————————————————-
The Herb Garden Redo
SNAKE BITE
As I was hacking through my overgrown herb garden when I decided to start this redo, I was gathering up branches that I had cut down and placing them into our yard debris containers, that I suddenly felt this pain on my left arm. It was like a stabbing. I pretty much ignored it and kept on going. I’m used to being scratched and scraped, and pierced, and stabbed, and bruised, and bitten, so I just ignored it. When I got around to looking at it, I saw some blood. I contemplated just carrying on but I didn’t want the blood to ruin my new leather gloves so I grabbed my rag that I have with me and wiped the blood off. That is when I noticed that my wound was raised, swollen, hard, and GREEN!

My Kayak Bag and Snake Bite Kit
Although I didn’t know exactly what had bitten me, I just somehow knew it was a snake. That was when I ran inside and grabbed my kayak bag that housed my snake bite kit. I pretty much dumped the contents onto my bed in my mad dash to find it.


The instructions for the snake bite kit were minuscule!
I had to grab the magnifying glass in order to read them. Sorry the photos aren’t clear but I was doing the best that I could with a small hand held camera. I was also very nervous and worried. I realized when no venom came out of my wound that the snake wasn’t poisonous. Whew!
Teeth marks emerged later on.
I called Gordon at work and told him what happened. He came home and I felt much better. He monitored me to make sure I was o.k. I was never nauseous, or anything like that. My wound was just sore and swollen and green. It’s now a yellow/green color over a week after I was bitten.
(Casualty of working outside here in Florida.) 🙂
———————————————————–
But, continuing on….

THE PROJECT!

Gordon Always Helps Me Do The Heavy Lifting
—————————————————————-
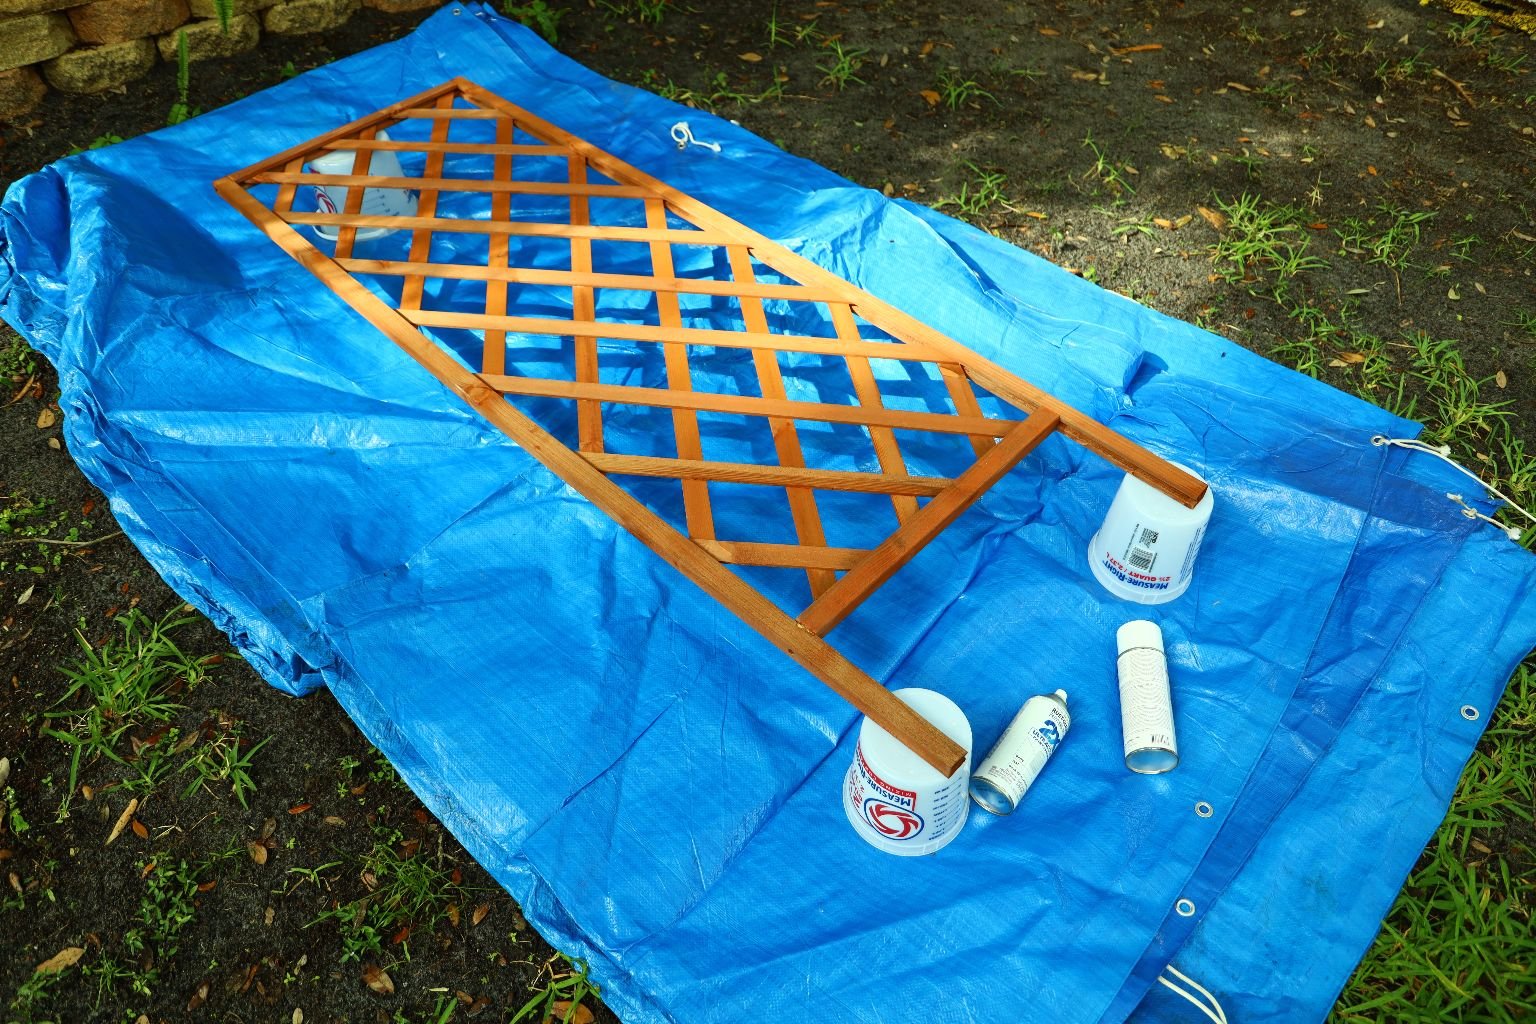

Spray Painting The Trellis’s
(I Painted Two)
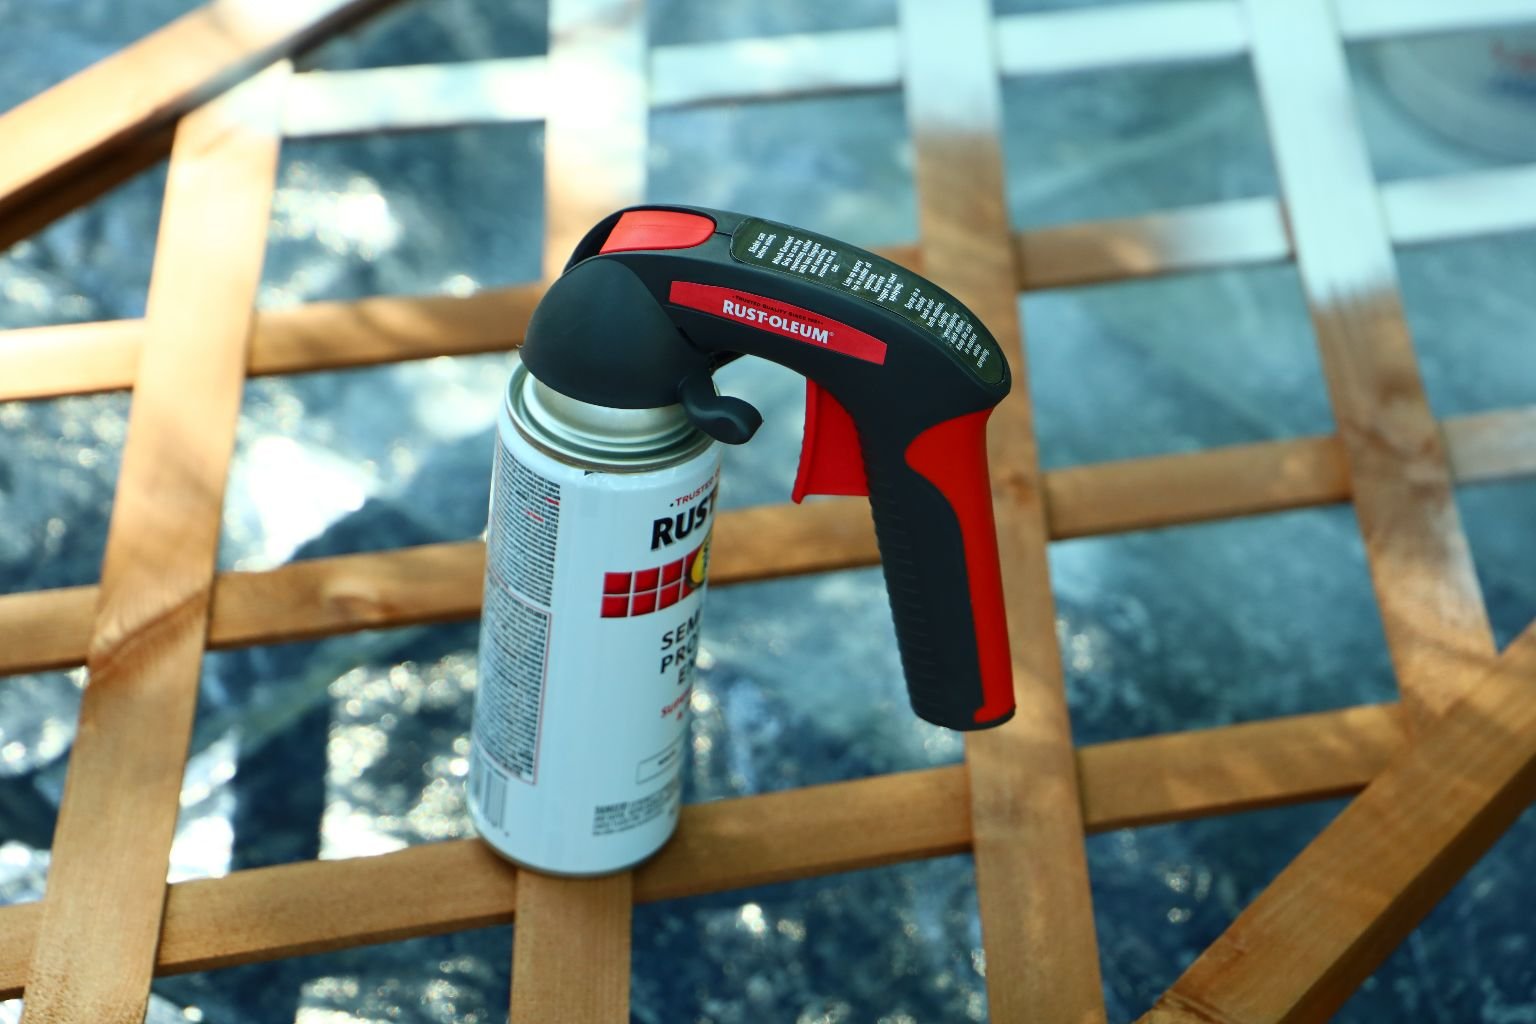
My New Favorite Toy
It took about 6 cans of spray paint to do two trellis’s. And even then, I was very sparse with the paint on the sides that would be hidden against the fence and wall. My fingers were soooo sore from holding down that spray button, so…. Gordon bought me a contraption that wraps around the spray can and all I have to do is to pull the trigger. No more sore fingers. 🙂

All Done!
——————————————————————

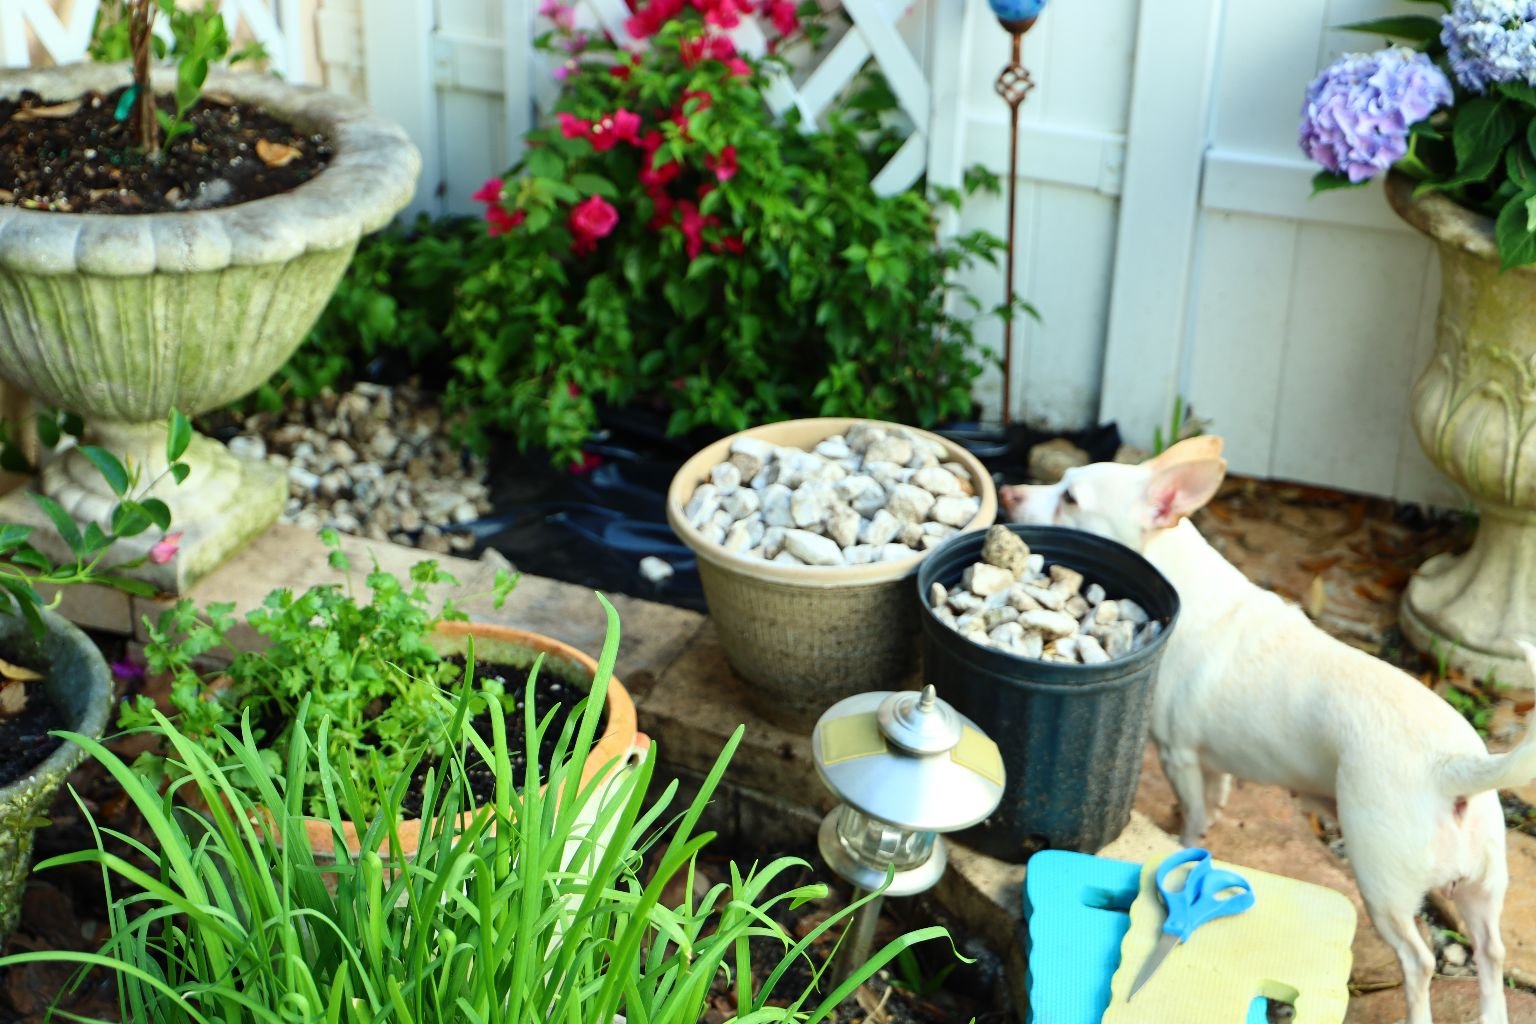
The Corner
This was a bigger project than it looks. That small corner over there housed all the white rocks you see in the buckets below. They all had to be removed, and then Gordon washed them off for me as best as he could, and then we put them back.

——————————————————————

Before he moved the white rocks back, he placed a heavy duty trash bag to cover the area.


This will help to prevent the dirt from getting all over the rocks, and prevent any weeds to grow up through them.

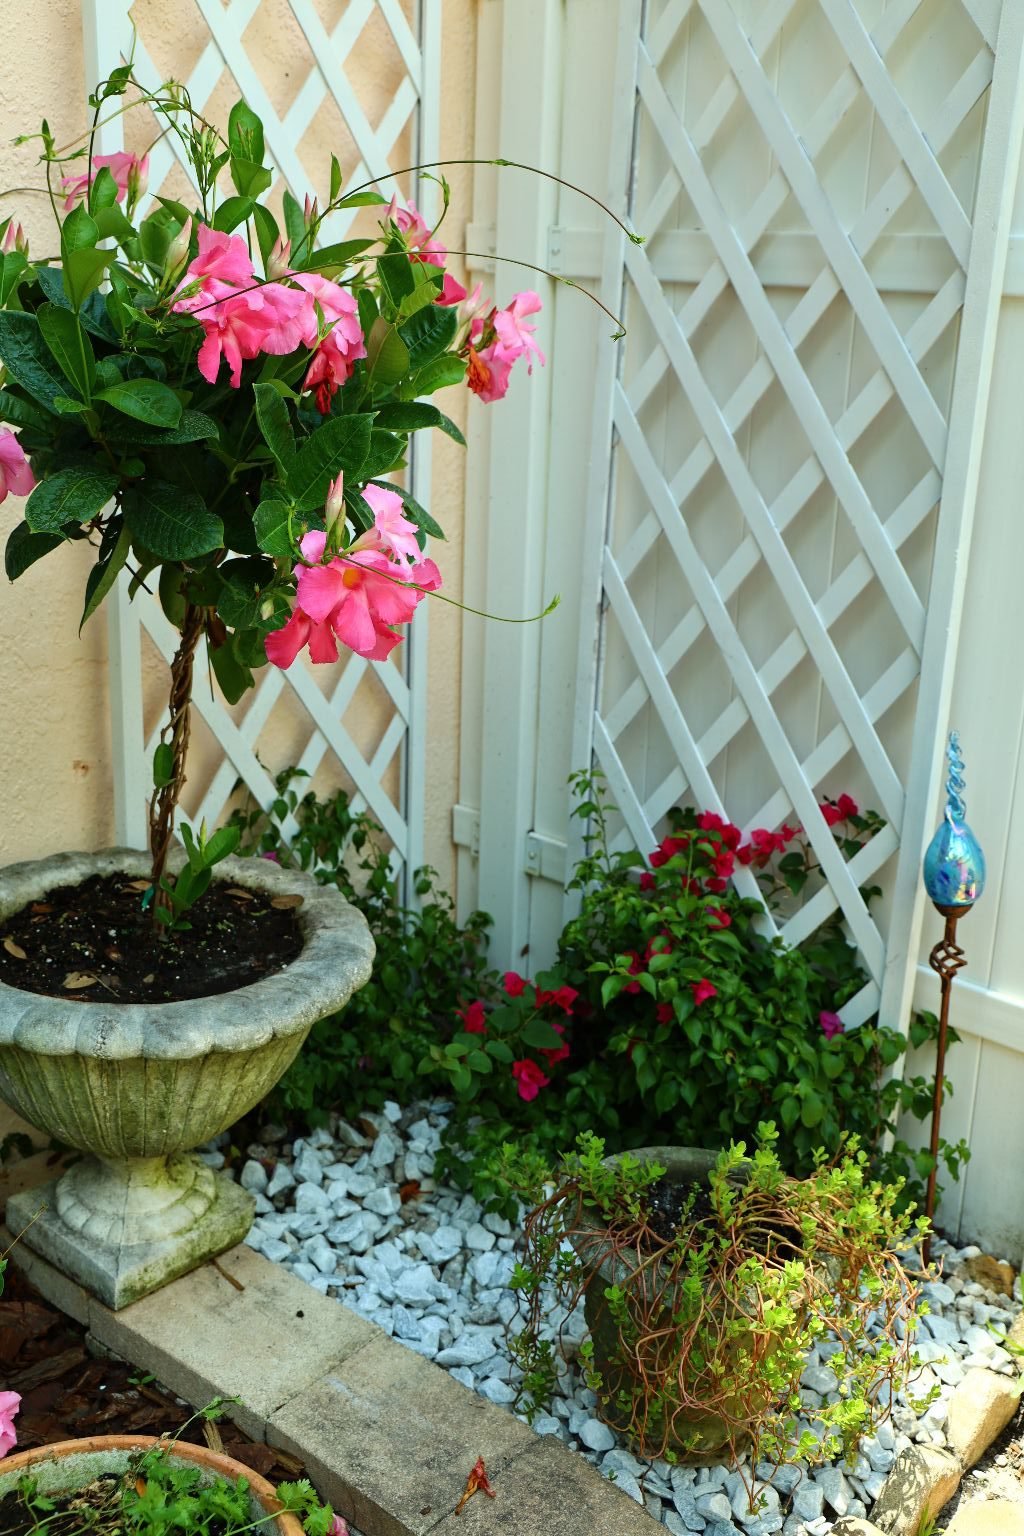
Both trellis’s are firmly planted into the corner, and all the Bougainvillea’s planted.
One is a bit hard to see but as it grows up the trellis it will be beautiful.

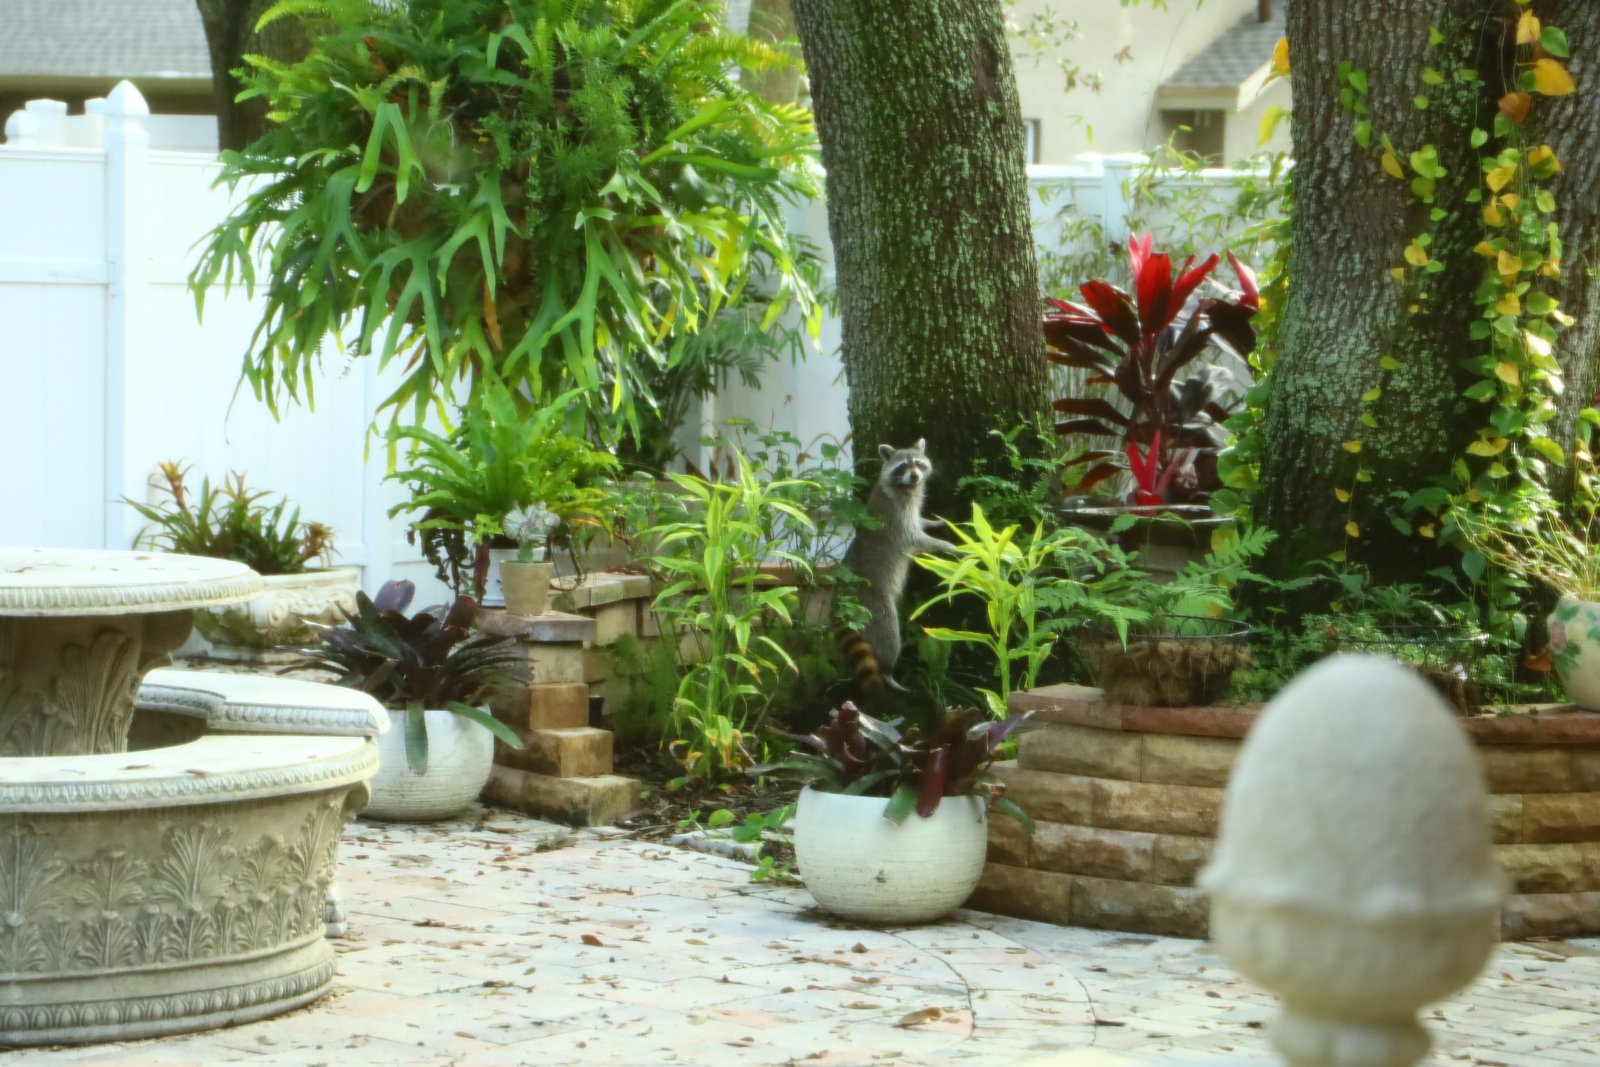
Always Curious….

——————————————————–

Herb and Plant Shopping


Starting a project like this for the first time can be quite an investment.
Creating an area for your garden, purchasing landscaping blocks and capstones, buying up good sturdy pots, soil, and then plants, herbs and flowers.
Your Herb Garden doesn’t have to be as elaborate as mine is. You can get by with just a few pots, soil, and herbs. You don’t need a lot of room. I’ve seen beautiful window herb gardens.
Just Remember: Buy Potting Soil for Pots

Because I have had this herb garden for over a decade now, it’s really just about replenishing for me.
My initial investment was made years ago.
I do love coming across new herbs that I have never heard of and giving them a try.
——————————————————


Once I have decided the placement of all the pots, then I start the process of planting them.
And I do all that myself. Some herbs are very sturdy and are always thriving. Others, come and go and have to be replenished. In some cases we eat more than we can grow. 🙂

I Love Having Pops of Color With Flowers
———————————————————
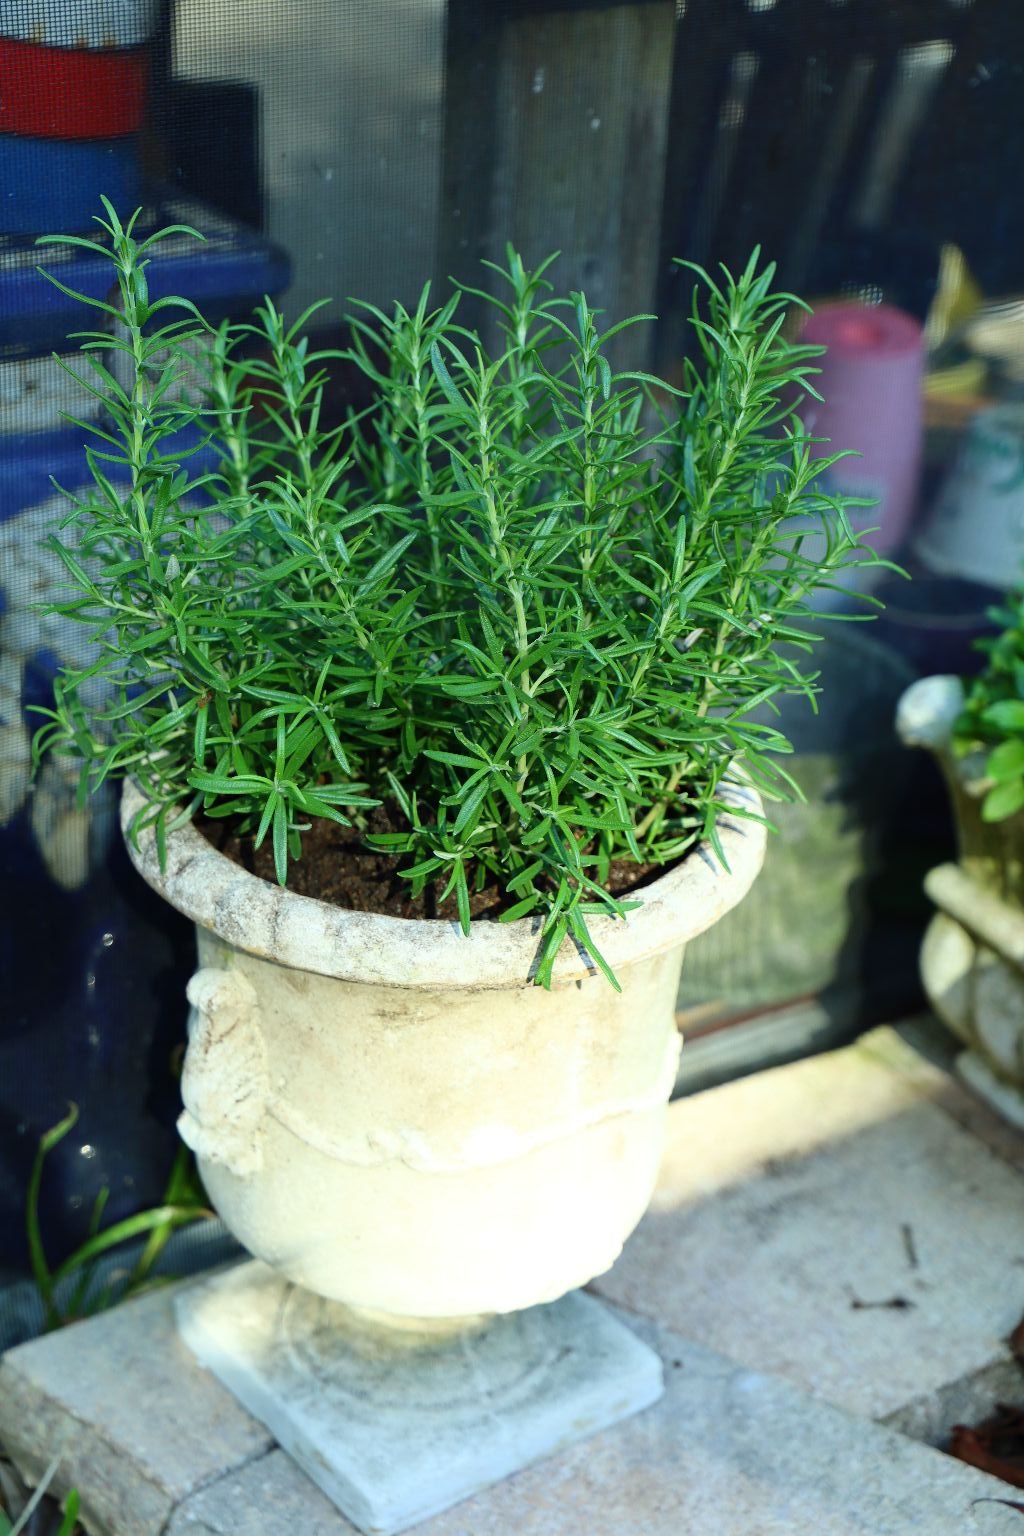

Rosemary And Sage
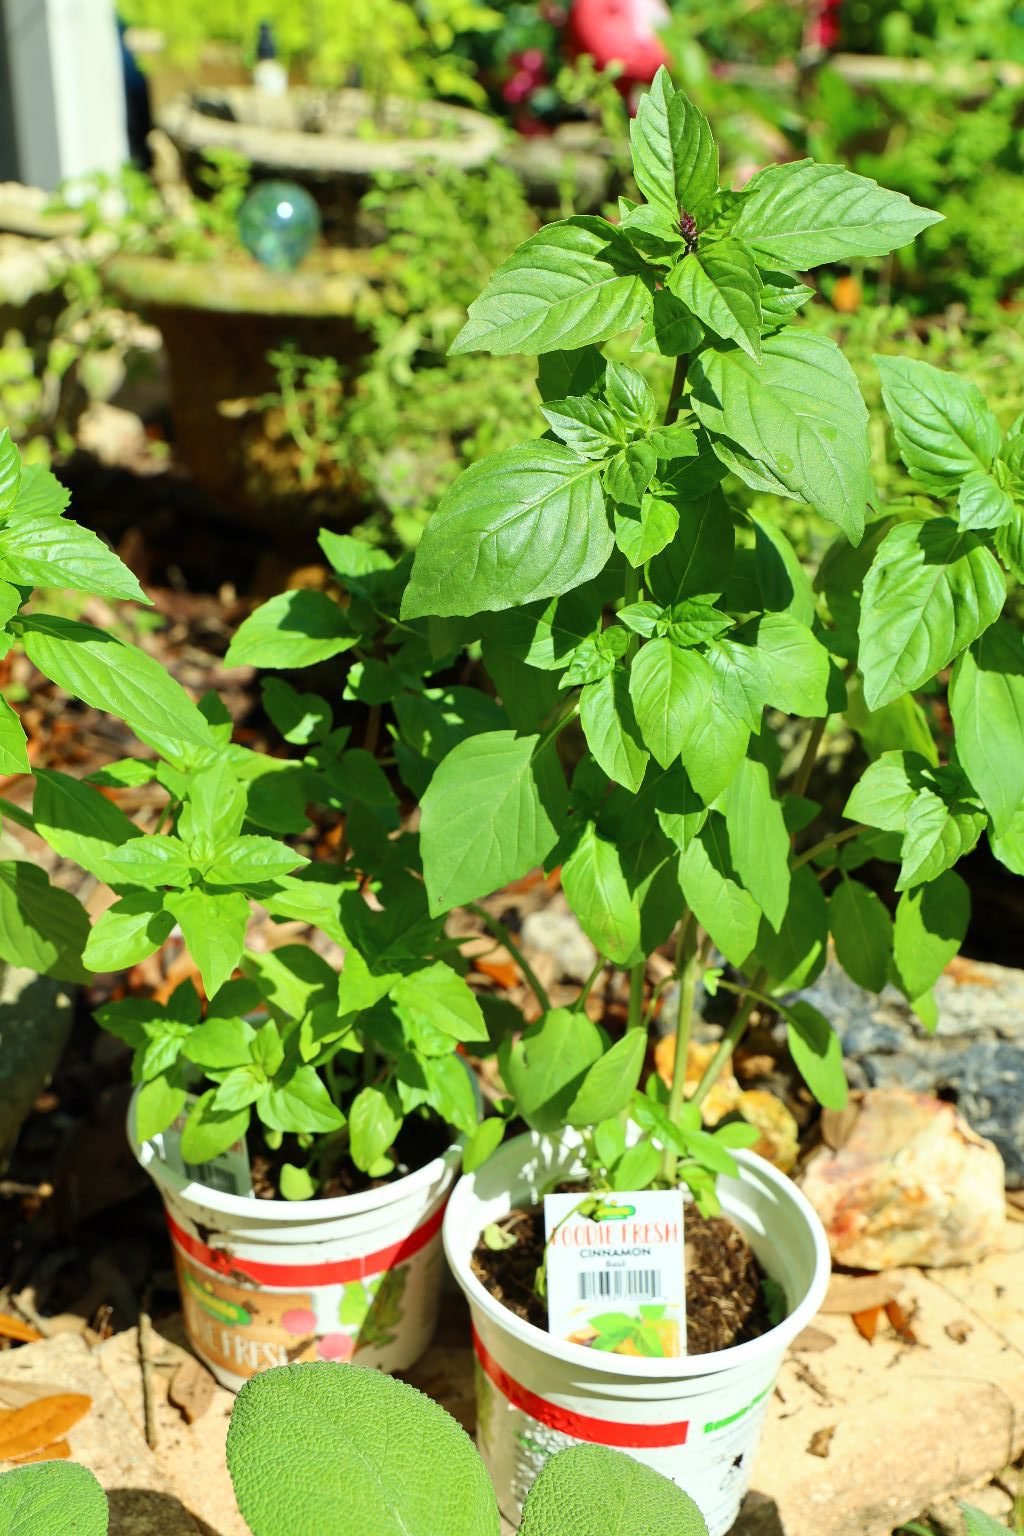

Cinnamon Basil, Garlic Chives

My Herb Garden Lizard Friend

Curly Parsley is Beautiful
Culantro, Pineapple Mint, Parsley, and Chives

Purslane, a Flowering Edible Weed

My Chinese Fire Cracker

Rocks From Rome

(From my parents backyard in Georgia.)

Georgia Has Some of the Most Beautiful Rocks
——————————————————–
Although the garden is complete here,
I still need Gordon to distribute and freshen up the Wood Chips in the bed.
Something pretty by the gate.


Gordon Freshening up the Bed with Wood Chips
—————————————————————-
Now My Herb Garden is Complete


———————————————————–
Gift For Mackenzie
(Our son’s girlfriend.)


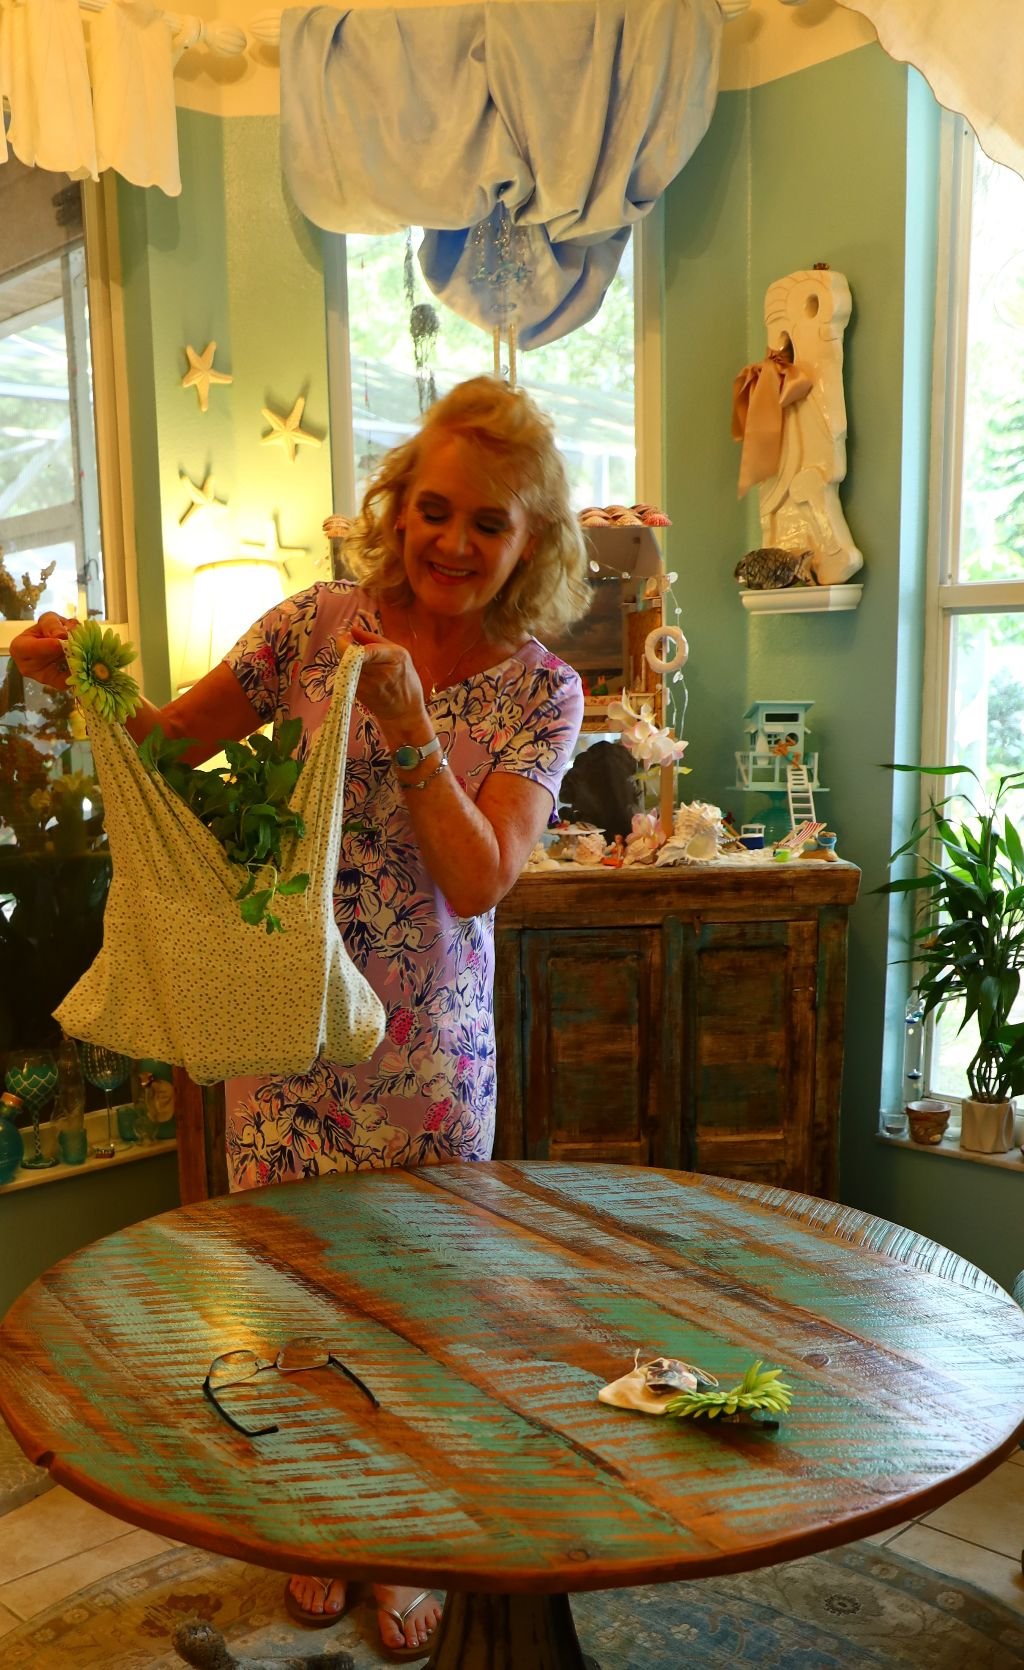
My Top Tote

This is actually an old top of our daughter Veronica’s from The Gap. I always thought these tops looked like tote bags, so, when she wanted to get rid of it, I kept it! All these years! Probably over a decade. Well, I finally got around to turning it into a tote bag in order to house Mackenzie’s gift of a pot of mint.

All I did was to sew the bottom of the top together creating a tote bag. It’s sturdy, durable and washable. I even added a few adornments to it, as in the green flower below. It’s just a clip on.
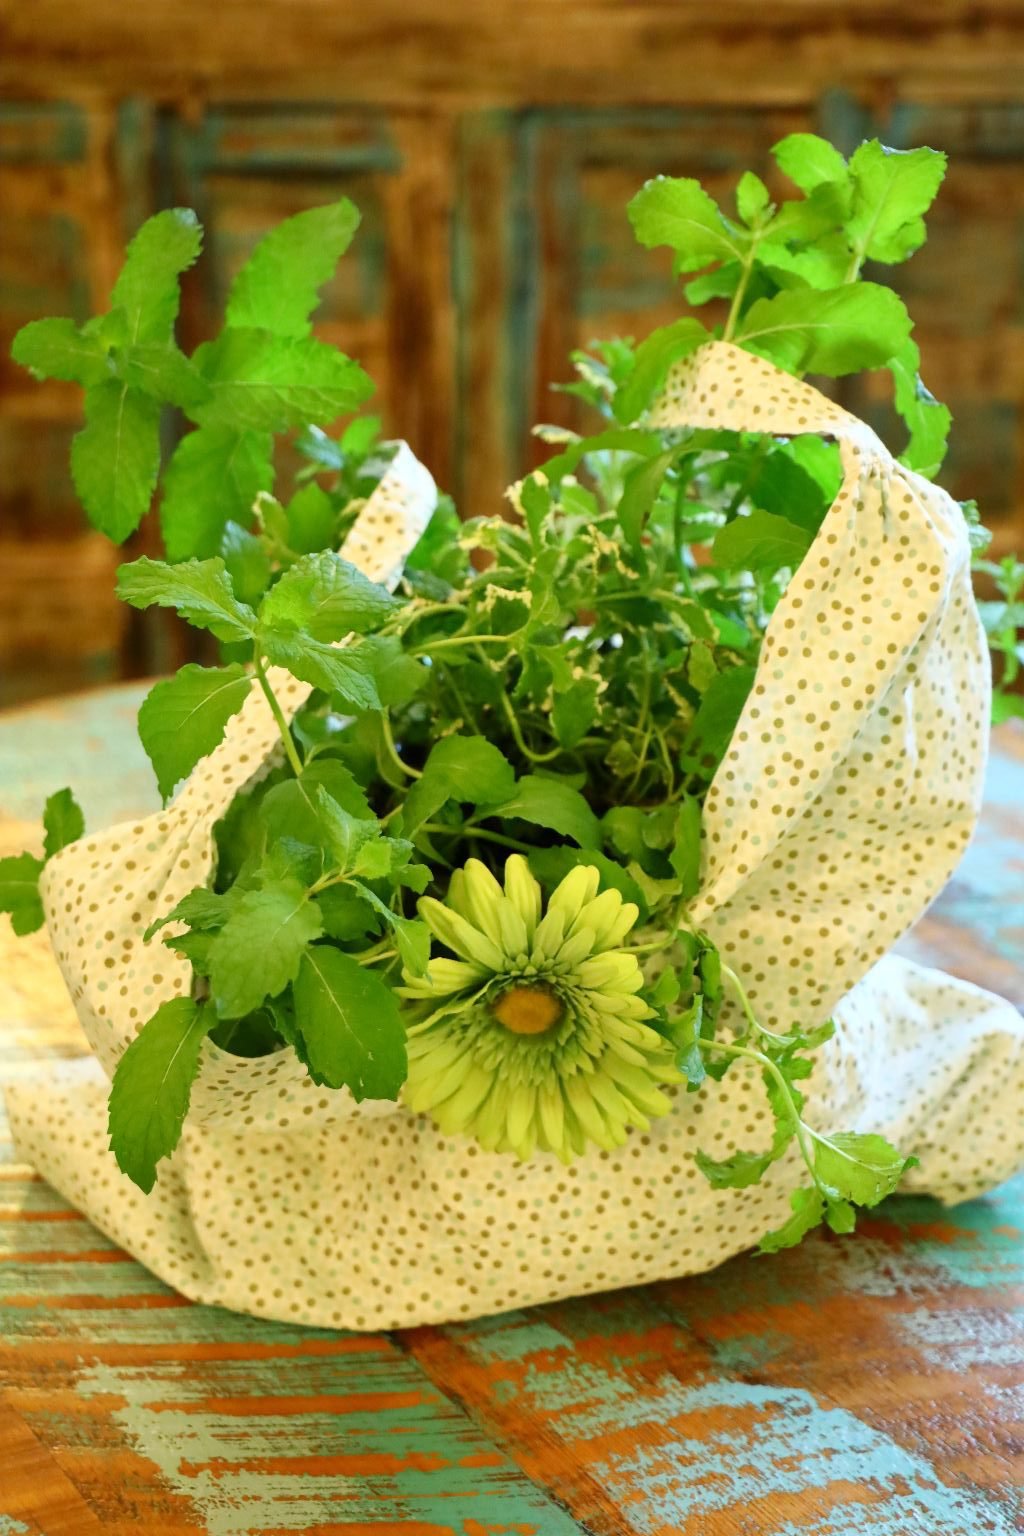
Mackenzie’s Gift of Mint and a New Pot From Me
————————————————————-
A Path Upgrade


I love the stones that we recycled to this part of our backyard. We can no longer find them, I believe they’ve been discontinued, so these are all that are left. I just felt as if we needed something more to really make our path look a bit nicer. That was when I suggested to Gordon that we find some sort of small stones to place between each larger stone in our pathway.

Here Gordon is Spreading the Small Stones


It’s just a matter of pouring the stones out along the path and then grabbing a broom and sweeping them along.

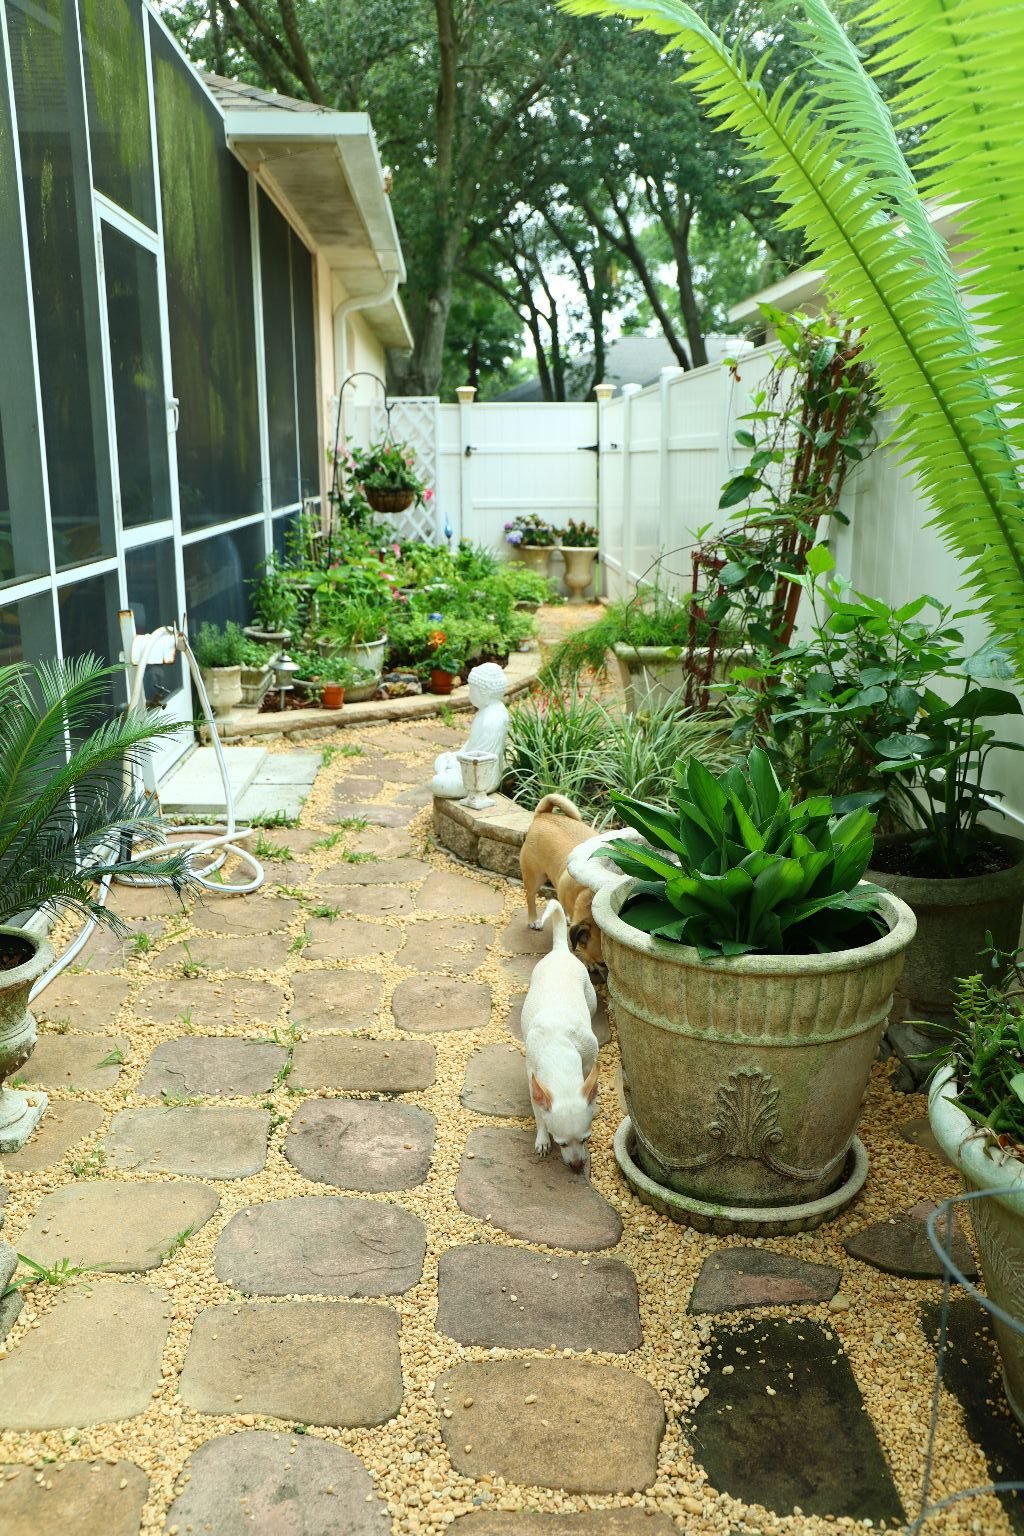
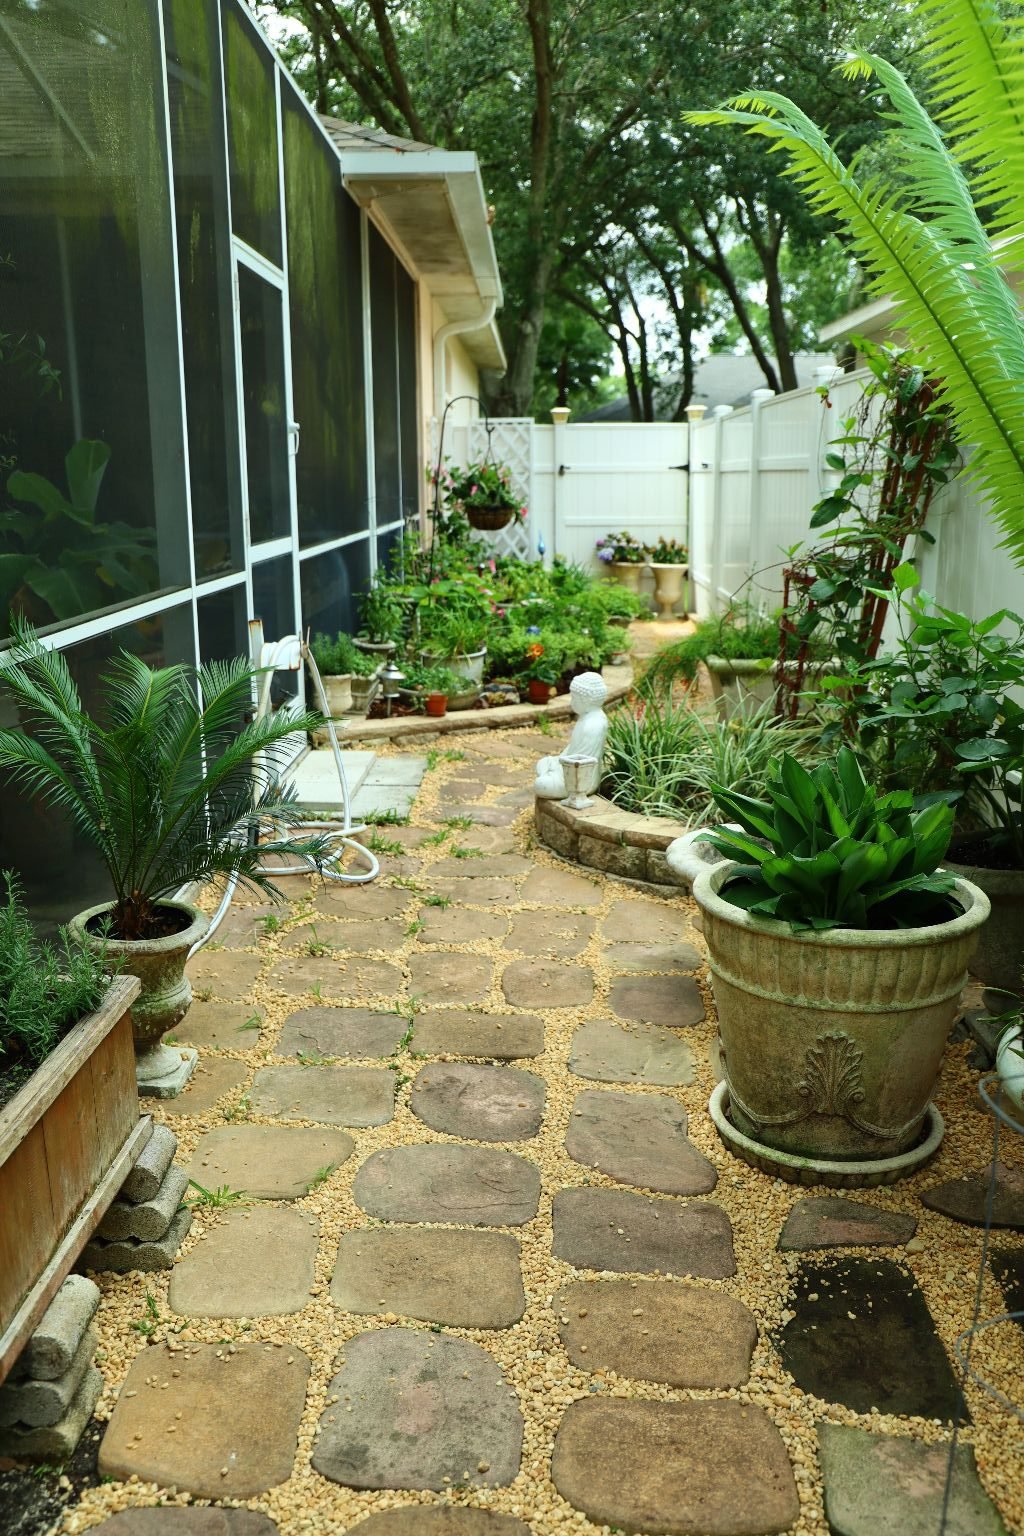
When you get it all filled in, it looks so much nicer!

——————————————————————–

Gordon also placed the stones around our pots along the pathway.

————————————————————————-

I Love It!…

…especially when my Chinese Fire Cracker plant looses a few of it’s flowers.
————————————————————–
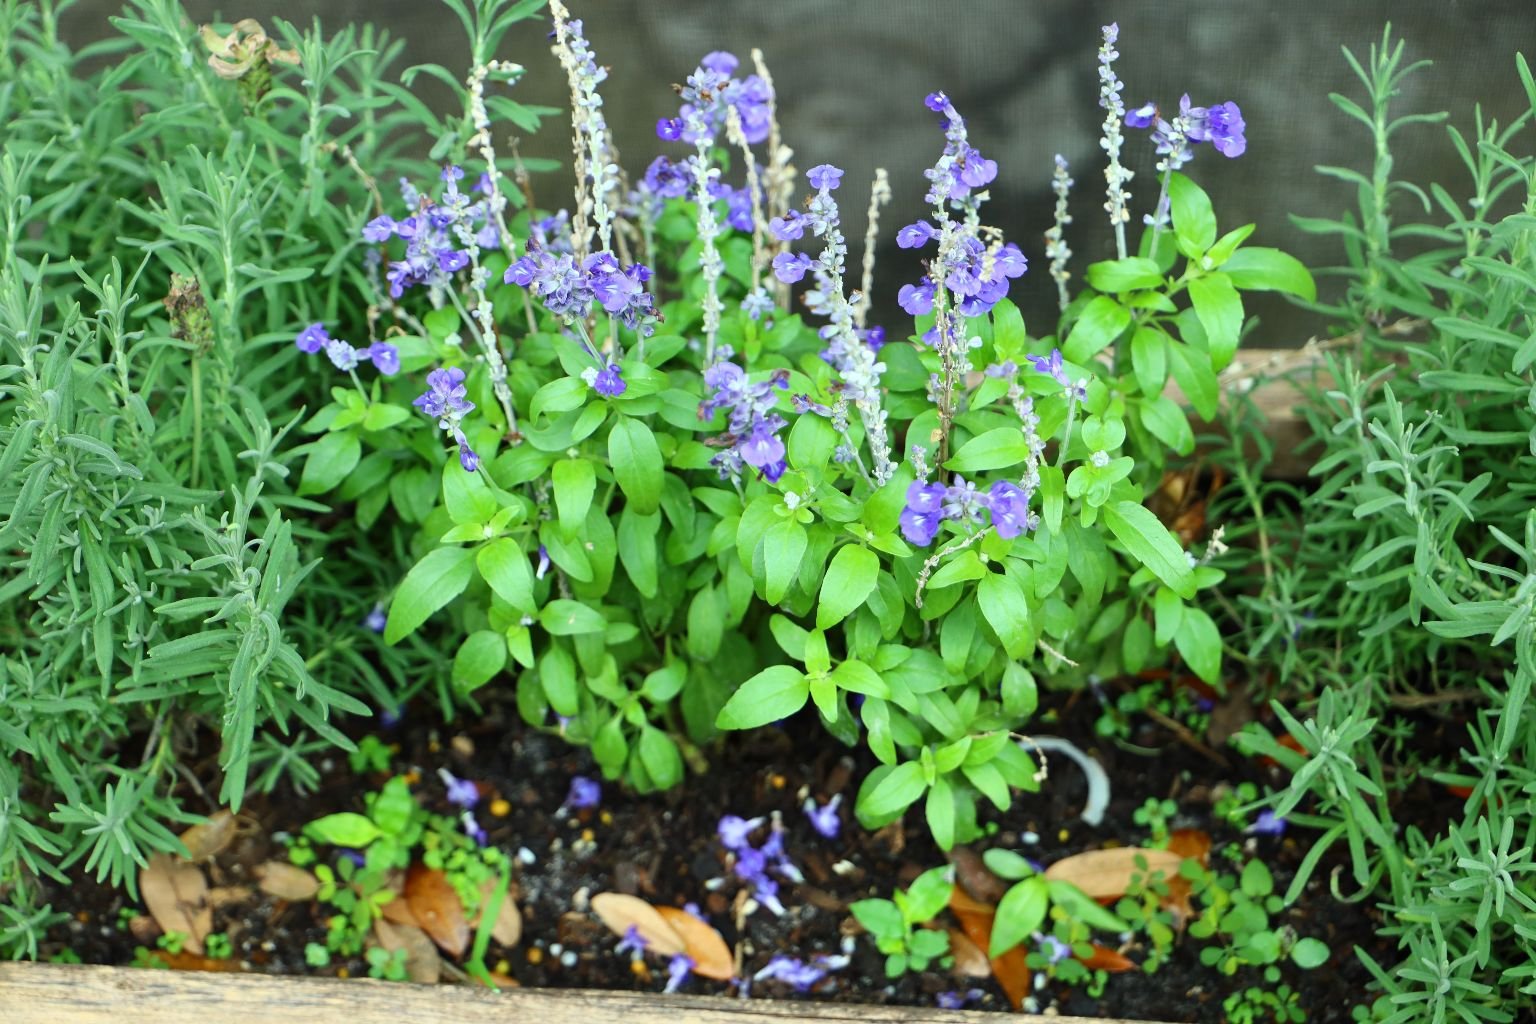
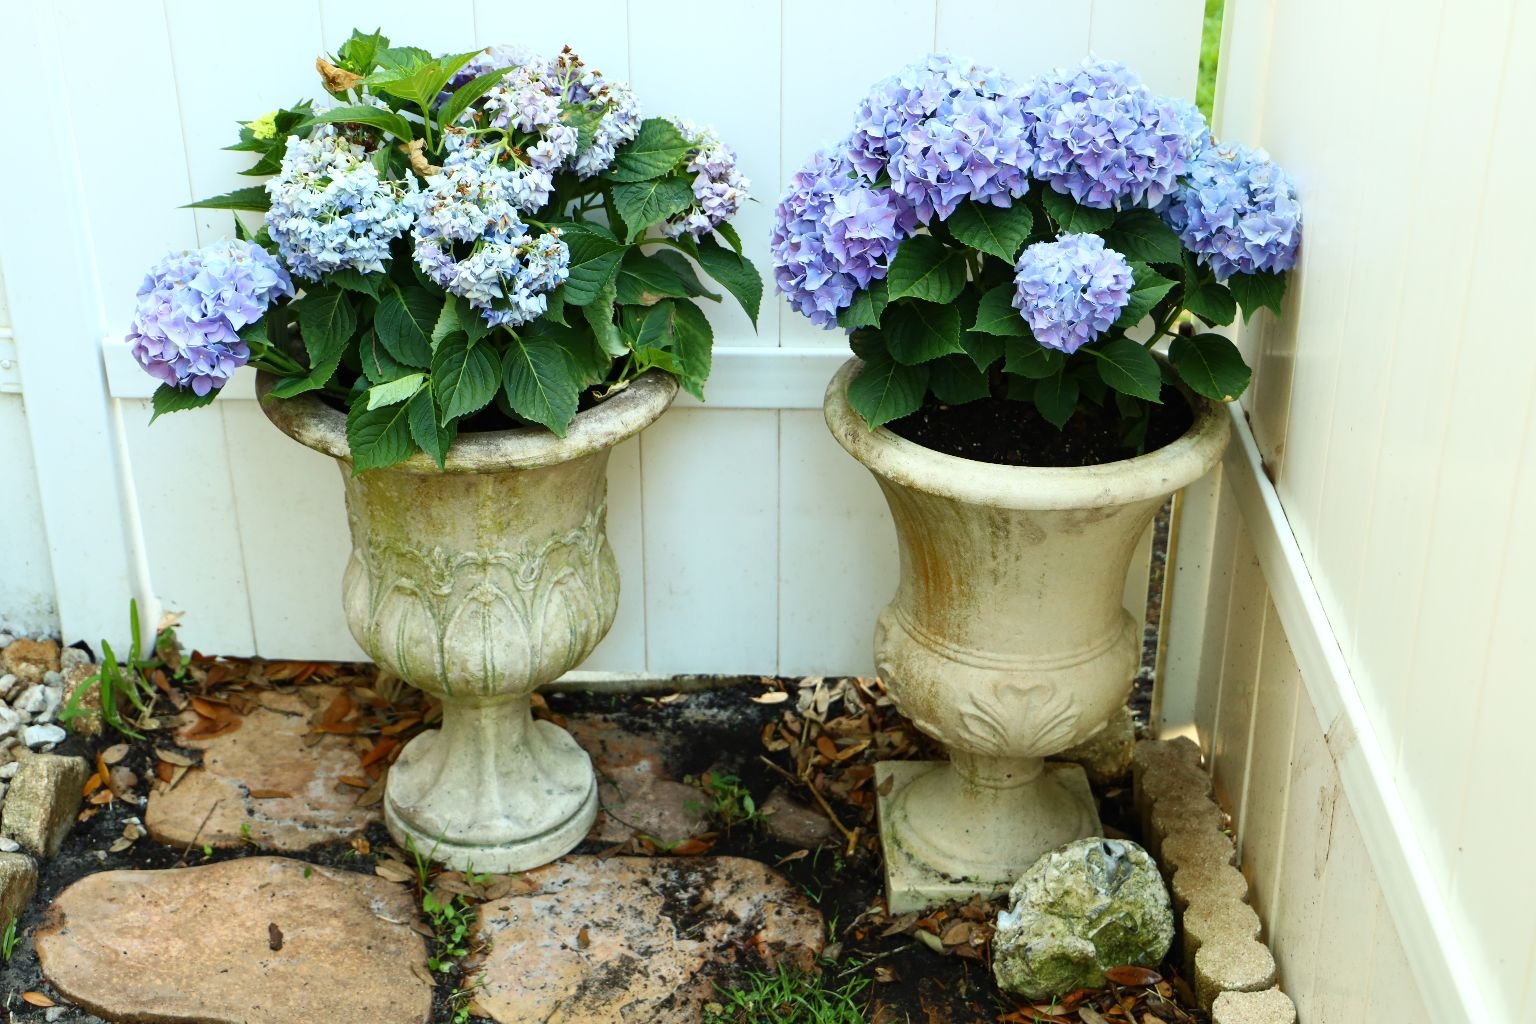
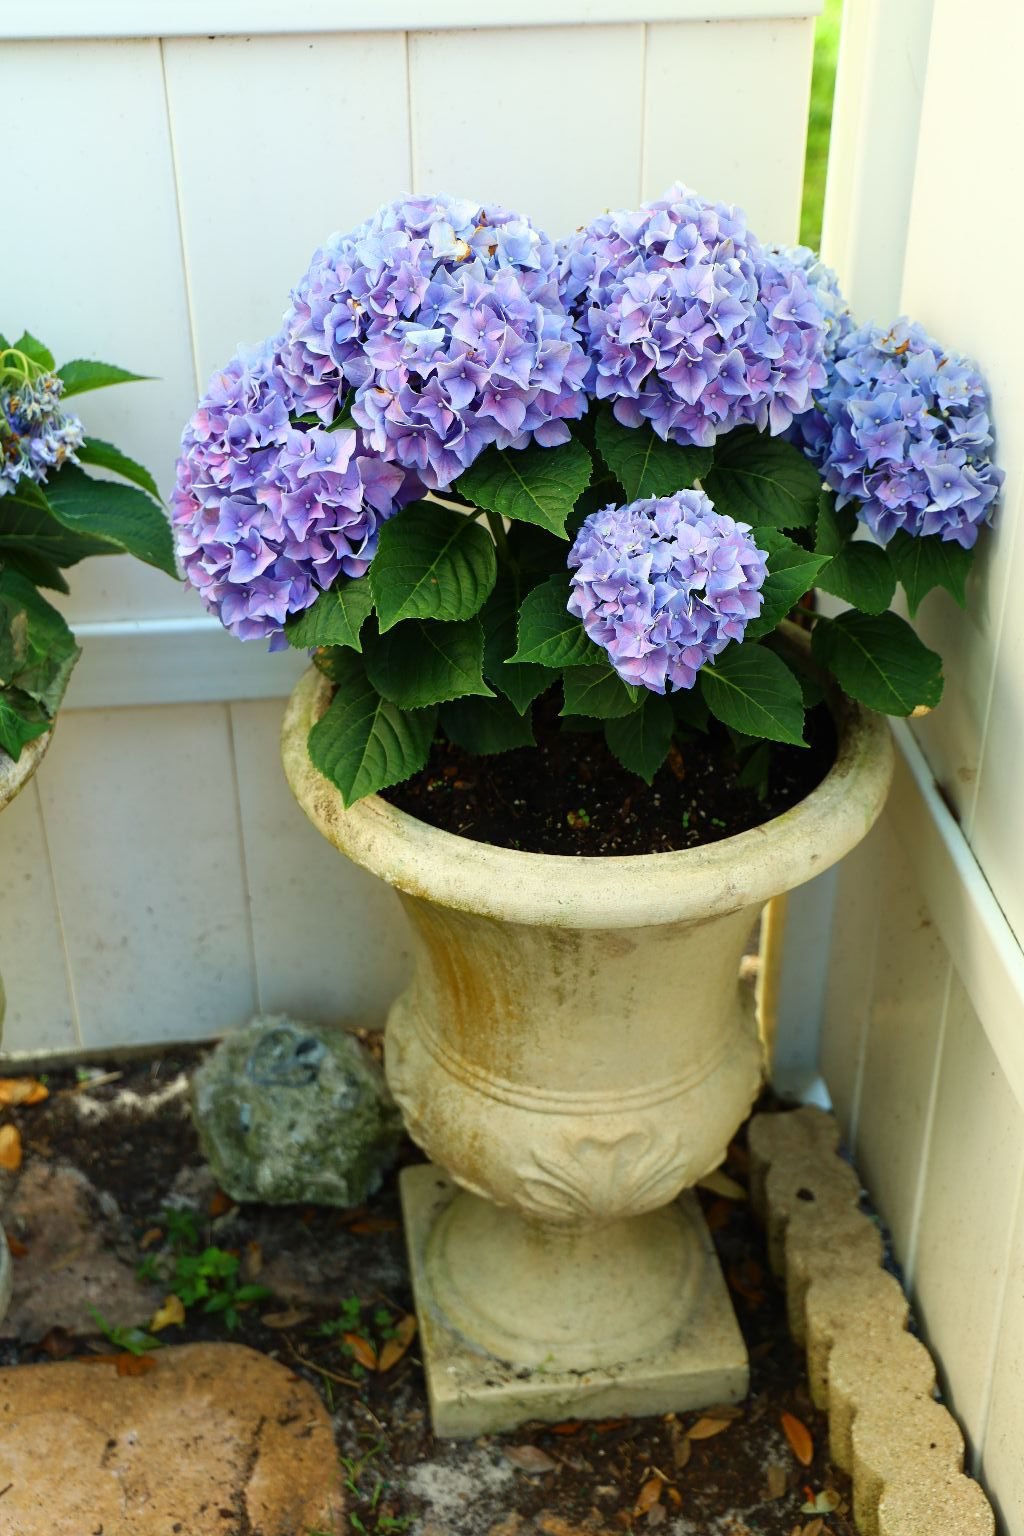
Shades of Lavender
———————————————————
NEXT UP!
THIS SIDE!

I sort of stepped behind here where the stones are concerned, but this was to showcase the “before” where the plantings are concerned.


New Orange Purslane
Here, the path is done and I am turning my attention to the plantings.
————————————————————
Another Corner Project

This is a pretty ugly part of our yard. It always seems to be muddy, especially during rainy season. I liked that our raised planter was standing on those long cement blocks that I had Brodie to put in to place for me a few years ago. Therefore, I asked Gordon if he would extend the cement blocks around the Key Lime tree, and all the way towards the retaining wall. I wanted the area to be nice and clean and not so dirty as it always was.


(I’ll let Gordon take it from here.)
We wanted a more decorative way to showcase the corner area of our yard, which also houses our ever producing Key Lime tree. I bought some large concrete pavers and laid them out in the pattern seen above, so I could measure how much concrete I needed to cut off to make the front edge even.
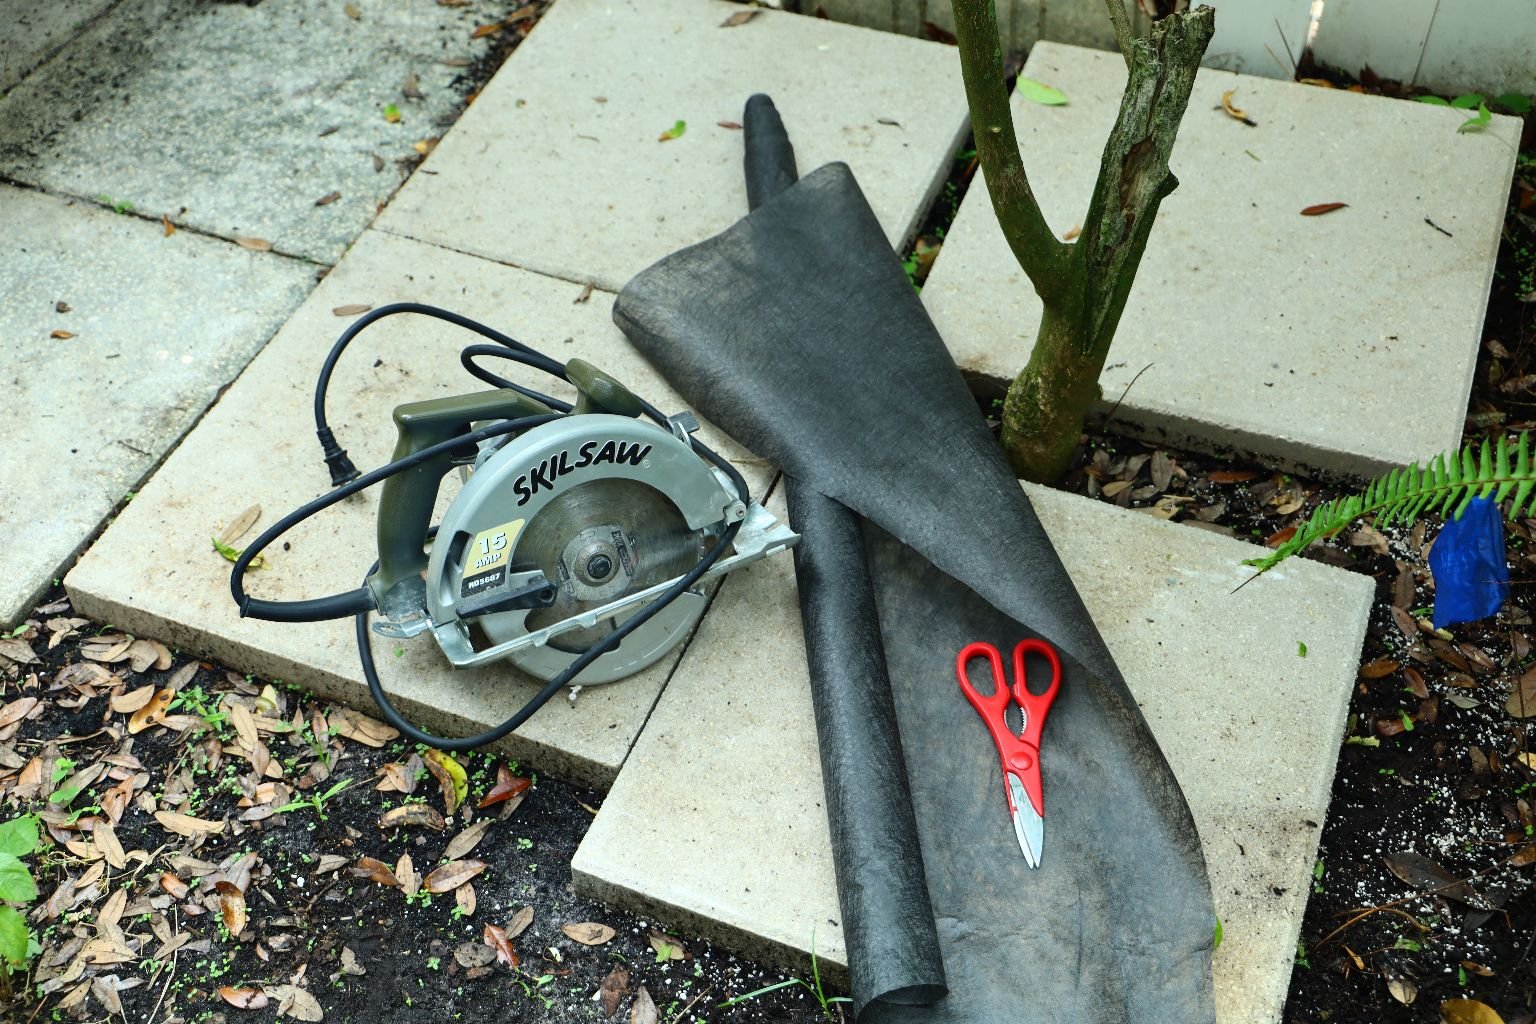
After measuring the concrete slab, I removed the pavers so I could measure and cut the weed preventative cloth.


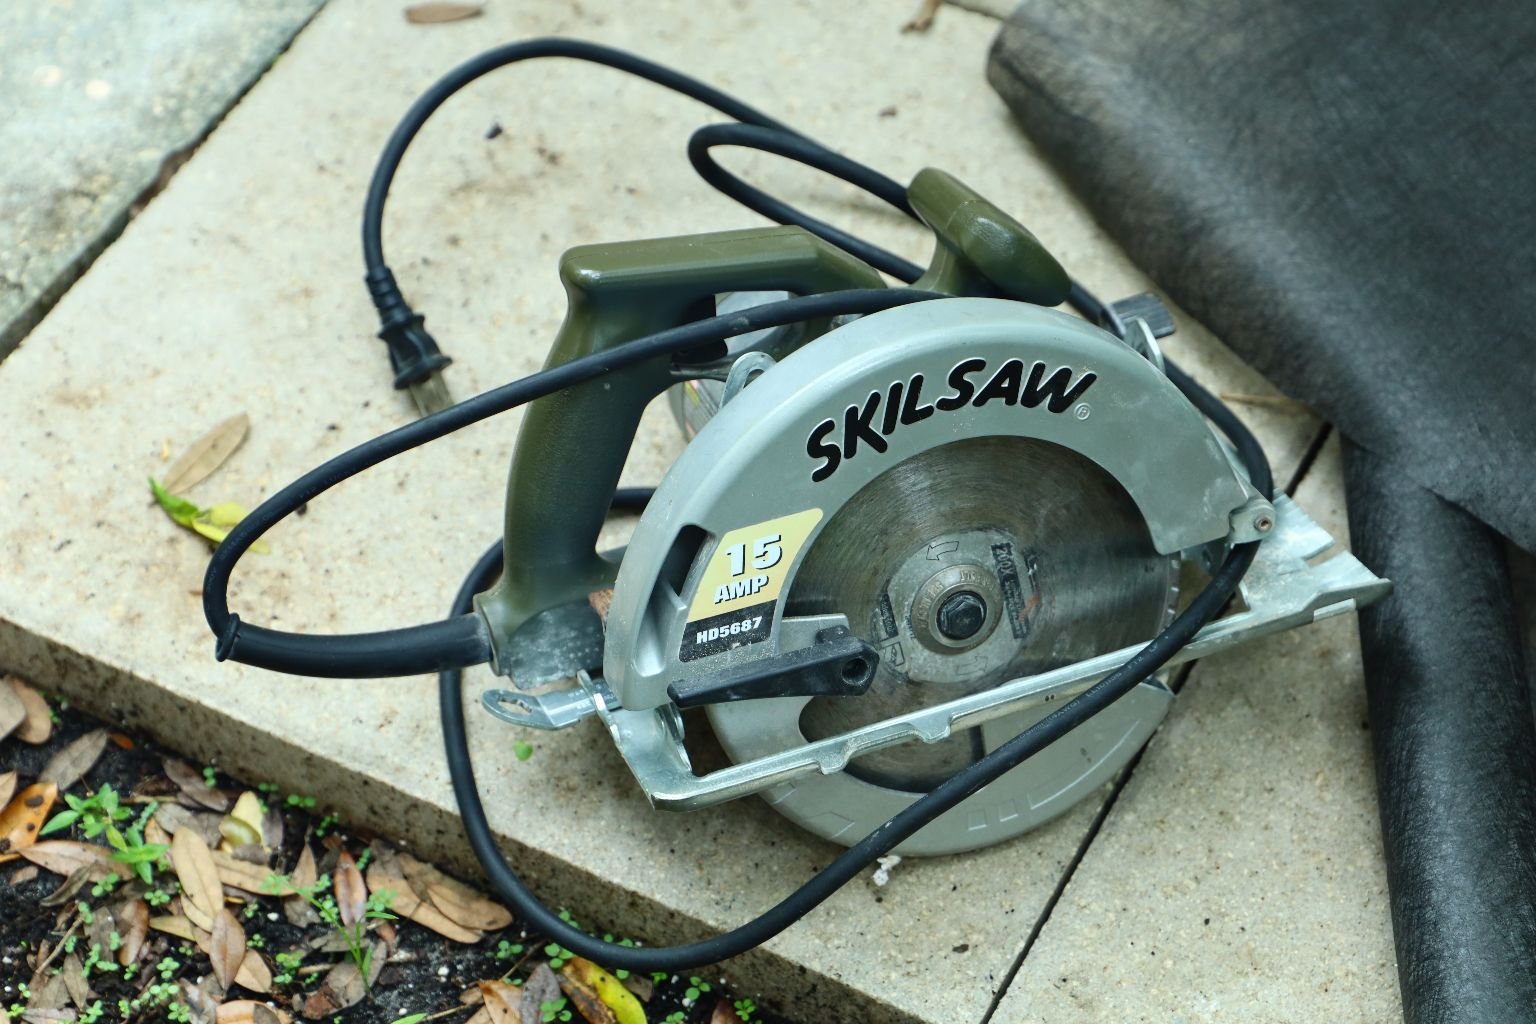
Using my circular saw with a concrete blade, I sliced off the excess concrete.
This blade cuts through concrete like butter.


I cut to fit the cloth around the Key Lime tree.


I then placed the pavers back around the tree as seen above.


Now, I poured about 4 bags of pebble stones around the tree and between the pavers for a more decorative look.

Once that was done, I measured and cut concrete pieces from the section of concrete I previously cut off. These small sections were used to block any pebbles from running out the front of my project.
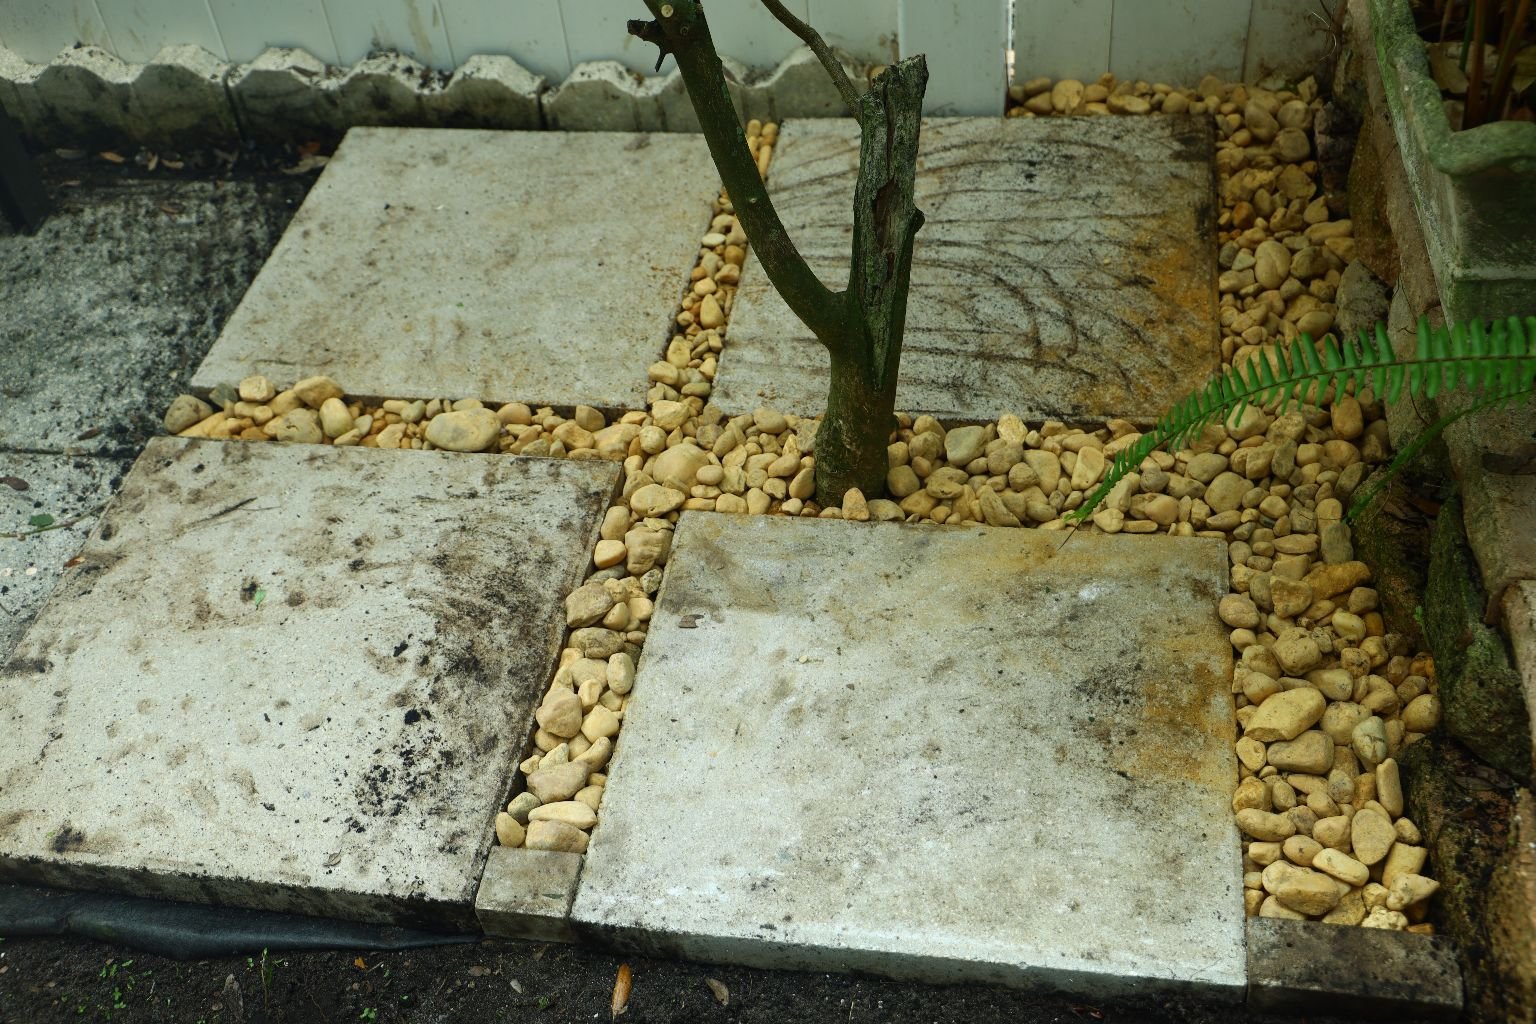

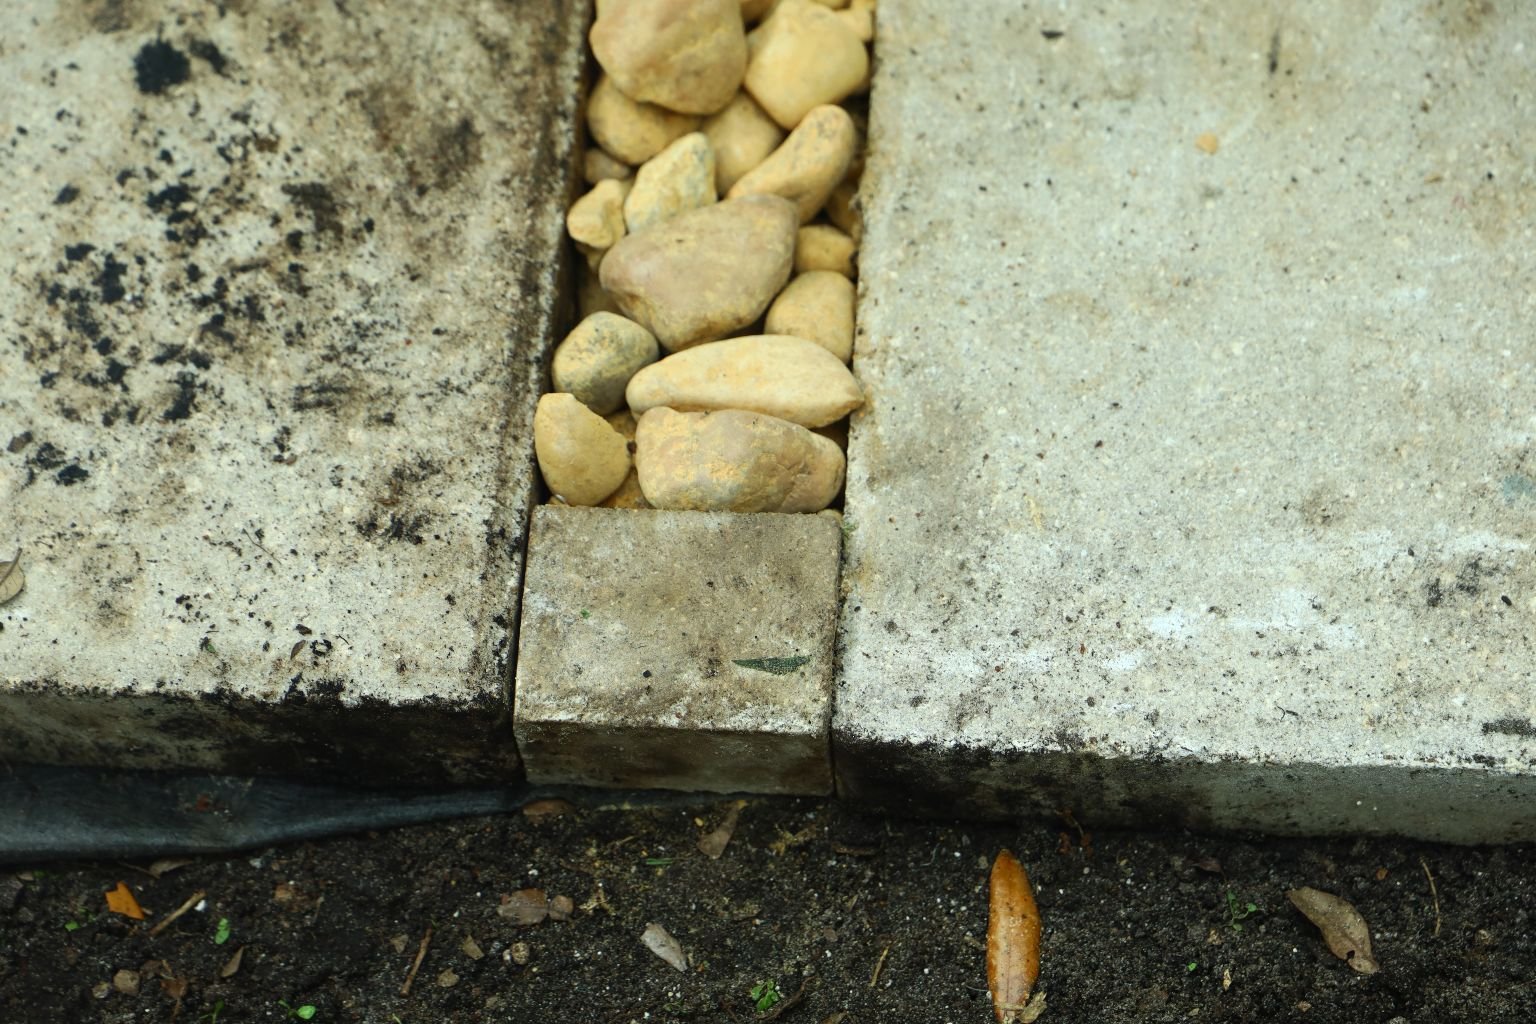
Here is a closer look at what I was talking about.

I hope you found this project of interest and helpful.
————————————————————-

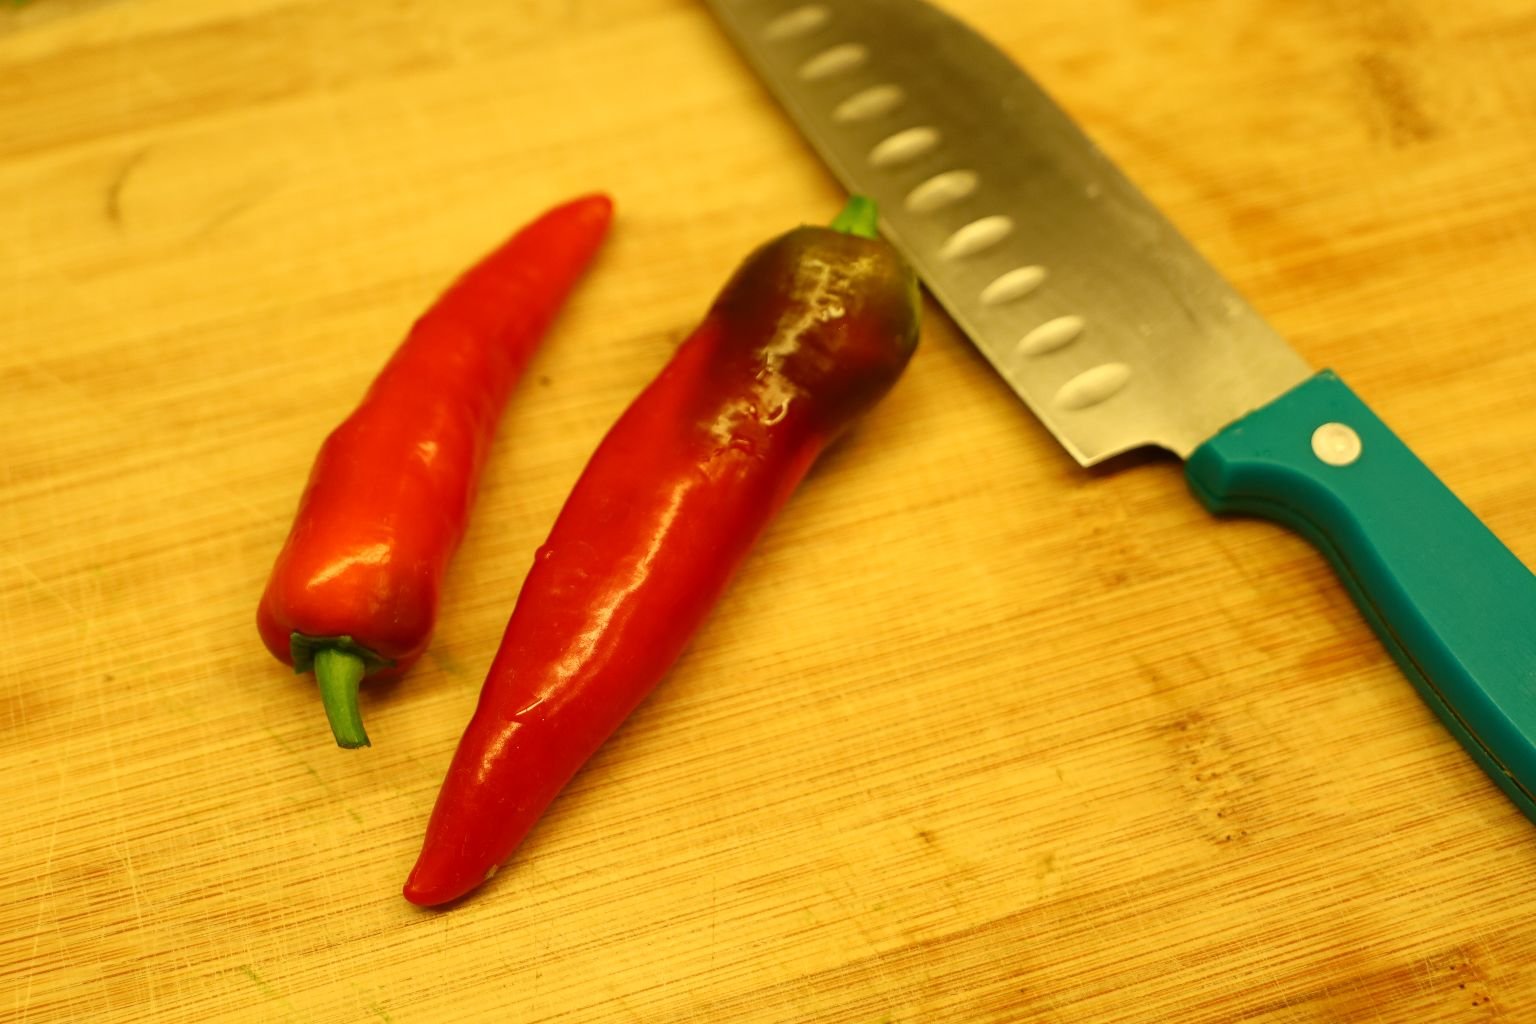
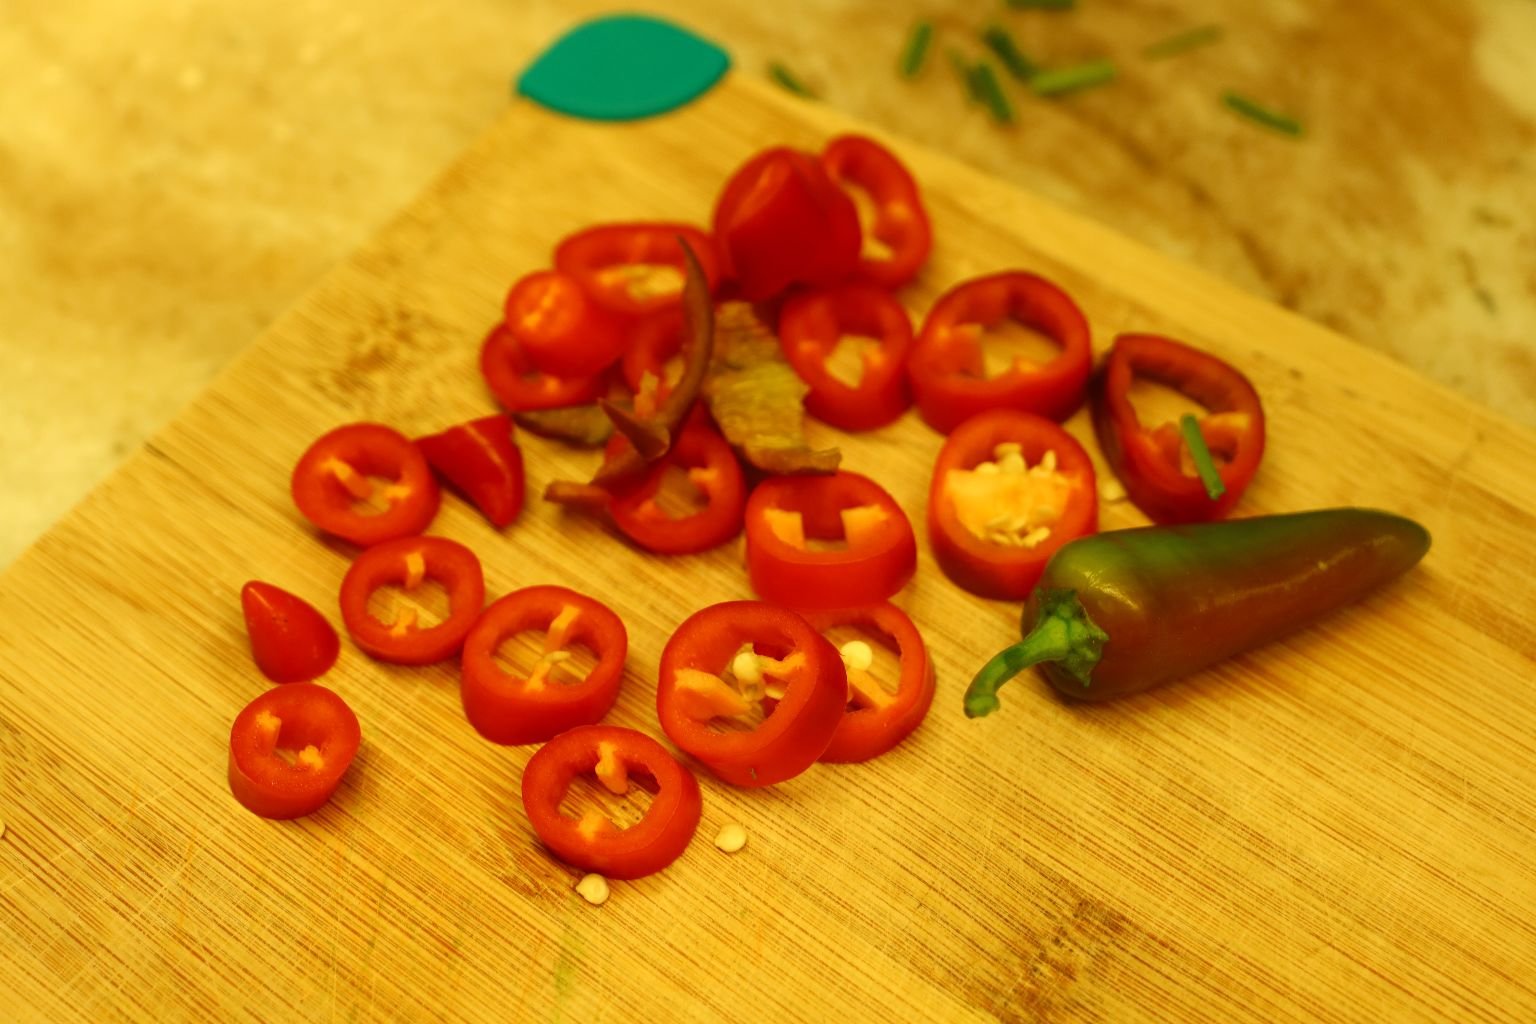
It’s Now Time to Plant
These are actually Sweet Peppers with a little bit of heat to them. The grower must have planted them too close to some hot peppers and cross pollination occurred. Oh, we are not complaining whatsoever! It is a nice amount of heat to them. Normally, I don’t really like a hot, hot, pepper. But these are perfect!


Before I start planting, I set everything out like I believe will work the best.
———————————————————-


Replanting This Pot
This particular pot is housing my Rainbow Peppers. By looking at the plant in the photo left, it doesn’t look too good. However, it was still producing. Regardless, I wanted to buy a few more plants for it so that I could get even more peppers.
I’ve got my trusty black stool, garden gloves, two pots (one filled with potting soil and the other is for plant debris), my little shovel, and of course the large pot and trellis.
(I’ll have to post some photos since I don’t have a completed one here.) 🙂
———————————————————————–
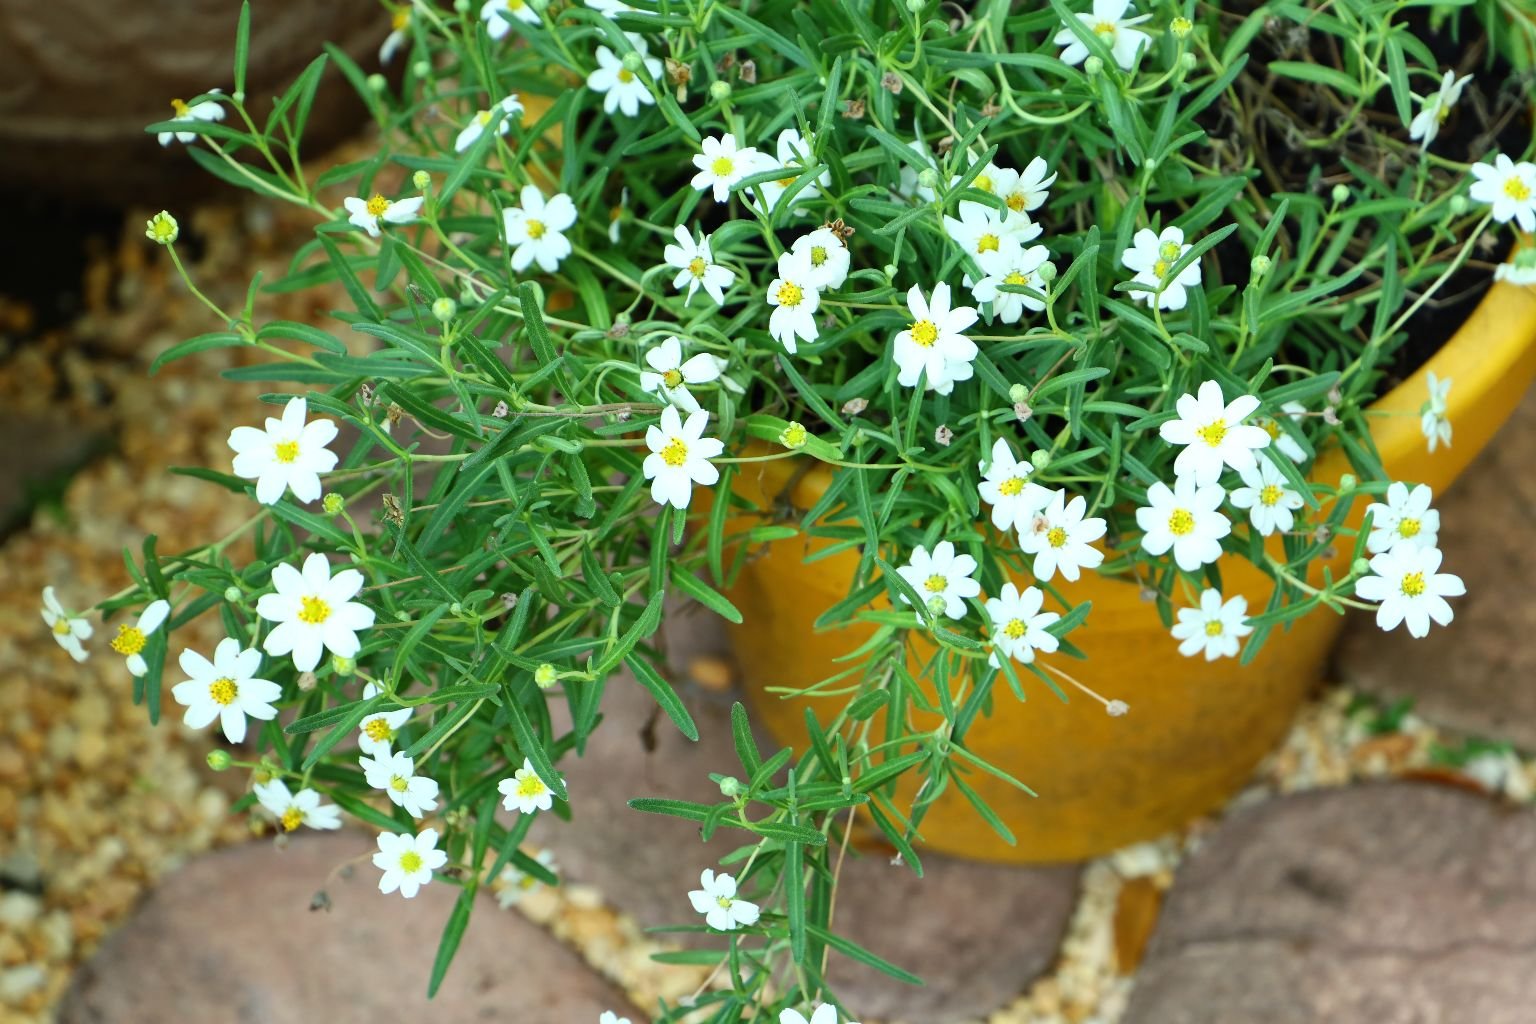
I love simple flowering plants and nothing really fancy.
—————————————————————-

As Far As The Blocks And Stones Go


These are all the stones that we have here so therefore we don’t have enough to place all the way to the back of this area, so we stopped here. Gordon is filling the gaps in with some small stones.
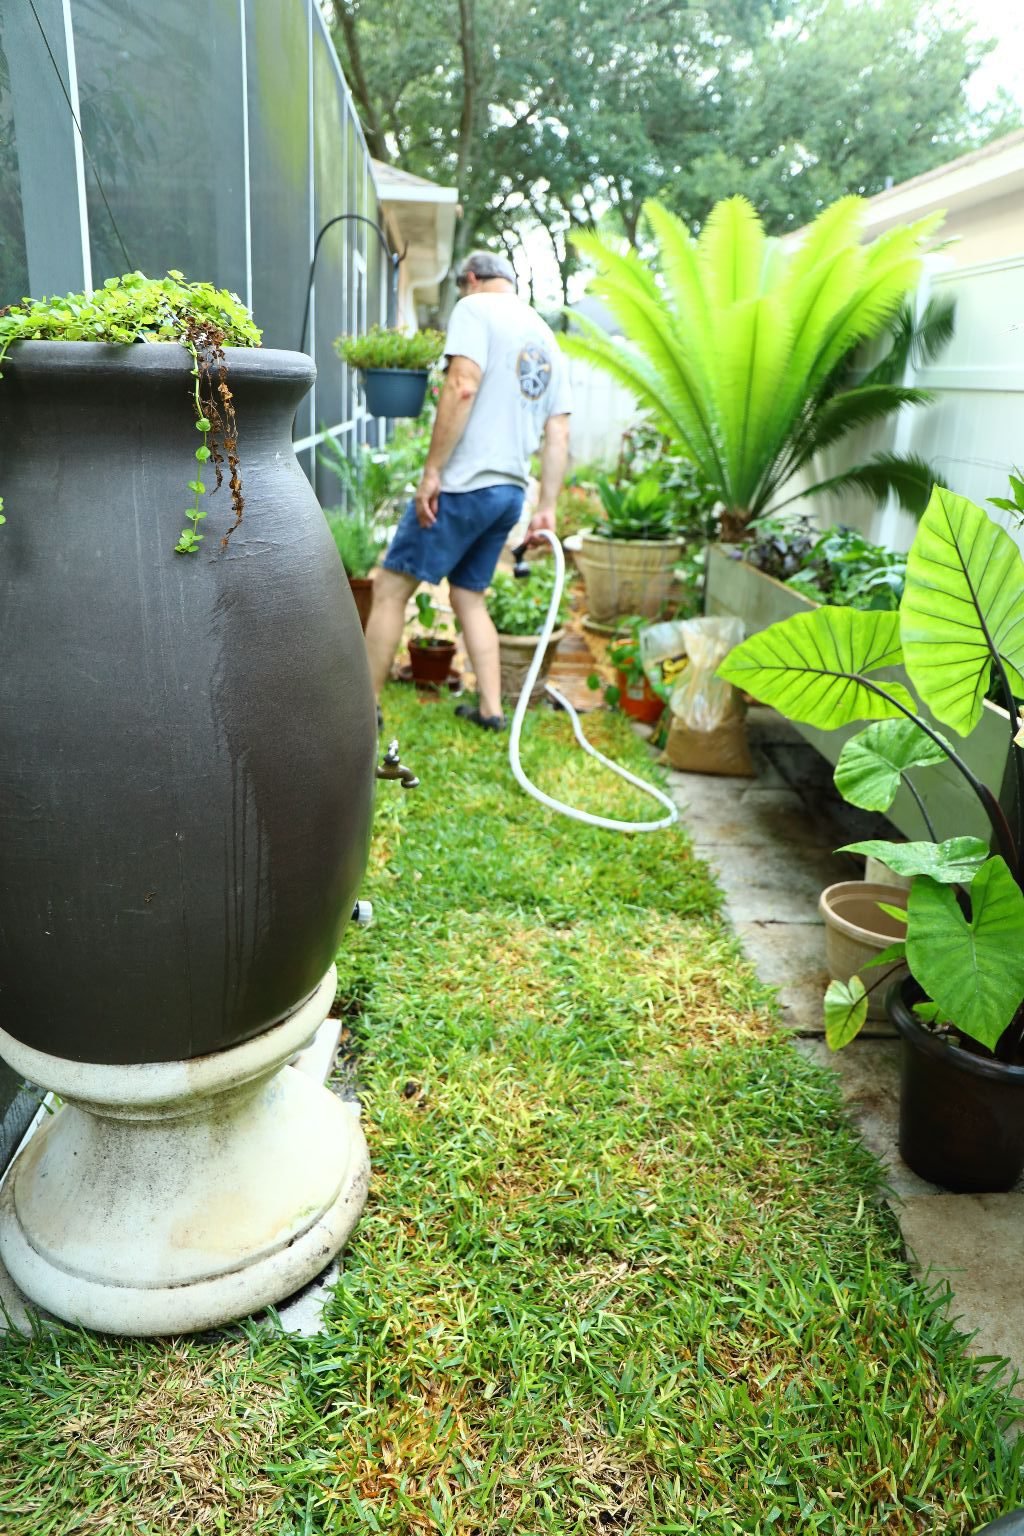
He then bought us about 30 pieces of SOD and placed them on top of the soil that we had here.
Anytime that you plant new grass as this, you have to water it everyday for 2 weeks so that it will take hold and won’t die.
———————————————————-

Here is our finished area! It looks great!

I love My Green Bell Peppers
With everything planted it’s just a matter of time to let it all grow and flourish.
I will be bringing those photos to you. As with everything there are always casualties to contend with. However, I view them as learning experiences. The more I garden the better I get at it.
———————————————————-

From Garden to Kitchen

As It Should Be 🙂
————————————————————
The Herb Garden Recipes
Start Here
—————————————————


I see color, I see health, I see taste, I see prospects!
These Vegetables and Herbs will play a major roll in our foods here.

Our Delicious Herb Sauce with Peas for our Red Lintel and Quinoa Pasta…
and Our Herb Dip with lots of Vegetables

Herb Sauce and Pastas, Carrots, Veggies, and Arugula

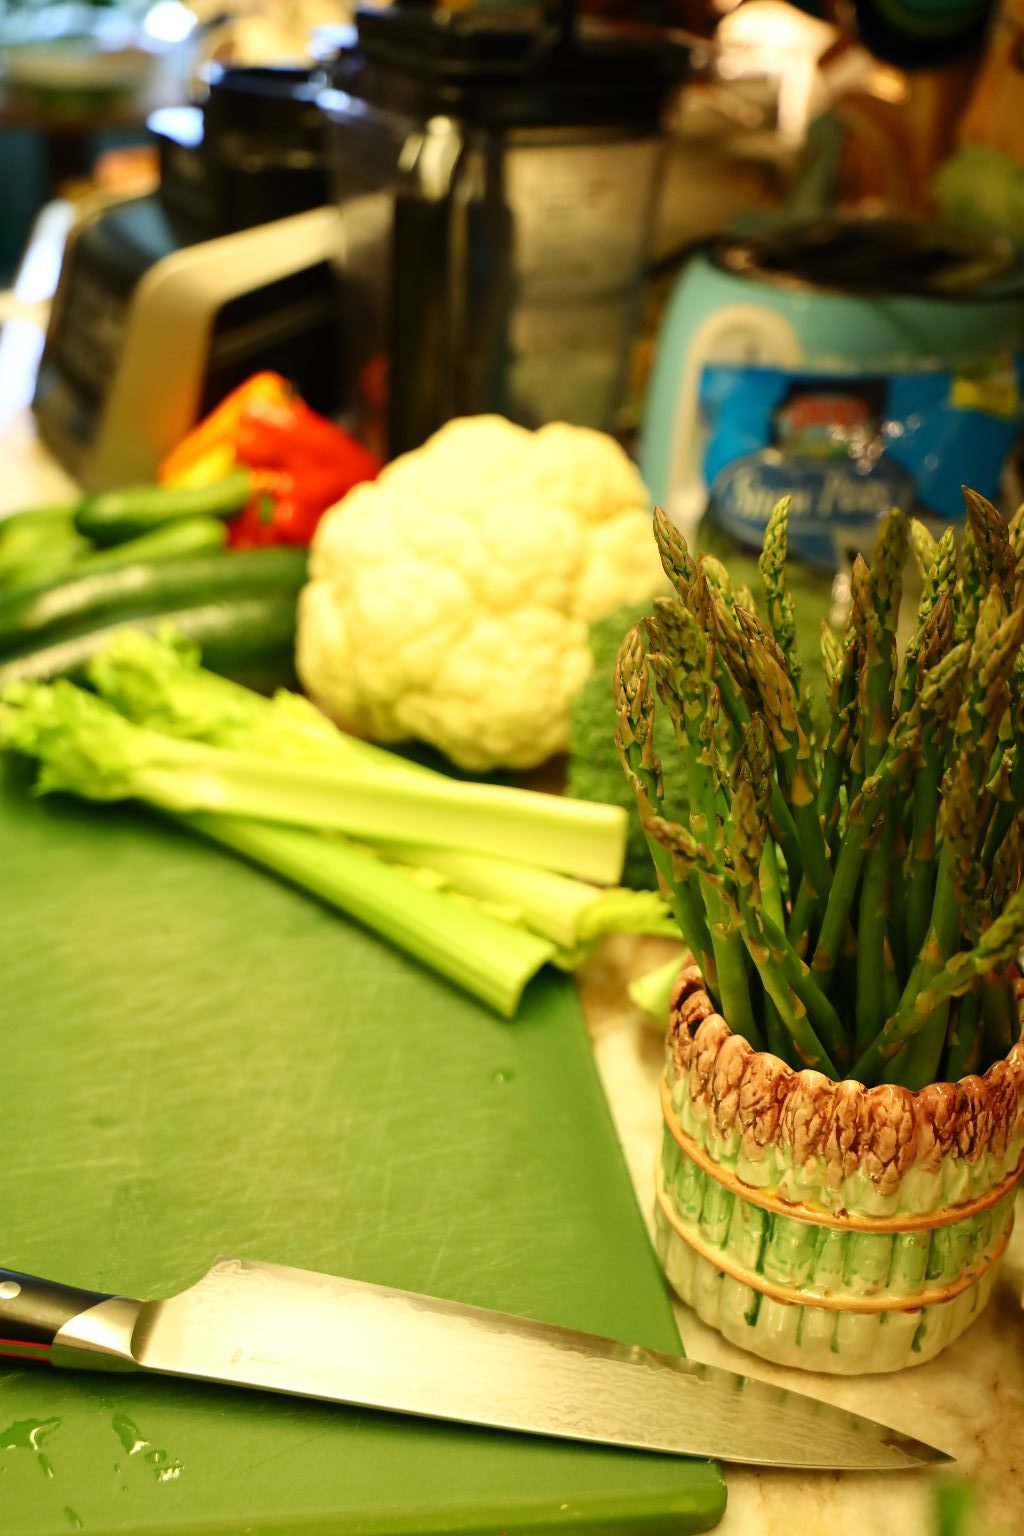
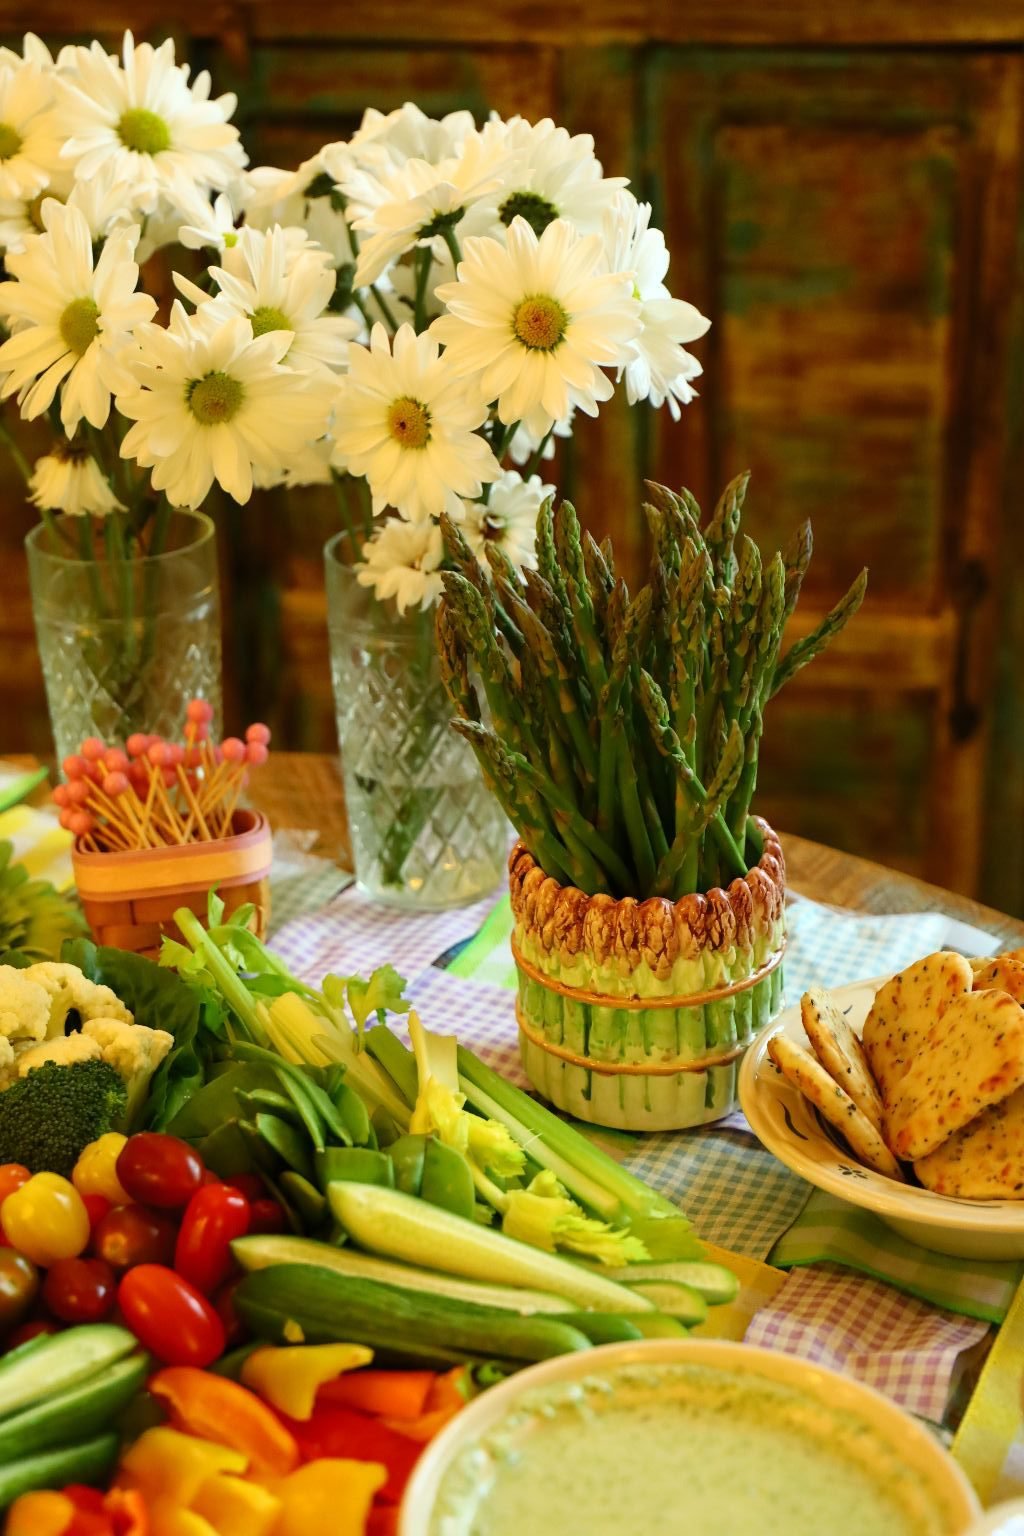
Asparagus
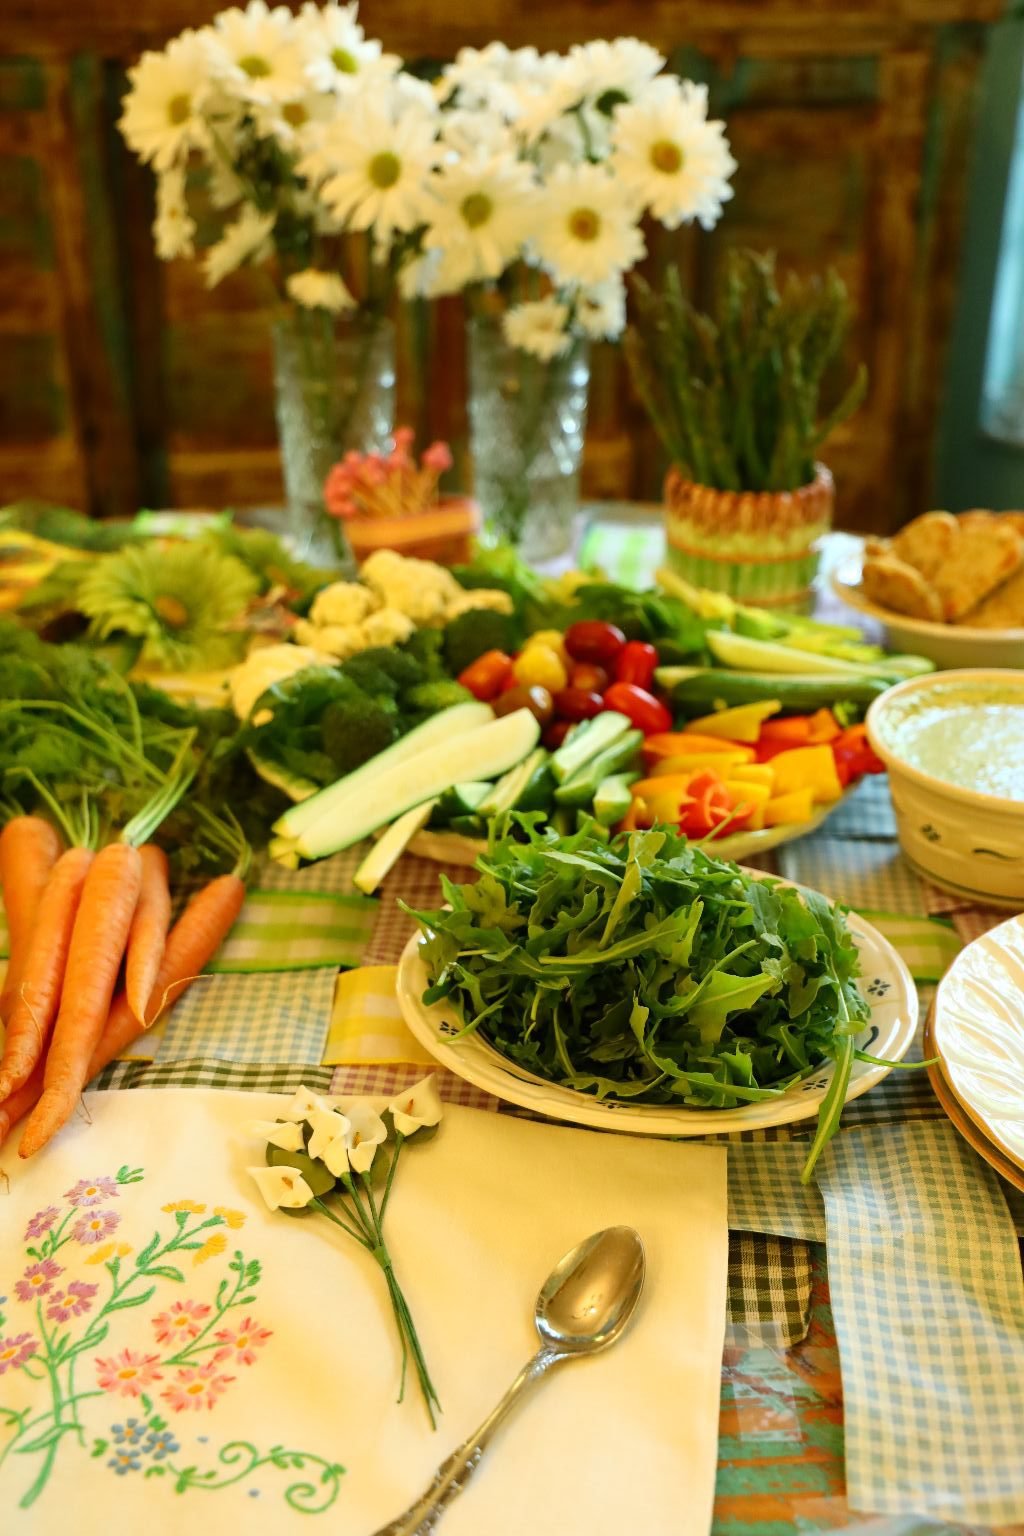
A Fresh Veggie Platter and Herb Dip
—————————————————————
Veggies Dipped in our Herb Dip

Pastas and Herb Sauce
——————————————————————–
Everything Just Tastes So Fresh
Healthy and Tasty!
———————————————————-
Our Herb Dip Recipe

Ingredients:
1 Small bunch Basil Leaves
3 Spring Onions
4 Whole Garlic Cloves
1 Bunch Parsley
3 Tbsp. Fresh Tarragon Leaves
3 Handfuls of Arugula
1 tsp. Dill Weed
1 tsp. Sweet Paprika
2 Tbsp. Lemon Juice
Freshly Ground Black Pepper and Hawaiian Sea Salt to taste
1 Cup Greek Yogurt
1/2 Cup Sour Cream
1 Sleeve of Ritz Crackers
1 tsp. Lemon Peel
———————————————————————

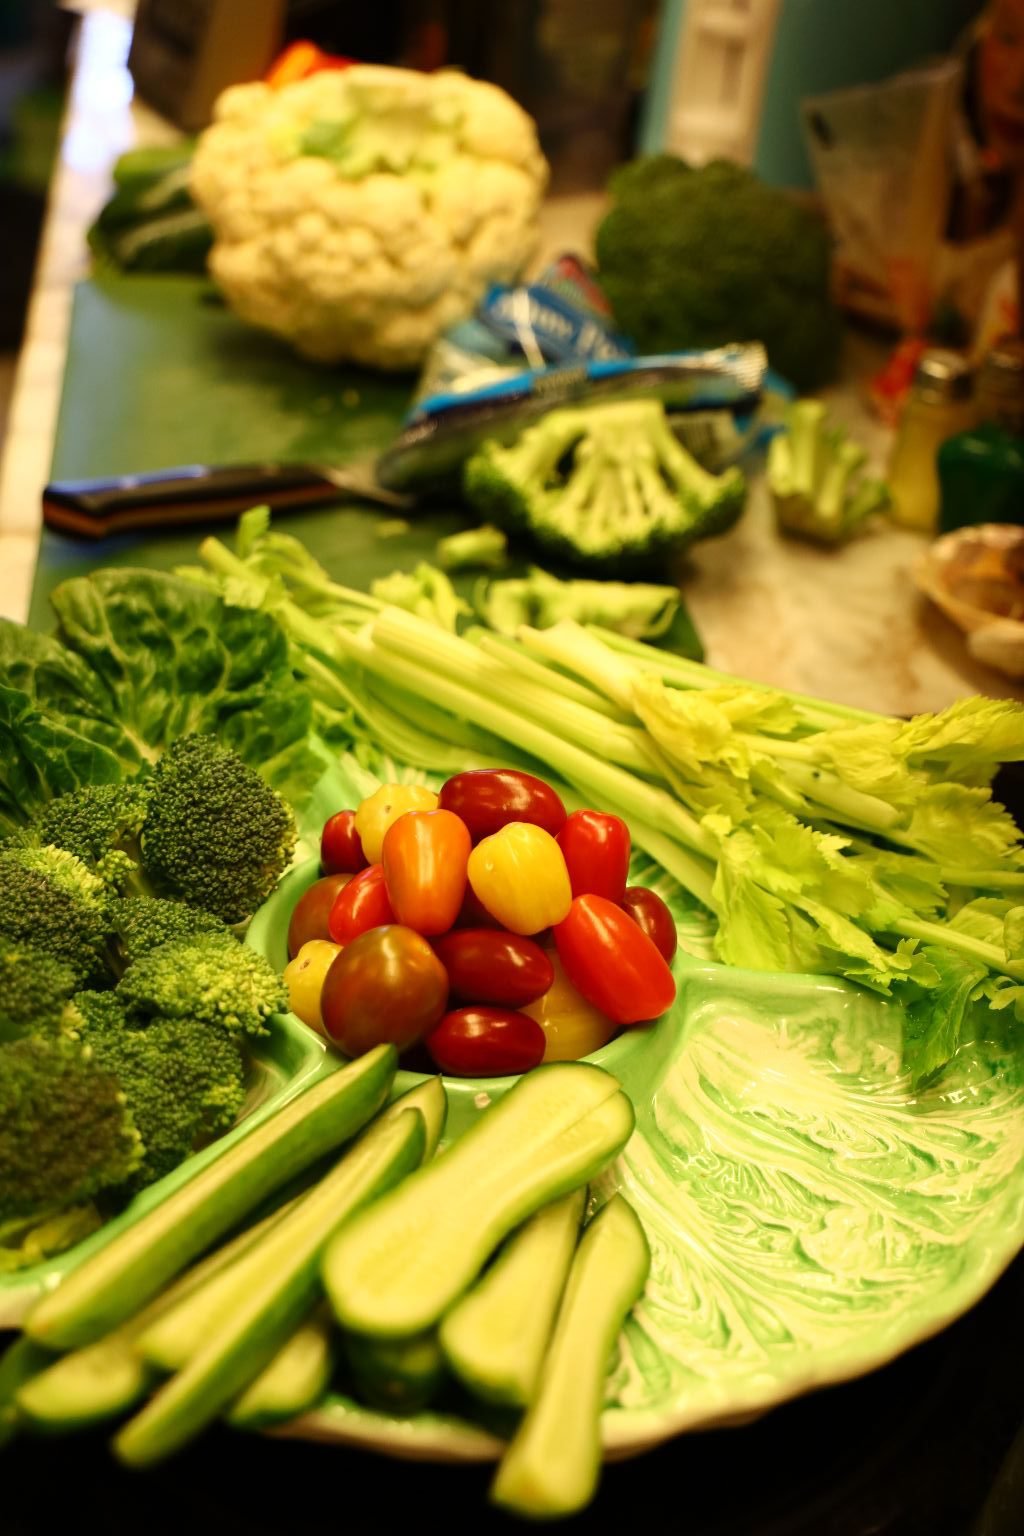

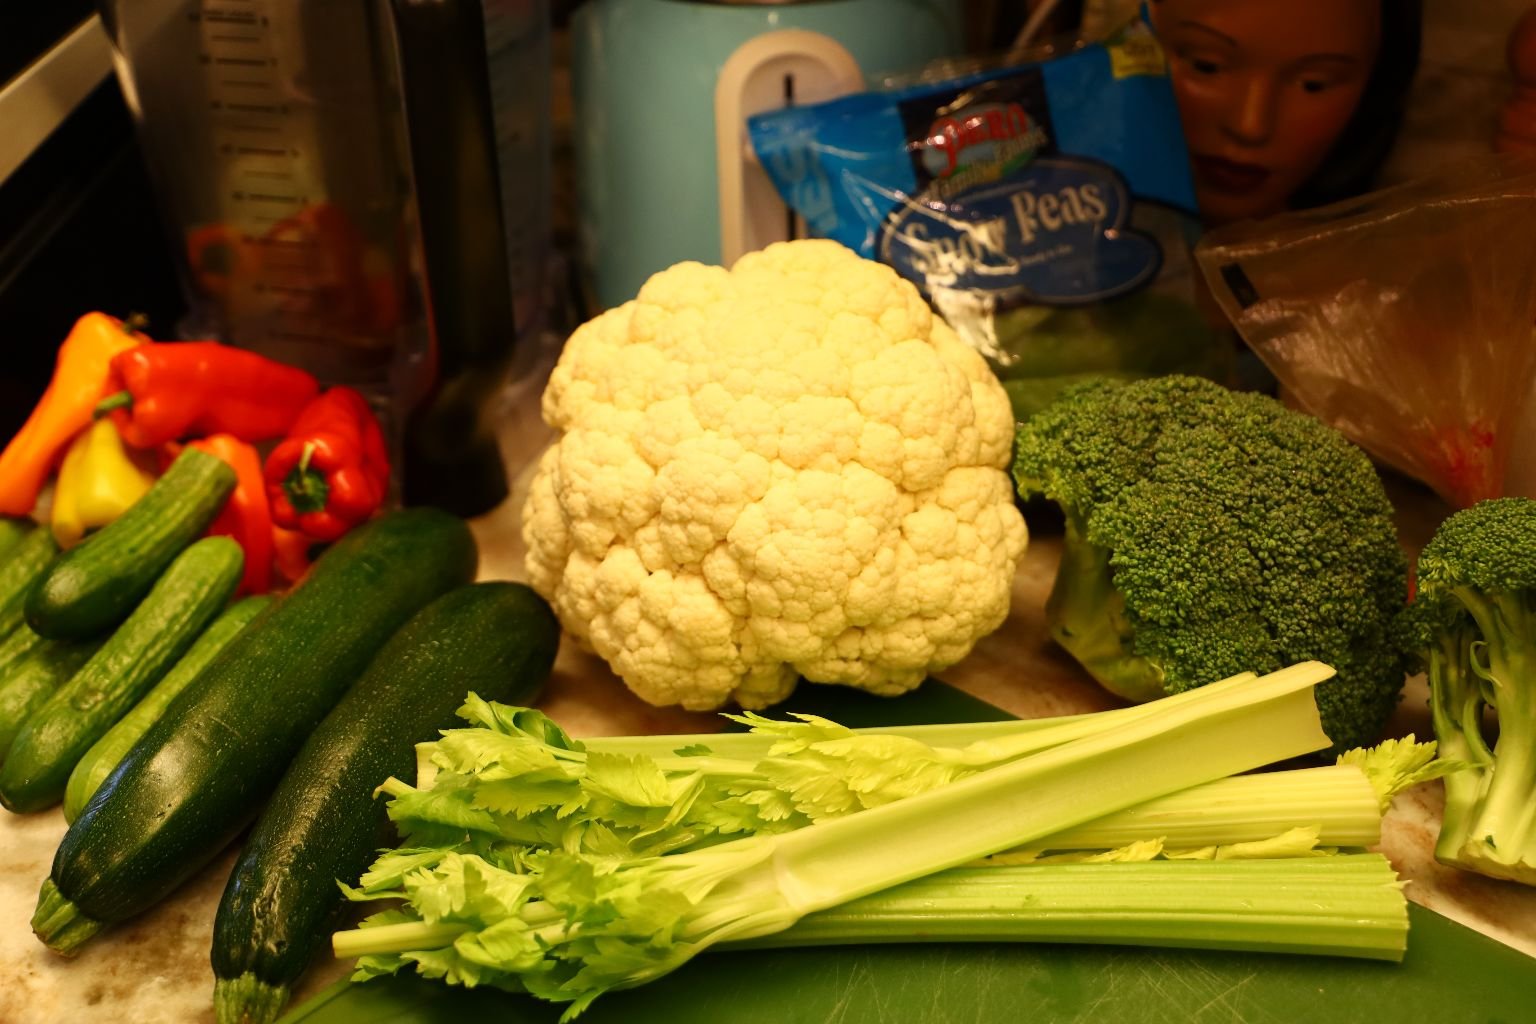
Here we chopped up some nice dipping veggies…. Celery, Cucumber, Cherry Heirloom Tomatoes, Sweet Peppers, Zucchini Squash, Broccoli, Cauliflower…
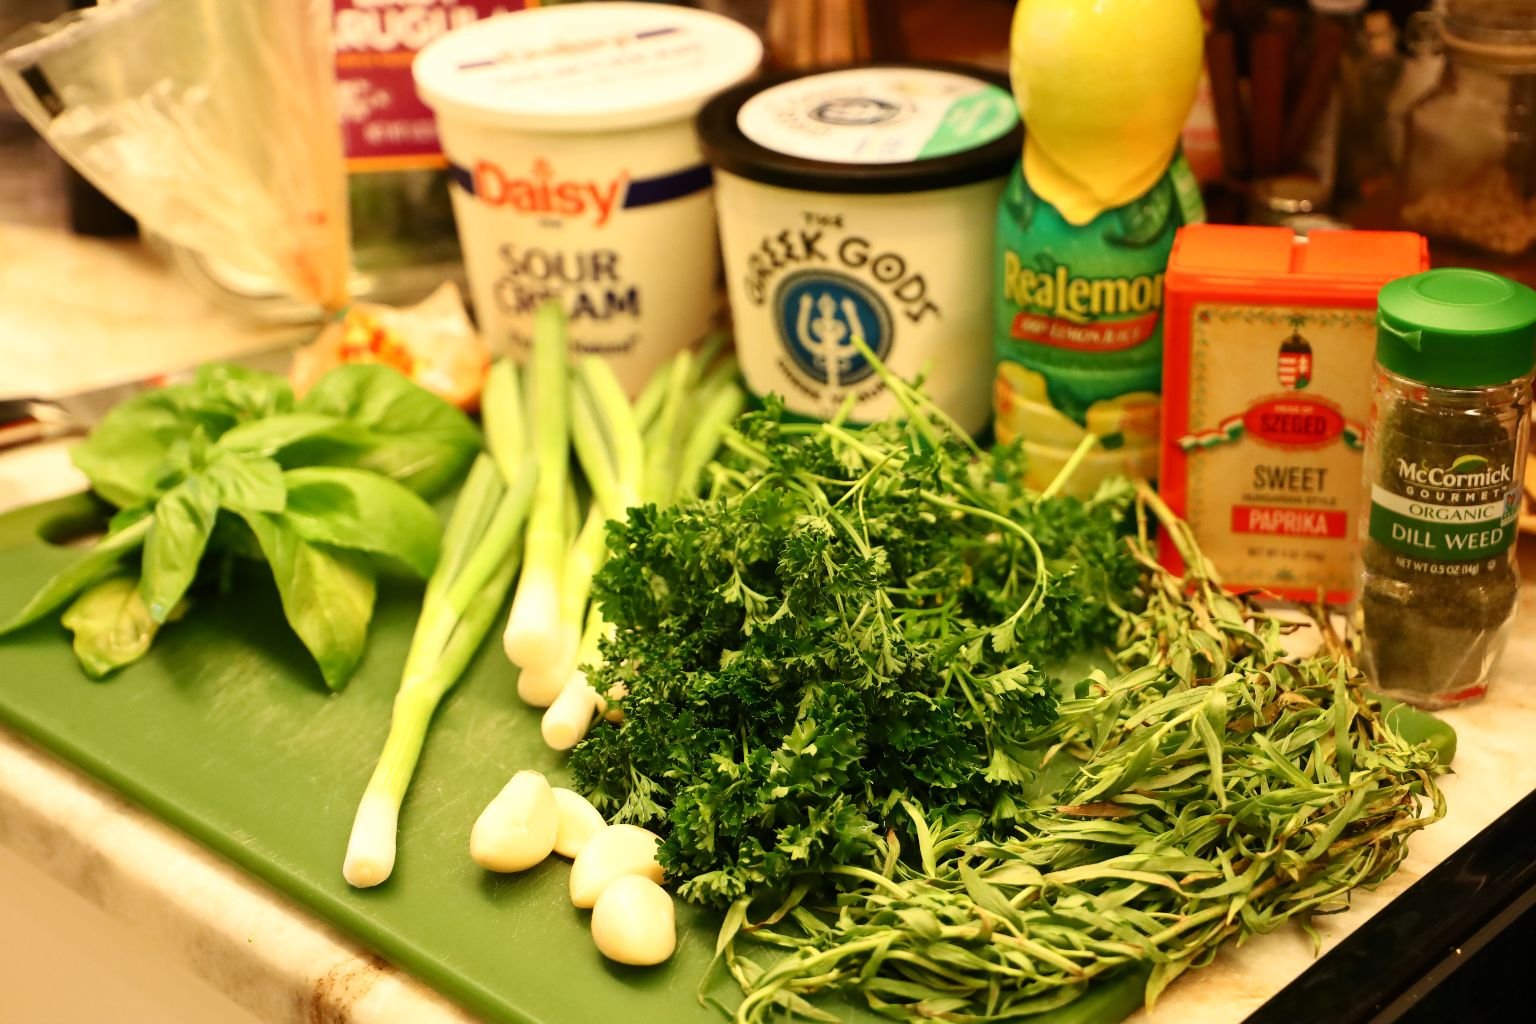
Here are many of the ingredients we used.

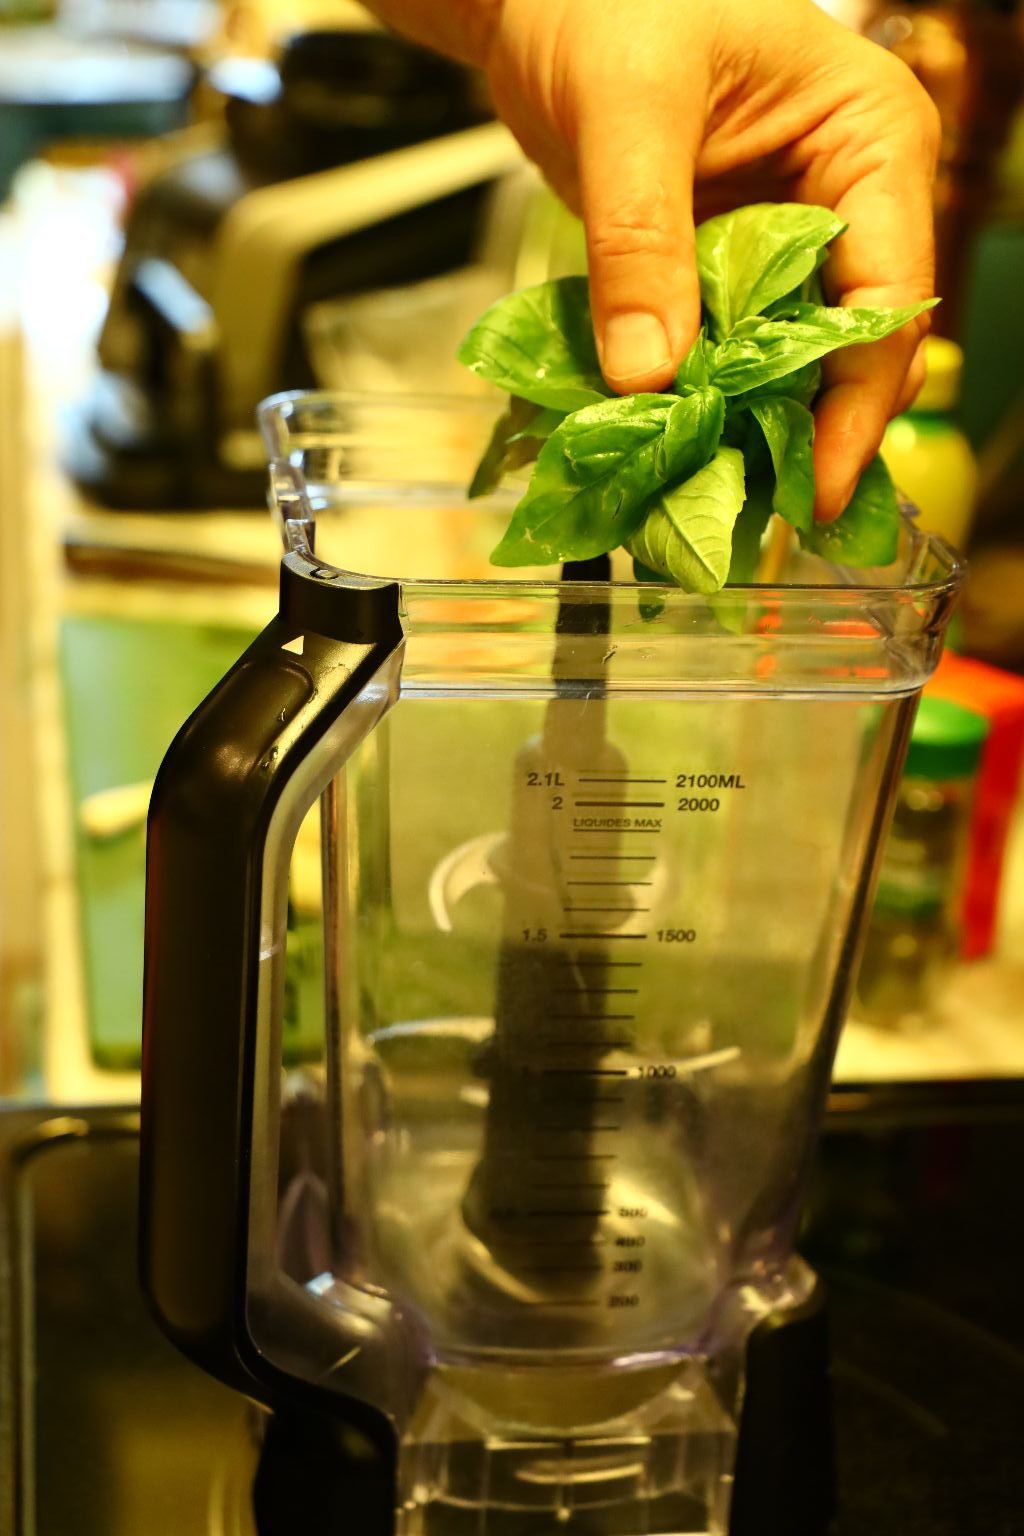
We started by placing the Basil in the blender…
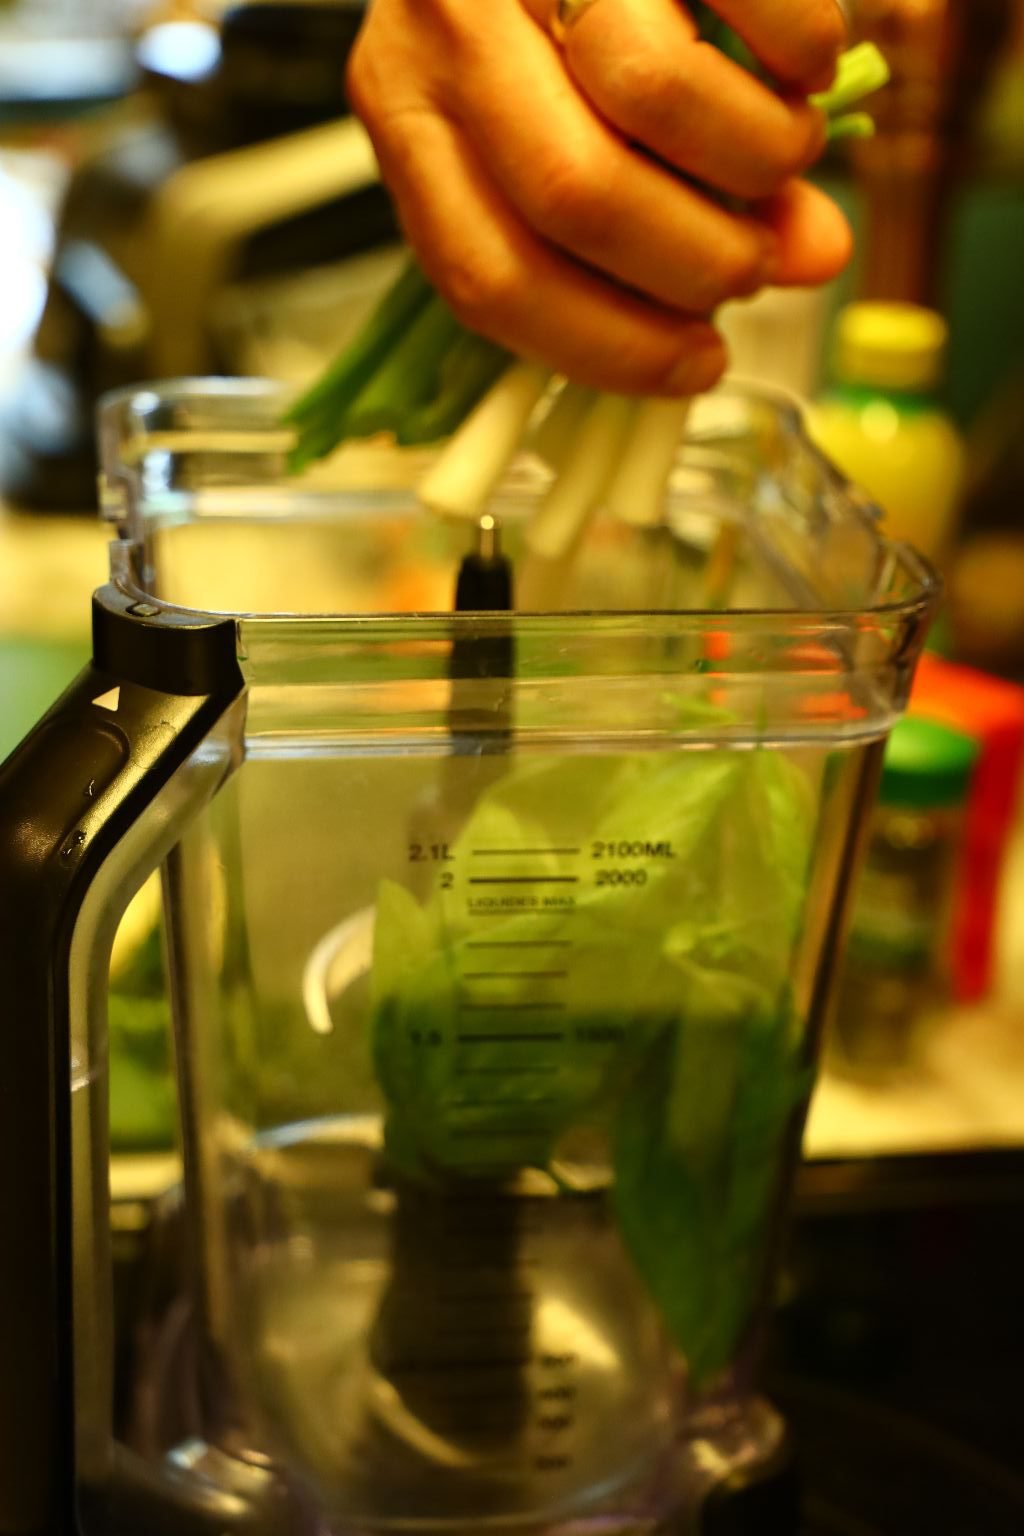


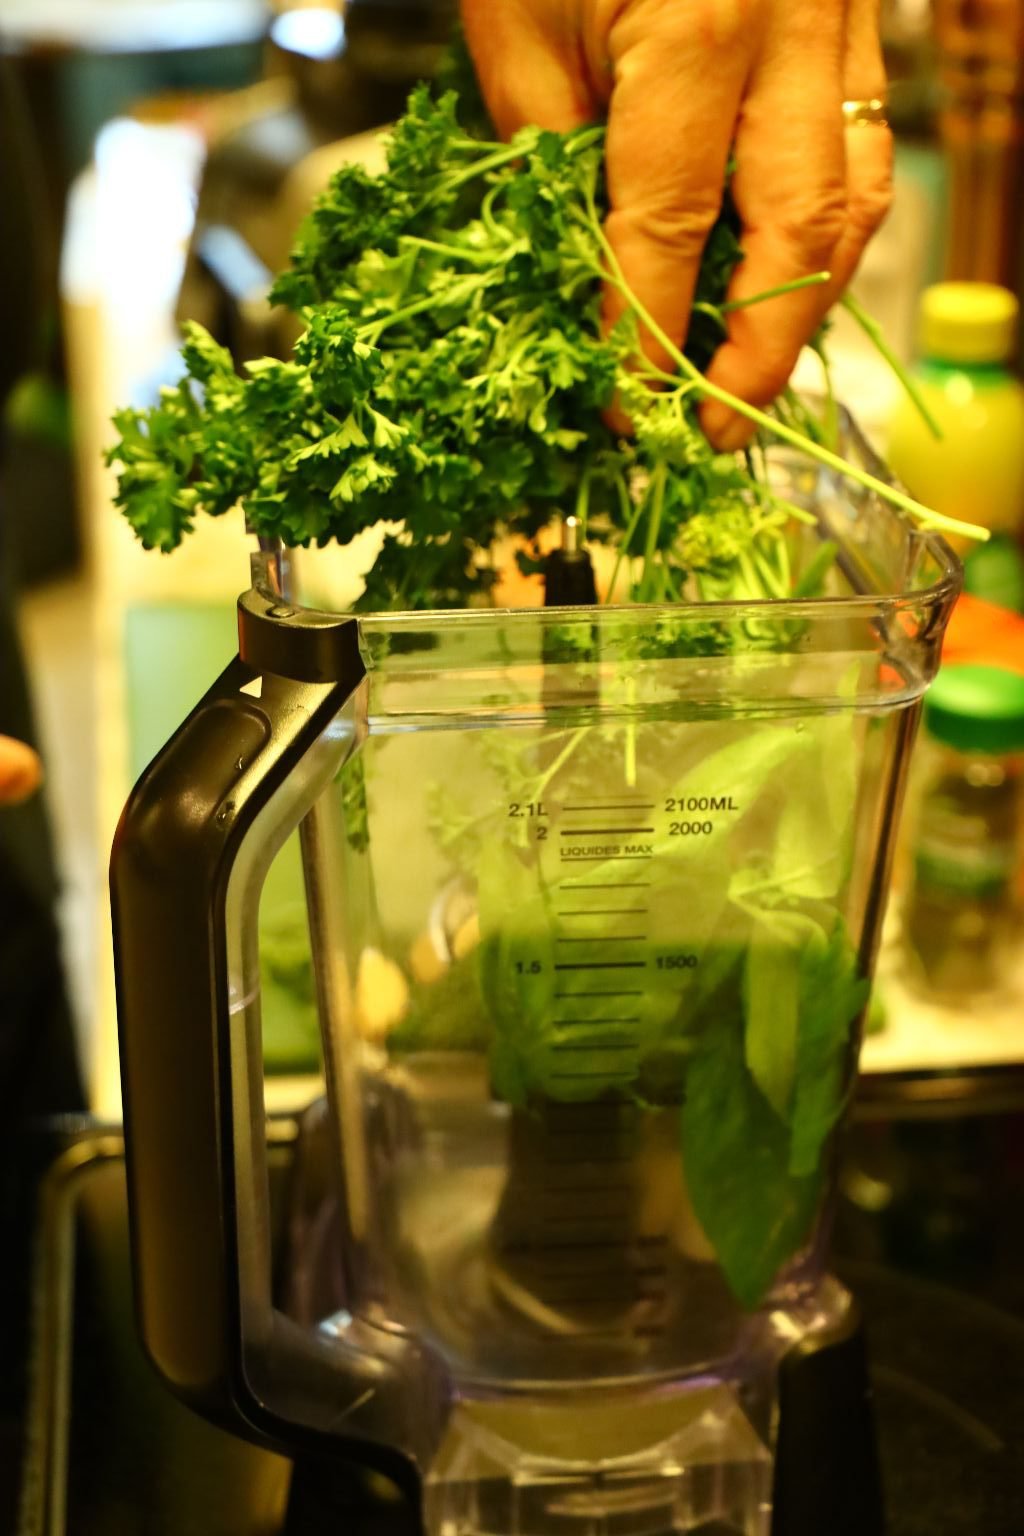
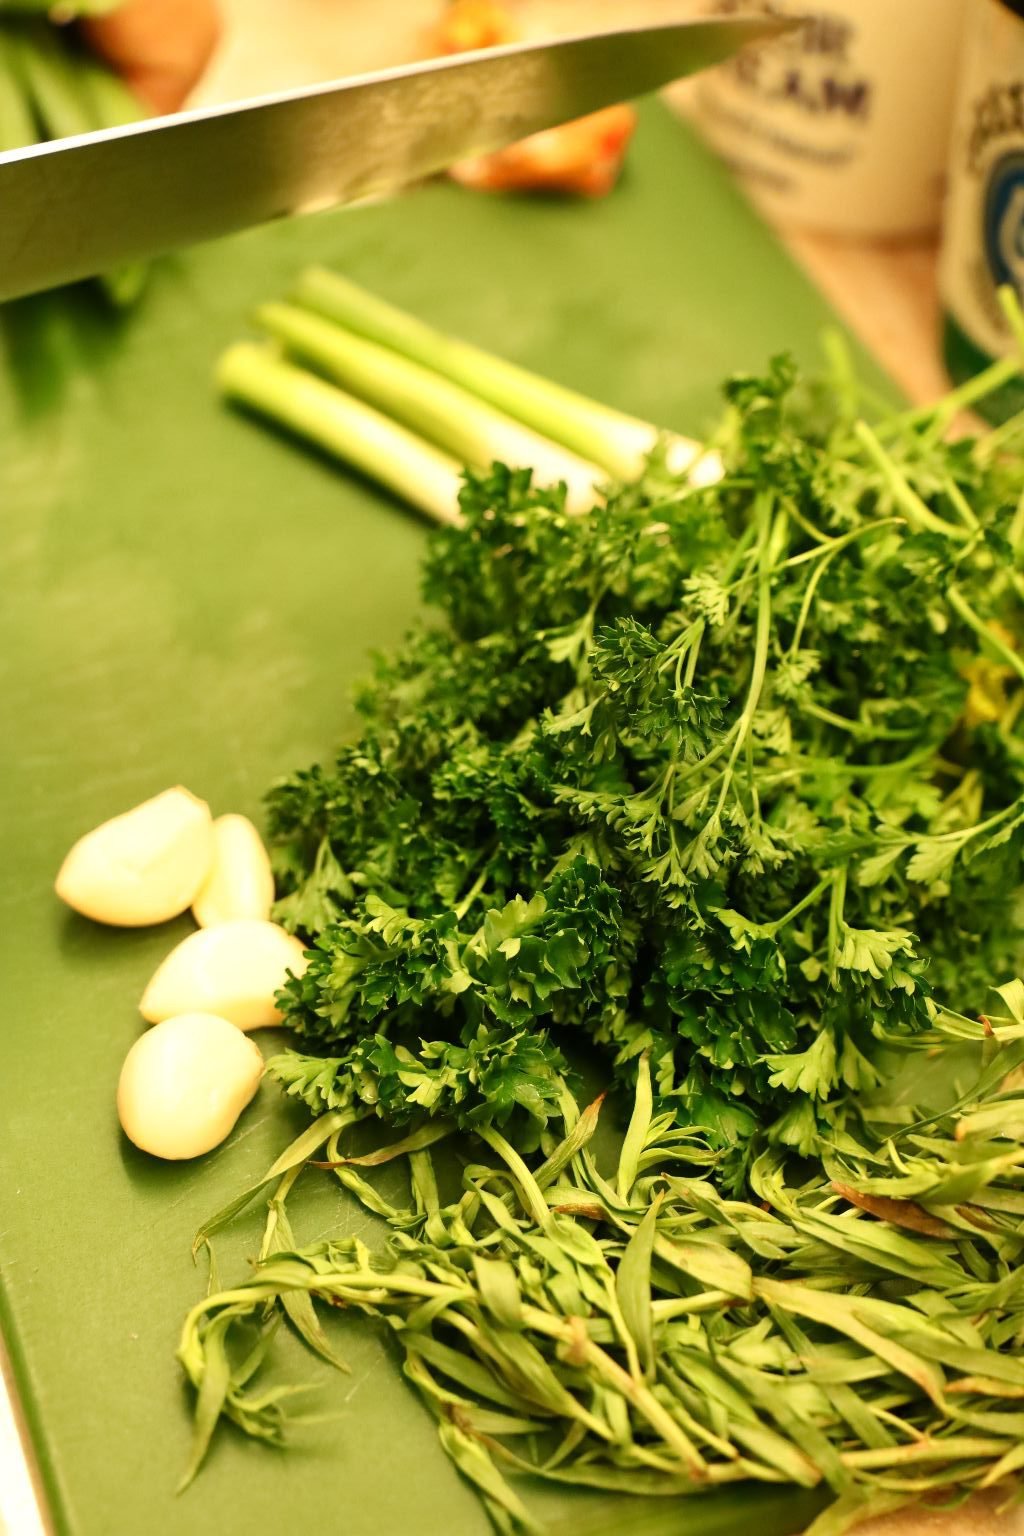
then the Spring Onions, Garlic Cloves, and Parsley.
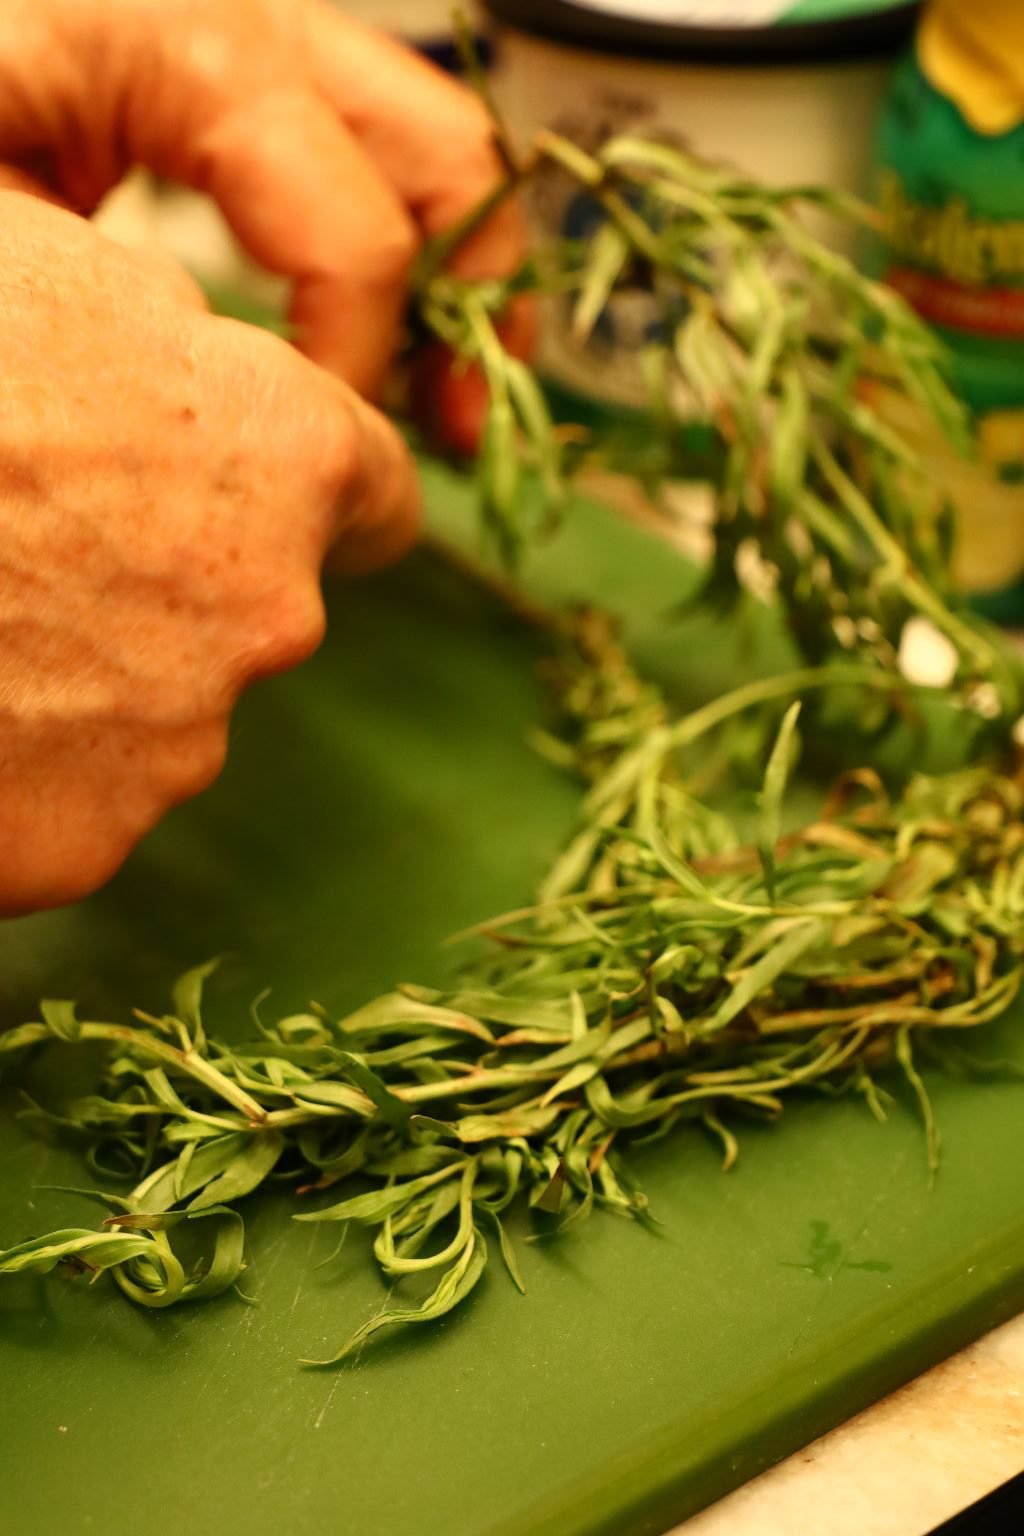

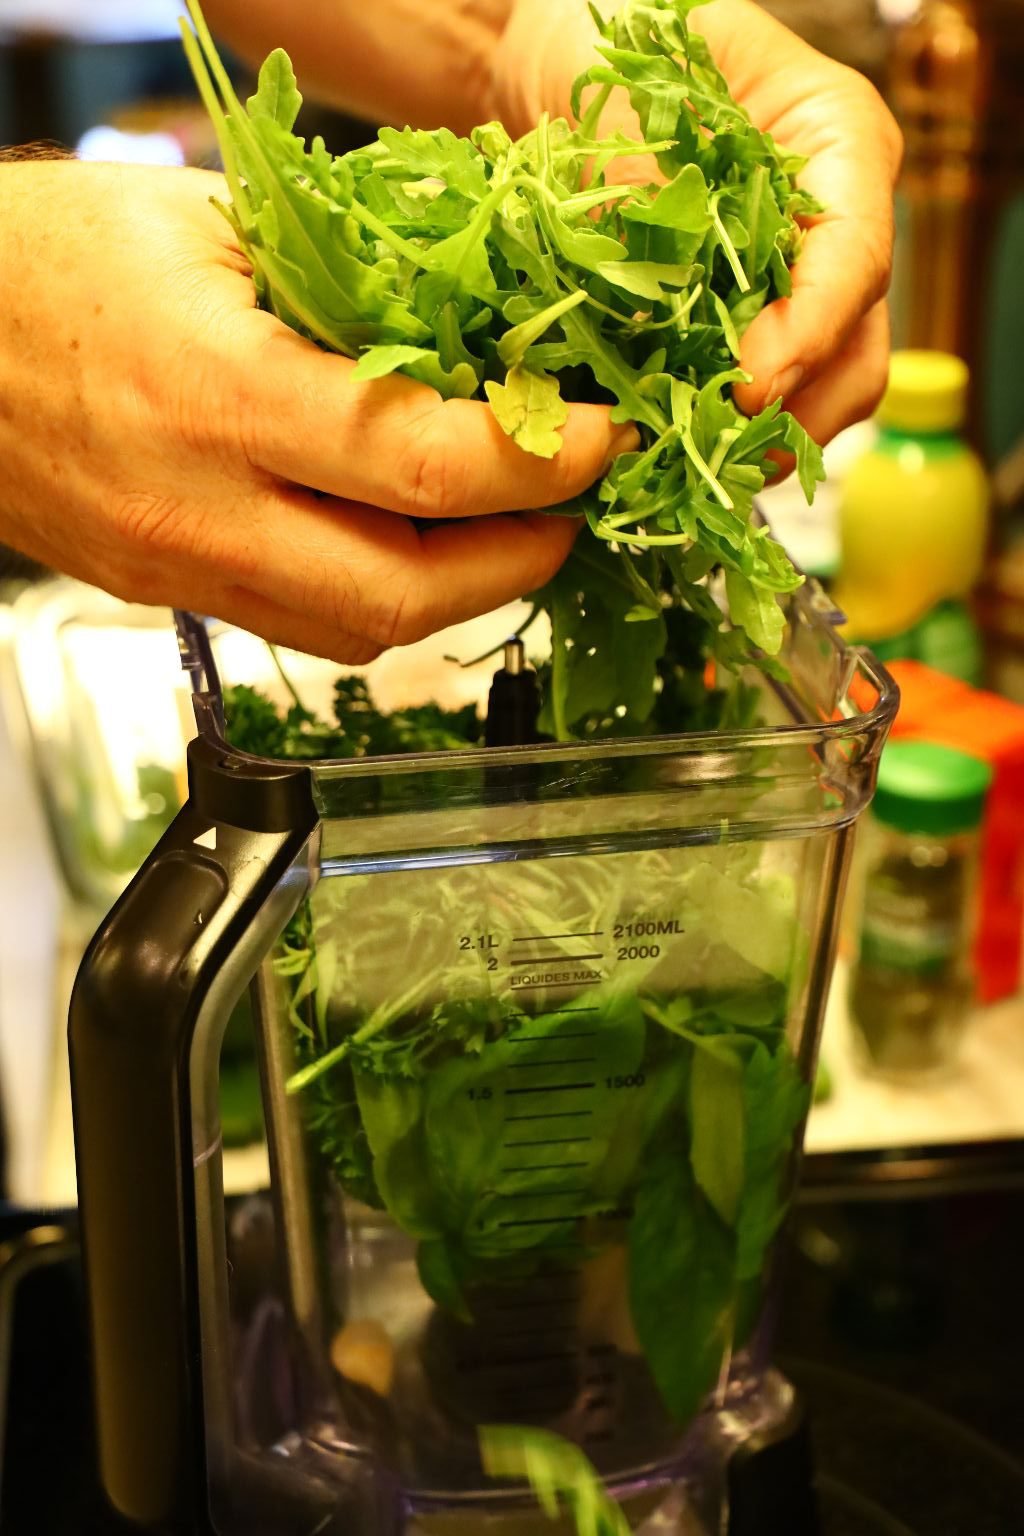
Now remove the fresh Tarragon leaves by pulling them down towards the base of the stem. Then add a few handfuls of your Arugula.
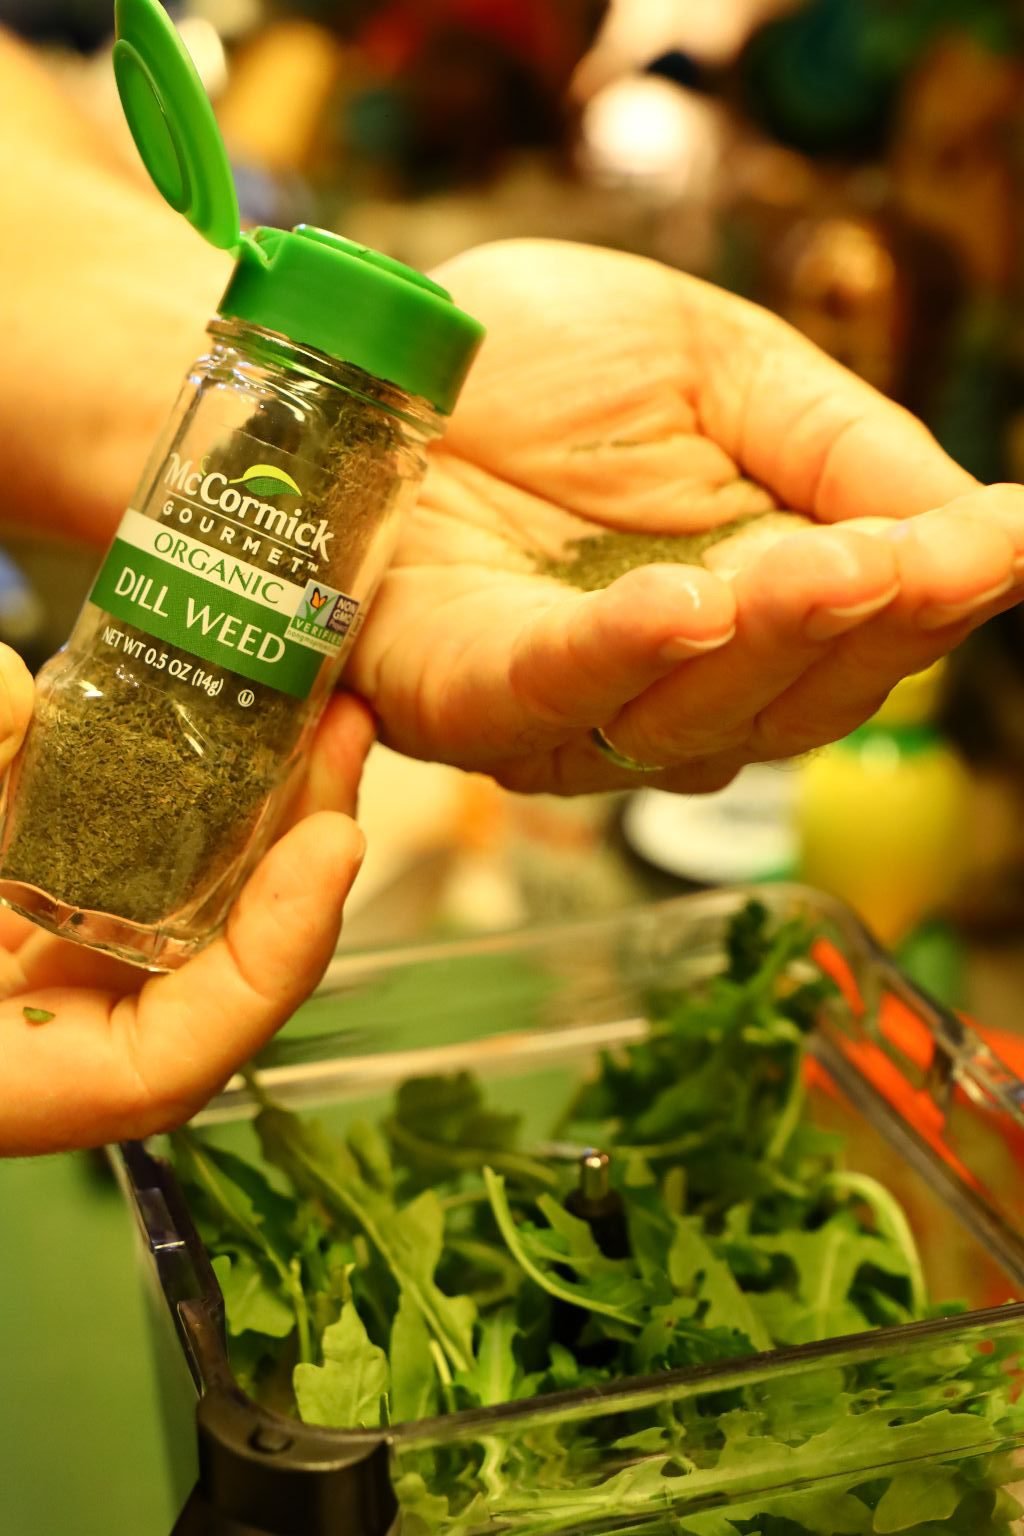

Now add your Dill Weed and Sweet Paprika to the blender.
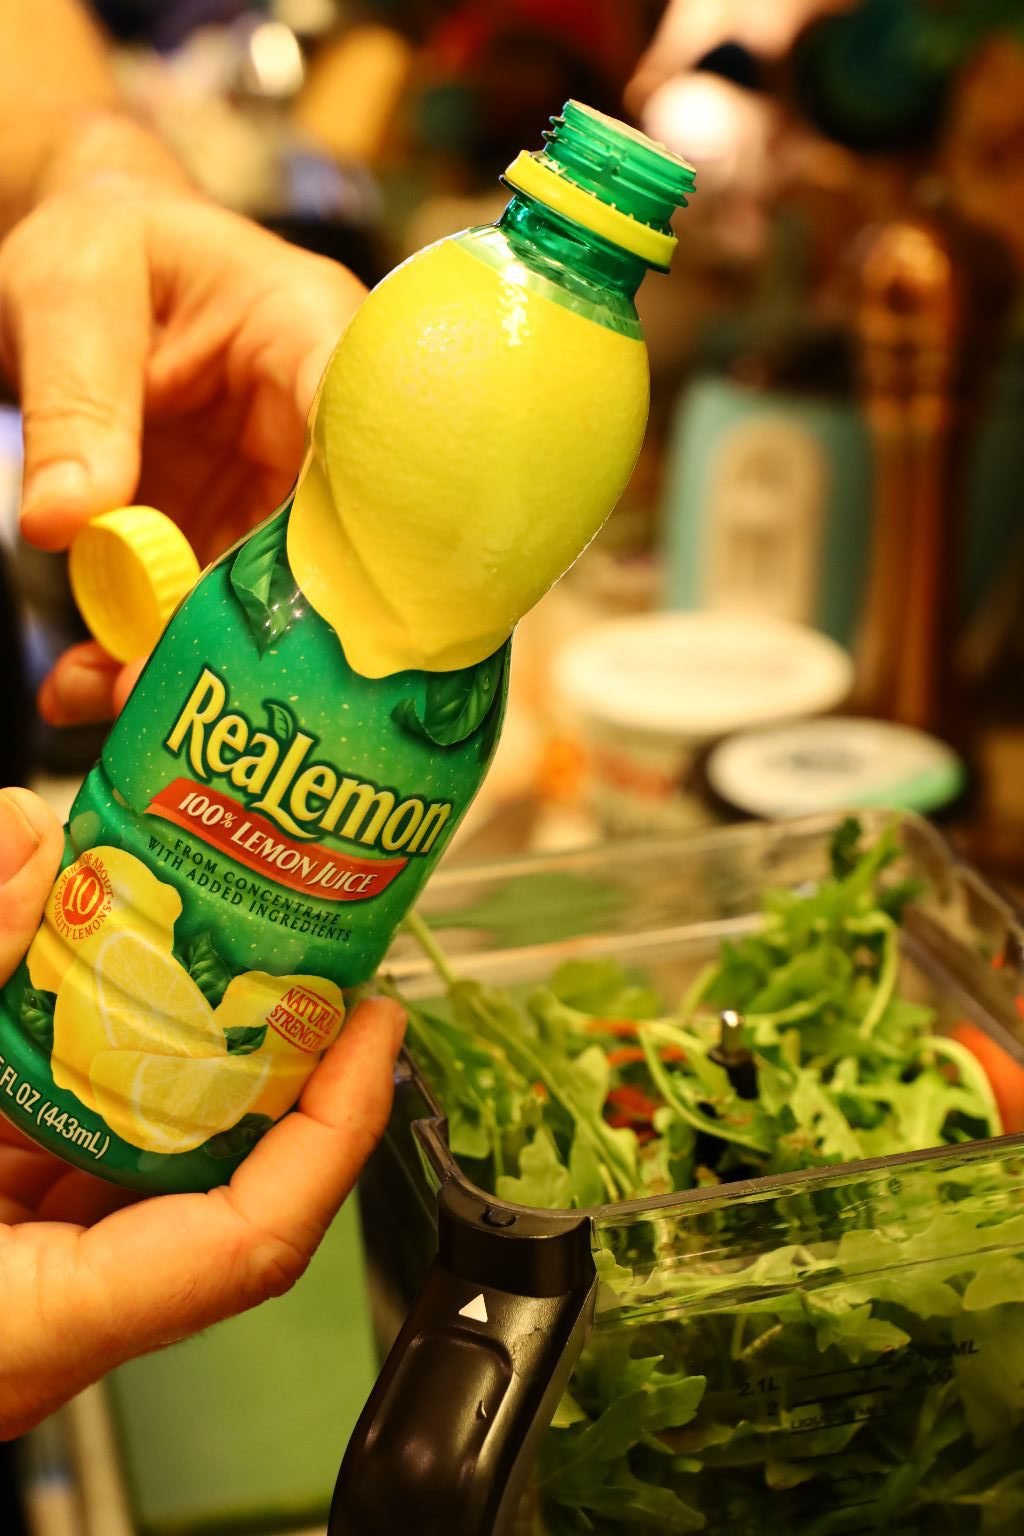

Then the Lemon Juice.


Add your Salt and Pepper to taste. We really like using the Hawaiian Sea Salt.


Here you can see all the beautiful herbs and other ingredients.

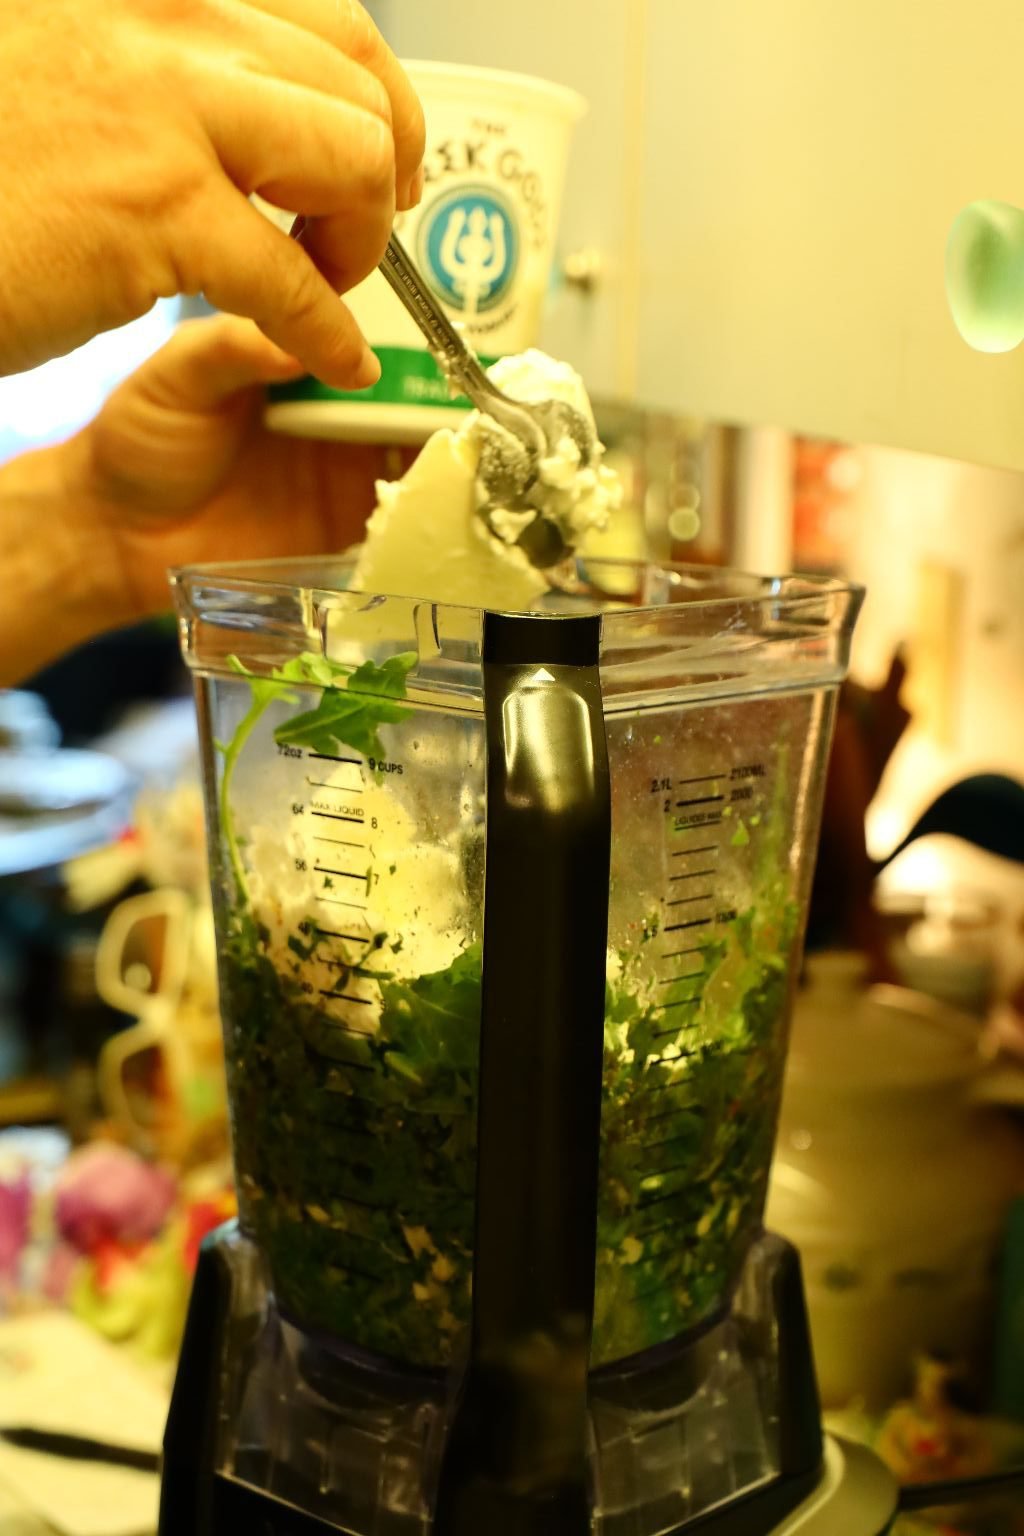
Add your Greek Yogurt to the blender…


then your Sour Cream.

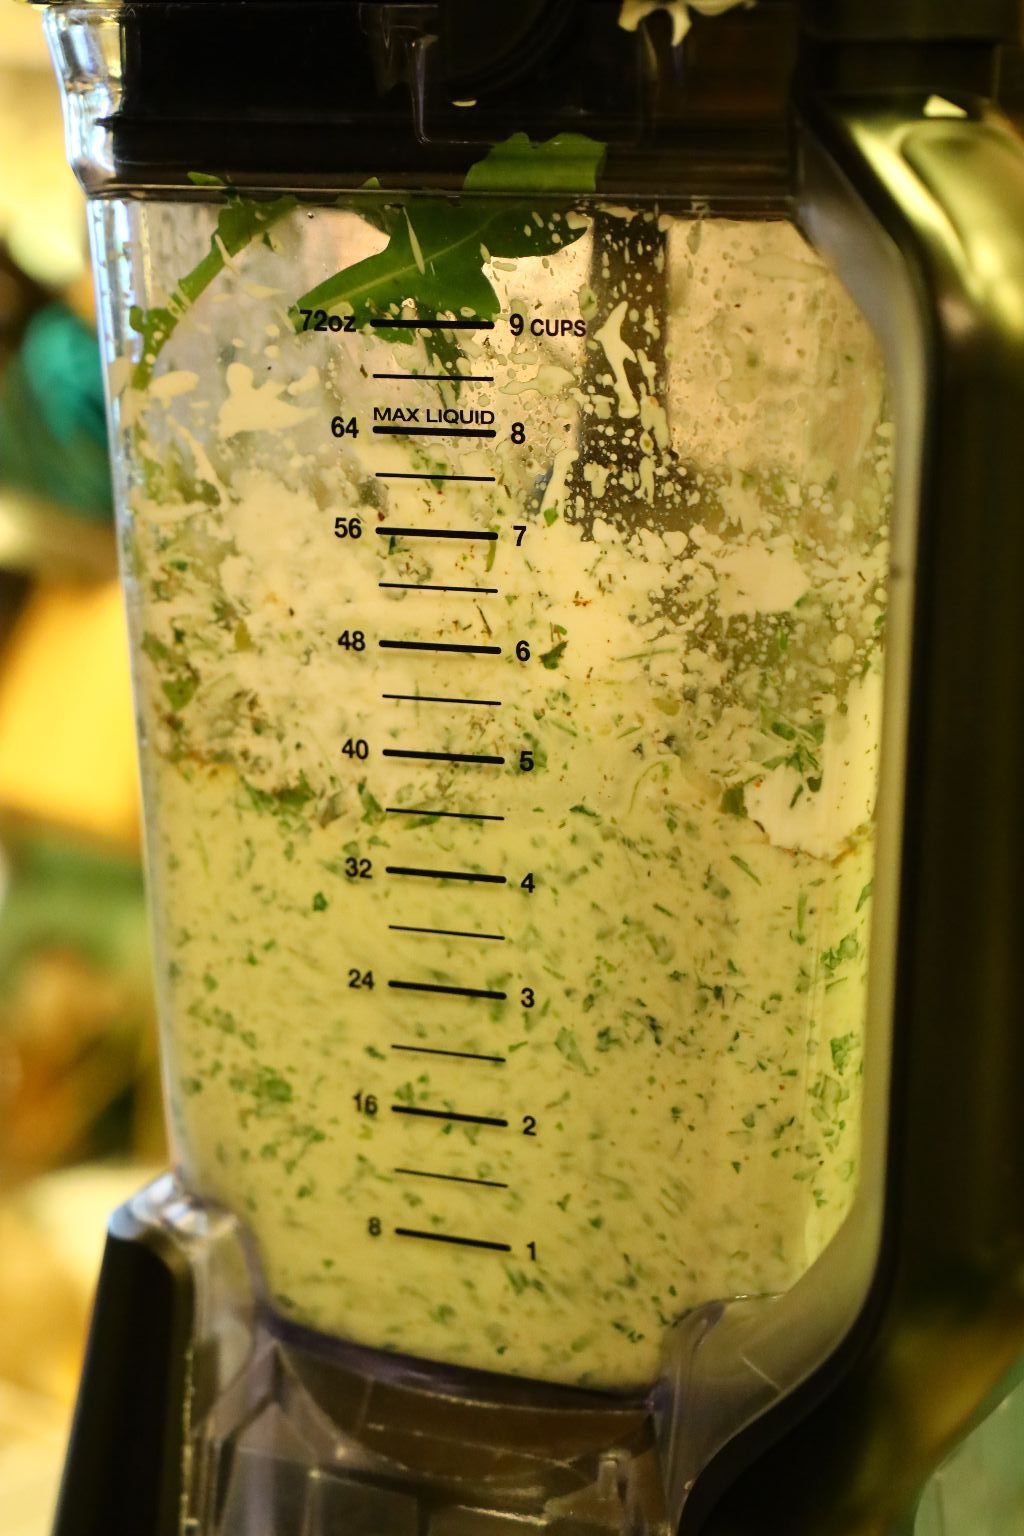
Turn the blender on high for about 45 sec. or so to mix all the ingredients well.


Taste the mixture and add more of Everything if needed!


We noticed the dip was a little runnier than we liked and needed a bit more lemon flavor.


Instead of adding more lemon juice we added Lemon Peel. We also felt the Ritz Crackers would soak up some of the excess liquid and give the dip some body as well as a bit of buttery flavor.


Run the blender more until it is at the consistency and taste you like.


When done, pour the dip into a nice bowl and chill in the refrigerator until ready to eat.
Here you can see, chilling the dip and adding the crackers made the dip nice and thick!
Delicious.
—————————————————————

Herb Sauce with Peas for our Red Lintel and Quinoa Pasta…

——————————————————-

Red Lentil and Quinoa Pastas
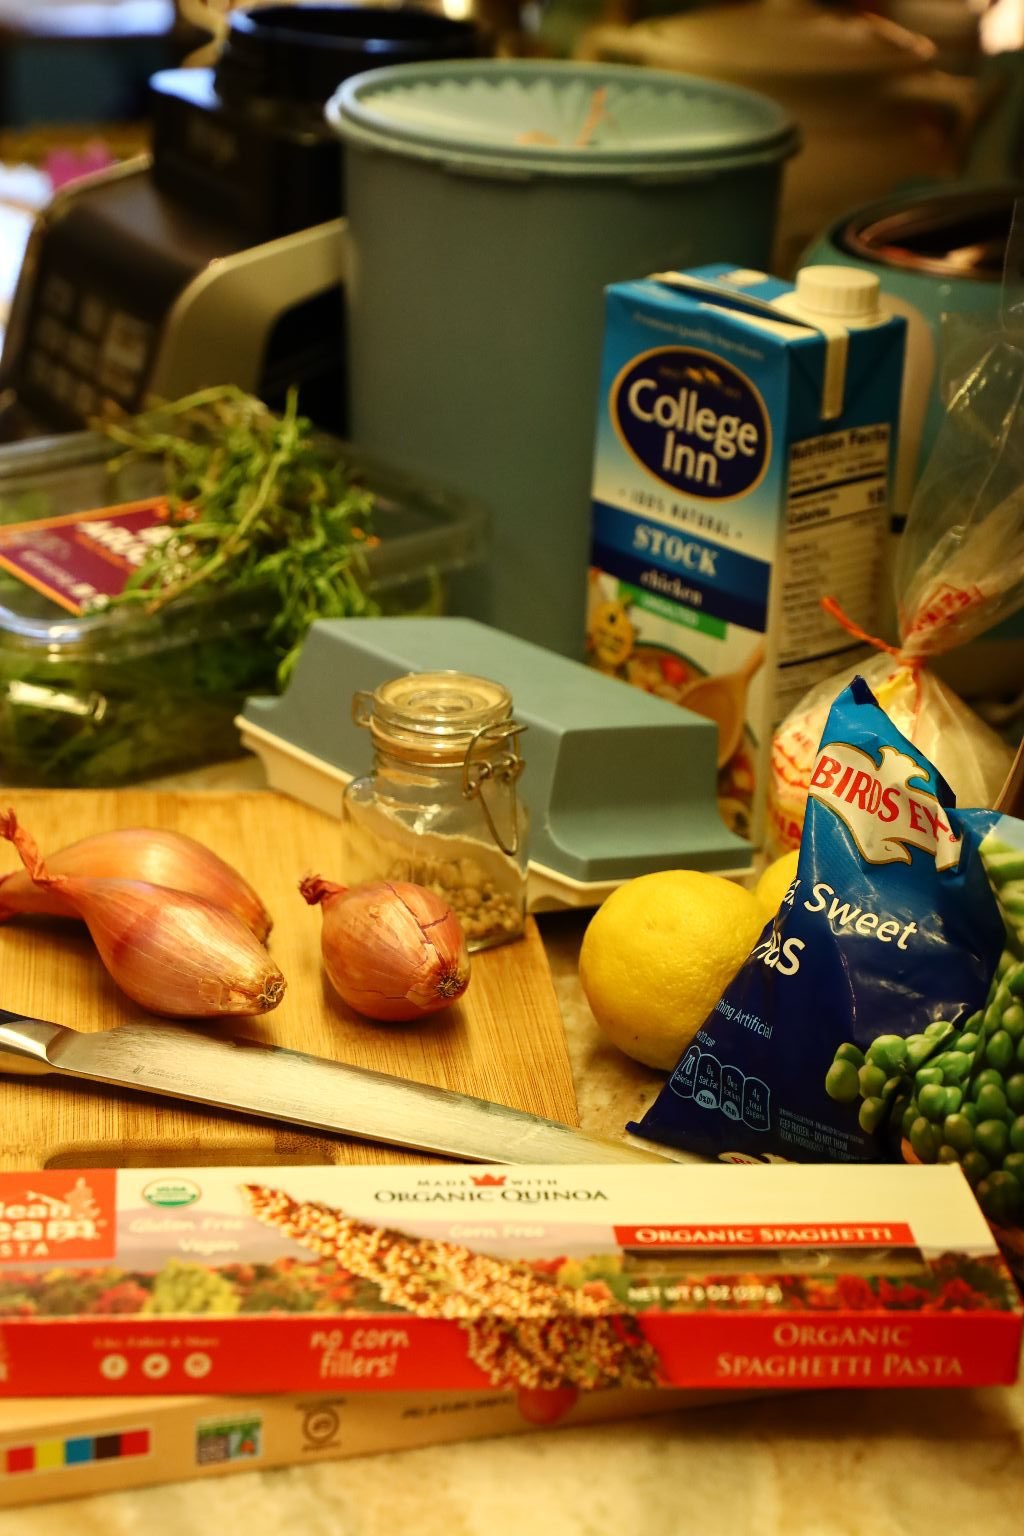
Ingredients:
1 Box Red Lentil Spaghetti
1 Box Chick Pea Spaghetti
3 Shallots – chopped finely
3-4 Garlic Cloves – chopped finely
5 Tbsp. Butter
Freshly Ground Black Pepper and Salt to taste
5-6 Whole White Pepper Corns
5 Tbsp. Flour
Garlic Flavored Olive Oil as needed
~3 Cups Chicken Stock
Juice of 1 Lemon
2 Tbsp. Fresh Tarragon Leaves
3 Tbsp. Fresh Oregano Leaves
1 Cup Frozen Peas
~2 Cups Vegetable Dip (made previously, see recipe above.)
———————————————————————–


Start by heating a large pot of water to boil the pasta in.


Peel and slice your Shallots

In a medium sized pot, begin to melt your butter.

—————————————————————-

Continue to slice your shallots finely.
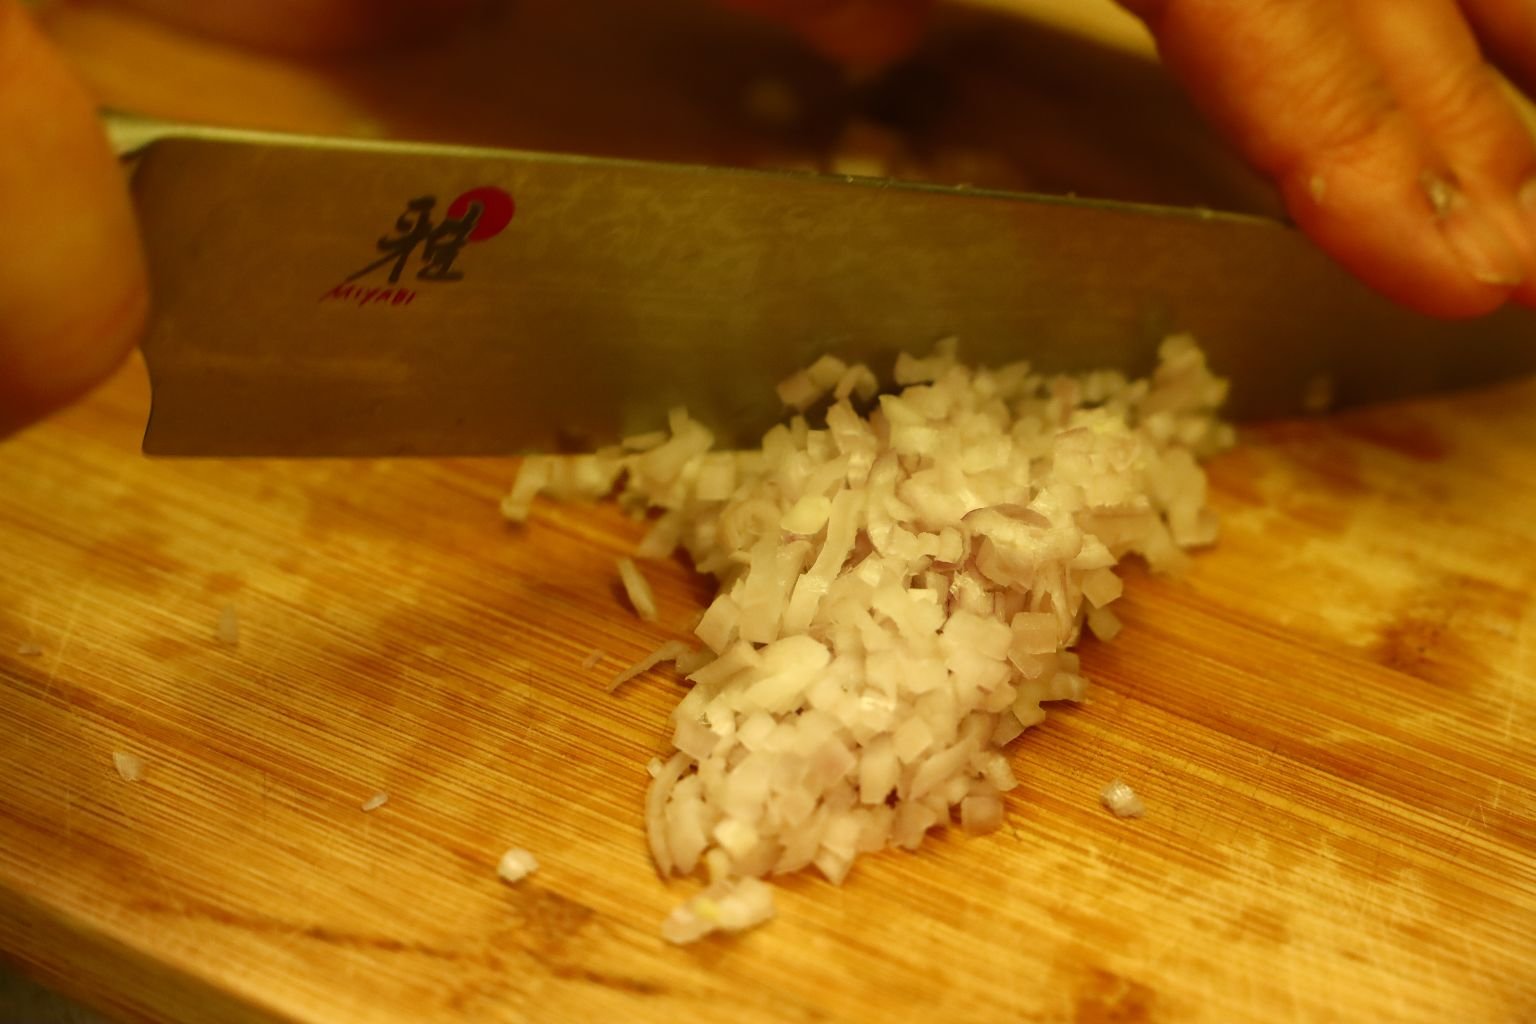

You can see, there we a lot of shallots to slice.
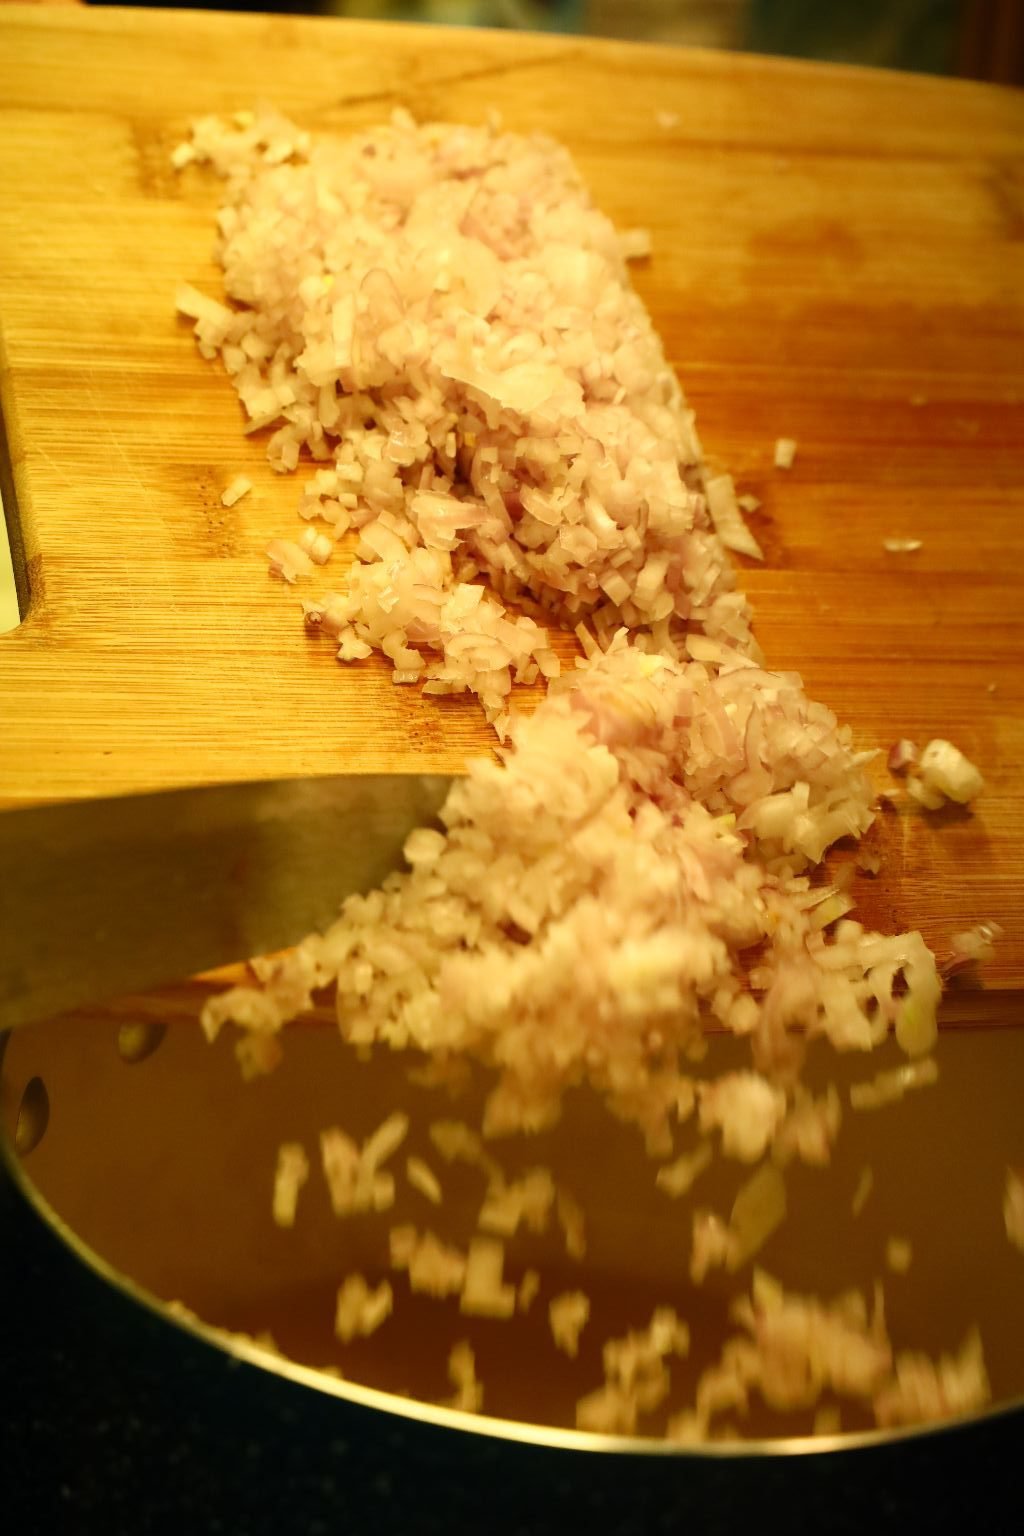
When your butter has melted, add all the chopped Shallots. Saute your shallots in the butter until softened… about 7 min.


Slice your Garlic…


Remember to stir your shallots!

Then chop the Garlic finely as shown. Add the Garlic to the Shallots and continue to saute the mixture.


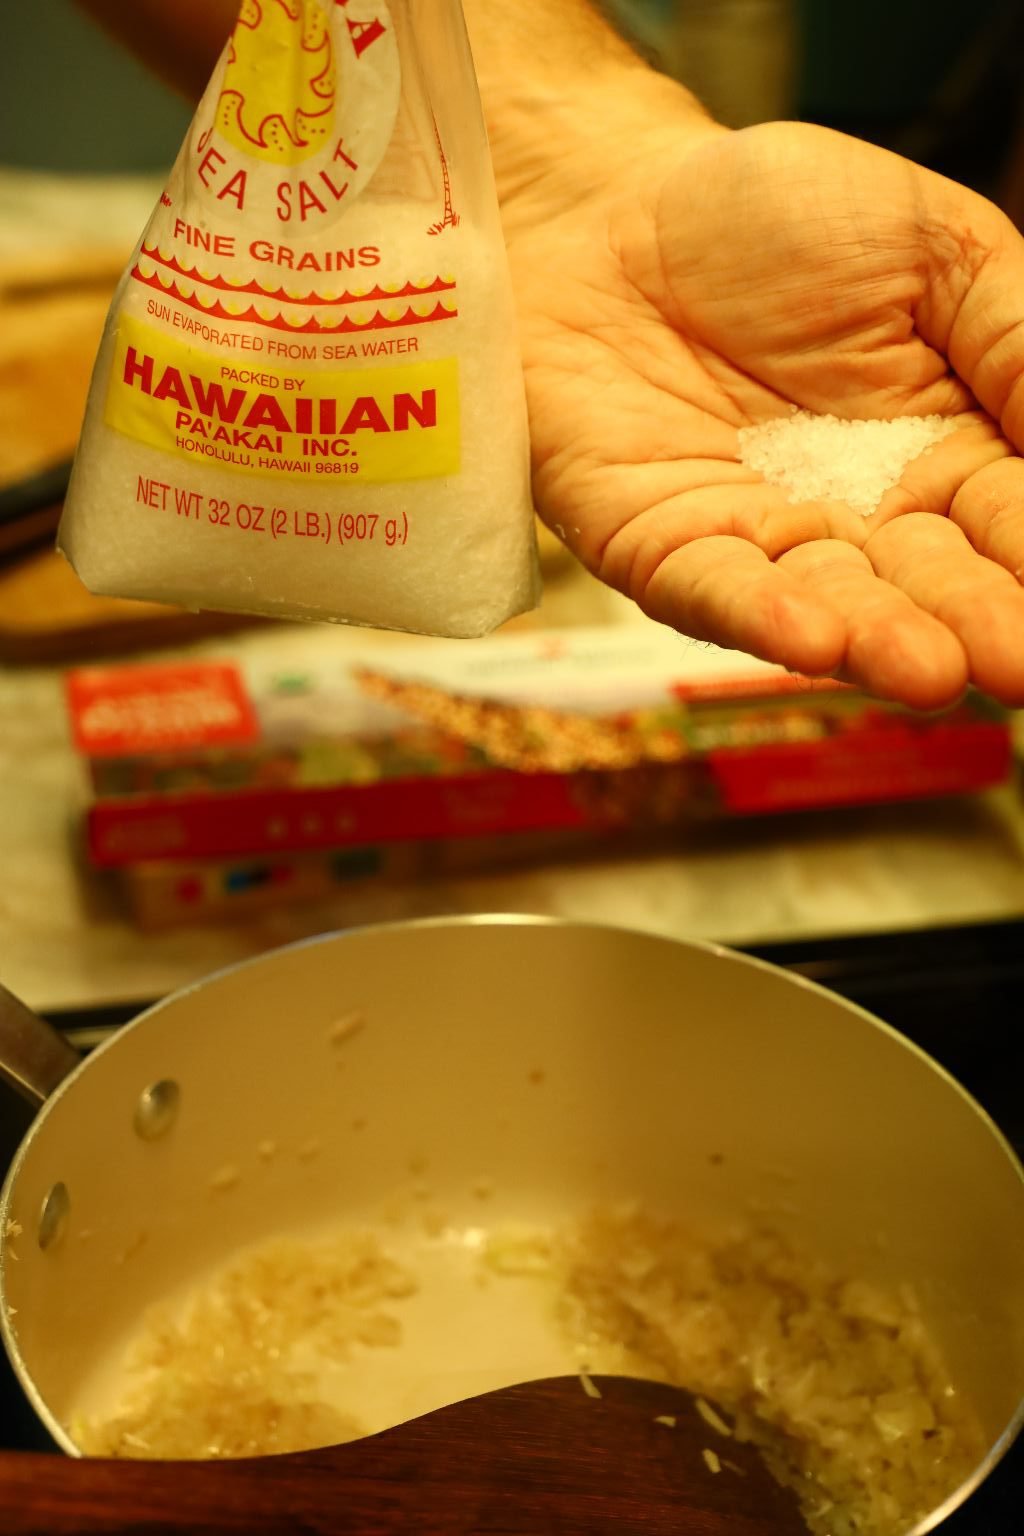
Add your Freshly Ground Black Pepper, your Whole White Pepper Corns and Hawaiian Sea Salt to the Shallots.
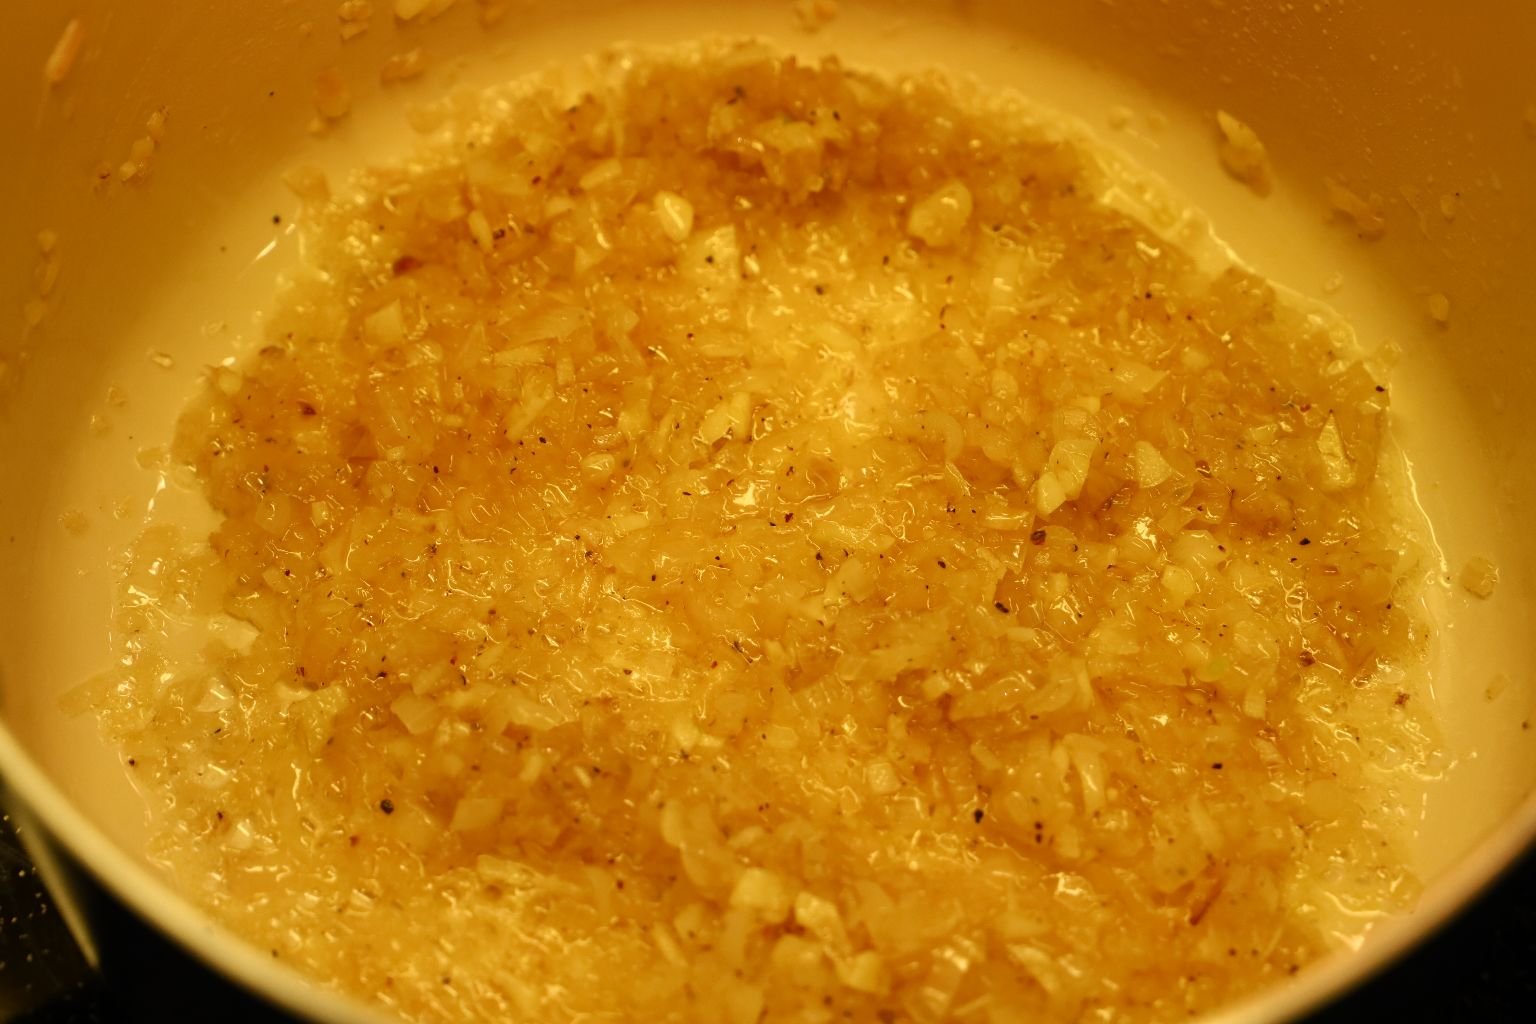
When your Shallots and Garlic are cooked to your liking…

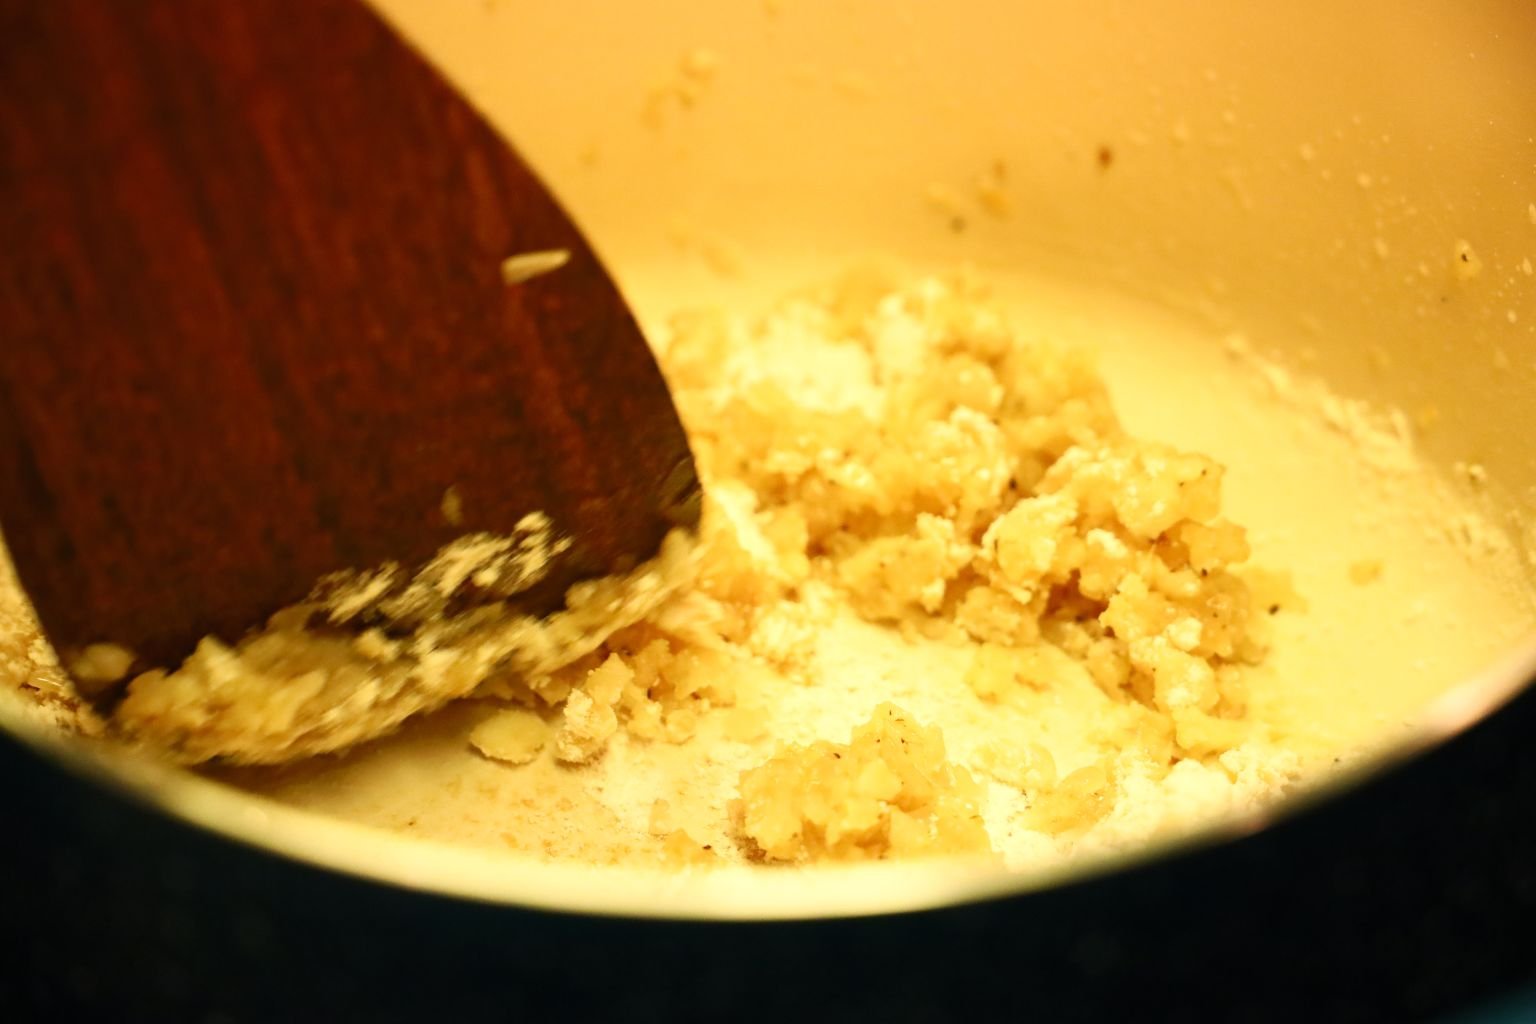

add your Flour to the pot and stir everything well. Here you can see the mixture doesn’t look like wet sand so….

I add a touch of Garlic infused Olive Oil …


and more butter until the Rue looks like wet sand. Cook this mixture for about 5 min. on low heat to get rid of the flour taste and to slightly give the Rue a bit of color. I have seen people cook the onion and garlic in a separate pan and cook the Rue by itself. Then they add the mixtures together after the Chicken Stock is add. I don’t like messing up the extra pan and I see no reason for not making it the way I did.


Now, add your Chicken Stock to the Rue starting with about 2 Cups worth…mixing it in well. Now you have a Veloute Onion Sauce.

Add more Chicken Stock, when the stock is absorbed until it is at a nice consistency.


To enrich the sauce… add your fresh Lemon Juice…

—————————————————————


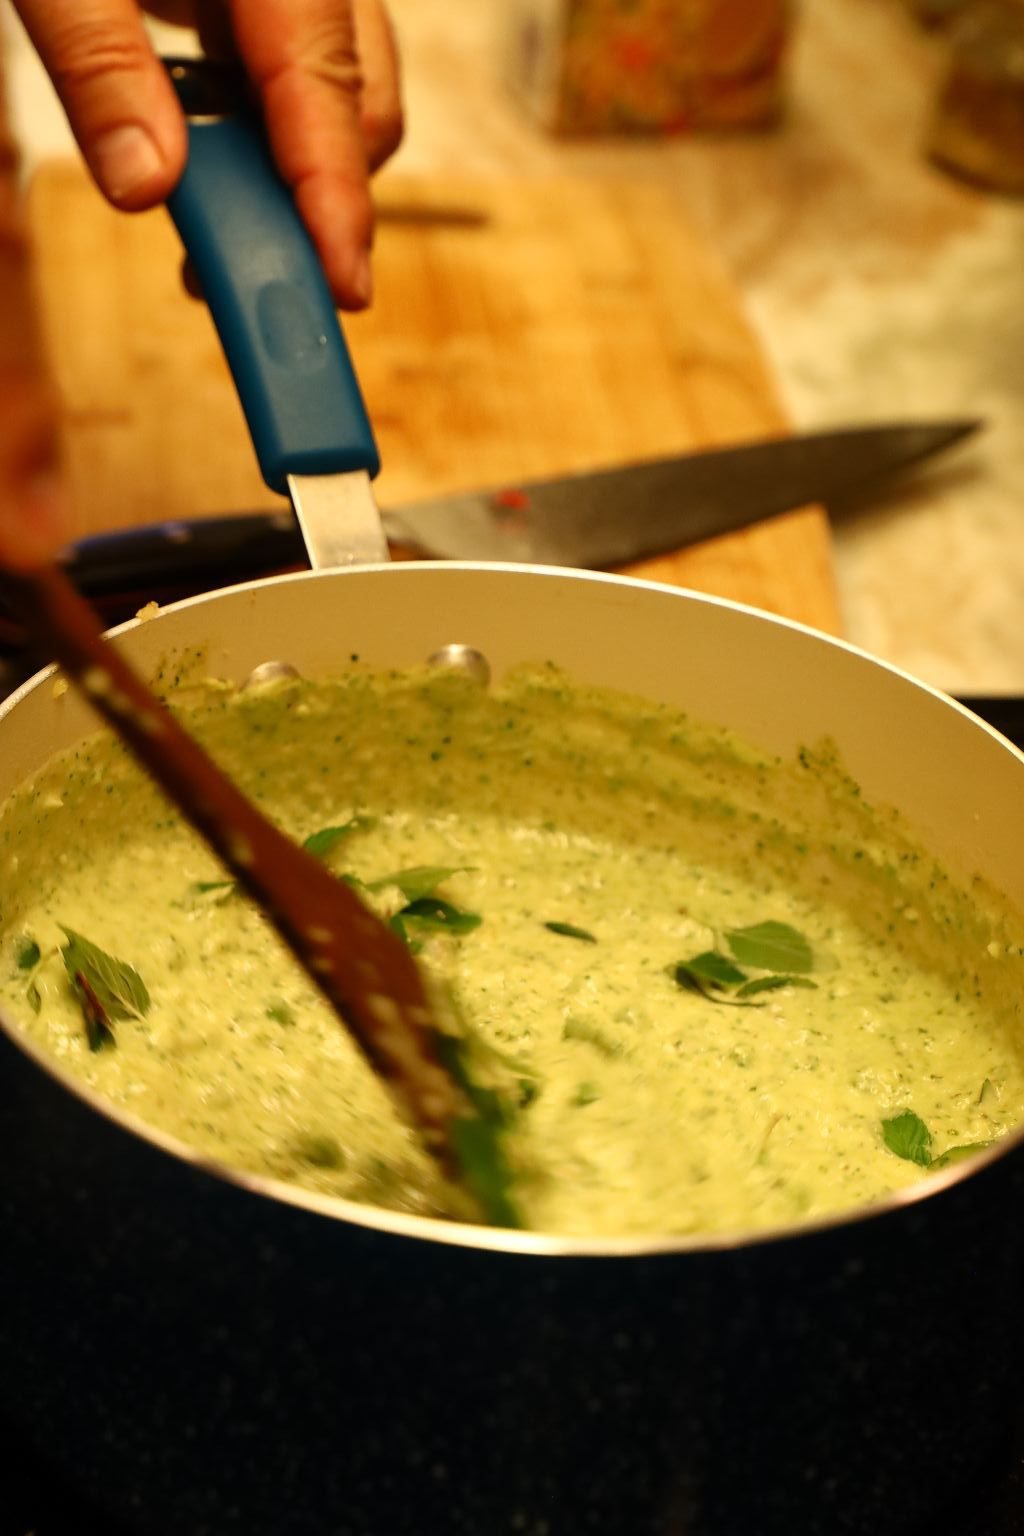
Then add your Tarragon, Oregano, and Frozen Peas to the pot.


Stir the mixture well.

Here we thought the taste of the previously made vegetable dip (from above) would go nicely with the pasta…

so we added some of it to the sauce.


Mix all the ingredients well as shown.
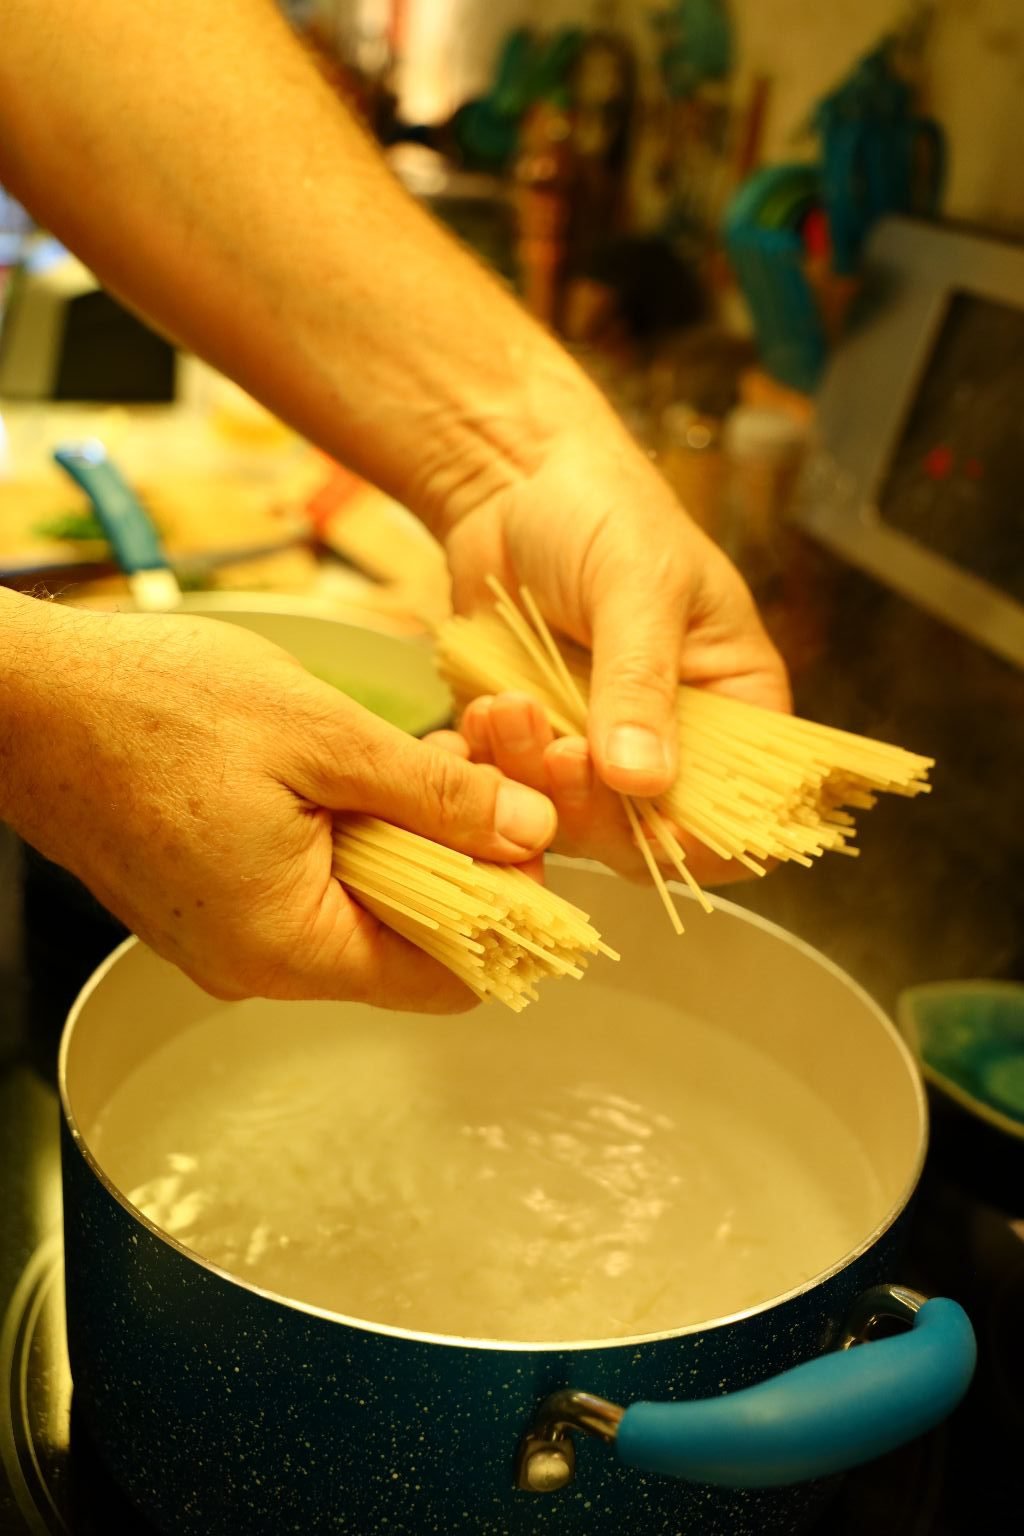


When your water is at the boil, add your pasta and cook as directed.

The sauce tasted amazing!


After about 8 min. the pasta was ready… cooked to al dente with just a little bite to the pasta.

Turn off the heat and add your Fresh Herbs that you have left.

Stir the ingredients well and serve immediately!
This was such a wonderful meal and will be on a repeat through time.
——————————————————–

Excellent Leftovers!
Just heat up in the microwave.
—————————————————————
Our Herbal, Lemon, and Nut Cheeseball
I wanted to make something special to eat in my herb garden. I wanted to incorporate many herbs along with some nuts and seeds. I wanted it to be healthy and tasty. I believe this is it!
To be eaten on a slice of Sunflower Seed Bread with a Shiso Herbal Leaf and some Sunflower Seeds.
——————————————————–

The Ingredients:
16 ounces Mascarpone Cheese
8 ounces Gruyere Cheese, Grated
3-4 ounces of Kerrygold Reserve Cheddar, Grated
(You can use any cheeses that you prefer.)
1/2 Cup Pistachio’s, Chopped
1/4 Cup Sunflower Seeds
2-3 t. Lemon Peel
Freshly Ground Black Pepper to Taste
Fresh Herbs, Chopped, Shredded, Torn or Plucked
I used Basil, Sage, and German Thyme
(Everyone should just add as much or as little as they like. Tailor this to your own tastes.)
———————————————–
To Garnish: Place the Cheeseball on a bed of Herb Leaves (I used Shiso) and Lemon Slices.
Sprinkle with some Sunflower Seeds.
Try eating the Cheeseball on a slice of Sunflower Seed Bread, or even an Herb Leaf.
——————————————————
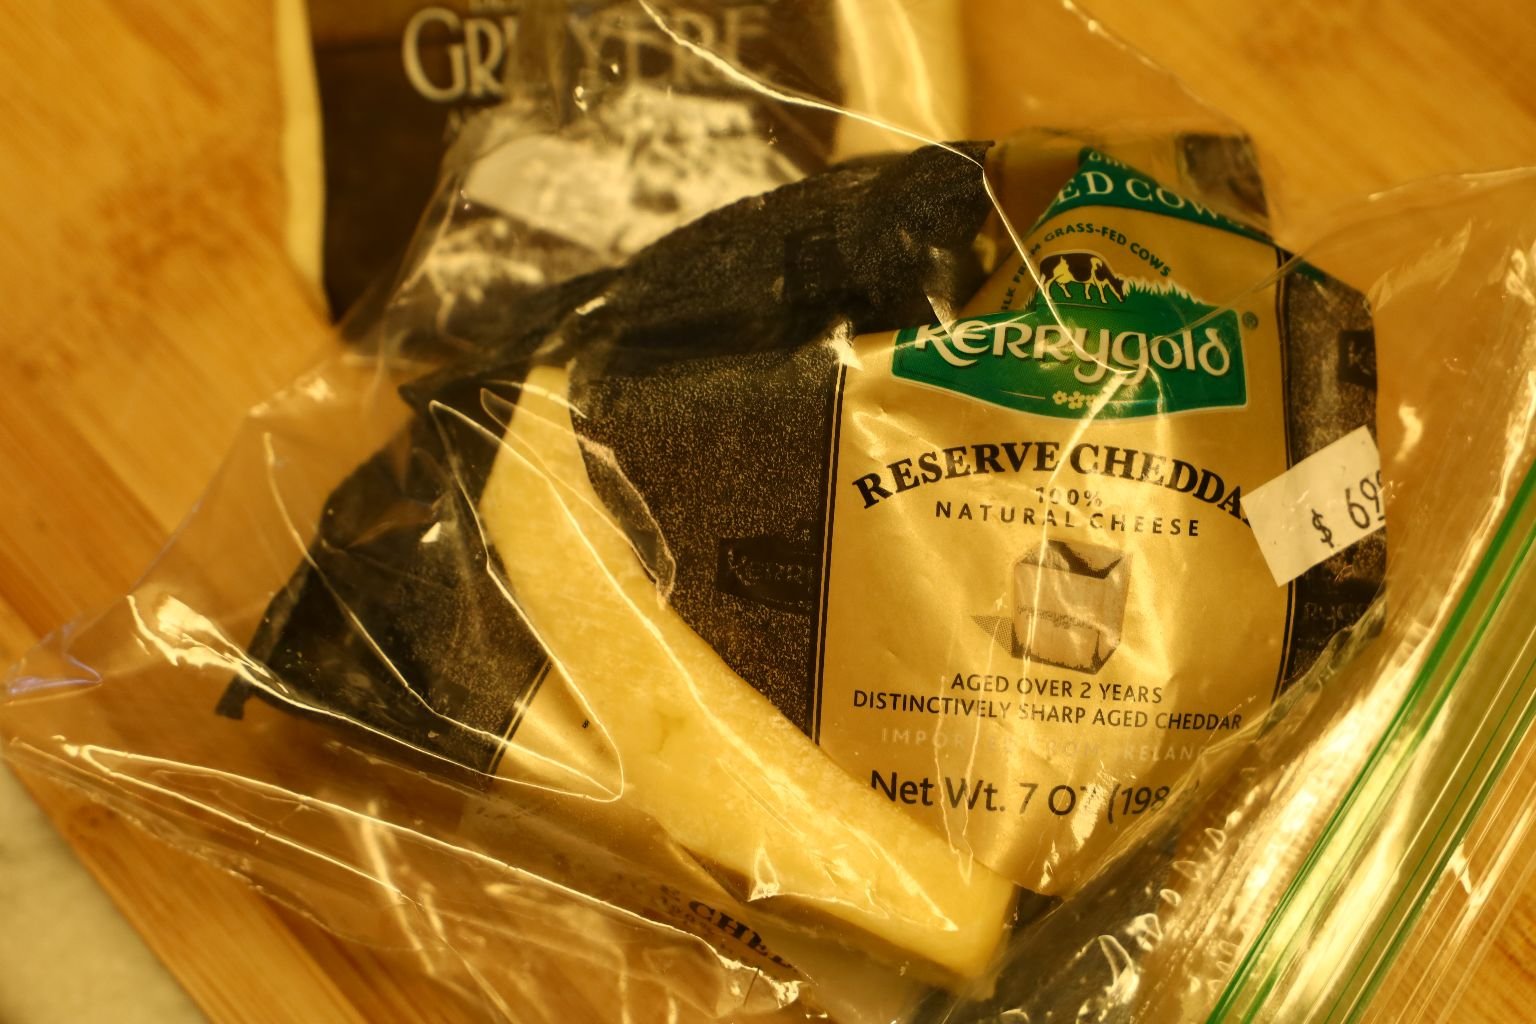
I decided to throw in my leftover Kerrygold Reserve Cheddar because I figured the aged cheese would add a nice kick to the cheeseball.
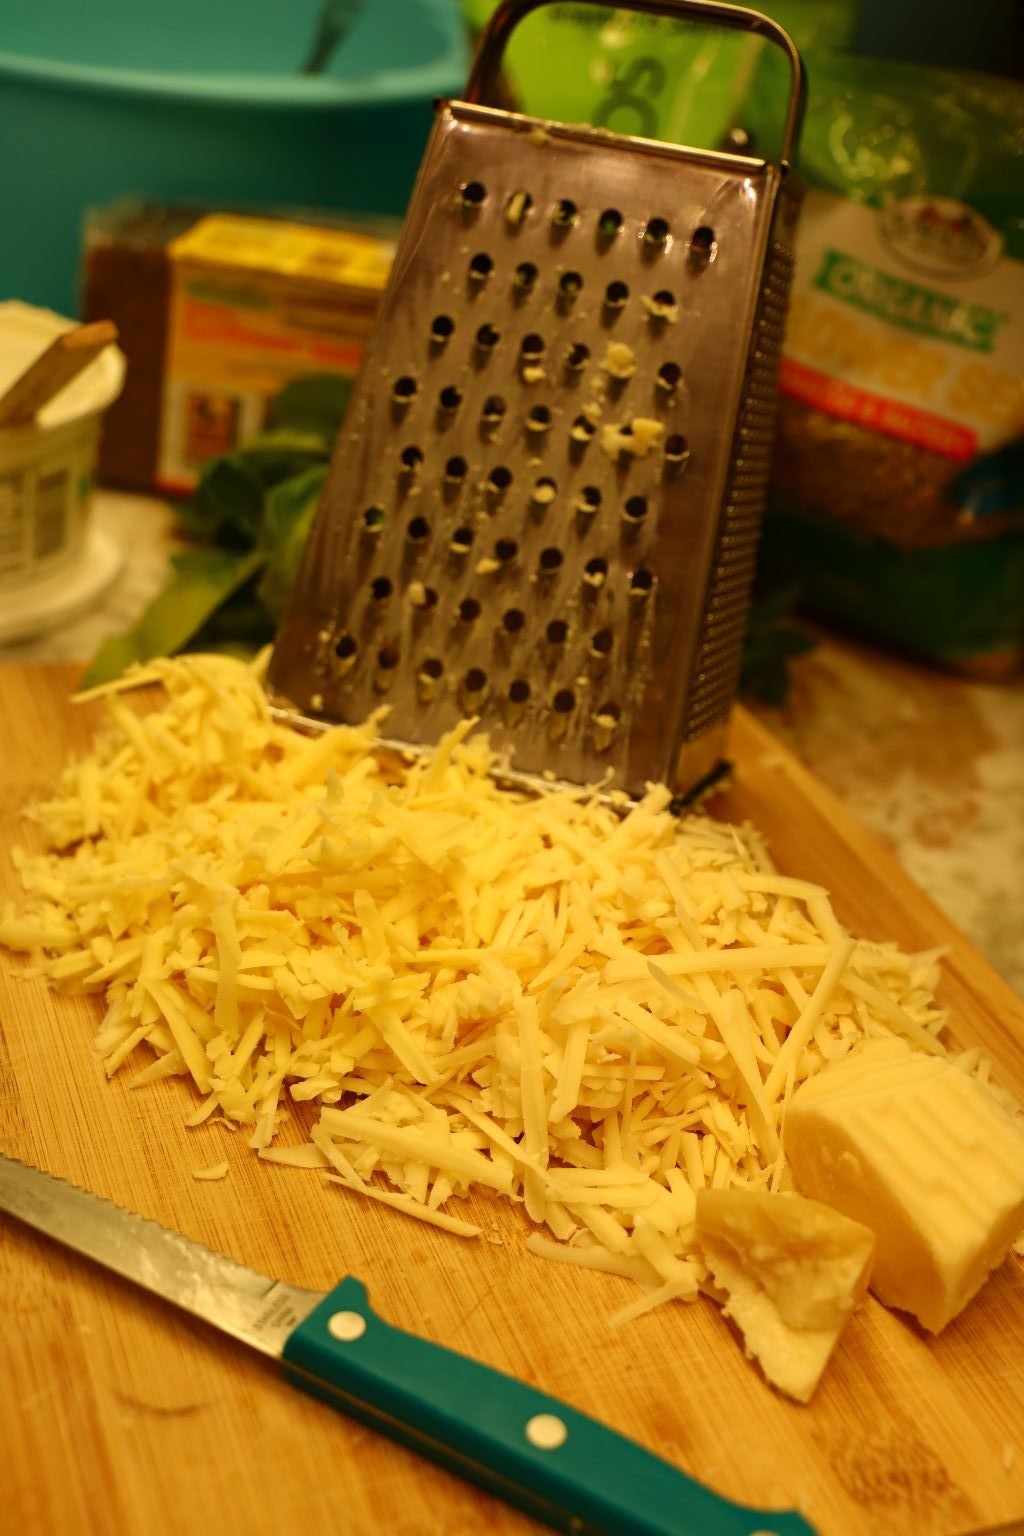

I placed my Mascarpone Cheese into a bowl and then added my grated Gruyere and Kerrygold Cheeses.


I love Pistachio’s and I really wanted that crunch in every bite.
I did roughly chop them to make them a bit smaller.

Into The Bowl They Go!


Now It’s Time to Add the Sunflower Seeds and Lemon Peel
————————————————-
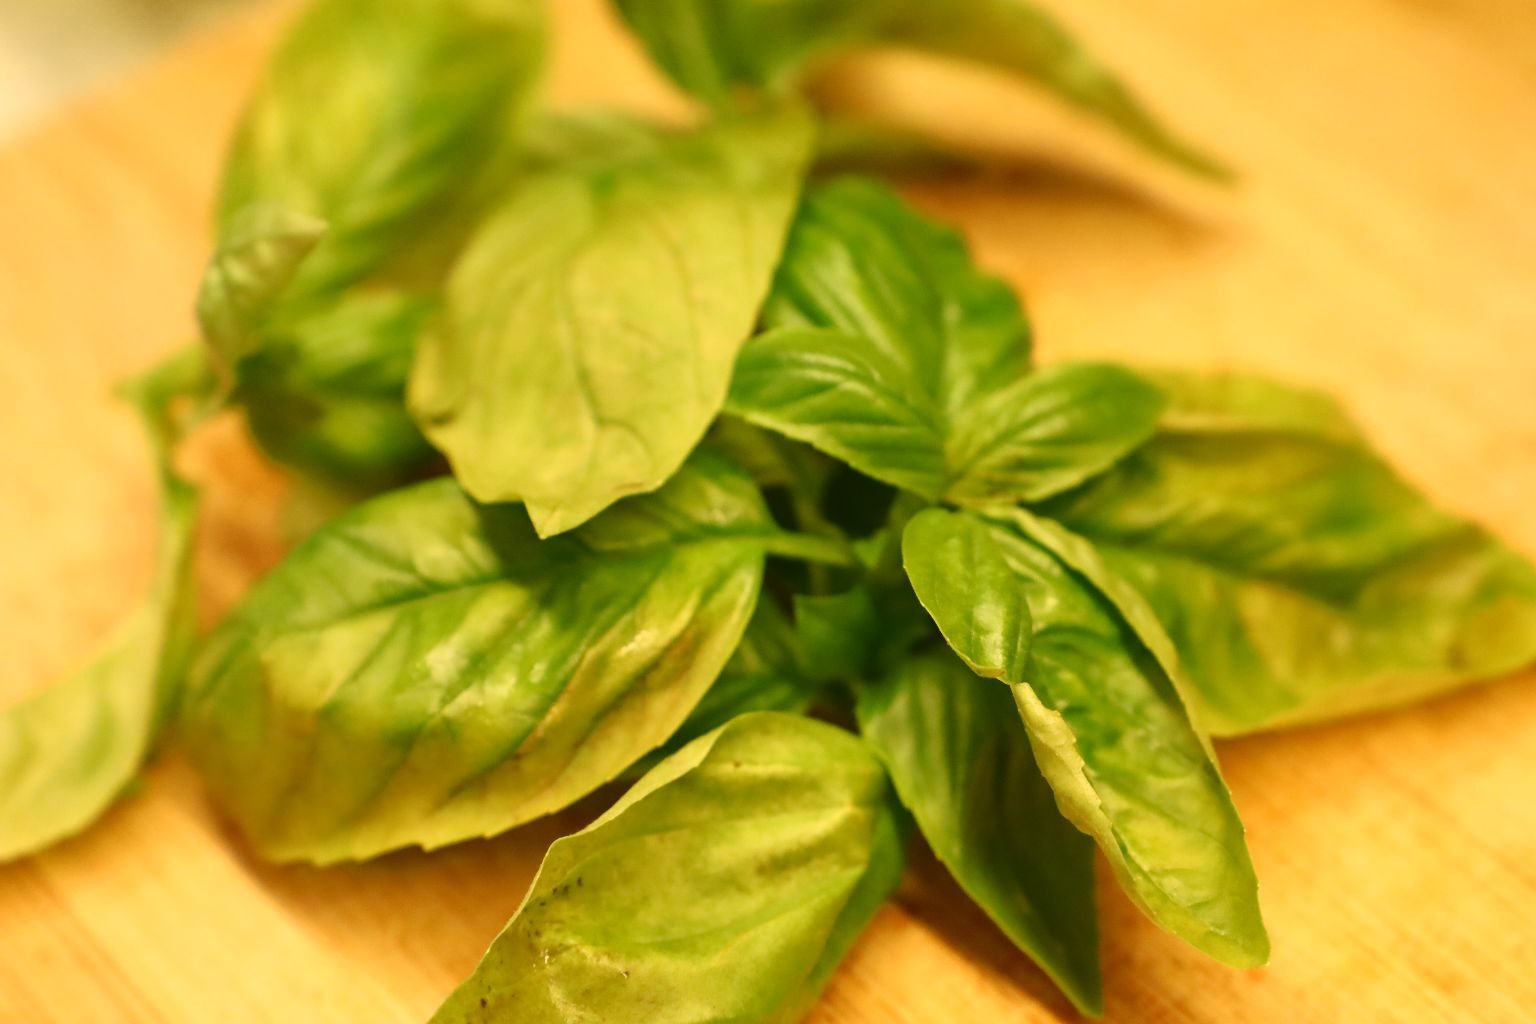
My Herbs
I gave the larger ones a rough chop but I only plucked the German Thyme leaves and placed them into the bowl. I thought they were a nice size as it was.

Sage

German Thyme
——————————————————-
Place some Saran Wrap into a bowl.
This will wrap around your cheeseball.

————————————————————–

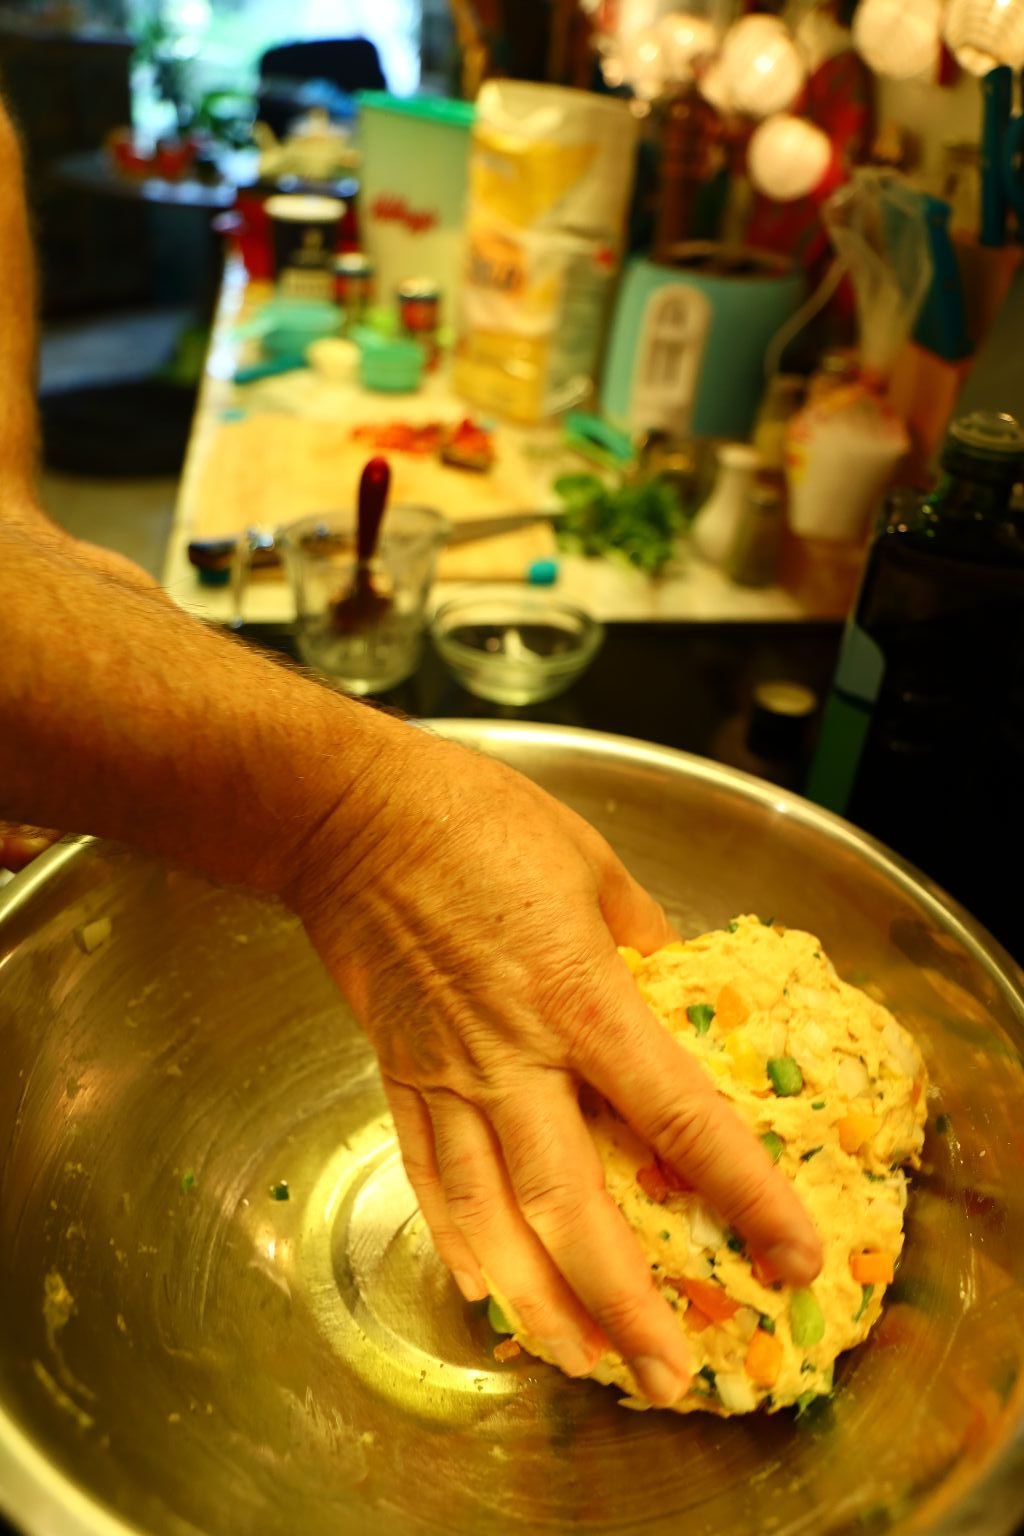
Now it’s time to dig your hands into this!!! 🙂
Mix it all together and form it into a ball.


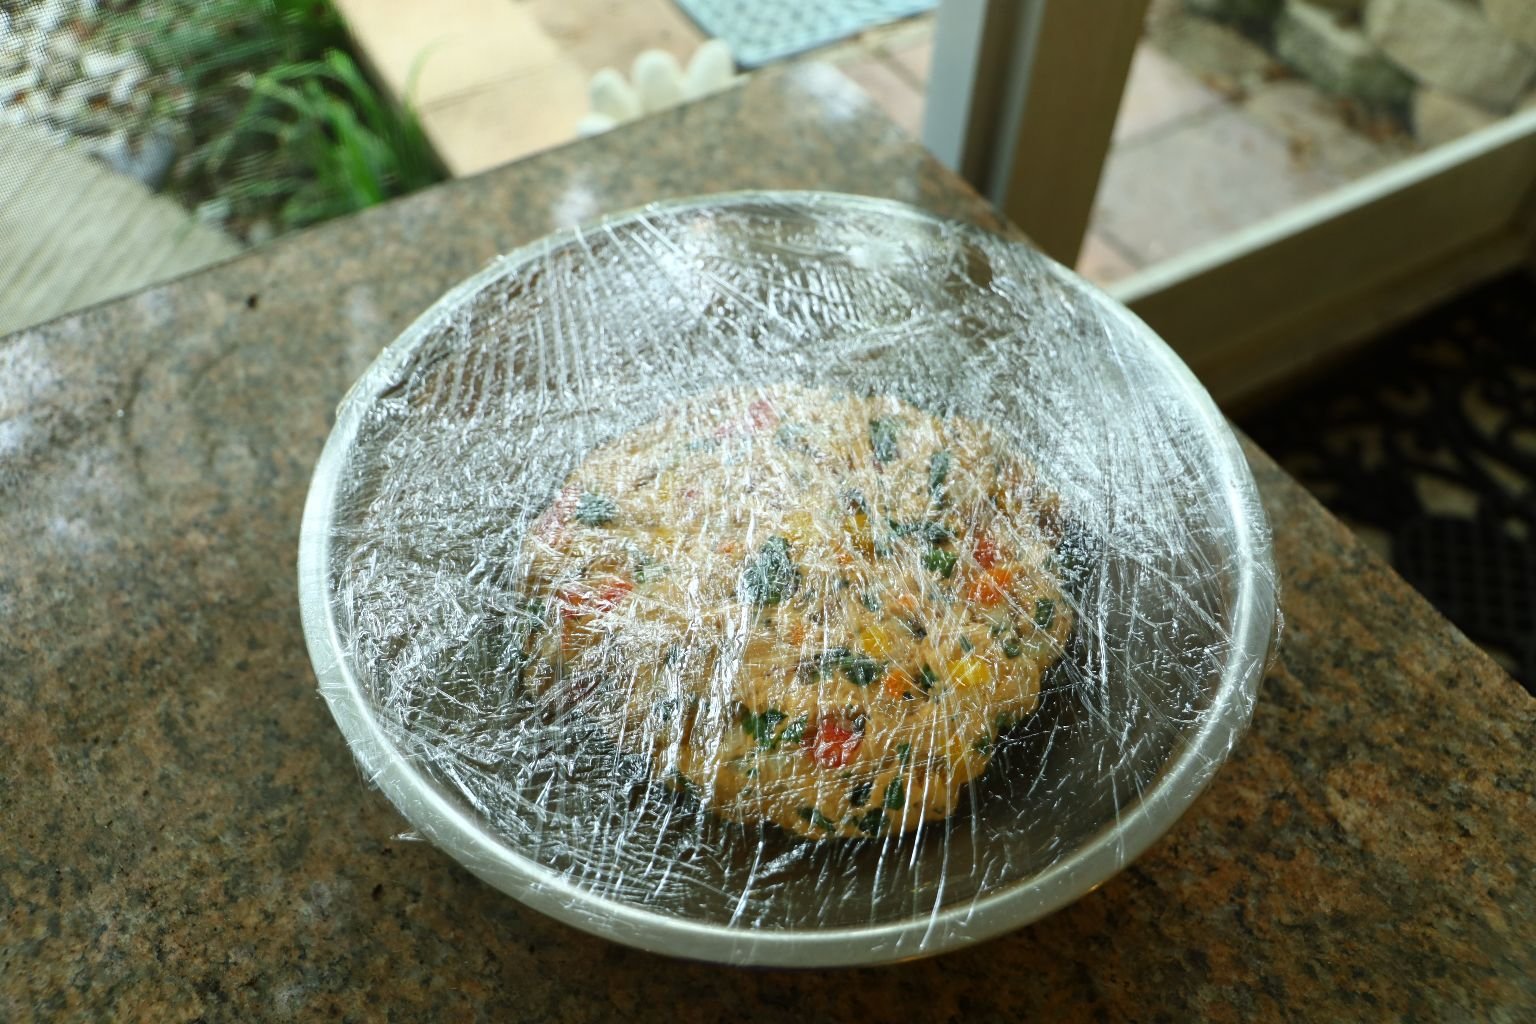
Now, place the Cheeseball into the bowl lined with Saran Wrap and cover. Place into the refrigerator for at least a few hours, or overnight for the best results.

Sunflower Seed Bread
—————————————————————-
Place the Cheeseball onto a dish lined with some of your garden herbs and some sliced Lemon. I cut the bread into smaller pieces and even spread the cheese onto a Shiso Herb leaf and a sprinkling of Sunflower Seeds.

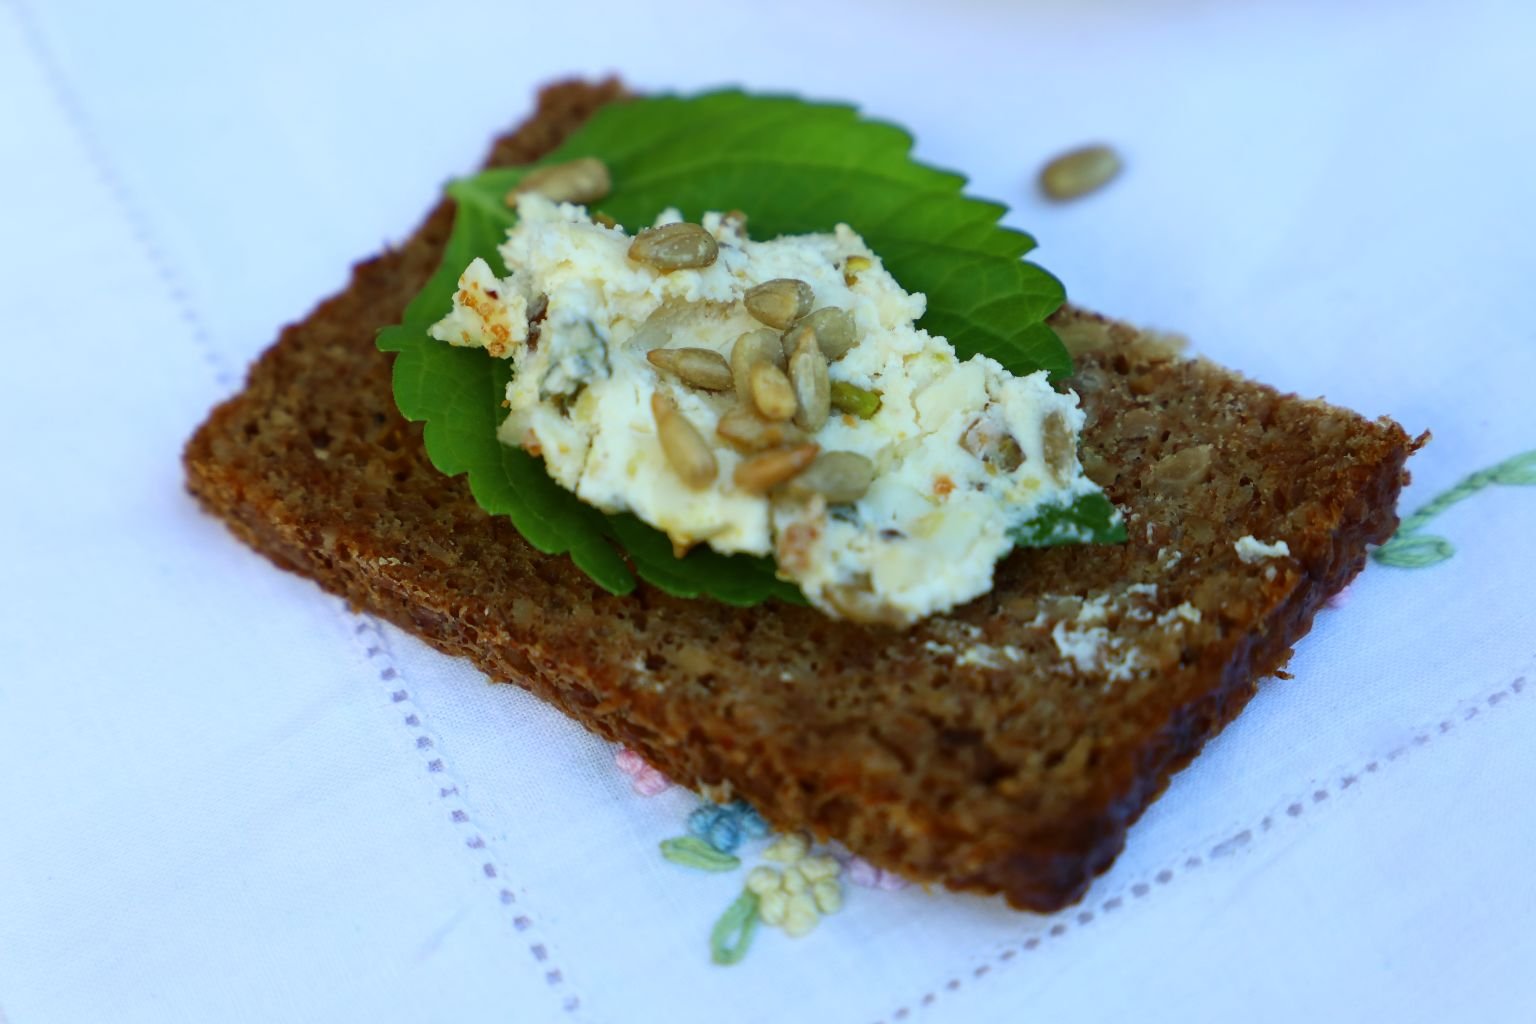
Beautiful and Delicious!
———————————————————-
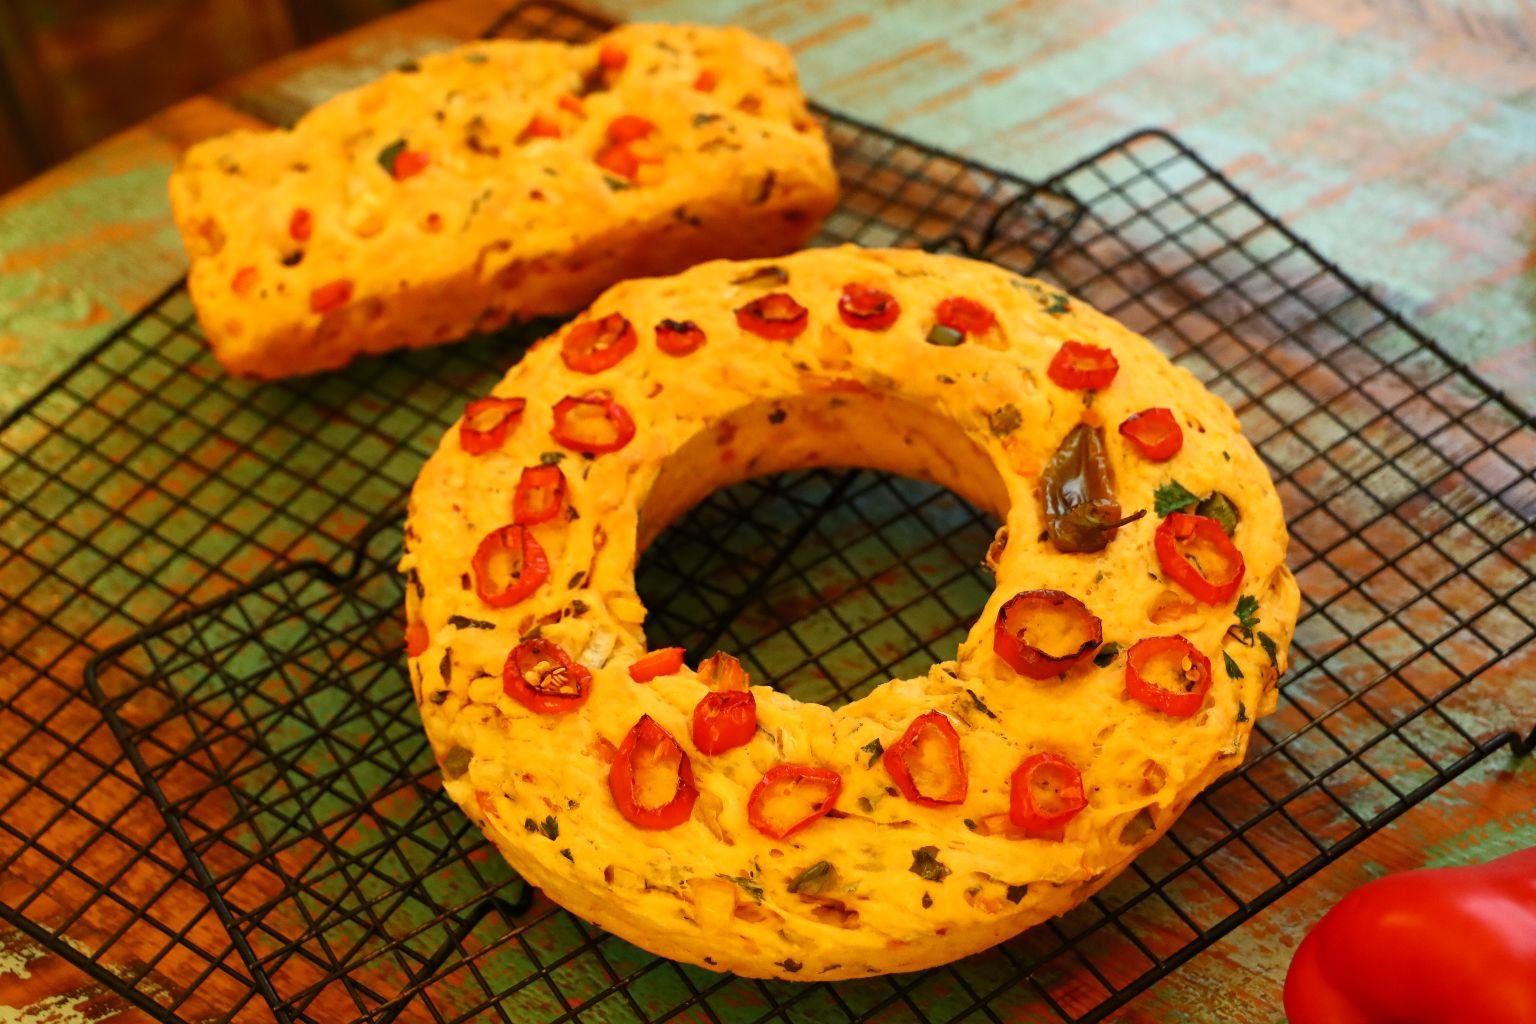
Our Colorful Bell Pepper and Herb Garden Breads


Just Washing Some Bell Peppers and Herbs
This bread is everything that I Julie, imagine a garden bread should be.
It was a fun creation.

Ingredients:
4 Cups Bread Flour
2/3 Cup of Water
1/2 Cup Tomato Juice
1/4 Cup Diced Green Bell Pepper
1/4 Cup Red Bell Pepper
1/4 Cup Orange Bell Pepper
1/4 Cup Yellow Bell Pepper
3/4 – 1 Cup Diced Sweet Onion
Various Herbs of Parsley, Sage, and Basil, Chopped
4 T. Butter or Margarine
1 1/2 t. Sugar
1 t. Salt
1 t. Active Dry Yeast
—————————————————————


You first want to chop all of the vegetables you plan on using.
I wanted this packed with Bell Peppers.

——————————————————————


Everything Chopped and Diced
—————————————————————

Ready to Get Started


Herbs at the Ready
————————————————————–
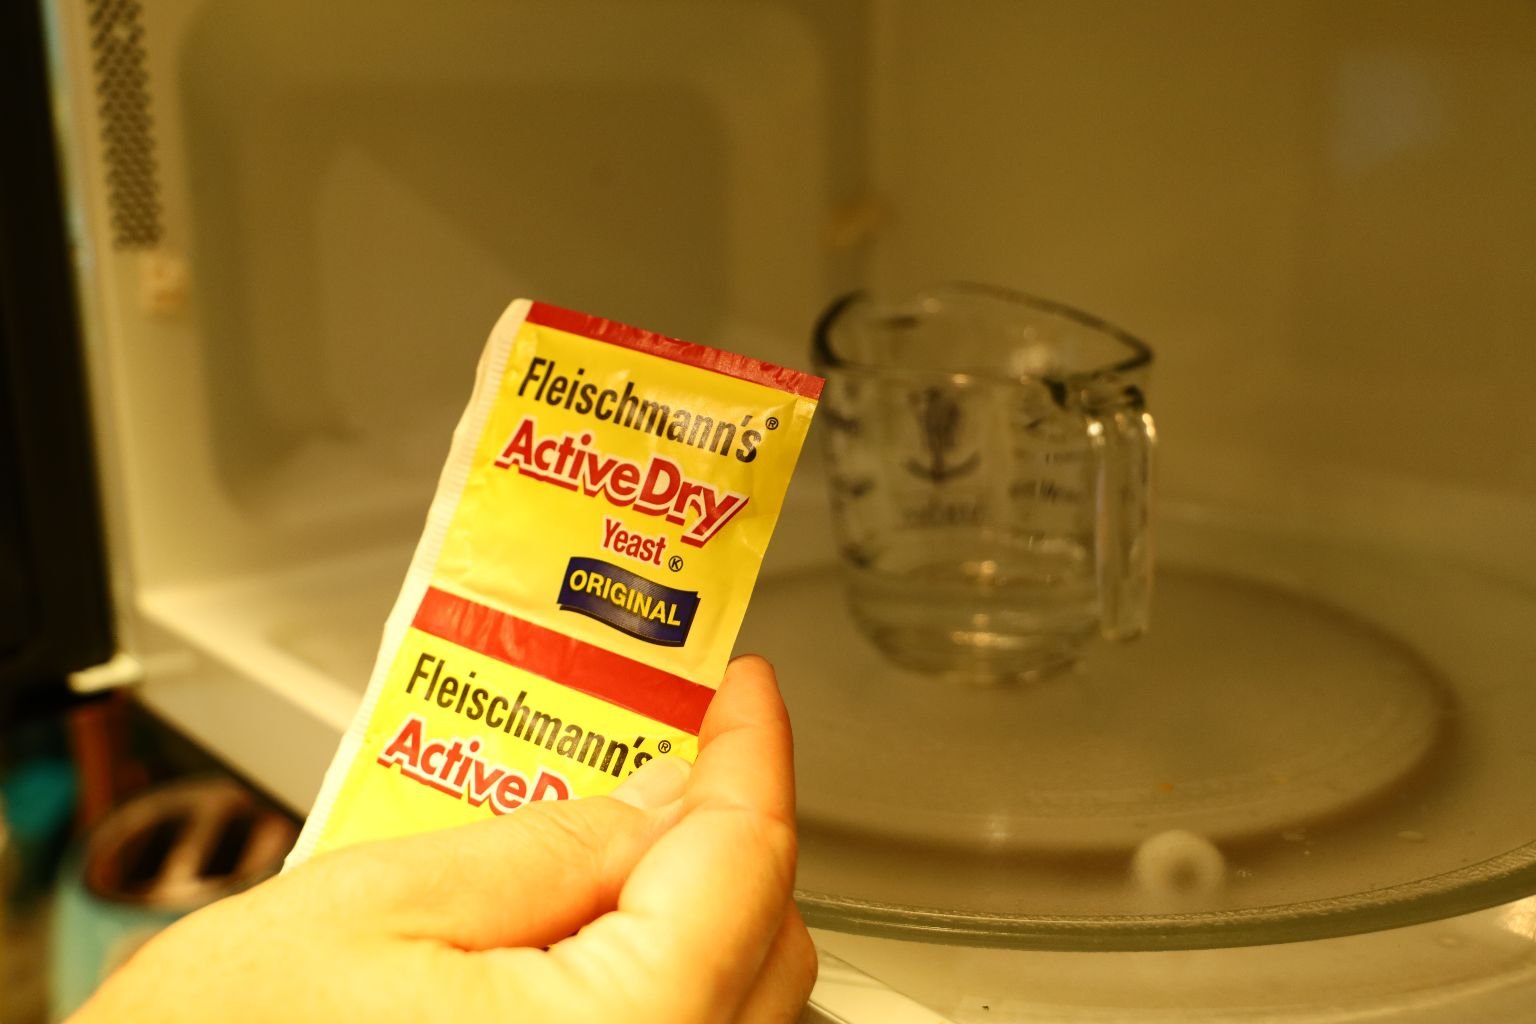
Now It’s Time to Prepare the Yeast
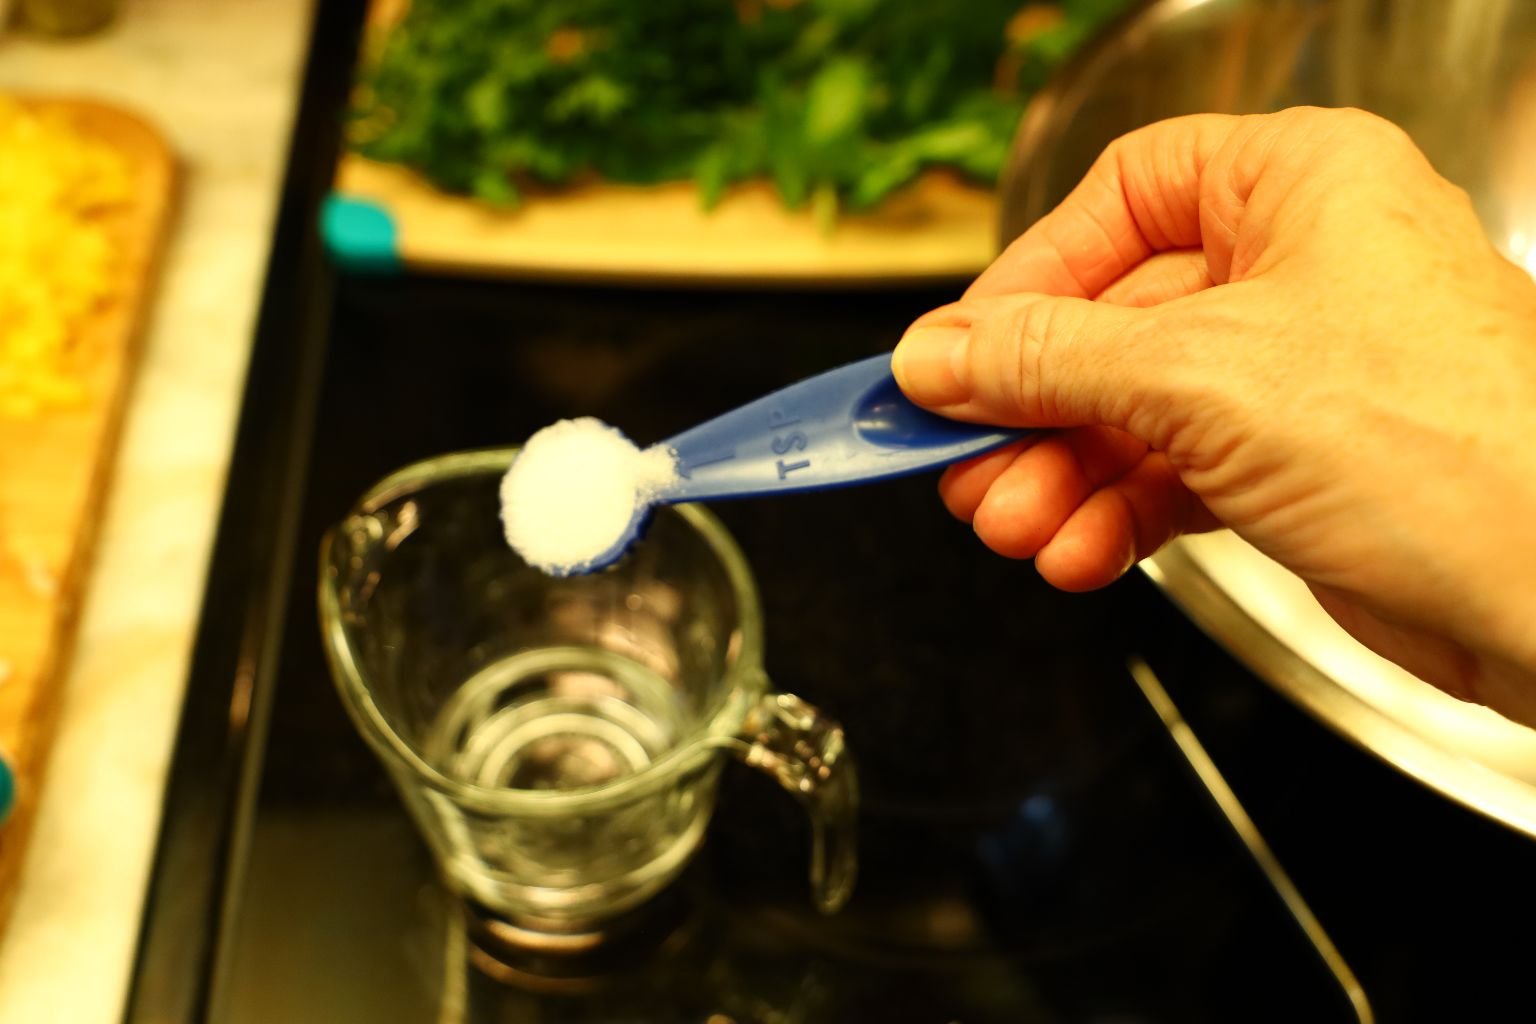


Gordon used the amount of water as per the directions on the yeast package. He added a tsp. of sugar as the yeast feeds on it. Heat your water in the microwave to just under 110’F but above 100’F. When the water is at temperature which only takes about 20-25 seconds, add your yeast.


Stir the yeast into the heated sugar water and let it sit. As it sits, you should see the mixture begin to grow and froth as seen above.

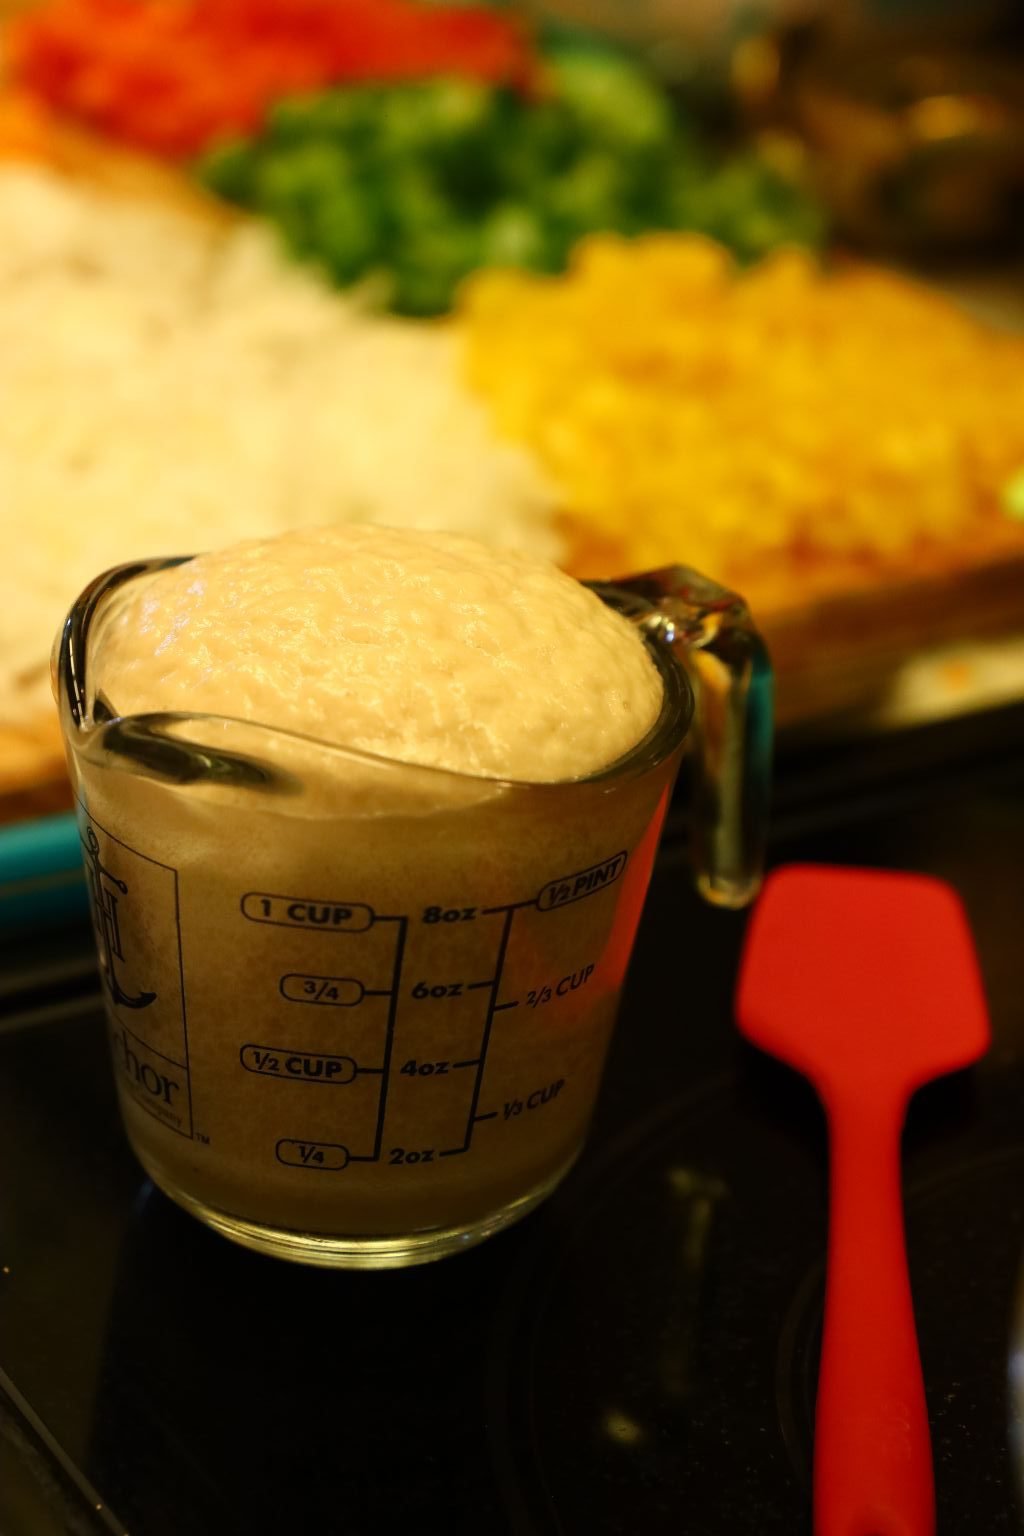
The yeast loves to feed on the sugar and only takes a few minutes until it is ready, like the above picture.
—————————————————————–
Meanwhile, it’s time to get started on making the bread.


Start by adding the Tomato Juice to a large mixing bowl.


Next, we are going to start adding all of our chopped and diced colorful Bell Peppers and onion.


In my opinion you can pack this full with as many of the chopped ingredients as you like.
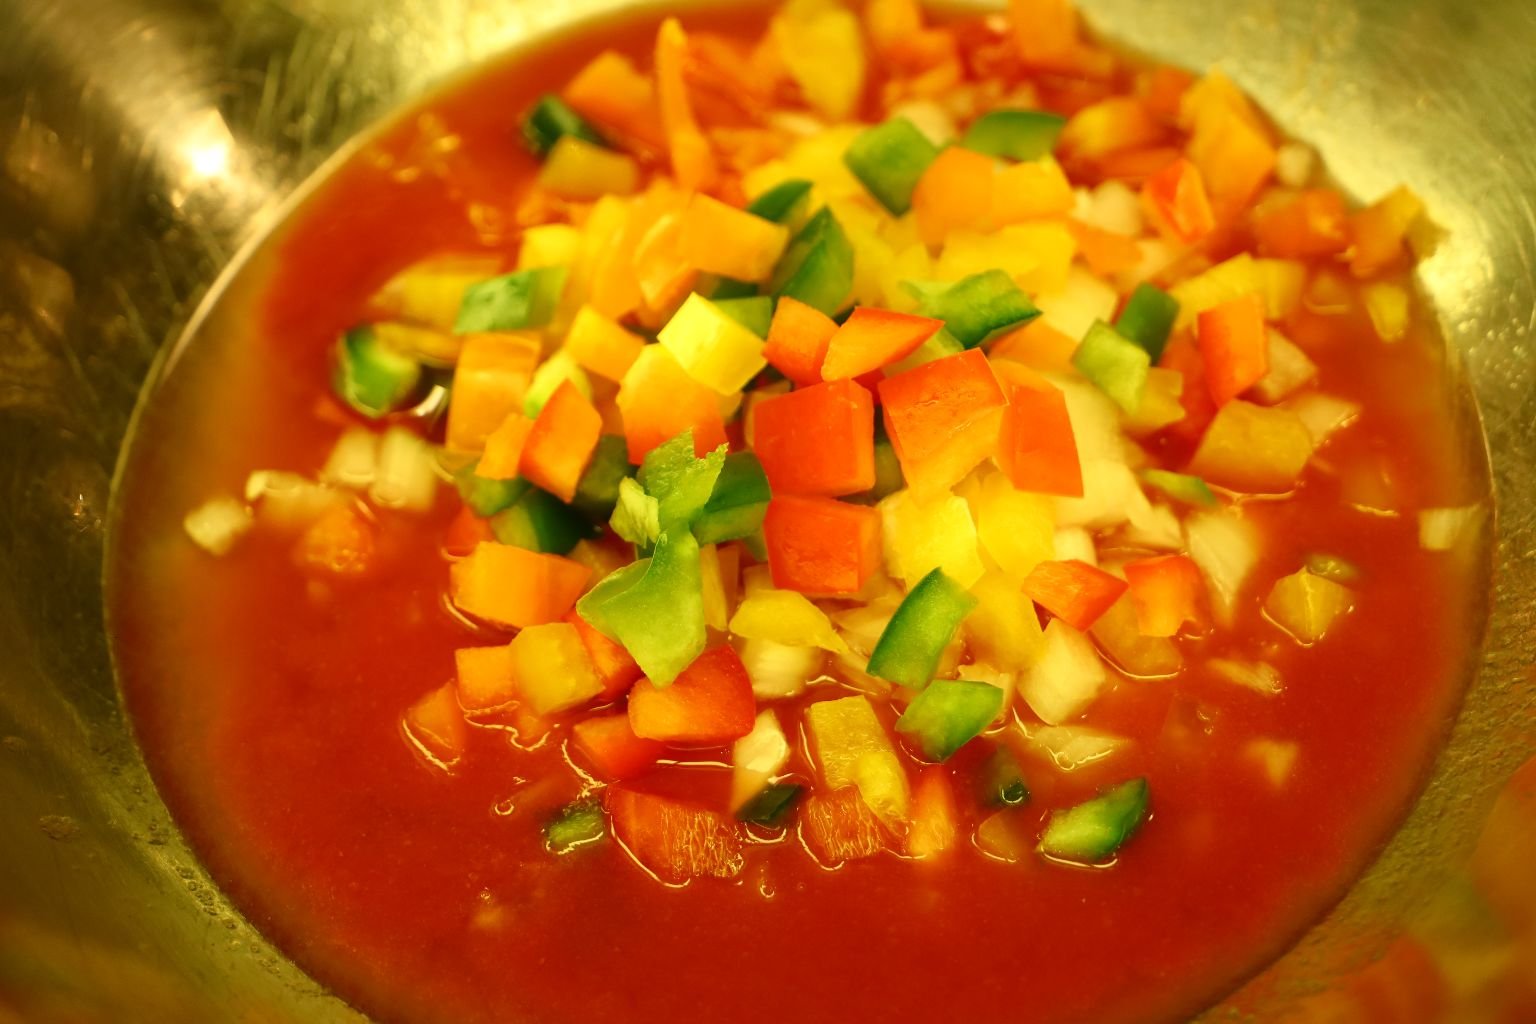
Everything in the bowl so far.
——————————————————————
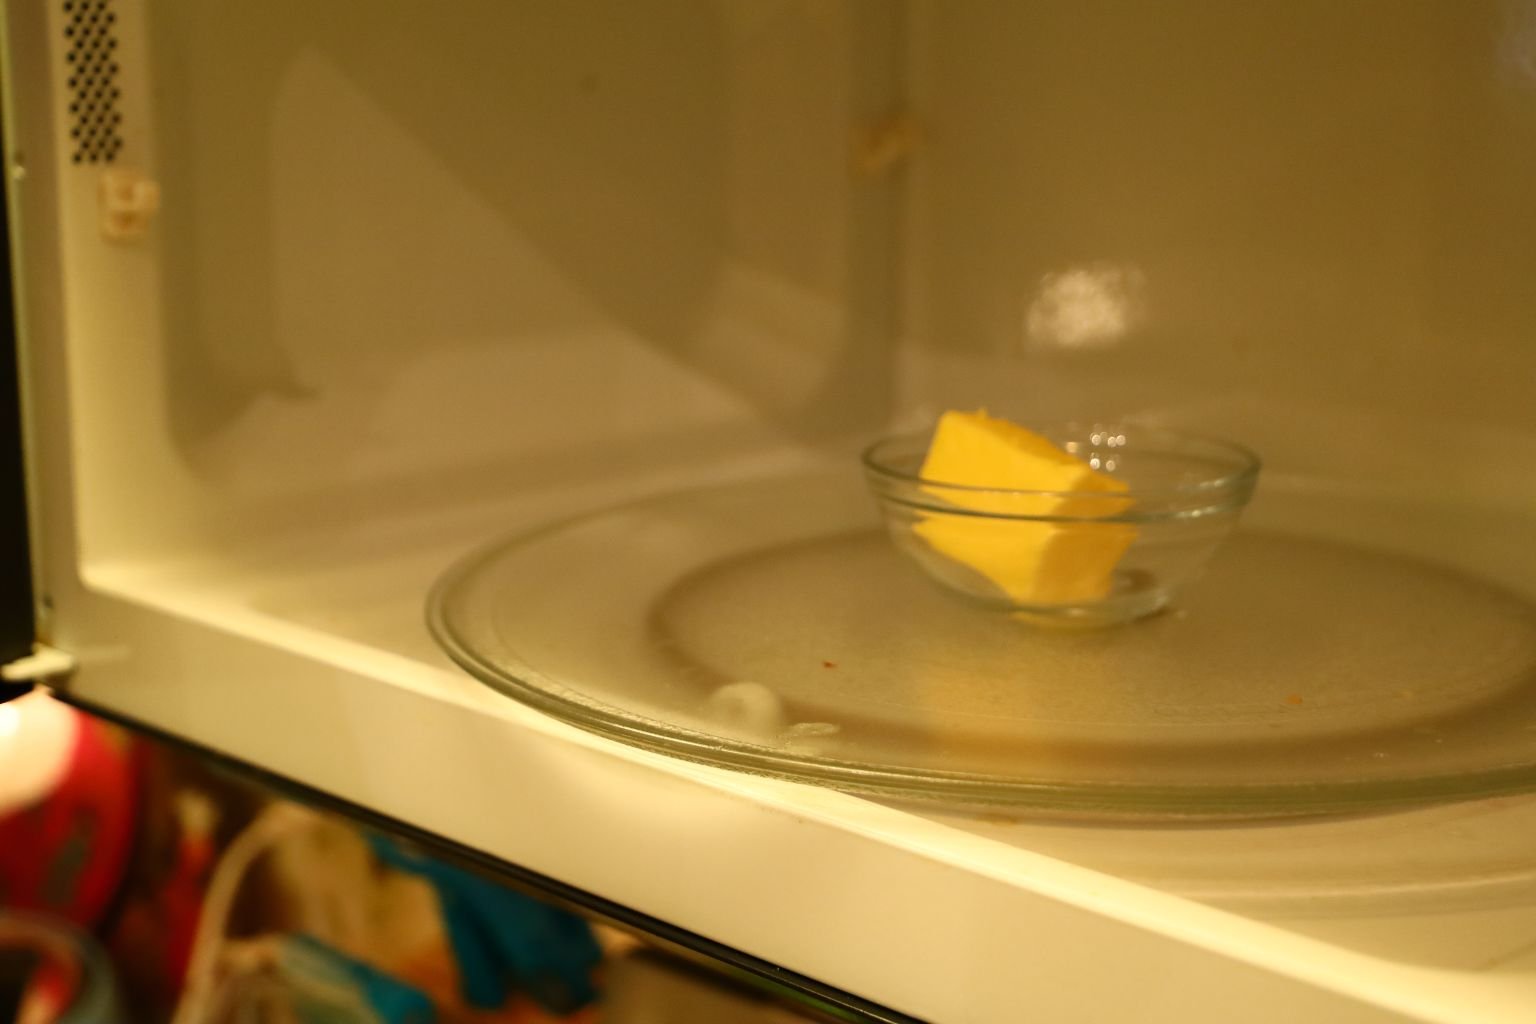
Time to melt the butter in the microwave and then add it to our mixing bowl, below.


————————————————————————–

Time to add our Bread Flour, Sugar, and Salt.

————————————————————————-


Time to Add our Yeast

Stir The Ingredients Together, or You can use Your Hands


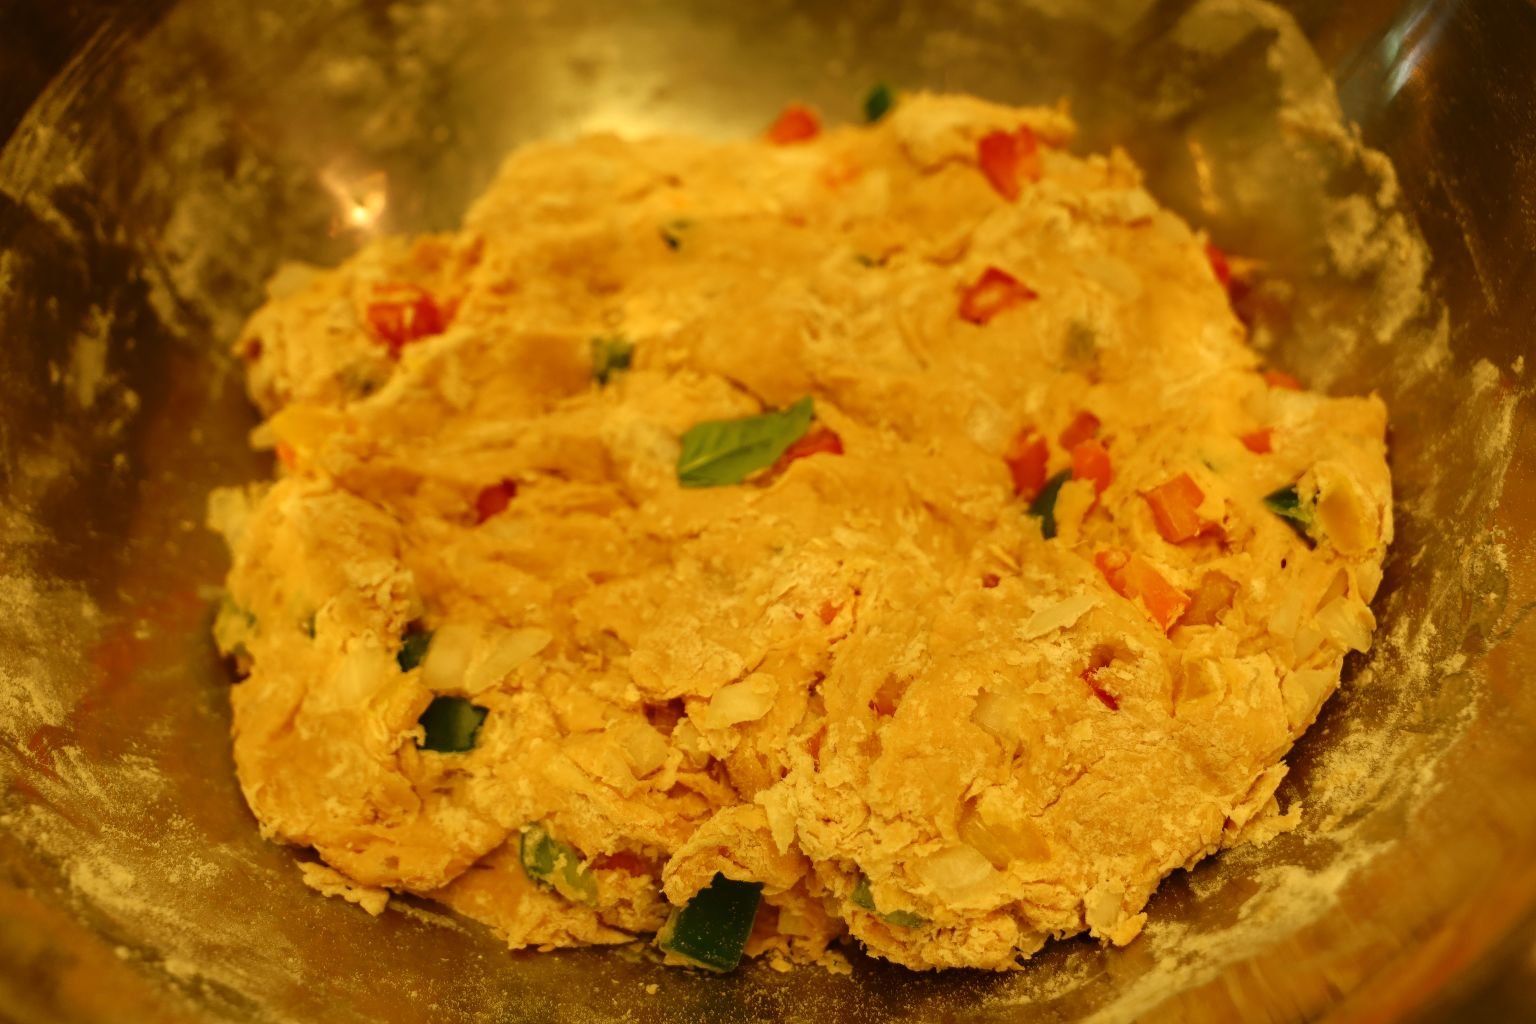
Time to Chop the Herbs and Add Them to the Bowl

Knead Everything Together
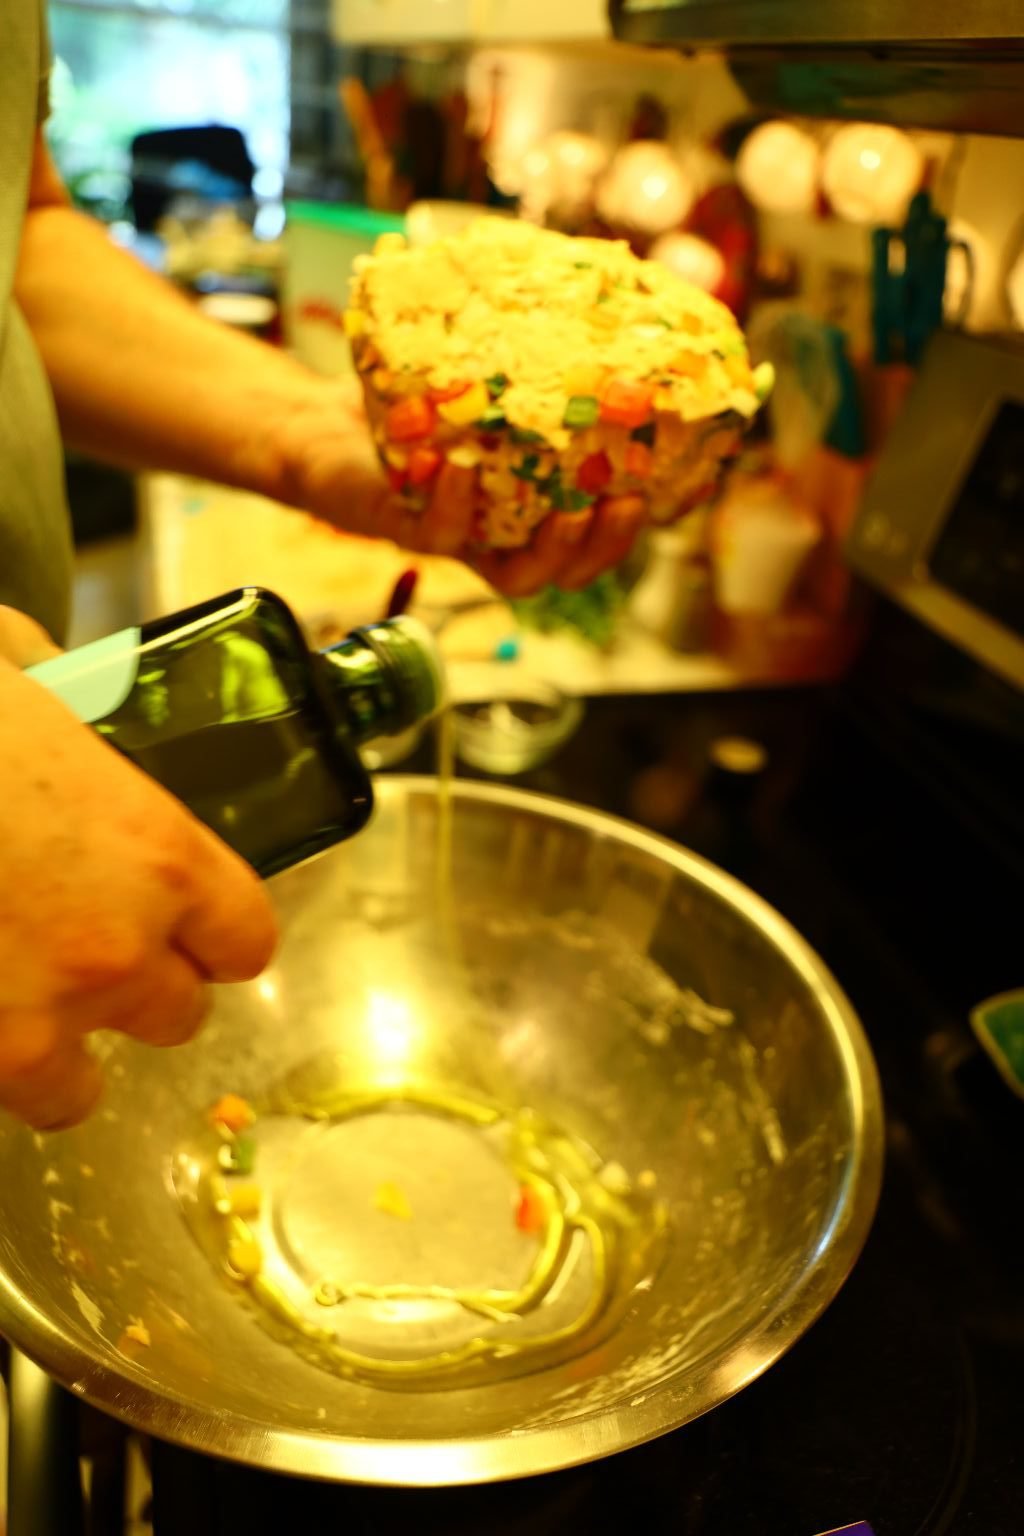

Here Gordon is Placing Some Olive Oil in the Bowl and Mixing the Dough Around in it.
Now it is time to place Saran Wrap around the bowl and place the bowl in a warm place.
So, we set it outside for about an hour, or until it doubles in size.


Now the Dough is Ready
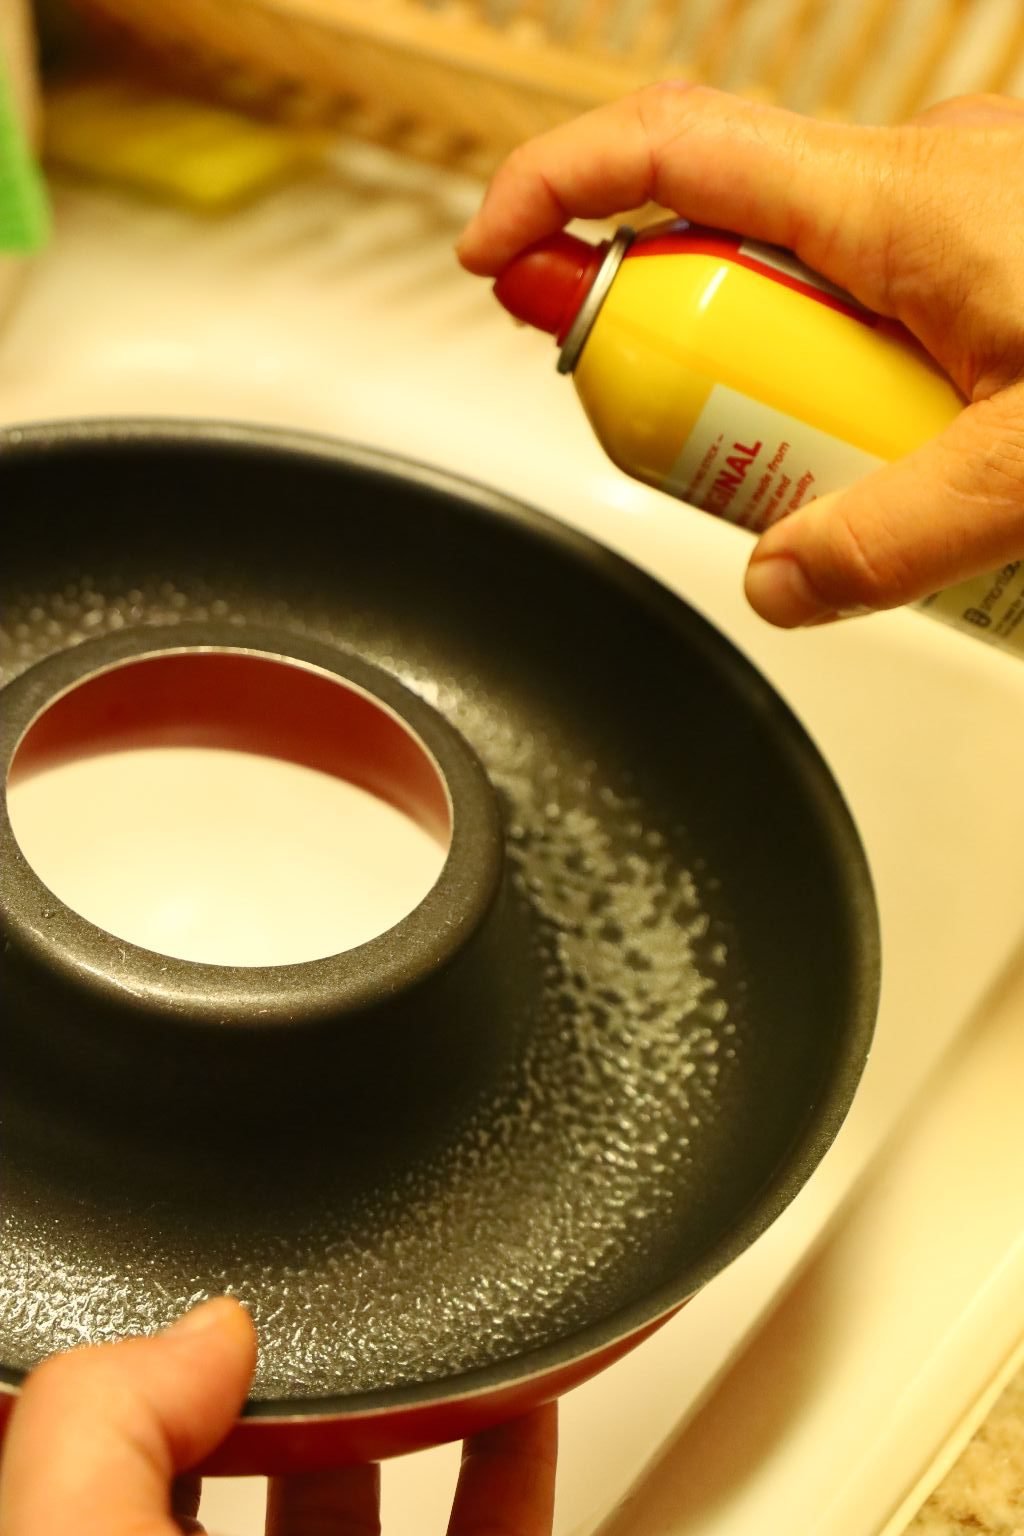


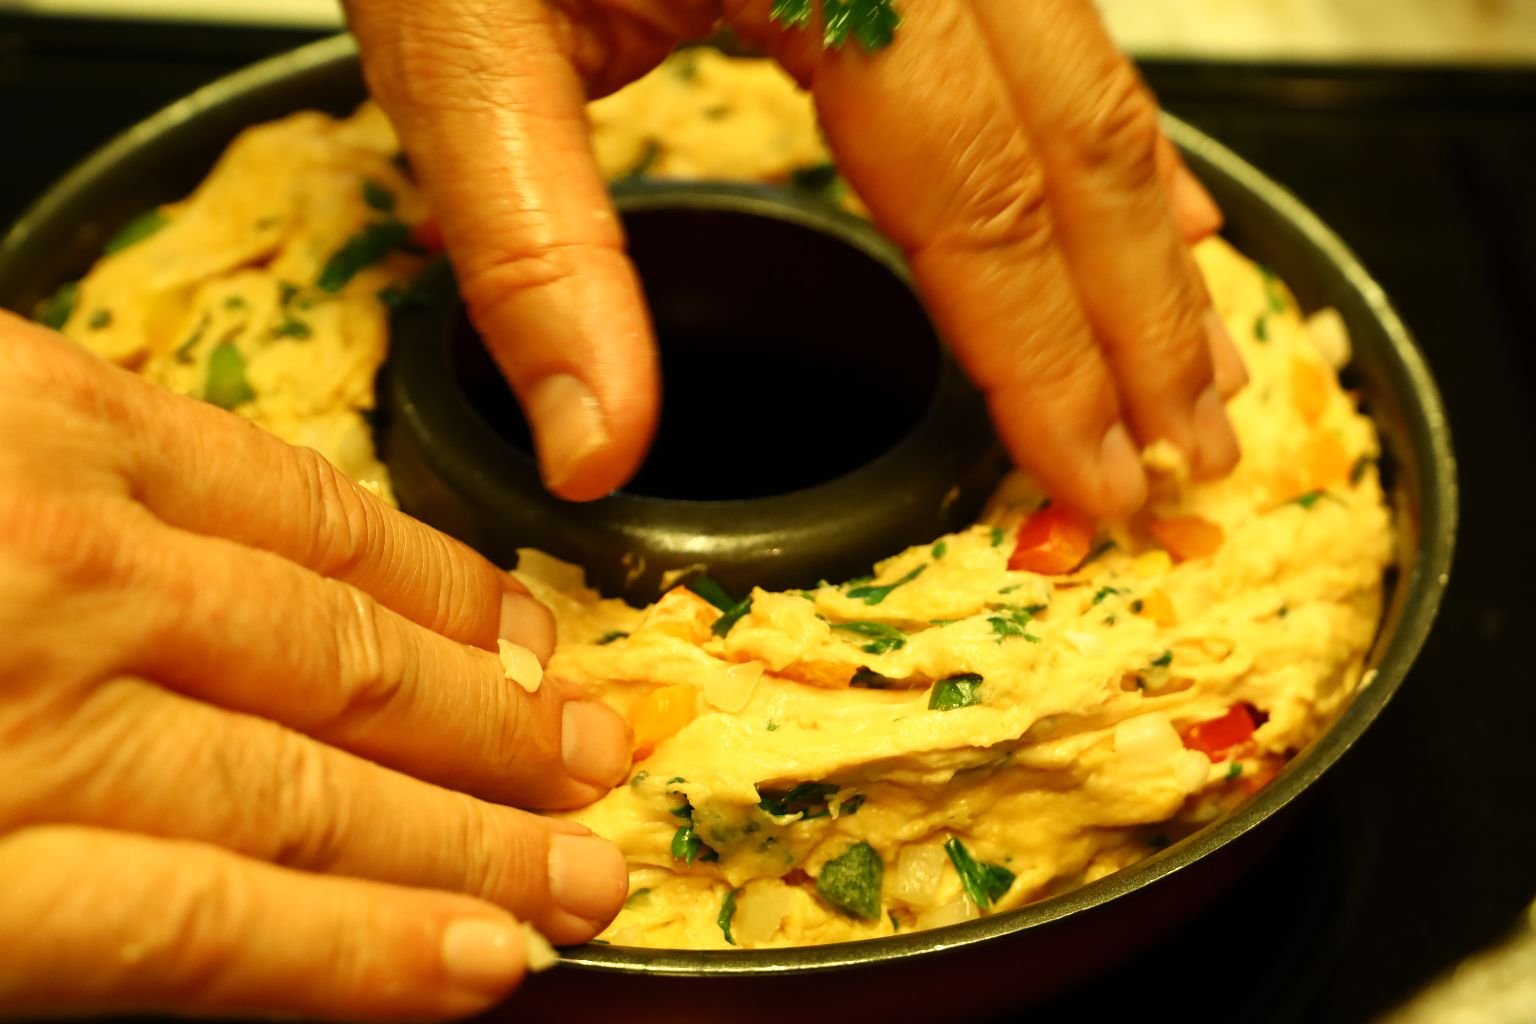
What starts out as my project always seems to turn into Gordon’s project. 🙂
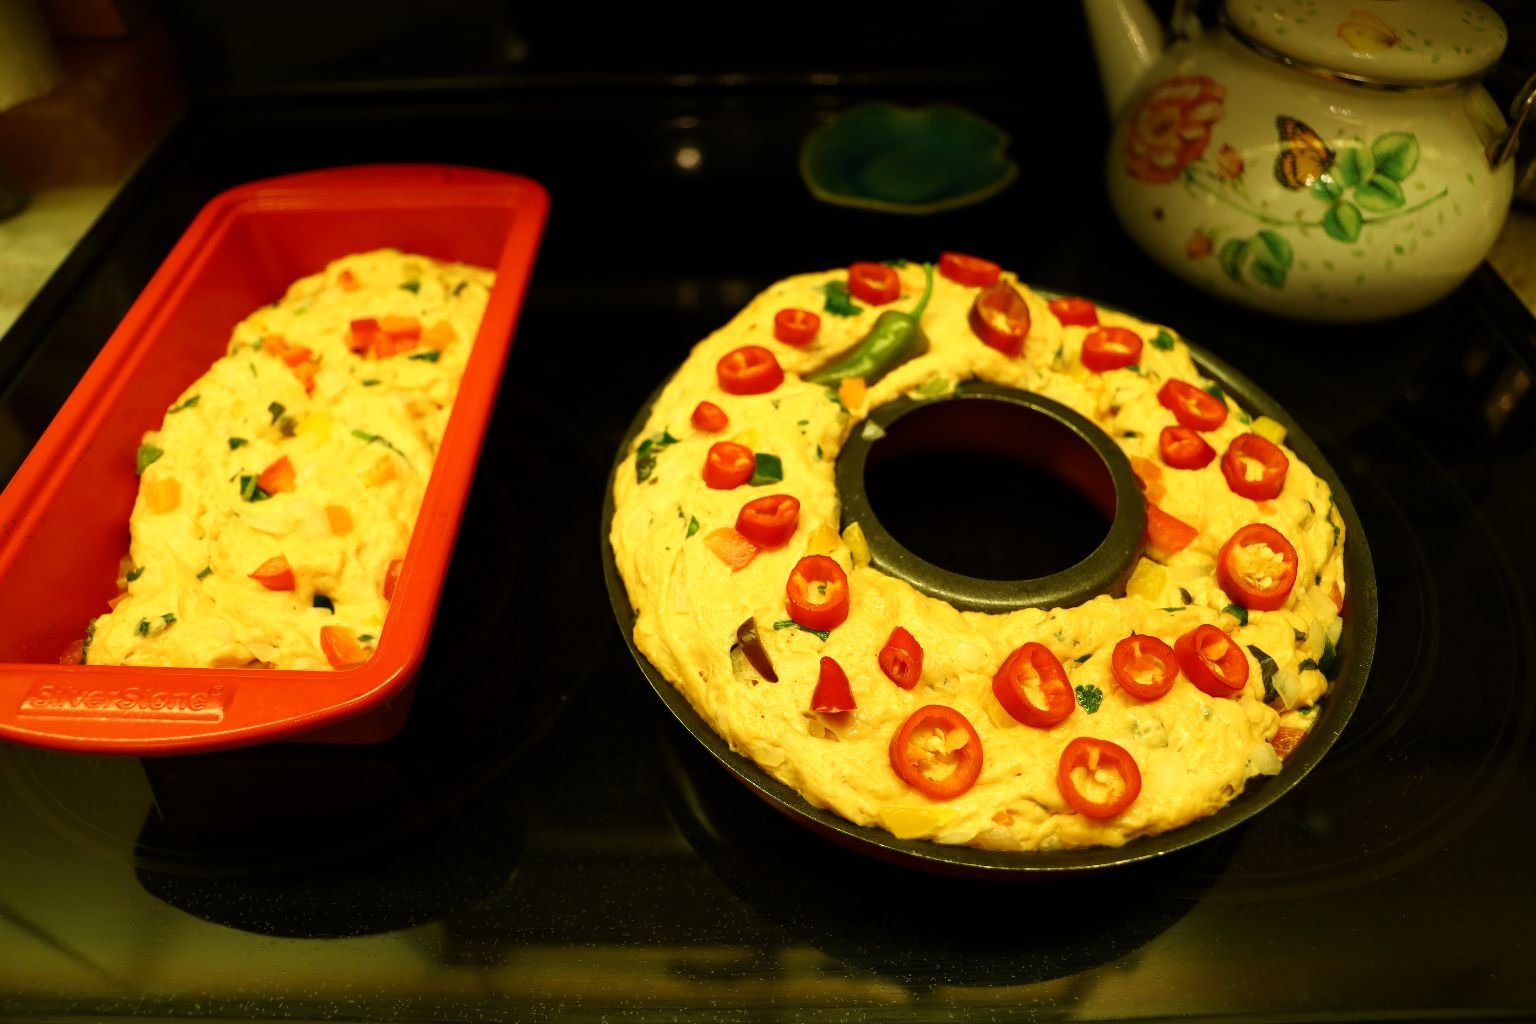
I, Julie, wanted to place the dough into this Italian Ring Cake Pan. I thought that would make it look grand, and it did! So, Gordon sprayed the pan with a non-stick cooking oil spray, and then kneaded the dough by letting it stretch into a long length, and then placed it into the round pan.

——————————————————————-


The Dough we had Leftover
Gordon placed our leftover dough into a regular loaf pan.

Now It’s Time to Place Them Back Outside, Wrapped in Saran Wrap
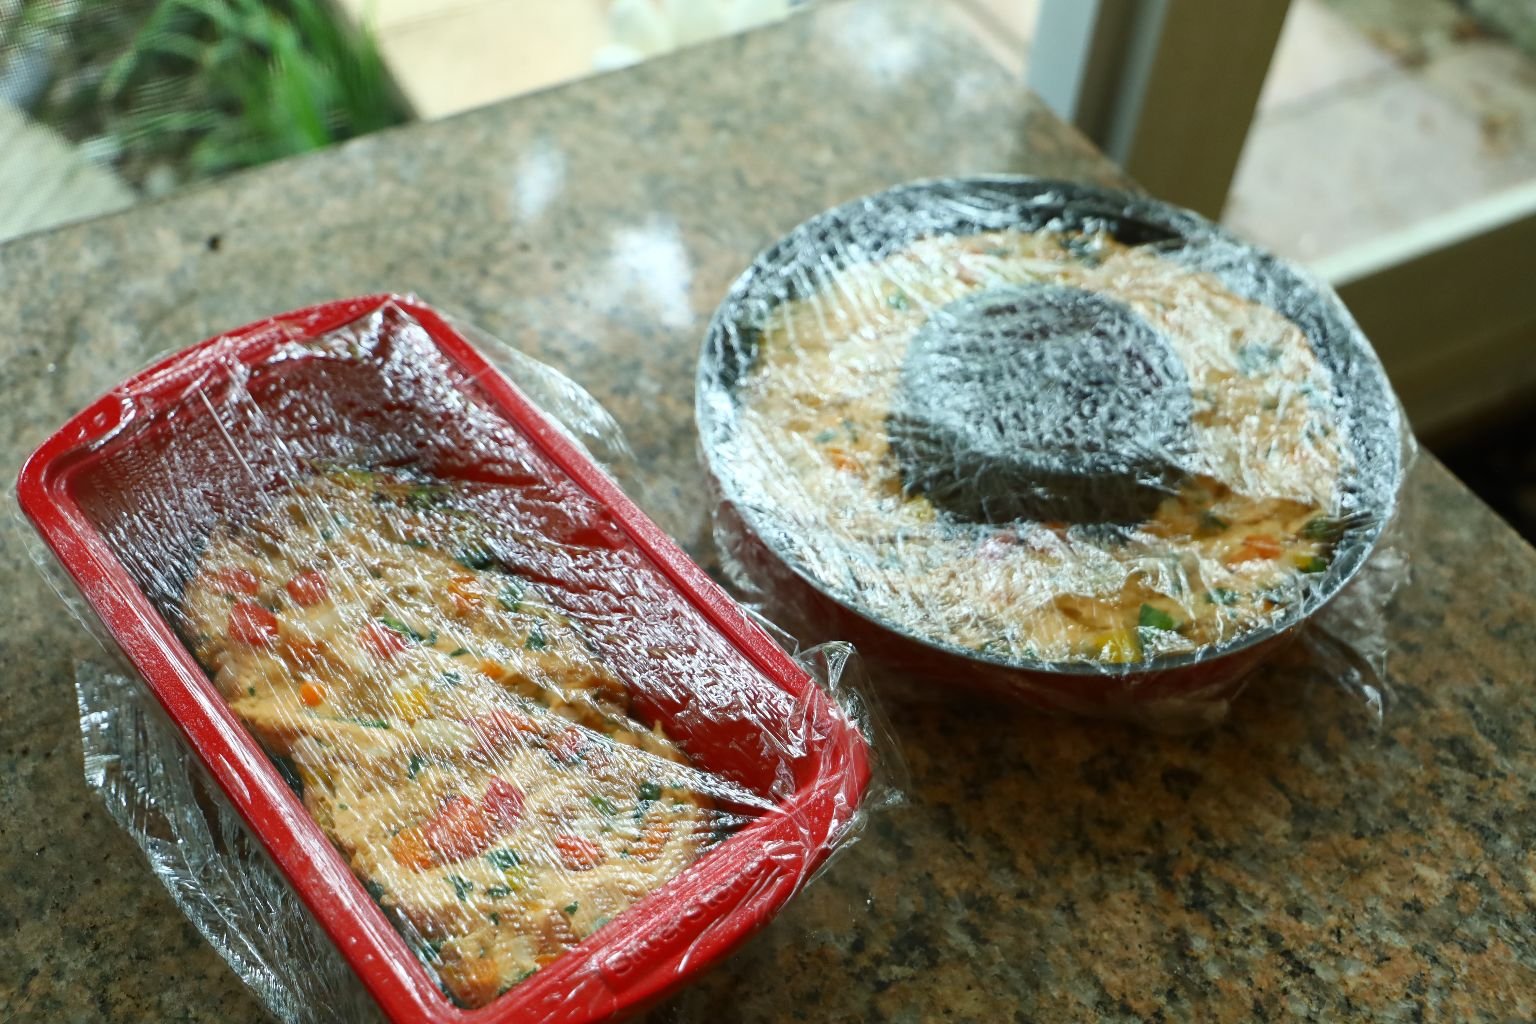
Waiting For Them to Rise
(About an hour.)
——————————————————————–

Now it’s time to go into a pre-heated oven on 350F for about 30 -35 minutes, or until brown, and the middle of the dough is cooked. To determine doneness, use a toothpick inserted into the breads. If it comes out clean then it is done.
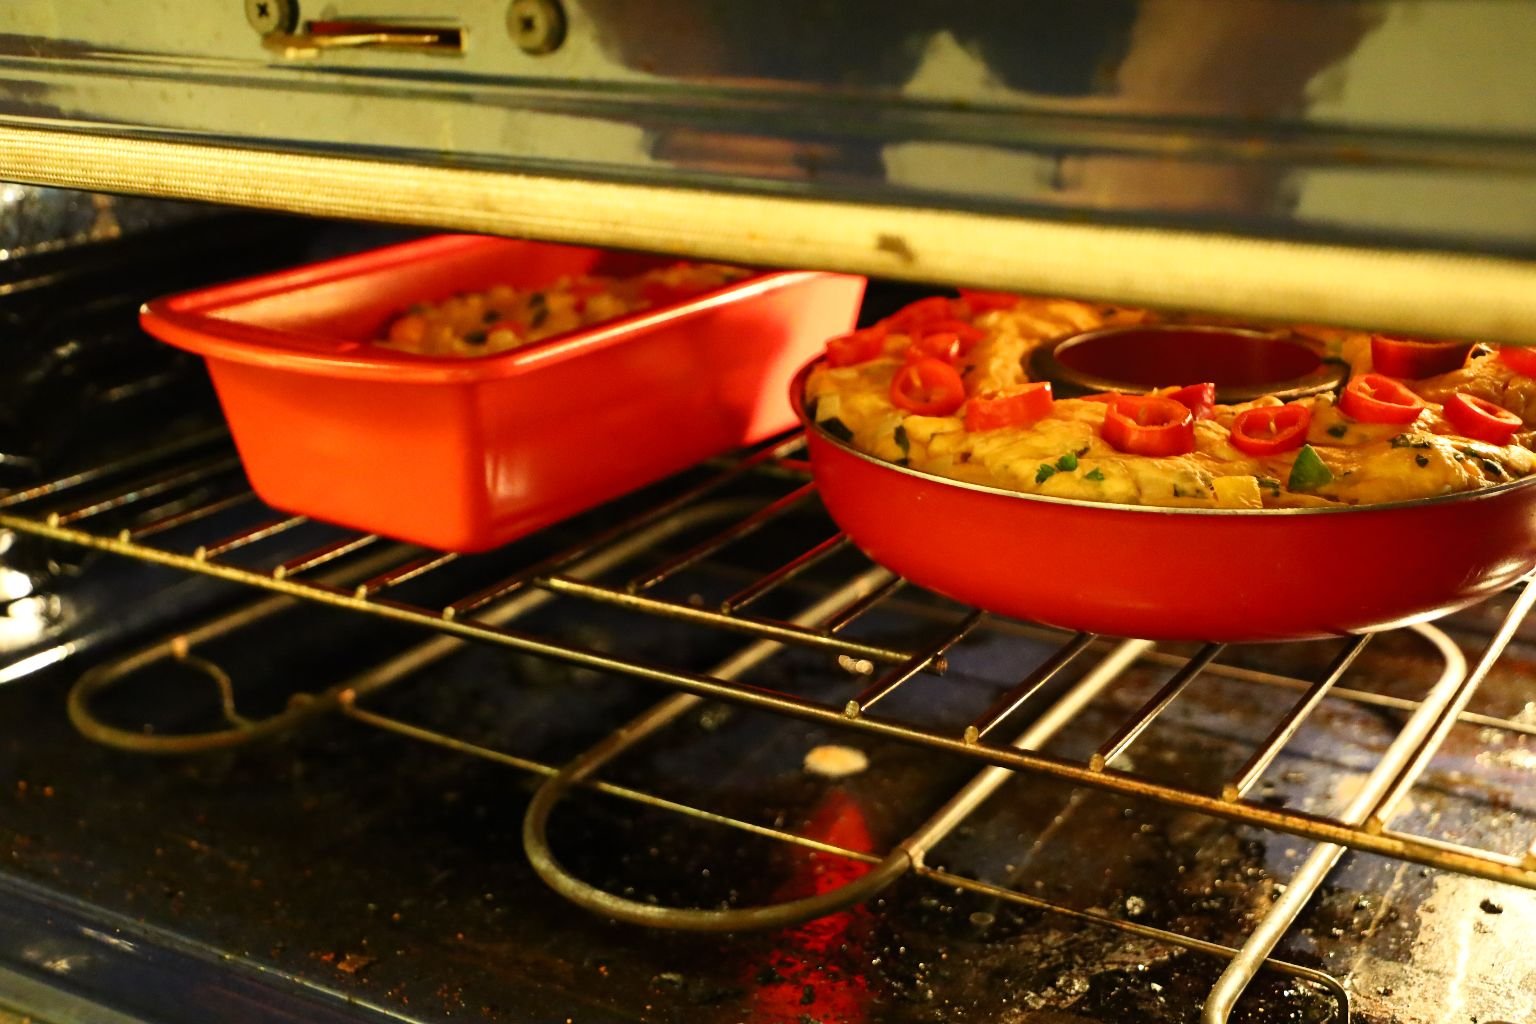
Into The Oven They Go

I chopped up one of our backyard peppers into slices and inserted them all over the top of the bread to add some beauty, texture, and taste!
When done place on a cooling rack. When cooled, remove from the pans.
Beautiful!
——————————————————-

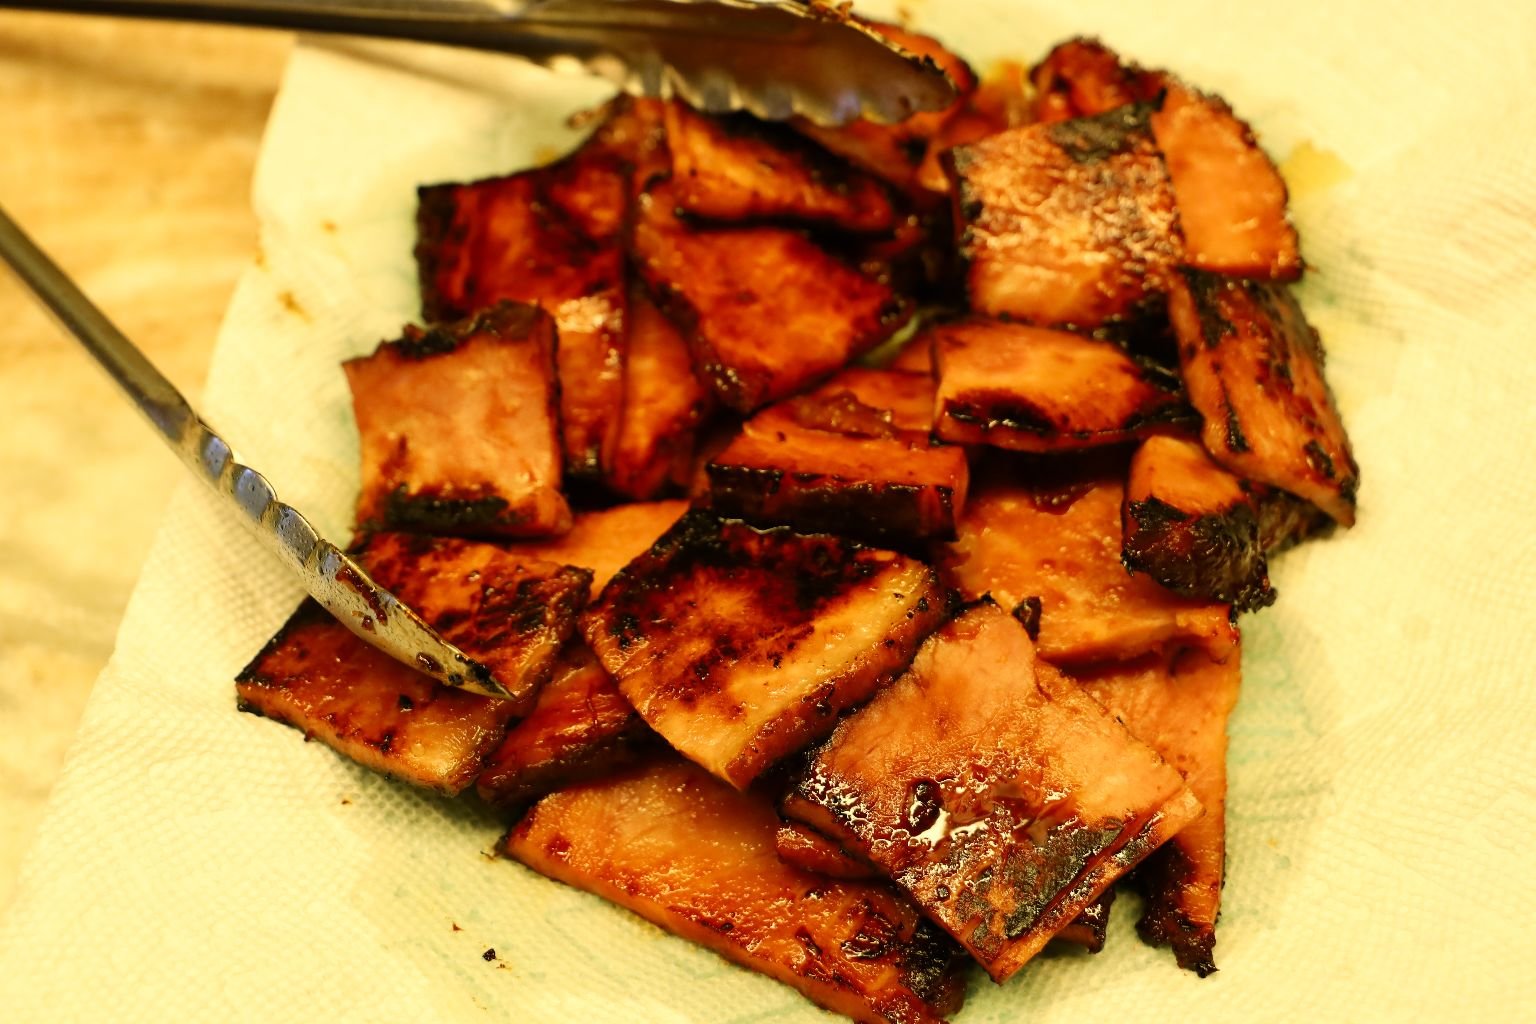
Baked Ham With Julie’s Southern Georgia Peach Jeze-Bell’s Sauce
I have created several Jezebel Sauce’s that I have listed on my website. This particular one is a base of colorful Bell Peppers. Hence, my Southern Georgia Peach Jeze-Bell’s Sauce. Here I am adding it to this delicious ham.
If you would like the recipe for my Jeze-Bell’s, then just click here:

——————————————————————–


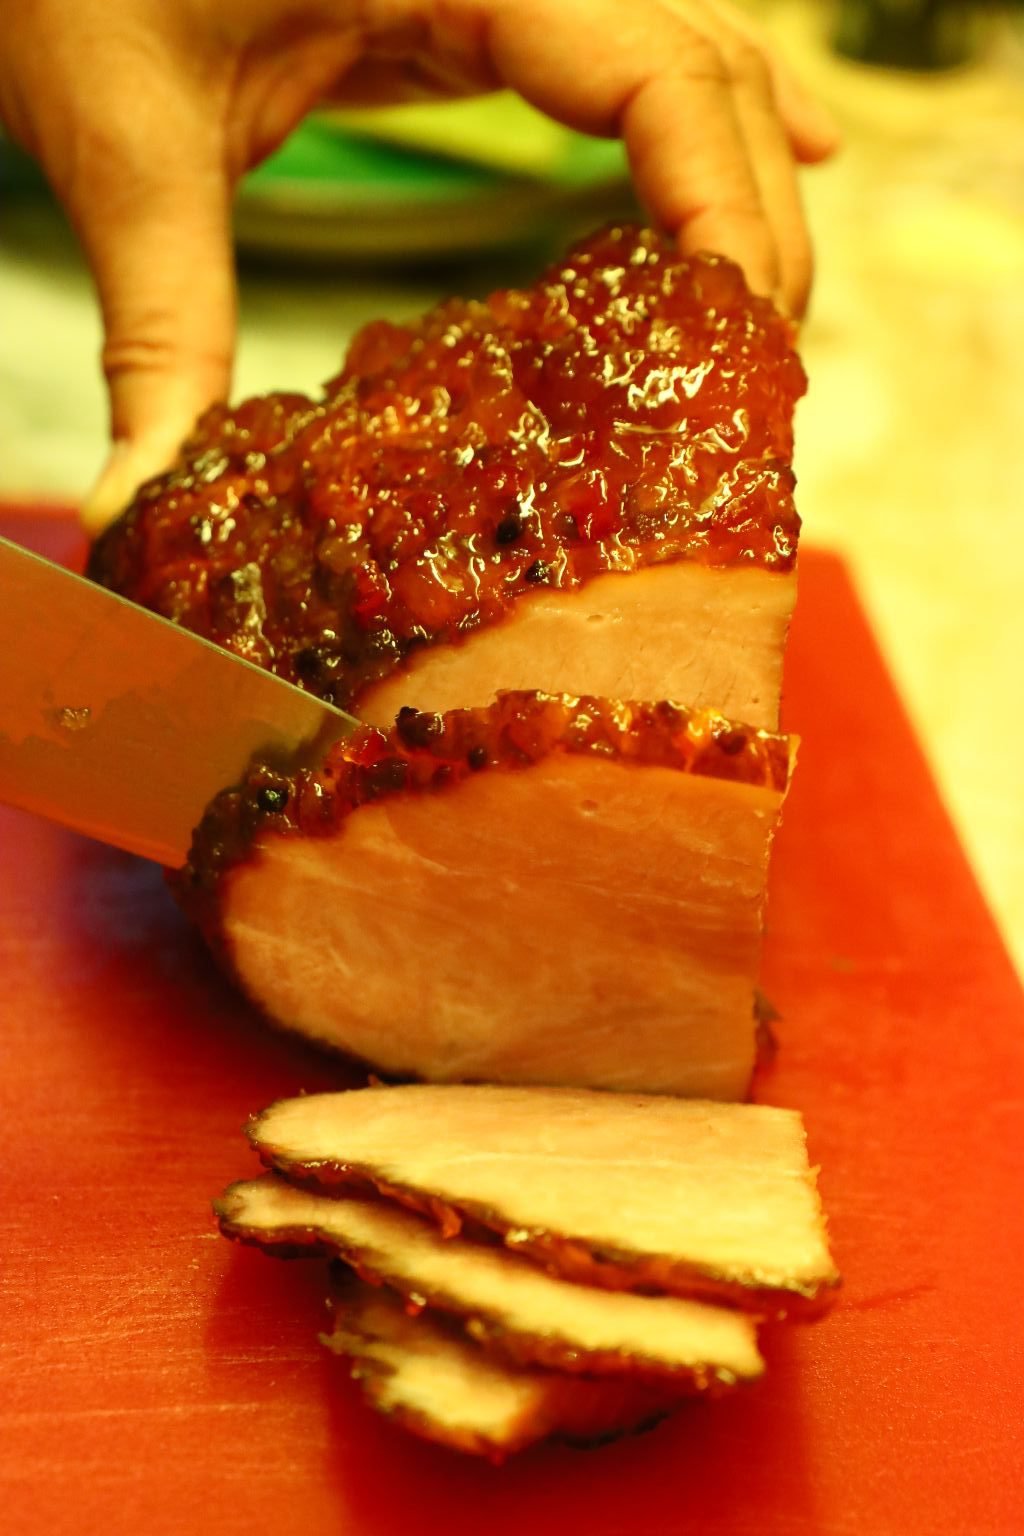
The ham that I am using here is already cooked through. What I want to do here is to glaze it with my Jeze-Bell Sauce. So, I placed the oven on 300F and when it came to temperature, I placed it in the oven. But first, I slathered it with my Jezebel Sauce.

I cooked this ham 30 minutes while continuing to glaze it with my sauce.
It looks delicious, doesn’t it?

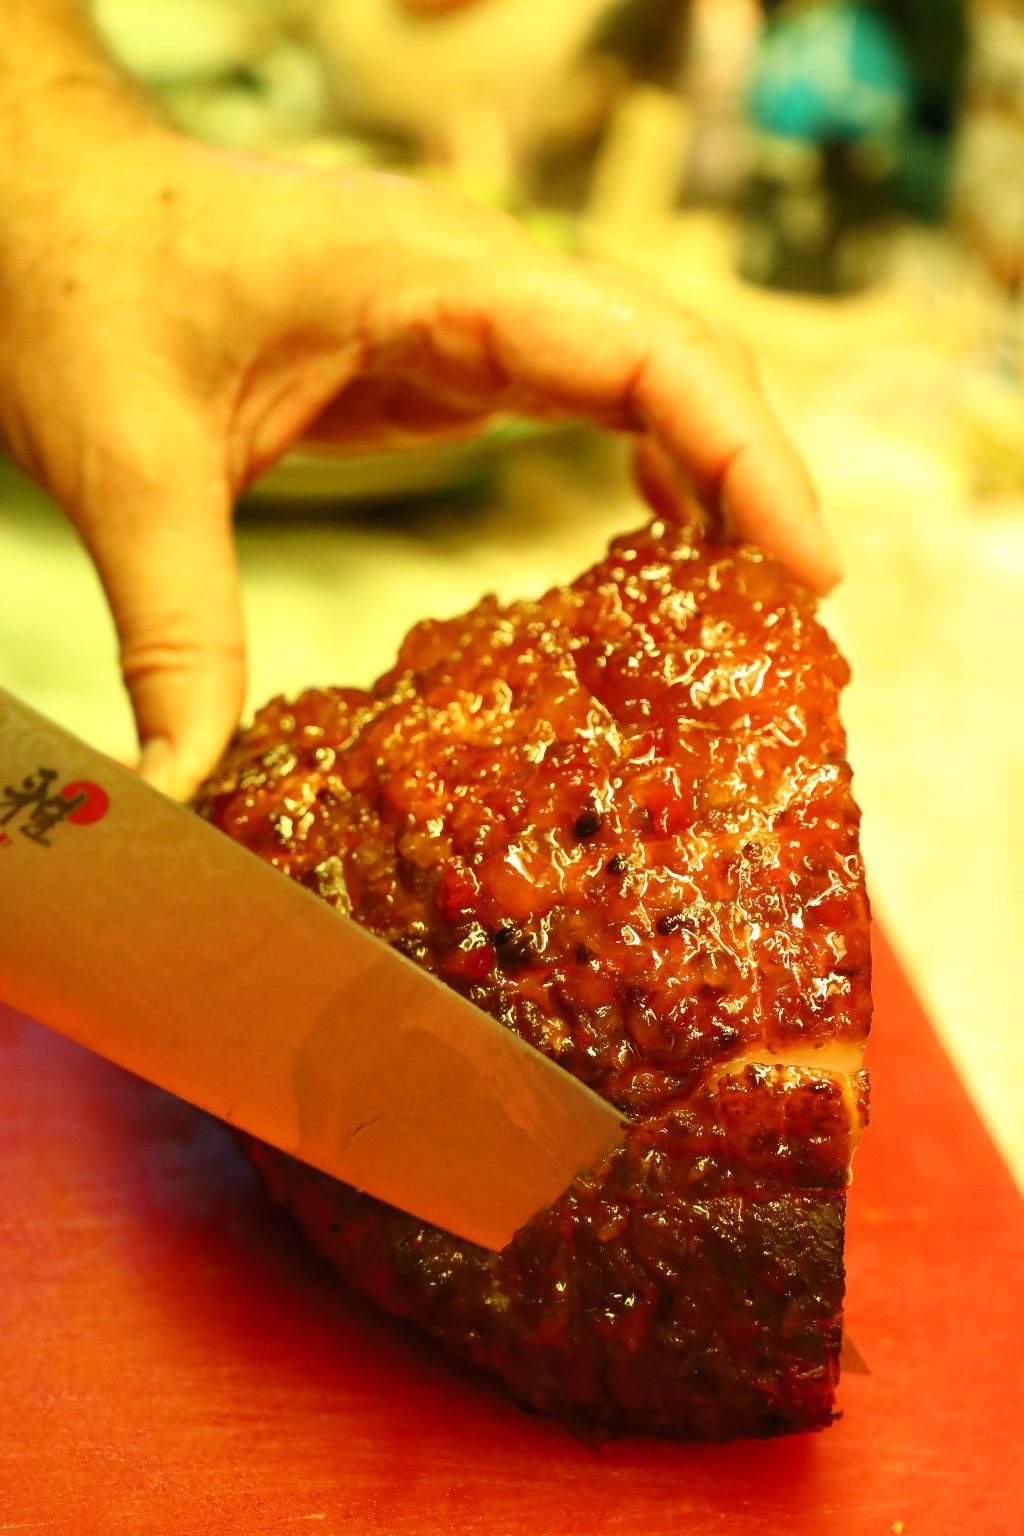
Here Gordon is Slicing it Once it is Cooled

————————————————————————-

This is going to be for our Green Eggs and Ham Garden Breakfast.
———————————————————–
Our Herb Eggs Packed With Peppers

We Need The Blender For This

Herbs and a Few Peppers From Our Garden


Ingredients:
1/2 Cup Basil
1/2 Cup Parsley
1/4 Cup Chives
5 Large Eggs
1 Cup Colorful Bell Peppers – Chopped
2 Tbsp. Butter
3/4 Cup Milk
1/4 Cup Onion – Chopped
Hawaiian Sea Salt – to taste
Freshly Ground Pepper, to taste
1 tsp. Turmeric
1 tsp. Sweet Paprika
—————————————————————

Use your blender to chop the herbs.

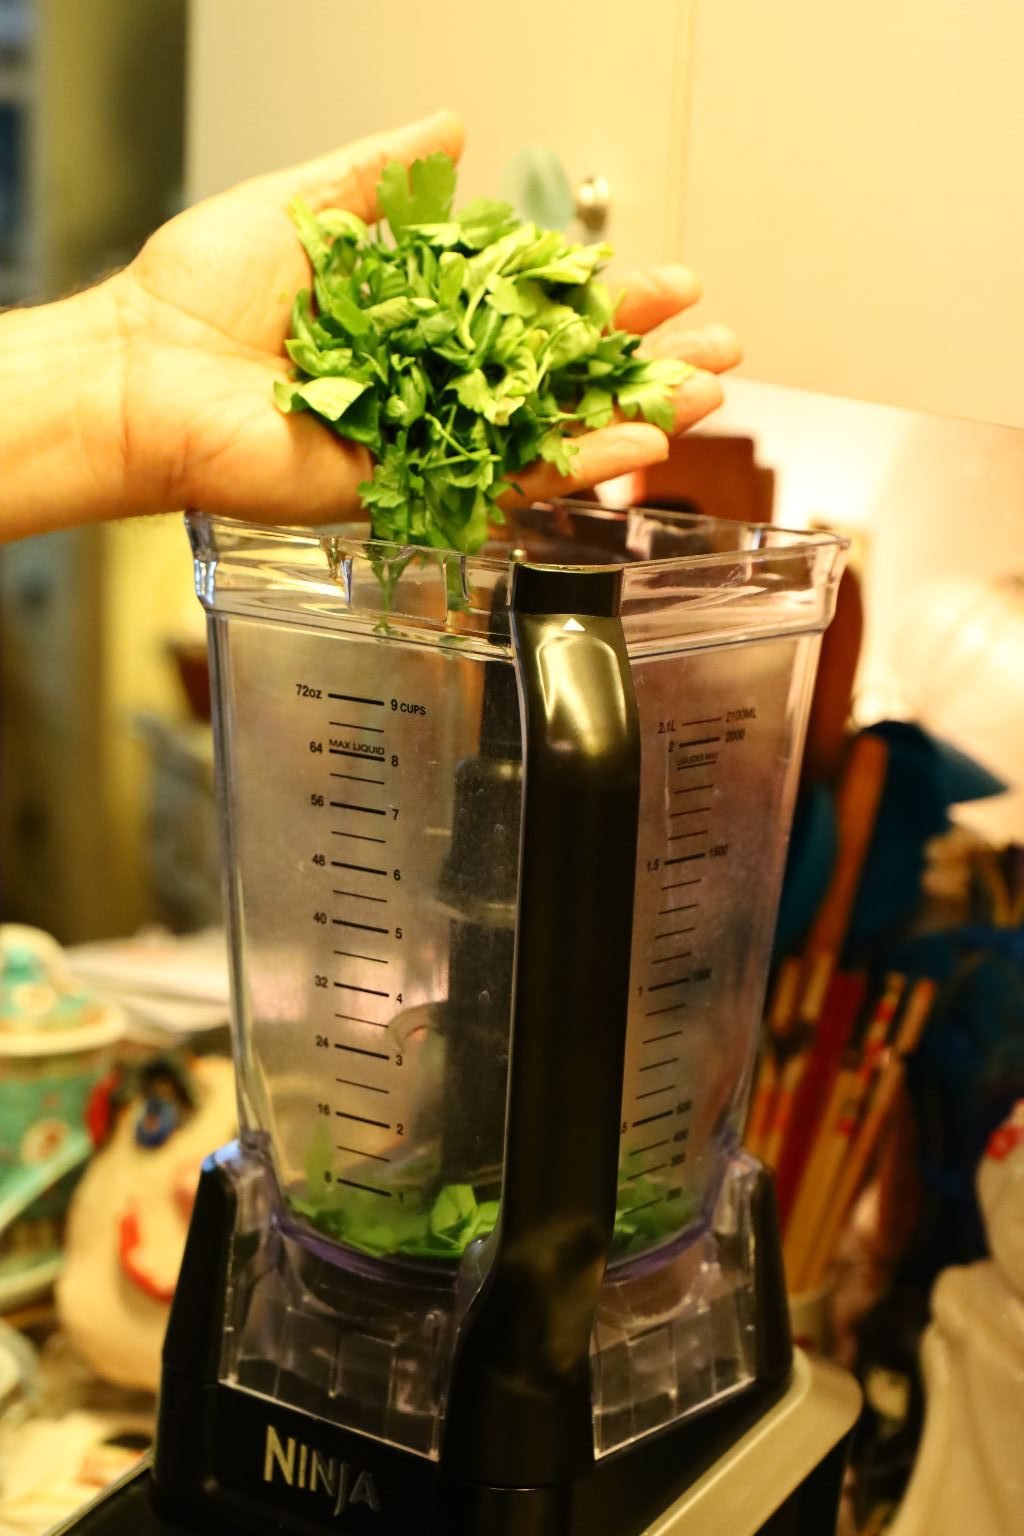
I will hand chop the Parsley as their long stems sometimes don’t chop well in the blender.
Add all your herbs to the blender.

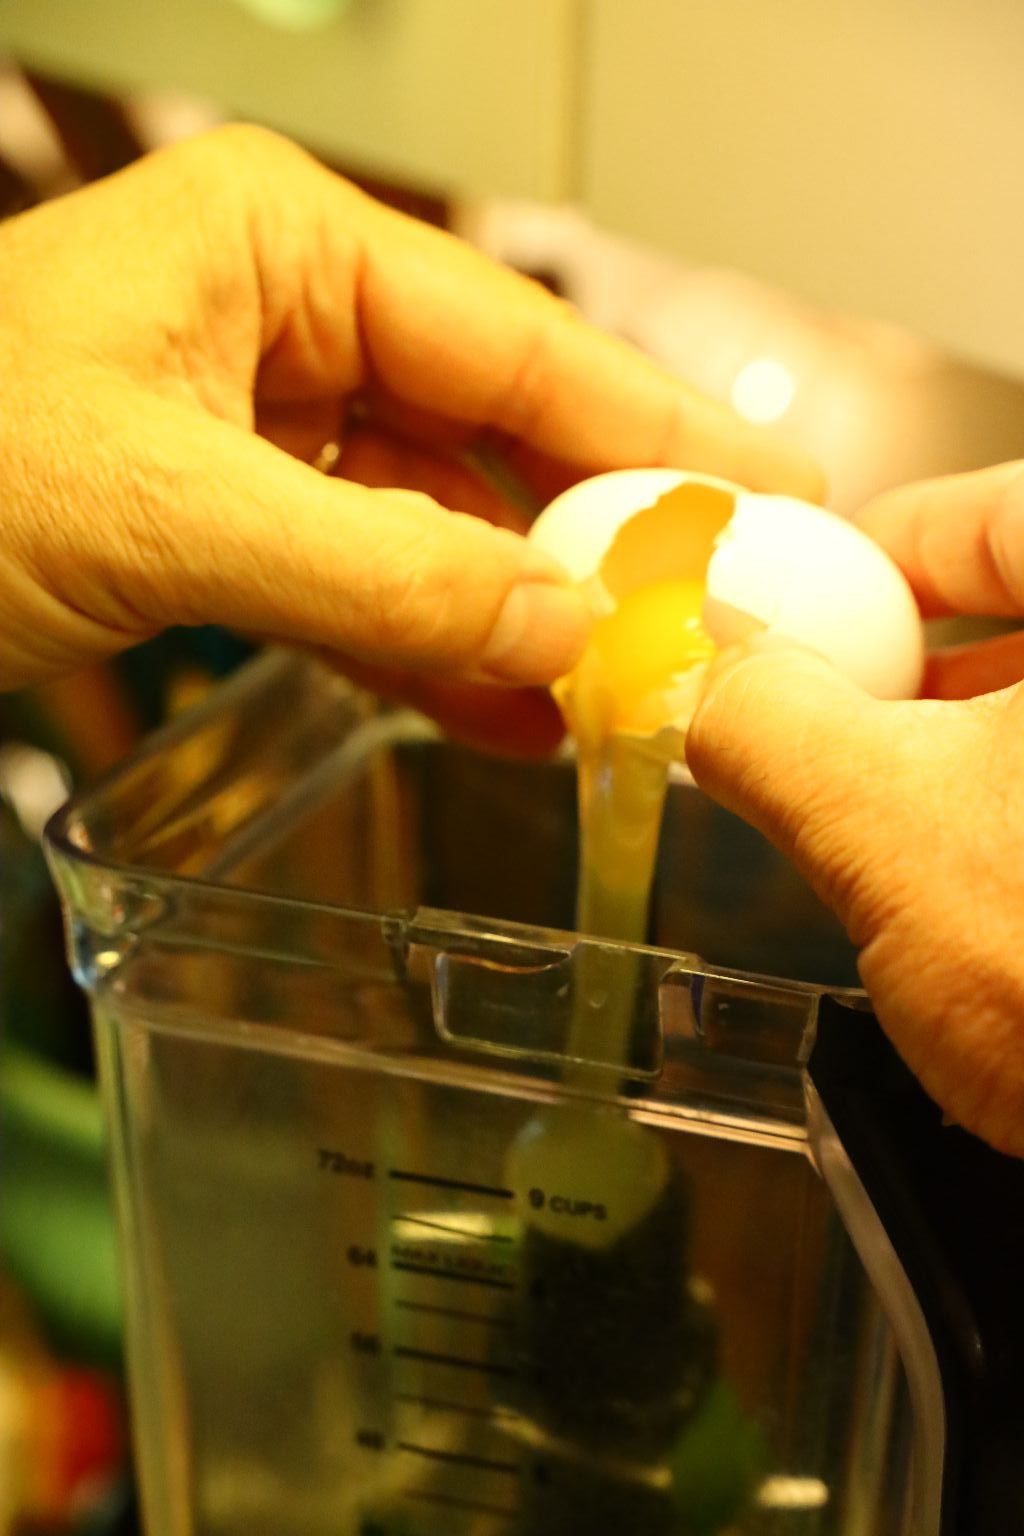
Crack your eggs into the blender making sure you didn’t add any shell pieces.
(You can always crack them into a small bowl first, before adding them if you like.)
————————————————————–


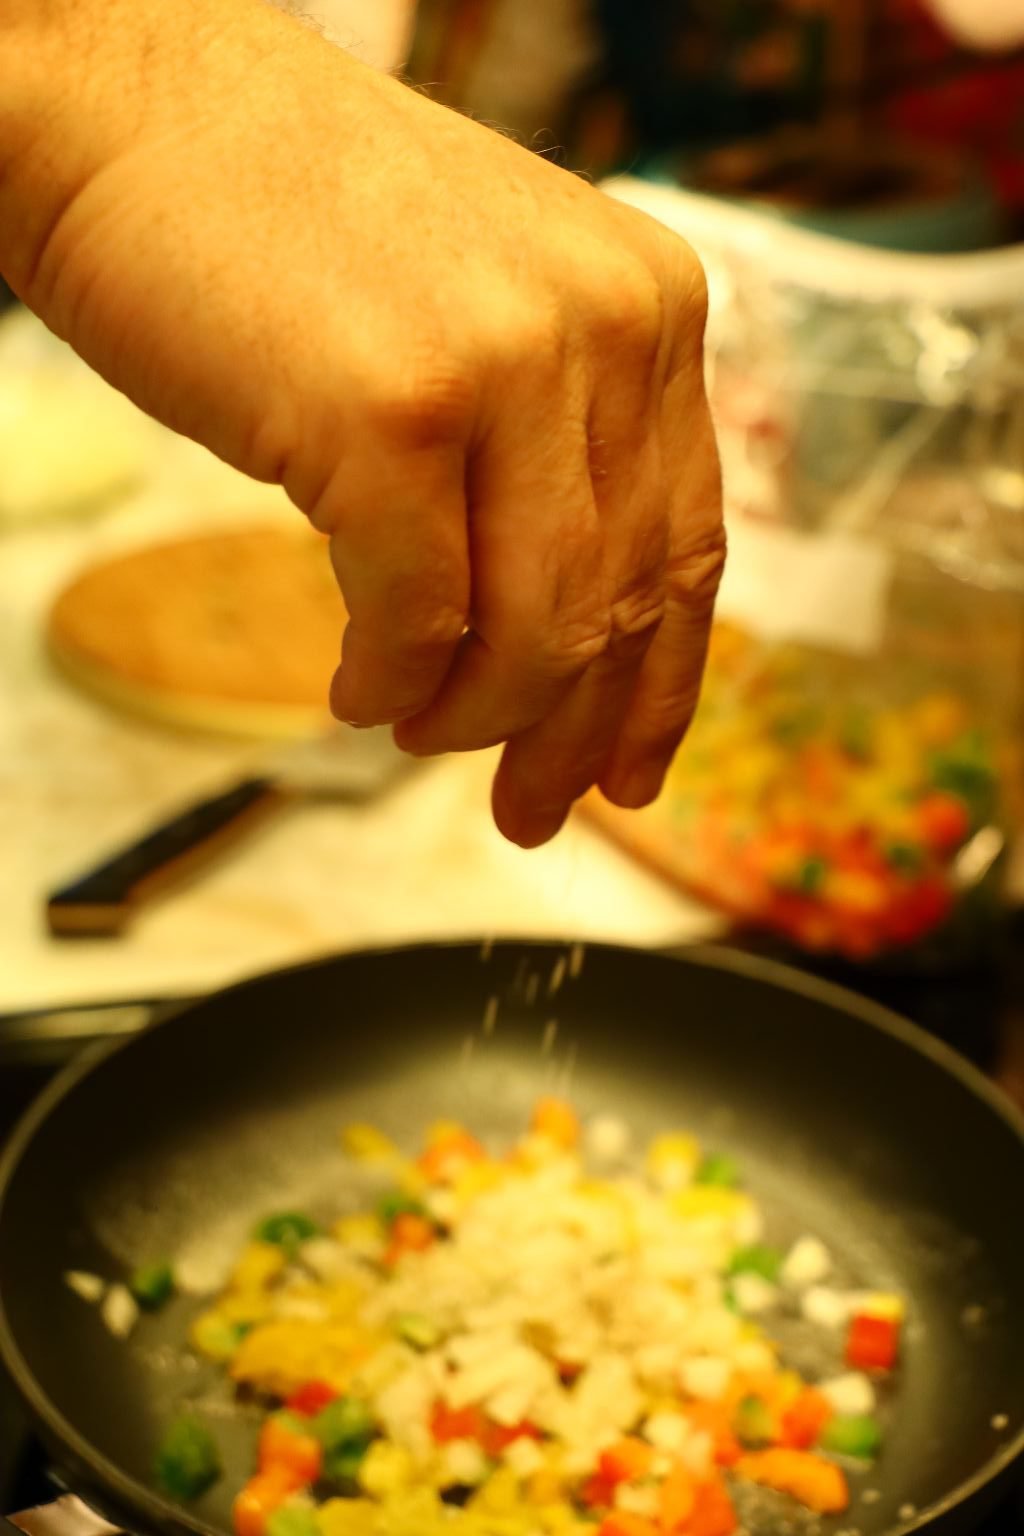
In a large saute pan, add your butter and melt it over medium high heat.
When melted add your Bell Peppers and Onions.


Add some pepper to taste.
Saute the mixture until tender which takes about 8-10 minutes.
—————————————————————

Back to the blender, add some freshly ground black pepper to the herbs and eggs.

Add some Hawaiian Sea Salt to the vegetables as needed.


I felt the vegetables needed a bit more butter.
Continue to stir the vegetables as they cook to your desired tenderness.
———————————————————–
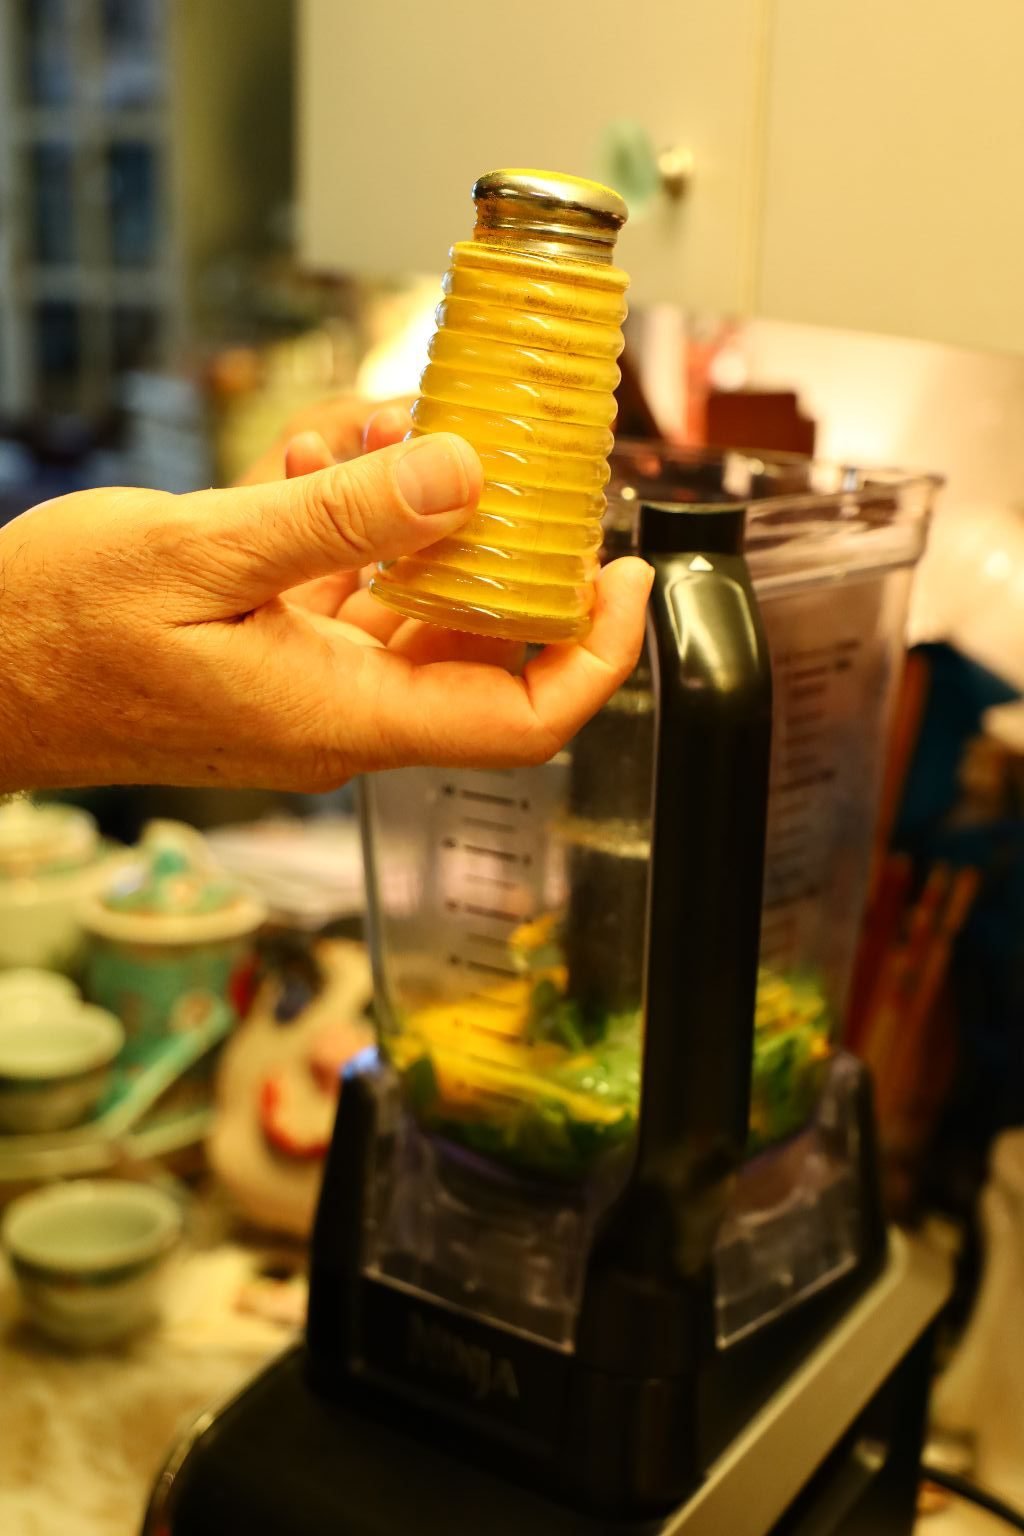


Add your Turmeric, Sweet Paprika, and Milk to the blender.
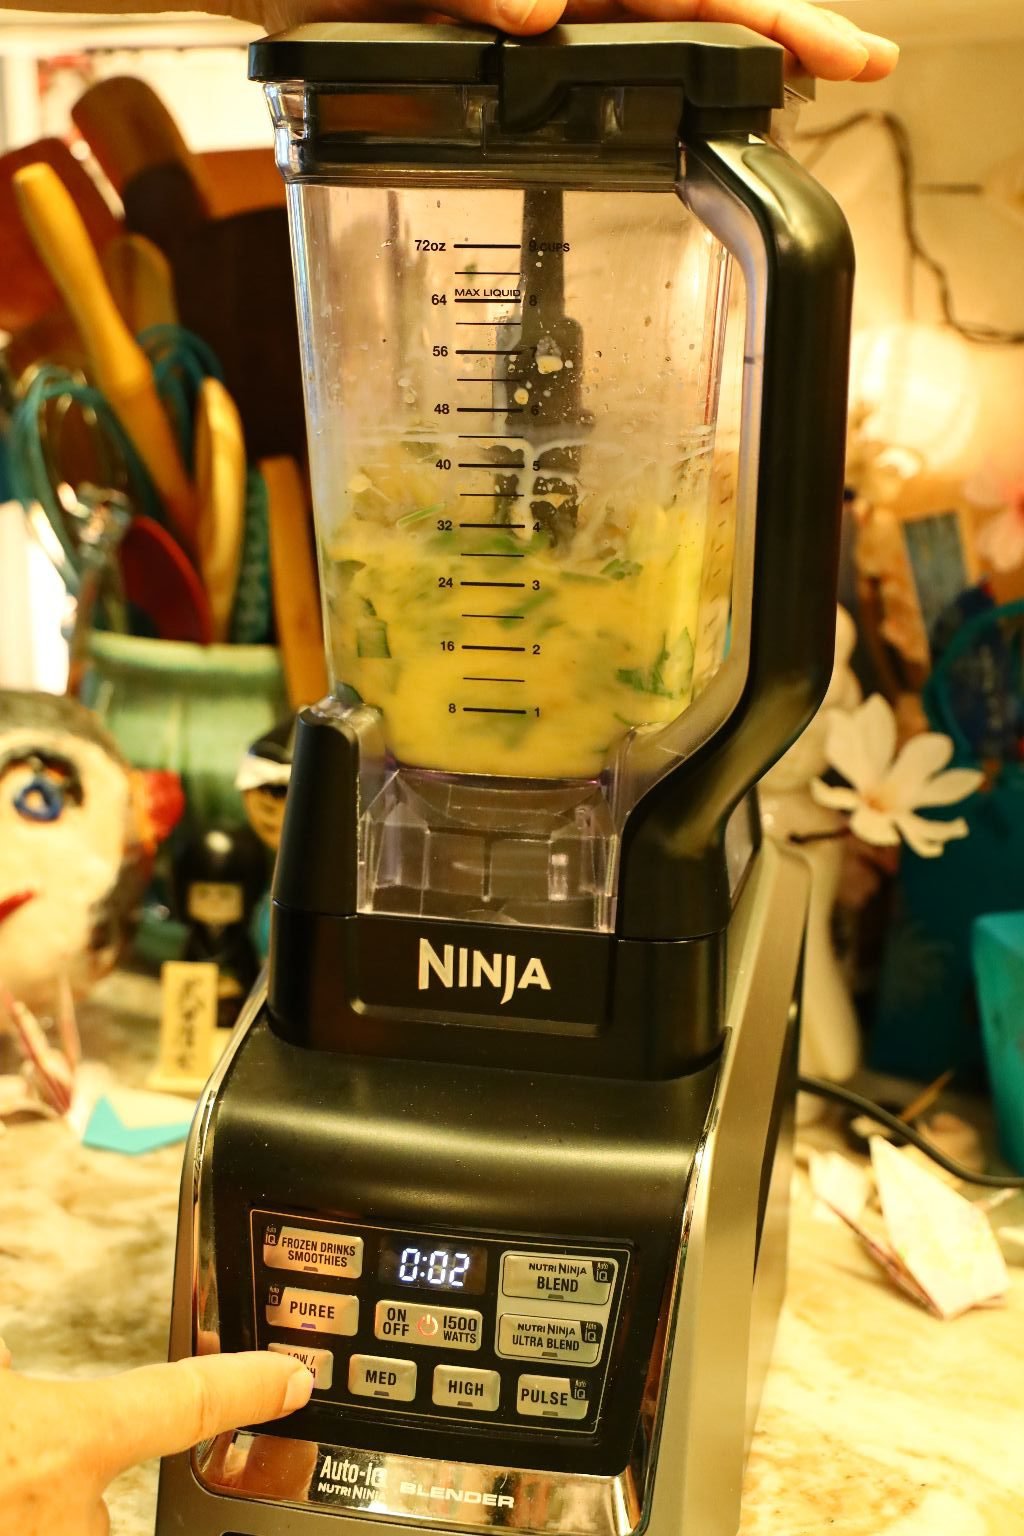
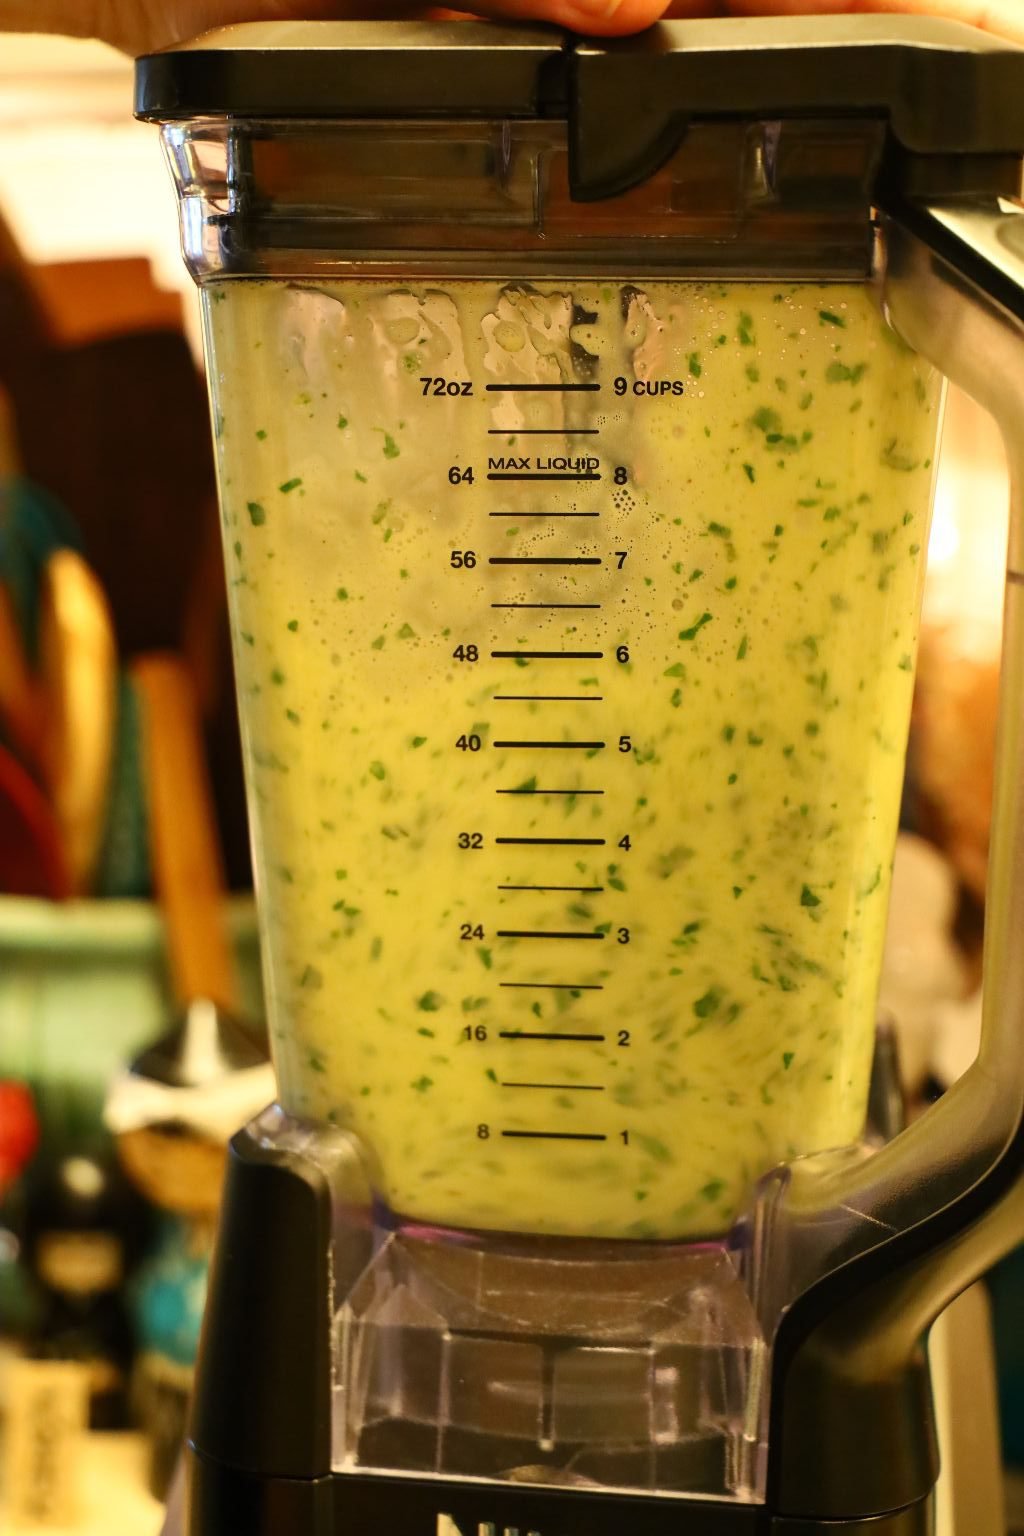
Blend the egg and herb mixture until almost smooth.


When your vegetables are cooked and tender, add your blended eggs,
Turn the heat down and cook for about 5-8 minutes.

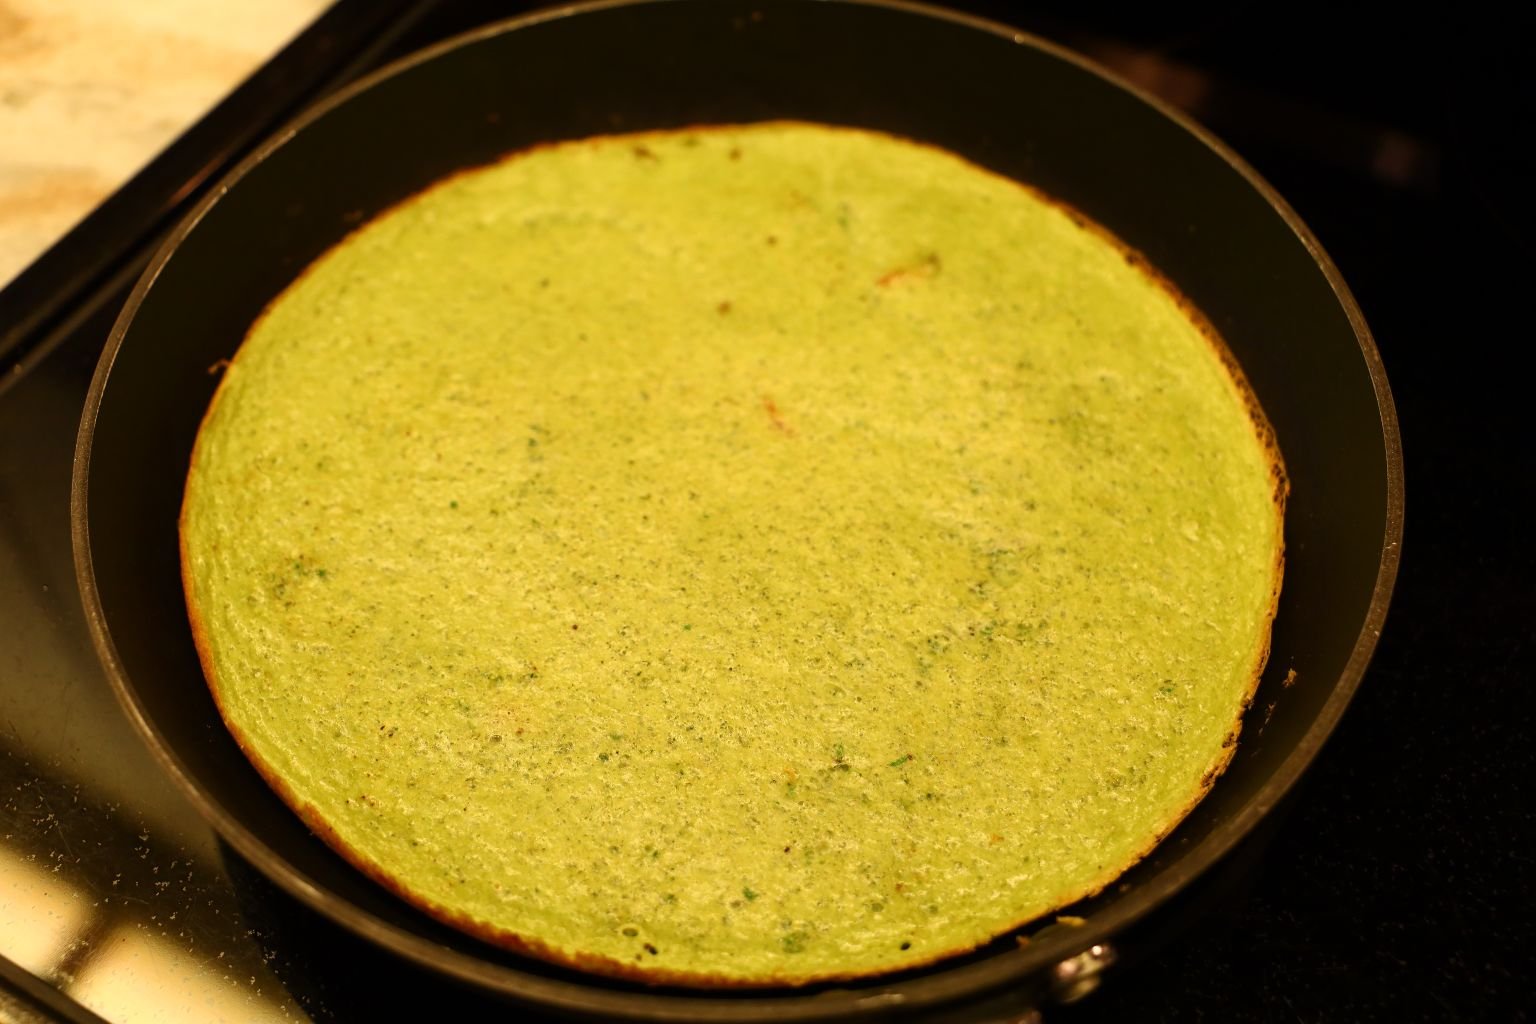
Since this is a little thick, I decided to use our broiler to cook the top of the eggs.
After just a few minutes they are cooked solid.


Use a cutting board to help you turn the eggs over.
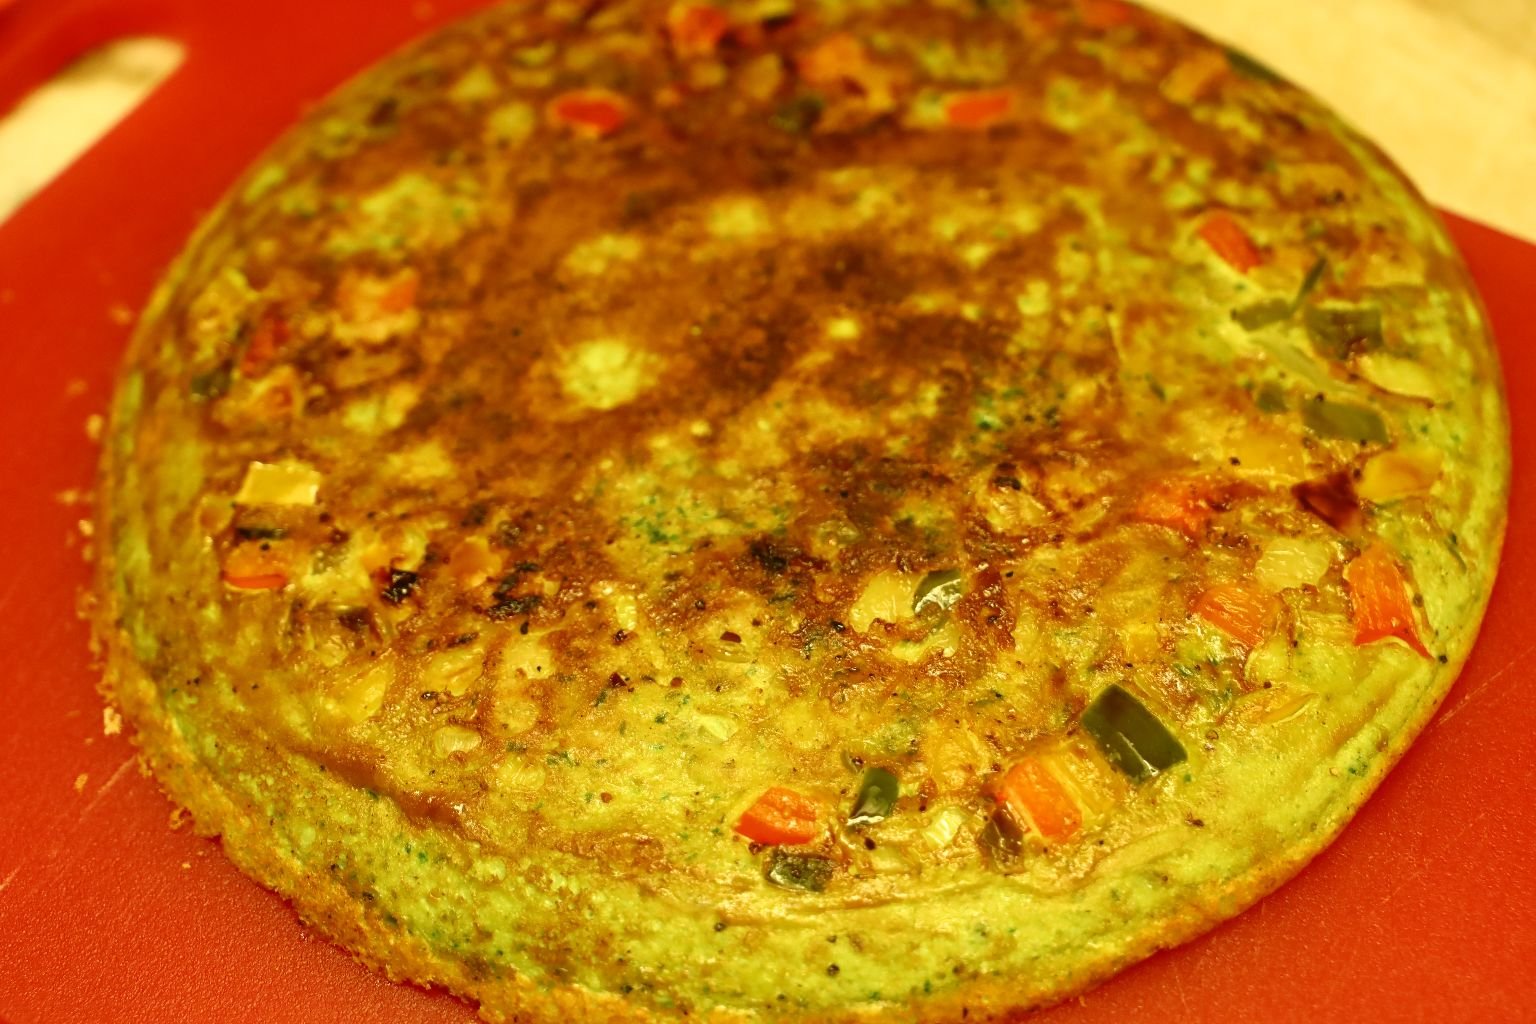
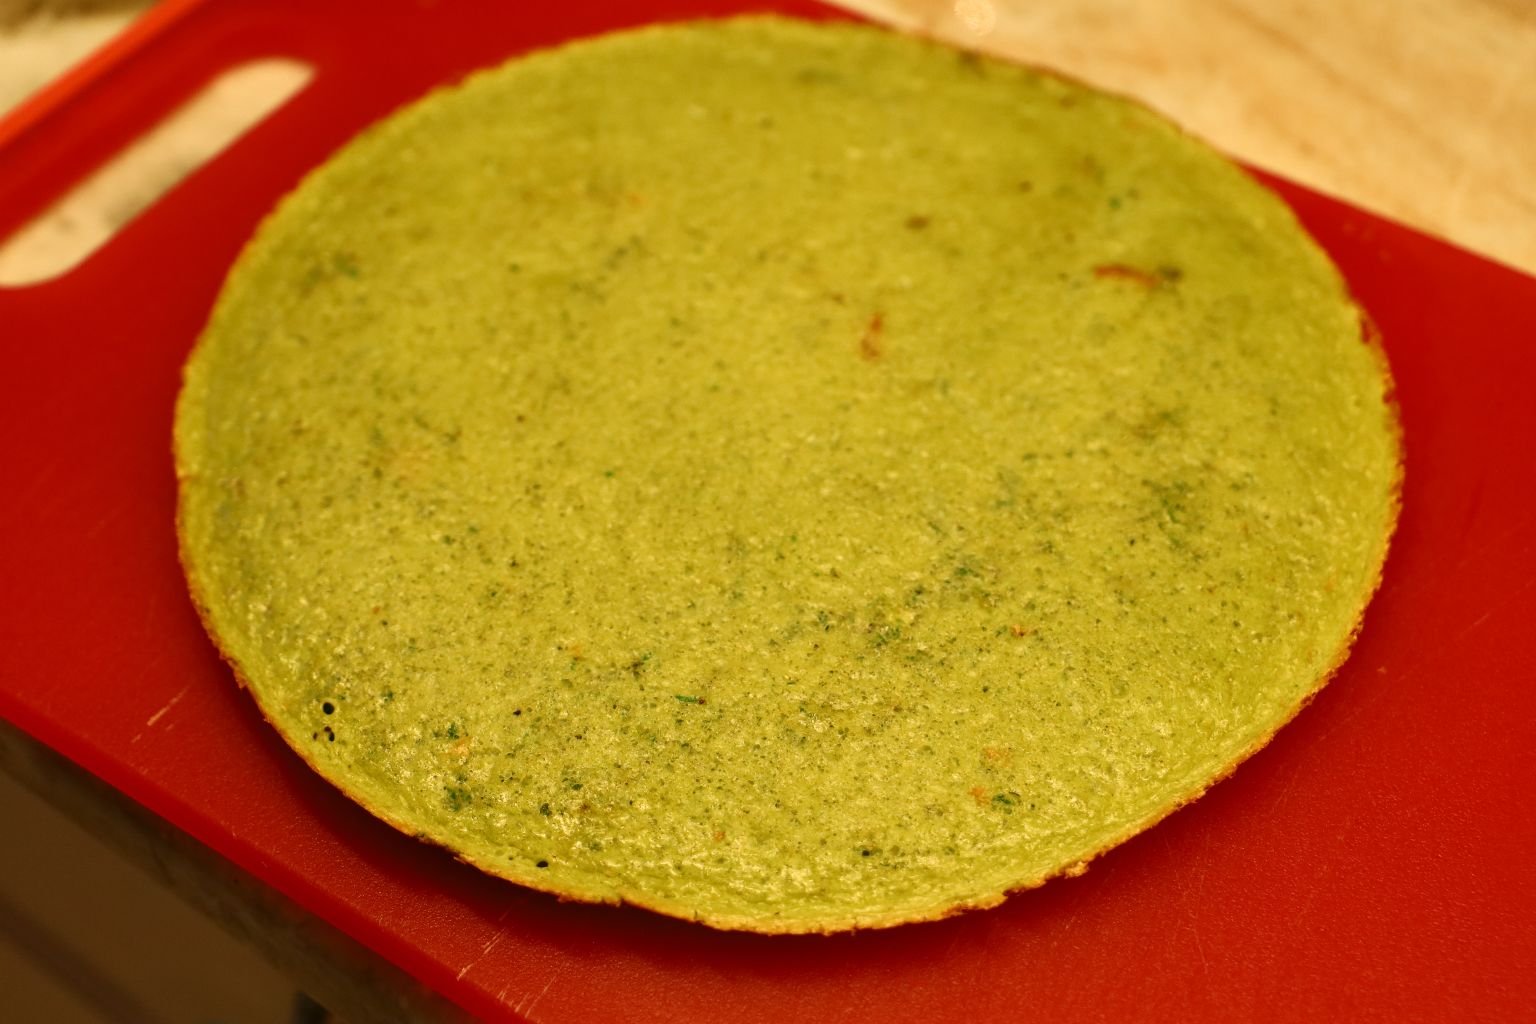
The eggs are a little over cooked on the bottom, but then again some people like them browned as well.

We sliced the eggs into quarters and plated them.
————————————————————————
Here is our ham we cooked with Julie’s Georgia Peach Jeze-Bells Sauce.
We add some ham slices topped with more of the Jeze-Bells Sauce, then also plated a slice of our colorful Bell Pepper and Herb Garden Bread from above.
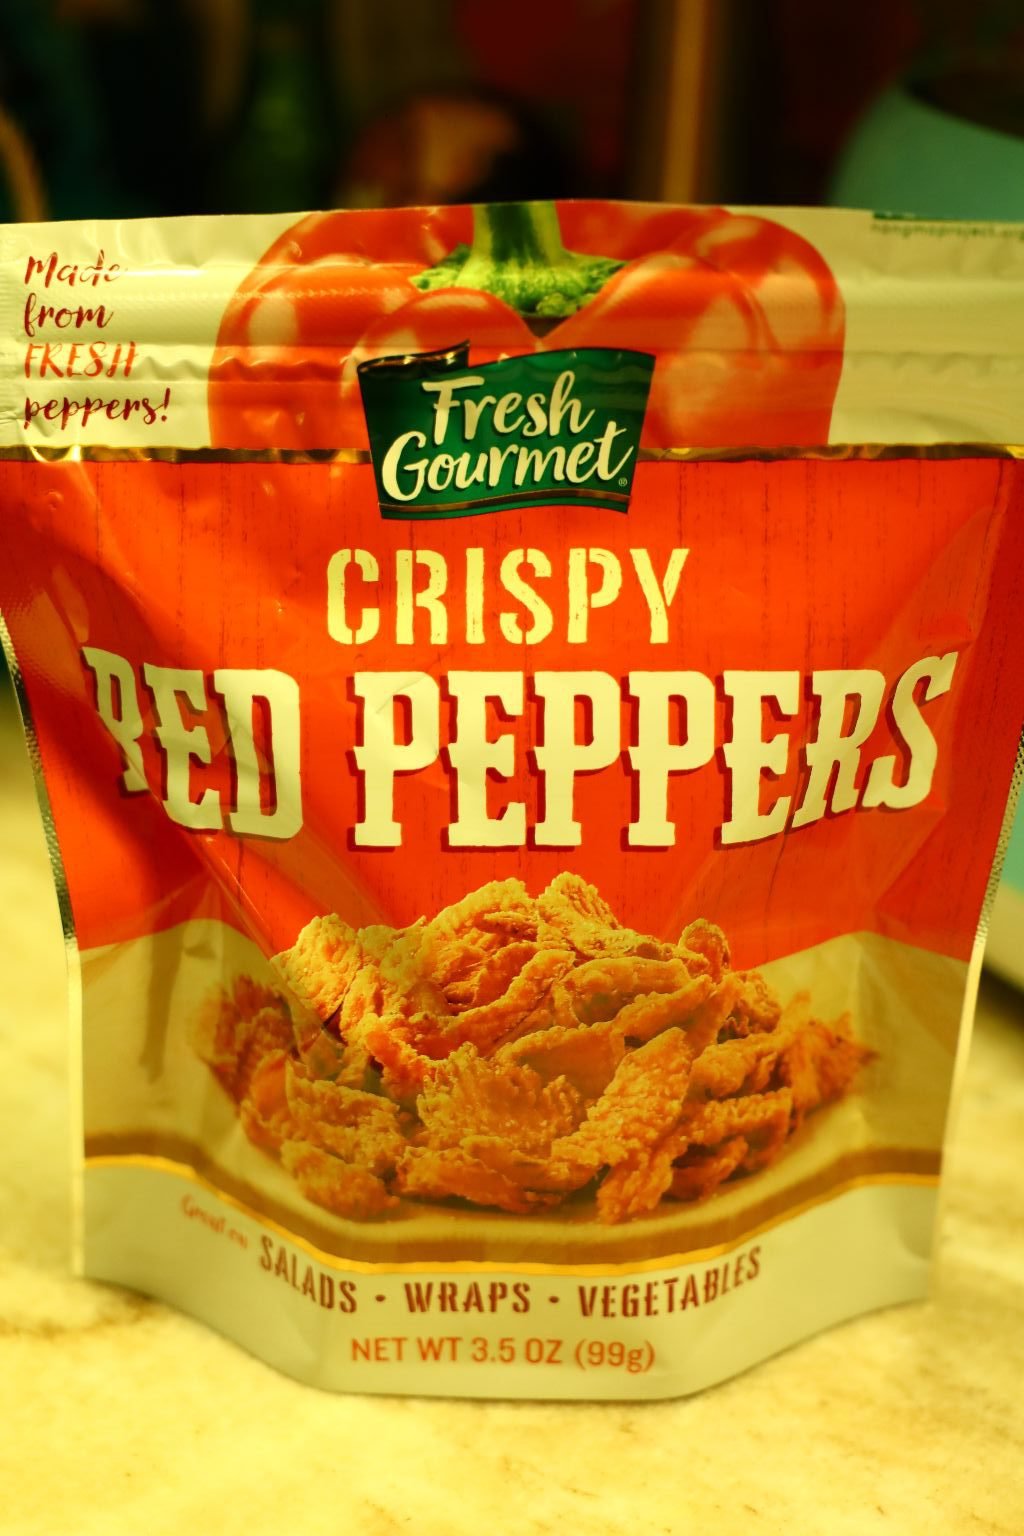
These Salad Toppings Made a Nice Garnish
Eating Outside In The Garden
What a great garden inspired breakfast!
—————————————————————–
—————————————————————–

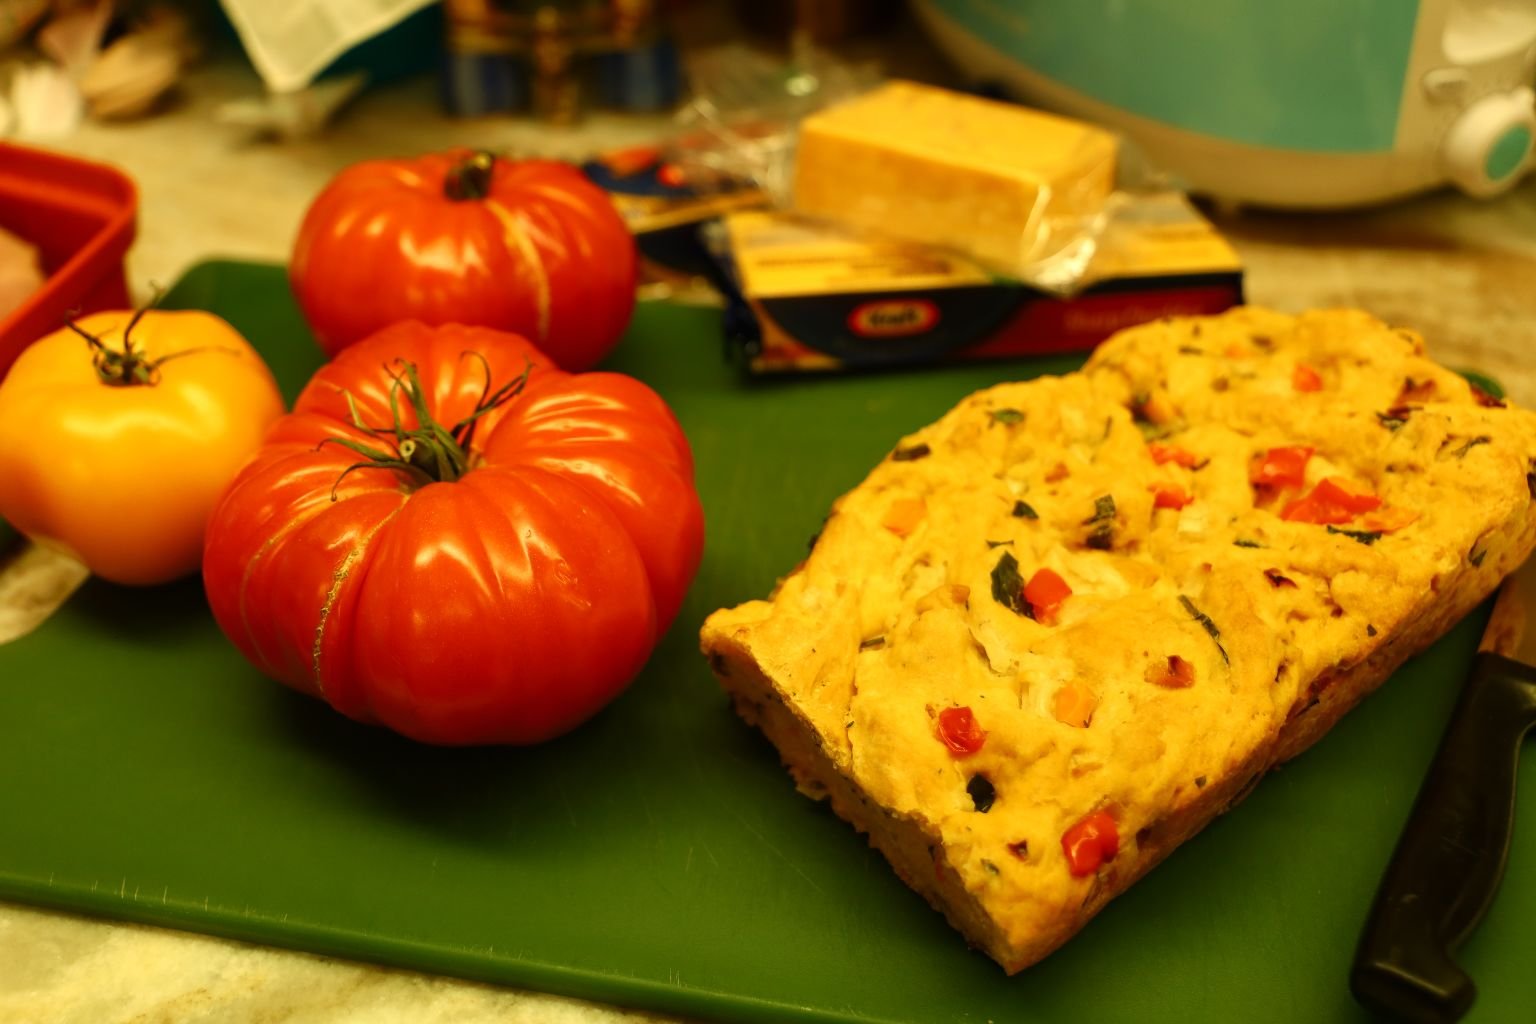
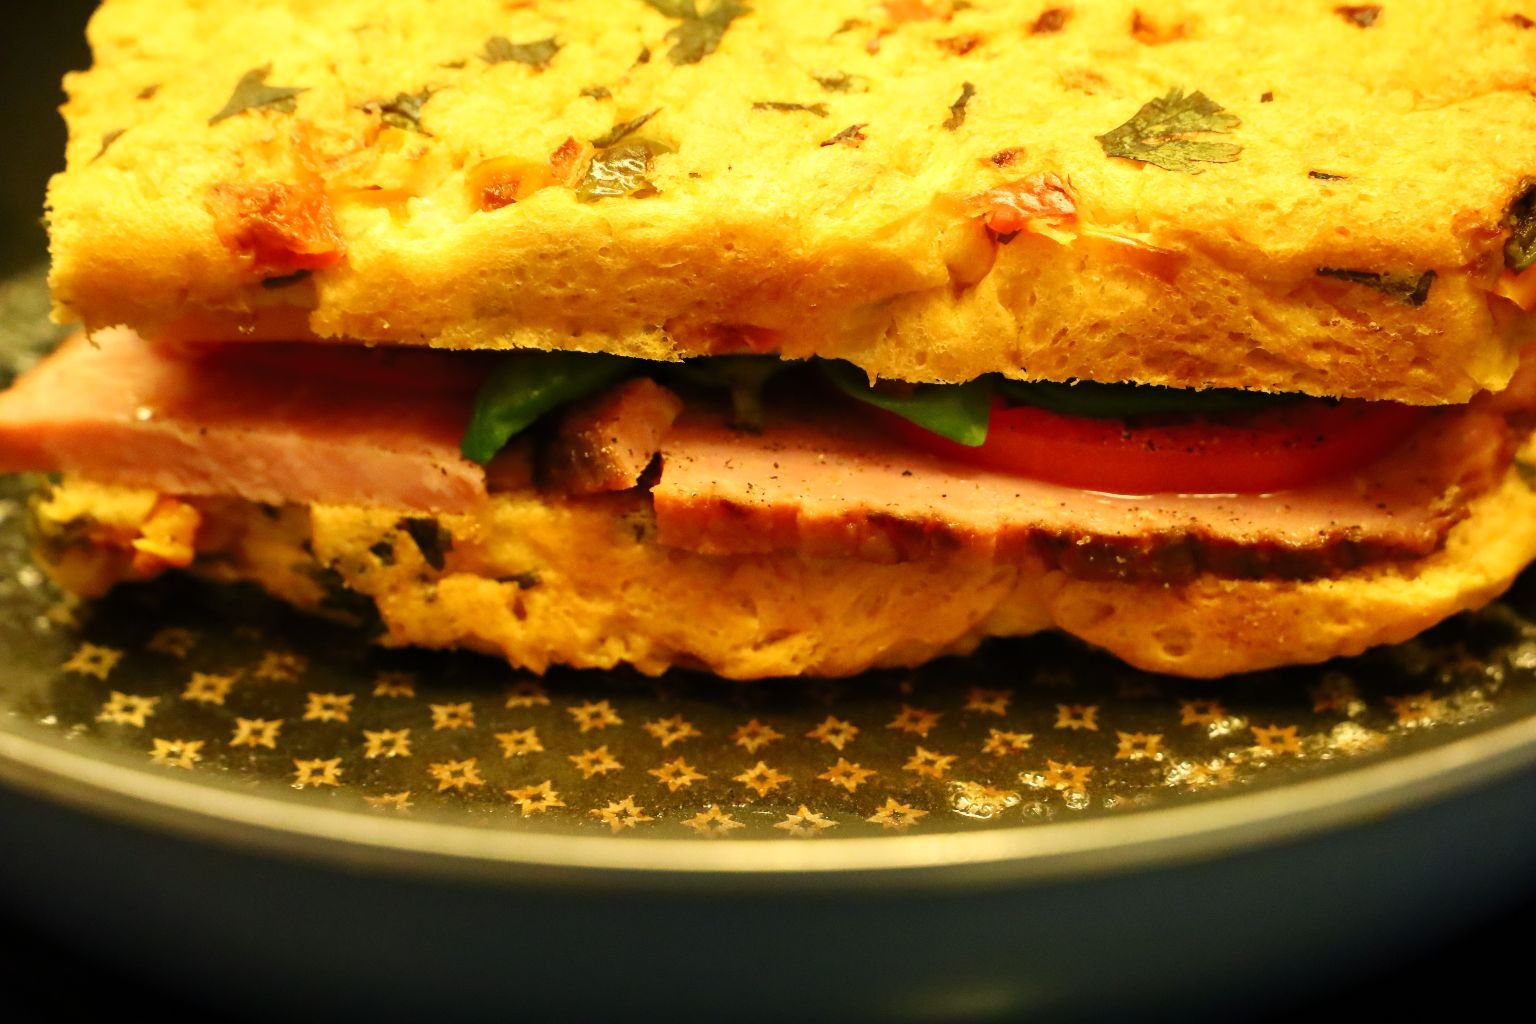
Making a Grilled Cheese with our Bell Pepper and Herb Bread

Heirloom Tomatoes
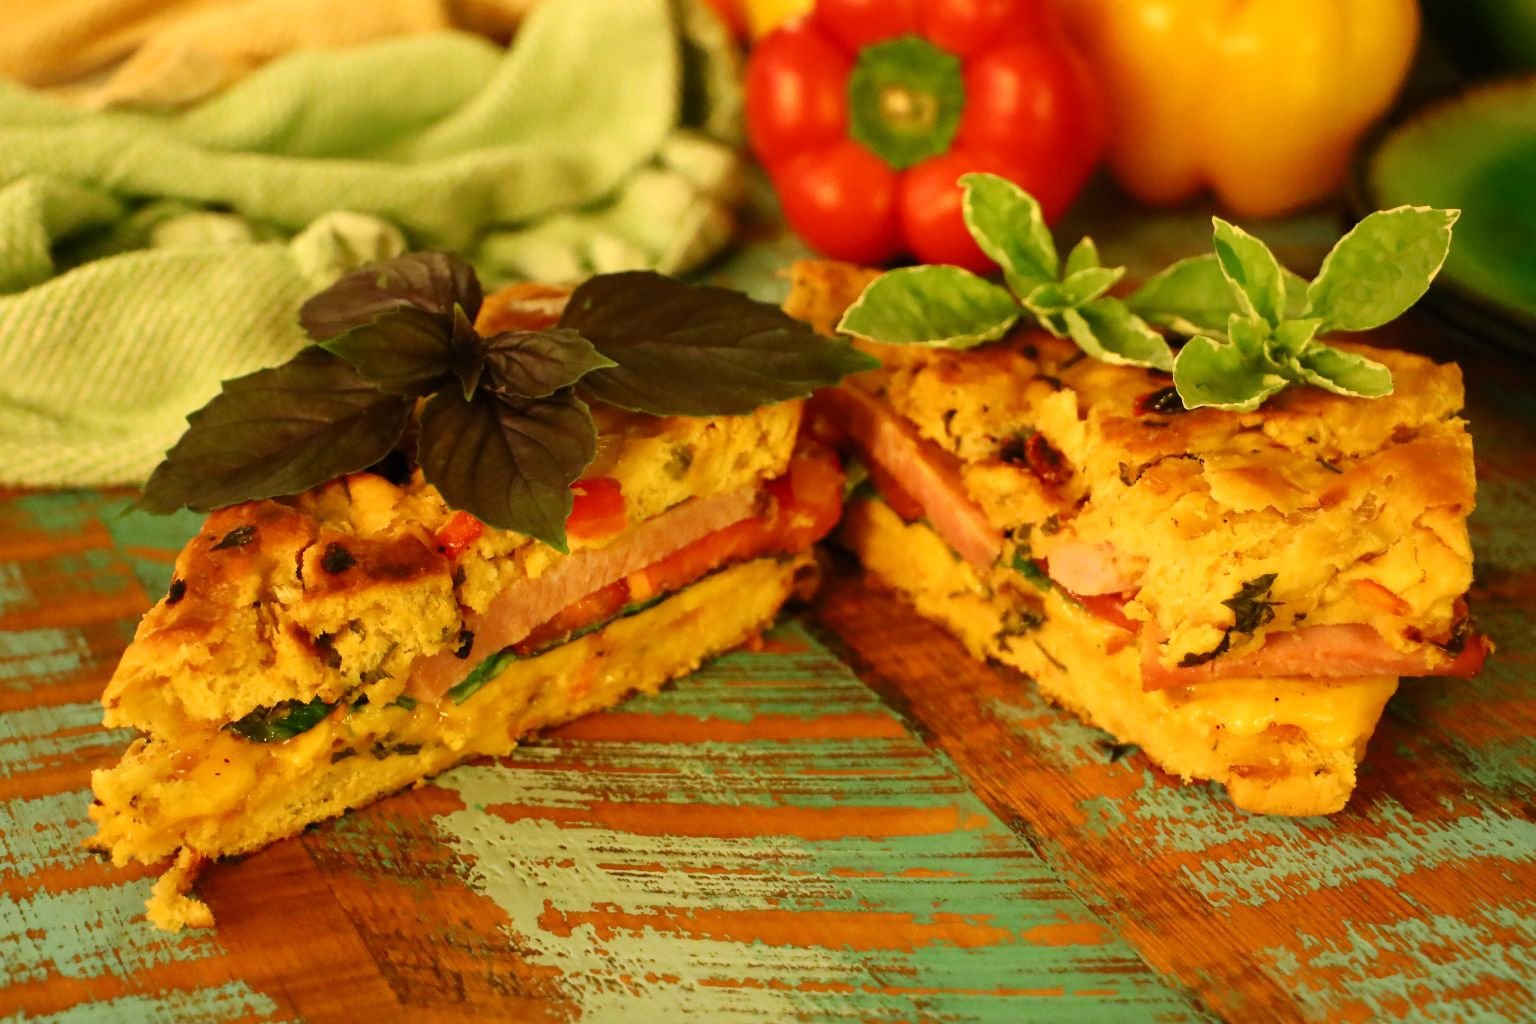
Grilled Cheese with our Leftover Ham, Heirloom Tomatoes, Mustard, Cheeses, Leftover Julie’s Georgia Peach Jeze-Bell’s Sauce, and our Fresh Herbs

A Great Way to Eat our Leftovers

Here Comes The Assembly…


First, slice the loaf directly down the middle.

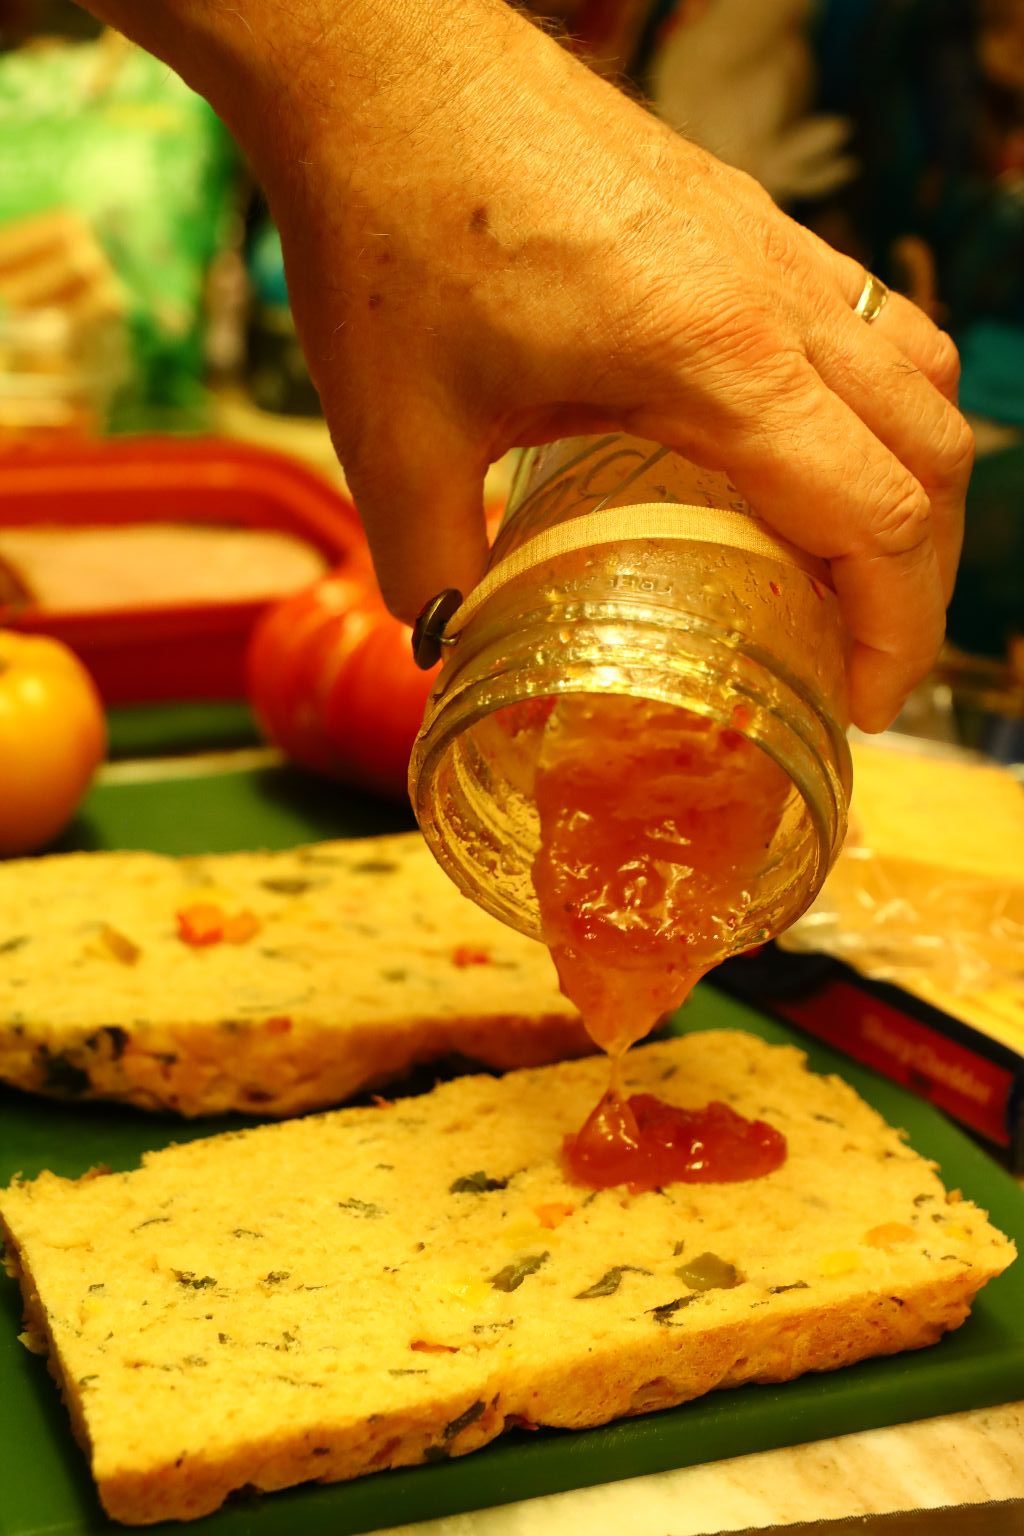
On one side place mustard, on the other side Julie’s Georgia Peach Jeze-Bell’s Sauce


Now place some leftover ham slices onto one side.

————————————————————————-


Slice some cheese and place on the other side of the sandwich.

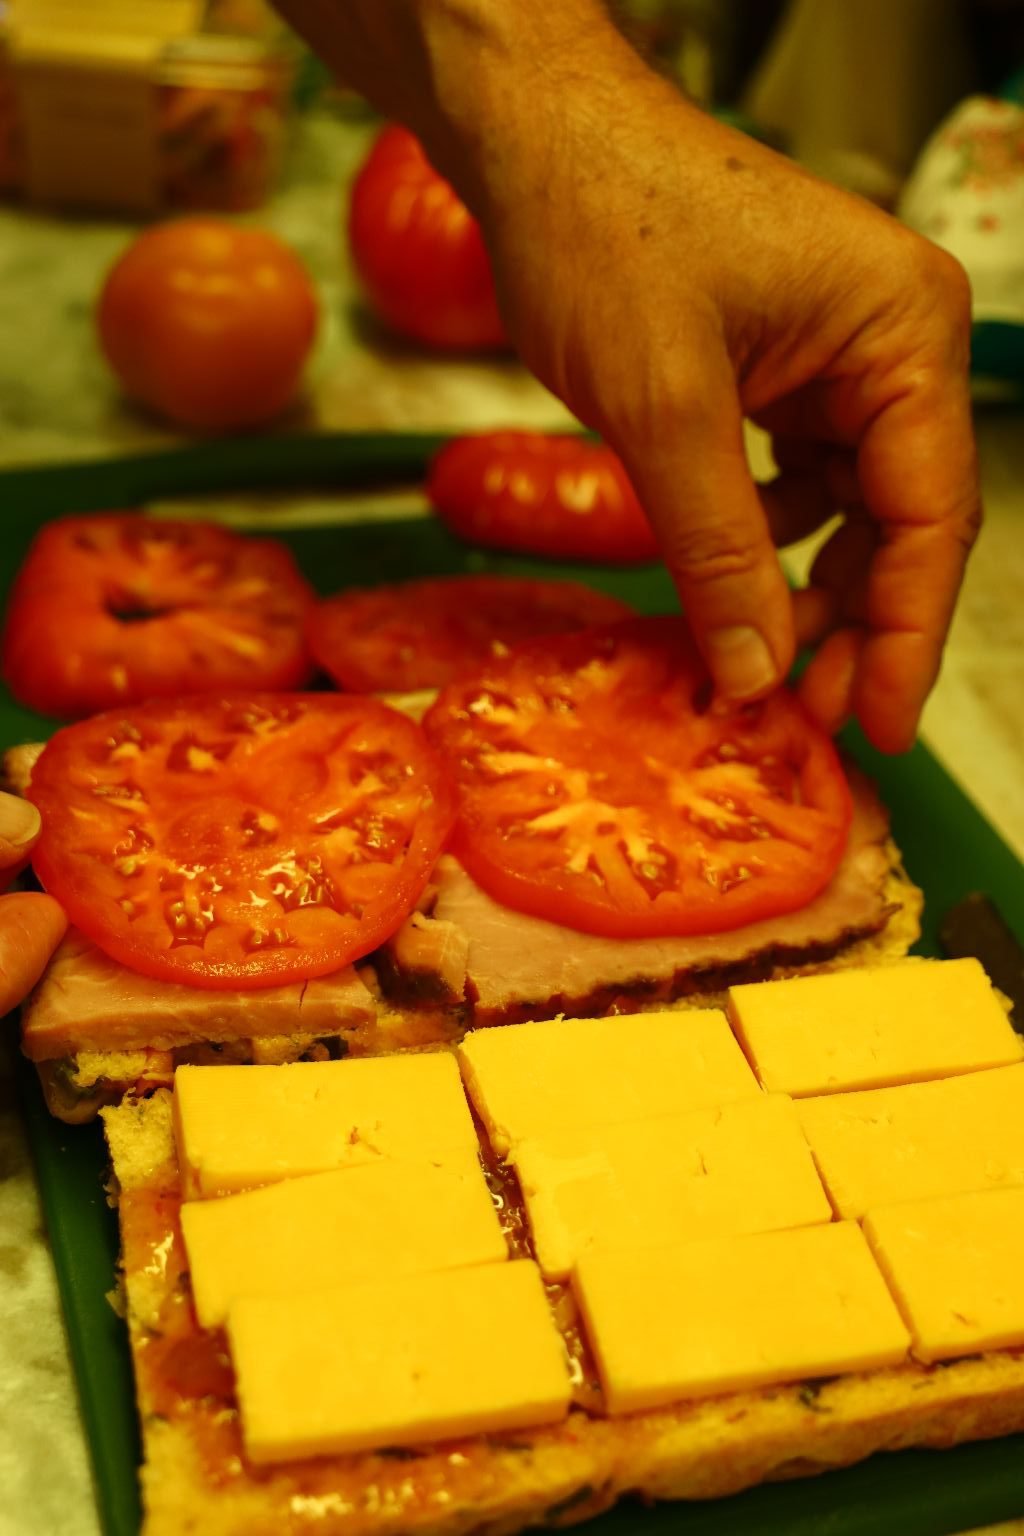
Some Heirloom Tomatoes…..


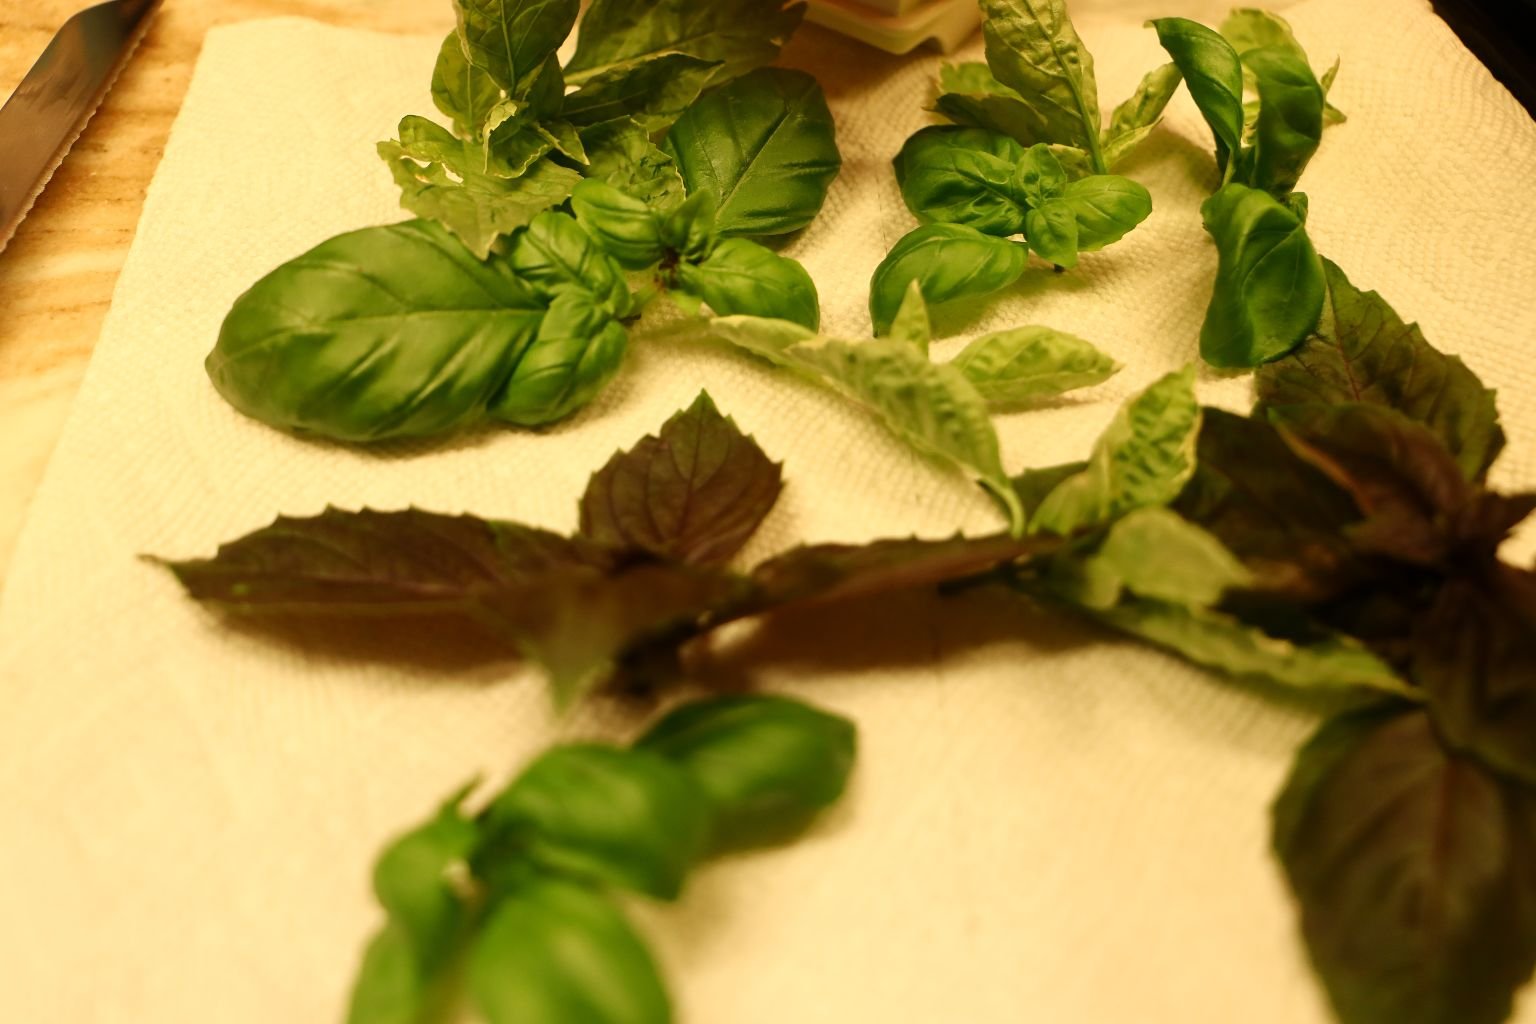
Fresh Herbs, we are using Basil here.

Place some butter/margarine into a saucepan on medium-high heat.

Here Gordon is browning both sides of the sandwich.


You also want the cheese to melt as well.


Just slice and plate it up!
Here we added more of our herbs and served with some dried tomato chips.
————————————————————
Breakfast The Next Morning…
Here Gordon fried our leftover, leftover, Ham 🙂
Also, fried us up some Eggs, and added a bit of Cheese.
A Delicious Morning
———————————————————-
Thank you for joining us.
This little patch of our yard is so very rewarding.
Happy Planting!
Julie and Gordon
———————————————————————-


One of my first herb gardens, left. My herb garden redo, right.
Same dress, about 10 years apart.
Which brings us to this most crucial of all questions…
Which Julie Wore it Best? 🙂
————————————————————-
View My Other Herb Garden and Project Pages:

AND,

AND,

AND,
AND,

AND,
Julie’s Backyard Wildlife and Gardening Blogging

AND,

AND,

AND,
Julie’s Backyard Wildlife and Gardening Blogging Continues
——————————————————————————–