Vintage Cakes

————————————————————————

Vintage Cakes From My Vintage Childhood
At this writing, 2022, I am 61 and longing for my past childhood of cakes being made from scratch by the loveliest women I have ever known in my life. My Great-Grandmother’s and the women of their generation that I knew.
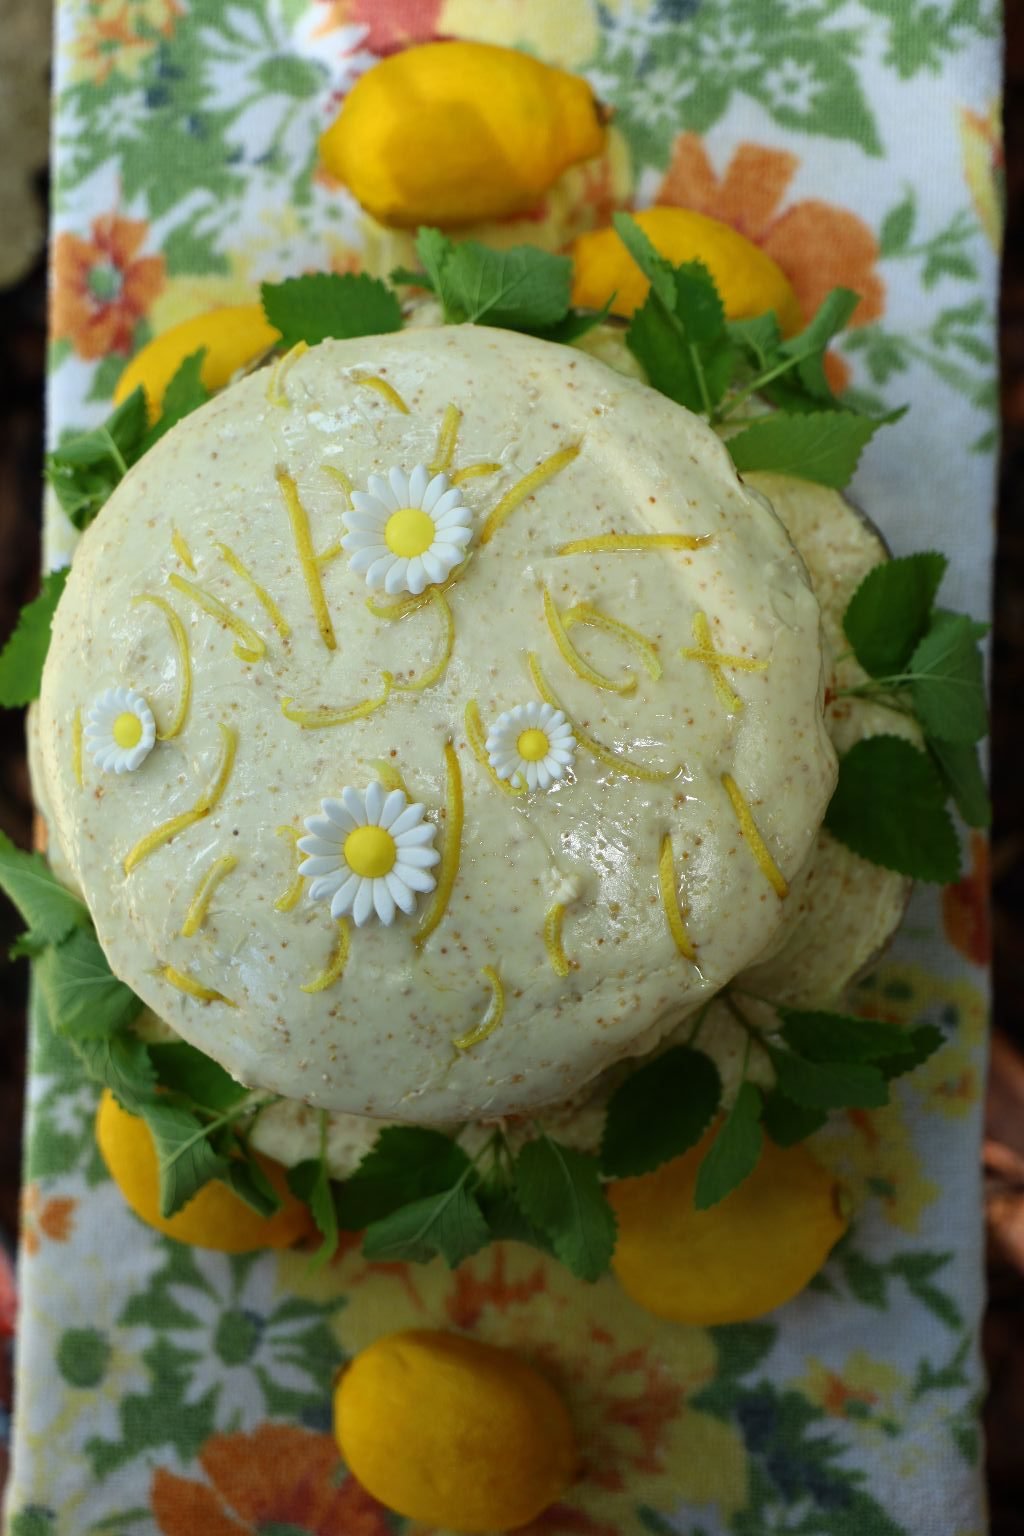
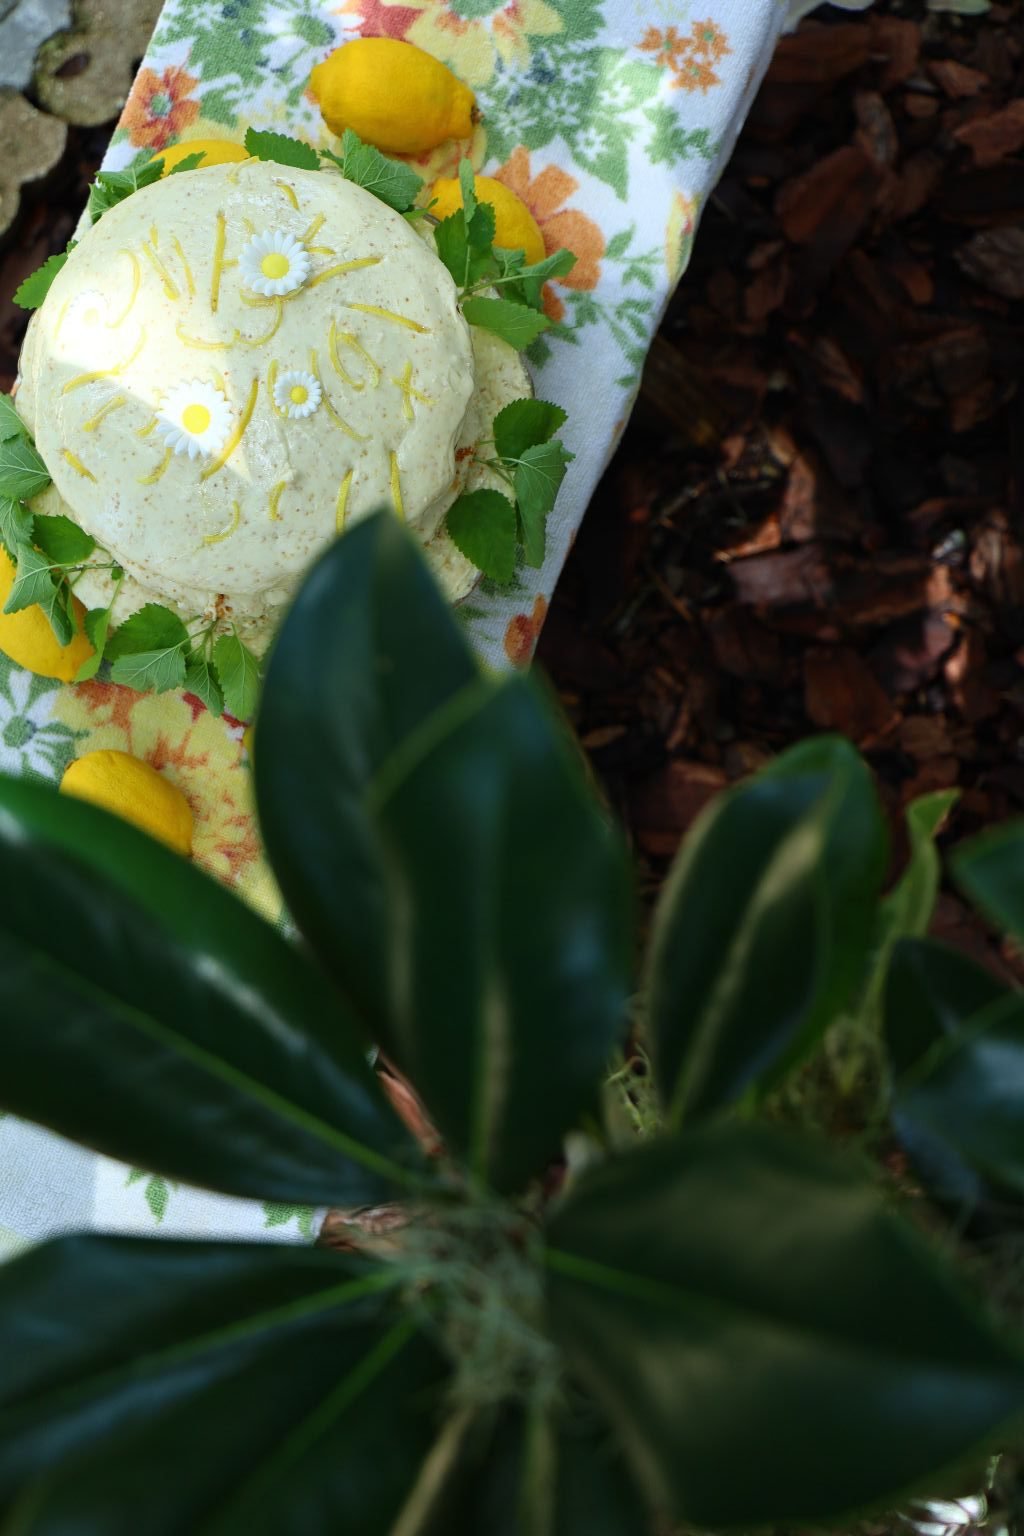
Underneath The Magnolia Tree
It just isn’t my childhood without an old Cake and a Magnolia Tree.
———————————————————————
Vintage Buttermilk Cake

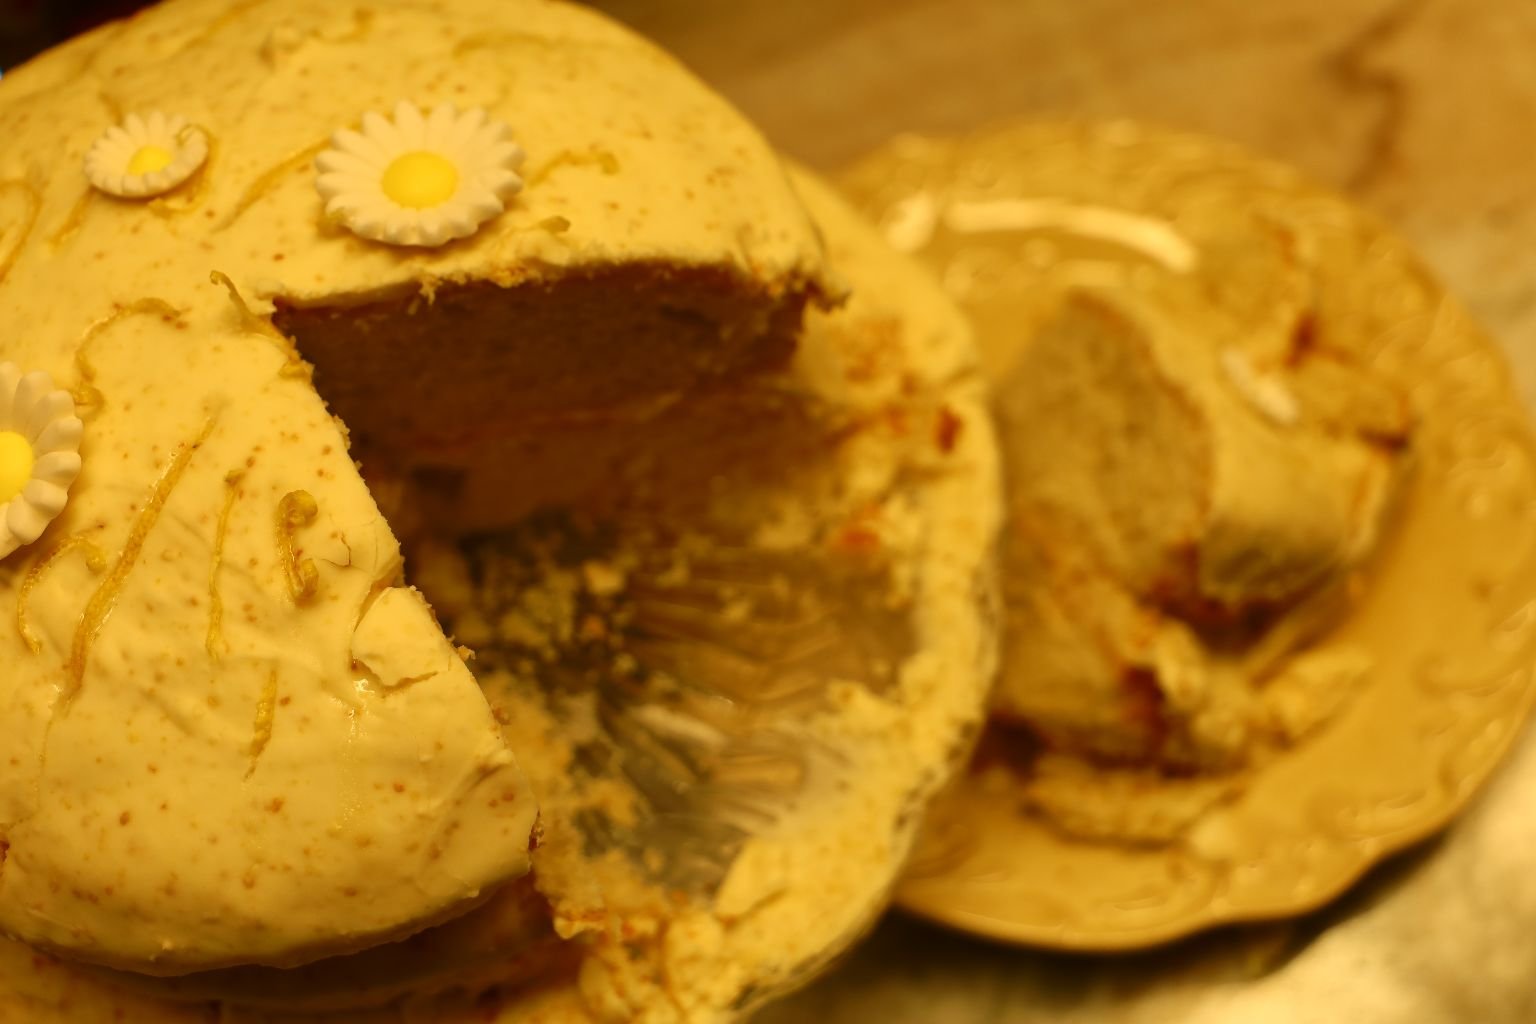
The Most PERFECT/IMPERFECT Cake
My Past Just Caught Up To My Present 🙂
(Recipe Down Below)
——————————————————————

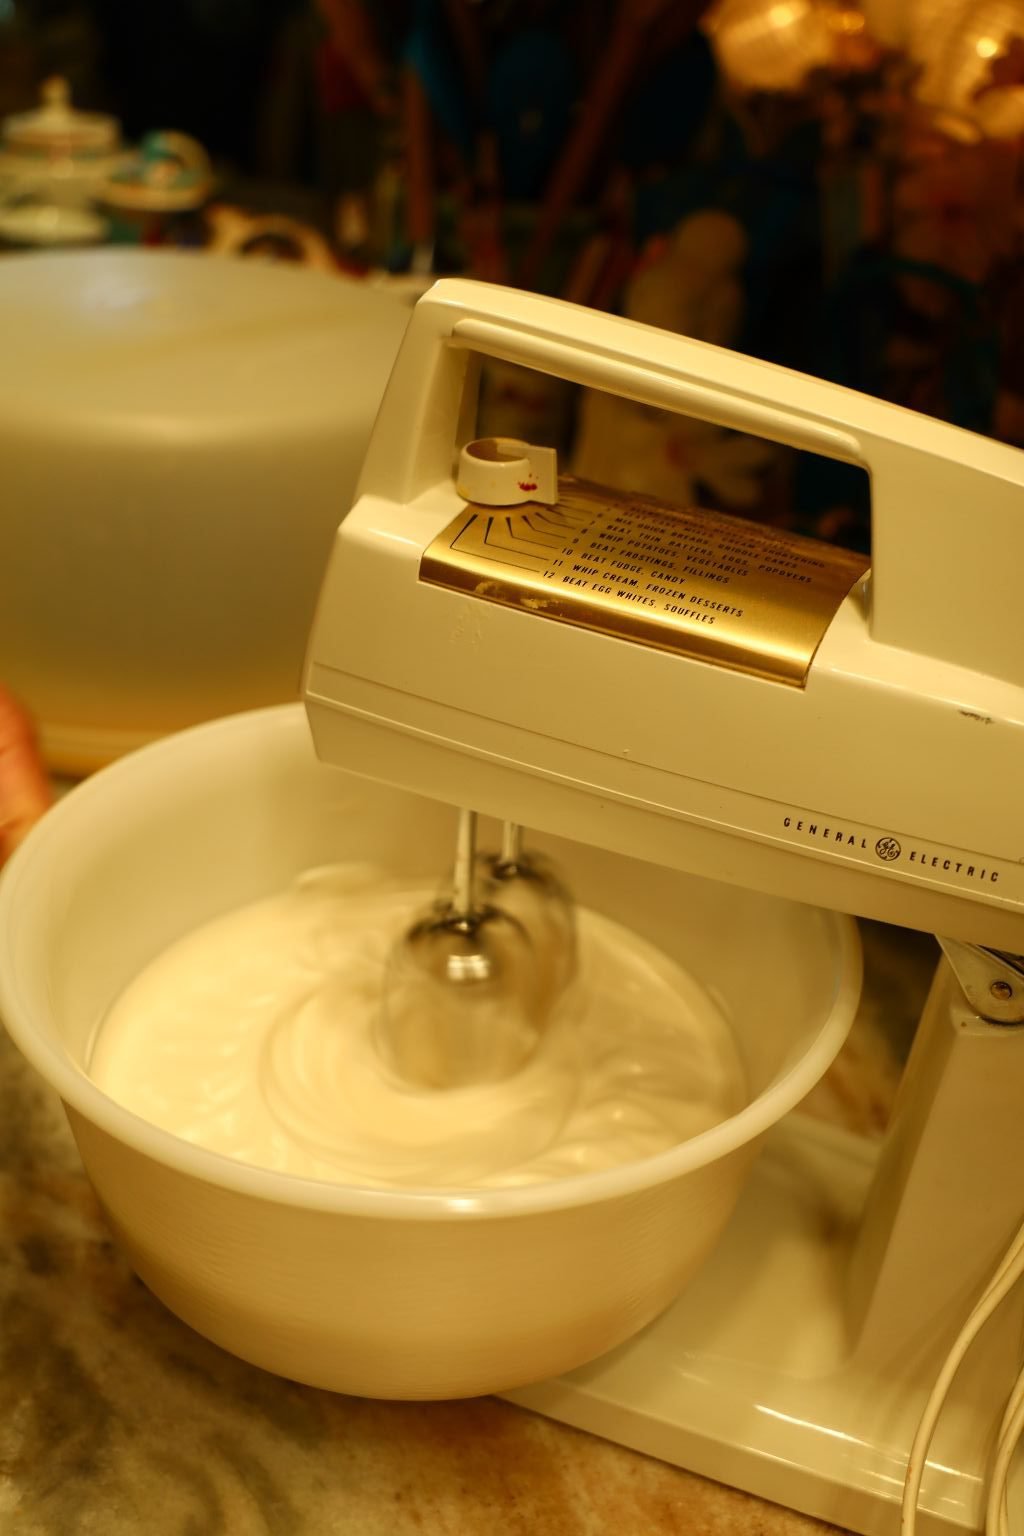
This milk glass bowl is part of an old mixer set that my Grandmother gave me. It’s vintage. She bought it at a yardsale in the 90’s and brought it over to me when we were living in Hawaii. It has lasted all this time, until now. 🙁
—————————————————————————-
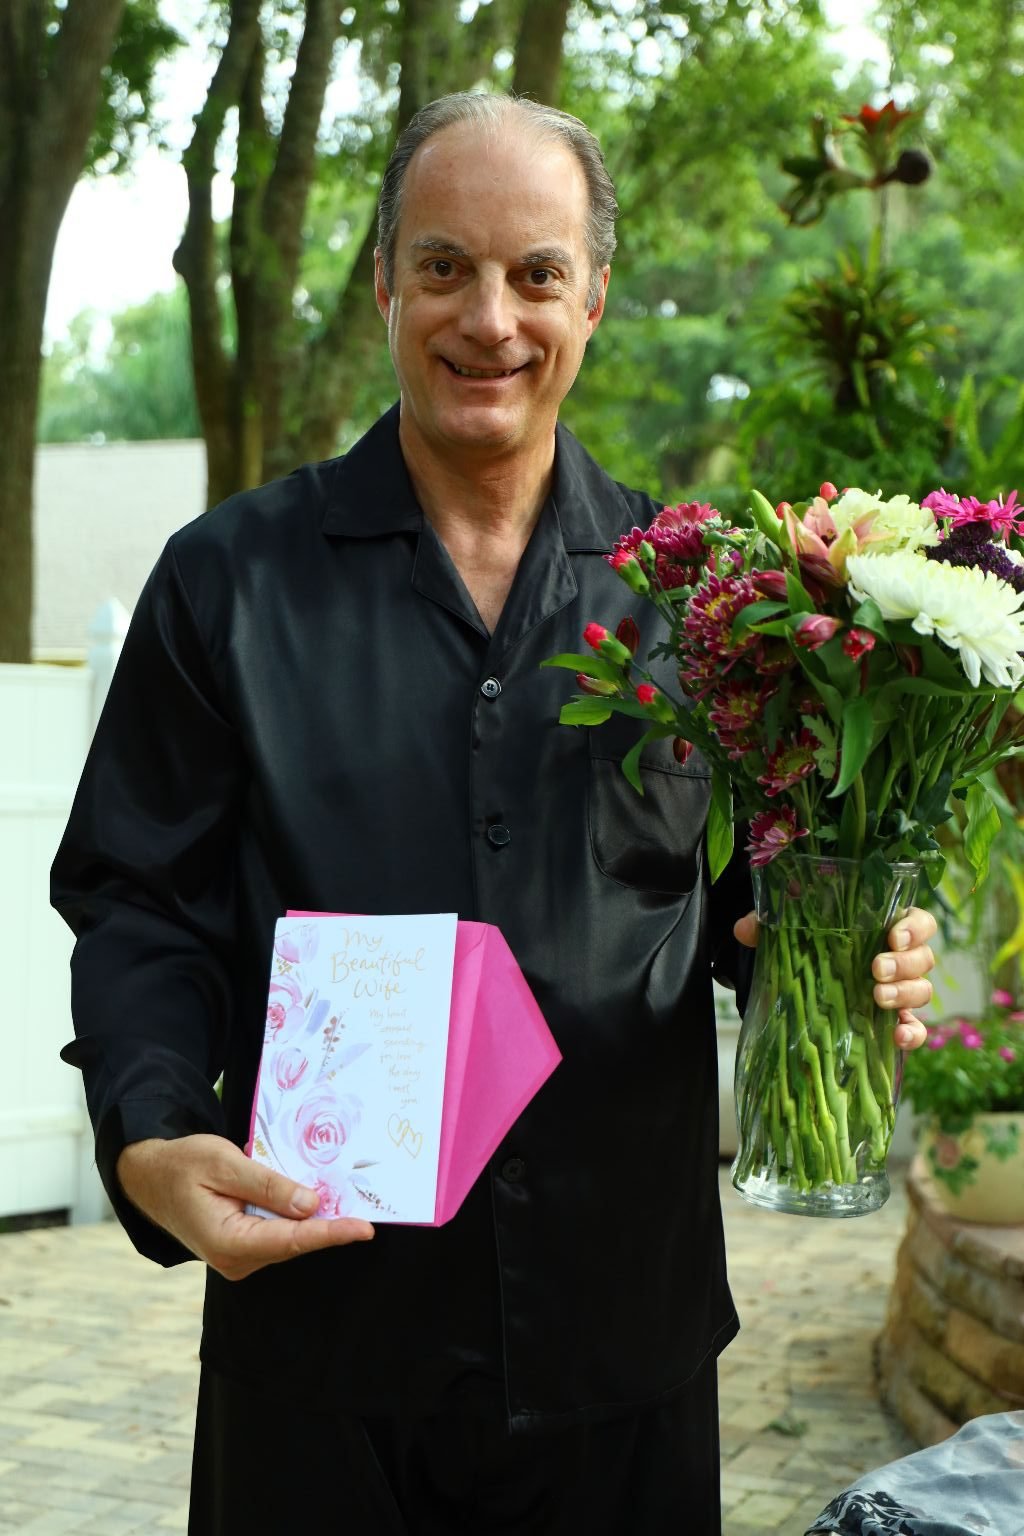
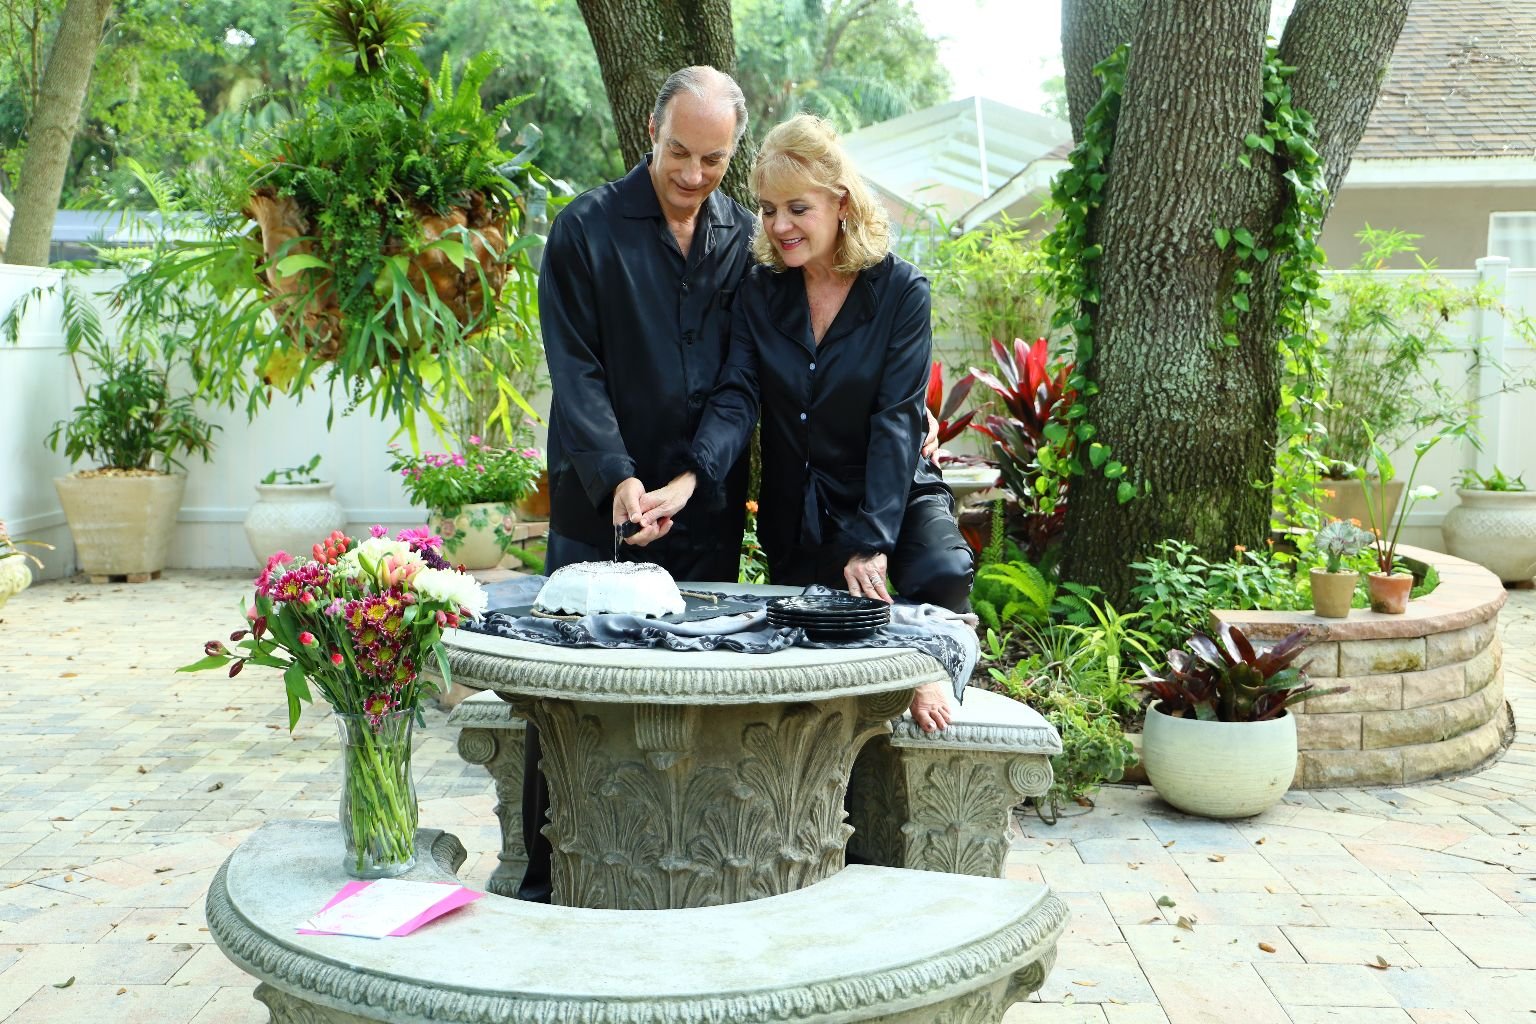
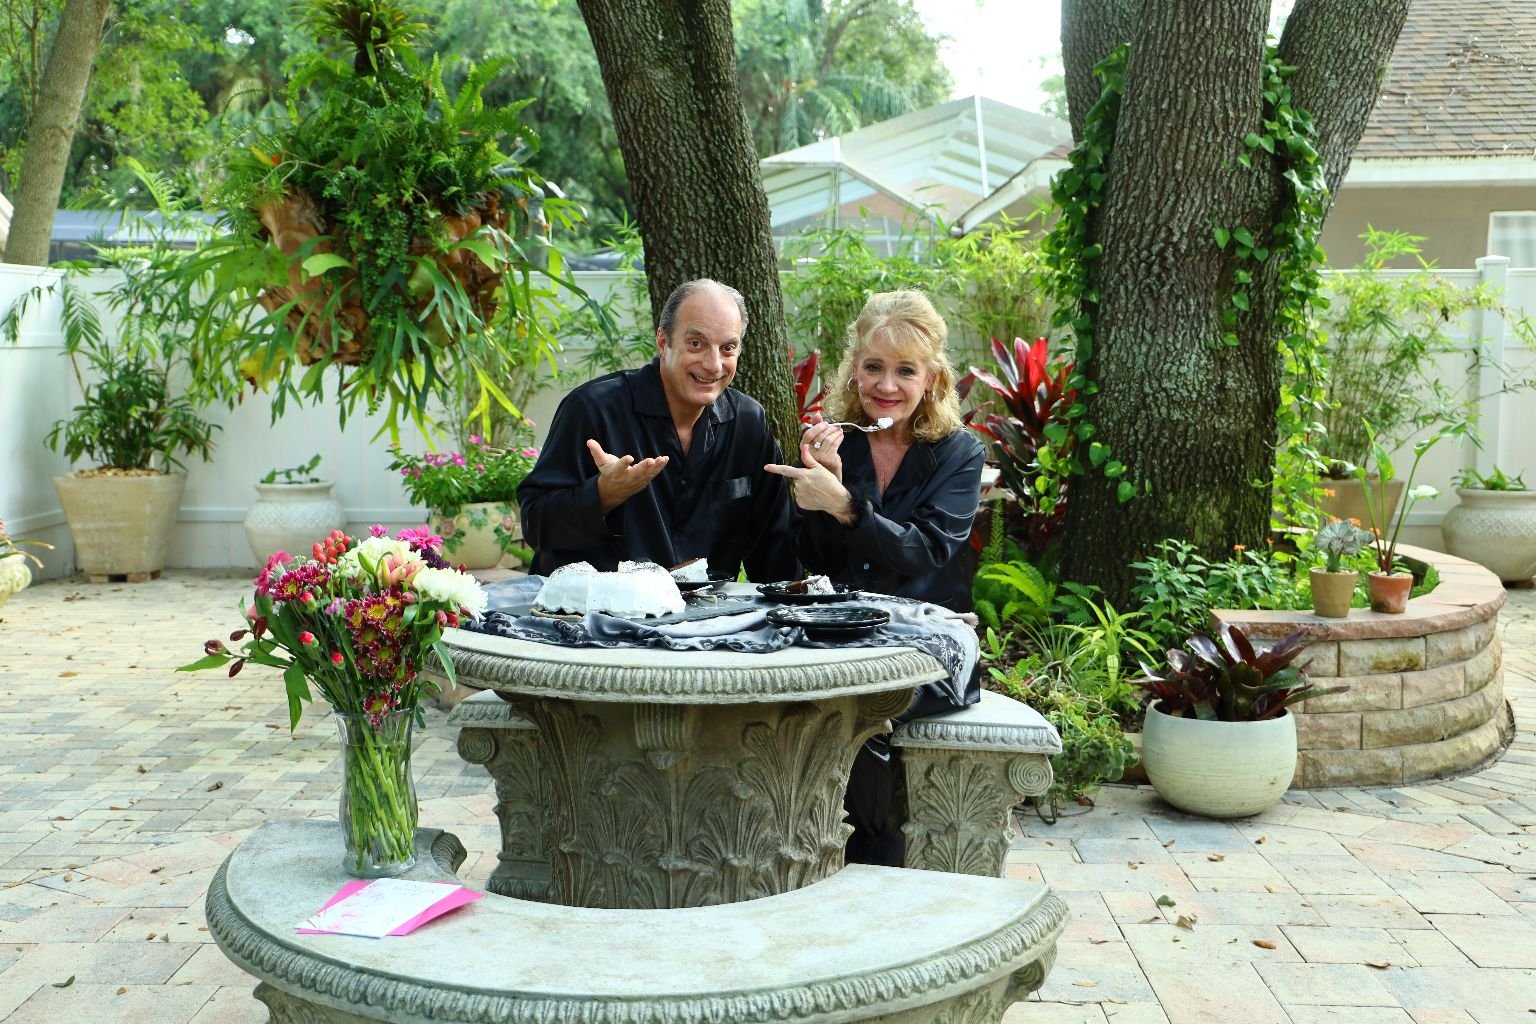
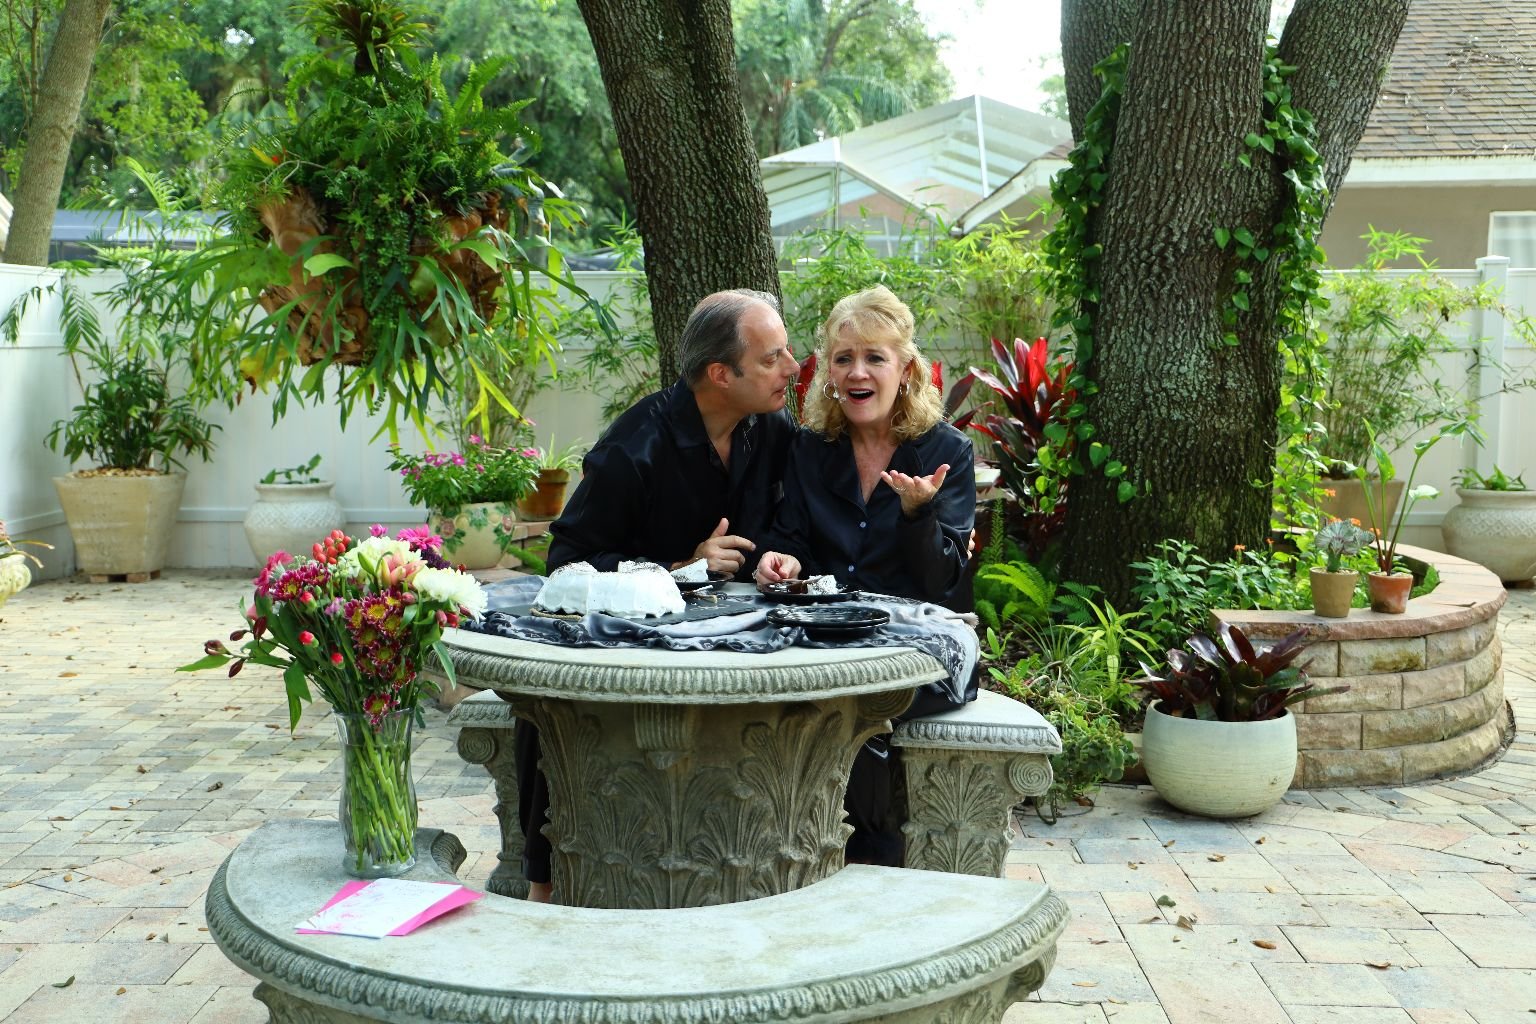
Happy Anniversary to Us!
Our Anniversary Cake

I Based This on a Vintage Cake Recipe I Came Across

Here we are celebrating our 37th. Wedding Anniversary (2022)
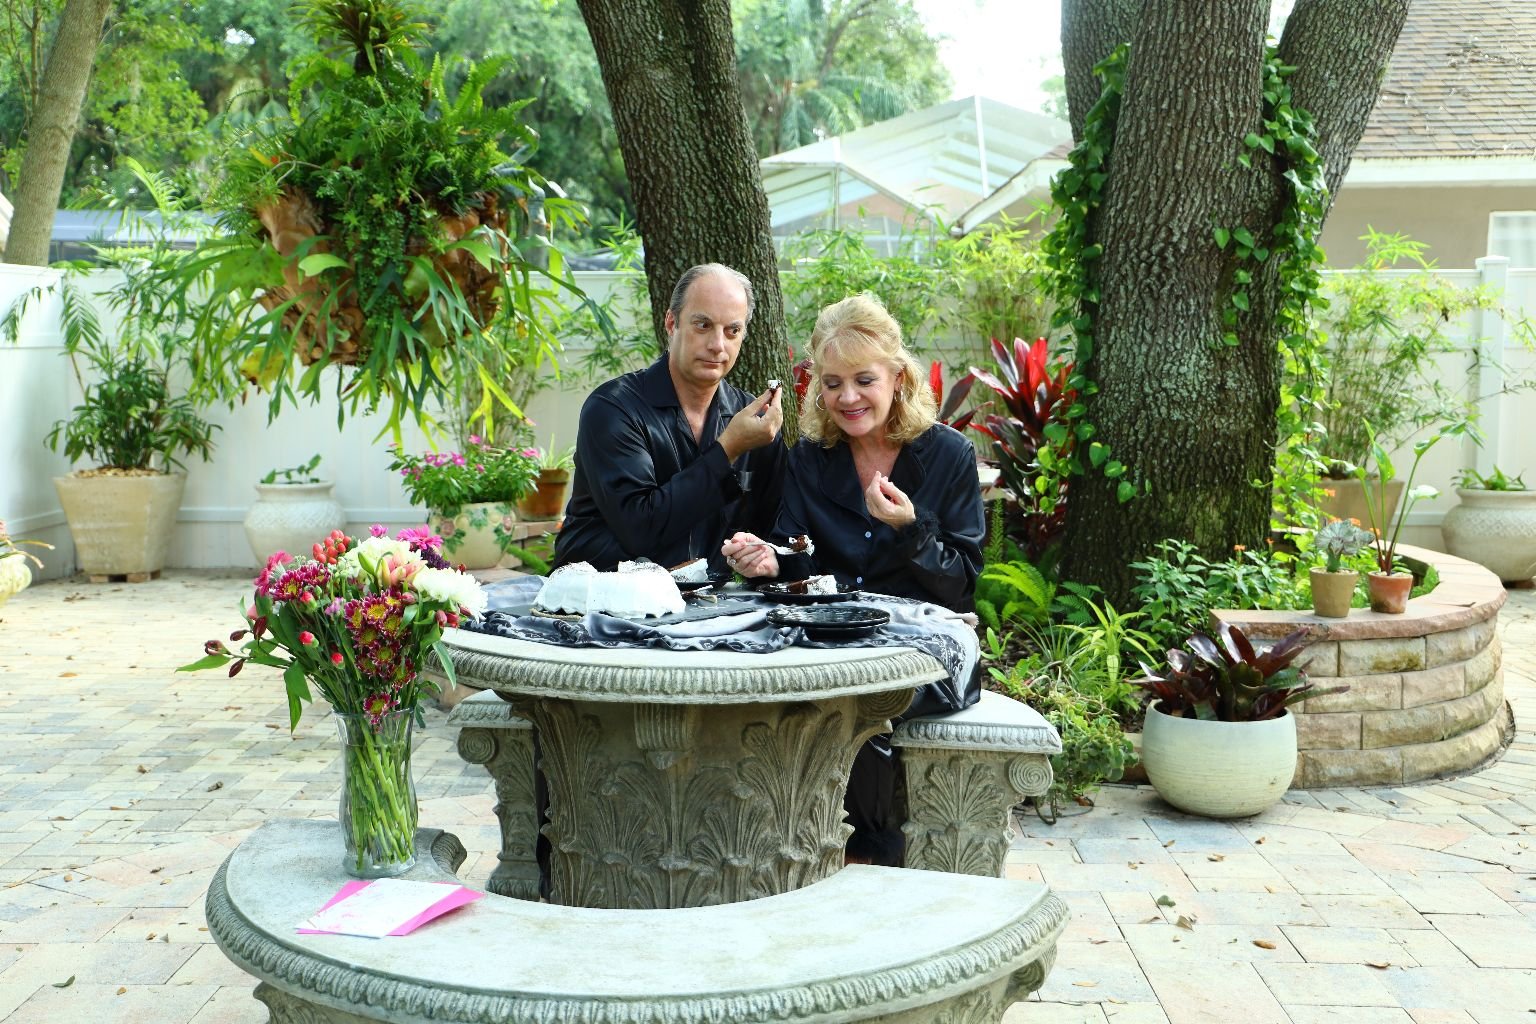
Gordon is Ready to Smear it on My Face
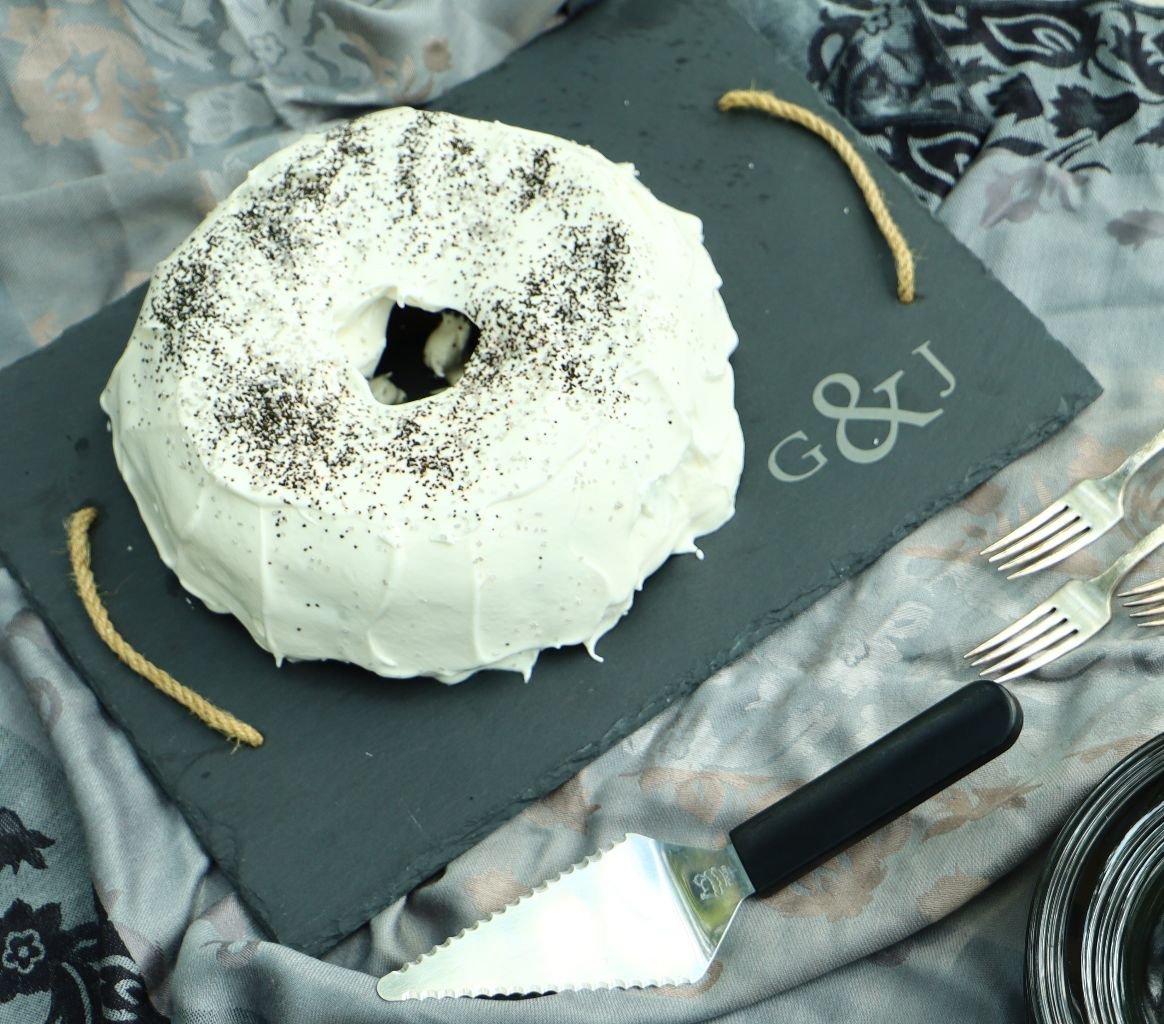
Our Vintage Cocoa, Black, Apple Butter Cake
(The term “Black” was used to describe Molasses. In many vintage recipes that are written down and passed to others, you will see the word “Black” in the ingredients. As in ‘1/4 cup Black.’ My mother-in-law explained to me that ‘Black’ means Molasses. Therefore, I wanted to include it in our vintage cake title.)
(Recipe Down Below)

Tastes great even a few days later.
I used Black Sprinkles on top.
———————————————————————————–
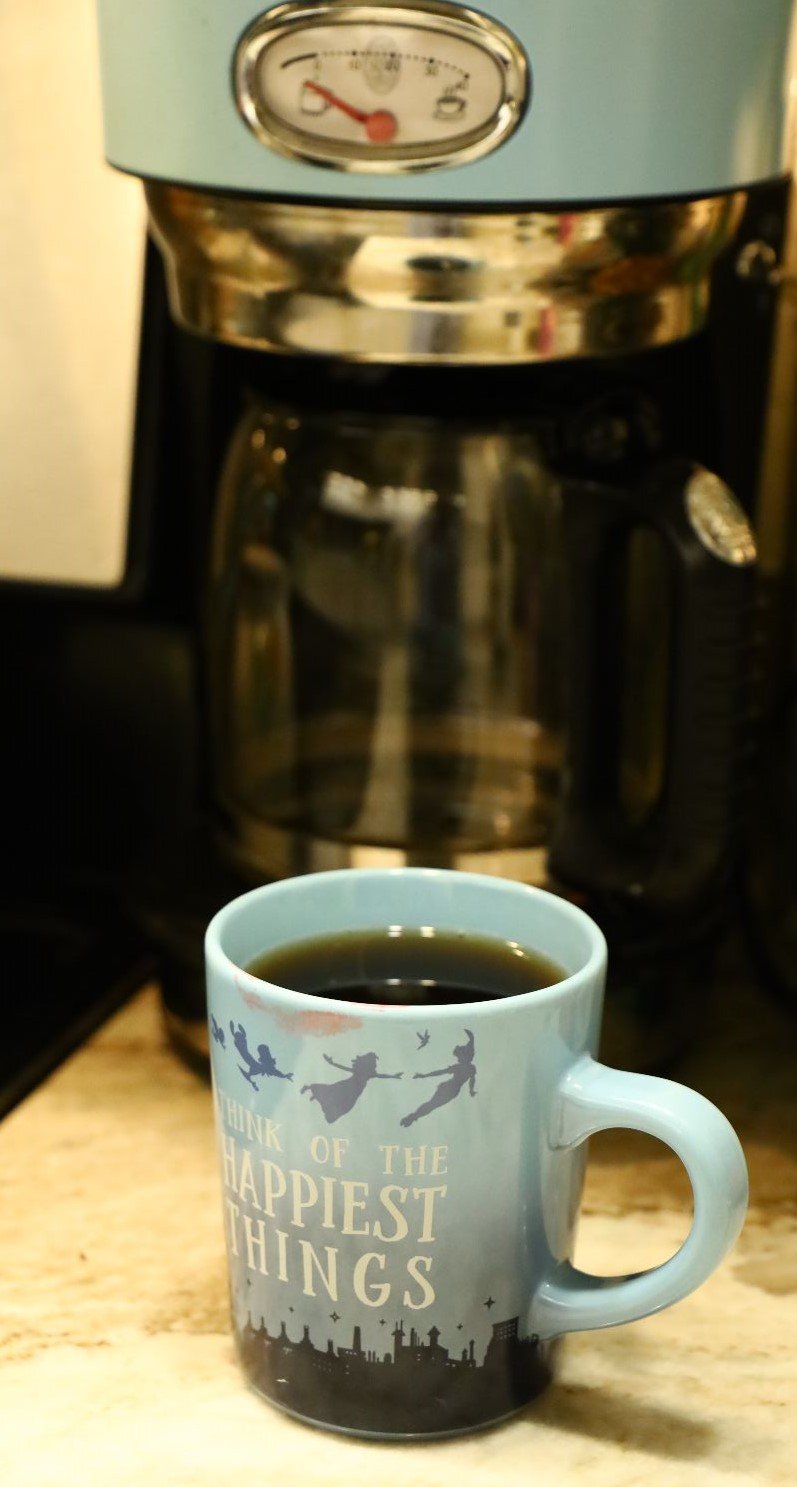
Good Morning
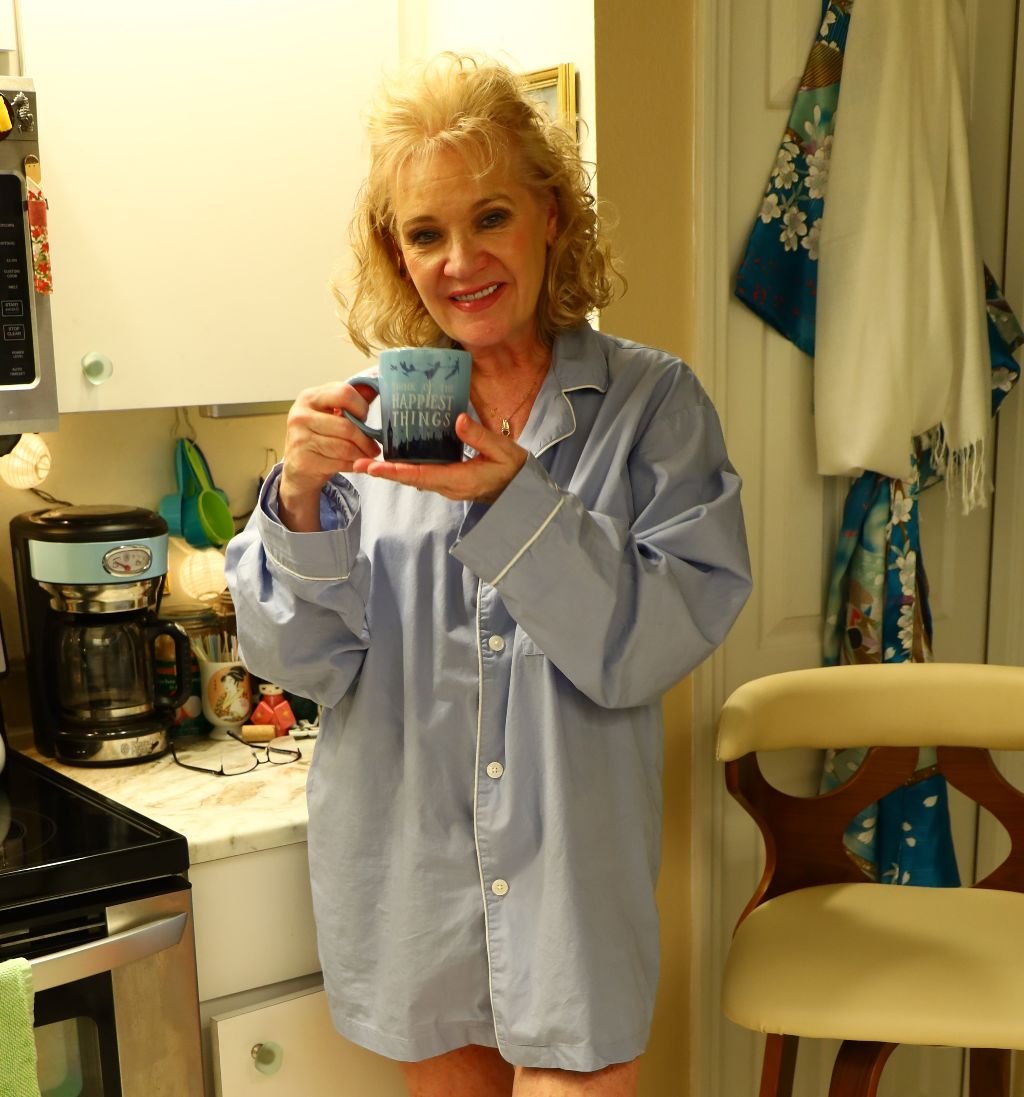

Morning Coffee Mug (Peter Pan’s ‘Think of the Happiest Things’) 🙂
Happy 62 to ME! (2023)
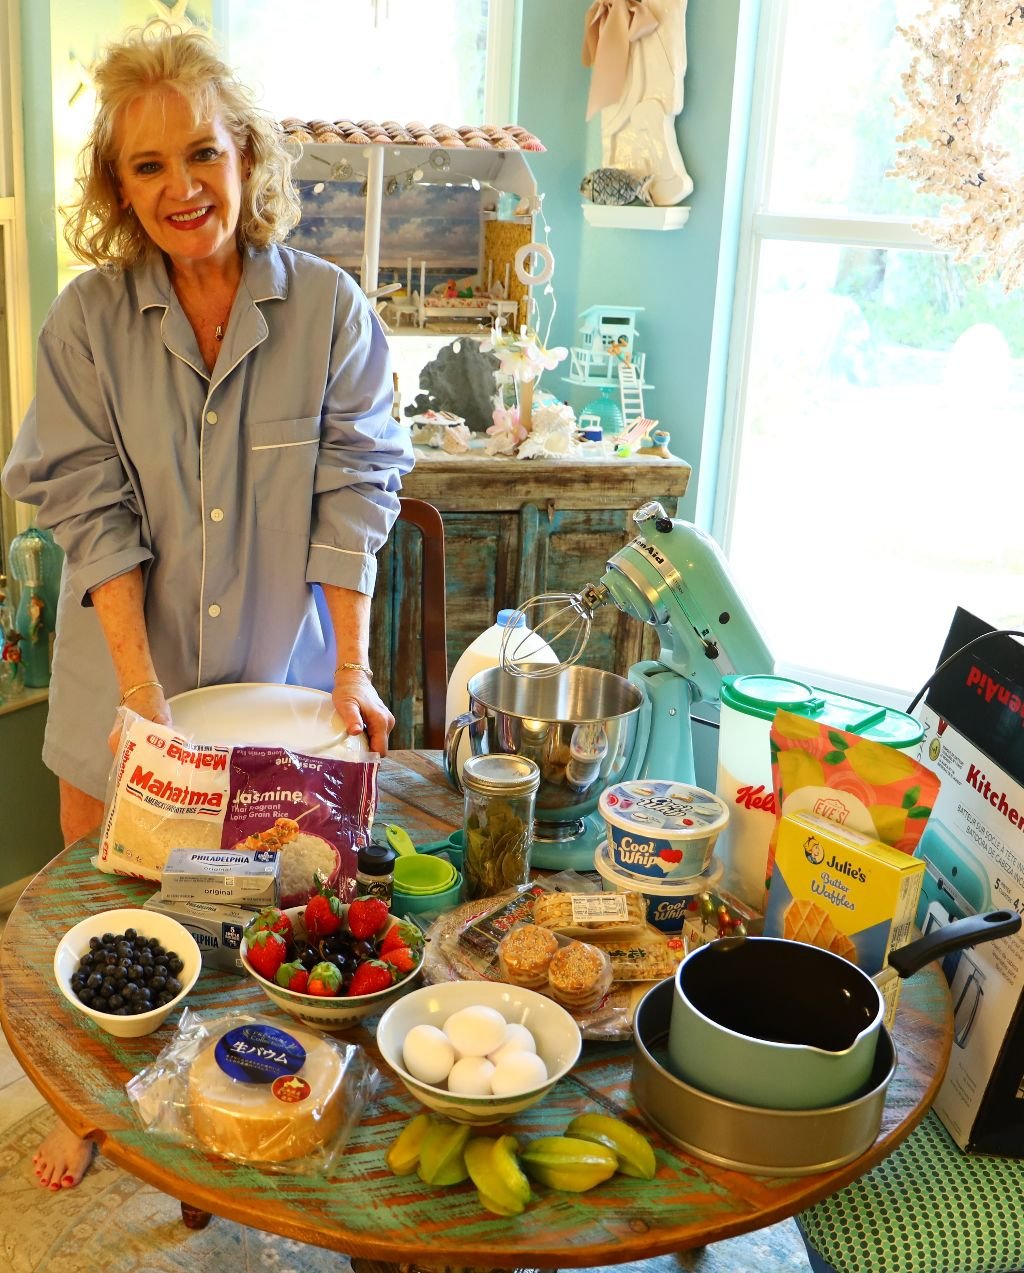
Ready for Us to Make My Birthday Cake
This Is Something of an Experimental Cake

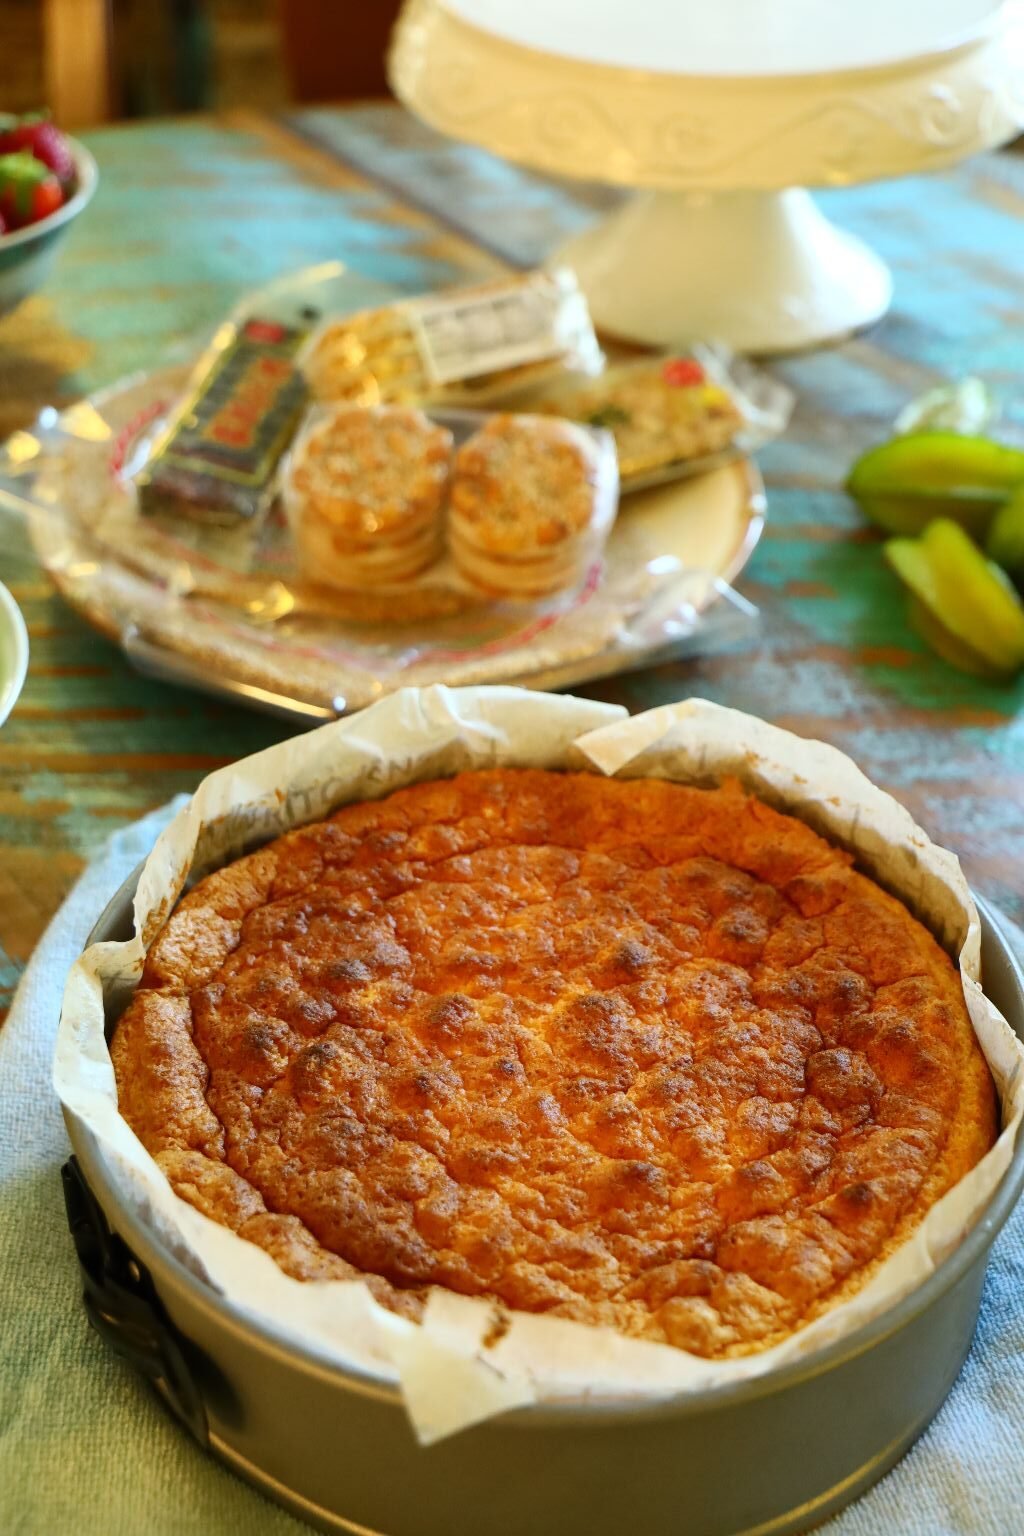
My Really Wacky Looking (But Delicious) Birthday Cake
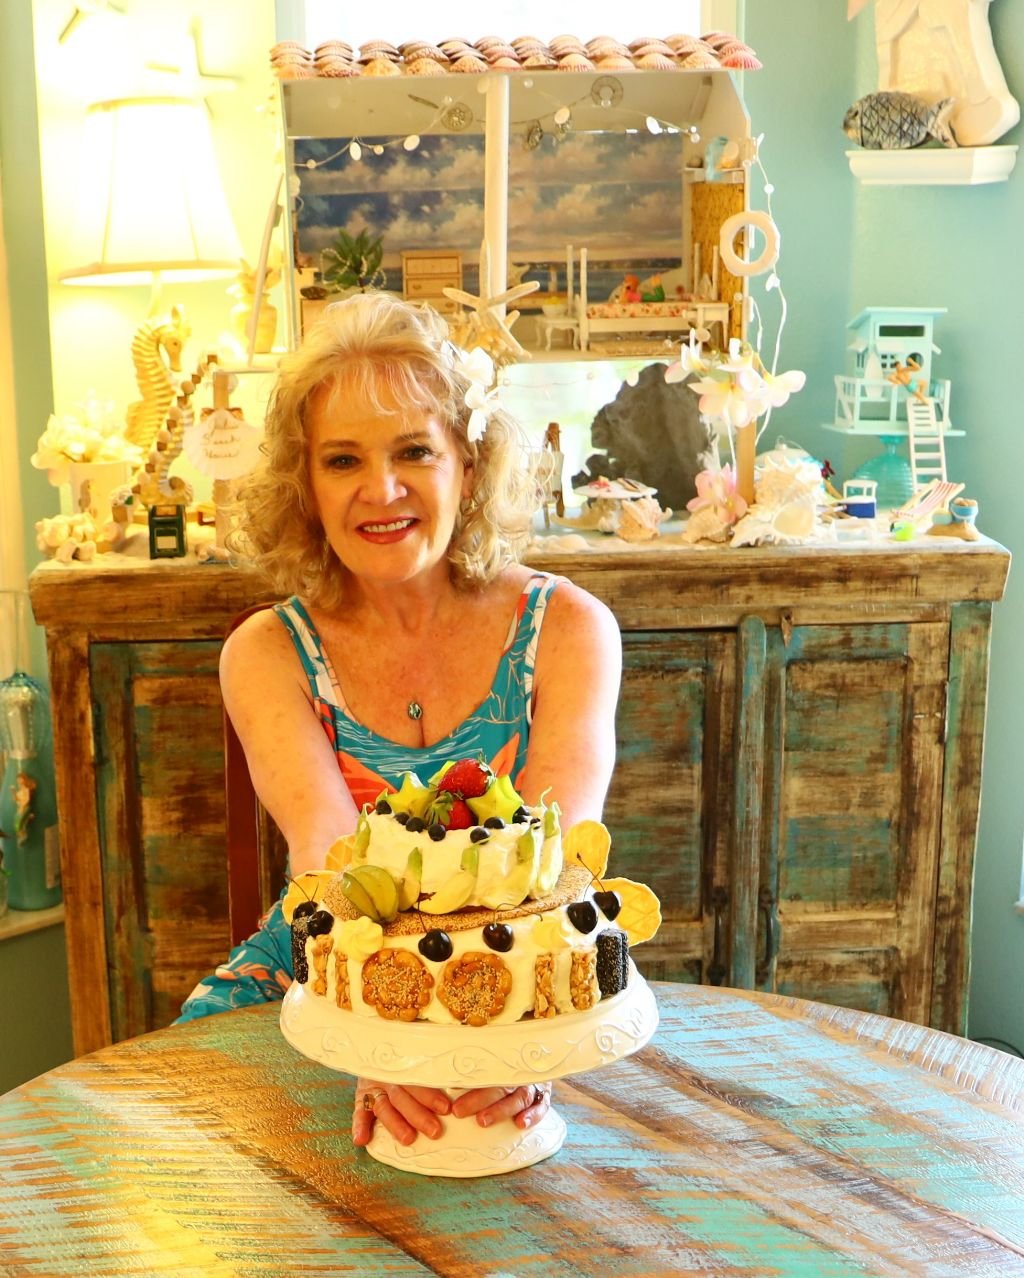
I LOVE It!

The Cake Itself Reminds me of a Basque Cheesecake

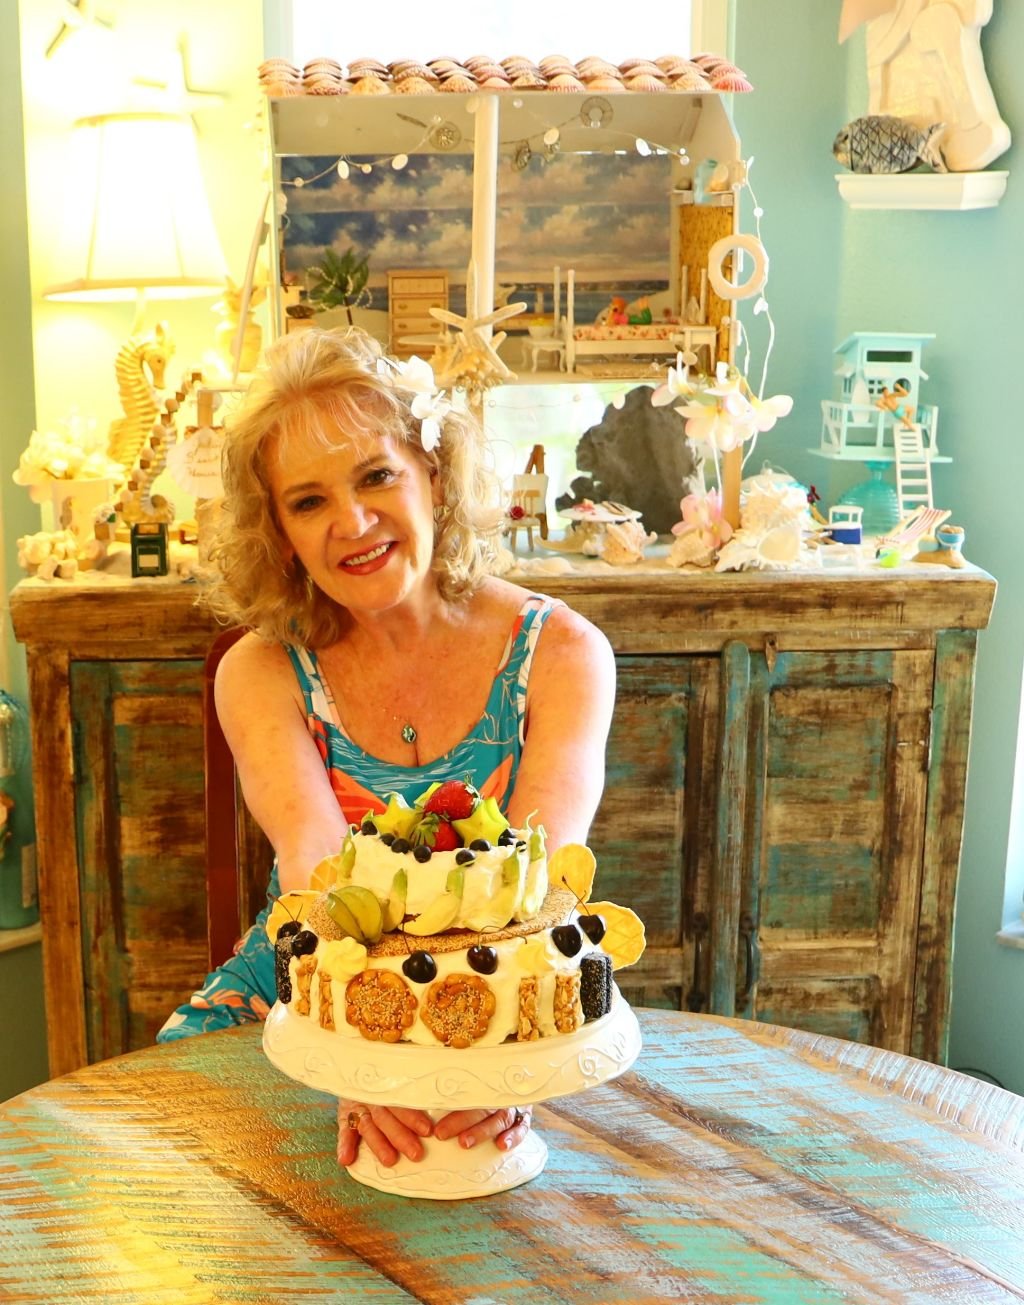
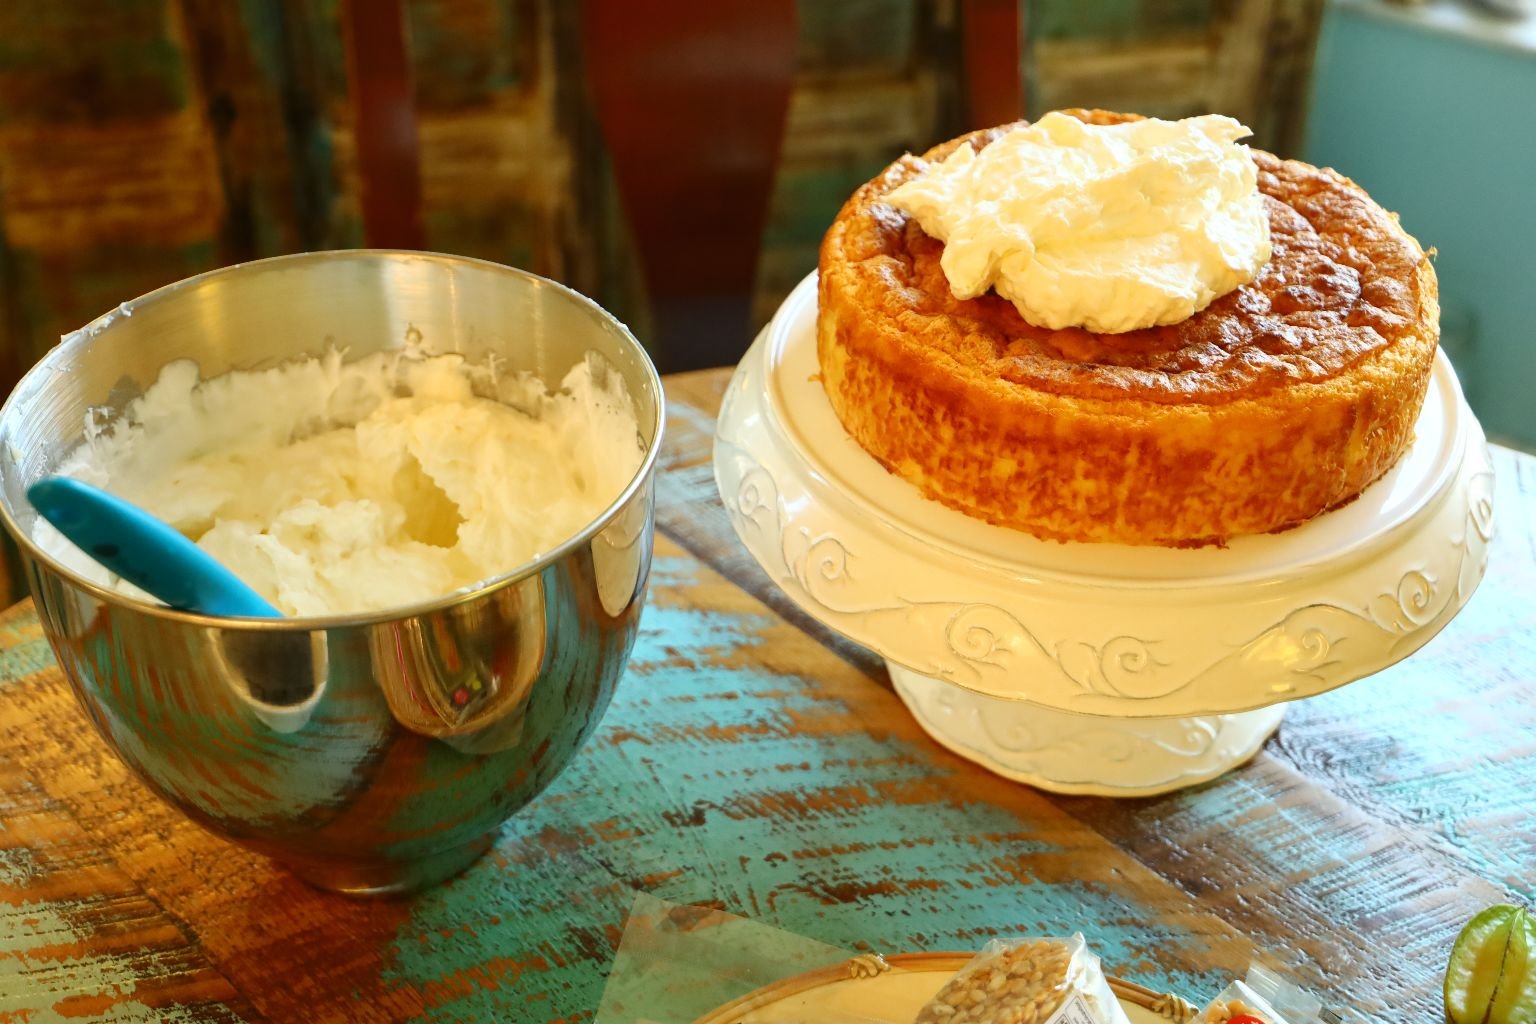
Ready to TOP My Cake!

I Think it is Beautiful!
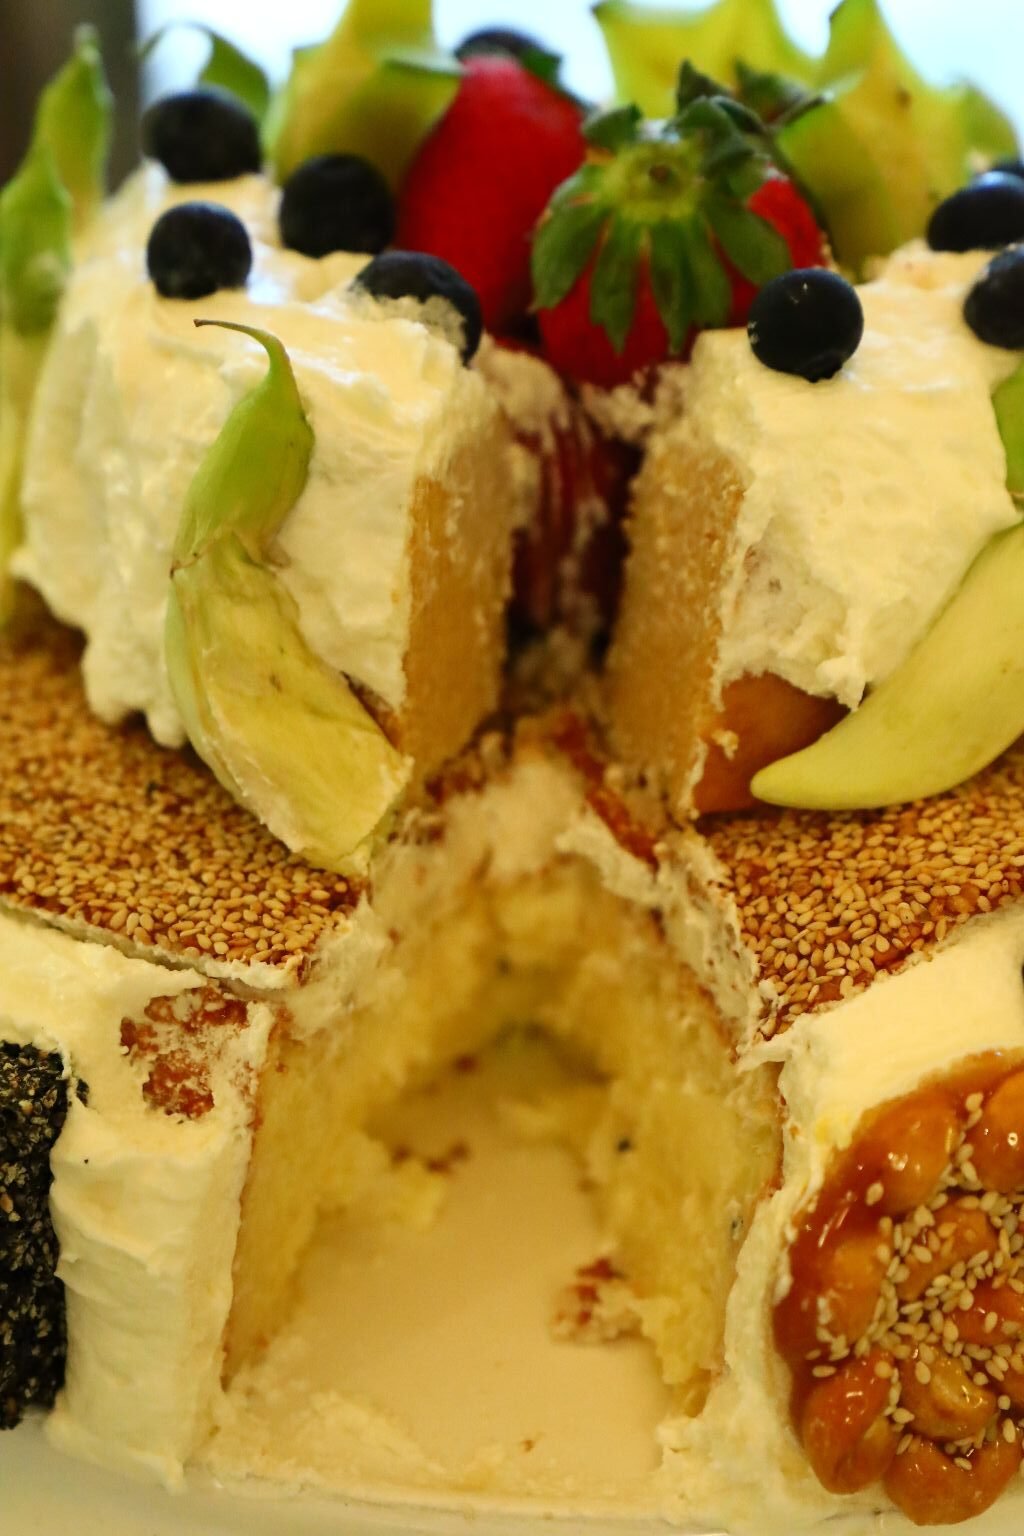
It’s Delicious Too!


(Recipe Down Below)
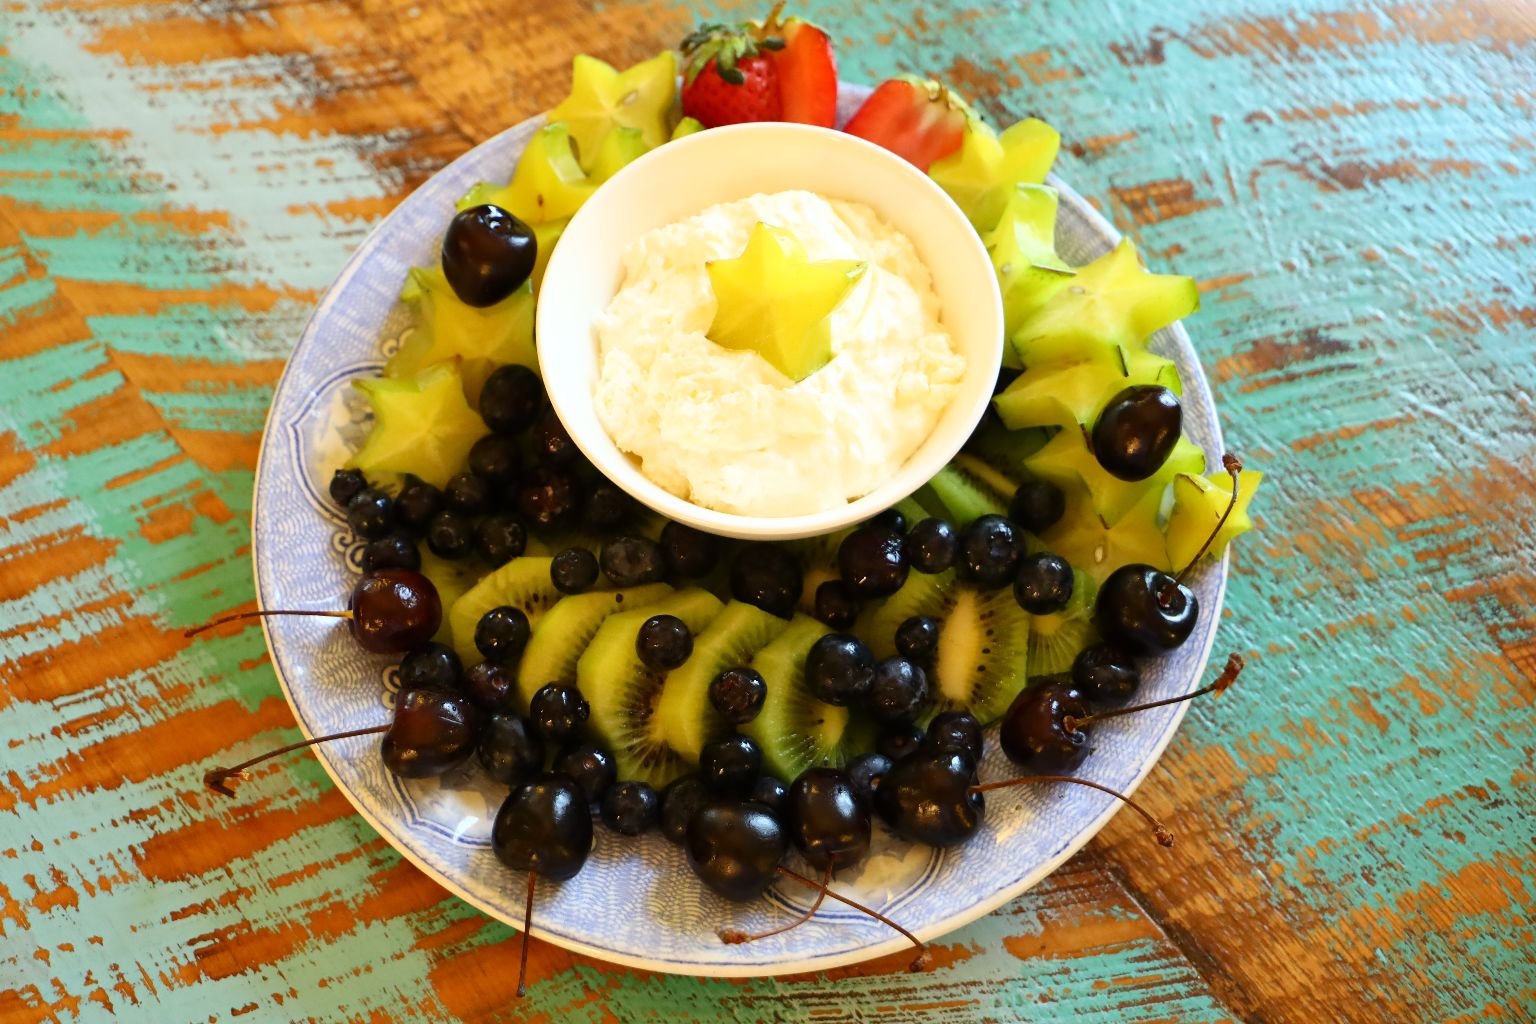
Leftover Frosting and Fruit
——————————————————————-
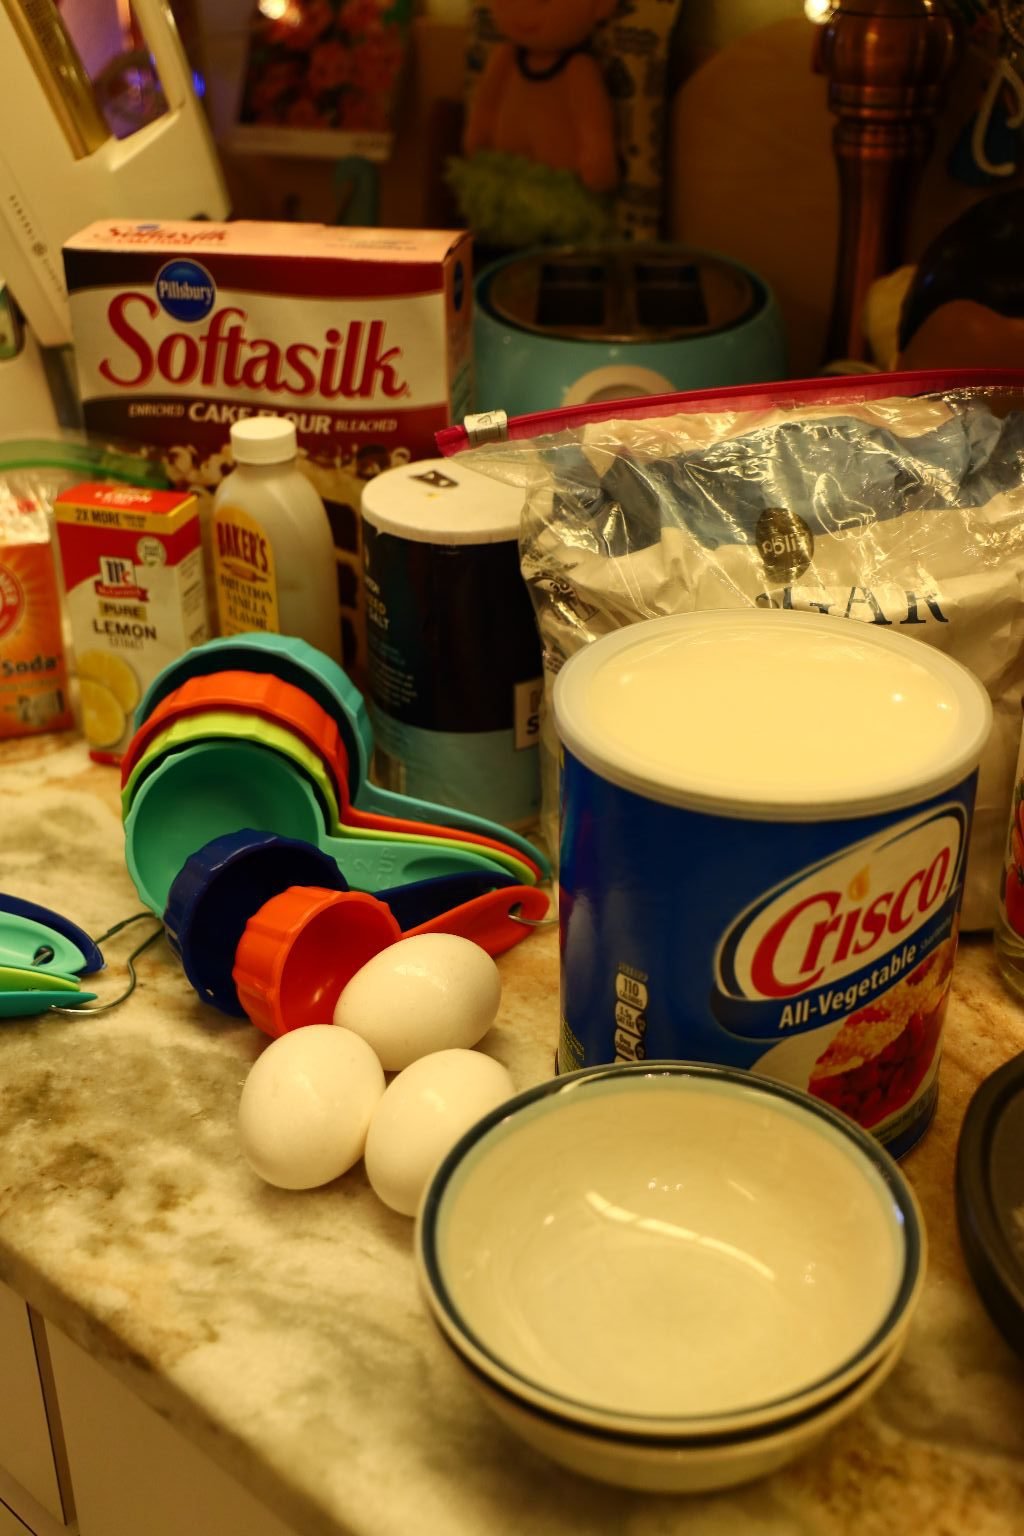
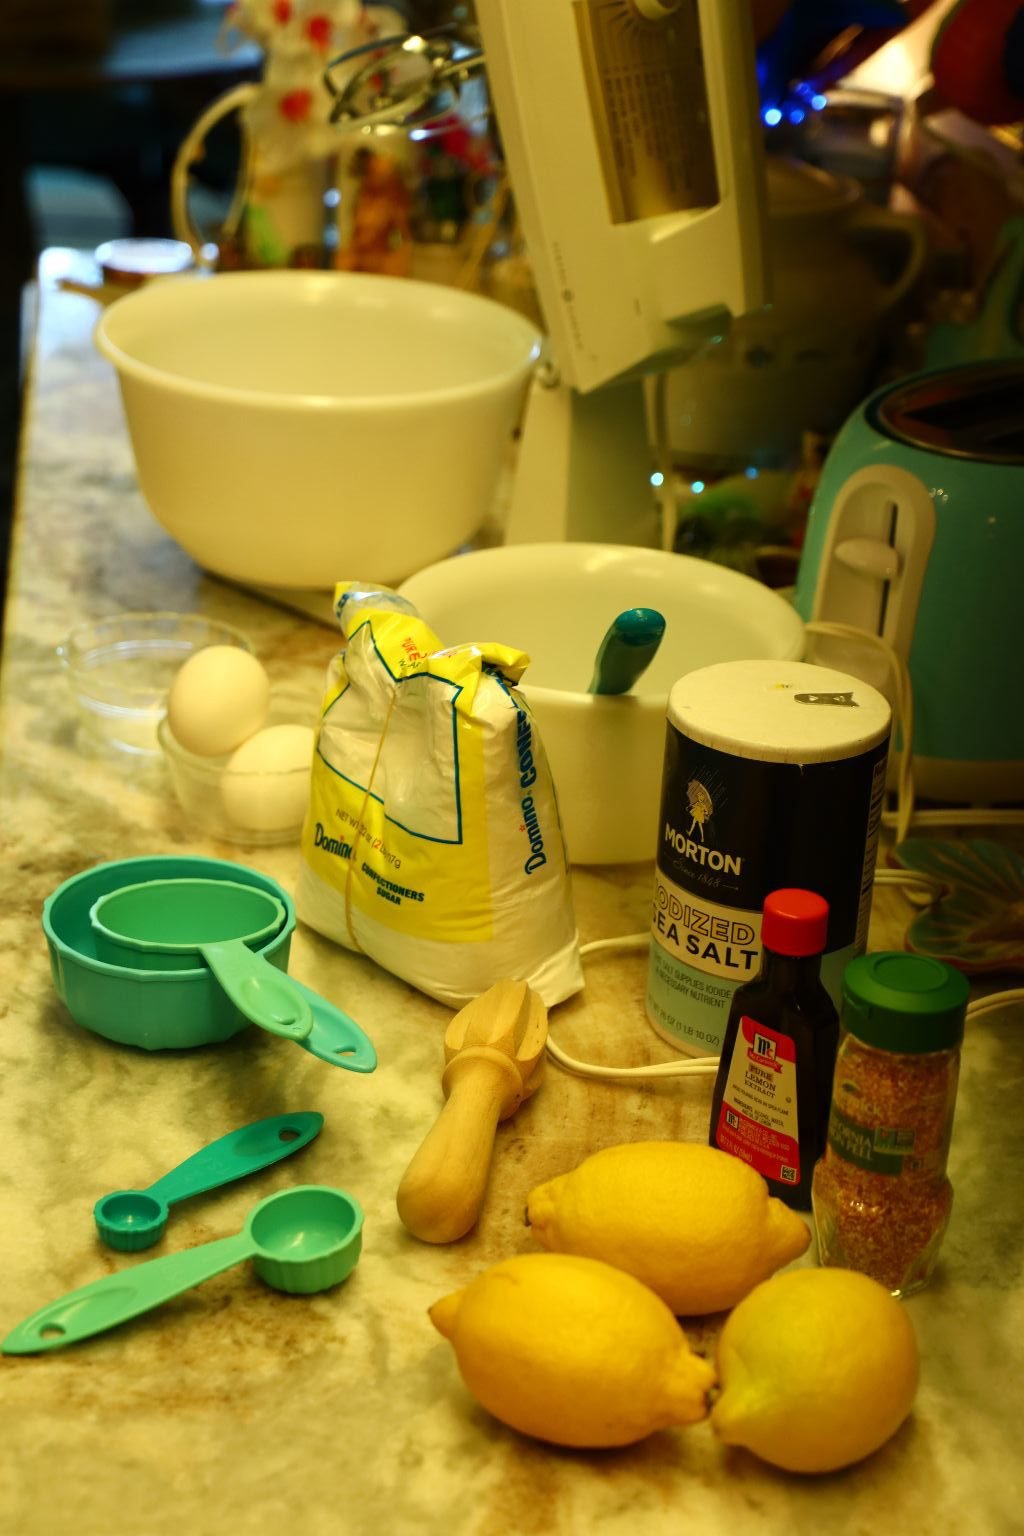
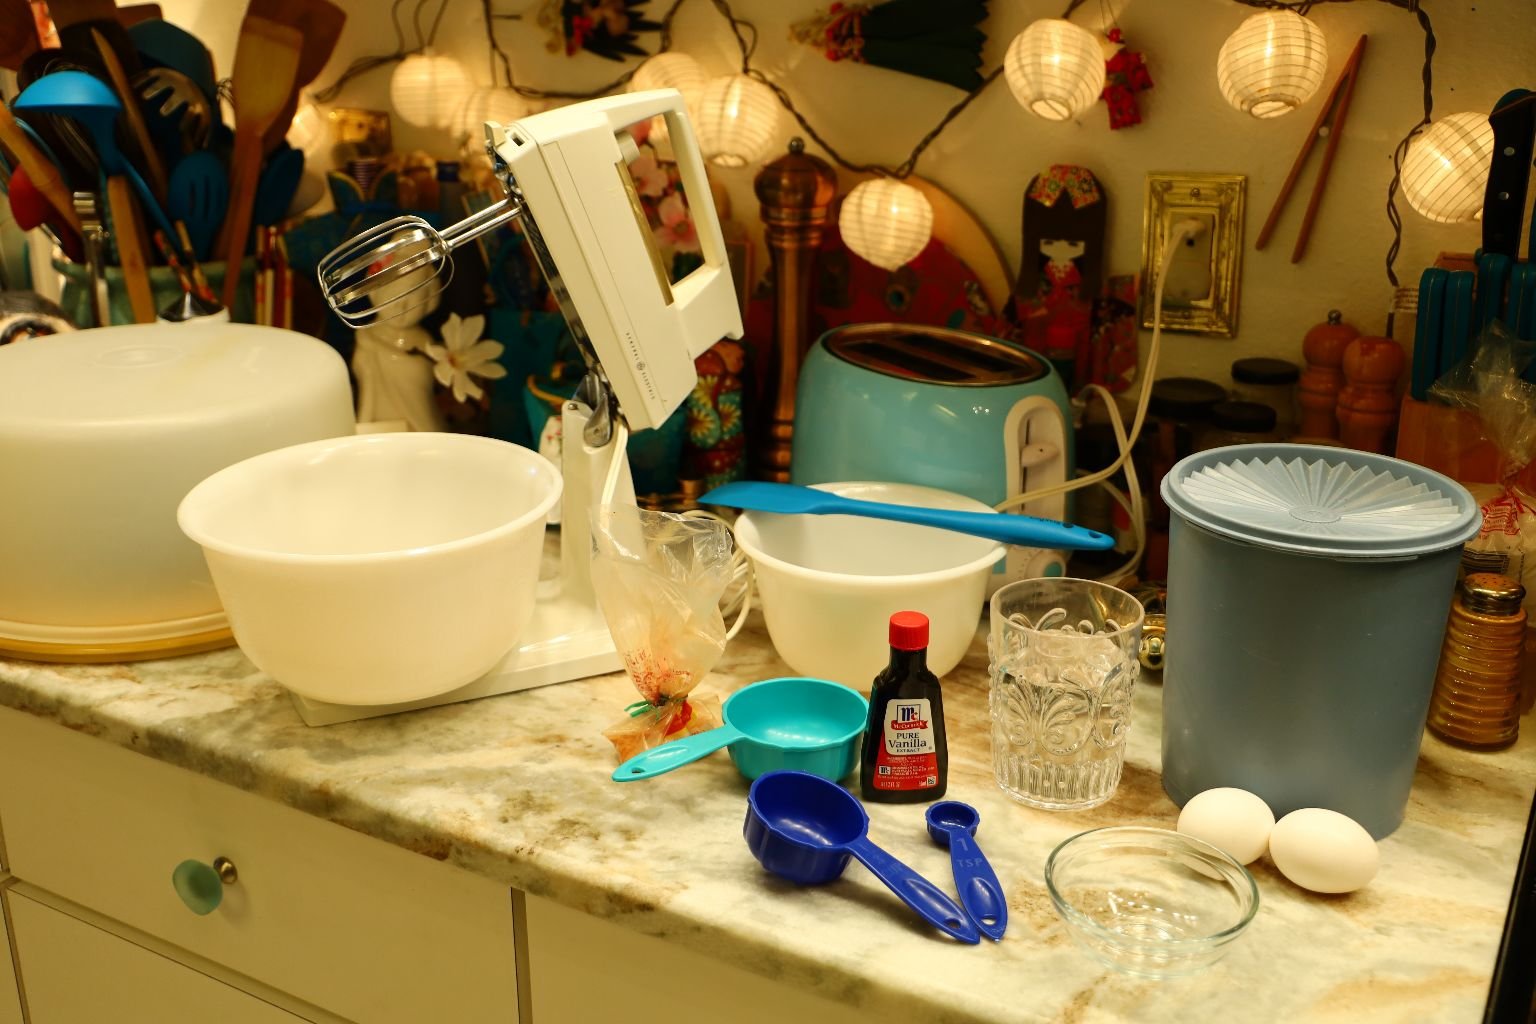
Ingredients For My Vintage Buttermilk Cake

You will need a Mixer and 2 Cake Pans
Ingredients:
2 Cups Cake Flour
3/4 t. Baking Soda (1/2 t. plus 1/4 t.)
1/2 t. Salt
2/3 Cup Shortening
1 Cup Sugar
3 Eggs, Separated
1 t. Vanilla
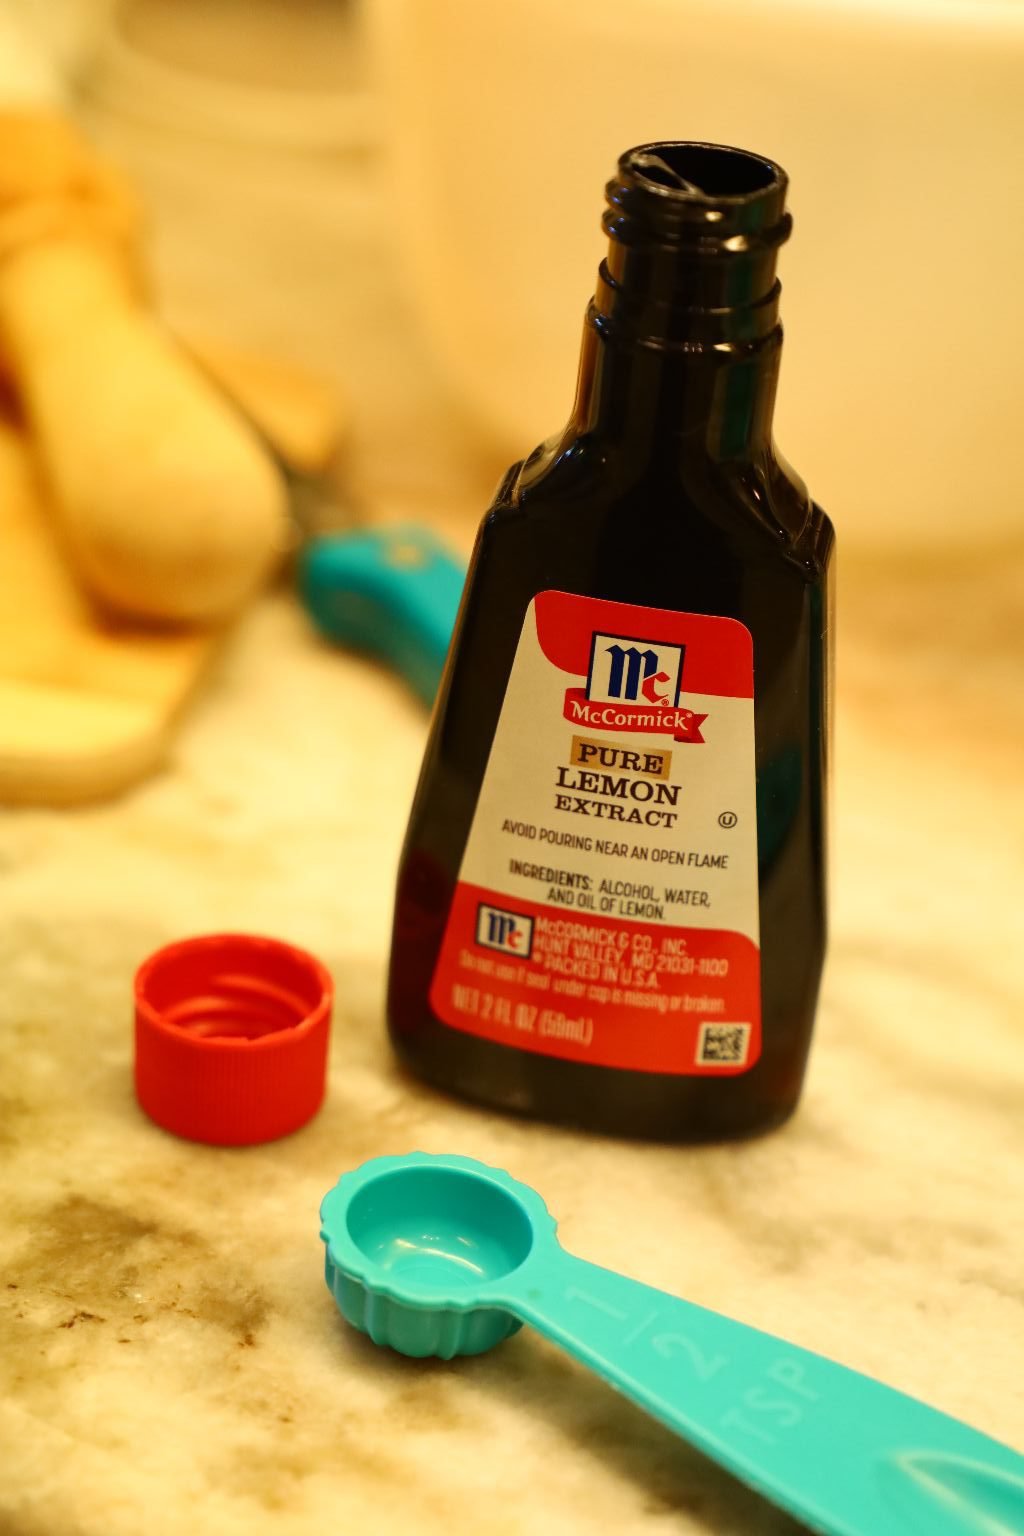
1/2 t. Lemon Extract
1/2 Cup Buttermilk
2 T. Vinegar (Distilled)
——————————————————————
I came across this old recipe in a very old pamphlet from 1951. Even then it was touting it’s “Old Fashioned” recipes.
So, who knows exactly how far back this recipe really goes? Regardless, it was an easy recipe and delicious as well!

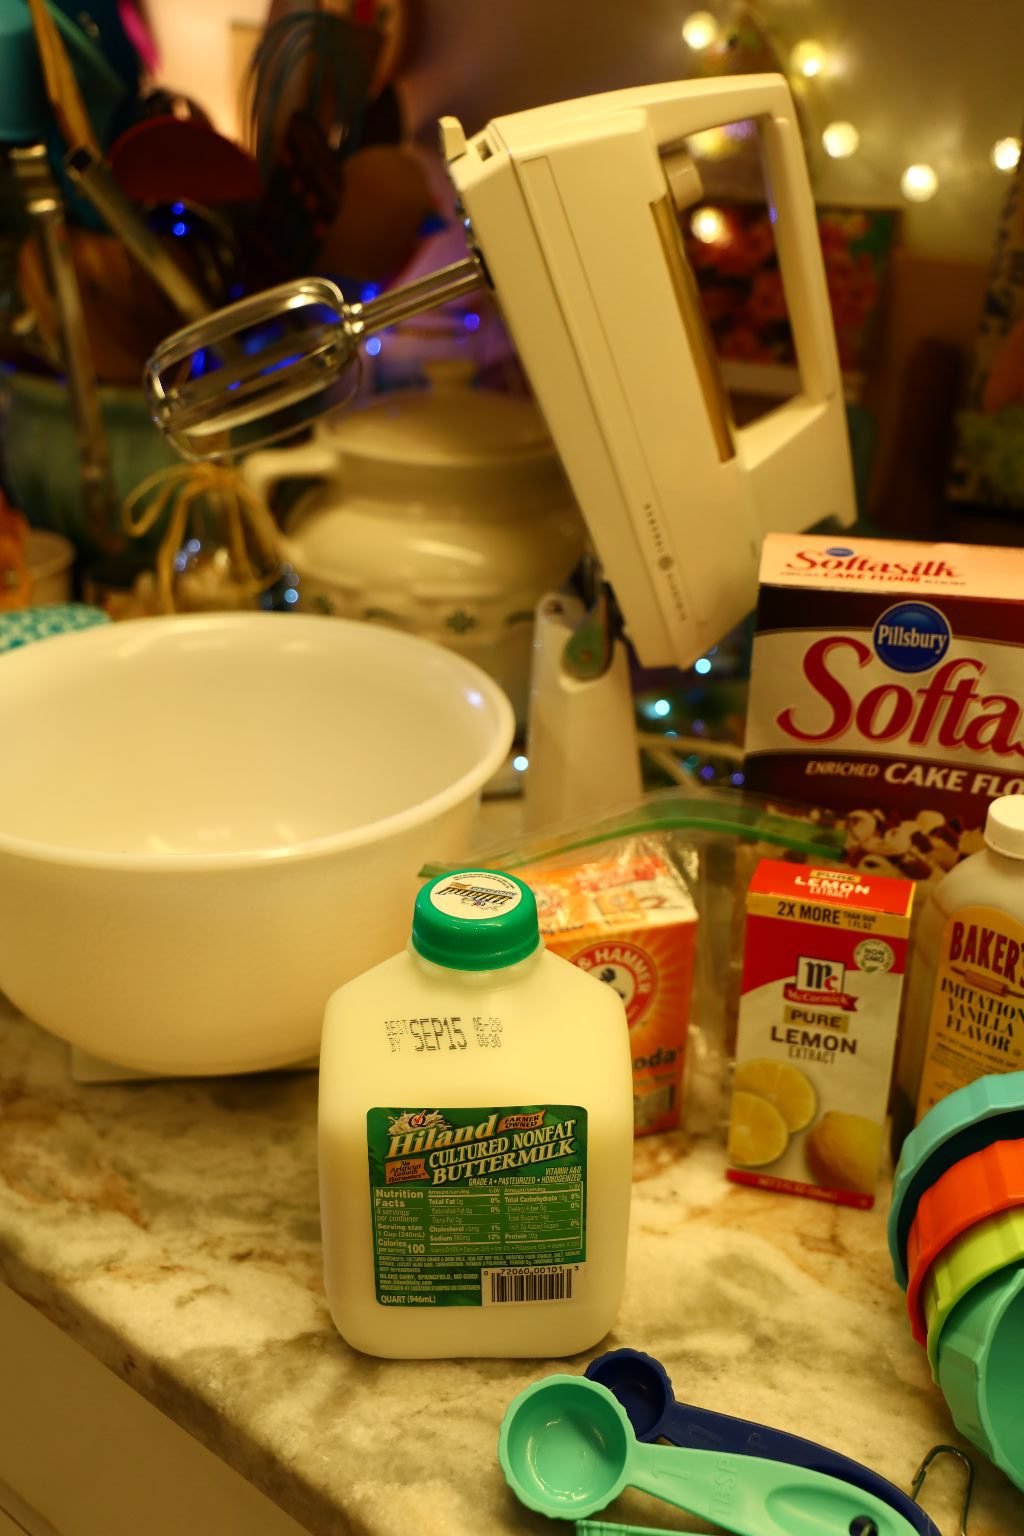
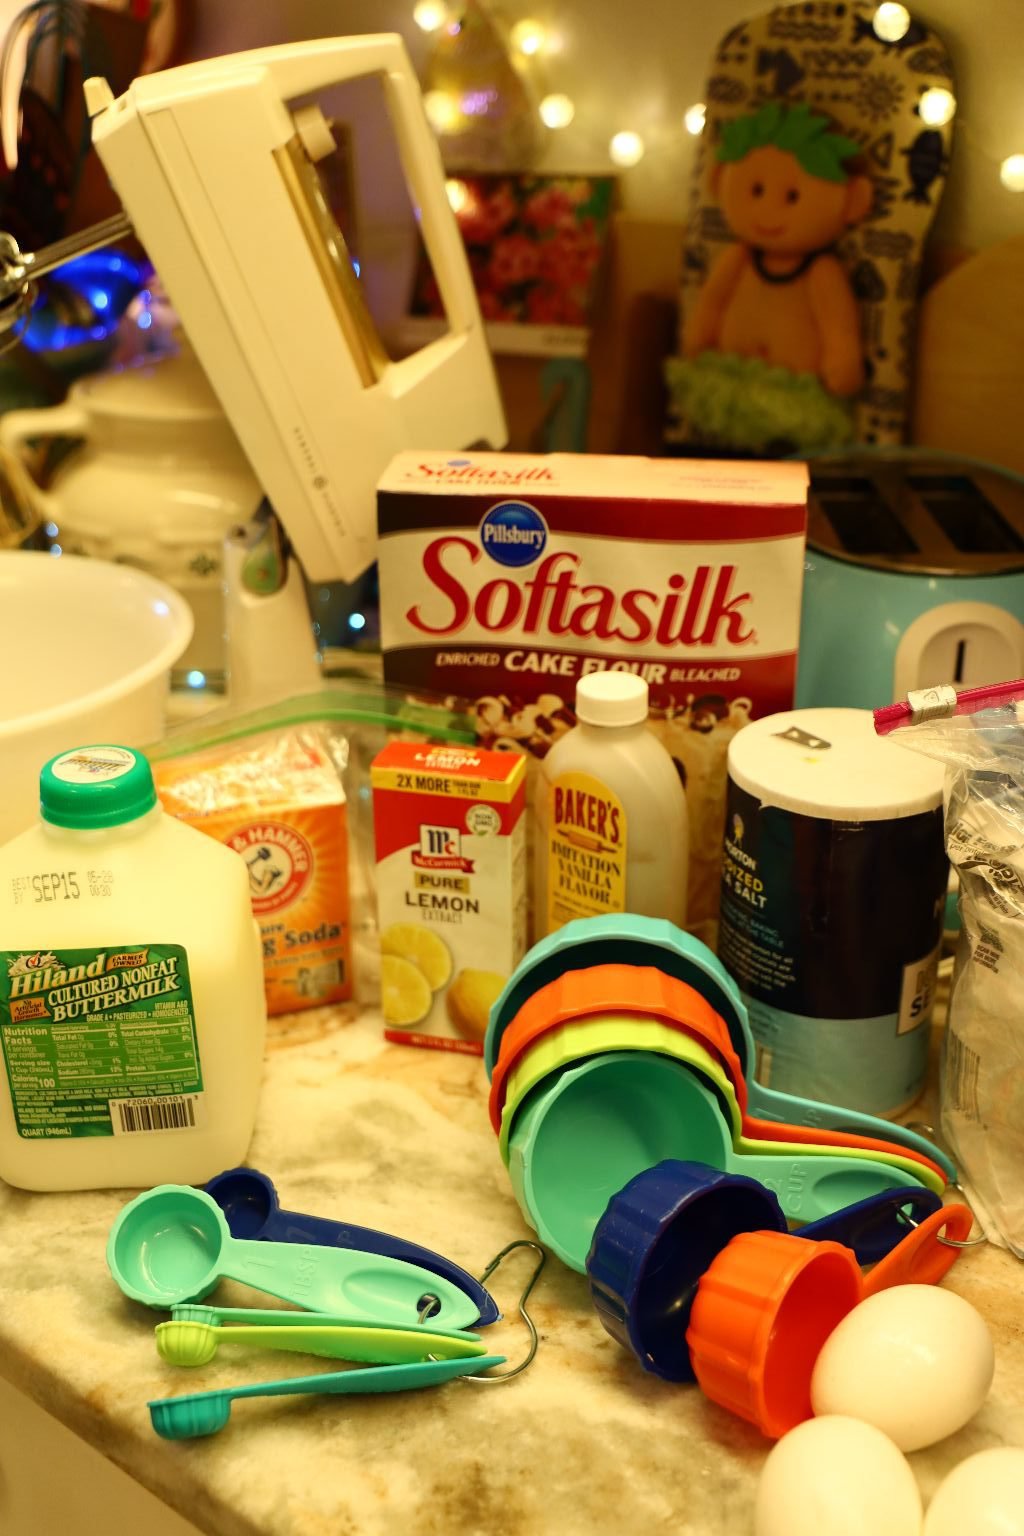
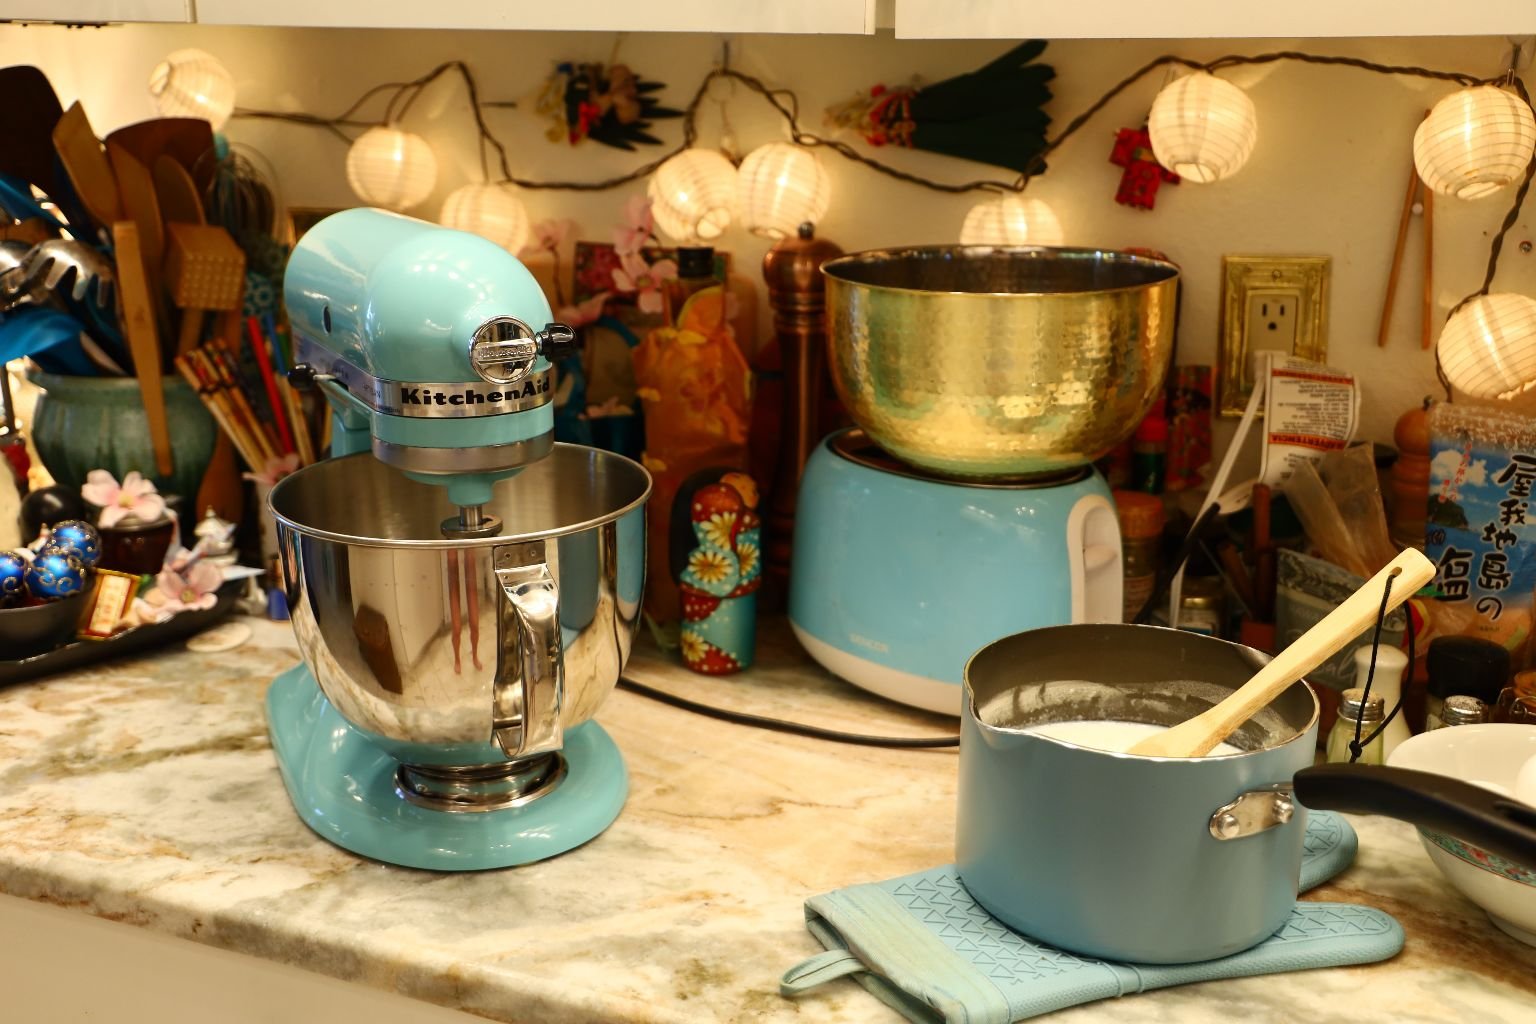
You want to assemble all of your ingredients and equipment.
—————————————————————–
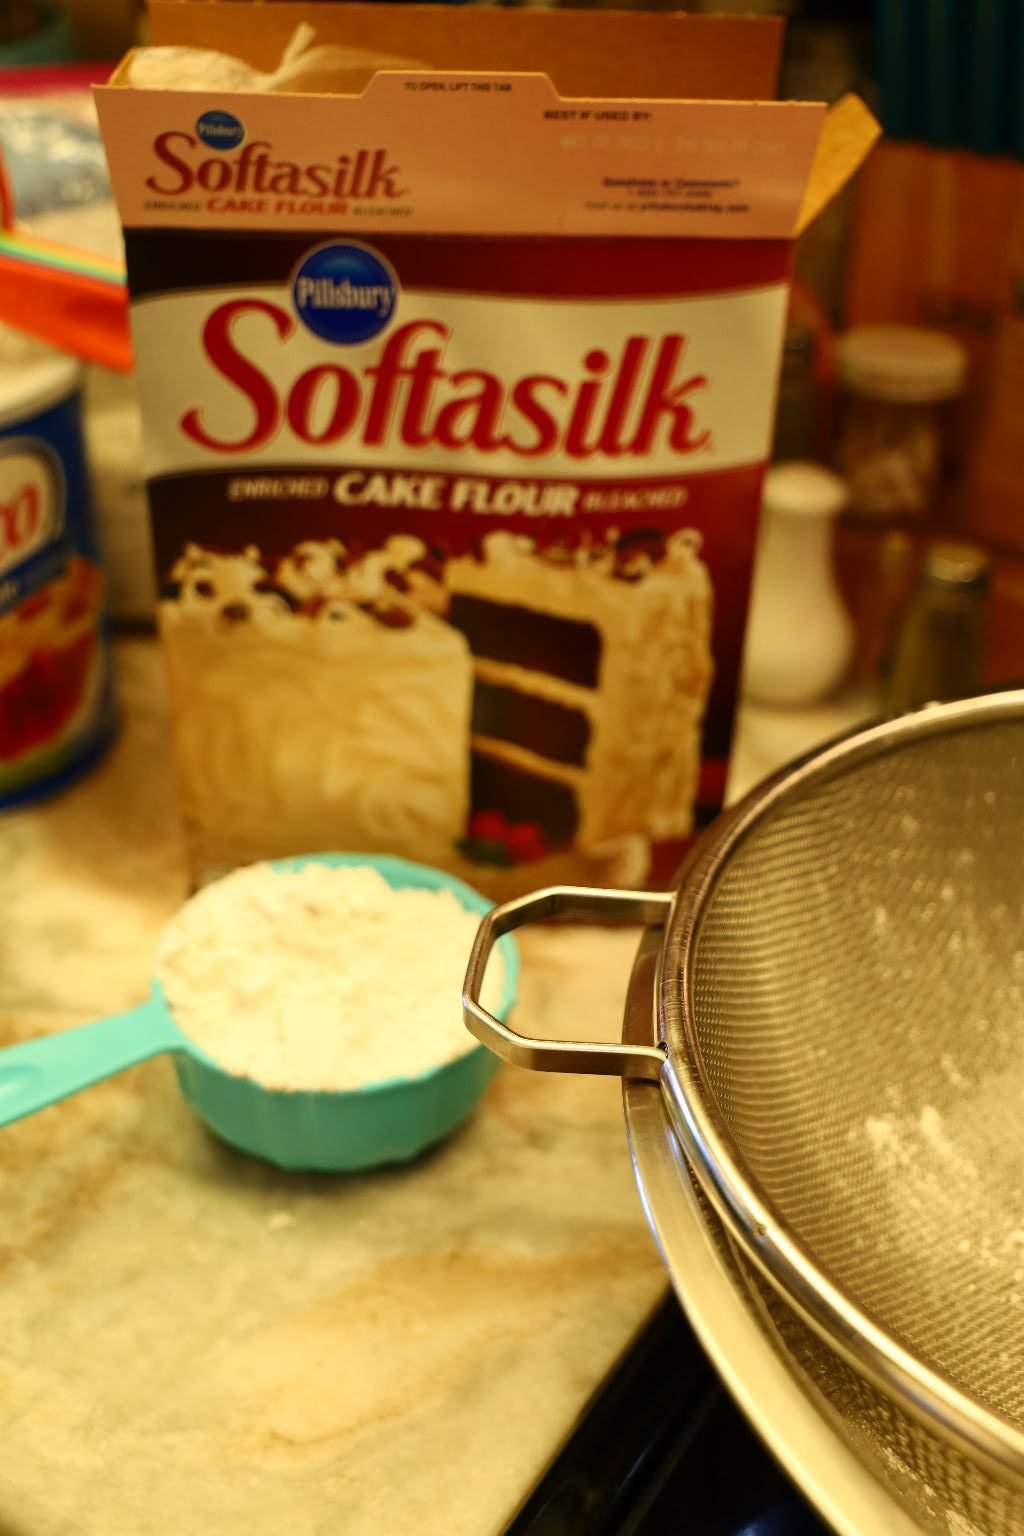
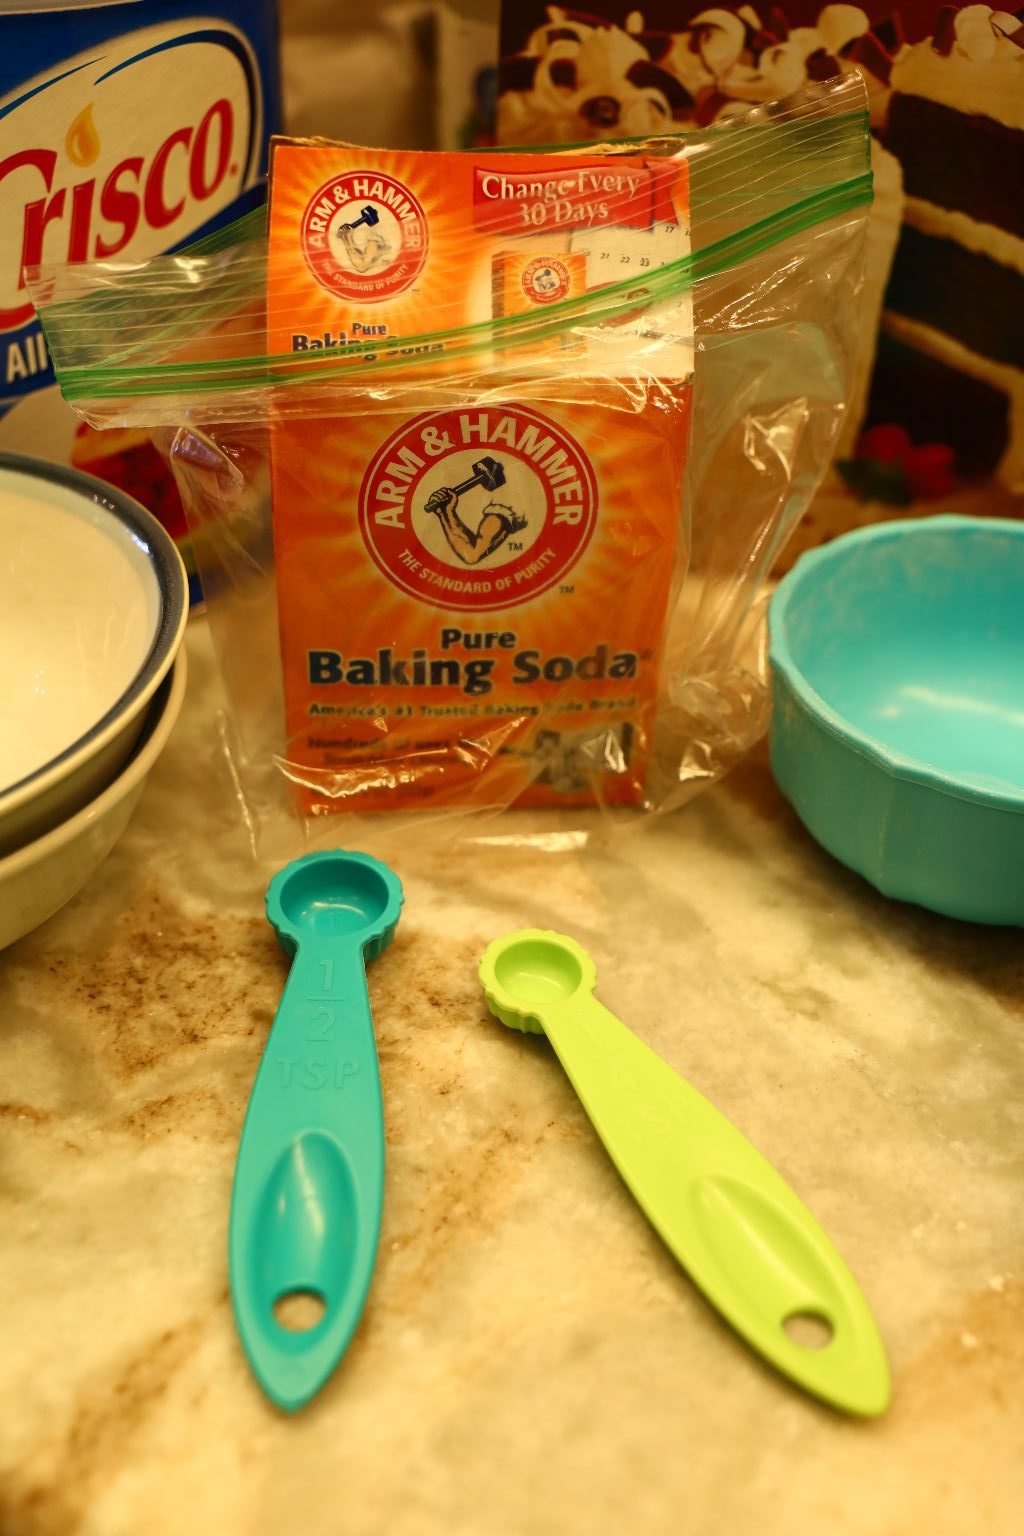
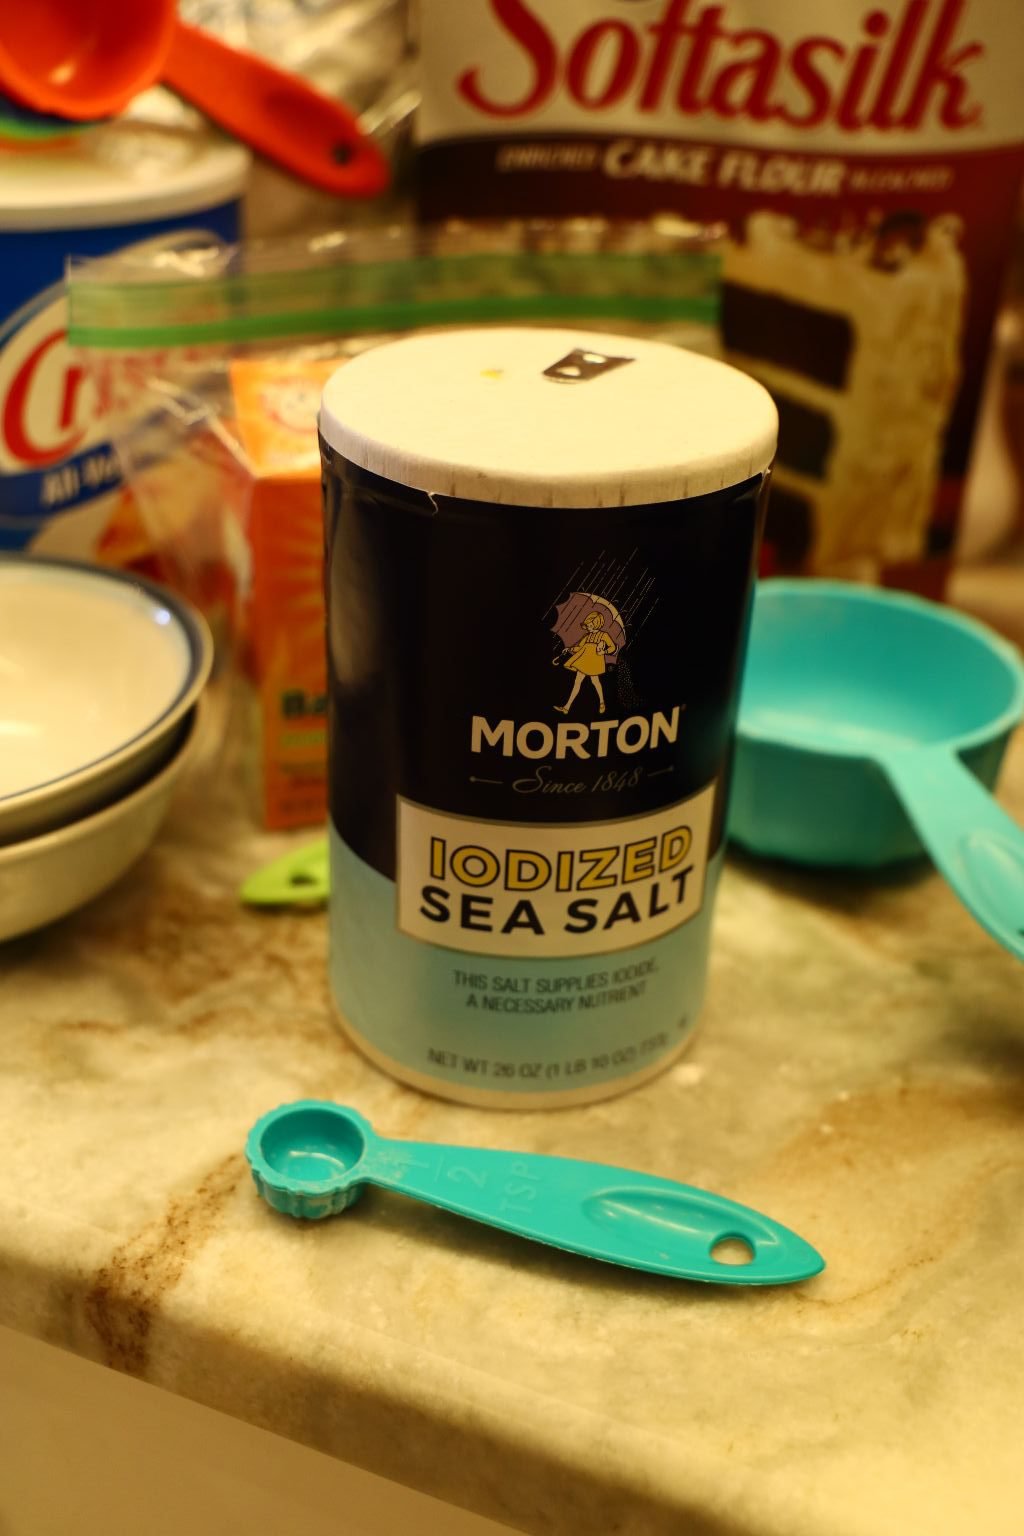
Let’s Start Sifting Our Ingredients:
Our Cake Flour, Baking Soda, and Salt


I placed our giant sifter over a large mixing bowl to sift the ingredients into.
——————————————————————————-

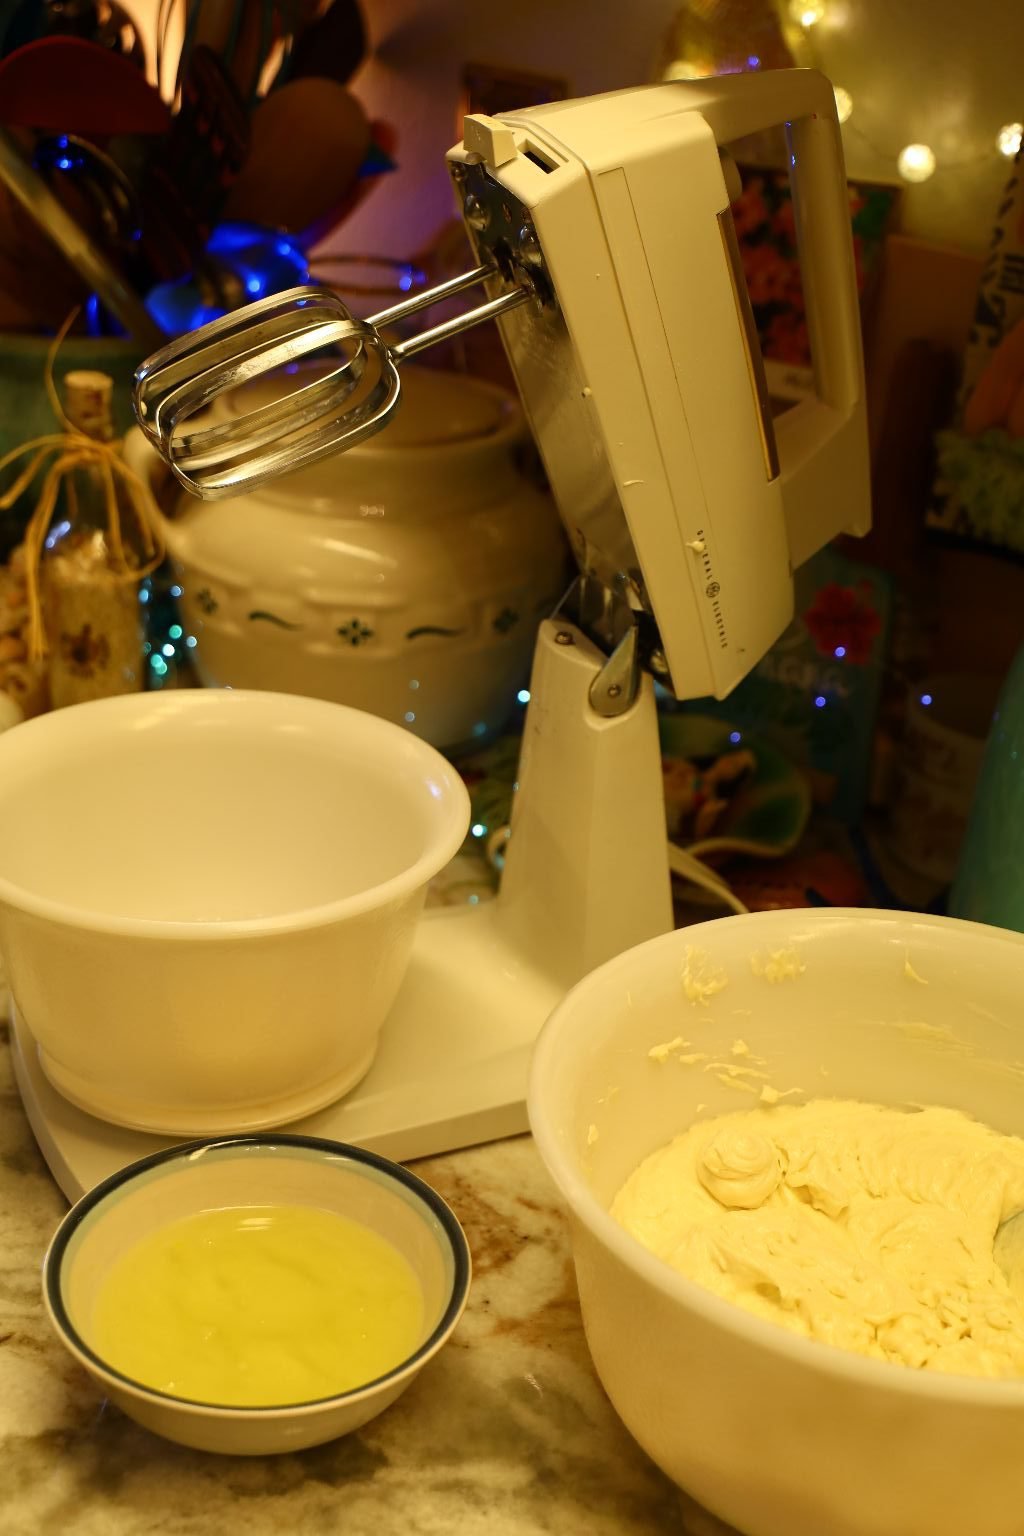
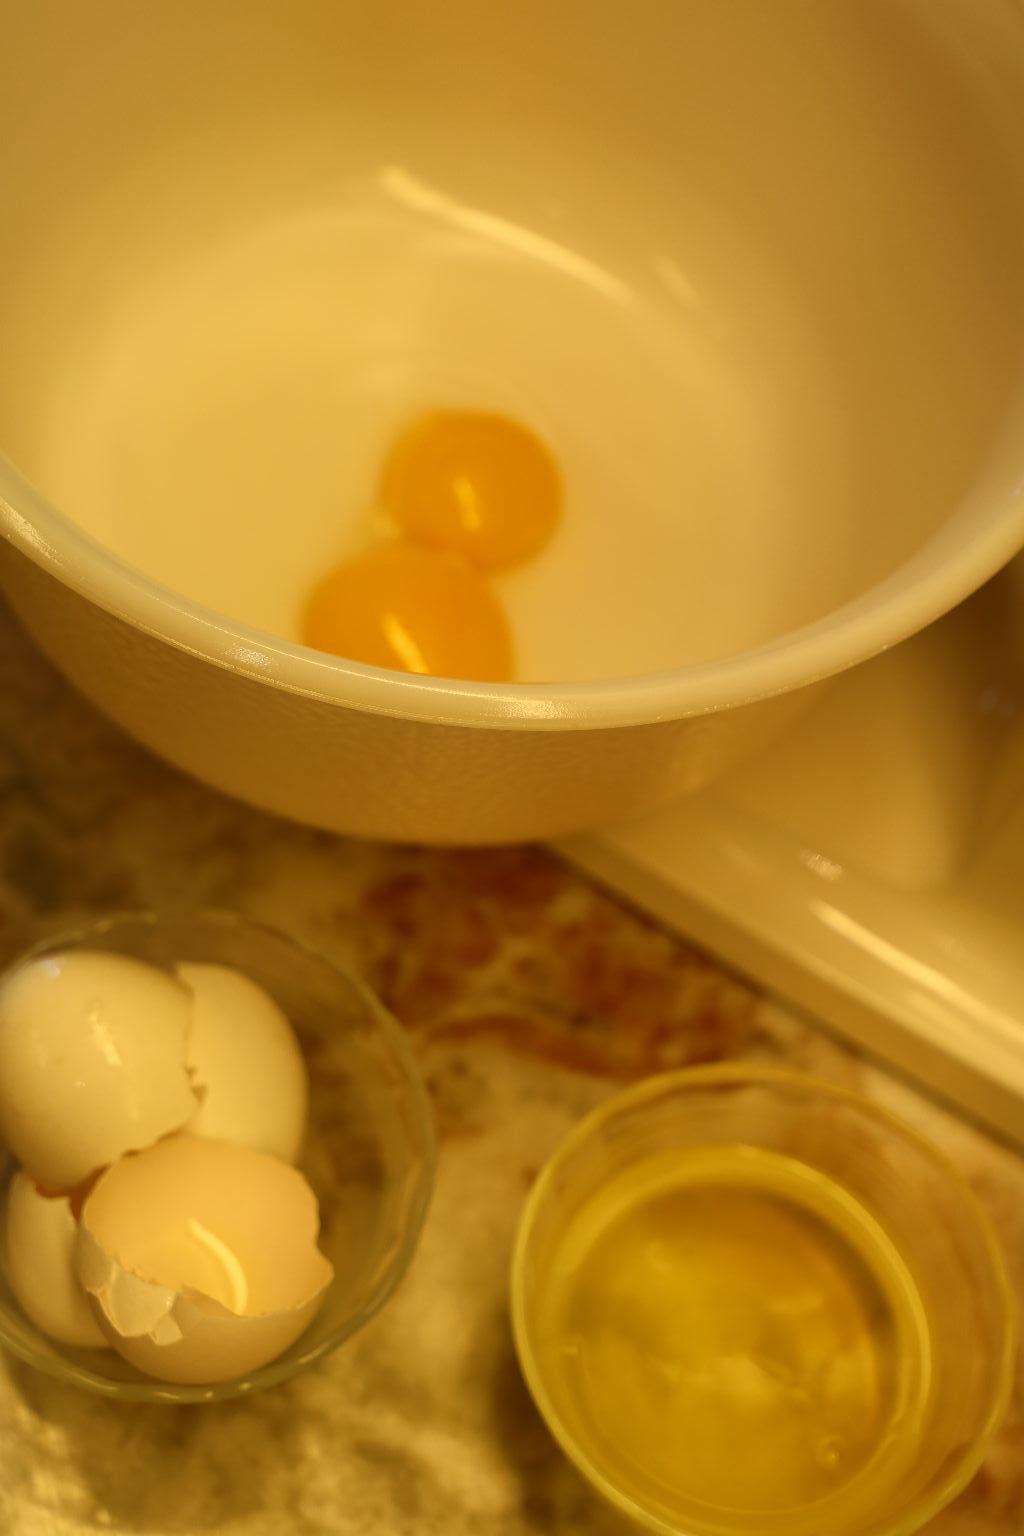
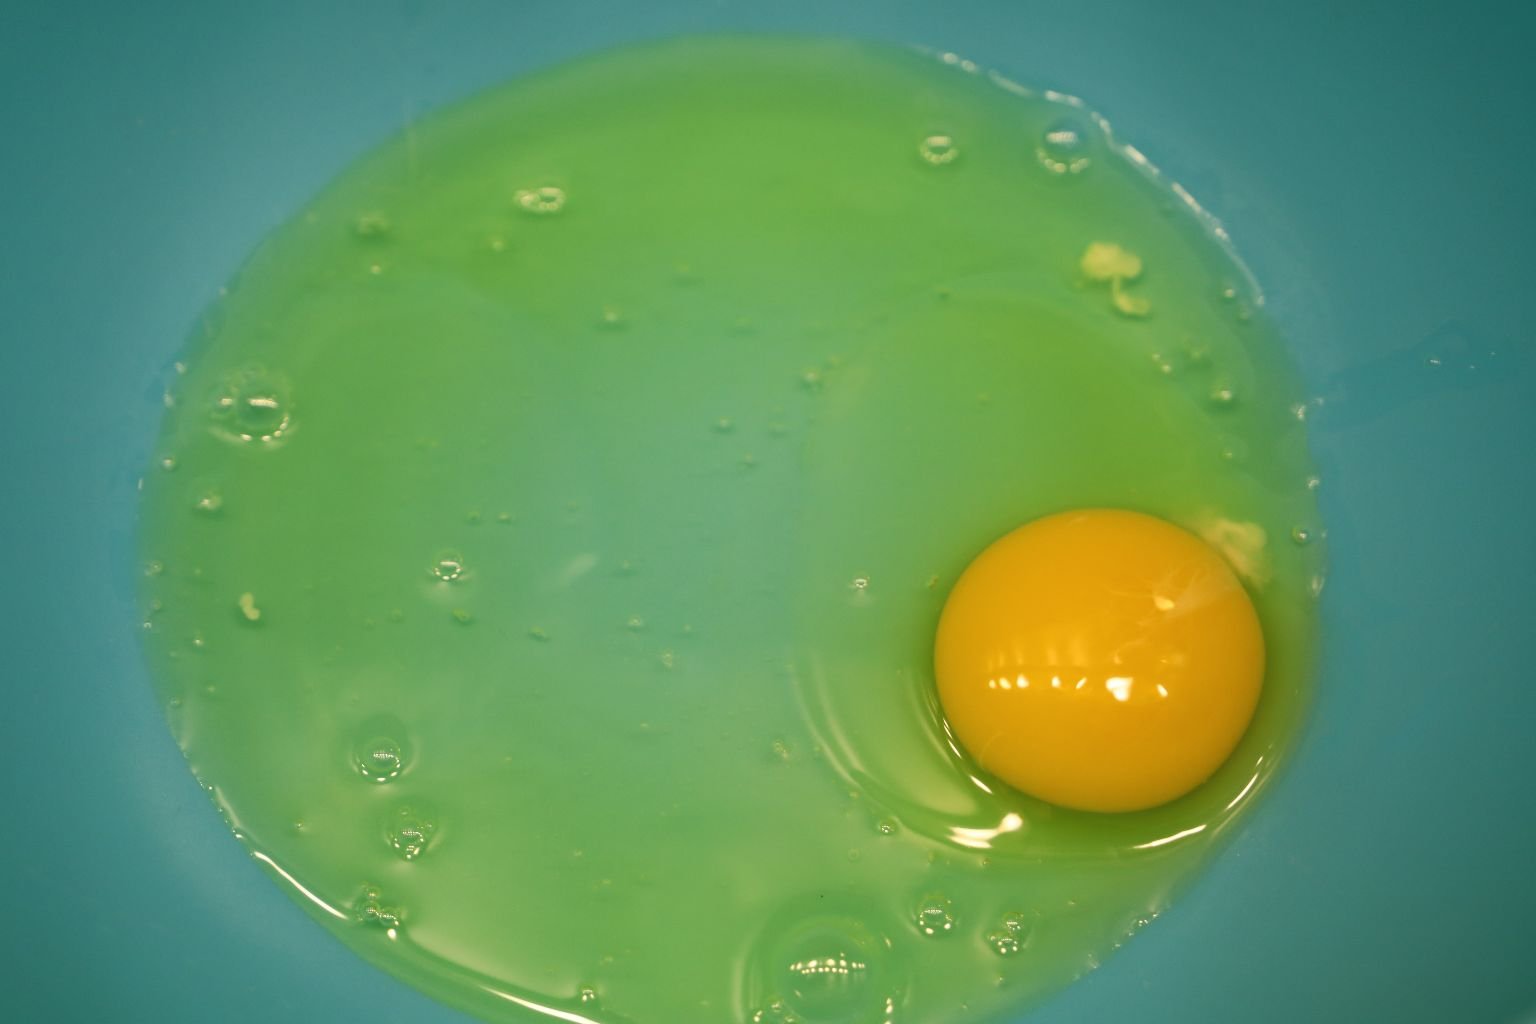
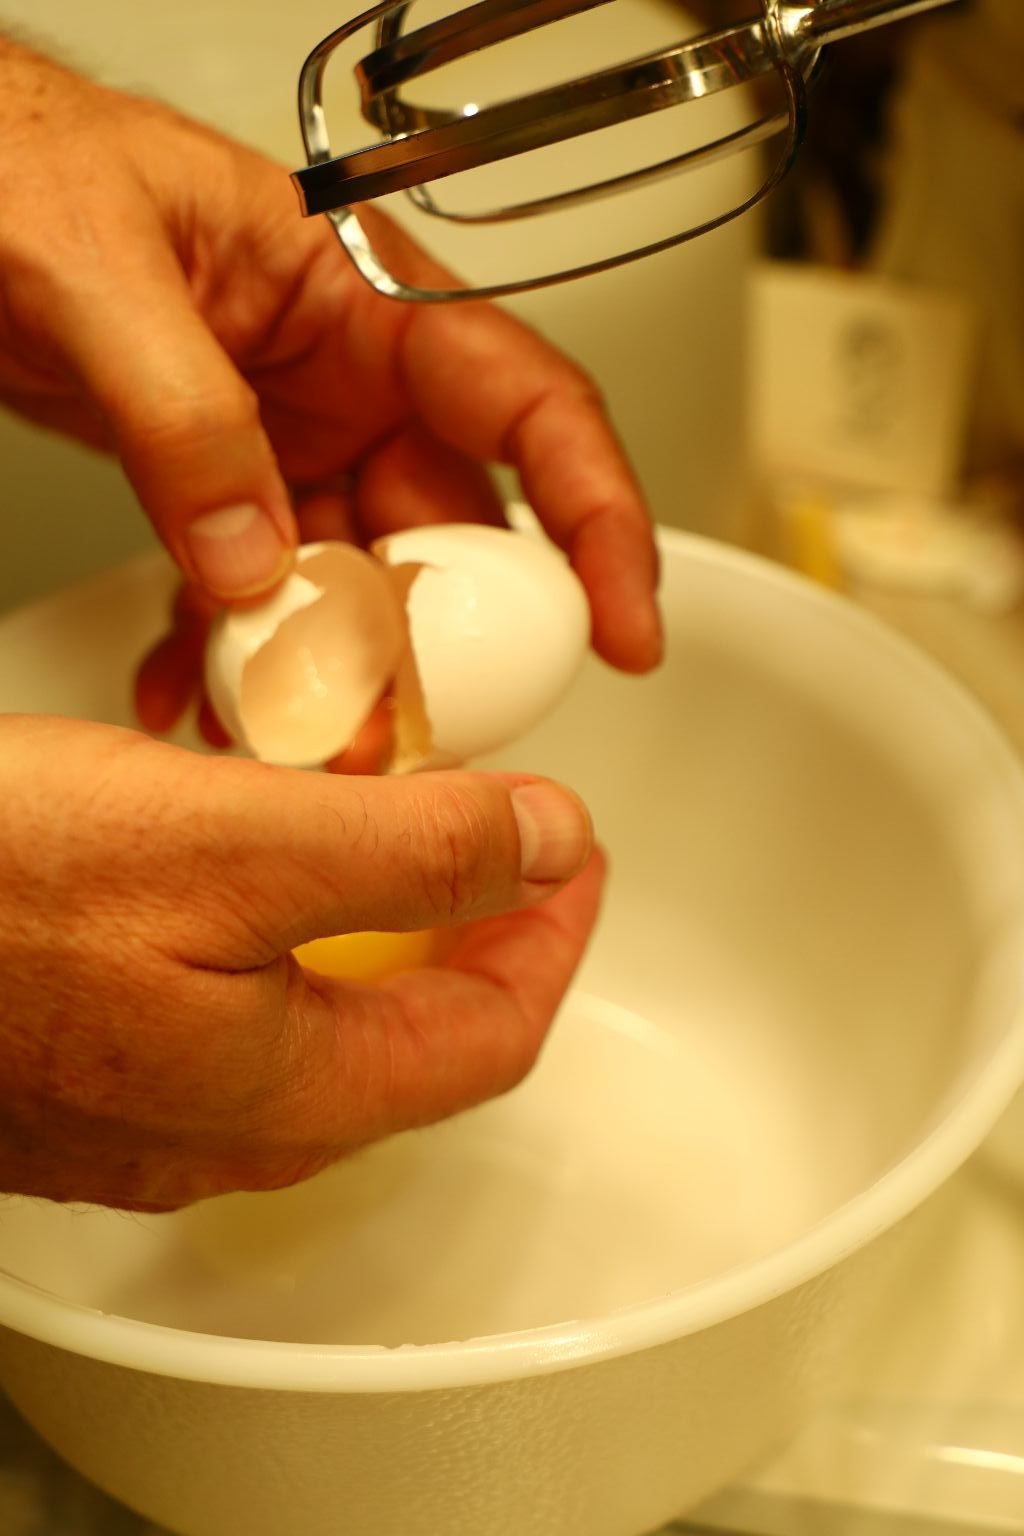
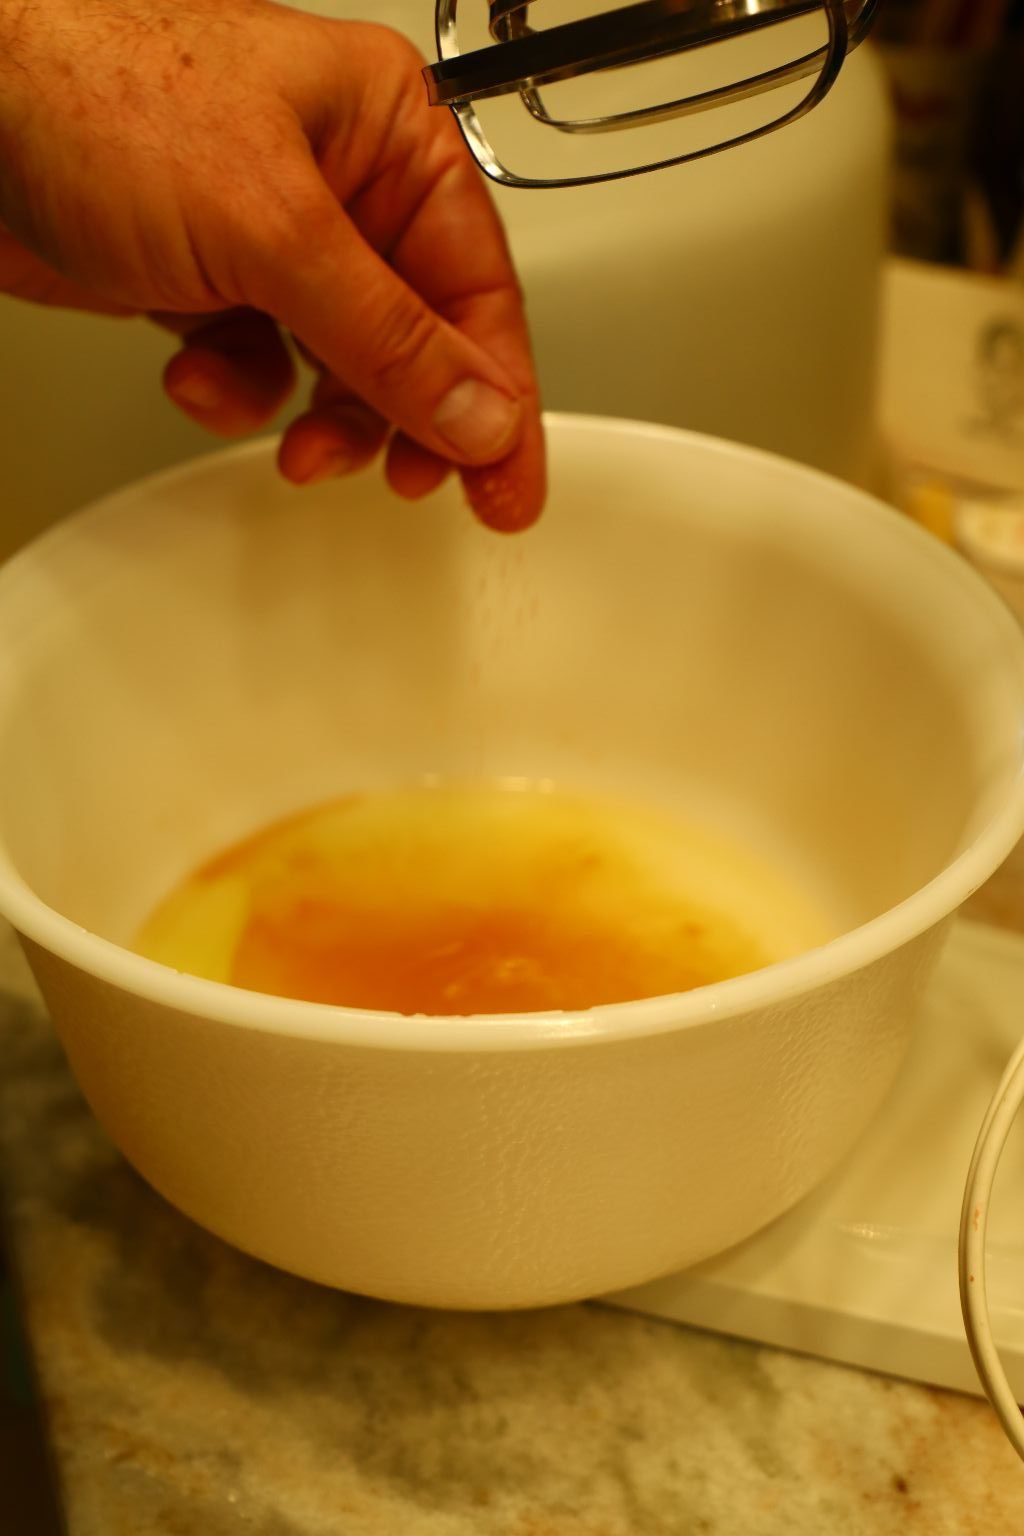
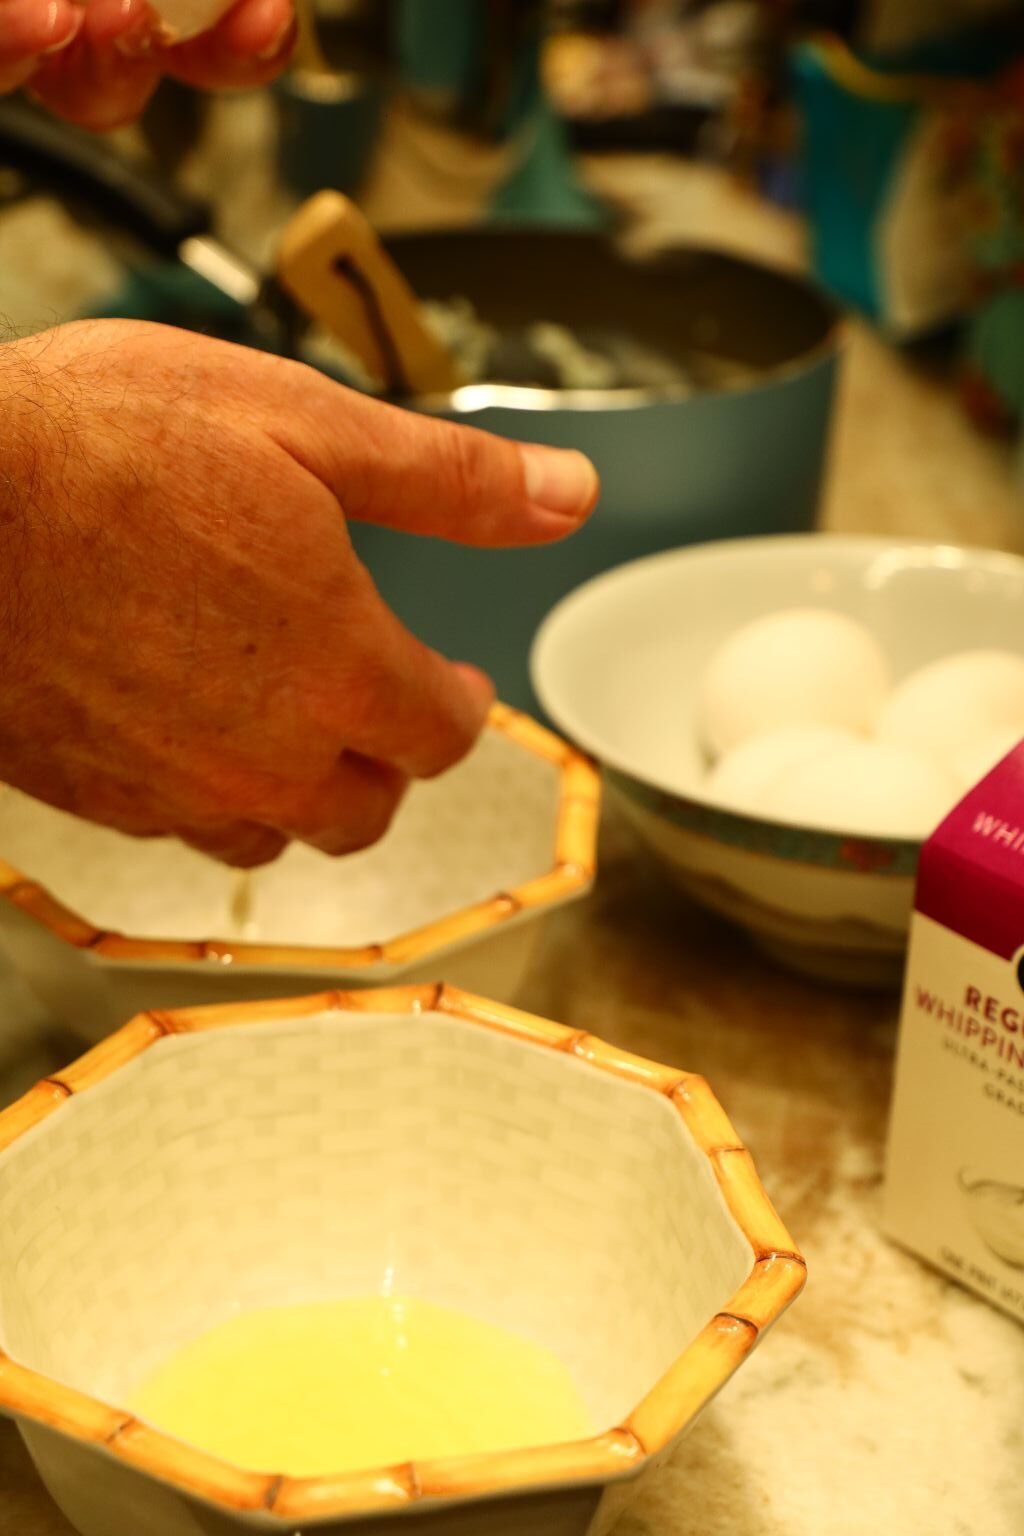
3 Eggs Separated
(Separate the Yolks from the White’s into separate bowls.)
————————————————————————————

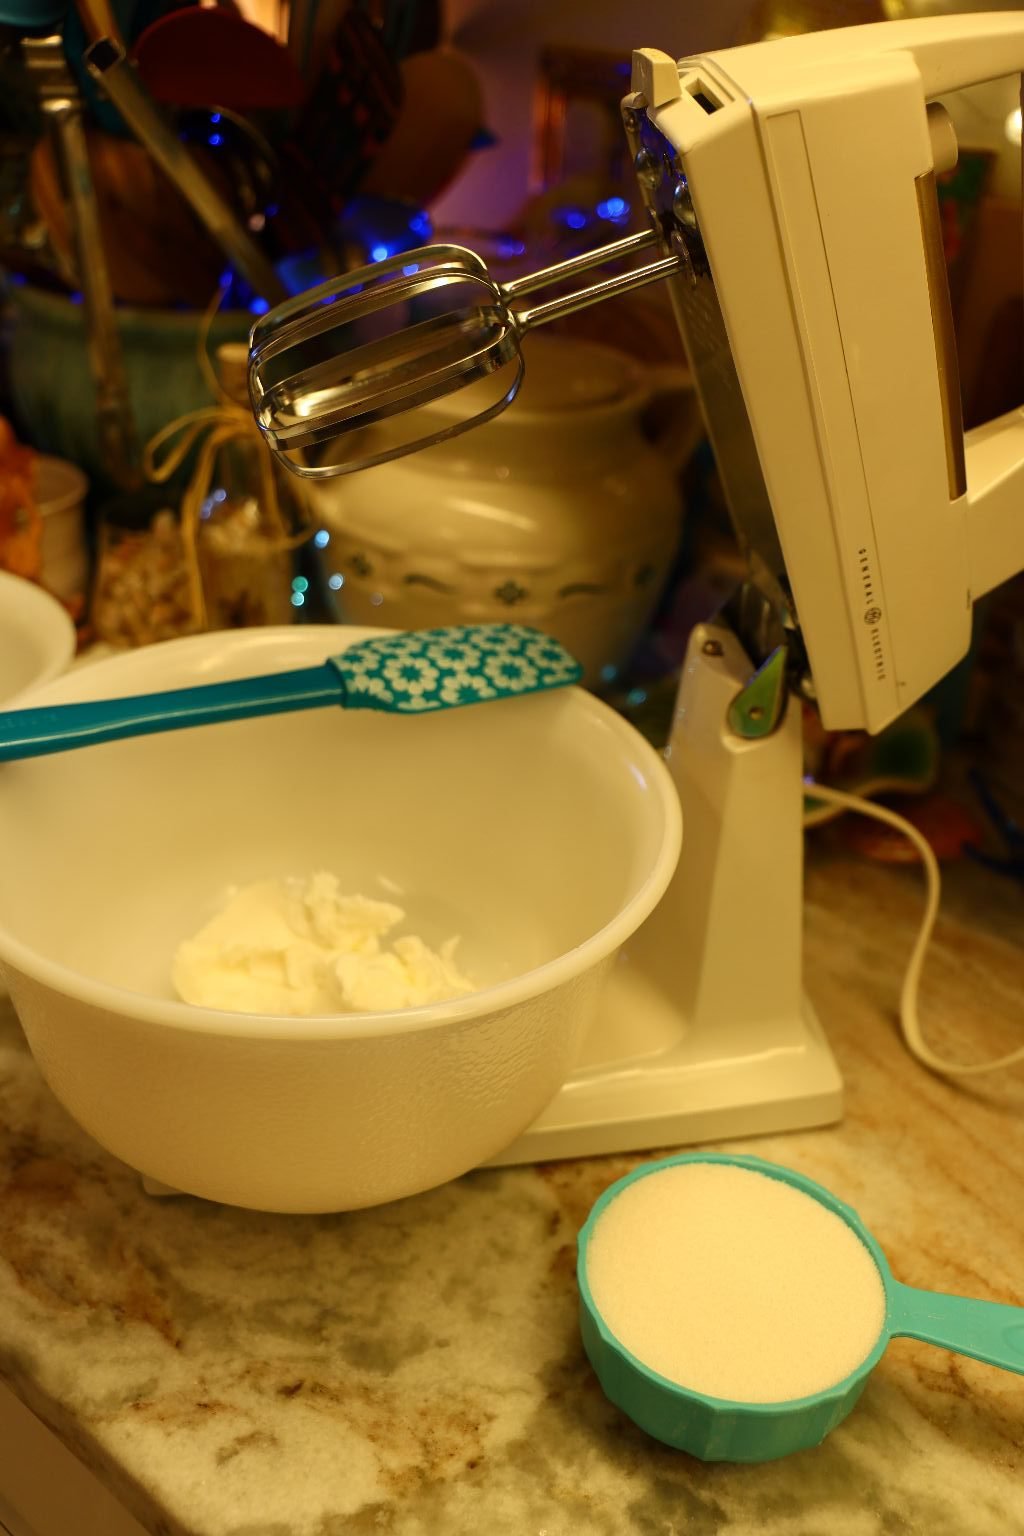
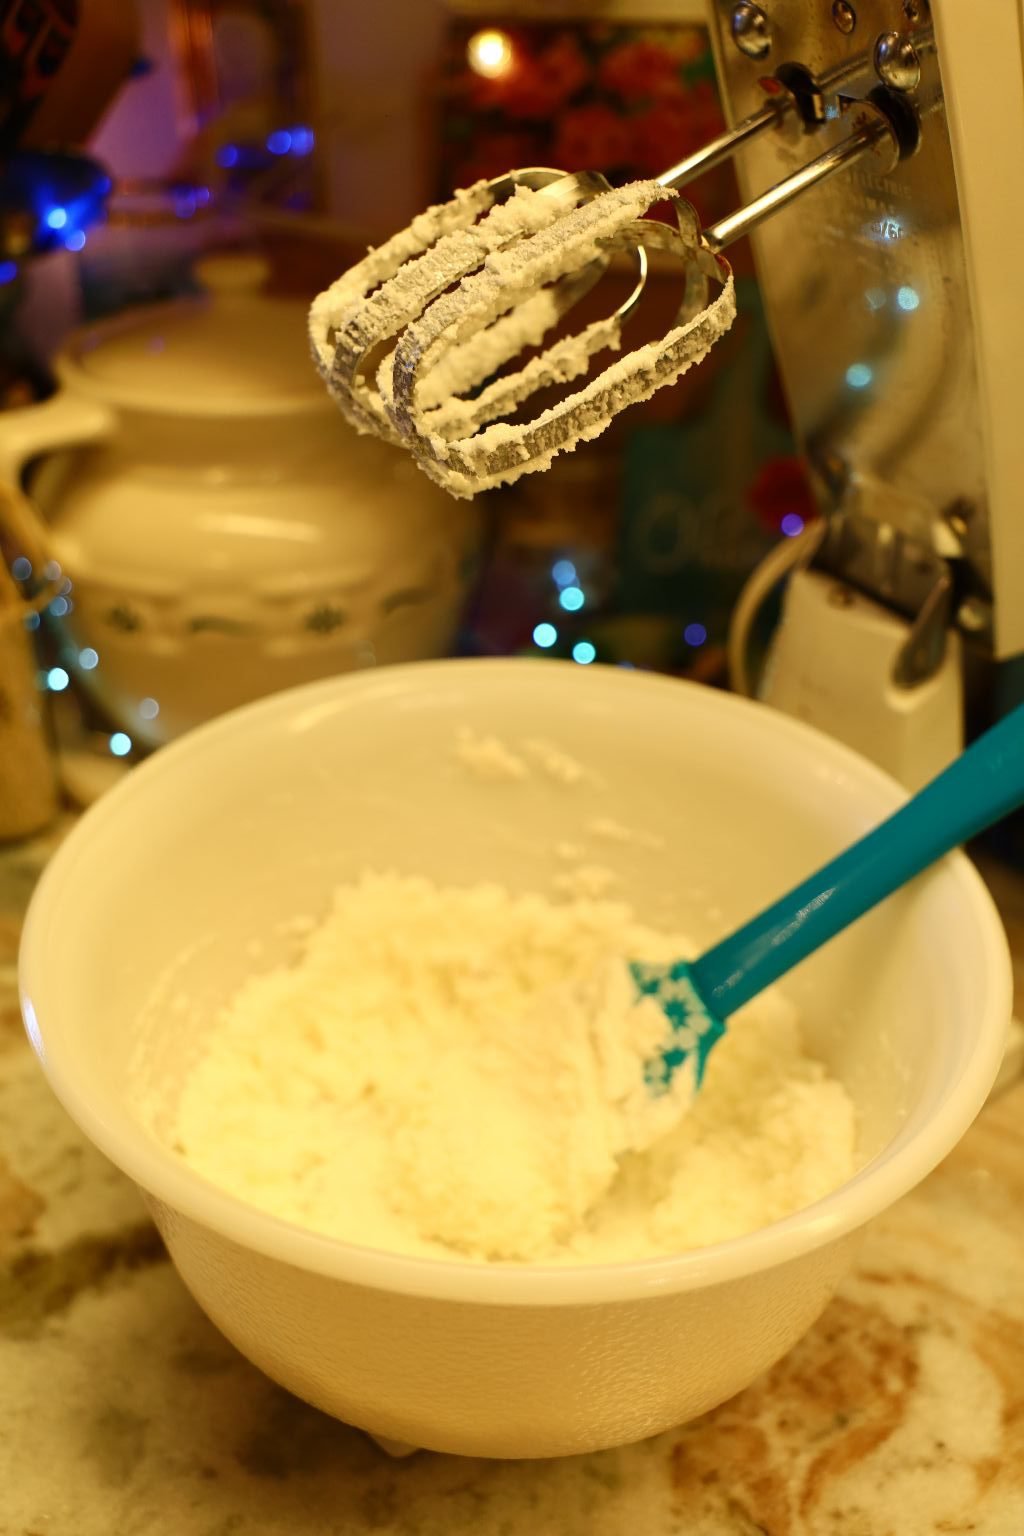
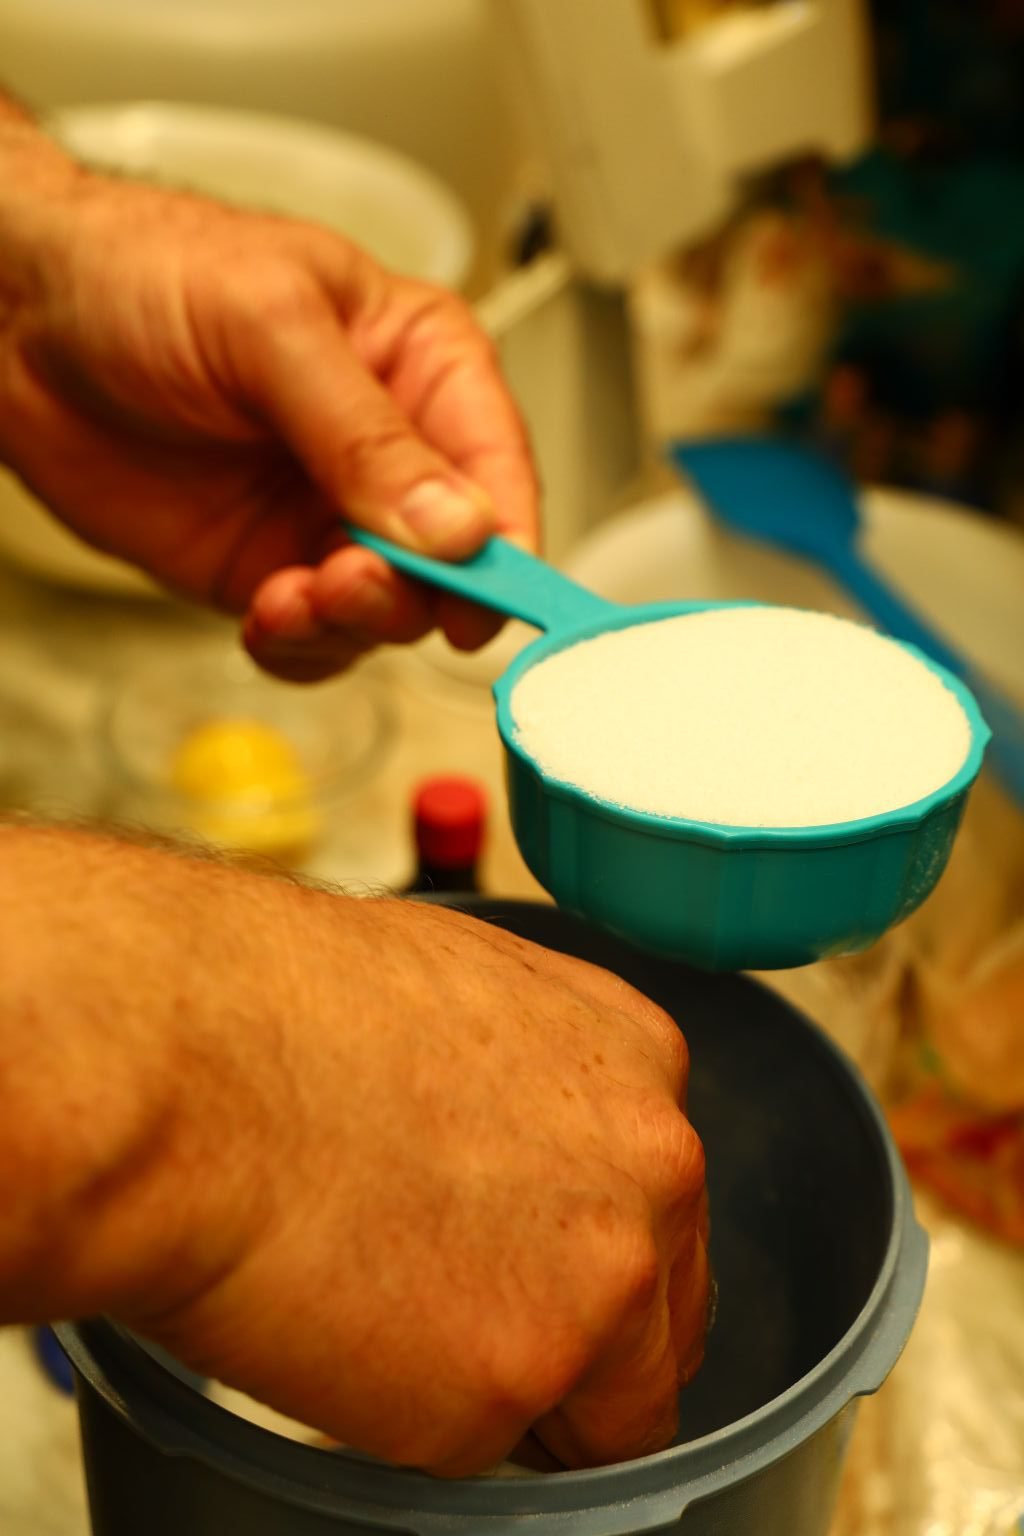
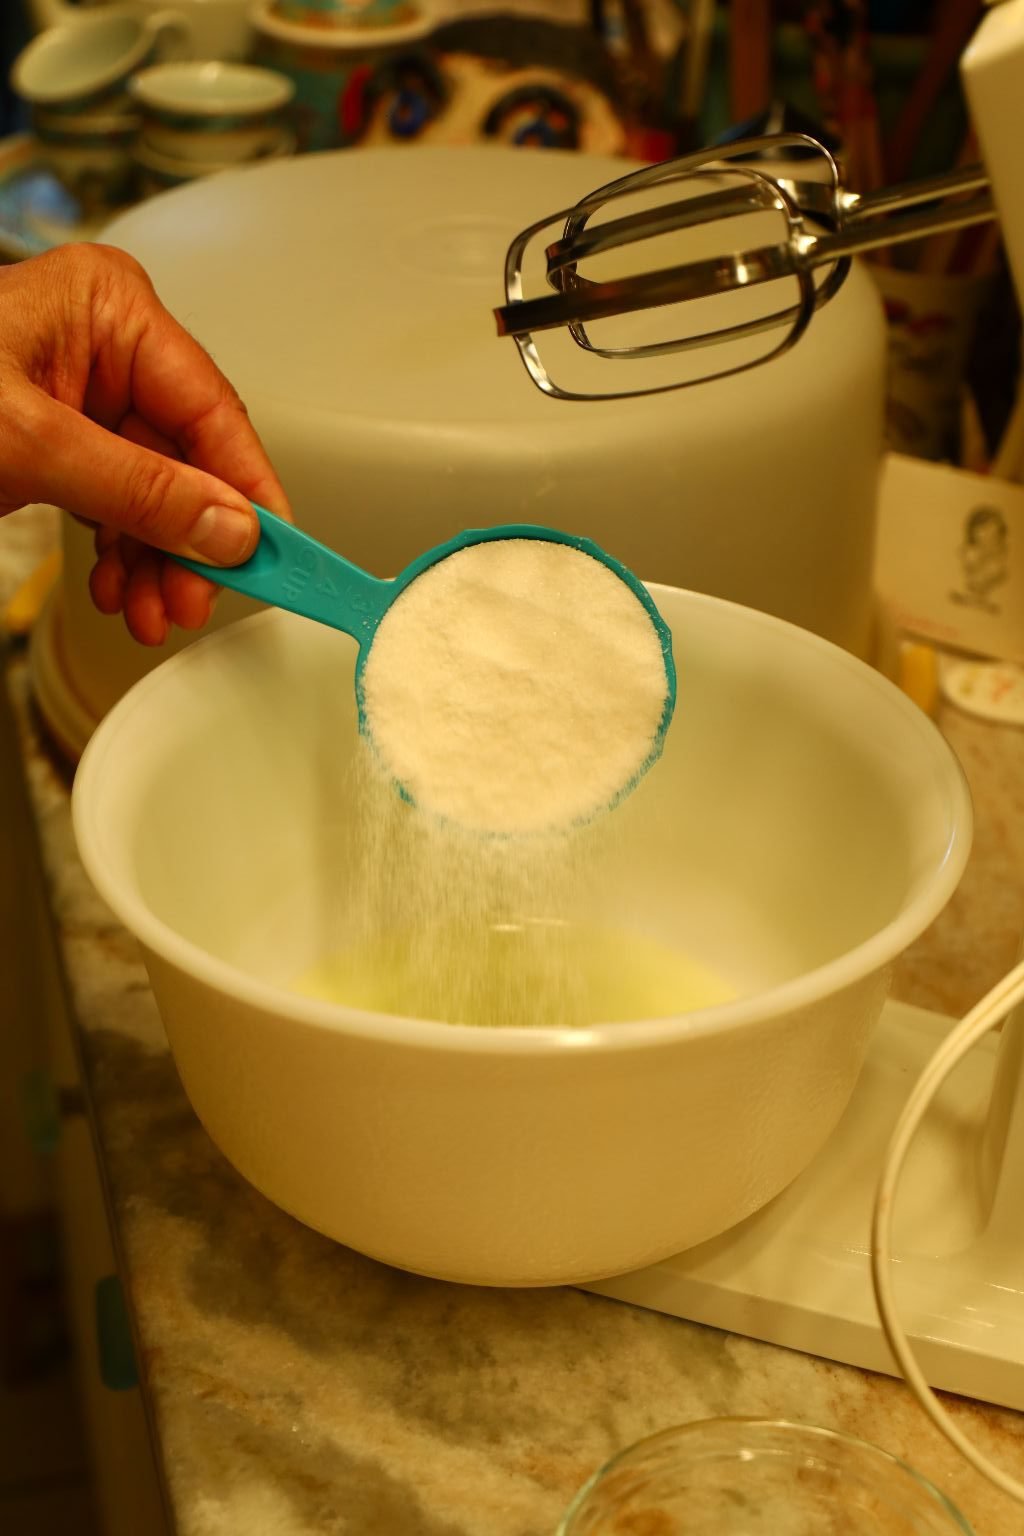
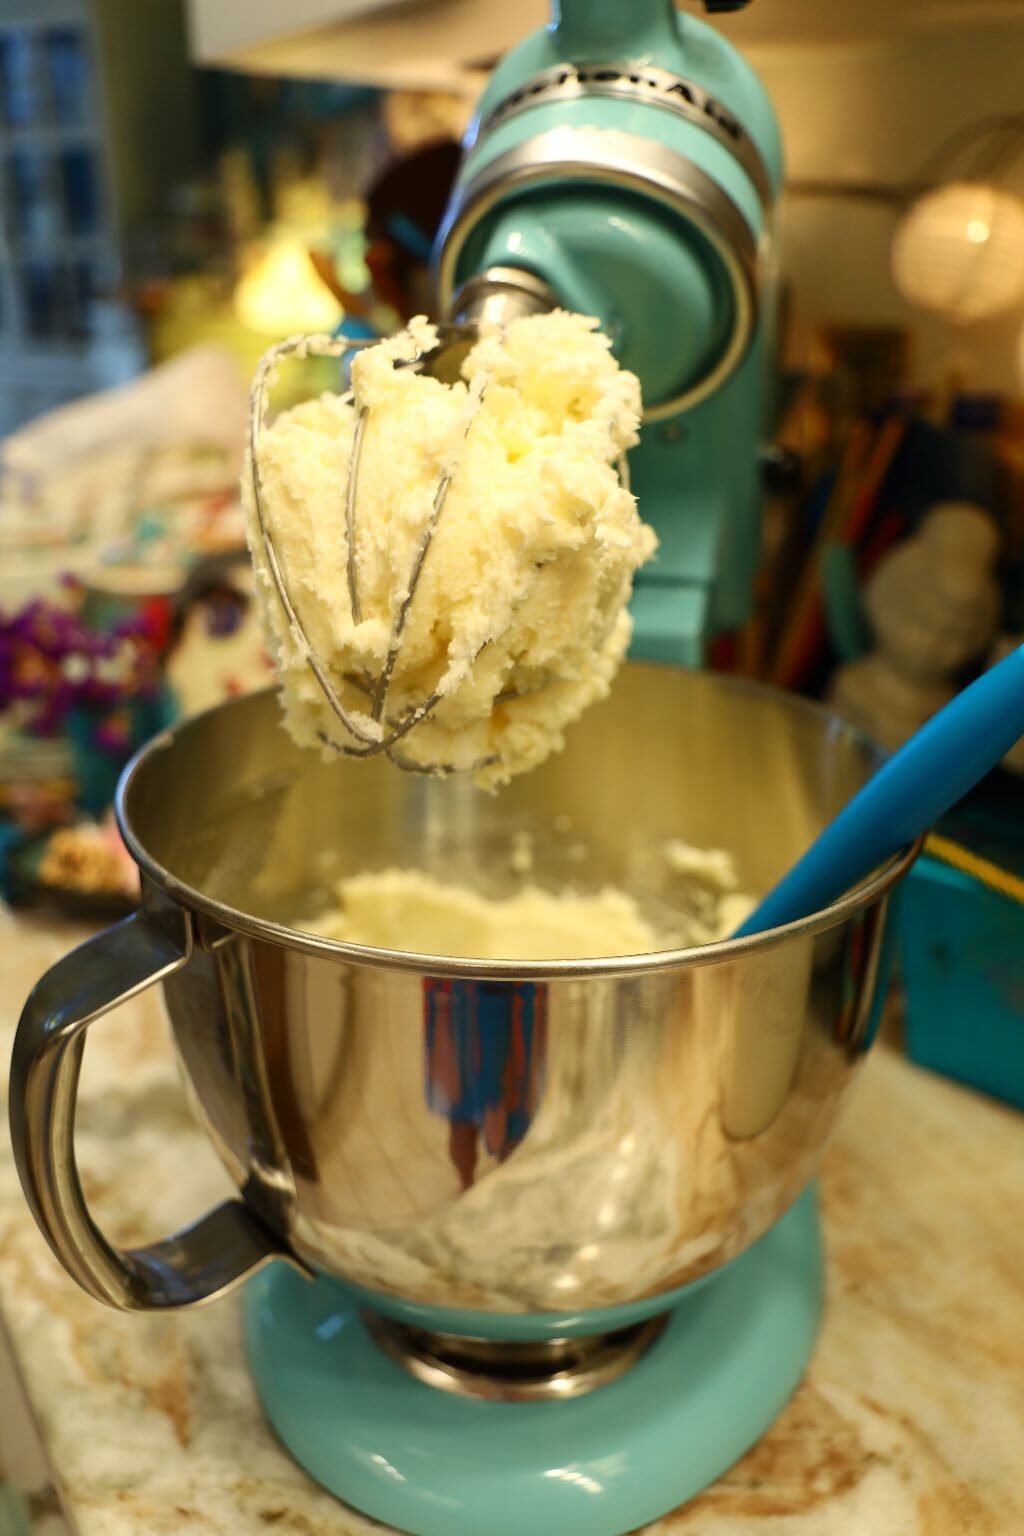
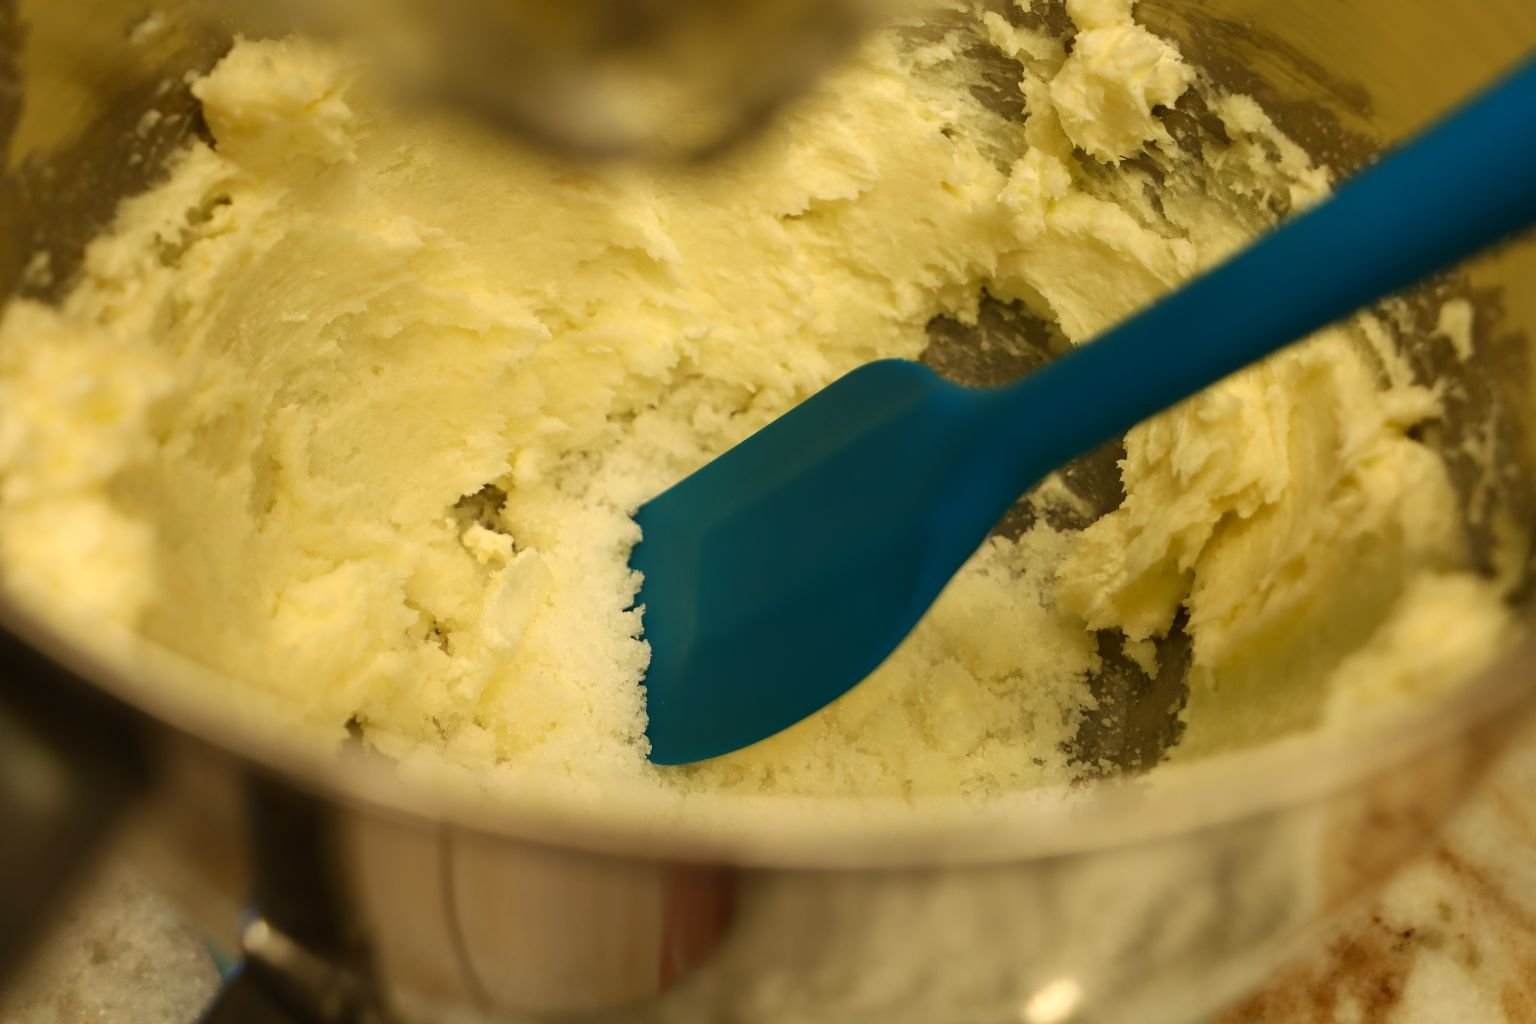
Cream the Crisco Shortening and add the Sugar gradually, until light and fluffy.

————————————————————————-


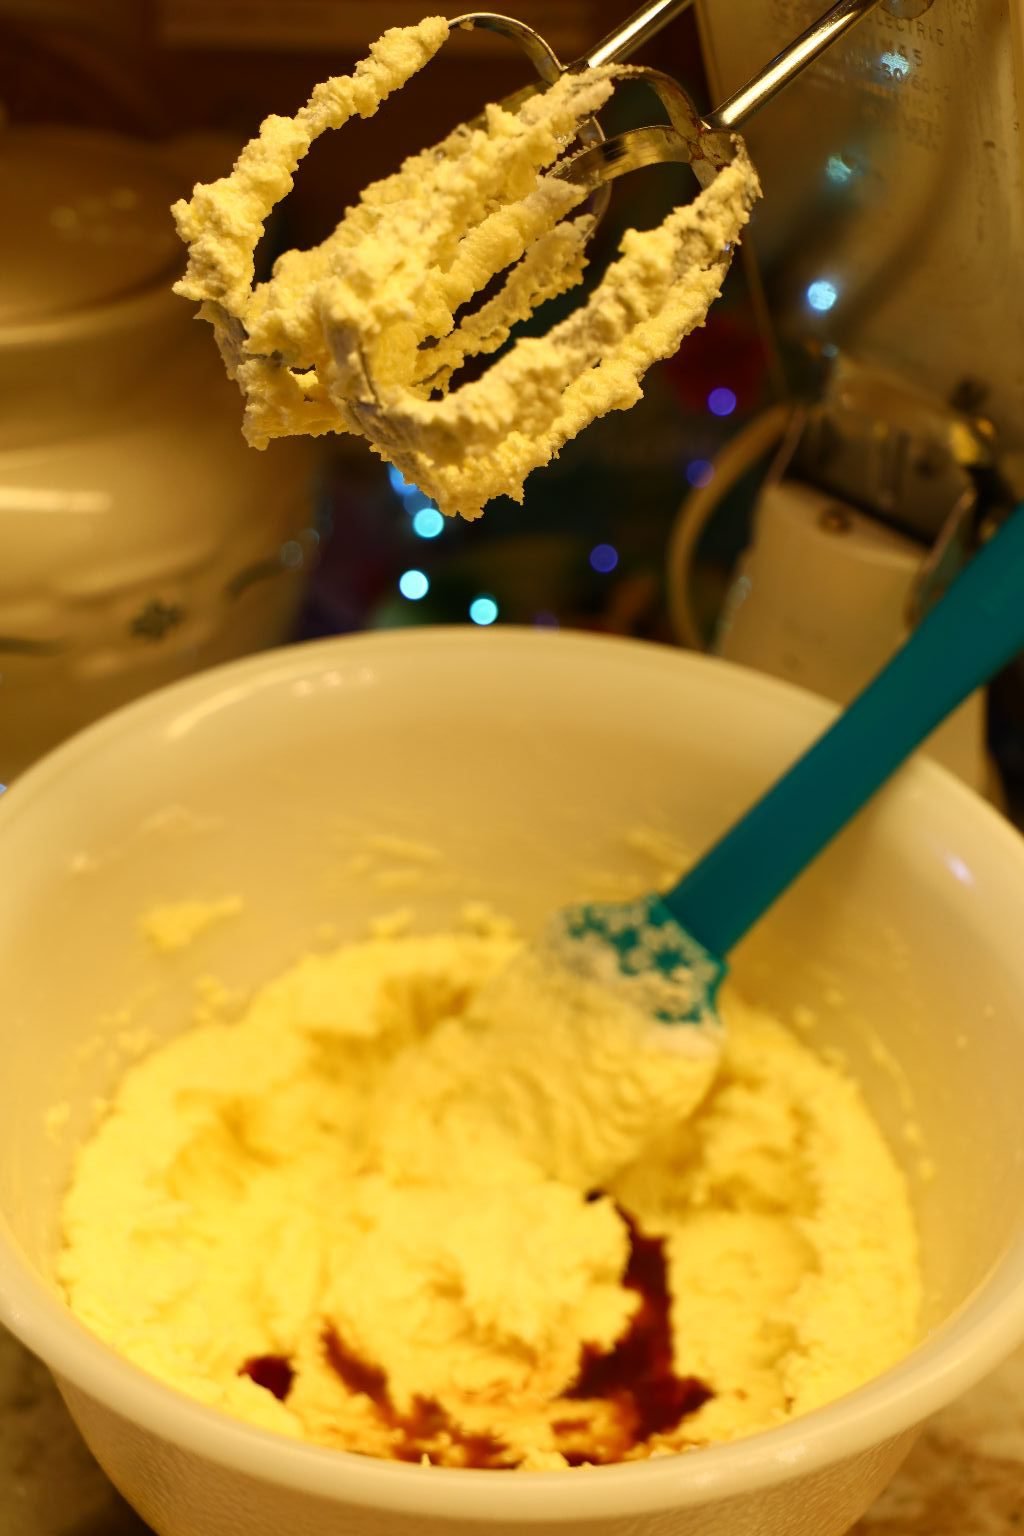
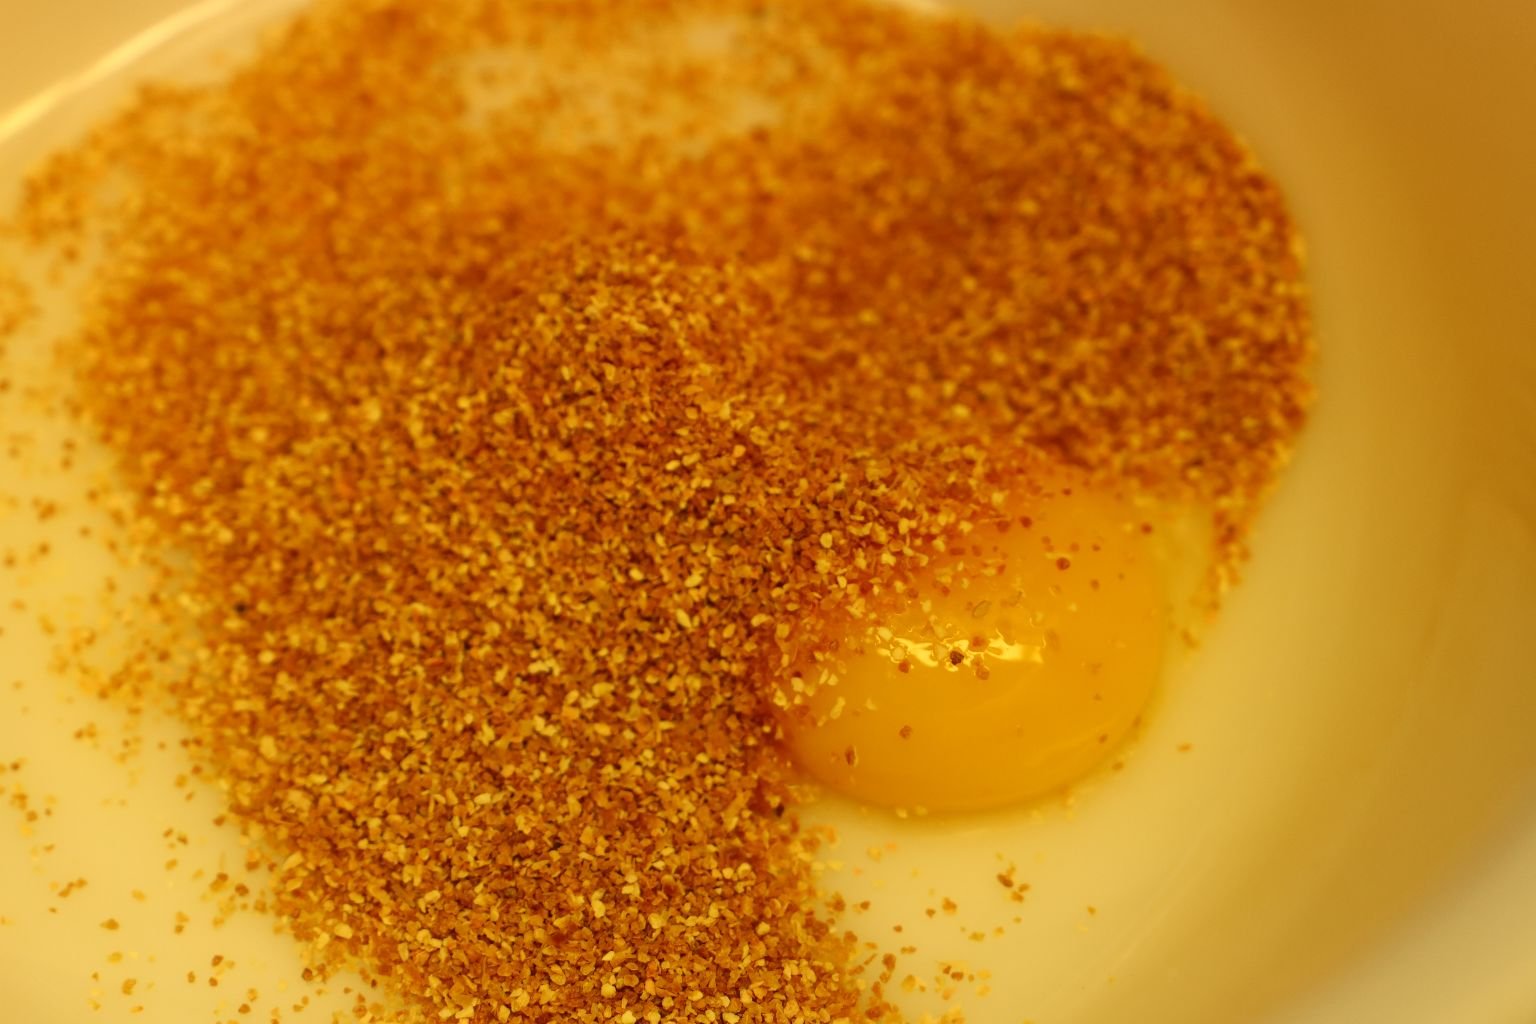
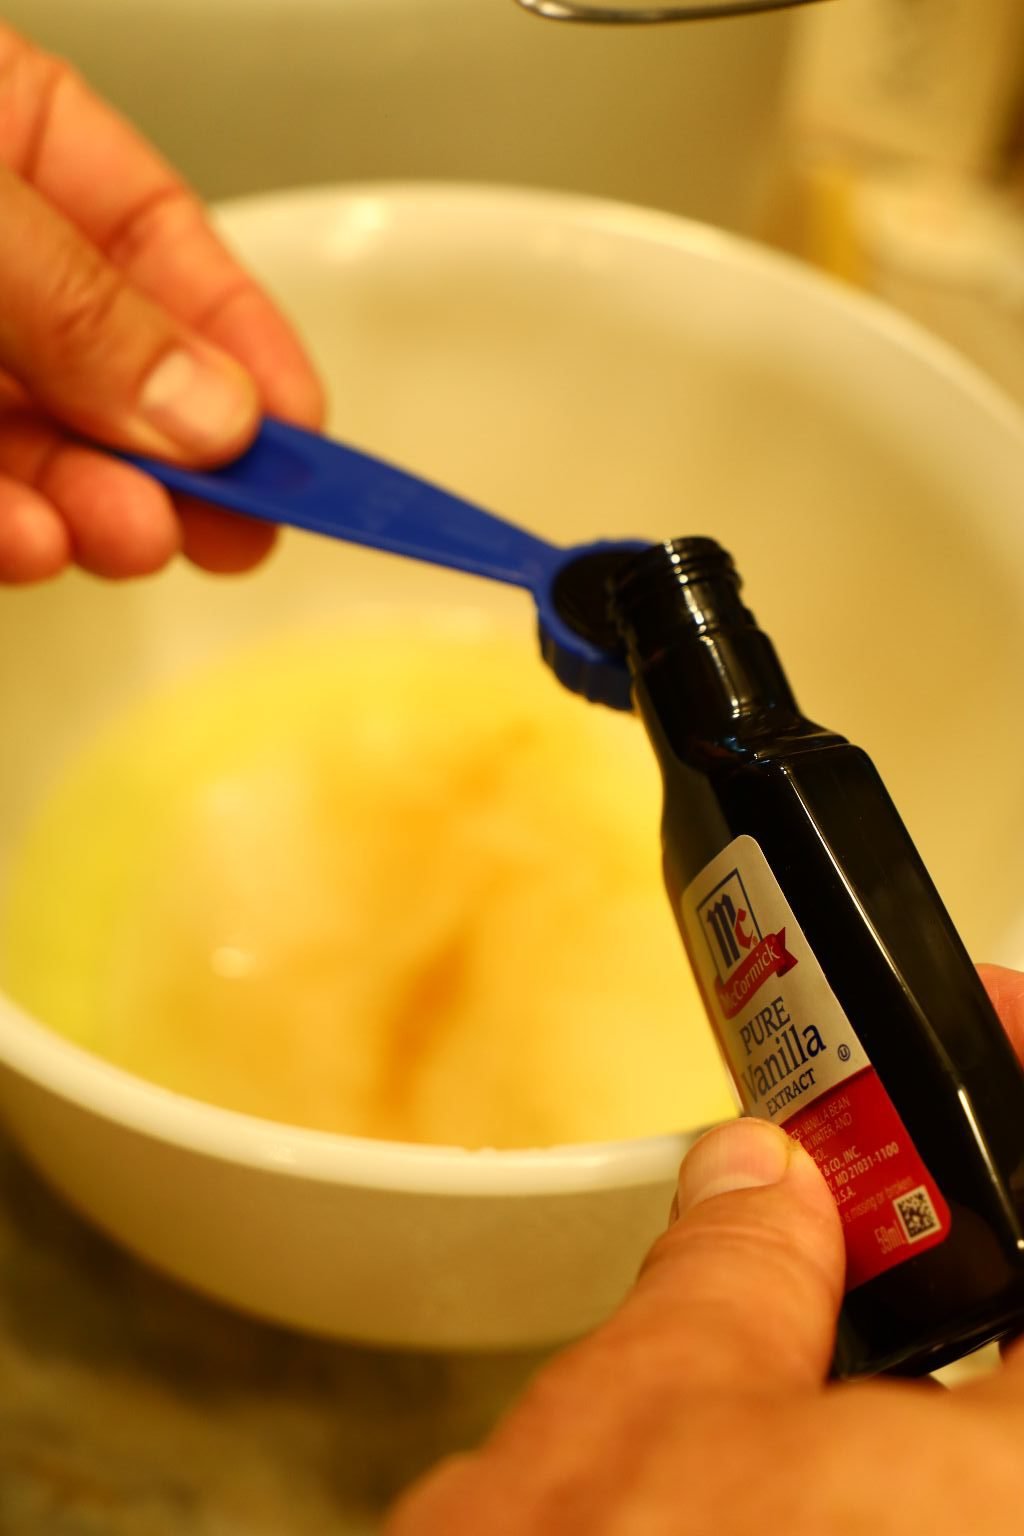
You want to add the Vanilla and Lemon Extract and blend well.
Also, add the egg yolks, beat until very light.
—————————————————————————-

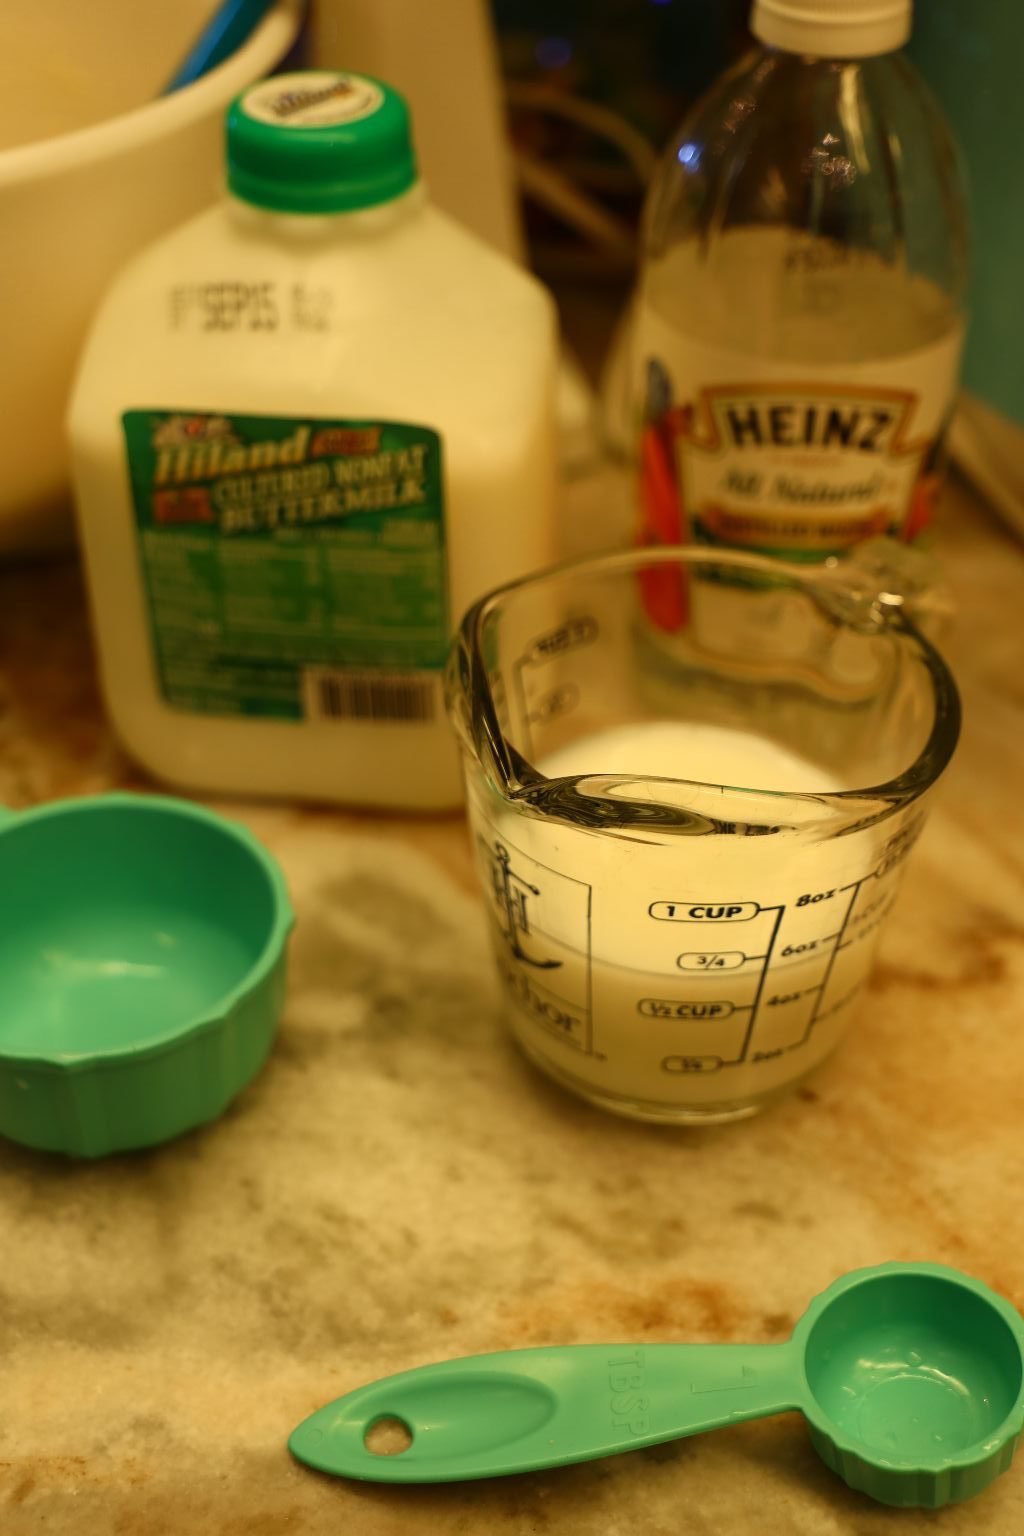
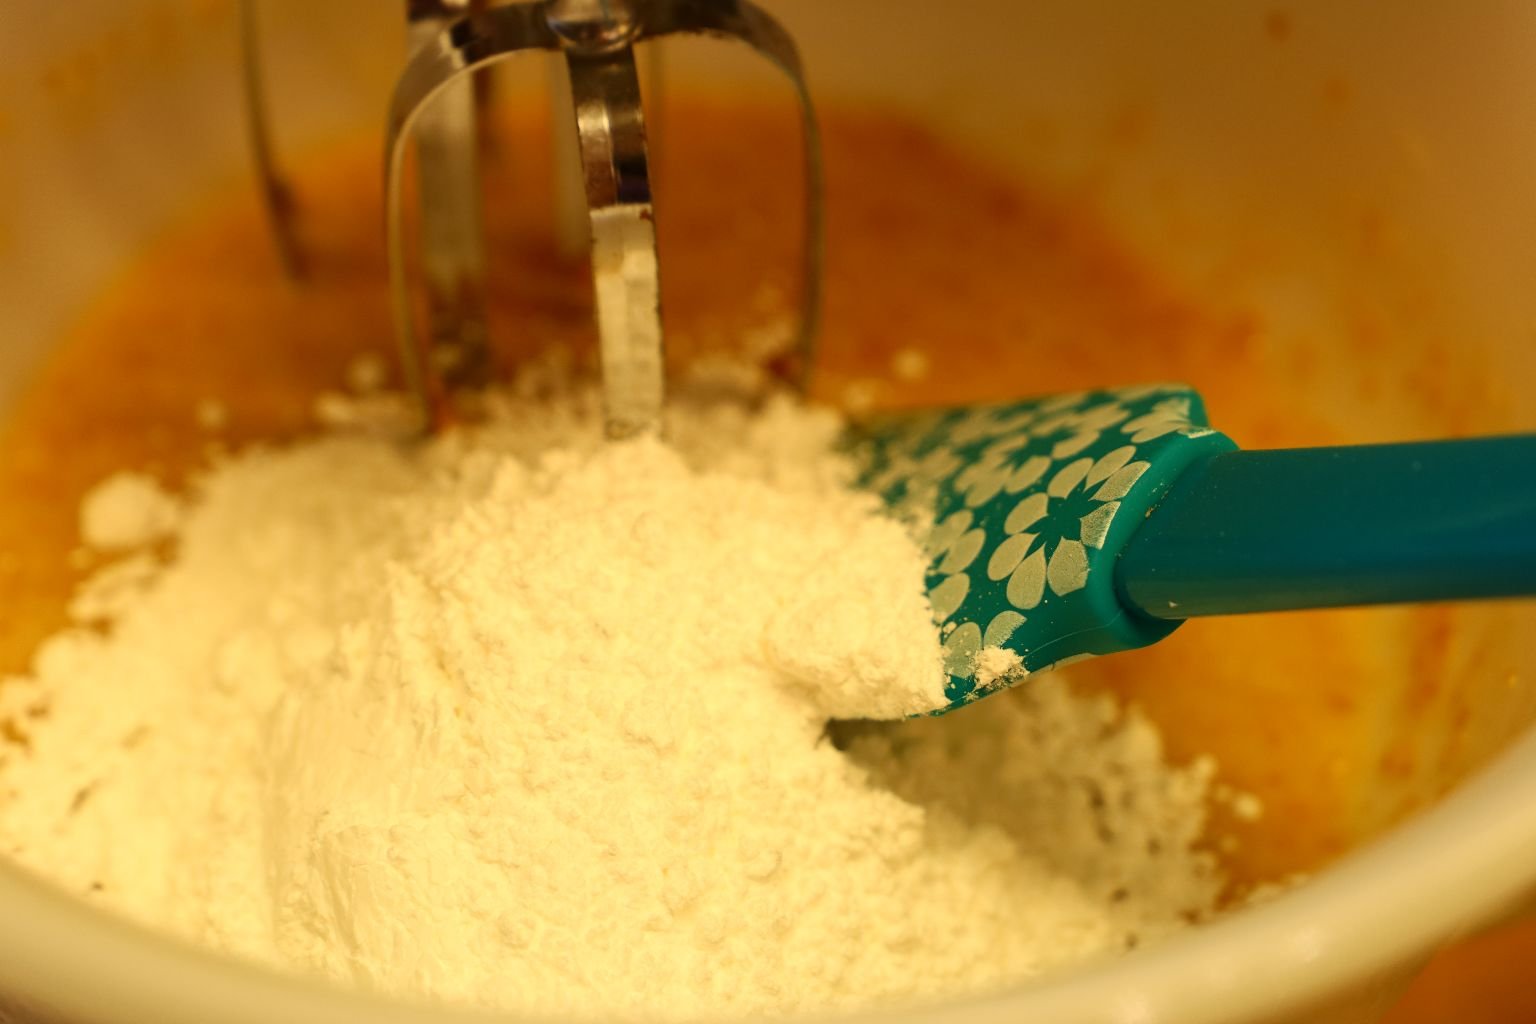
Add dry ingredients alternately with combined buttermilk and vinegar.


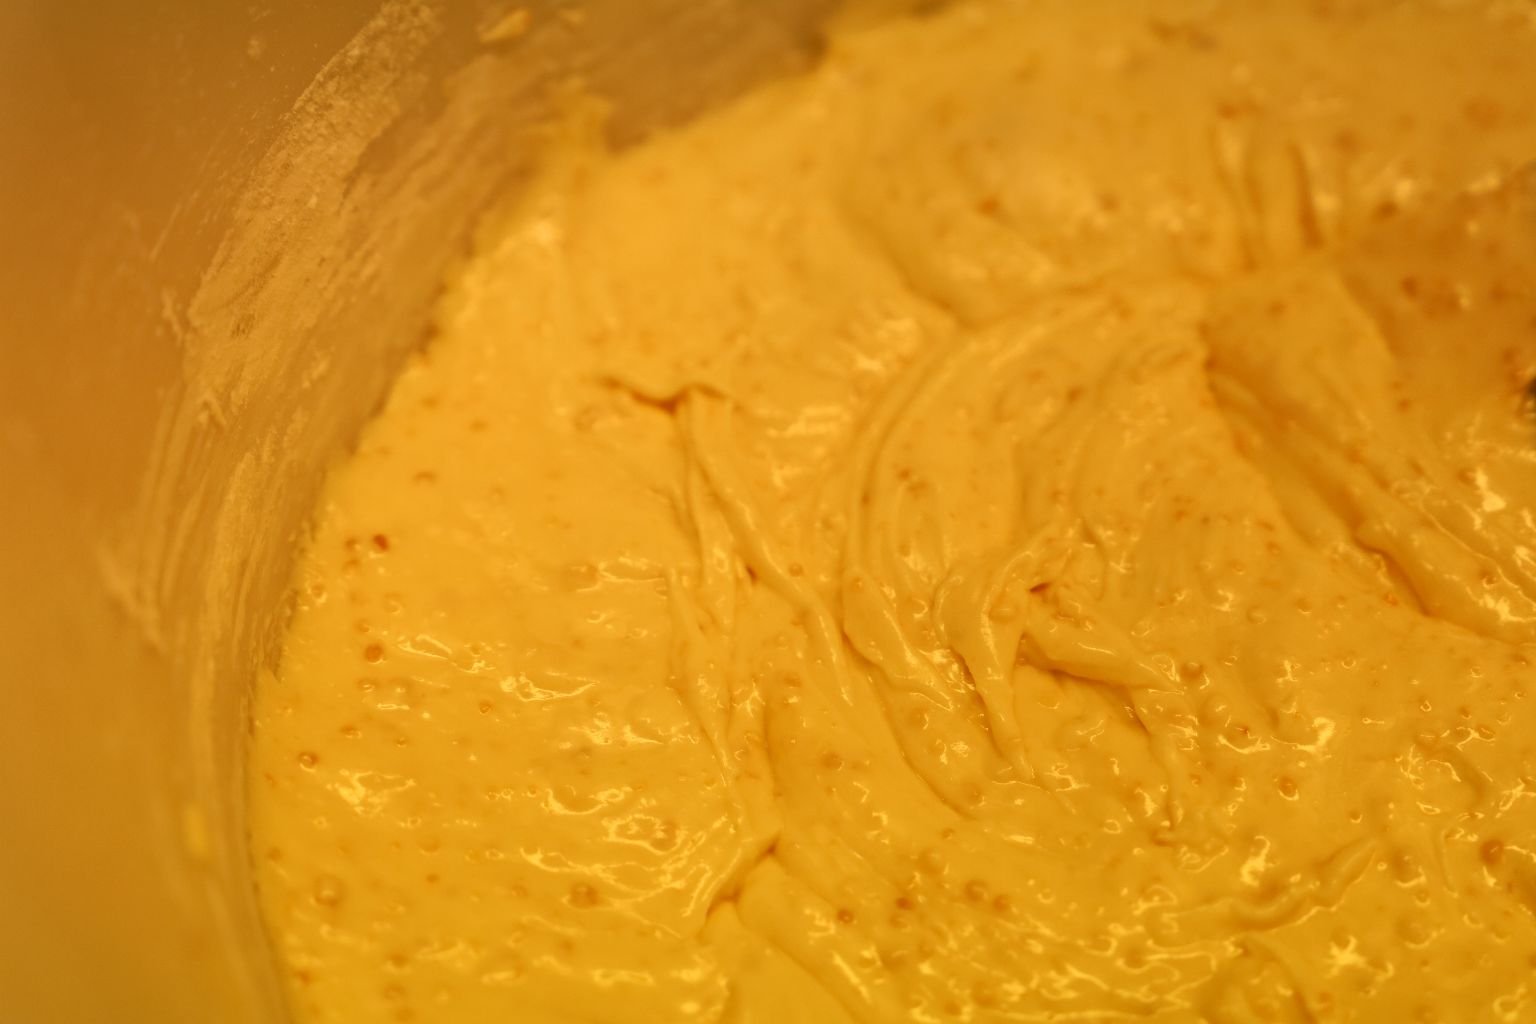
Beat Until Batter Is Smooth

———————————————————————–

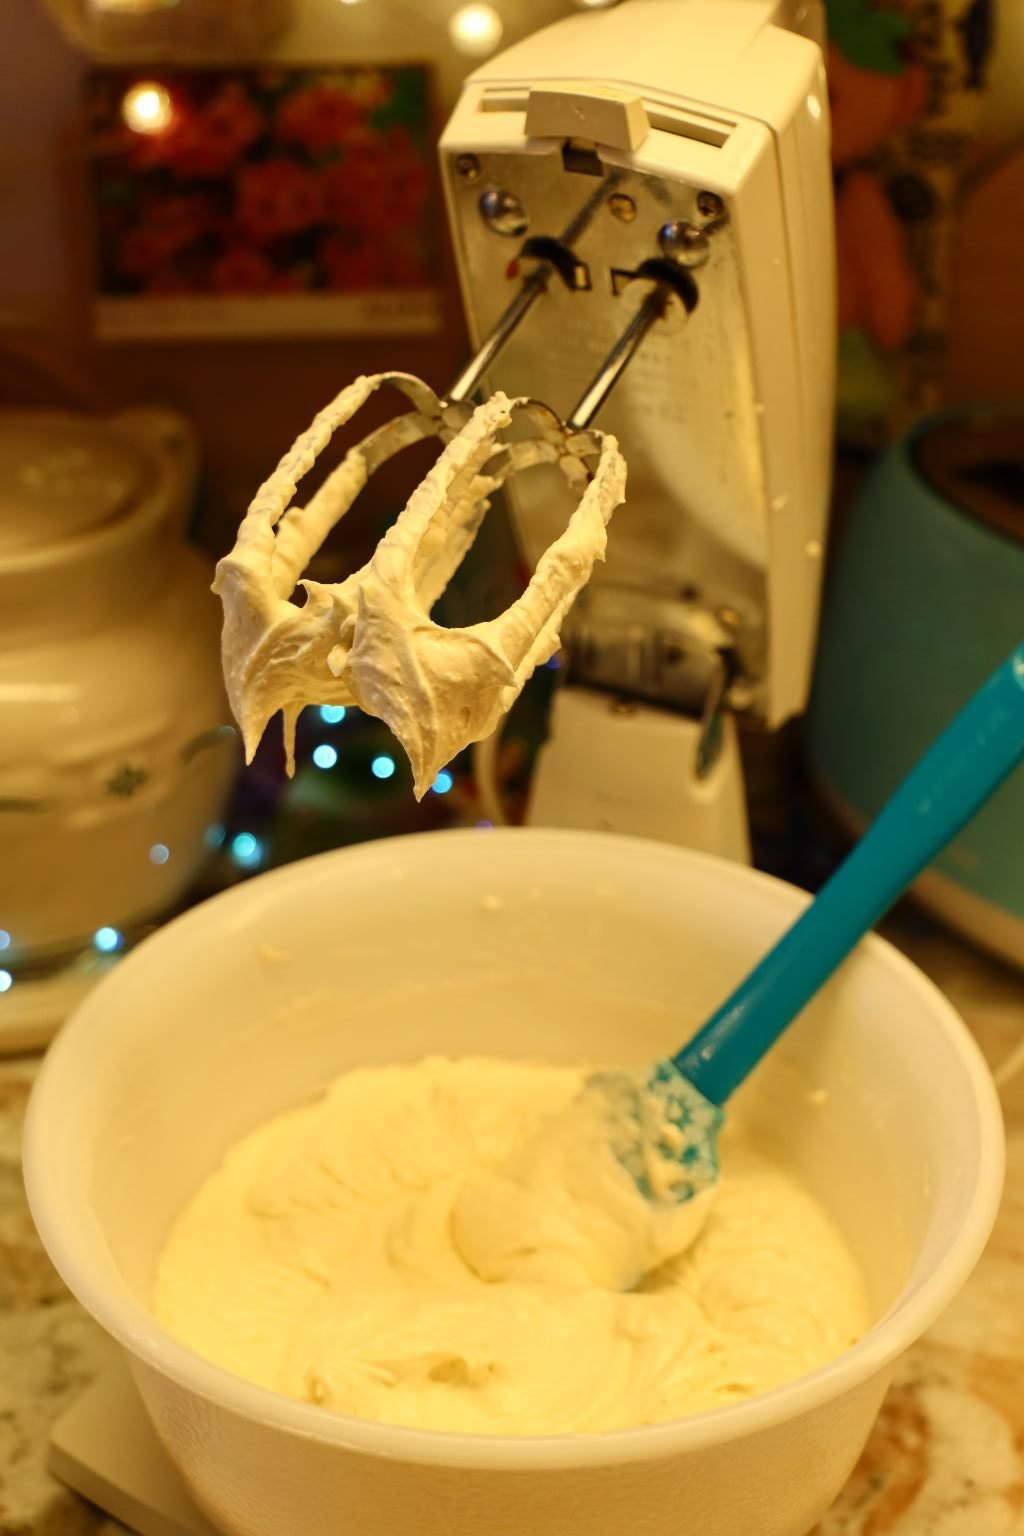
Now it is time to beat the Egg White’s until stiff.

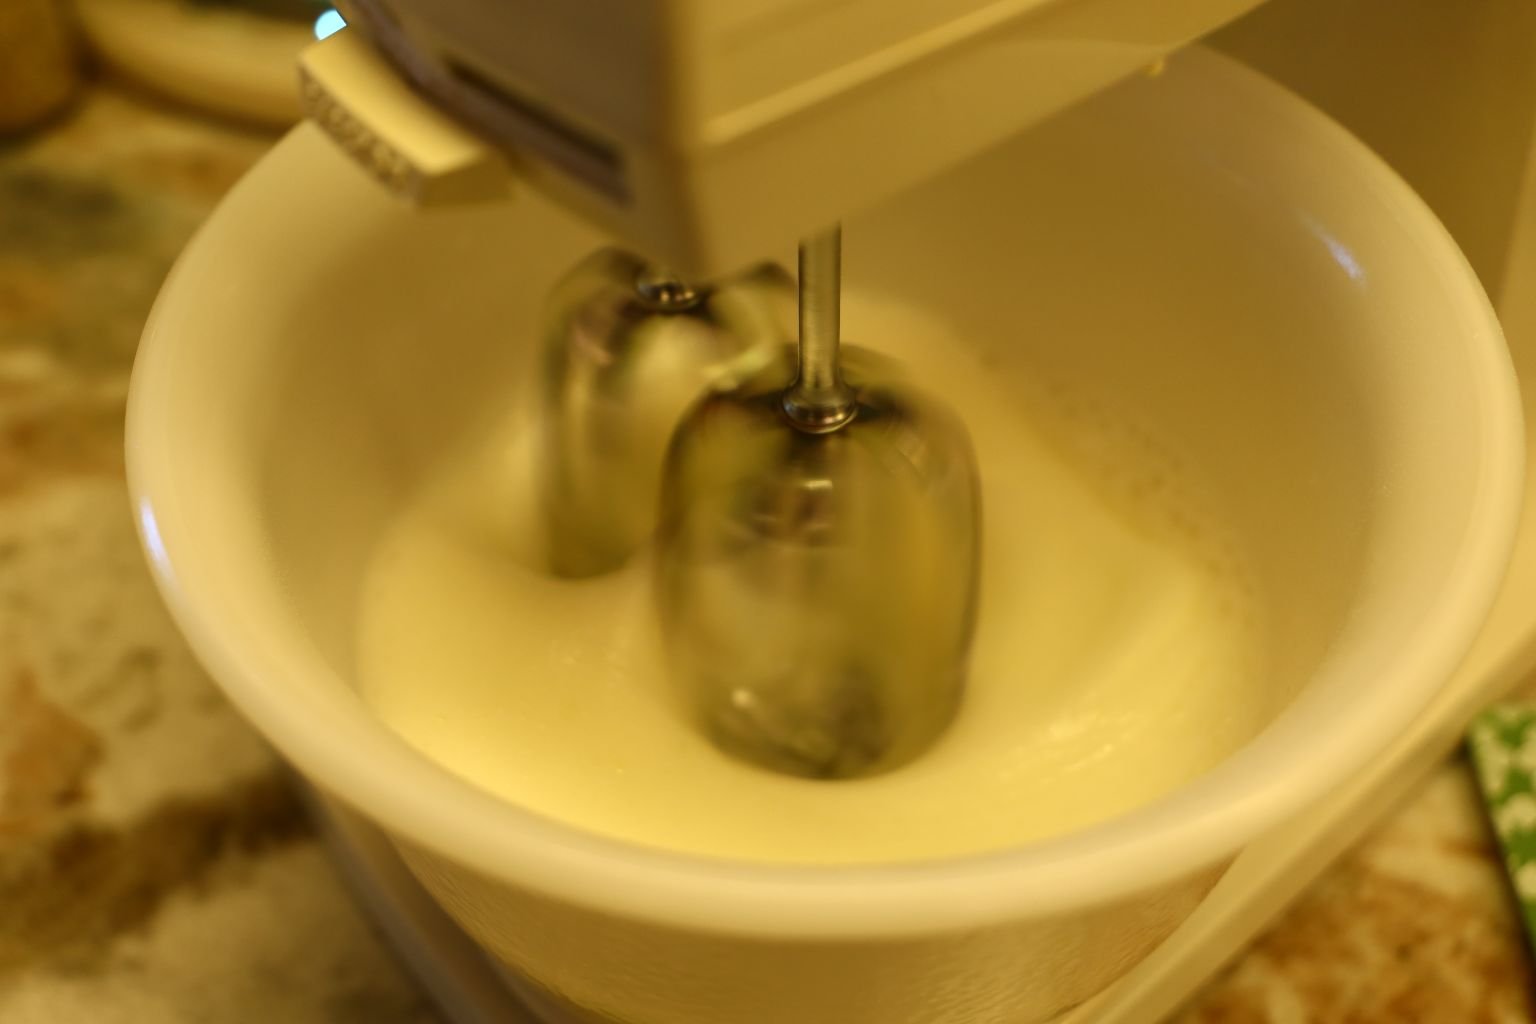
——————————————————————————

Stiff Peaks to the Left, Our Batter to the Right


Fold in stiffly beaten egg whites.
————————————————————

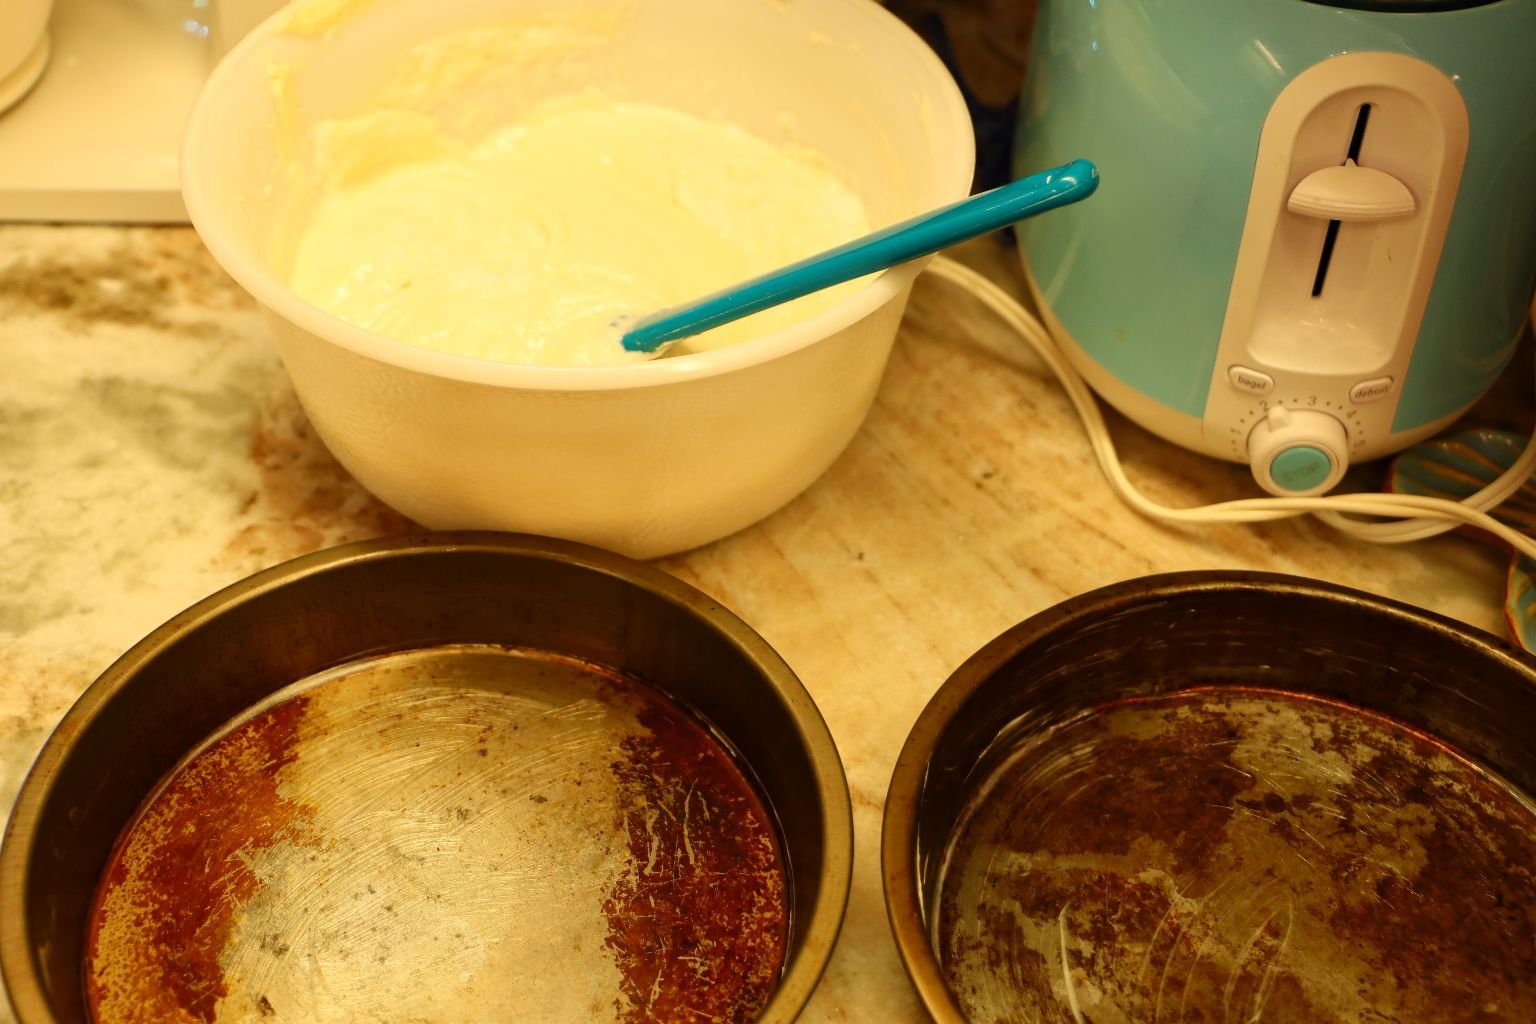
Grease your cake pans with Crisco Shortening.


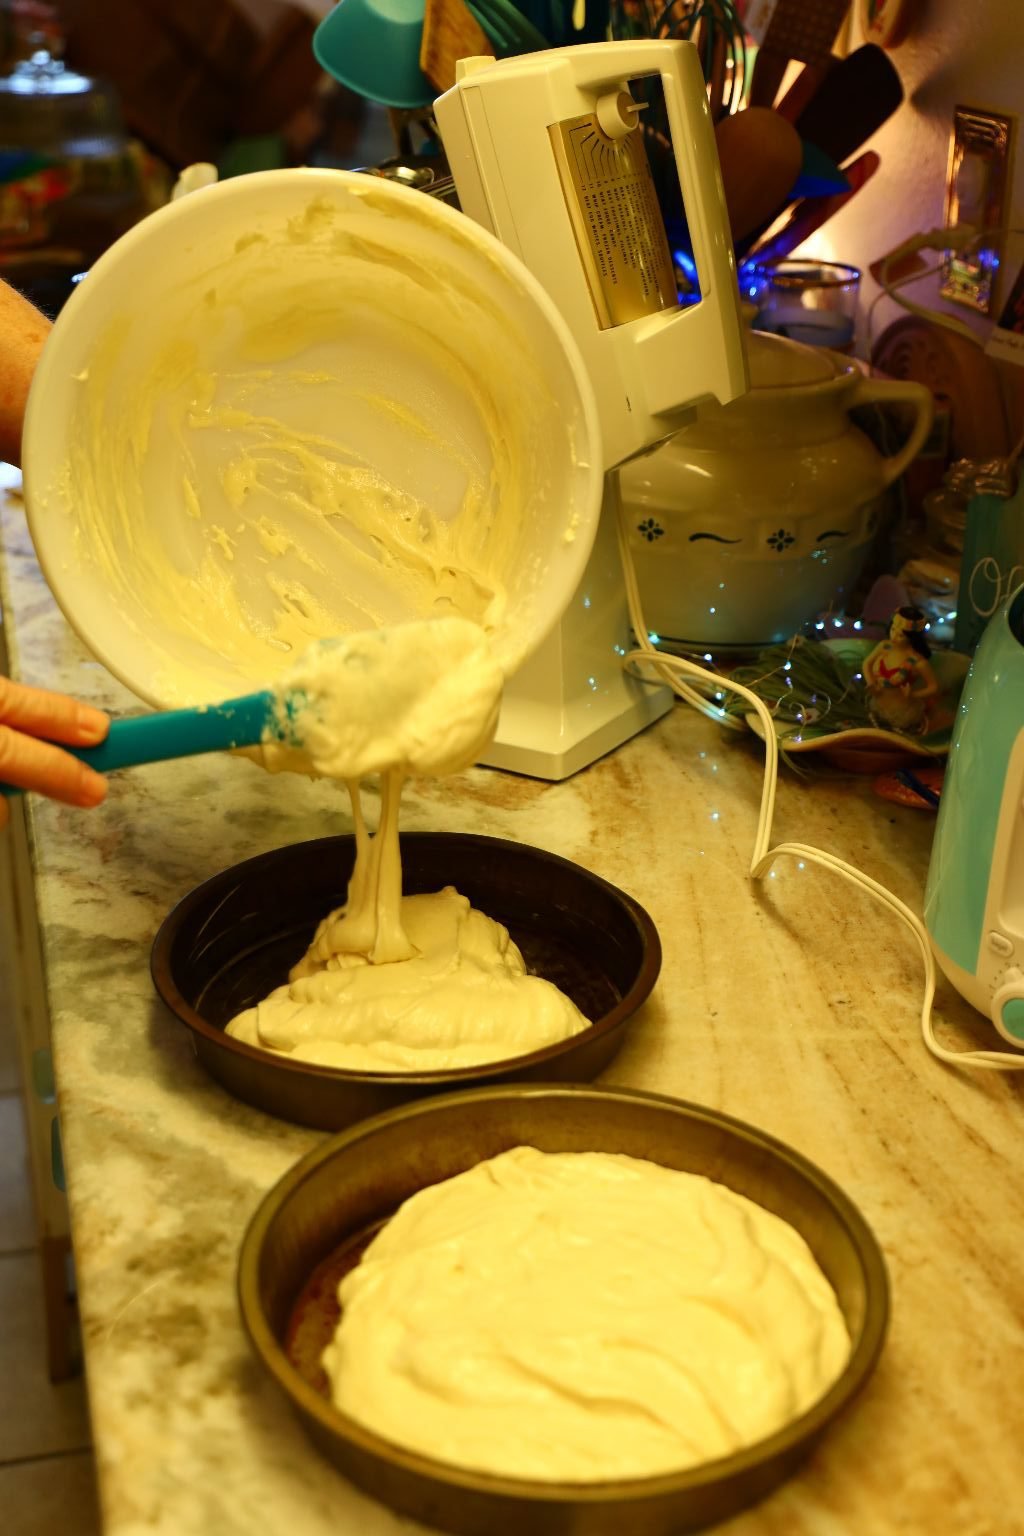
Now you want to pour the cake batter into each one.
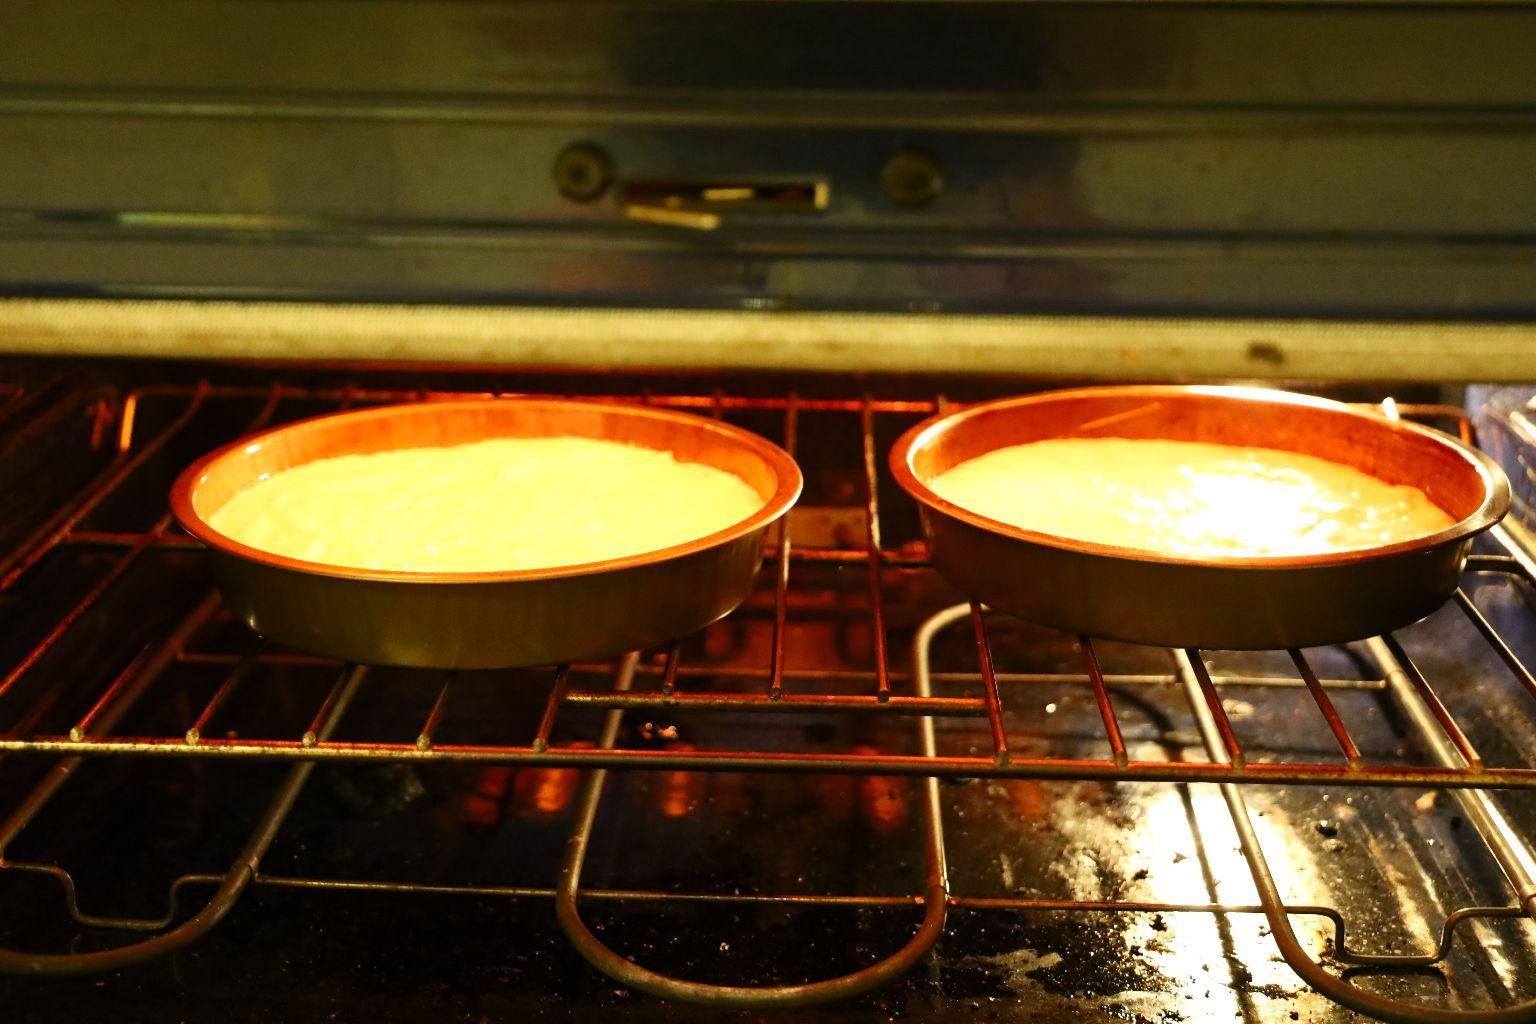
Place into a 350F oven for anywhere from 25 – 30 minutes. It depends on the oven.

Insert a toothpick into the center to determine if the cakes are done.
They should come out clean.
Let cool on a cooling rack.
——————————————————————–
The Icing
(Because these are vintage cakes, of course I consulted with vintage recipes. The icing here is Lemon. I reworked an Orange Icing and just made it Lemon.)

Ingredients:
2 Egg Yolks
1 T. Grated Lemon Peel
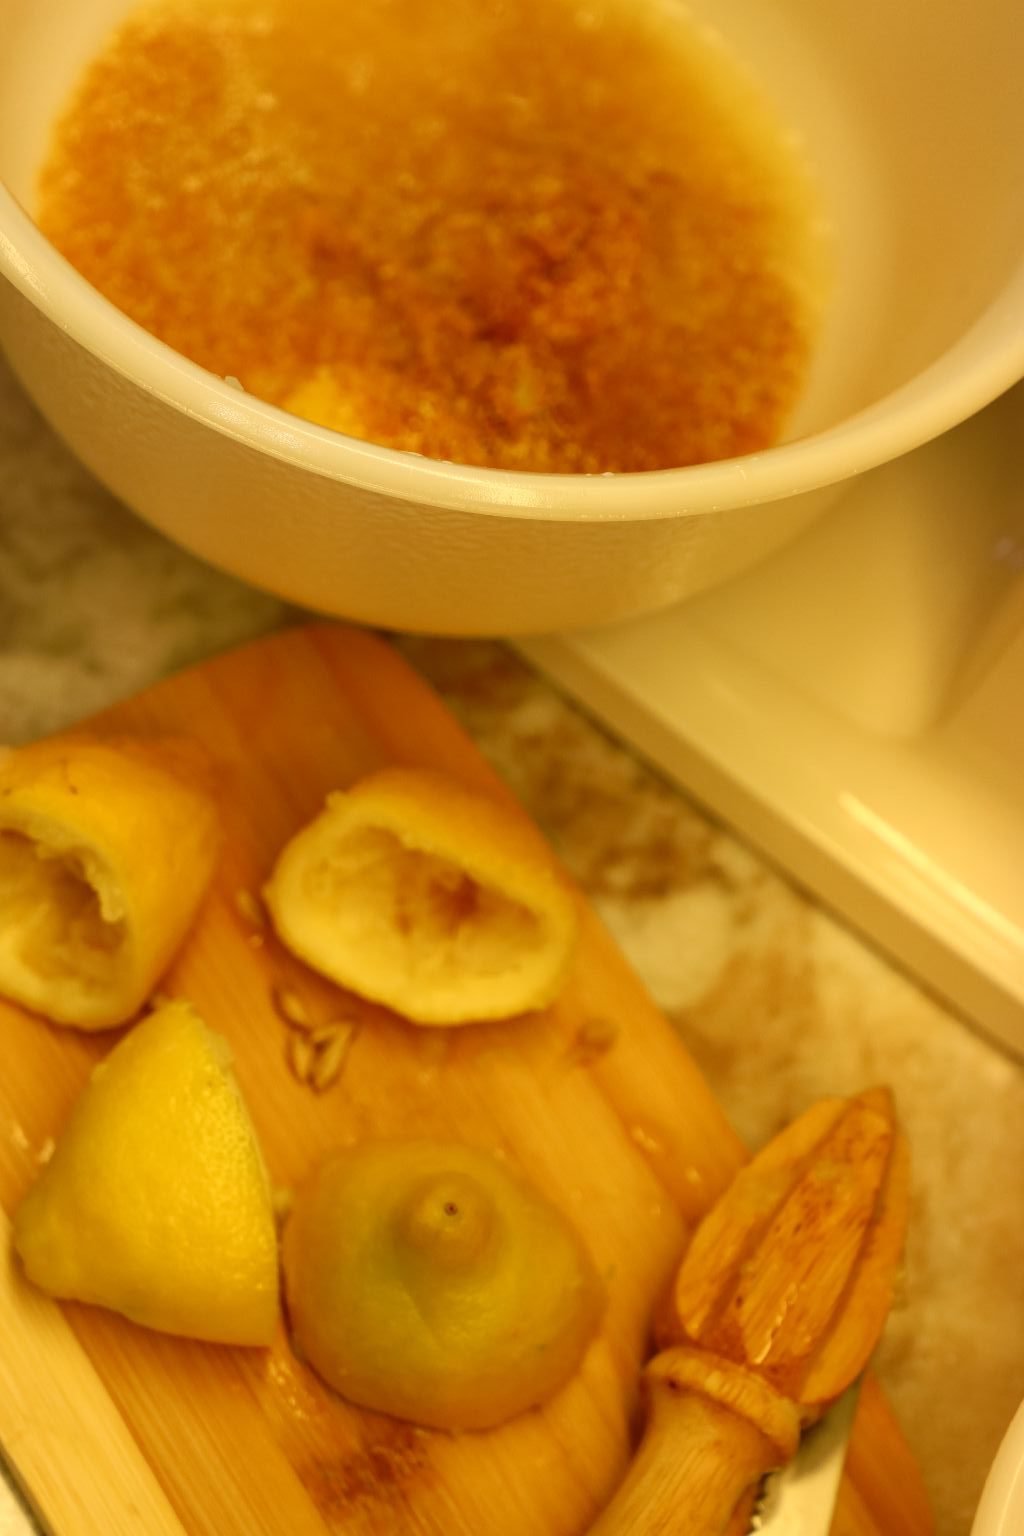
1 1/2 T. Lemon Juice
1/2 t. Vanilla
Pinch of Salt
2 1/2 Cups Sifted Confectioner’s Sugar
Fresh Lemon Peel
—————————————————————
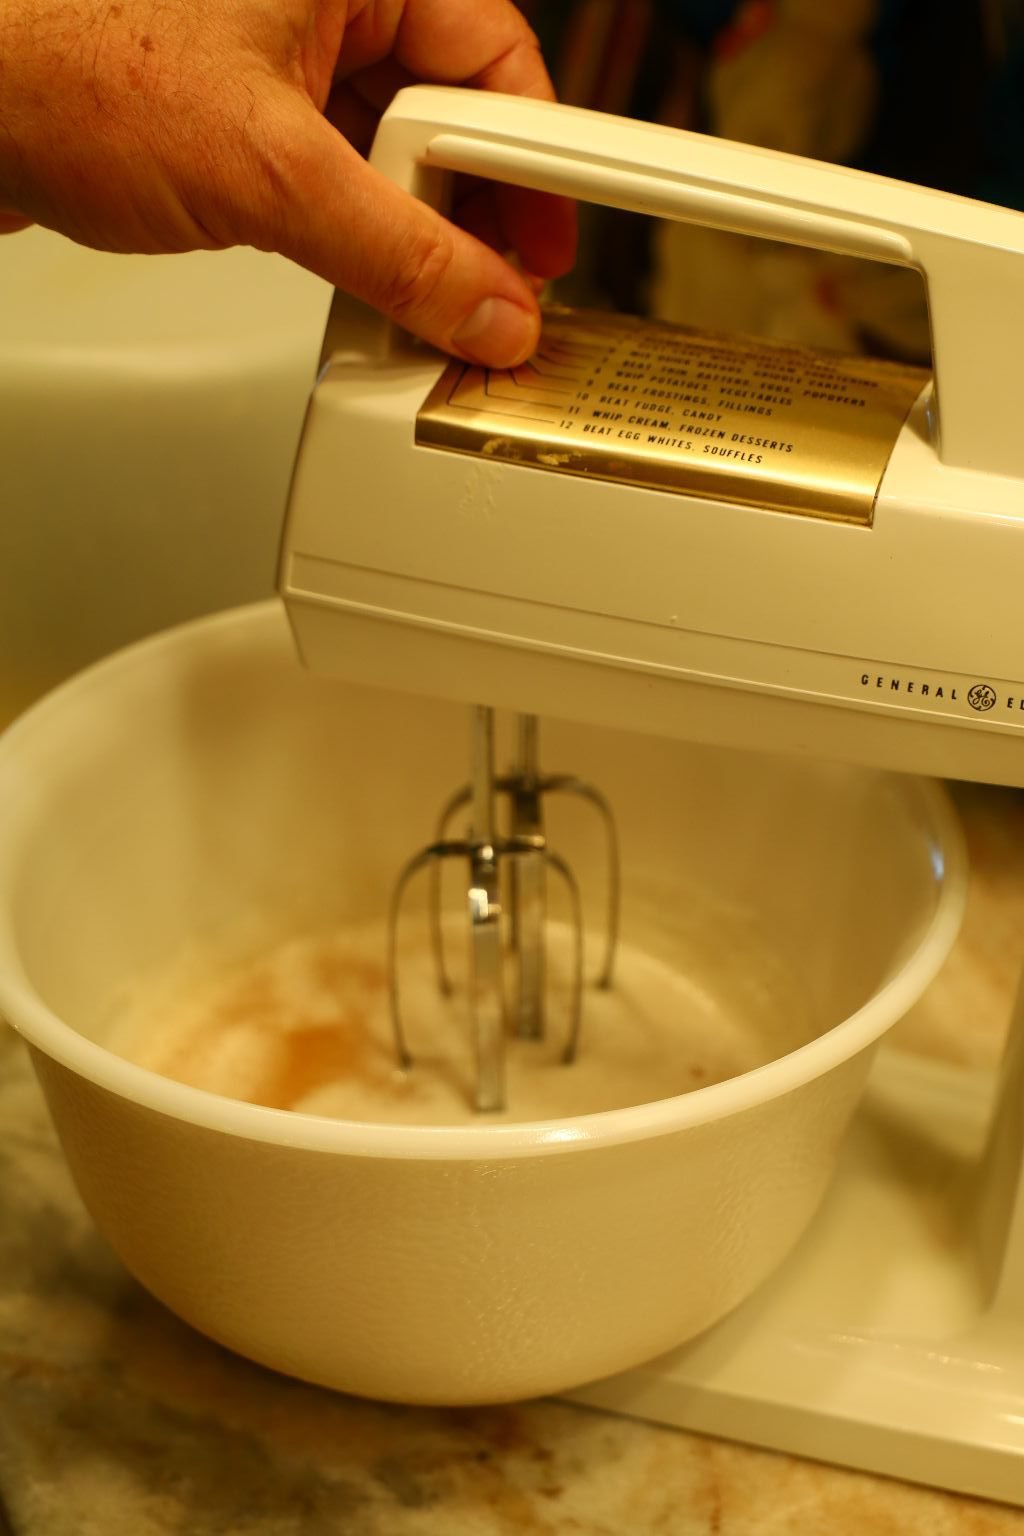
Using my Vintage Mixer…
———————————————————————-
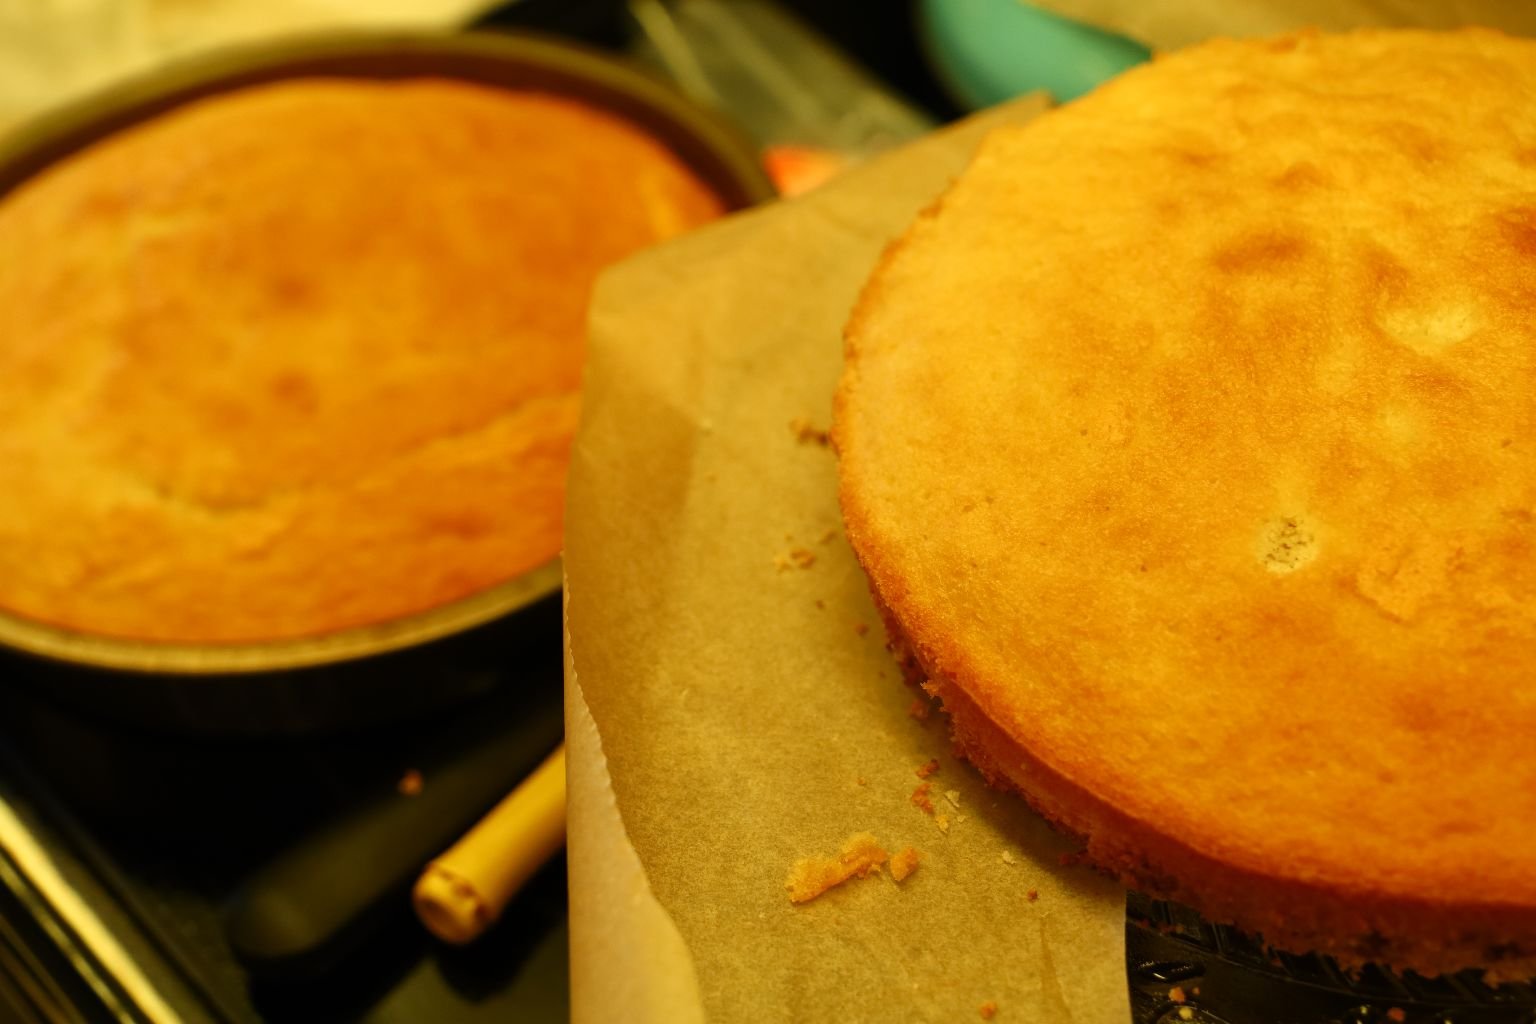
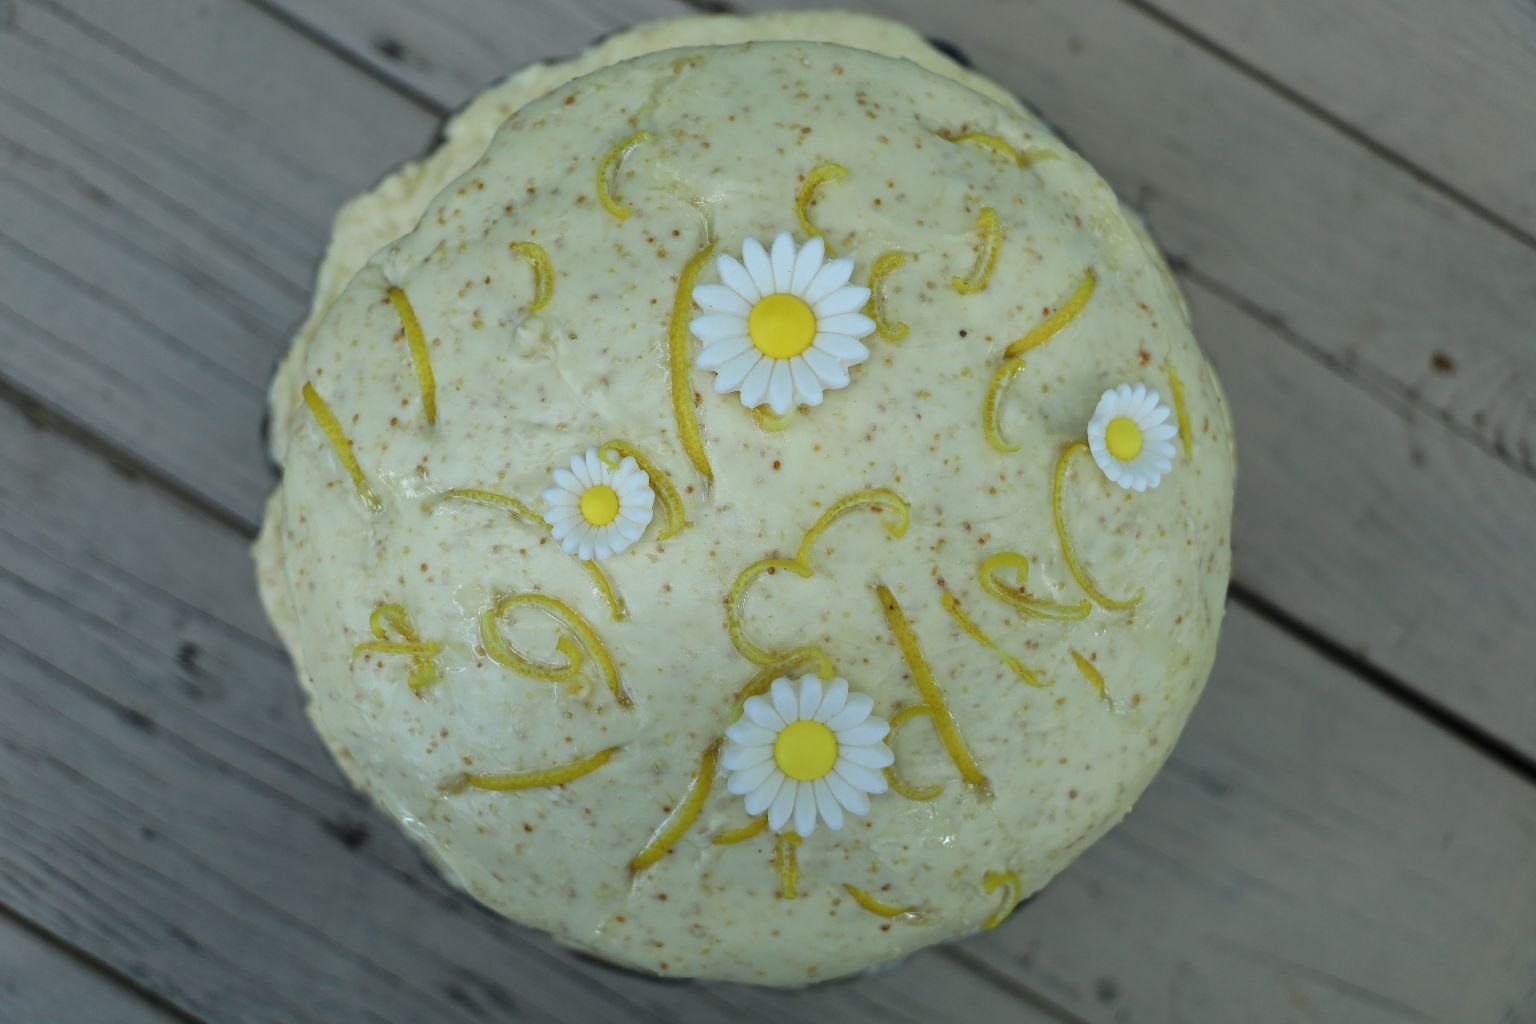
My Beautiful Vintage Buttermilk Cake
Separating the Eggs
(I only need the Egg Yolks)
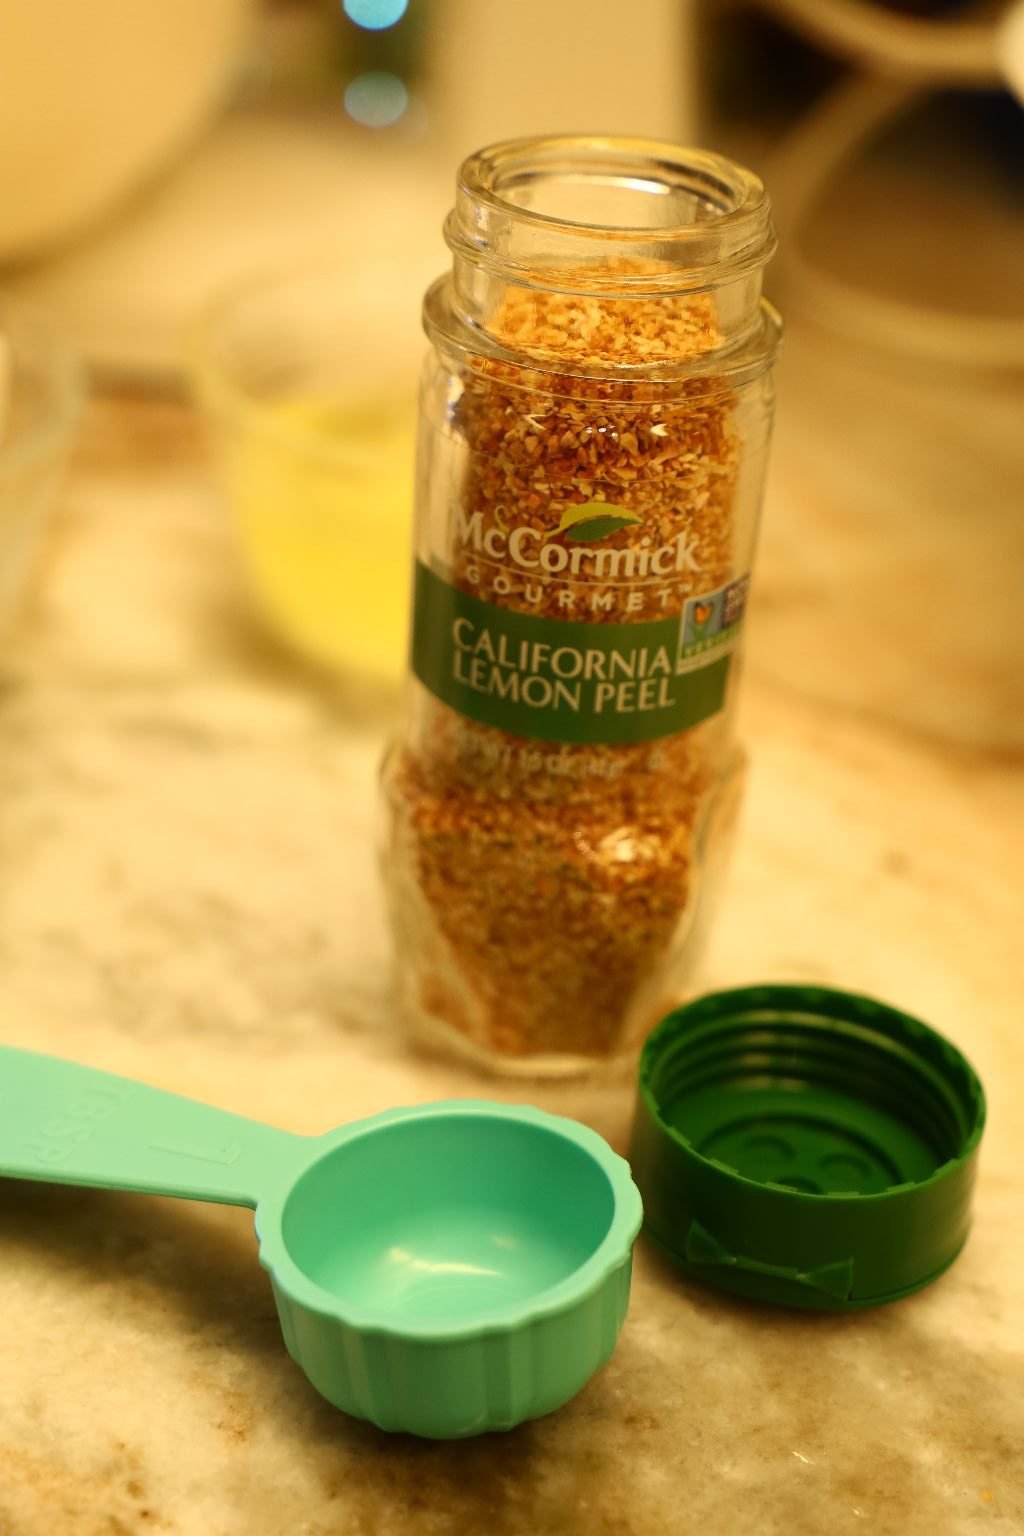

Lemon Peel and Lemon Juice
—————————————————————
The Vanilla
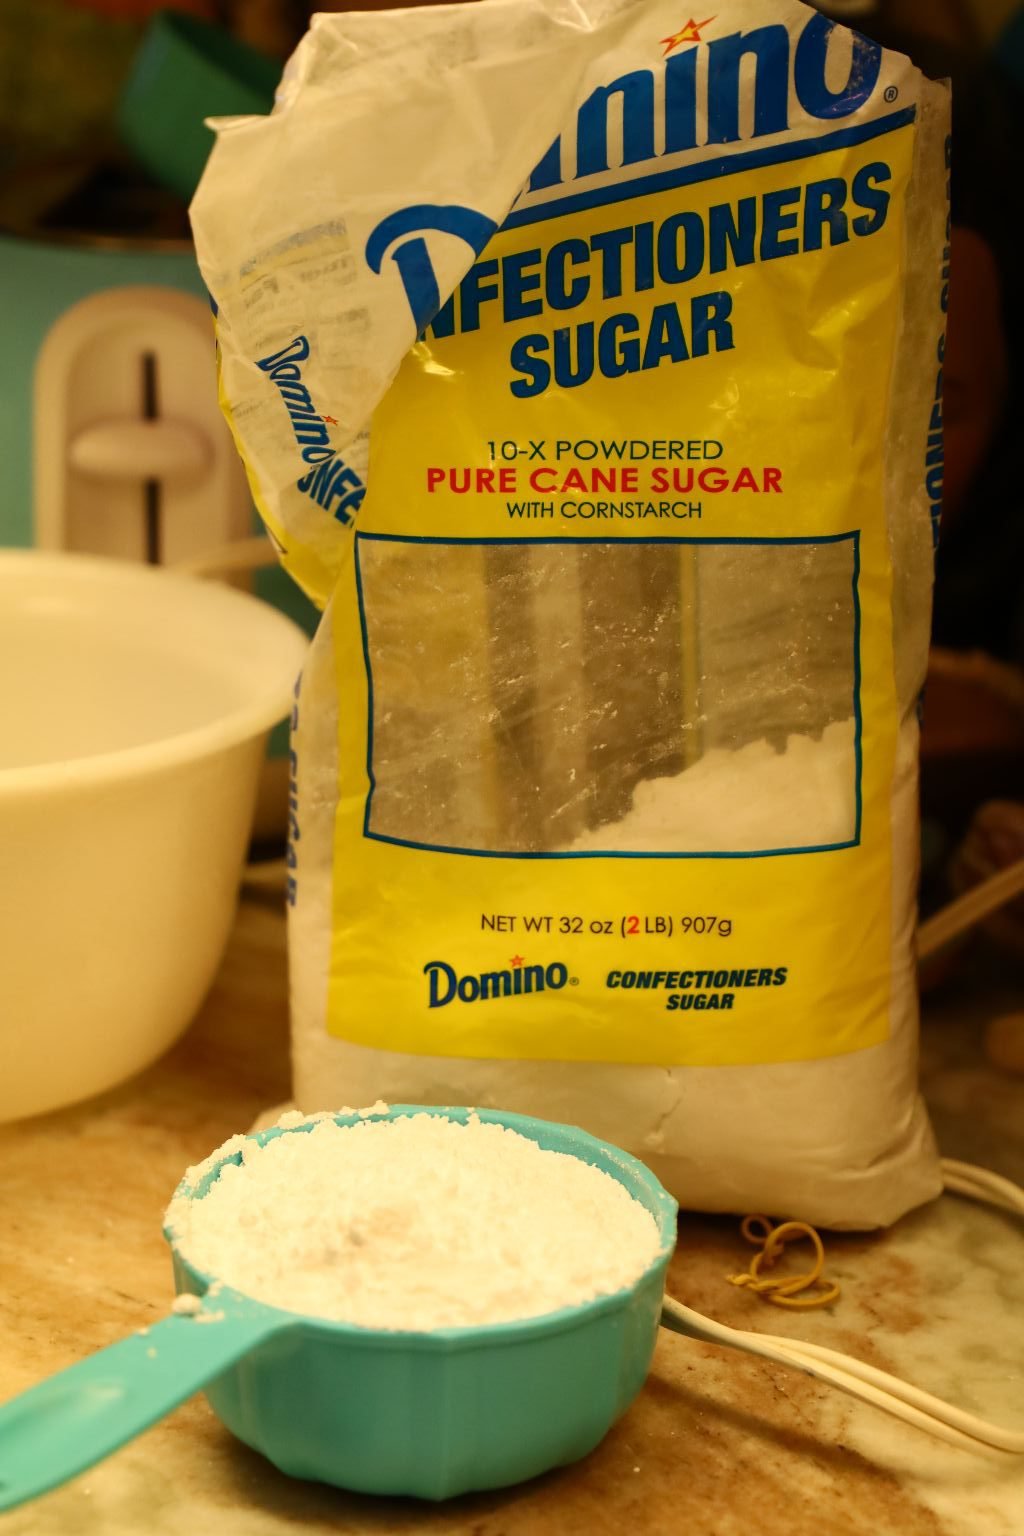
Confectioner’s Sugar

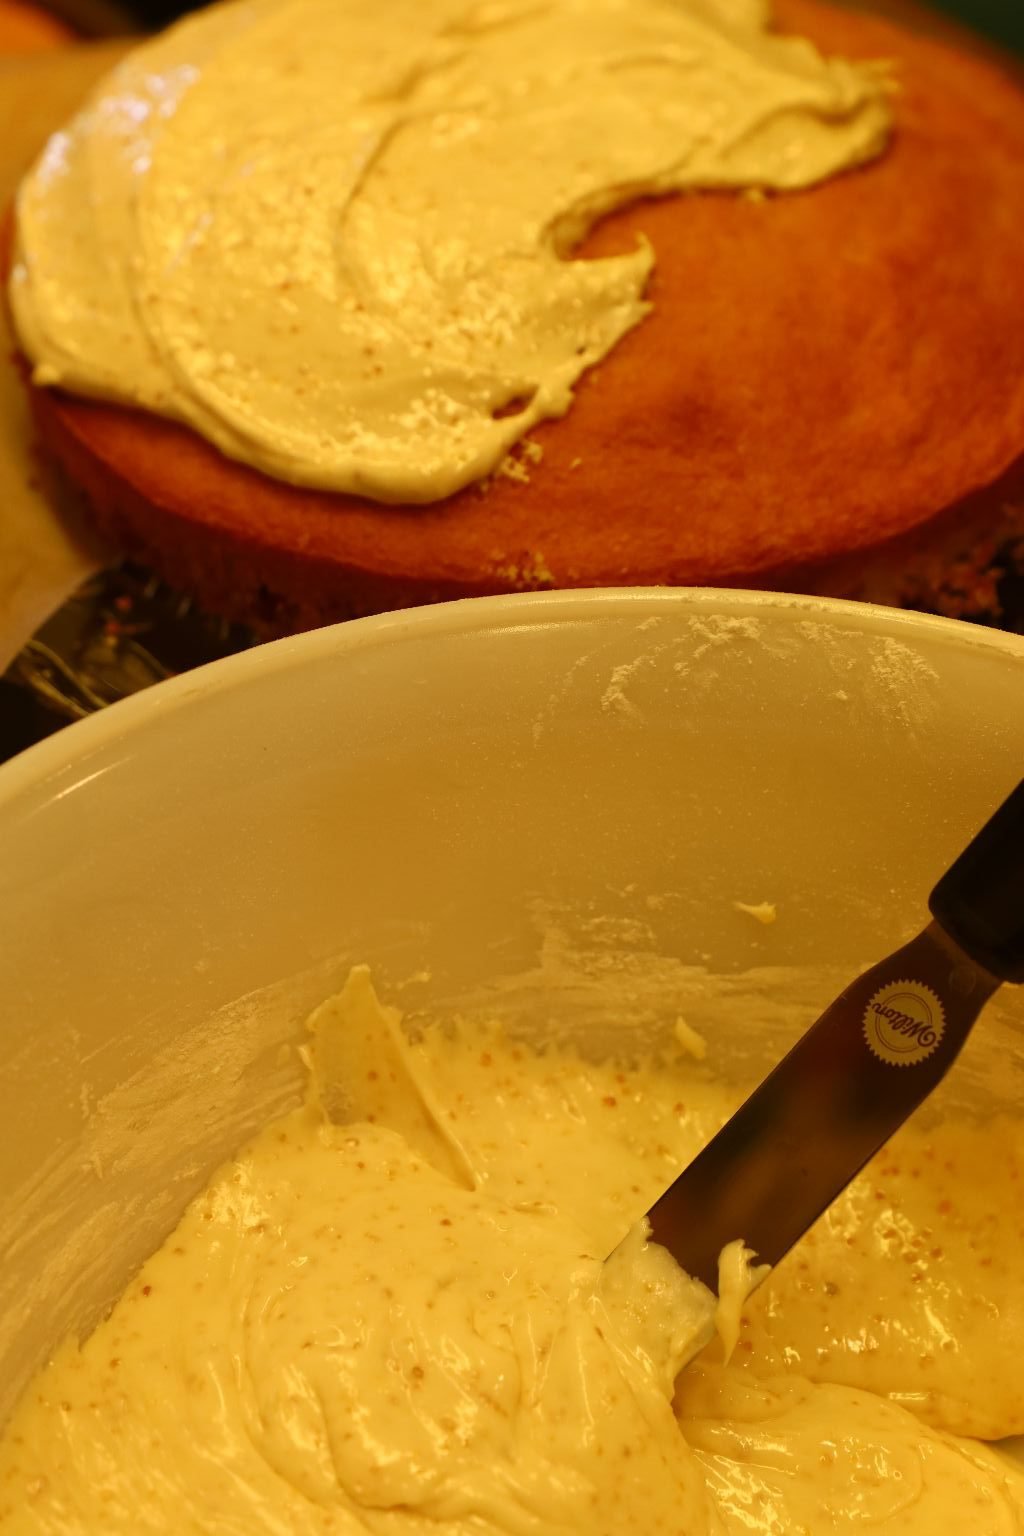
Because I had to do this myself with no one to photograph me, I blended all of the ingredients together in the mixer and began to spread it onto the cake. You can see all of the grated Lemon in the icing! It was so delicious!!!! I pretty much just iced the cake with the frosting and then topped it with some freshly grated lemon peel, and a few sugared little daisy flowers.
——————————————————————–
To be perfectly honest, I based this entire cake on that vintage towel that belonged to my mother-in-law,
Sarajane Whann.
It’s the little things that inspire us. 🙂
Julie
—————————————————-
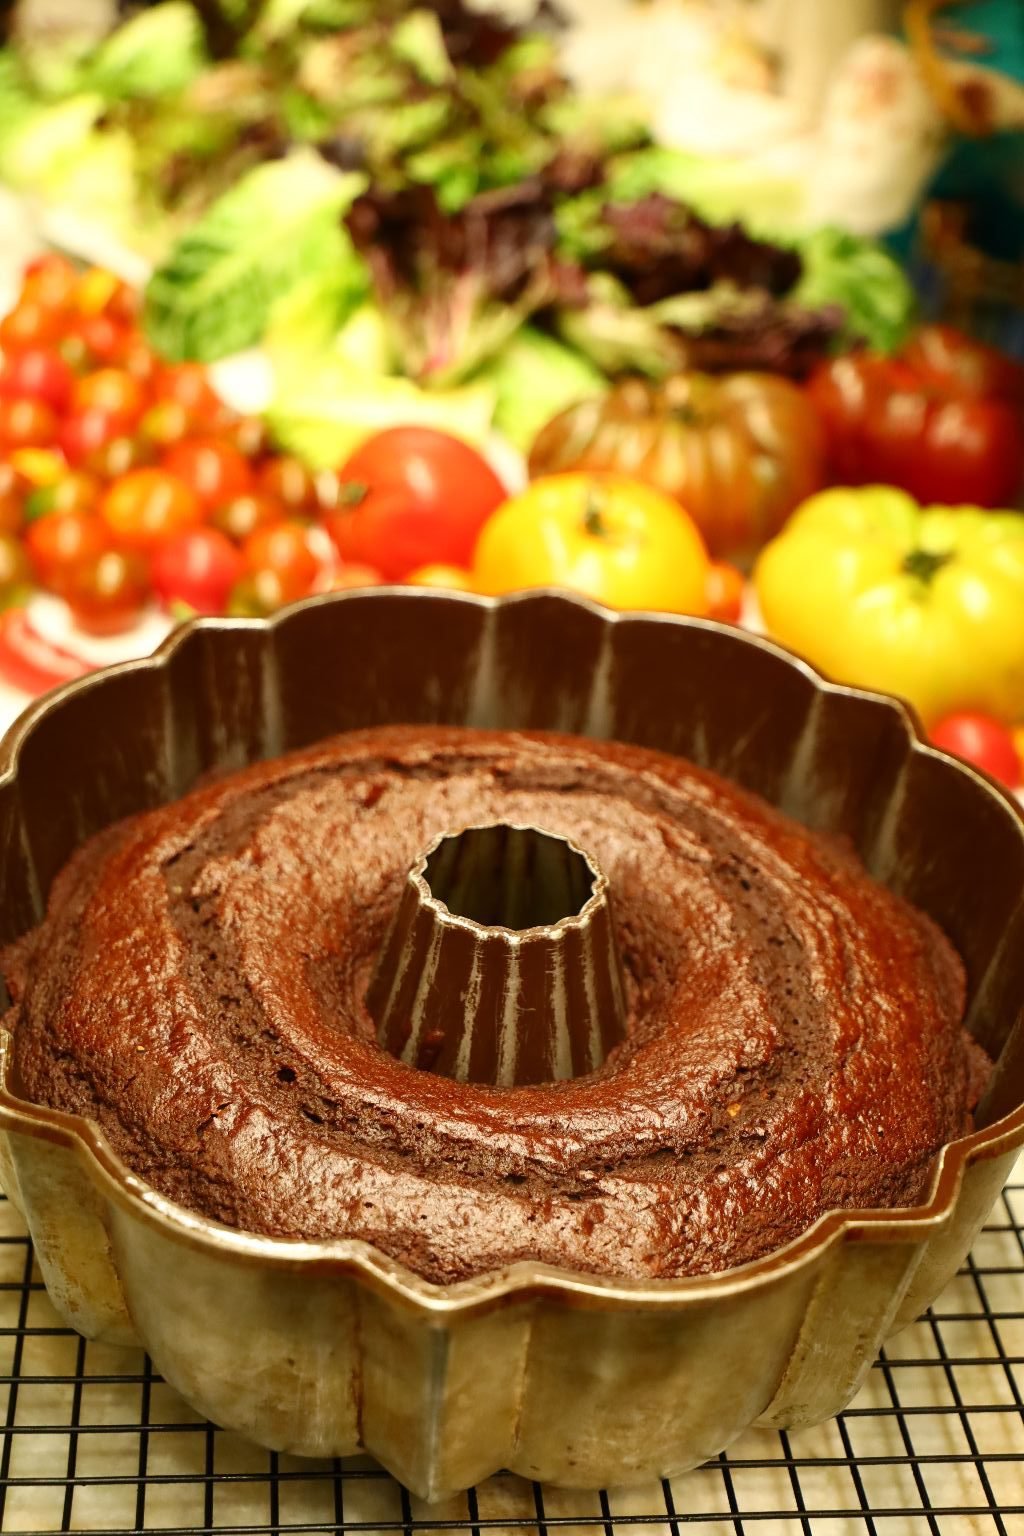
Our Vintage Cocoa, Black, Apple Butter Cake

Straight Out of the Oven Goodness
————————————————————————

Cake Ingredients:
Cooking Spray – enough to cover a Bundt Pan
1 and 2/3 Cups Cake Flour
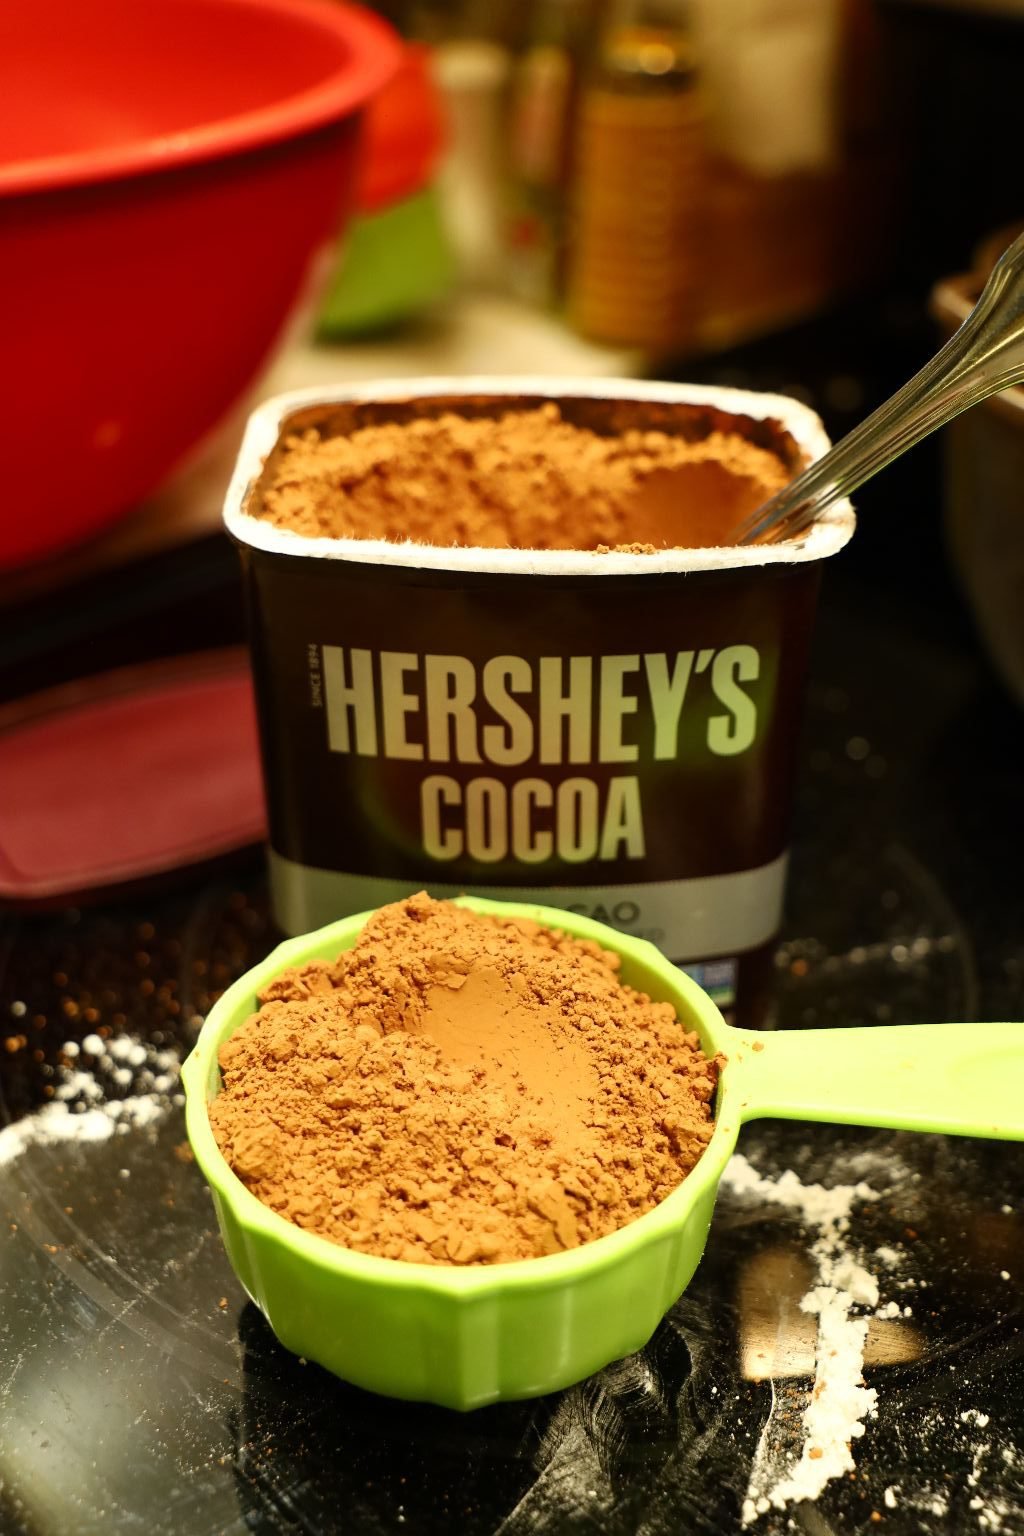
2/3 Cup Hershey’s Cocoa Powder
1 1/2 tsp. Baking Powder
1 tsp. Baking Soda
1/8 tsp. Salt
4 Tbsp. Butter – melted
1 Egg Yolk and 3 Egg Whites
3/4 Butter Milk
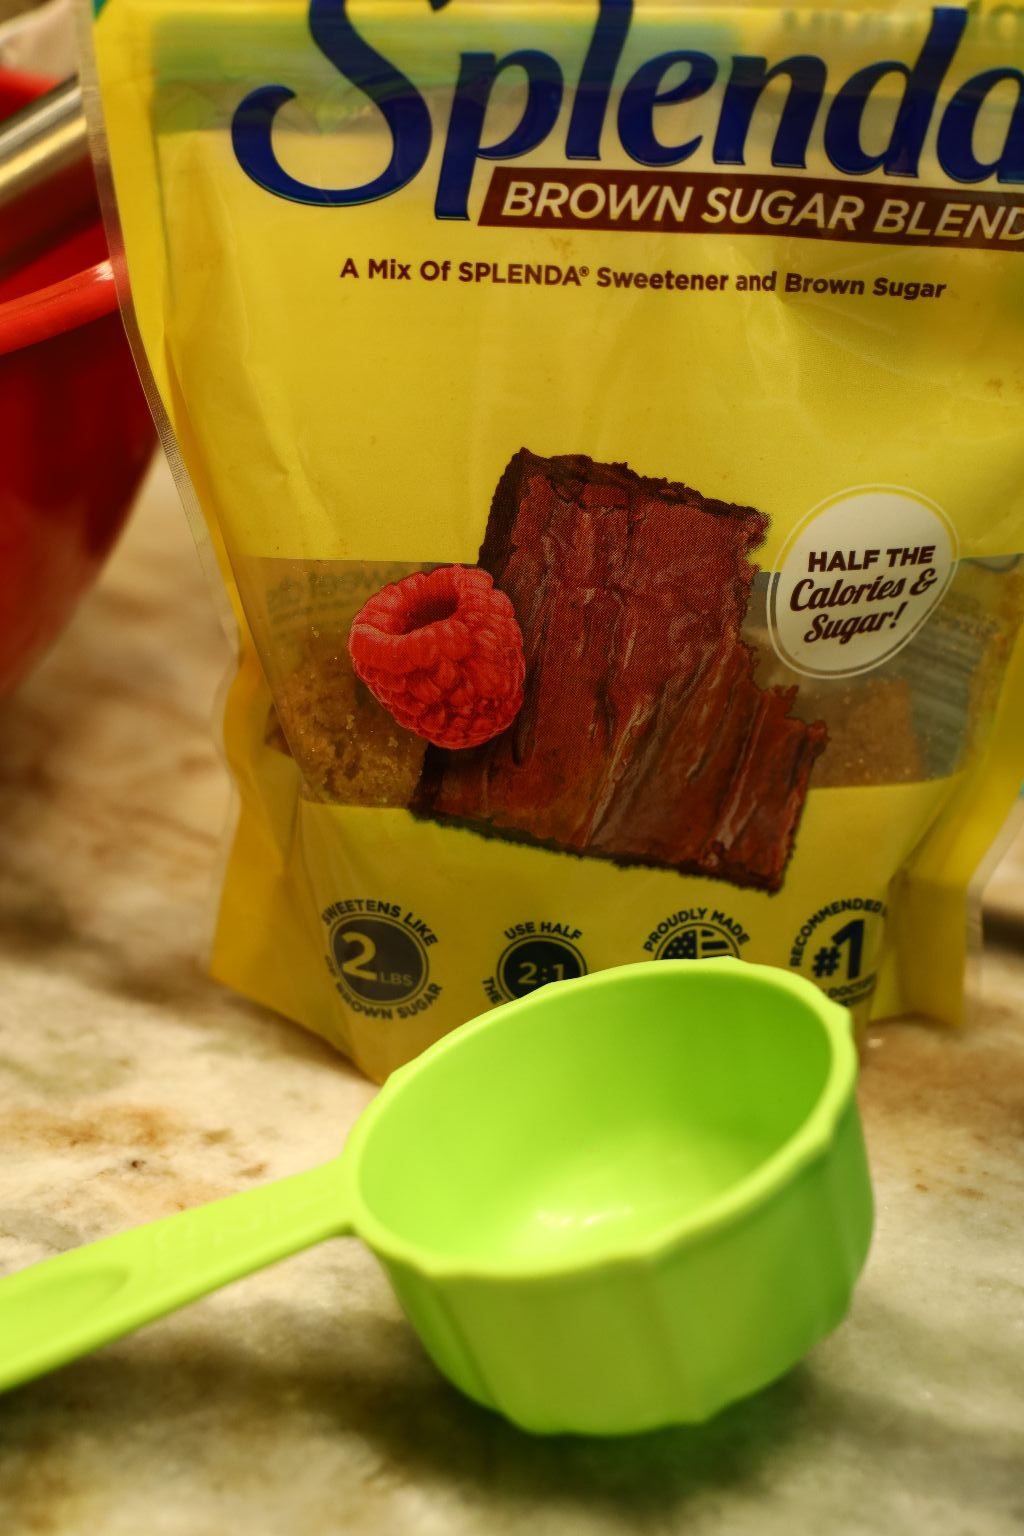
2/3 Cup Splenda Brown Sugar
1 Cup Apple Butter
1/2 Cup Molasses
1/2 Cup Karo Syrup
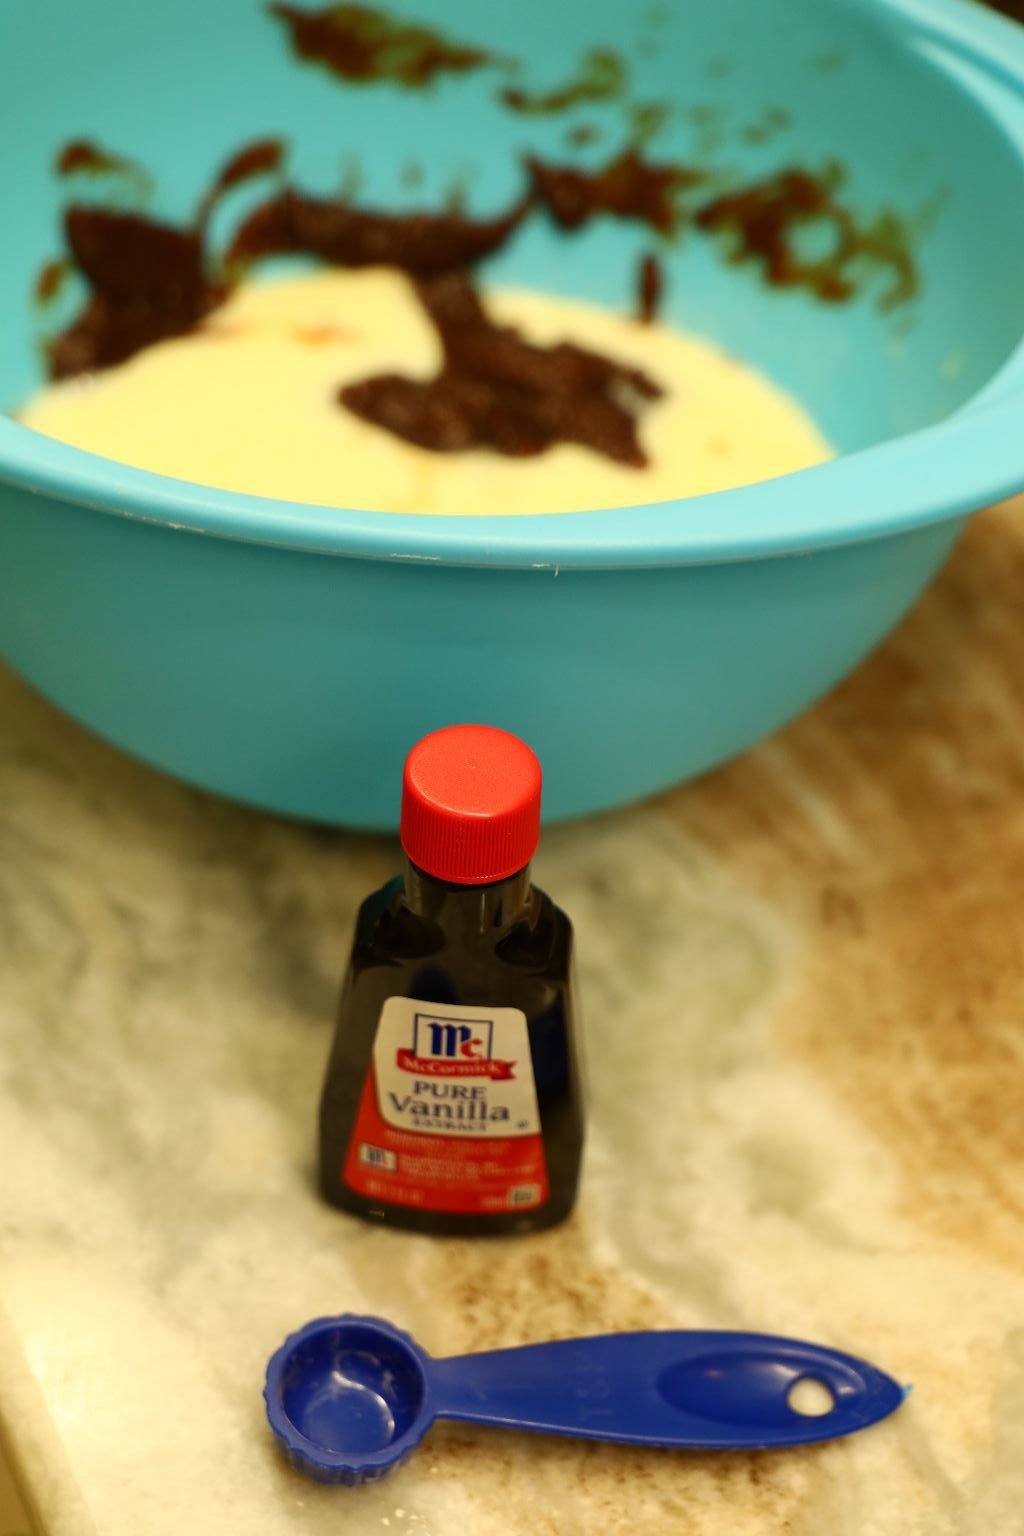
1 tsp. Vanilla Extract
———————————————————————————–
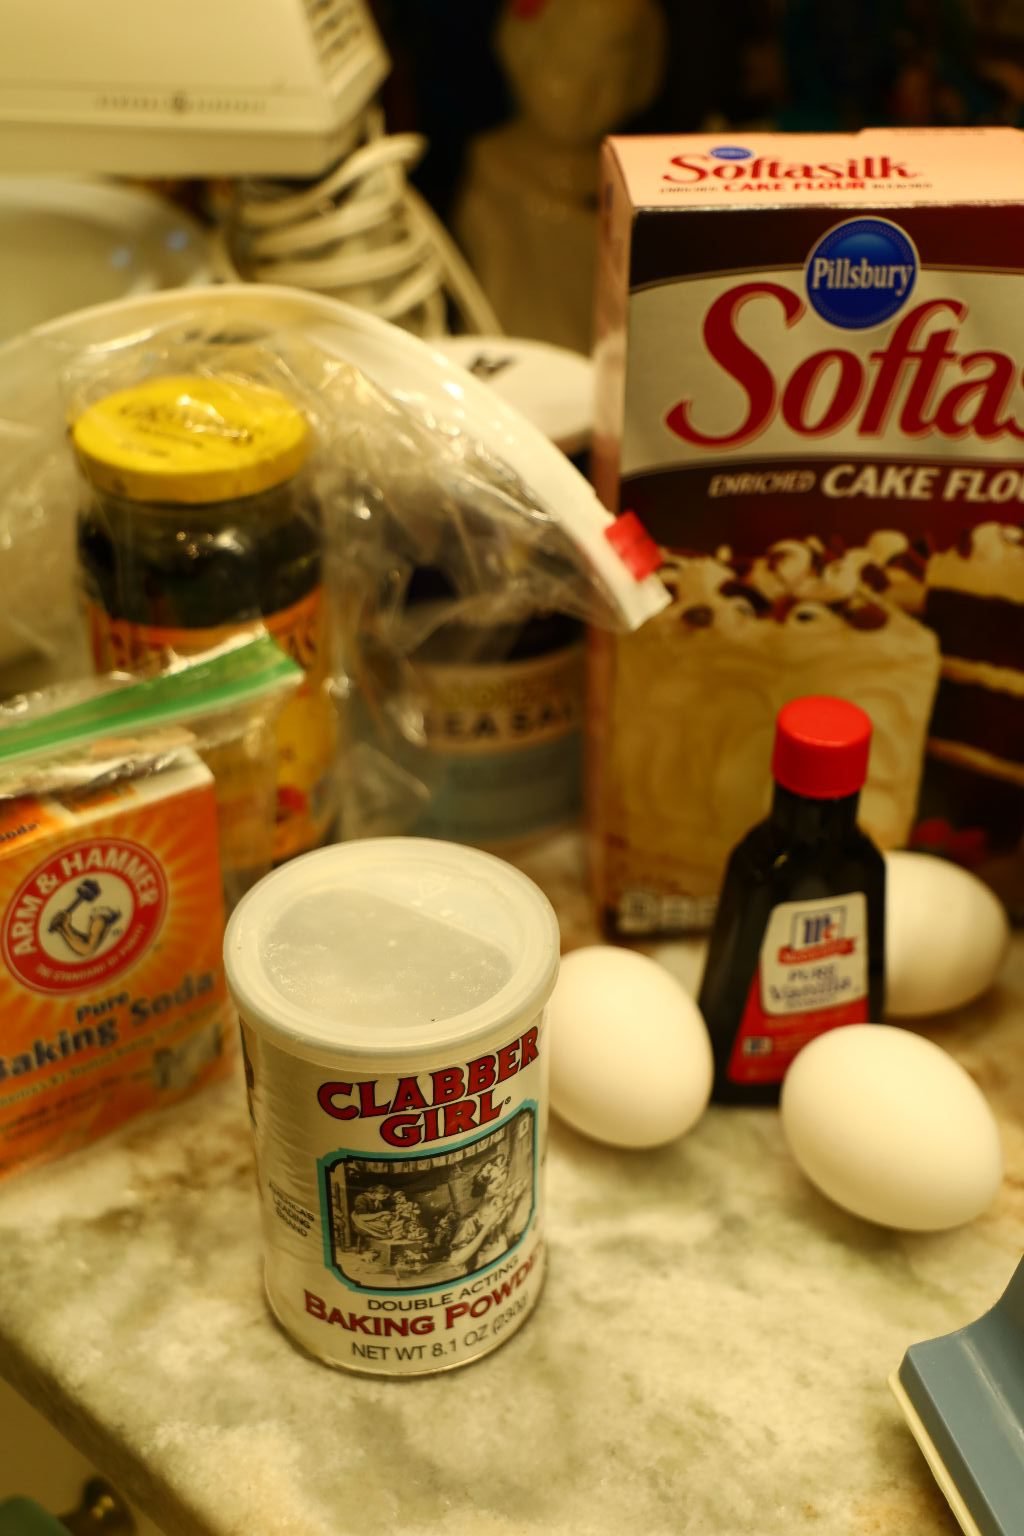

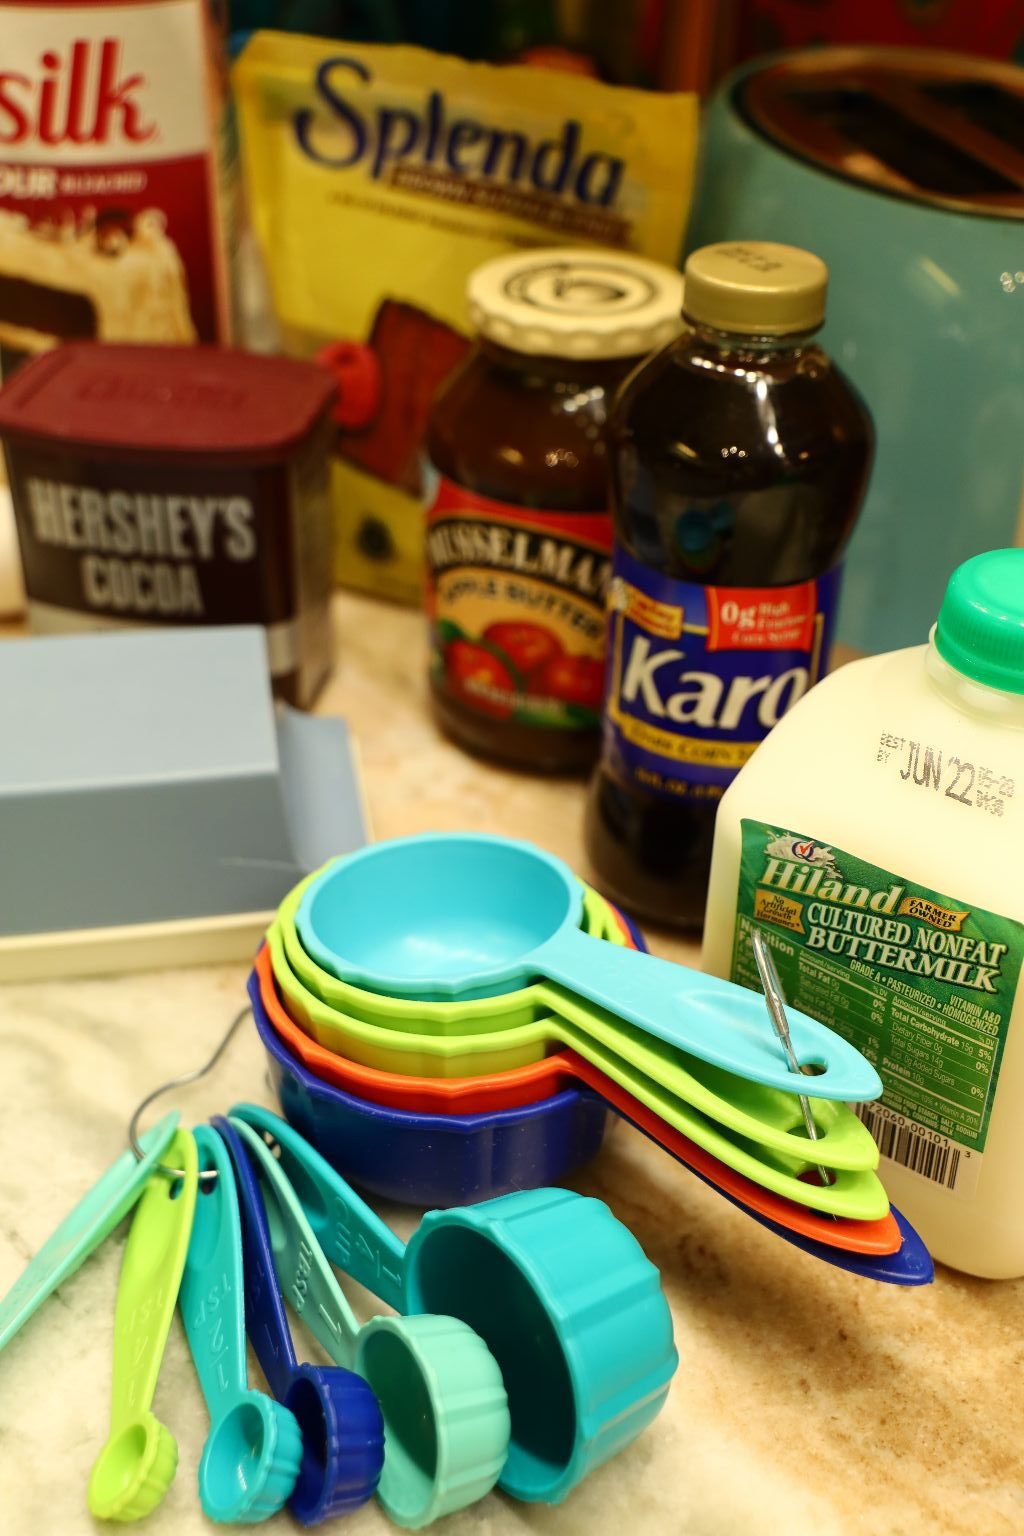
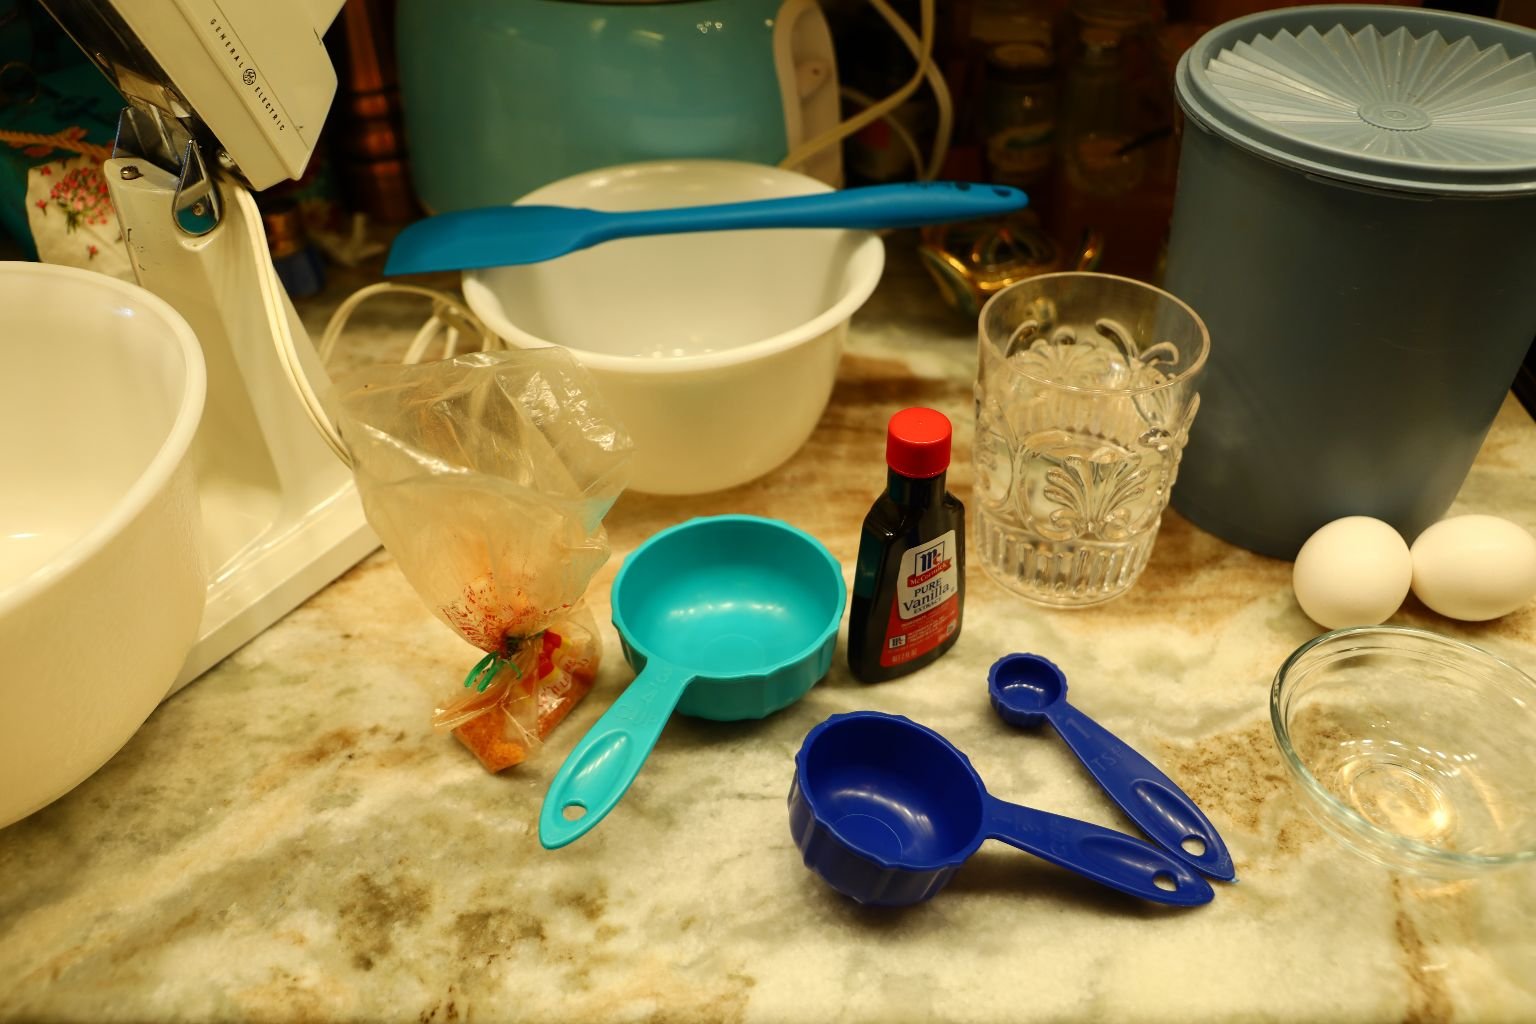
Here is a closer picture of the ingredients used in this recipe.
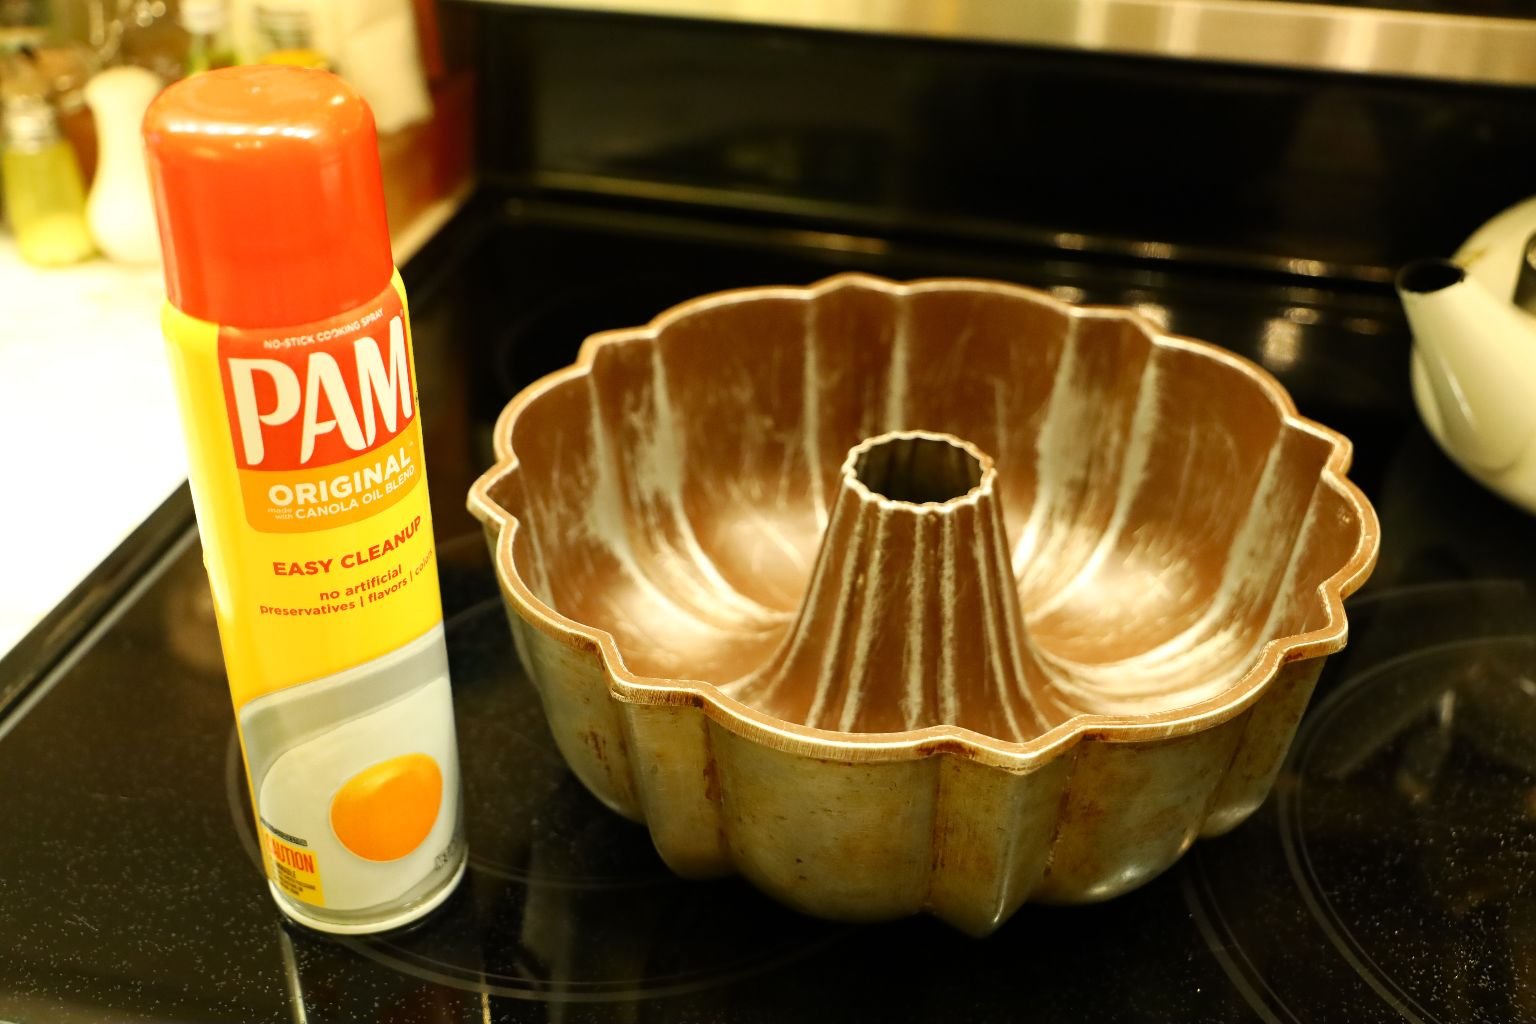
Spray your Bundt Pan with cooking spray

Measure out your dry ingredients and place them into a medium sized bowl.
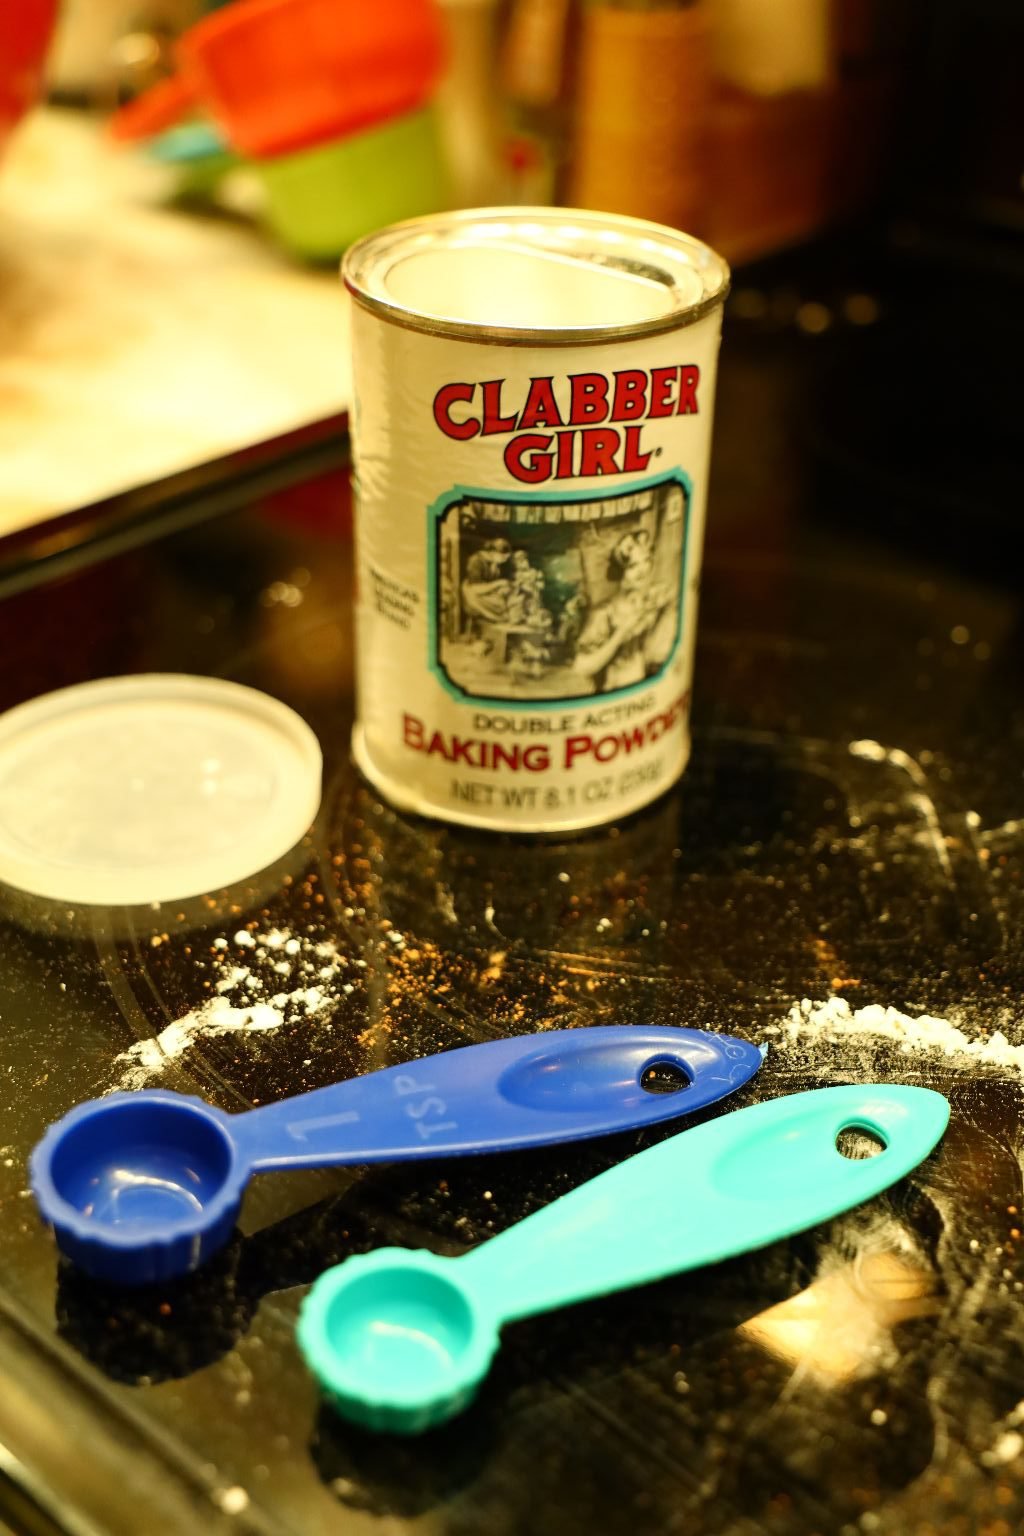
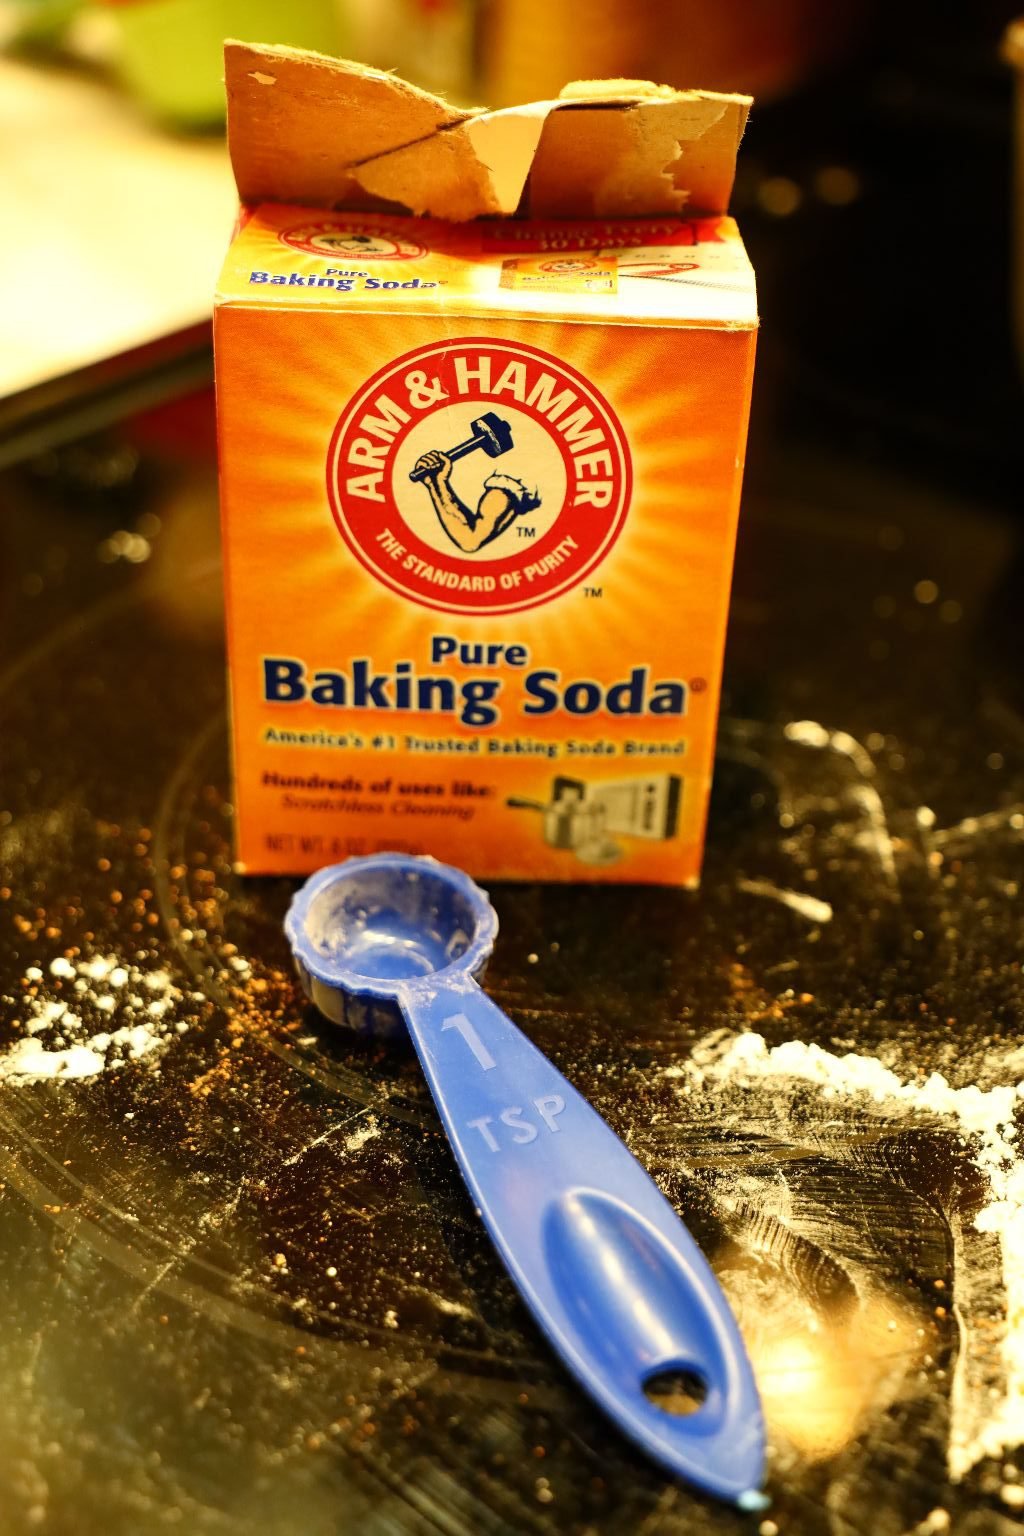
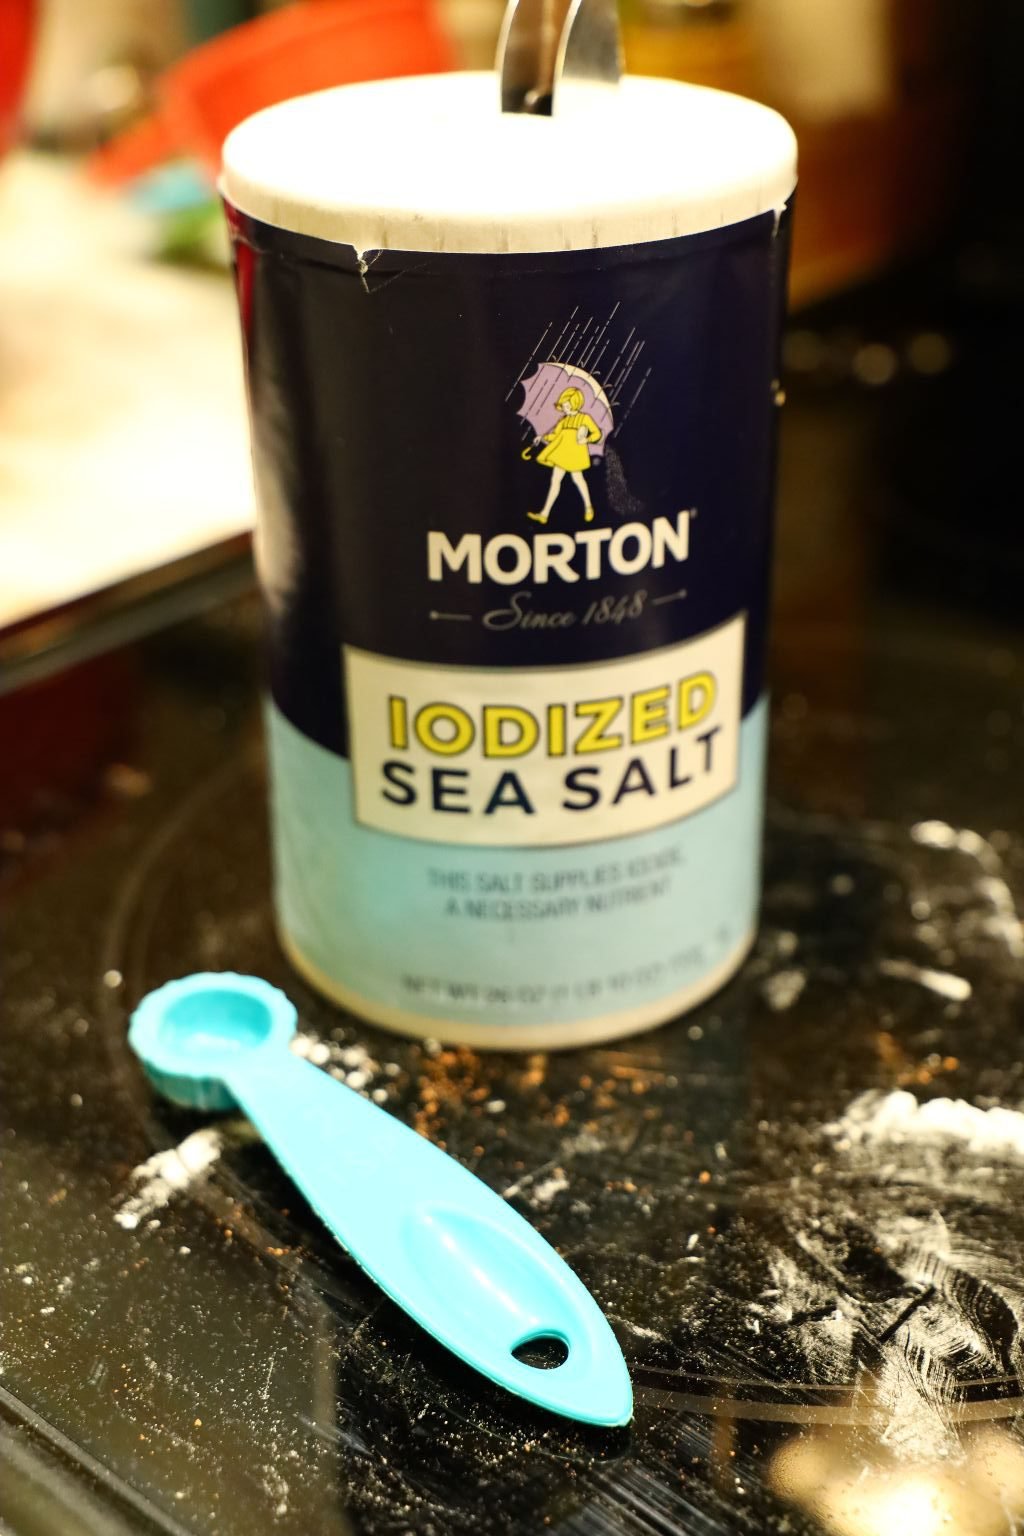
Here are the leaveners (Baking Powder and Baking Soda) and salt we used.
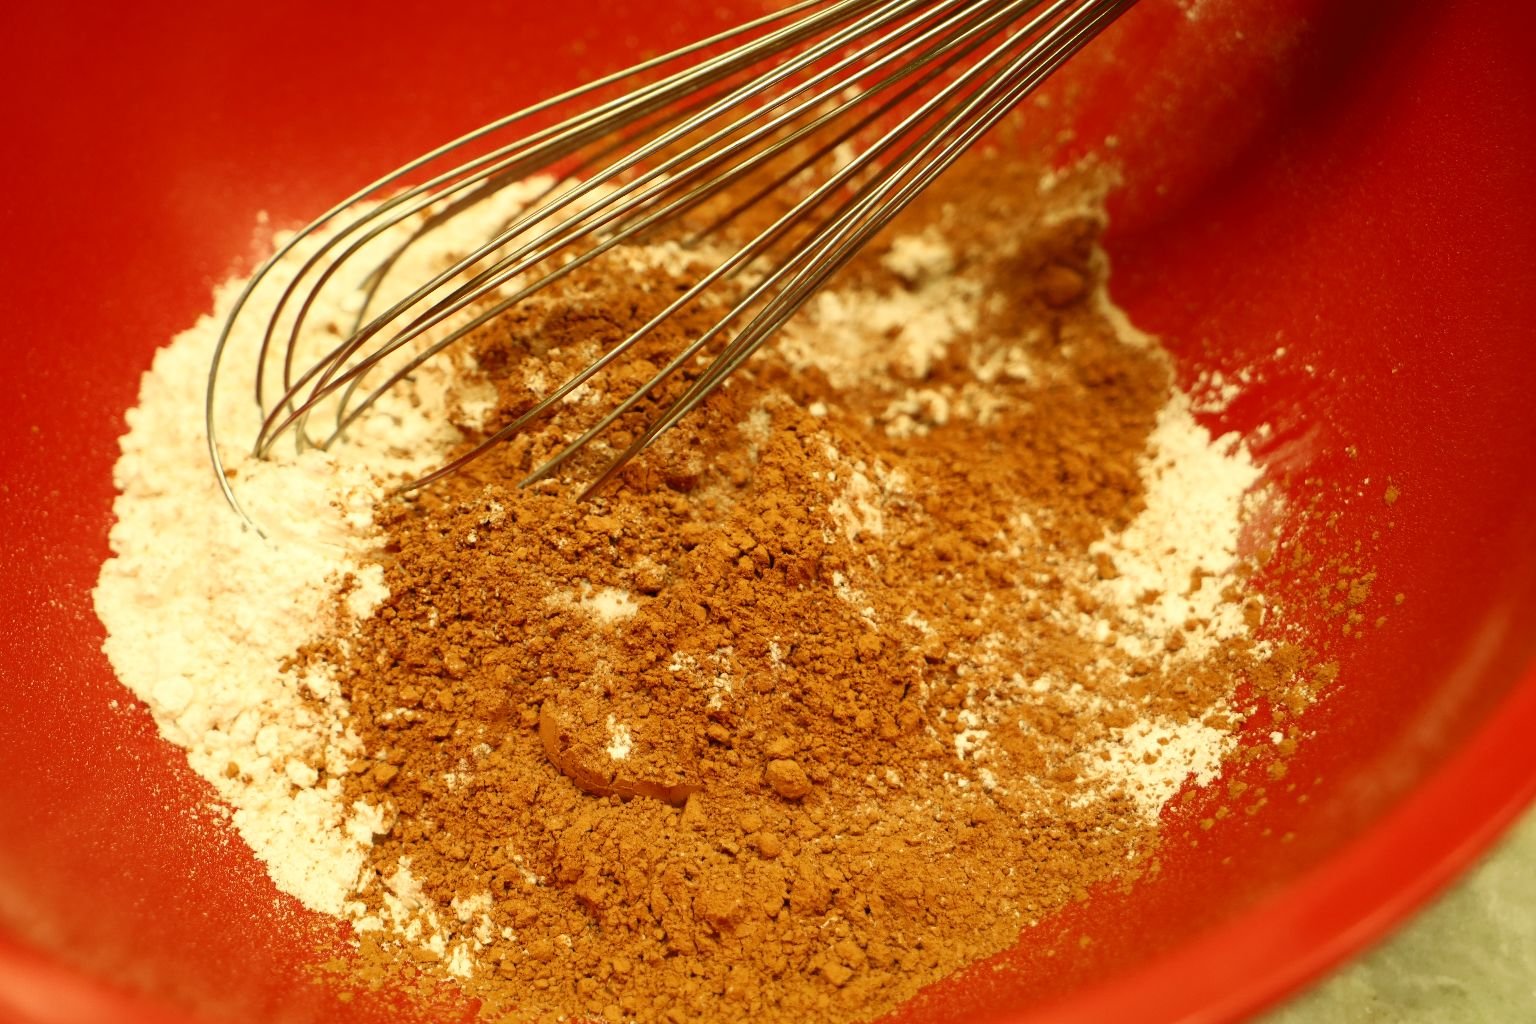

Mix the dry ingredients with a whisk until well blended.
This will also aerate/sift the ingredients making the cake lighter and more uniform in texture.

Place your butter into a microwave safe bowl.
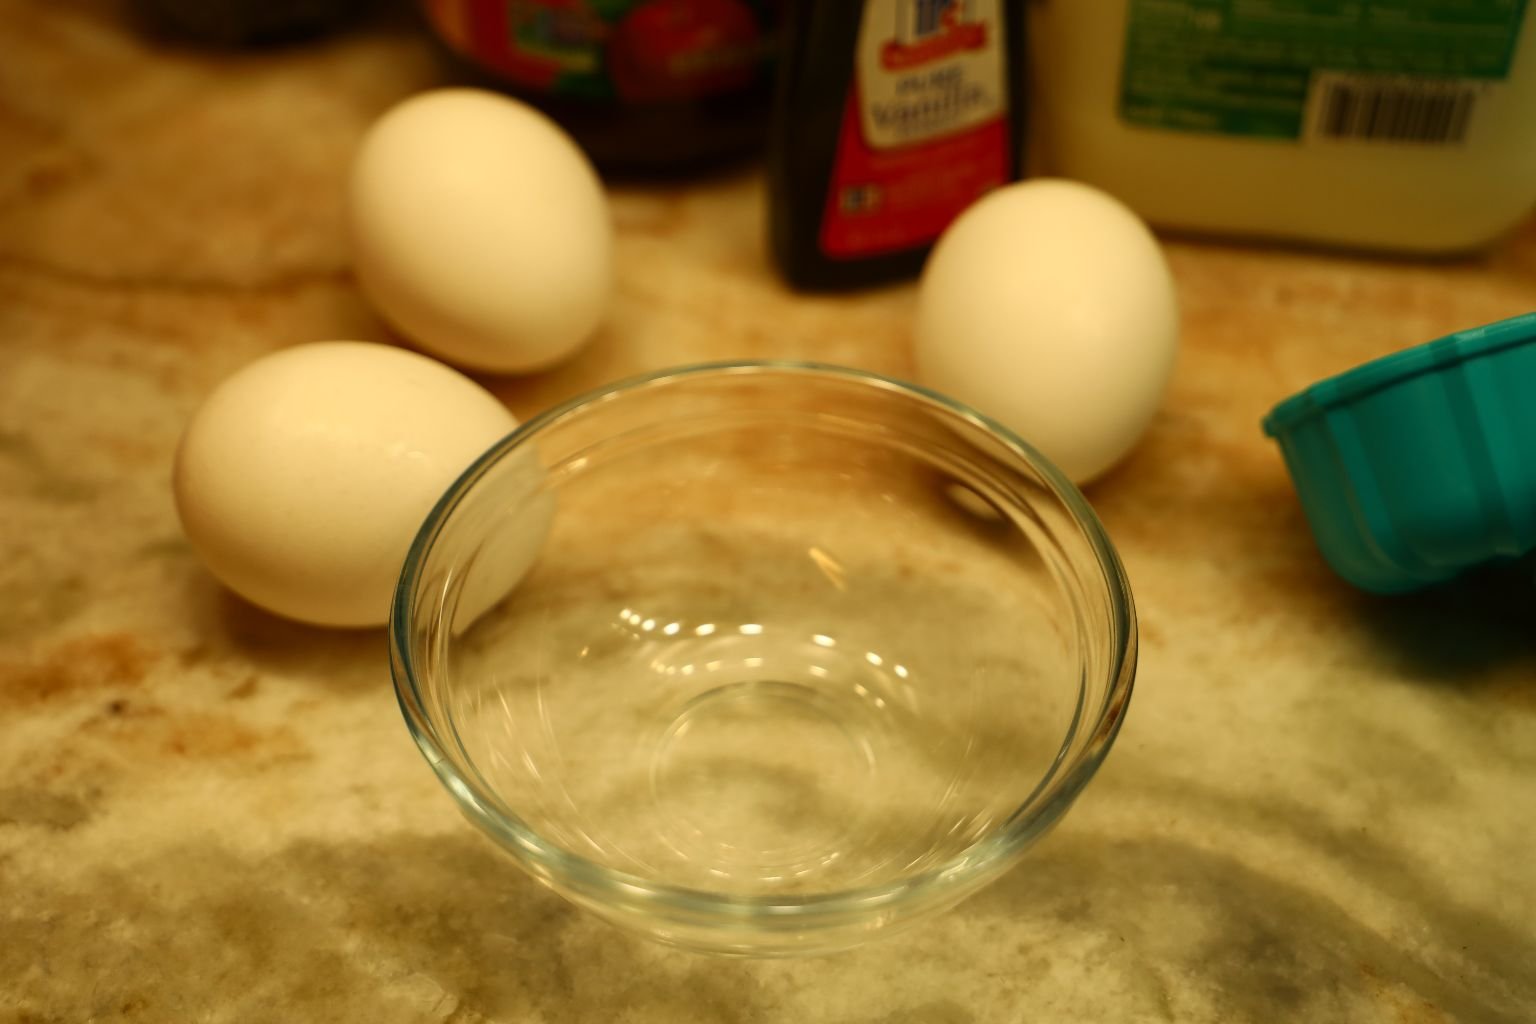
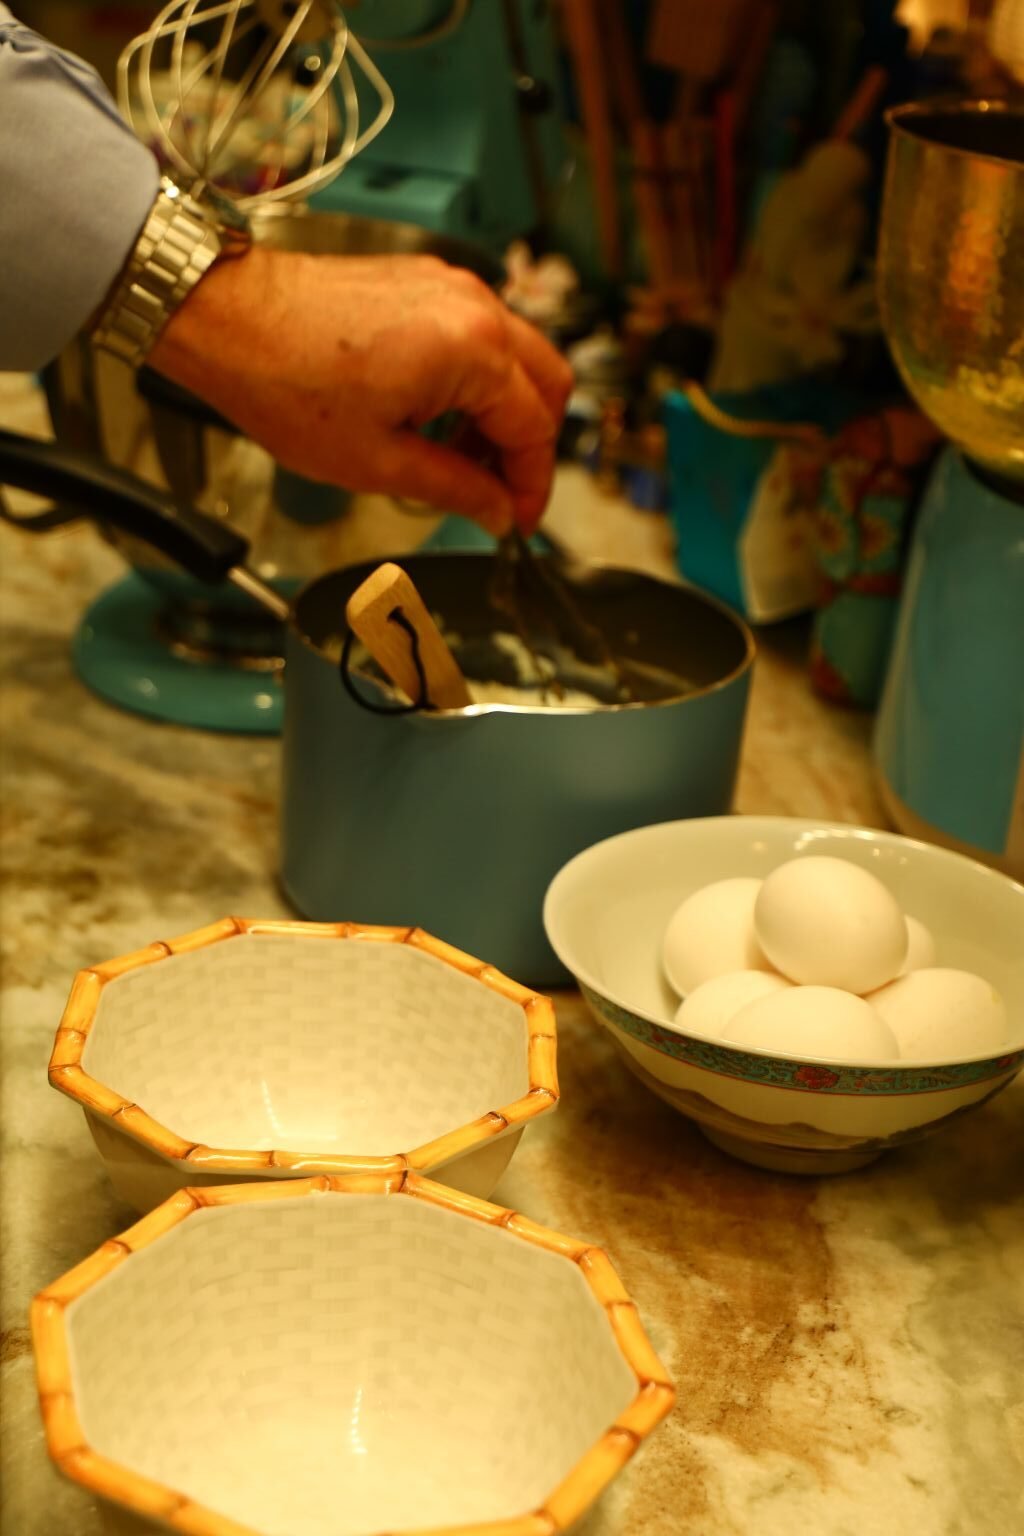
Crack your eggs into a small bowl first to ensure you don’t let any yolk enter with the egg whites.
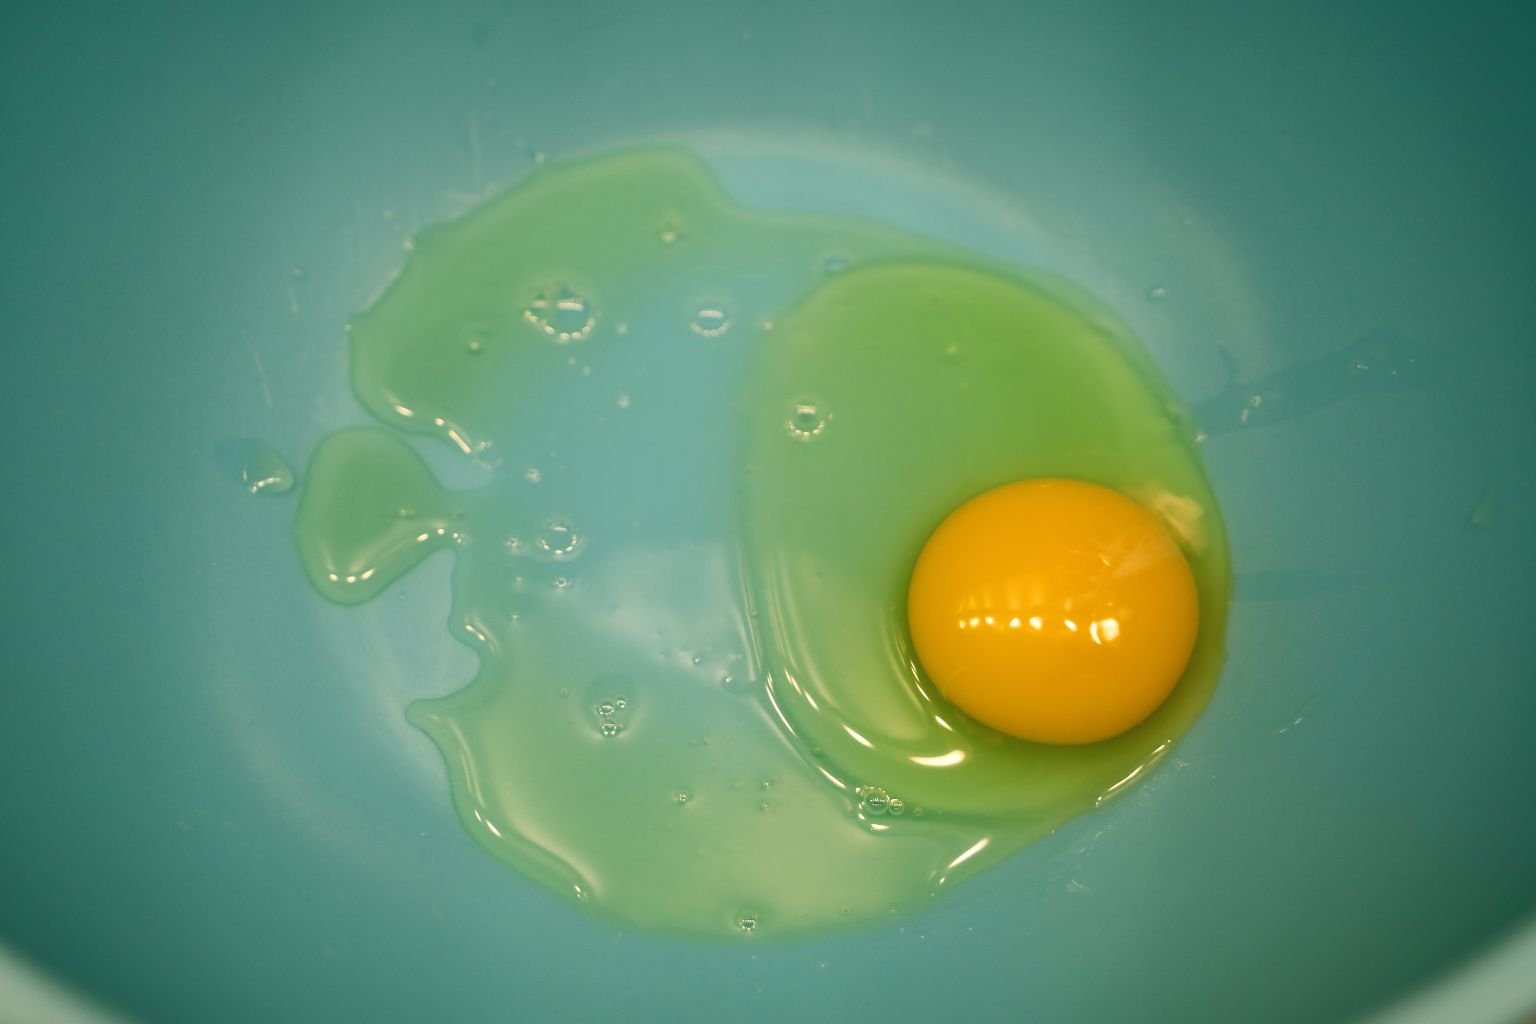
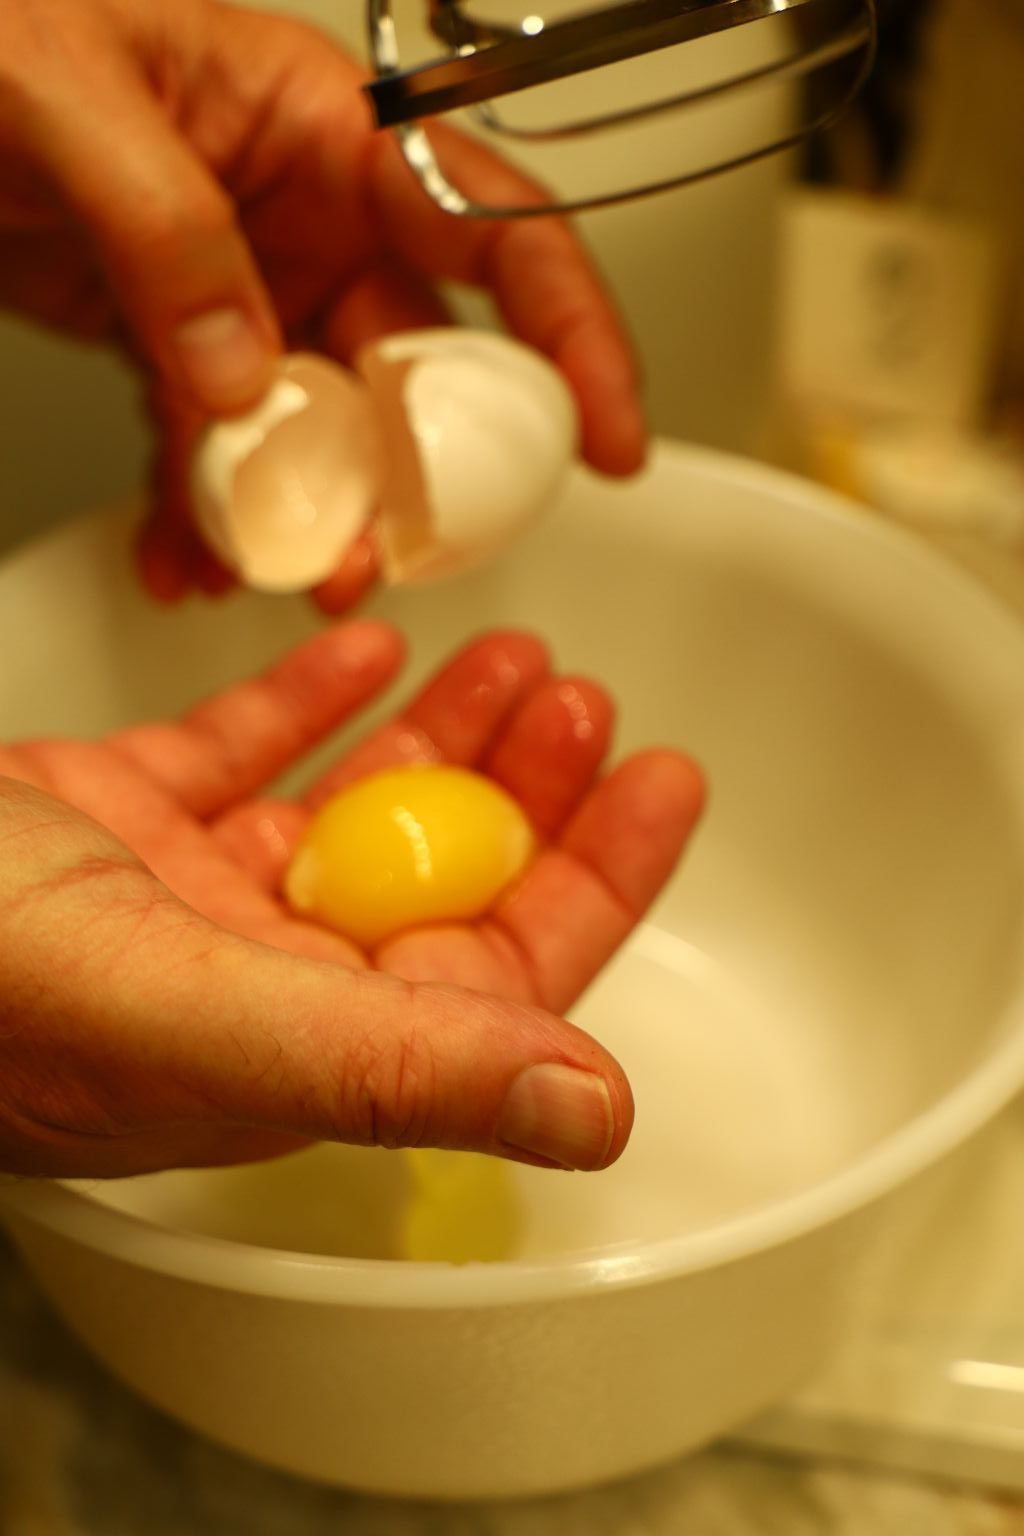
Here I cracked one egg into a medium sized bowl. The other eggs I cracked into my hand and let the egg whites fall into the small bowl. Then pour the two egg whites into the medium sized bowl with the whole egg.

Measure your Butter Milk then pour it into the medium sized bowl with the eggs.
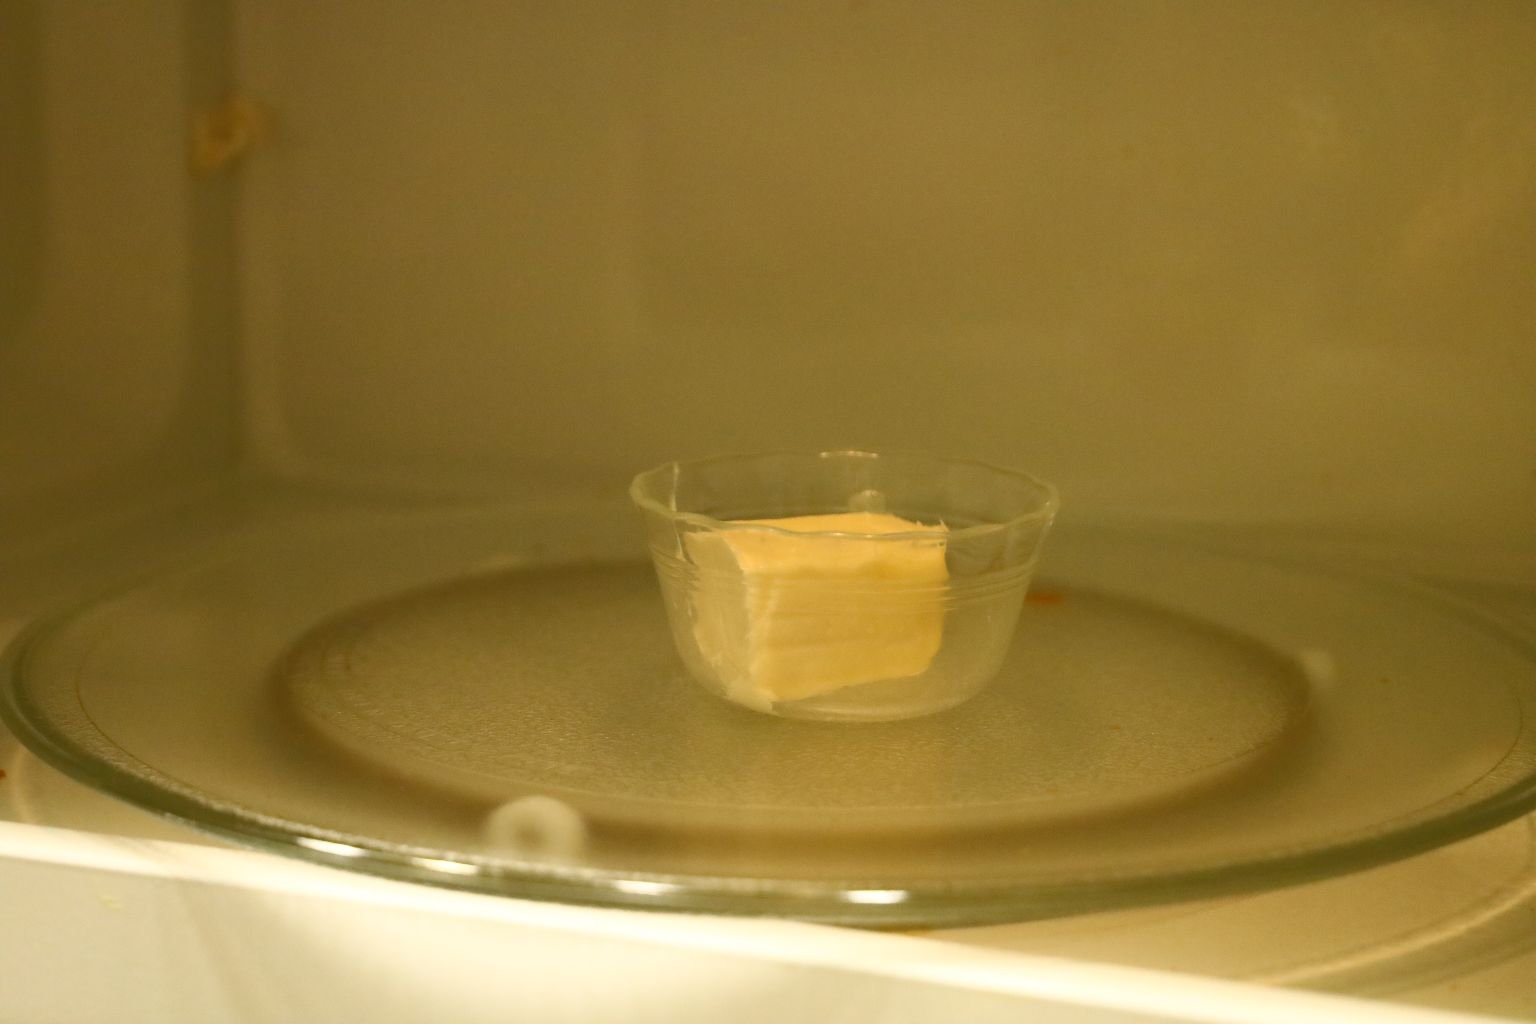
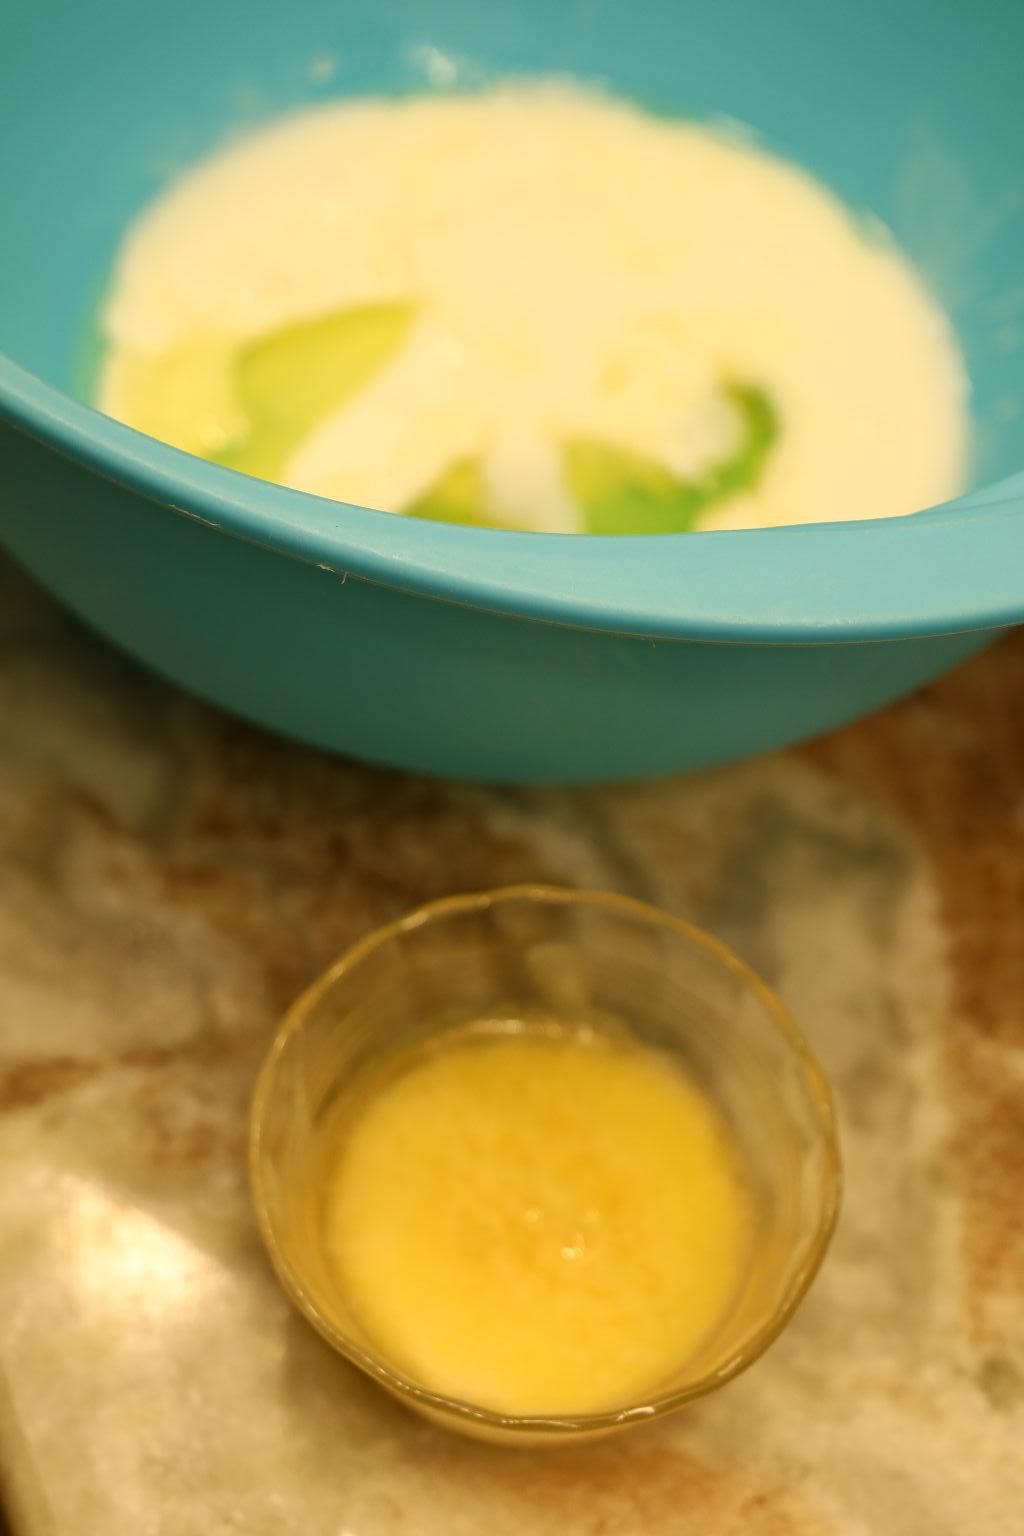
Slowly melt your butter in the microwave about 5 to 10 seconds at a time.
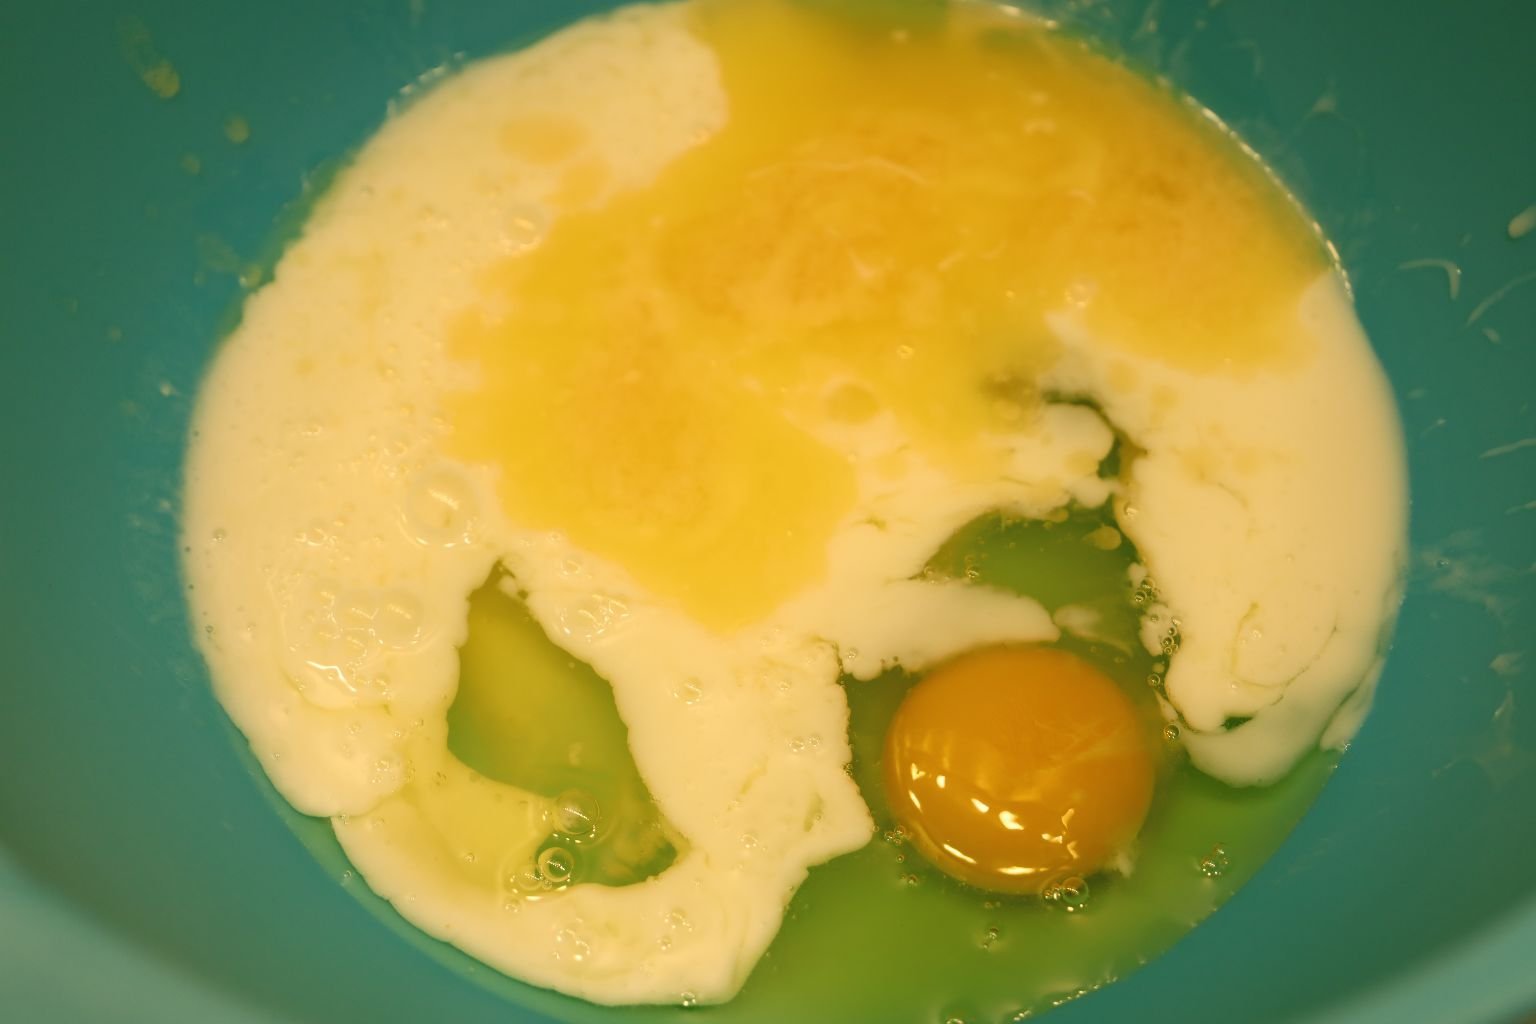
Let the butter cool slightly then add it in with the other wet ingredients.
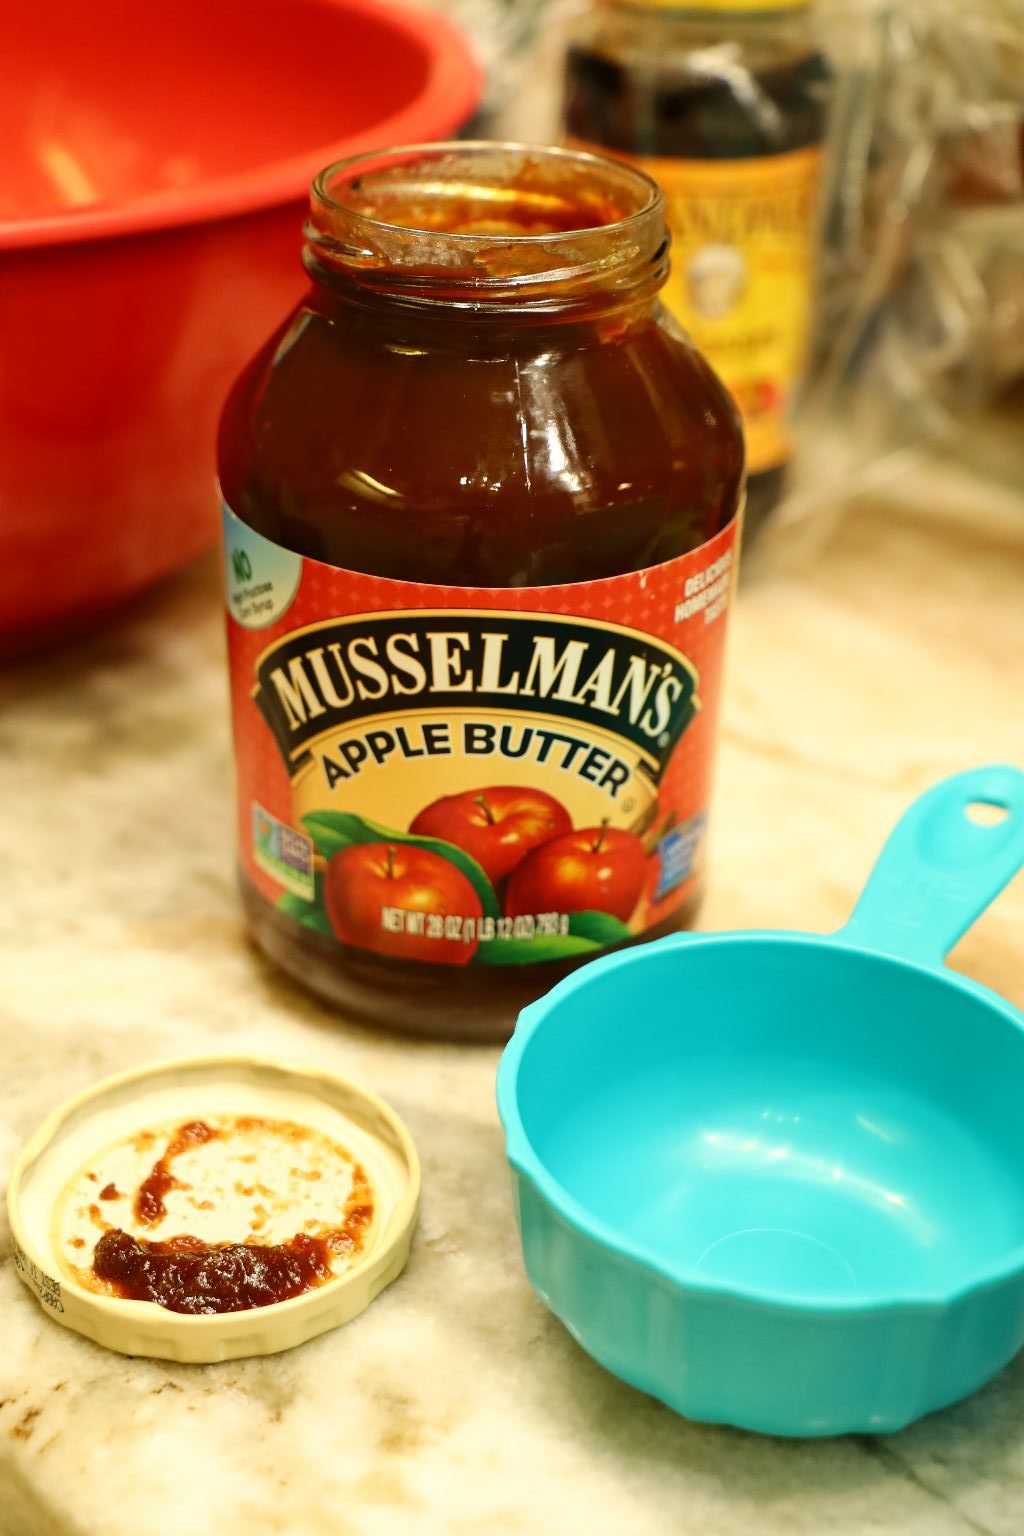

Here are the Apple Butter, Molasses and Karo Syrup we used for this recipe.
We replaced the oil usually used in a cake, with Apple Butter.
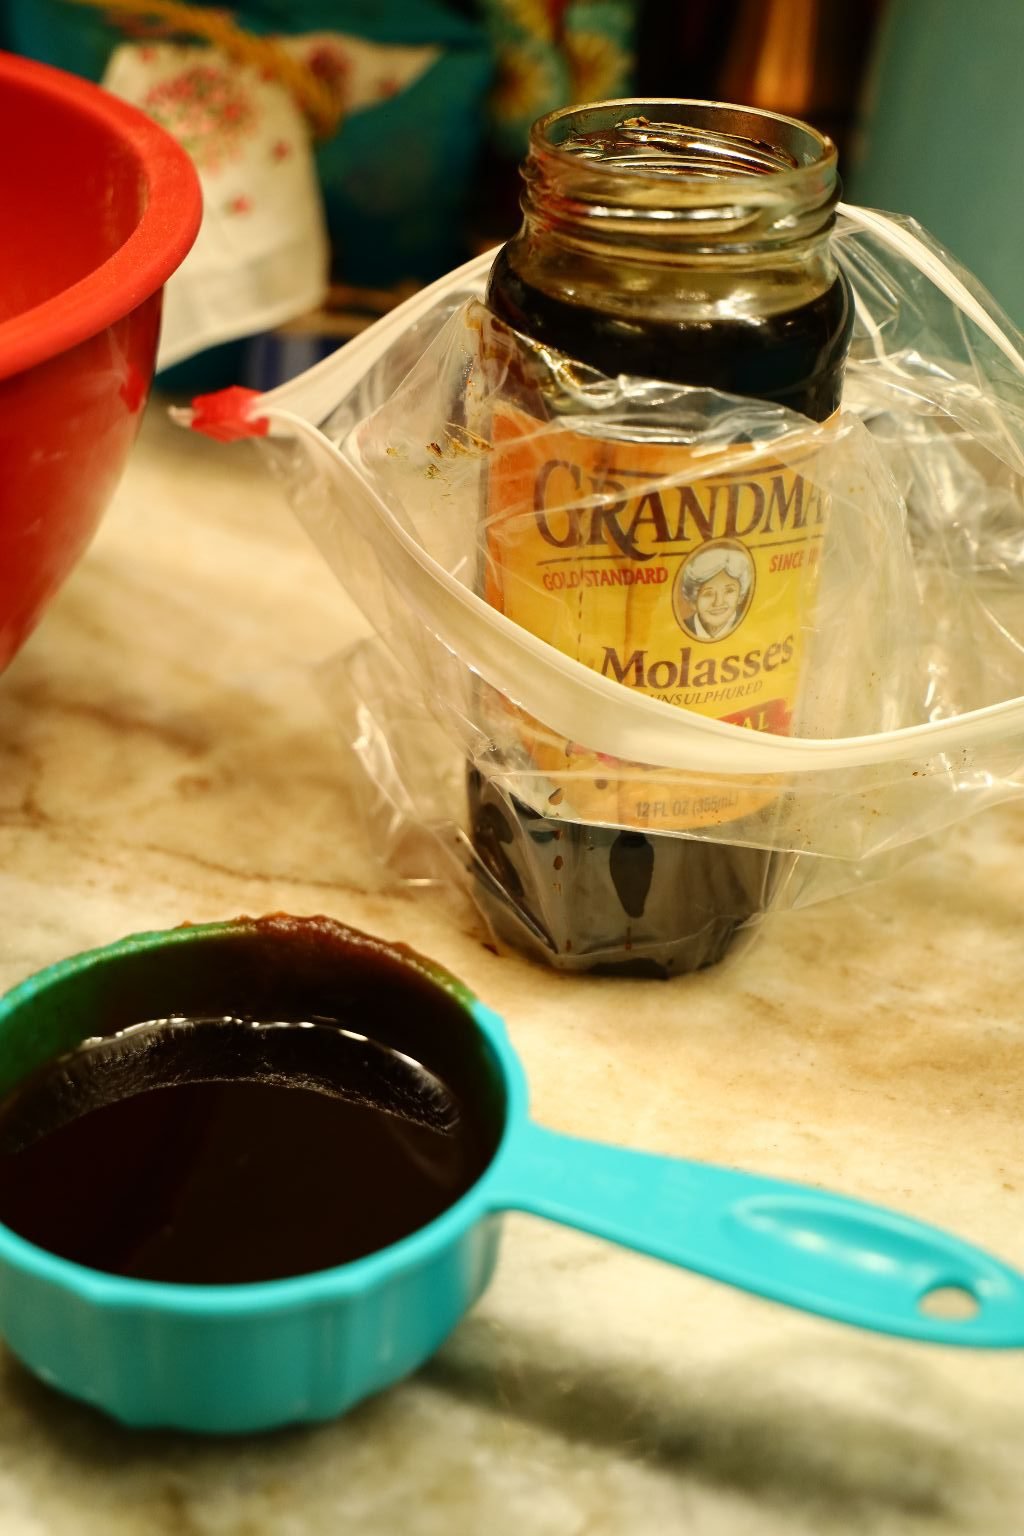
We poured our Molasses into the cup then poured the Karo into the same cup then poured them both into the bowl of wet liquids.
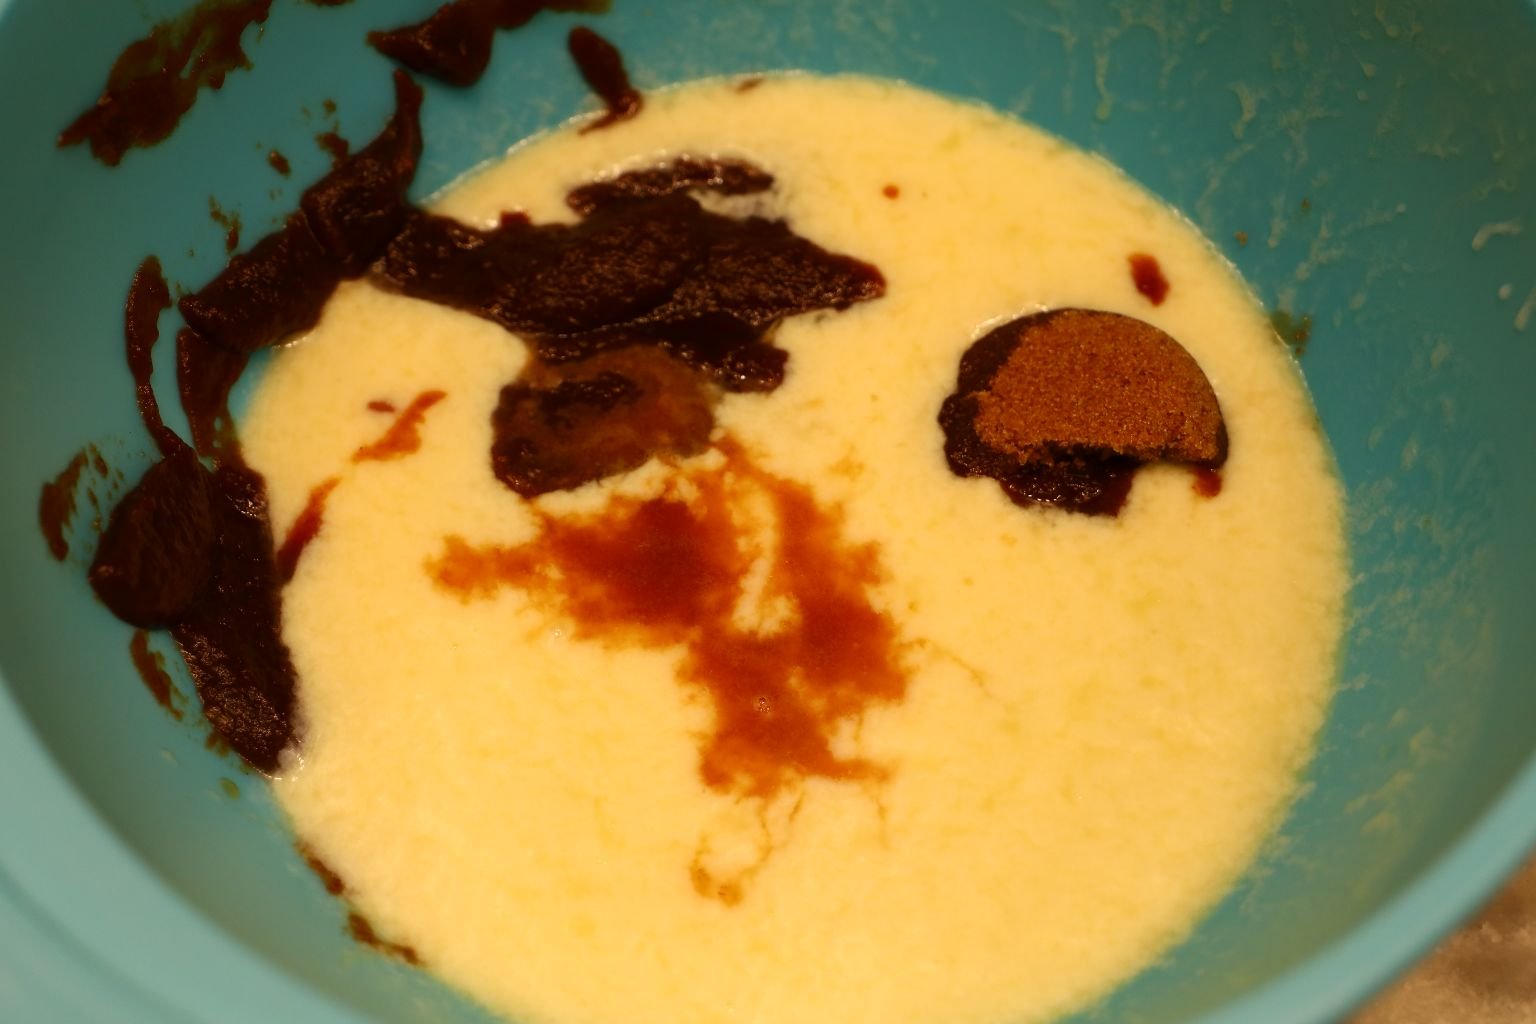

Use your whisk to mix the wet ingredients well, being sure to break up the egg whites and yolk.
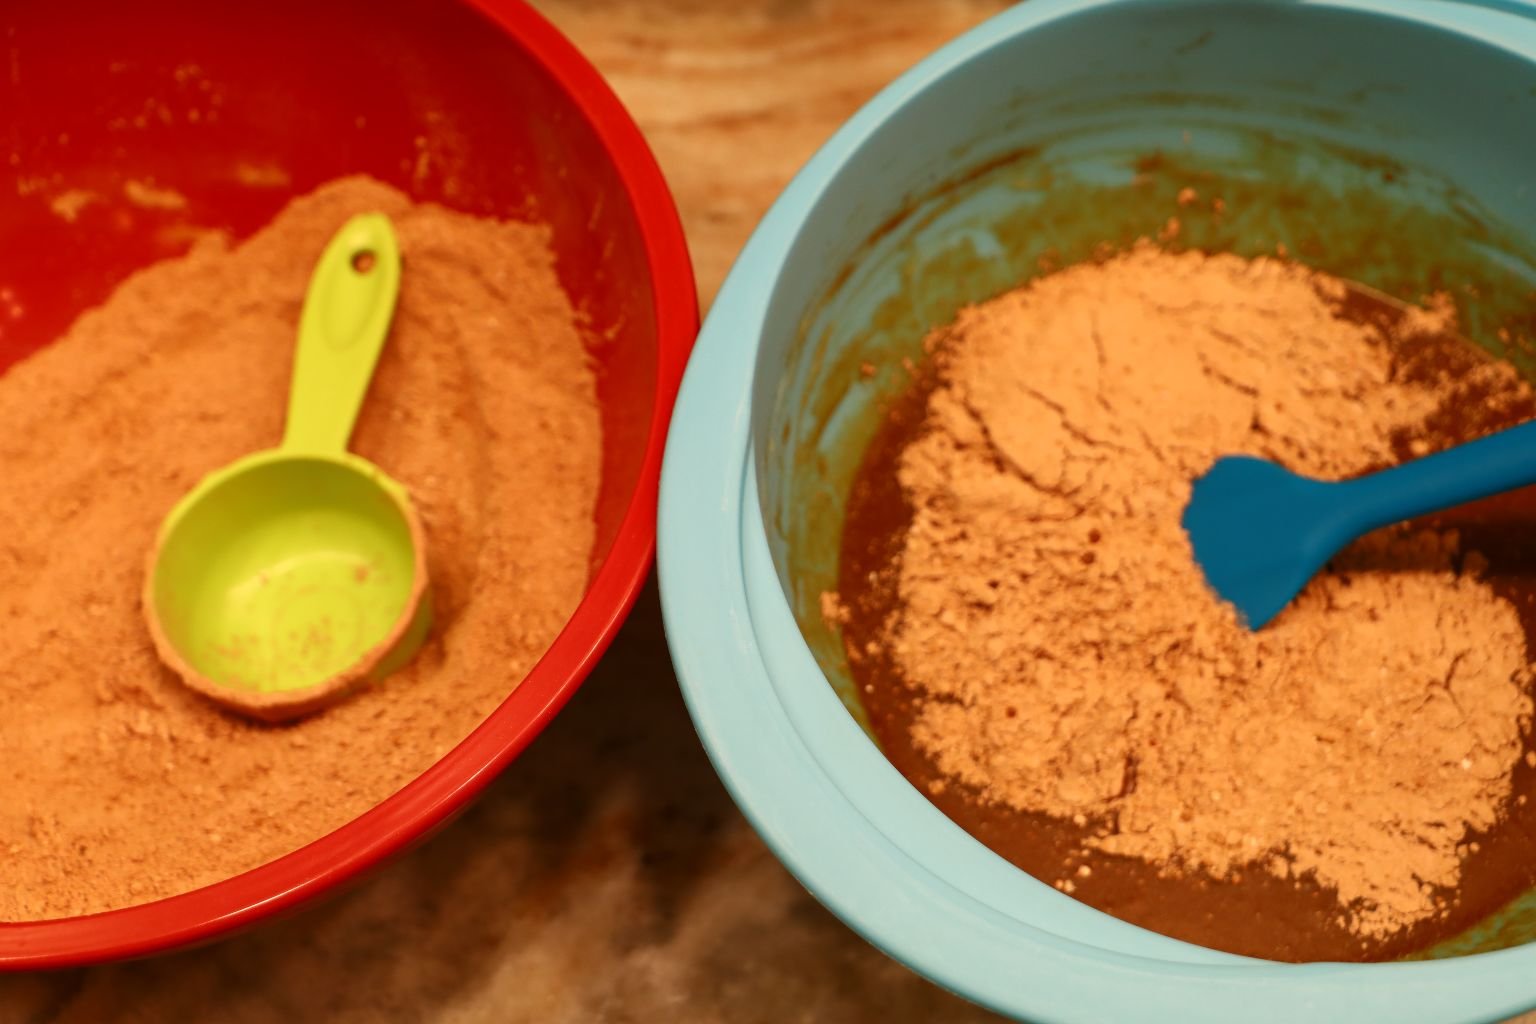

Now, add your dry ingredients in stages to your wet ingredients mixing well using a rubber spatula.
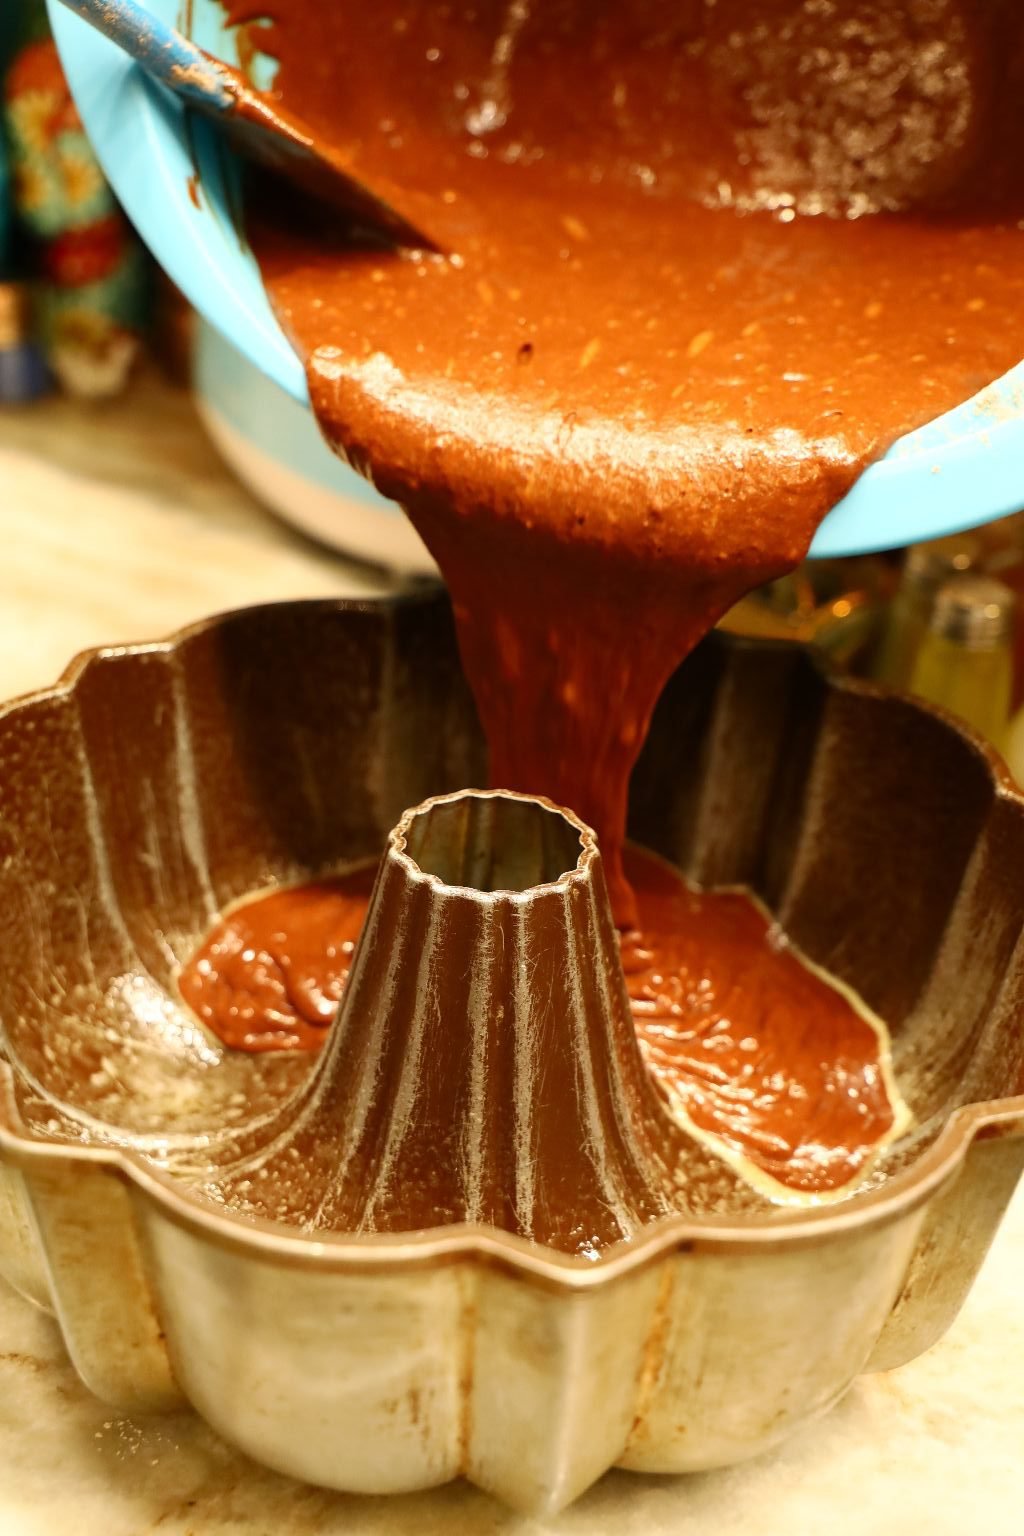
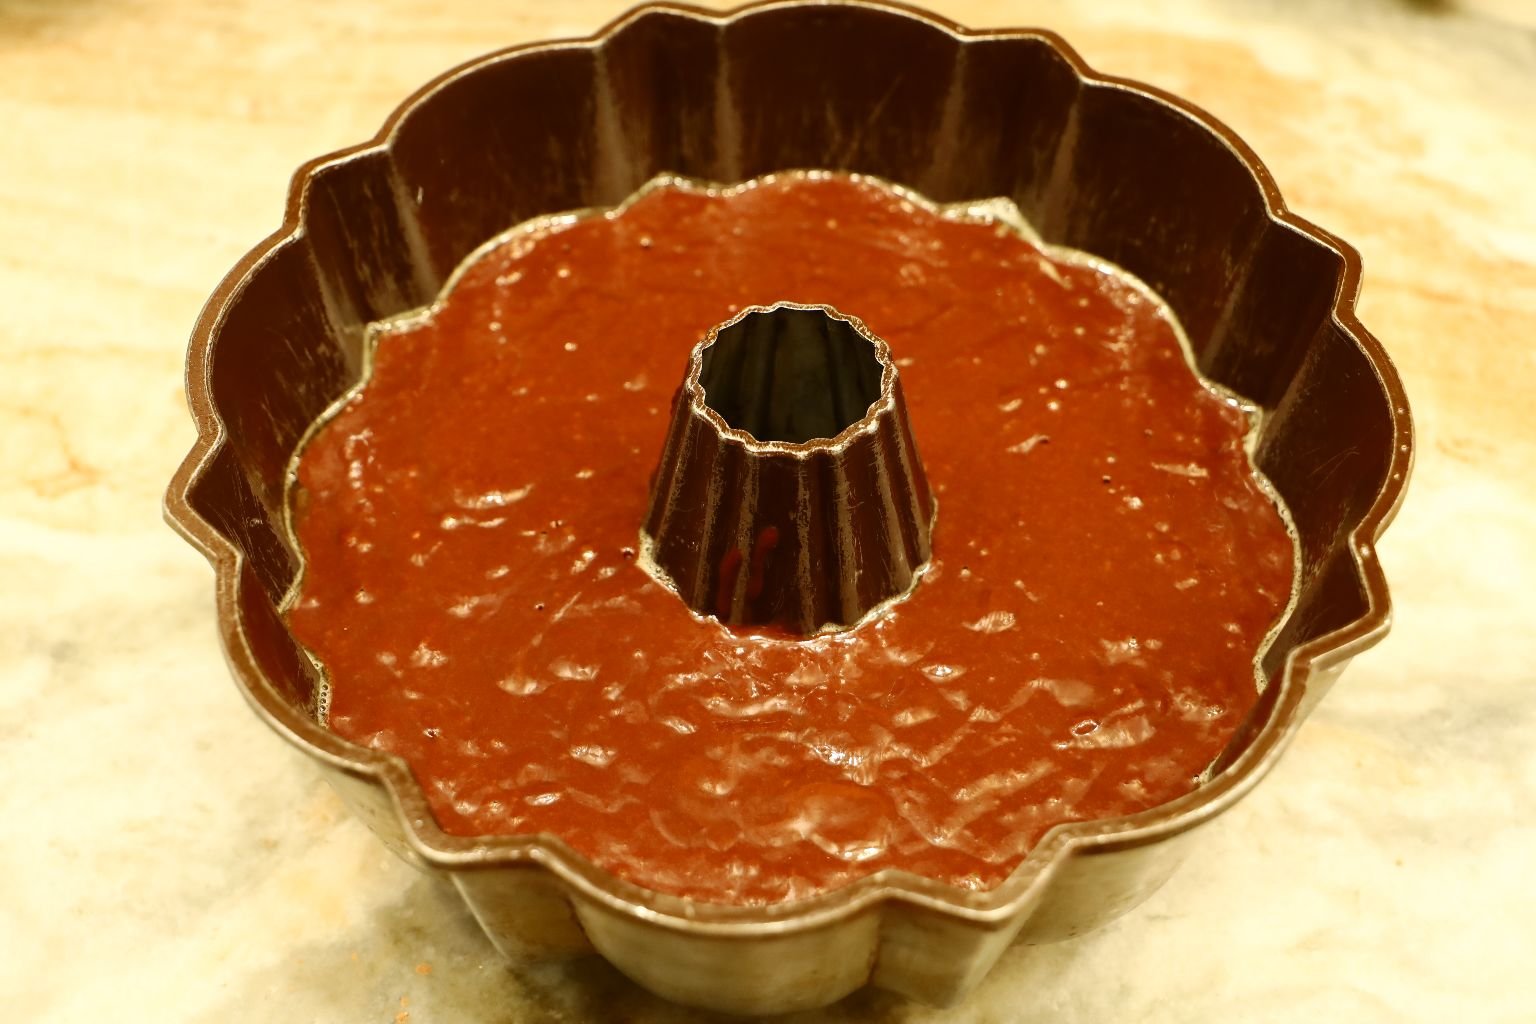
Pour your cake batter into the greased bundt pan as shown.
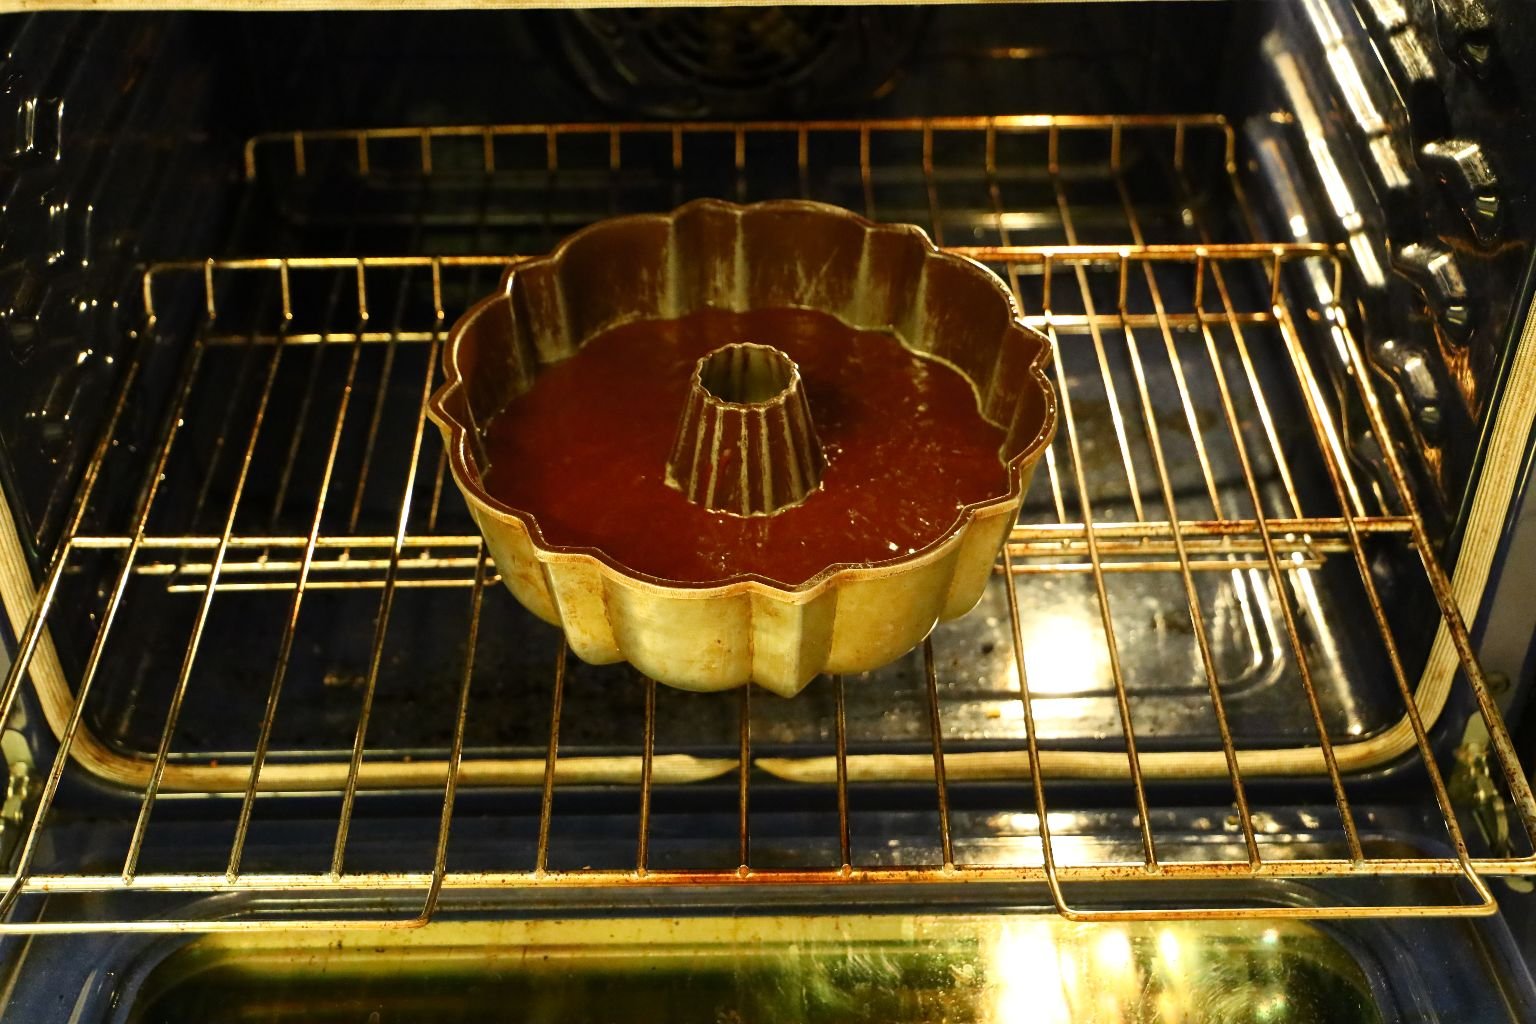
Bake the cake at 350 for 35-40 minutes or until a toothpick inserted near the center comes out clean.
Let the cake cool slightly…


Then place your cooling rack against the top of the bundt pan and quickly turn it over releasing the cake on top of the wire rack. Allow to cool thoroughly.
——————————————————————————
The Vintage Frosting
——————————————————————————
Ingredients:
2 Cups Splenda Sugar Blend
Egg Whites of two eggs
3/4 Cup Water
1 tsp. Vanilla Extract
Pinch of salt
—————————————————————————————
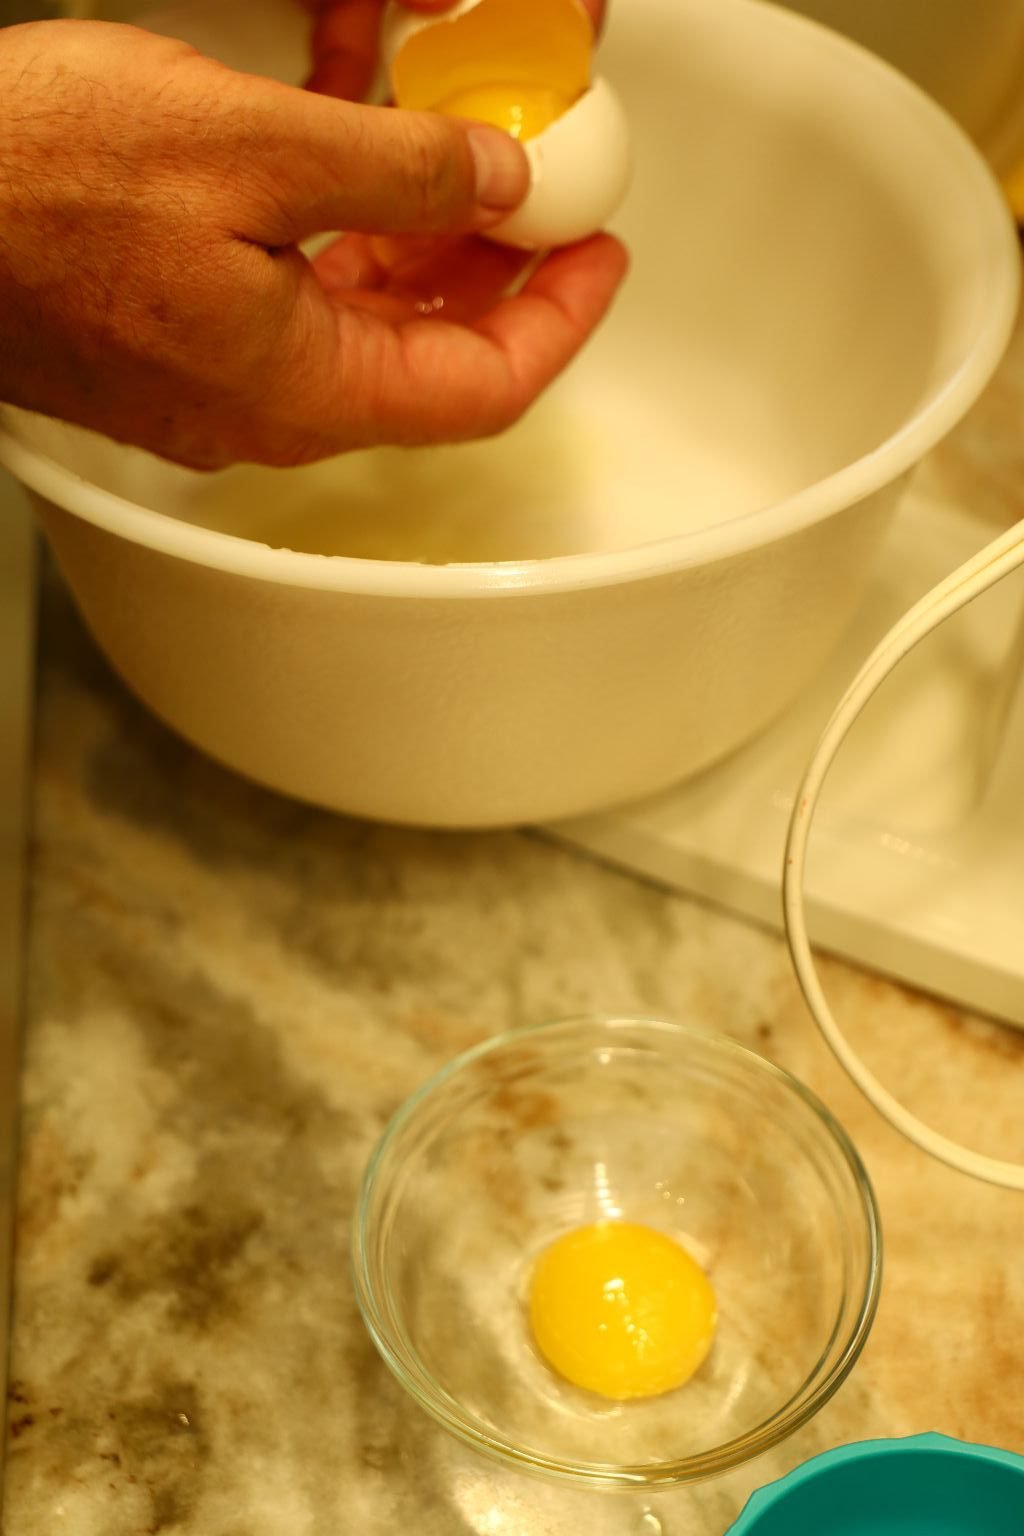

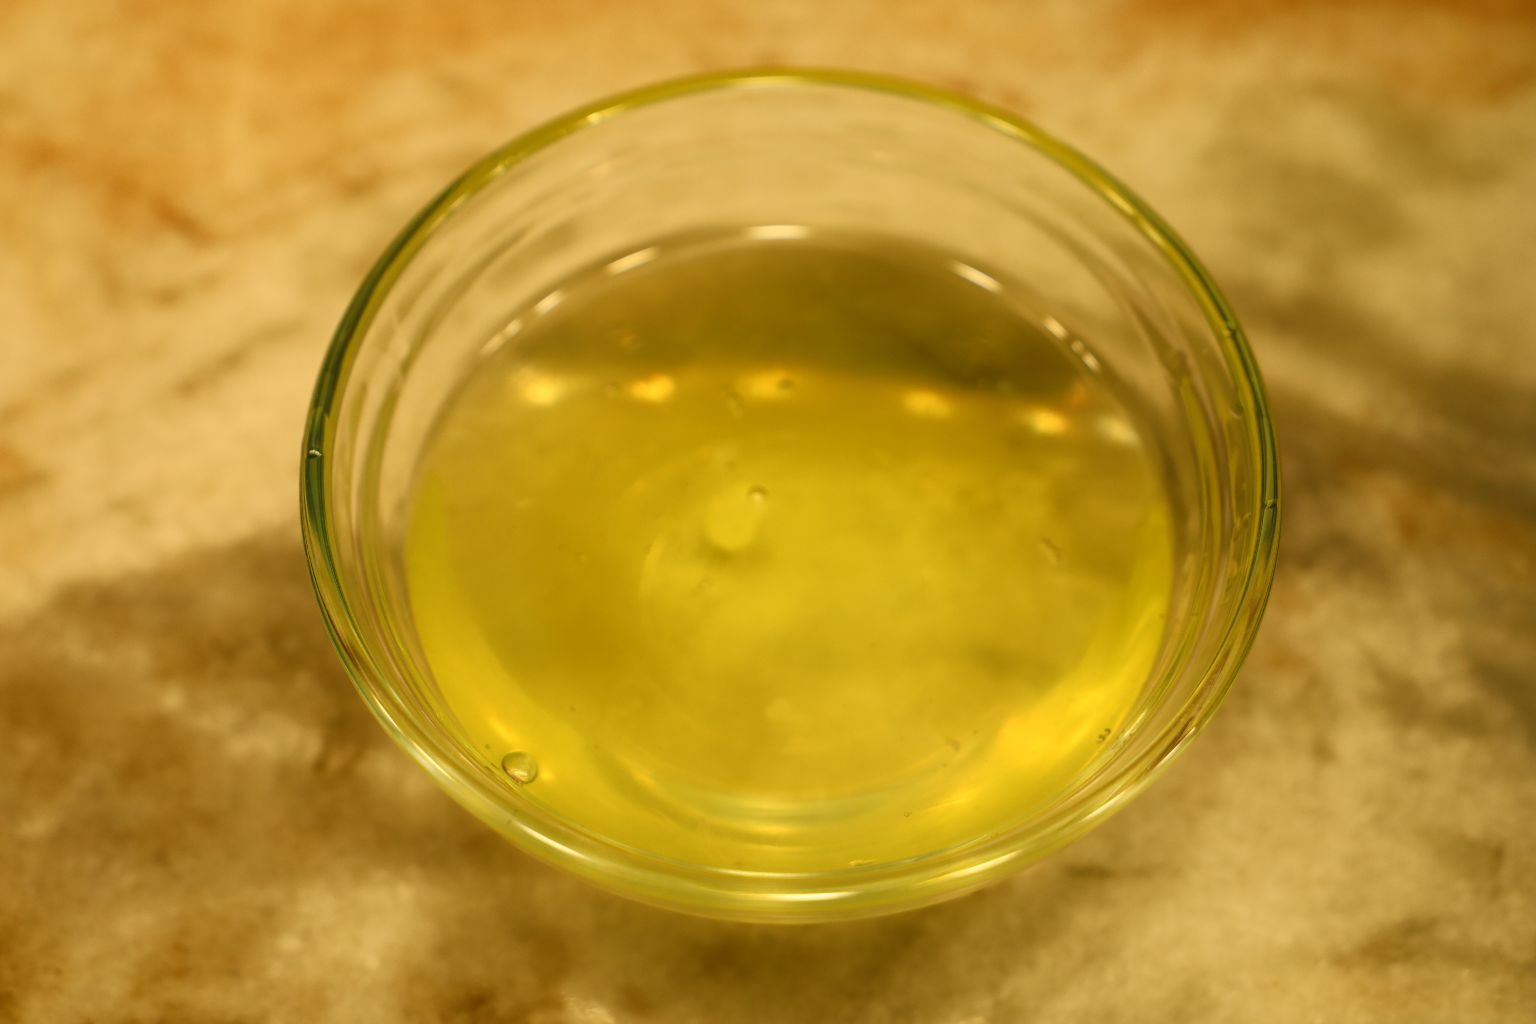
Using your fingers, separate both egg yolks from the egg whites, placing the egg whites in your bowl.


Save the egg yolks for your breakfast in the morning.
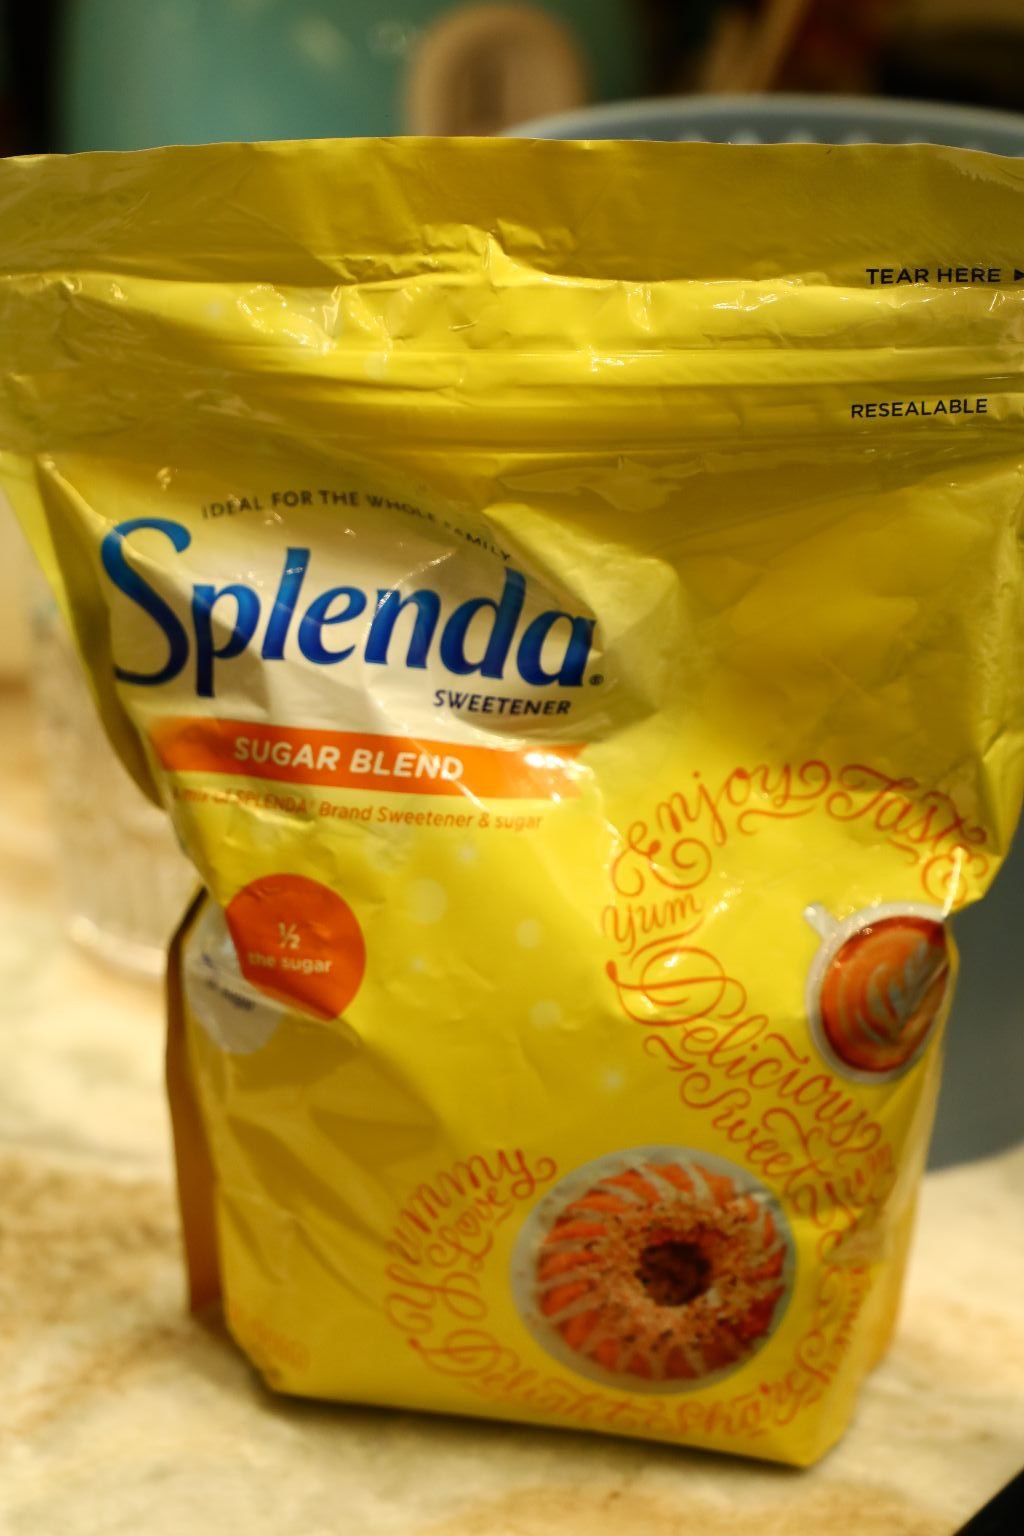
Here is the Splenda Sugar Blend we used.
In another bowl, add your sugar.

Then add your water and vanilla extract…
then add your pinch of salt.

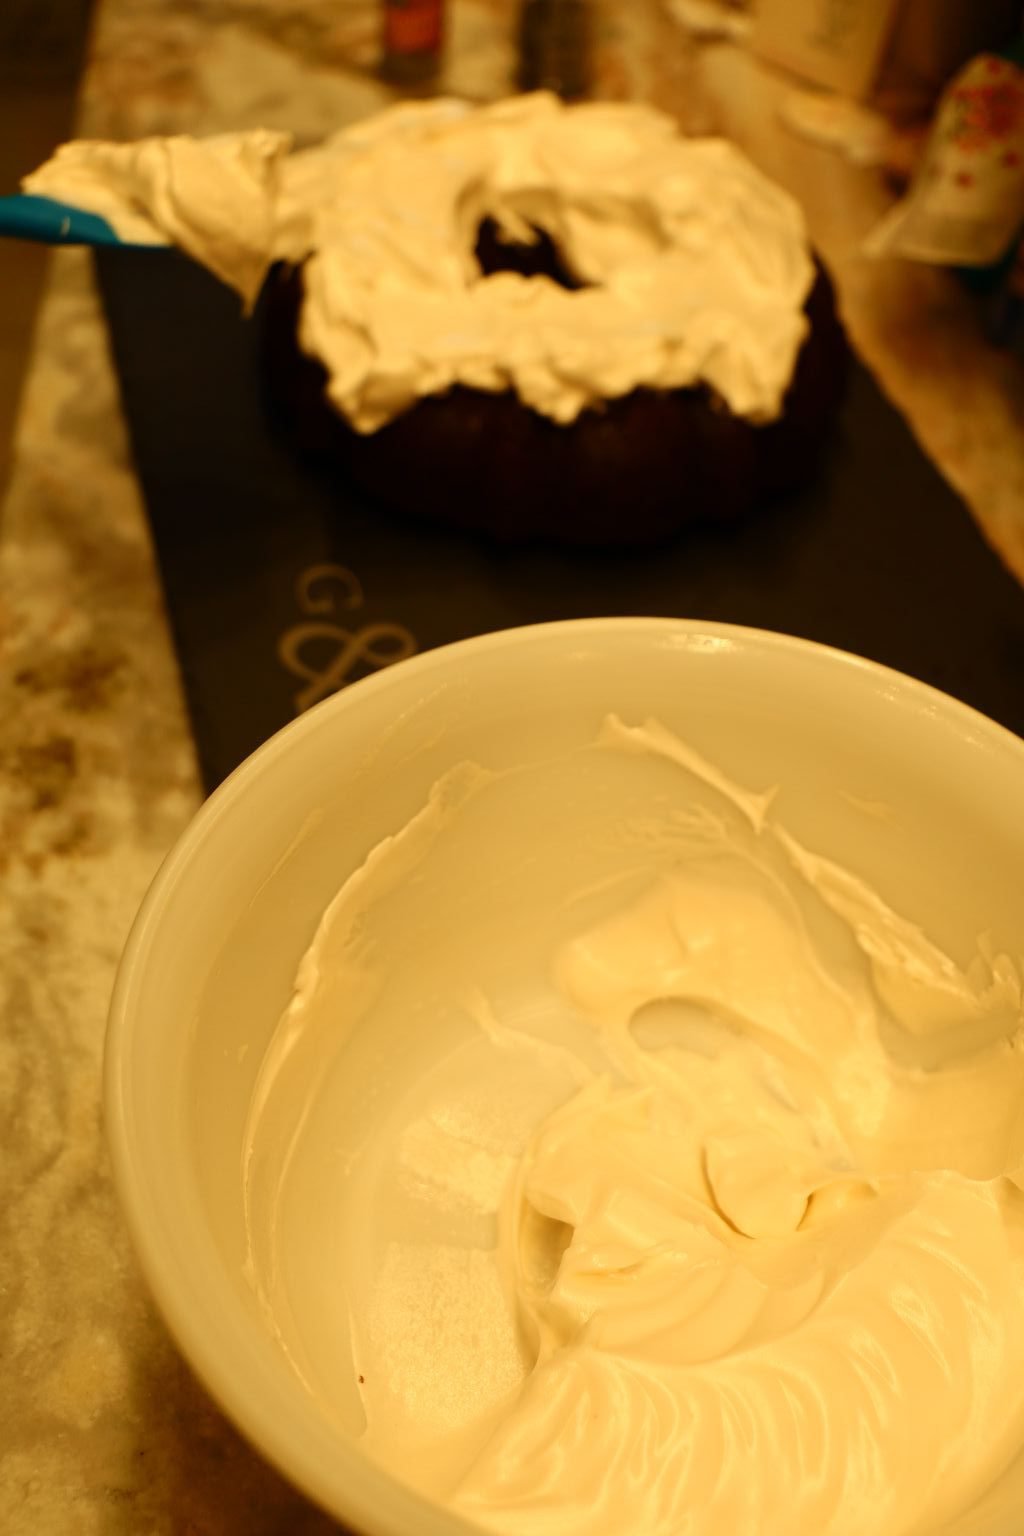
Beat the mixture until well combined…


Place the sugar mixture over a double boiler. This is a pot with boiling water in which you place your pot over and it, and heated by the steam.
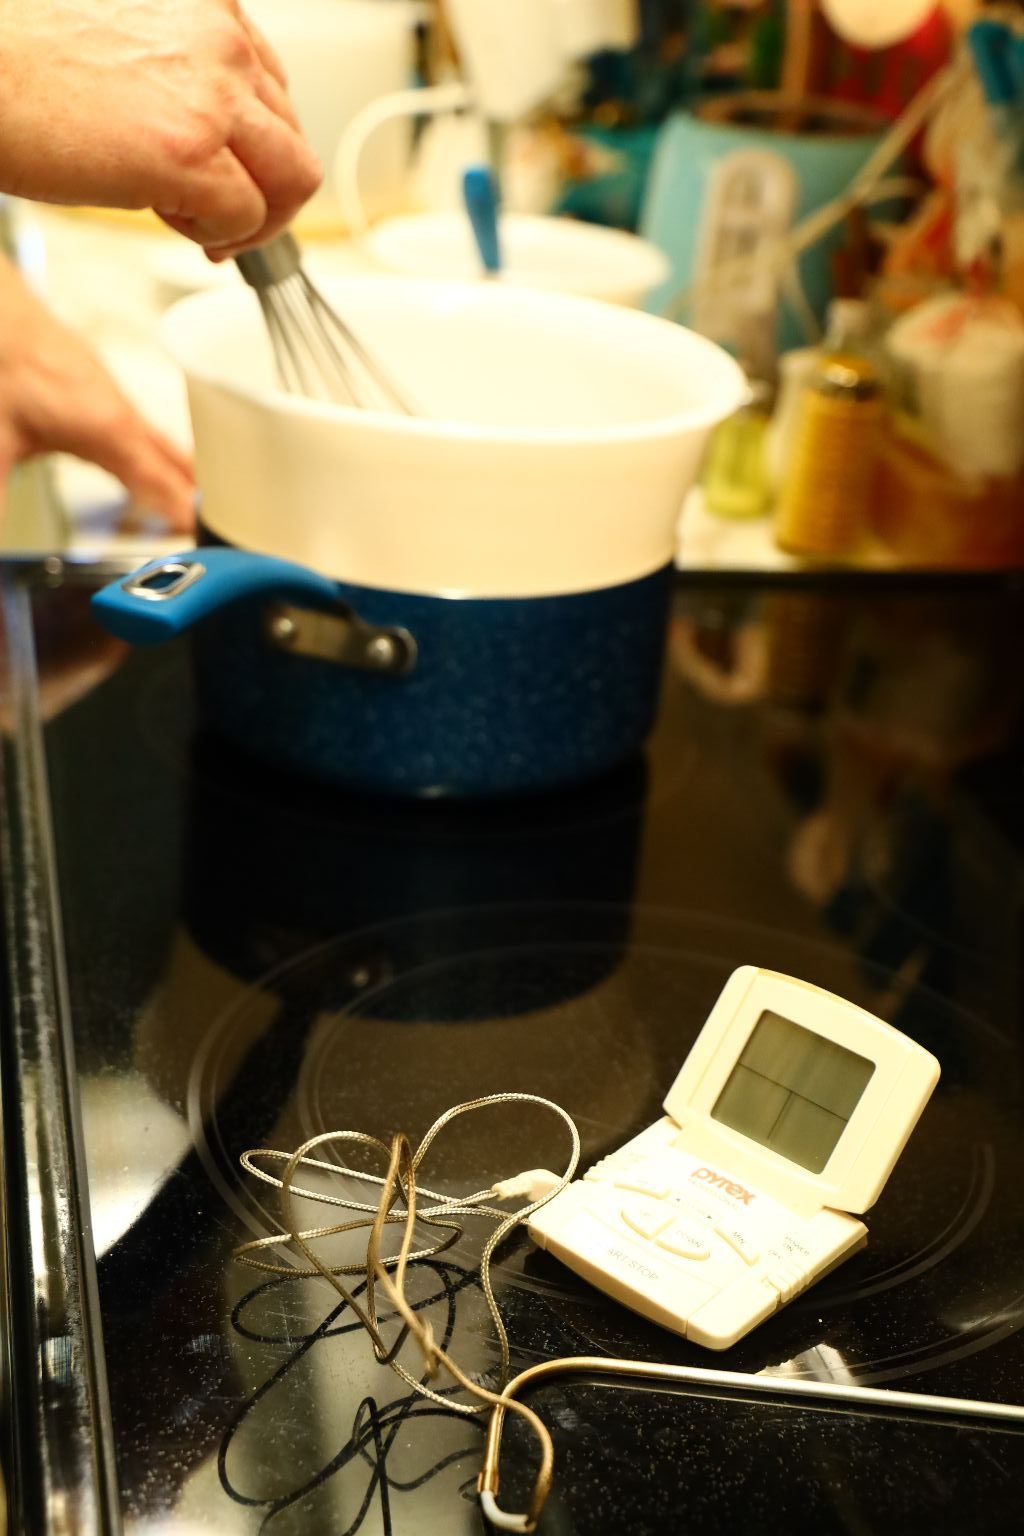
Whisk the sugar mixture until it heats to around 160’F


When at temperature, be careful and remove the bowl from the heat.
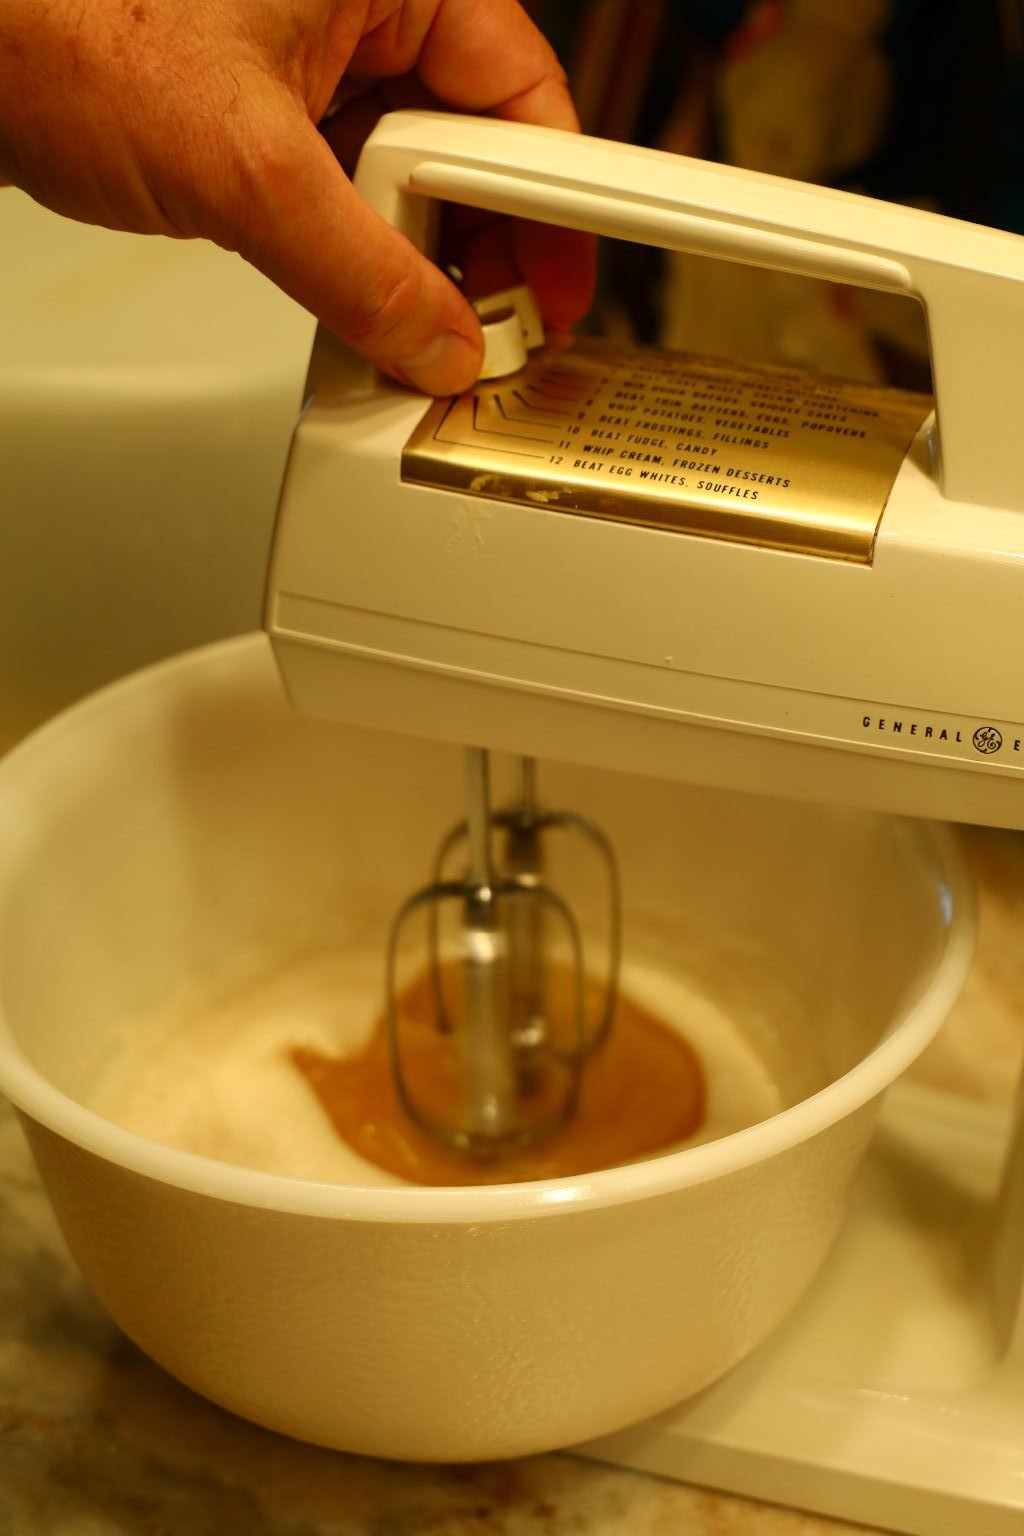
The bowl under your mixture now should have your egg whites. Gradually add your heated sugar to the egg whites beating them rapidly until cool.

Beat the mixture until the mixture looks like fluffy Marshmallow.

——————————————————————————————
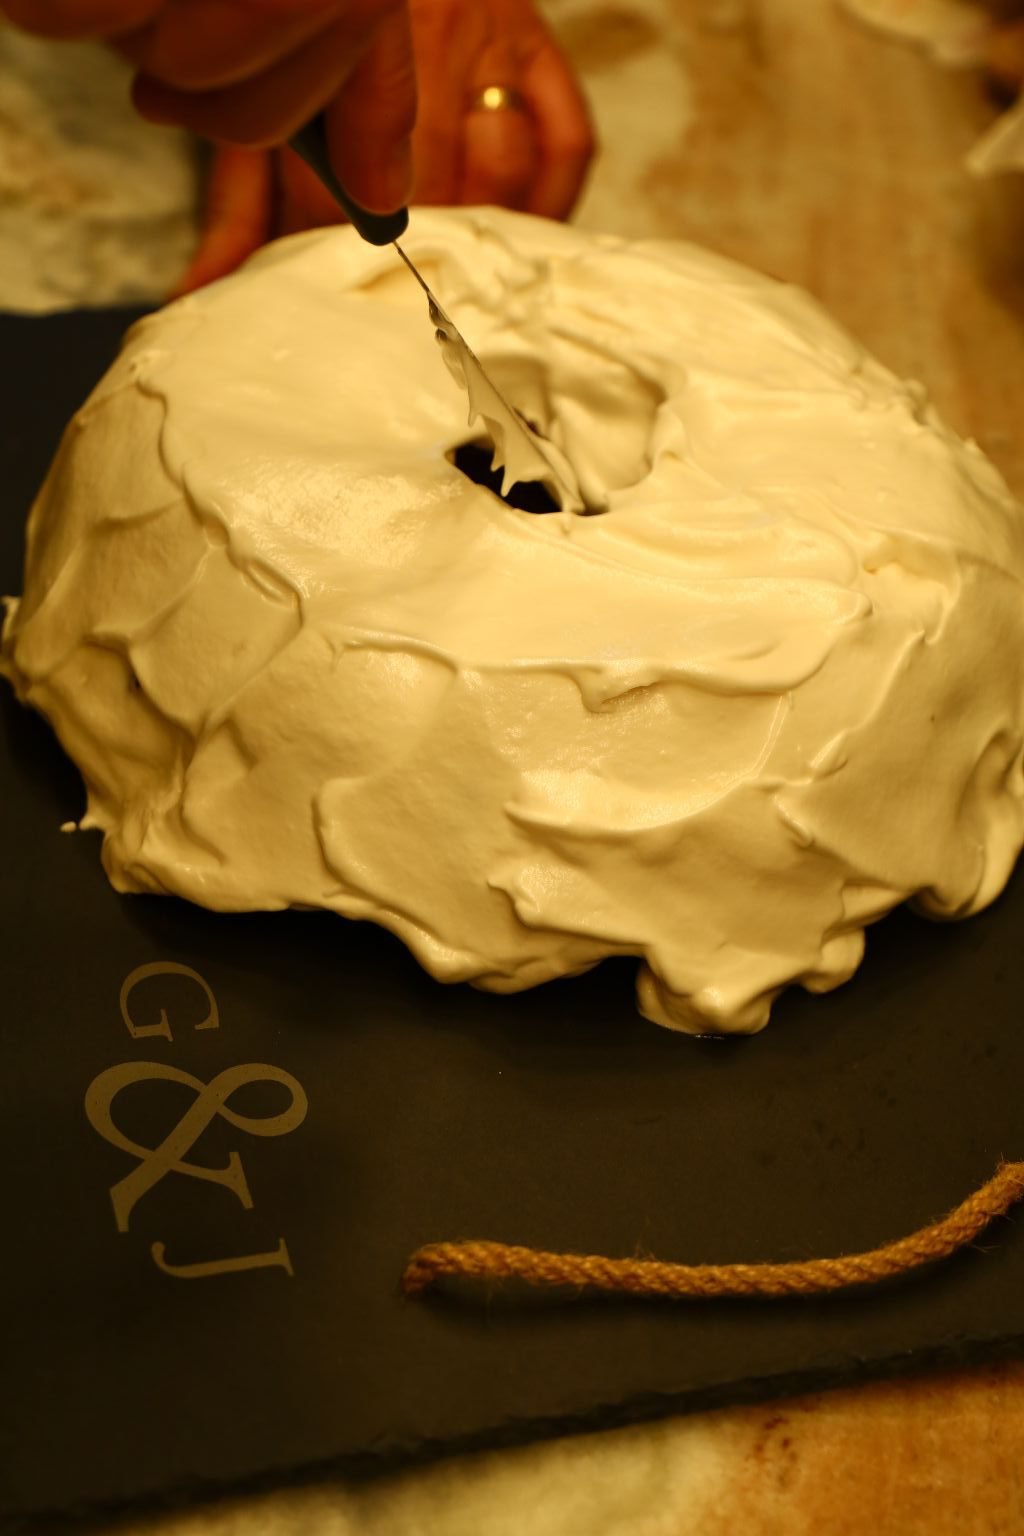
Spread the frosting all over your cake using an icing knife making some decorative waves as seen in the picture above.
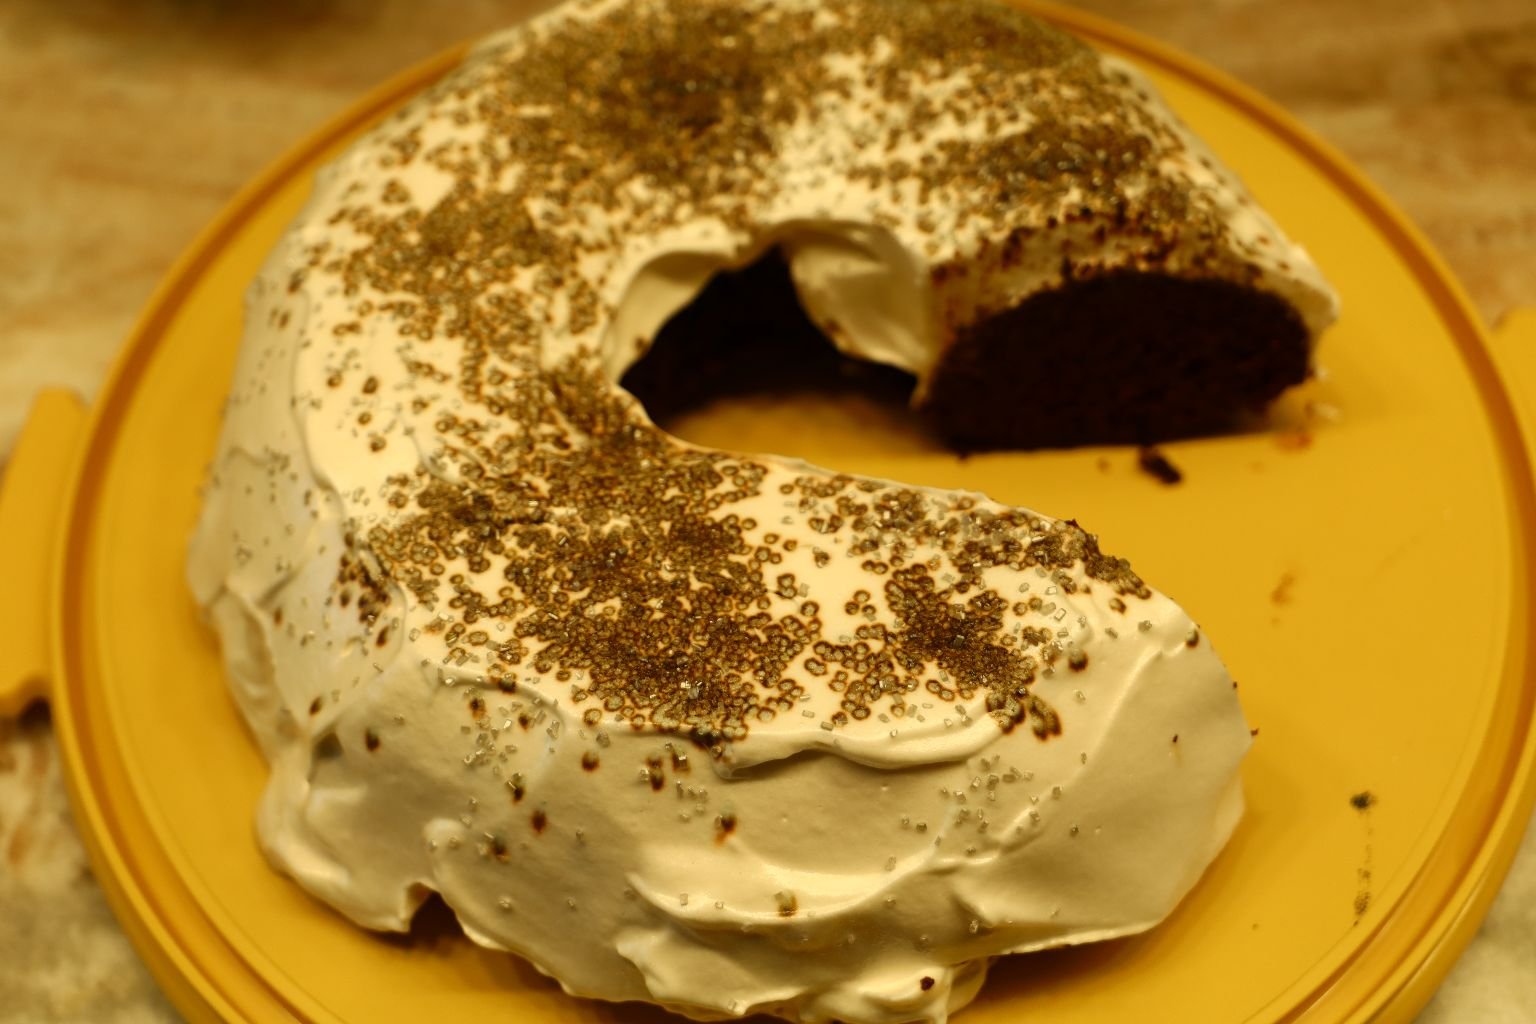
Dust the frosting with some dark colored sugar and you are done! Enjoy!
—————————————————————————————-
Happy Anniversary to Us!
Julie and Gordon
——————————————————————————-
My Really Wacky Looking (But Delicious) Birthday Cake

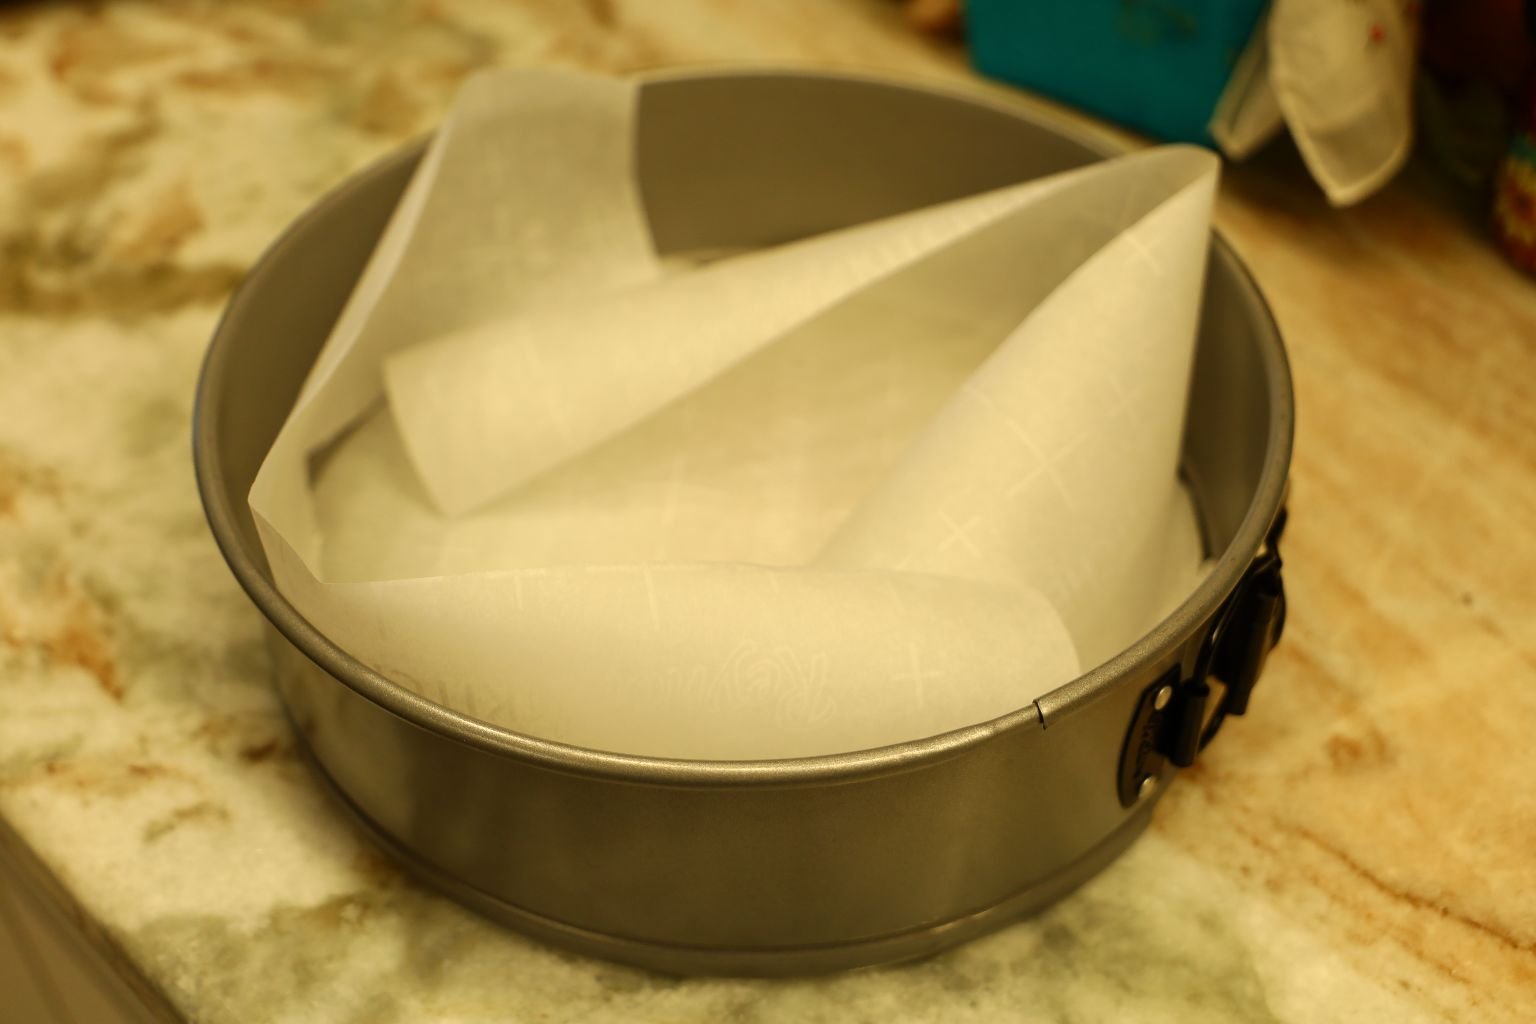
For this cake you will need a Cheesecake Spring Form Pan, Parchment Paper, and some Baking Oil Spray.
Notice the glass bottom in my pan? You can use that to draw a circle around it to measure for the Parchment Paper to place in the bottom of the pan.
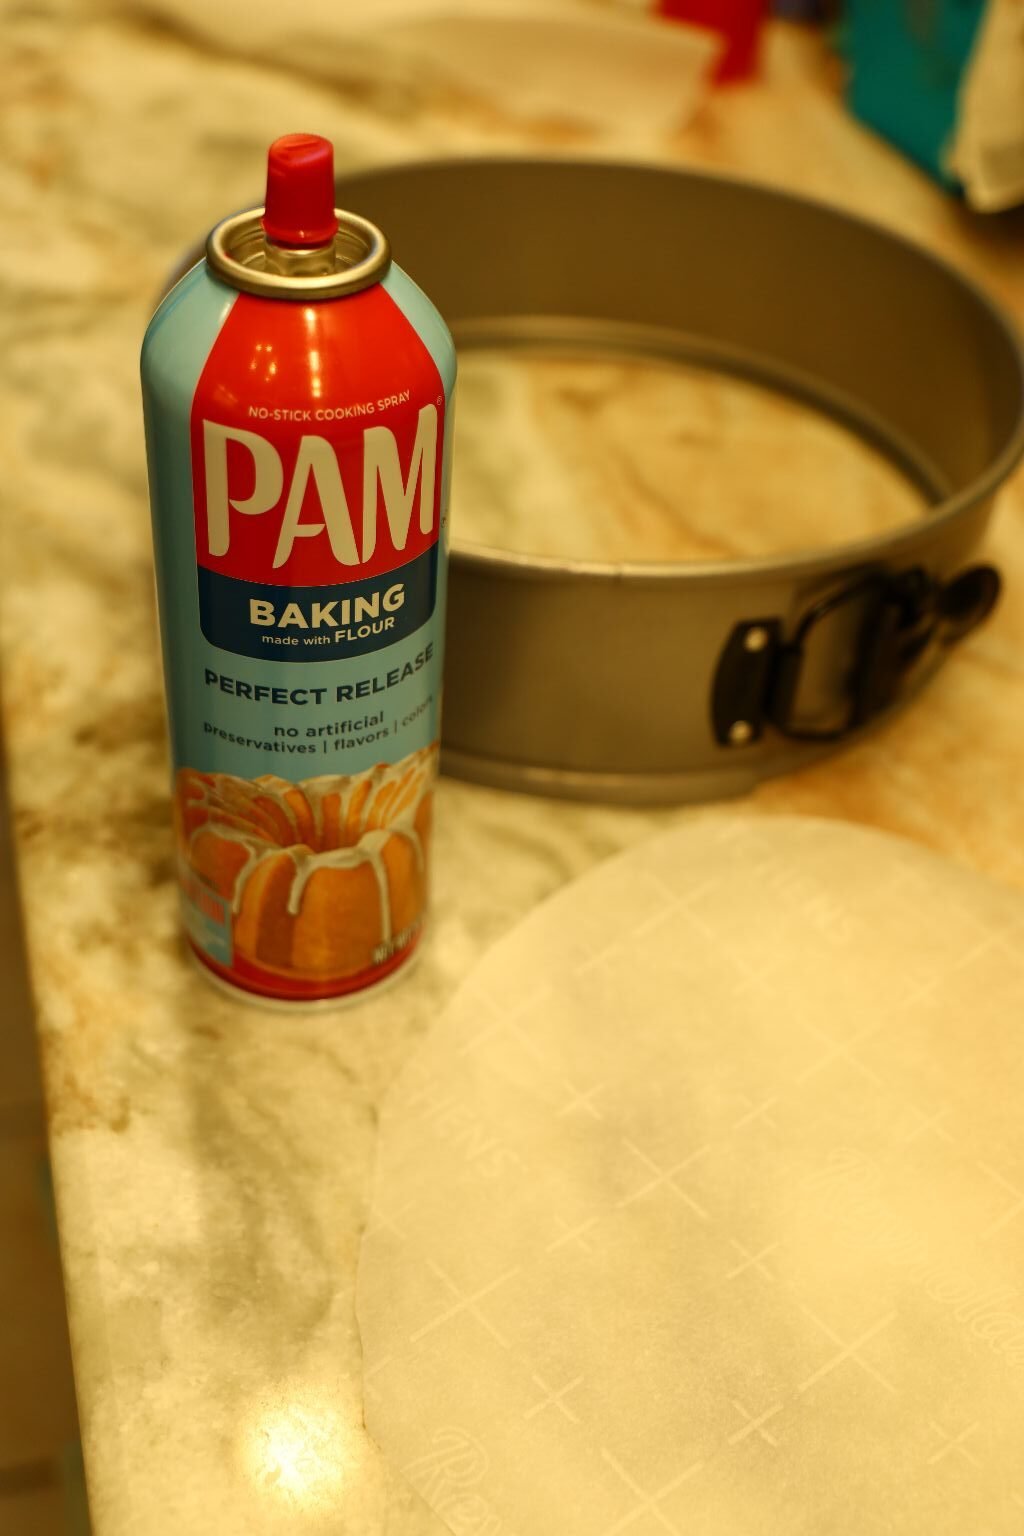
But first, spray the bottom of the pan, and all along the sides with the Baking Oil Spray.
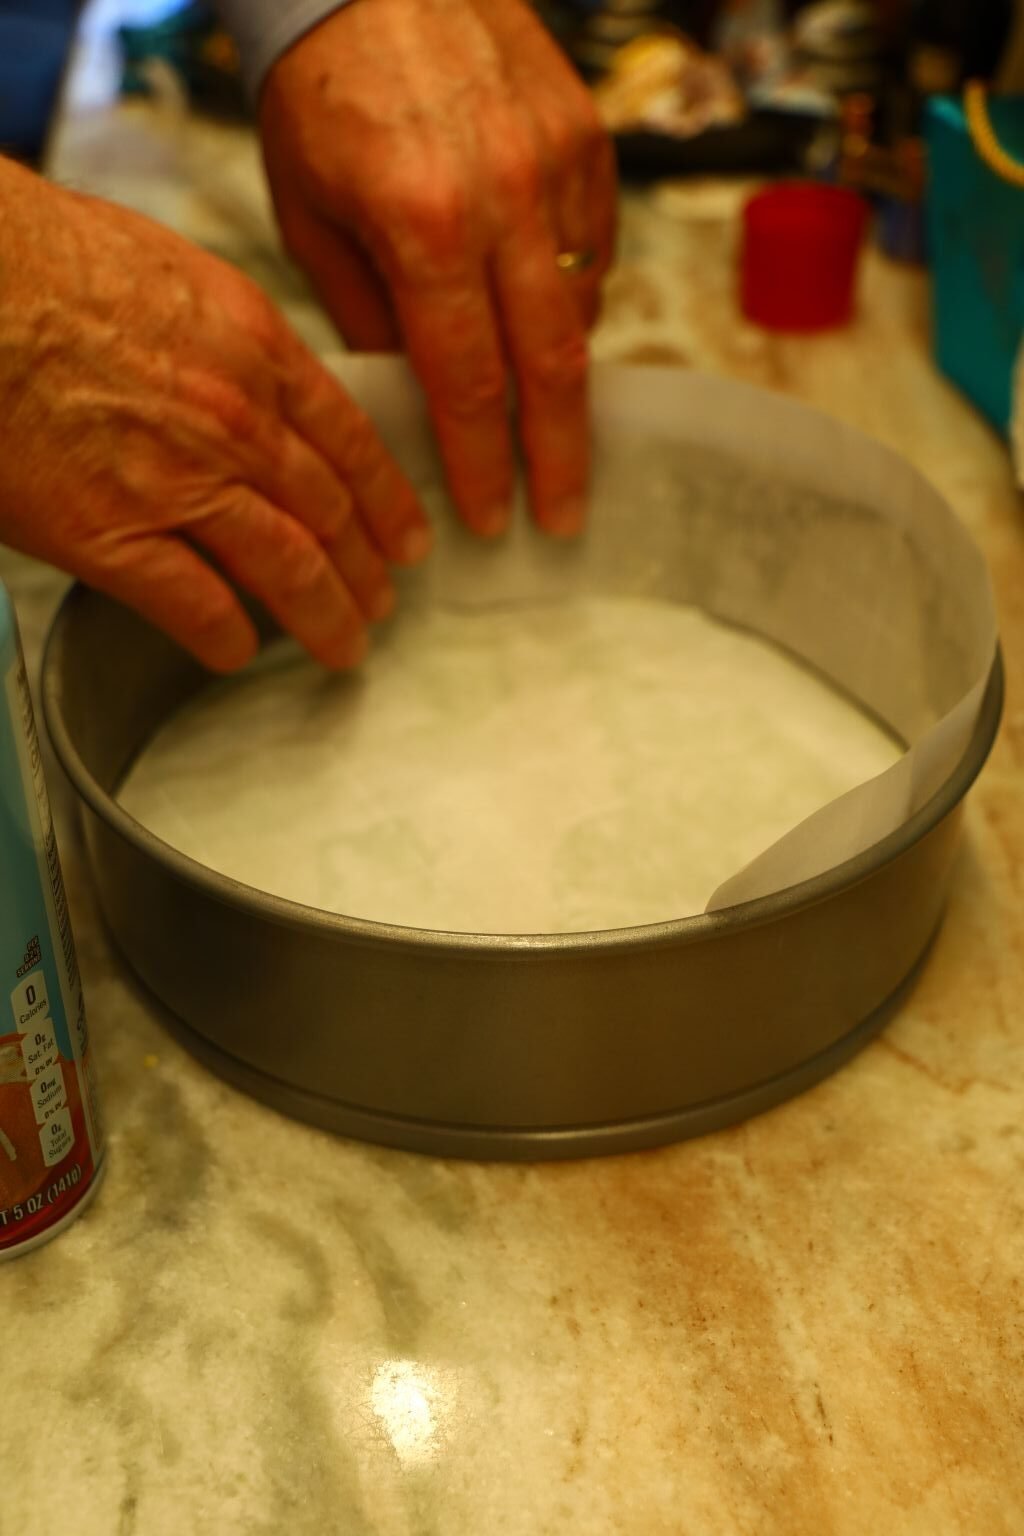


Then place the Parchment on the bottom and the sides. You will need to cut the Parchment Paper to fit, BUT, leave about an inch or so around the top, like Gordon did in the photos.
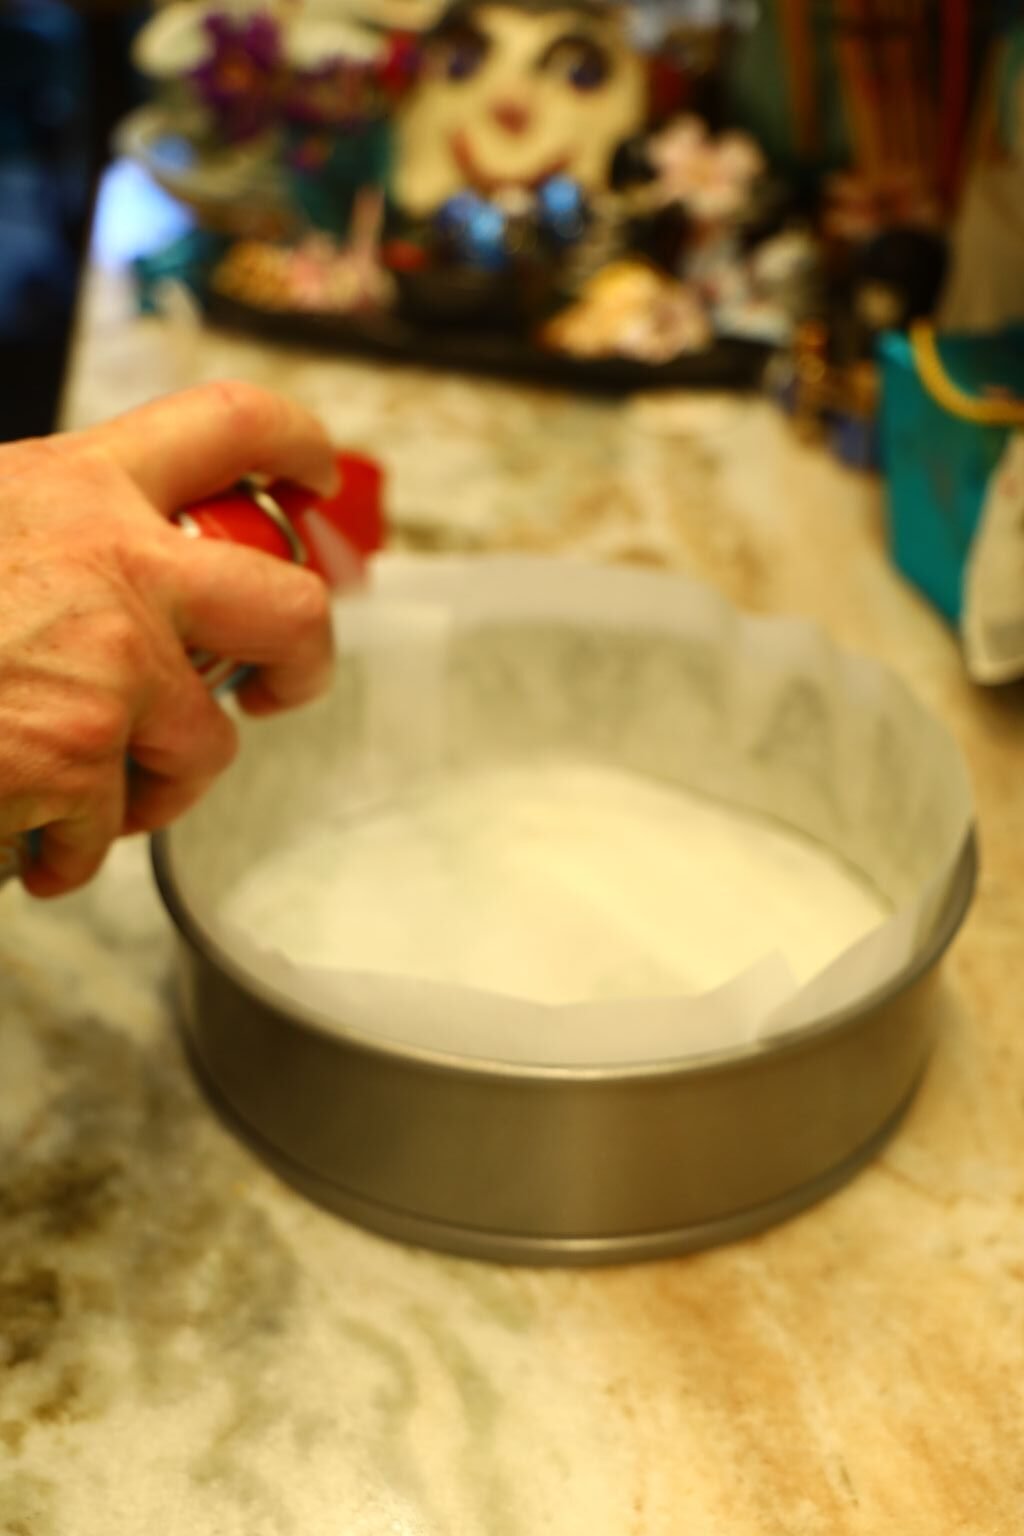

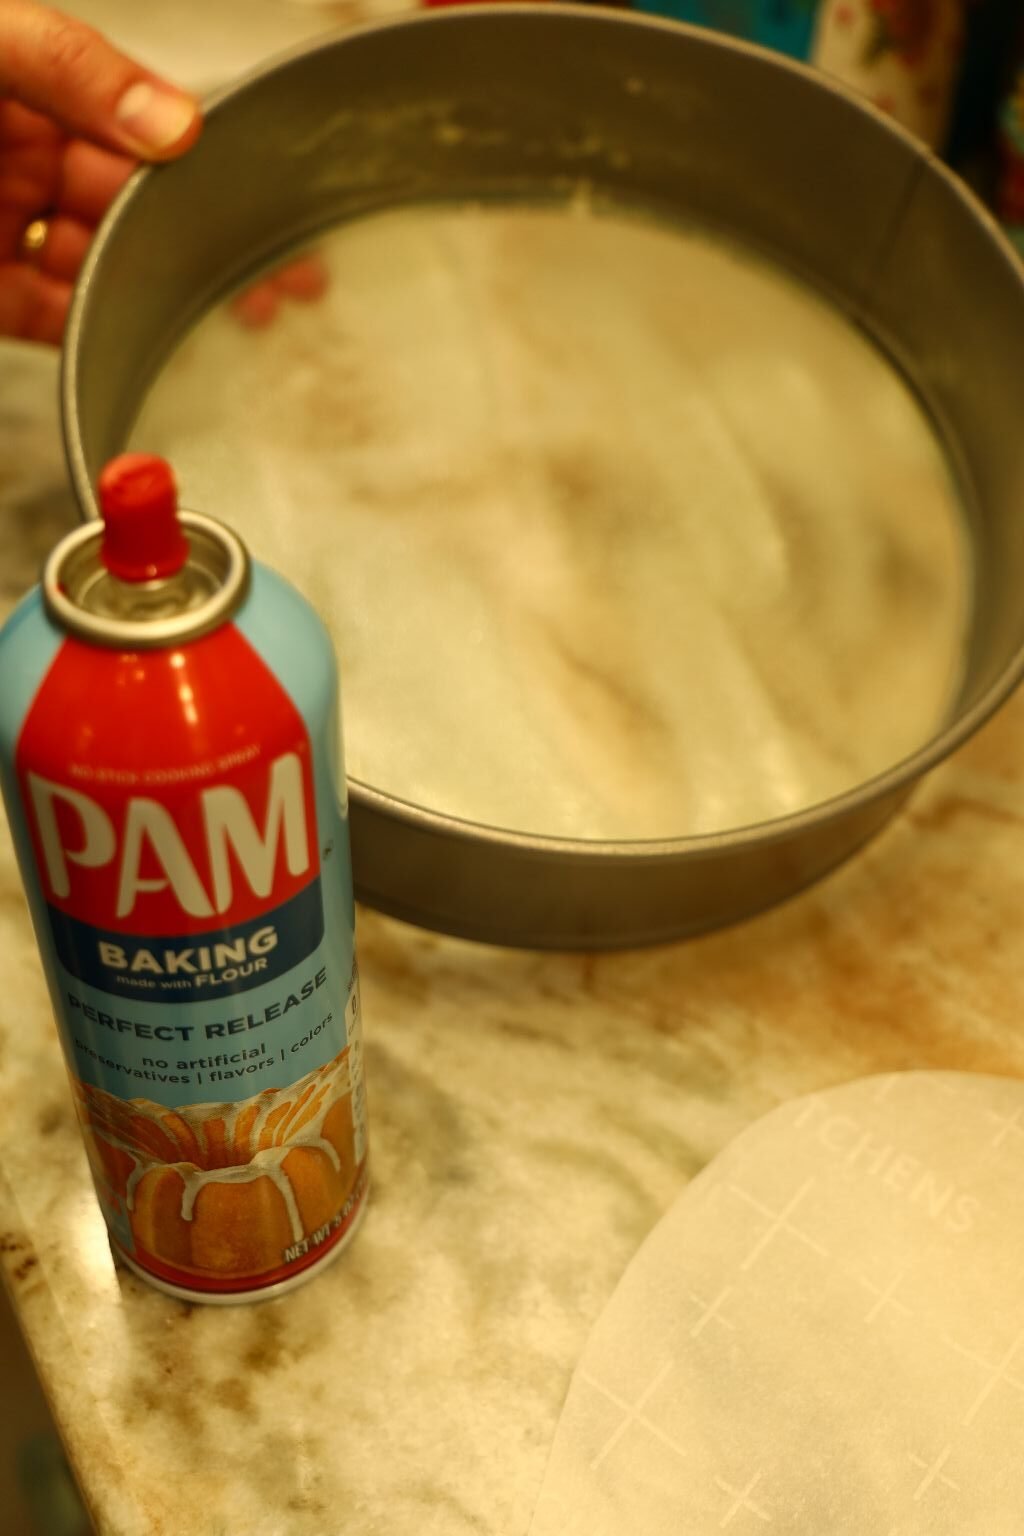
Now, spray the Baking Oil Spray all around the bottom and insides.
You don’t want the paper to stick to your cake.
——————————————————————————-
The Cake Ingredients: This is a RICE Cake
(Frosting Ingredients are Listed Below)
1 Cup of Jasmine Rice
4 Cups of Milk
1/2 Cup of Granulated Sugar
A Couple of Bay Leaves
6-8 Cardamon Pods, Open to Remove the Seeds
1 1/4 Cups Heavy Cream
6 Eggs, Separate the Yolks from the Whites and Save
————————————————————————————
Boiling the Jasmine Rice
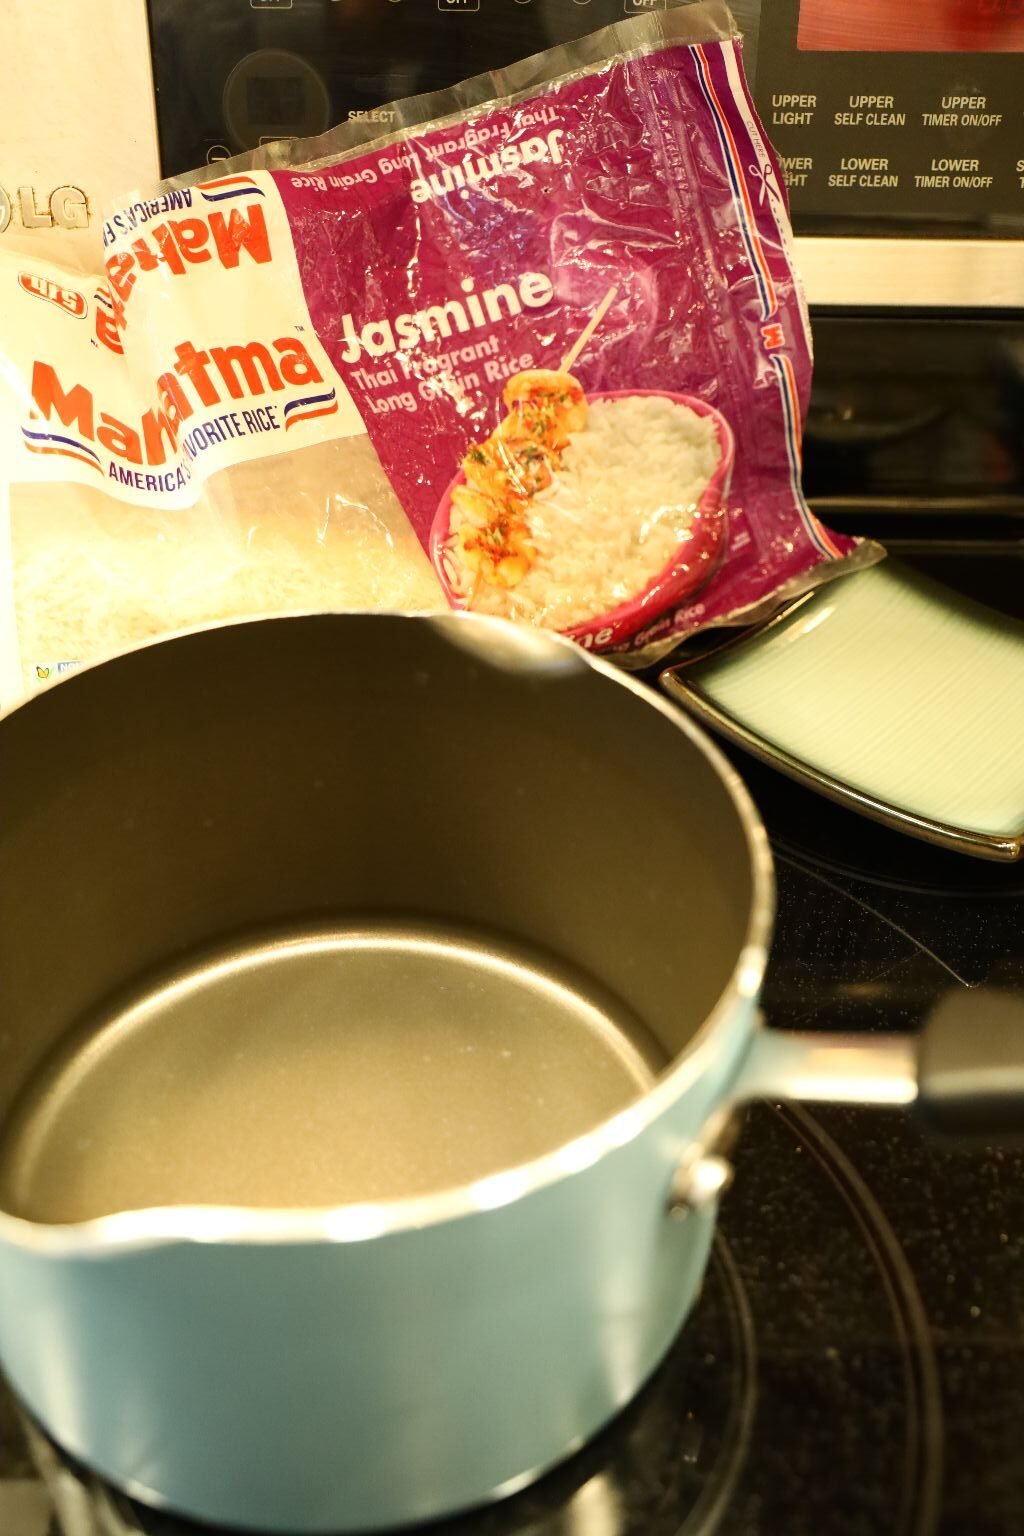


Just place enough water in a saucepan and heat to boiling. Do NOT add any SALT!
Then add the rice to the boiling water for a good 3 minutes.


Drain into a Colander

Now, place the rice back into the saucepan.

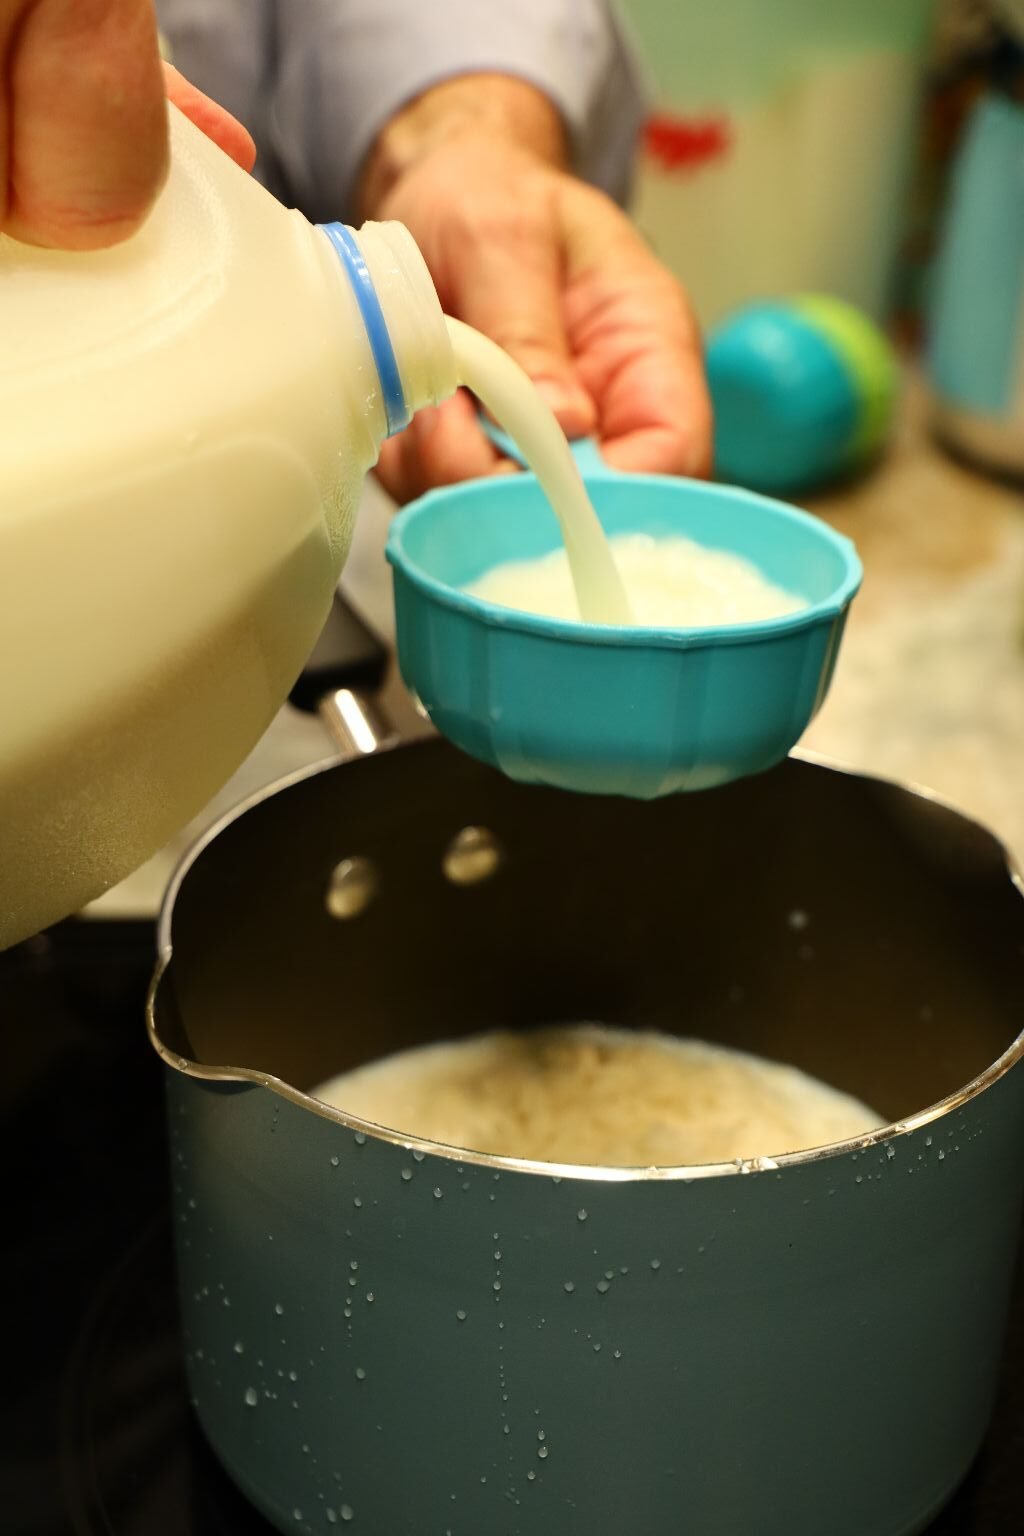

Add the Milk,
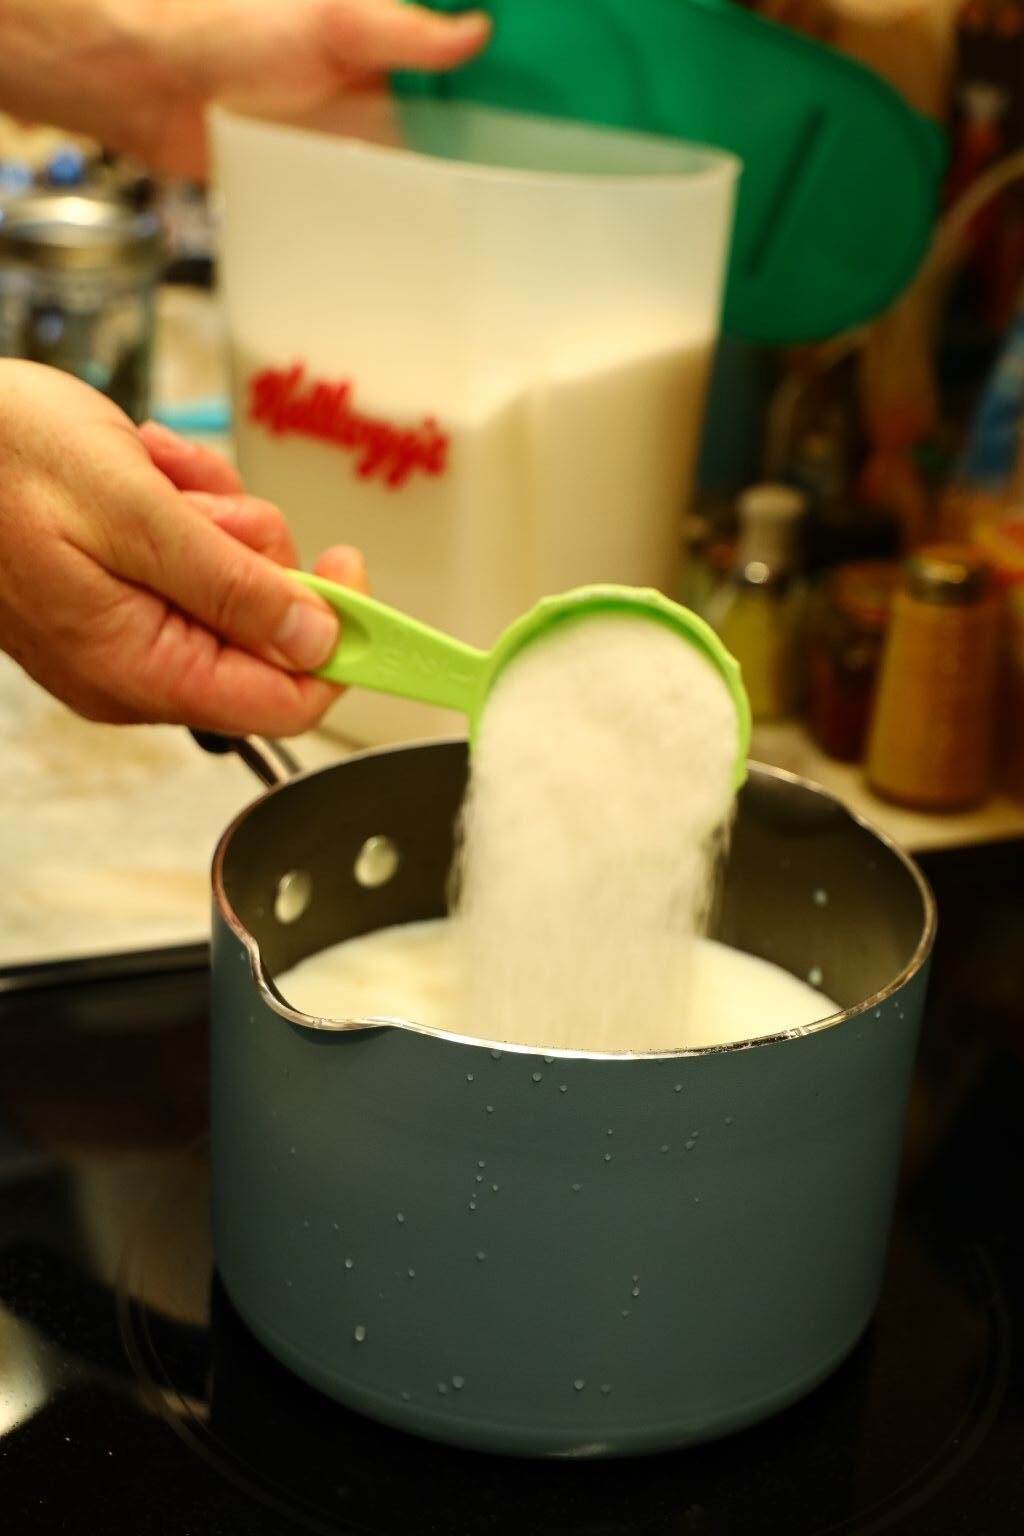
Then the Sugar,


And the Bay Leaves,


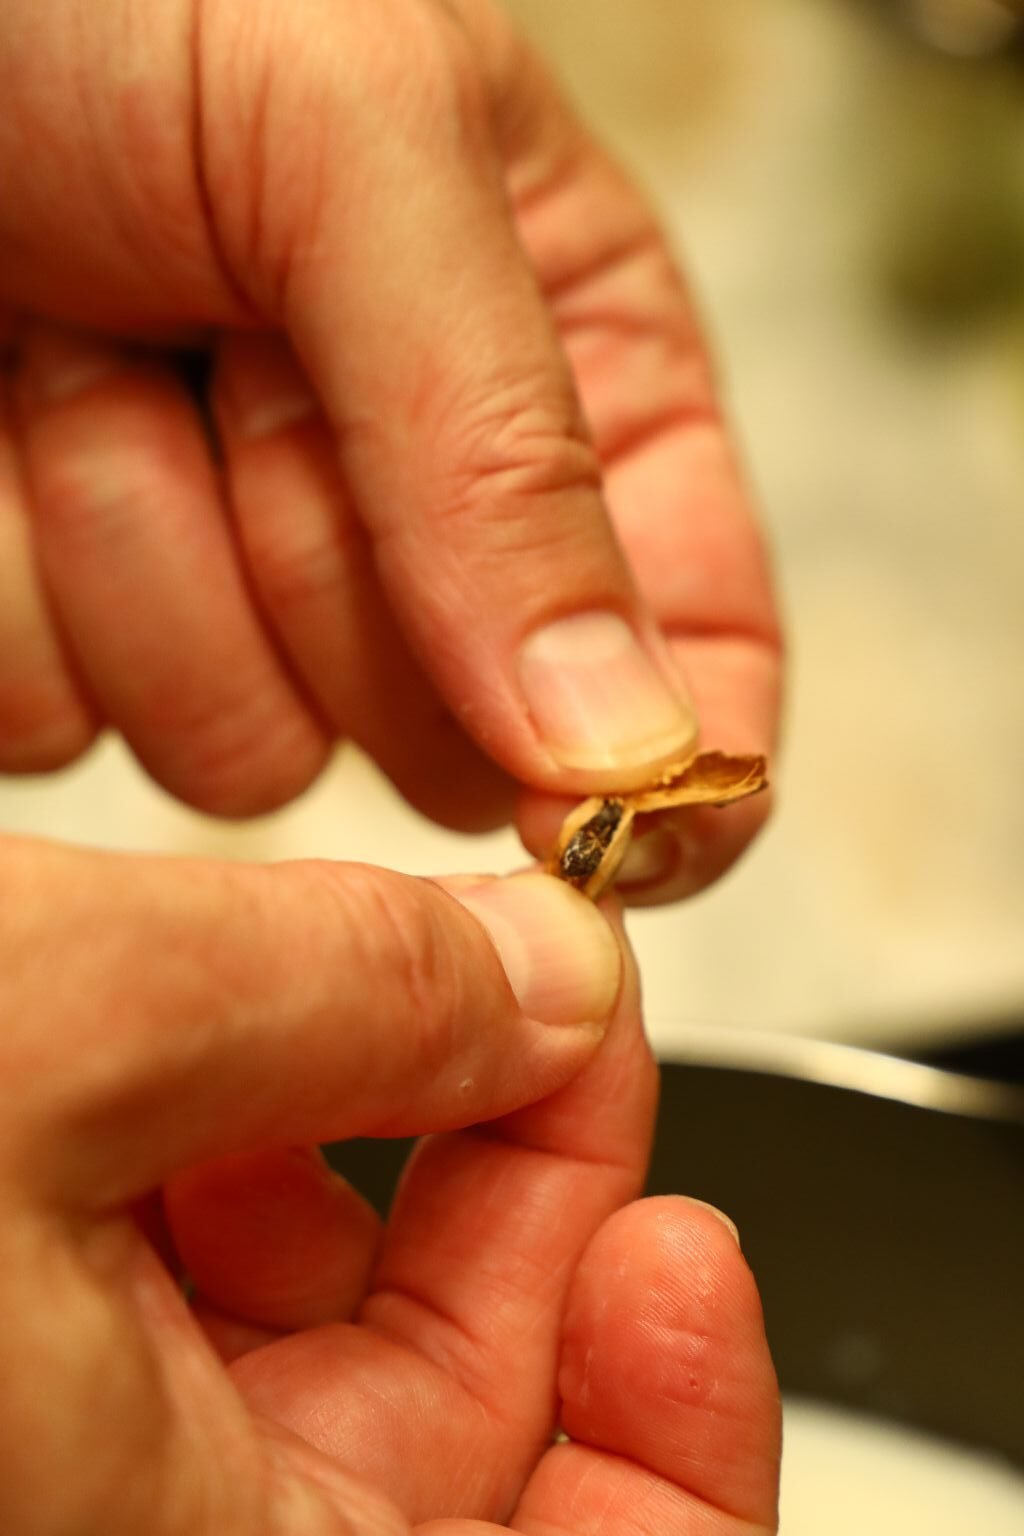
Gordon Opening the Cardamon Pods and Removing the Seeds

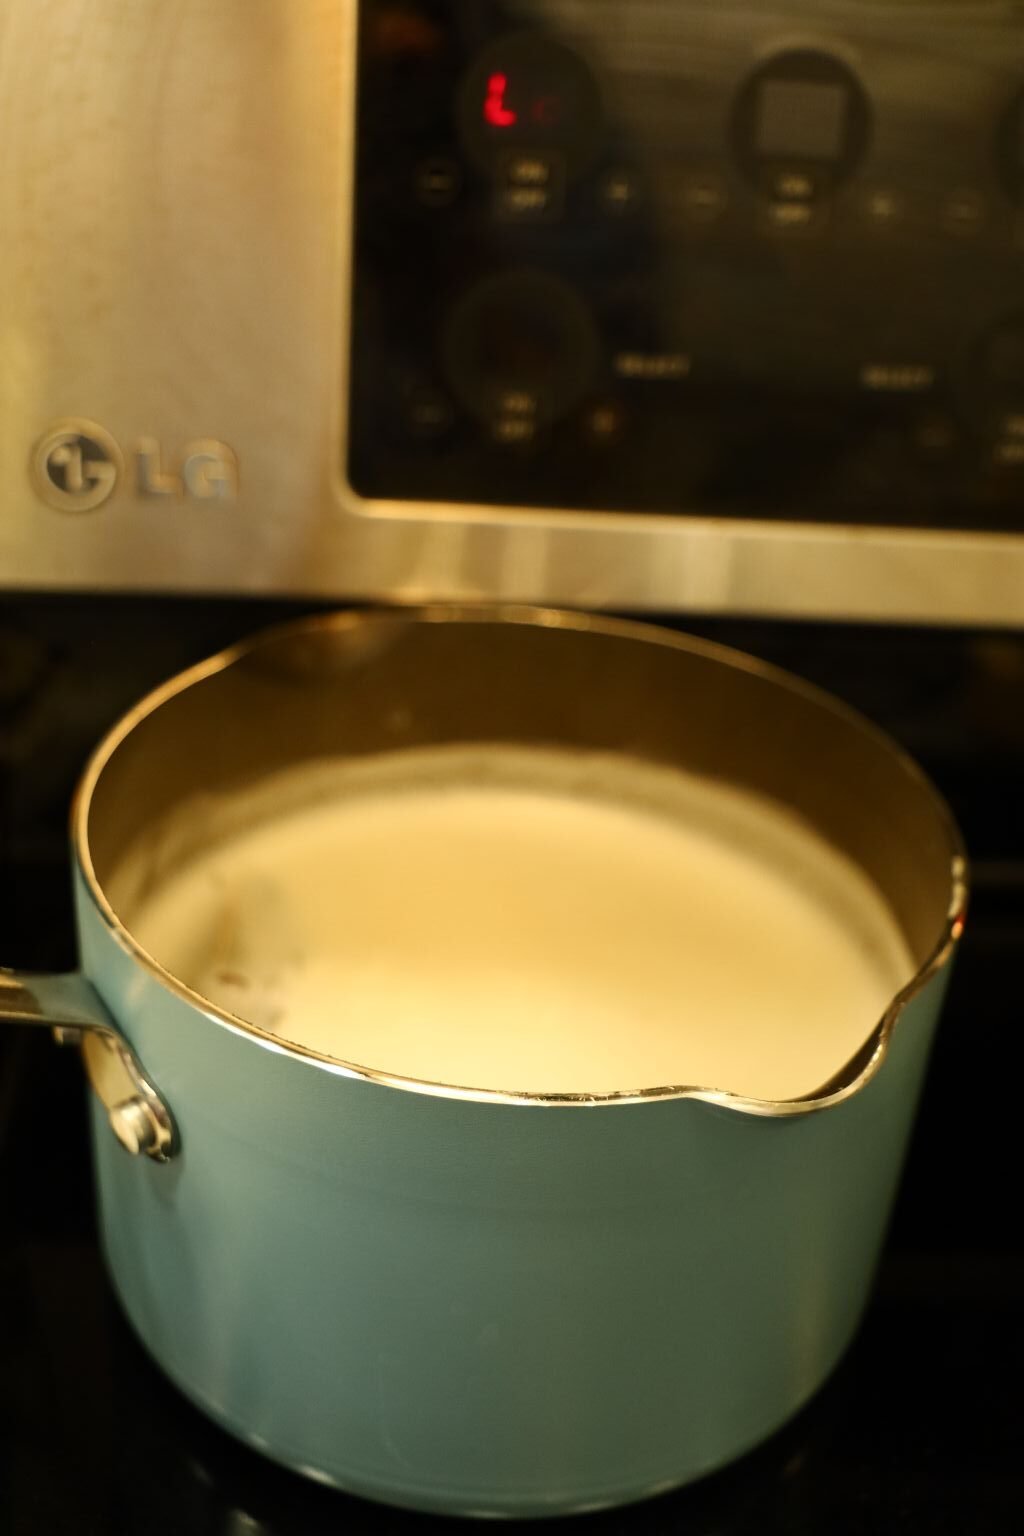

Add the Seeds to the Pot, Bring to a Boil, then Lower Heat to a Simmer for About 20-25 Minutes.

Stirring Occasionally

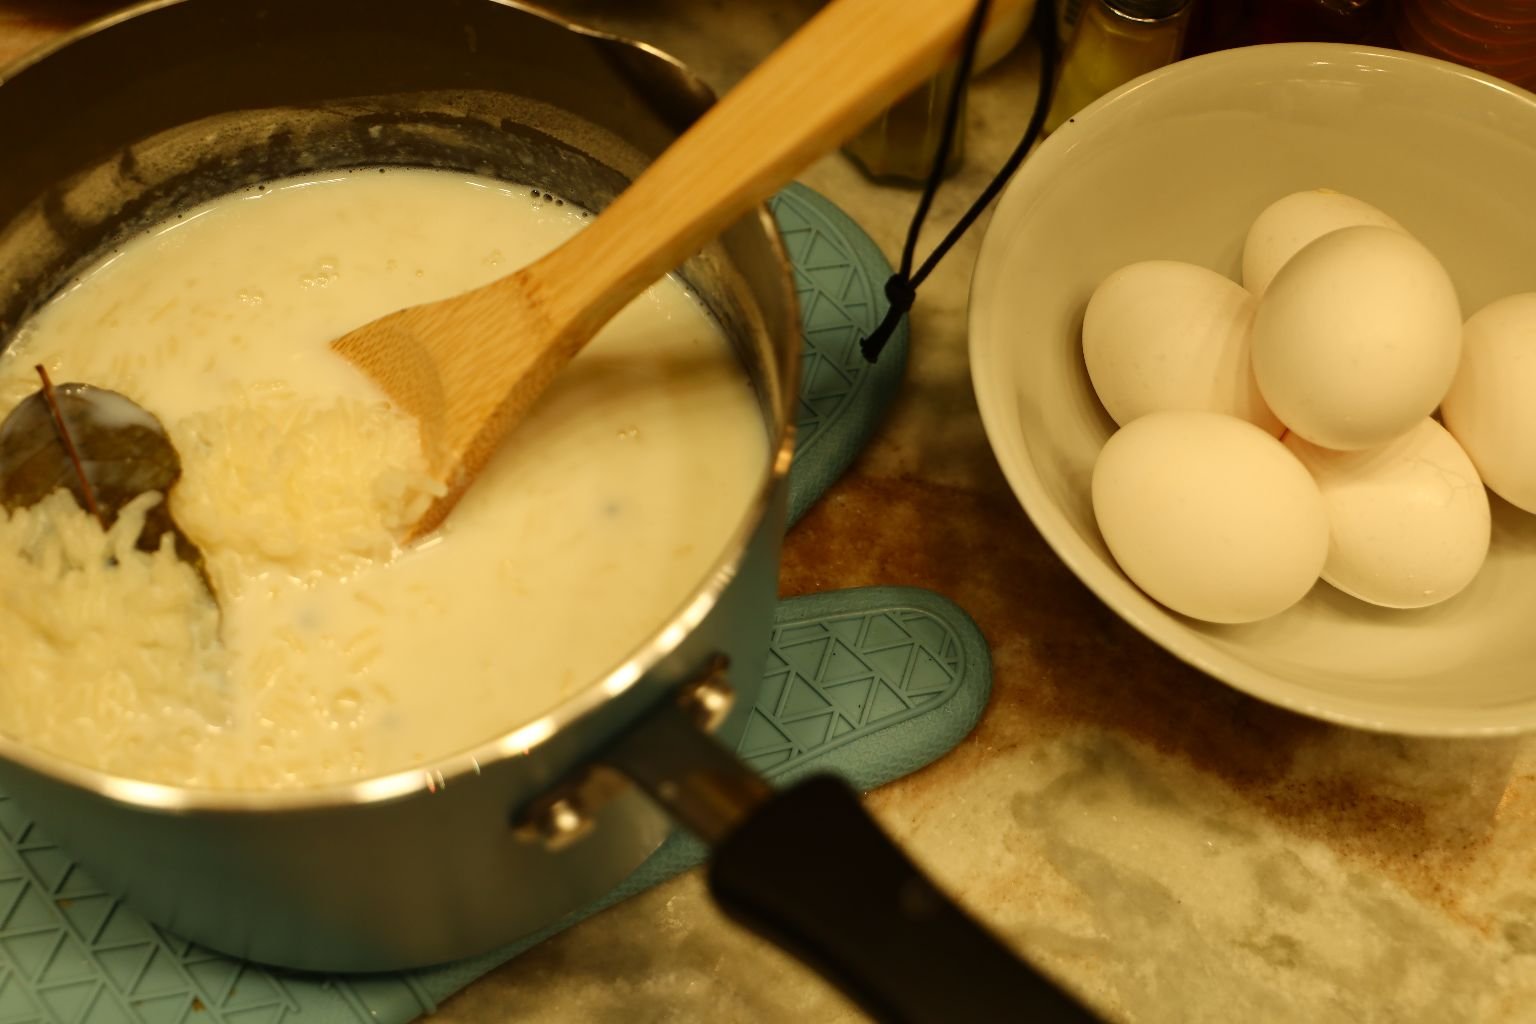
Remove from the heat and allow it to stand until cool.
Then remove the Bay Leaves.
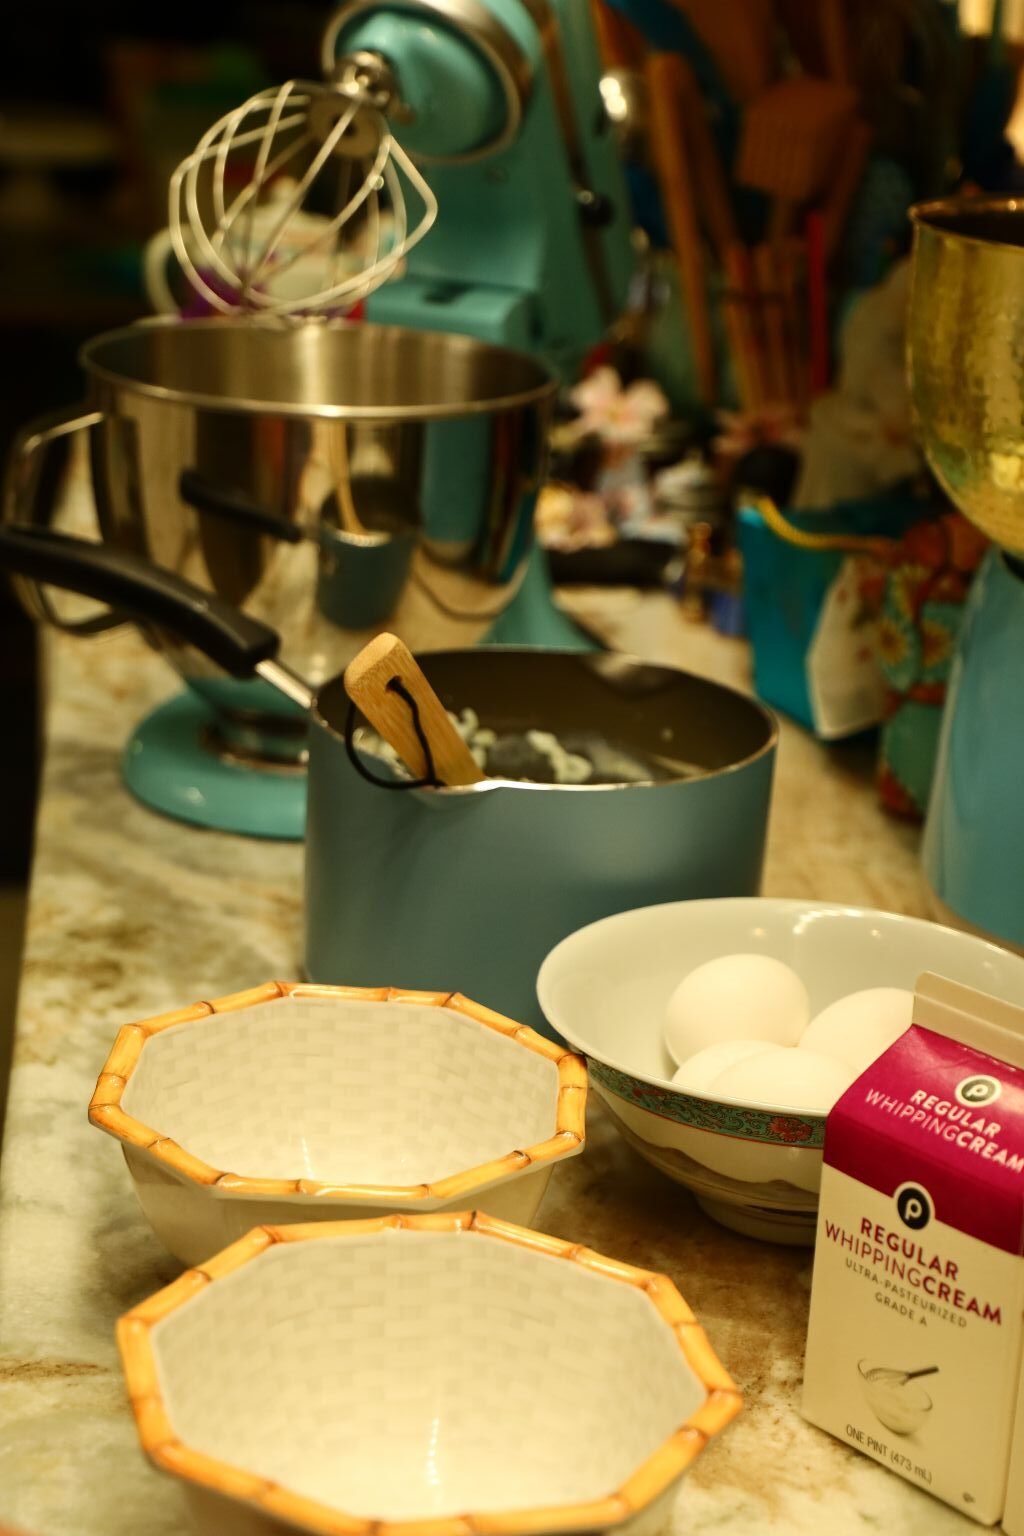
You Will Need A Mixer
————————————————————————–

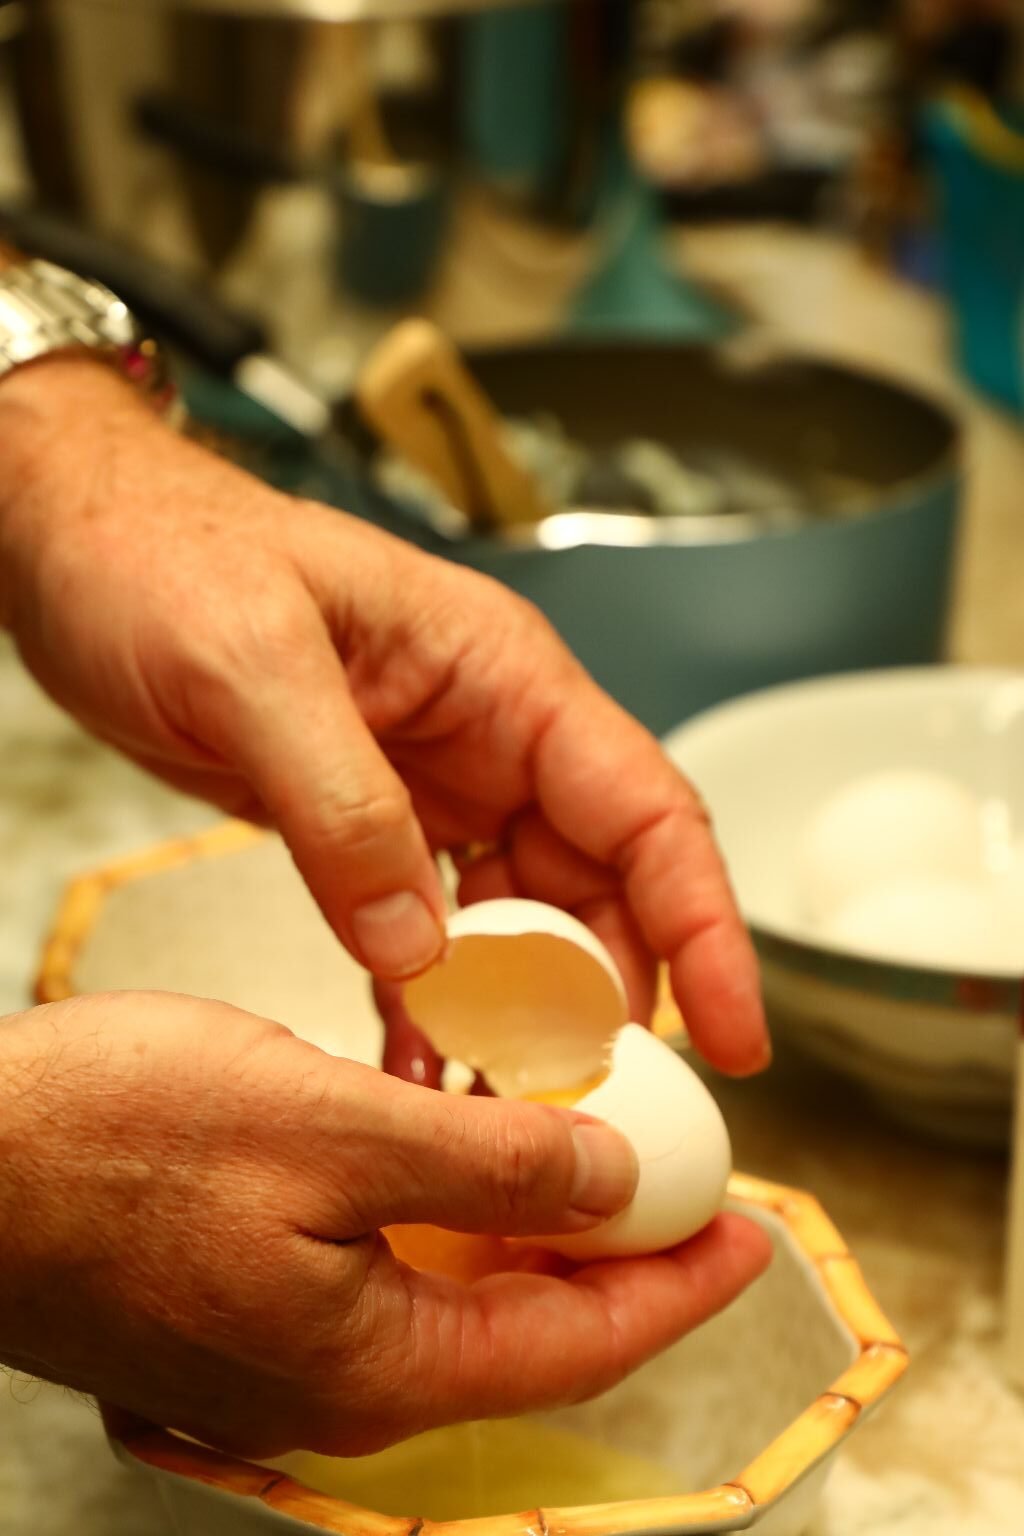
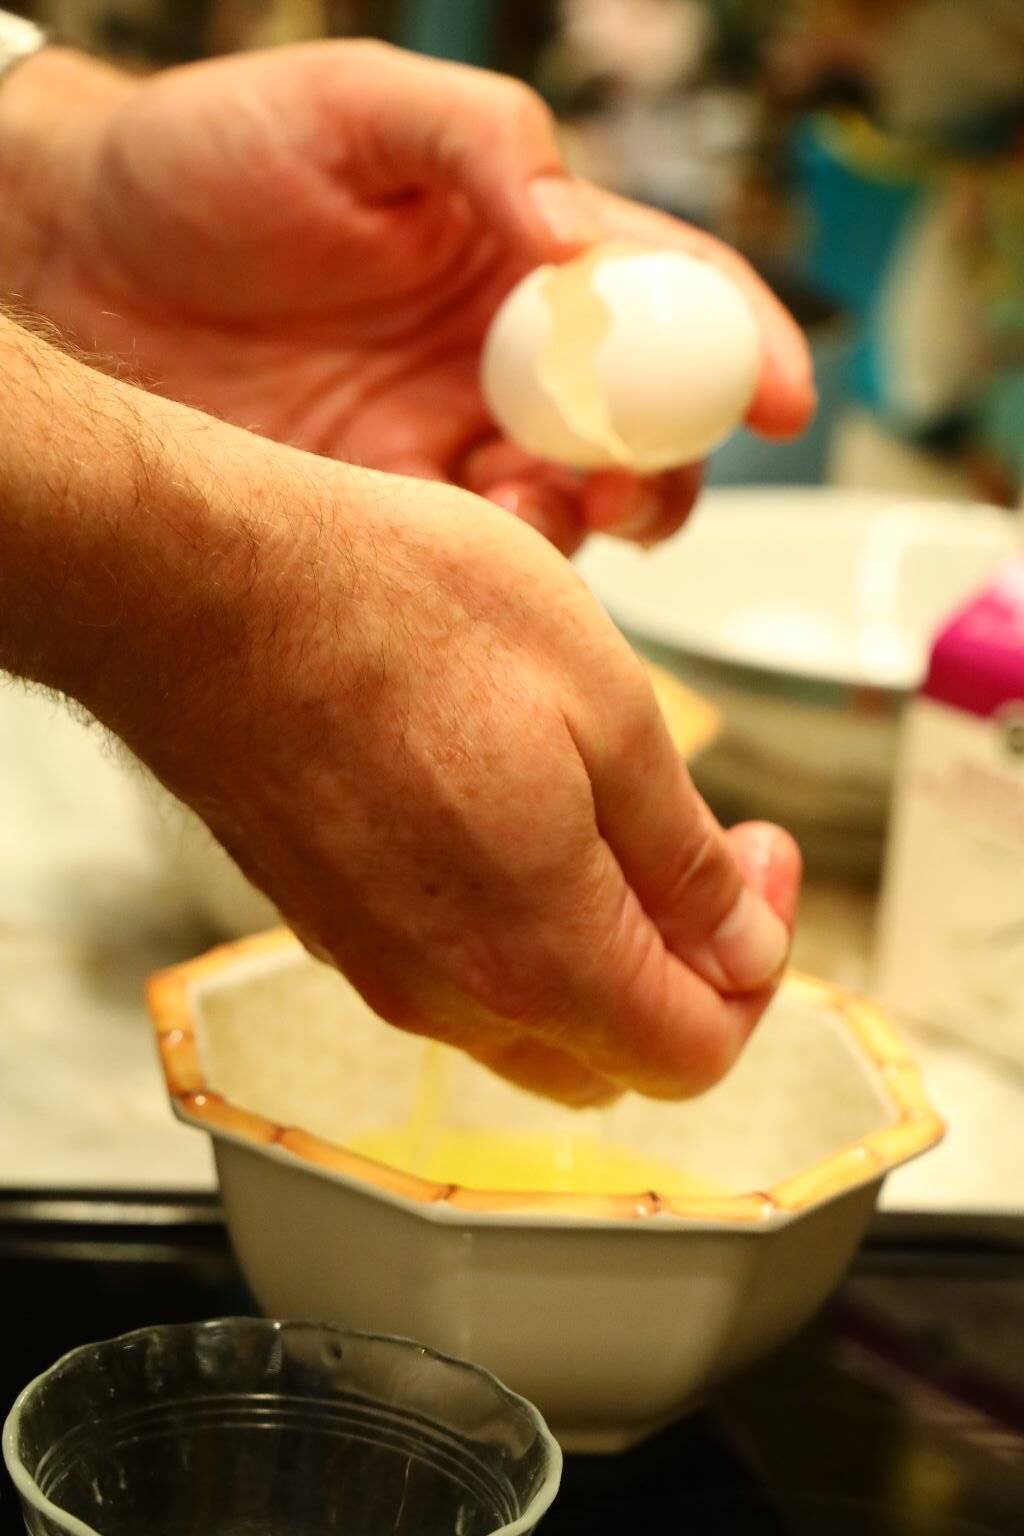
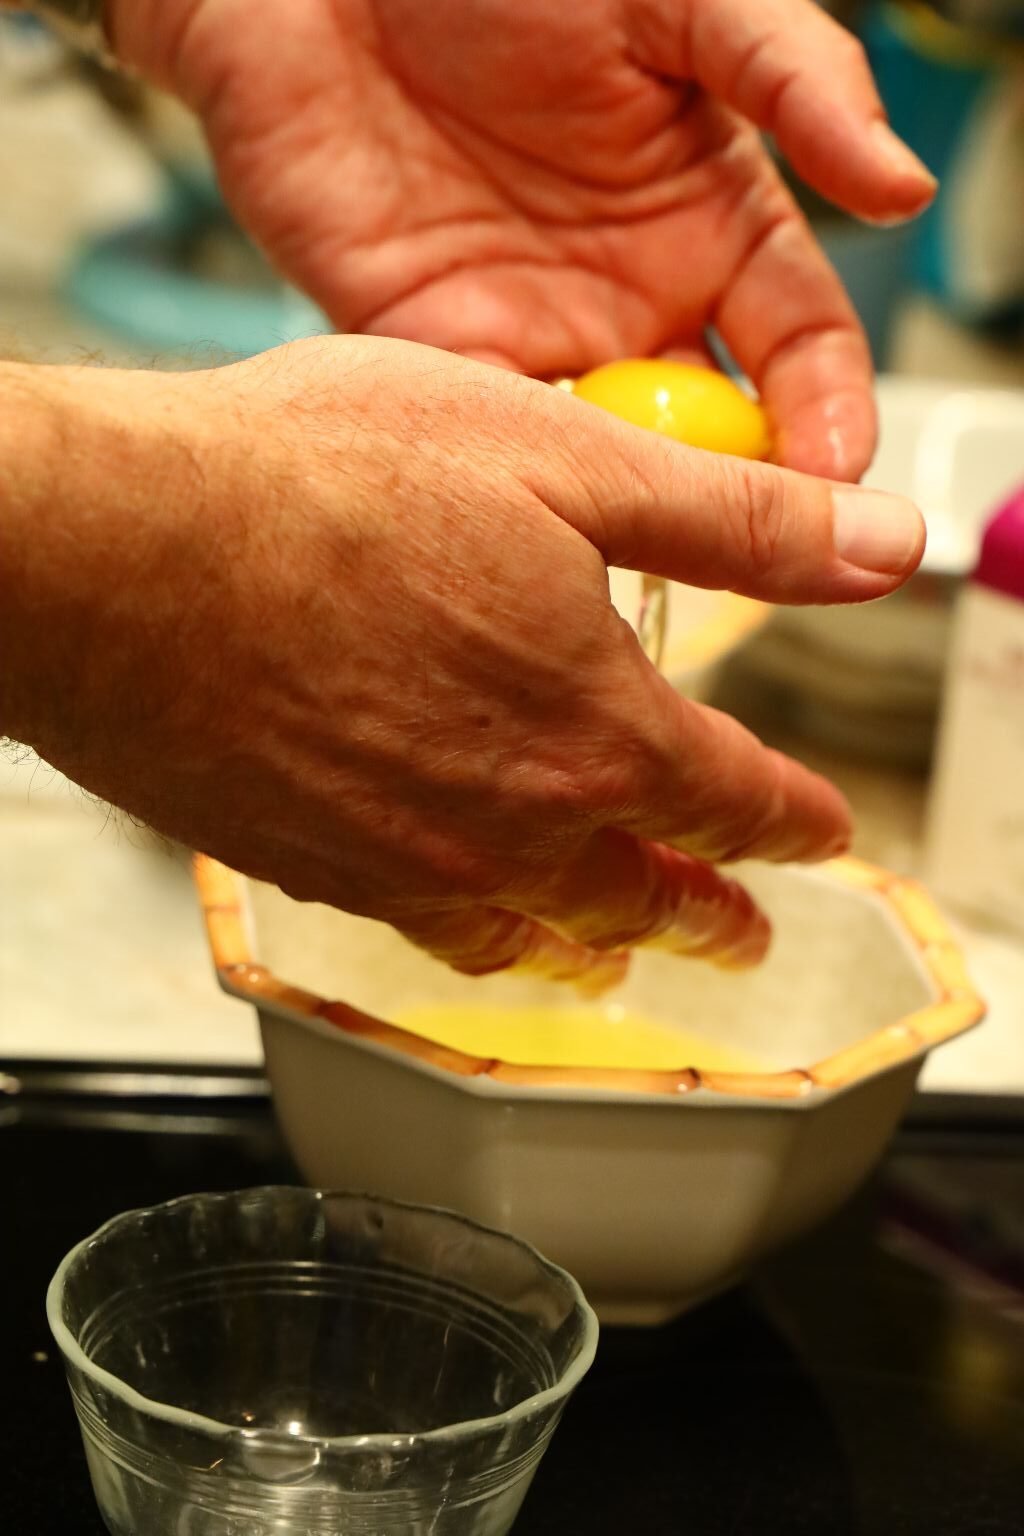
Time To Separate The Eggs
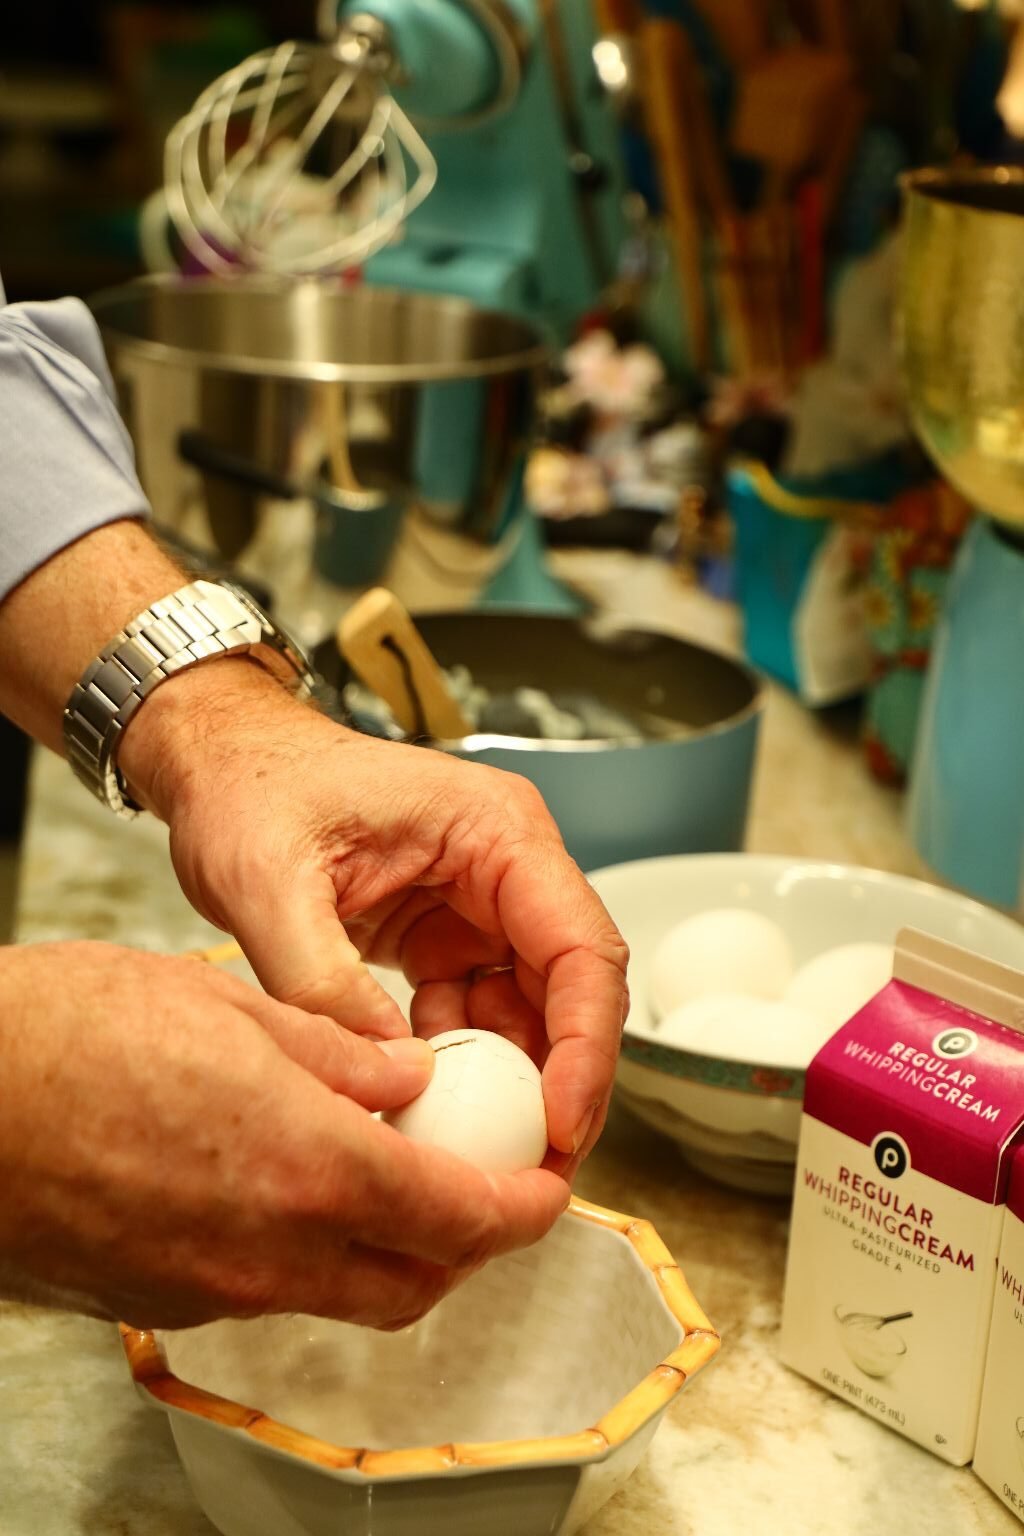

You Want to Put the Egg Whites in one Bowl, and the Yolks in Another
If you crack and egg and place it in your hand, the Egg Whites can slip through your fingers and leave the Yellow Yolk intact.

————————————————————————

—————————————————————————–

6 Egg Yolks Left, 6 Egg Whites Right
————————————————————————
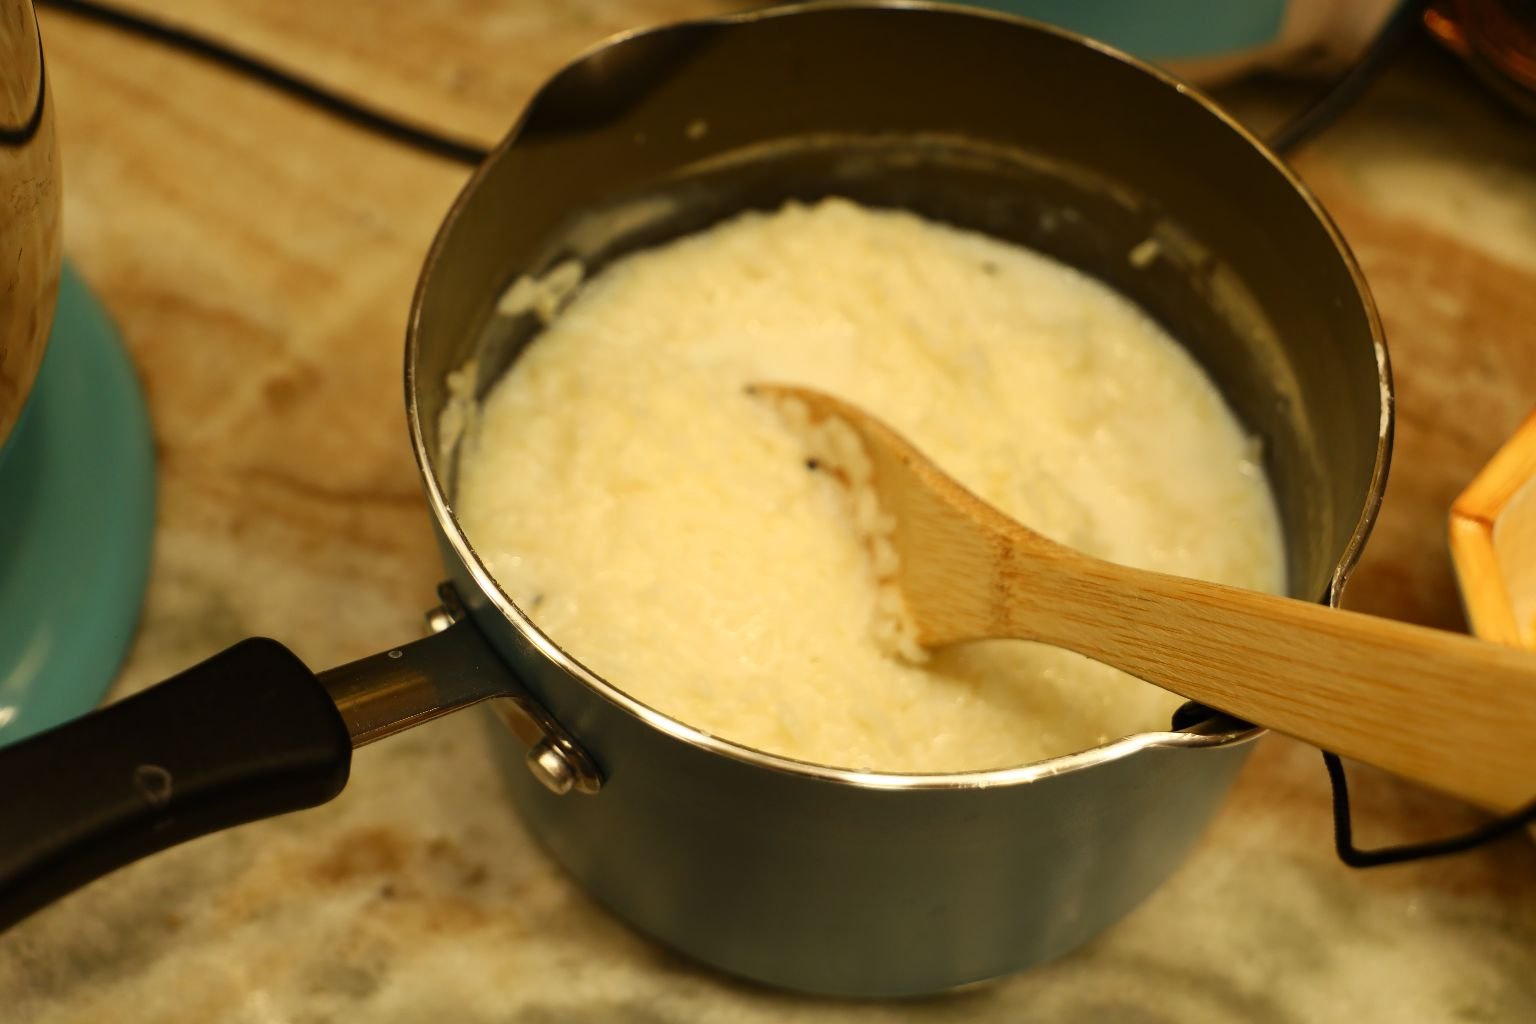
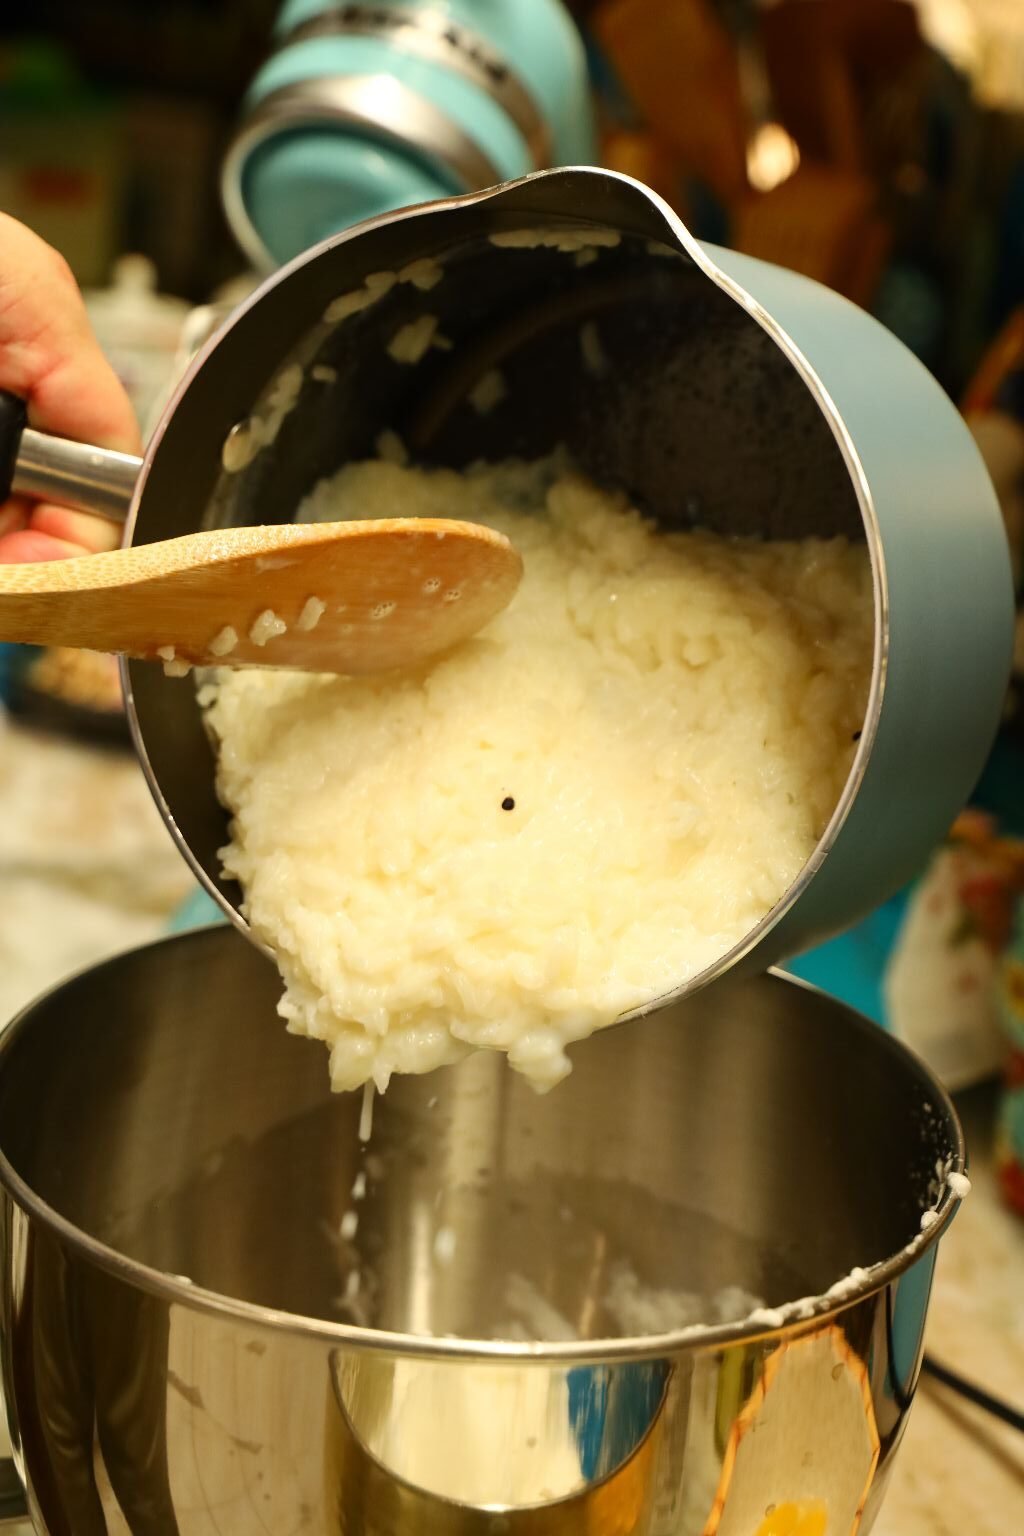
Our Rice and Milk Mixture Resting
————————————————————————-
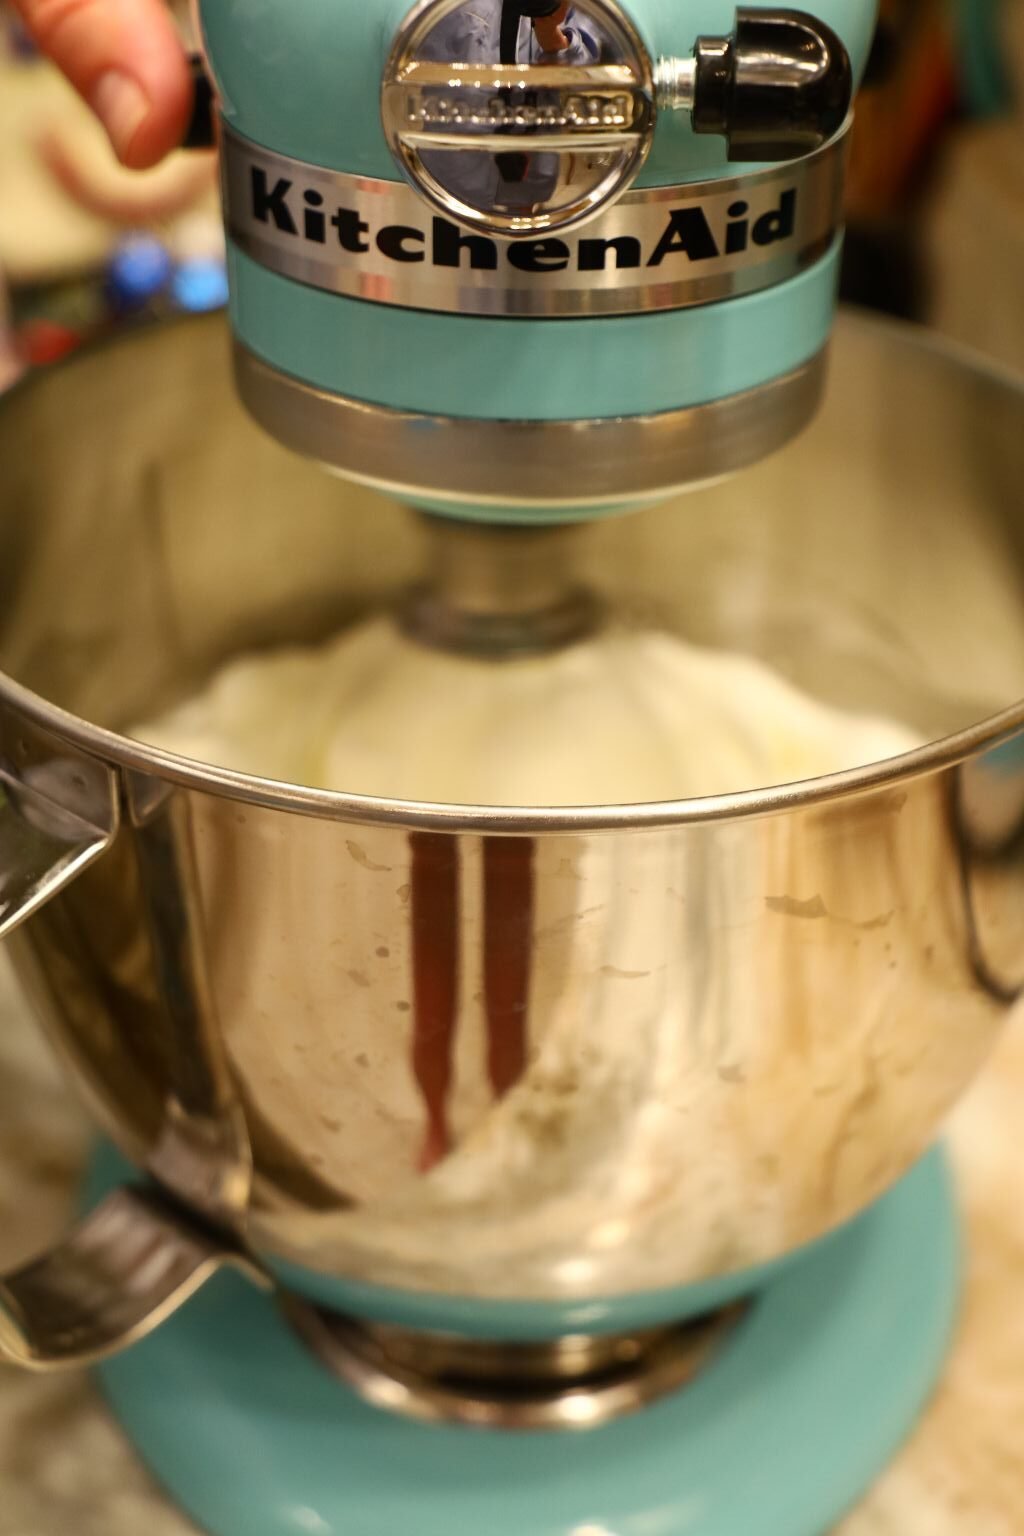
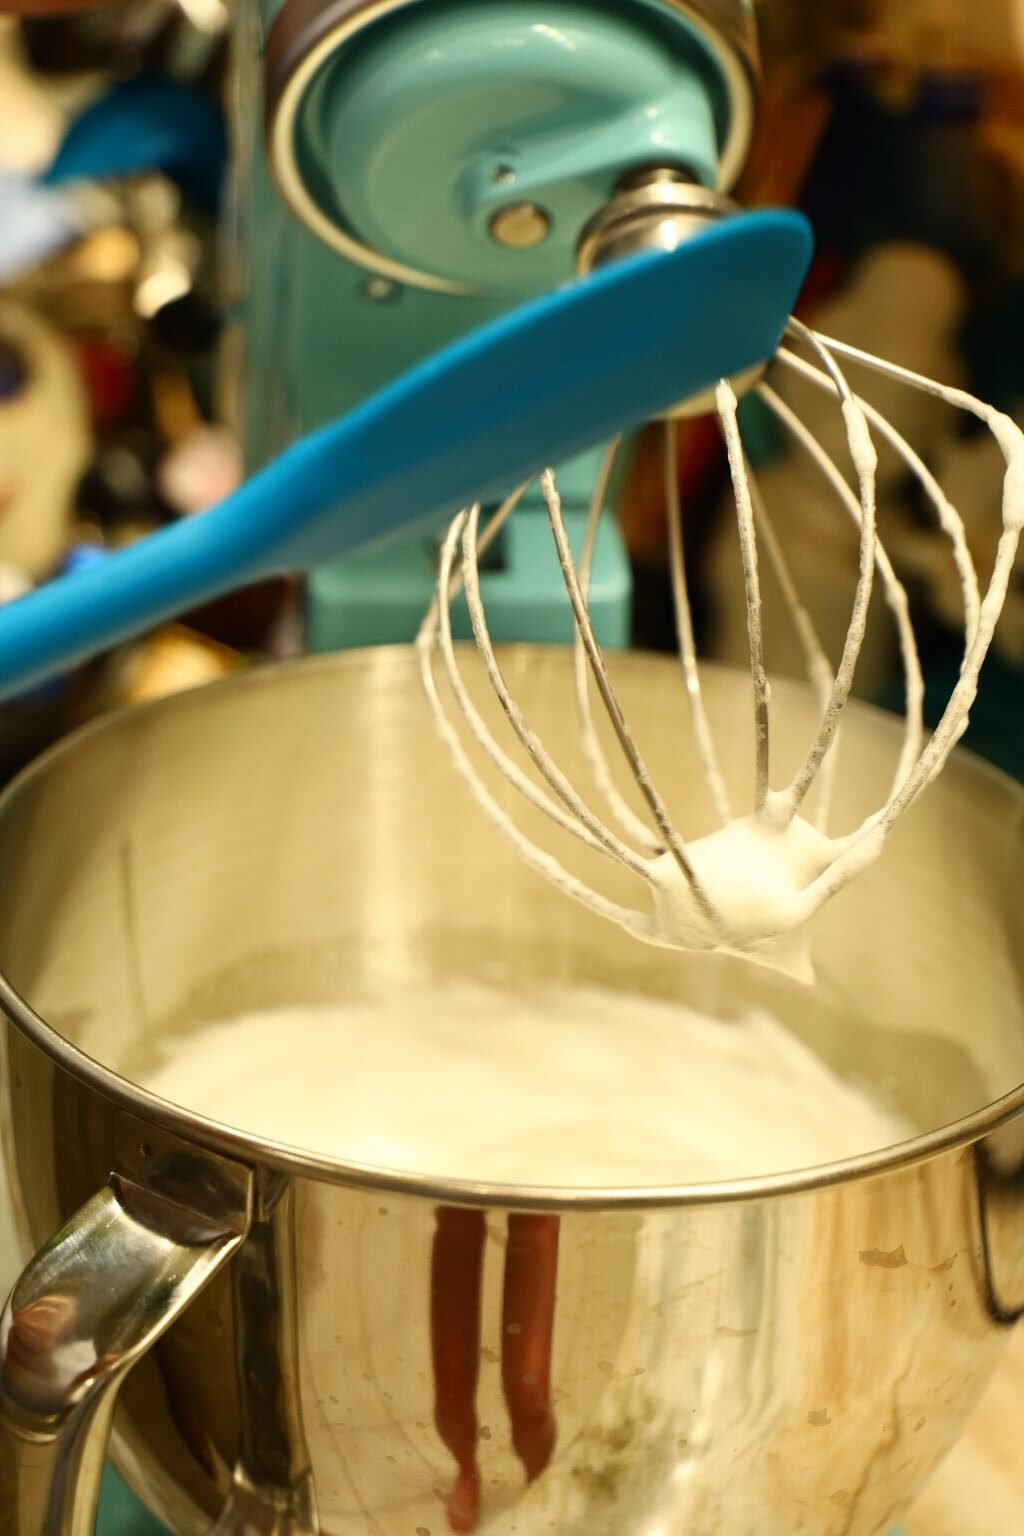
Place the Egg Whites into the Mixer and Mix Until They Form Stiff Peaks
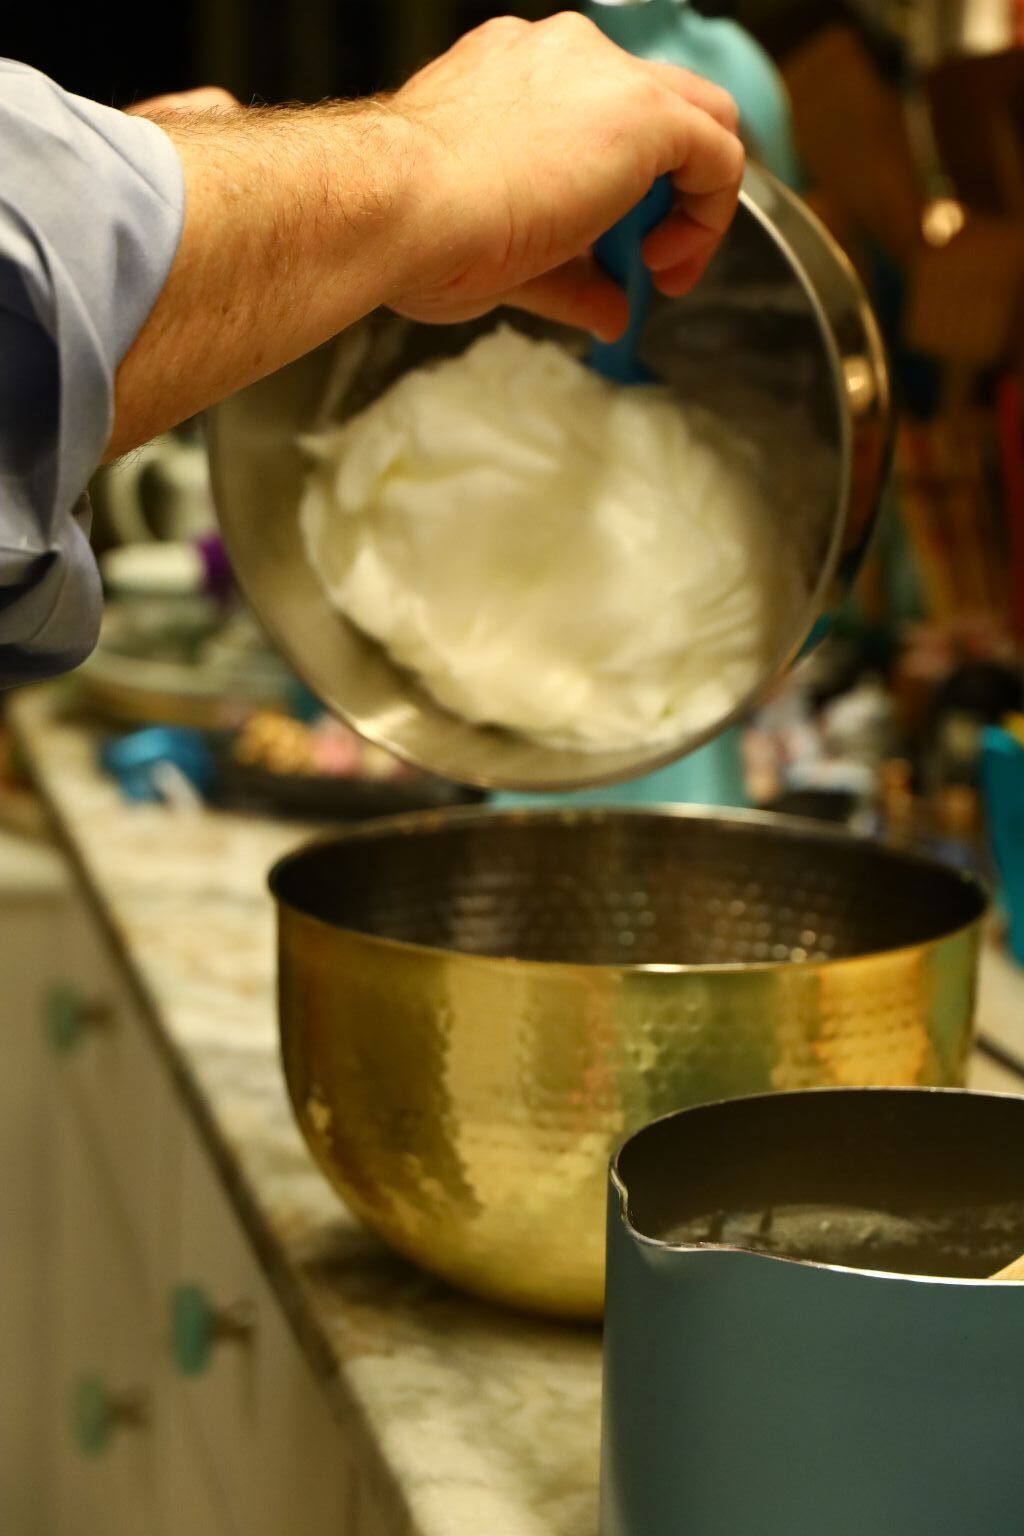
Once Stiff Peaks Have Formed, Place Them Into a Medium Sized Bowl. (Photo Left)
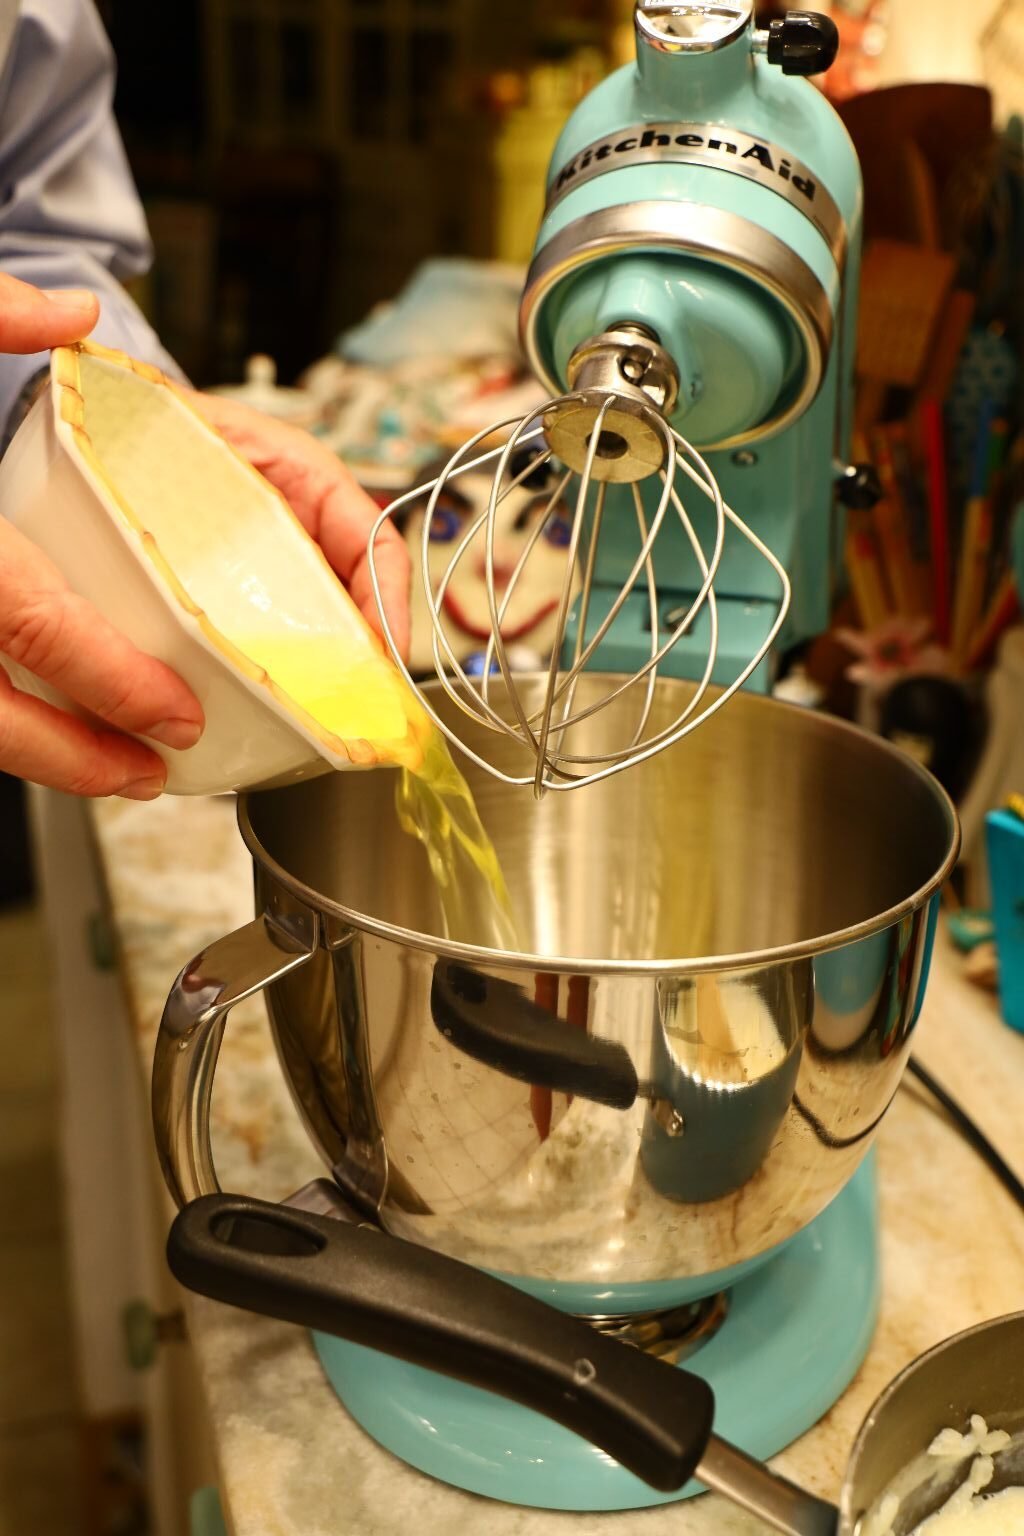
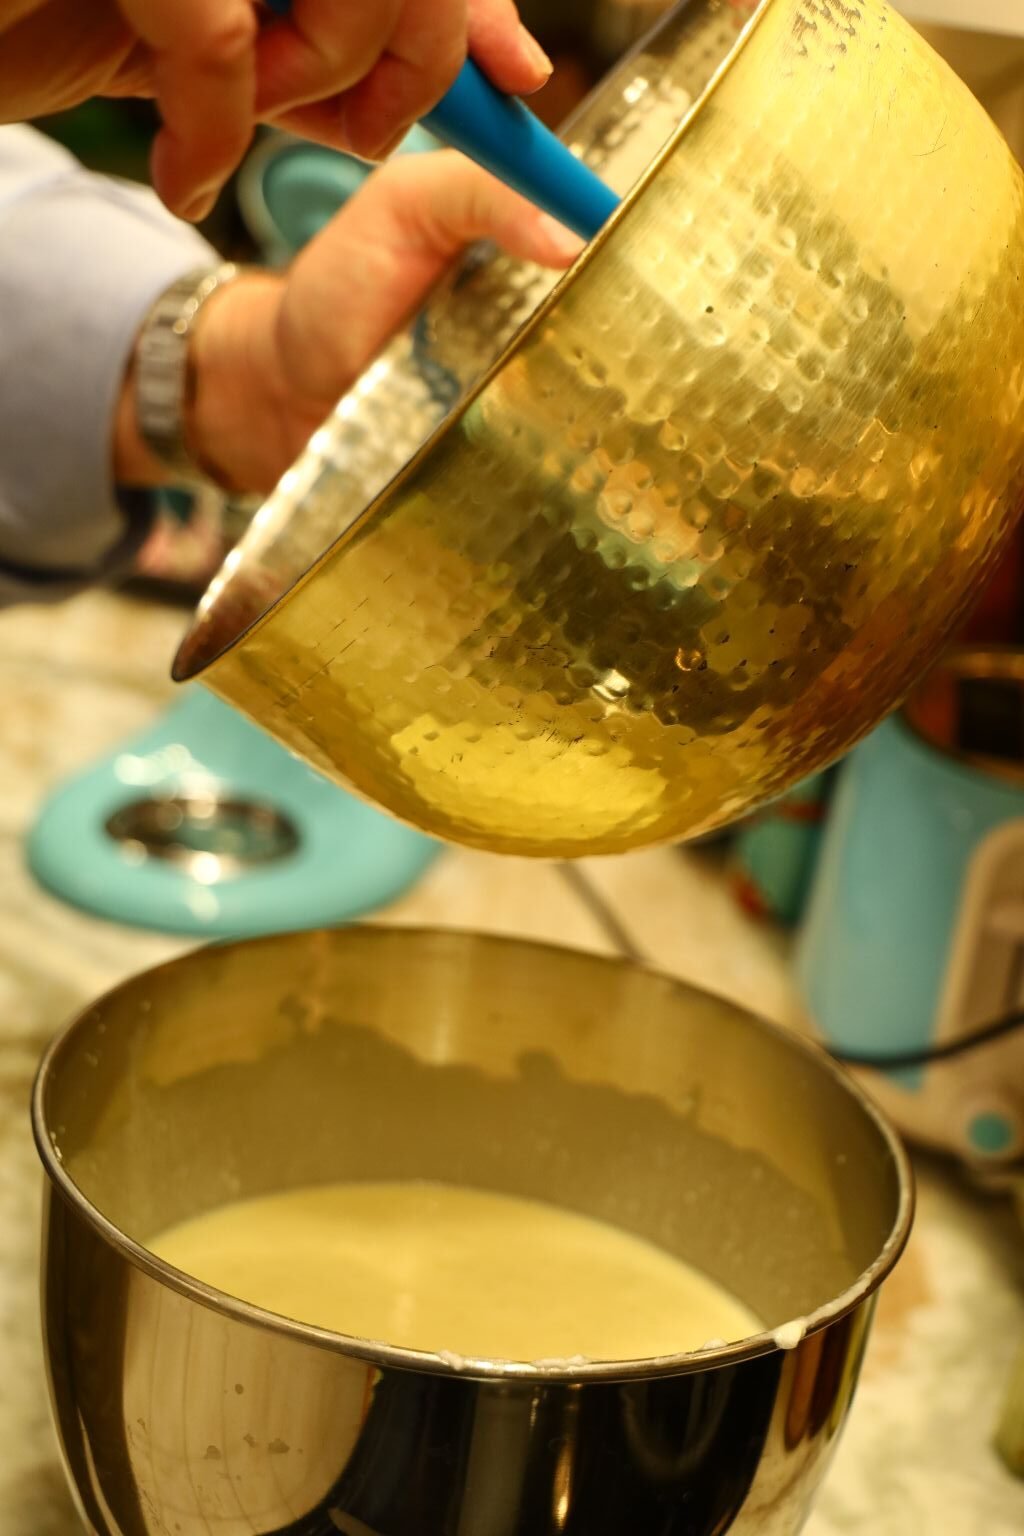
(Photo Right) Gordon is Adding the Rice and Milk Mixture to the Bowl Attached to the Mixer
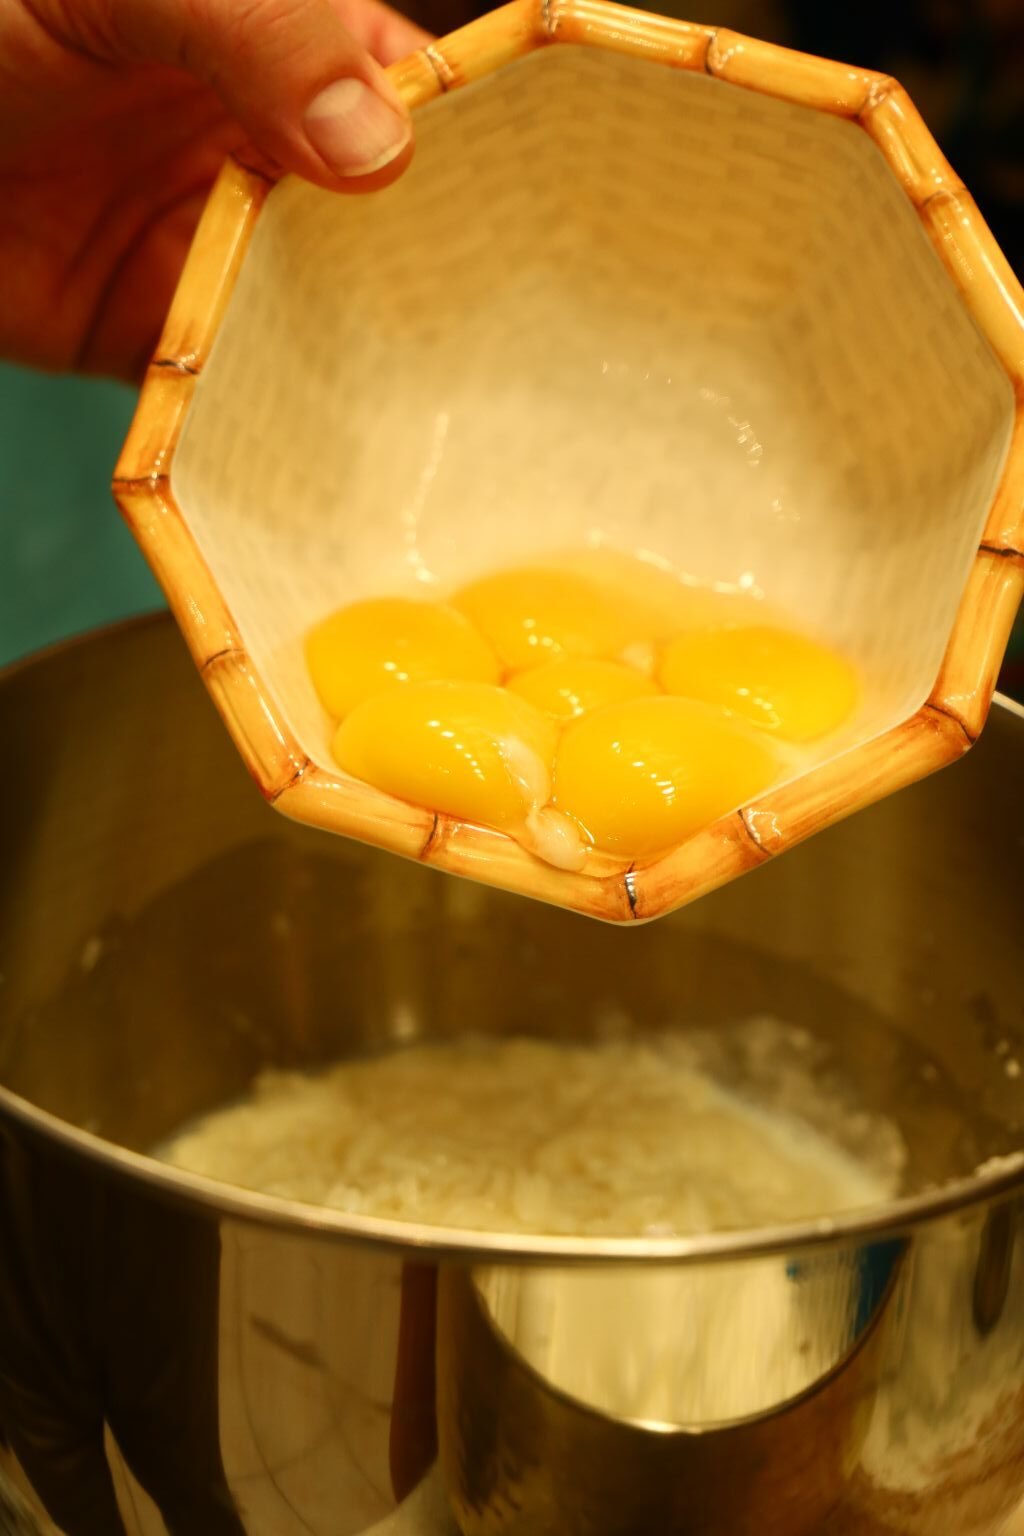
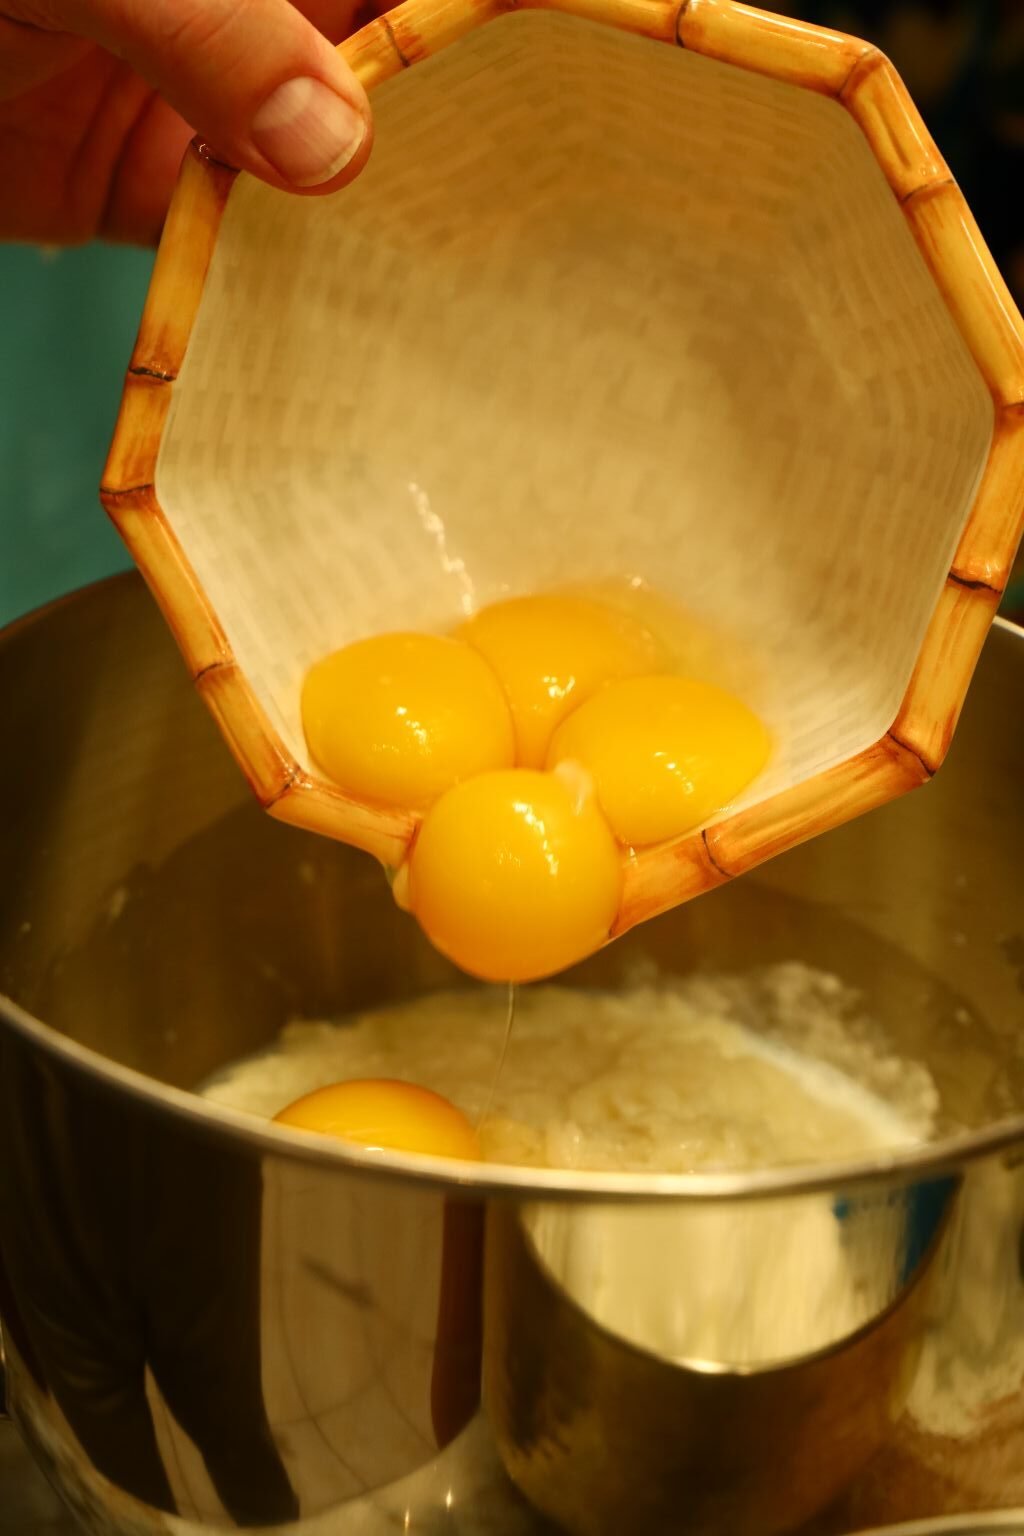
And, Now It’s Time to Add the Egg Yolks to the Mixer’s Bowl
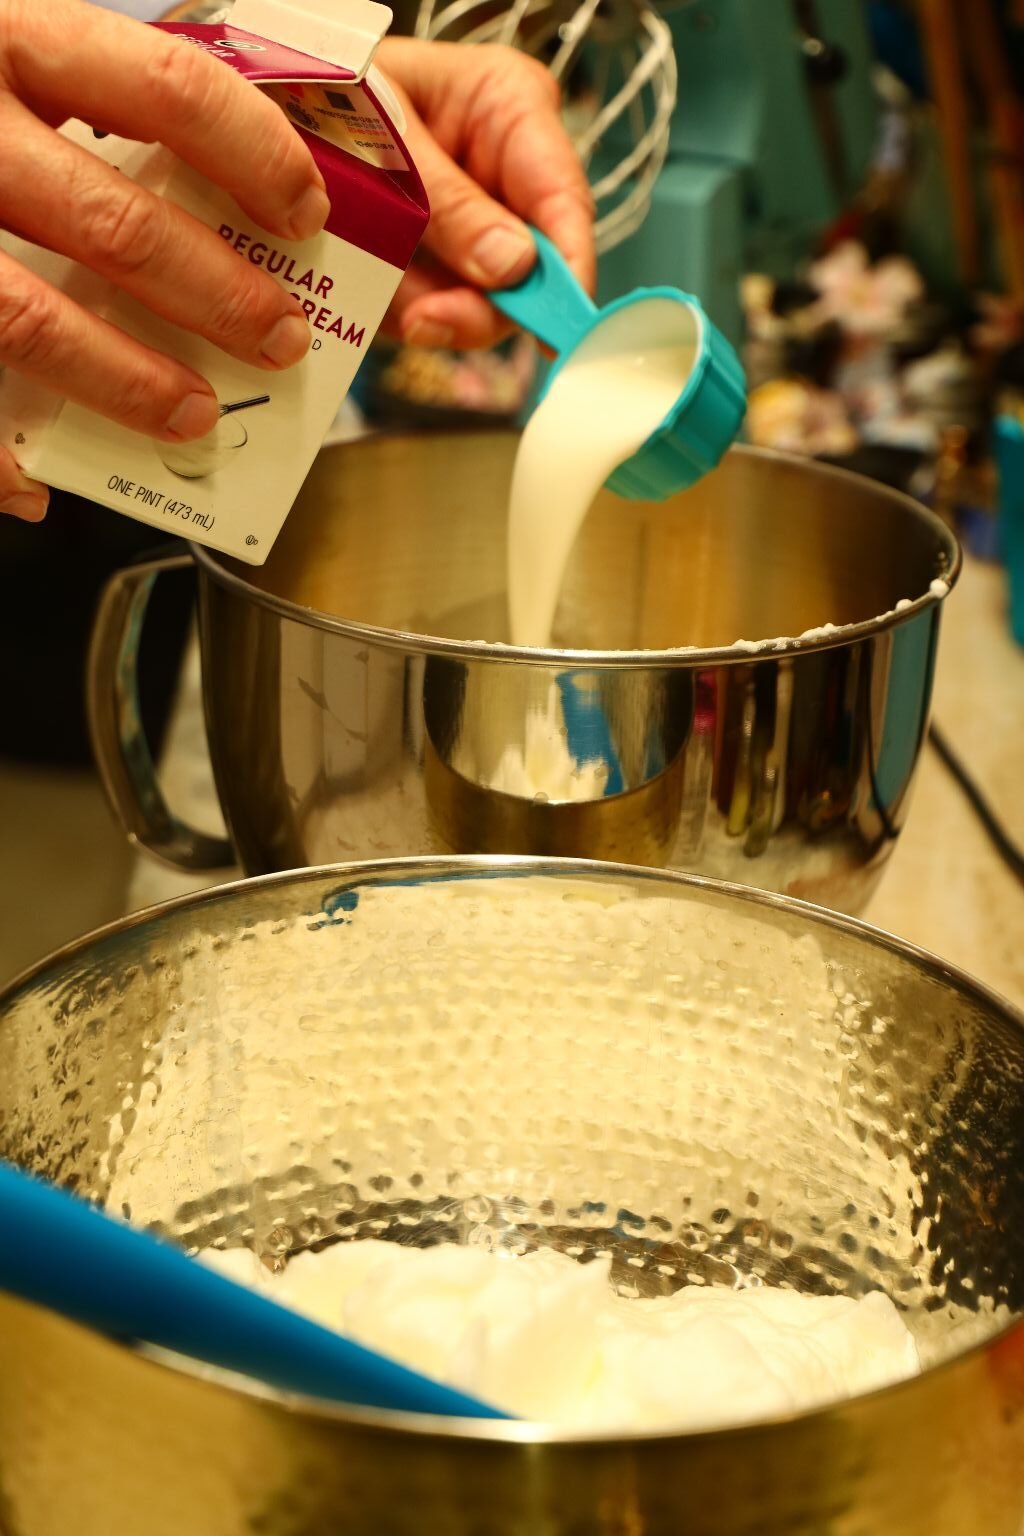

Time to Add the Heavy Cream to the Mixer’s Bowl
Just Mix Until Blended
Then Add the Egg Whites to Combine Both Bowls
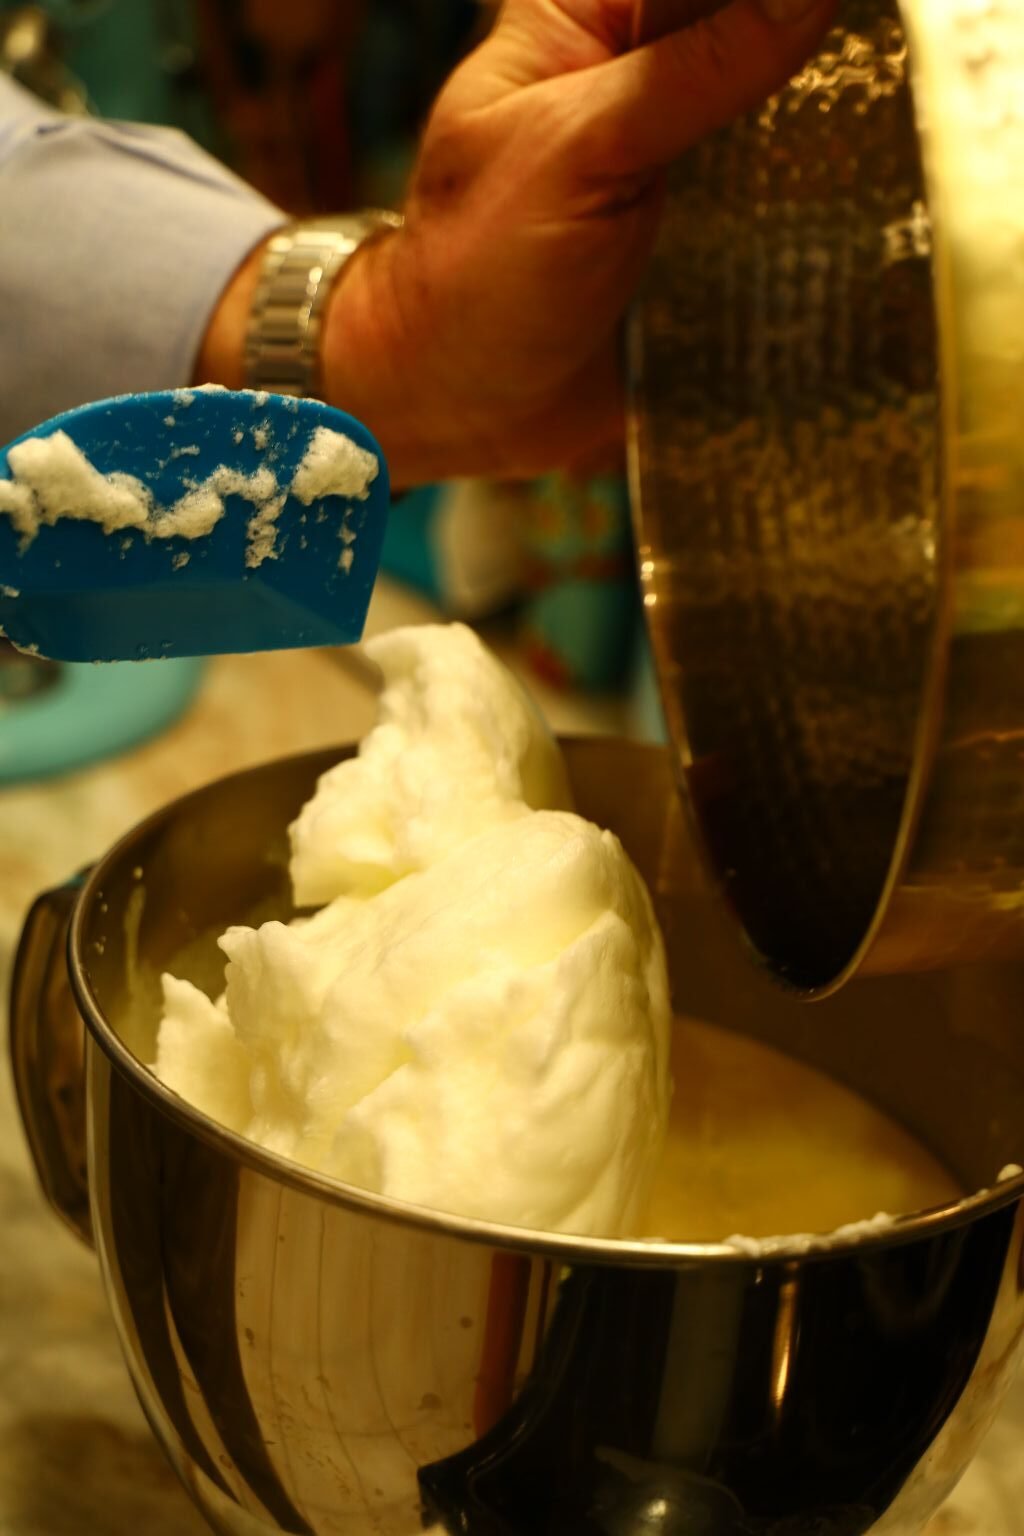

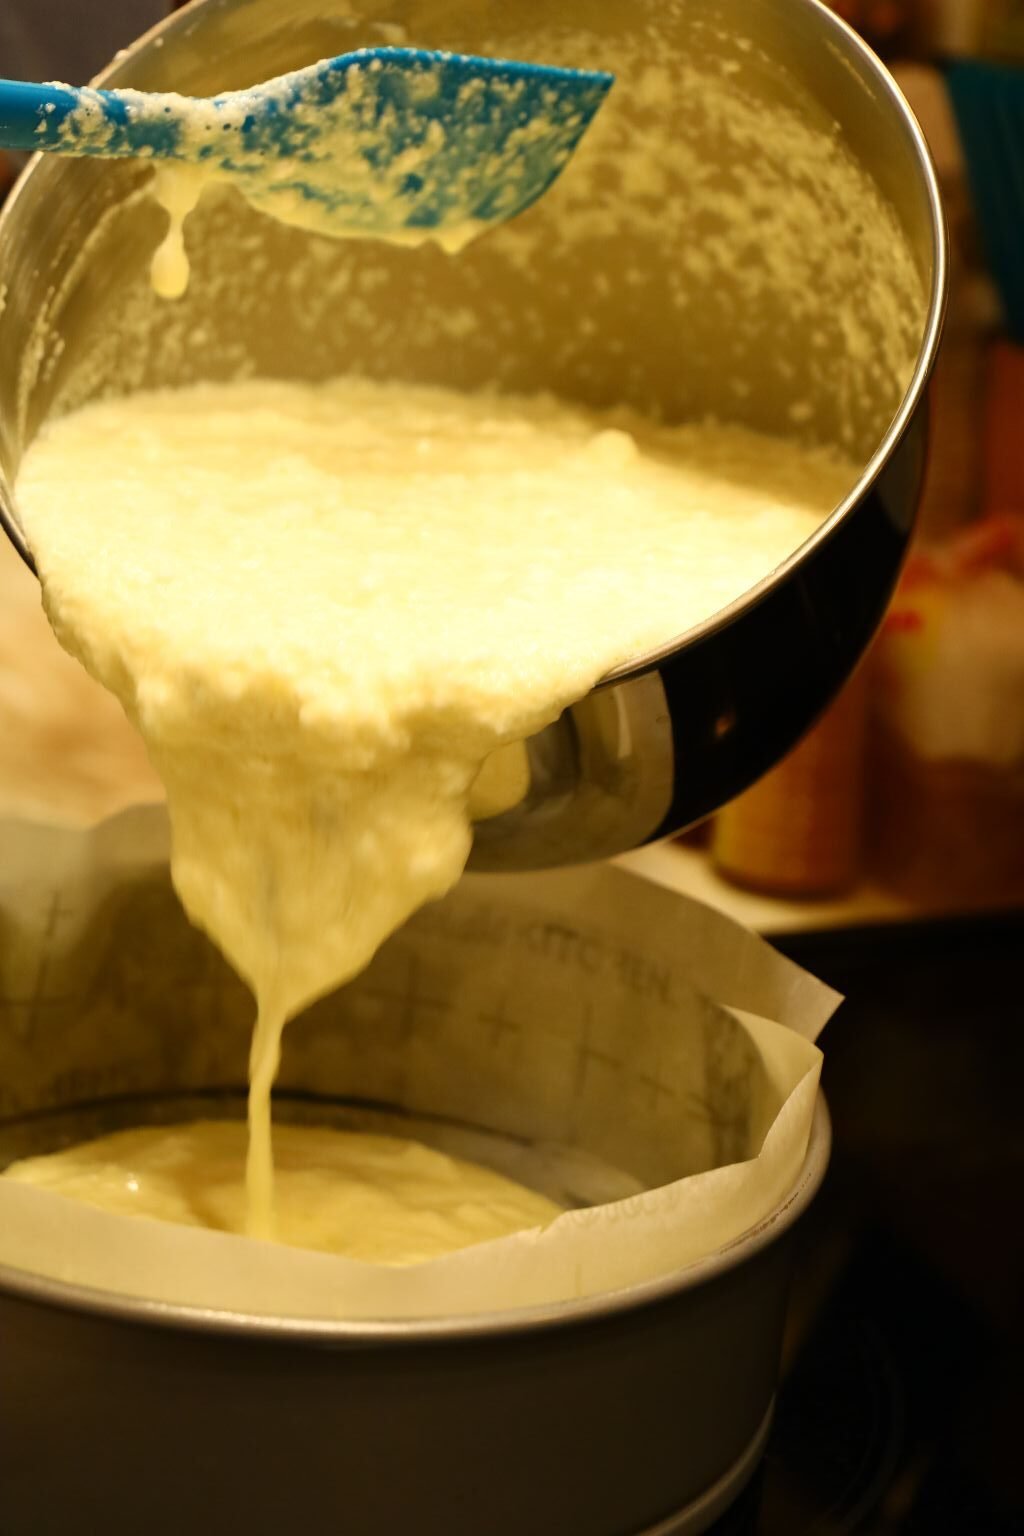
Just Fold Together and Then Pour into the Greased Spring Form Pan
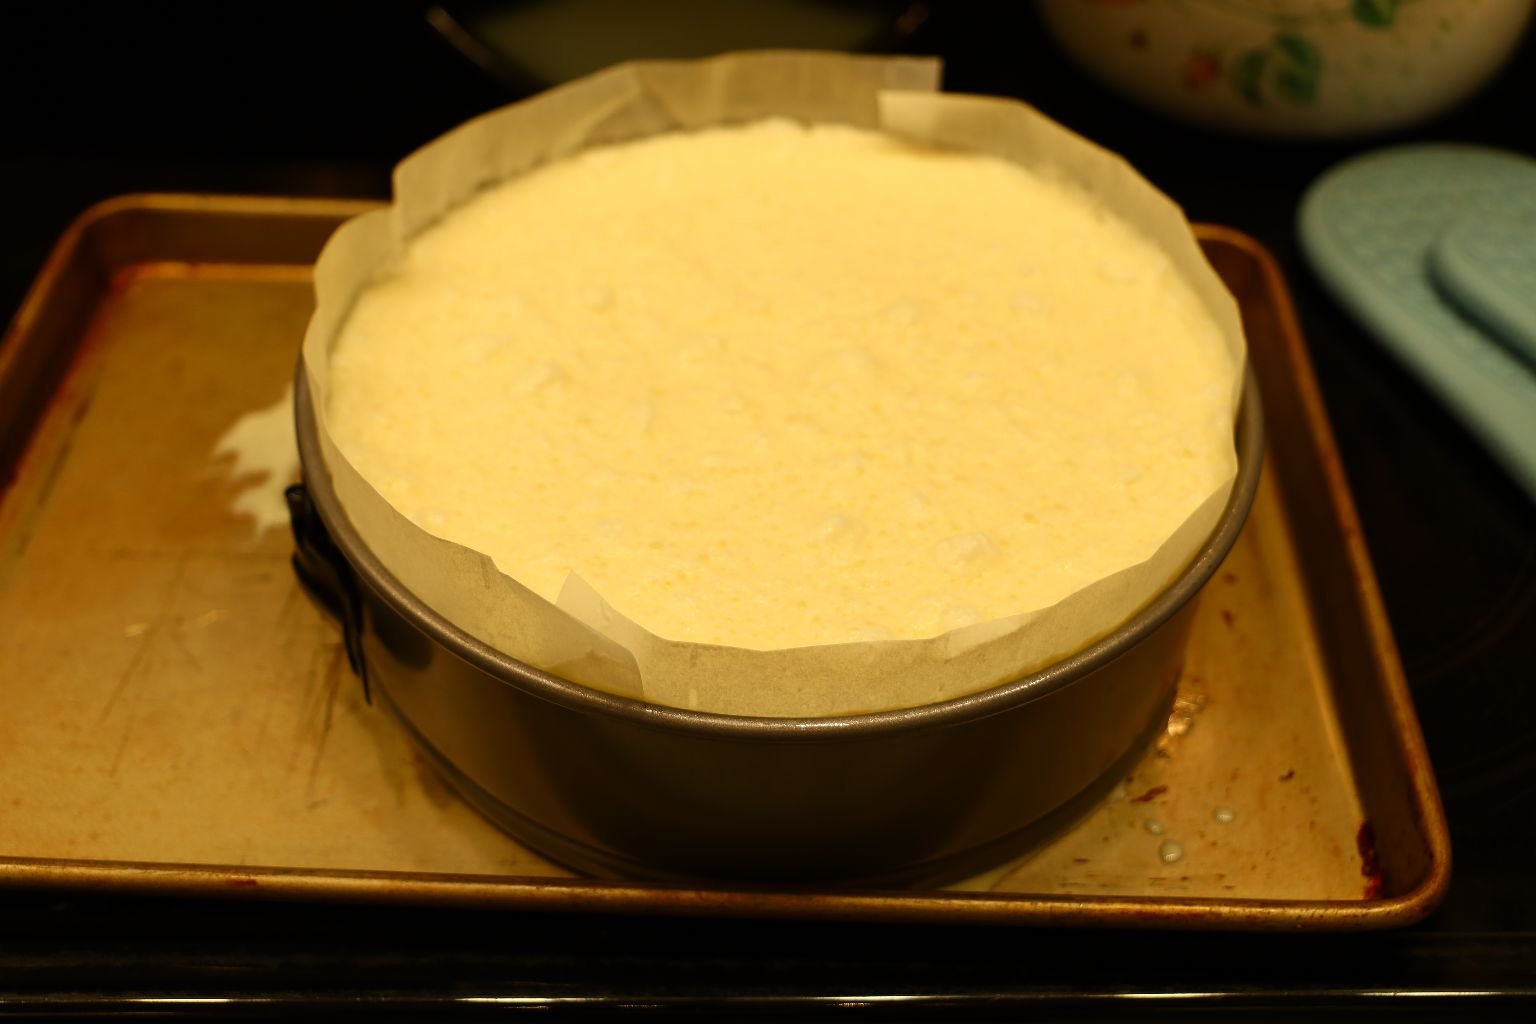

Place the Spring Form Pan onto a Baking Sheet and Place into a 350F Oven for 45-50 Minutes

You Want it to be a Golden Brown.
It May be a bit Wobbly, that is Fine as Long as it is Cooked. It Should Firm up as it Cools.
You can Always Cover it With Aluminum Foil so That it Won’t Burn.

It’s READY!
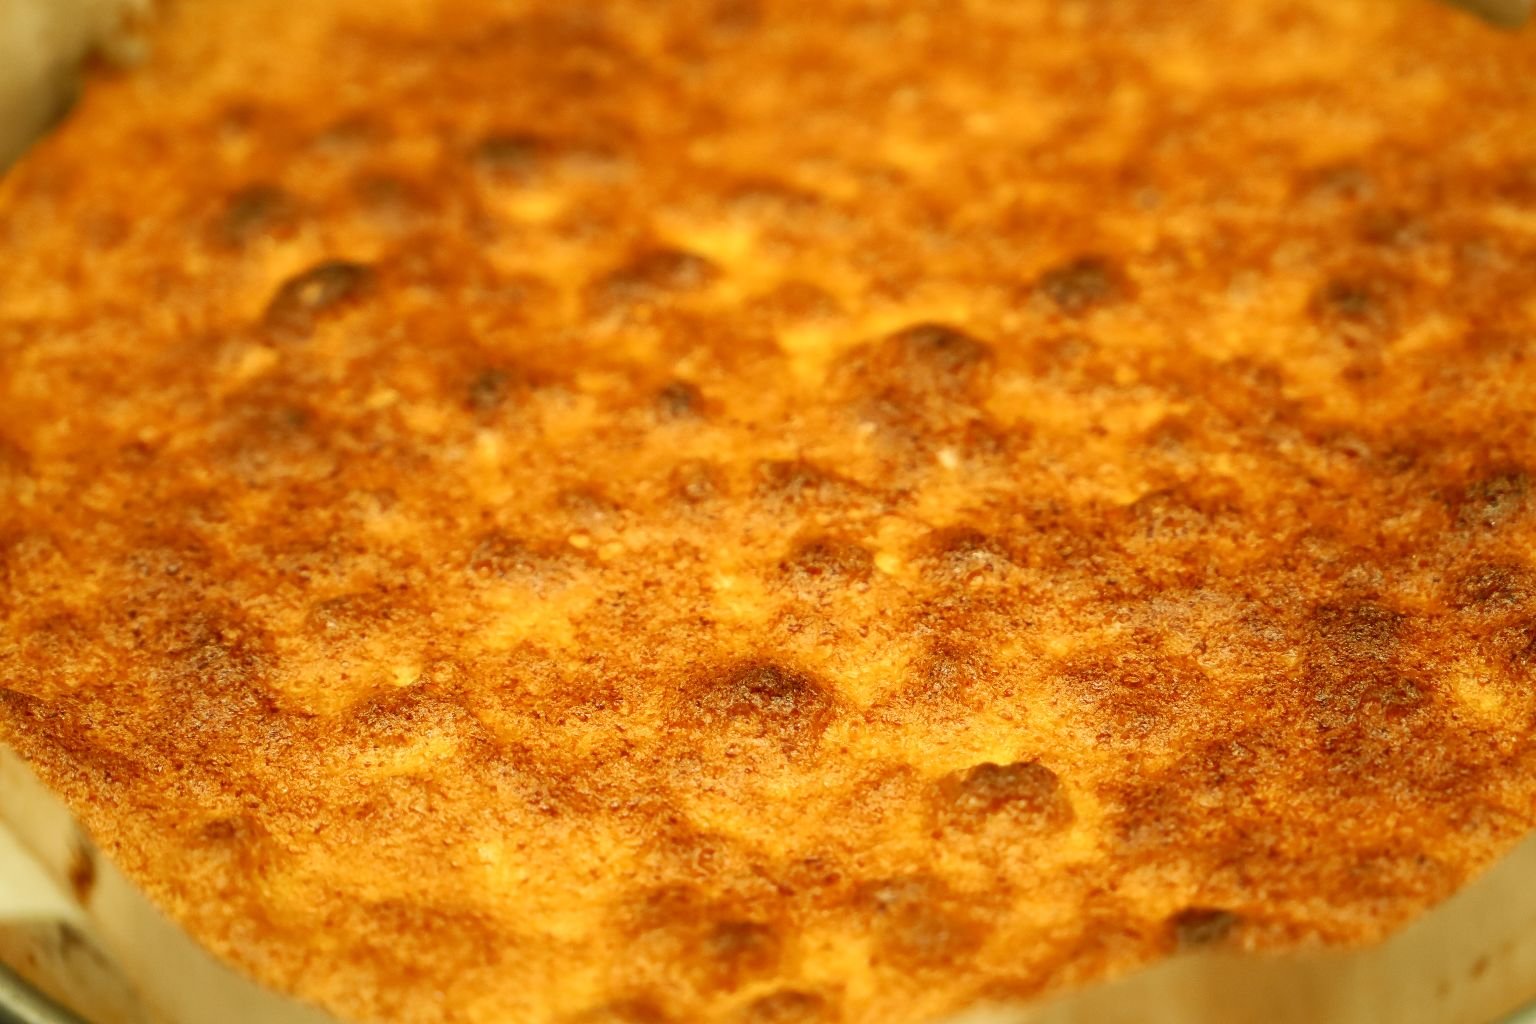
So Beautiful!
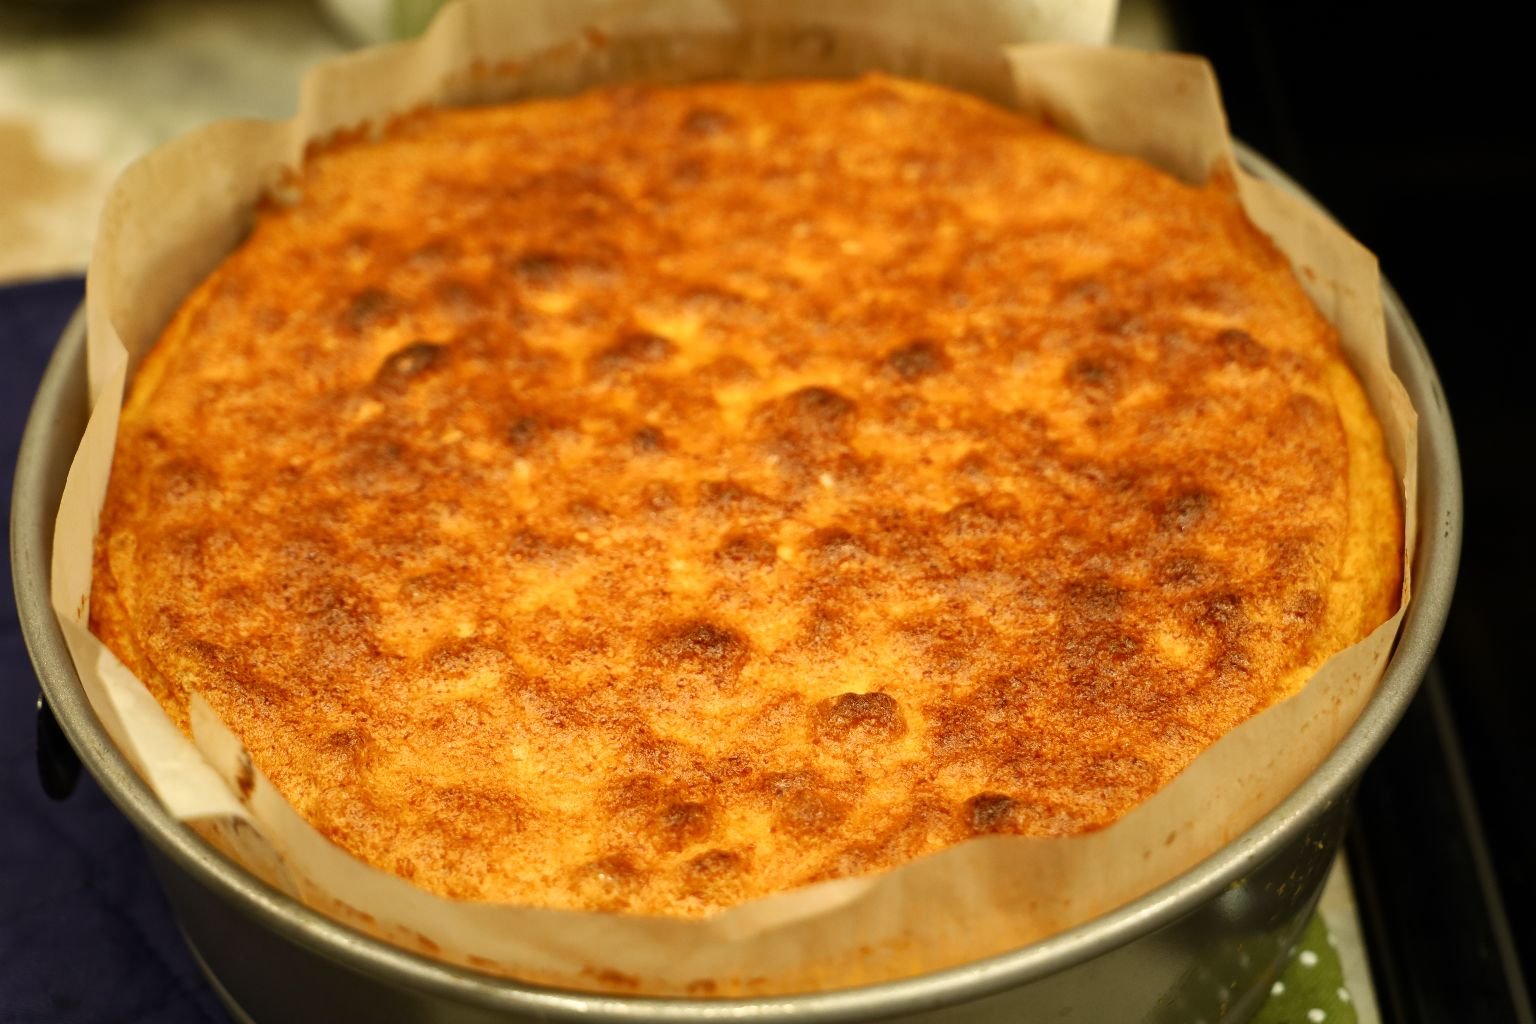
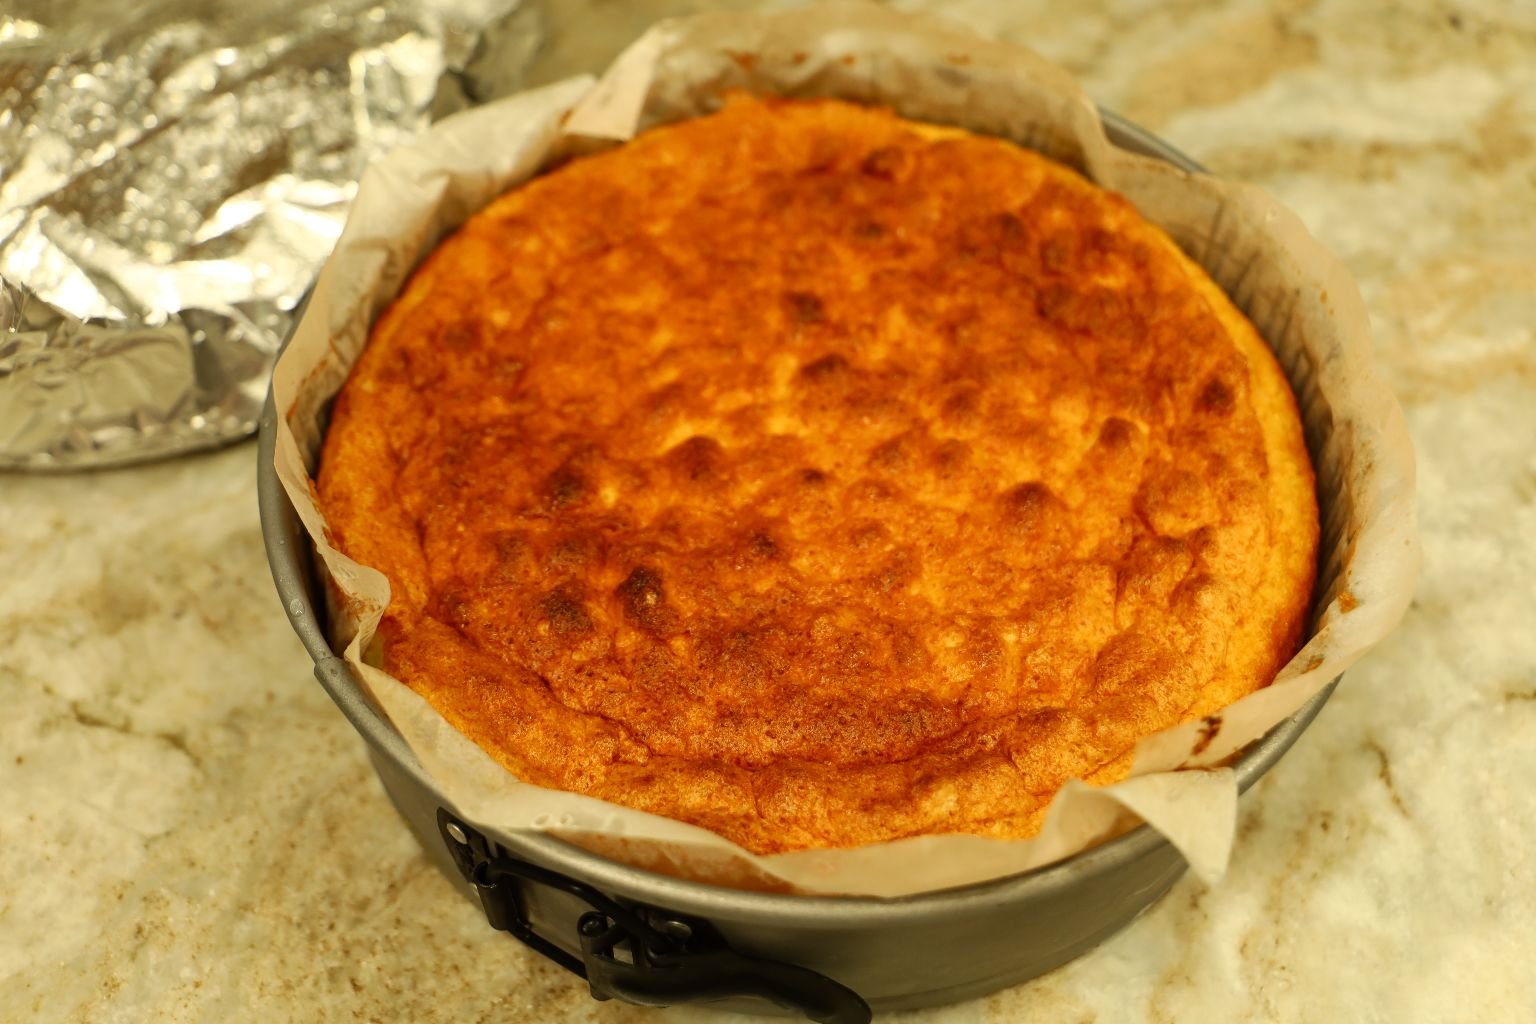
Allow To Cool Thoroughly
Once Cooled, You Can Place into the Refrigerator Overnight
—————————————————————————–
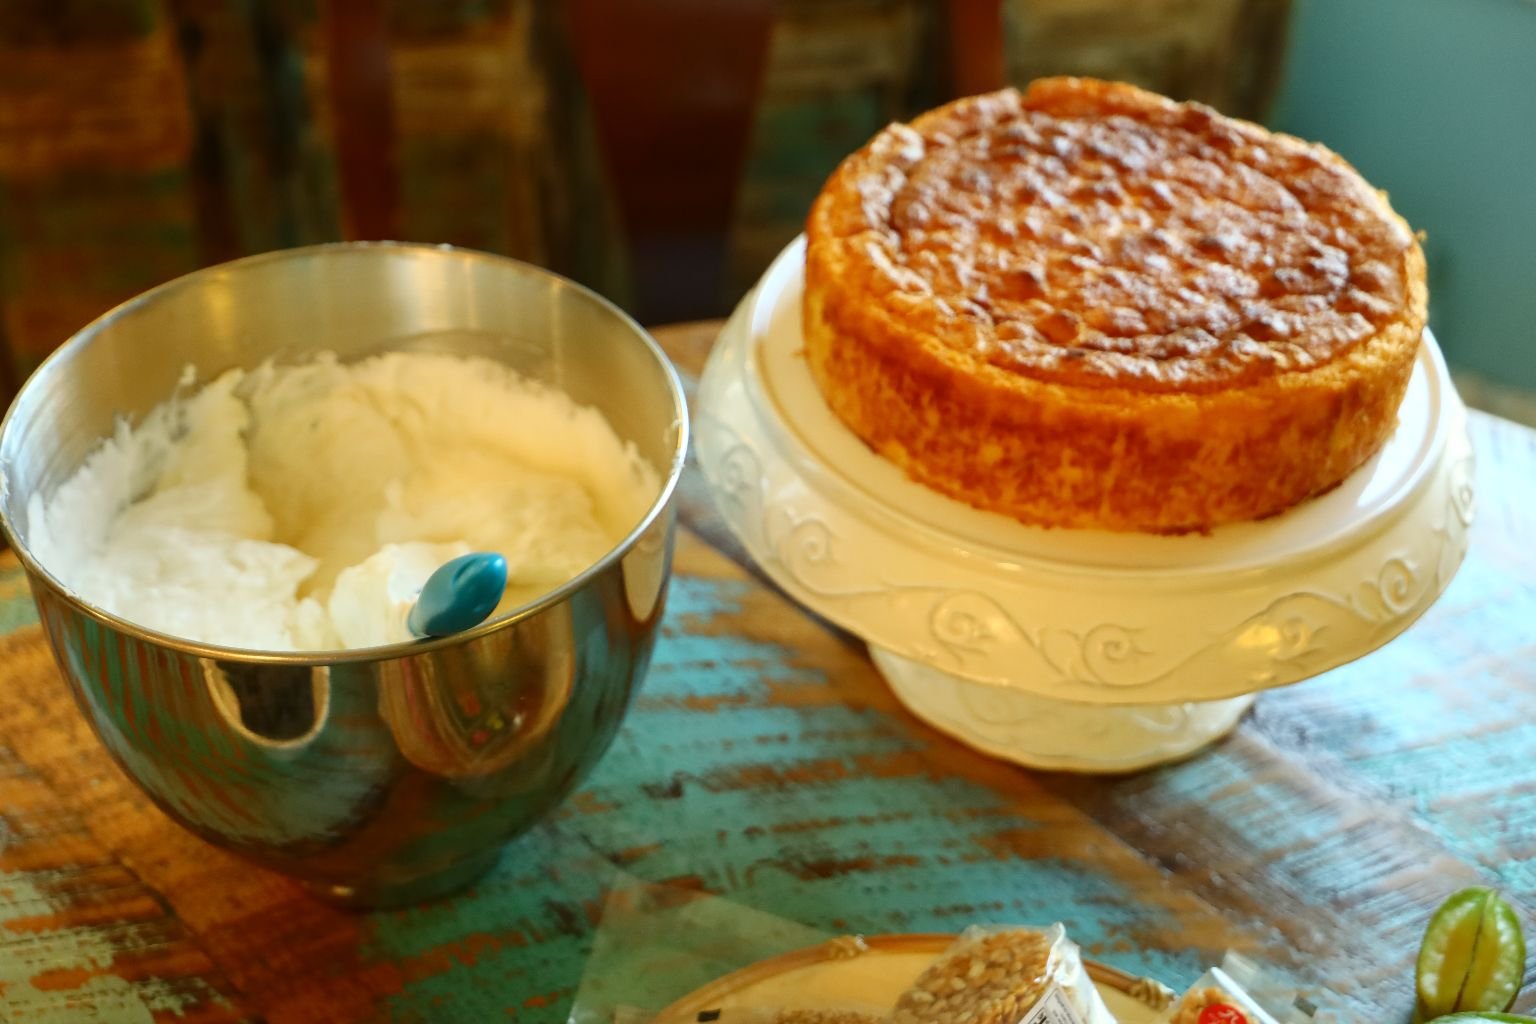
Time to Make the Frosting
I really wracked my brain to think of the perfect frosting that I wanted for my birthday cake. I came across a few old vintage ones that would have been so nice here, except that they just seemed too long and complicated for me. I also didn’t know if I would even like them or not?
In the end, I chose this Sugar/Cool Whip/Cream Cheese Frosting that I use around Christmas to make my Pretzel Jello Salad.

It’s actually 1 Cup Sugar to 8 Ounces Cream Cheese and 8 Ounces Cool Whip.
Although I didn’t use all that you see here. I did use 2 of the 8 Ounce Cream Cheese’s, and 2 of the 8 Ounce Cool Whips, and 2 Cups of Granulated Sugar.

It’s very easy and very delicious!
You just want to cream together the softened Cream Cheese’s and the Granulated Sugar in a Mixer.
——————————————————————————-
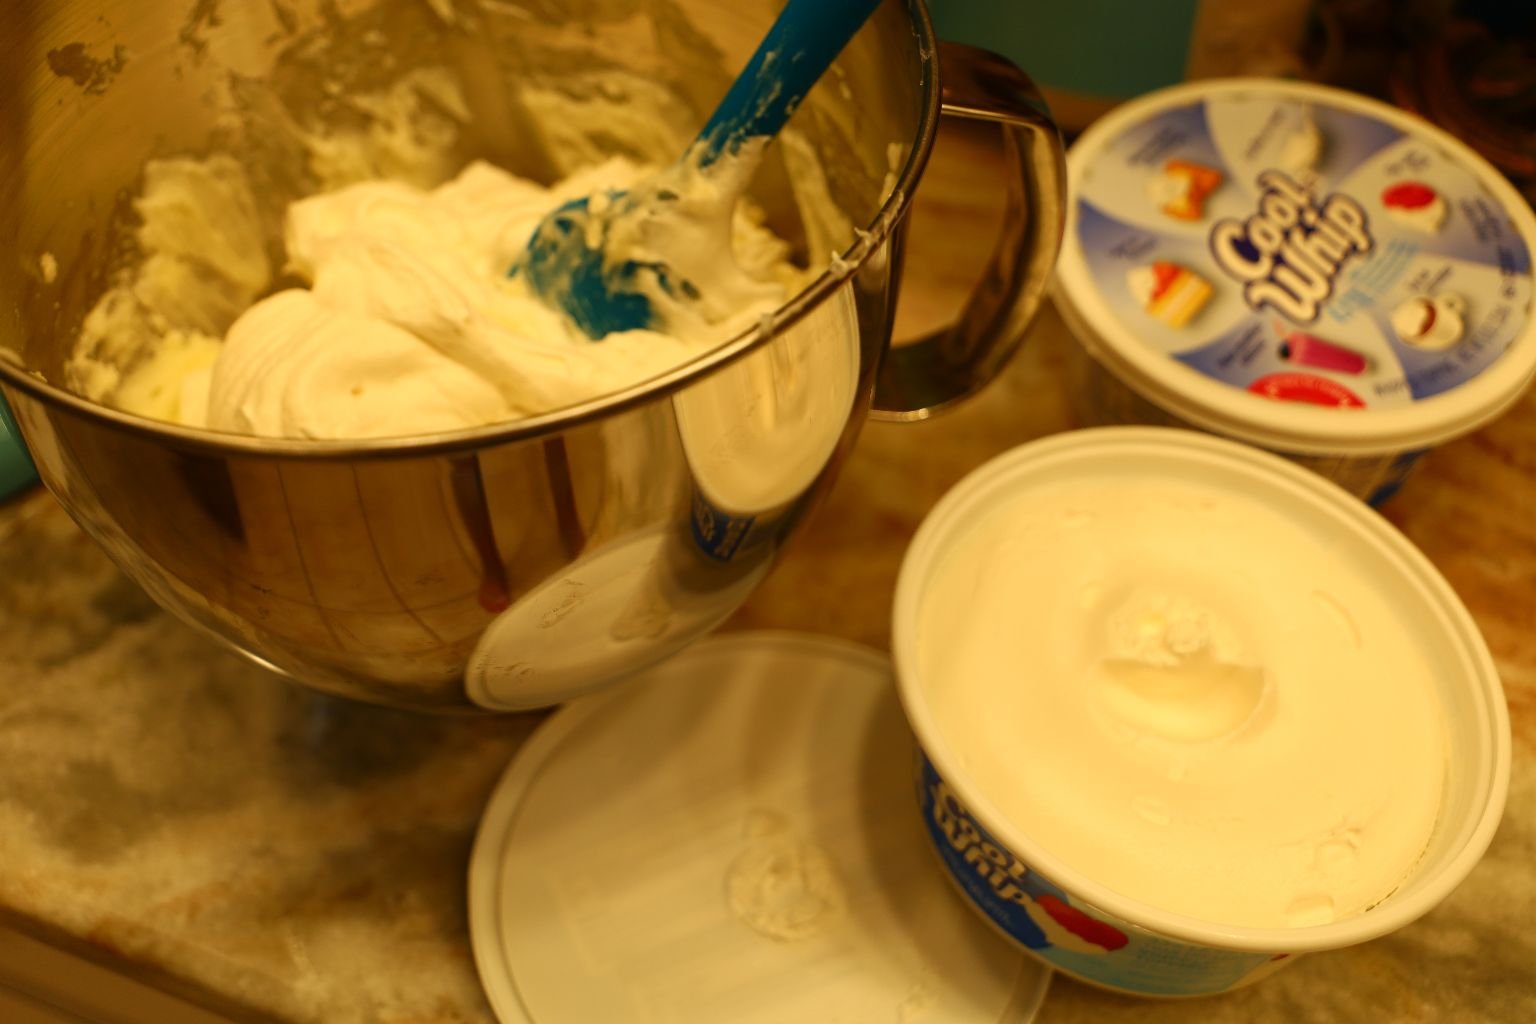
When Done, Add the Cool Whip’s and Combine
(If you do make this Frosting for any cake, you do need to keep it refrigerated, because of the Cream Cheese and Cool Whip.)
——————————————————————————-
Now To Start Combining My Creation
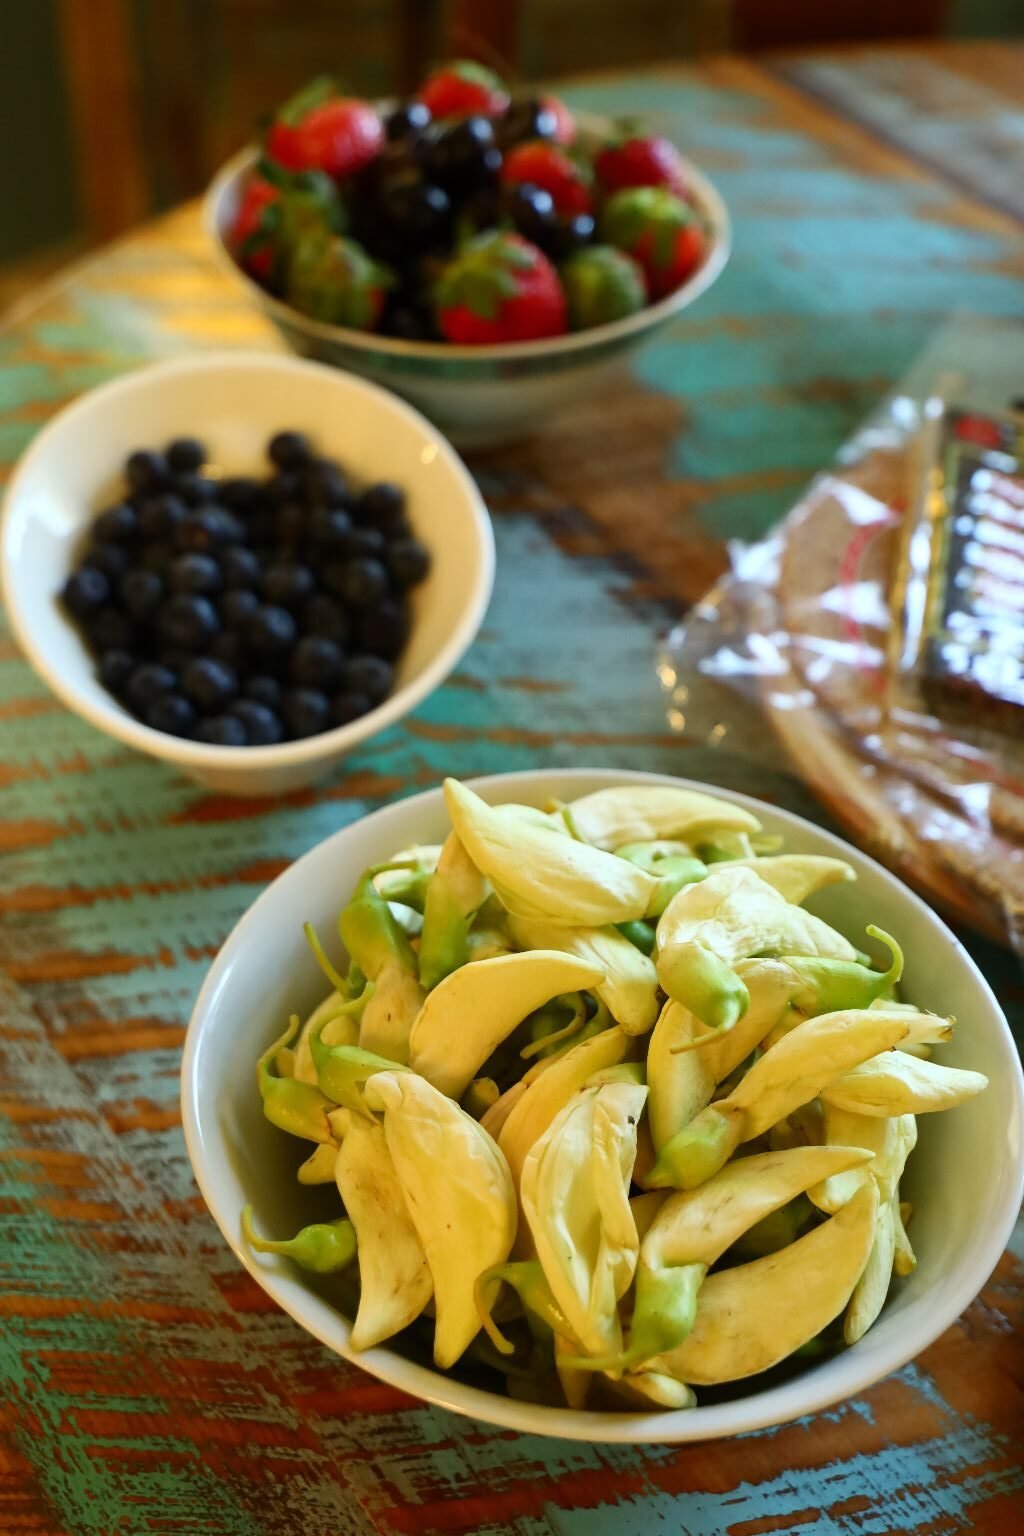

The Toppings
(When I thought about making this cake, I really wanted some unique toppings for it. So, we scoured the Asian Supermarket for some goodies to use.)
My Choices:
An Asian Wheat Cake
Strawberry’s
Blueberry’s
Edible White Flowers
Star Fruit
Meringues
Cherry’s
Various Brittle’s
————————————————————————
Ready To Put Together My Cake

To Start: I am Frosting my Cake….
…on Top and All Around

Now It’s Time To Be Creative

These are All my Sesame and Peanut Brittle’s from the Asian Supermarket, I used.

I never have these things planned out. I just start doing them and whatever unfolds, unfolds. 🙂
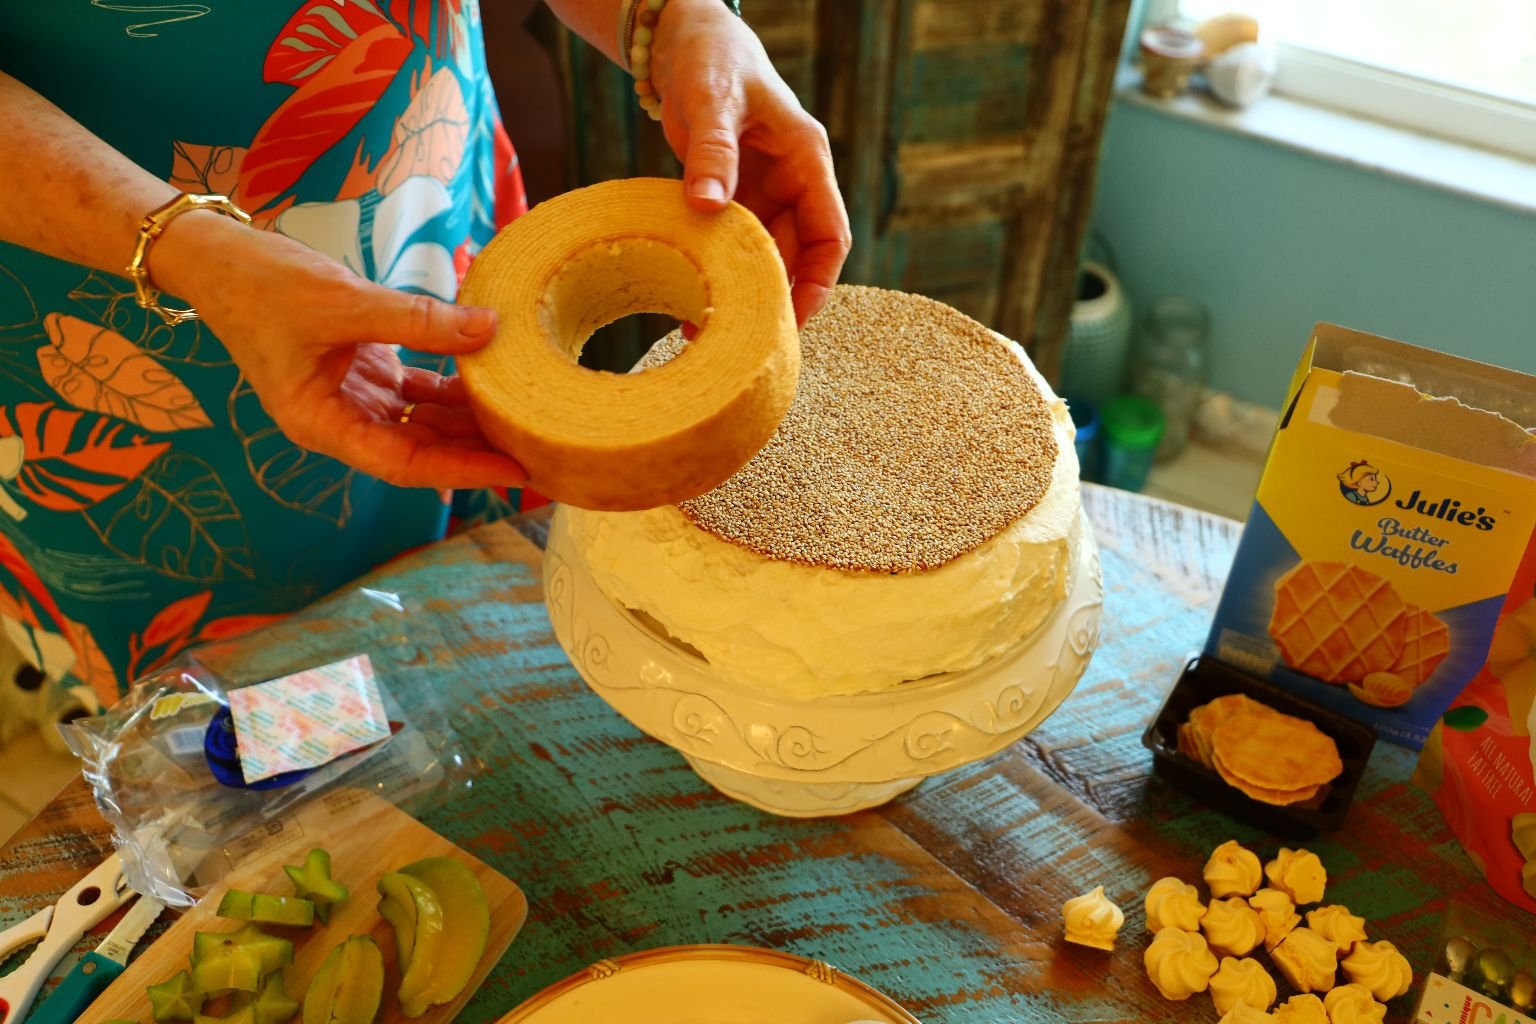

I’m Topping My Cake With a Ready-Made Wheat Cake

Now To Ice It, And Add All The Other Embellishments
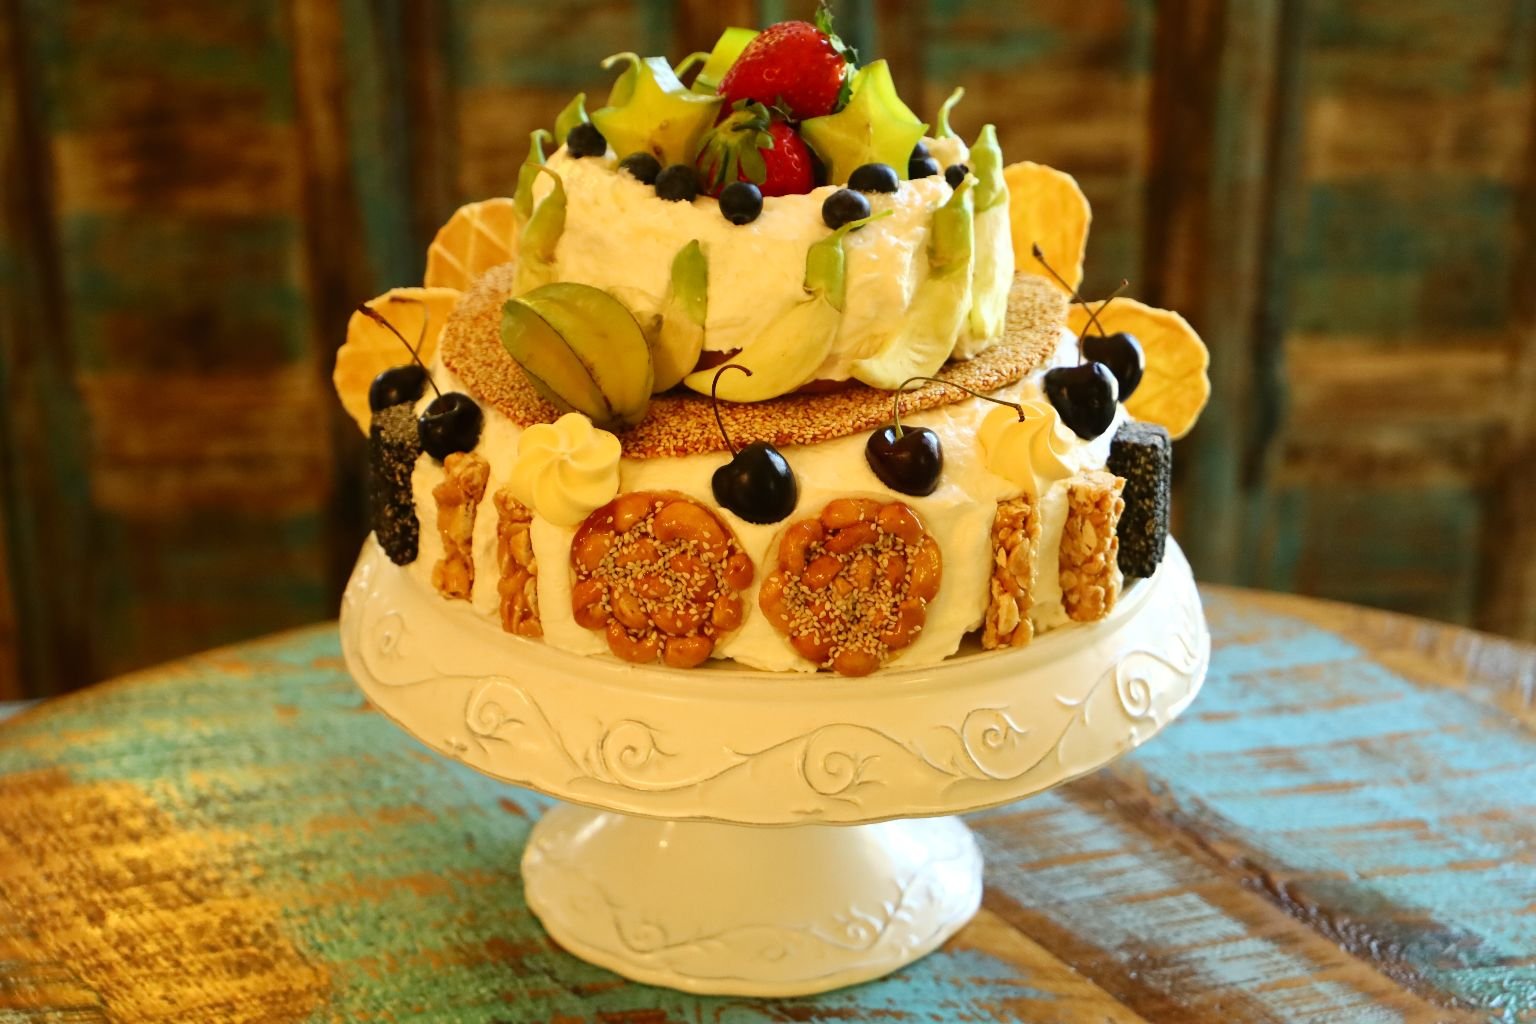
I Like It!
It’s a bit me, a bit Dr. Seuss, and a bit of my Childhood

Happy 62 to ME!
(I’m looking forward to 63!) 🙂
———————————————————————————————