Creating Easter
Creating Easter….
Creating Easter is just that. No matter how big, or small. Some Easter’s we have gone all out with an abundance of food and decor. And other’s were quite small and humble. It all seems to rely on how busy we are, how much time we have, if anyone is coming or not, and even, if we just feel like it.
This Easter, Gordon is working overseas and I am here at home by myself. I really didn’t feel like going all out. I just wanted to do a few simple and special things. That’s all.
In the future there may be more elaborate projects here, but for now this is what I have done.
Happy Easter to those who celebrate,
Julie
——————————————————————————-
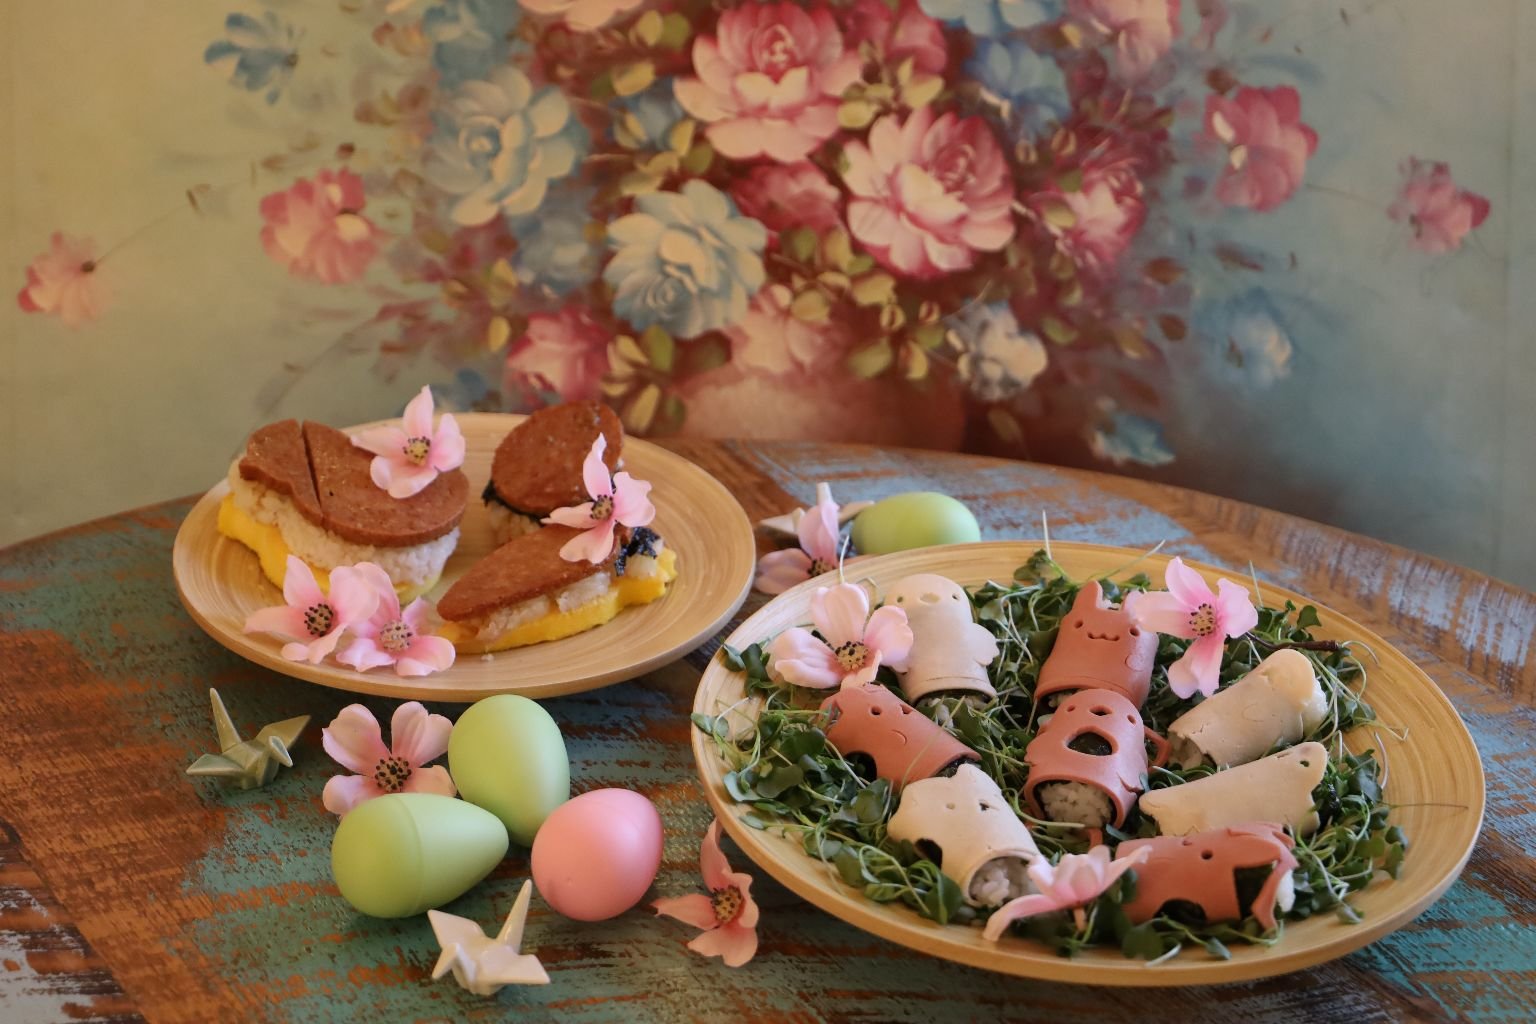
This is my Version of Creating Easter
I Made These Beautiful Easter Treats Using the Molds From the Asian Supermarket
(Recipe Down Below)
——————————————————————————–
My Royal Egg/Sticky Rice/Teriyaki SPAM Treats
(Recipe Down Below)
——————————————————————————————
Starting with creating an Easter Basket for our Grand-Daughter, Peanuku
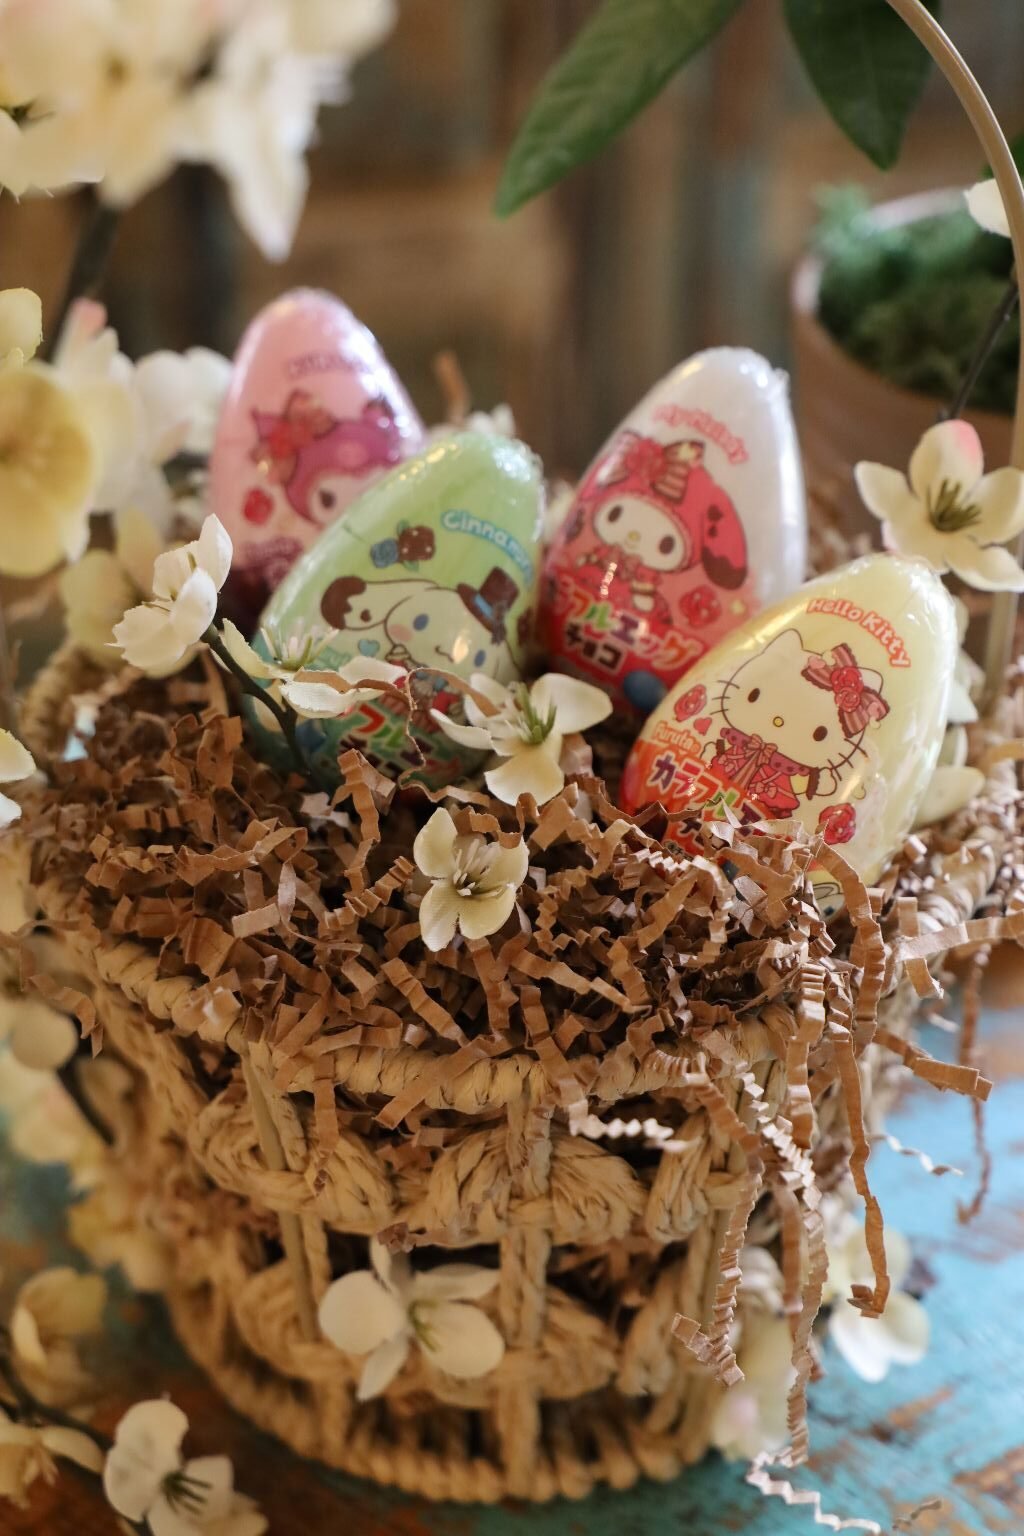
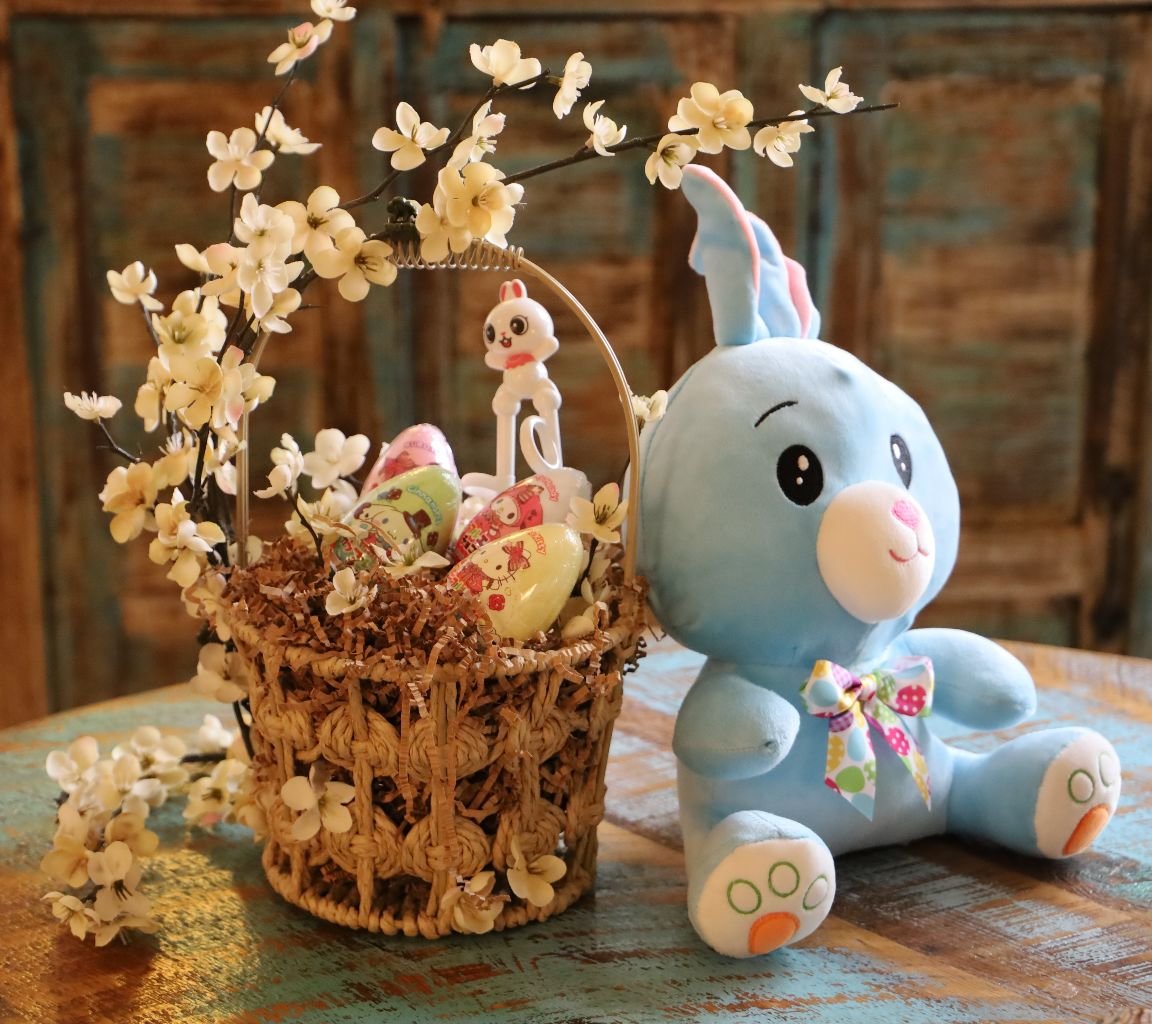
The Finished Easter Basket
—————————————————————————–
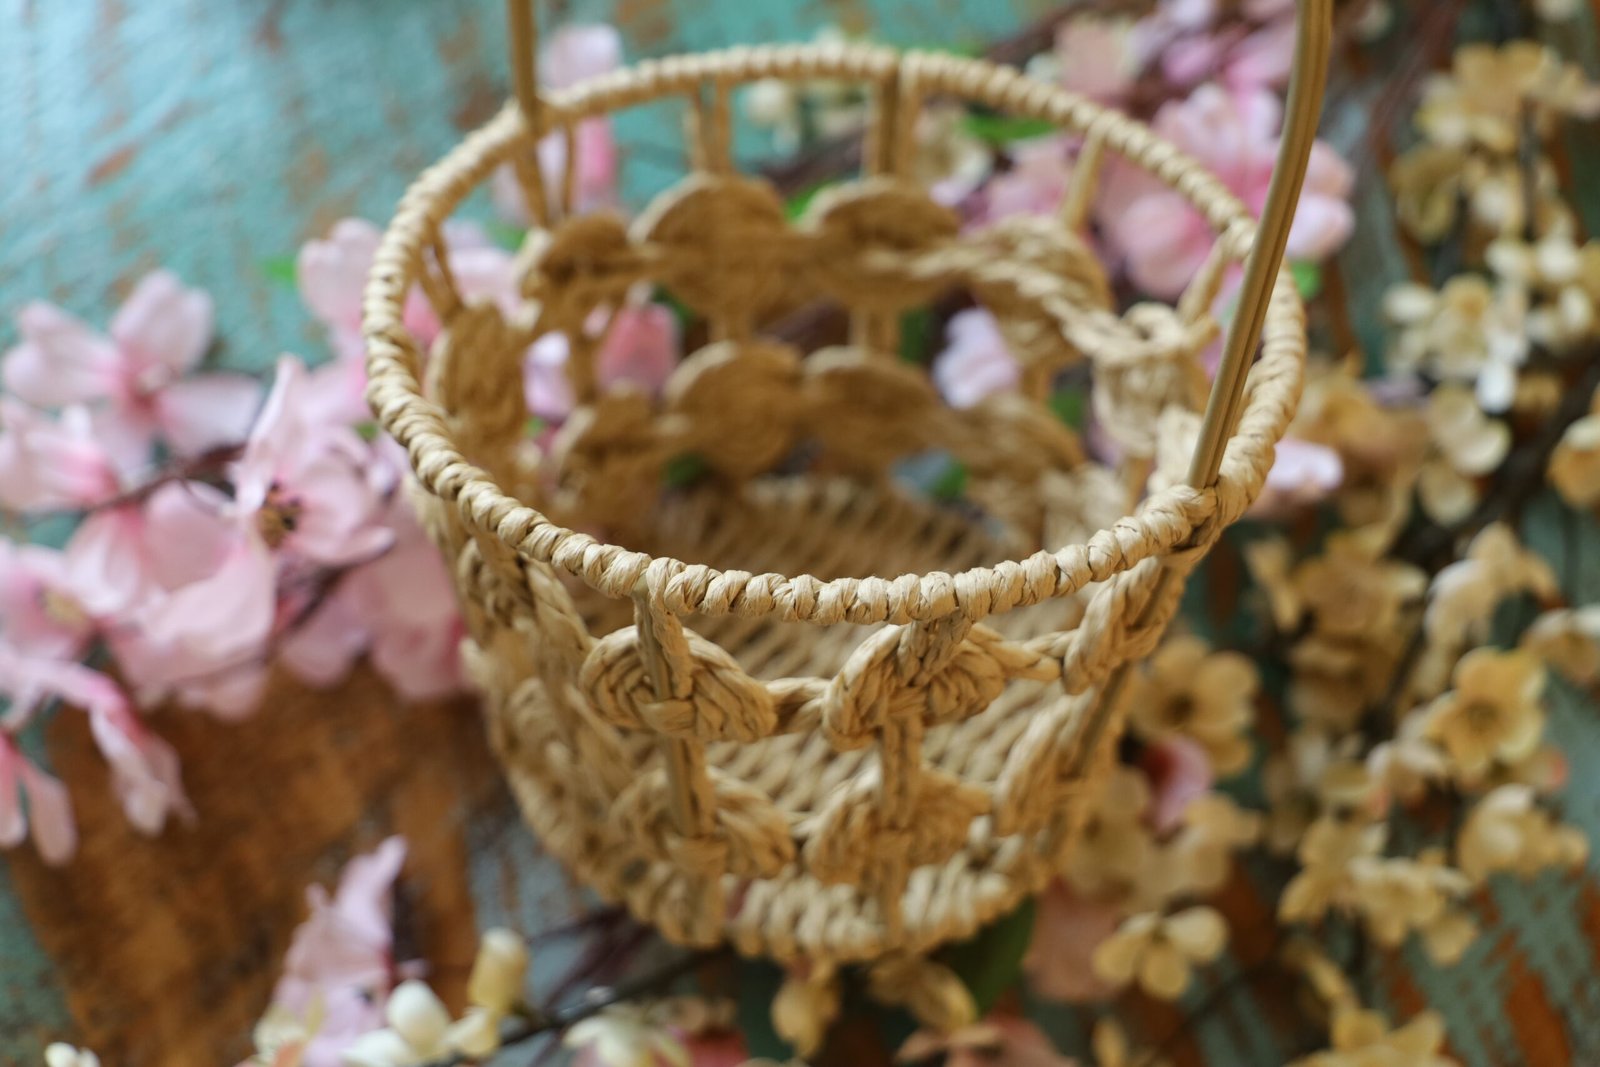
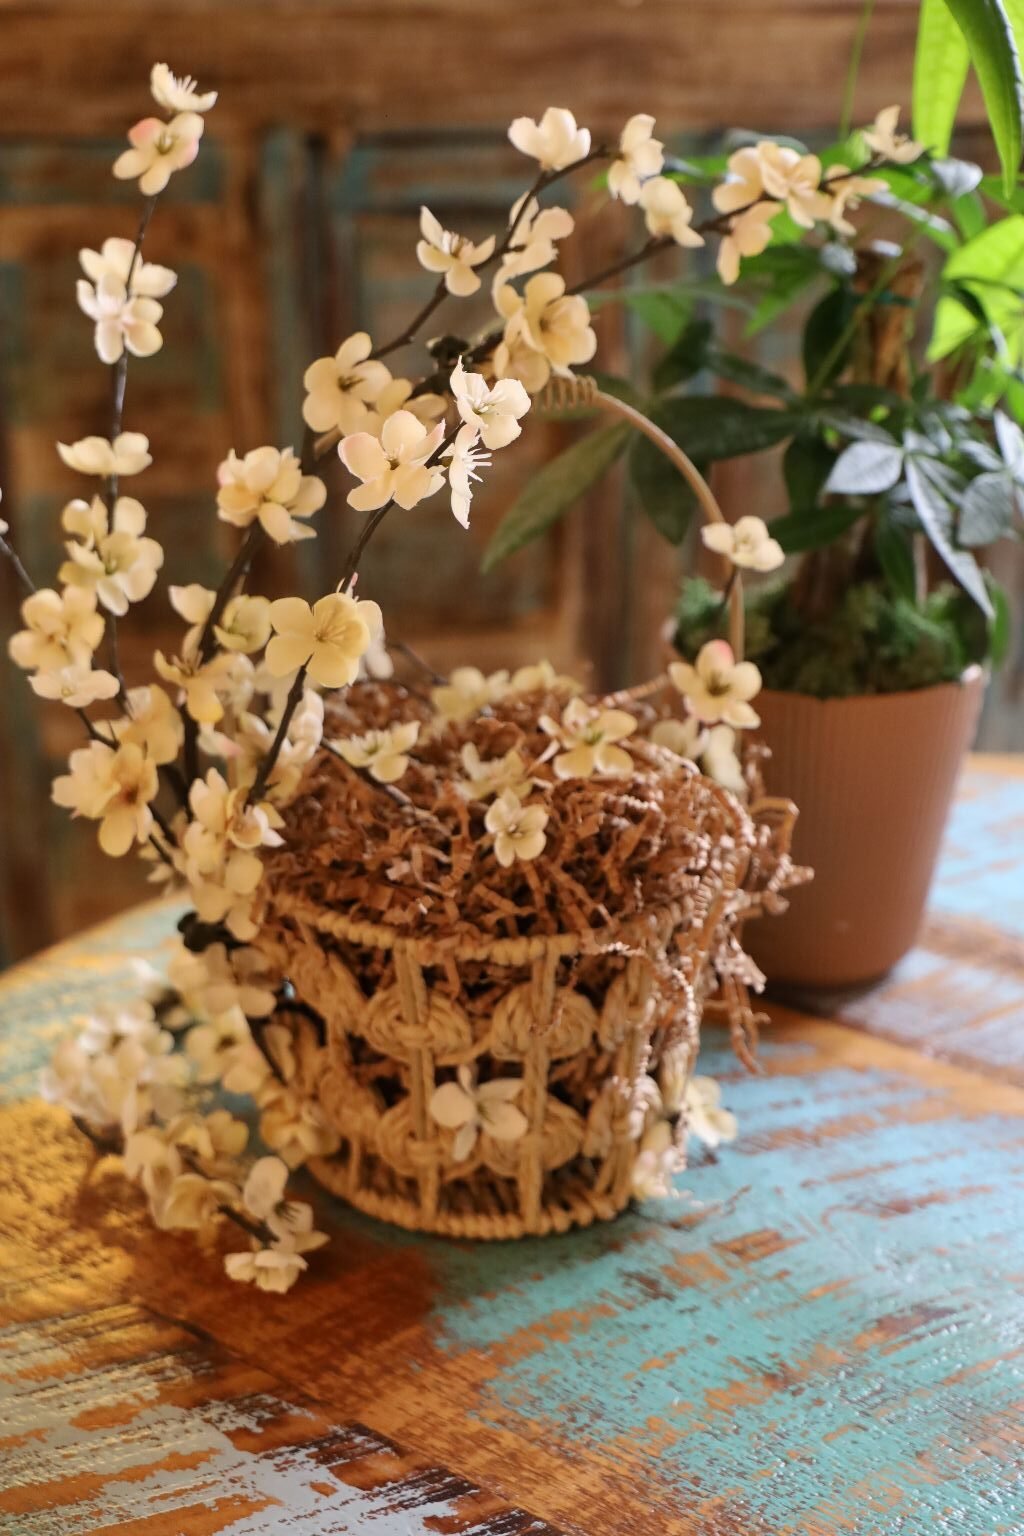
My Easter Crafty Table
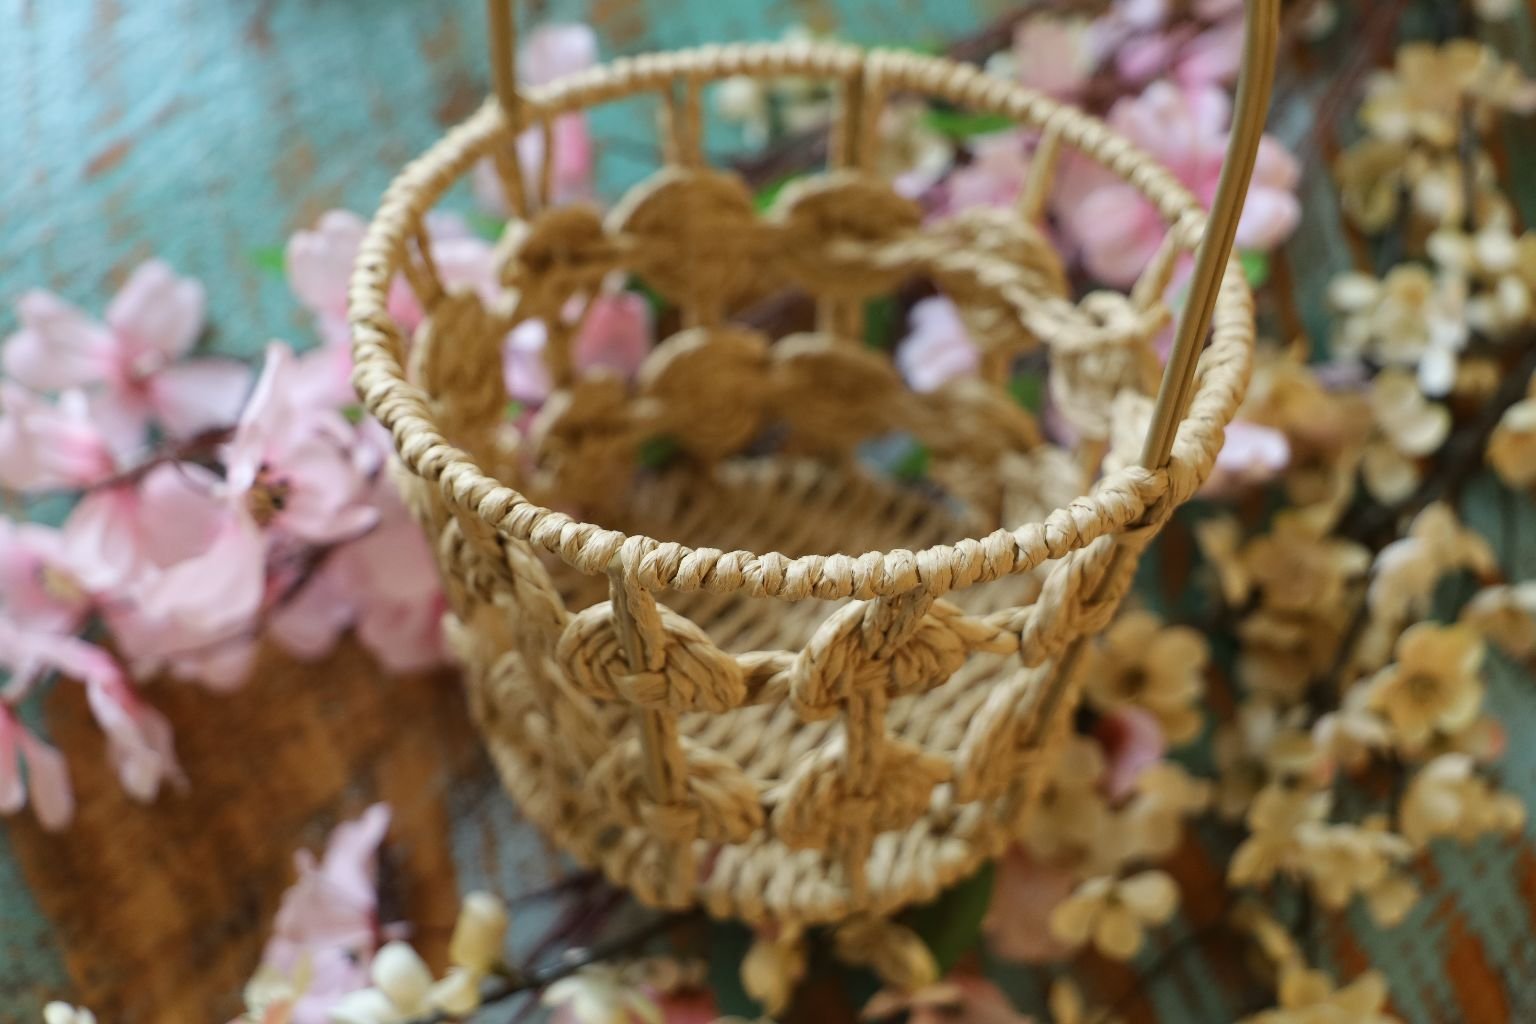
I purchased this basket at a local grocery store. I already had the artificial Cherry Blossoms.
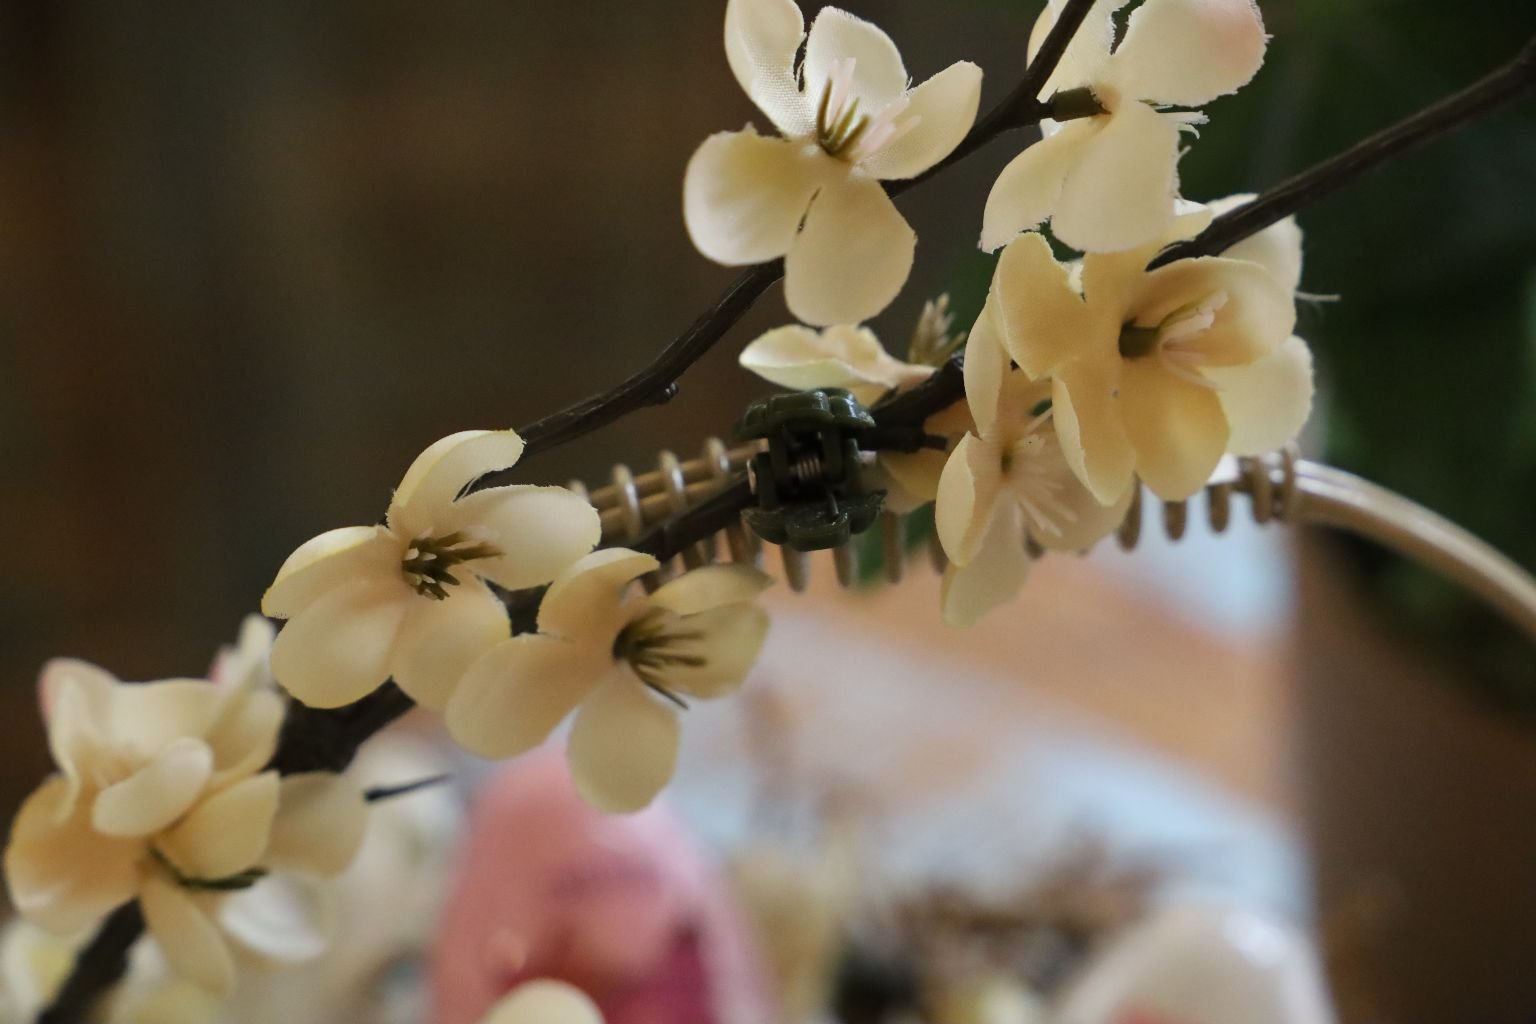
I was originally going to hot glue these flowers onto this basket. However, I realized that all I needed were twist ties to adhere the stems of the flowers to the baskets, and some of these orchid clips that I had saved from past plants to clip the branch flowers onto the basket itself.
———————————————————————————–
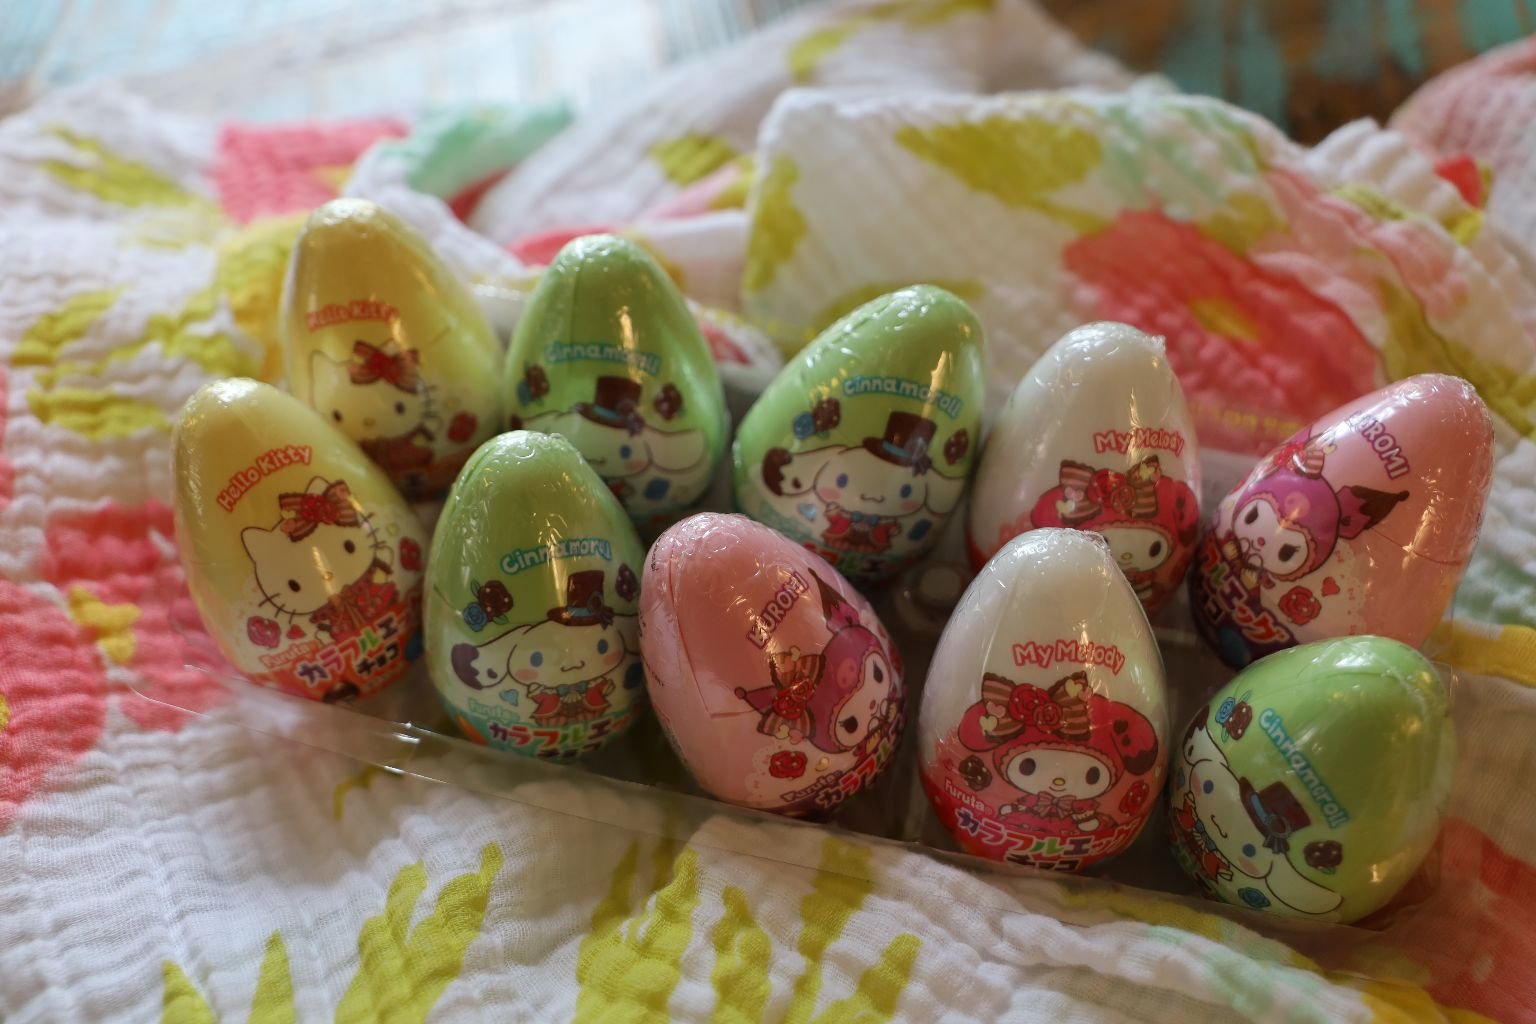
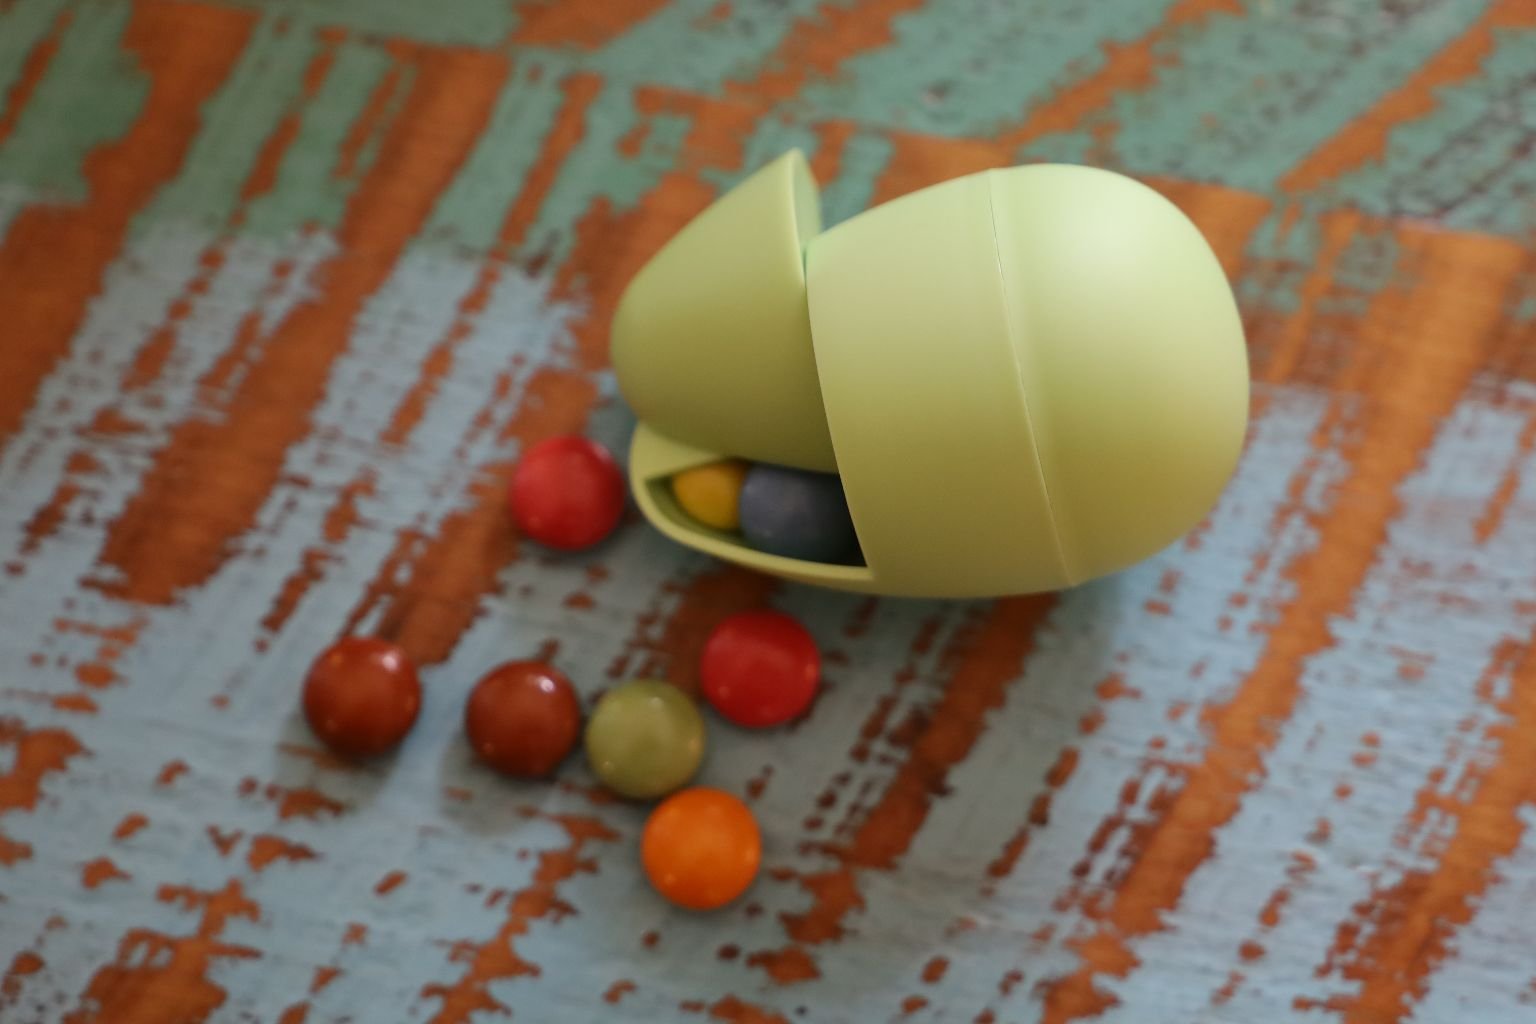
Candy Filled EGGS From The Asian Store
I LOVE These!
First of all, the candies inside far outweigh our traditional M&M’s.
Second, I love how the egg containers distribute the candies! The top part swizzles open so that a few candies can emerge at a time. This container is perfect for a toddler’s snack. The eggs will only pop out a few candies at a time, thus you don’t have to deal with a mess in the car or at home on the carpet. Once the candies have been eaten, they can be used to house Cheerios Cereal, or something like that. A healthy snack for kids. I say that we keep these egg containers for future use.
—————————————————————————————-
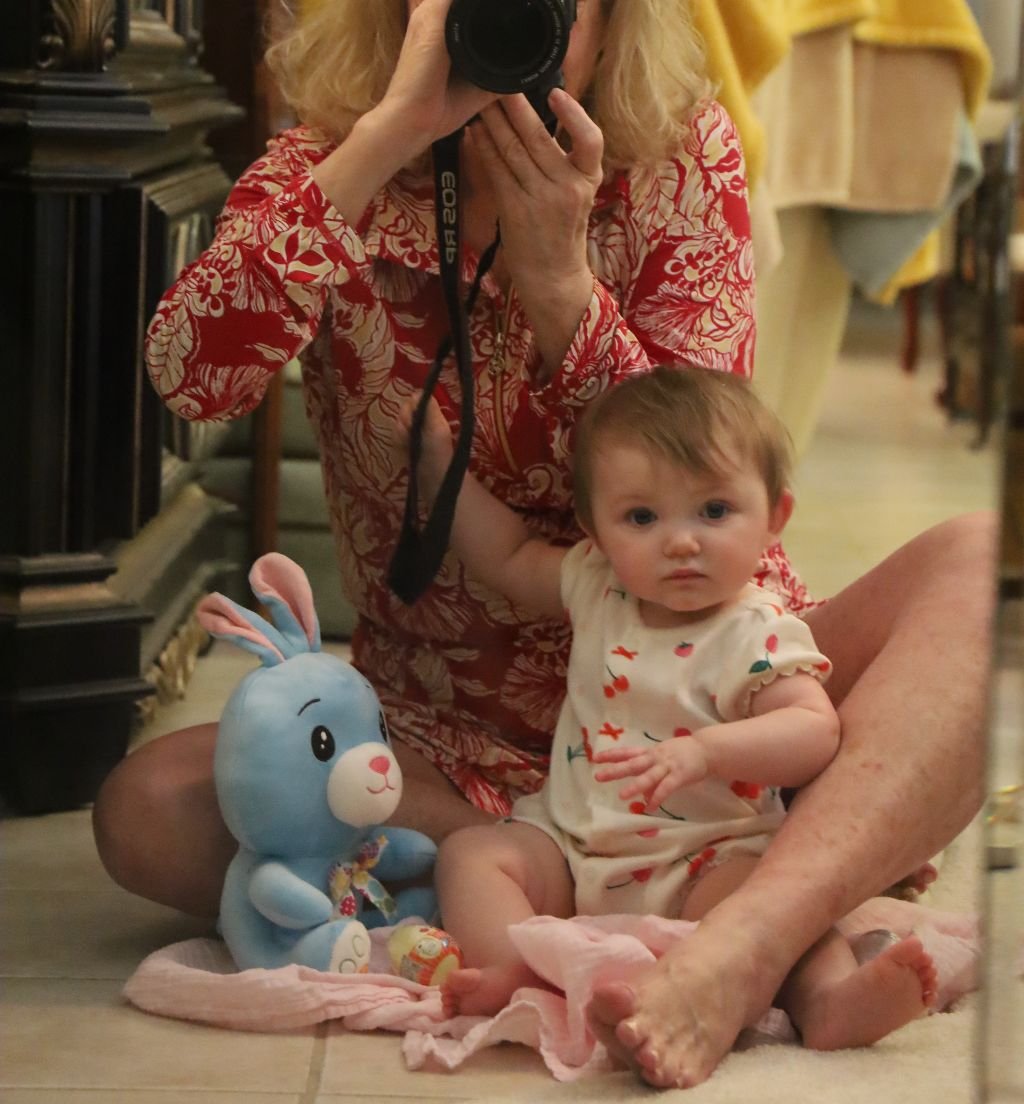
Peanuku’s Easter Basket


Peanuku is only 9 months old this Easter, 2024.
This Easter Basket is more about keepsakes, not something tangible she can consume.
The Eggs are delicious but more as a rattle for her to play with, and candies for me, and her parents to eat. 🙂
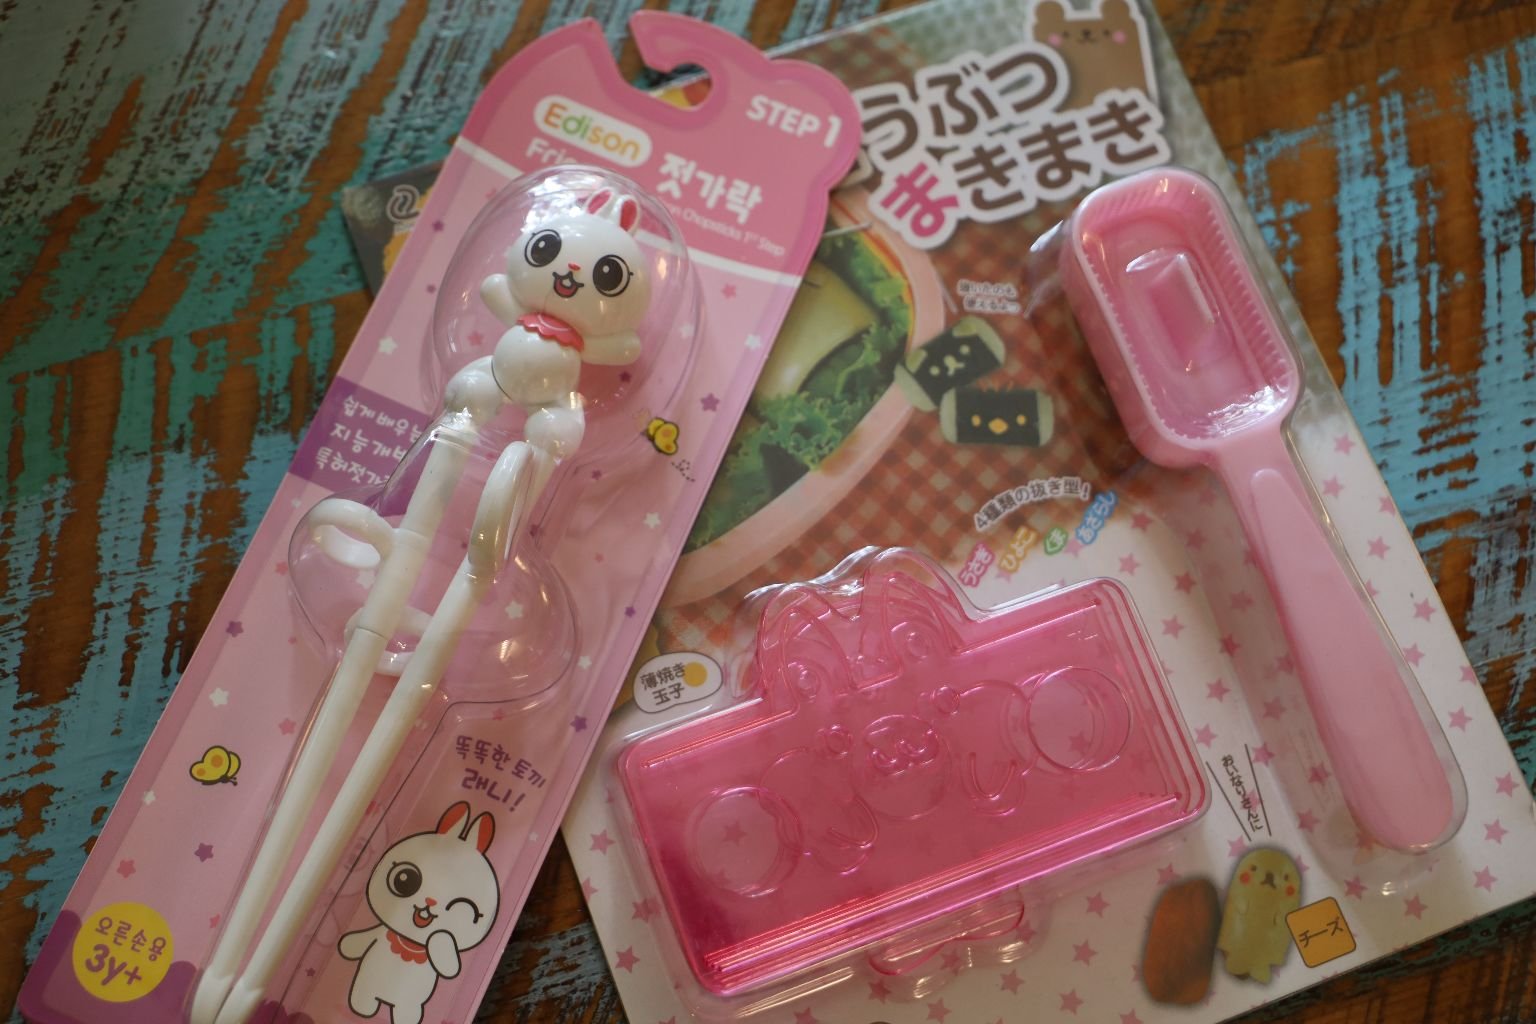
The bunny cup and spoon are more as a keepsake for her future from me, her Tutu. I picture her eating ice cream from it someday.
The Bunny Rookie Chopsticks are for her Chopstick’s training. I can picture us eating Chinese Take Out on the coffee table in no time at all!
———————————————————————————————–
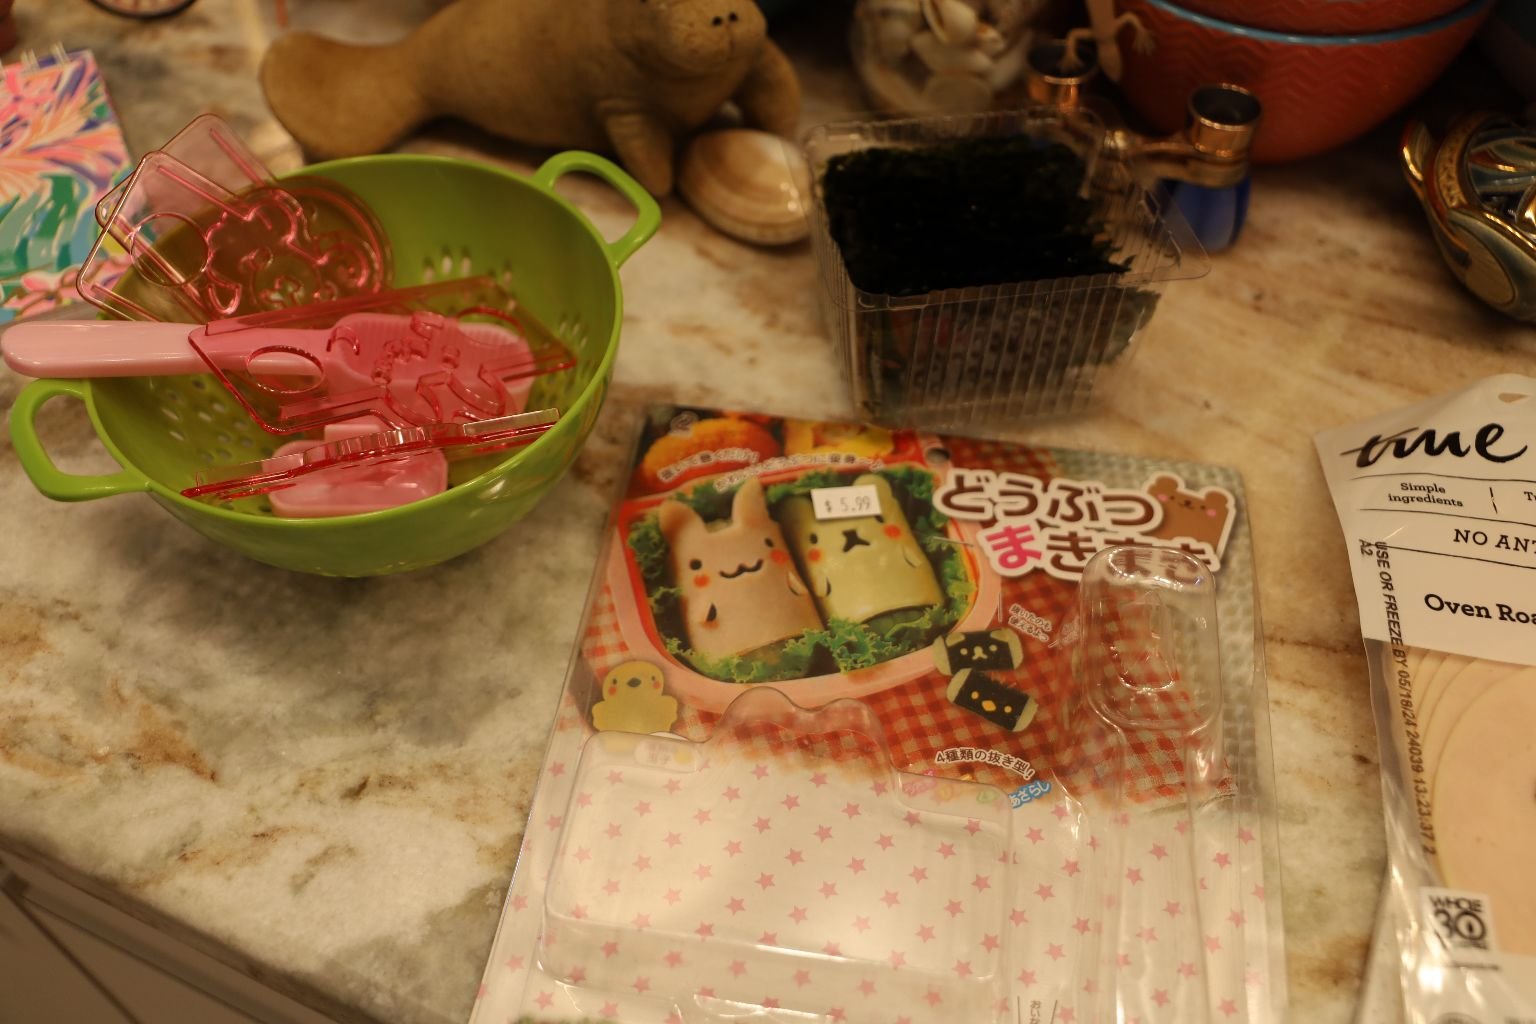
I Love the Food Molds From The Asian Store
Luckily They Come With Photographic Instructions!
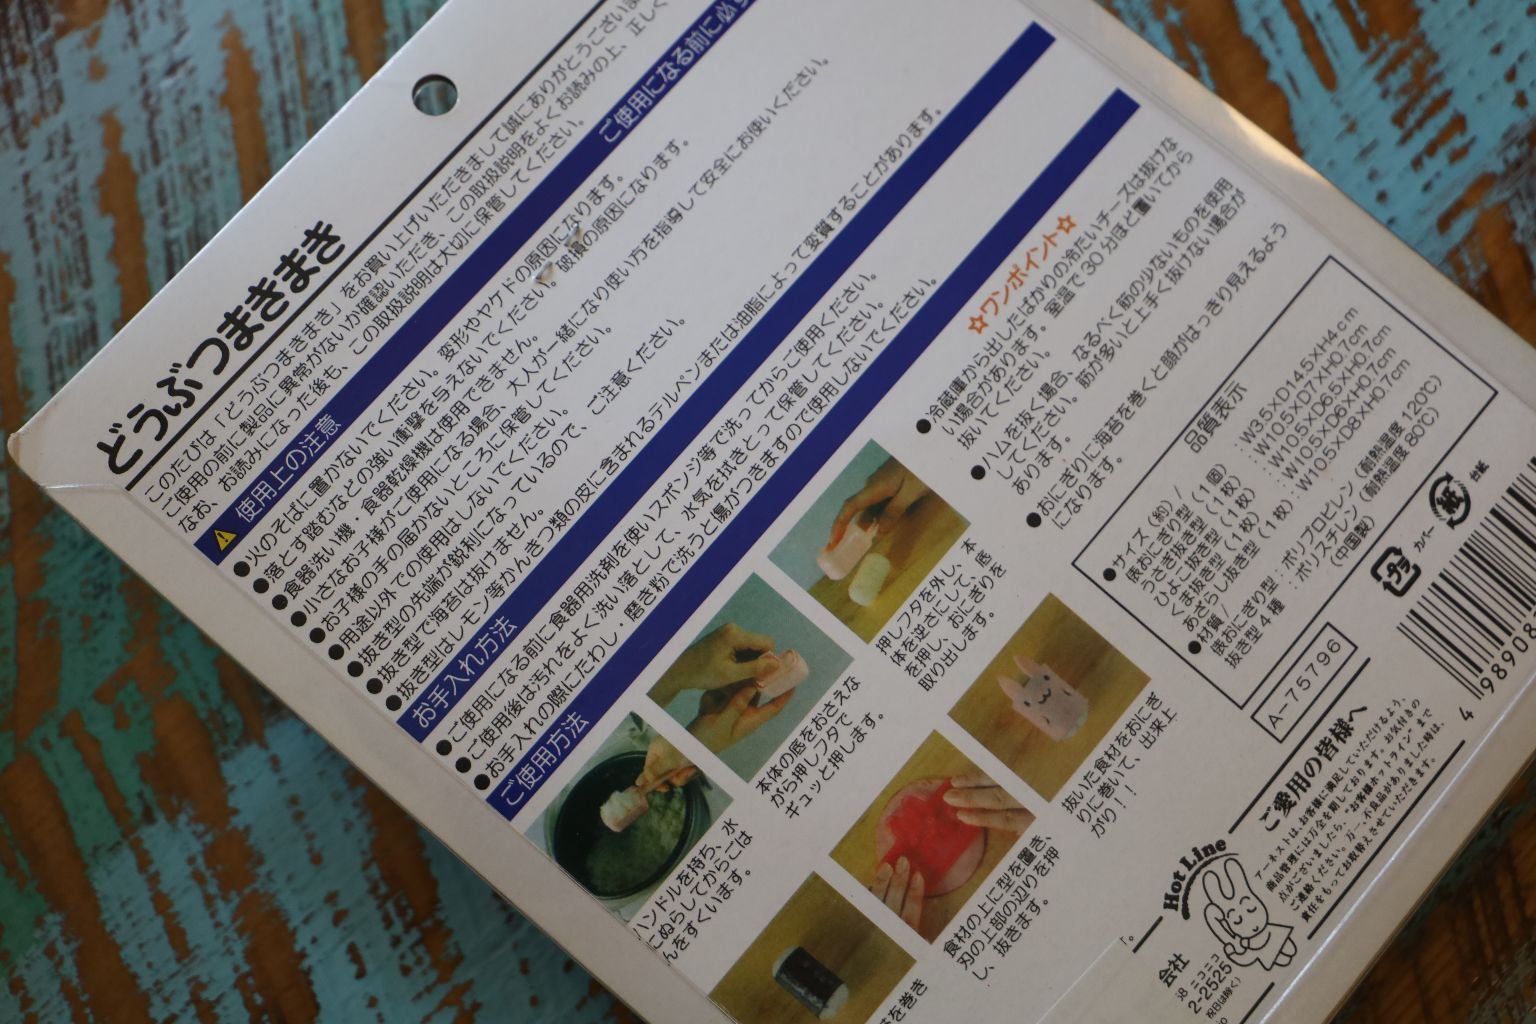
Seeing as how I cannot read Chinese!
—————————————————————————-

The Rookie Chopsticks For Children are Genius!
I Cannot Wait To Teach Peanuku How To Use Them
——————————————————————————
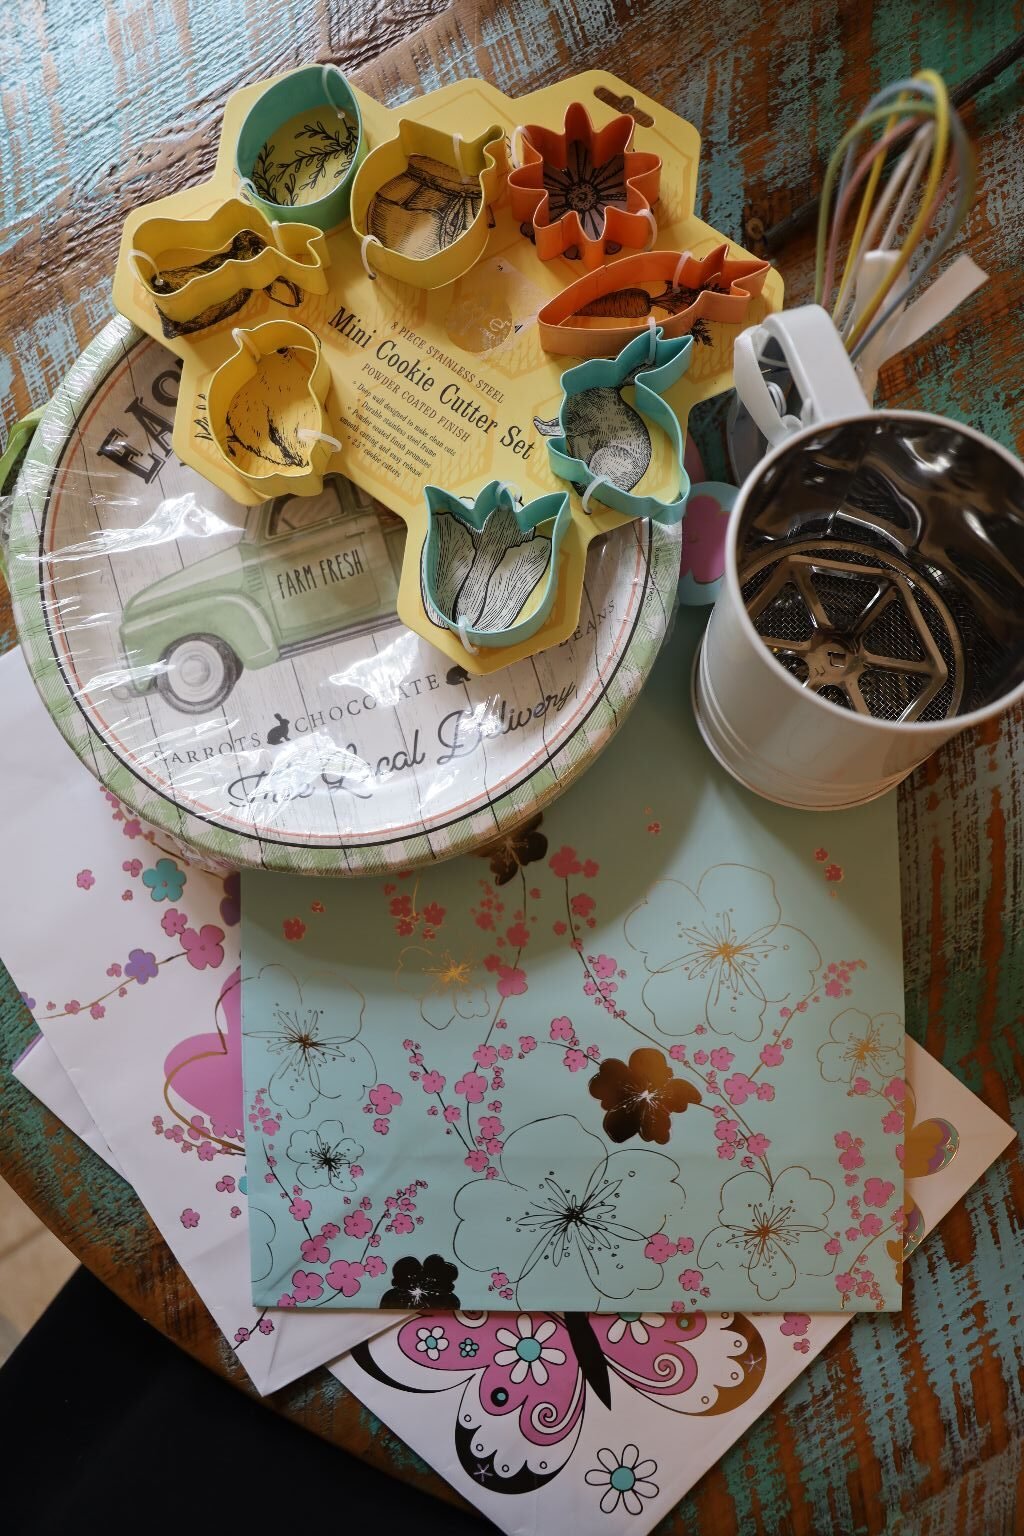
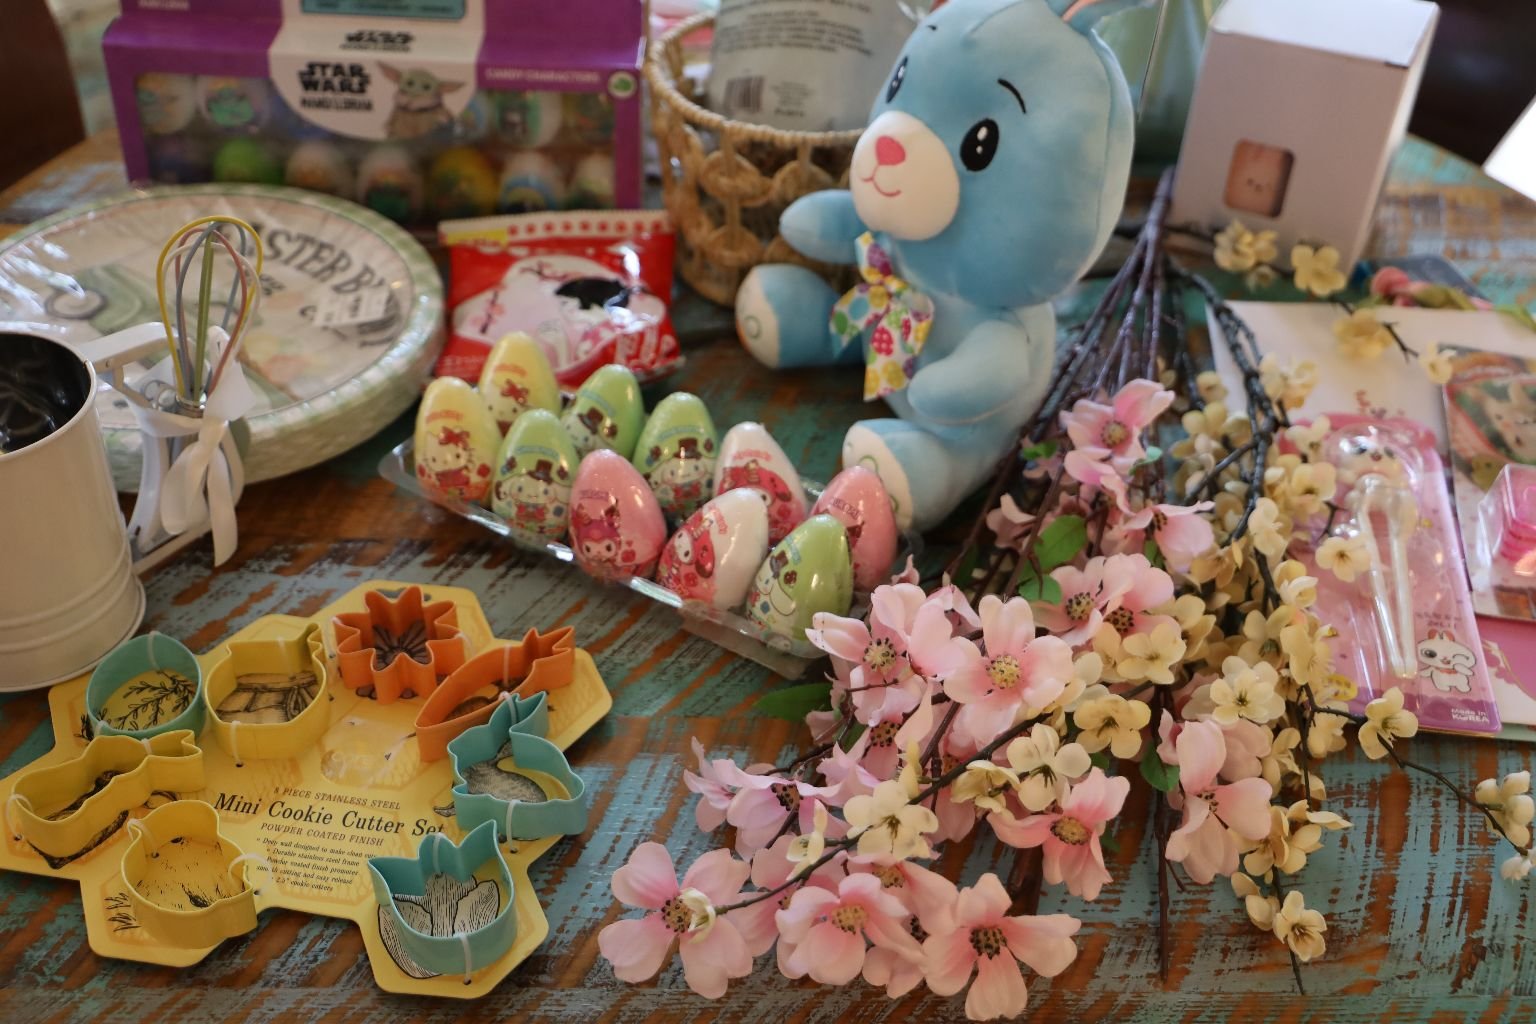
Veronica’s Easter Gifts
Easter Truck Paper Plates, Lovely Easter Cookie Cutters, and a Flour Sifter with Whisk
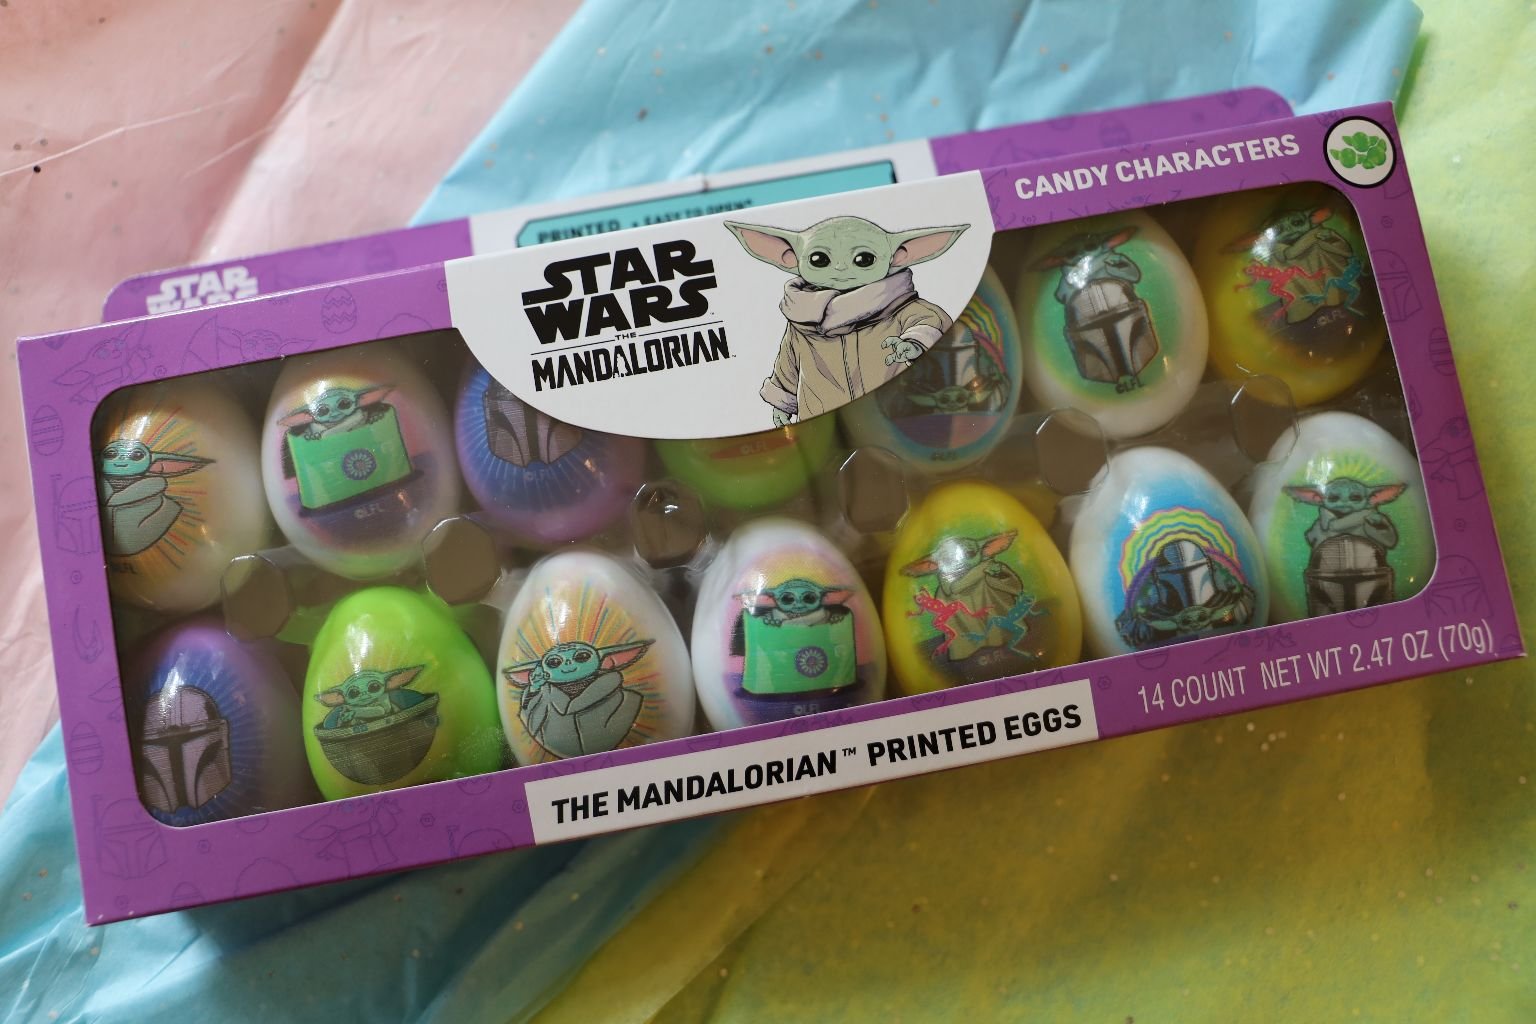
Veronica and Brian are huge fans of The Mandalorian, and Grogu
I found these eggs and knew they would love them!
———————————————————————————–
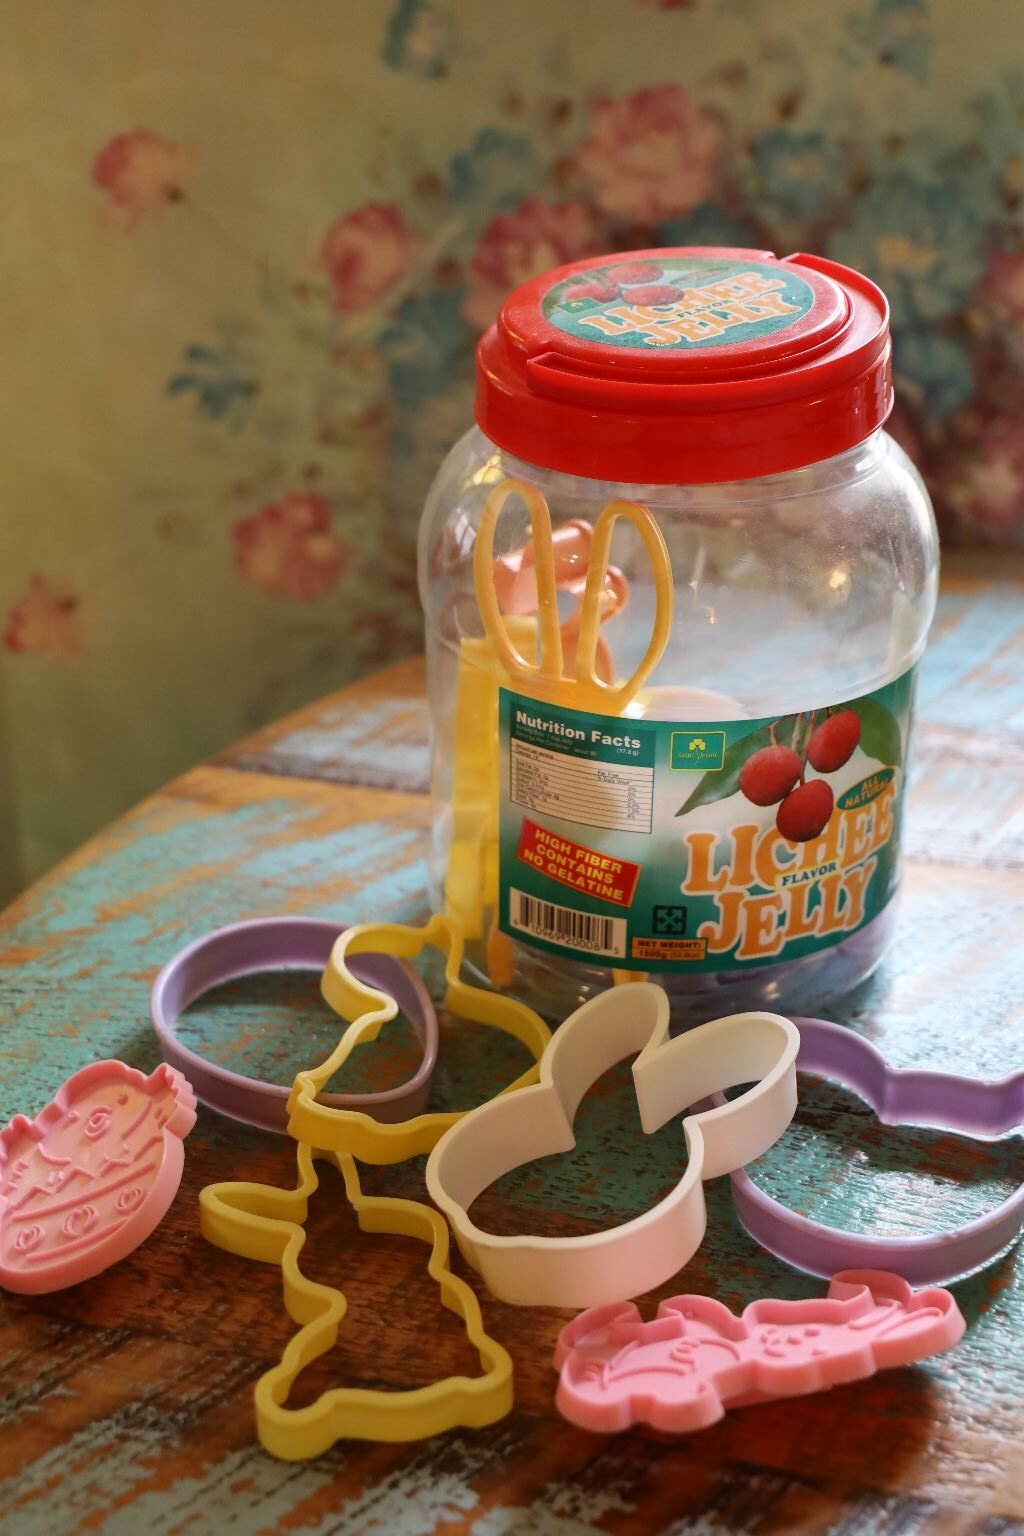
My Easter Cookie Cutters
(Looking forward to using them soon.)
——————————————————————————-
Peanuku’s Easter

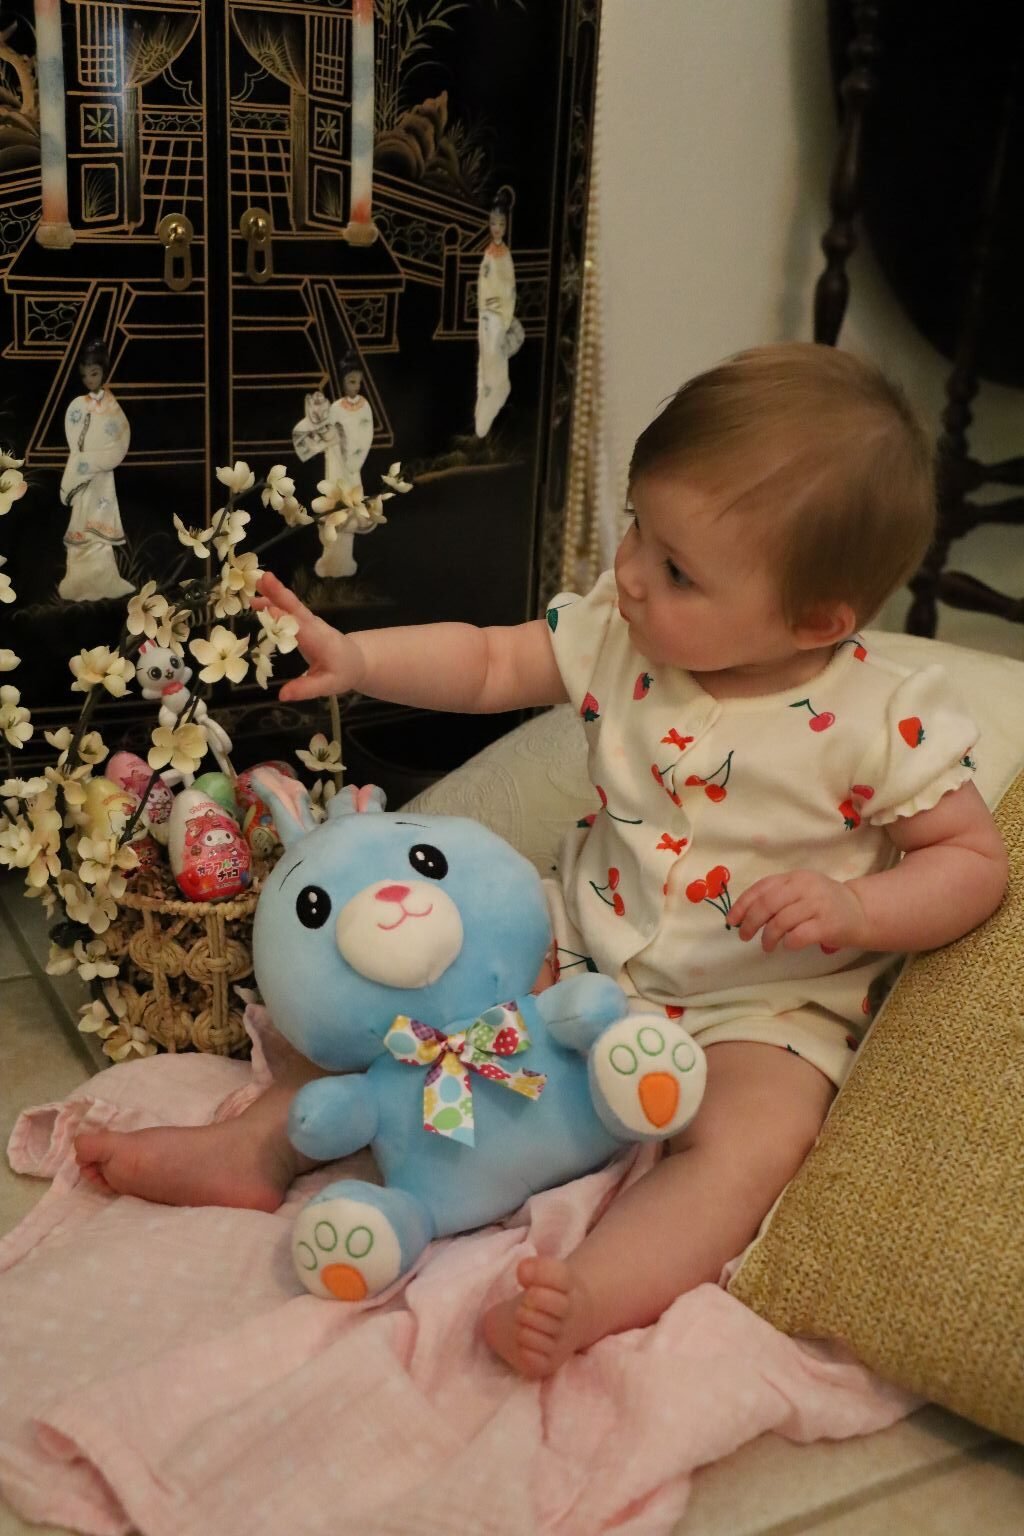

Happy Easter Peanuku
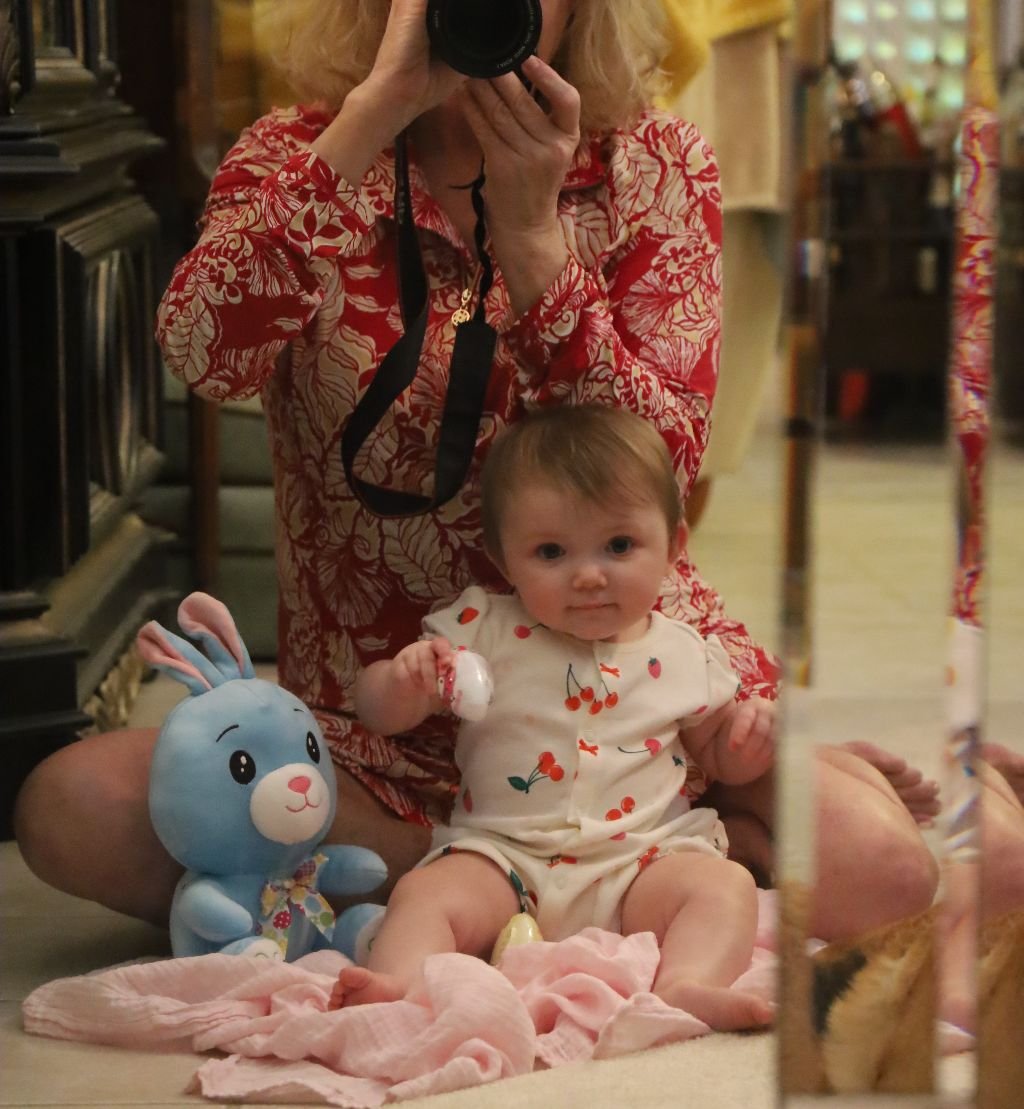
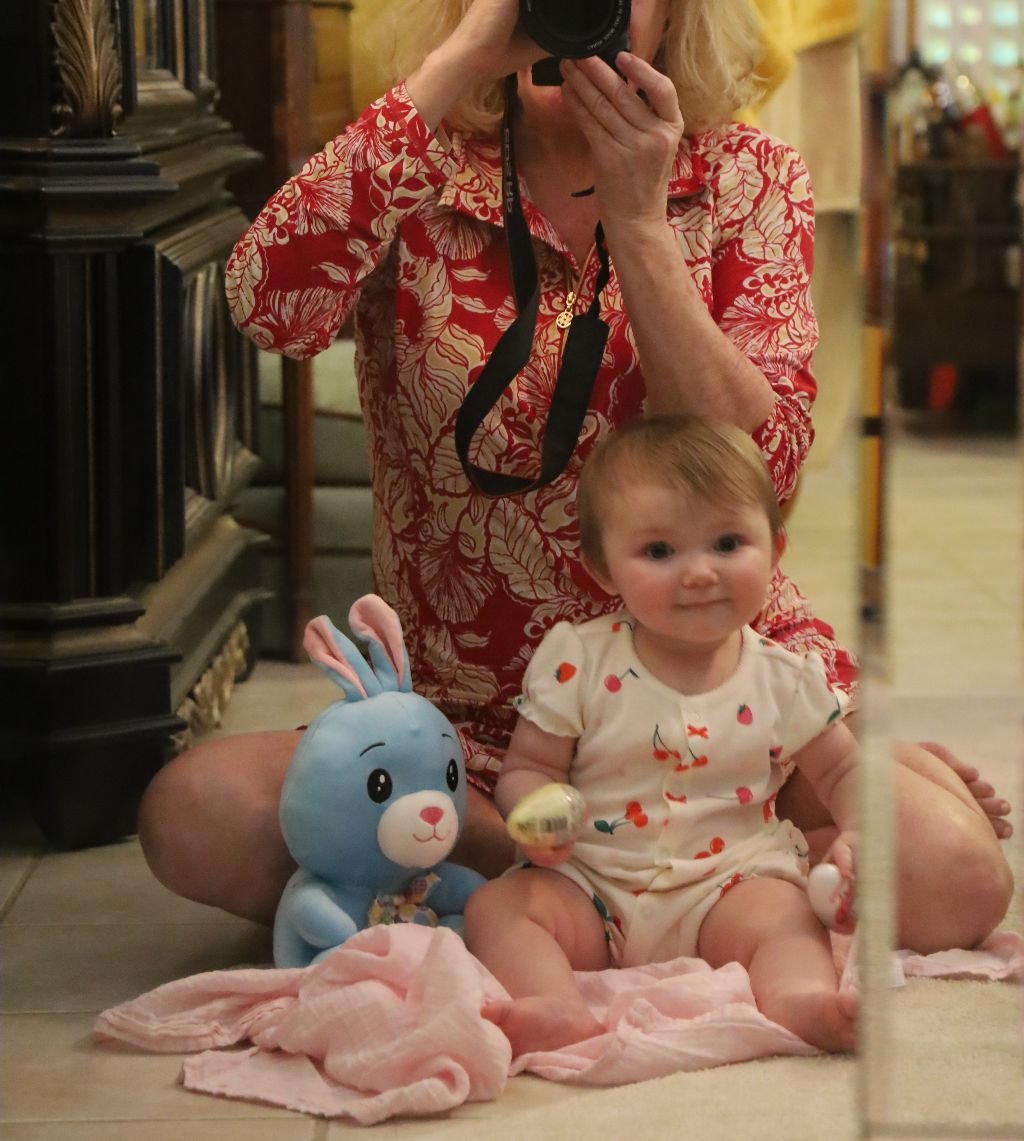
Love, Tutu
May there be many more Easter’s for us to consume….
Tutu
———————————————————————————
Recipes Start Here
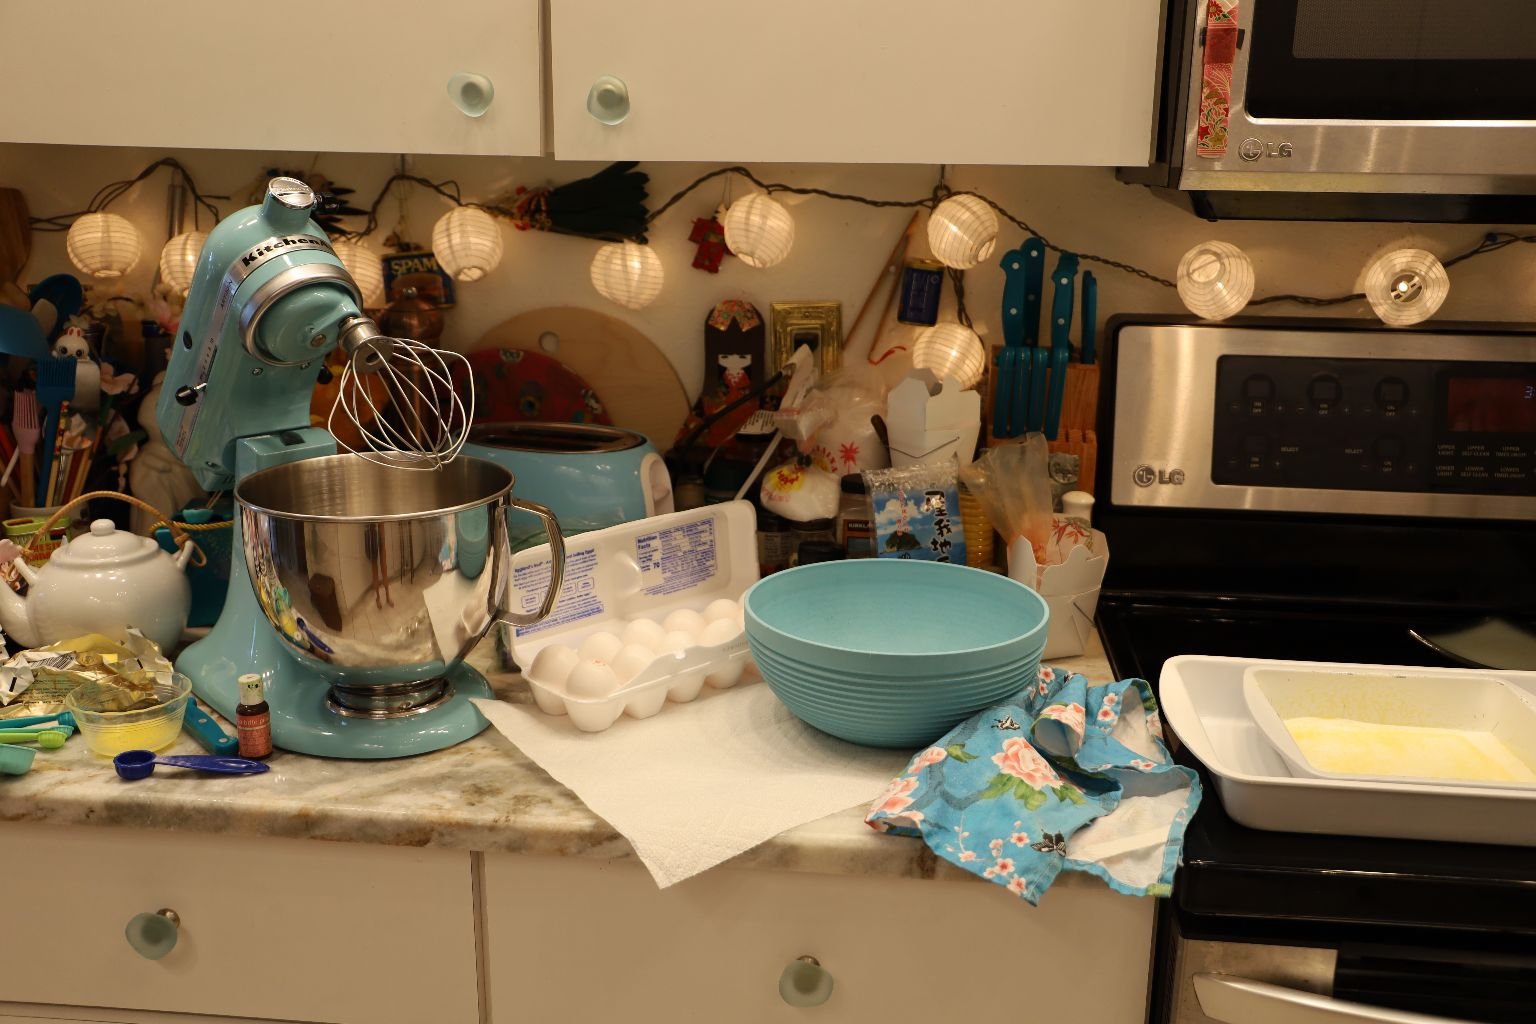
My Sunday Asian Kitchen
——————————————————————————————————–
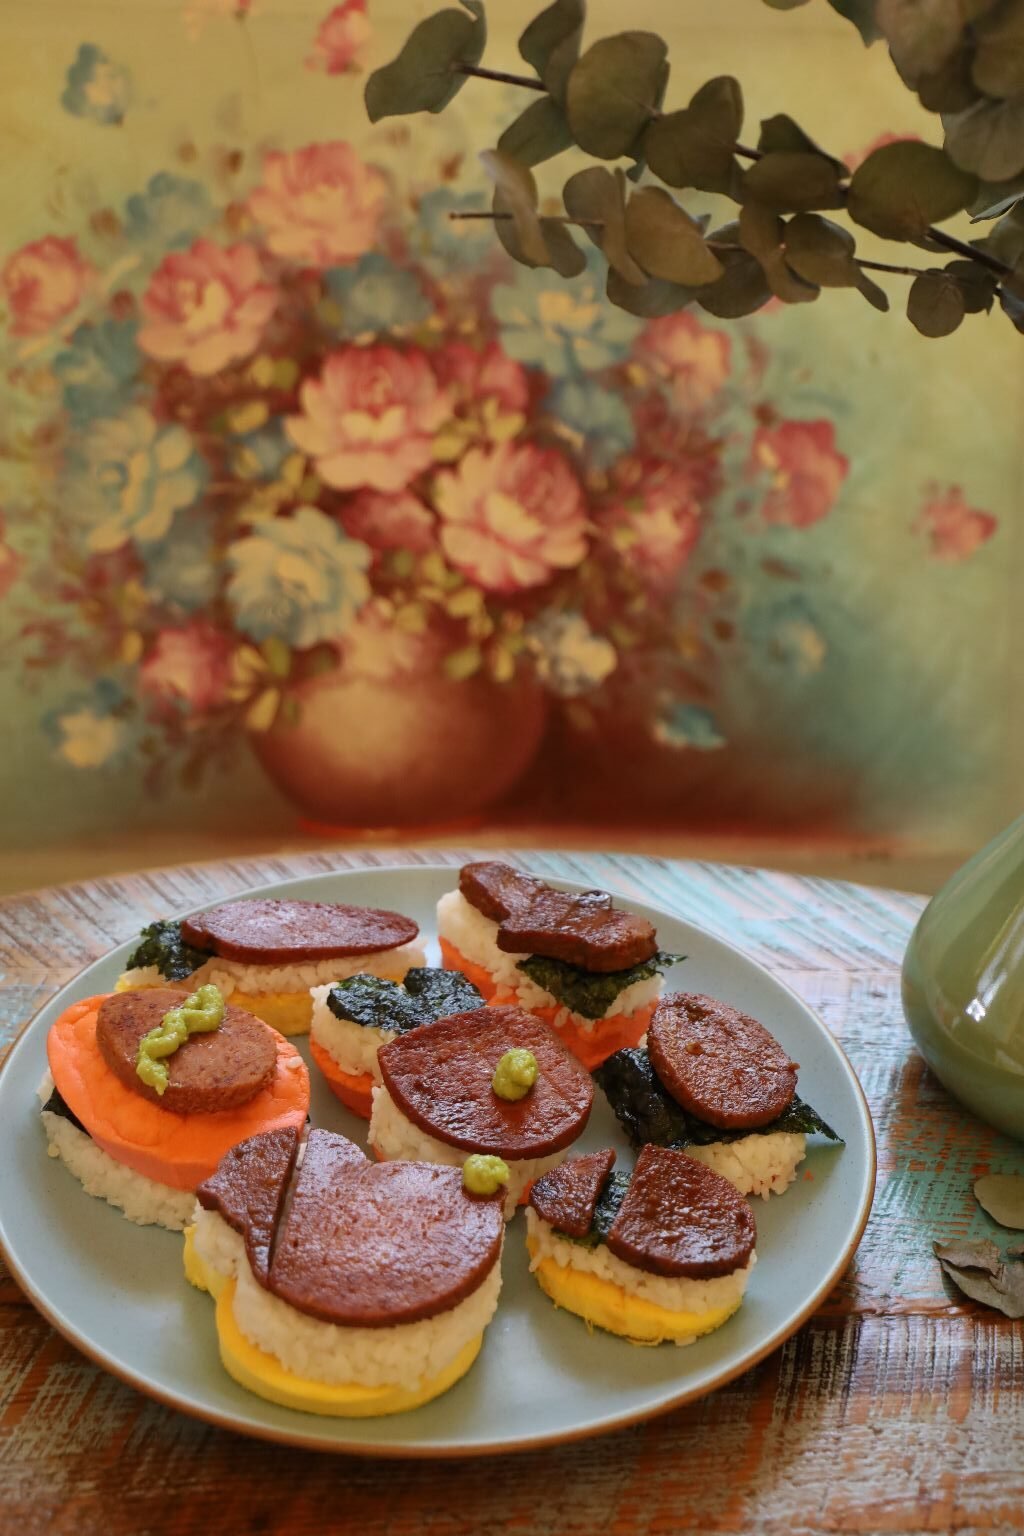
My Royal Eggs/Sticky Rice/Teriyaki SPAM Treats
w/ Touches of Seaweed, and Wasabi
Lovely For Easter, Can be Eaten by Hand or Cutlery
—————————————————————————–
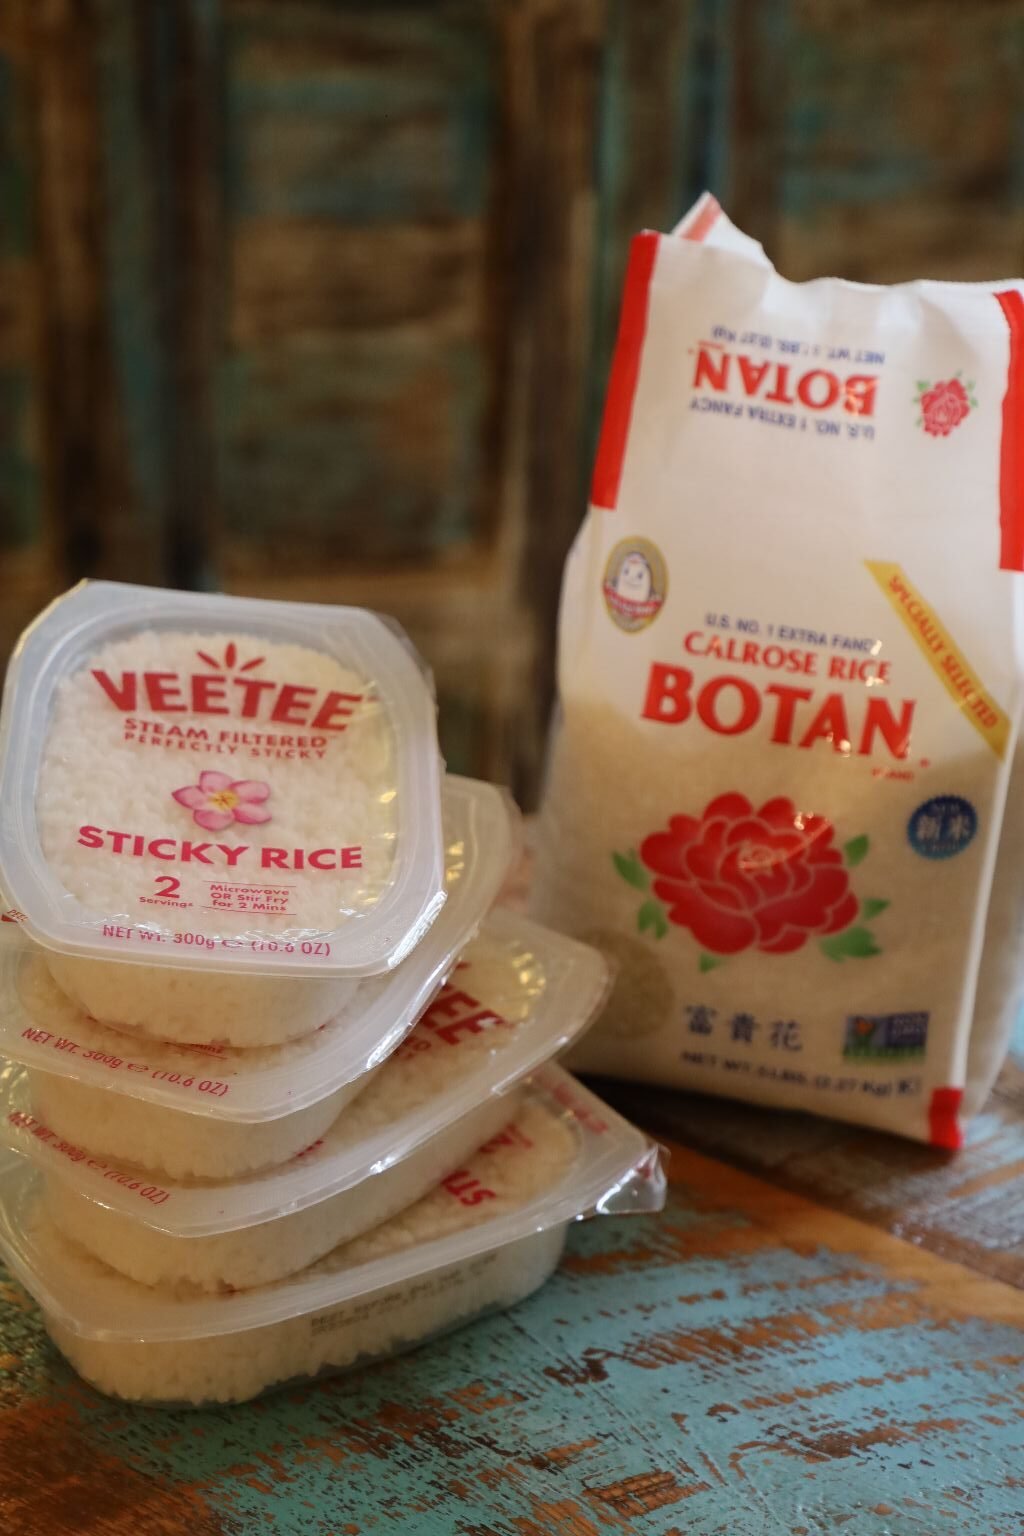
Botan Rice
Or,
Botan Prepared Sticky Rice
Or,
Any Sticky Rice That You Choose
——————————————————————————–
You Will Need Sticky Rice For This Recipe
Also,
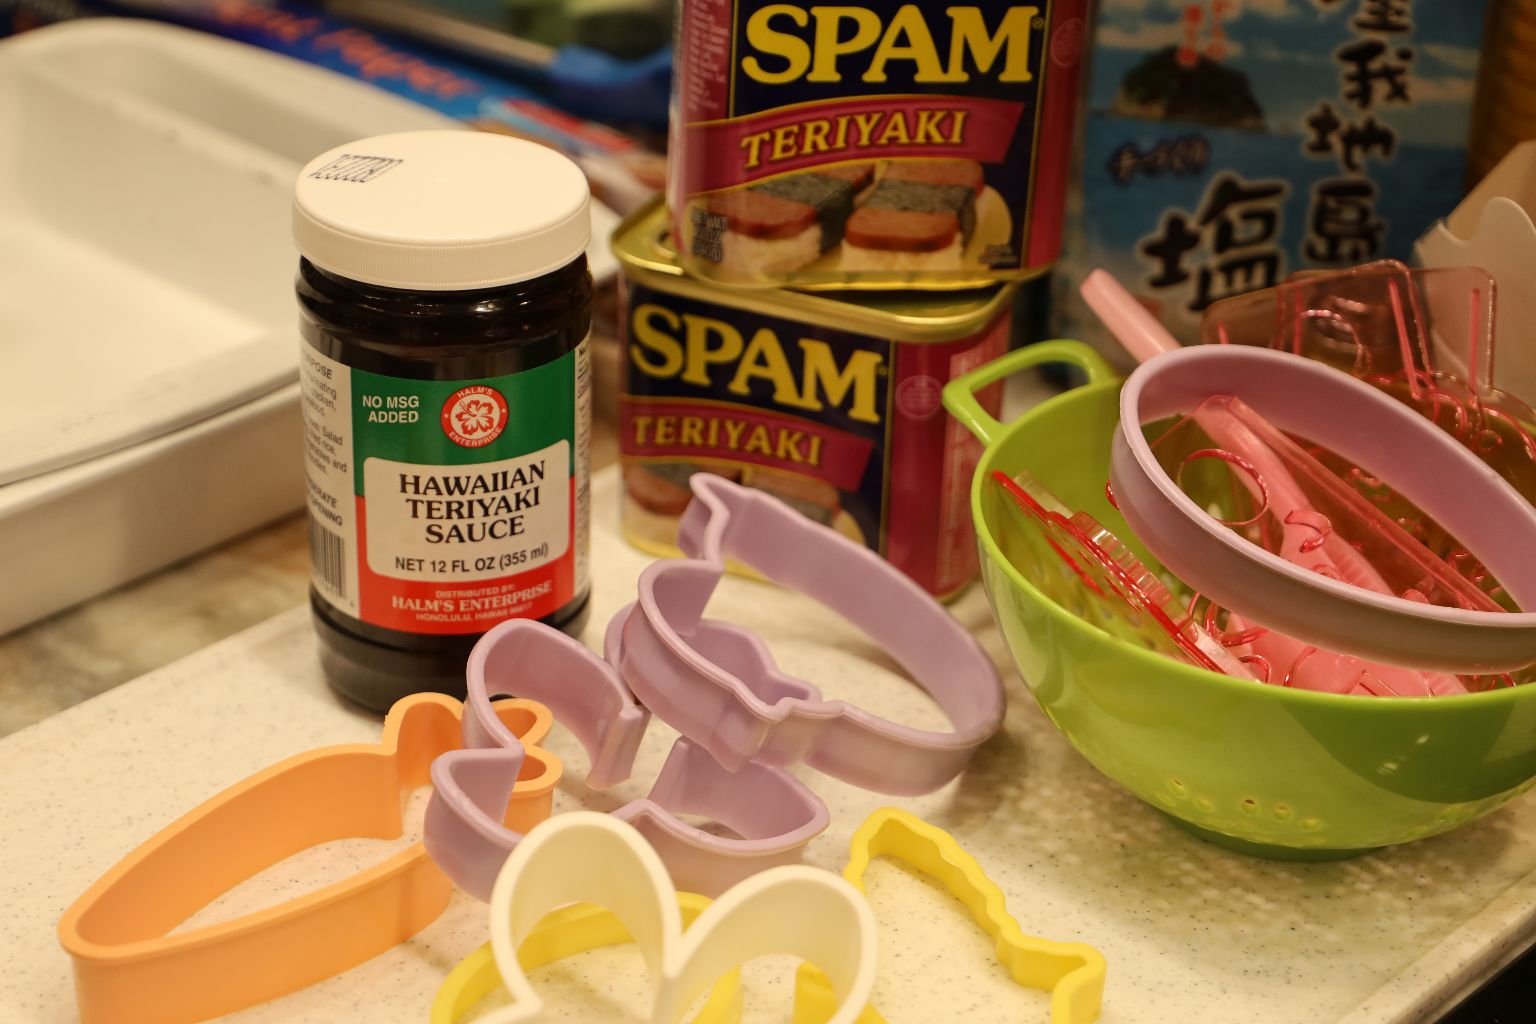
Teriyaki SPAM
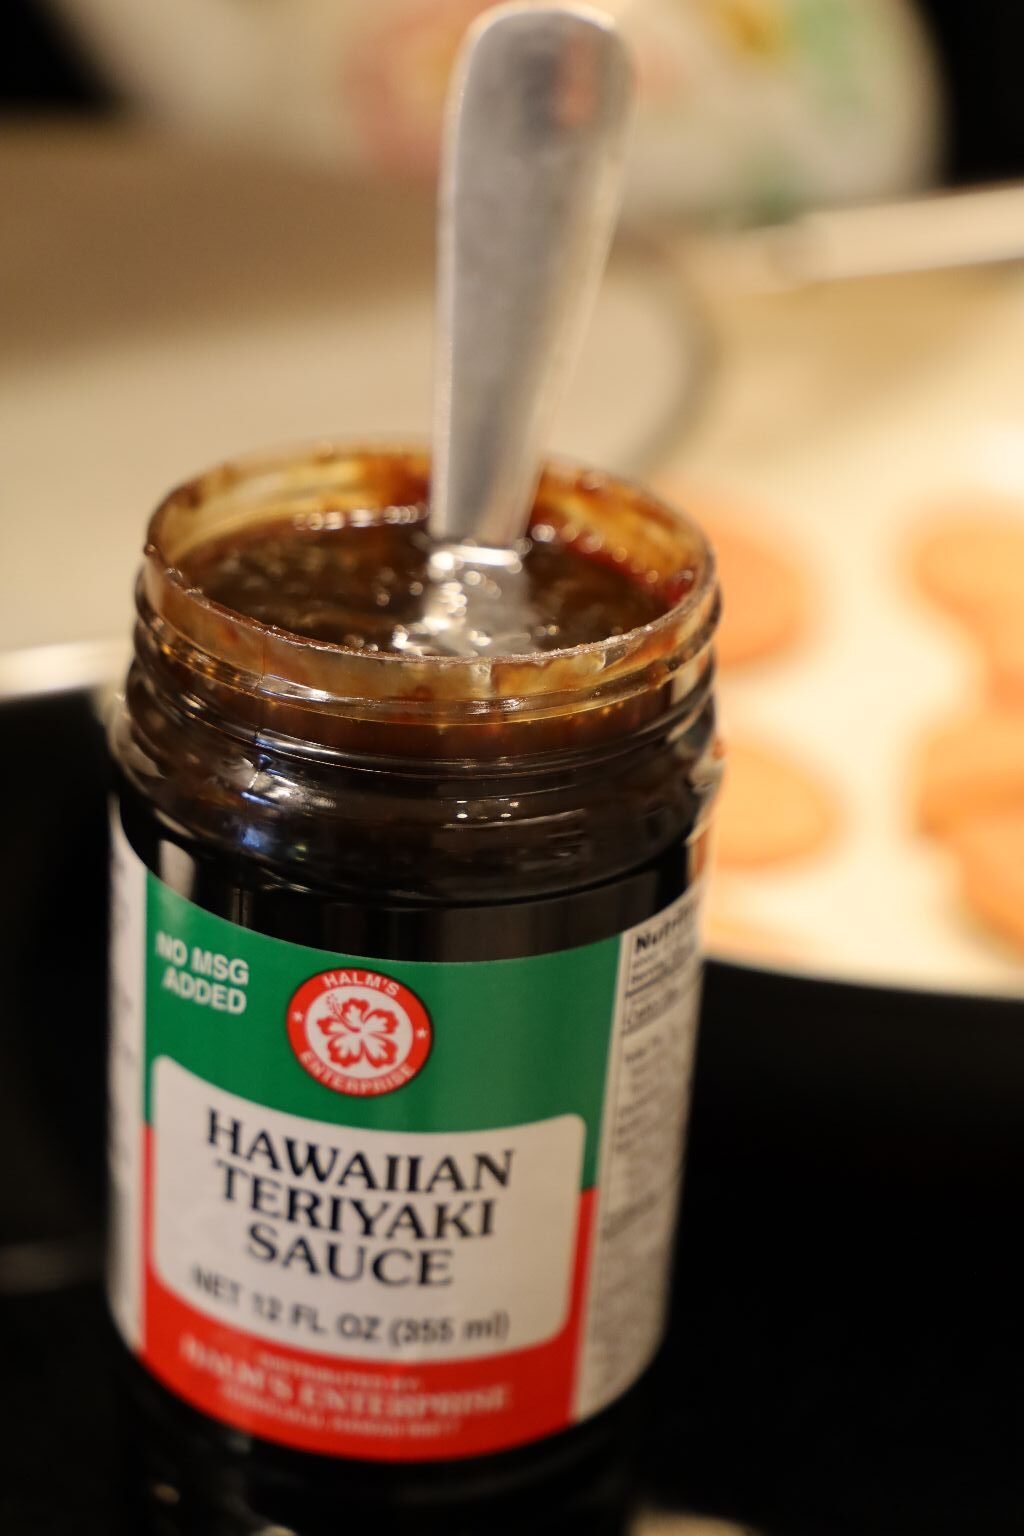
Hawaiian Teriyaki Sauce
And,
Cookie Cutters
———————————————————————————
———————————————————————————
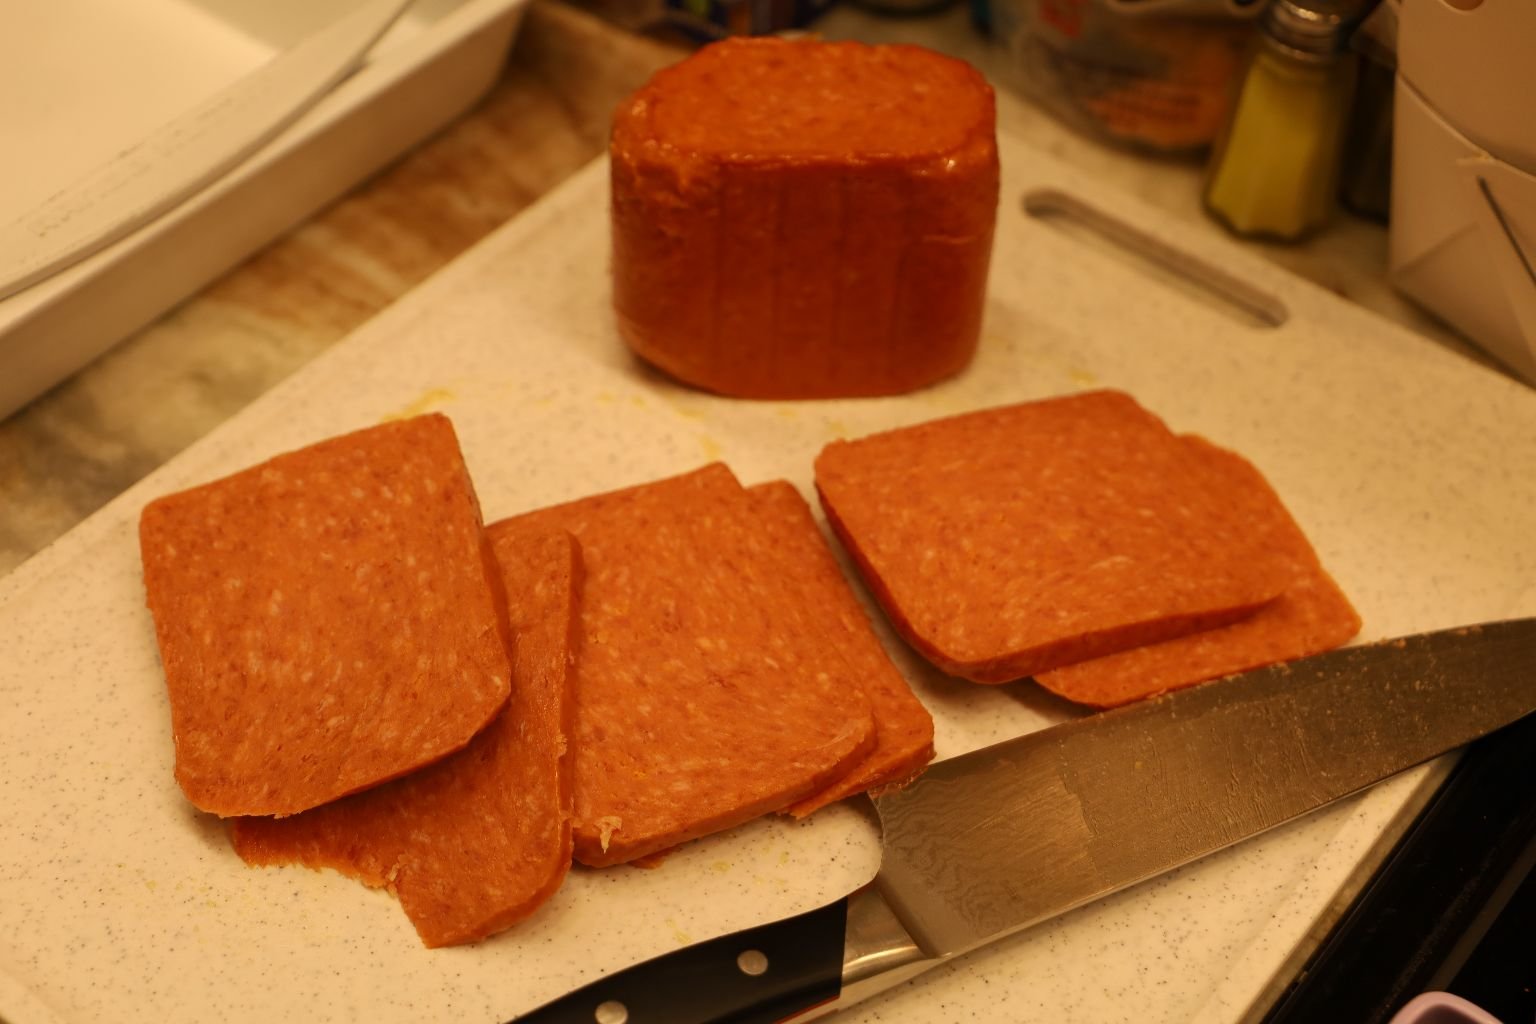
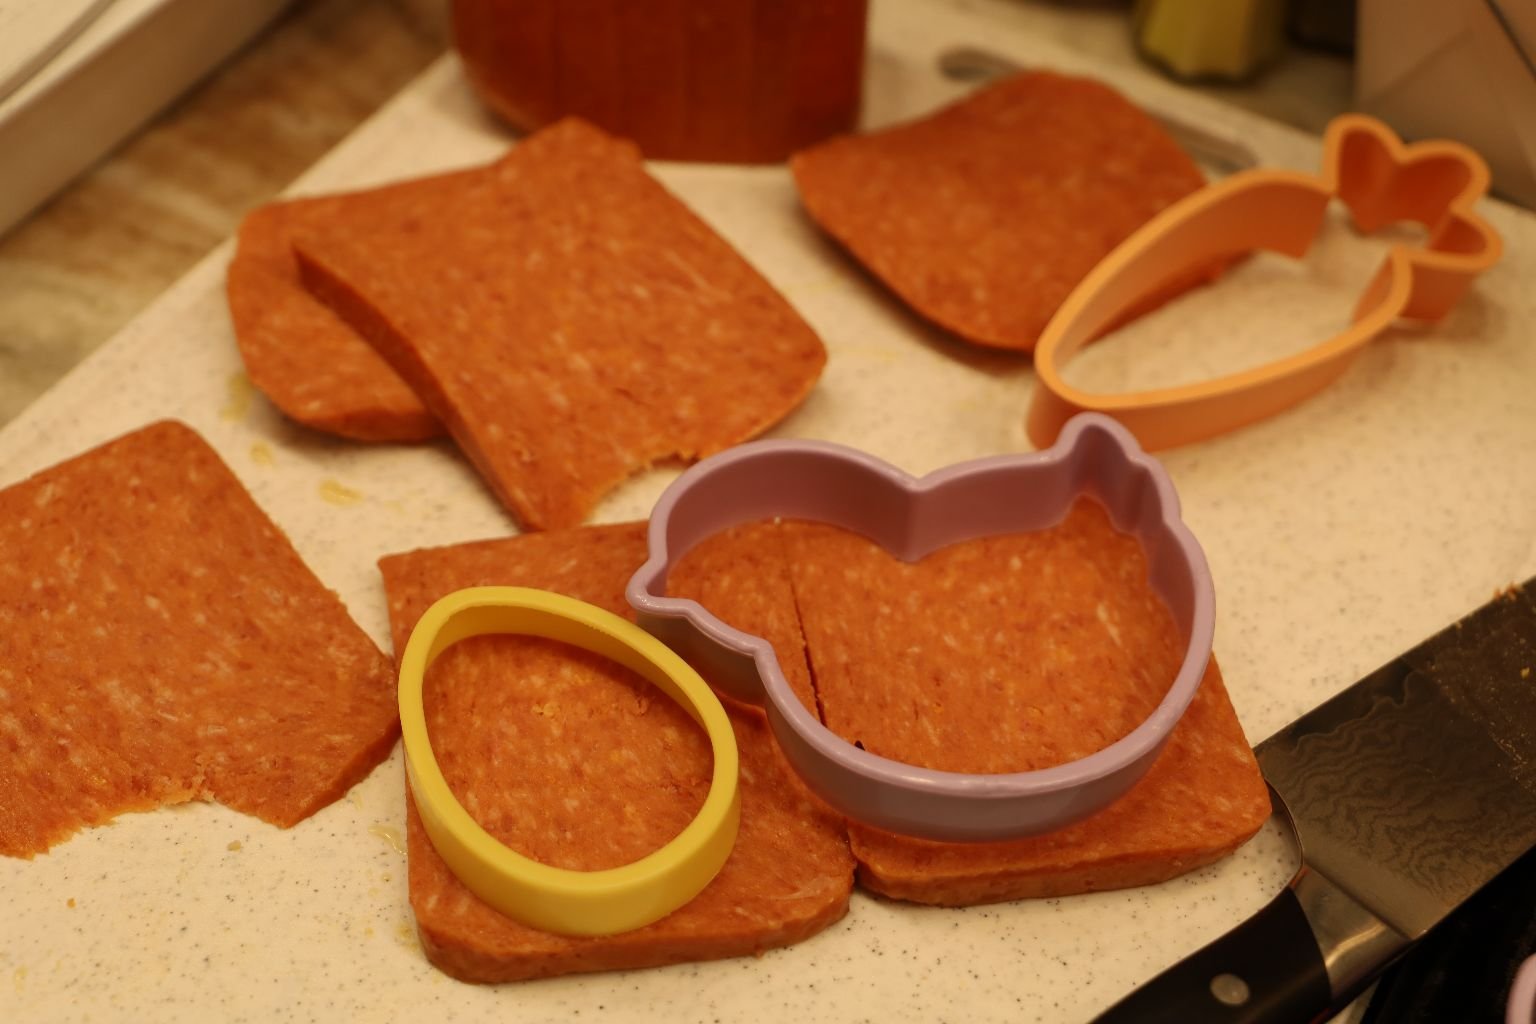
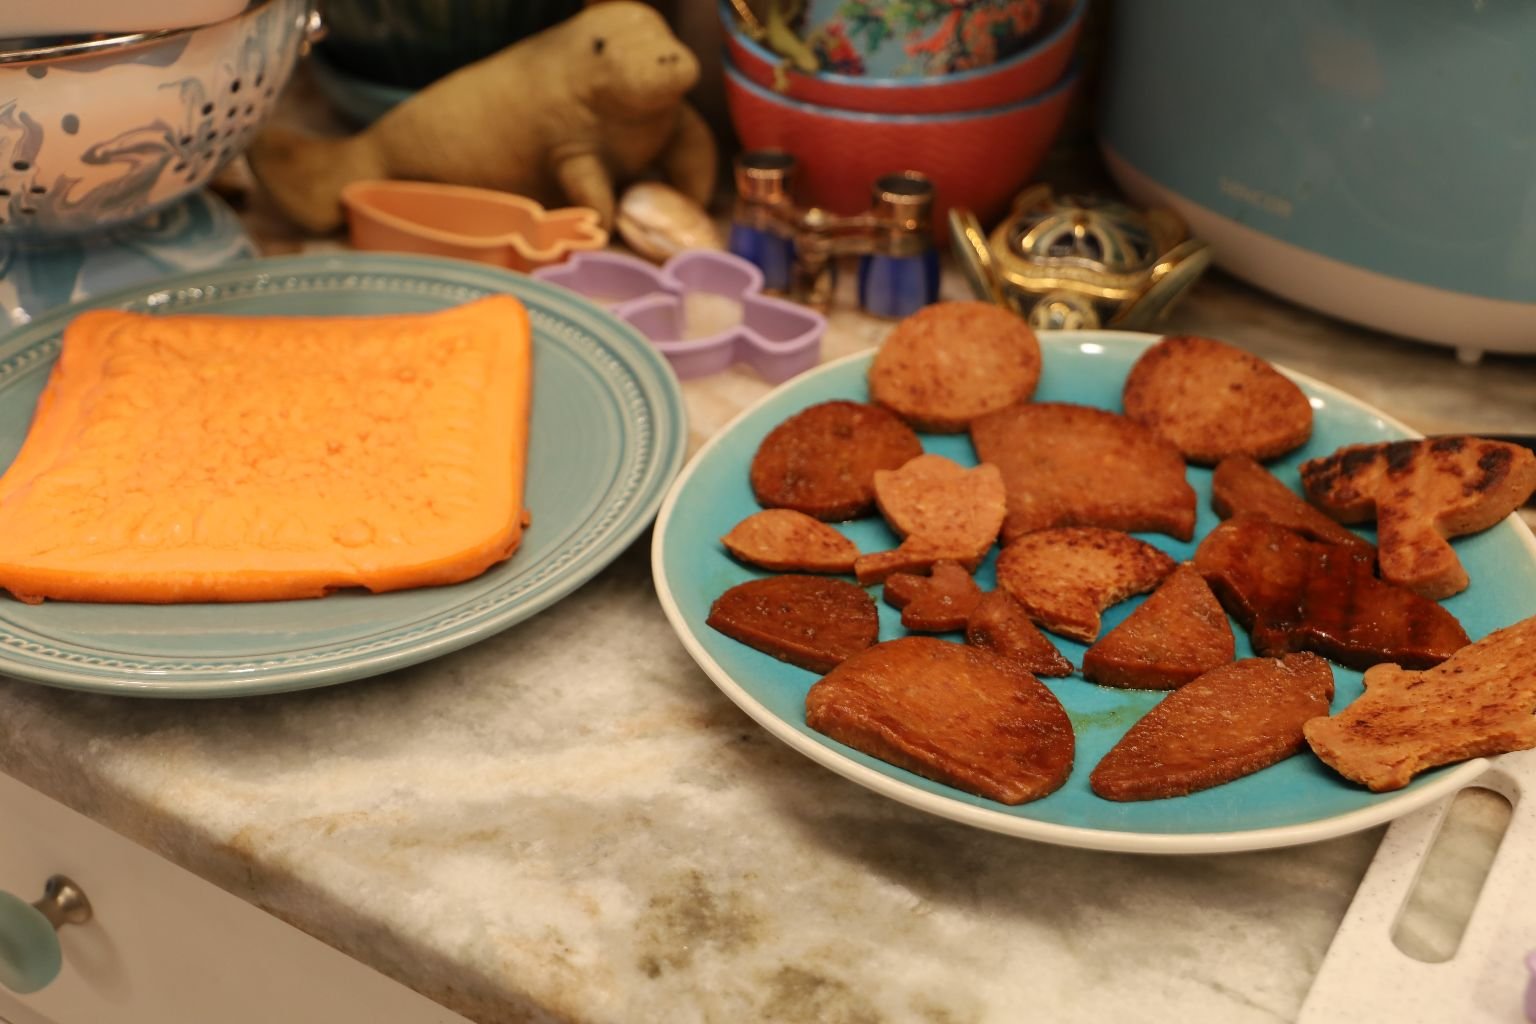
Slice the Teriyaki SPAM into slices, then use the Cookie Cutters to make shapes.
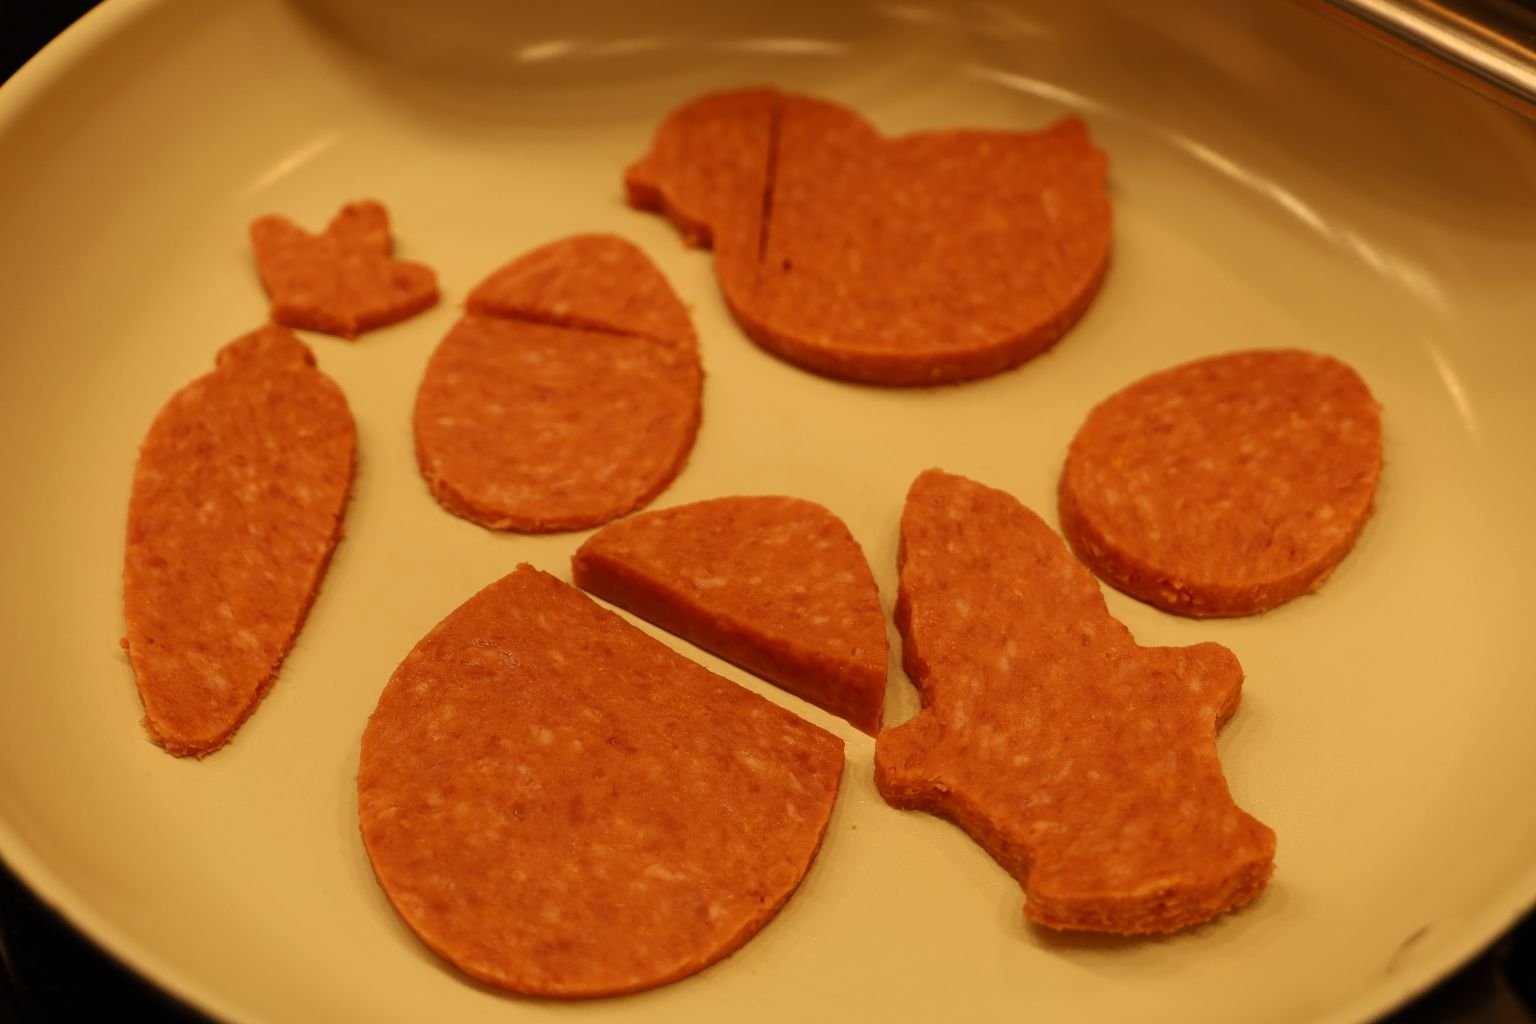
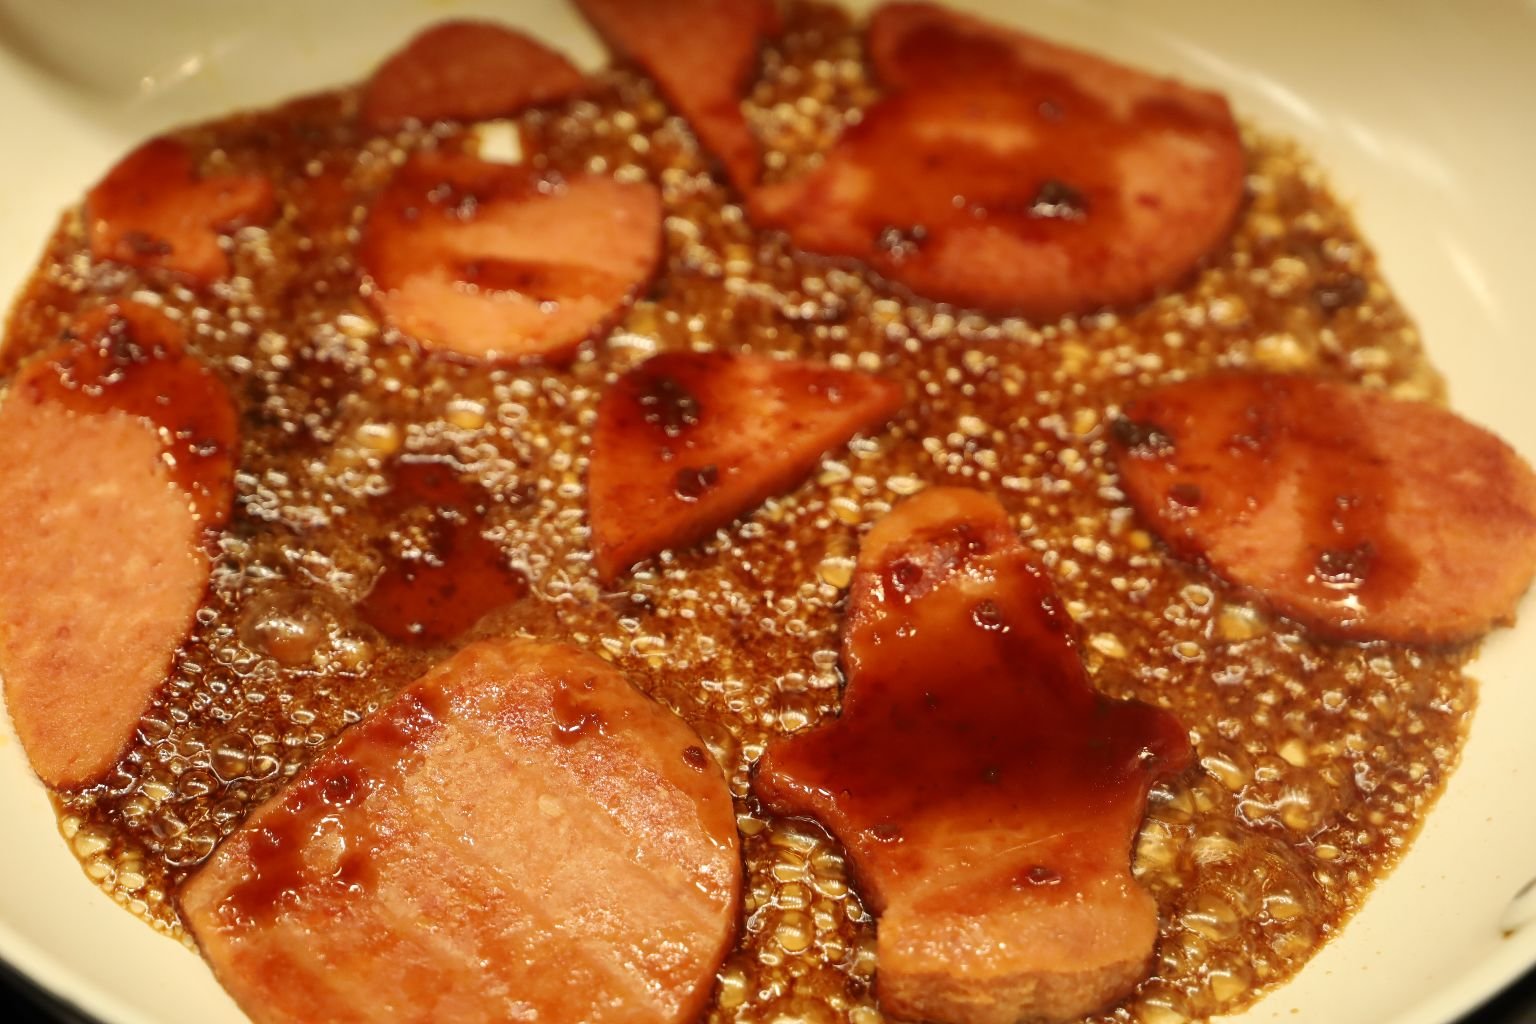
Now, place the SPAM into a pan and fry on a Medium-High Heat until nice and browned.
While adding your Hawaiian Teriyaki Sauce.
Just a spoonful here and there, to add the flavor.
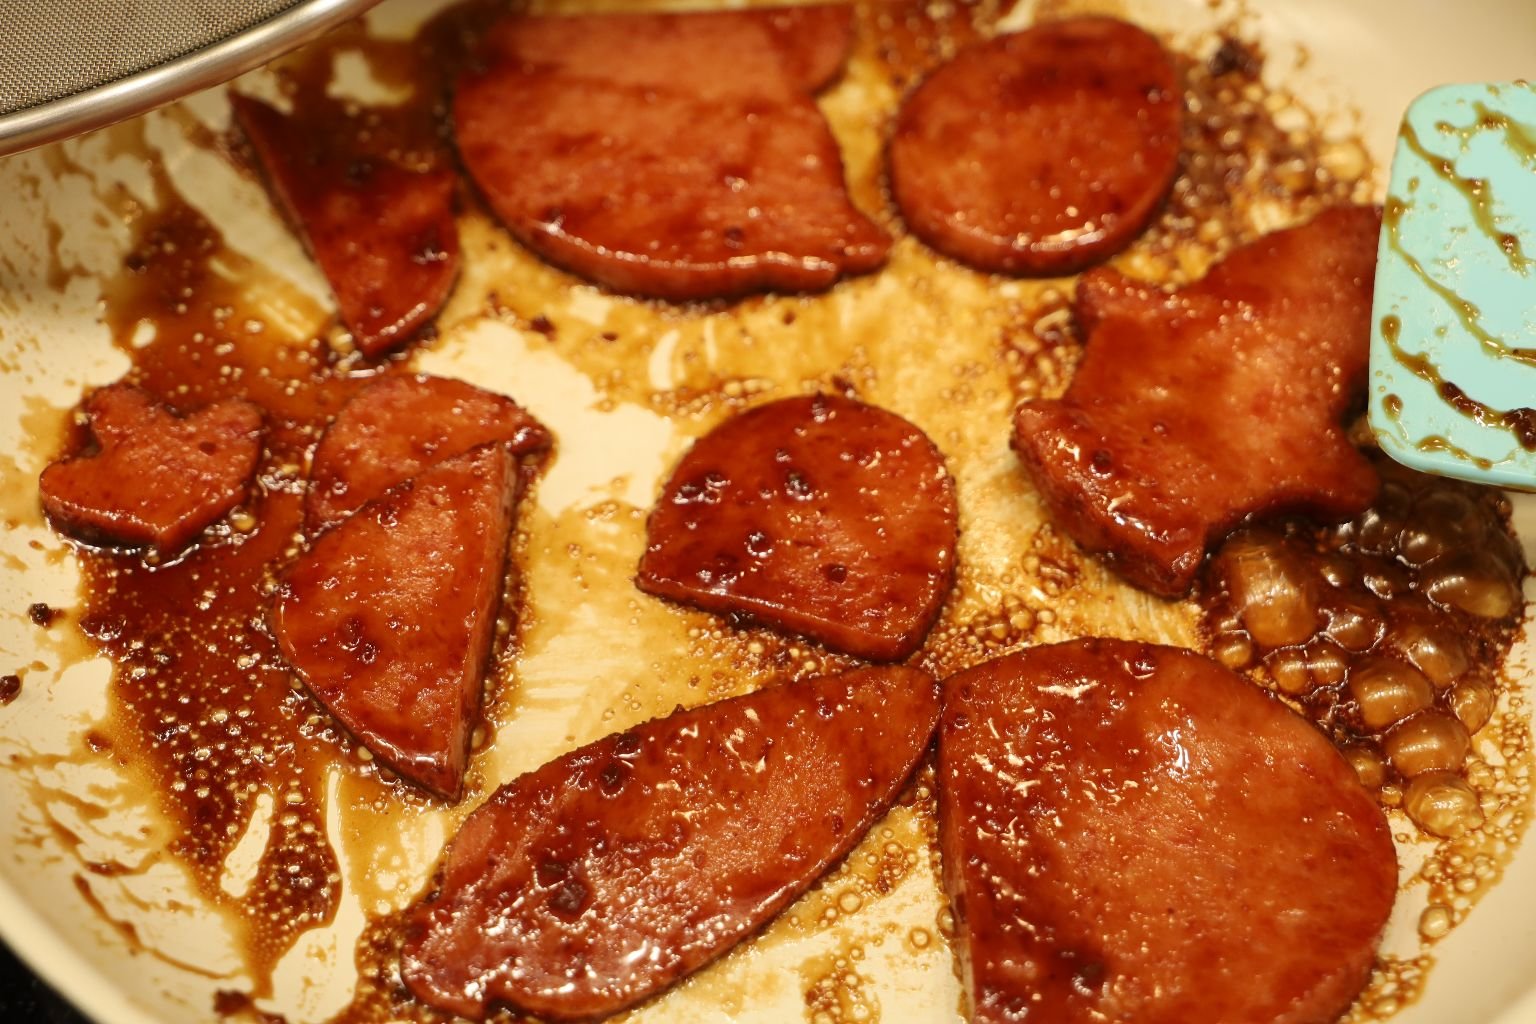
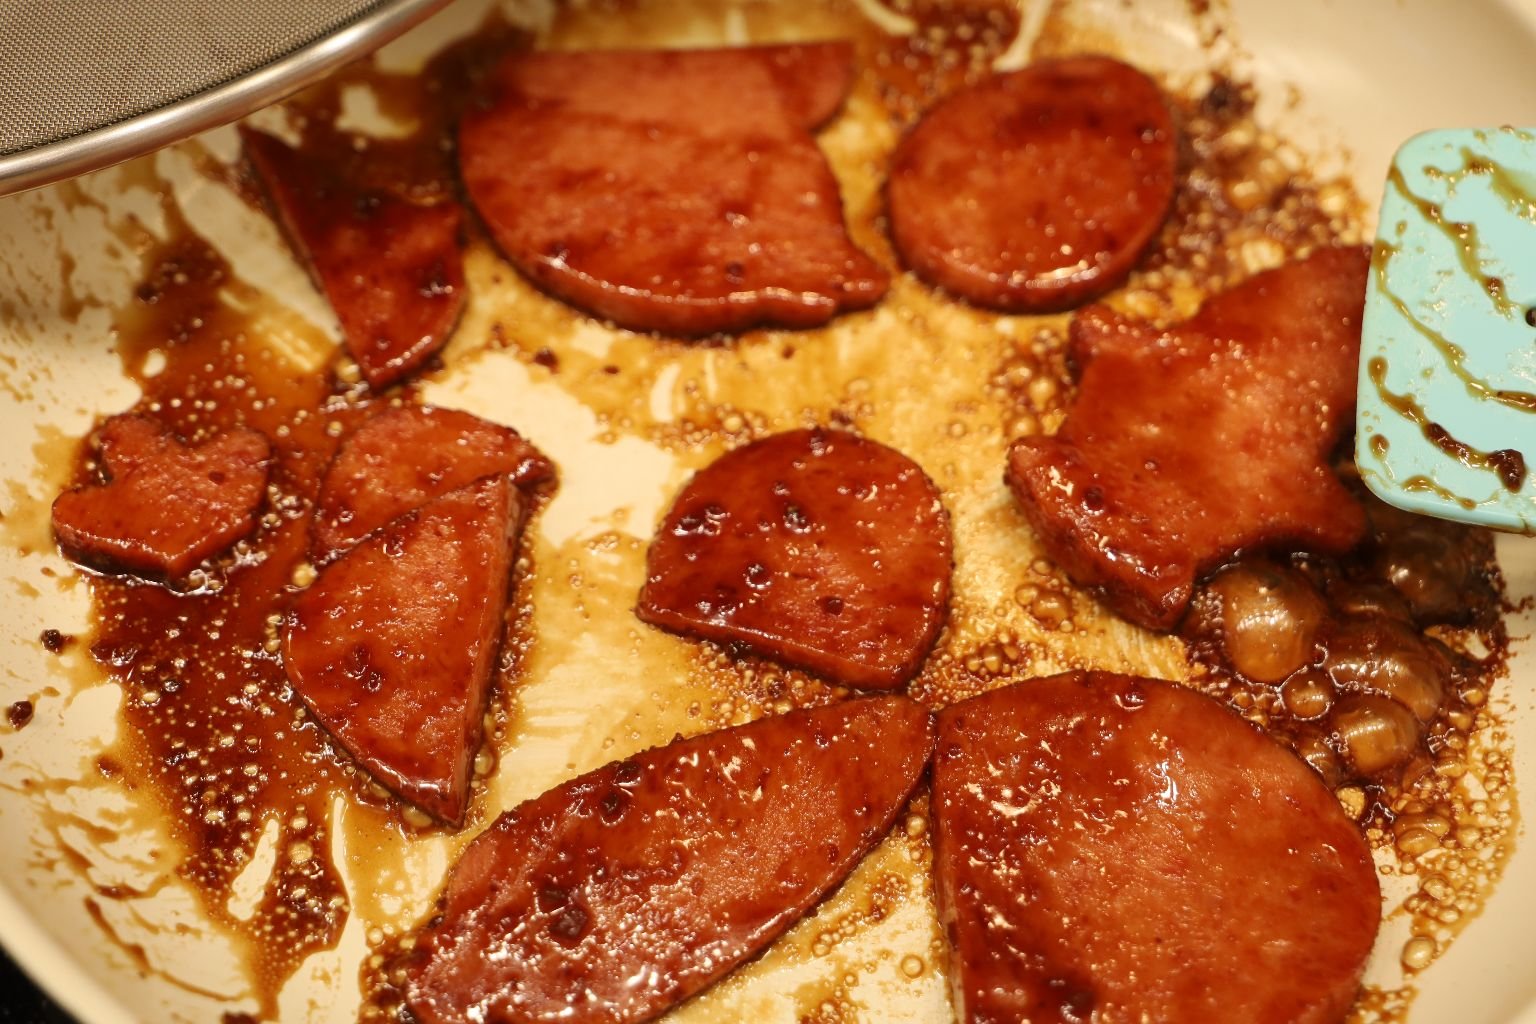
You can see the SPAM becoming caramelized in the Hawaiian Teriyaki Sauce.
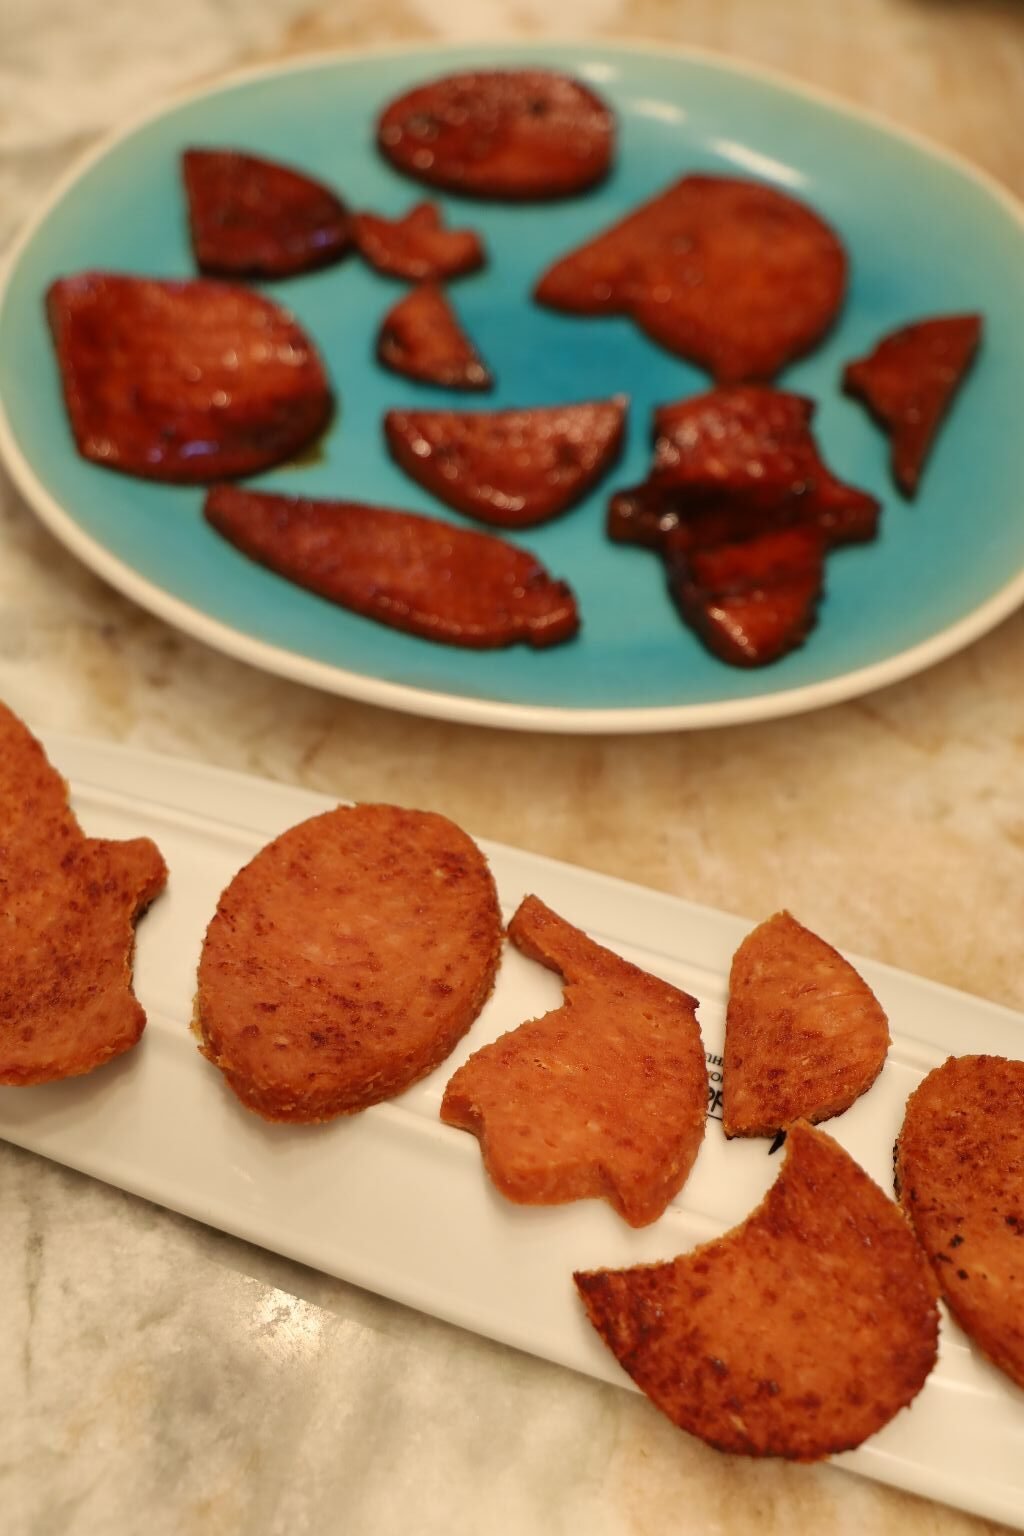
Place onto Paper Towels, and then onto a plate or tray, and set aside.
—————————————————————————-
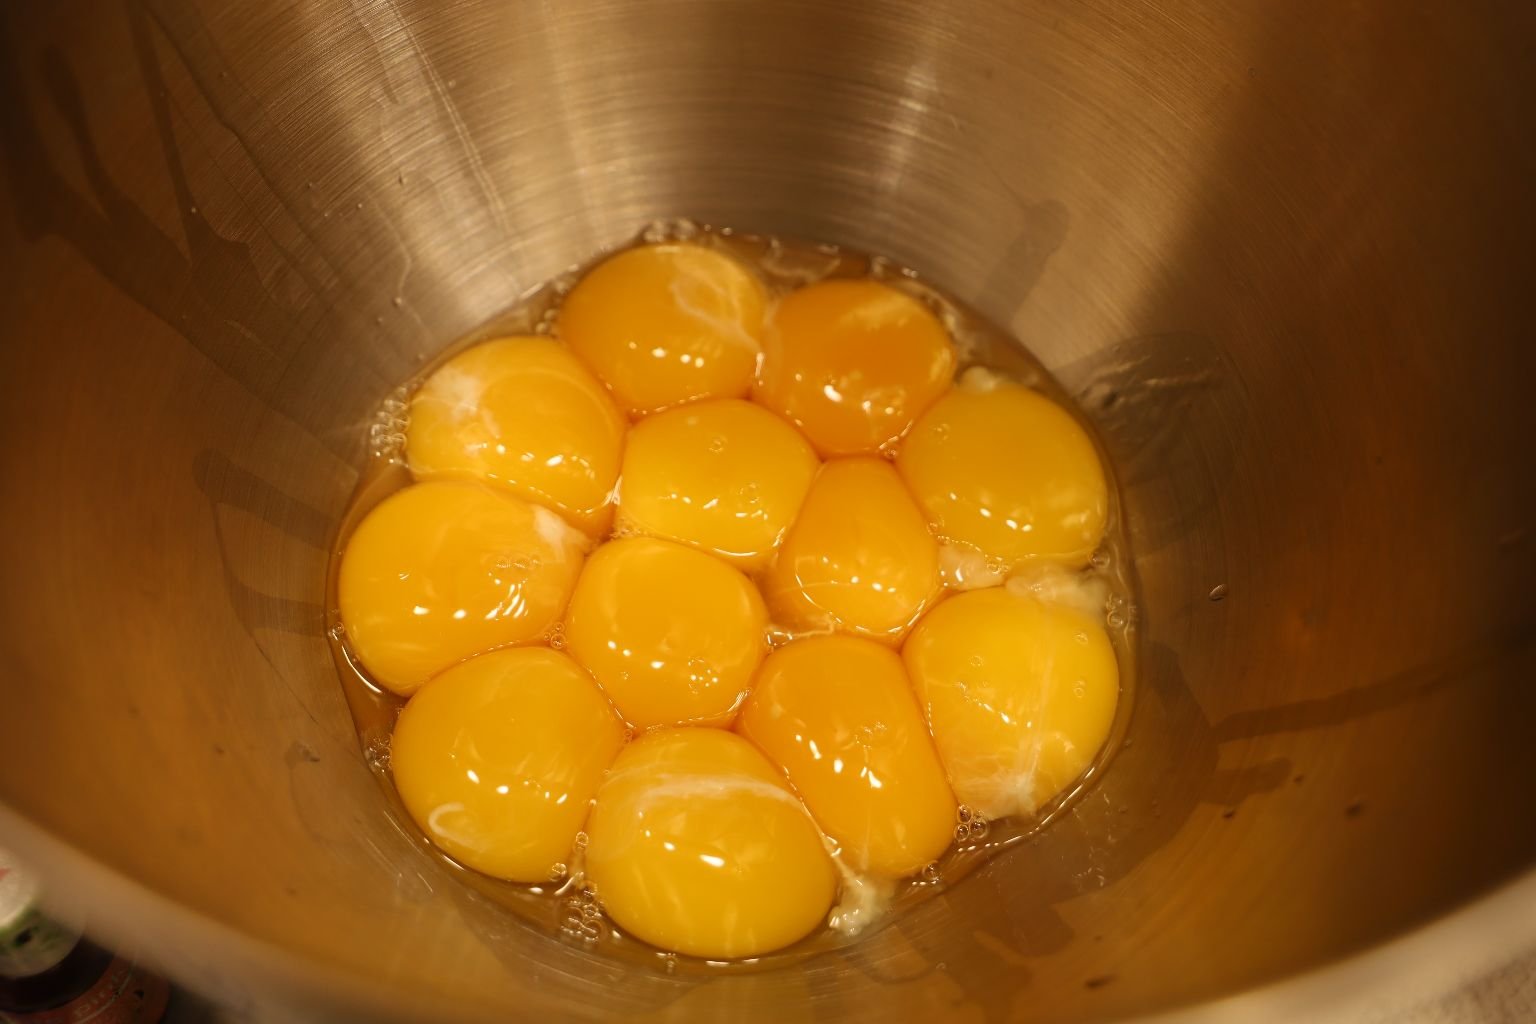
Time To Make Our Royal Eggs
I love Royal Eggs! The great thing about them is that you can add anything you like to them, or keep them plain as is. I wanted these plain for what I had in store for them. I will give you a basic recipe and you can try them yourself..
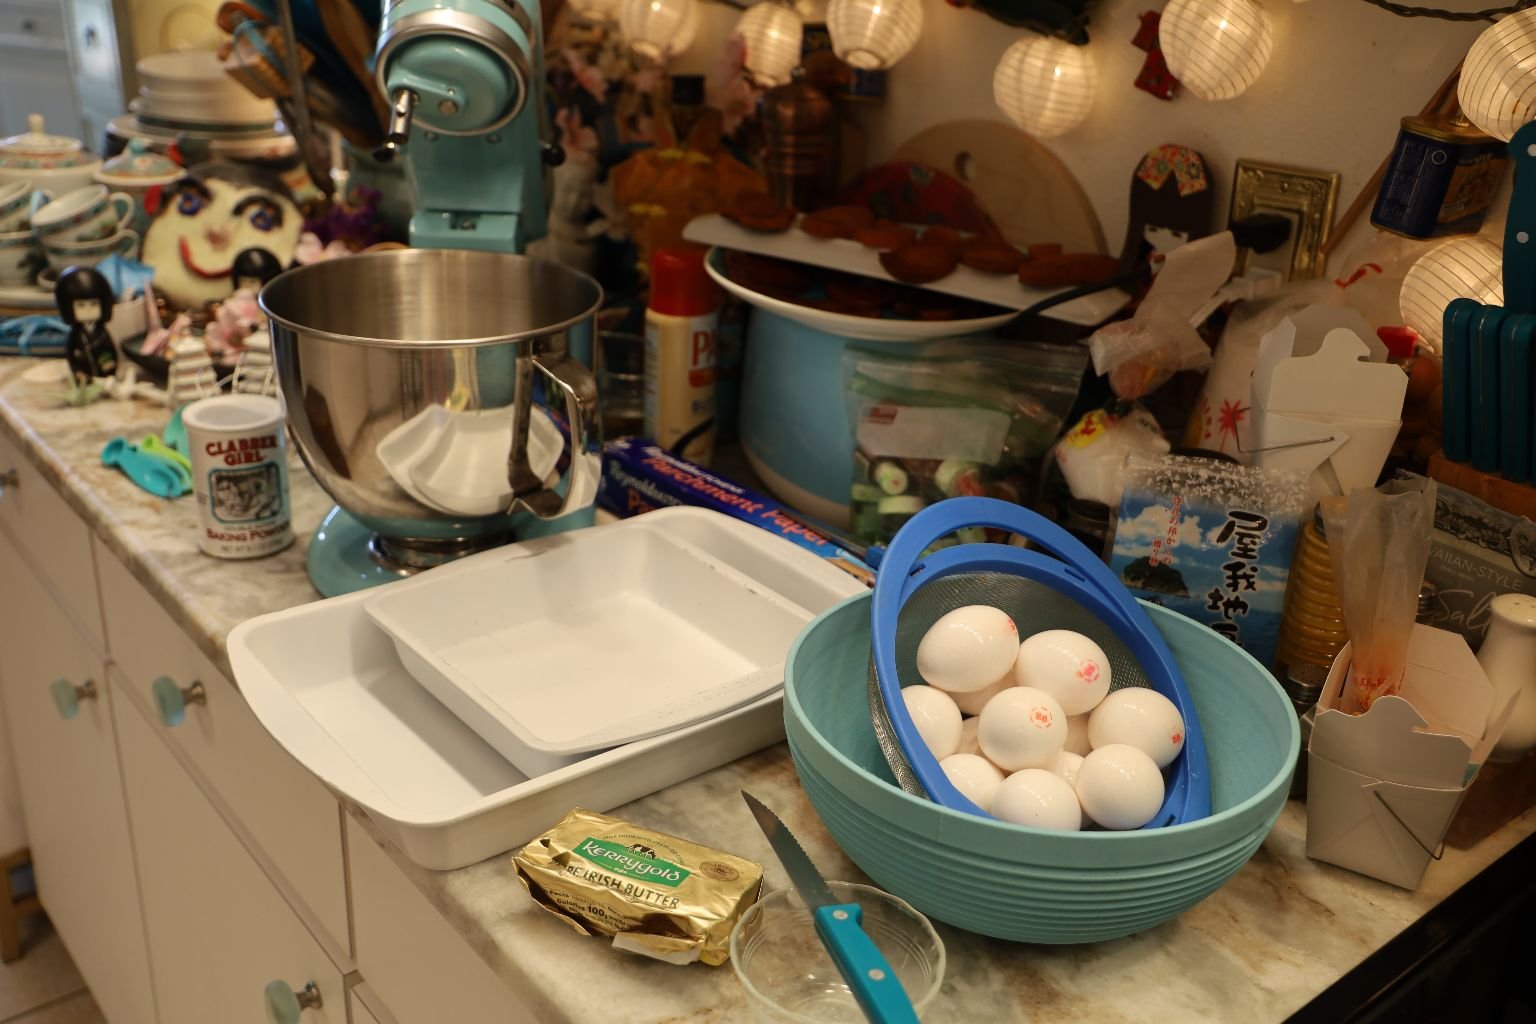
Ingredients:
12 Egg Yolks
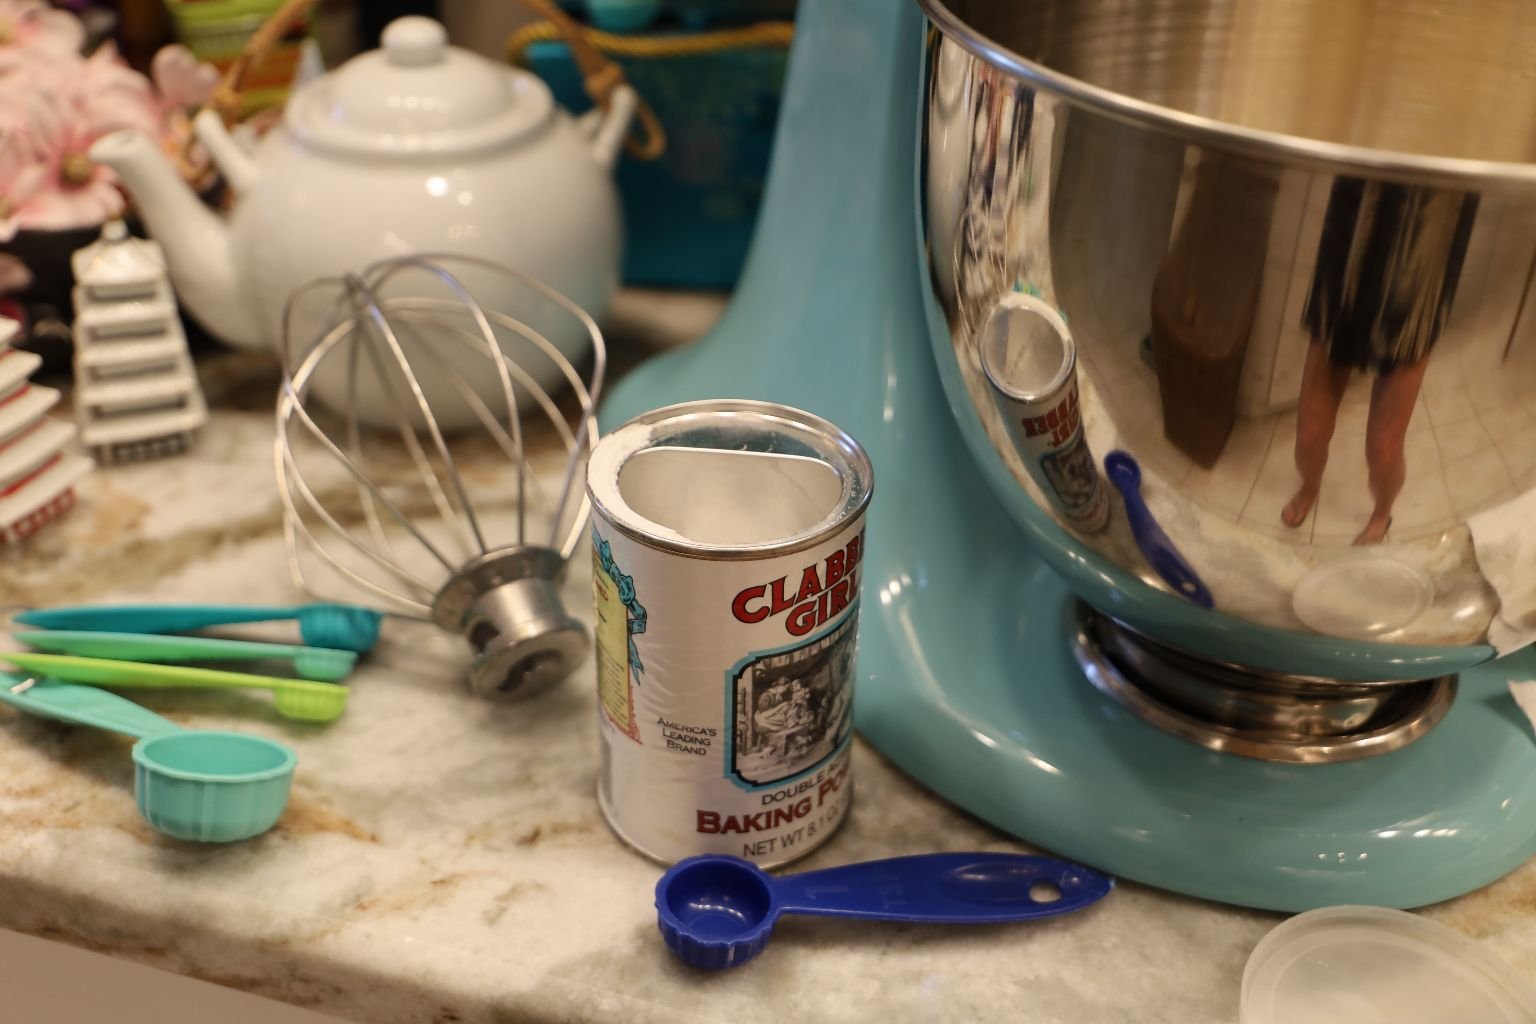
2 t. Baking Powder
1 t. Water
1 t. Melted Butter
Parchment Paper
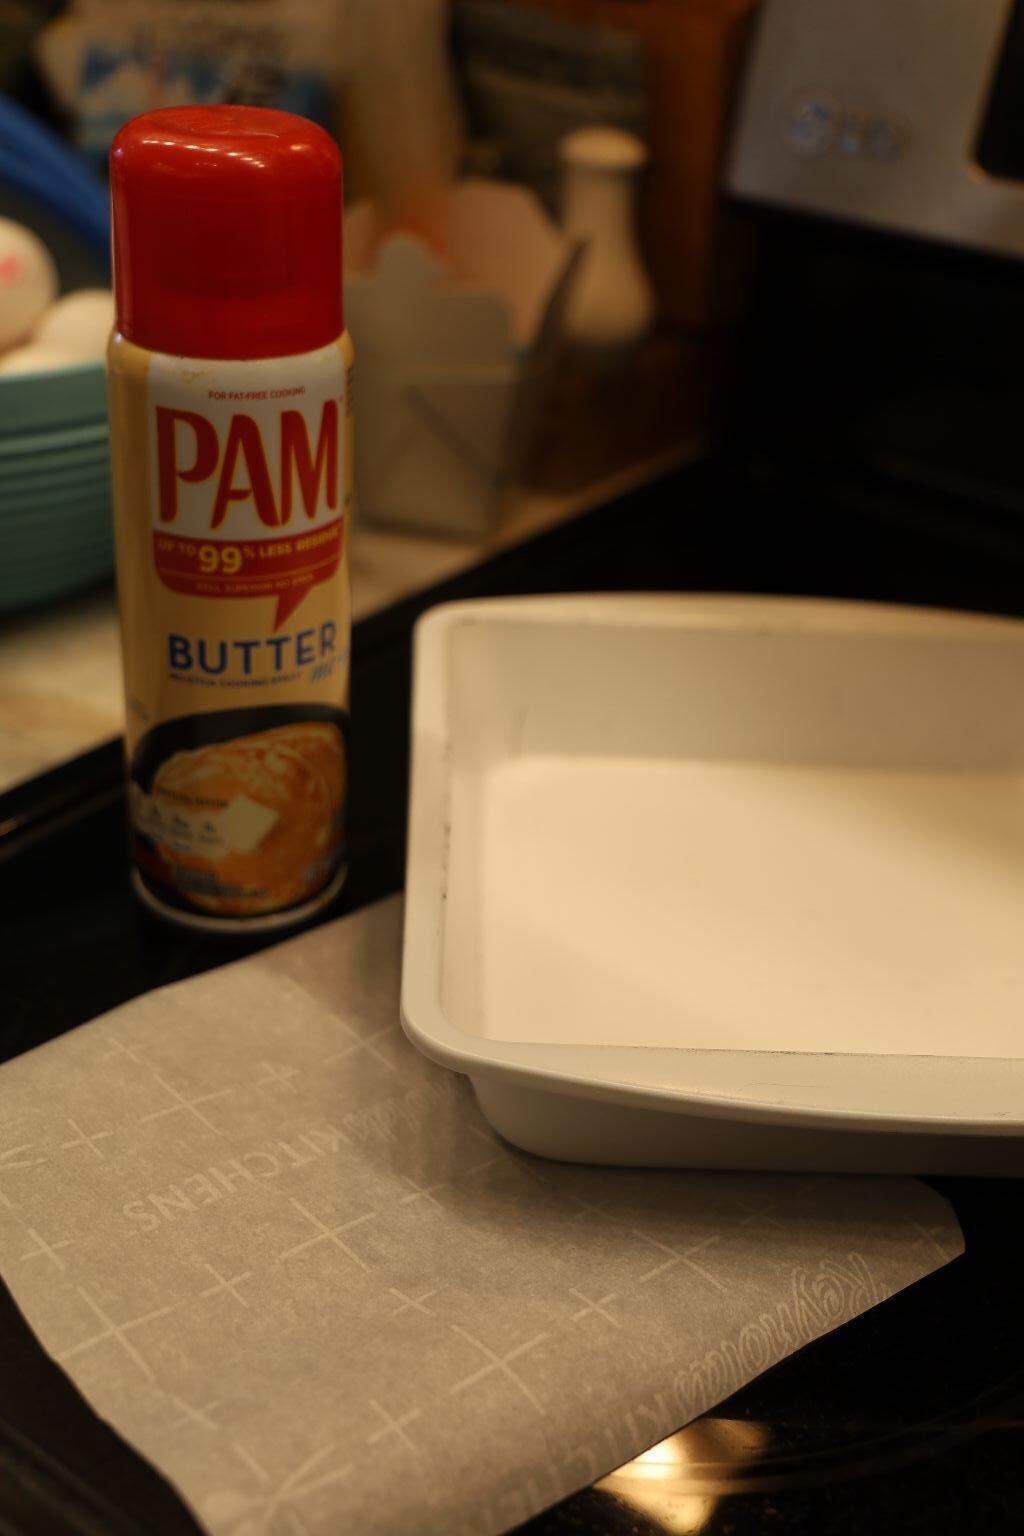
Cooking Oil Spray (I used a Butter Flavored)
8 or 9 inch Baking Dish
Larger pan for the Baking Dish to fit into as it will act as a water bath.
———————————————————————-
——————————————————————————-
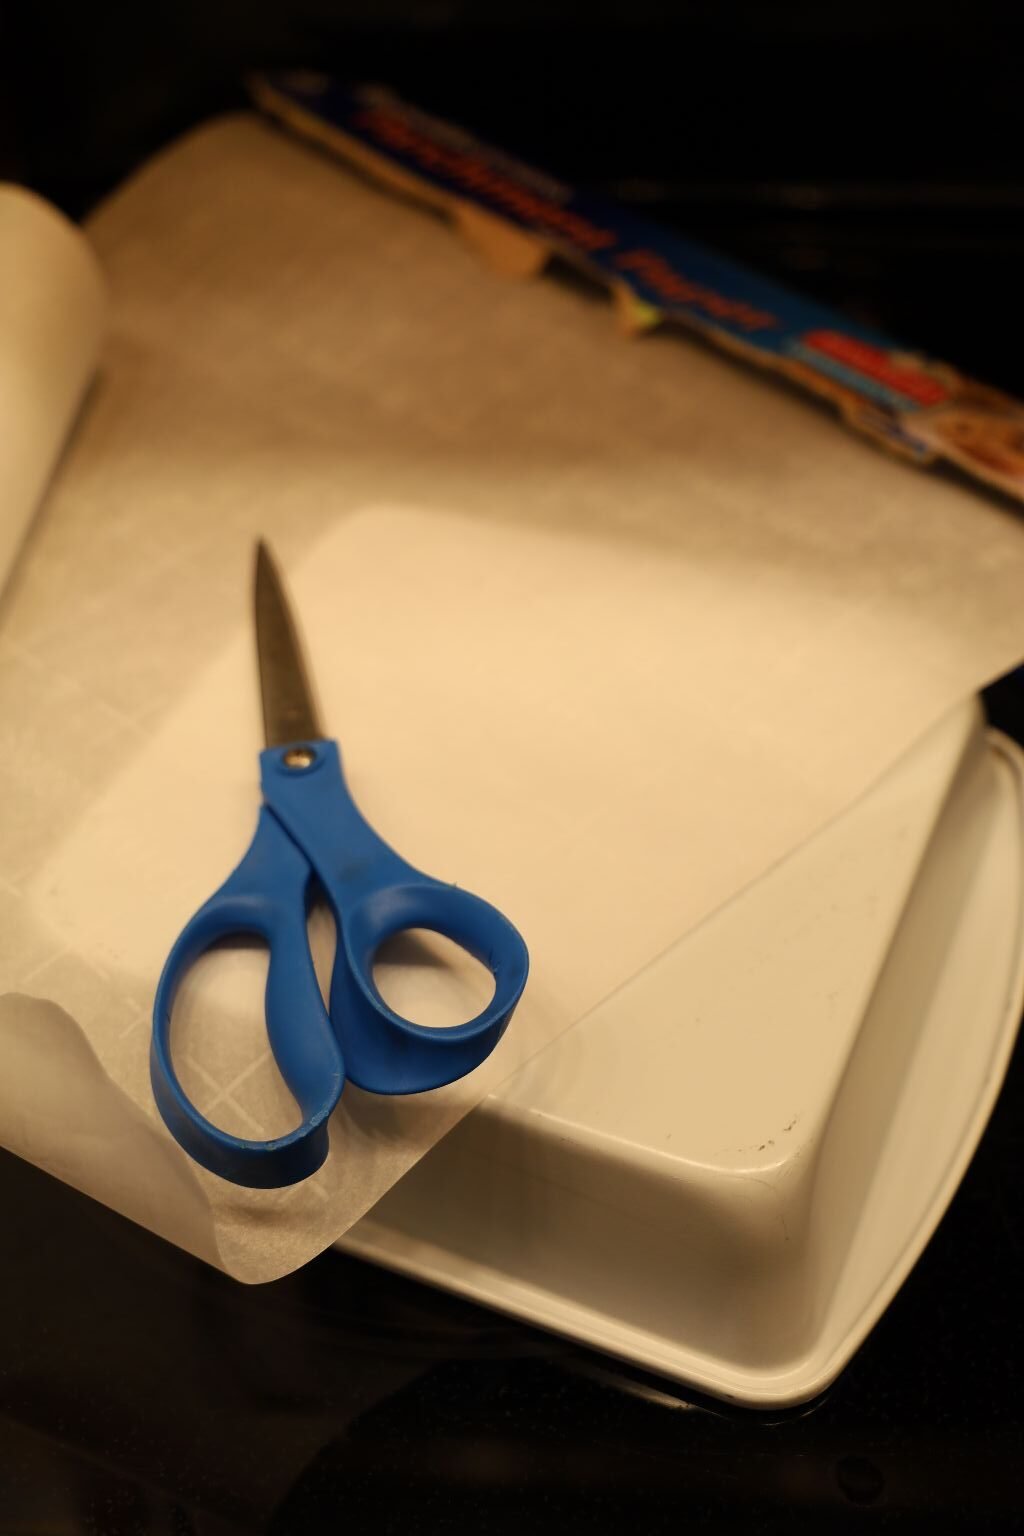
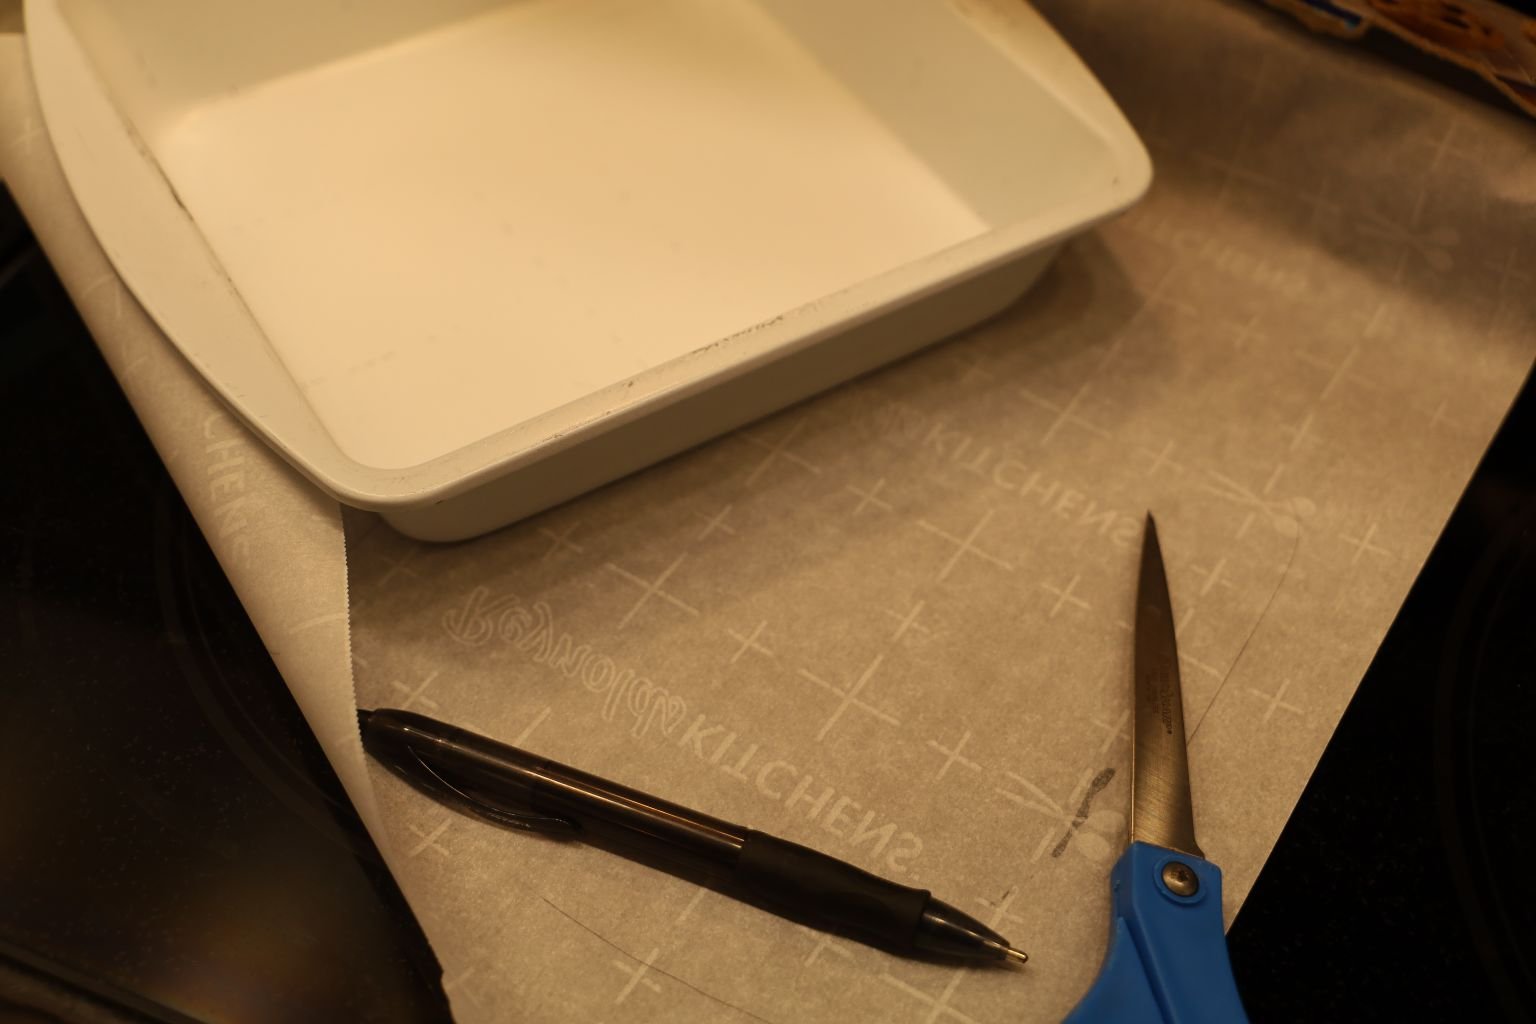
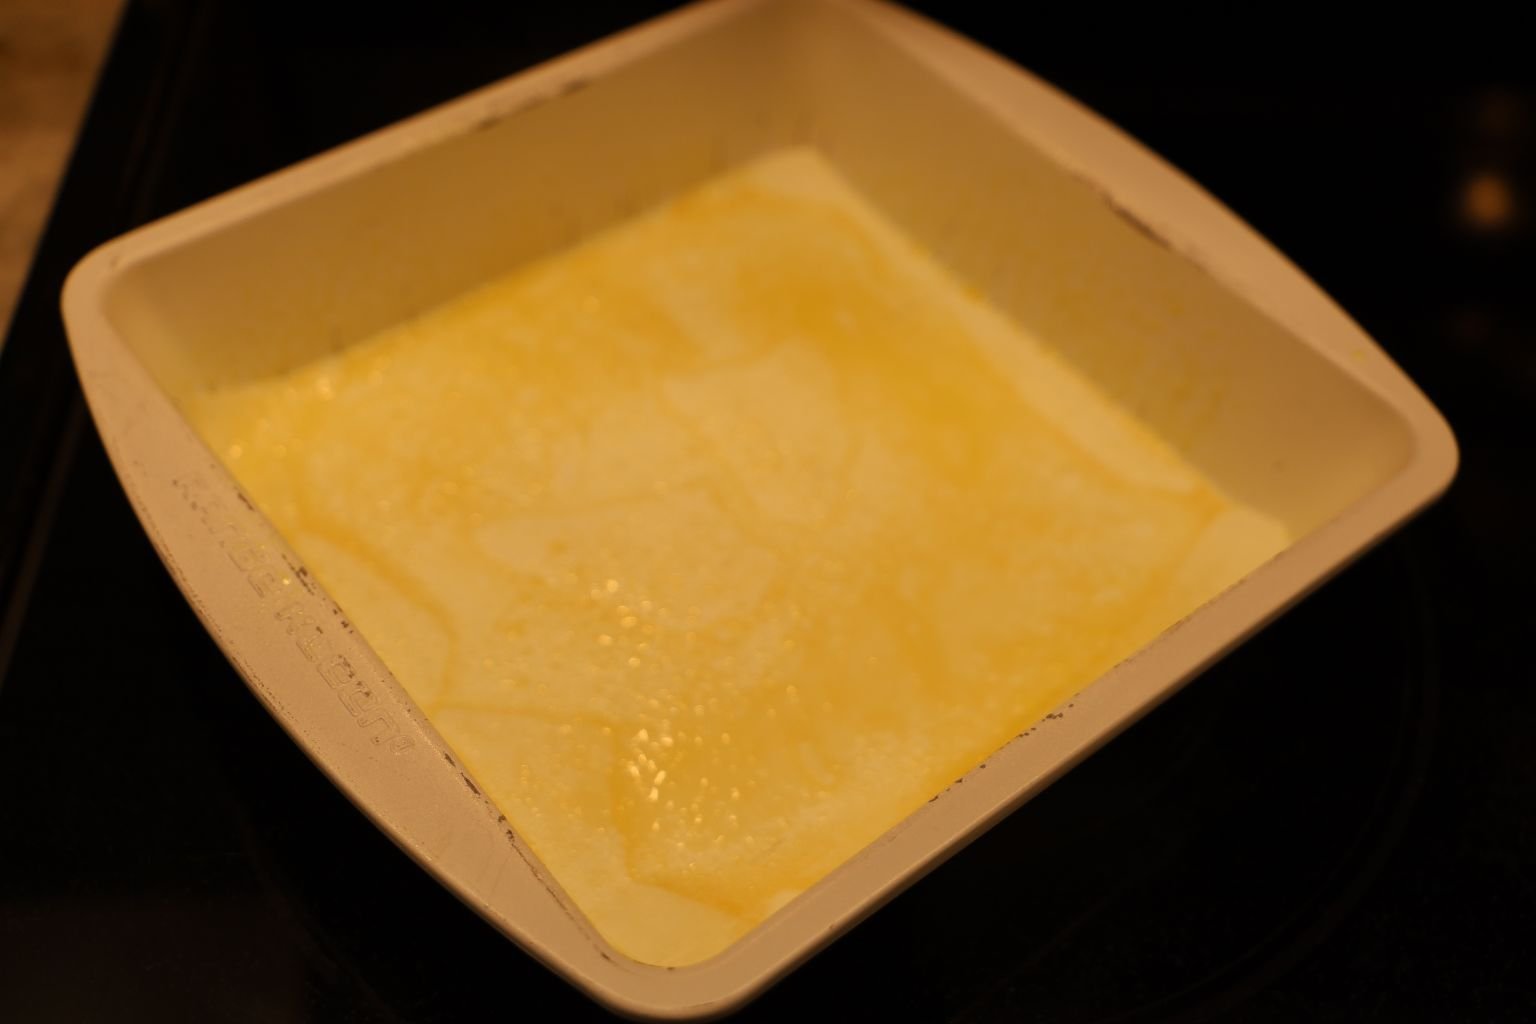
The first thing you need to do is to prepare your baking dish for the Royal Eggs.
You do this by placing a sheet of Parchment Paper down on a counter and drawing an outline of your baking dish on it with a pen or pencil, and then cut the shape out with your scissors.
You then use a Cooking Oil Spray and coat the Parchment Paper on both sides and then place it in your baking dish.
———————————————————————————
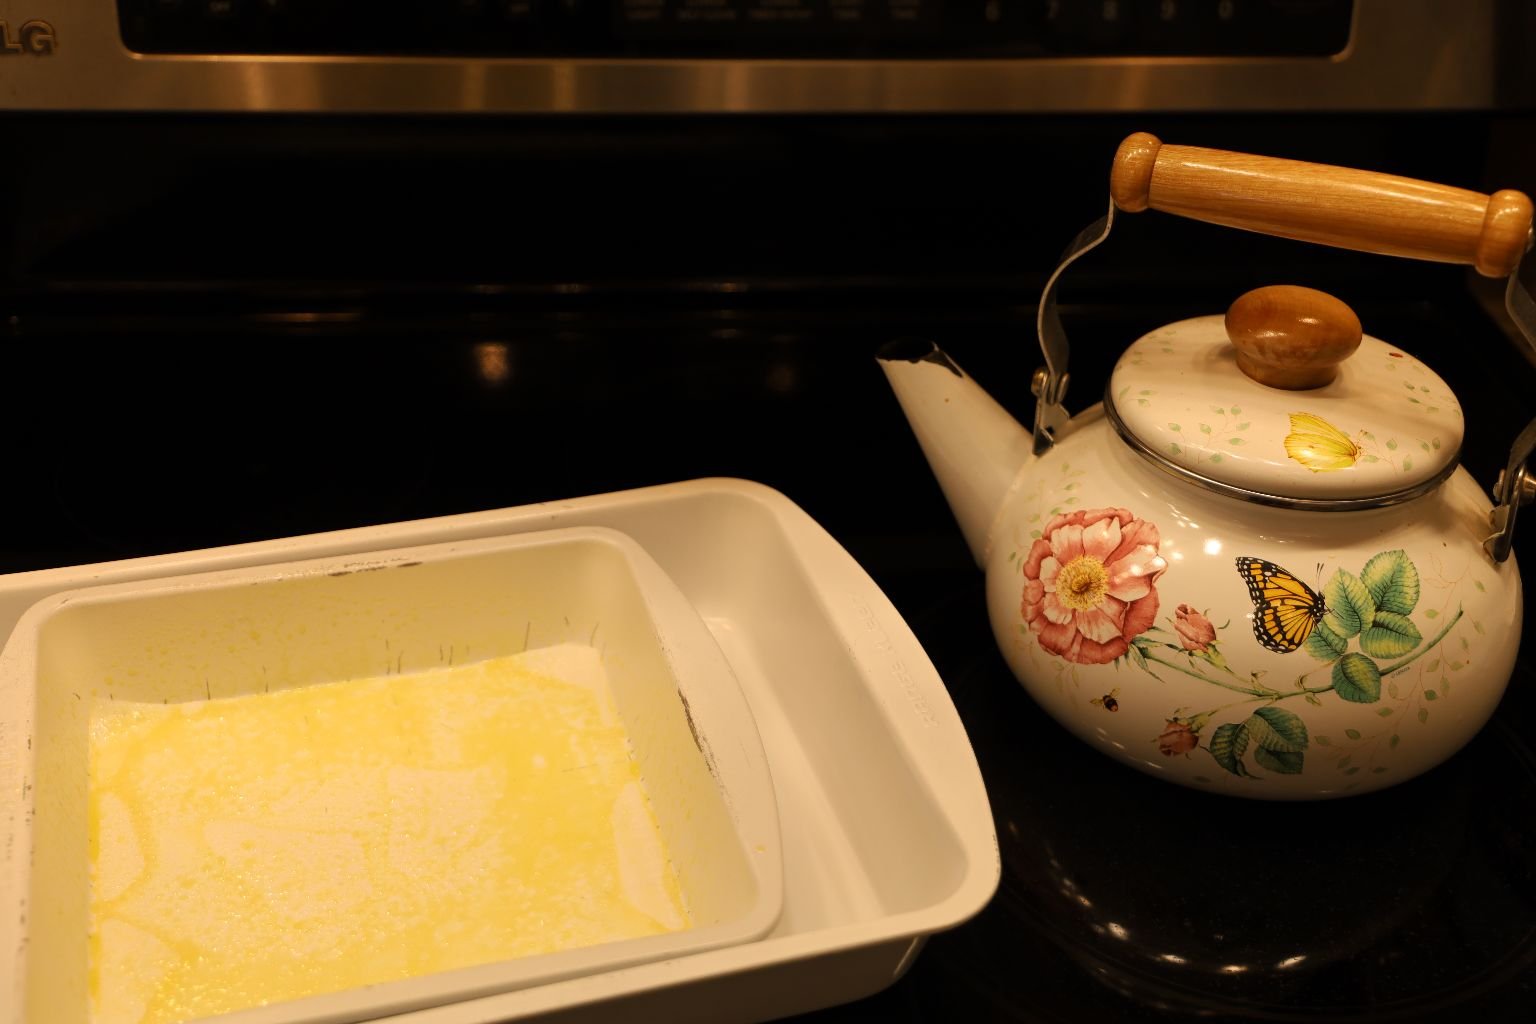
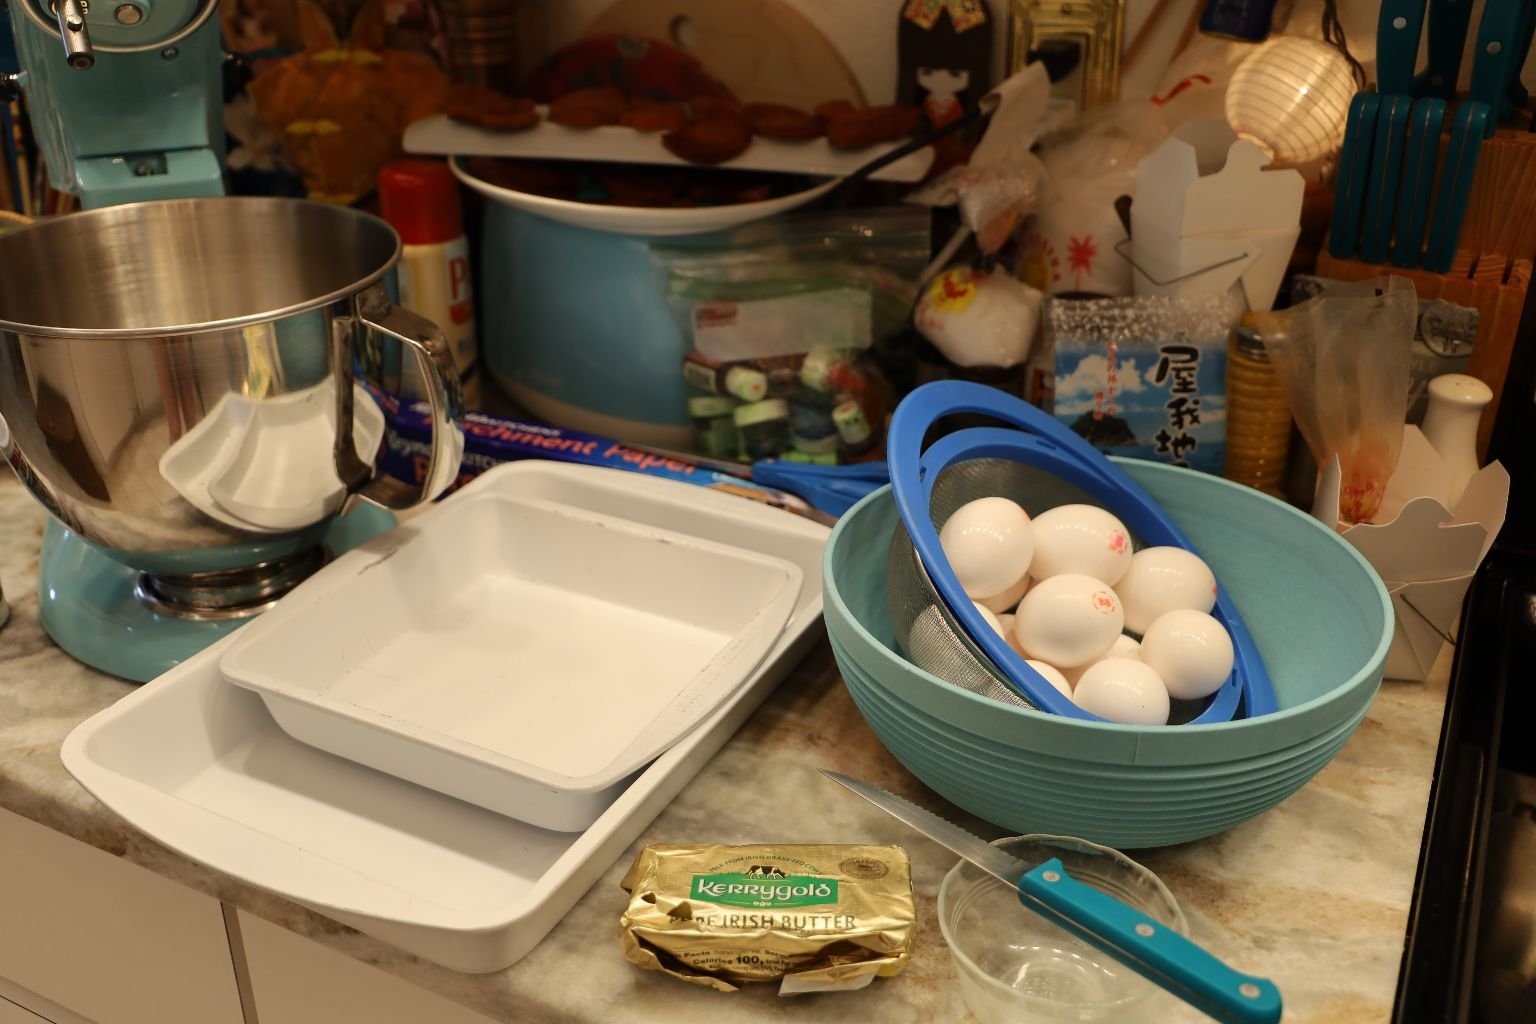
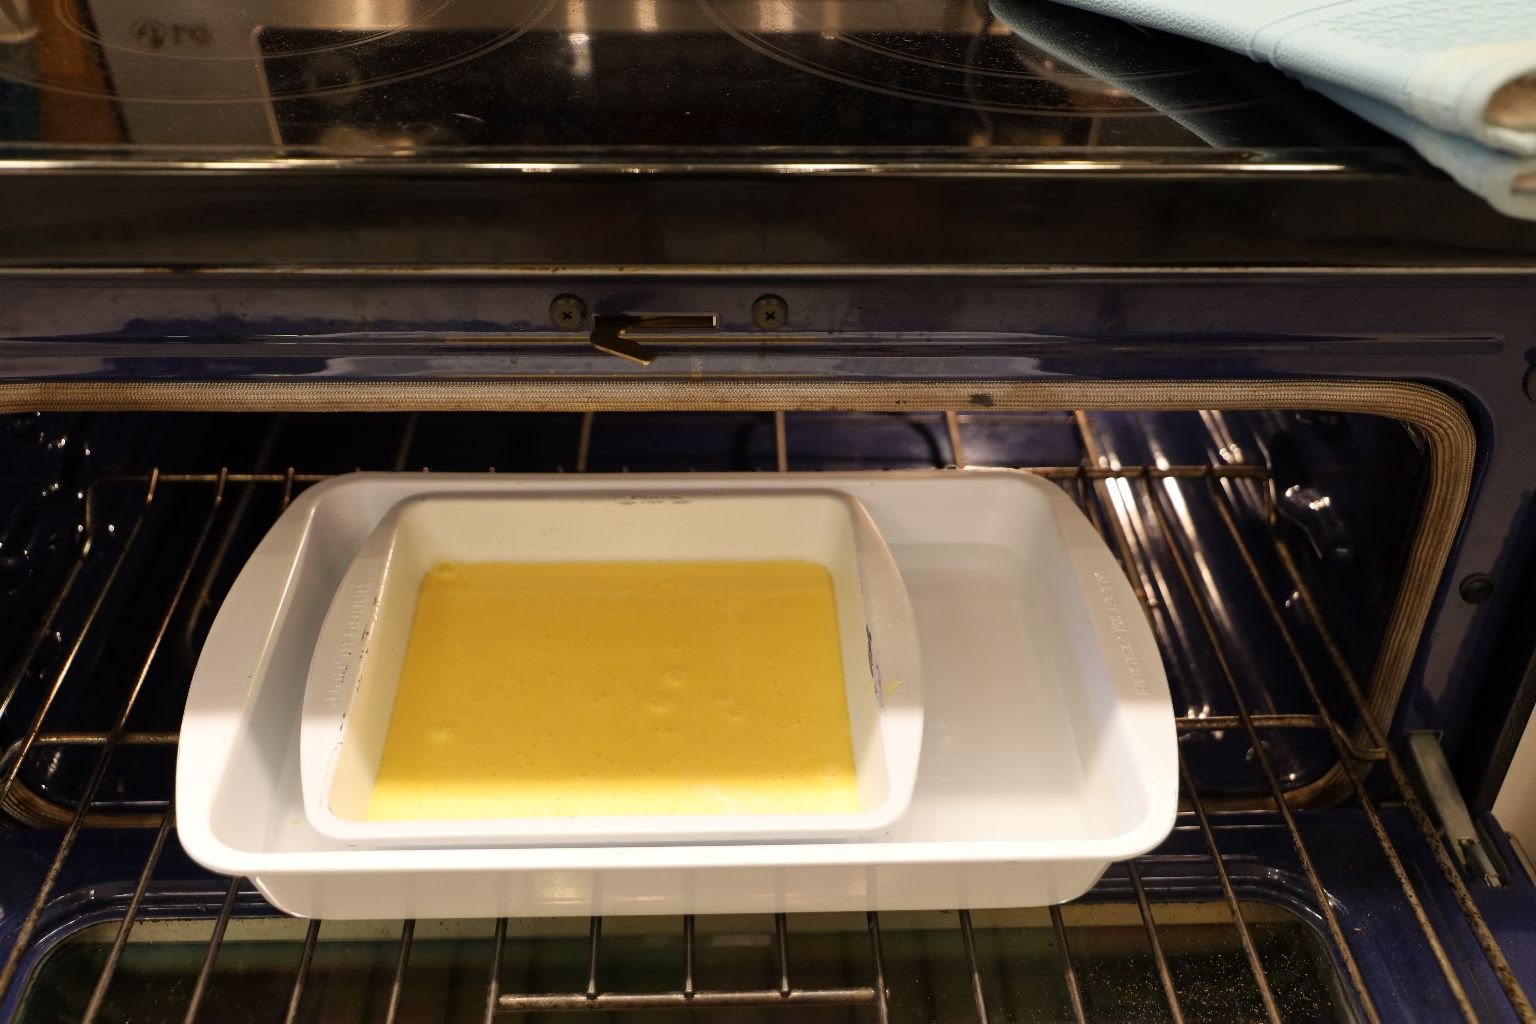
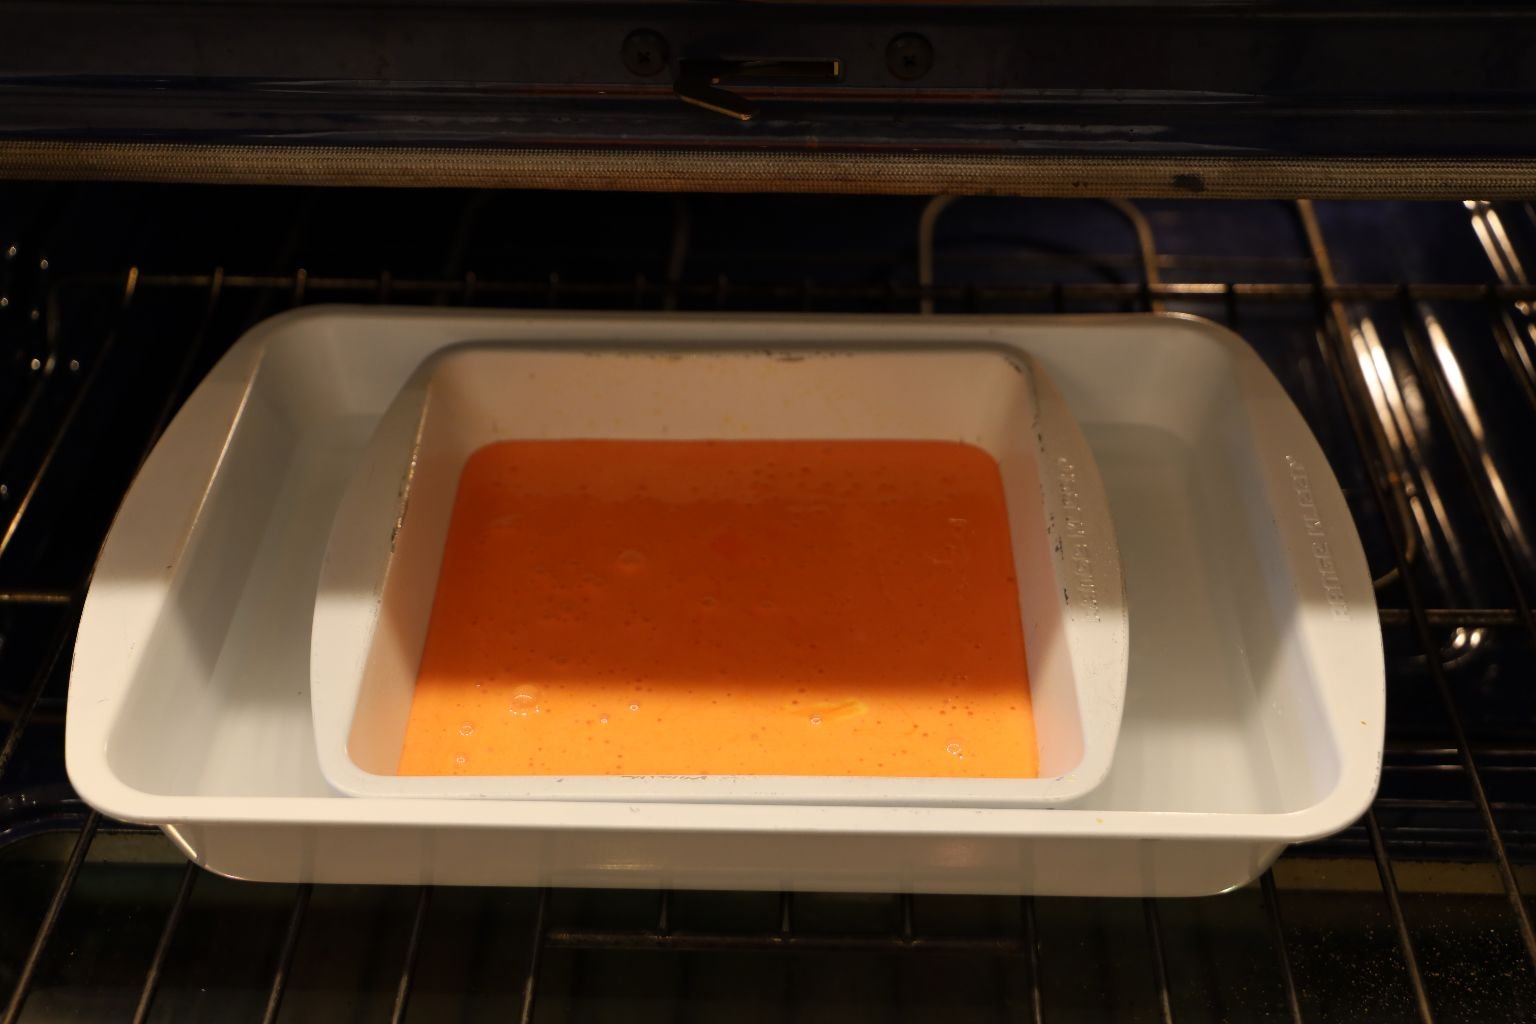
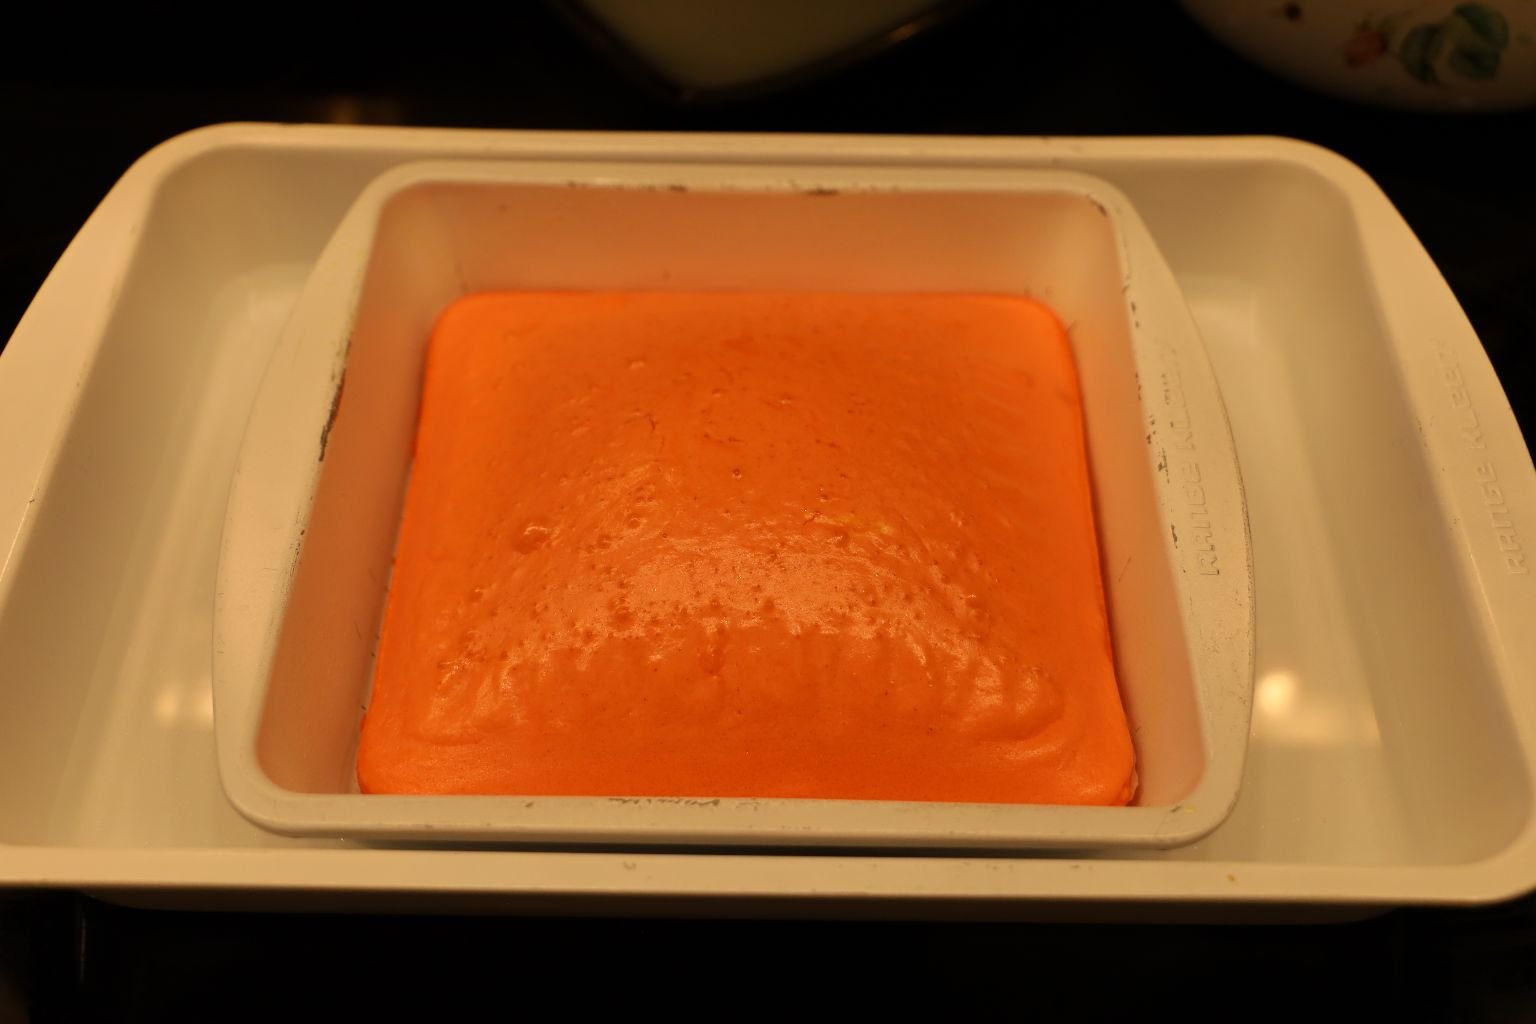
As you can see here, I placed my Baking Dish into a larger pan.
In that larger pan I will place BOILING WATER to come up half way.
So start your Tea Kettle now and get it to boiling.
——————————————————————————–
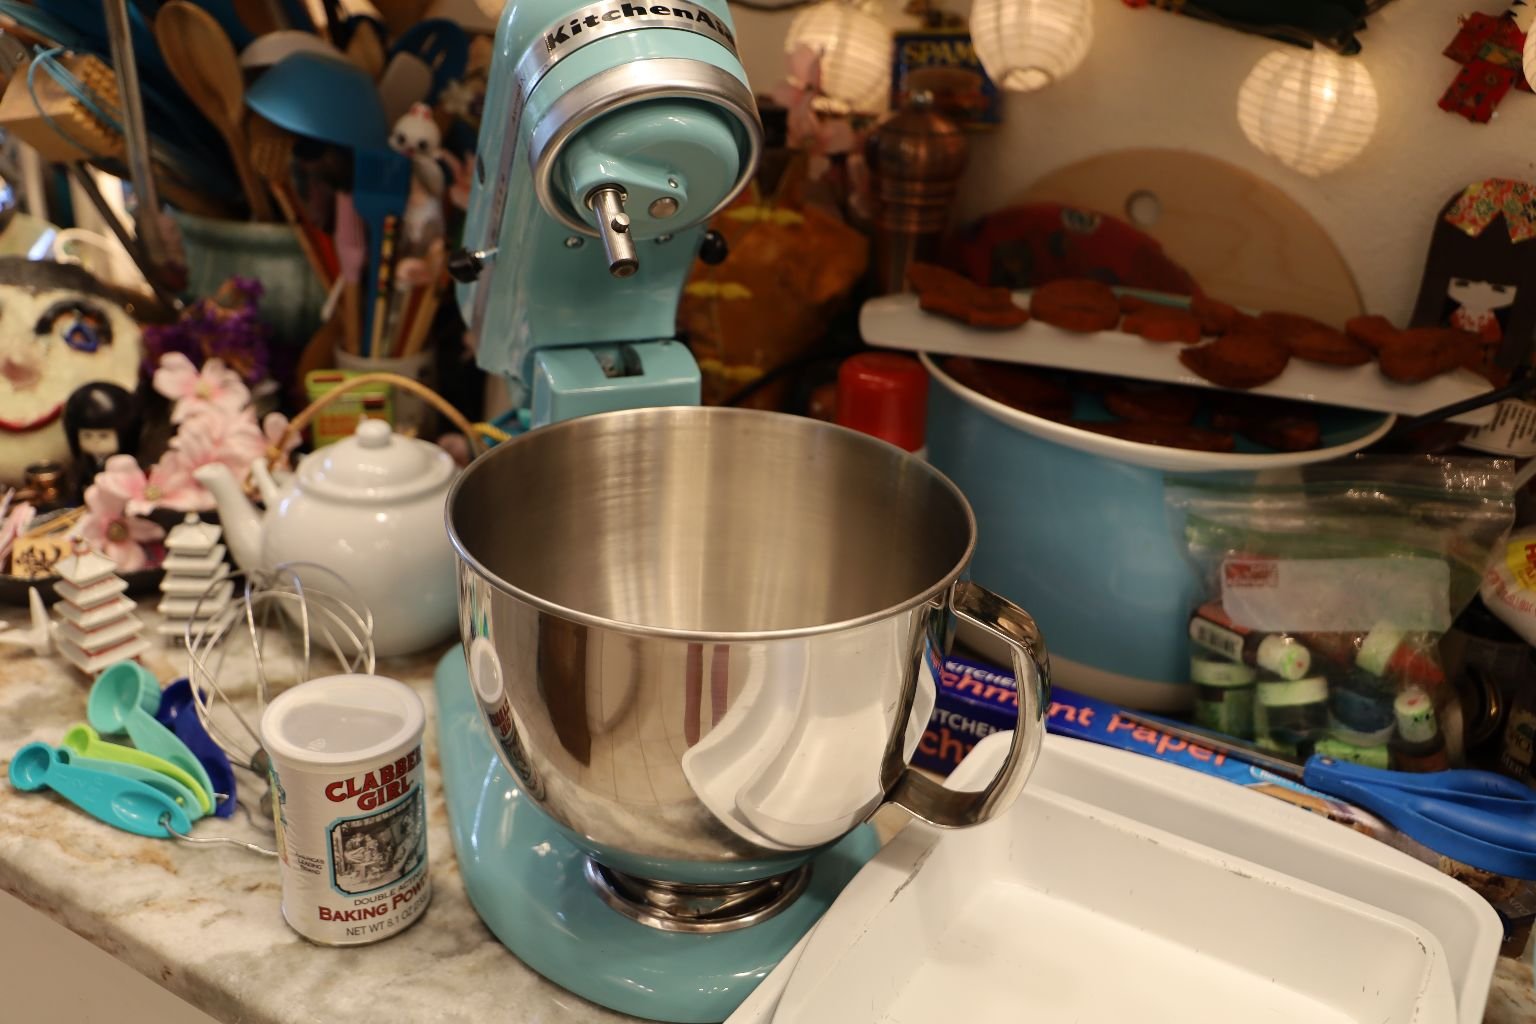
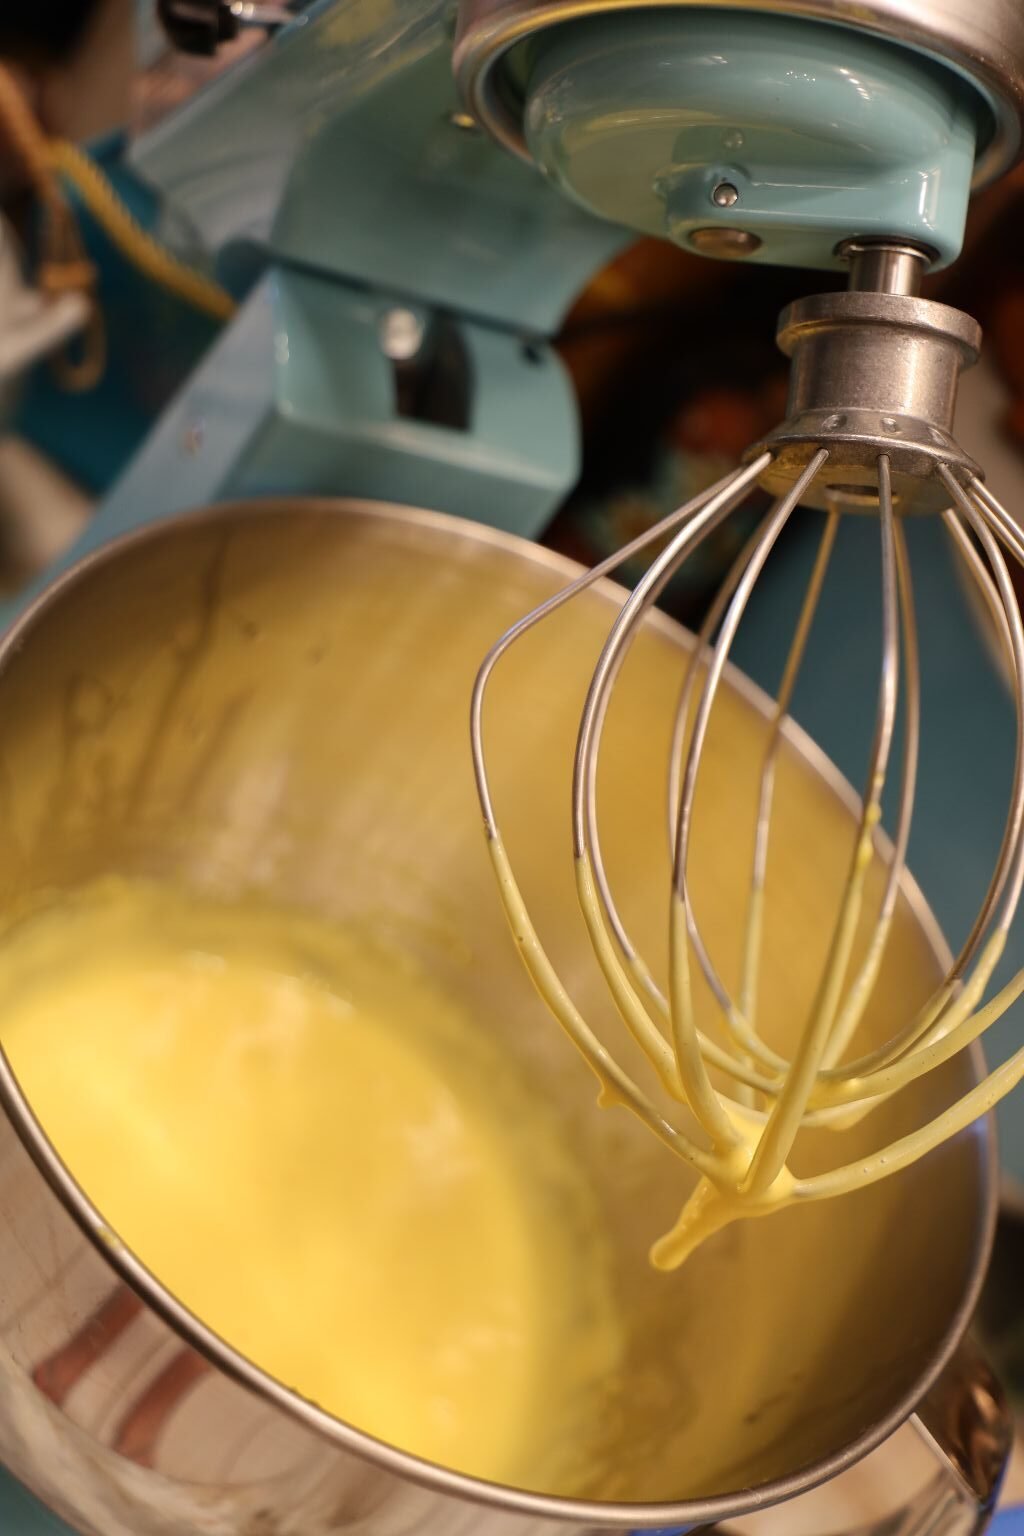
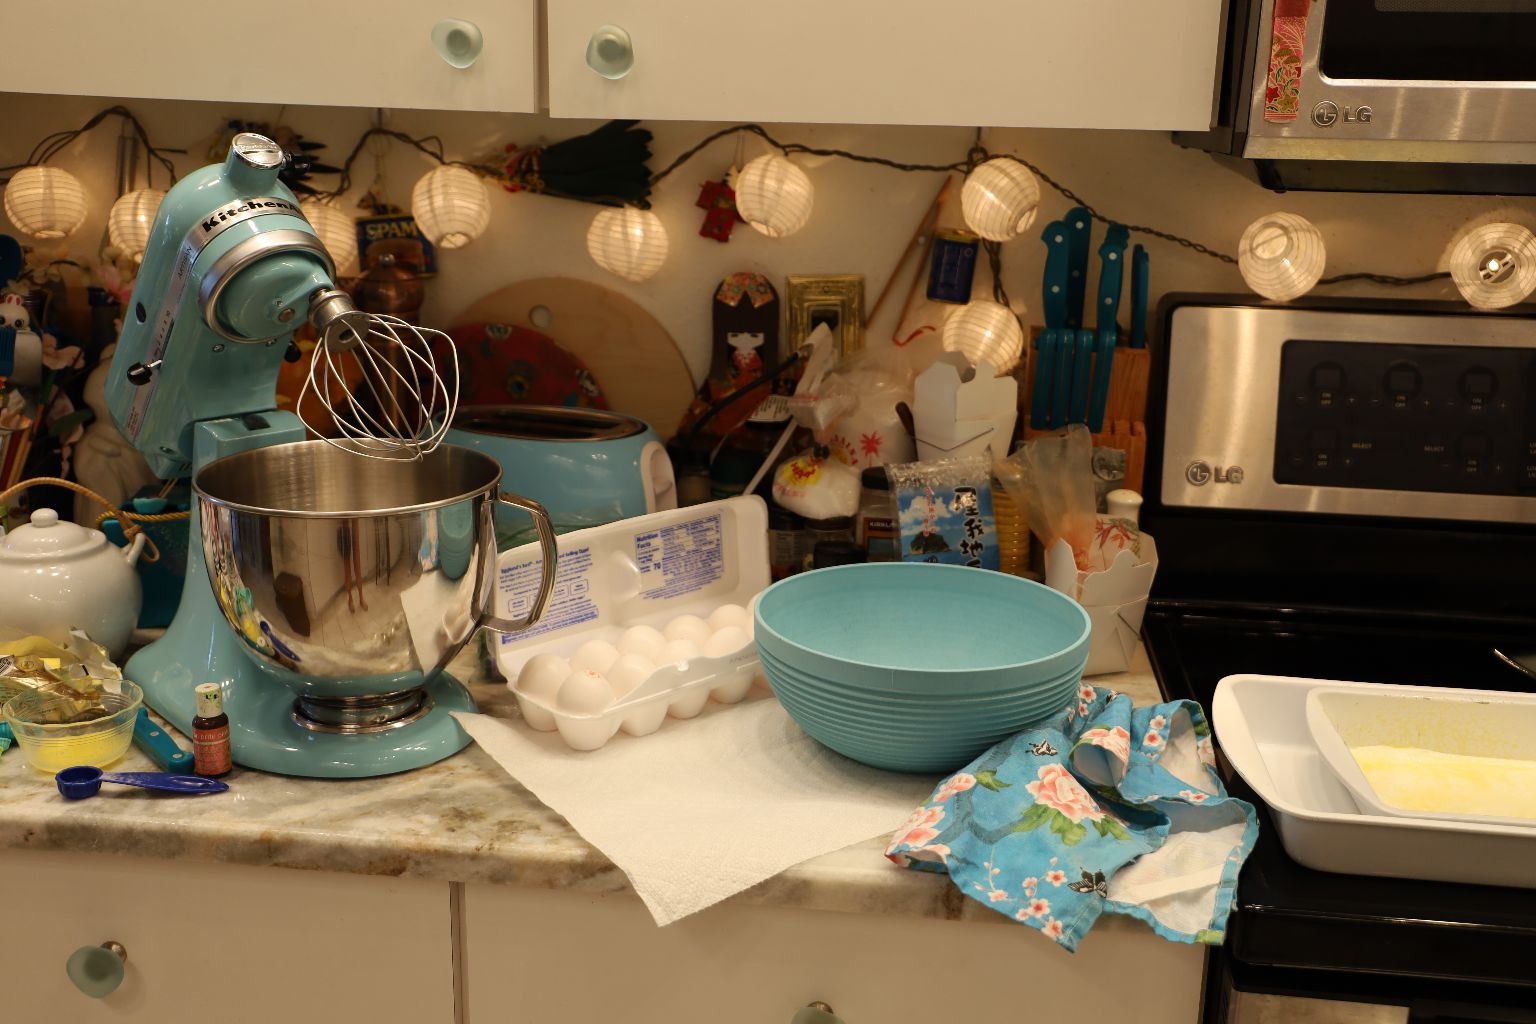
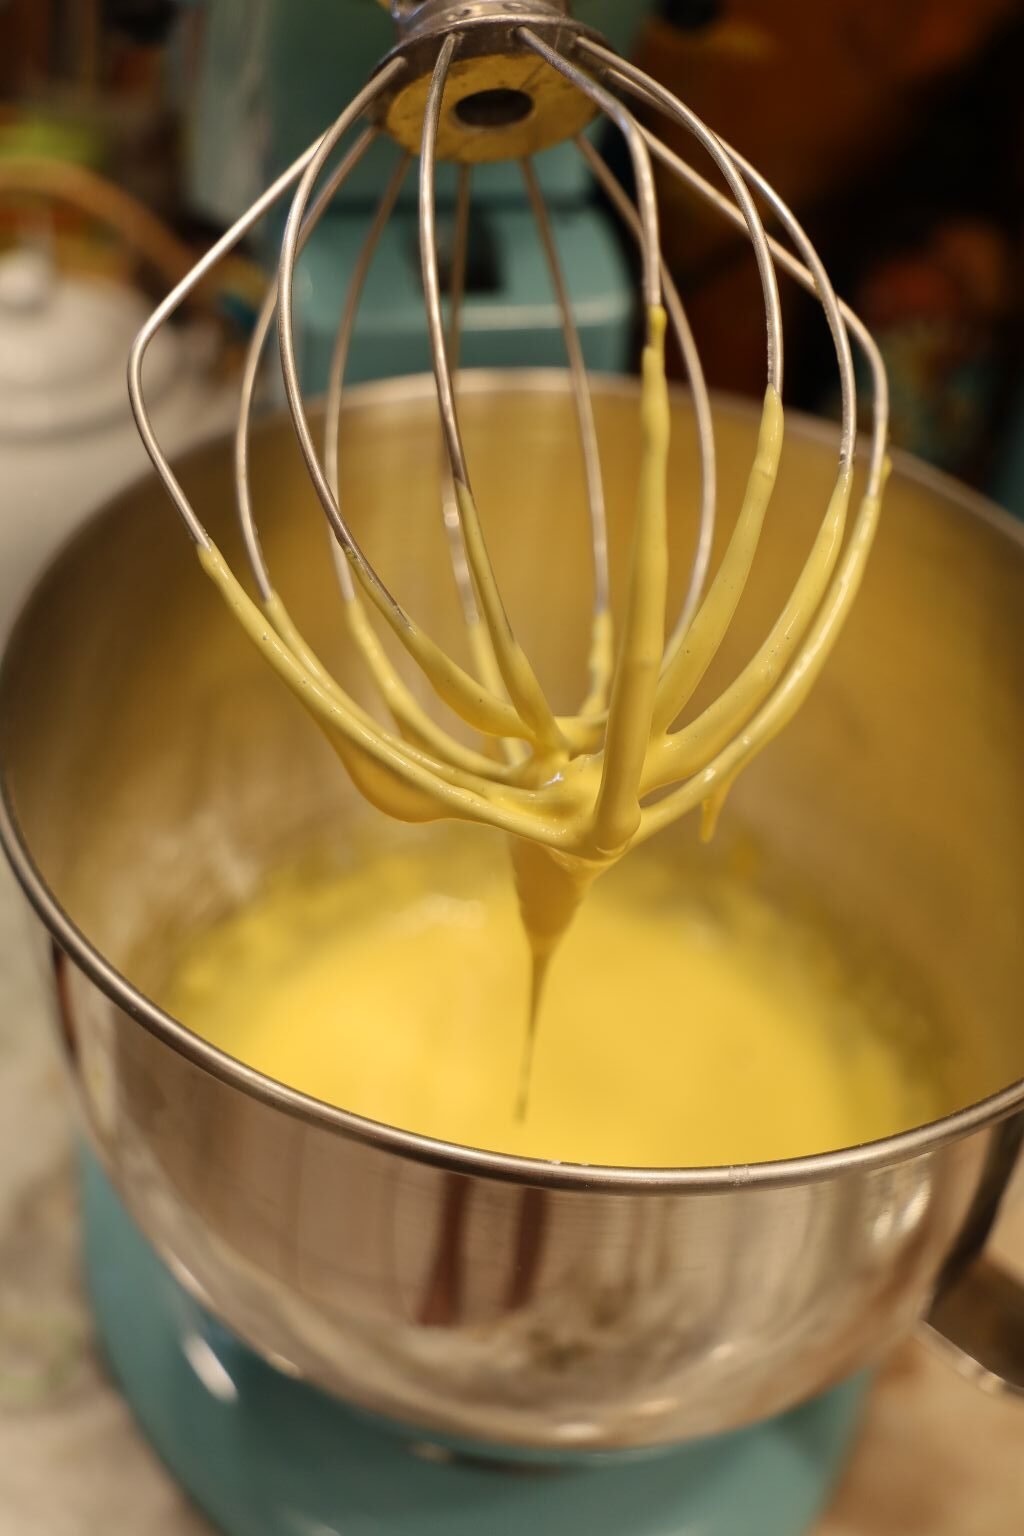
This recipe does requires a mixer.
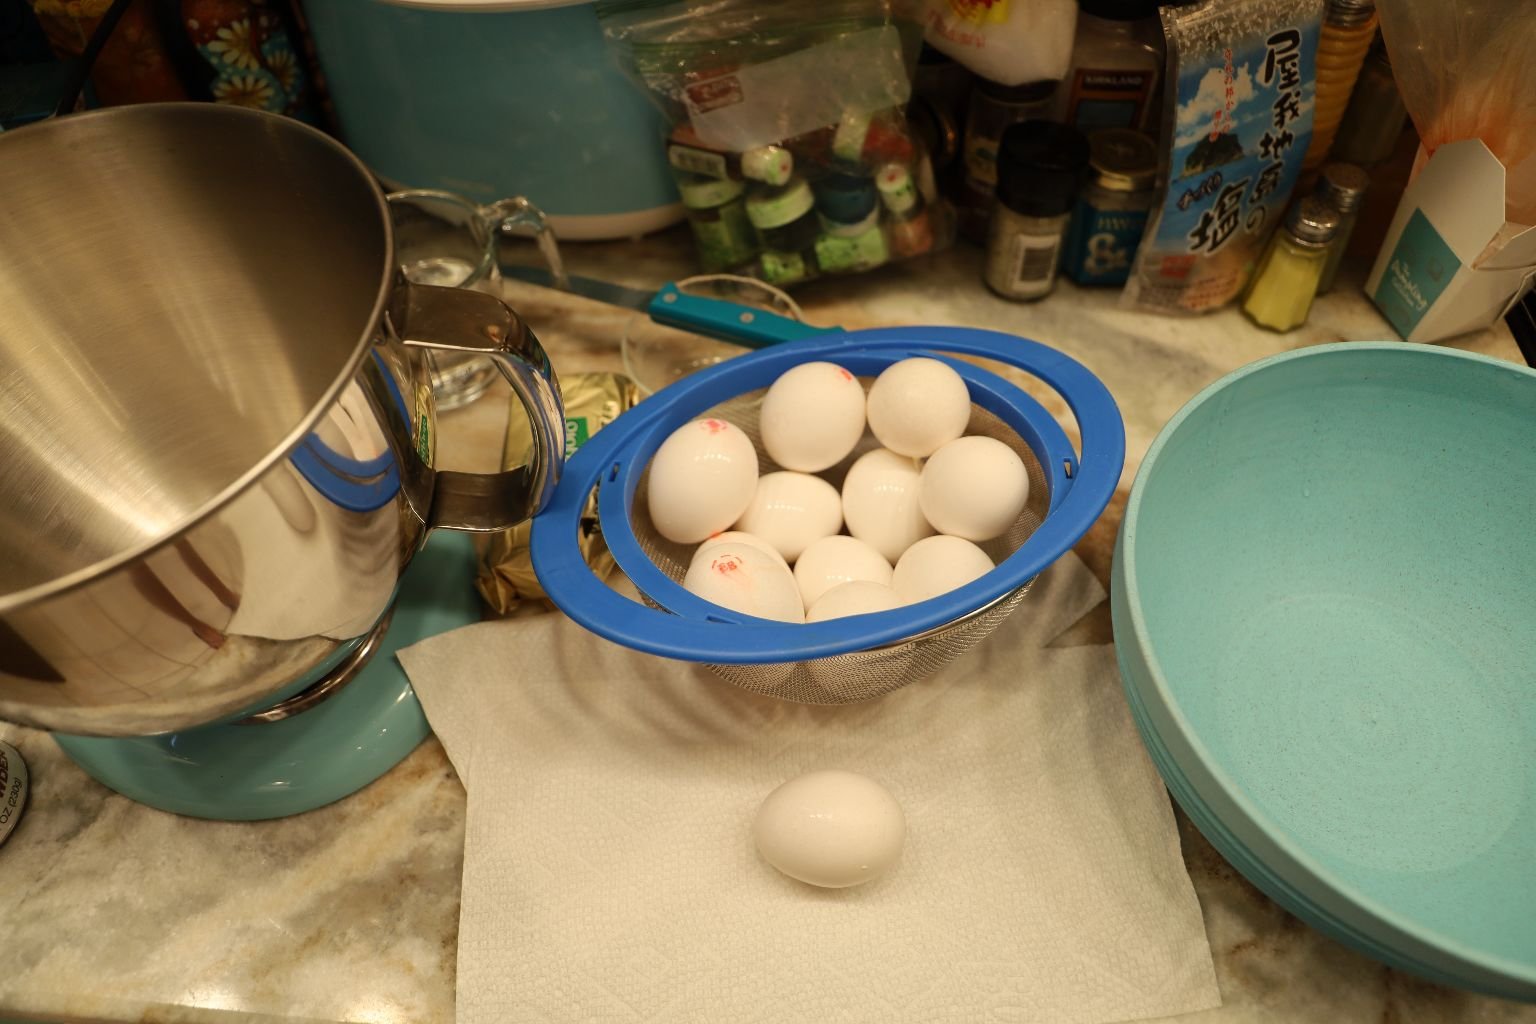
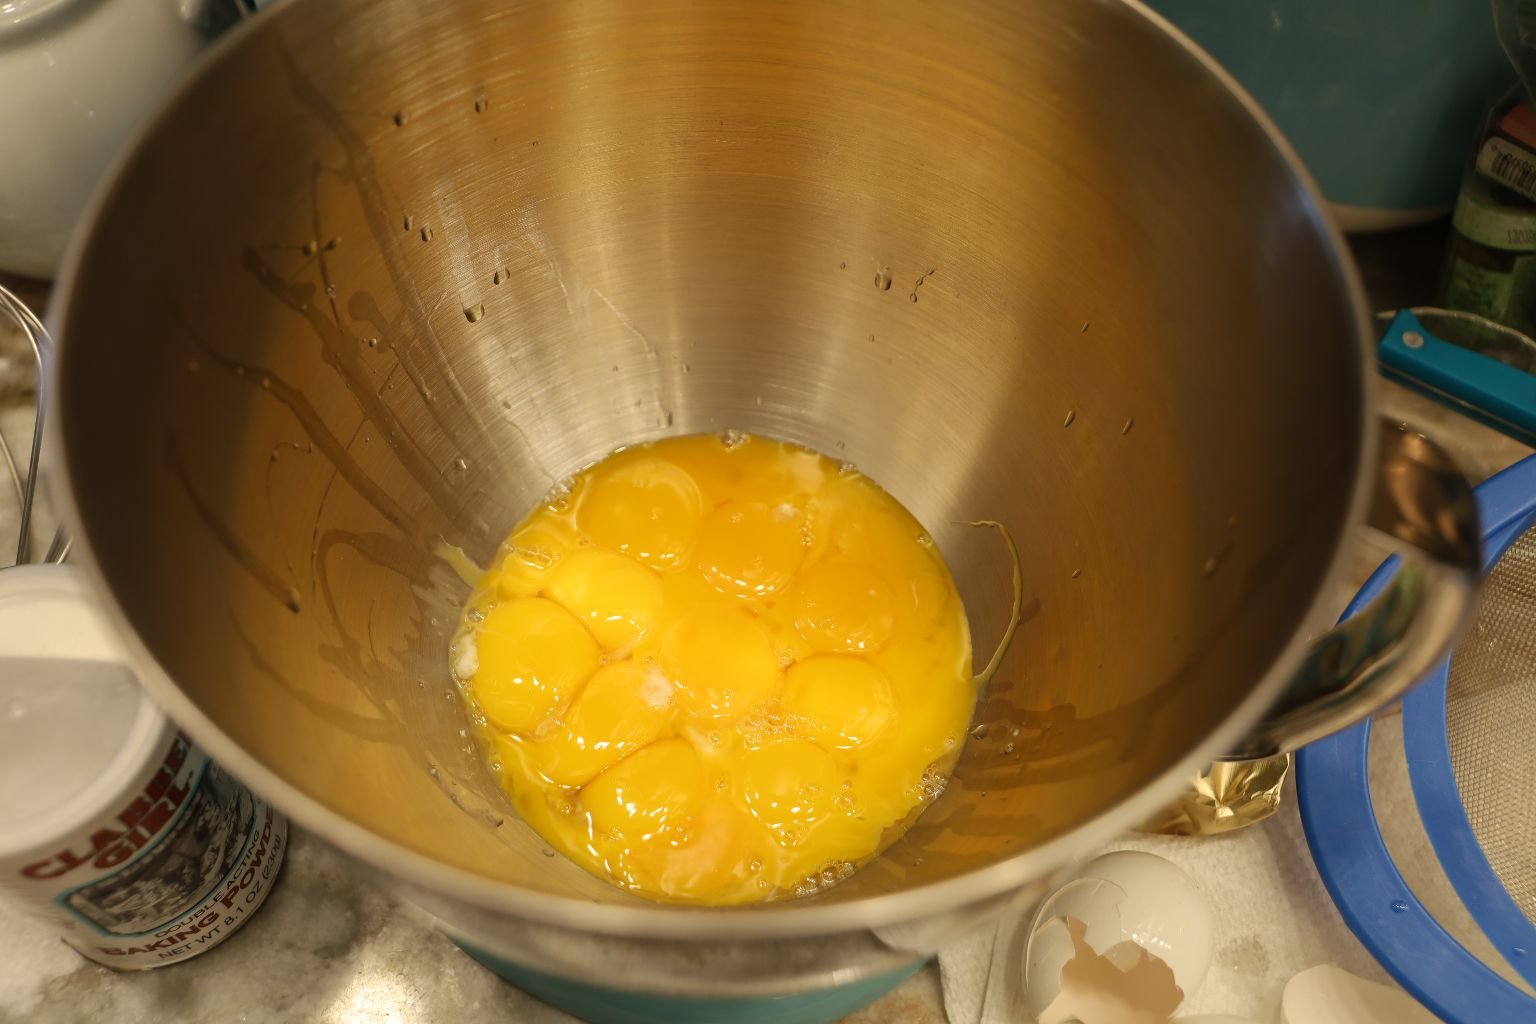
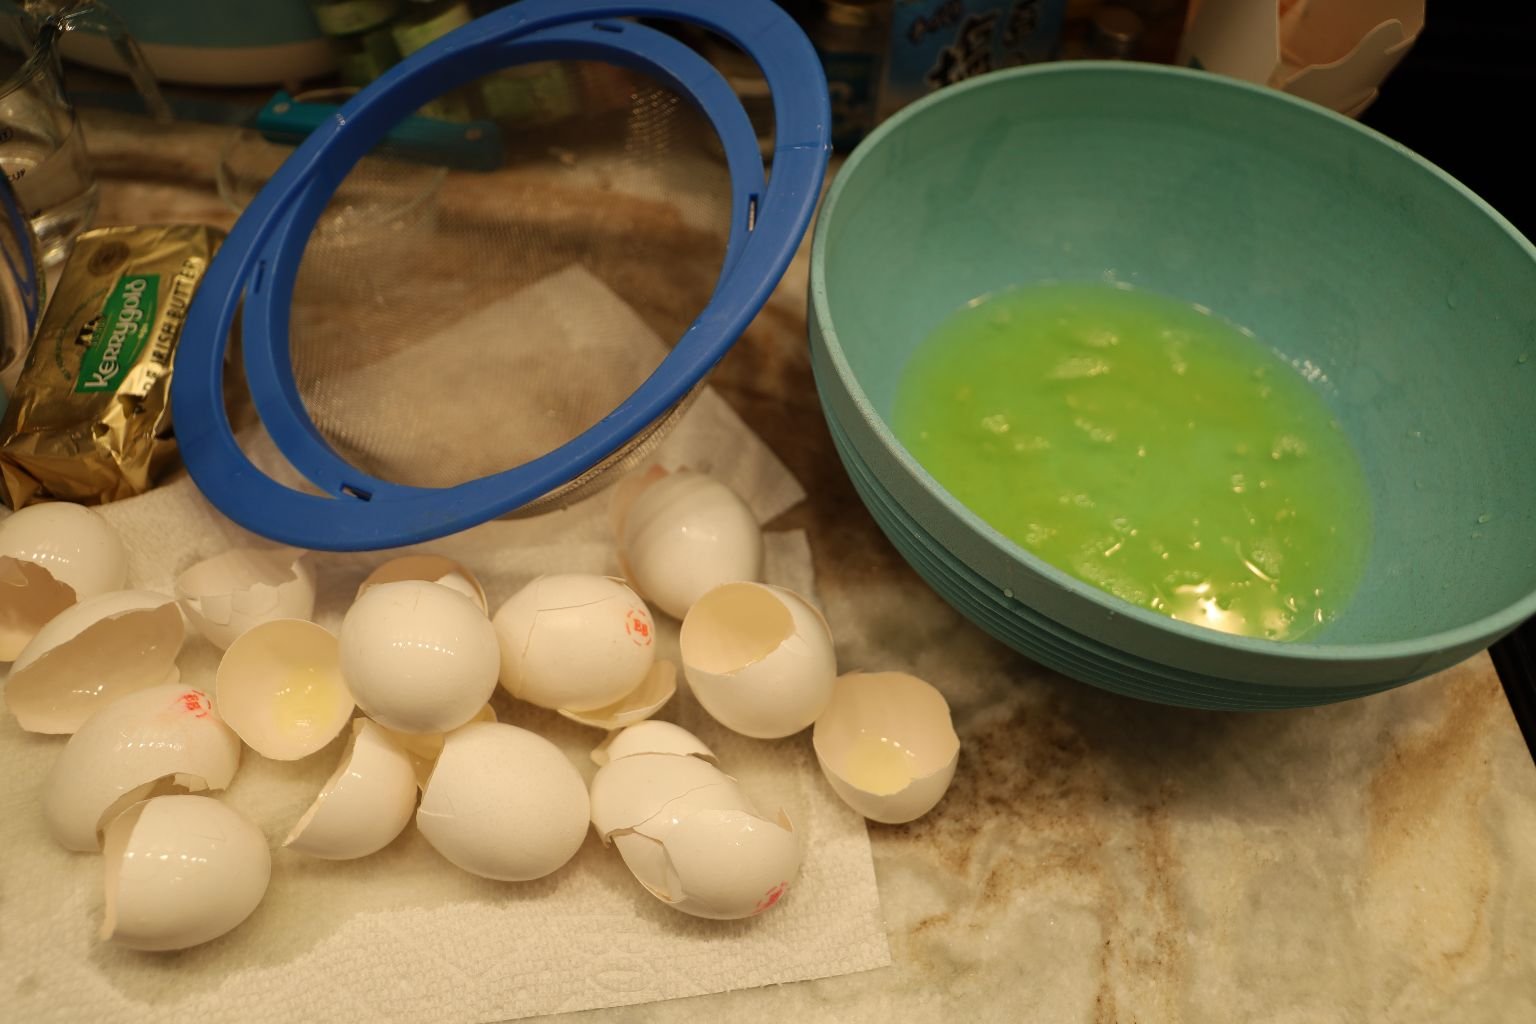
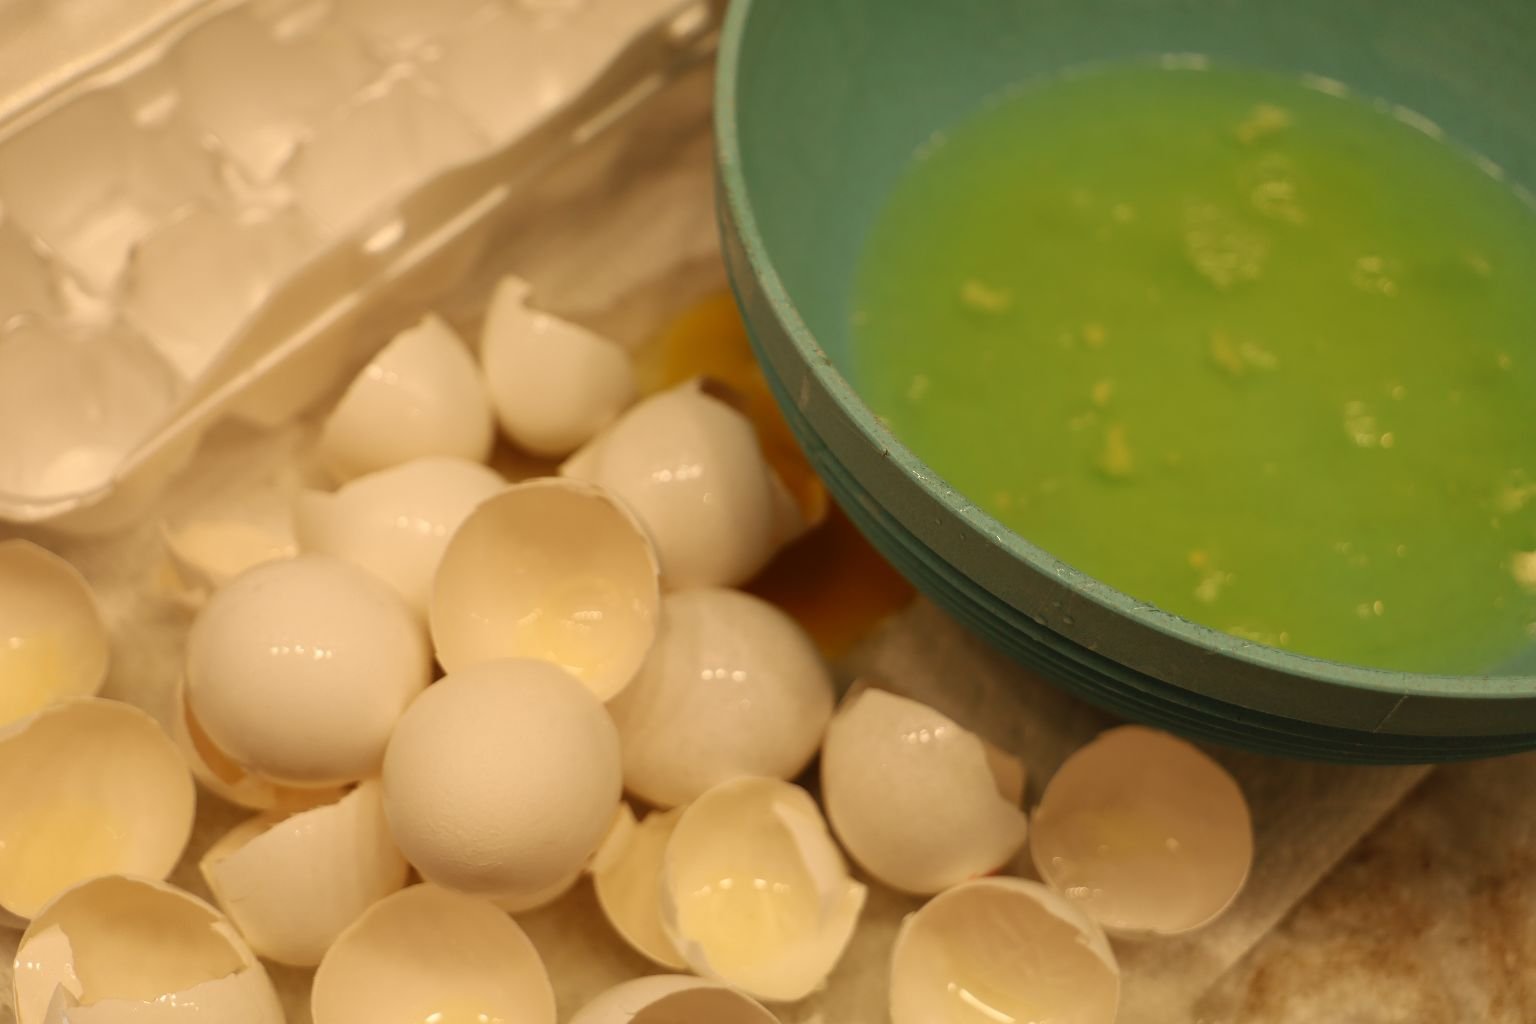
Now it’s time to separate the Yolks from the Egg Whites. I set the Yolks in the bowl of my Mixer, and the White’s in another bowl to make my egg white omelet the following day. (Never throw the Egg White’s away.)
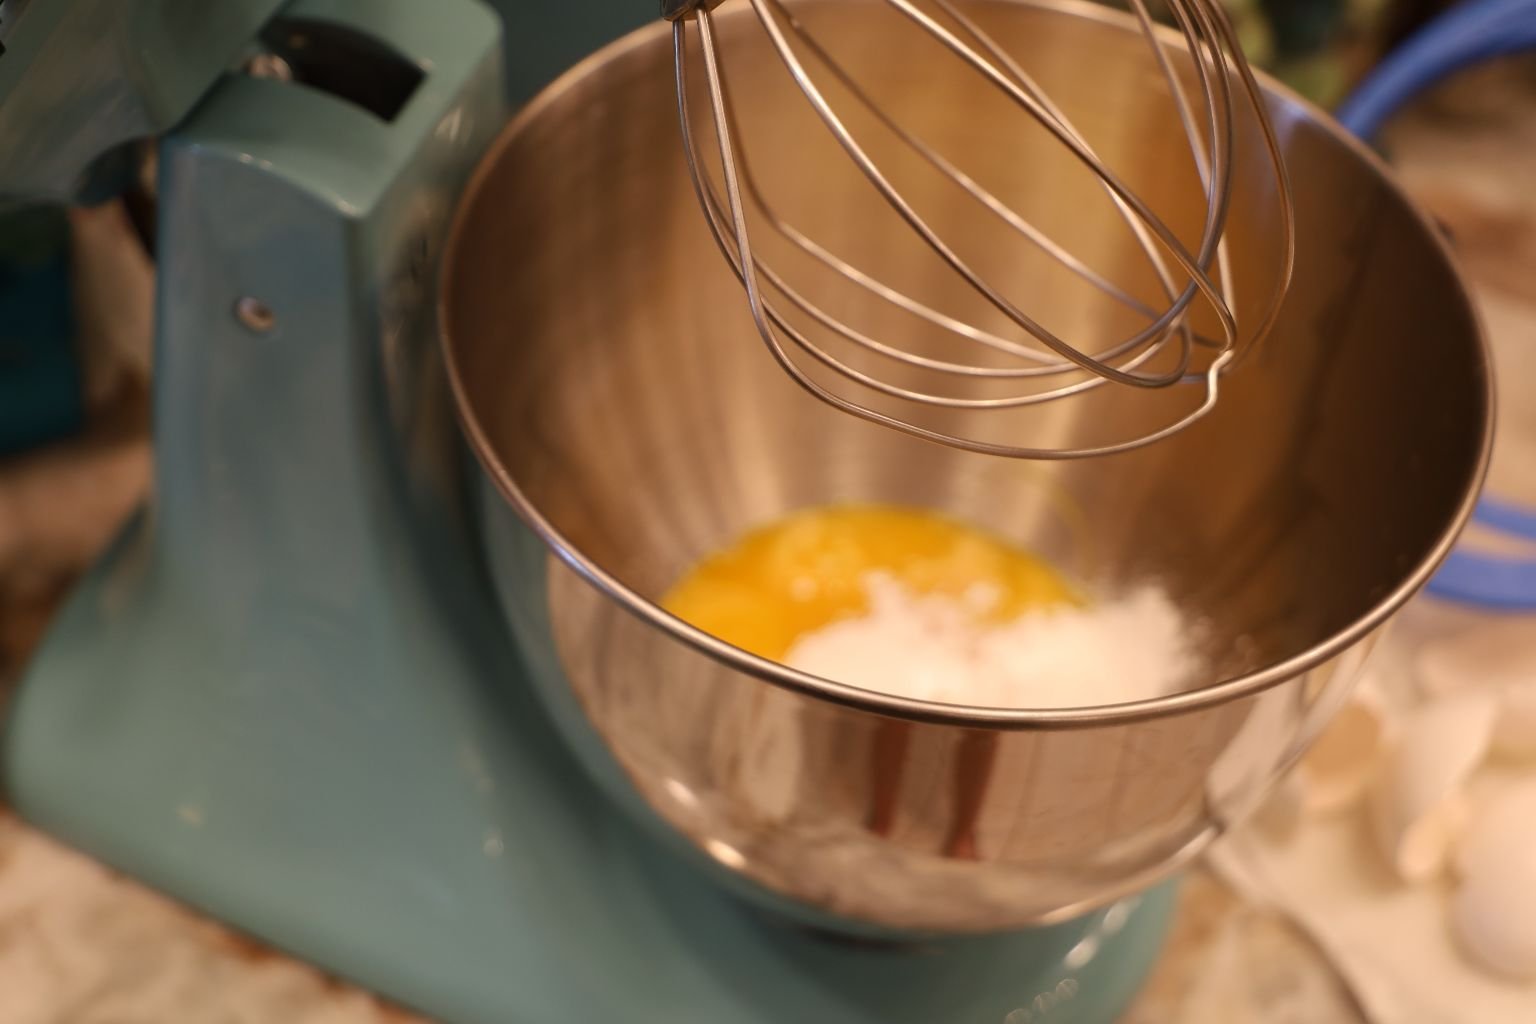
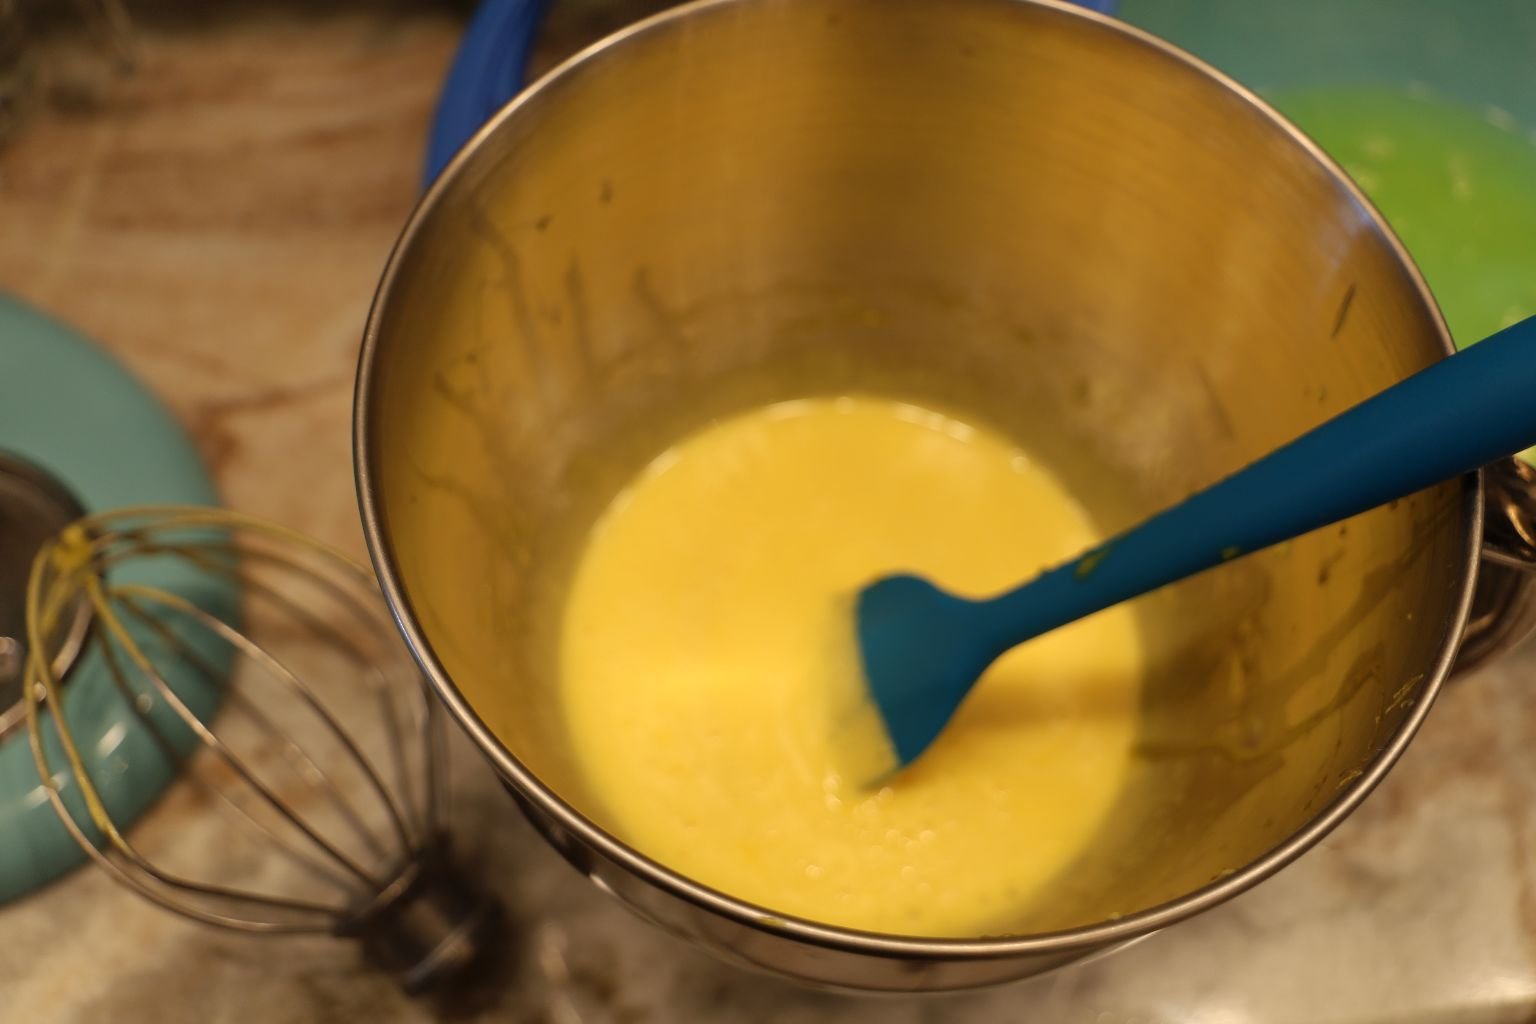
Beat Egg Yolks and Baking Powder until smooth and creamy.
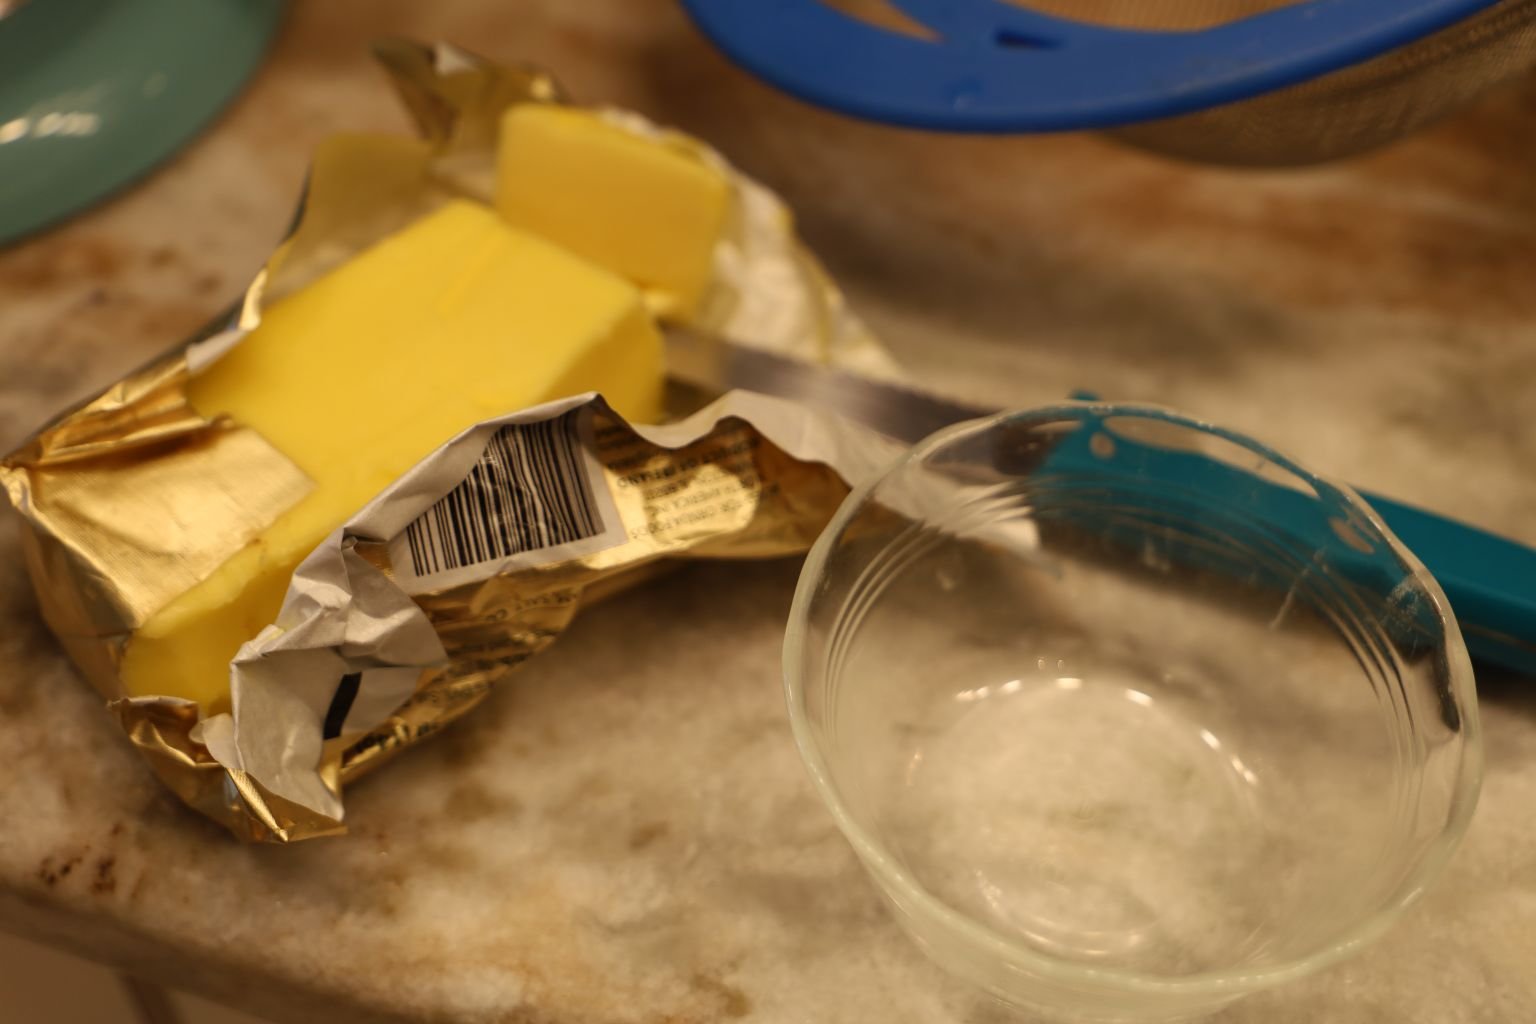
Time to Melt the Butter in the Microwave
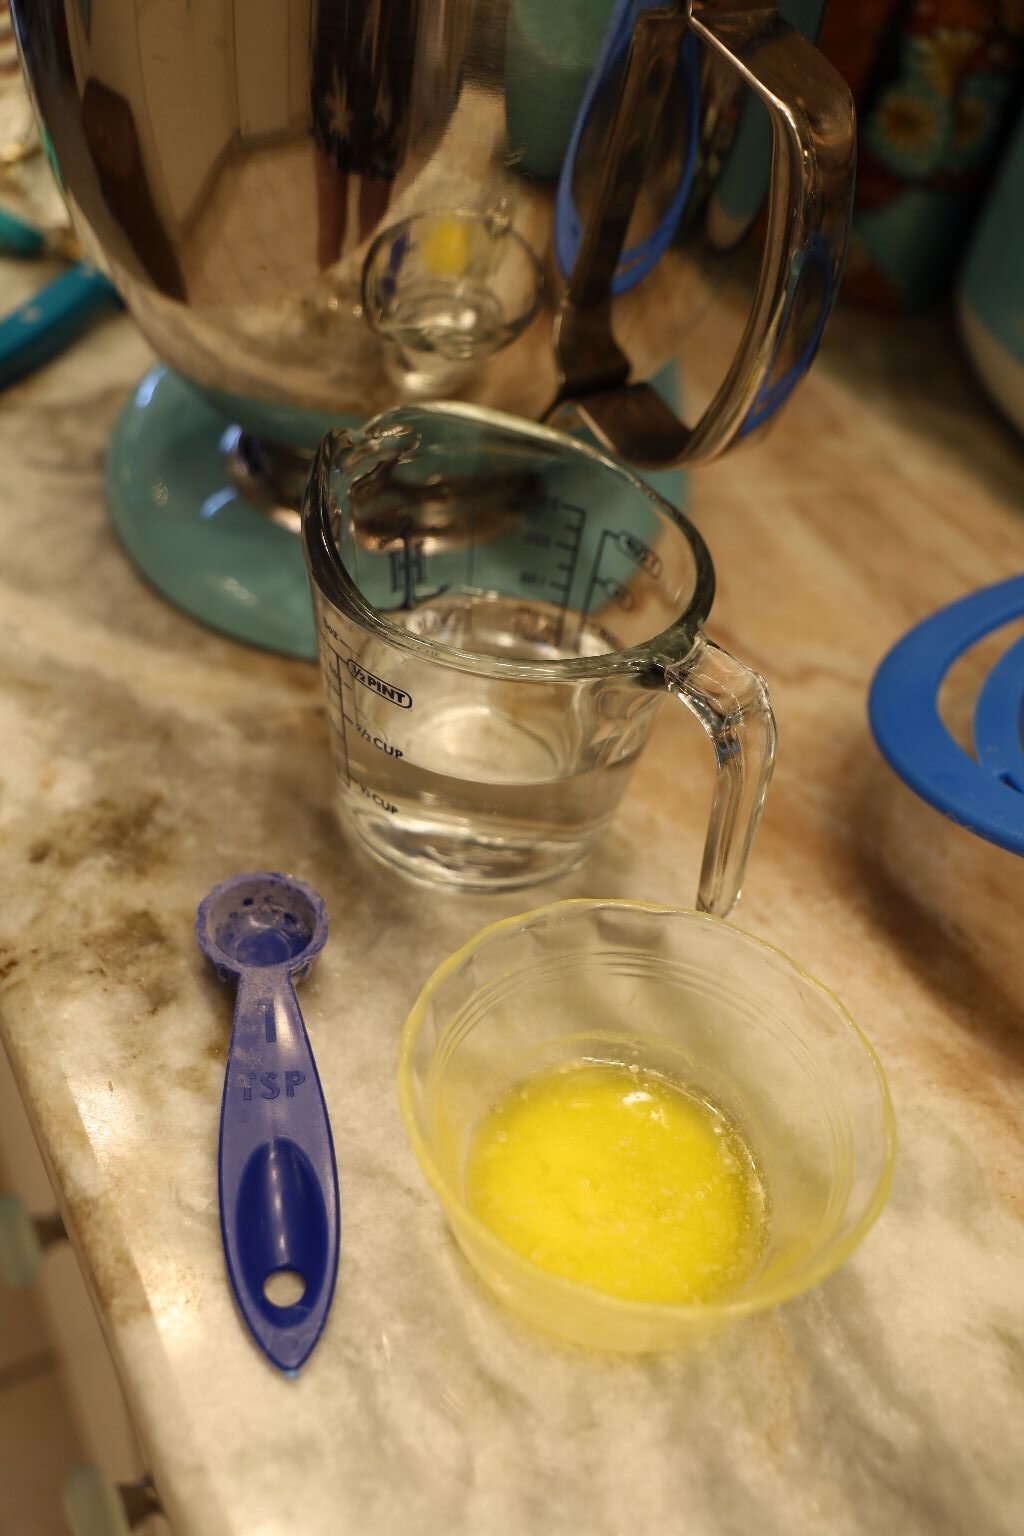
Then add the Water and Melted Butter and combine by using a spoon.
—————————————————————————
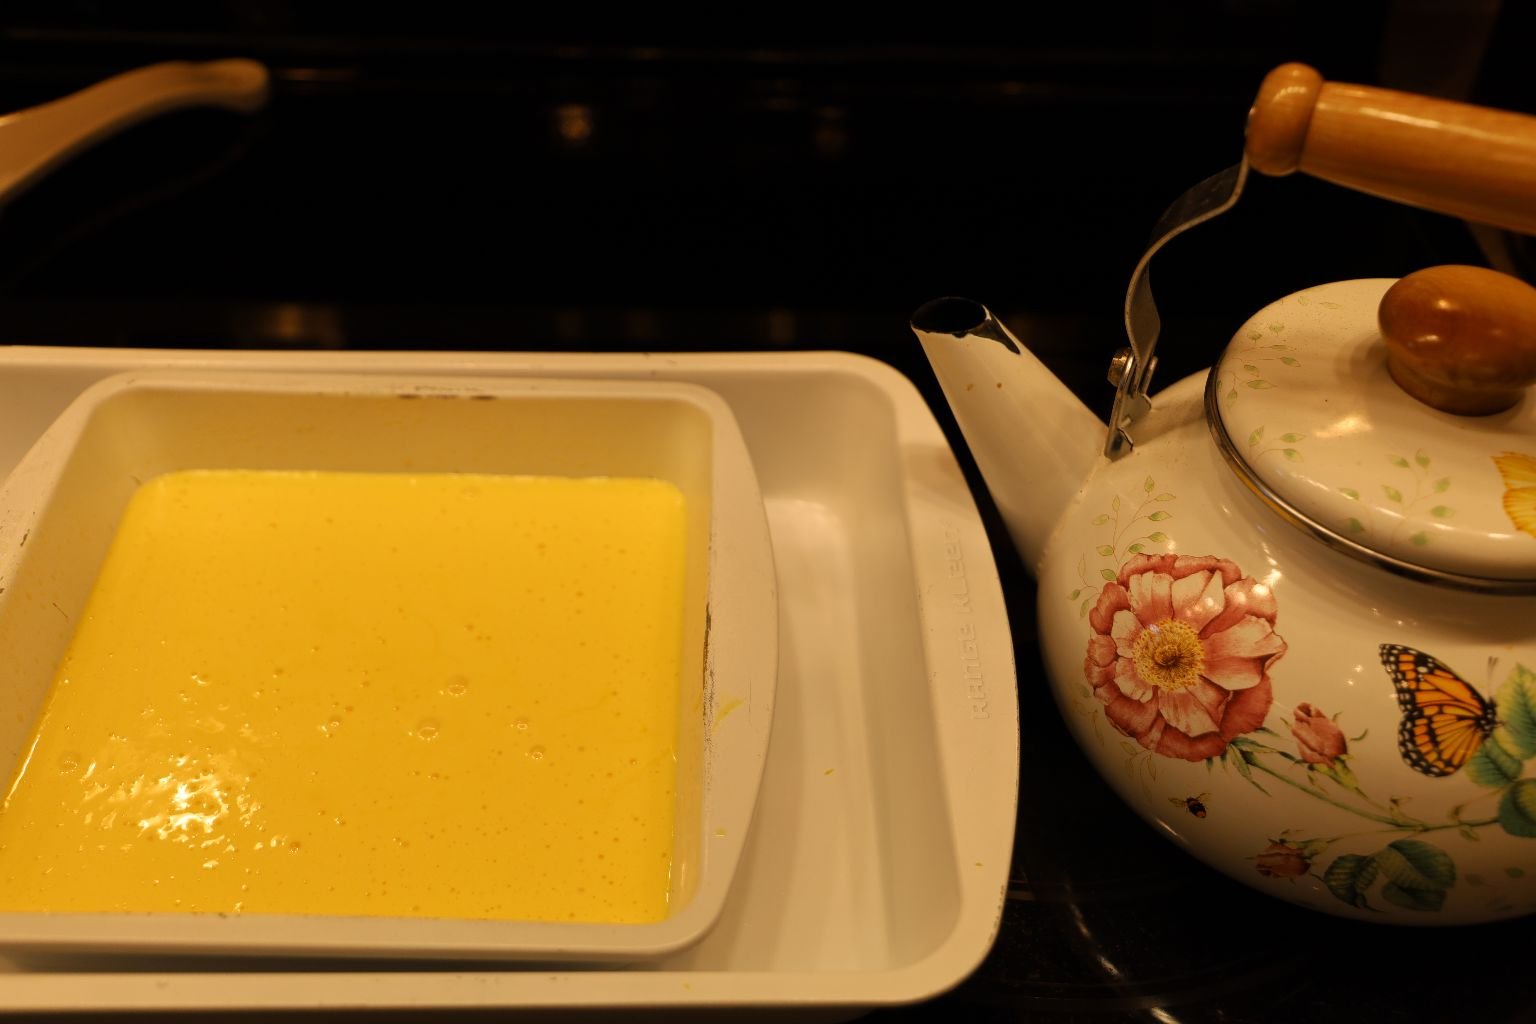
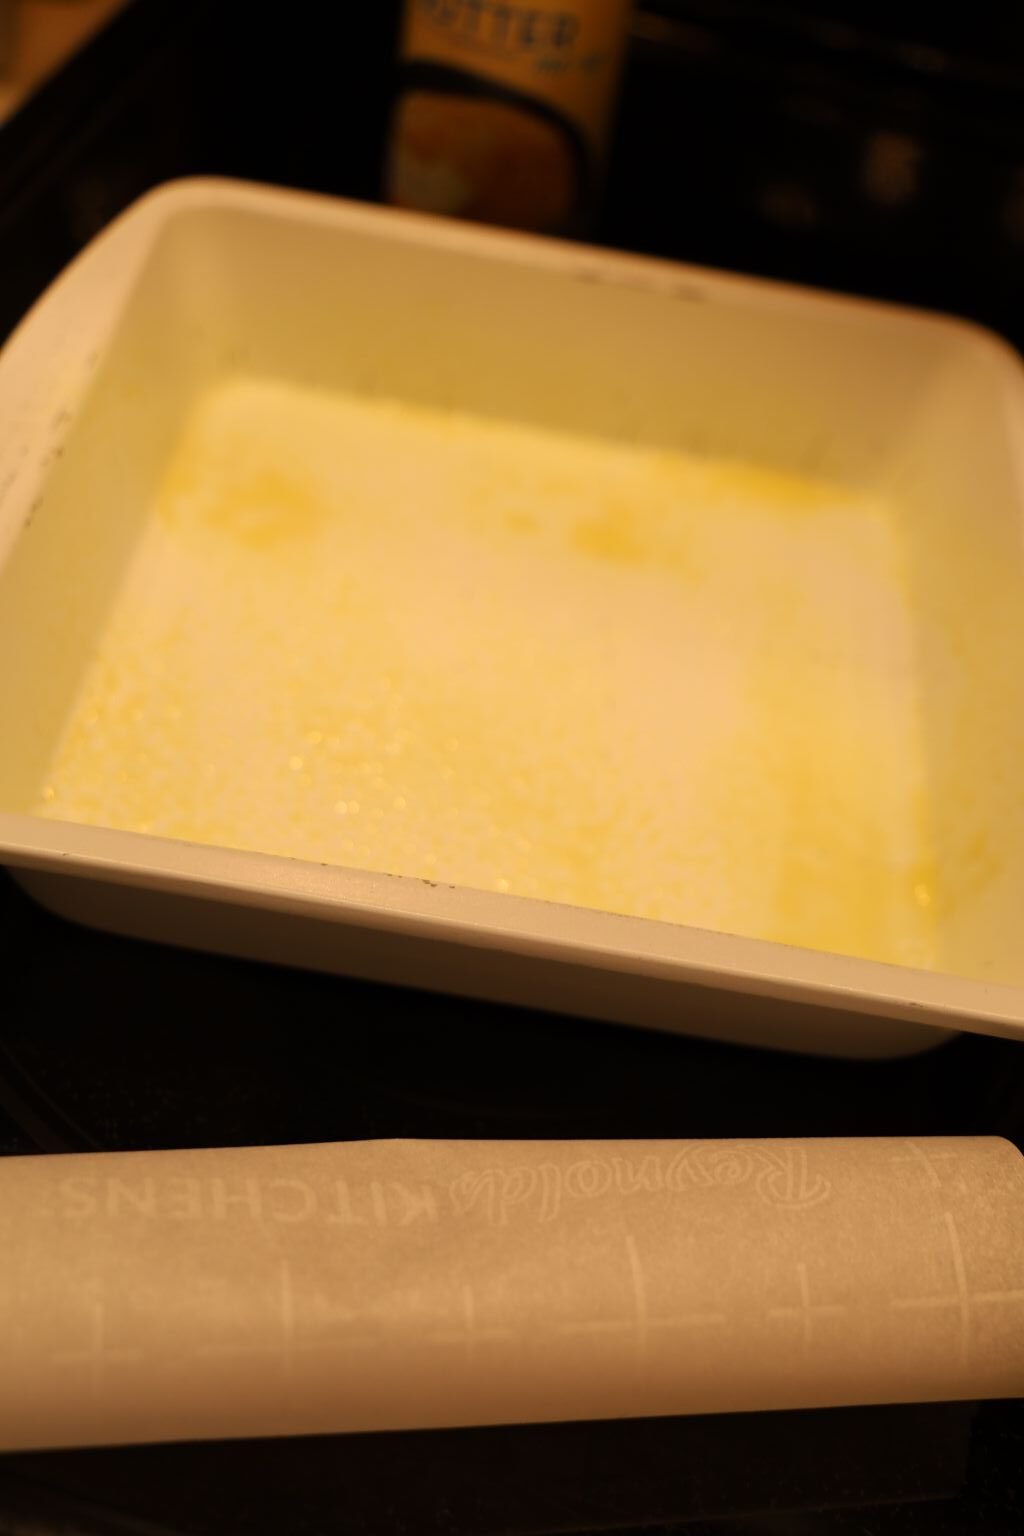
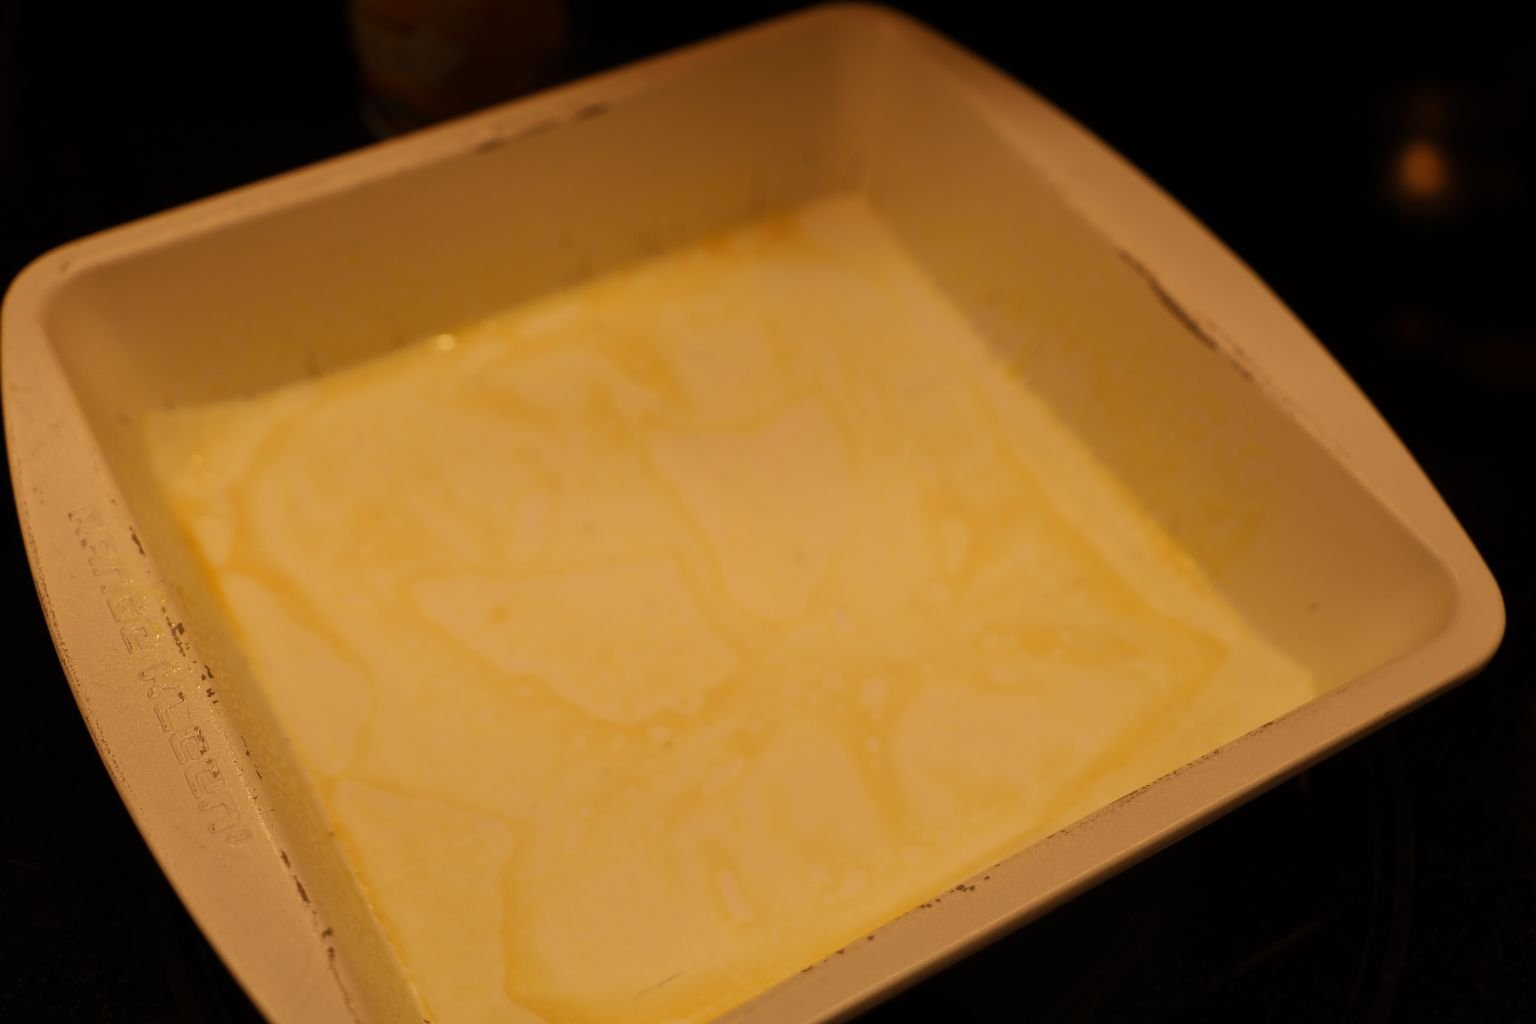
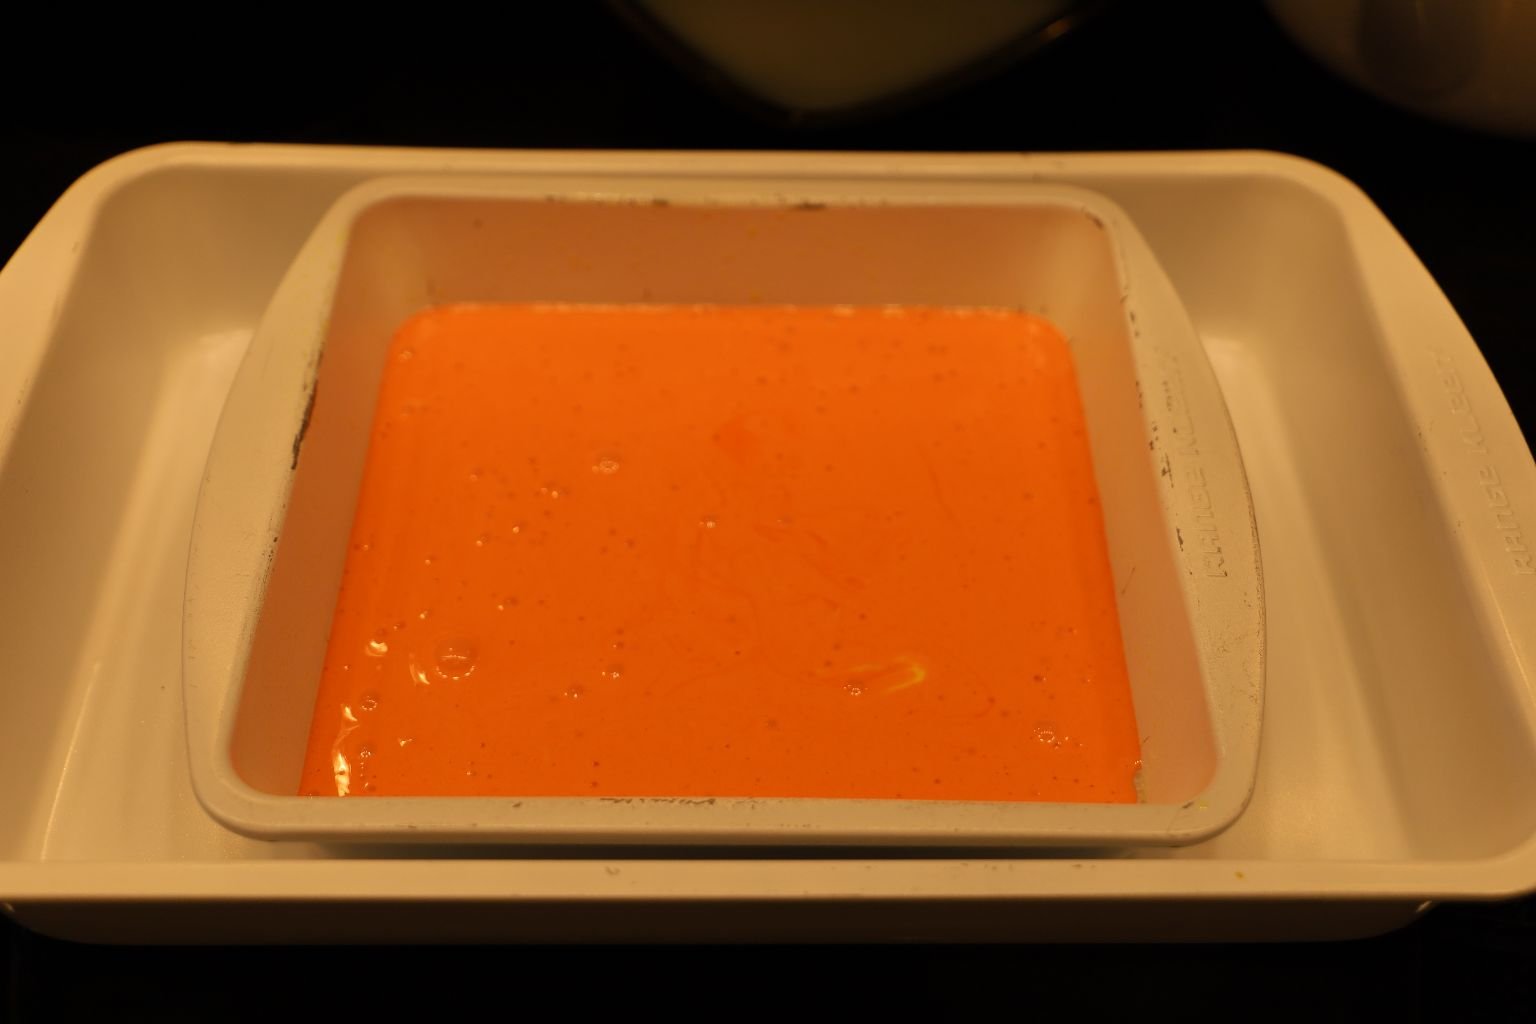
Now pour the mixture into your prepared Baking Dish.
LIKE SO……
————————————————————————————
Turn your oven on 325F and bring up to temperature. In the meantime, your tea pot should be piping hot by now so pour the boiling water in the pan all around your Royal Eggs.
Now place into the oven for about 15 minutes or until nice and firm.
—————————————————————————
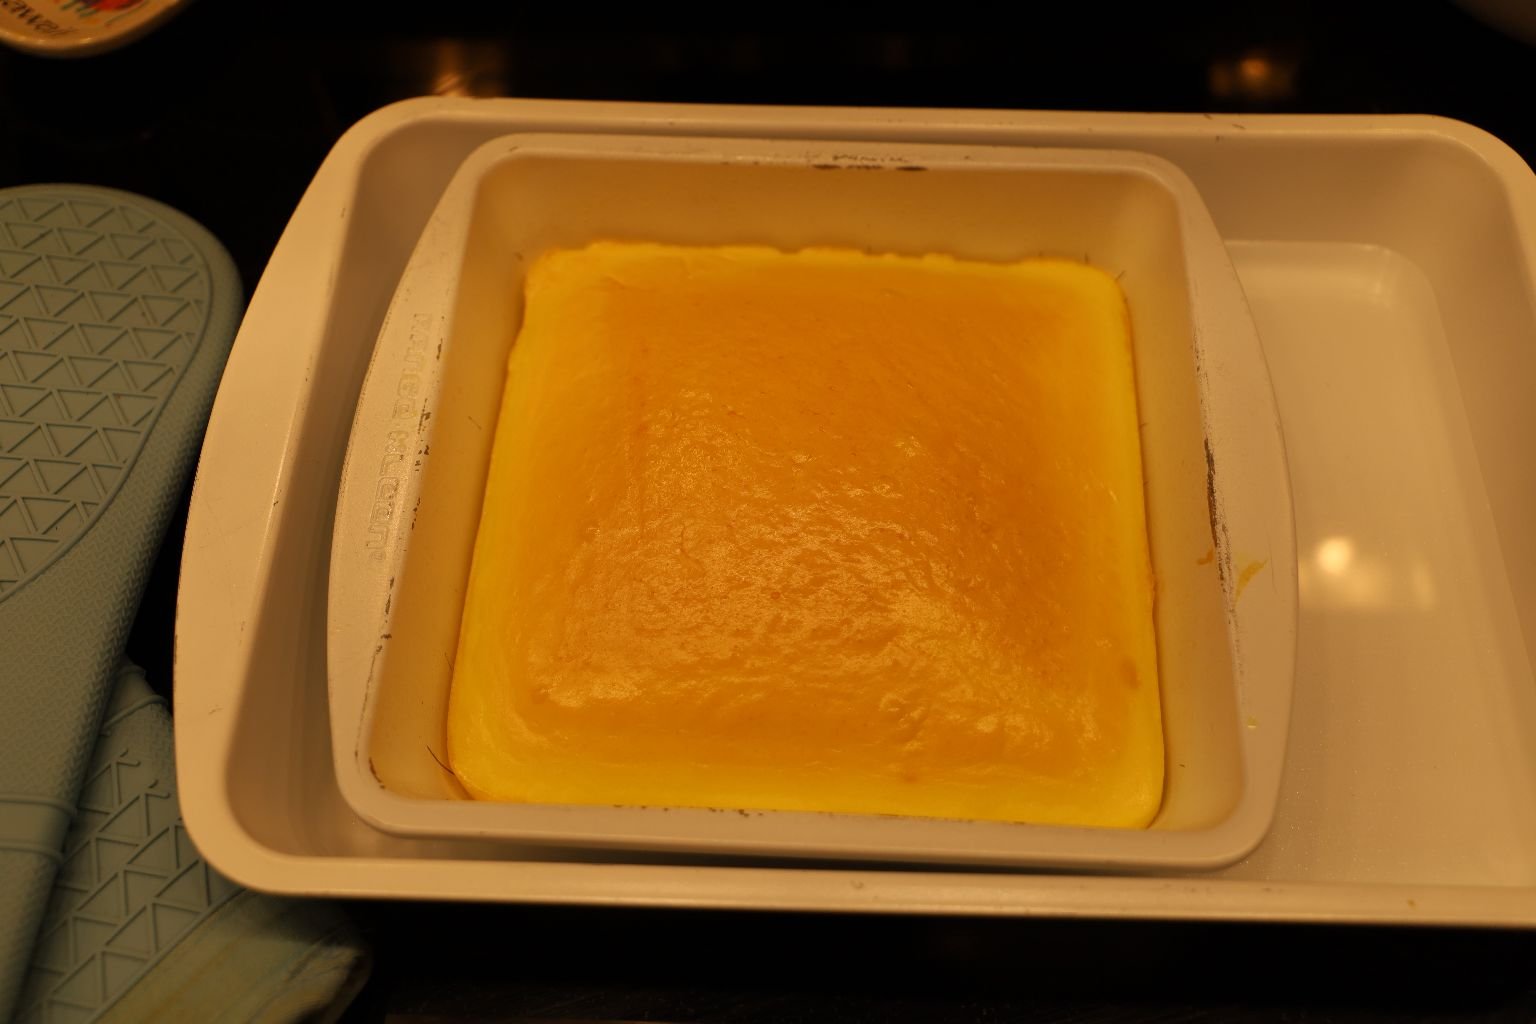
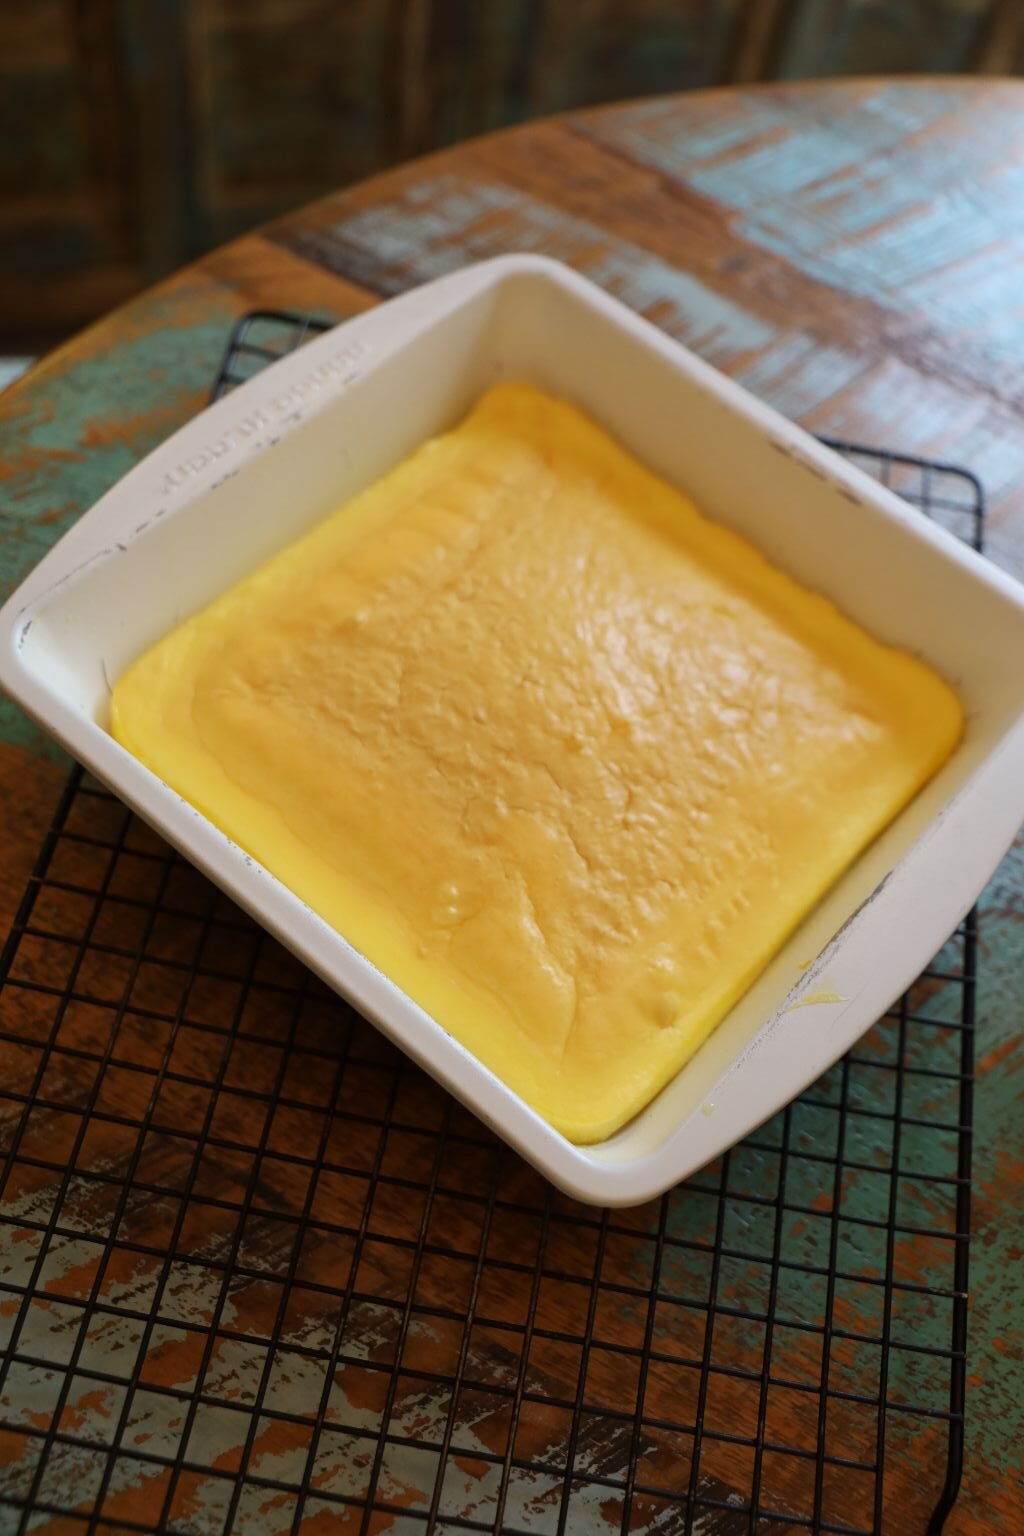
When finished remove from the oven, then remove the eggs from the water bath and set on a cooling rack for about 10 minutes.
—————————————————————————————————
Next Batch of Royal Eggs (PINK)
I Did The Same Here As I Did above….
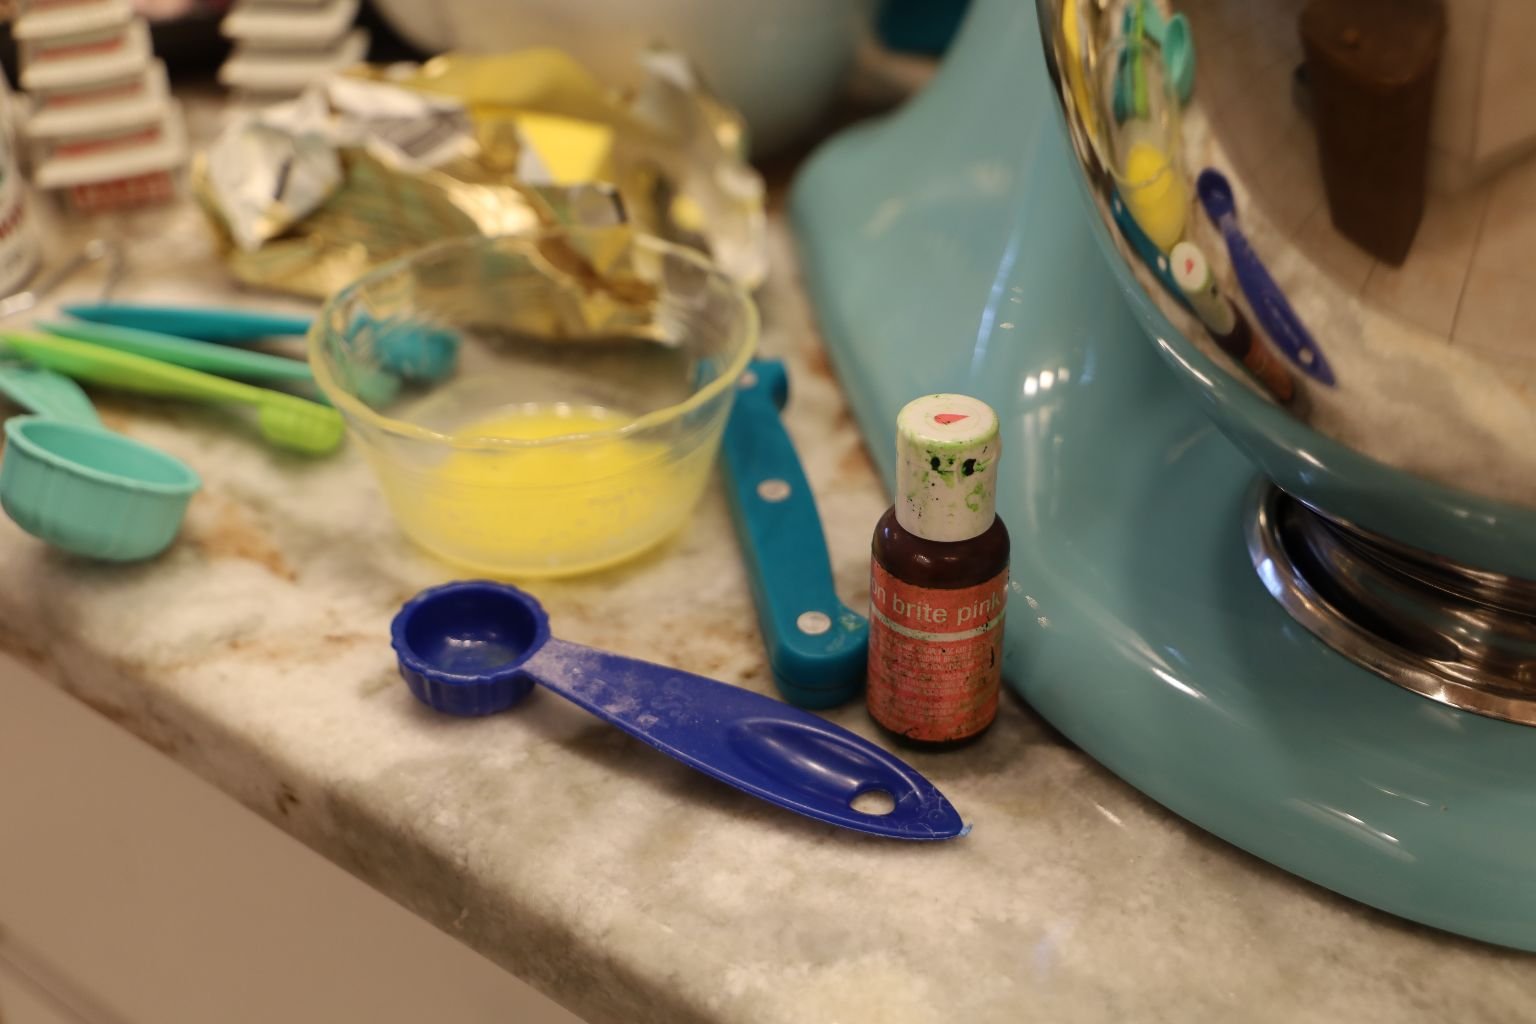
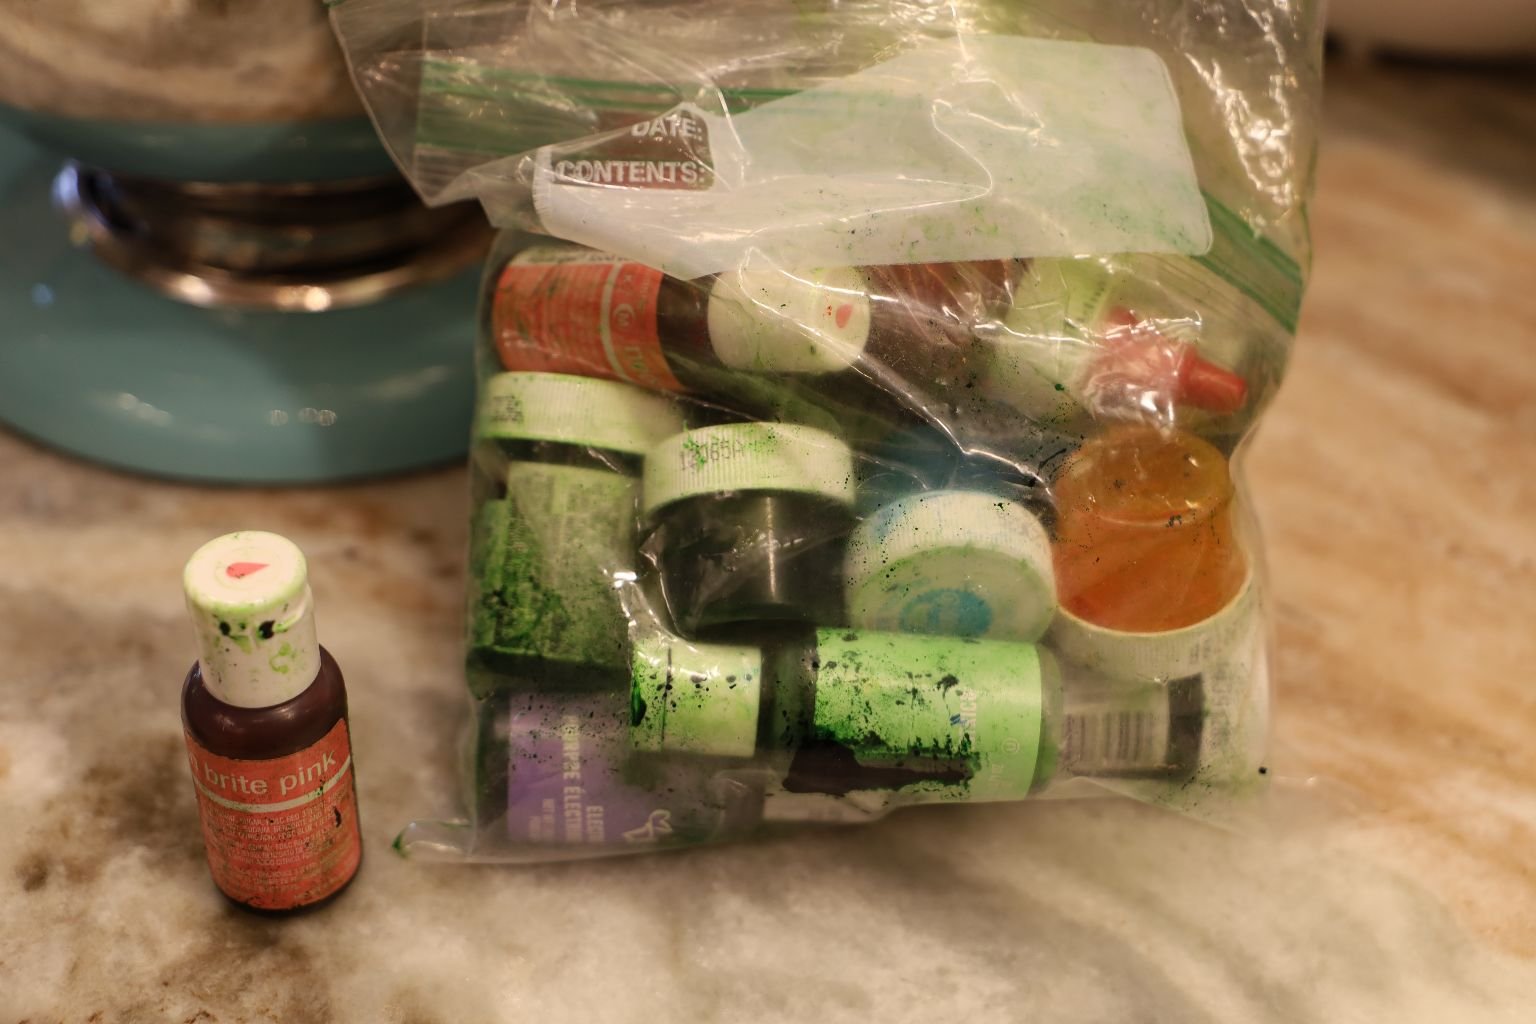
Food Coloring
You Can Use Any That You Choose
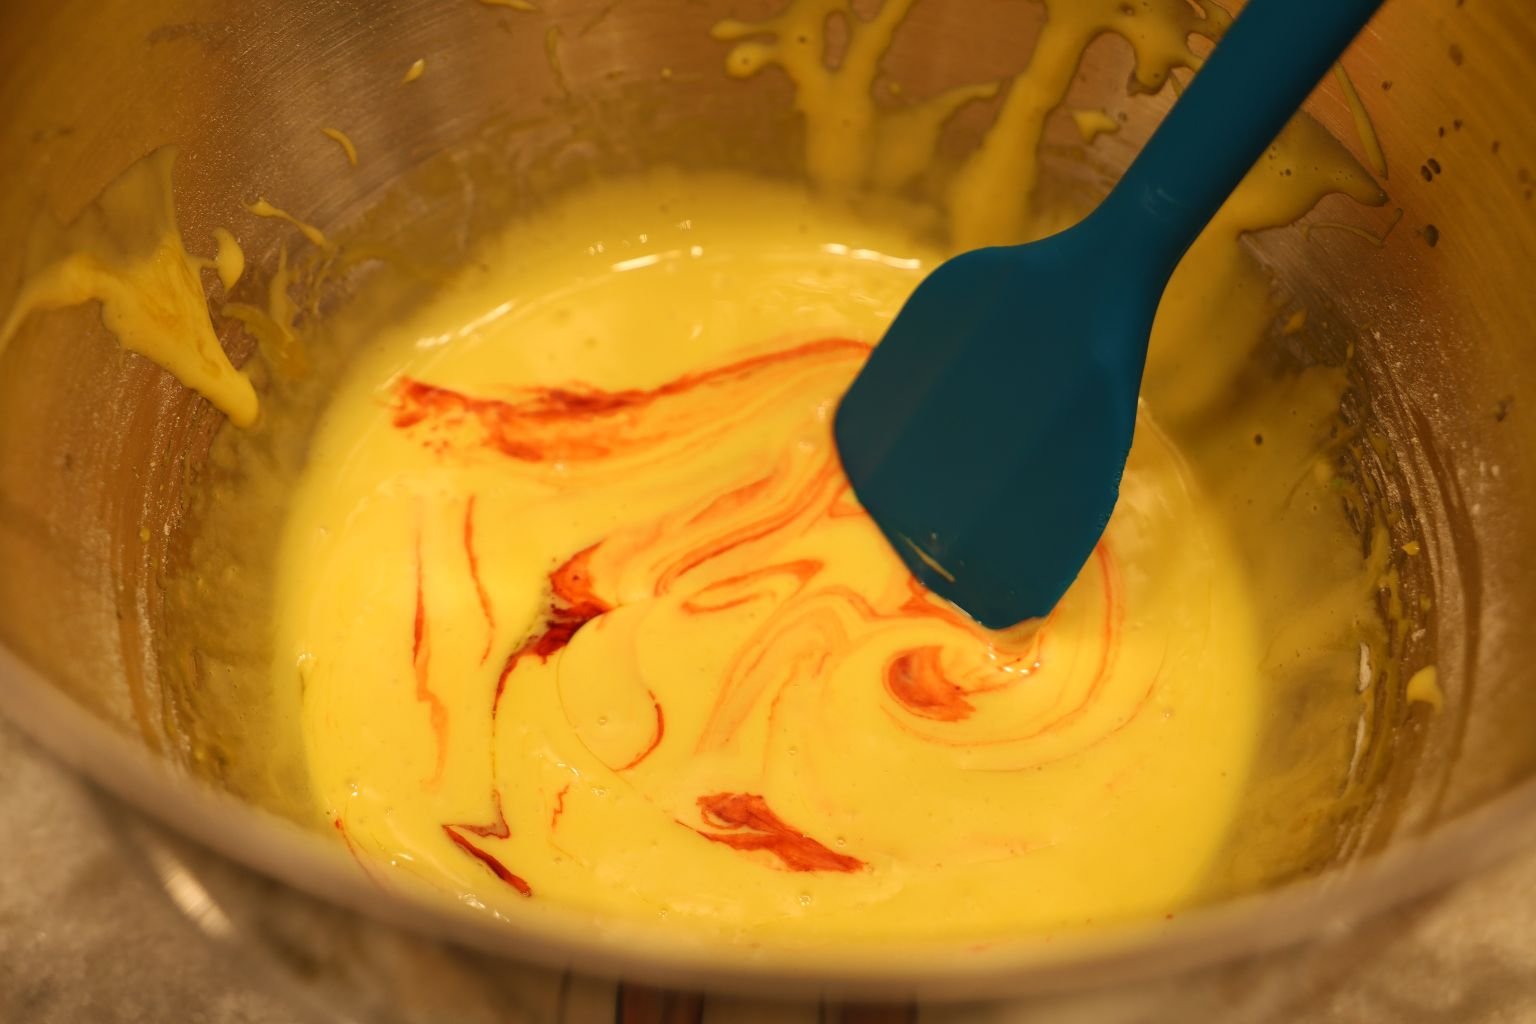
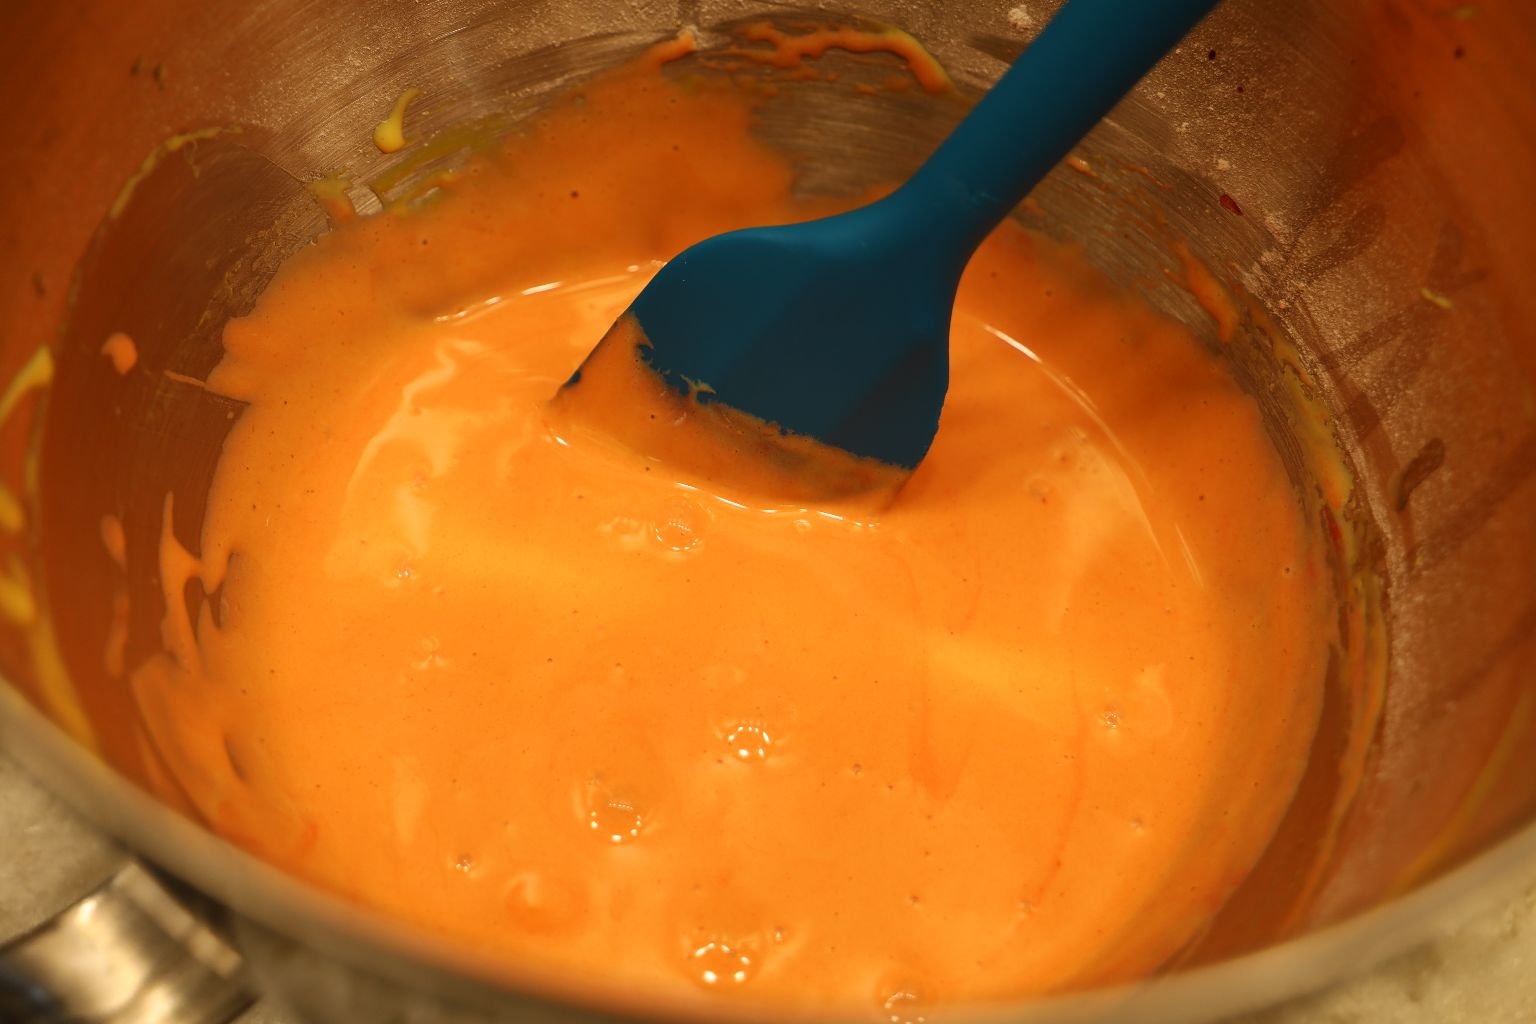
It is at this point that you add the PINK Food Coloring.
Bake, Just as Above….
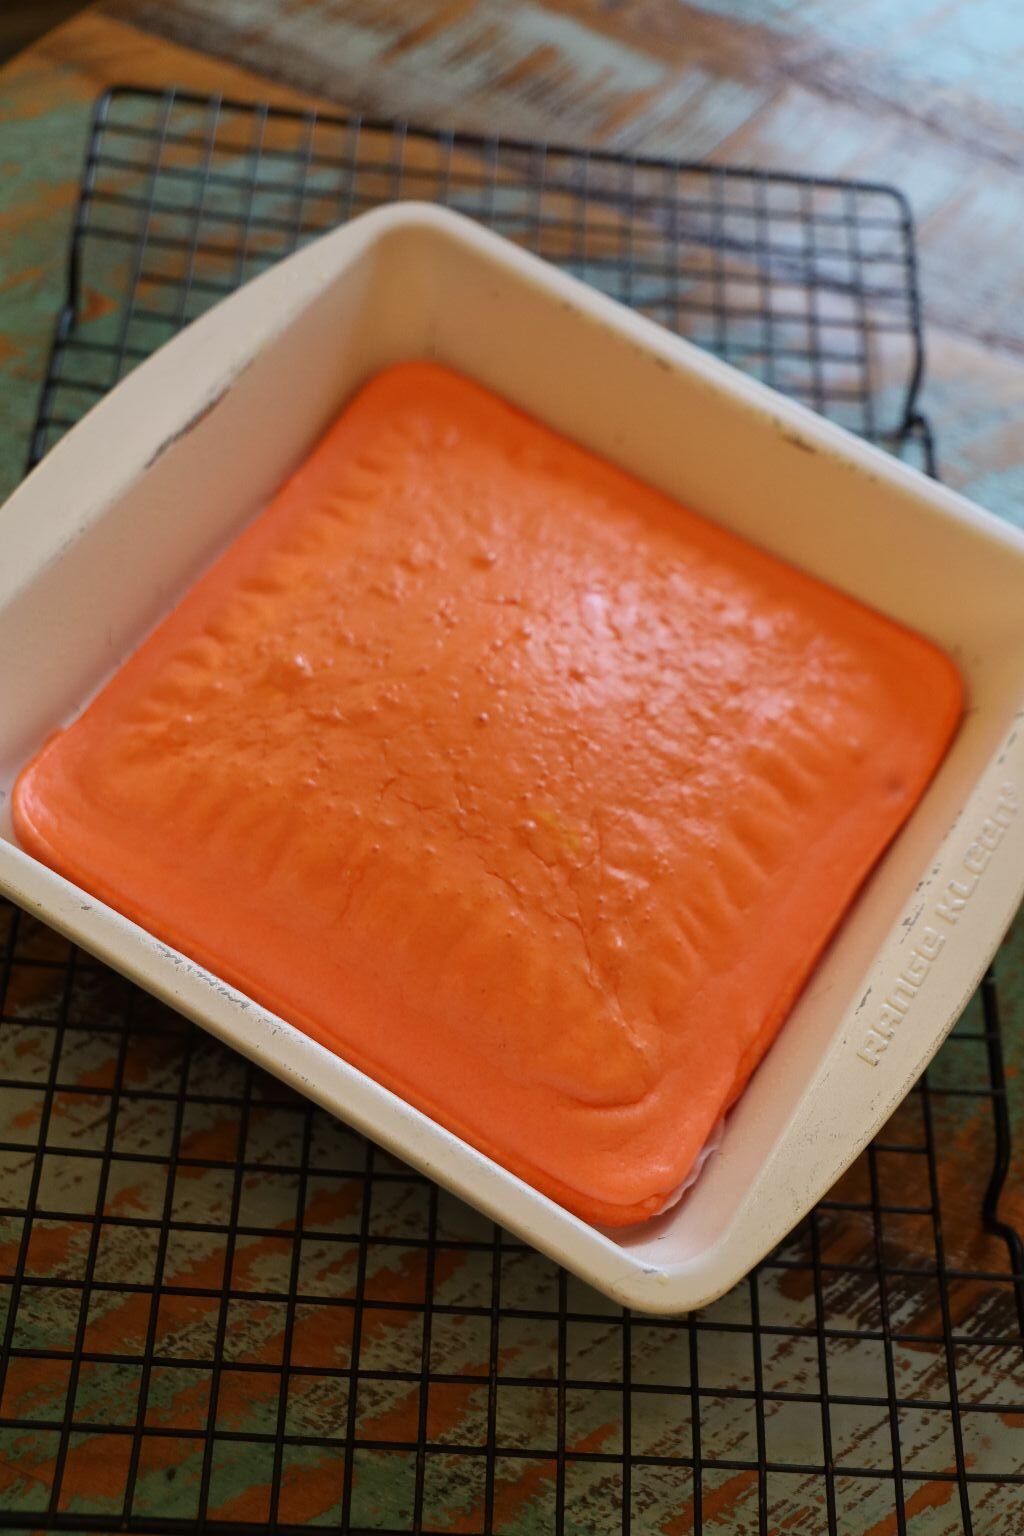
Then Cool on a Cooling Rack
—————————————————————————————-
The Sticky Rice
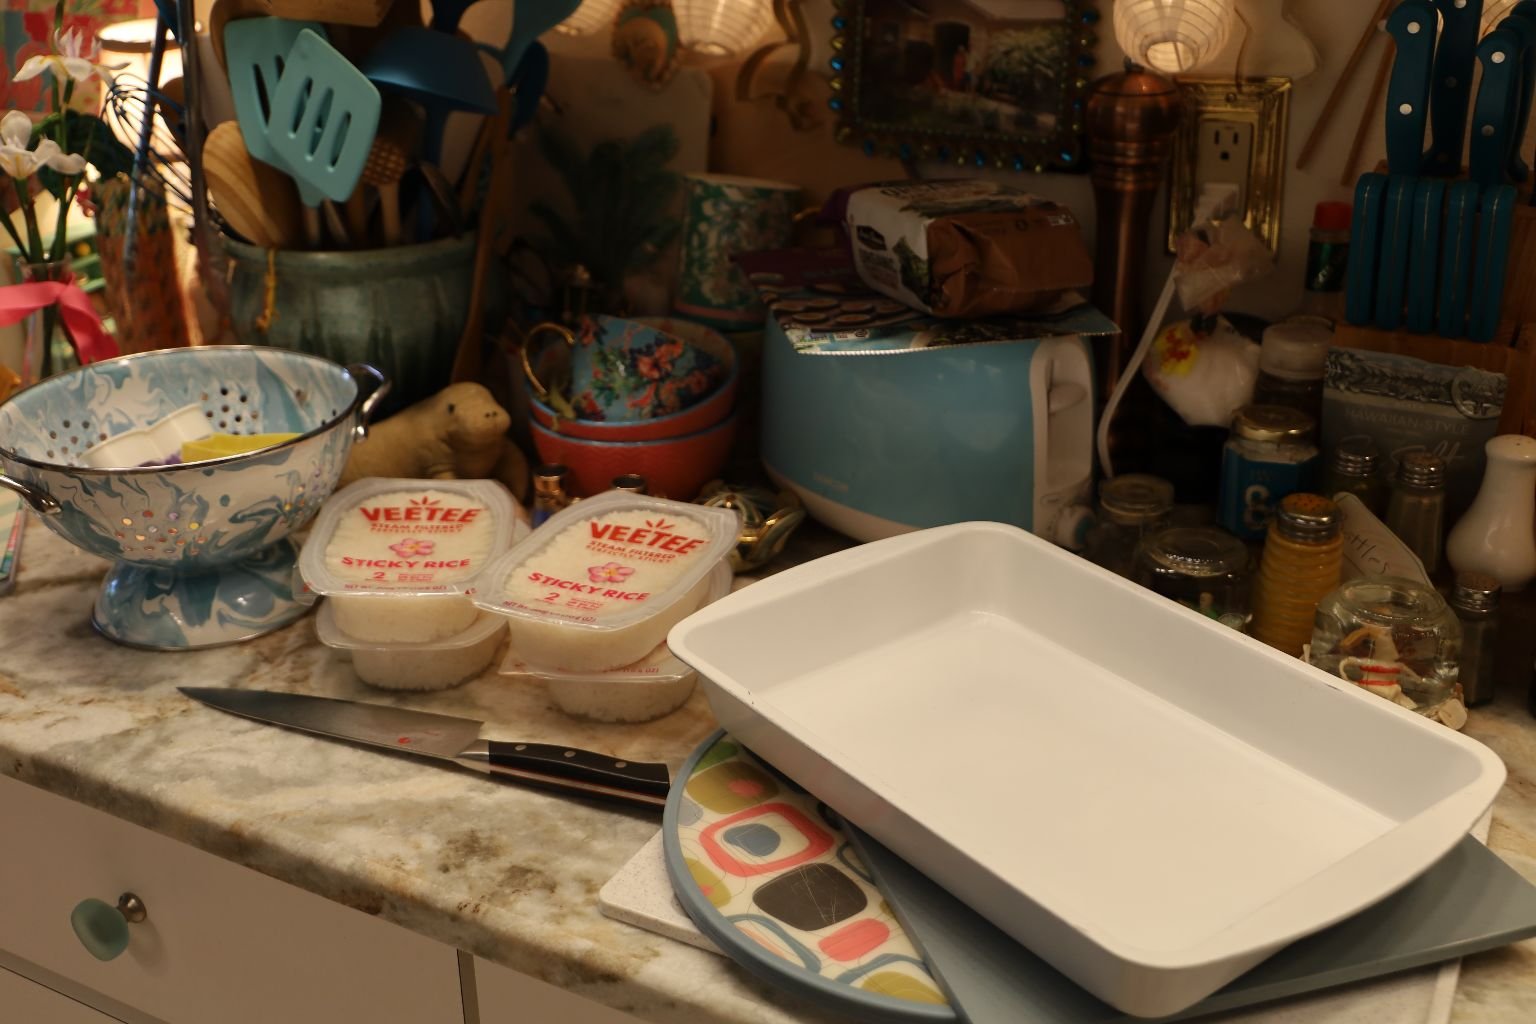
I know how to make Sticky Rice, we have made it many times in our Rice Maker. However, I was trying to find a shortcut here so I bought these Ready Made Sticky Rice products.
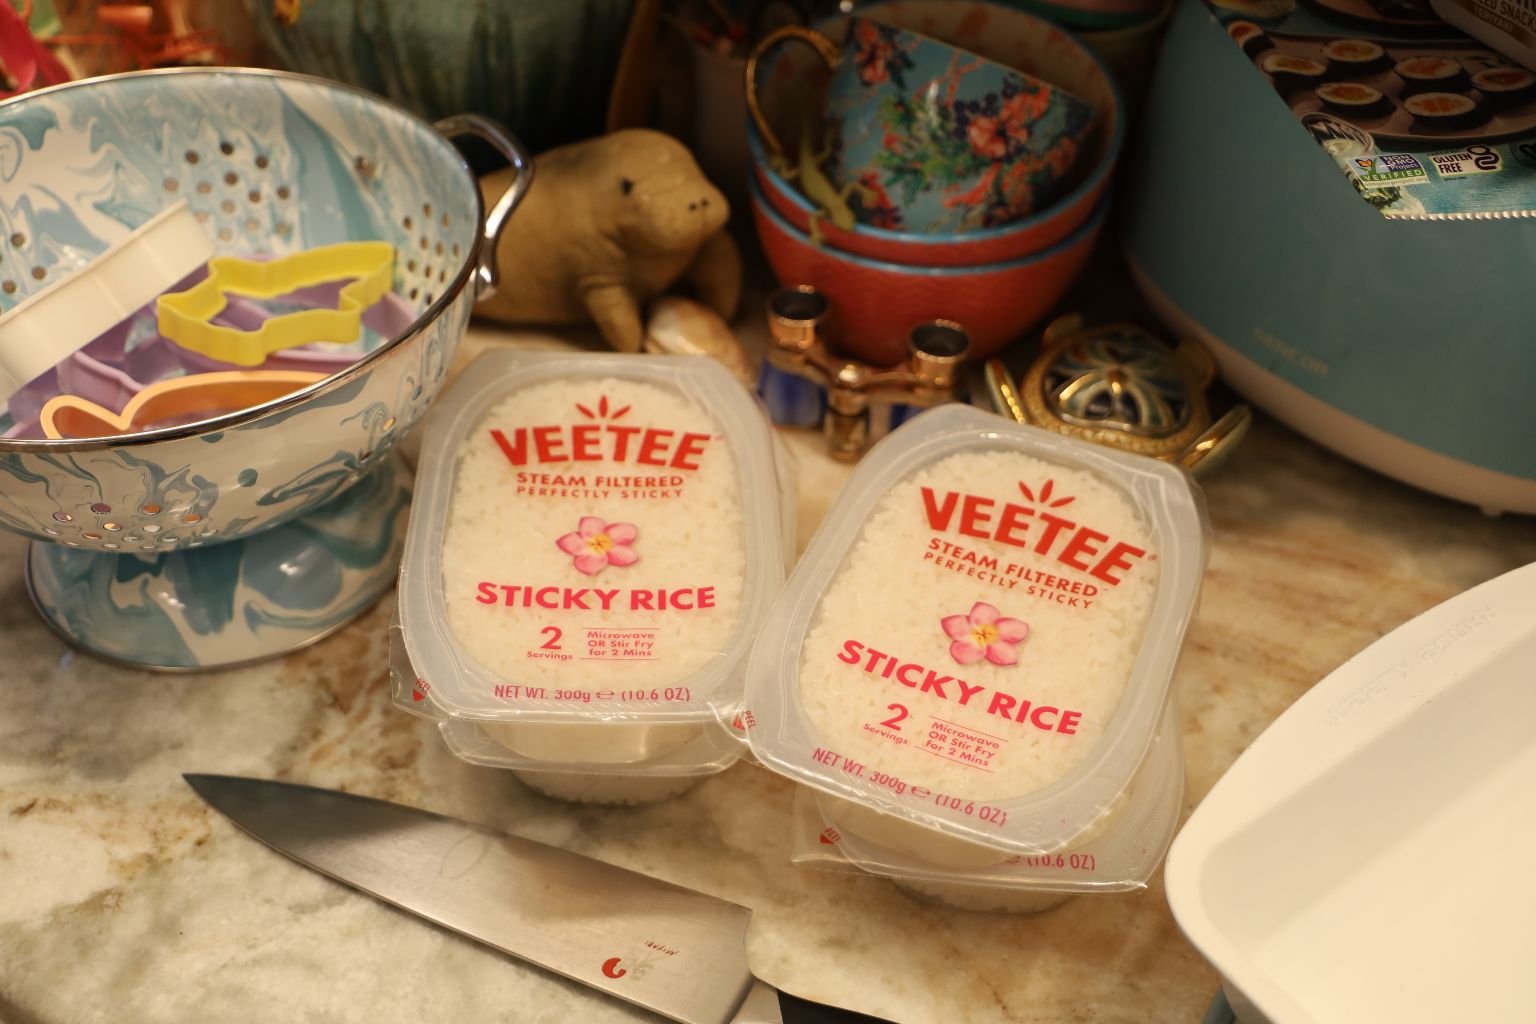
The package directions say to either heat them up in the Microwave, (which is dangerous to do with these types of plastic containers). or to Stir-Fry them in a wok, or Stove Top Pan….
I Decided To Use A Wok
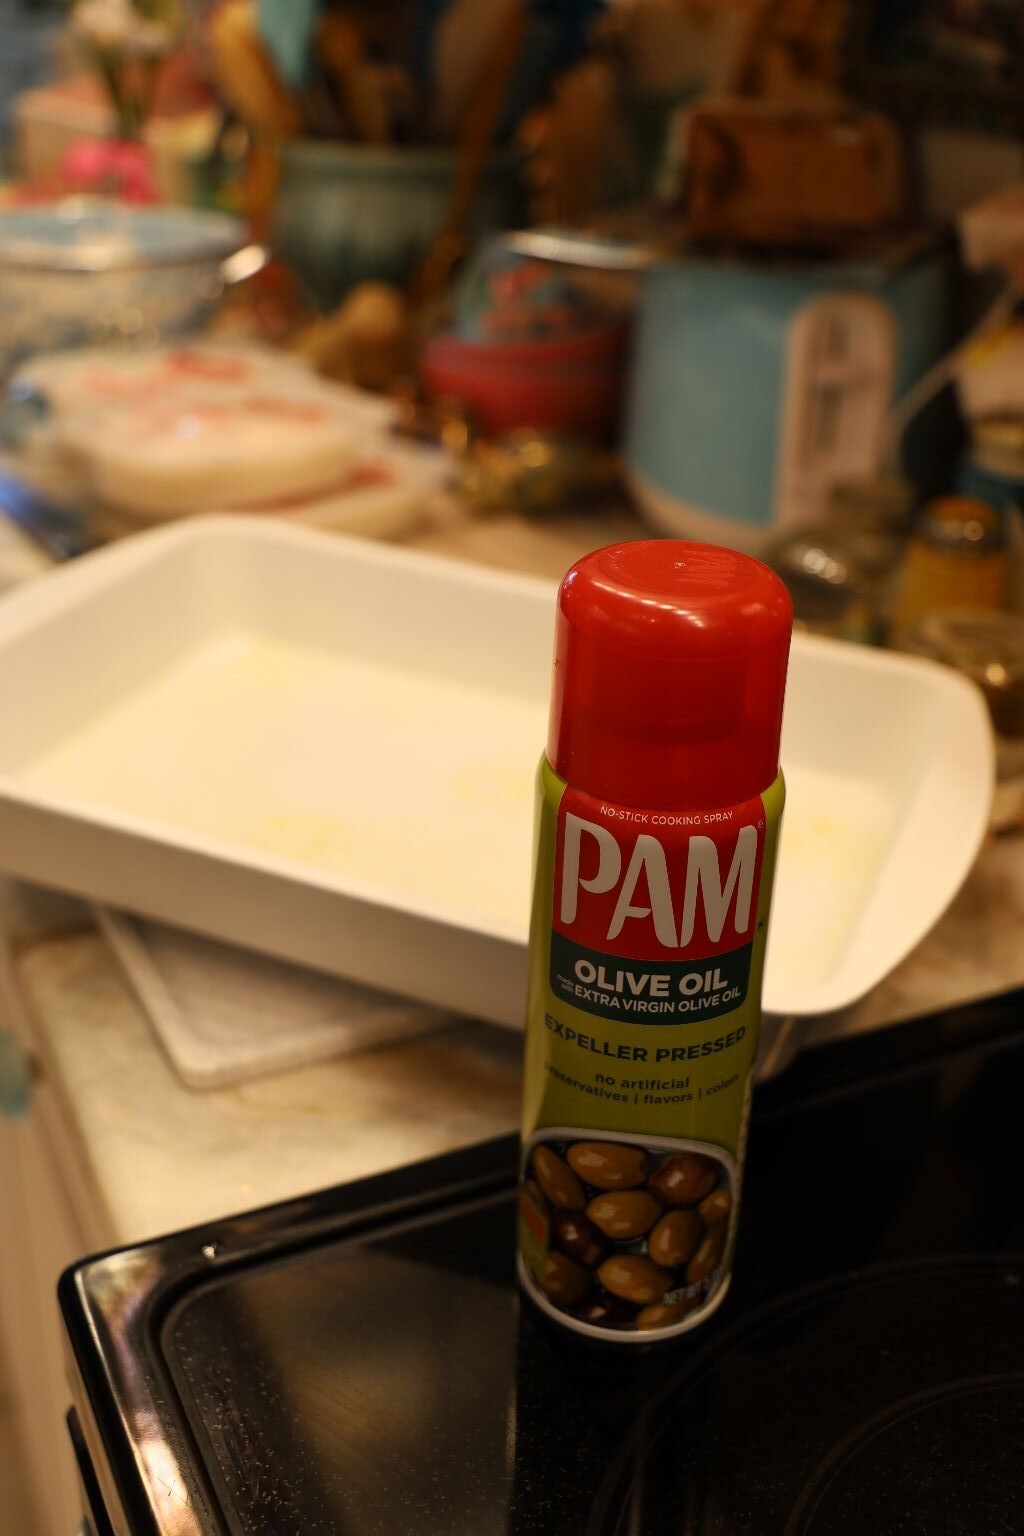
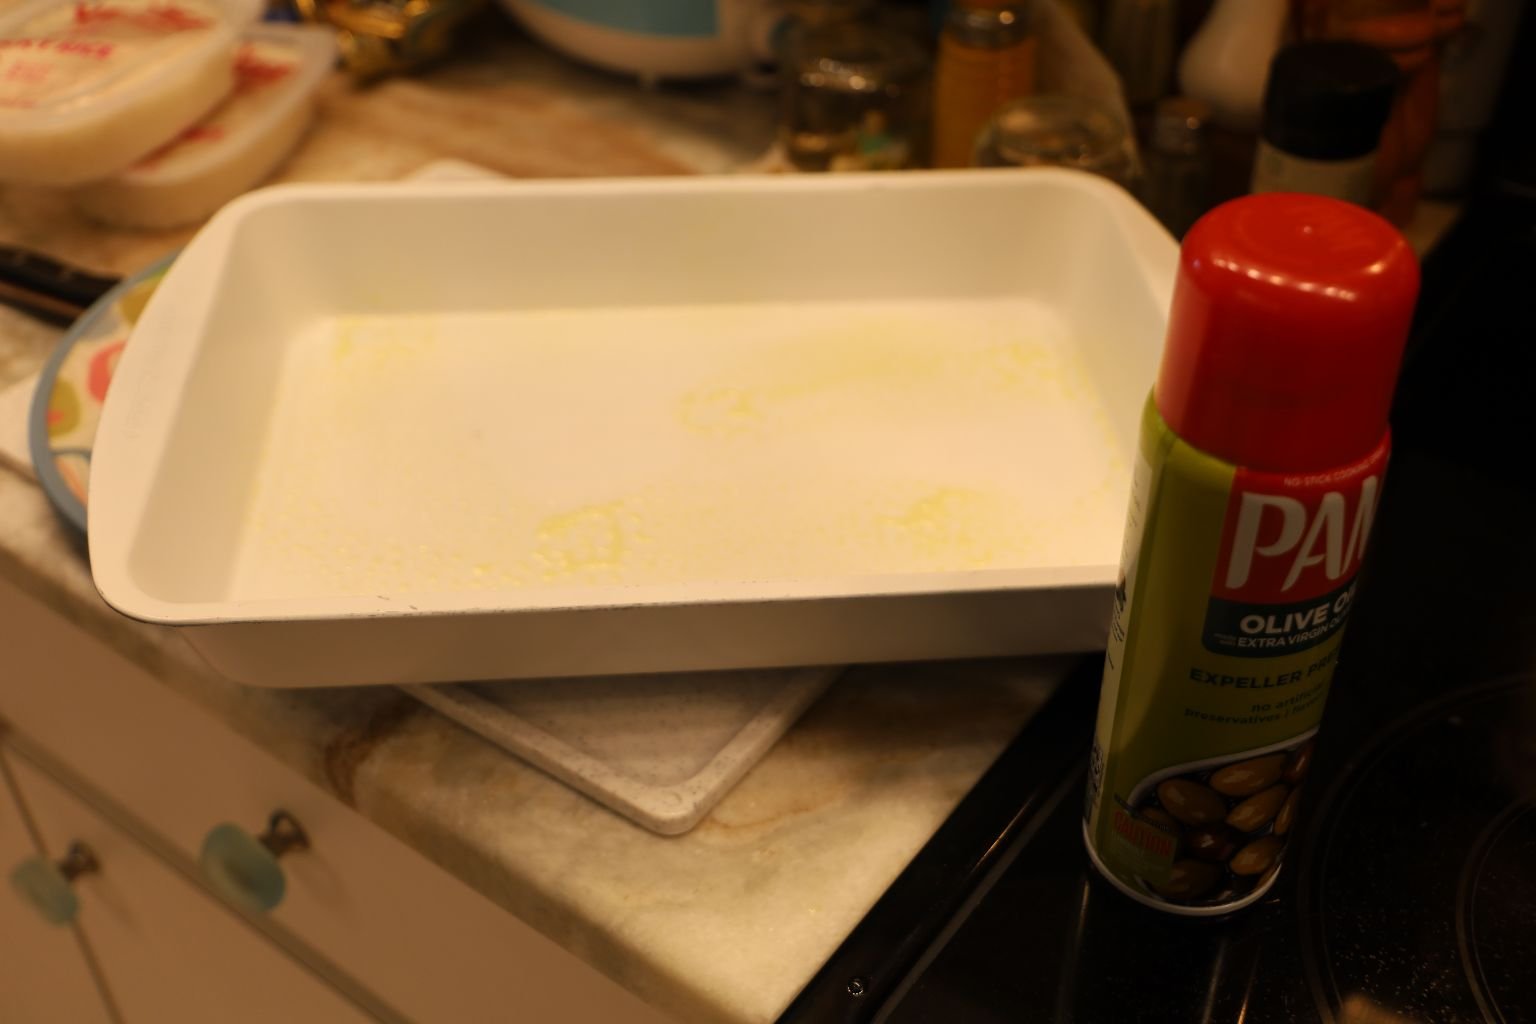
I Am Preparing a Pan For The Sticky Rice Here
First, Spray a Light Coating of any Cooking Oil Spray…
—————————————————————————–
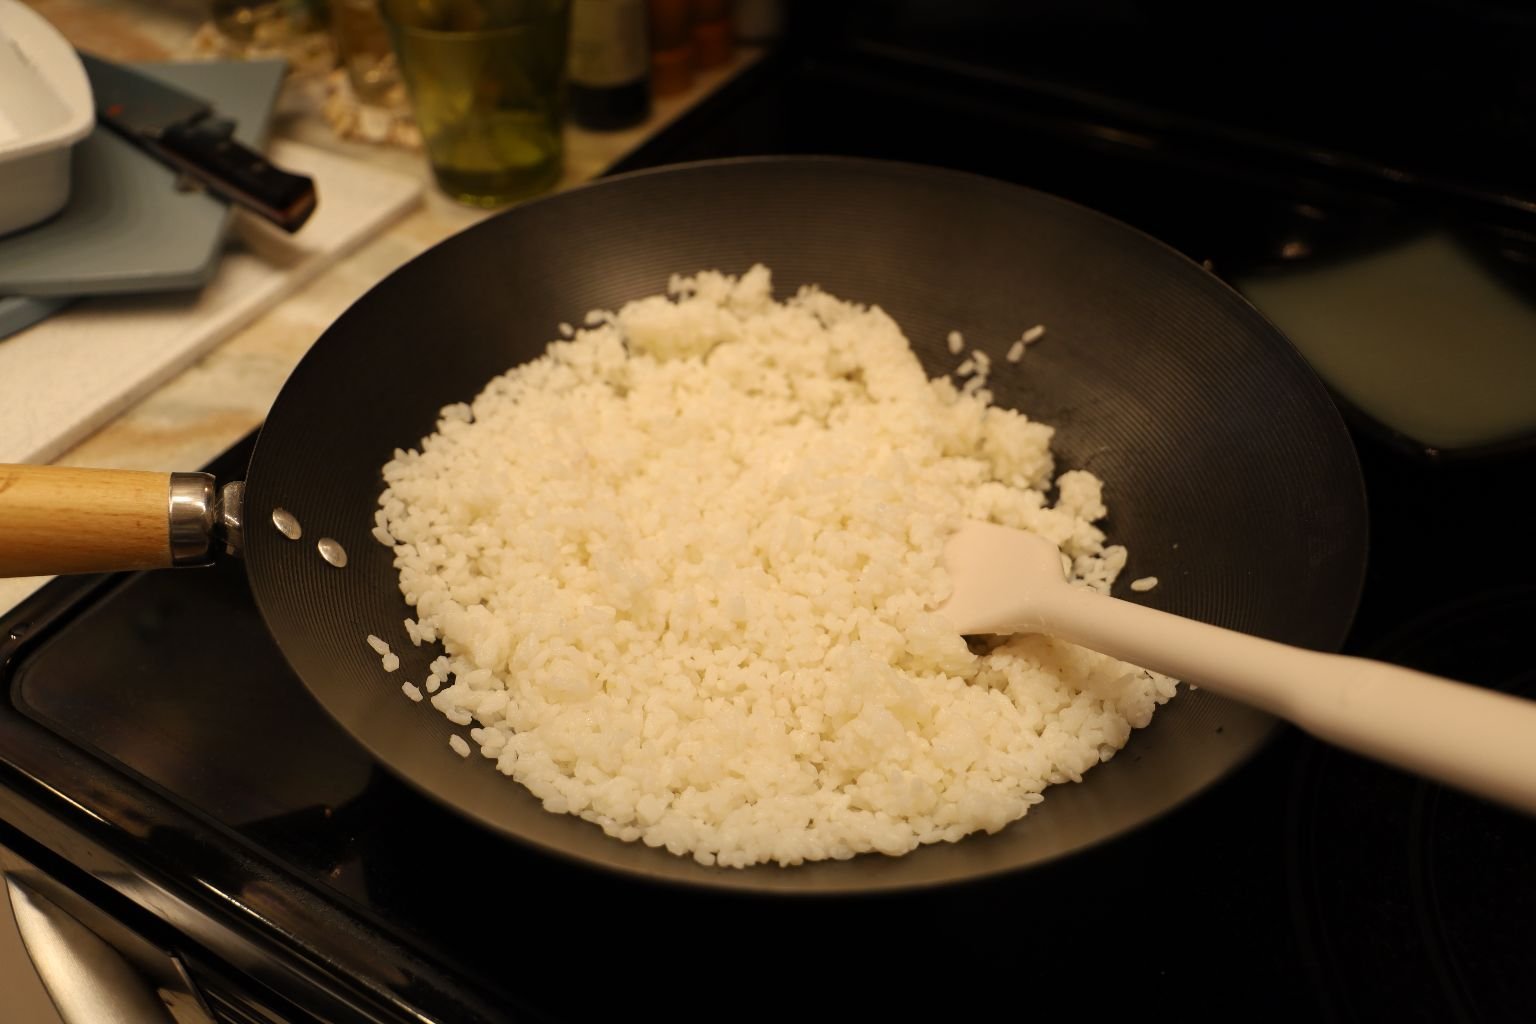

I Did Place the Sticky Rice Into A Wok with a Little Bit of Vegetable Oil, and Stirred it Around for a Few Minutes, Until Ready.
———————————————————————————-
Making My Sticky Rice Shapes
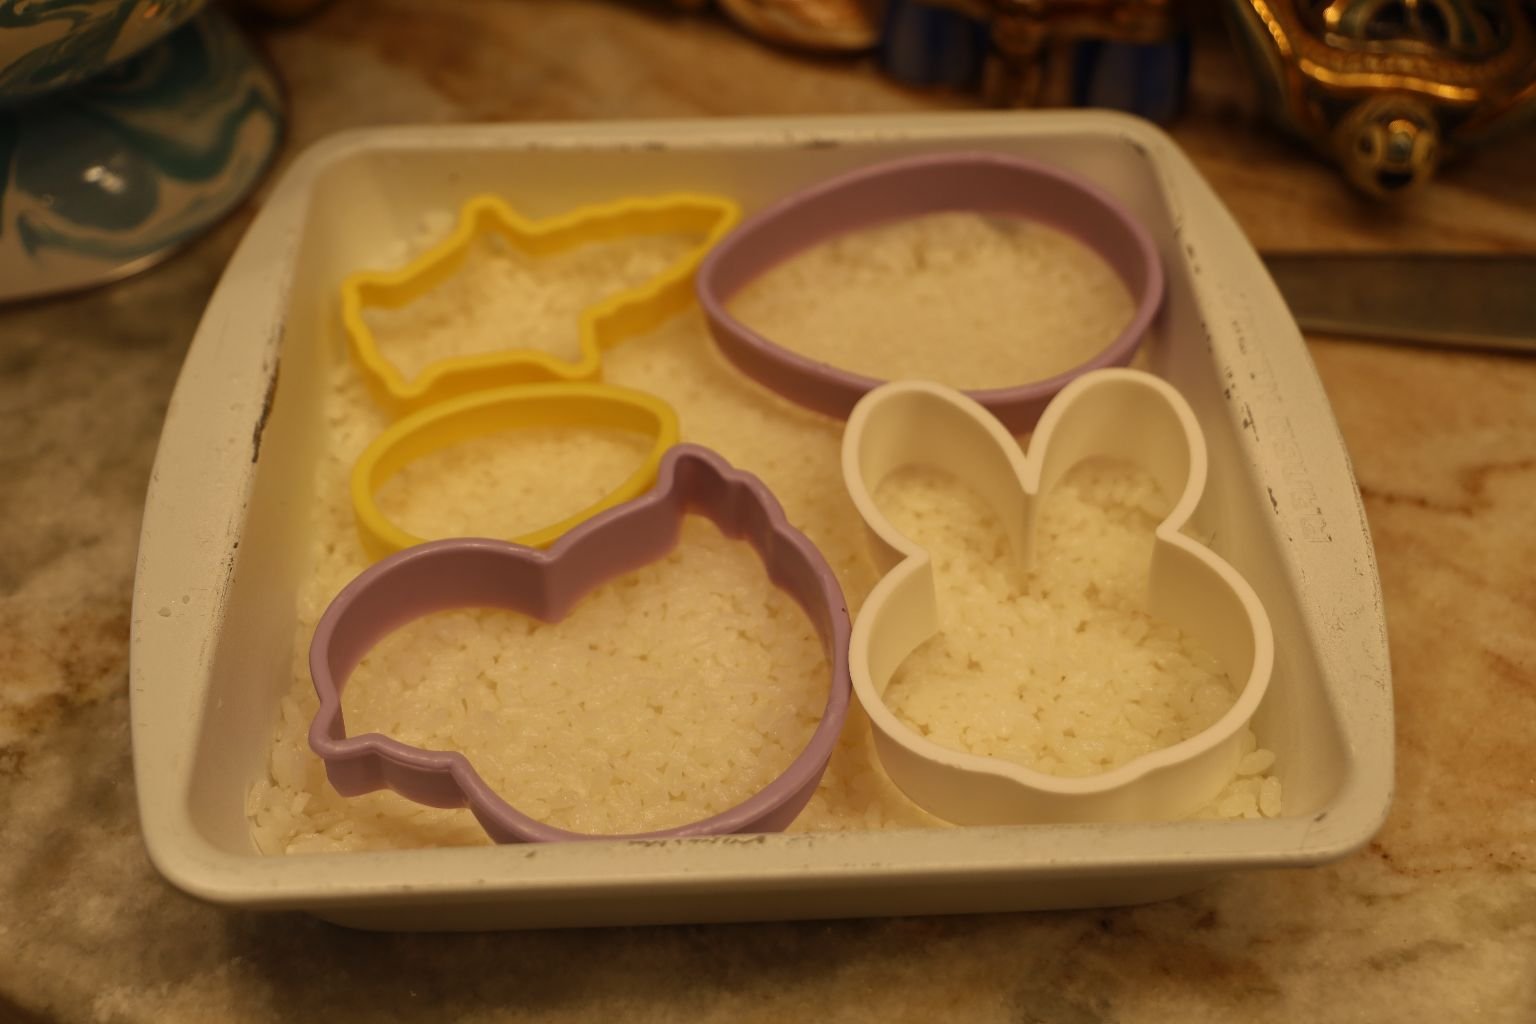
The thing about Sticky Rice is that it is Sticky and does very well in cookie cutter shapes or molds.
Here, I have made some nice Easter shapes for our Easter Treats.
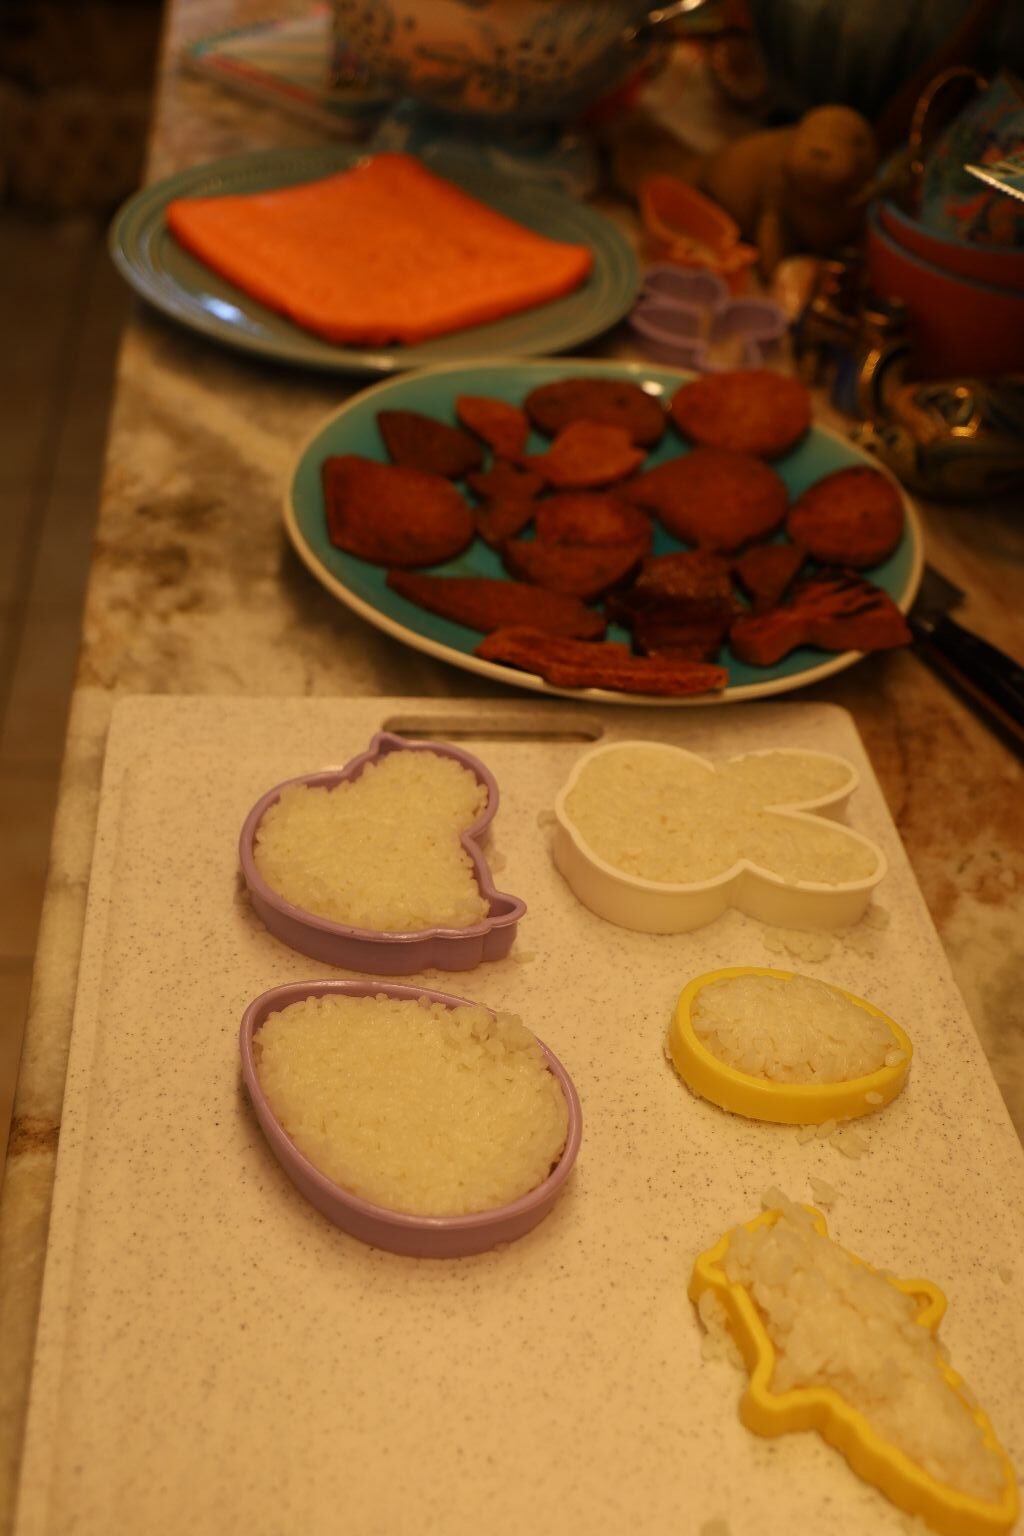
Now It’s Time To Make the Shapes in the Royal Eggs


Like So….
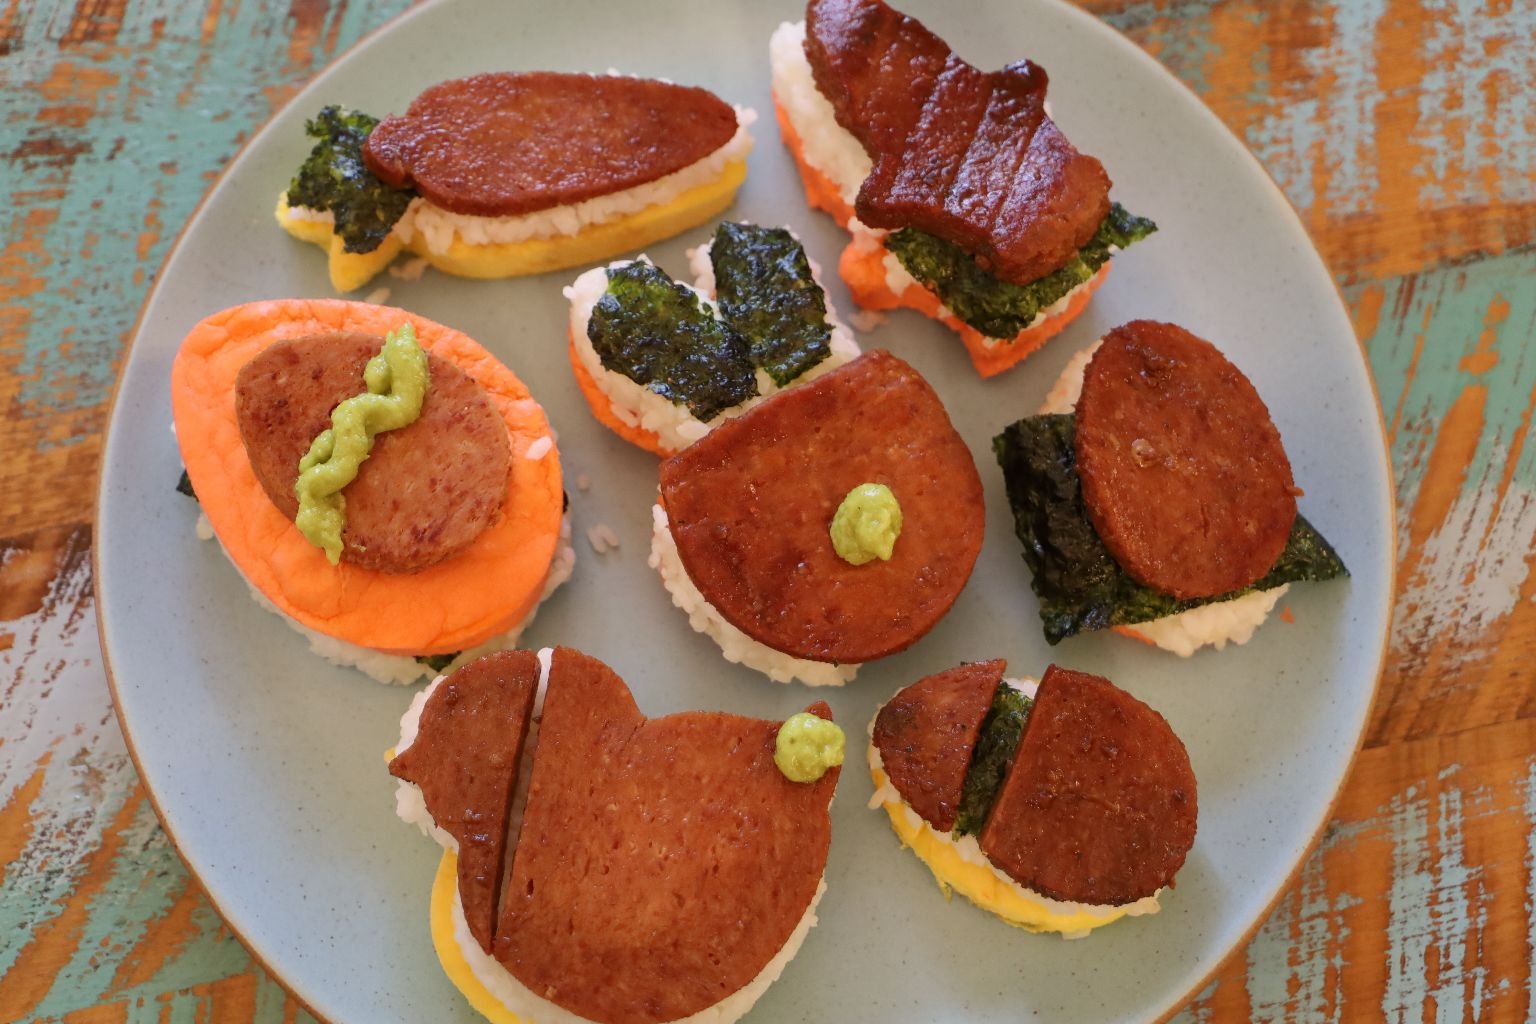
Now It’s Time To Put The Shapes Together
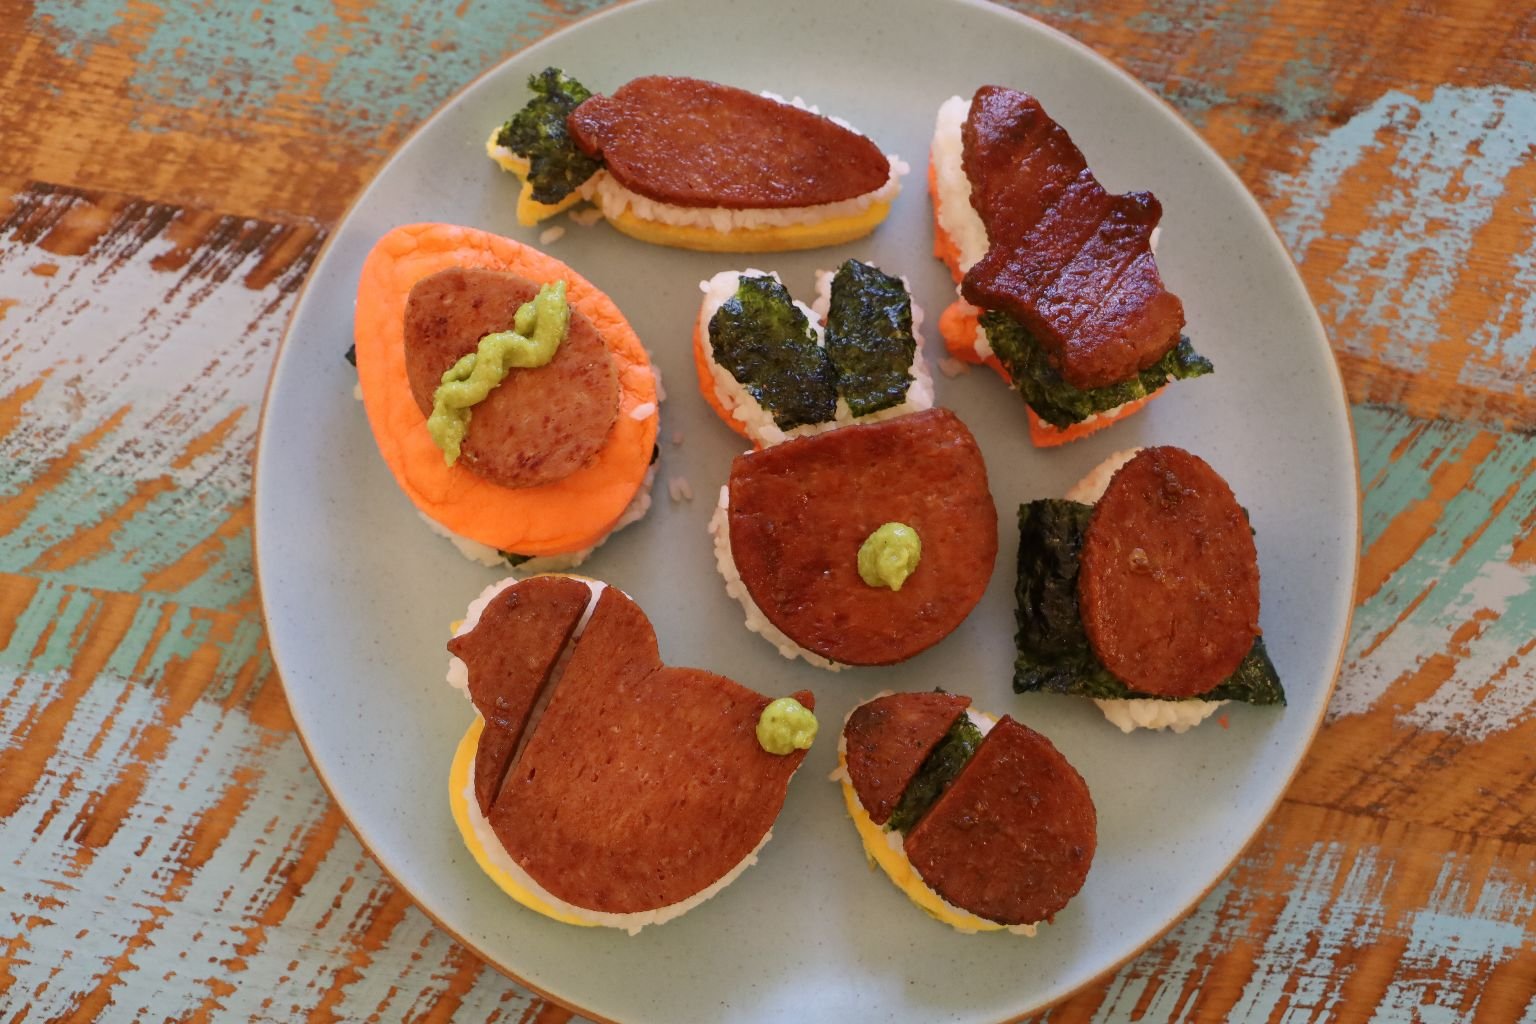

Try Stacking Them:
EGG,
RICE,
SPAM,
Sea Weed,
Wasabi…
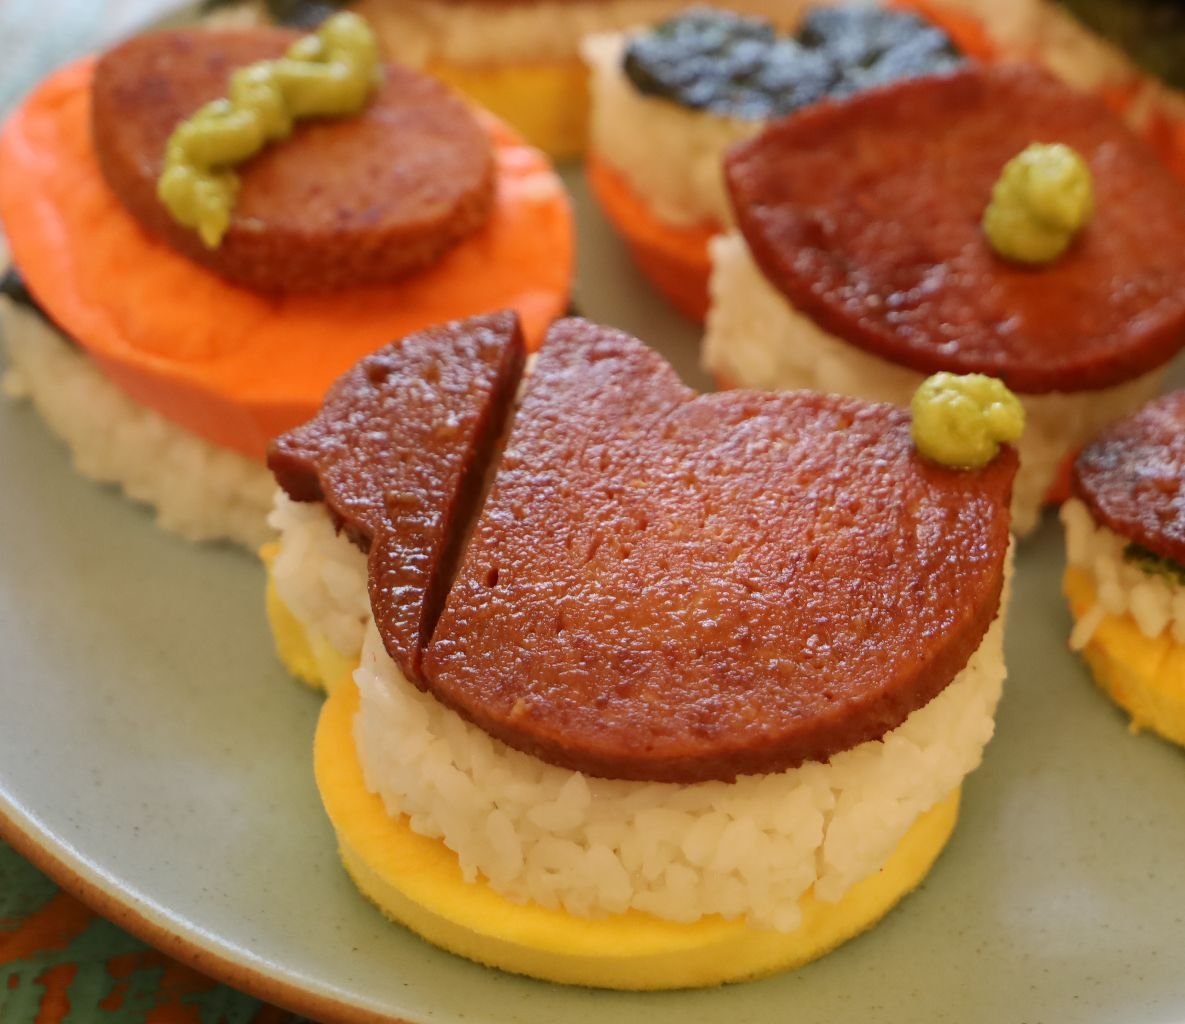
Be Creative and use Your Imagination!
—————————————————————————–
Luncheon Molds Treats
————————————————————————————-
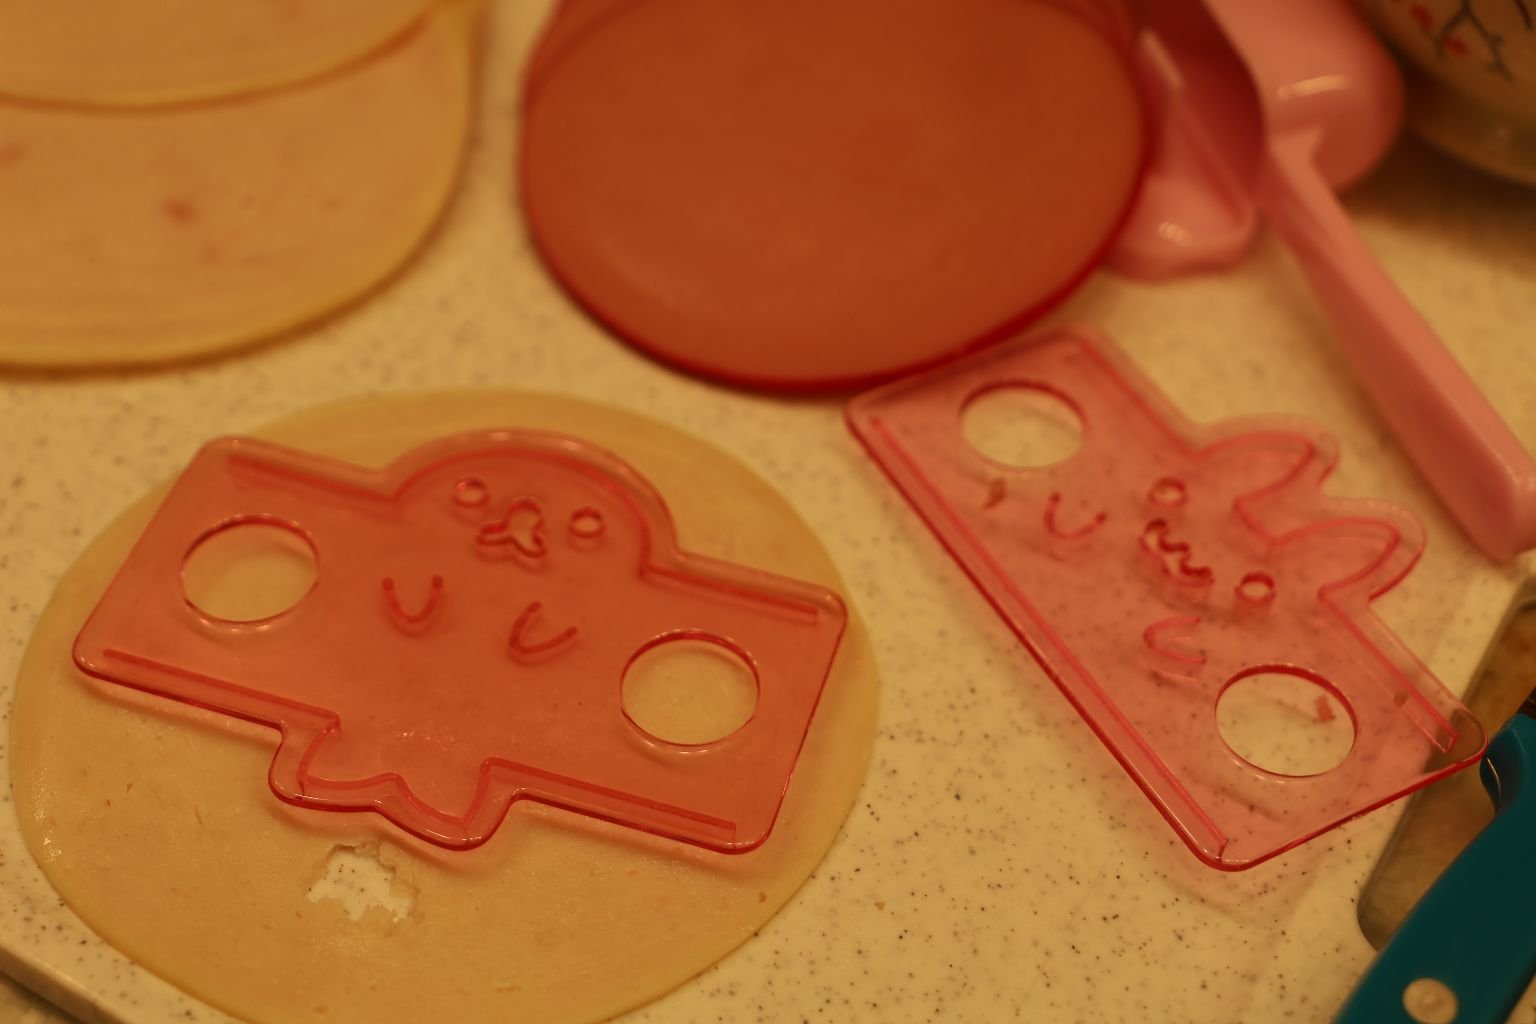
I found these great food molds at the Asian Supermarket and I really wanted to give them a try.
Although I could not read the Asian writing instructions, I did understand the photographic instructions.
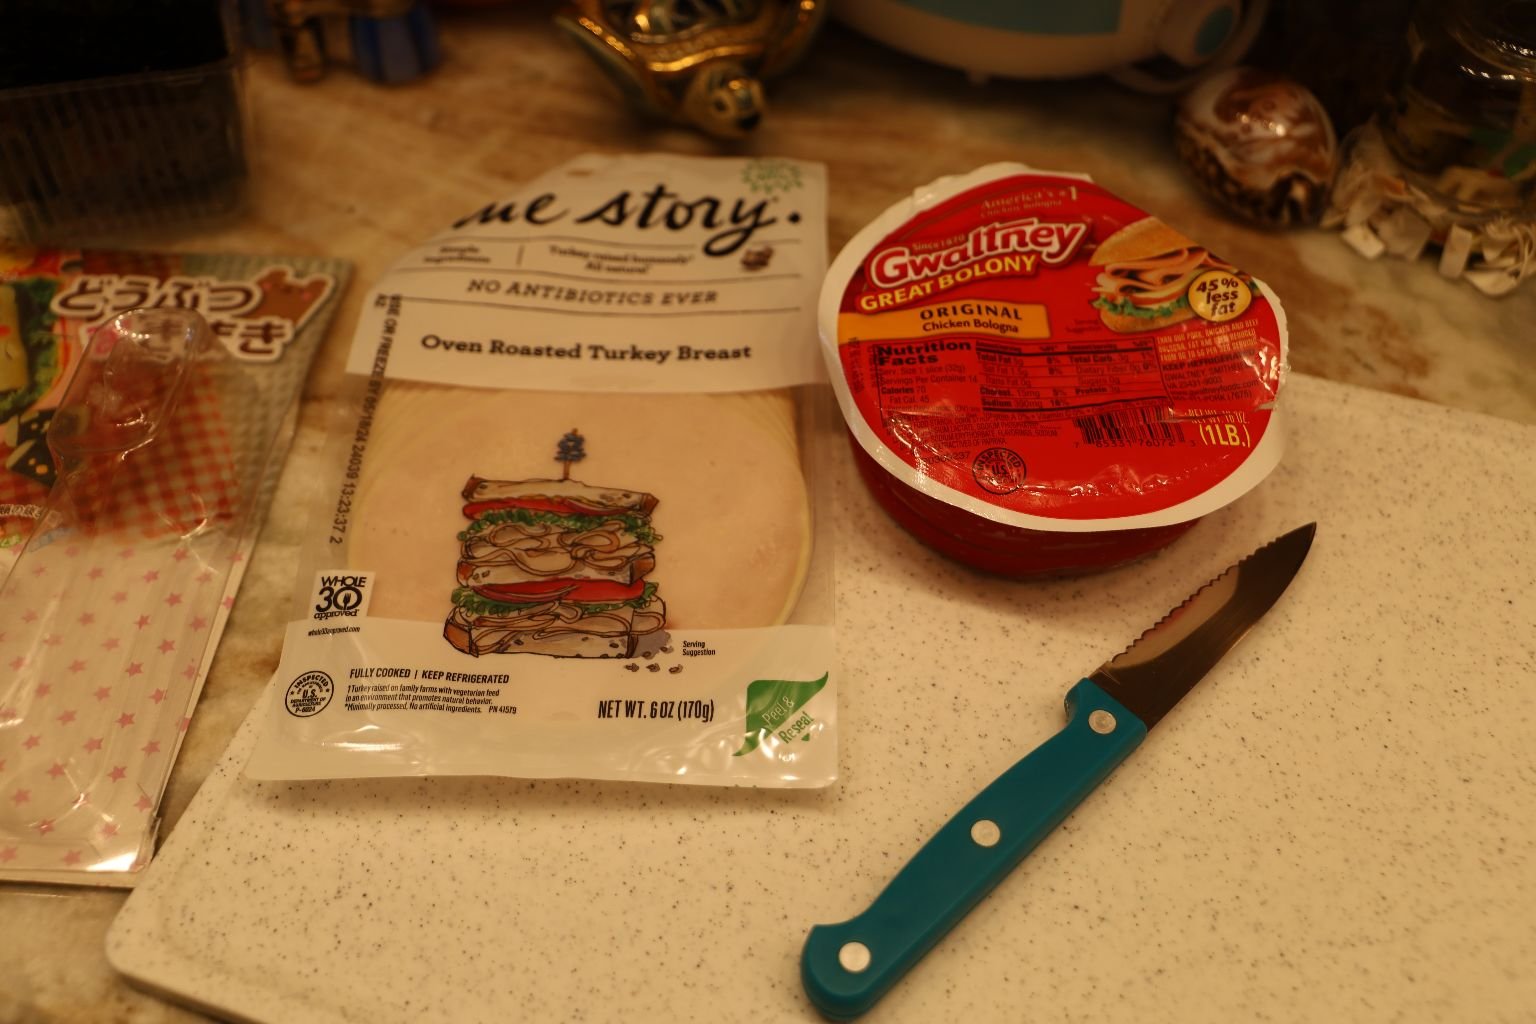
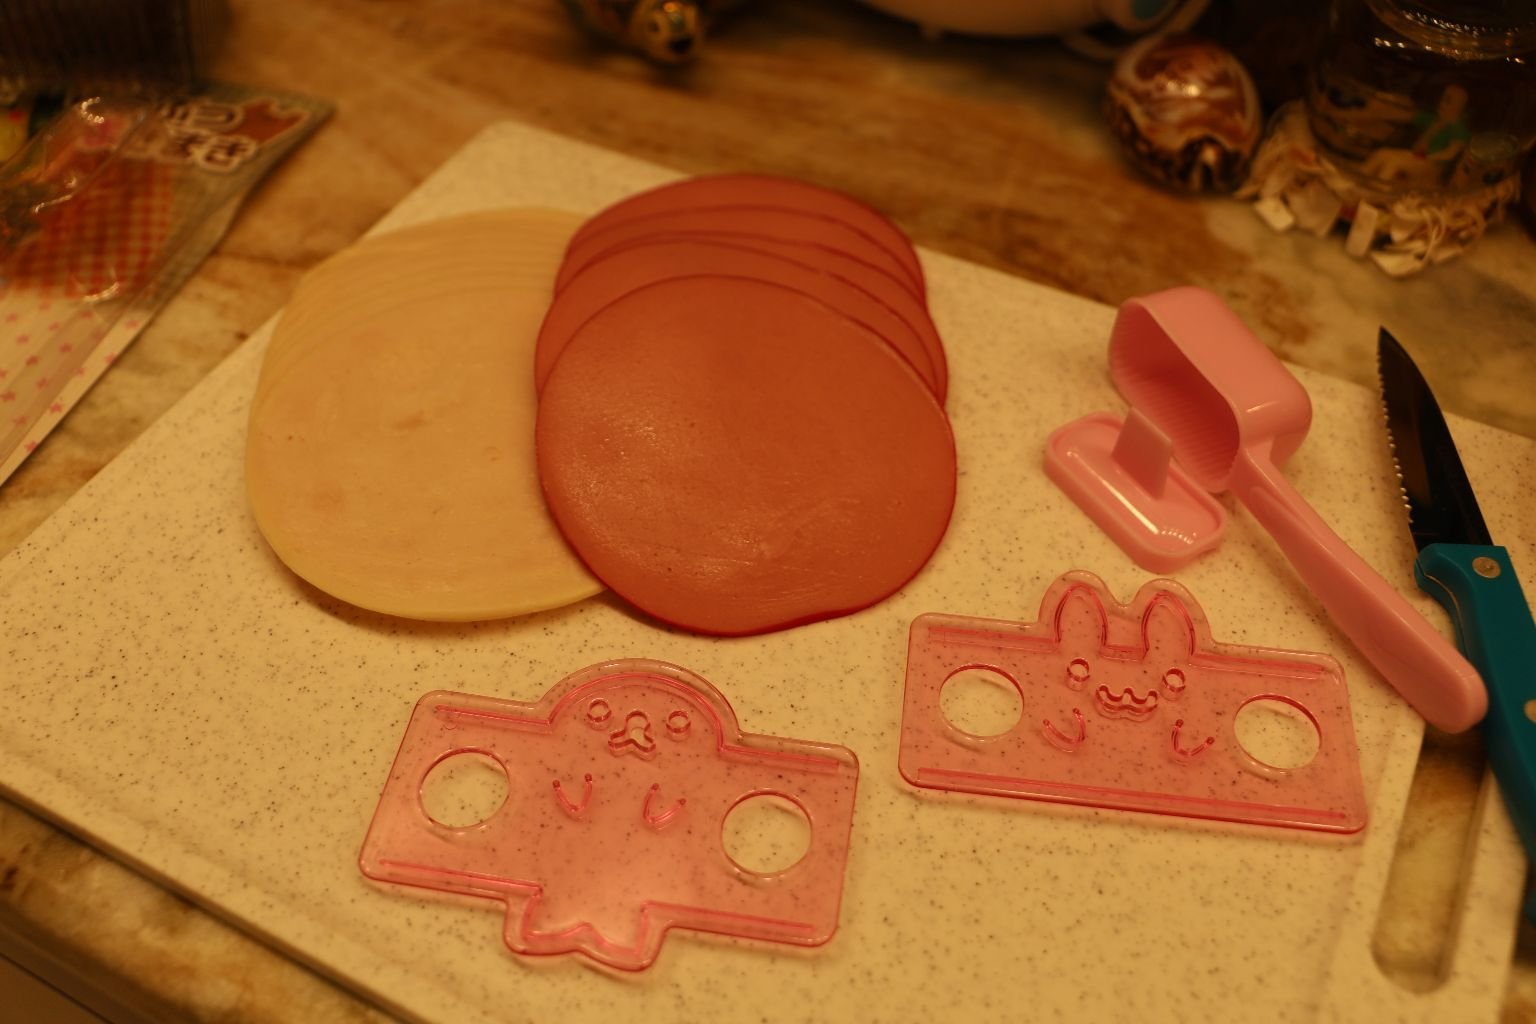
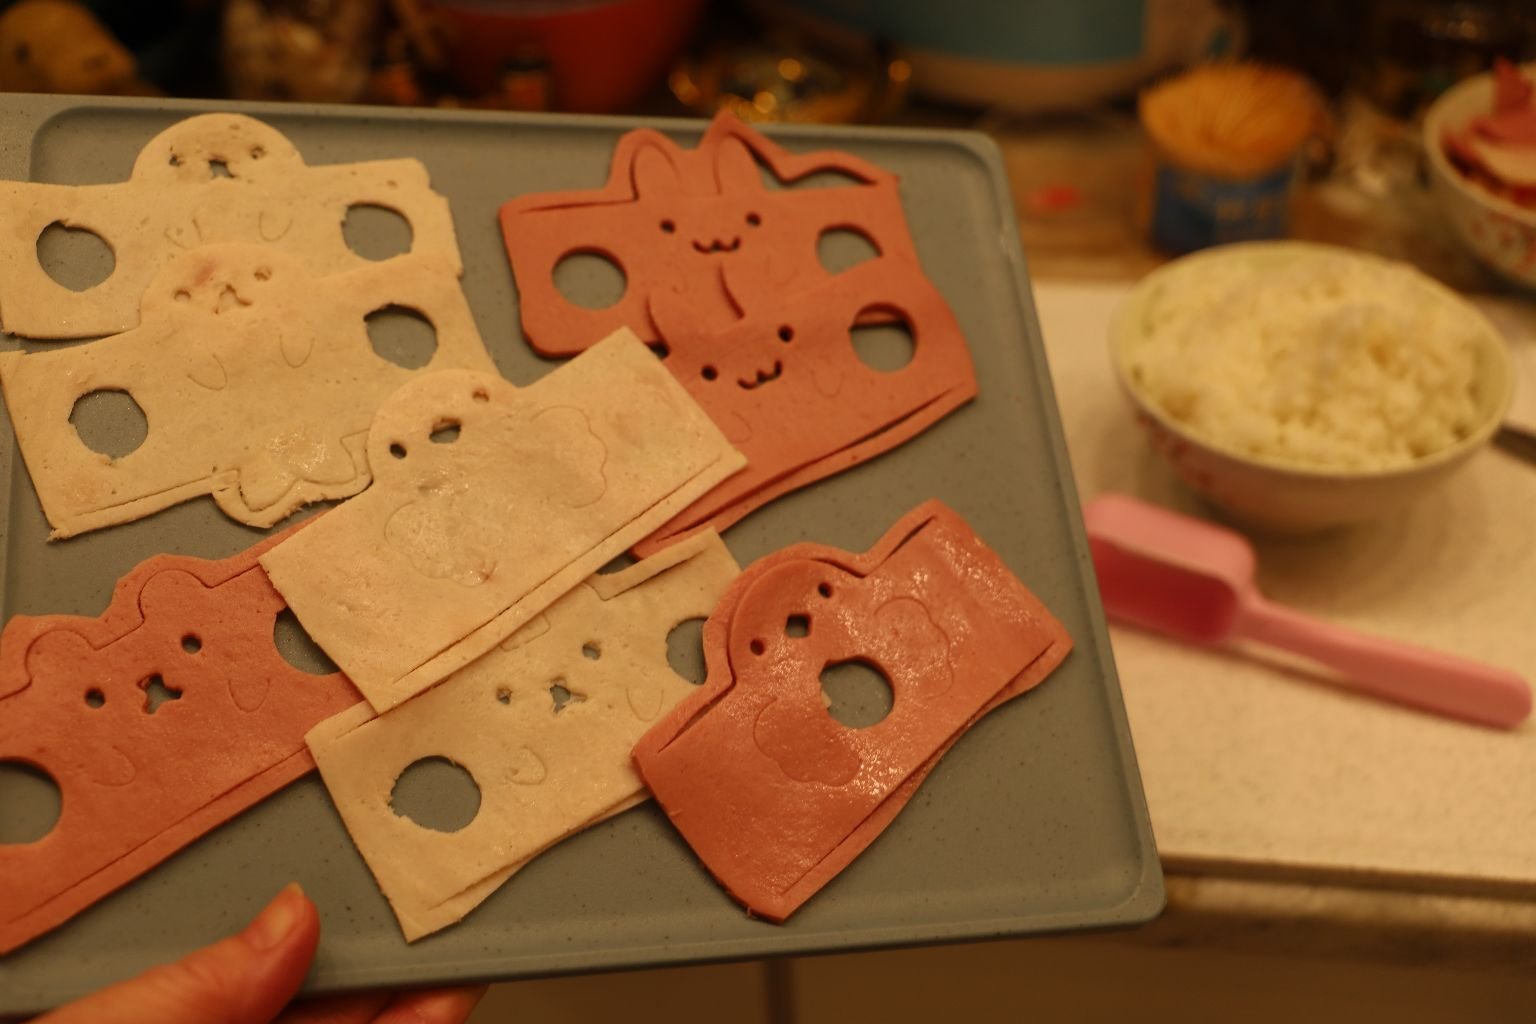
I knew that I wanted some meat, as in turkey and Bologna.
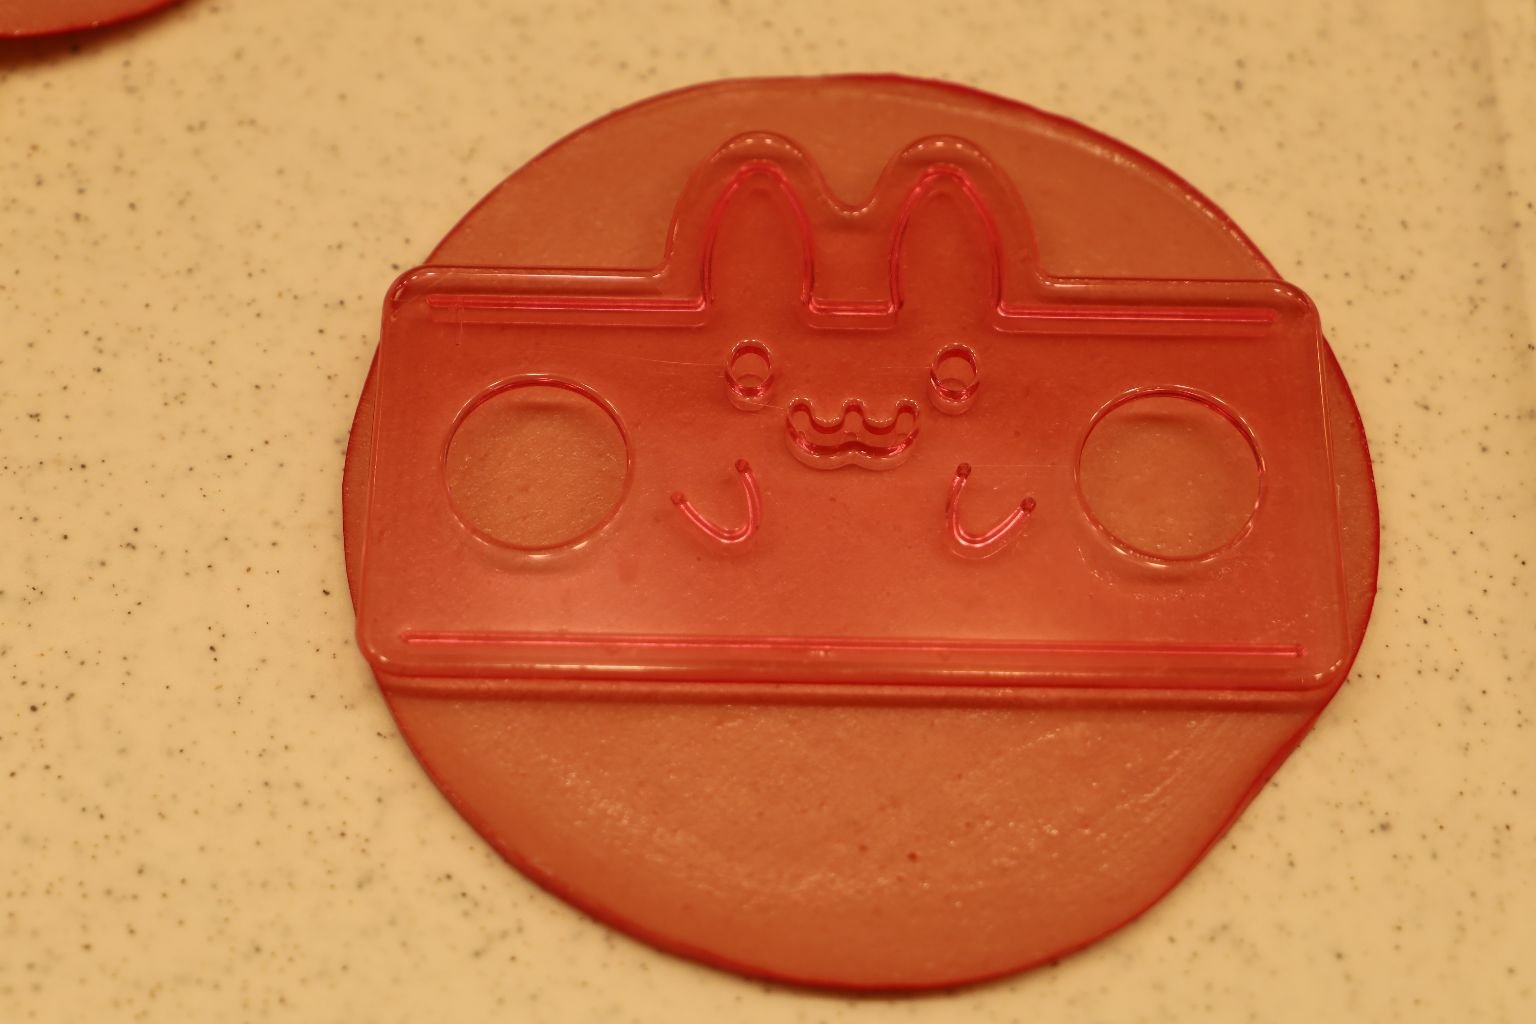
I placed one of the molds on top of a slice of Bologna, like so…
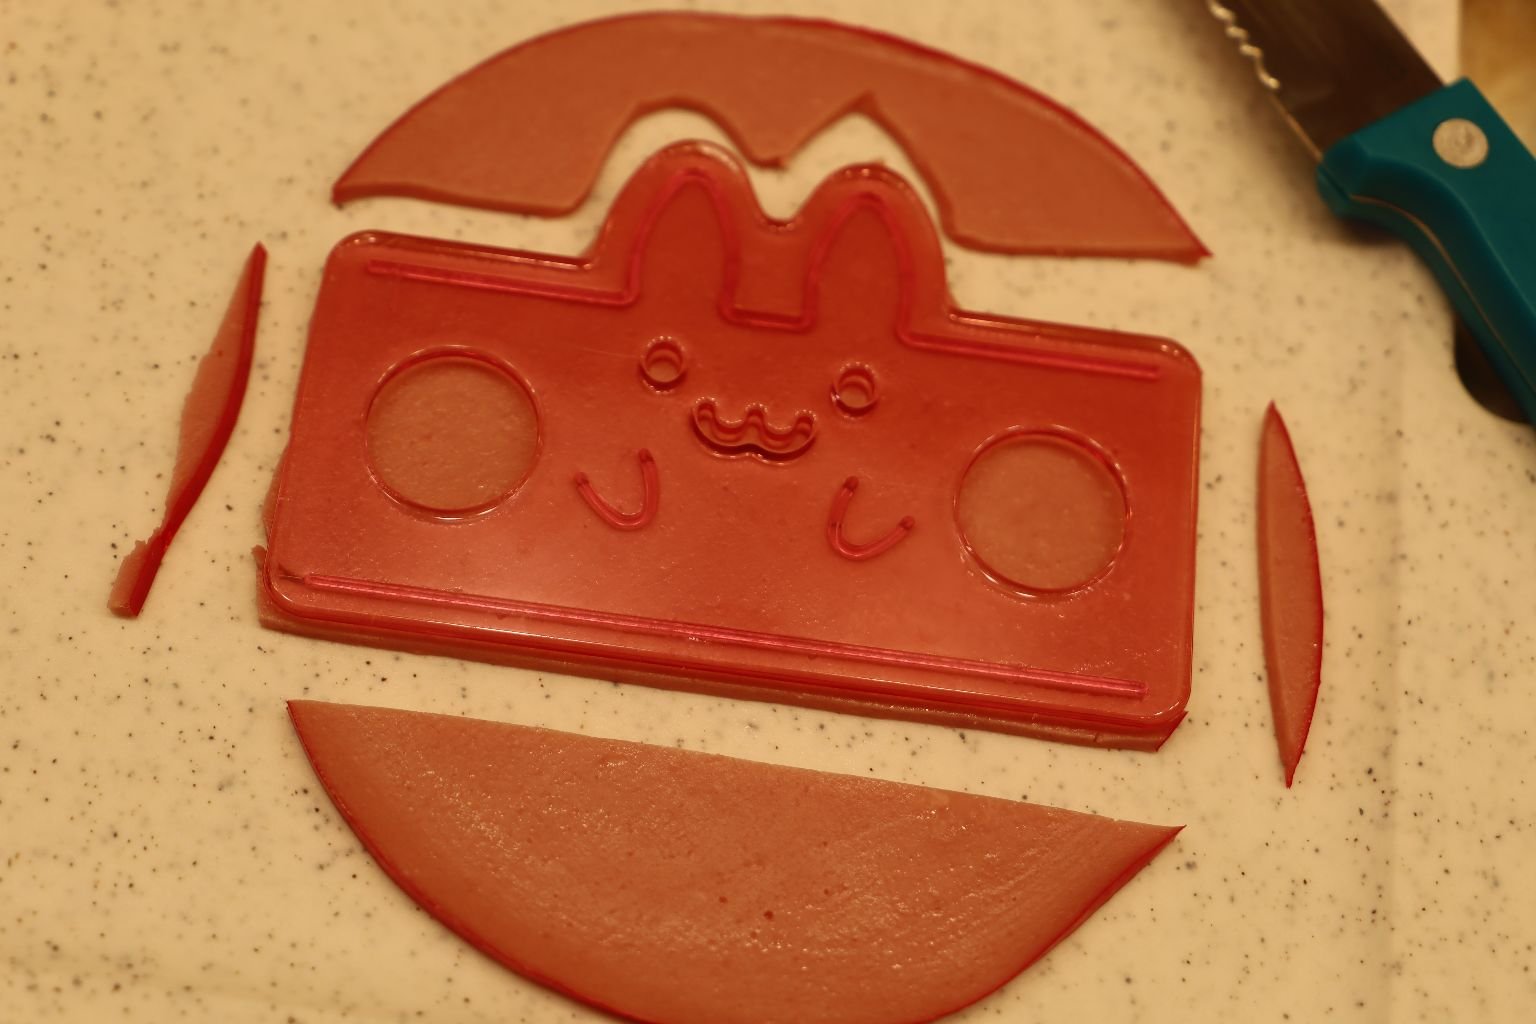
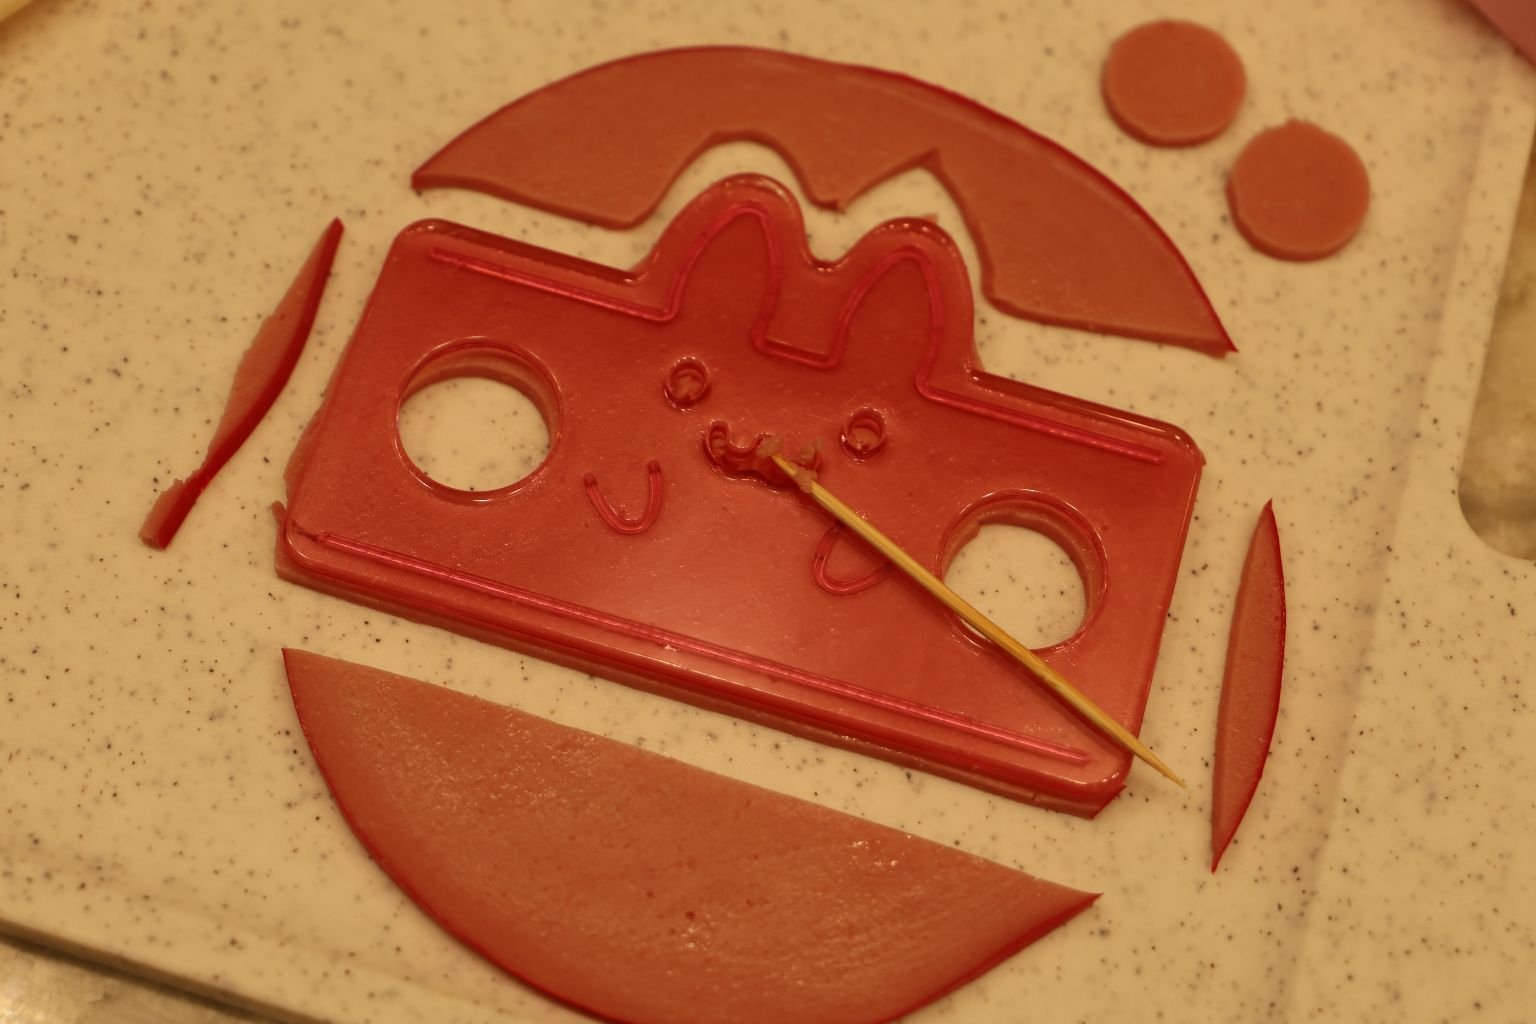
I then used a knife to cut around it, and even to cut out sections inside the mold.
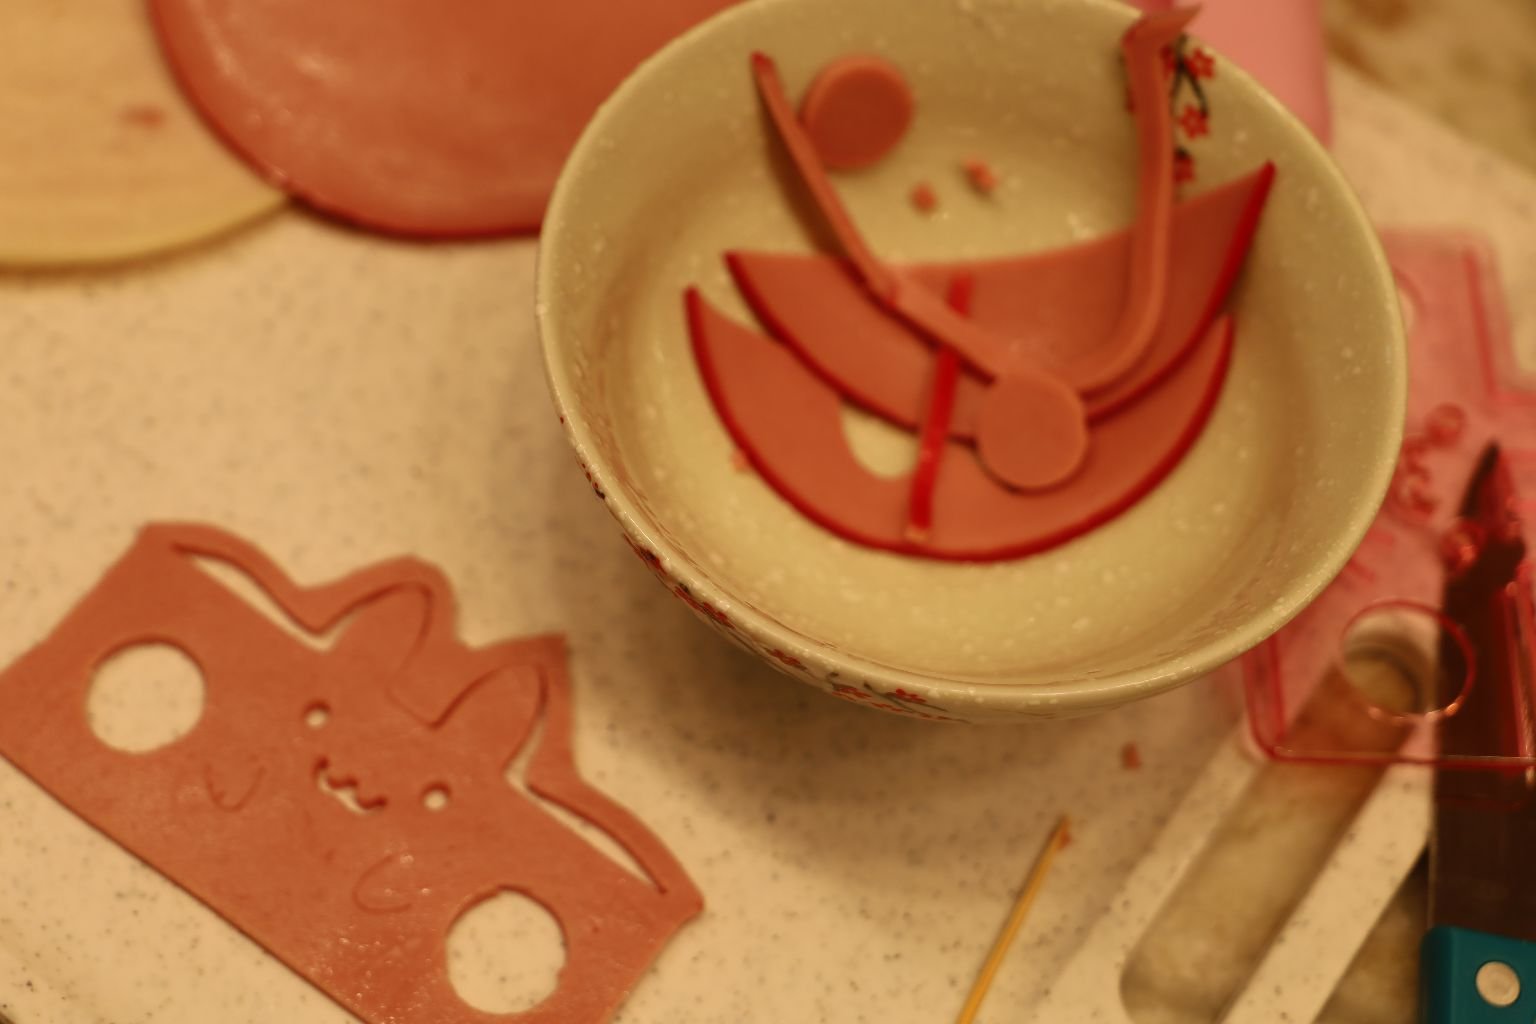
I placed the unwanted sections into a bowl to be eaten with my breakfast.
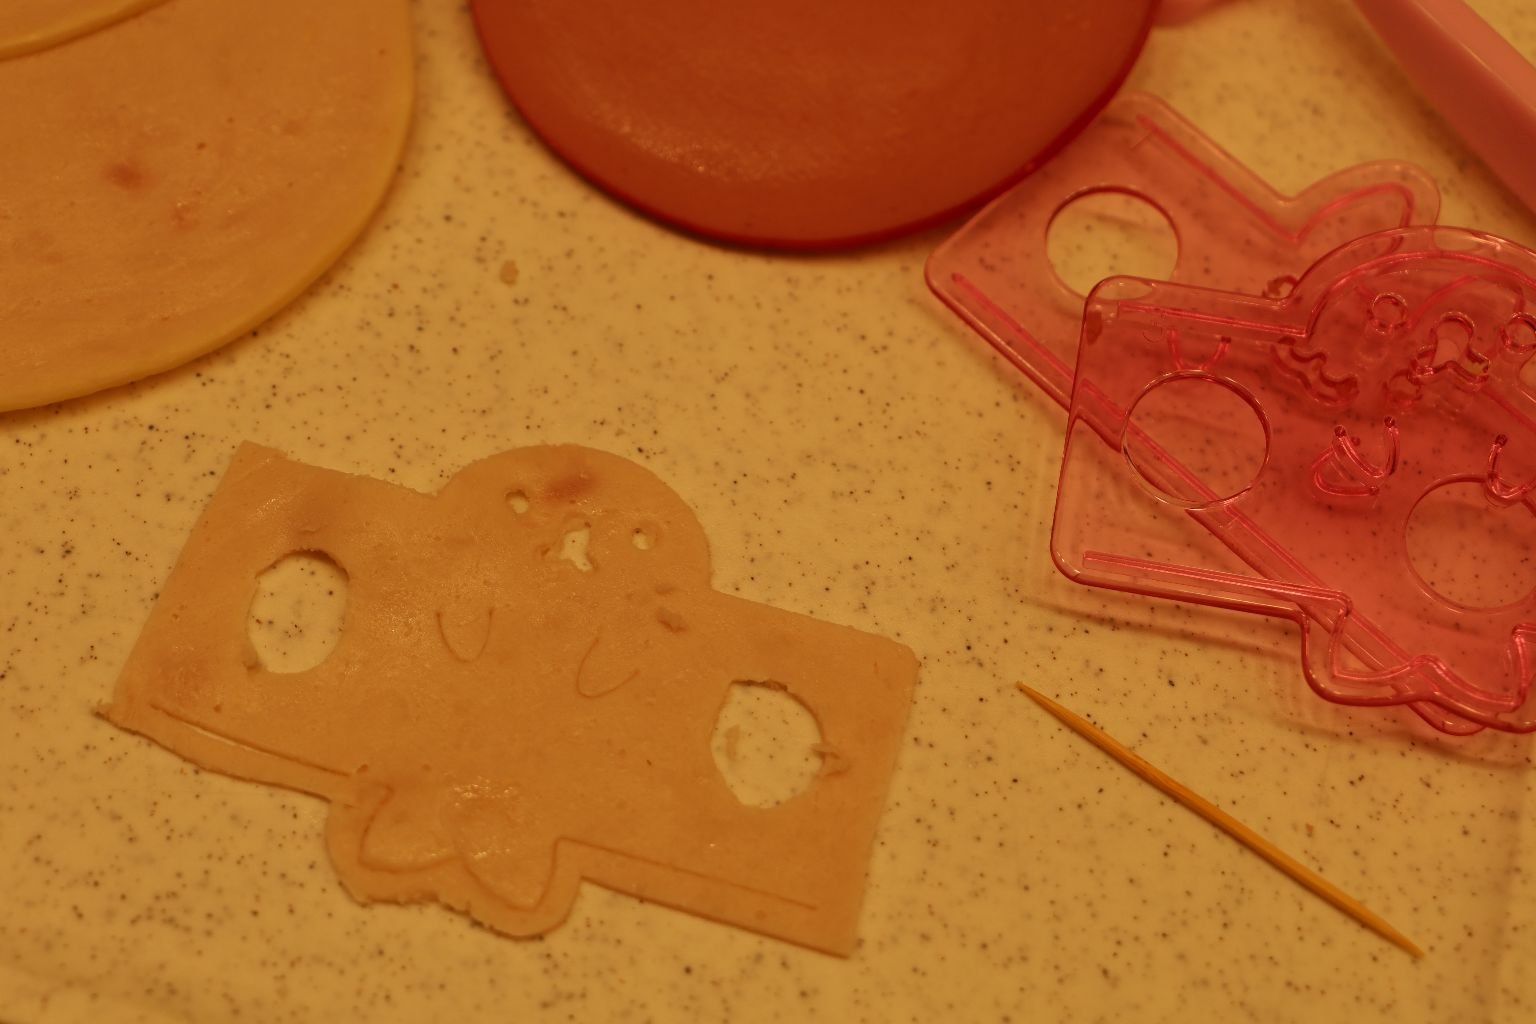
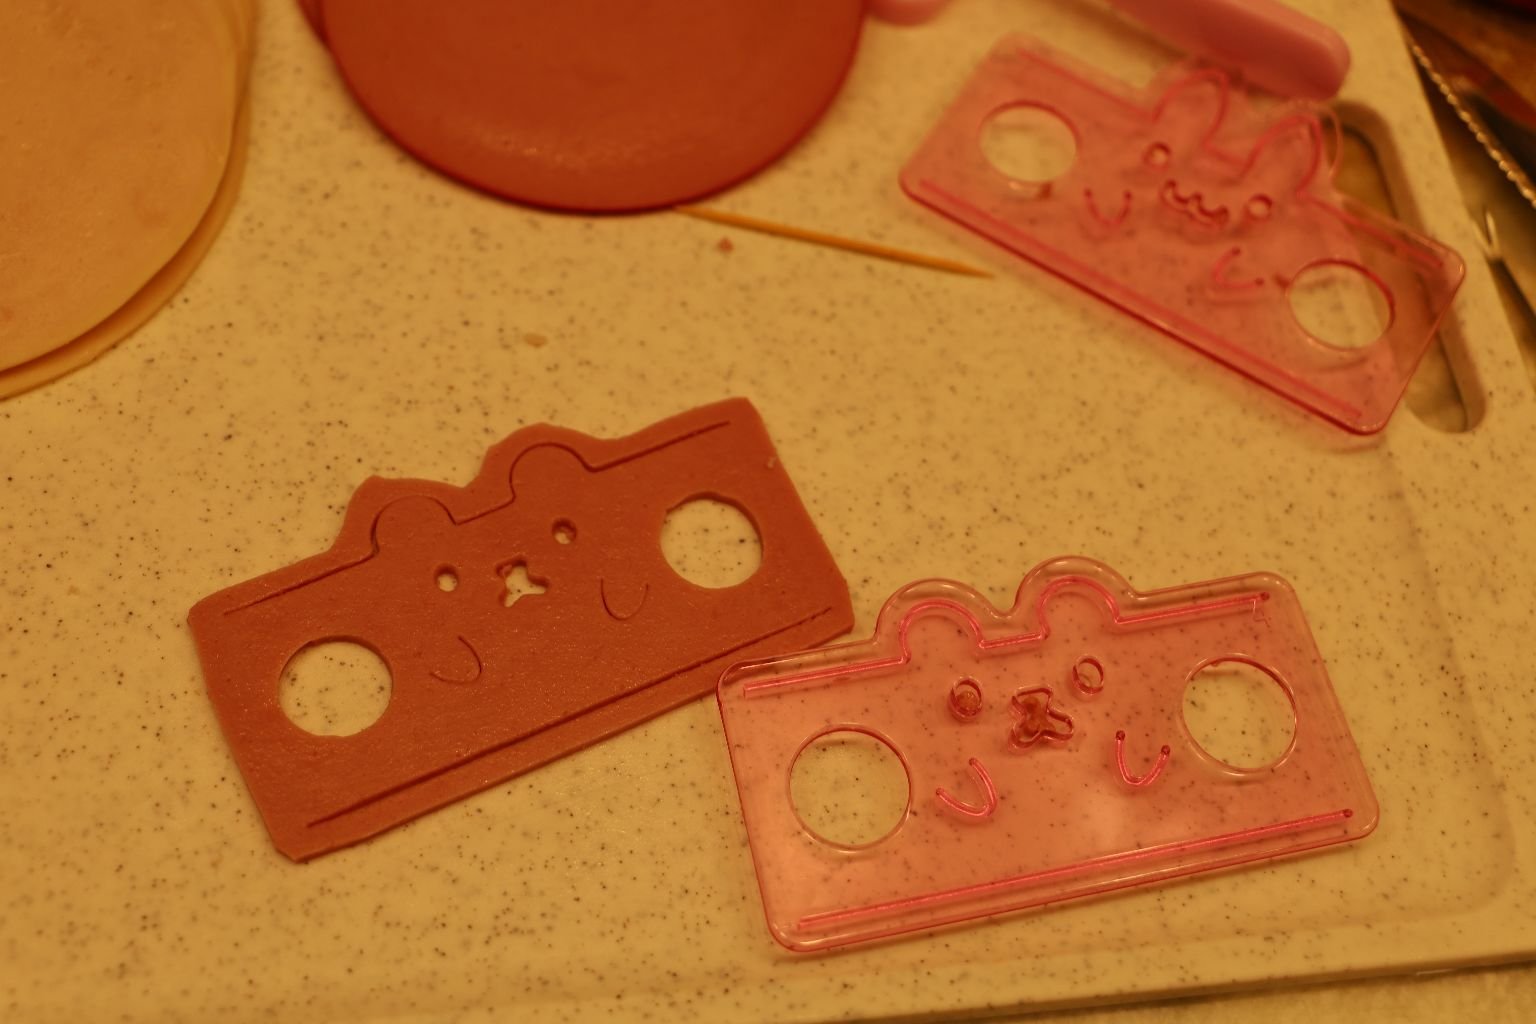
I did the same thing with the other molds. Here is some of the turkey I used.
—————————————————————————–
Time To Make Our Food Shapes
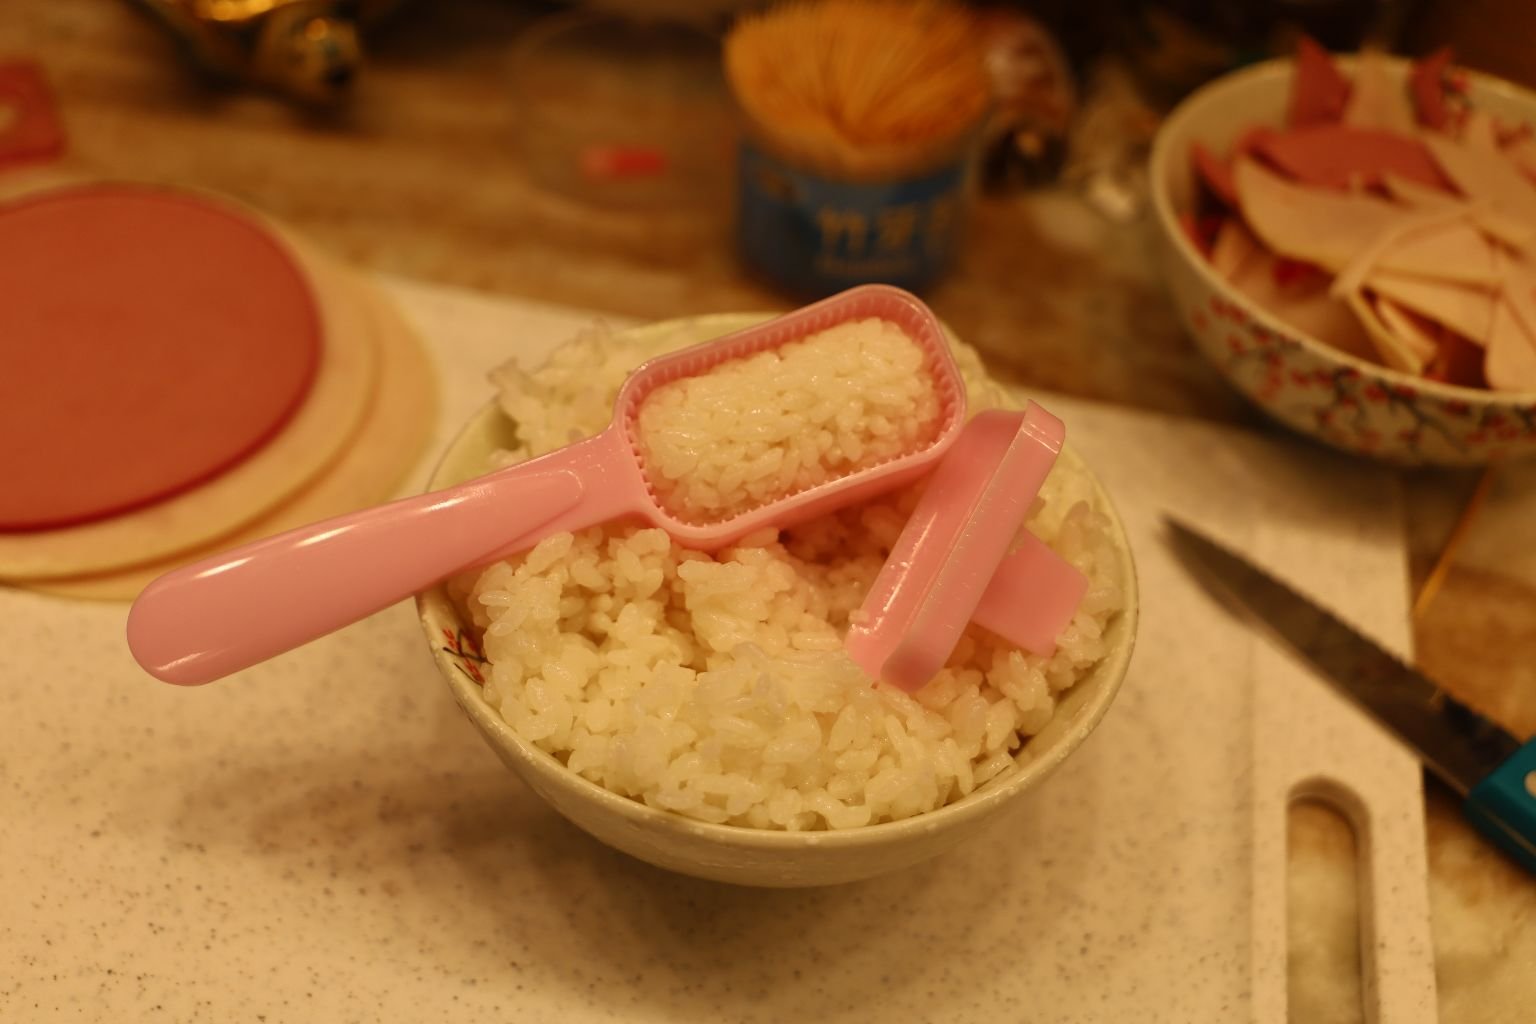
You will need some Sticky Rice for this.
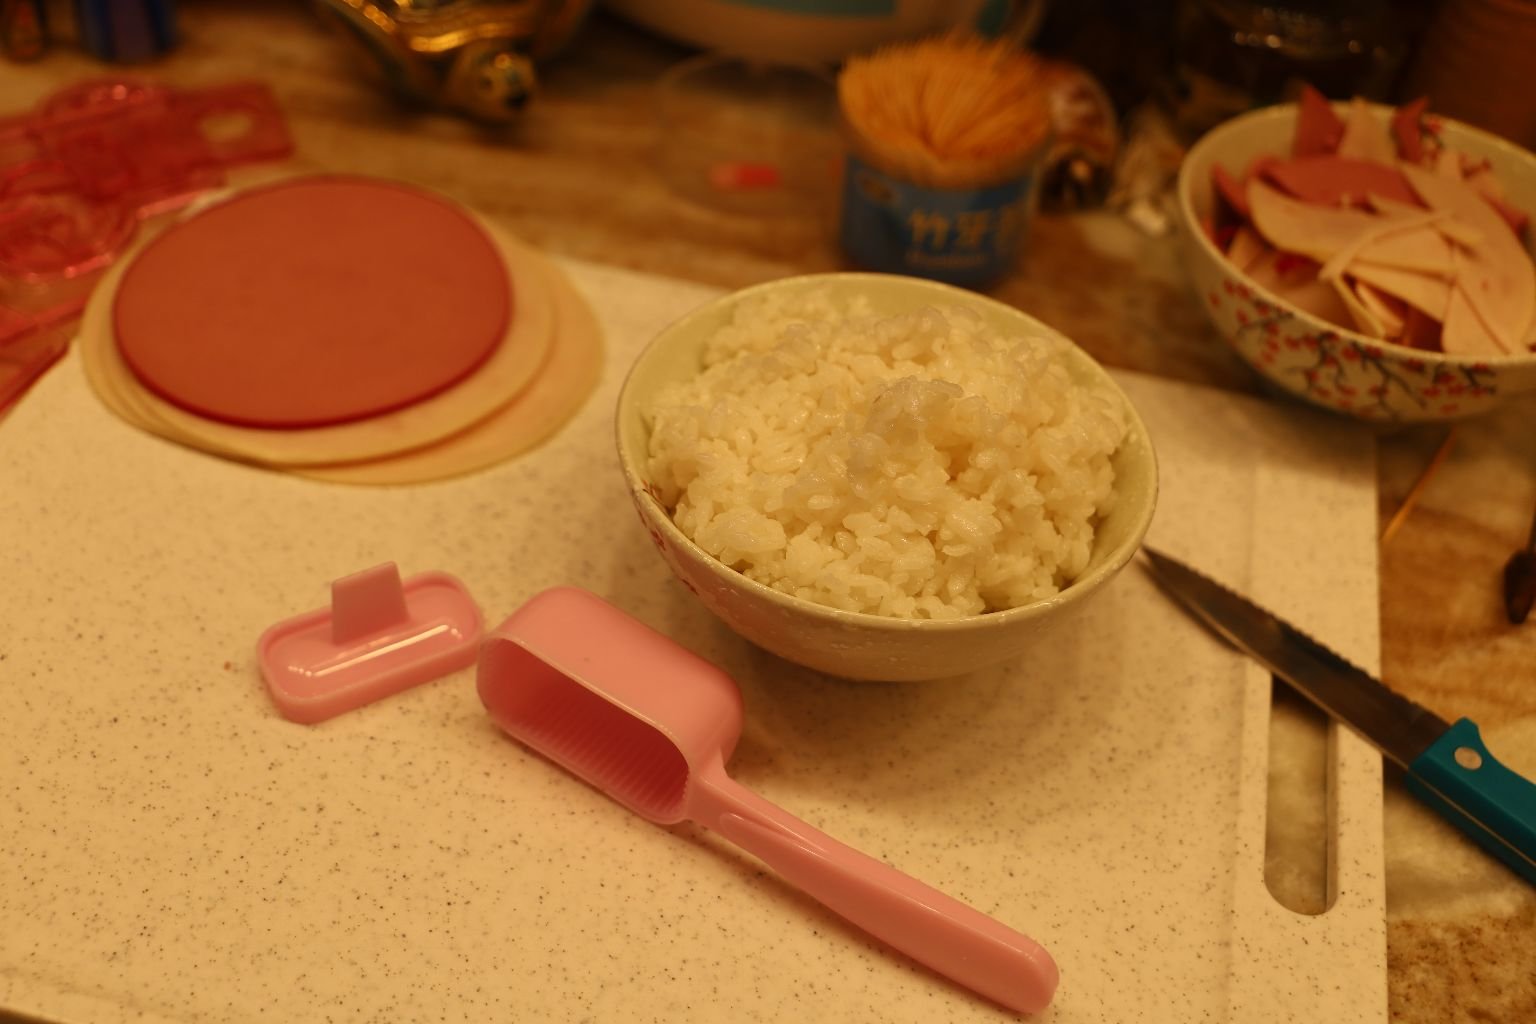
You can see the pink rice mold that I have in the photo above, it will be perfect for the shapes we will be making.
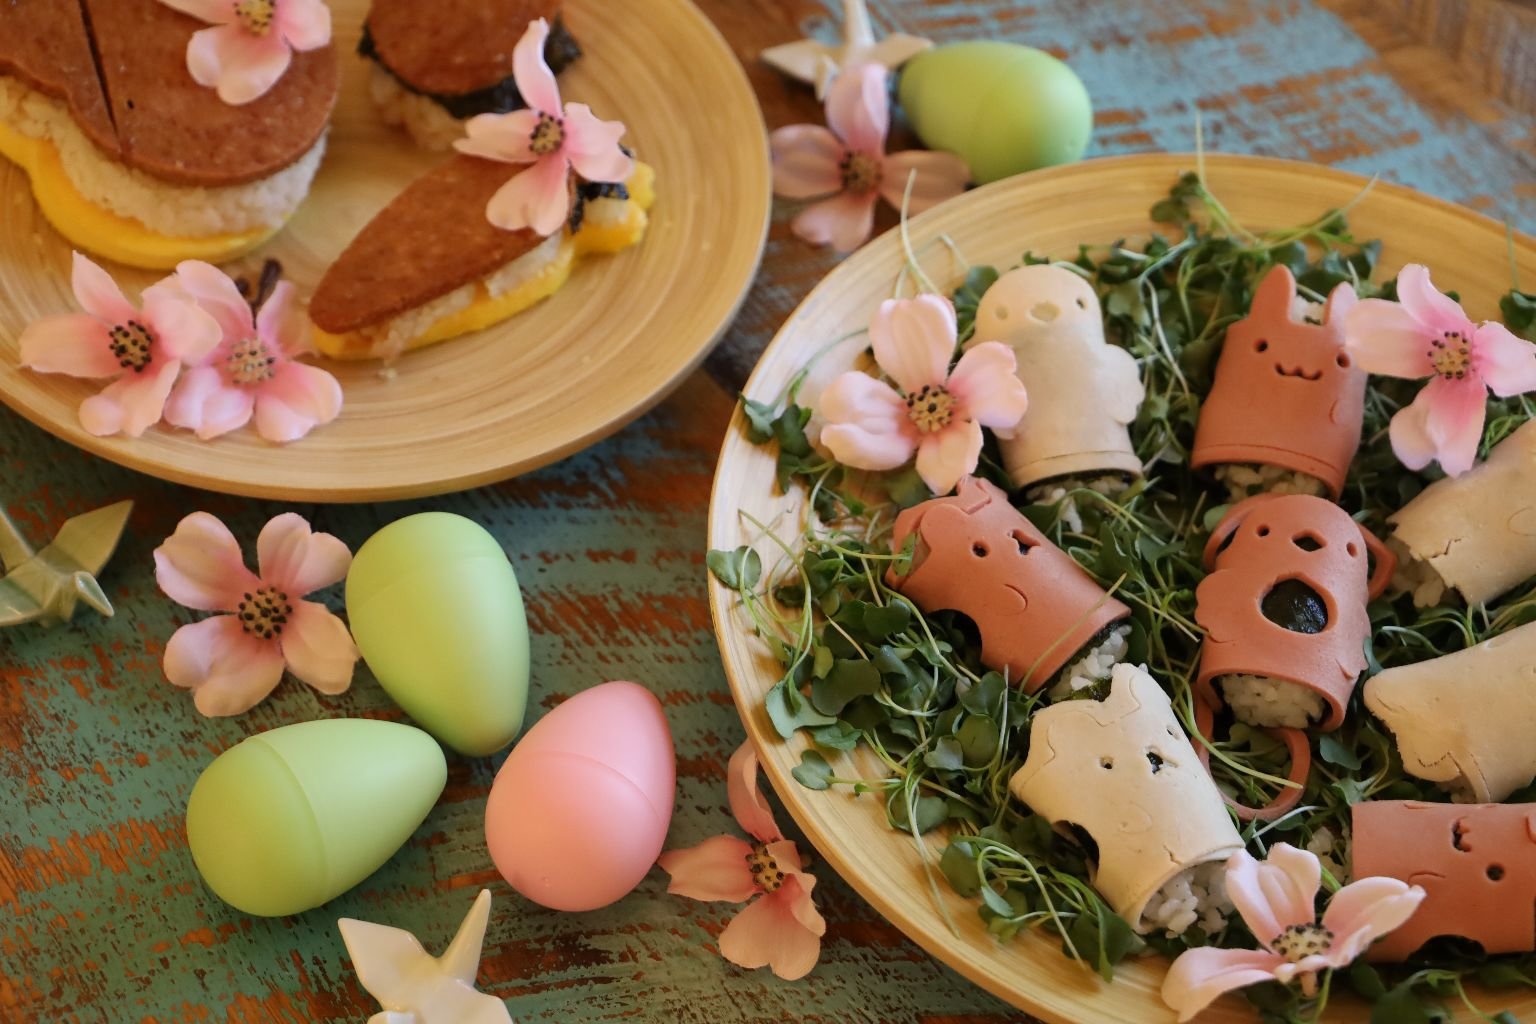
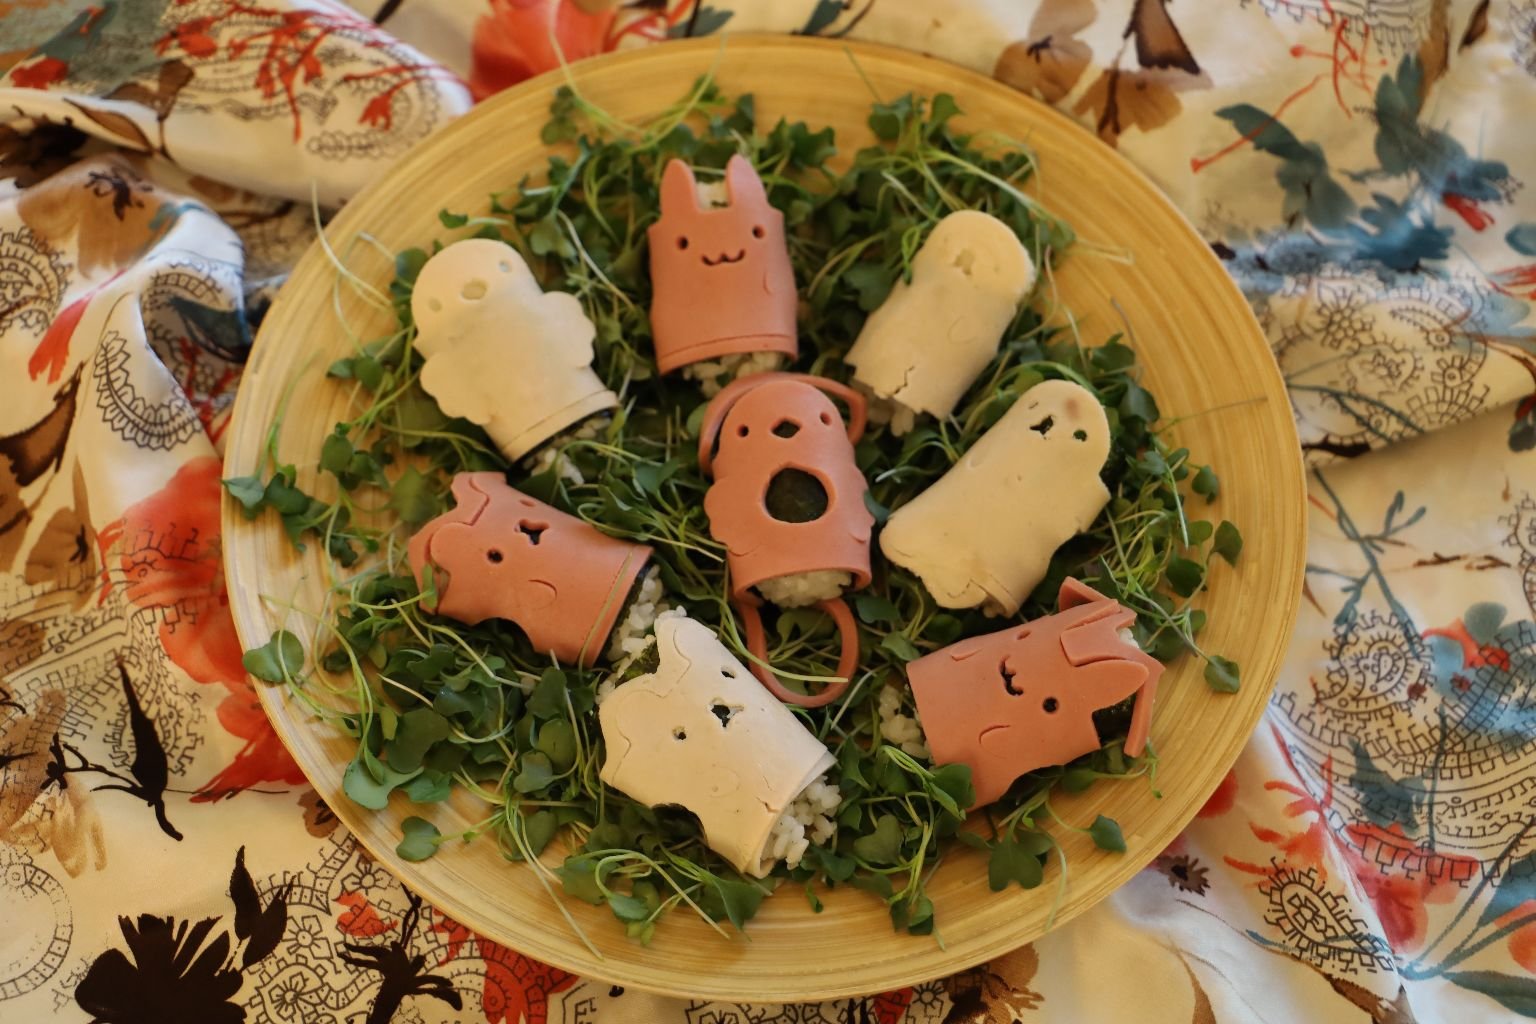
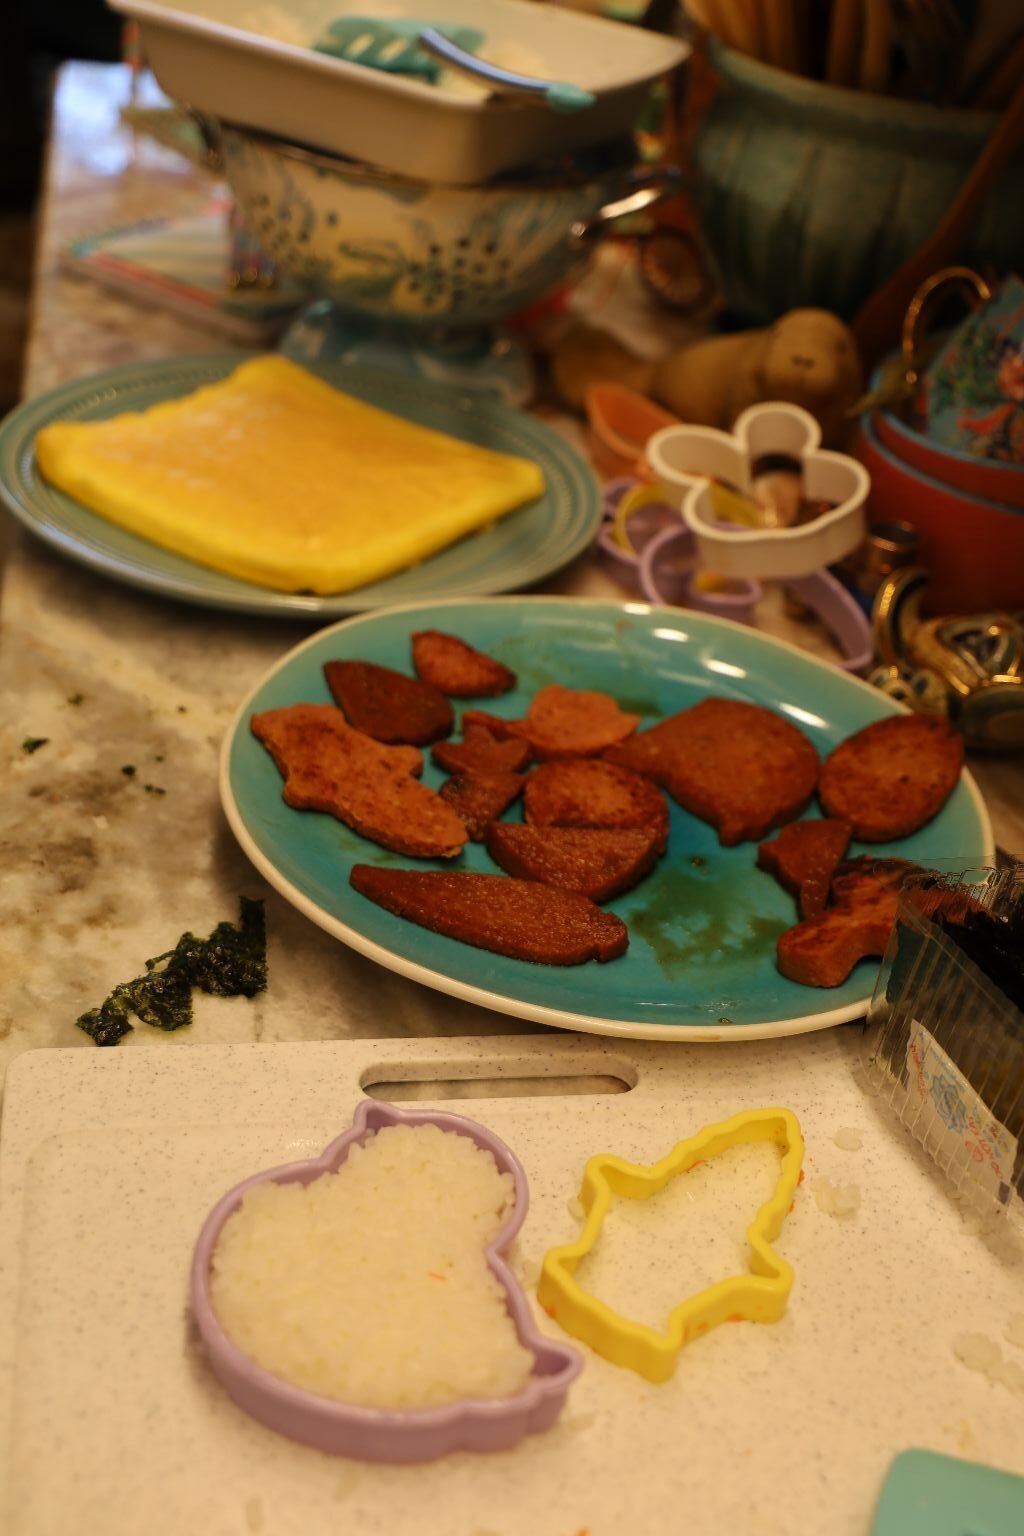
Here are my Turkey and Bologna
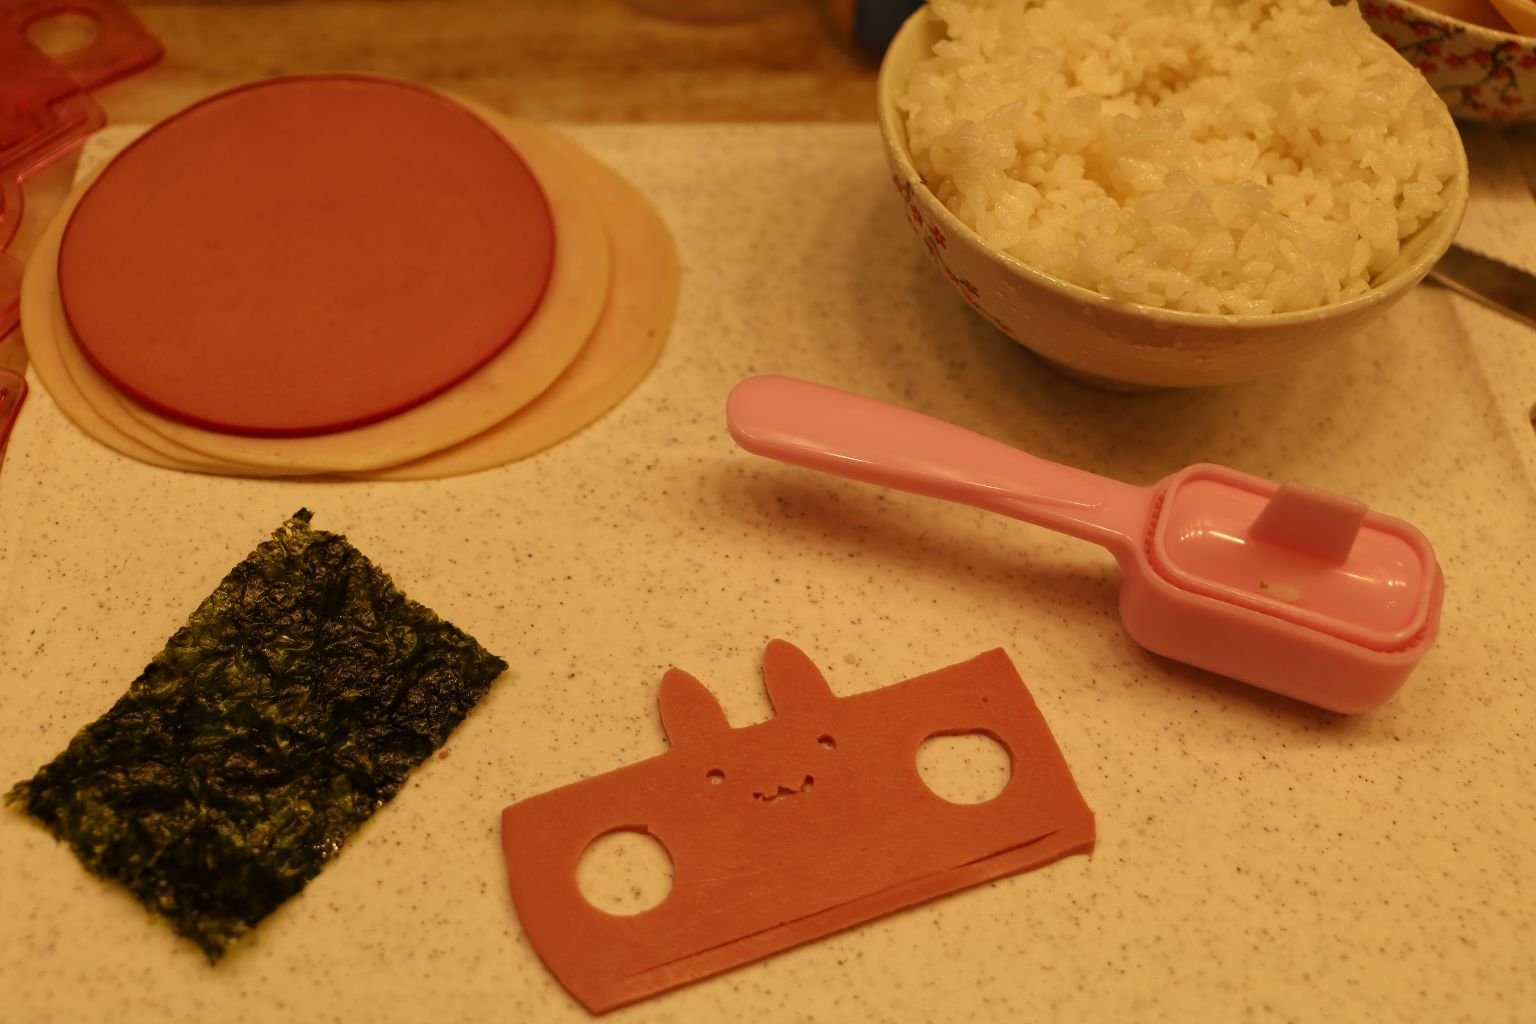
Just take a spoon full of Sticky Rice, and place it on top of a layer of Sea Weed, on top of the Bologna, or Turkey.

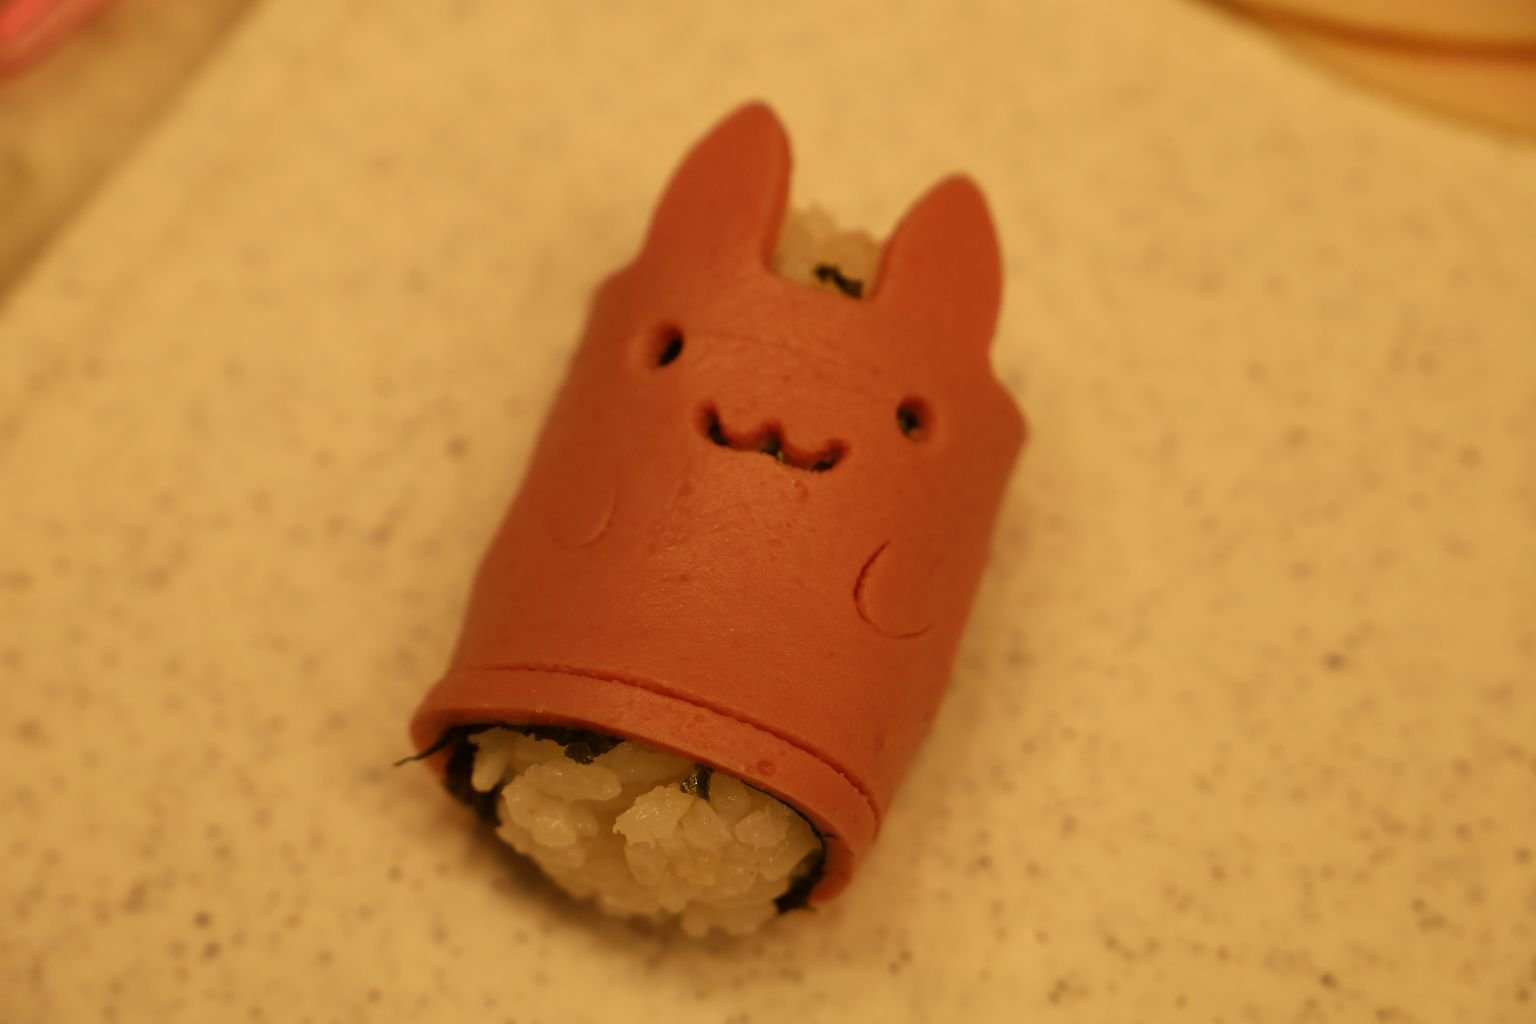
Now, Just Wrap It Up
The Perfect Toddler Food!
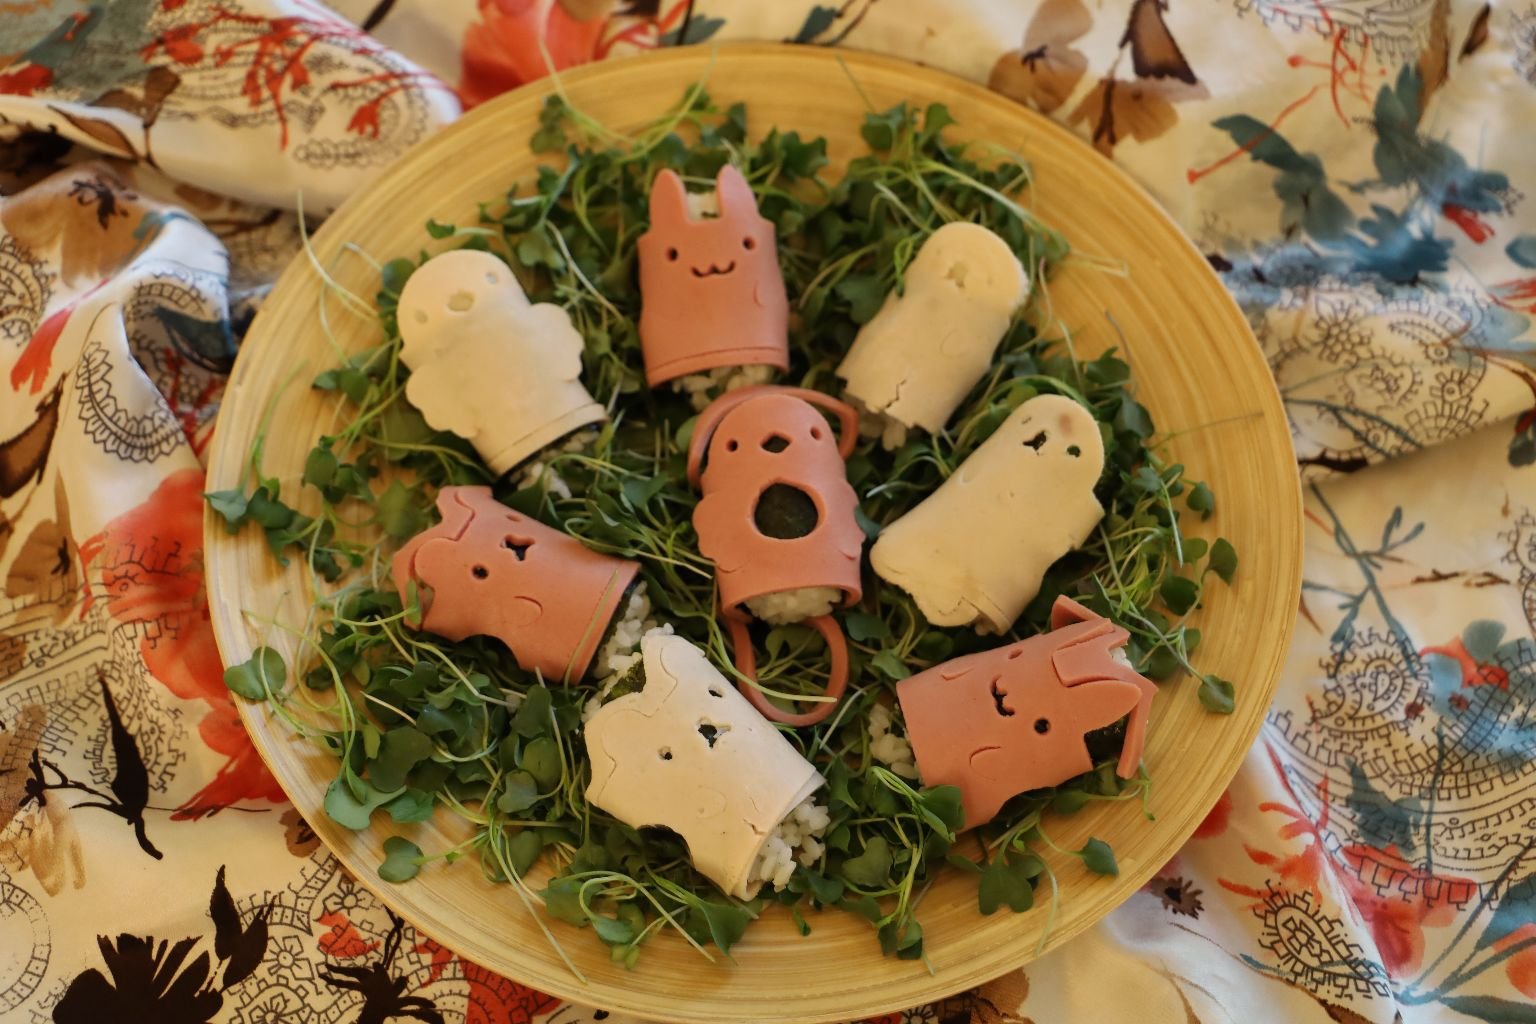
Do The Same To All and Place On To A Plate
You Can Place Them Onto A Bed of Greens, If You Like
———————————————————————————-
Not to Forget The Asian Supermarket Candy Treats….
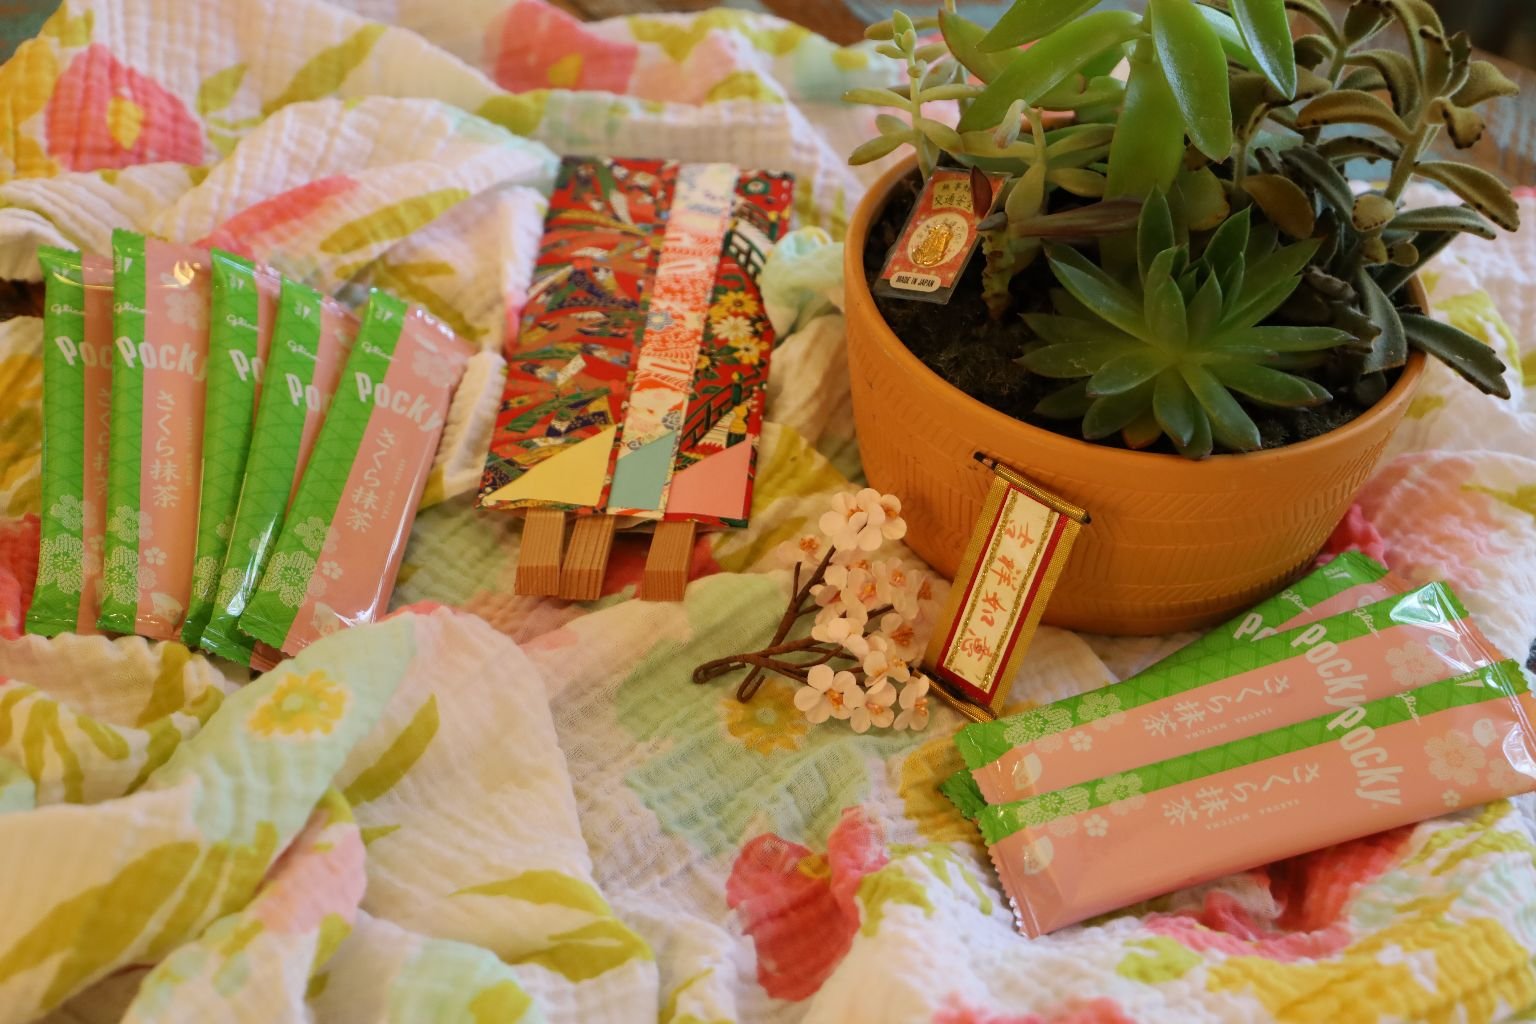
Have Fun Creating Your Easter,
Julie