Julie Barefoot In The Backyard
UNDER SPRING CONSTRUCTION
Life in sunny Florida... shoes optional

“I don’t promise to forget the mystery, but I know I’ll have a marvelous time“ Nancy Drew ————————————————————————————– CURRENTLY ON A STAKE OUT, CHECK BACK LATER …
2017
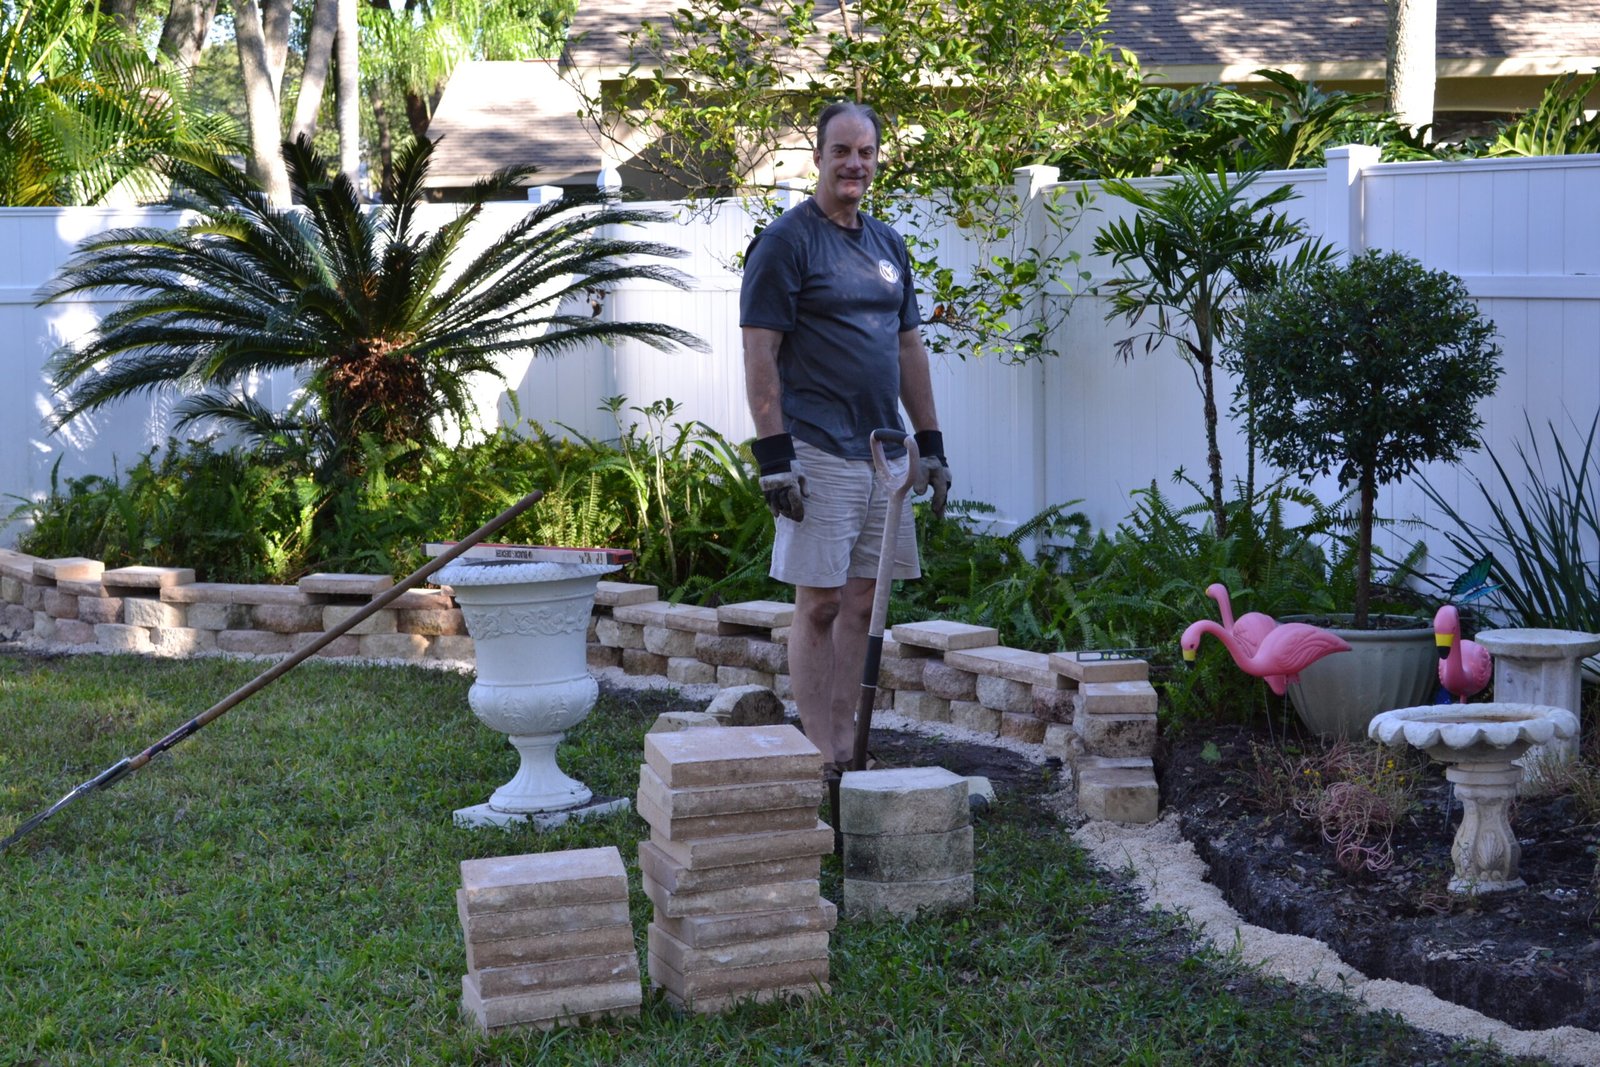
When we bought our house in 2006 we had this very simple unfinished backyard with little to no landscaping. It looked very basic and almost a blank canvas for us. We then decided to make the landscaping look more professional. So we decided to replace the simple blocks that were there with a two tiered block and capstone retaining wall.

We first had to rip out the blocks that were there then had to decide the line we wanted to use for the new retaining wall.


Here Gordon brought back a load of blocks that we will use for the retaining wall.
We liked the varied color of these as they had a mix of brown and tan.

This is the back left side of our yard.

Here you can see the wall that we are replacing. It’s just a small block ledge.
It does the job, but just not that good looking. It looks like a row of concrete beer cans.


Gordon put down about two inches of small rocks, then one inch of sand to provide the blocks a good base. You have to level the blocks from front to back and side to side, then each block after will be level with the first. Continue this for all the blocks.

Here you can see Gordon has progressed along the back.
The second row of blocks starts with a half block so that you have that overlapping brick pattern.

Our Sweet Monk

You Can See The Old Blocks In This Photo

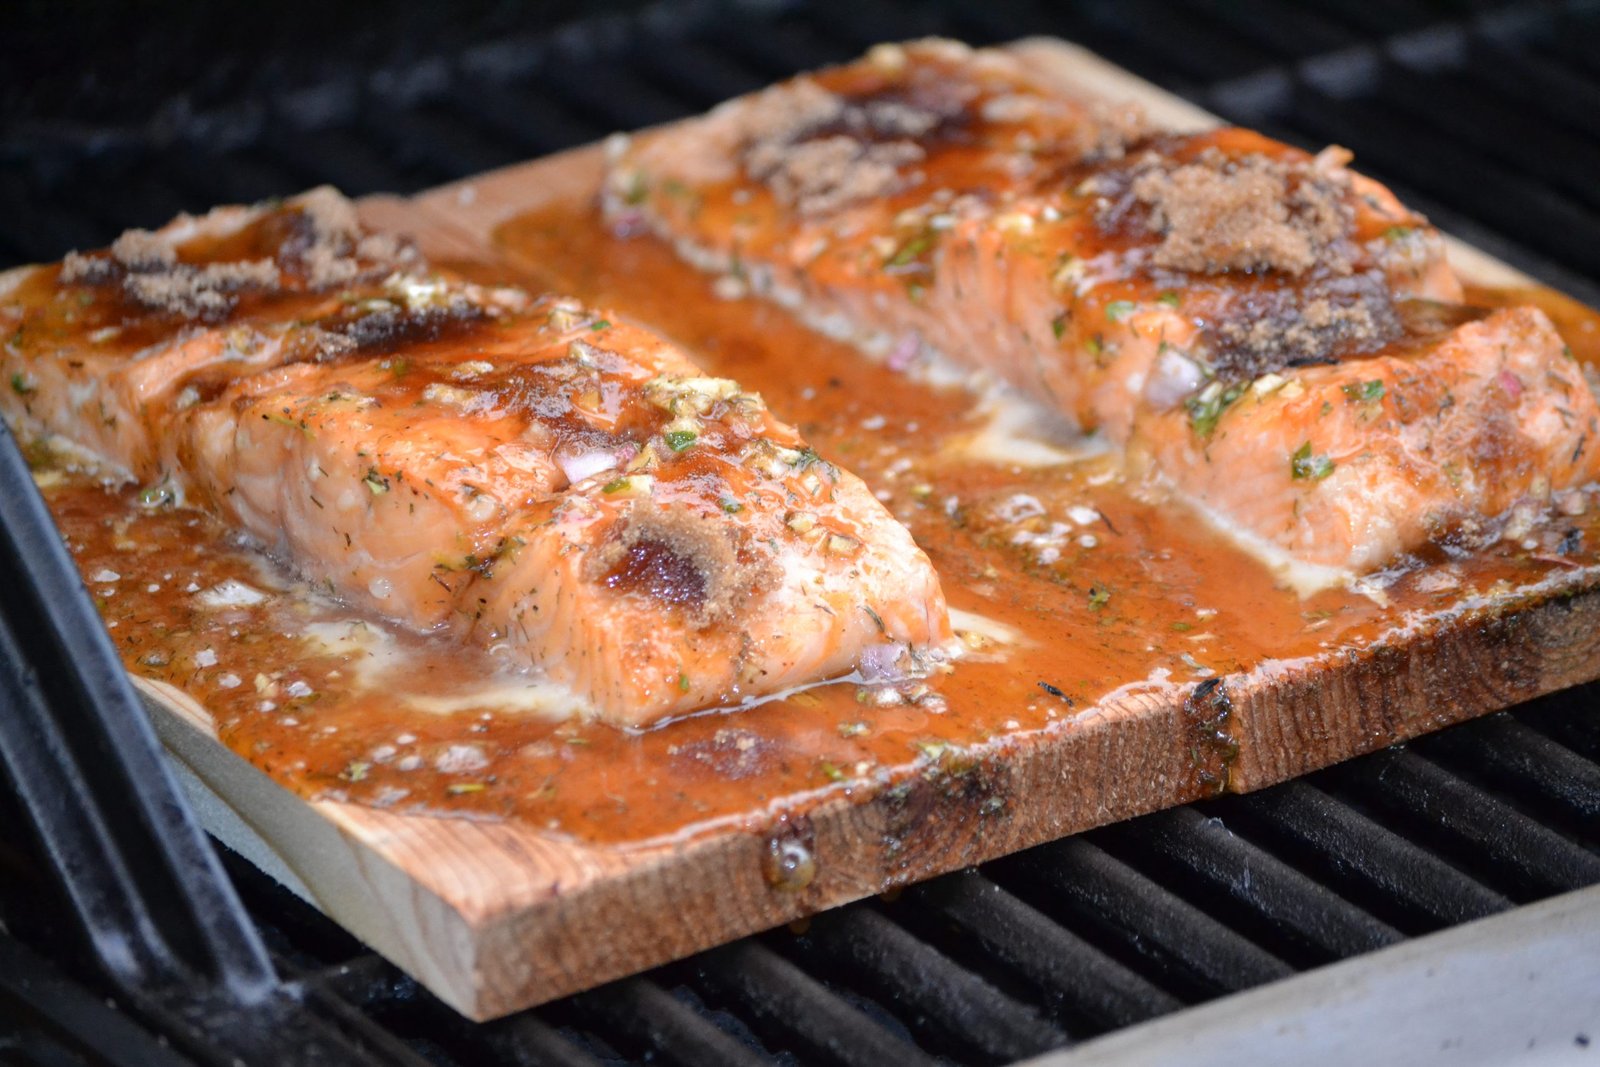
Gordon is still working on the retaining wall placing down the small rocks then the sand base. This base prevents the blocks from sinking into the dirt. Cut the capstones with a circular saw using a concrete blade. Cut the back part of the capstone as the wall makes it turns so they will fit directly over the blocks underneath.
————————————————————————————
Gordon’s Backyard Retaining Wall Completed

Finishing the retaining wall was an important part in getting ready for our backyard Christmas.

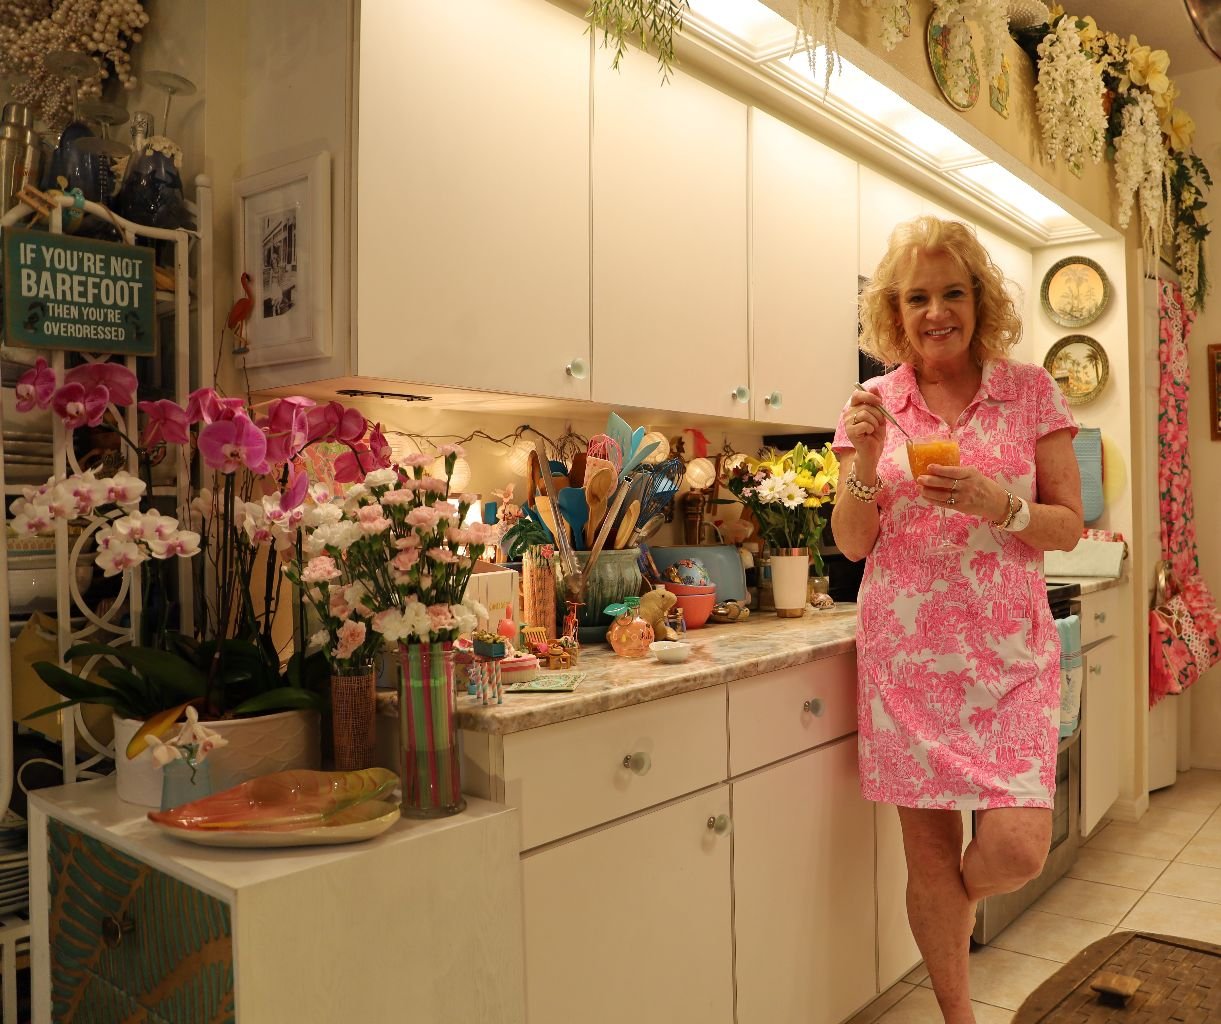
Here we are celebrating with our Limoncello and Pomegranate Cocktails

Happiest of Holidays
——————————————————————————
Christmas, 2017
Backyard Looks Great For our Christmas Party

We did an Alice In Wonderland Christmas

The Retaining Wall Gave Our Backyard A Nice Upgrade

Time For The Party
——————————————————————————–
If You Would Like To View:
Click Here For Our Alice In Wonderland Christmas

———————————————————————————————–
So, to go back to the beginning…..
Initially we wanted to build a backyard studio but our HOA Home Owner’s Association, would not allow it but, they do allow lanai extensions with a pool cage. Therefore we hired some people to extend our lanai out from our existing one about 36 feet and had them also make it about 18 feet across. Our goal was to expand our living space outdoors. Here is that progress.
———————————————————————–
March 25, 2018
Our Lanai Extension….in Progress

Monk Fell in the Trench

With the exception of hiring a business to give us a new roof, and the installation of a new water heater many years ago, we are new to hiring a construction company to have work done on our property. Gordon has been our construction guy for years building all of our retaining walls and landscaping, and installing our new appliances saving us money, but Gordon can’t do this. We are at the mercy of a contractor and the people he hires as his sub-contractors for jobs the contractor doesn’t do. For example, all the work you see above has been sub-contracted out to a cement business which is a fairly common practice with all contractors. HOWEVER, the contractor may assume that the people he sub-contracted out to are actually working……..WHEN THEY AREN’T!
We were initially told that this project of preparing and pouring the cement foundation would take 4 days. 4 DAYS! So, Gordon took off from work to oversee this all last week so that I didn’t have to. I am out of my league here. We thought that we could knock out the foundation and have this leg of our new lanai done, then clean up the outside and prepare for a great Easter dinner, and then resume the construction with the pool cage, electric, French doors, two outdoor ceiling fans, etc. But now we’ve been told that the entire project will take up to one month! There is no way that Gordon can take off from work for a month so it has to be ME to deal with this. (So, you know I’m happy about it.) 🙁
Because we never know when they are going to show up someone has to be here all the time. That falls to me! I love my home life but I also like to get out of it and go somewhere occasionally. I just don’t like it that for the next month I have to revolve my life around a bunch of workers that only show up when they feel like it. And yet, that is how it is here in America when you hire contractors.
Therefore, I will go with the flow, I will make the best of it, I will clean my house, work on my website, start a few new projects, and just have a blast in my home sanctuary. 🙂
My philosophy on life is to just bring a book and make the best of it. So that’s what I shall do!
Julie
——————————————————————————
April 2, 2018
Lanai Extension Update
(Photographic Evidence Saved the Day!)
Our house is just under 2000 square feet and when we do have family over we have no choice but to spill over into our existing lanai and even our backyard. But when we do entertain in our backyard it does present a problem with all the bugs hovering around our food platters and dinner plates. Also, our squirrels can be quite the pests! They love to chew on my roses and hibiscus flowers. They especially love the buds before they bloom. Which means I get NO Roses or Hibiscus blossoms! Also, sometimes mosquitoes can be a problem. Not only are they annoying but they bite and can carry diseases. So we figured that if we could extend our lanai outward about 36 feet in length and 18 feet wide, and enclose it with a pool cage over top, we could have more living space in the backyard. So that we could spread out some more.


I took these photos on Friday afternoon after the cement pour.
Gordon took the day off to be here. I just didn’t want to deal with it all by myself. I think that I have a deep seeded resentment that for Gordon’s 20 year Naval career he was deployed a lot and it was always up to me to take care of everything. Now it’s his turn. 🙂


The Cement Truck and the Workers
Our contractor had subcontracted the cement job out to another company to do, which is a very common thing here in America. We were told the job would take 4 days. It actually ended up taking about 6 days spread out over a period of 2 weeks. Which is now, thanks to a big problem, will spill over into week 3. (Keep Reading)

Permits Taped to our Lanai Door in our Backyard
(I cannot tell you how many times I will look up and there will be an inspector plowing through that paperwork taped to our glass doors on our lanai, usually scaring me to death! I’m not a screamer but I am a yeller (hollerer), usually letting out a loud yelp when I turn around and see a strange man standing there.) 🙂
For the past, going on 3 weeks now, I get up before dawn, shower, get dressed, unlock both of our backyard fence gates very early, prop open our screen door, (if that screen door is locked then inspectors will just walk away and then we are at their mercy as to when they will come back),

and wait for the trucks to arrive……………or not!
You never know when they will show up, or if they even will show up?
Sadly, that is pretty “normal.” I know from previous experience with the condo I used to manage out in Indian Shores, that whenever they would contract work out to be done to the building sometimes it was a total disaster in getting them there to finish the jobs they would start. According to so many horror stories I’ve heard, ours certainly isn’t that bad, not by any means. But, it is a delay and it did cost us some aggravation. (Keep Reading)
———————————

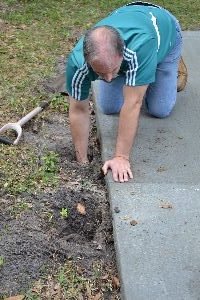
Gordon Searching for the Pipes

Found ONE, but Can’t find the Other one.
Because we have been undergoing this backyard work we have had the sprinklers turned off. Some of our things have died because of it. We have been watering with the hose a lot when we do go outside trying to keep some things alive. But when the dig was ready for the cement pour Gordon did turn on the sprinklers that night to give everything a good soaking because we then needed to turn them off again to get ready for this cement pour.

Ready for the Cement Pour
Gordon specifically made sure that the sprinkler’s were all working fine prior to the cement pour.
Also, we have appreciated all the hard work that these guys have done. They work on a few job sites at once so they tend to come and go from each job sometimes on a daily basis. Arriving at one job site at 8:00 a.m. and then arriving at our house at noon. They work very hard.

Pouring the Cement
The pour went great, there were no problems (that we knew of at the time.) The men worked hard, everything went according to plan. Gordon took off from work for the pour and between me and him, we took lots of photos. Luckily!
Of course, we usually always take tons of photos of everything that happens to us.
——————————————————————————————
The cement pour was on Friday, and one of the workers came back Saturday morning to cut the cement. By cutting it once down the middle and twice along the width, that helps to insure that the concrete doesn’t break and relieves some of the pressure. The trenches that were initially dug with cement poured in them as well, are there to insure that the slab of cement is secure.
————————————————————————————————–
So, with all of that work out of the way I told Gordon to turn the sprinkler’s back on because we need to water our yard before everything dies. So he did, and that’s when Gordon noticed all this water pouring out the back of the cement slab! And that’s when he saw a long CRACK!!!
The crack is in a crescent shape and goes from one corner of the back left to the other corner of the back right. That makes it a good 18 feet, but because it’s curved that makes it more like 25 feet!


Gordon Digging Trying to Find our Pipes
———————————————————————————
Gordon called our contractor to tell him of the problem, with the assumption that he would then take responsibility for this problem that obviously his guys did.
Weh..heh..hell… Not So!
Our contractor told Gordon that he knew a guy that we could hire to fix the problem, and that he would email us his name and phone number. He assured us that what Gordon was describing to him was a ‘simple fix’ that shouldn’t cost more than a few hundred dollars. Of course he went on to be friendly and talk about the rest of the work to be finished this coming week…..
I’m usually the one who panics while Gordon keeps controlled… so yeah, that’s how it was this time as well. 🙂
It’s not funny but Gordon just assumed that our contractor, we’ll start calling him Harry, would take care of it, after all, he’s just so nice…..
What upset me the most is that Harry was going to pawn this off on us and not take any responsibility. He then started avoiding our phone calls. That’s when Gordon and I started plowing through all the photos that we had taken of the work being done and that’s when we saw
THIS ONE………

This is the same photo below, but we cropped the bottom shot so as to better emphasize the wooden stake that you see nailed into the ground to hold that cement hose back.
VIOLA!!! THE KILLER!!!
Suddenly we were Sherlock and Watson, Miss Marple, Hercule Poirot!!!
And my personal favorite…………….ADRIAN MONK!

That is when we emailed Harry these photos showing the exact point of contact with our pipe, that stake! Hard to see in this resized photo, but it’s there.
It was a few hours before Harry emailed us back but as an Empath I turned to Gordon and said, “He’s gonna pay for it. He’s gonna take care of it. I’m feeling it. He’ll let us know shortly.” So, Gordon was then relaxed by my news and went outside to bring in some things. A few hours later we got our email telling us that he would take care of it. (This is when being an Empath is fun.) 🙂
——————————————————————————————-
So, good news right? It is good news that Harry is finally owning up to his responsibility to us as a business owner and hopefully a decent and honest human being. We are happy that as I have been working on this blog post, a man did come by to have a look at it and has told me that it is much worse than what was described to him by Harry on the phone. According to him he will have to reroute our irrigation all along the cement slab and half of our yard will be on a new system. He assured me that Harry will pay for all of it, he just needs to get in touch with Harry and that the appointment to get this work done will take place next week.
Hopefully our plants won’t all die off until we can turn our sprinkler system back on. We are planning on buying a new front yard once this work is completed but until then we have to water all the plants located in the landscaping and retaining walls, and all around the house, with the hoses. That’s a lot of work! The grass in the backyard can die but nothing else can.
I suppose that problems do arise in these kinds of jobs and that is o.k. Both Gordon and I understand this. And it looks like our water problem will probably run up into the thousands of dollars. And that is terrible. It was no one’s fault and I appreciate that Harry is going to take responsibility for it. But I can’t help but wonder that if we didn’t have photographic evidence that we could use against him in a court of law, if that is what gave him the change of heart? Or could it have been the Easter Bunny? Hmm…. we’ll never know….
Actually I DO KNOW!
Empath, remember?
Julie
——————————————————————————————————-
Later in April, 2018
I have been putting off talking about our new lanai extension and even creating a new post for it because I wanted to wait until this area was complete. It is as far as the cement pour is concerned, but I still have things I want to do to it before I start snapping away with the camera.

The French Doors Entering into our New Lanai
It was my idea to install the French doors. Apparently, we are the only ones in the history of the world to do so!! The reason that I wanted the French doors to begin with was because I knew that I wanted to add some nice furniture to the lanai, (eventually) and I wanted to be able to place the furniture inside the enclosure. But, I also wanted this grand entrance/exit to be a part of our backyard as well. I visualized the doors swung wide open and people entering and exiting them while enjoying the backyard as well as the lanai.

Ready for the Cement Pour
Julie
————————————————————————————

Our New 18 x 36 Lanai Extension
(Gordon even refers to it as, “Hey, let’s eat out on the 18 x 36.”)
No pool, just the pool cage. Believe me most people that we know that have swimming pools hate them. Sure, when you first get a pool you are in it every single day for the first 6 months but then you will never get in it again. A pool is a money pit that will cost you every single month to maintain. So, imagine having to pour money into something that you just don’t use anymore? We didn’t want a pool, but we did want to extend our living space out into our backyard without the bother of mosquitoes and other bugs, or our backyard critters, like the squirrels. We also would like to have some little vegetable garden inside the lanai where we didn’t have to worry about the birds and other animals eating what we grew. There will also be an outdoor kitchen out there eventually, but not for a while.
I also wanted to have some lovely flowers that the squirrels didn’t chew up just for the sheer fun of it!

For some reason Monk likes walking around in all that space. 🙂

—————————————————————————————-

We have enjoyed this lanai extension tremendously. We are also creating many wonderful memories with family and friends. This entire project was over $12,000.00 and it was worth every penny of it. 🙂
—————————————————————————————-
Father’s Day Pizza Party
2018

This was our first Lanai Extension Celebration
Click Here For: Father’s Day Pizza Party

We have since had many great entertaining on this Lanai Extension.
We also hope to have many more.
Julie and Gordon

Meet Brodie and Mackenzie December 2024 The Proposal Bok Tower Gardens, Lake Wales, Florida Champagne and My (Julie) Former Engagement Ring My Ring Has Never Looked More Beautiful 🙂 Mackenzie and her Twin Sister Susannah ——————————————————— When I first met Mackenzie …

(Note Update April 10, 2025: If this harassment continues, or more damage is done to our property, then I will reveal their names here, and getting the police involved.) Where Do I Even Begin? 2025 For those of you that …

Dear Dairy…
Today I rearranged the cans in the pantry and dusted them off while wearing my new full skirt I sewed last week for the church picnic, and the pearls that my husband gave me for my birthday. I was so excited when Gordon came home and allowed me to remove his shoes and put on his slippers. He also complimented me on my backside. (Blush) My heart be still….


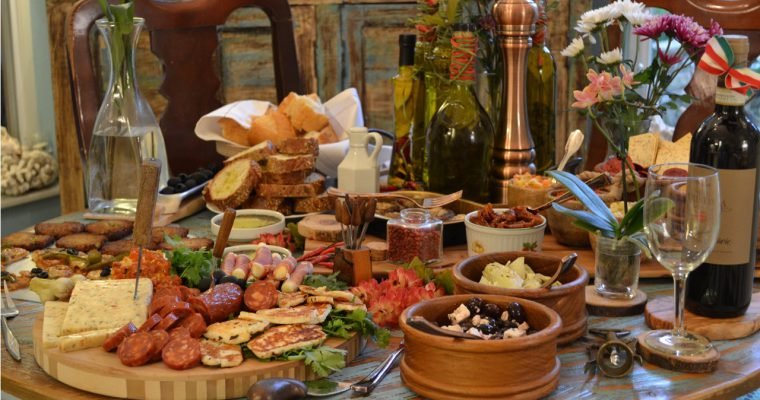
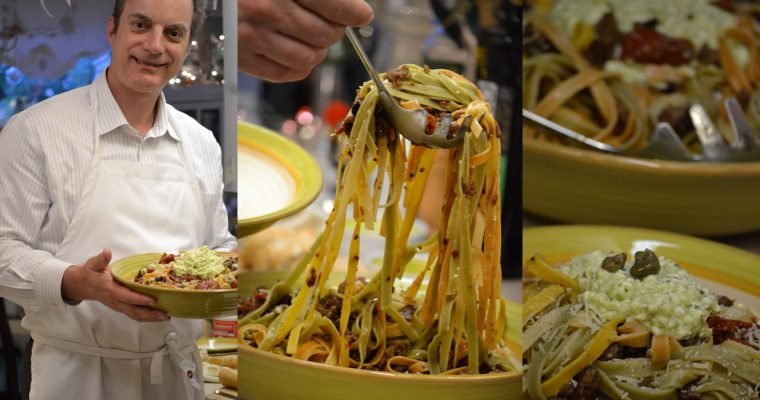
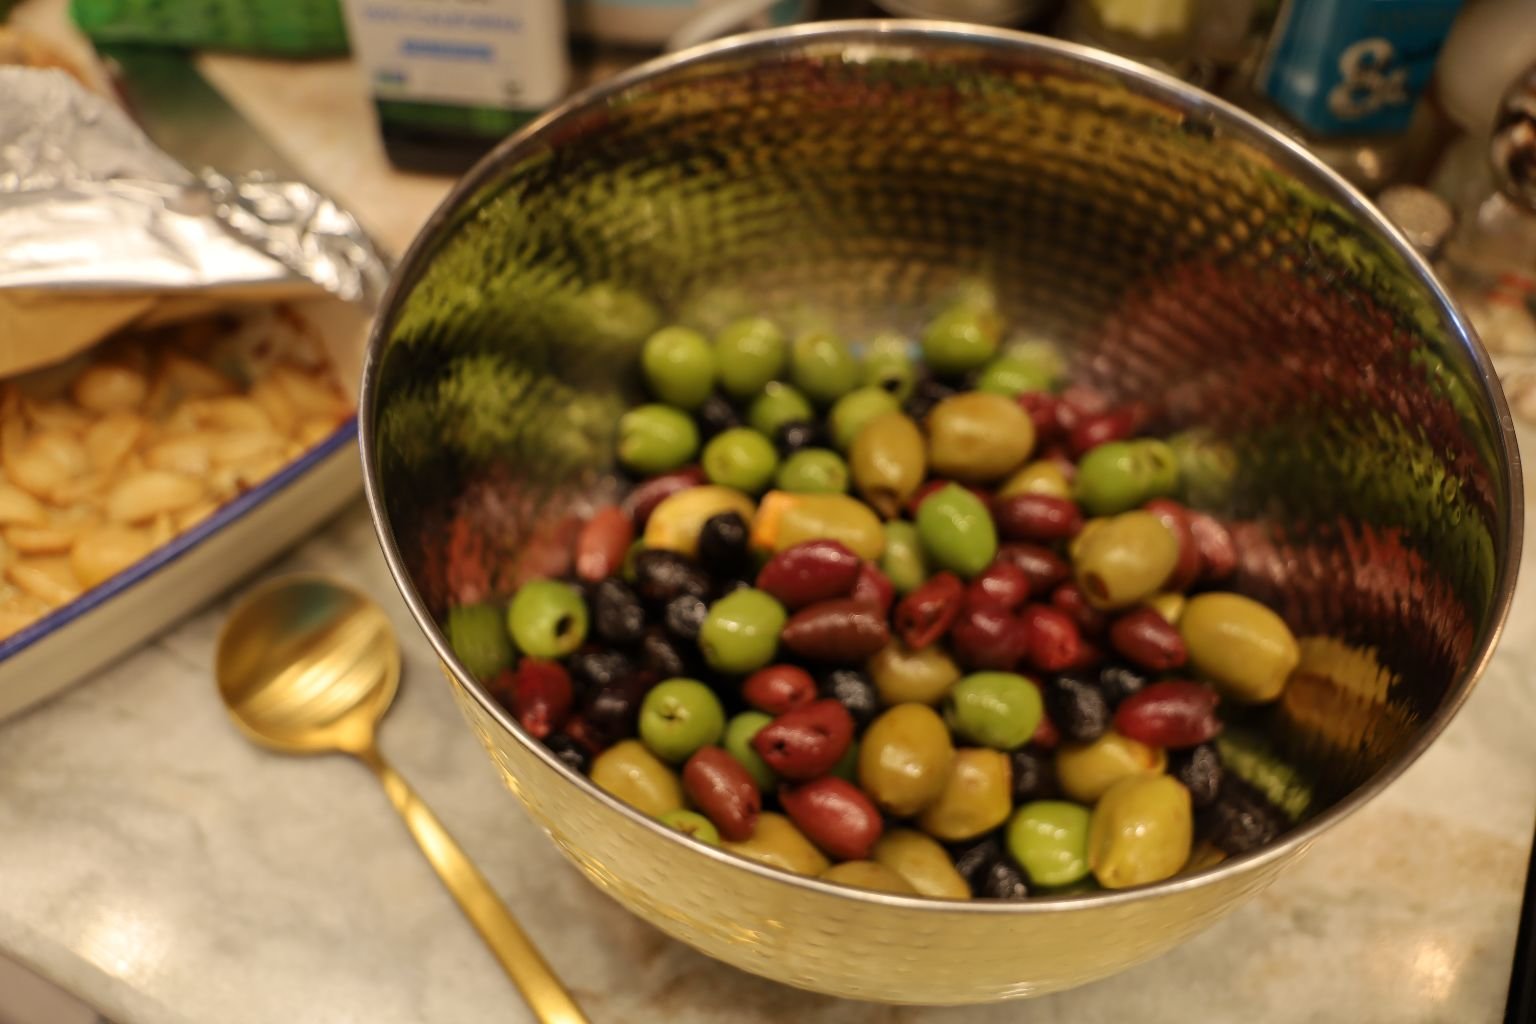
My Curry Leaf Roasted Olives, Garlic and Sundried Tomatoes
————————————————————————————————

Our Front Yard Curry Plant

I know how much my future boss loves olives so I created this recipe to impress him. I’m worried that if I don’t please him that I will be pushed aside for someone much younger than me.
You see, I am a DEI hire. Diversity, Equity, and Inclusion. Anyone not a white male is a DEI hire.


—————————————————————————

(Recipe Way Down Below)
————————————————————————————

In My Spare Time My Husband Allows Me To Expand Myself And Learn To Type
My Goal is to Someday Work and Become a Secretary


I Type With Wine, How ‘Bout You?

Oh, I Can’t.
I have 2 Tupperware Party’s back to back this week, and I’m Overdrawn with my AVON Account.
I have to wait until Gordon gives me my allowance for the month before I can buy anything else.

Oops! I Dropped my Nail File! Hang on!
——————————————————————–
Typing With Julie in 1965 is Brought to you By…


Southern Net Hairspray

Got BIG Hair?
The Perfect GLUE for our DO!
(My introduction is a parody. Just so you know. I have a great husband who knows better than to ever say to me what I write above. I was just trying to prove a point which will probably be lost on most people. But, oh well. Here’s to 1965! I mean 2025.)
—————————————————————————-
Afternoon Martini’s with the Boss


Hold all my calls, Mrs. Whann.
—————————————————————————————


Secretarial Lunch Break

Sometimes a Busy Secretary/Typist has to Eat at her Desk


Egg Salad with a Side of Olives is Always a Nice Choice

Back To Work!
—————————————————————————————
Diary Entries Starts Here

In Desperate Need of White Out

Bette Nesmith Graham
(1924-1980)
The inventor of Liquid Paper (White Out)
She was also the mother of:

Michael Nesmith, Far Right
Member of The Monkees
——————————————————————————

If Australia Can Do It, So Can We!

Let The Movement Begin!
—————————————————————————–
In this day and age understand that there are many that cannot even grasp the concept of another’s opinion. Many do not have the intellectual capacity to do so. Therefore, it isn’t wise to even engage them. Keep to yourself. Be safe.
Julie Lancaster-Whann

Most of the time this is me. No make up, no big hair. Would you recognize me on the street?
Julie
I took this photo less than a week before the photos above.
———————————————————————-
If you would like to view my other personal blogs:
Click Here For: Blogging With Julie All Along (Past and Present Blogging)

————————————————————————————
Dear Dairy….
—————————————————————
April 8, 2025
March, 2025
Gordon’s Home!


Julie and Gordon Out and About
With Gordon working overseas as a contractor, when he is able to come home we only have a few weeks here and there to be together, and to be with our family. This visit has since come and gone but, we had a really nice time together. There was a lot of work to do as well.
He initially wanted to come home in February around my birthday, but I told him no. I wanted him here in March to help with all the spring prep outside. Spring is a lot of work here in Florida. We tend to lose our leaves from our trees in late January and throughout February, and even into March. That is a lot of raking, etc. However, because Hurricane Milton knocked down so many large branches of ours in our backyard, we had hardly any leaves to fall this year. I remember paying our yard guys $500.00 last year just to rake up all of our leaves.
There was also lots of algae and mold all around our property on our retaining walls, pavers, and lanai. That comes from the Florida heat and humidity. Bleaching, pressure washing, and so on, are all part of upkeep for Florida homeowners. We also ended up extending our existing fence along the side of our house because of our abusive neighbors.
I do detail all of that here:
My Log/Blog Documenting Stalking and Harassment From My Neighbor
————————————————————————————–
Honey-Do’s

I always have lots of Honey-Do’s for Gordon when he comes home. You know, ‘Honey Do This, and Honey Do That.’ 🙂
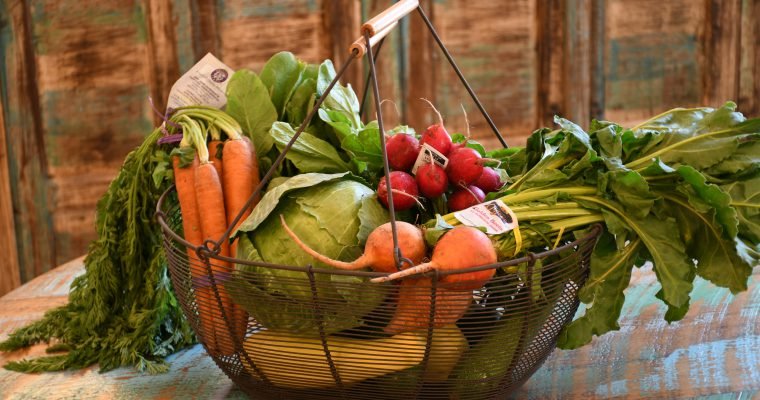
This was one of those cute little Honey Do’s I had Gordon to put together. I knew the Trump Tariffs would make everything go up so I bought all of this stuff before they took effect. This is a cute little Garden Center for our Grand-Daughter Isabelle.


I even bought all the accessories for it as well.
——————————————————————–

Isabelle’s Little Planter

I Had Gordon To Put These Together As Well
It’s just not Spring or Easter without some sort of garden project to put together.
———————————————————————–
Our time together was way too short, but we always manage to pack quite a bit into each visit.
We were thinking about him coming home permanently this October but with all that is going on in our country, perhaps he needs to stay over there longer just in case. Who knows, he may have to support all of us here if things get really bad?
We Are Truly Living In Uncertain Times
I wish that I had better things to write about. In these times it’s really up to us to make our own happiness. To create our own magic. I would go into greater detail on how to handle these times, but it will sound like everyone else giving advice on what to do. I don’t want to be that way. Each person’s circumstances are different. Some of us have better means than others. Some of us have better connections and opportunities than others. Personally, I wish and hope that all of us will survive these coming times and even thrive afterward. But, realistically I know that won’t happen.
—————————————————————–

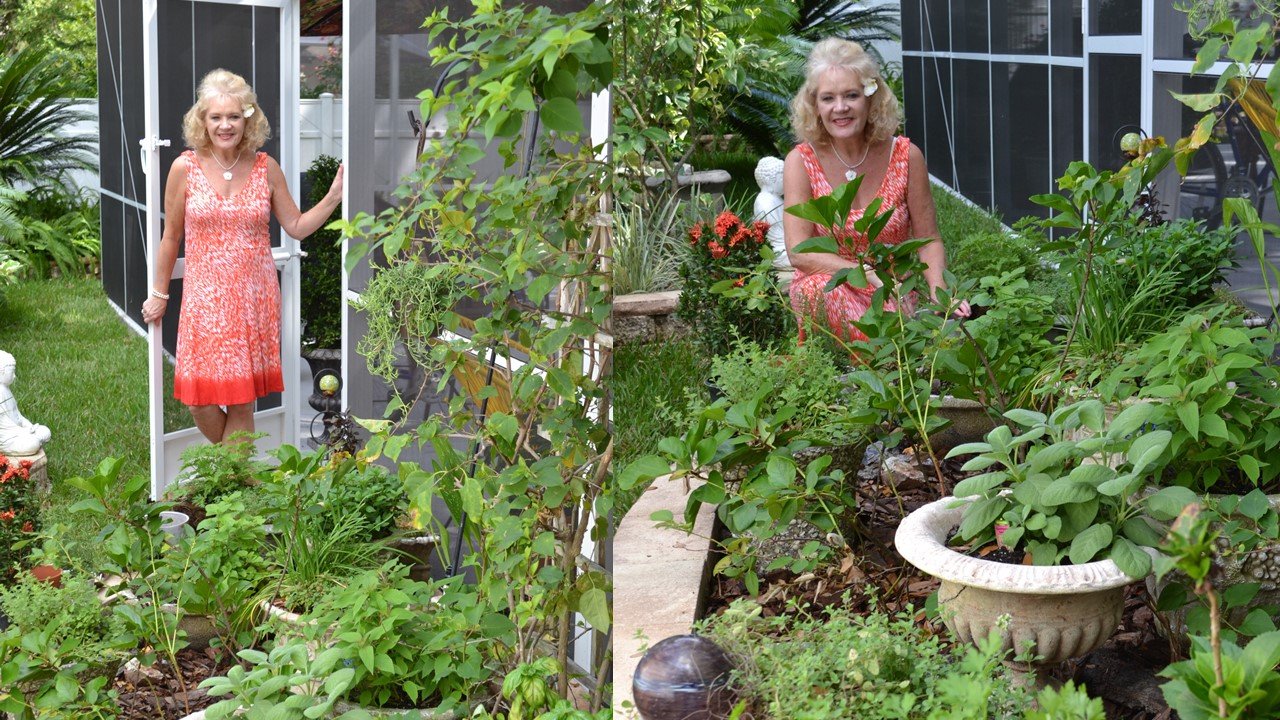
Julie Barefoot Backyard in the Garden
At this point I honestly don’t know what to say? I wish that I had all the answers, but I don’t.
I do know that it’s time to hoard. Time to be on offense. Time to stay quiet.
Julie
P.S. We all miss Gordon. He is a good husband, a good father, and a good grandfather. 🙂
——————————————————————————–
March 13, 2025
We’re All Going To Hell In A Hand Basket
(Not to be TOO Negative)

Tuesday, March 11th.
I drove into the base in Tampa on this day to do some shopping. Gordon will be coming home soon from working overseas and I am shopping in preparation for that. We have many things planned. Some fun, some work. I found it interesting that the base was pretty empty compared to what it usually looks like. No traffic entering the base, no problem finding good parking, no long lines at check out, not waiting in line for gas, no waiting in line for prescription drive through pick-up, etc.
The Air Force Base is usually pretty busy. It is actually a small city with everything on it. This is Florida after all, what with lots of seniors coming onto the base to pick up their prescriptions and do their shopping. It was a nice day. I enjoyed it. To me a good day is when everything goes according to plan. I’m not one of these people that craves any sort of excitement. I prefer boring. To me boring is nice. Boring is also peaceful. Plus, boring isn’t boring to me.
I did my usual that day but it was while I was doing some Commissary shopping that I overhear conversations from other shoppers. This one white couple, probably in their 50’s were comparing brand prices looking for bargains. As it is prices are very cheap on base. But they were looking for cheaper.
Also, when I rounded a corner and headed up an aisle as I was looking at some products on the shelves an Empath noticed me and said something to the effect of, ‘We’ll be buying fewer things soon.’ I then looked at her and said, “I know. And things are about to get a lot worse.” She agreed with me as she walked past me.
She was an African-American woman, probably around my age, she was dressed very nicely and her cart was pretty full. She also had plants in the top section of her cart. I too was dressed nicely, (in one of my Lilly Pulitzer dresses), with my cart full as well, and plants all around the top part of my cart. So, you may wonder why she said that to me? Simple. She is an Empath, she read me, she knew I was safe to say those things to. Most white women and men that shop on base are republicans. You really can’t say anything to them without getting some negative reaction. Yet this woman knew that I was not that way. She knew she could say to me what she did and that I would respond in her favor. Which I did.
Oh, and I’m sure you’ve noticed that I have removed my Empath Blog Pages from my website.
Perhaps one day I can restore them. But not now.
———————————————————————————-
After doing my shopping I headed home. Oh, the car was full! I did a LOT of shopping!
And, on the way home I had my chicken that I picked at in the car ride home. It took me and hour and a half to get home that day. Horrible Tampa traffic!

Plants, Juice, and Chicken
When I did get home it took me probably a good 35 minutes to unload the car. At this writing, Thursday, March 13th. I am still putting things away. I still have grocery bags full of items to take care of.
Ya know, I don’t think that I really have to go into my headline above. I think that most people that keep up with what is going on knows exactly what I mean above when I say, “We’re all going to hell in a hand basket.” I mean, it’s obvious. At least to those that have eyes and can see. Or ears that can hear? Or feelings that can feel.
Yesterday when our daughter Veronica got off work and picked up Isabelle from our house, she told me that 17 employees where she works were laid off. She did say that she made the cut, but that instead of working 5 days a week, she will only be working 4. Which means that I too get every Friday off from watching Isabelle from now on. That means I get a 3 day weekend all the time. Good for me, but not for Veronica and Brian that need the money.
So, the Trump Presidency has hit us close to home now.
I knew that it would.
Now I wonder what else is to come our way? I guess we’ll all find out.
Julie
————————————————————————
February 1, 2025
February is Here


Saturday Selfies

Grabbing my Jalapeno Cheddar Muffin to Go
Ran some errands today and did some shopping. It was a busy Saturday with lots of traffic on the road and at the stores. While I was at the grocery store I overheard a woman on her cell phone talking to someone about how scared people are right now. I didn’t want to chime in to her conversation but I very well could have because I understand exactly as she does. She was a black woman. I also heard plenty of white women on their cell phones talking to others about the shopping list, or what time they will be picking up so and so to go wherever. And there were a few white men on the phone with their wives as they were tracking down items on their shopping lists. Interesting to me that it was the black woman that knew what was going on while the white people were still oblivious and just doing their shopping.
Oh, the white people will find out soon enough just how scared they should be.
We are all in danger now. None of us are safe. Know that.
Safety regulations on our food and drink are being removed right now. Also, if there is an outbreak of some contaminated foods, or some disease we will not know of it. Those agencies are being shut down, and the information will be squashed.
For the first time in our lives Gordon and I are considering buying a weapon. I don’t want to live in the Old West but that may just be how things turn out.
I’m also sure you have been aware of the latest plane crashes in our country? Well, when you fire and gut the department that made sure we were safe, then these things happen.
Each day I wake up feeling Good/Bad/Happy/Sad, just like the song says.
I have my good moments, my bad moments, my happy moments and my said moments.
This is all of our futures. Unless you are a billionaire then you are not immune, and you will feel the pain quickly.
They tried to gut Medicaid a few days ago but there was so much outcry they changed their minds. Understand that this is only temporary. They will try again when the coast is clear. Republican’s never give up on any damage they want to do. They don’t stop, they don’t take a day off, they plot, they plan, and they always succeed. It’s because you take a day off, you have a life you want to live and enjoy, they count on that. You turning your back to do something else. That is when they strike!
They have a grand plan for all of us that I cannot even begin to describe to you here. You wouldn’t even believe me if I tell you. Oh, I’ll tell you what I see coming when you are ready to hear it. But, not yet. For now, look out for yourselves. Stay low. There are no laws now in our country. Murderers will be forgiven as long as they fight for our leader. We are entering the American Holocaust.
During the George W. Bush years the only place that you could hear the truth was on NPR. National Public Radio. And also the foreign papers, which I frequented daily. However, they may just end up blocking our access to these foreign papers. In which case, we are left with pretty much nothing and it will be up to us to use our common sense to survive it all.
The thing that I do know well is that the truth always finds a way.
When the Bush Administration suppressed the news outlets, that made way for the rise of the political bloggers. It was only there that you could find the truth. However, they too will be squashed this time around. The truth will have to come in another forum. And it will! Because like I said, the truth always finds a way.
———————————————————————
My MAGA Next Door Neighbors…
I don’t even know where to begin on this one. It’s so bizarre, but when I started keeping my Grand-Daughter in the Autumn of 2023, I have had to get up very early on the mornings I keep her. If Veronica drops her off I have to get up at 4:00 a.m. to be ready for when she drops her off. If Brain is dropping her off, I have to get up at 4:30 a.m.. Yea! I get to sleep in!
Being up that early in the morning just makes me feel vulnerable. I’ve just always felt like someone was outside my bathroom peeking in one of the windows. I also could have sworn that while I was in the bedroom naked, searching for something to wear and getting dressed, that someone was sitting on the roof on the house next door to us. I’ve thought I’ve seen that a few times. One time I thought I saw two men sitting together on the roof. And interestingly enough, the garage was open that morning on the house across the street. My first thoughts were that they must have forgotten to close their garage door. But I did think that was very strange.
In our bedroom we have a window that is very high up and spans probably 12 feet long and two feet high, and arched. We have very tall ceilings in our house. That window is also pretty standard. No one places curtains on it because it’s so high up and you will never find any kind of window covering to fit it. Also, most people aren’t tall enough to look in your house through it. (Unless of course, they were on their roof.)
I don’t keep Isabelle every weekday, but I do keep her anywhere from 2-5 days a week.
For the past few months when I get up at either 4:00 or 4:30, I am in the bathroom toilet room, with the light off. I do have the bathroom light on, just not the toilet room light on. But, the light does shine through to me. Well, it’s then that I will hear this very loud THUMP against the side of the house. My first thoughts are, ‘what the hell was that?’ I will then jump up and look out the main bathroom window to see if someone is out there. It’s usually very dark and hard to see. But, I am usually a bit shaken wondering what that was? This happens quite often. Usually I would forget about it and go on with my morning, and then my day, until it would happen again the next morning, only to alarm me again, etc.
I have also heard this THUMP at night after I have gone to couch. Yes, I sleep on the couch. I am the female Fox Mulder. Anyway, I will also hear it at night sometimes.
Two weeks ago at around 4:35 a.m. I was once again in the toilet room when I heard the loudest THUMP I had ever heard up until then. That THUMP was right beside the toilet room window! It scared me so much that I leapt up, if you know what I mean. I’ll just leave it there where my response was concerned but…
Well, it was on Saturday that something told me to look out the bedroom window. I have to stand on the bed to do so. That’s when I saw it, a blue and orange ball. It was right between our houses. That’s when it all made sense to me. It’s that BALL that I am hearing in the mornings. He’s throwing that damn ball at the house around the bathroom. Why? I have no idea! I knew they were republicans, but I didn’t think ill will of them until now.
But just think about it. He gets up before me, and lies in wait for me to use the restroom, and then throws that ball at the house. Isn’t that bizarre? Who does these things?
I took pictures. I’m gathering my evidence. I even went over there yesterday while I was on the phone with Gordon and hurled that ball to the front of their yard. I’ve been talking to Gordon and Brian about it and they are on it! Gordon will be back in March and he is planning on talking to the next door neighbors. Gordon and Brian are going to install additional security for me. We just need to update what we have, and install new that cannot be accessed online. I do still have a cyber-stalker Paul Gray ya know? If it’s online he can access it and thus control it so….
Wow! Look at all my stalkers!!! 🙂
It’s kind of strange but when neighbors and others have been harassing me in the past…
(Leisa, Wheelchair Nazi John, Ed, Dori H., Paul Gray, and a cast of many more.)
It used to bother me. But for some reason this doesn’t upset me as much. I think because I see the disorder in the person, and not the person. For example, Leisa was a Narcissist, Wheelchair Nazi John was a Paranoid Schizophrenic, Ed had Demensia, Dori was Bi-Polar, Paul Gray is a Sociopath..
Get the point? When you see the disorder in the person it makes more sense. None of the things the people I mention above, have to do with me or anything I’ve ever done. It’s all about them. My MAGA neighbor is no different. I have never done anything to him or his family. I have no idea why he lies in wait for me in the mornings? His wife must know about it and she apparently doesn’t care that her husband harasses another woman. That makes her (Co-Dependent.) See how this works now?
Remember when I mentioned above that I just had this feeling someone was peeking in my bathroom window? Well, he was outside my bathroom and bedroom, wasn’t he? So, why not look? Looks like I was right after all.
I’m going to be 64 this month.
This man next door is truly sick! Along with all of them!
Julie
—————————————————————————–
January 17, 2025
Before Inauguration Day

Thursday, January 16, 2025
I took this photo of me yesterday while I was on my way to MacDill AFB in Tampa to do some major shopping to stock up.
Granted, it’s not new for me to take a car selfie while on my way to the base to do my shopping but, it was just different yesterday. I set my alarm for early and got up, got ready, and got out of here for the day.
I of course, took food with me, I always do. And plenty of water. It was my day off from keeping Isabelle and I knew that I had to make the most of my day and shop until I dropped. Which I did!
According to Trump he is implementing his Tariff’s on day ONE! That is a tax on many imported goods to our country. Our Economists have warned us that the average American family will be spending an additional $4,000.00 a year more on regular household goods they normally buy.
Gordon and I don’t exactly fall into that “average” category, so we will probably be spending more than that a year on our food, etc. budget. We tend to eat a lot of Asian ingredients. We lived in Hawaii for 13 years and all the Asian foods that we ate there are ingrained into our diets. Just to add a bit of history here about Tariff’s, The Boston Tea Party, December 16, 1773, was in response to Tariff’s. So….
If you are thinking that the items you mostly buy won’t fall under that “tariff” tax, and that you don’t need to stock up on anything, well, having to pay that “tariff tax” will make the things you usually buy a bit harder because you won’t have that extra money to pay for those items.
You also need to understand that grocery stores here in America are also going to implement that Tariff tax on their goods, whether they already had them in the store before the tax took effect, or not. Publix is owned by a woman that supported and funded the January 6th. Insurrection. You think she is going to give you a discount? She will tax you as soon as she can because that is free money for her. And no, I won’t be naming her here.
I stocked up on everything yesterday. I hit up the Exchange for some clothing for Isabelle, and lingerie for me, dog treats, Isabelle some Bluey toys, books, there were also lots of Valentine’s Day things that I bought, just to get ahead. It was funny that they had leftover Christmas, Valentine’s Day things, and even the Easter stuff has arrived and was out on display.
I stocked up on so many things so that all I will need to buy for the next few months will be fruits, vegetables, and dairy products. I can get those at Sprouts.
————————————————————————–
Already Packed
I wanted to add that I have started to keep some clothing and toiletries in my car just in case. I’ve been doing this since 2024. I read a few years ago that Climate Scientists are keeping a bag packed by their door, to grab on their way out of the house if there is a climate emergency.
I’ve always been the kind of person to carry a big purse with “additions.” What I mean by that is that in addition to the usual things women carry in their purse, I always had a toothbrush, toothpaste, floss, painkillers, antacids, address book with phone numbers, mini-scissors, small compact make-up, in addition to the usual lip sticks and lip liners, mini hand lotions, … shall I continue? 🙂
——————————————————————————–
One Fine Day

Michelle Pfeiffer’s One Fine Day Purse, with George Clooney
I cannot tell you how many people that I knew that saw that movie back in 1996 and thought of me! It was the handbag! Michelle Pfeiffer had everything in that handbag, just like me. 🙂
———————————————————————————-
The California Fires
I can’t tell you how many times I heard interviews of people that said, ‘we didn’t have time to grab anything, we left with the clothes on our backs. We had nothing.
When you look at that cooler right behind me in the photo of my selfie, you see a blue cooler. In that cooler are clothing and toiletries. I am keeping those at the ready just in case I may ever need to evacuate in a hurry. I will at least have something, whereas there were so many that had nothing.
By our backdoor I have bags packed for our dogs. That way, all I have to do is to grab their food. I already have blankets, leashes, their papers, pads, blankets, toys, etc. all packed in carry-on’s.
I think this is how we need to live our lives in this day and age. Ready for anything. Especially, ready to evacuate. due to climate change.
I would like to credit Nancy Drew for my efficiency in always being prepared. Reading her books as a young child taught me that. Nancy was always prepared. She always had everything in her handbag that she needed. I know that may sound a bit silly, but it applies to today.
I managed to stock up on everything. Goods, Wine, Food, Toiletries..

As You Can See Here….
This is our future. Being prepared, being ready. I also have blankets in my car, batteries, rope, flashlights, first aid kits, even some books to read if I am ever stranded. Being prepared is our future. Like it or not. It is!
Julie
—————————————————–
January 12, 2025
From My Neighborhood Stalker… 🙂

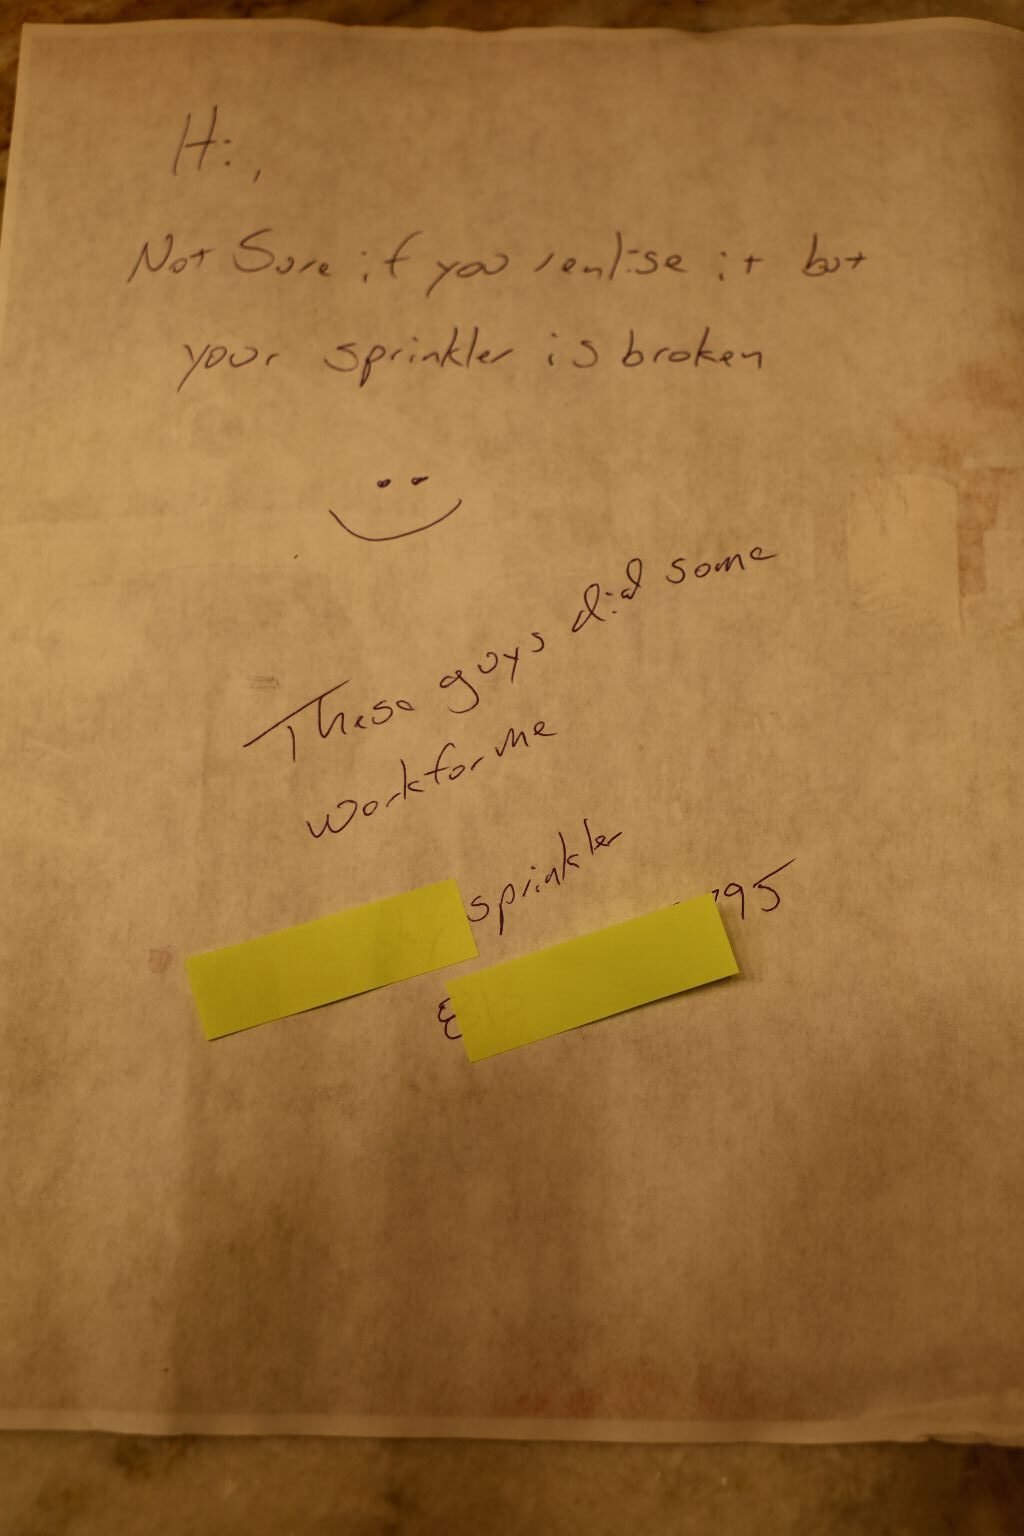
This was left in our mailbox back in December, but I find it very interesting.
You can see my trash cans in the photo. Usually I just set out the two for pick-up on Tuesday’s, but this particular day I had collected quite a bit of yard debris so I had placed that container out as well. This photo was taken on a Monday night, around 3:00 a.m.

You can see the shadow of the person (man) holding their arms in the air, left, to take the photo at 3:00 a.m. They look slender.
The note they left is also a interesting. It says:
Hi,
Not sure if you realise (realize) it but your sprinkler is broken
🙂 Smiley Face
These guys did some work for me
_____ sprinkler
___-___-____ (Sprinkler company’s phone number.)
——————————————————————
First of all, this person doesn’t tell me who they are. It alarms me that someone would be standing outside the house at around 3:00 a.m. taking this photo. After they took this photo at 3:00 a.m. they had to have printed it out on their printer, and then placed it in the mailbox the following night. I know this because it was underneath my mail. As in, they placed the photo in my mailbox at night, and then the mailman delivered the mail the following morning, placing it on top of this note.
The smiley face added to the note is something a woman would do, but I believe this to be a man who wrote this. I don’t know many women wandering the neighborhood at 3:00 a.m., plus the note mentions how these sprinkler guys ‘did some work for me.’ We don’t have any single women living around me. A married woman would have said, ‘did some work for us.’ So, this is a man. (Or, it could have been the joint effort of a husband and wife team.)
I suppose I could call that number he gave me and ask who that business services on my street? But, I’m not going to. It’s funny but when you do contact any of these kinds of businesses they always ask the same thing, ‘How did you hear about us?’ What shall I say? Oh, my neighborhood stalker gave me your phone number, 🙂
P.S. I already knew about the busted sprinkler. I am a light sleeper and I get up throughout the night. The first thing I do is to look outside. I saw the geyser, I was just waiting until my son-in-law had the time to come over and fix it. He did, and all is well. The only mystery left is who is the sneaky neighborhood person?
———————————————————————–
…And, What I’ve Been Up To
Now that the holidays are over with I am back to keeping Isabelle. Some weeks are just a few days, while other weeks are everyday. We’ve also had the nicest coldest weather now for about a month. I have thoroughly enjoyed it. I’m just doing cold weather things like reading, organizing, working on my website. I’m currently working on 5 website pages at once, mostly Christmas’s from 2023.
I am also dreading Inauguration Day and will be doing a lot of shopping prior to that day. I suggest that you do the same. If we are to have to pay around $4,000.00 more a year on our normal household items because of the Trump Tariffs, then it would be a good idea to stock up now before day one of his Presidency.
Also, there needs to be an understanding by the American people of what is to come. Just watch how Trump handles the California fire situation when he gets in office and that will give you an indication of how he will handle everything. It will be up to us to survive on our own. There will be no help from any government official.
Do any of you remember the Brown Outs in California during the Gray Davis Govenorship? He was recalled and then replaced by Arnold Schwarzenegger. Those Brown Outs were generated by the Bush/Cheney Administration just so the people would blame Gray Davis, which they did, and the people got rid of him, which they did, even though it really wasn’t his fault.
These fires will have every Democrat in the state fired and replaced by Republican’s. The state will then turn red in the next major election. (If we even have elections anymore.)
As California burns so does the rest of us. You’ll see. This really is the end of California as we know it. It’s also the end of America as we know it.
Can Biden do something before he leaves office? Sure. Will he? I have no idea? He could grant every citizen living here in America citizenship. Will he? I have no idea? I guess we will find out what Biden is made of before Inauguration Day. But, the Biden that we know will smile, and shake the hand of the dictator that will destroy our country. Just as Obama sat next to Trump at Jimmy Carter’s funeral, smiling and laughing with Trump. Those are our Democrats. We don’t have fighters, we have political pussy’s that Trump gets to grab whenever he wants to.
Miracles can happen before Inauguration Day. Will they? Well, I have never believed in miracles. I’m pretty sure I’ll be proven once again, that they don’t exist.
Julie
—————————————————–
January 11, 2025
Jimmy Carter’s Funeral, California Fires, and our Incoming President’s Unaccountability (I might have made up this word, not sure.)
The Start of 2025
(If you think this is bad, just wait.)

RIP Jimmy
I wanted to share a story with you. It took place in either the late 80’s or early 90’s but Jimmy Carter had organized a program to bring over some people from Soviet Georgia to receive surgery for their ailments. My parents, John and Mary Lancaster had one of the recipients of the program to stay with them. I remember his name was Iraqli, not sure if that is how you spell it, but it is how the name was pronounced.) He was a doctor over there. He didn’t have the money to come to America for the surgery he needed, his mother paid for it. I think that he just needed to get over here and then everything else was free. Iraqli had a huge tumor on his face. He came over to Georgia for probably a month. I believe it was Emory that removed his tumor. He stayed with my parents for a few weeks, and then another family in Atlanta.
Out of all the wonderful things being said of all that Jimmy Carter did, I haven’t heard one person say anything about this program. Probably because the Carter’s have done so many good things that are just too numerous to even name.

Jimmy and Rosie
(We named our cats after them.) 🙂
I may credit Jimmy Carter for this program but I’m sure Roslyn had something to do with it as well. Just as she had something to do with every good works Jimmy Carter was ever credited for.
———————————————————————
I remember my parents telling me that Iraqli loved pickles so much and could not stop eating them, so they just placed the jar in front of him and let him have all of them.
Another cute story is that at that time my parents had a copy machine in their house. Iraqli was fascinated by that. My parents tried to explain to him that the only reason they had that copy machine is that it was leftover from his practice in North Carolina and that it isn’t common for most families to even own one. (Iraqli assumed that all American families had copy machines.)
When he went and stayed with that family in Atlanta when he had his surgery, they also had a copy machine. 🙂
———————————————————————
I just wanted to state that I have told you things throughout my years of blogging of my abuse my parents inflicted on me for most of my life. My brother Johnny once summed it up by saying:
‘We might have had rotten parents, but they were good people.’
What he said about them actually helped me to get through a lot of the abuse that I received from them. But, the abuse never ended, so I finally decided to stop judging them by how good they are to other people, and only judge them on how bad they are to me.
The example of my parents taking in Iraqli is a perfect example of the good that they would do for other people.
——————————————————————————
The California Fires

See the Palm Trees?
They are not indigenous to California, and they suck up a lot of water.
This is so very sad on so many levels. Not just the human, animal and plant life, but the destruction of homes, property, businesses, places of worship, schools, etc. Not to even mention the pollution that is contributing to the destruction of our planet.
When you hear on T.V. that Mel Gibson’s house has burnt down, all you think about is Mel Gibson. (Before I continue, I just wanted to state that I do not like Mel Gibson, I am just using him as an example.)
What most people don’t realize is that there are so many attached to Mel Gibson that have now lost in some way. There are the people that live with him, the people that work for him. His giant mansion is tended to by some very skilled gardeners, who also probably would tend to the gardens of many in the area. They have now lost their jobs and perhaps even gone out of business.
Also, the housekeepers that tend to Mel Gibson’s house most likely work for a company that tend to many houses in the area. They have now lost their jobs, and that business has probably gone out of business. There are also people that you don’t think about. Oh, and let’s not forget the pool boys, and who they worked for. Most of these wealthy have personal chefs, and personal trainers. They have now lost their jobs too.
Schools have burnt down, banks have burnt down, businesses have burnt down. They have all lost their jobs.
This tragedy is so grand that I don’t believe it can be fixed. Where are all these displaced people to go?
Of course there are solutions, but that would mean taxing the rich and we all know that won’t happen.
I would like to say something to those people that after every tragedy they all say the same thing, ‘I never thought this would happen here.’
Me: Why the hell not? Are you protected by magic fairies or something like that? Why can’t it happen to you? It can happen to any of us.
There is such a thing called, Global Warming. Yeah, I know we changed the name to Climate Change because when most ignorant people hear the words, Global Warming, they tune out because they think of Al Gore. Each year our planet gets hotter and hotter, dryer and dryer, yet no one can connect the dots, and not wonder why this is happening?
———————————————————————–

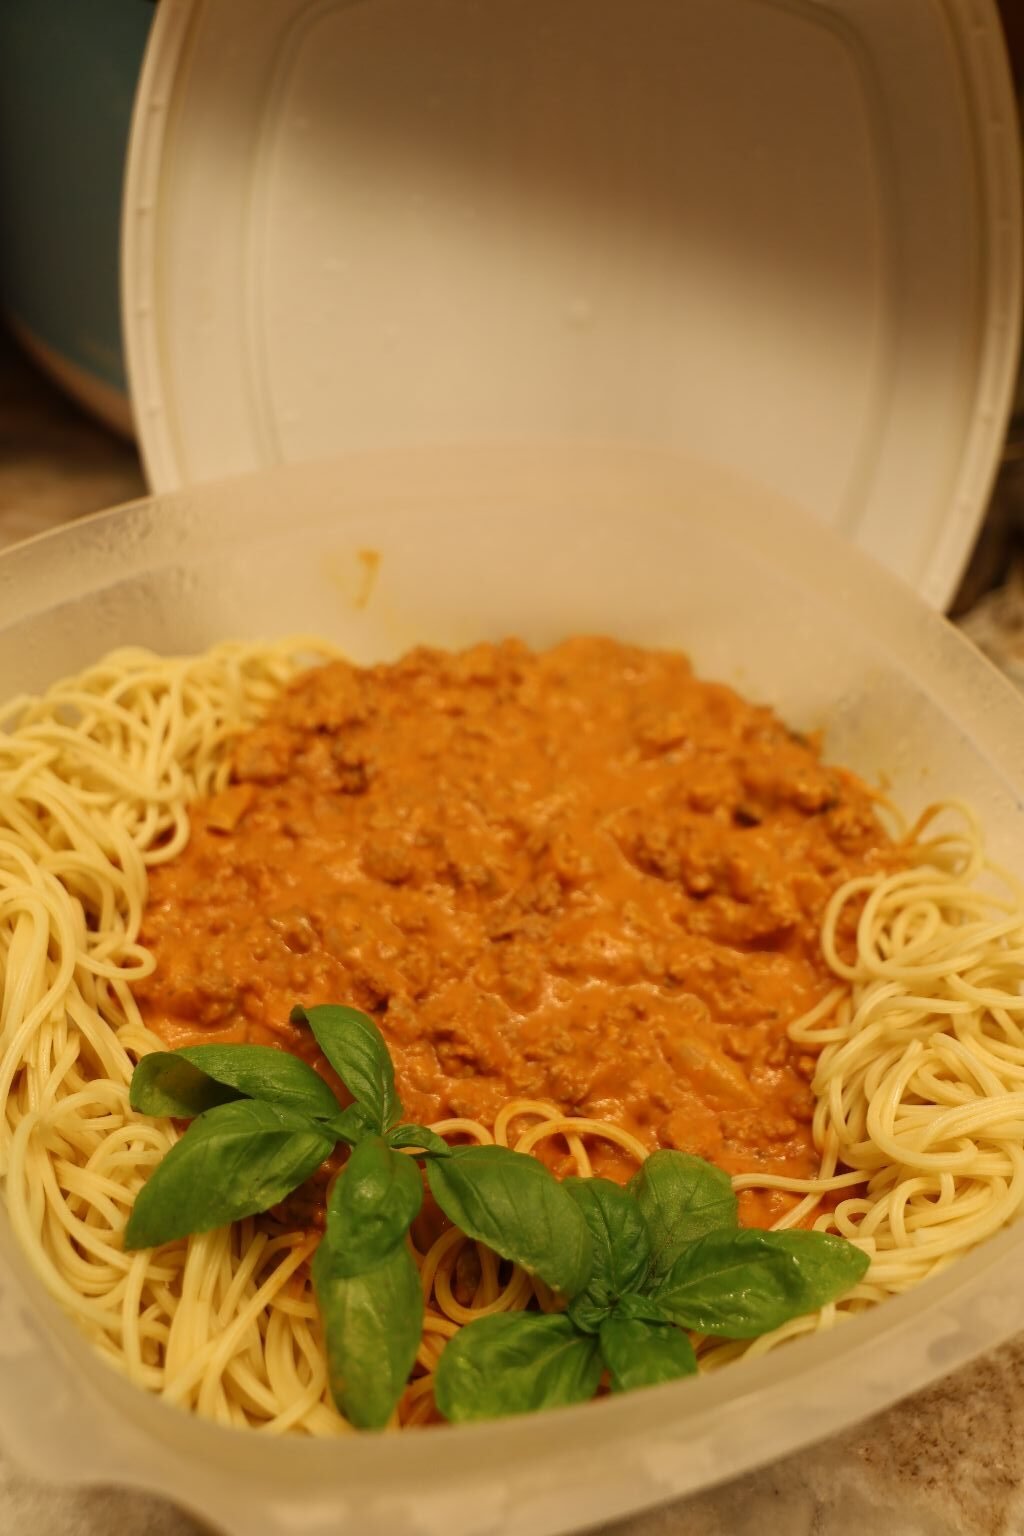
My Spaghetti Pie
It was while I was making my Spaghetti Pie that I was using so many ingredients from California. That excellent Olive Oil that we use so often, and love so much The tomatoes grown in California, etc. I then wondered if the fires would affect our ability to even have these items in the future? I’m not trying to be selfish. I’m just pointing out that we are all connected and what happens in California can affect me here in Florida.
We need to care about each other. We need to help each other. We need to put our planet before profits.
Yeah well, stay tuned, huh?
And a big P.S.: Mel Gibson is the one that is going to be o.k. even though he is the one that lost his house.
——————————————————————————-
And Now For The Most Disgusting…
In my 63 years I haven’t seen too many evil people pay a price for all the evil that they do. I won’t be naming names, but you know who I am talking about.
When I was in Elementary School in Roanoke, Virginia we watched the Watergate Hearings on T.V. every day. It was history. Our teachers knew it was important that we watch and be engaged, to know what was going on, and how serious it all was. That was such a long time ago when the criminal activity of our politicians was considered bad and important for us to know about. But not now.
I’ve heard the Democrats talking about how they need to change to appeal to the rural voters. WHAT? CHANGE? TO APPEAL TO A BUNCH OF RACISTS?
Exactly how are they going to do that? Become racists themselves?
I say, be yourself. Don’t try and appeal to any bad actor. Why? Is selling your soul just so you can win elections worth it? I don’t think so. Yet, this is where we are in our country.
————————————————————————-
If America is an evil country, then it’s an evil country. There is nothing we can do about it. Except perhaps to carve out a small significant portion ourselves in our daily lives where we disconnect from that evil and do good. There may come a time when I quit watching the news altogether. There may come a time when I deactivate yet another social media account of mine. I know that I have deleted some website pages of mine. Perhaps I will be deleting all my personal blogs as well if I see the need. There may come a time where I spend my days doing nothing but gardening, crafts, cooking, helping, etc.
As I told my brother Johnny in Ireland, ‘I guess I’ll just play princess castle with Isabelle until they drag me out into the town square and hang me for my liberal views.’
Julie
————————————————————————–
January 6, 2025
My Inspiration In Life is Sea Biscuit:
(I realize I’ve posted about Sea Biscuit before, but with the coming 2025 Administration that is to be sworn in on Martin Luther King, Jr. Day, I think a lot of us will be looking toward the inspiration of the underdog. Sea Biscuit and his jokey and trainer, are mine.)
Sea Biscuit VS. War Admiral
I grew up with so many of my family and their friends who loved Sea Biscuit. In this clip you hear George tell the jockey Charlie, ‘So Long Charlie’ right before he takes off. I heard that said so many times when I was young, when anyone would leave our house. It was like saying, ‘see you later.’ But, the meaning was all about Sea Biscuit.
———————————————————————————-
So Long, Charlie,
Julie Lancaster-Whann
————————————————————————————–
RECIPE

My Curry Leaf Roasted Olives, Garlic and Sundried Tomatoes
—————————————————————————–

Our Front Yard Curry Plant

Draining My Olives and Washing My Curry Leaf Branches
(I can’t believe that I have no photos of my Olives that I used here in the jars they came in. However, I will do my best to name them in the ingredient write-up.)
———————————————————————–

Ingredients: Amounts Are Up To You
Assortment of Olives, preferably Pitted
I used Kalamata Olives, Moroccan Olives, Italian Castelvetrano Olives, and large Stuffed Olives
Sundried Tomatoes
3 Branches of our Curry Leaves
Fresh Garlic Cloves
Roasted Garlic Cloves
Key Limes
Spices:
Oregano
Dill Weed
Dill Seed
Basil
Olive Oil
——————————————————————————-

——————————————————————————-


My Roasted Garlic, Left, and Fresh Garlic Cloves, Right
(Each one adds a different flavor.)

Turn Your Oven on 400F
Line a Baking Sheet with Aluminum Foil and create a sort of “bowl” to be able to hold all the Olive mixture so they don’t expand all over the baking sheet.

In a Medium to Large Bowl I Added All My Drained Olives and some Fresh Garlic Cloves, as well as some Roasted Garlic Cloves.


I Chopped My Sundried Tomatoes into Smaller Pieces
(I love this brand of Sundried Tomatoes, I snack on them all the time.)

Add Everything To Your Bowl


Time To Add Your Spices,
And Key Lime (or Lime) Juice
(You don’t want your bowl full of olives, etc. all wet. You want everything to mix together nicely and not have some puddle in the bottom of the bowl. This should give you an idea of how much Lime Juice to add.)


Mix Everything Together and then Drizzle Your Olive Oil Over Top
This is a really good Olive Oil. By all means, stock up on it. You will use it quite often. It is one of the best.
(I tend to always add more, so just drizzle enough to combine everything together. You can always add more later on.)
——————————————————————————-
Now It’s Time To Place Them on the Baking Sheet


I Placed One Curry Branch Down First,
Then I Poured The Bowl of Olives Over Top
I Also Drizzled More Olive Oil Over Them to Make Sure They Were All Coated Well

Into The Oven They Go For 20 Minutes
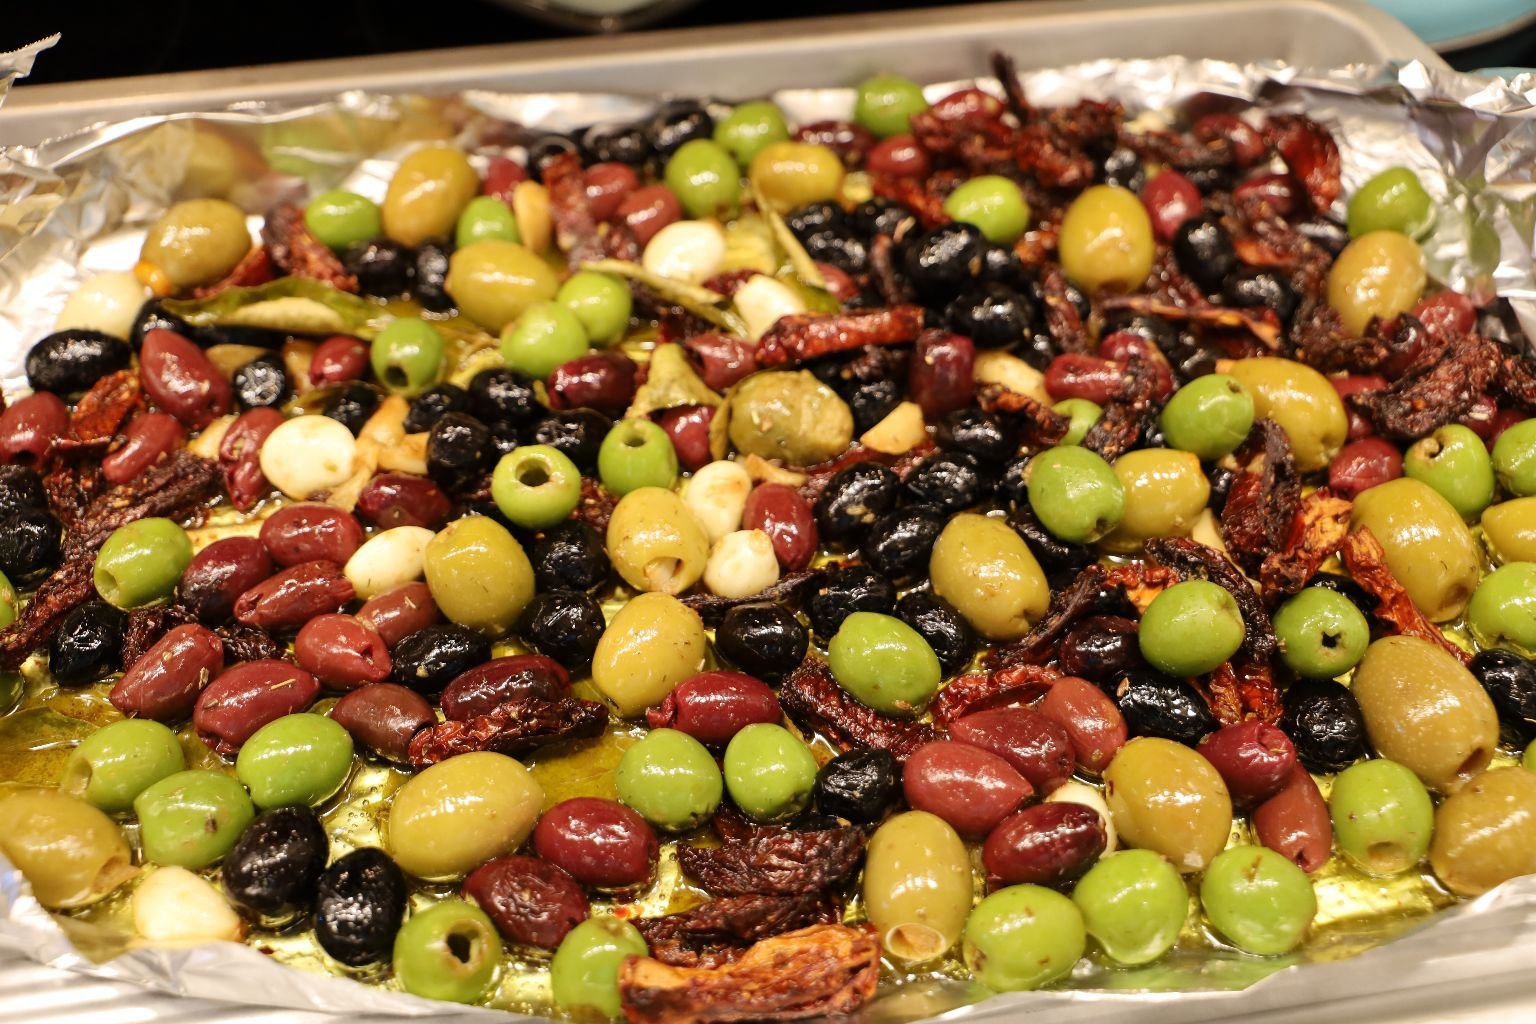

Here I removed them and stirred them around a bit. Just to make sure they weren’t sticking to the Aluminum Foil, and to make sure they were coated well in the Olive Oil.


I Also Added More Spices… just a few Shakes of This and That

Then Placed Them Back into the Oven for Additional 20 Minutes

Curry Leaves Should Have Been Blacker
(I would have loved for my leaves to have been more Charred, as they eat them overseas, but I didn’t want my Olives, etc. to be more done than they were.)

After a Total of 40 – 50 Minutes in the Oven….
Allow To Cool…


Then Place Into a Bowl and Add Some Fresh Curry Leaves Around
Keep in the Refrigerator
Fingers Crossed They Win Me The JOB!!!
Very Sincerely,

Mrs. Gordon Whann
—————————————————————————————

Many years ago Kiwi Chef Leilani Wolfenden and her then husband Aussie Tomas Stanislovski came to Florida to visit us. Leilani was the daughter of our good friends from New Zealand, Trish and Bob. They stayed with us,we took them to all …

My, my… Peanut Butter Pie I’m originally from North Georgia, Rome to be exact. Peanut Butter is probably my most favorite food in the world. I eat more Peanut Butter than I do anything else. I knew I would be making …

Ciao e Benvenuto
(Starting this in 2024)

Although Gordon and I have many Italian website pages full of recipes and ideas, I wanted to start this page just for me. With Gordon working overseas, he is not here to co-contribute along beside me, so it’s really just me now. Oh, he does come home for visits, and we do talk and collaborate most everyday on the phone, but sometimes it’s just me and my ideas. Most of the website have been my ideas, Gordon is just the excellent partner that I need to bring these ideas to fruition. He can figure out how to make my ideas work. He will think of things that I don’t. And, I will think of things that he doesn’t. We really are great partners whether it be working on the website, or in our married lives.


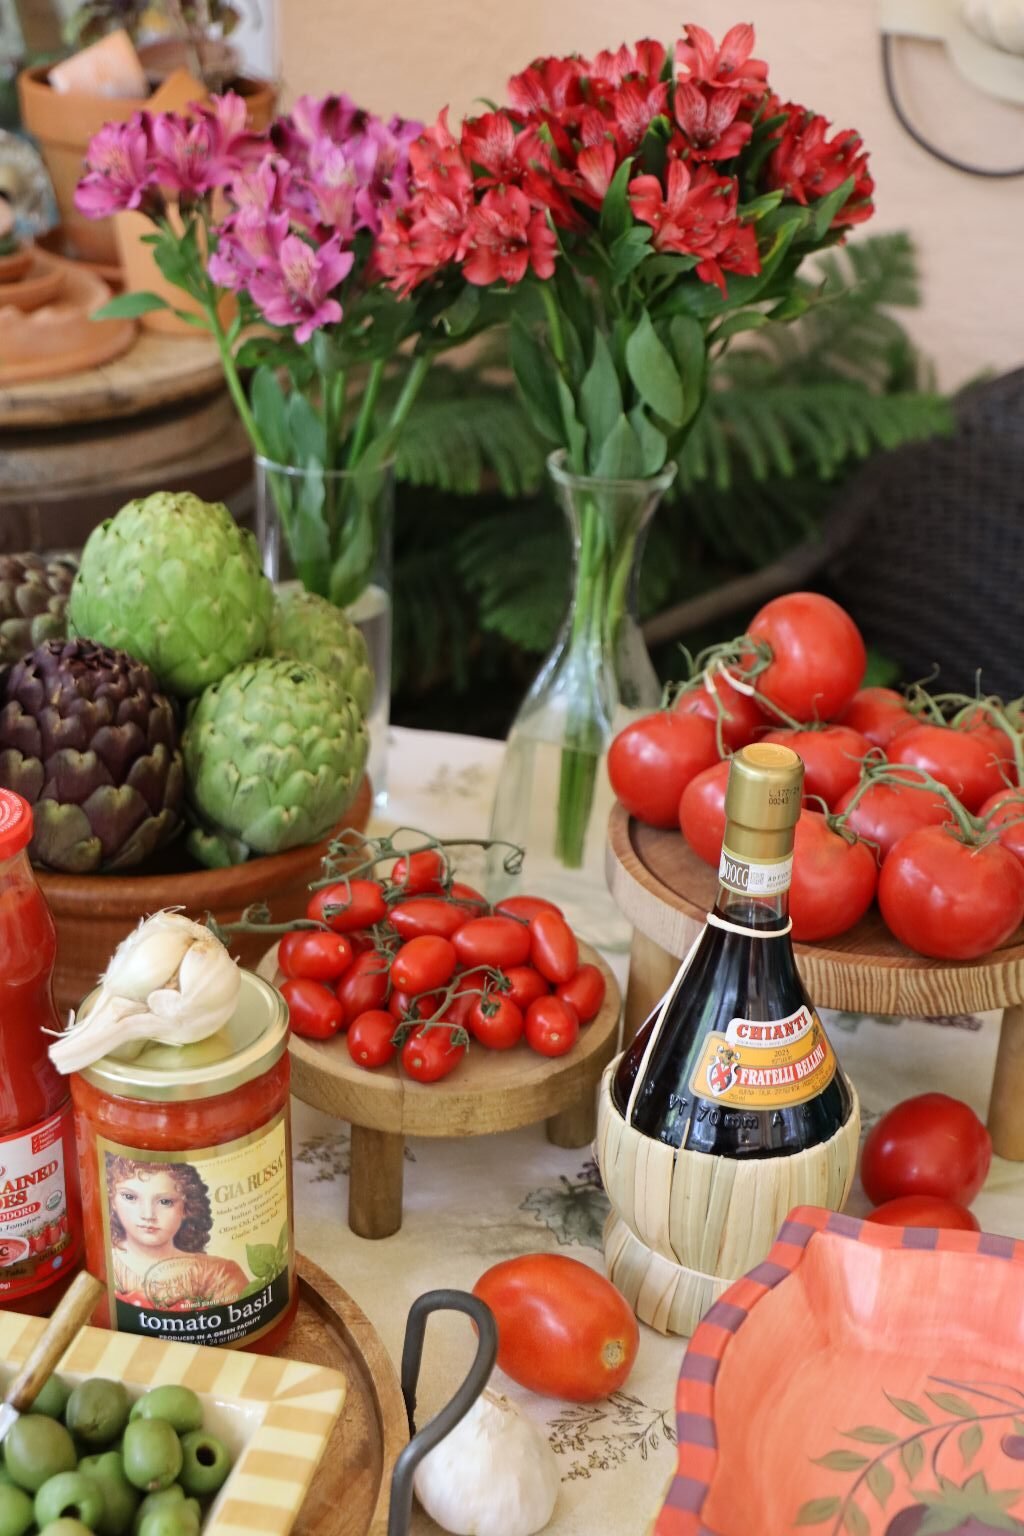
Italian Ingredients Are Beautiful and Colorful
I would like to state that I am not Italian. Nor do I wish to be. But, I do love the foods and the ideas that come with the foods the Italian people create. The Italian people are also very inspiring in their technique and food ingredients. There is so much history there. We here in America do not have the long history that other countries and cultures have. Our country is relatively new. But, we do have the uniqueness of a blending of so many cultures of people that have migrated over here from other countries. Some, looking for a better life. But, always bringing with them their foods, recipes and spices from their homelands.

———————————————————-
With this blending of foods from other countries, many of us are inspired to create our own recipes using the ideas and ingredients that are brought over here. Whether they are brought through Ellis Island, crossing the border on foot, arriving via airport, or discovering creative people through the Internet, it’s all very inspiring!

(My Rome Handbook from my college days. I save everything!)
I hope to add more to this page as I go. I hope you will enjoy reading as much as I enjoyed creating.
Grazie,
Julie
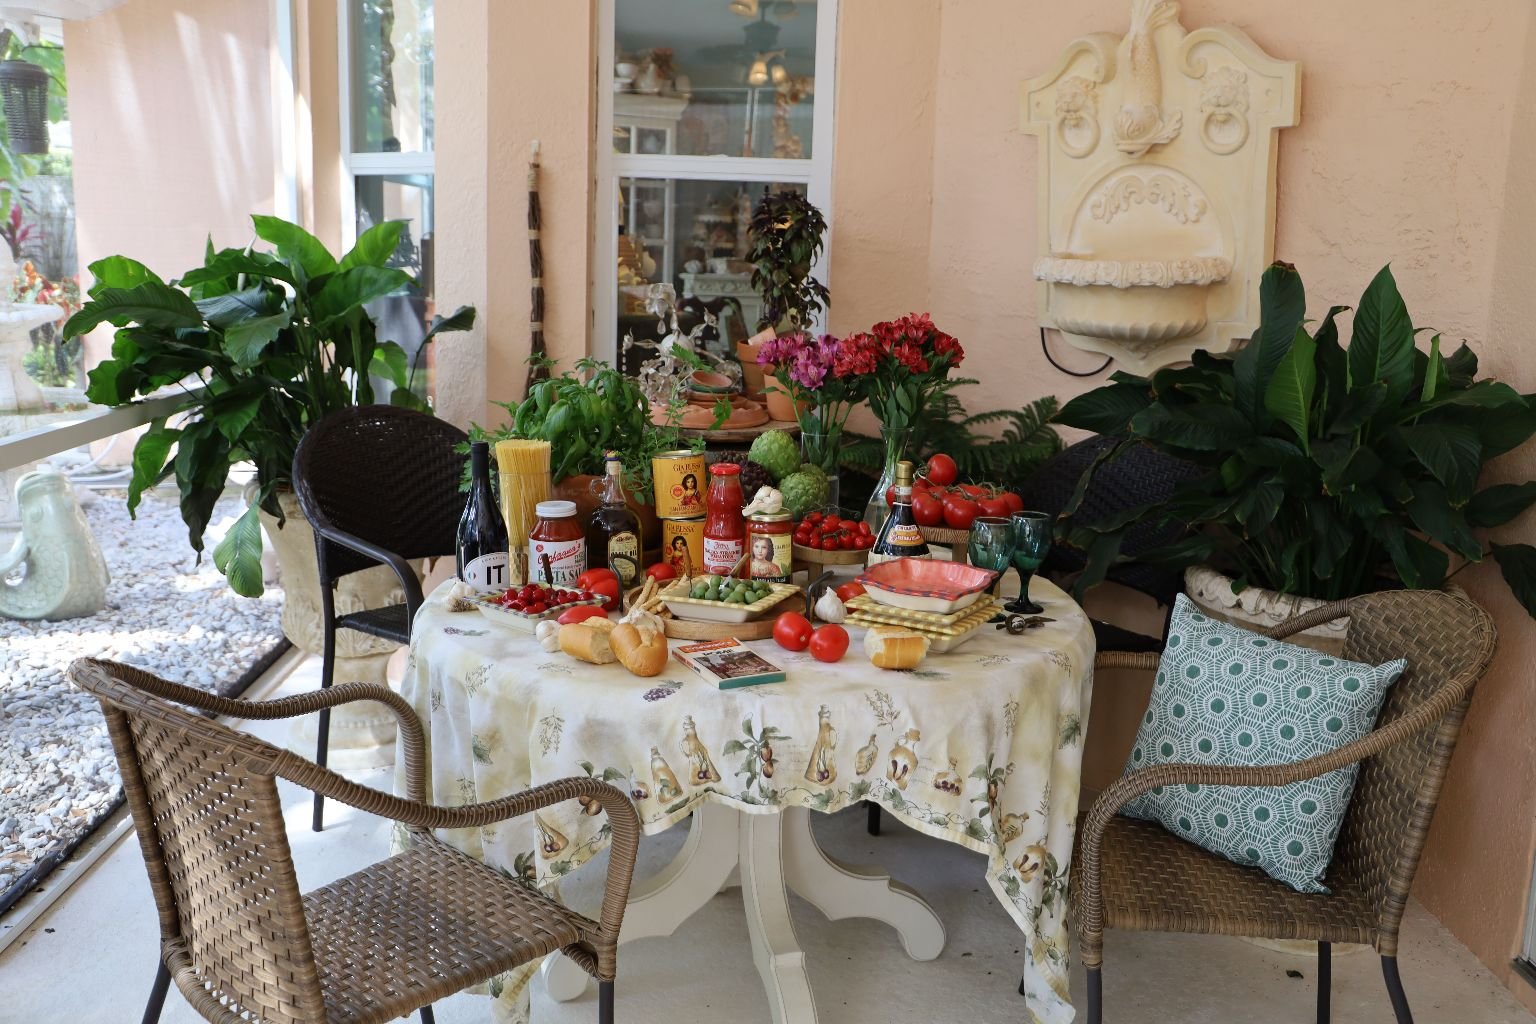
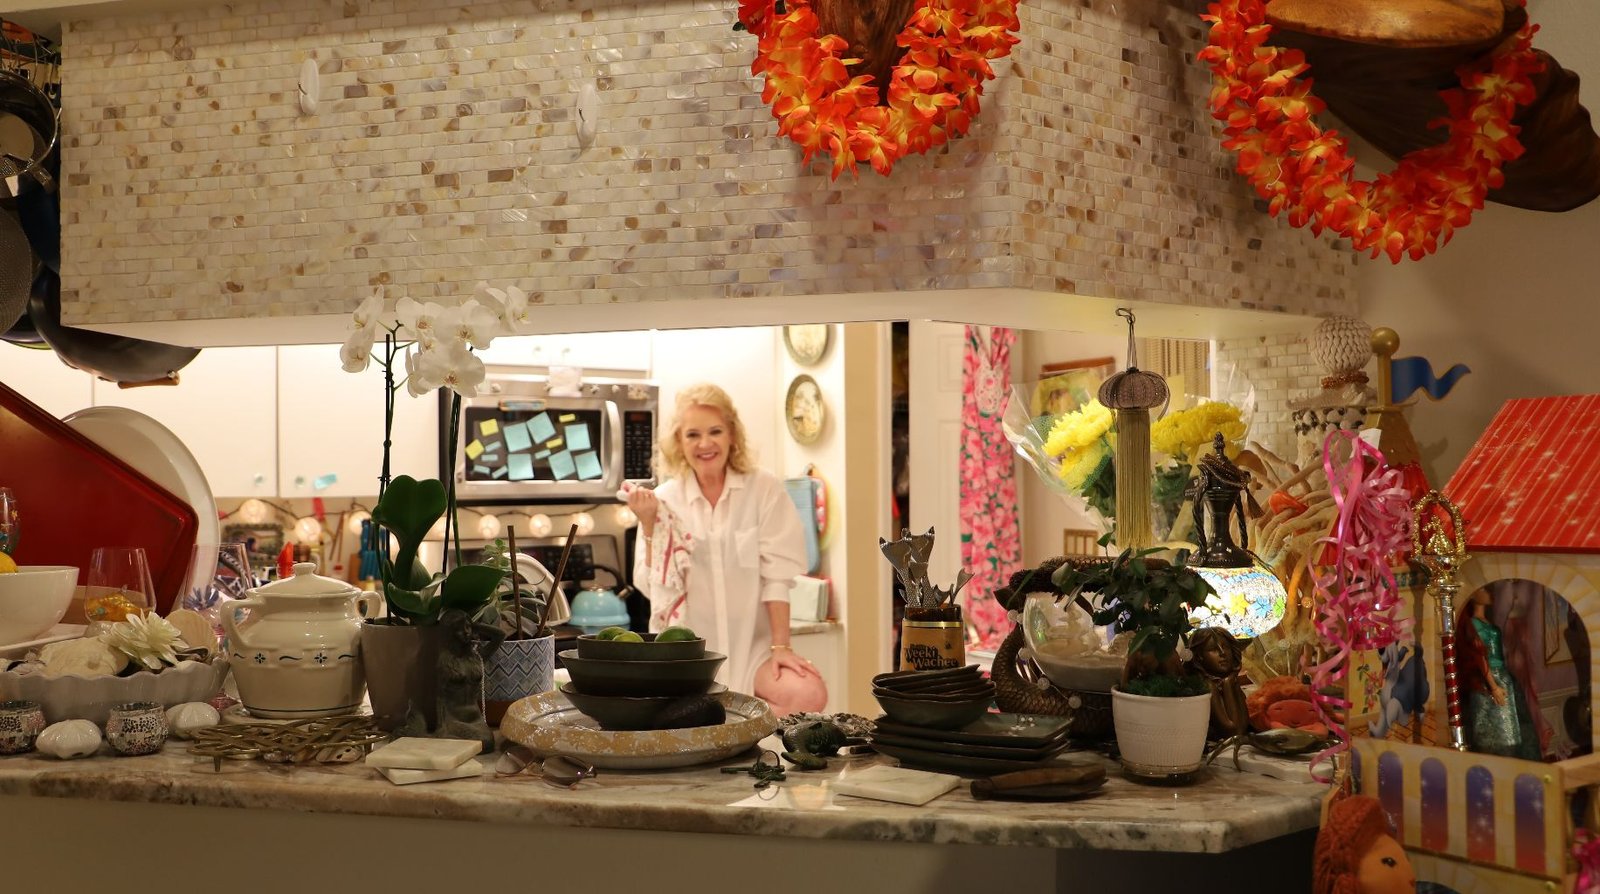
I Call This Area My Little Outdoor Italy
—————————————————————————-
Italian Herb Project

I Adore my Italian Herbs!


Here is a Project Where I Planted Flat Leaf Parsley, Basil, and Oregano in the same pot.
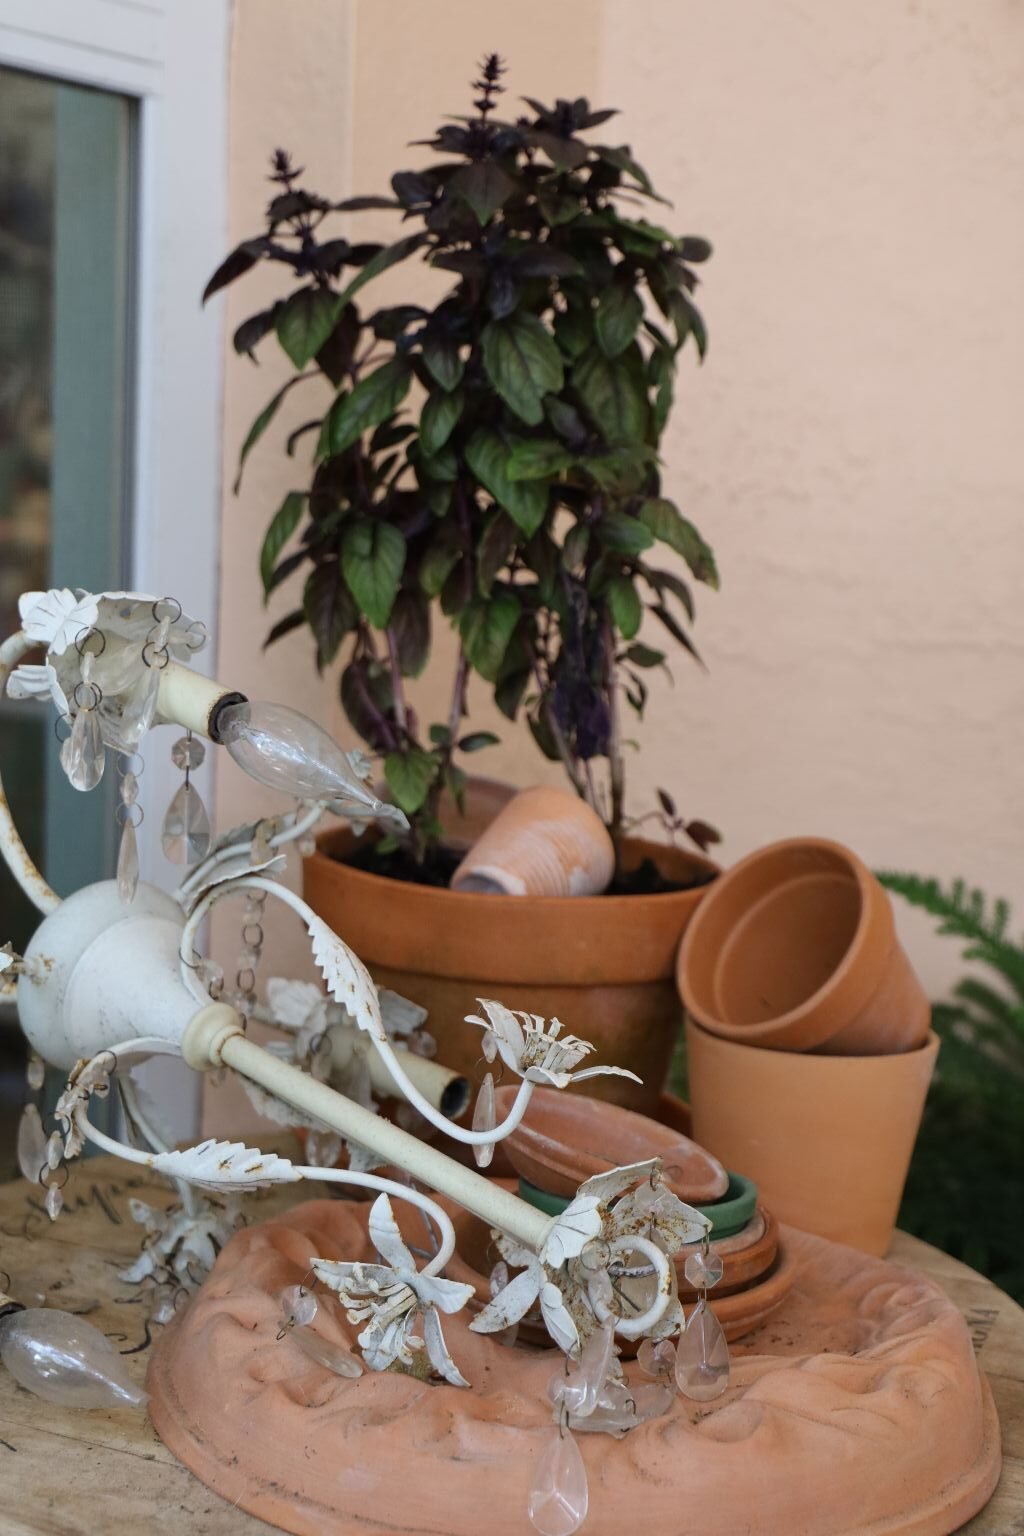
Purple Basil

To Me This Is Italy In A Pot
———————————————————————————

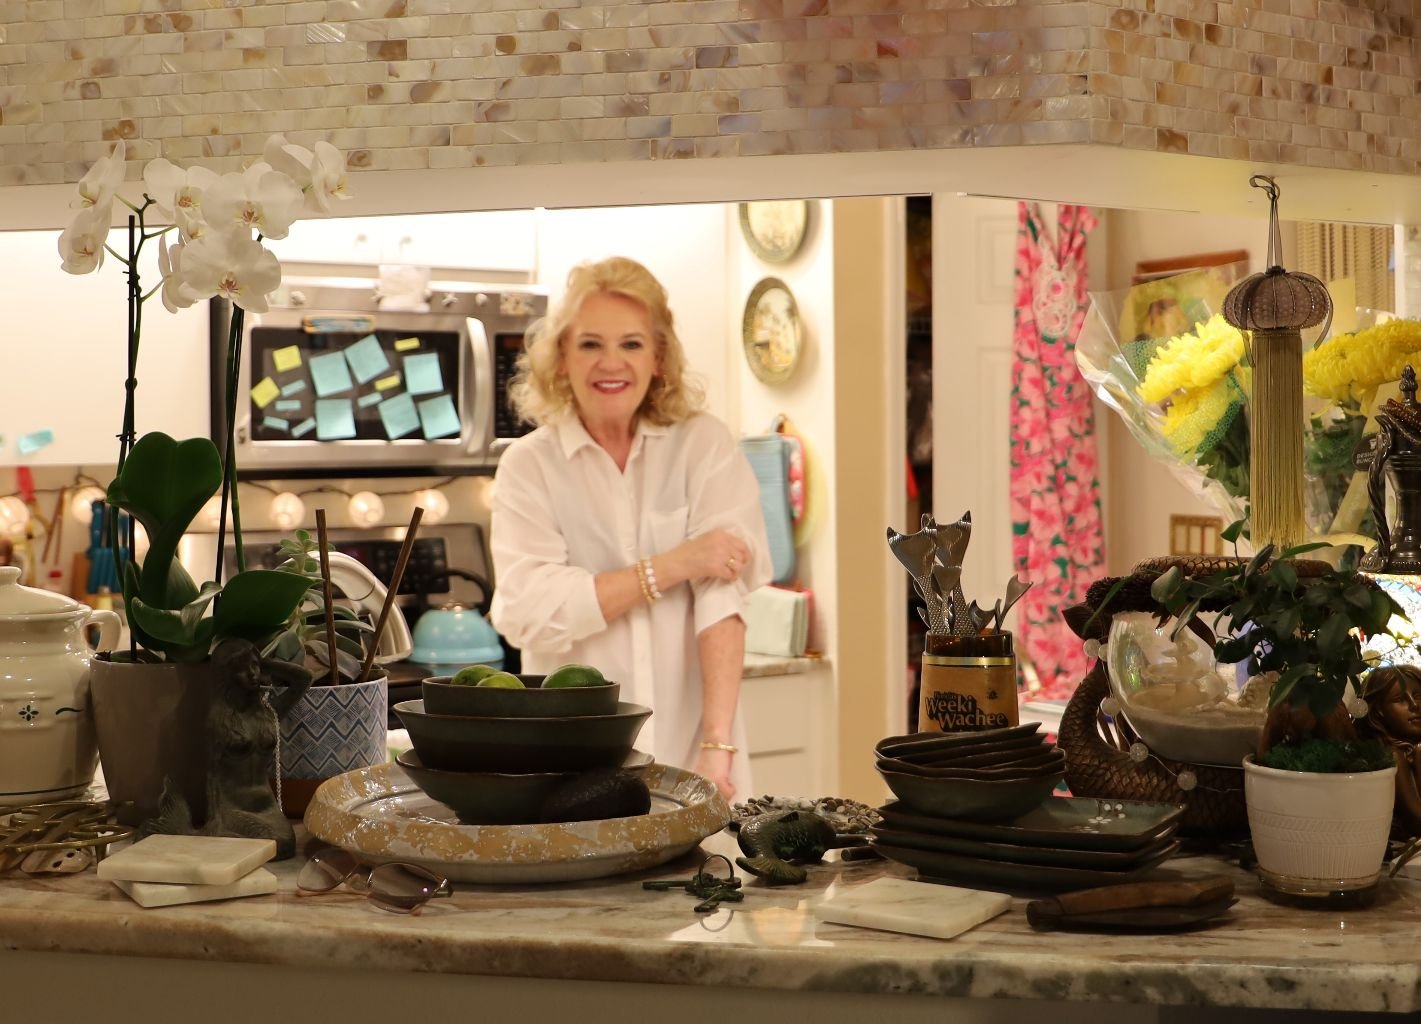
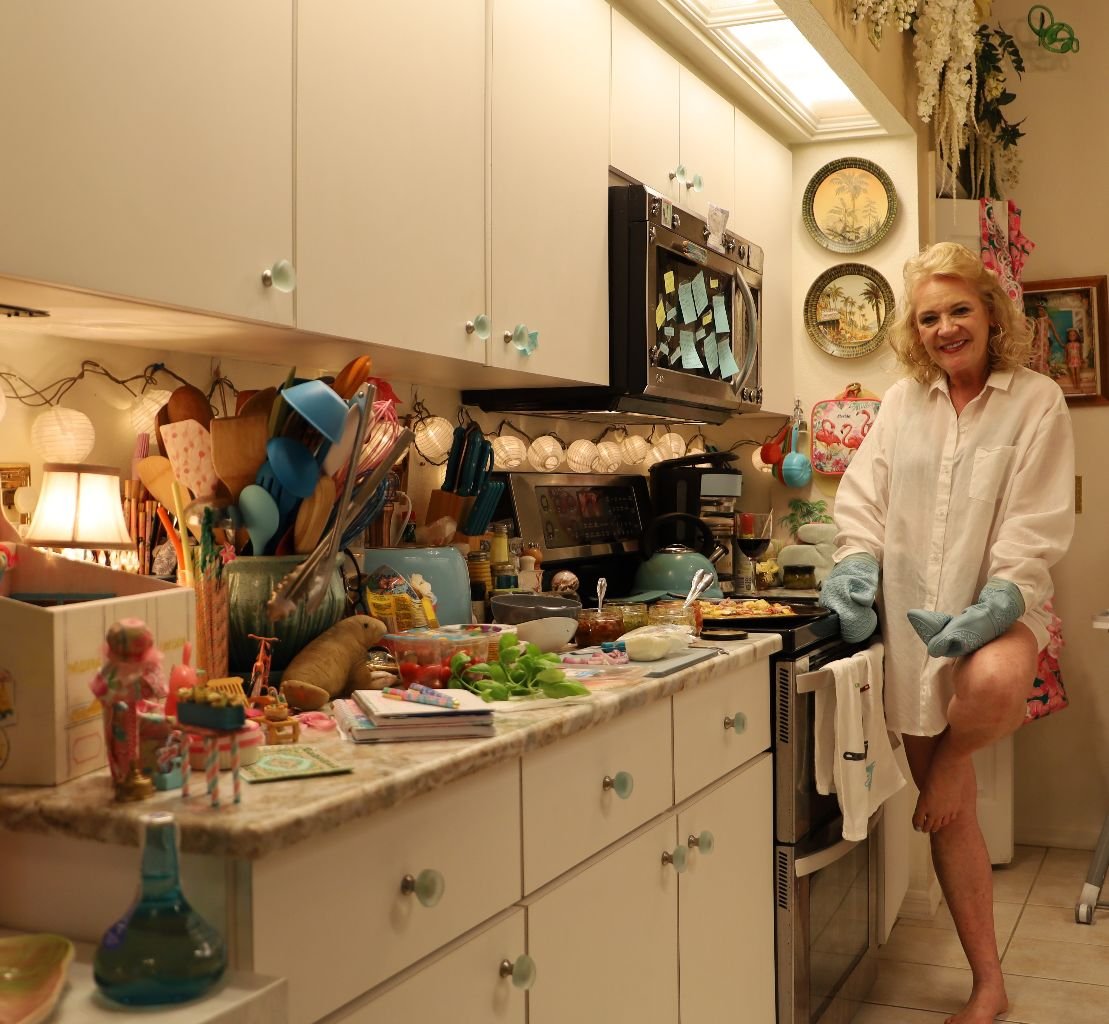
Our Creative Kitchen
Although I’m sure that “experts” will trash our kitchen as being too cluttered, or non-functional. I will actually agree with them. However, this cluttered, non-functional, tacky kitchen reflects our personalities perfectly!
So, Moving On…..
Rolling Up My Sleeves Ready To Get Started

These Small Jars ARE My Inspiration!
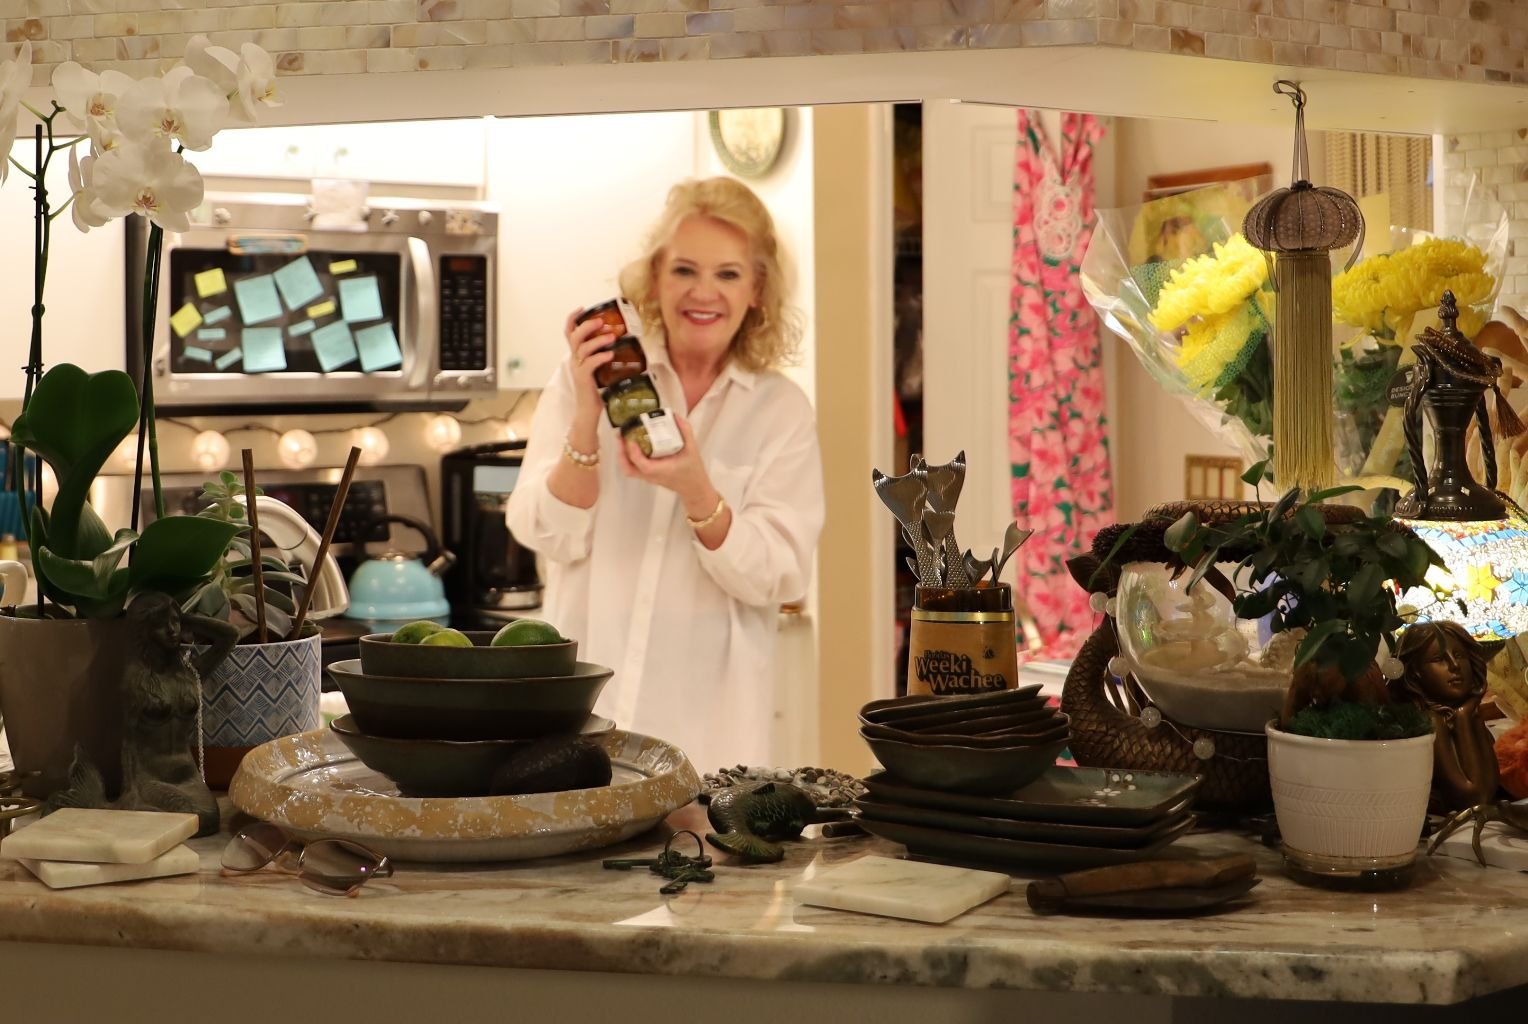
Cucina & Amore
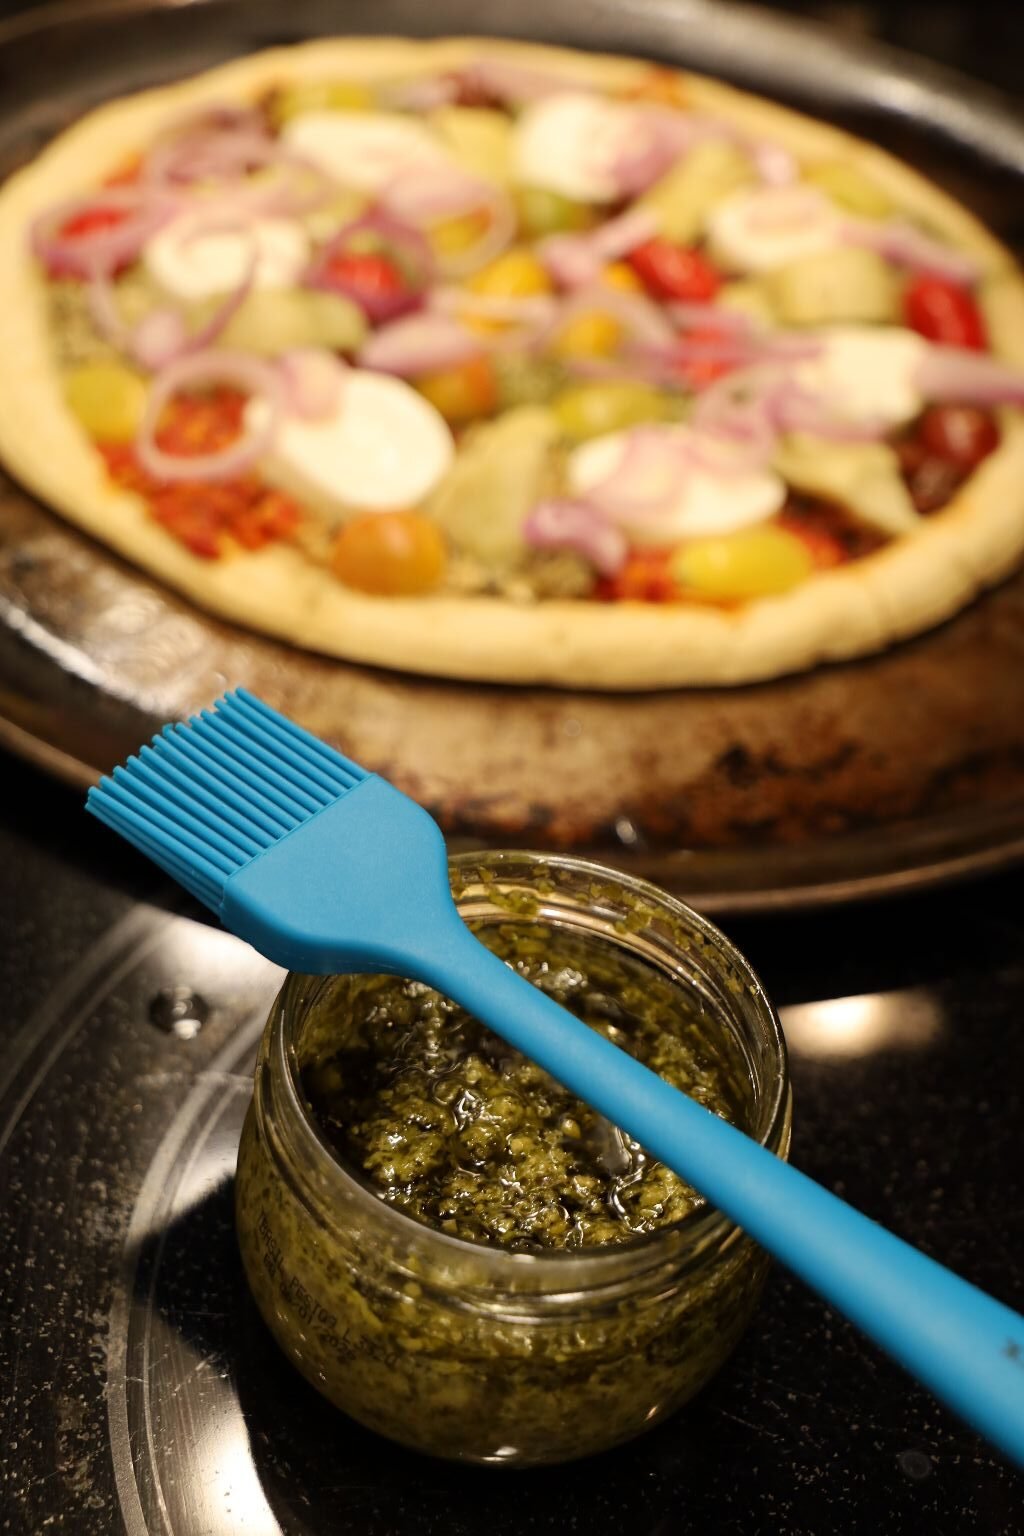
Bruschetta’s and Pesto’s


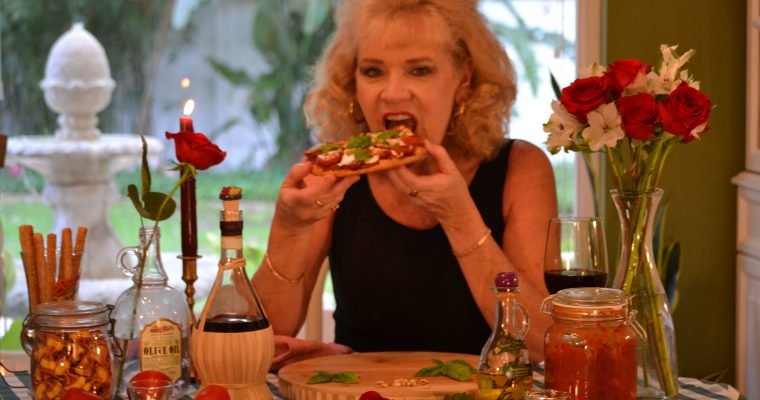
I Love Creating a Great Pizza
It popped into my head one night to use these great Bruschetta’s and Pesto’s on a pizza. I could even picture dolloping them in round circles all over a pizza crust, and then adding more great ingredients on top of them.

Here is the completed pizza. The recipe is below. It was truly delicious!
Which is why I wanted to share it with you.

———————————————————————————————–

This is a Keeper!
———————————————————————————-
So, who is ready to join me in my cluttered and tacky kitchen?
Hey, some great meals have been created in this kitchen.
It’s all about the heart, and there is plenty of heart here. (And a few mermaid tails.) 🙂
—————————————————————————–
UNDER CONSTRUCTION
Pasta Bowls

———————————————————————————————

1930’s Irish-Italian Spaghetti
(Recipe Down Below)
——————————————————————————
UNDER CONSTRUCTION


(Recipe Down Below)
———————————————————————————-
Recipes Start Here
——————————————————————————-
Funny, But I Don’t Even Know What To Call It?
Well, How About, Julie’s Inspirational Pizza? 🙂
Tastes Good To ME!

Just an FYI: I Happen to be Wearing Shorts 🙂
I can just hear my children now, ‘OMG! Mom’s on the internet with no pants on!’
—————————————————————————-

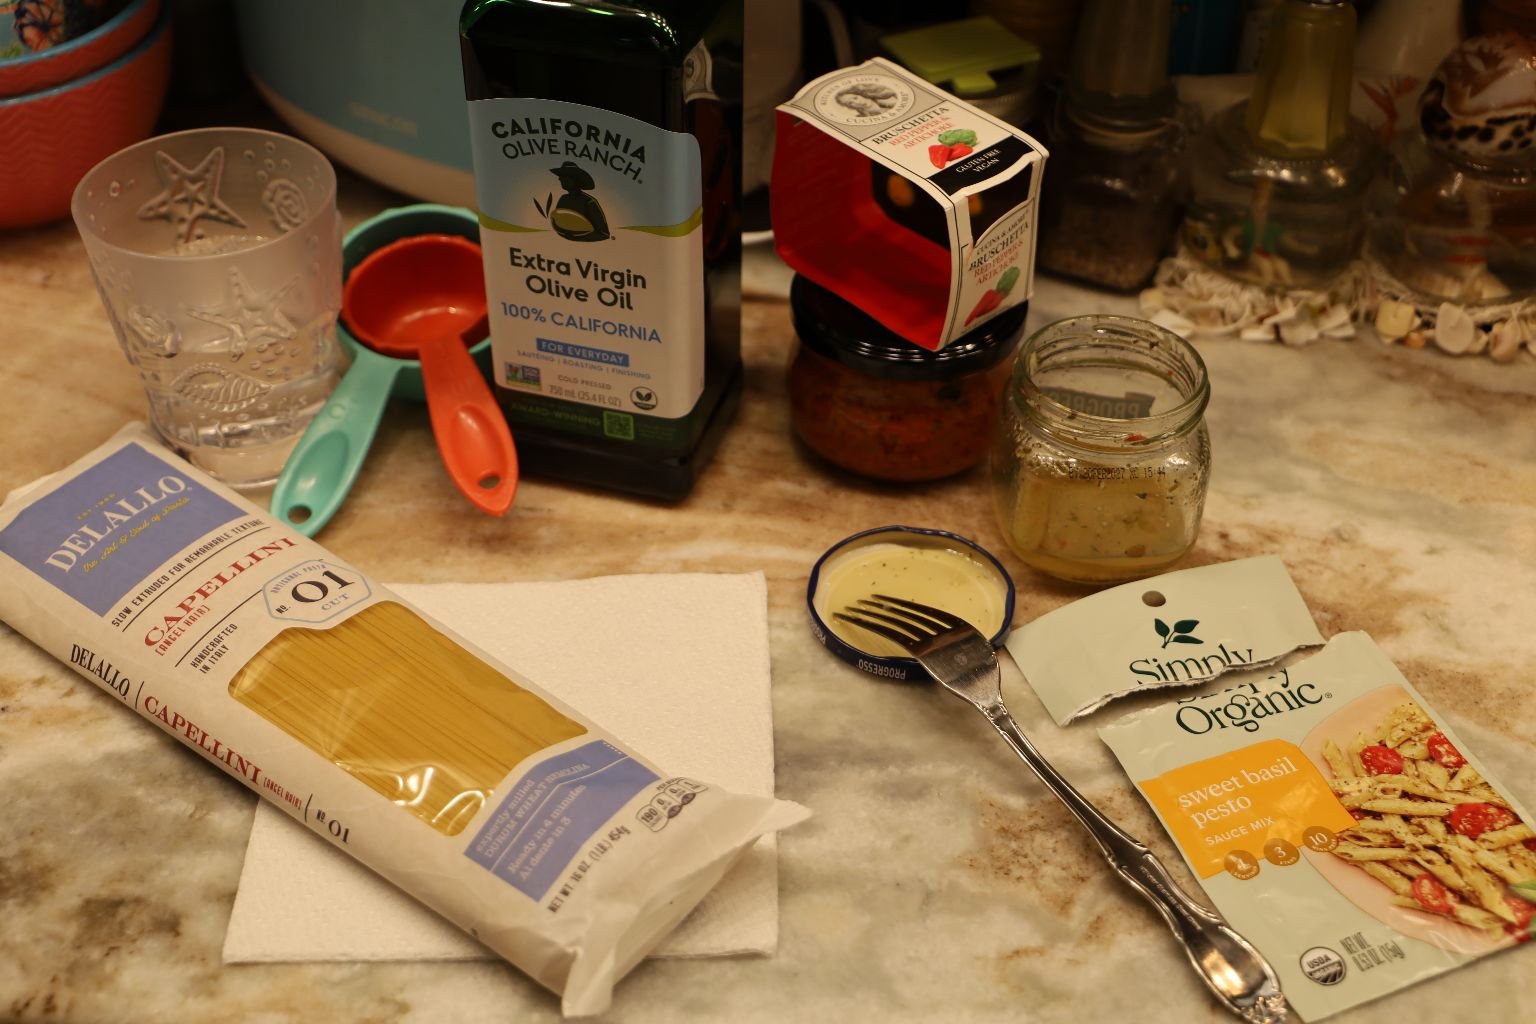
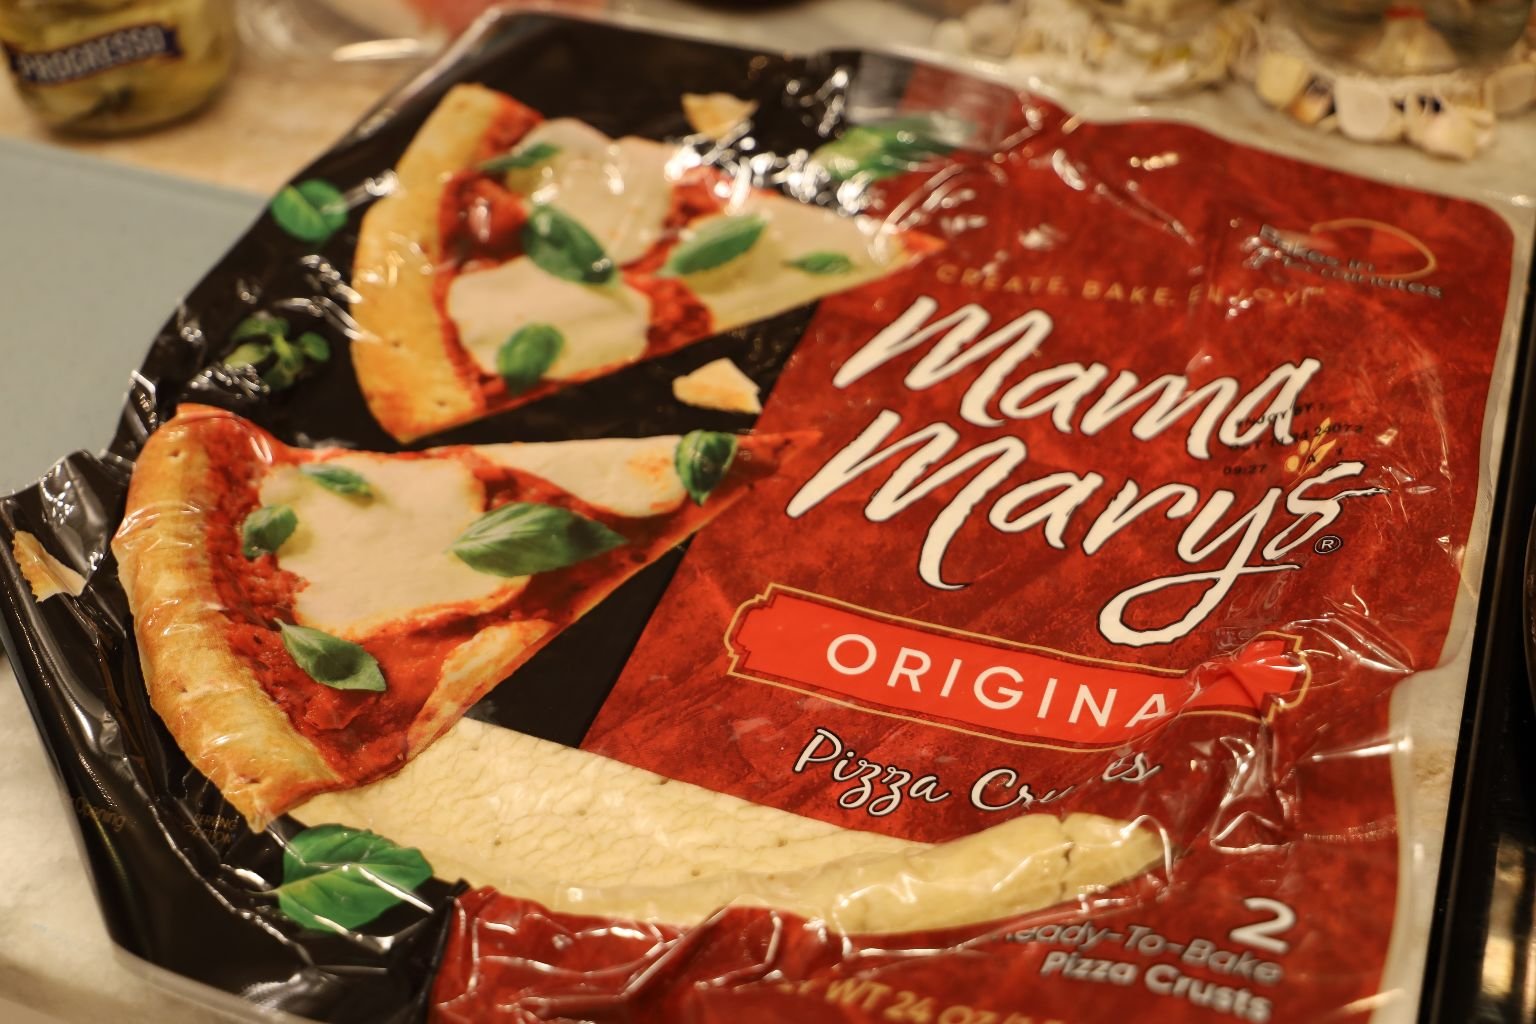
The Ingredients:
Mama Mary’s Original Pizza Crusts (Pack of 2)
The Exceptional Cucina &Amore Bruschetta’s and Pesto’s:
Pesto Alla Genovese (Basil)
Pesto Alla Firenze (Artichoke Lemon)
Bruschetta (Sun-Dried Tomatoes)
Bruschetta (Red Pepper and Artichoke)
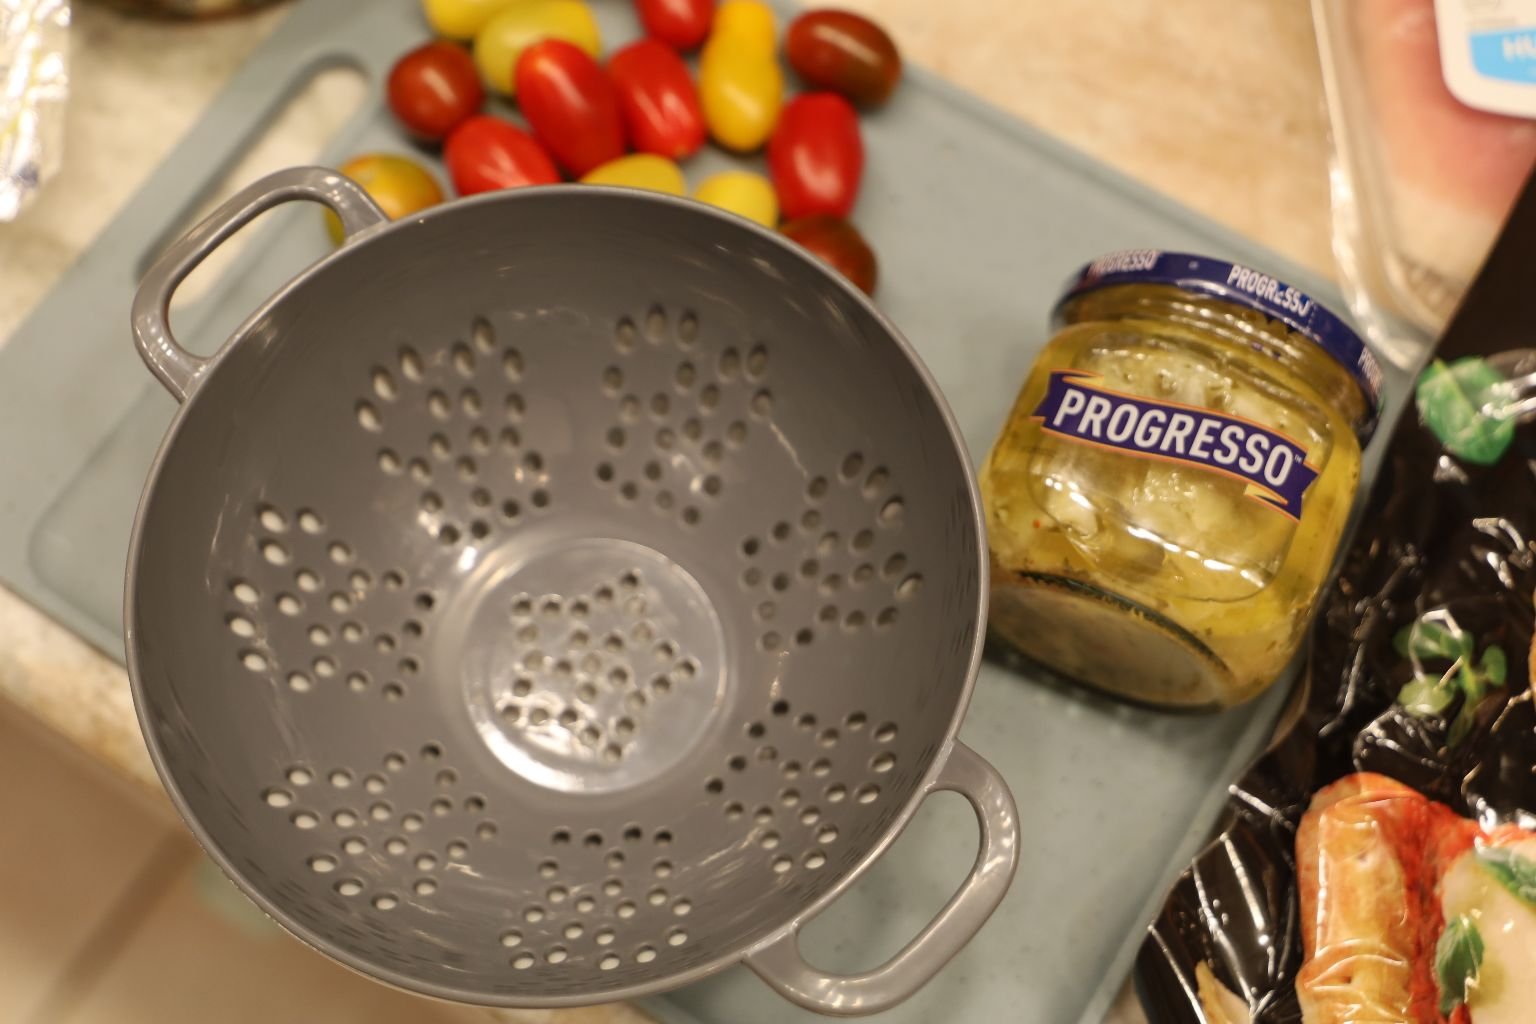
Grape Tomatoes, Sliced in Half (As many as you like.)
1-2 Jars, Marinated Artichoke Hearts, Drained
Fresh Mozzarella, Sliced
(Pictured in the ingredients are some marinated mozzarella balls. They would have been great here, but I omitted them from this recipe as I thought there was just too much olive oil from the Pesto’s and Bruschetta’s.)
Shallots, Chopped into Rings
Fresh Basil Leaves
Proscuitto, Italian Ham
————————————————————————————-
Before I Assemble the Pizza….

I Need To Start Chopping Everything
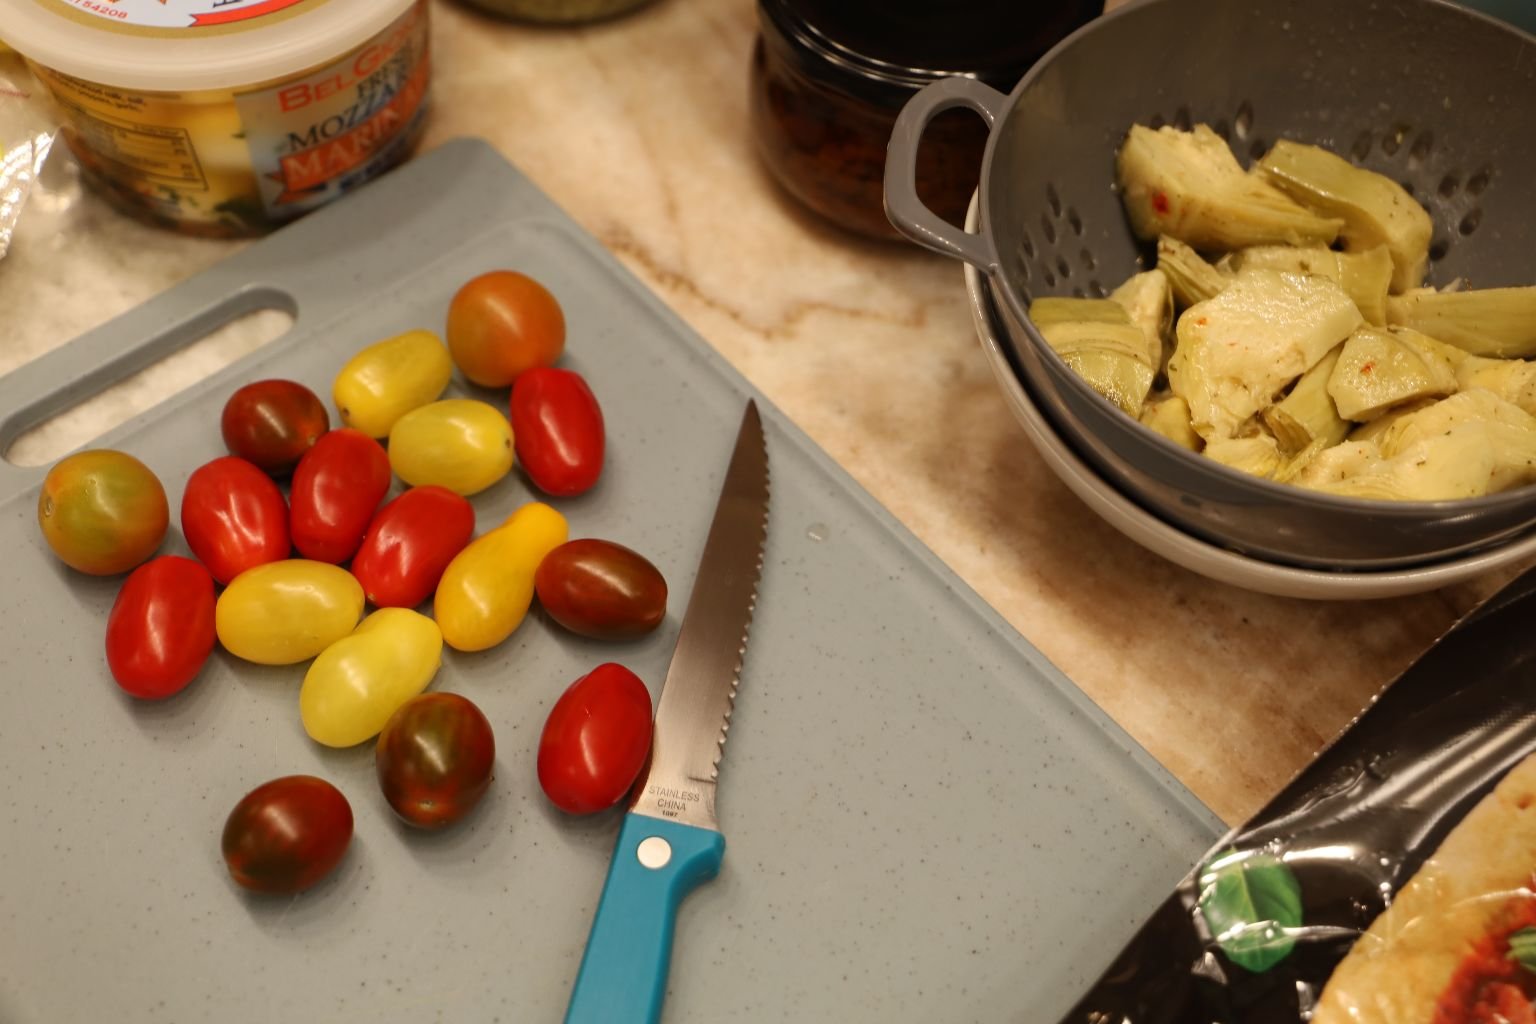

The Grape Tomatoes, and the Shallots…
—————————————————————————–


Before I wanted to assemble the pizza’s with all the delicious ingredients, I wanted to bake them for a few minutes first on a 350F oven. You first want to use the Olive Oil Pam Spray on the Pizza Pan so the Pizza Crust doesn’t stick.
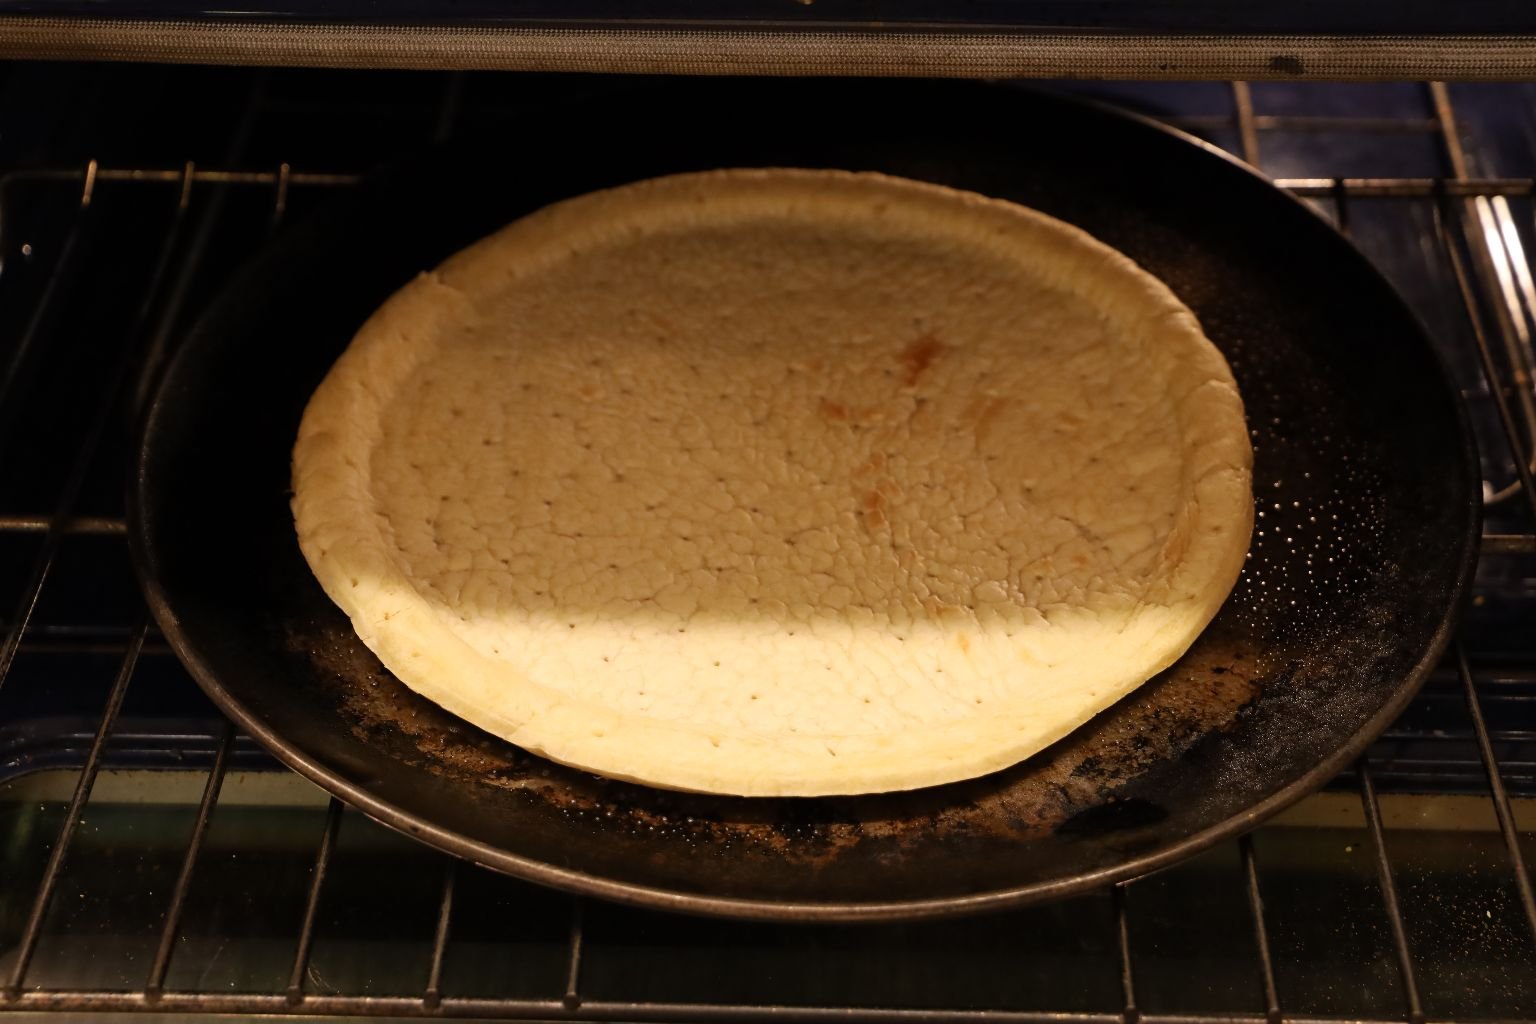
Just for a few minutes. Perhaps 3-4. Then remove from the oven and set aside.
—————————————————————————————-


With My Pizza Crust Out Of The Oven…
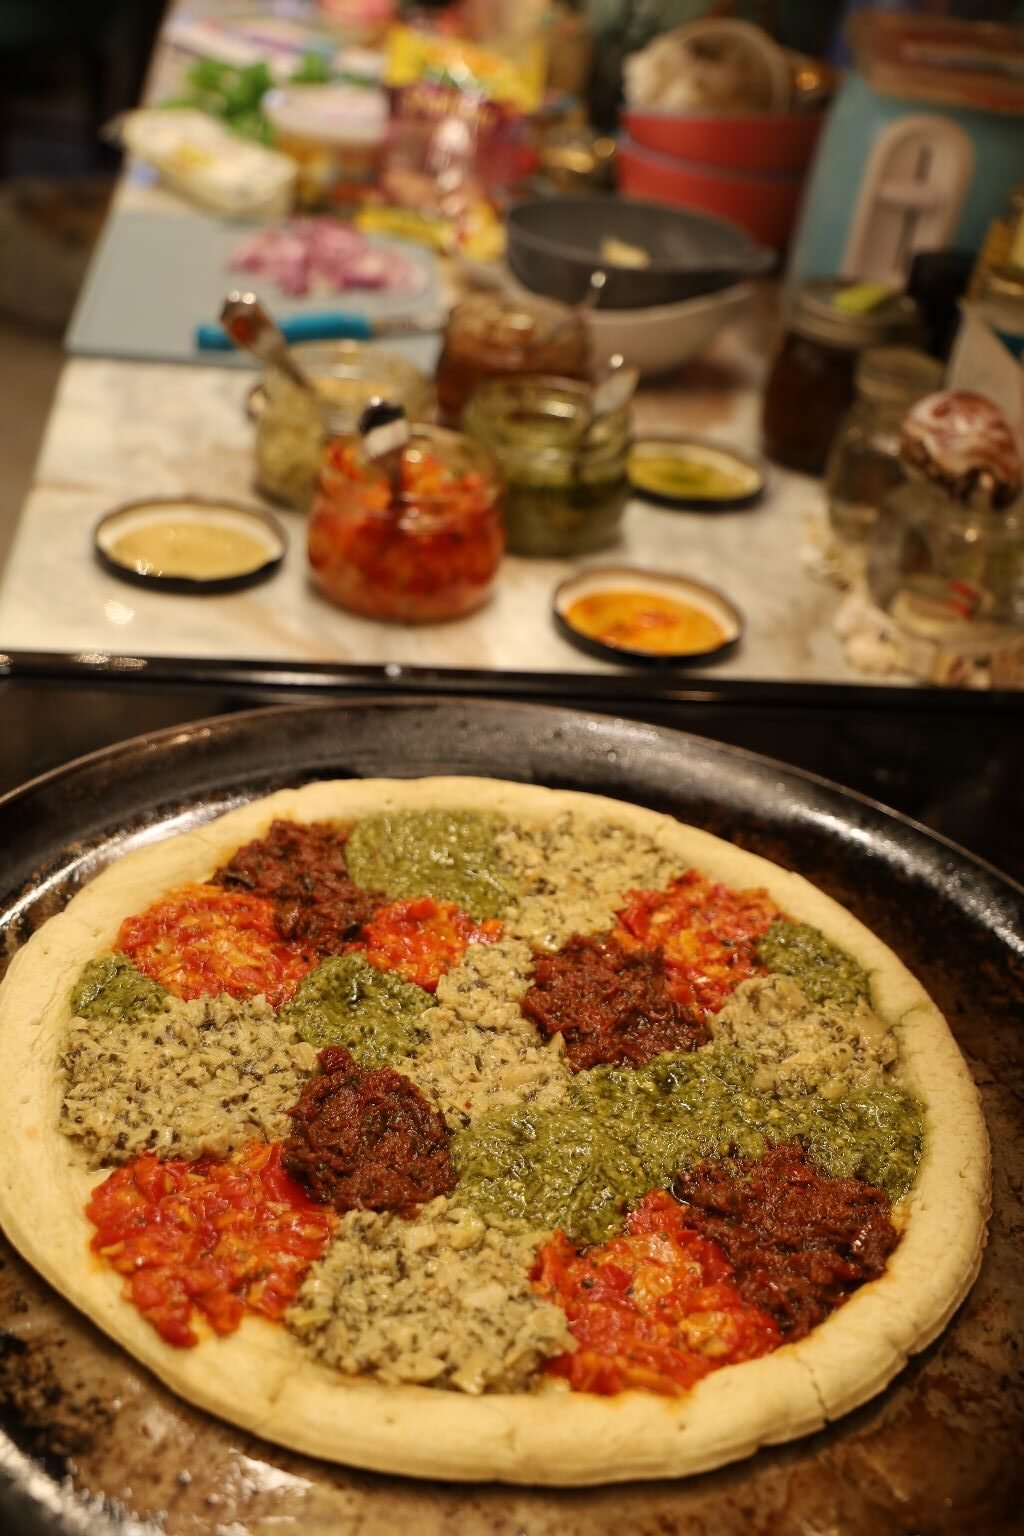
It’s Time To Start Dolloping These Tastes All Over!


I specifically wanted the pizza to have these circle dollops all over it.
—————————————————————————–


Now It’s Time For The Mozzarella Slices…


Then the Sliced Grape Tomatoes…

And Finally, the Sliced Shallots
Also, I brushed some of the Basil Pesto all over the PIZZA BONE. 🙂
(That’s the outside of the Pizza.)

Beautiful and Perfect!
——————————————————————————

Time For The Oven


I Placed The Pizza Into a 350F Oven For About 12 Minutes
While It’s Cooking…..

What a Delicious Messy Kitchen!

Waiting On My Pizza…
————————————————————————————

Prosciutto, Italian Ham

With My Pizza Out Of The Oven…
I Wanted To Place Some Prosciutto On Top
Also, Some Fresh Basil Leaves
You Can Always Add A Grinding Of Fresh Black Pepper As Well
I ended up making 2 pizza’s. One for me, and one for Veronica and Brian. They loved their pizza as well. 🙂
———————————————————————————
Irish-Italian Spaghetti
Because this recipe originated from the 1930’s, I imagine that it was created by an Irish-Italian family, probably living in New York City at the time. I imagine the family living in an immigrant neighborhood, surrounded by laughter, hard work, lots of wonderful smells wafting throughout the building, and inventive creativity by the residents. After all, this is a collaboration of two wonderful cultures.
———————————————————————————-
I Did Embellish The Original Recipe

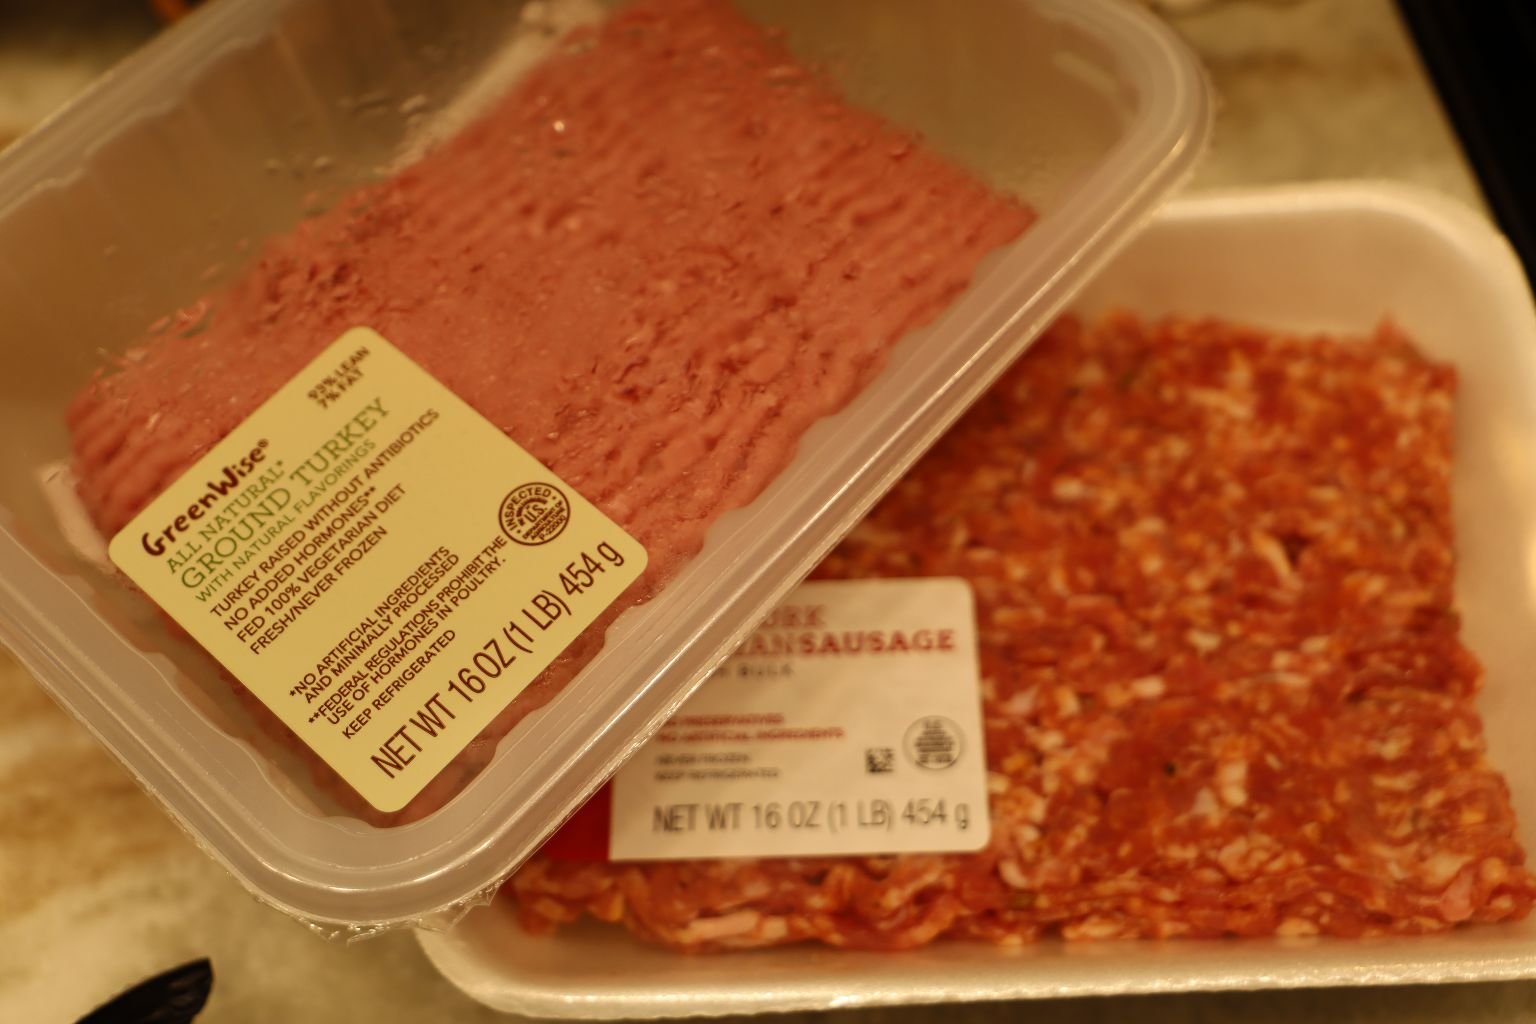
The Ingredients:
1 lb. Ground Turkey
1 lb. Ground Sausage
1 Large Sweet Onion, Chopped
(Olive Oil for Sauteing Onions)
2, 10.75 oz. Cans of Tomato Soup
2, 10.75 oz. Cream of Mushroom Soup
1 t. Chili Powder
1/4 t. Cayenne Pepper
1/4 t. Turmeric
Freshly Ground Black Pepper to Taste
Tabasco Sauce (As many dashes as you desire)
2 lb. Spaghetti Pasta
Cheeses:
I have 3 here. A Shaved Parmesan
An Aged Irish Cheddar
And An Aged Italian Cheddar
——————————————————————————-

Ready To Get Started


———————————————————————–

The first thing that I did was to chop the onion into a small dice.
——————————————————————–

Campbell’s Soups
It makes perfect sense to me that these two soups would be included in this vintage recipe. This soup was a staple in every kitchen here in America.
————————————————————————

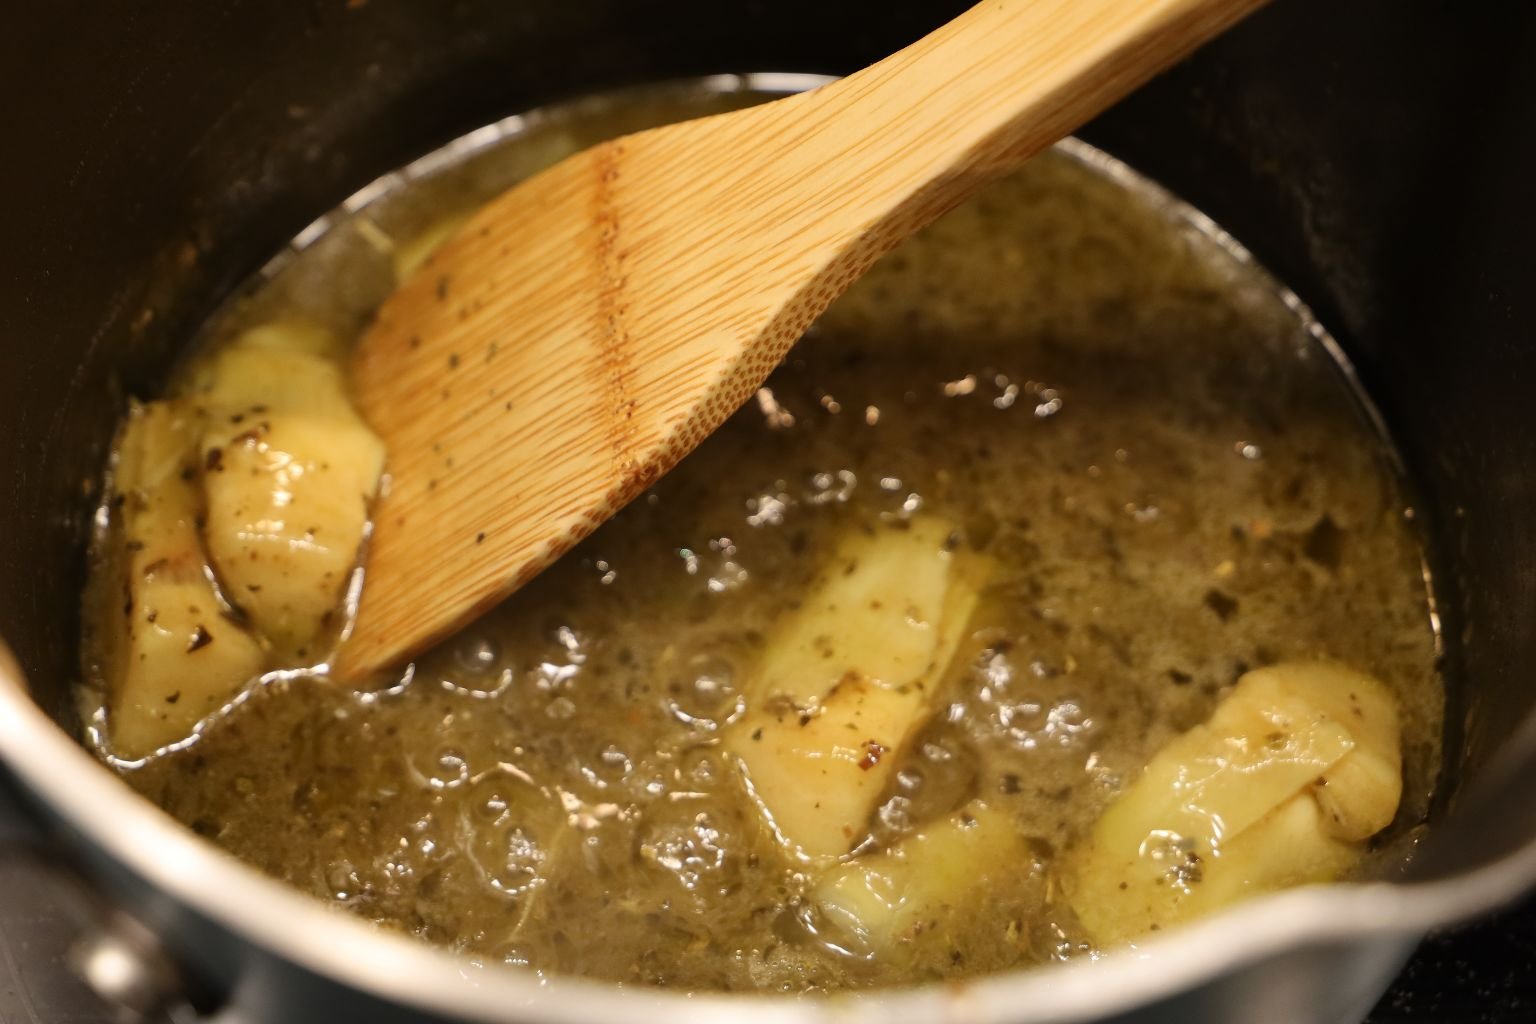
I added some Olive Oil to a saucepan to saute the onions.
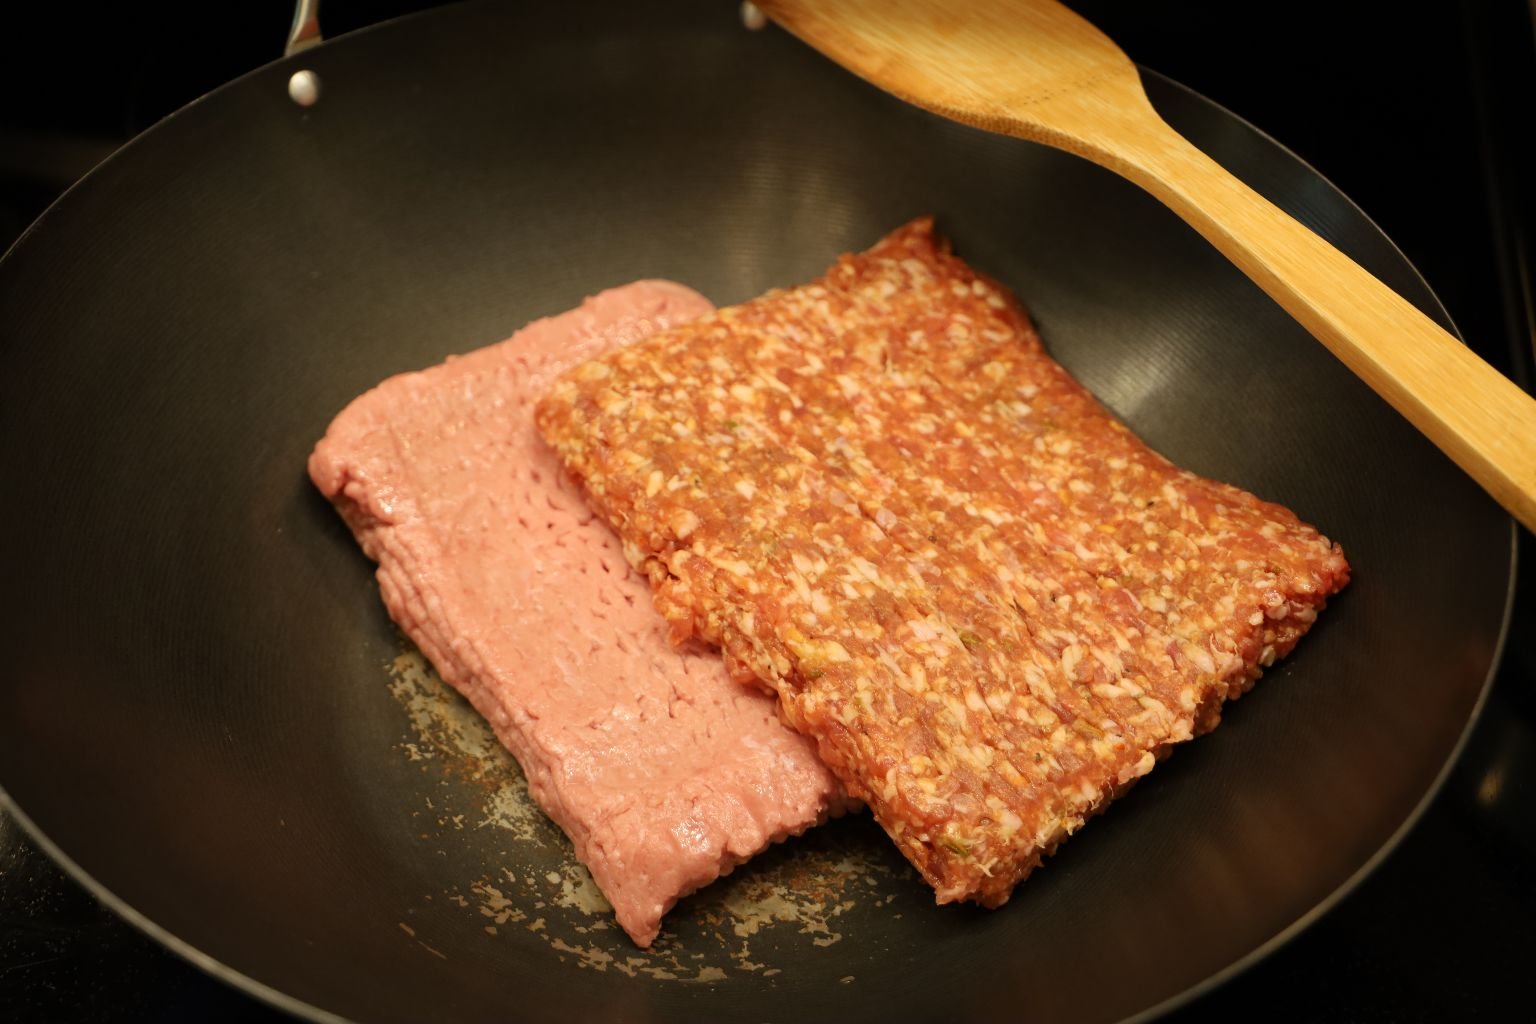
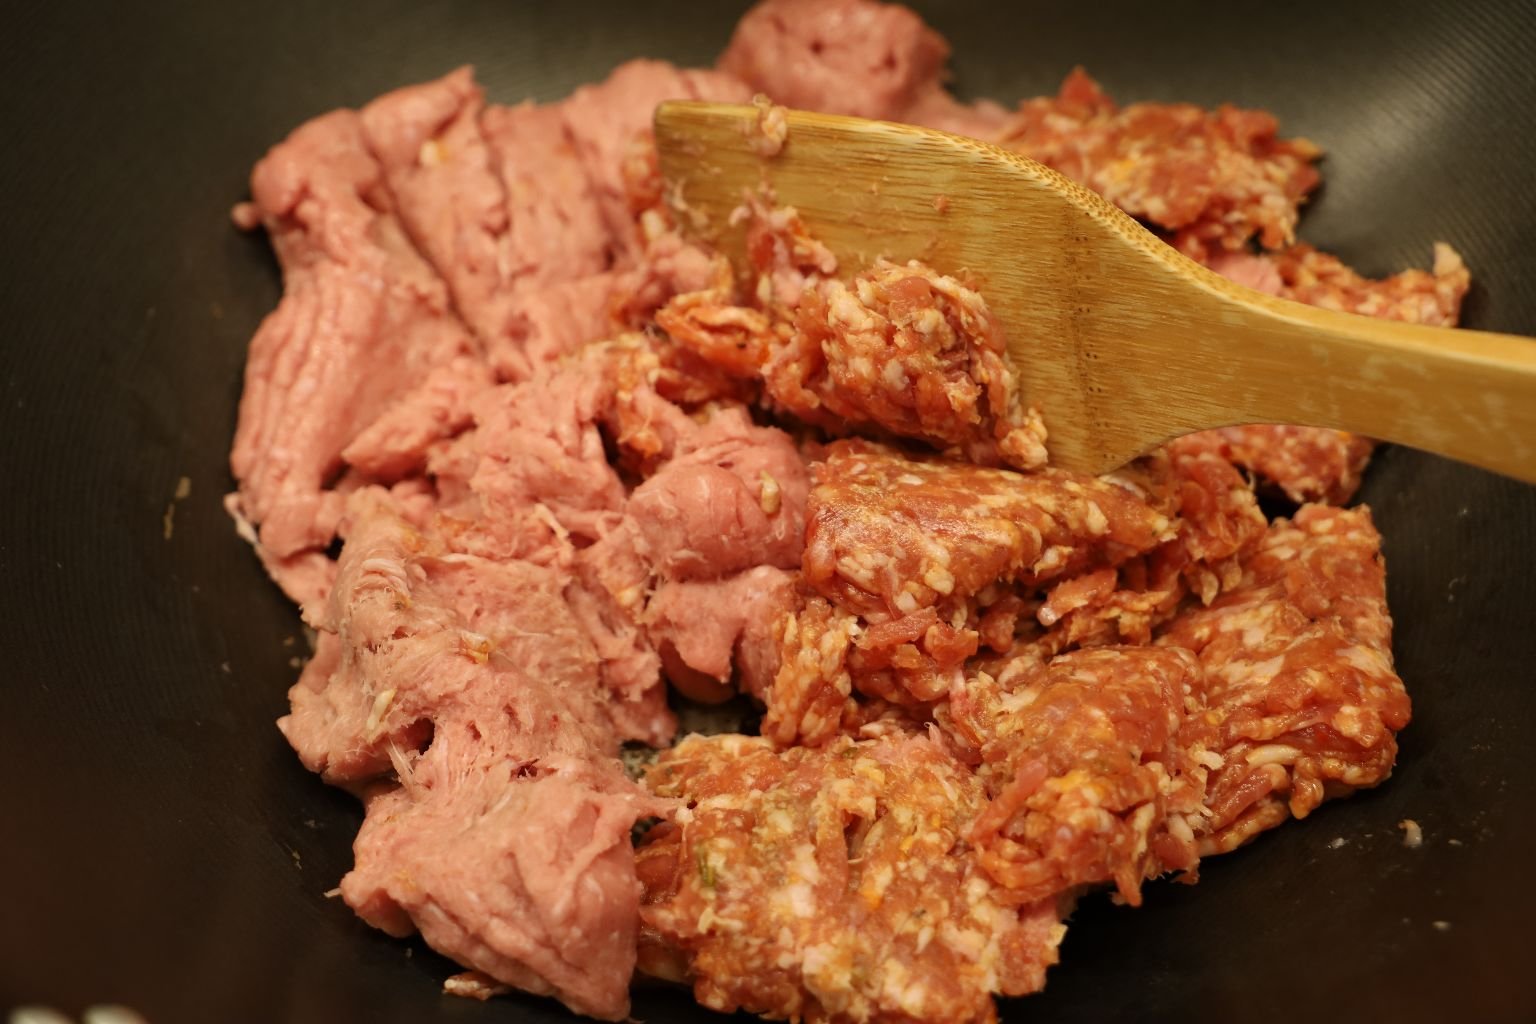
I combined the Ground Turkey and the Ground Sausage into my wok to brown.


I prefer to cook my Onions separately from the meats.

The Screen is for Draining the Fat into the Sink
———————————————————————————-

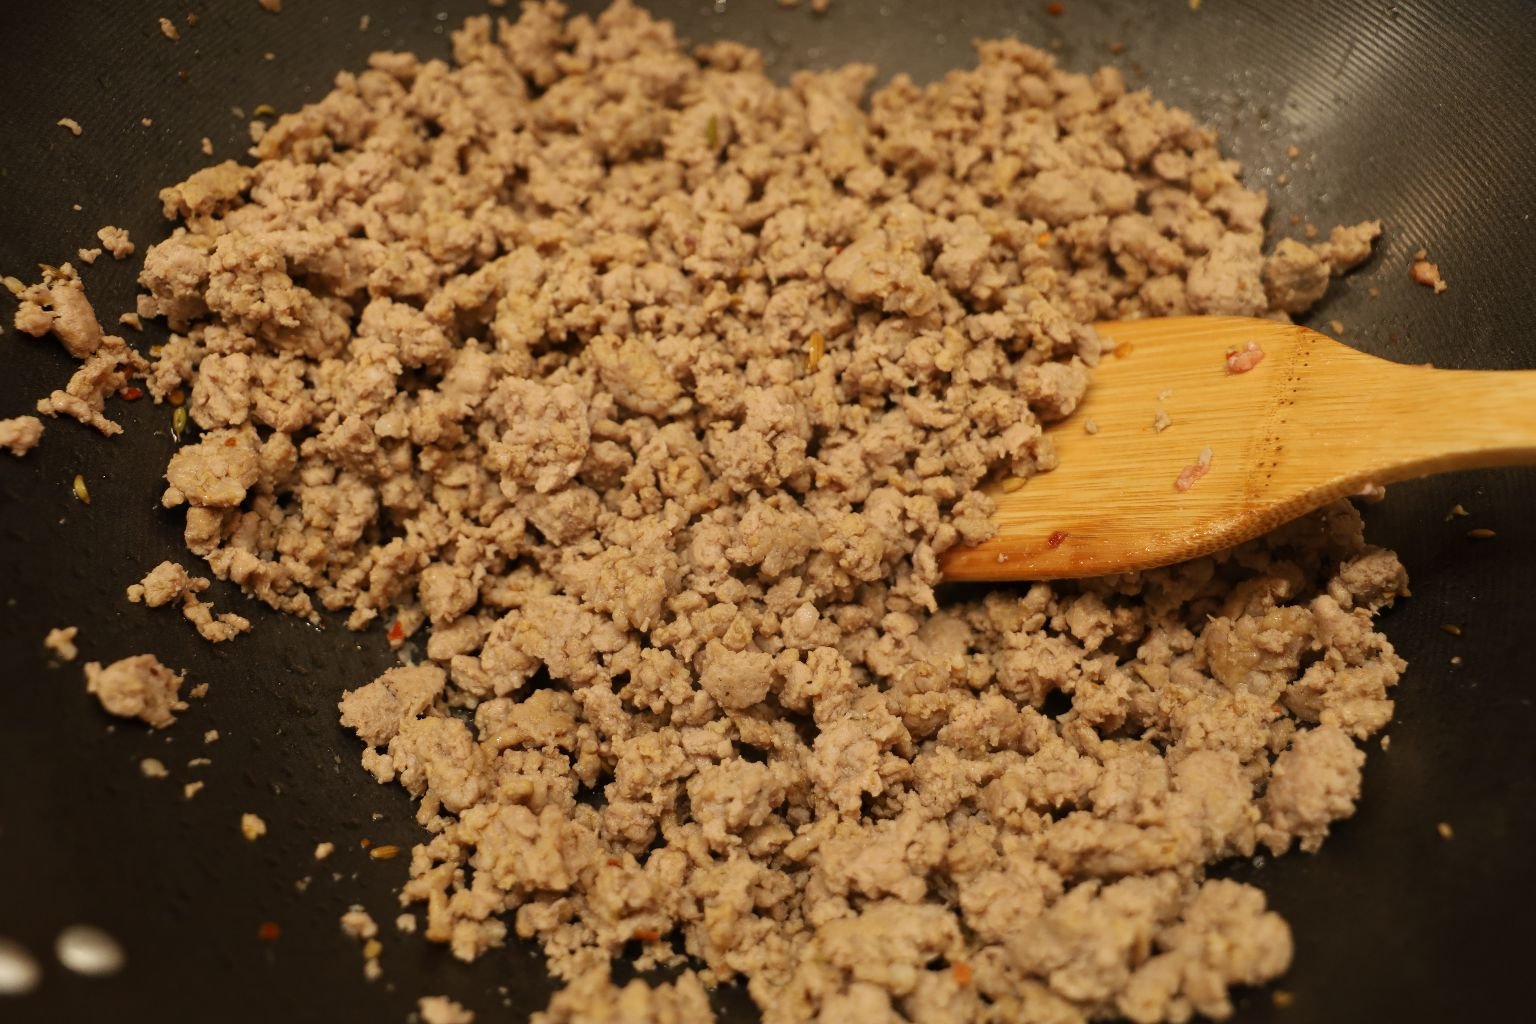
When Both Are Done….
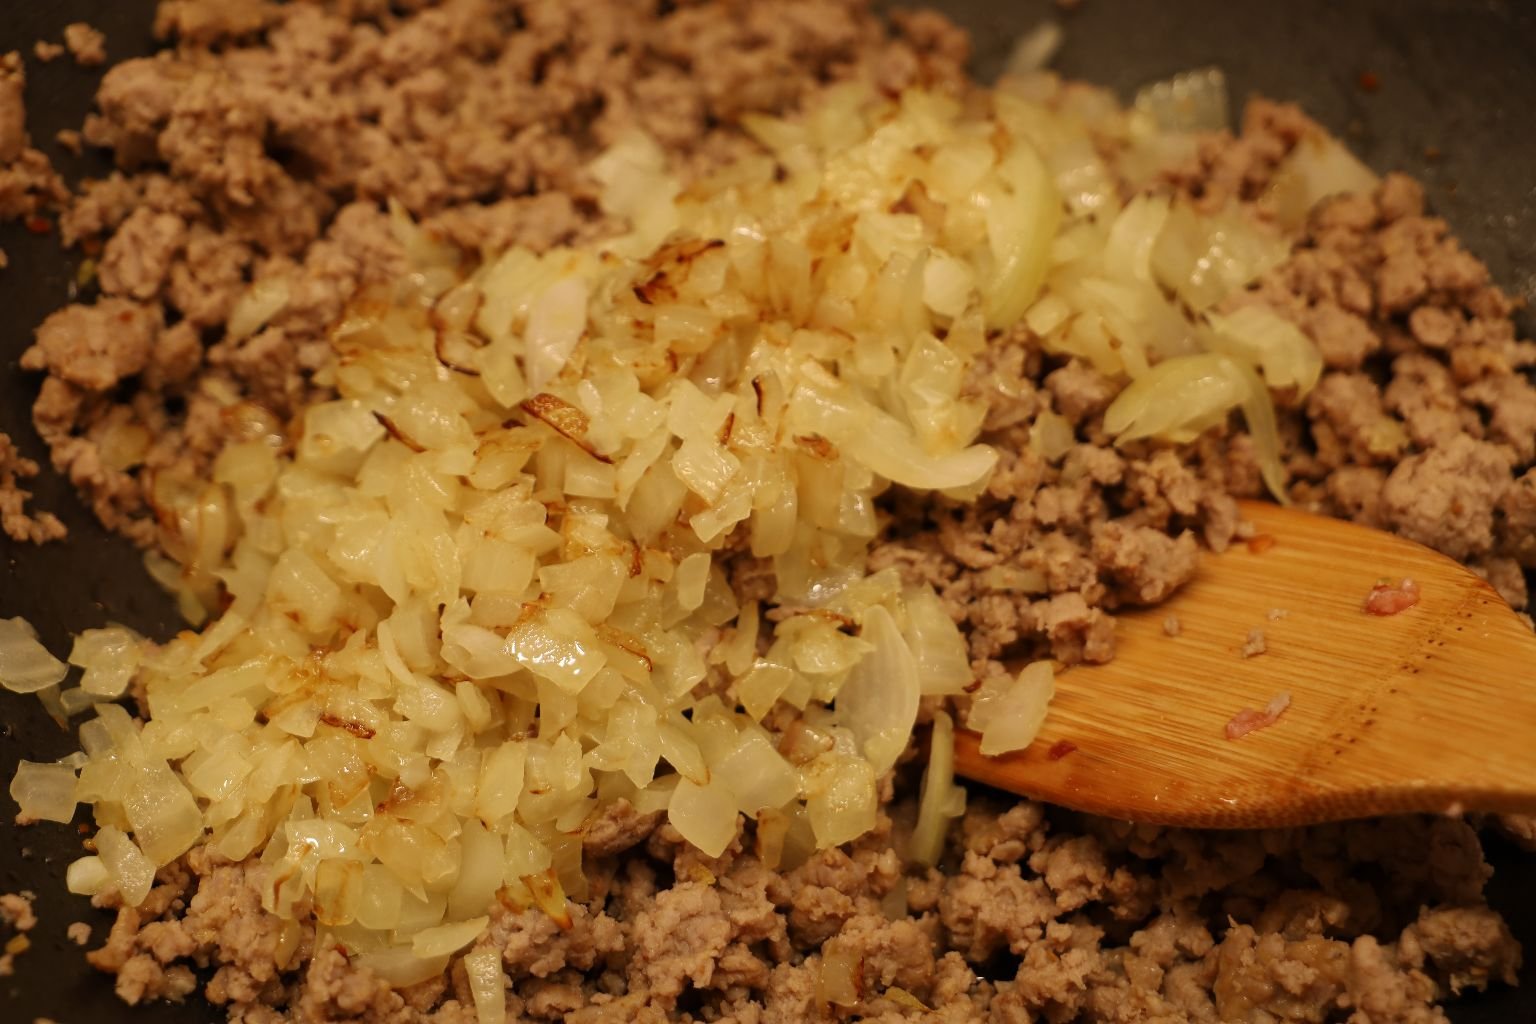
..Combine
—————————————————————————-


Now It’s Time To Add The Soups


Combine, And Simmer on a Low Heat
————————————————————————–

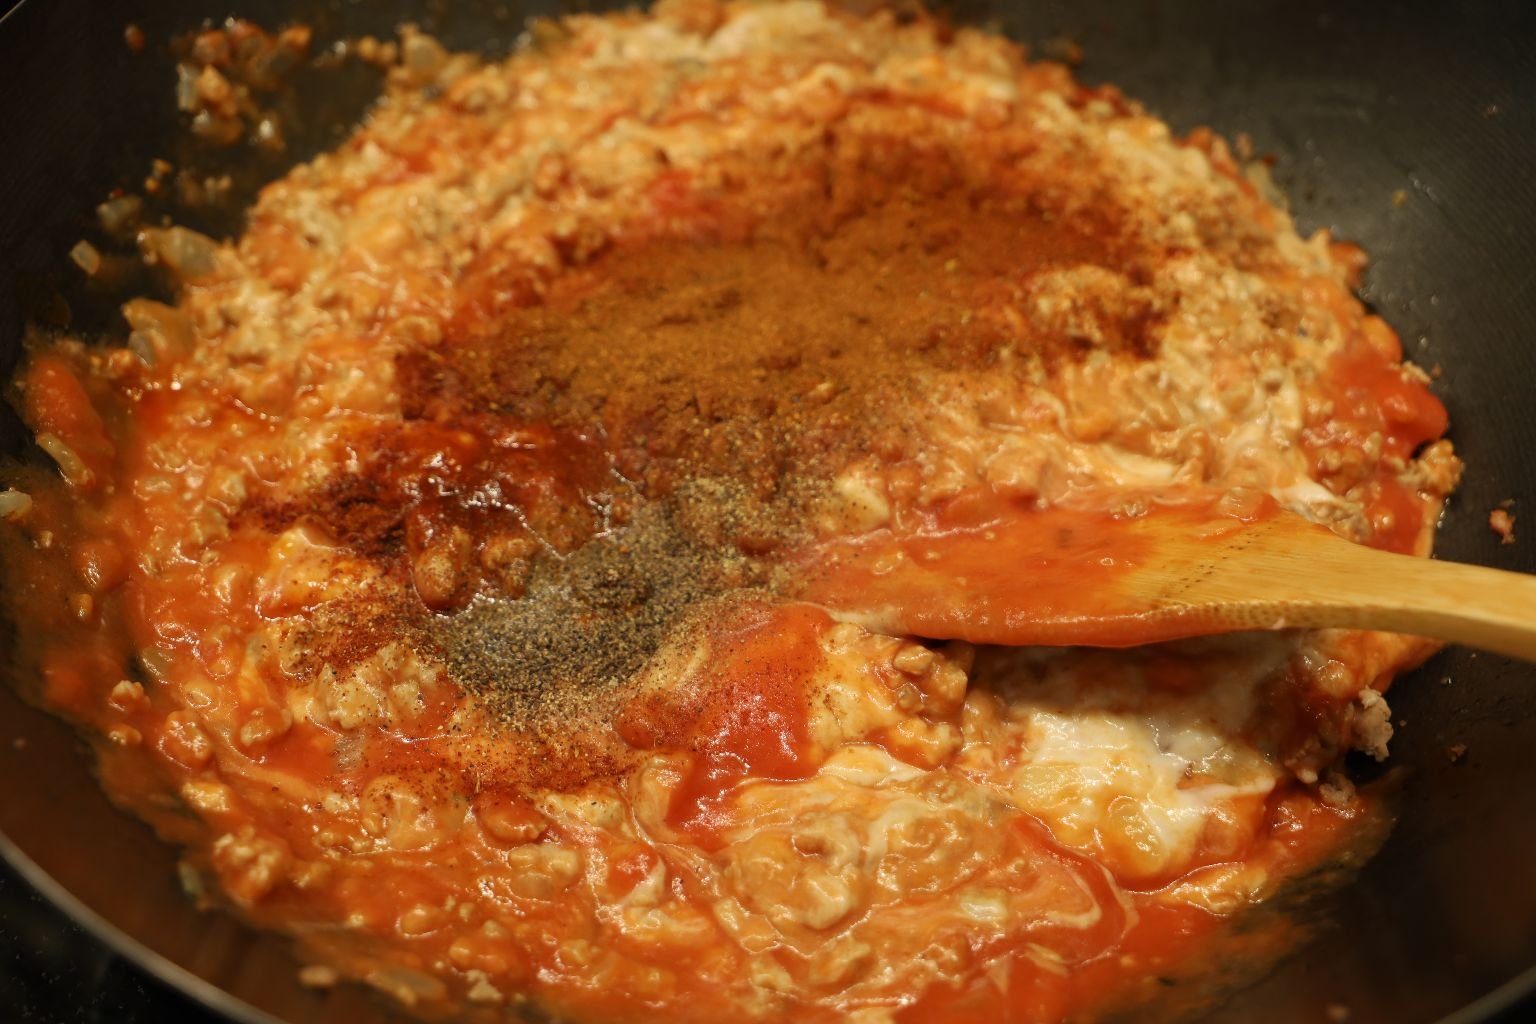
Time To Add The Spices
(You can add as much or as little as you like with any of them. I know that my daughter doesn’t like spicy foods.)


I Eyeballed The Turmeric
It doesn’t change the taste of your food, and it is a cancer cell killer. So, eat up!
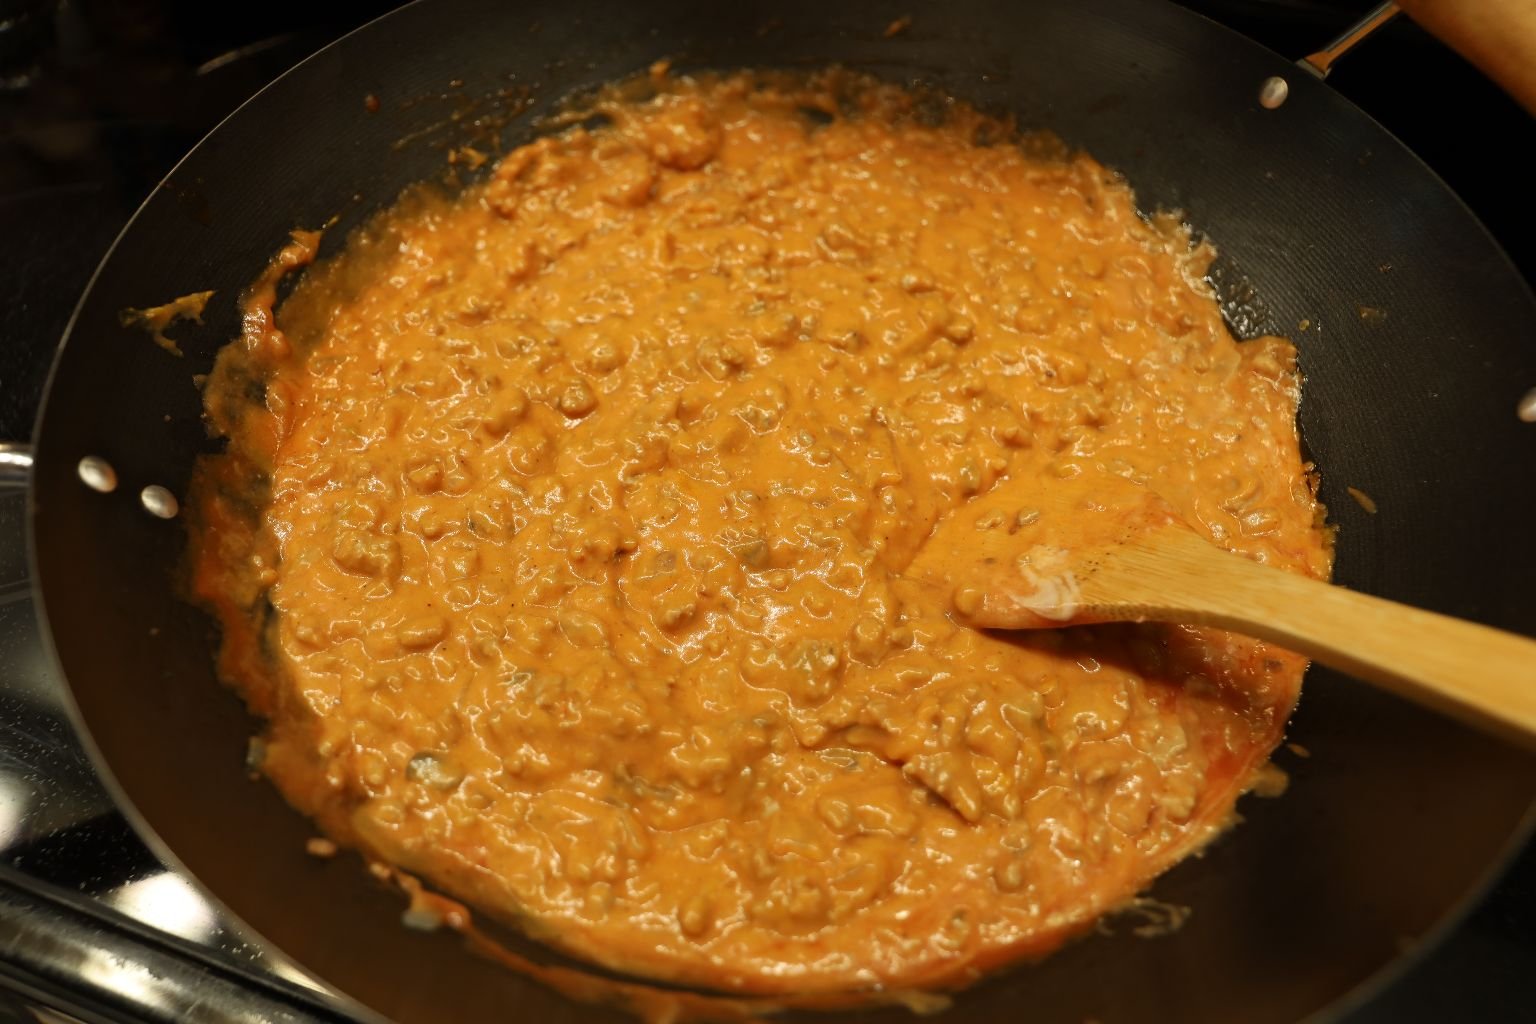
Simmering Away on Low
———————————————————————————–


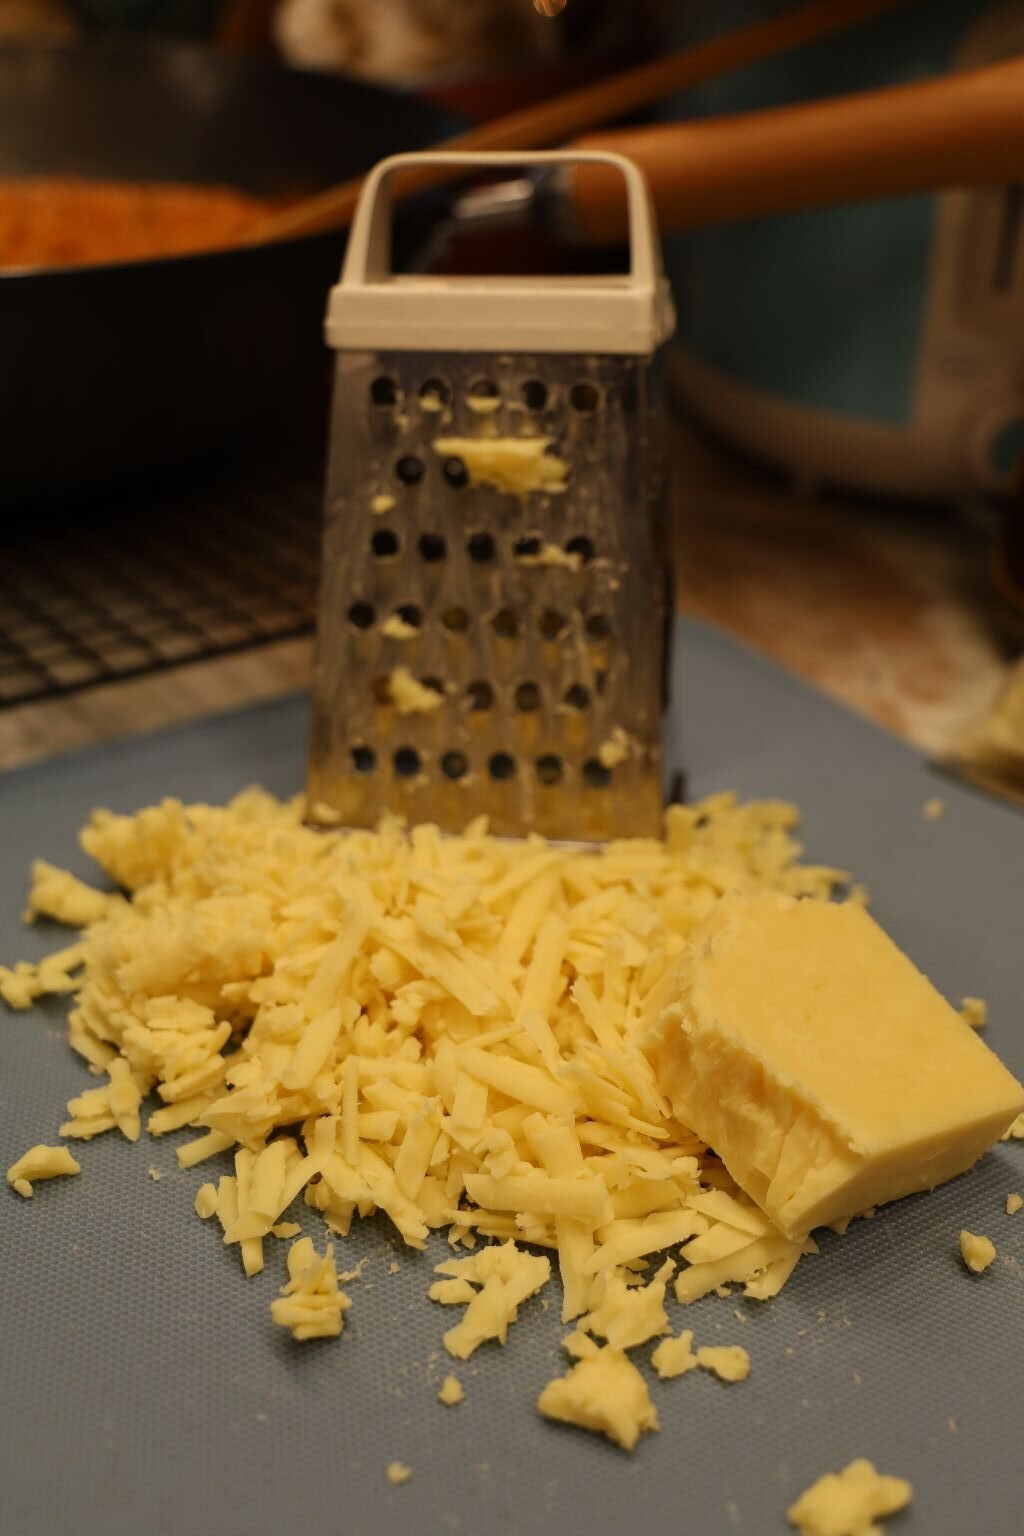
Time To Grate My Cheeses…
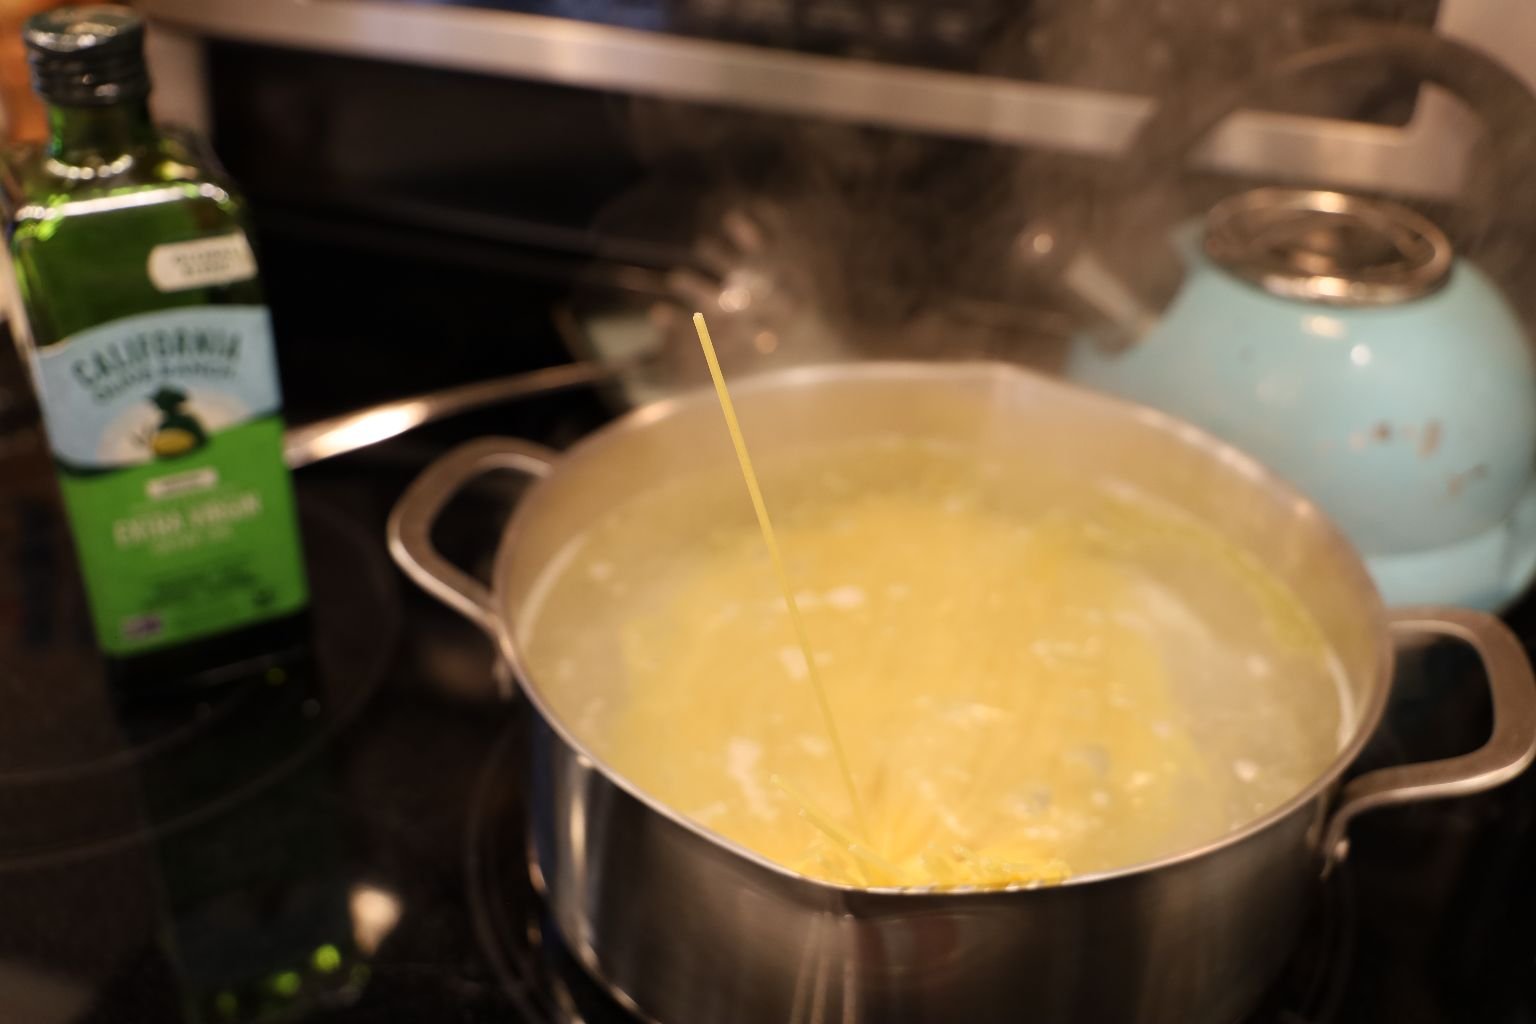
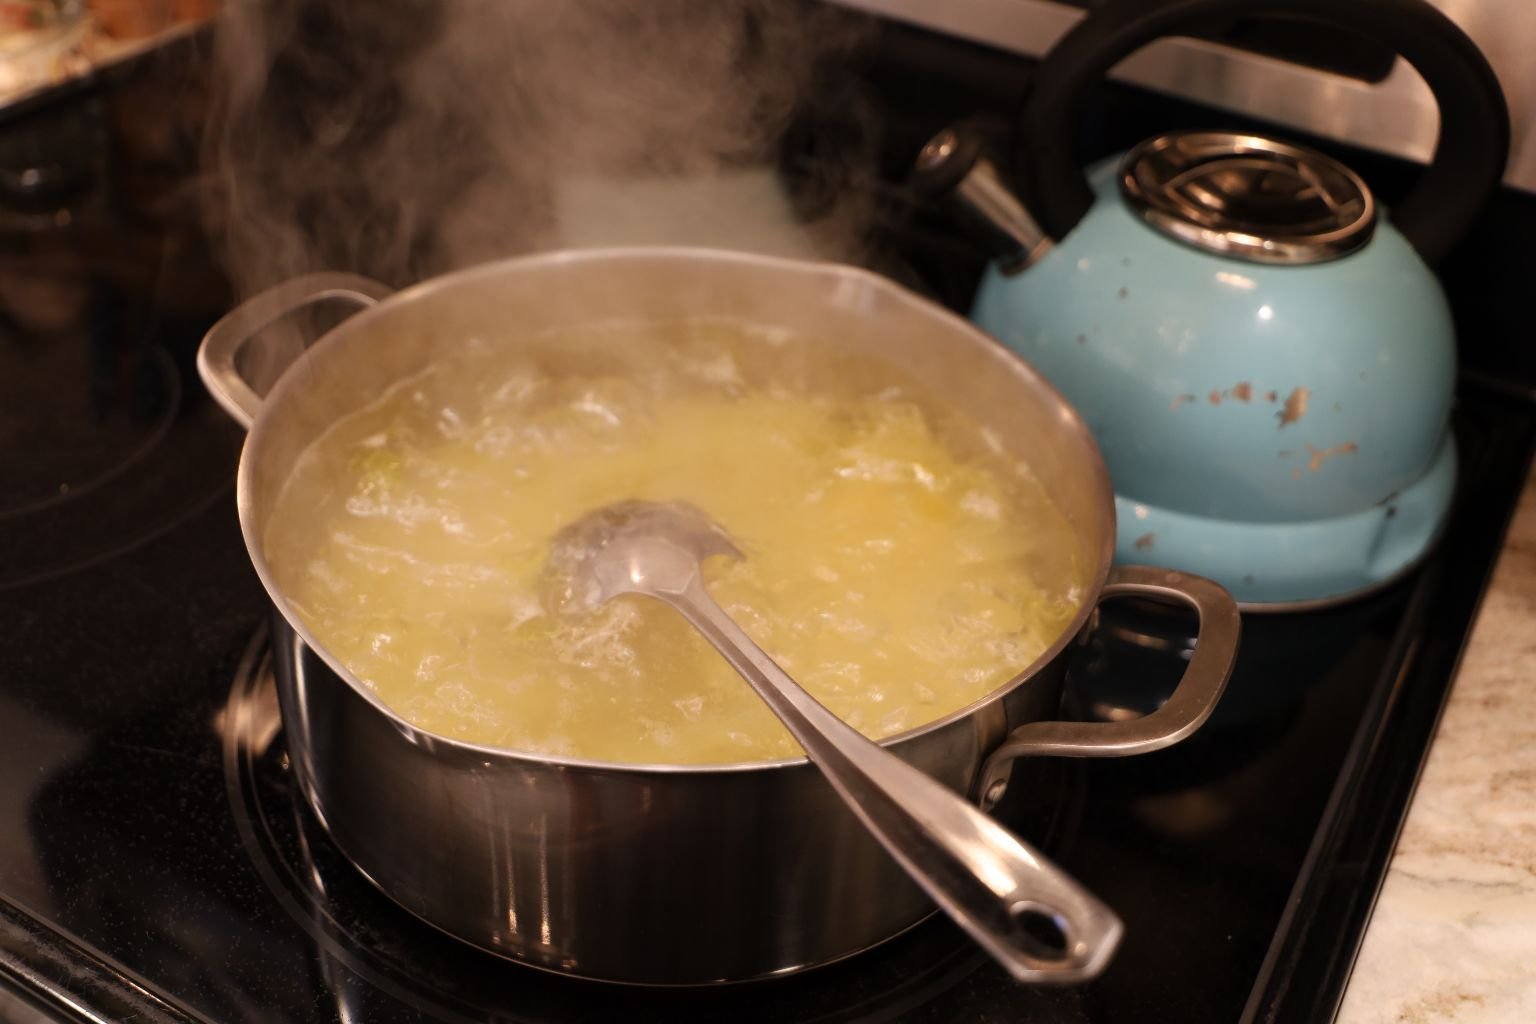
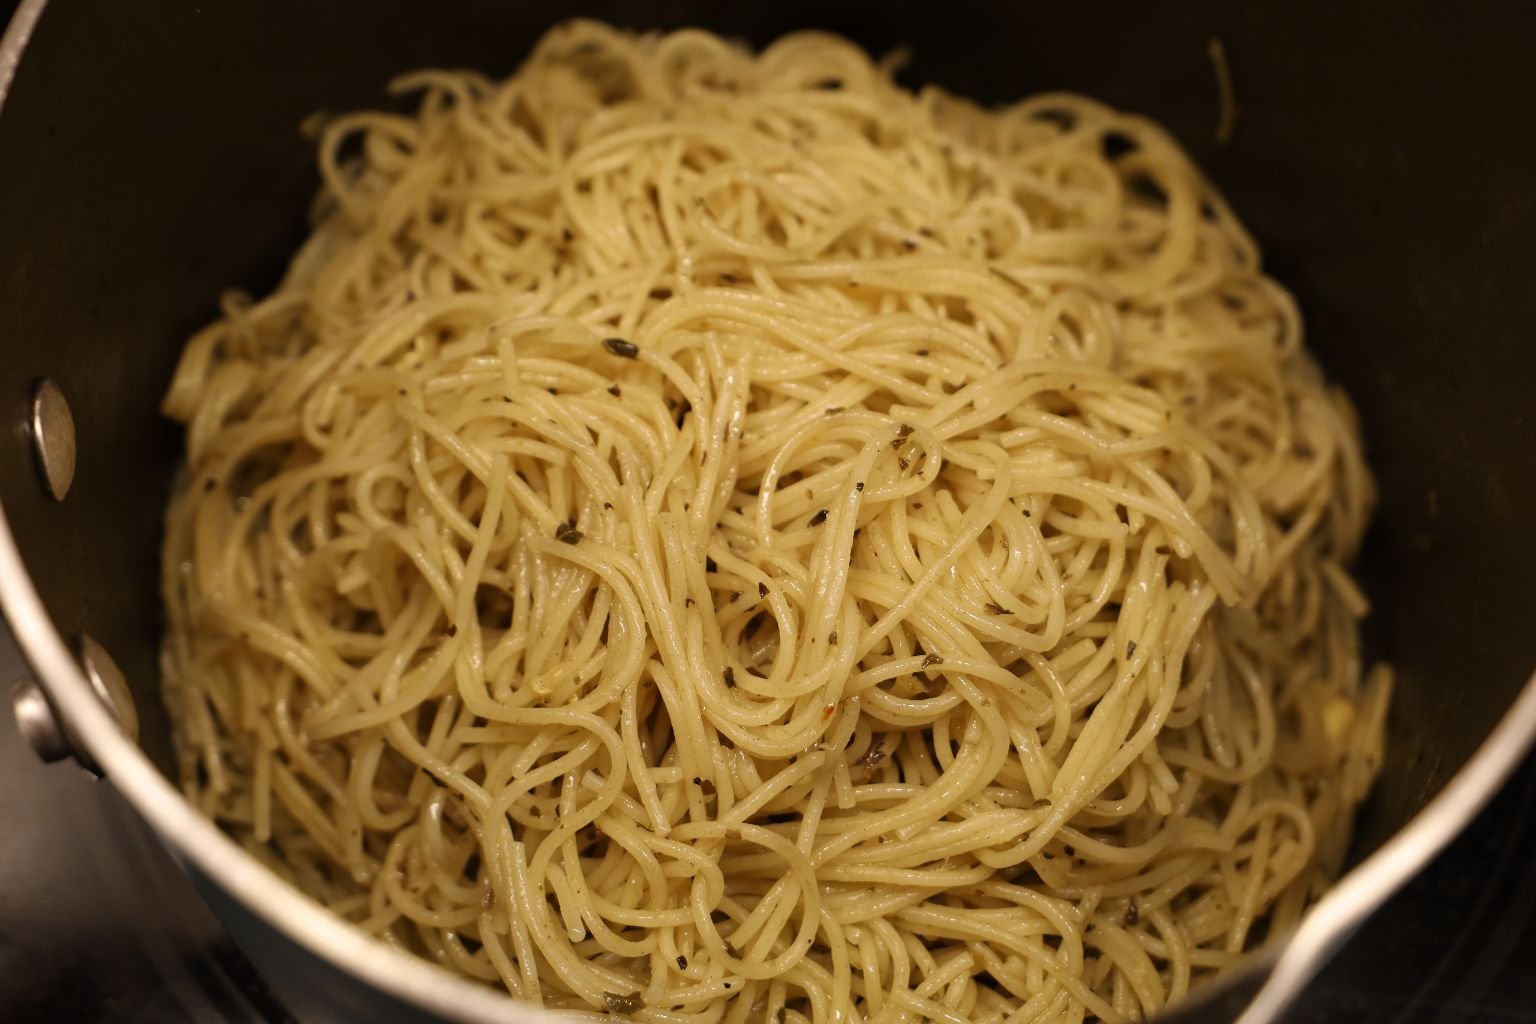
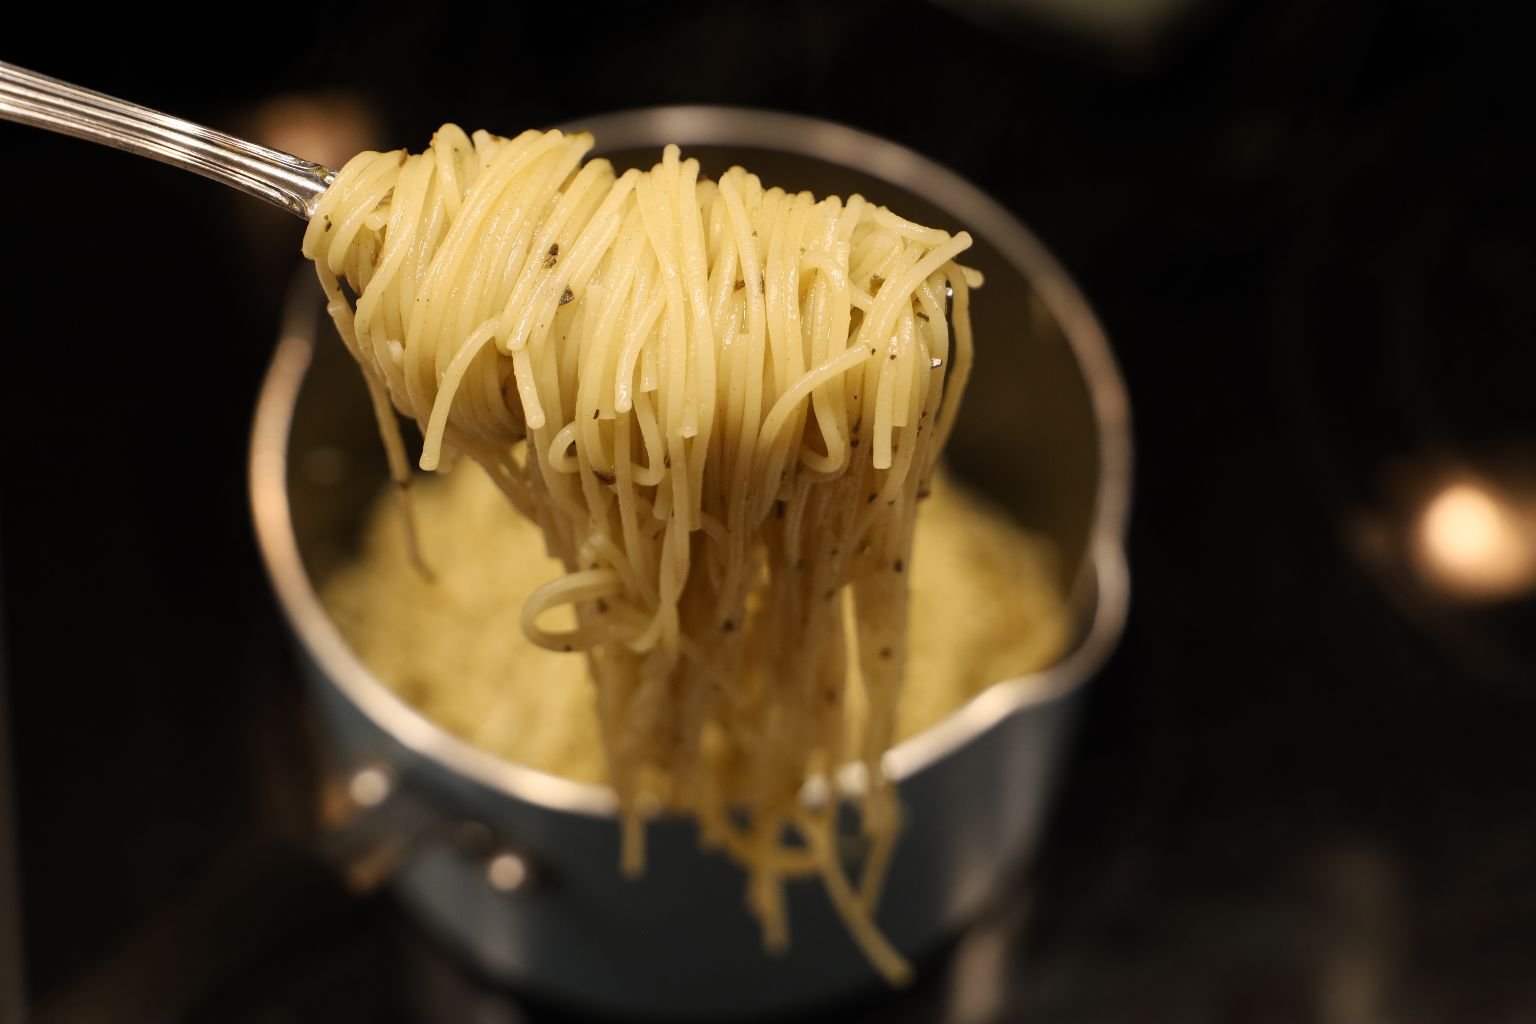
Now, to Boil The Pasta
(Just cook according to package directions.)

When Ready, Drain Into A Colander
—————————————————————————
Time To Plate

Add Some Fresh Basil
I Keep The Cheese Separate
—————————————————————————–


For Something Extra…
Gordon and I happen to love these Plant Based Meatballs. A nice addition.
————————————————————————-

Don’t Forget Some Nice Bread To Go Along…
Store in the refrigerator for some great meals for the coming week.
Godere,
Julie
—————————————————————————-
UNDER CONSTRUCTION


————————————————————————
If you would like to view our other Italian food posts……
Julie’s Italian Appetizers and Edible Gifts

———————————————————
Gordon and Julie Italian Seconda Parte 2

—————————————————-

——————————————————–

——————————————————————-

———————————————————————
La Sciatta Giulia Anna’s (Italian Sloppy Julie Ann’s)

—————————————————————————-

———————————————————-
Edible Gifts: Italian, Greek, and Irish

—————————————————————-

————————————————————

———————————————————————

—————————————————————————–

——————————————————-

———————————————————-

——————————————————————

———————————————————————–

————————————————————

————————————————————————-

————————————————————————–
Modern Day Mona (Lisa) Halloween

———————————————————————-
Even More Italian (Just For You)

—————————————————————————-

————————————————————————–
Tavolino Da Caffe Italiana (Coffee Table Italian)

——————————————————————————-

——————————————————————————–

—————————————————————–
Grazie,
Julie and Gordon

Italian Sausage Supper My Grandmother, Nellie Mae Keith Haskin, didn’t learn how to cook until she was in her 50’s, when her mother-in-law died, and Nell was forced to learn how. In her time you had your in-laws living with you. It …

February, 2024 Super Bowl Sunday Airport Pick-Up, w/ Great Coffee Table Italian Foods to Follow 🙂 ————————————————————————— With Gordon working overseas, he doesn’t get to come home very often. This was a very nice visit filled with lots of Coffee Table Italian. …

(Because Nothing Rhymes With Oranges) 🙂

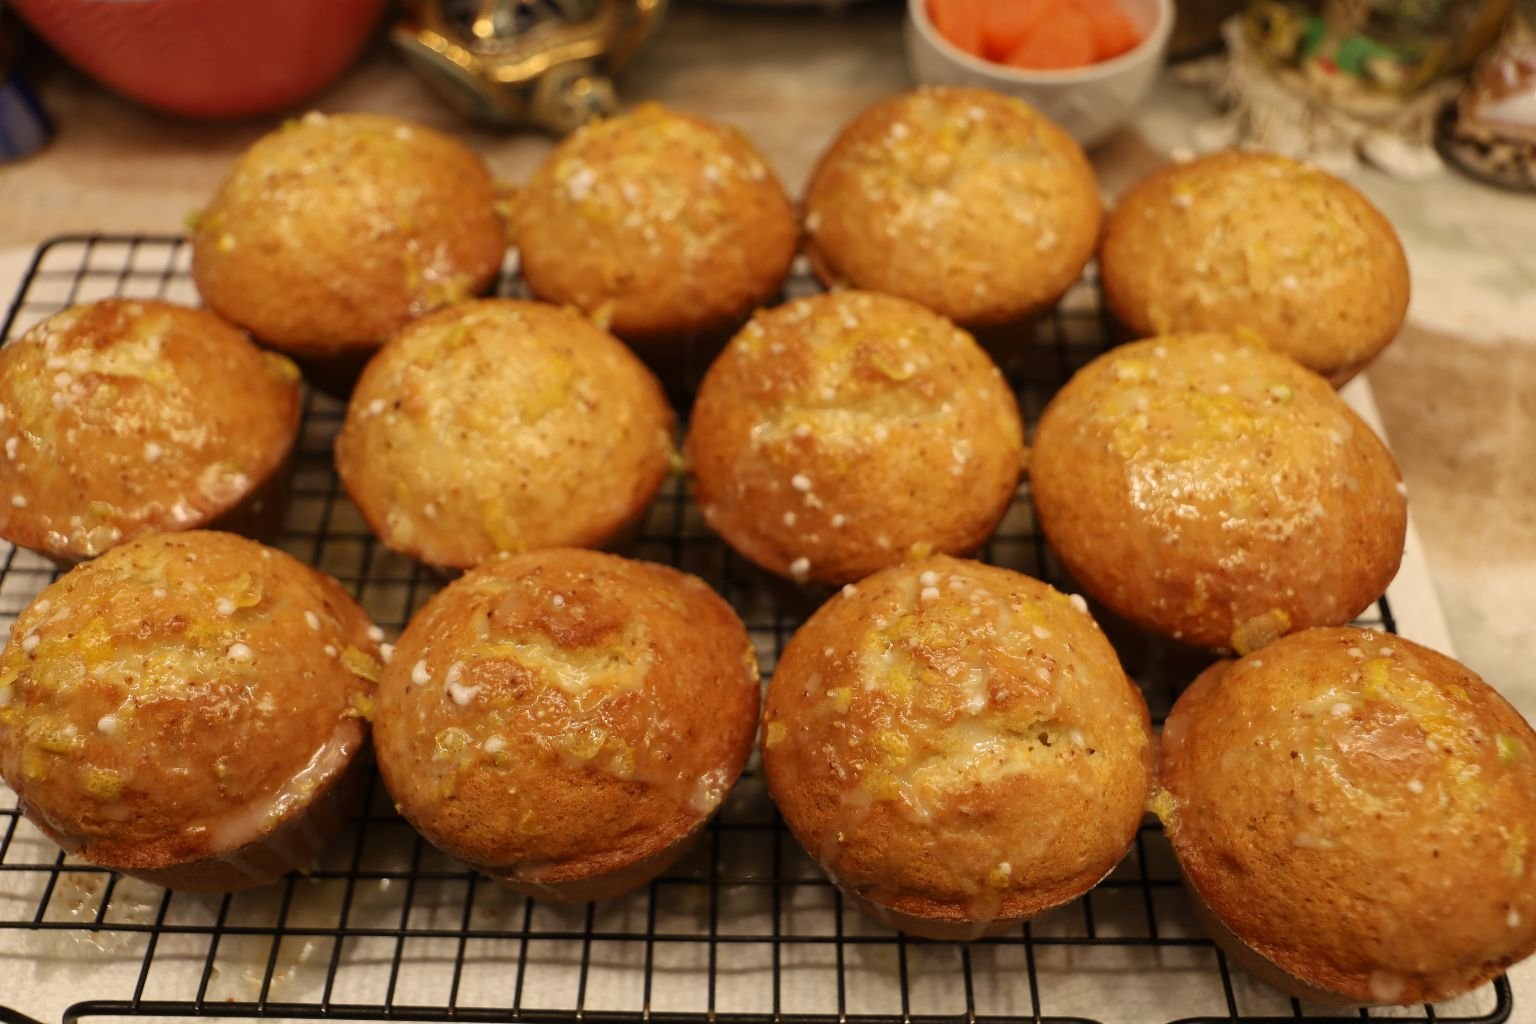
Orange is the New Muffin
——————————————————————————-
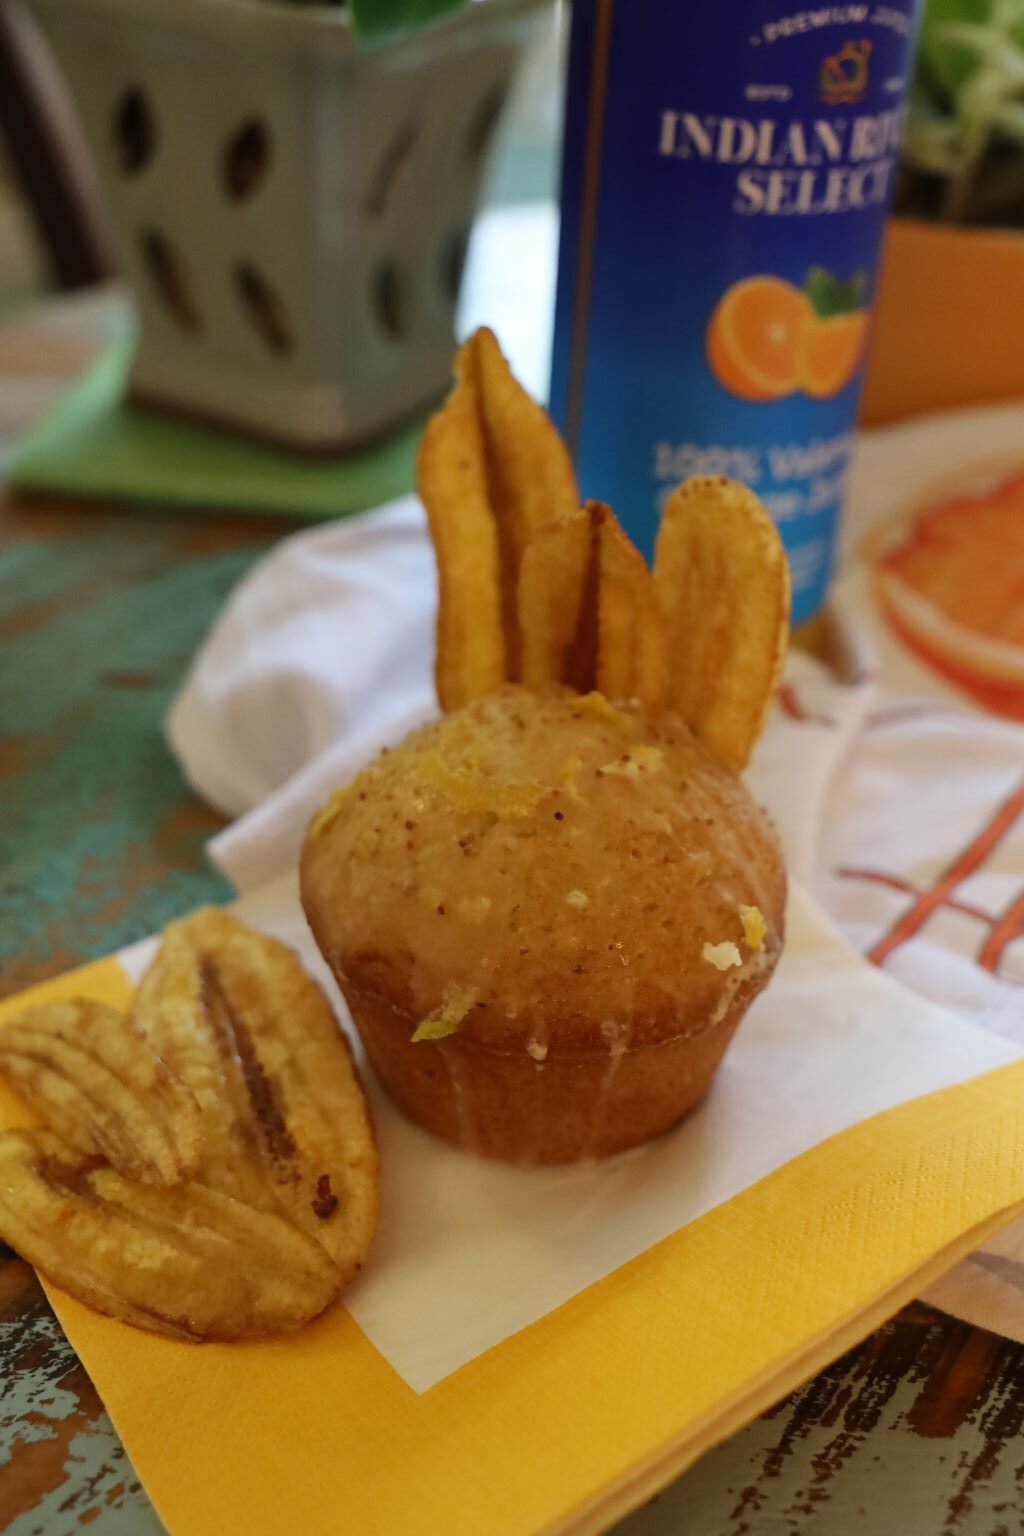
(I added a few Banana Chips as an accent, above.)
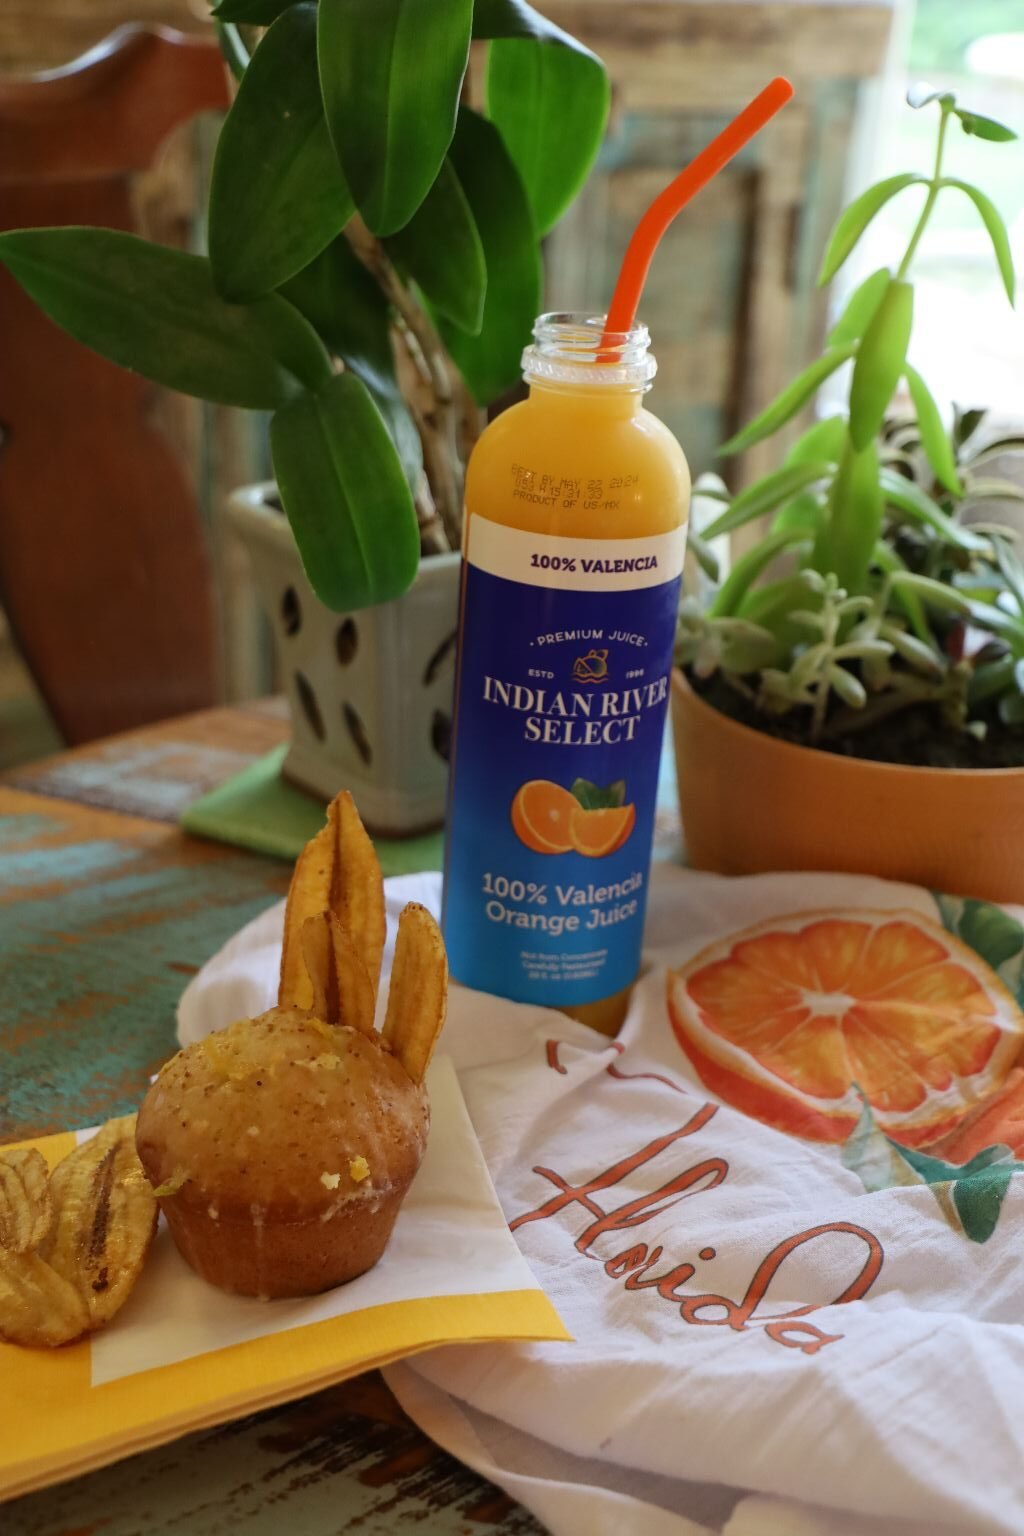
I Have Discovered Indian River Citrus, and There is NO Going Back!
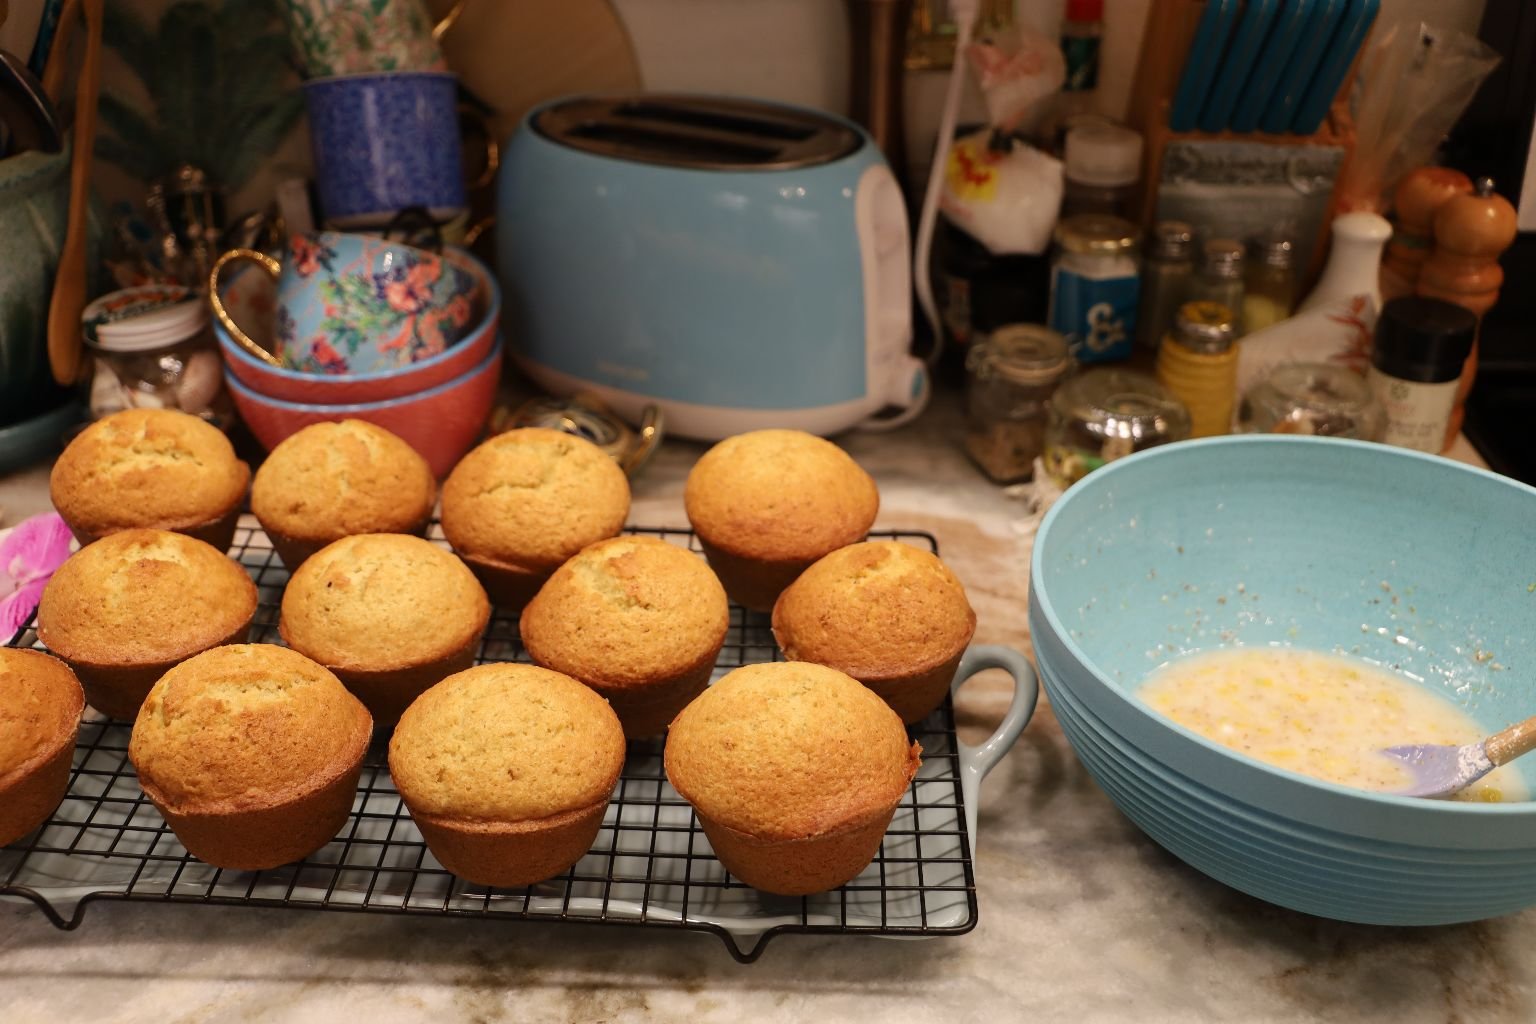
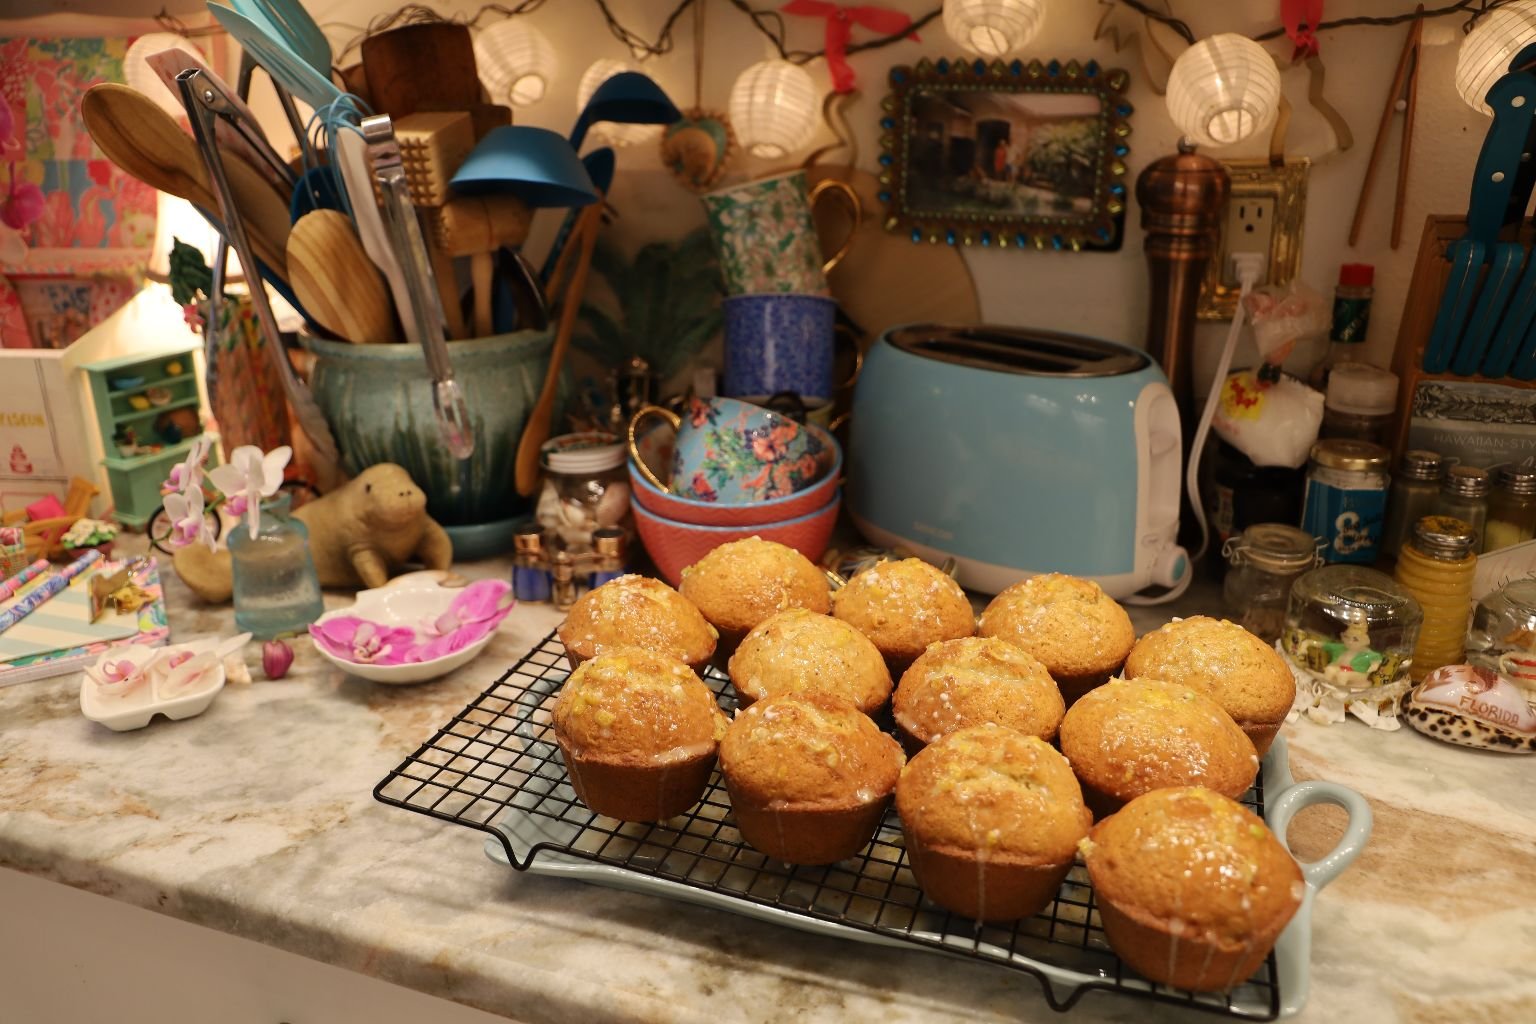
My Florida Orange Muffins w/ Lemon Citrus Glaze
(Recipe Down Below)
———————————————————————————
I LOVE an Orange Summer!
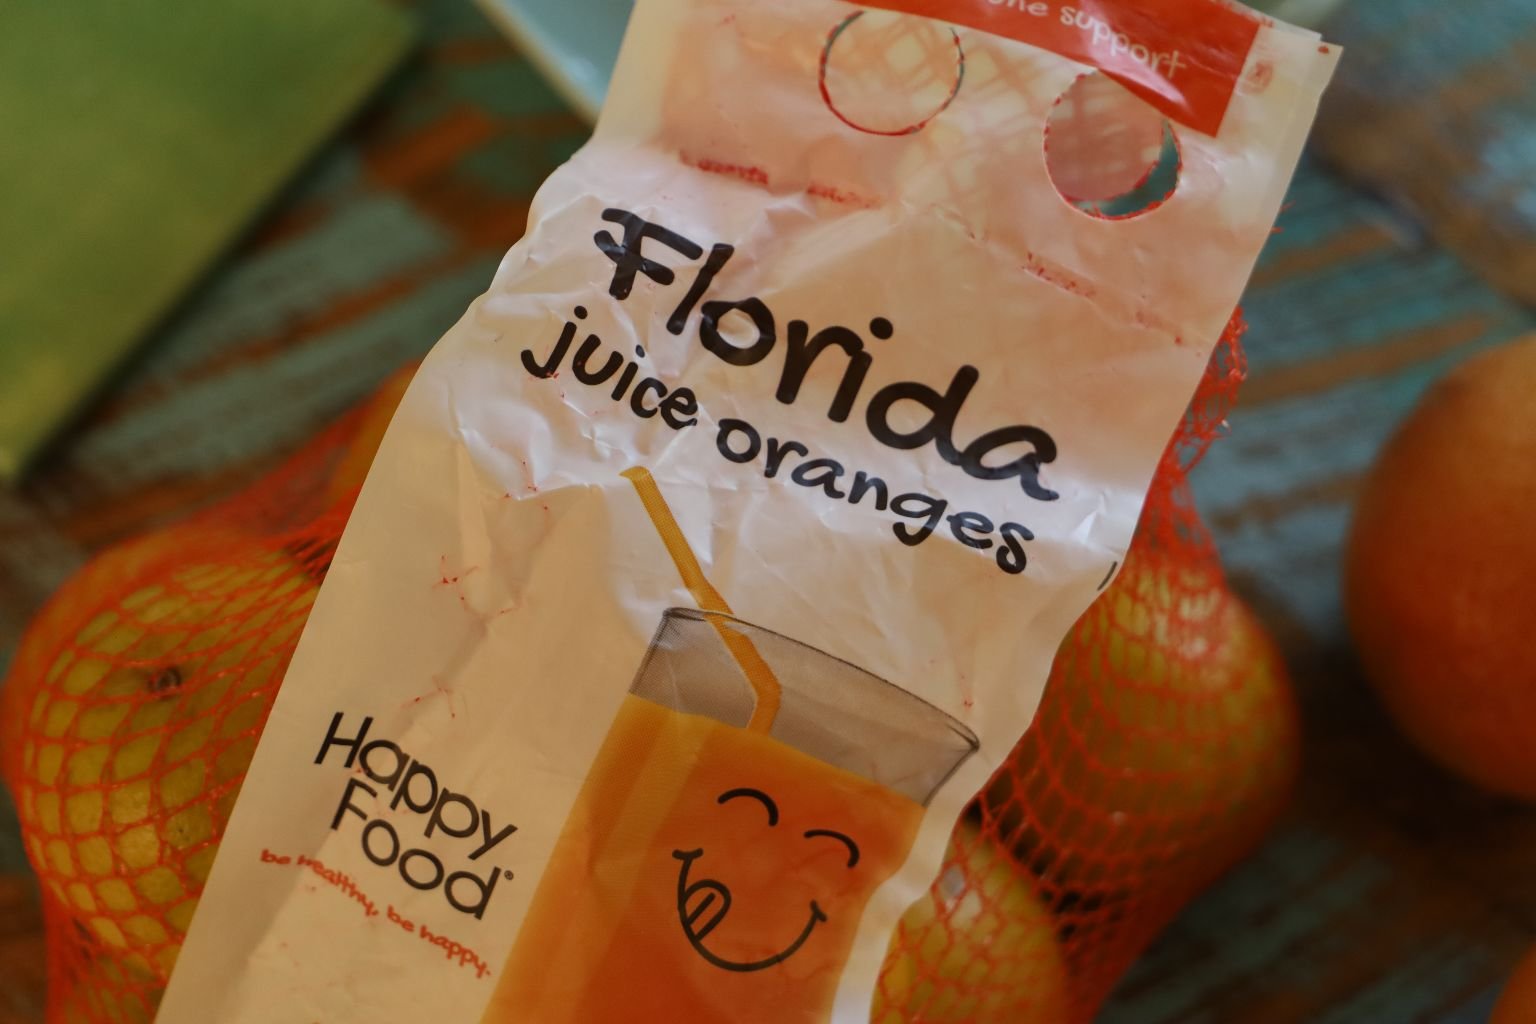
Be sure to look for the Florida Juice Oranges label if you will be juicing Oranges.
——————————————————————————–
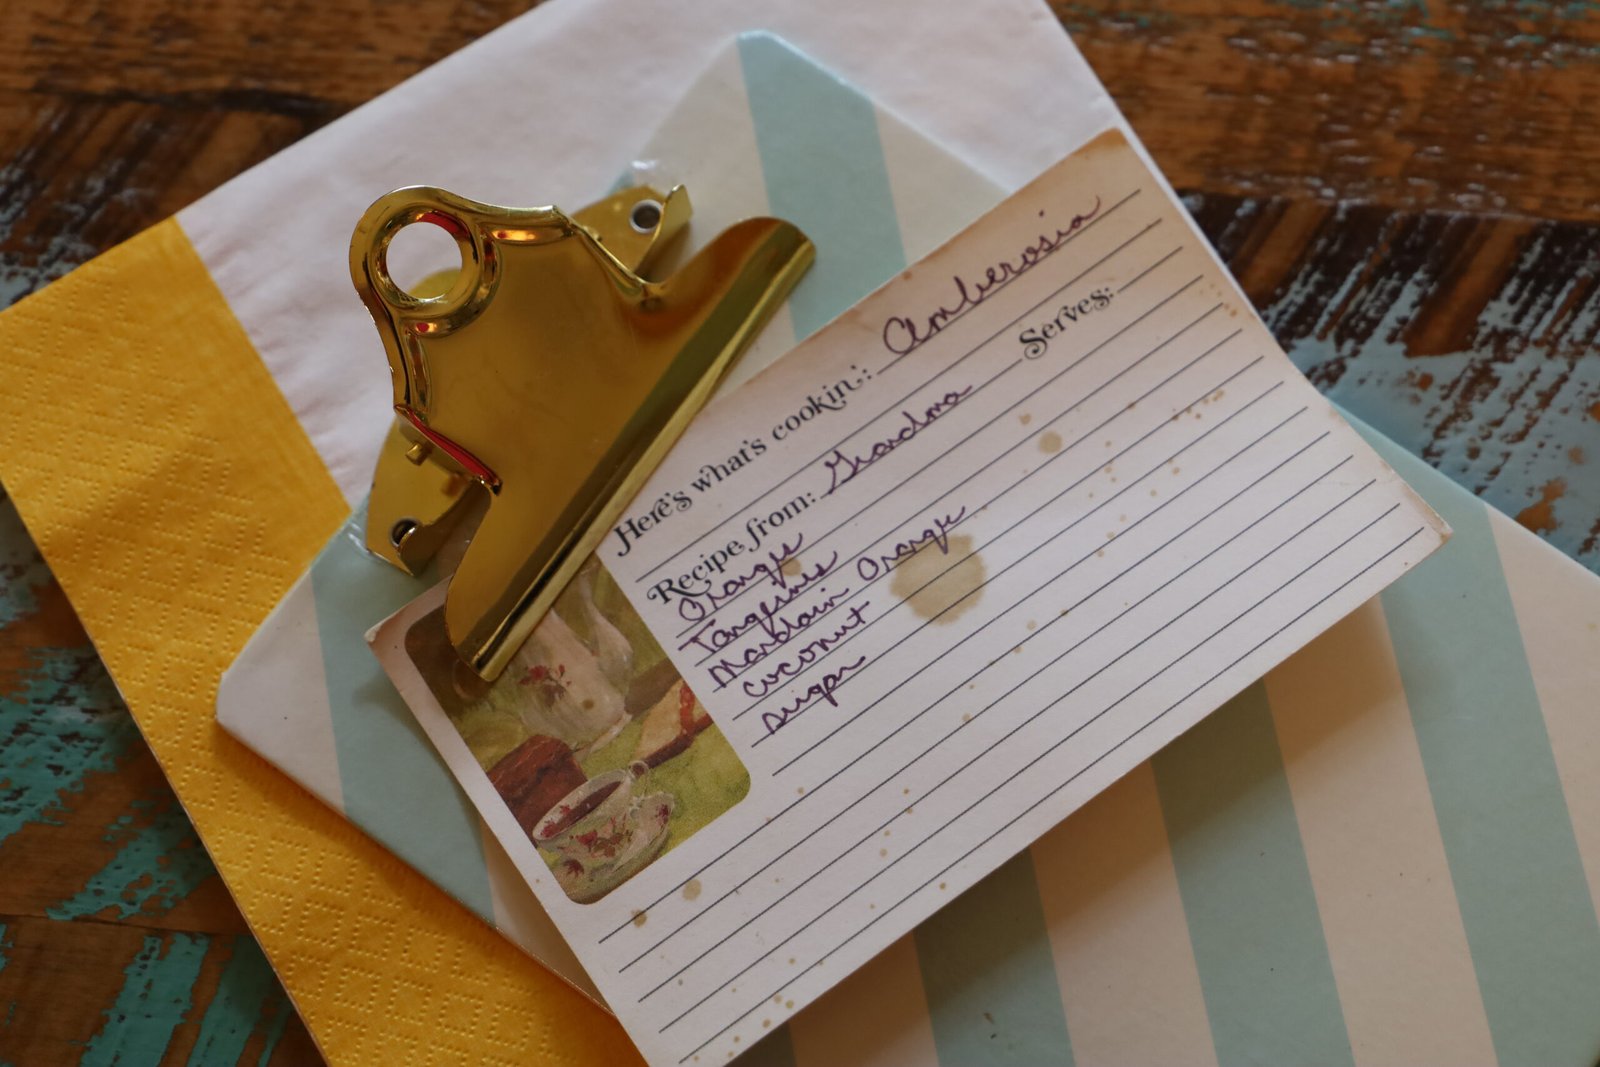
Grandma Nell’s Ambrosia Recipe…
which I Embellished.
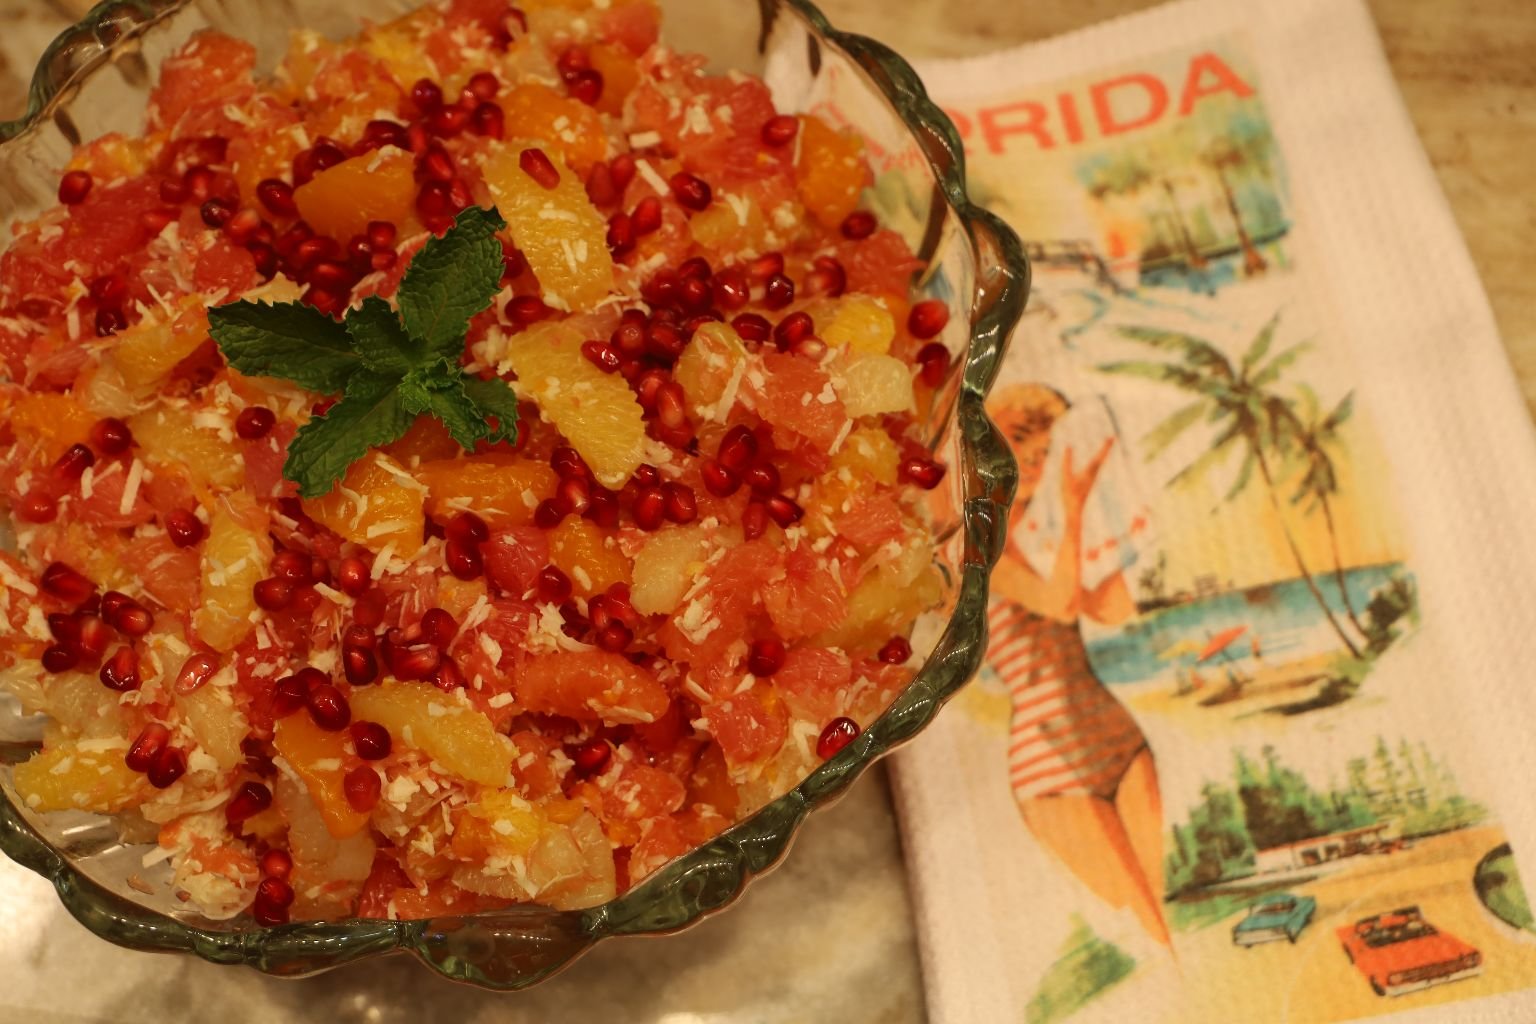
Julie’s Florida Ambrosia

(Recipe Down Below)
—————————————————————————————-


Grapefruit Sake Ambrosia Cocktail
(Topped with Toasted Coconut)

I purchased the cute little bottle of Grapefruit Sake at the Asian Supermarket and decided to add it to a wine glass full of my Ambrosia. It was a Fruit Cocktail, and a Cocktail. Either drink it, or use a spoon or fork to eat it, or BOTH!
———————————————————————————-

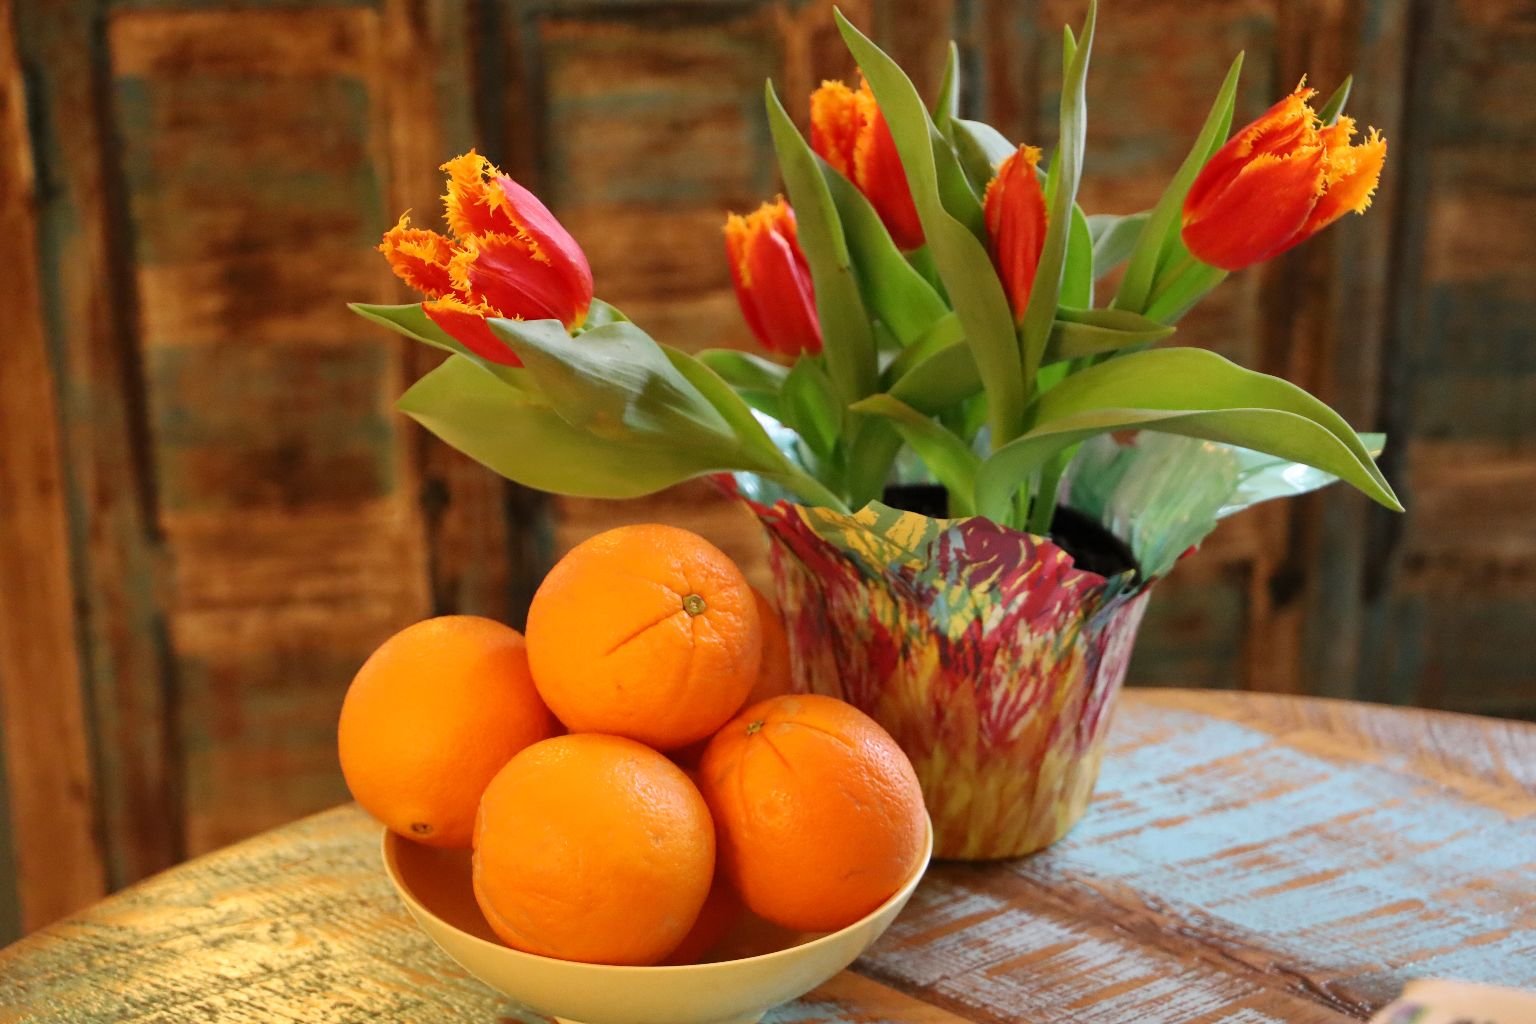
Our Backyard Orange Tree…

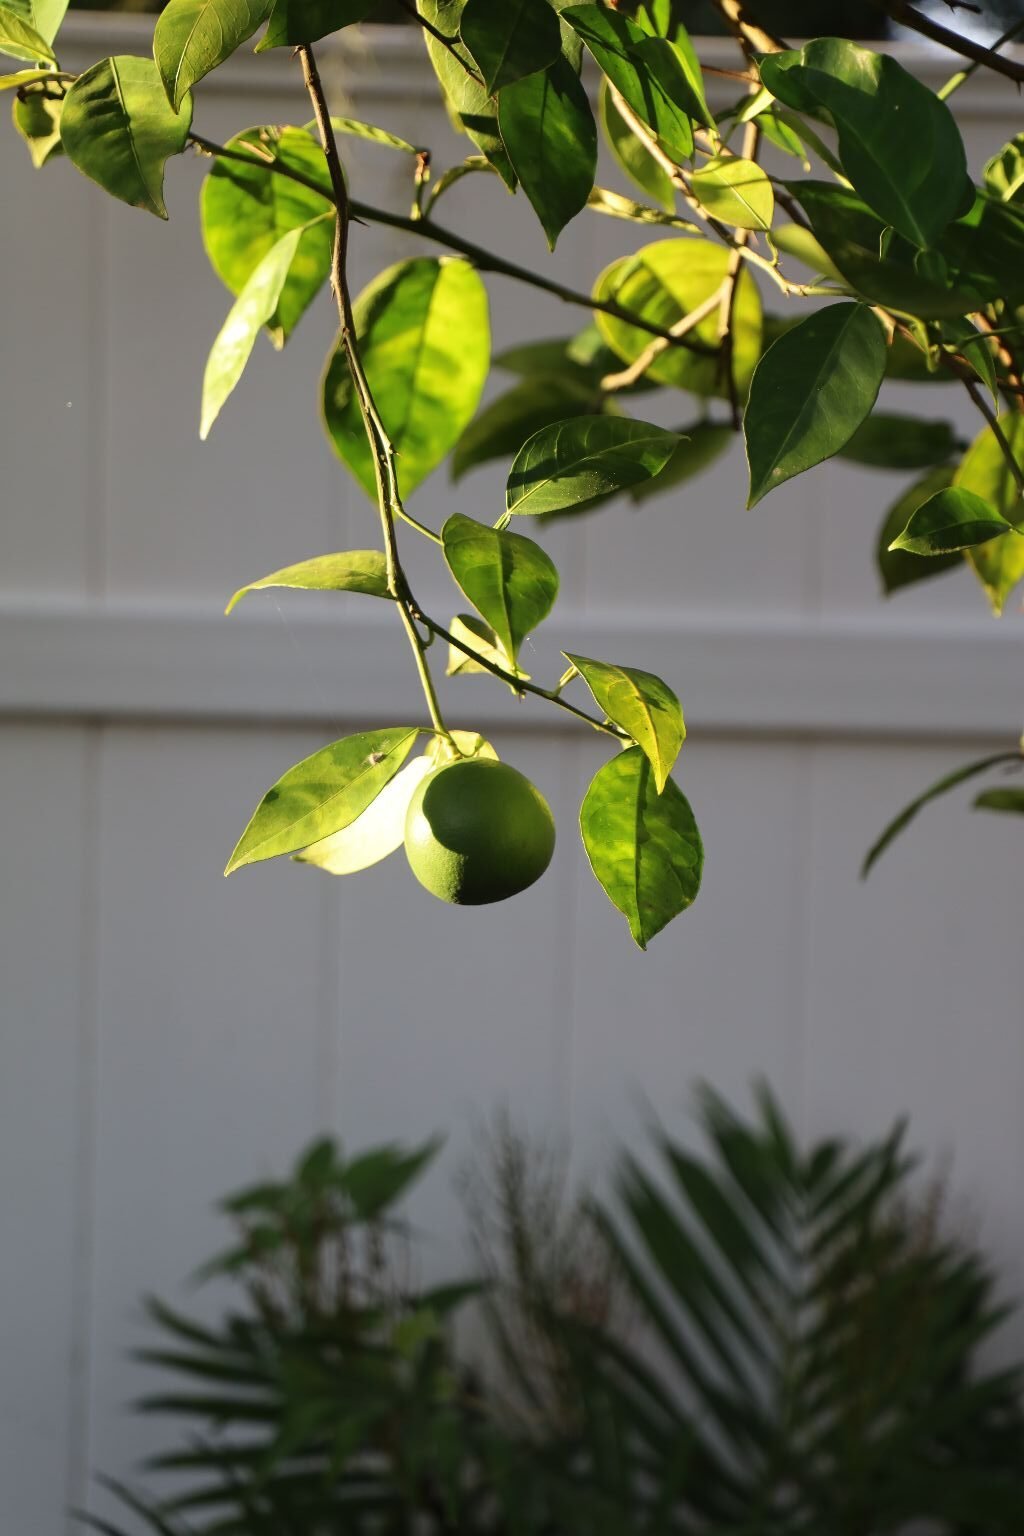
…In The Morning Sun
————————————————————————–
Recipes Start Here
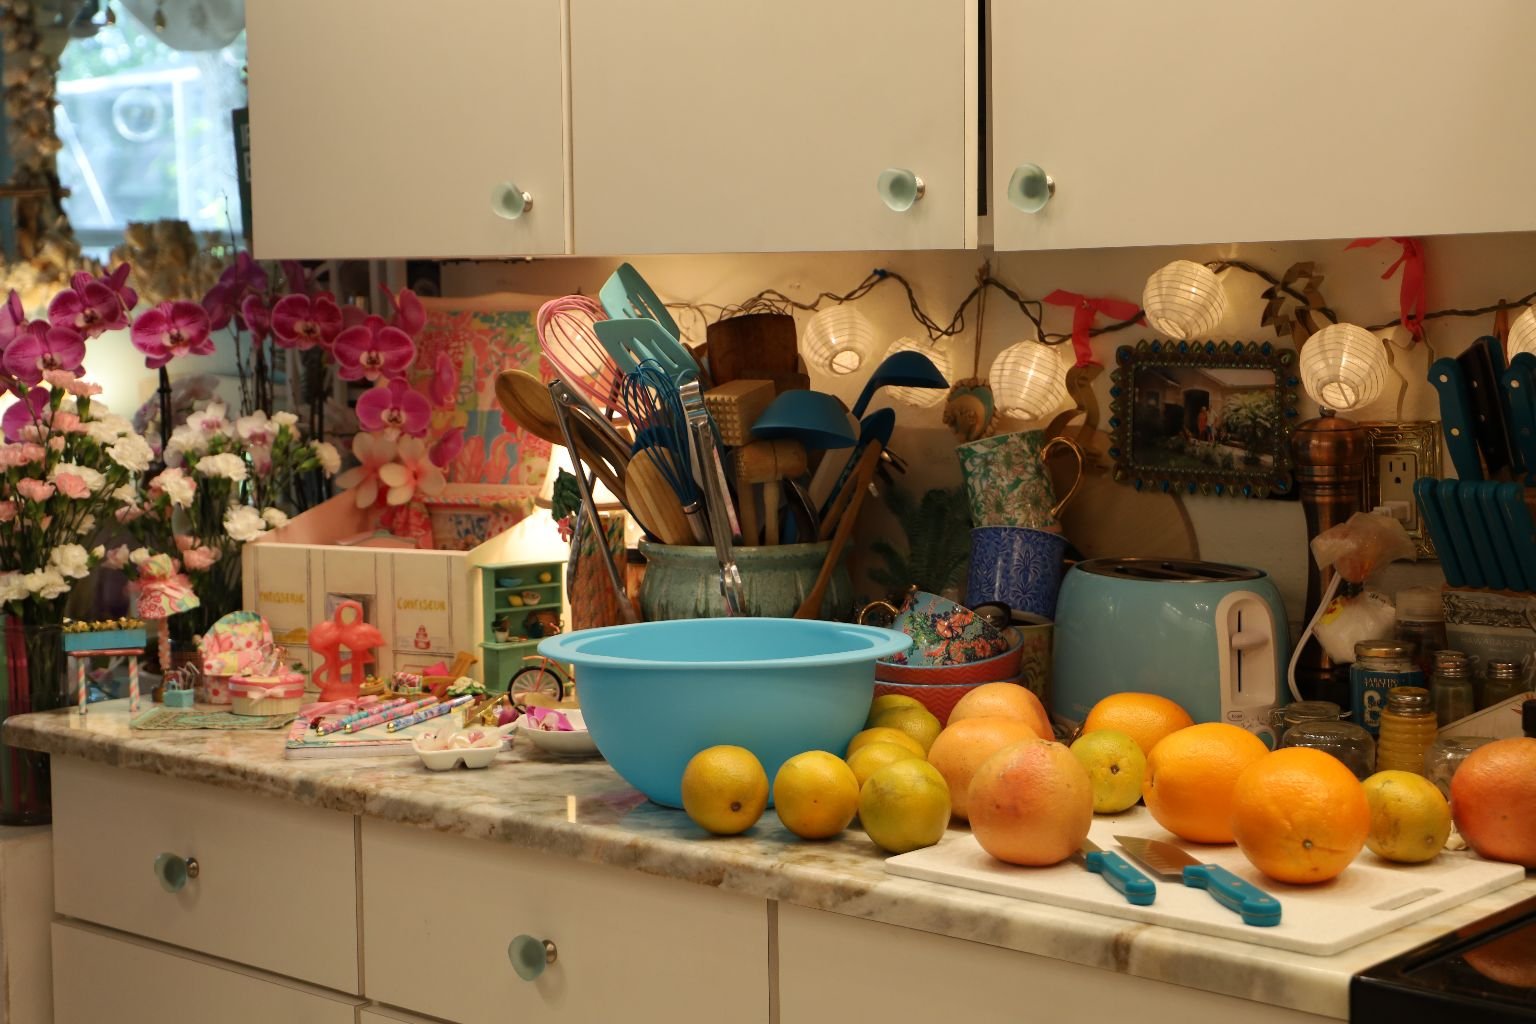
My Summer Kitchen
——————————————————————————————————————-

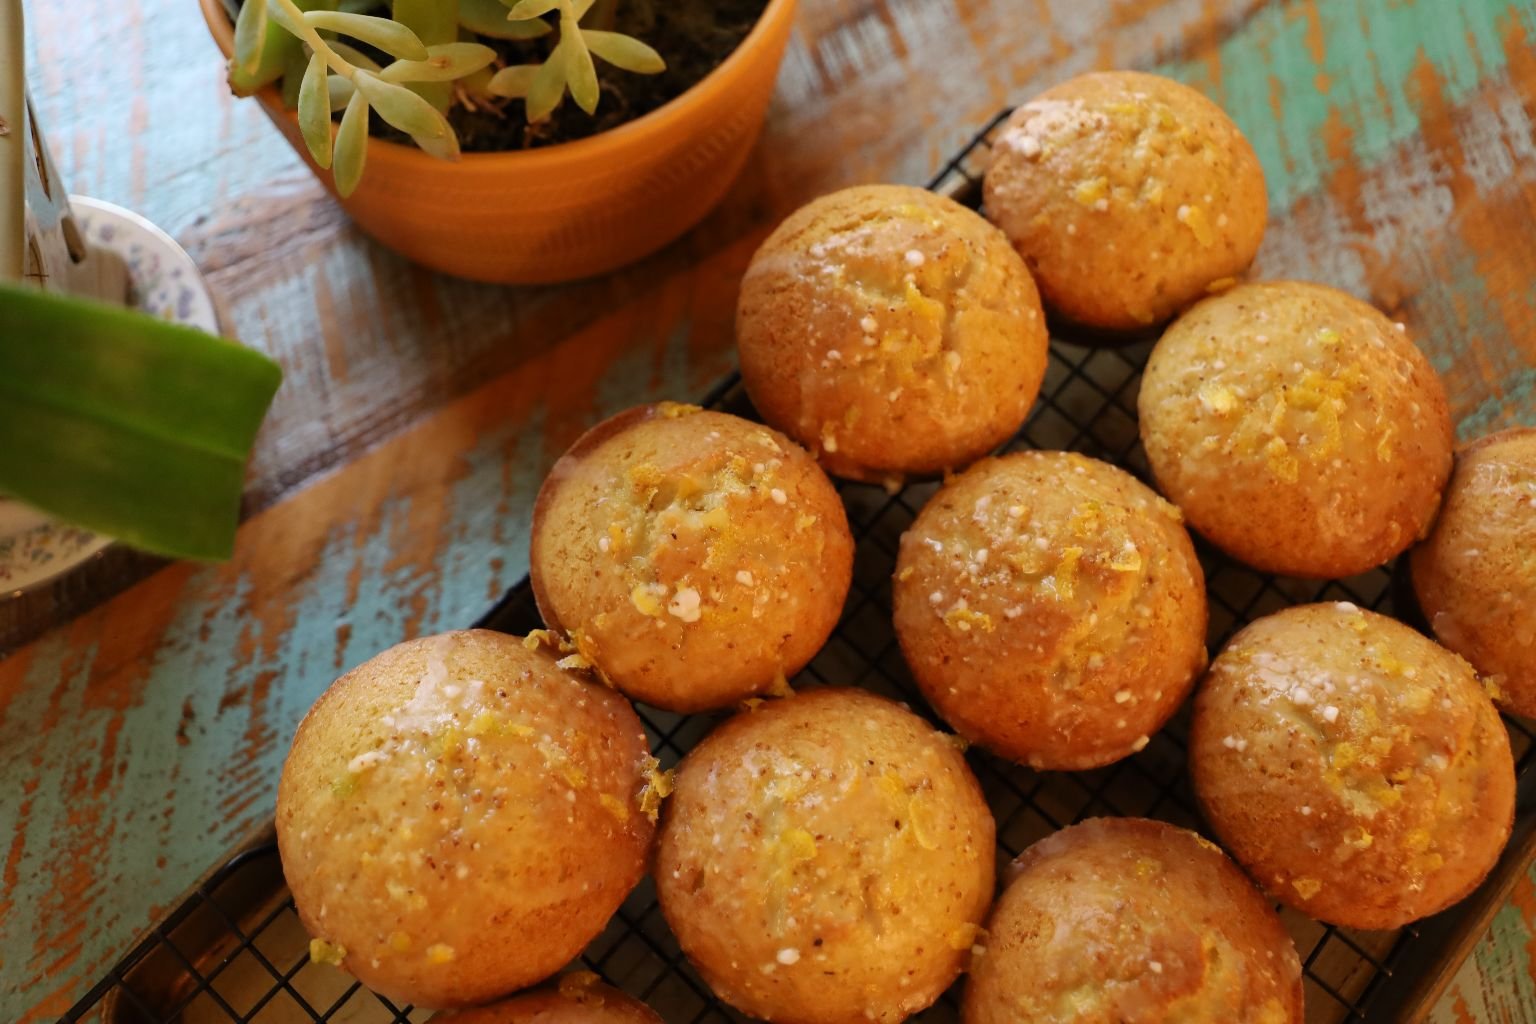
My Florida Orange Muffins w/ Lemon Citrus Glaze
———————————————————————————
This recipe will make about 24 Mini Muffins, or about 16 Regular Muffins, or 10-12 Large Muffins.
I always double, and sometimes triple a recipe like this because I like to give them to family members to enjoy as well.
I will however, just give the recipe for ONE batch of Muffins.
——————————————————————
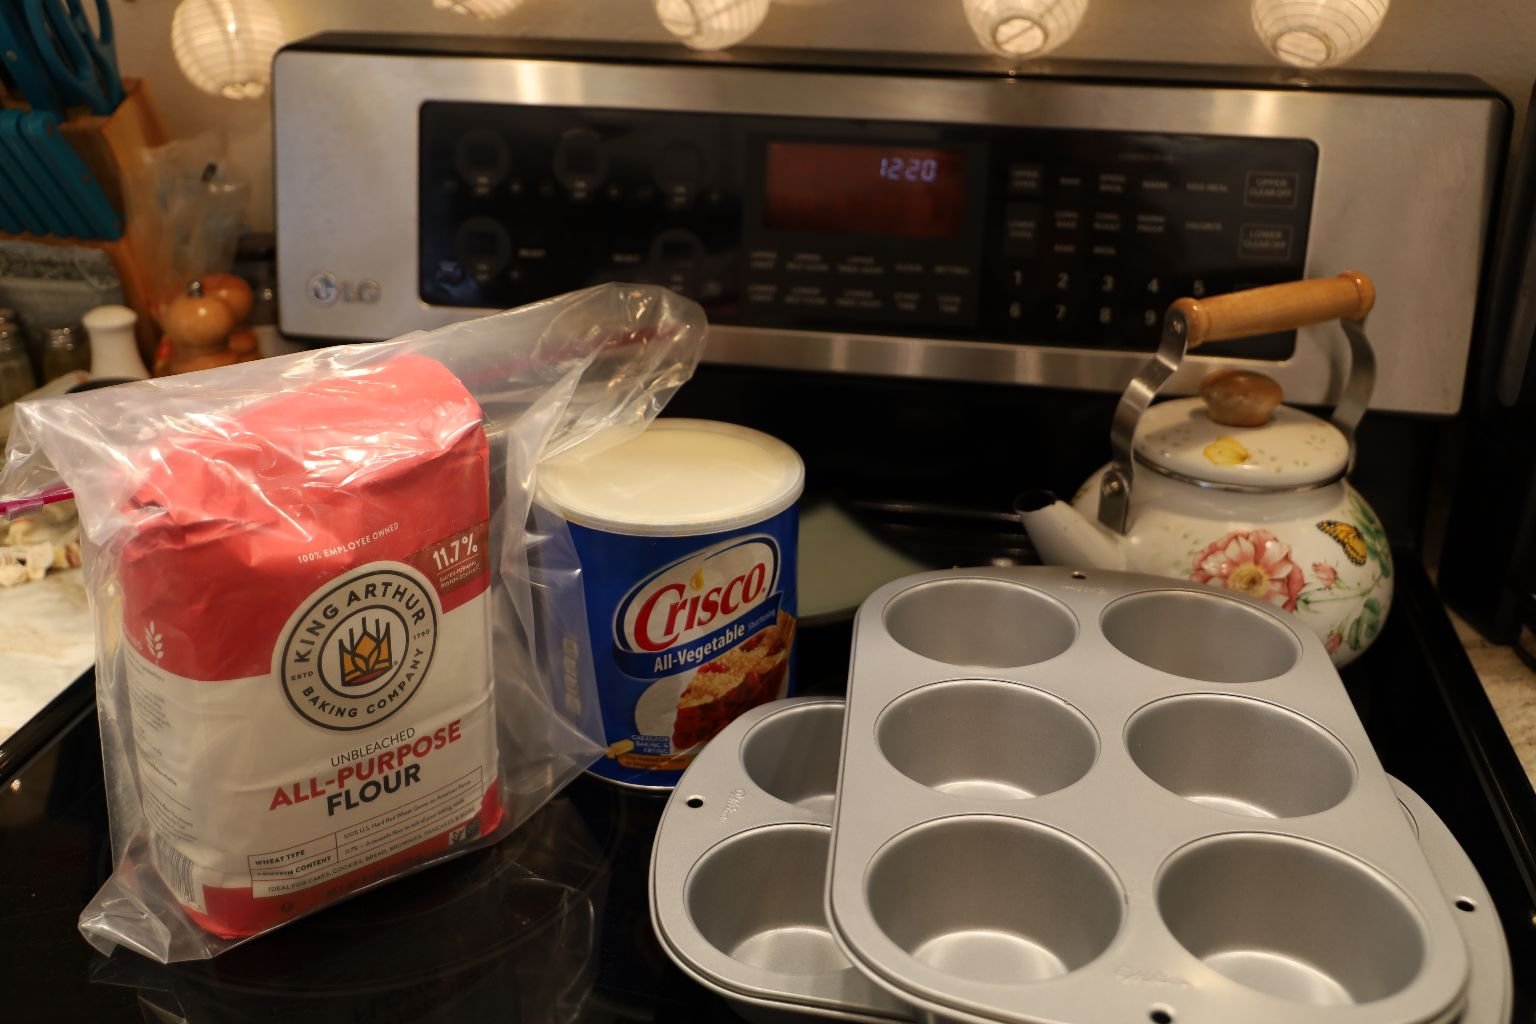
Greasing The Muffin Pans
I Decided to Make Large Muffins Here
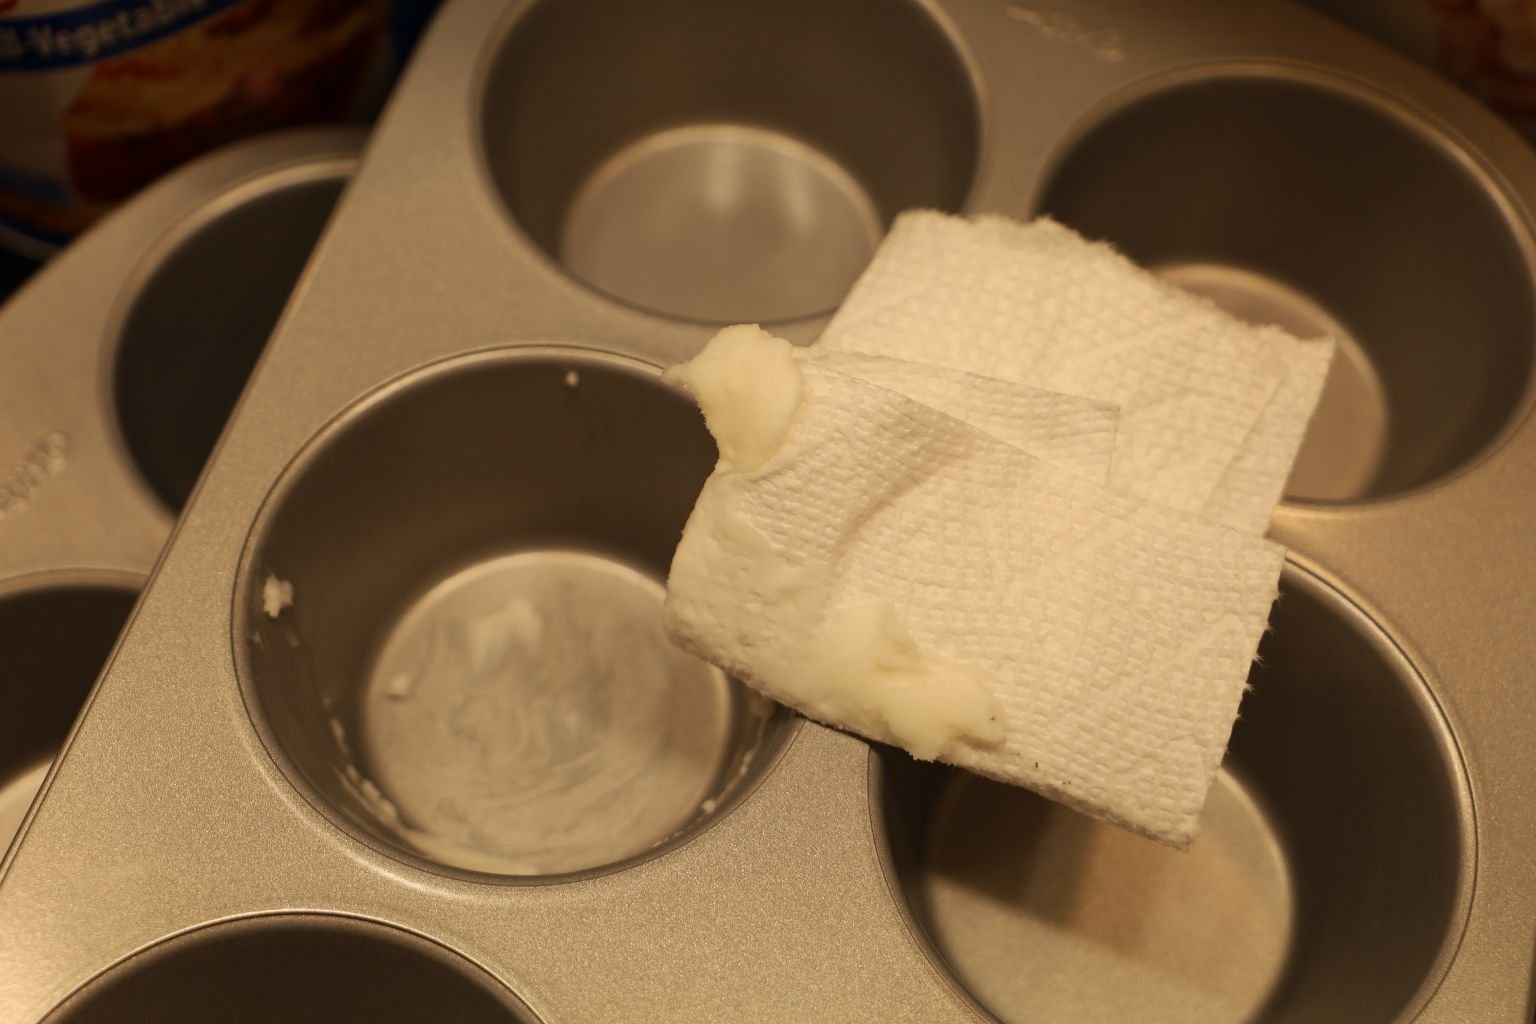

For this you will need Crisco Shortening. You just want to grease all around the inside of the Muffin Pans with the Crisco. I tend to use a paper towel as I don’t like my hands getting all greasy.

Once the Muffin Pans are nicely Greased, now sprinkle some All Purpose Flour into the Muffin Pans.
Like So….
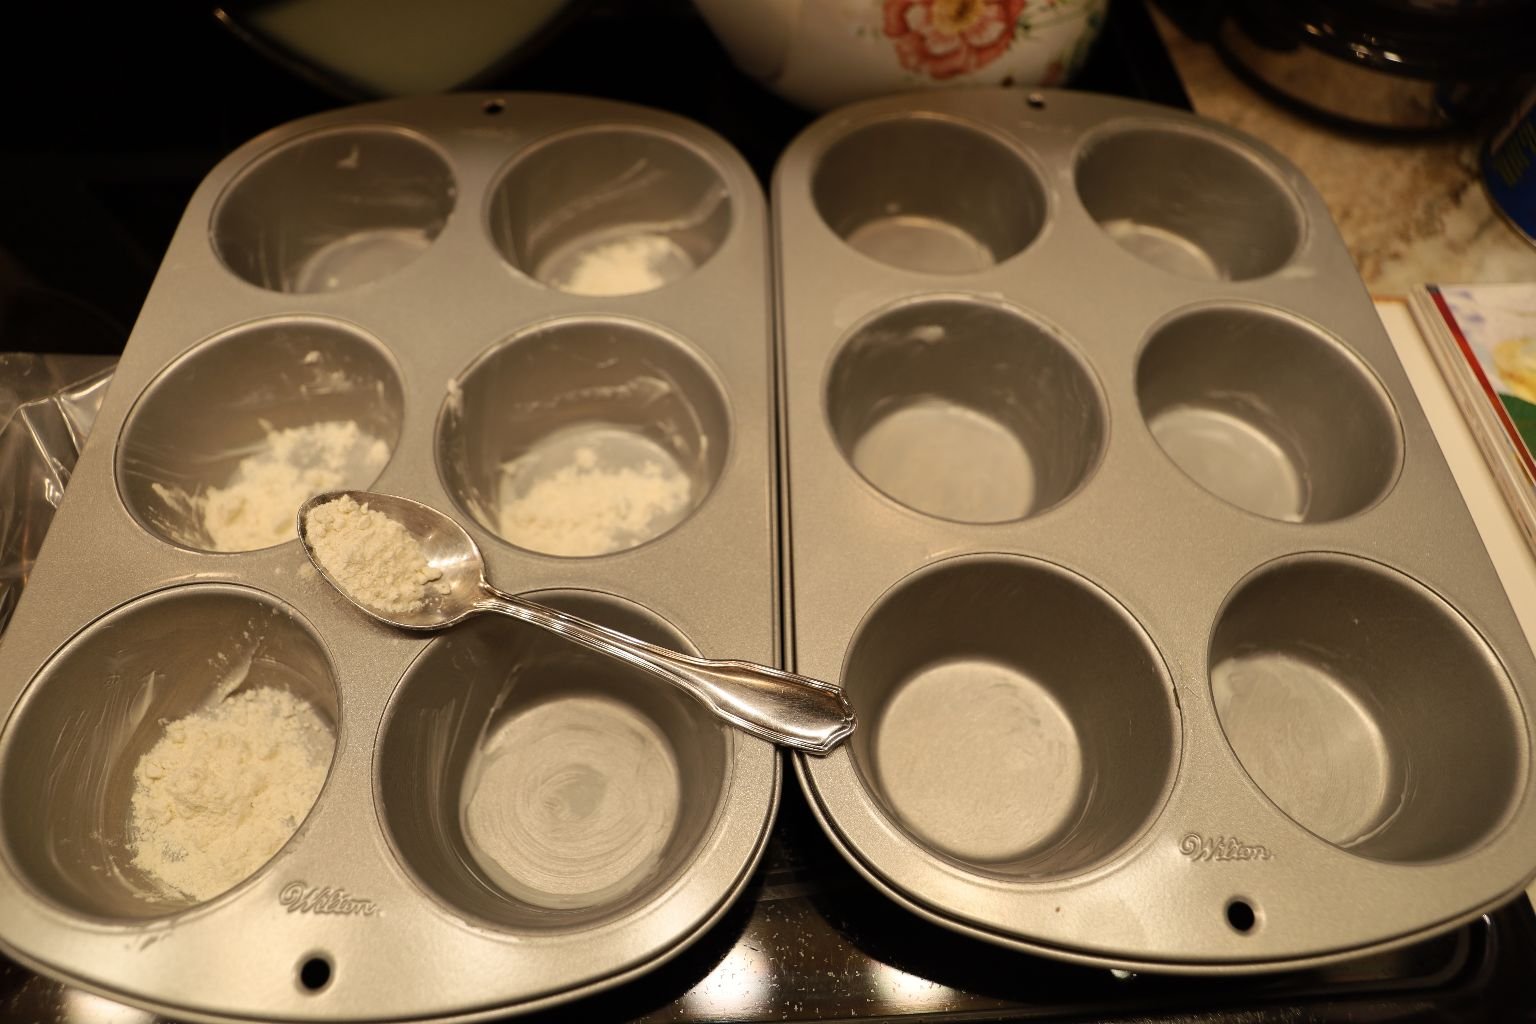

I then take each pan over to the sink and turn the Muffin pan sideways to move the All Purpose Flour around the sides, coating the Crisco with the Flour. You just want a nice dusting. When done, set aside for now.
——————————————————————————-
Ready To Make Our Muffins

Muffin Ingredients:

1 3/4 Cups All Purpose Flour
2 t. Baking Powder
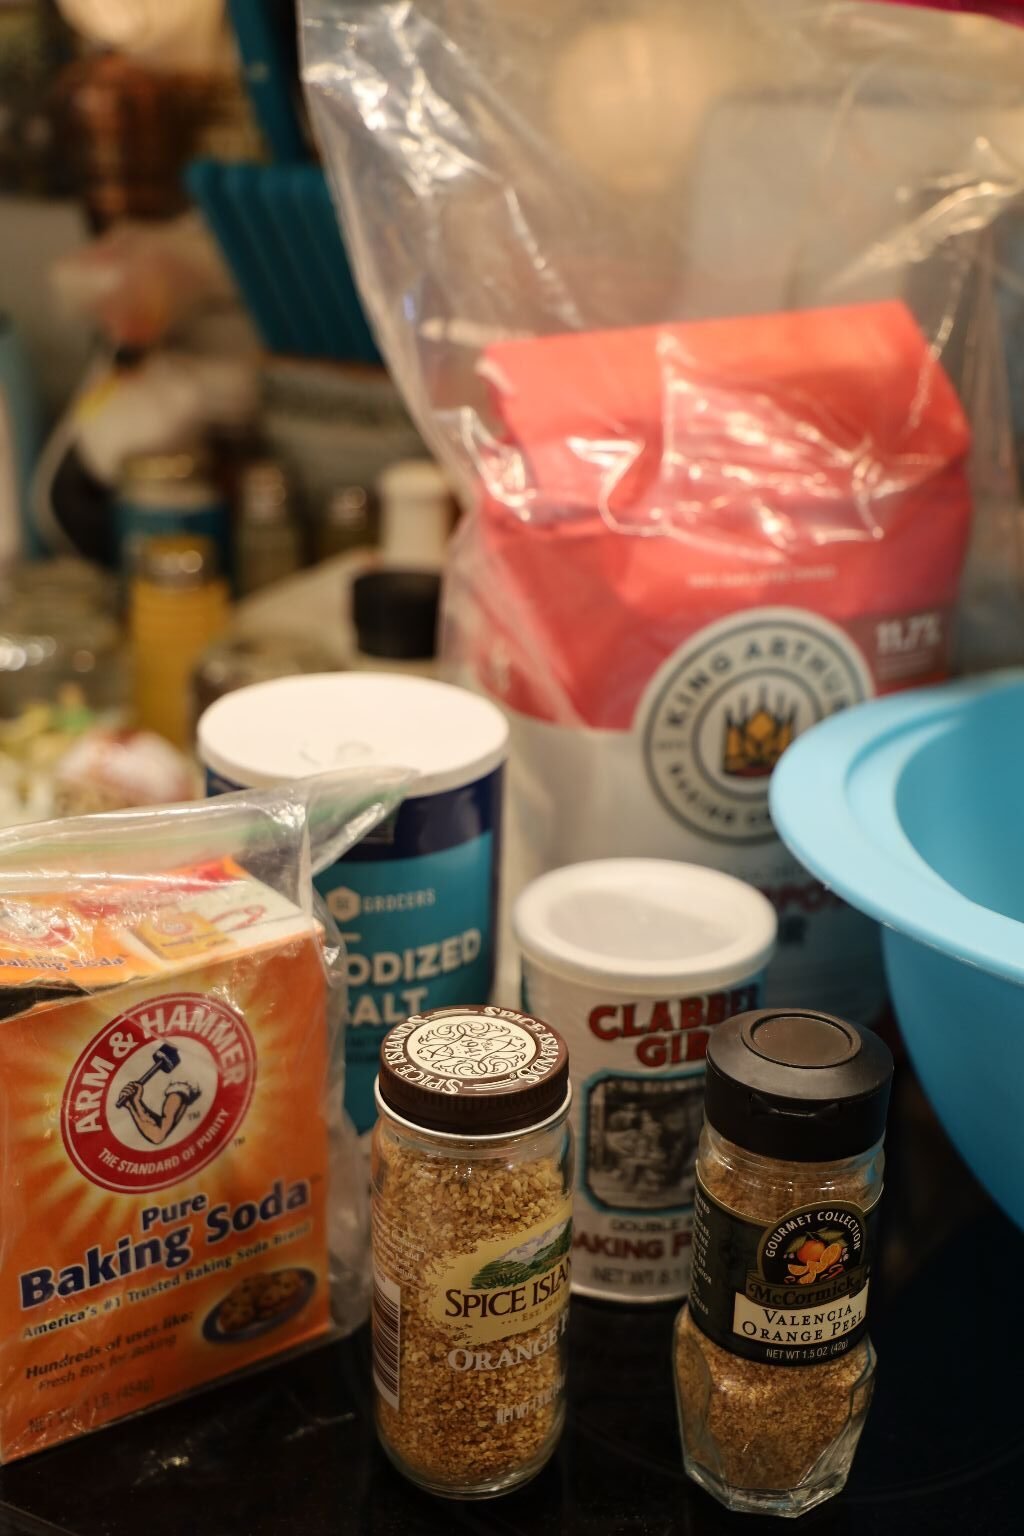
1/2 t. Baking Soda
1 Cup Sugar
1/4 t. Salt
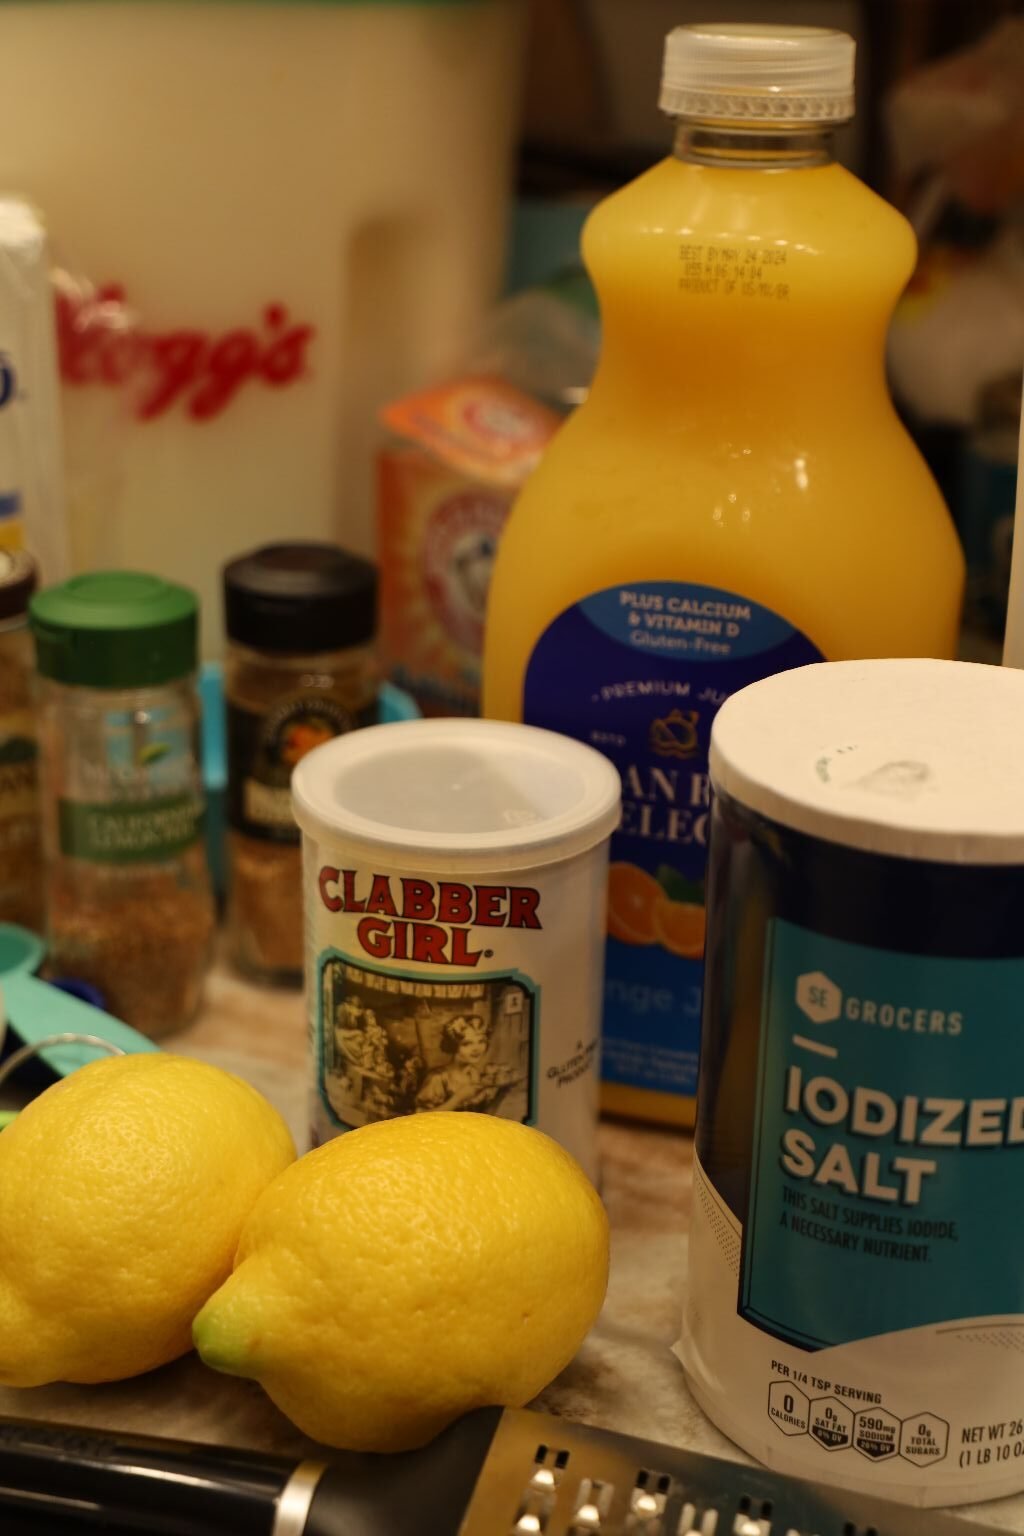
2 Eggs
2/3 Cup Orange Juice
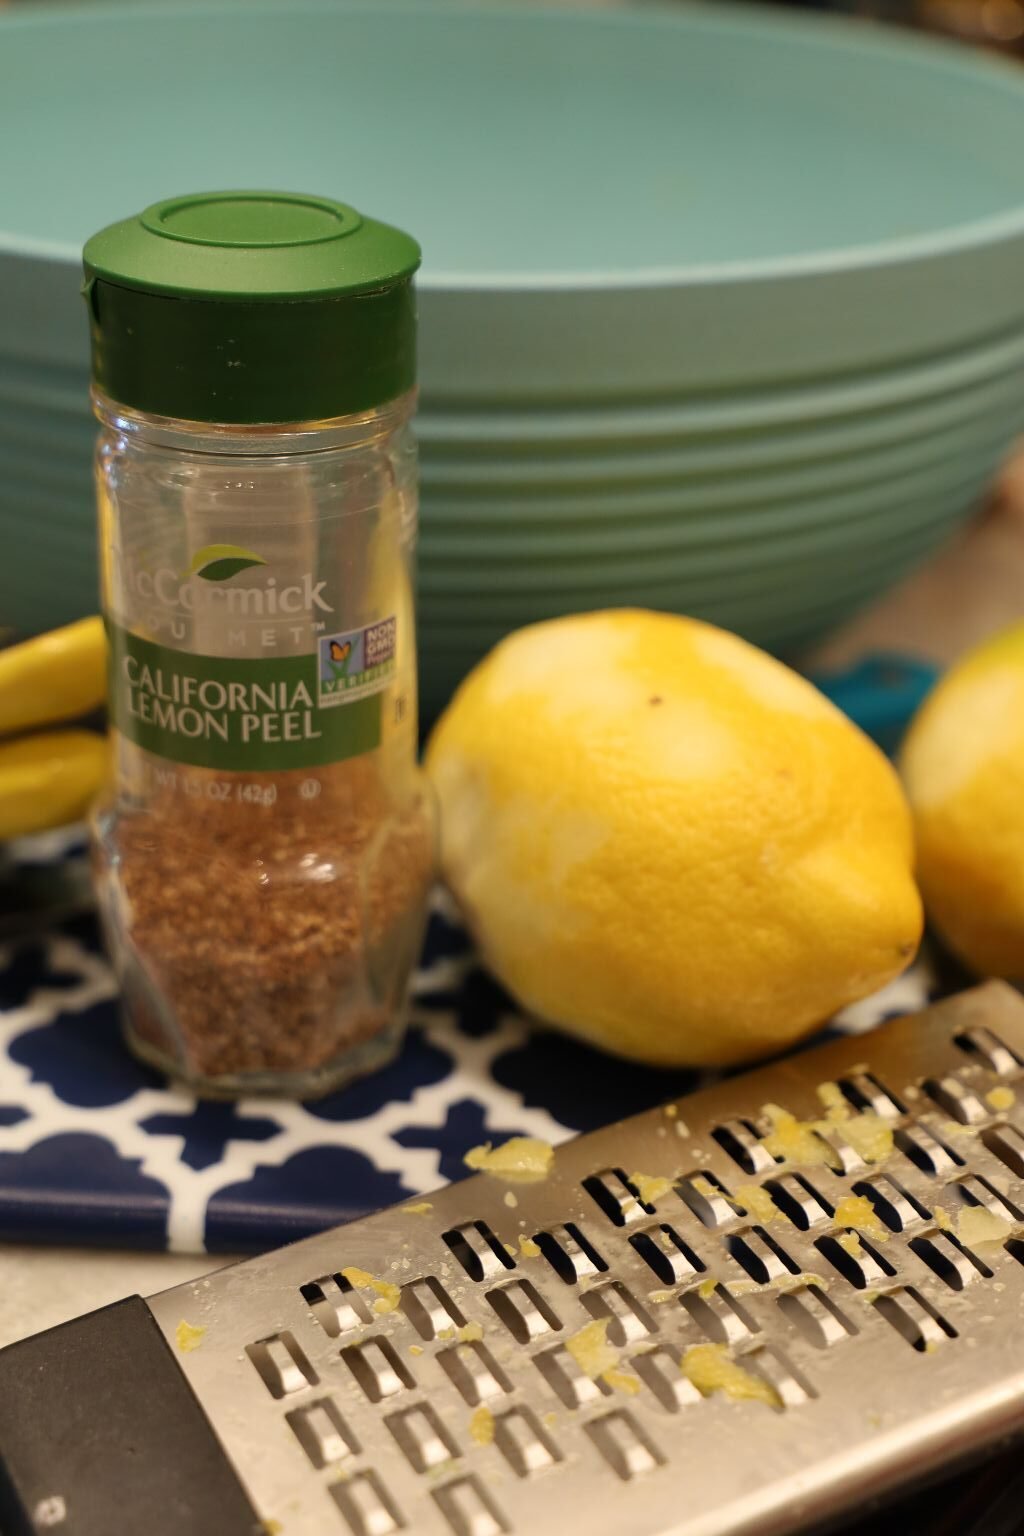
1 t. Grated Orange Peel
1 t. Grated Valencia Orange Peel
1/3 Cup Canola Oil
1/2 t. Vanilla Extract
—————————————————————————————
The Lemon Citrus Glaze Ingredients
1/4 Cup of Confectioner’s Sugar, or Thereabouts
The Juice of 1-2 Lemons
(Also the Zest)
1/2 to 1 t. Grated lemon Peel (From a Jar)
———————————————————————————–


Let’s Get Started

———————————————————————————–
Pre-Heat The Oven To 350F

My Muffin Pans are Ready
———————————————————————-

This is a Pretty Easy Recipe
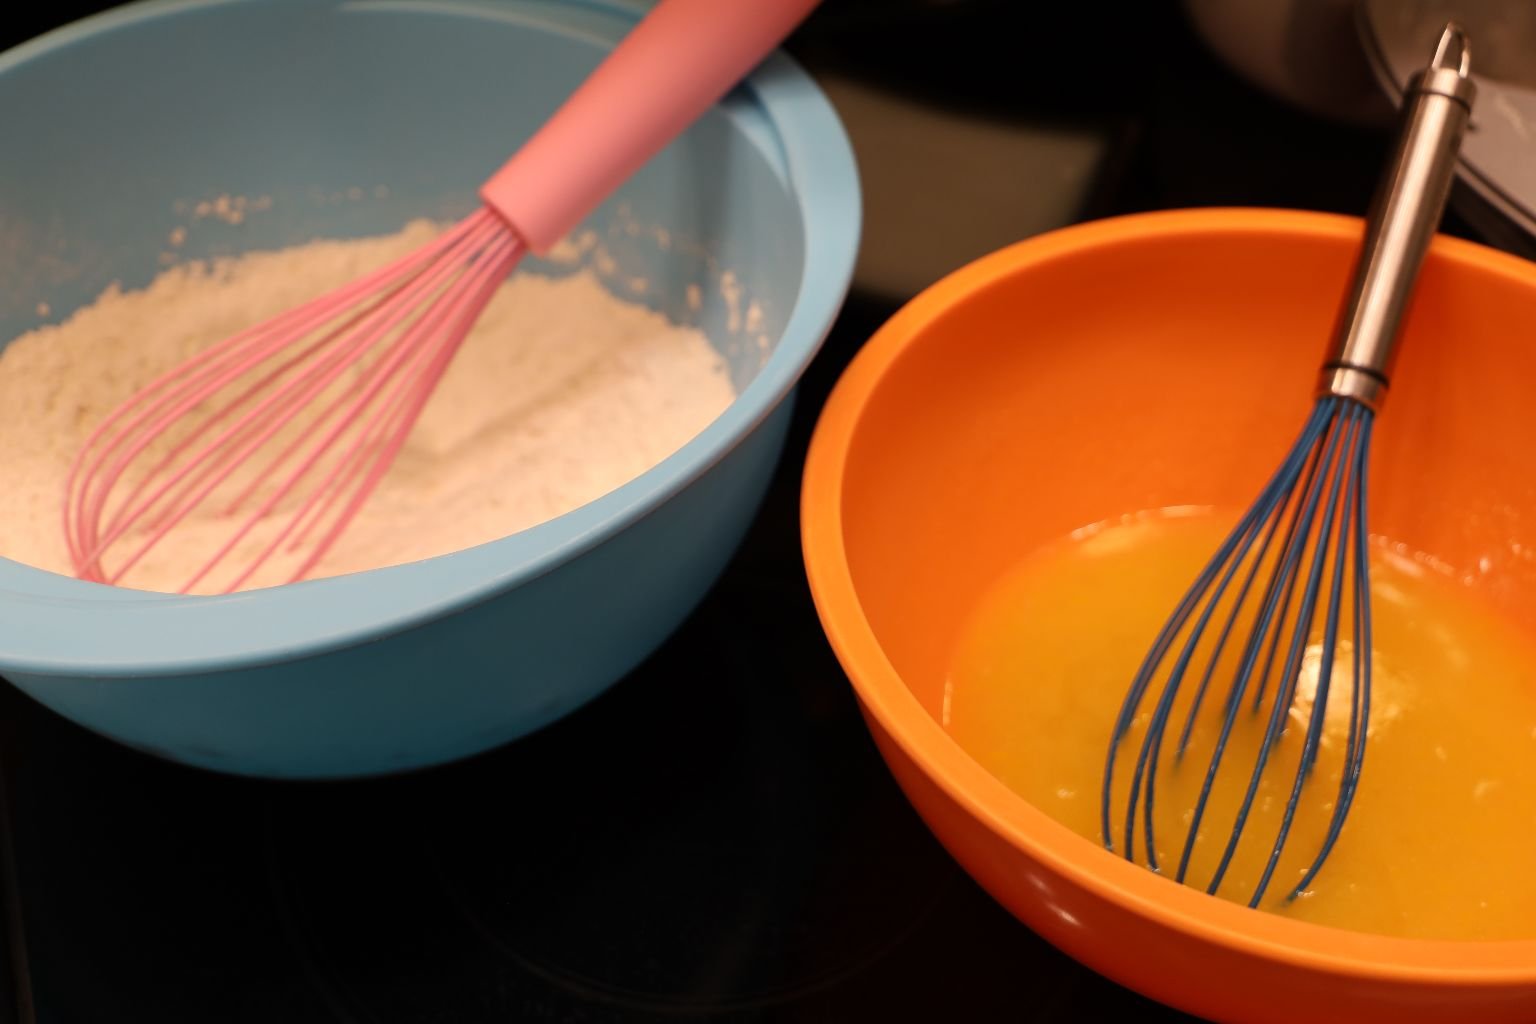
First Let’s Mix Our Dry Ingredients
———————————————————————————
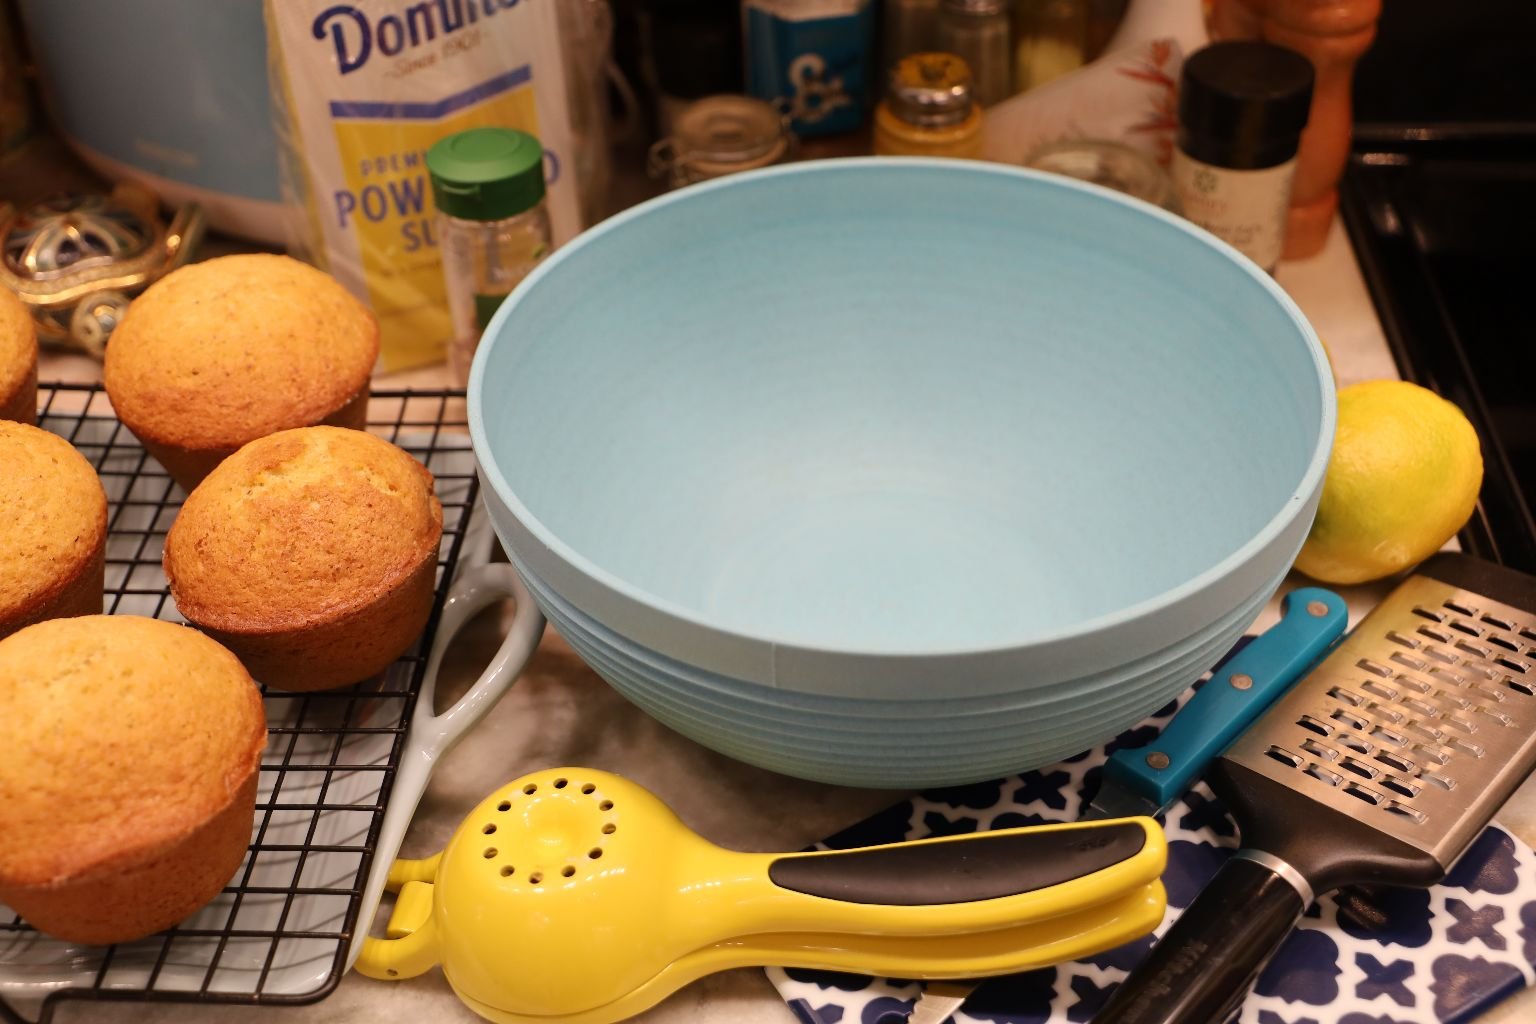
In a Large Mixing Bowl:
Add,
1 3/4 Cups All Purpose Flour
2 t. Baking Powder
1/2 t. Baking Soda
1 Cup Sugar
1/4 t. Salt
1 t. Grated Orange Peel
1 t. Grated Valencia Orange Peel
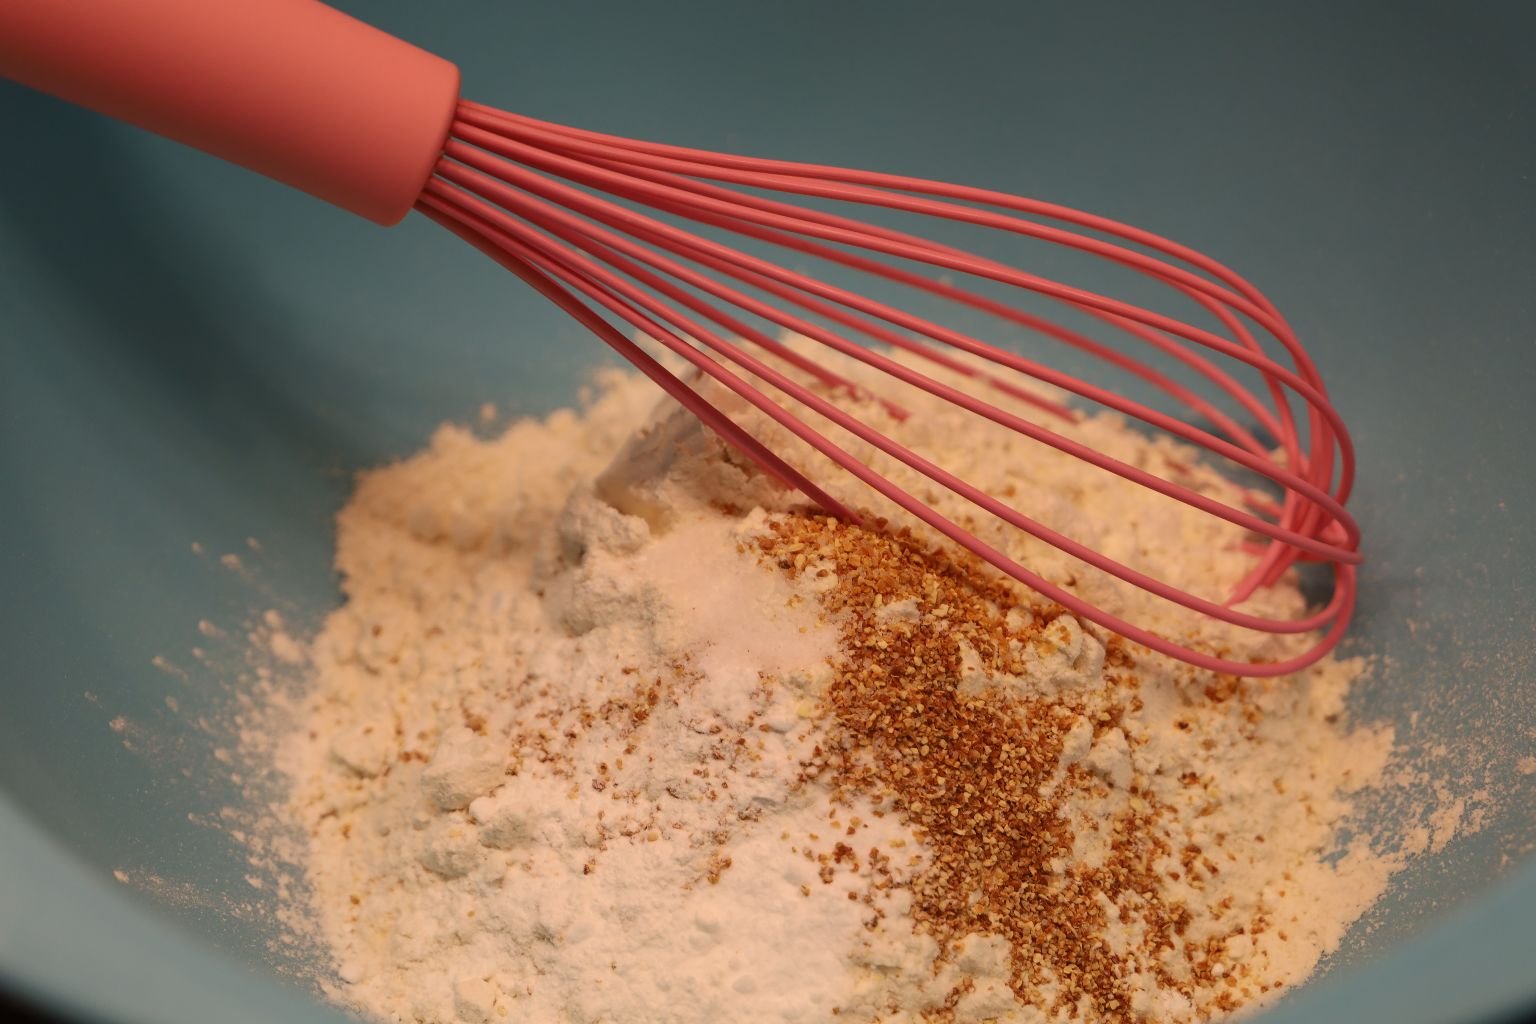
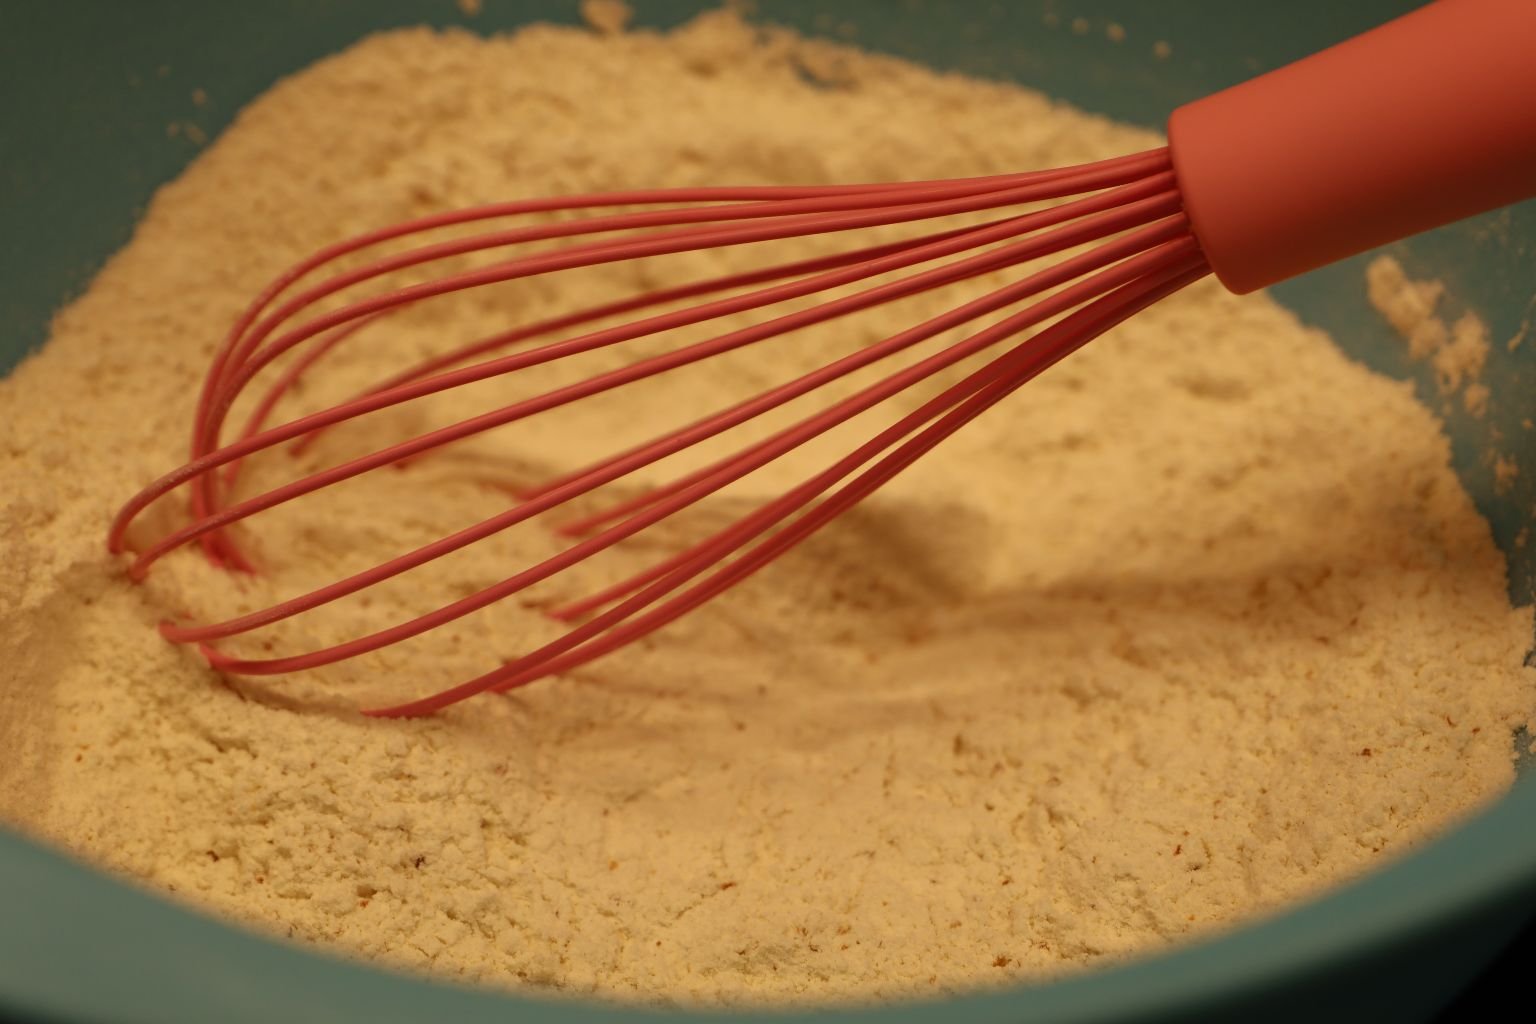
Mixing The Dry Ingredients w/ a Whisk
————————————————————————–
Time To Mix The Wet Ingredients
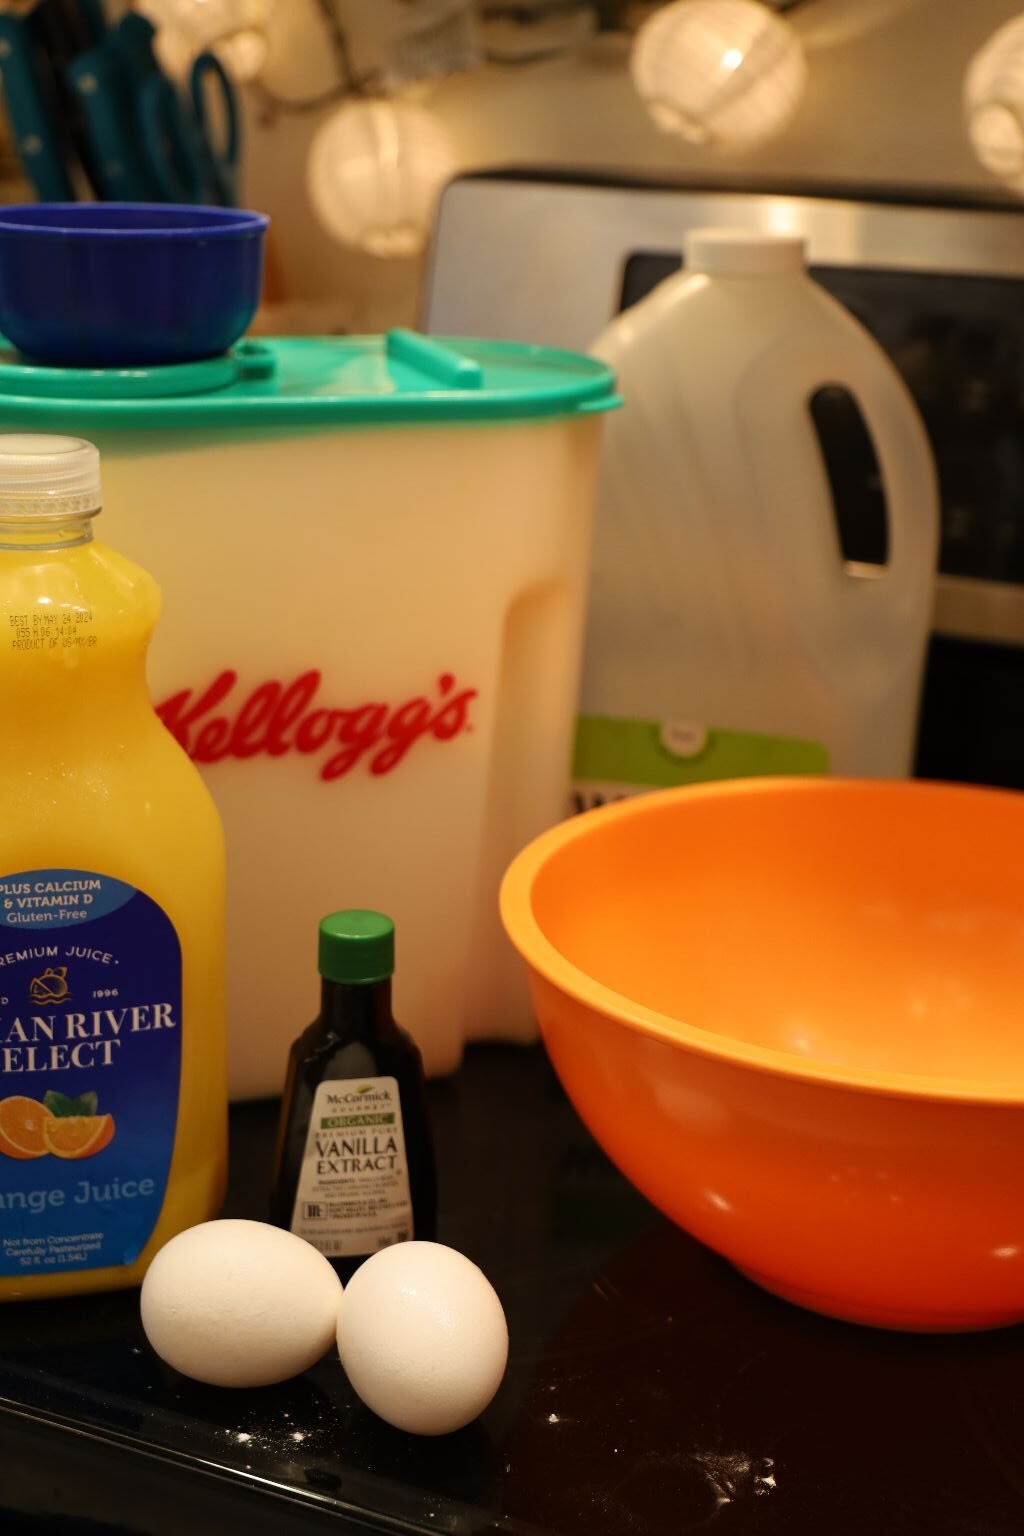
In a Medium Sized Bowl:
Add,
2 Eggs
2/3 Cup Orange Juice
1/3 Cup Canola Oil
1/2 t. Vanilla Extract
———————————————————————-
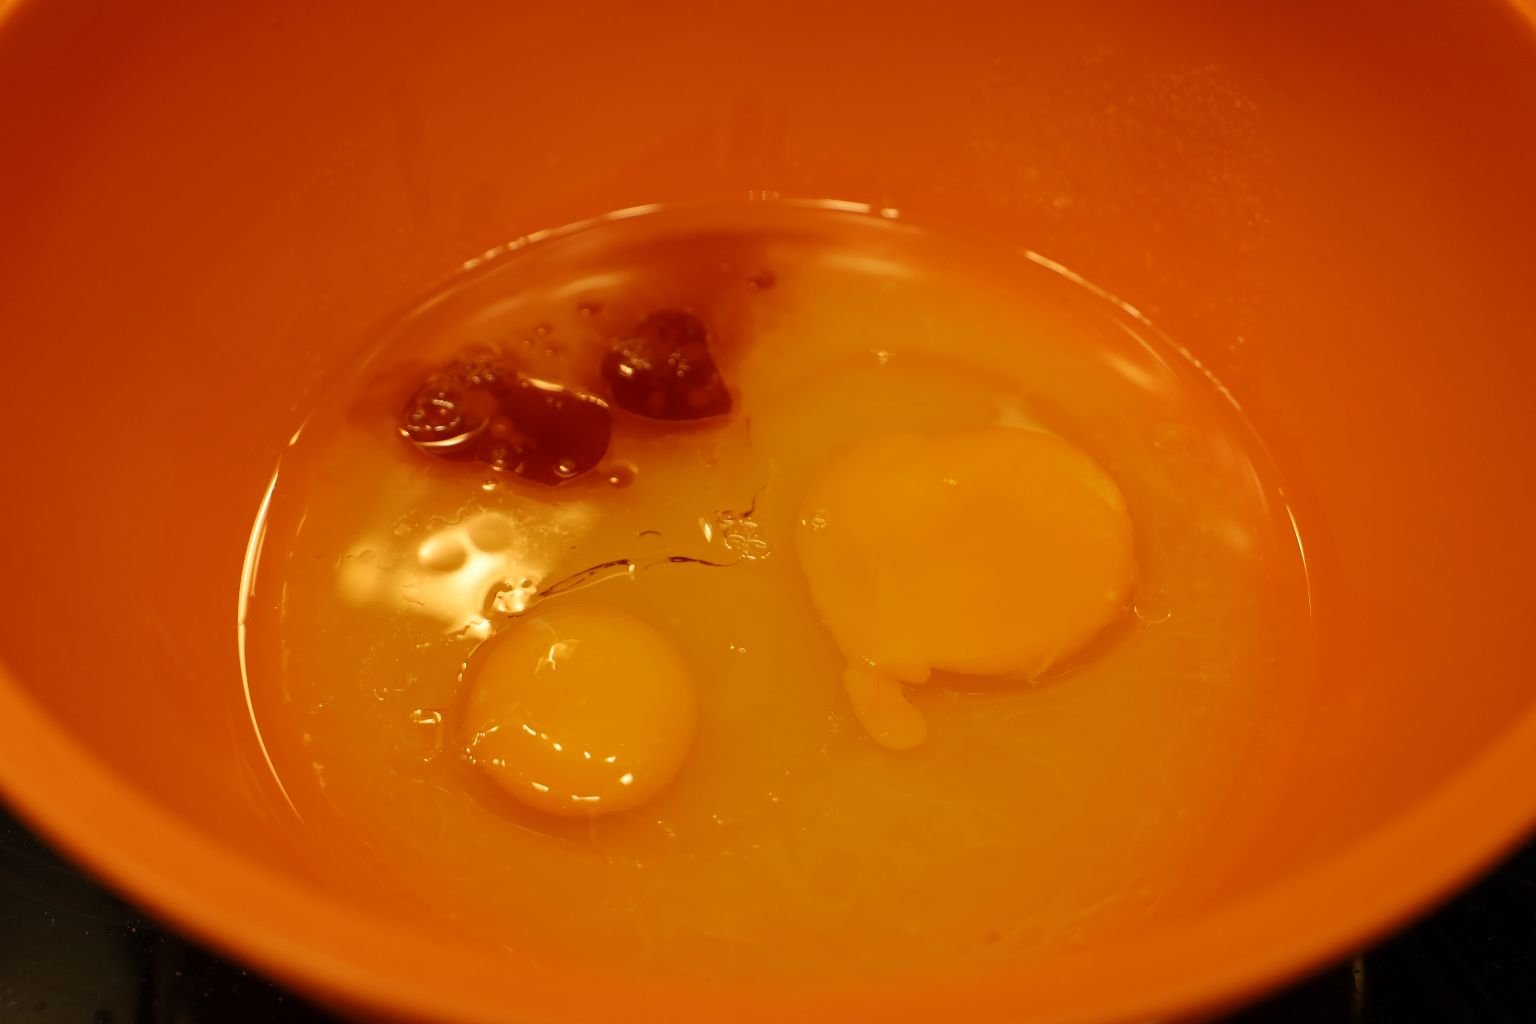

Whisk the Wet Ingredients Together
——————————————————————
With the Dry Ingredients in One Bowl, and the Wet Ingredients in the Other…

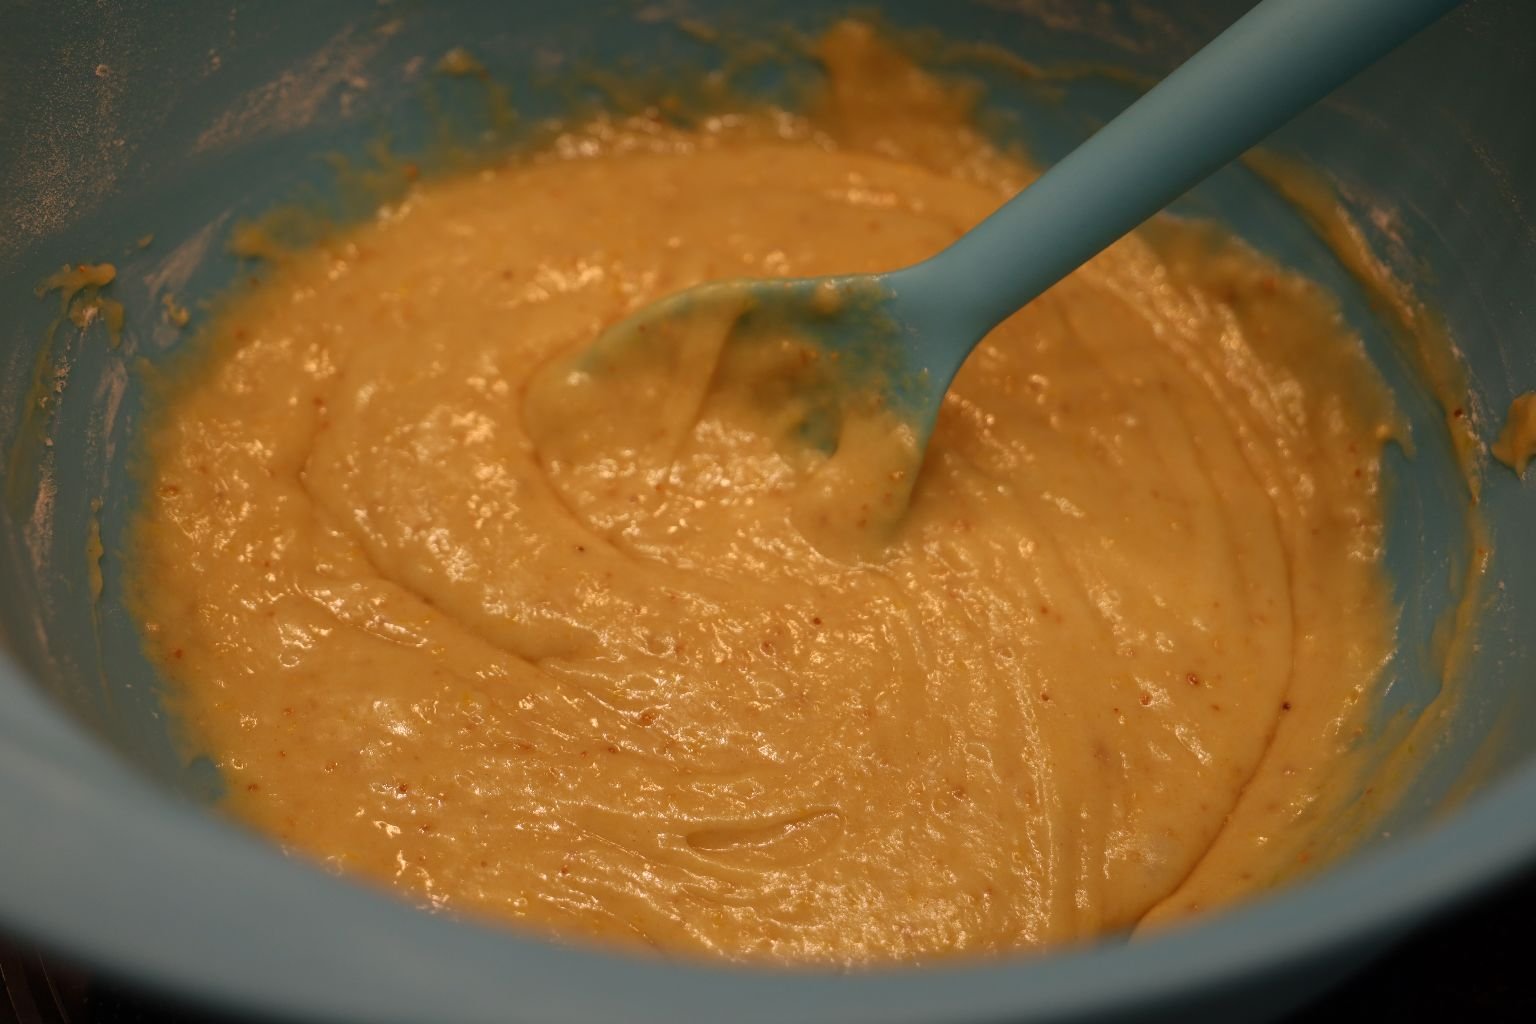
..It’s Time to Combine Them
————————————————————————————–
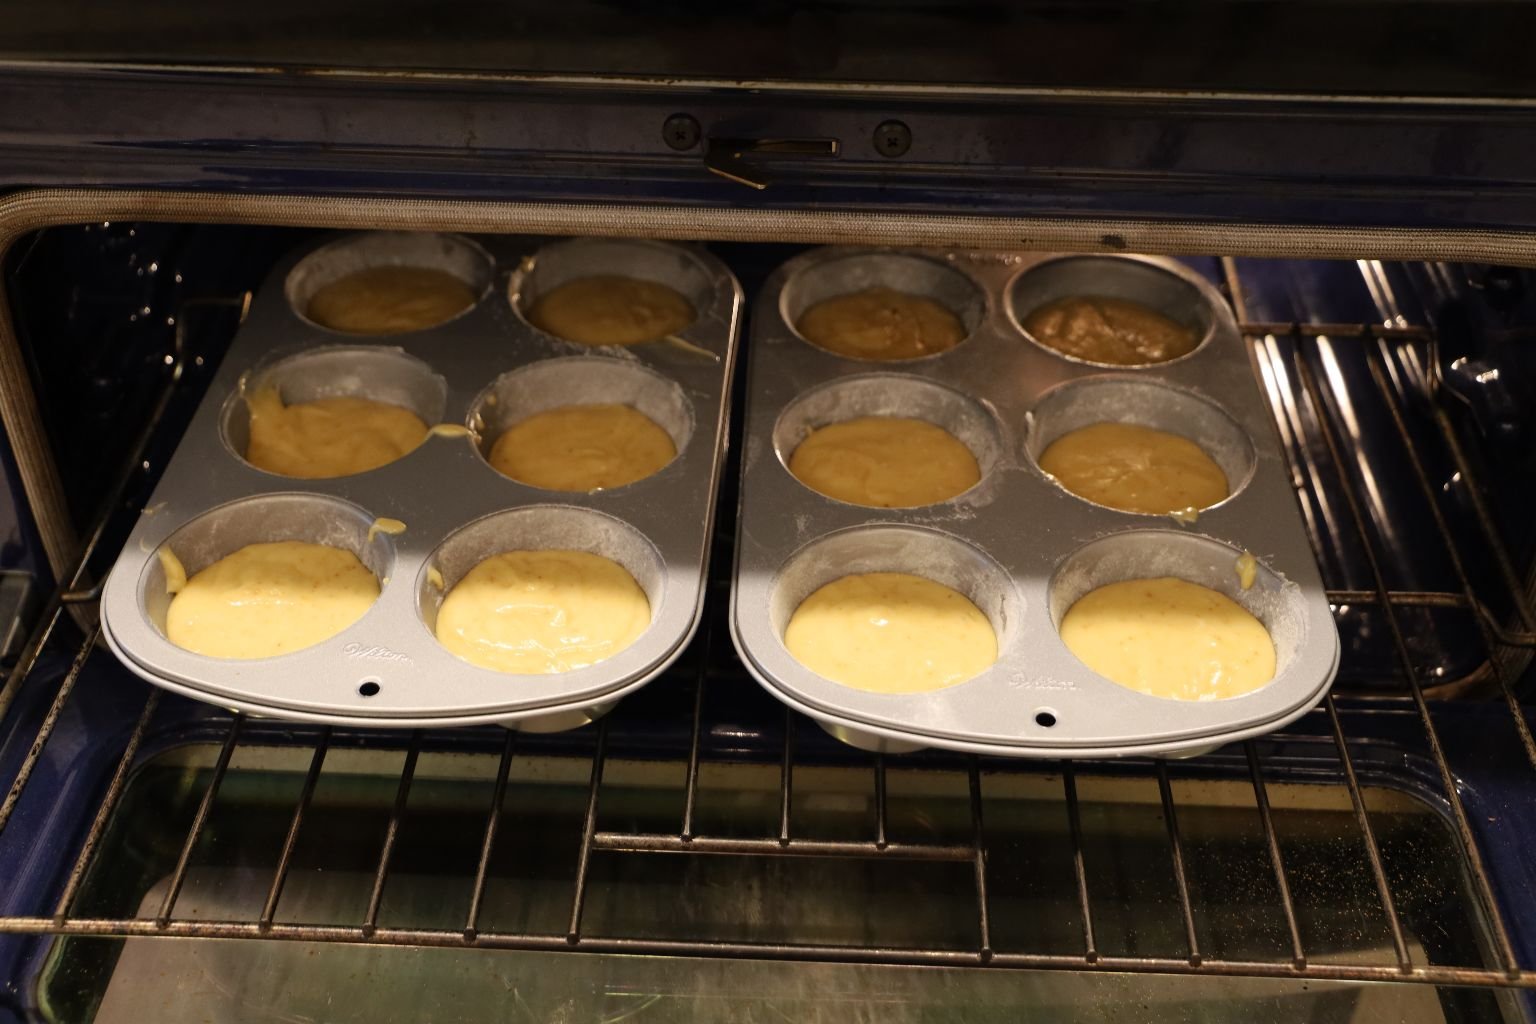
Now, Time to Fill the Muffin Pans, up to 3/4 High

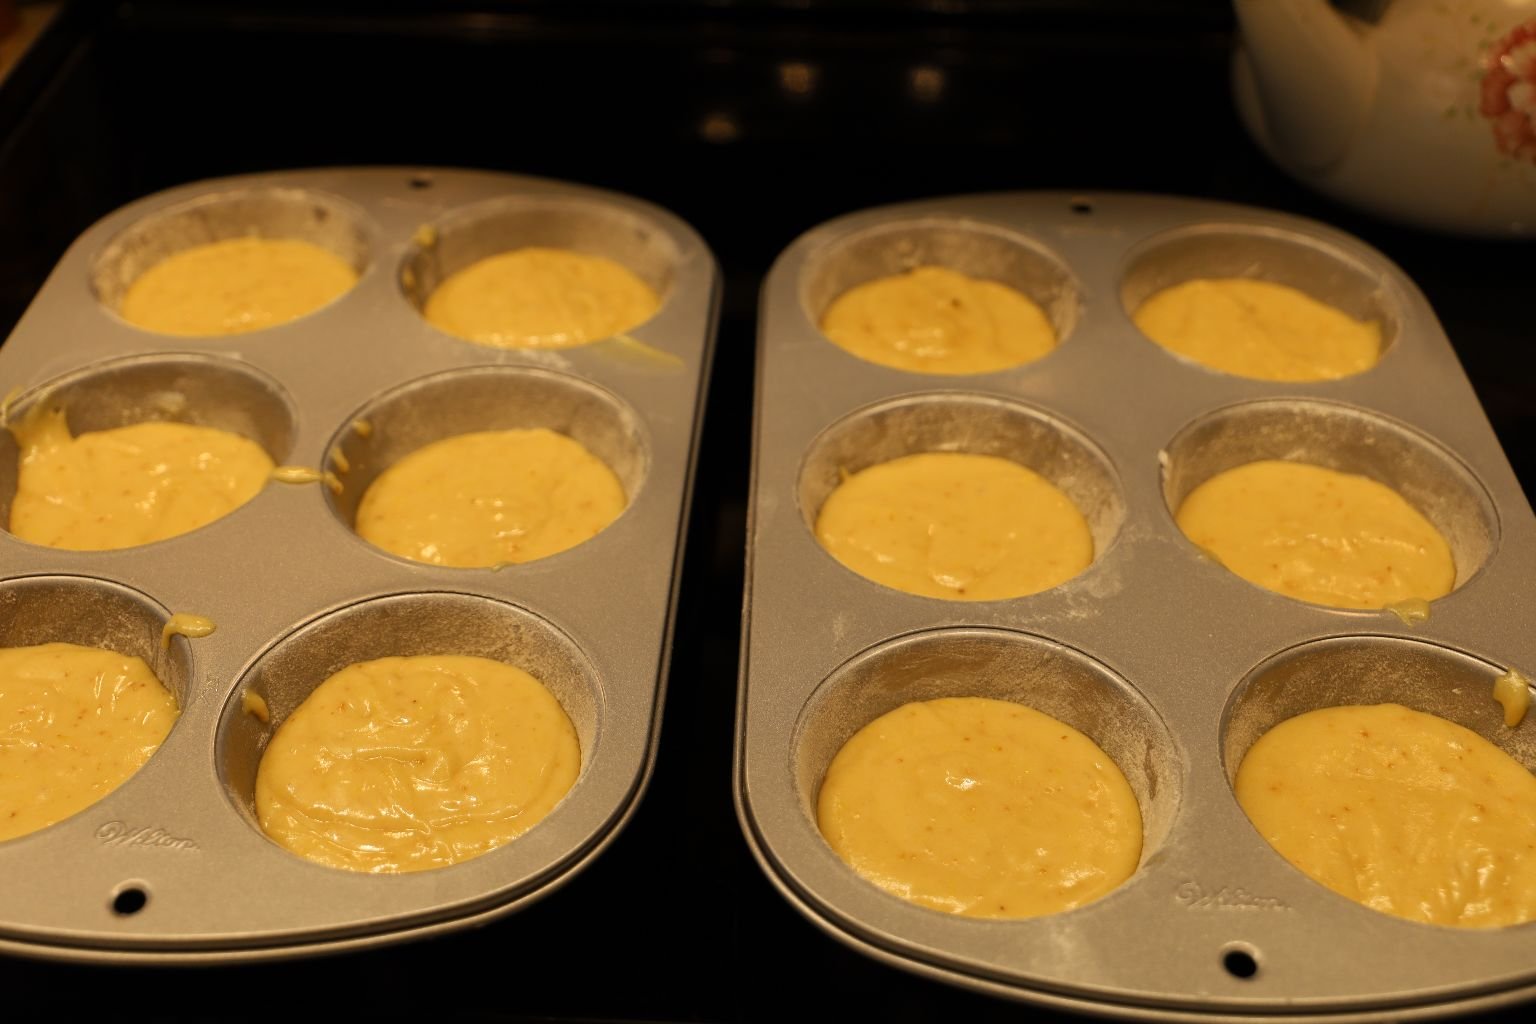
Into a 350F Oven for about 15 Minutes or So…
Depending on Your Oven
——————————————————————————-

In Order to Determine if They are Done, Insert a Toothpick,
if it Comes Out Clean, You Know They are Done.
——————————————————————————-
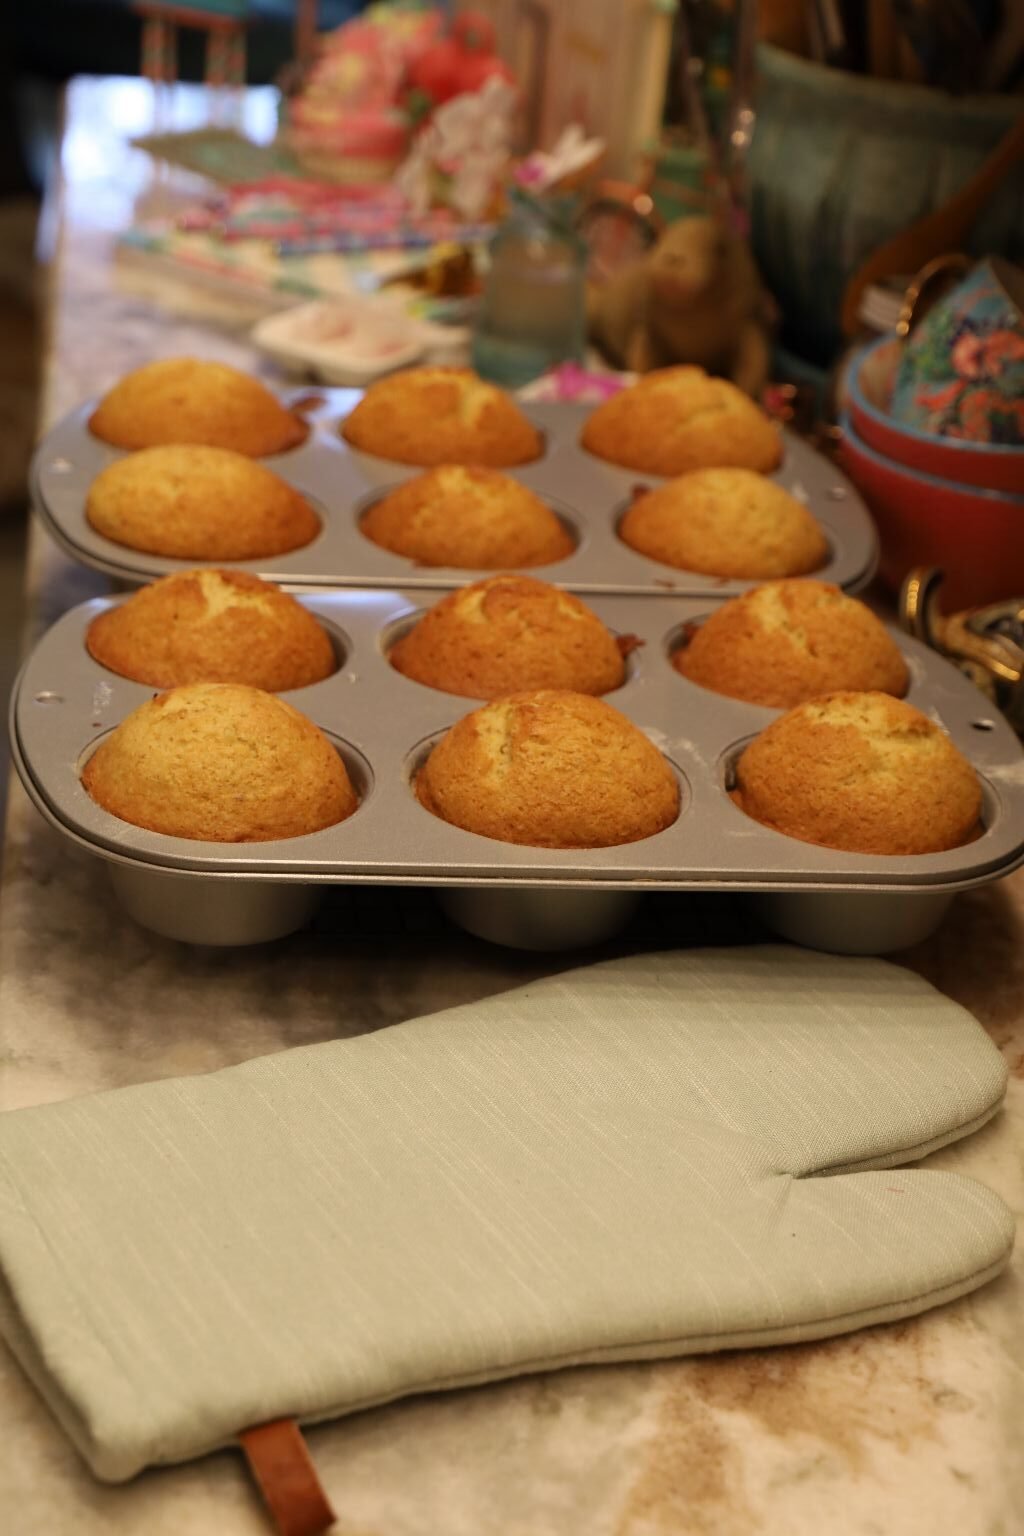
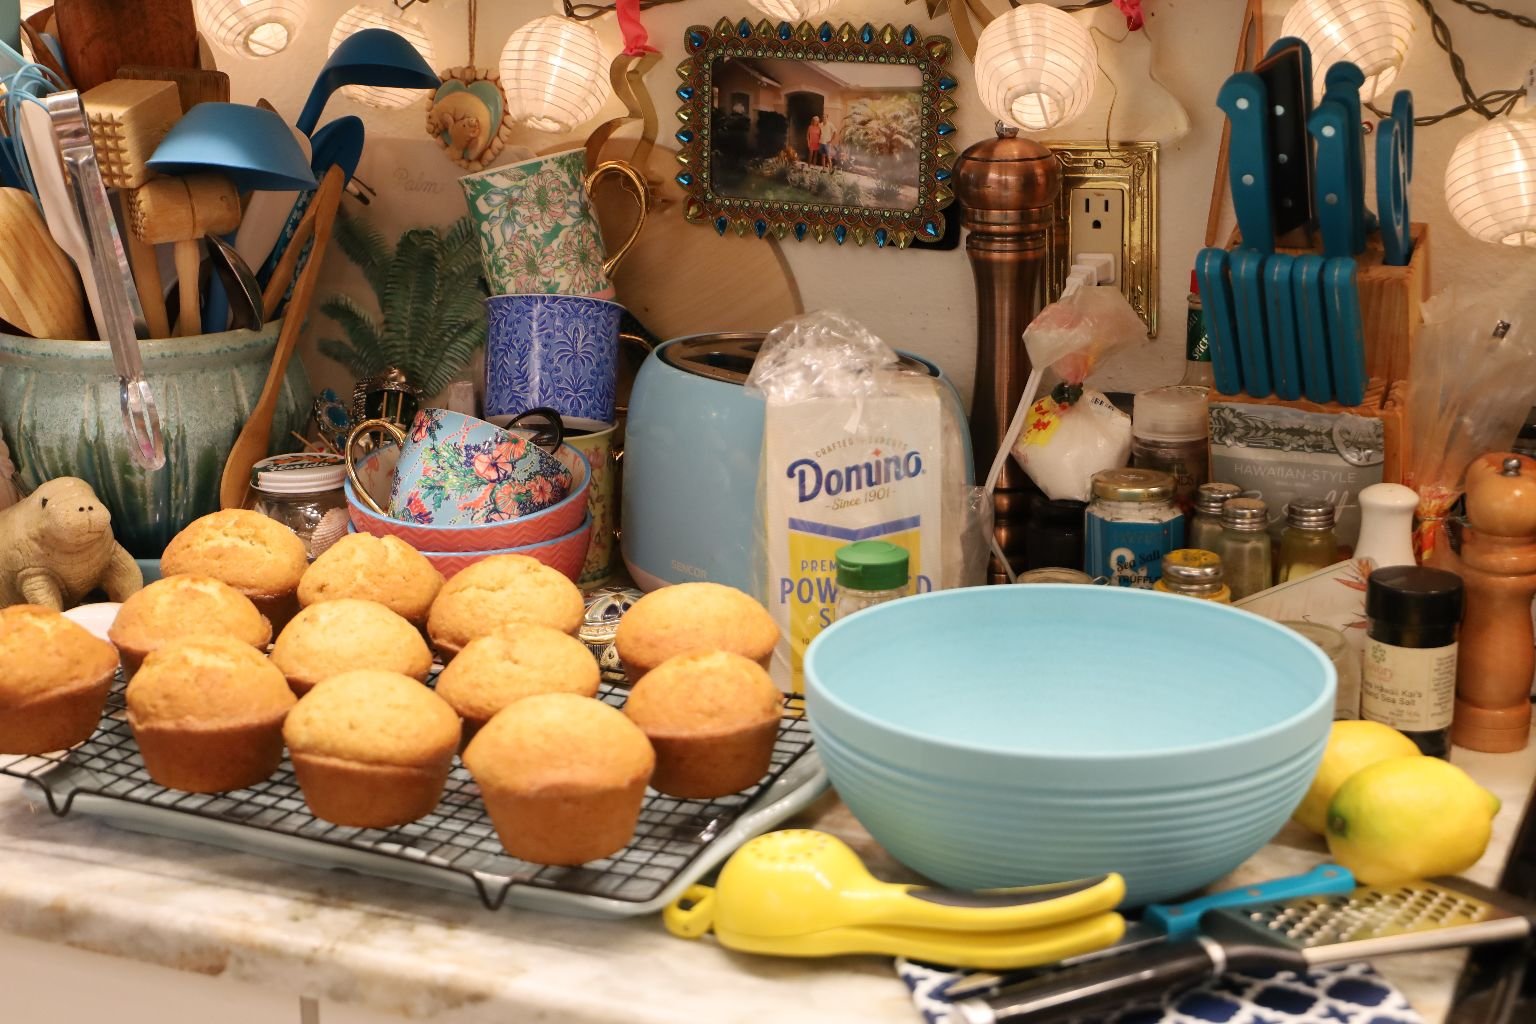
Allow The Muffins To Cool on a Cooling Rack,
For about 10 Minutes in the Pan.
———————————————————————————-
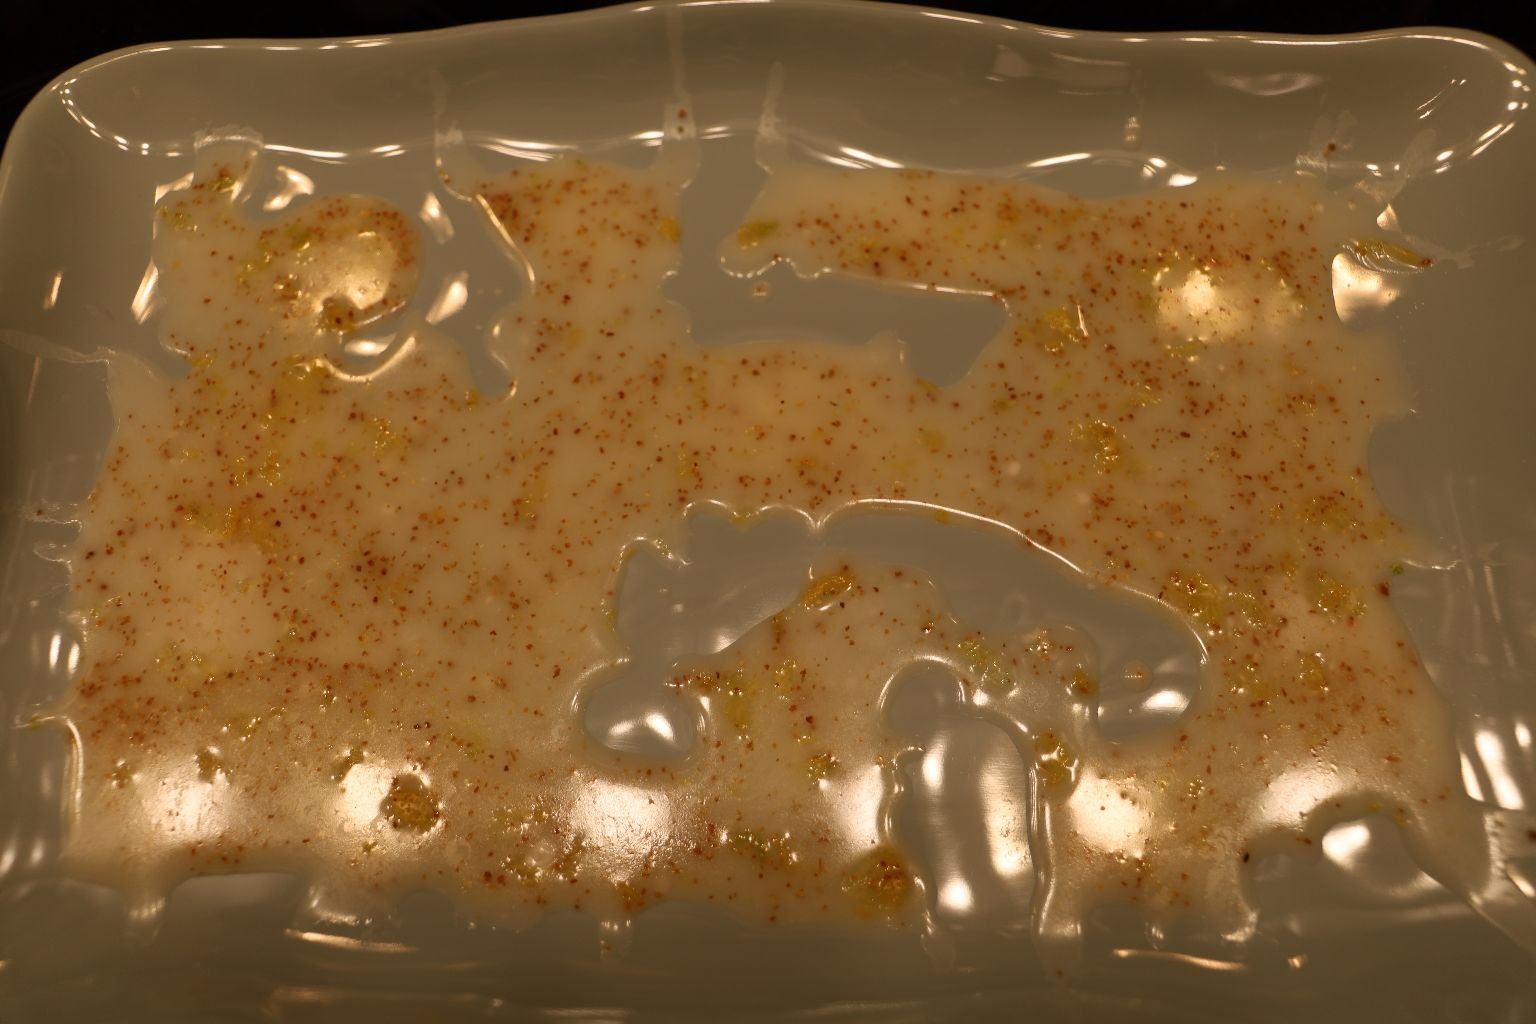
Time To Prepare The Glaze
The Lemon Citrus Glaze Ingredients
The Beauty of This Glaze is That You Can Add as Much or as Little, as You Like
In a Bowl:
Add,
1/4 Cup of Confectioner’s Sugar, or Thereabouts
The Juice of 1-2 Lemons
(Also the Zest)
1/2 to 1 t. Grated lemon Peel (For an Added Taste)
———————————————————————————-

You Can Make The Glaze as Think or as Thick as You Like

Simply Add All of Your Ingredients and Mix Together

I Placed A Tray Underneath to Catch the Excess Glaze

First Coat of Glaze on Muffins
————————————————————————

———————————————————————-
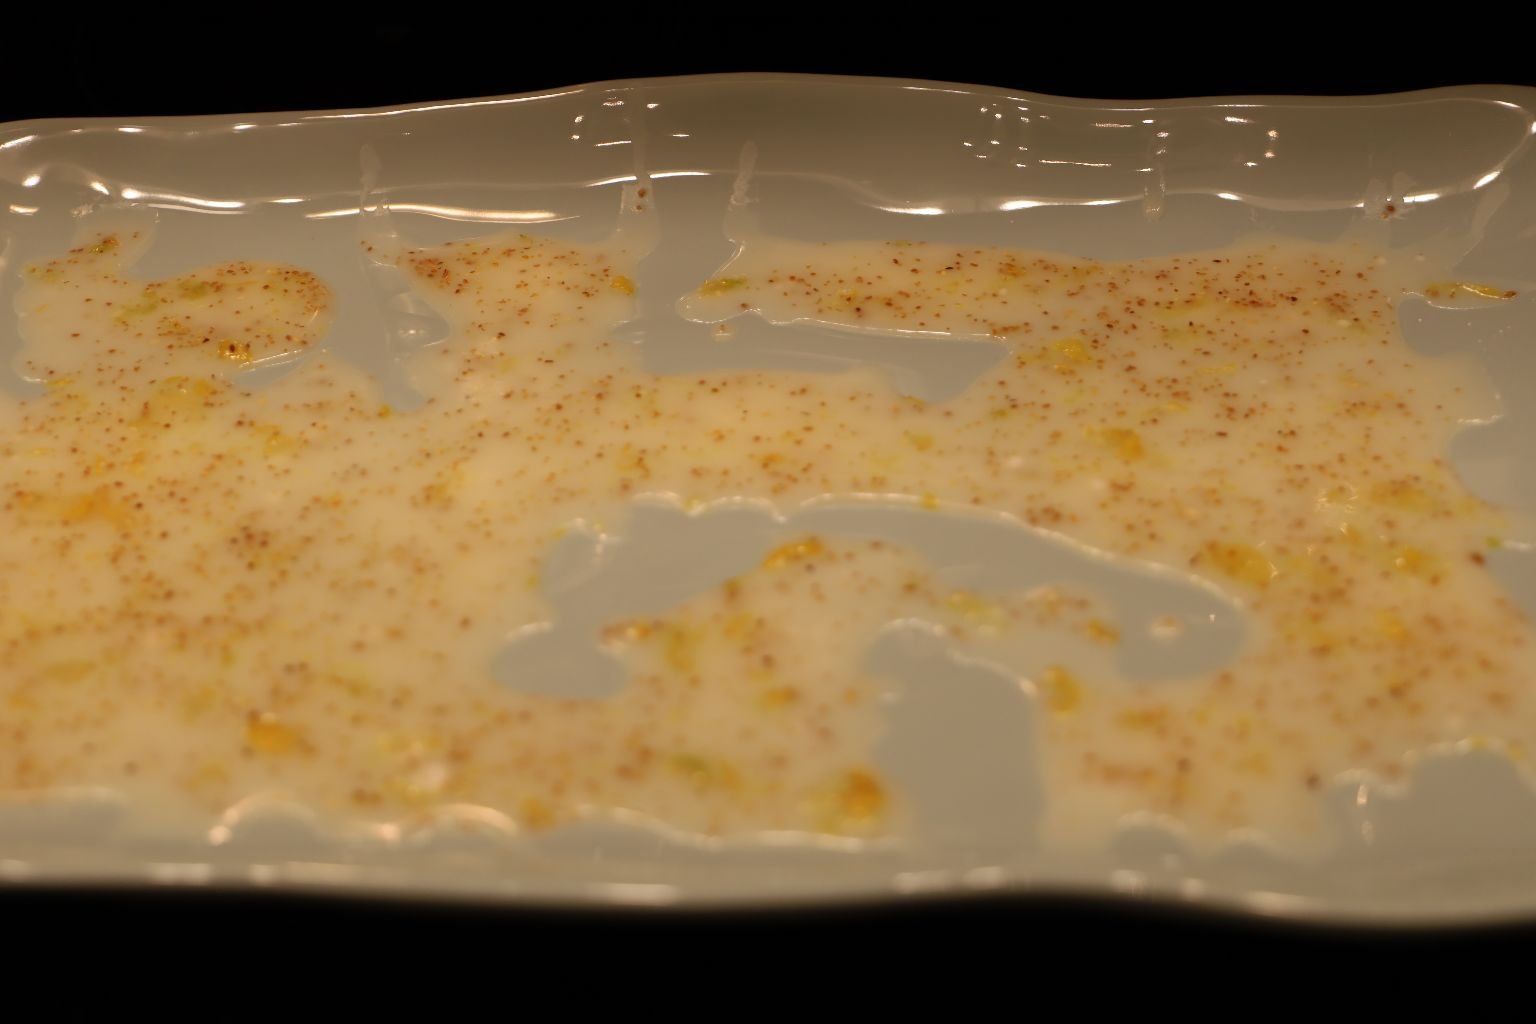
The Glaze That Fell Through, You Can Place Back on the Muffins
Delicious!
What a Great Morning Muffin to Have With Your Indian River Orange Juice
Store in the Refrigerator
————————————————————————————
Making The Ambrosia
My Grandmother LOVED Ambrosia and would literally make it on a loop all summer long. Usually about 2 to 3 times a week. It was always in her refrigerator and she would help herself to it, usually in the afternoon’s, while asking me if I wanted some Ambrosia?
Her Ambrosia recipe was very simple, yet delicious.
When you are in the state of Georgia (or Florida) heat, you aren’t interested in how fancy and elaborate it is, you only want that refreshing hit that the citrus would give you to help cool you down.
I decided that I wanted to make Ambrosia Grammaw Nell’s way, so I did. I do have to say though that it was a MESS!
I have two Ambrosia recipes here to give you. I highly recommend the latter, as it was much easier and not as messy. But, here is my account of the two recipes.
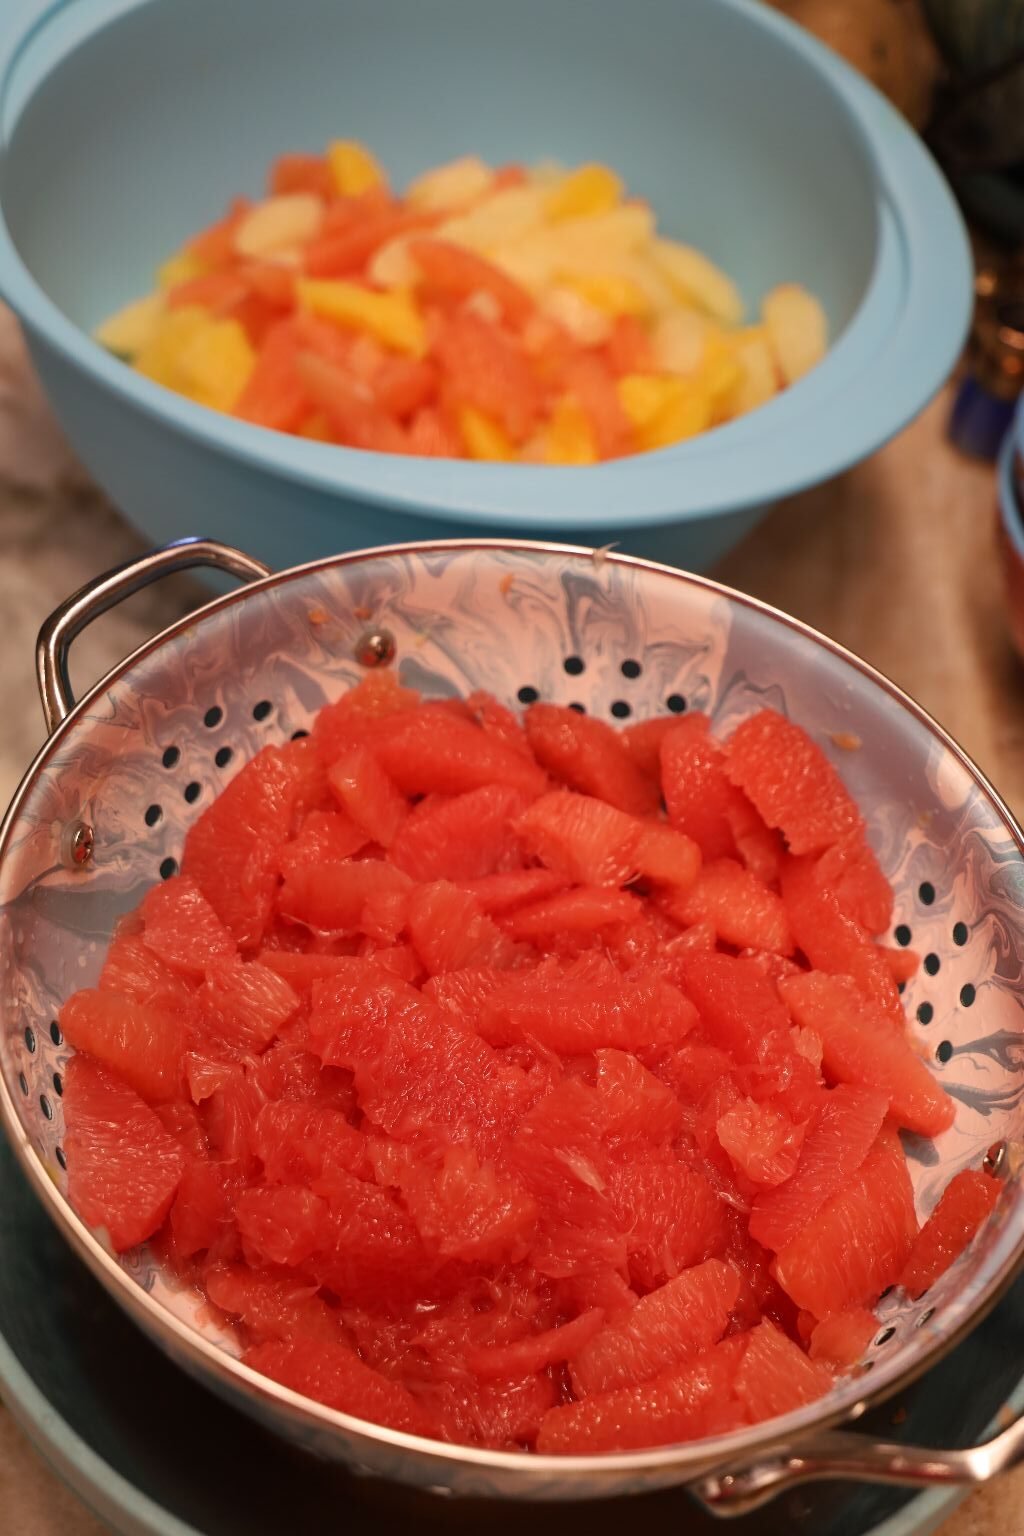
For This Recipe I Used a Few Different Kinds of Oranges, Some Grapefruits and Some Mandarin Oranges Already to Eat.

I tried my best to segment each Orange and Grapefruit. I also wanted some of the Zest from both.
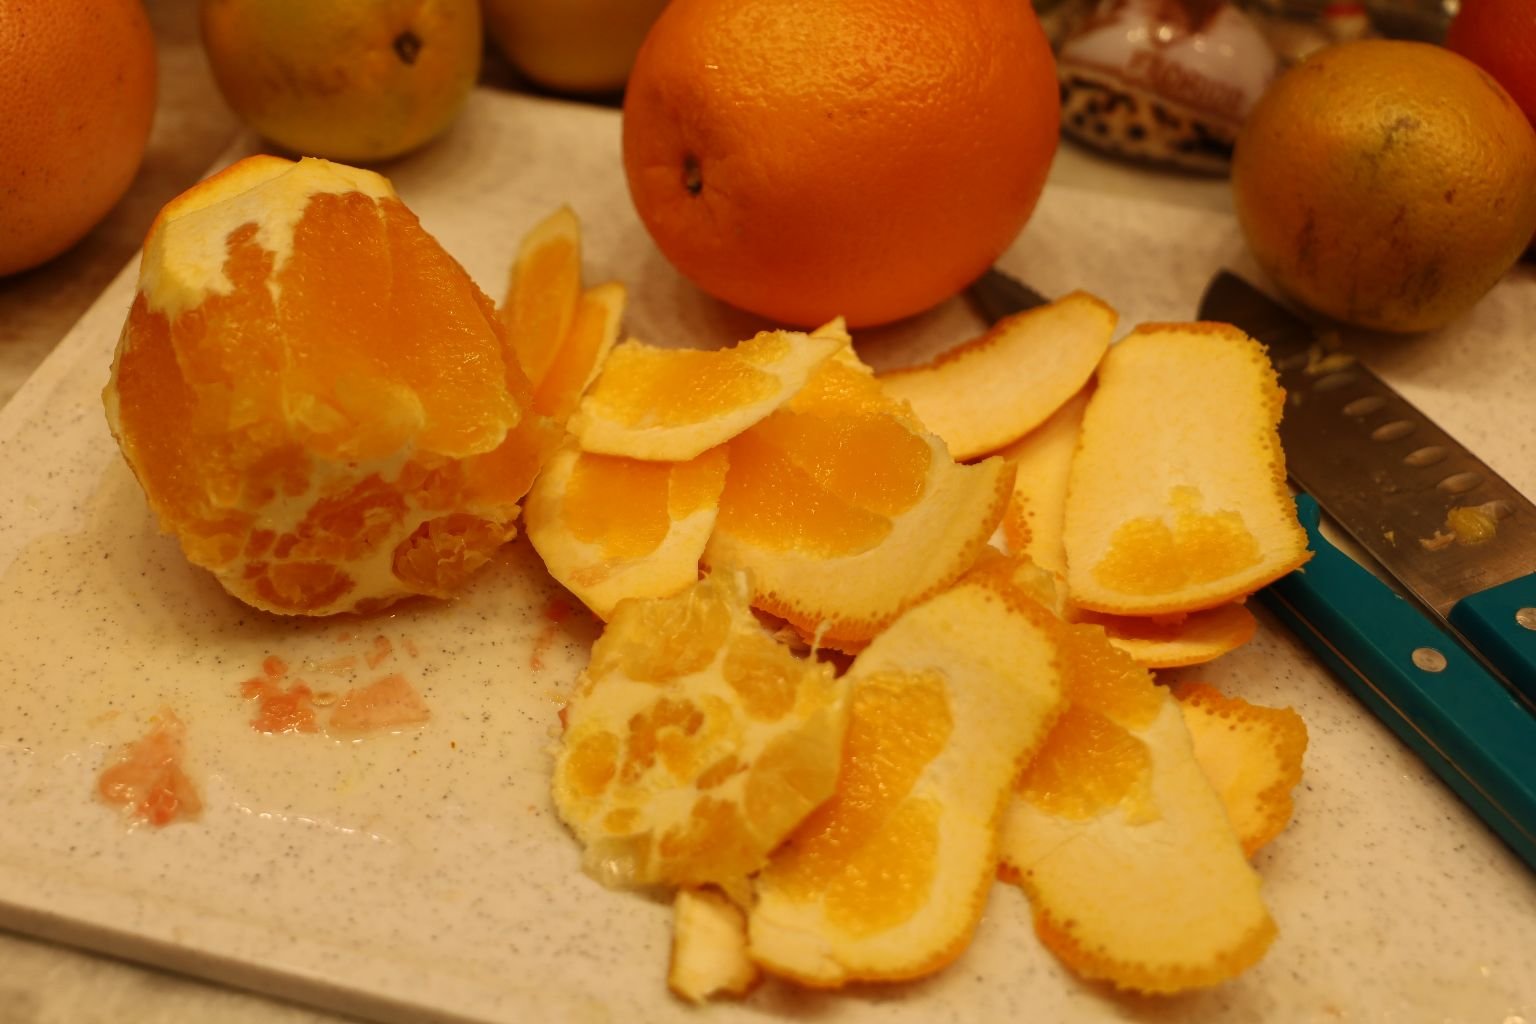
You Can See The Mess I’m Making

I Believe that I Threw More Away Than I Actually Used
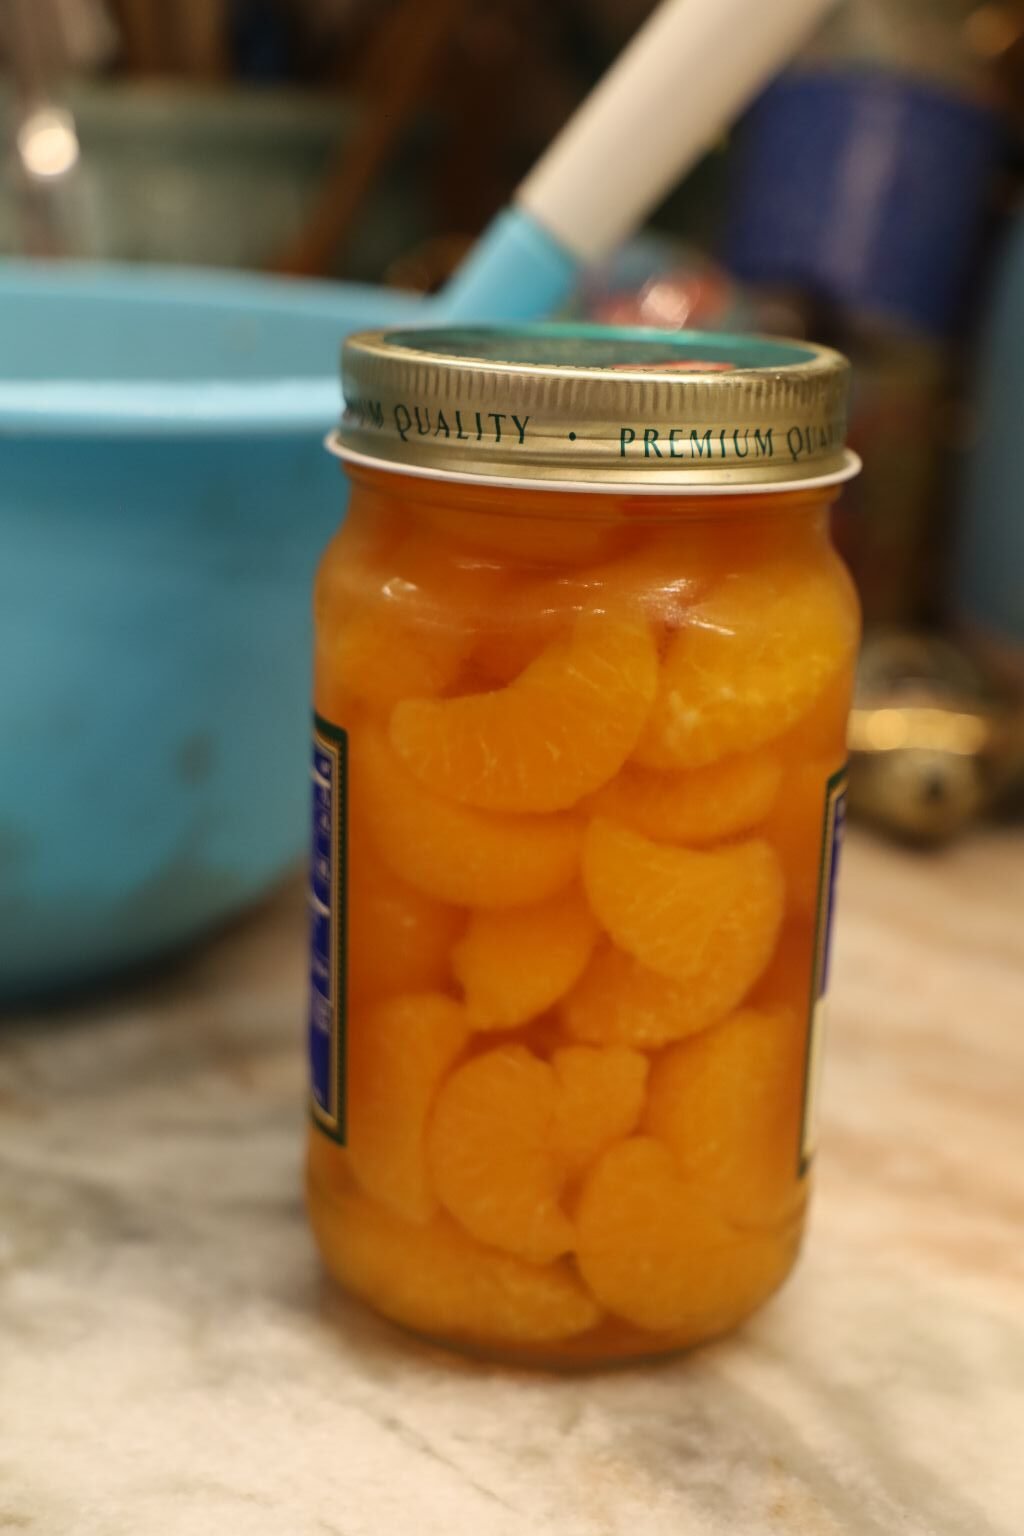
I did buy a jar of Mandarin Oranges to add to the Ambrosia.
Just drain the juice, but be sure to save the juice for your breakfast the following day. If it’s too sweet, you can always add water to dilute it down.

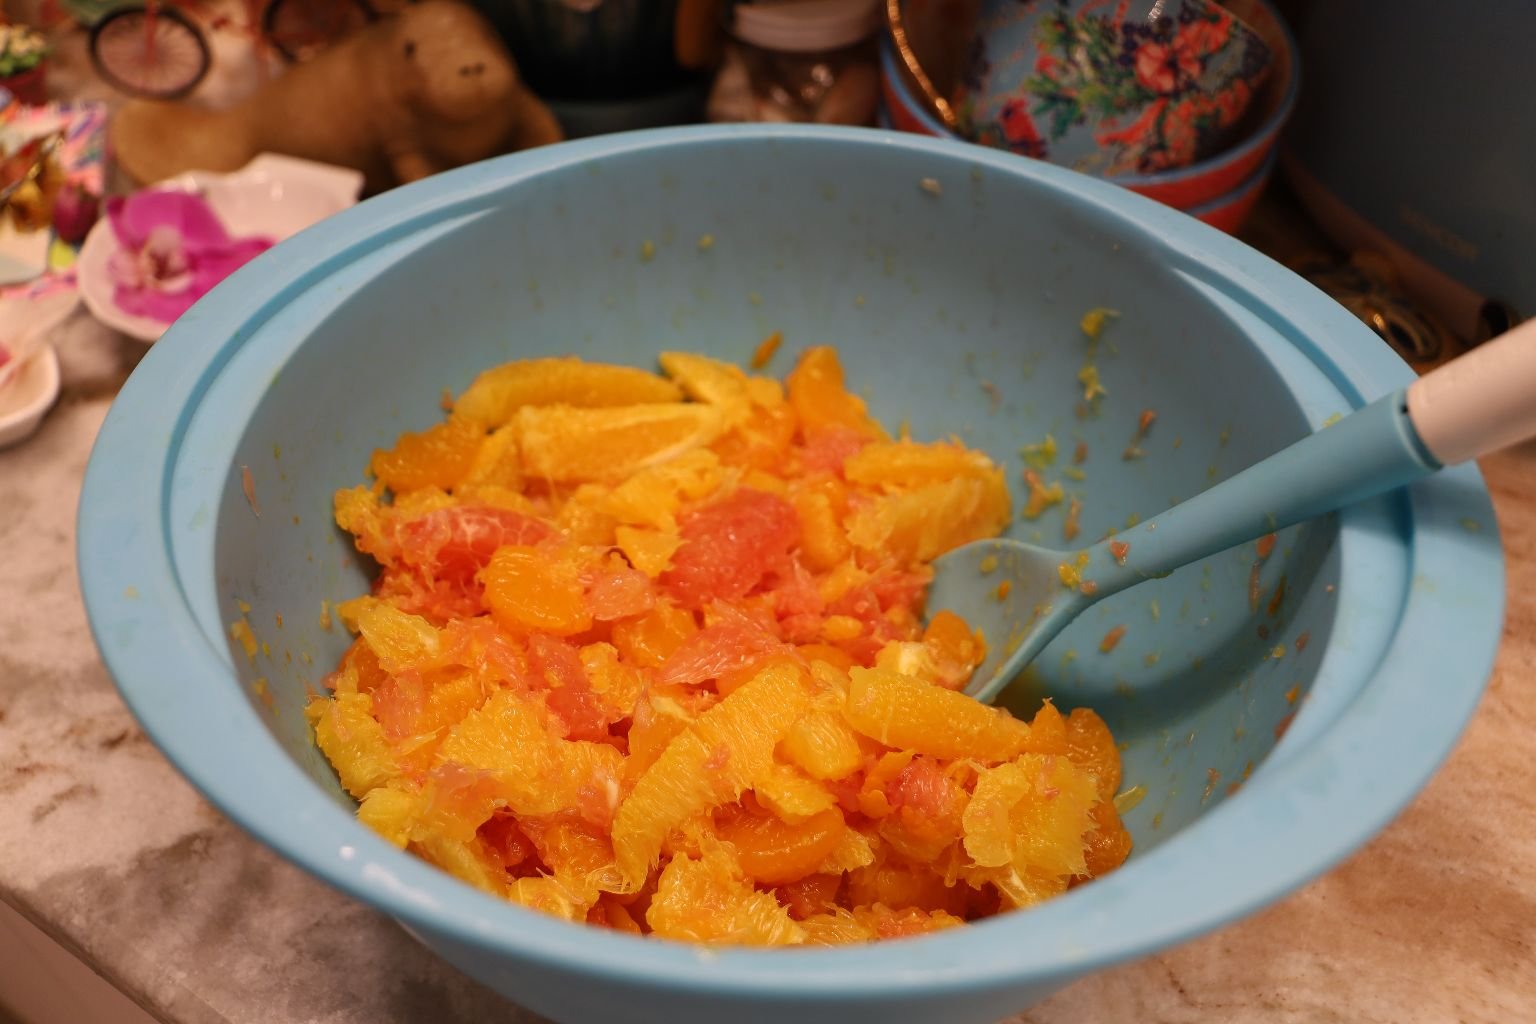
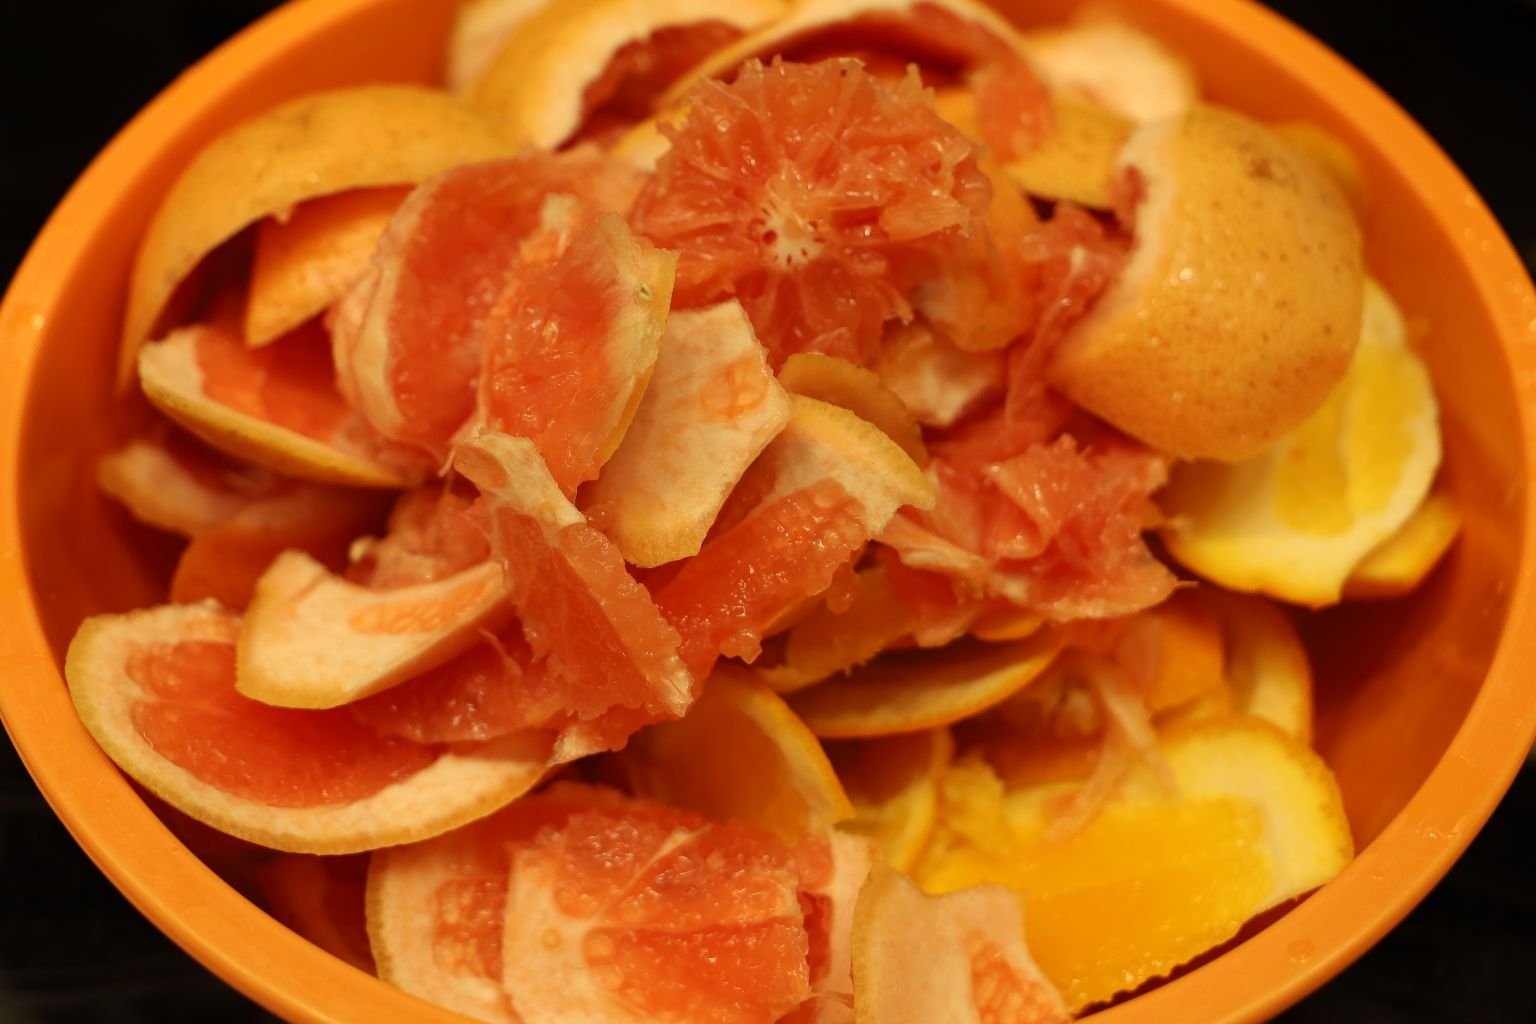
Just Combine All Of Your Citrus…. and Some Zest….
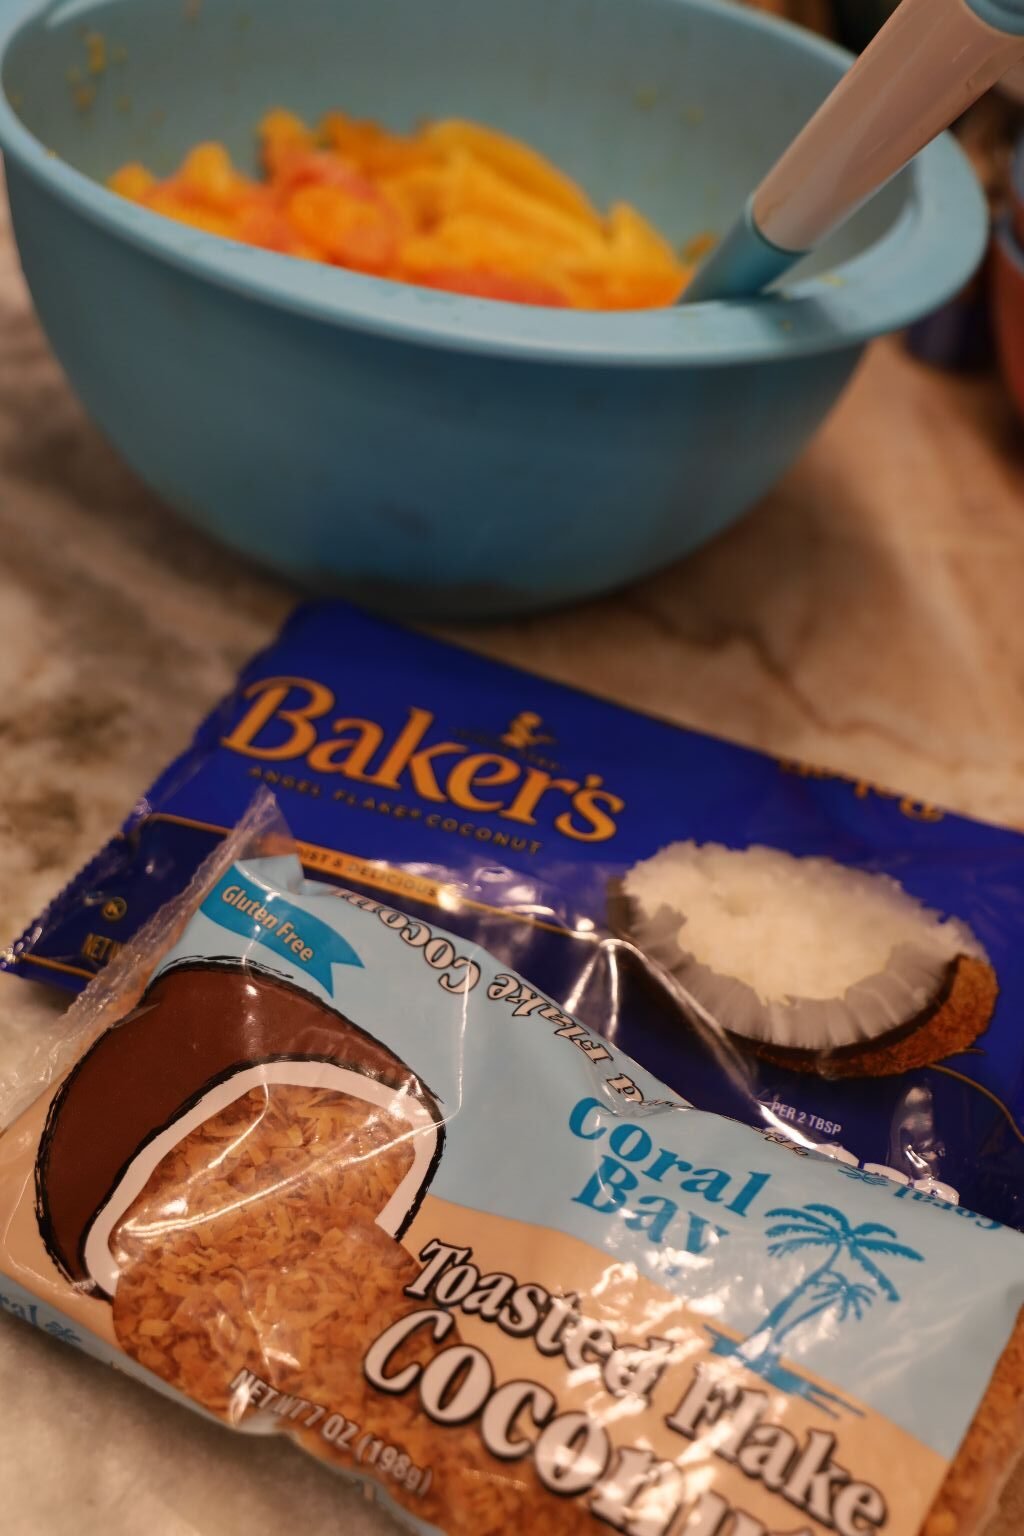
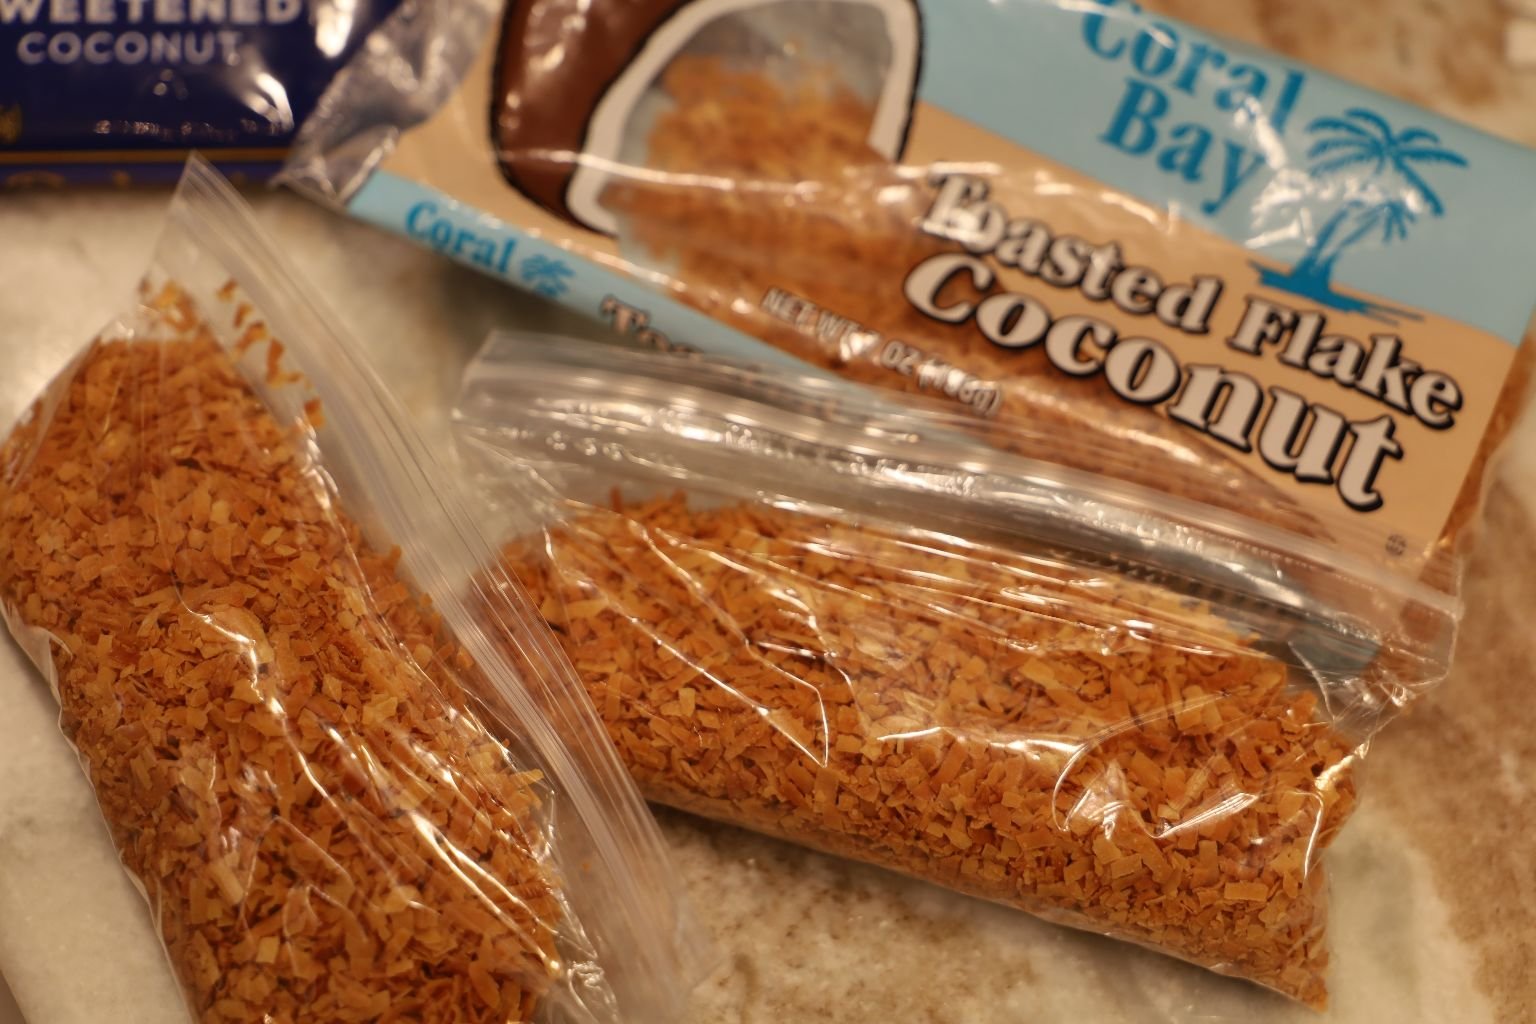
I Bought Grated Coconut and Toasted Coconut
I want to top the Ambrosia with the Toasted Coconut. I made this Ambrosia with the intention of giving some away. I also gave my kids the Toasted Coconut in baggies to sprinkle on top when they ate the Ambrosia I gave them at their homes.

Adding Some Grated Coconut….
Mix Together and Add Some Granulated Sugar
(That was my Grandmother’s Recipe. Now for Mine!)
———————————————————————————-
Julie’s Ambrosia
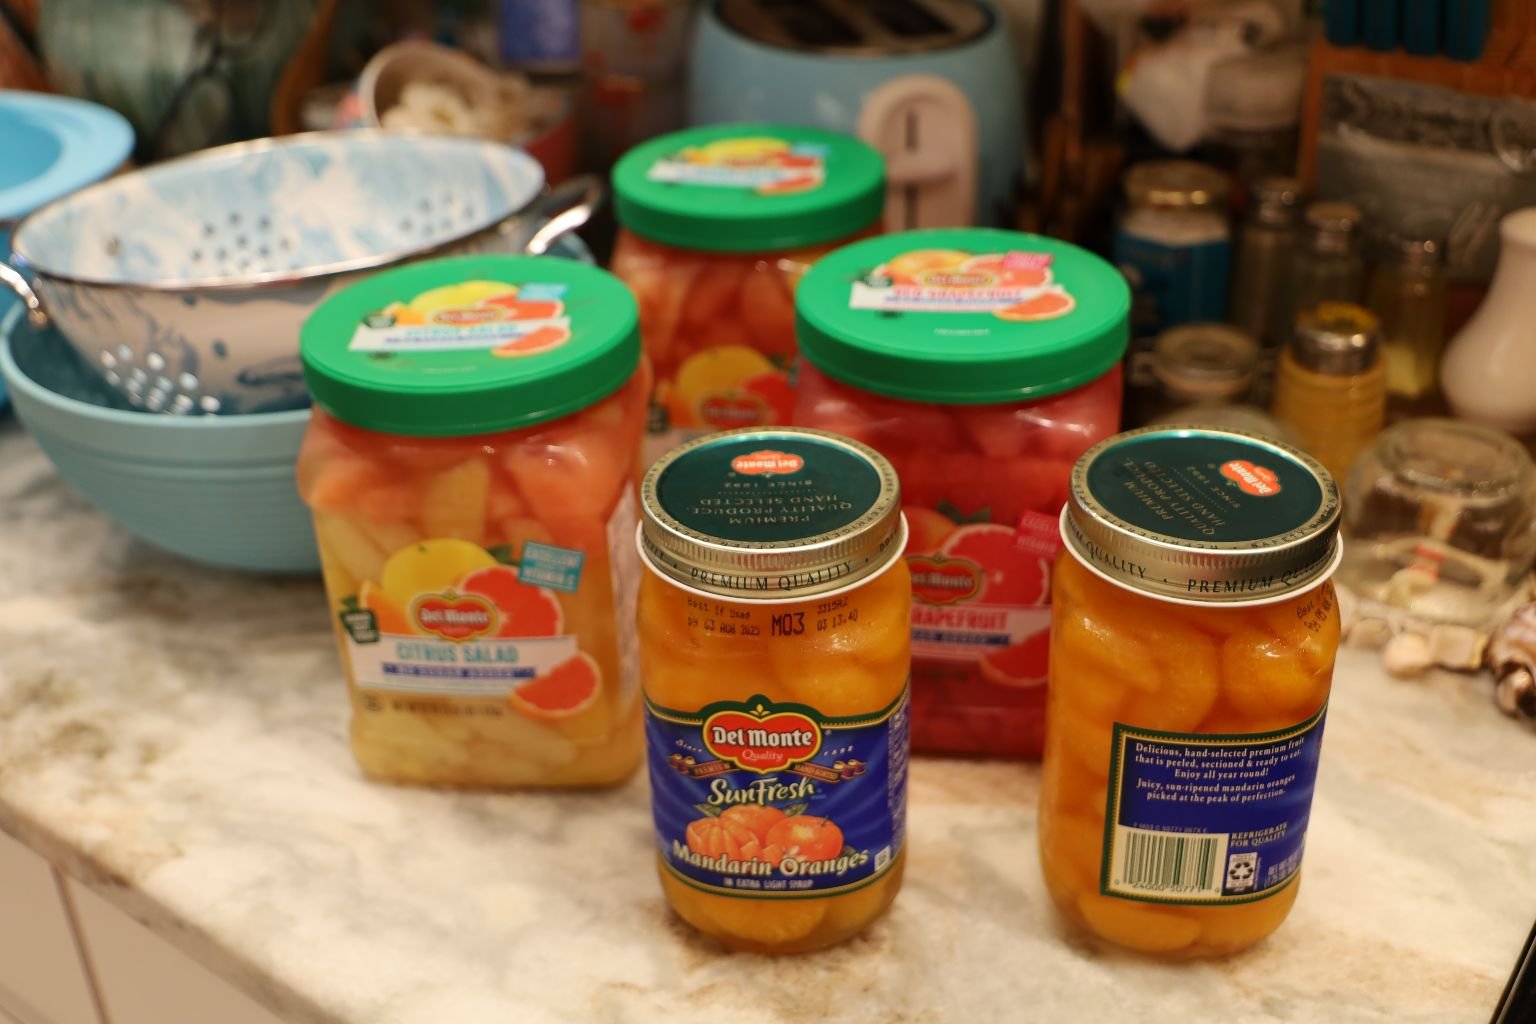
Now that I am my Granddaughter’s main caregiver, I just don’t have as much time as I used to. So, I wanted to make my own Ambrosia, but didn’t want to do all that peeling and segmenting of the Citrus. I was happy when I found all these great ready made jars and containers of already peeled and segmented Oranges, Grapefruits, and Mandarin Oranges.

Now This is Easy!
You Will Need Some Colanders to Drain All That Juice
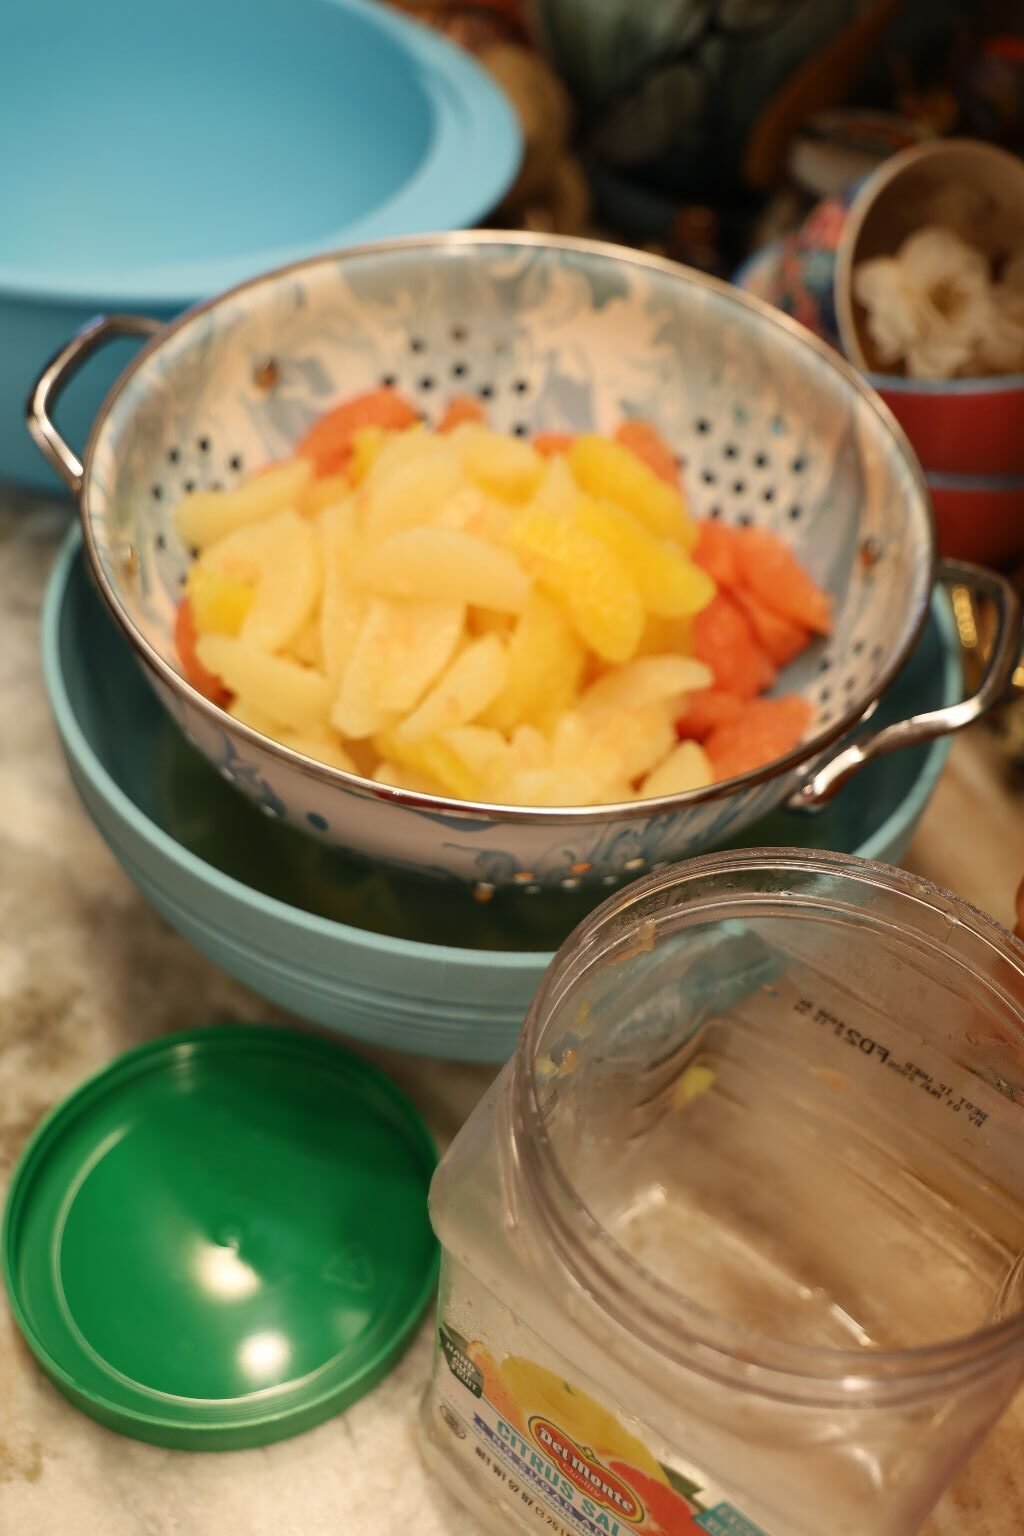
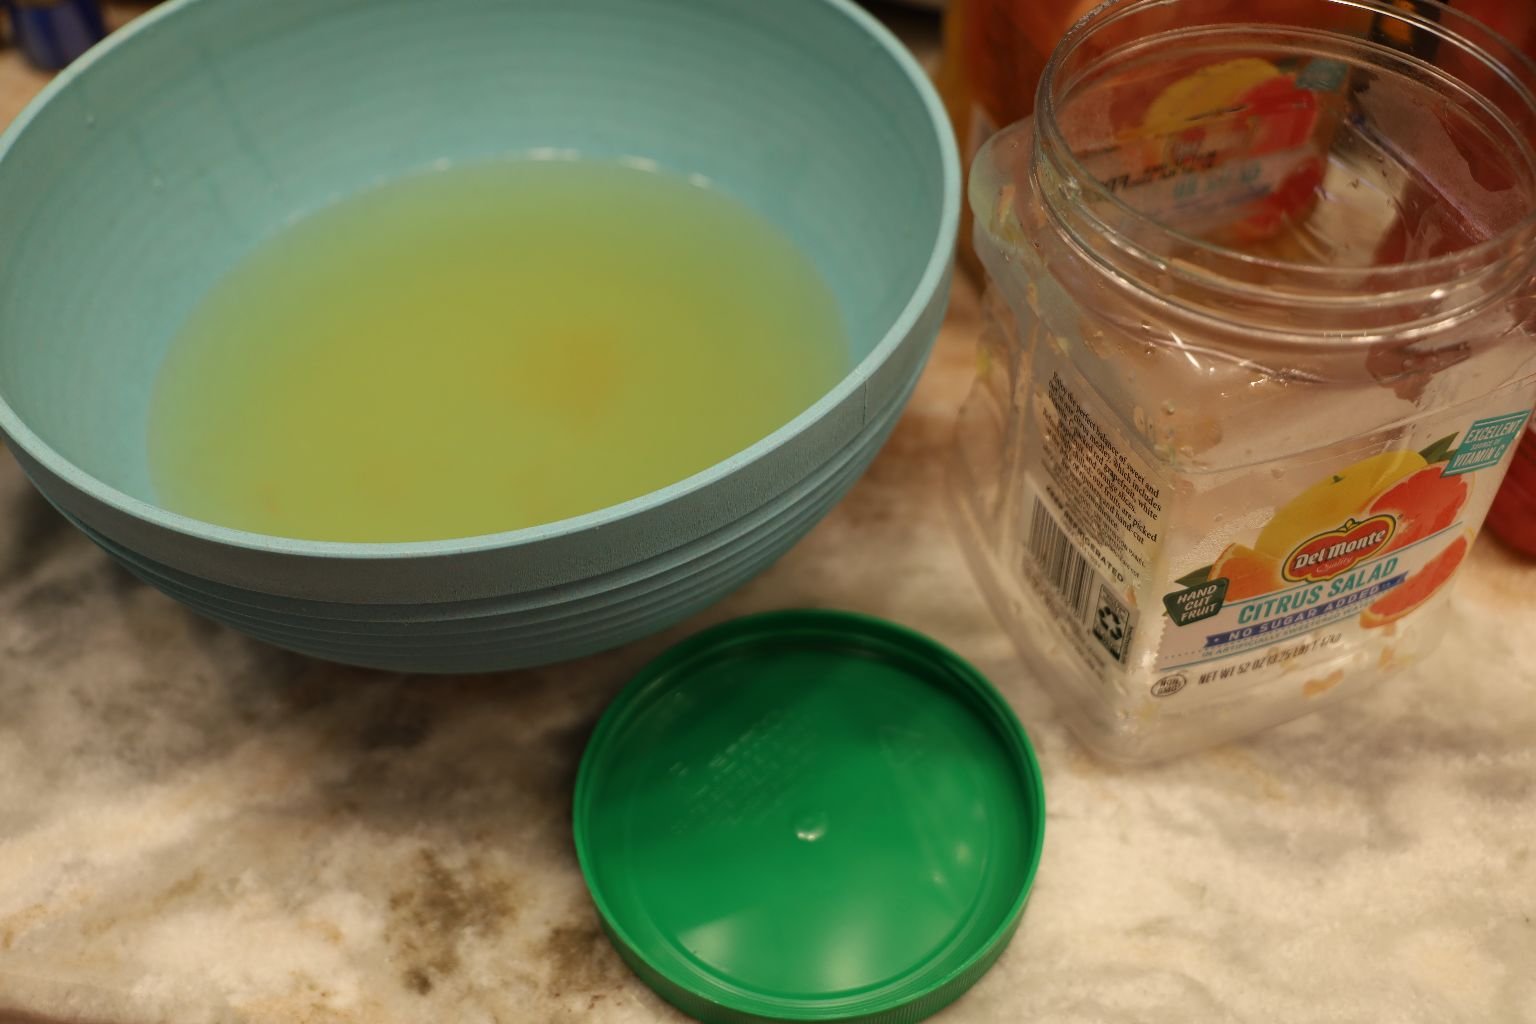
Once The Juice Is Drained… Be Sure To Save It!

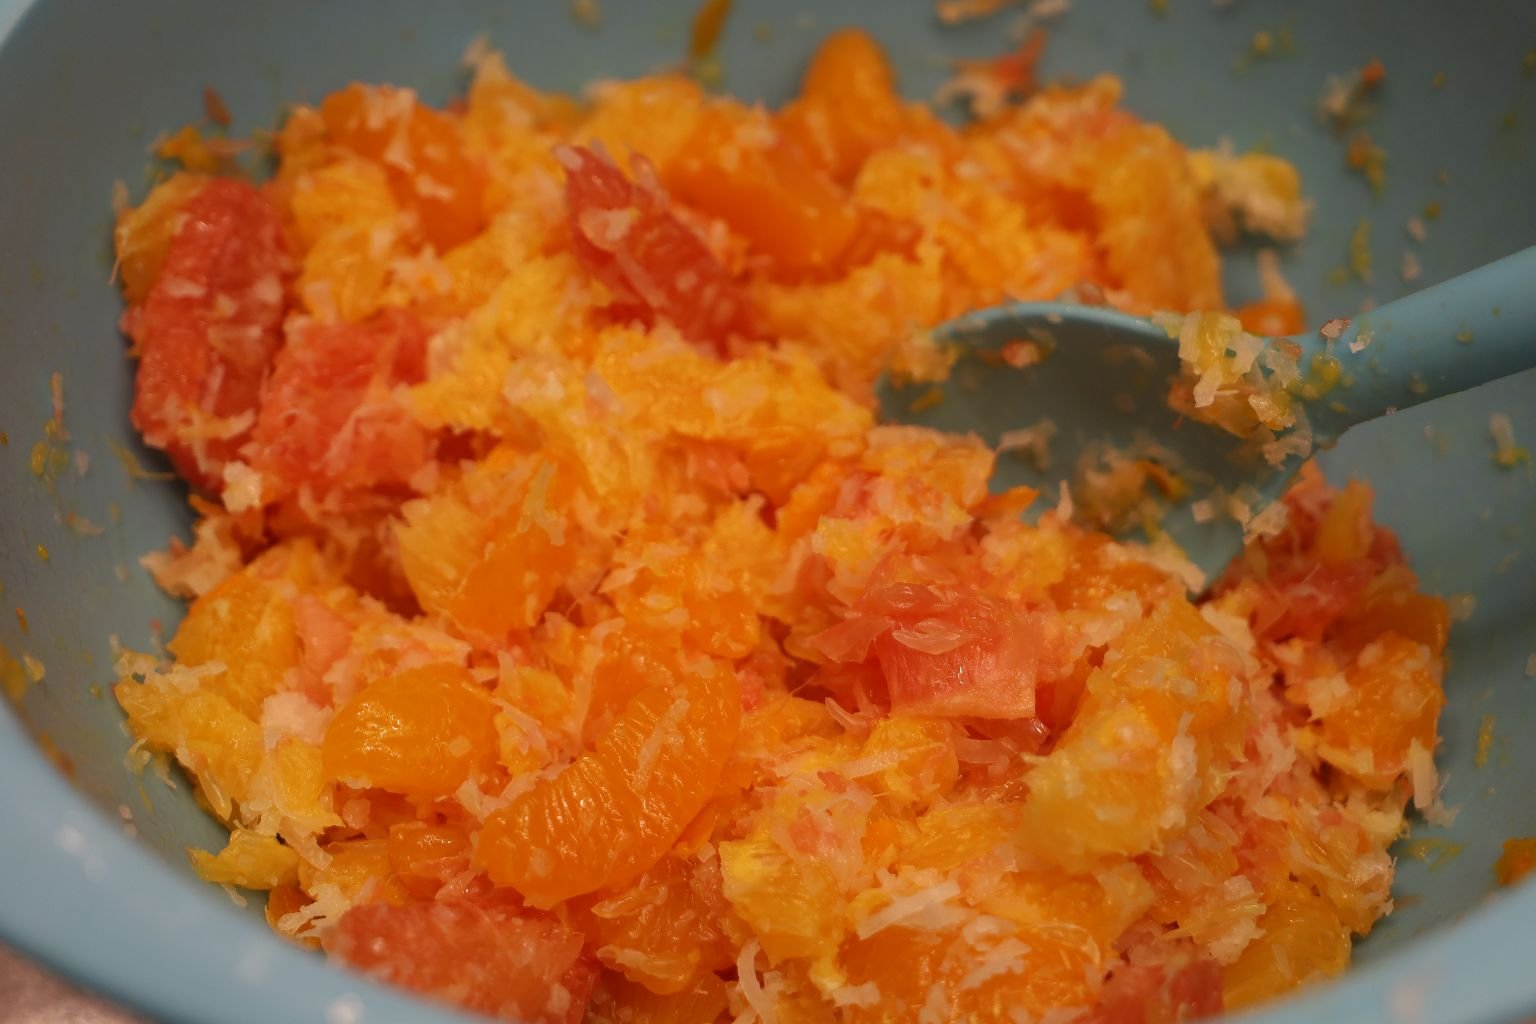
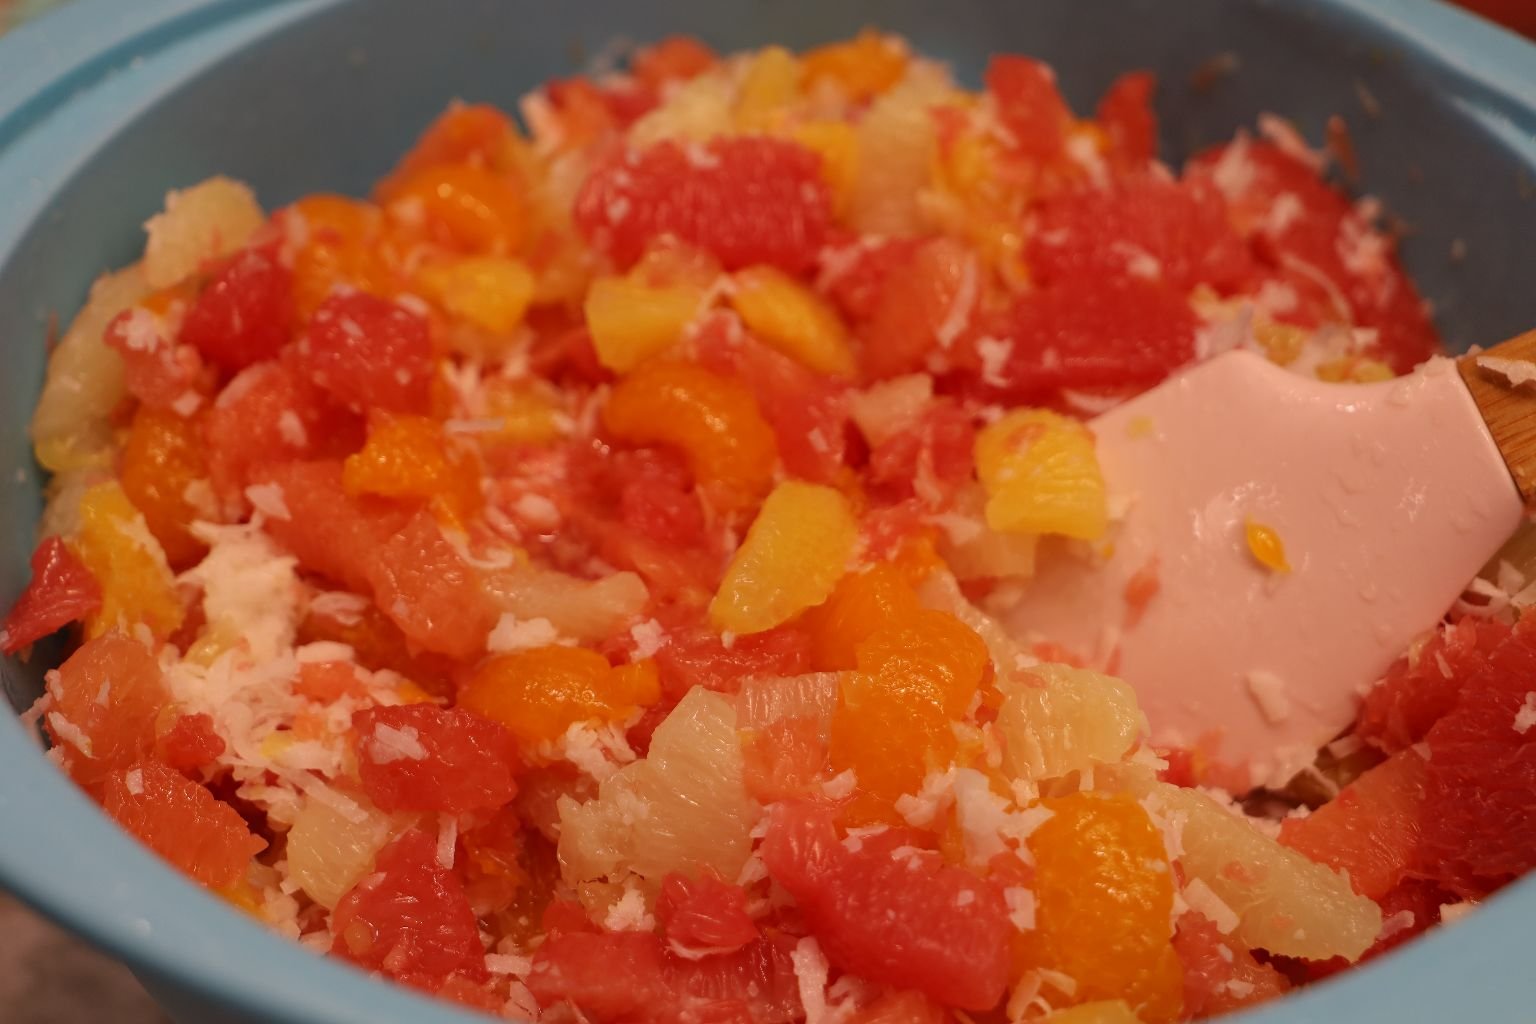
Just Place All of Your Drained Citrus Into a Large Bowl

I Did Replace the Juice Back Into Their Original Containers.
Great For Breakfast The Following Week


——————————————————————————
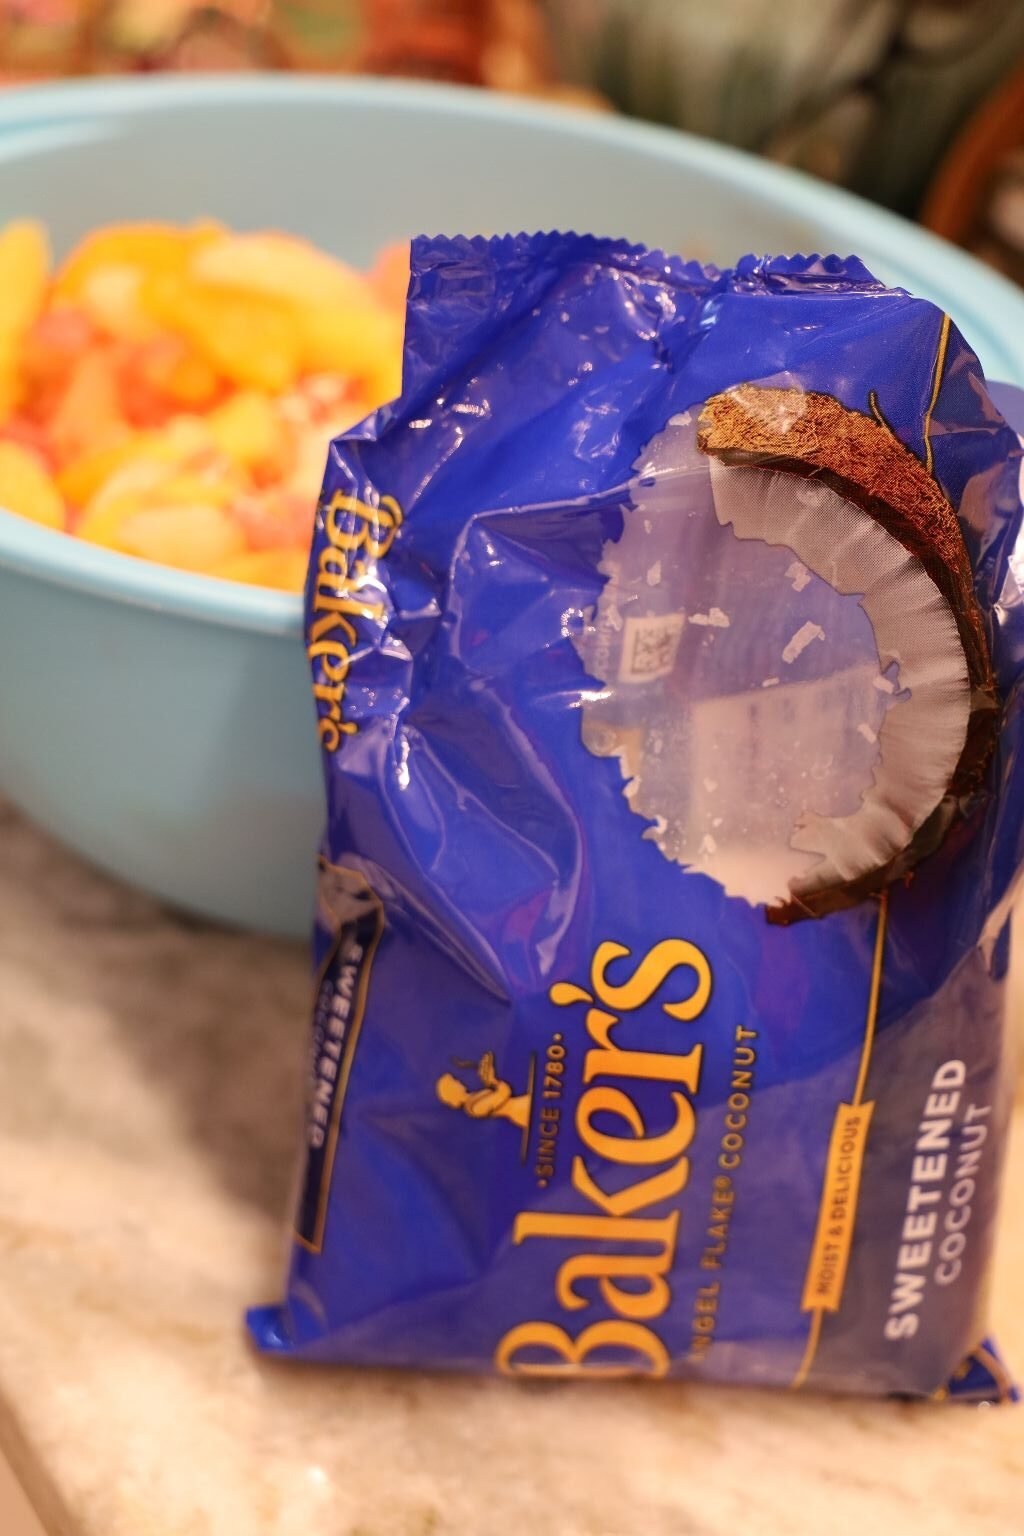

Here I Added Some Shredded Coconut to the Citrus
———————————————————————–
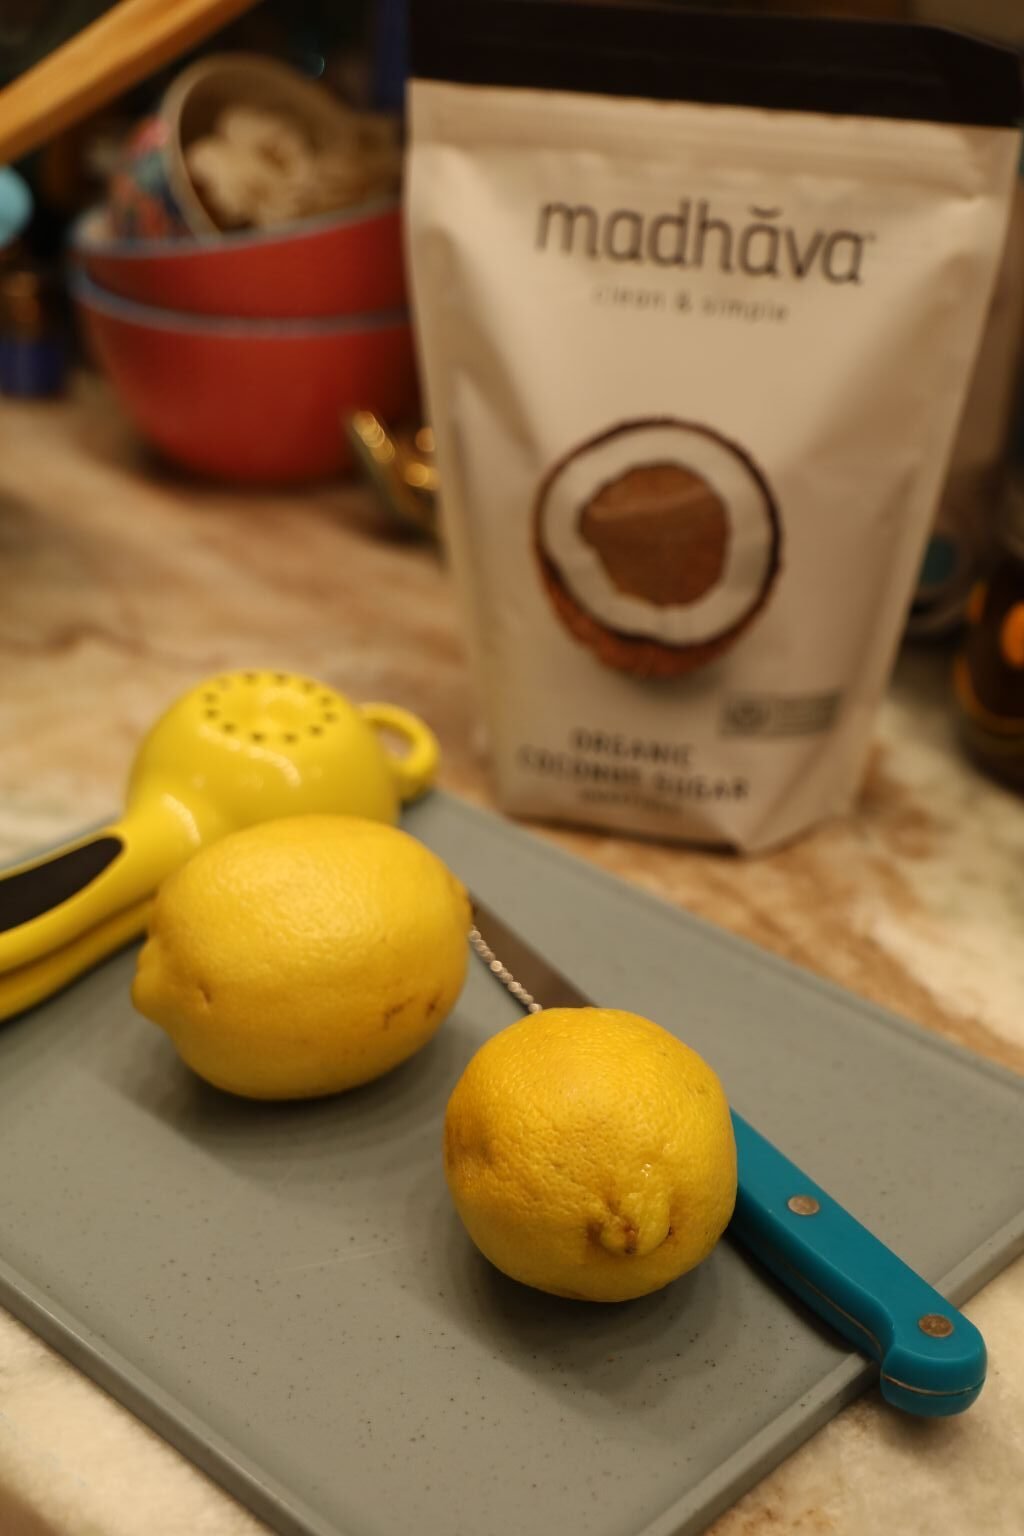
Lemons, and Coconut Sugar

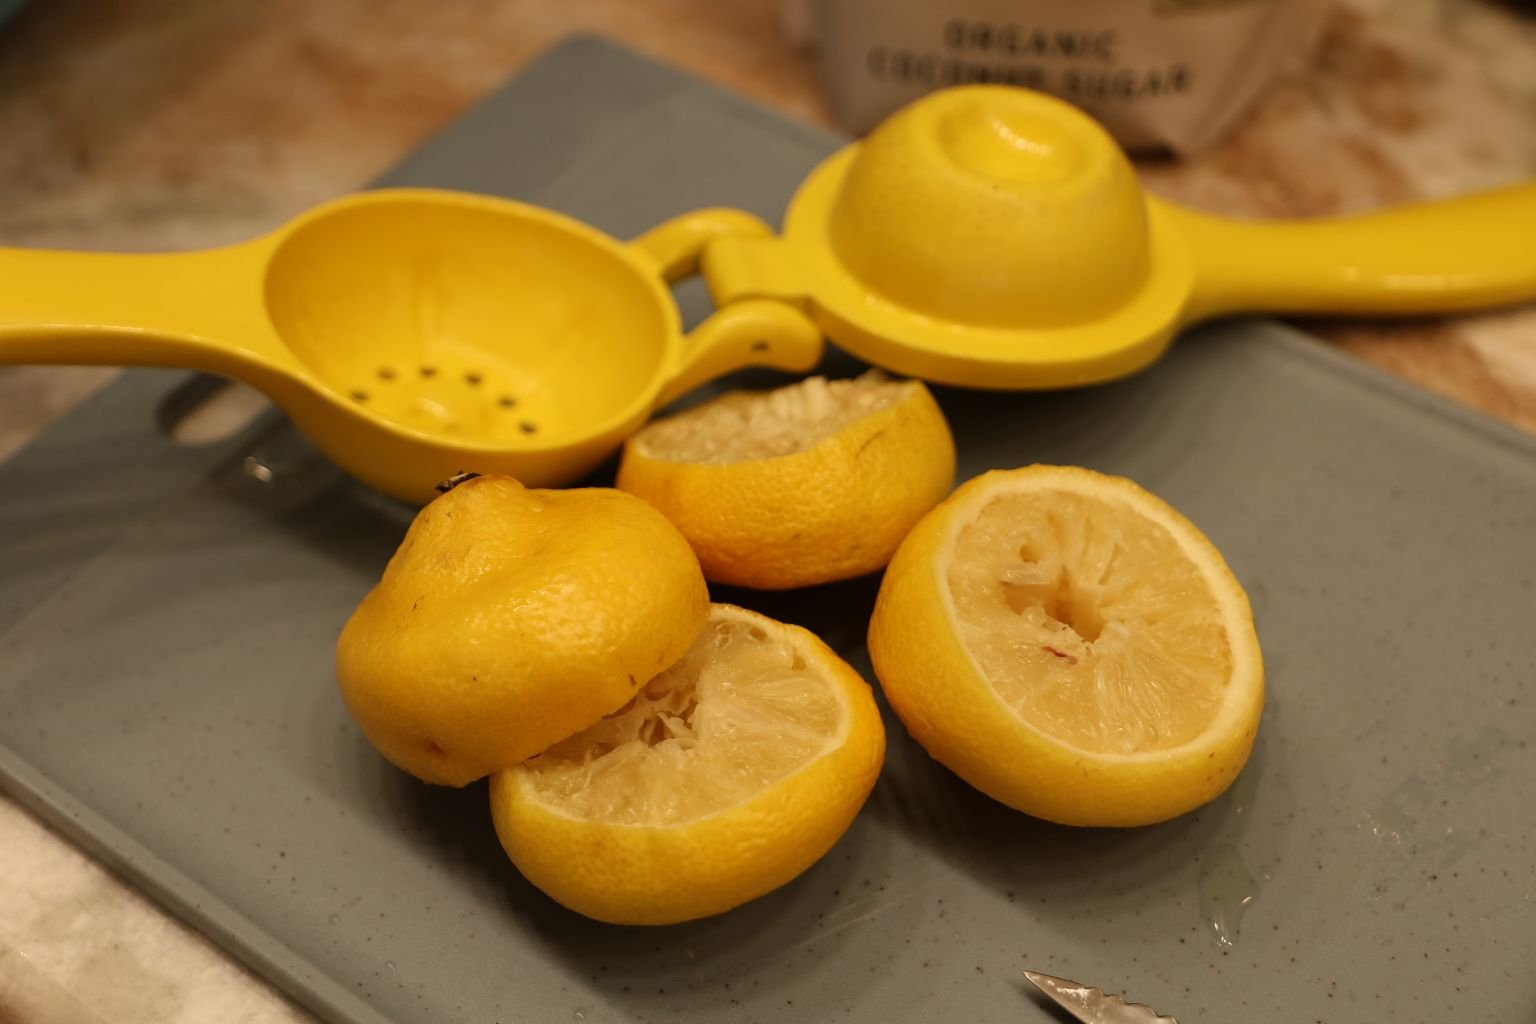
Next, Zest Some Lemons and Juice the Lemons, Into the Citrus
Give It A Good Stir


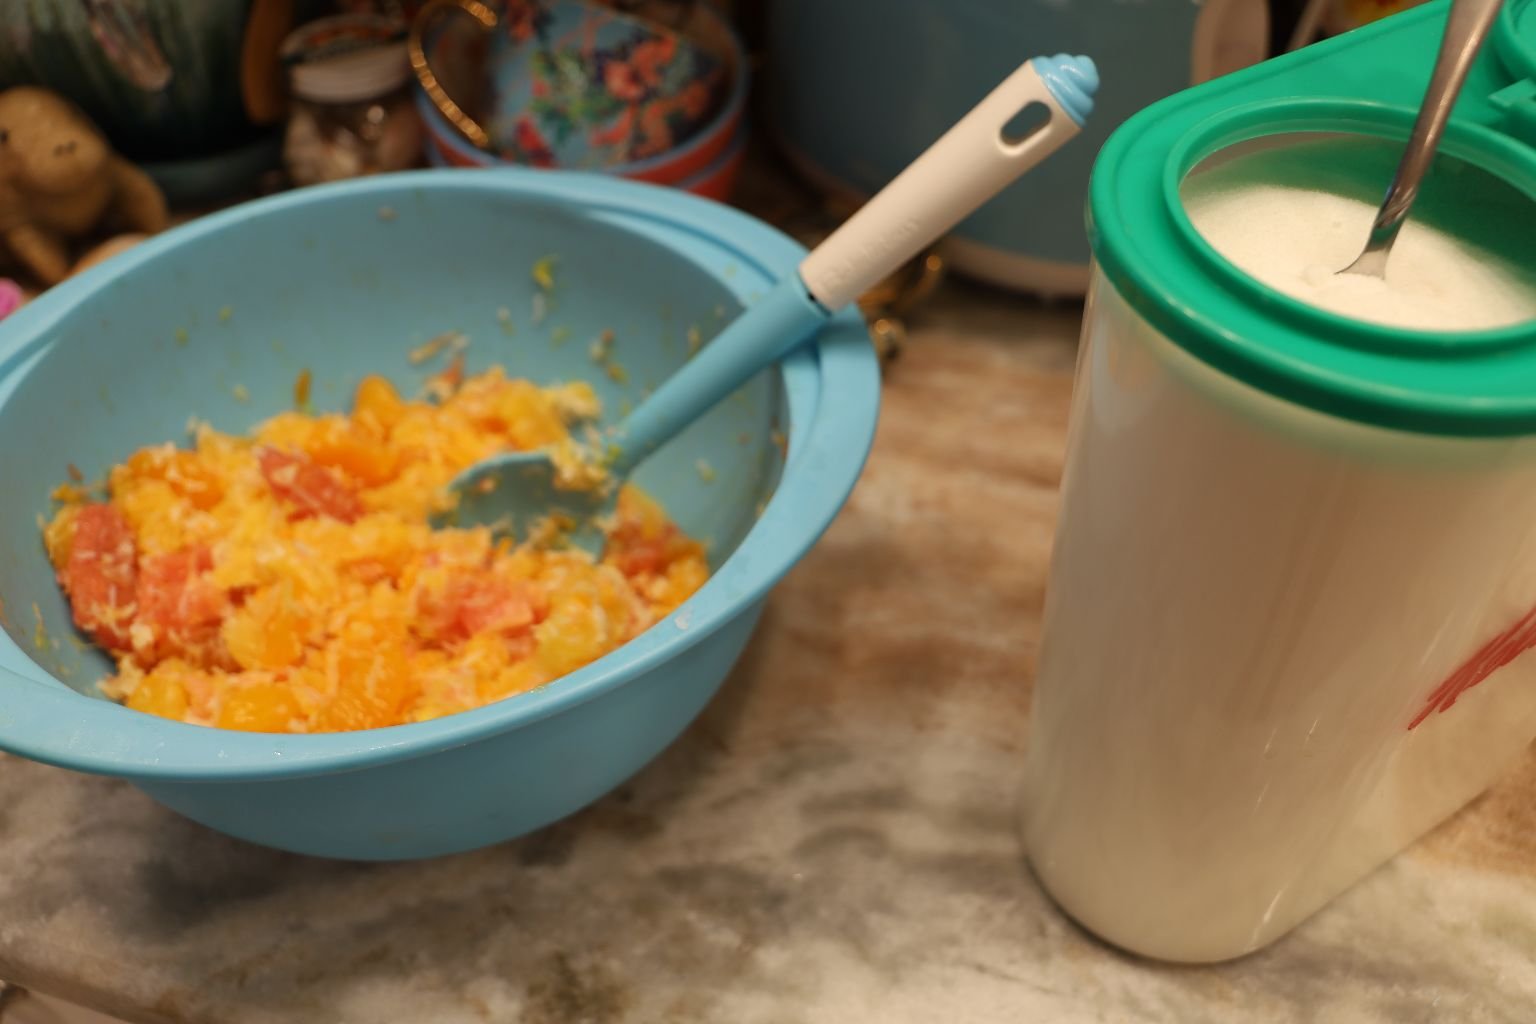
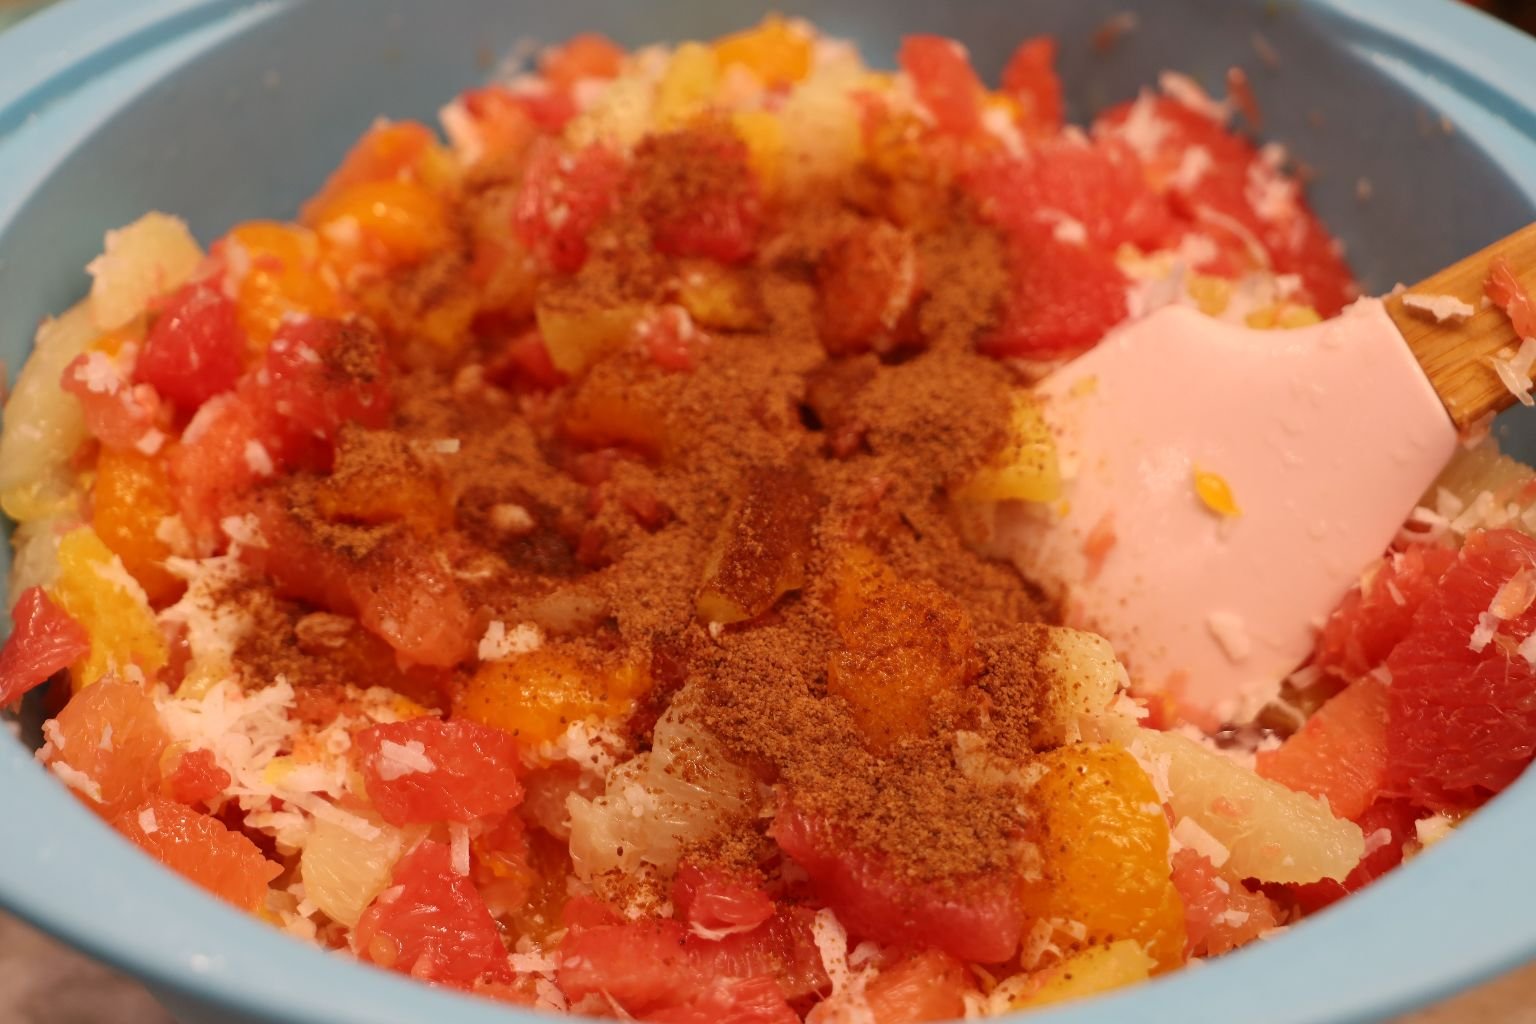
Now Add The Coconut Sugar
If you haven’t noticed, I eyeball all of these ingredients to my personal tastes.
You can do the same.
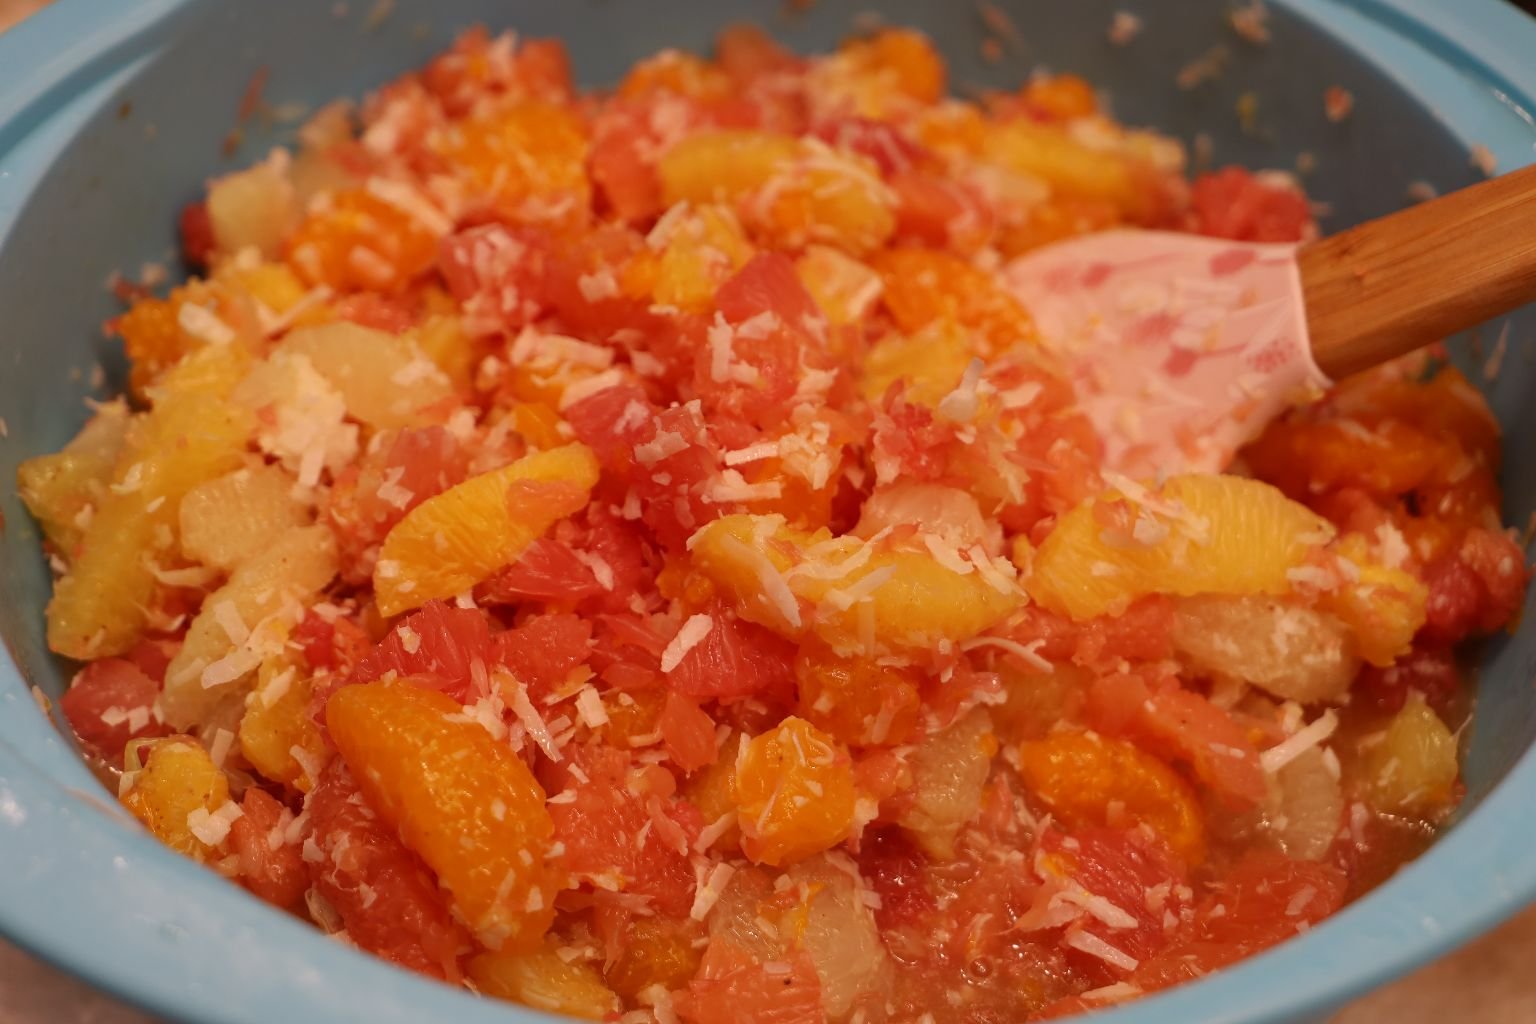
Stir Together
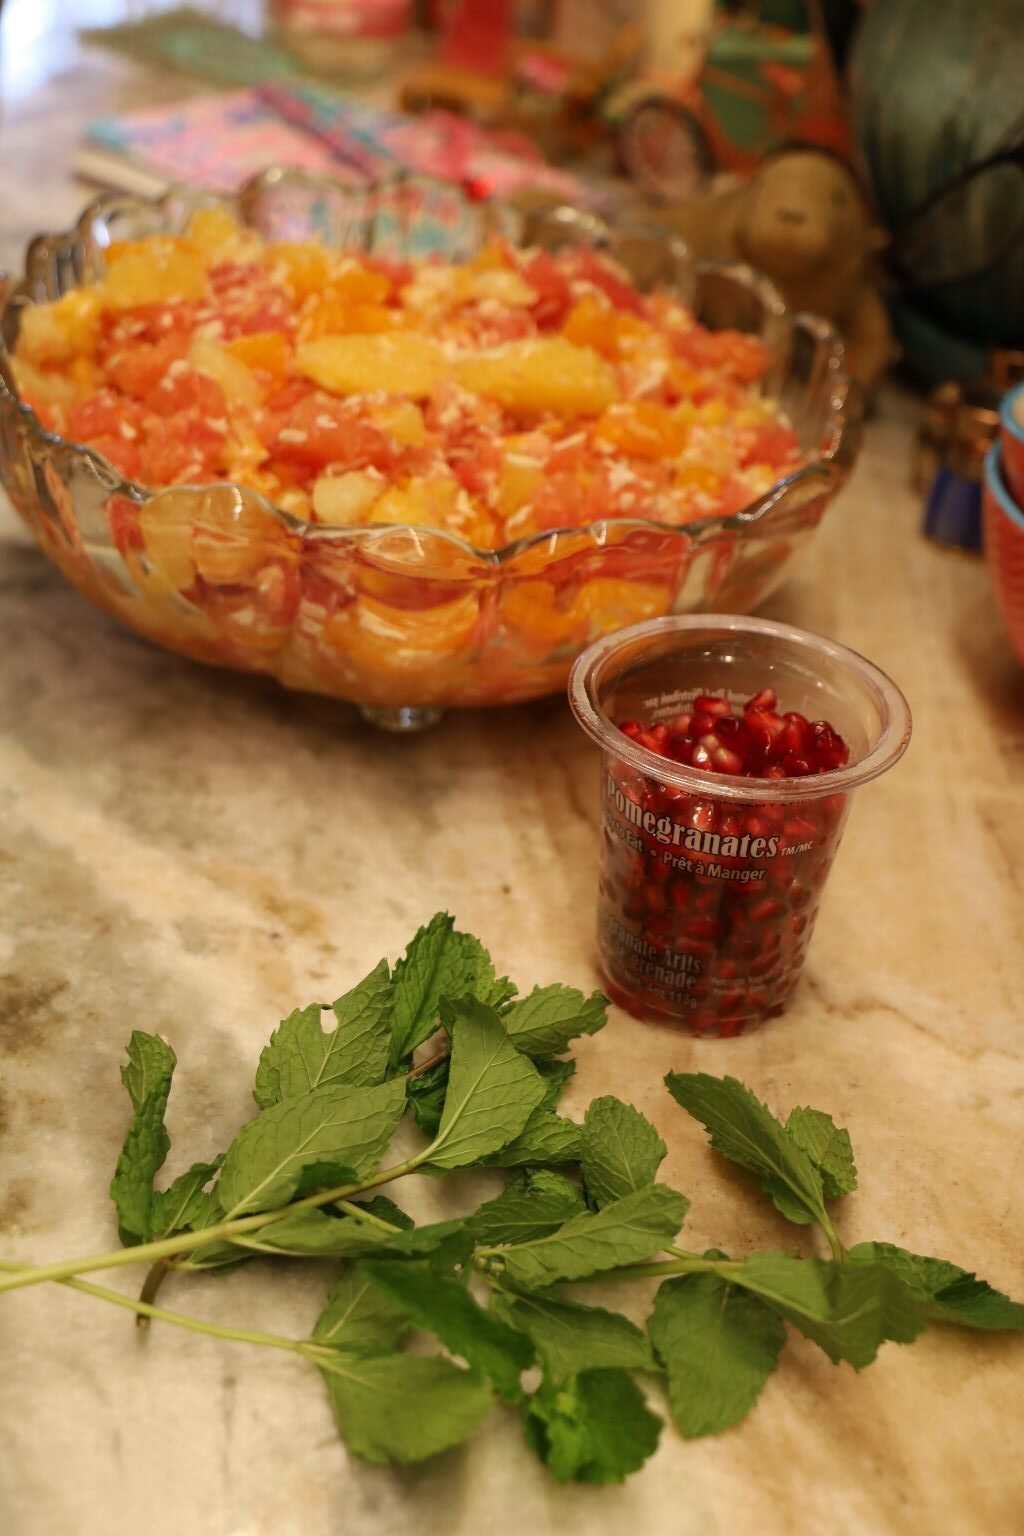

Pomegranate Seeds and Mint Leaves
You can either buy the Pomegranate’s and remove all the seeds yourself, which takes up so much time. Or, you can buy them already seeded and ready to eat. That’s what I did. The Pomegranate Seeds add such a lovely pop of color to my Ambrosia.
Then place the mint leaves however you like. You could chop them up and stir them in. Or, you could add them as a lovely flowering leaf. Either way, they add such a wonderful touch.
———————————————————————————
Julie and Gordon
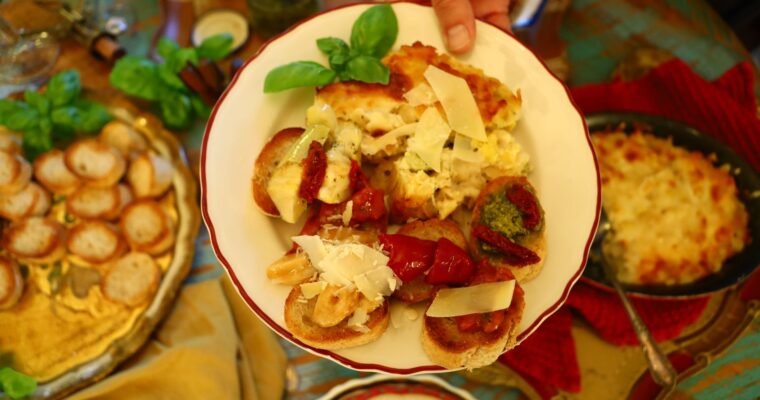
Quickie Italian Sometimes, All You Need is a Ready Made Tomato Focaccia, and some Wine I Call It Herb Bread 🙂 When I think of cooking Italian food, I imagine a long list of ingredients, carving out a significant portion of …

Shirley Temple, Anyone? Julie Barefoot Blogging with a Baby Bed in the Living Room (I am my Grand-Daughter Isabelle’s (Peanuku) Main Care-Giver.) ‘Yeah, I see it. Thanks for letting me know.’ (Usually someone warning me about a threat from my cyber-stalker.) …
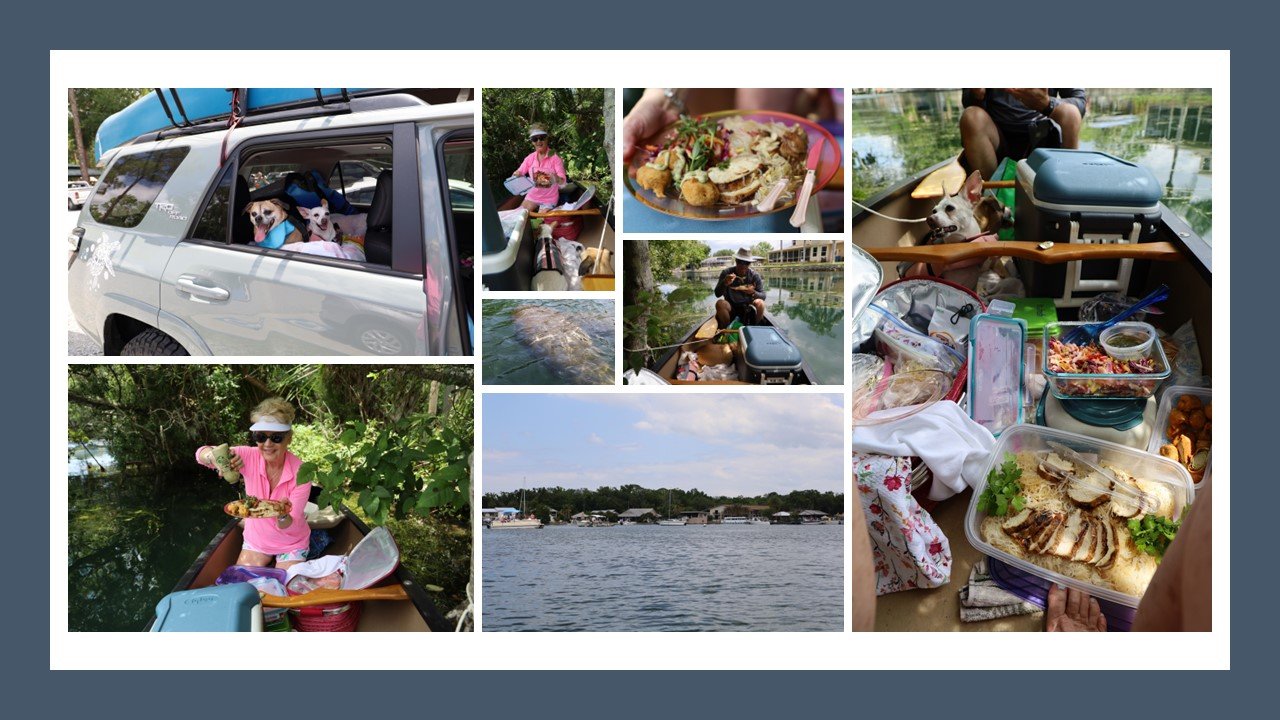
Mother’s Day, 2023

Our Pretty Mother’s Day Table
(The mini wine bottles are leftover from our Baby Shower that was a few days before.)

Brussels Sprouts Beignets…


..with a Bacon Aioli Sauce

This was a perfect Mother’s Day Meal

The Mini-Wine Placed into Lovely Flutes with Paper Flowers Attached

Marinated Grilled Chicken Breasts and Glass Noodles
————————————————————————————–
Our Flowering Purslane Weed

This lovely garden essential does play a tasty and healthy role in our Mother’s Day Foods.

Cutting the Purslane Flowering Weed
(Recipes are Down Below)
———————————————————————————
On Our Way to Crystal River
My seat in the car always looks like this.
Plenty of bags full of books, cameras, extra this and that, and lots of snacks. The little colorful cushion belonged to my Grandmother, I use it to sit on while in the canoe.

Crystal River is a very short river in Citrus County, Florida, flowing into the Gulf of Mexico. It is just seven miles (eleven kilometers) long, and has a drainage basin of five square miles (thirteen square kilometers), joining Kings Bay to the Gulf of Mexico. The river’s significance is in the thirty natural springs that add an average of 300 million gallons (1,135 million liters) of warm water to the river every day. These springs include Three Sisters Springs.
The warm water in the river attracts large numbers of manatees, and Kings Bay, at the head of the river and the location of 28 of the springs, harbors approximately 350 manatees during the winter. Some biologists consider Crystal River to be the most important refuge for manatees in the United States.[1]
In the first half of the 19th century Crystal River was known as Weewahiiaca (wee-wah-heye-ih-YAH-kah), believed to be from the Creek language words wewa, meaning “water”, and haiyayaka, meaning “clear”. The city of Crystal River is located on the river. The Crystal River Energy Complex, which consists of four coal-burning power plants and the Crystal River Nuclear Plant, is located near the mouth of the river. The Crystal River Archaeological State Park is located on the river.
As Taken From:
https://en.wikipedia.org/wiki/Crystal_River_(Florida)
—————————————————————————-
This particular trip I had Gordon to determine the location via various books that we have on canoeing and kayaking in Florida.
He is the one that chose Crystal River as our Mother’s Day Canoe Adventure.
————————————————————————————–
When we entered the park, we paid to park here, right near the Canoe/Kayak Launch.

Our Canoe on Top of Our Car


I Wanted to Bring the Dogs Along for My Mother’s Day Canoe Ride

Sparky and Spooky, Excited About Their Canoe Adventure
(Well, not really but…)


There is Paid Parking, I Believe it Was about $10.00 For Us to Park Here

Me, Consoling Spooky and Sparky…

…they so tend to Freak Out About Everything!

Sparky and Spooky
—————————————————————————————-

Gordon Removing the Canoe From the Car
(I love it when he says, “Hey Julie, can you grab the back end of the canoe and lift it up so that I can then slide it off the top of the car?” Me: “Are you kidding? I can’t lift that heavy thing!” To which he will then do it himself.) 🙂
——————————————————————————-
The Canoe Launch


Crystal River is very wide, open, and large.
It is also very beautiful.

Gordon Doing the Paddling

There Were Many Boats Out That Day!

I didn’t particularly like the deep water areas.
I tend to prefer the smaller intimate areas.

———————————————————————————–

The Homes and the Boats Were Beautiful

This Water is Way Too Deep For Me

I love how Spooky is using Sparky as a foot stool here. 🙂

Paddling Underneath a Pass

Now we are getting into more of my preferred territory.
Smaller and more intimate areas of Crystal River.


I love viewing the lovely homes!

———————————————————————————

It was a pretty hot day. We made sure that we had plenty of food and water for Spooky and Sparky.
I did a few times splash water on them from the river. Just to cool them down.

We also had plenty of water for them in the canoe. Also, some towels for them to lie down on.
————————————————————————-


Pete’s Pier Marina
(Gordon’s parents used to own a marina in Shallotte, North Carolina in the 90’s. They are a family of boat people.)

I think it’s funny that Spooky is now sitting on Sparky so that she can see what’s going on. 🙂
She is the smart one. Very intelligent, she is.


Gordon Paddling Around Looking for a Great Picnic Spot


——————————————————————————————————

We Came Across Some Beautiful Manatees

——————————————————————————————–


Spotting Our Picnic Spot!
(I would like to think that the Manatee’s led us here.) 🙂

This is me getting all the food ready to fix our plates.

——————————————————————

The Delicious Canoe Food Mess


——————————————————————————

Very Proud of our Delicious Grilled Chicken and Glass Noodles w/ Herbs main course.
———————————————————————

Everything Was Delicious!


—————————————————————————————-

Gordon Eating
He Has Us Tied To A Tree


Always Bring Along Some Rope, Just In Case
(Also, brush up on your knot tying. It’s important!)

I Don’t Necessarily Eat, I Just Tend to Snack
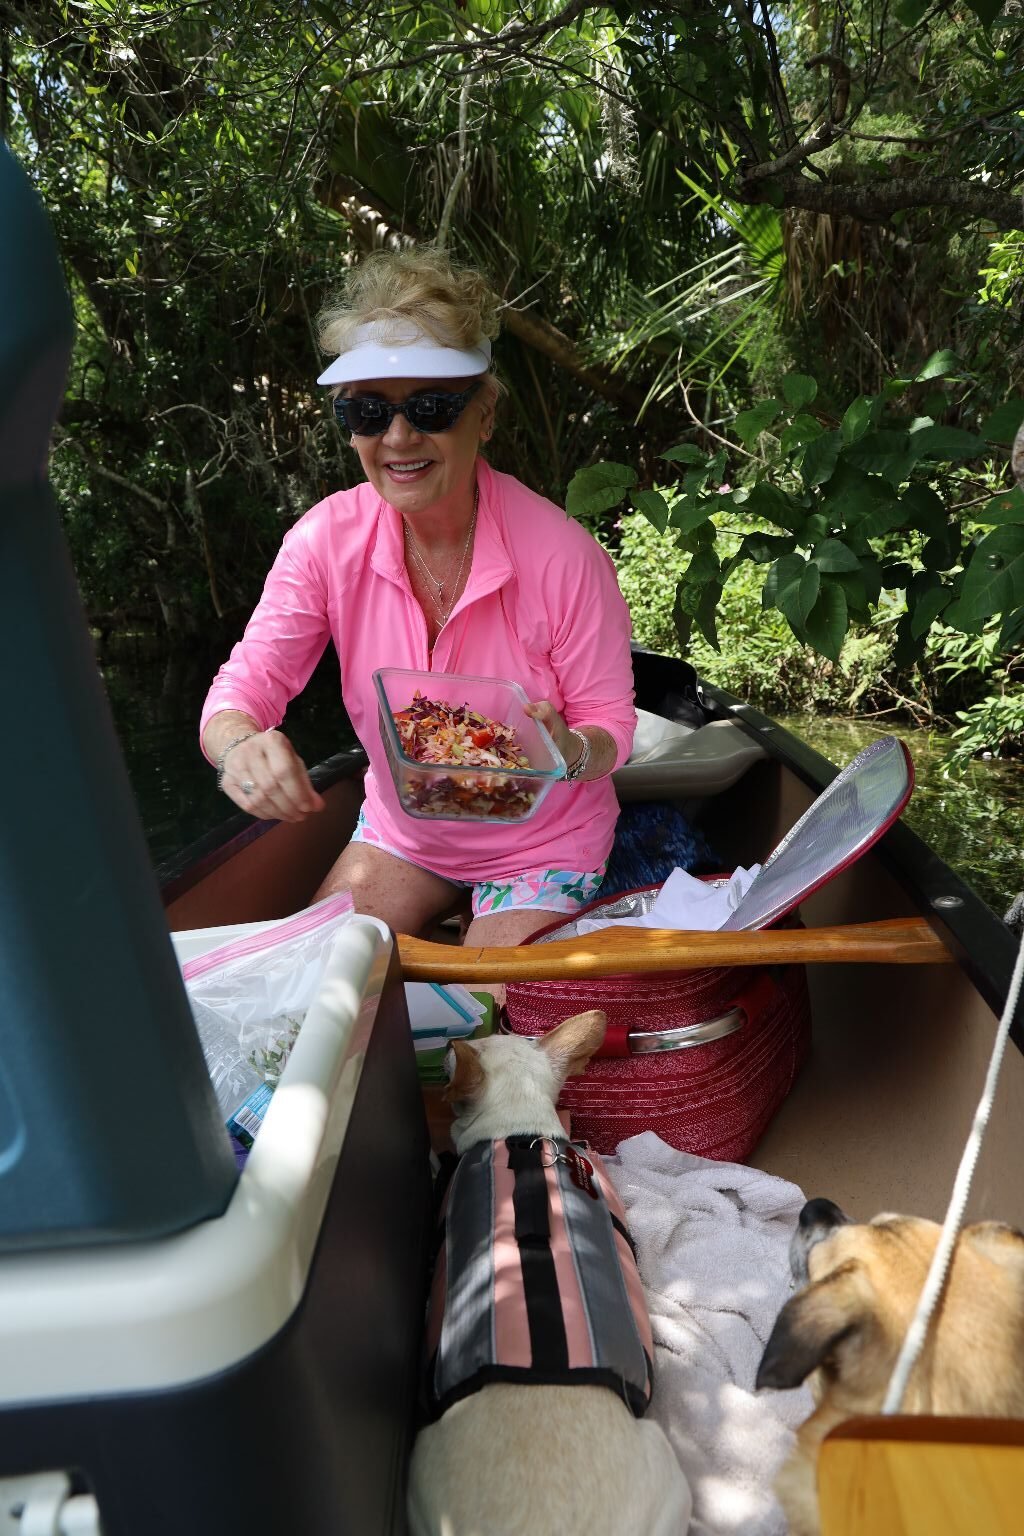

Putting Away the Slaw, and Getting out the Cantaloupe

Eating Cantaloupe Boats for Dessert

———————————————————————————–

I Do So Love Everything Swampy

Having a Look Around The Area

I Also Love These Homes
(The reason so many of them have these kind of docks, is so that the alligator’s can’t climb on to them and be in their yards.)
————————————————————————-

Boaters Watch Out For Manatees
I always find that interesting. They leave it up to the boaters to decide how they want to proceed. Boaters aren’t about to curtail their activity to protect anything, much less the Manatees. Their boat propellers will chop up these beautiful creatures leaving marks on them for life, that is if they don’t kill them at the time of the abuse.
You know, a kind of cage could be constructed around a propeller so that no human or animal can get hurt by a propeller. I don’t see why that can’t be? It would prevent so much damage.

Three Sisters Access Path
We would have loved to have been able to go down this waterway to Three Sisters. However, it was under some sort of construction and the connection from Crystal River to Three Sisters was closed.
———————————————————————————–

Boaters do tend to be very friendly people. As we pass others people just seem to smile and say, “Hello.” When women and children see our dogs they seem to perk up and react positively by waving and commenting on how cute they are in their little life jackets. 🙂


Manatees Around That Boat
You can see how Manatees are around boats. All that boat captain has to do is turn on it’s engines and if a Manatee is close, then that Manatee gets chopped up. It’s really quite sad. I wish there were more regulations to protect them.

I LOVE Swamp Flowers!
—————————————————————————

Heading Back Toward the Open Water

Spotted More Beautiful Manatees

——————————————————————————

You Can See The Boat Propeller Scrapings On Their Backs


———————————————————————————-

Goodbye Beautiful Sweet Peaceful Manatees…

…Time To Head Back To The Boat Launch
——————————————————————————–
Leaving Crystal River, Headed Home


I saw this beautiful Coral Fence!

This is what I love about Florida. The uniqueness of it all. 🙂
Happy Mother’s Day Lovely Ladies,
Julie and Gordon
————————————————————————————-
RECIPES START HERE
————————————————————————–
Our Colorful Mother’s Day Slaw

——————————————————————-


Ingredients:
¾ Cup of each – Carrots (Yellow, Orange, and Purple) – peeled and grated
½ Cup Jicama – grated
½ Cup Celery – small dice
¼ Cup Banana Peppers – sliced
½ Cup Red Onion – diced
½ Cup Red Bell Peppers – diced
1 ¼ Cups Red Cabbage – sliced thinly
¼ Cup Parsley – chopped
——————————————————————————-

Jicama Sticks

Gordon, using a peeler to peel the bright purple carrot.


These look and taste vastly different from the normal orange variety. Also shown are some Home Grown Peppers from our garden that we used in this recipe. Be sure to taste them as you might not want Hot Peppers in this slaw.


In a medium sized bowl, add your Orange Carrots then grate your Yellow Carrots in with them.


Then do the same with your Purple Carrots and the Jicama.


Grating…


—————————————————————-


Now add your Diced Celery to the bowl.
Nice close up of the ingredients Julie!


For your Peppers, remove the stem and slice the pepper in half to remove the seeds.
Taste a small portion of the pepper to see if it is Hot.


If you like the taste, slice it in sections then slice it in strips as shown, and add it to the bowl.


For your Red Onion, slice of the root and top portion of the onion. Remove the outer skin and slice the Onion in half as shown. Then slice the Onion into small section or dice. Add it to the bowl


Slice your Red Bell Pepper in half and remove the stem section as shown.
Remove the seeds as well.


Now, slice the pepper into long strips as shown, then into a dice and add them to the bowl.


Slice the root off your Red Cabbage, then in half and using a V-cut, slice out the white core.
Then slice the cabbage into thin strips as shown

Add the thin strips to the bowl and mix all the ingredients well using a rubber spatula.
Just look at all the beautiful colors!

Here We Are Placing the Slaw Into a Container For Our Canoe Trip
—————————————————————


Ingredients for the Slaw Dressing:
¼ Cup Parsley – chopped
1 tsp. Chili Powder
1 tsp. Hot Pepper Flakes
¾ Cup Rice Vinegar
½ Cup Olive Oil
1/2 Cup Lime Juice
1 Tbsp. Sugar
½ tsp. Salt and Freshly Ground Black Pepper to Taste
3 Tbsp. Apple Cider Vinegar with Turmeric and Honey
3 Tbsp. Mirin or Sweet Cooking Seasoning.
————————————————————————————-

Here is the Curly Parsley we used for the dressing.

Chop the Parsley thinly, but leaving it with a few larger pieces to give it some texture


Place the Chopped Parsley and Chili Powder in a bowl.


Then add your Hot Pepper Flakes, Rice Vinegar and Olive Oil to the bowl.


Now add your Lime Juice and sugar to the bowl.


Whisk the ingredients together.

Here is the Asian Salt we used. I like to use interesting ingredients.


Add your Salt and Pepper to the bowl.
Whisk and taste. I felt the dressing needed a little more vinegar/acid so I added some Apple Cider Vinegar with Turmeric and Honey in it.

Stirring Together


I also wanted a little more sweetness, so I added some Mirin or Sweet Cooking Seasoning and some more Lime Juice. I then tasted the mixture again and loved it.


—————————————————————————-


Add it to a container to pour over the Slaw just before you are ready to eat.
—————————————————————————————-

Our Brussels Sprouts Beignets with Bacon Aioli
————————————————————————————

Here are the ingredients for the Brussels Sprouts Benignets
Ingredients:
~30 Brussels Sprouts
8 Garlic Cloves
¼ Cup Olive Oil
Salt and Pepper to taste
———————————————————————–


Remove a thin slice away from the base of the Brussels Sprout and remove any leaf that may be discolored. Wash the Brussels Sprouts well with fresh water in a colander. Add them to a large pan and turn the heat to medium. Add your Olive Oil and toss the Sprouts in the oil.
—————————————————————————
You will also need a package of BACON!
Here we cooked the bacon in the microwave, and it turned out great. Save the Bacon Fat for the Aioli.
——————————————————————-


Here you can see the Sprouts are getting a little brown… do this for all of them. The heat is also brining out the nice green color. Toss/turn the Sprouts in the oil as needed.

——————————————————————————-


Slice your Garlic thinly then chop them to an almost mince.


Julie caught a nice action shot of me tossing the Sprouts.
Here I am continuing to cook the Sprouts… this will take some time as there are many of them. Be sure to toss them in the oil for even cooking.


Here, you can see they are getting a nice browning to them as they are done.
Add some salt to the Sprouts and toss again.

Beautiful!
————————————————————————


Add your Freshly Ground Black pepper and Chopped Garlic to the pan, toss and cook for another 5 min. or so.


The last picture shows them done! Set them aside for use later.
———————————————————————————–

Now for the Benignets.
Here is a pepper we used in the Benignets flour mixture.


For the Benignets Dough:
1 Medium Hot Pepper – chopped thinly
1 Cup Flour
Salt and Pepper to taste
1 Tbsp. Baking Powder
~3 Tbsp. Corn Starch
1 tsp. Hot Pepper Flakes
1 Cup Milk
———————————————————————–


Then add some Salt and Pepper to taste, and then your Corn Starch.
The Corn Starch give the batter some nice crunch when fried.


Add your Hot Pepper Flakes and freshly chopped pepper.


Add enough Canola Oil to a medium sized pot to submerge the Brussels Sprouts.
Turn the heat to medium high.
——————————————————————————-
To Fry the Benignets:
6 Cups Canola Oil
I remove the stem section of the pepper and then sliced it in half and removed the seeds.
Then dice your pepper. Add your Flour and Baking Powder to a medium sized bowl.

Here you can see the dry ingredients in the bowl.

Add your Milk to the bowl.


Mix the ingredients well. It should be a little thin so add more milk if needed.


I dropped one of the Brussels Sprouts into the mixture and used a spoon to help coat the Sprout. The Oil is not hot, so carefully place the coated sprout into the oil.


Do this for about a dozen Sprouts at a time and cook them until browned, turning them as needed.


Here you can see they are nicely browned. Place them on a plate lined with paper towels.


Continue to fry the rest of the Sprouts.

Here are all the Sprouts and they look great!


Delicious Flavor
————————————————————————-


Mother’s Day Brussels Sprouts Benignets and Aioli
——————————————————————————

Aioli ingredients:
1/2 Pkg. Bacon – Cooked/Broken into small pieces – save the bacon fat
3 Egg Yolks
2 Tbsp. Bacon Fat
2 Tbsp. Green Onions
Salt and Pepper to taste
2 Tbsp. Lemon Juice
3/4 Cup Olive Oil
1 Tbsp. Sugar
——————————————————————————-

Another shot of the Beautiful Benignets

Here you can see I am using a large bowl as you will have to vigorously whisk the ingredients and you will need the space to do it.


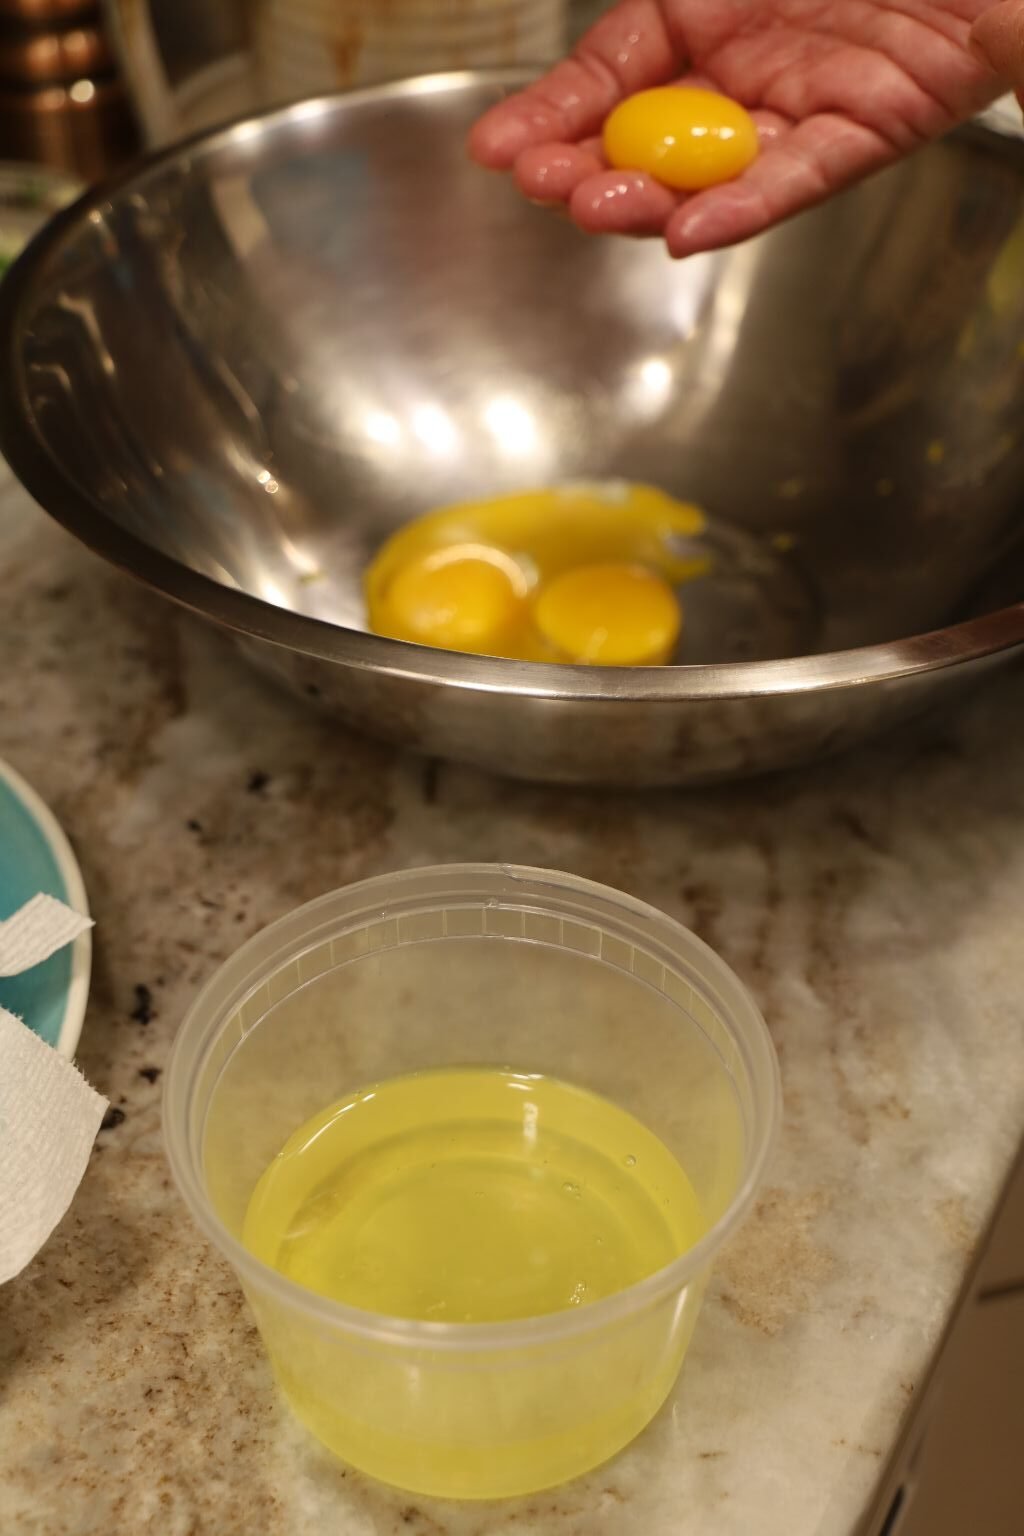
Add your egg yolks to the bowl. I do this by breaking the egg into my hand letting my separated fingers remove the egg whites. Save the egg whites for your eggs in the morning as they will last a long while.


Add some of that great Bacon Fat to the egg yolks

Here is a great close-up from Julie!

Add your Chopped Green Onions to the bowl.


Now your Salt and Pepper to Taste
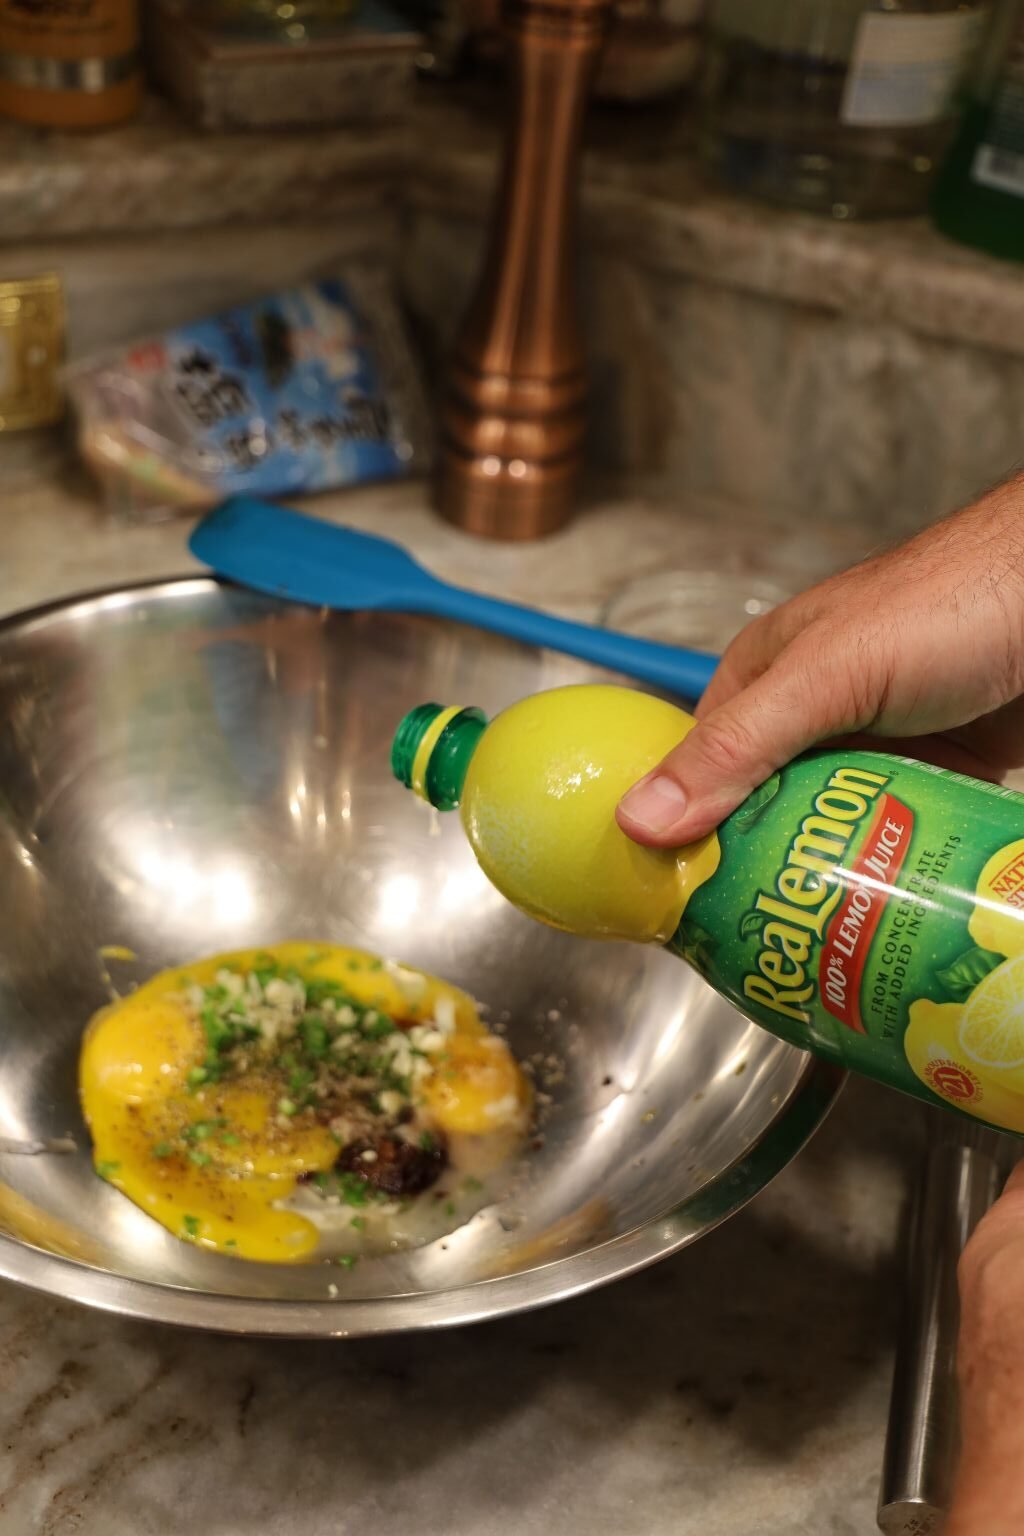
Then your Lemon Juice


Now, whisk the ingredients with one hand….

While the other hand is used to pour in the Olive Oil.
————————————————————————–


Here is a great shot of the bacon.


When nicely combined, add your Bacon

Add a touch of sugar to give it a nice little hint of sweetness.
Whisk the ingredients to just combine the bacon and you are done!

———————————————————————————-

Julie set a great table to this Wonderful Mother’s Day!


Add the Aioli to a bowl.
We hope you enjoy this Mother’s Day Brussels Sprouts Benignet and Aioli recipes!
—————————————————————————–
Grilled Teriyaki Chicken with Glass Noodles

———————————————————-

Ingredients:


2 Tbsp. Canola Oil
Aloha Soy Sauce
3 Tbsp. Splenda Brown Sugar
1 tsp. Ginger Powder
1 tsp. 5 Spice Powder
3 Chicken Breasts – rinsed with cold water and drained
1 Bag. Rice Noodles
2 Tbsp. Sesame Oil
2 Tbsp. Hawaiian Teriyaki Sauce
——————————————————————–

Start by adding your Canola Oil to a large zip lock bag.


Now, add your Soy Sauce, we prefer the Aloha brand as it just tastes good.


Then add your Splenda Brown Sugar. Here you could add most any type of sweetener
or like white sugar, cane sugar, Sweet Soy Sauce, light or dark brown sugar or honey.
You could also use a combination of those. You just don’t want it too sweet or too salty
so you will have to taste it.


Now add your seasoning of Ginger Powder and 5 Spice Powder. You could also use
fresh grated ginger if you have it.
————————————————————————-

Here I am rinsing the chicken to get any blood or bone fragments off the chicken. Then
place it on a plate lined with paper towels to let it dry some.
————————————————————————–


Now, add your Chicken Breasts to the bag with the marinade.
Seal the bag tightly, the move the Chicken around inside the bag to ensure the
marinade covers all the chicken.


In a large pot boil some water then add your noodles. Cook them for just a few minutes
or as directed by the bag. In no time at all the noodles are already cooked and
softened.

Pour the noodles into a large colander as shown.
—————————————————————————–


After the noodles have drained a bit, place them in a bowl and add your Sesame Oil and
mix them well.
This will help prevent the noodles from sticking together.


To give the noodles even more flavor, add some Hawaiian Teriyaki Sauce.
——————————————————————————
Grilling The Chicken Breasts
This is easy enough for anyone to do. I was able to get this great cast iron skillet made for grilling from a neighbor of ours at her yard sale who said it was in her family for a while. When I got it was rusty and needed some TLC. Her family didn’t want it and was waiting for me to come over as she knew I would like it and get it back to a usable state. As you can see, it looks and works great.
For this recipe, I used three large chicken breasts and some peanut oil for the skillet.


Start by adding about a Tbsp. of peanut oil to the skillet, using a paper towel to spread it all over. Heat the skillet to Medium High Heat and when the skillet is at temperature, place in the chicken breasts and don’t move them. While they are cooking, turn your oven to 350’F. This method of cooking the chicken is easier as you can see the chicken turn from pink to tan as it is cooked. After about 6-8 min. you will see the tan color go up the side of the chicken. When it reached just above halfway, turn the chicken breast over. Here you can see by not moving the chicken, I have some great grill marks.
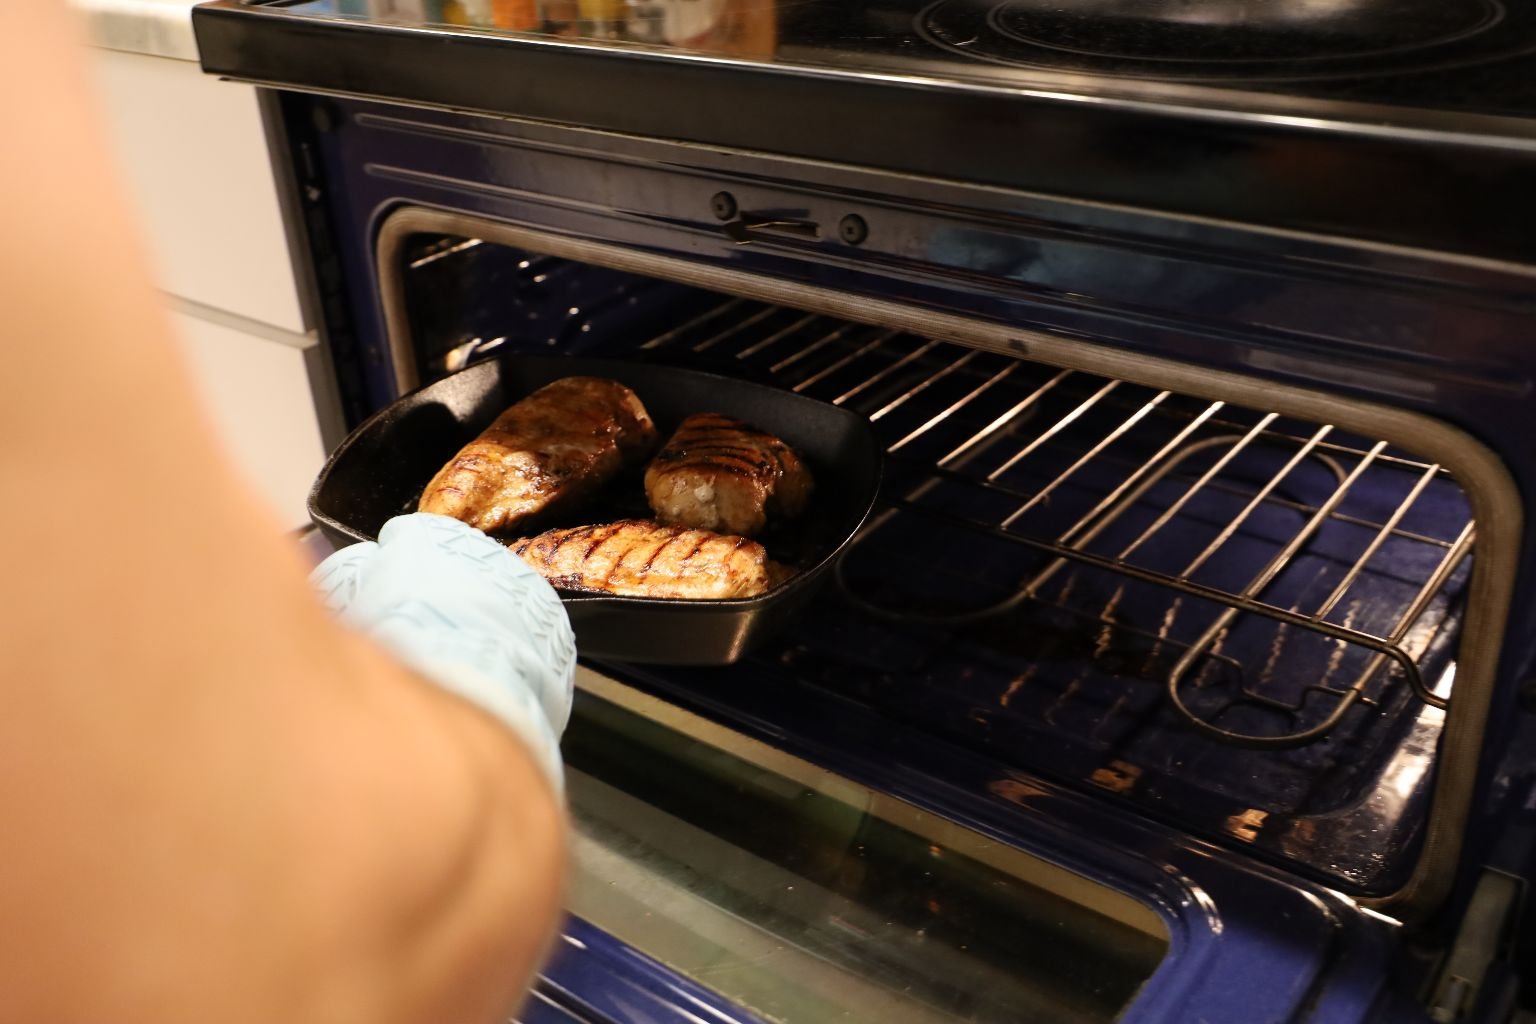

Place the skillet in your oven and bake the chicken for about 6-10 min. or until the chicken is at an internal temperature of 160’F.


Remove the skillet from the oven and let it rest for at least 8 min. This will allow the super-heated juices from the outside of the chicken to flow back into the center of the chicken cooking it to 165’F. If you were to cut into the chicken during this time period, the flow of juices would be interrupted and juices would simply flow out from the cut, producing a dry chicken.

The Chicken Ready to Plate
————————————————————————————-
Cantaloupe

I suppose that to many a Cantaloupe would be considered in the ‘salad’ category of a picnic meal, but to us it is the dessert. Especially when it is cut into boats, just like my Grandmother Nellie Mae would serve them. She loved Cantaloupe. I think of her every time I see one, let alone, eat one. 🙂 Happy Mother’s Day Grammaw!
Cantaloupe, the Grand Finale of our Mother’s Day Picnic
—————————————————————————————-
And, there are always leftovers in this house to enjoy for days and days. 🙂


Happy Mother’s Day!
Julie and Gordon

Hello and Welcome to My Personal Blogs I started this website in July, 2011, along with my very first blog post. I tend to write about whatever I may be going through. When I started the website I was …
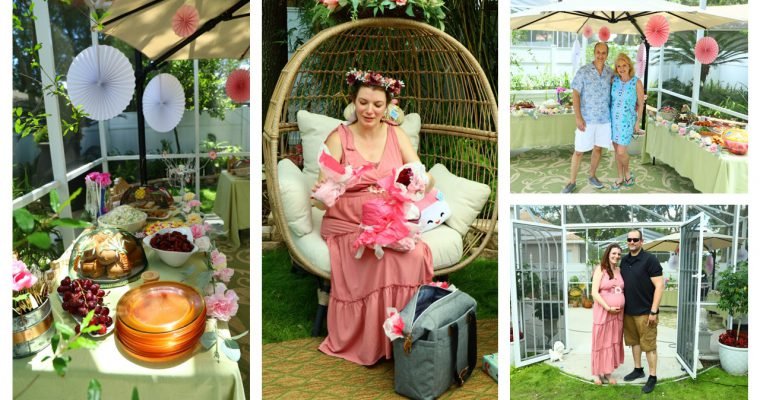
www.BarefootInFloridaWithJulie.com —————————————————————————— Welcome To The Baby Shower (May 2023) A Haku Lei I Ordered From Hawaii For Veronica, Our Mother To Be Our Buffet Table Our Veronica, The Mother To Be Veronica and Brian The Proud Parents To Be Gordon …


Aloha, Hawaii

The Haku Lei I Bought For Veronica From Hawaii
(Haku Means Head Lei)

The Beautiful Blossoms of Plumeria and Hibiscus I Purchased Online


The Reed Like Thing You See Above, I Found on Our Ewa Beach and Painted it, It Houses My Lei Needles

1988
Although you can’t see her, Veronica is on my back! 🙂

Macadamia Nut Goodies are Always Loved Here
—————————————————————————–
My Skulpy Ornaments/Tie On’s

I did a lot of craft projects while we were living in Hawaii and working with Skulpy was a favorite of mine. I loved the clay that you could create and mold into anything, then bake into an oven to set. Here are some tie on’s/ornaments that I made. I used rubber stamps on many of them to create the indentations. Then, once baked I would color them in with colorful pens or markers. Always remember to create a hole at the top before baking for a hook or a ribbon to thread through.
———————————————————————————–

The Kodak Hula Show
Waikiki, Hawaii

The Aunties With Their Ukulele’s

This is Tahitian, not Hawaiian
The very fast dancing that you see here is not native to Hawaii. It is from Tahiti. But, because there are many Polynesians on the islands of Hawaii, you will always see this dancing at Luau’s and other events.
————————————————————-


The Hula Tells a Story
The dancers use their arms and legs to tell a story in a dance. The grass skirts are traditional, but when the missionaries came over to Hawaii they encouraged the people to wear clothing. And, the only clothing they could get the Hawaiian women to wear were big and roomy with very loud prints. Hence, the Muu-muu is born. (My Grammaw’s favorite attire while in Hawaii.) 🙂


——————————————————————————-
I wanted us to make some special foods for Lei Day, but I wanted to keep the foods with Lei’s in mind.

Macadamia Nut Hummus with Taro Fries

Topped with Toasted Macadamia Nuts

Macadamia Nut Hummus with Chips

Our Hawaiian Haku Lei Muffuletta Sandwich

Looks a Bit Like a Haku Lei, Doesn’t It?

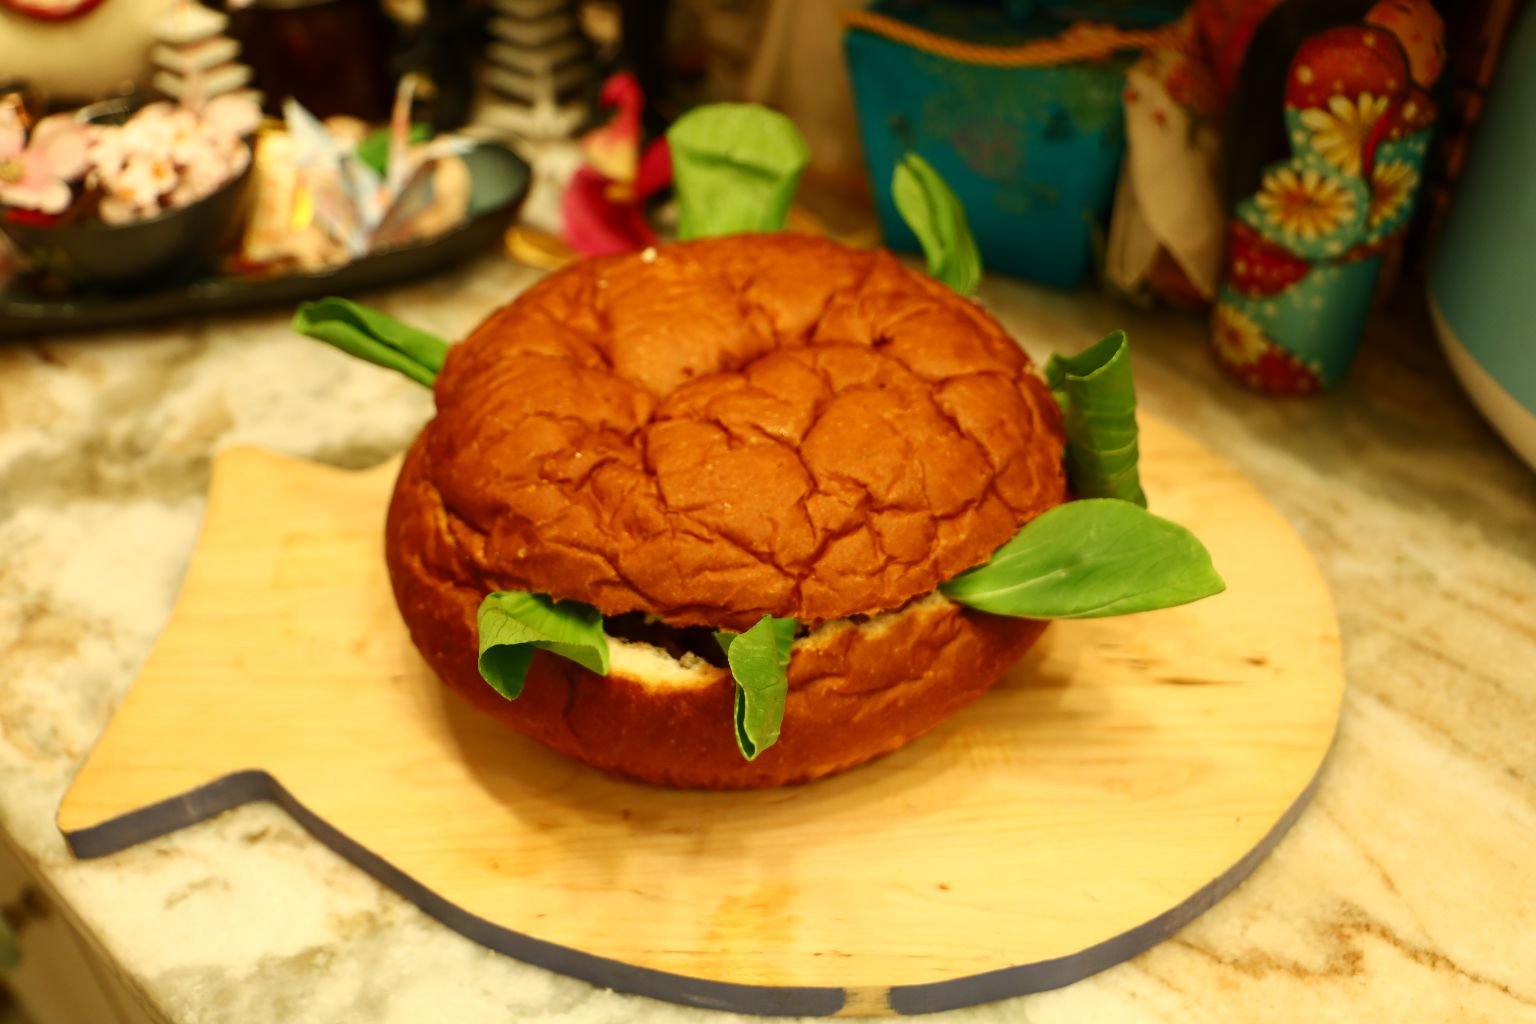
Bok Choy Works Great Here

Sliced and Ready to Eat

Doesn’t It Look Great?
(Recipes Down Below)
————————————————————————————

Click Here For: Aloha Wahine Jezebel Sauce
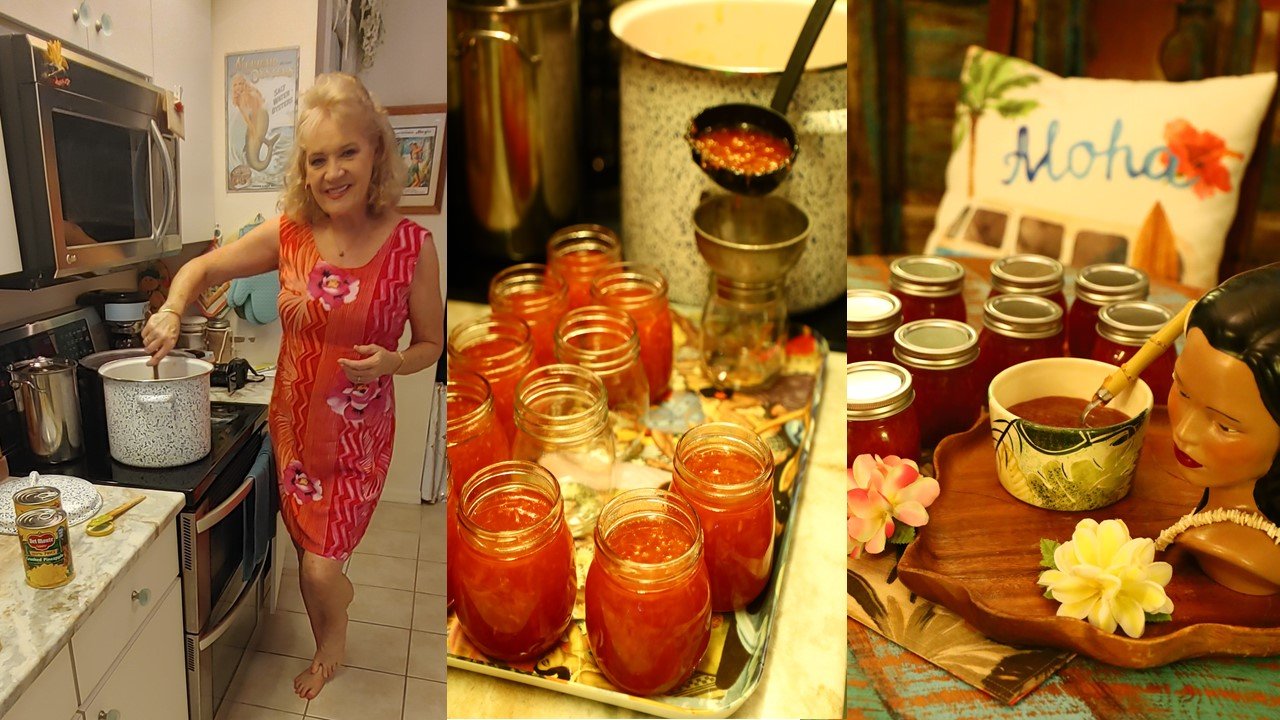
My Aloha Wahine Jezebel Sauce Plays an Important Roll in our Sandwich
For the recipe, click on the above link.
—————————————————————————-

Black Lava Salt
————————————————————————–

These are Actually, Pretty Good!
(These pickled items are really delicious and added to our meal.)
——————————————————————————–

Julie and Veronica, our Backyard in Honolulu, Hawaii, 1988
———————————————————————-
February 13, 2024
My 63rd. Birthday


Peanuku and Myself Wearing Our Lilly Pulitzer’s
(The closest thing to Hawaiian attire I can find in Florida.)

Our Hawaii Living Room

Isabelle’s First Taste of Sugar, My Birthday Cake, 2024

Back Home and Enjoying some Chocolate Covered Macadamia Nuts
——————————————————————-
When we were living in Hawaii from 1986-1999, Lei Day was always a fun day. You would see people wearing lei’s all over the islands whether they were at work, school, or just going about their daily lives.
One year, my friend Kathy bought me a lei and presented it to me. We were running errands for our Girl Scout Troop. I was so proud of it. No one had ever given me anything like it before and I loved the gesture! I did have a really hard time with Tuberose. It is extremely pungent and perfumy. It was actually making me a bit sick to have that around my neck but I kept it on all day long. I was not about to hurt the feelings of my friend. Kathy was born and grew up on the Big Island in Kona. She was what the locals called, Hapa-Haole. That meant that she was half Japanese and half Caucasian. Going around the island with her was a different kind of experience. My interaction with the local people was always a bit guarded on their part. But, when I was with Kathy, their guards were dropped and they were so much more accepting of me because I was with her.
I miss Hawaii, I miss Kathy, and I miss Lei Day,
Julie (Kulii)
————————————————————————

Haupia
(Eaten at Most Every Luau)

Usually White in Color Except I Used Coconut Sugar, and not Granulated Sugar
(Recipe Down Below)
————————————————————————–
Giving The Gift of Hawaii For My Birthday
(Gifts for my Children and their Partners from Me.)

Bags of Hawaiian Sea Salt

Plenty of Candied Macadamia Nuts, Various Short Bread Cookies, Many Pancake Mixes, Sea Life Crackers, Hawaiian Mugs, Tropical Stuffed Fish, Macadamia Nut Brittle, Spice Mixes, Hawaiian Coffees, Hawaiian Coffee Candies, and plenty of Hawaiian Tea Towels.

Toffee Macadamia, Chocolate Macadamia, and Sea Life Crackers


More Close Up Pictures of the Goodies


Various Pancake Mixes

Gordon Cooked Ours and They Were Delicious!
(Had we eaten them with a Coconut or Pineapple Syrup, they would have been perfect!)

My Favorite Were The Taro Pancakes

Da Kine! Spice Mix Seasoning
(The purple box behind these spices was a Taro Shortbread Cookie. The best I have ever eaten!)

Love The Tea Towels!
So, exactly why am I giving gifts to others on my birthday? Because I want to!
——————————————————————————
Putting Together the Gift Leis

Veronica and I were Assembling These While Isabelle was in the Chair, above right.

Although what you see above is a jumbled mess, the mess does become more organized as we work on these lei’s.
Gift Lei’s are given in Hawaii at various celebrations. They are perfect for Children’s Birthday’s, or even Graduations, etc.
——————————————————————————–
Gift Lei’s

This is a Macadamia Nut Gift Lei

This is a Candied Chocolate Macadamia Nut Gift Lei

These Gift Lei’s are for Veronica, Brian, Brodie and Mackenzie, to get them into the mood for a trip to HAWAII!!!! 🙂
Snacks, Toys, Masks for the Airplane, Sunscreens, Key Chains, Candy, etc.

The ZERO Bars are for Brian and Gordon. It’s their favorite candy bar.
You can see the Blue/Green colorful face masks for us to wear on the airplane.

You Always Add a Flower to any Gift Lei
———————————————————————

Me, With Baby Veronica at the Waikiki Aquarium
——————————————————————–
Items For Gift Leis, And How To Make Them

Gift Lei’s are fun to assemble. You just need to decide on a theme, or an array of items you wish to use. Here, what I wanted to do was assemble some fun things for a trip to Hawaii! 🙂
The first thing you need is the nylon netting used to create a nice gift lei. You can see the colors in the photo above. Green, Orange, and Red. and Blue. Whether for a child or an adult, you do need to make sure you have enough of the nylon cut to allow for the size of the person, and the items you will be using in the lei’s.


Here I chose Honu’s (Sea Turtles), Candy, Sunscreen, Macadamia Nuts, and various little trinkets.
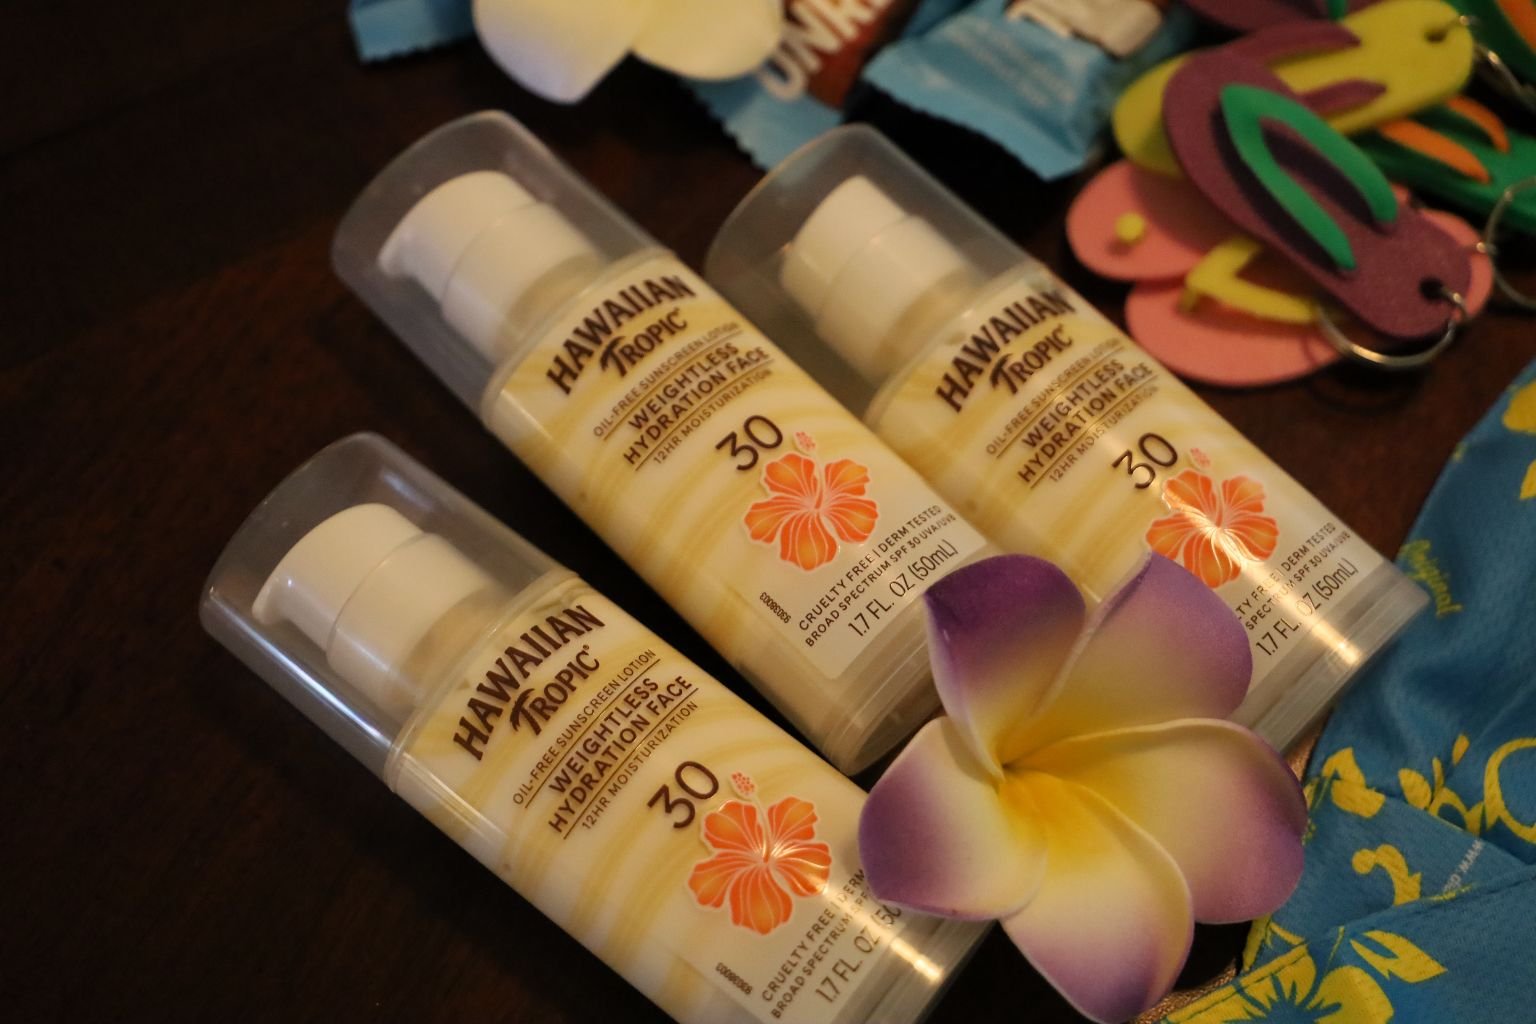

Here Are The Sunscreens
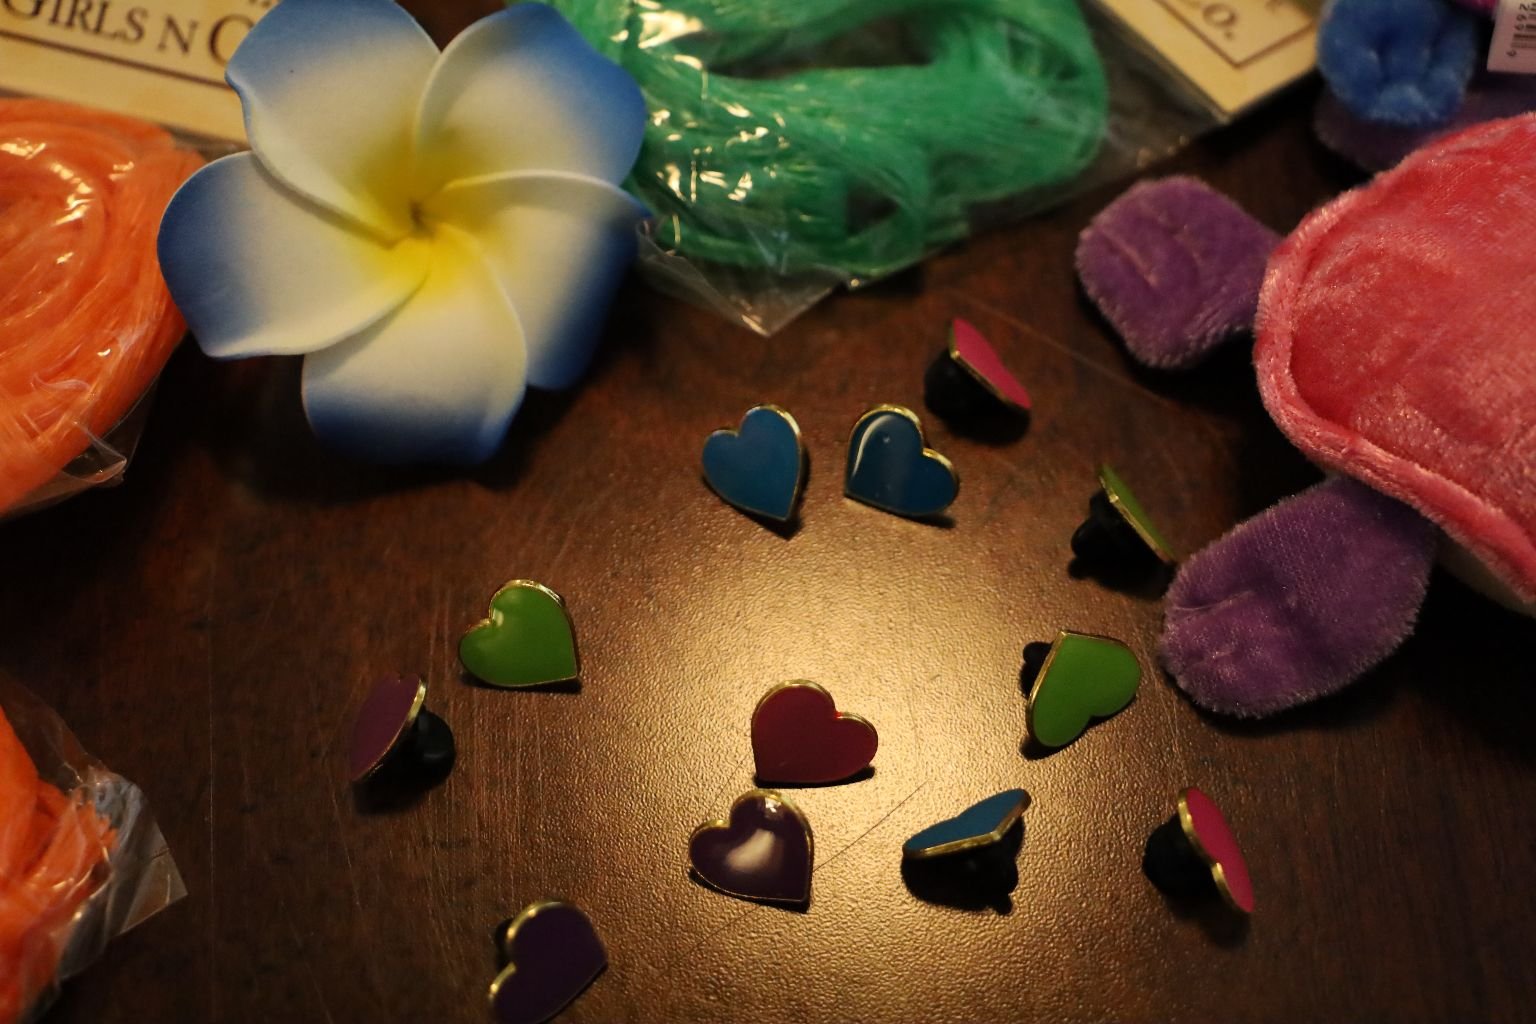
Here are Some Heart Pins to Add

You Also Need Some Thin Ribbon to Use to Tie Between Each Gift


When you have your lei just as you like it, you will need to tie the nylon together into some sort of square knot. This is difficult because the nylon will then sort of unravel. I use hot glue to make sure it doesn’t unravel, BUT, the hot glue can melt the nylon so I just use enough of it to seal it, and not melt it. I then adhere a nice artificial flower to “hide” the knot.

The Nylon that I used above on these leis was recently purchased by me from online. But, what you see above is the nylon from the lei’s I saved from our time in Hawaii. Ah, memories. 🙂
——————————————————————–
A Honu Lei For Peanuku

I put this gift lei together for my Grand-Daughter.
Veronica has it hanging in her bedroom. It is a lei of many colorful Honu’s, (Sea Turtles).

Peanuku With Her Honu Lei


————————————————————————————-
RECIPES START HERE
———————————————————————
Macadamia Nut Hummus
w/ Roasted Macadamia Nuts and….

Veggie Hawaiian Chips
————————————————————————-

Mauna Loa Macadamia Nuts
————————————————————————-
Ingredients:
2 – 6 oz. Jars of Mauna Loa Macadamia Nuts – Roast a little more in the oven
4 – 10.5 oz. Cans Chick Peas/Garbanzo Beans – drained and rinsed
~3 Tbsp. Tahini
2 – Garlic Cloves
~2 Tbsp. Pineapple Juice
1 tsp. Hawaiian Sea Salt
Freshly Ground Pepper to taste
1 Pineapple Ring
~1/2 to 3/4 Cup Olive Oil
~1/4 Cup Water
The Juice of 1 Lemon
—————————————————————-
Into The Oven

Here I placed the Macadamia Nuts onto a sheet pan and in a 300’F oven for about 10
min. or until they got a little color to them, and/ or I could smell them. Doing this will bring
out their oils and make them just taste a little better.


Here you can see the roasted Macadamia Nuts.
————————————————————————————-

The Chick Peas


I drained them in a colander first…

Then rinse them with cold water to remove that canned taste to them.


Here are the Tahini, and Garlic Cloves


Now, place your Macadamia Nuts into the blender and blend them until most of the
large pieces are gone.

Put some of the Macadamia Nuts aside for the Hummus Topping


Add your rinsed Chick Peas to the blender along with the Tahini.

————————————————————————————-


Now add your Garlic Cloves, Hawaiian Sea Salt and Freshly Ground Black Pepper to
the other ingredients in the blender.


I then added some Pineapple Juice to give it that extra Hawaiian taste.

Here is a great picture of all the ingredients so far.


Now add a Pineapple ring from the can.


Here I am pouring in some nice Olive Oil.


Use a rubber spatula to move the ingredients around and up off the bottom.
I also poured in a little bit of water to make the Hummus creamy.

Blend the ingredients well…

Then blend them some more. It looks good, but how does it taste? Here I felt it needed
the acid of lemon, which is in the original hummus recipe.


Blend in the Lemon Juice well then taste again… I thought it was perfect!
Hope you enjoy this amazing Hawaiian inspired Hummus!


Be Sure to Decant into a Nice Bowl

———————————————————————————

Our Hawaiian Hummus and Taro Fries

Topped With Black Sesame Seeds on the Hummus,
and Black Lava Sea Salt on the Taro Fries
——————————————————————————

Served With Our Hawaiian Muffuletta

Taro Fries

If you go to your local Asian Supermarket, they do sell Taro.
It usually comes in a block which you then cut into, creating the French Fries.

Fill a Cast Iron Pot with Peanut Oil, and when it comes to temperature, add your Taro Fries.


Cook them as you would French Fried Potatoes,

then place onto paper towels to drain, with a sprinkling of Black Lava Sea Salt
————————————————————————————-
Our Hawaiian Haku Lei Muffuletta


Here is the Round Hawaiian Sweet Bread we used to make this great sandwich.

In preparation to make the sandwich, slice the bread by taking off the main part of the
cap as shown. This will allow the sandwich to be thick.

Now remove the inside of the bread leaving about 1 inch around the sides as shown.
This bread is very good so keep it to use for a cheesy dip or quick snack.
——————————————————————————-


Prep your Bok Choy and lettuce by washing them under cold water and setting them on
paper towels to dry.
——————————————————————

Pineapple Rings


Using a large non-stick sauté pan, cook them over medium high heat until slightly browned
on both sides.


We thought a nice Hot Asian styled mustard would go well with this sandwich. Mix the
dry mustard as directed. Taste it so you understand just how hot this mustard is.

We would have loved to have had some sweet Maui Onions, but these Vidalia Onions
will be just as good. Slice them into ¼ inch slices then saute them in a large saute pan
over medium heat.


Add some Olive Oil


Macadamia Nut Oil
Macadamia Nut Oil to keep with the Hawaiian theme.
(We used two different Olive Oil’s here to saute the onions.)

Use a lid to help keep the heat in…


Then to brown them, take the lid off which will evaporate the moisture.
Continue to cook them until they are softened and browned.
—————————————————————————–
Now It’s Time To Build The Sandwich


We also decided to use some of Julie’s Aloha Wahine Jezebel Sauce as well as some
Eckrich Spicy Pineapple Ham, and Provolone Cheese.

Here you can see all the ingredients are prepped and ready to be made into this great
sandwich. This is called mis en place in culinary terms.

In the front you can see our previously made Macadamia Nut Hummus, which works
great with this sandwich.


————————————————————————-

Start by placing some Hawaiian Jezebel Sauce on the bottom and sides of the bread as
shown.


Then add your Romain Lettuce leaves to the sandwich. These will provide a nice
crunch.


Now lets add some of the Spicy Pineapple Ham slices.


On top of the Ham, add some of the Hot Asian Mustard, then some Provolone Cheese
slices.


Then fill the cavity with your sauteed Pineapple slices…

And top that off with your sauteed Sweet Onions.

Then place some of your Bok Choy leaves around the sandwich basically giving each
slice one Bok Choy.


Looks nice, and we are almost done.

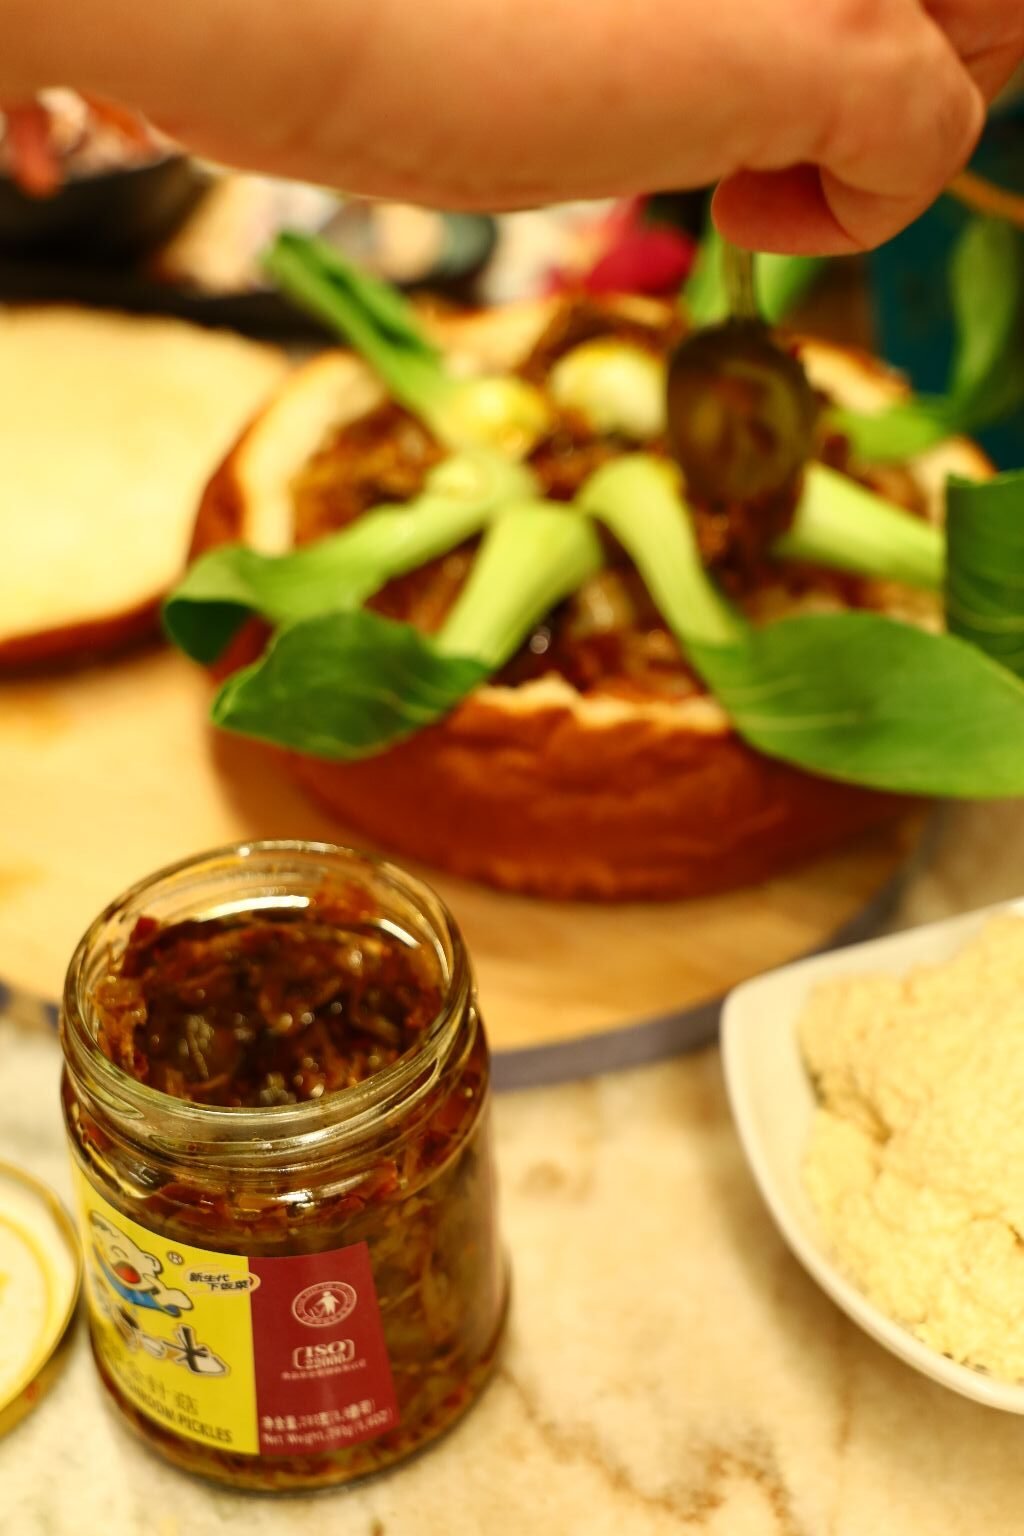
I felt the sandwich needed a little acid, so we found some Enoki Mushroom Pickles.


Add a few dollops of them around the top of the sandwich ensuring each slice will have
some.


Lastly, I spread some on the Macadamia Nut Hummus on the underside of the bread
cap.


Our Hawaiian Muffuletta Sandwich
Looks a Bit Like a Haku Lei, Doesn’t It?

Place the cap on top of the sandwich as shown and slice it into equal portions.
We hope you enjoy this Hawaiian take on the classic Muffuletta sandwich.

Our Hawaiian Muffuletta Sandwich
ONO!!!!
Brok’ Da Mouth!
—————————————————————————-
Haupia
Haupia is a standard at every Luau. It is a classic Hawaiian dessert. It is a coconut pudding.
Most Haupia is White, because of the White Granulated Sugar used to make this dessert.
However, mine is a lovely tan, because I used Coconut Sugar in place of White Granulated Sugar.
I, Julie, am using a classic recipe. The only area where I differed was in using the Coconut Sugar, and topping it with a Chocolate Coconut Candy. I also used a Hawaiian Sea Salt in place of Kosher Salt.
———————————————————————–

Ingredients:
2/3 Cup Sugar (I used Coconut Sugar)
1/4 t. Hawaiian Sea Salt
1/2 Cup Corn Starch
3 Cups Coconut Milk
1 1/3 Cups Whole Milk
——————————————————————-


Golden Coconut Sugar, Hawaiian Sea Salt, and Corn Starch
(Just a few of the ingredients.)

In a Medium Sauce Pan combine the Coconut Sugar, Hawaiian Sea Salt, and Corn Starch.


Next, add the Coconut Milk to the Sauce Pan…


Whisking It In..

On Medium High Heat

You need to continuously whisk the ingredients in the Sauce Pan until they start to simmer.
Once everything starts to simmer you want to turn the heat down to Medium-Low, but continue to whisk, as the mixture starts to thicken, 4-6 minutes.
The mixture will go from liquid to very liquid, before it starts to thicken.
——————————————————————


Pour in the Whole Milk while continuing to whisk. Bring the heat back to Medium and continue to whisk. You want the mixture to the consistency of Glue, and can coat the back of a spoon. Yet another 4-6 minutes.

When thickened, remove from the heat and pour into an 8 or 9 inch Baking Pan.

Let Cool for About 10 – 15 Minutes


Once Cooled, Cover with Saran Wrap and Place into the Refrigerator for About 2 Hours to Set


Veronica With Isabelle

After the Haupia has set, cut into squares and serve.


Here I placed each serving into a cupcake cup, topped with half of a Chocolate Coconut Bar.


This was Isabelle’s first taste of Coconut, and she loved it! 🙂
———————————————————————–
Check Out Our Other Hawaiian Pages:
Click Here For: Whann Way Aloha

AND,
Click Here For: Whann Way Aloha, Hapa Elua (Part 2)

AND,
Click Here For: Blue Hawaiians and Huli Huli Chicken

AND,

AND,

AND,
Click Here For: Weekend Spamin’ Spam Musubi

AND,
Click Here For: Julie’s Lunchbox

AND,
Click Here For: Gordon’s Hawaiian Potatoes and Huli Huli Pork Chops

AND,
Click Here For: Whann’s In Not Always Paradise

AND,
Click Here For: Julie Barefoot Cookies and Beachy Edible Gifts

AND,
Click Here For: Grillin’ With Aloha

AND,
Click Here For: Julie’s Vintage Hawaiian Mango-Mac Nut Bread Cake w/ Pasta Flowers

AND,
Click Here For: Gordon’s Dole Pineapple Outrigger Canoe and Cocktail

AND,
Click Here For: Hawaiian Hum Lum Sun Prunes

AND,

AND,
AND,
Click Here For: A Mother’s Day Aloha

AND,
Click Here For: Aloha Wahine Jezebel Sauce
AND,
Click Here For: Whann Way Hawaiian Luau
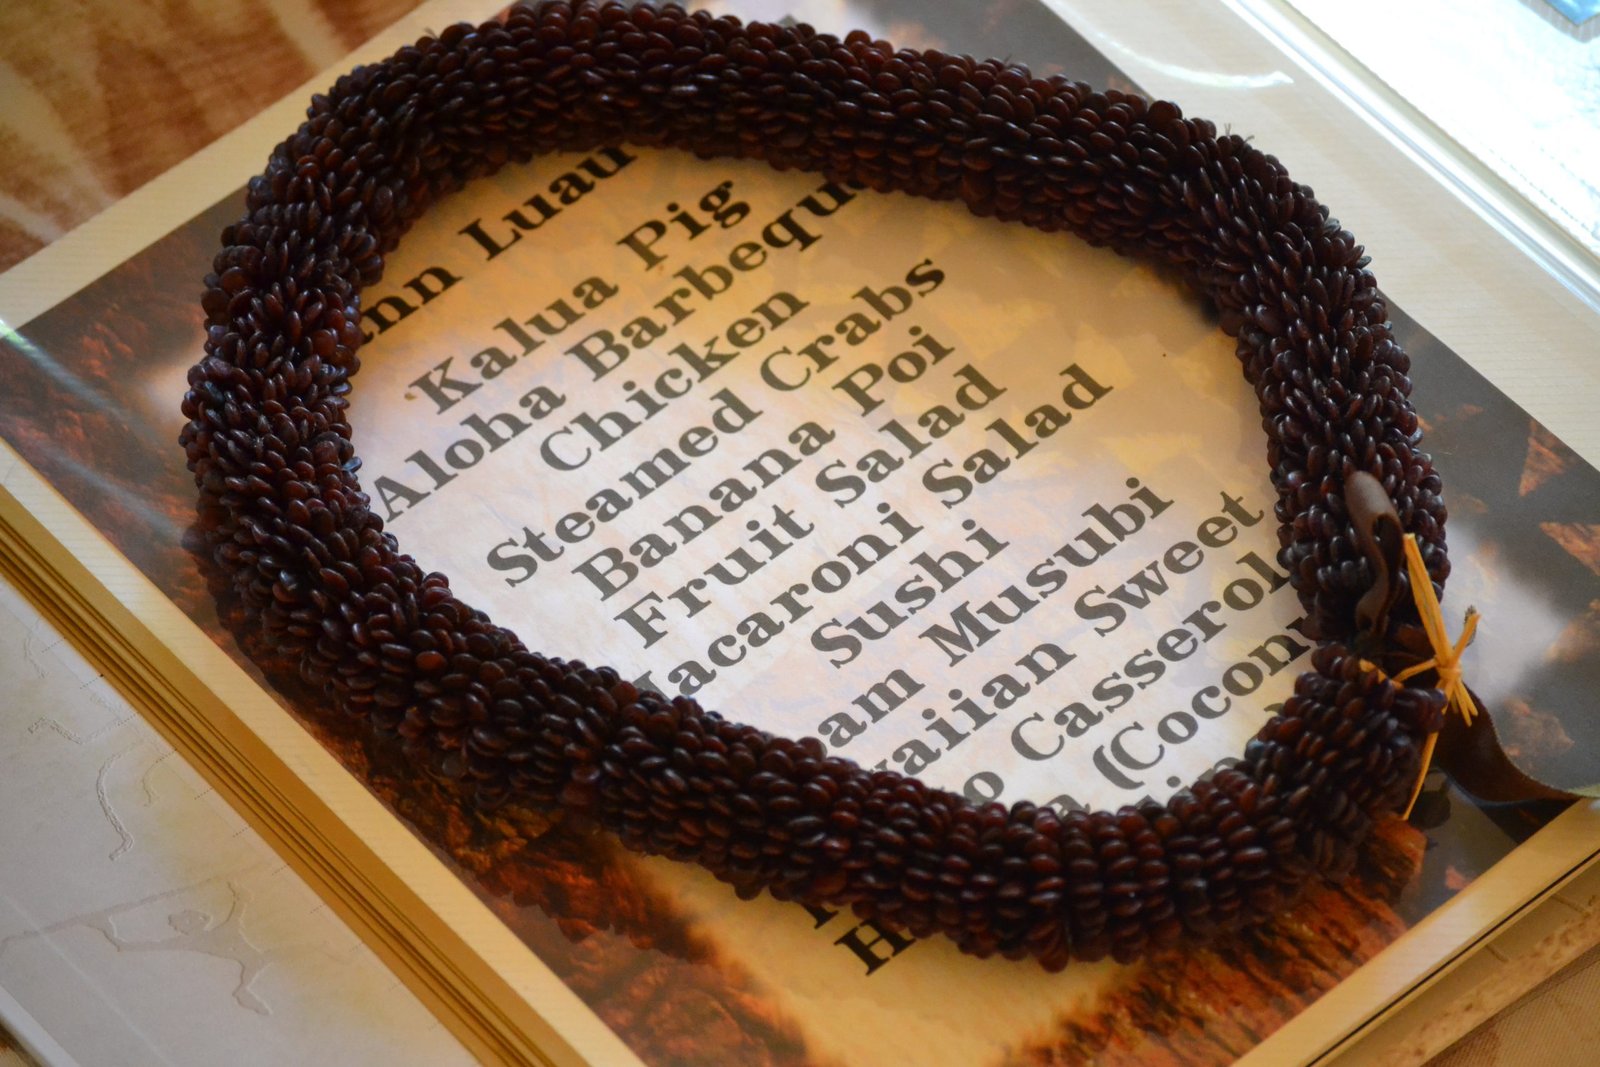
AND,
Click Here For: Hawaiian Popcorn and Moana Maika I’ Loa

AND,
Click Here For: Beachy Hawaiian Thanksgiving Pu Pu’s

AND,
Click Here For: Barefoot Beach Teas

AND,

AND,
Click Here For: Hawaiian Kalikimaka

AND,
Click Here For: Christmas/Kalikimaka Oysters on the Grill

AND,
Click Here For: Tropical Hawaiian Cranberries and our Mele Kalikimaka Me Ka Hauoli Makahiki Hou

—————————————————————————-
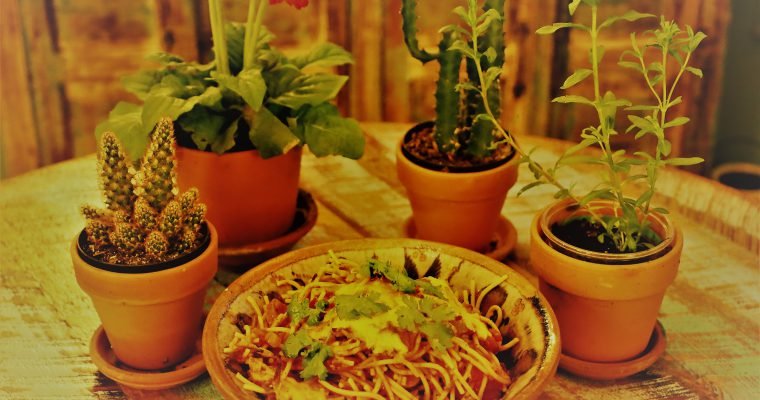
The Taco Bell Dogs (They were once gifts with purchase from Taco Bell many years ago. Did I mention I am a hoarder and don’t throw things away?) 🙂 Sometimes Delicious Salsa Comes in Ready Made Sauce Packets. Just Provide the Fresh Tomatoes and …
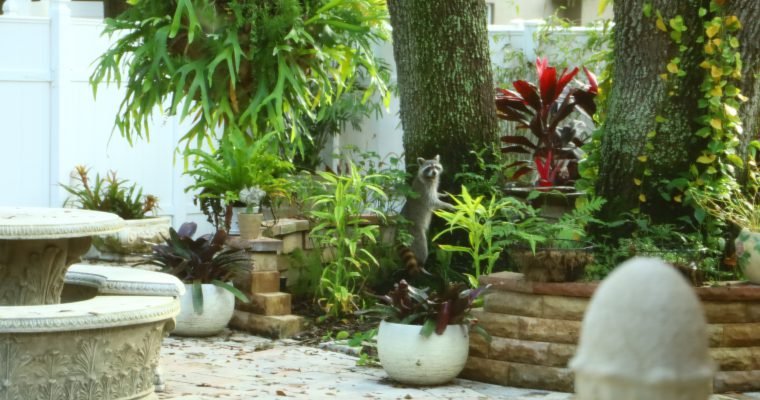
It is Always a Thrill to see a Racoon in our Backyard (One time I saw one peeking in our Kitchen Nook window. He was watching me while I was lollygagging around the kitchen. He was adorable. But, when he realized I …
Ciao e Benvenuto

Il Mio Piccolo Pezzo D’Italia
(My Little Tiny Piece of Italy)
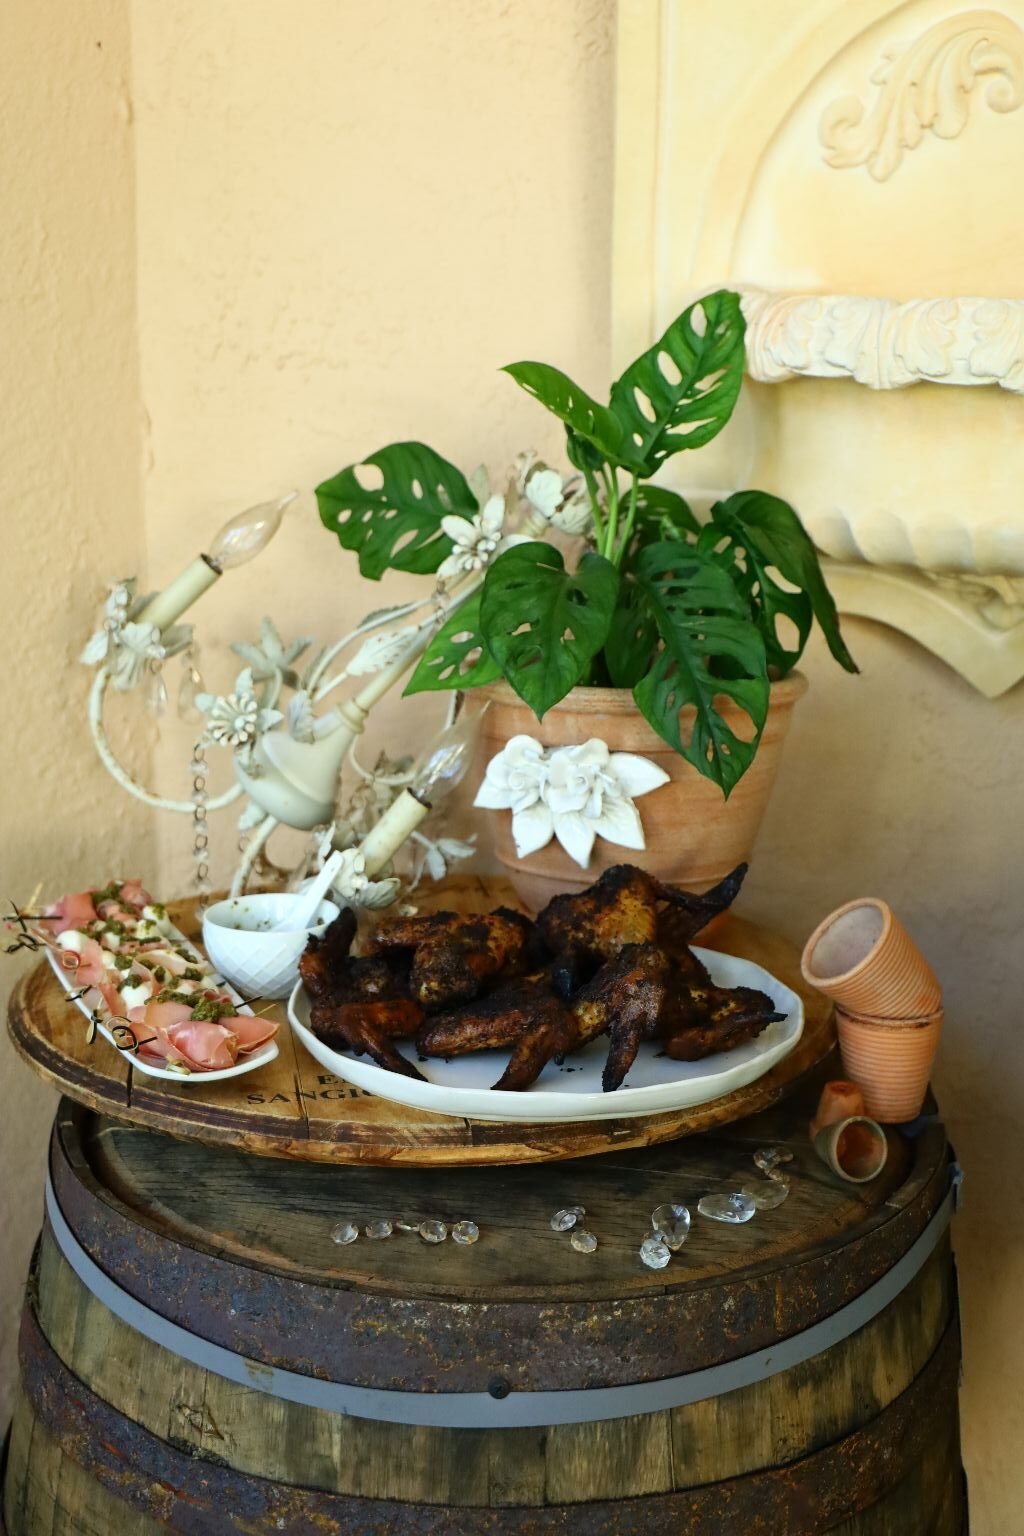
Actually, very tiny! Just a barrel, a barrel lid turned into a Lazy Susan, and some clay pots.
This is more about the food presentation, and is it ever good!
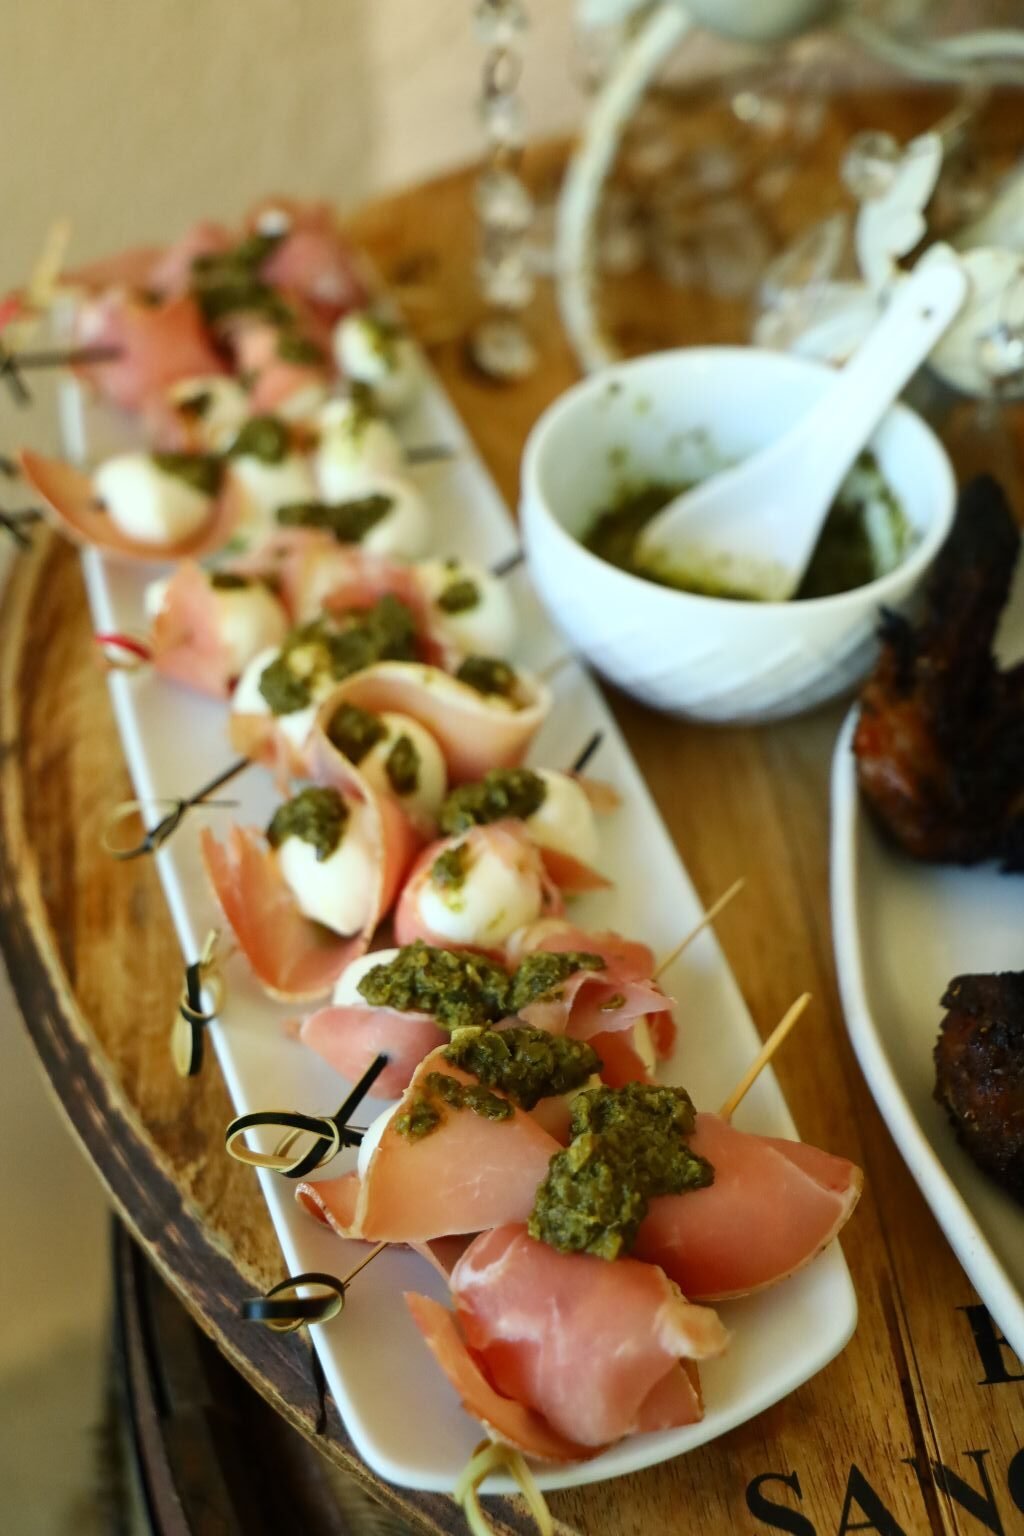
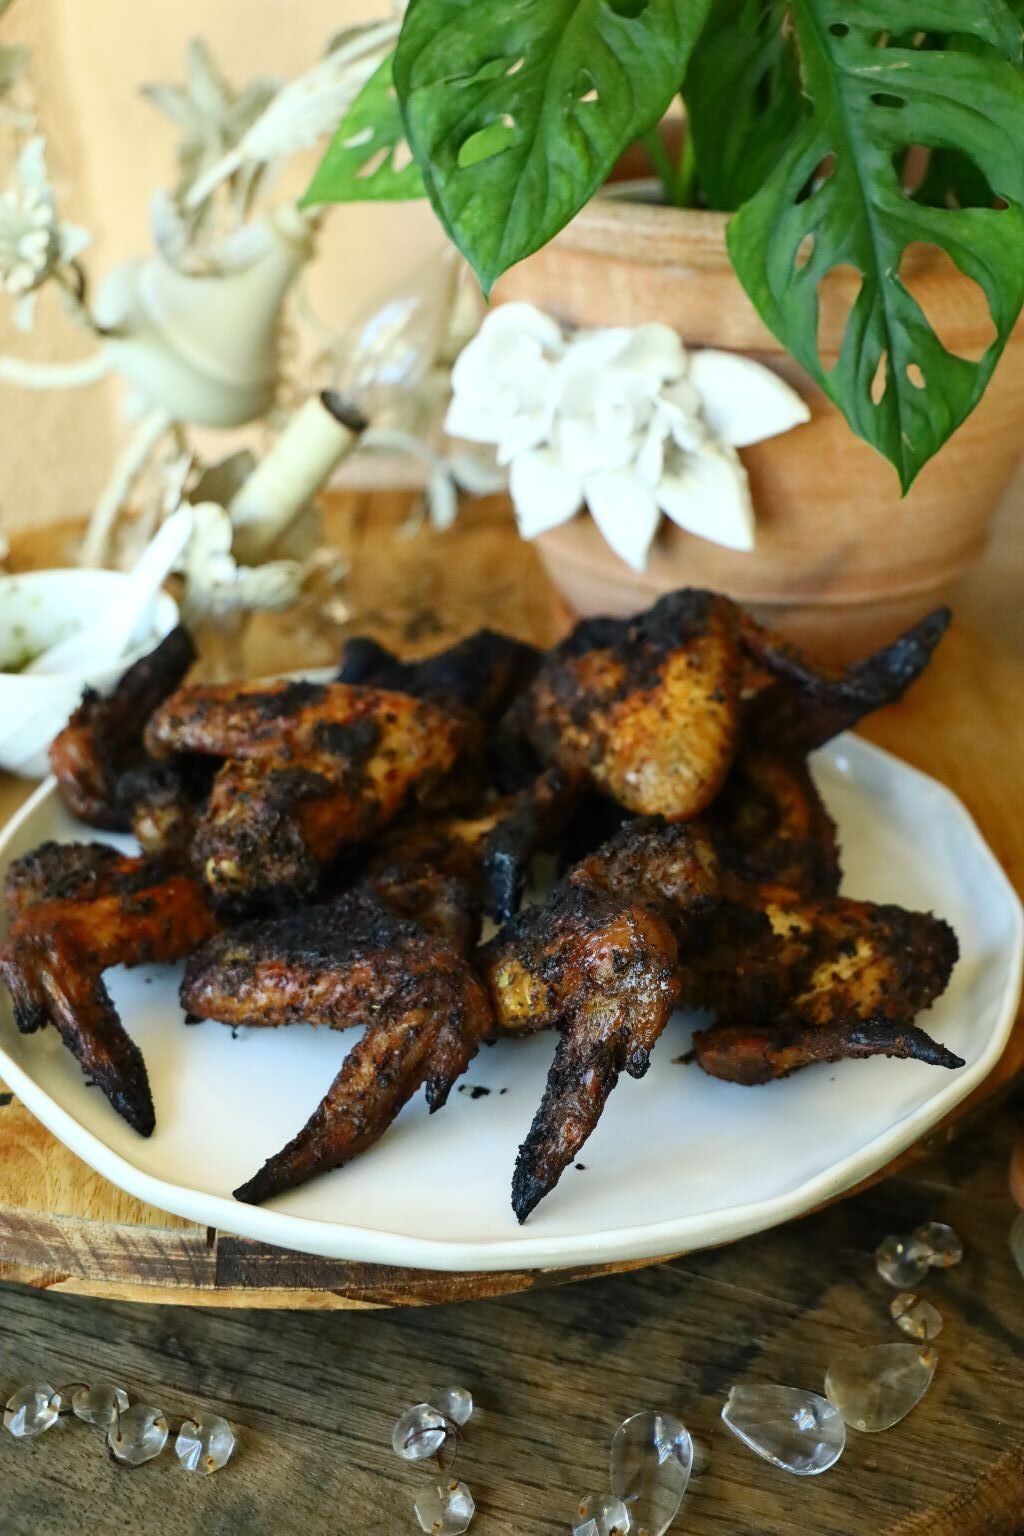
We made all of this in 2023 for Super Bowl Sunday LVII (57 years)
Kansas City Chiefs 38-35 Philadelphia Eagles

Our Italian Wings Topped with Pesto

Our Roasted Garlic and Goat Cheese Italian Spread Topped with Olives and Thyme
Not to Mention, the Best Tasting Bread to go With
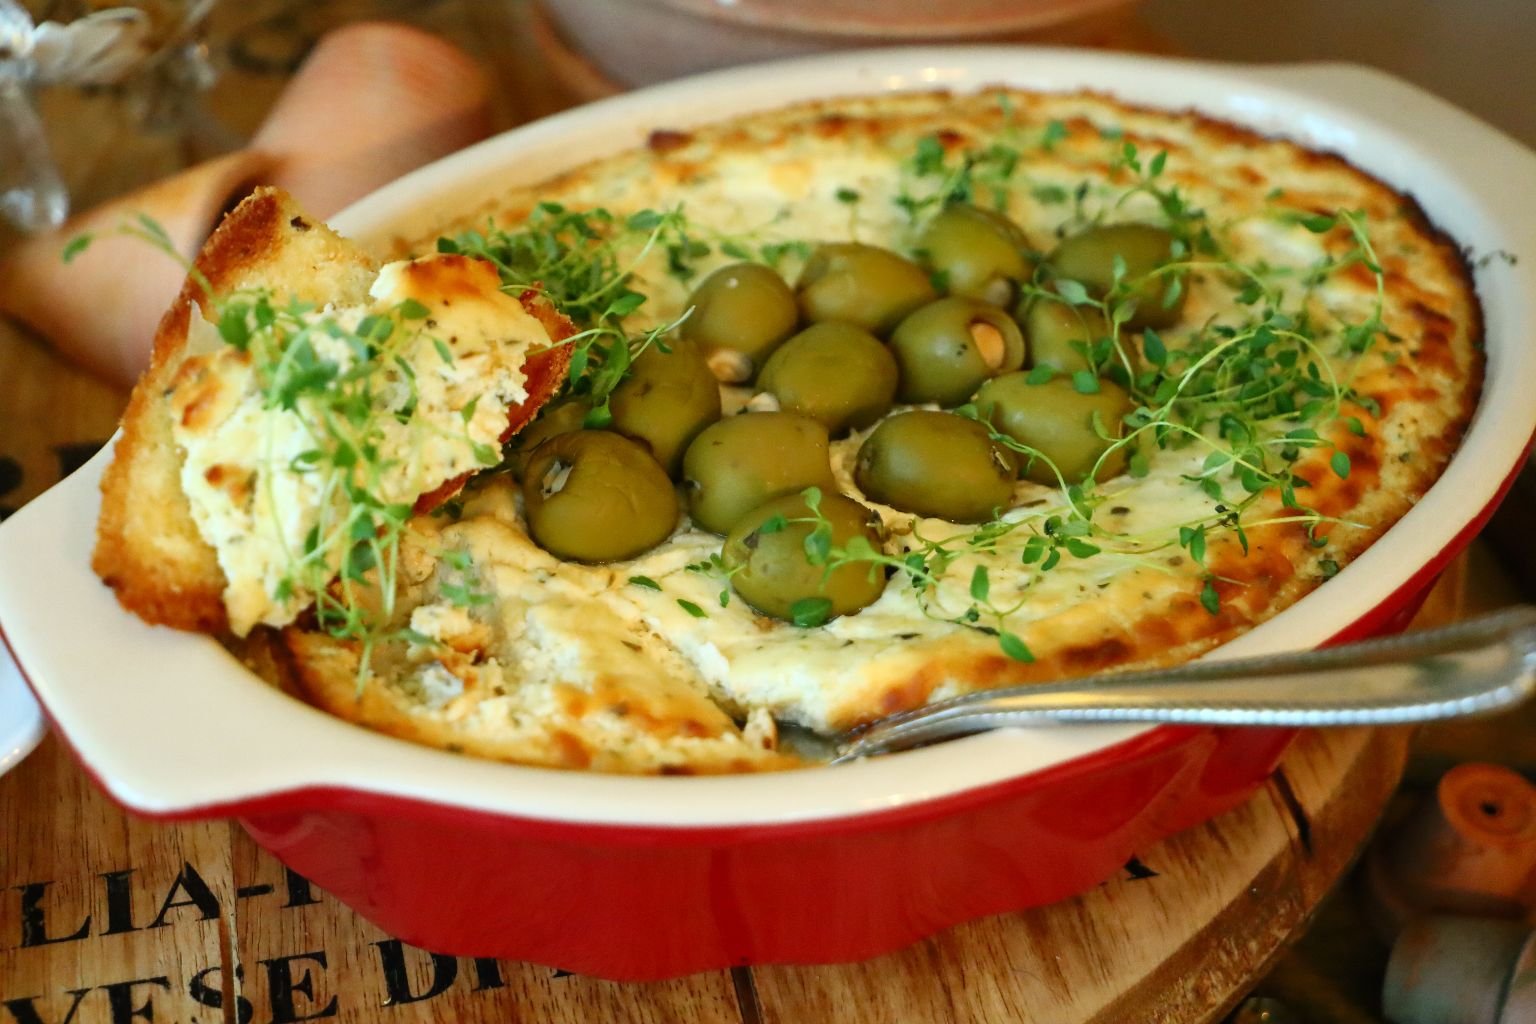
This is soooooo DELIZIOSA!
ARRIVEDERCI!
Julie and Gordon
——————————————————————————–
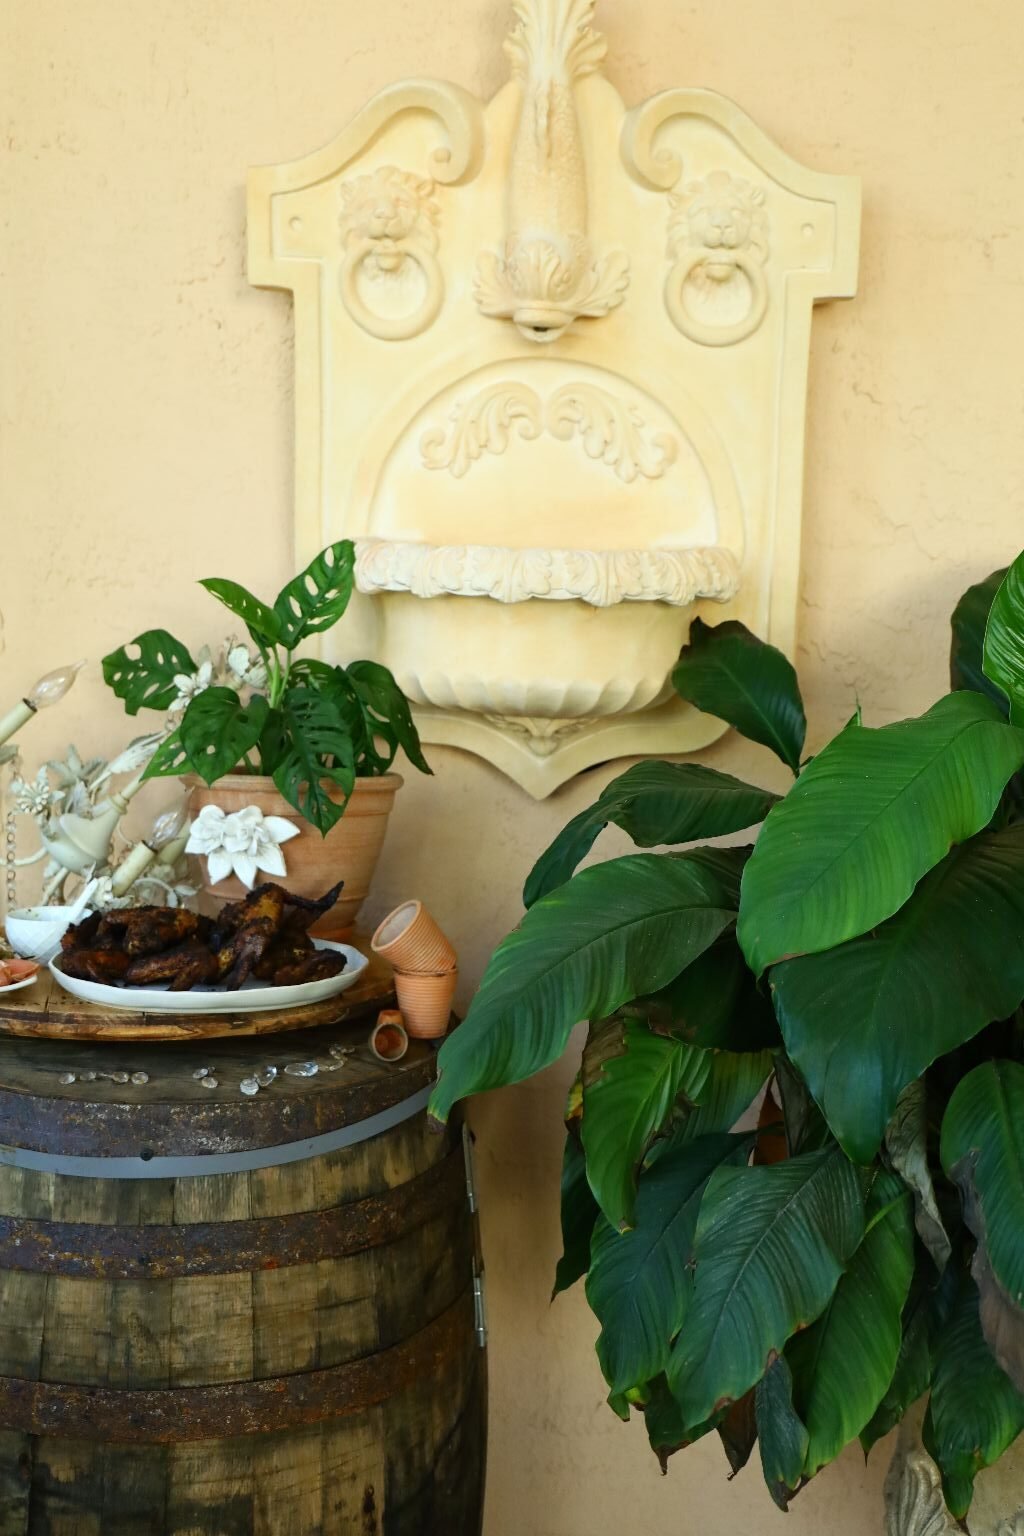
Like I said, My Little Piece of Italy 🙂
——————————————————————–
Recipes Start Here
——————————————————————

Our Italian Wings
—————————————————————————-

Pictured are the wings we used for this recipe.
28 Wings – Do not separate, wash well.

Here are the seasonings we used.
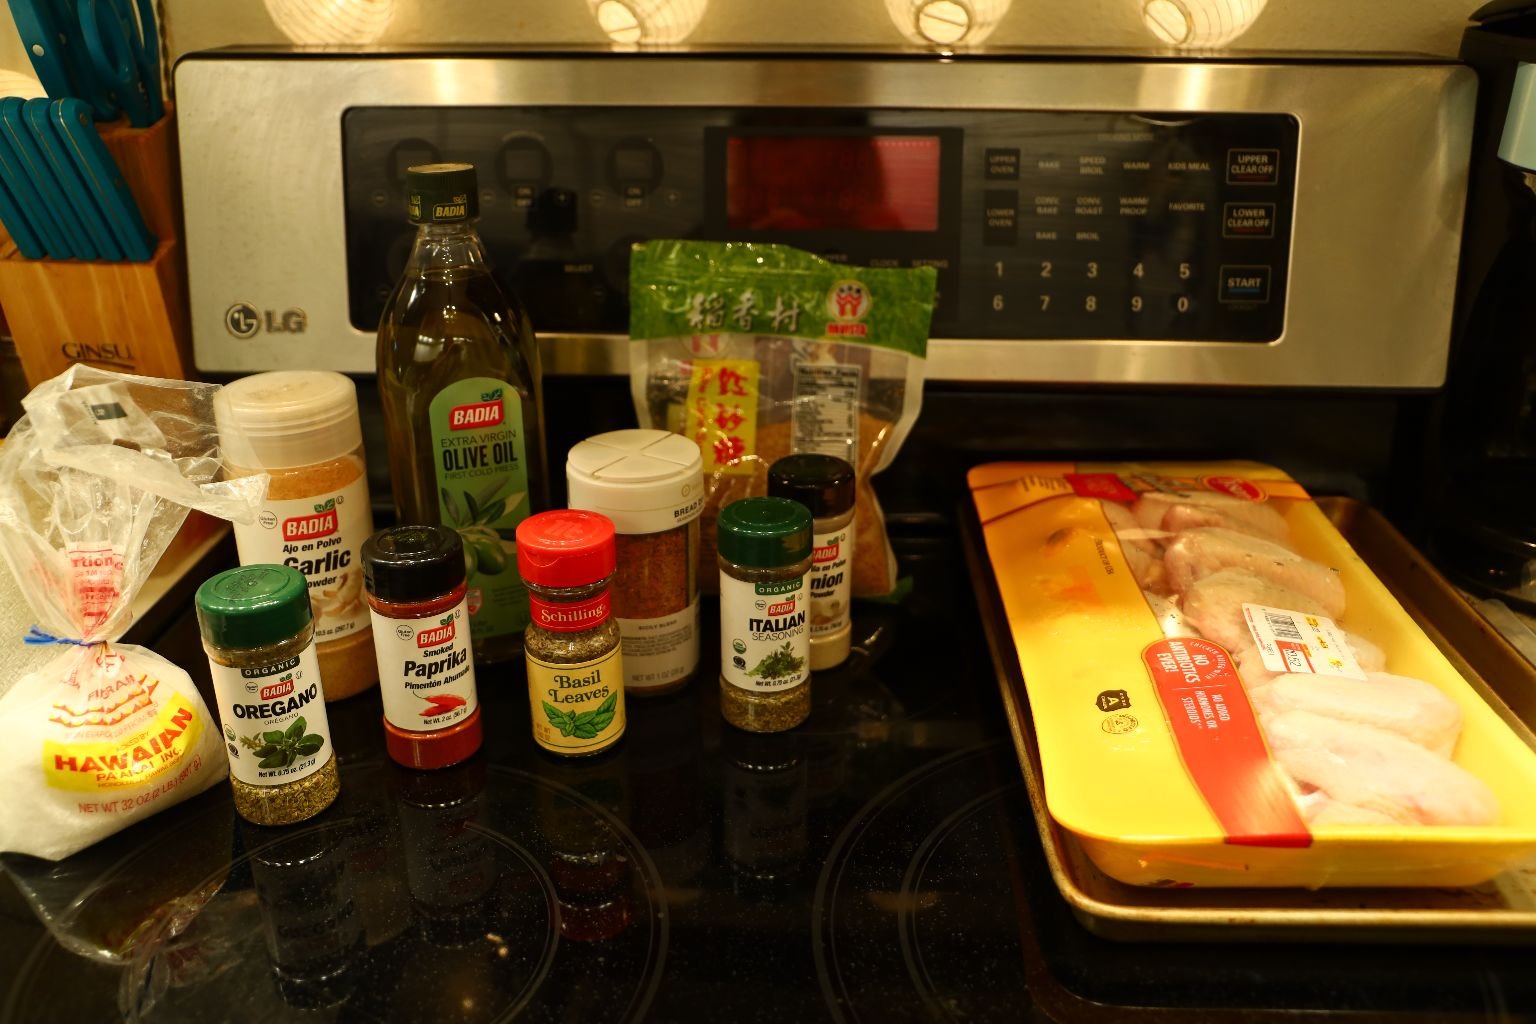
Ingredients:
2 Large Ziplock Bags
~1/2 Cup Extra Virgin Olive Oil
1 Tbsp. Hawaiian Sea Salt
2 Tbsp. Garlic Powder
1 1/2 Tbsp. Dried Oregano
1 Tbsp. Paprika
3 Tbsp. Dried Basil Leaves
1 Tbsp. Italian Bread Dip Seasoning (Tuscan)
2 Tbsp. Italian Herb Seasoning
1 Tbsp. Onion Powder
2 Tbsp. Raw Cane Sugar
——————————————————————————-
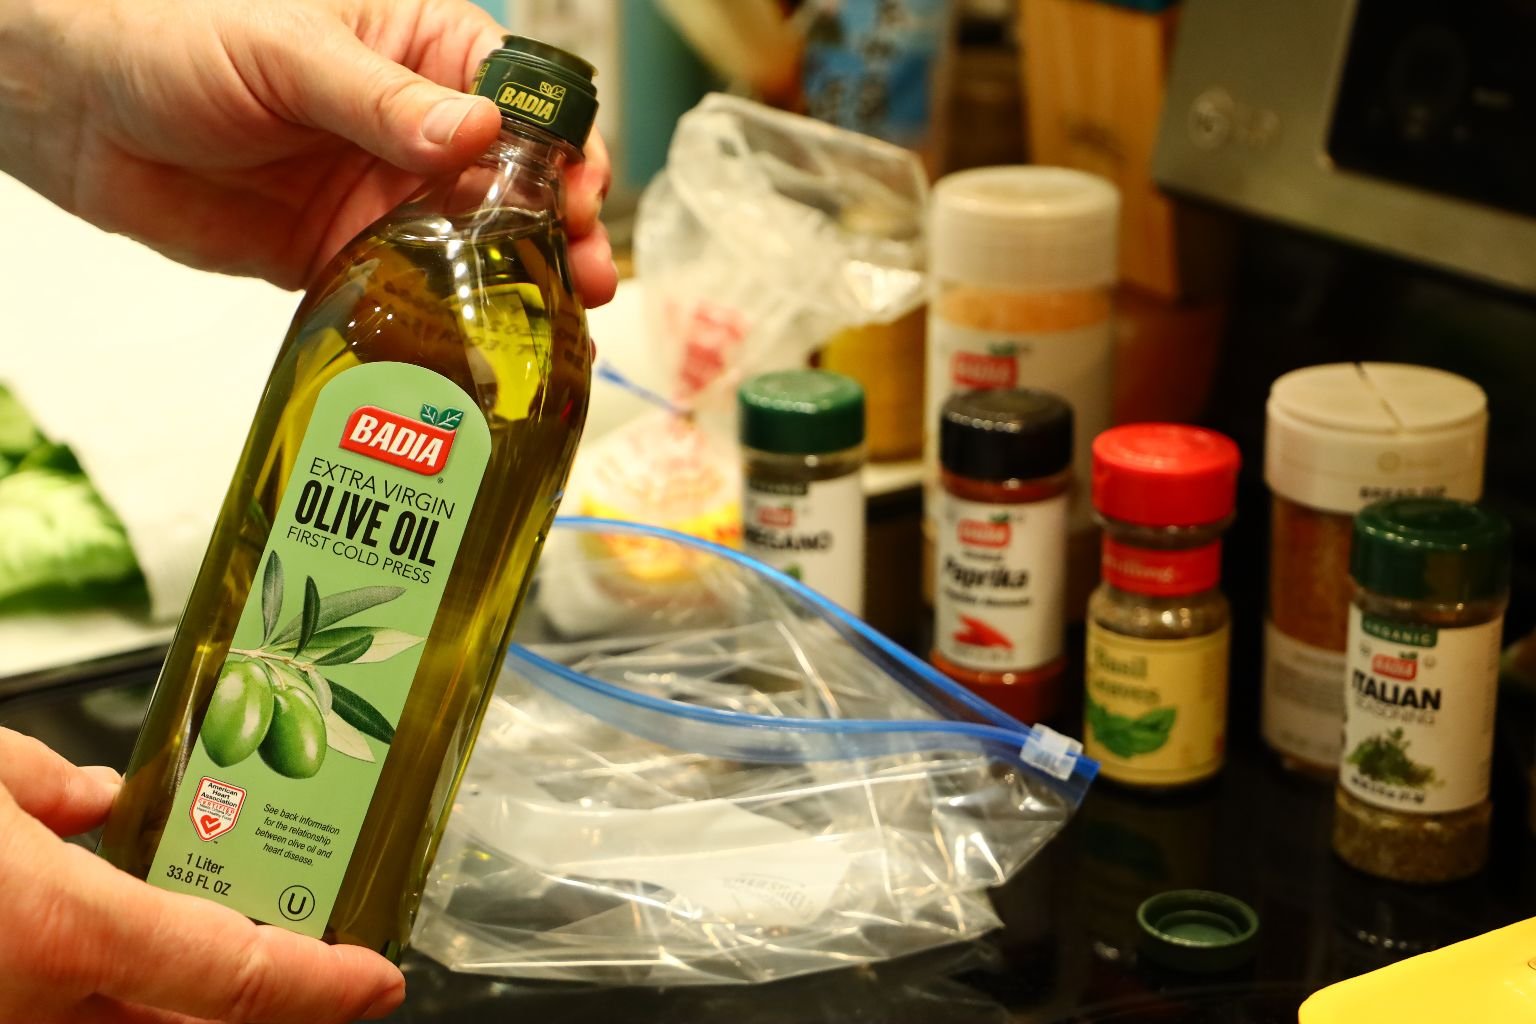
Pictured is the Olive Oil we used for this recipe. Add your Extra Virgin Olive Oil to the
bags.
All the above seasonings should be doubled as each amount goes into each Zip lock
bag.
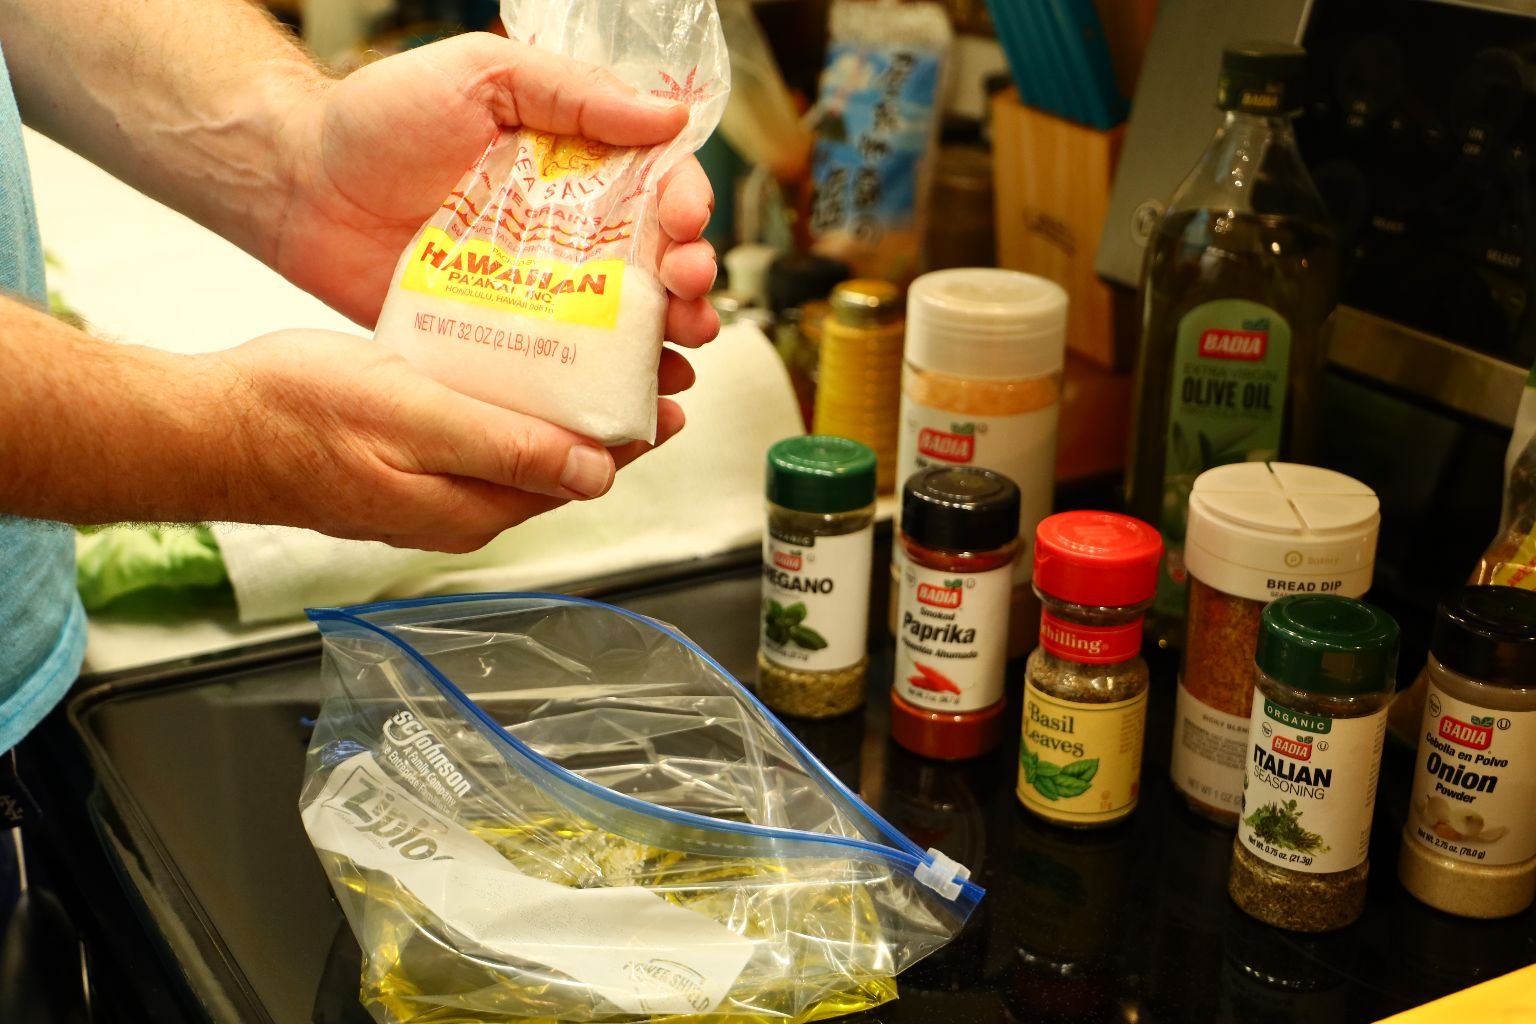
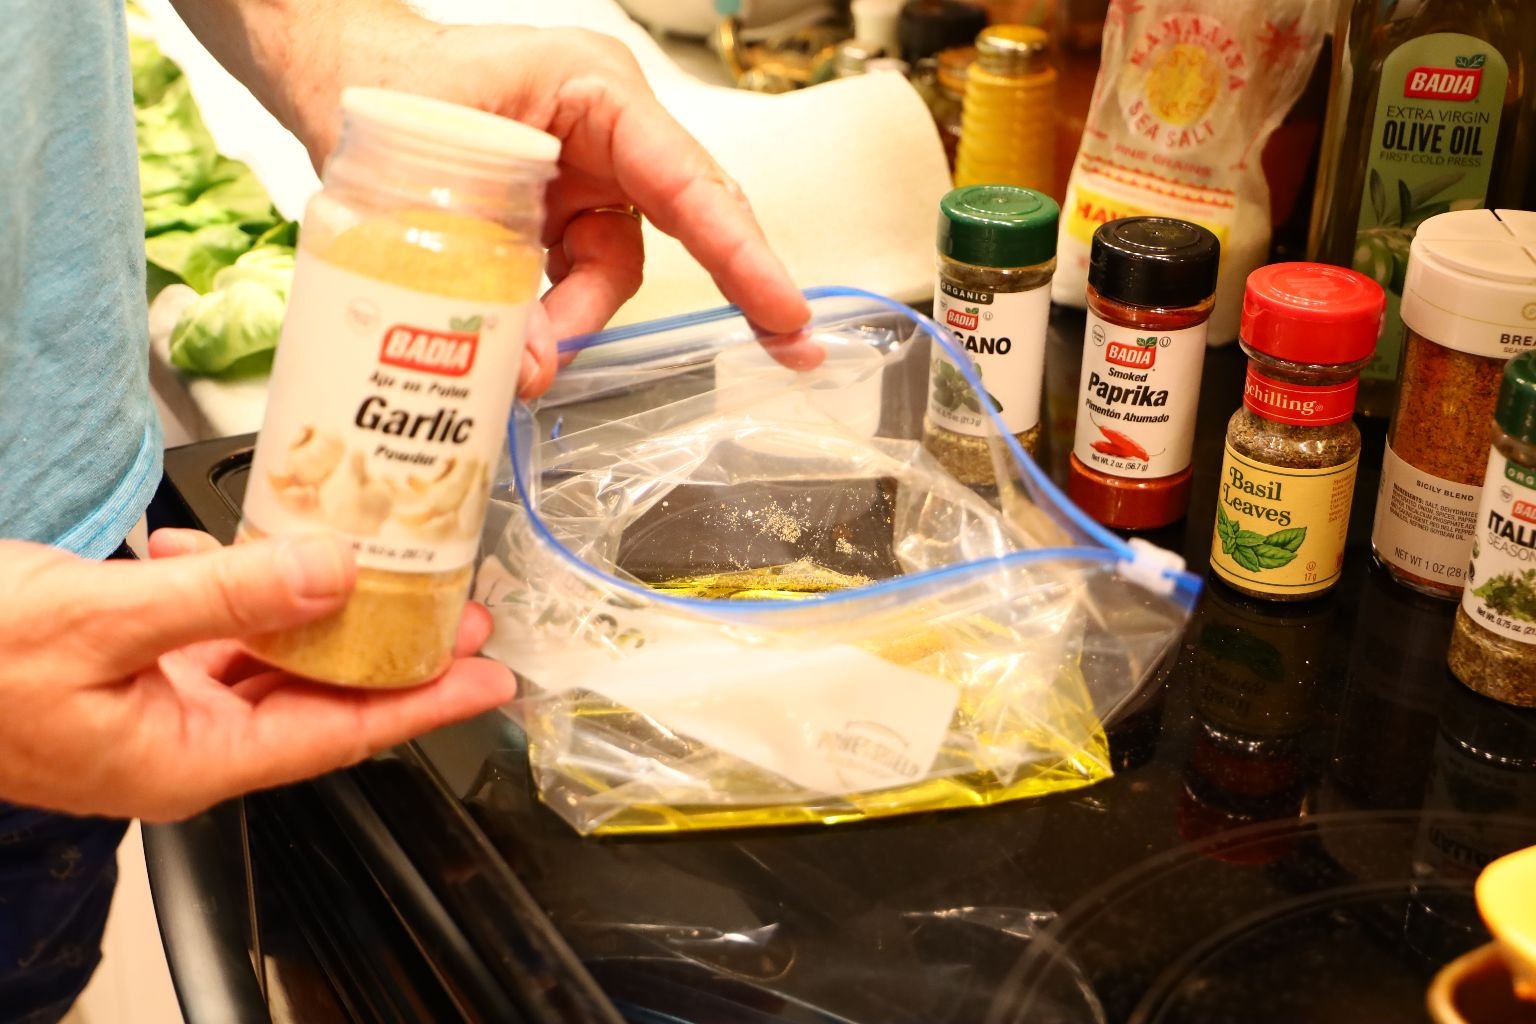

Now add your Sea Salt and Garlic Powder to the bags. Then your Oregano.


Now the Paprika and Dried Basil. Then your Tuscan Bread Dip Seasoning.
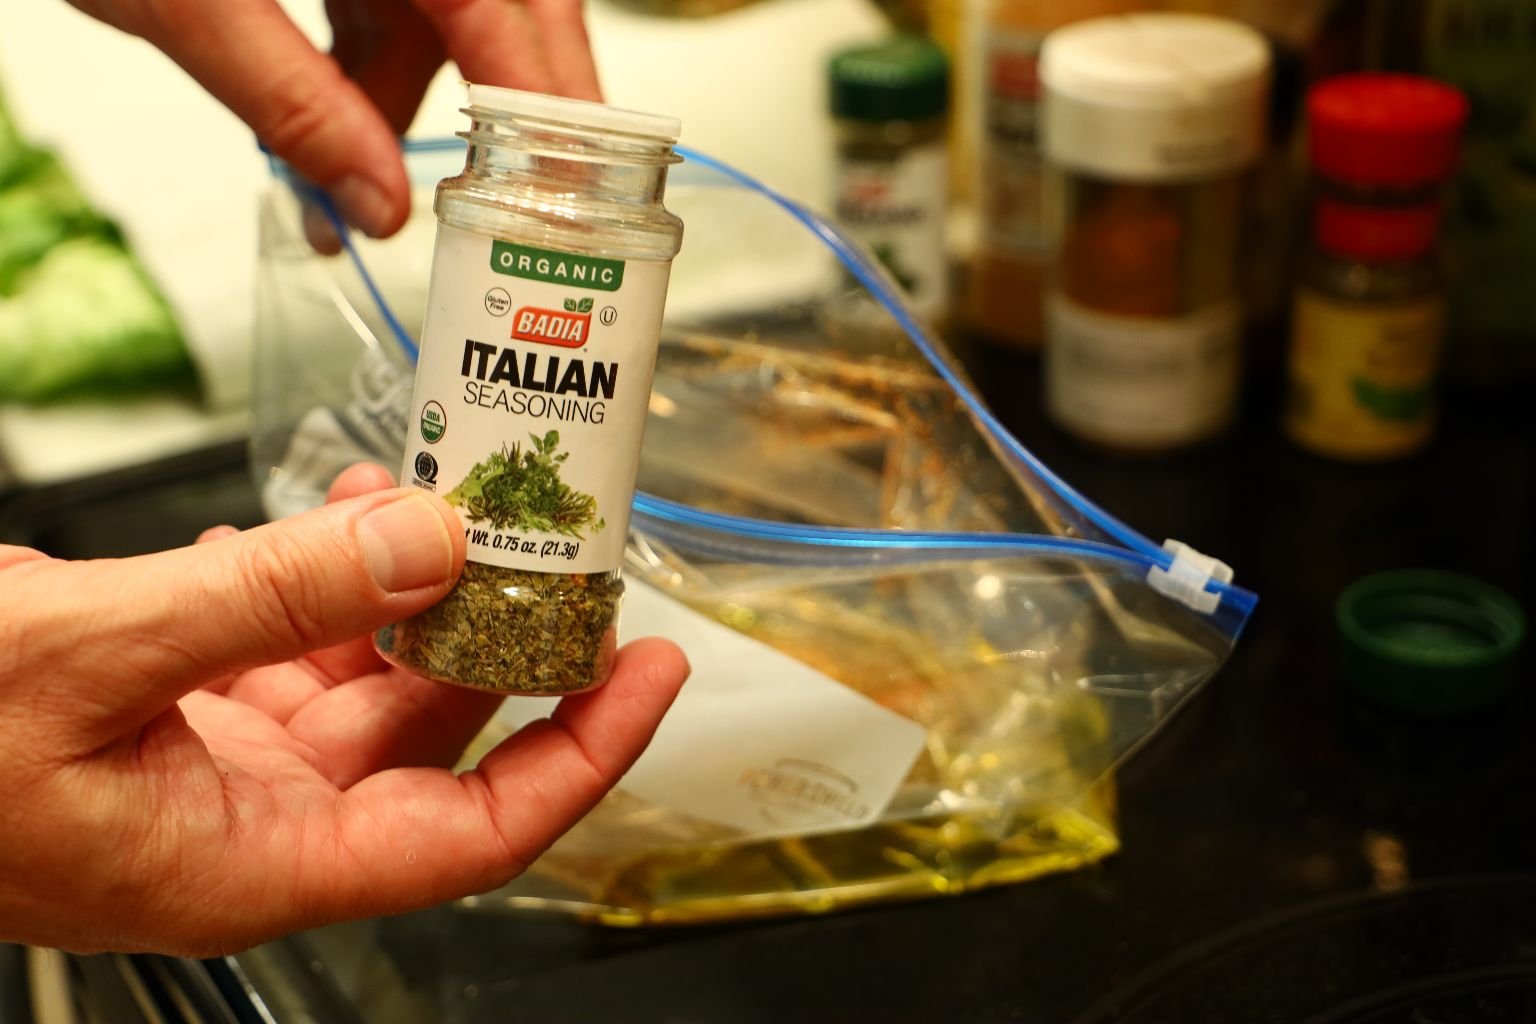

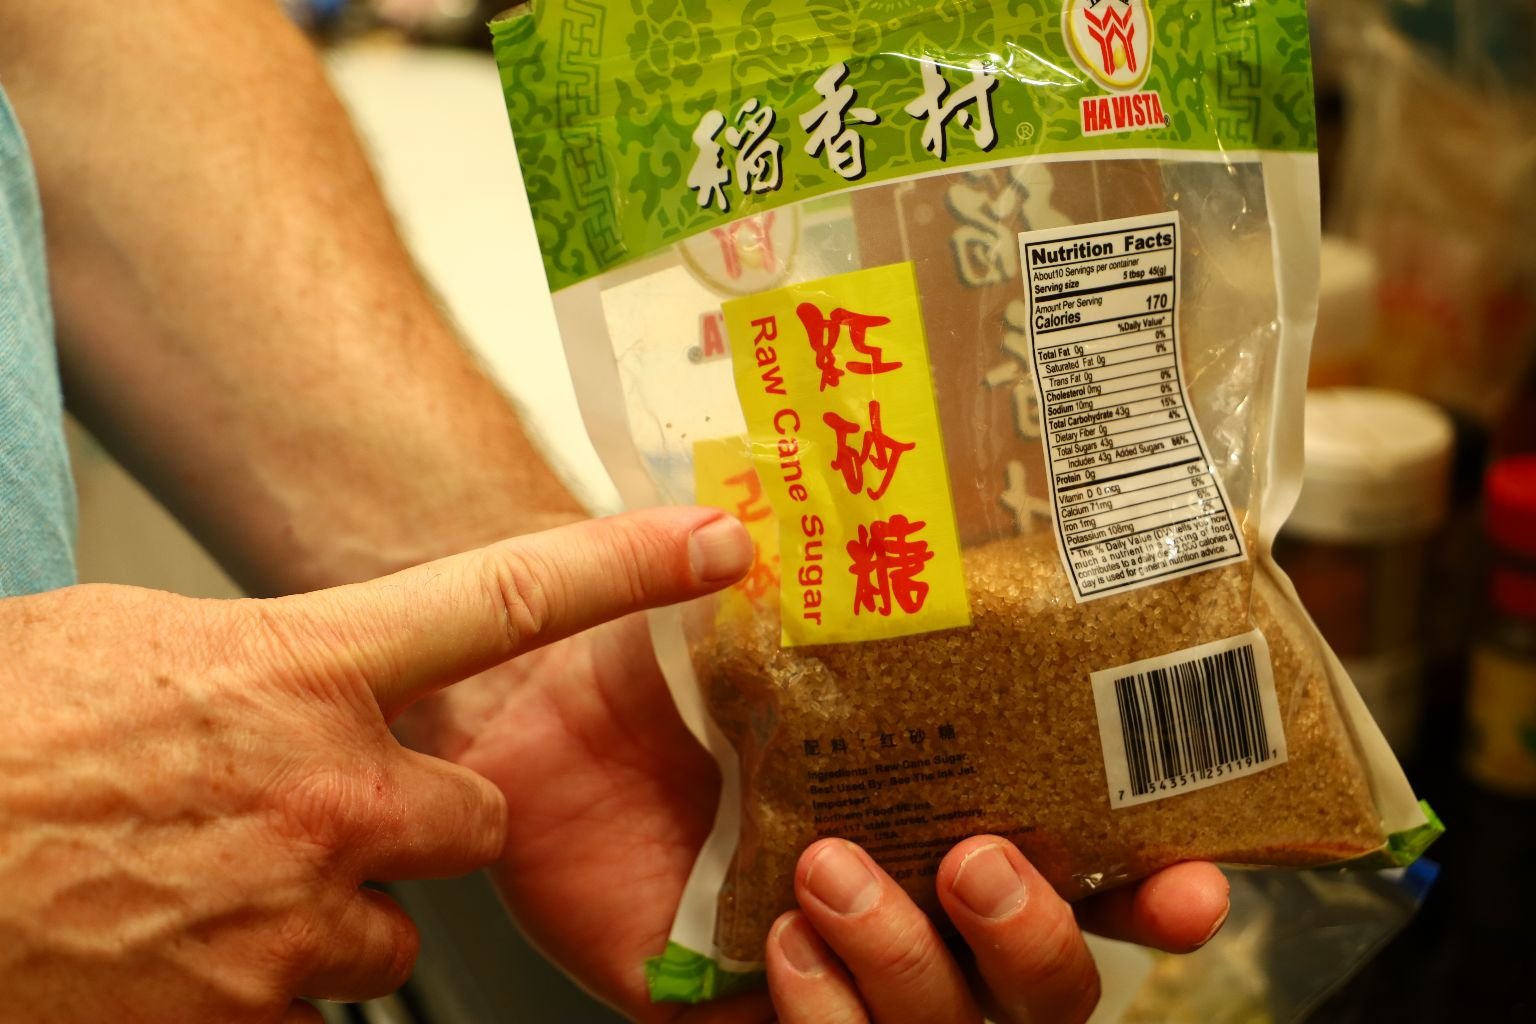
Add your Dried Italian Seasoning to the bag along with your Onion Powder.
Now for a touch of sweetness, add your Raw Cane Sugar.


Mix all the seasoning in the bag and taste the seasonings. Adjust the mixture until it is
the way you like it.

Here I have the wings ready to be washed. You want to wash your chicken as it could
have some dried blood, loose feathers, or bone fragments which need to be removed.
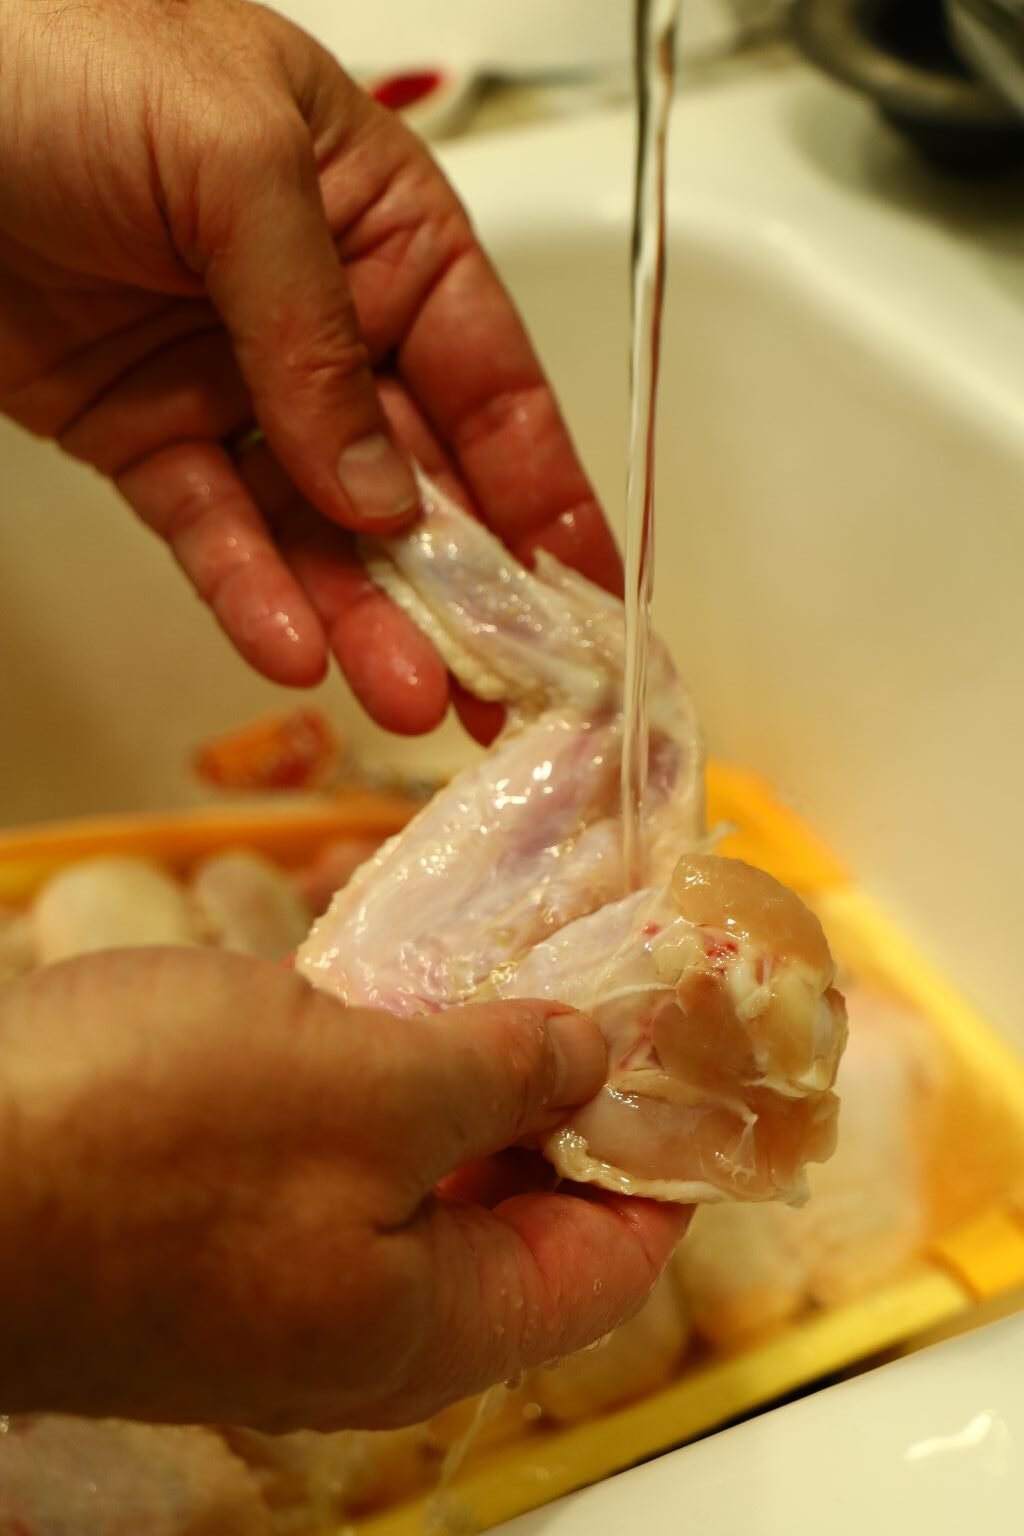
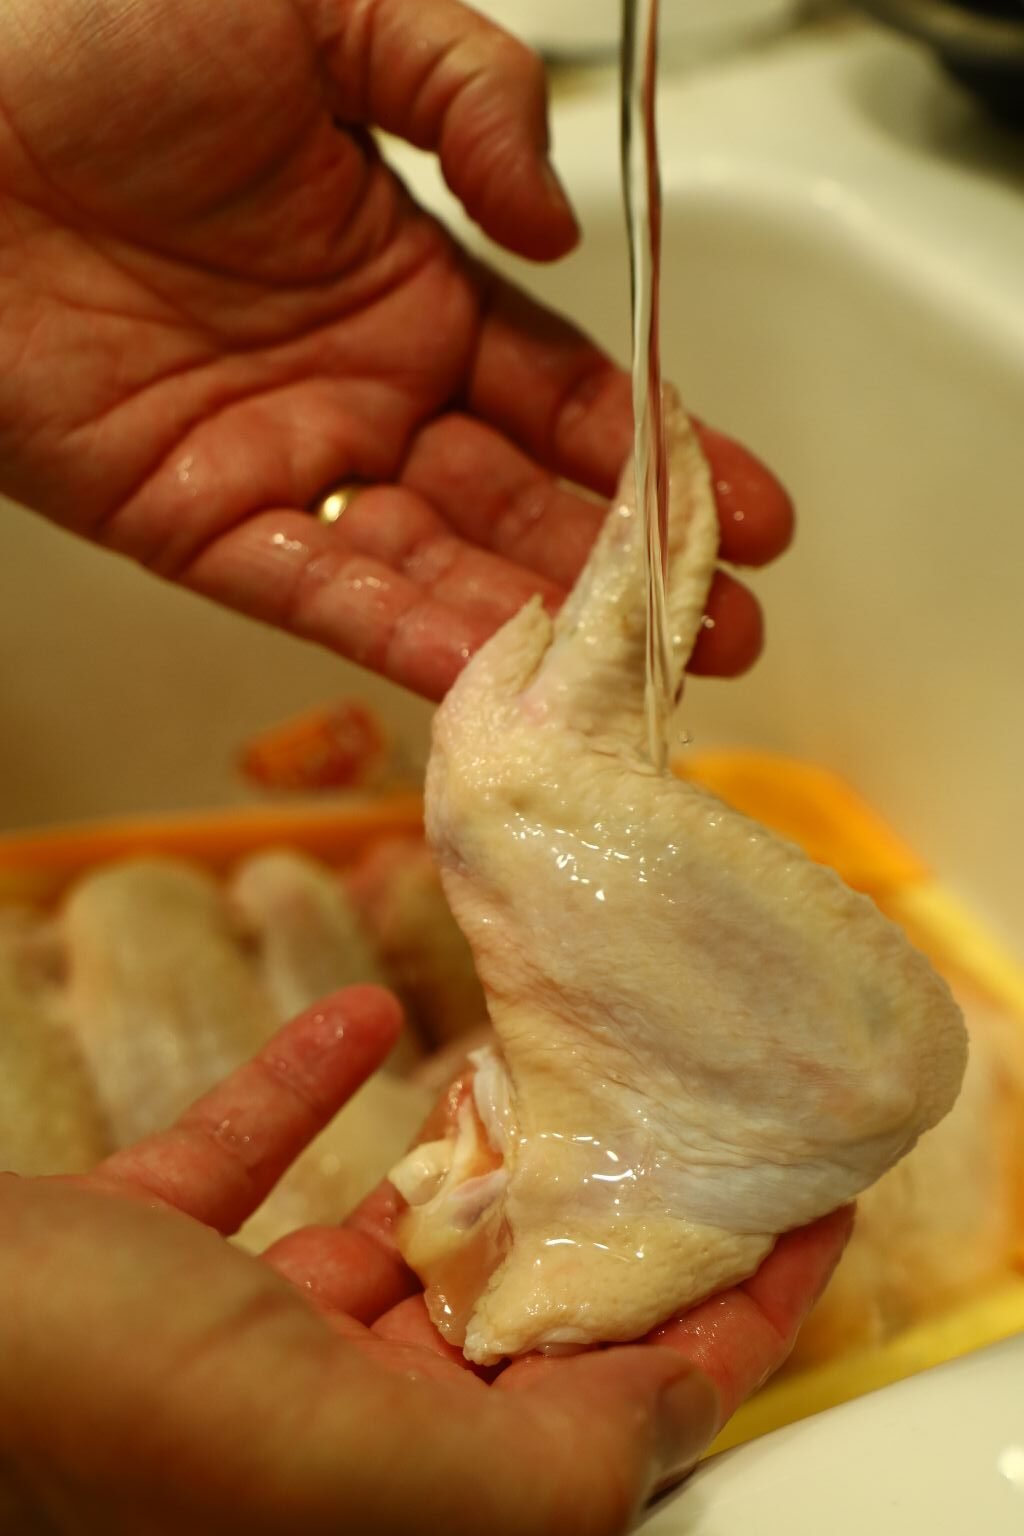
Rinse the wings well with cold water as shown.

Let the wings drain on a plate or you can pat them dry with paper towels.

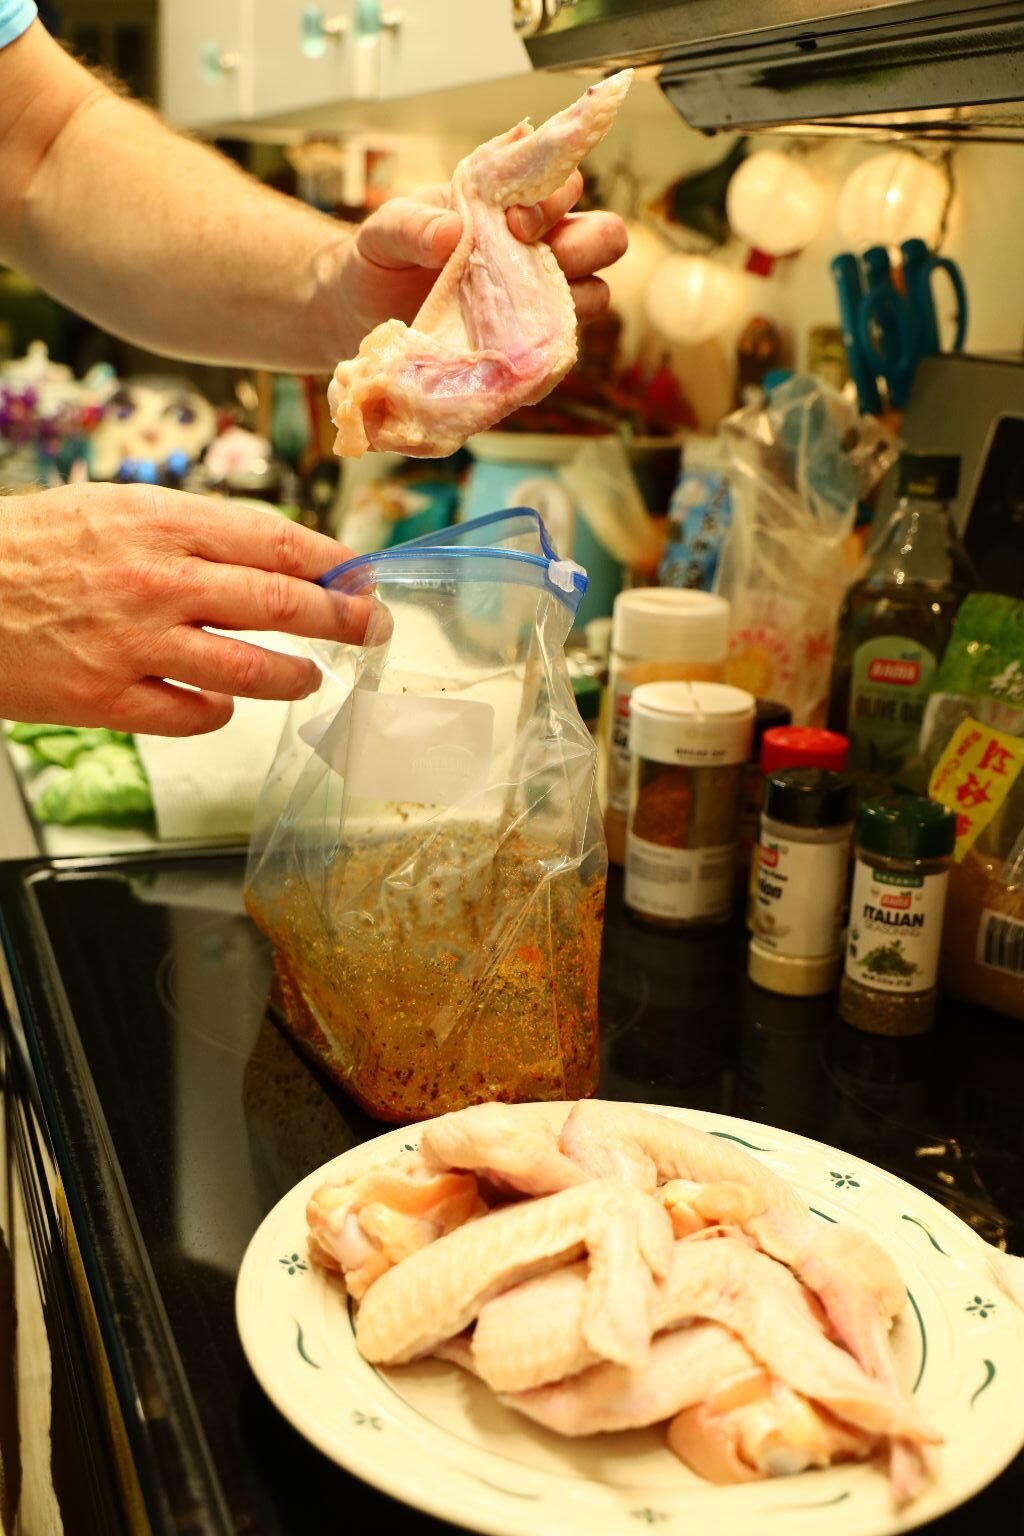
Place the uncut wings in the bag with the seasonings.
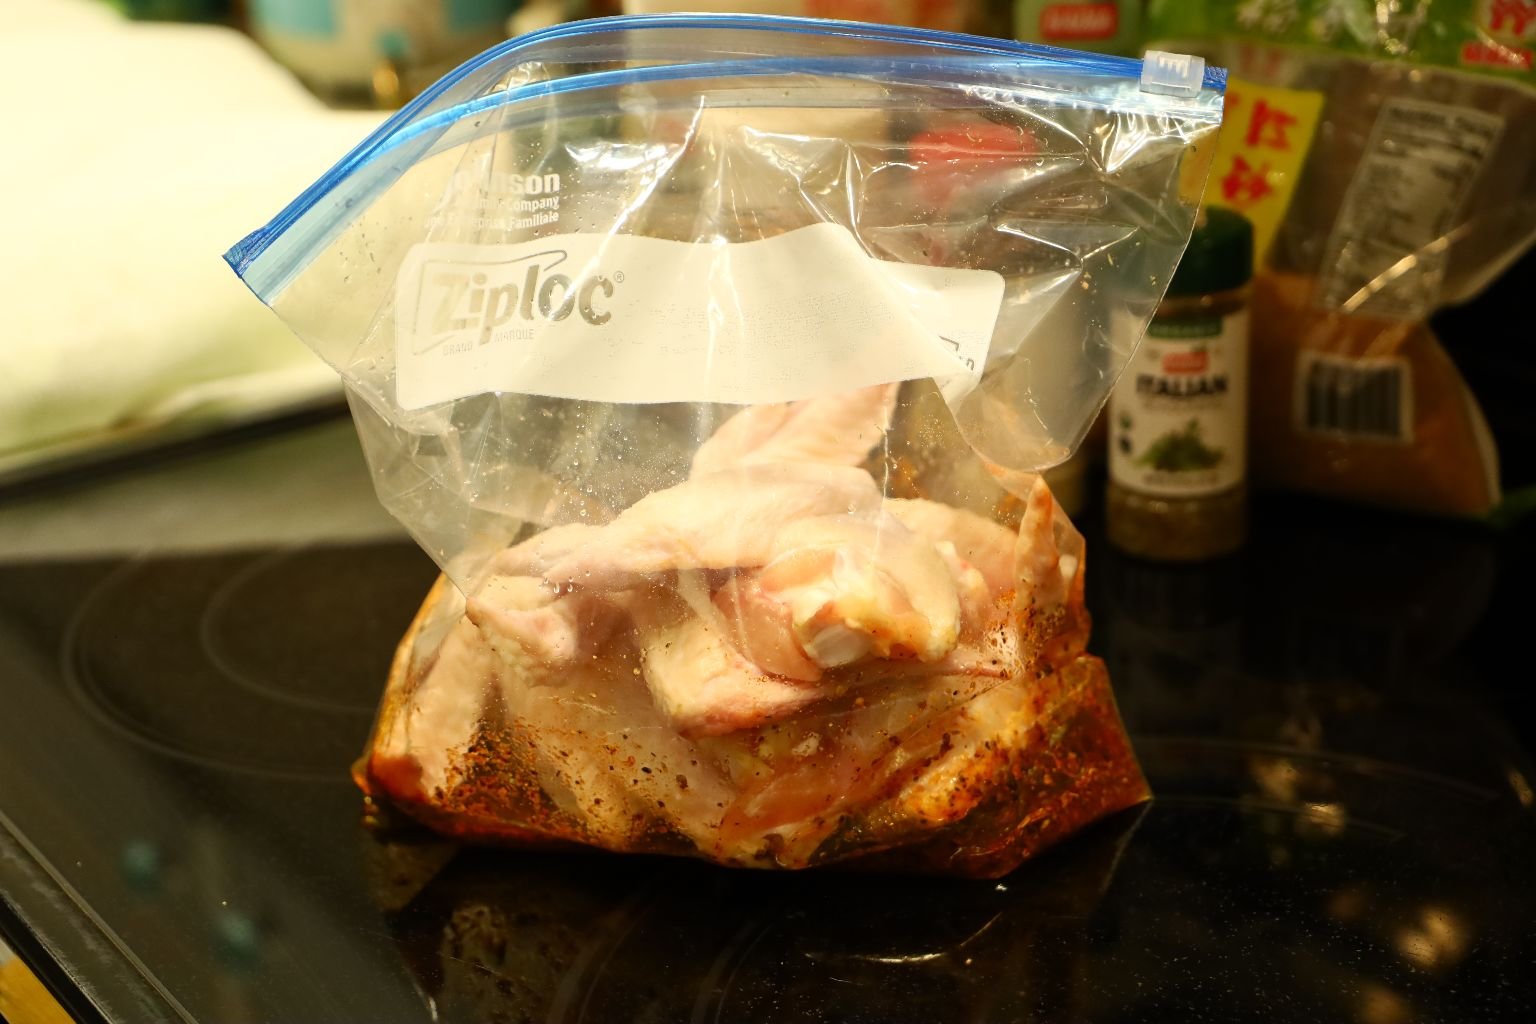
Then mix the chicken with the seasonings. Do this for both bags of chicken. Let the
chicken marinate overnight in the refrigerator.

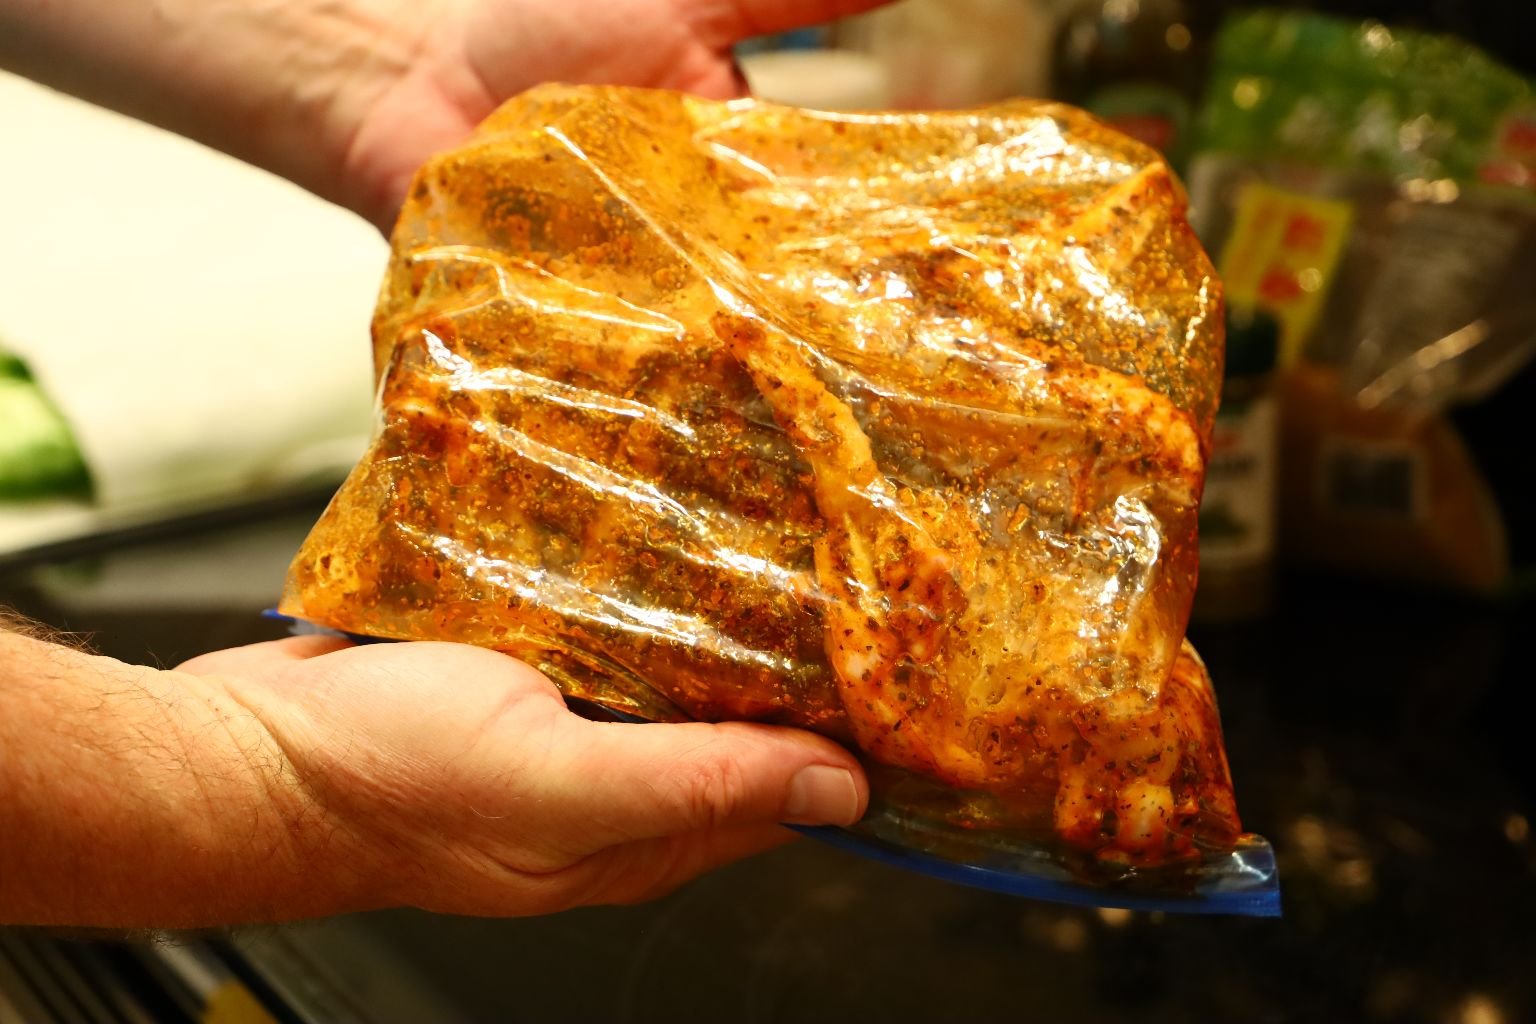
Mixing Well The Chicken and Marinade
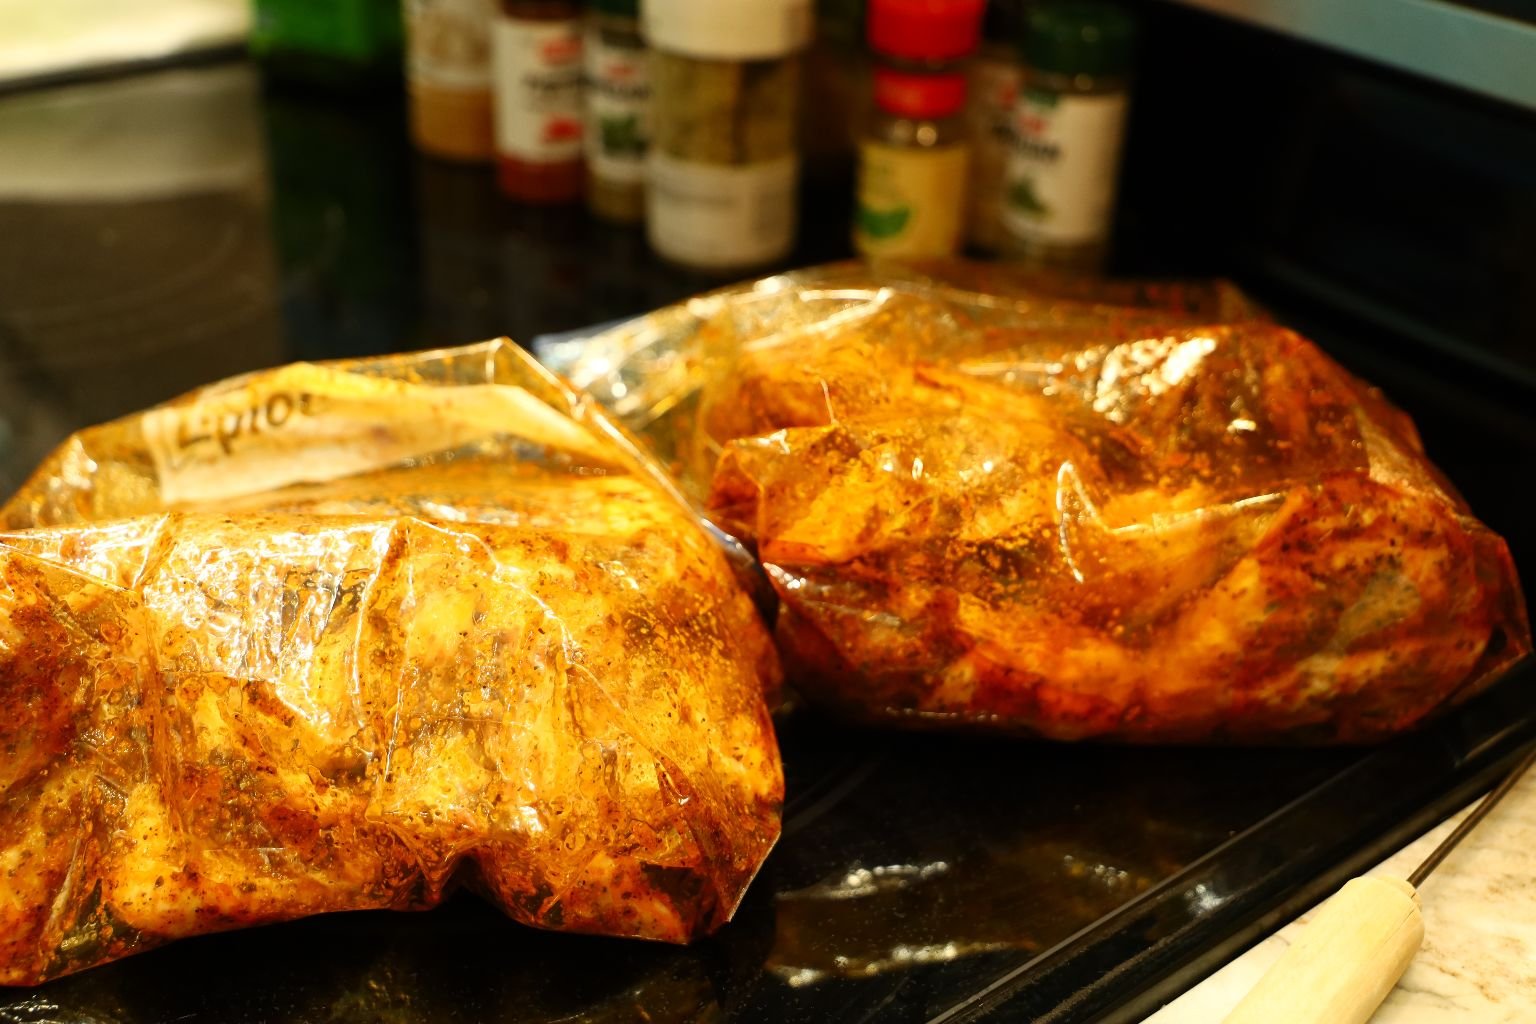
Into The Refrigerator They Go!
—————————————————————————————-
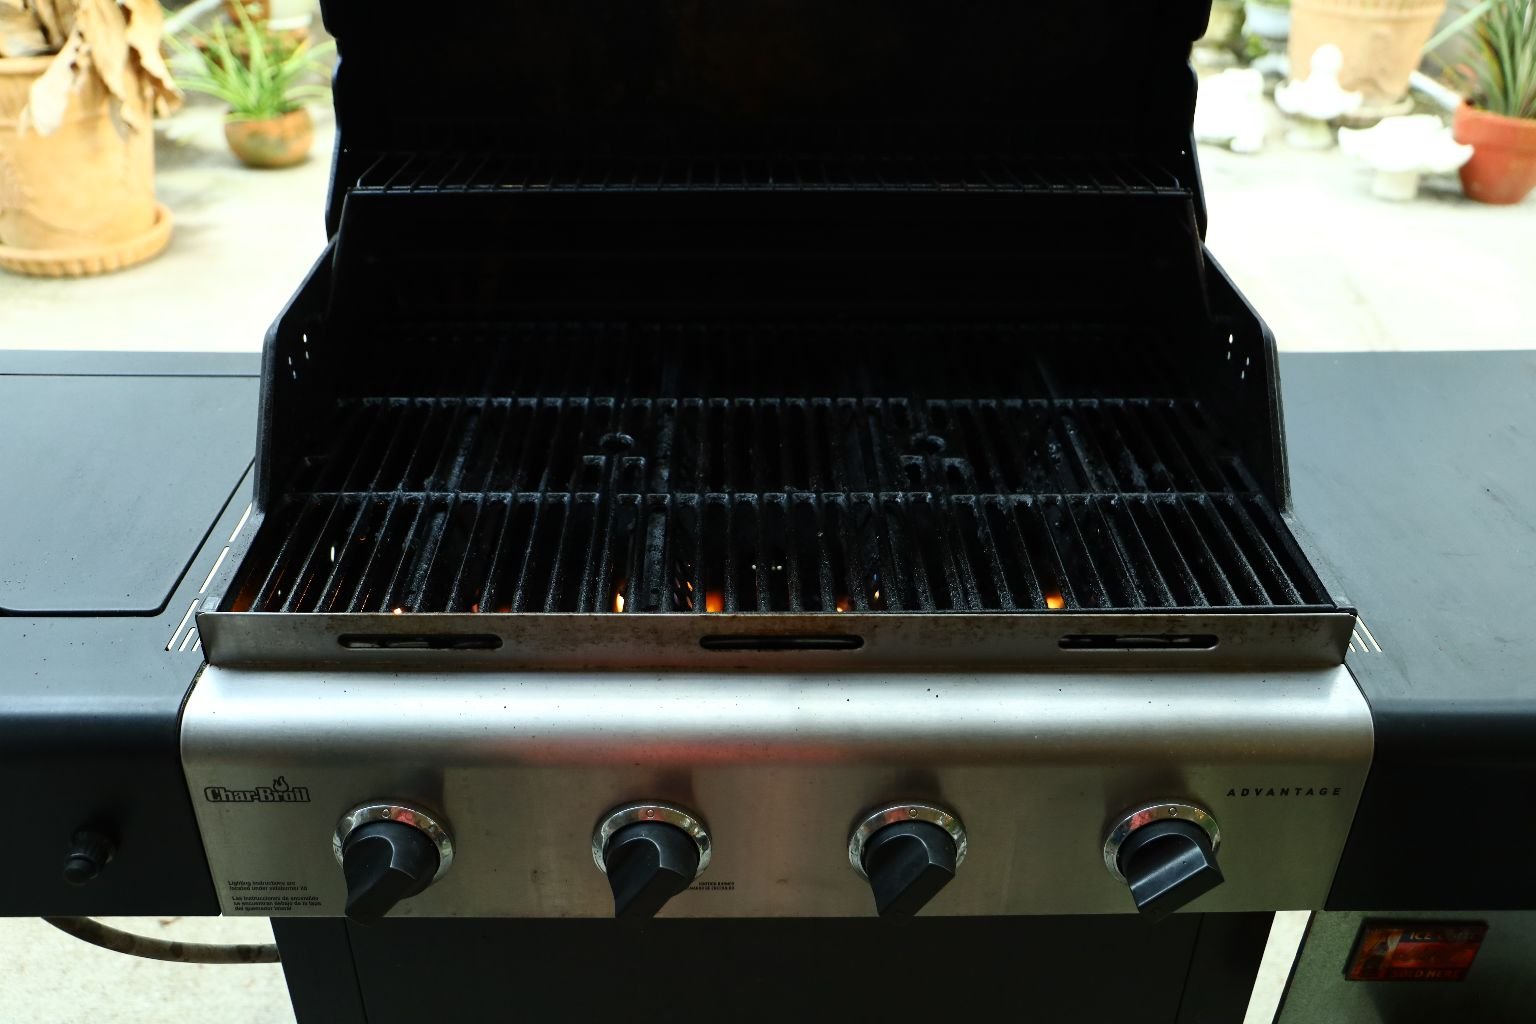
The next day, I started the grill with the burners on high. This will heat the grill and
clean it from the residue left behind. Use a grill brush to clean the grates.

After about 5 minutes turn the grill down to Medium and place your chicken on the
grates.


Grill the chicken for about 12 min. on both sides or until the internal temperature
reaches 160’F.
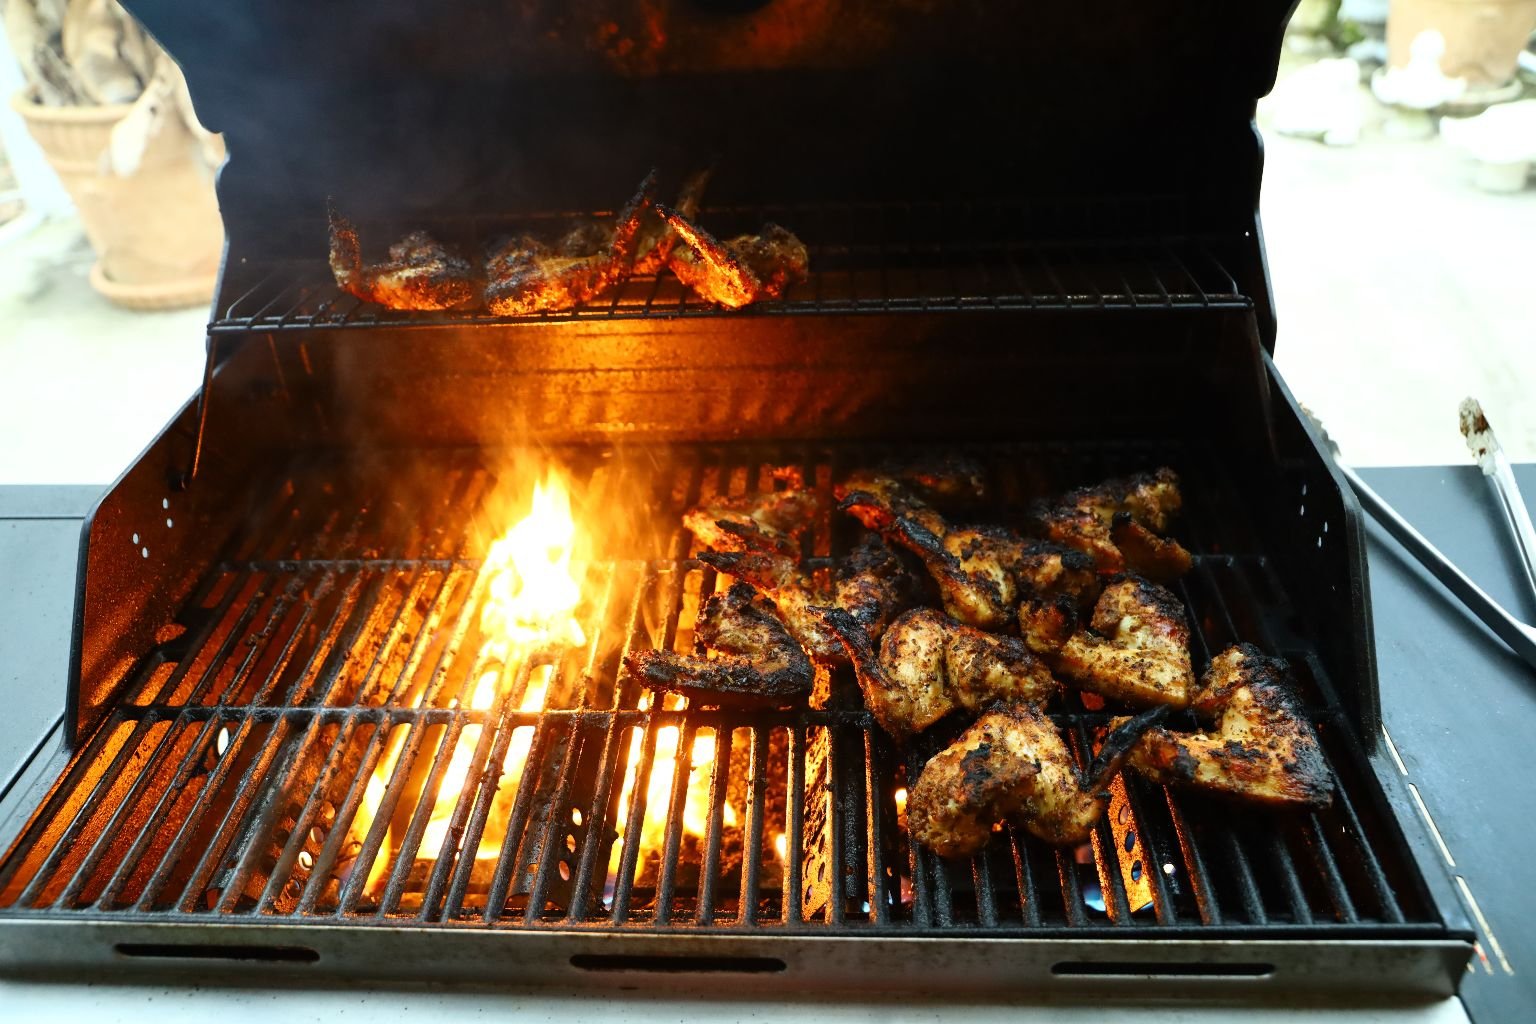
I like to grill the chicken and then place it on the top shelf, the chicken will bake the rest of
the way to 160’F. Doing this keeps it away from the direct heat.

Here you can see the wings after they have been grilled.
We hope you enjoy these wings as much as we did!

Now, Just Add a Little Pesto!
——————————————————————————

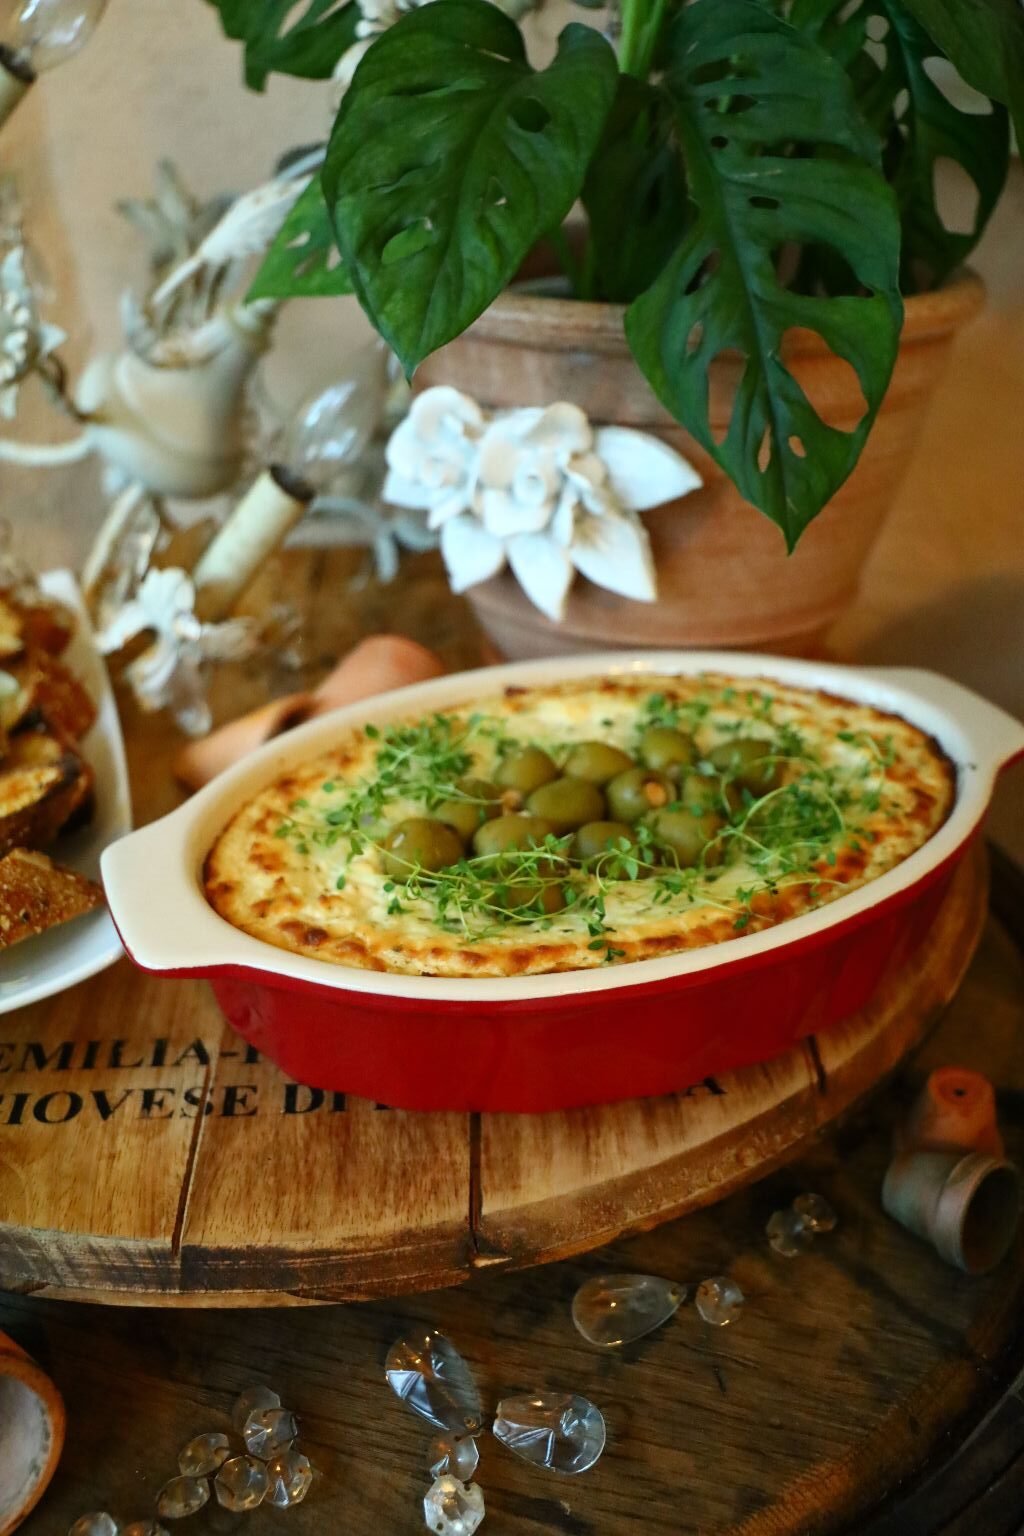
Roasted Garlic and Goat Cheese Spread
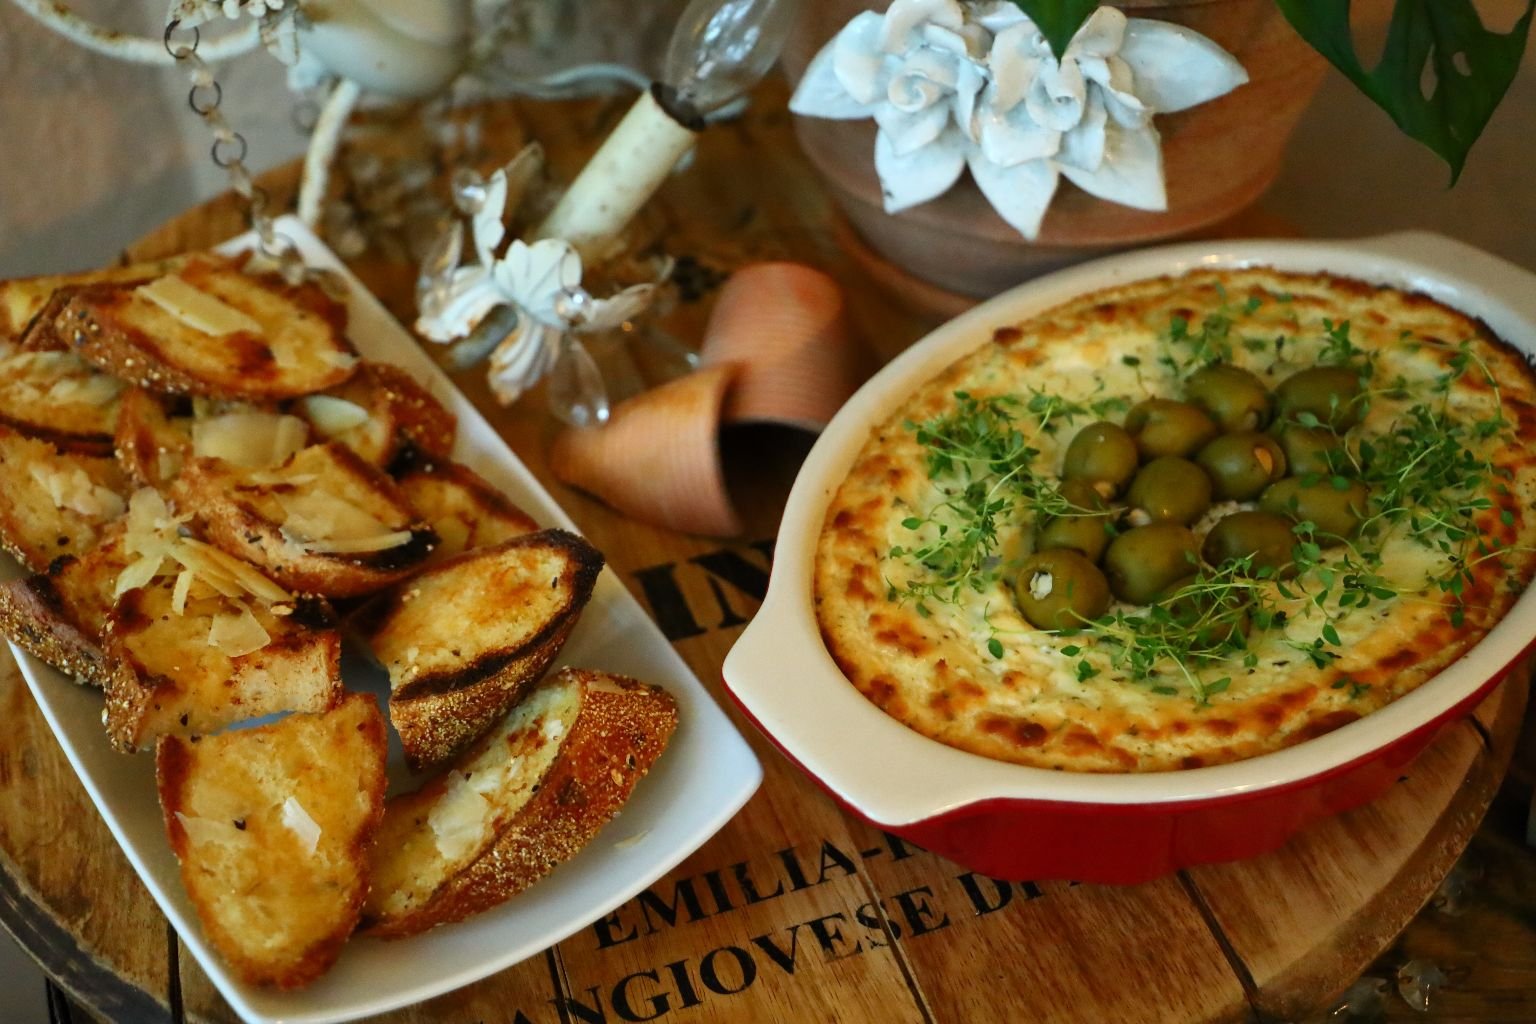
Deliziosa With Some Great Bread
—————————————————————————————-

Start by roasting your 35-40 Garlic Cloves in butter in a 400F oven for about 55 min. or until
golden brown. Julie likes to check them and move the garlic cloves around every 20
min. or so of cooking.
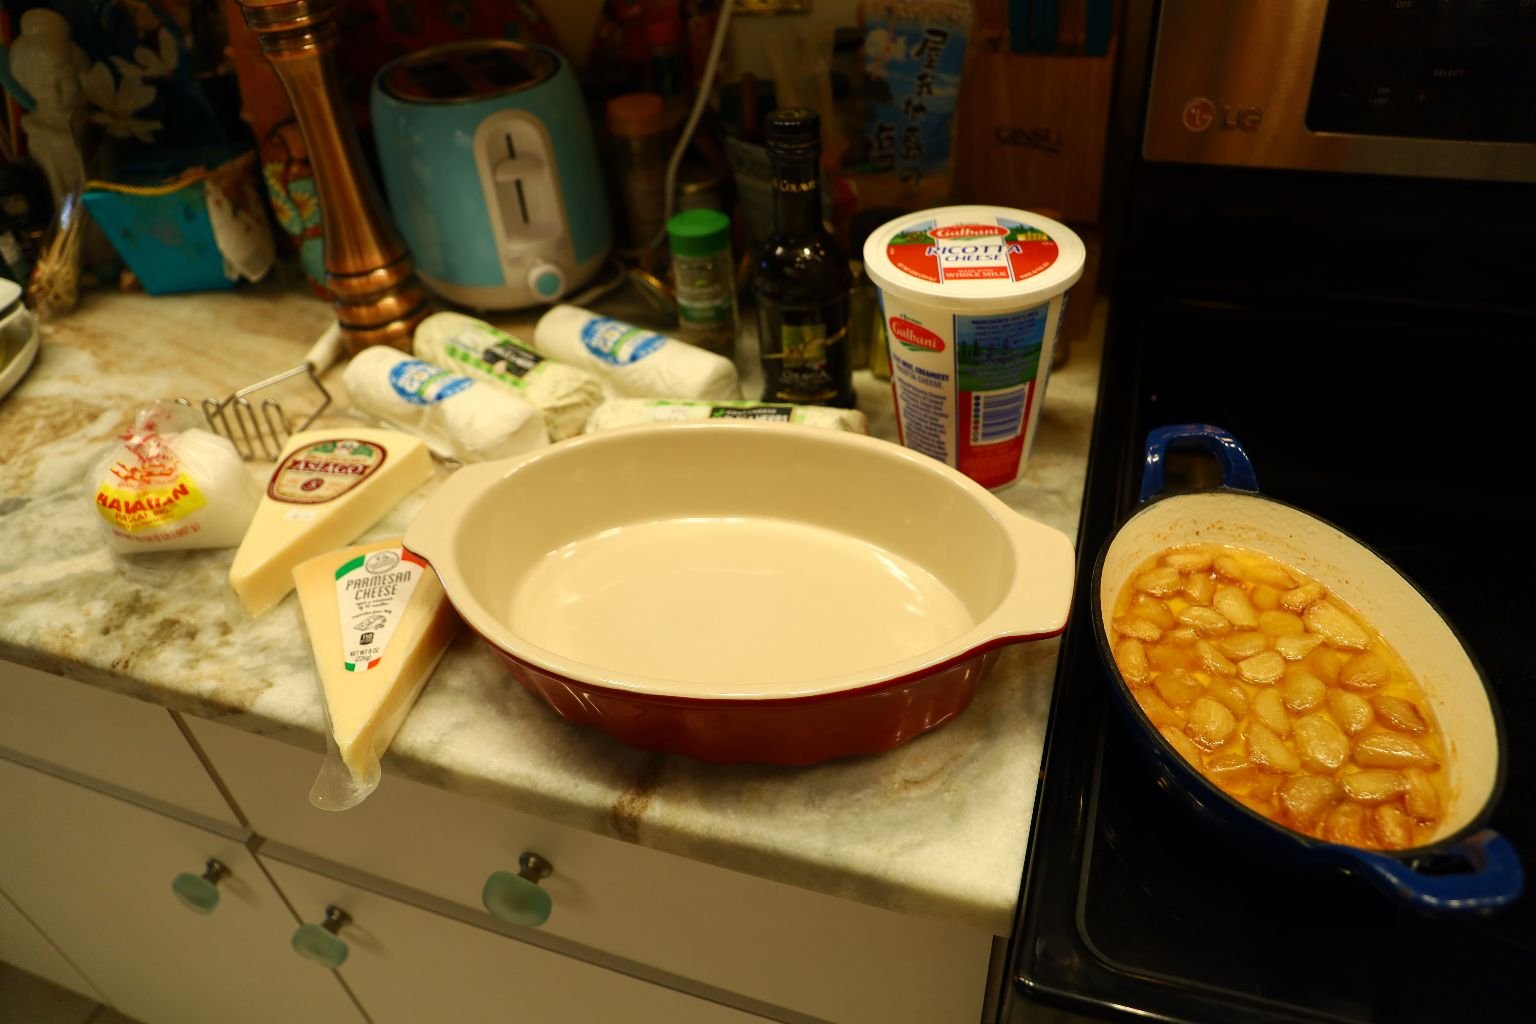
Ingredients:
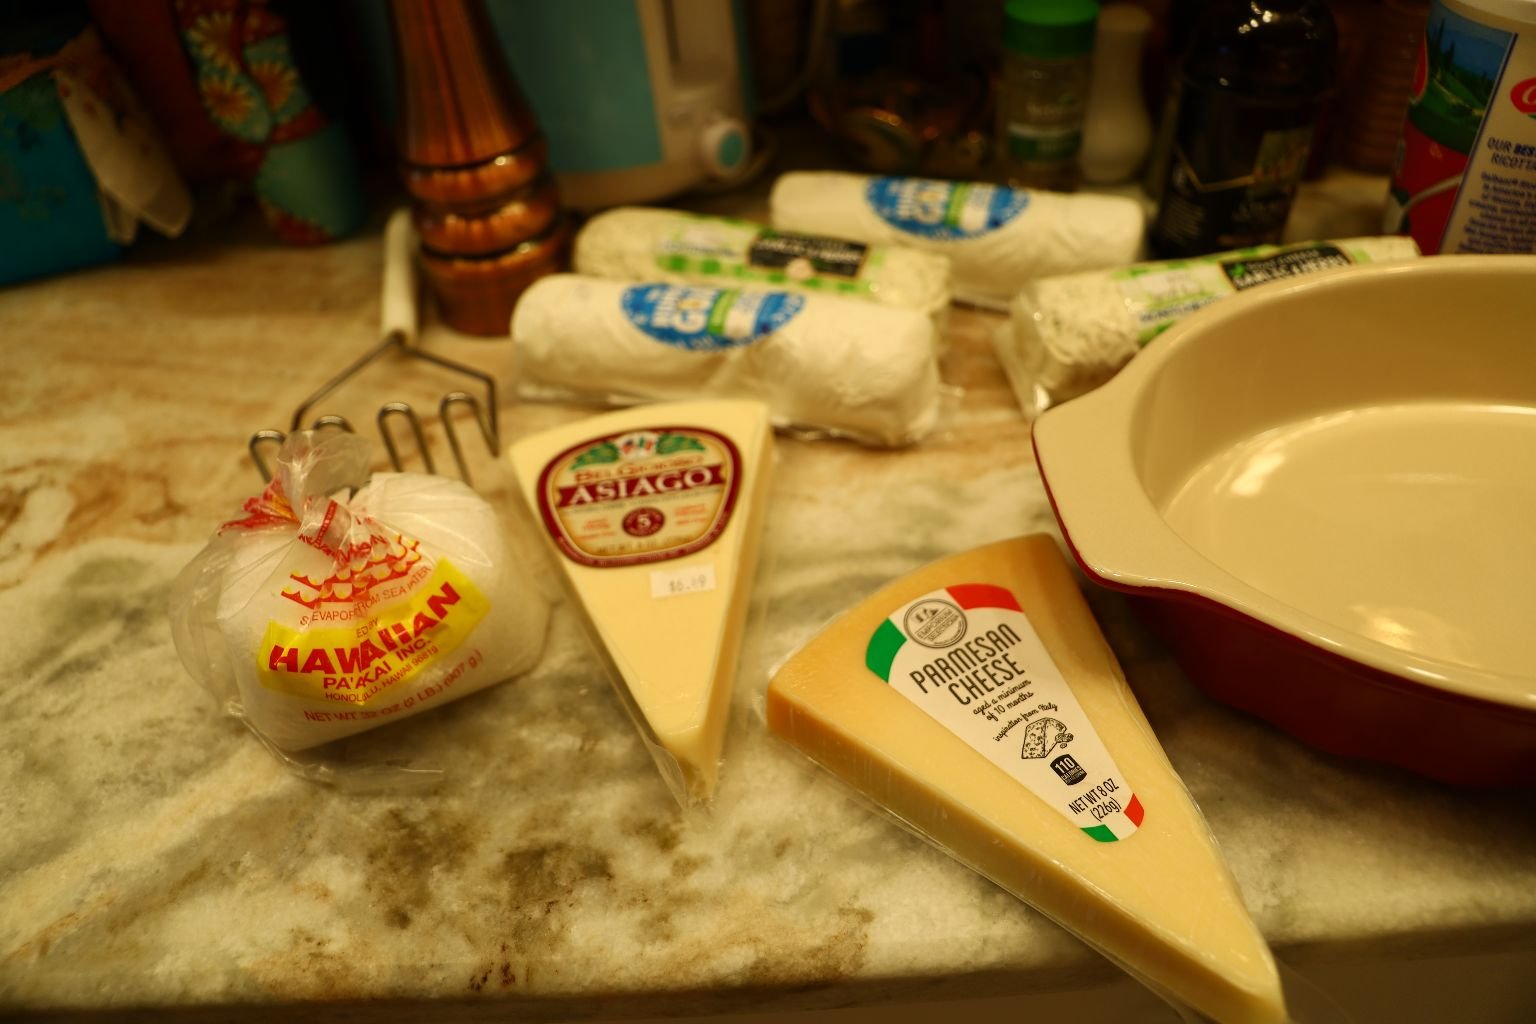
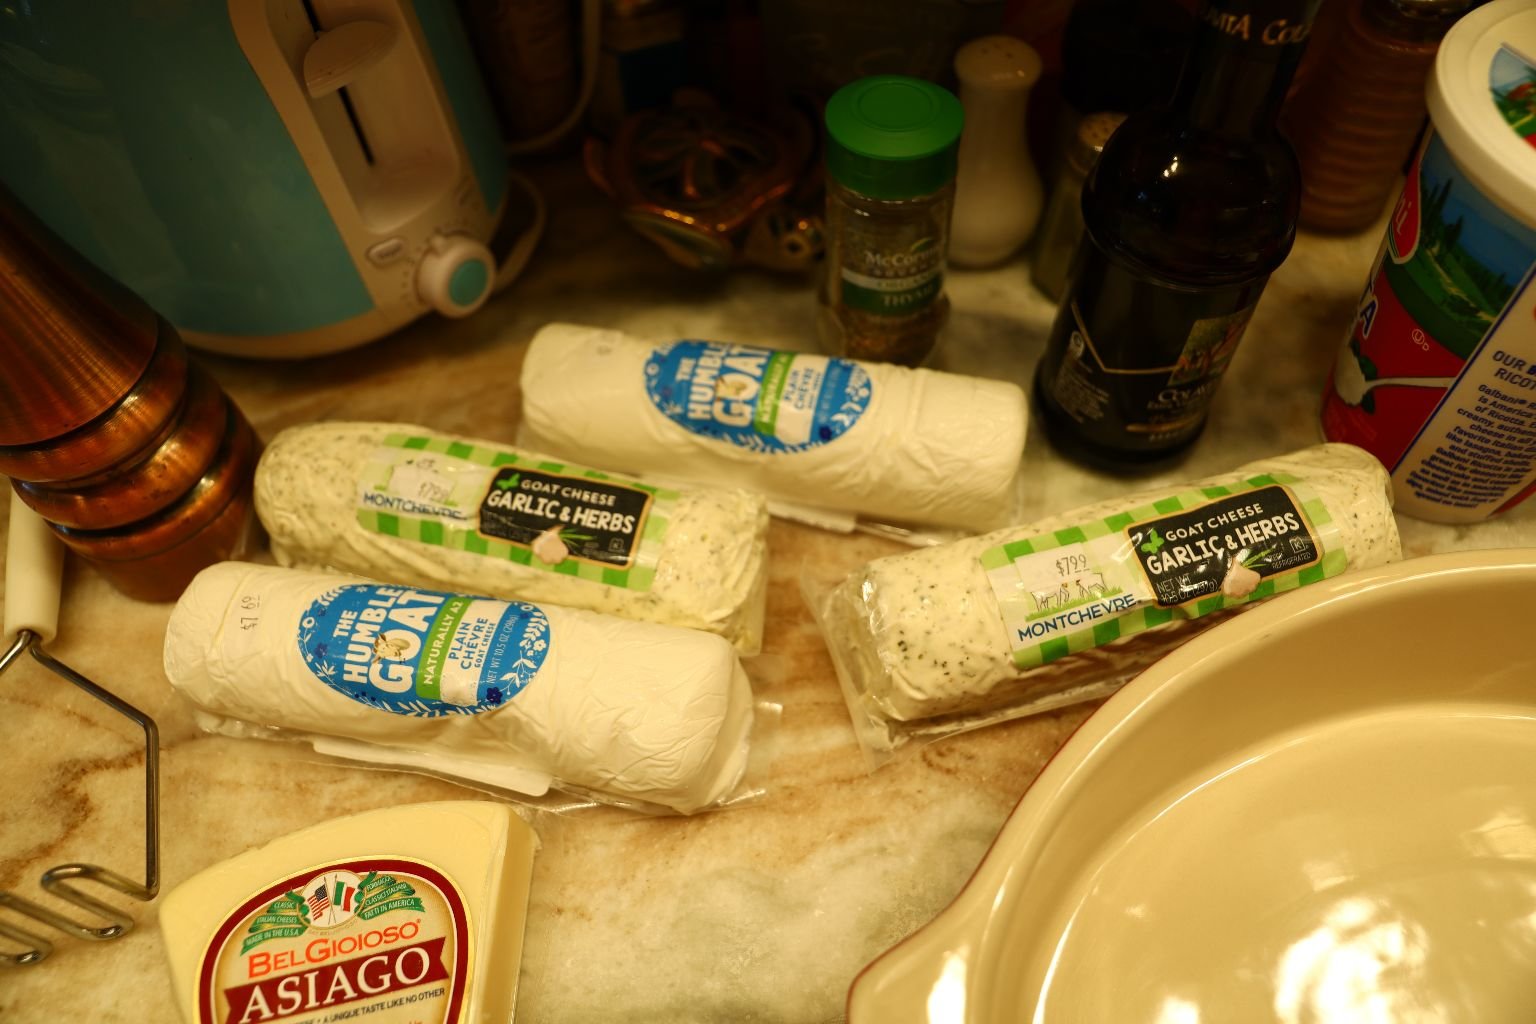
~40 Garlic cloves
1 Stick of butter or about 8 Tbsp.
½ Cup Asiago Cheese
½ Cup Parmesan Cheese
4 – 10.5 oz. Goat Cheese – 2 Garlic and 2 Plain
1 Tbsp. Dried Thyme
1 Cup Ricotta Cheese
½ Cup Milk
Garnish with Stuffed Olives and Fresh Thyme Sprigs
————————————————————–
Serve with sliced bread that has been buttered and baked/broiled until golden brown.
——————————————————————-
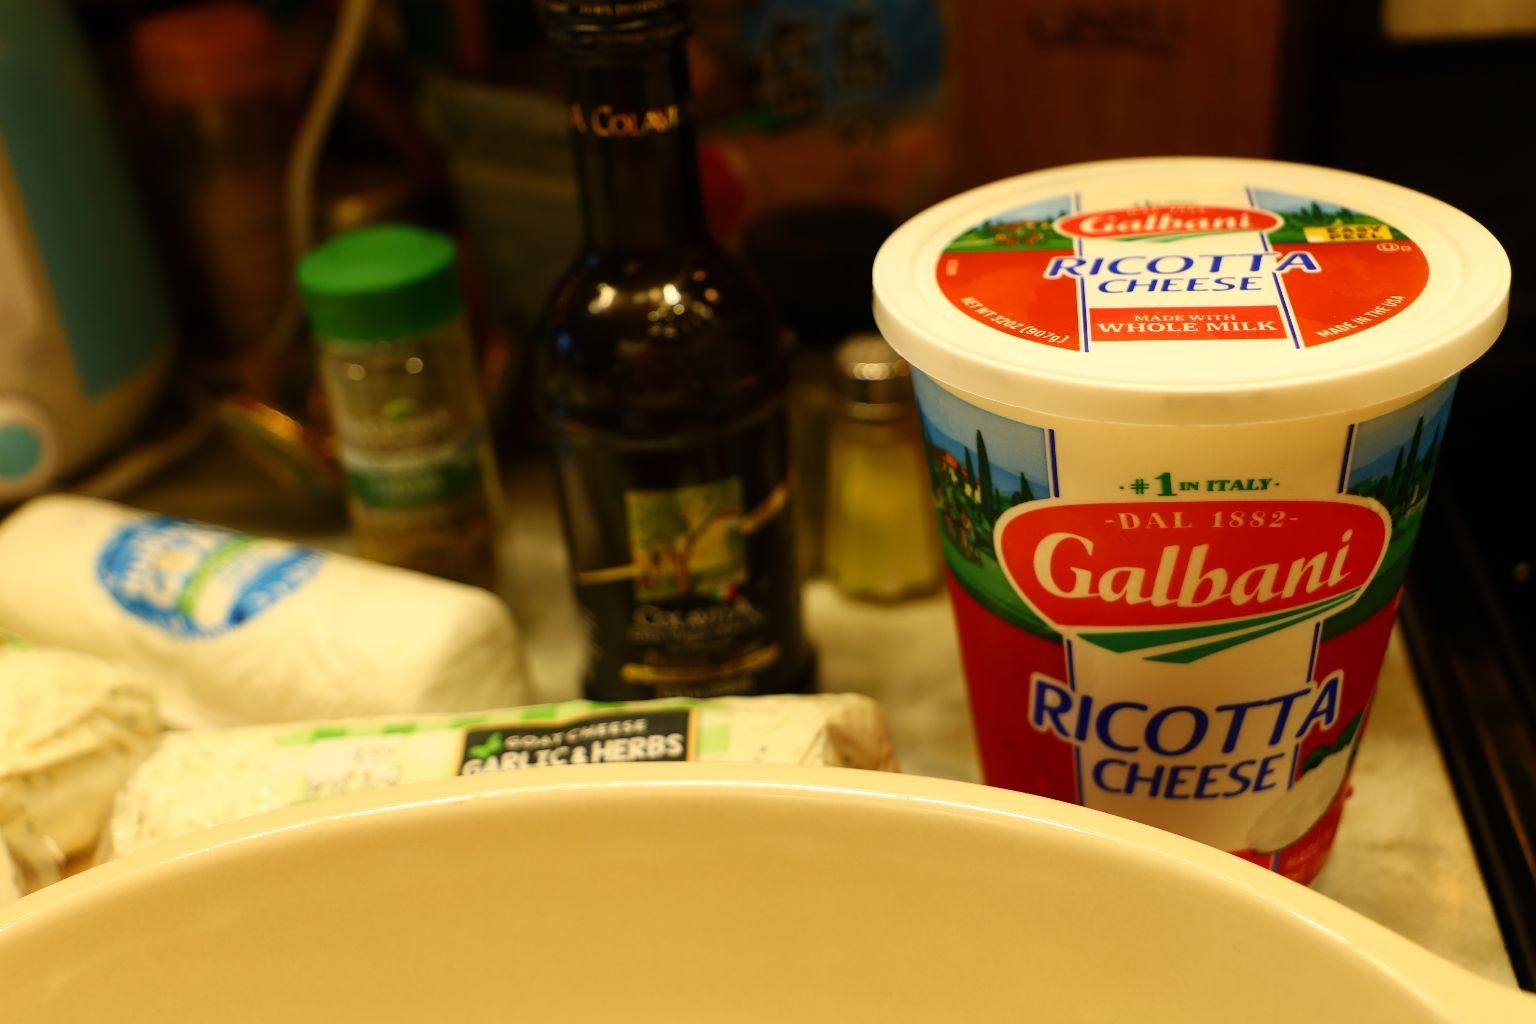
The Ricotta Cheese we Used
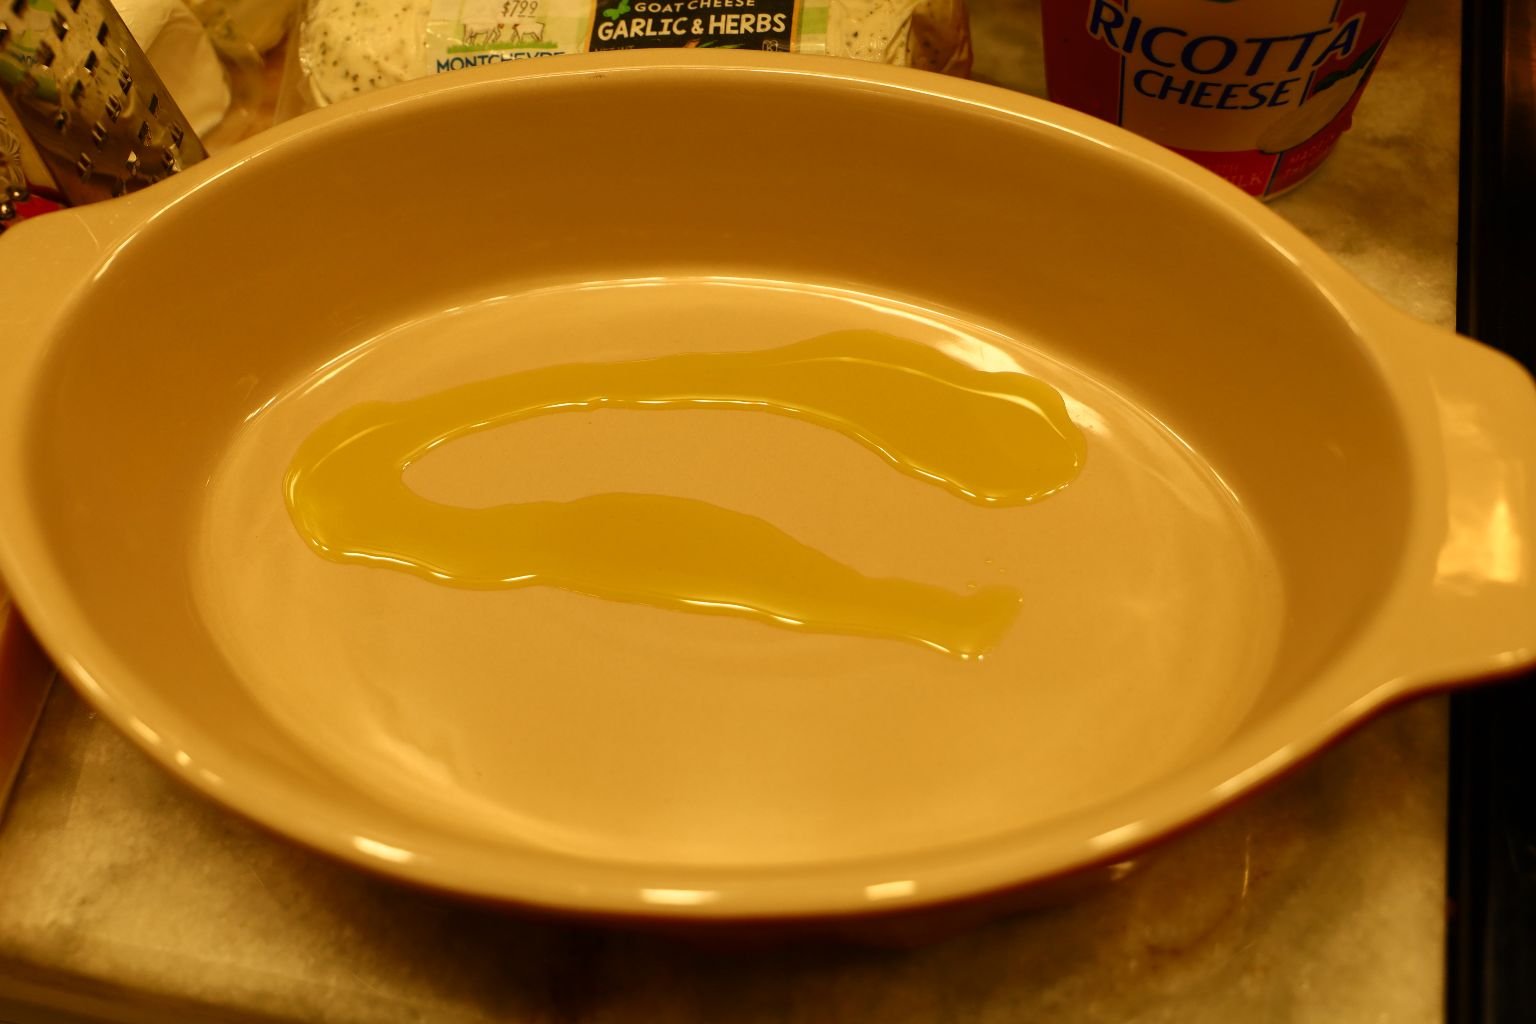
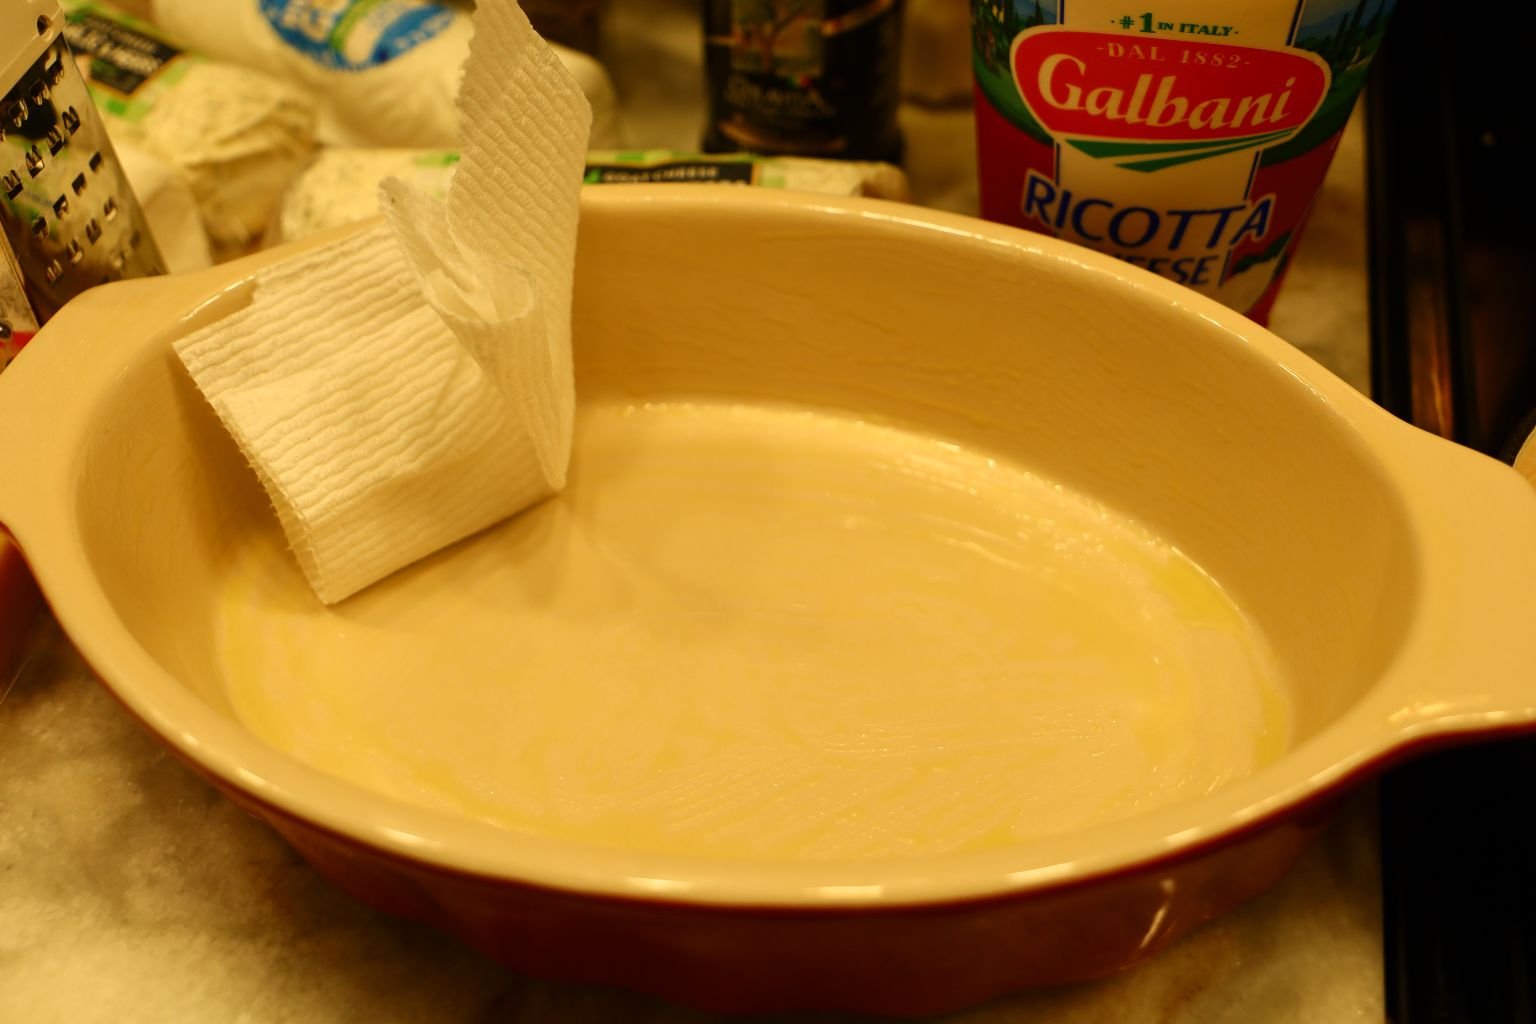
Use some of the butter from the roasted garlic to butter the baking dish. Use a paper
towel to spread out the butter all over.

Place your Goat Cheese into a large Bowl
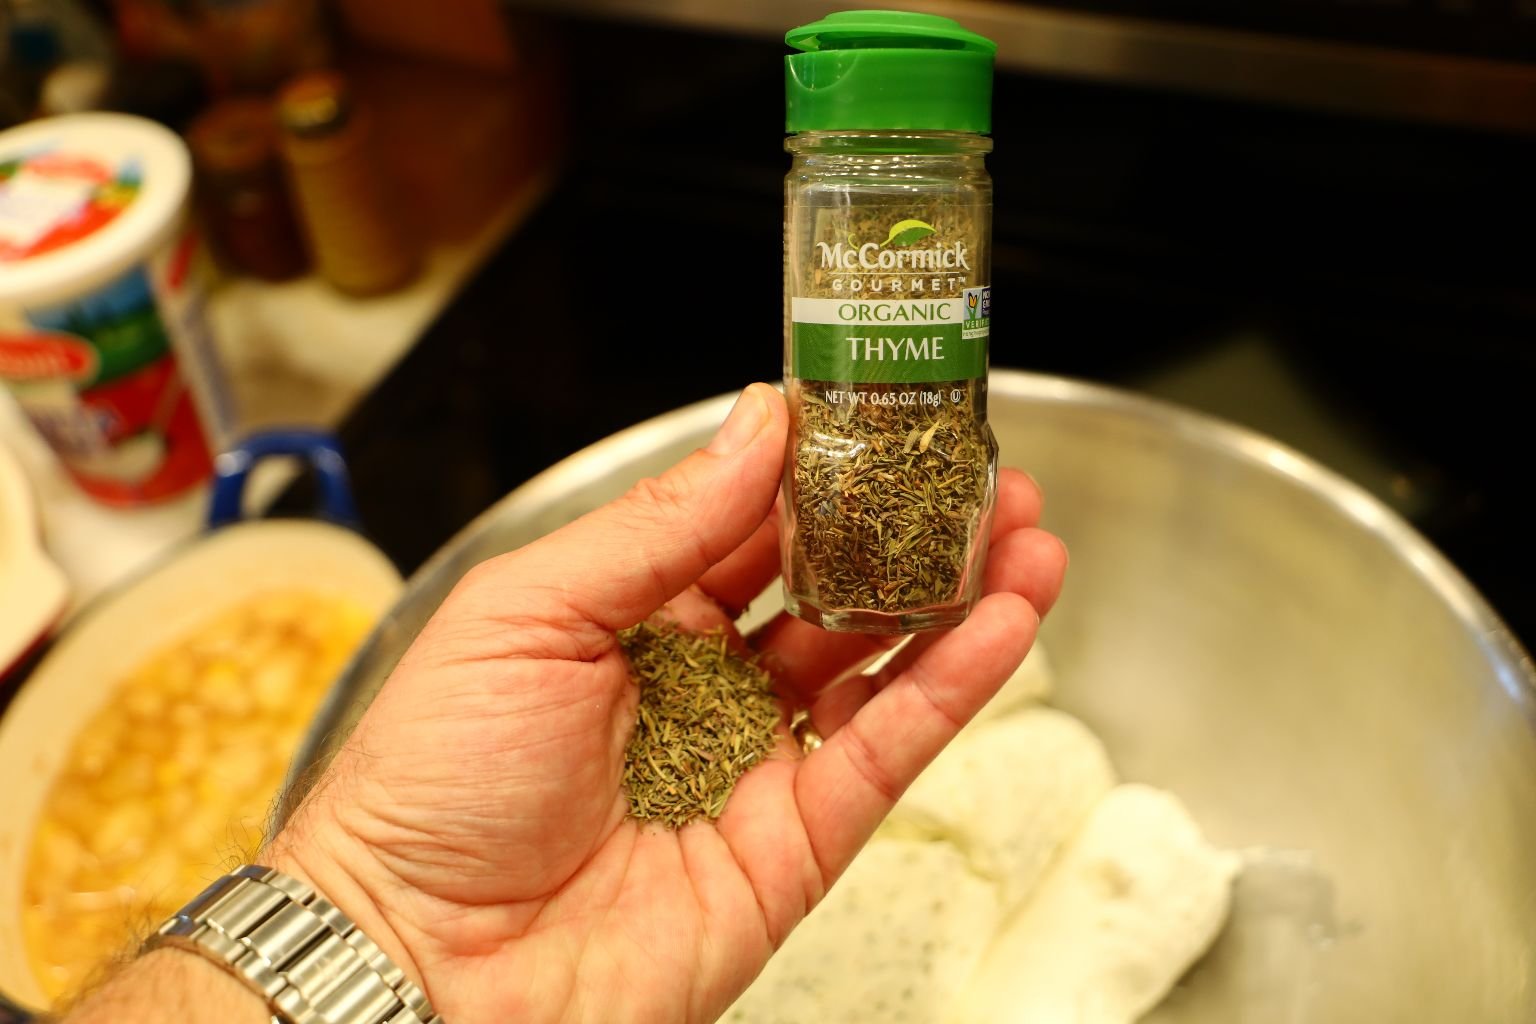

Add your Dried Thyme to the bowl.
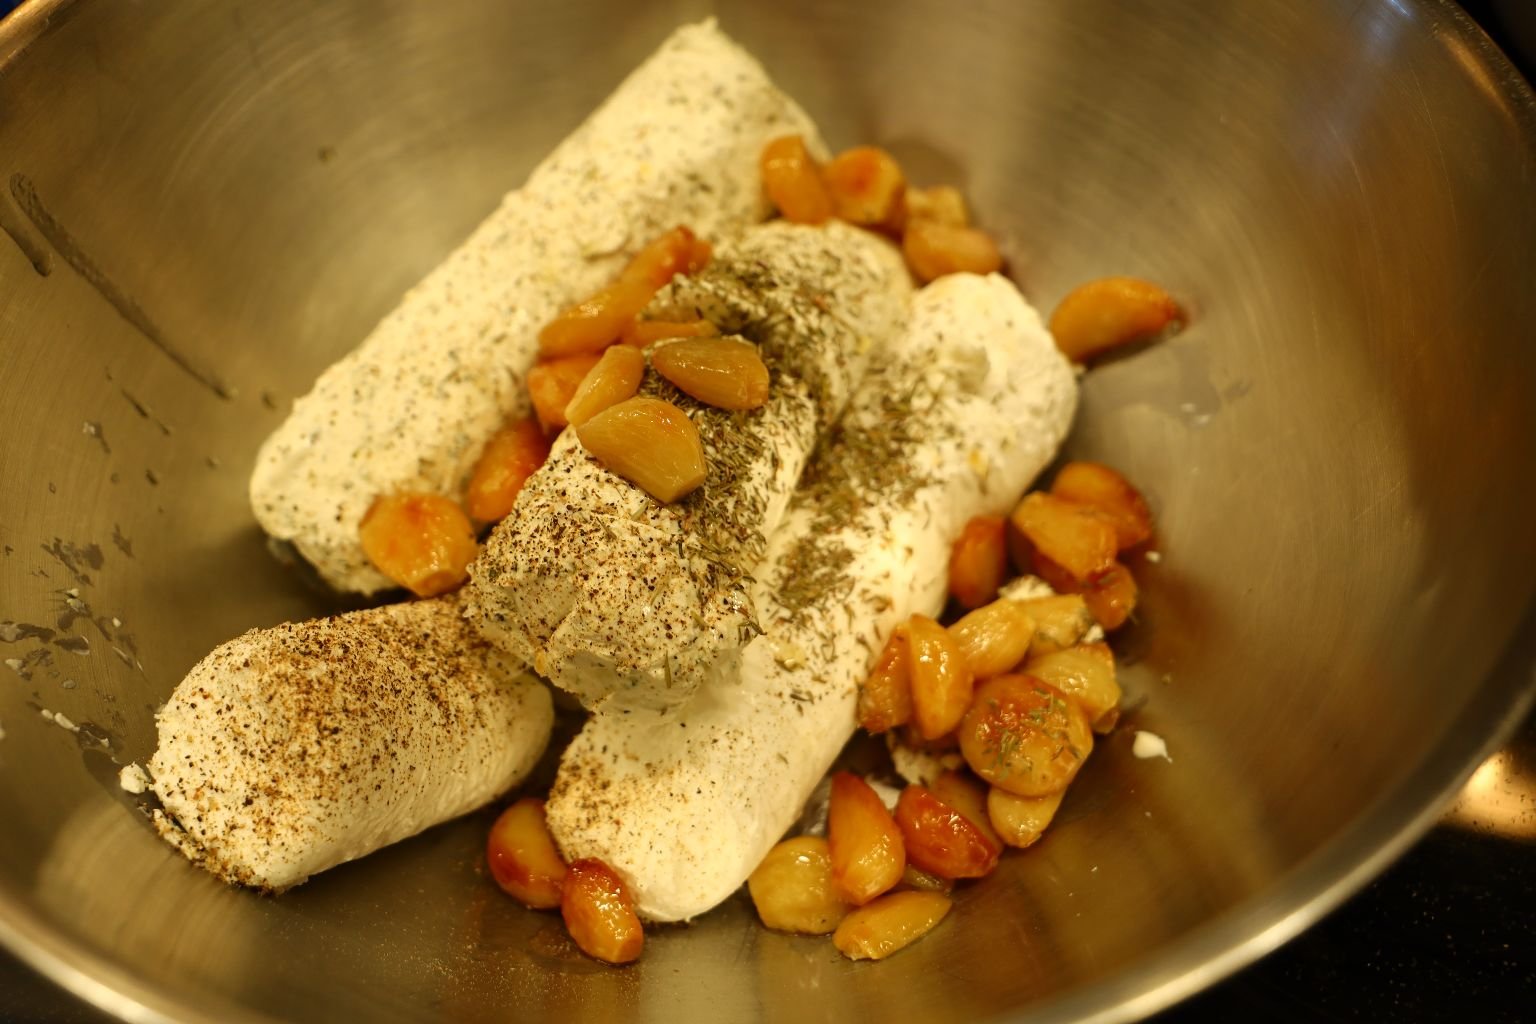

Now add your Roasted Garlic to the bowl.
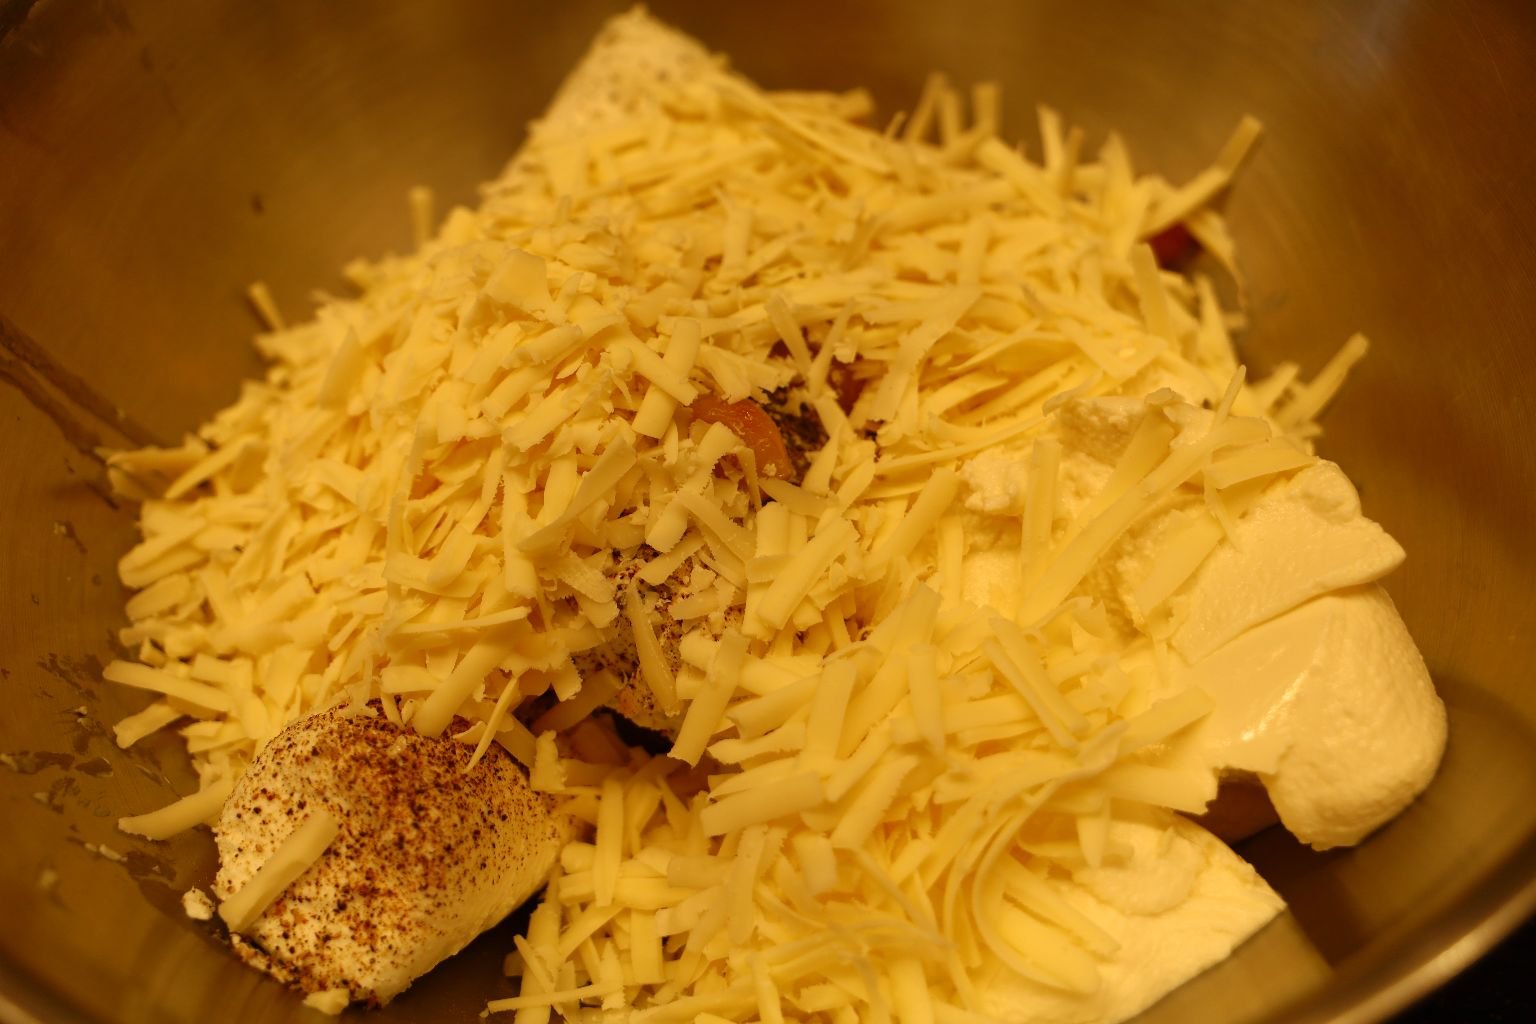

Then add your shredded Asiago and Parmesan Cheese, and mix the ingredients with a
potato masher or Fork.


Add your milk to the cheese mixture and mix the ingredients again.

Place the baking dish on a sheet pan just in case it overflows. Place the baking dish in
a 400’F oven for about 35 to 40 min. or until the top browns.

———————————————————————————-
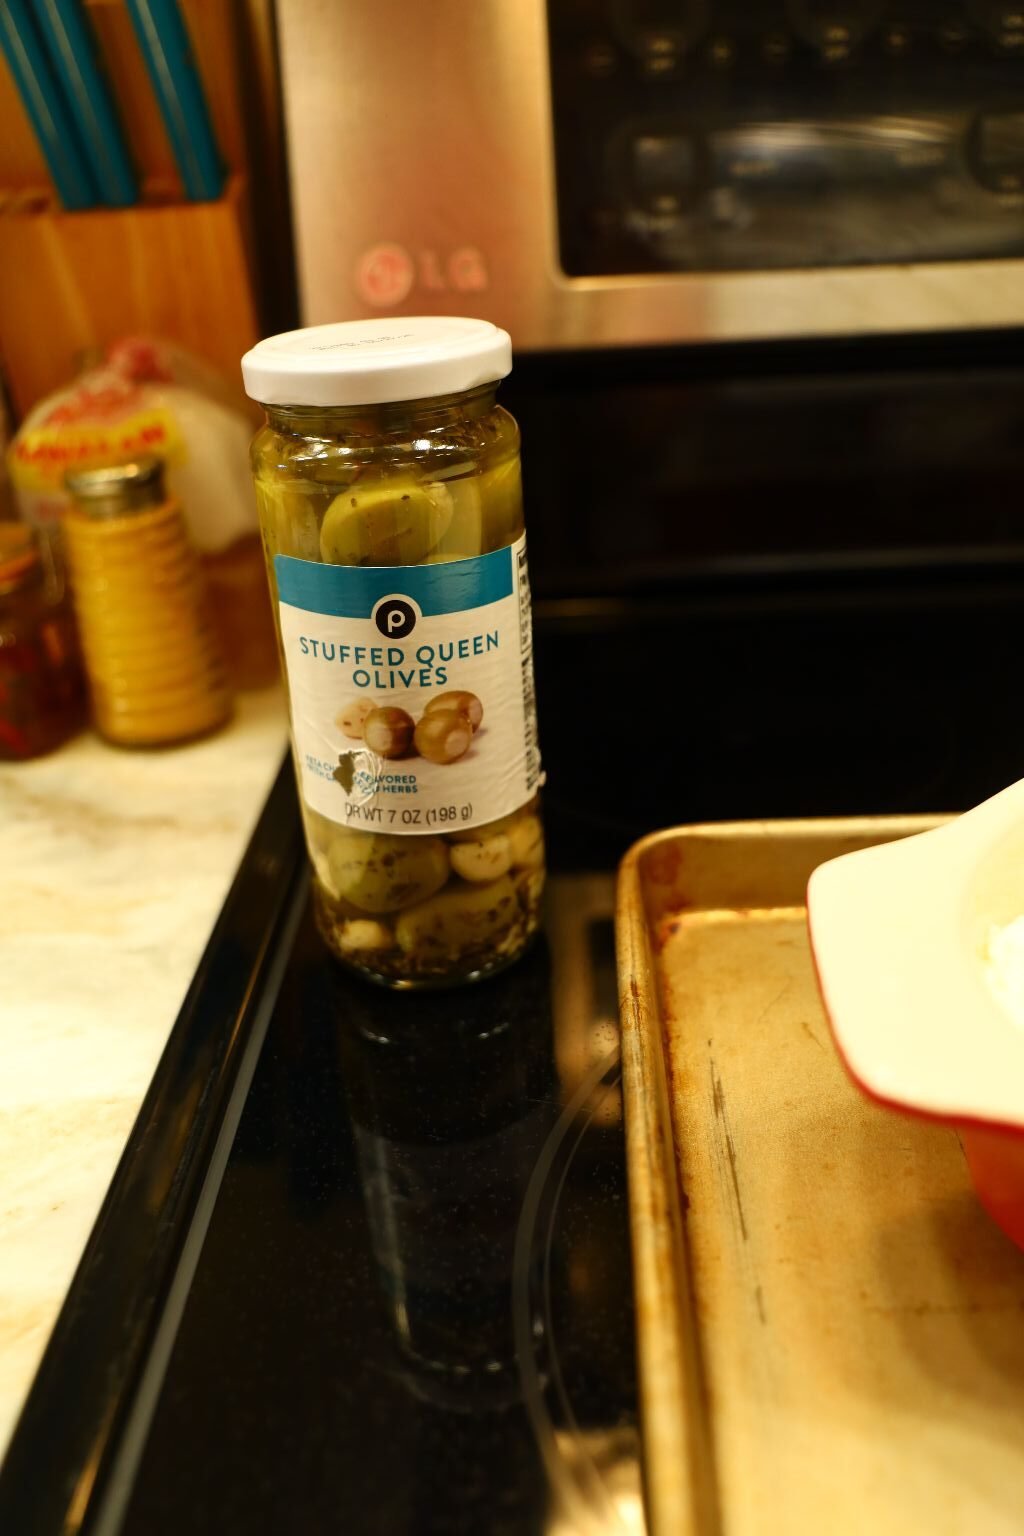
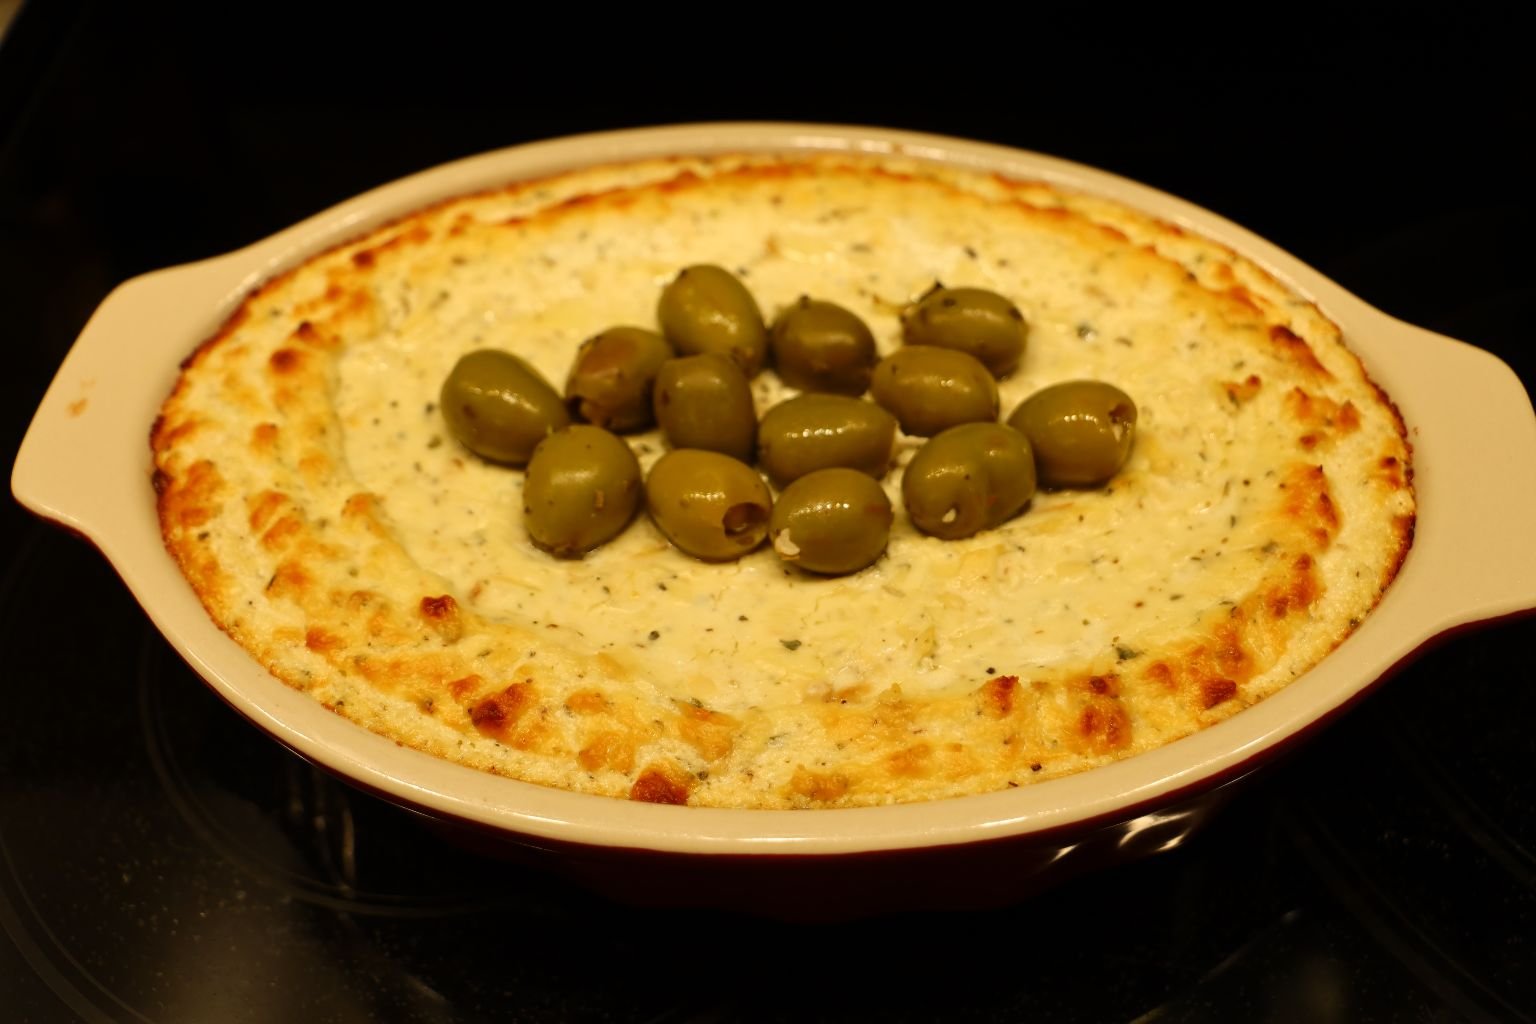
Garnish the top of the cheese with your olives, then bake.
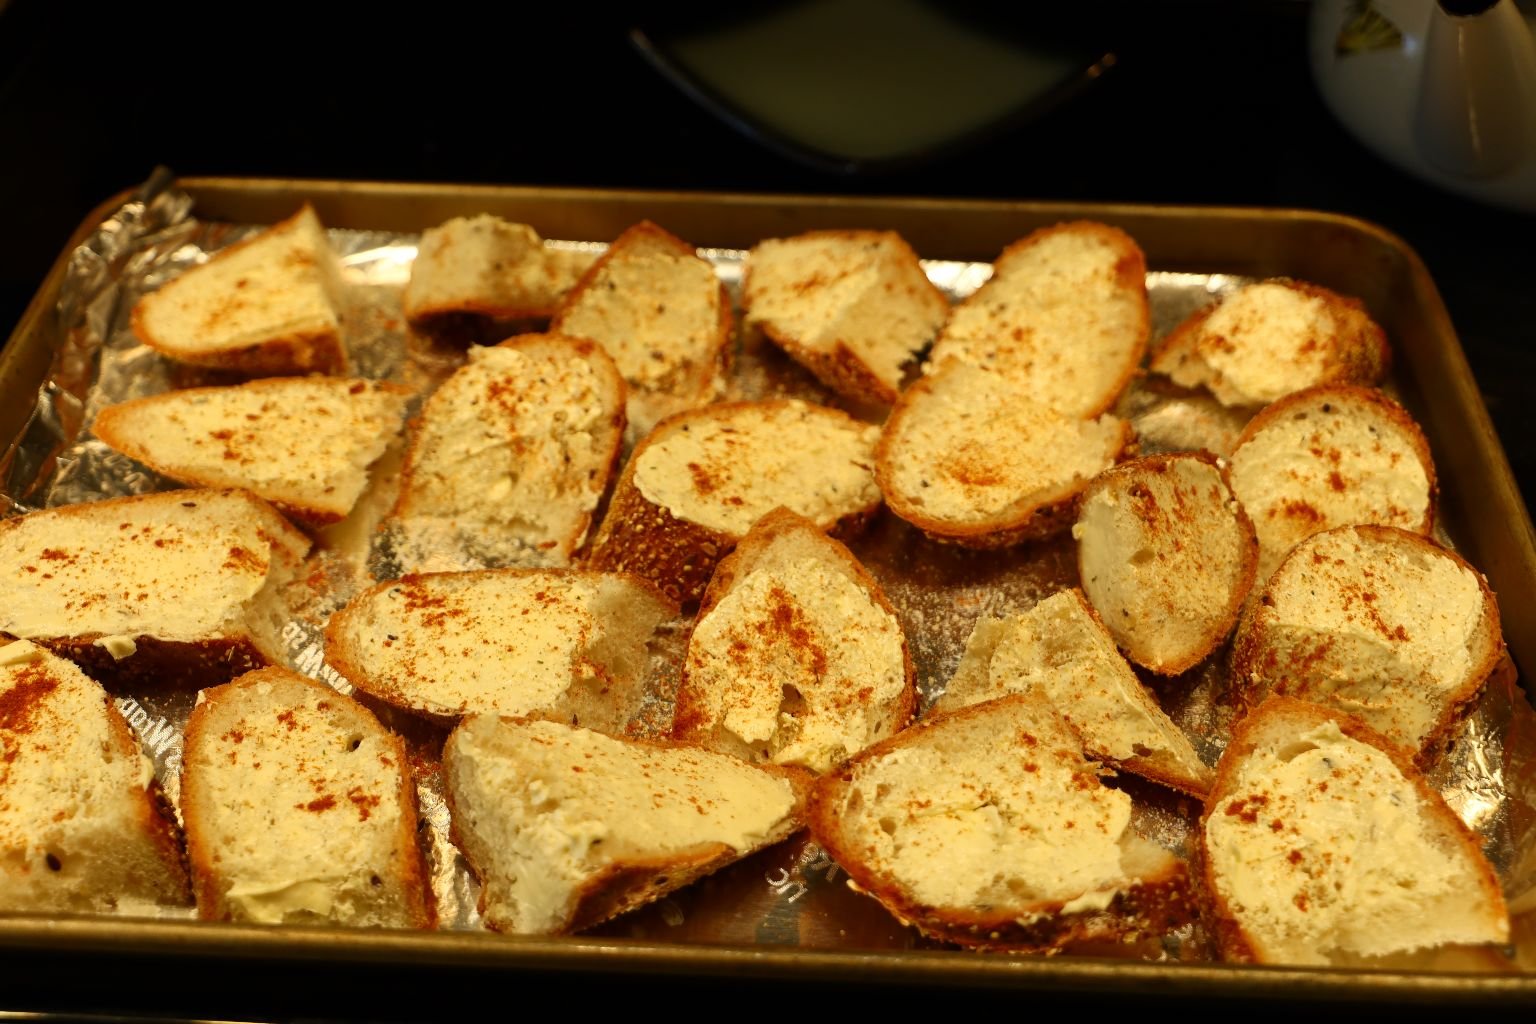


Here we have sliced a baguette into semi-thin pieces and buttered them. After which….
Broil them in your oven until golden brown.

Garnish the cheese with some fresh Thyme sprigs.
—————————————————————————-
An Aperitizo

A Nice Little Merenda Before Dinner
——————————————————————-

All you will need for this is some lovely Mozzarella Pearls, and some Prosciutto Ham.

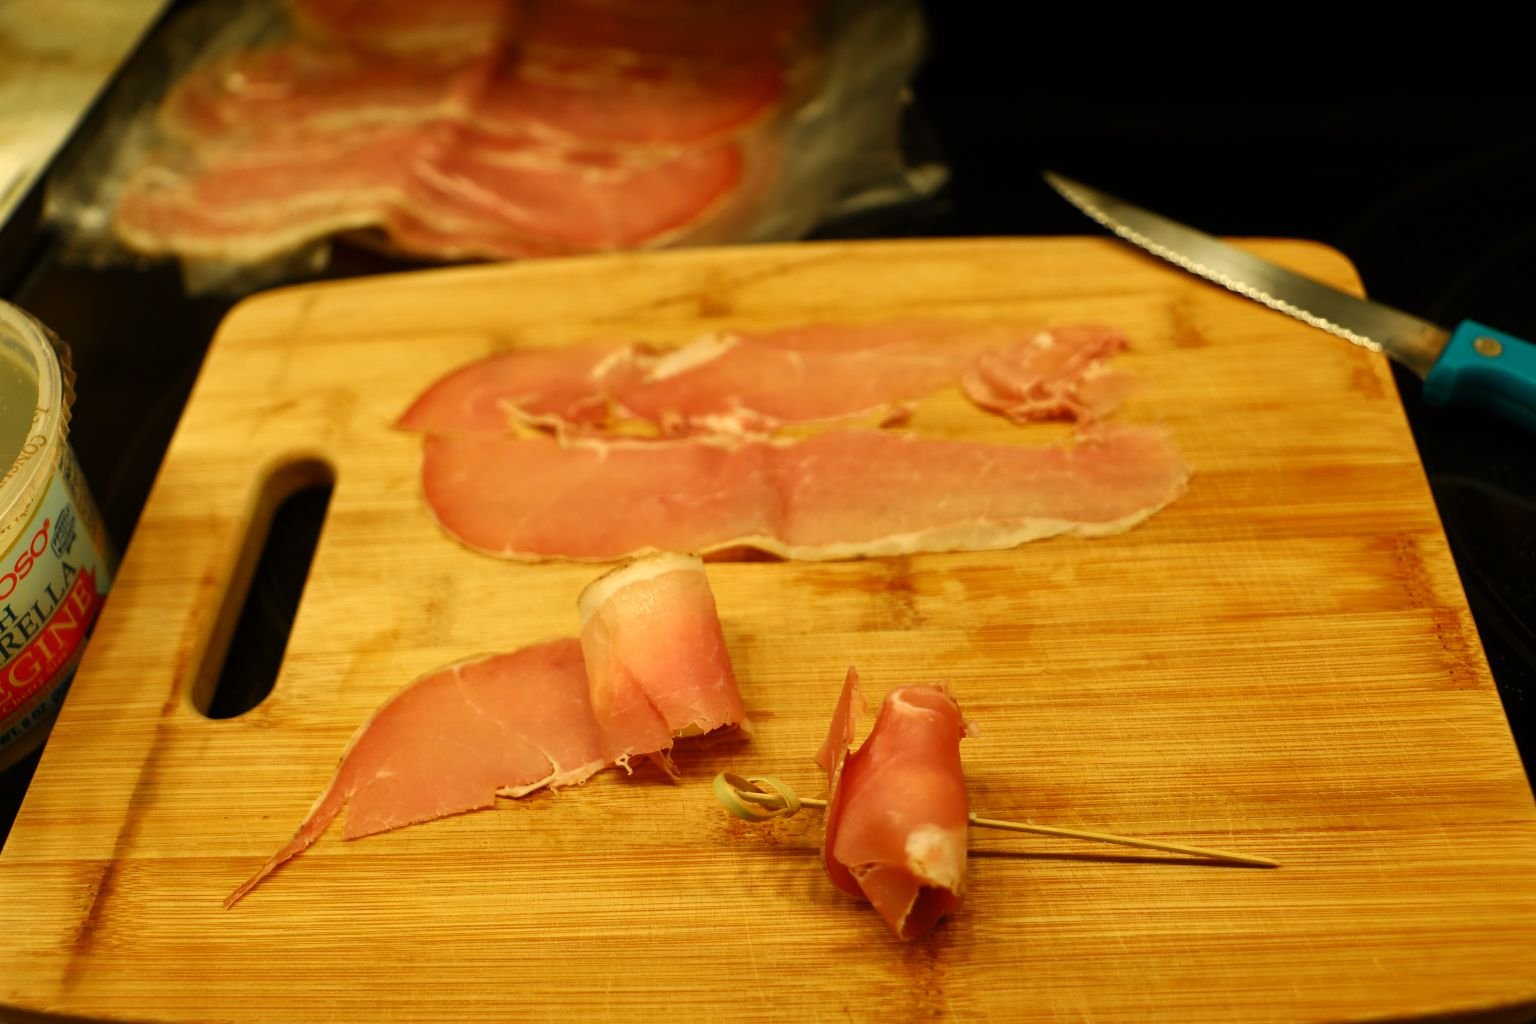
You just want to cut the ham into strips to wrap around the Mozzarella Pearls, then secure with some sort of toothpick or cocktail pick.
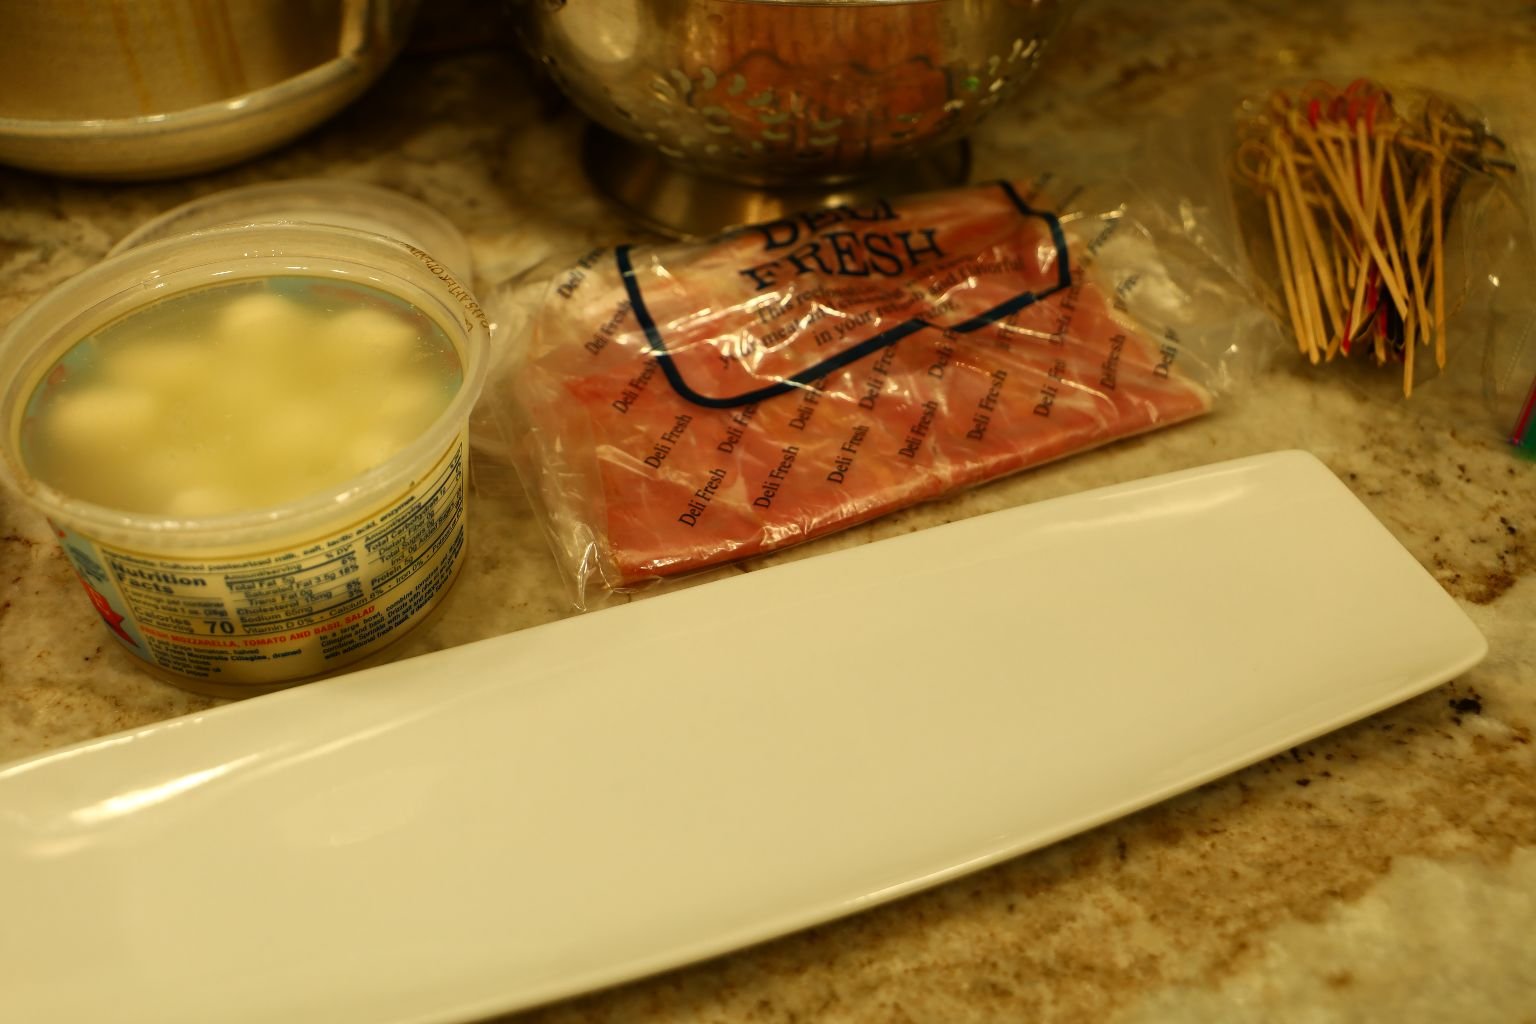
————————————————————————————
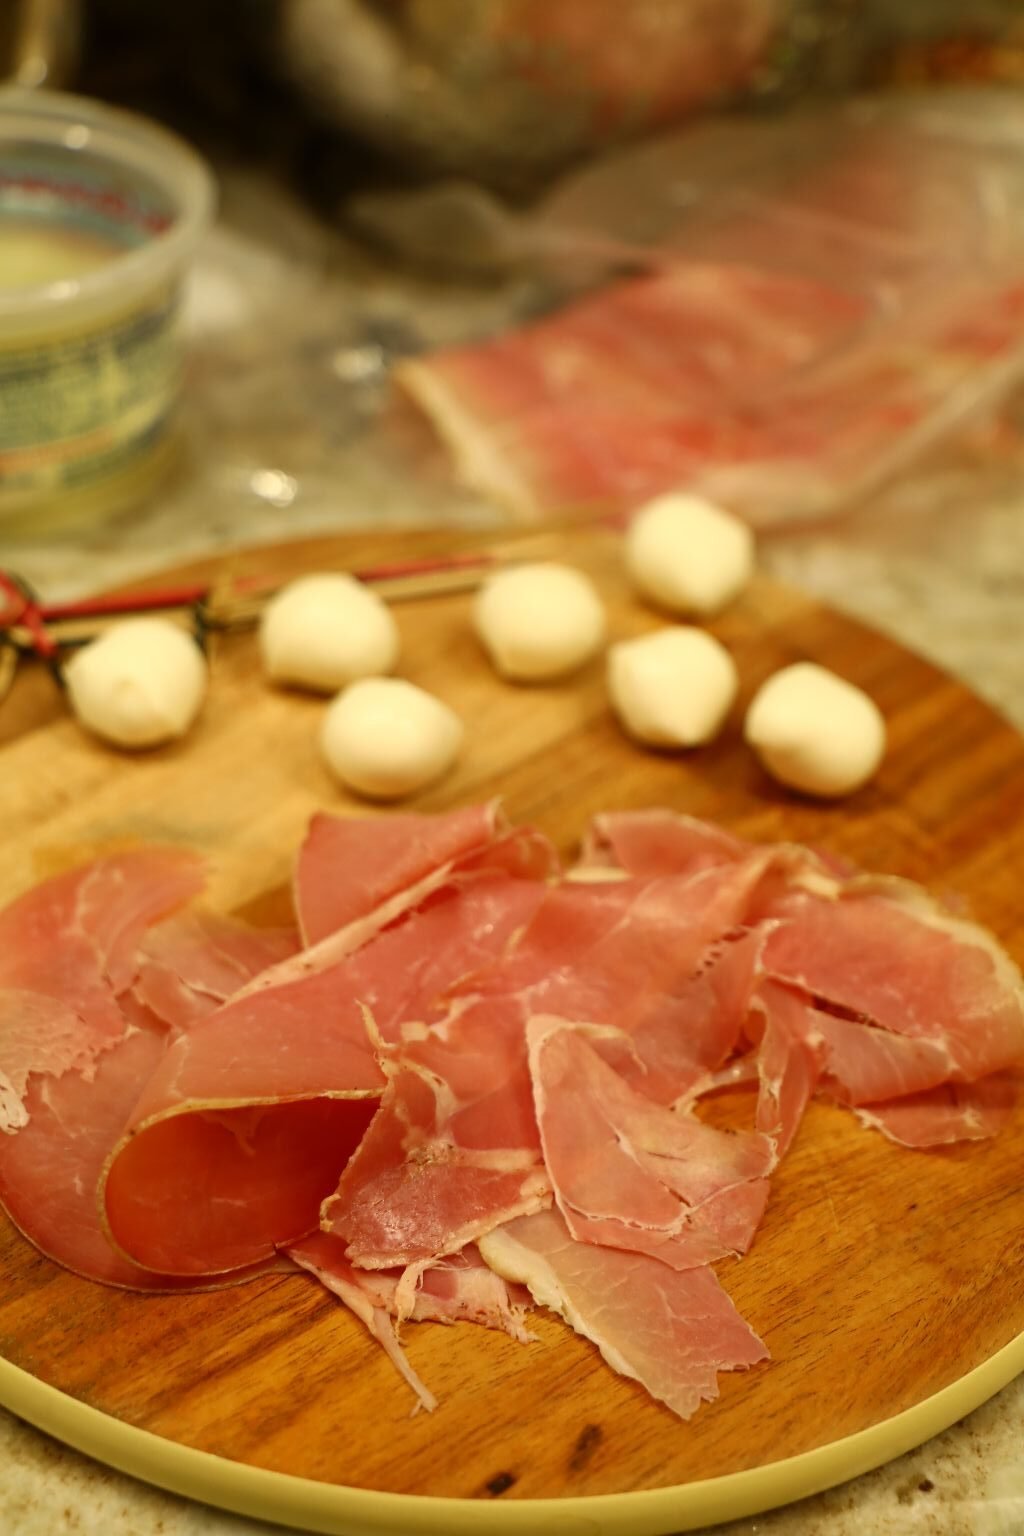

Place onto a Platter and top with a Pesto or other Italian Sauce
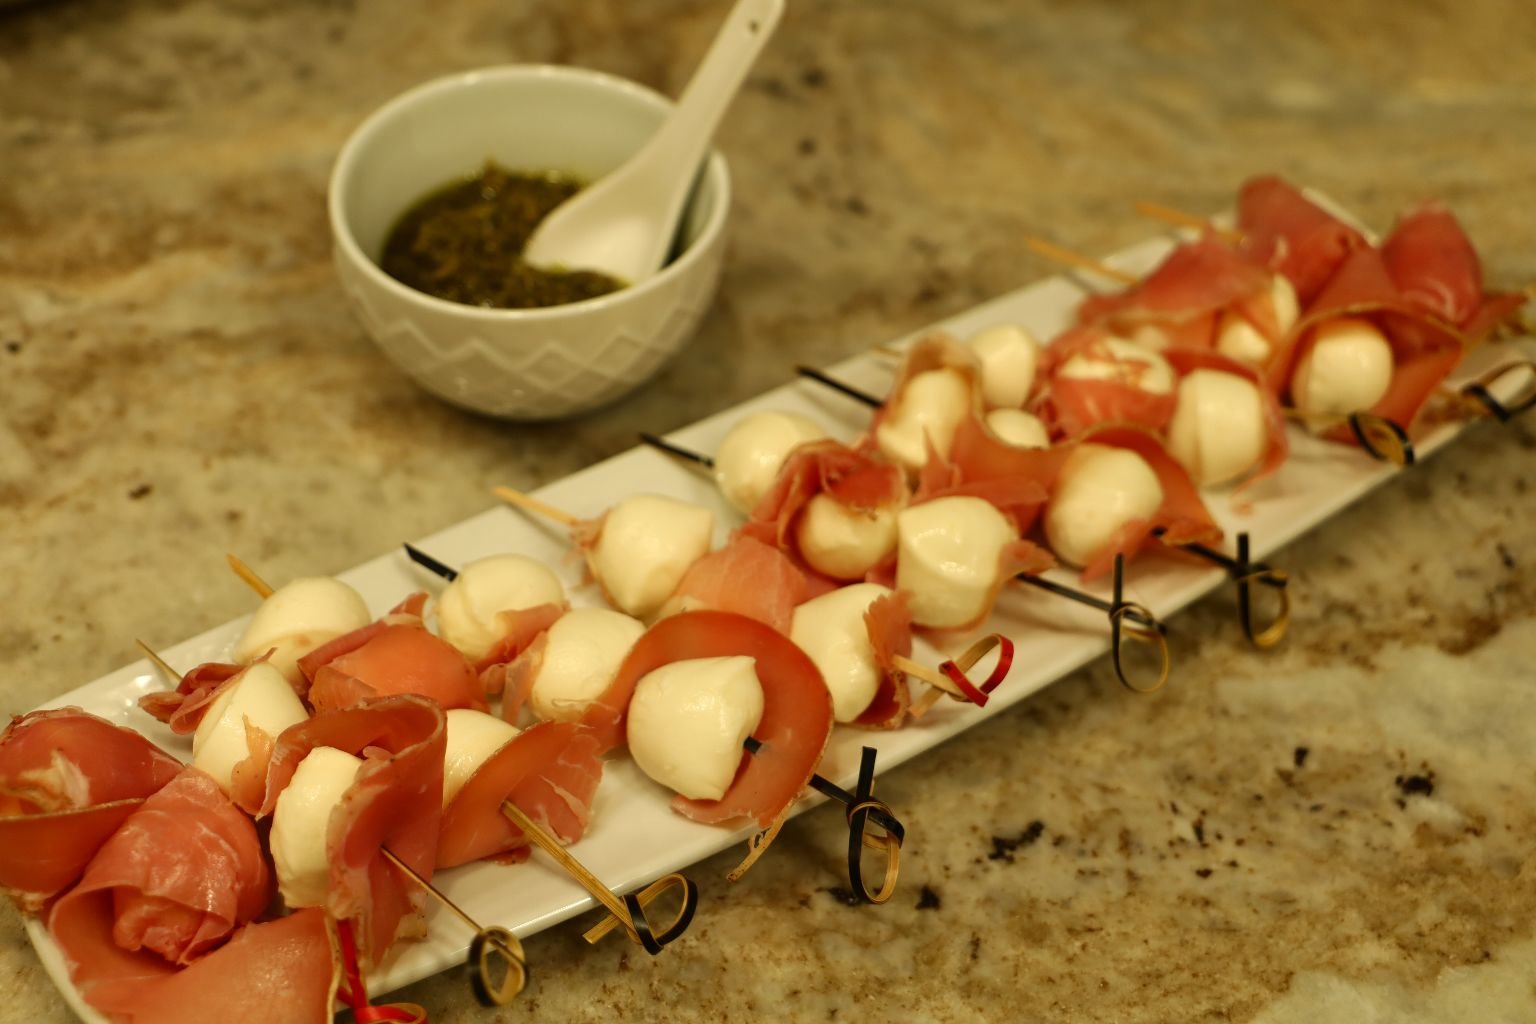
—————————————————————————
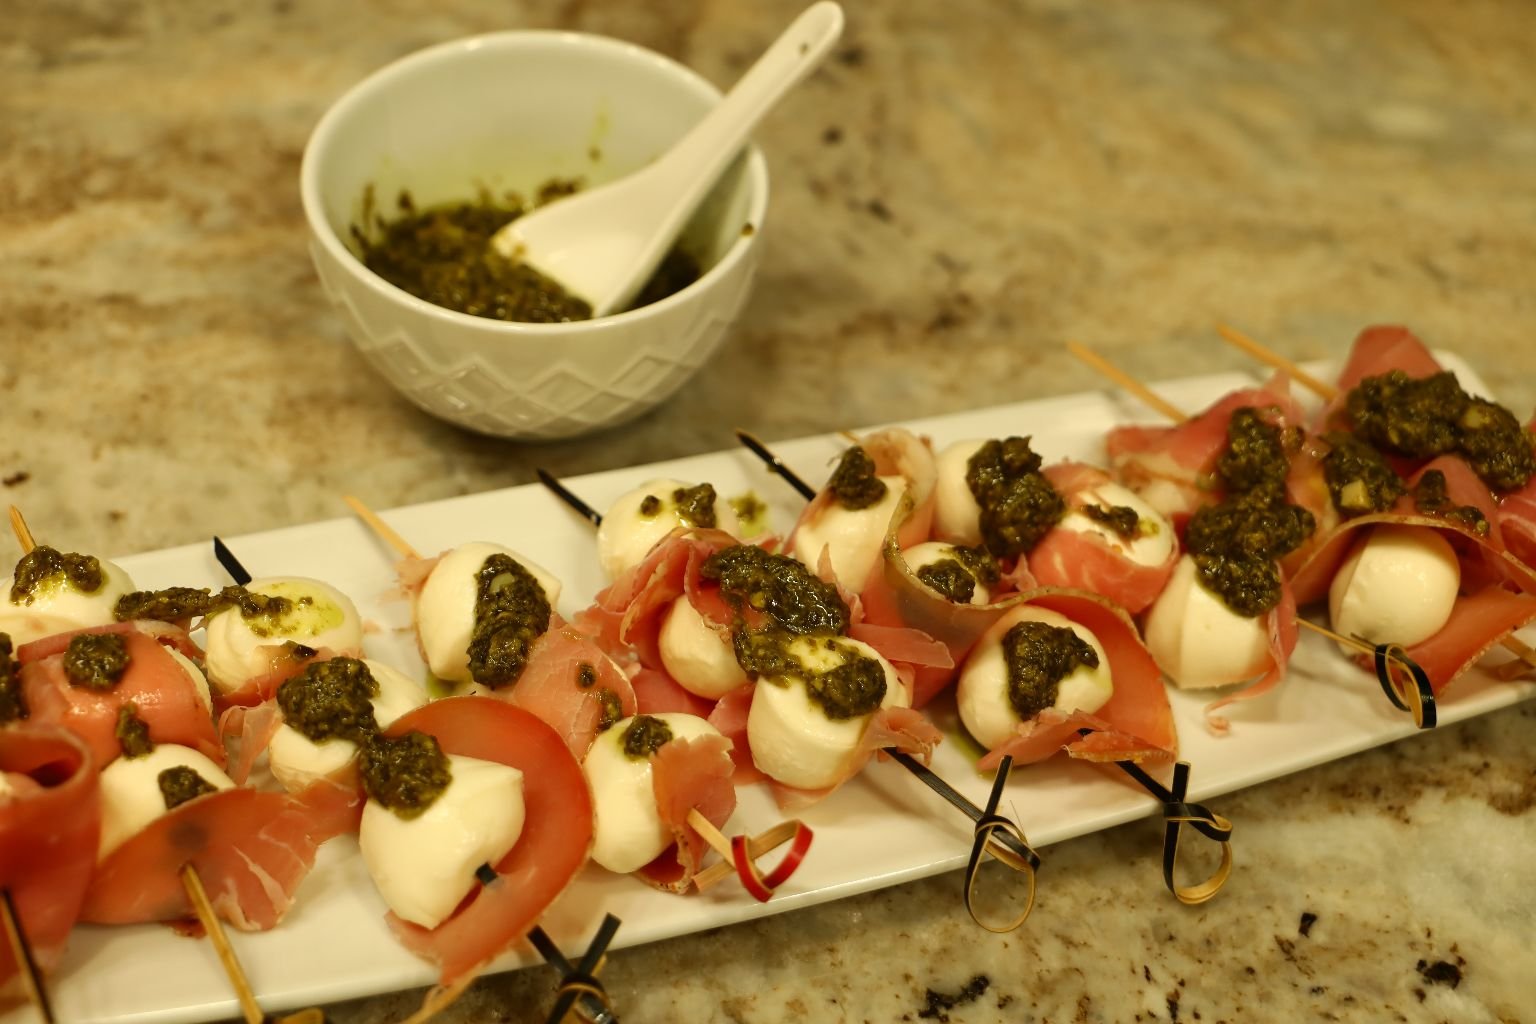
Buon Appitito!
———————————————————————————————-
Check Out Our Other Italian Website Pages:
————————————————————————
Julie’s Italian Appetizers and Edible Gifts
———————————————————
Gordon and Julie Italian Seconda Parte 2
—————————————————————————————–
——————————————————–
—————————————————————————————–
———————————————————————————————-
La Sciatta Giulia Anna’s (Italian Sloppy Julie Ann’s)
—————————————————————————-
———————————————————————————————
Edible Gifts: Italian, Greek, and Irish
———————————————————————————–
————————————————————————————–
———————————————————————————————-
—————————————————————————–
———————————————————————————————————-
————————————————————————————————
————————————————————————————————————–
———————————————————————————————————————
————————————————————————–
Modern Day Mona (Lisa) Halloween
———————————————————————-
Even More Italian (Just For You)
—————————————————————————-
————————————————————————–
Tavolino Da Caffe Italiana (Coffee Table Italian)
——————————————————————————-
——————————————————————————–
—————————————————————–
Grazie,
Gordon and Julie
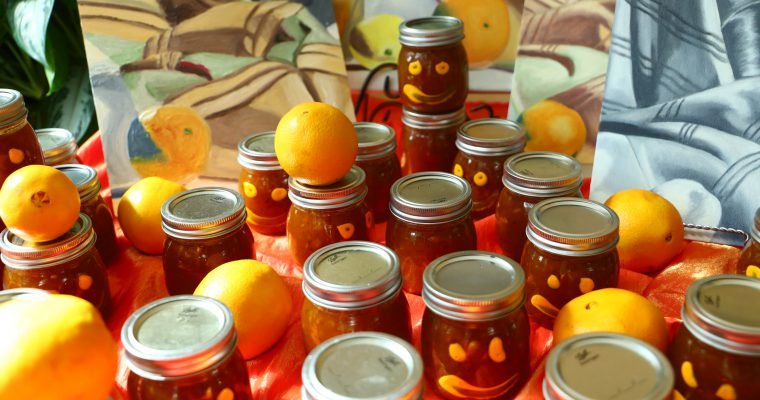
(The picture above not only showcases my Old Florida Jezebel Sauce, I also depict our daughter Veronica’s art from when she was a Fine Arts student in college. Any chance I get to do that, I do!) Let The Sunshine In …

Ciao and Buongiorno! Welcome to Grillin’ Italian We love to grill, we love Italian, therefore it makes sense that we would create a page dedicated to Grillin’ Italian. Italian food showcases a lot of food that we love. …


(I love to garden in swim dresses and flip flops.)
————————————————————-


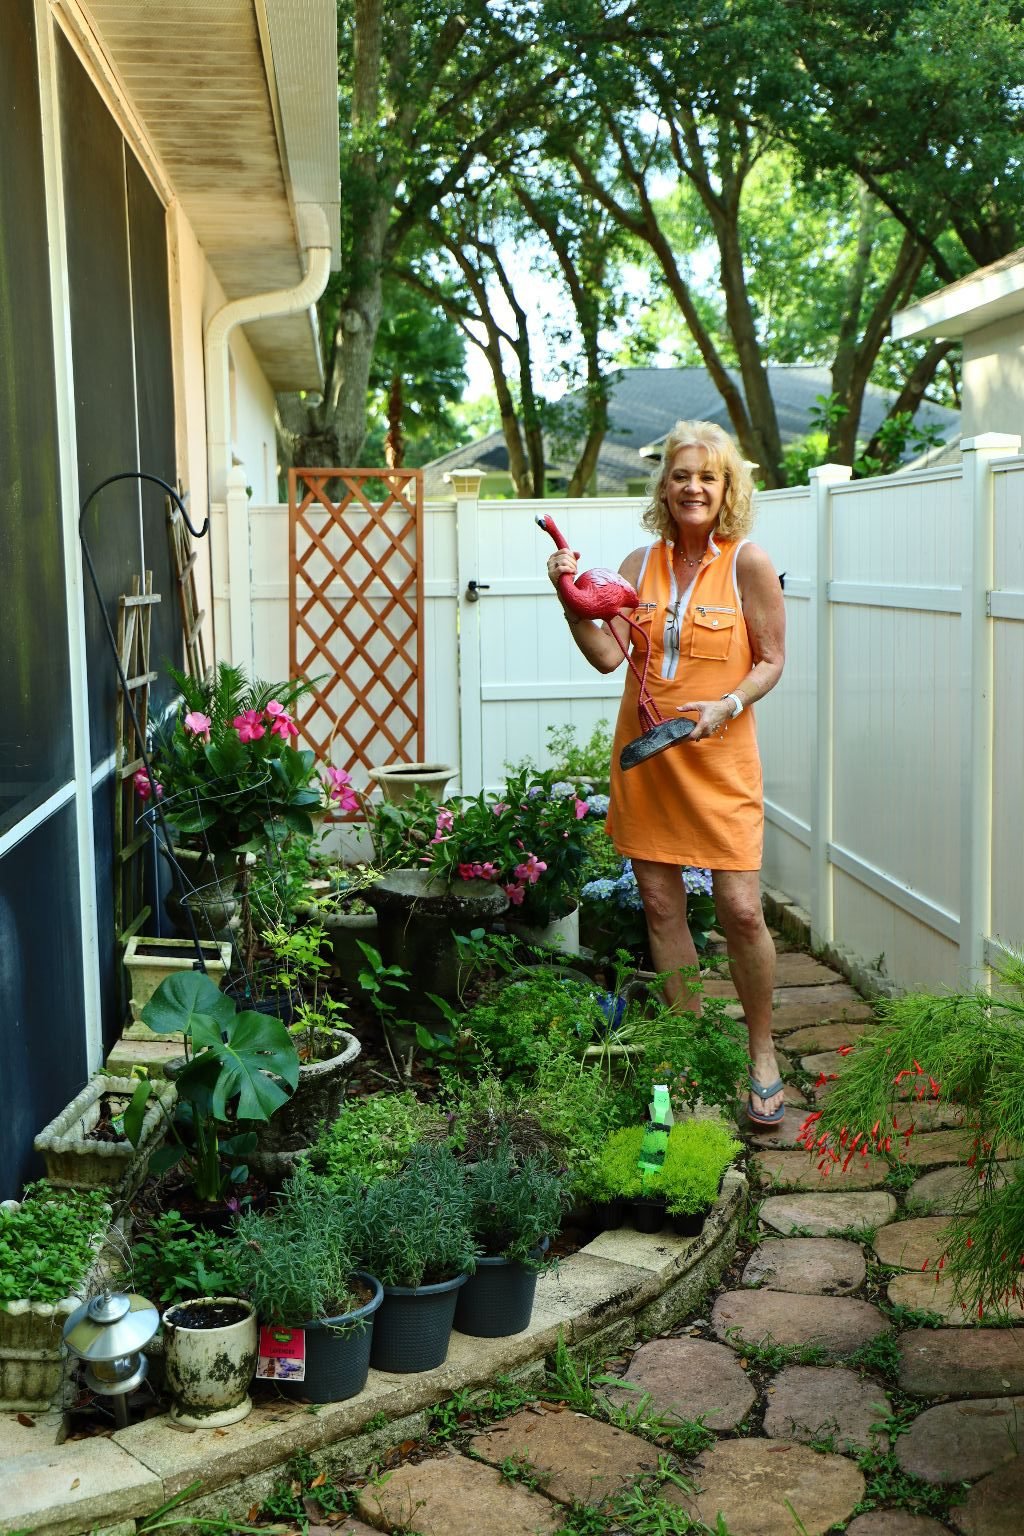
So Excited For This Redo
—————————————————————
I LOVE MY Herb Garden

Previous Version of My Herb Garden
(Notice the Air Plants on the Trellis? When I decided to redo my Herb Garden I moved them over to our Elk Horn.)
The Trellis you see above is Rotting and we Needed to Remove It
Gordon made it years ago, sorry to have to get rid of it.
———————————————————
Our Elk Horn 2017

This is a photo of our Elk Horn in 2017.
You can see how the fern’s have overtaken it in 2021 in the photo below.

I’m so tired of all these ferns taking over our garden so we removed quite a few of them and placed the Air Plants in our Elk Horn.

We Also Have Air Plants in the Nooks of our Trees,
And Going up the Chain

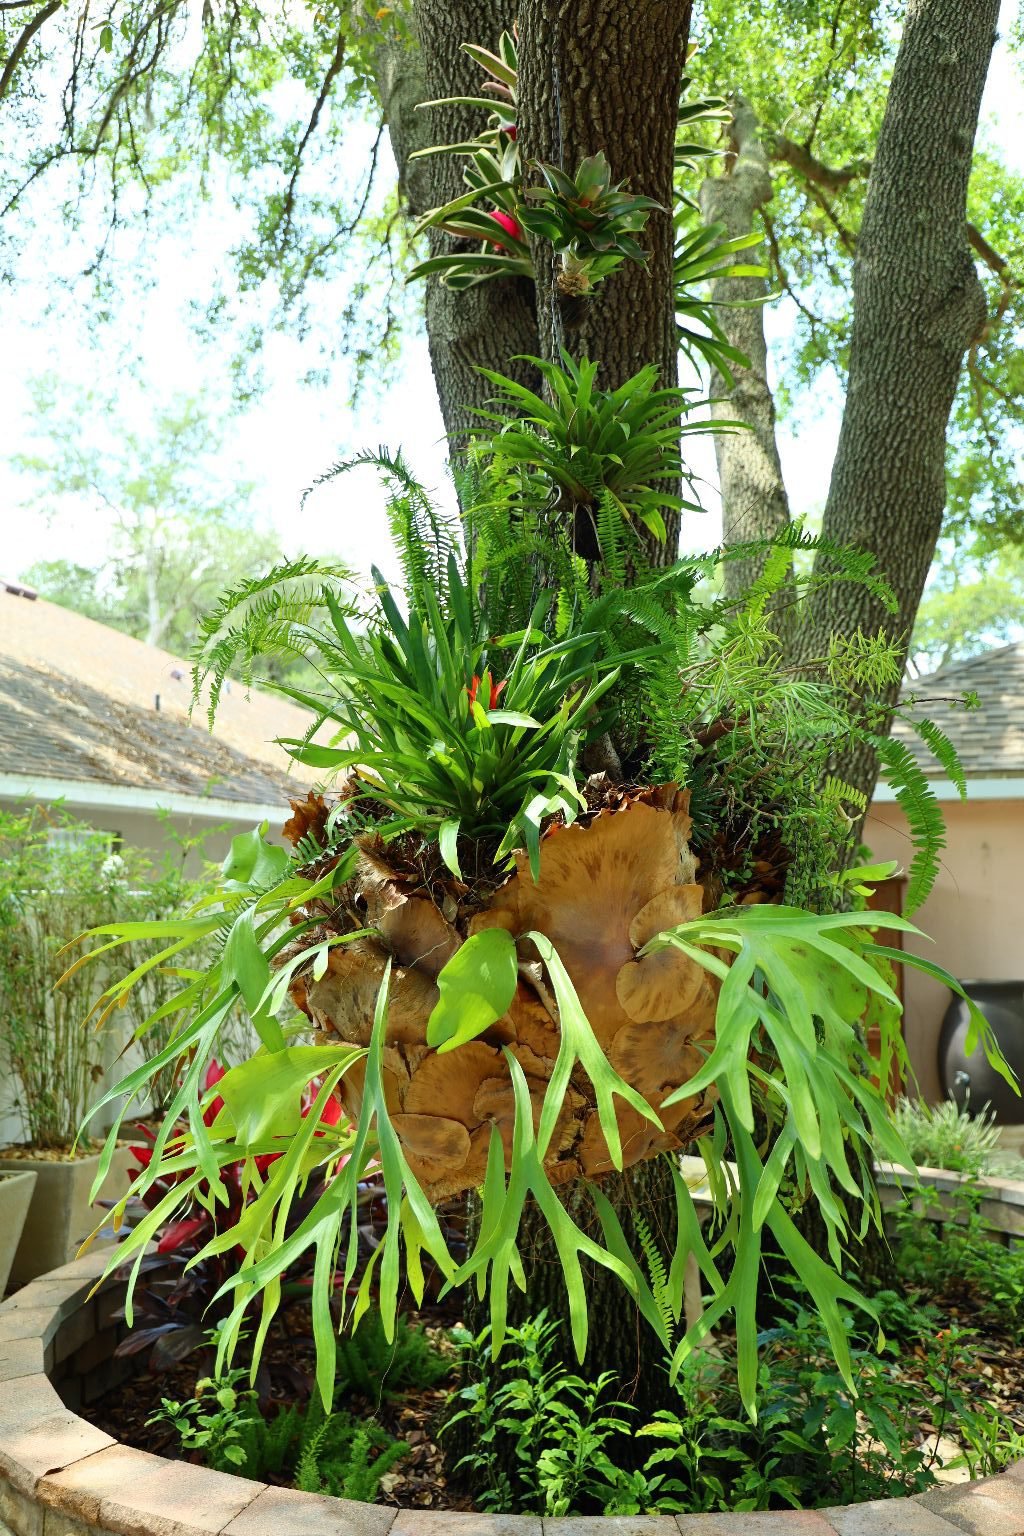
It Looks Much Better
An Elk Horn Redesign
———————————————————-


Sparky and Spooky … helping. 🙂


—————————————————————-

Just Thinking…
———————————————————–

Hanging Succulents

It’s Finished!
Cannot Wait to Bring it to You Below!


I have to have something uniquely Florida. 🙂

I love some color in my herb garden, as well as height and depth.

I Also Love PINK!

—————————————————-
Doing a Bit of Harvesting

Shiso, Our New Favorite Herb
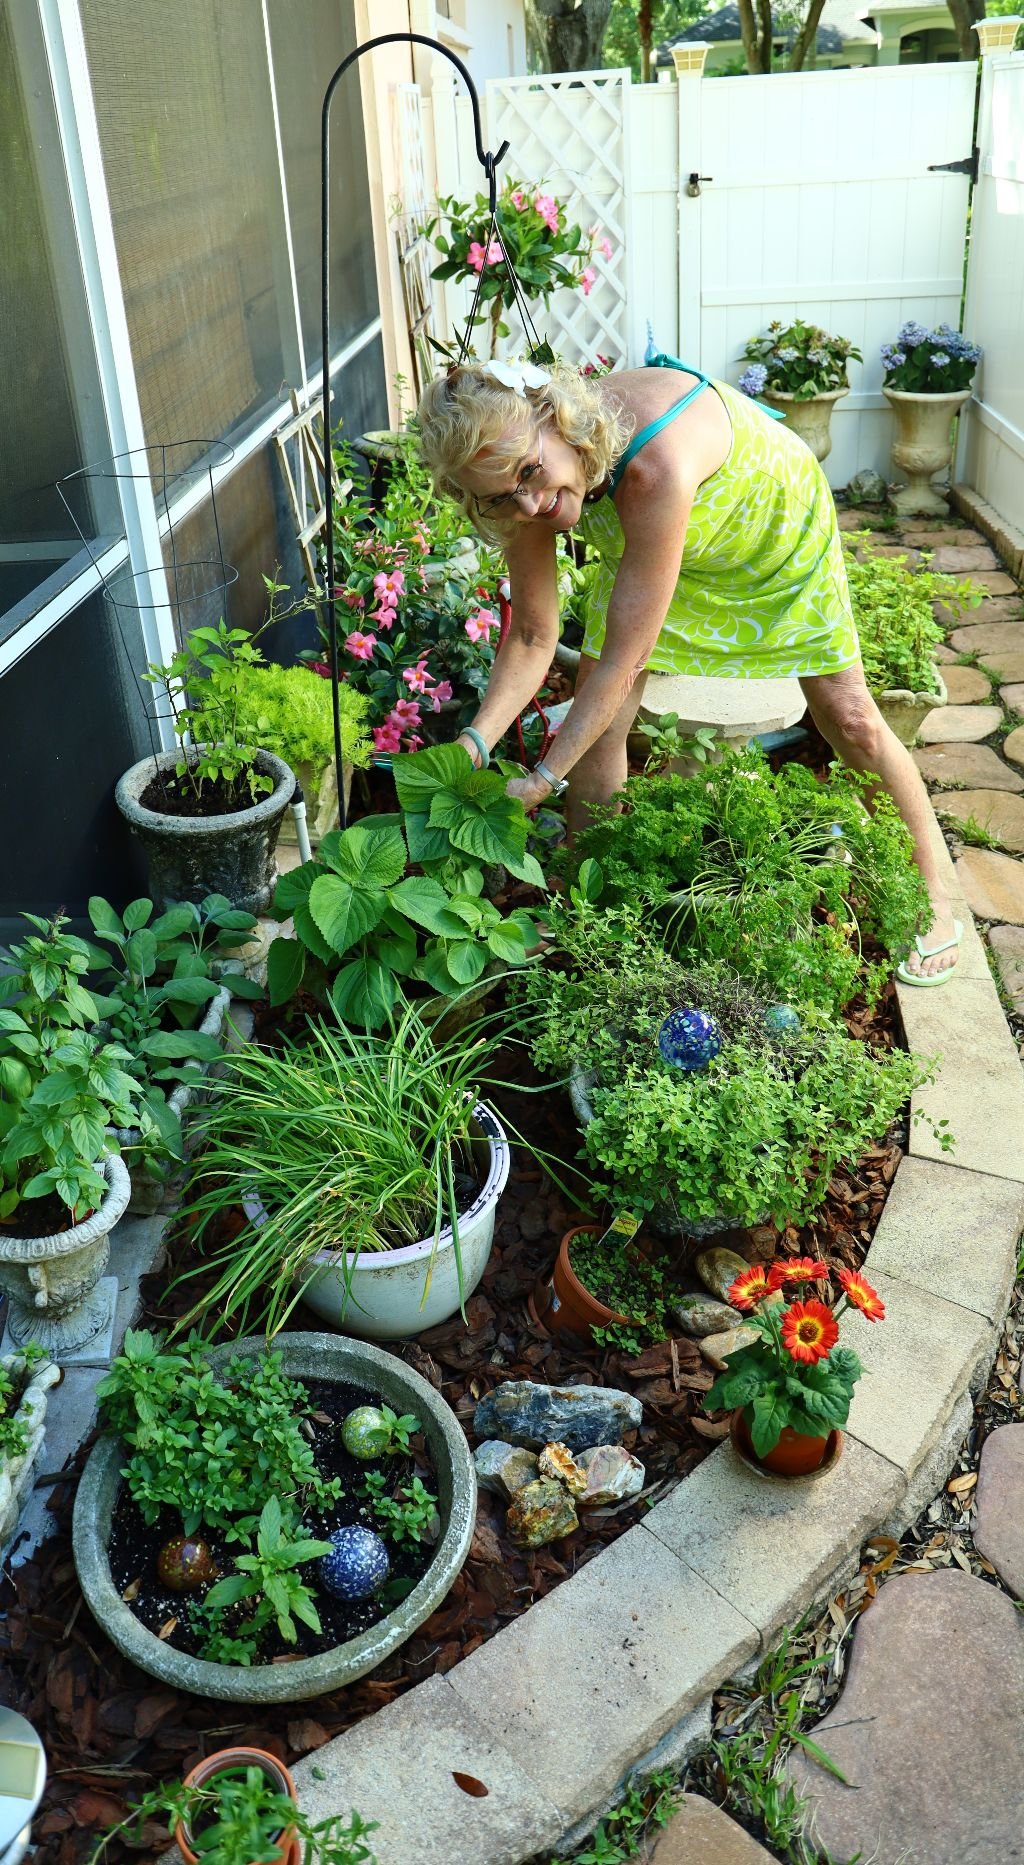
Shiso is an excellent replacement herb if you are out of Mint, Basil, Cilantro, Parsley, etc.

It is also that little green leafy paper that you find in sushi? The Japanese use the actual Shiso Herb Leaf, while we use the green paper here in America. Shiso Herb also aids in digestion.


The Imitation Shiso Leaf
The Japanese also use the Shiso Leaf to wrap rice and sushi in, roll it up, and eat it.
Sounds good! We hope to try doing that soon.
————————————————————


Just Cutting Some Shiso
————————————————————
Gift of Shiso For Our Kids


And a few other things.
——————————————————————-

Green Tea in the Herb Garden


I drink a lot of Green Tea
My Incense, and my little fake Lizard

Reflecting in My Herb Garden
————————————————————-
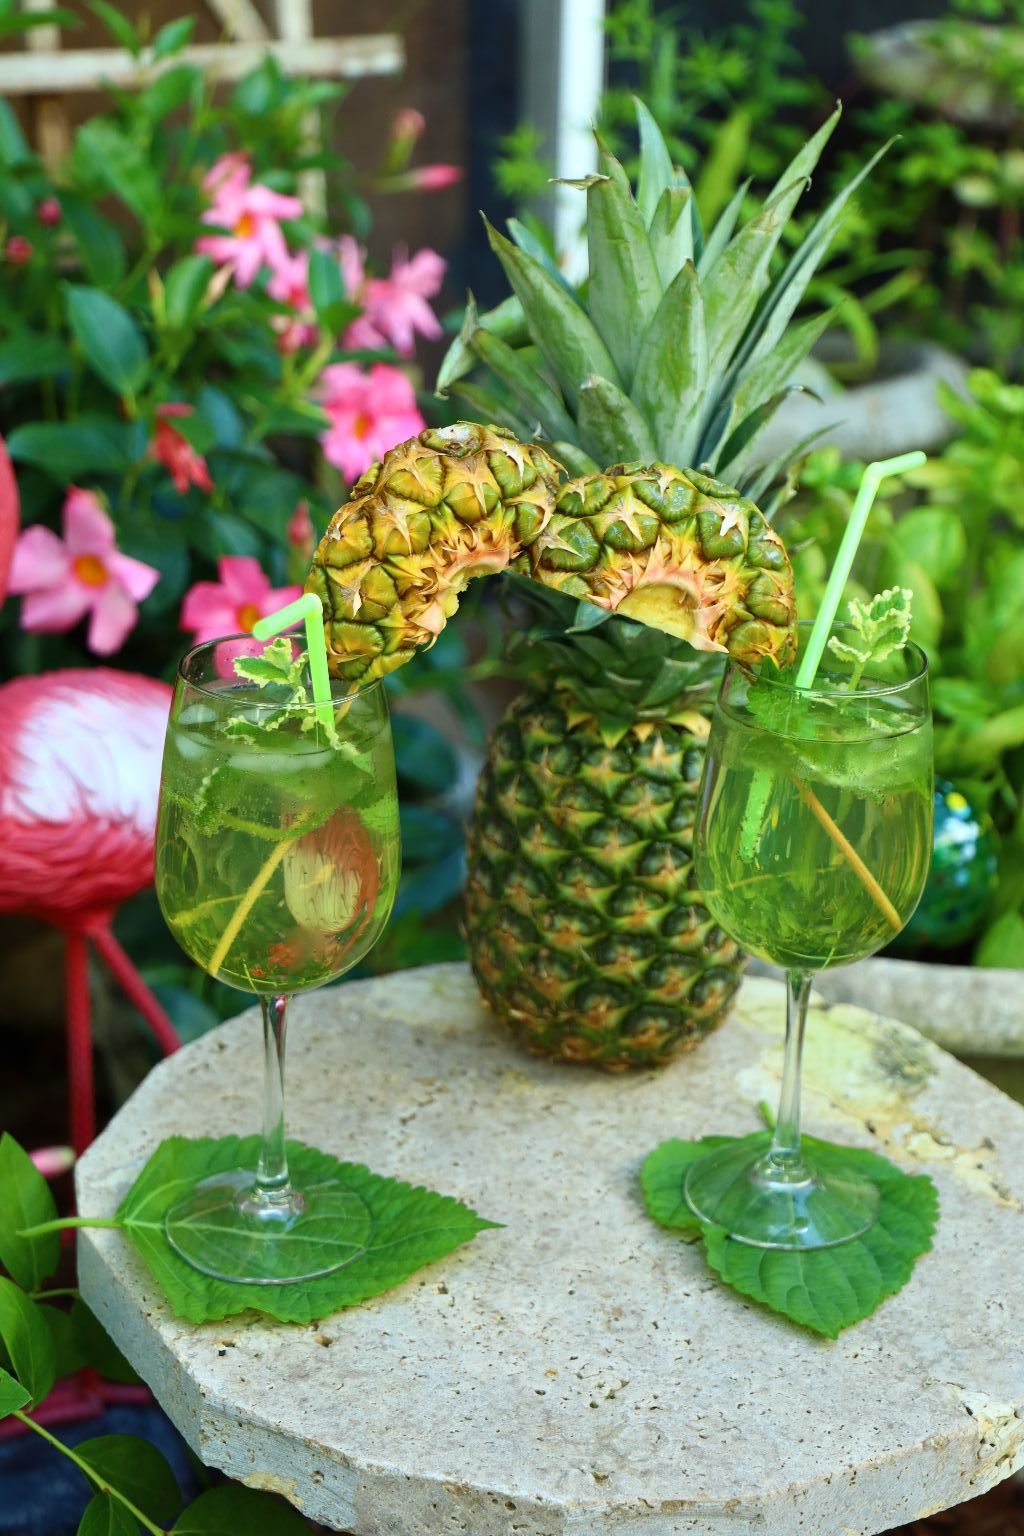

Enjoying Our Shiso/Pineapple/Pineapple Herb Cocktail
Check Out Our:

For the Recipe
————————————————————

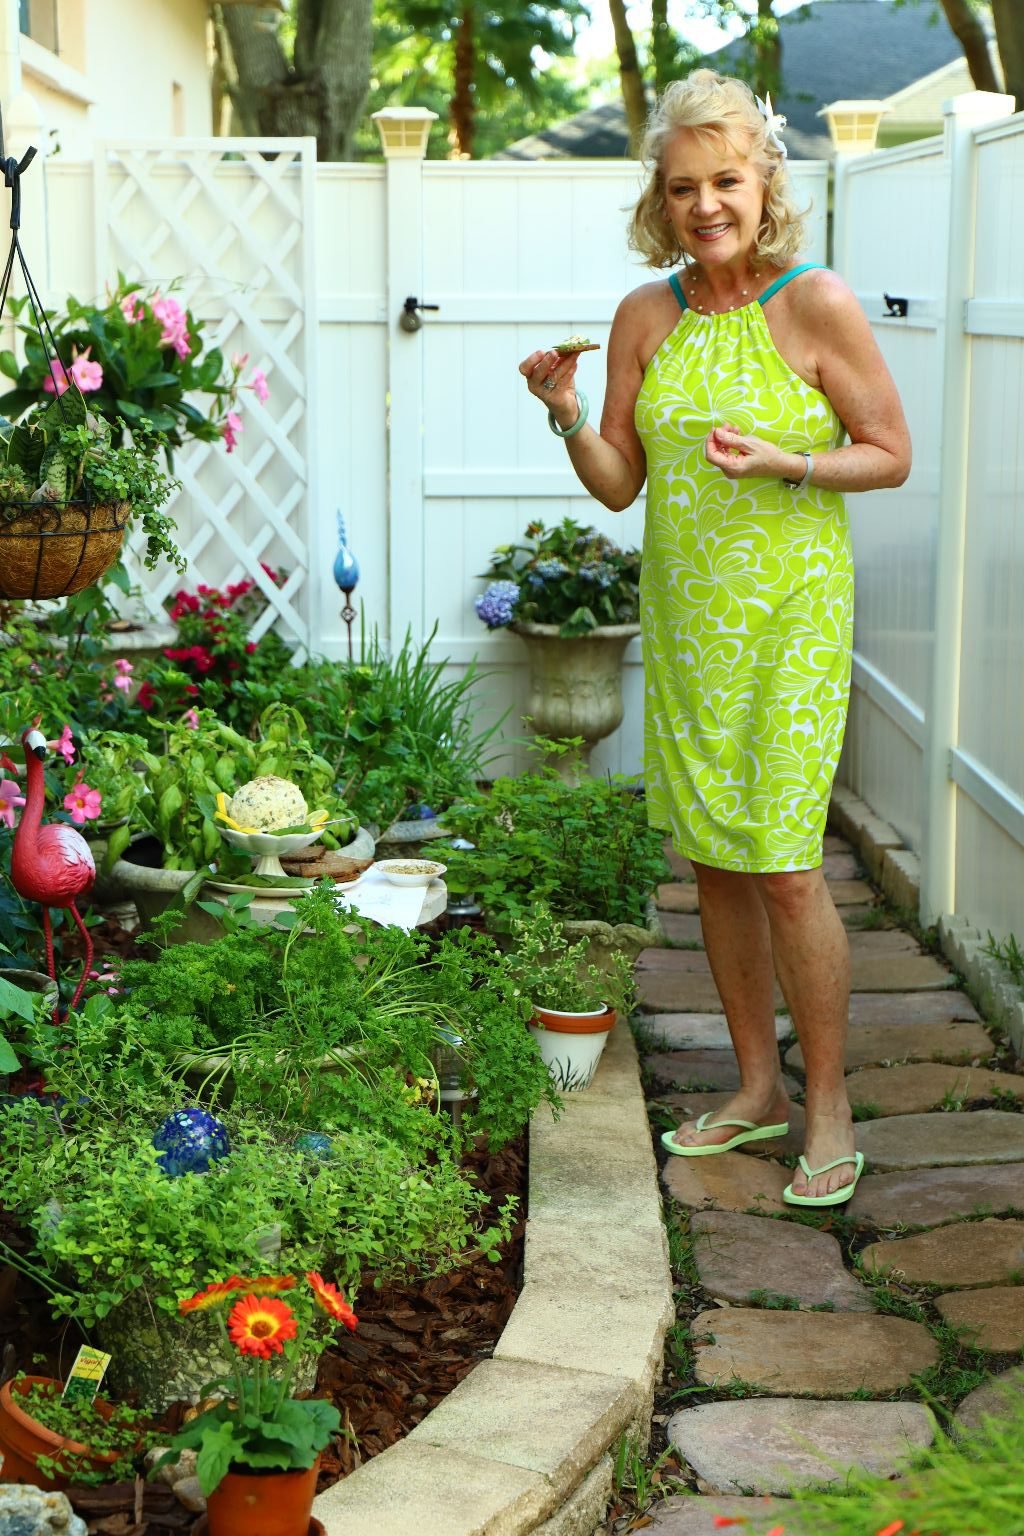
Our Herbal, Lemon and Nut Cheeseball
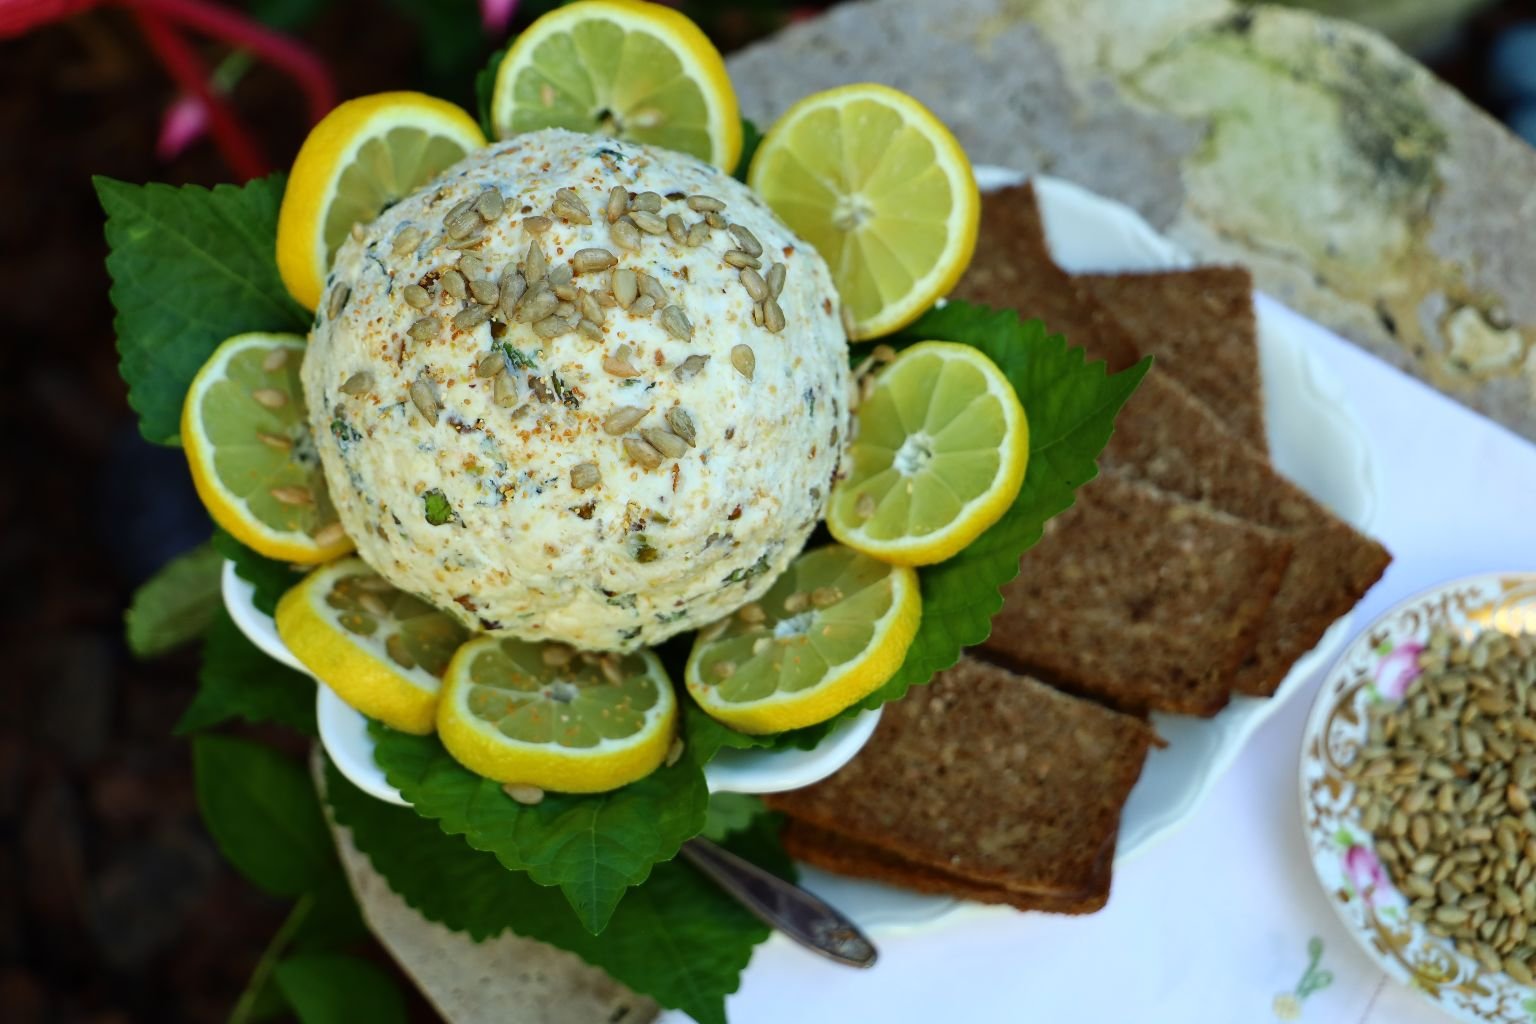
Served on Sunflower Bread on top of Shiso Leaves, and a sprinkling of Sunflower Seeds

A Beautiful Herb Garden Appetizer


(Recipe Down Below)
————————————————————–


Our Shiso Garden Pho

——————————————————————-
Enhancing Store-Bought Pho
This is a great way to use just a few vegetables and seasonings to make store-bought Pho absolutely amazing!


The ingredients below are for ONE store-bought Pho soup
Ingredients:
1 Pho Soup
2 Green Onions – sliced thinly
1 1/2 Baby Bella Mushrooms – sliced thinly
1/4 Red Bell Pepper – sliced into small diced size pieces
1/2 tsp. Turmeric Powder
1 Tbsp. Sesame Oil
1 tsp. Roasted or Black Sesame Seeds
Garnish:
Shiso Leaves and or Small Sheets of Seaweed or Nori
———————————————————-


Boil enough water for the Pho soup as per the soup’s directions. While your water is boiling, add the seasoning and vegetable packets to the soup’s bowl as shown.

Slice your Green Onions, Mushrooms, and Red Bell Peppers while waiting for your boiling water.


We will use the original bowl and lid to help steam the Pho ingredients. When done, we will use the more decorative bowls in the picture to serve the Pho.


Add your chopped vegetables, Turmeric, and Sesame Oil to the bowl. Sesame Oil has a strong taste, so use it sparingly if you are not used to the taste. We love it, so we actually use more than what I annotated in this recipe’s ingredients. When your water is boiling, add just a little more above the line in the bowl to ensure all the ingredients are submerged. Place the lid tightly to seal the bowl to allow the ingredients to cook. This will take a little longer than directed as we have added more than the original ingredients. I let it sit for about 8-10 min.

When cooked, pour your Pho into the decorative bowl and garnish with the seaweed and Shiso leaves as shown. I also added more Sesame Seeds. Shiso leaves are what Japanese sushi chef’s added to their sushi to help with any stomach disagreements their patrons might have due to eating their sometimes not so fresh fish due to its healing properties. Here in the U.S., the leaf was replaced with a small piece of plastic with the same zig-zag cuts as seen on the top edge of the Shiso leaf. The leaf has more to offer health wise than its curing stomach ailments. Shiso leaves have anti-inflammatory properties and are loaded with anti-oxidants, the leaves are a great source of calcium, potassium, iron, vitamins A, B2 and C, which provide benefits for cardiovascular health, bones and eyes.. Tea can be made from the leaves and stems, which Asian countries use as a natural allergy, cough or flu medicines.

Enjoying Pho in the Herb Garden

————————————————————–

Me, Always Gathering Herbs
(All Recipes Down Below)
————————————————————
A Side Project Redo ‘The Before’


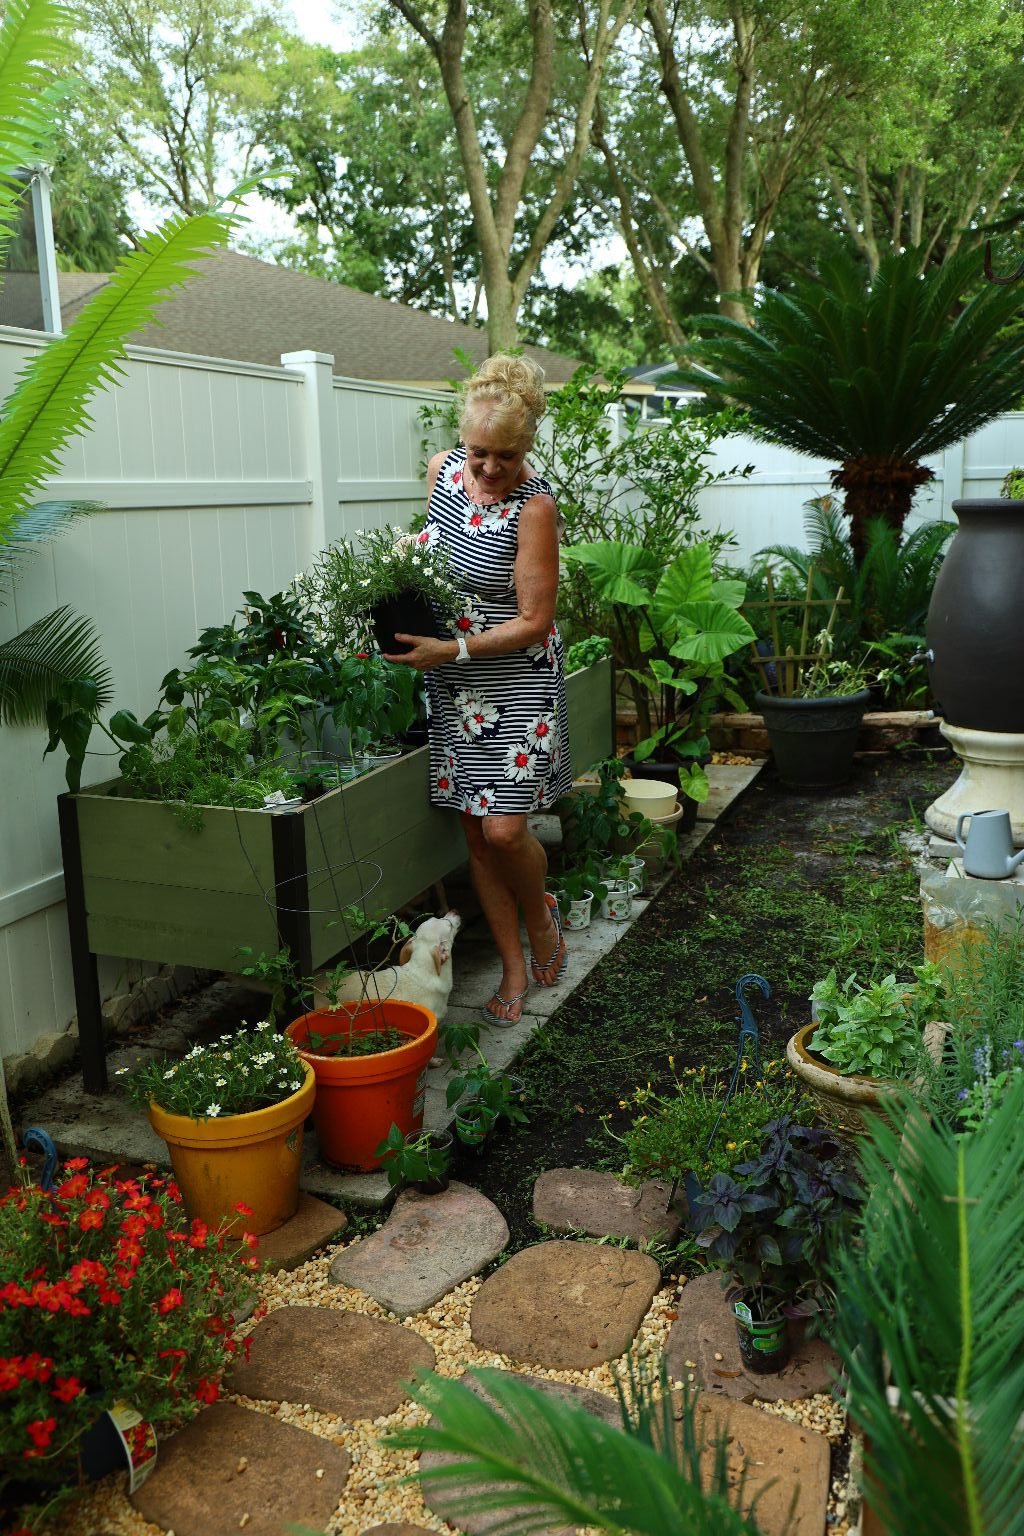
————————————————————
A Side Project Redo ‘After’


It’s Coming Together Beautifully
(This section of our backyard is connected to my herb garden. This is the extension.)


Basil and Sweet Peppers
(With my little Lady Bug my old friend Trish gave me.)

Peppers, Purple Basil…
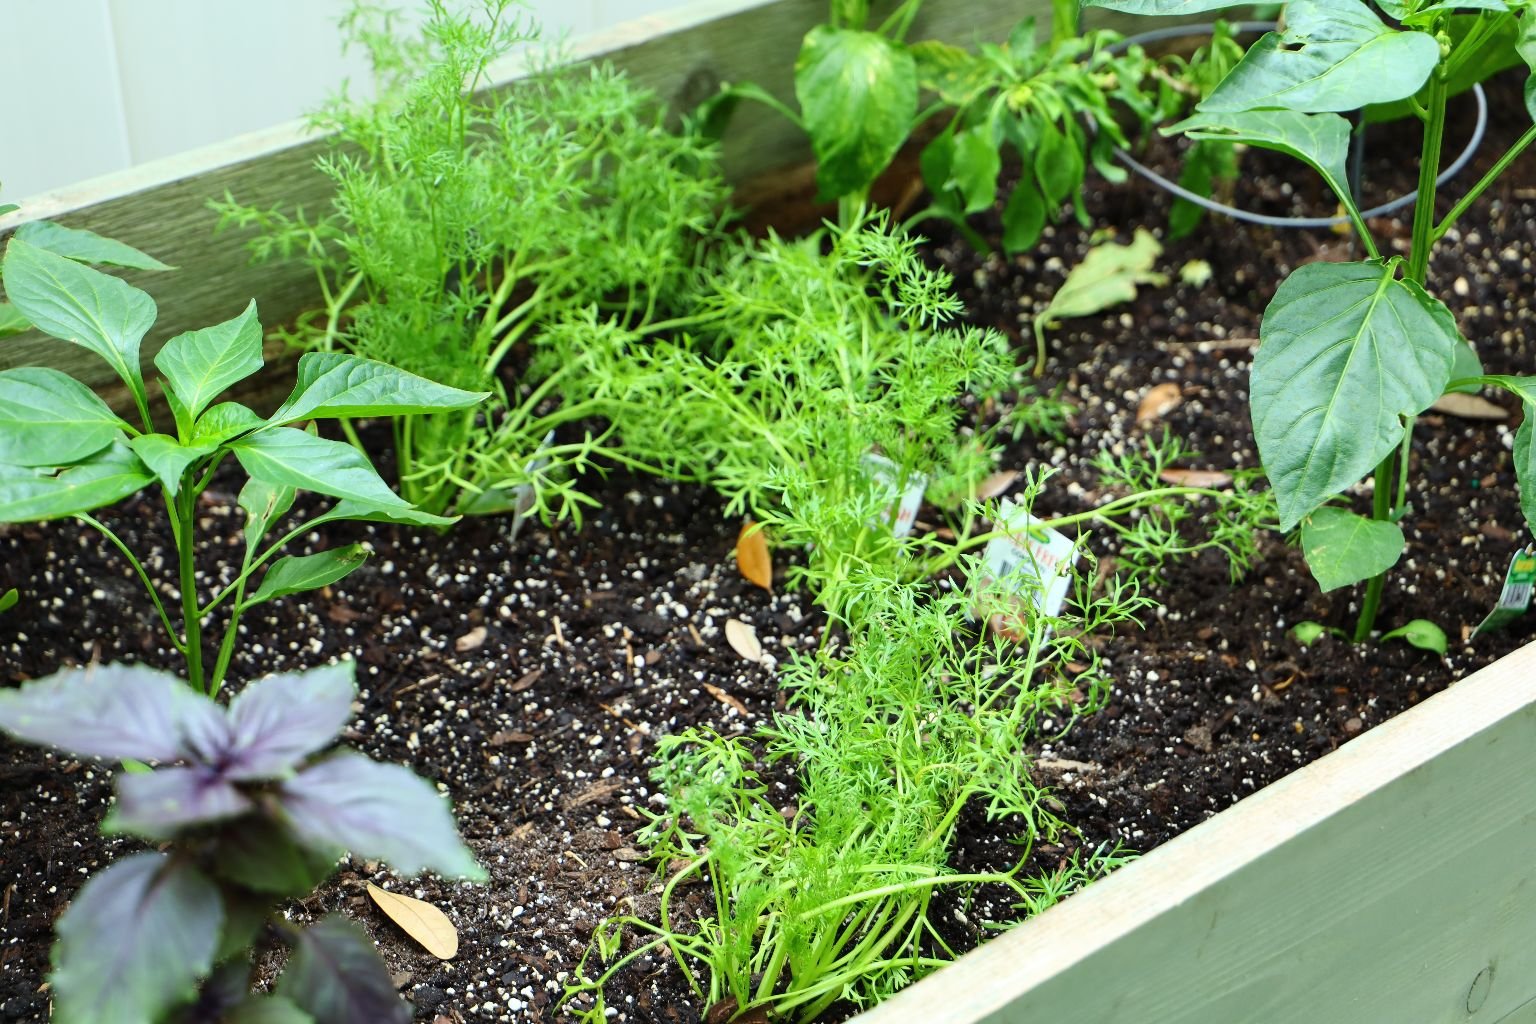

Cilantro Confetti, and Colorful Bell Peppers Coming Up

I love this beautiful area of the side of our yard.
And, It’s all MINE!
————————————————————-


Although we did not grow these particular Bell Peppers I have pictured, I am surrounded by a growing garden that will yield them in the near future.
——————————————————————-

Our Bell Pepper Garden Breads

Eaten With Our Julie’s Jezebel Glazed Ham and our Green Egg Omelets


(A.K.A. Green Eggs and Ham) 🙂
——————————————————————–
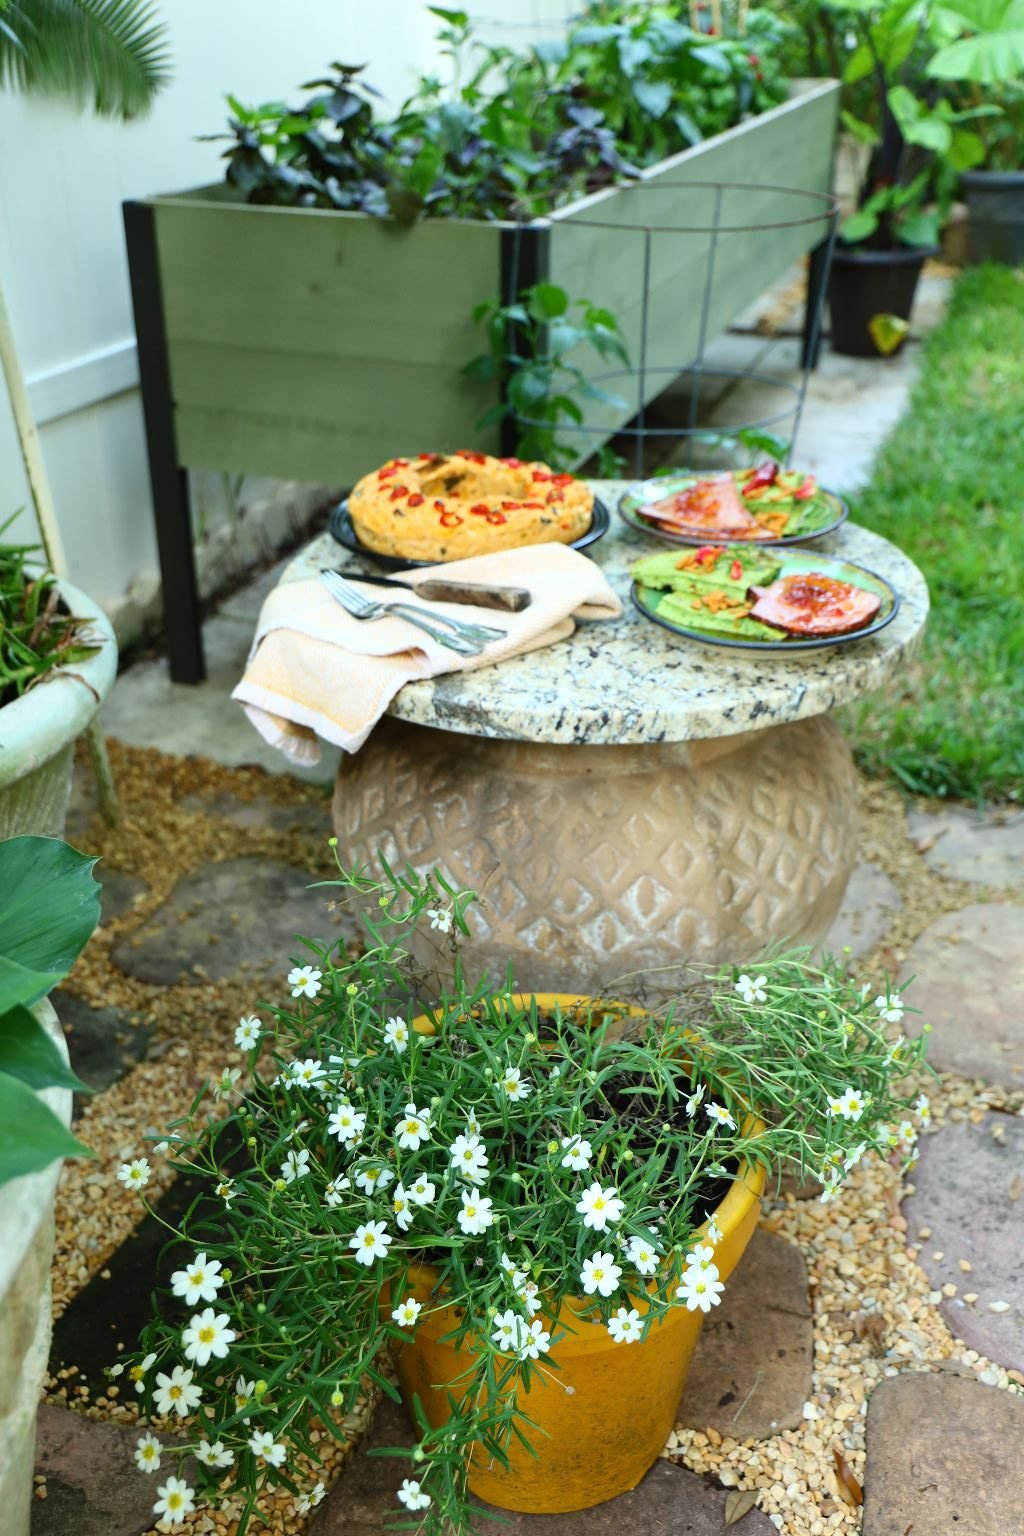
Al Fresco in the Garden
—————————————————————————
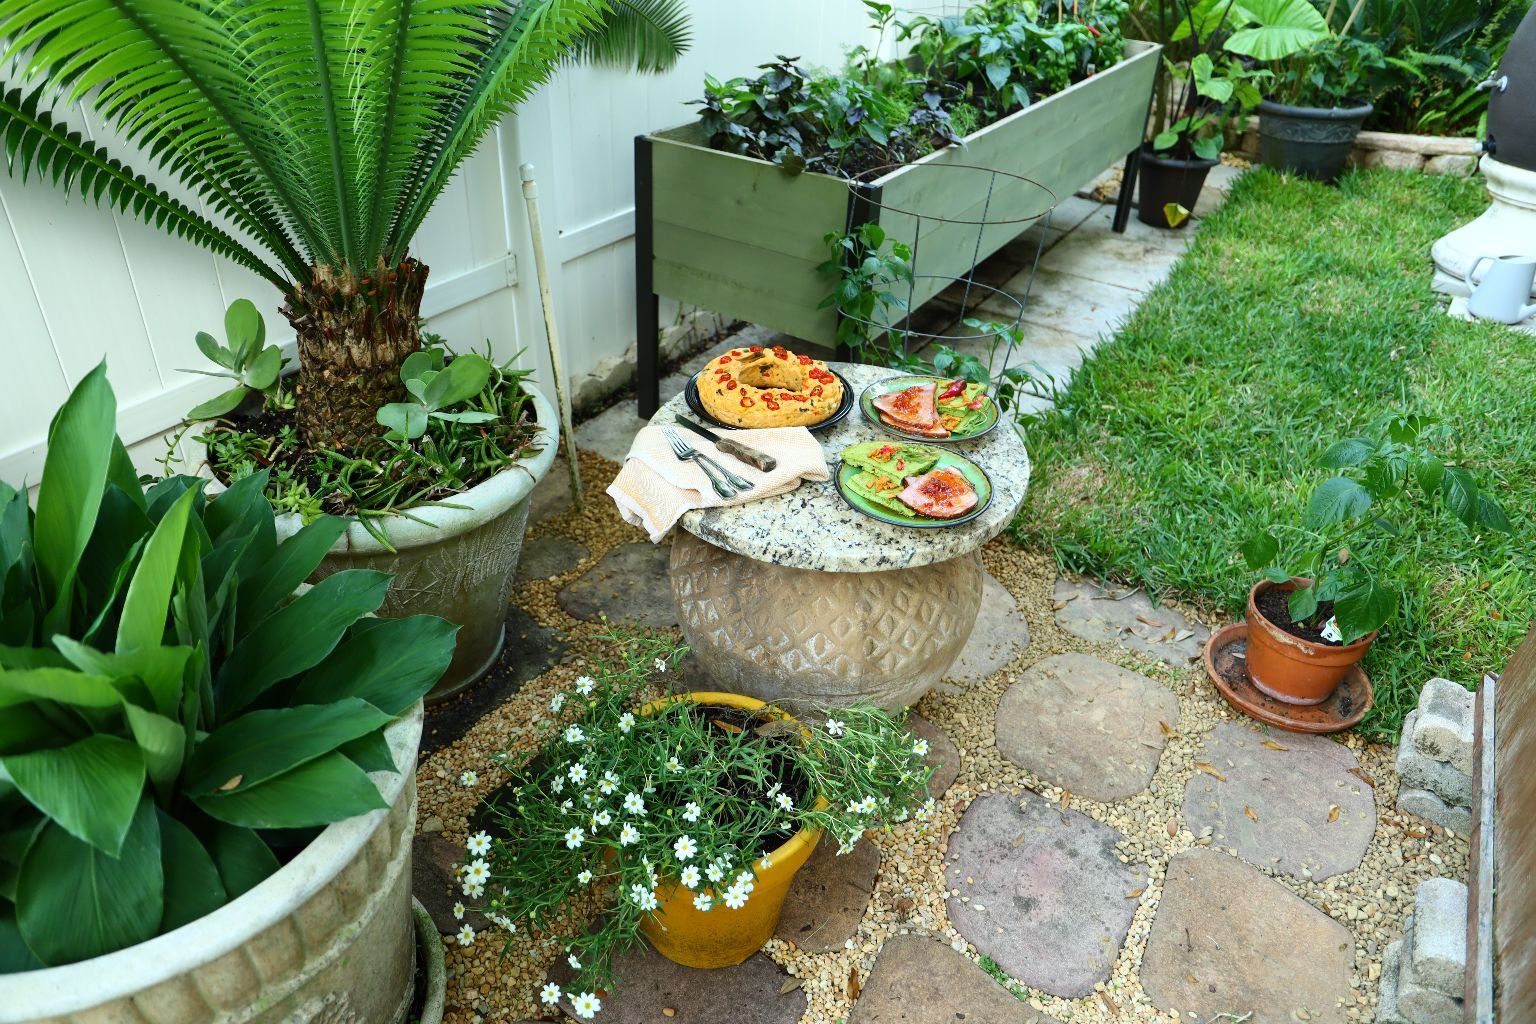
I created this little garden table by placing a granite slab over a big sturdy pot. You can buy these granite pieces from businesses that sell granite. There is usually a scrap pile of various sizes you can choose from. The one above cost us about $30.00. Nice table top, huh?

Our Delicious Green Eggs and Ham and Garden Bread Breakfast

Our Beautiful Bell Pepper Garden Bread Ring

We Also Made a Garden Grilled Cheese Here…

W/ Heirloom Tomatoes…

(See How We Did It Down Below)
(All Recipes Down Below)
—————————————————————-


We Also Have Herb Garden Recipes for Dinner

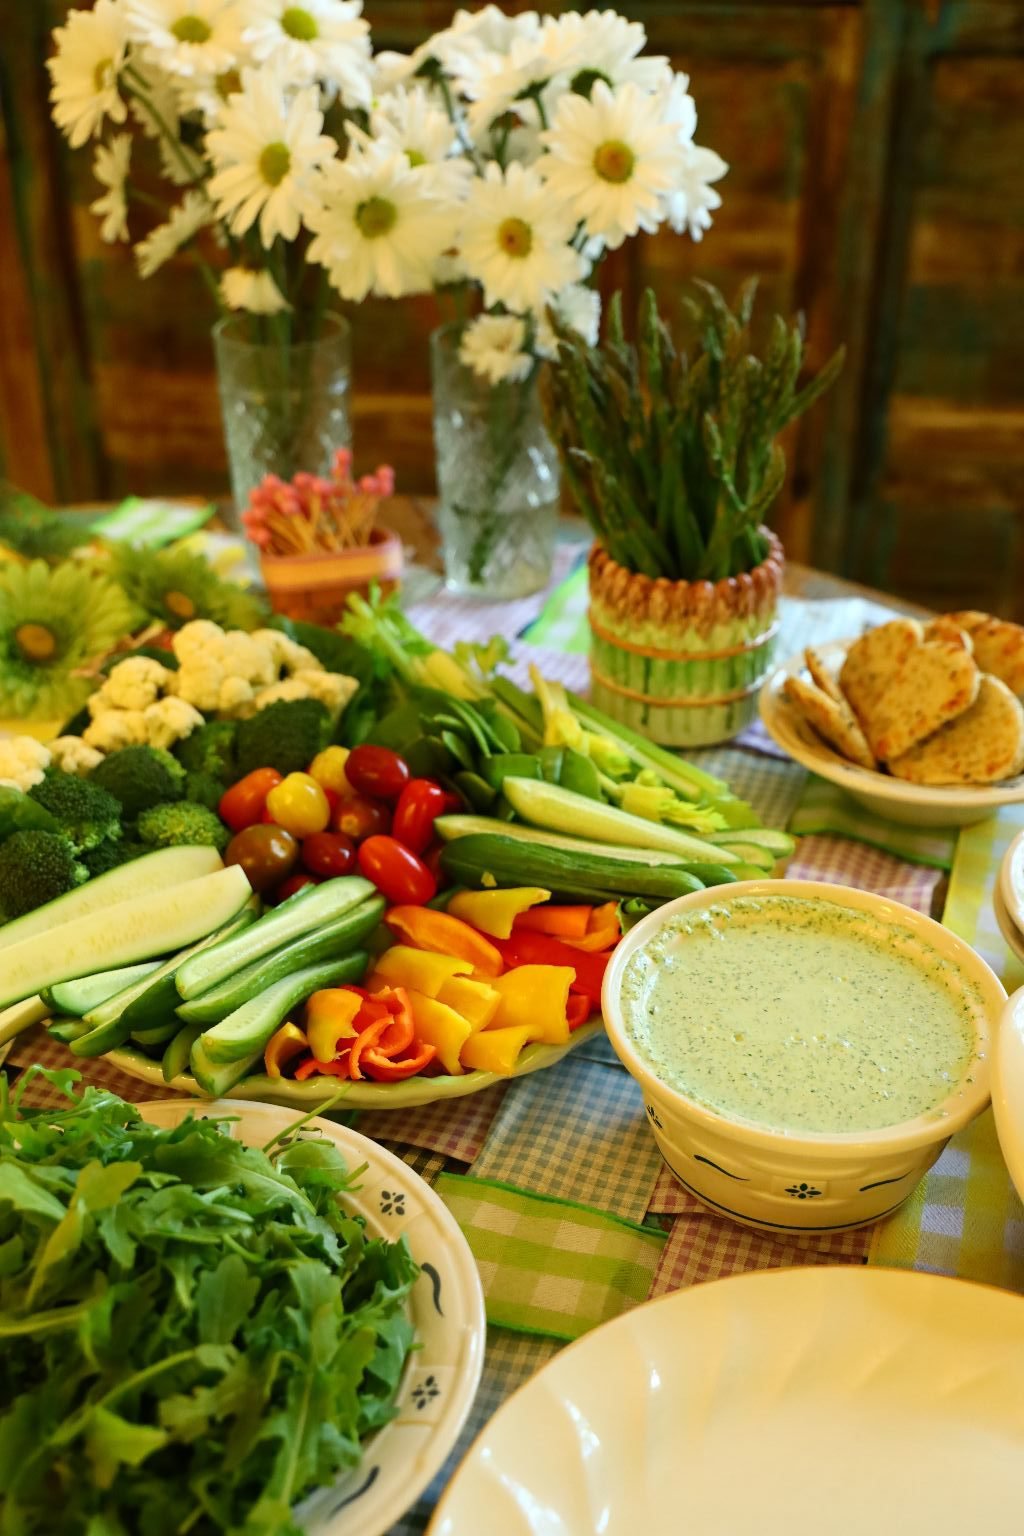
We made an Herb Sauce with Peas for our Red Lintel and Quinoa Pasta…

…we also made an Herb Dip for our Veggies

Our Delicious Herb Dip

Our Herb Sauce with Peas Eaten with our Organic Pastas on a bed of Arugula
(We tried to make everything as green as possible.)
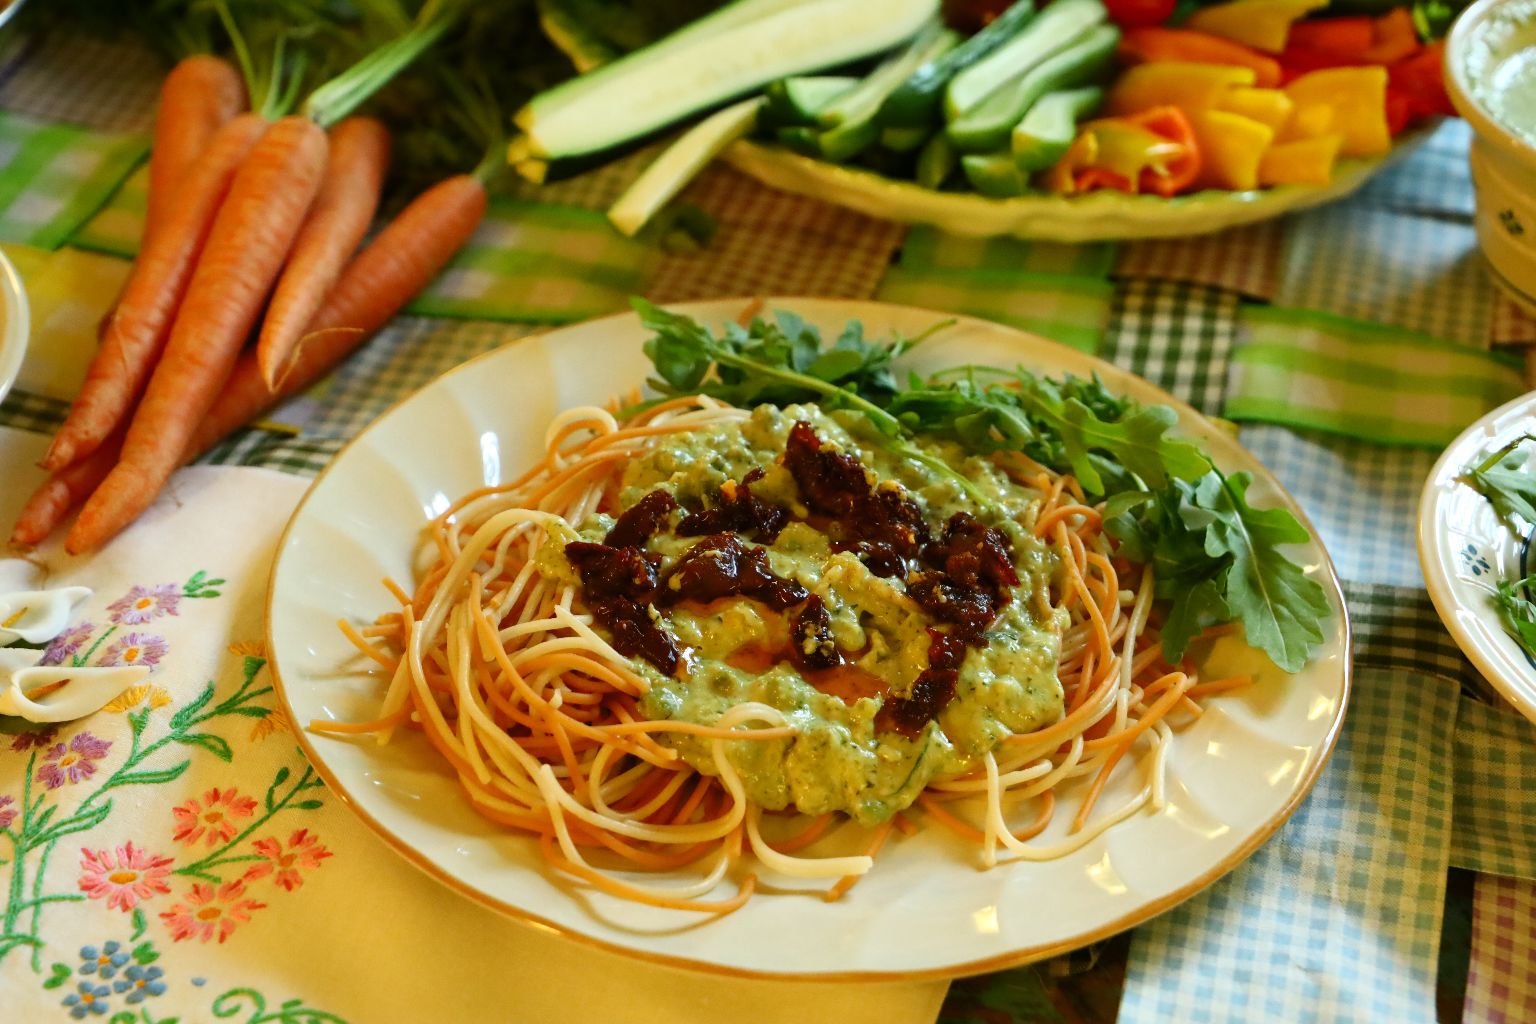
Here I added some leftover Sundried Tomatoes to Mine

Next Day Leftovers:
Pastas Blended with our Herb and Pea Sauce,
Topped with our Herb Dip

Herbal Healthy!
(Recipes Down Below)
————————————————————-

(The Beautiful Plate and Cup my Mother-In-Law Gave us. Looks very Spring.)
———————————————————
Sarajane’s Herb Book
(This book is the base and inspiration of all we are doing here.)

When my In-Laws downsized and moved from their home into an Independent Living Apartment last summer (2021), they did get rid of quite a few things. One of the casualties that she parted with was her Herb Book. I think we were the only ones what wanted it. To give you a bit of background, my Mother-In-Law is a very interesting person. She comes from class and money. Her Grandfather was a politician in Pennsylvania when she was a girl growing up. They had servants. She had her “Coming Out” ball at age 16. She grew up in privilege and class. However, she married Gordon’s father who was from a middle class background. At Milton and Sarajane’s wedding, Sarajane’s family didn’t invite the Whann family. They didn’t even tell them where the reception was to take place. The Whann’s found out, and crashed the party! 🙂
My Mother-In-Law learned to be a thrifty person, but to still be able to enjoy the riches of her youth teachings and upbringing.

This is her Herb Book
The Tabs Make No Sense
They are just Tabs to separate information.
They are not informative as to the content of what is between them.
She just used them to separate this and that.

The Herbal Society


Herbal Shampoo’s
Chamomile Tea Baths and Coolers


Herbal Butter’s
Marinated Herbal Cheese


Herbs and Spices


Recipes and Many Handwritten Notes


Books, Articles, and Bottled Herbs


Recipes and so very many Hand Written Notes

And More Recipes….

I guarantee you that my Mother-In-Law attended classes, checked out many books from the library, and even Xeroxed copies of those books she checked out in order to create this huge Herb Book of Knowledge. It is quite interesting. I was very excited when Gordon brought it home to us last summer, but I didn’t get around to looking at it until a few months ago. It is a wealth of information, just like she is.
We will be consulting this book from now on. Never overlook that very unattractive notebook that nobody wants. It just might be a source of treasure for you and yours. 🙂
——————————————————-
The Herb Garden Redo
SNAKE BITE
As I was hacking through my overgrown herb garden when I decided to start this redo, I was gathering up branches that I had cut down and placing them into our yard debris containers, that I suddenly felt this pain on my left arm. It was like a stabbing. I pretty much ignored it and kept on going. I’m used to being scratched and scraped, and pierced, and stabbed, and bruised, and bitten, so I just ignored it. When I got around to looking at it, I saw some blood. I contemplated just carrying on but I didn’t want the blood to ruin my new leather gloves so I grabbed my rag that I have with me and wiped the blood off. That is when I noticed that my wound was raised, swollen, hard, and GREEN!

My Kayak Bag and Snake Bite Kit
Although I didn’t know exactly what had bitten me, I just somehow knew it was a snake. That was when I ran inside and grabbed my kayak bag that housed my snake bite kit. I pretty much dumped the contents onto my bed in my mad dash to find it.


The instructions for the snake bite kit were minuscule!
I had to grab the magnifying glass in order to read them. Sorry the photos aren’t clear but I was doing the best that I could with a small hand held camera. I was also very nervous and worried. I realized when no venom came out of my wound that the snake wasn’t poisonous. Whew!
Teeth marks emerged later on.
I called Gordon at work and told him what happened. He came home and I felt much better. He monitored me to make sure I was o.k. I was never nauseous, or anything like that. My wound was just sore and swollen and green. It’s now a yellow/green color over a week after I was bitten.
(Casualty of working outside here in Florida.) 🙂
———————————————————–
But, continuing on….

THE PROJECT!
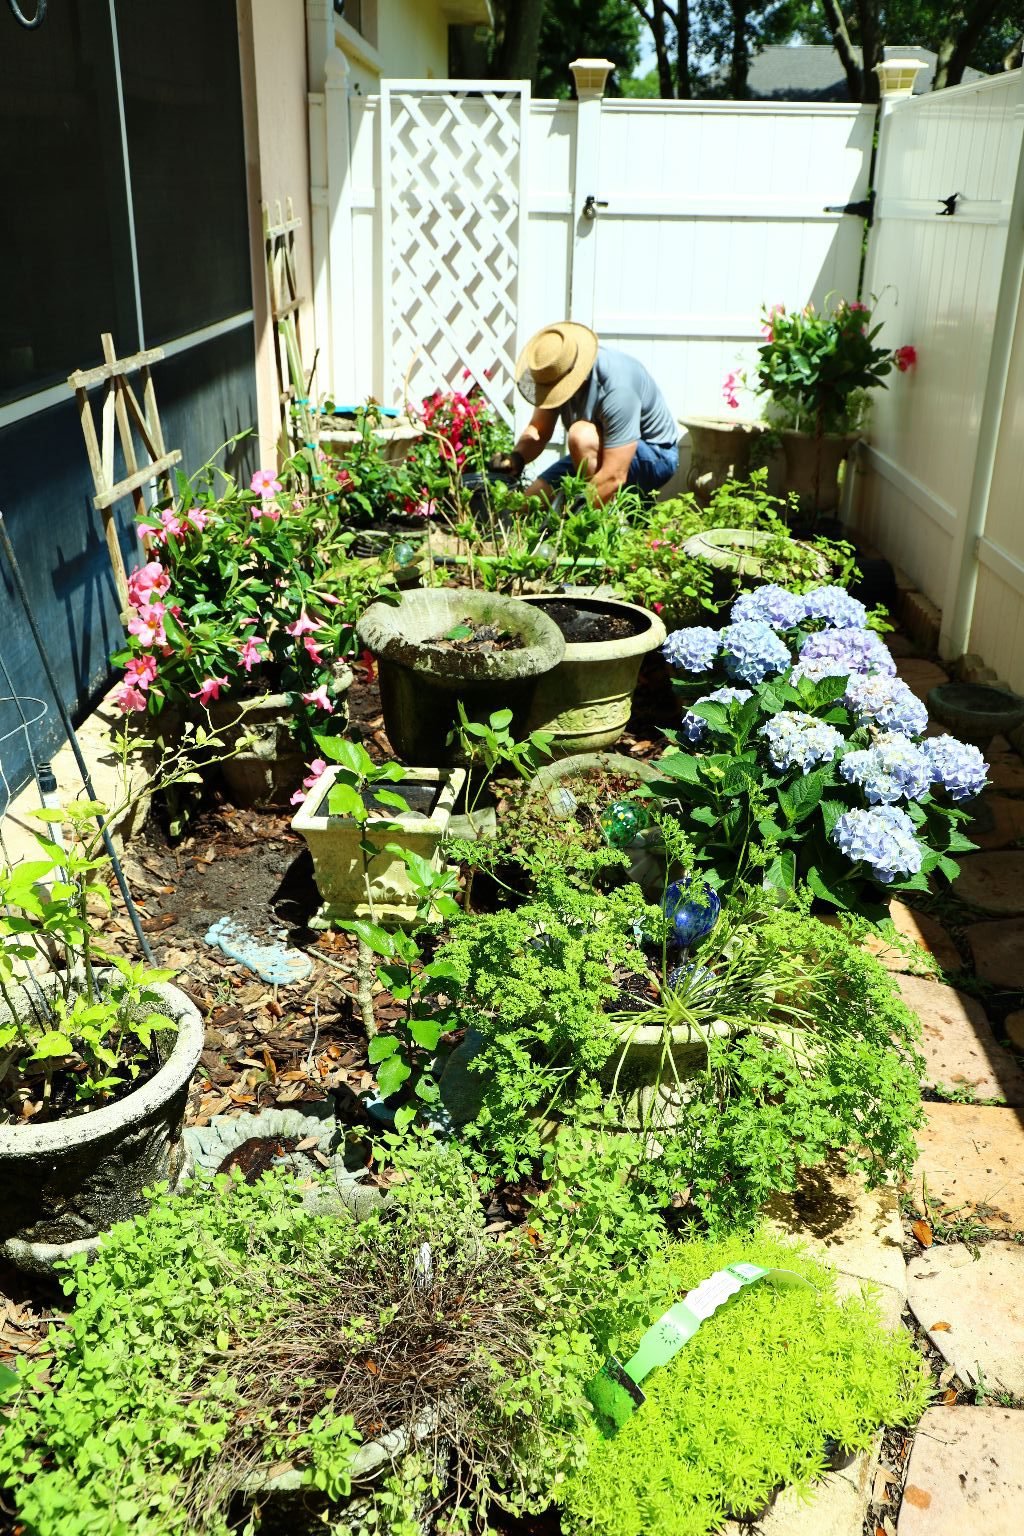

Gordon Always Helps Me Do The Heavy Lifting
—————————————————————-
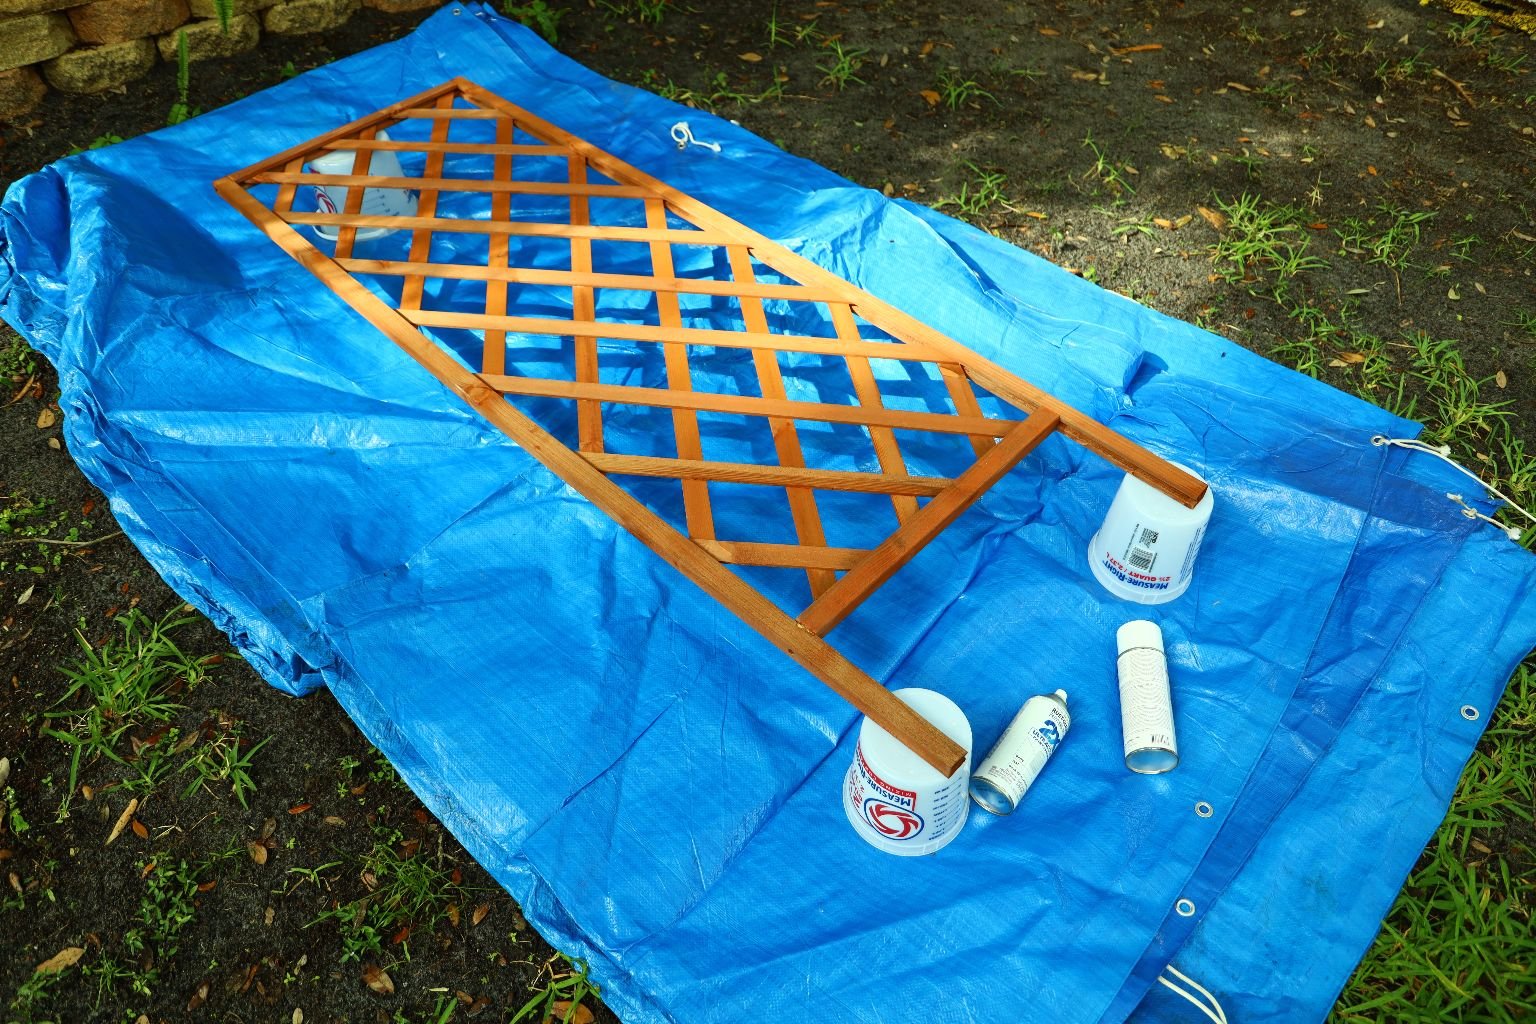

Spray Painting The Trellis’s
(I Painted Two)

My New Favorite Toy
It took about 6 cans of spray paint to do two trellis’s. And even then, I was very sparse with the paint on the sides that would be hidden against the fence and wall. My fingers were soooo sore from holding down that spray button, so…. Gordon bought me a contraption that wraps around the spray can and all I have to do is to pull the trigger. No more sore fingers. 🙂

All Done!
——————————————————————

The Corner
This was a bigger project than it looks. That small corner over there housed all the white rocks you see in the buckets below. They all had to be removed, and then Gordon washed them off for me as best as he could, and then we put them back.

——————————————————————

Before he moved the white rocks back, he placed a heavy duty trash bag to cover the area.


This will help to prevent the dirt from getting all over the rocks, and prevent any weeds to grow up through them.
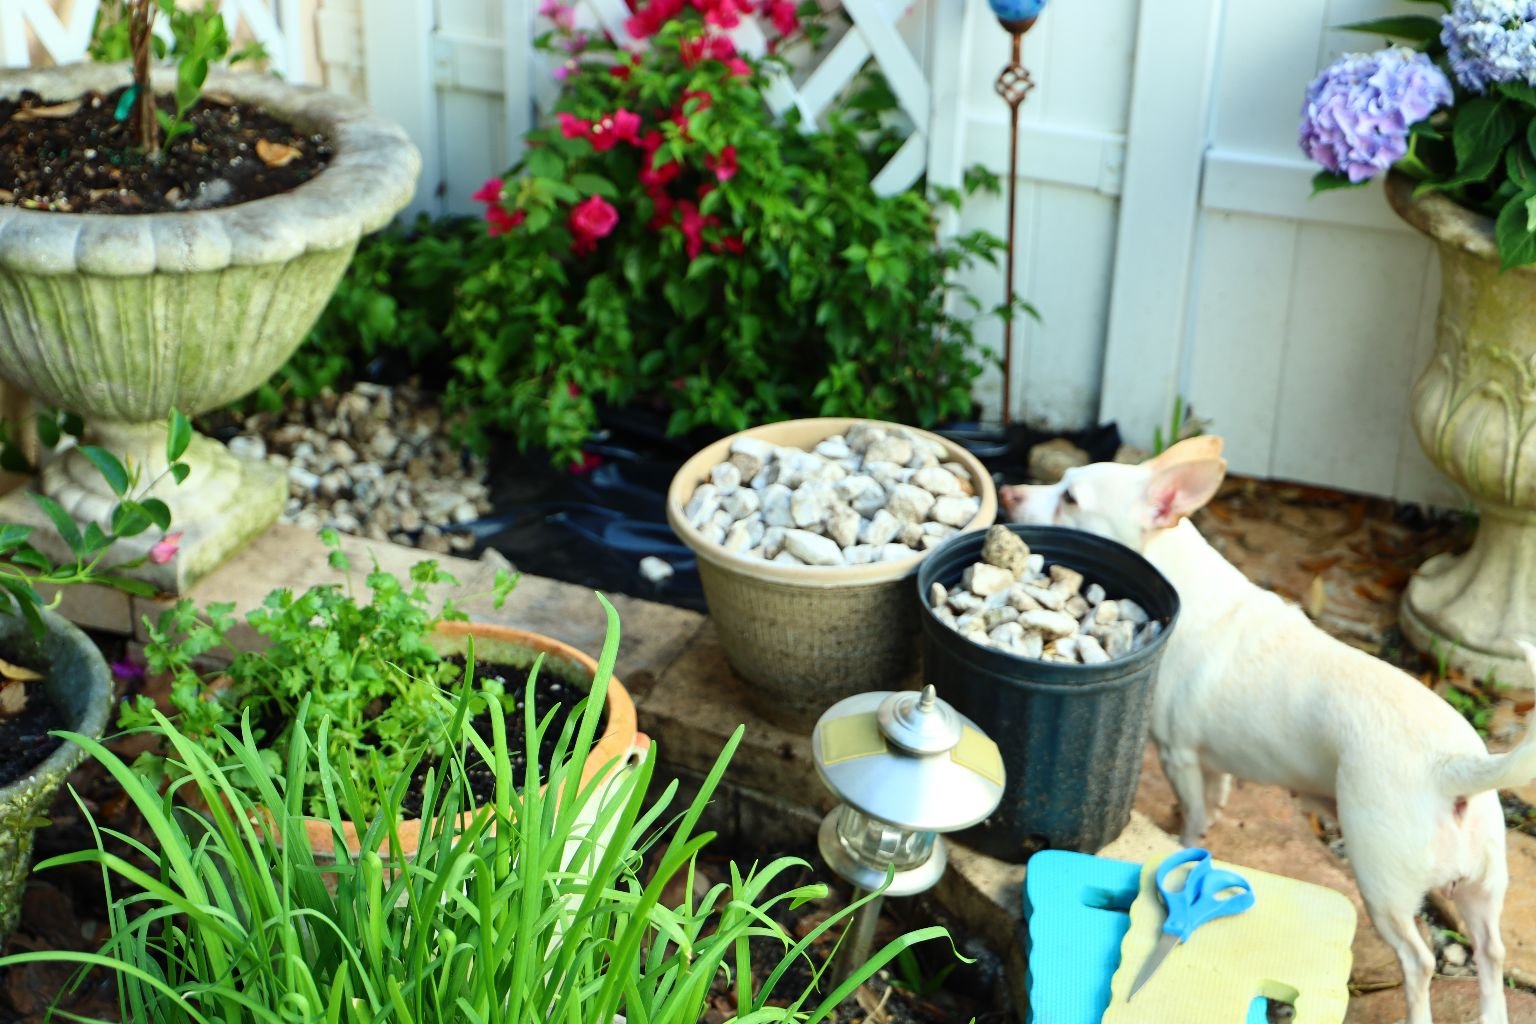

Both trellis’s are firmly planted into the corner, and all the Bougainvillea’s planted.
One is a bit hard to see but as it grows up the trellis it will be beautiful.
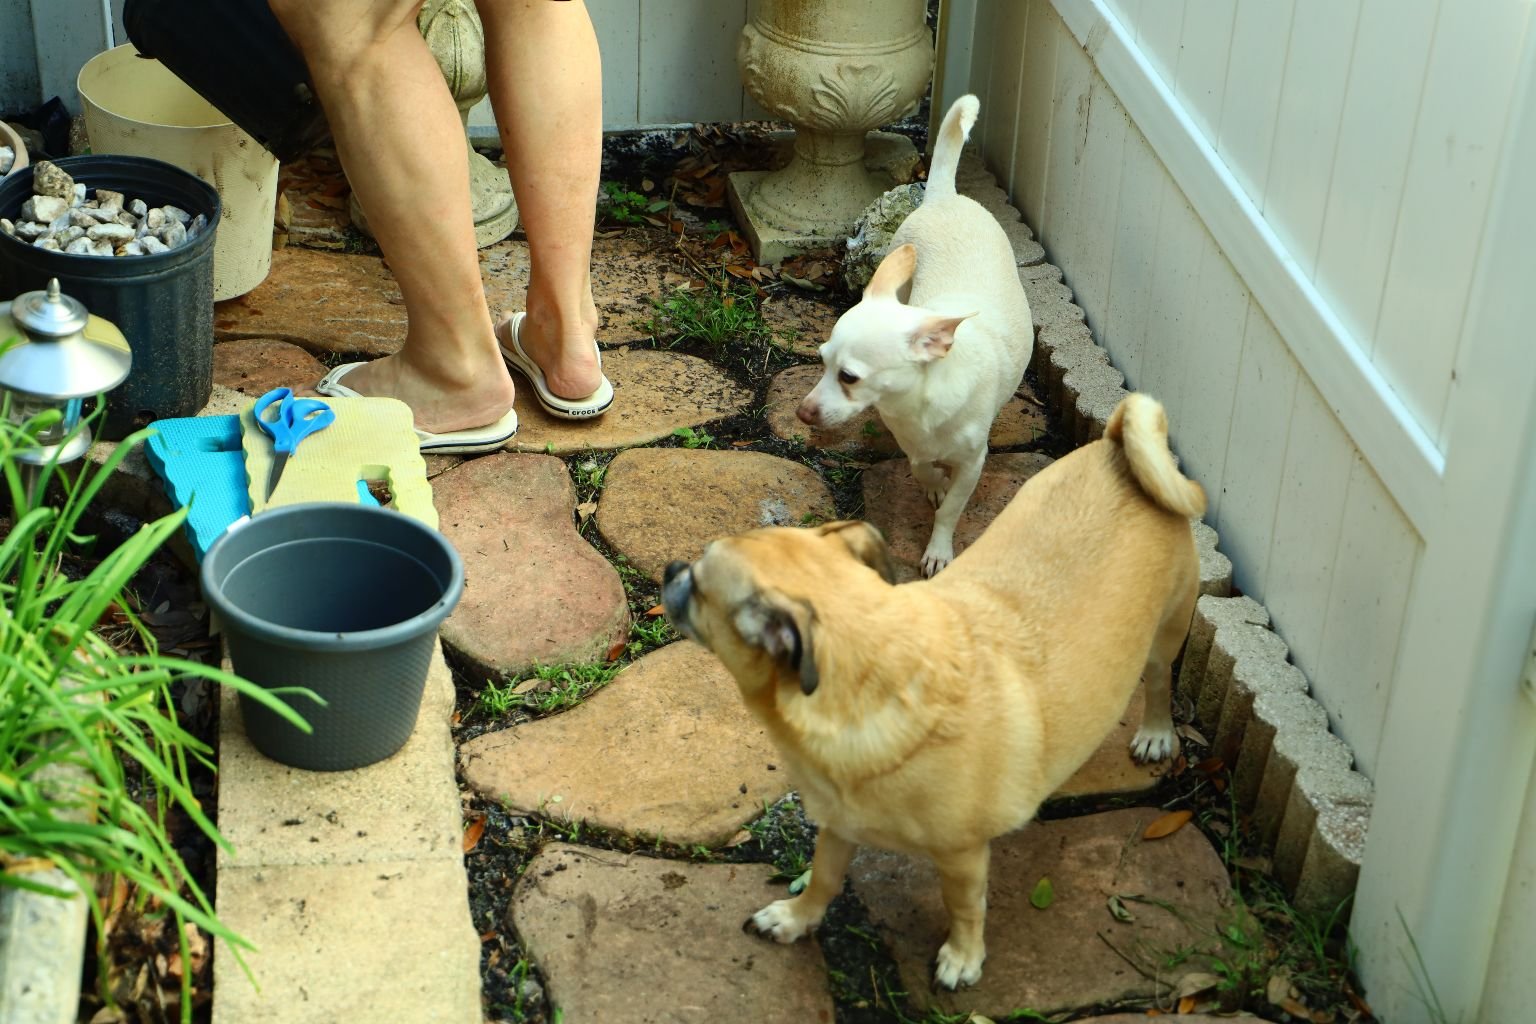

Always Curious….

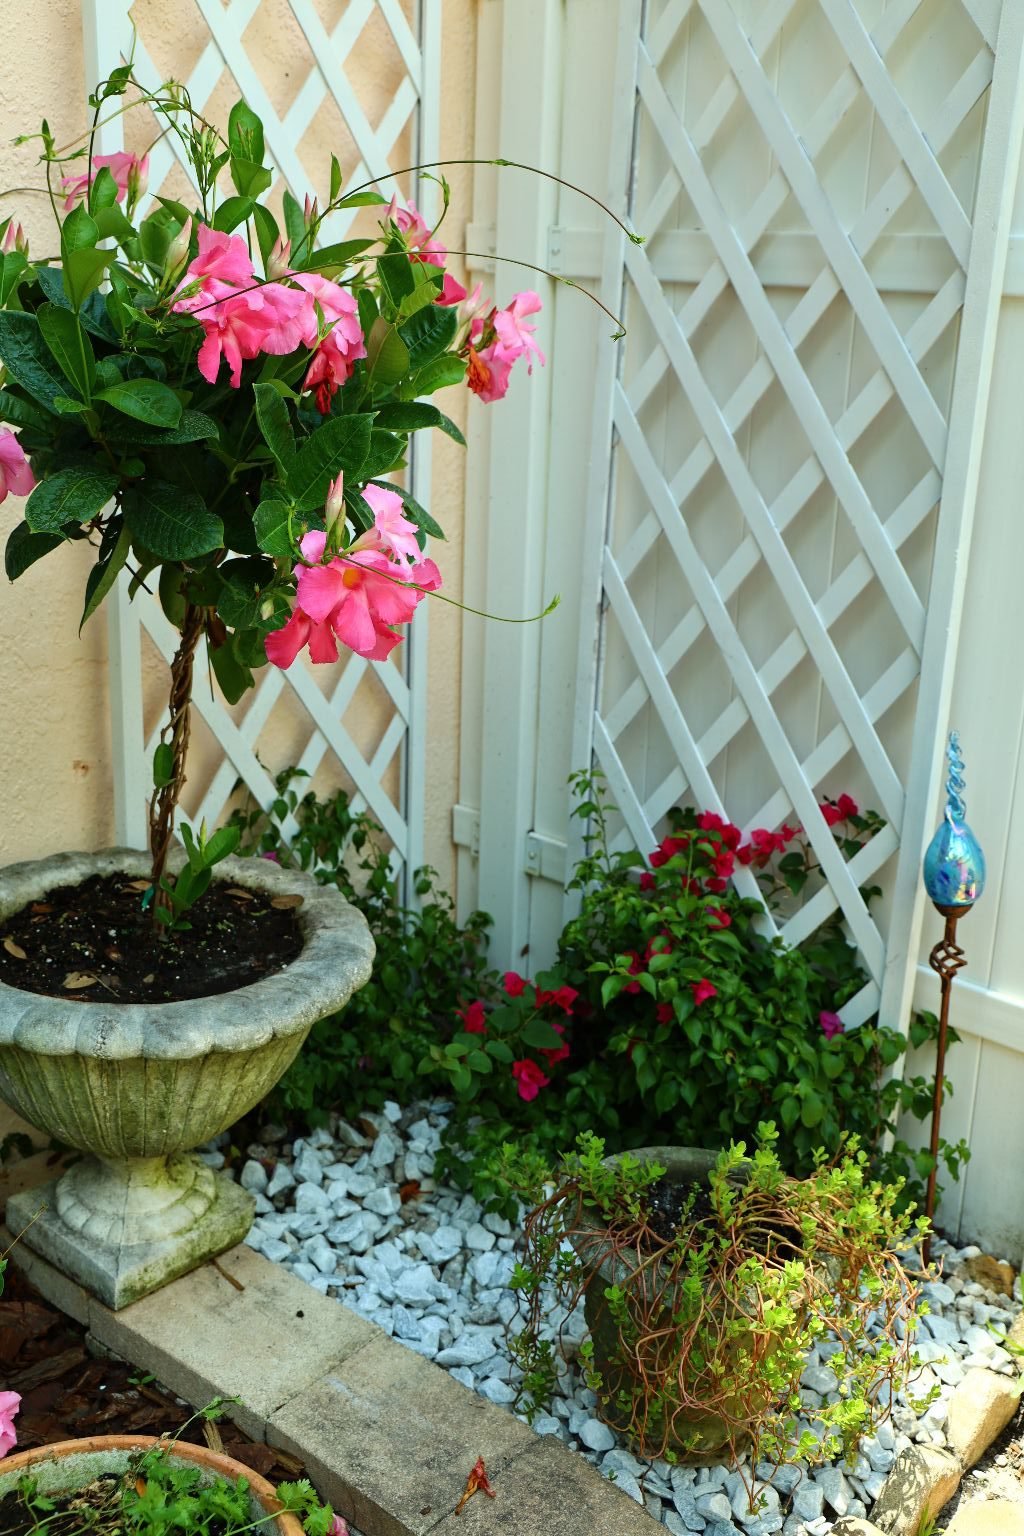
——————————————————–

Herb and Plant Shopping


Starting a project like this for the first time can be quite an investment.
Creating an area for your garden, purchasing landscaping blocks and capstones, buying up good sturdy pots, soil, and then plants, herbs and flowers.
Your Herb Garden doesn’t have to be as elaborate as mine is. You can get by with just a few pots, soil, and herbs. You don’t need a lot of room. I’ve seen beautiful window herb gardens.
Just Remember: Buy Potting Soil for Pots

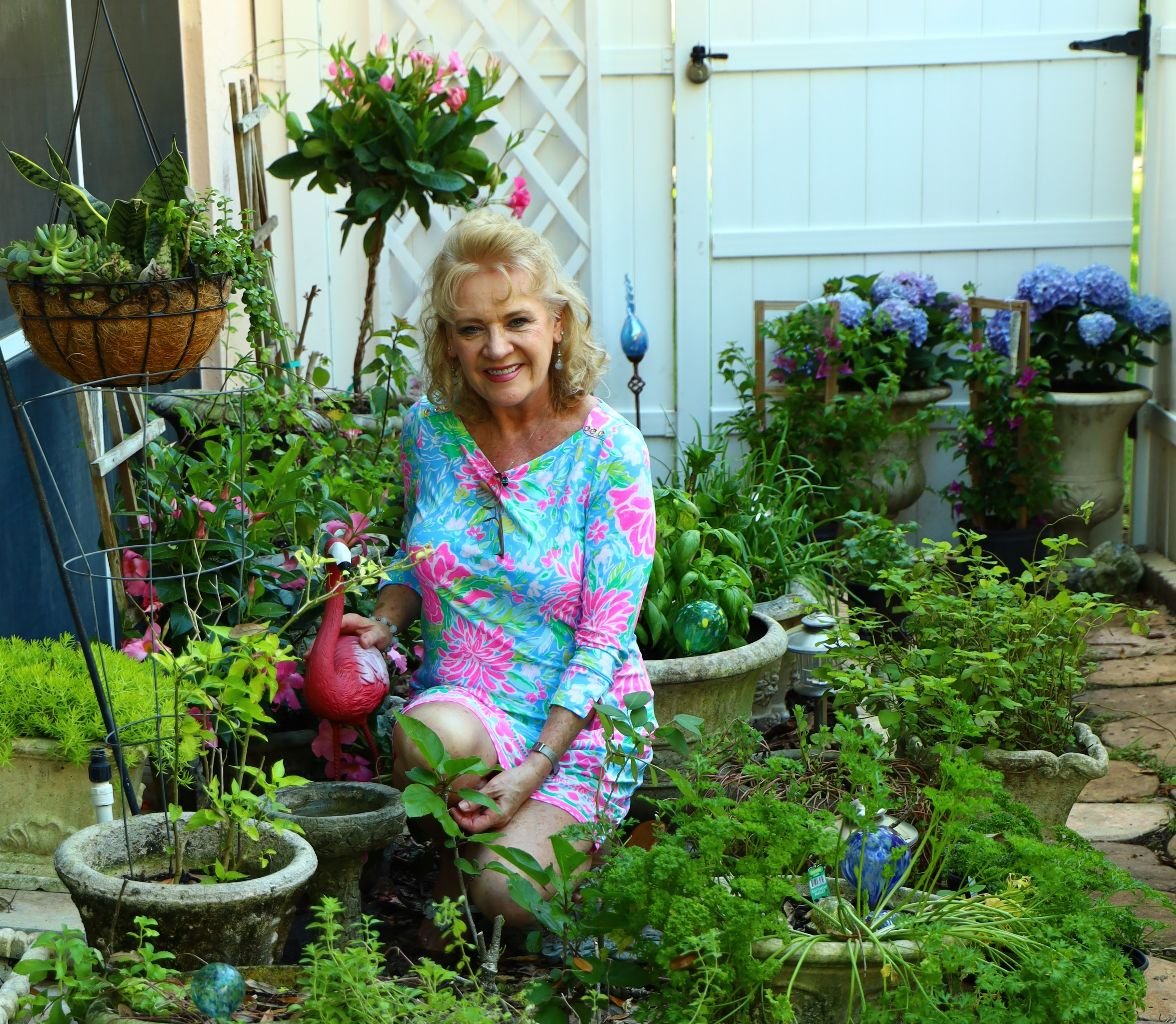
Because I have had this herb garden for over a decade now, it’s really just about replenishing for me.
My initial investment was made years ago.
I do love coming across new herbs that I have never heard of and giving them a try.
——————————————————


Once I have decided the placement of all the pots, then I start the process of planting them.
And I do all that myself. Some herbs are very sturdy and are always thriving. Others, come and go and have to be replenished. In some cases we eat more than we can grow. 🙂

I Love Having Pops of Color With Flowers
———————————————————
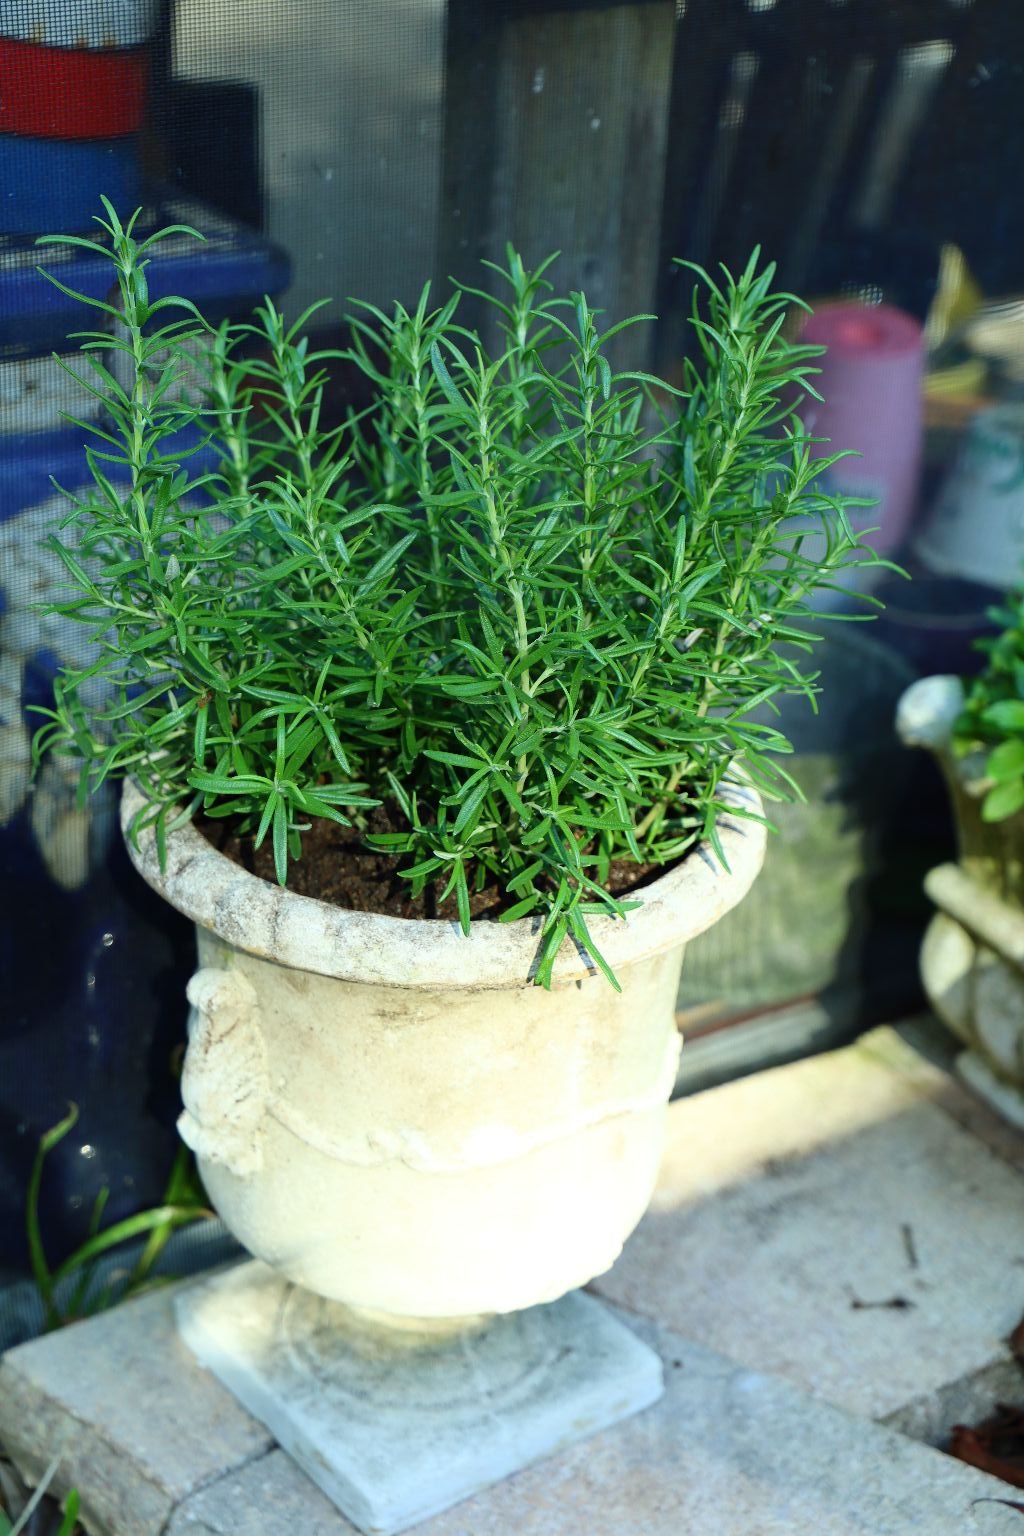

Rosemary And Sage
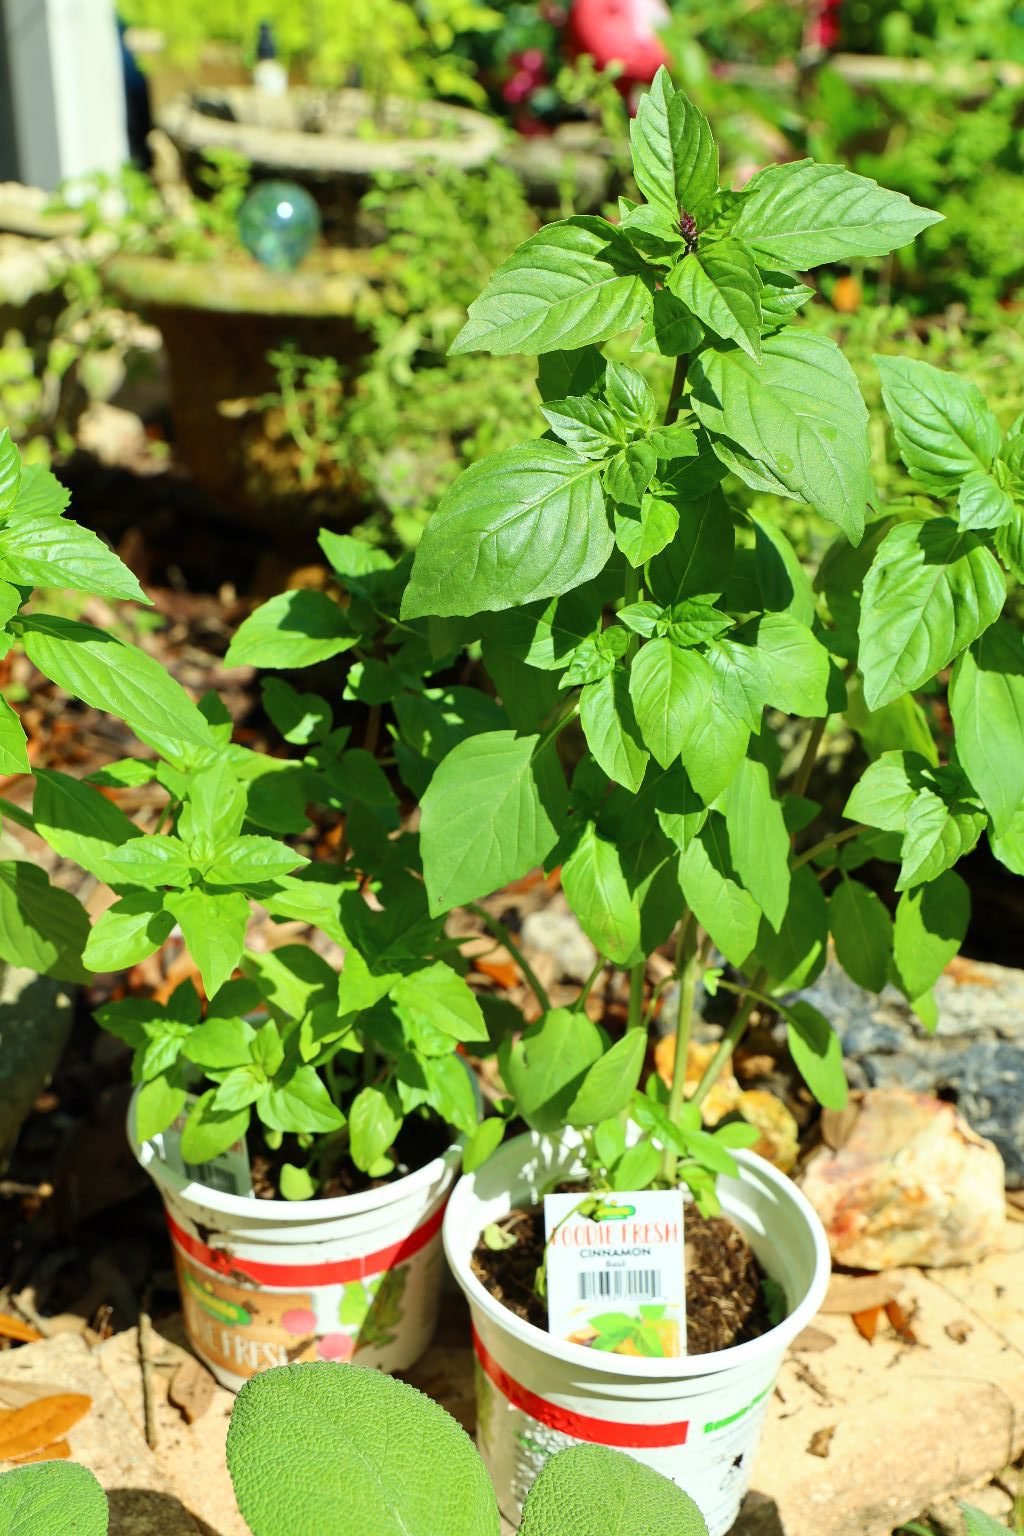

Cinnamon Basil, Garlic Chives

My Herb Garden Lizard Friend

Curly Parsley is Beautiful
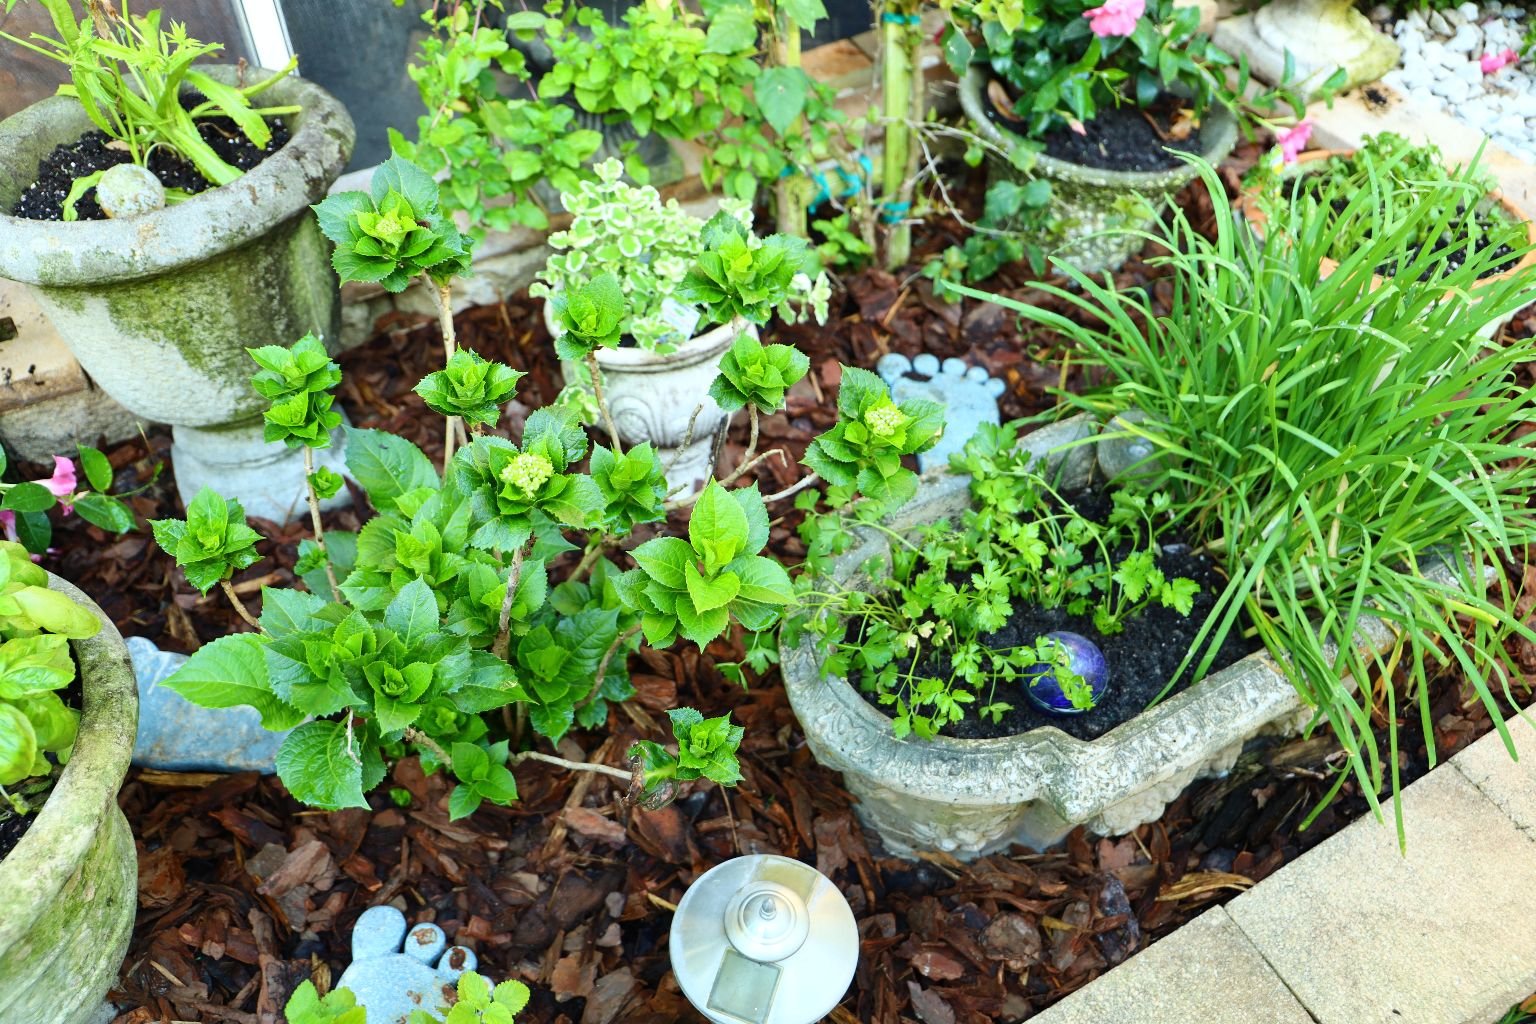
Culantro, Pineapple Mint, Parsley, and Chives

Purslane, a Flowering Edible Weed

My Chinese Fire Cracker

Rocks From Rome

(From my parents backyard in Georgia.)

Georgia Has Some of the Most Beautiful Rocks
——————————————————–
Although the garden is complete here,
I still need Gordon to distribute and freshen up the Wood Chips in the bed.

Something pretty by the gate.


Gordon Freshening up the Bed with Wood Chips
—————————————————————-
Now My Herb Garden is Complete


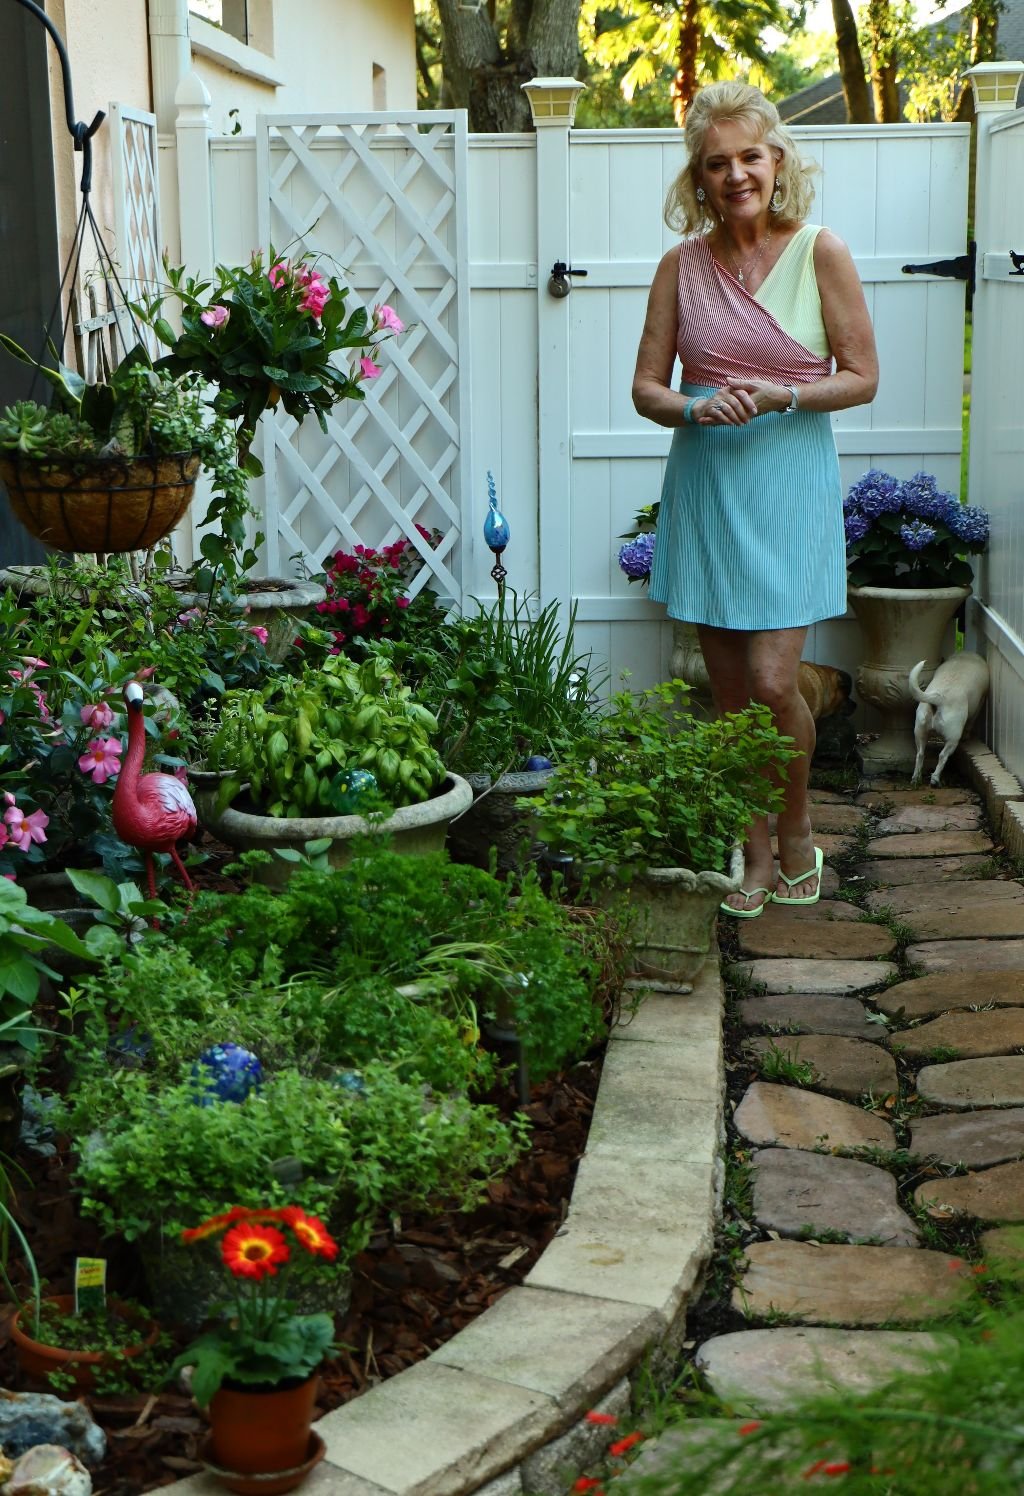
———————————————————–
Gift For Mackenzie
(Our son’s girlfriend.)


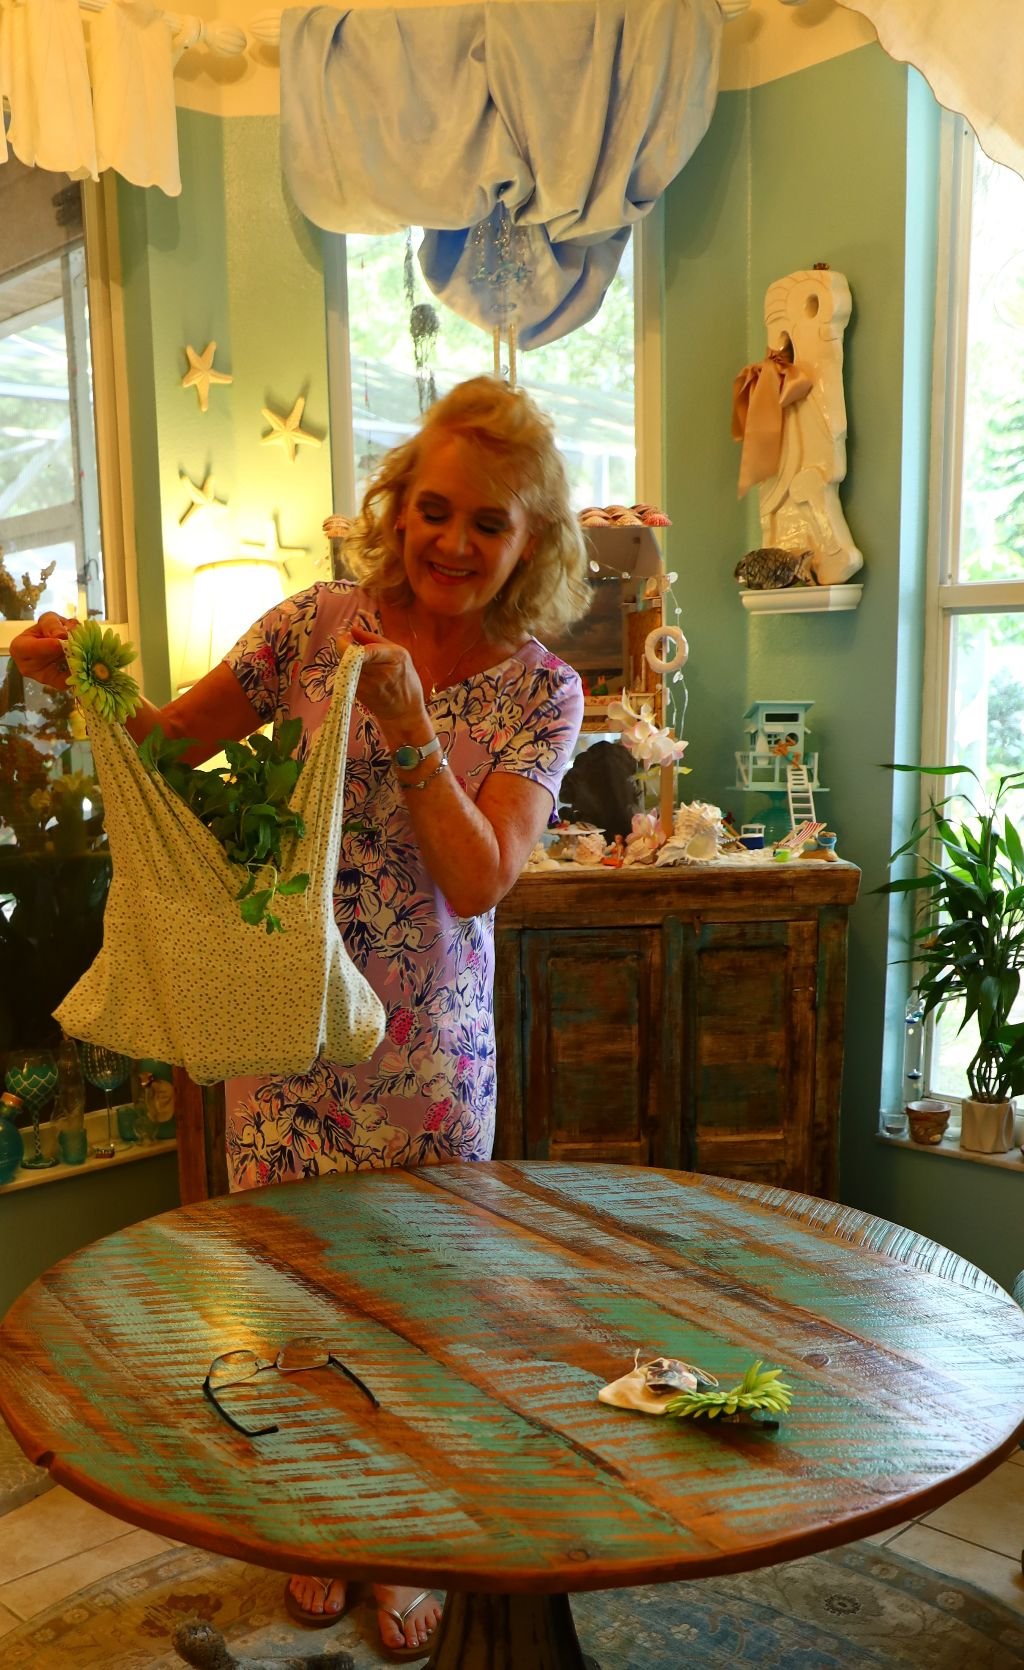
My Top Tote

This is actually an old top of our daughter Veronica’s from The Gap. I always thought these tops looked like tote bags, so, when she wanted to get rid of it, I kept it! All these years! Probably over a decade. Well, I finally got around to turning it into a tote bag in order to house Mackenzie’s gift of a pot of mint.

All I did was to sew the bottom of the top together creating a tote bag. It’s sturdy, durable and washable. I even added a few adornments to it, as in the green flower below. It’s just a clip on.
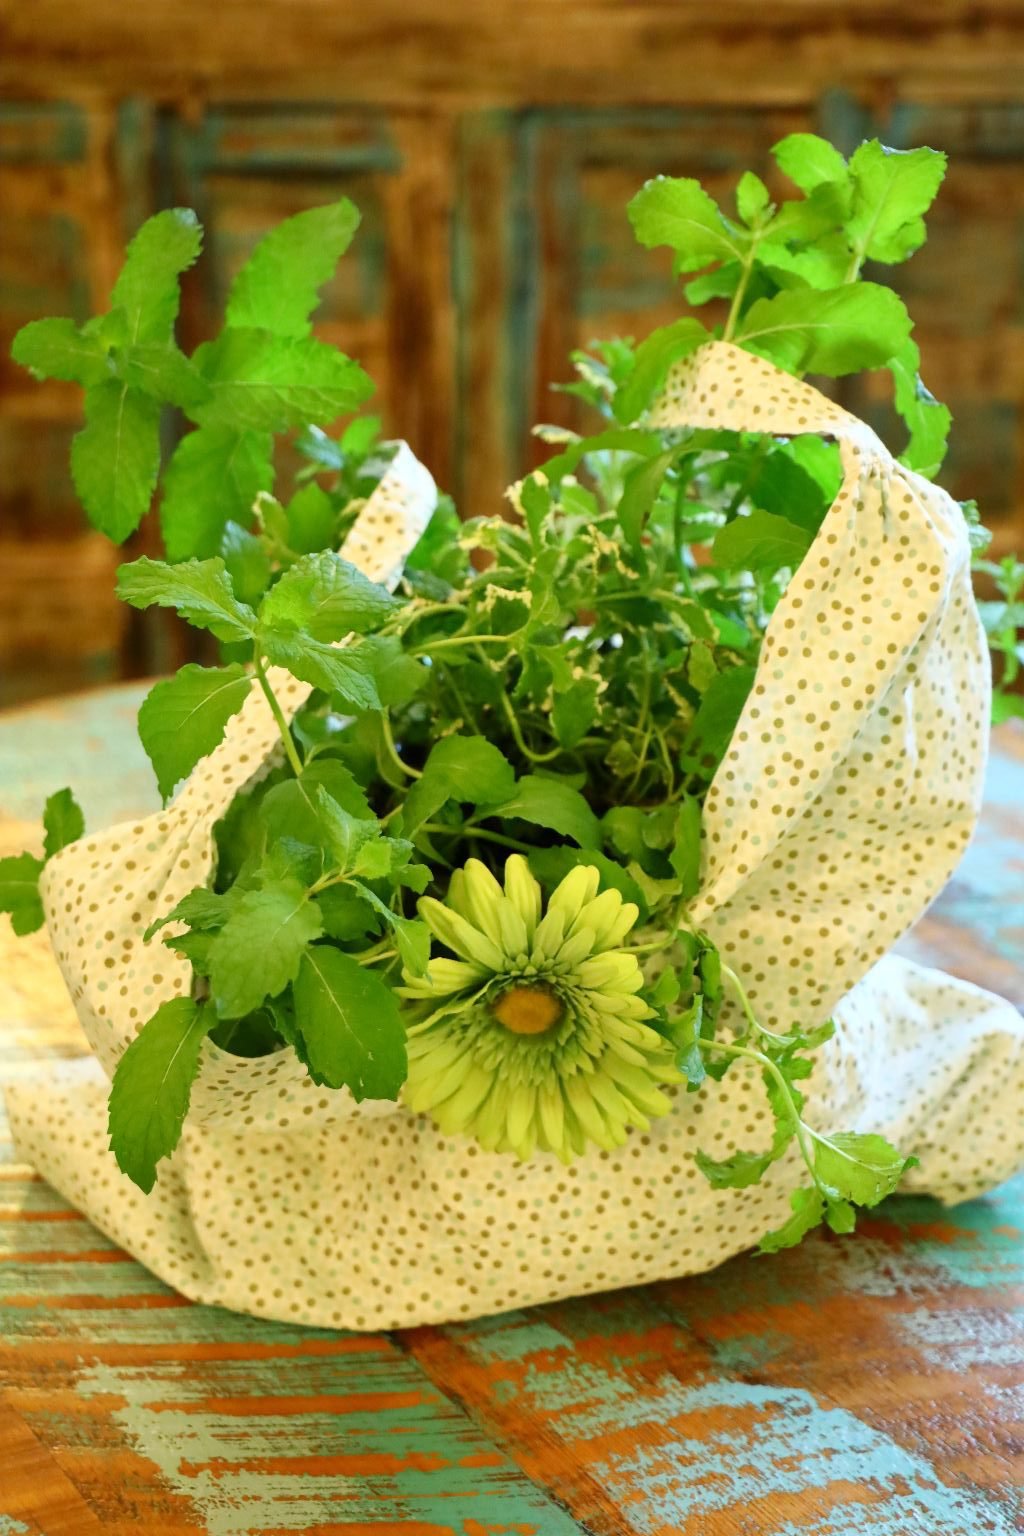
Mackenzie’s Gift of Mint and a New Pot From Me
————————————————————-
A Path Upgrade


I love the stones that we recycled to this part of our backyard. We can no longer find them, I believe they’ve been discontinued, so these are all that are left. I just felt as if we needed something more to really make our path look a bit nicer. That was when I suggested to Gordon that we find some sort of small stones to place between each larger stone in our pathway.

Here Gordon is Spreading the Small Stones


It’s just a matter of pouring the stones out along the path and then grabbing a broom and sweeping them along.

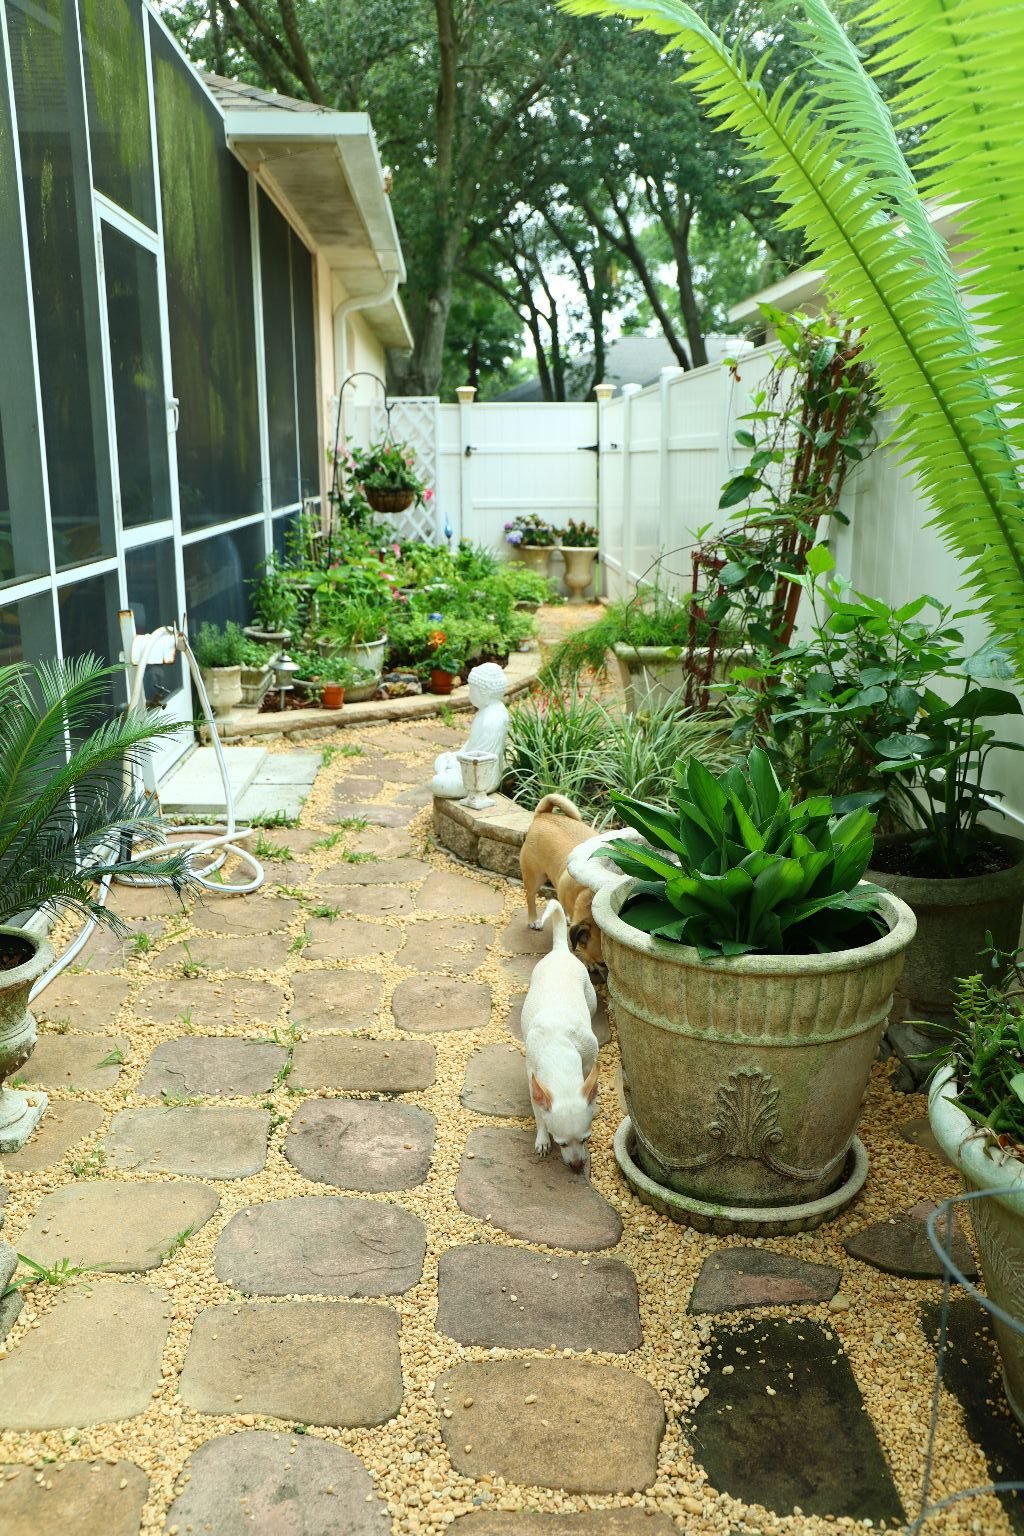
When you get it all filled in, it looks so much nicer!

——————————————————————–

Gordon also placed the stones around our pots along the pathway.

————————————————————————-

I Love It!…

…especially when my Chinese Fire Cracker plant looses a few of it’s flowers.
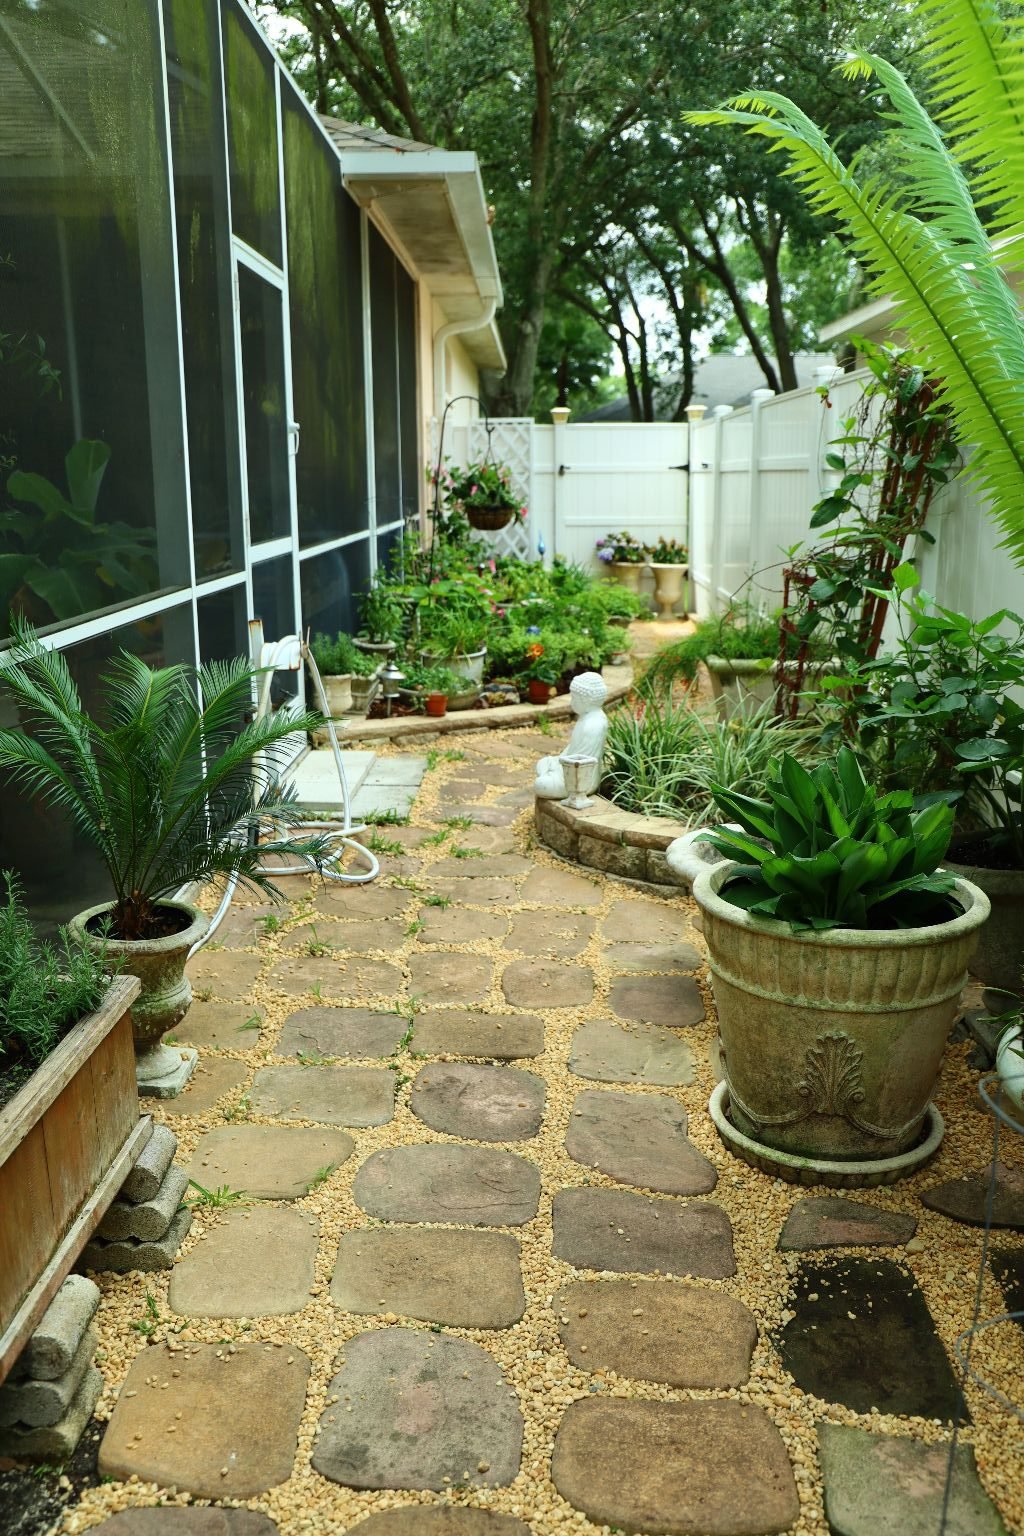
————————————————————–
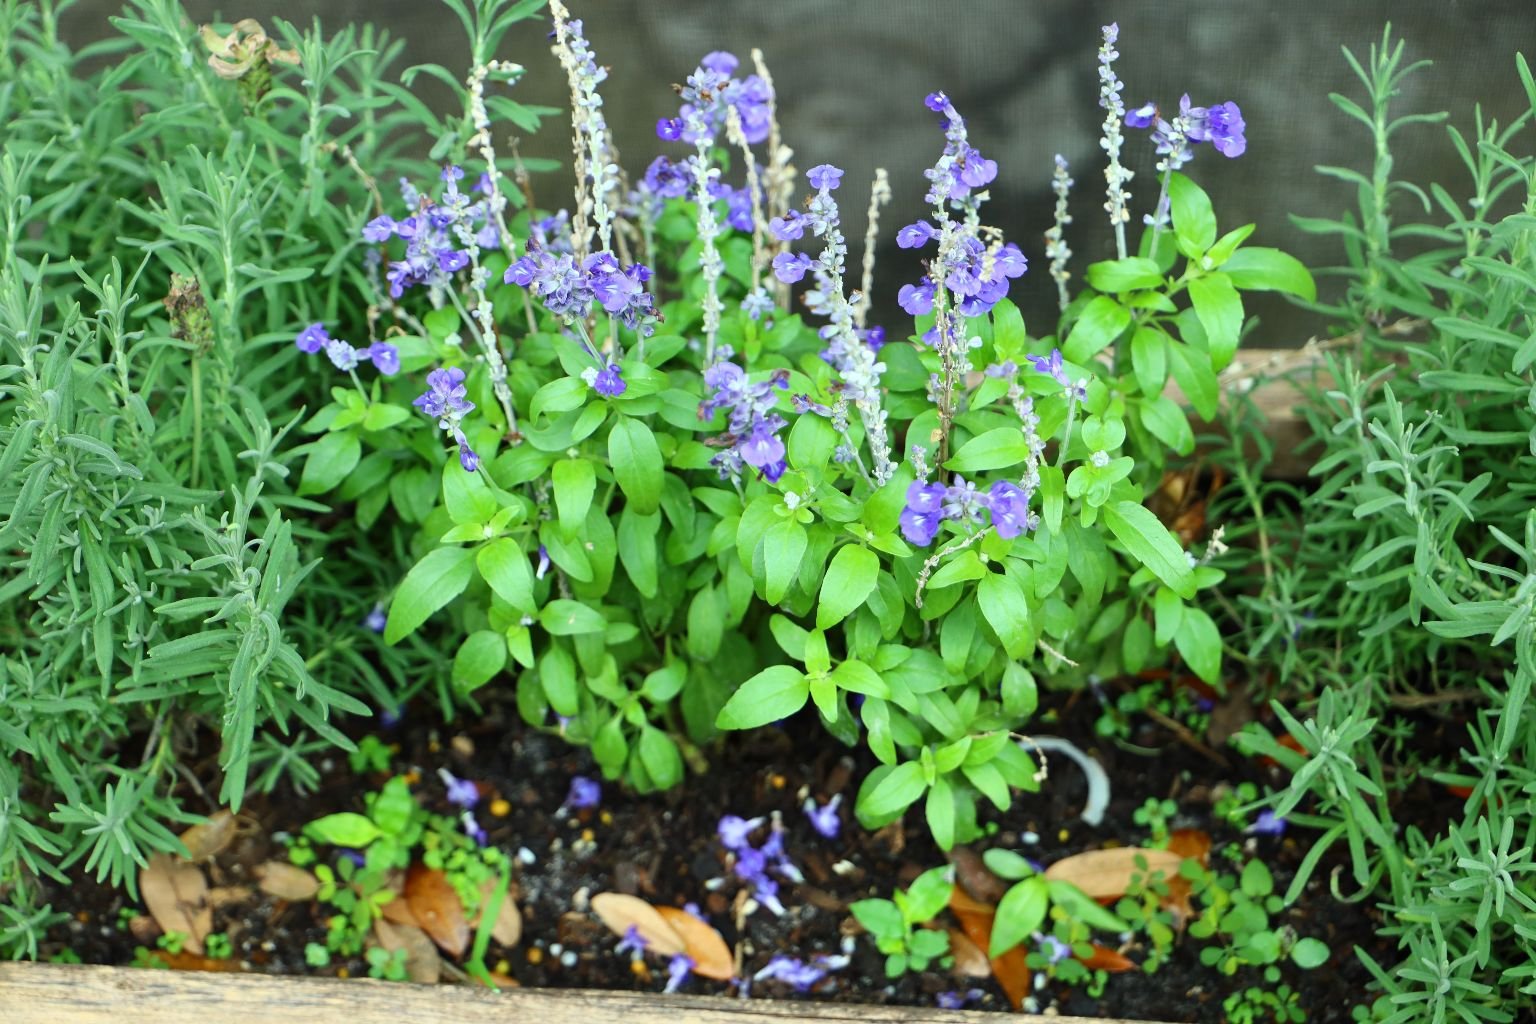
Shades of Lavender
———————————————————
NEXT UP!
THIS SIDE!

I sort of stepped behind here where the stones are concerned, but this was to showcase the “before” where the plantings are concerned.


New Orange Purslane
Here, the path is done and I am turning my attention to the plantings.
————————————————————
Another Corner Project

This is a pretty ugly part of our yard. It always seems to be muddy, especially during rainy season. I liked that our raised planter was standing on those long cement blocks that I had Brodie to put in to place for me a few years ago. Therefore, I asked Gordon if he would extend the cement blocks around the Key Lime tree, and all the way towards the retaining wall. I wanted the area to be nice and clean and not so dirty as it always was.


(I’ll let Gordon take it from here.)
We wanted a more decorative way to showcase the corner area of our yard, which also houses our ever producing Key Lime tree. I bought some large concrete pavers and laid them out in the pattern seen above, so I could measure how much concrete I needed to cut off to make the front edge even.
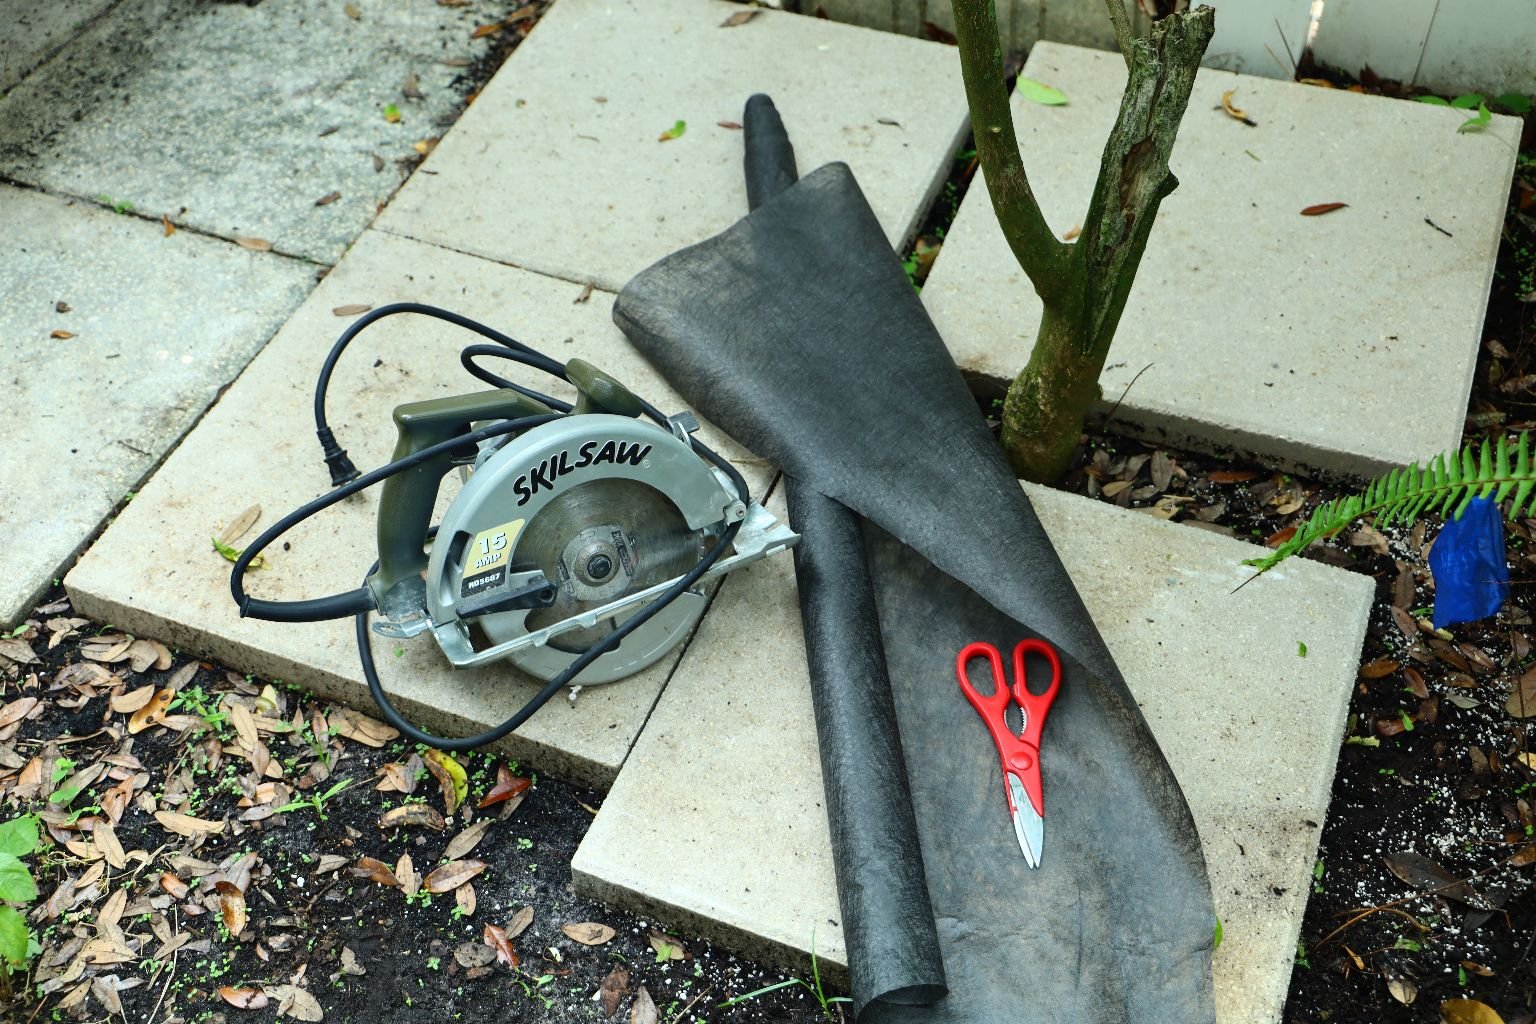

After measuring the concrete slab, I removed the pavers so I could measure and cut the weed preventative cloth.


Using my circular saw with a concrete blade, I sliced off the excess concrete.
This blade cuts through concrete like butter.


I cut to fit the cloth around the Key Lime tree.


I then placed the pavers back around the tree as seen above.


Now, I poured about 4 bags of pebble stones around the tree and between the pavers for a more decorative look.

Once that was done, I measured and cut concrete pieces from the section of concrete I previously cut off. These small sections were used to block any pebbles from running out the front of my project.
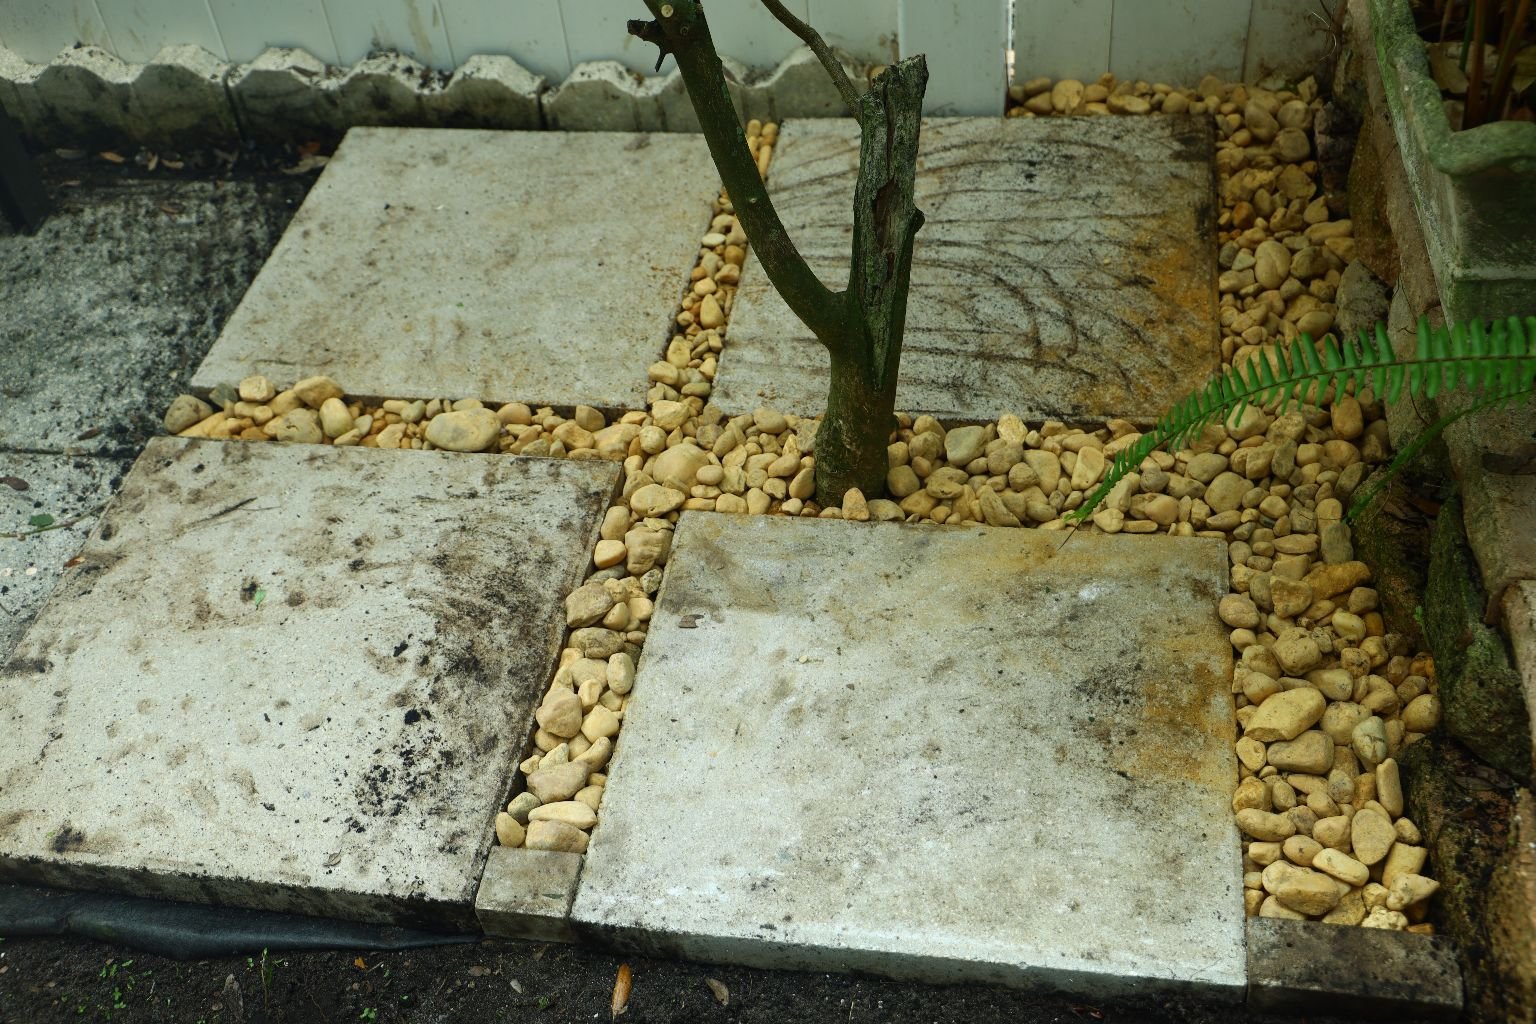

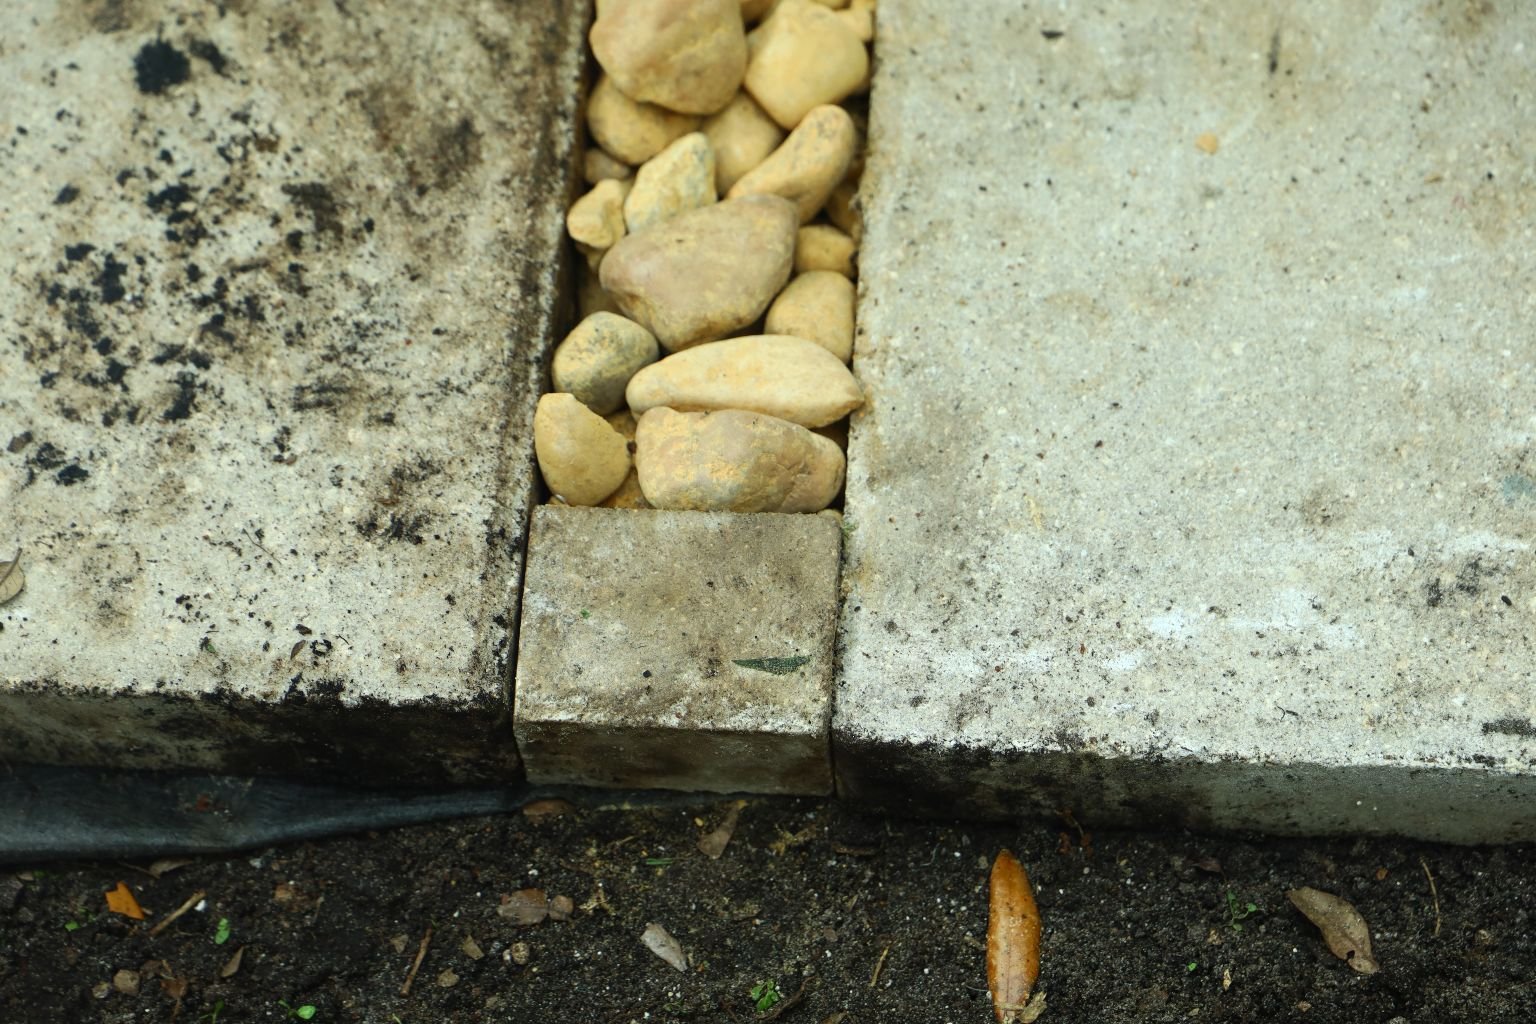
Here is a closer look at what I was talking about.

I hope you found this project of interest and helpful.
————————————————————-

It’s Now Time to Plant
These are actually Sweet Peppers with a little bit of heat to them. The grower must have planted them too close to some hot peppers and cross pollination occurred. Oh, we are not complaining whatsoever! It is a nice amount of heat to them. Normally, I don’t really like a hot, hot, pepper. But these are perfect!


Before I start planting, I set everything out like I believe will work the best.
———————————————————-


Replanting This Pot
This particular pot is housing my Rainbow Peppers. By looking at the plant in the photo left, it doesn’t look too good. However, it was still producing. Regardless, I wanted to buy a few more plants for it so that I could get even more peppers.
I’ve got my trusty black stool, garden gloves, two pots (one filled with potting soil and the other is for plant debris), my little shovel, and of course the large pot and trellis.
(I’ll have to post some photos since I don’t have a completed one here.) 🙂
———————————————————————–
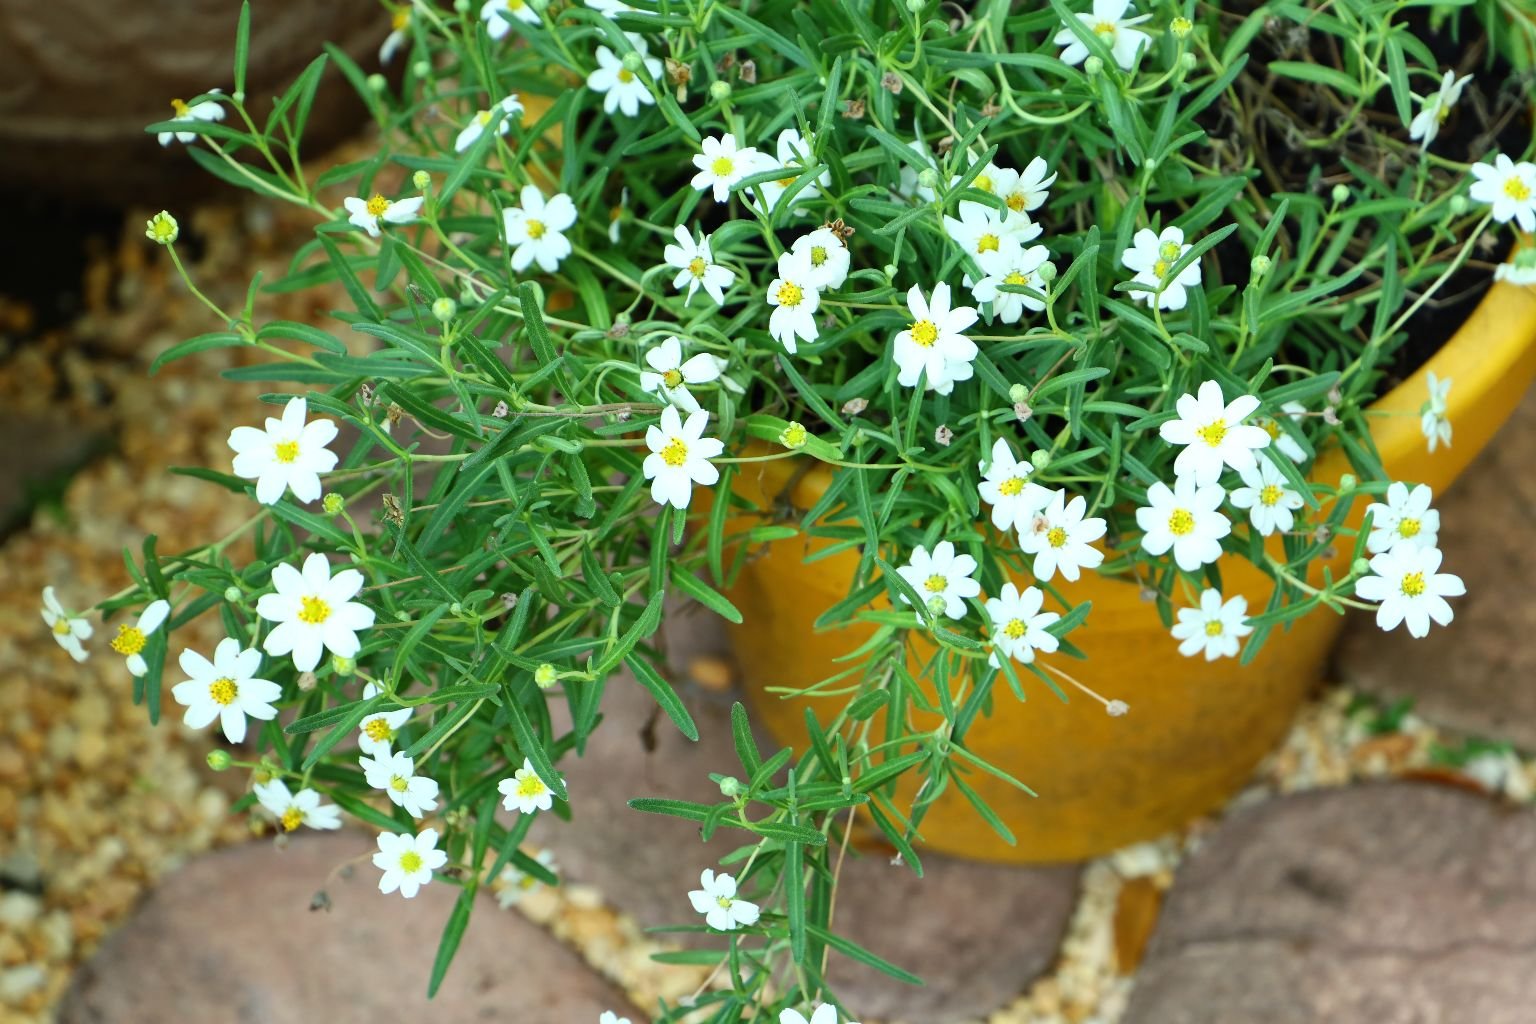
I love simple flowering plants and nothing really fancy.
—————————————————————-

As Far As The Blocks And Stones Go


These are all the stones that we have here so therefore we don’t have enough to place all the way to the back of this area, so we stopped here. Gordon is filling the gaps in with some small stones.
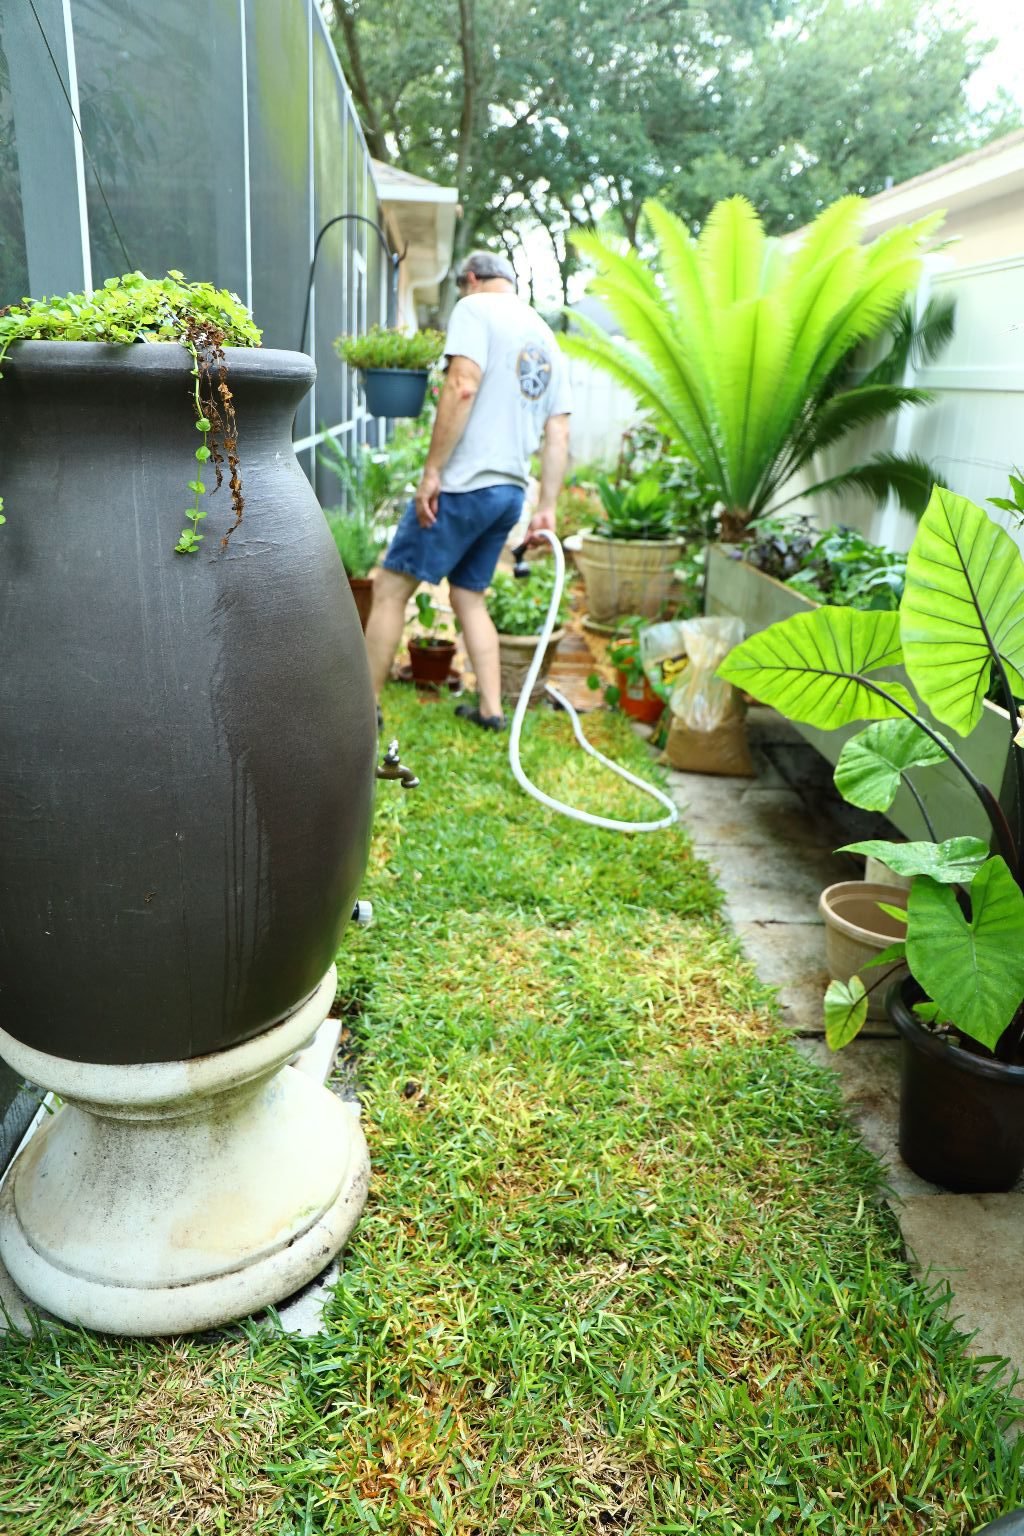
He then bought us about 30 pieces of SOD and placed them on top of the soil that we had here.
Anytime that you plant new grass as this, you have to water it everyday for 2 weeks so that it will take hold and won’t die.
———————————————————-

Here is our finished area! It looks great!

I love My Green Bell Peppers
With everything planted it’s just a matter of time to let it all grow and flourish.
I will be bringing those photos to you. As with everything there are always casualties to contend with. However, I view them as learning experiences. The more I garden the better I get at it.
———————————————————-

From Garden to Kitchen


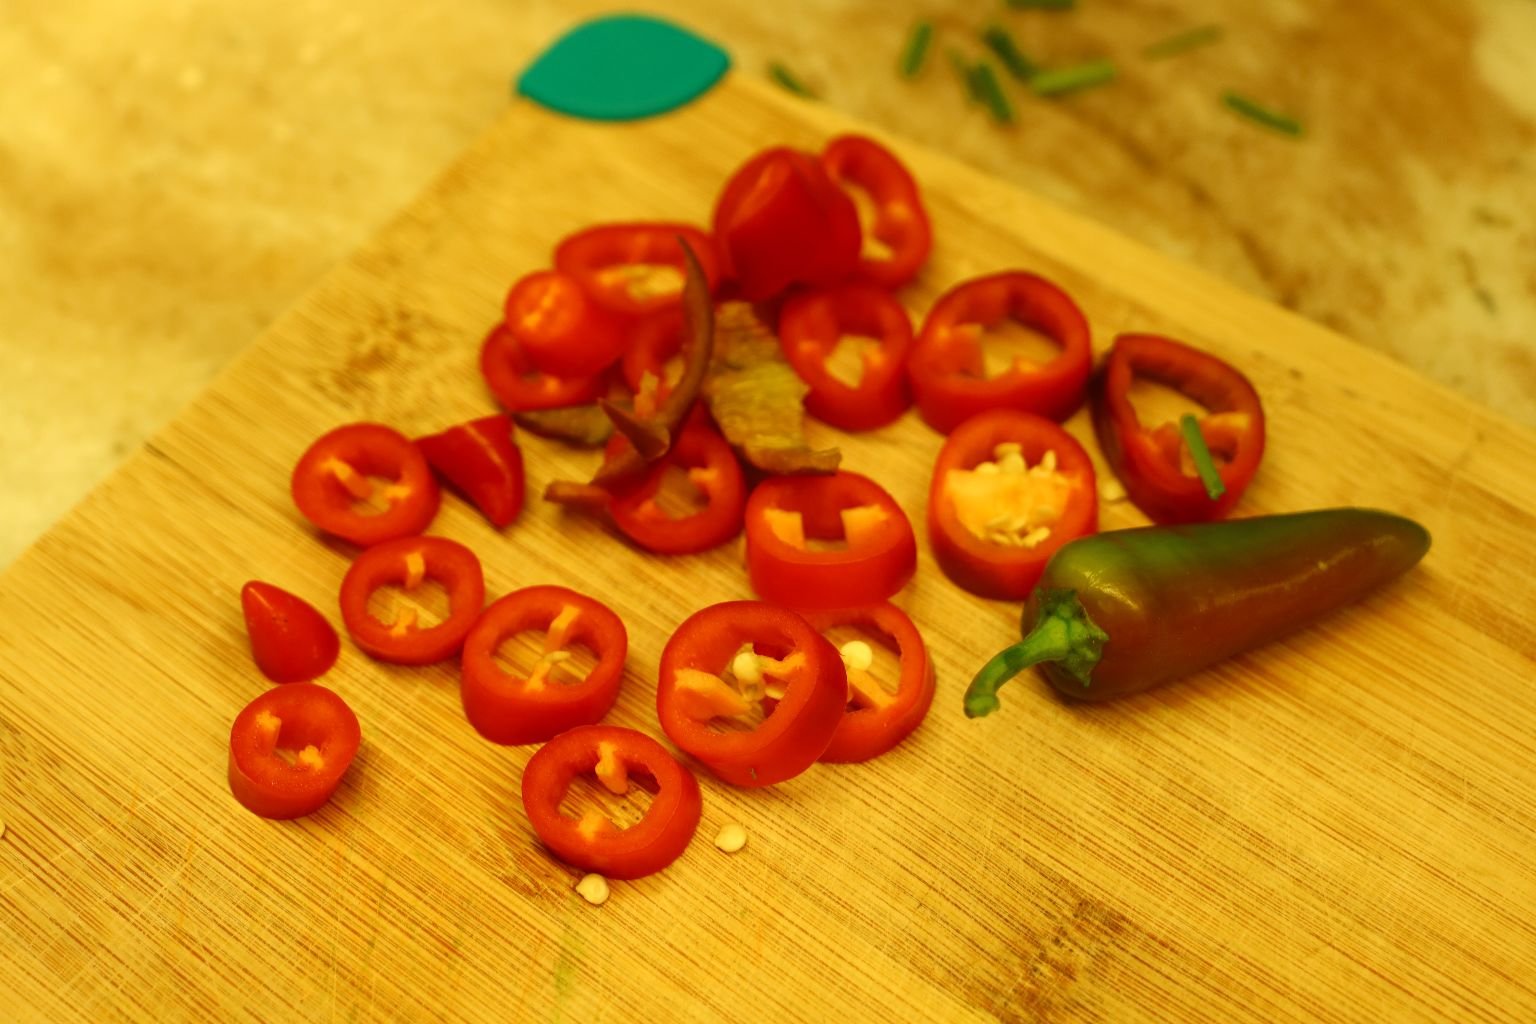
As It Should Be 🙂
————————————————————
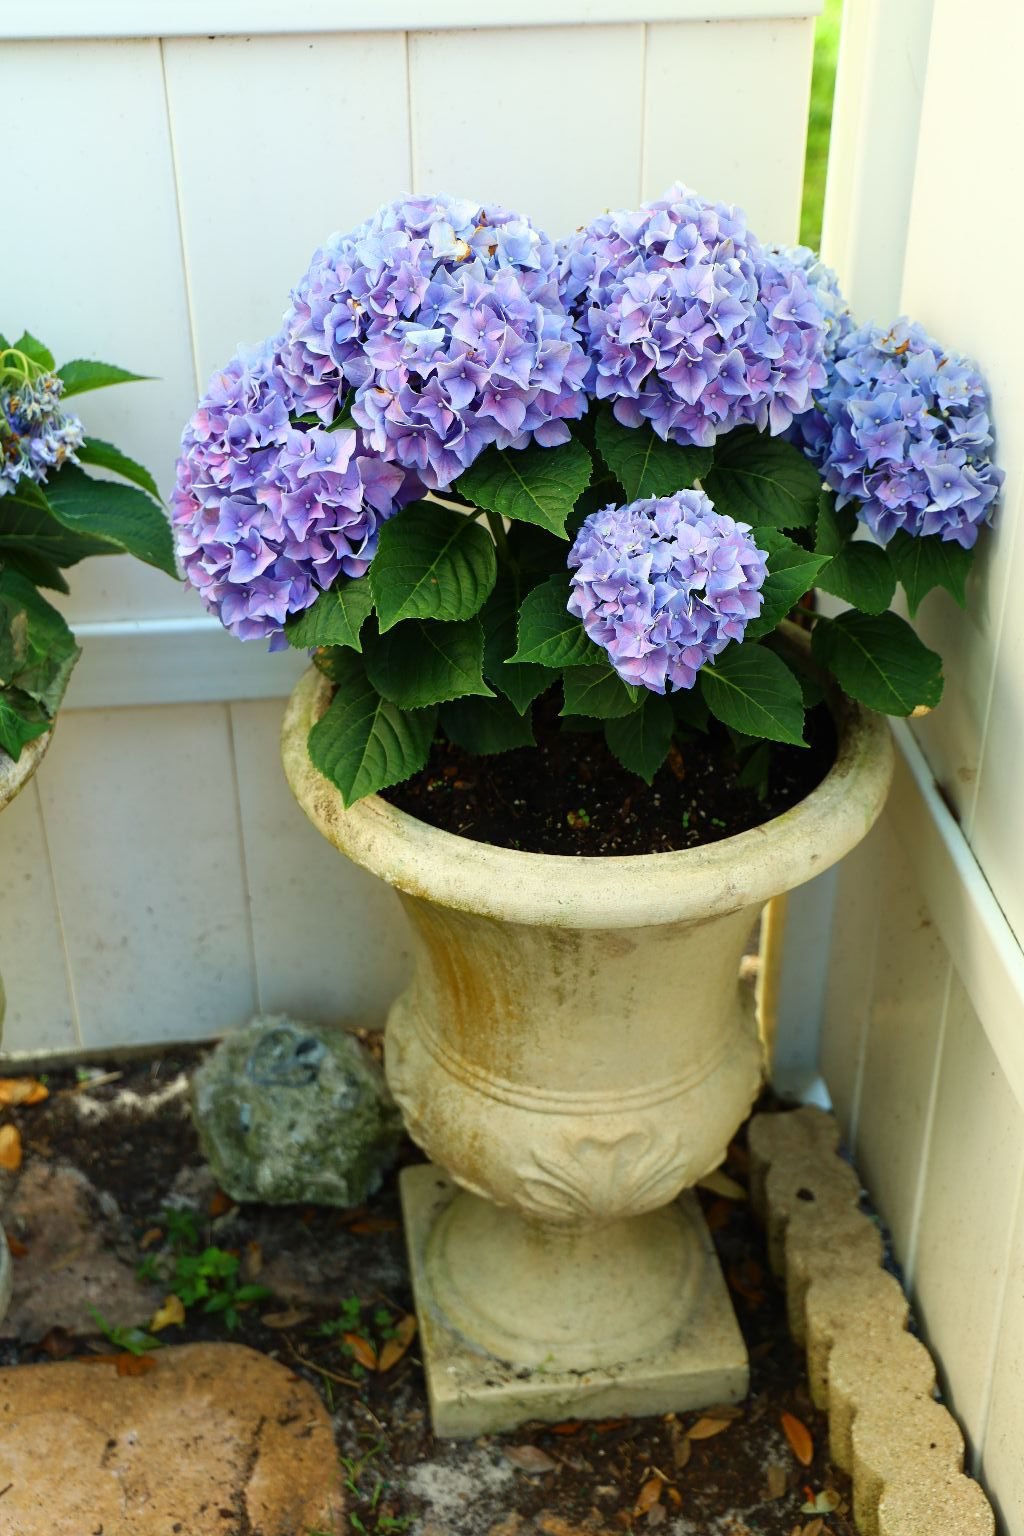
The Herb Garden Recipes
Start Here
—————————————————


I see color, I see health, I see taste, I see prospects!
These Vegetables and Herbs will play a major roll in our foods here.

Our Delicious Herb Sauce with Peas for our Red Lintel and Quinoa Pasta…
and Our Herb Dip with lots of Vegetables

Herb Sauce and Pastas, Carrots, Veggies, and Arugula

Asparagus
A Fresh Veggie Platter and Herb Dip
—————————————————————
Veggies Dipped in our Herb Dip

Pastas and Herb Sauce
——————————————————————–
Everything Just Tastes So Fresh
Healthy and Tasty!
———————————————————-
Our Herb Dip Recipe


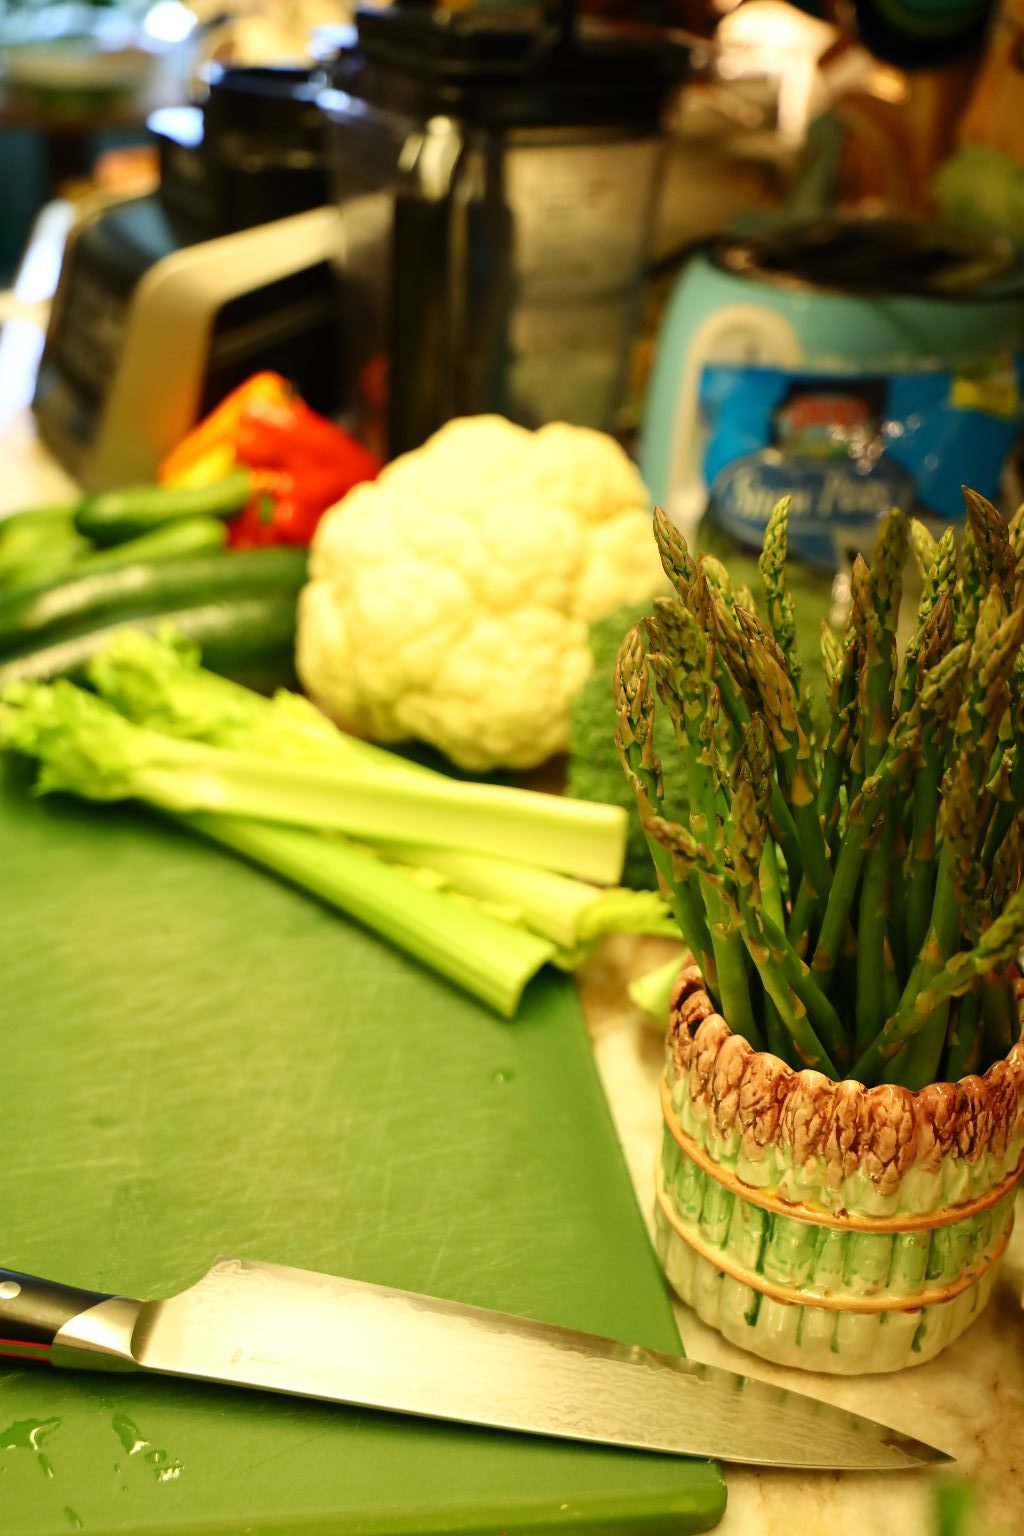
Ingredients:
1 Small bunch Basil Leaves
3 Spring Onions
4 Whole Garlic Cloves
1 Bunch Parsley
3 Tbsp. Fresh Tarragon Leaves
3 Handfuls of Arugula
1 tsp. Dill Weed
1 tsp. Sweet Paprika
2 Tbsp. Lemon Juice
Freshly Ground Black Pepper and Hawaiian Sea Salt to taste
1 Cup Greek Yogurt
1/2 Cup Sour Cream
1 Sleeve of Ritz Crackers
1 tsp. Lemon Peel
———————————————————————

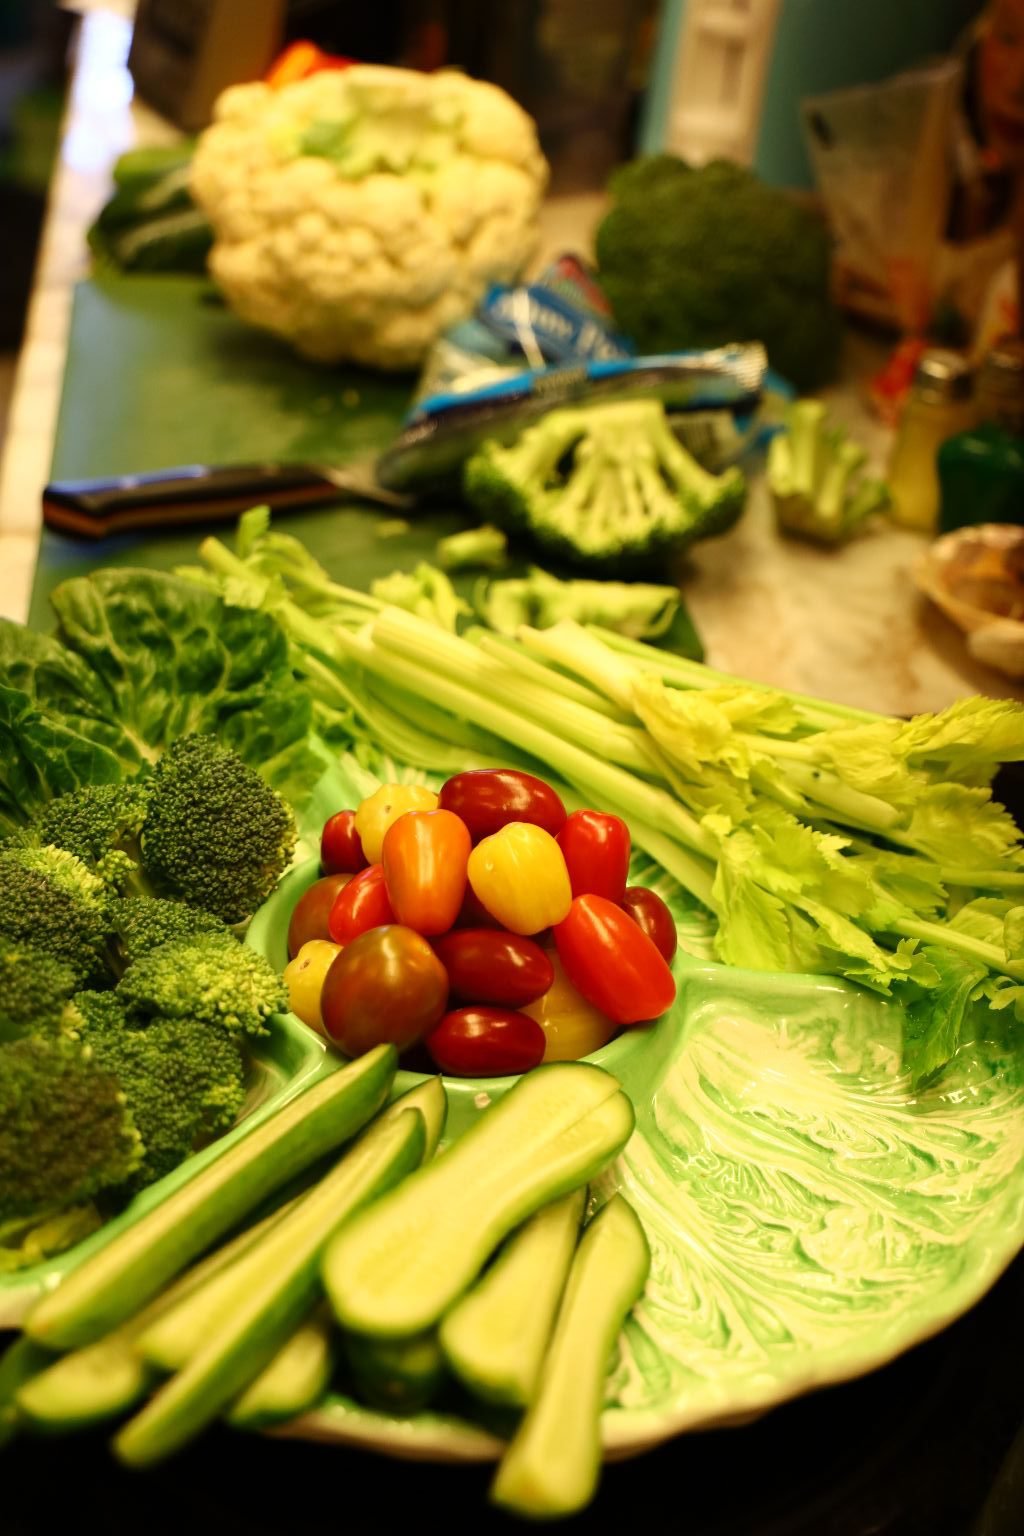

Here we chopped up some nice dipping veggies…. Celery, Cucumber, Cherry Heirloom Tomatoes, Sweet Peppers, Zucchini Squash, Broccoli, Cauliflower…
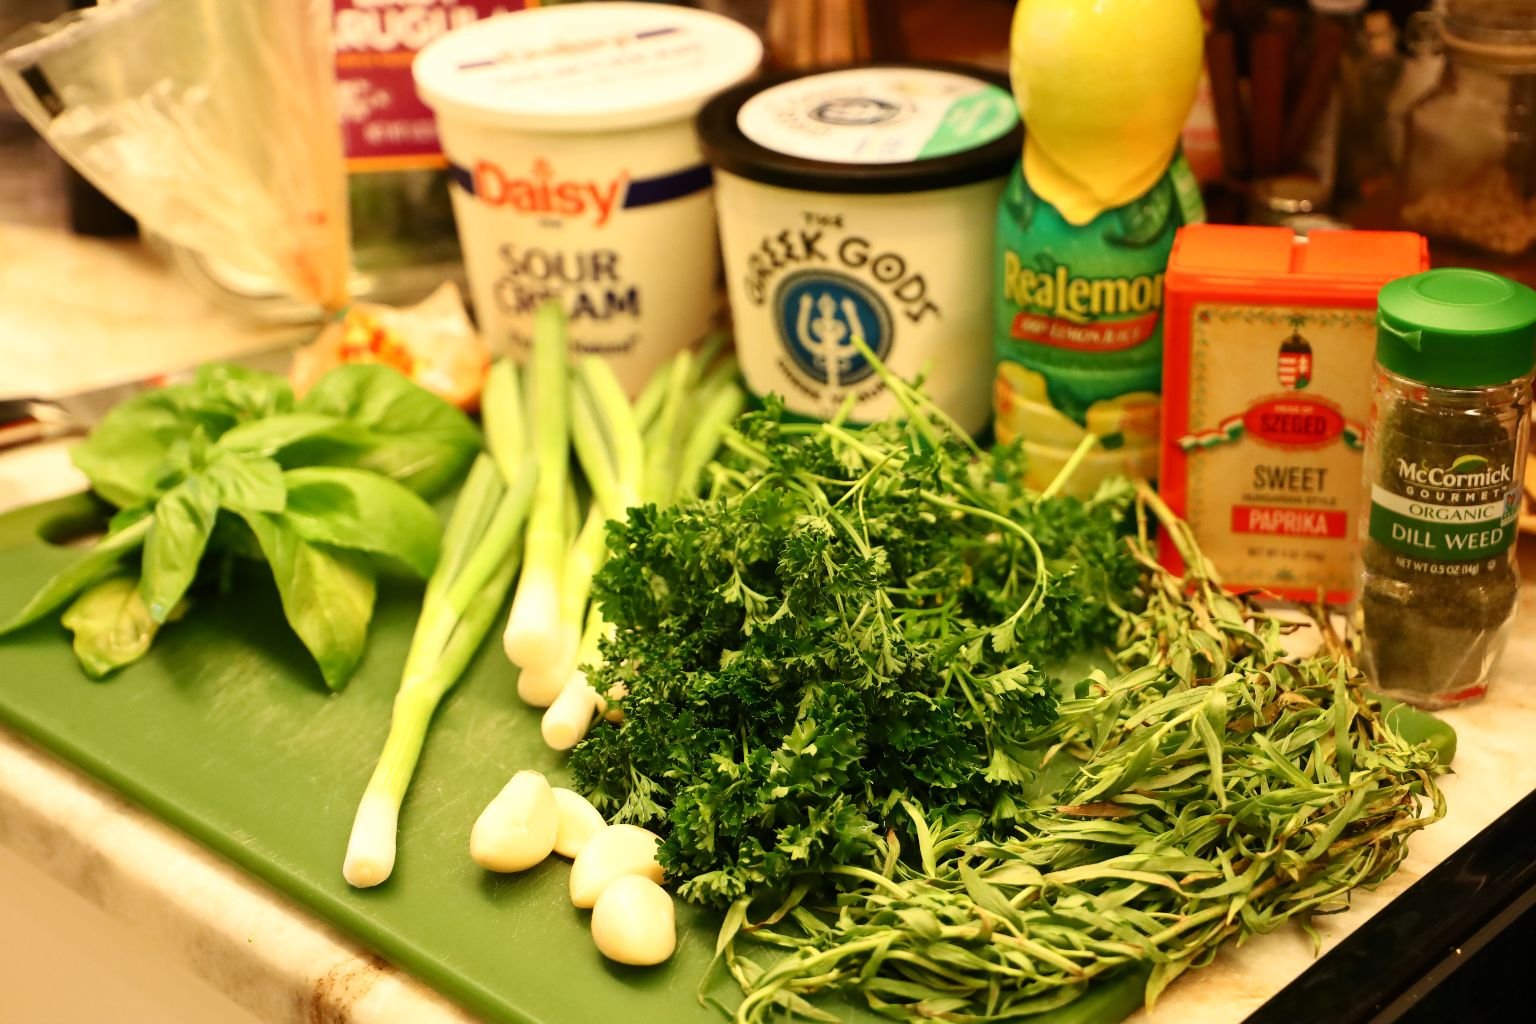
Here are many of the ingredients we used.

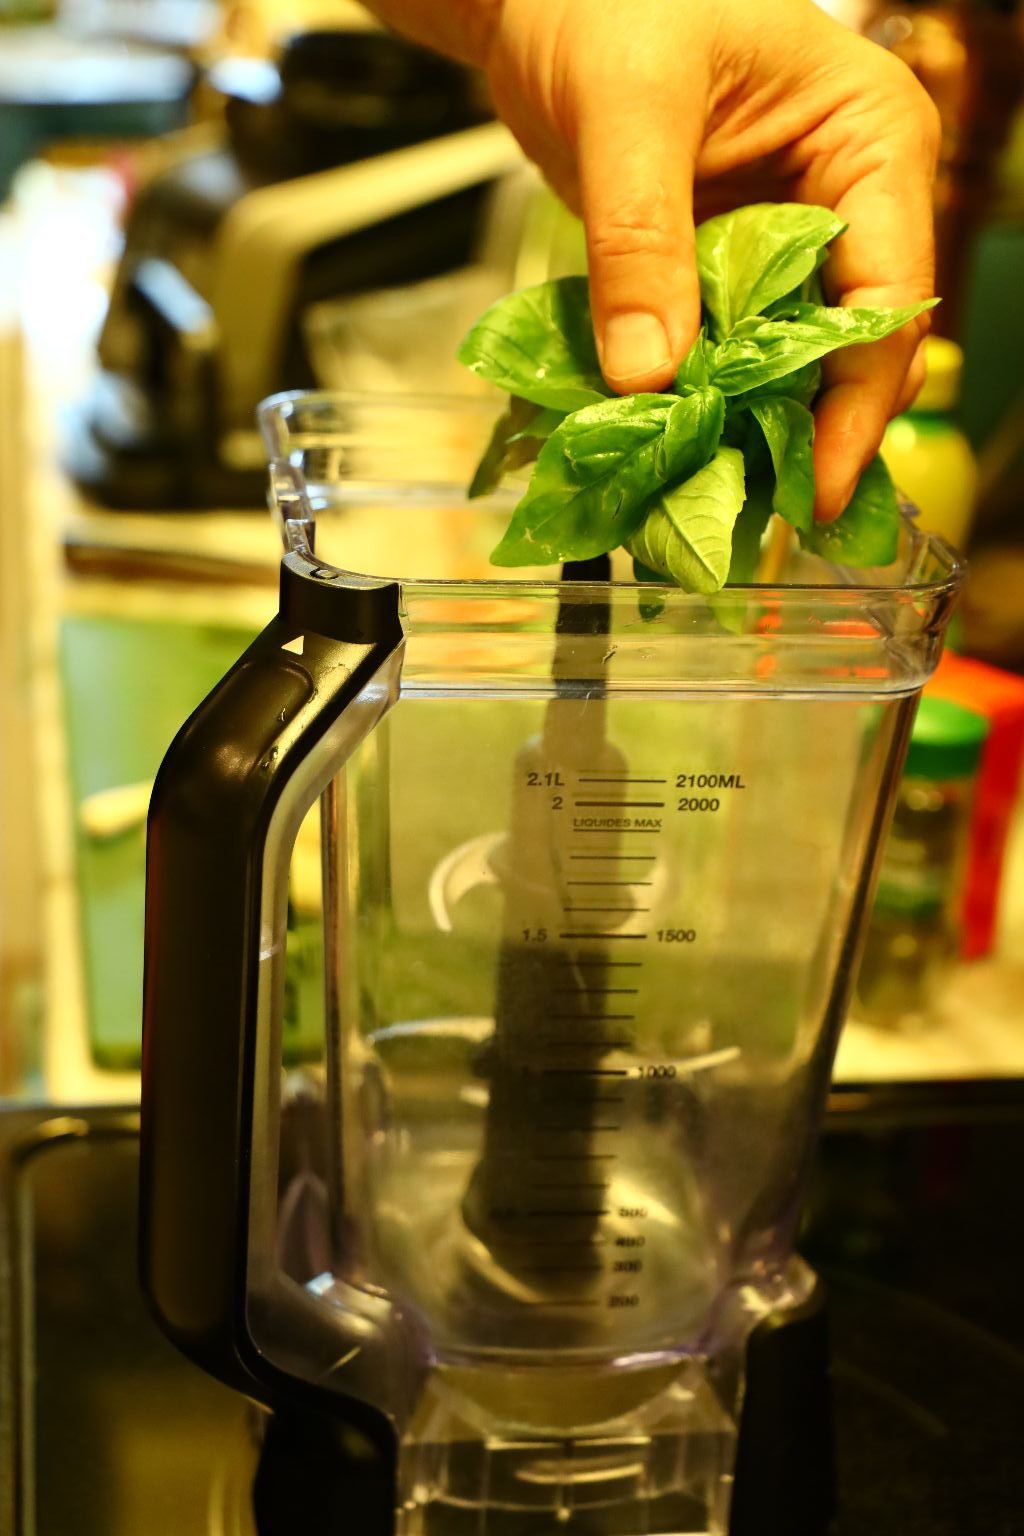
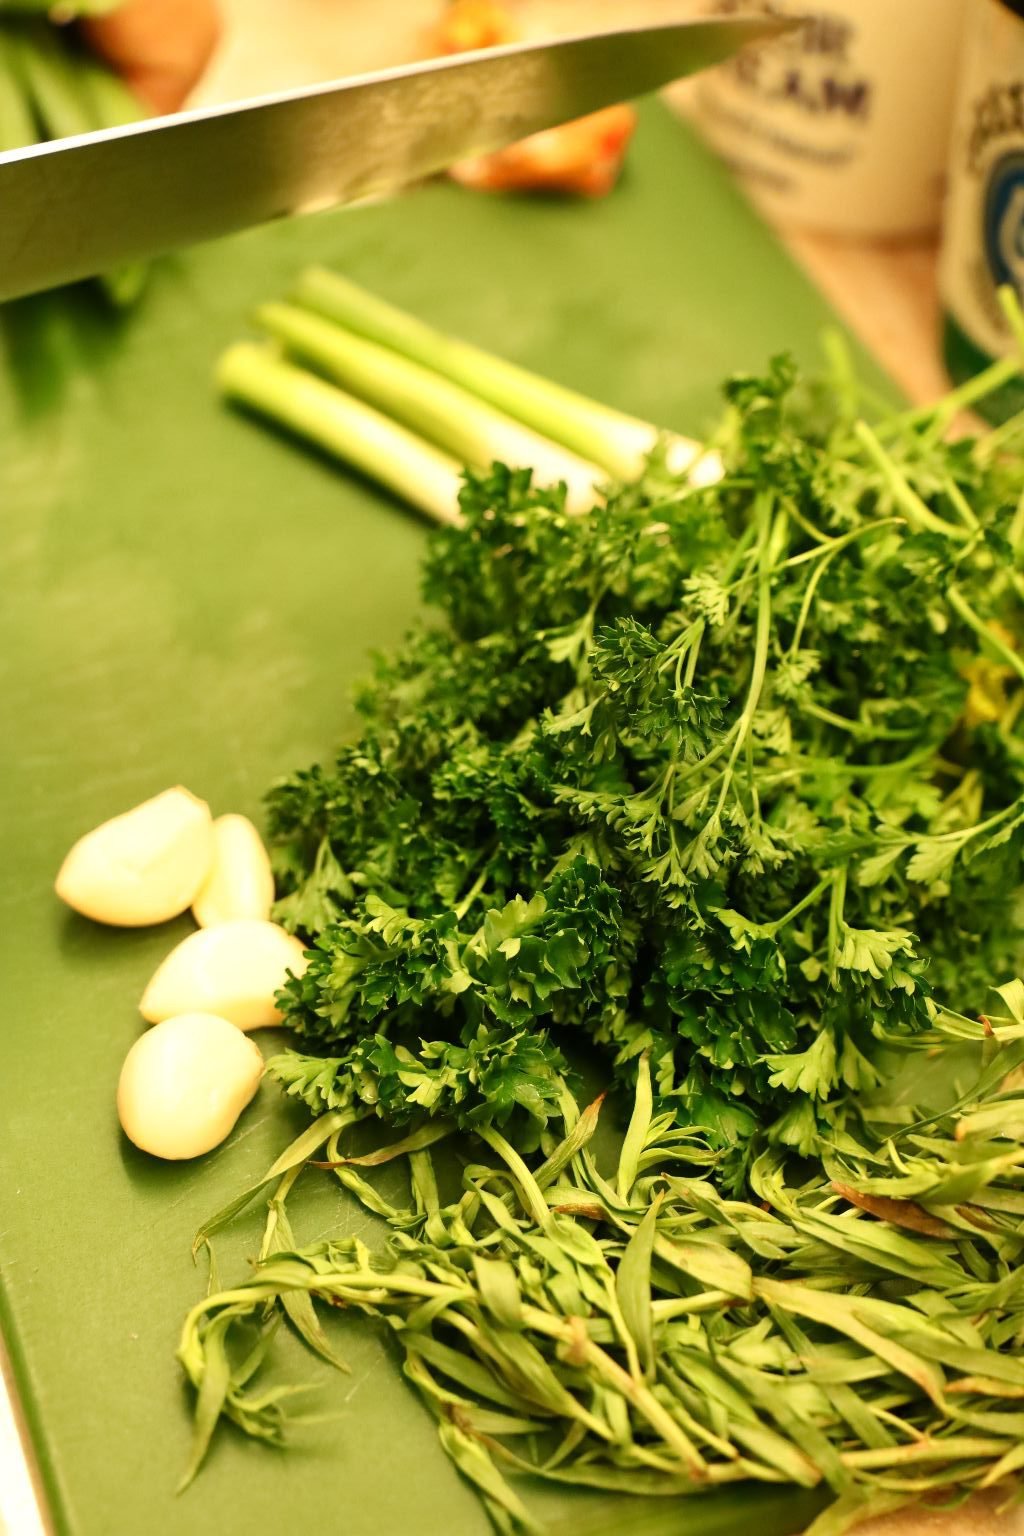
We started by placing the Basil in the blender…
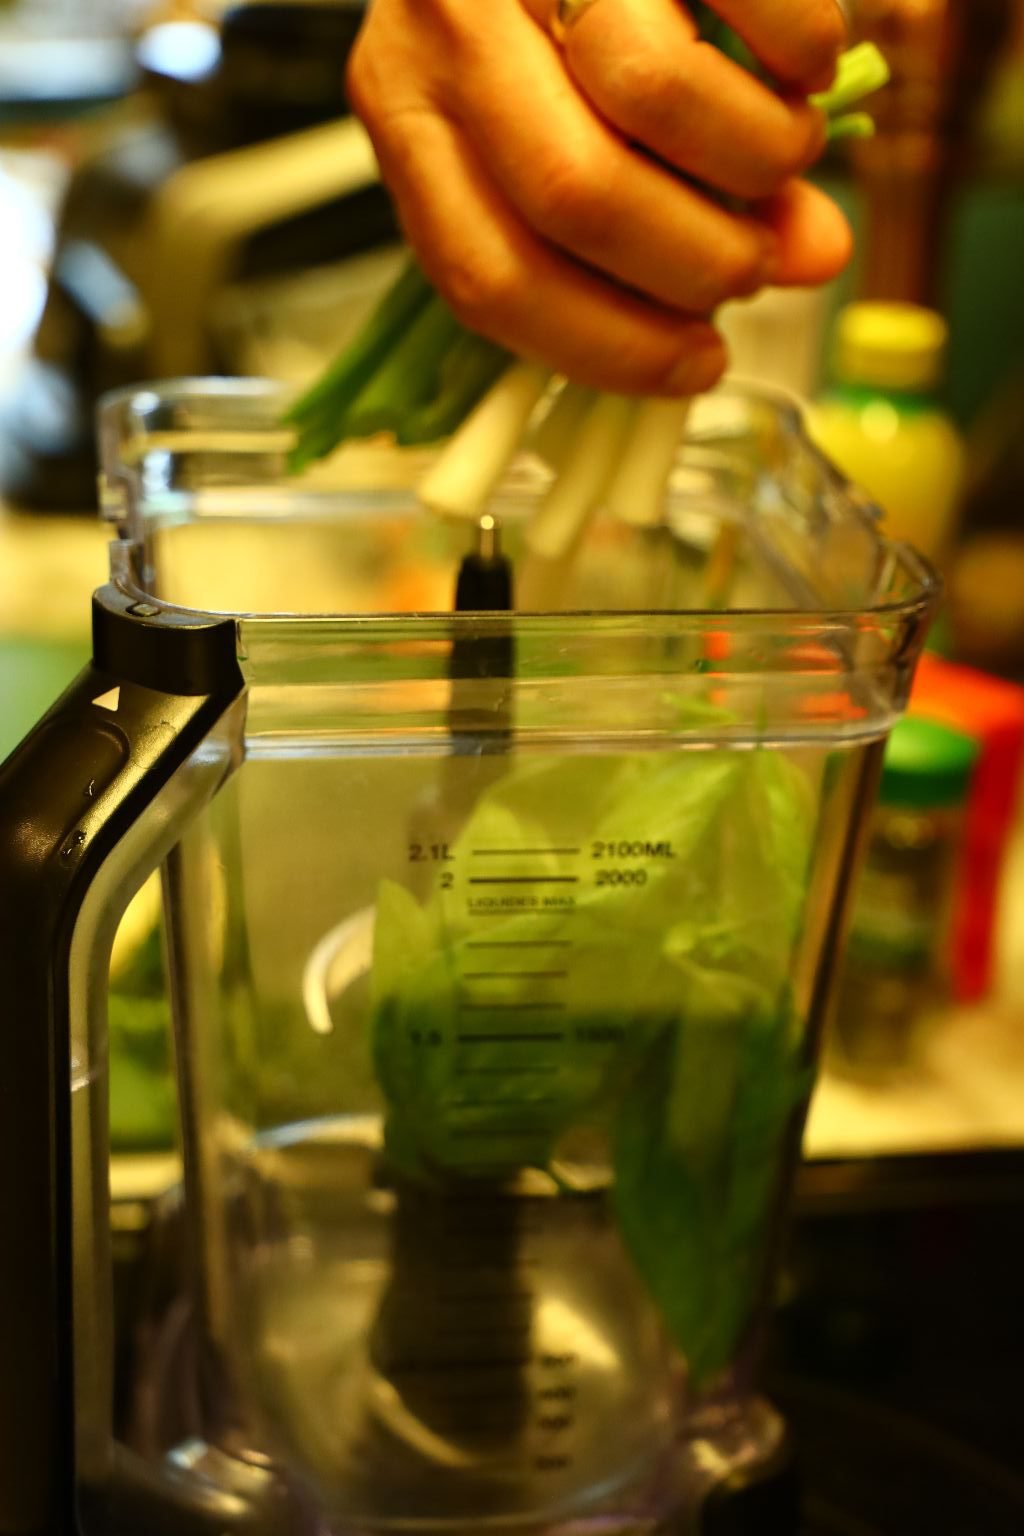


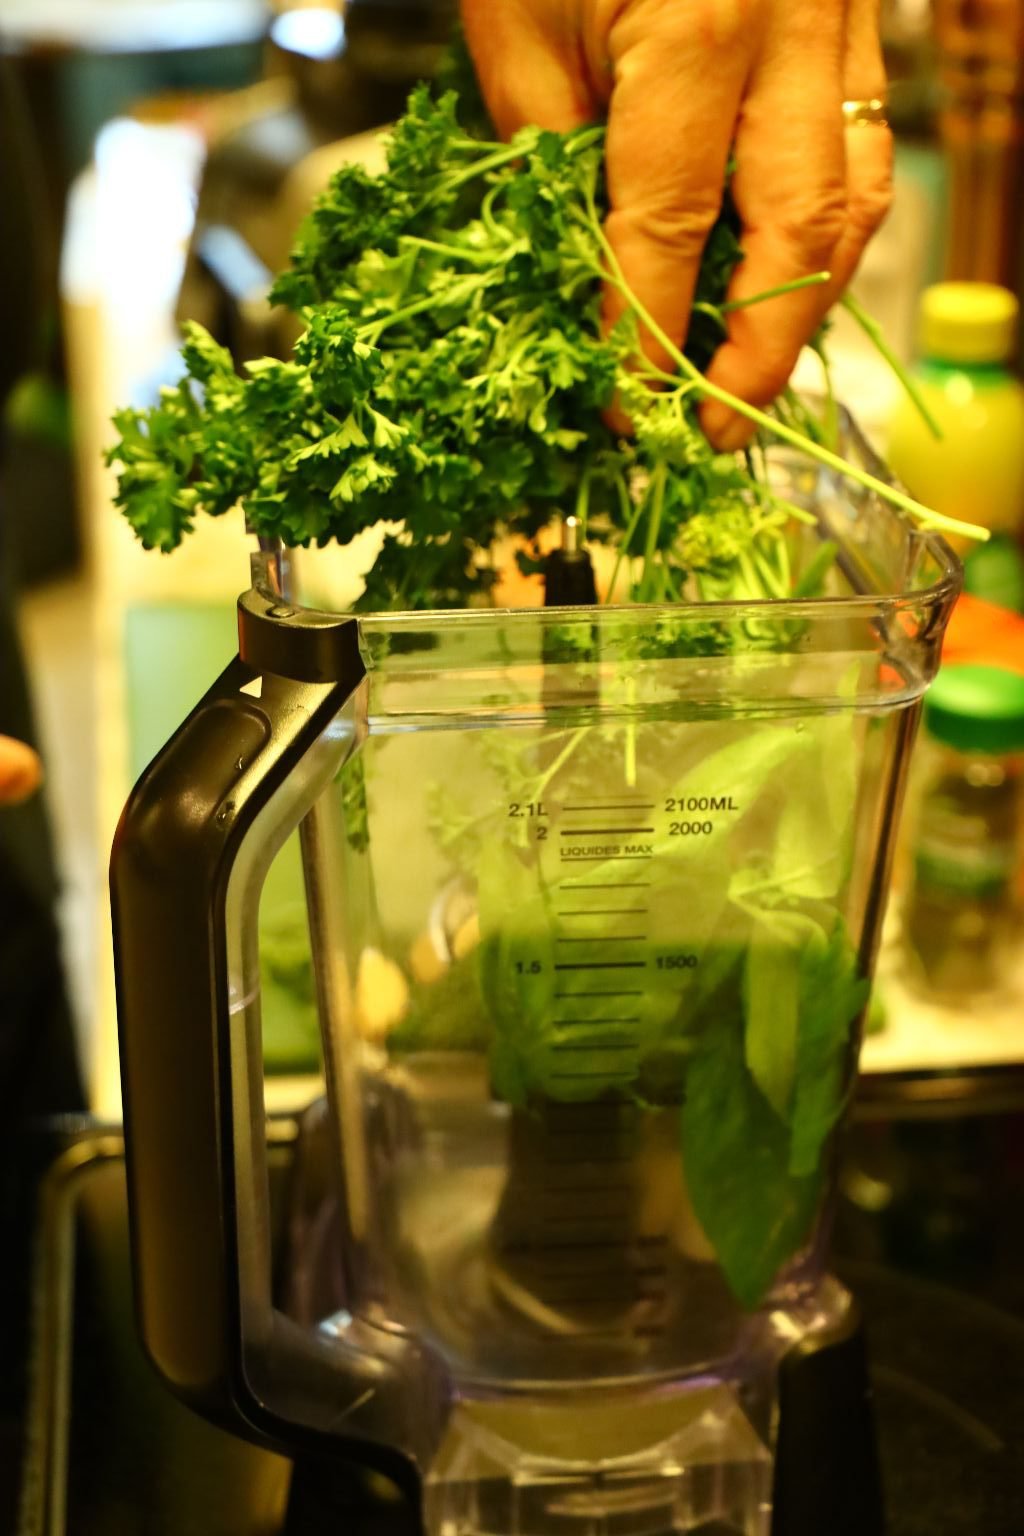
then the Spring Onions, Garlic Cloves, and Parsley.
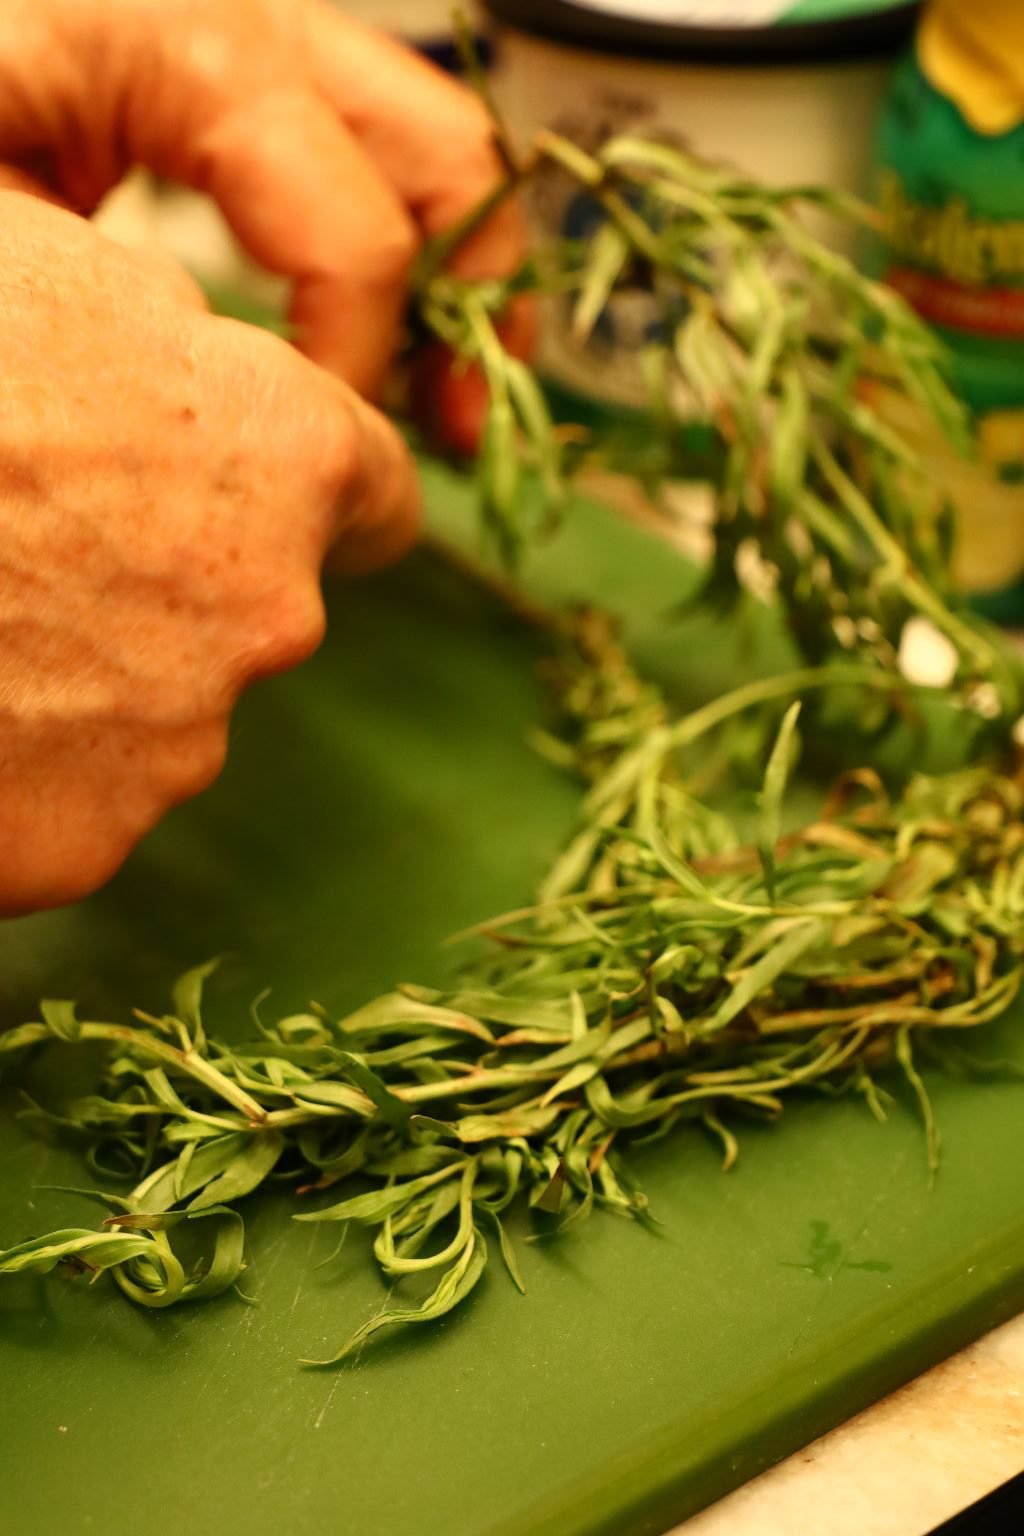

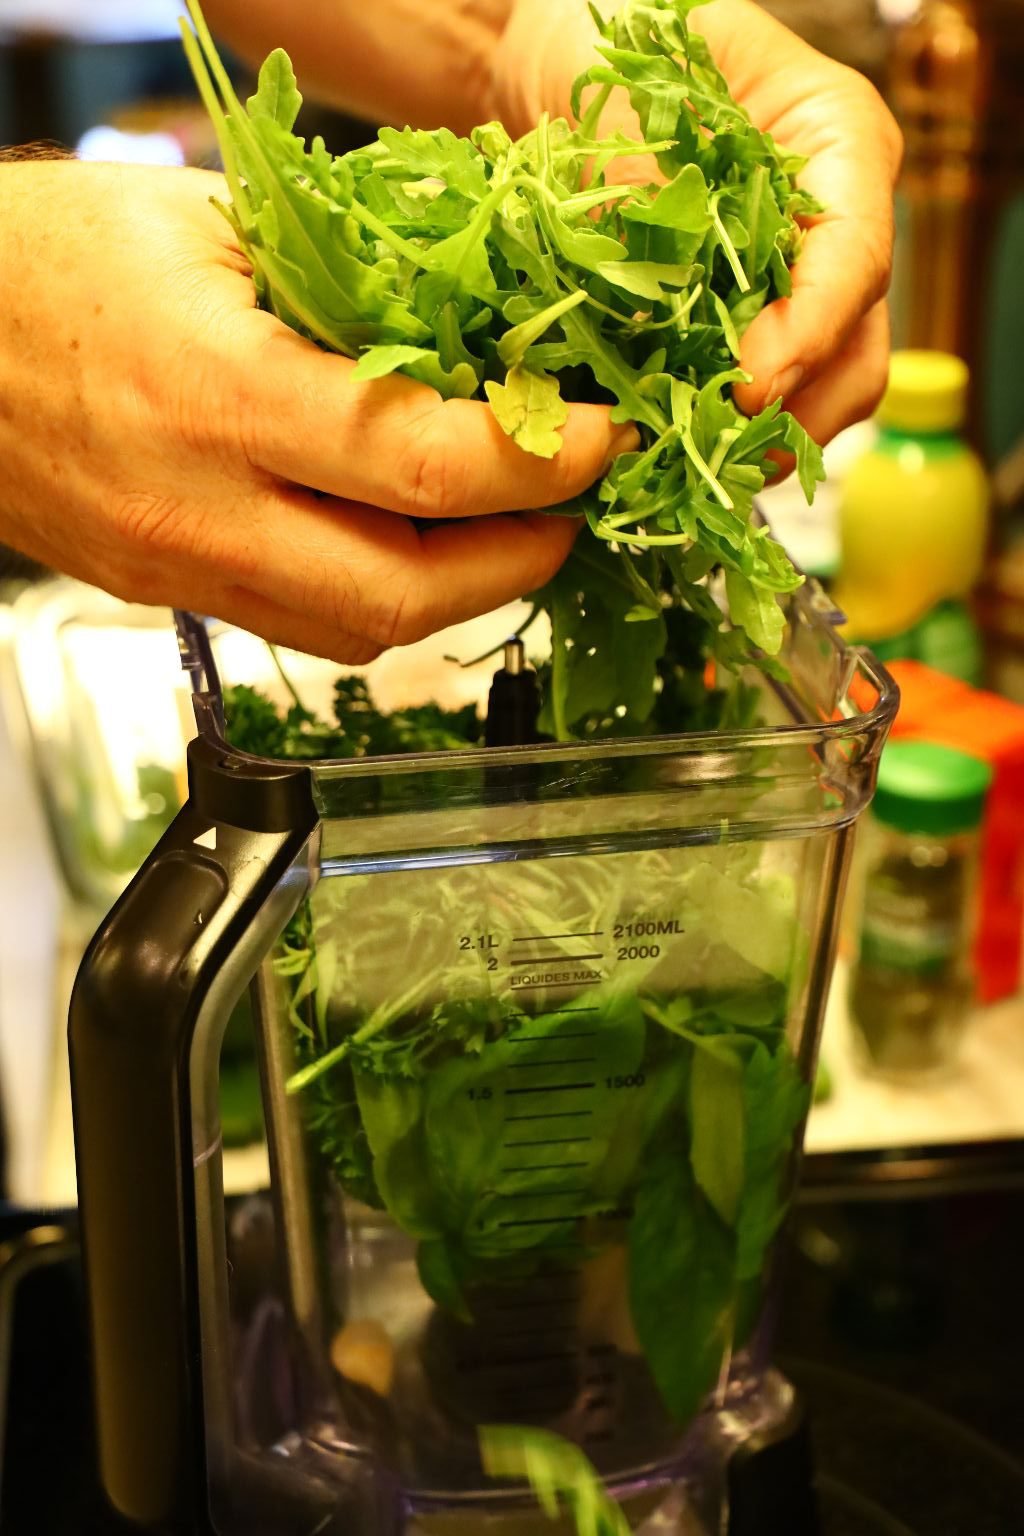
Now remove the fresh Tarragon leaves by pulling them down towards the base of the stem. Then add a few handfuls of your Arugula.
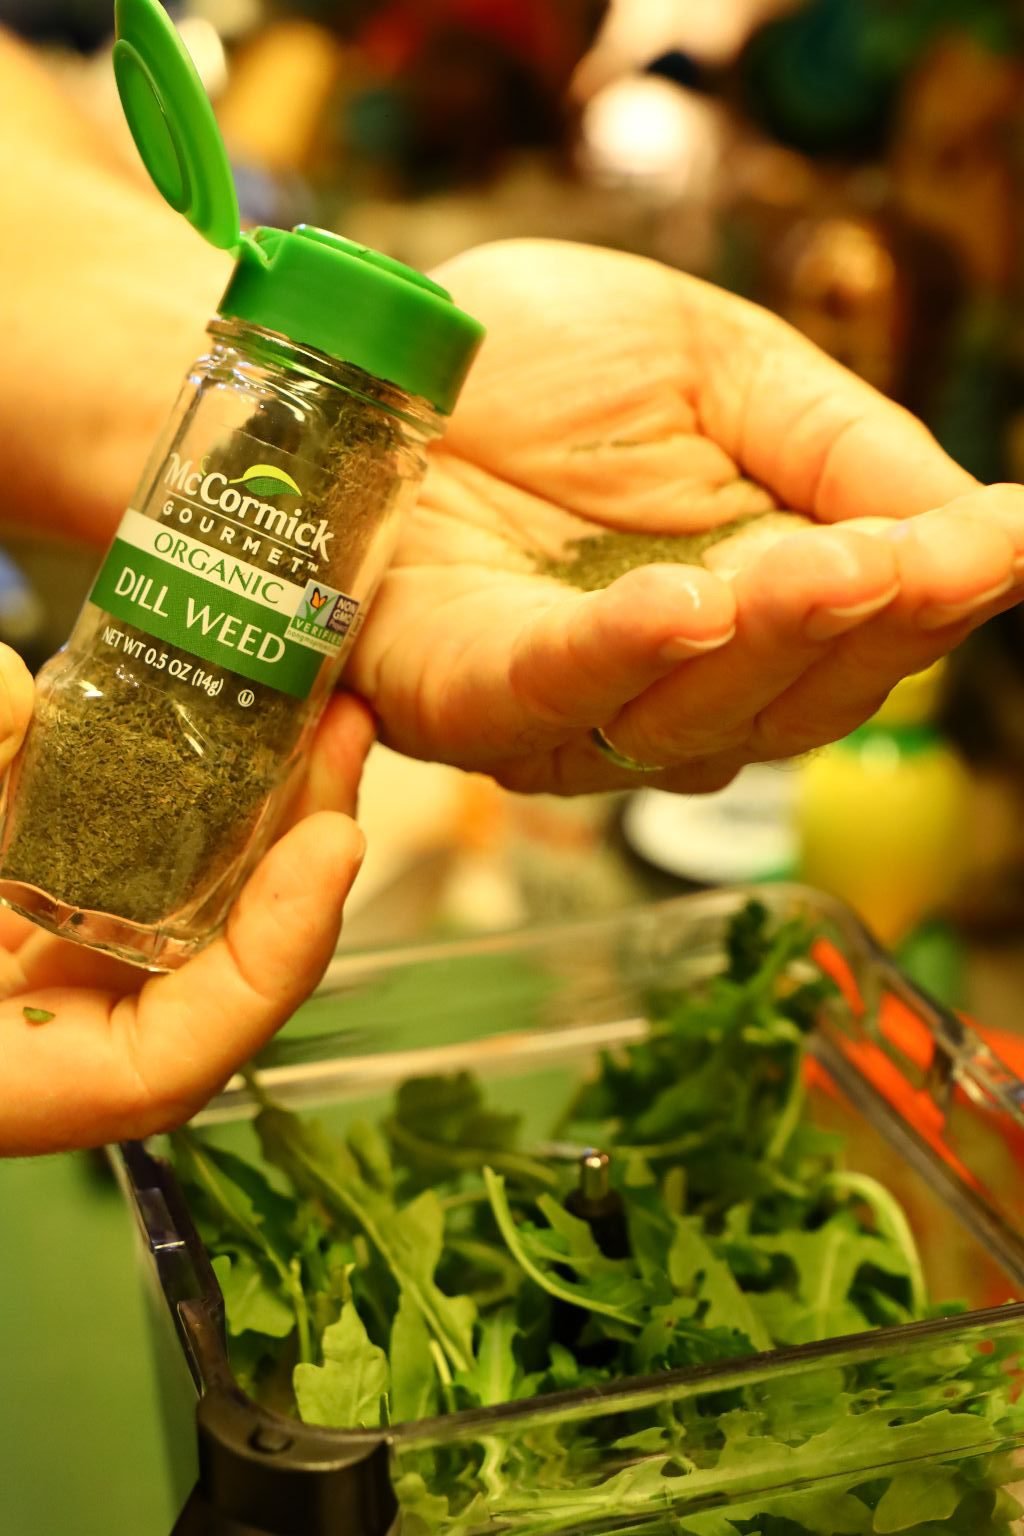

Now add your Dill Weed and Sweet Paprika to the blender.
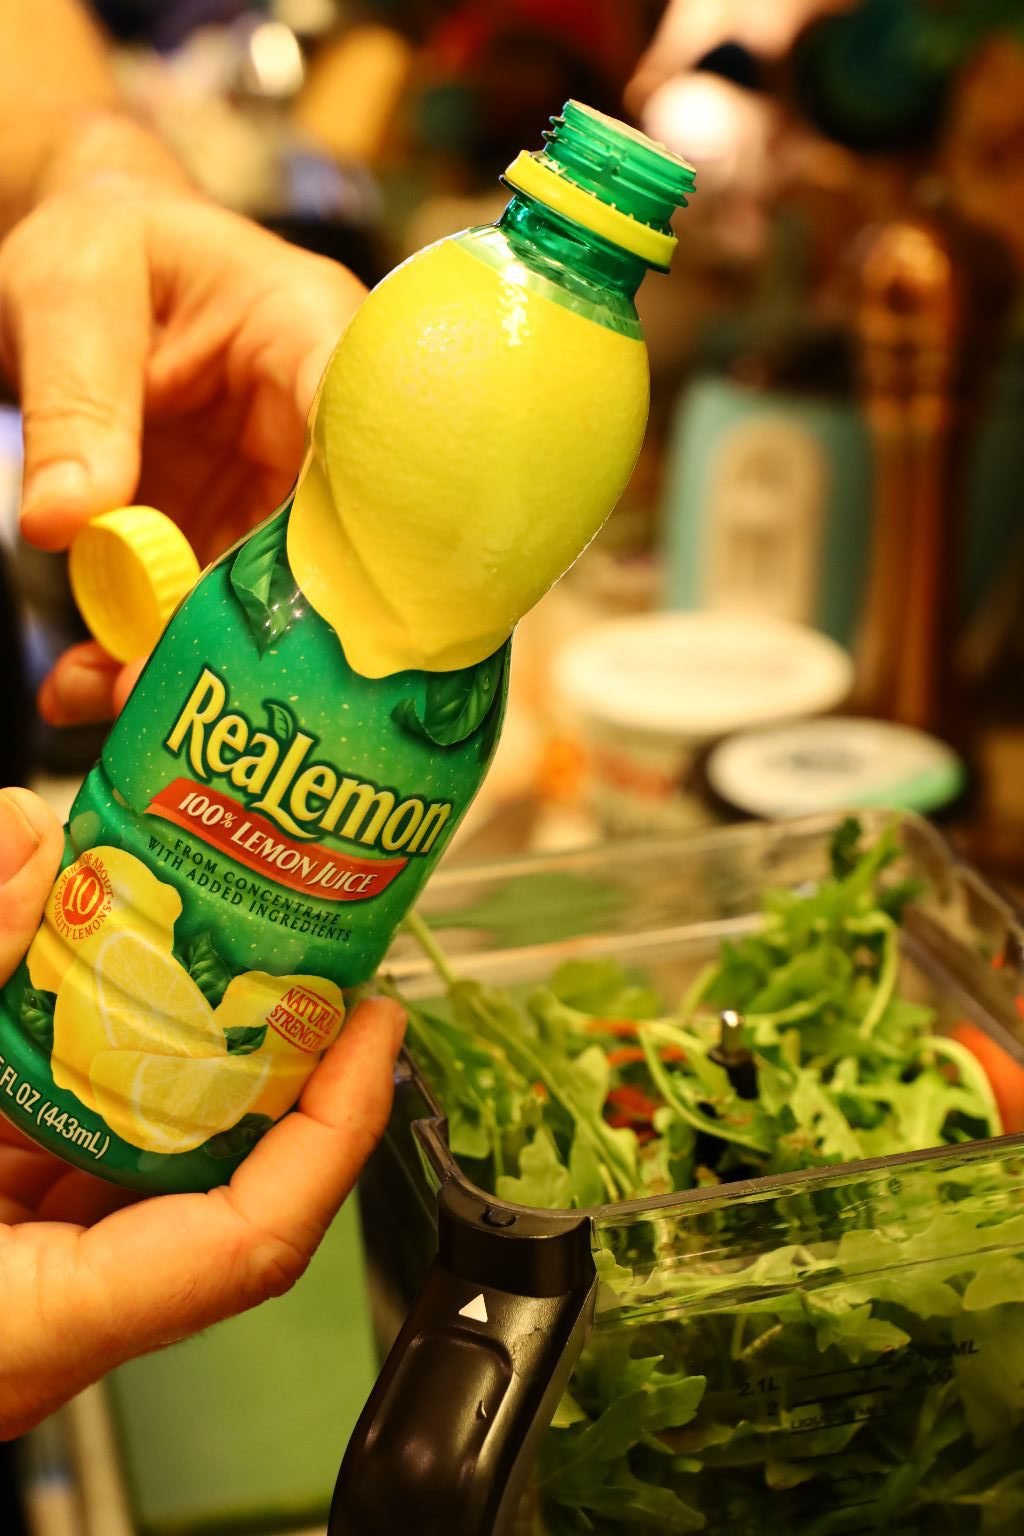

Then the Lemon Juice.


Add your Salt and Pepper to taste. We really like using the Hawaiian Sea Salt.


Here you can see all the beautiful herbs and other ingredients.

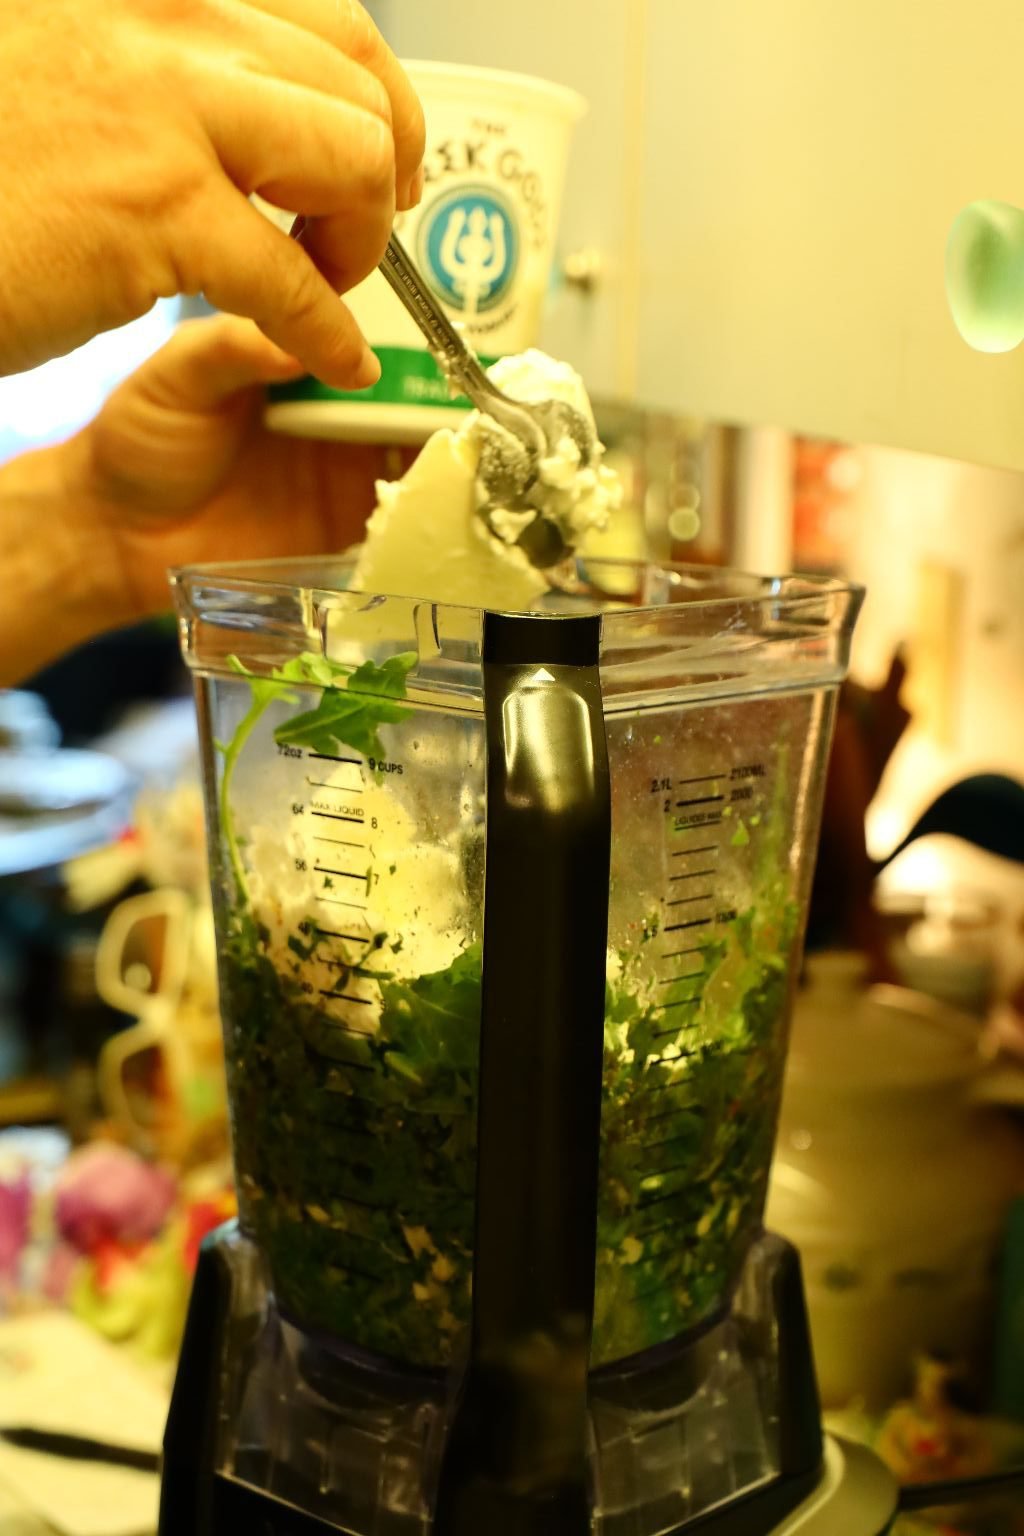
Add your Greek Yogurt to the blender…


then your Sour Cream.

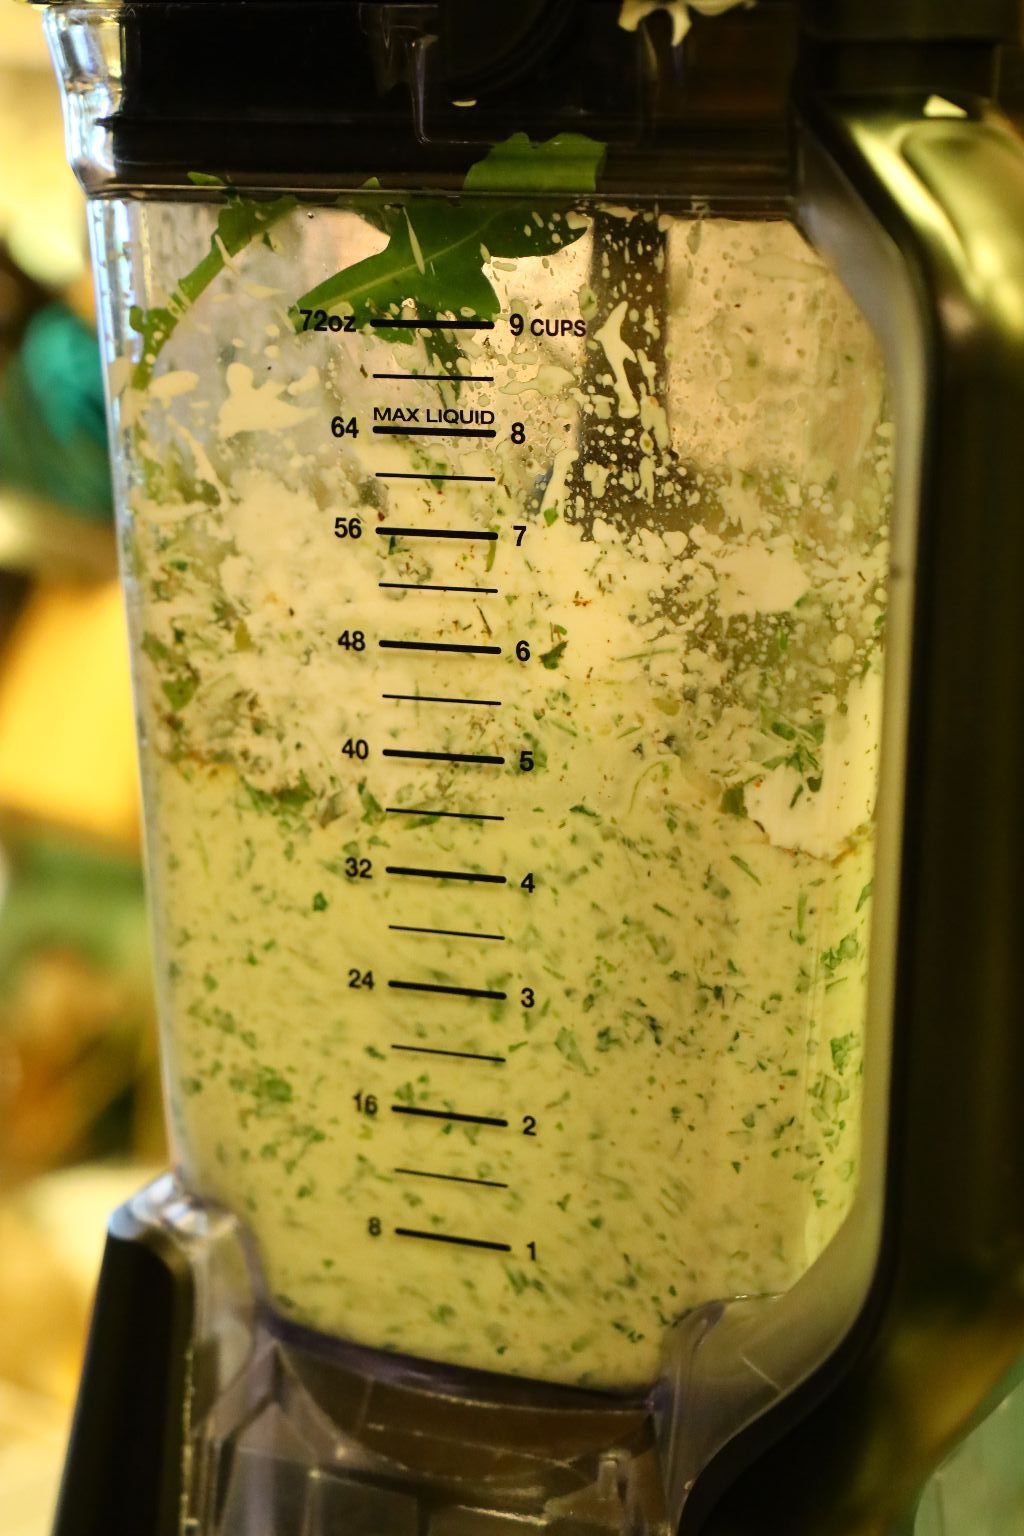
Turn the blender on high for about 45 sec. or so to mix all the ingredients well.


Taste the mixture and add more of Everything if needed!


We noticed the dip was a little runnier than we liked and needed a bit more lemon flavor.


Instead of adding more lemon juice we added Lemon Peel. We also felt the Ritz Crackers would soak up some of the excess liquid and give the dip some body as well as a bit of buttery flavor.


Run the blender more until it is at the consistency and taste you like.


When done, pour the dip into a nice bowl and chill in the refrigerator until ready to eat.
Here you can see, chilling the dip and adding the crackers made the dip nice and thick!
Delicious.
—————————————————————

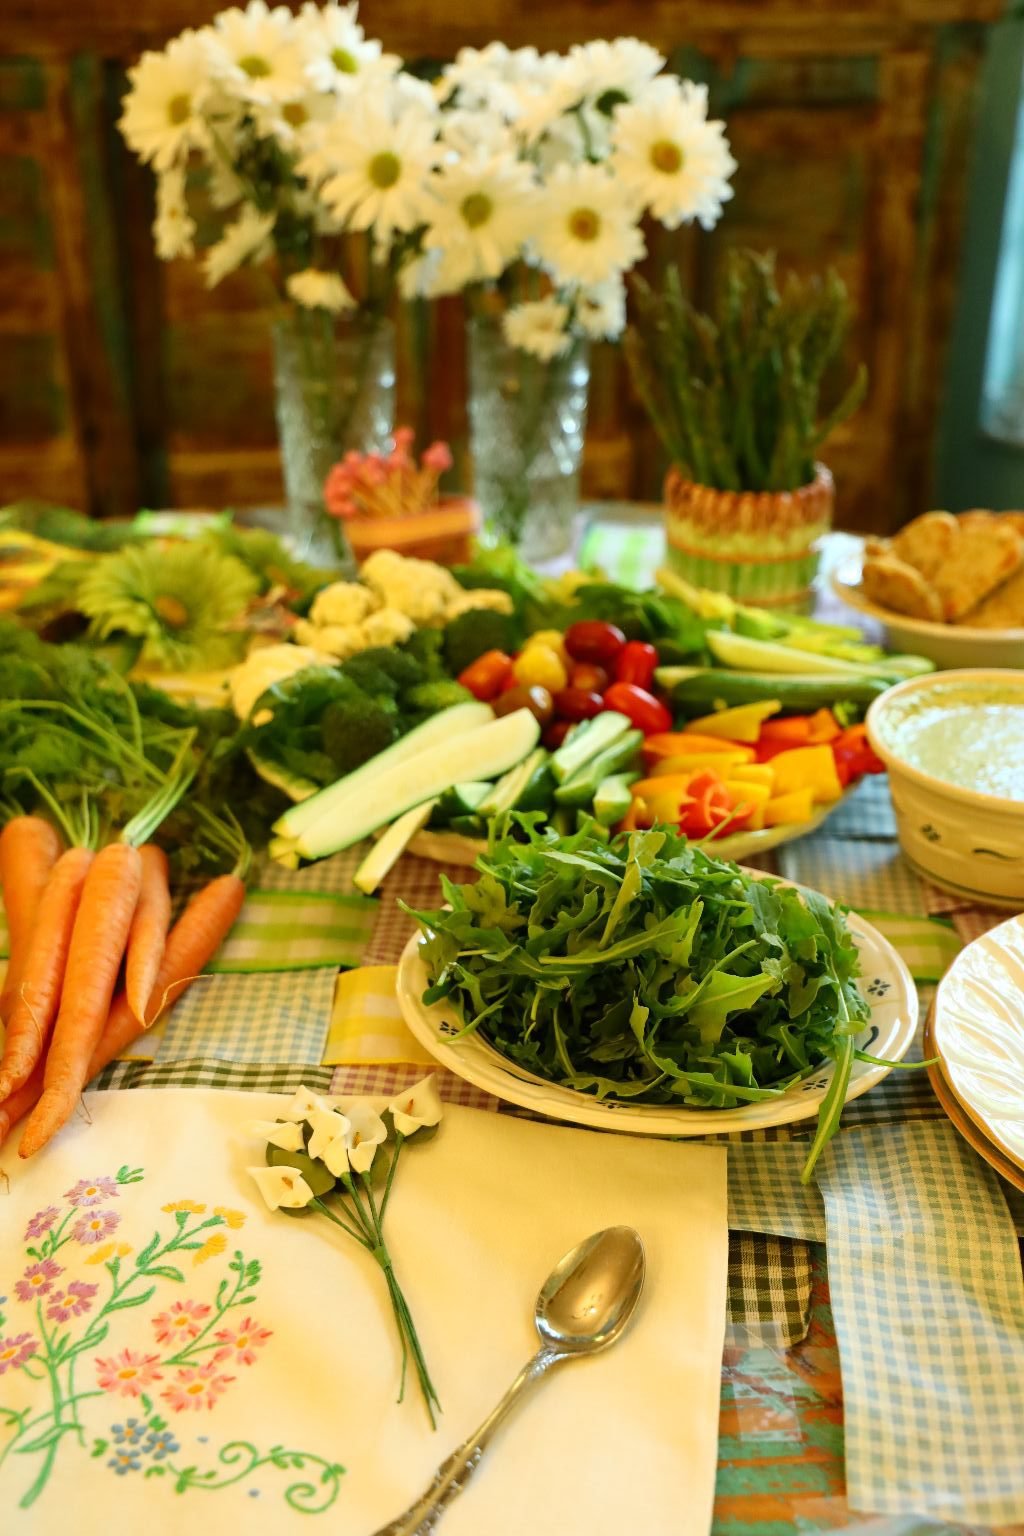
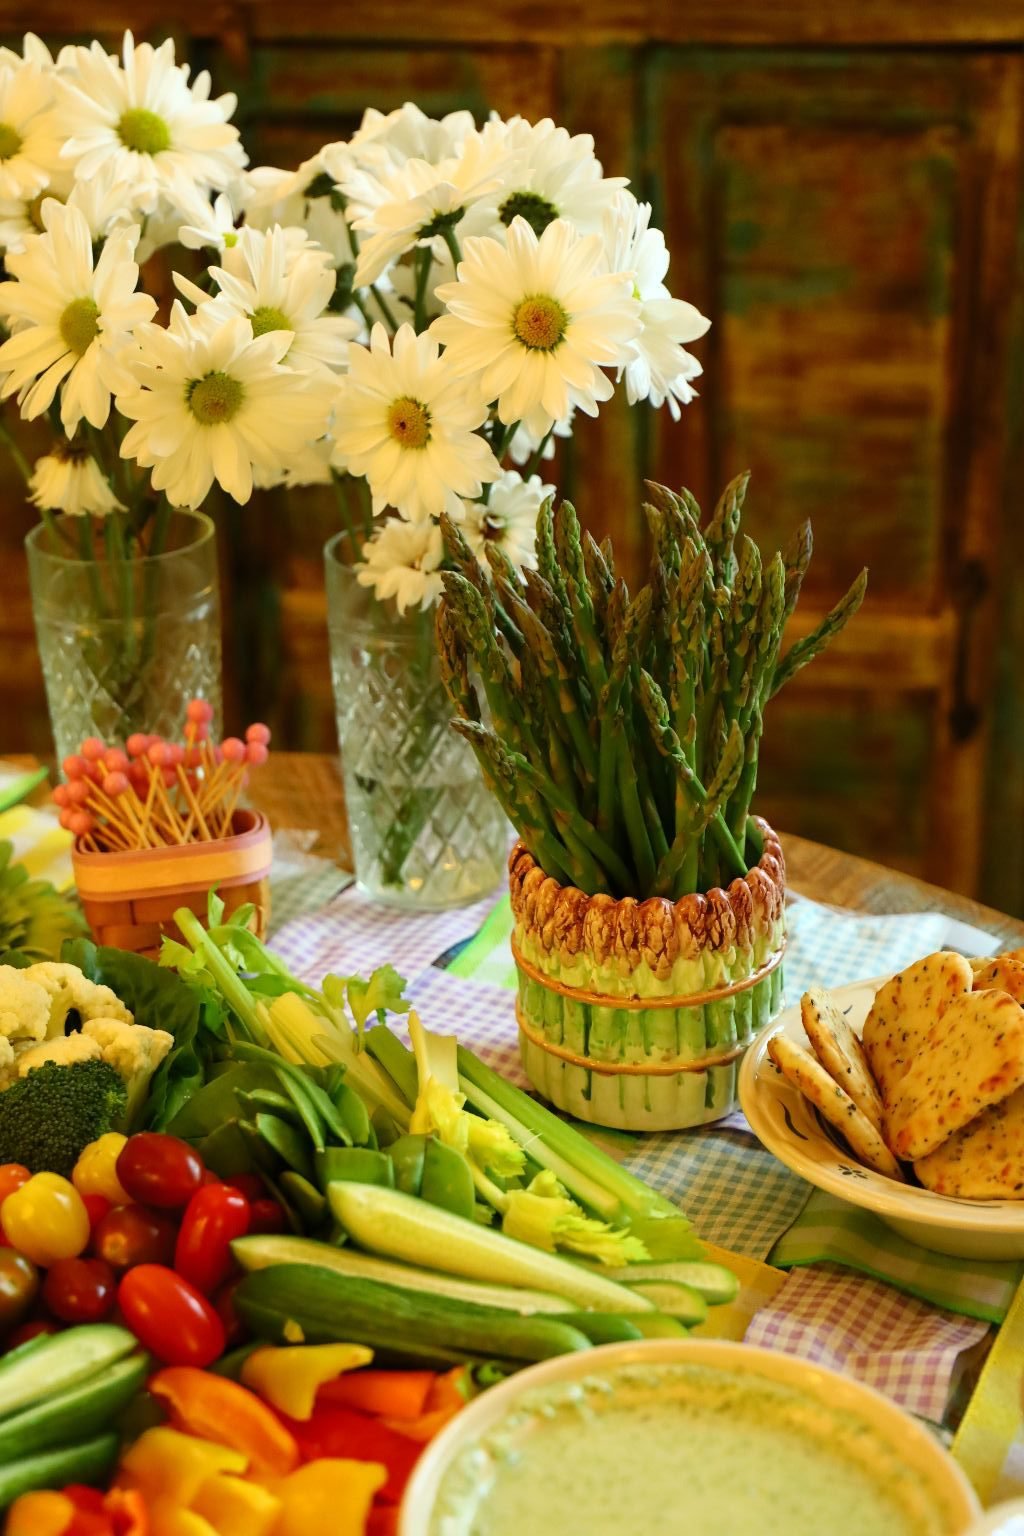
Herb Sauce with Peas for our Red Lintel and Quinoa Pasta…

——————————————————-

Red Lentil and Quinoa Pastas
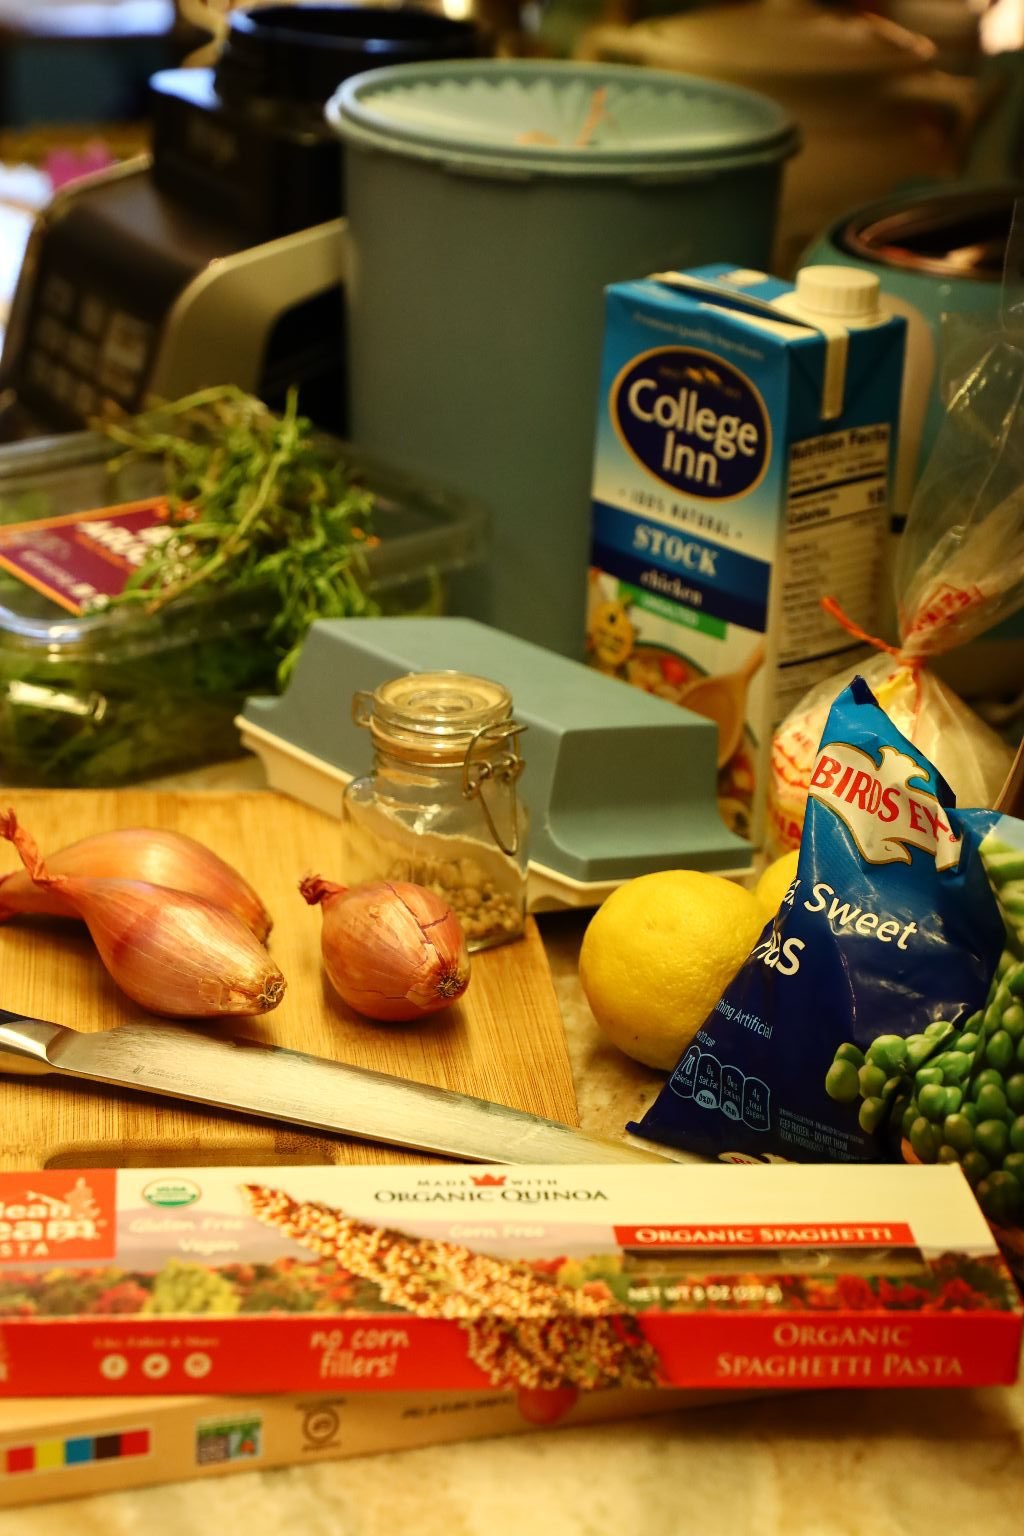
Ingredients:
1 Box Red Lentil Spaghetti
1 Box Chick Pea Spaghetti
3 Shallots – chopped finely
3-4 Garlic Cloves – chopped finely
5 Tbsp. Butter
Freshly Ground Black Pepper and Salt to taste
5-6 Whole White Pepper Corns
5 Tbsp. Flour
Garlic Flavored Olive Oil as needed
~3 Cups Chicken Stock
Juice of 1 Lemon
2 Tbsp. Fresh Tarragon Leaves
3 Tbsp. Fresh Oregano Leaves
1 Cup Frozen Peas
~2 Cups Vegetable Dip (made previously, see recipe above.)
———————————————————————–


Start by heating a large pot of water to boil the pasta in.


Peel and slice your Shallots

In a medium sized pot, begin to melt your butter.

—————————————————————-

Continue to slice your shallots finely.
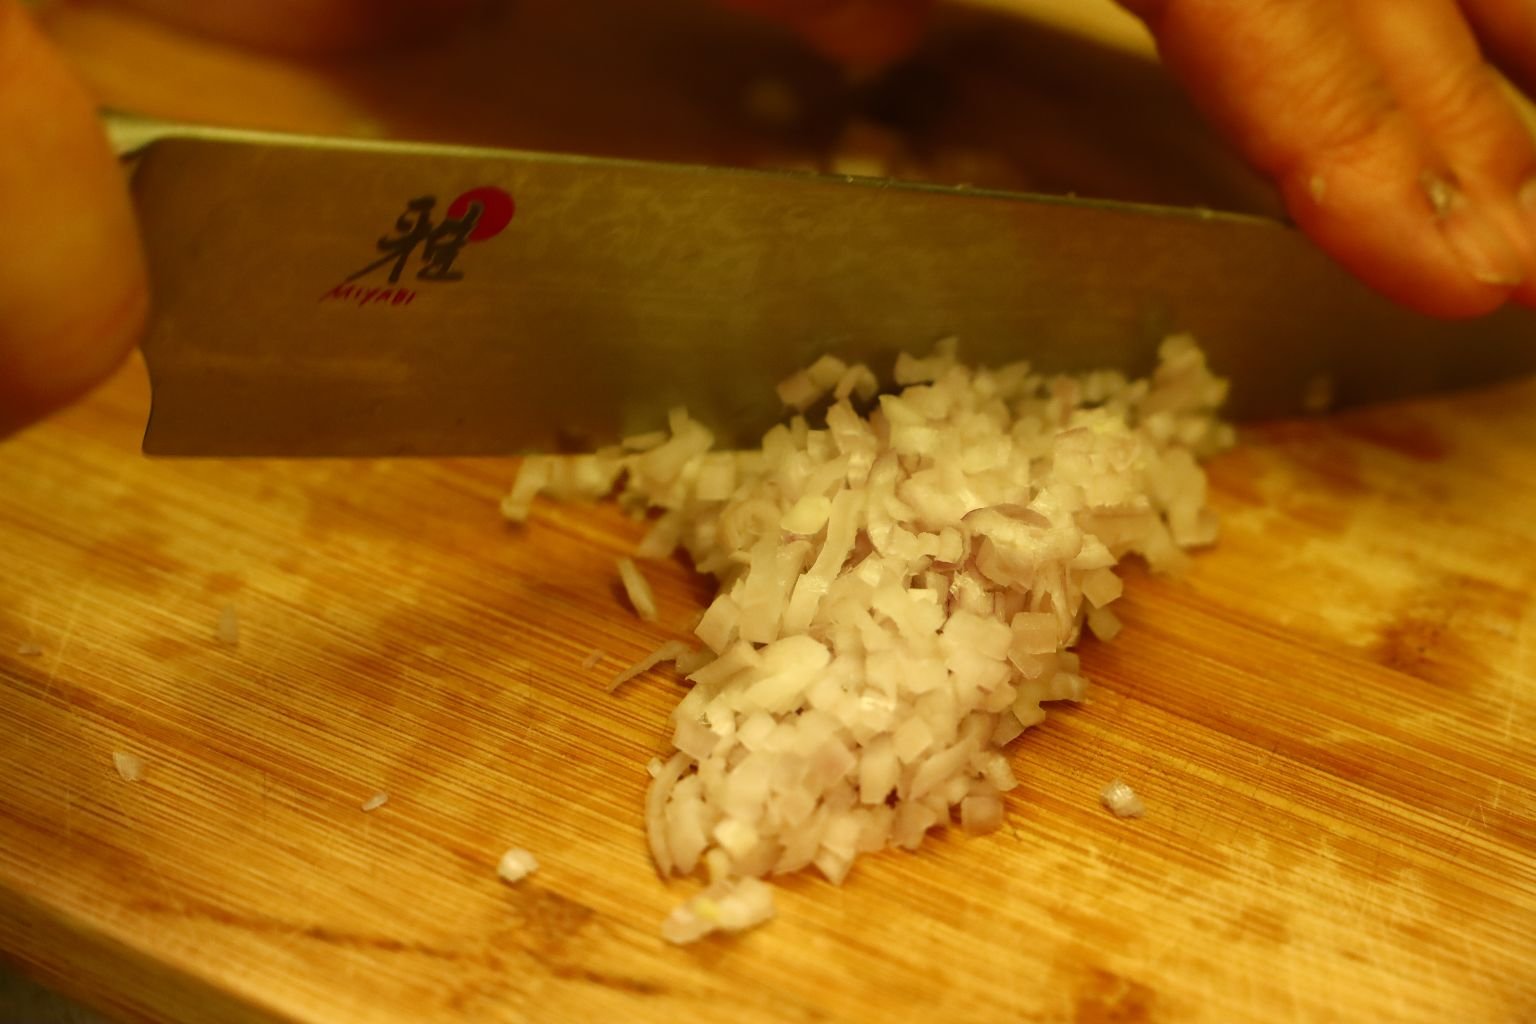

You can see, there we a lot of shallots to slice.
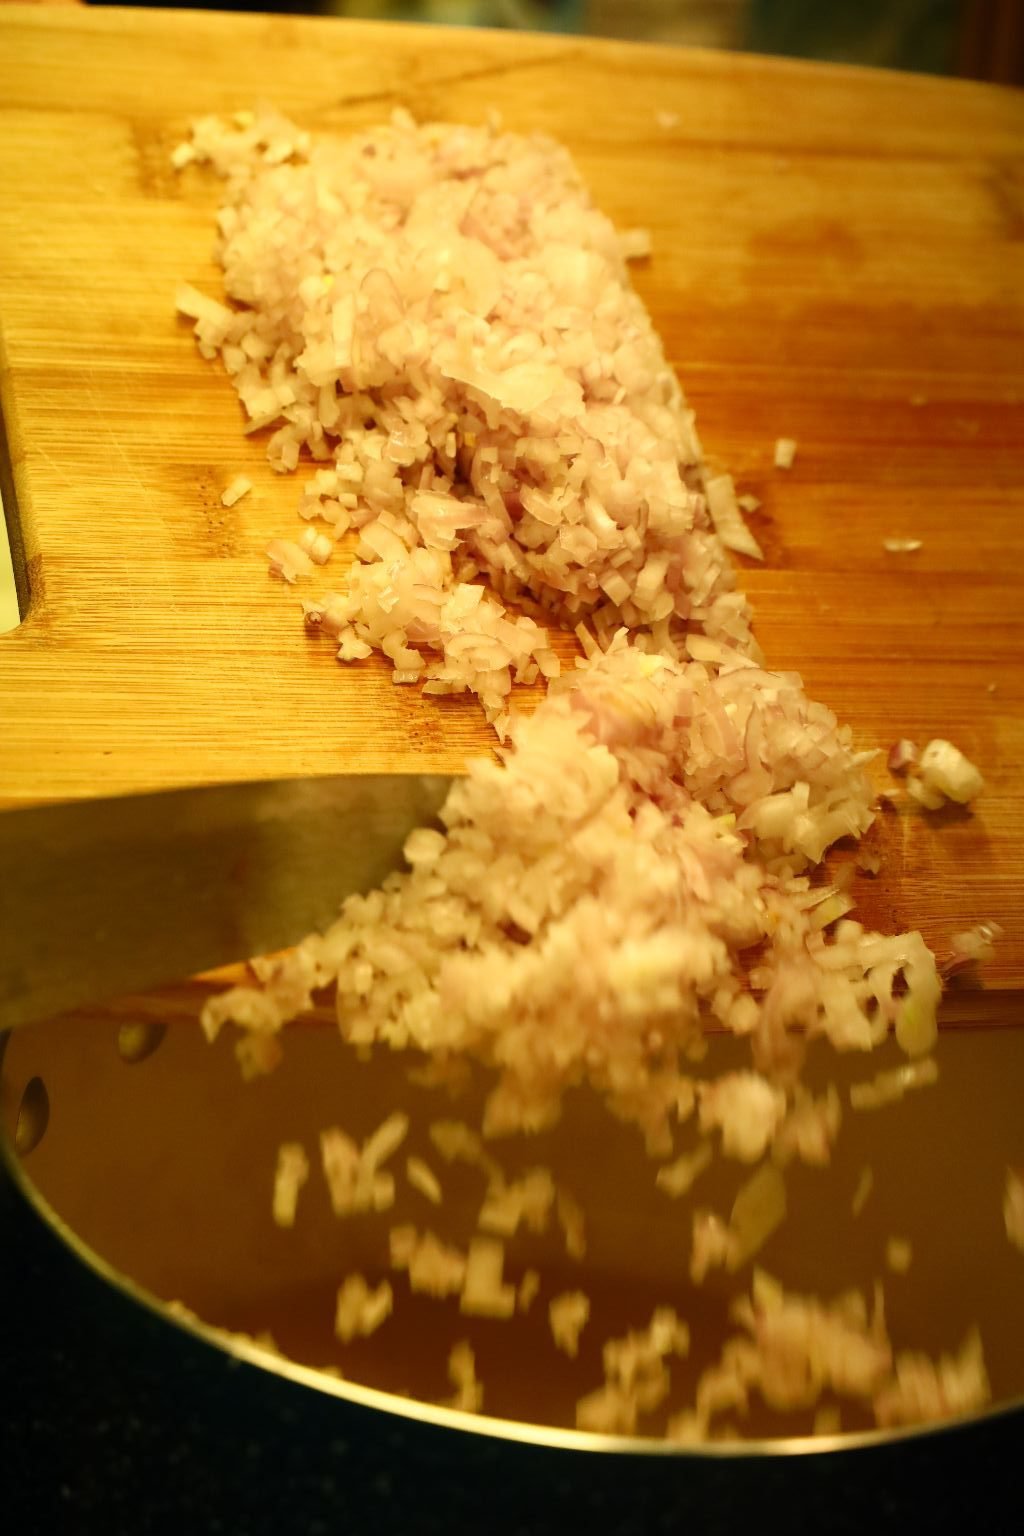
When your butter has melted, add all the chopped Shallots. Saute your shallots in the butter until softened… about 7 min.


Slice your Garlic…


Remember to stir your shallots!

Then chop the Garlic finely as shown. Add the Garlic to the Shallots and continue to saute the mixture.


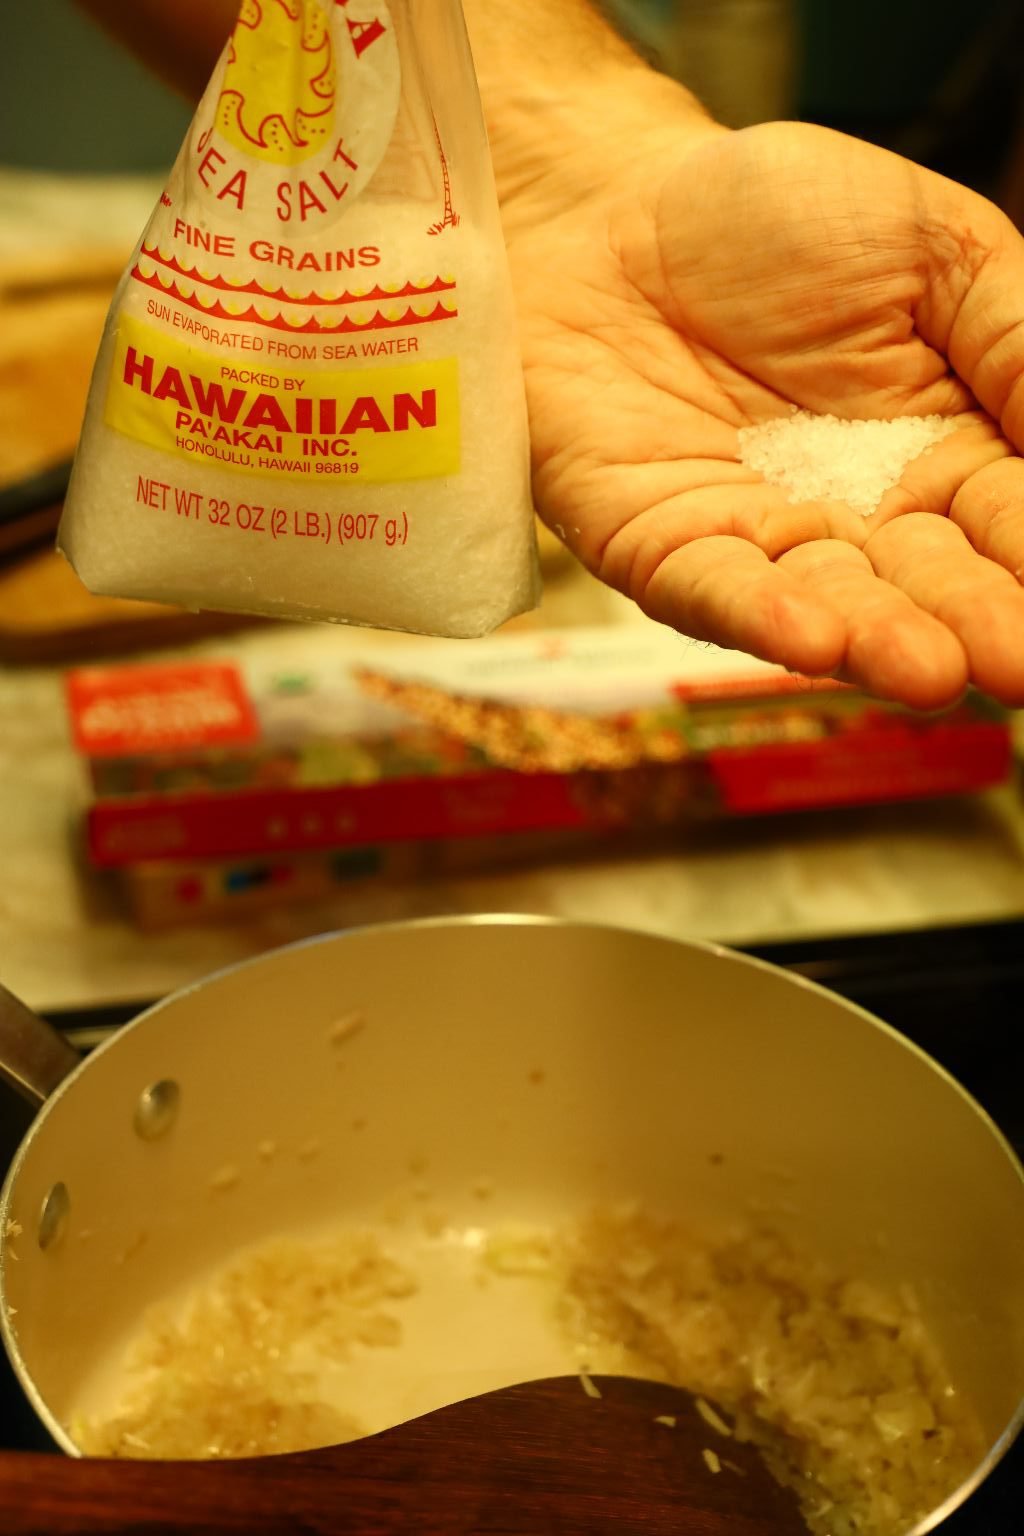
Add your Freshly Ground Black Pepper, your Whole White Pepper Corns and Hawaiian Sea Salt to the Shallots.
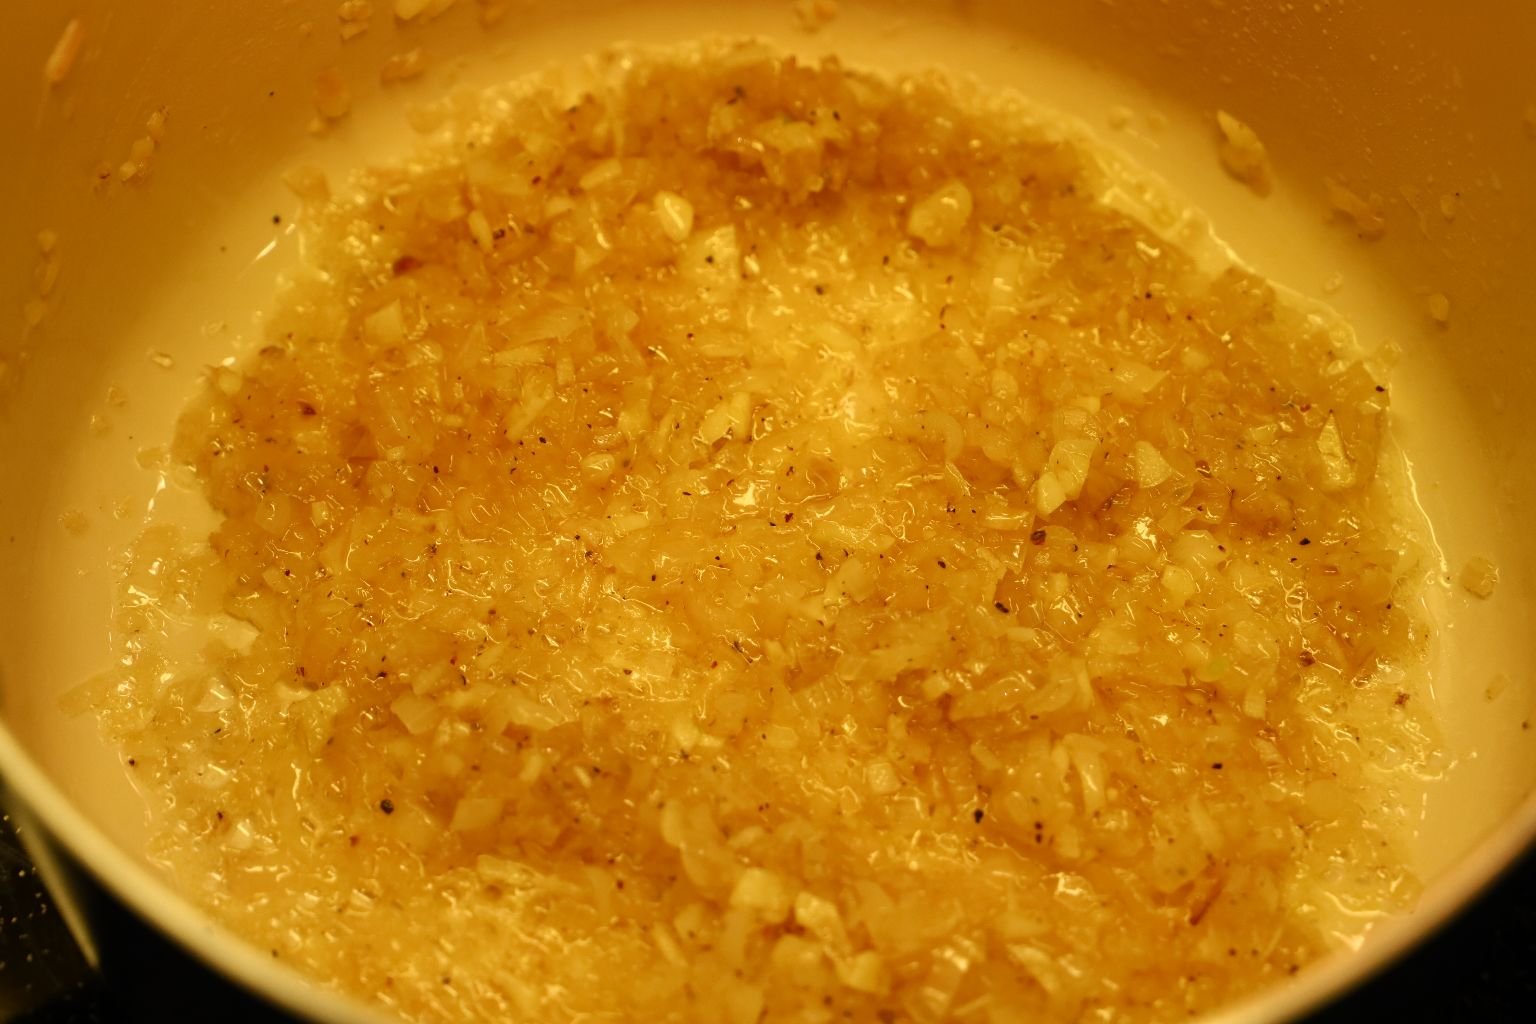
When your Shallots and Garlic are cooked to your liking…

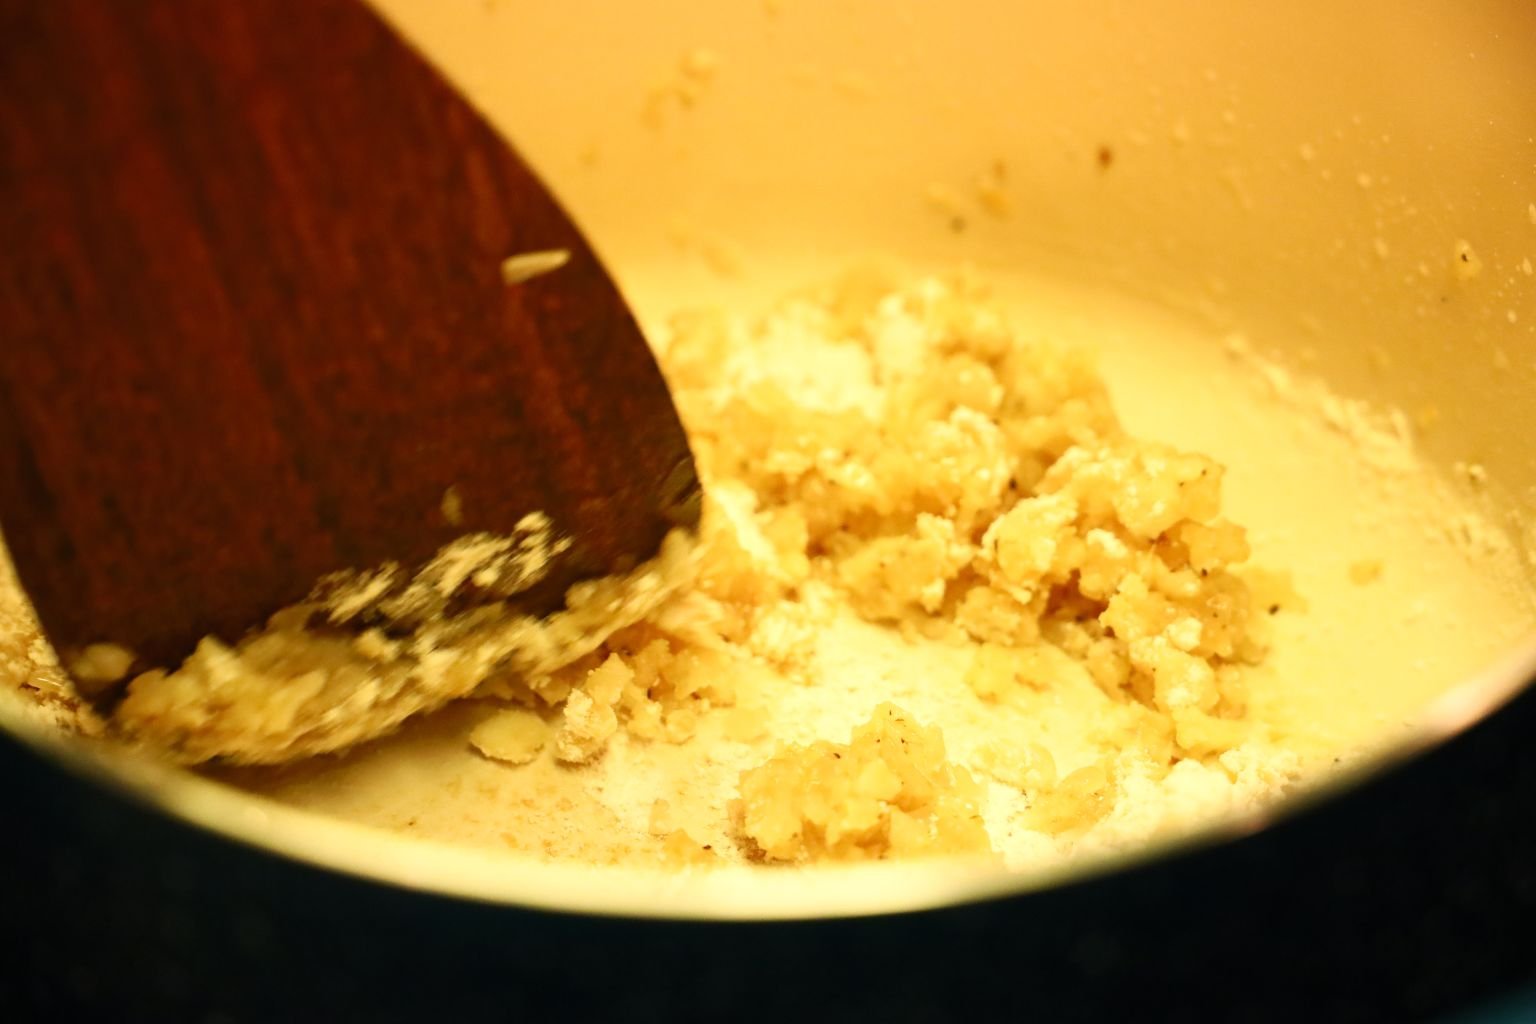

add your Flour to the pot and stir everything well. Here you can see the mixture doesn’t look like wet sand so….

I add a touch of Garlic infused Olive Oil …


and more butter until the Rue looks like wet sand. Cook this mixture for about 5 min. on low heat to get rid of the flour taste and to slightly give the Rue a bit of color. I have seen people cook the onion and garlic in a separate pan and cook the Rue by itself. Then they add the mixtures together after the Chicken Stock is add. I don’t like messing up the extra pan and I see no reason for not making it the way I did.


Now, add your Chicken Stock to the Rue starting with about 2 Cups worth…mixing it in well. Now you have a Veloute Onion Sauce.

Add more Chicken Stock, when the stock is absorbed until it is at a nice consistency.


To enrich the sauce… add your fresh Lemon Juice…

—————————————————————


Then add your Tarragon, Oregano, and Frozen Peas to the pot.


Stir the mixture well.

Here we thought the taste of the previously made vegetable dip (from above) would go nicely with the pasta…

so we added some of it to the sauce.


Mix all the ingredients well as shown.
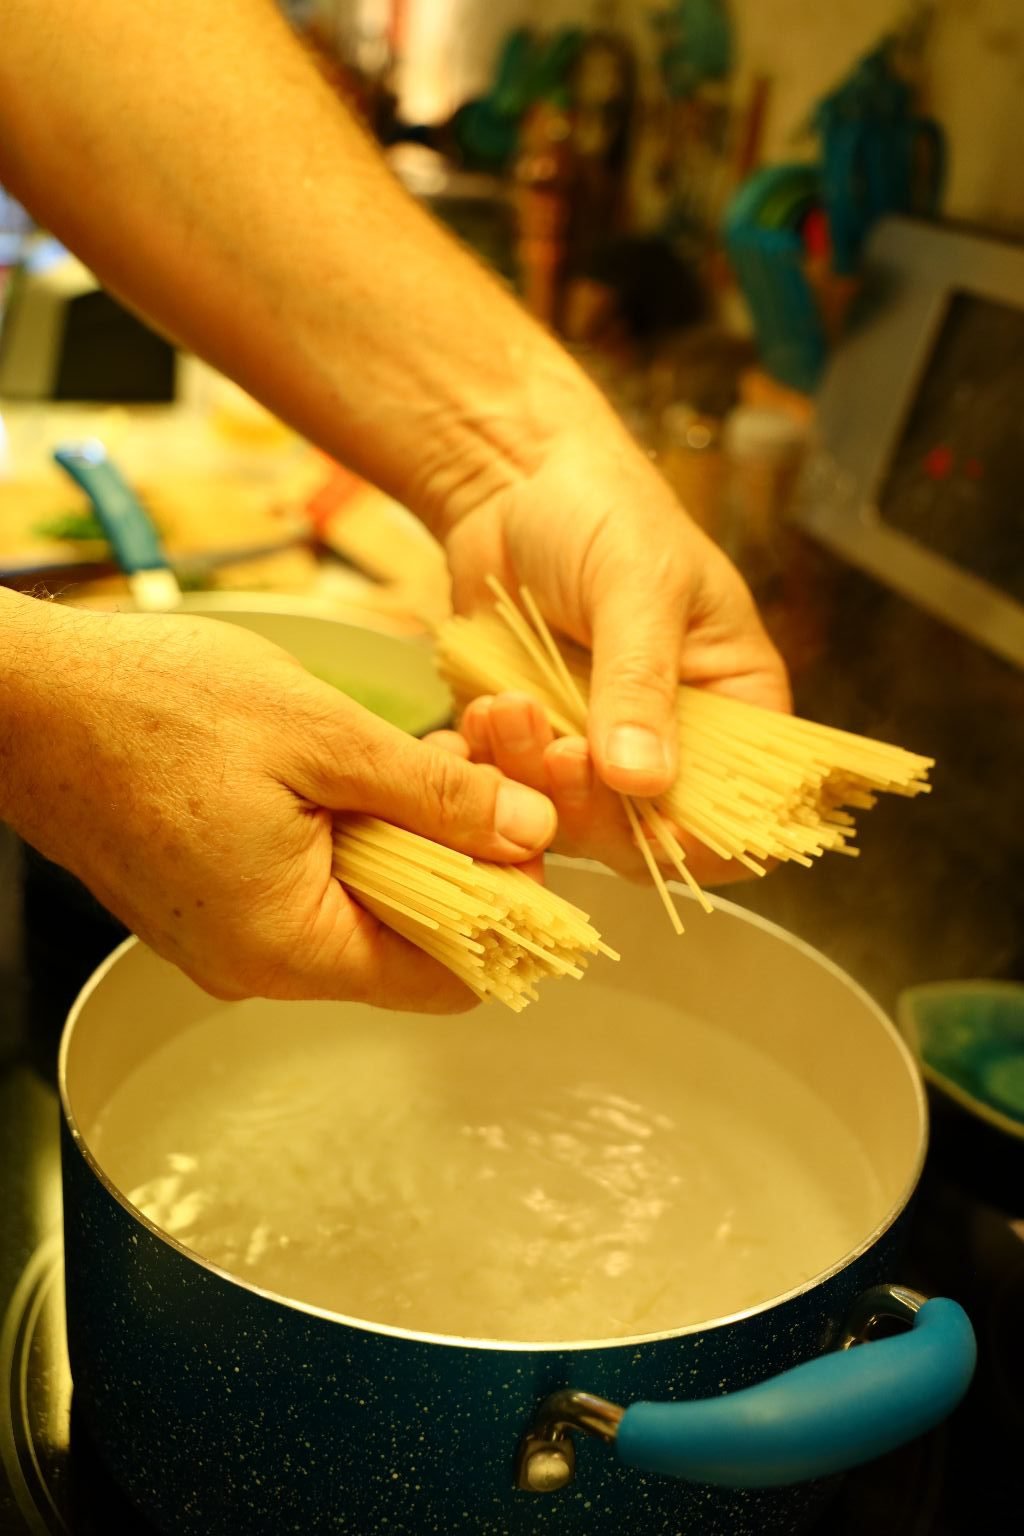


When your water is at the boil, add your pasta and cook as directed.

The sauce tasted amazing!


After about 8 min. the pasta was ready… cooked to al dente with just a little bite to the pasta.


Turn off the heat and add your Fresh Herbs that you have left.

Stir the ingredients well and serve immediately!
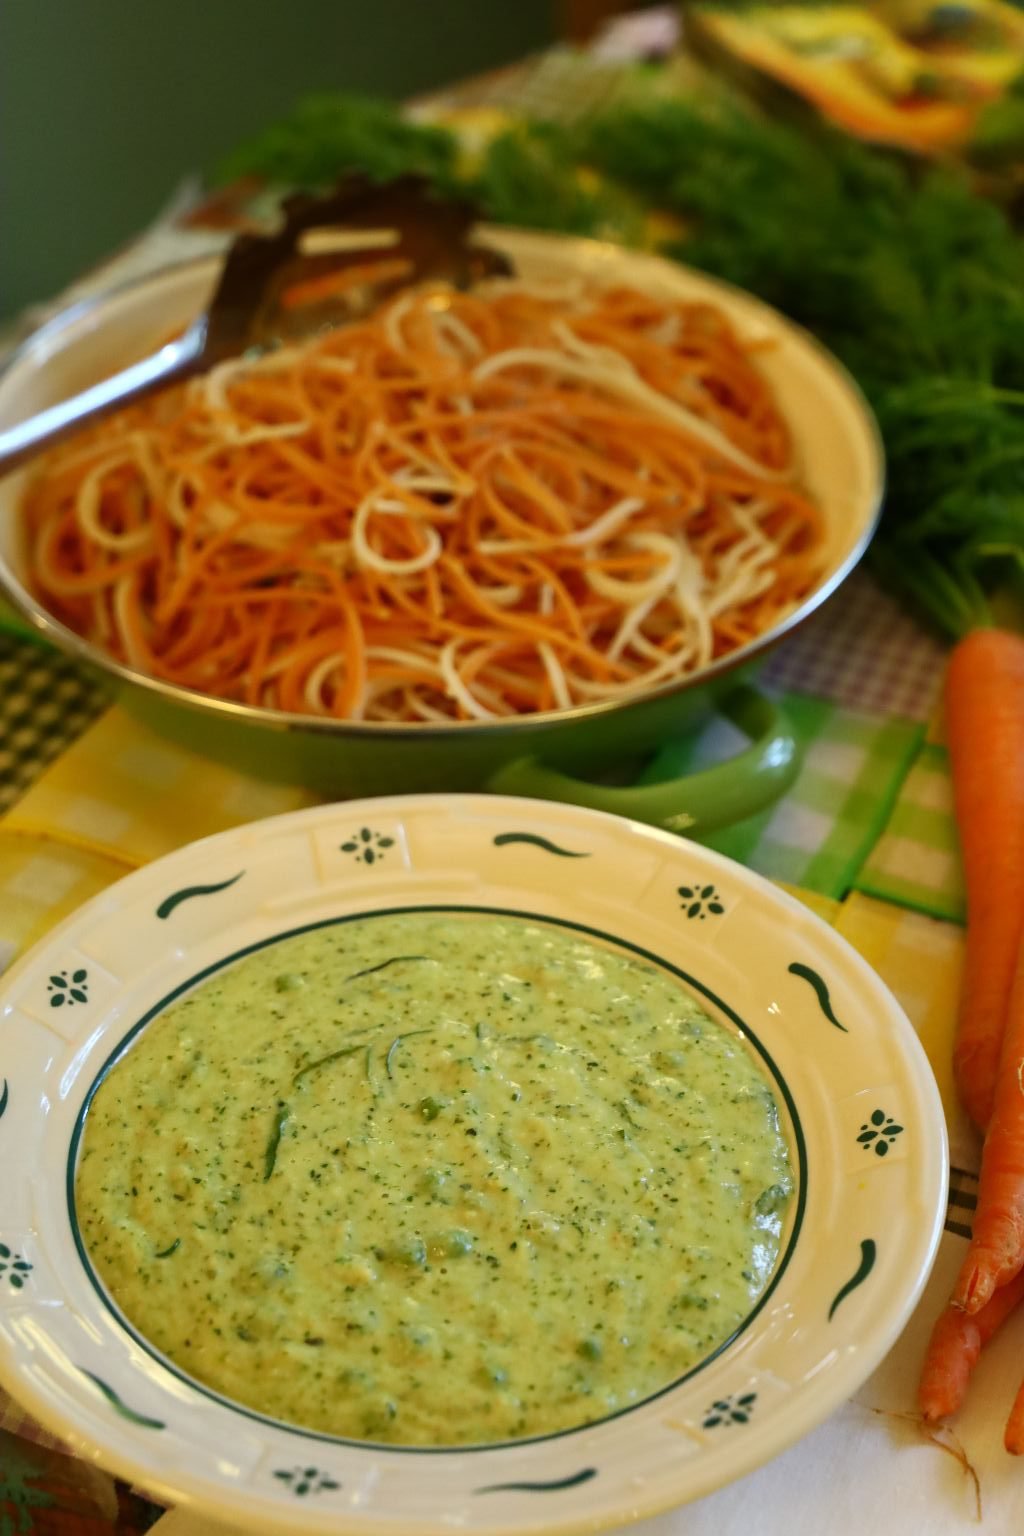
This was such a wonderful meal and will be on a repeat through time.
——————————————————–

Excellent Leftovers!
Just heat up in the microwave.
—————————————————————
Our Herbal, Lemon, and Nut Cheeseball
I wanted to make something special to eat in my herb garden. I wanted to incorporate many herbs along with some nuts and seeds. I wanted it to be healthy and tasty. I believe this is it!
To be eaten on a slice of Sunflower Seed Bread with a Shiso Herbal Leaf and some Sunflower Seeds.
——————————————————–

The Ingredients:
16 ounces Mascarpone Cheese
8 ounces Gruyere Cheese, Grated
3-4 ounces of Kerrygold Reserve Cheddar, Grated
(You can use any cheeses that you prefer.)
1/2 Cup Pistachio’s, Chopped
1/4 Cup Sunflower Seeds
2-3 t. Lemon Peel
Freshly Ground Black Pepper to Taste
Fresh Herbs, Chopped, Shredded, Torn or Plucked
I used Basil, Sage, and German Thyme
(Everyone should just add as much or as little as they like. Tailor this to your own tastes.)
———————————————–
To Garnish: Place the Cheeseball on a bed of Herb Leaves (I used Shiso) and Lemon Slices.
Sprinkle with some Sunflower Seeds.
Try eating the Cheeseball on a slice of Sunflower Seed Bread, or even an Herb Leaf.
——————————————————
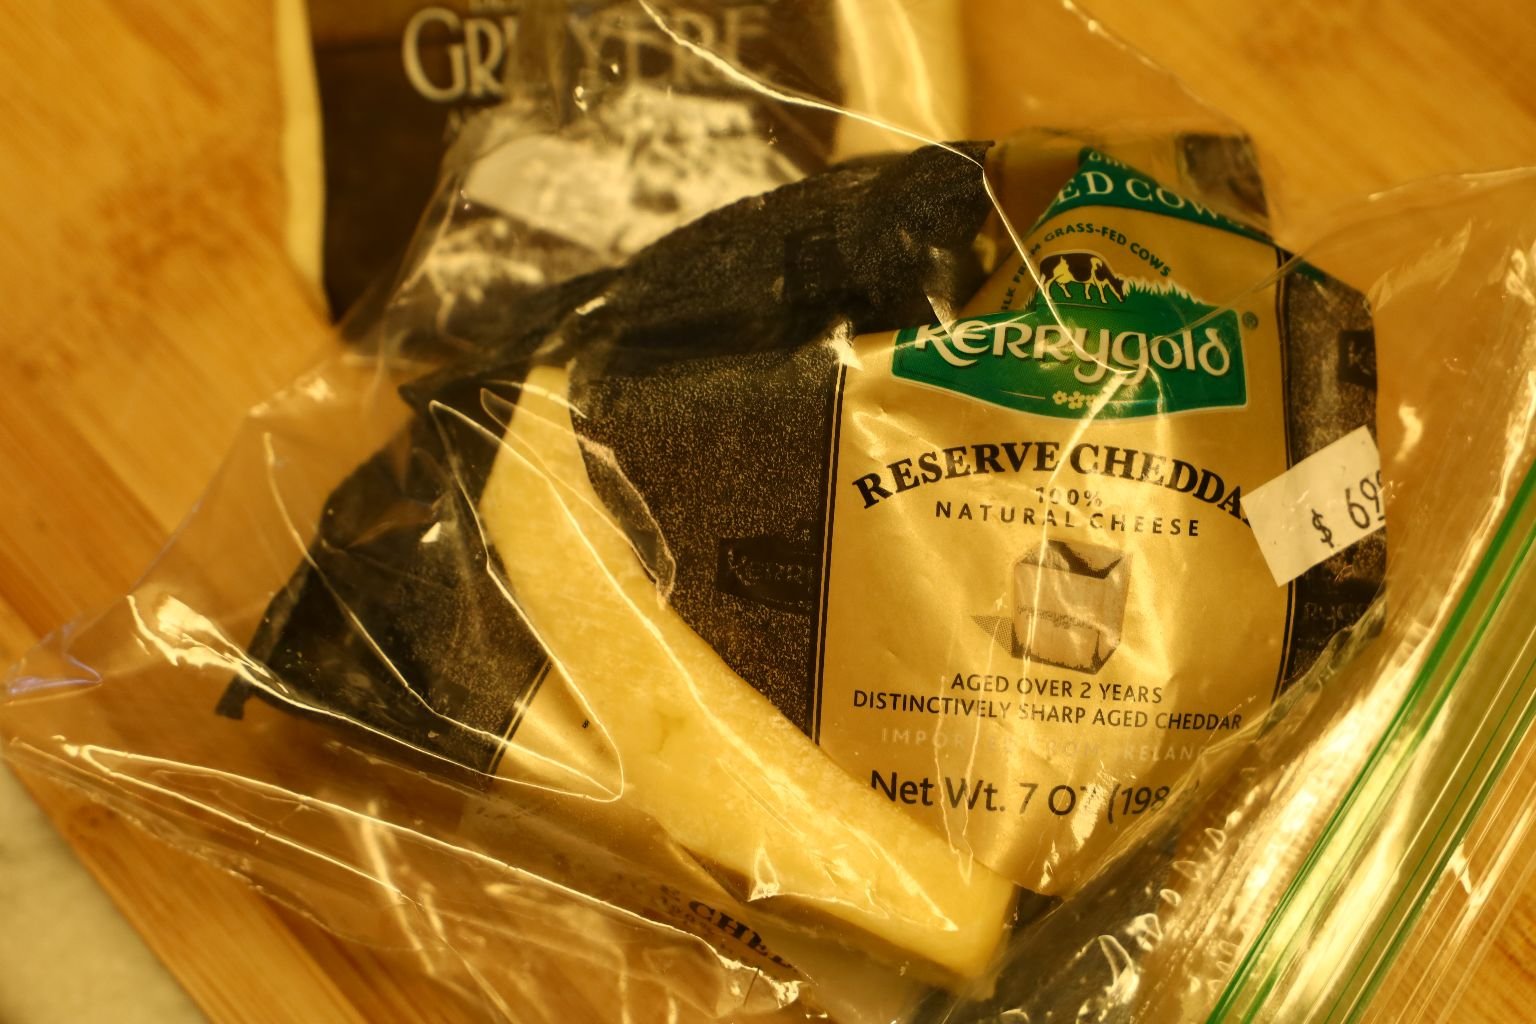
I decided to throw in my leftover Kerrygold Reserve Cheddar because I figured the aged cheese would add a nice kick to the cheeseball.
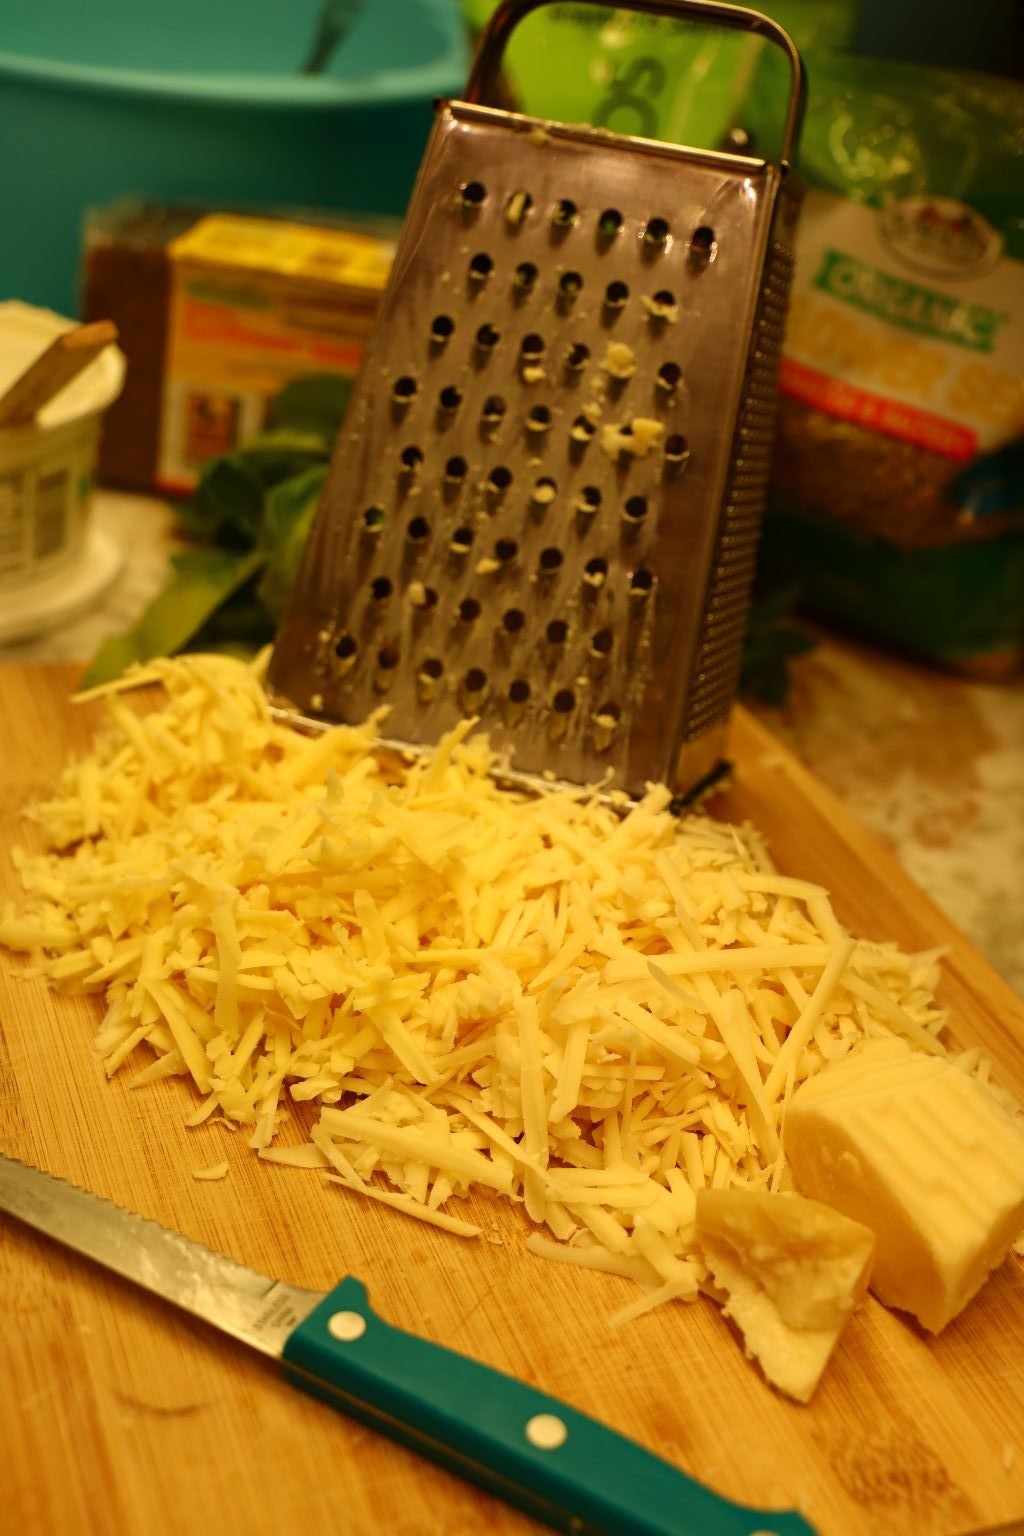

I placed my Mascarpone Cheese into a bowl and then added my grated Gruyere and Kerrygold Cheeses.


I love Pistachio’s and I really wanted that crunch in every bite.
I did roughly chop them to make them a bit smaller.

Into The Bowl They Go!


Now It’s Time to Add the Sunflower Seeds and Lemon Peel
————————————————-
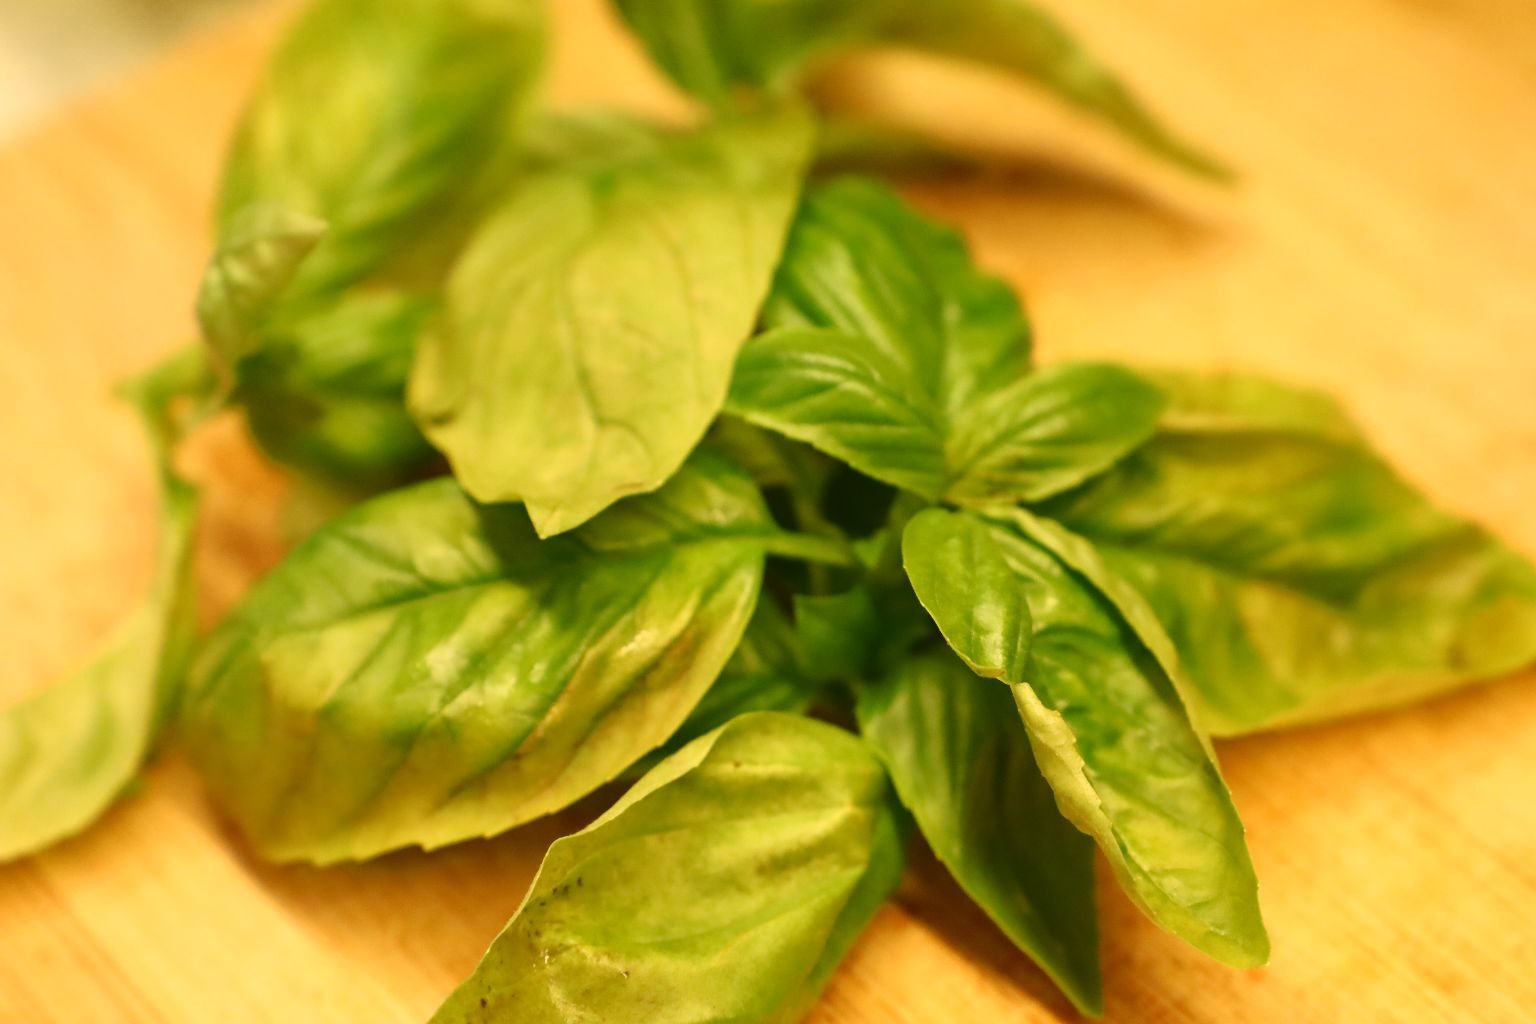
My Herbs
I gave the larger ones a rough chop but I only plucked the German Thyme leaves and placed them into the bowl. I thought they were a nice size as it was.

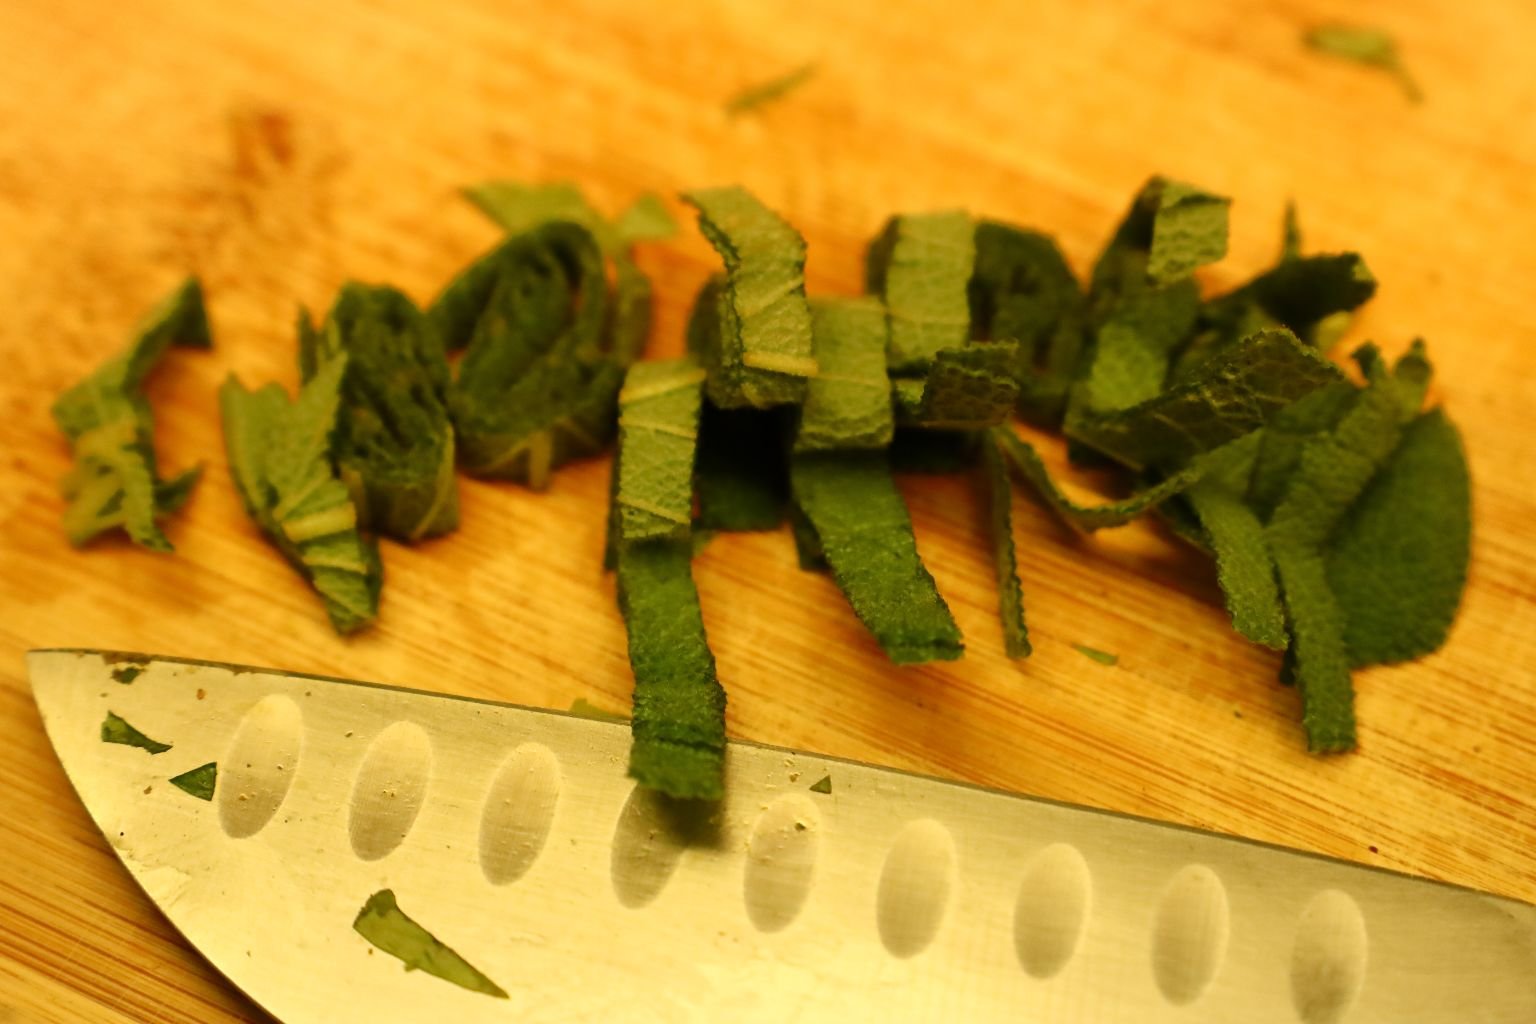
Sage

German Thyme
——————————————————-
Place some Saran Wrap into a bowl.
This will wrap around your cheeseball.

————————————————————–

Now it’s time to dig your hands into this!!! 🙂
Mix it all together and form it into a ball.


Now, place the Cheeseball into the bowl lined with Saran Wrap and cover. Place into the refrigerator for at least a few hours, or overnight for the best results.

Sunflower Seed Bread
—————————————————————-
Place the Cheeseball onto a dish lined with some of your garden herbs and some sliced Lemon. I cut the bread into smaller pieces and even spread the cheese onto a Shiso Herb leaf and a sprinkling of Sunflower Seeds.

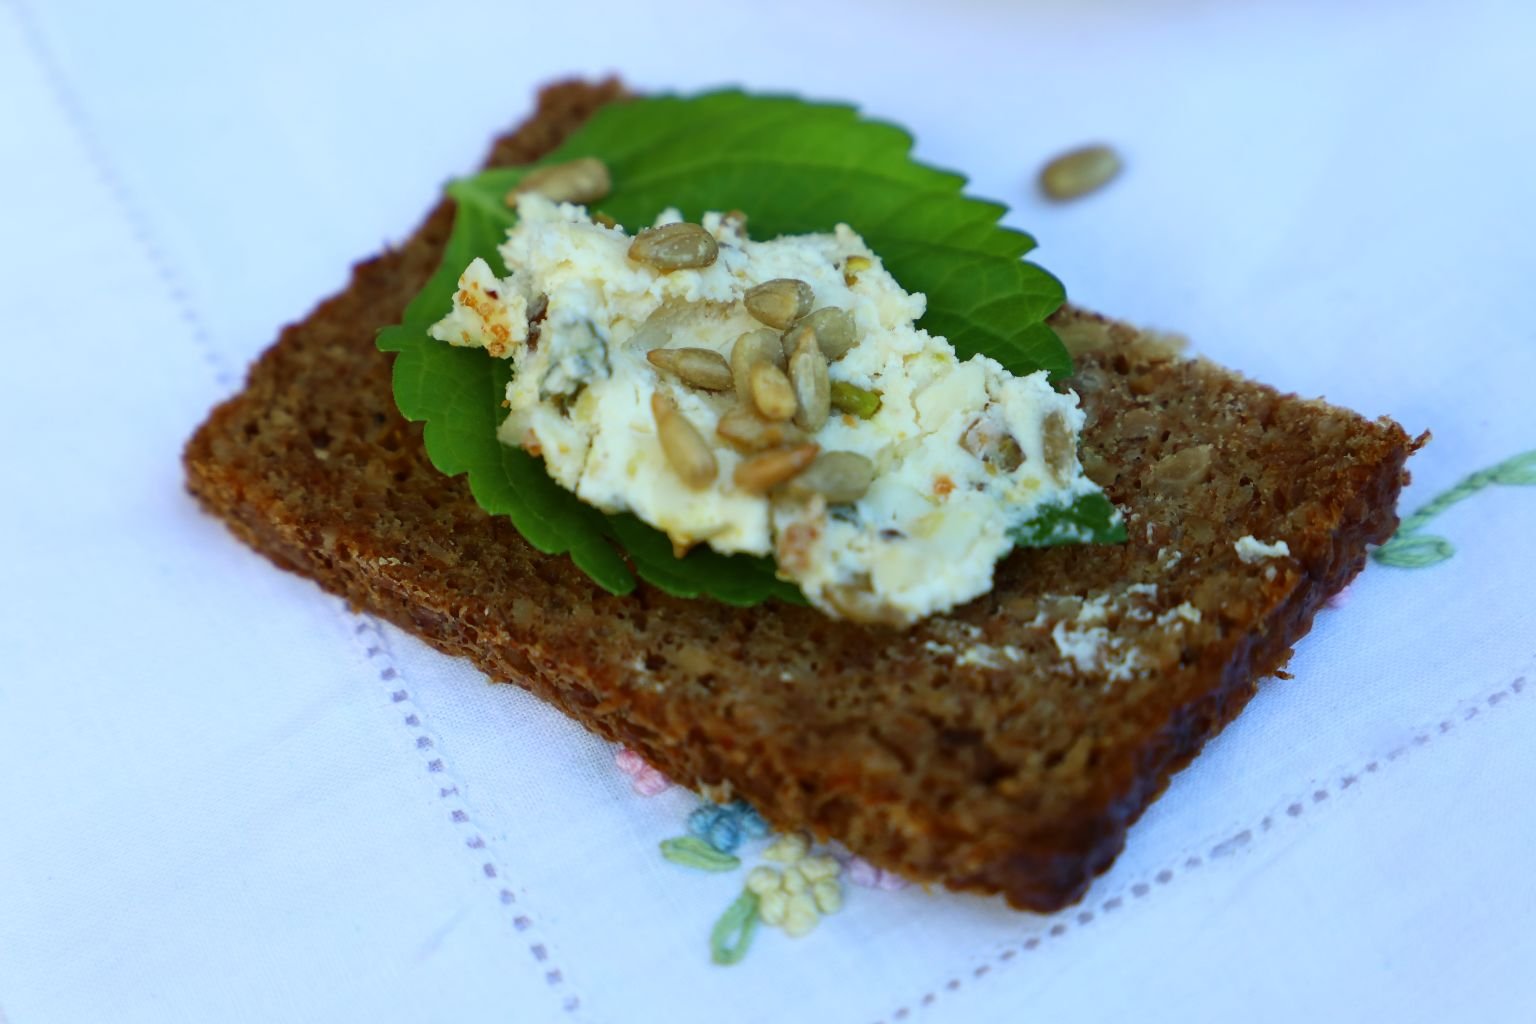
Beautiful and Delicious!
———————————————————-

Our Colorful Bell Pepper and Herb Garden Breads


Just Washing Some Bell Peppers and Herbs
This bread is everything that I Julie, imagine a garden bread should be.
It was a fun creation.

Ingredients:
4 Cups Bread Flour
2/3 Cup of Water
1/2 Cup Tomato Juice
1/4 Cup Diced Green Bell Pepper
1/4 Cup Red Bell Pepper
1/4 Cup Orange Bell Pepper
1/4 Cup Yellow Bell Pepper
3/4 – 1 Cup Diced Sweet Onion
Various Herbs of Parsley, Sage, and Basil, Chopped
4 T. Butter or Margarine
1 1/2 t. Sugar
1 t. Salt
1 t. Active Dry Yeast
—————————————————————


You first want to chop all of the vegetables you plan on using.
I wanted this packed with Bell Peppers.

——————————————————————


Everything Chopped and Diced
—————————————————————

Ready to Get Started


Herbs at the Ready
————————————————————–
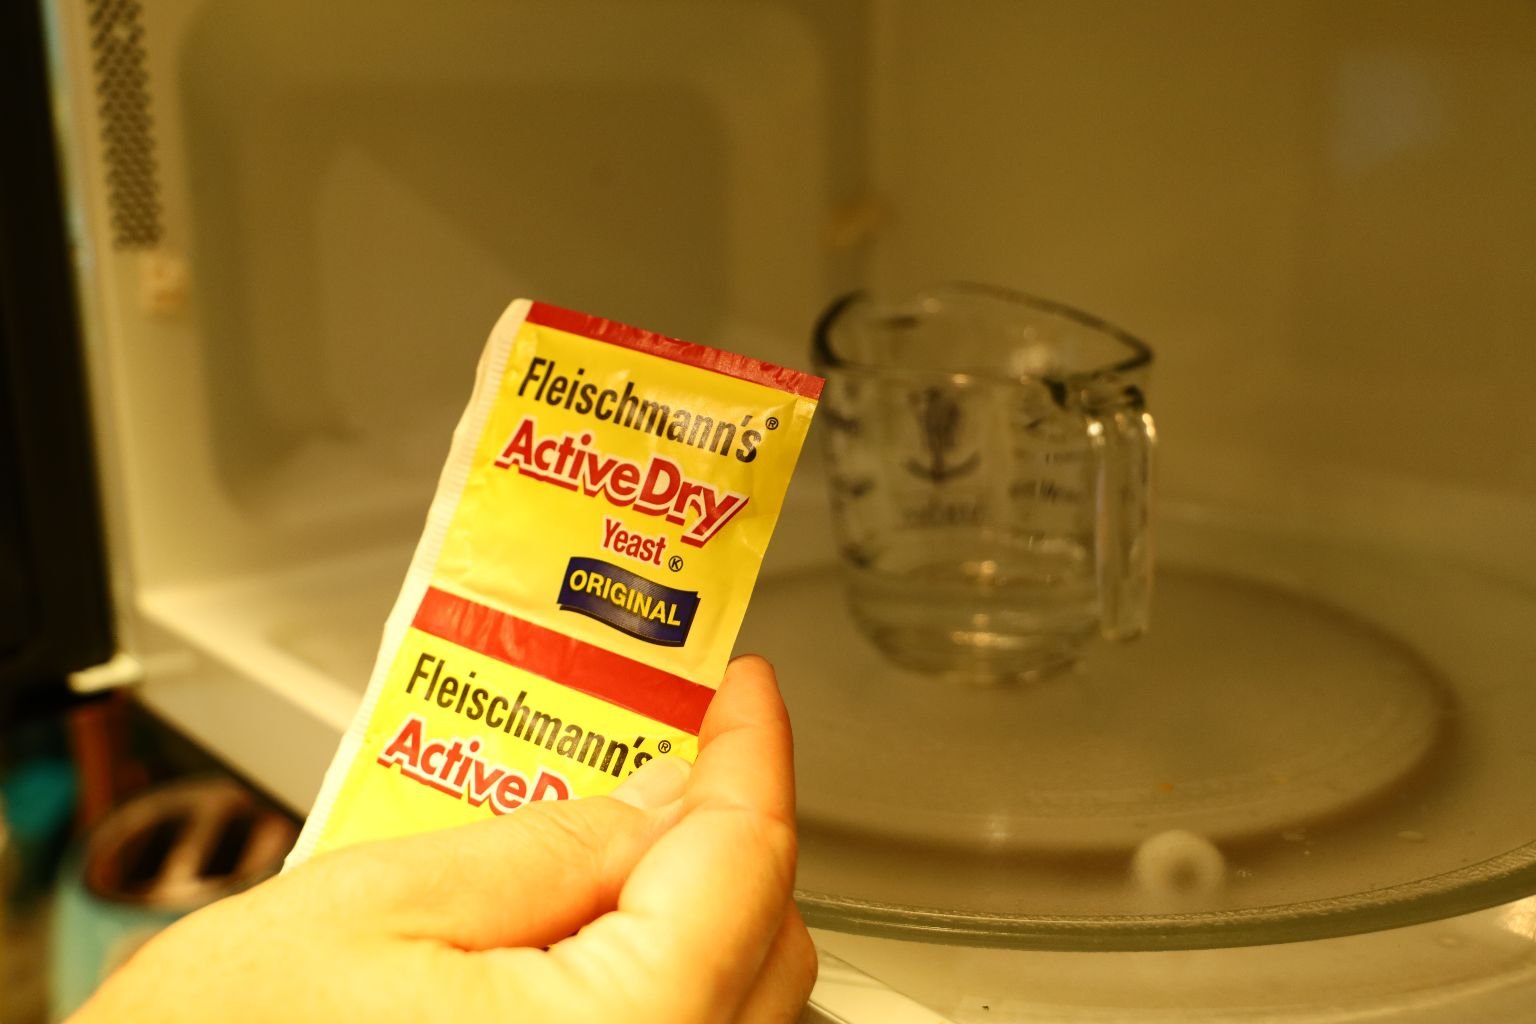
Now It’s Time to Prepare the Yeast
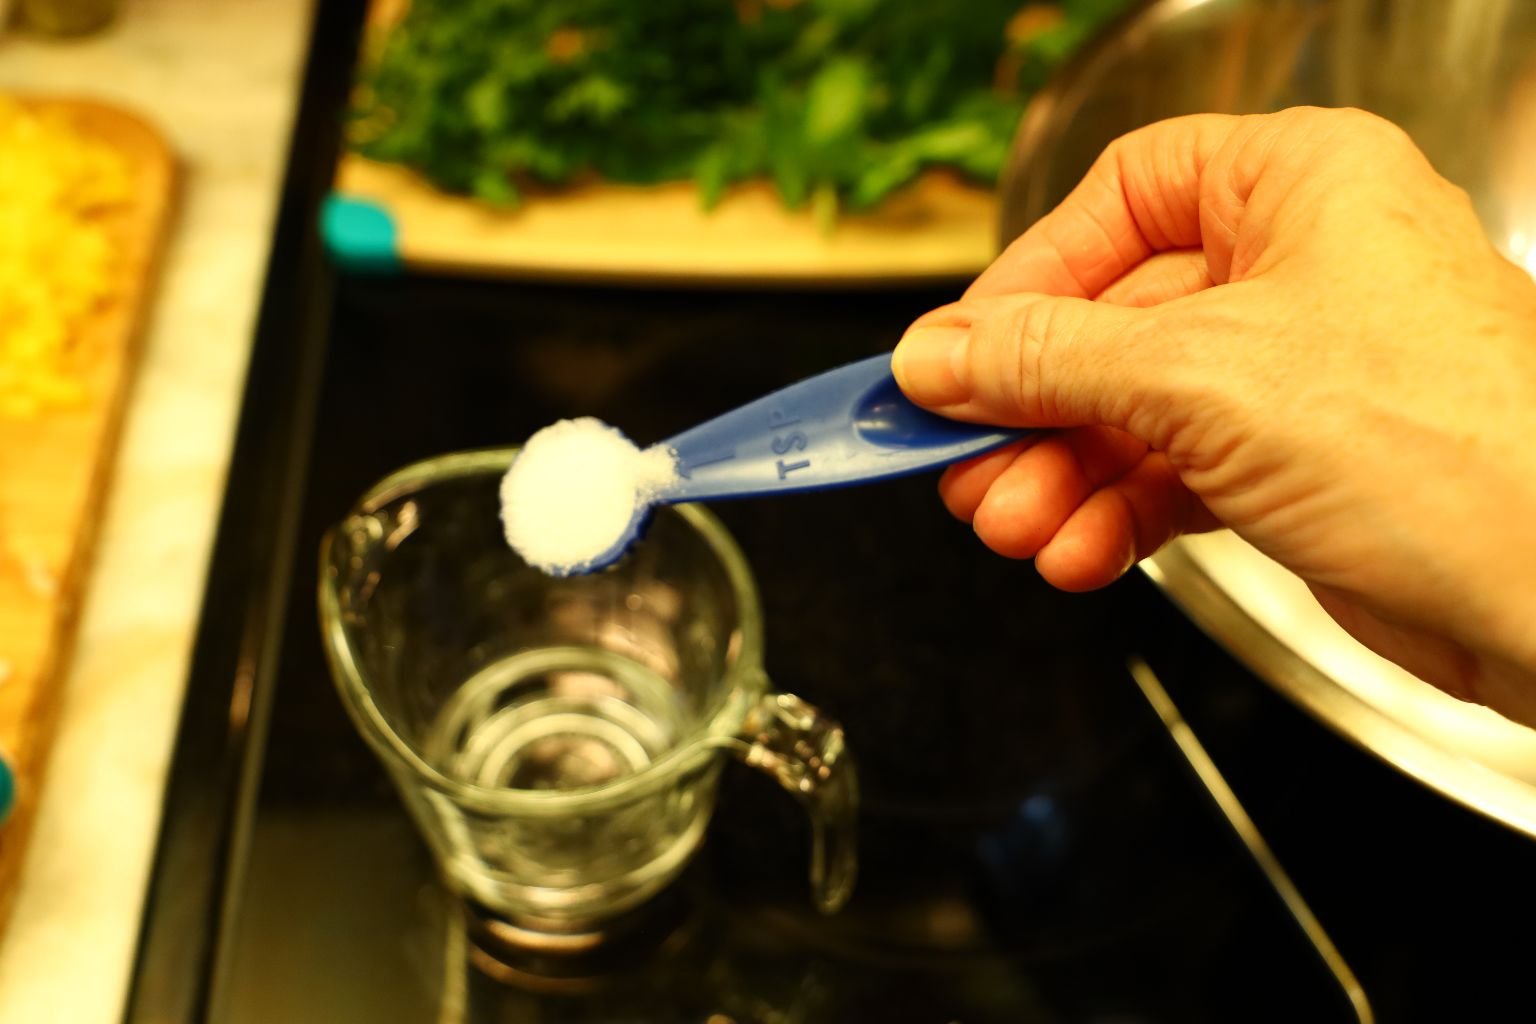


Gordon used the amount of water as per the directions on the yeast package. He added a tsp. of sugar as the yeast feeds on it. Heat your water in the microwave to just under 110’F but above 100’F. When the water is at temperature which only takes about 20-25 seconds, add your yeast.


Stir the yeast into the heated sugar water and let it sit. As it sits, you should see the mixture begin to grow and froth as seen above.

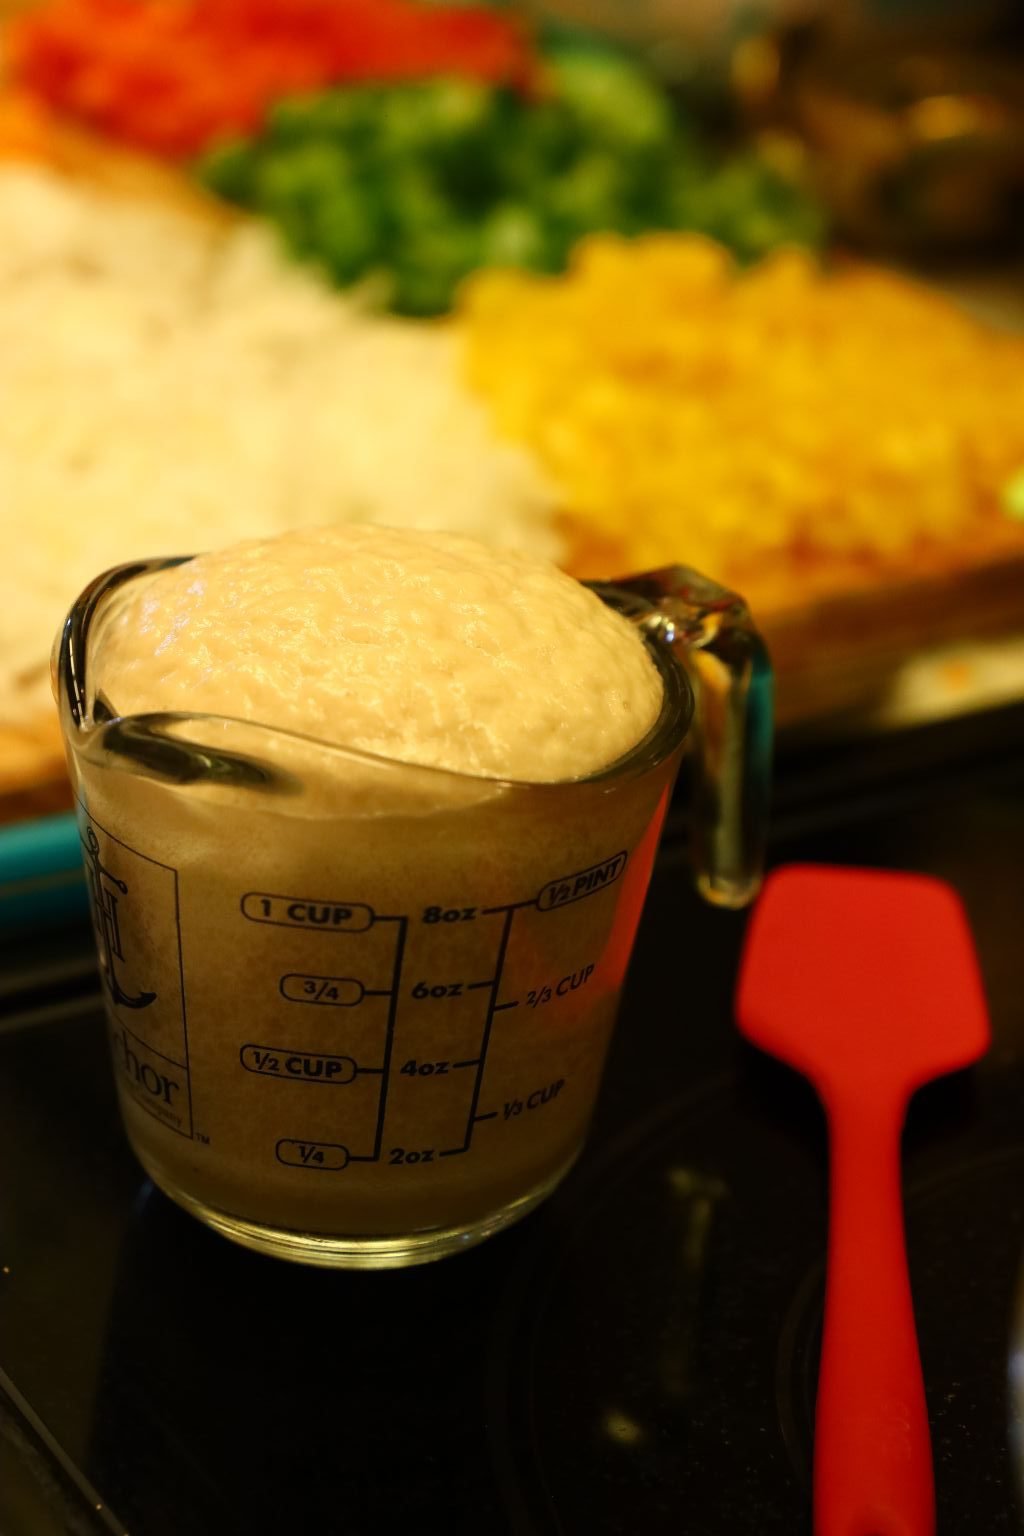
The yeast loves to feed on the sugar and only takes a few minutes until it is ready, like the above picture.
—————————————————————–
Meanwhile, it’s time to get started on making the bread.


Start by adding the Tomato Juice to a large mixing bowl.


Next, we are going to start adding all of our chopped and diced colorful Bell Peppers and onion.


In my opinion you can pack this full with as many of the chopped ingredients as you like.

Everything in the bowl so far.
——————————————————————
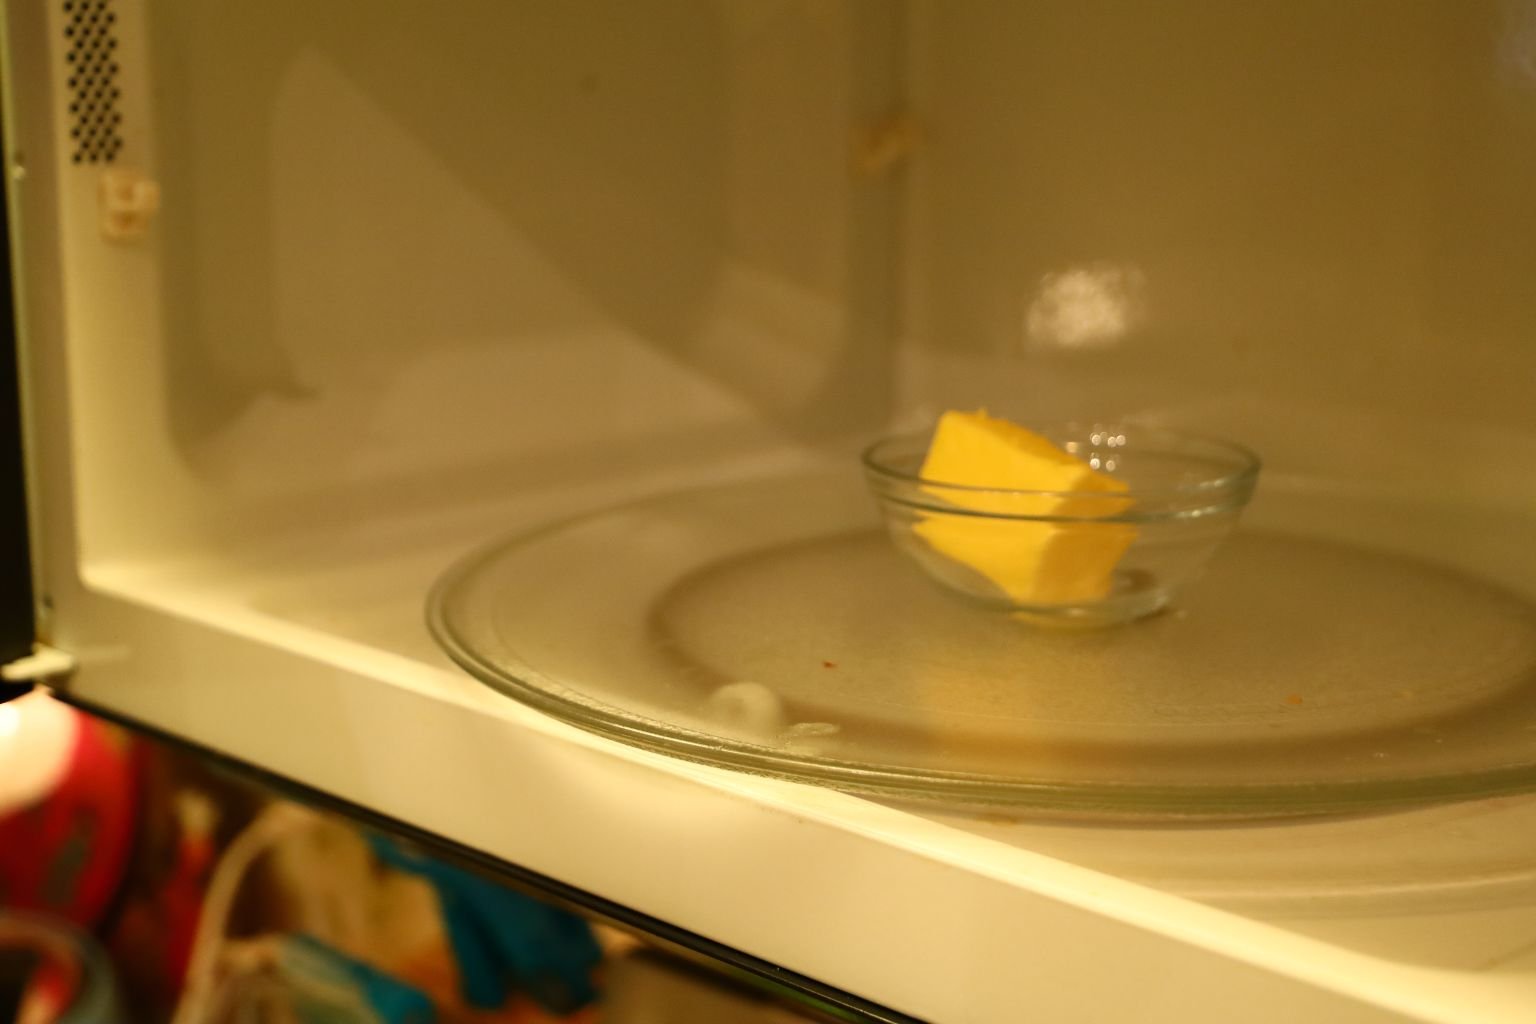
Time to melt the butter in the microwave and then add it to our mixing bowl, below.


————————————————————————–

Time to add our Bread Flour, Sugar, and Salt.

————————————————————————-


Time to Add our Yeast


Stir The Ingredients Together, or You can use Your Hands


Time to Chop the Herbs and Add Them to the Bowl

Knead Everything Together
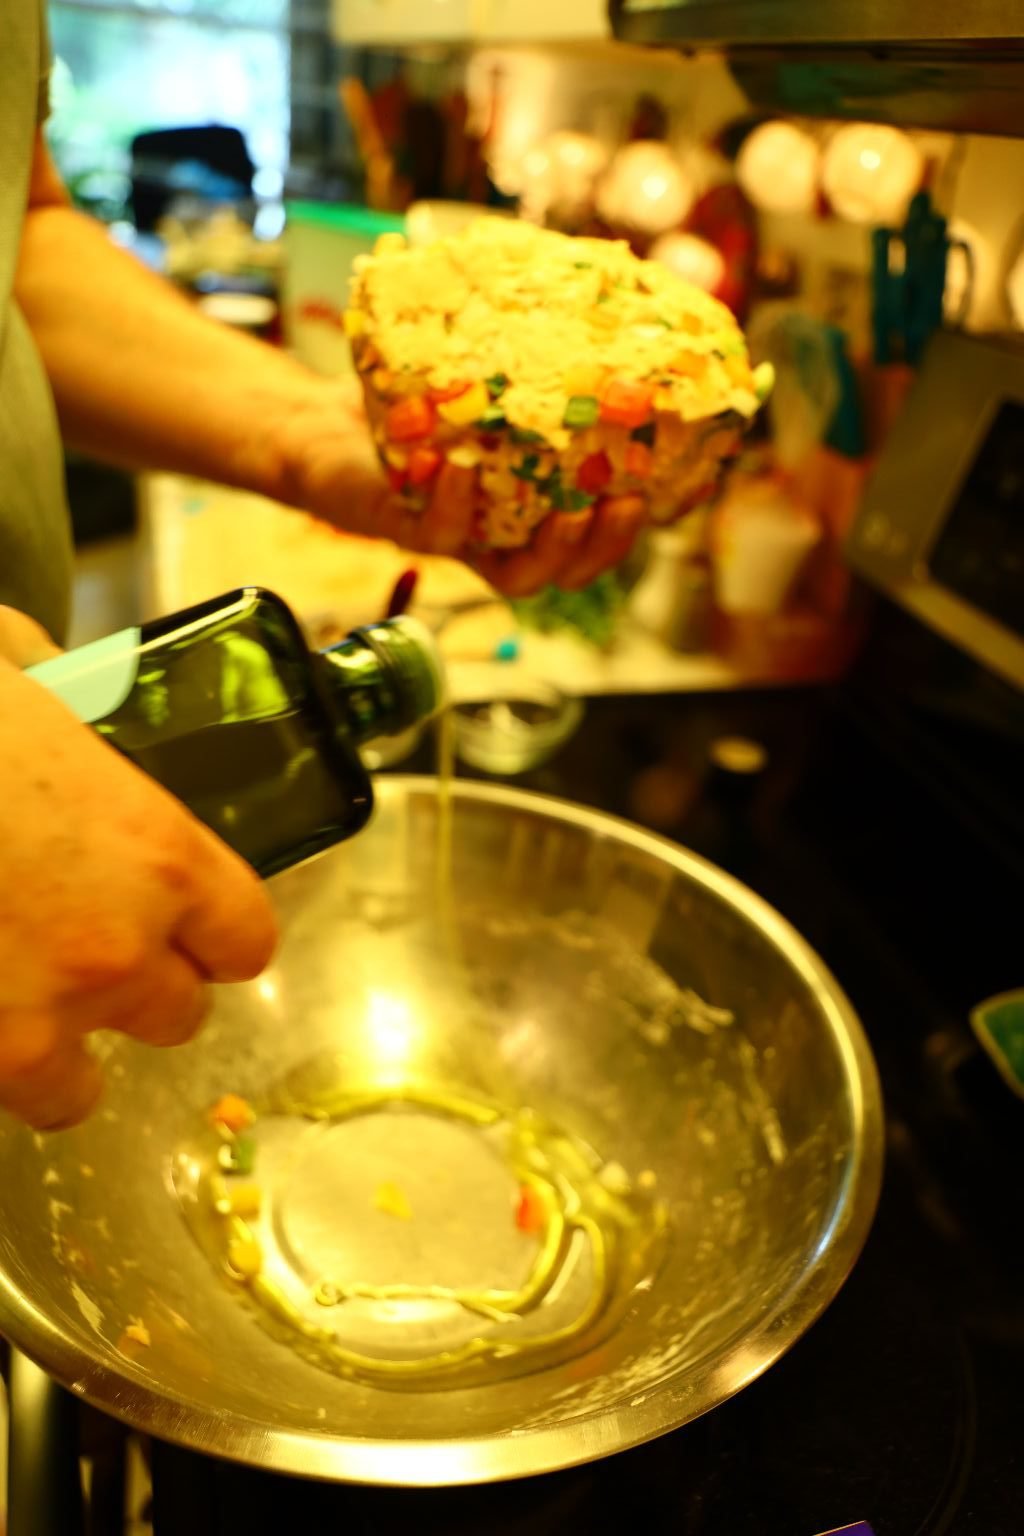

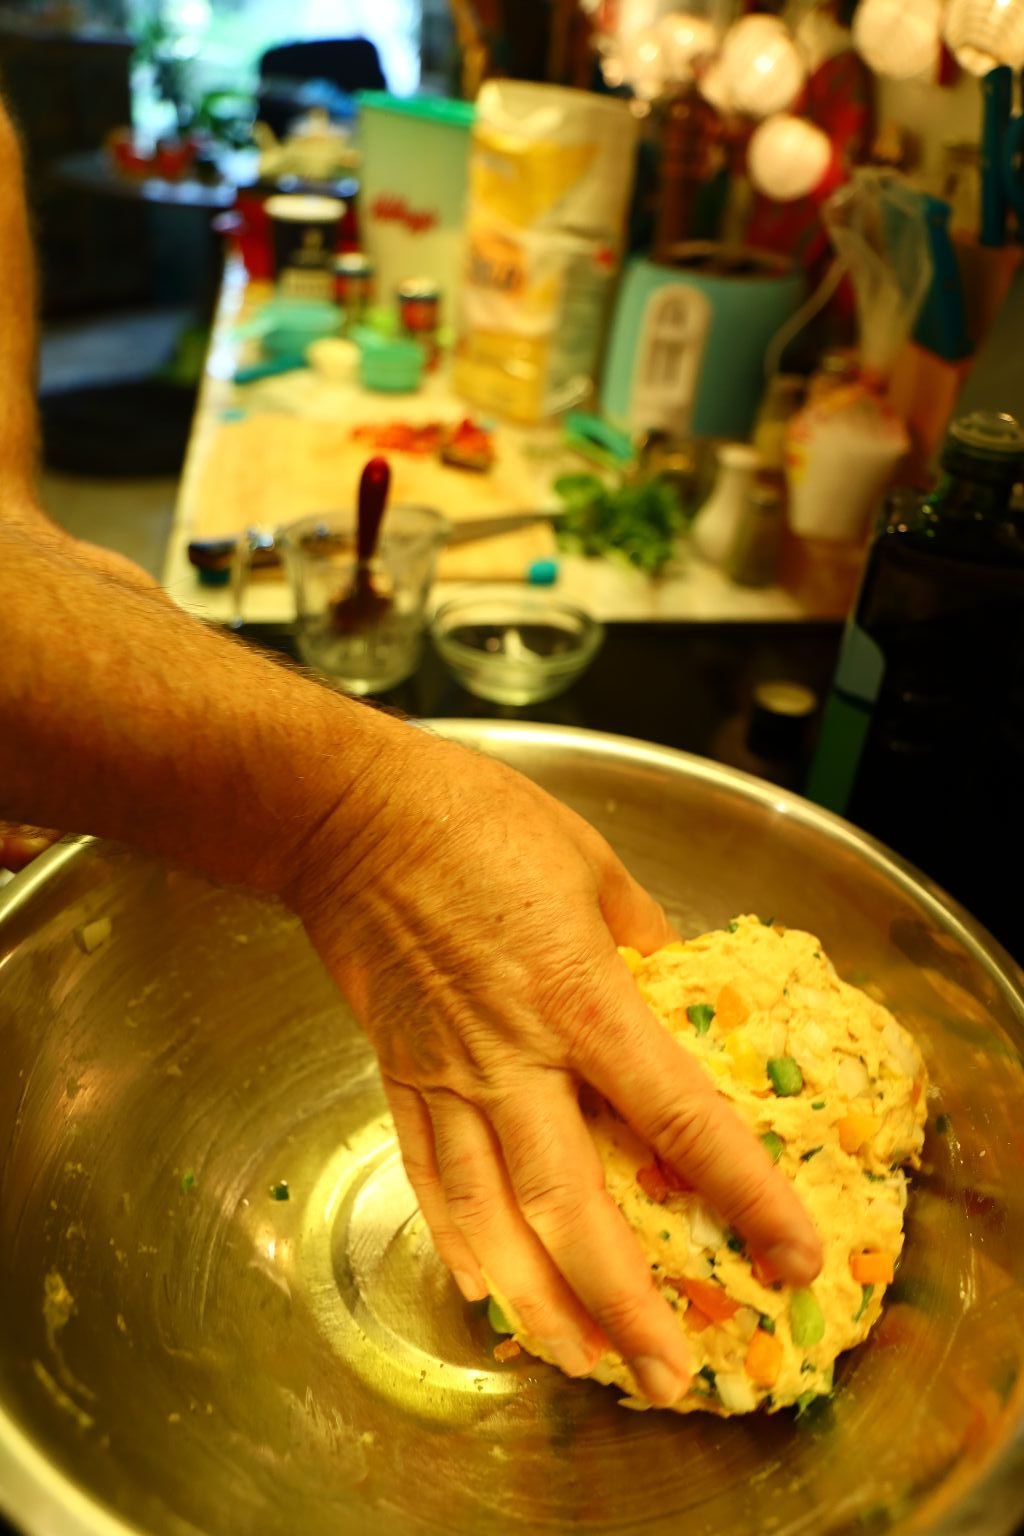
Here Gordon is Placing Some Olive Oil in the Bowl and Mixing the Dough Around in it.
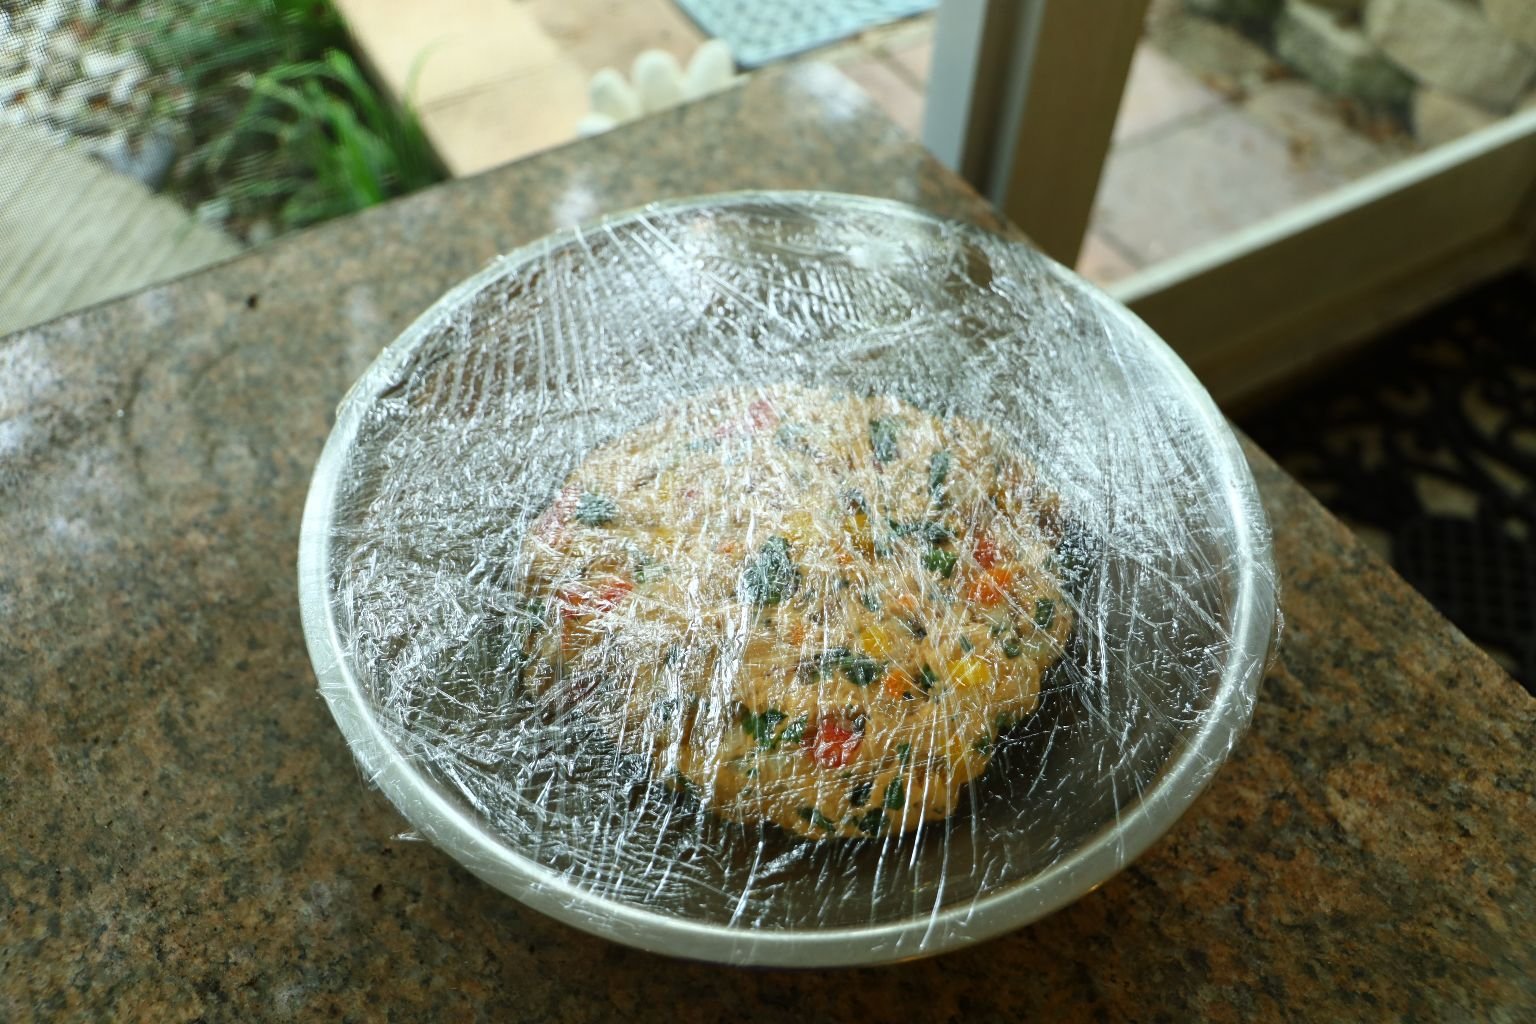
Now it is time to place Saran Wrap around the bowl and place the bowl in a warm place.
So, we set it outside for about an hour, or until it doubles in size.


Now the Dough is Ready
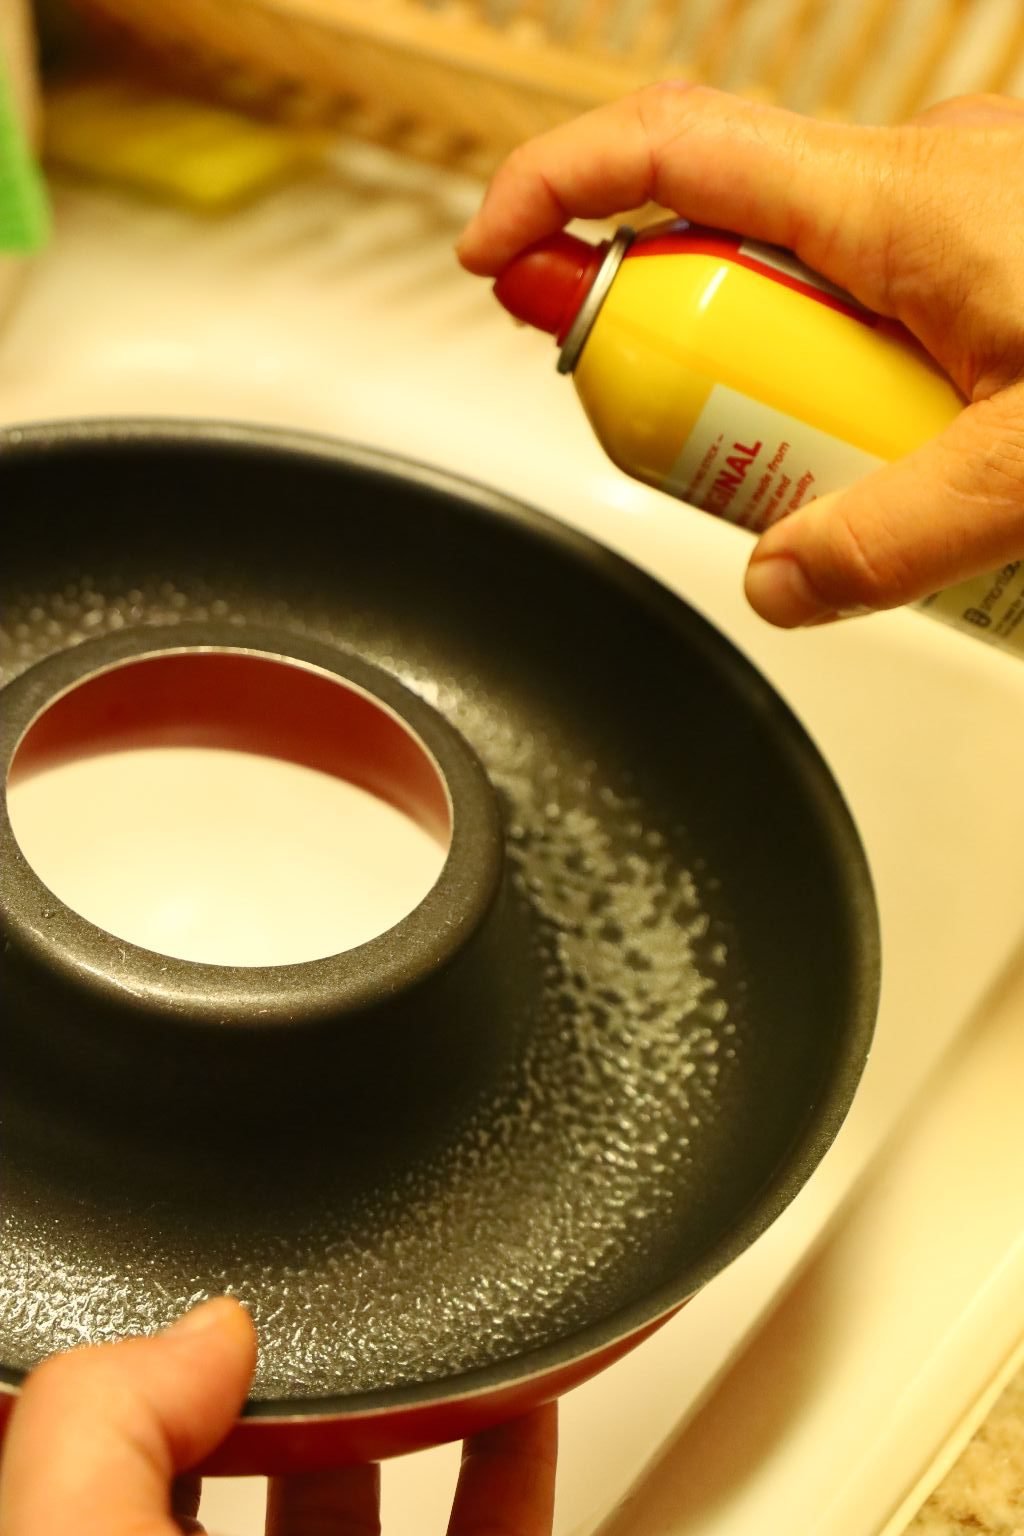


What starts out as my project always seems to turn into Gordon’s project. 🙂
I, Julie, wanted to place the dough into this Italian Ring Cake Pan. I thought that would make it look grand, and it did! So, Gordon sprayed the pan with a non-stick cooking oil spray, and then kneaded the dough by letting it stretch into a long length, and then placed it into the round pan.
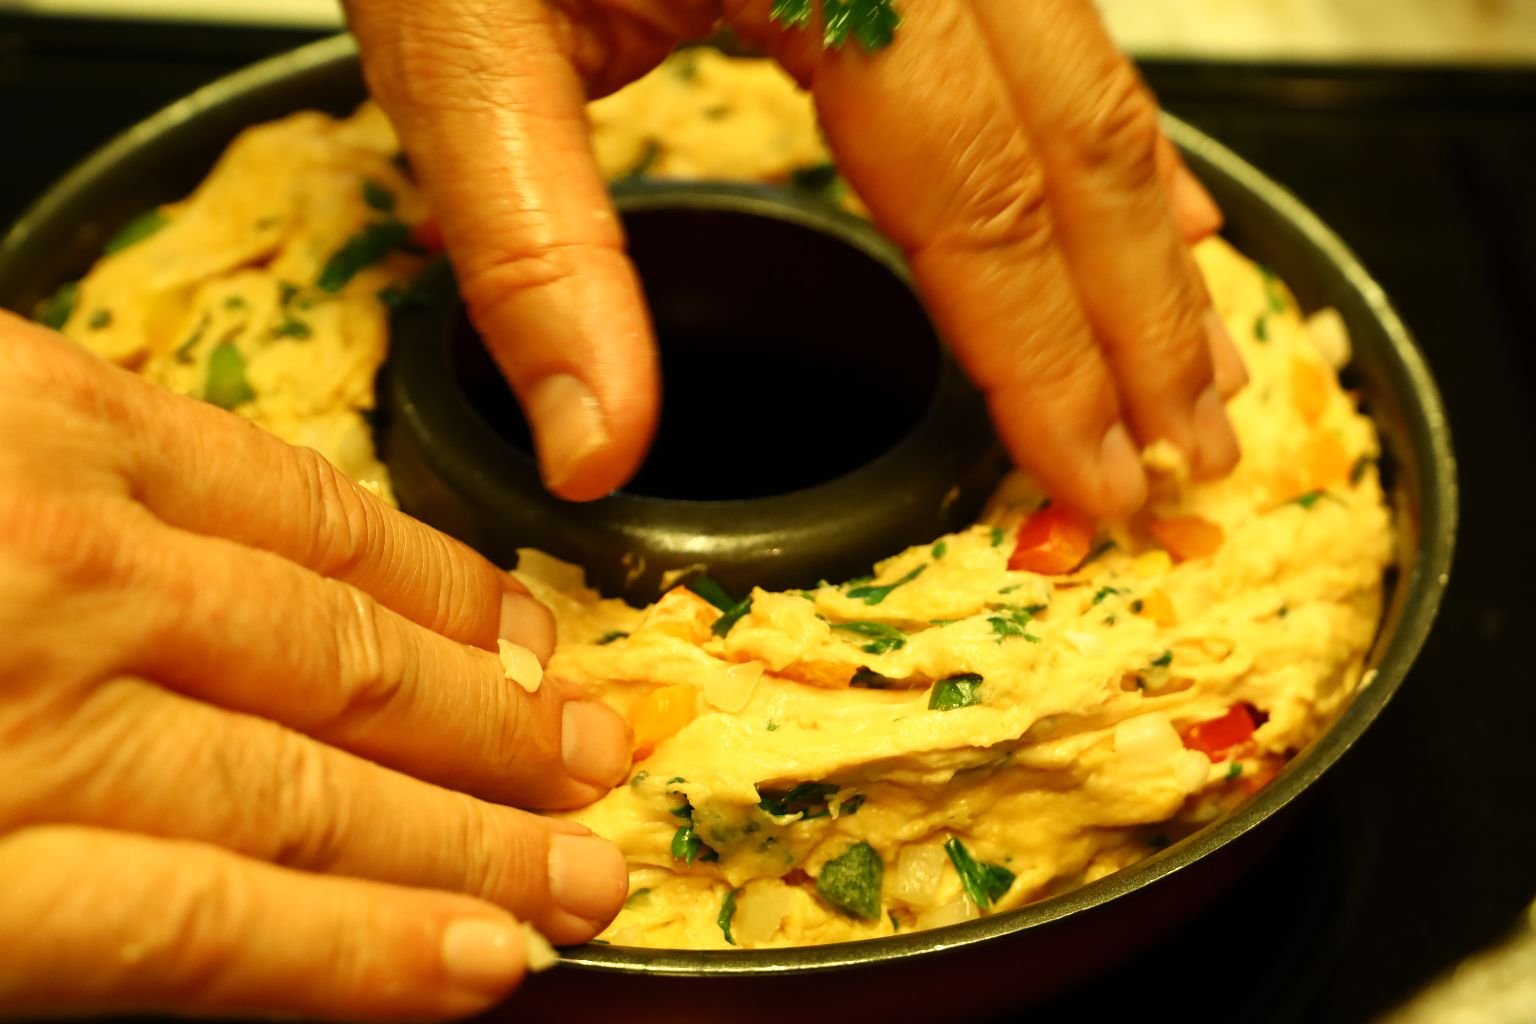

——————————————————————-


The Dough we had Leftover
Gordon placed our leftover dough into a regular loaf pan.

Now It’s Time to Place Them Back Outside, Wrapped in Saran Wrap
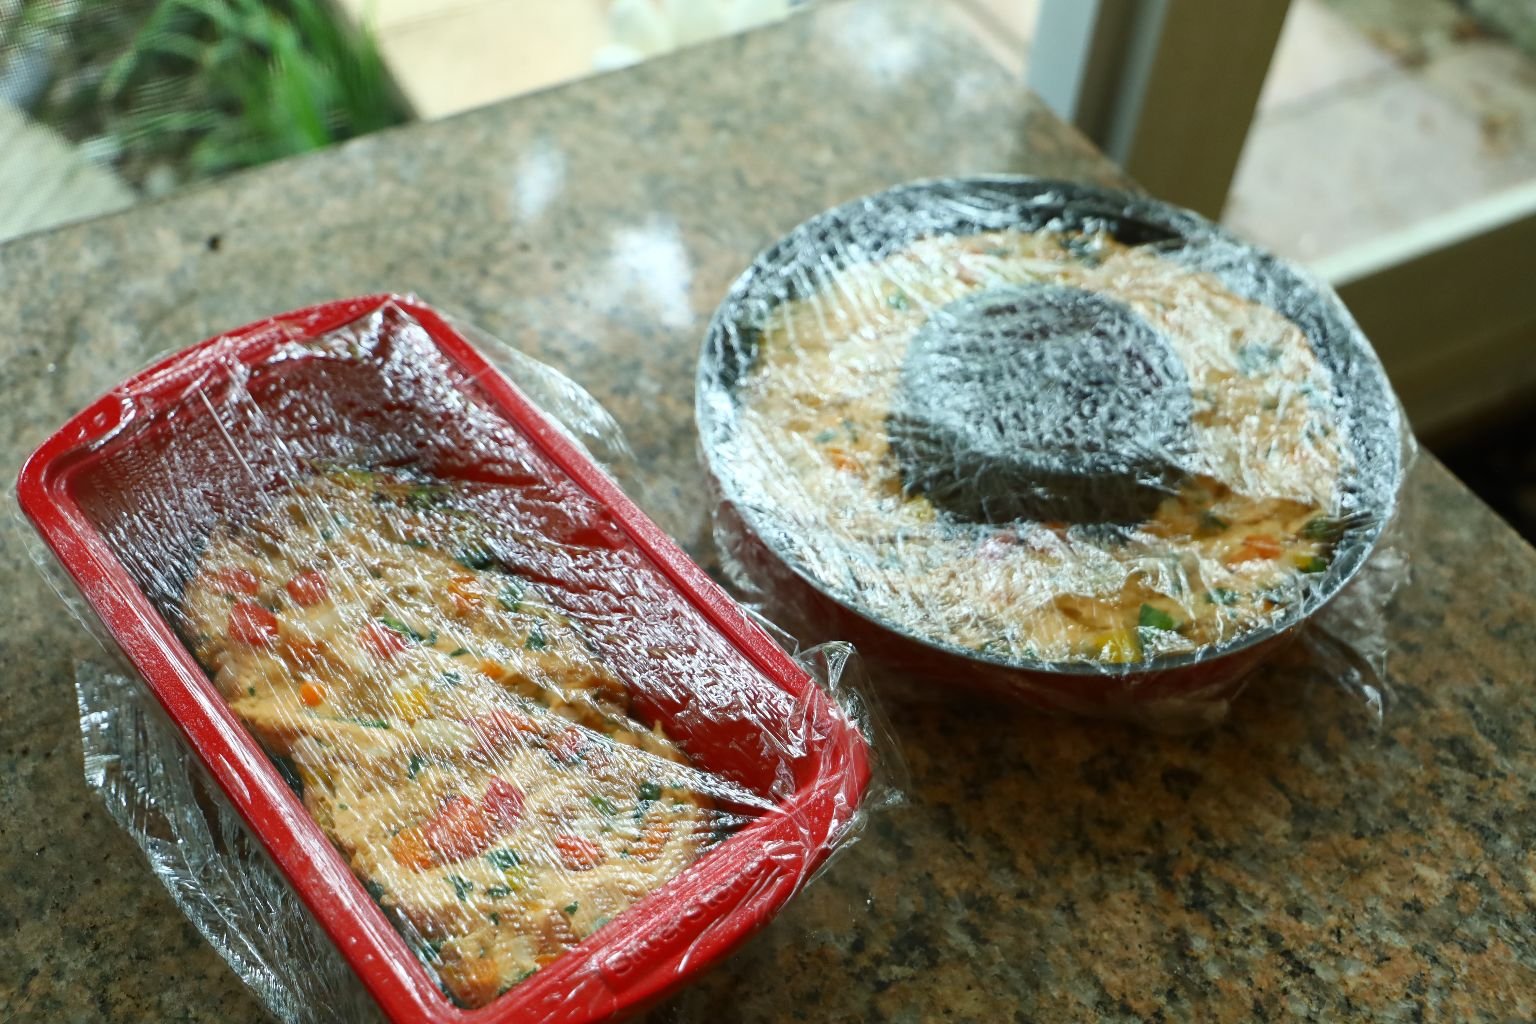
Waiting For Them to Rise
(About an hour.)
——————————————————————–
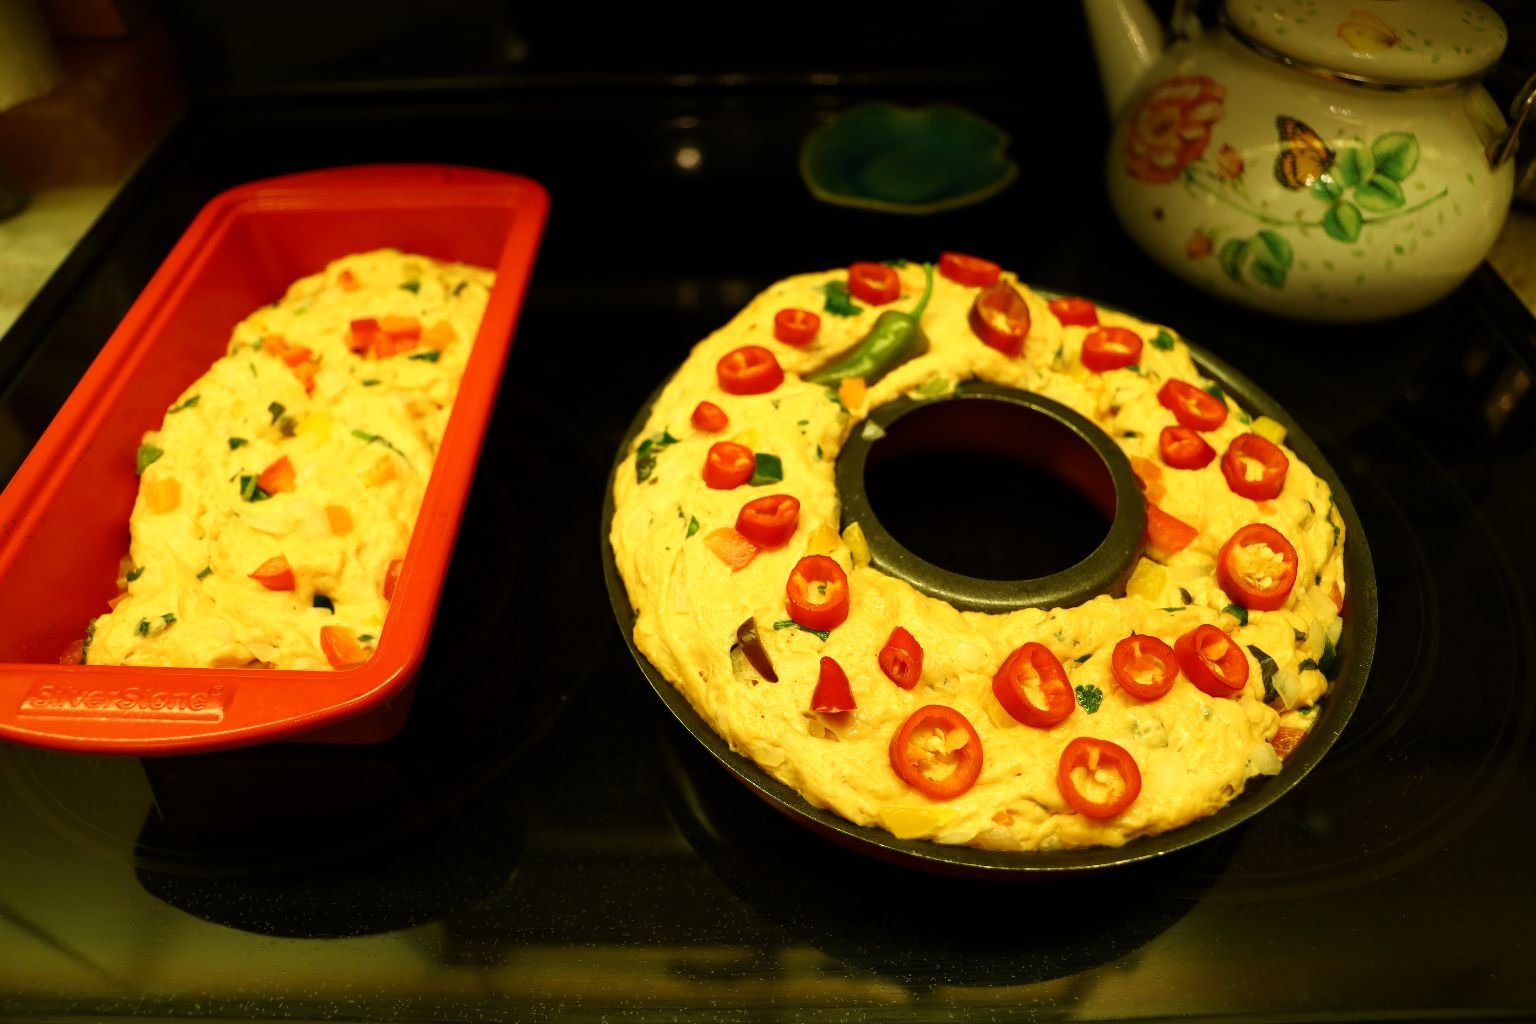

Now it’s time to go into a pre-heated oven on 350F for about 30 -35 minutes, or until brown, and the middle of the dough is cooked. To determine doneness, use a toothpick inserted into the breads. If it comes out clean then it is done.
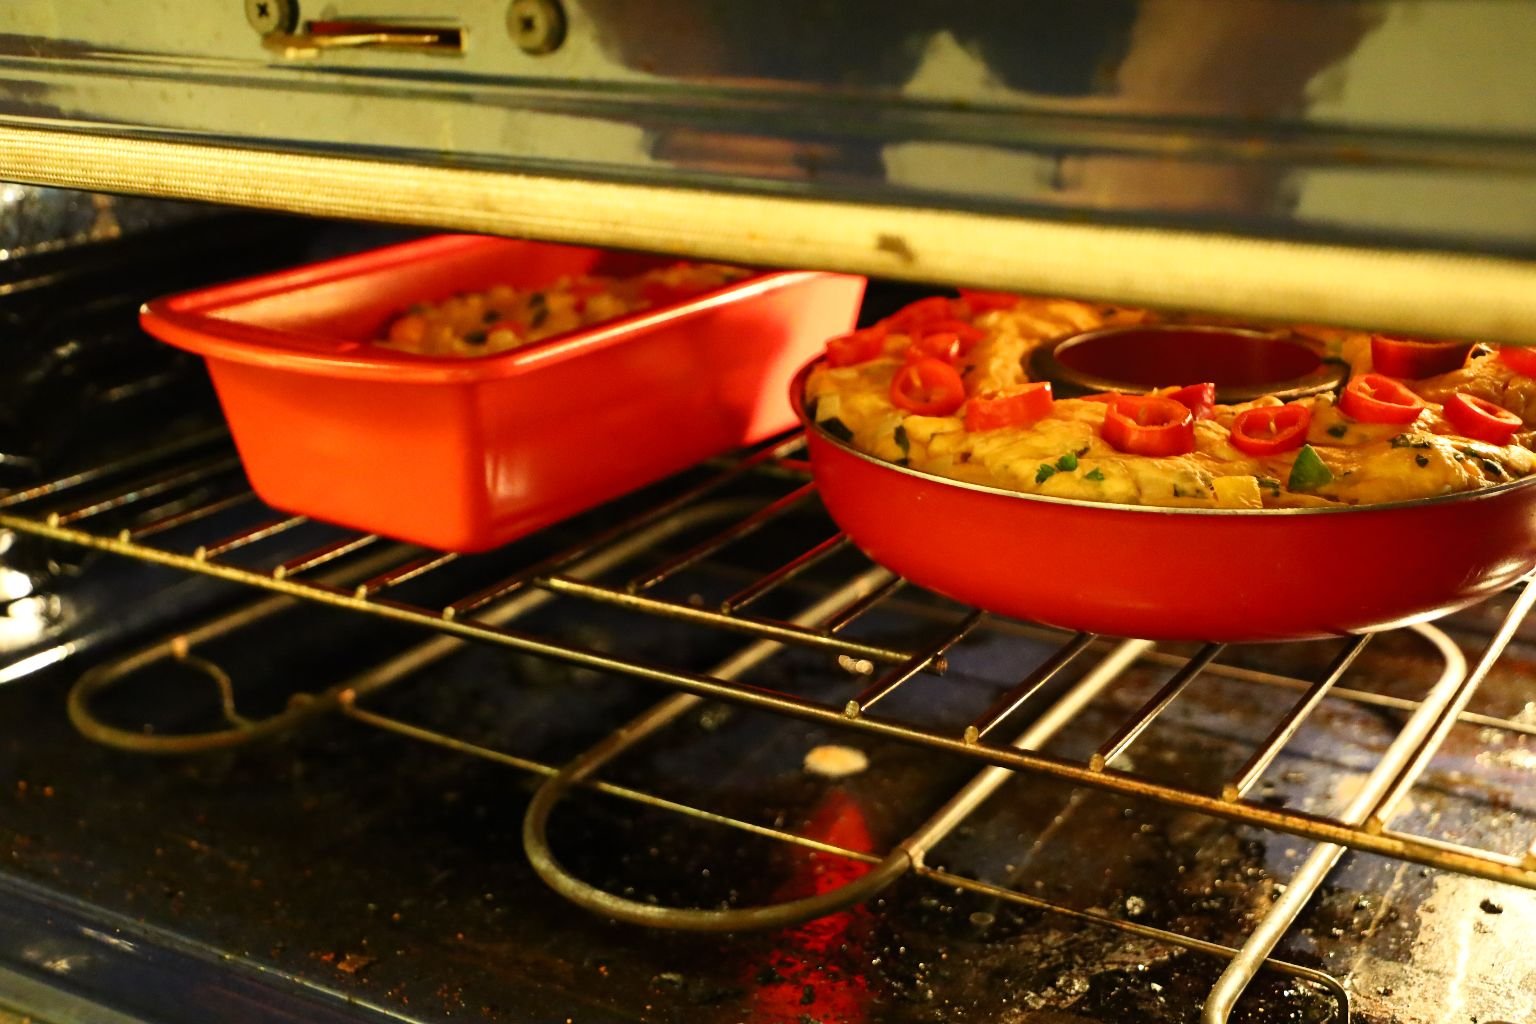
Into The Oven They Go

I chopped up one of our backyard peppers into slices and inserted them all over the top of the bread to add some beauty, texture, and taste!
When done place on a cooling rack. When cooled, remove from the pans.
Beautiful!
——————————————————-

Baked Ham With Julie’s Southern Georgia Peach Jeze-Bell’s Sauce
I have created several Jezebel Sauce’s that I have listed on my website. This particular one is a base of colorful Bell Peppers. Hence, my Southern Georgia Peach Jeze-Bell’s Sauce. Here I am adding it to this delicious ham.
If you would like the recipe for my Jeze-Bell’s, then just click here:

——————————————————————–


The ham that I am using here is already cooked through. What I want to do here is to glaze it with my Jeze-Bell Sauce. So, I placed the oven on 300F and when it came to temperature, I placed it in the oven. But first, I slathered it with my Jezebel Sauce.

I cooked this ham 30 minutes while continuing to glaze it with my sauce.
It looks delicious, doesn’t it?

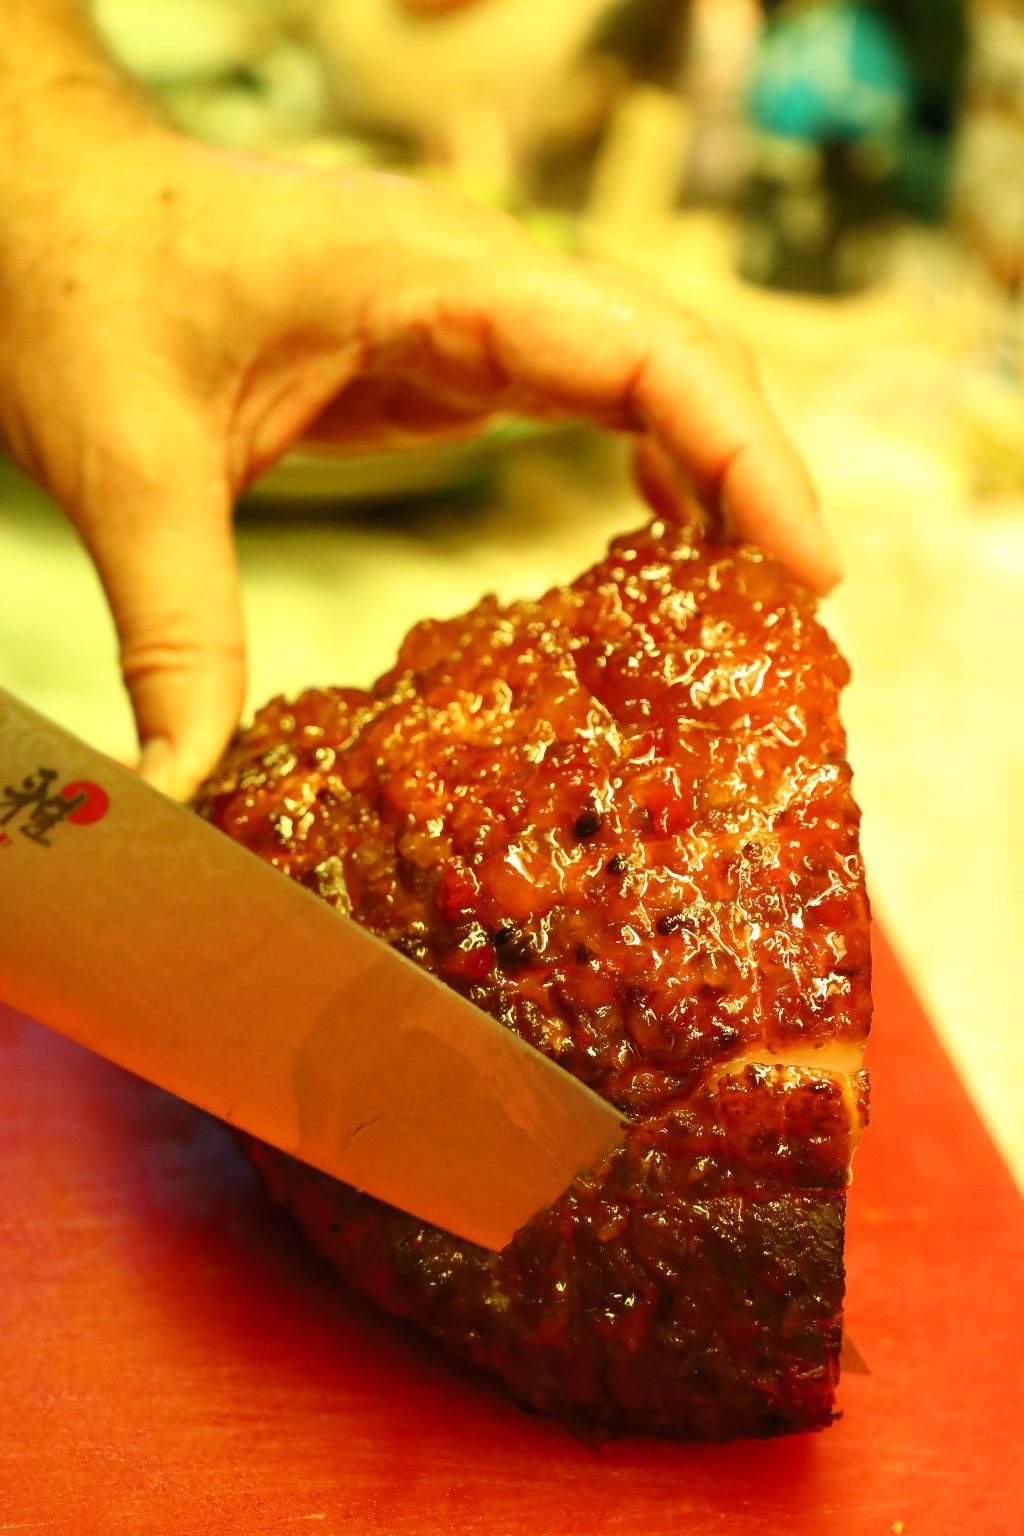
Here Gordon is Slicing it Once it is Cooled

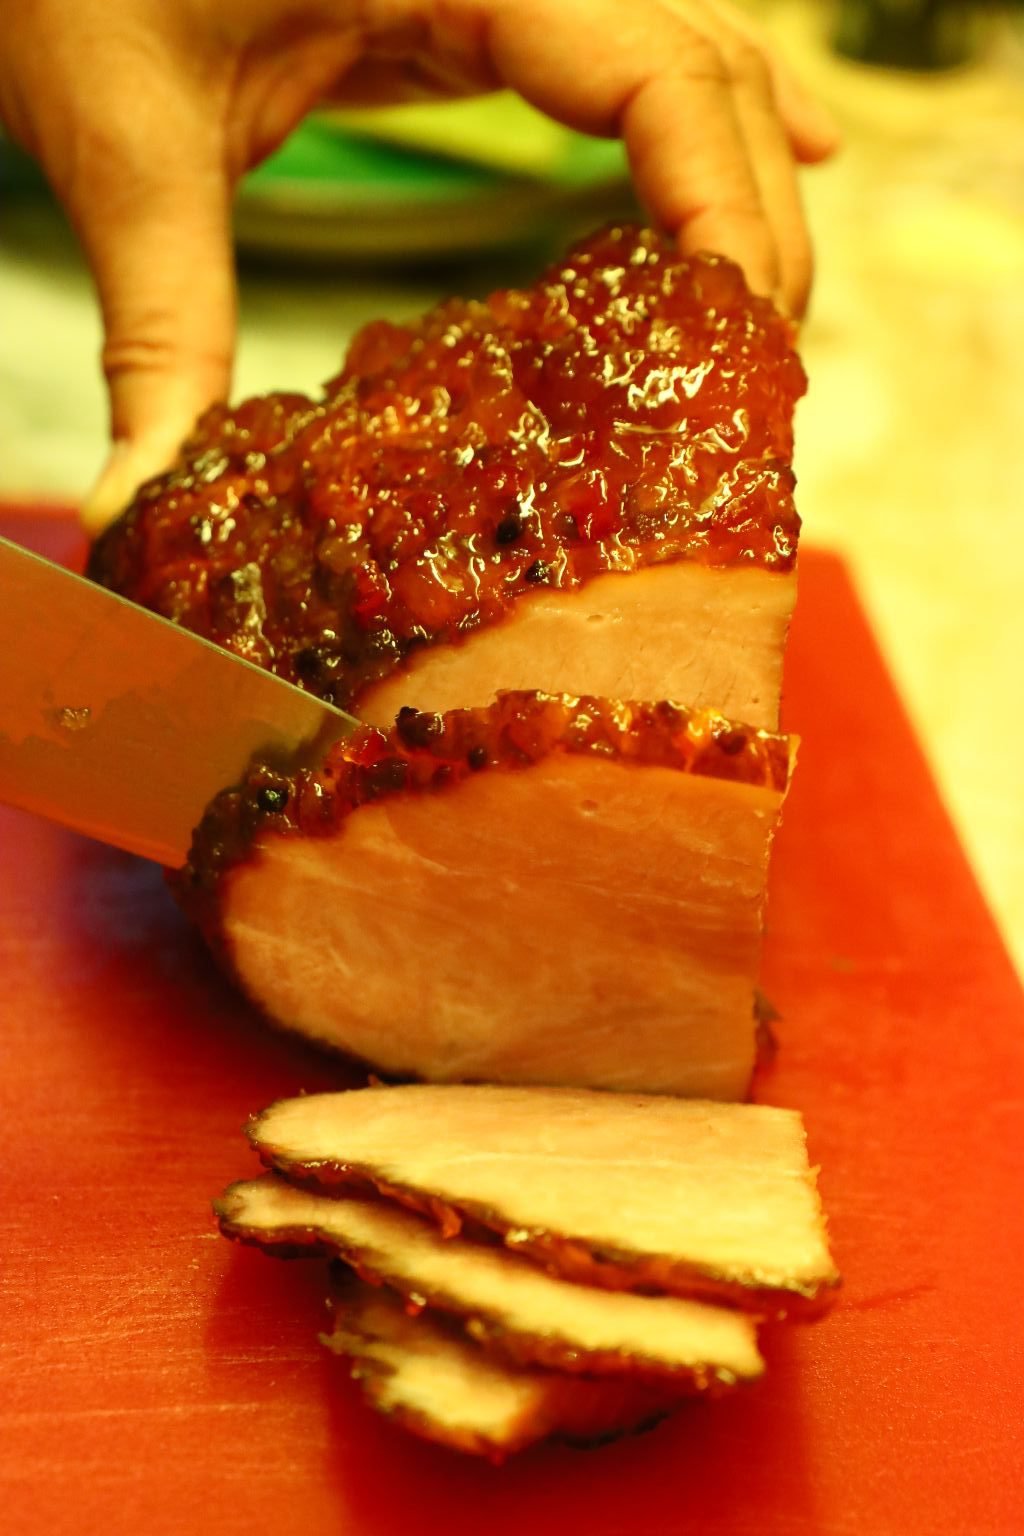
————————————————————————-

This is going to be for our Green Eggs and Ham Garden Breakfast.
———————————————————–
Our Herb Eggs Packed With Peppers

We Need The Blender For This

Herbs and a Few Peppers From Our Garden


Ingredients:
1/2 Cup Basil
1/2 Cup Parsley
1/4 Cup Chives
5 Large Eggs
1 Cup Colorful Bell Peppers – Chopped
2 Tbsp. Butter
3/4 Cup Milk
1/4 Cup Onion – Chopped
Hawaiian Sea Salt – to taste
Freshly Ground Pepper, to taste
1 tsp. Turmeric
1 tsp. Sweet Paprika
—————————————————————

Use your blender to chop the herbs.

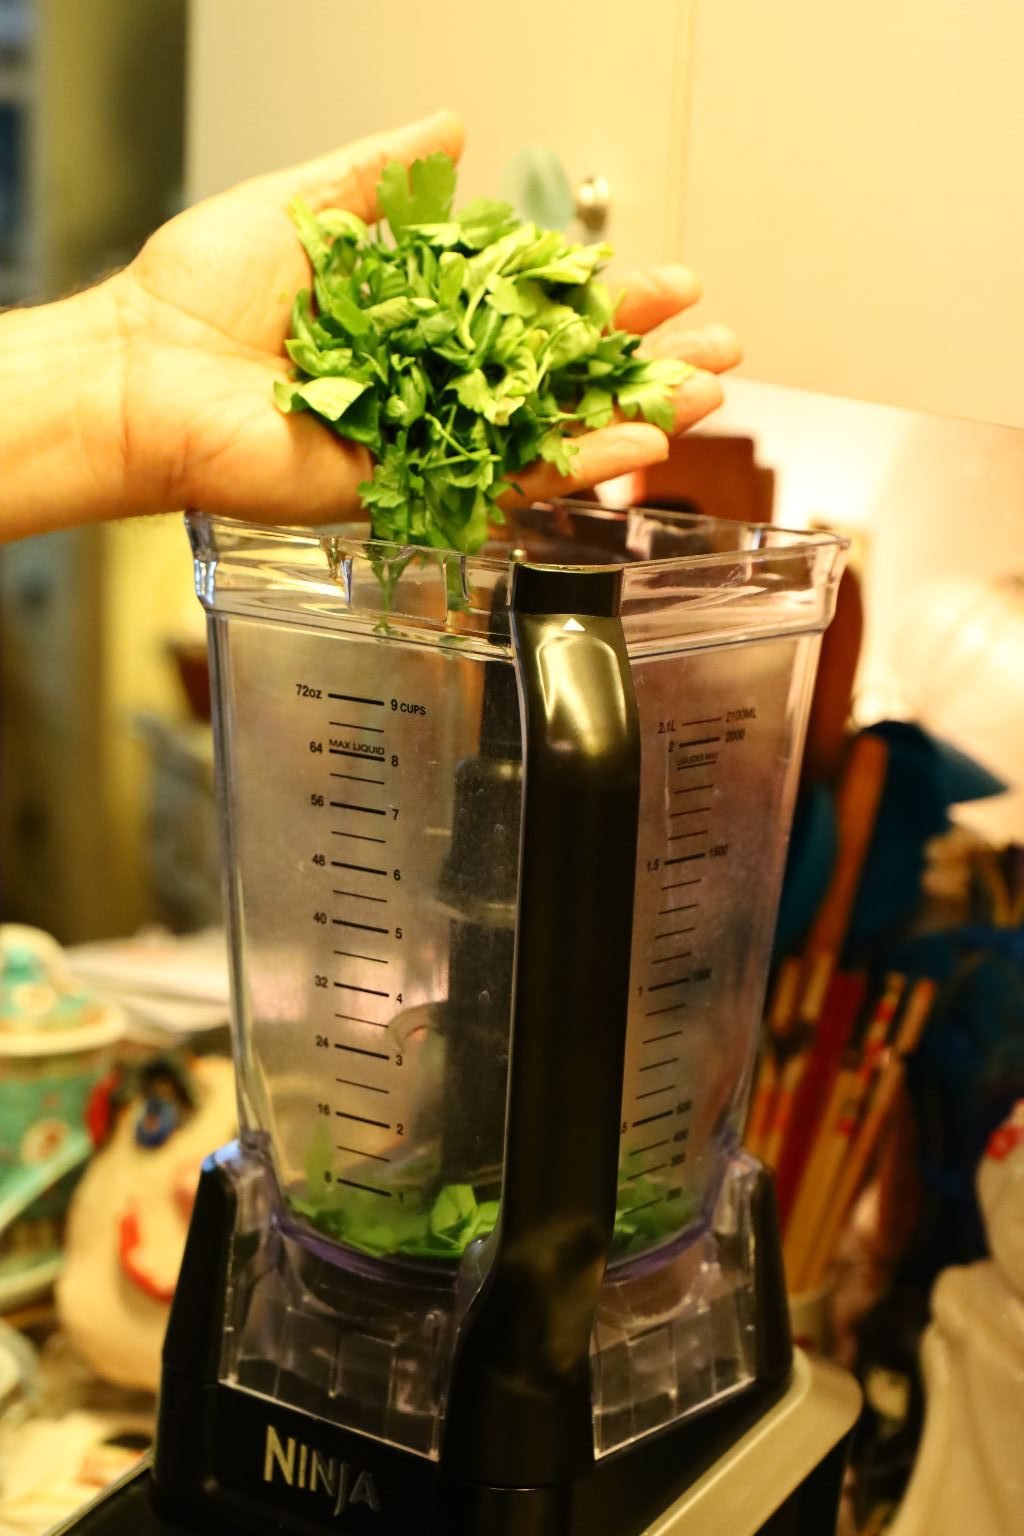
I will hand chop the Parsley as their long stems sometimes don’t chop well in the blender.
Add all your herbs to the blender.

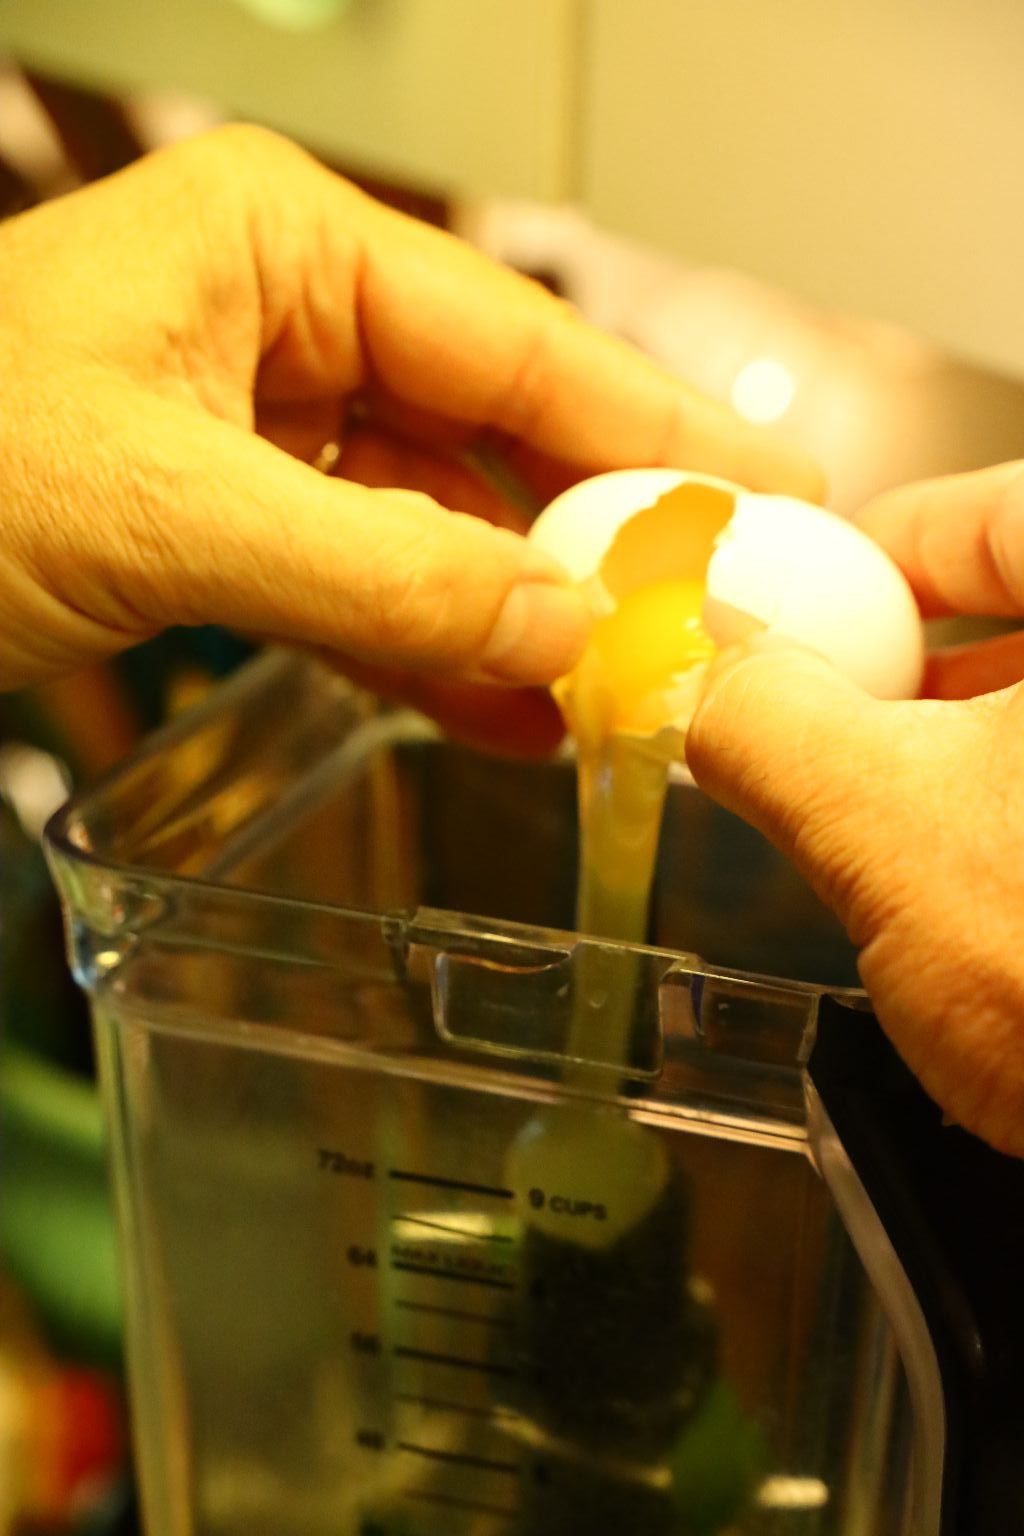
Crack your eggs into the blender making sure you didn’t add any shell pieces.
(You can always crack them into a small bowl first, before adding them if you like.)
————————————————————–


In a large saute pan, add your butter and melt it over medium high heat.
When melted add your Bell Peppers and Onions.


Add some pepper to taste.
Saute the mixture until tender which takes about 8-10 minutes.
—————————————————————

Back to the blender, add some freshly ground black pepper to the herbs and eggs.

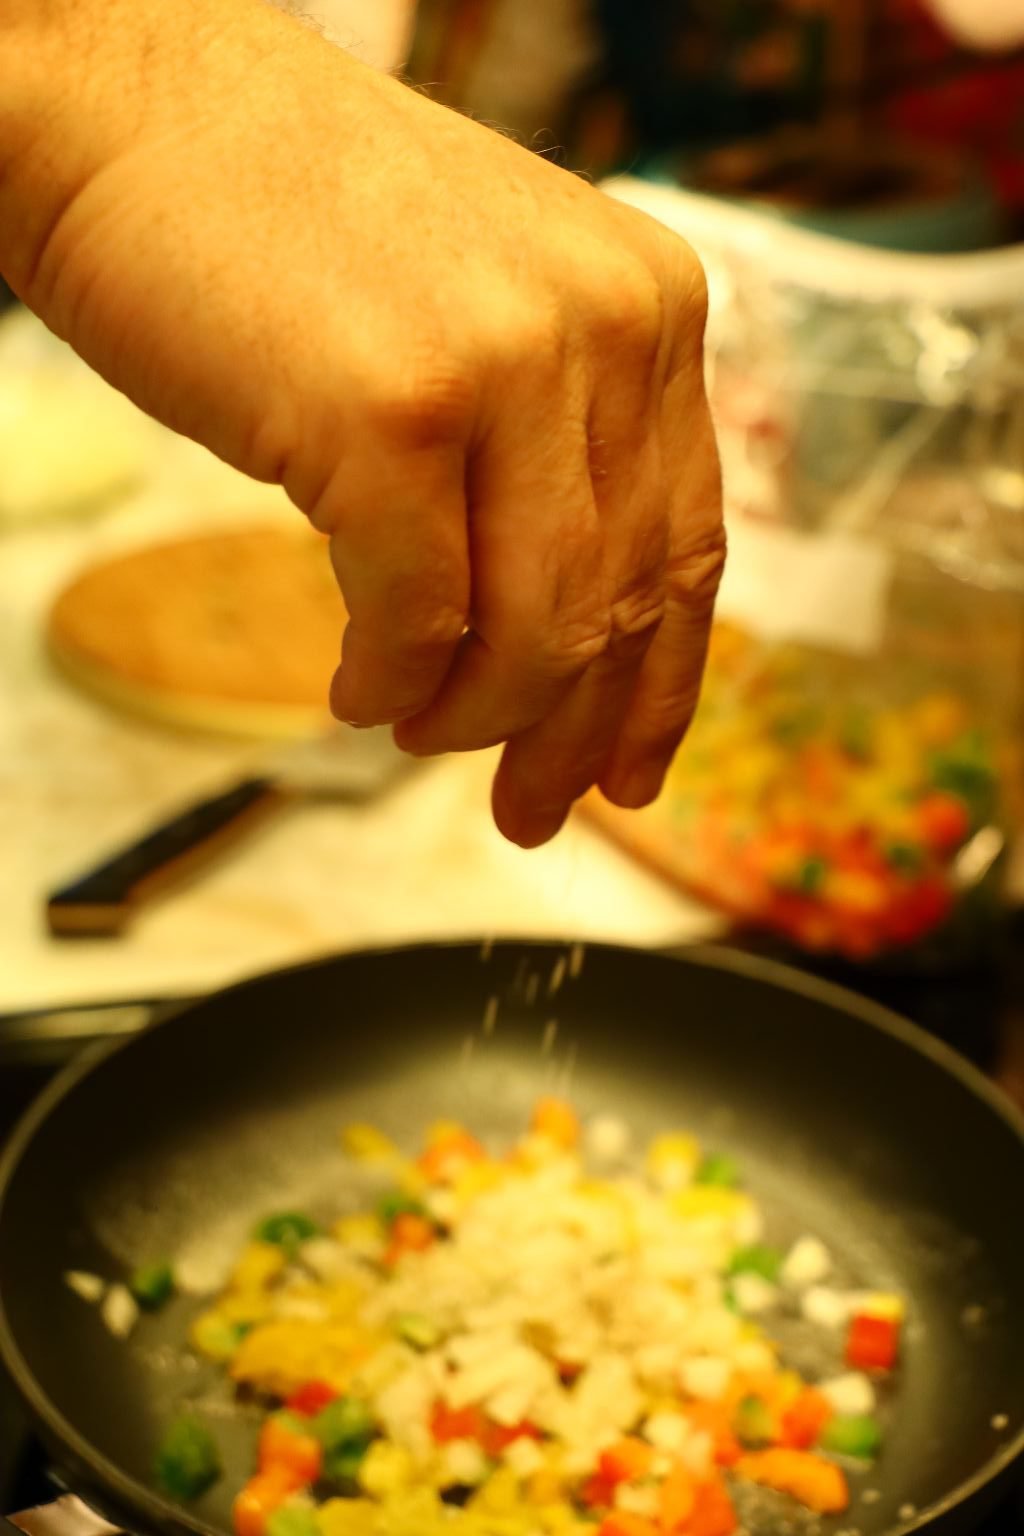
Add some Hawaiian Sea Salt to the vegetables as needed.


I felt the vegetables needed a bit more butter.
Continue to stir the vegetables as they cook to your desired tenderness.
———————————————————–
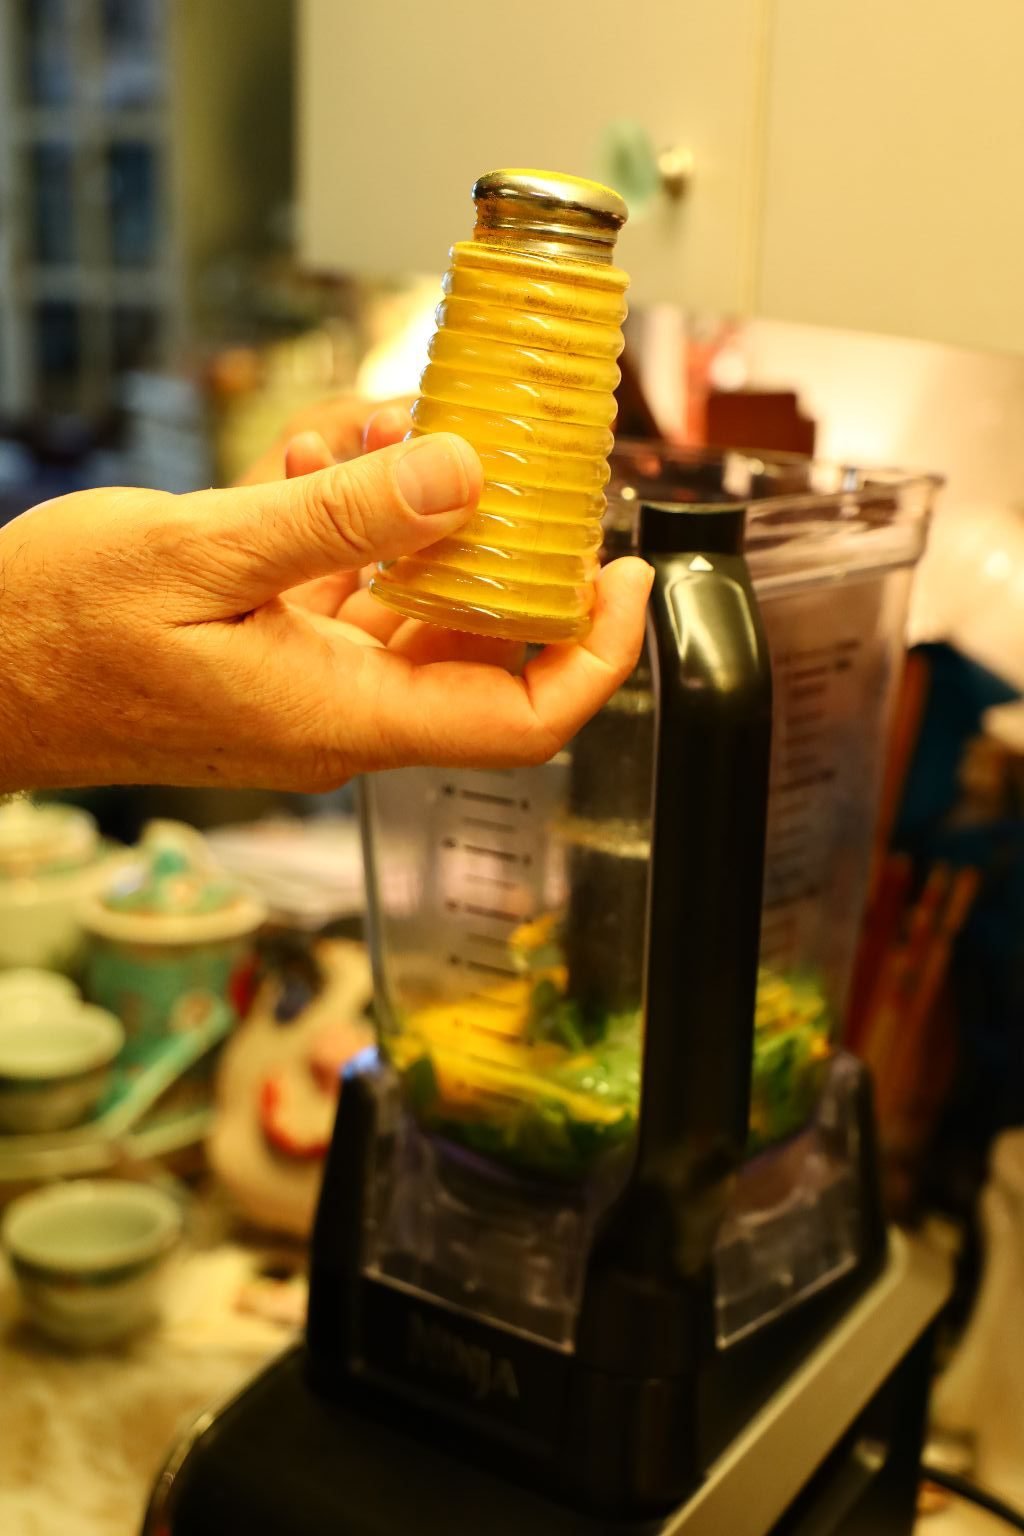


Add your Turmeric, Sweet Paprika, and Milk to the blender.
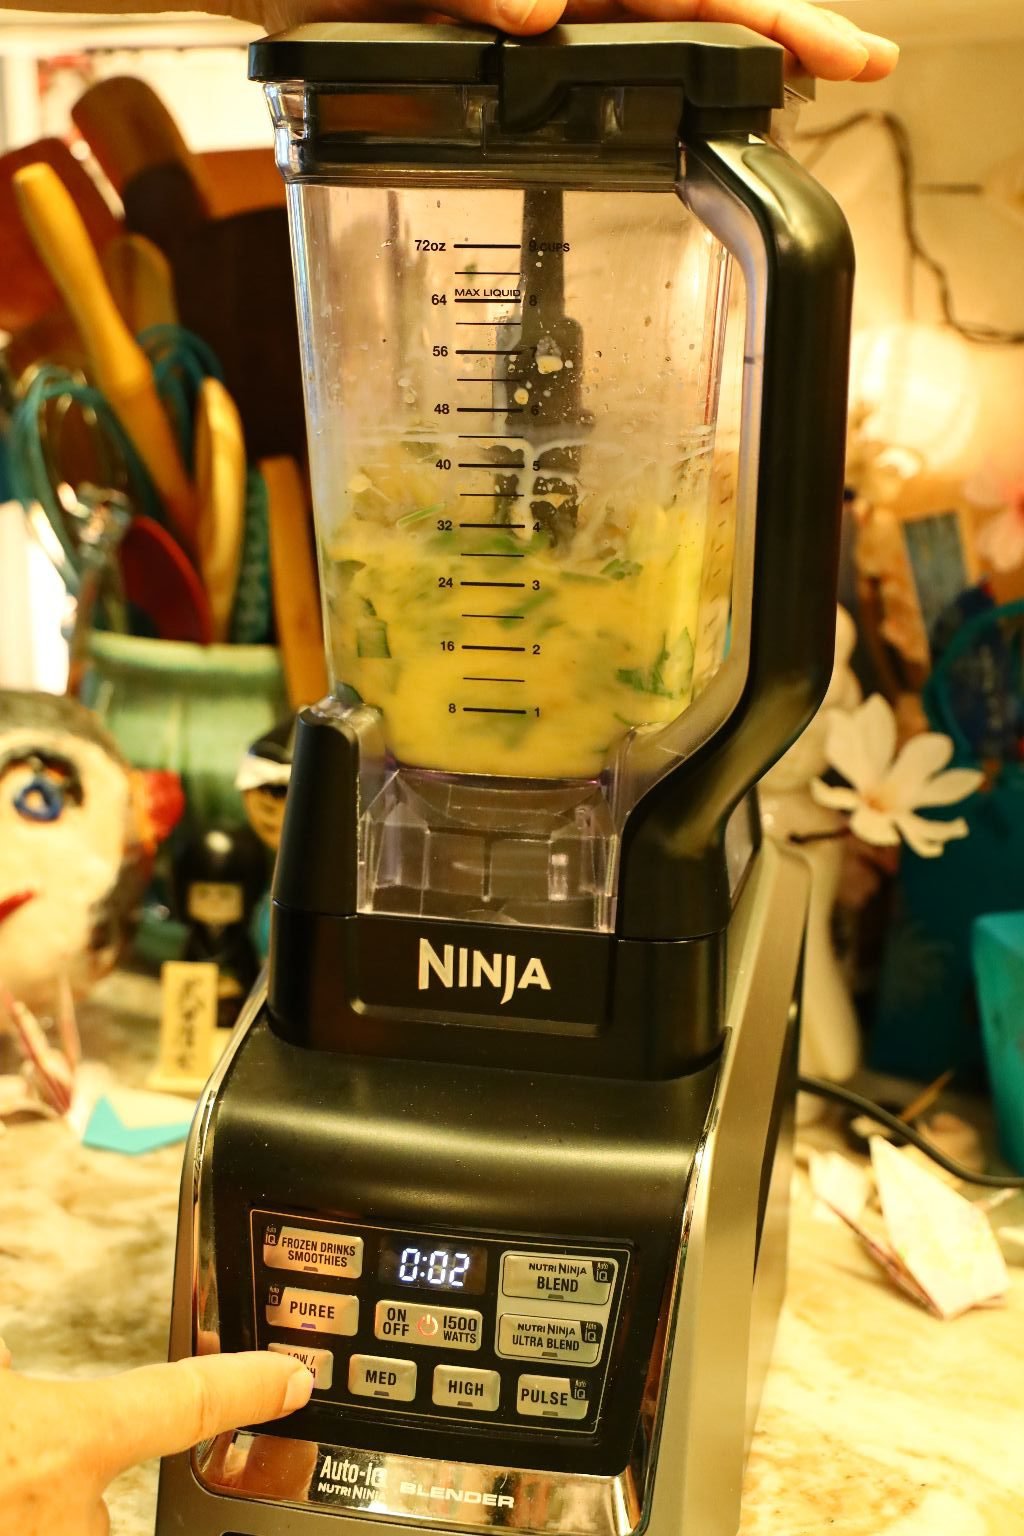
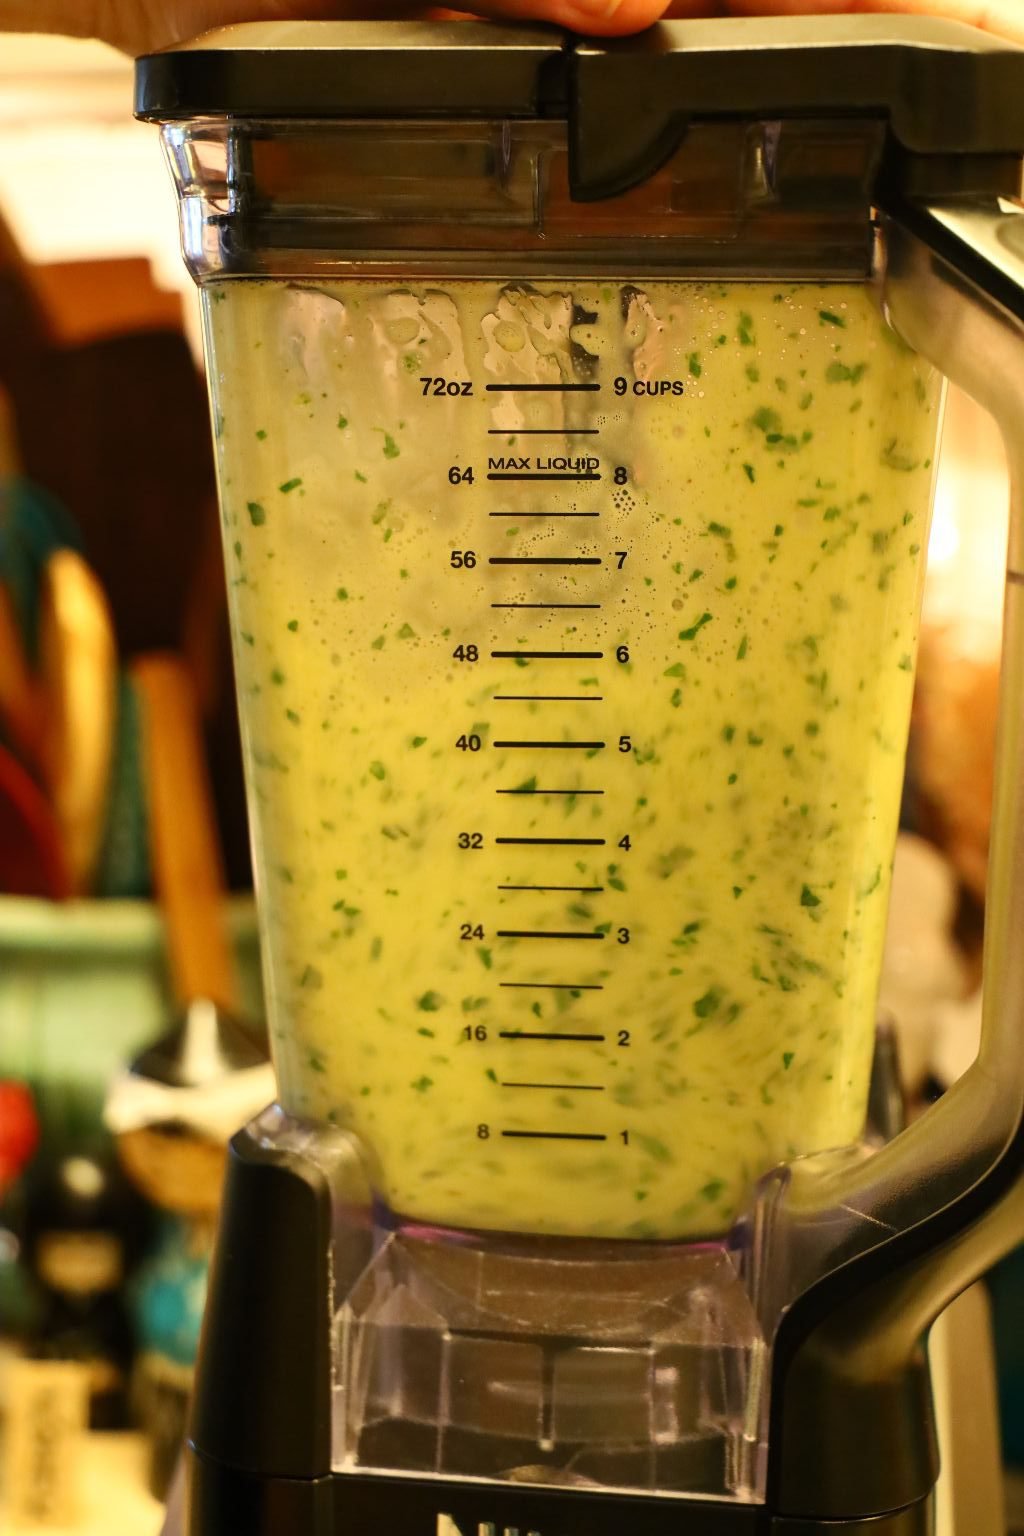
Blend the egg and herb mixture until almost smooth.


When your vegetables are cooked and tender, add your blended eggs,
Turn the heat down and cook for about 5-8 minutes.


Since this is a little thick, I decided to use our broiler to cook the top of the eggs.
After just a few minutes they are cooked solid.


Use a cutting board to help you turn the eggs over.

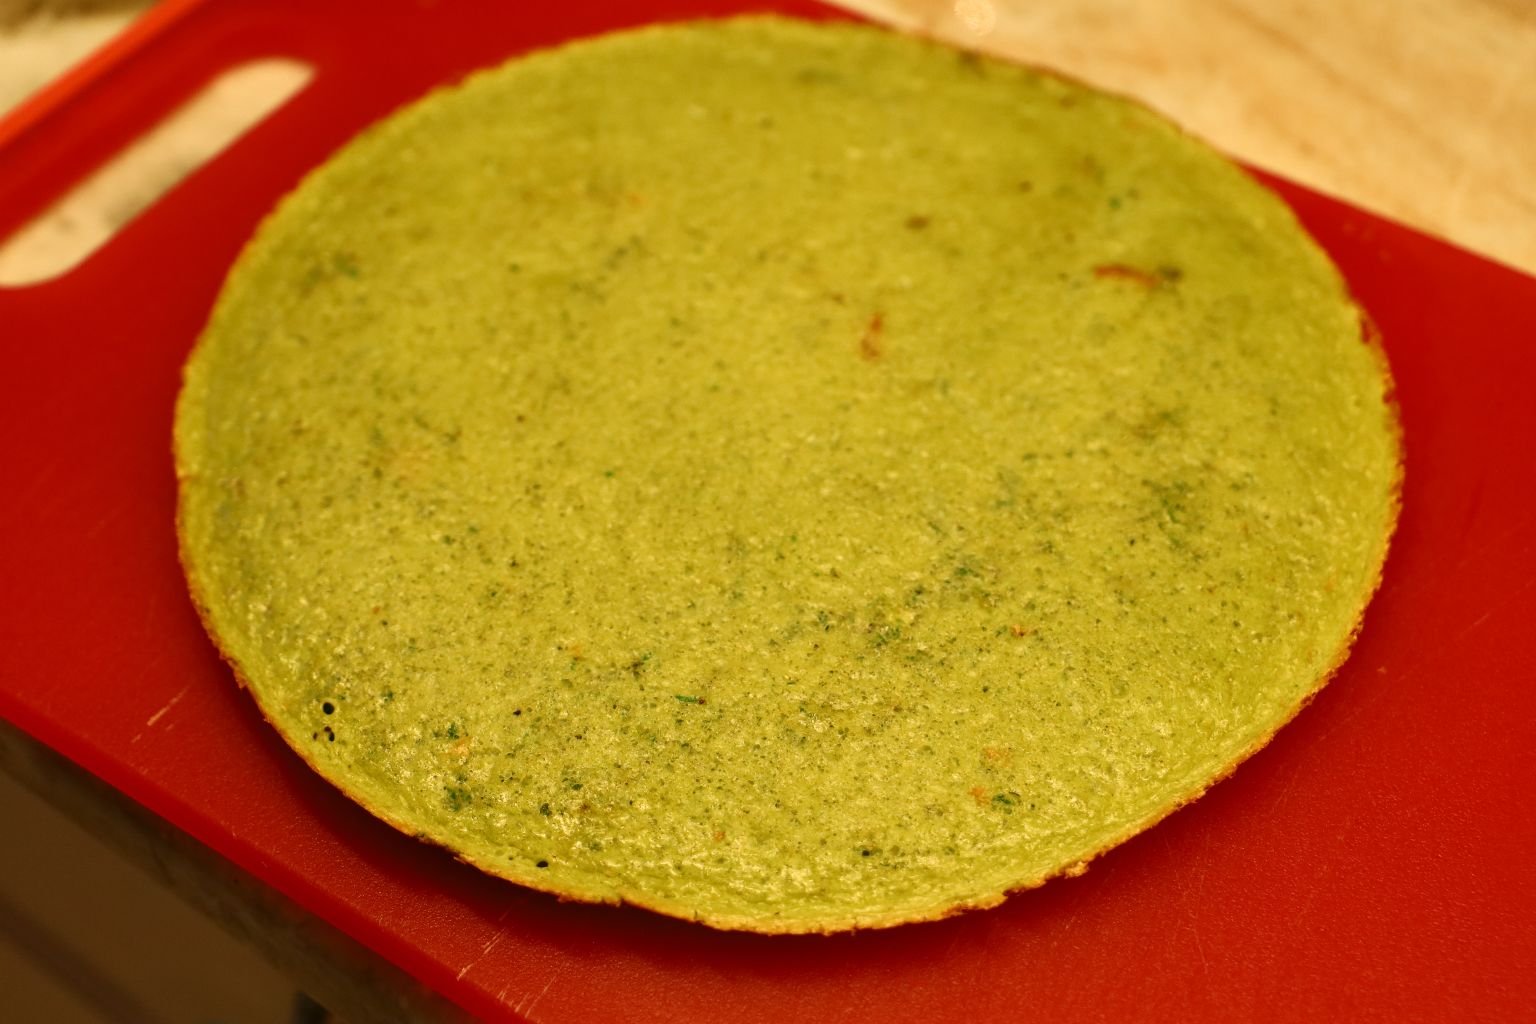
The eggs are a little over cooked on the bottom, but then again some people like them browned as well.

We sliced the eggs into quarters and plated them.
————————————————————————
Here is our ham we cooked with Julie’s Georgia Peach Jeze-Bells Sauce.
We add some ham slices topped with more of the Jeze-Bells Sauce, then also plated a slice of our colorful Bell Pepper and Herb Garden Bread from above.
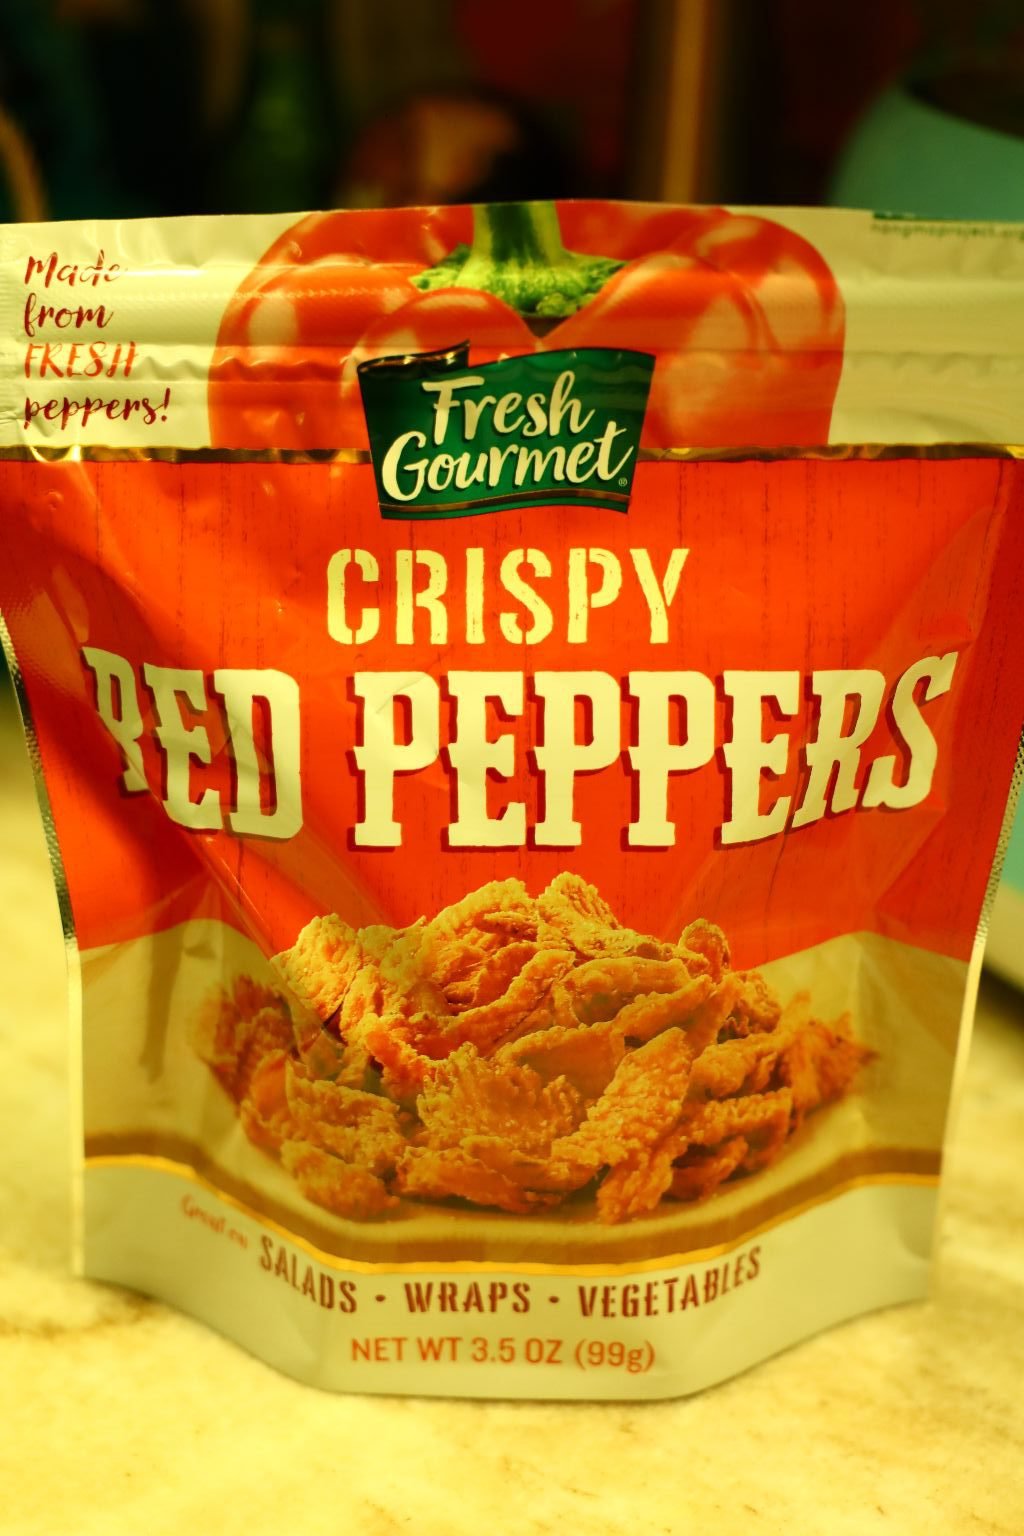
These Salad Toppings Made a Nice Garnish
Eating Outside In The Garden
What a great garden inspired breakfast!
—————————————————————–
—————————————————————–

Making a Grilled Cheese with our Bell Pepper and Herb Bread

Heirloom Tomatoes

Grilled Cheese with our Leftover Ham, Heirloom Tomatoes, Mustard, Cheeses, Leftover Julie’s Georgia Peach Jeze-Bell’s Sauce, and our Fresh Herbs

A Great Way to Eat our Leftovers

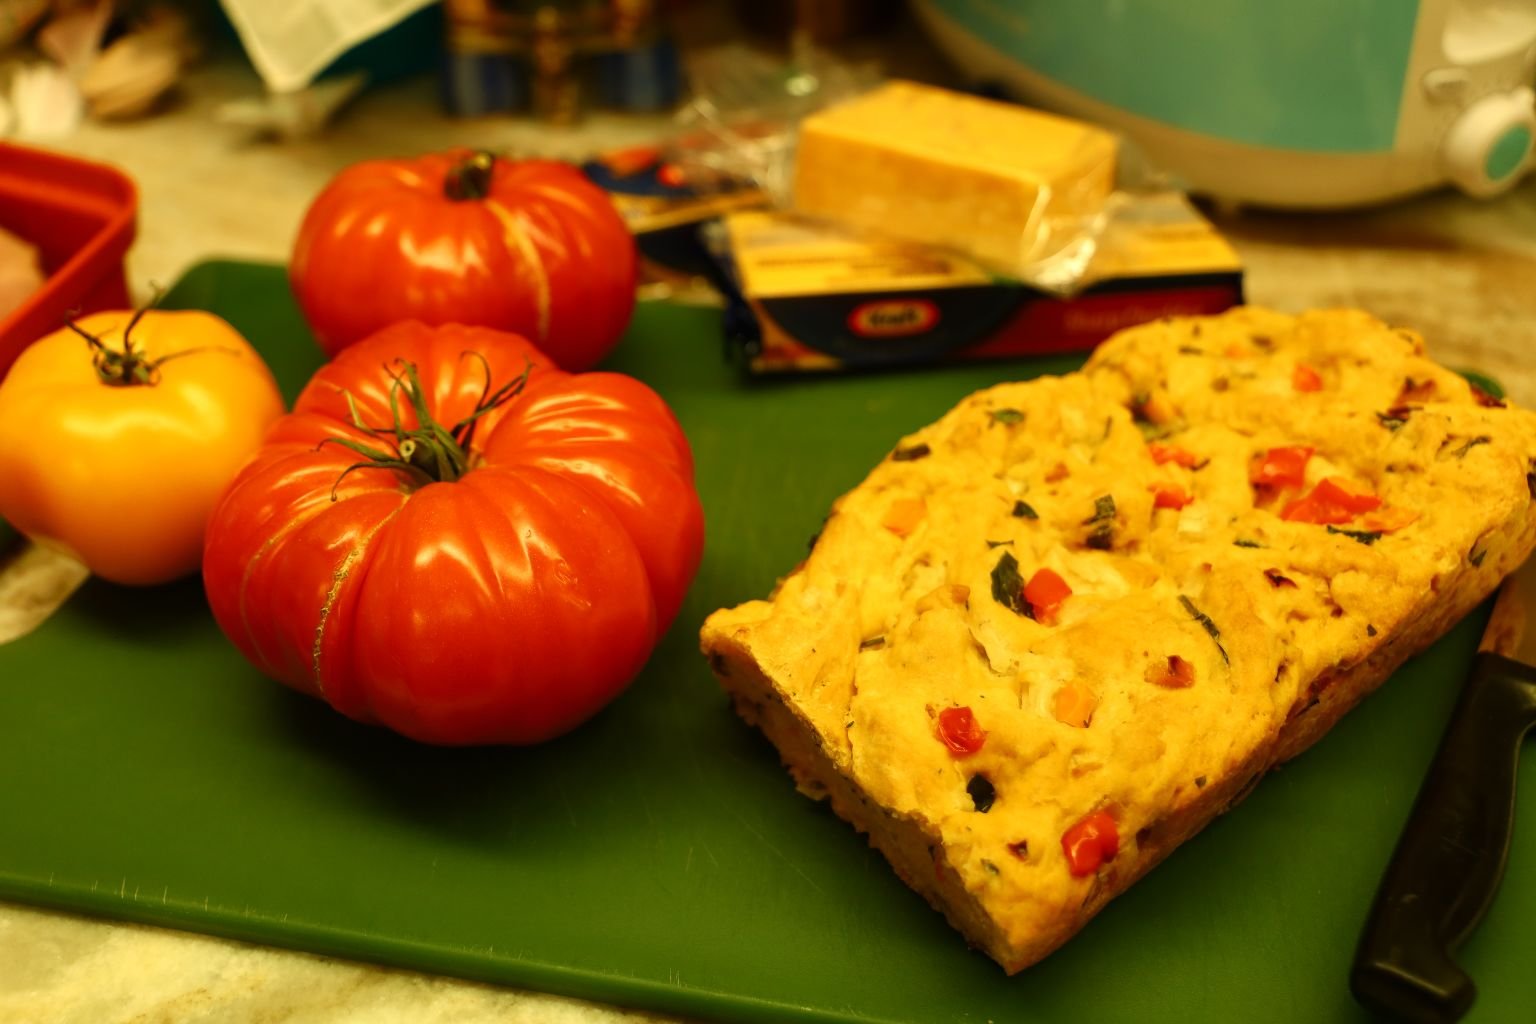
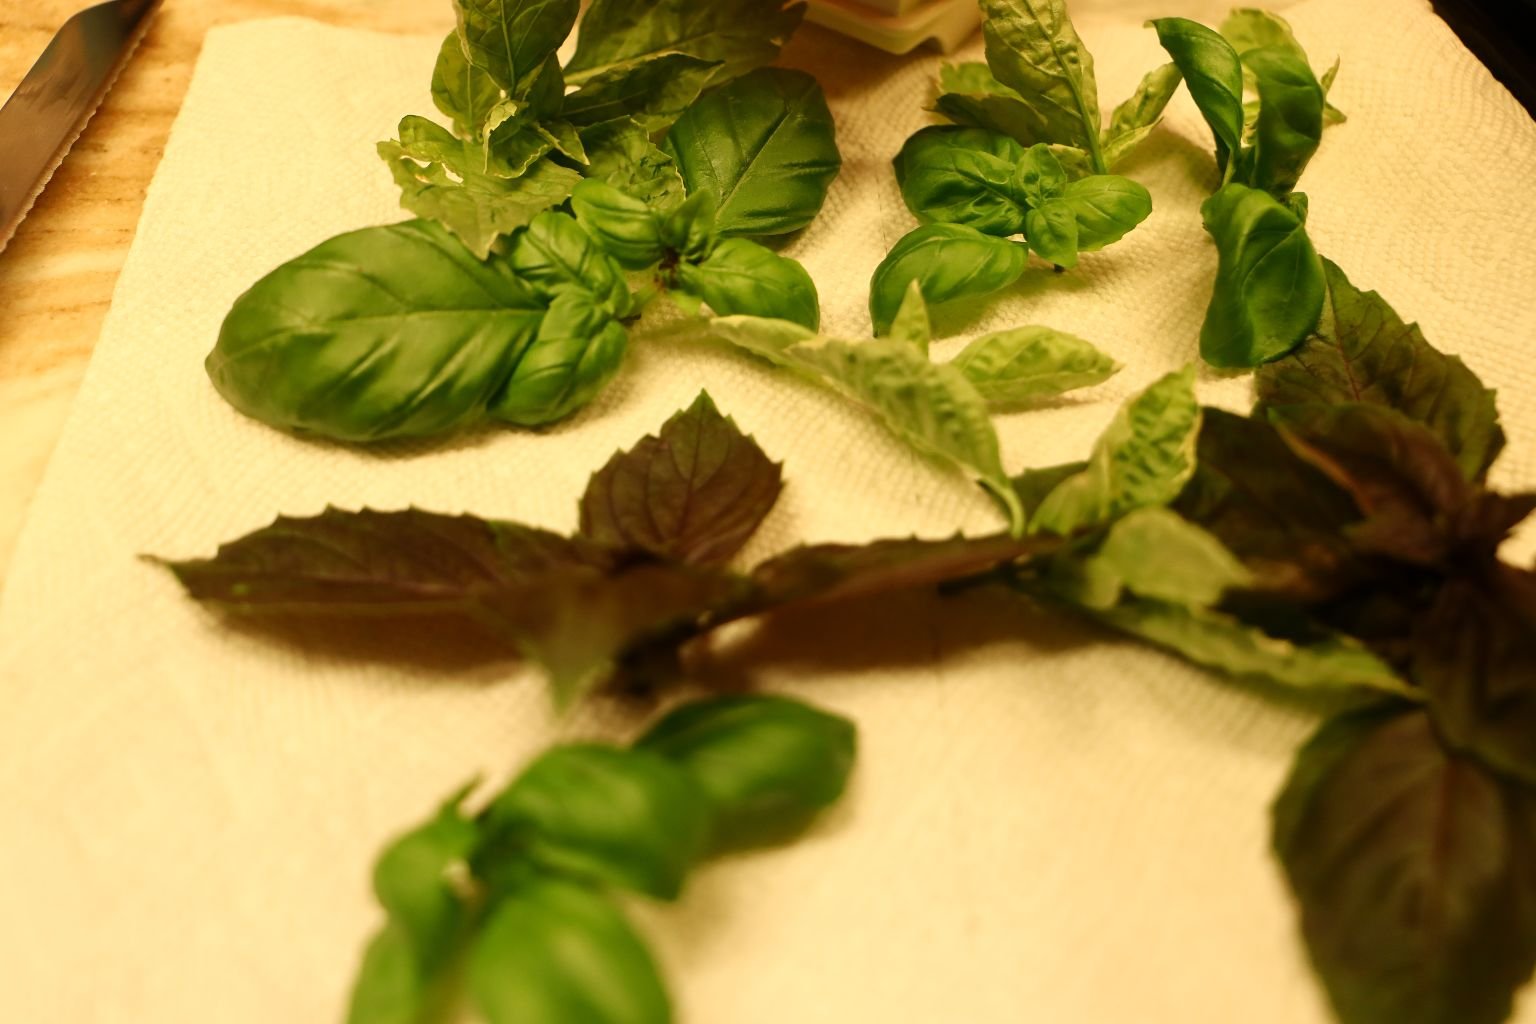
Here Comes The Assembly…


First, slice the loaf directly down the middle.

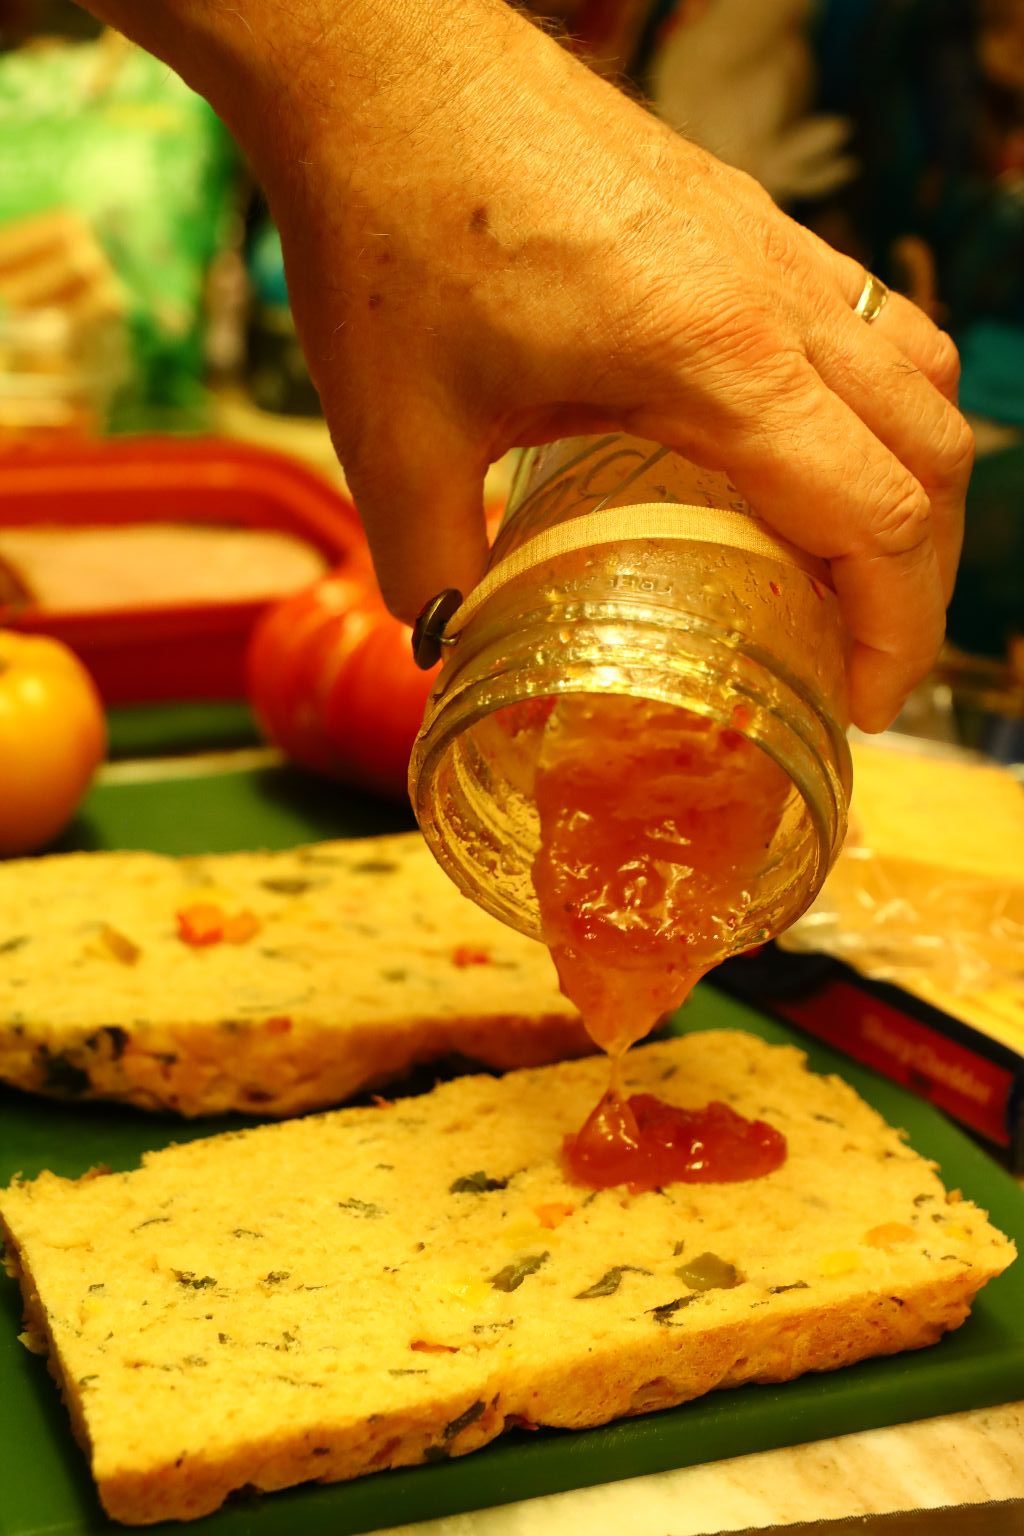
On one side place mustard, on the other side Julie’s Georgia Peach Jeze-Bell’s Sauce


Now place some leftover ham slices onto one side.

————————————————————————-


Slice some cheese and place on the other side of the sandwich.

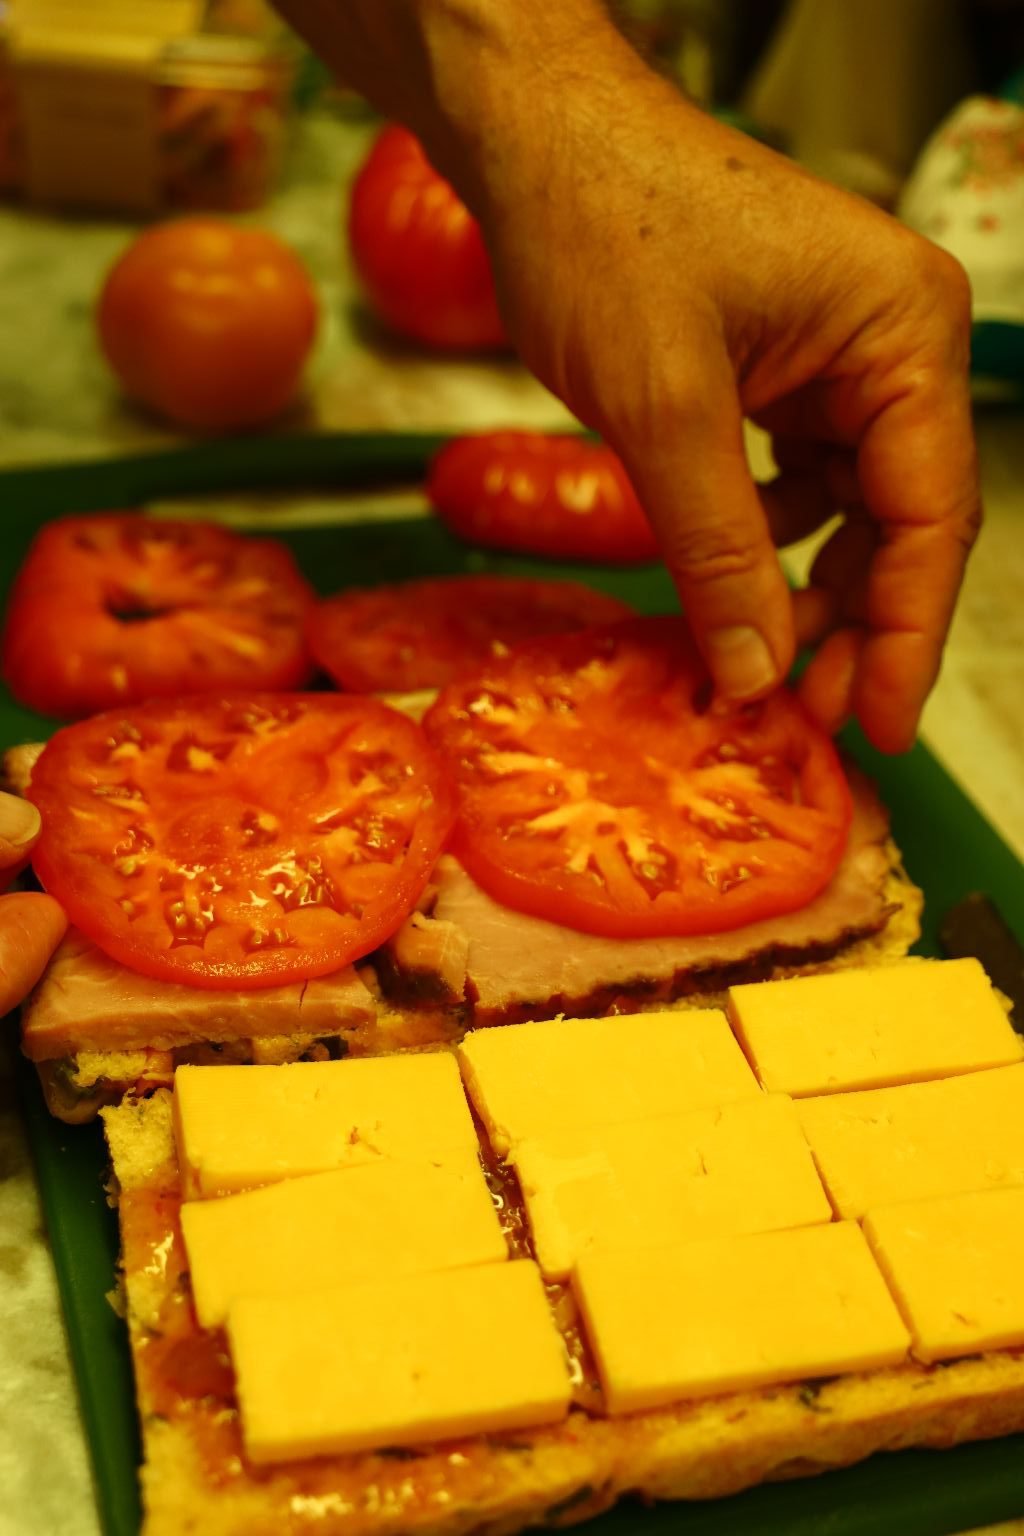
Some Heirloom Tomatoes…..


Fresh Herbs, we are using Basil here.

Place some butter/margarine into a saucepan on medium-high heat.


Here Gordon is browning both sides of the sandwich.


You also want the cheese to melt as well.


Just slice and plate it up!
Here we added more of our herbs and served with some dried tomato chips.
————————————————————
Breakfast The Next Morning…
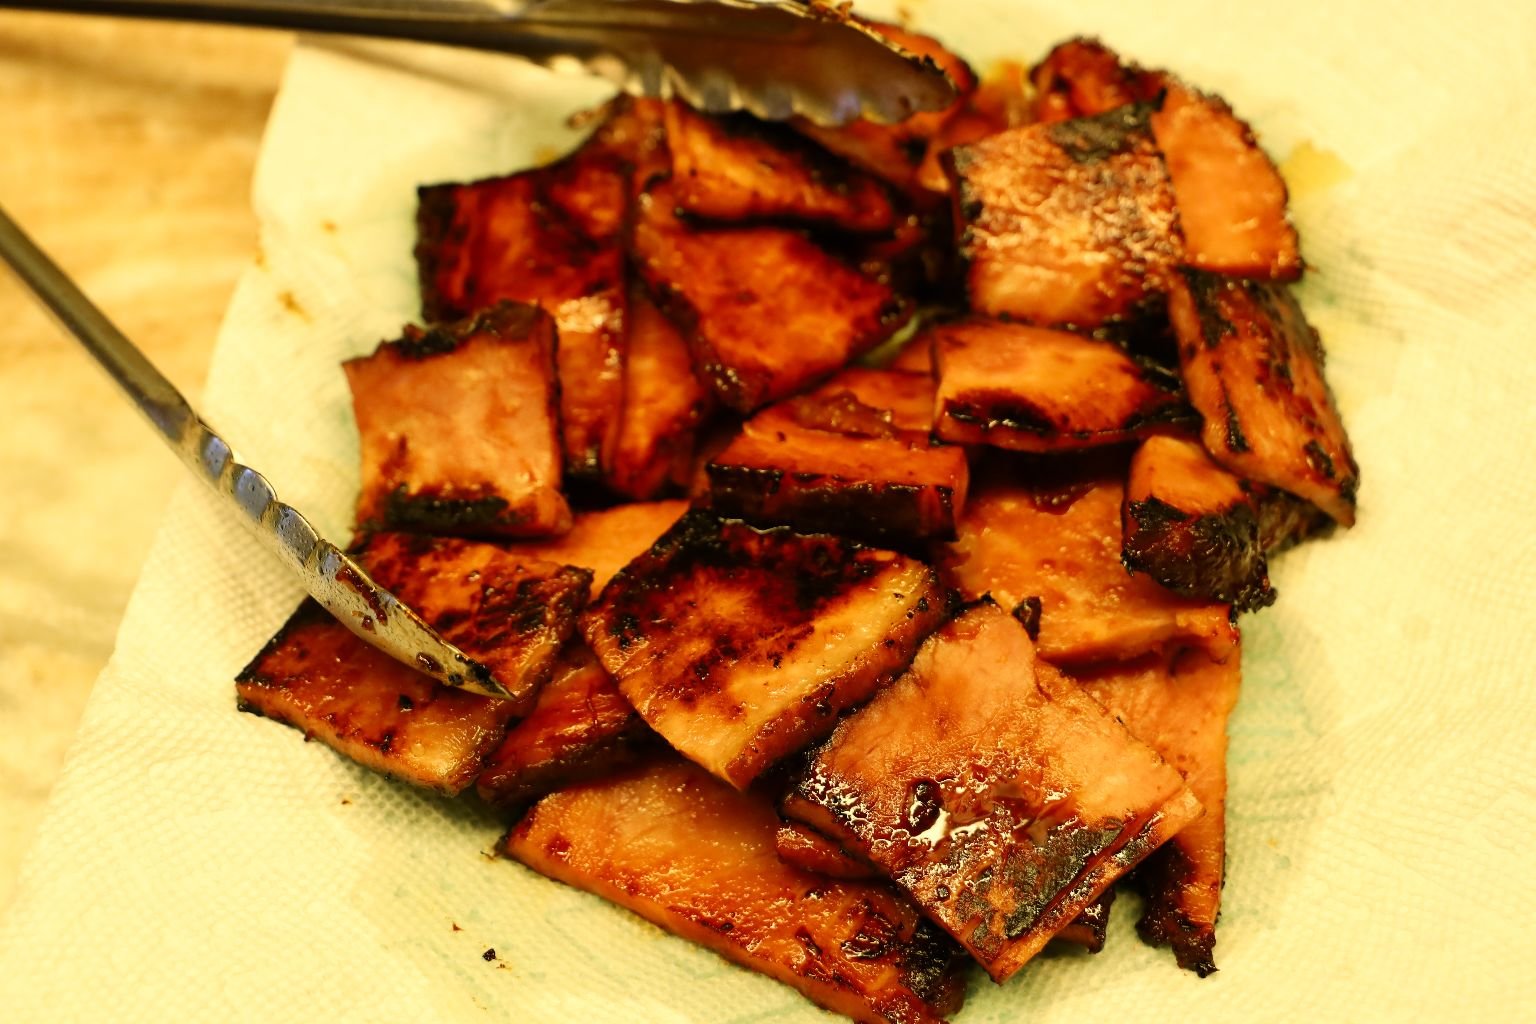
Here Gordon fried our leftover, leftover, Ham 🙂
Also, fried us up some Eggs, and added a bit of Cheese.
A Delicious Morning
———————————————————-
Thank you for joining us.
This little patch of our yard is so very rewarding.
Happy Planting!
Julie and Gordon
———————————————————————-


One of my first herb gardens, left. My herb garden redo, right.
Same dress, about 10 years apart.
Which brings us to this most crucial of all questions…
Which Julie Wore it Best? 🙂
————————————————————-
View My Other Herb Garden and Project Pages:

AND,

AND,

AND,
AND,

AND,
Julie’s Backyard Wildlife and Gardening Blogging

AND,

AND,

AND,
Julie’s Backyard Wildlife and Gardening Blogging Continues
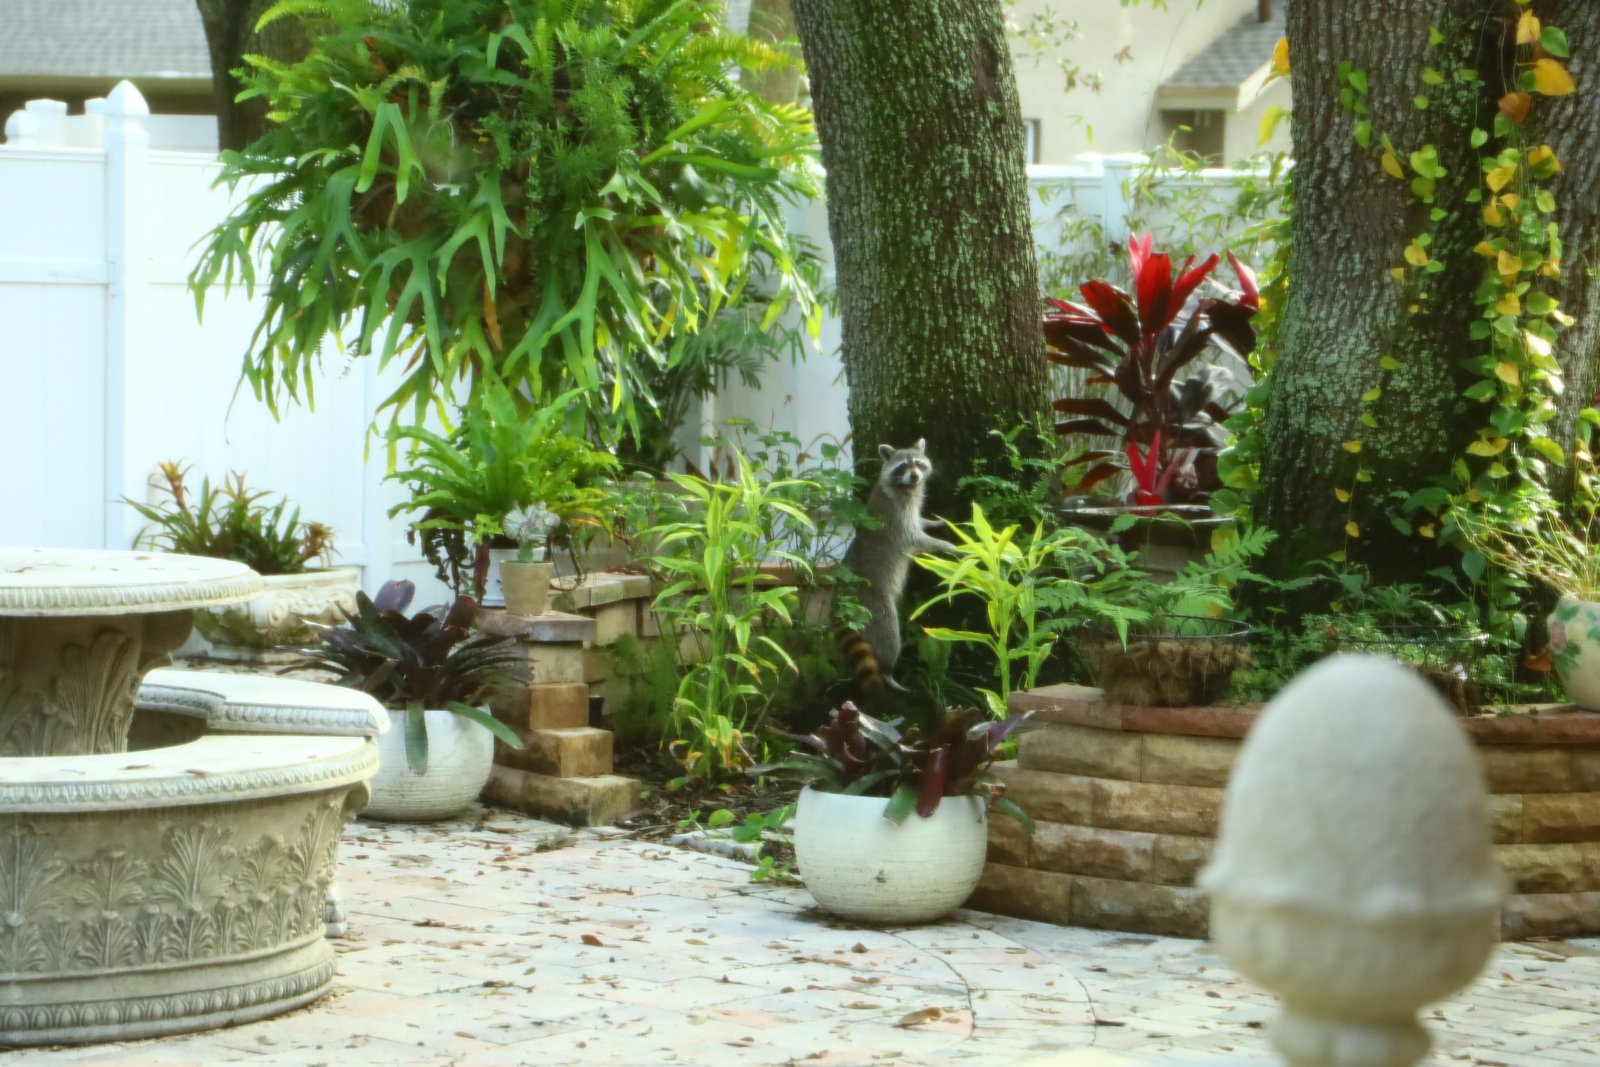
——————————————————————————–

Welcome to DIY Home Function Upgrades This is our first project for this website page. We do plan on bringing you more. What you see here is the side of our house. There was grass here at one time but our yard …

Pizza: Latin for “to pound, or stamp.” The Lombardic word bizzo, or pizzo, meaning mouthful. Was brought to Italy by the Lombards in the middle of the 6th. century A.D. A Pizza consists of a base of dough with a selection of …

Currently Baking Until You Can Insert a Toothpick and it Comes Out Clean 🙂

Strawberry Jalapeno Sheet Cake
————————————————————

Gordon and Julie, Charlotte, North Carolina, 1982 in Gordon’s parents kitchen.
We are baking Christmas Cakes/Breads for his parents to give to their friends and associates as gifts.
Note the expression on my face. I remember this day very well. I HATED Baking cakes. I HATED that they roped me into this.
All I remember are the Cranberries. I HATED Cranberries. Unless a cake was packed with Chocolate then I wasn’t interested.
That was a very long time ago and here I am starting yet another Cake Blog Page on my website, 38 years later at this writing, 2021. I will need to ask for this recipe so that we can bake them all again. 🙂
p.s. I’m pretty sure they passed our cakes/breads off as theirs. Grrr….
Julie Lancaster-Whann
———————————————————–

Welcome to Let Us Eat Cake!


Julie’s Strawberry Jalapeno Cake

AND,

Strawberries Dipped in Strawberry Jalapeno Frosting
—————————————————————–
Recipes Starts Right Here!
Julie’s Strawberry Jalapeno Cake with Strawberry Jalapeno Frosting

Gathering All of the Ingredients
Including my Vintage Electric Mixer

The Ingredients For The Cake:
3/4 Cup Butter, Room Temperature
1 1/2 Cups Sugar (We used Splenda)
3 Cups Cake Flour, Sifted
1 T. Baking Powder
3/4 t. Salt
4 Eggs
1 Cup Buttermilk
1 1/2 t. Vanilla Extract
2 Cups Chopped Fresh Strawberry’s
1-2 Chopped Jalapeno Peppers, De-seeded
———————————————————–
Get out your mixer….


This vintage Mixer was a gift to me from my Grandmother. She bought it at a yard sale in Rome, Georgia for $20.00 and brought it in her suitcase to Honolulu, Hawaii to visit us when we were living there. I treasure it!


The Ingredients on the Right are for the Frosting:
1, 8 oz. Cream Cheese, Room Temperature
1/2 Cup Butter, Room Temperature
1 Jar Jalapeno Strawberry Jam, or Less if you Prefer
5 Cups Confectioner’s Sugar
To Garnish the Cake:
A Jalapeno Pepper and Whole Strawberry’s
———————————————————–


Freshly Washed Strawberry’s for the Cake


Spray a Sheet Pan with Pam Baking Oil with Flour in it
———————————————————————–
Time to Make the Cake…


You first want to place your room temperature Butter and Sugar into your largest Mixing Bowl and beat on a medium speed until well blended and a bit fluffy.


You next want to add all of your Eggs, one at a time until well blended.
Blend together after each Egg.


Using a Food Mill Potato Ricer as a Sifter
(Hey, it works!)


In another bowl, adding my Cake Flour, Baking Powder, and Salt to the Ricer.
Sifting into the bowl.

My Dry Mixture and My Buttermilk


Time to Add my Dry Mixture Interspersed with the Buttermilk
(Start with the Dry, and End with the Dry.)
In other words, add some of the dry mixture to the mixing bowl and blend. Once blended, add some of the buttermilk until blended. Then add some of the dry mixture until blended, then add some wet. Start with the Dry, End with the Dry.

All Mixed Together


Now It’s Time to Add the Vanilla Extract


Mix Together
——————————————————————


Now It’s Time to Chop the Jalapeno’s and Strawberry’s


I Chopped About 1 and 1/2 Jalapeno’s into Small Dice
I then placed them into a colander with some Flour to coat.
I shook out the extra Flour and then added the Jalapeno’s to the batter.

——————————————————————–

Mix Together
——————————————————————–


Chopping the Strawberry’s into small Chunks


Coating Them With Flour…


Adding Them to the Batter


Time to Pour into our Sheet Pan
————————————————————-
Preheat the Oven to 350F

Bake For Approximately 25 Minutes
When You Can Put a Toothpick in and it Comes Out Clean, It is Ready
Cooling on Top of a Jigsaw Puzzle
———————————————————————-

Jalapeno Strawberry Jam
(This entire cake and frosting is because of this Jalapeno Strawberry Jam inspiration.)

Making The Frosting

Again, time to use the Mixer.

Jalapeno Strawberry Jam, Cream Cheese, and a Jalapeno Garnish


Place your Room Temperature Cream Cheese and Butter into Your Mixing Bowl and Beat Until Creamy


Now Add Your Jalapeno Strawberry Jam, as much as you like, to the mixture.
I added about 3/4 of the jar.


Now we add all of the Confectioner’s Sugar, beating as we go.
Gordon Being Goofy on the Right! 🙂
—————————————————————


The Cake and the Frosting is Ready
——————————————————————–


Time to Pour the Frosting Over the Cake

We Want This to Set
————————————————————————

Delicious! Garnish with a Jalapeno Pepper and some Strawberry’s

Really Good Too!

Can I fix you a Plate?
————————————————————————–

Some of the Leftover Frosting

I thought that Strawberry’s would be delicious dipped into the leftover Frosting.
I was right!
——————————————————-
Let us eat cake!
Julie
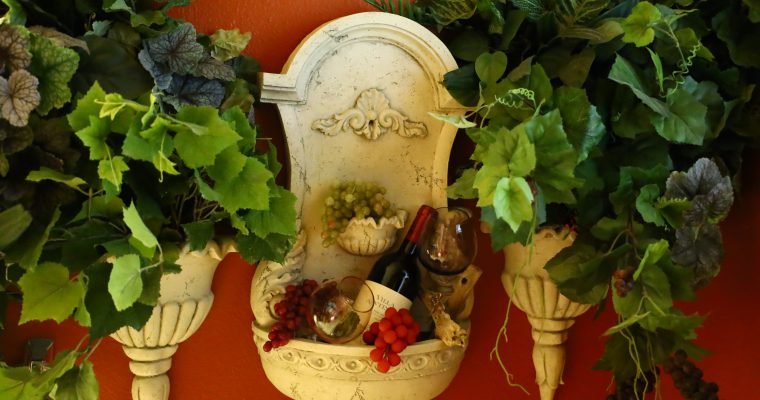
Benvenuto Stiamo Iniziando Un’Altra Pagina Di Cibo Italiano (Welcome, We Are Starting Yet Another Italian Food Page.) Olio D’Oliva, Pomodori Secchi, Pasta, Salsa…. (Olive Oil’s, Sundried Tomatoes, Pasta’s, Sauces…) We Love It ALL!!! Amiamo I’italiano ————————————– Julie and Gordon’s Spagett (Recipe Down …

UNDER CONSTRUCTION 1 Introduction Before Left, After Right Here you can see the retaining wall is in bad shape due to some overgrowth and tree roots which are making the wall lopsided. This was is quite a few years …

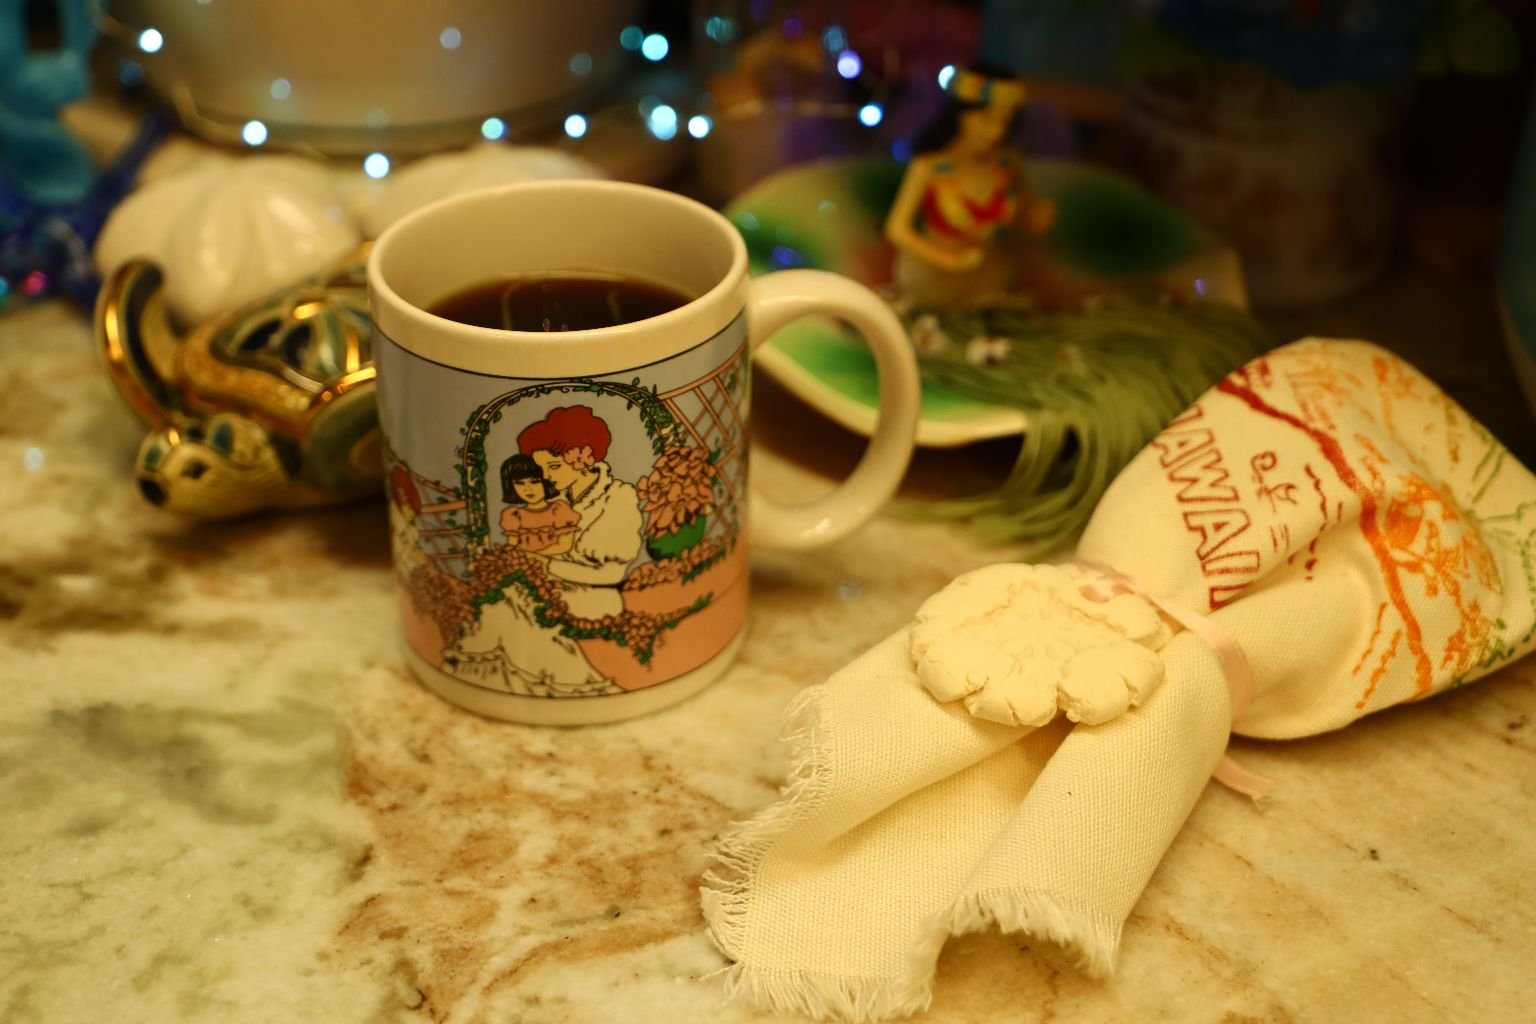
Good Morning, and Happy Mother’s Day
This Mother’s Day took place in 2021 on our backyard lanai.
I wanted my big day to focus on our time of living in Hawaii. We lived in Waikiki, Pearl City, Honolulu, and Ewa Beach during our 13 years of residency. Because both of our children were born in Hawaii, I was able to celebrate 12 memorable Mother’s Day’s while there.
The word for ‘mother’ in the Hawaiian language is Makuahine.
How to say ‘Mother’s Day’ in Hawaiian is:
La Makuahine,
and how to say ‘Happy Mother’s Day’ is:
Hau’oli La Makuahine
——————————————————
I would like to extend a Flower Lei Day Aloha to you!

(Me, with my mother-in-law, Sarajane Whann 1988, in Hawaii with our wrist lei’s.)

Just giving birth doesn’t make us mother’s. A mother is so much more than that. For those that know that, I wish you a wonderful and happy day, everyday!
Aloha,
Julie (Kulii)
Aloha means: Hello, Goodbye, and I Love You.
————————————————————

The little charm on the napkin I made out of clay and baked in the oven, using a rubber stamp to make the impression.
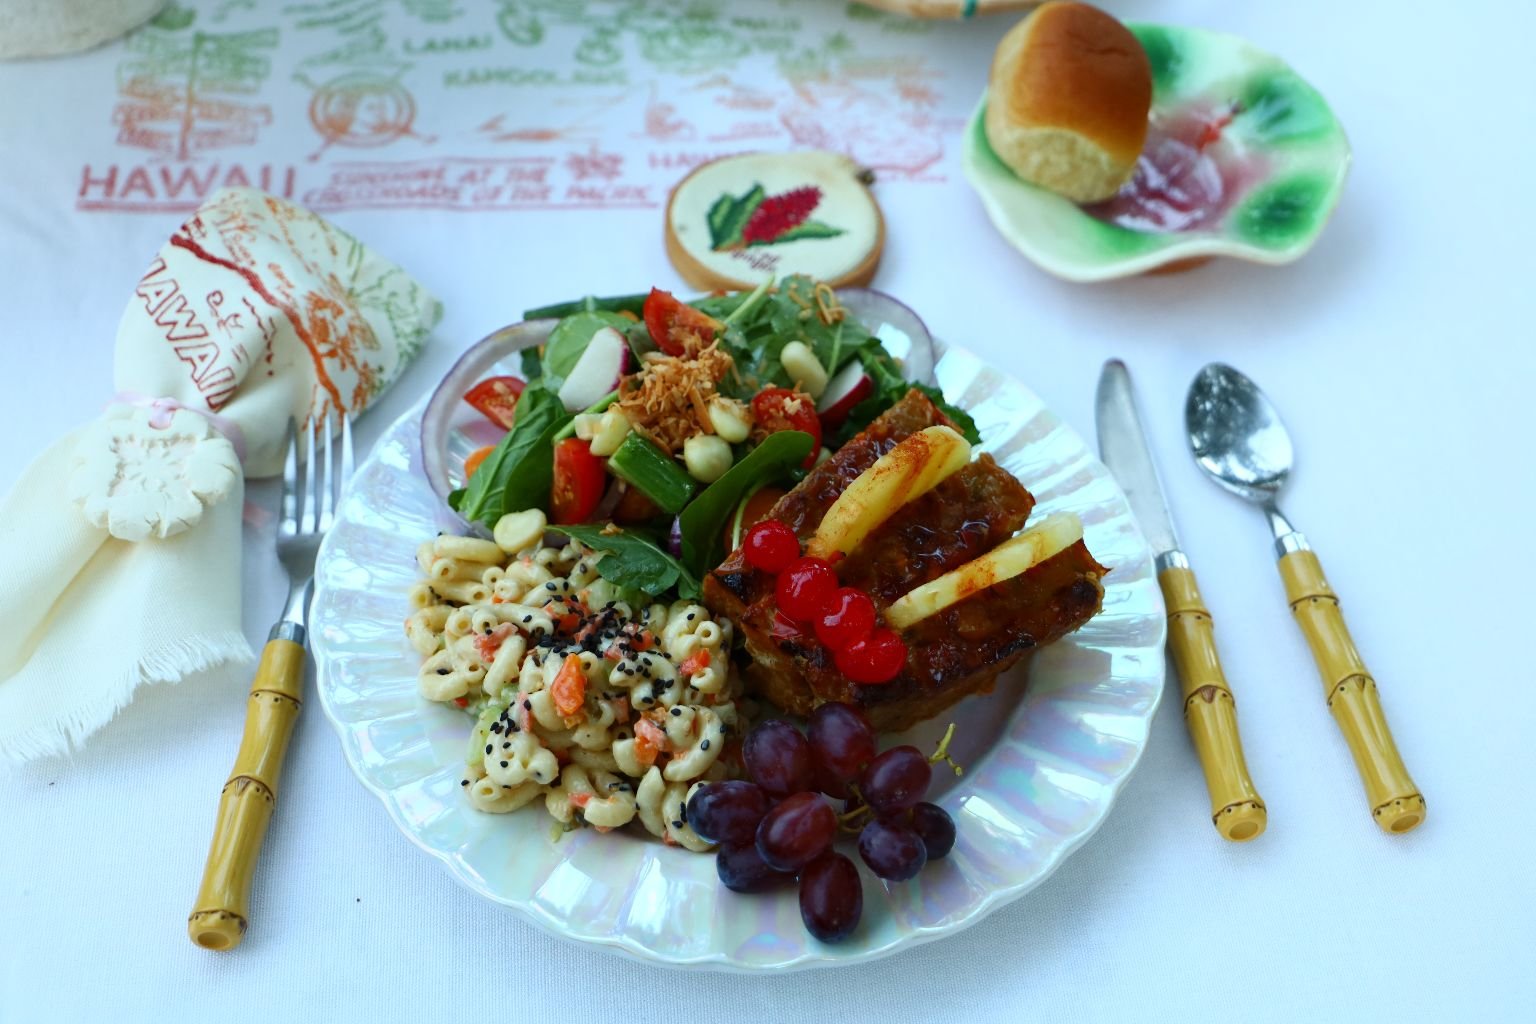
This year I wanted foods that looked like something you would eat at a Vintage Luau.
Pineapples, a MUST!
Coconut, Da Kine!
Macaroni Salad, wouldn’t be Hawaii without it!
——————————————————
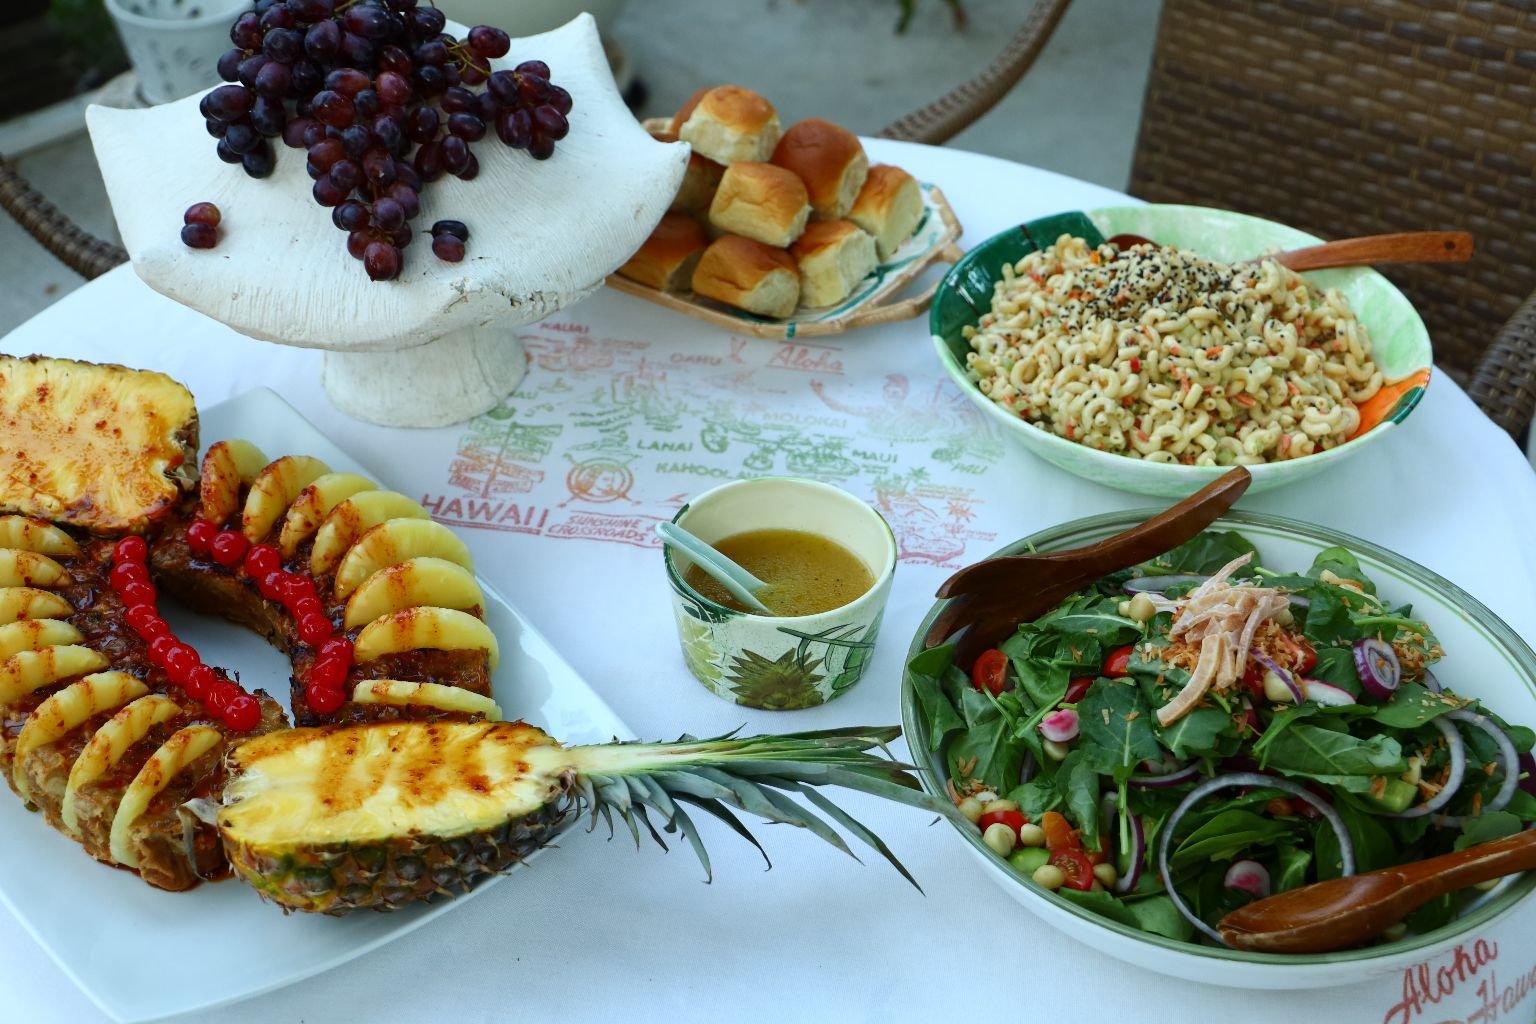
My Beautiful Aloha Table

The tablecloth and napkins are Vintage Hawaiian.
————————————————————-

The Humuhumunukunukuapuaa Cocktail

The Humuhumunukunukuapuaa is the former state fish of Hawaii.
There isn’t anything “fishy” about this cocktail. It just has the same name.

The Humuhumu…
There are only 12 letters in the Hawaiian alphabet.
A, E, H, I, K, L, M, N, O, P, U, and W
The missionary’s that came to Hawaii did their best to write down their language as it was spoken by the native people of the islands. The Hawaiian people pronounce each of their vowels, unlike the English language where we don’t always.
—————————————————————-
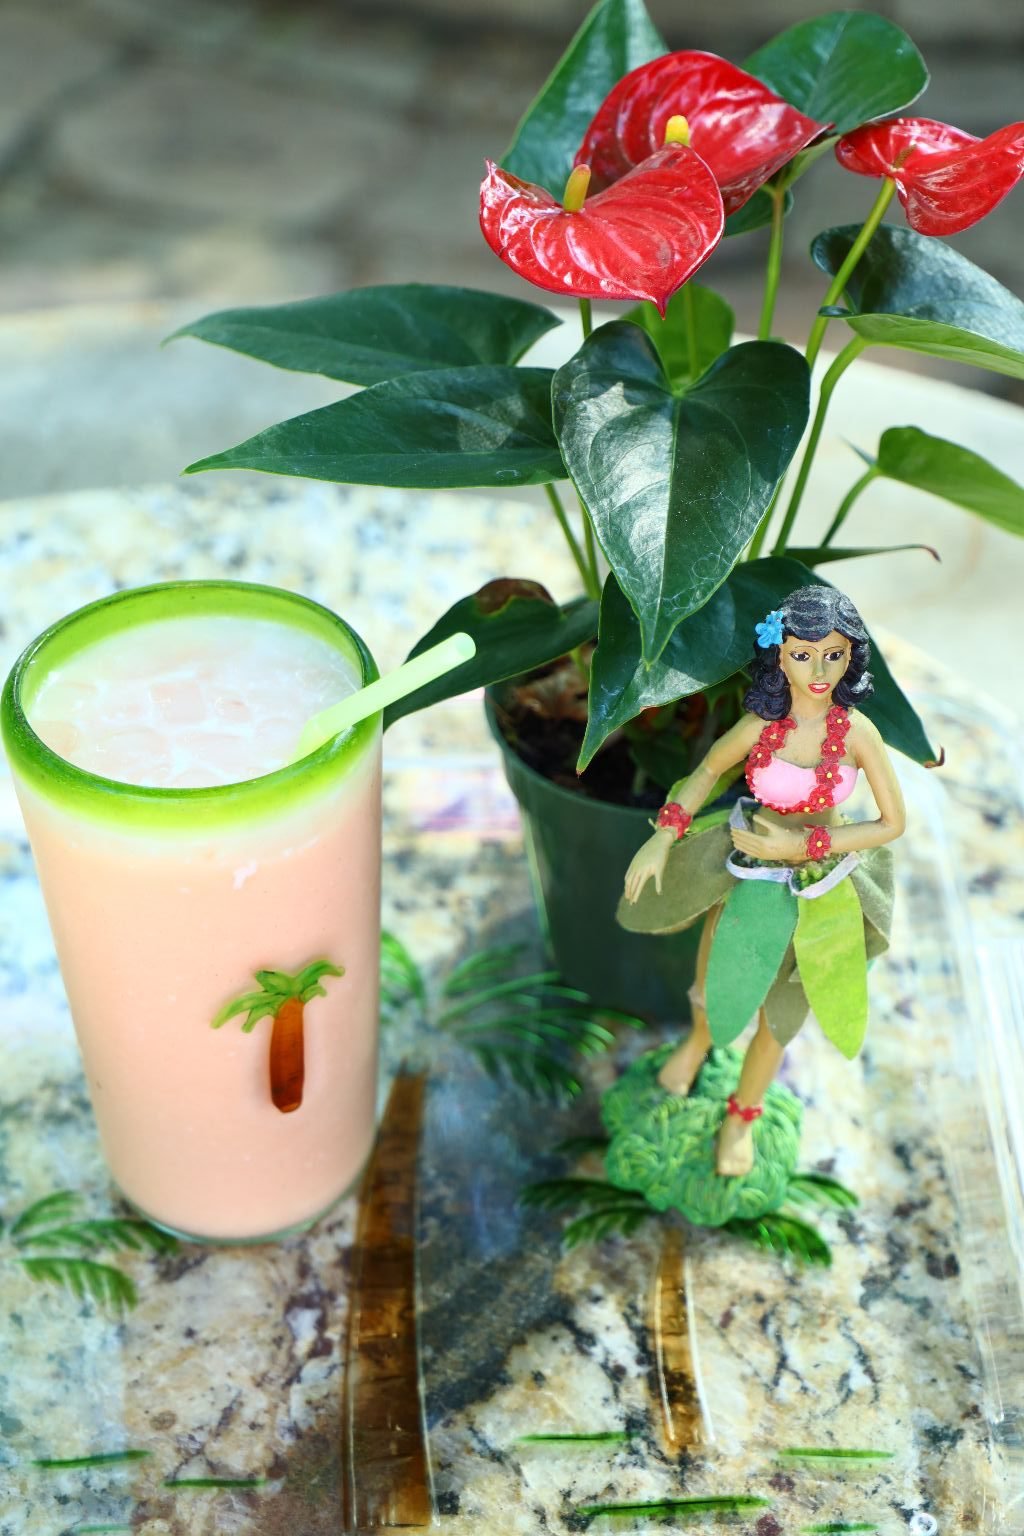
We actually enjoyed this cocktail through Mother’s Day weekend.

—————————————————————————-

My Vintage Hawaiian Coconut/Papaya Pound Cake
——————————————————–

The Whann Women
Sarajane, Beryl, Veronica and Julie

Sarajane and Milton Whann
(Milton Bernard Whann died February 11, 2022.)

Sarajane and Milton with little Veronica
(The reason I am not including photos of Brodie here is because he wasn’t born yet. I really wanted to feature photos of Gordon’s parents and grandmother, and their visit to Hawaii.)
—————————————————————
On The Menu:
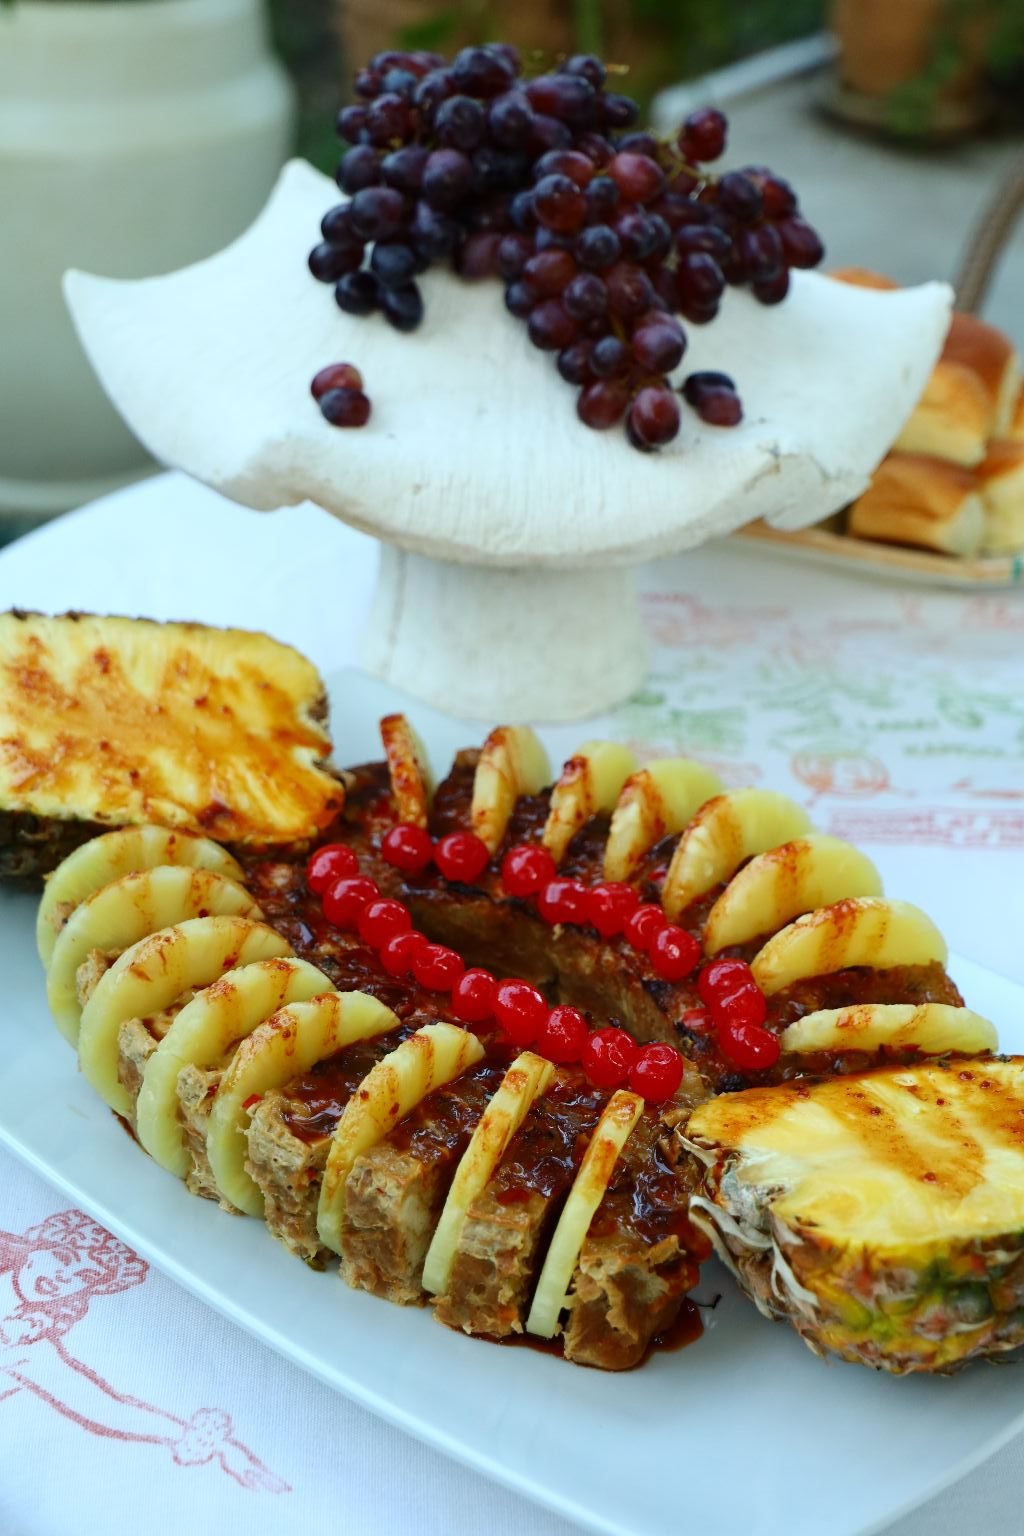
Polyn-Asian Turkey Loaf with Pineapple and Cherries

Actually, two Turkey Loaves Here

Spinach and Kale Salad with Coconut and Macadamia Nuts
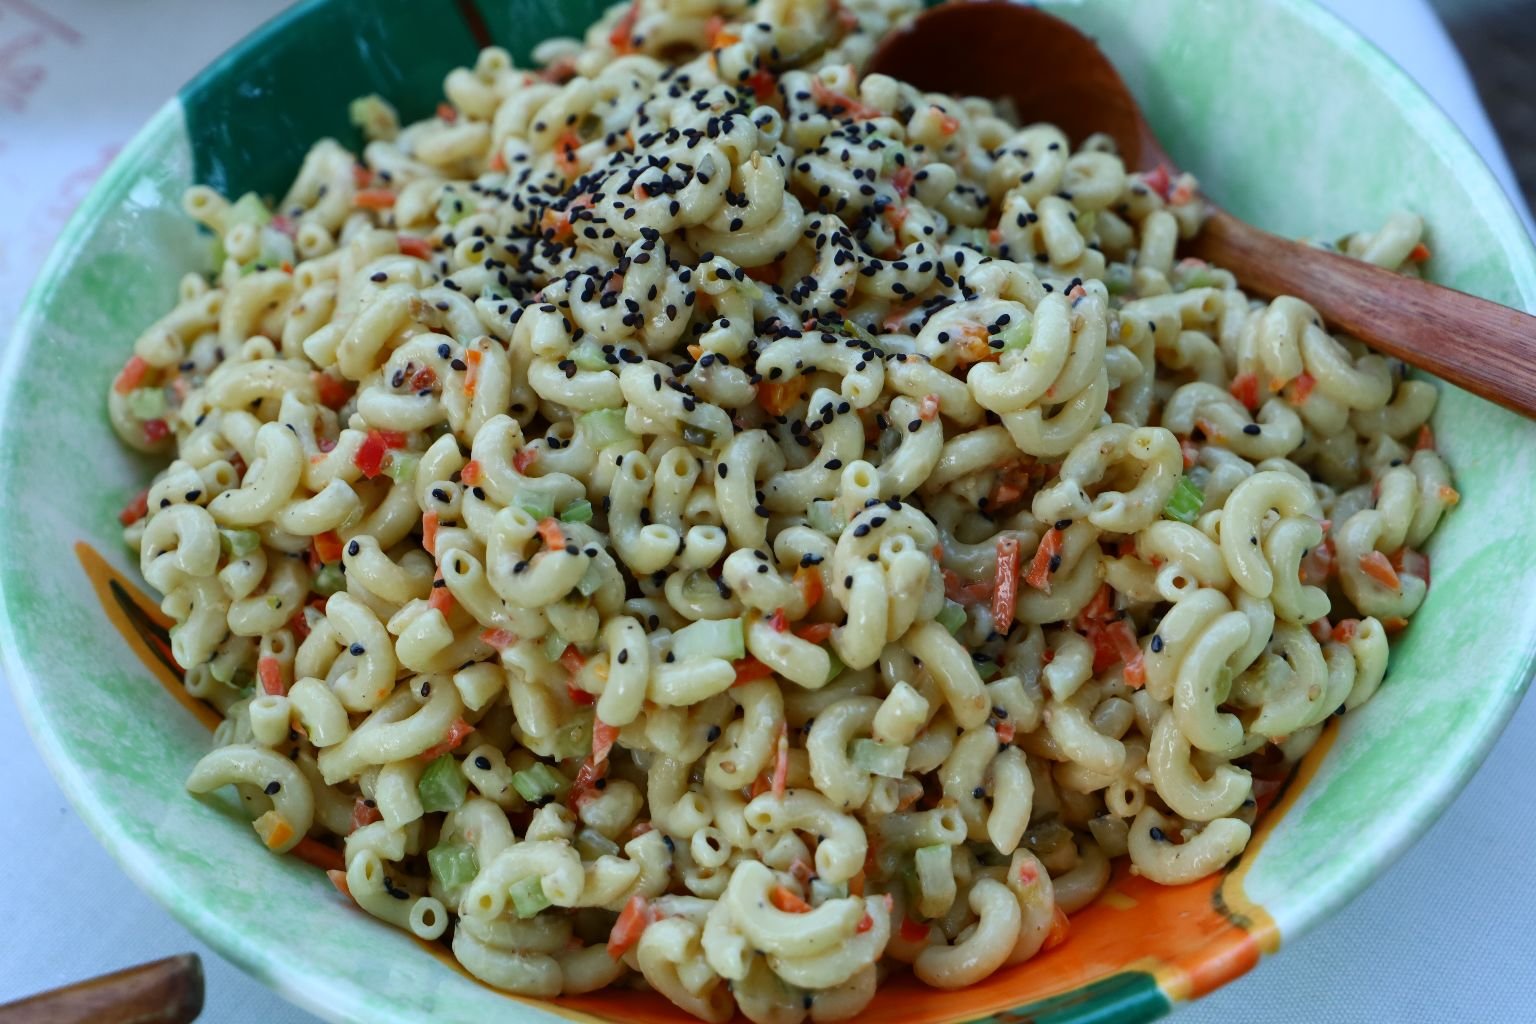
Asian Macaroni Salad

King’s Hawaiian Dinner Rolls
————————————————–

My Delicious Dinner Plate
—————————————————————-
My Mother’s Day Dessert

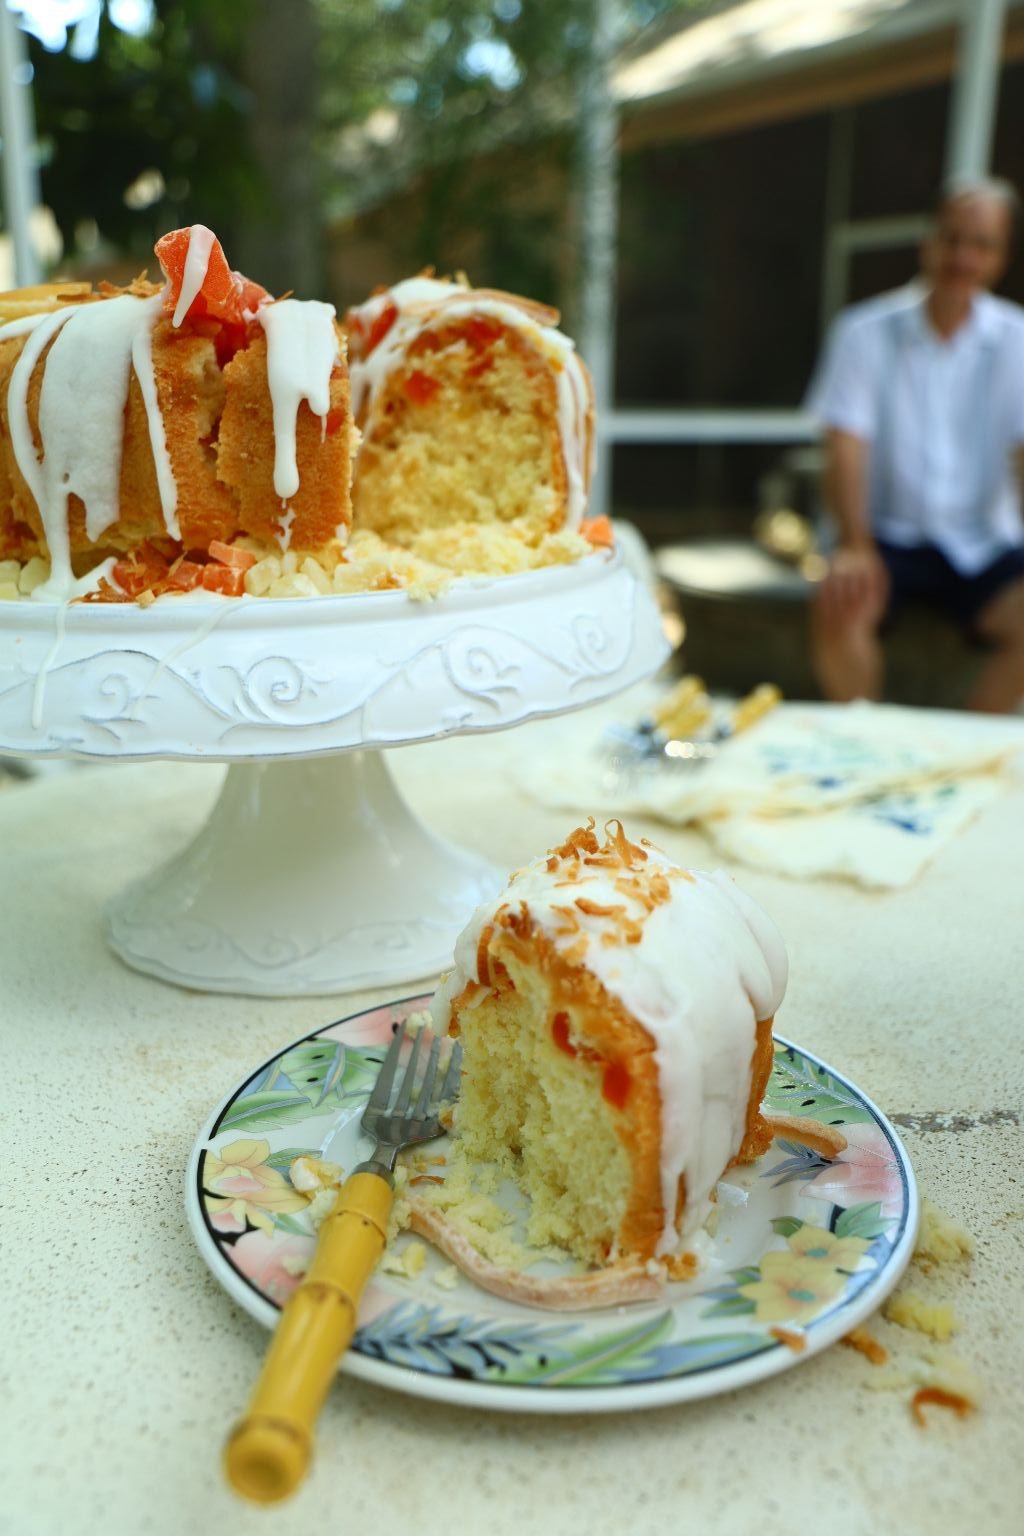
Vintage Coconut/Papaya Pound Cake

I made it myself.

It was delicious, but a challenge to make. You’ll see why. 🙂
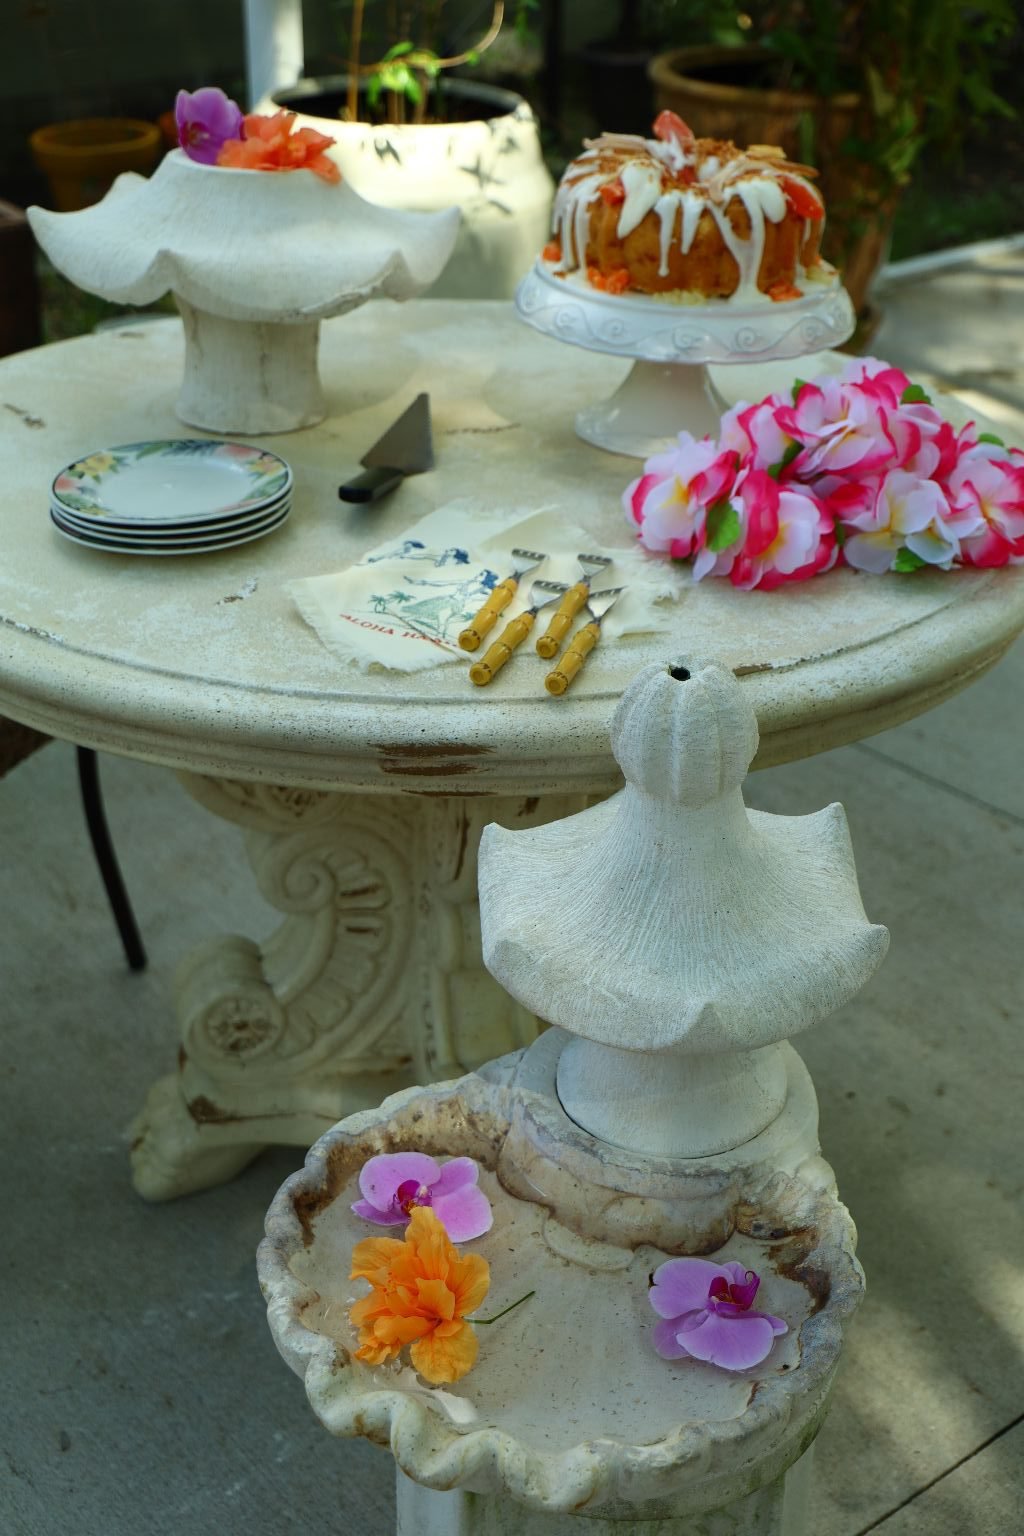
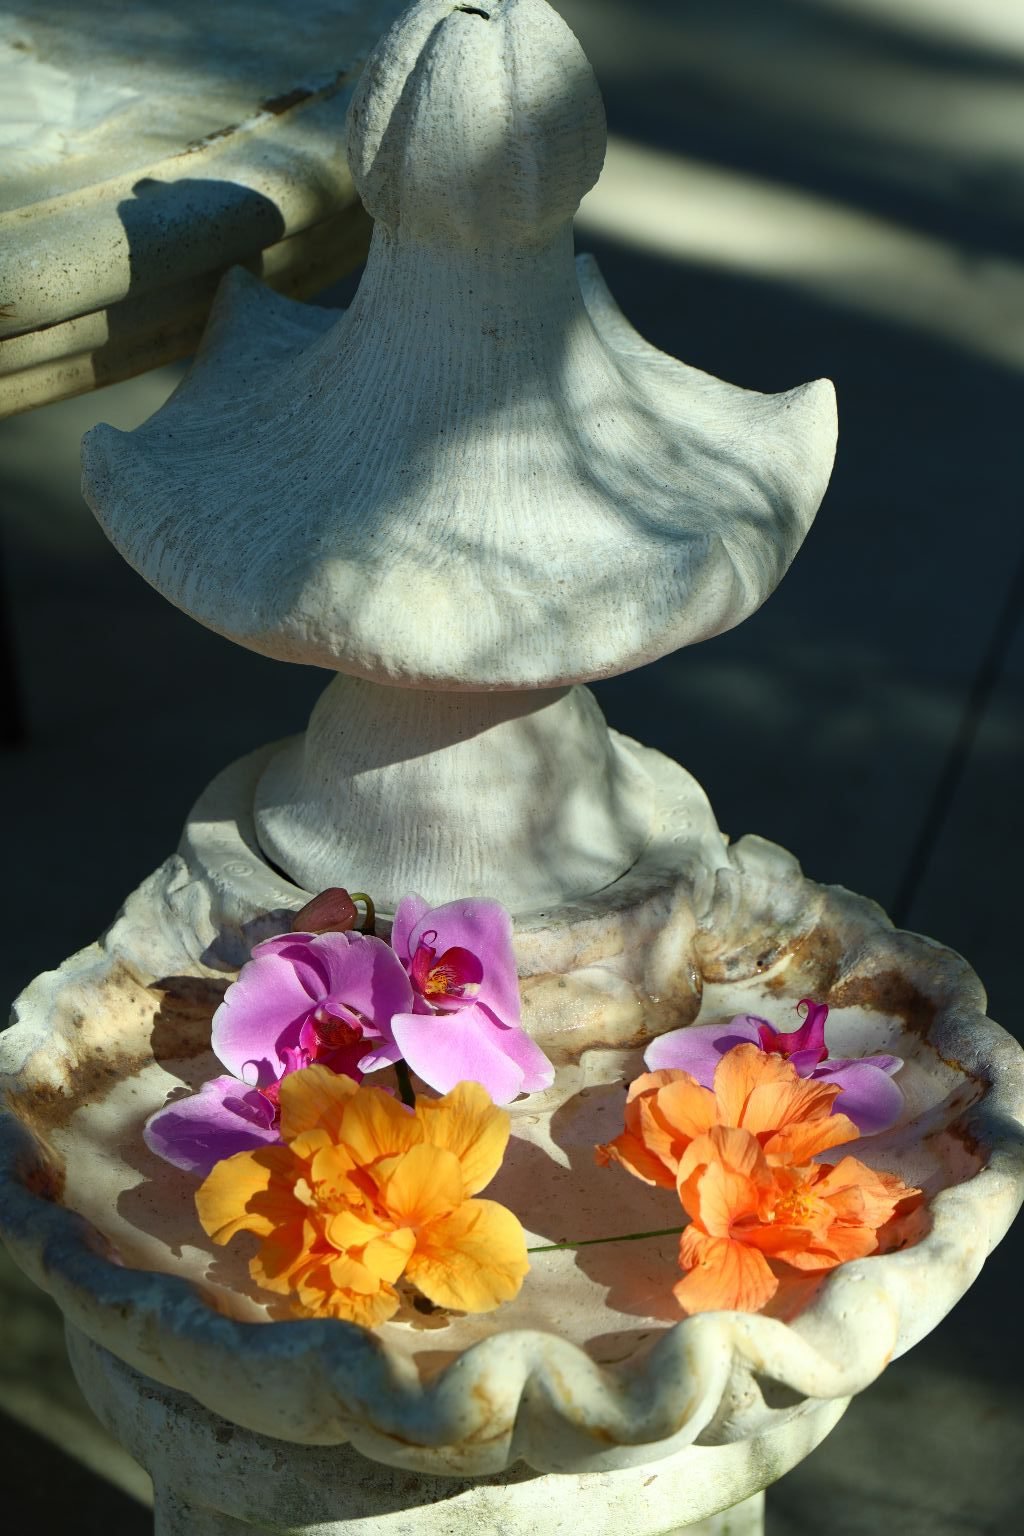
Hawaii isn’t just about the Polynesian Cultures, they also have a very large Asian influence.

I wanted to incorporate the many influences of Hawaii in my day.
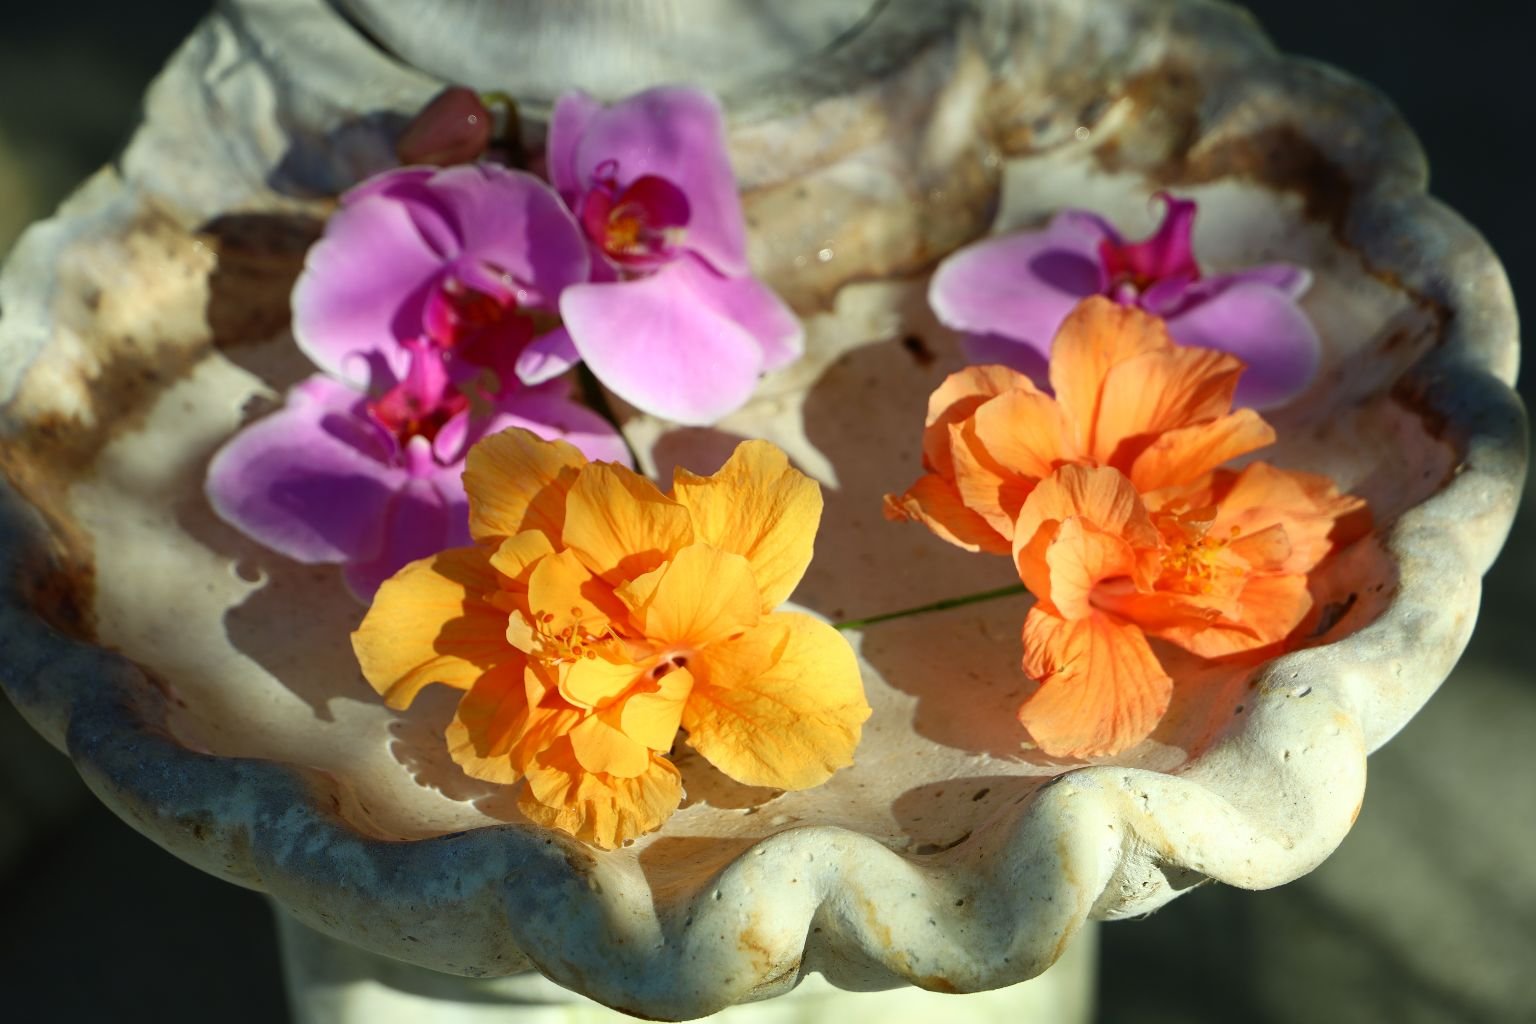
Orchids and Hibiscus

That is Spooky


Me, Enjoying MY Cake
(All Recipes Are Down Below)
—————————————————————-
Some Souvenir Memories

A few plastic cups we picked up at The Aloha Stadium Flea Market, two cups that my children made for me for Mother’s Day when they were little, and a beautiful pottery heart keepsake that Veronica made for me to house my trinkets.


I love to find various statuary odds and ends and create my own fountains with them.
——————————————————————-
Hank Came For a Visit


How I do Adore our Dogs

Grand-Dog Hank with Spooky and Sparky


Brodie With The Dogs

Sparky and Hank Get along GREAT!

Hank is a Cutie

The End 🙂
(Not Quite Yet.)
——————————————————————
The Following Day
Coconut Papaya Pound Cake with Mint…

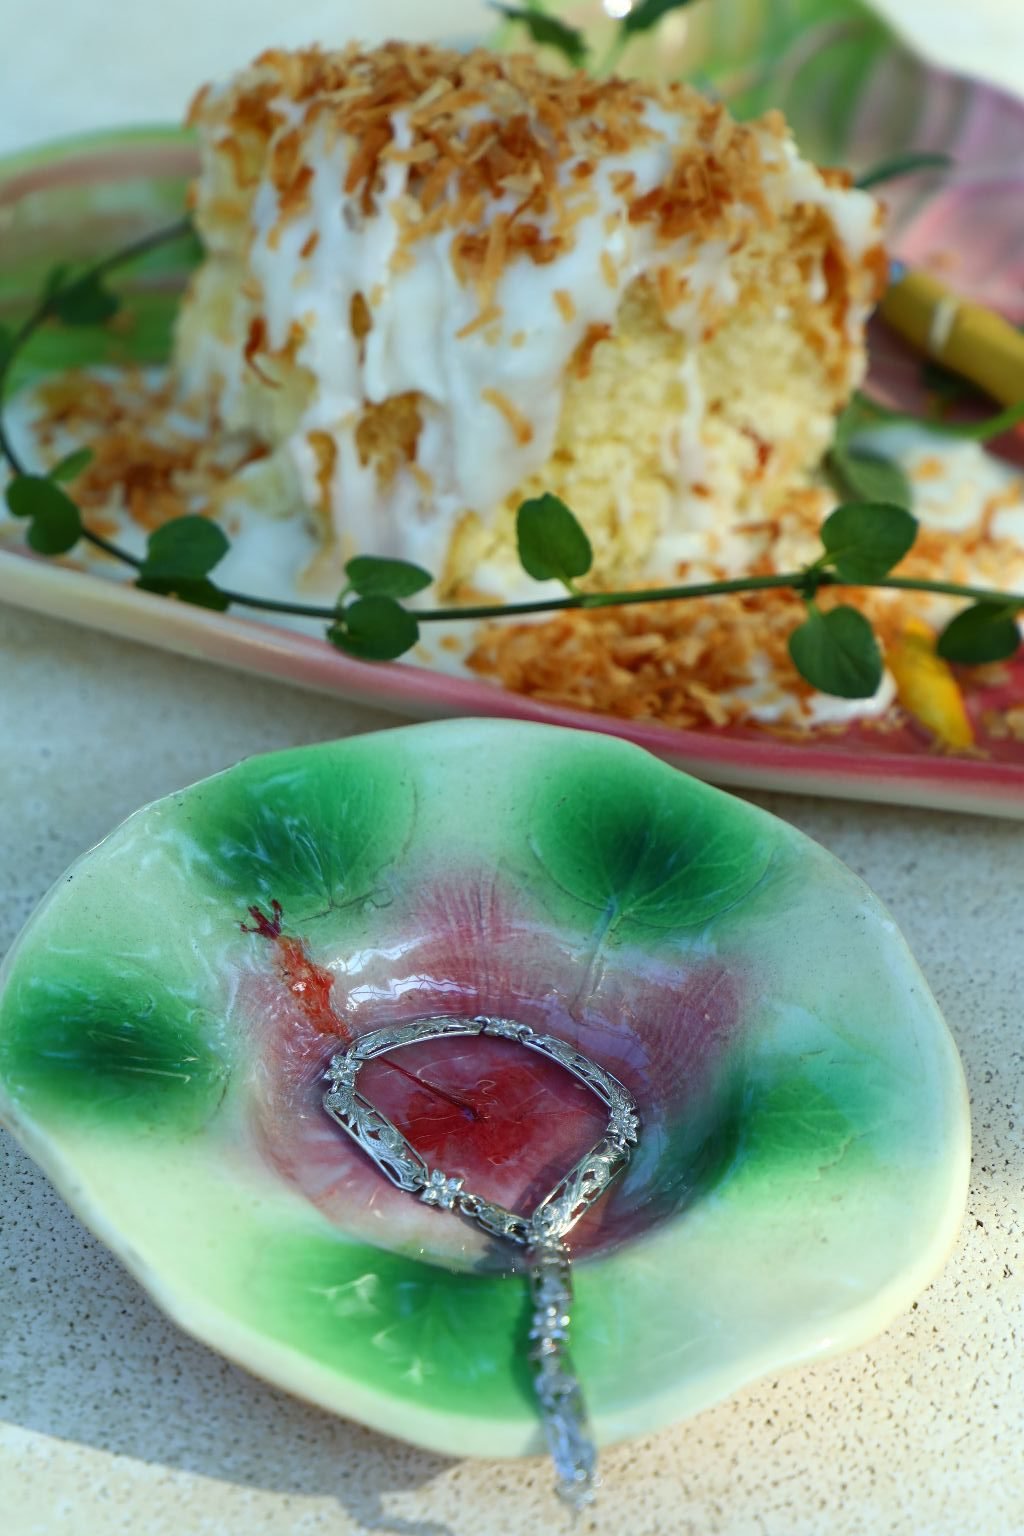
My Beautiful Hawaiian Jewelry Bracelet Gift…


Cake with Toasted Coconut, and Coconut Ice Cream, with Dried Fruits and Nuts

It is ONO!
(That means delicious.)
—————————————————————
The Humuhumunukuapuaa Cocktail


This Special One is Just for ME!
——————————————————————
Recipes Start Here:
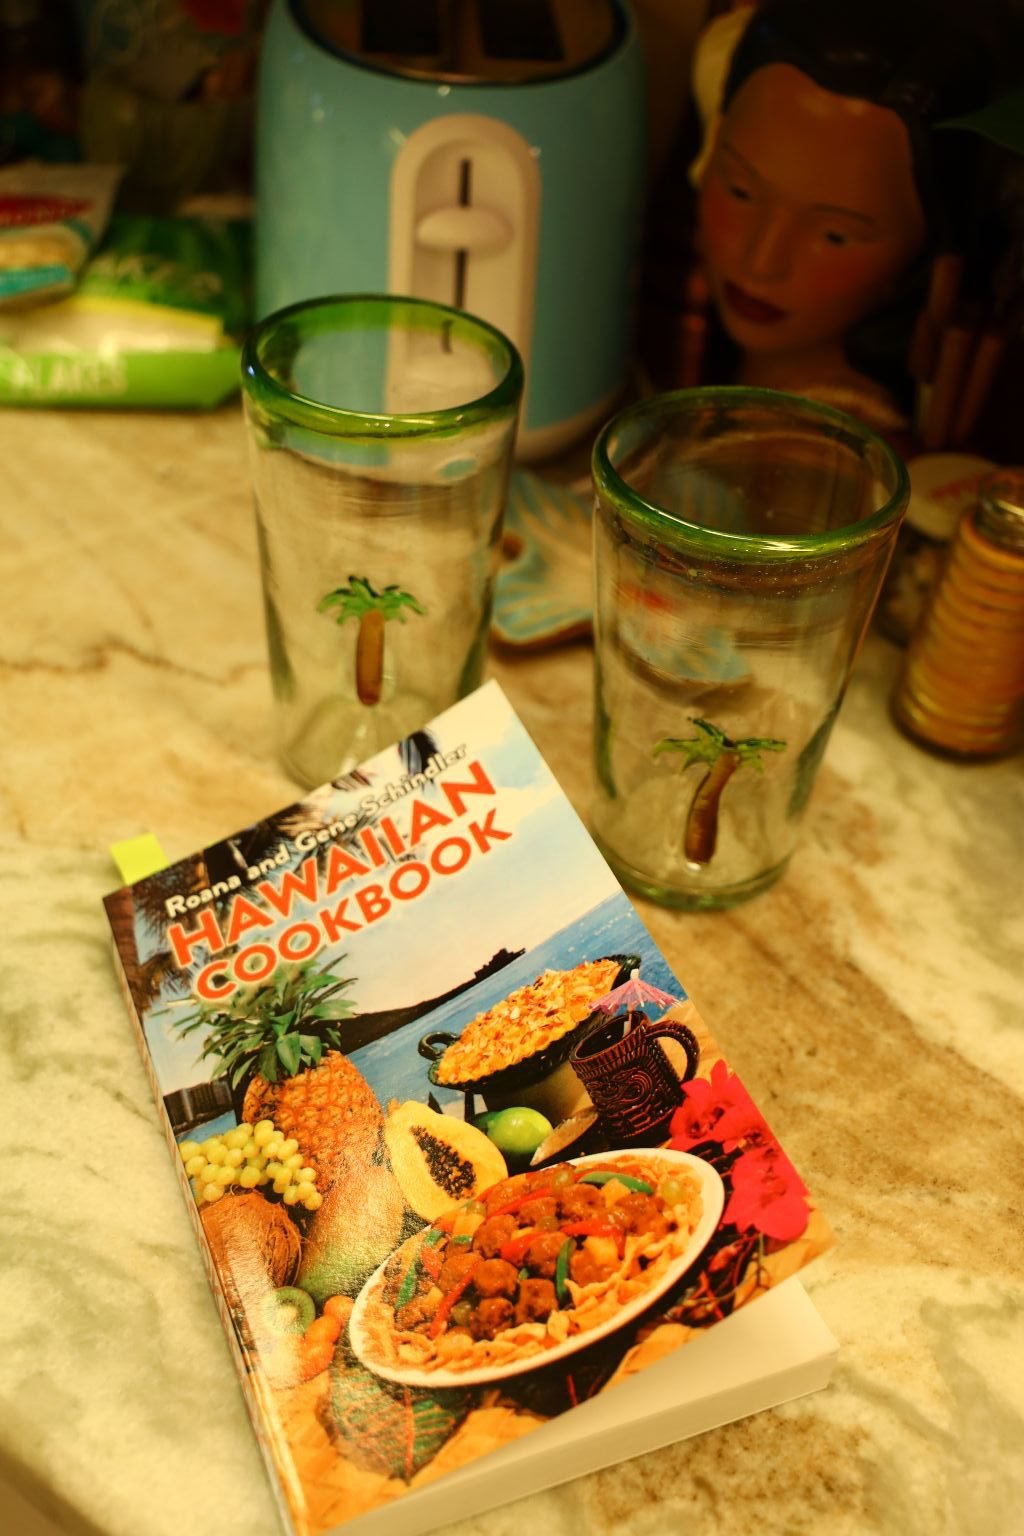
Hawaiian Cookbook
by Roana and Gene Schindler
This is an excellent cookbook for those of us that have a vintage foot in old Hawaii.

The Hum Hum…
Although, we didn’t go by this recipe exclusive.

Ingredients:
1 Ounce Orange Juice
1 Ounce Honey Cream
1/2 Ounce Heavy Cream
1 Ounce Dry Gin
1 Ounce White Rum
1/2 Ounce Coconut Milk
The above is the original recipe.
—————————————————————
OUR Recipe is as follows:
~ 2 Cups Ice
2 oz White Rum
2 oz. Gin
1/2 Cup Orange Juice
1/4 Cup Coconut Juice
1/2 Cup Guava Nectar
1/4 Cup Coconut Milk
1/4 Cup Heavy Cream
1/2 Cup Pineapple Juice
3 Tbsp. Grenadine Syrup
—————————————————-


Pictured are the ingredients we used which is a slight variation to the original drink.

In a large pitcher, add about 2 Cups Ice…
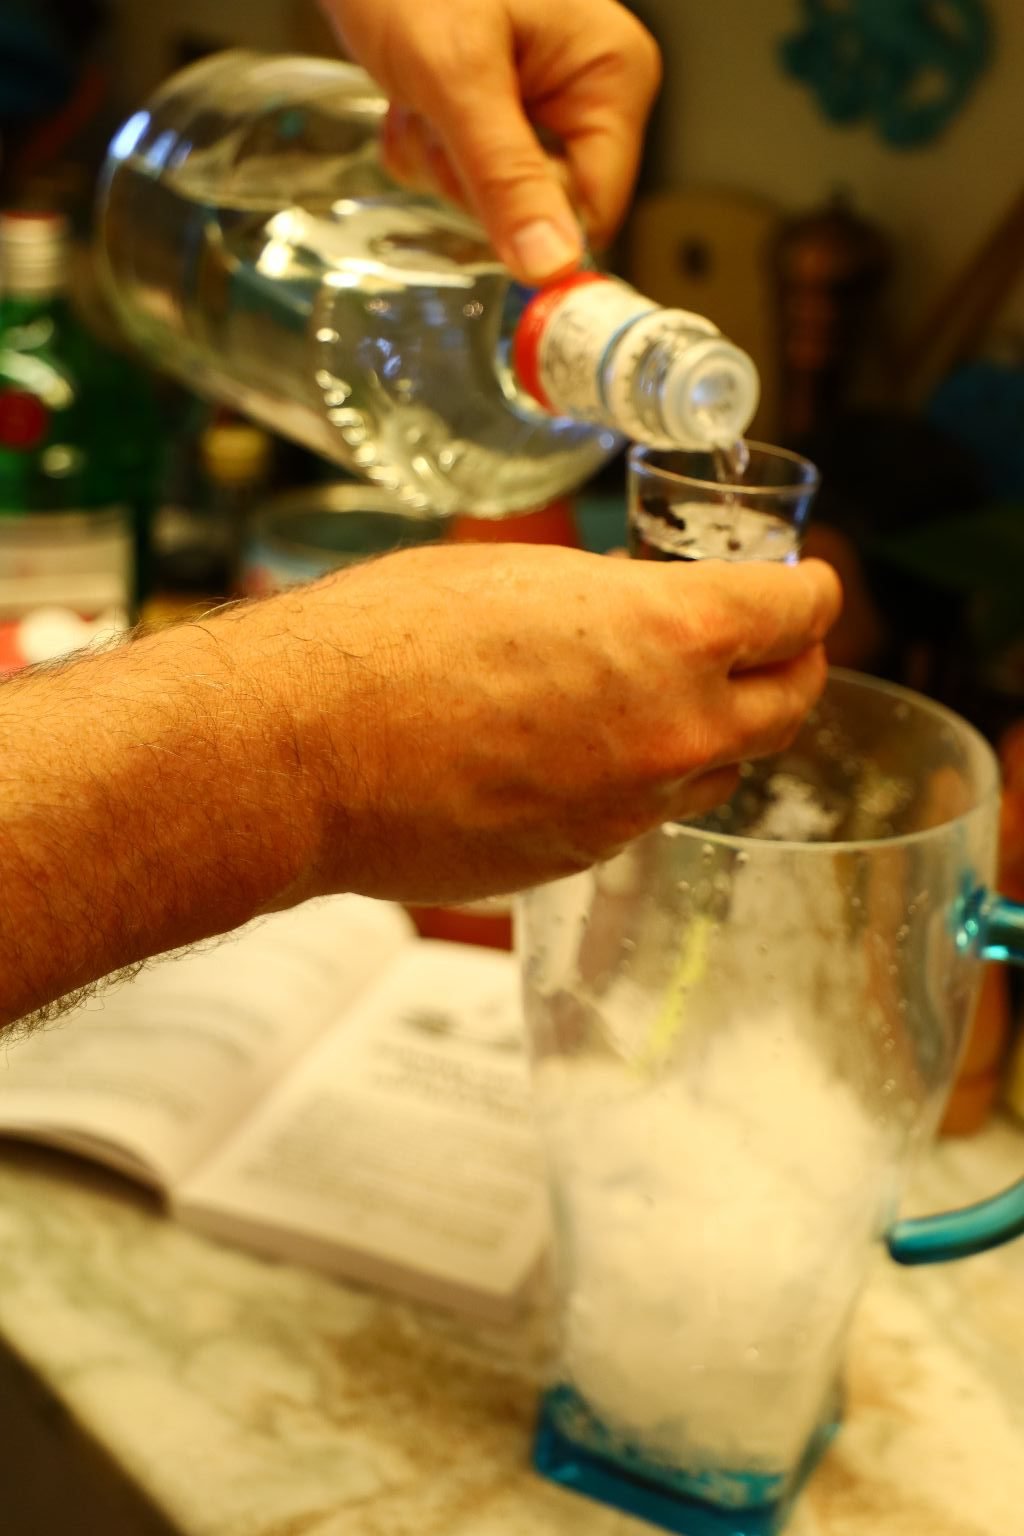
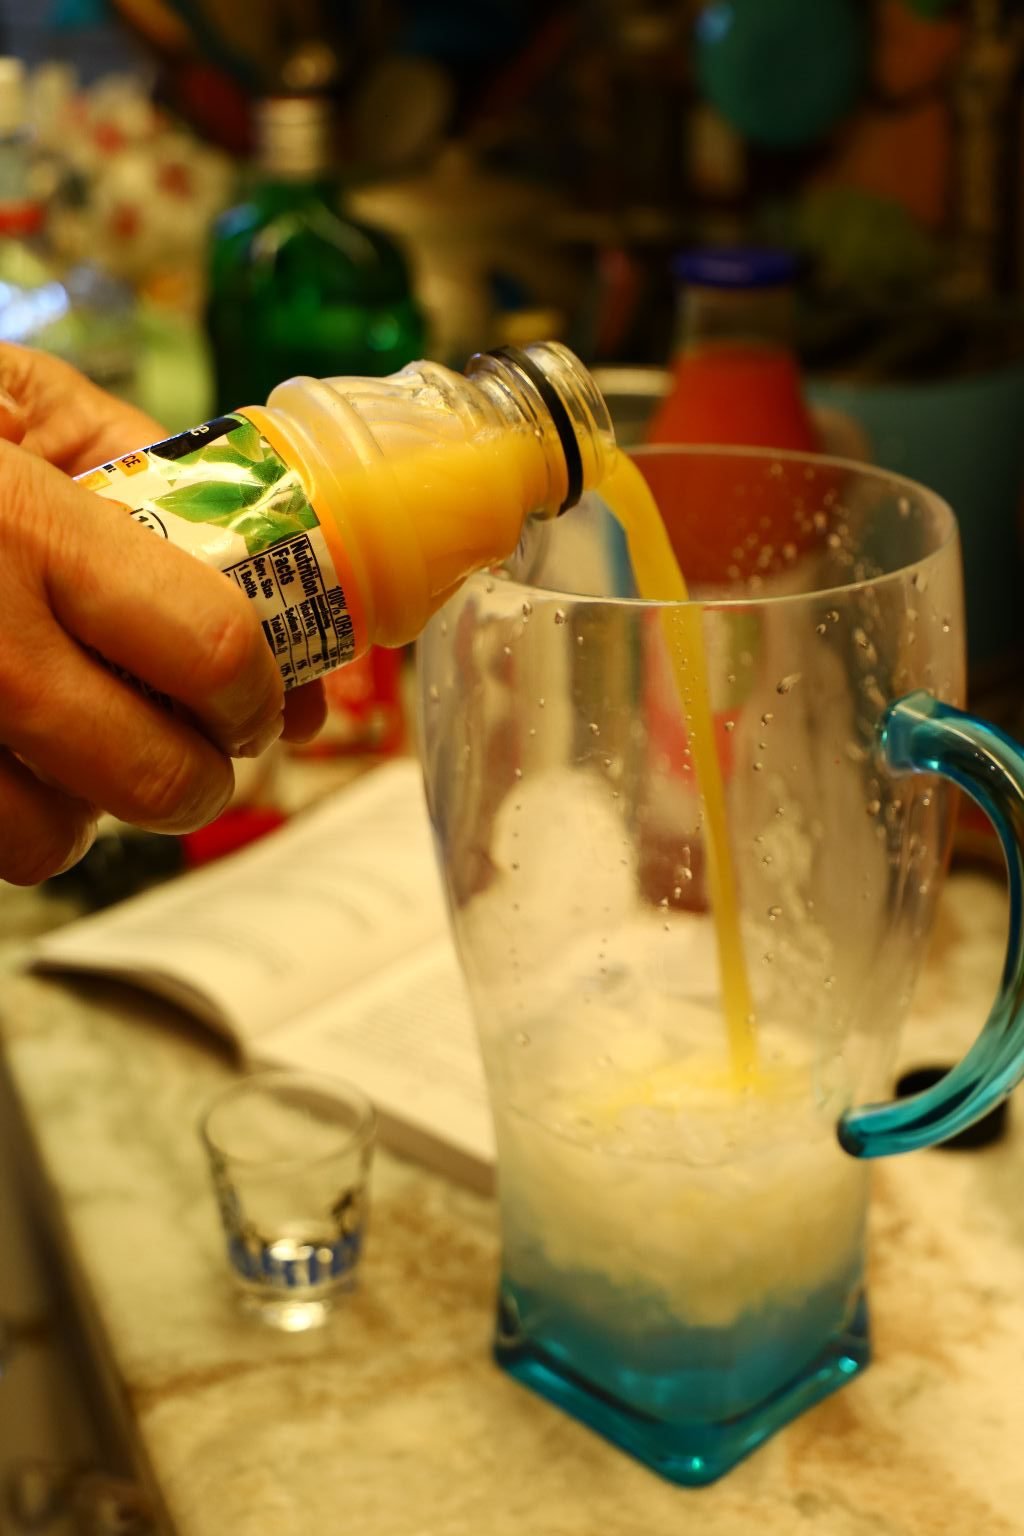
Then add your Rum, Gin, and Orange Juice..

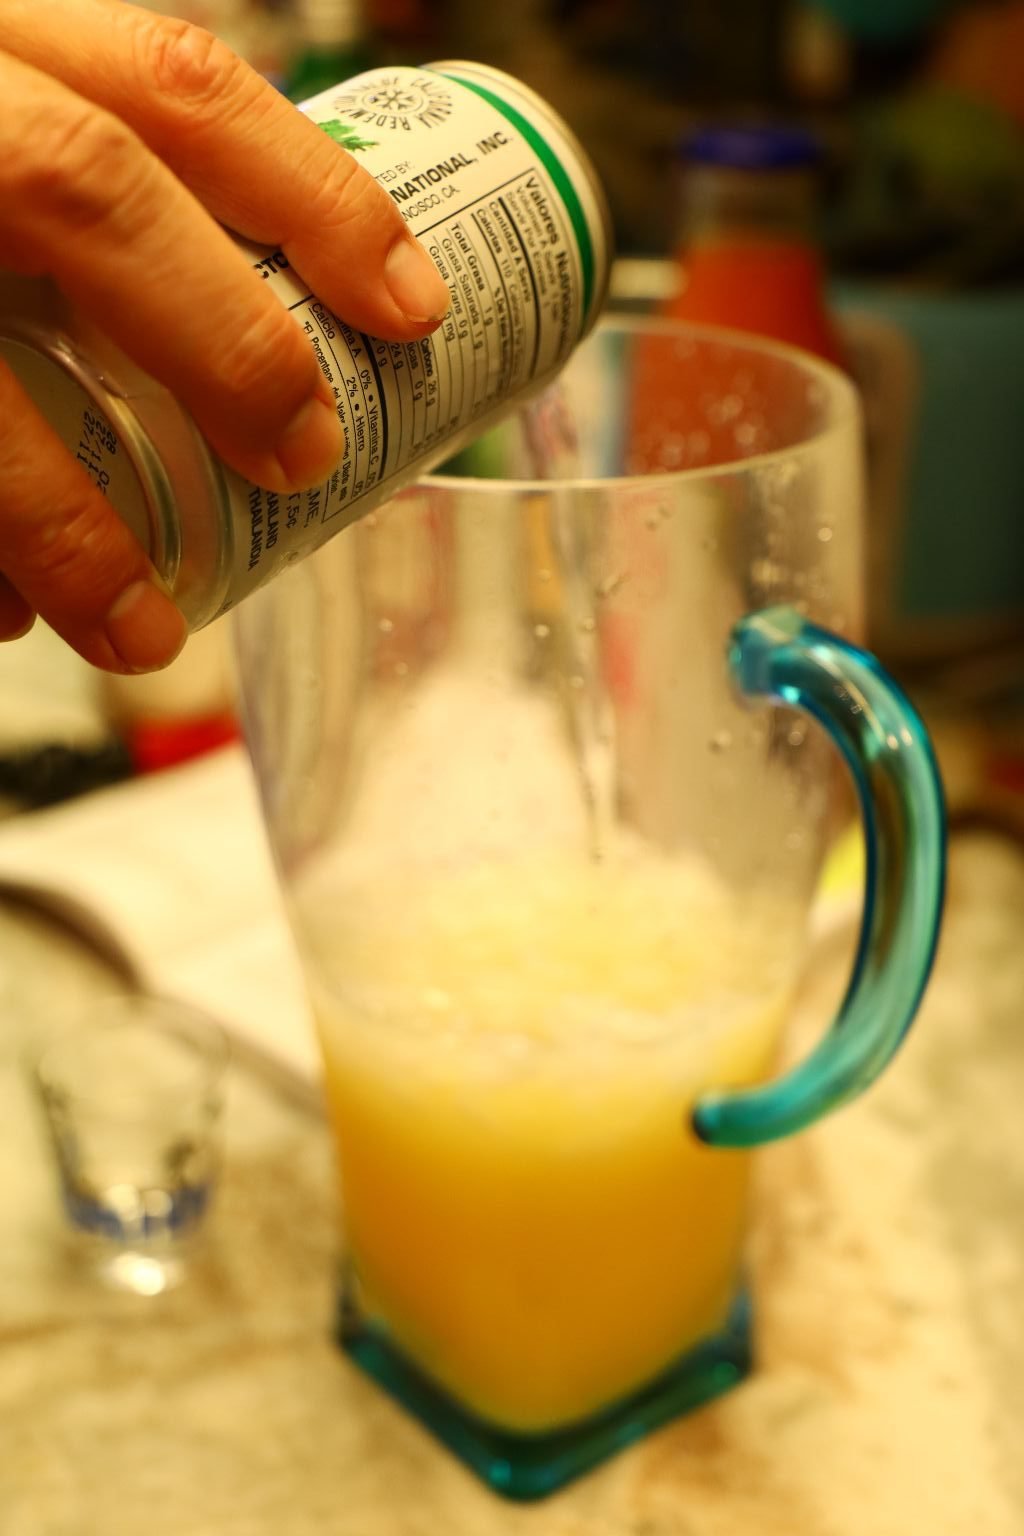
Coconut juice…


Guava Nectar, Coconut Milk, and Heavy Cream…
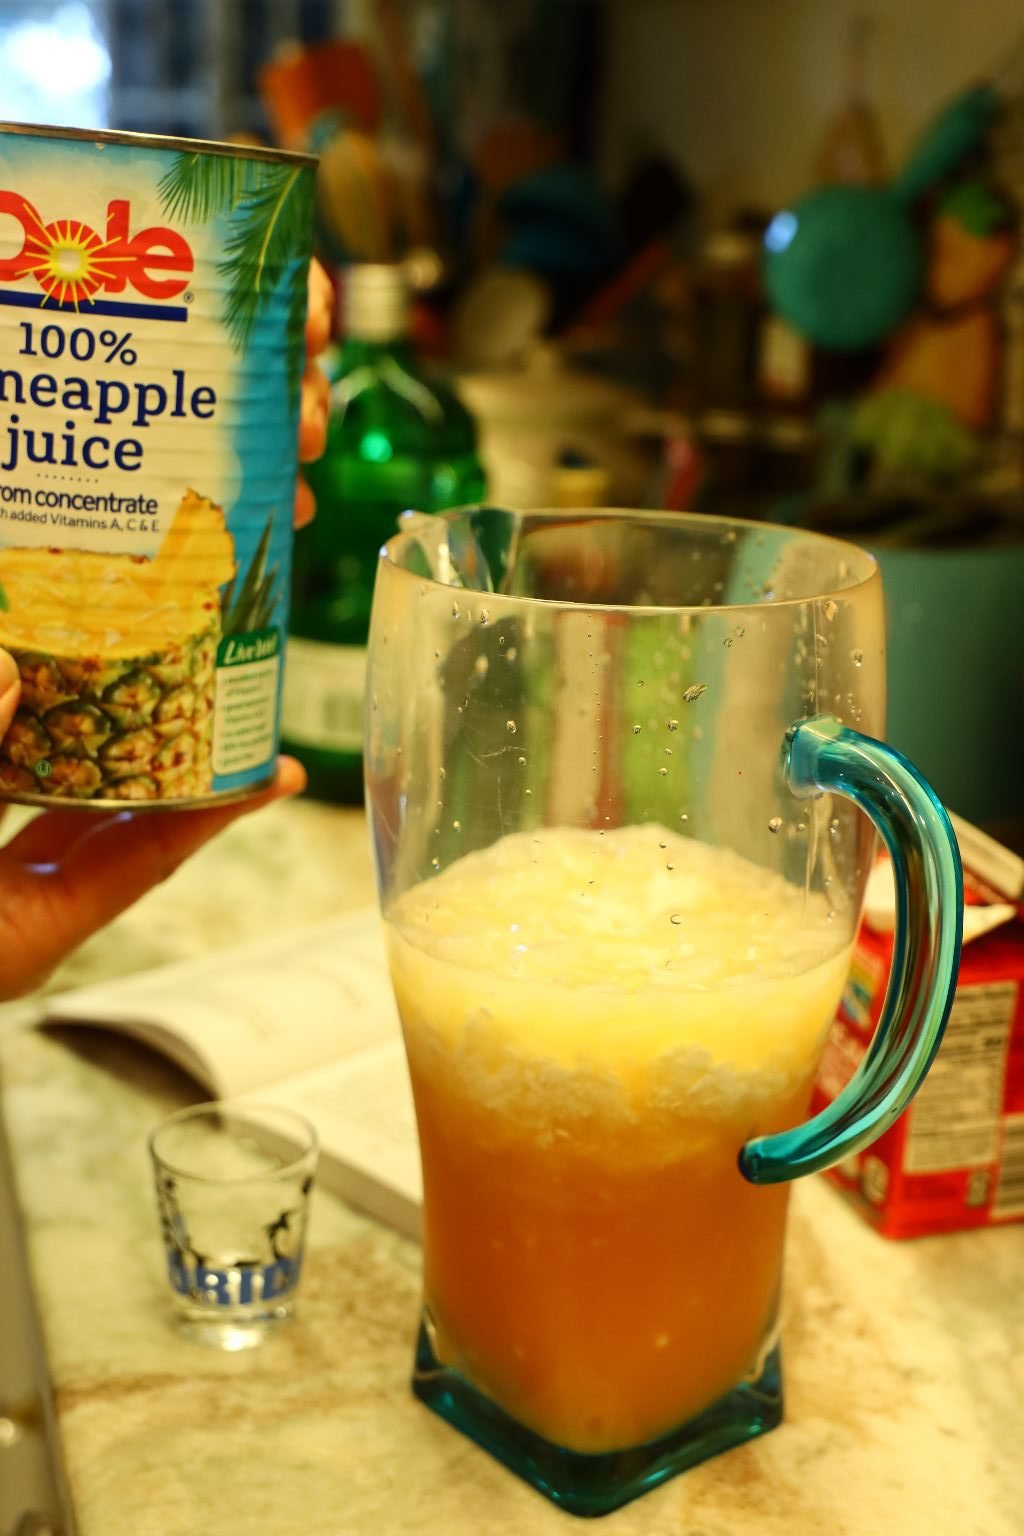

Pineapple Juice…
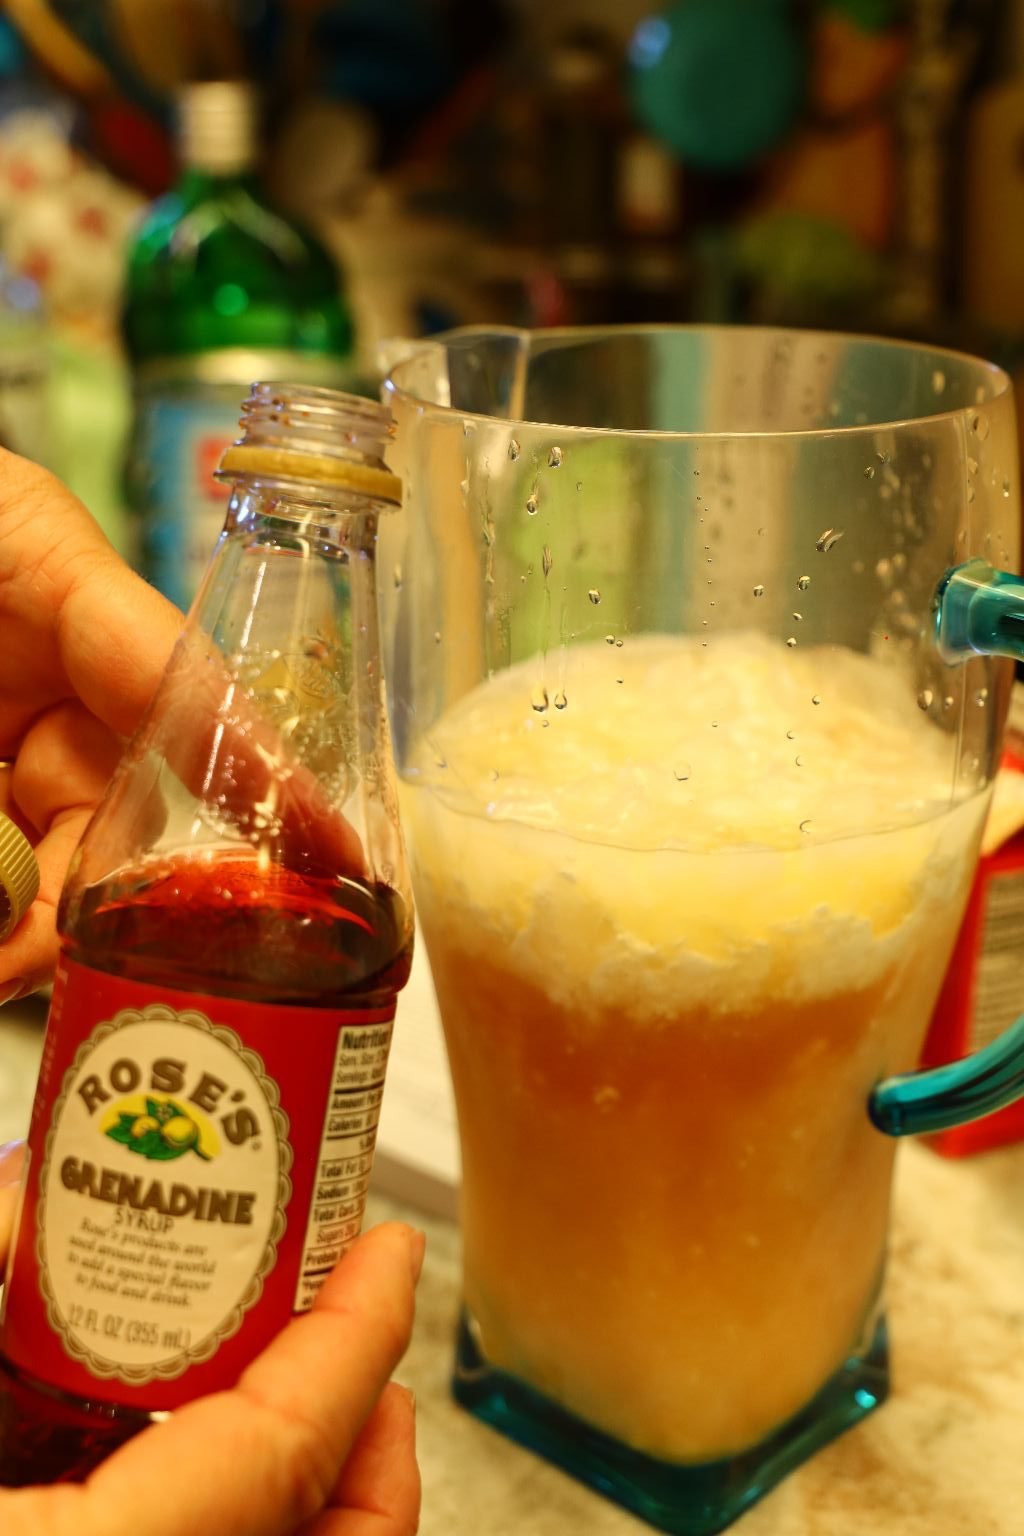

and lastly your Grenadine Syrup.
Taste the mixture and add ingredients accordingly.

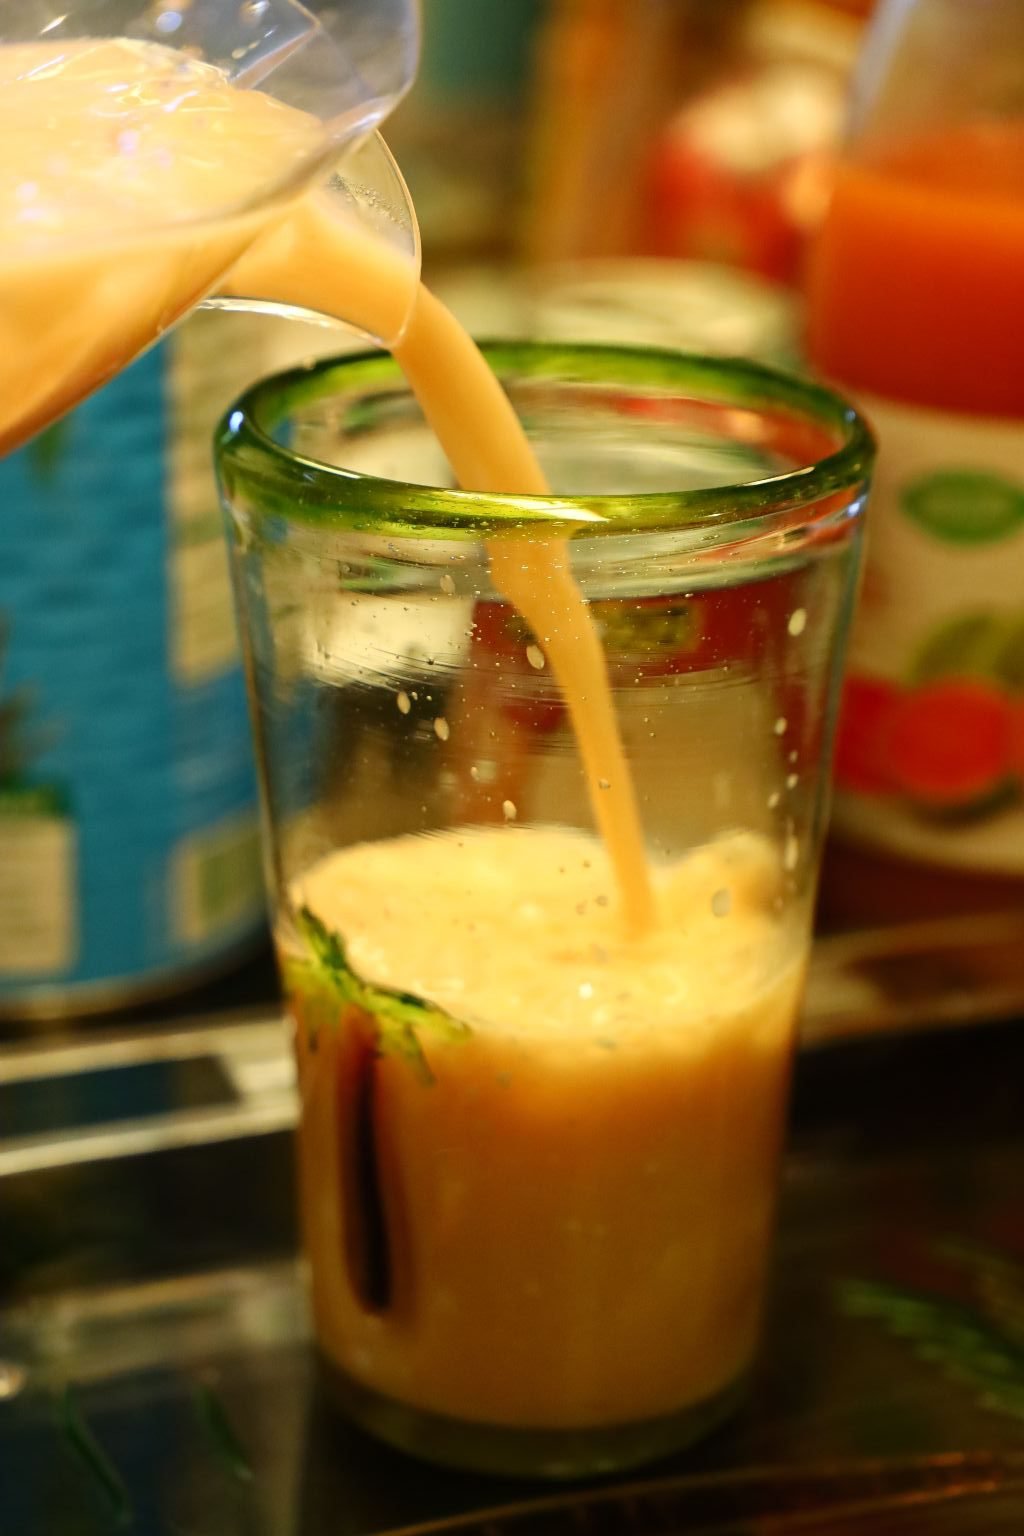
Pour into a tropical glass and enjoy.
You could blend the mixture if you liked as well. Either way this is a great tropical drink.
————————————————————-
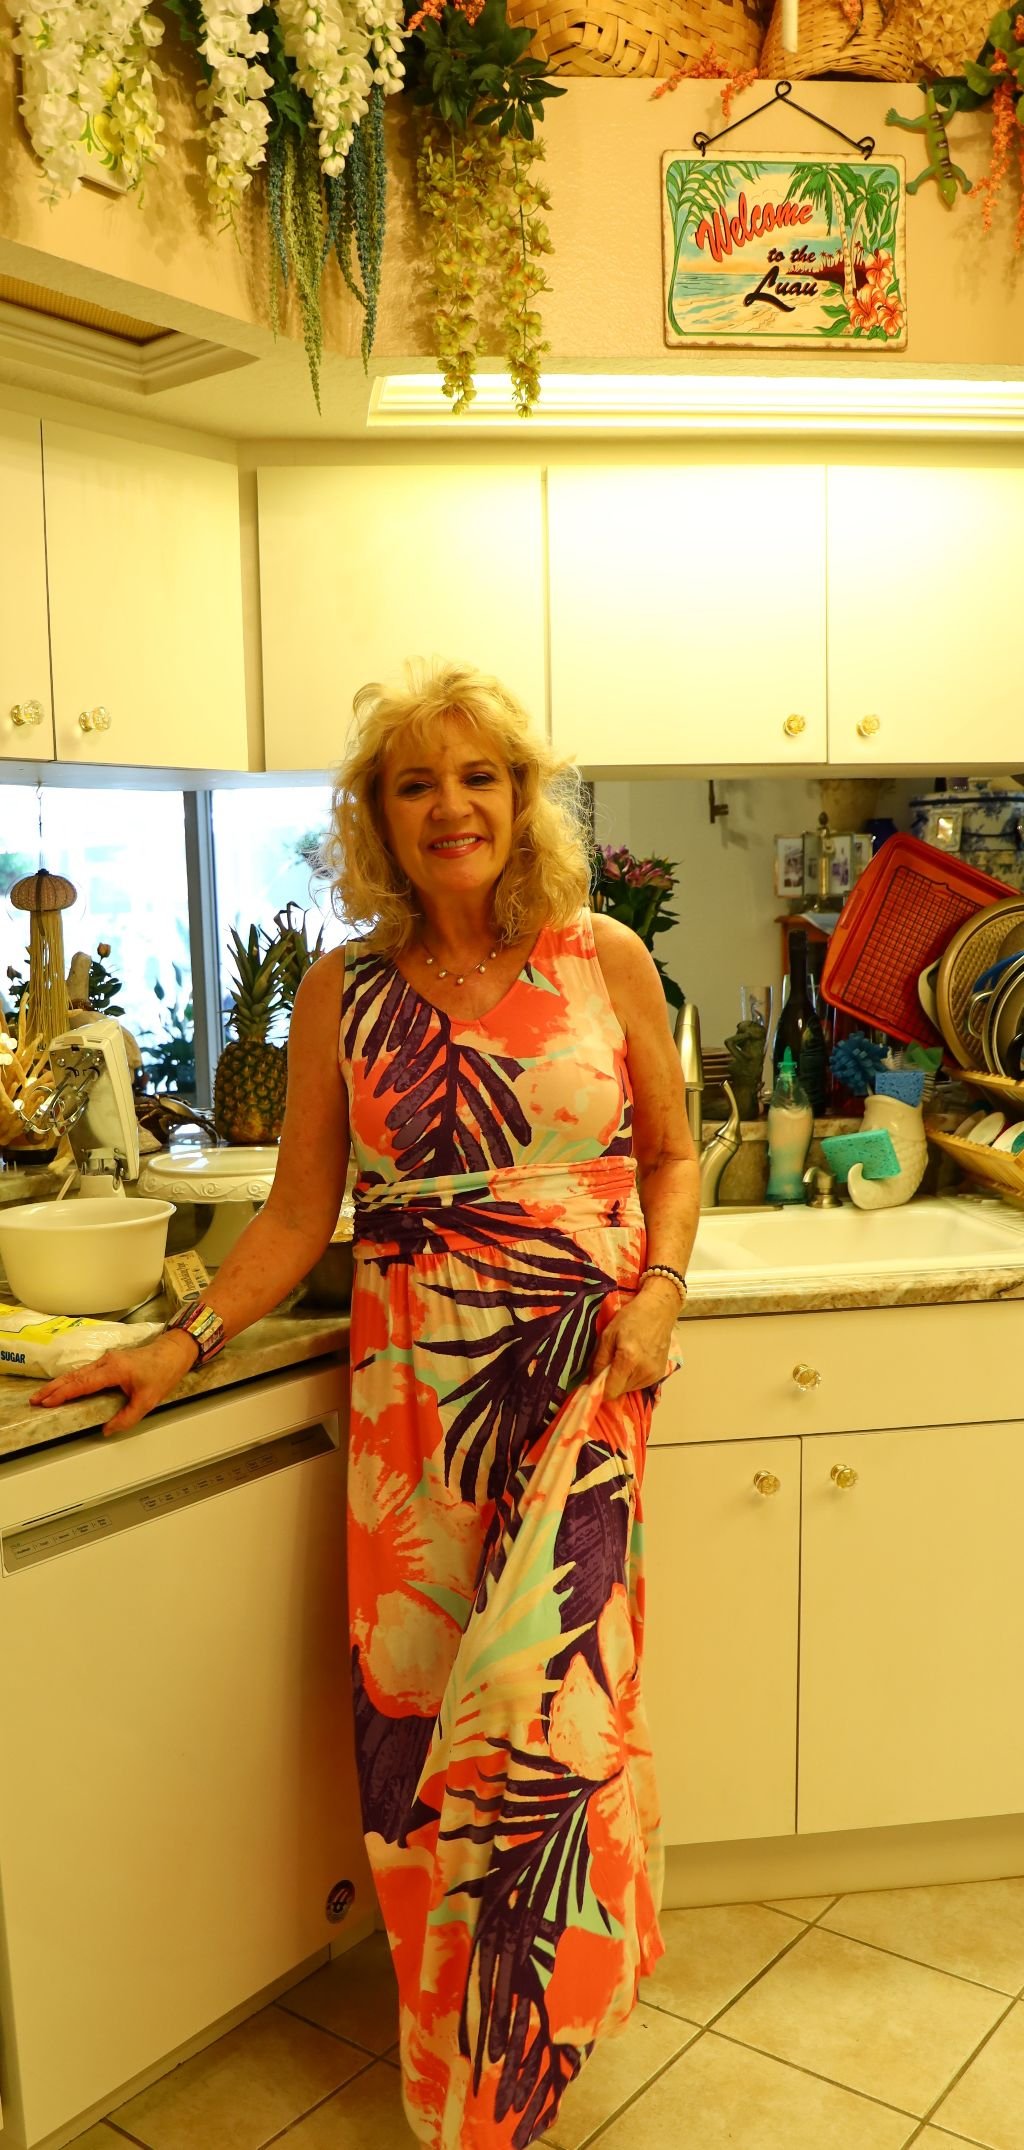
I love old vintage cakes and I came across a recipe that just reminded me of an old Coconut Pound Cake. With the exception that I then made it into a Coconut/Papaya Pound Cake.
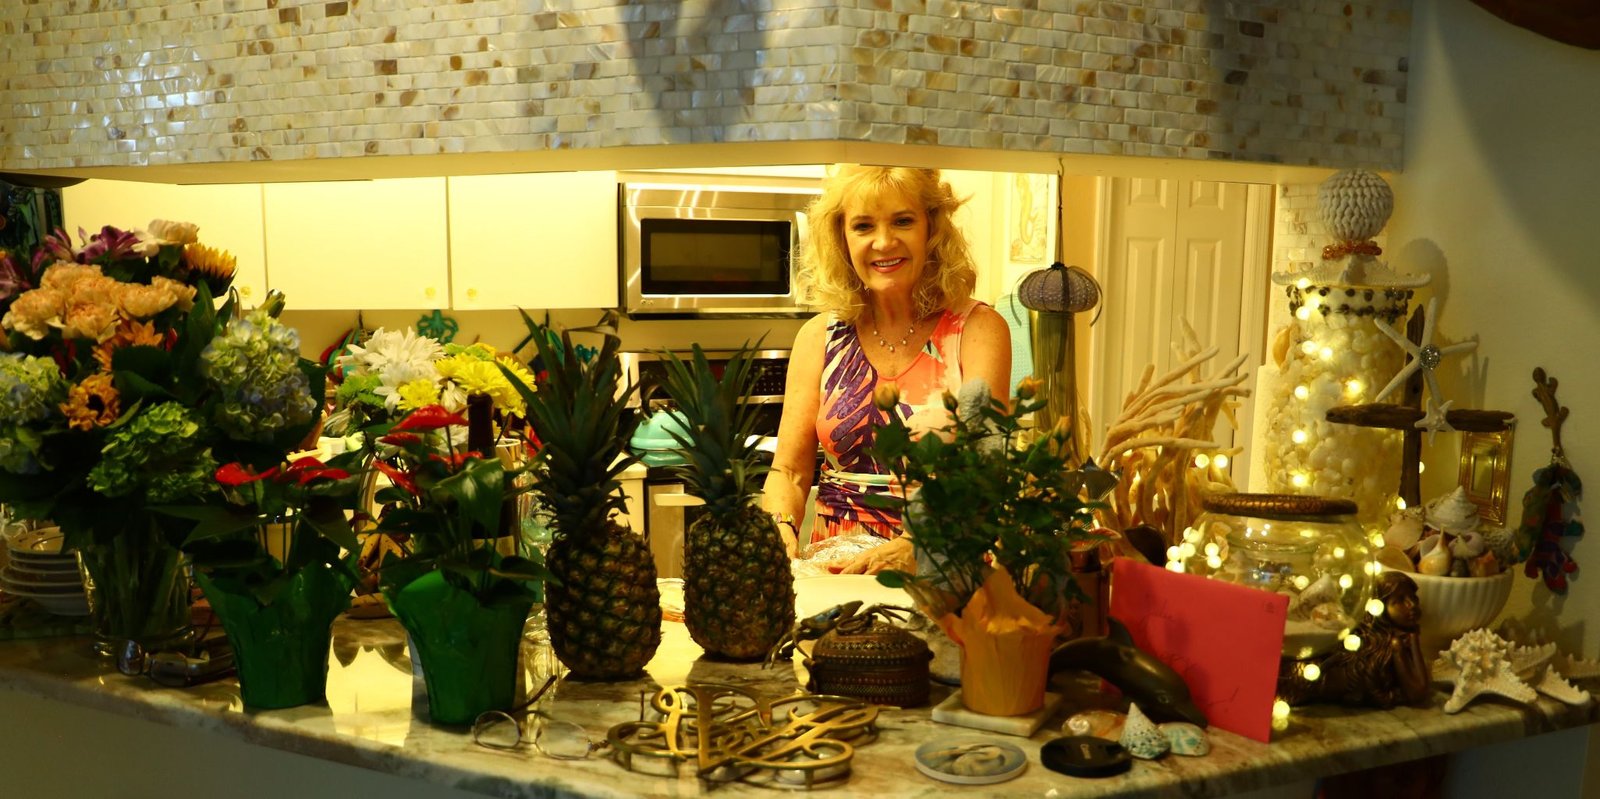
In my Aloha Kitchen

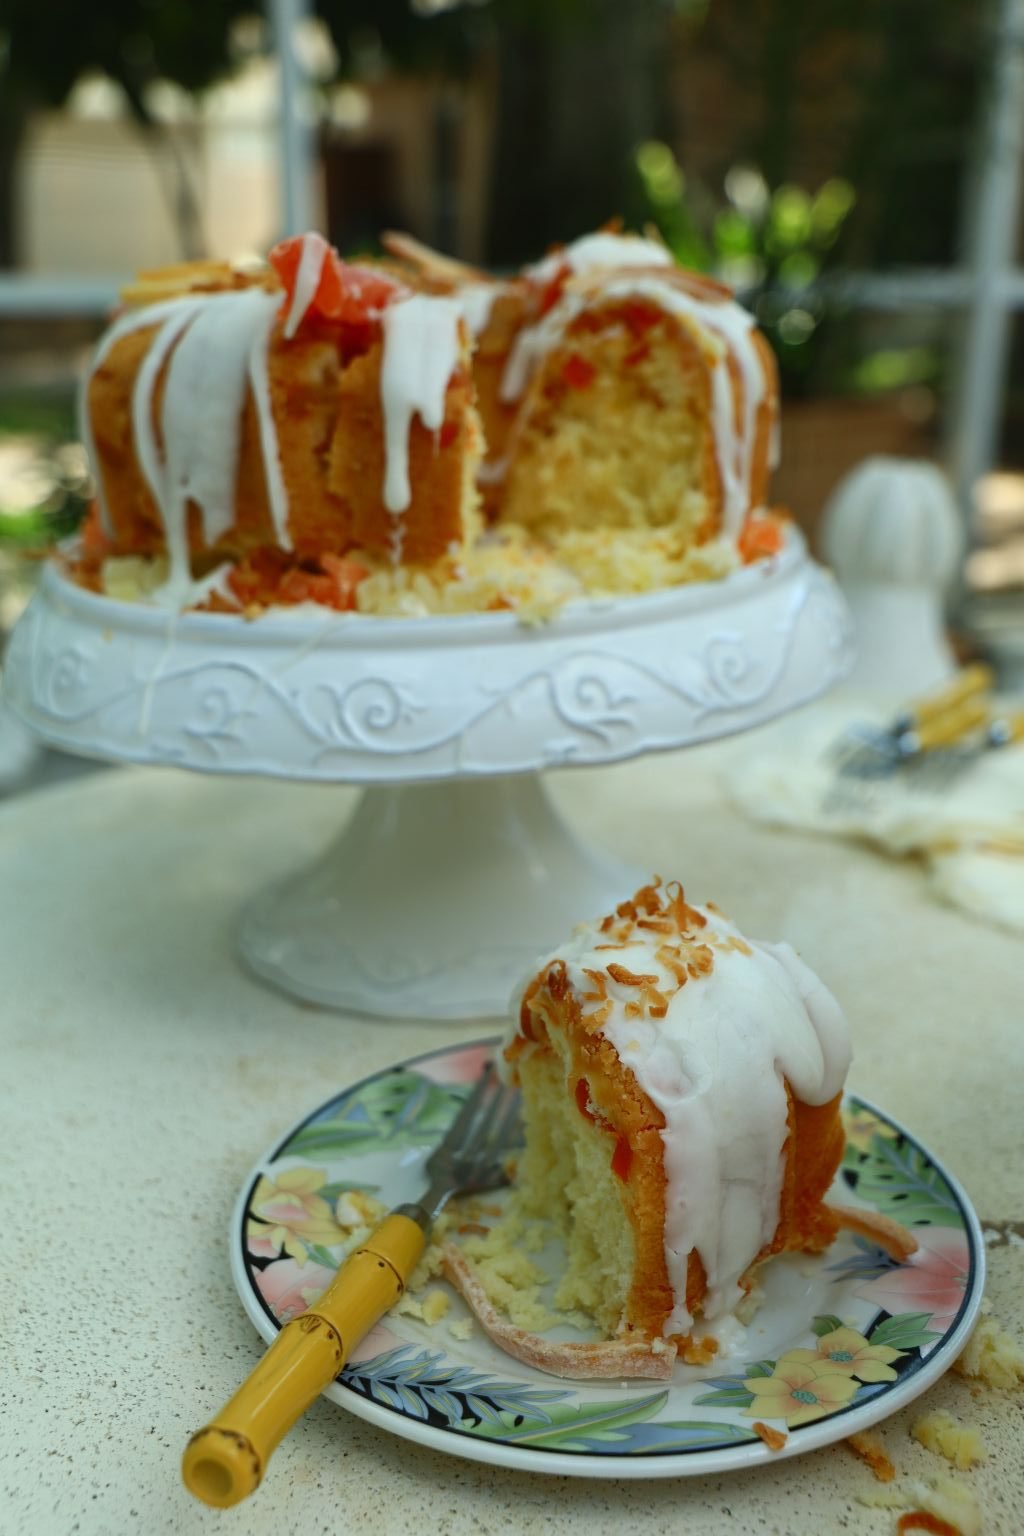
This Cake Truly was ONO!
——————————————————————-
BUT…. Let’s get past this! Shall we?

That is Gordon trying to remove my STUCK cake.

There we go! Not too bad looking. We can fix that though. 🙂

I can just add a bit of dried papaya and some frosting….

Yes! This is working!
But, before we get here, let’s start at the beginning….
Julie’s Coconut/Papaya Pound Cake
w/ Frosting and Dried Fruits
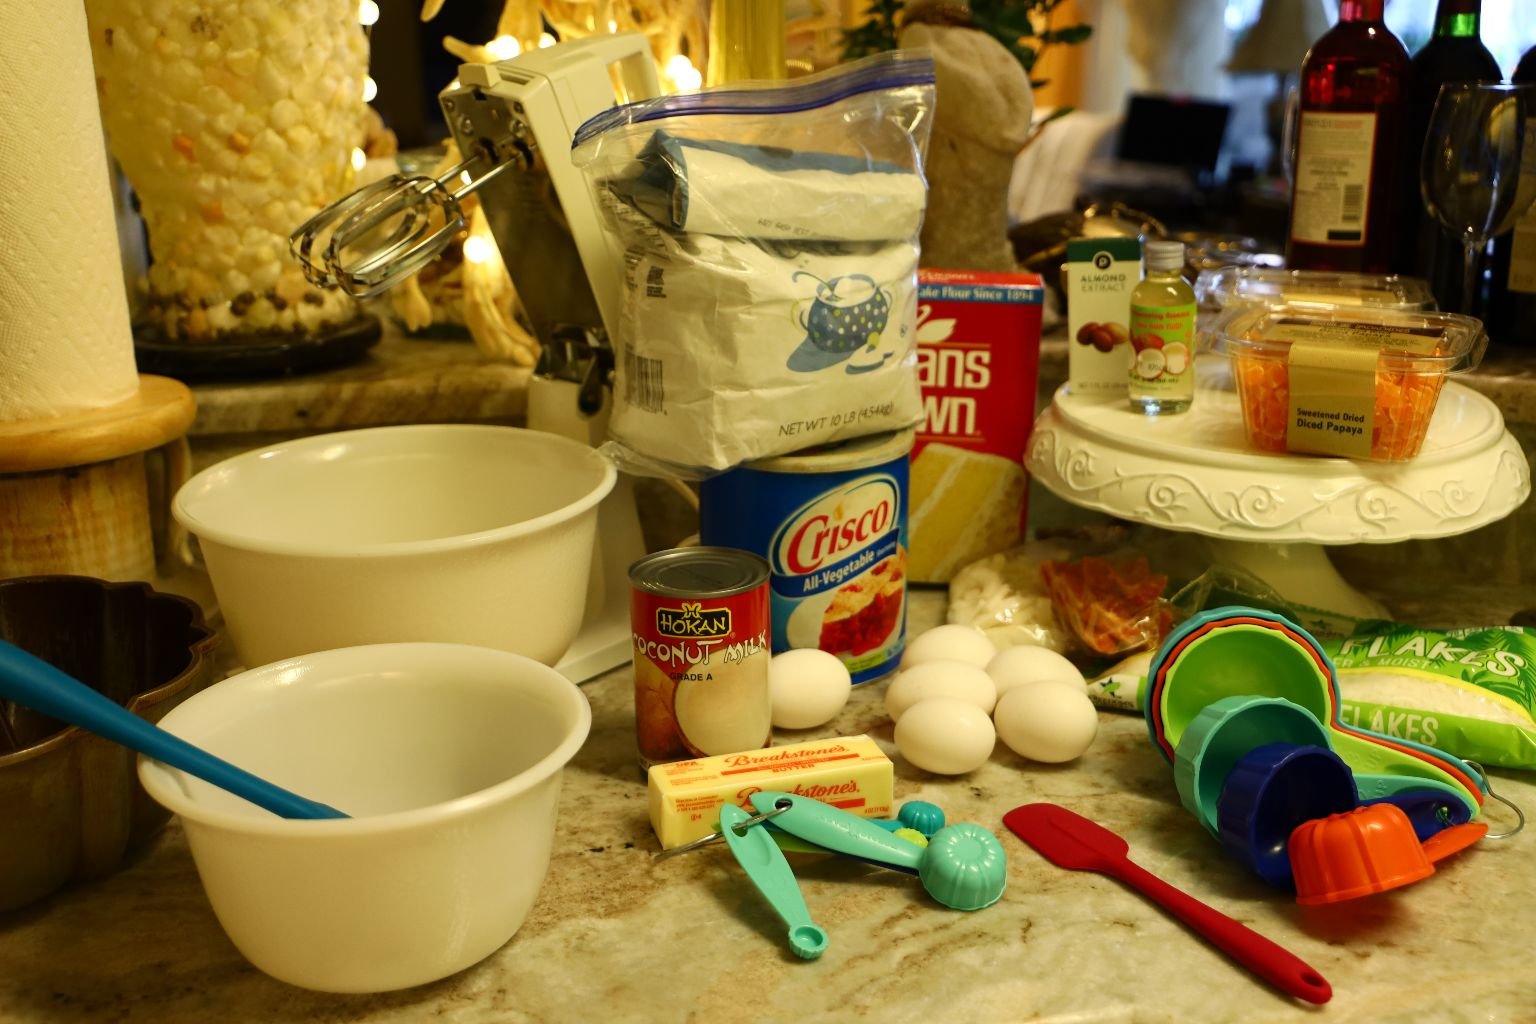
The Ingredients:
It wouldn’t be vintage without my using the vintage mixer my grandmother gave me many years ago that she purchased from a yard sale for $20.00. That still works wonderfully, I might add!
That is the cake stand that my mother bought me many years ago for a birthday present.

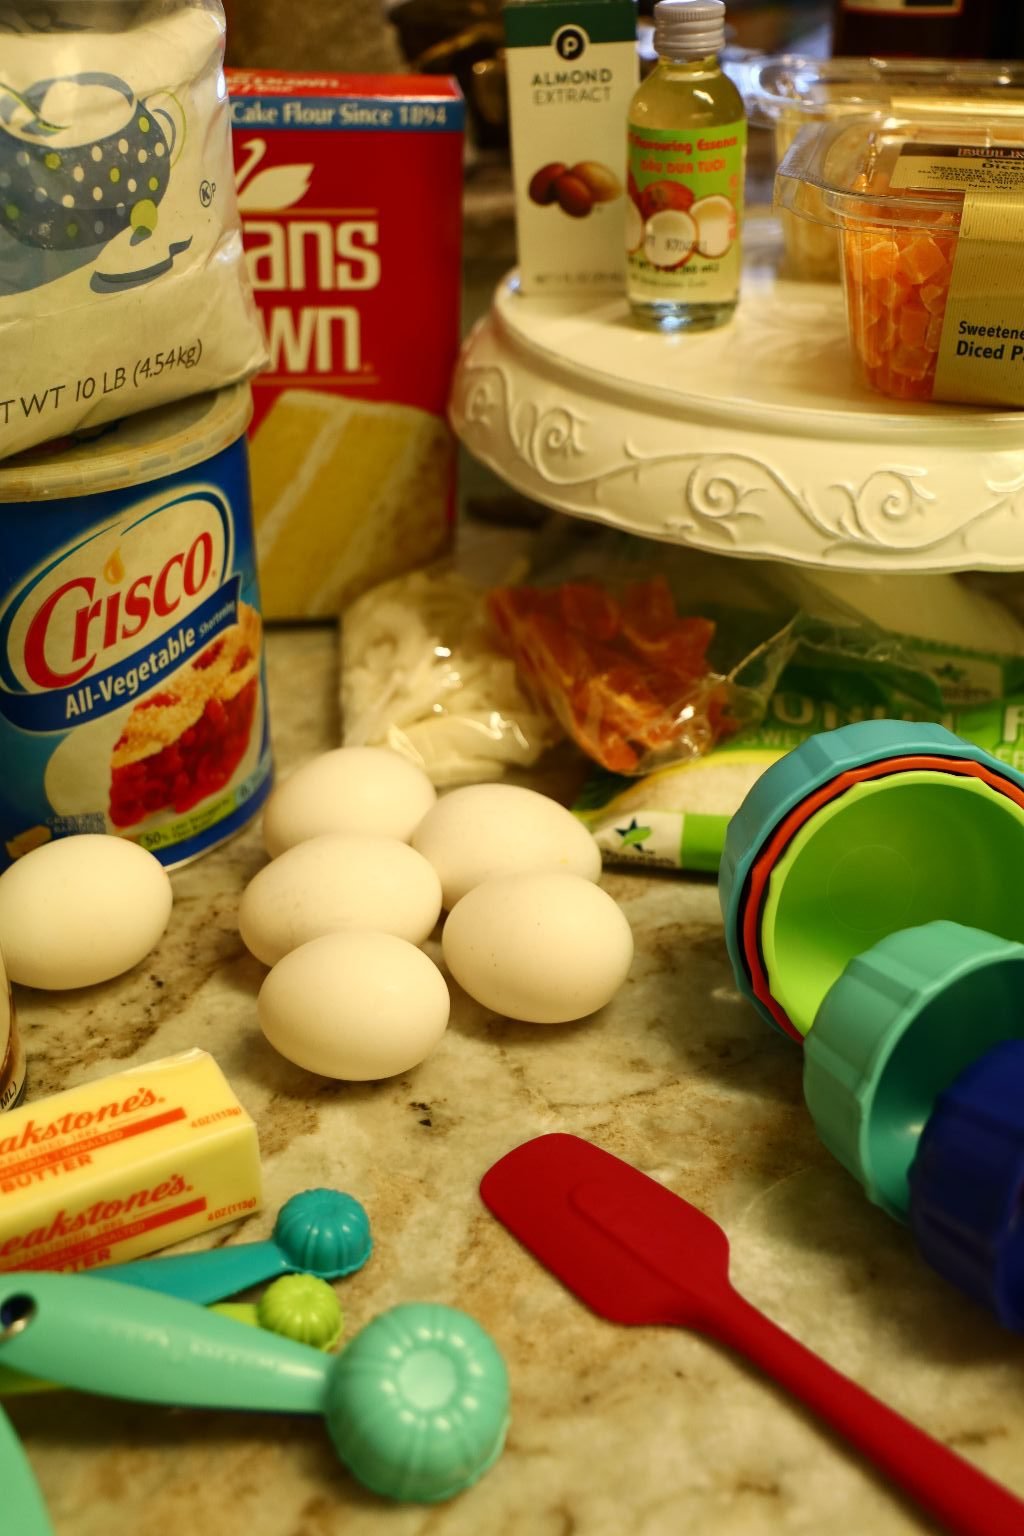

We Need:
1/2 Cup of Butter or Margarine
1 Cup Crisco Shortening
3 Cups Granulated Sugar
3 Cups Swan’s Down Cake Flour
1 Cup of Coconut Milk
6 Eggs
1/2 t. Almond Extract
1/2 t. Coconut Extract
1-2 Cups Shredded Coconut
1/2 Cup Each of Dried Pineapple and Papaya Fruits
————————————————–
Royal Icing
Confectioner’s Sugar
Coconut Milk
Meringue Powder
———————————————————-
Cake Toppings
Dried Fruits
————————————————————–
Pre-Heat the Oven to 300F
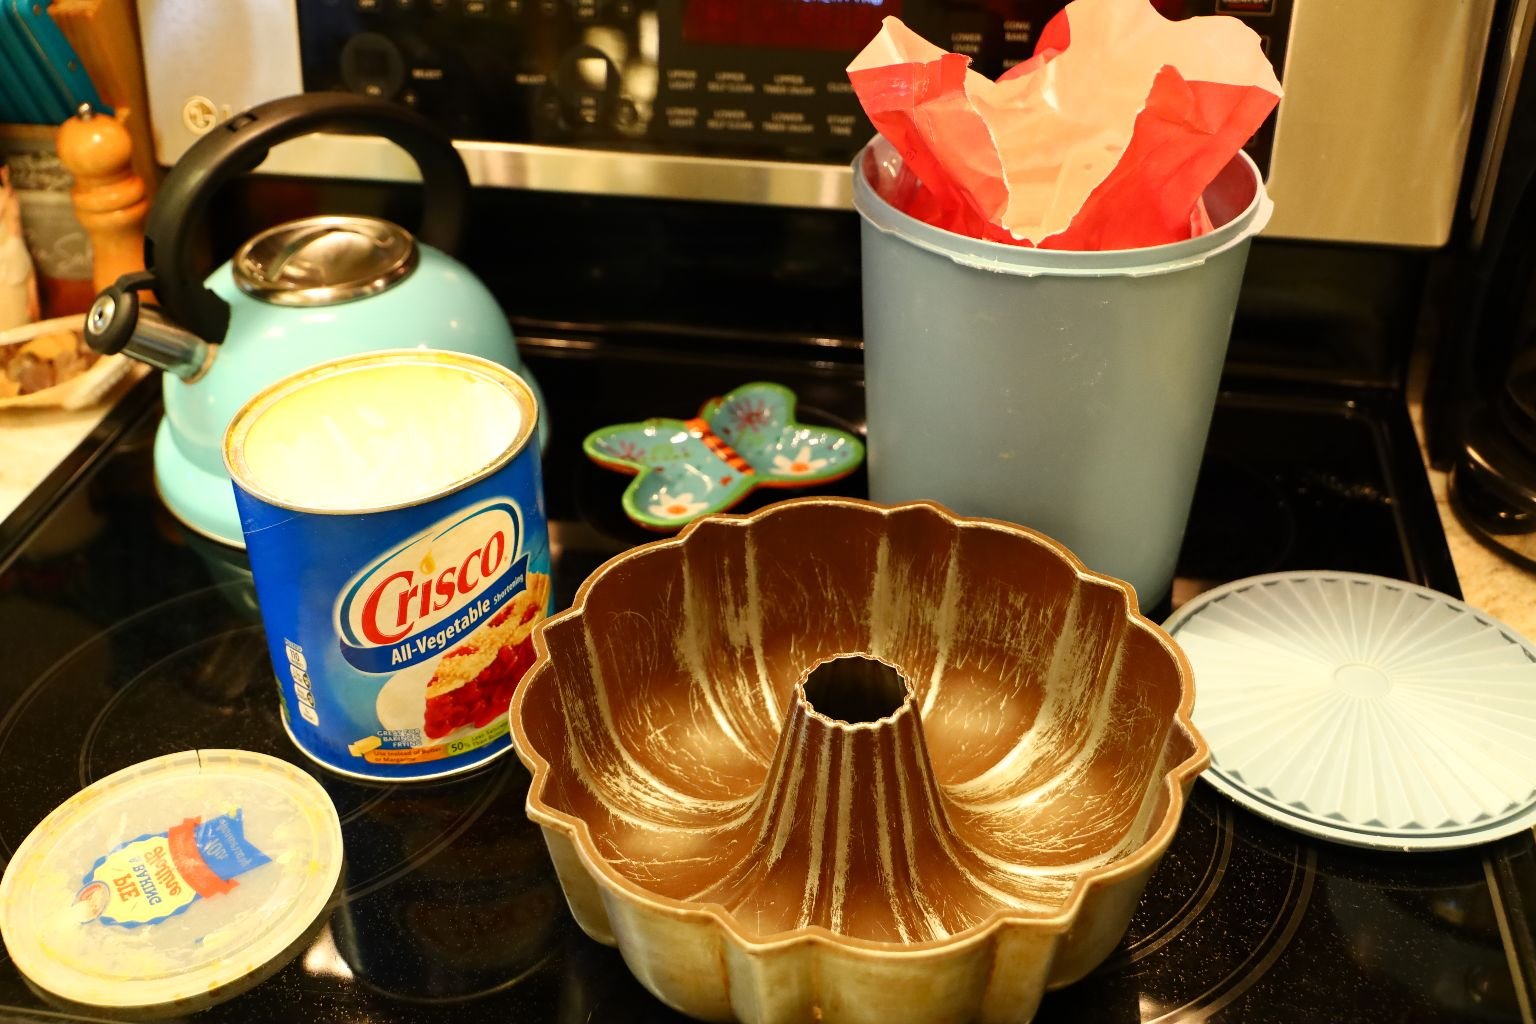
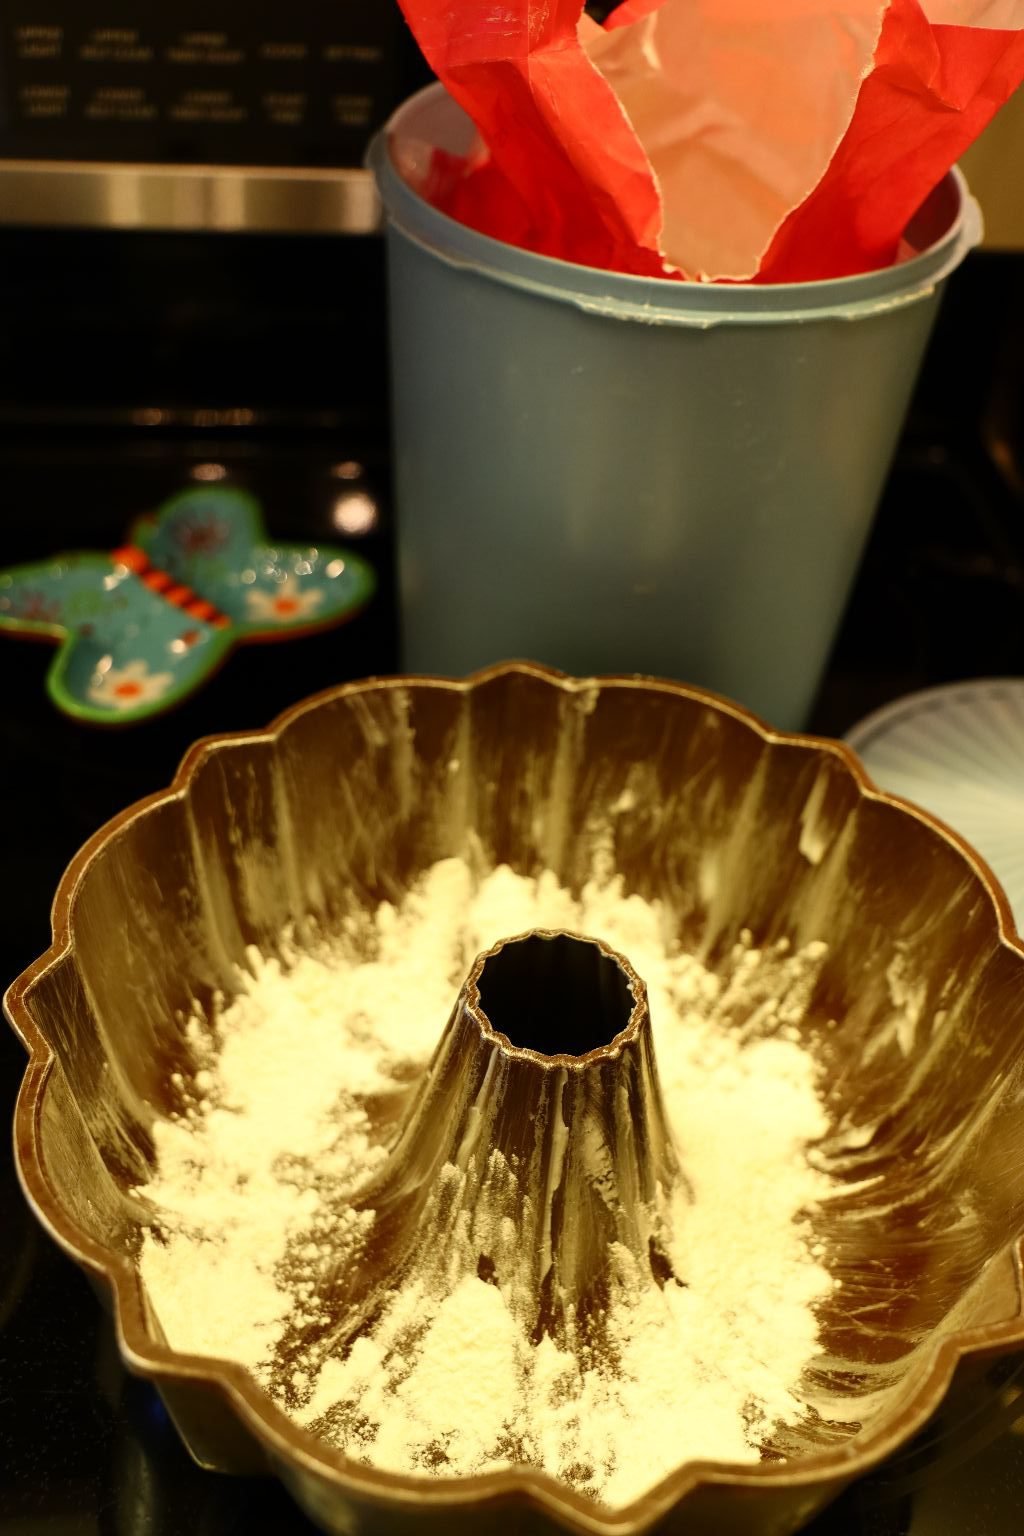
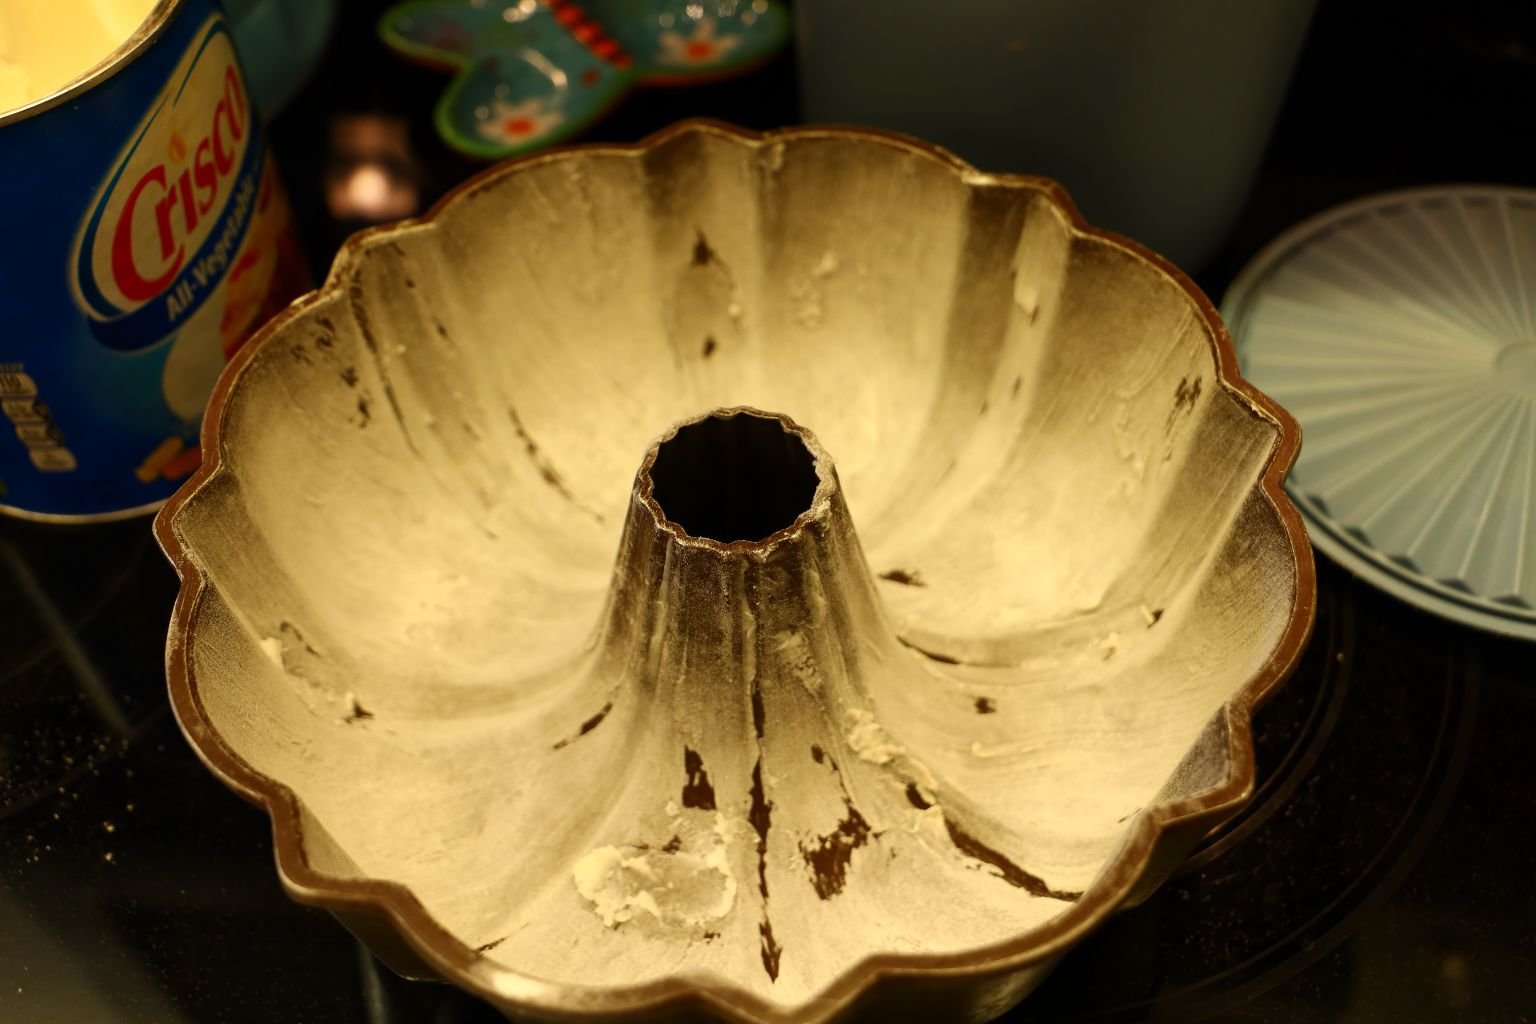
Here I greased the Bundt Pan with Crisco and then used regular Flour to dust it.
——————————————————–
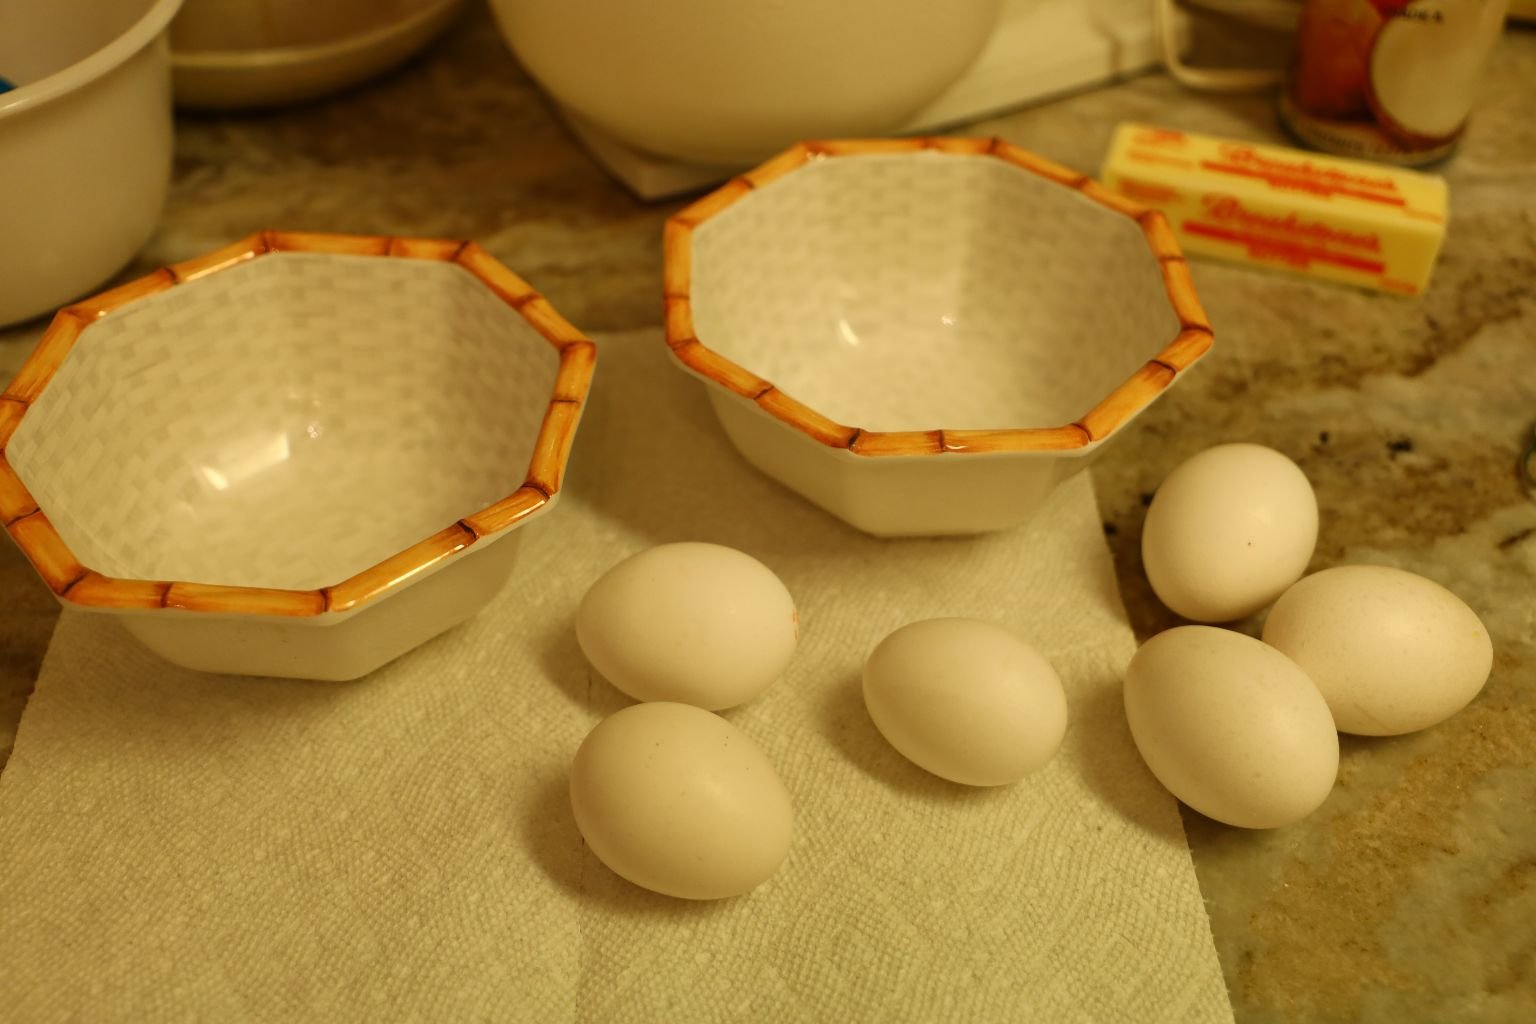

Separating The Eggs, Set The White’s Aside
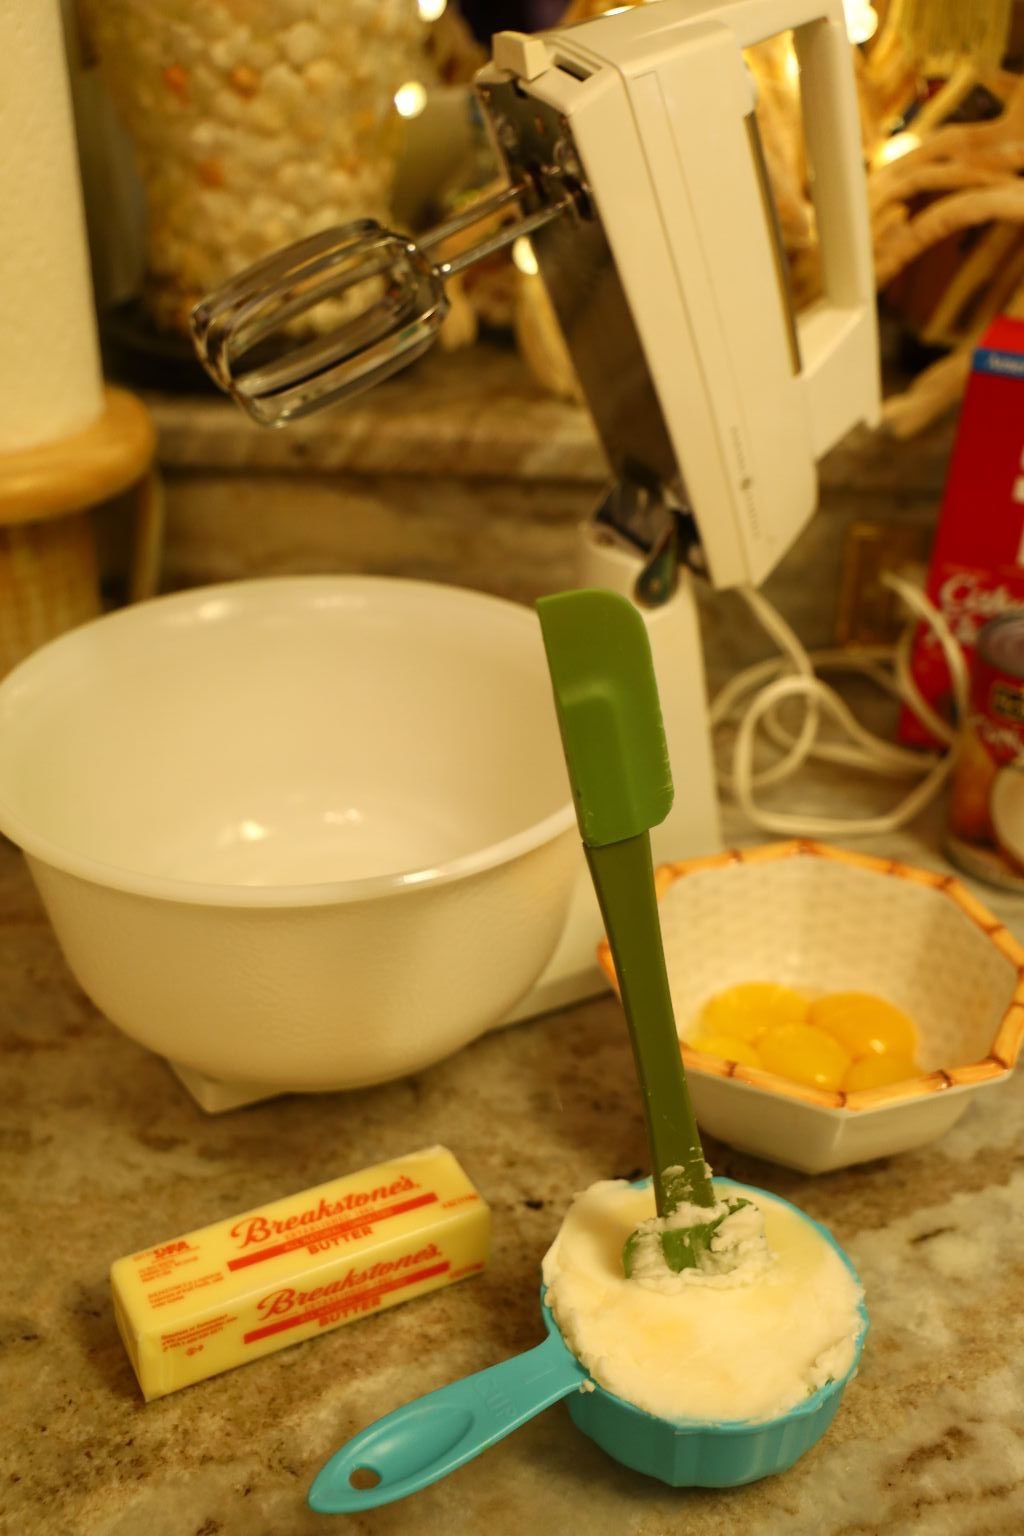
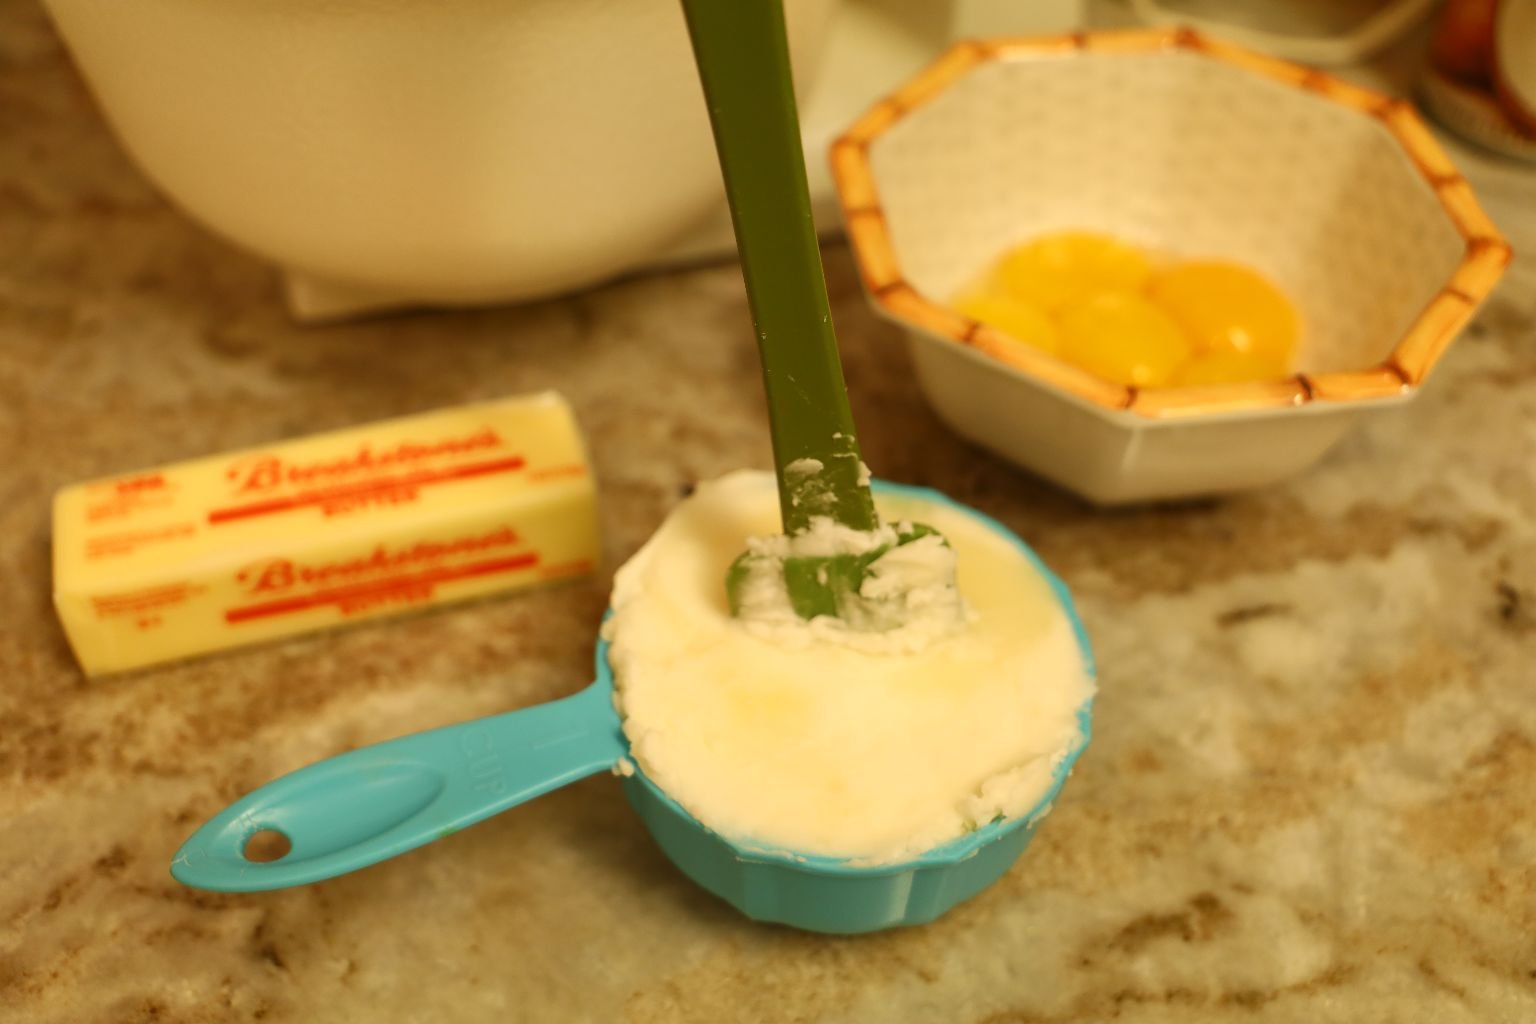
Butter, Crisco, and Egg Yolks
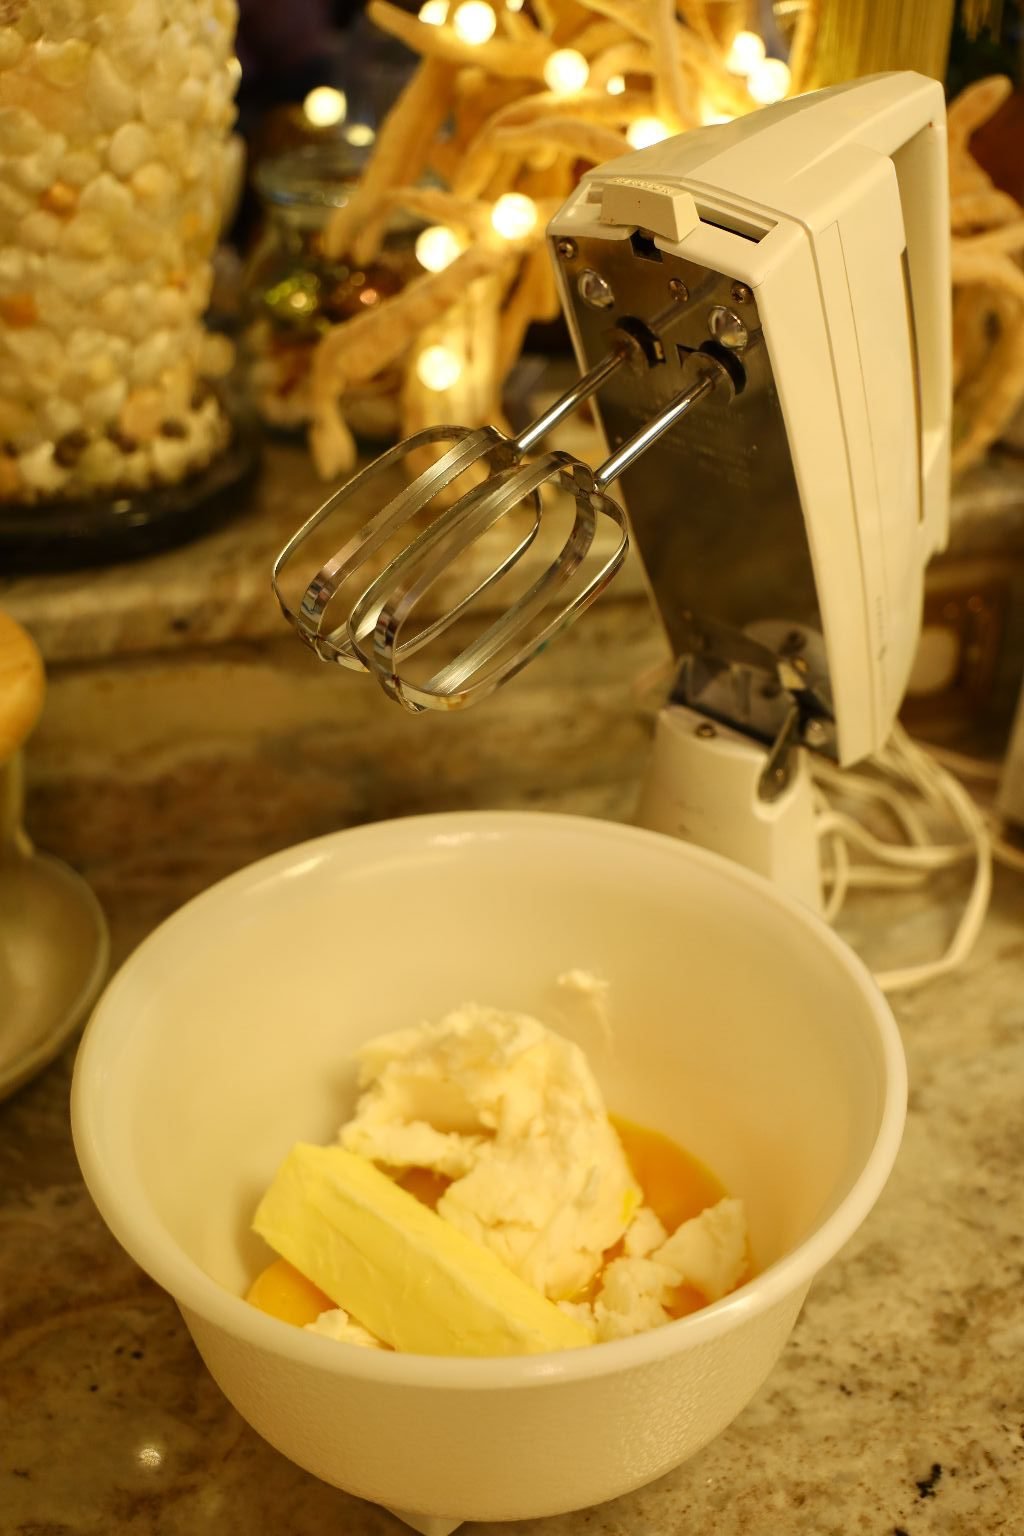

You want to beat the Egg Yolks with the Crisco and Butter on a high speed.

Once blended, gradually add the granulated sugar.
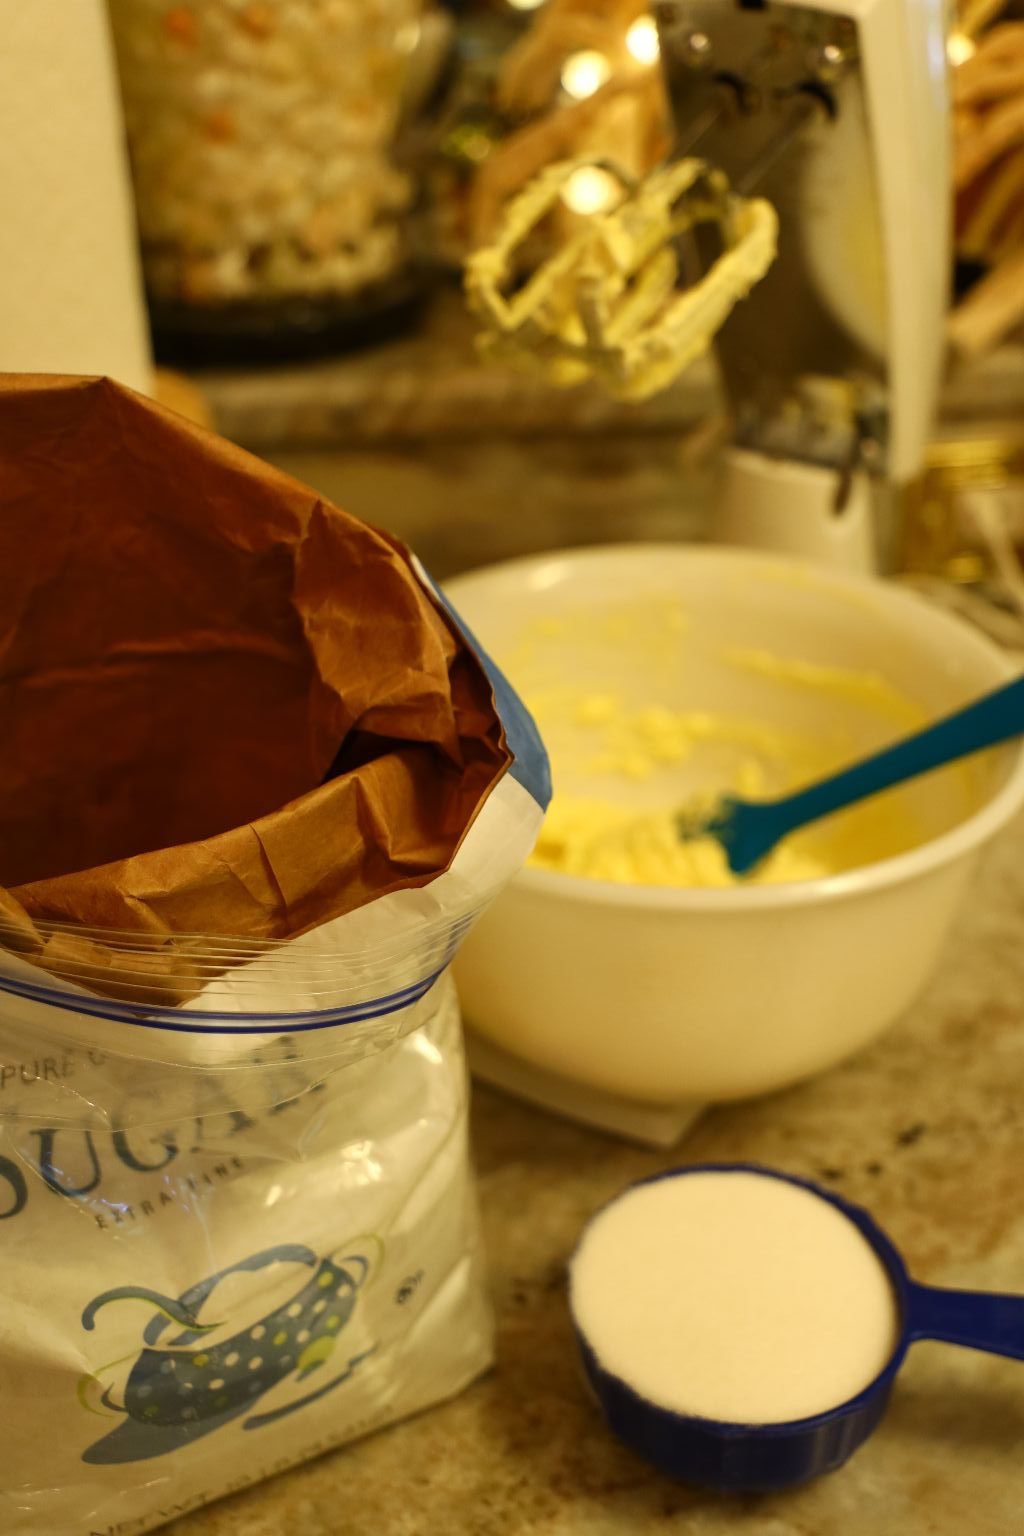
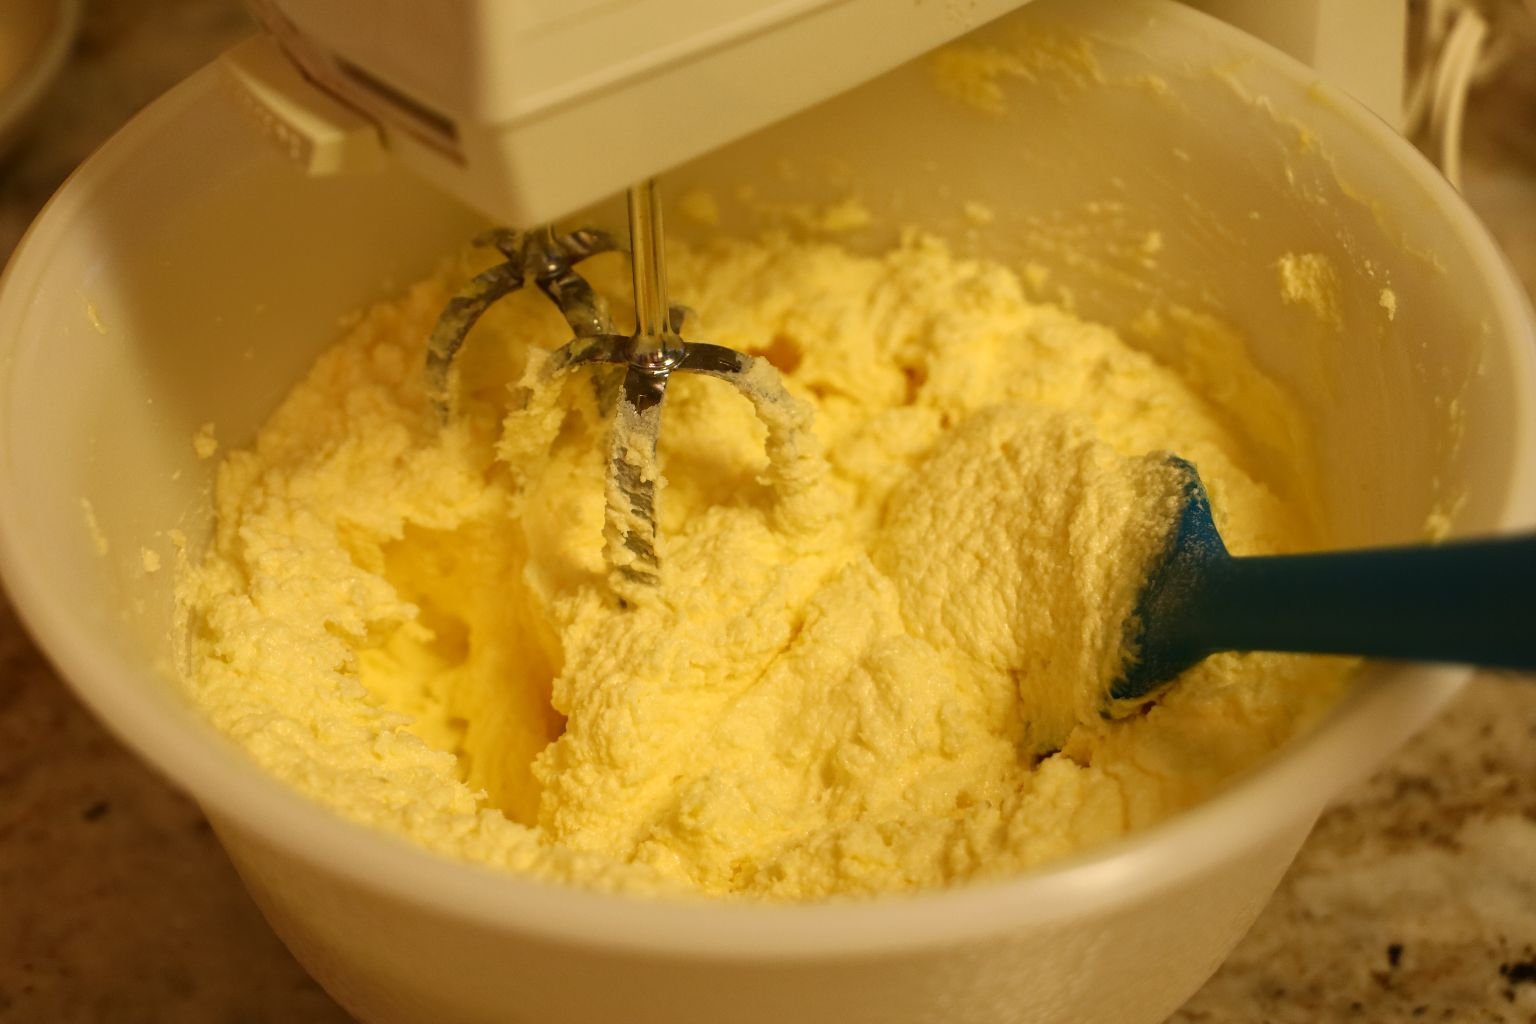
You want to beat until light and fluffy.
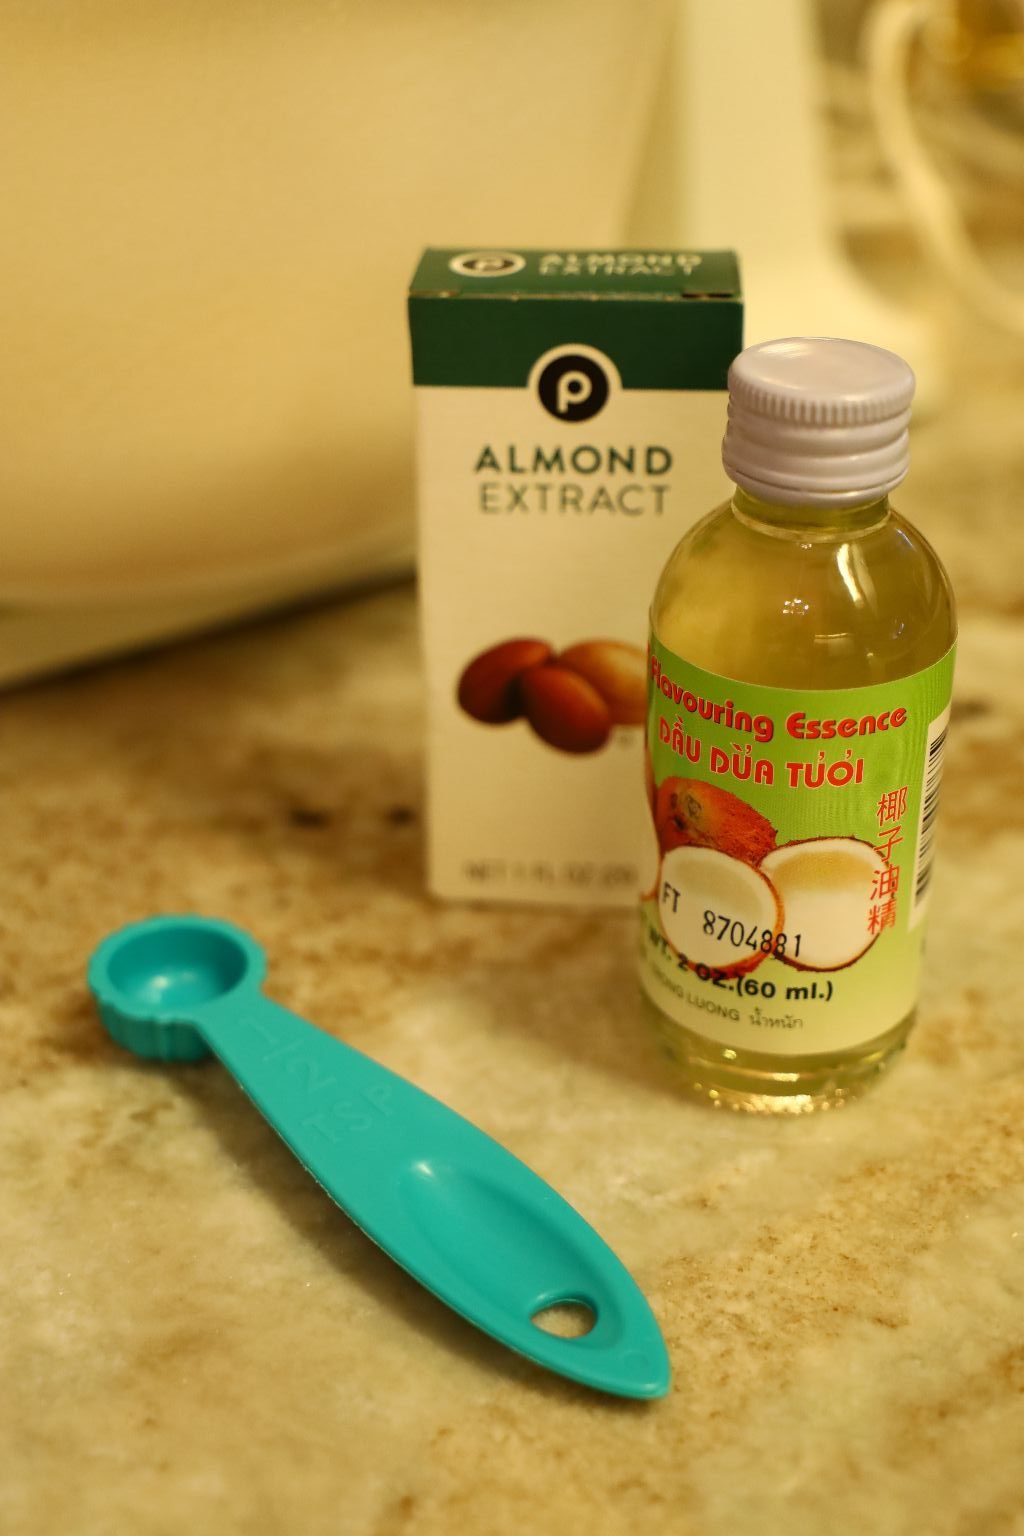
Time to add the Almond Extract and the Coconut Extract flavoring.
Continue to beat until they are blended.

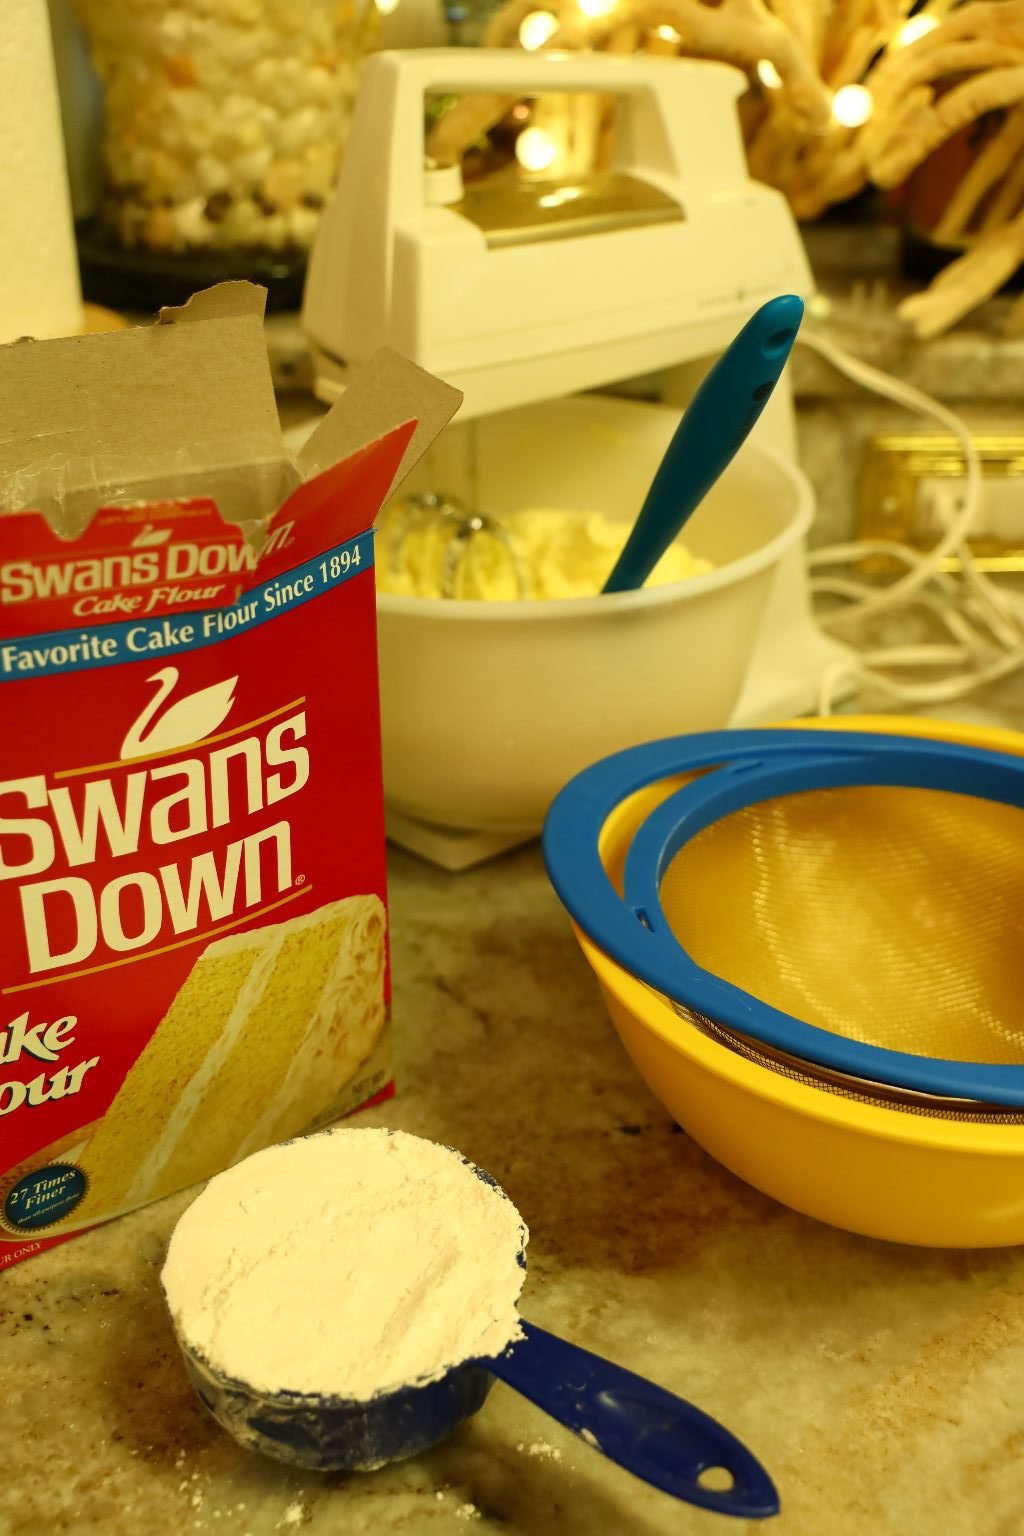
Ready to Sift the Cake Flour
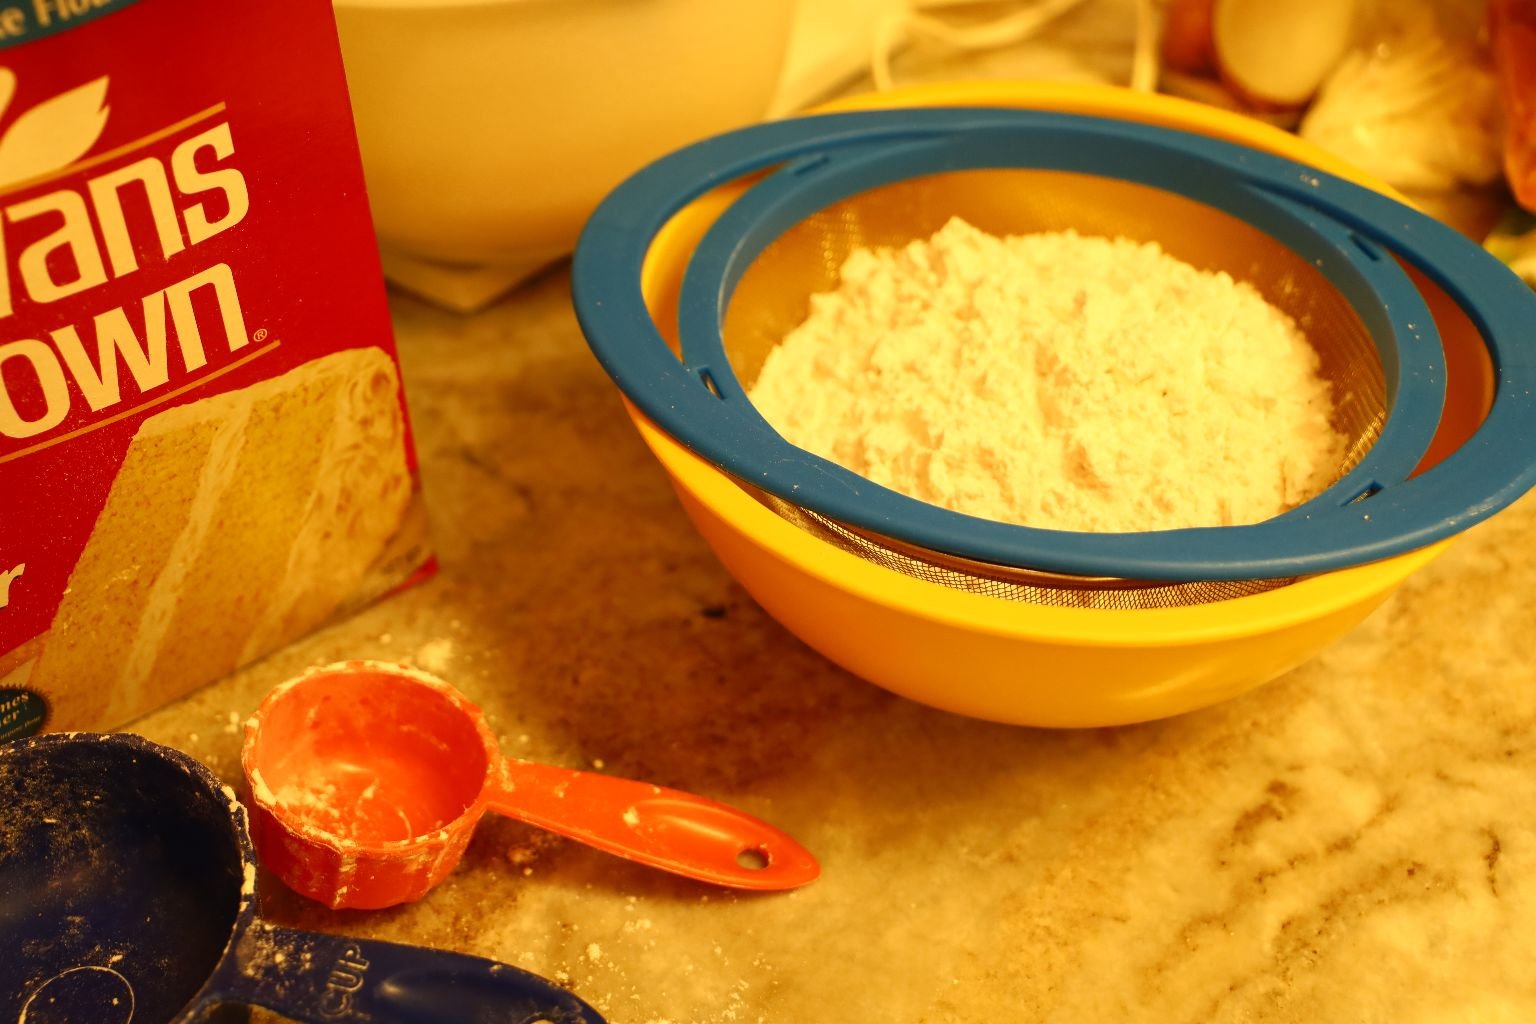
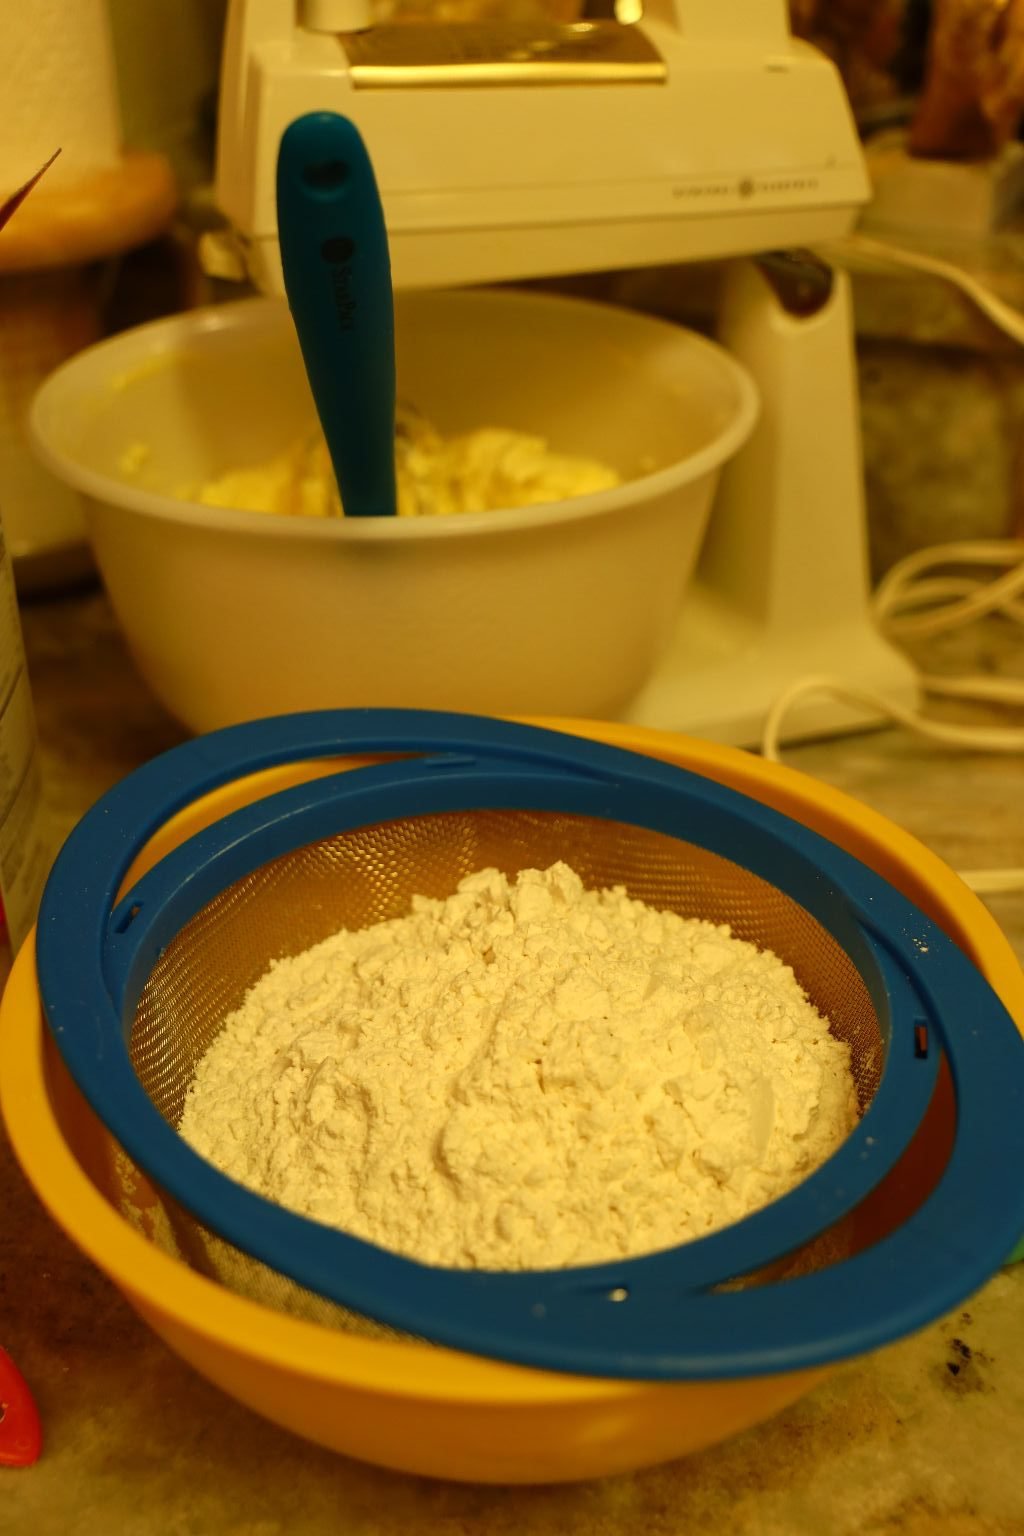
————————————————————–
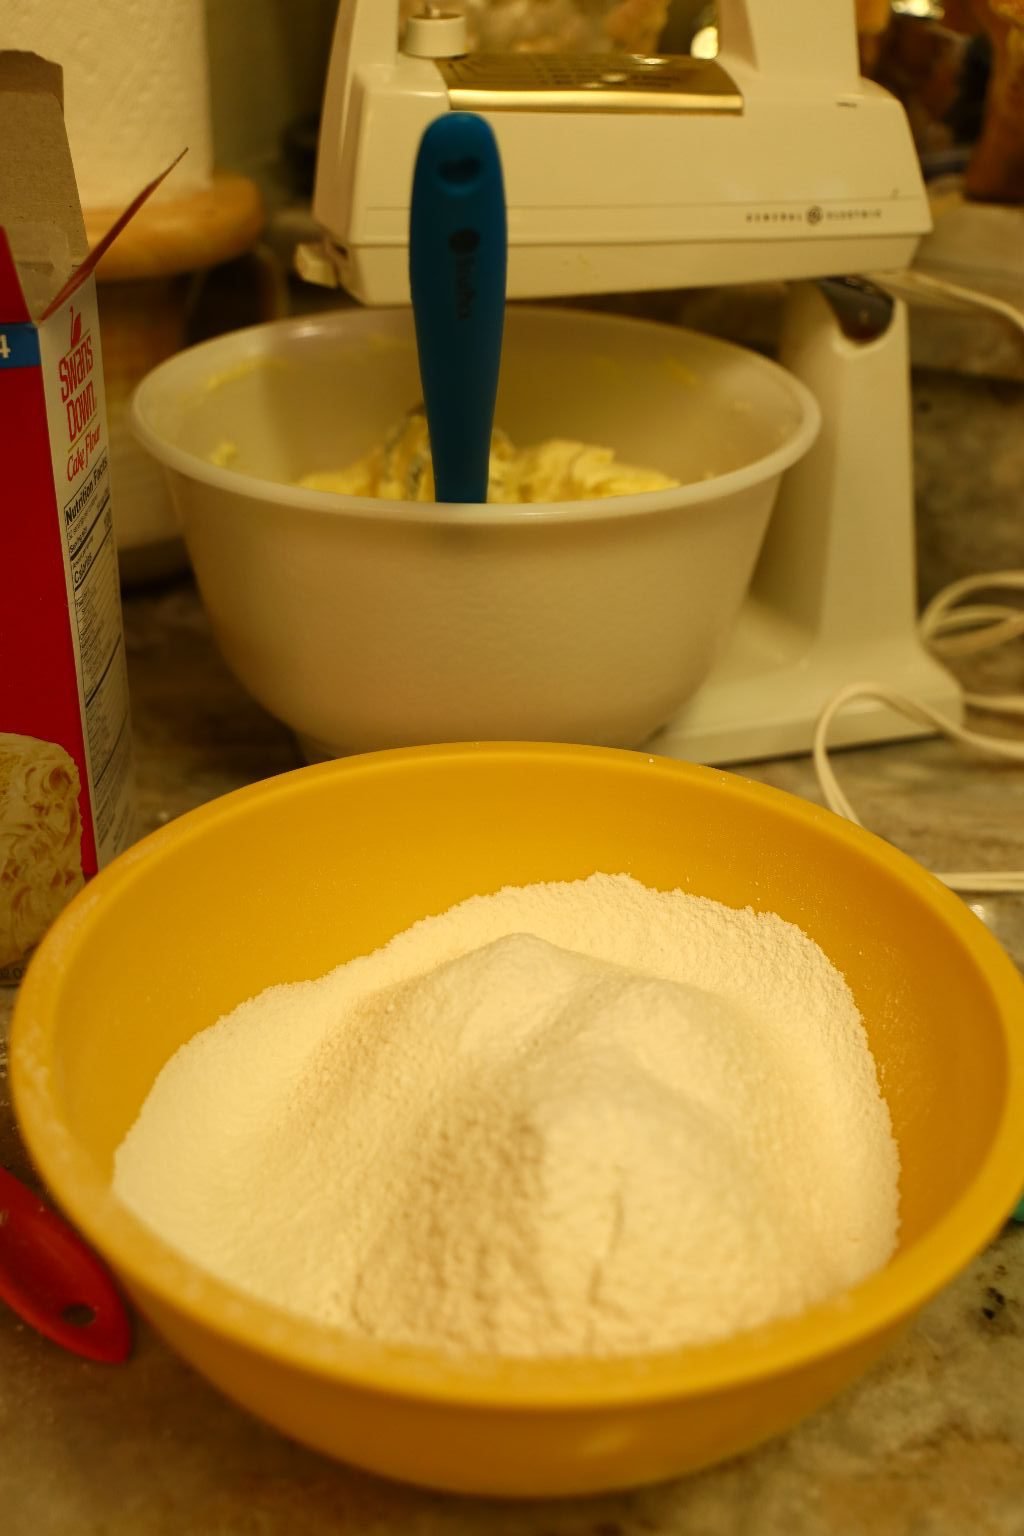
Now we want to start to add our Cake Flour. We want the mixer on a low speed and alternate between Cake Flour and the Coconut Milk. (If you don’t have Coconut Milk you can use regular milk.)


You want to start with the Cake Flour, and end with the Cake Flour.
So, just add a little bit of Cake Flour and mix it all together, then add a little bit of Coconut Milk, and mix it all together, then add a little bit of Cake Flour….
Mix on low until everything is thoroughly blended.
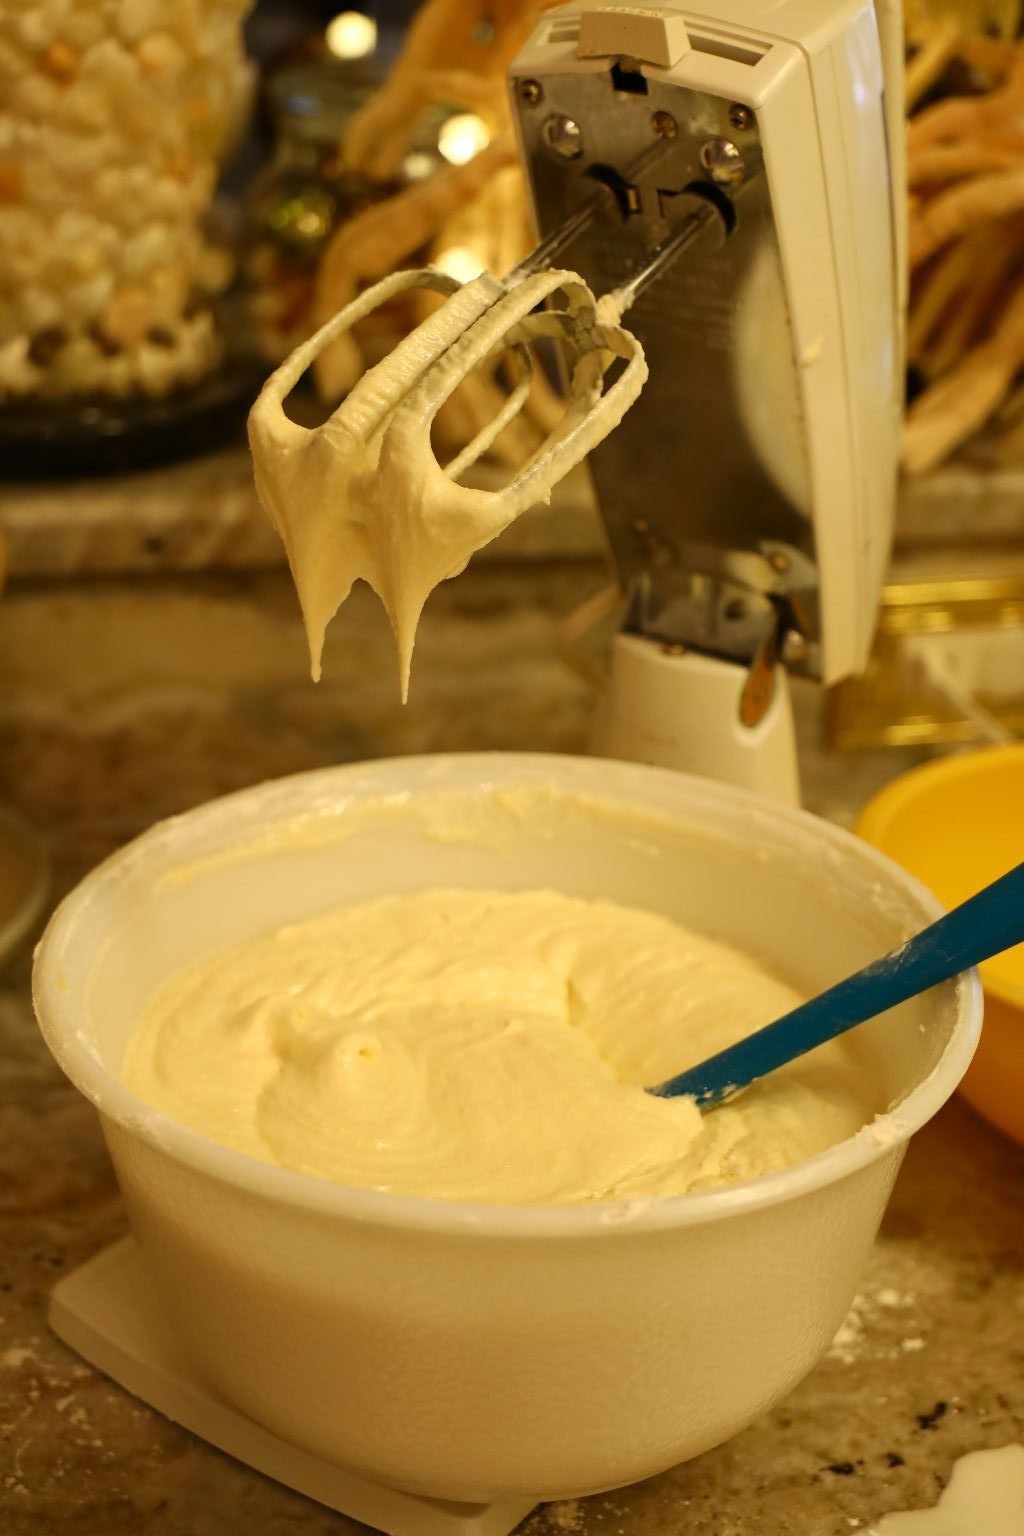
Beautiful Batter
——————————————————–
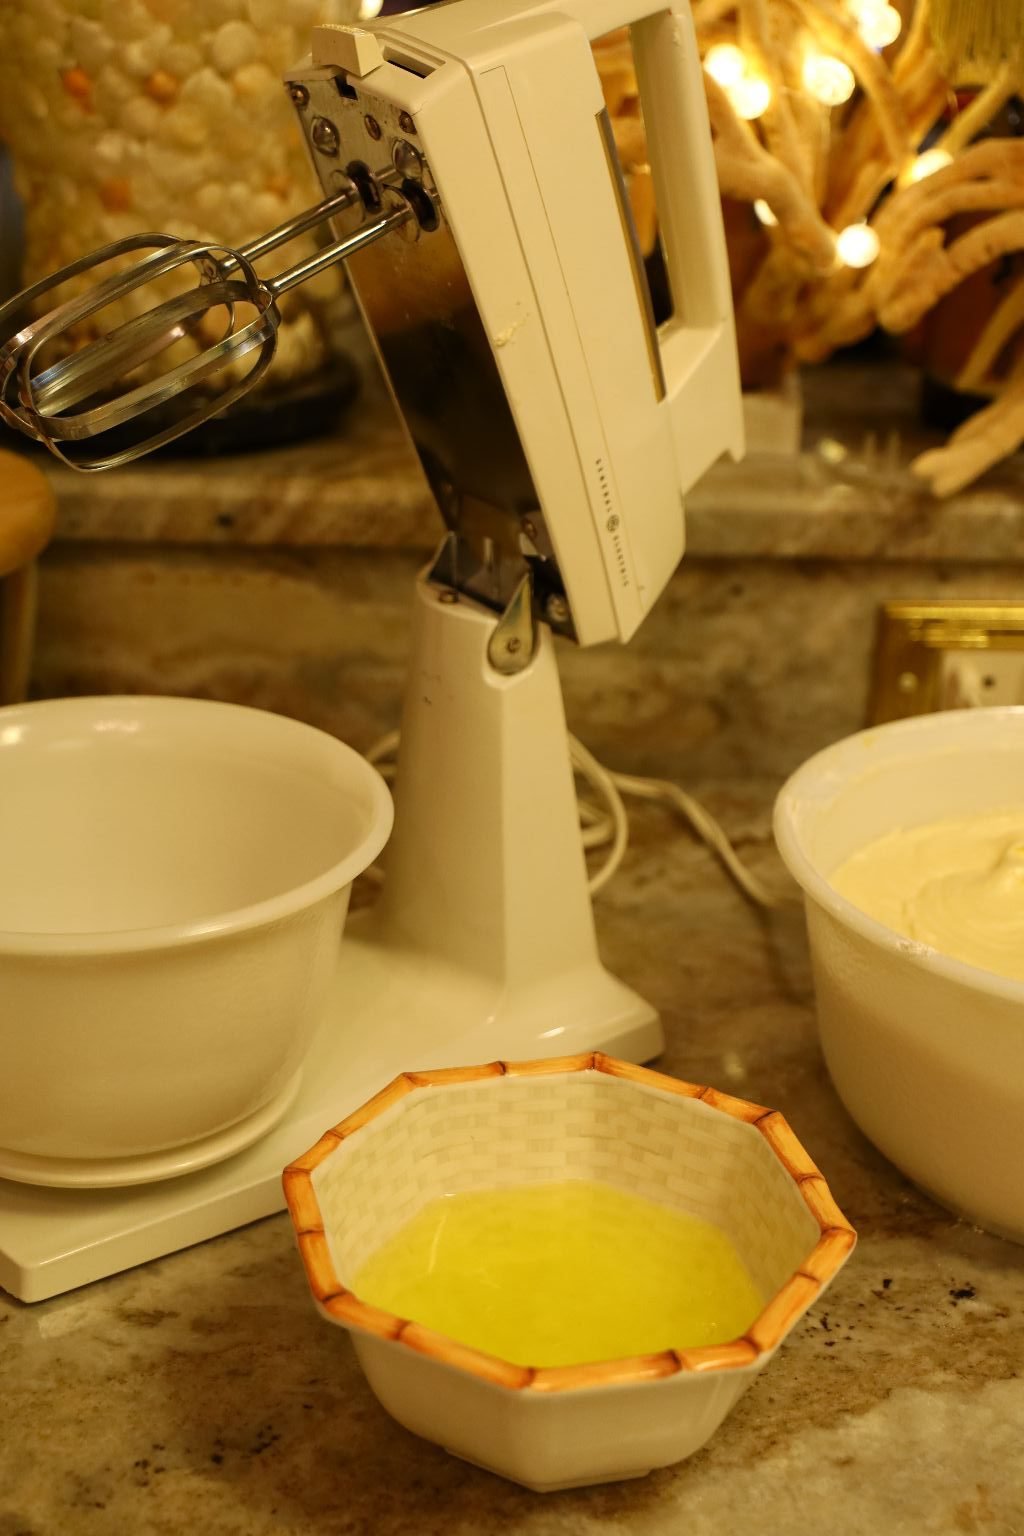
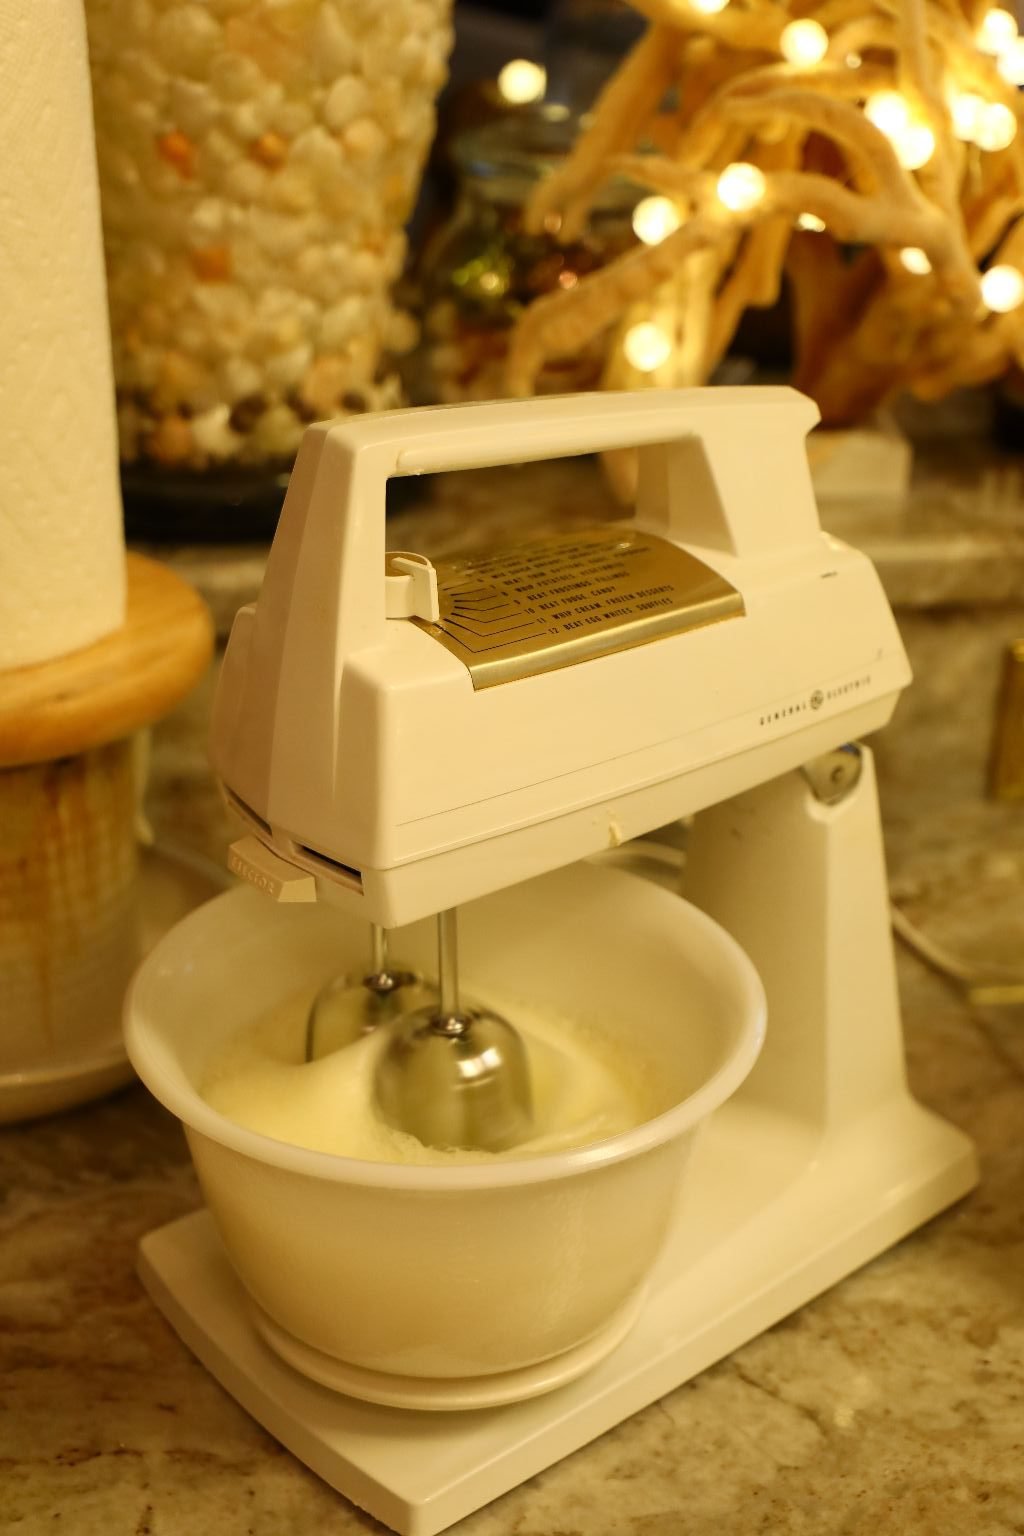
In my small bowl I added the Egg Whites and I am mixing them on a high speed until they form still peaks.
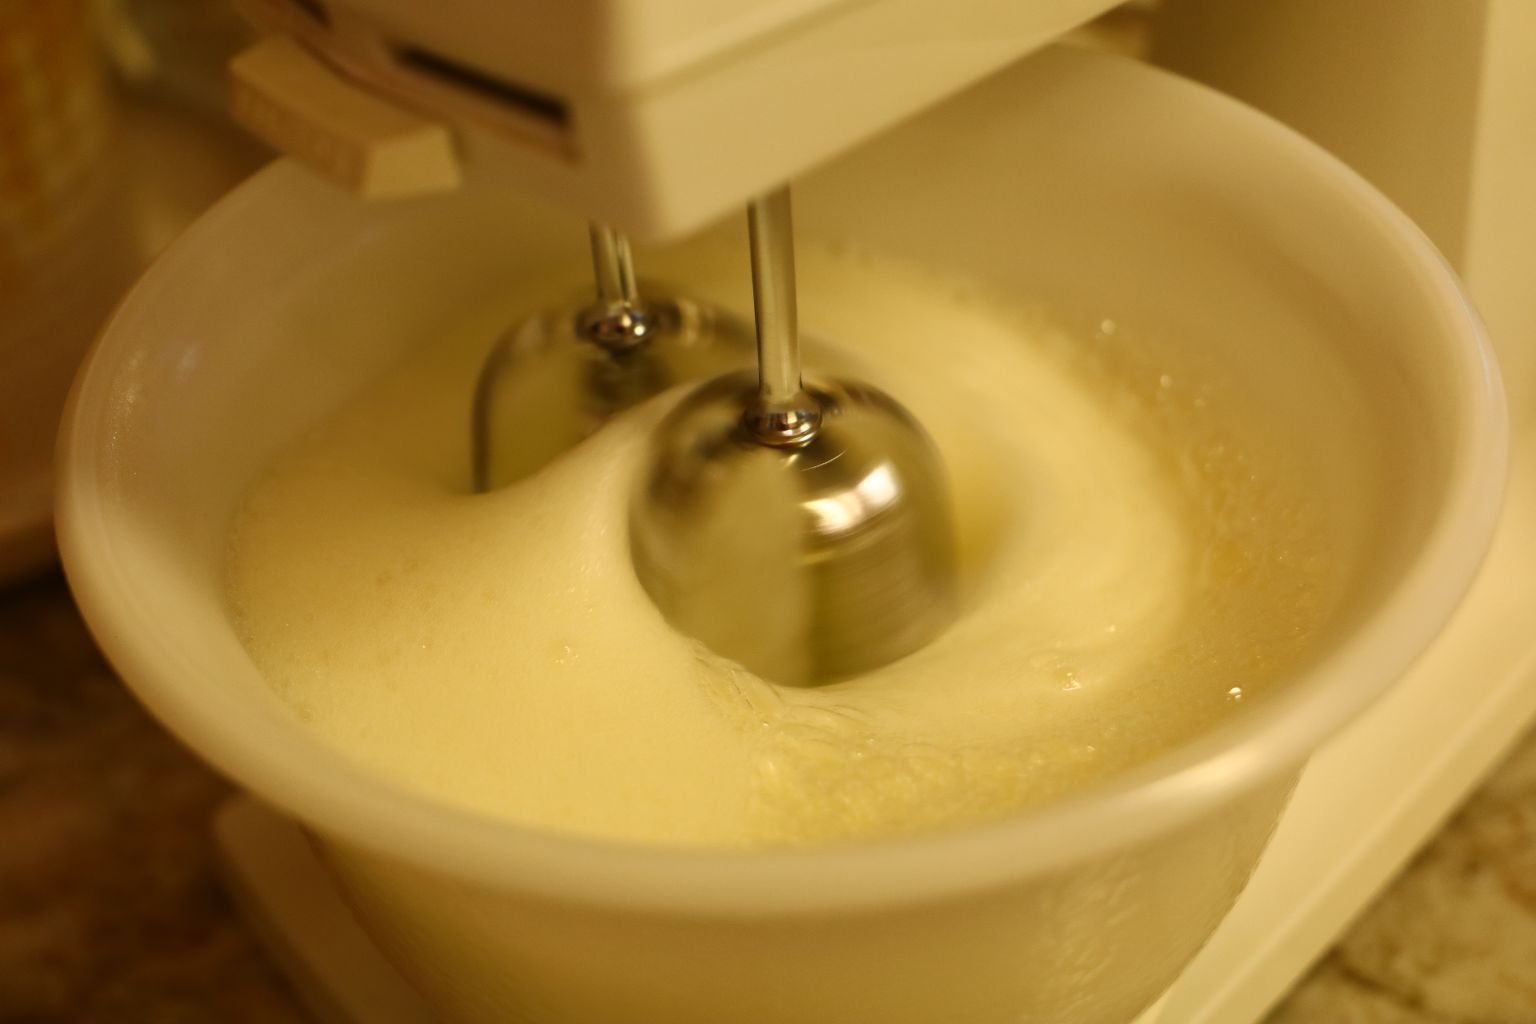
———————————————————-
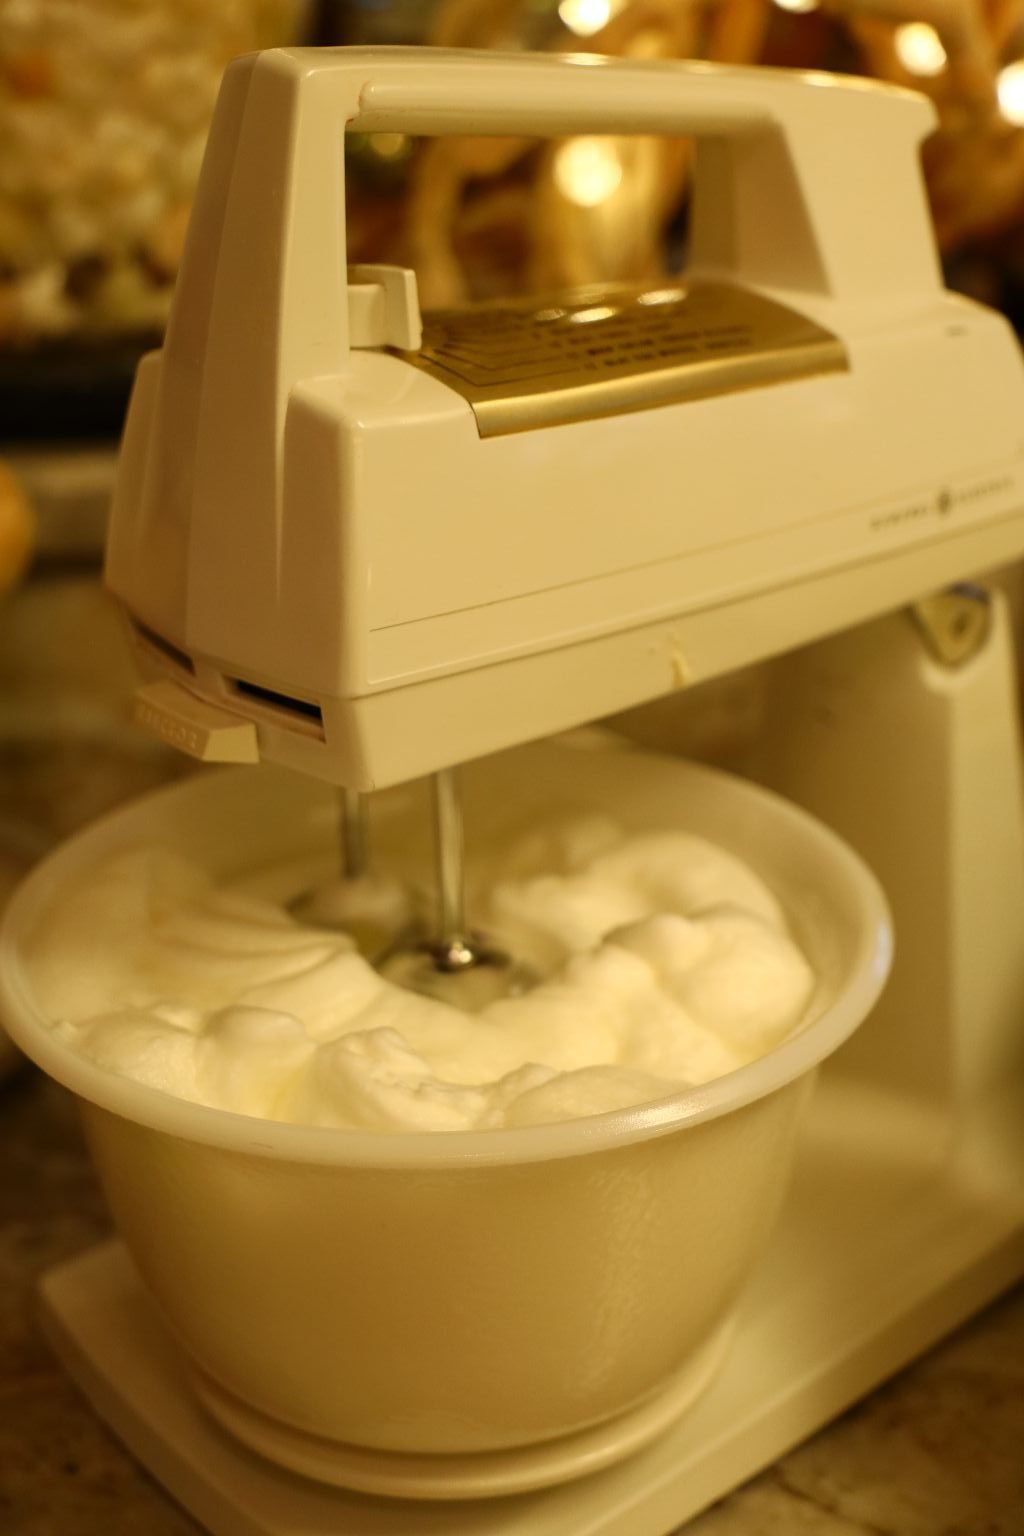
Like So….
——————————————————————–

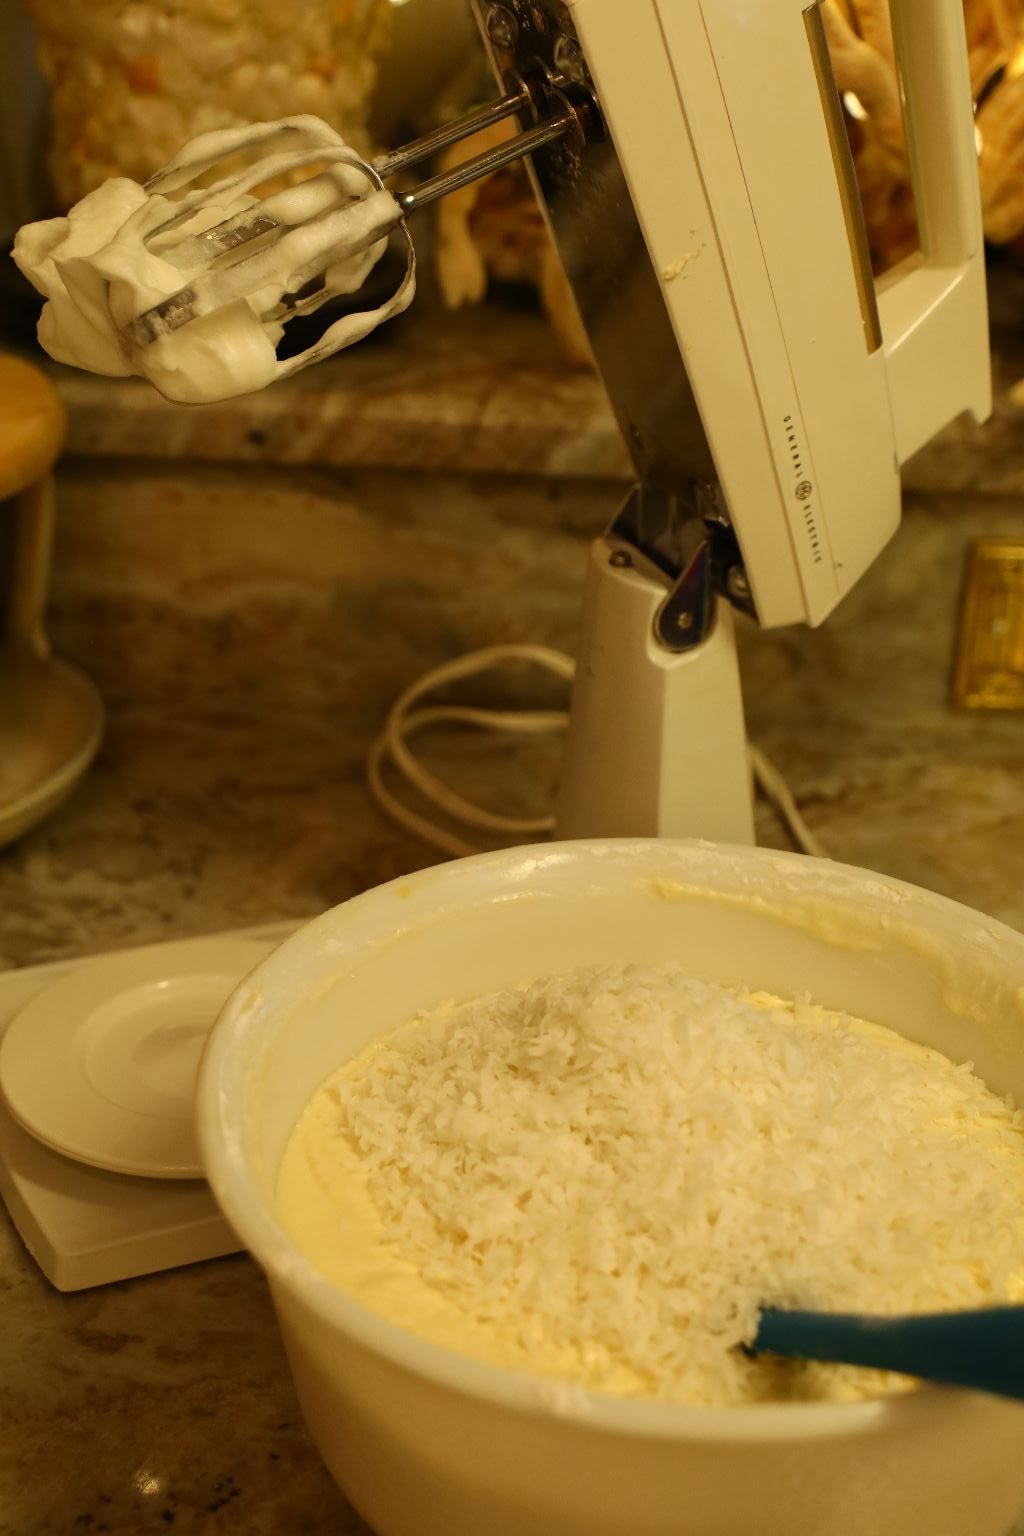
Now I am adding the 1-2 Cups of Shredded Coconut to my original batter and mixing well.

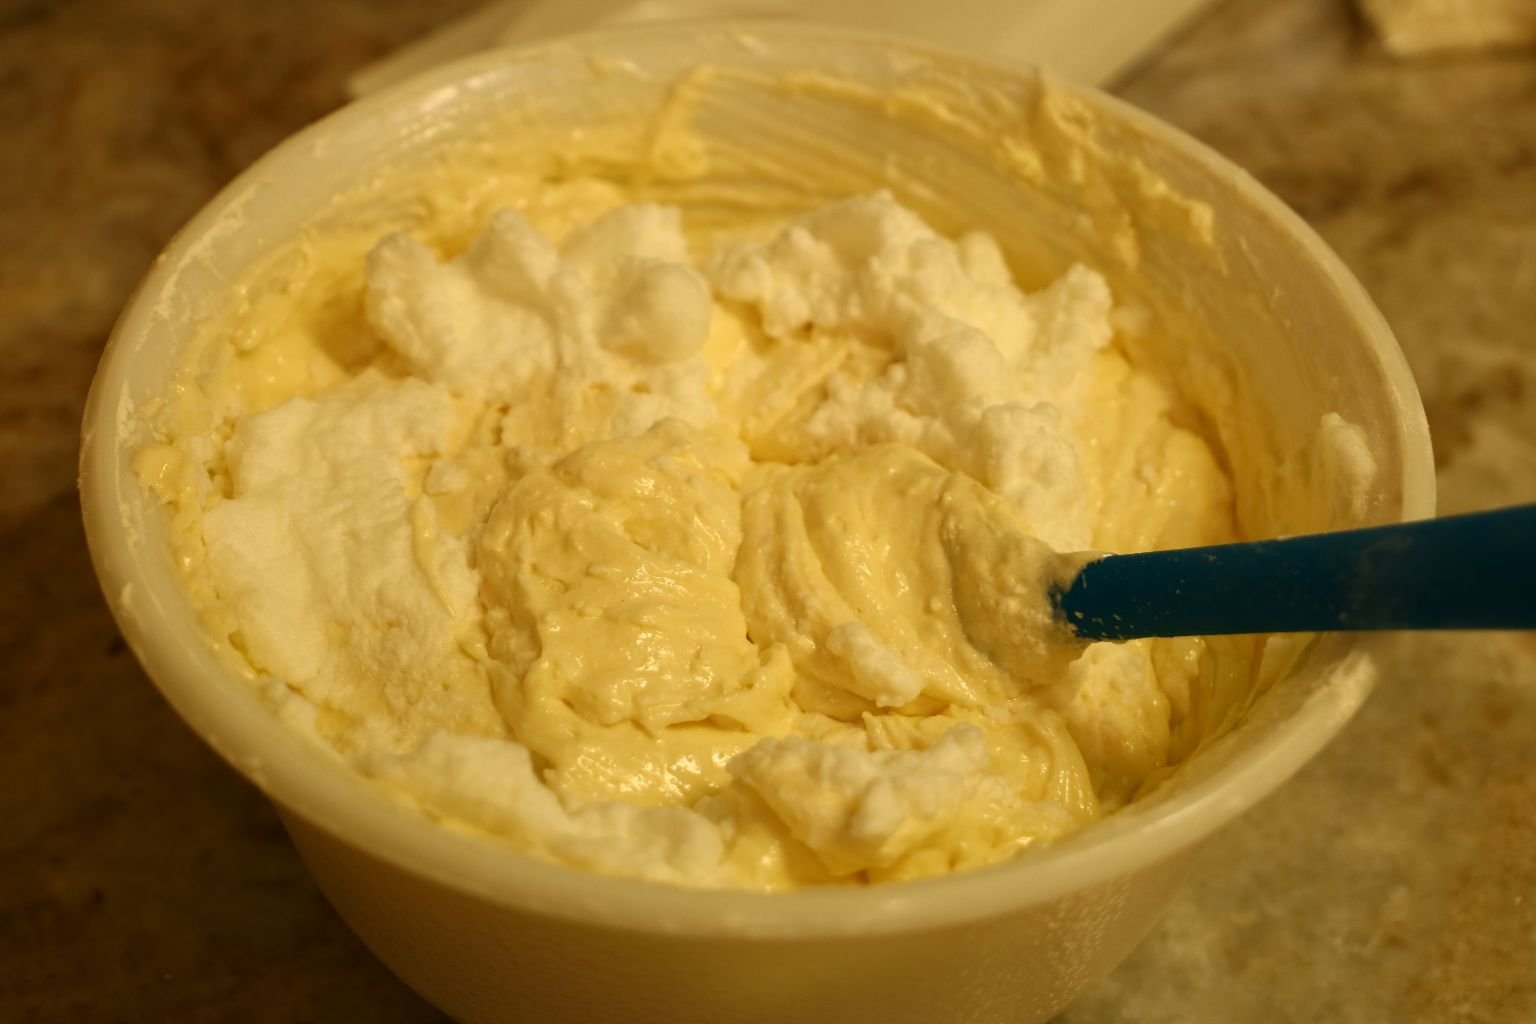
You can see my two bowls of batter.
Here I am gently folding in the Egg Whites to the original batter.
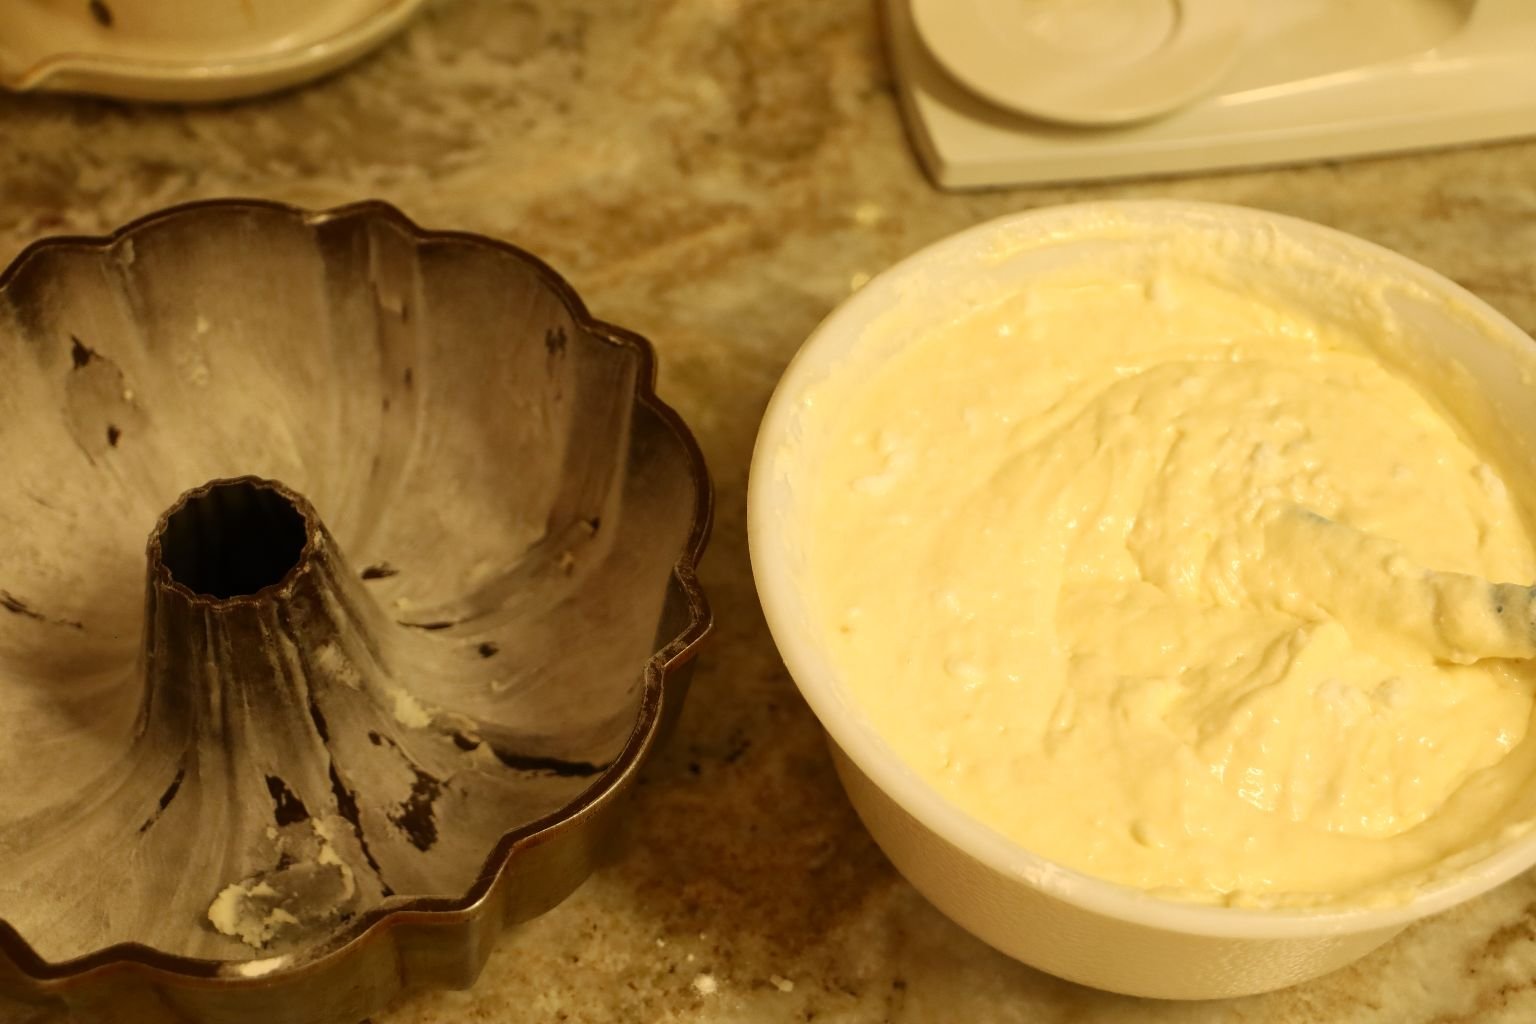
My Bundt Pan and My Batter
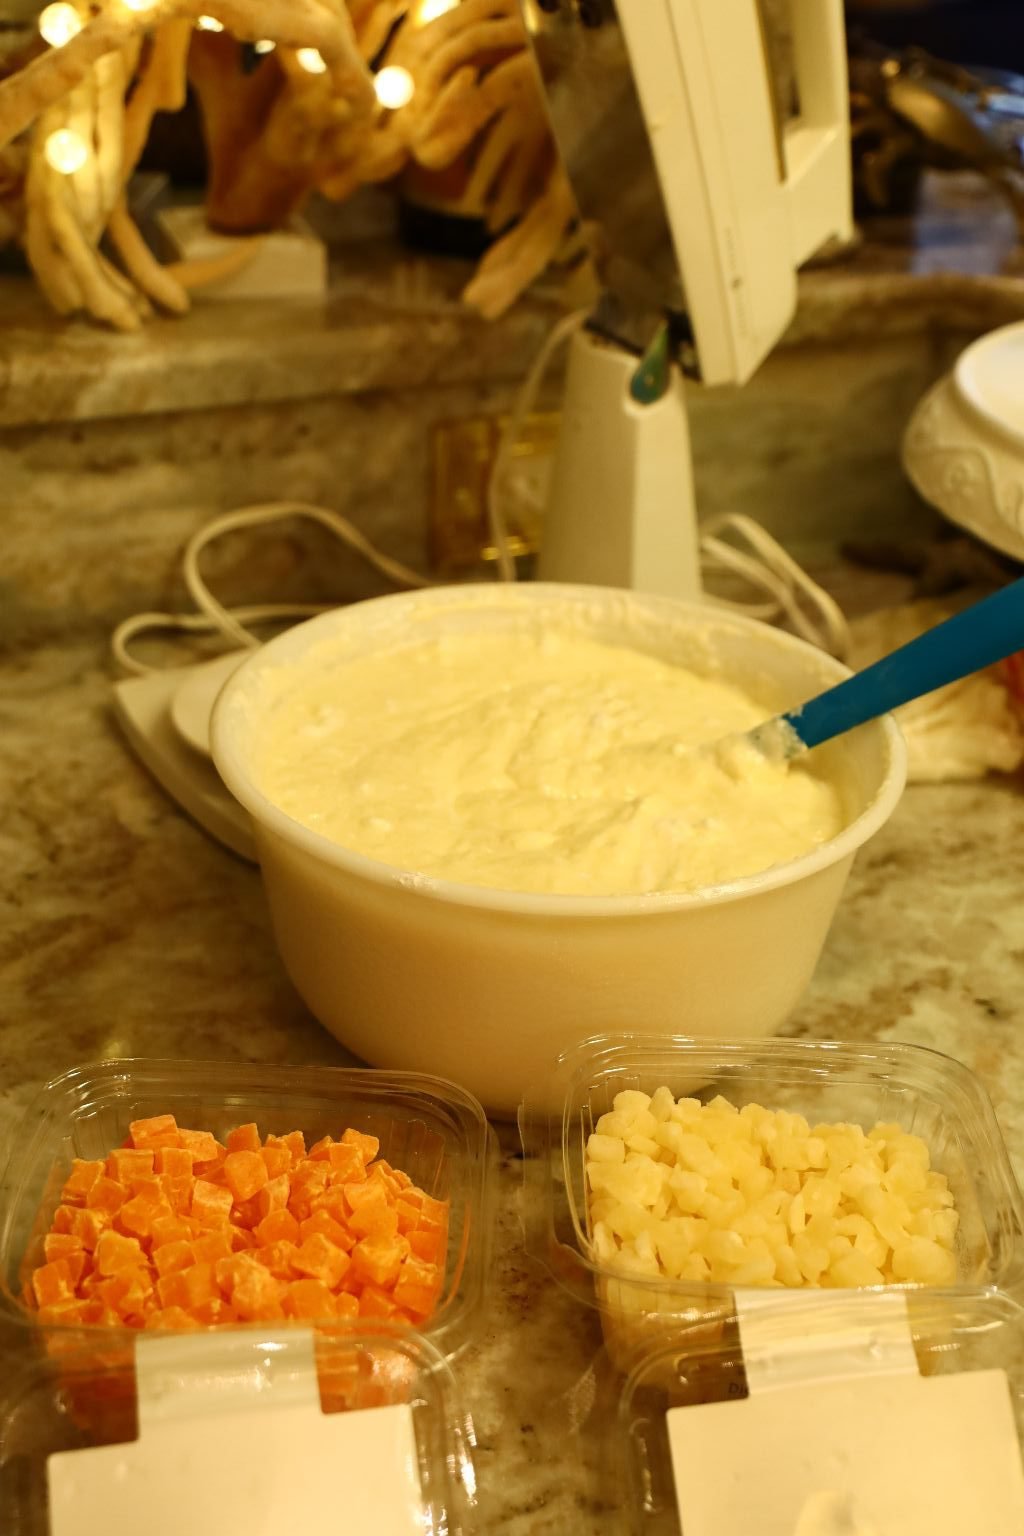
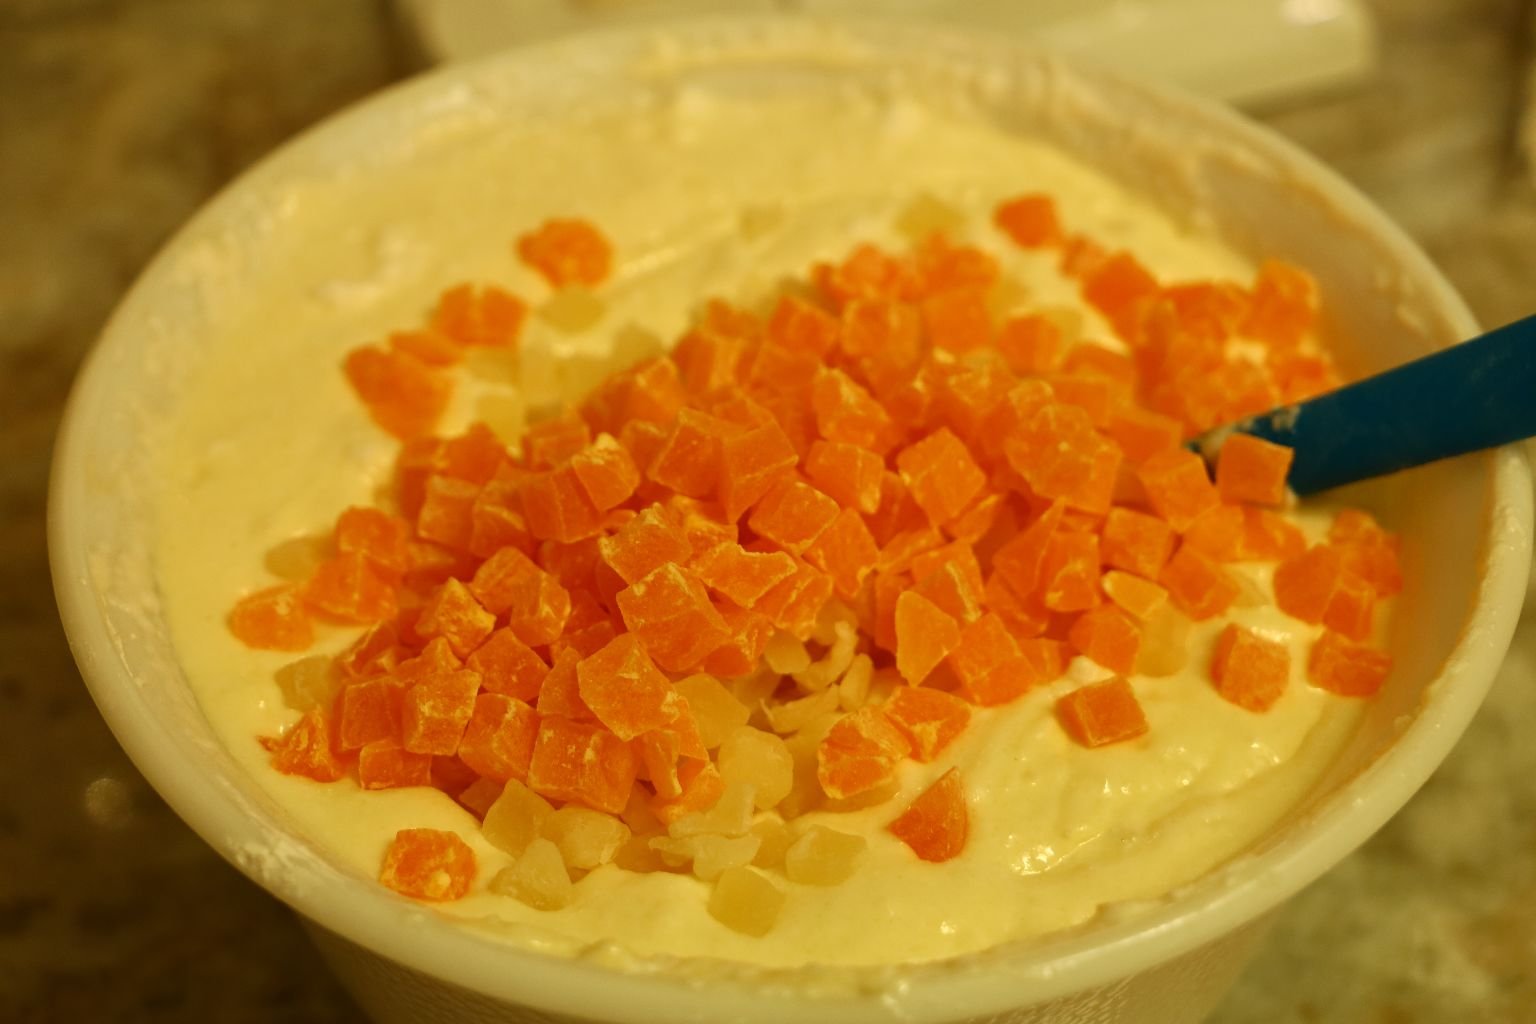
Before I decant into my Bundt Pan I wanted to add some Dried Papaya and Dried Coconut to the batter. I just eyeballed it and used as much as I wanted. Probably about 1/2 a Cup each. Just stir in by hand.
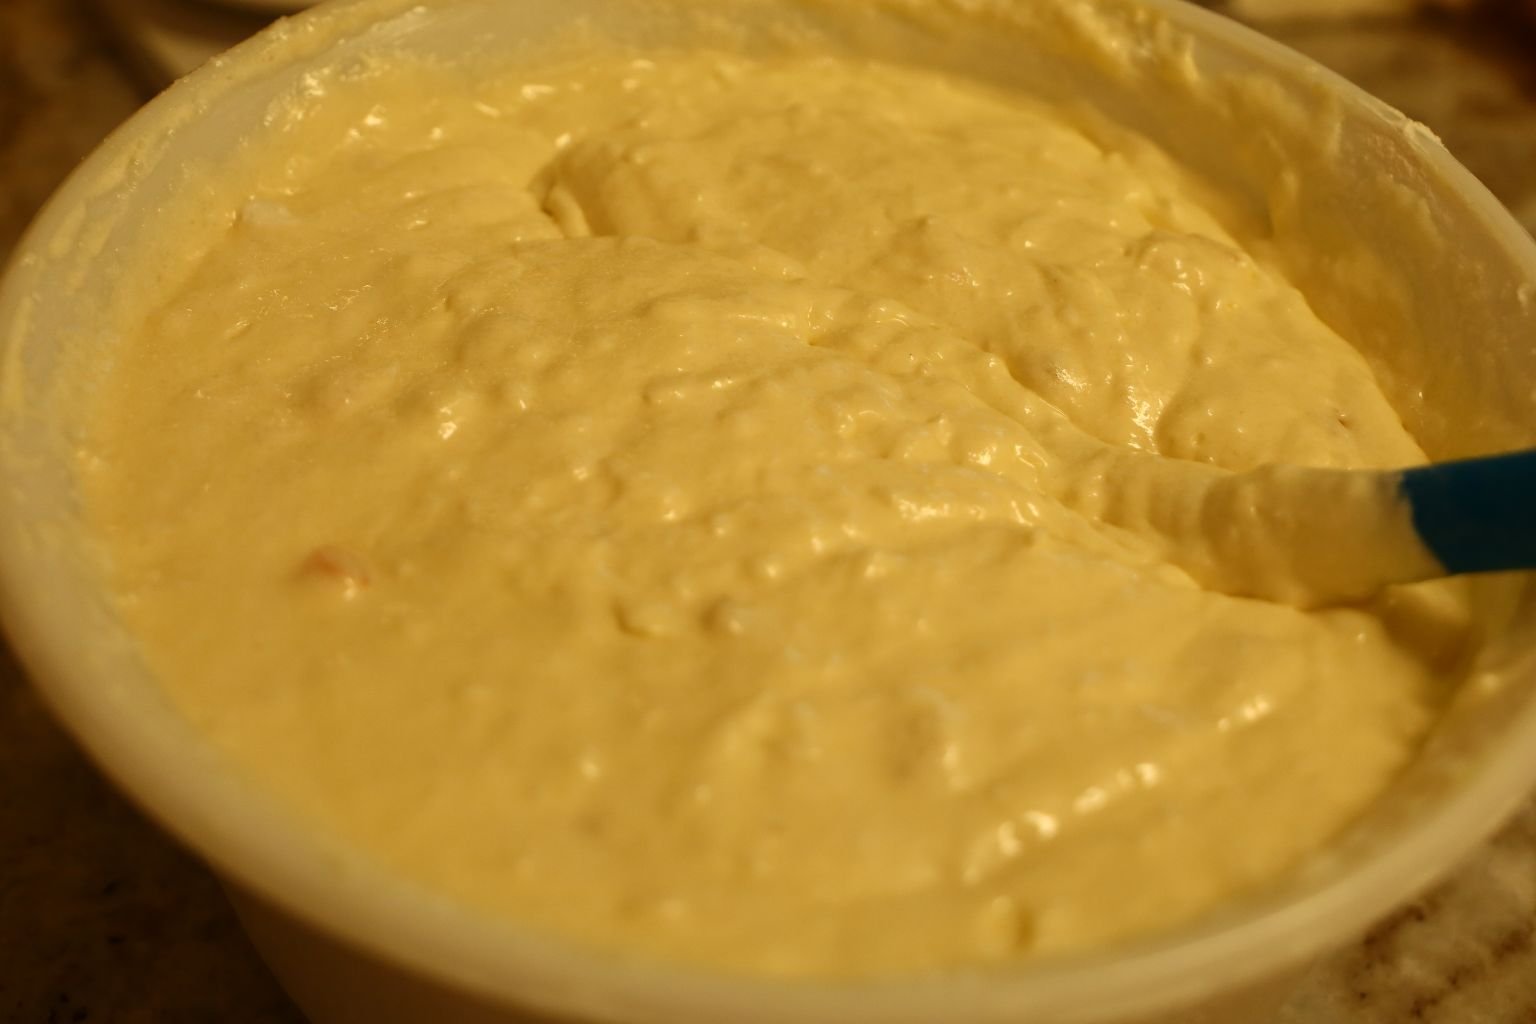
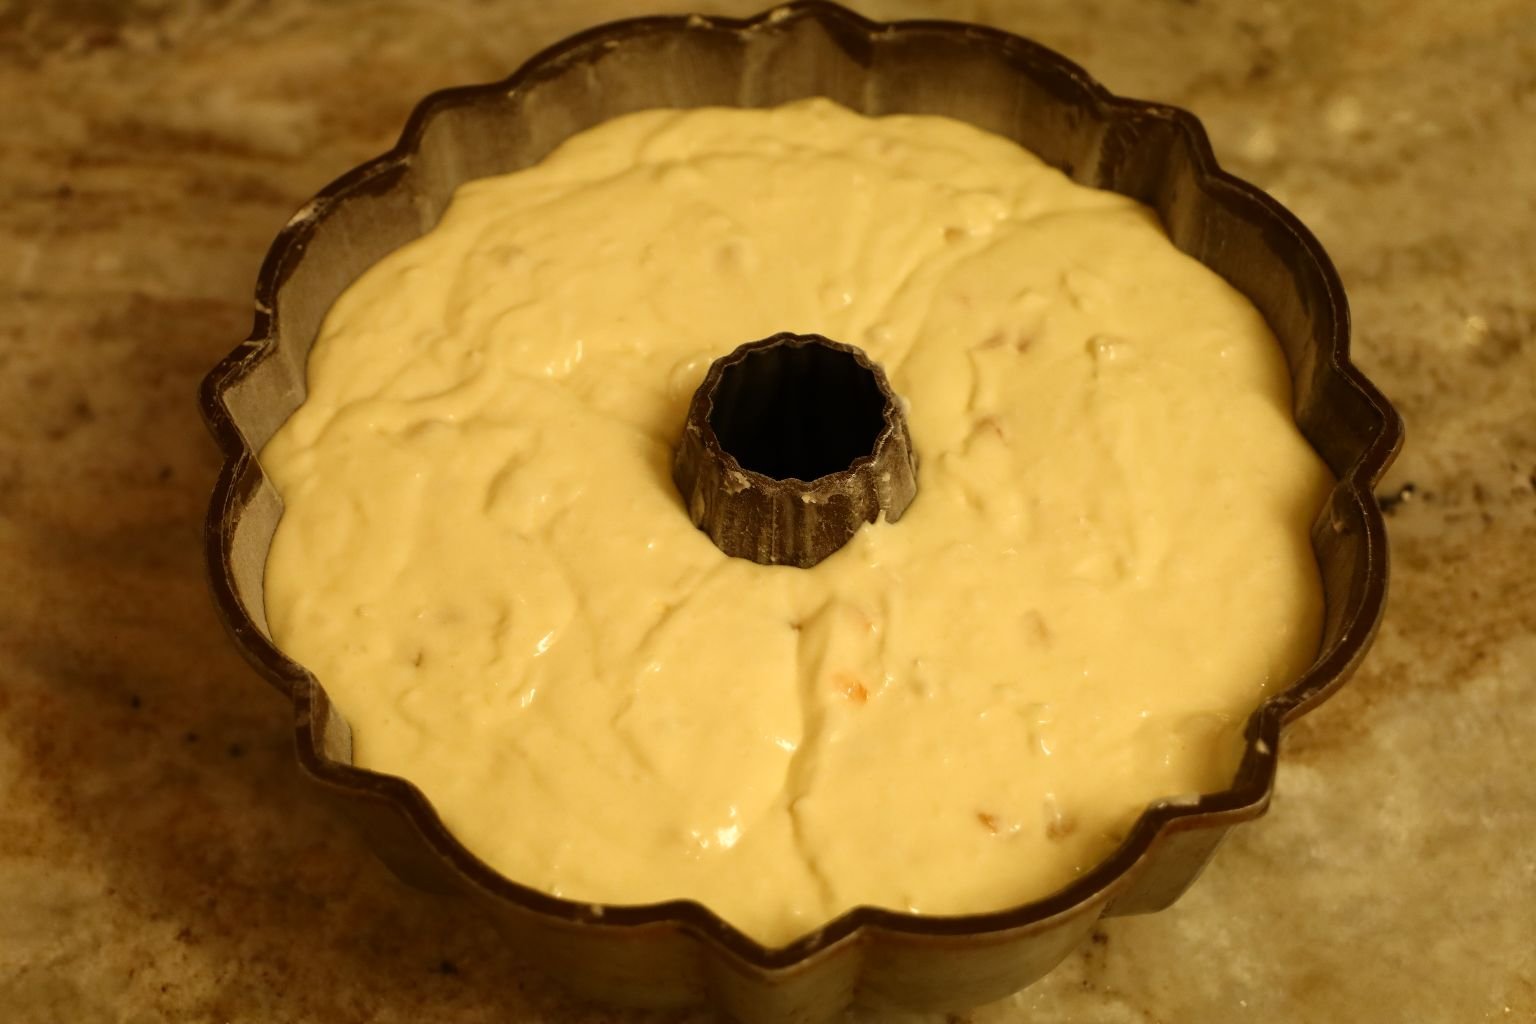
Now It’s time to pour into my greased and floured Bundt Pan.
The Oven is Pre-Heated to 300F.
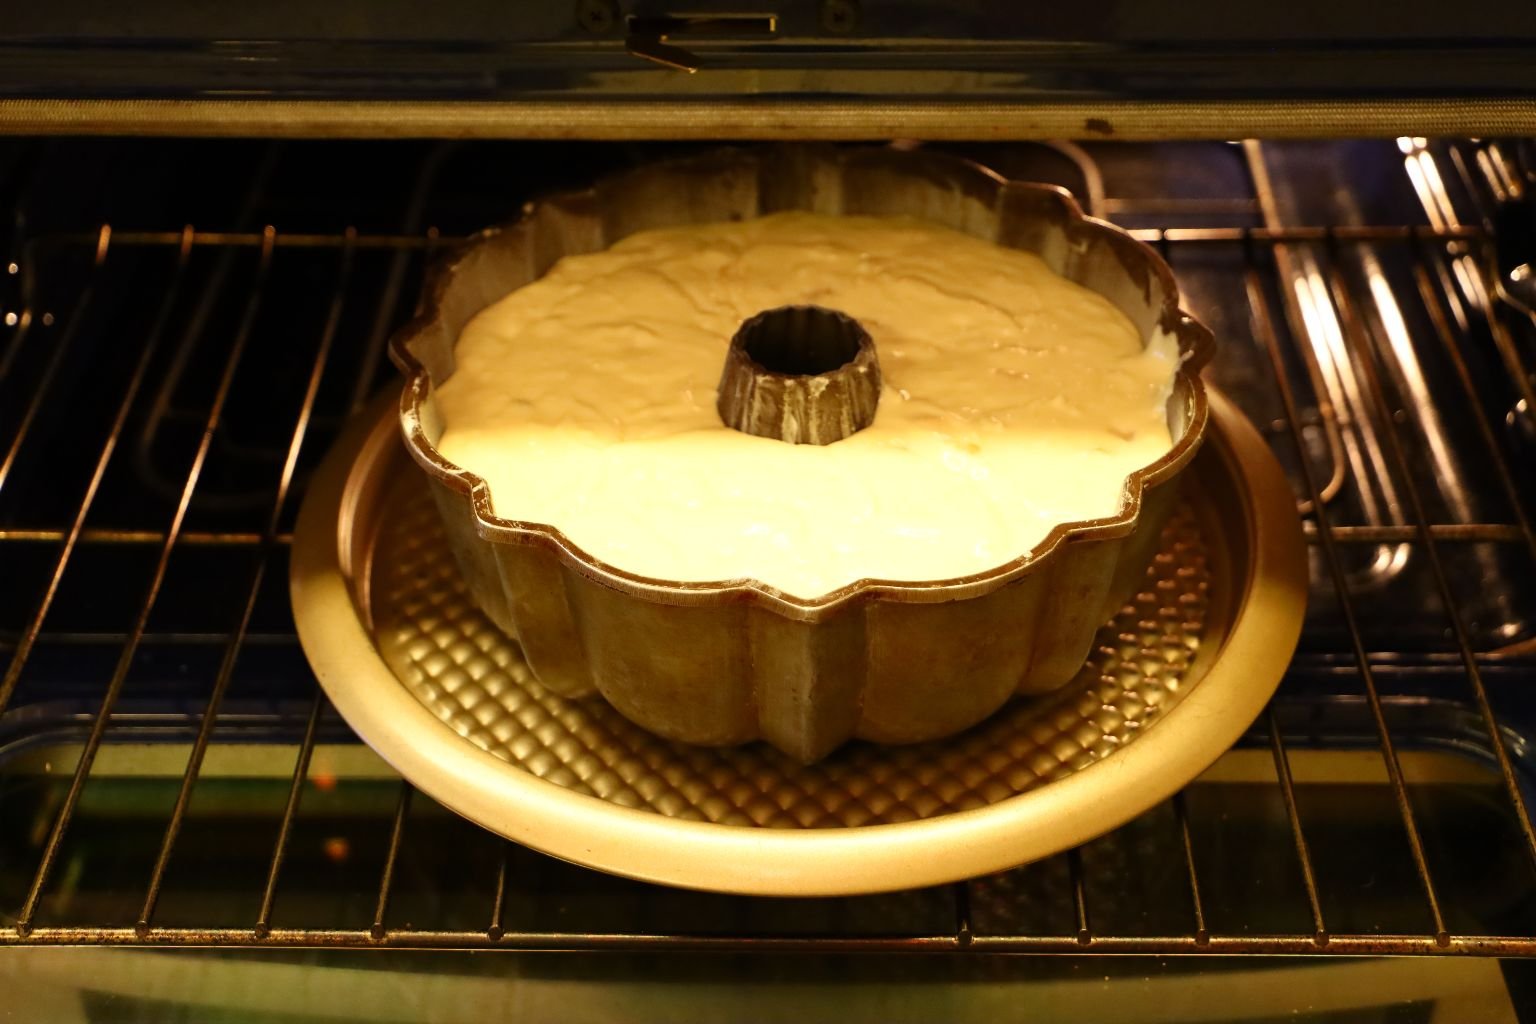
You want to bake for about 2 hours. I did check the cake at 60 minutes, and then at 90 minutes just to make sure it wasn’t burning. Each oven is a little different and cooking times can vary. I also wanted to make sure the cake wasn’t burning. If it is getting too brown for you, cover with Aluminum Foil and continue the cooking process.

When done, remove from the oven and set on a cooling rack until thoroughly cooled.
The mistake that I made was that I left it in the Bundt Pan overnight because we weren’t going to eat it until the following day. What I should have done was to remove it once cooled. Then, it wouldn’t have gotten so stuck.
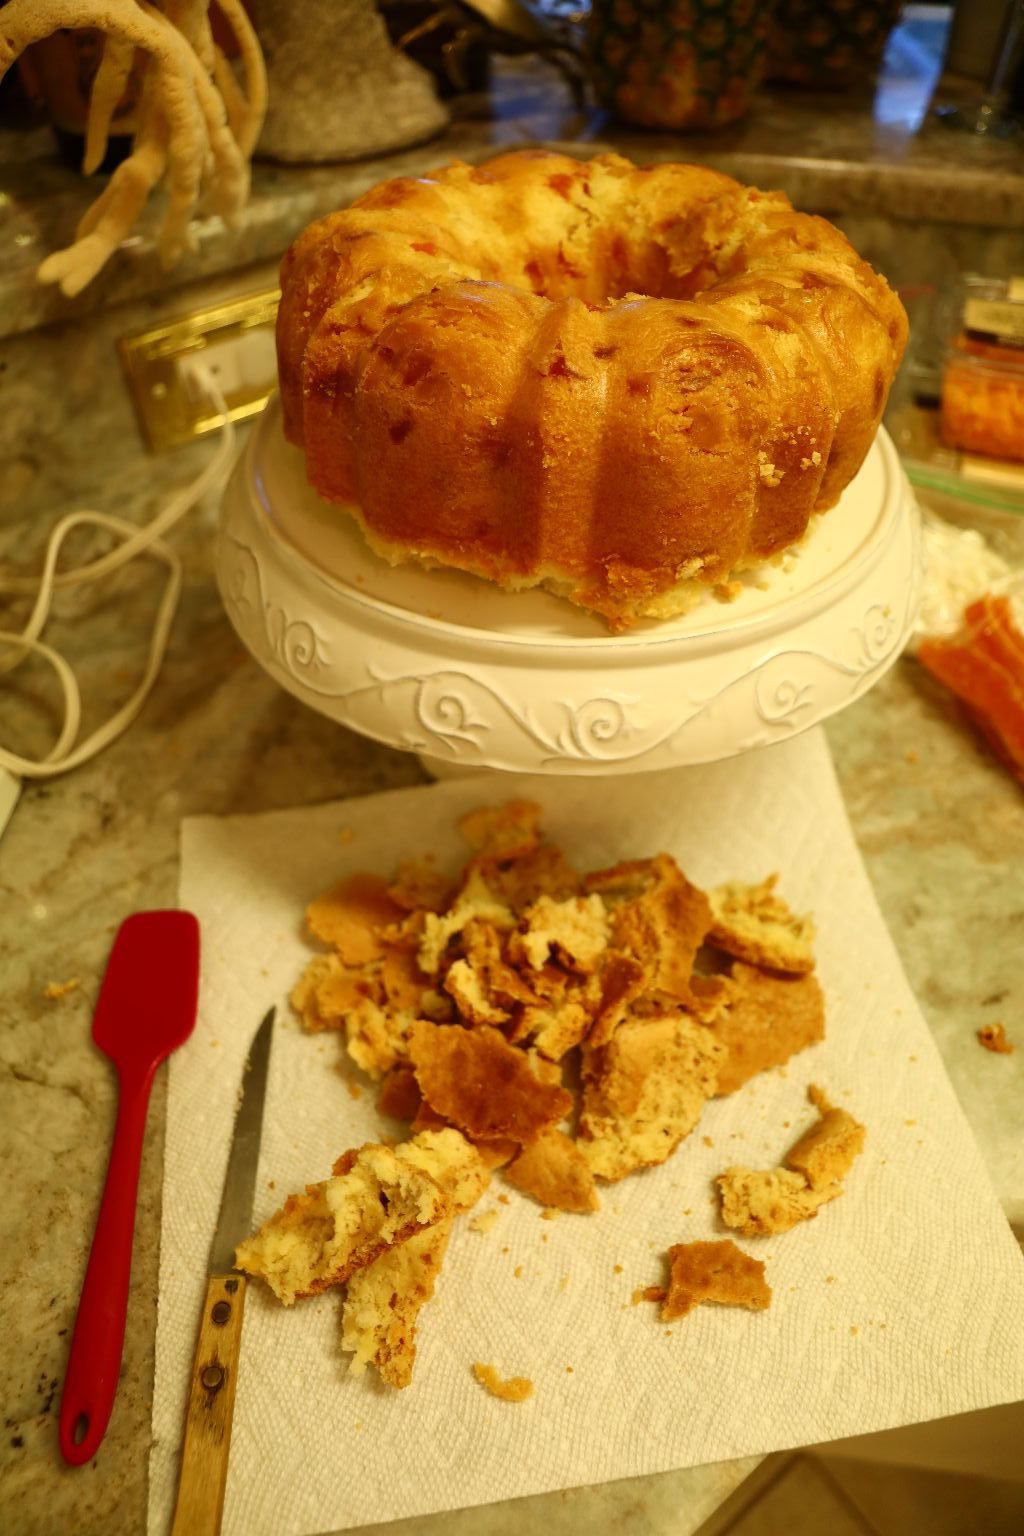
So, next day! Managed to wrangle it out of the pan.
Those big chunks you see are collateral damage. Delicious, collateral damage btw.
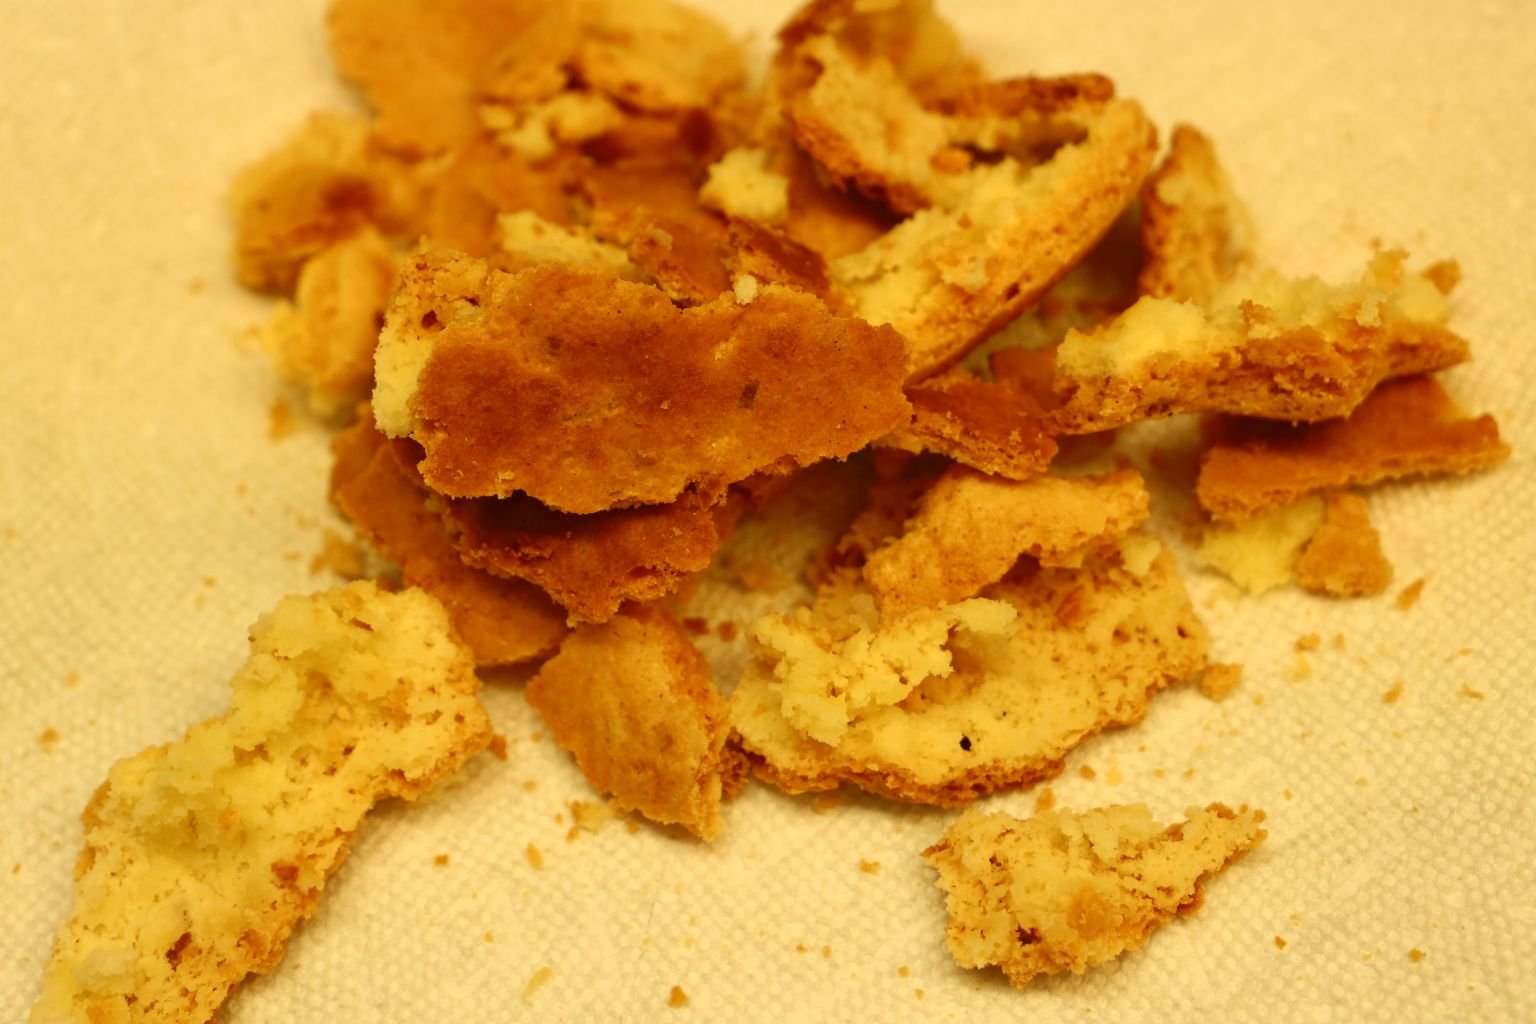
(Never throw something delicious away. It can always be eaten with ice cream!)
———————————————————–
With the cake salvaged as much as possible, it’s time for the frosting. 🙂
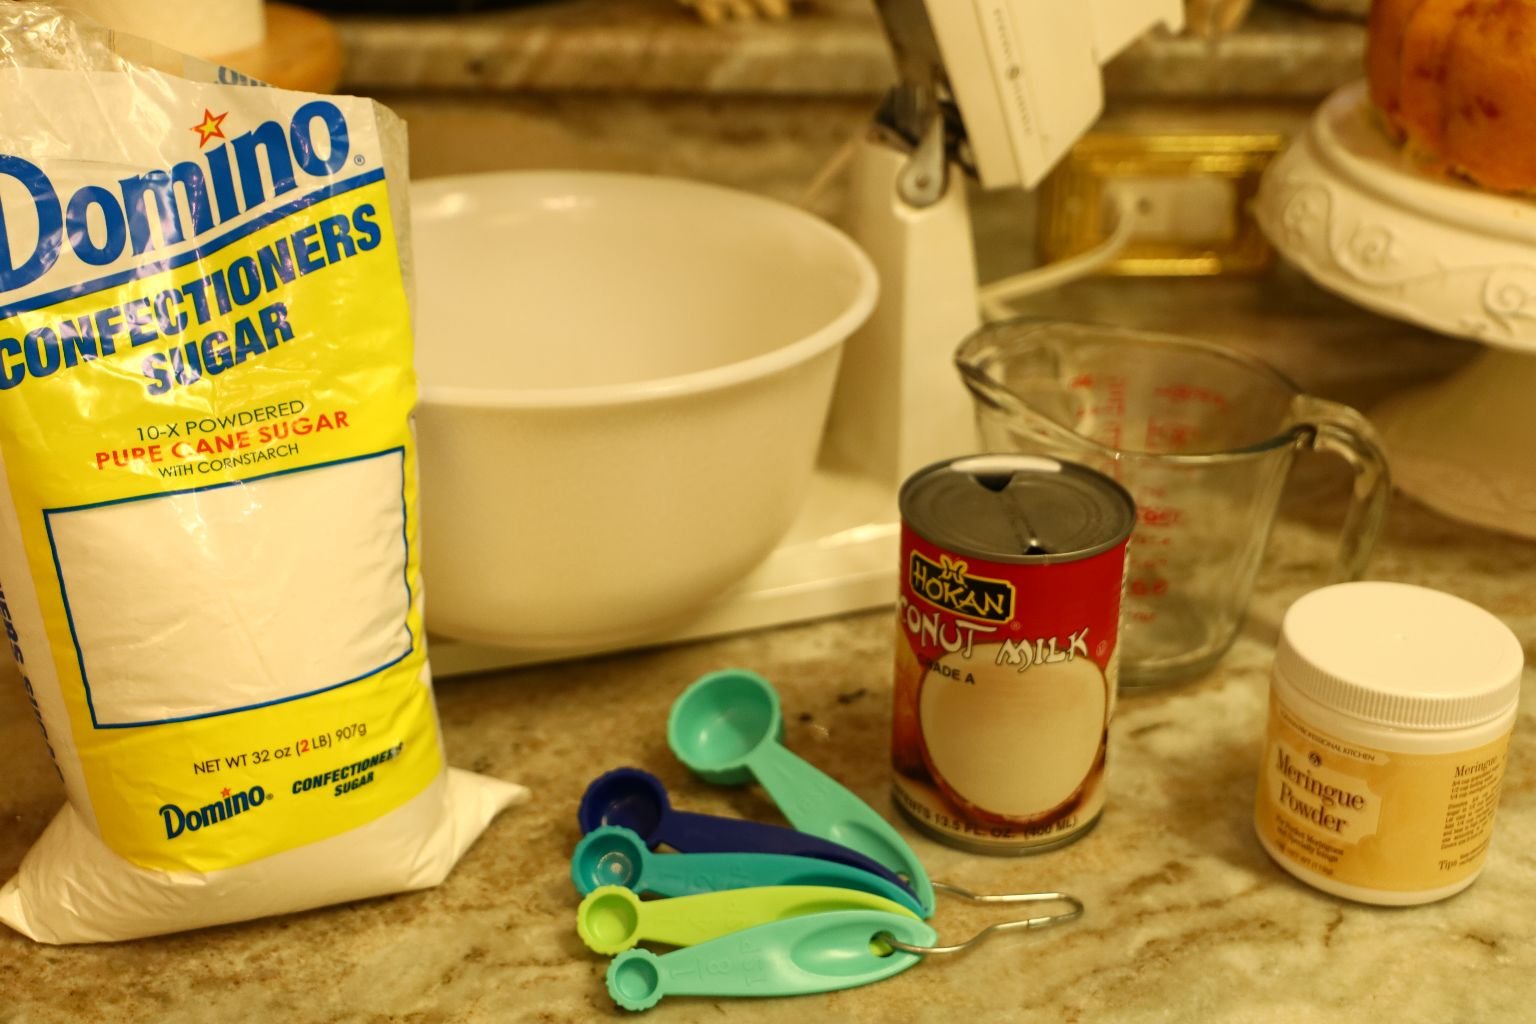
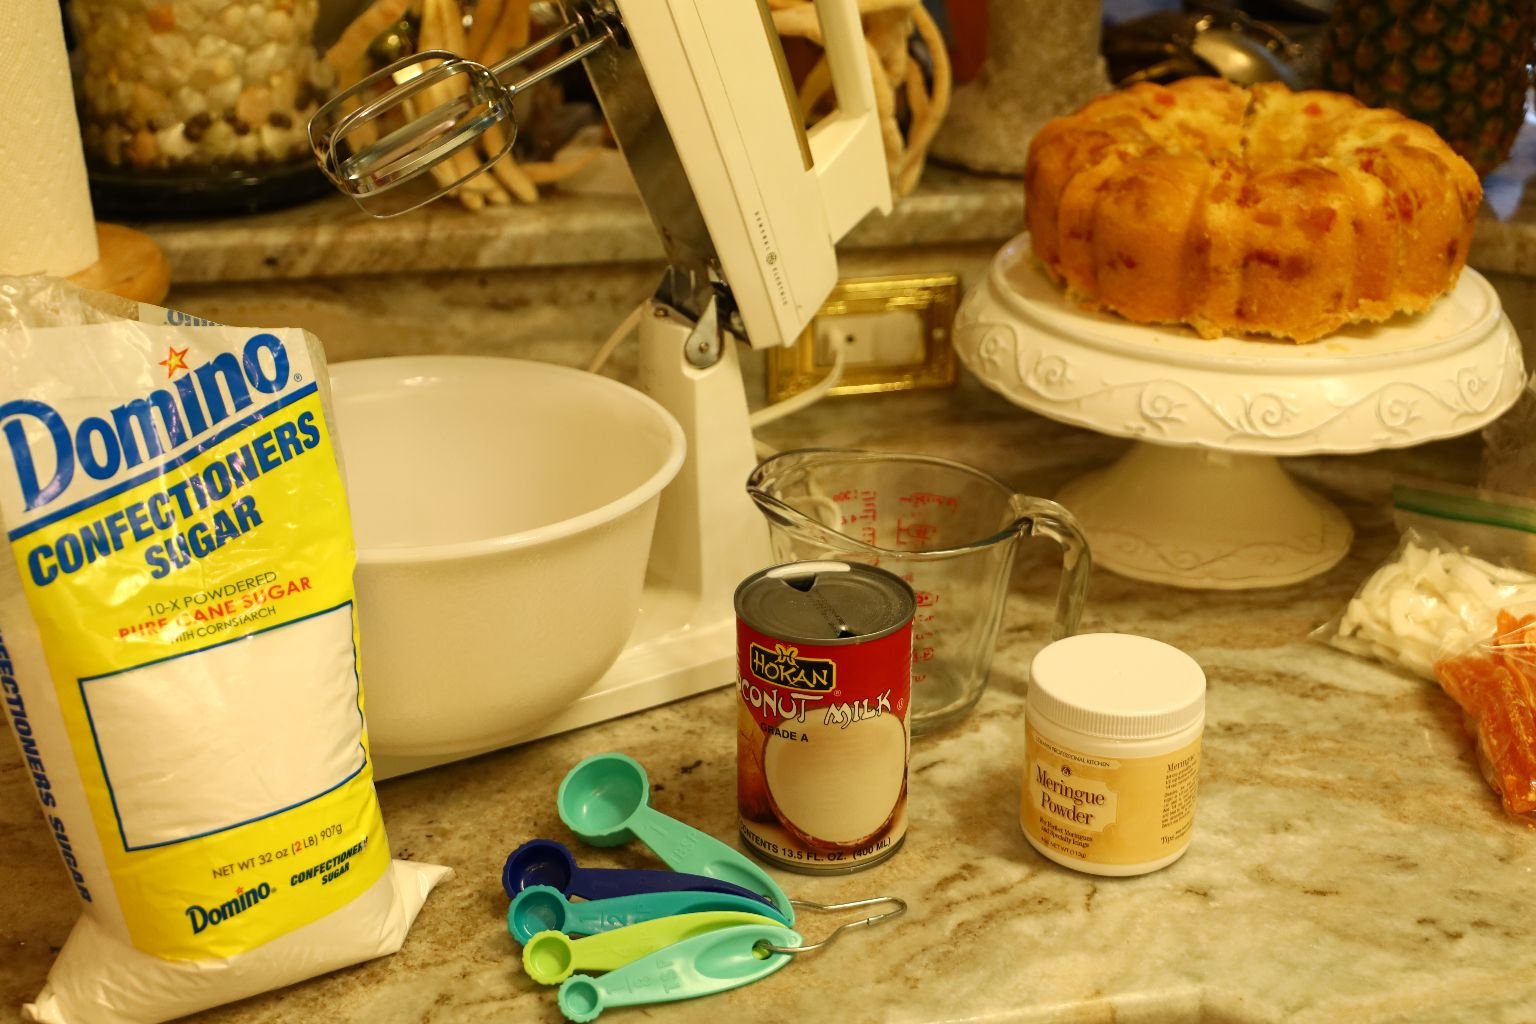
I wanted to make a Royal Icing.
The instructions are actually on the container of Meringue Powder.
But, instead of water I used Coconut Milk.
Just follow the Meringue Powder instructions and you can make it for yourself.

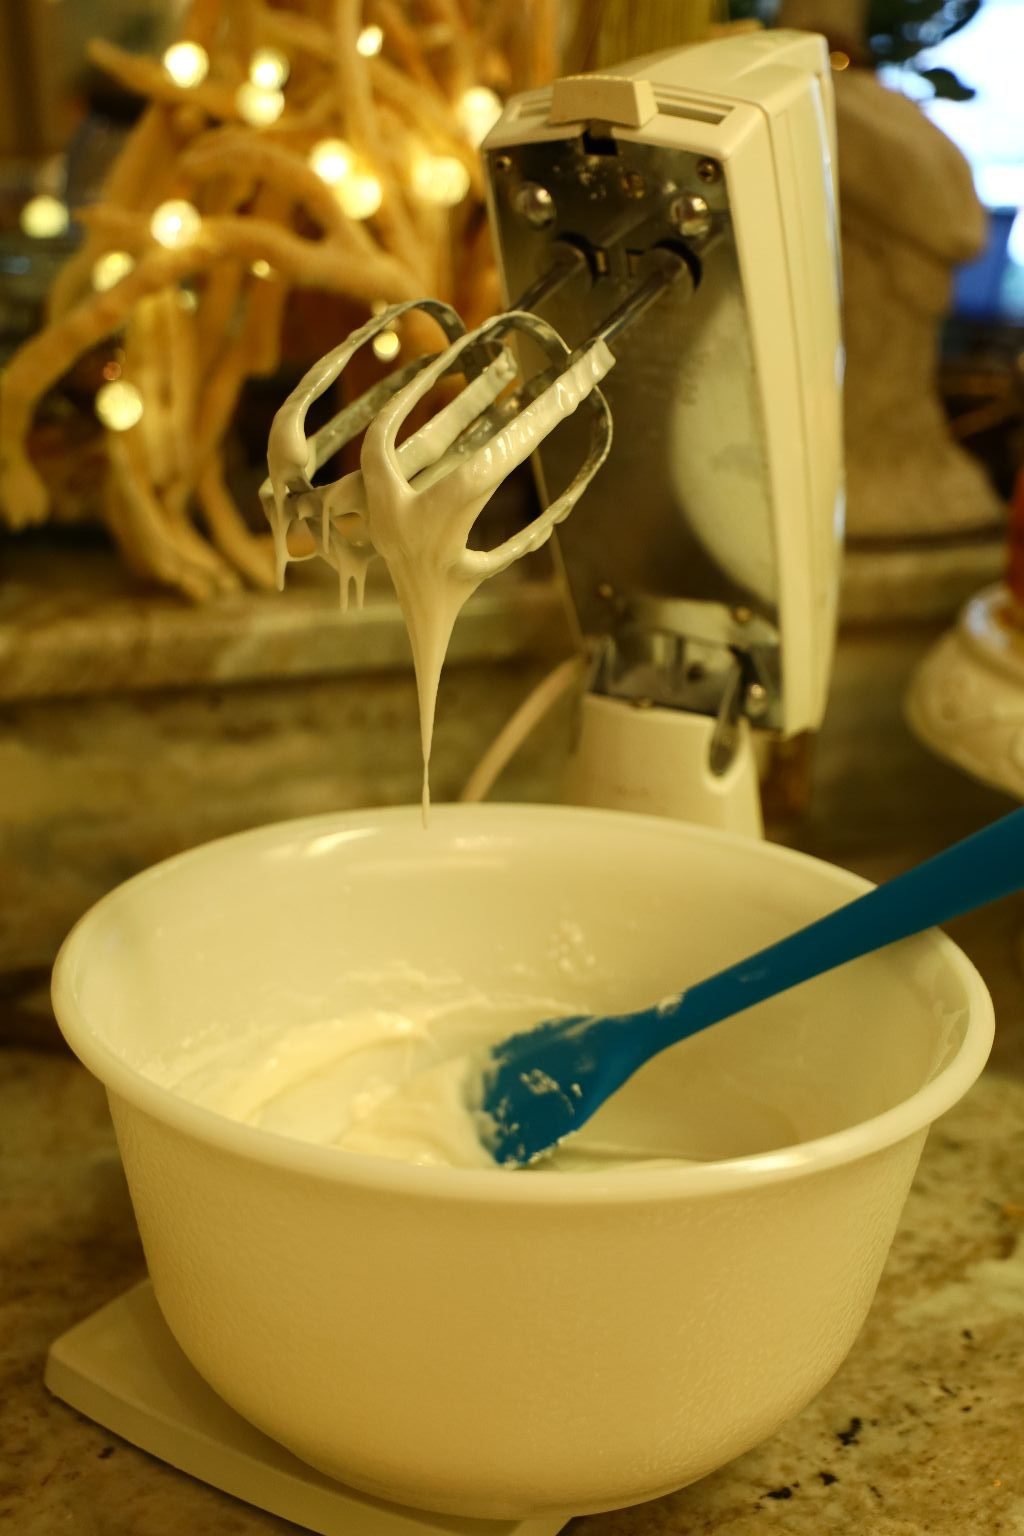
Making Royal Icing in my Vintage Mixer
—————————————————————-


My original intention was to just drizzle the Royal Icing on top of my cake. However, seeing as how I had gaps and holes in it, I wanted to hide them, so, I added some Papaya Dried Fruits to fill in some of the gaps.

I also added some small dried fruits of Coconut and Papaya around the cake bottom.
In order to fill in those gaps as well.
————————————————————
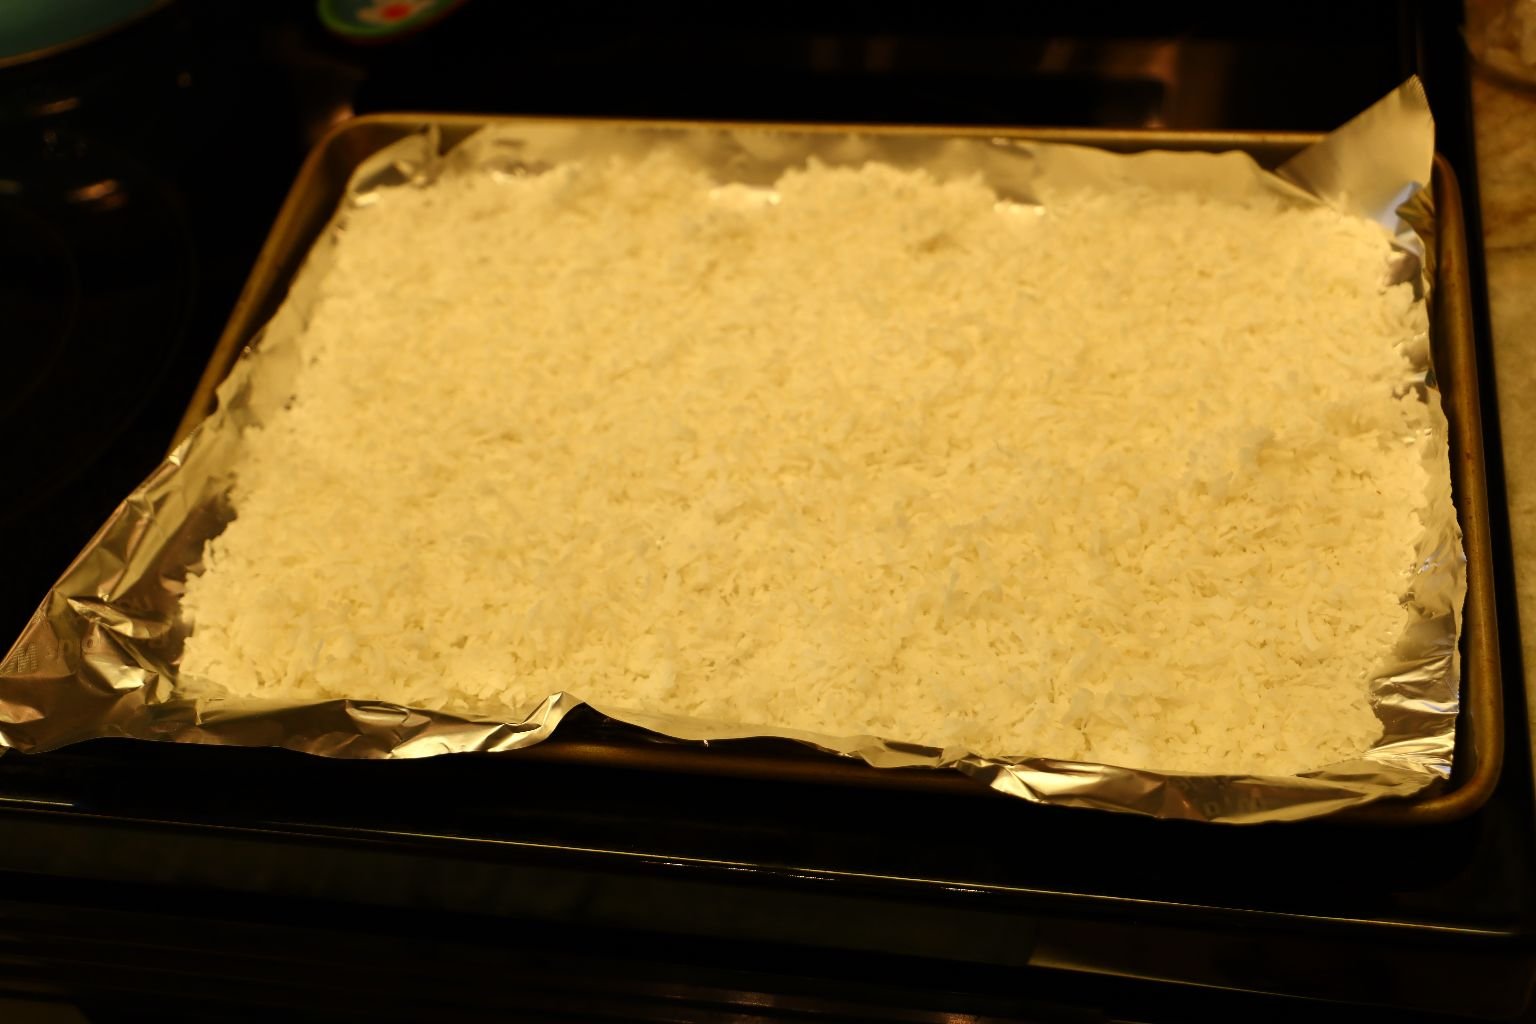

Toasting Shredded Coconut
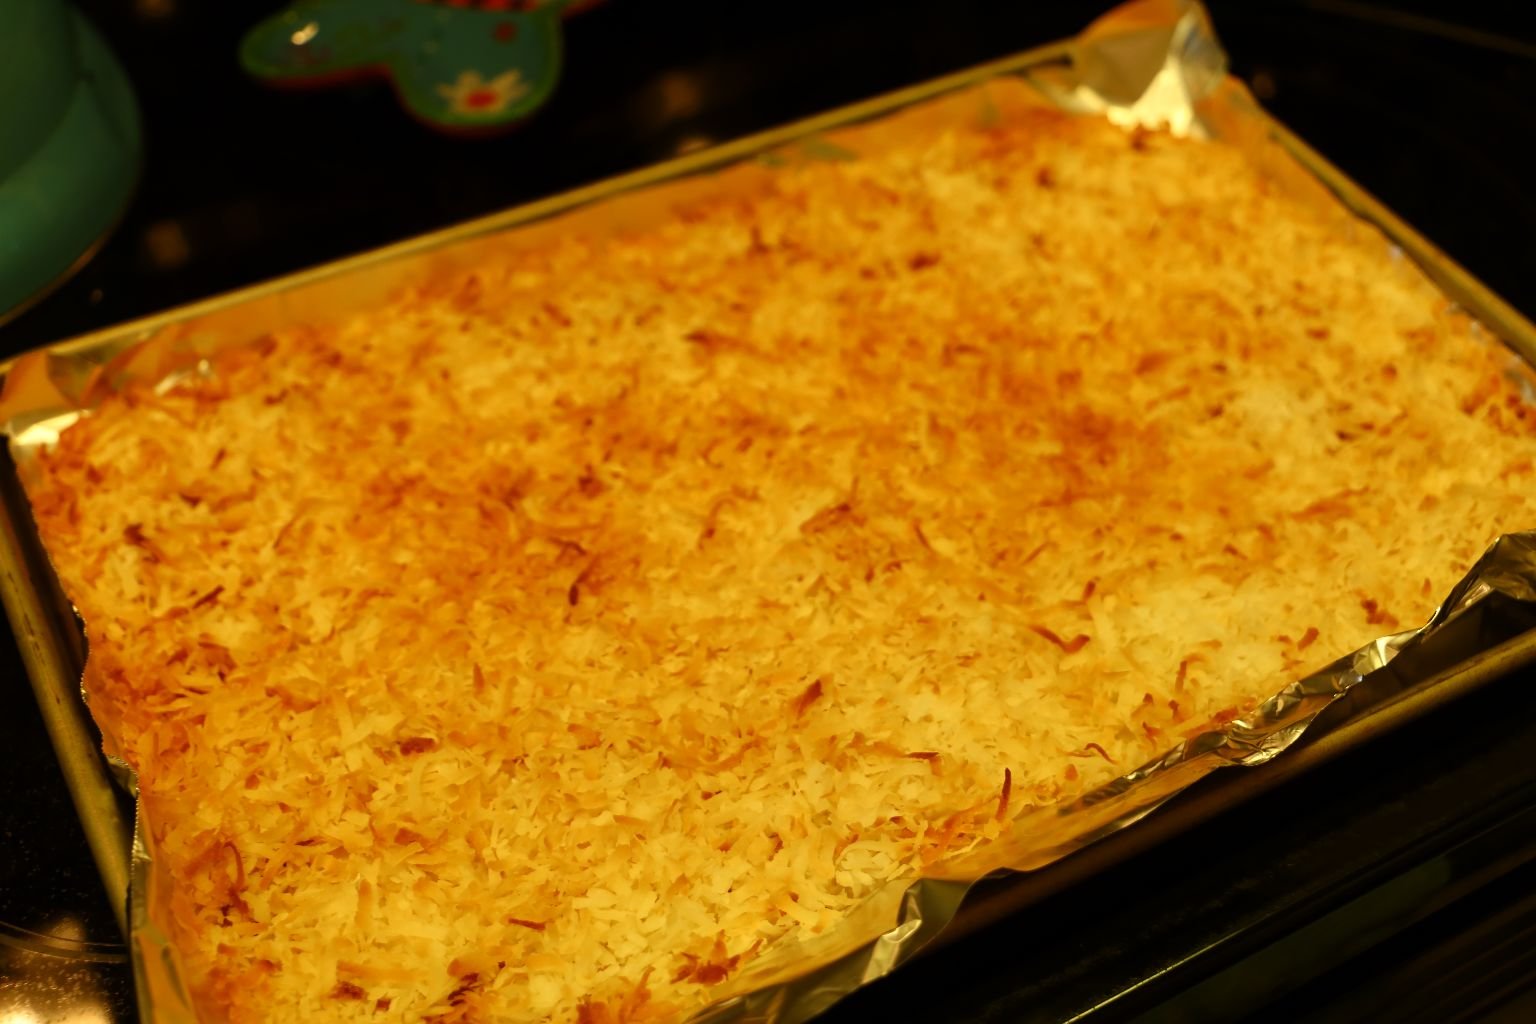
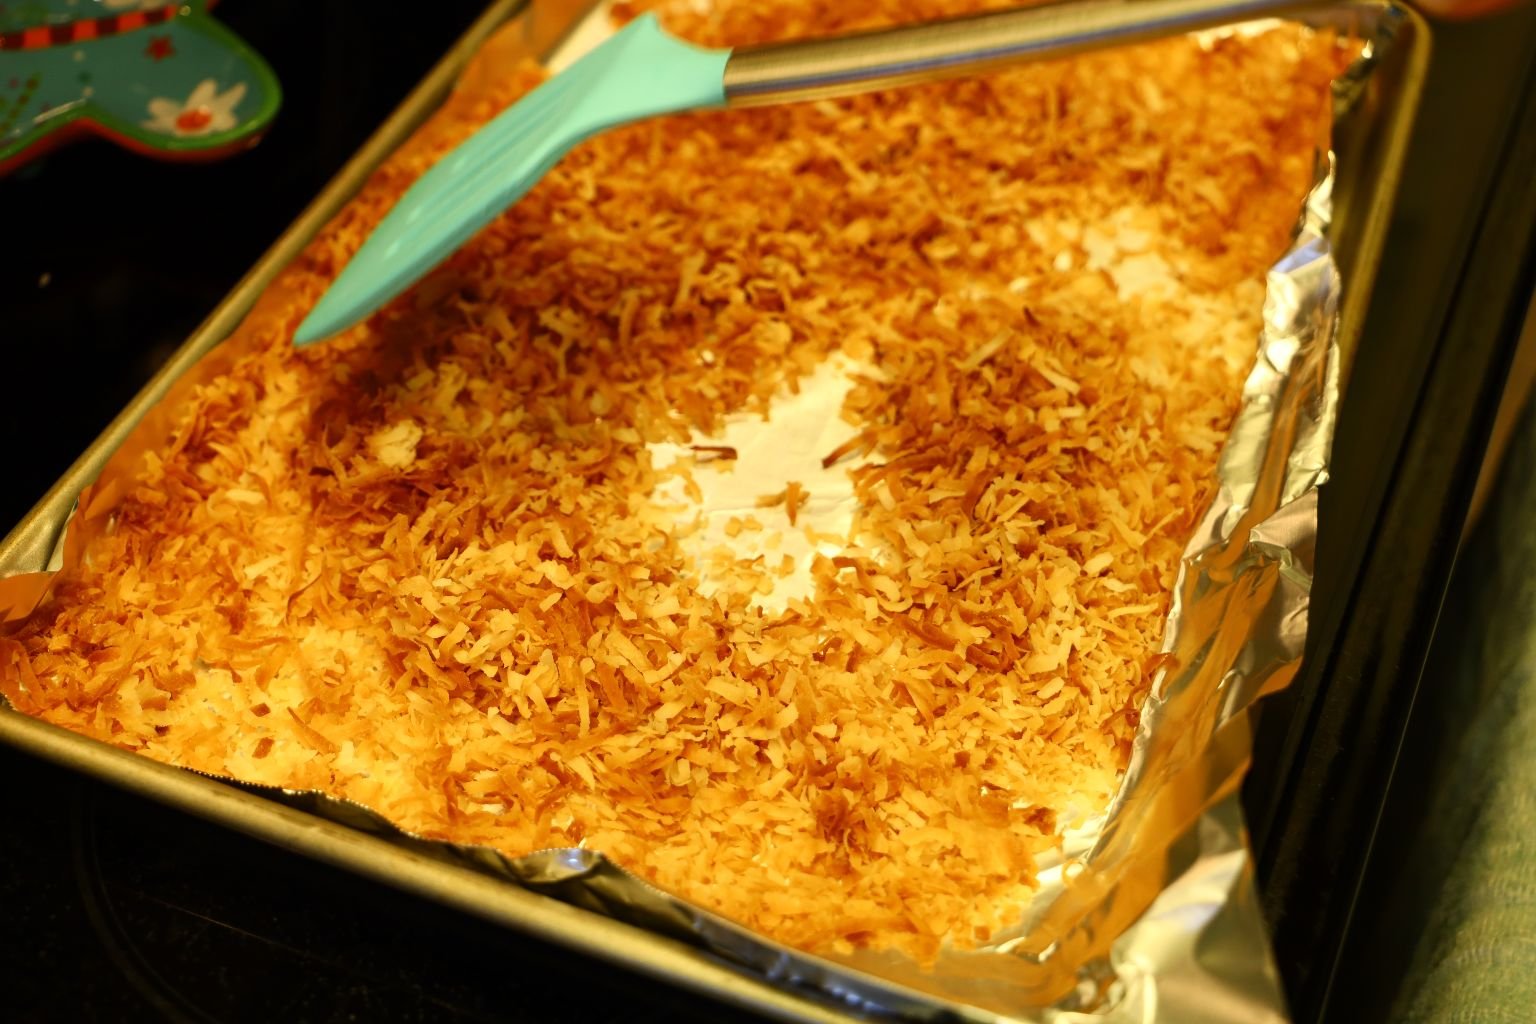
It’s actually quite simple. You just spread the shredded coconut on a baking sheet lined with Aluminum Foil. Place into a 350F oven and remove after about 10 minutes and stir around. Place back into the oven for an additional 5 minutes or so. Then remove and stir around. You want it to be a toasted color and taste.
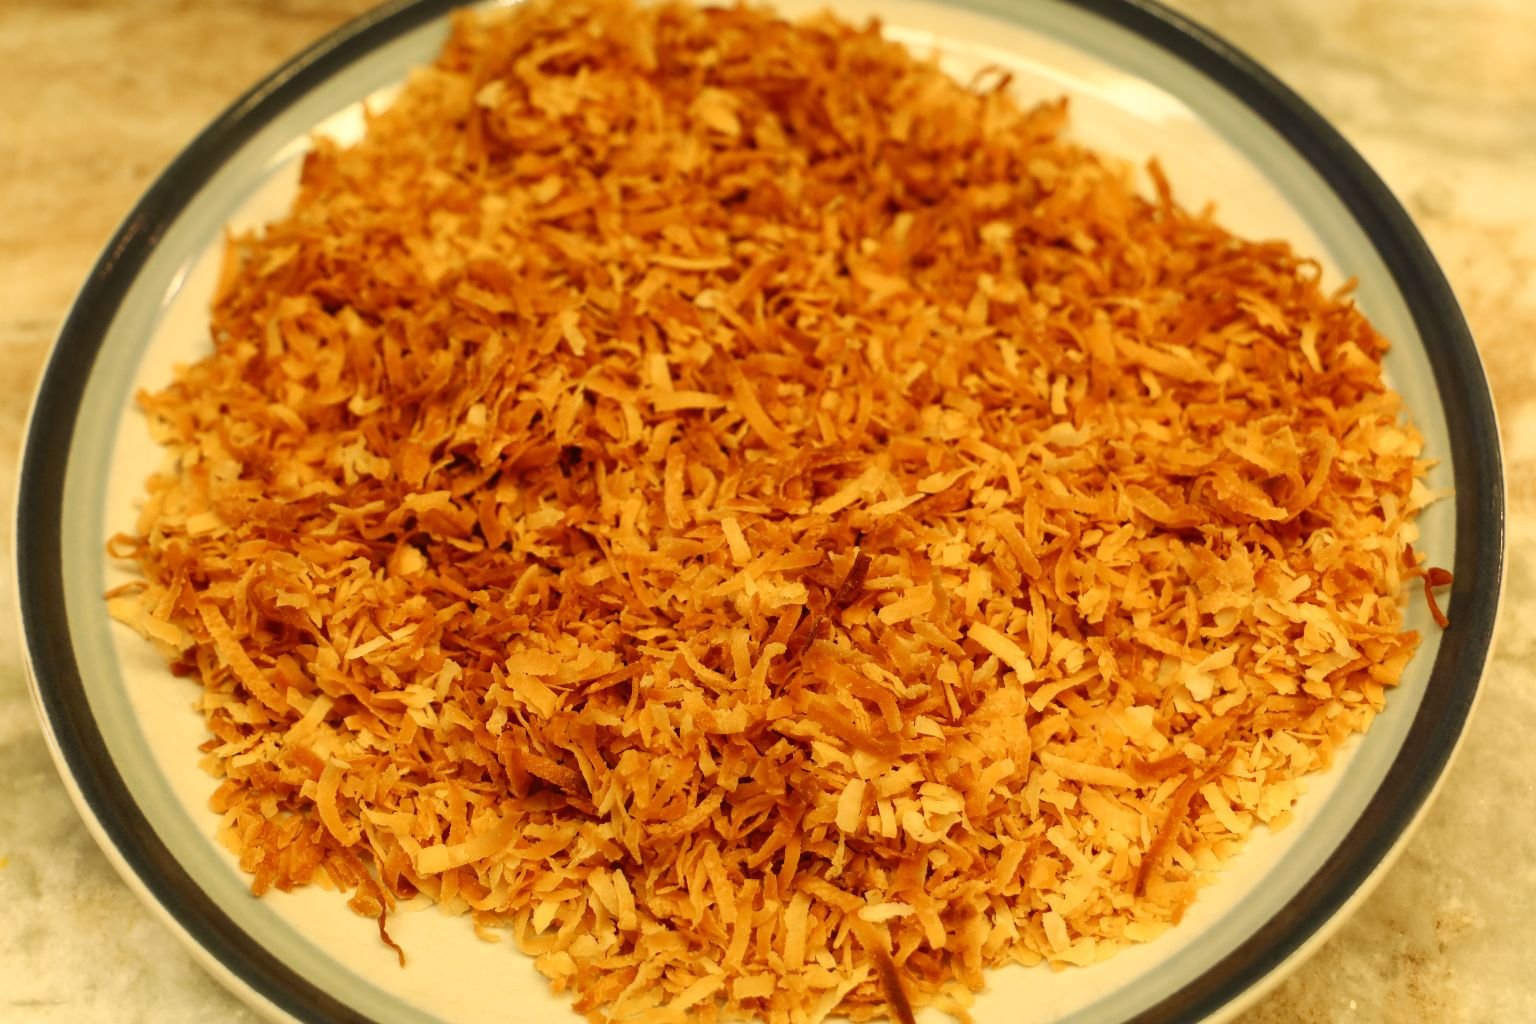
Right Out of the Oven

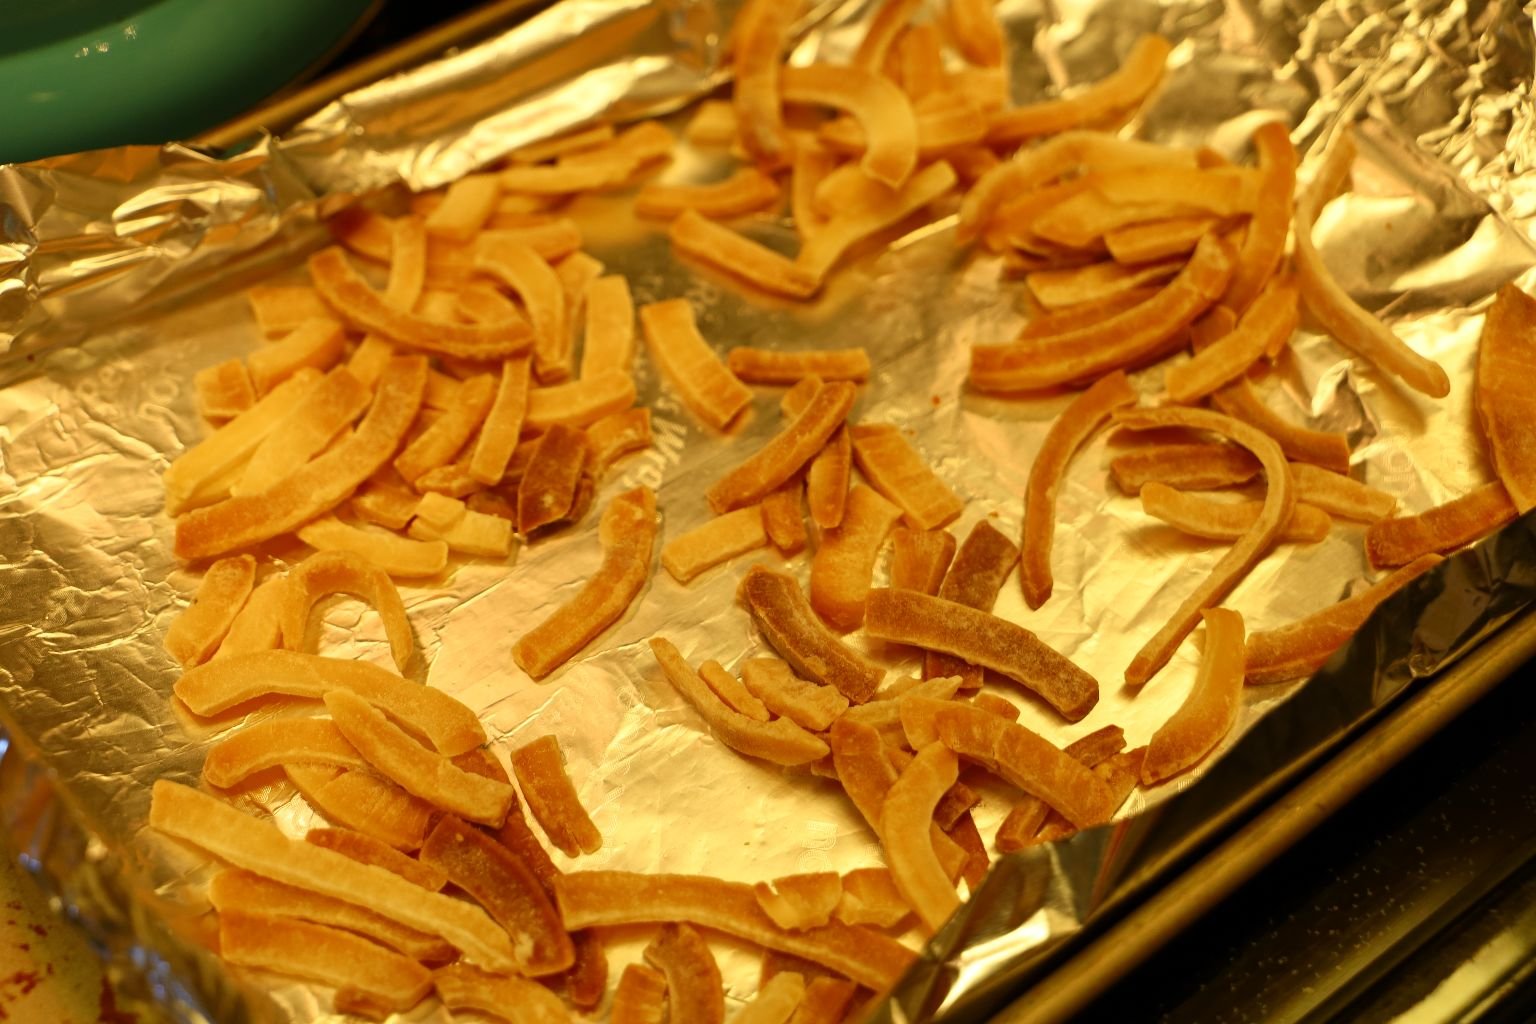
These are Coconut Strips that we toasted for our Cake as well as our Spinach and Kale Salad.
I am so enjoying my CAKE!
——————————————————————–
King’s Hawaiian Dinner rolls
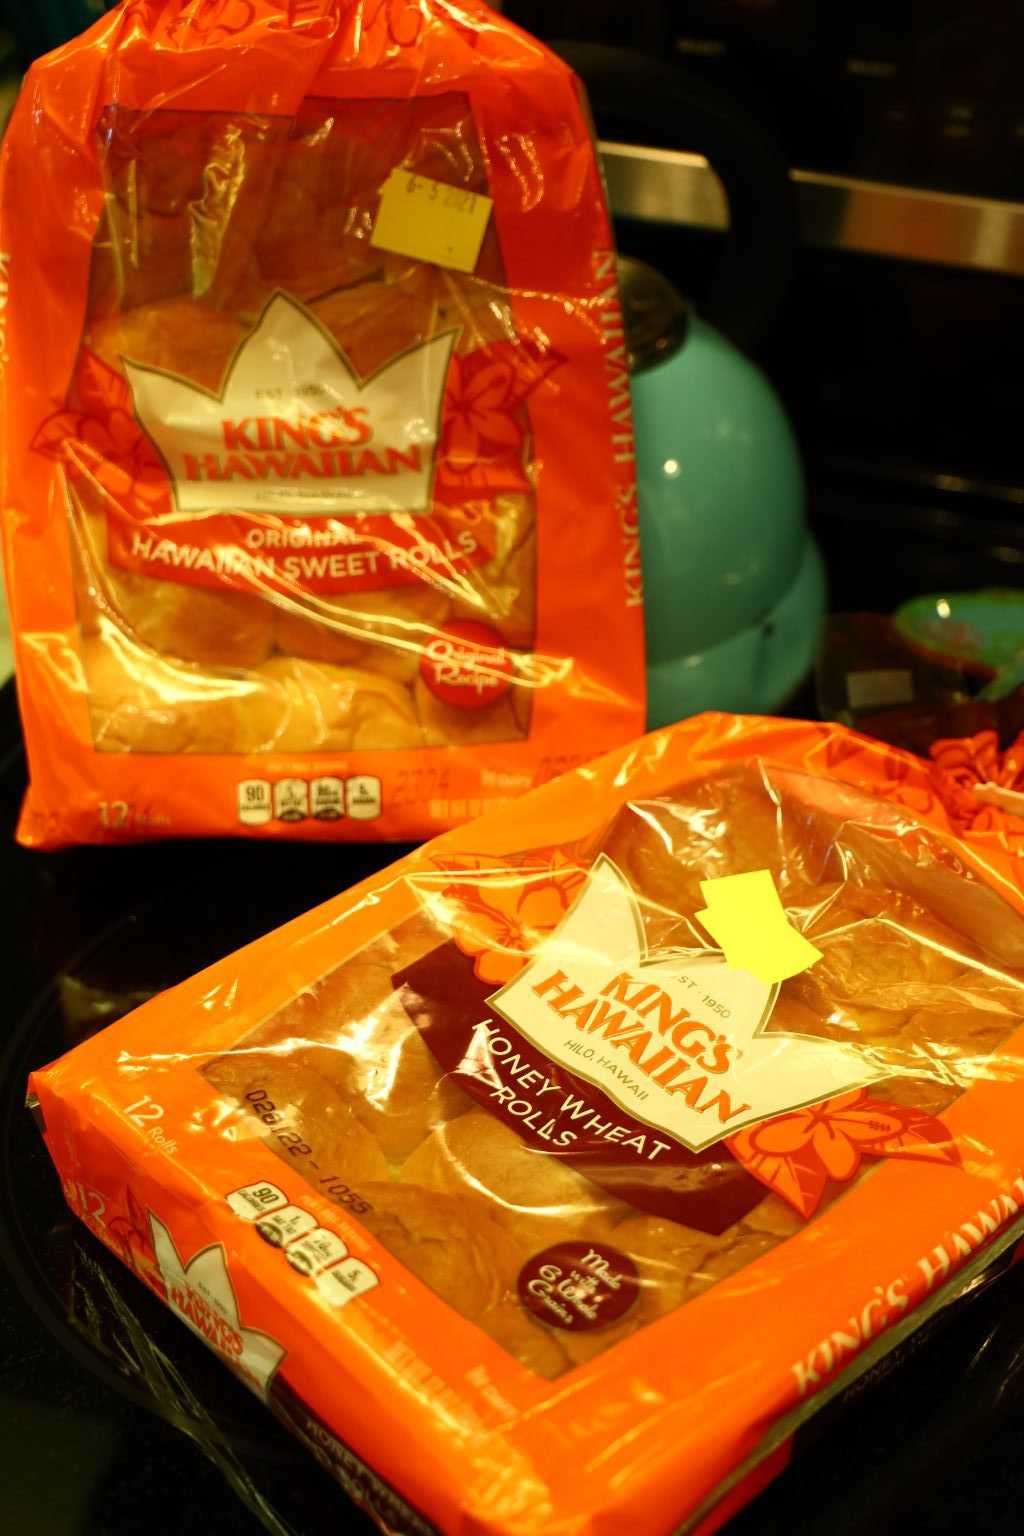
I would like to say that before Obama became President no one on Mainland America even knew of them. They were exclusively Hawaiian. Happy to have them here!
—————————————————————————-
Asian/Hawaiian Macaroni Salad
(Write up by Gordon)
—————————————–

The Ingredients:
1 Box Elbow Macaroni
1 tsp. Sea Salt – we used Hawaiian Sea Salt
~3/4 Cup Chopped Celery
~3/4 Cup Chopped Bell Pepper – Orange and Red
~3/4 Cup Miracle Whip
~2 Tbsp. Honey Mustard
~1 Heaping Tbsp. Sweet Relish
~1 Cup Stick Carrots – chopped slightly
~1/2 tsp. Ground Pepper
~2 Tbsp. Aji Mirin Sweet Cooking Rice Seasoning
~3 Tbsp. Sesame Oil
~1 Tbsp. Roasted Sesame Seeds
~1 Tbsp. Black Sesame Seeds
———————————————————————

Place about 3 quarts of water into a large pot and set it on high heat.


Add your salt to the water to flavor the macaroni.

Clean and rinse your celery as it is grown in sandy soil. Chopping off the root about an inch from the base will get rid of a good deal of this dirt. It will also release all the stalks from the base. Then cut off the top of the celery to get rid of the dried and brown ends.


Slice the celery stalks in three sections then chop them into small pieces as shown.


Slice your Bell Peppers into lengths then into small pieces.


When your water has come to a boil, add your macaroni.
Stir the macaroni occasionally to insure it doesn’t stick.

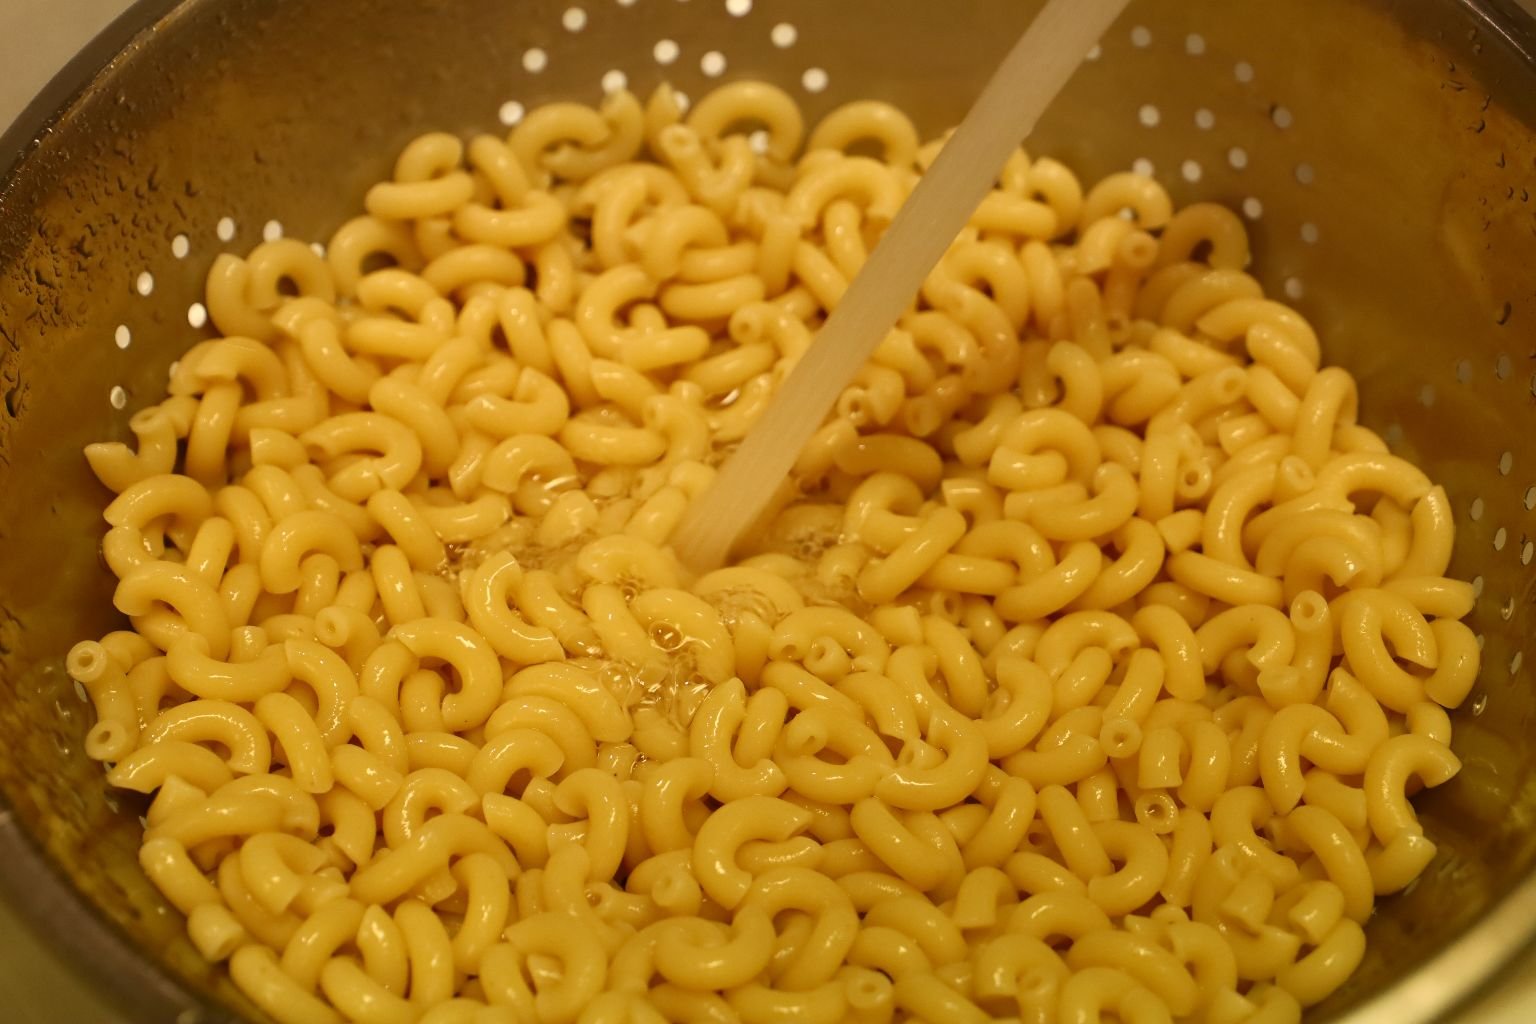
After the macaroni has cooked as directed and is slightly al dente or is cooked in a way that it still retains some texture, pour the macaroni into a colander and rinse it well with cold water to stop the cooking process.
————————————————————

Pictured are some of the ingredients I used to give this macaroni salad an Asian taste.


Once the macaroni has been cooled and is well drained, place the it into a large bowl.

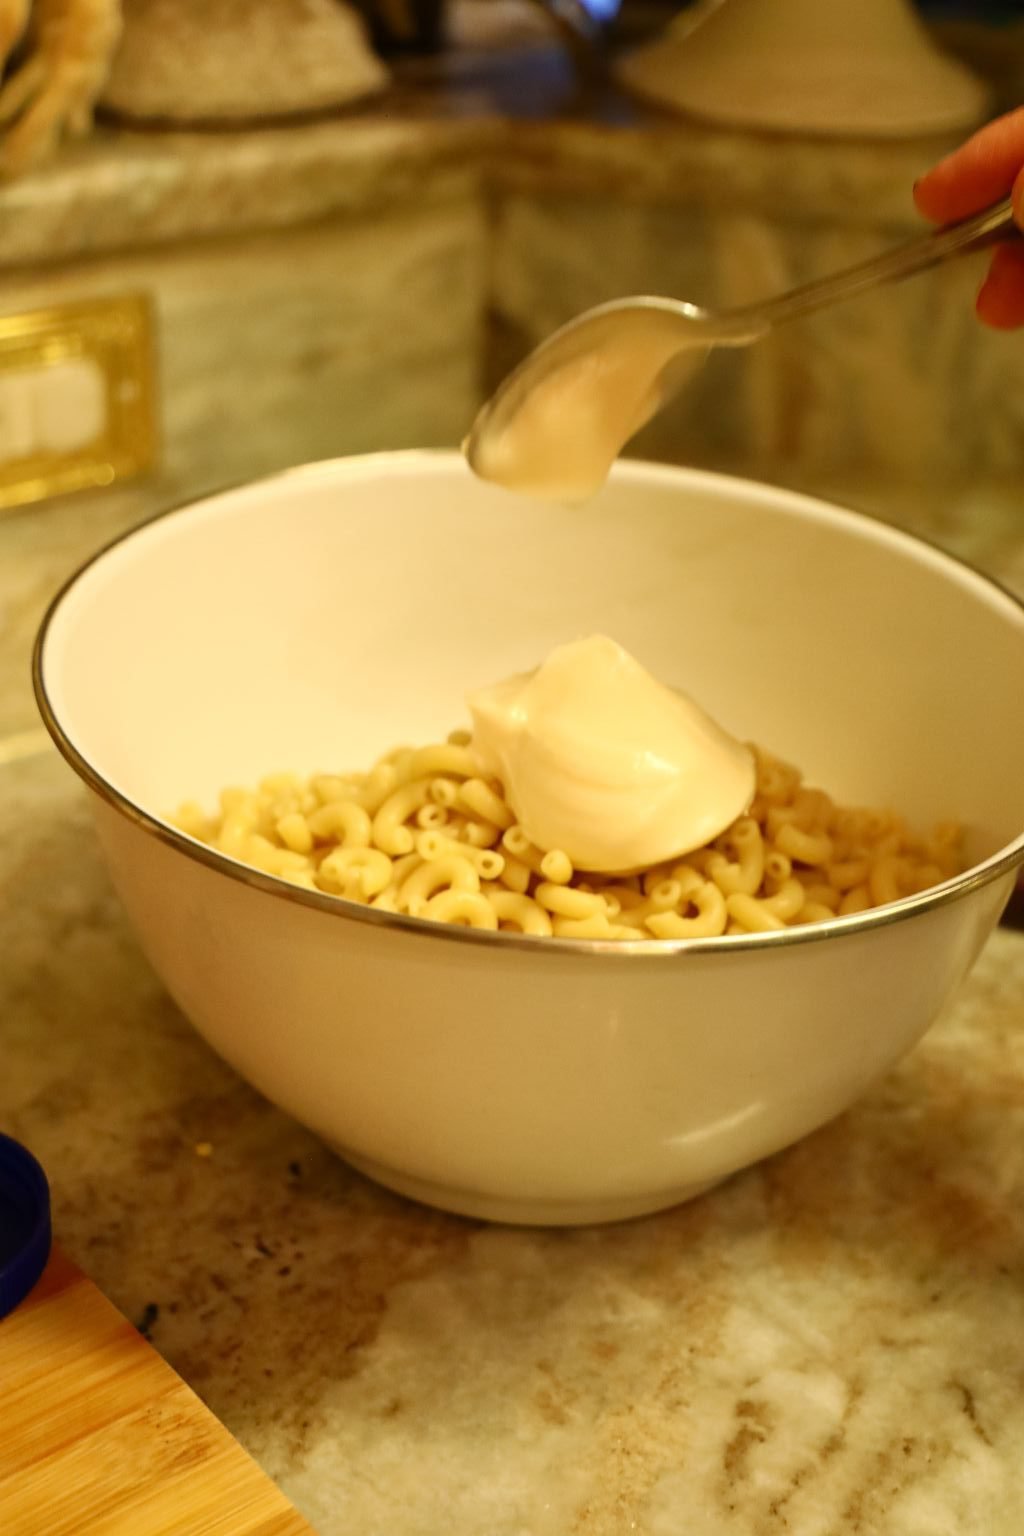
Add your Miracle Whip to the salad…

————————————————————–


Then add your Honey Mustard.
You could easily substitute this for an Asian hot mustard in keeping more with the theme.

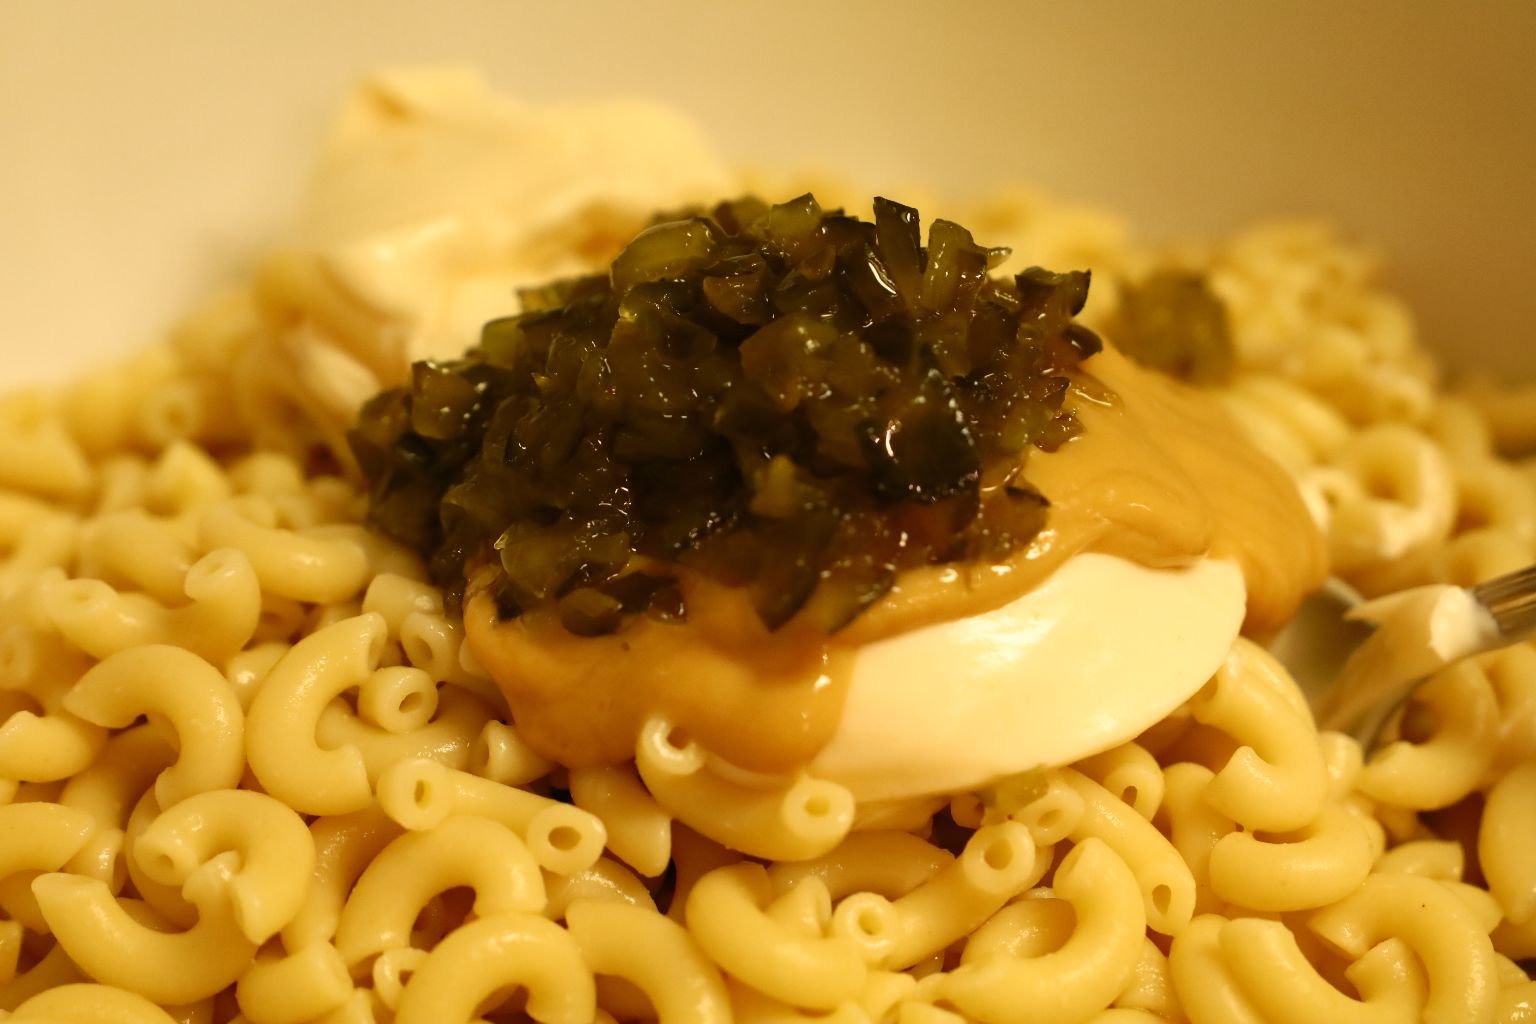
Now add your Sweet Relish to the bowl…


along with your Bell Pepper.

We purchase these stick carrots and we felt they were slightly too big for the salad.


I gave them a rough chop as shown to work better in the salad and placed them into the bowl.

———————————————————-


Add your fresh ground Black Pepper and Mirin to the bowl.
I like to use Mirin as it provides a slightly sweet Asian flavor.

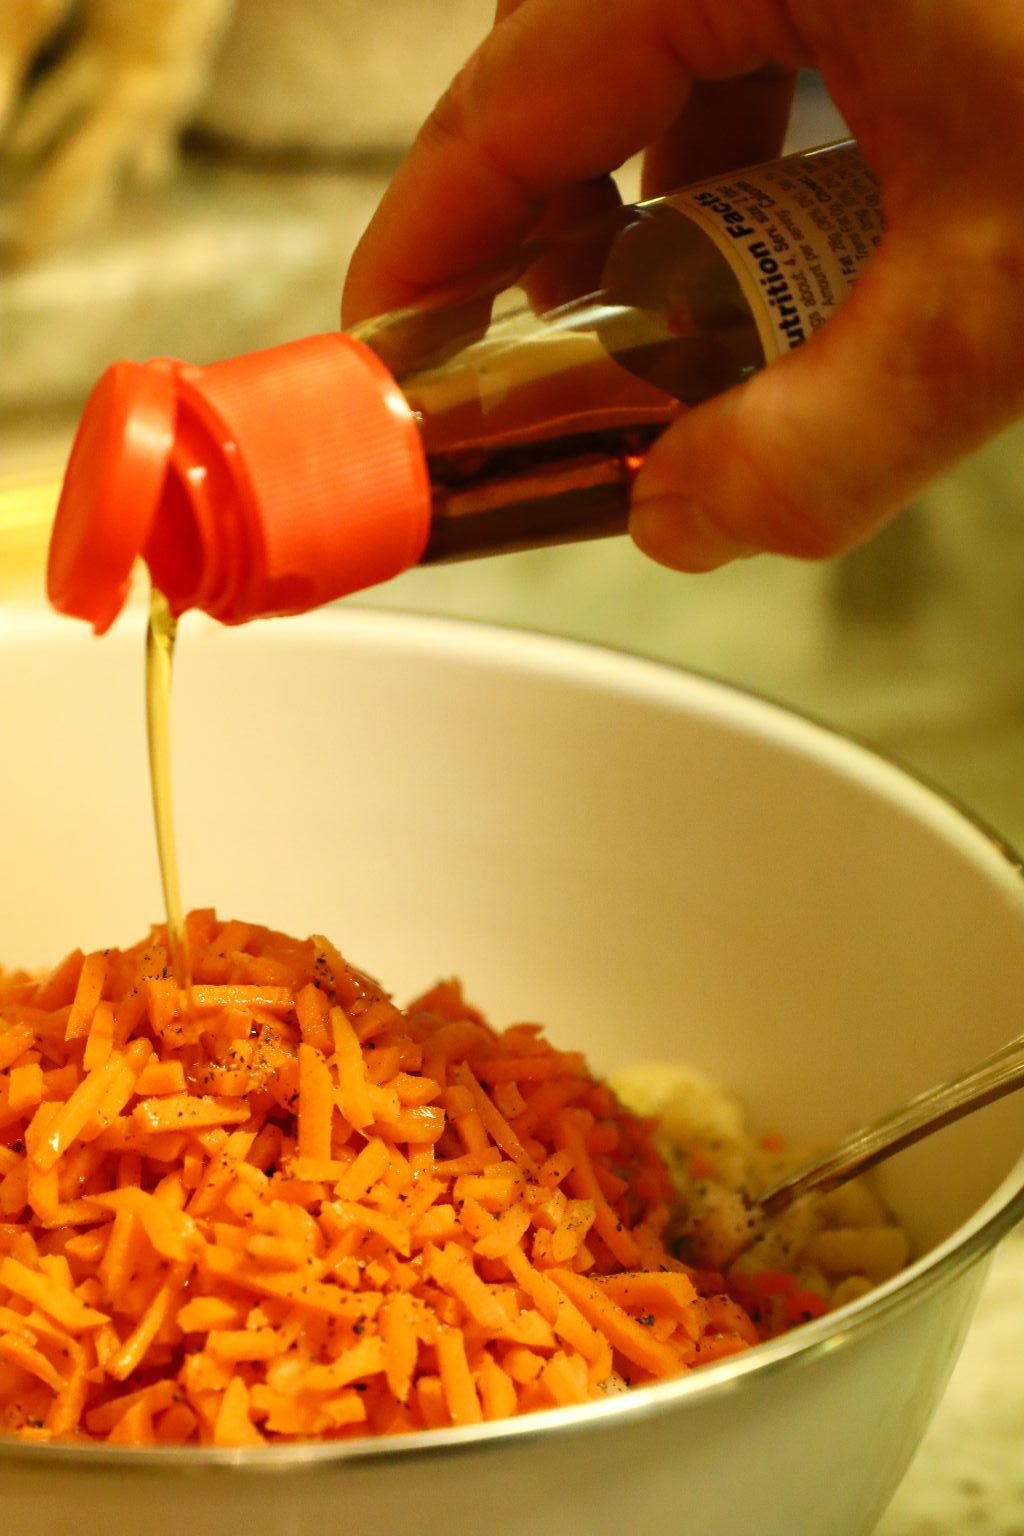
Add your sesame oil as well. This ingredients will provide a slightly nutty flavor, but can be overpowering to the entire dish if you use too much. We love it, so that would be hard to do for us. 🙂


Give all the ingredients a good stir and add any previous ingredients to make it your own.
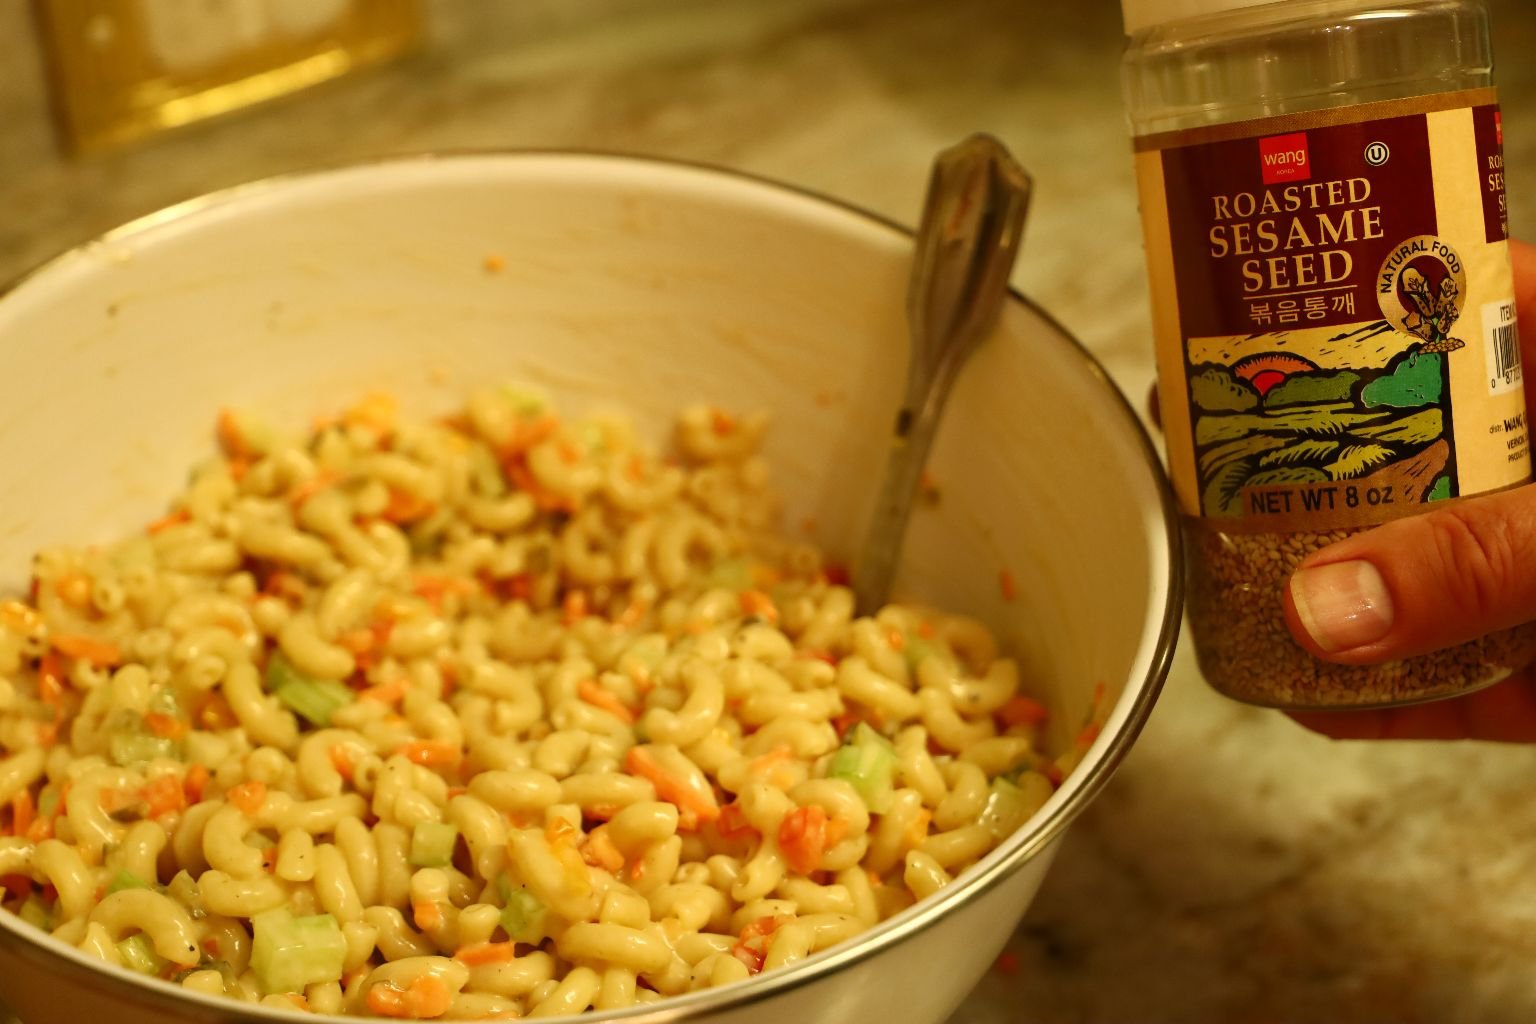
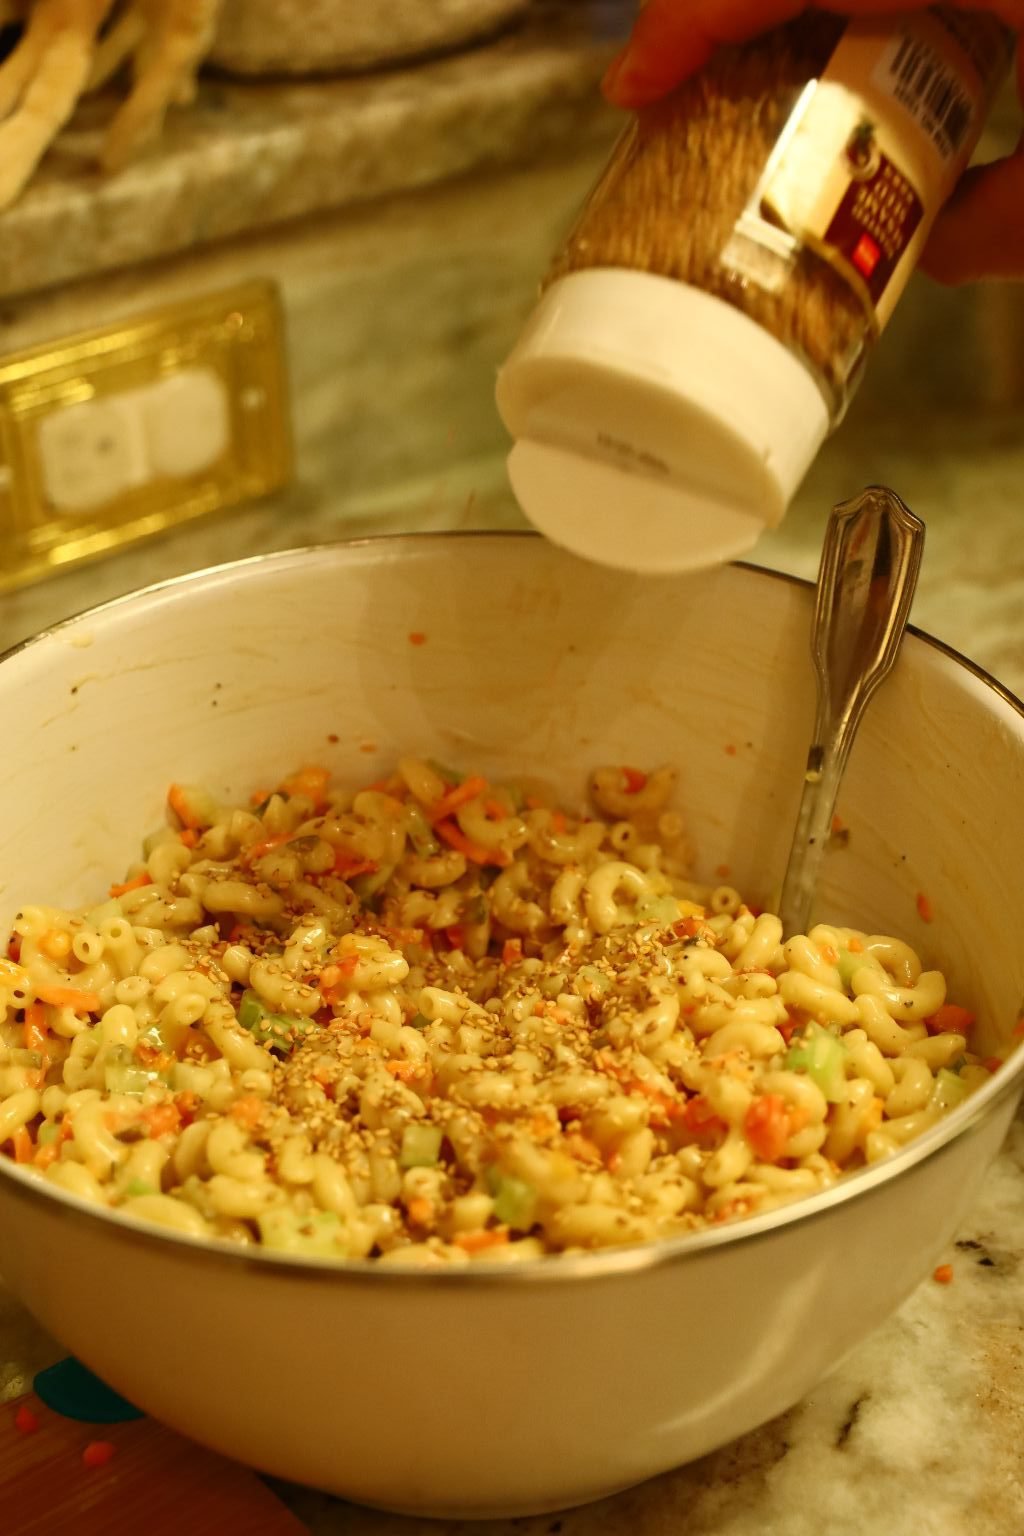
Lastly add your Sesame Seeds to the pasta.


See how the contrasting Black Sesame Seeds give the pasta a nice look! Stir well again and taste the salad and adjust the seasonings as need be.

We hope you enjoy my take on this American Classic!
————————————————————————

Cute Sparky Break 🙂
——————————————————————-

Our Polyn-Asian Turkey Loaf with Pineapple and Cherries
(Write-up by Gordon)
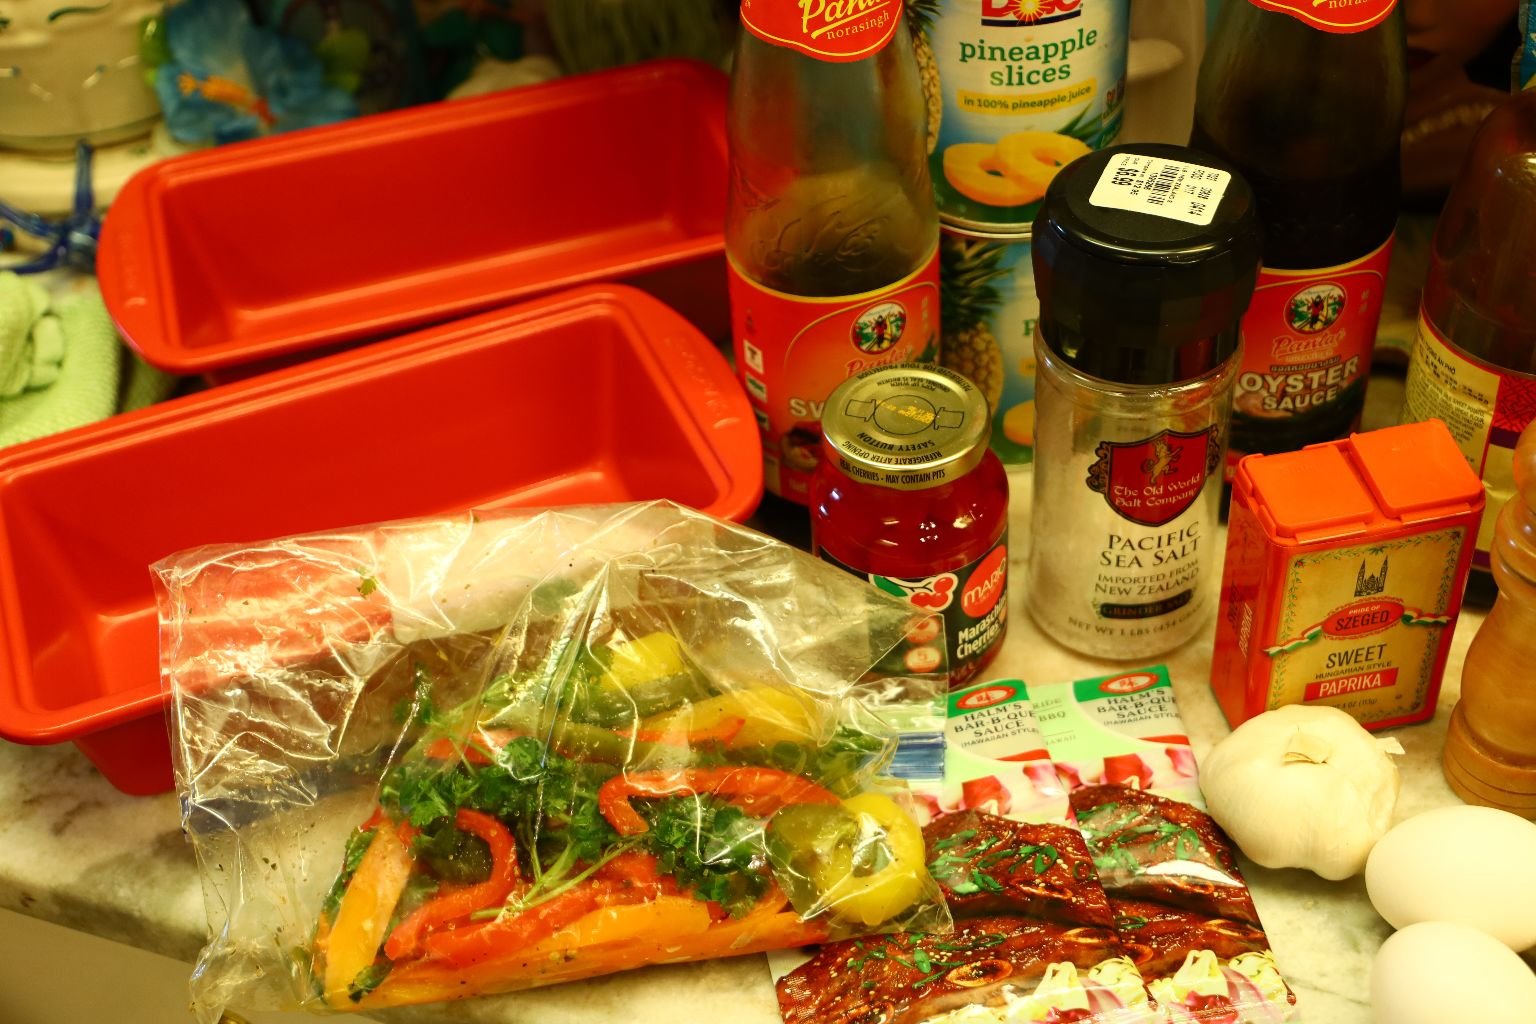
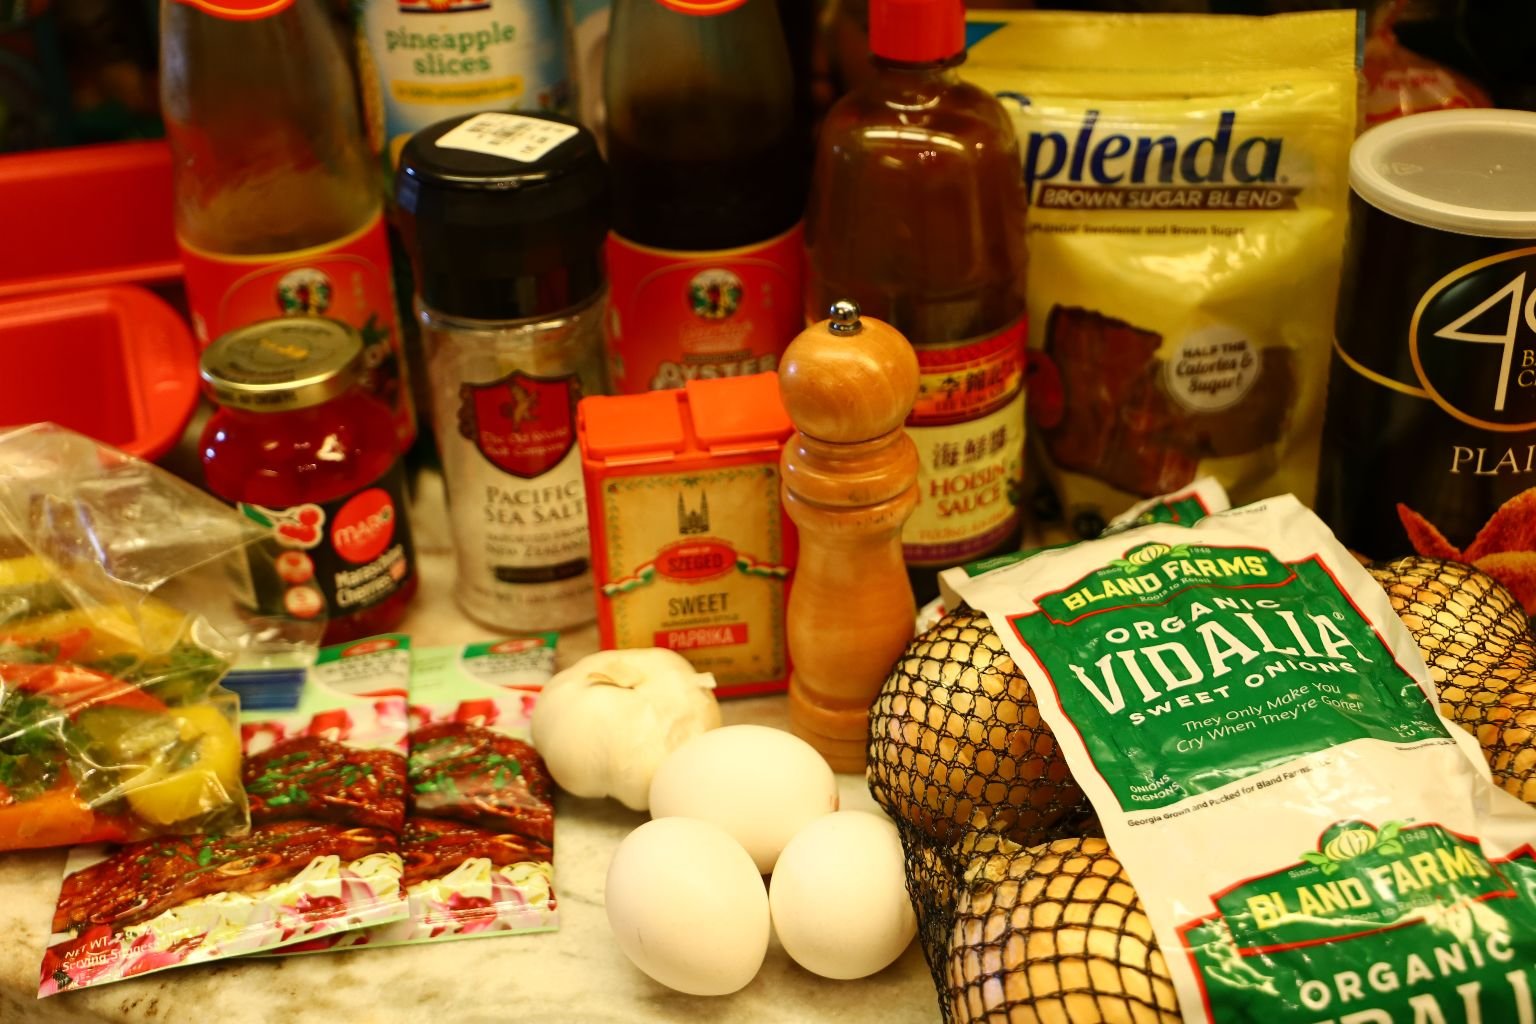
Ingredients:
1 Vidalia Onion – Coarsely Chopped
4 Garlic Cloves – Finely Chopped
1 1/2 Cups Bell Peppers – various colors coarsely chopped
Plus 1/4 Cup more to top the loafs before cooking
1/2 Cup Plain Bread Crumbs
1 tsp. Hawaiian-Style Sea Salt
1 Tbsp. Sweet Paprika
1 Tbsp. Freshly Ground Black Pepper
1/2 Cup Splenda Brown Sugar
4 Tbsp. Oyster Sauce
4 Tbsp. Sweet Soy Sauce
4 Tbsp. Hoisin Sauce
1/2 Cup Soy Sauce – Aloha Brand
3 Eggs
3 Lbs. Ground Turkey
16 Pineapple Rings
20 Maraschino Cherries
1 Cup Hawaiian-Style Bar-B-Que Sauce – (Halm’s)
———————————————————
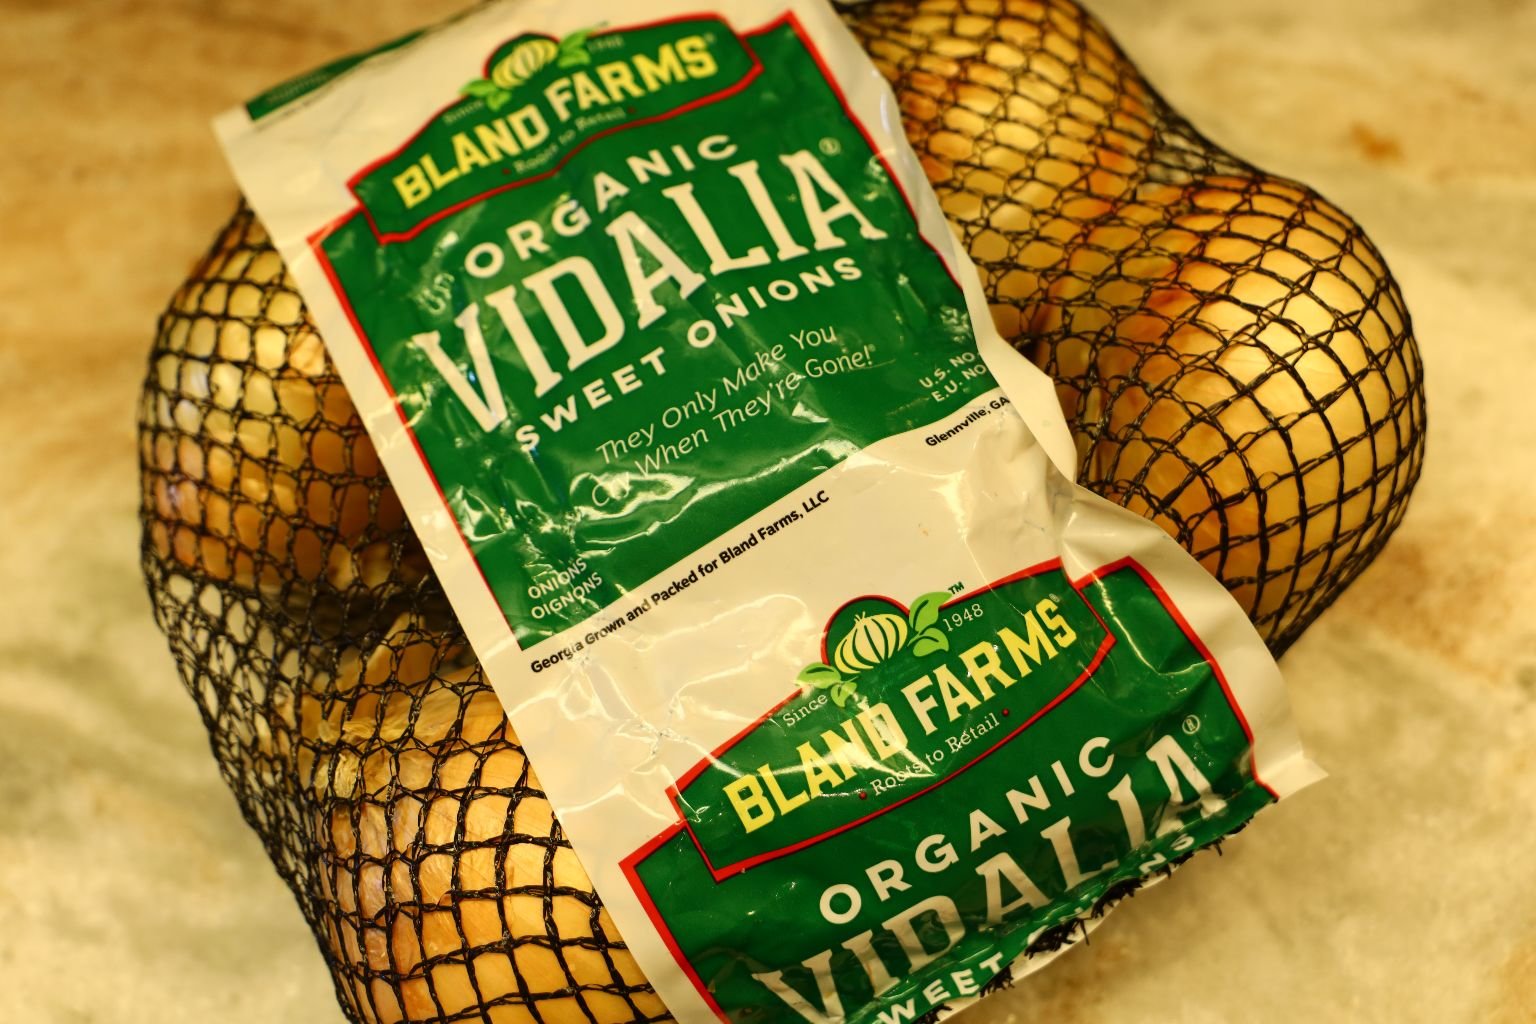

Vidalia Onions and Ground Turkey

Ready to Get Started


Hoisin, Oyster, and Sweet Soy Sauce


Hawaiian Shirt Gordon 🙂
——————————————————————


Chop your Vidalia Onion coarsely as shown…

and add it to a large bowl.


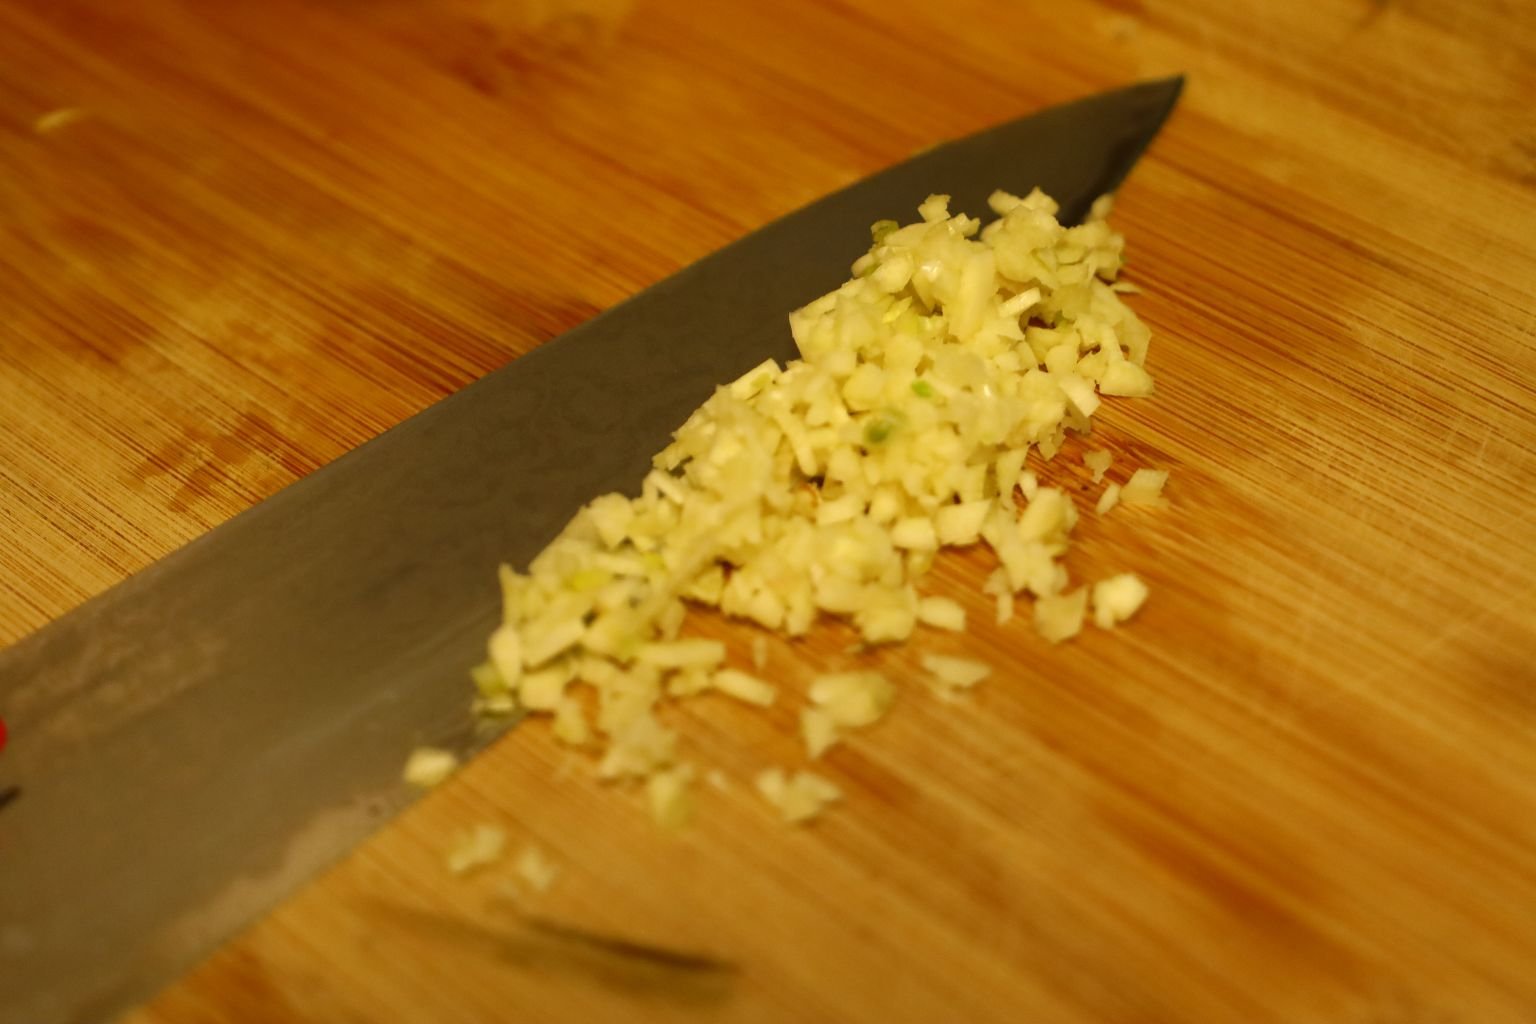
Now finely chop your Garlic Cloves as shown…

and add it to the bowl.
—————————————————————


Chop 1 1/2 Cups of Bell Peppers…


and add them to the bowl.


Add your Plain Bread Crumbs to the bowl.
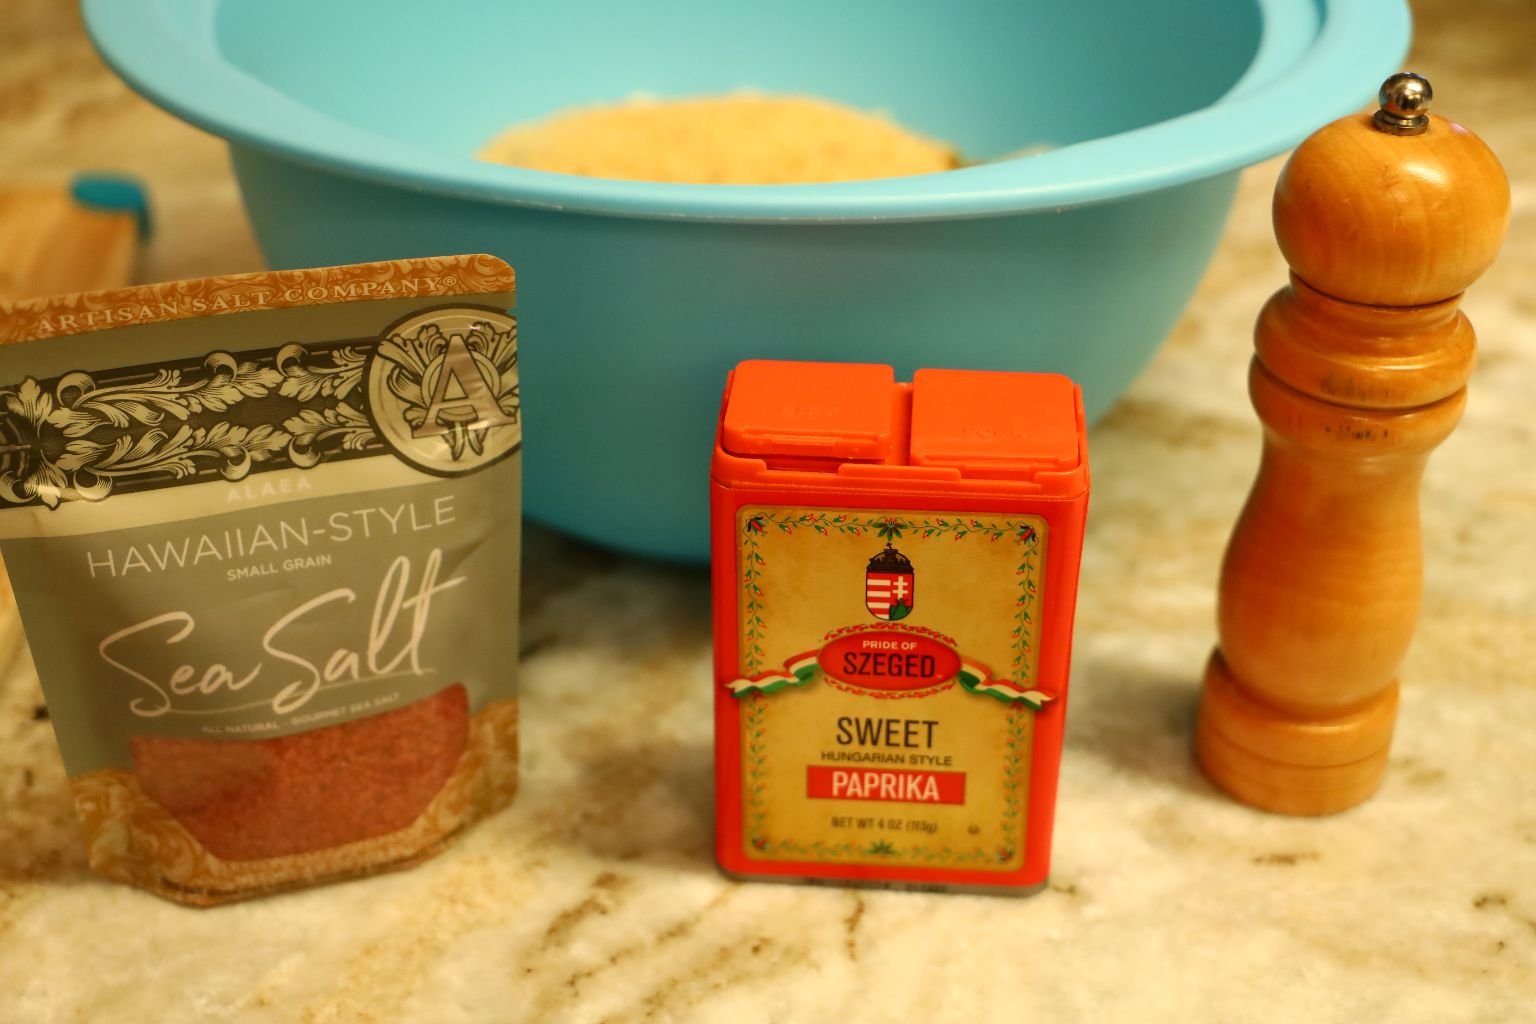
Here is the Sea Salt and Sweet Paprika brands we used.

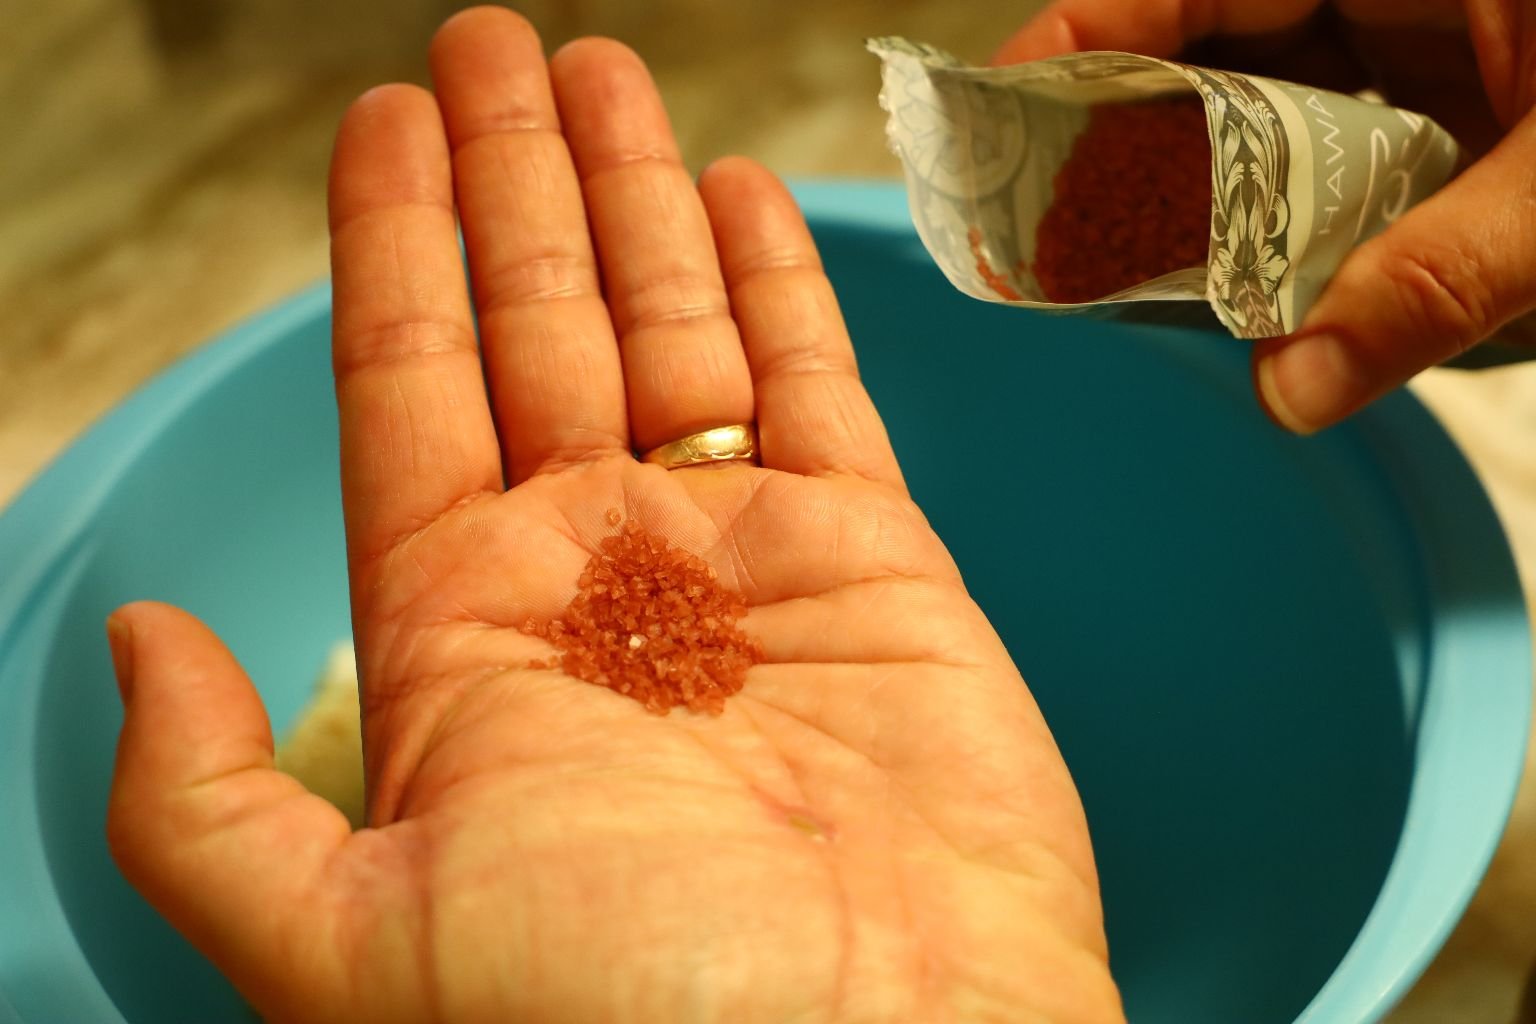
Adding the Hawaiian-Style Sea Salt …(if you don’t have this you can add any sea salt.)


Then, the Sweet Paprika and freshly ground Black Pepper.
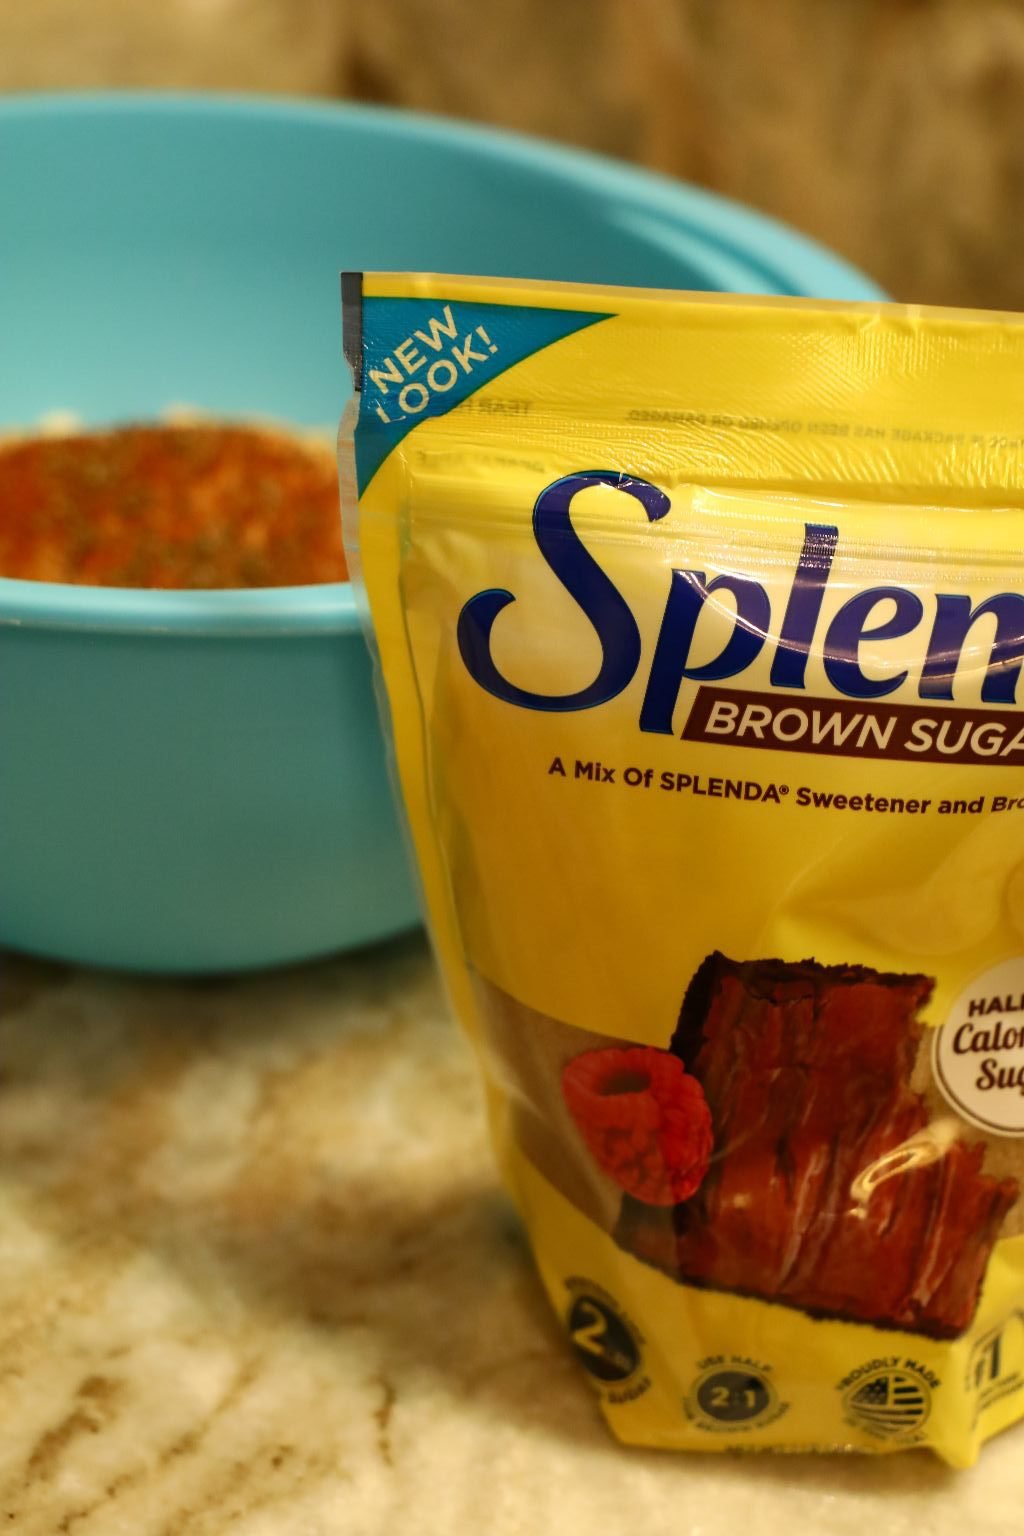

Add your Splenda Brown Sugar to the bowl.

——————————————————————–
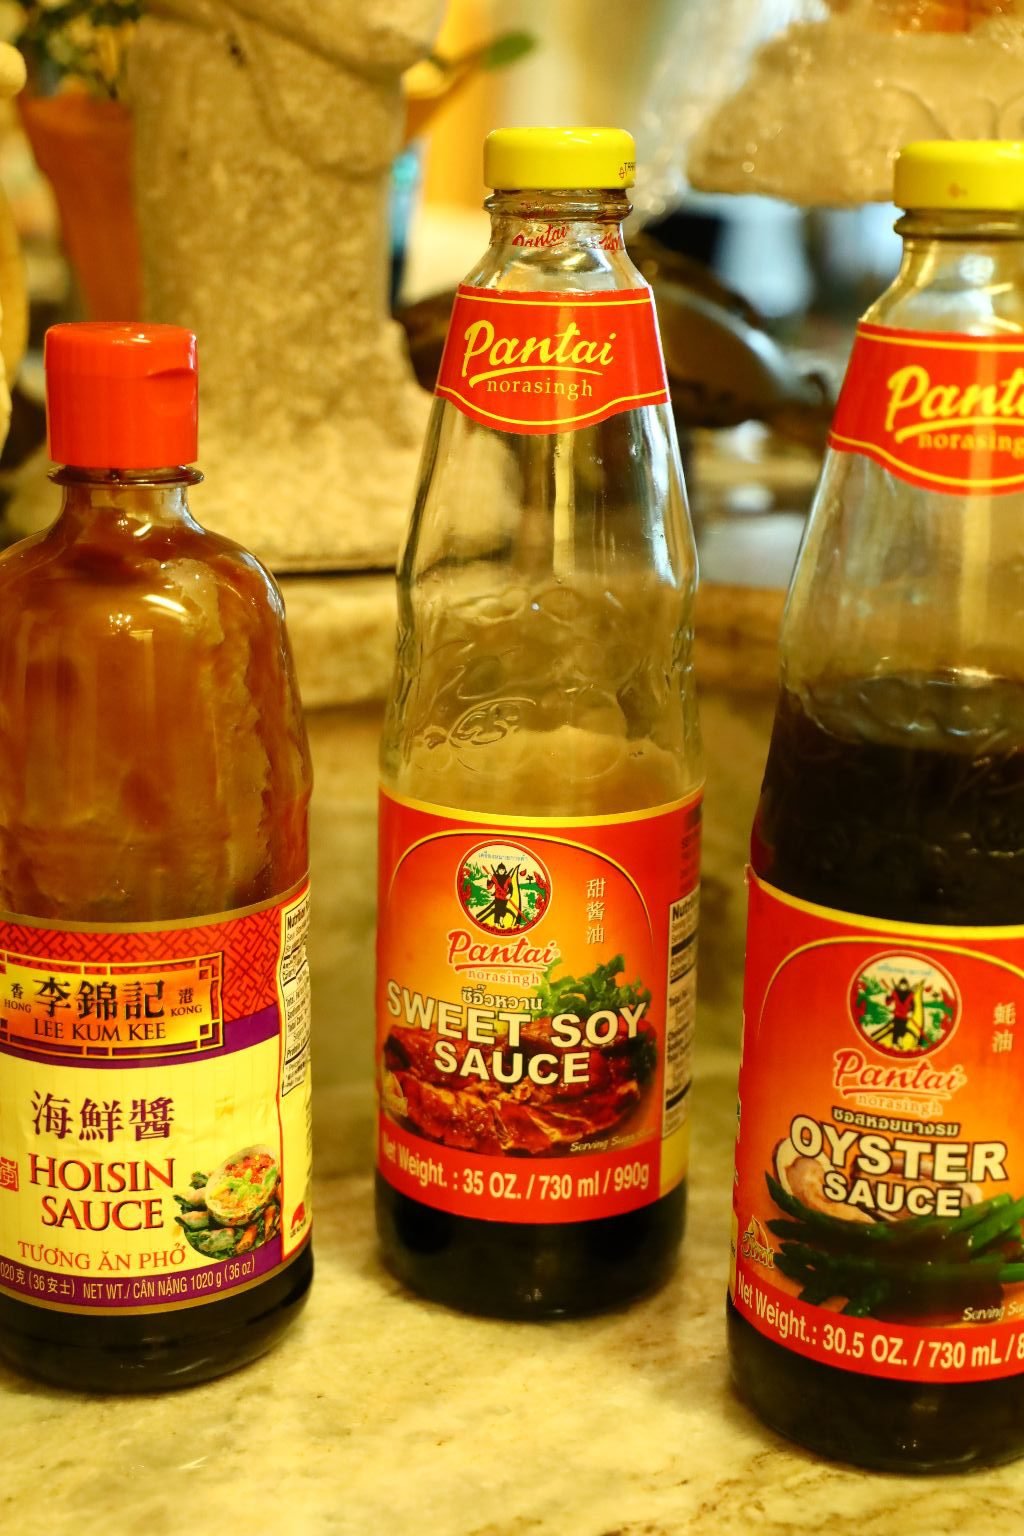
Here are the sauces we used with the eggs in the next few slides. I really like this combination of sauces and I fully recommend you experiment with your own combinations. The Sweet Soy Sauce tastes so much like Karo Syrup you could eat it with your pancakes… amazing!

Mix the ingredients in the bowl as shown.


Now add your Oyster Sauce…


then your Sweet Soy Sauce…

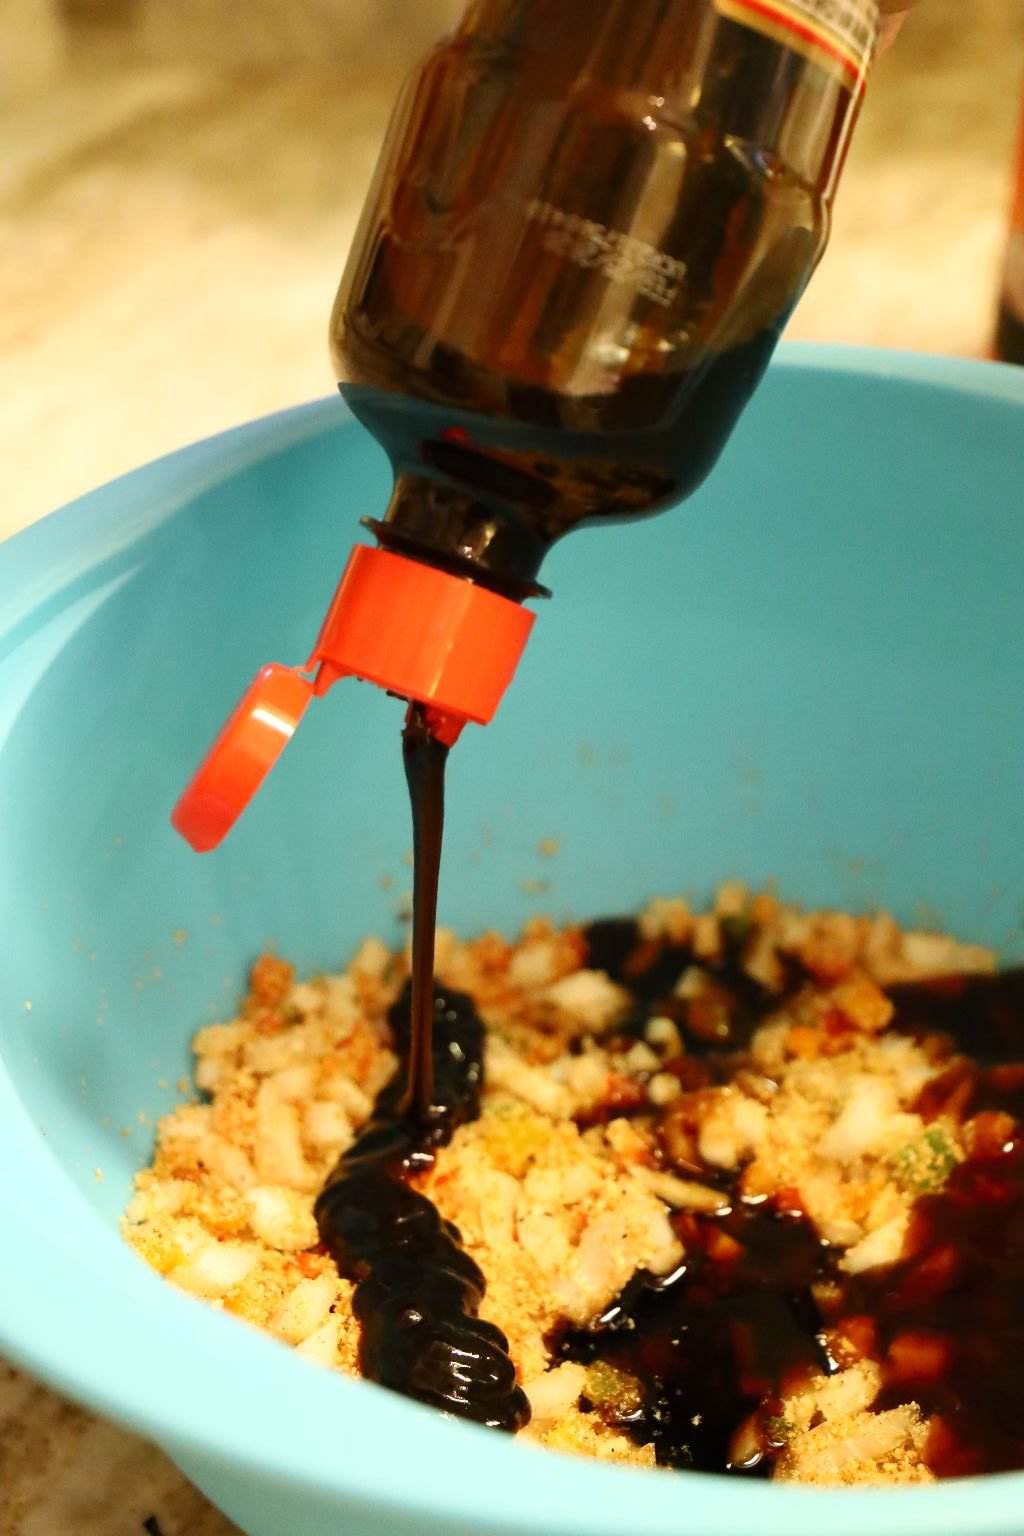
and Hoisin Sauce to the bowl.

———————————————————————–


In a smaller bowl, add your Soy Sauce (Aloha Brand is one of the best we have used)…


then add your eggs…
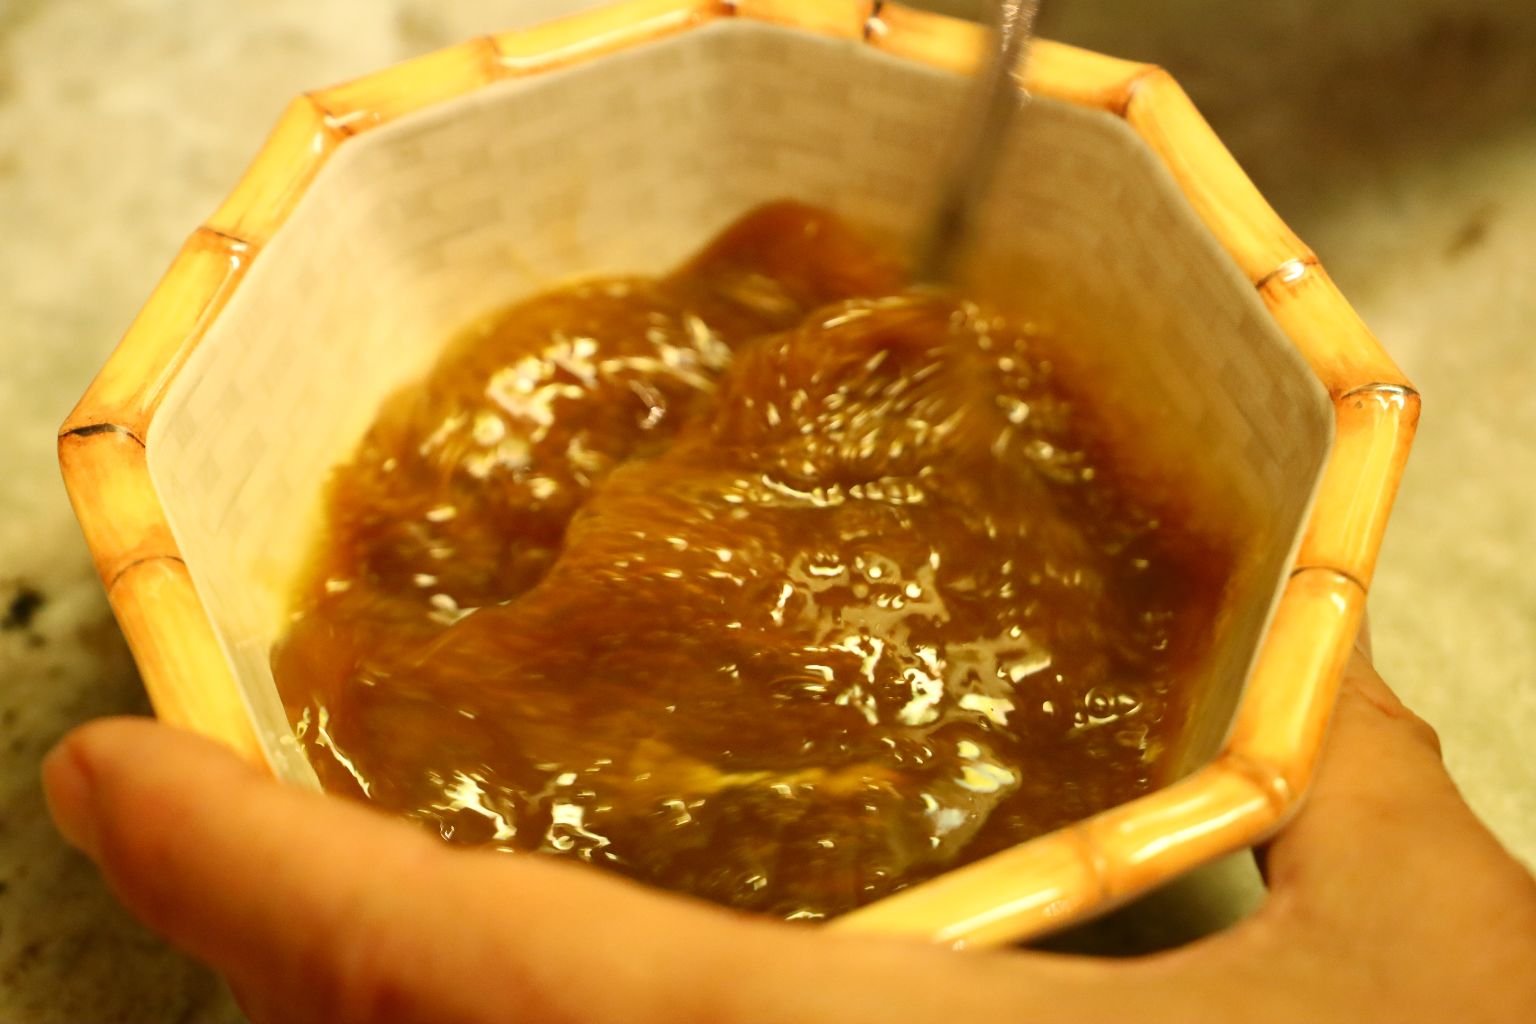
and using a whisk or fork, whisk the eggs and Soy together.
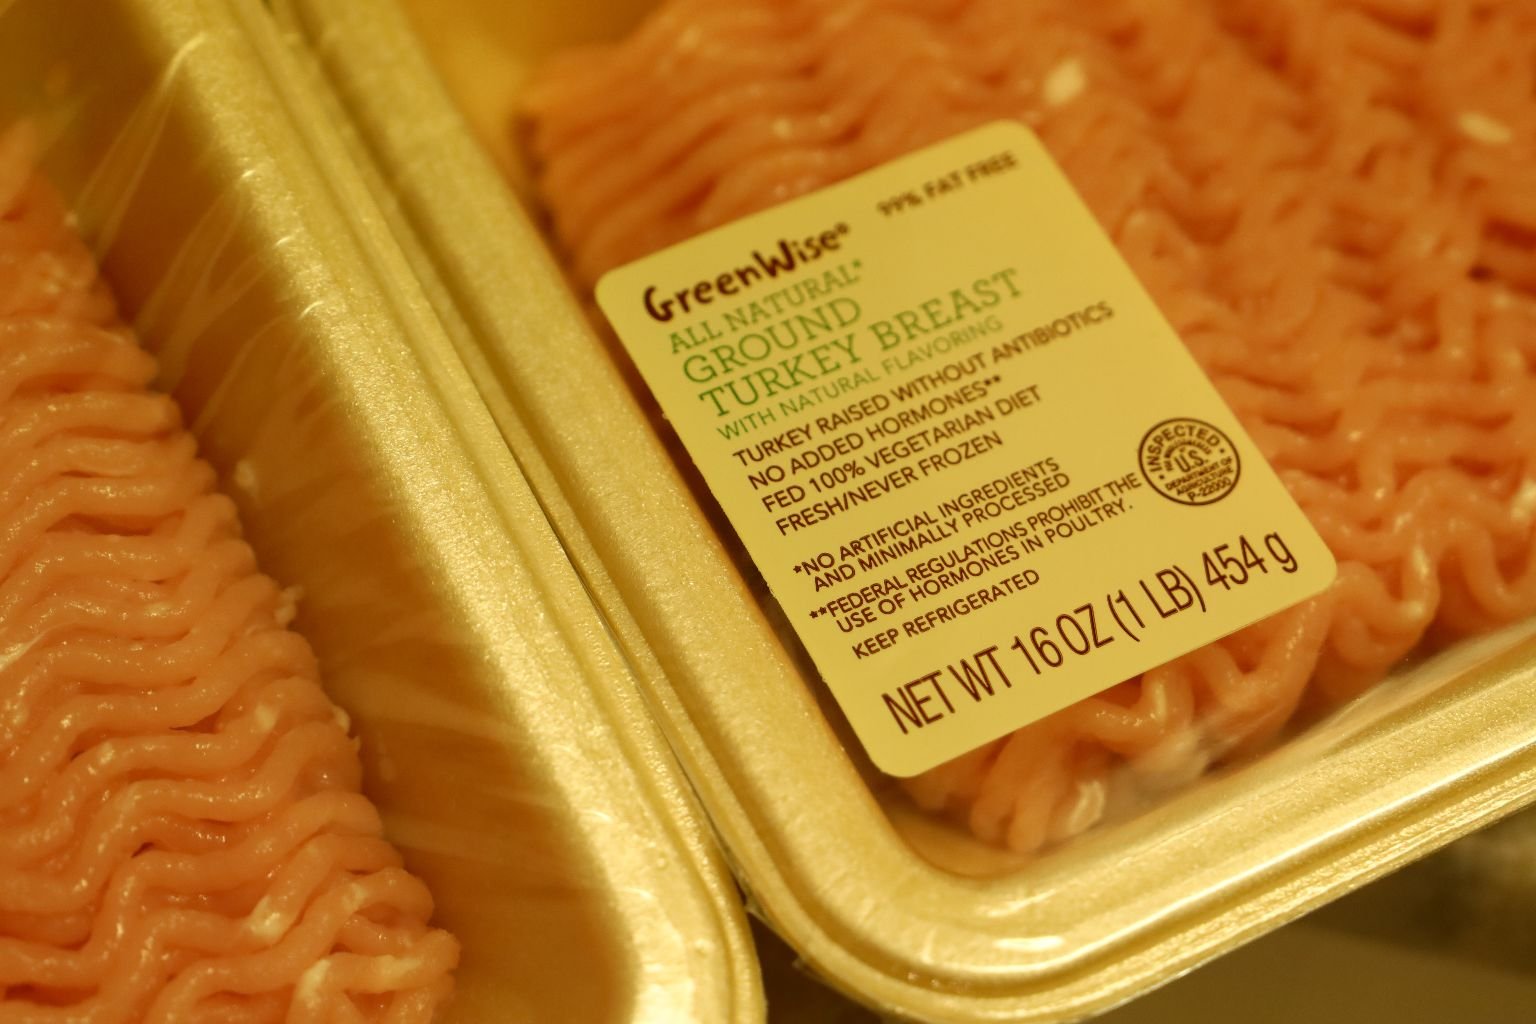
This is the Ground Turkey that we used.

Here you can see the various levels of fatty Ground Turkey where the one with more fat is whiter. I did this so the meat would stay juicy.


Add your Ground Turkey to the bowl and mix together …


then add your eggs and soy mixture and mix them together.


—————————————————————–

Here is a great picture of the end result.
———————————————————————-

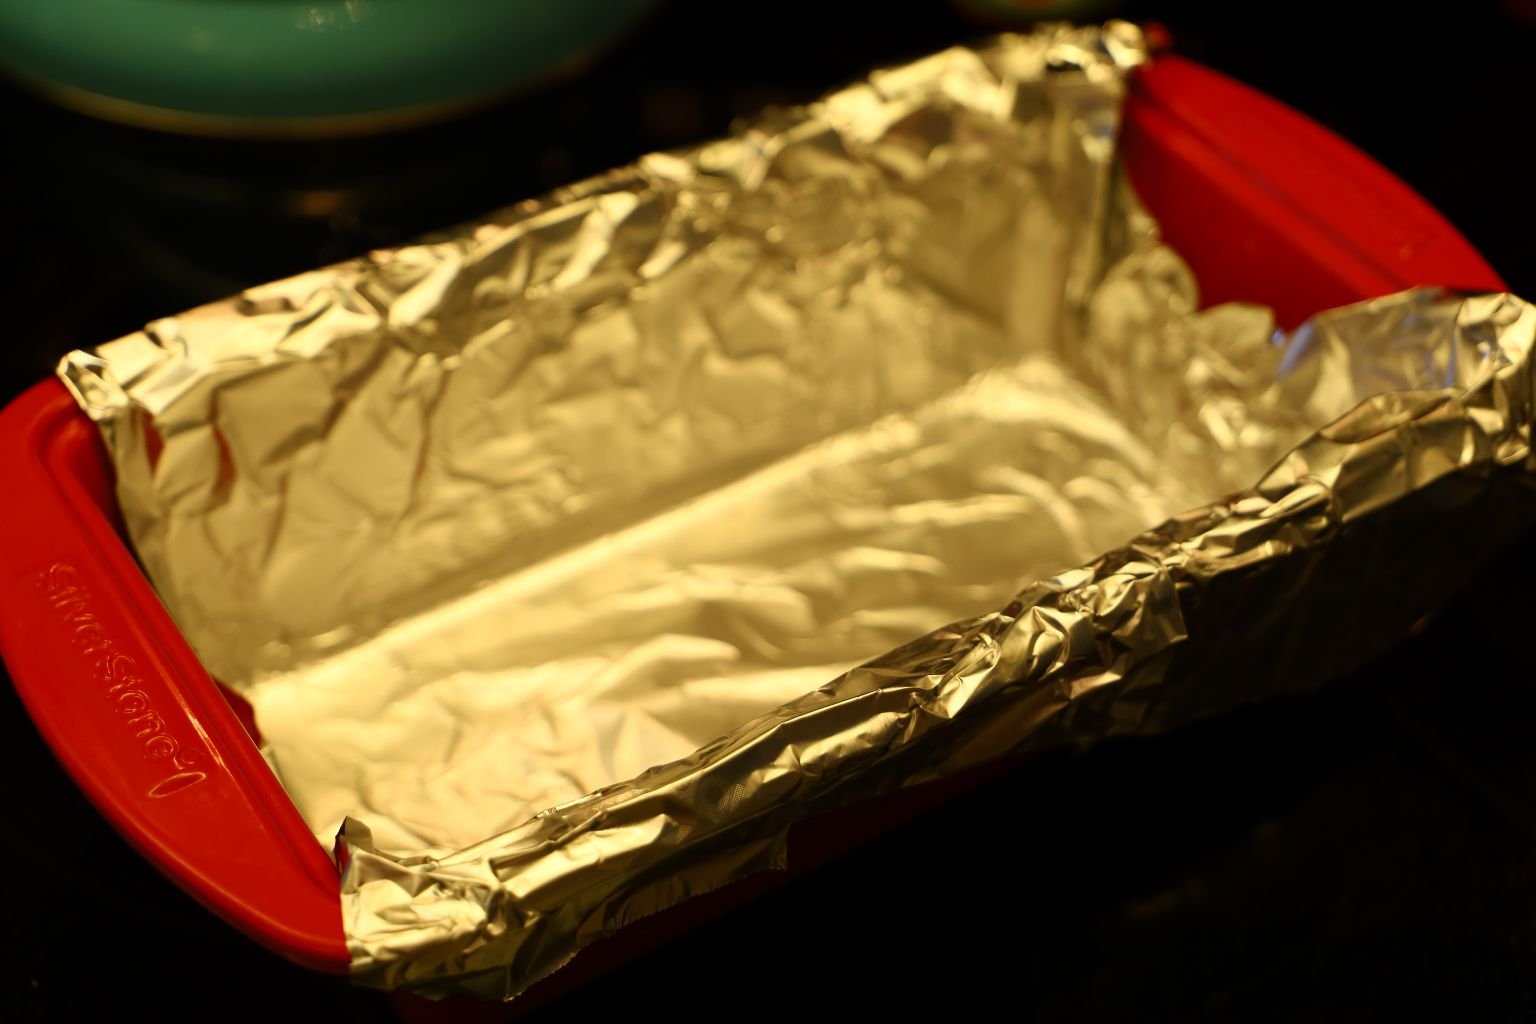

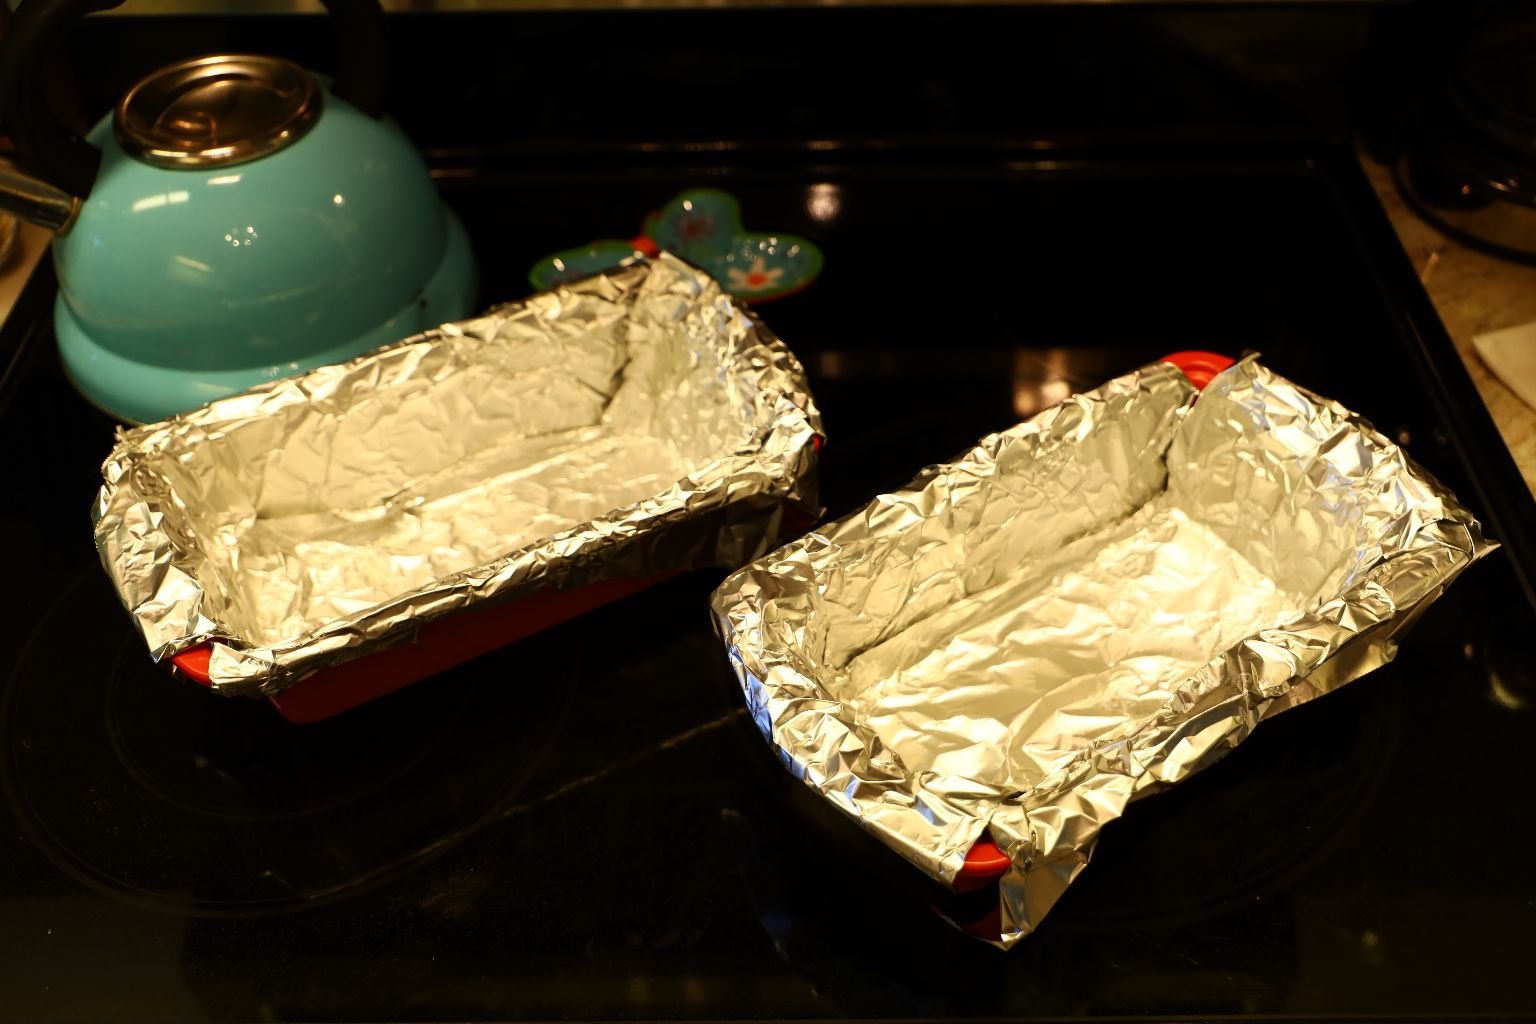
Line your bread pans with foil to help you to remove the meat loaf when fully cooked.
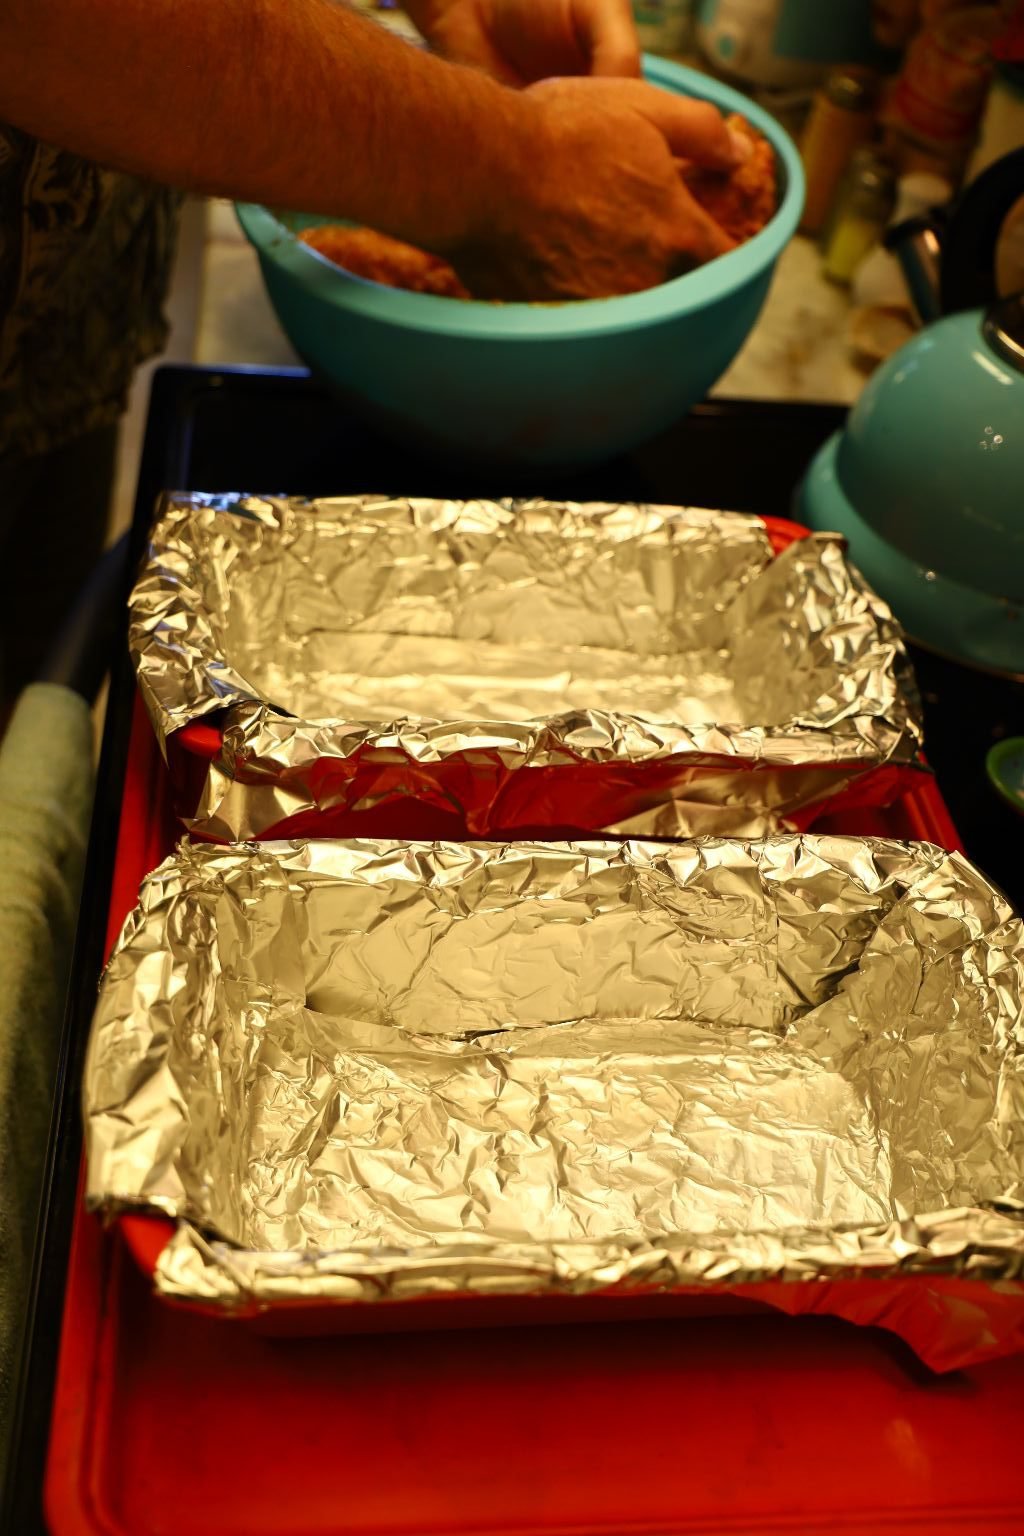
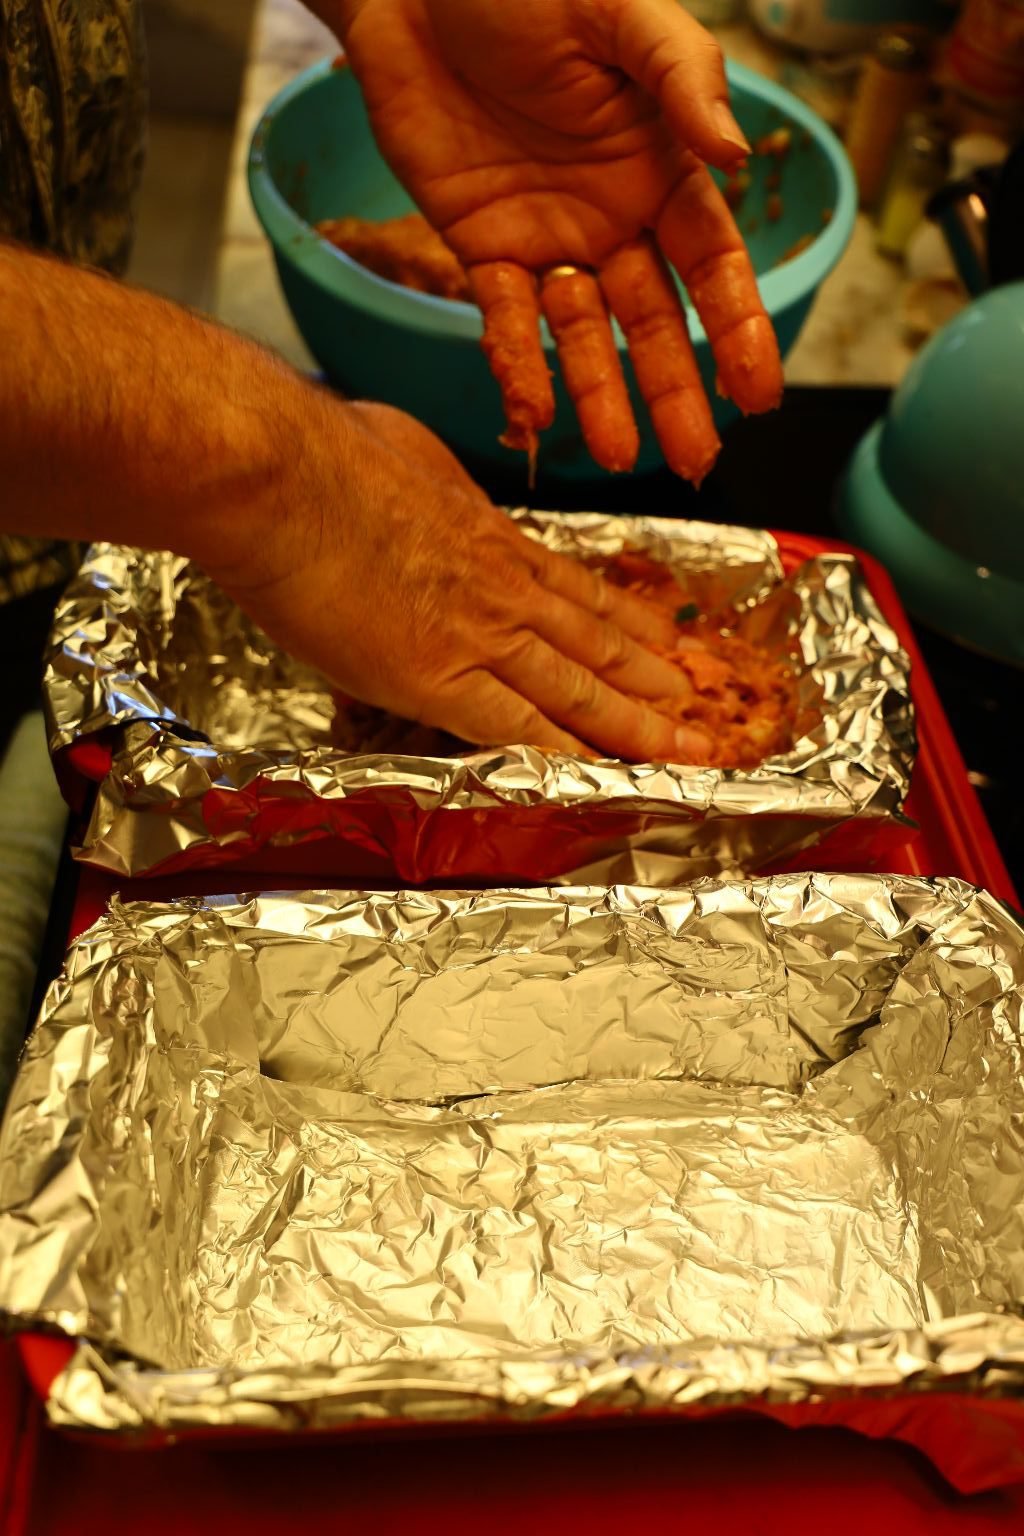
Preheat your oven to 375’F.


Add the mixed ingredients to the bread pans as shown. Here I am topping the loafs with some chopped Bell Peppers to just give the top some color.
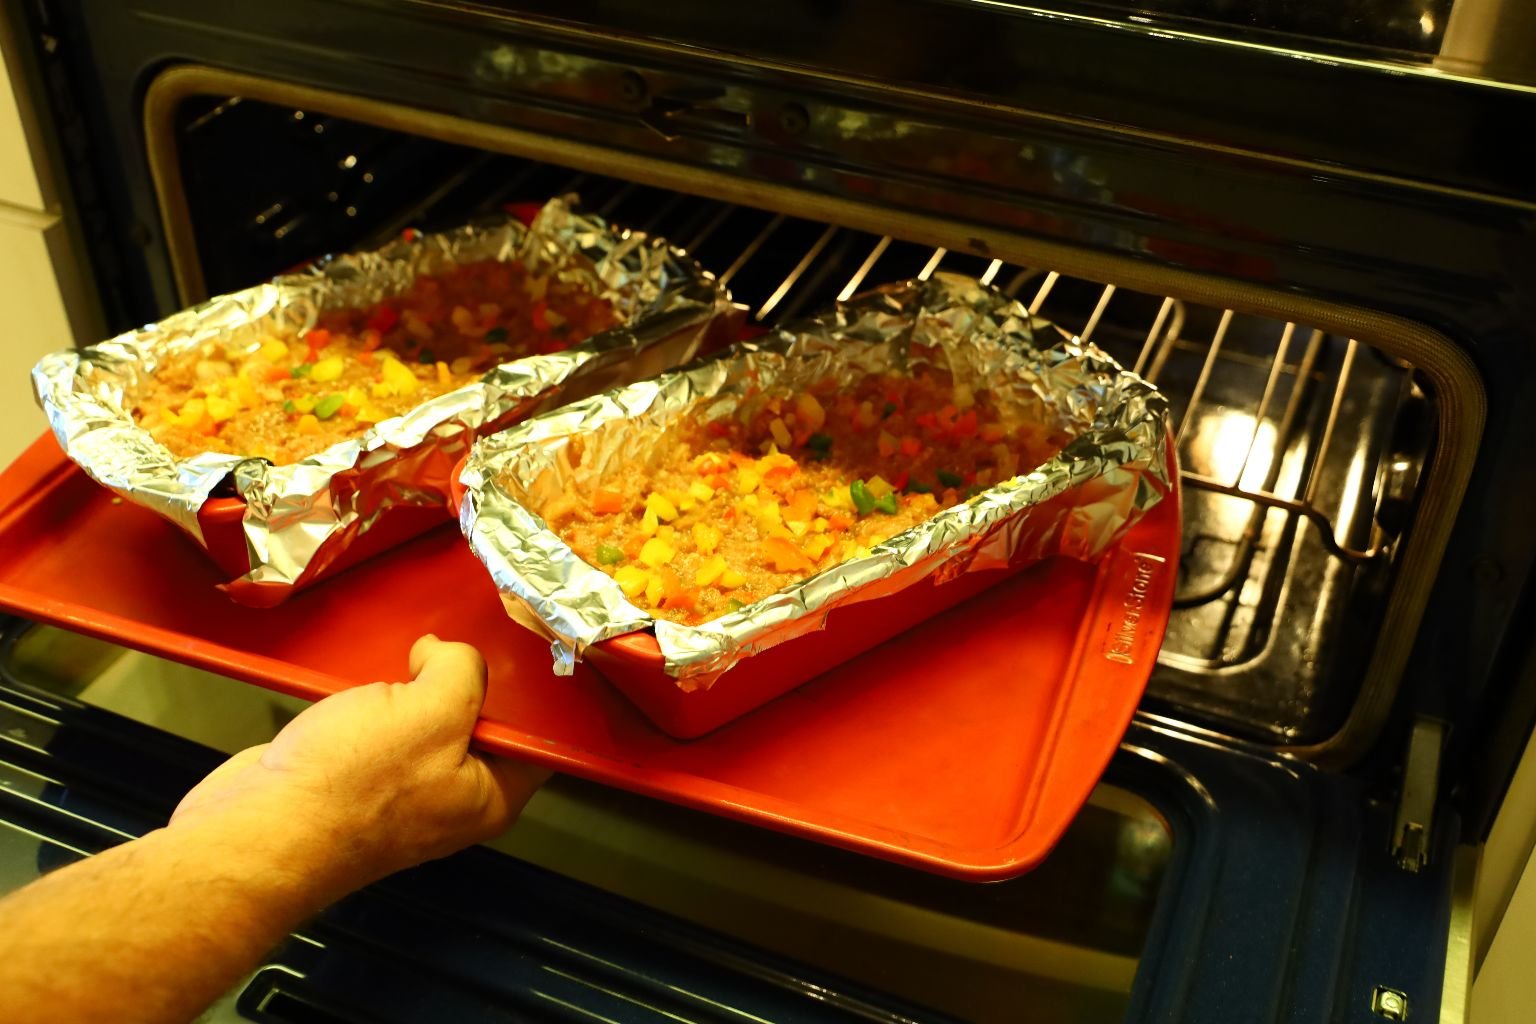

Place the loafs onto a sheet pan and place them in your oven baking them for 1 hour.


When the loafs are at an internal temperature of 160’F, remove them from the oven and let them rest for about 15 min. Letting them rest will allow the super heated juices near the outside of the meat to return to the center of the meat, cooking the center of the loaf. This is why you can remove the loafs when they reach 160’F. They will reach their optimum temperature of 165’F after they rest. Once rested, remove the loaves and place onto a large cutting board.
—————————————————————–
(It was Julie’s idea to not slice entirely through the turkey loaves, in order for the loaves to fan outward for a nice presentation.)
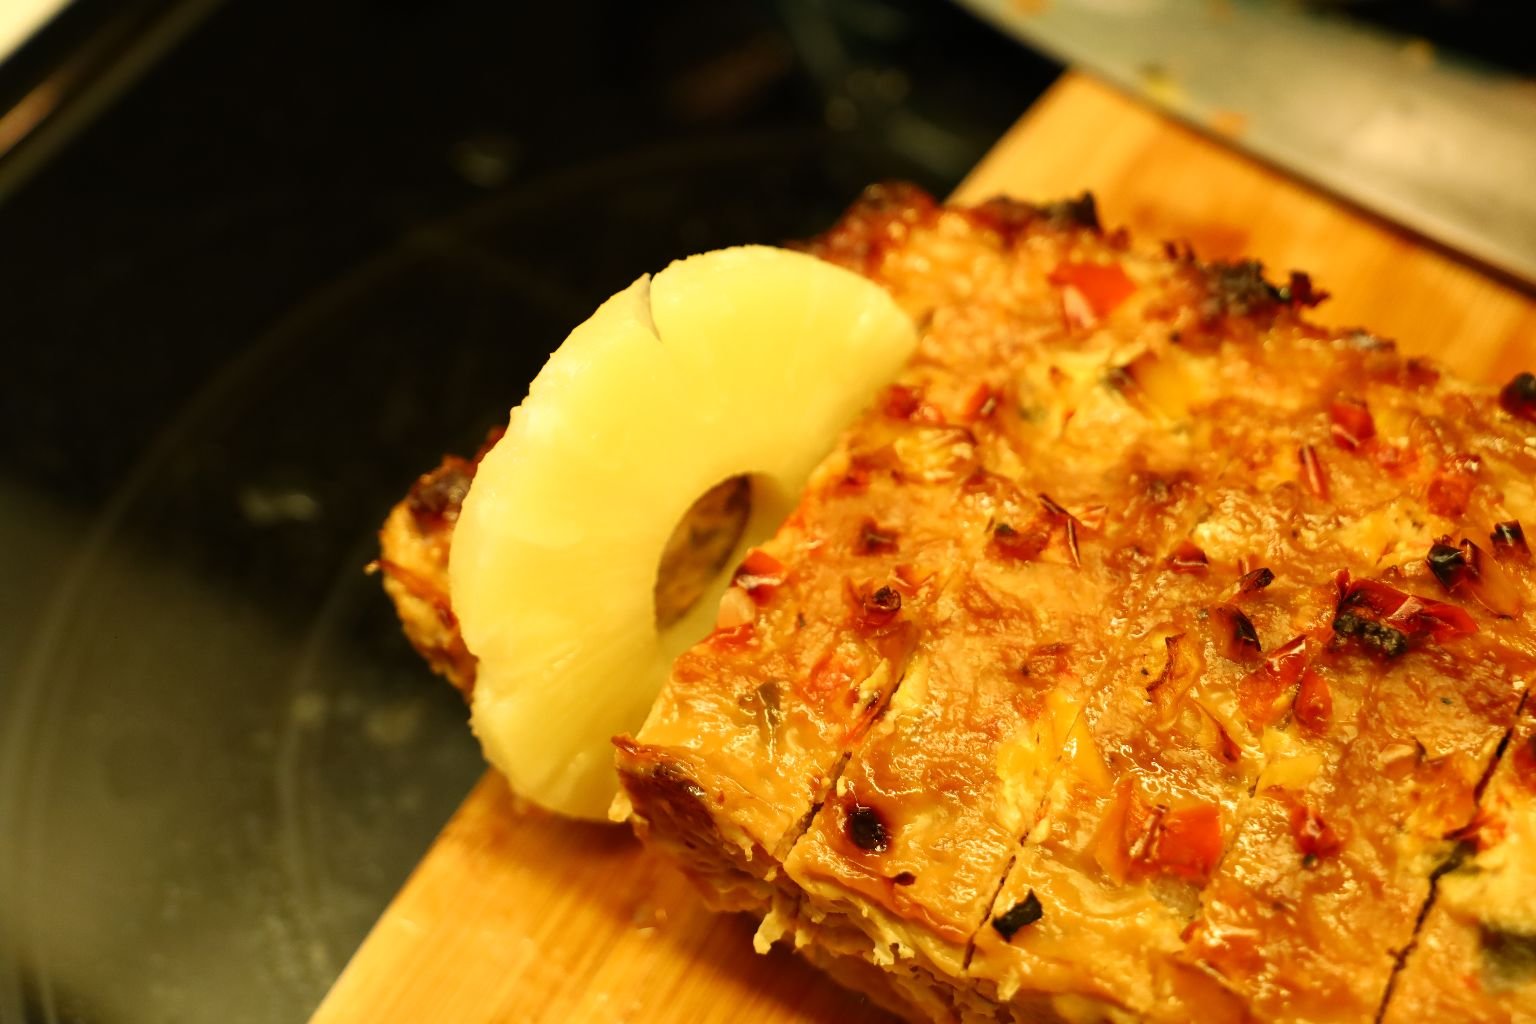
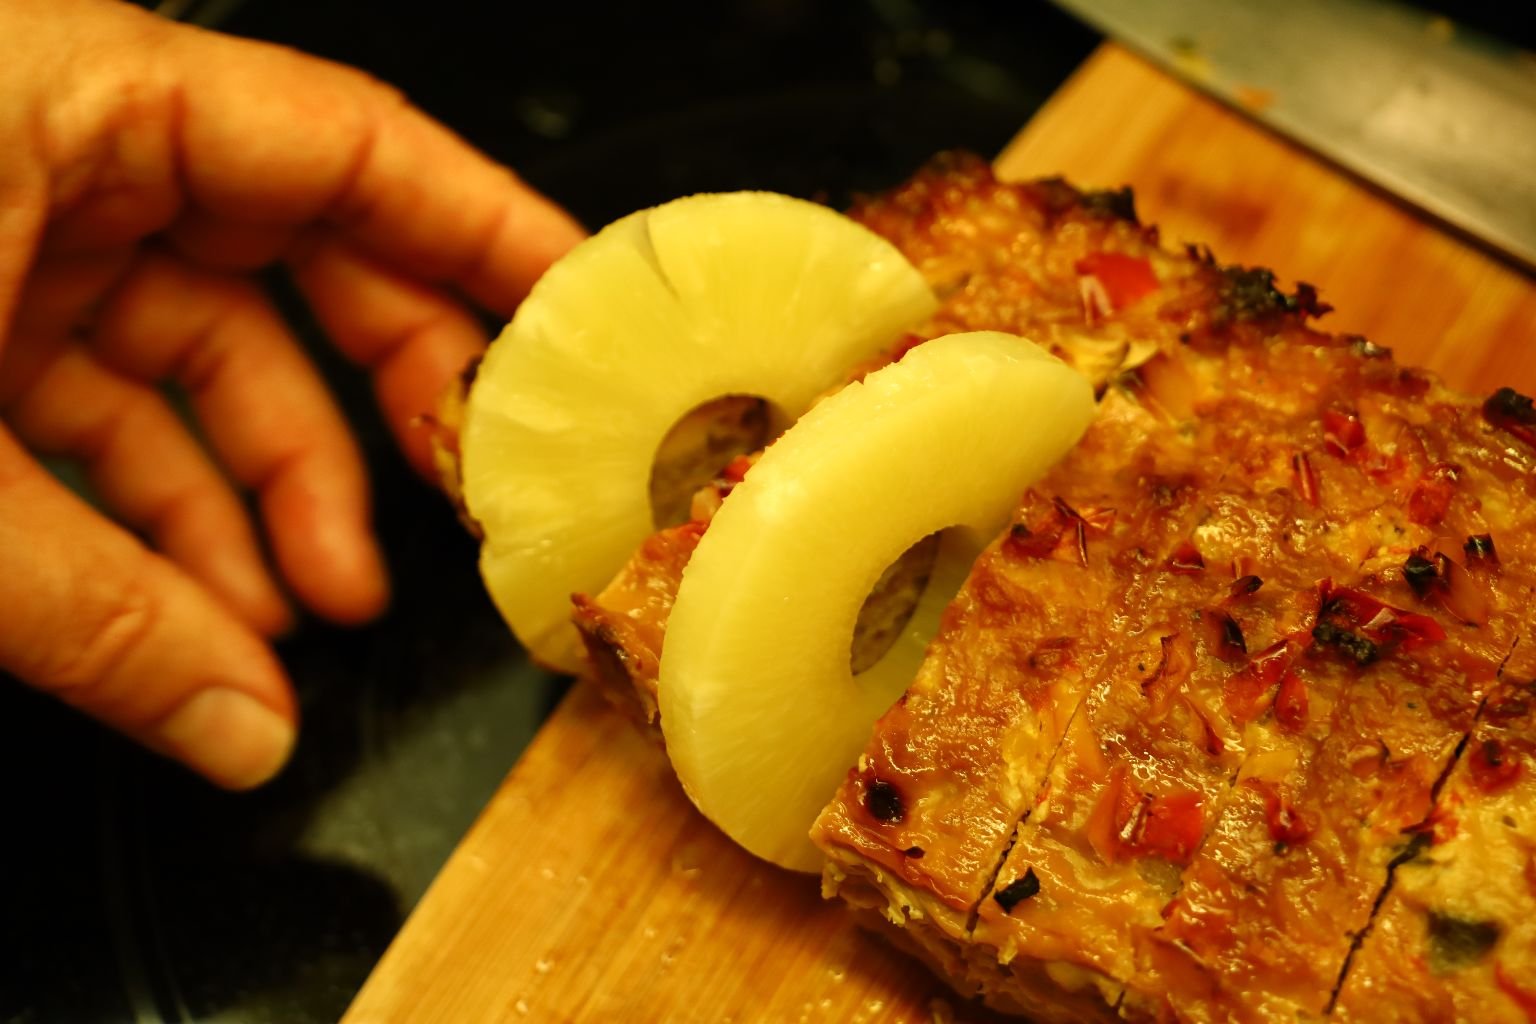
Make a slice about one inch wide and about an inch from the edge of the loaf as shown.
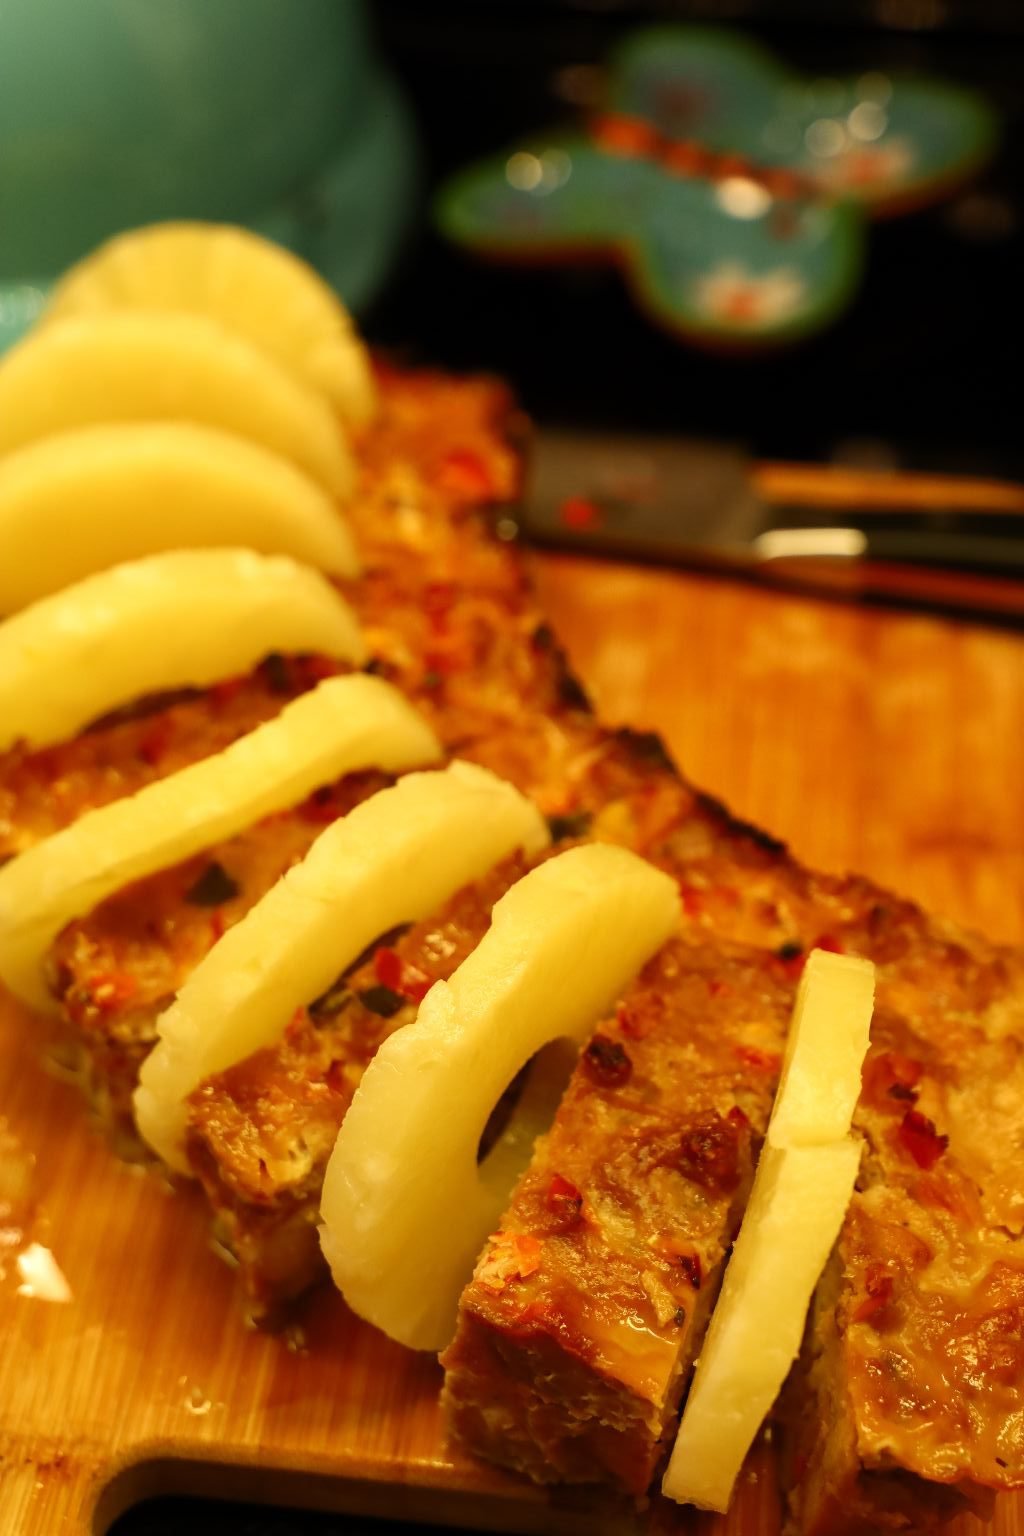
Bend the loaf on the cut side and insert a Pineapple Ring into each slice.
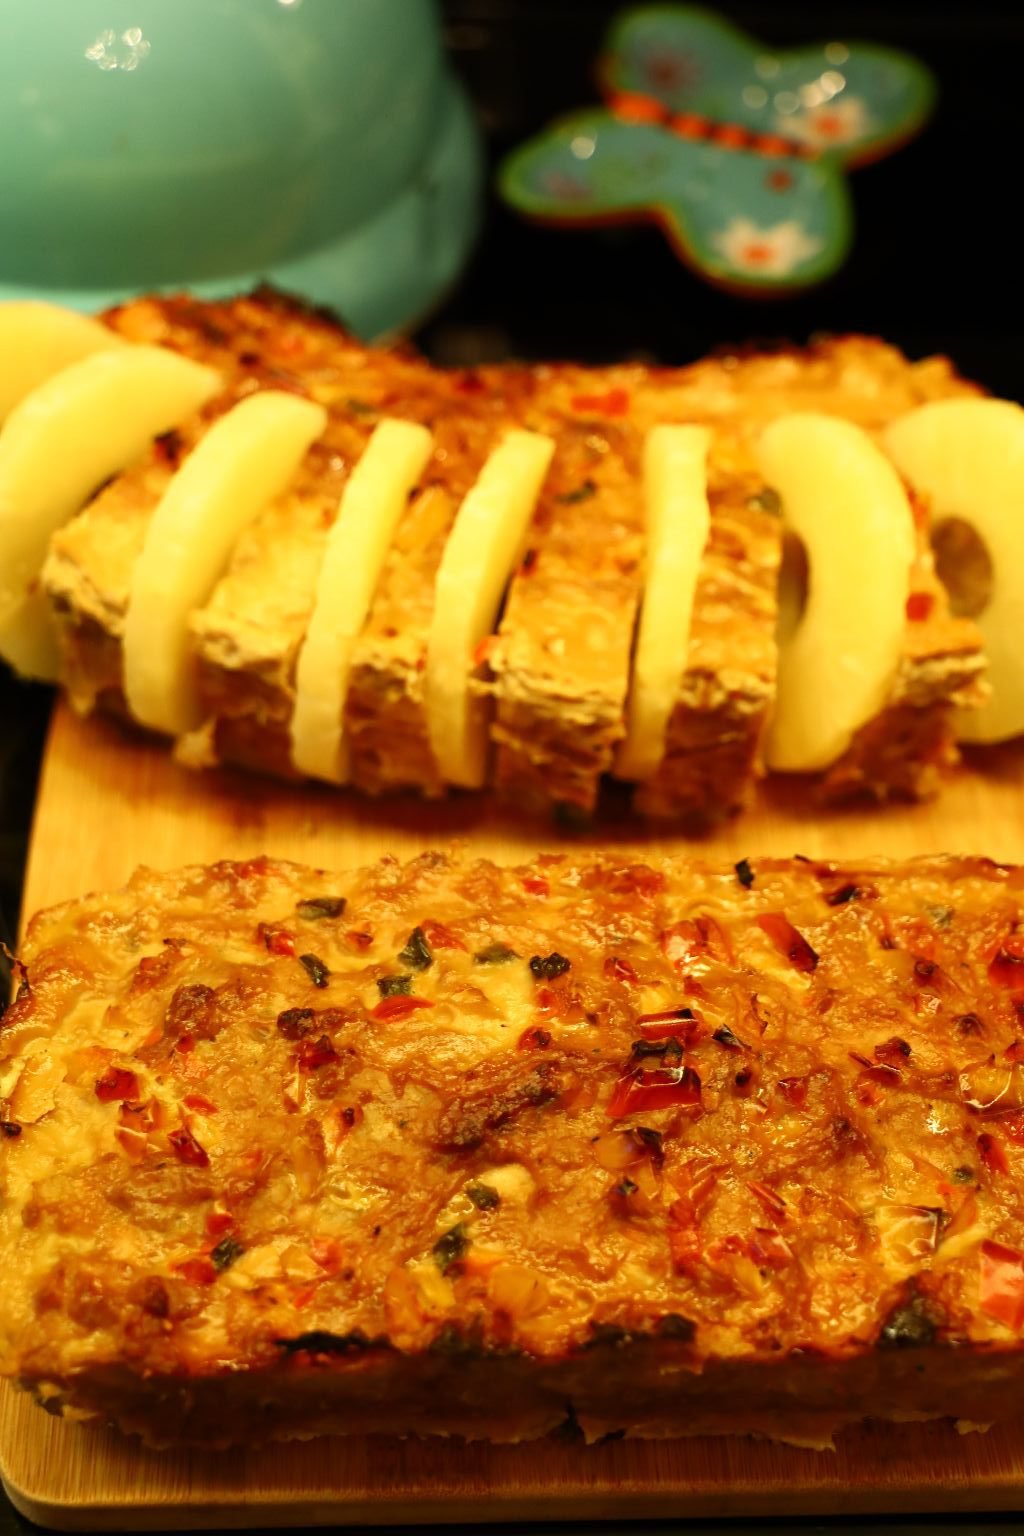

Here you can see how I made this decorative look to the loaf. You can also grill the pineapple slices separately to give them a boost of flavor.


Place the loaves on a large platter.

Add your Maraschino Cherries to the loaves as shown.
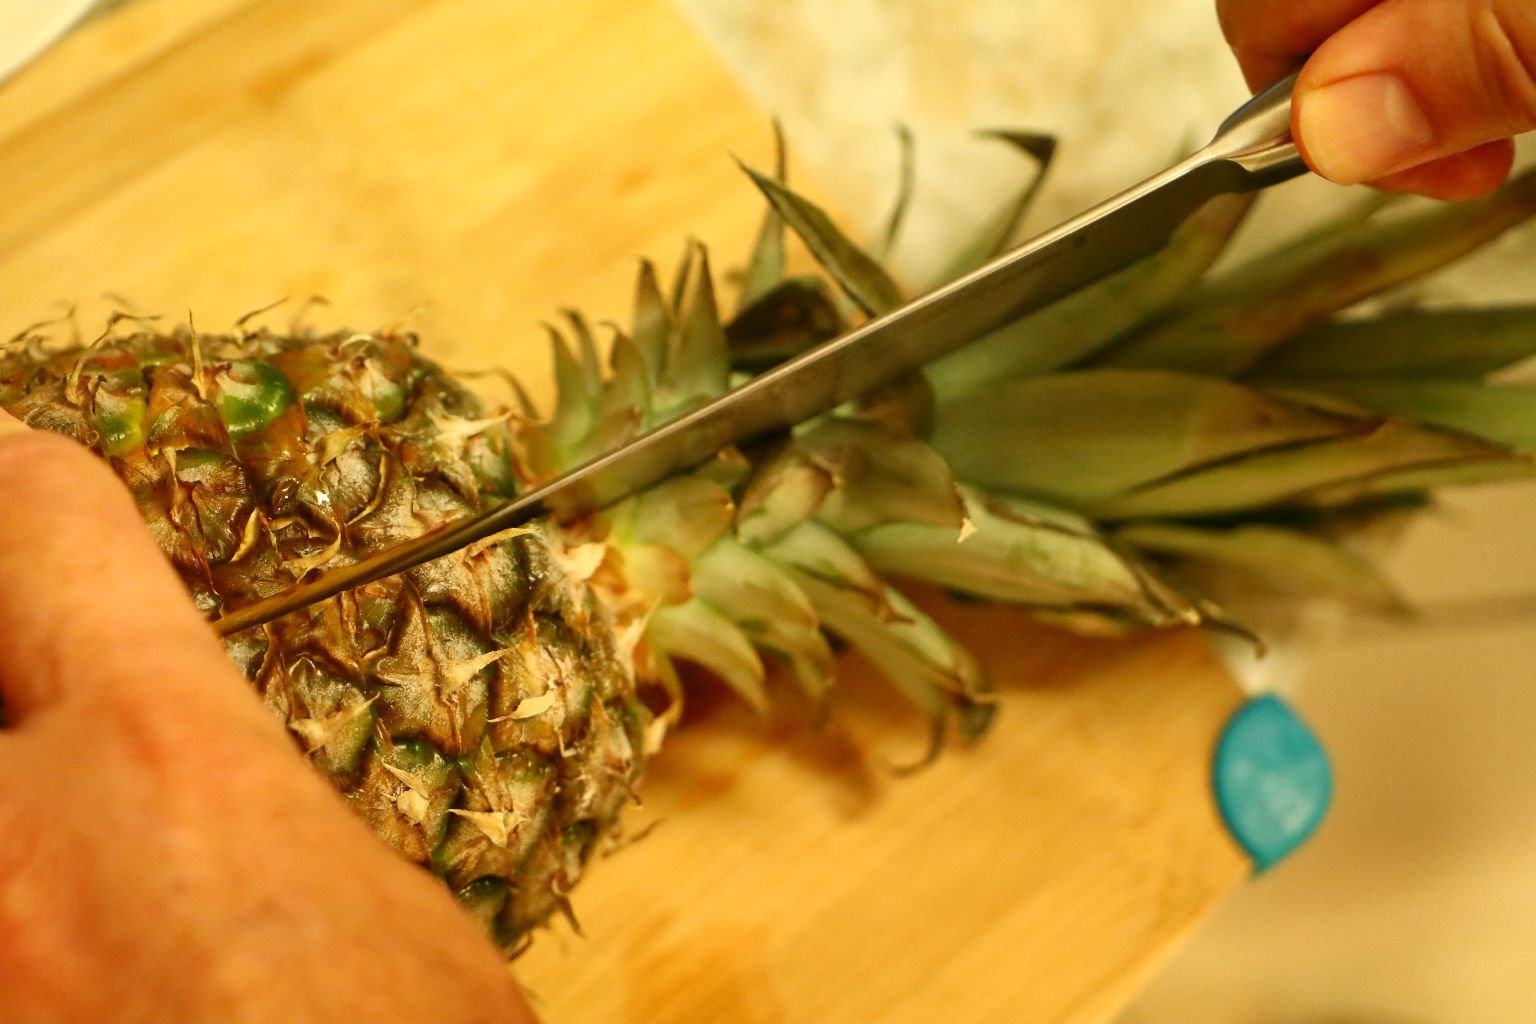
As a garnish, I used a ripe Pineapple and sliced it in half.

————————————————————-
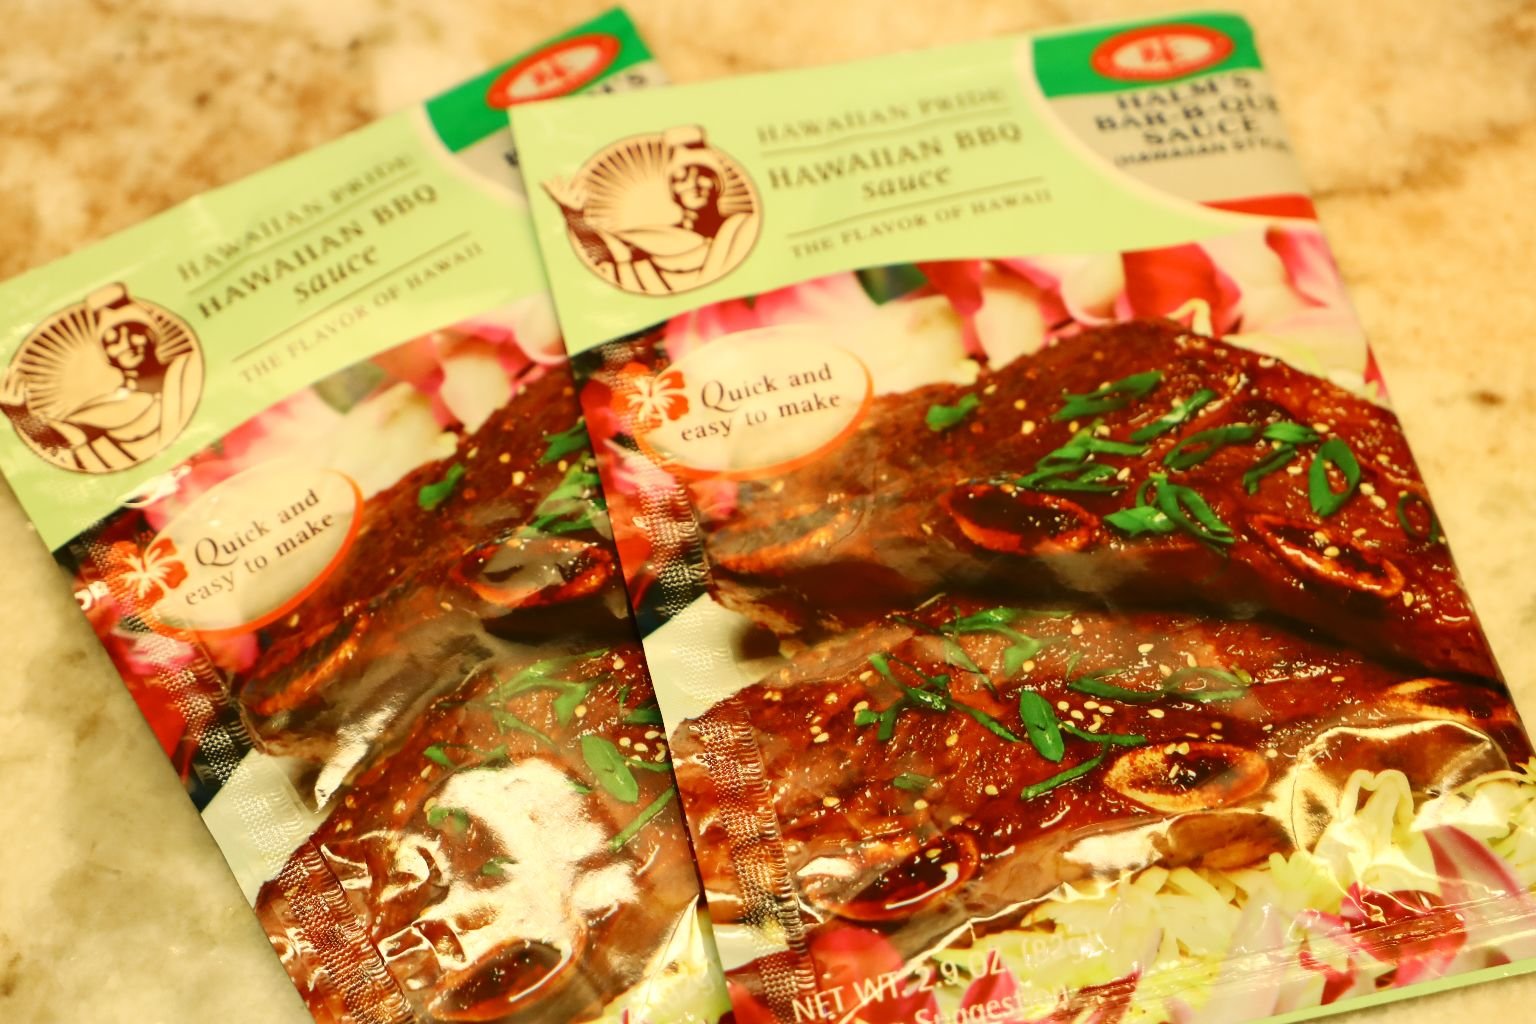
Here are the packets of Hawaiian-Style Bar-B-Que Sauce we used.

Drizzle the Bar-B-Que Sauce over the Meatloaf and Pineapple garnish as shown.
We could have also grilled the pineapples to give them those great grill marks but we were short on time.
We hope you will try this recipe as it is a great Hawaiian replacement for the same old Meatloaf.
———————————————————————
Spinach and Kale, Coconut, Mandarin Orange Salad
w/ Vinaigrette
(Recipe Write-Up by Gordon)
———————————————–
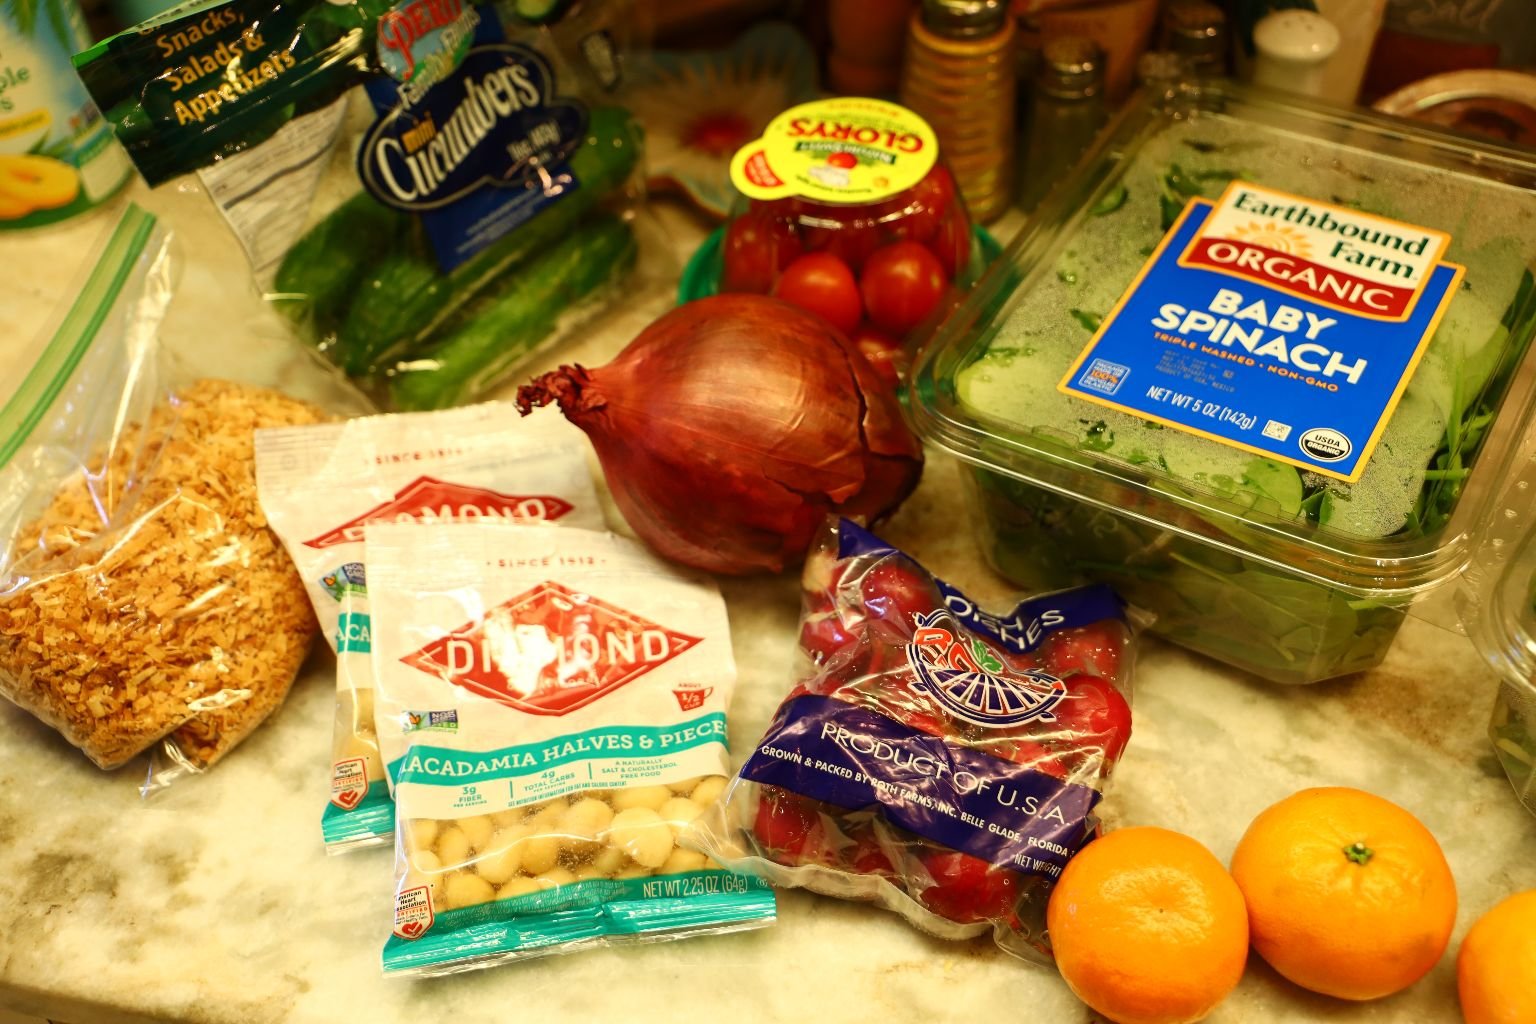

—————————————————————-

Ingredients:
8 Radishes – quartered
1 Cucumber – Sliced into 1 inch thick pieces and quartered
3 Clementines – peeled
1/2 Red Onion – sliced thinly
2 Cups Baby Kale
2 Cups Baby Spinach
Garnish with Macadamia Nuts and Roasted Sweet Coconut
———————————————————–
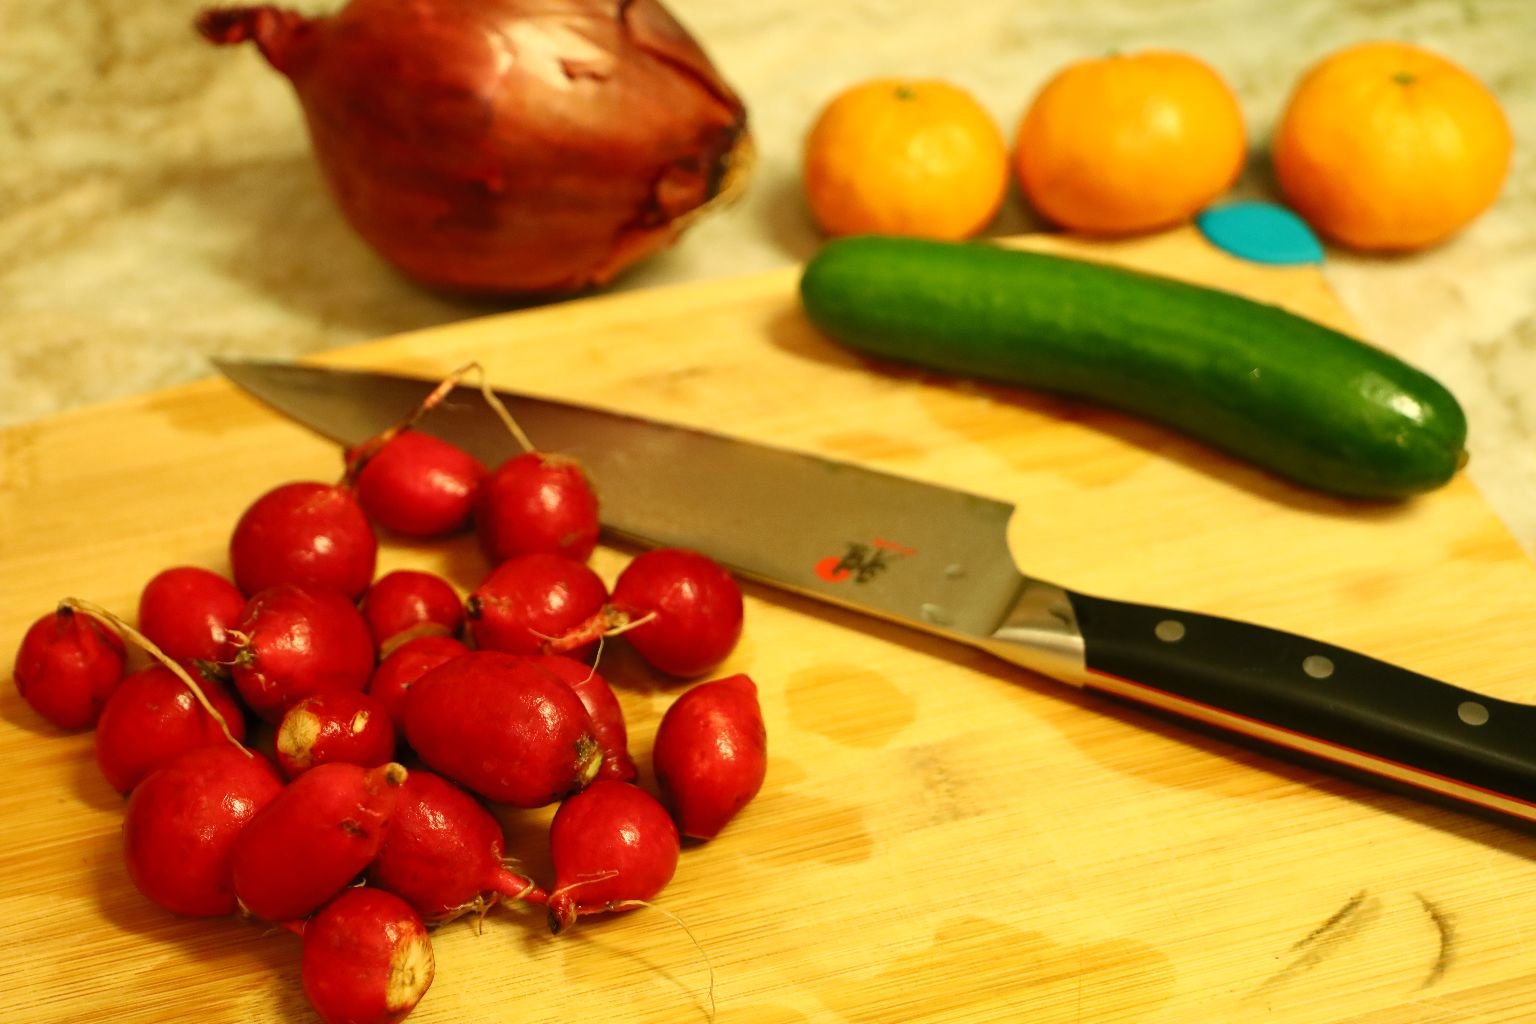
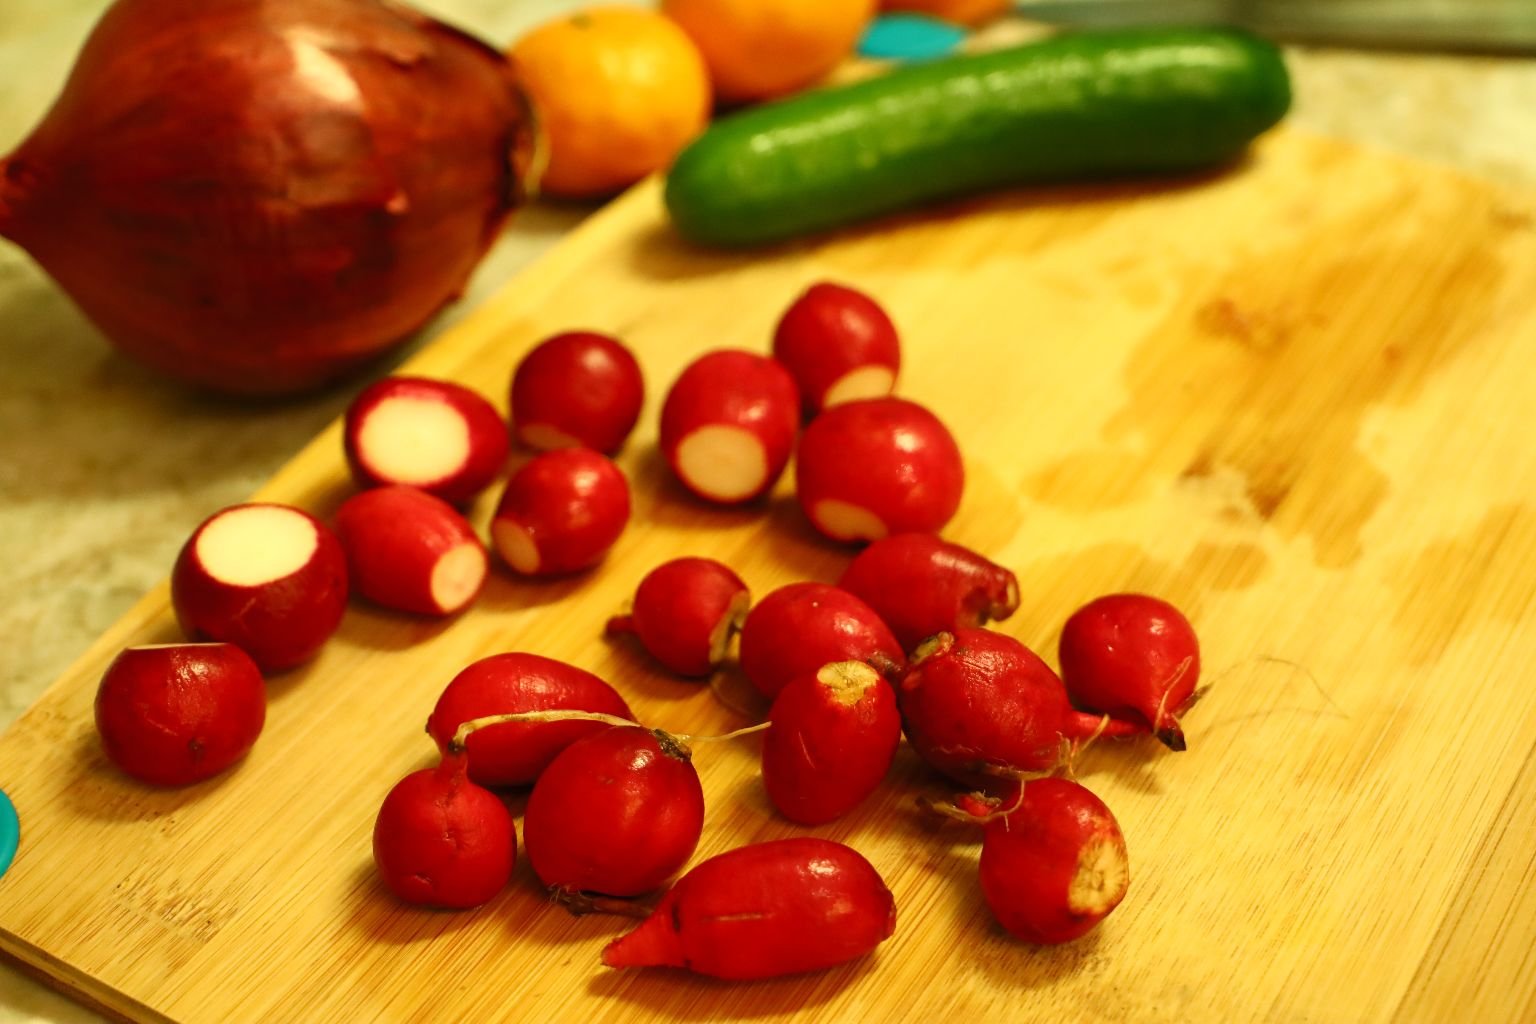

Slice your Radishes and Cucumber as shown and place them into a large bowl.

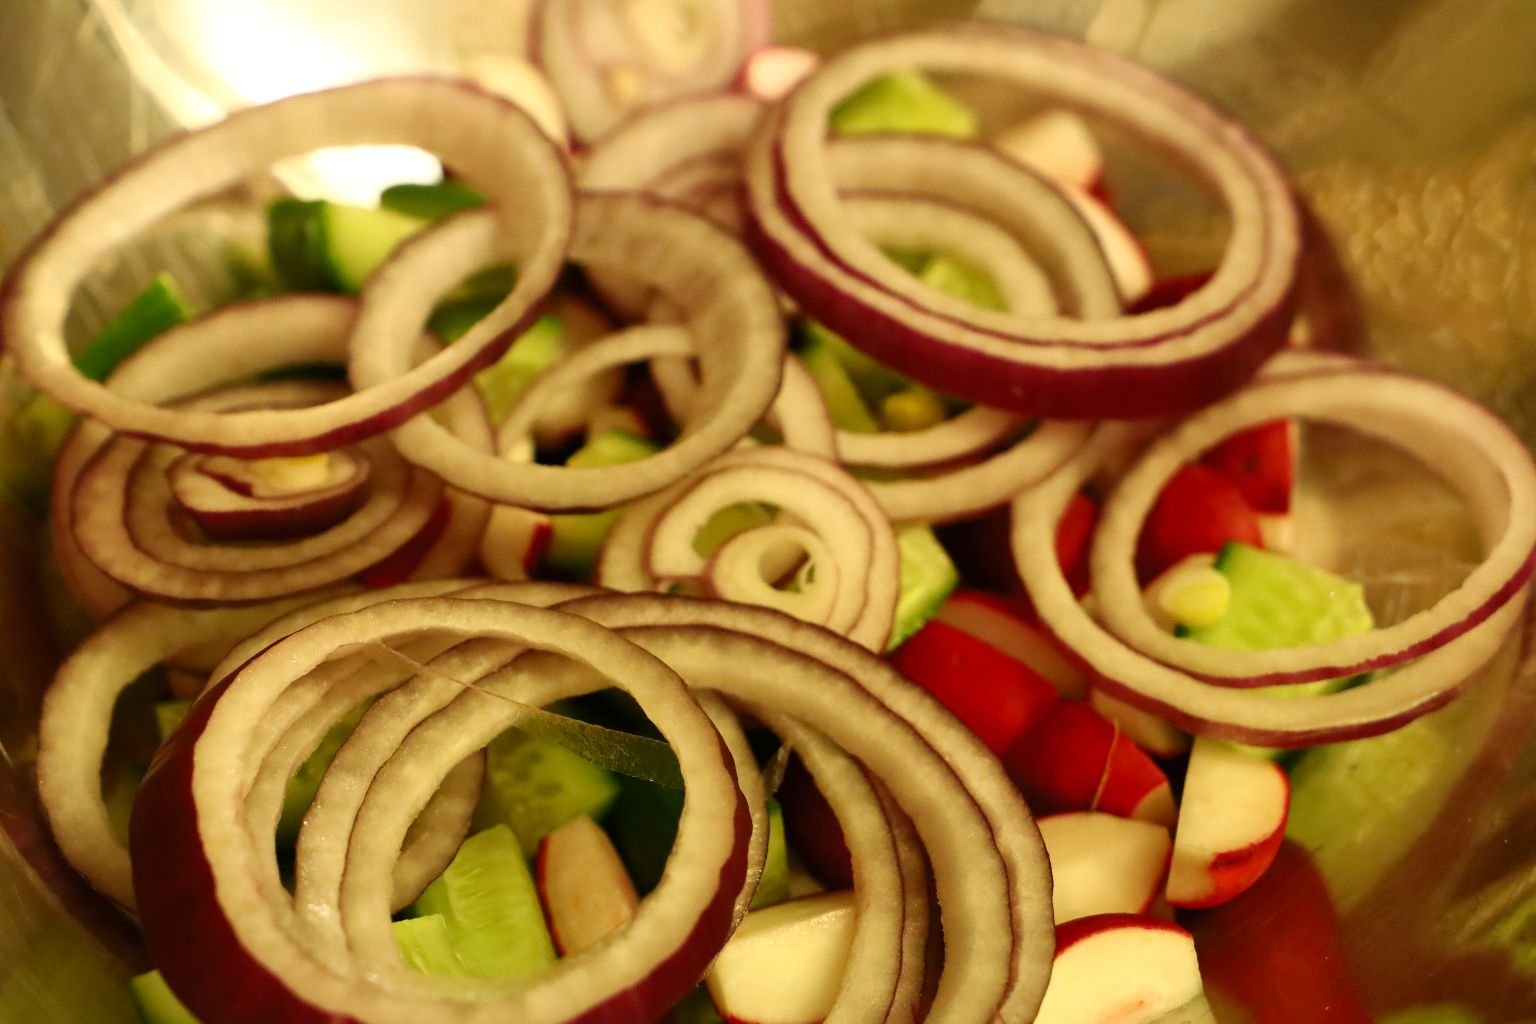
Now add your thinly sliced Red Onion


and your Clementines.


Then add your Baby Kale and Baby Spinach…

and mix all the ingredients together.
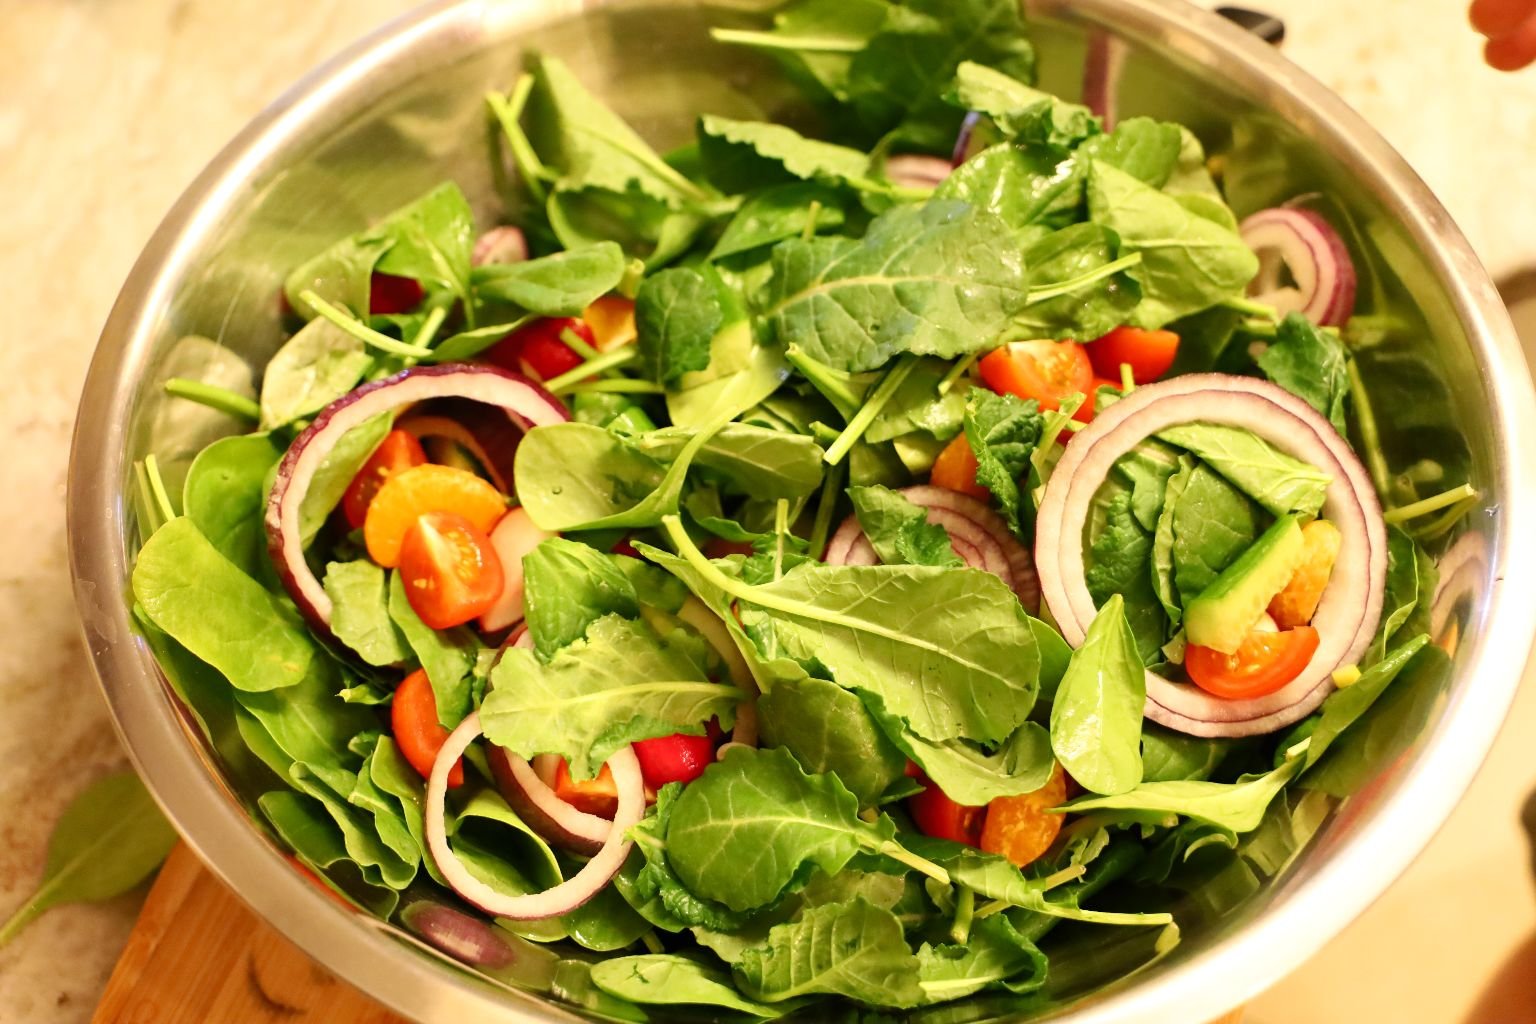
—————————————————————-
The Vinaigrette

This is a picture of some other ingredients that went into our other recipes, except the Roasted Coconut and the Macadamia Nuts.
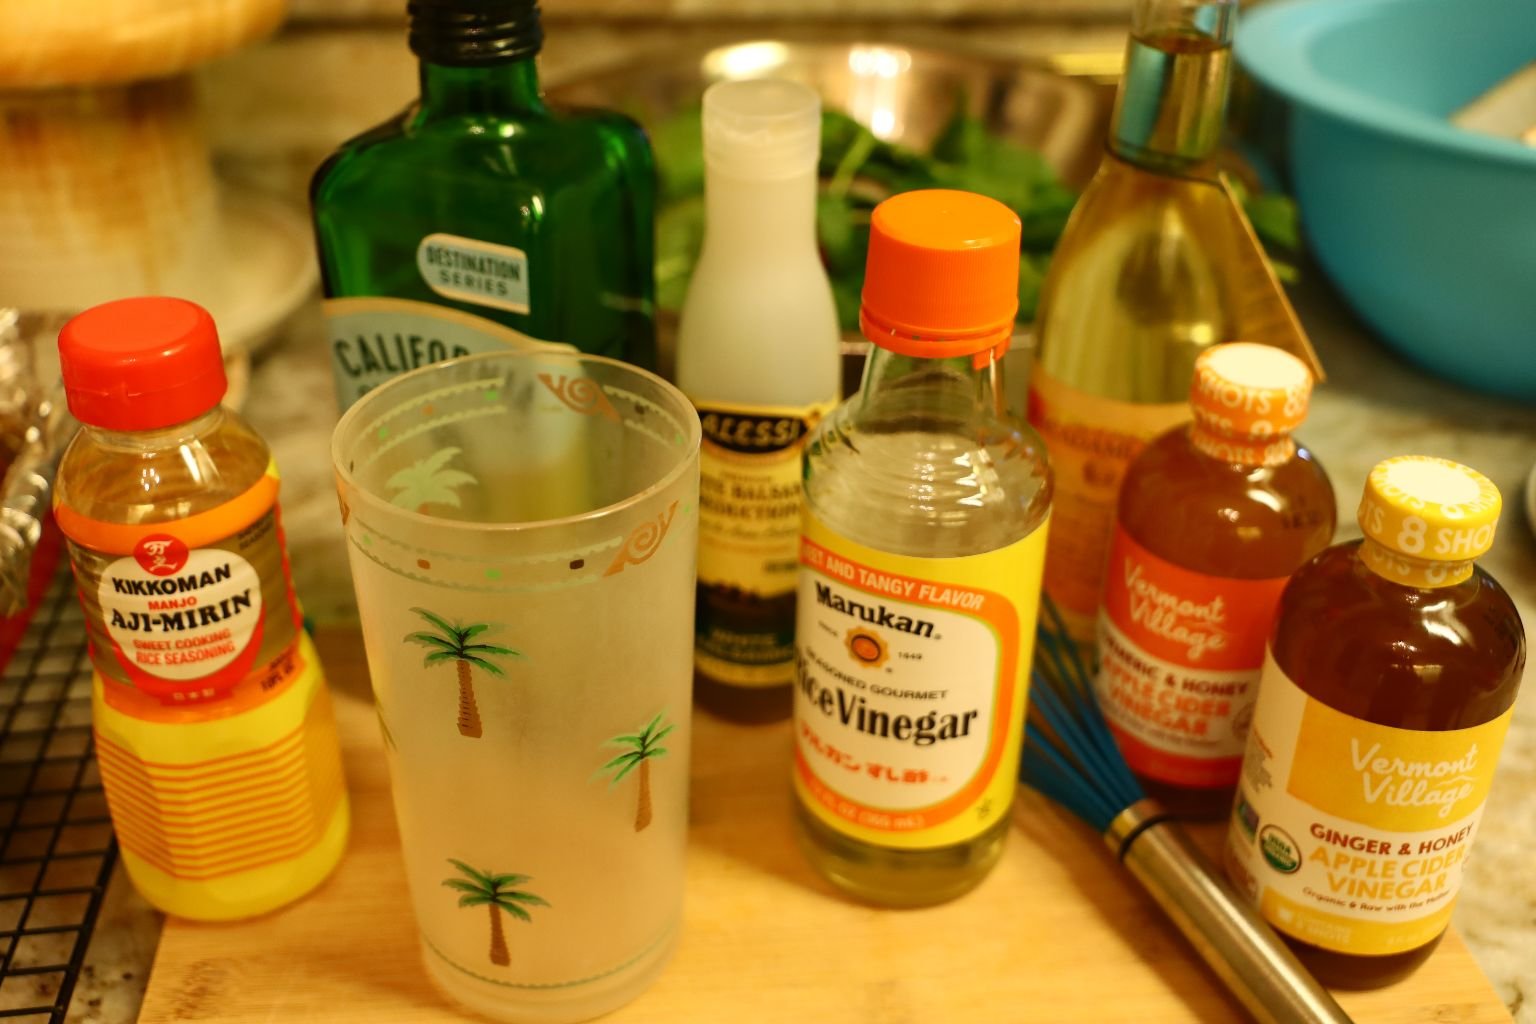
To make the vinaigrette I used a variety of flavors.
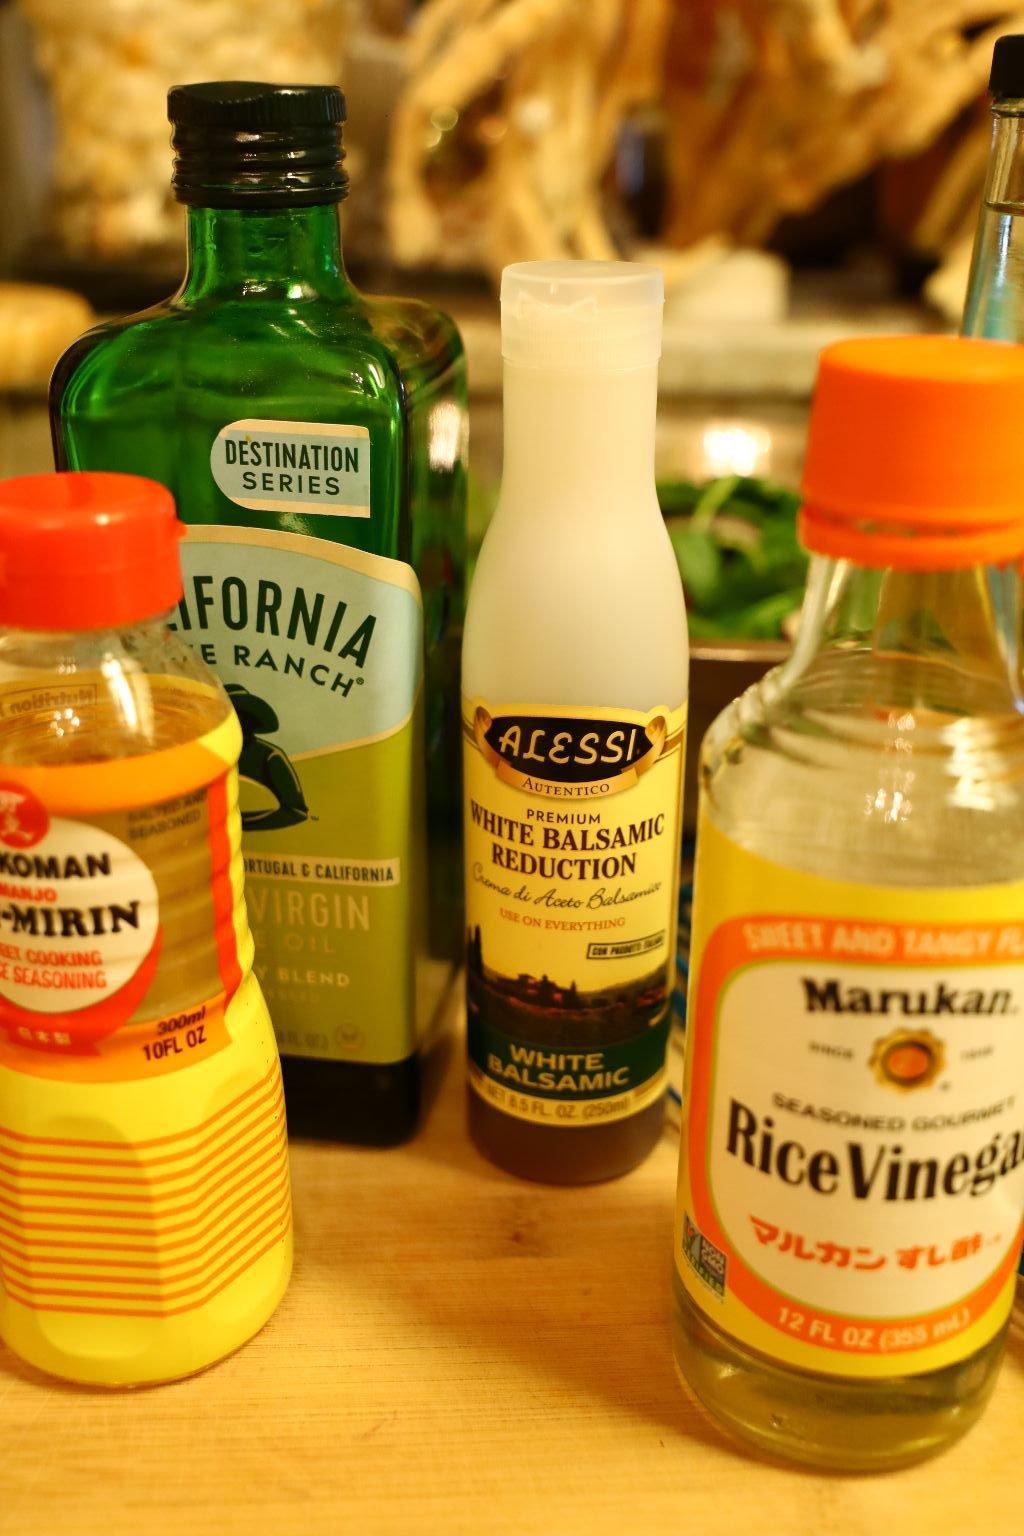
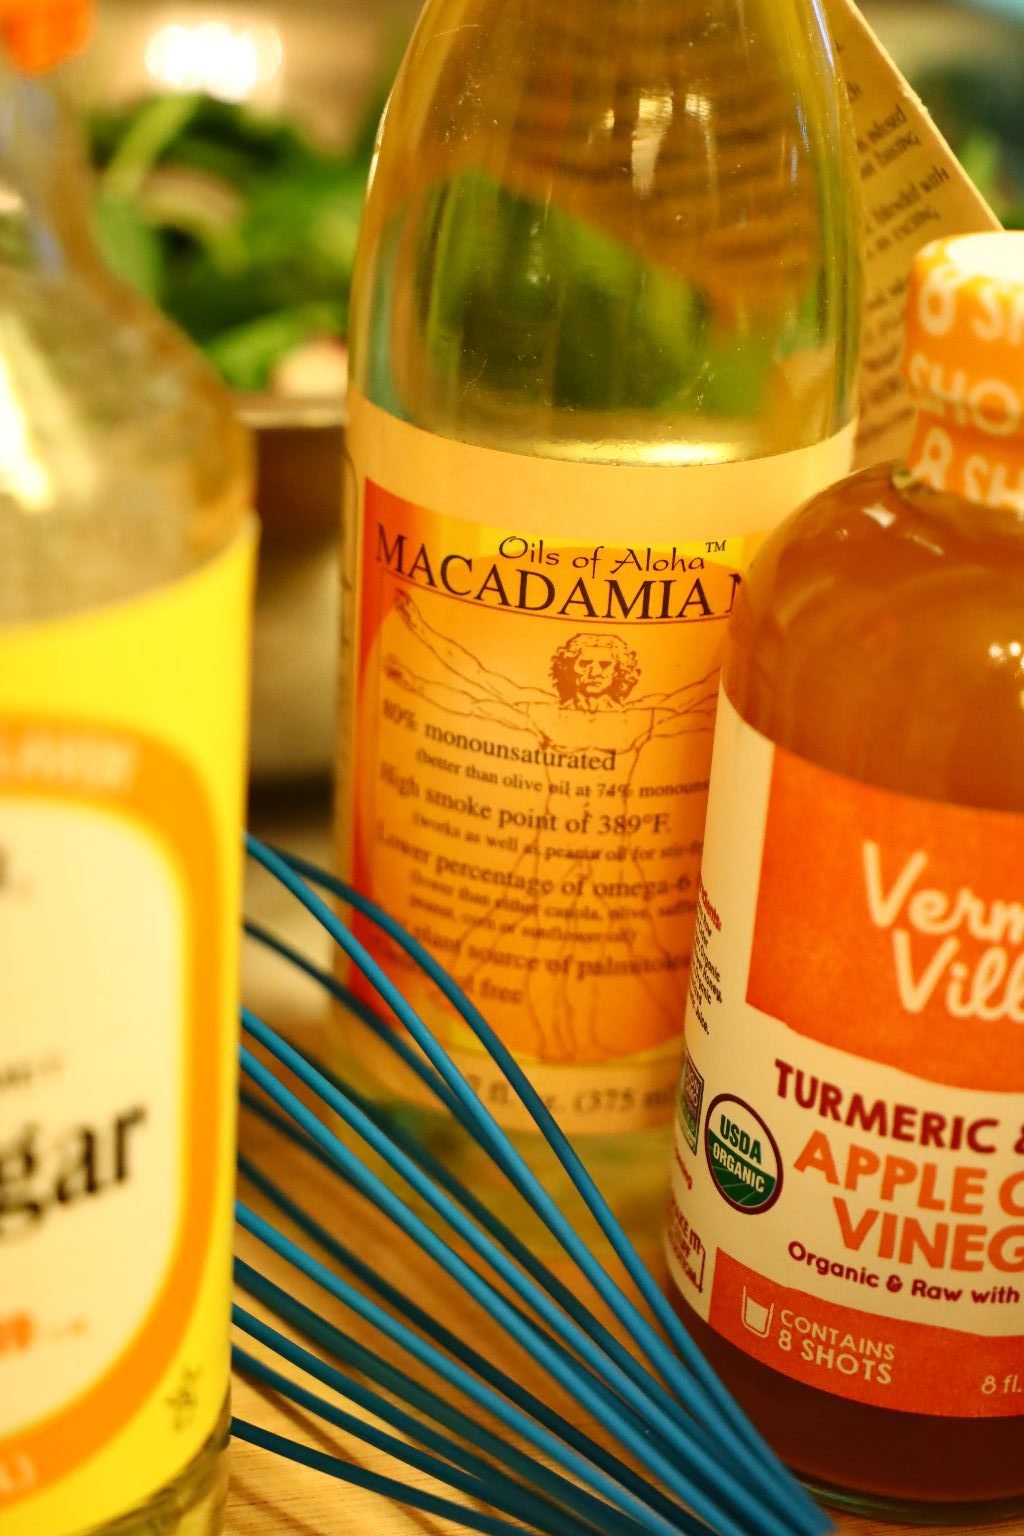
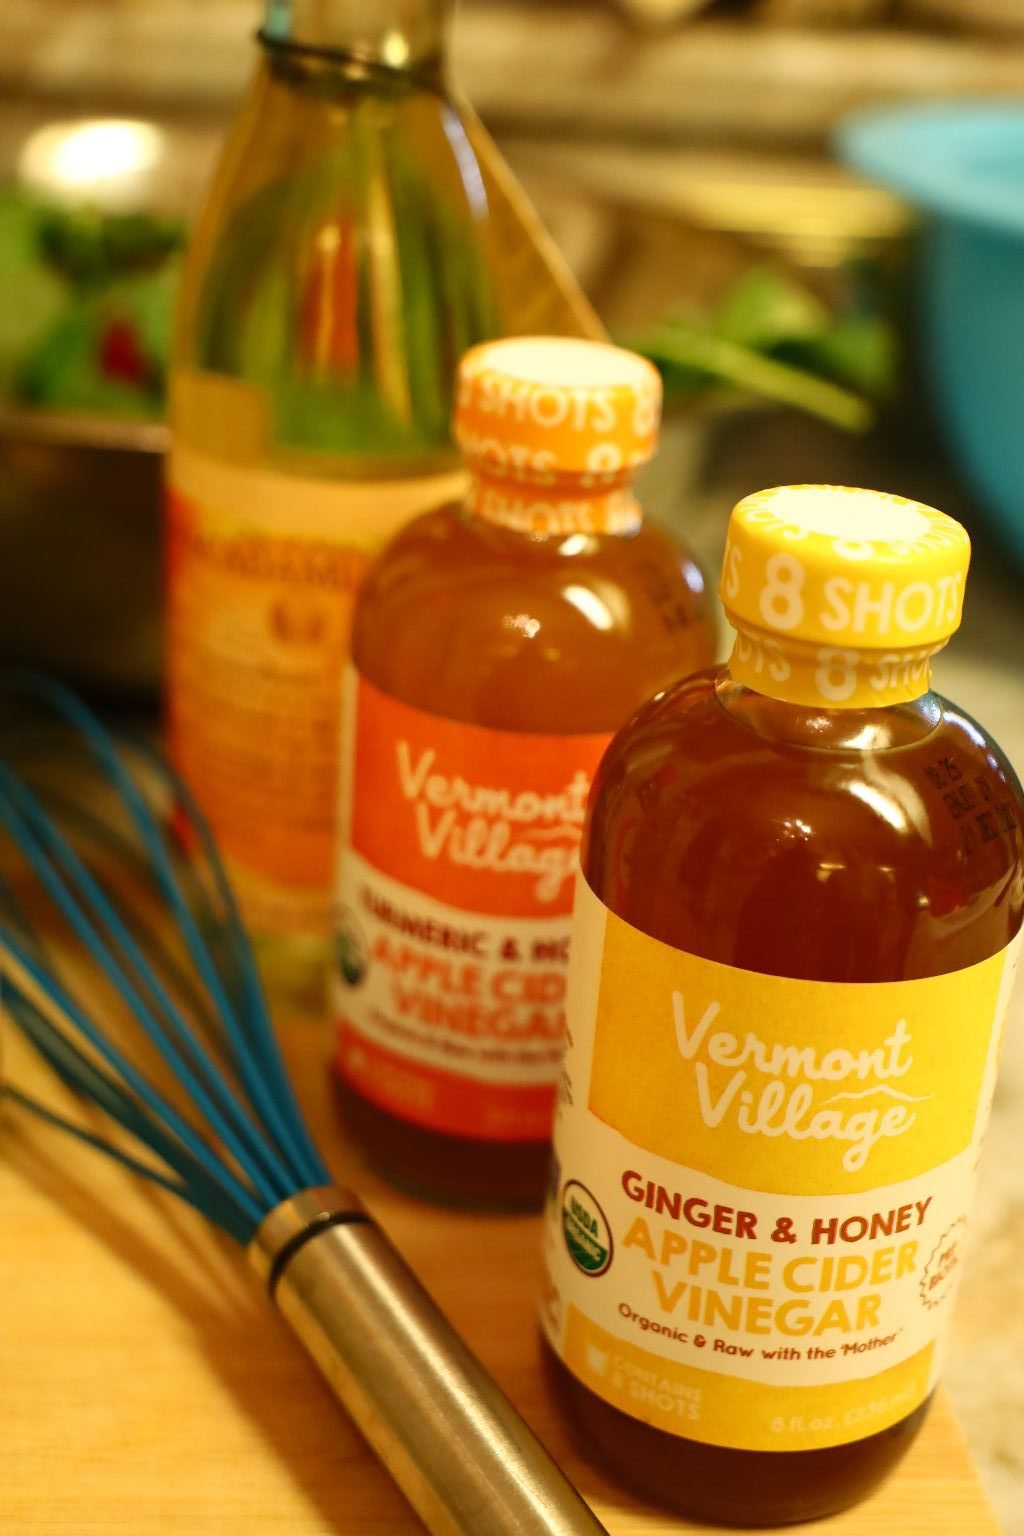


To start, I used 1/4 Cup Pineapple Juice…
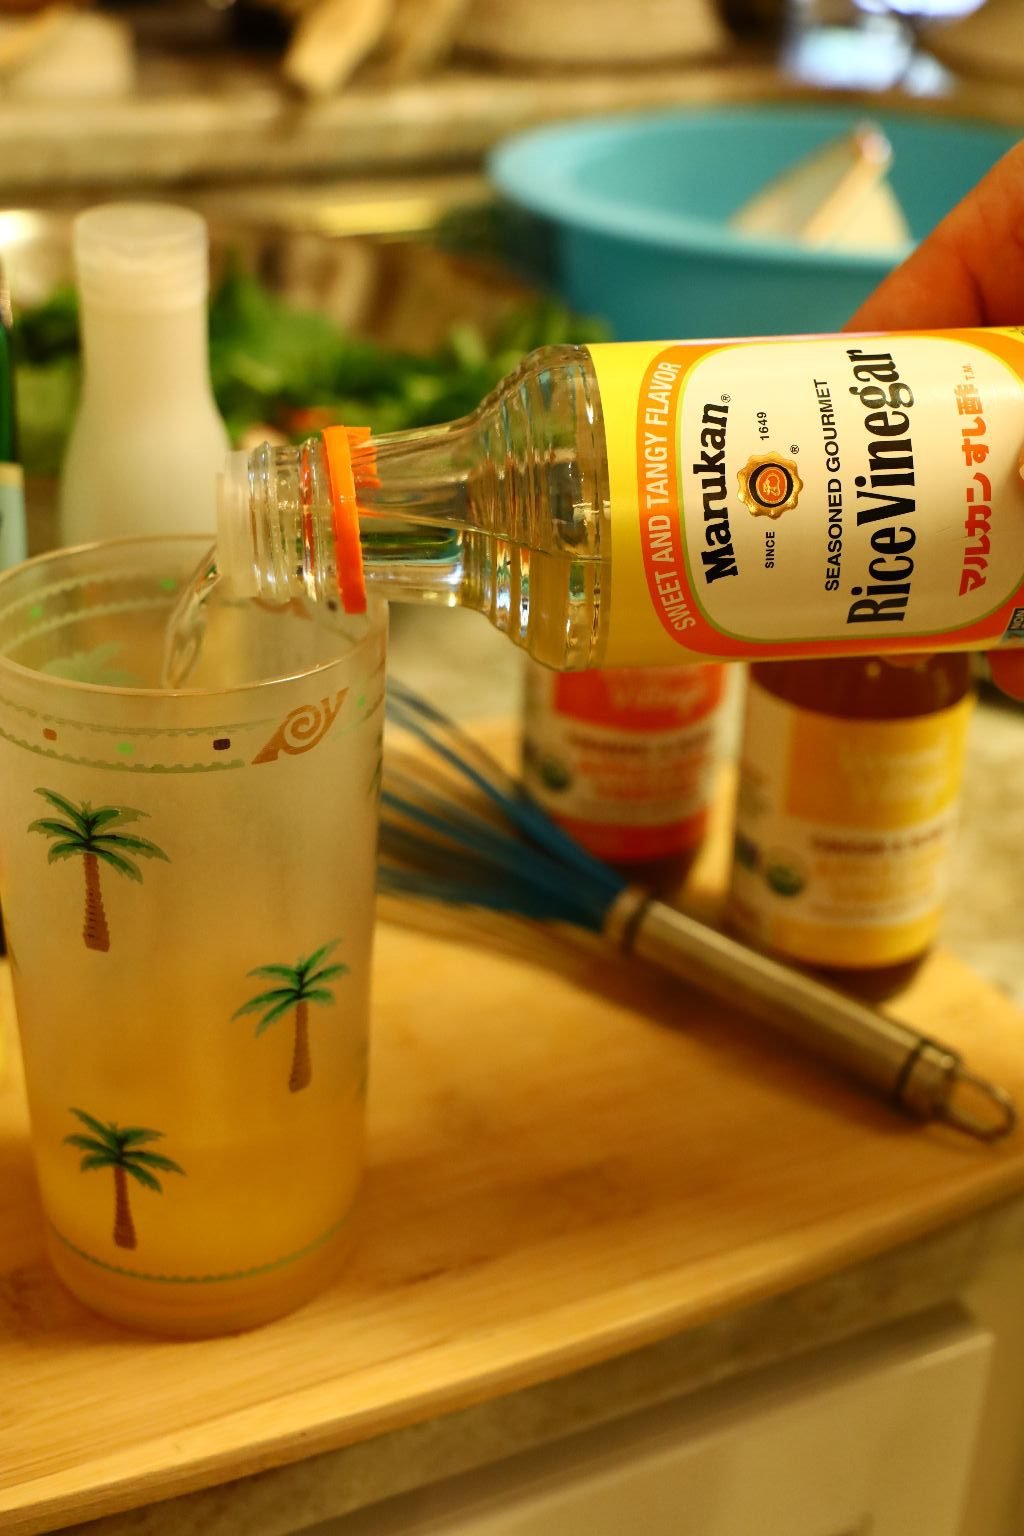
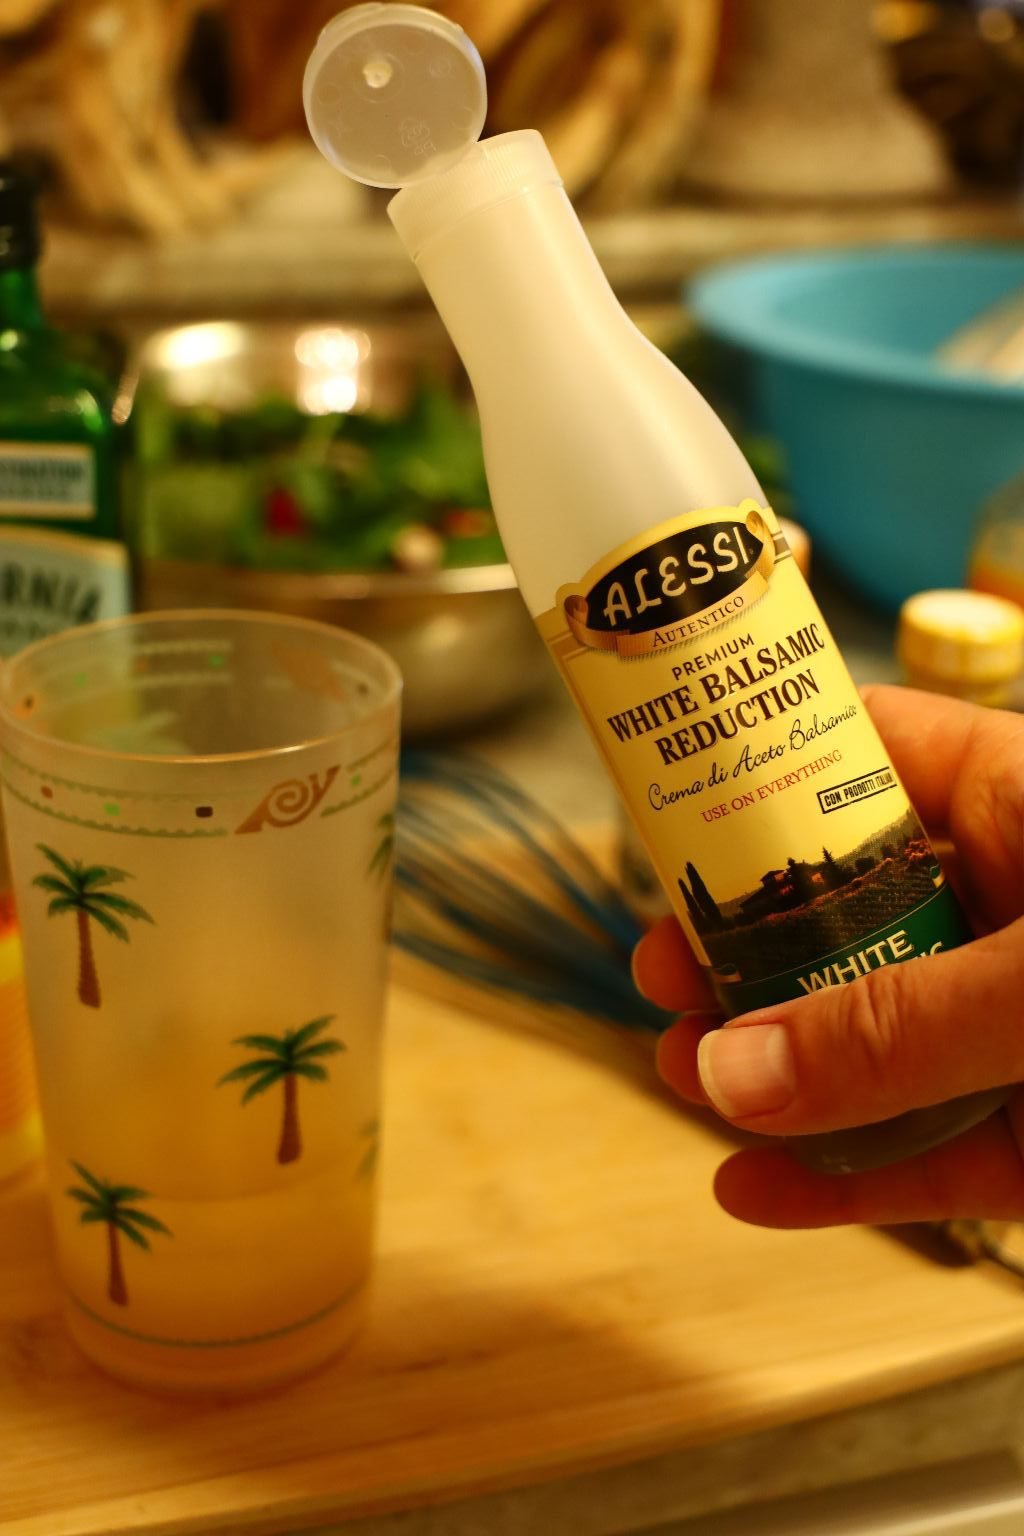
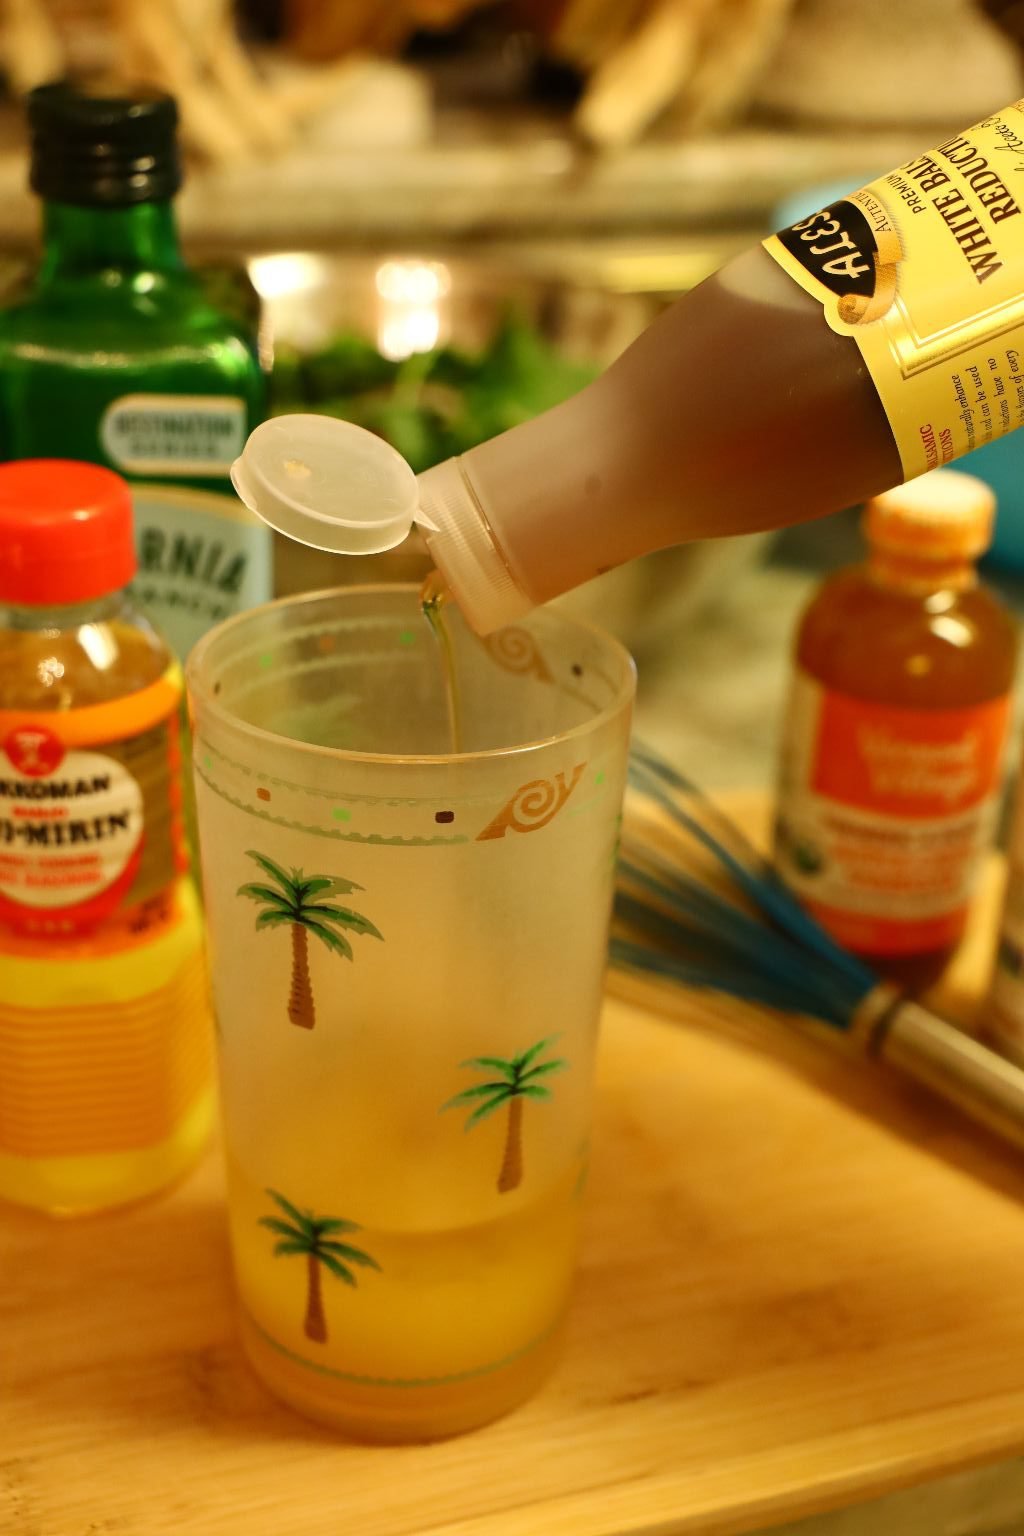
then added a few Tbsp’s. of Rice Vinegar, White Balsamic Reduction…


then about a Tbsp. Aji Mirin Sweet Cooking Rice Seasoning…
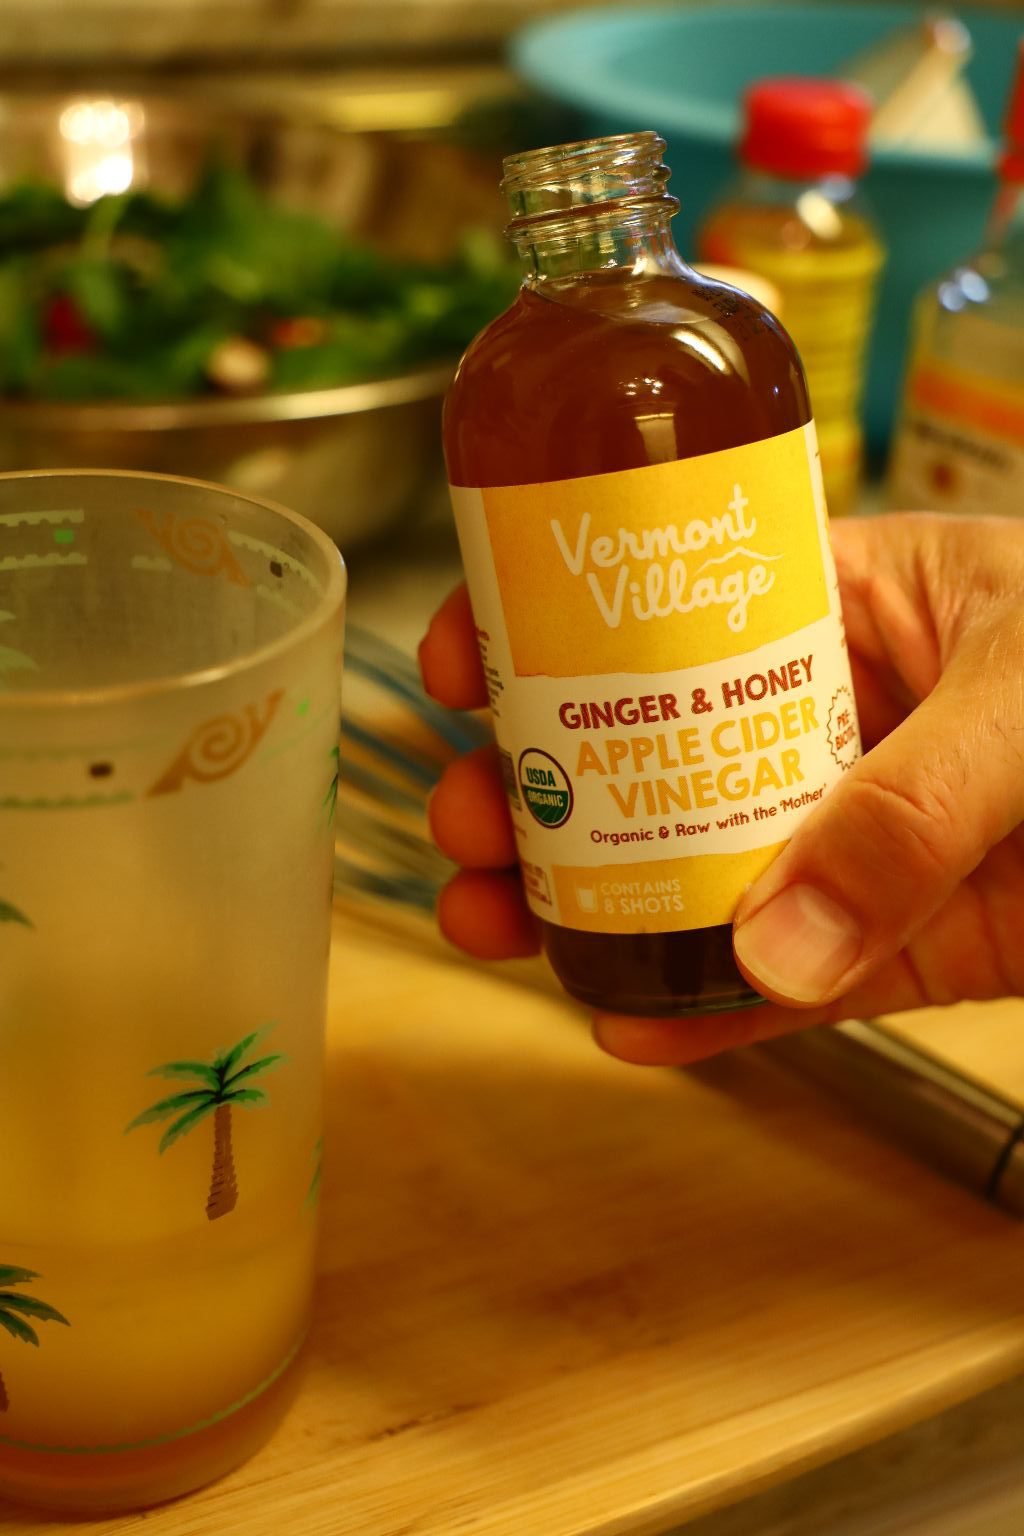

then a Tbsp or so of Ginger and Honey Apple Cider Vinegar….
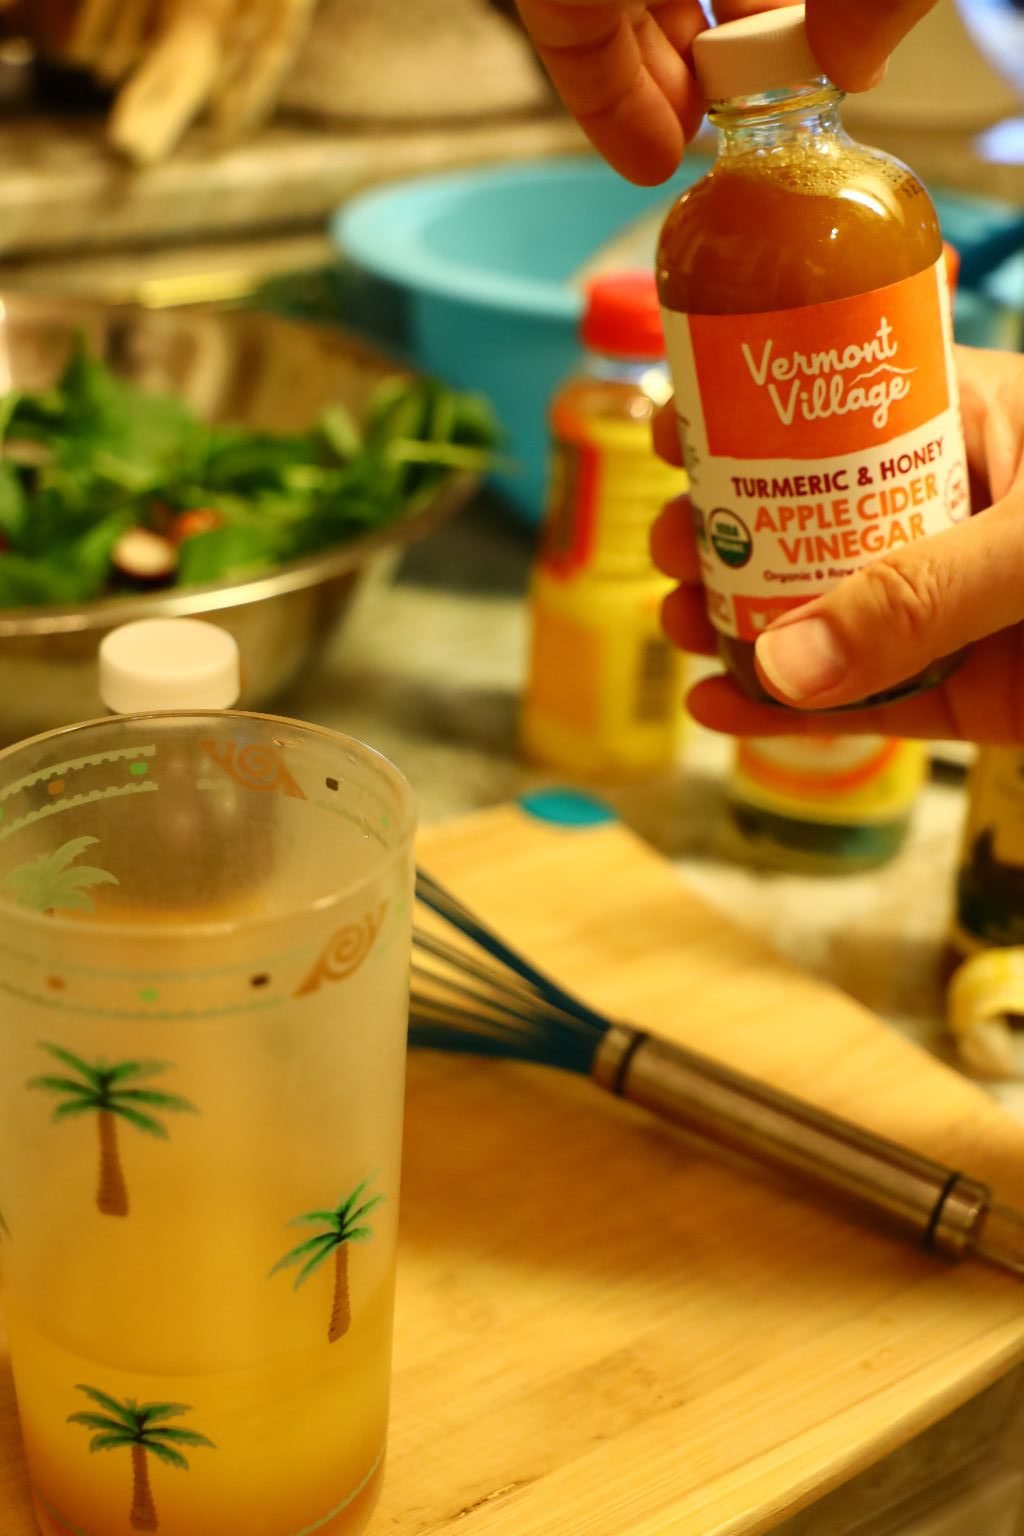
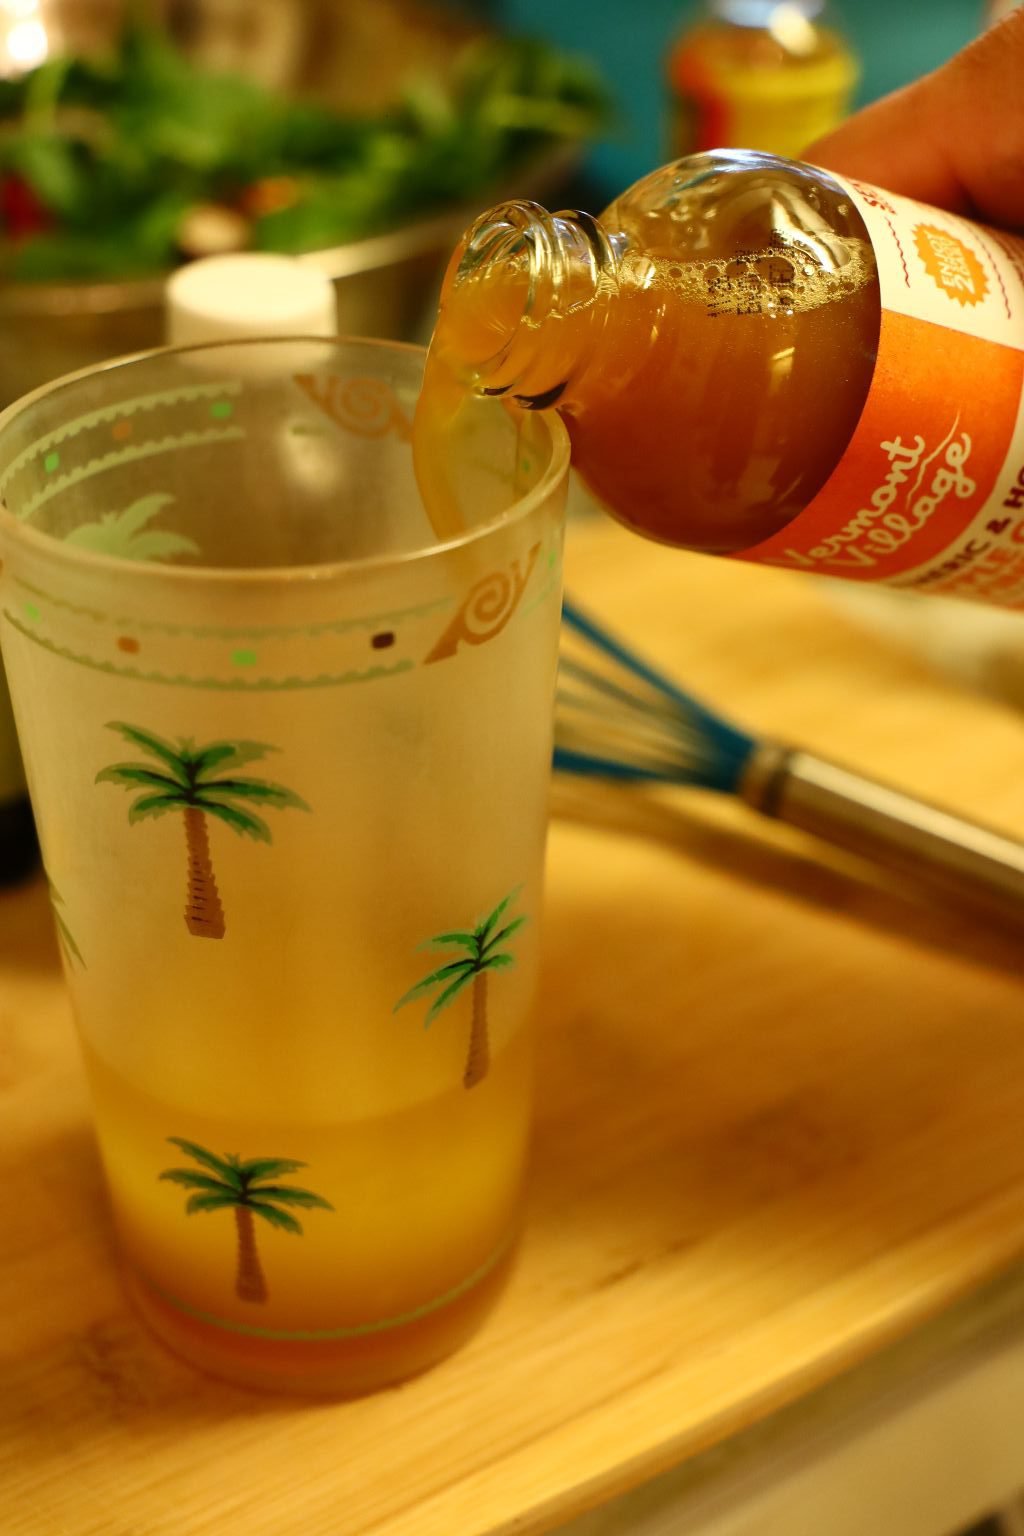
and then about a Tbsp. or so of Turmeric and Honey Apple Cider Vinegar.

Lastly add about 1/4 Cup Olive Oil.
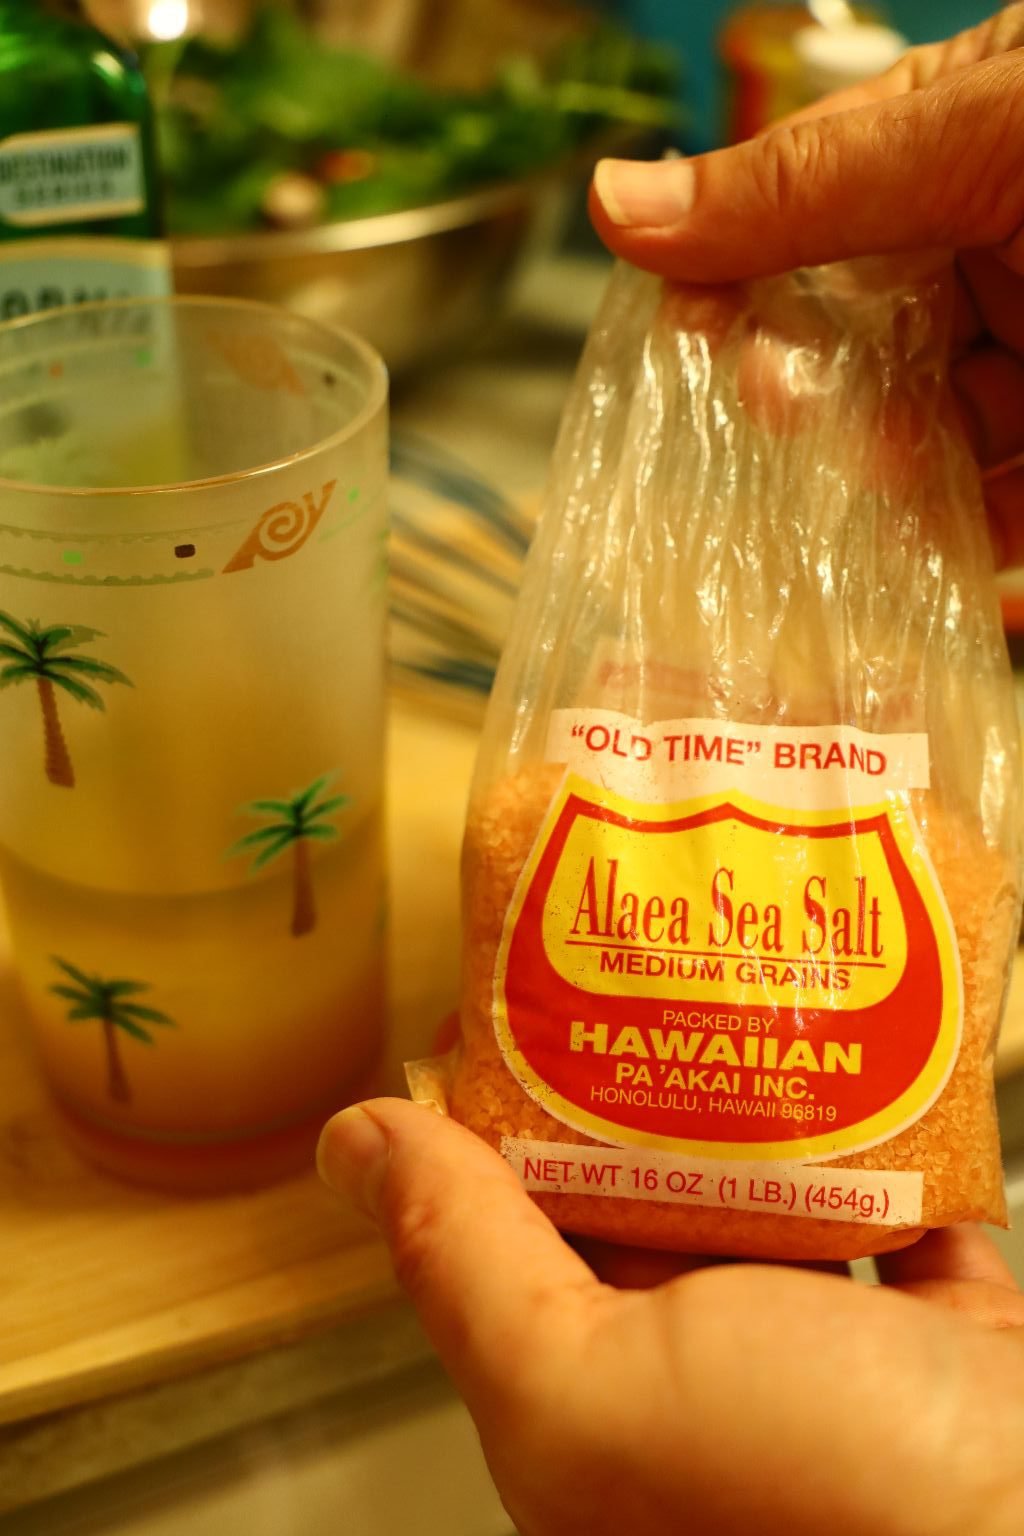

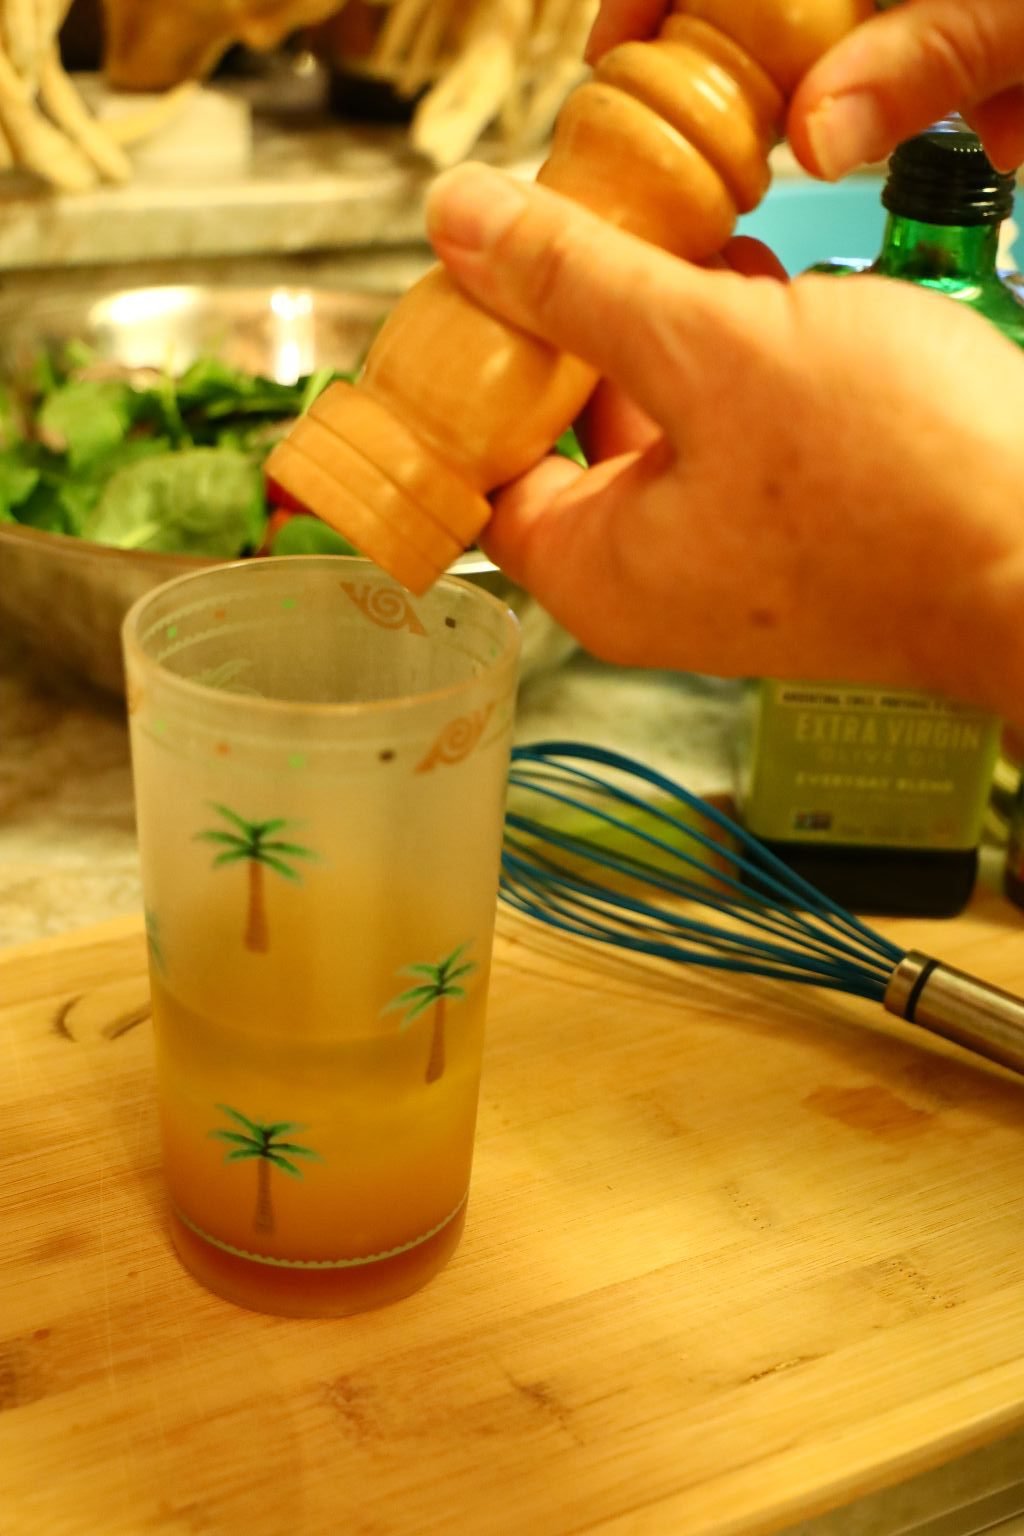
Add some Hawaiian Sea Salt then Fresh Ground Pepper.
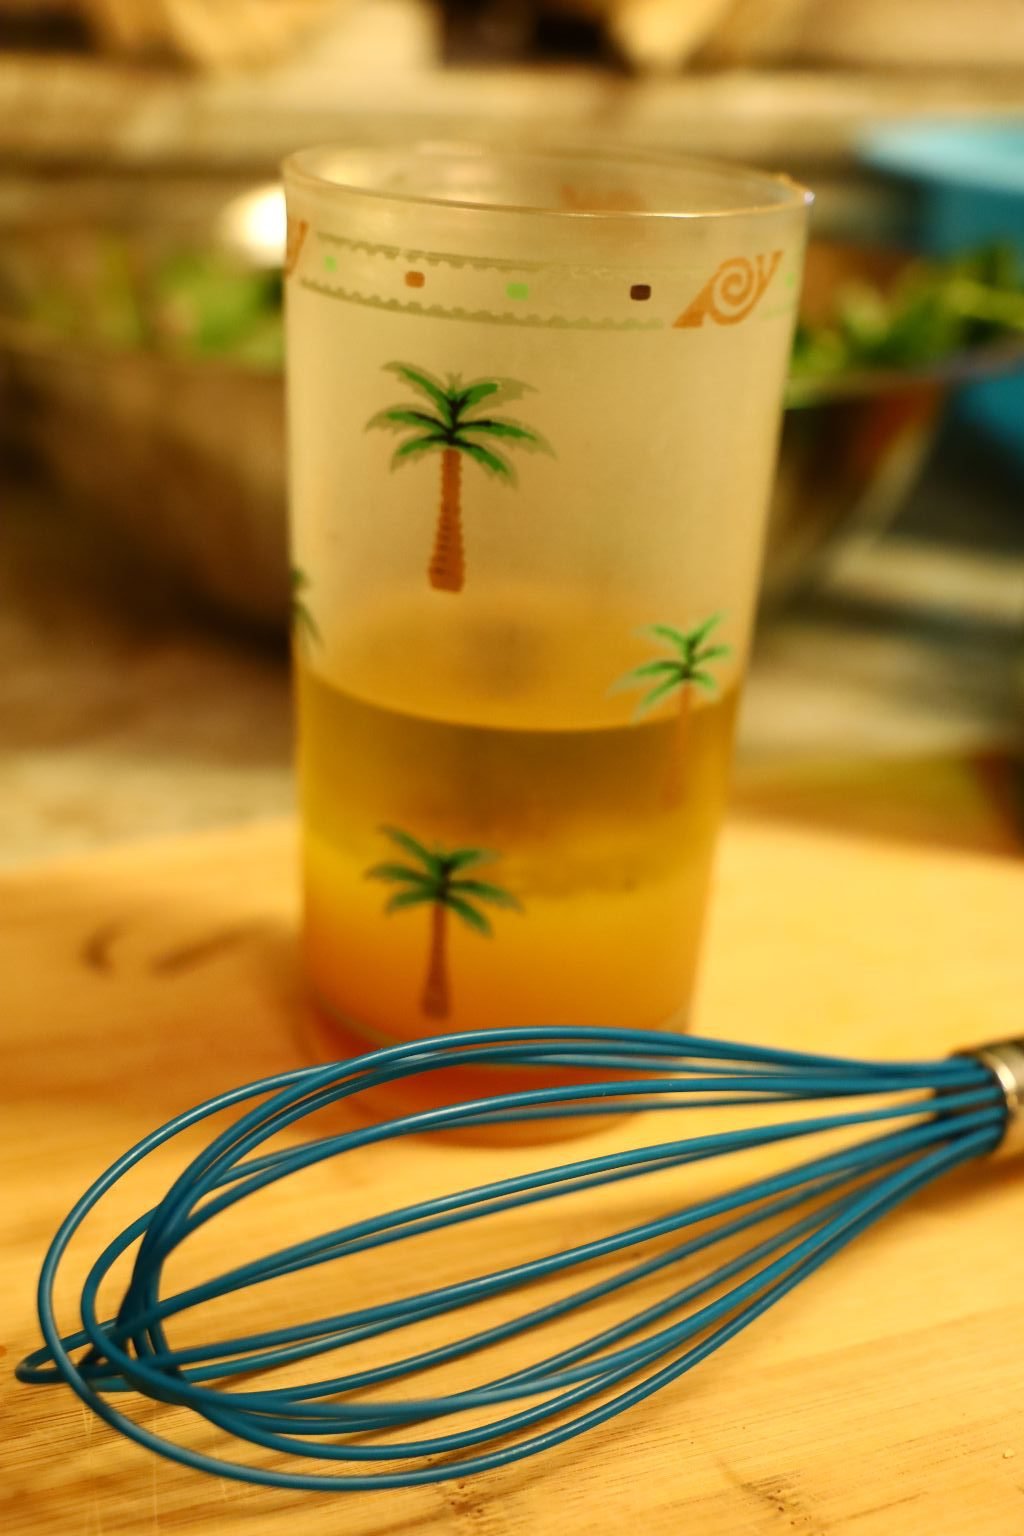
Use a whisk to mix all the ingredients well. Now, take a Spinach leaf and dip it into the Vinaigrette to taste it. The Vinaigrette should leave an acid bite at the back of your throat. If it does that and you like the taste … you are done. If not, add some more of the ingredients and taste it again.
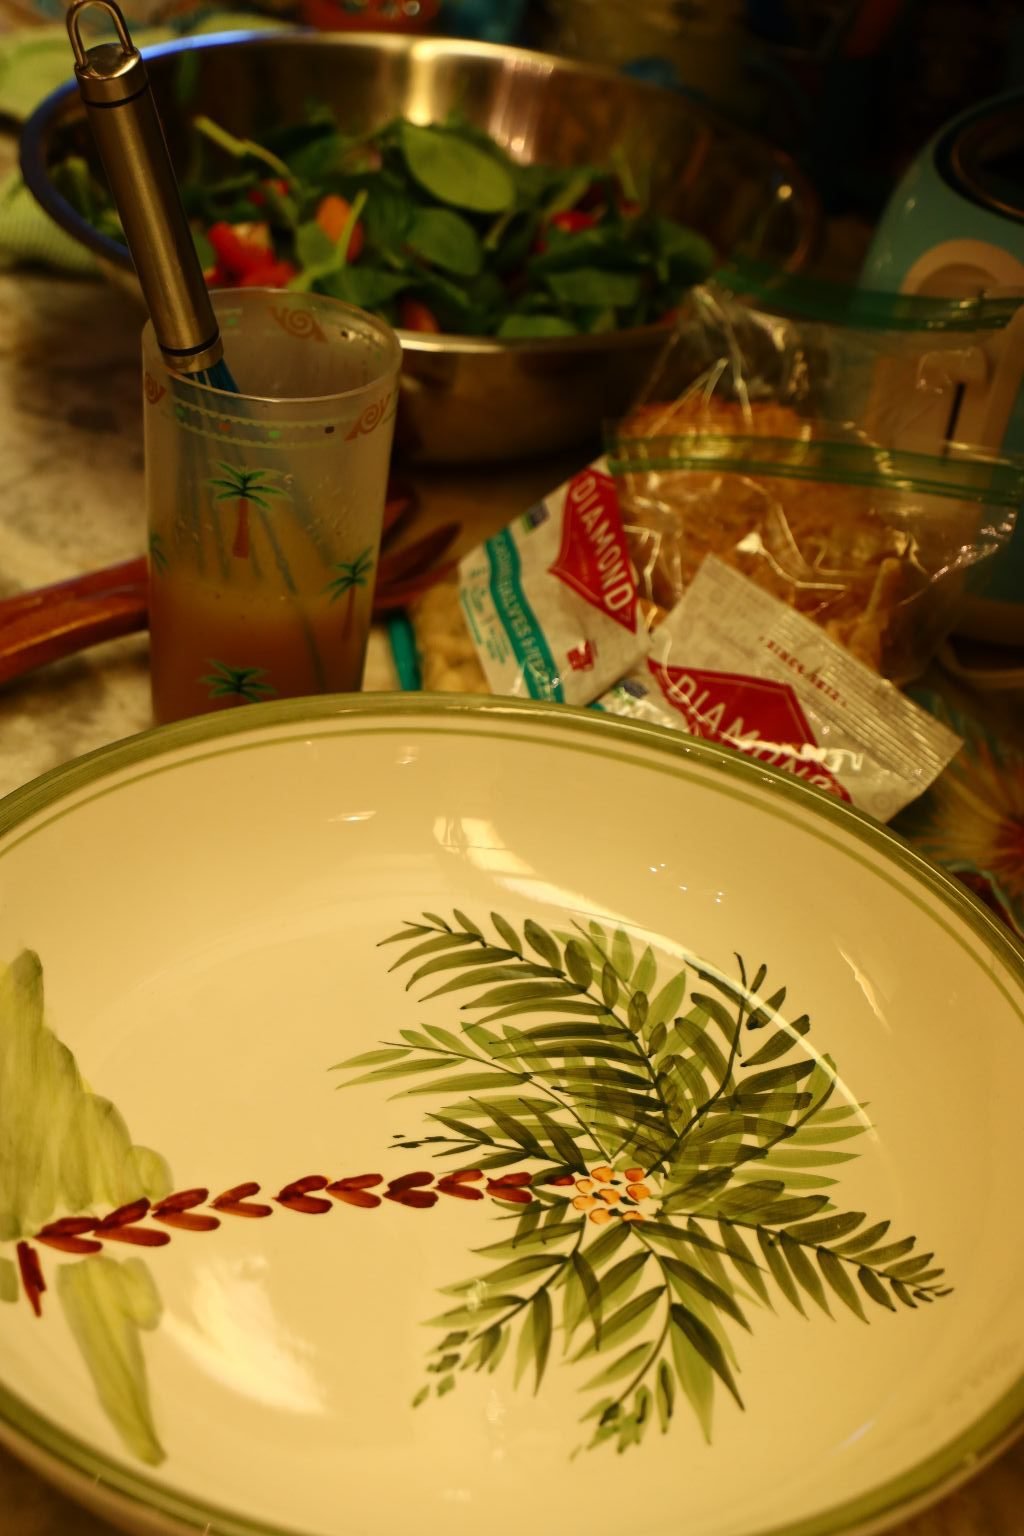
Here is the plate we placed the salad on.


Add your Macadamia Nuts to the salad…


Then some Roasted Sweet Coconut.
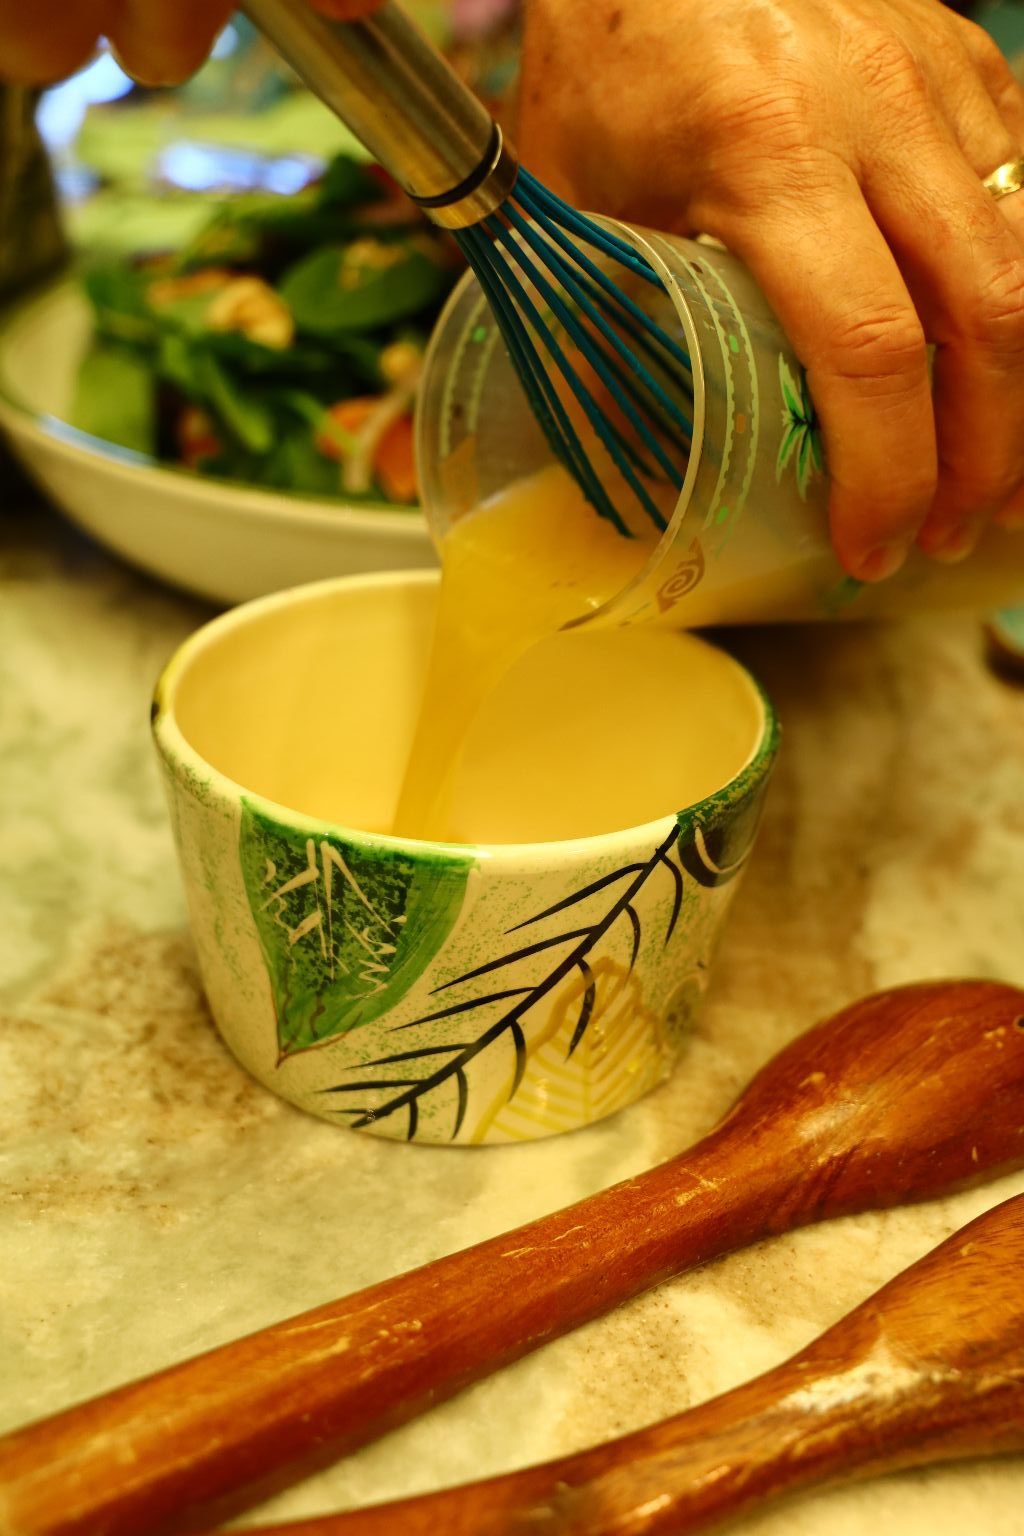
Pour the Vinaigrette into a bowl to let the guests serve themselves.
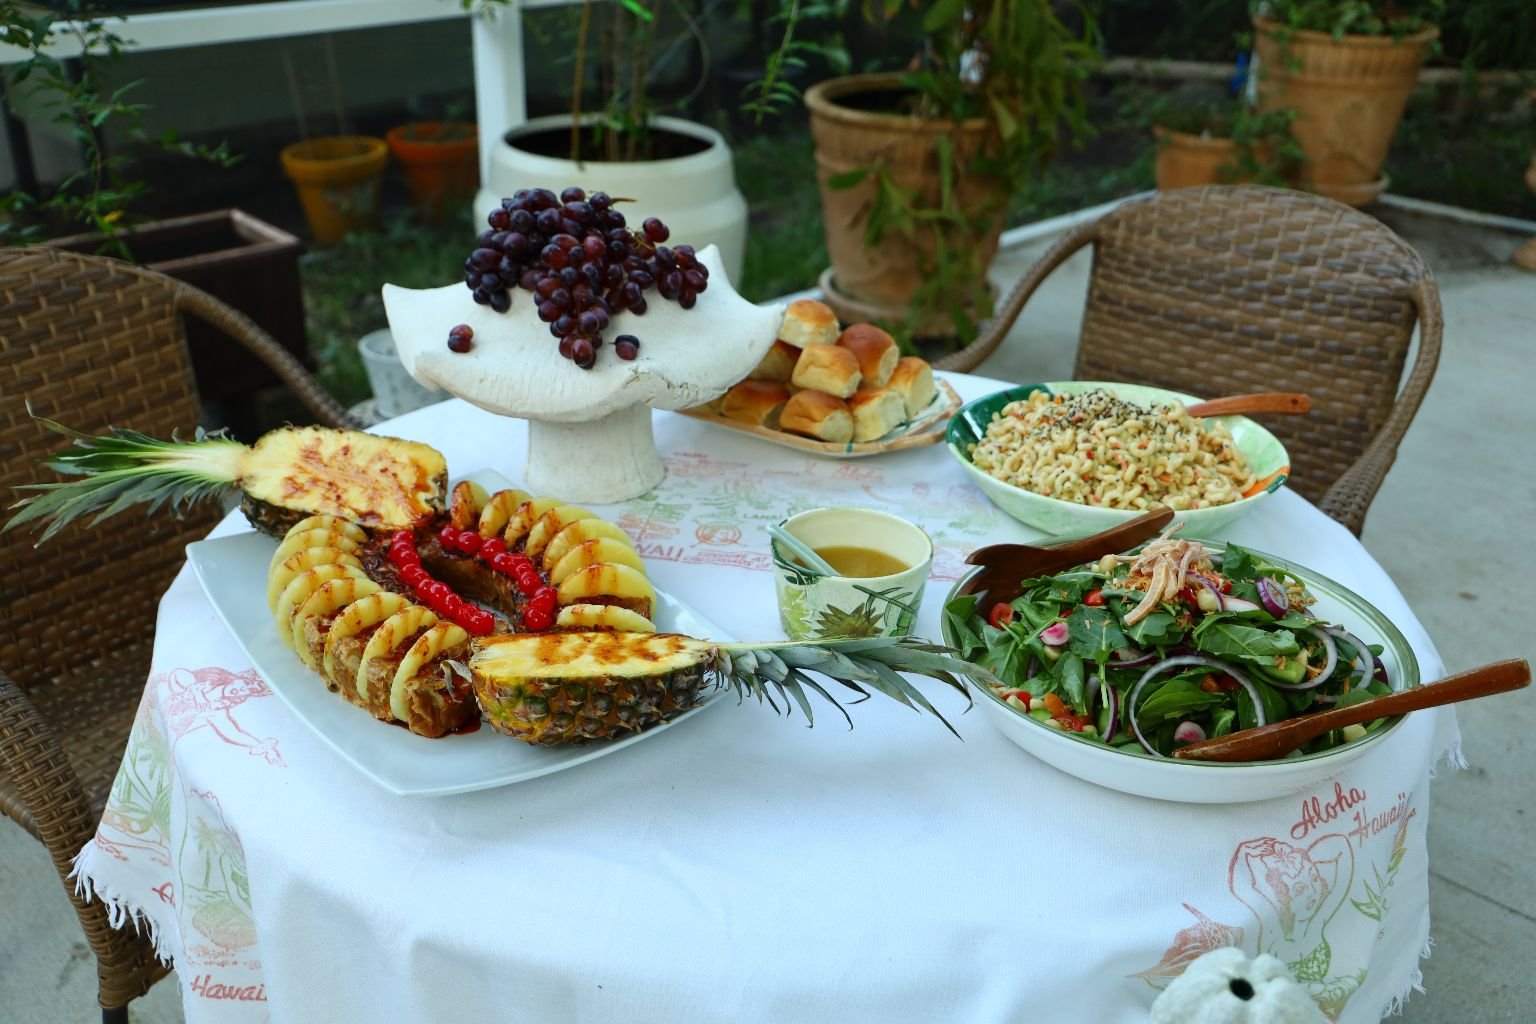
Have an Aloha Mother’s Day!
————————————————————————
The Leftovers 🙂

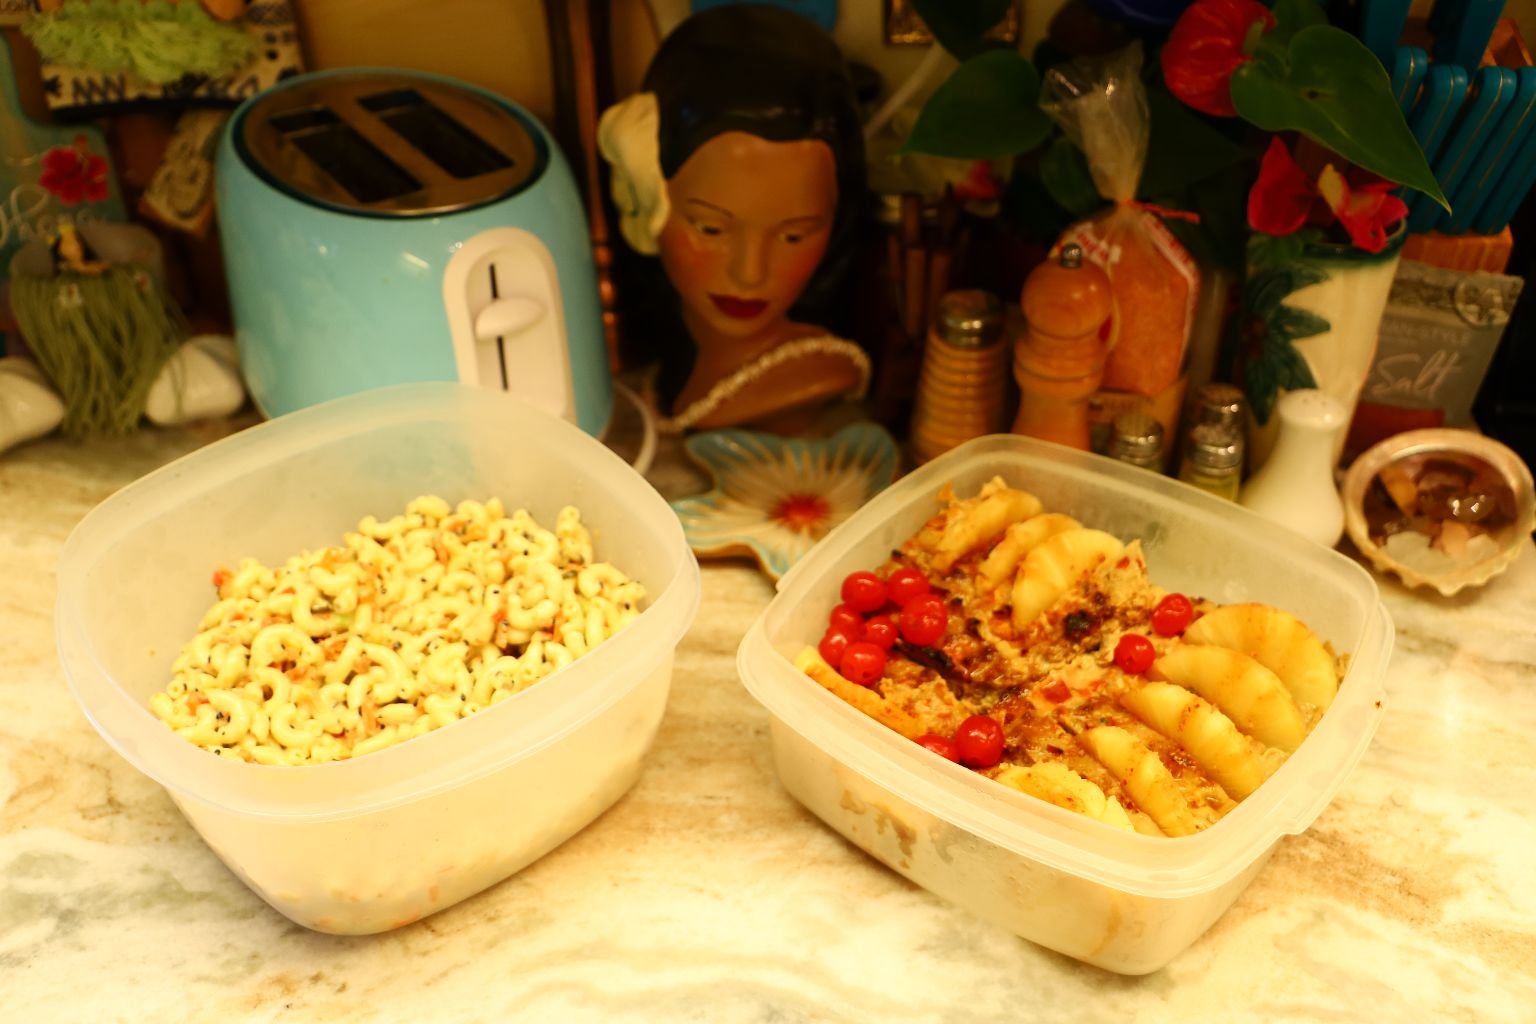
We Do So Love The Leftovers!
————————————————————-
Check Out Our Other Hawaiian Pages:
Click Here For: Whann Way Aloha
AND,
Click Here For: Whann Way Aloha, Hapa Elua (Part 2)
AND,
Click Here For: Blue Hawaiians and Huli Huli Chicken
AND,
AND,
AND,
Click Here For: Weekend Spamin’ Spam Musubi
AND,
Click Here For: Julie’s Lunchbox
AND,
Click Here For: Gordon’s Hawaiian Potatoes and Huli Huli Pork Chops
AND,
Click Here For: Whann’s In Not Always Paradise
AND,
Click Here For: Julie Barefoot Cookies and Beachy Edible Gifts
AND,
Click Here For: Grillin’ With Aloha
AND,
Click Here For: Julie’s Vintage Hawaiian Mango-Mac Nut Bread Cake w/ Pasta Flowers
AND,
Click Here For: Gordon’s Dole Pineapple Outrigger Canoe and Cocktail
AND,
Click Here For: Hawaiian Hum Lum Sun Prunes
AND,
AND,
AND,
Click Here For: A Mother’s Day Aloha
AND,
Click Here For: Aloha Wahine Jezebel Sauce
AND,
Click Here For: Whann Way Hawaiian Luau
AND,
Click Here For: Hawaiian Popcorn and Moana Maika I’ Loa
AND,
Click Here For: Beachy Hawaiian Thanksgiving Pu Pu’s
AND,
Click Here For: Barefoot Beach Teas
AND,
AND,
Click Here For: Hawaiian Kalikimaka
AND,
Click Here For: Christmas/Kalikimaka Oysters on the Grill
AND,
Click Here For: Tropical Hawaiian Cranberries and our Mele Kalikimaka Me Ka Hauoli Makahiki Hou

Welcome to My Sixty’s Currently Aging to Perfection (Or Rotting and Disintegrating? But I swear this to you, as long as there are moisturizers and Loreal Superior Performance Medium Blonde, I will always be here for you.) 🙂 When I look …

HOLA! HOT! HOT! HOT! Growing Jalapeno’s in our Backyard —————————————————— Sometimes It’s Nice Just Picking up Dinner at The Latin Supermarket Grilled Chicken Breast with Peppers, Yuka Fries and Yellow Rice, Sides of Red Beans, Black Beans, and Gordon’s Roast …
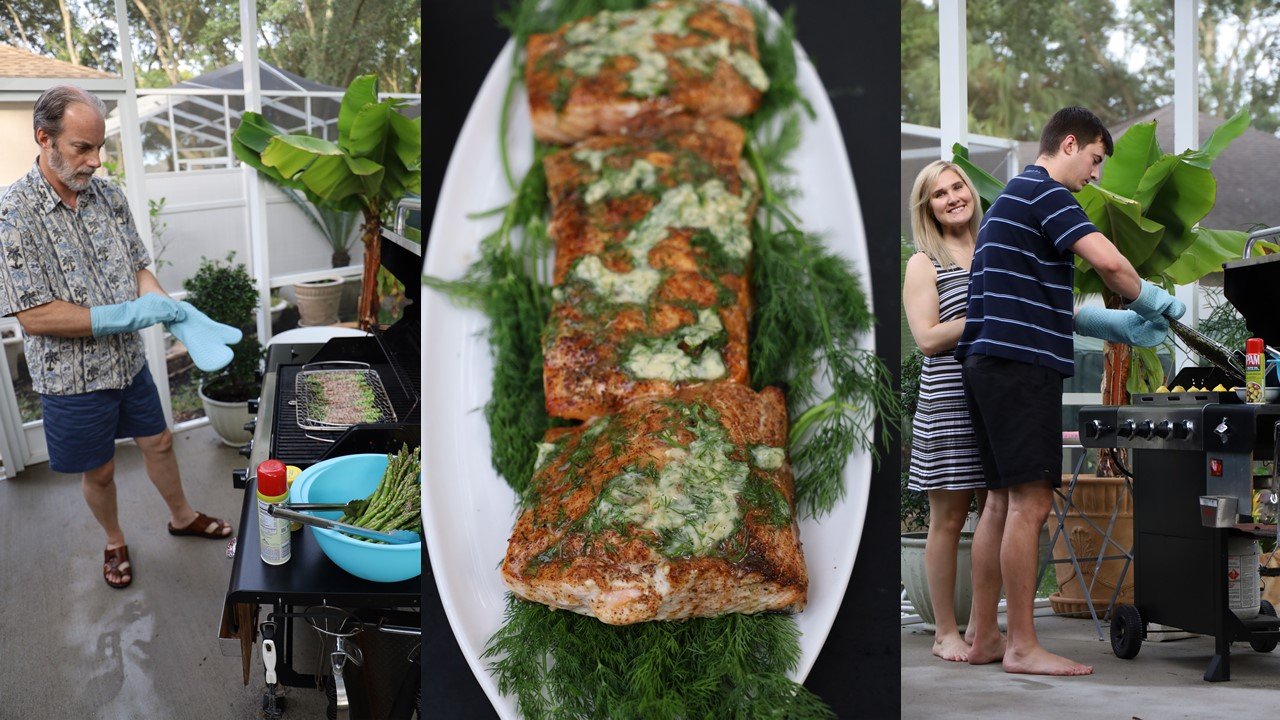

Hello
Welcome to our Backyard Lanai
This is where we spend a lot of our time in the spring, summer, and autumn. It is a nice big area where we can spread out and entertain, even if it is just for us.
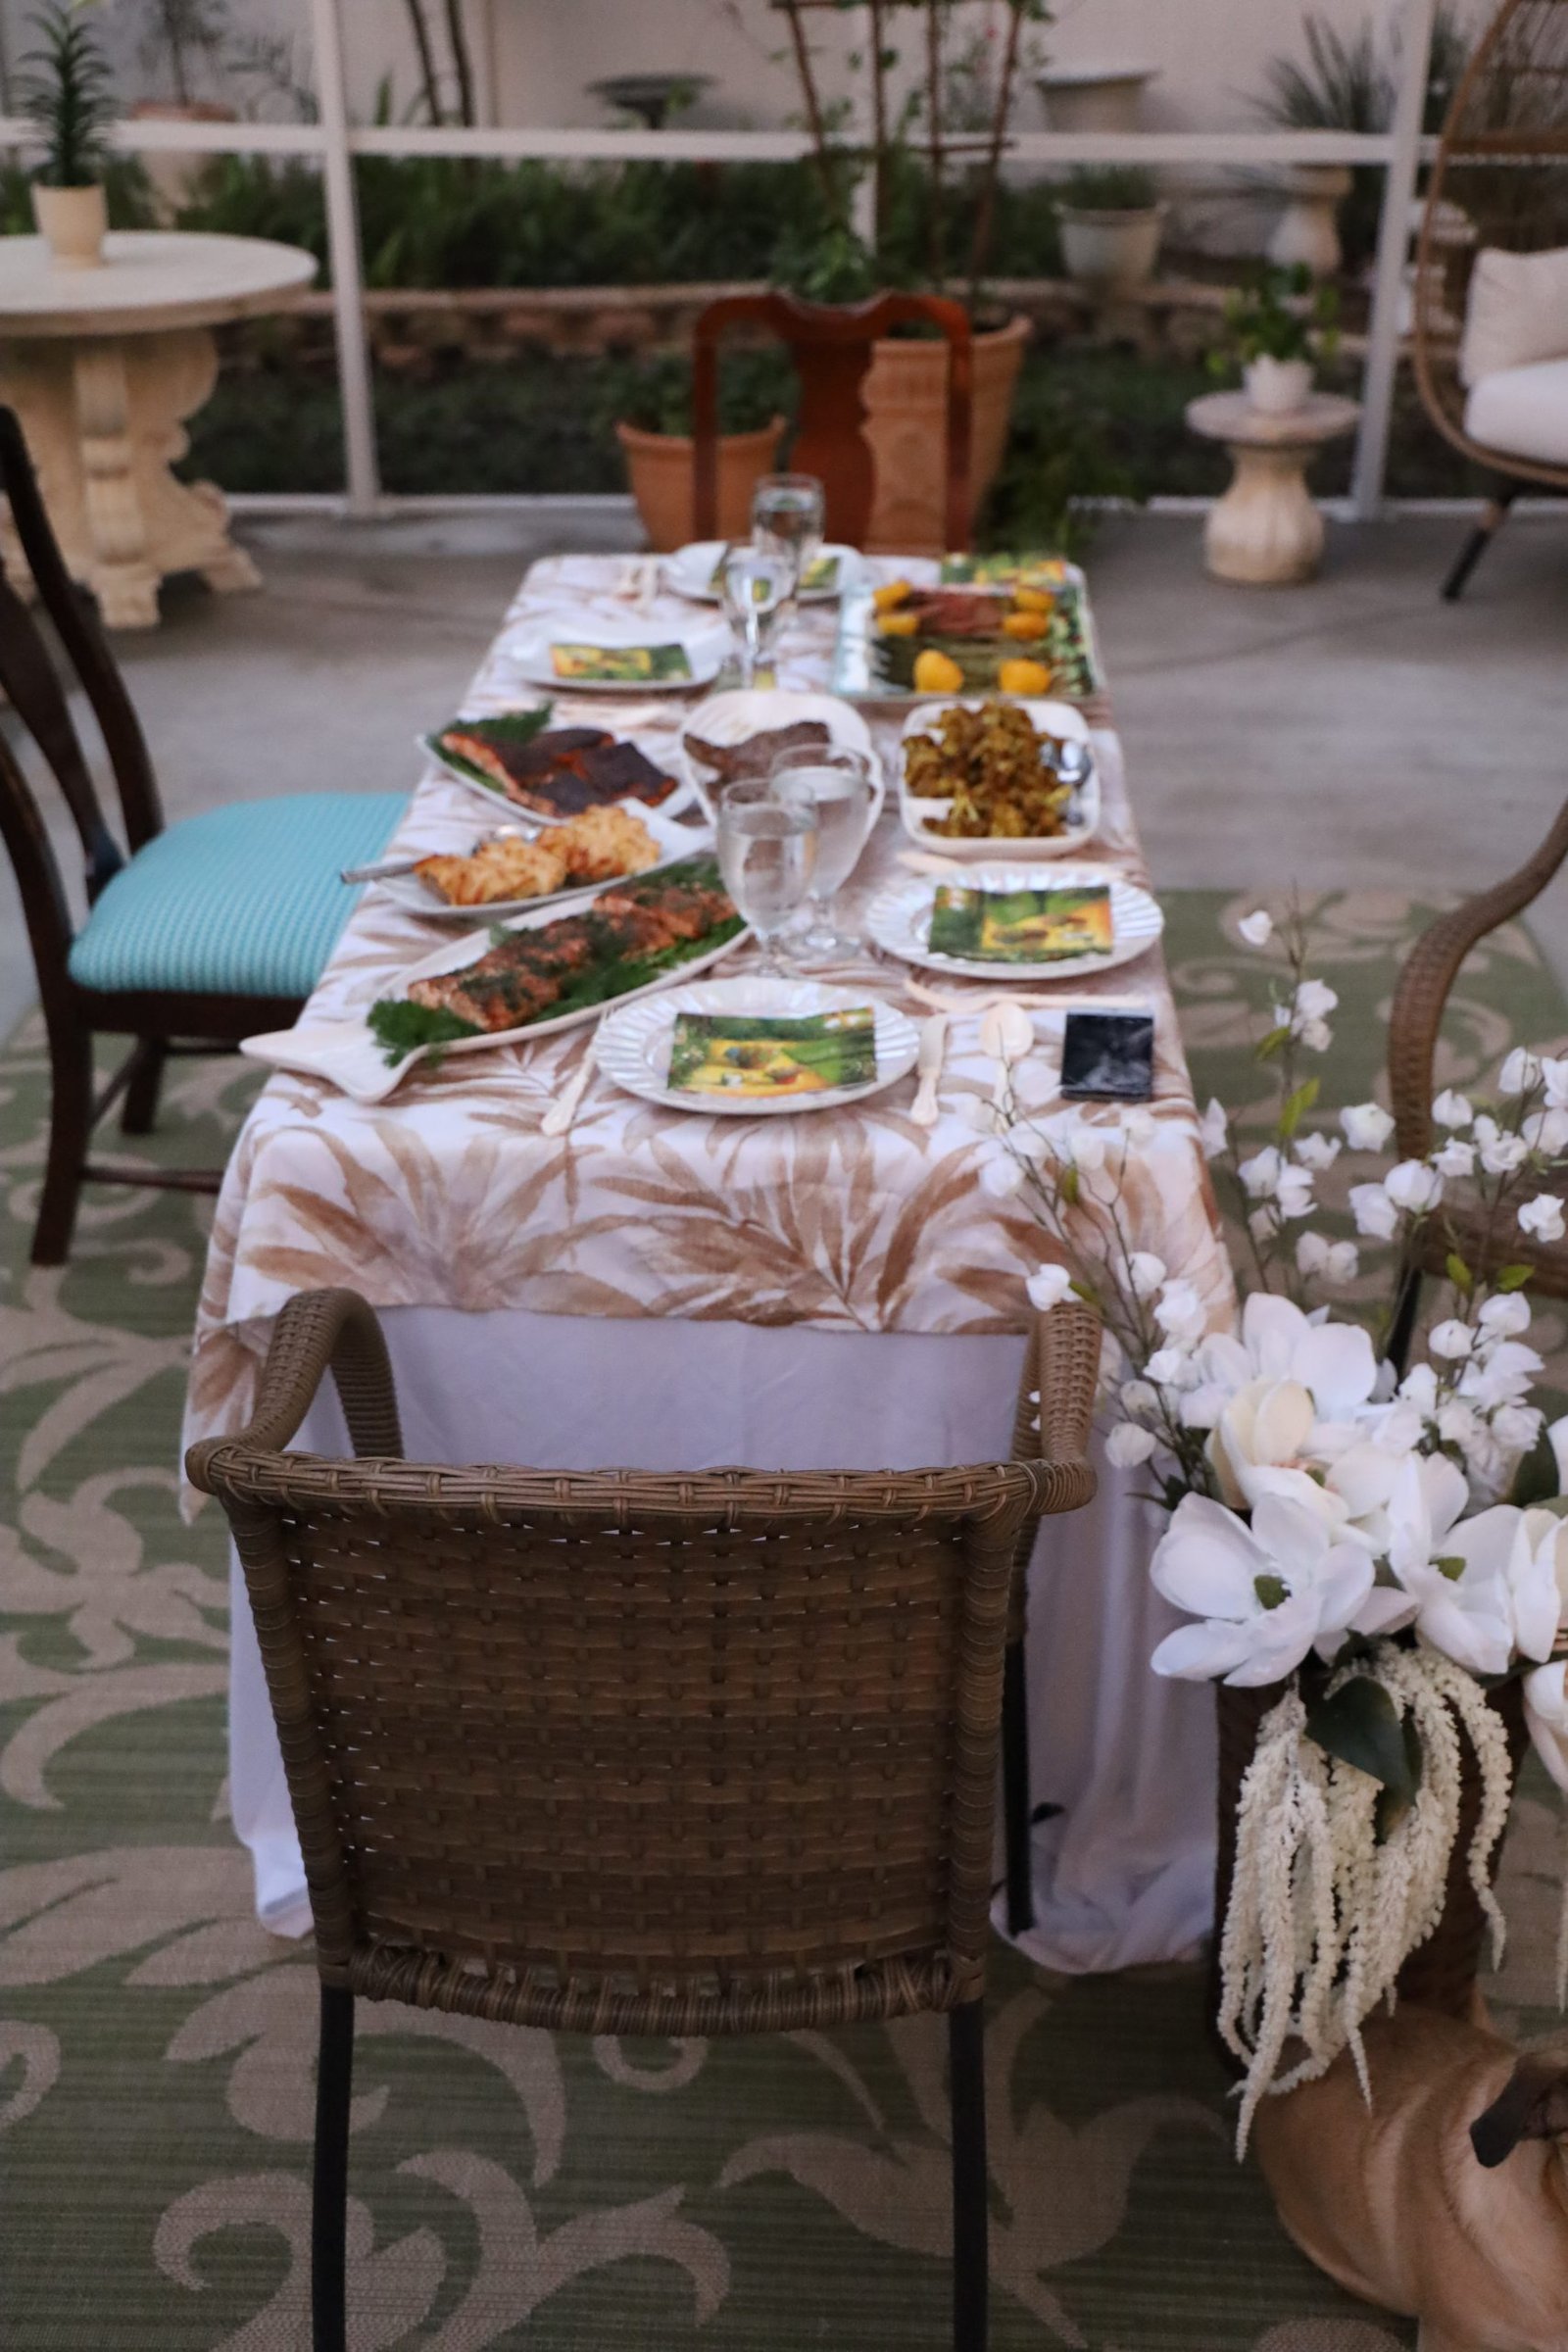
Our Table

Sparky Doodle Dandy 🙂
————————————————————

This particular feast is for our son’s girlfriend, Mackenzie. It’s her birthday and we get the honor of her celebrating it with us this year while we are in lockdown due to the Coronavirus.
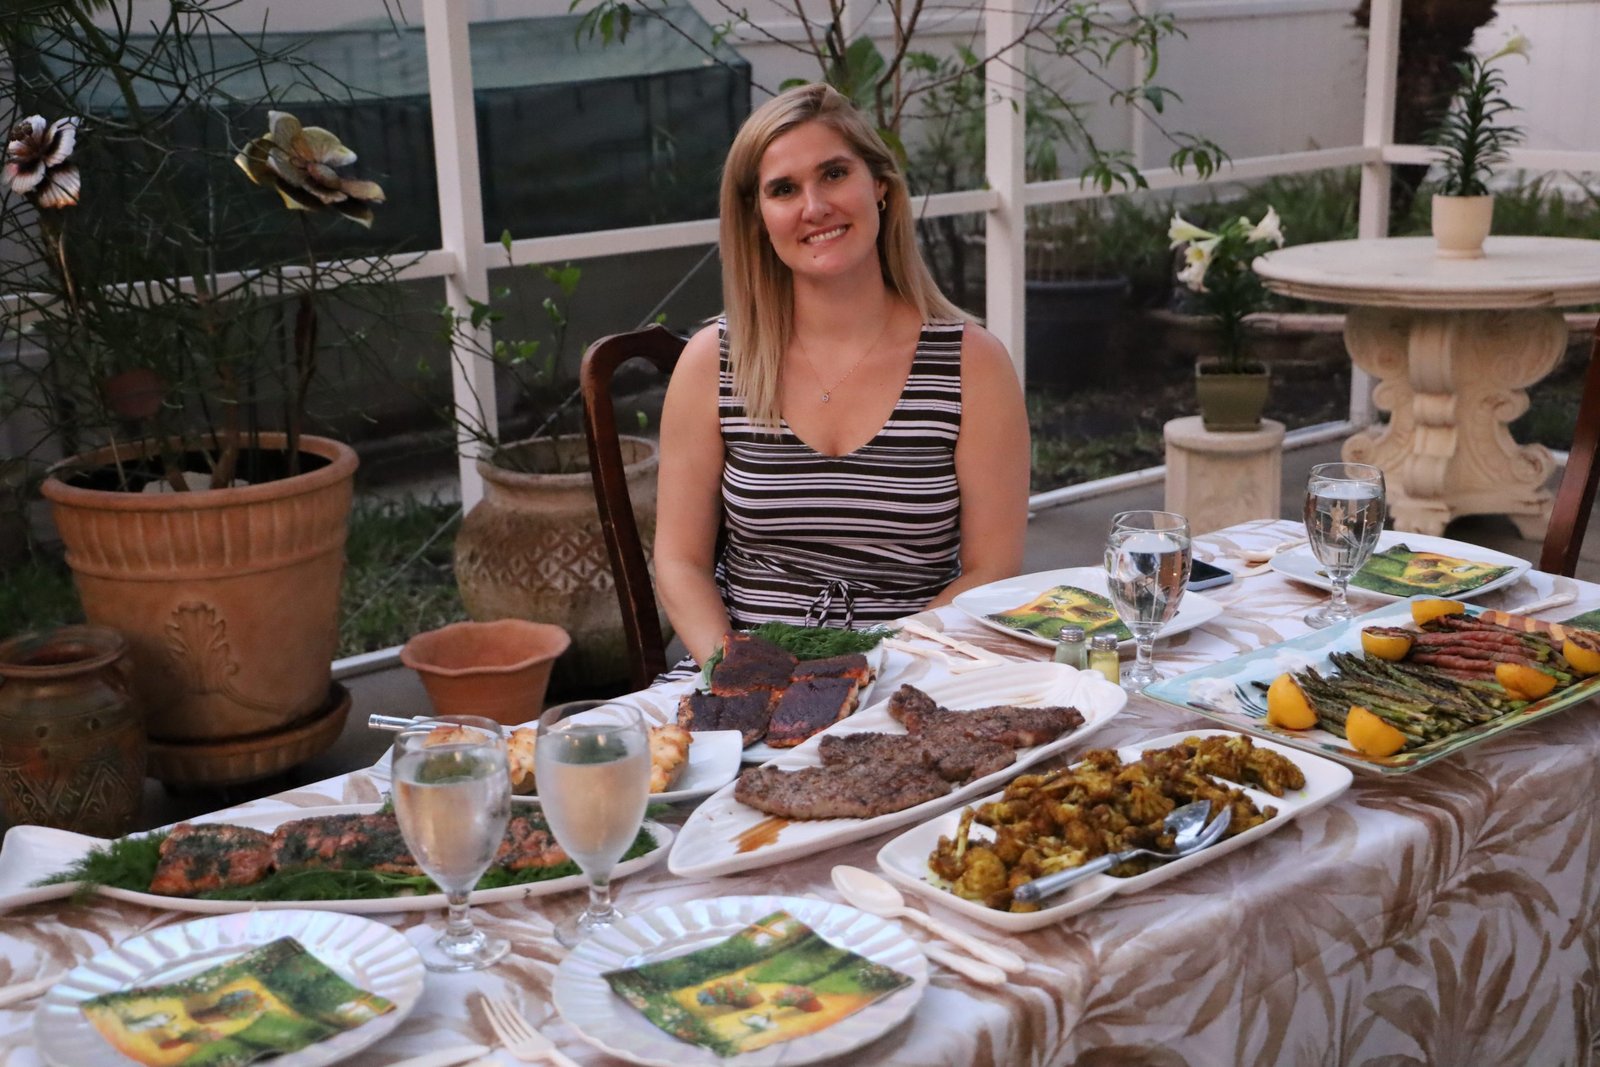
Mackenzie’s birthday is April 19th. She kind of looks like Marsha Brady, doesn’t she? 🙂
We all set about planning a menu that she would like to eat for her birthday, and that we could cook out on the grill. Also, her parents were very generous in sending us all a nice meaty care package. It included various steaks and twice baked potatoes.
——————————————————
Here is Mackenzie’s Birthday Menu

Grilled Asparagus
Grilled Asparagus Wrapped in Prosciutto
Grilled Lemons

Blackened Salmon
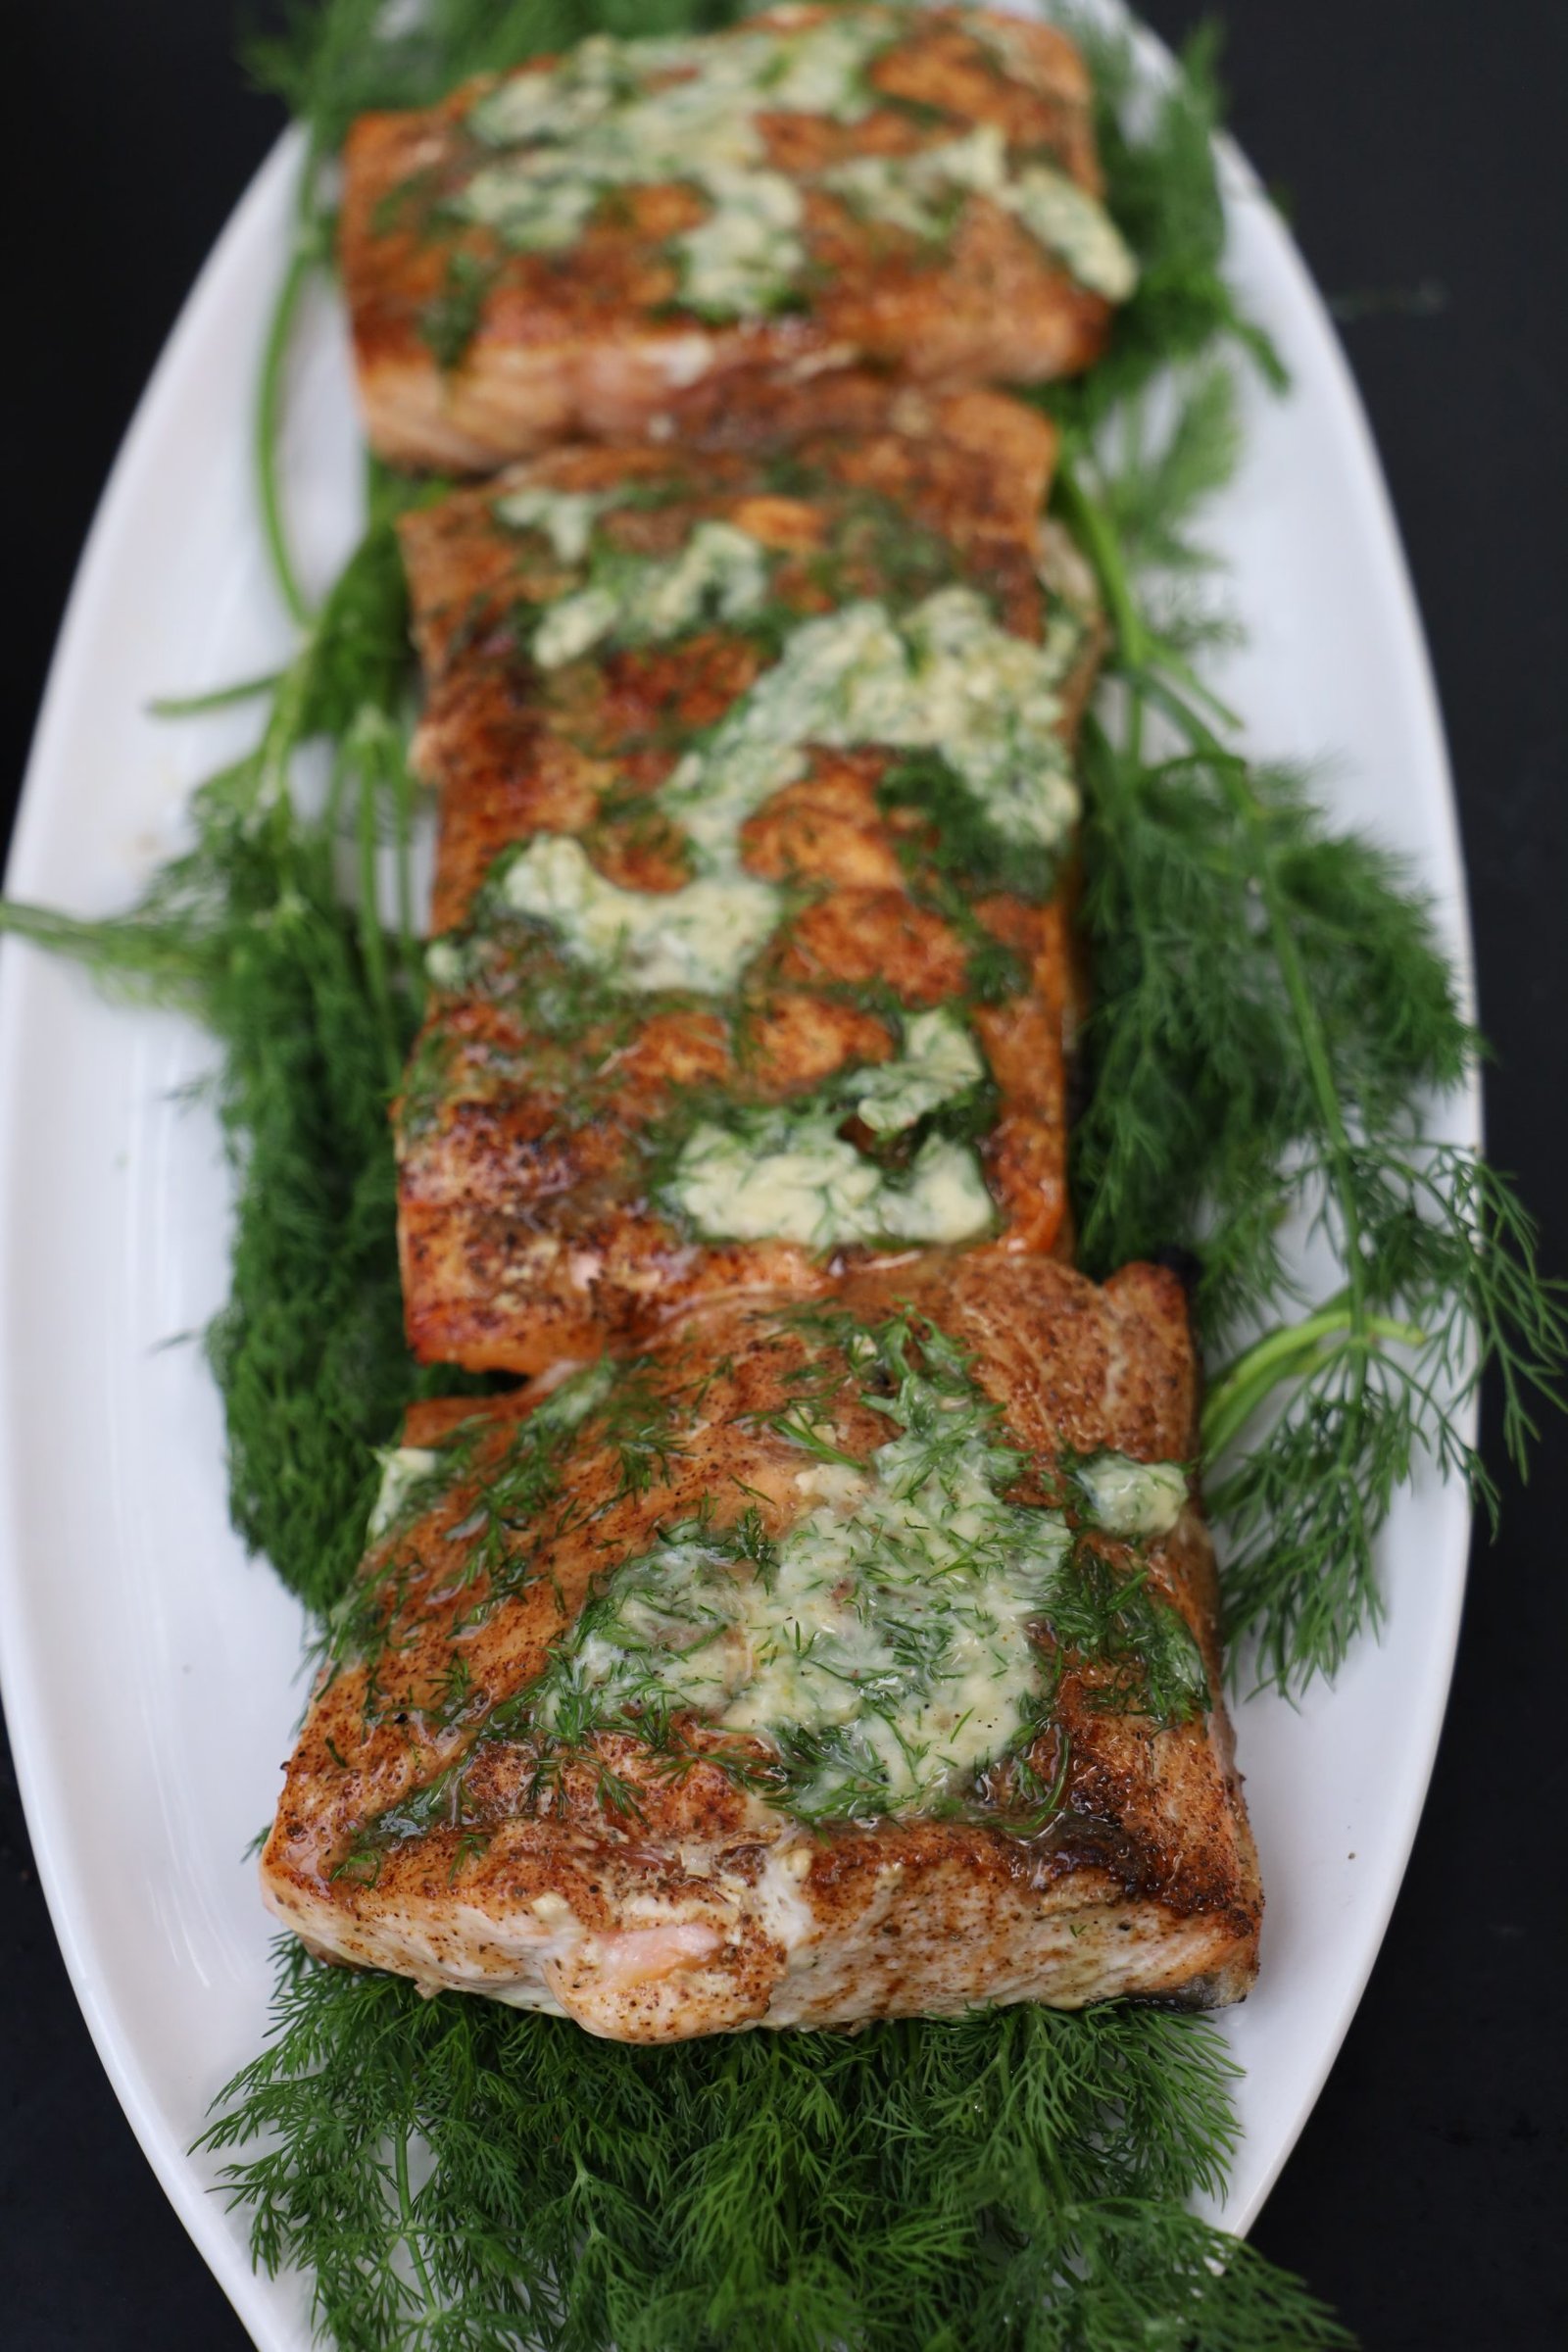
Grilled Seasoned Salmon with Dill Butter
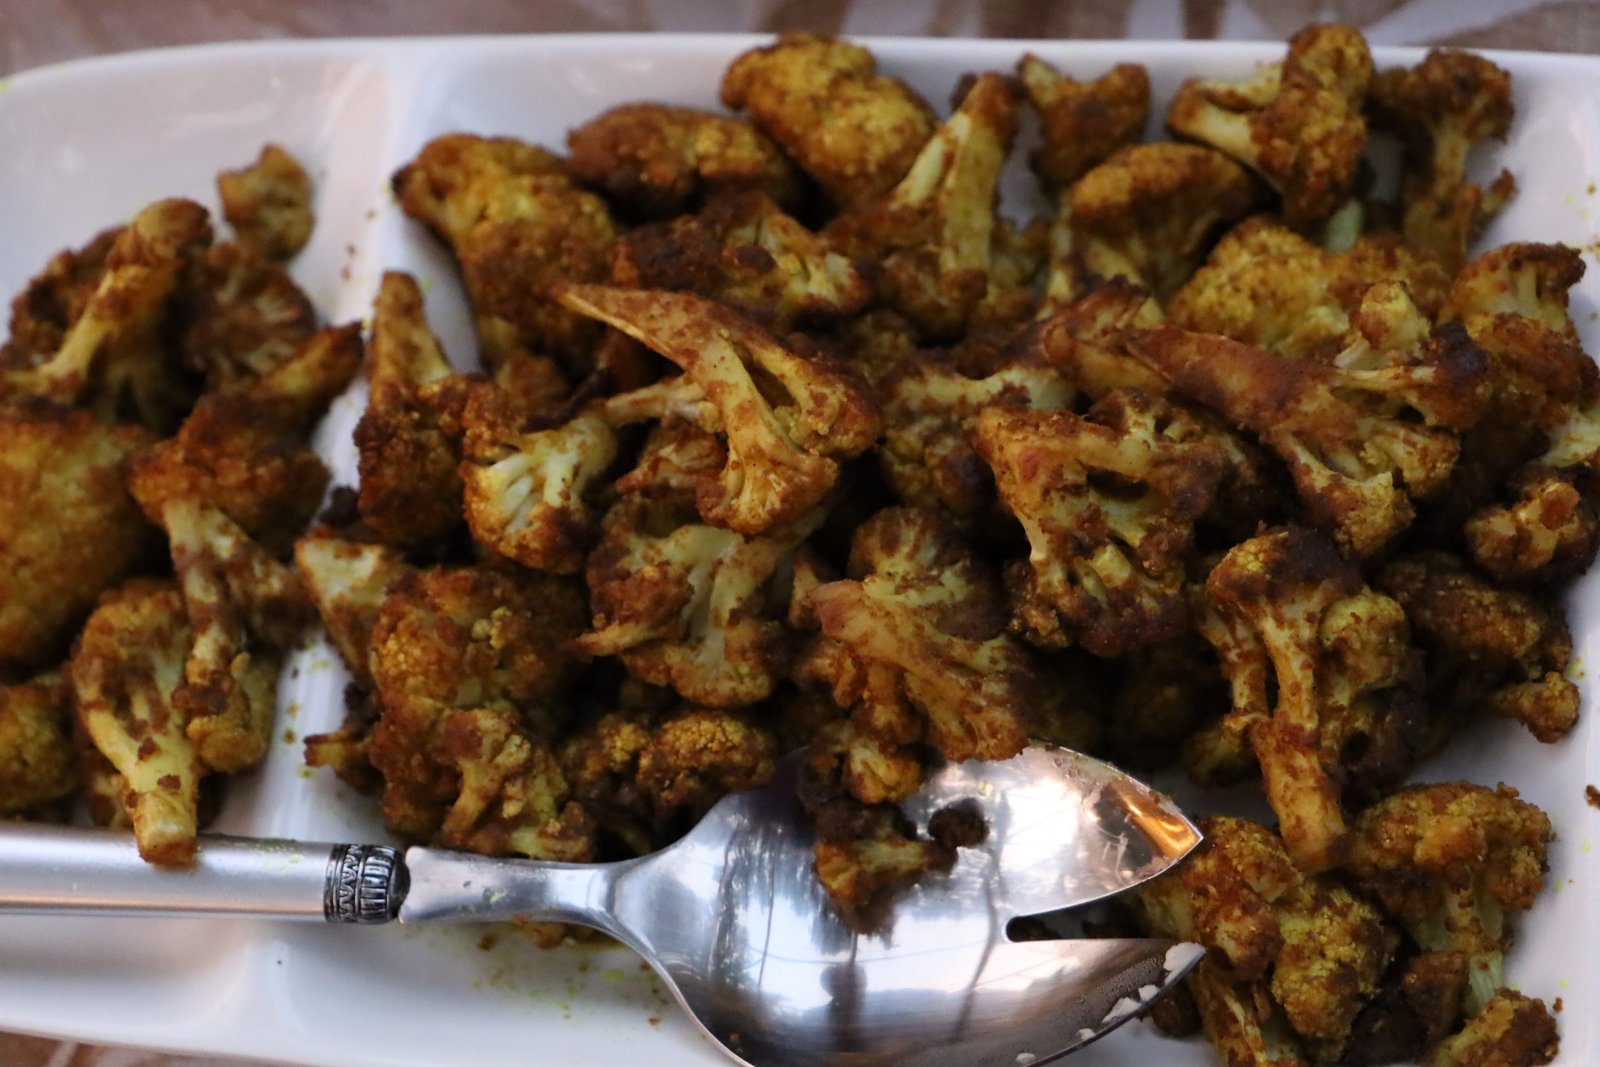
Roasted Curry Cauliflower
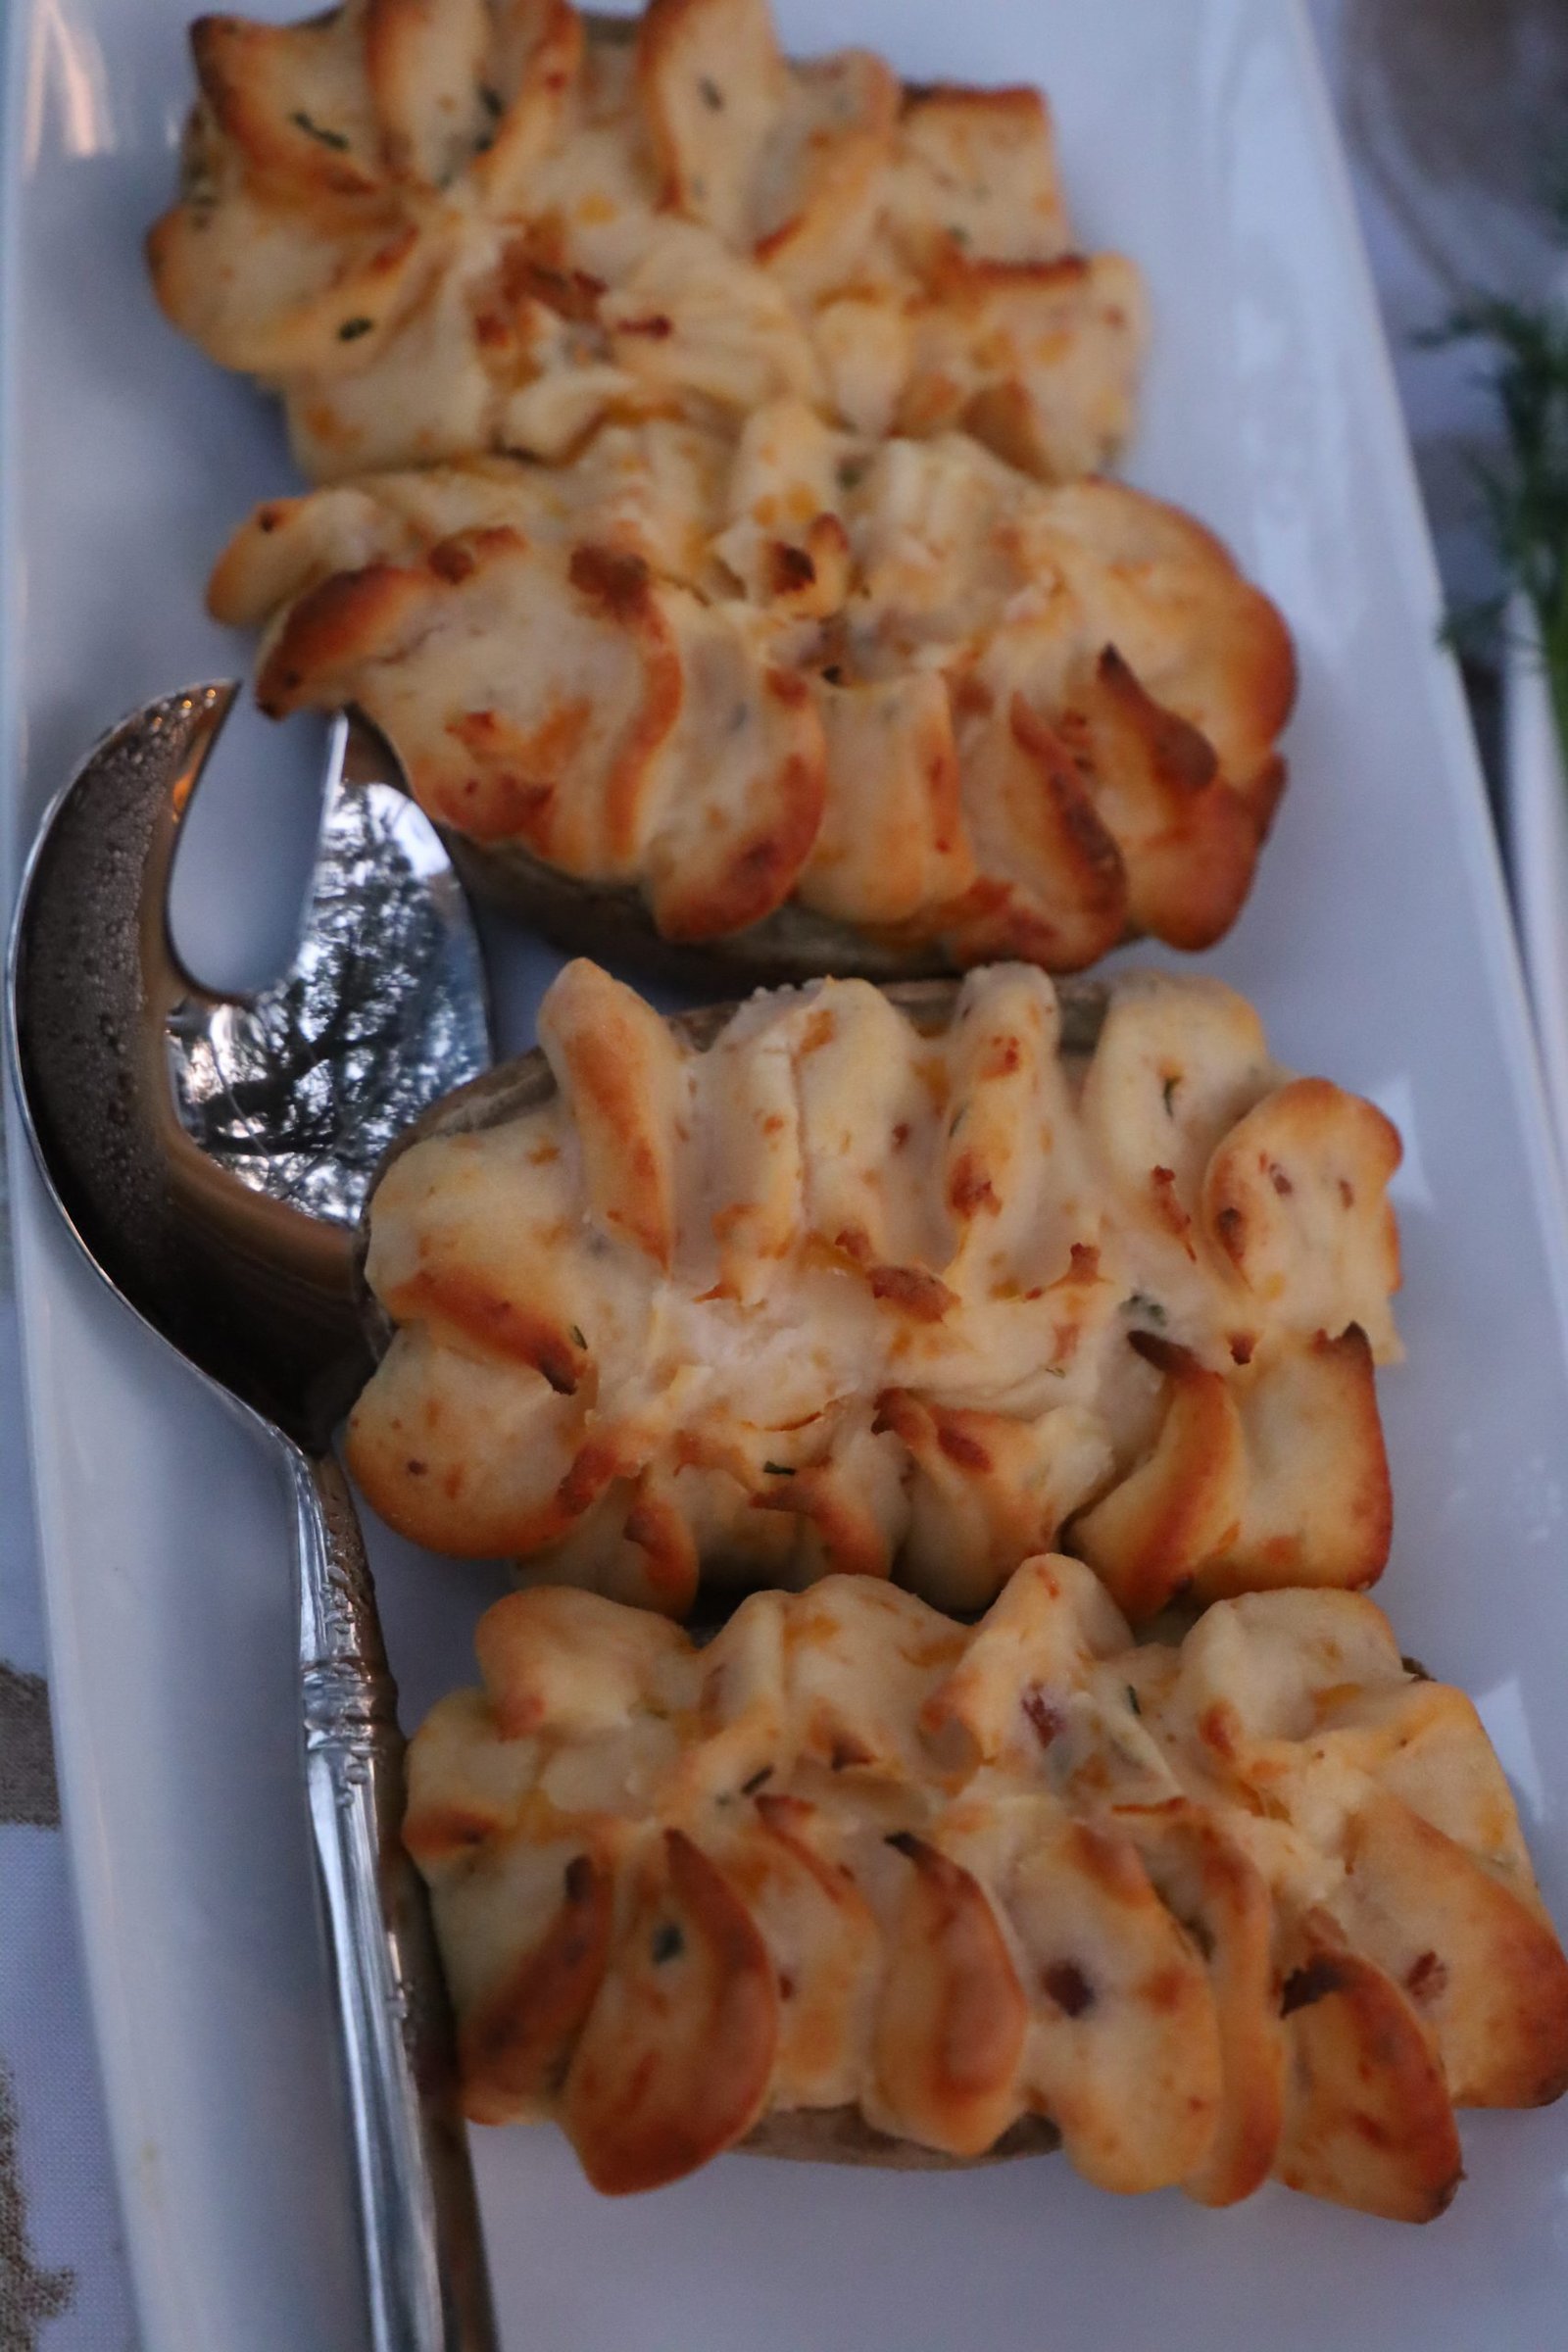
Twice Baked Potatoes
(Compliments of Mackenzie’s Parents)

Ribeye Steaks
(Compliments of Mackenzie’s Parents)
——————————————————

Happy Birthday, Mackenzie
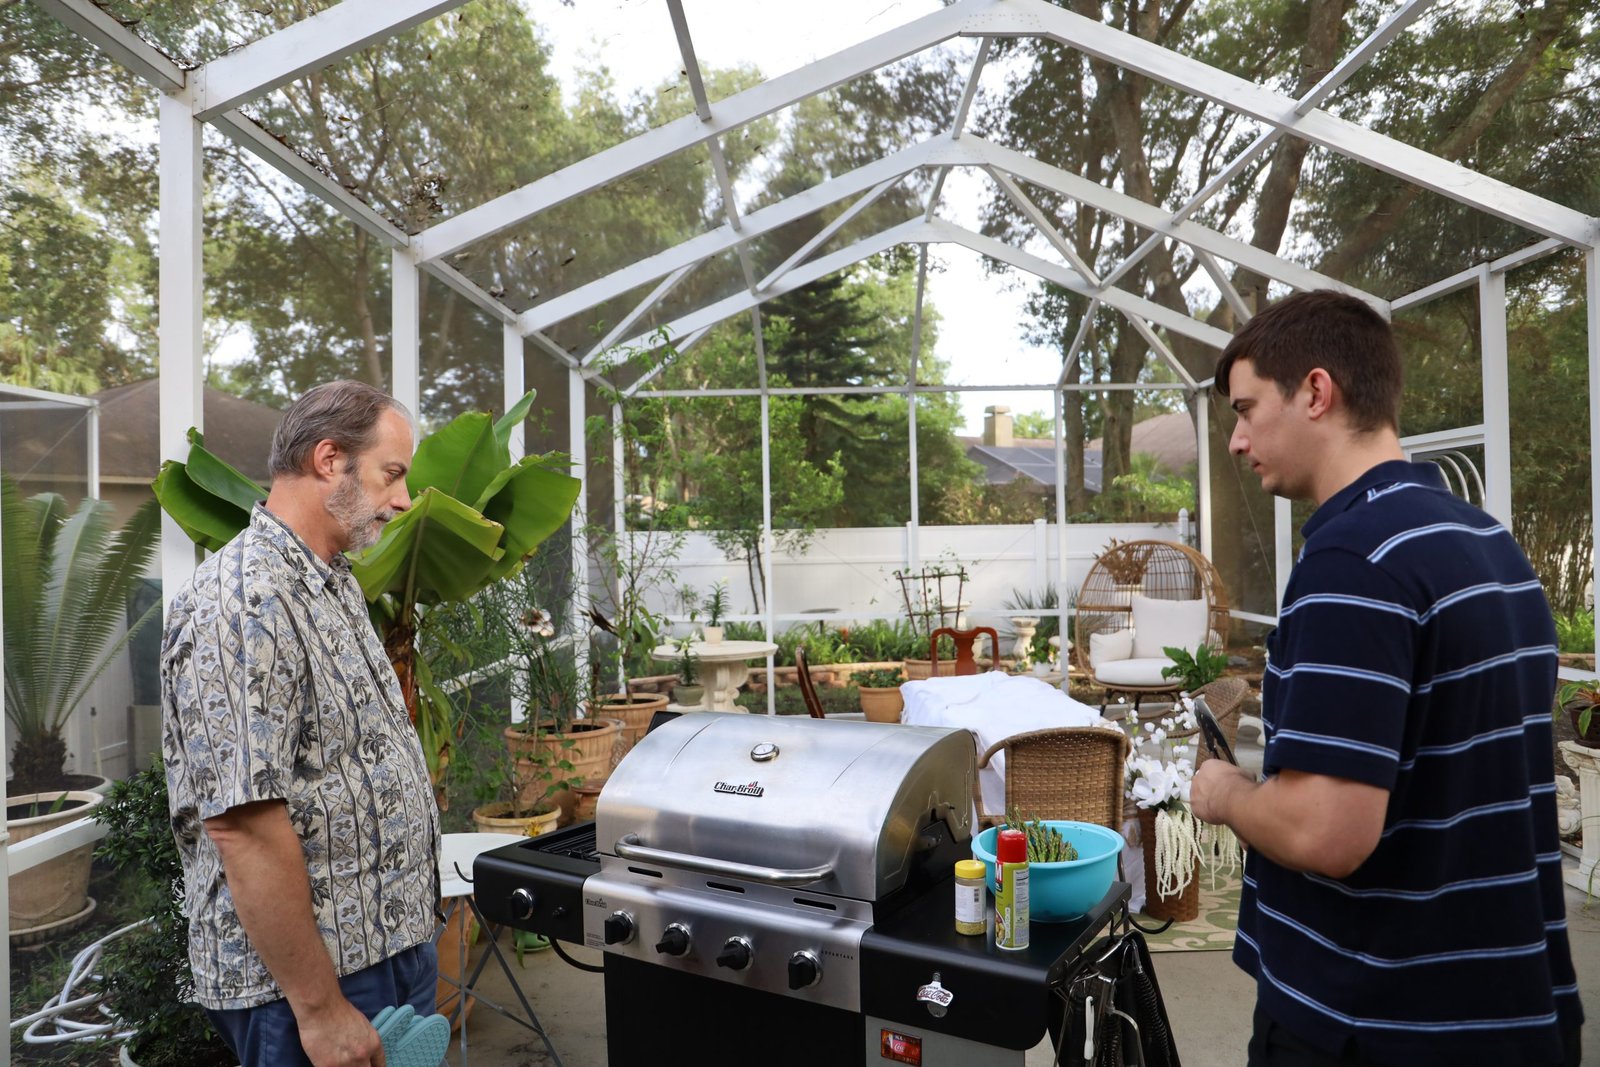
Gordon and Brodie Ready to do Some Serious Grillin’
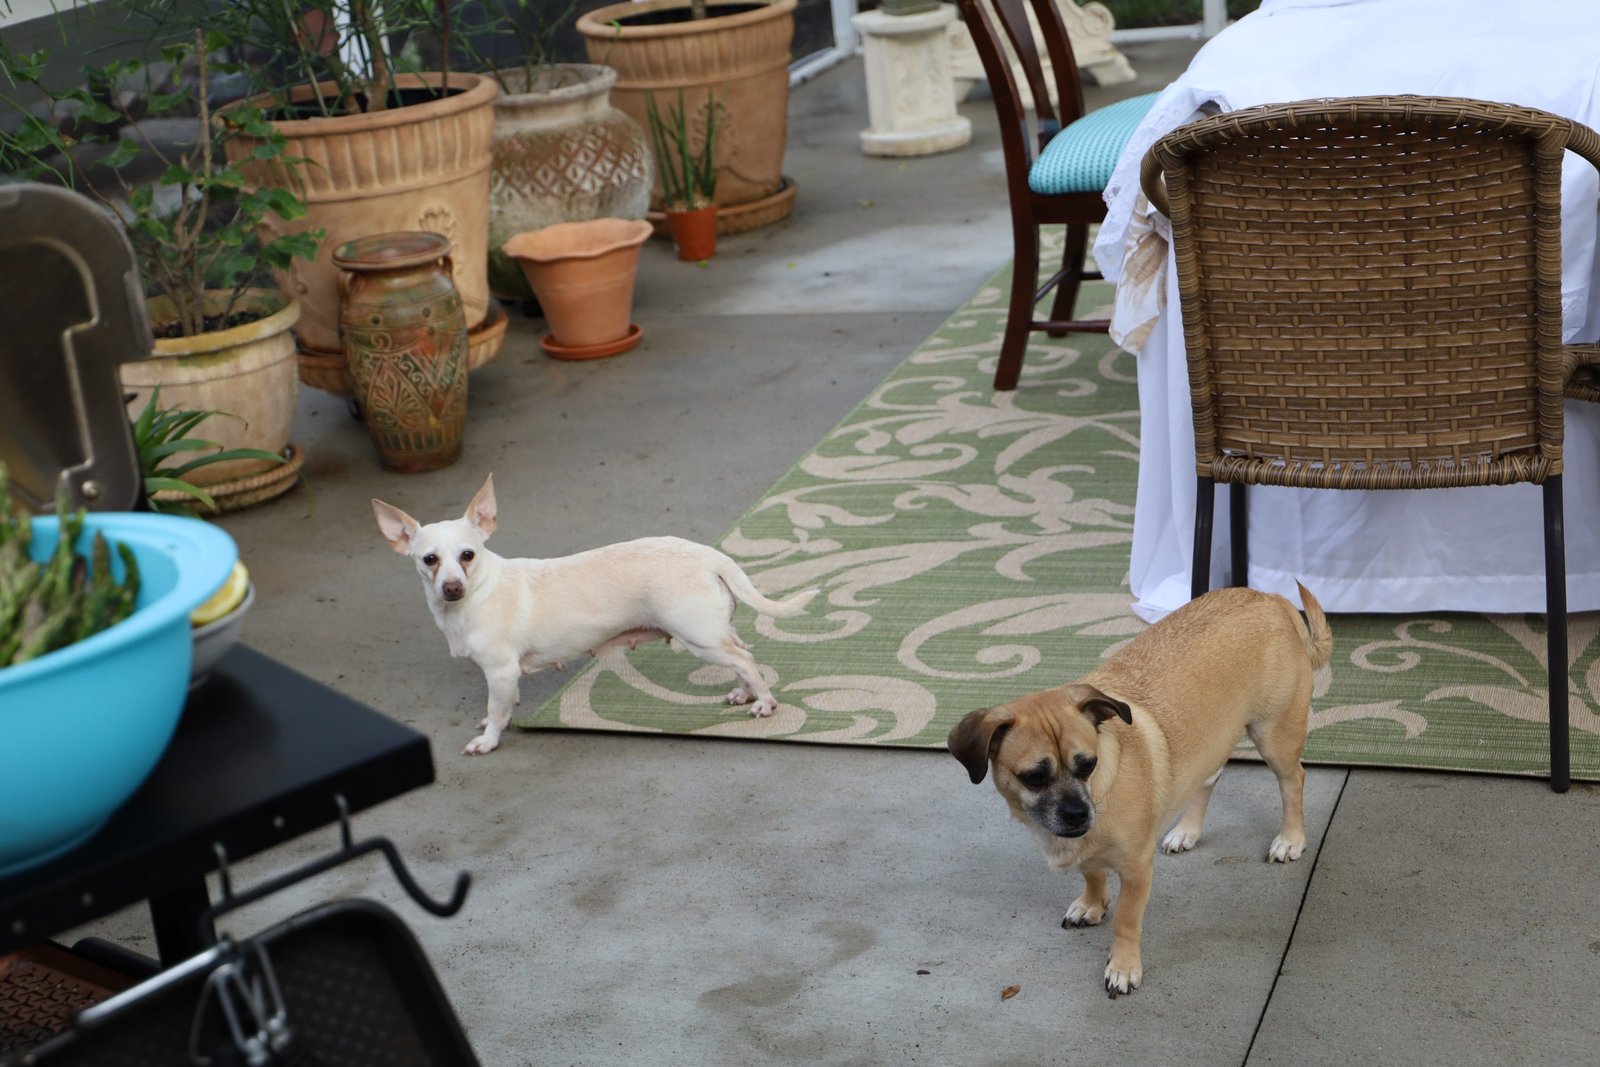

Sparky and Spooky with their boy, Brodie
——————————————————-
Gordon Creating Mackenzie a Birthday Cocktail

2 shots Dragon Berry Rum
1 shot Blood Orange Margarita Mix
1 shot Aperol
1 Tbsp. Grenadine Syrup
2 shots Welche’s Sparkling Rose’ Grape Juice
————————————————–
Makes 1 drink
We decided to have an all red cocktail with some fruit flavors. These flavors of orange, blood orange, dragon berry and grenadine all tasted very well together.

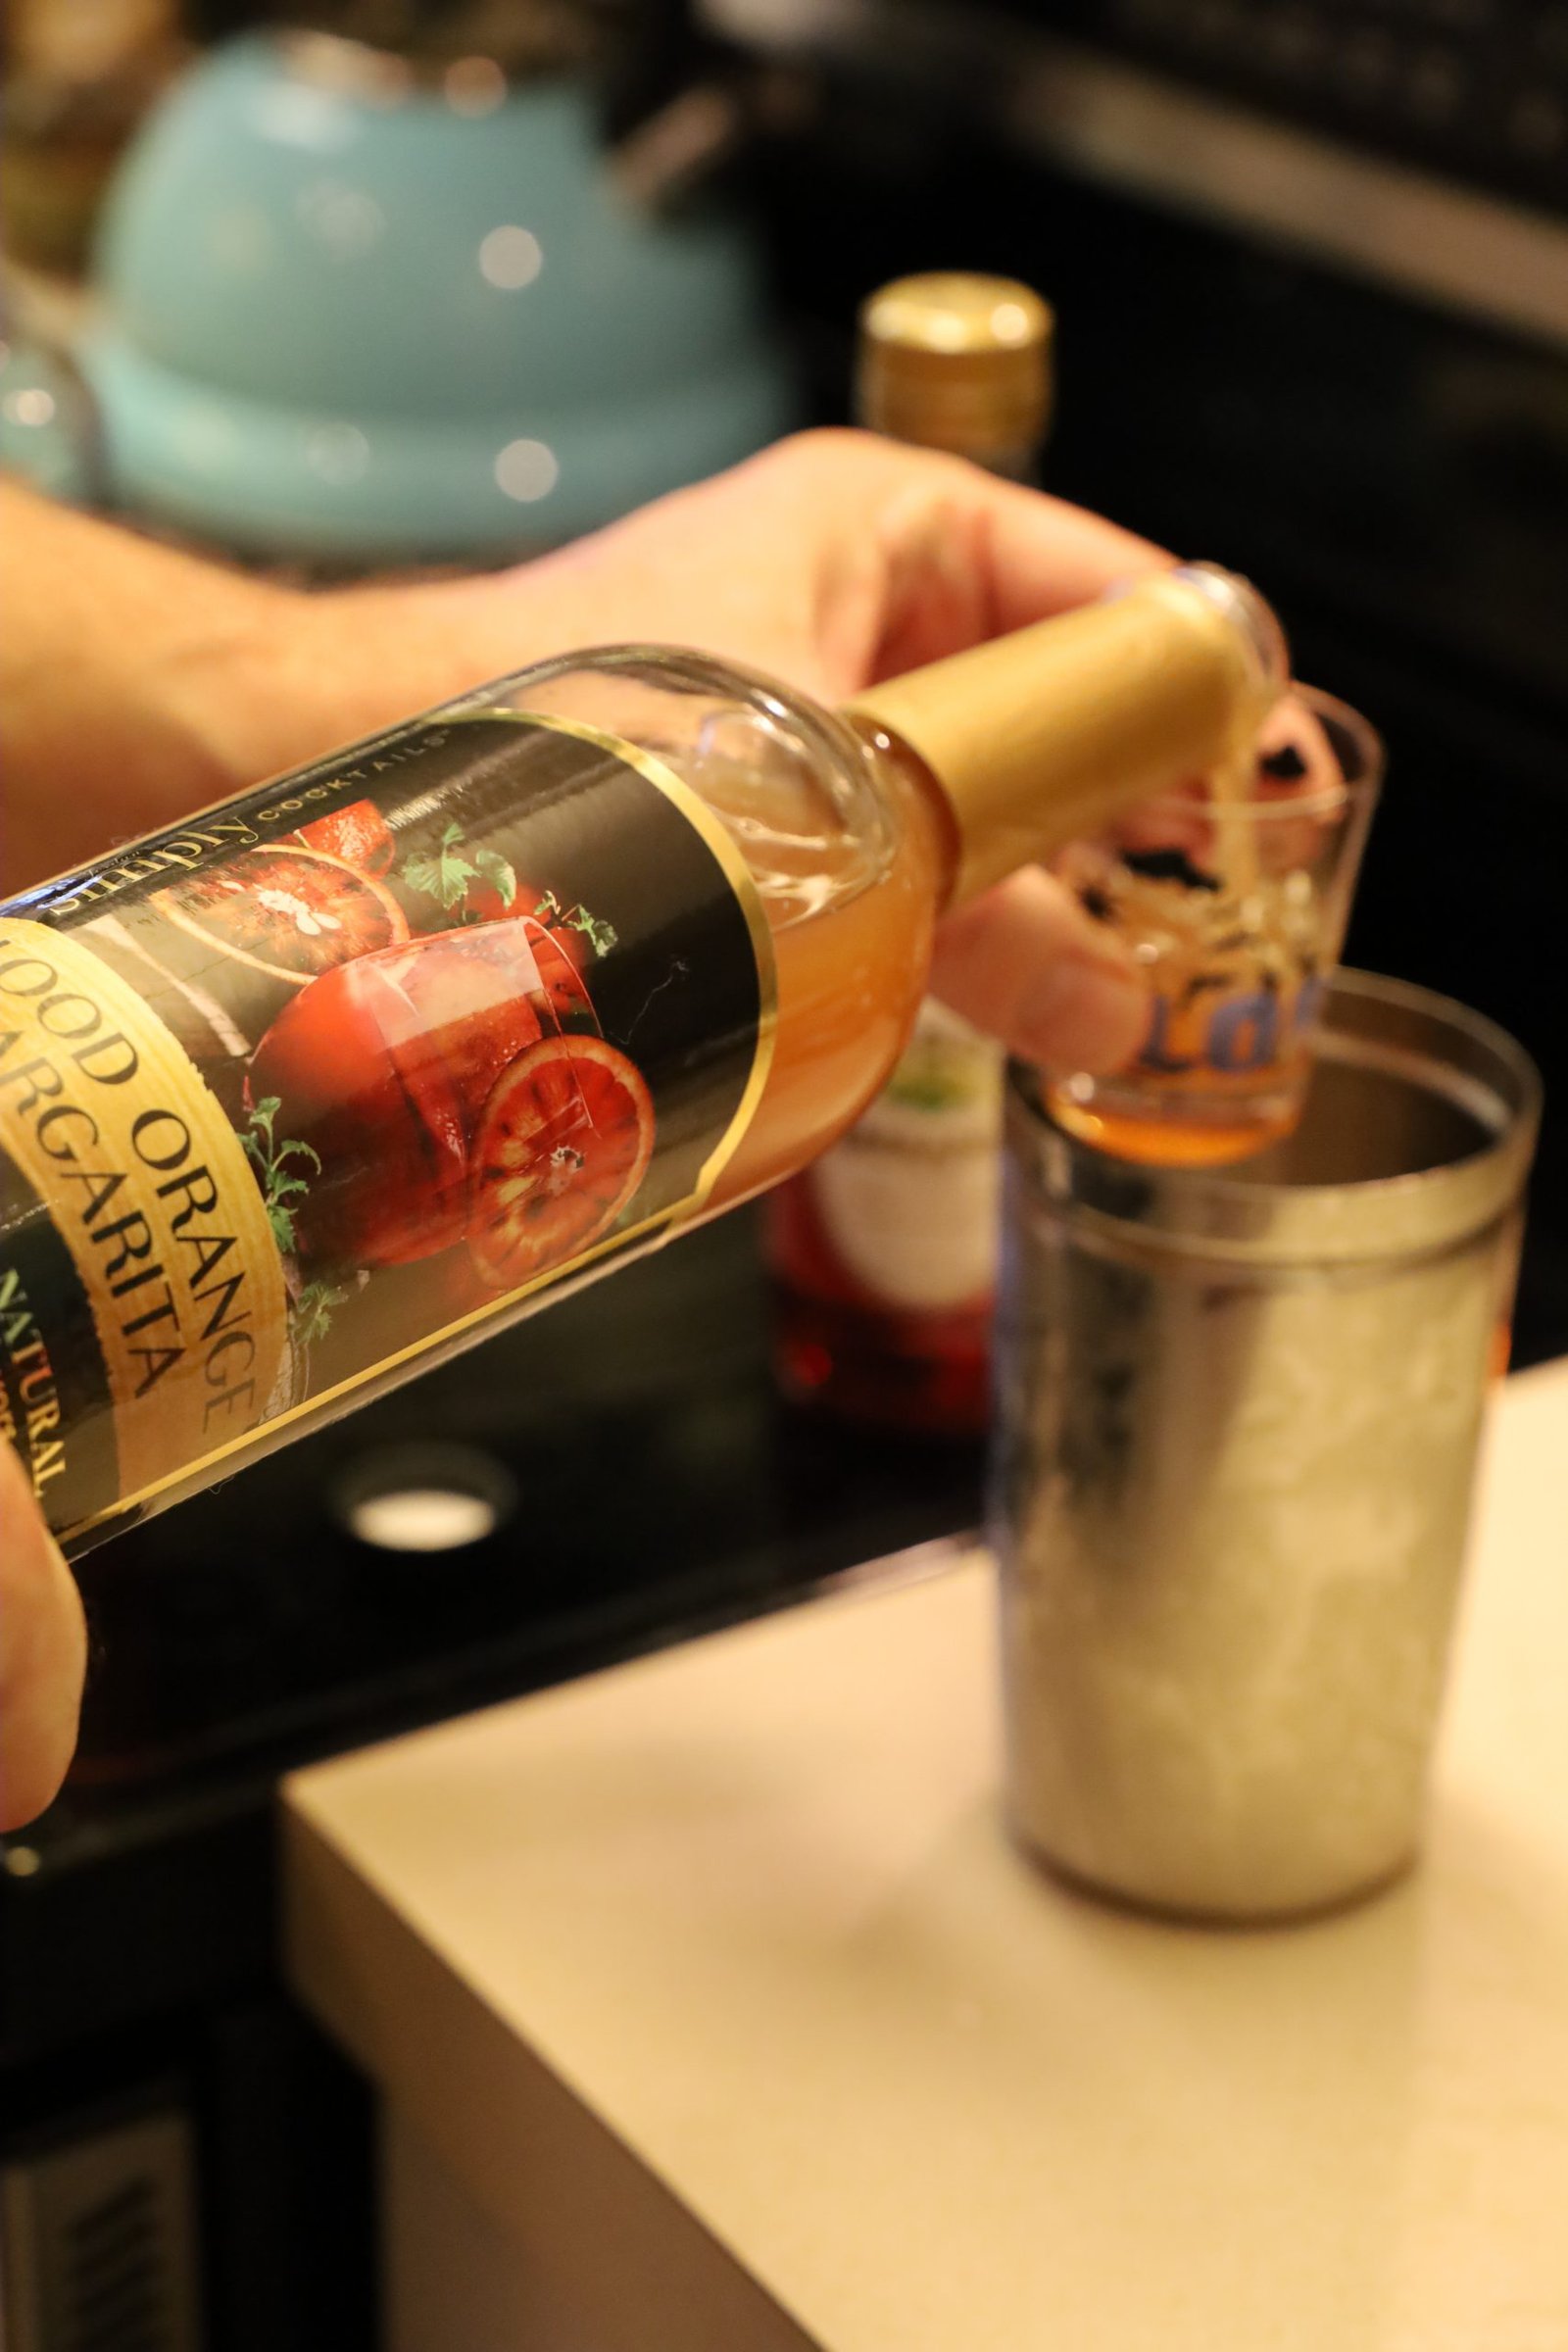
In a medium sized shaker, add at least 4-5 ice cubes.
Now, add your Dragon Berry Bacardi and then the Blood Orange mix.
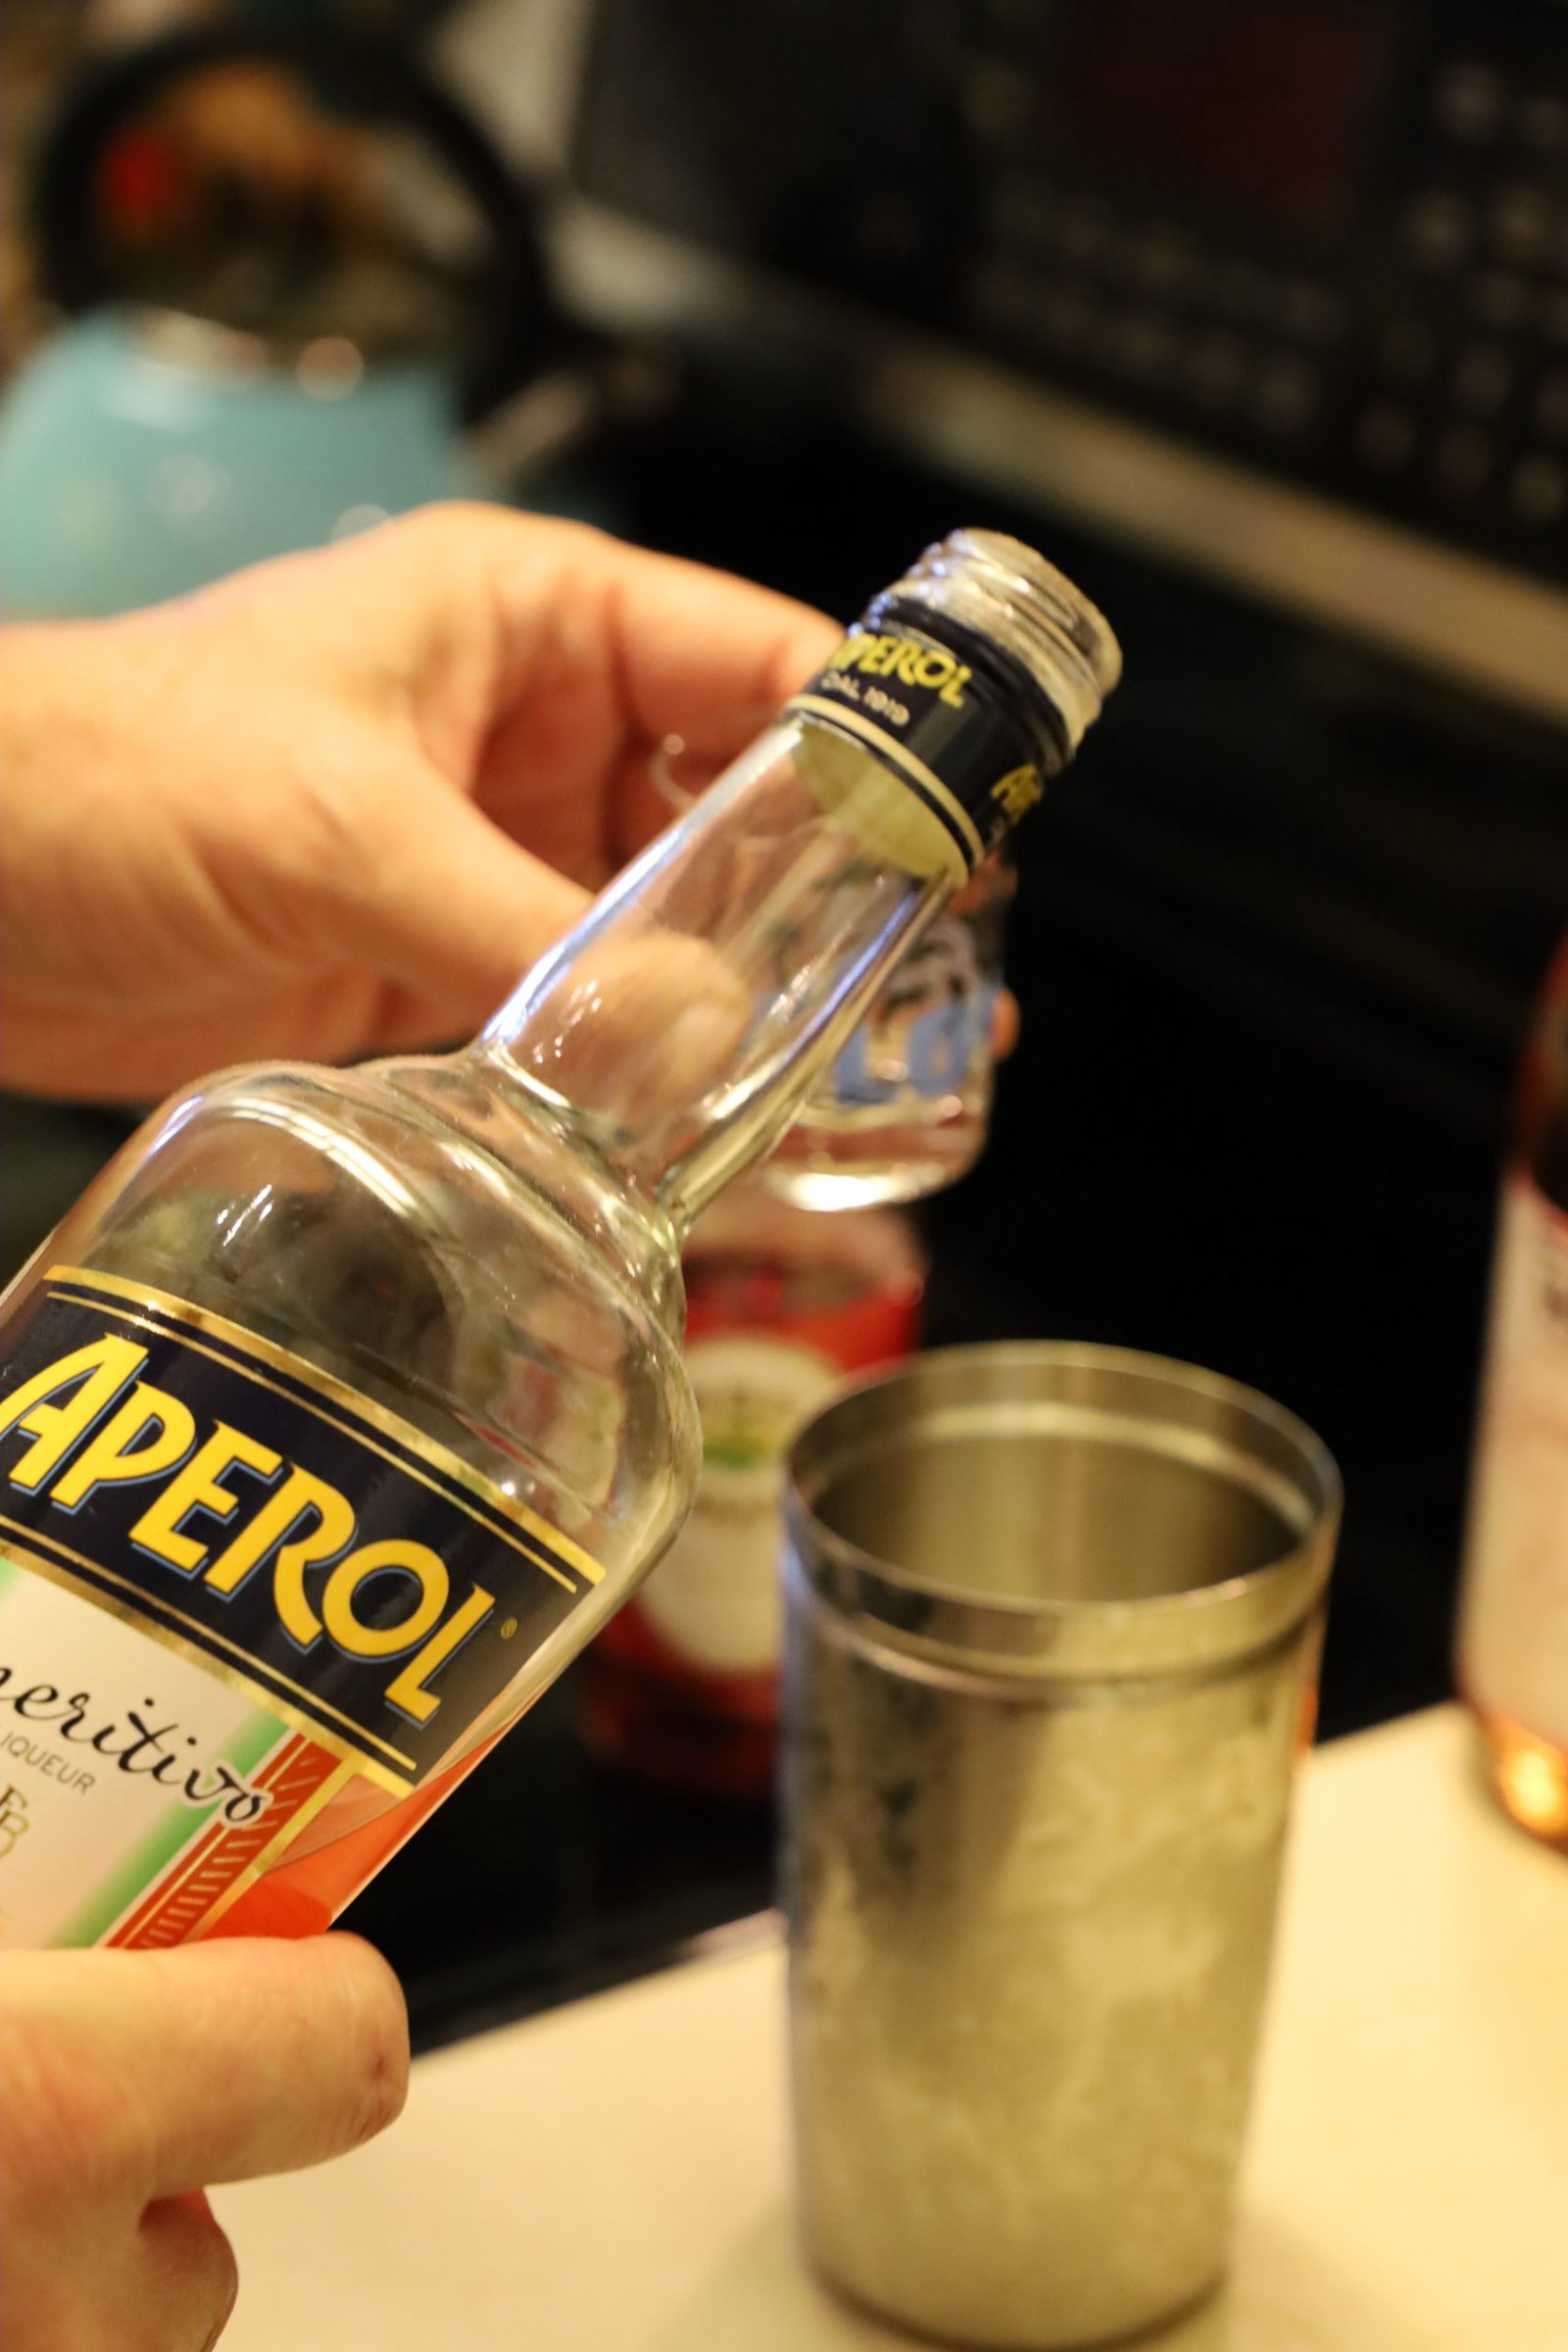

Add your Aperol and the Grenadine.
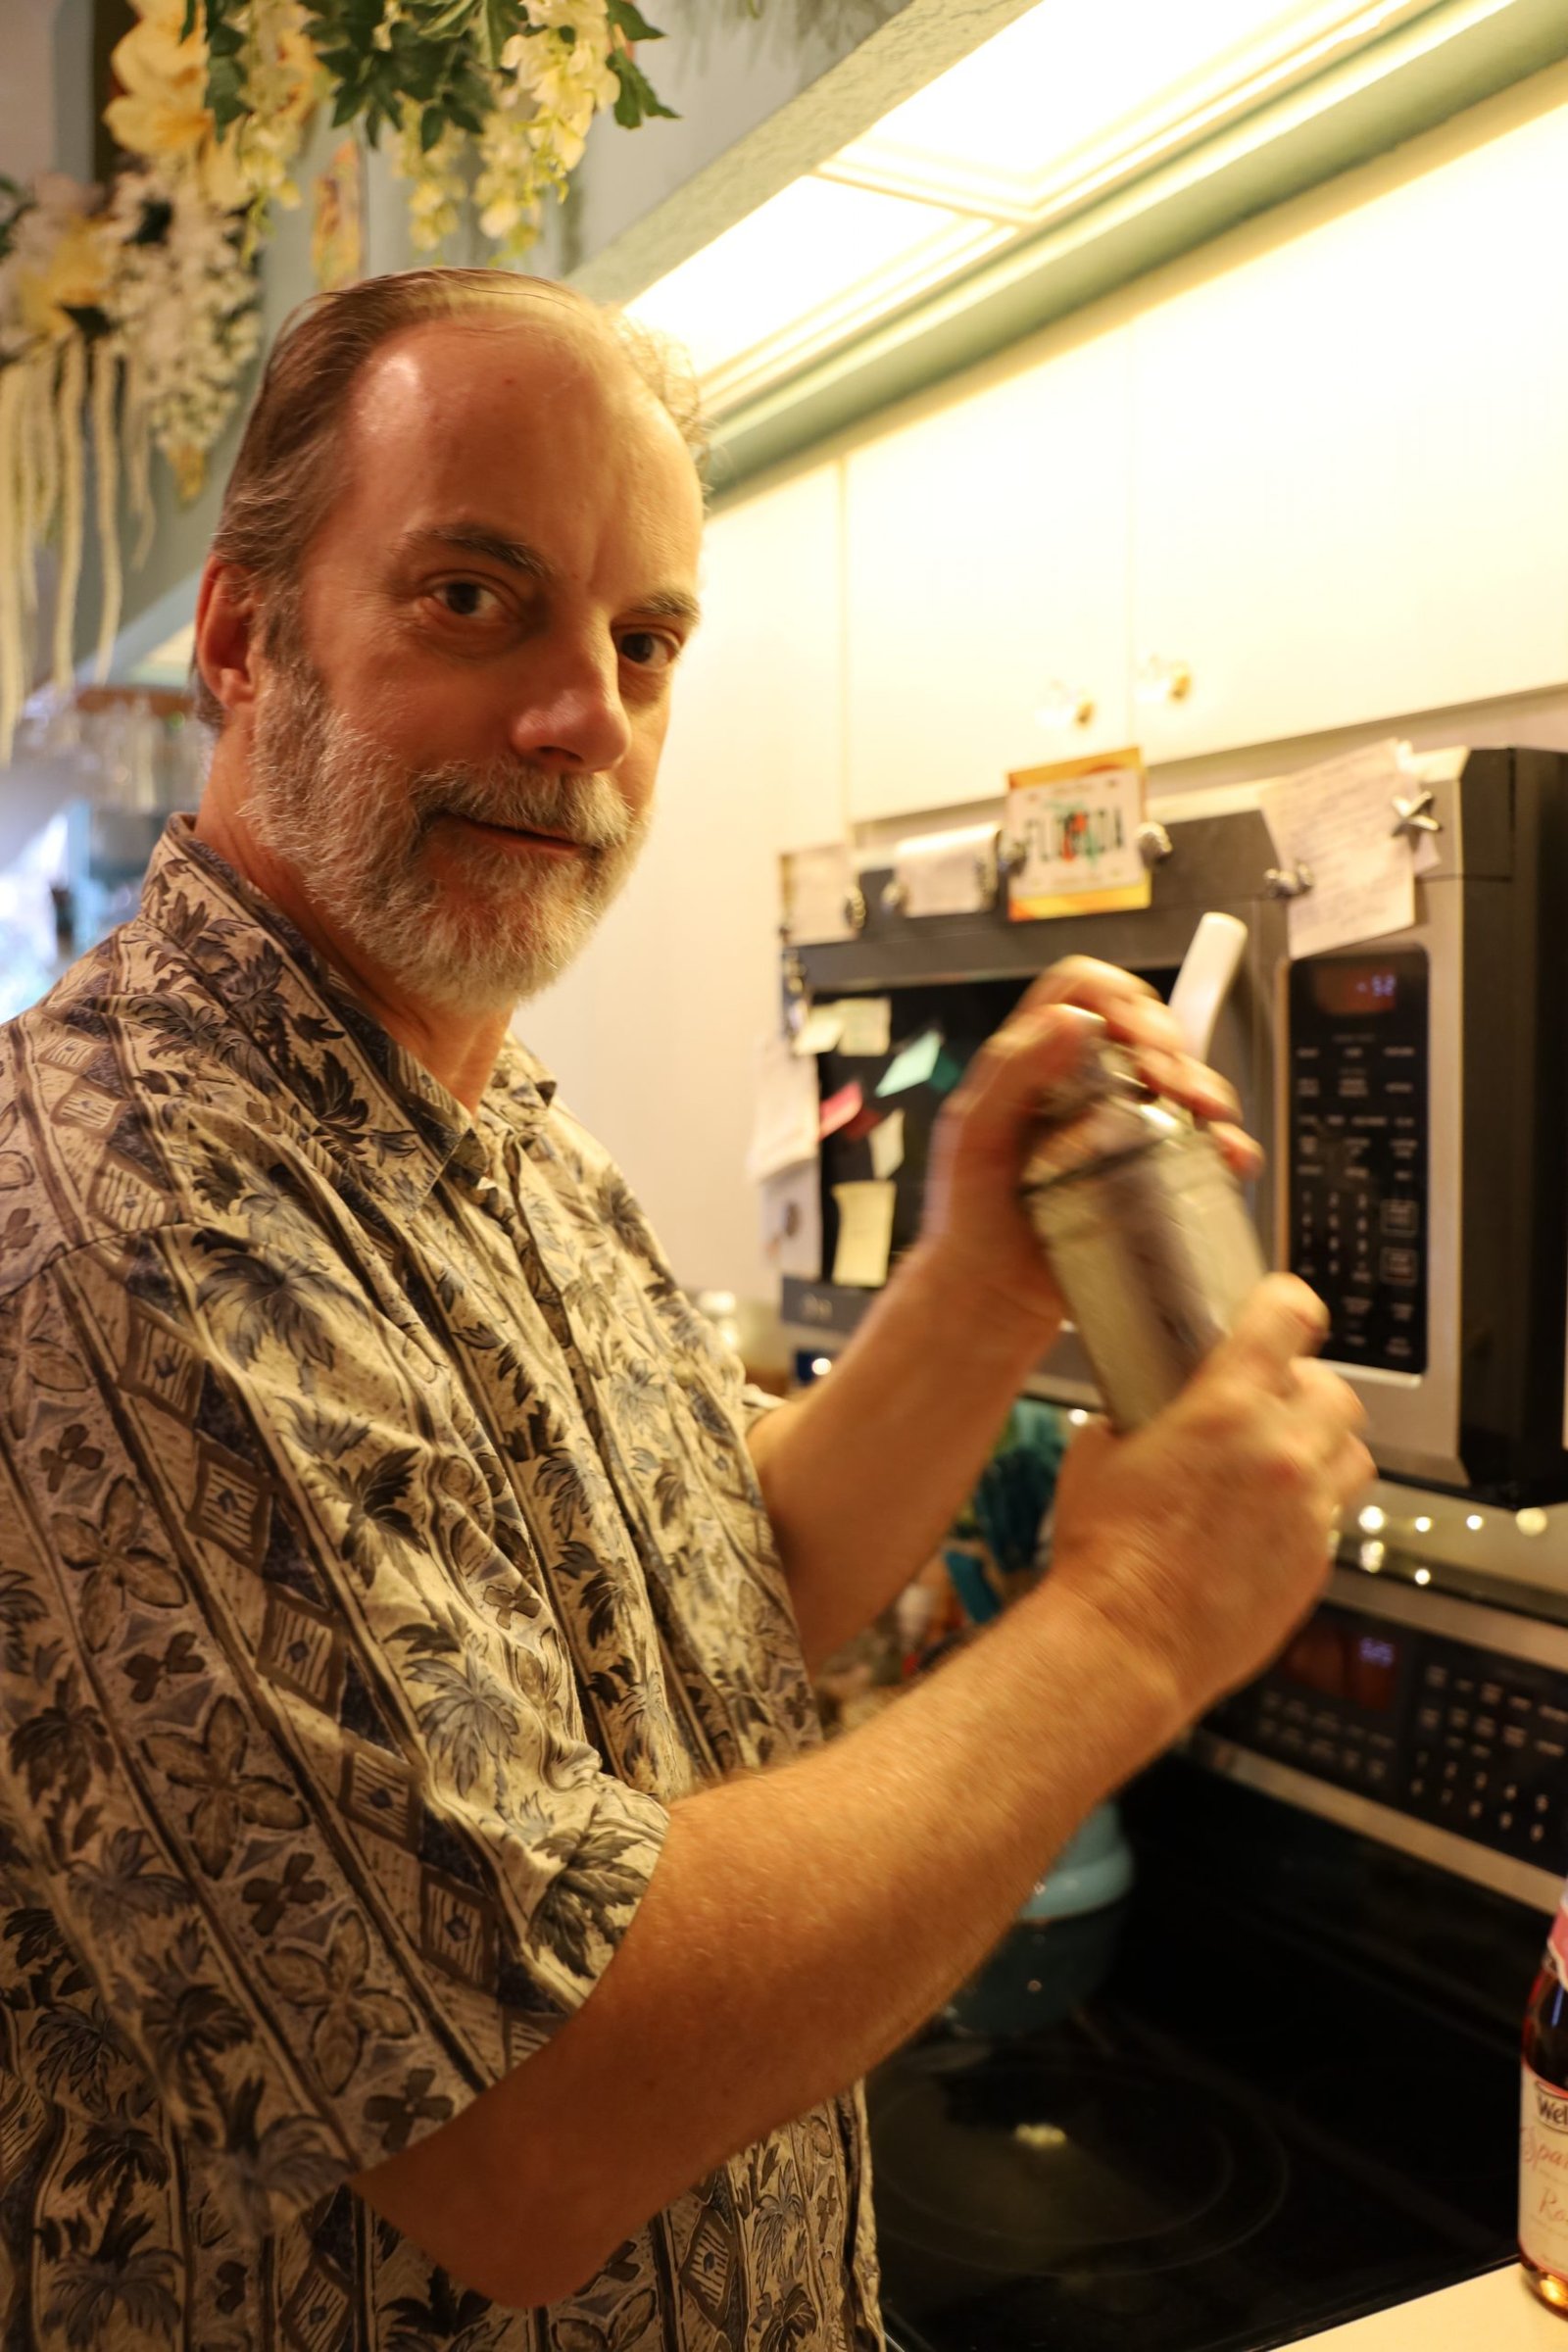

Shake! Shake! Shake! until its too cold to hold!
Now, add your Sparkling Rose (Not Pictured), because you don’t want the carbonation to escape from the drink. It might also make a huge mess as it explodes out of your shaker.
Mackenzie’s Birthday Cocktail
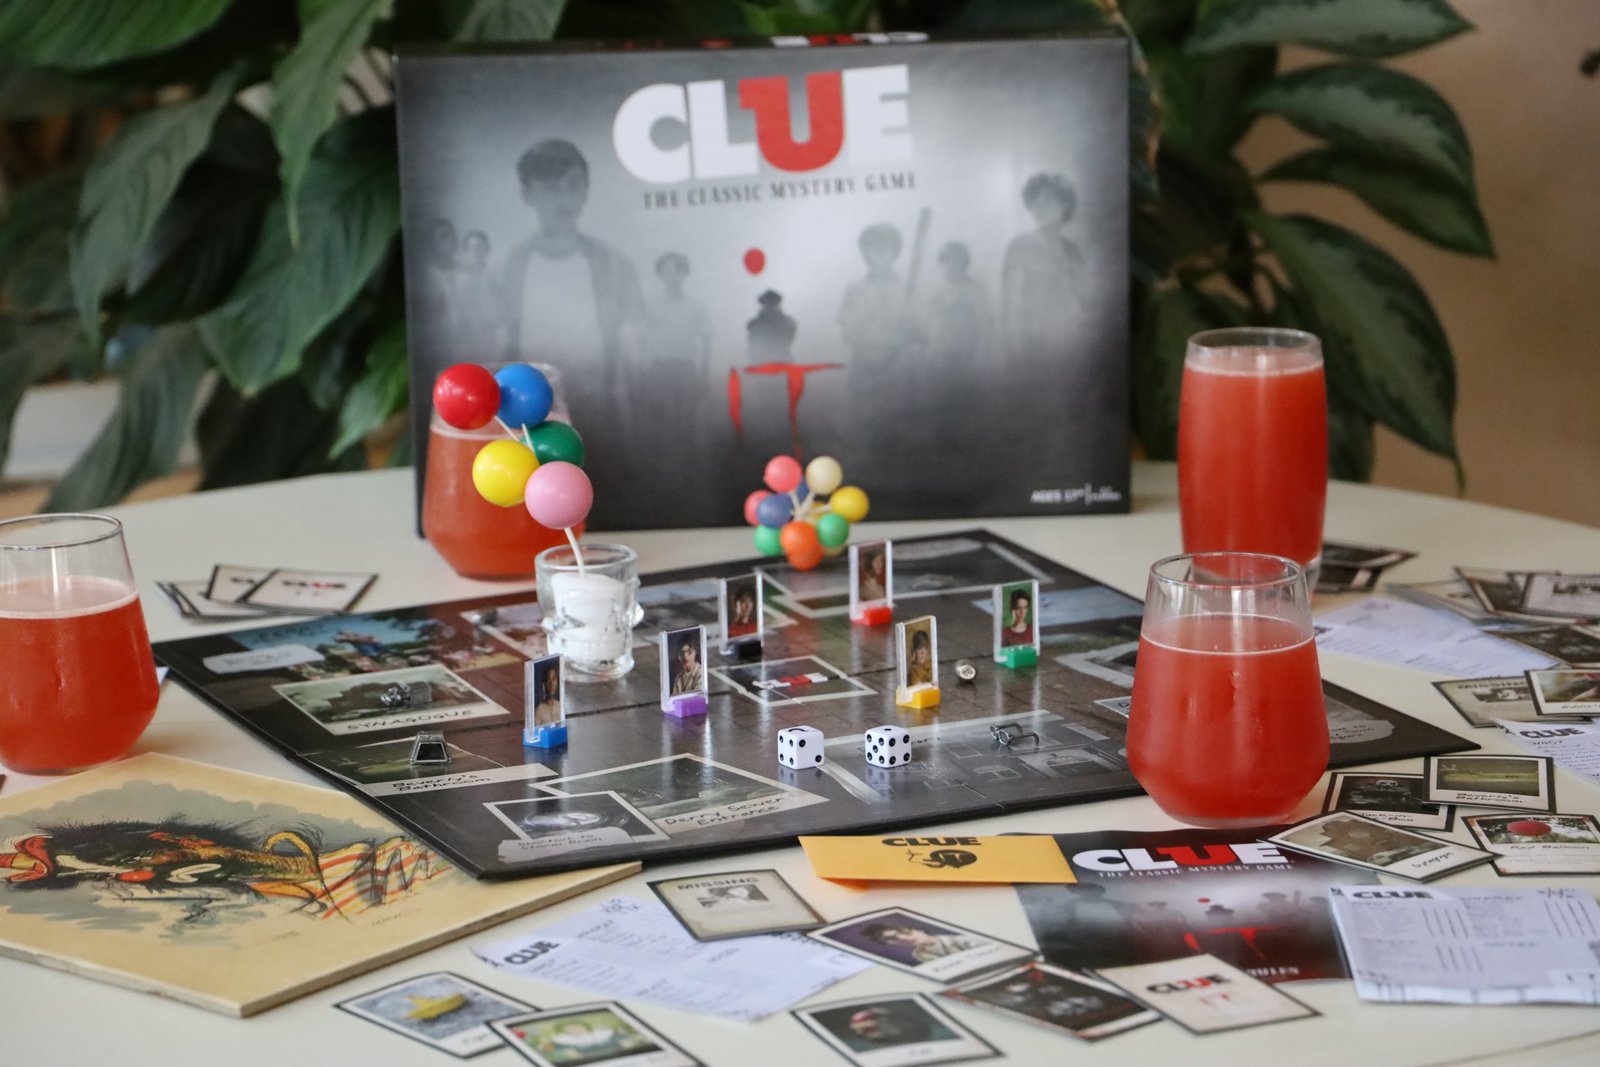
Now, Anyone up for a game of IT CLUE? 🙂
—————————————————————
Making Dill Butter

Start by using a good butter brand and set out to soften.
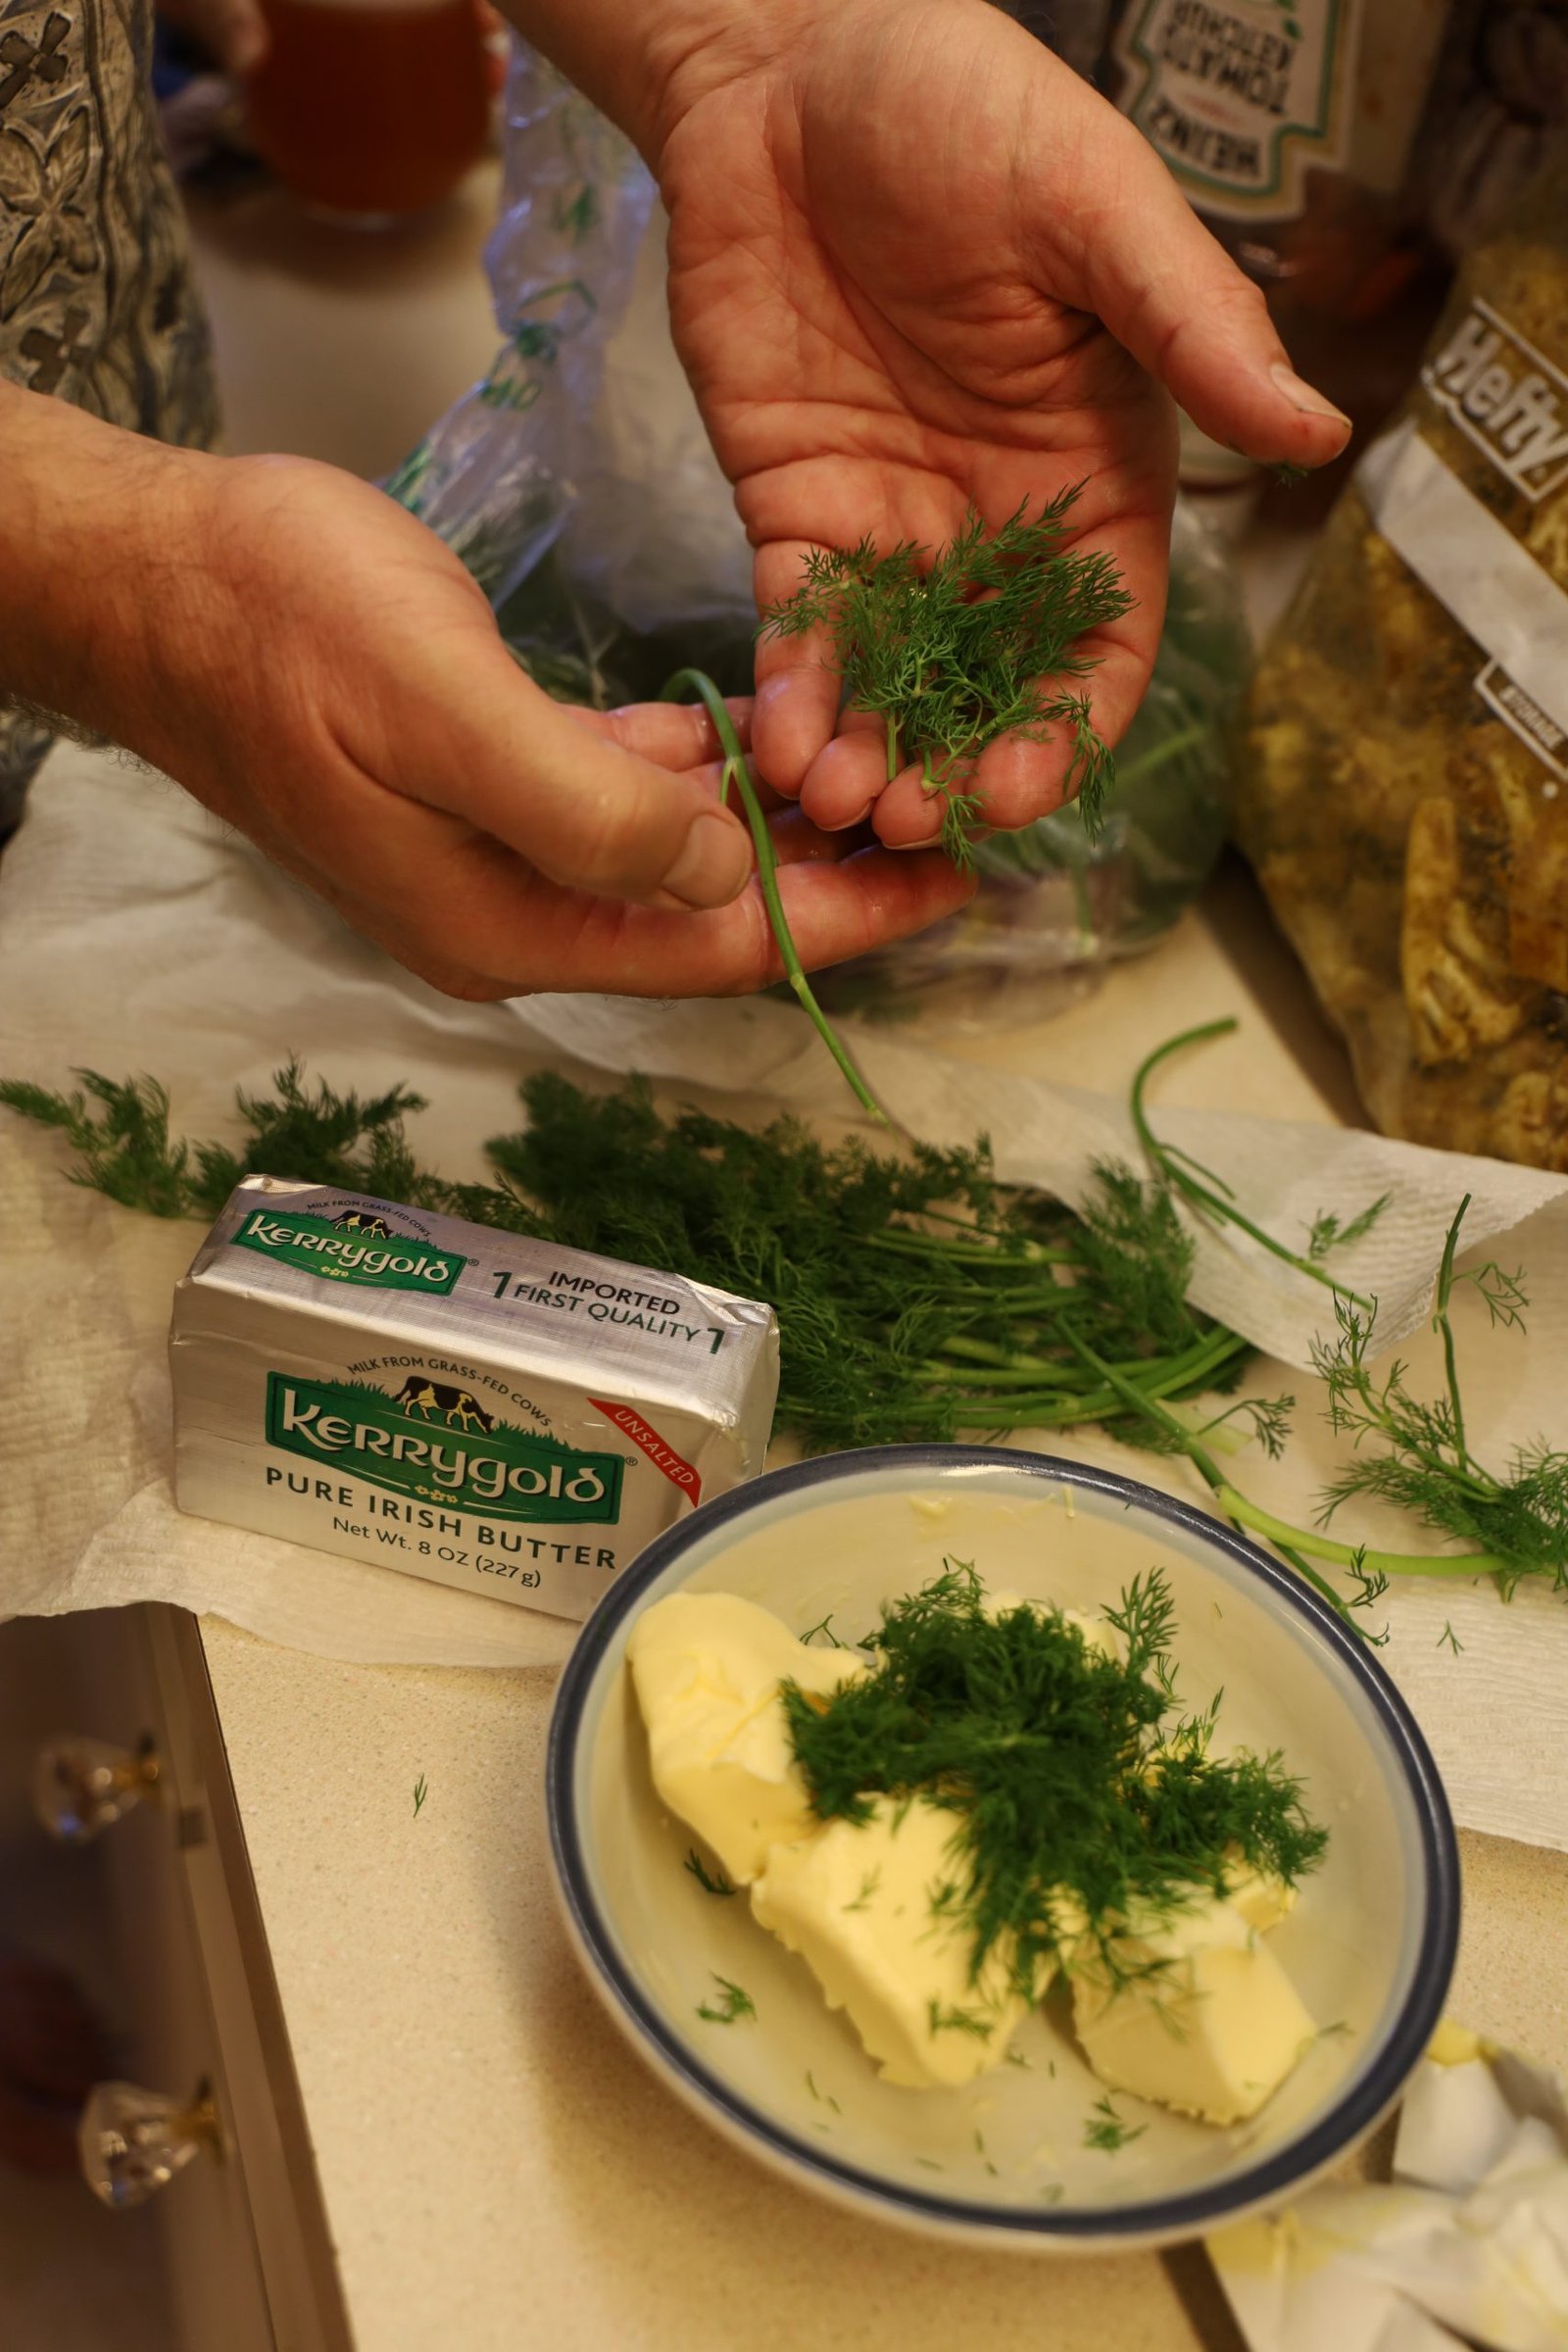

Remove the fragile thin dill sprig ends from thicker stems and add them to your butter.
Add as much as you like!
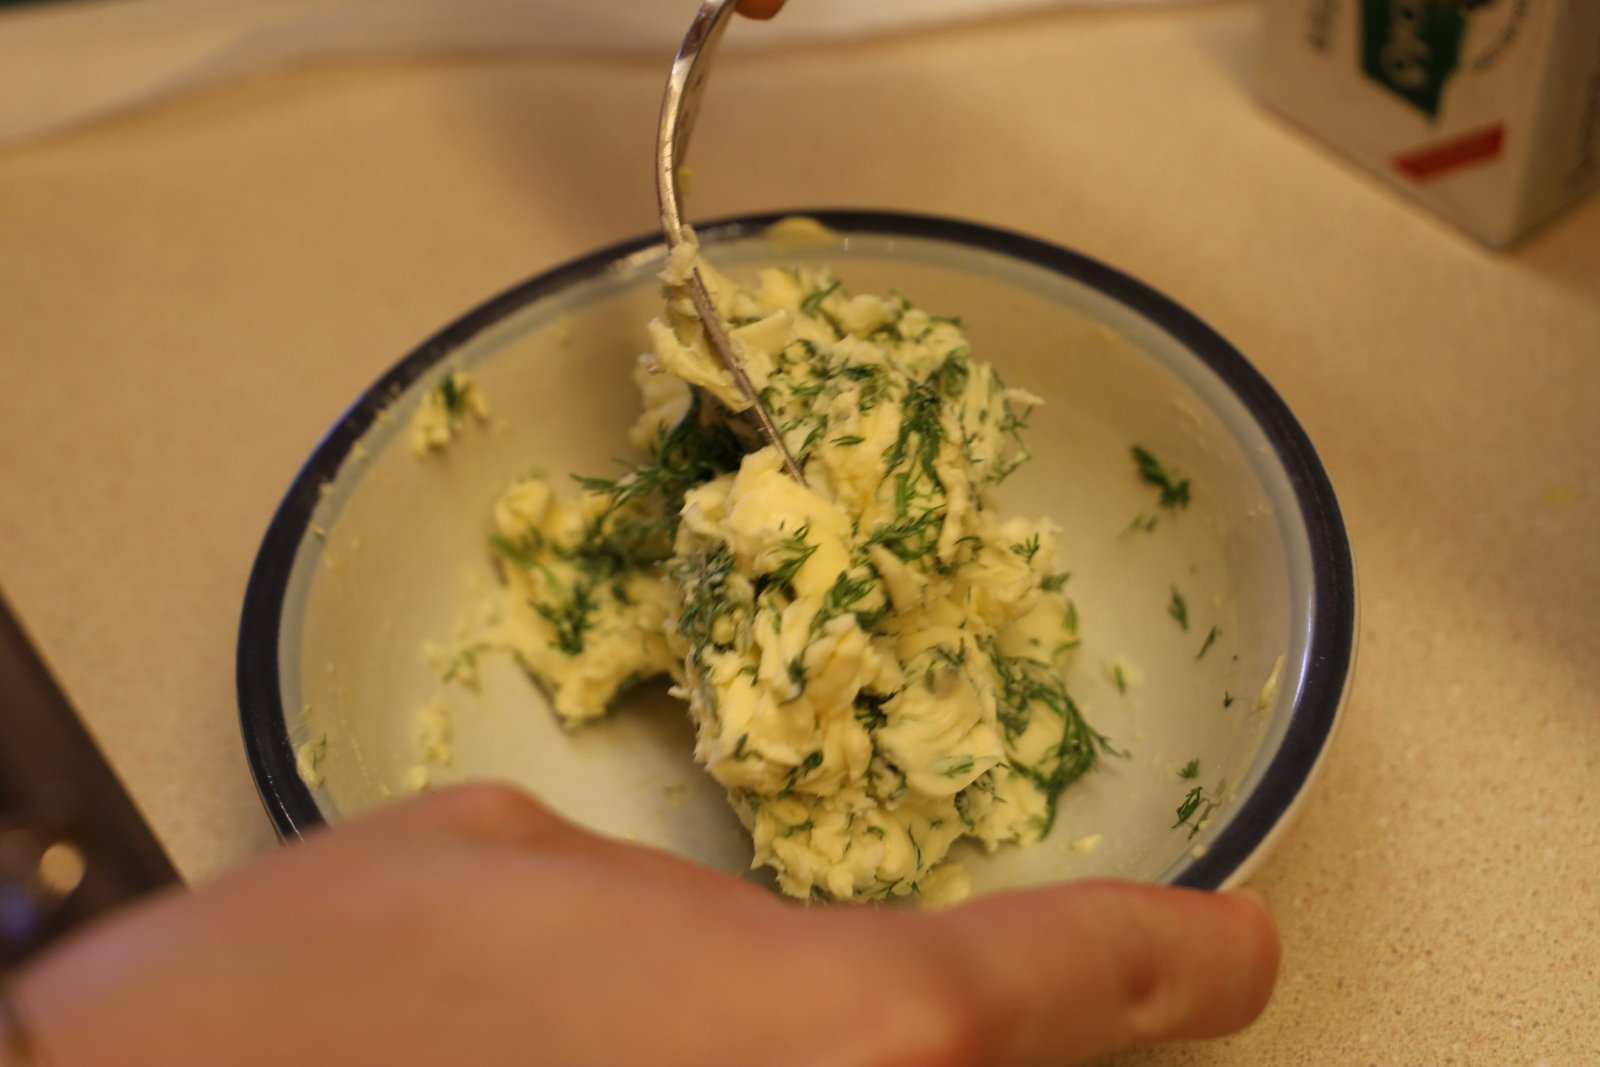
Using a fork, mix the dill sprigs with the softened butter.
Place the dill butter back into the refrigerator to become firm.
————————————————
Grilled Seasoned Salmon with Dill Butter
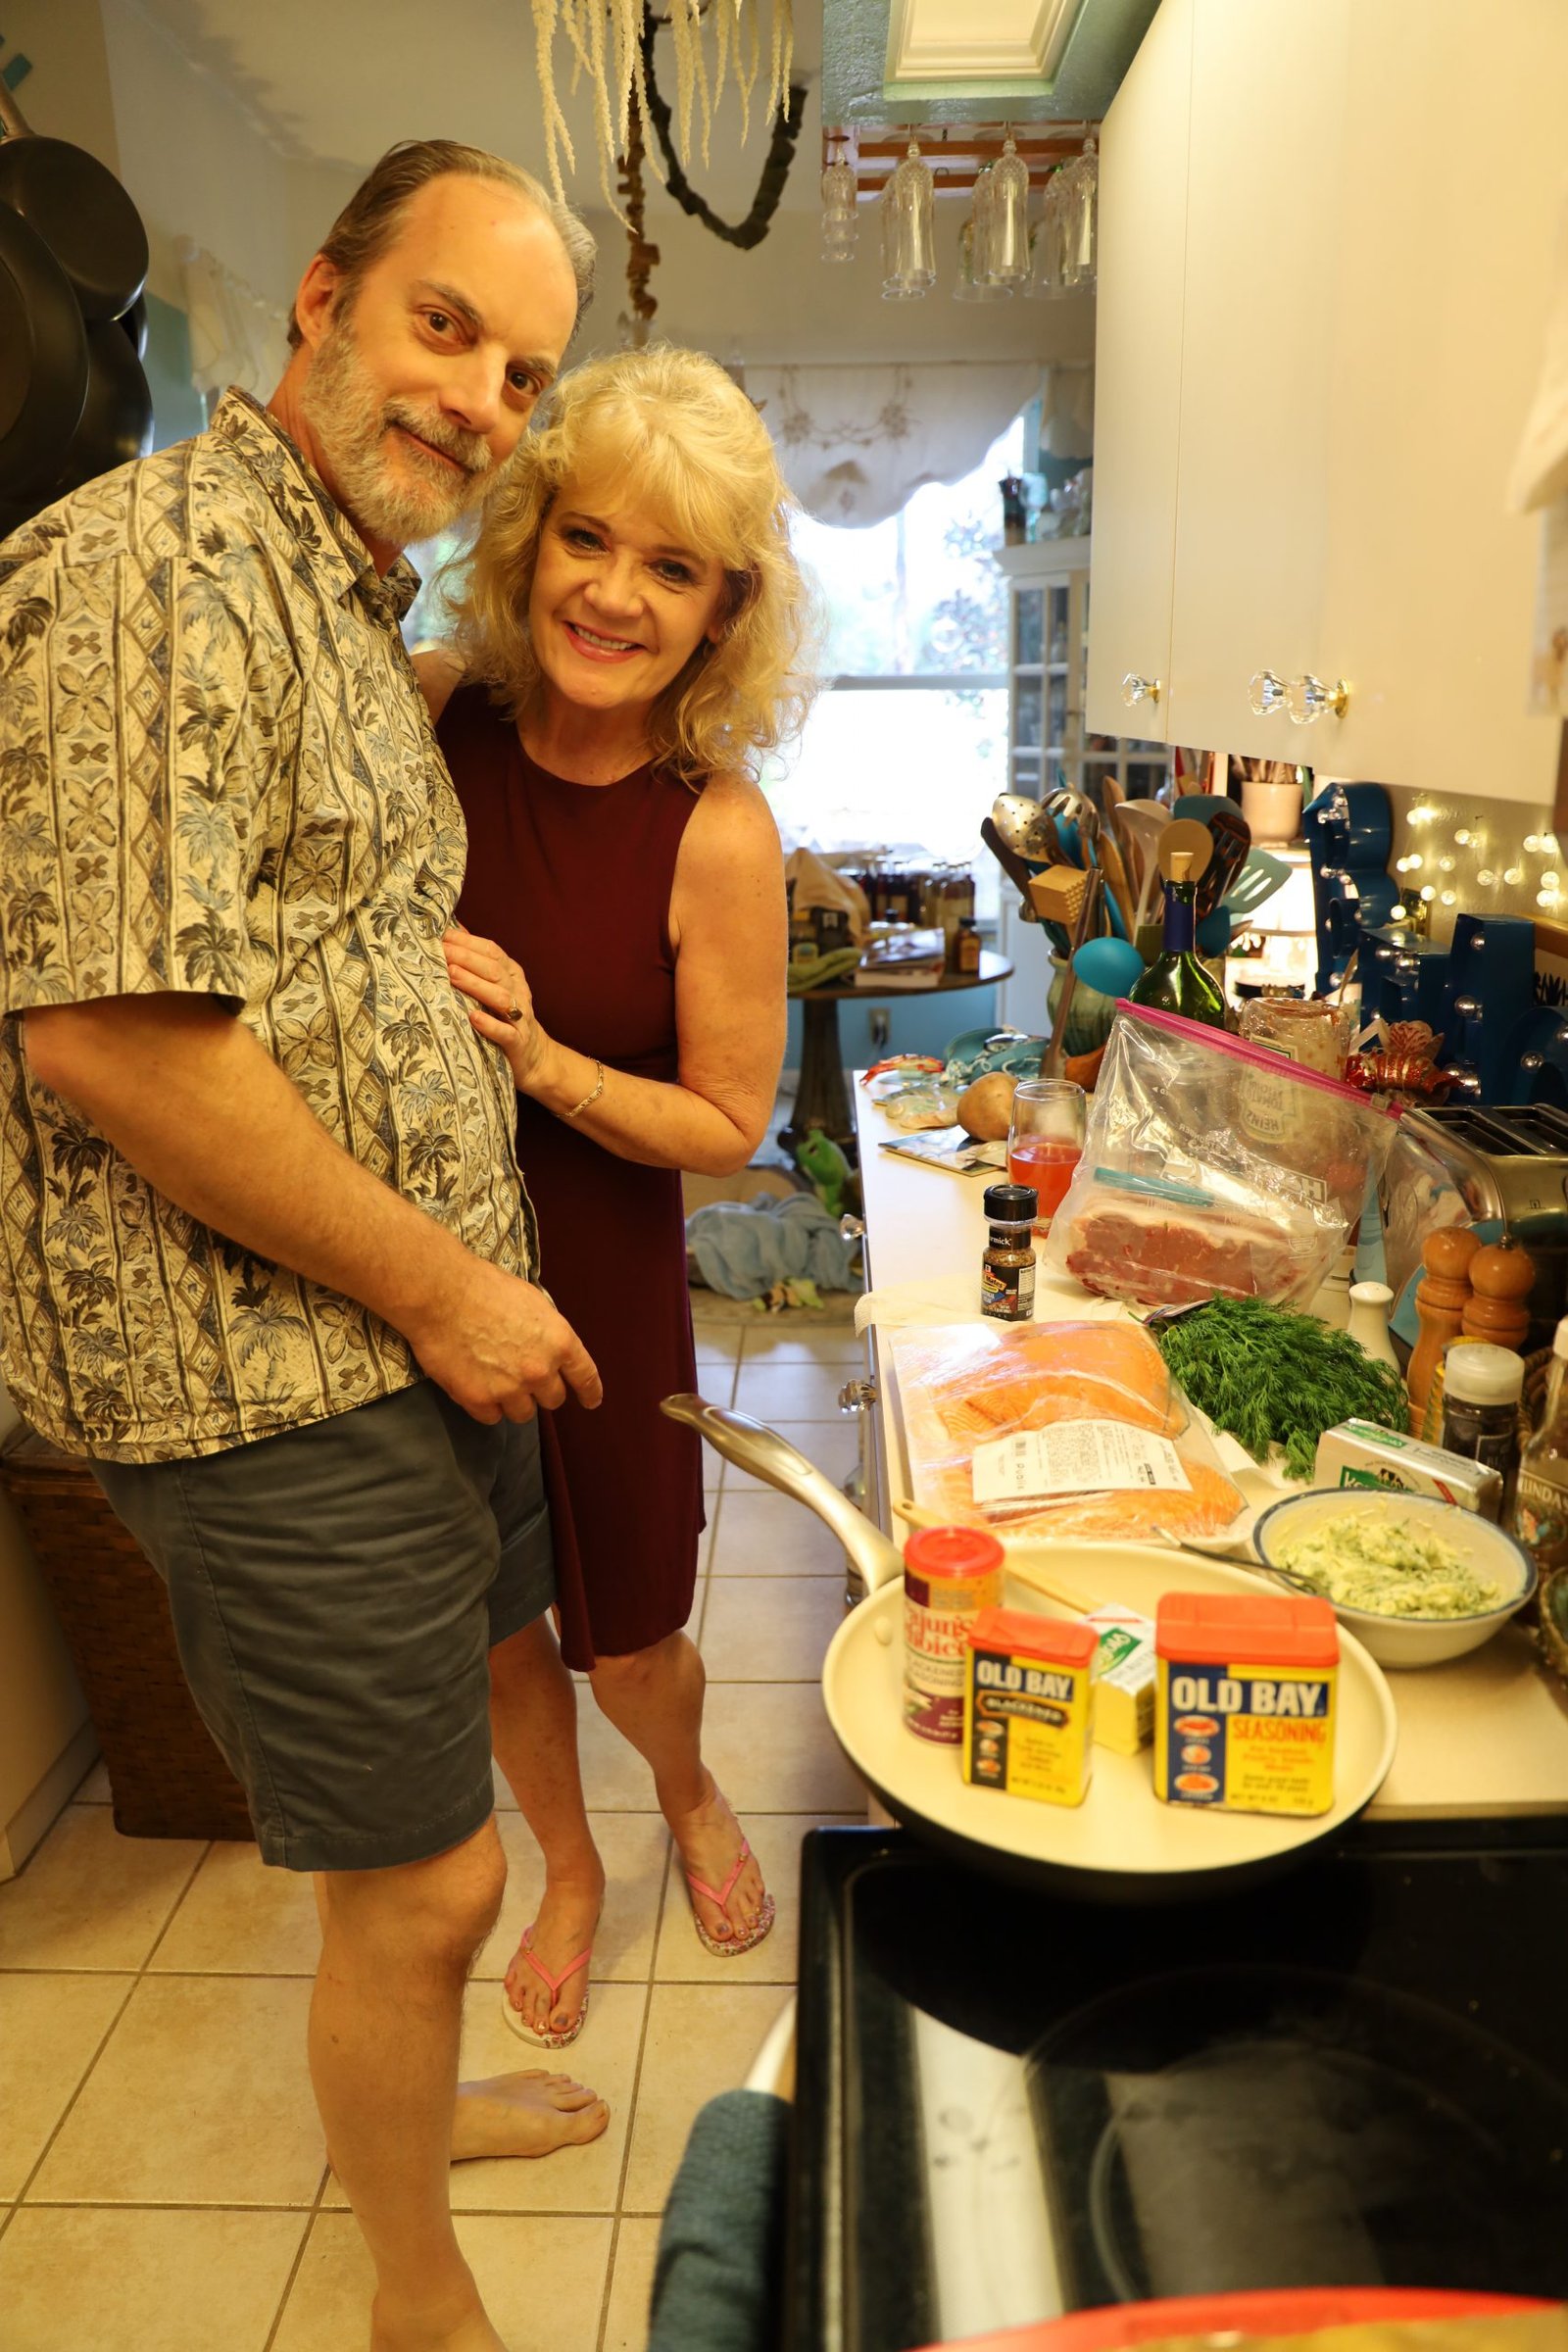
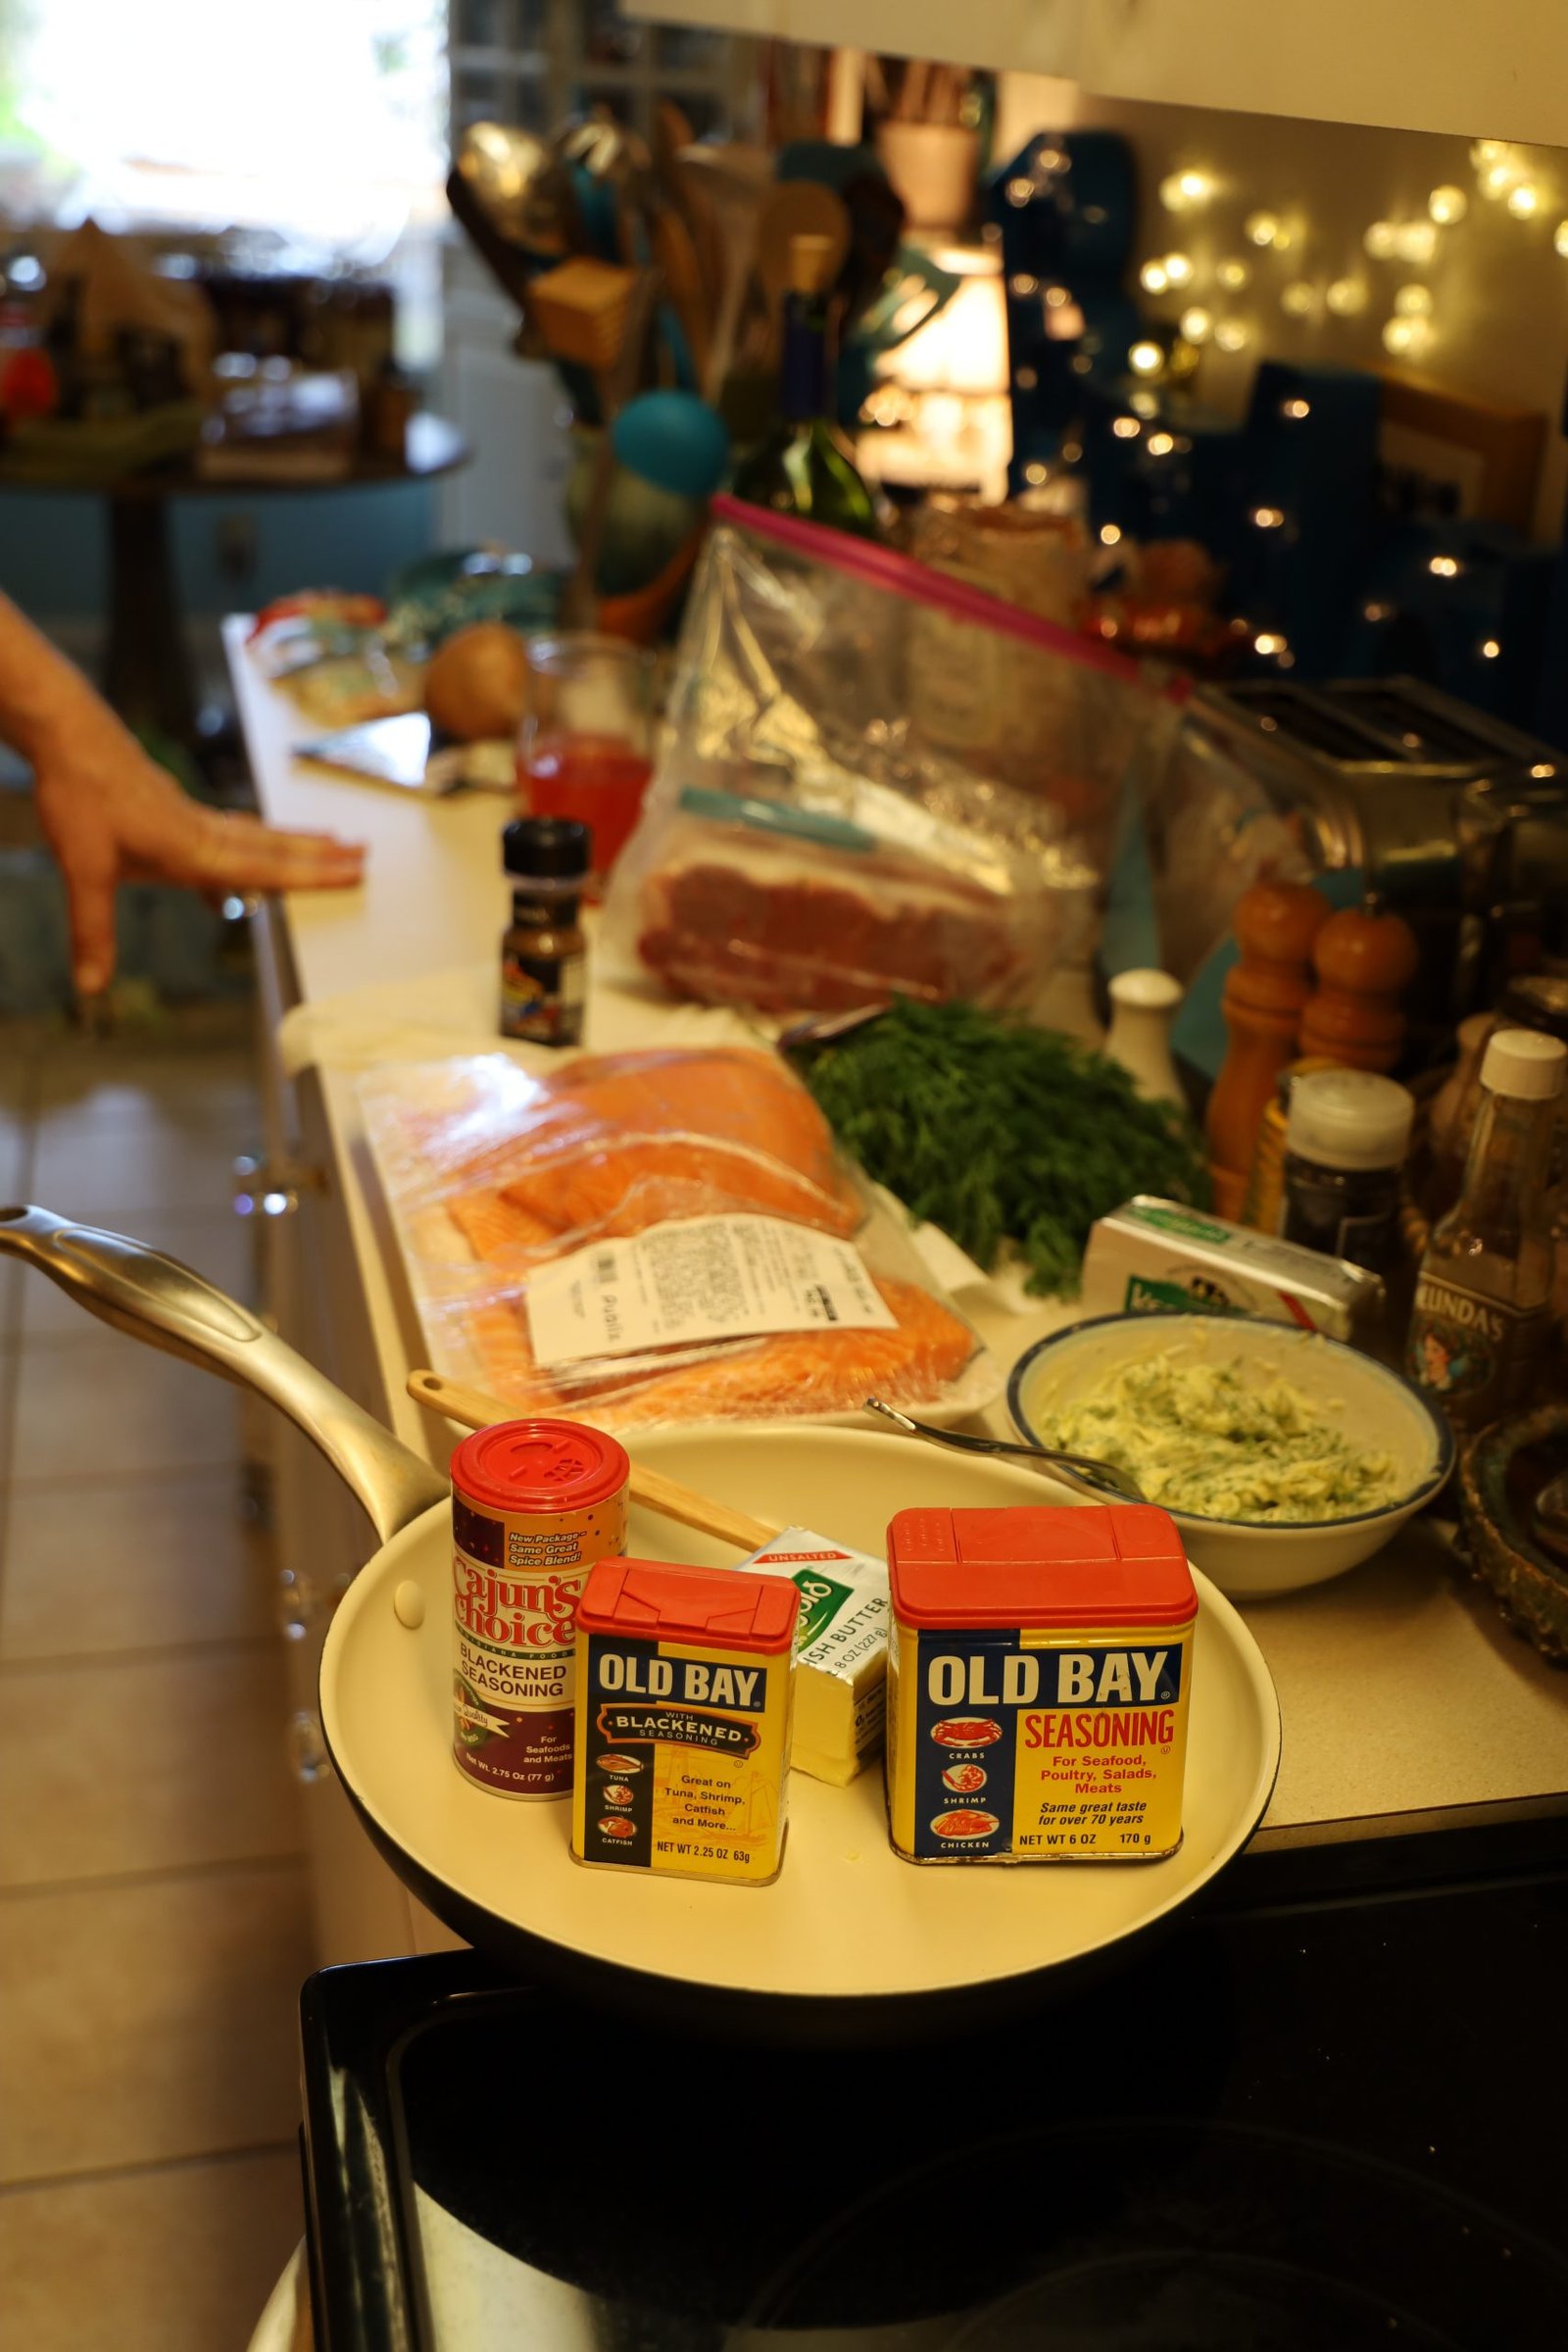
Ingredients:
2 Lbs. Salmon Fillets – skin on
3 Tbsp. Old Bay Seasoning
4 Tbsp. Dill Butter – (See recipe above)
We purchased about 2 Lbs. of Salmon which came to us in various thicknesses and cuts.
During these Coronavirus times, (2020) you get what the delivery person brings you and you make due with what you have.
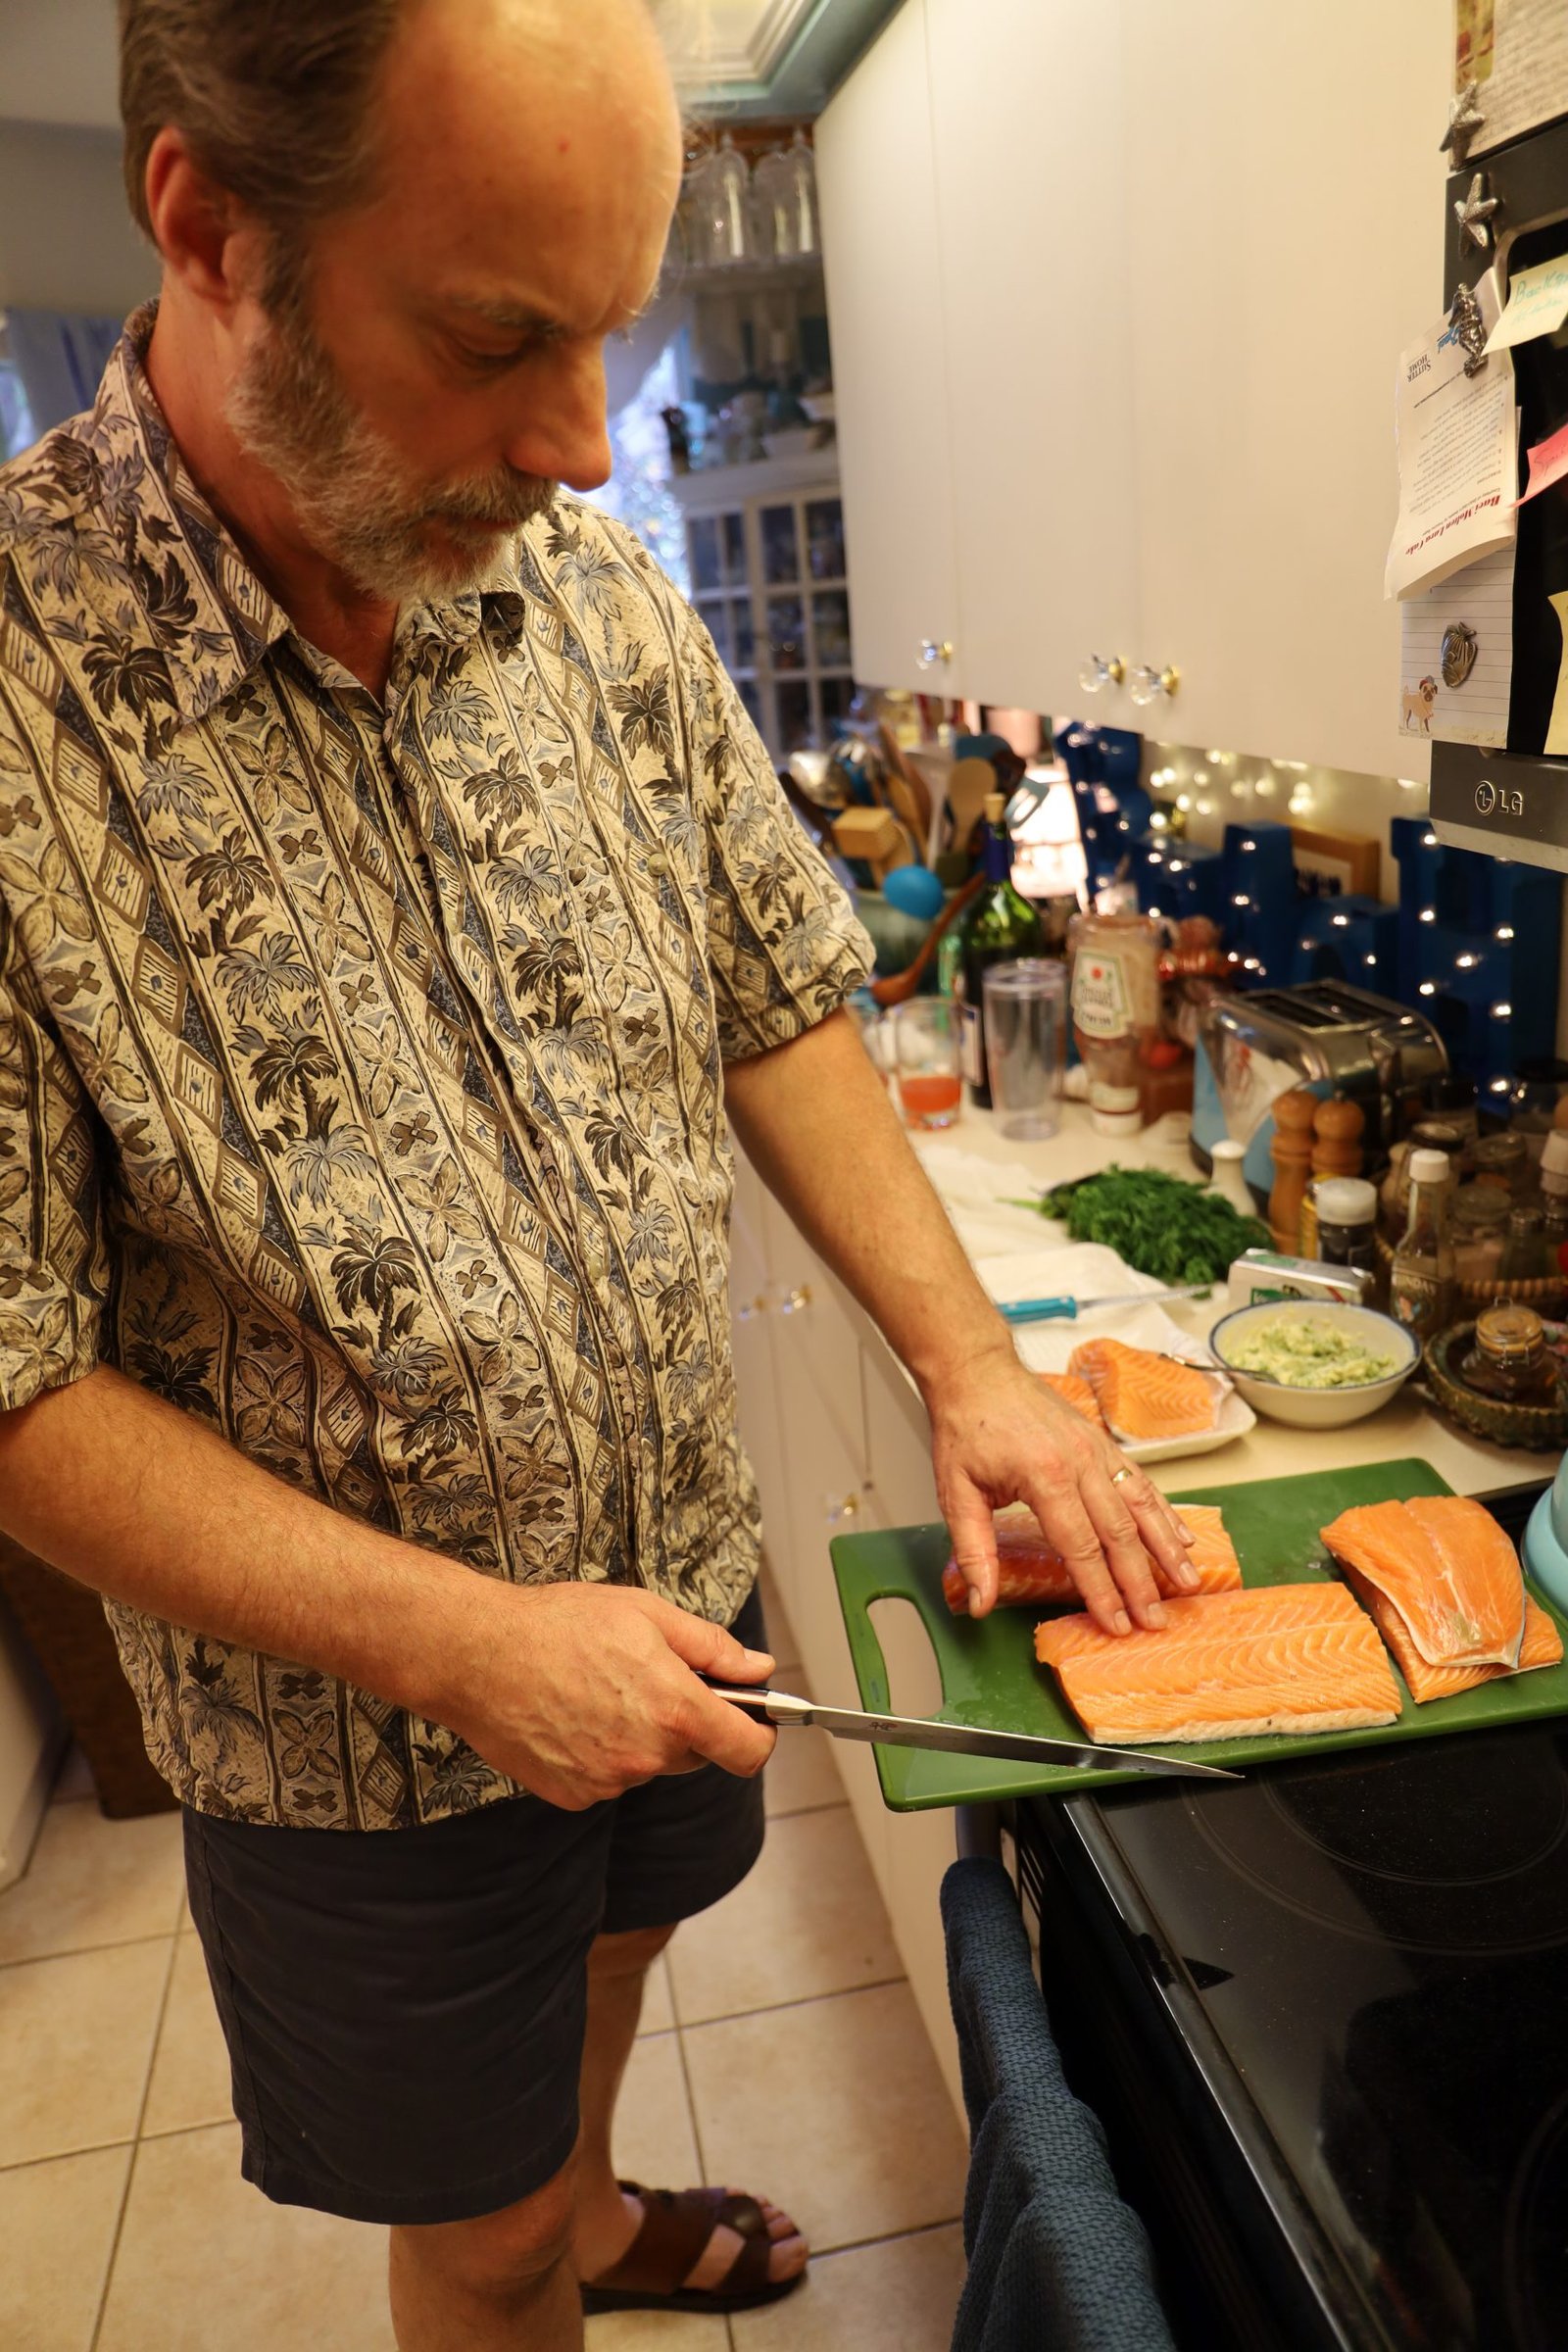
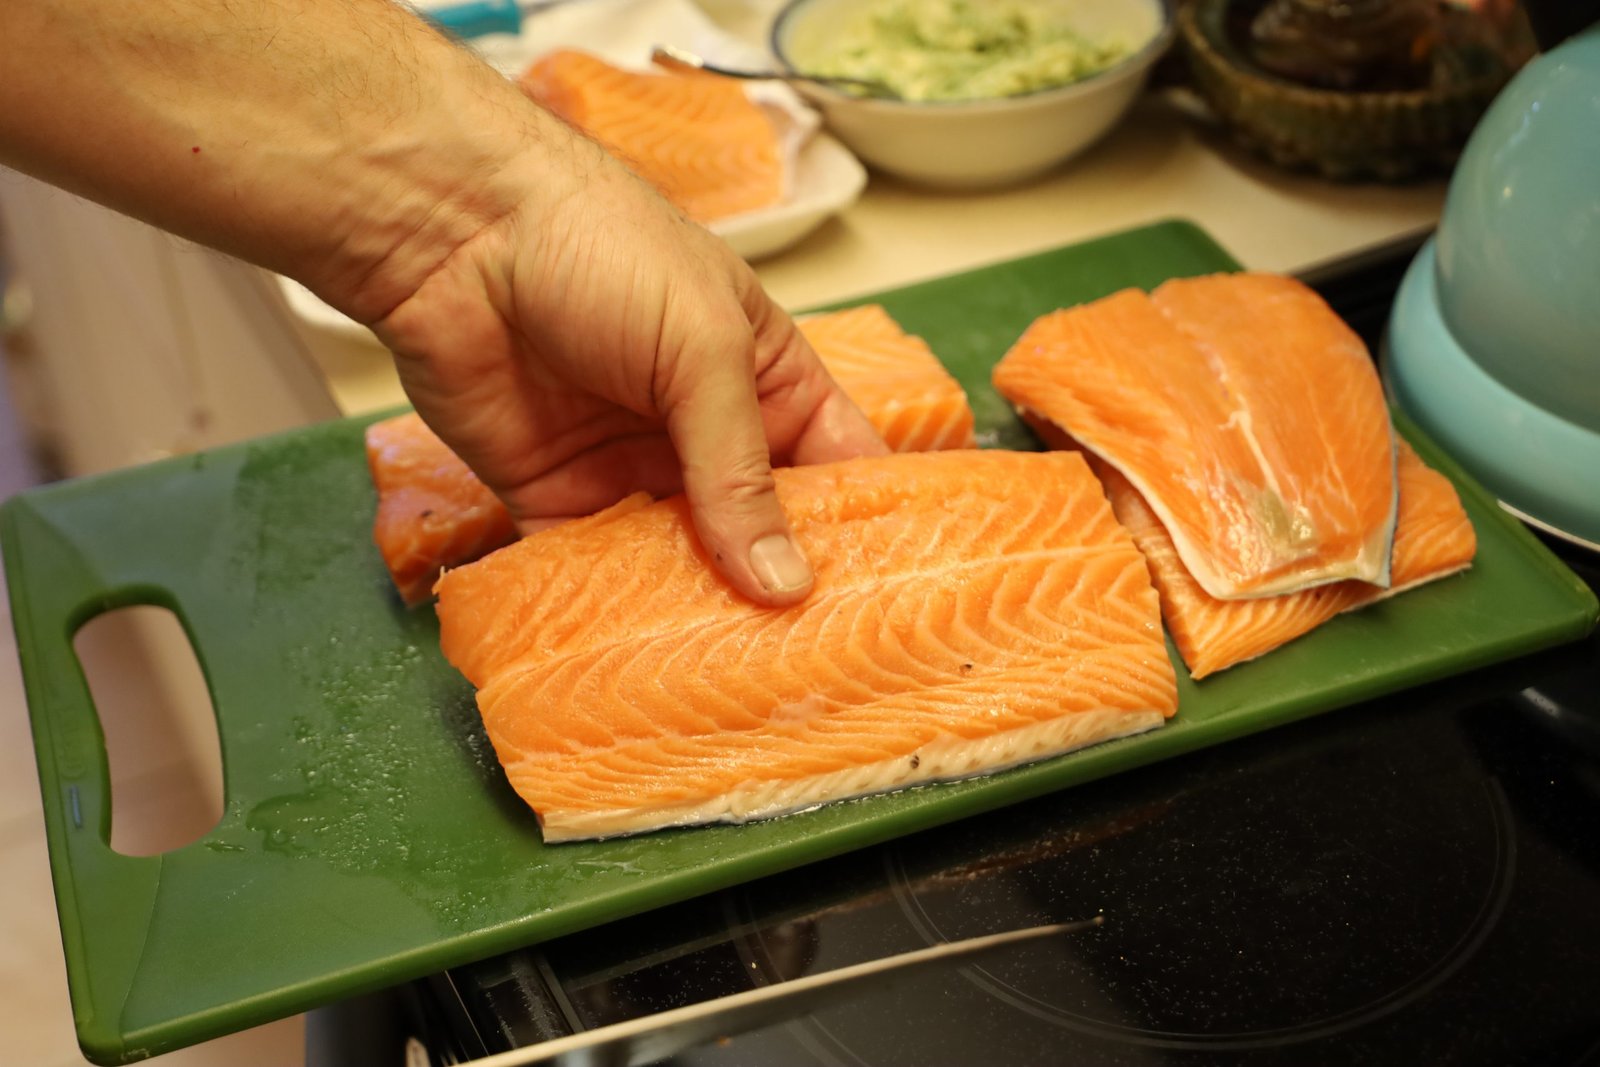
I cut the fillets according to their thickness. I blackened the thinner pieces of fillet, and grill the thicker fillets. Brodie used some of the really thin cuts for breakfast the next morning.
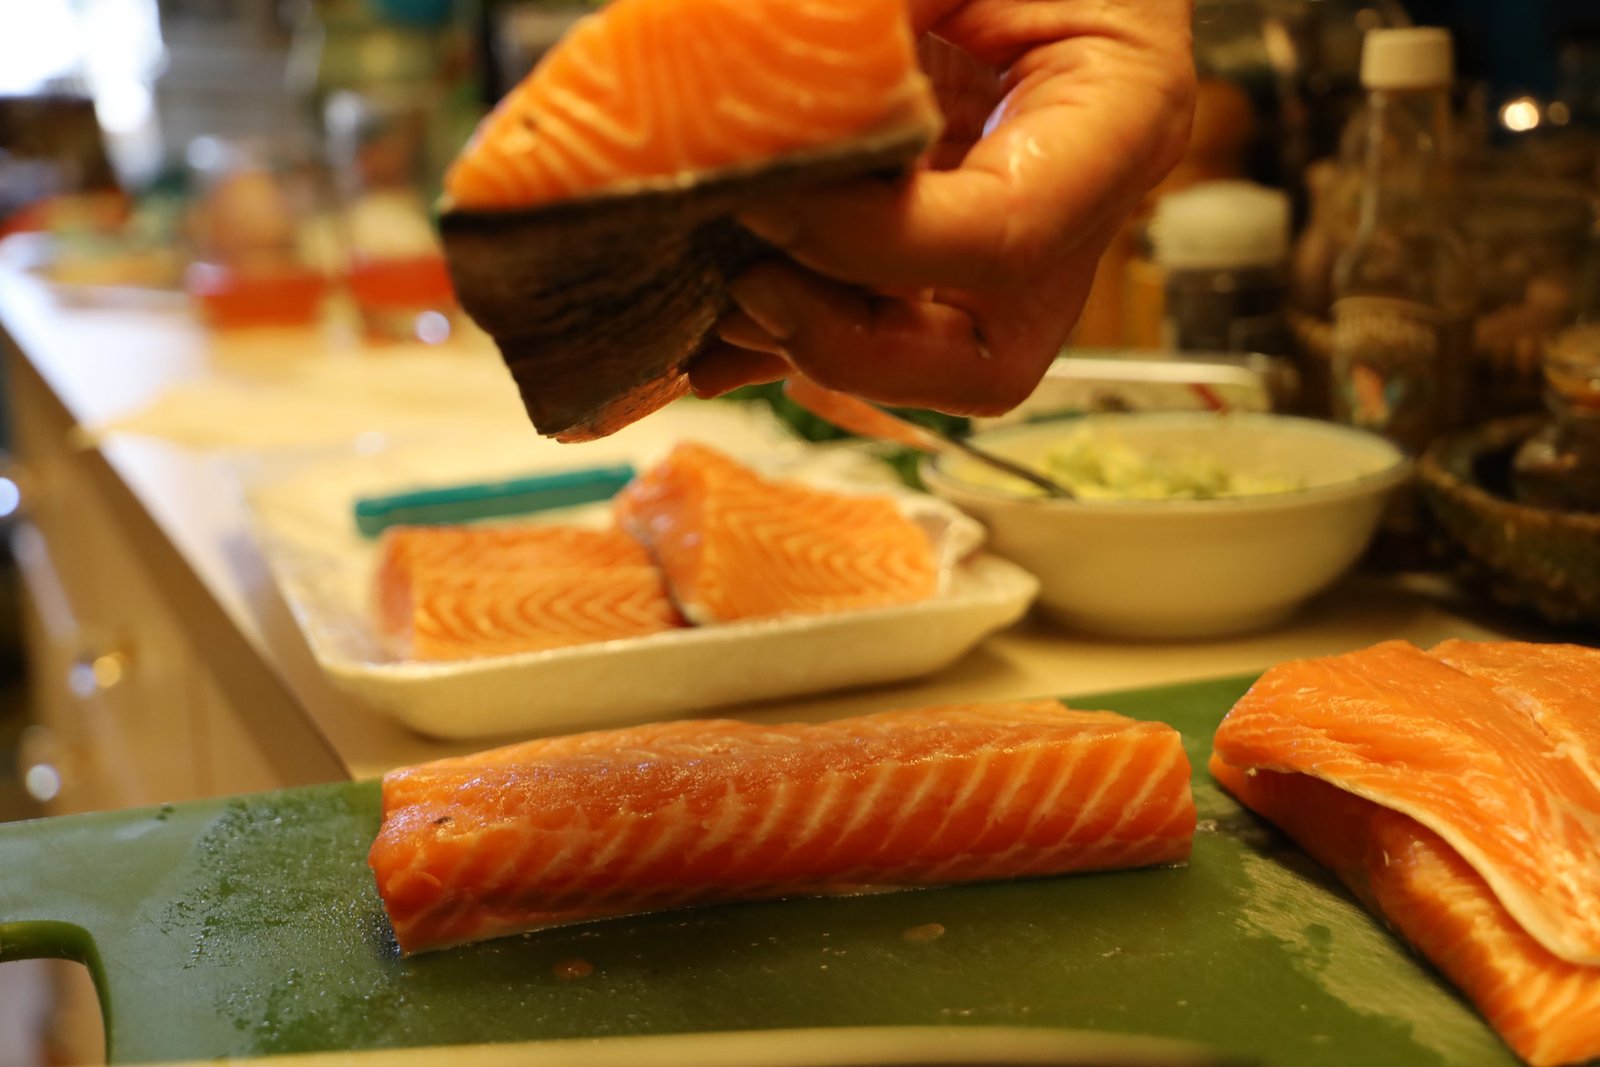
———————————————
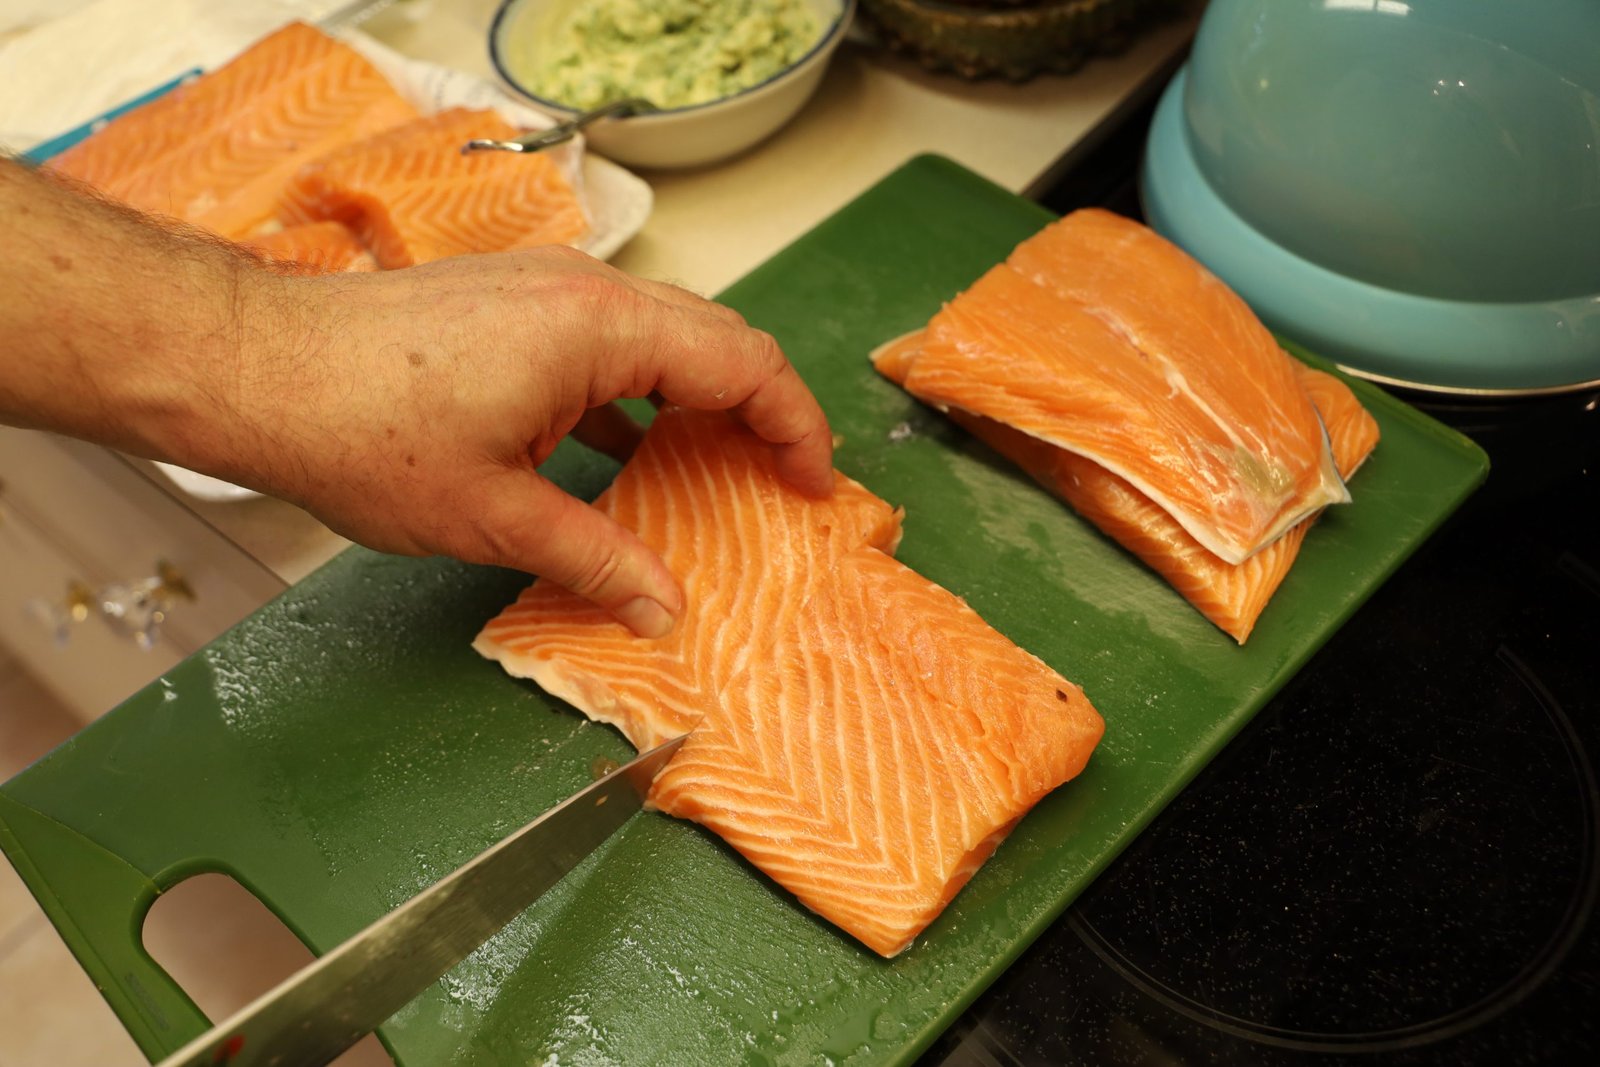

During the cooking process, the fillets uneven thicknesses would cook the fish too much or too little, if I left them as is. Having the fillets all the same thickness makes for even cooking which ultimately makes them taste better!
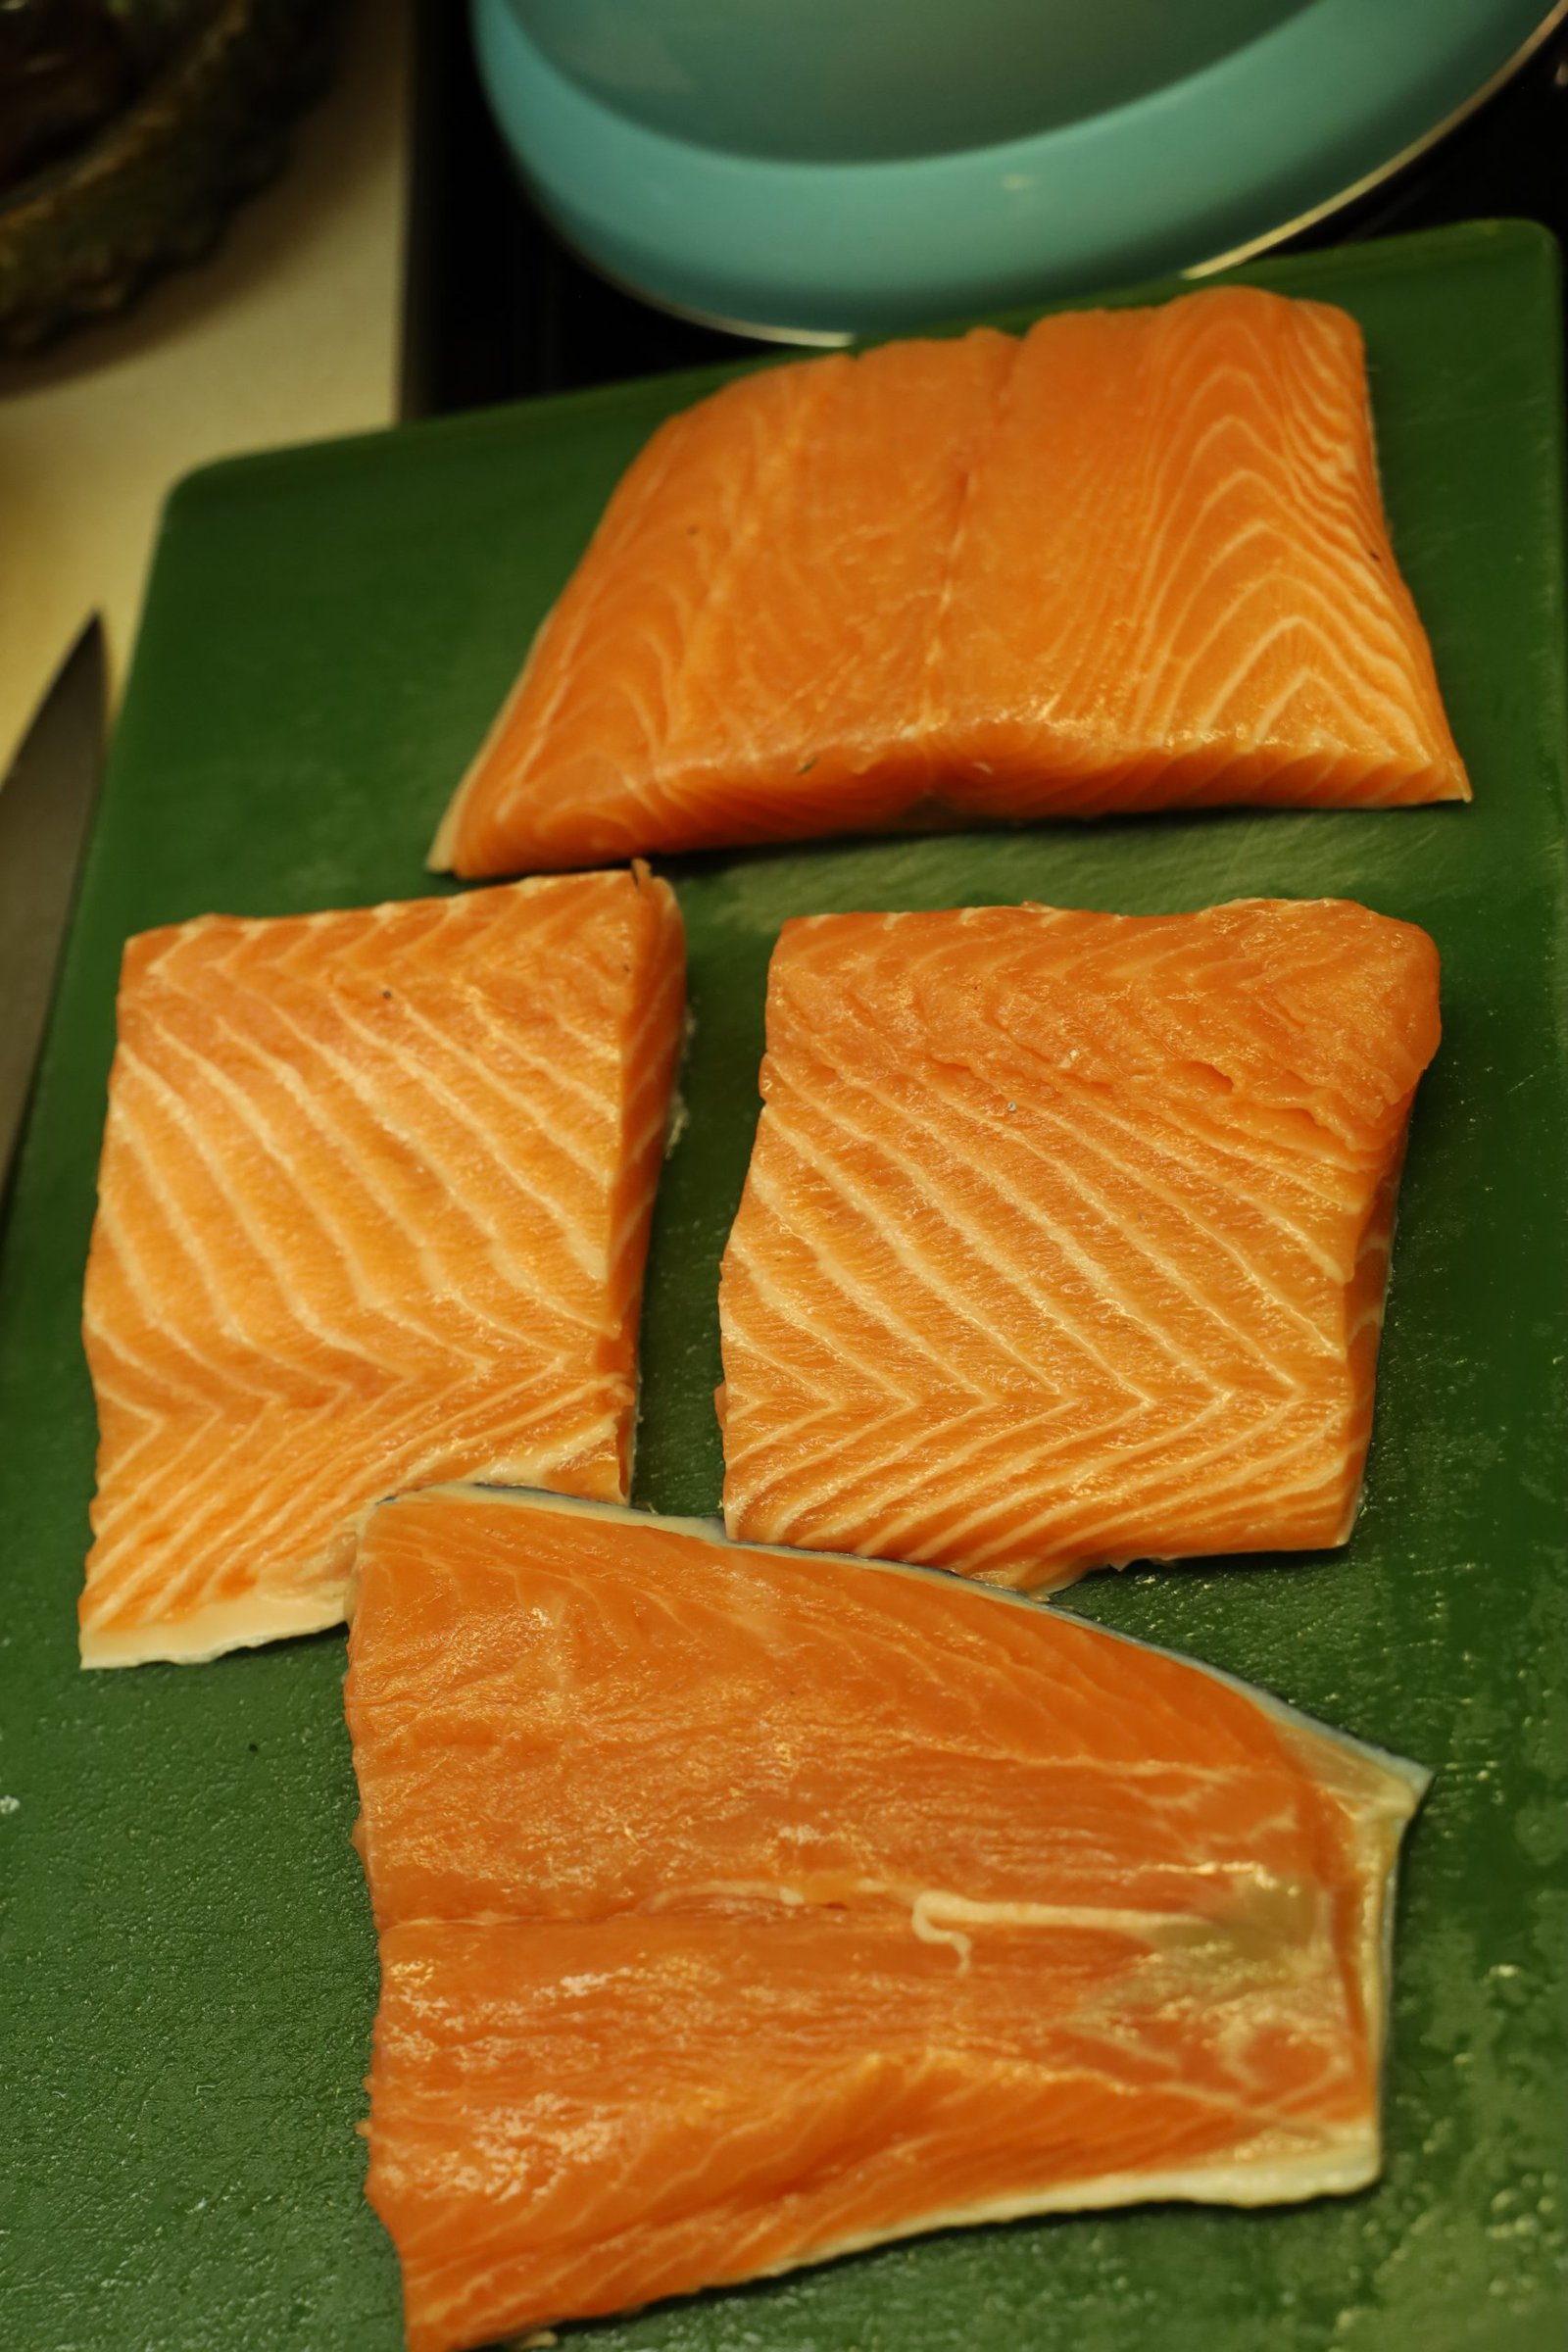
Here are the fillet cuts I started with.

Pictured are the thicker cuts, which I cooked on the grill.
—————————————————-
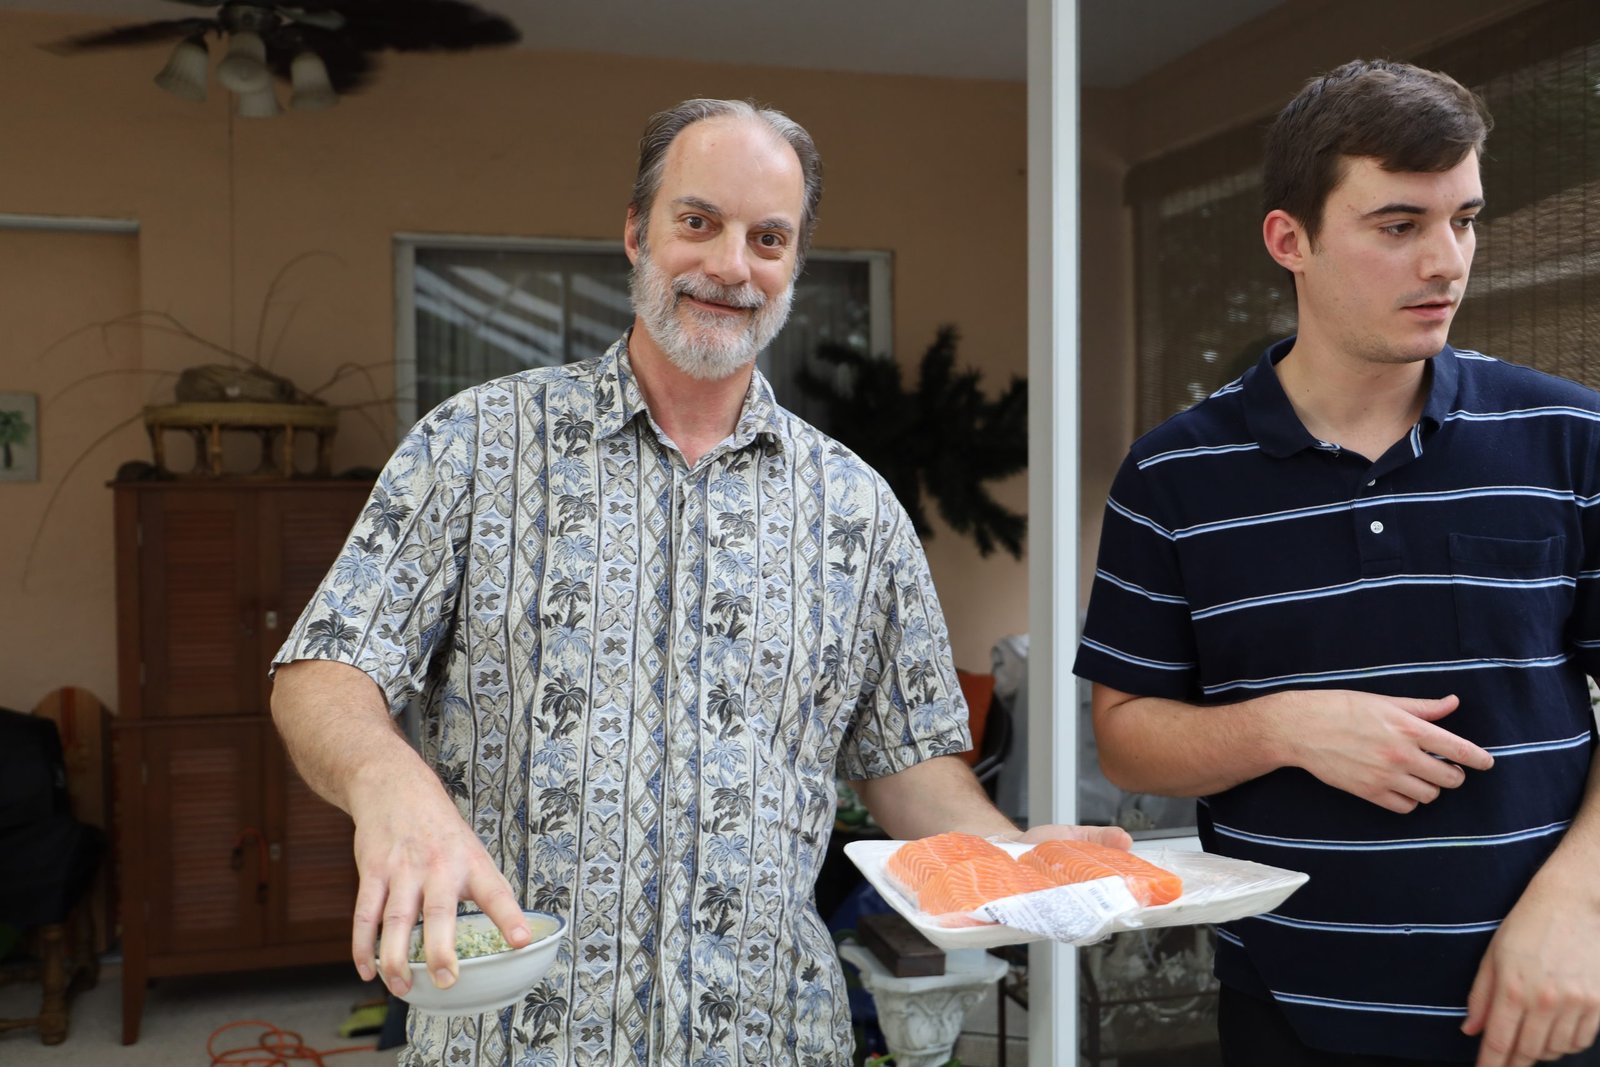
Salmon Ready for Grillin’
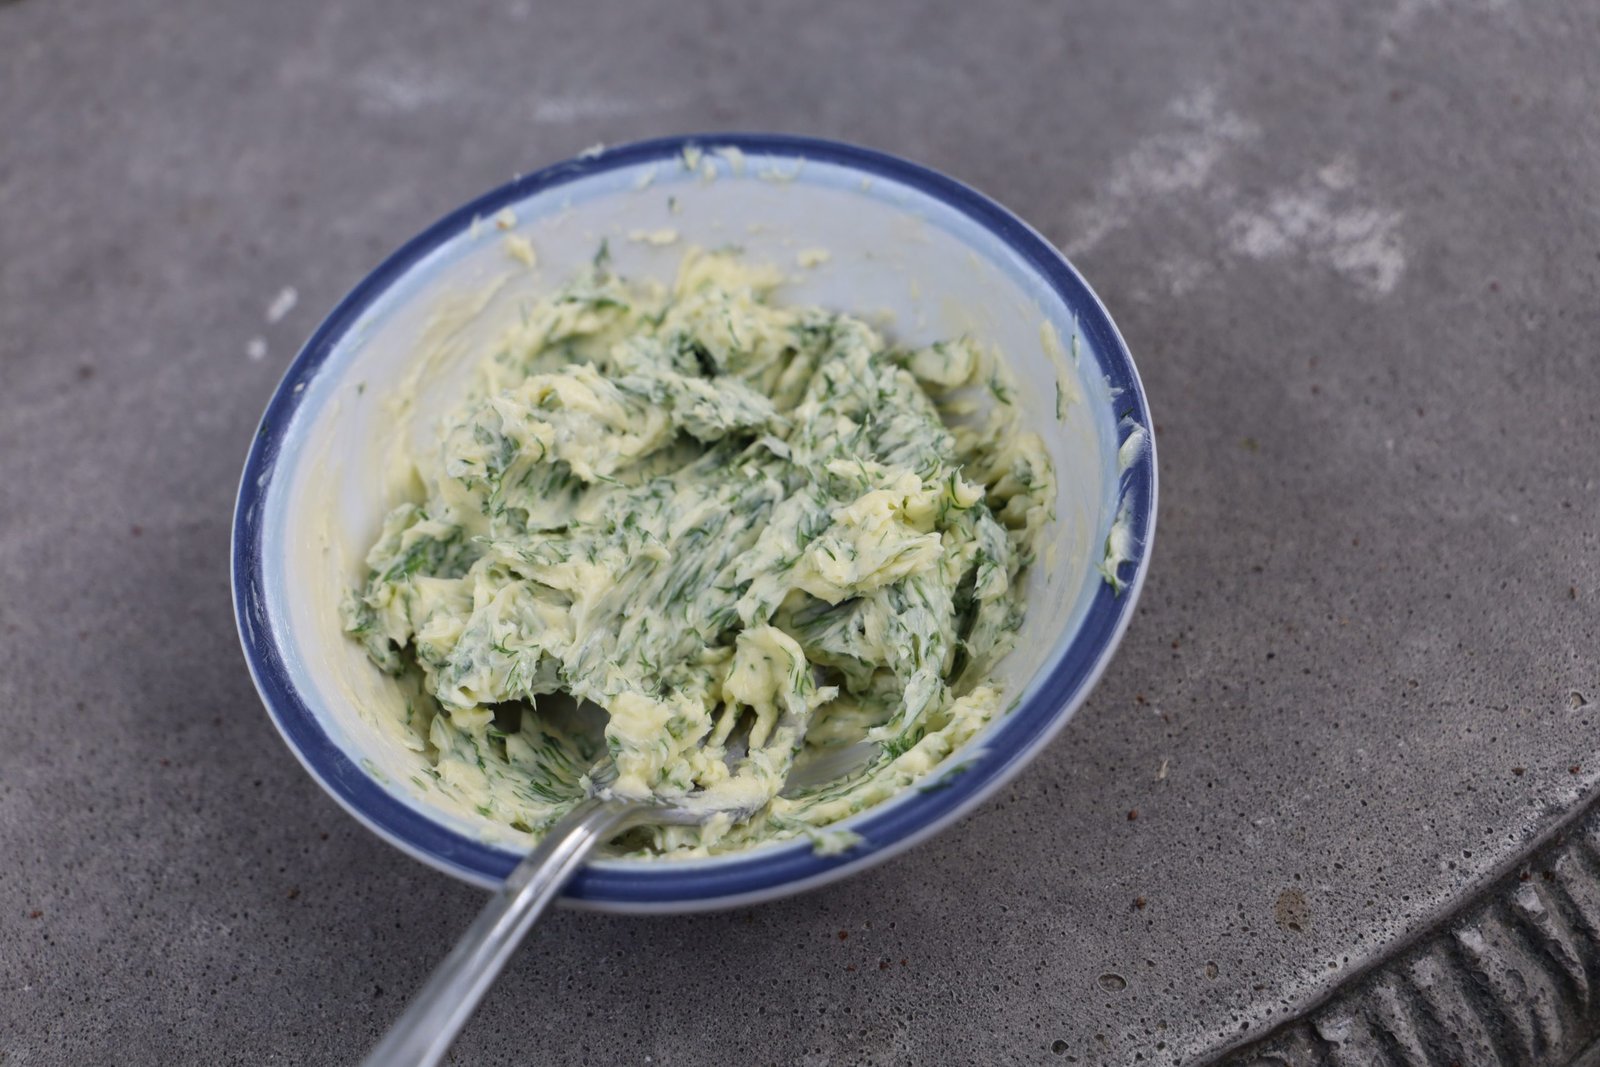
Pictured is our Dill Butter!

I turned the gill on High to get the heat started in order to make slight grill marks on the fillets.
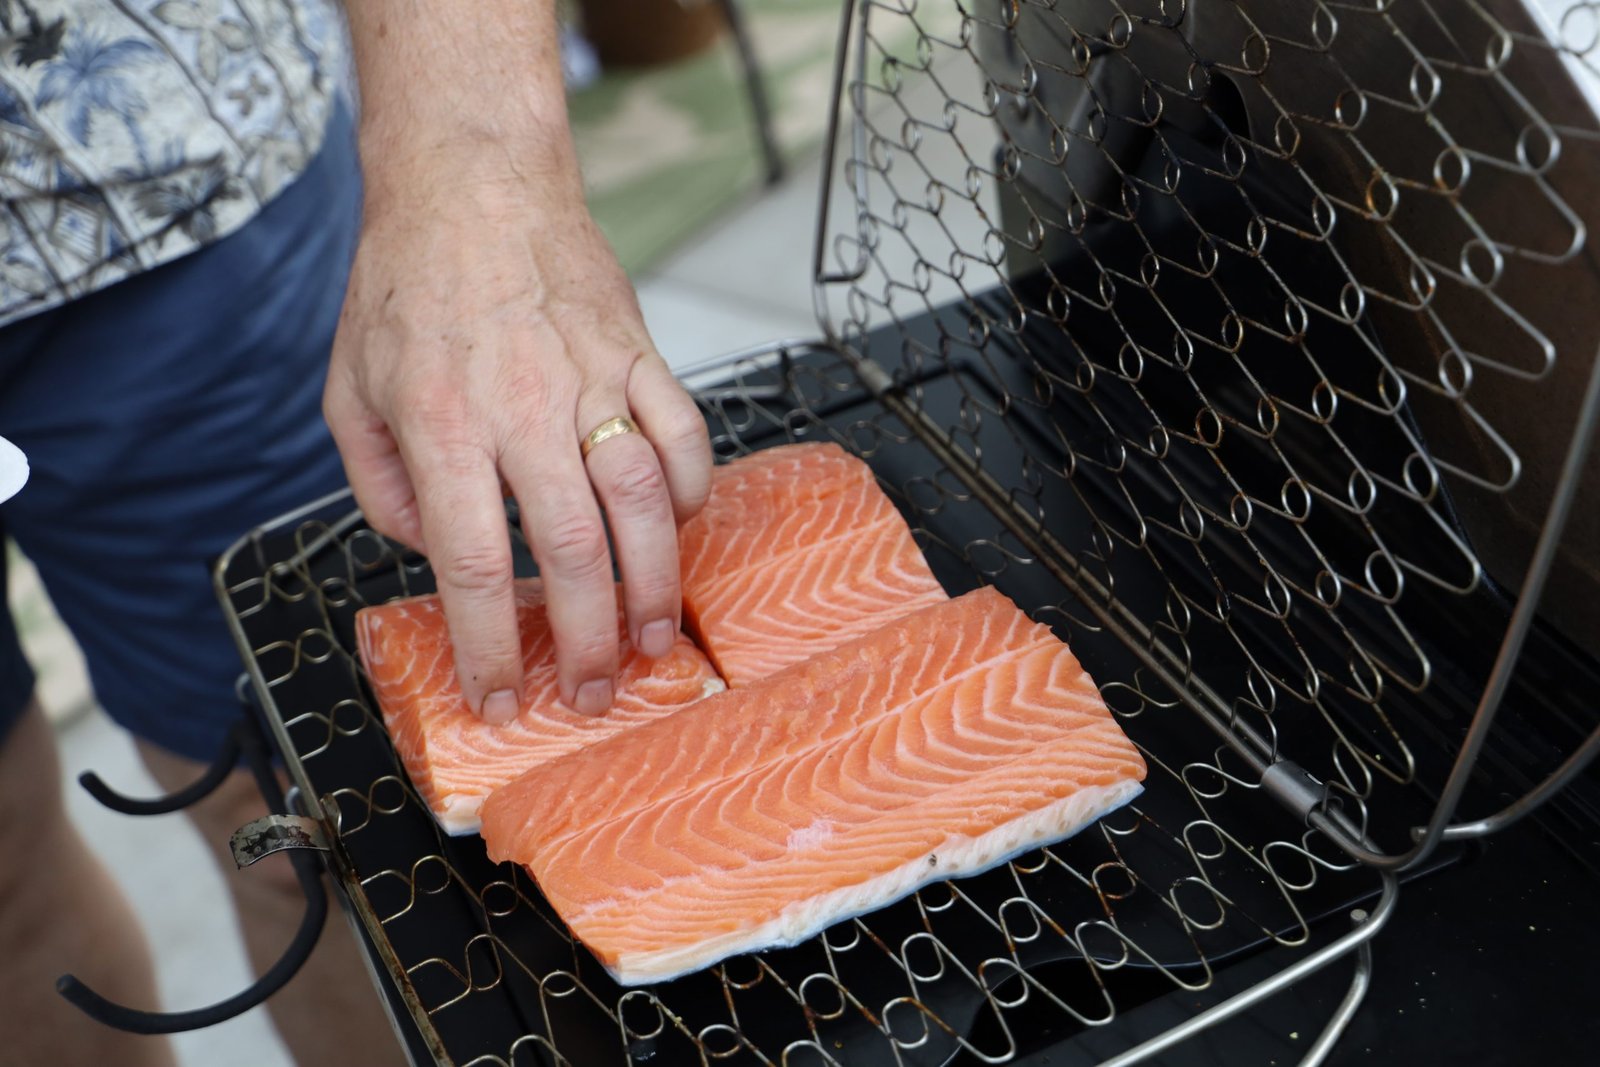

Because fish gets flaky once cooked, I placed the fillets into this metal basket which carefully holds them in place, while allowing them to be seasoned and cooked.

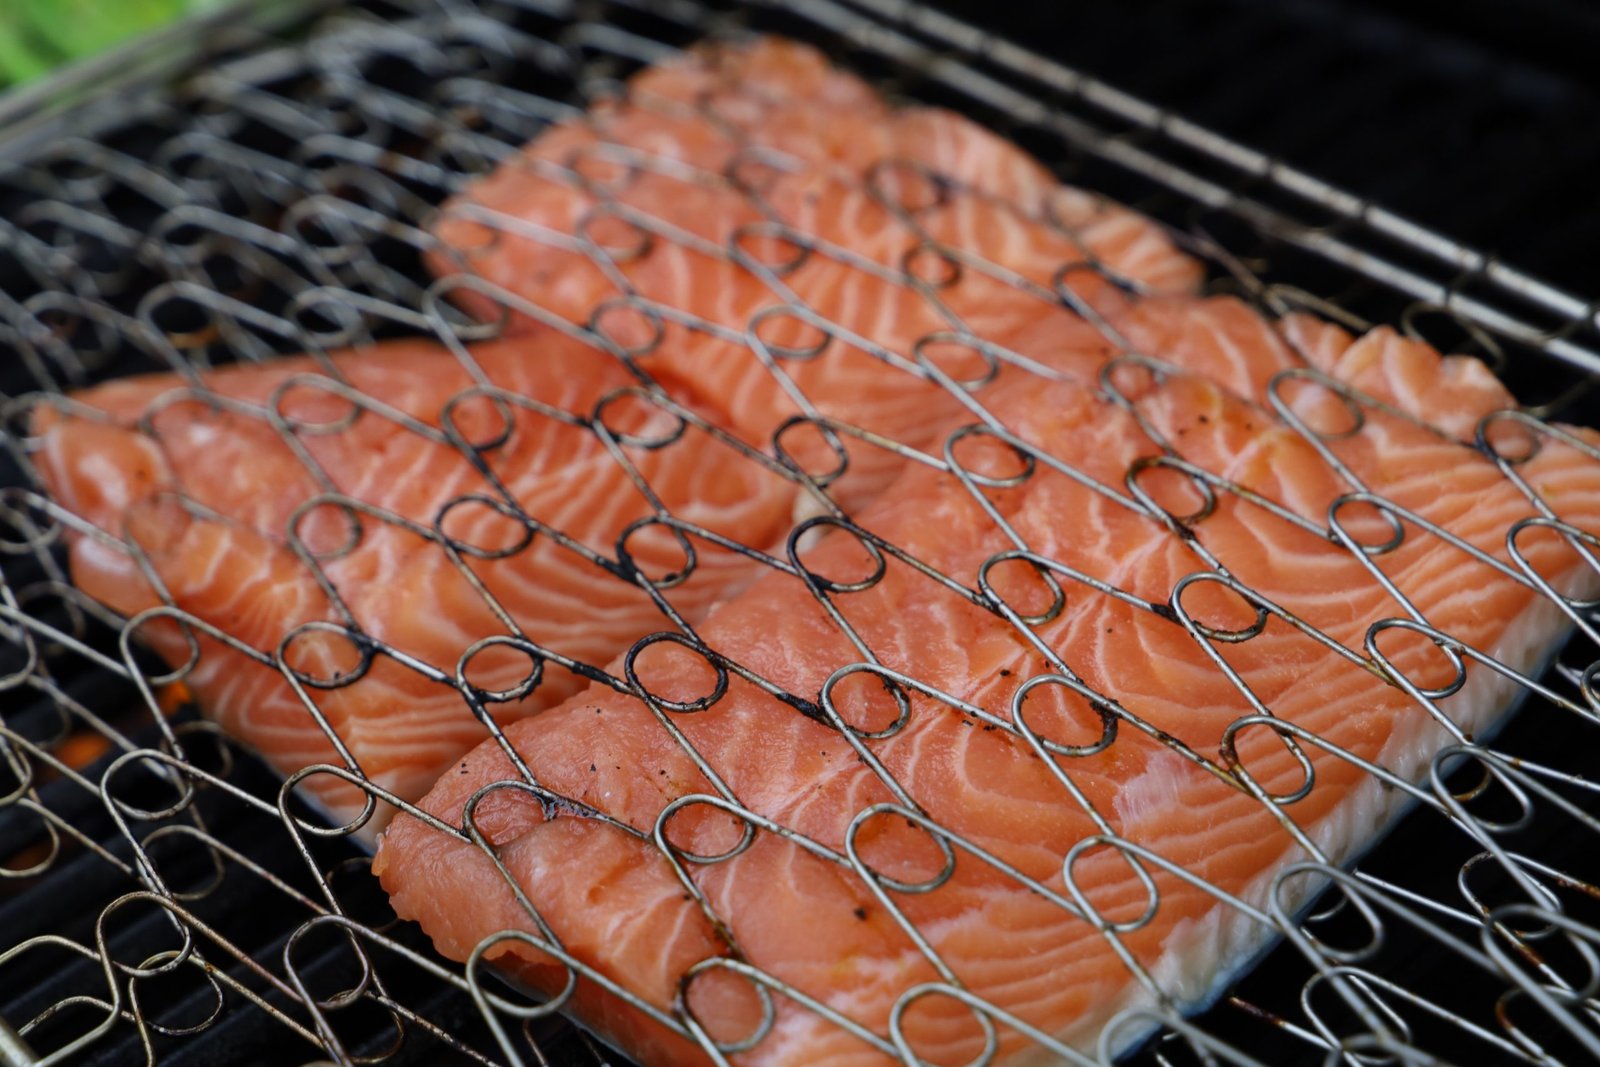
Our Fish Basket
——————————————————–

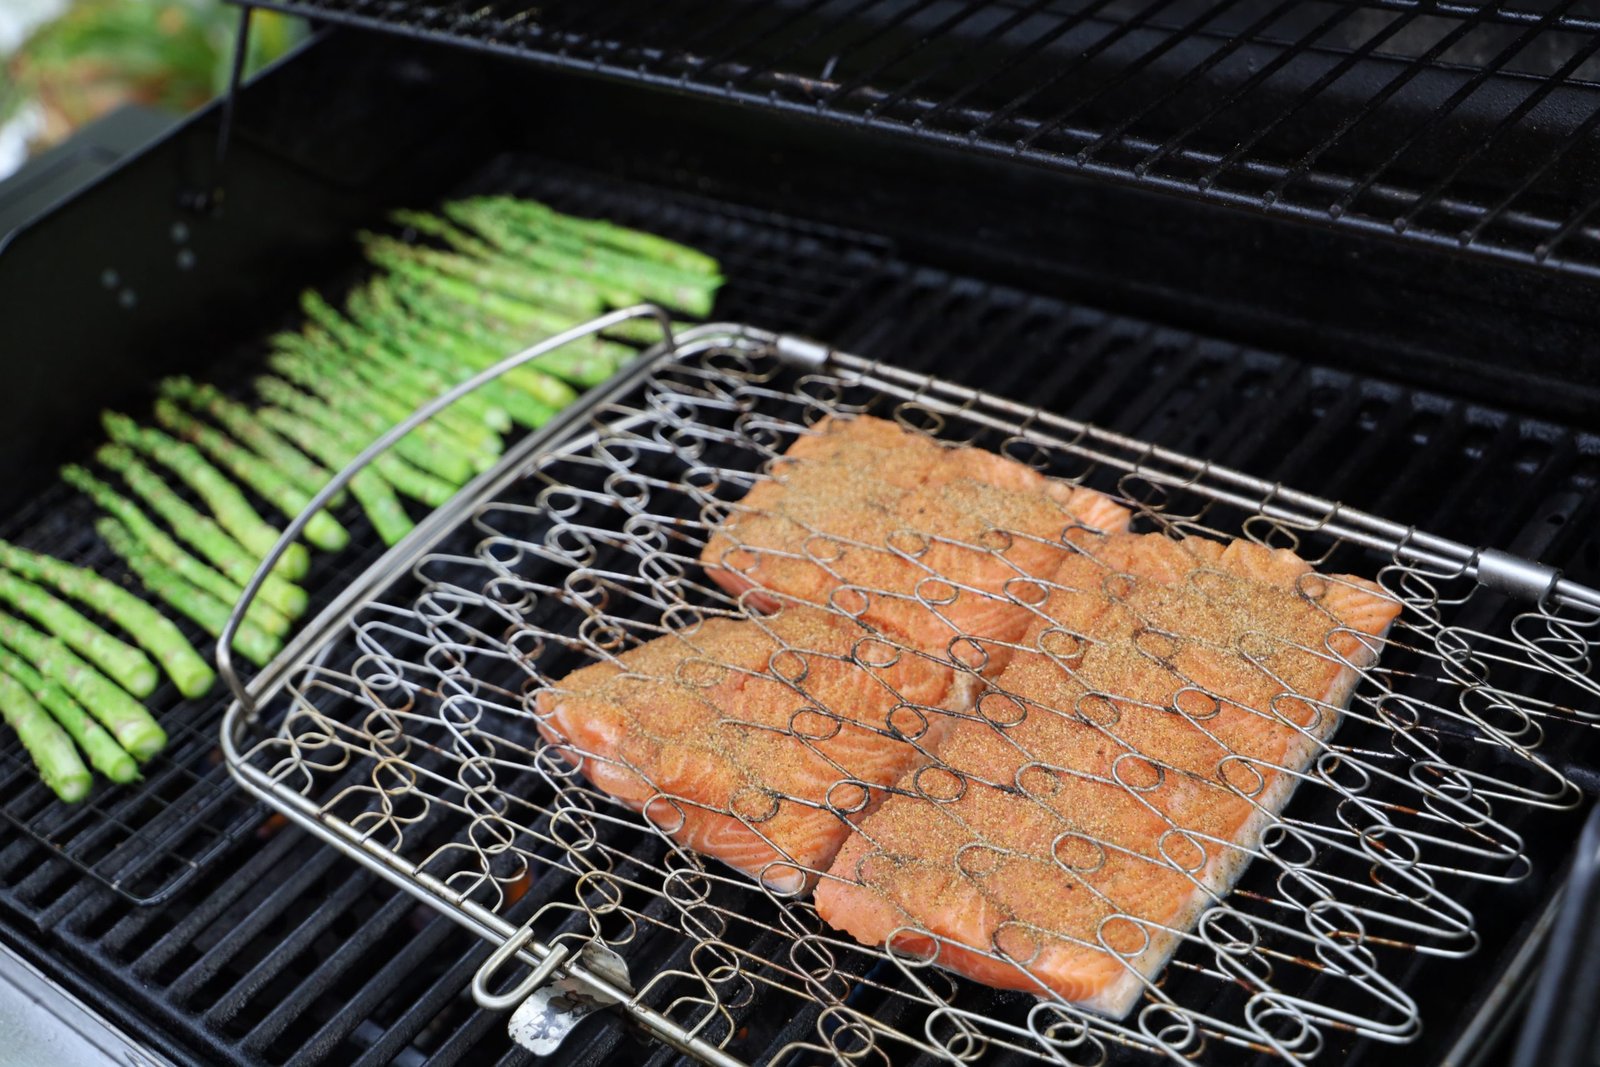
I seasoned both sides of the salmon fillets with some Old Bay Seasoning. I am grilling the skin side down first, so it will become a little crispy. As you can see, I also grilled some lemon pepper seasoned Asparagus! Using some thick gloves or tongs, hold the basket ends together and flip it over to cook the other side. You hold the basket on the sides, so the clip holding it together won’t come loose.

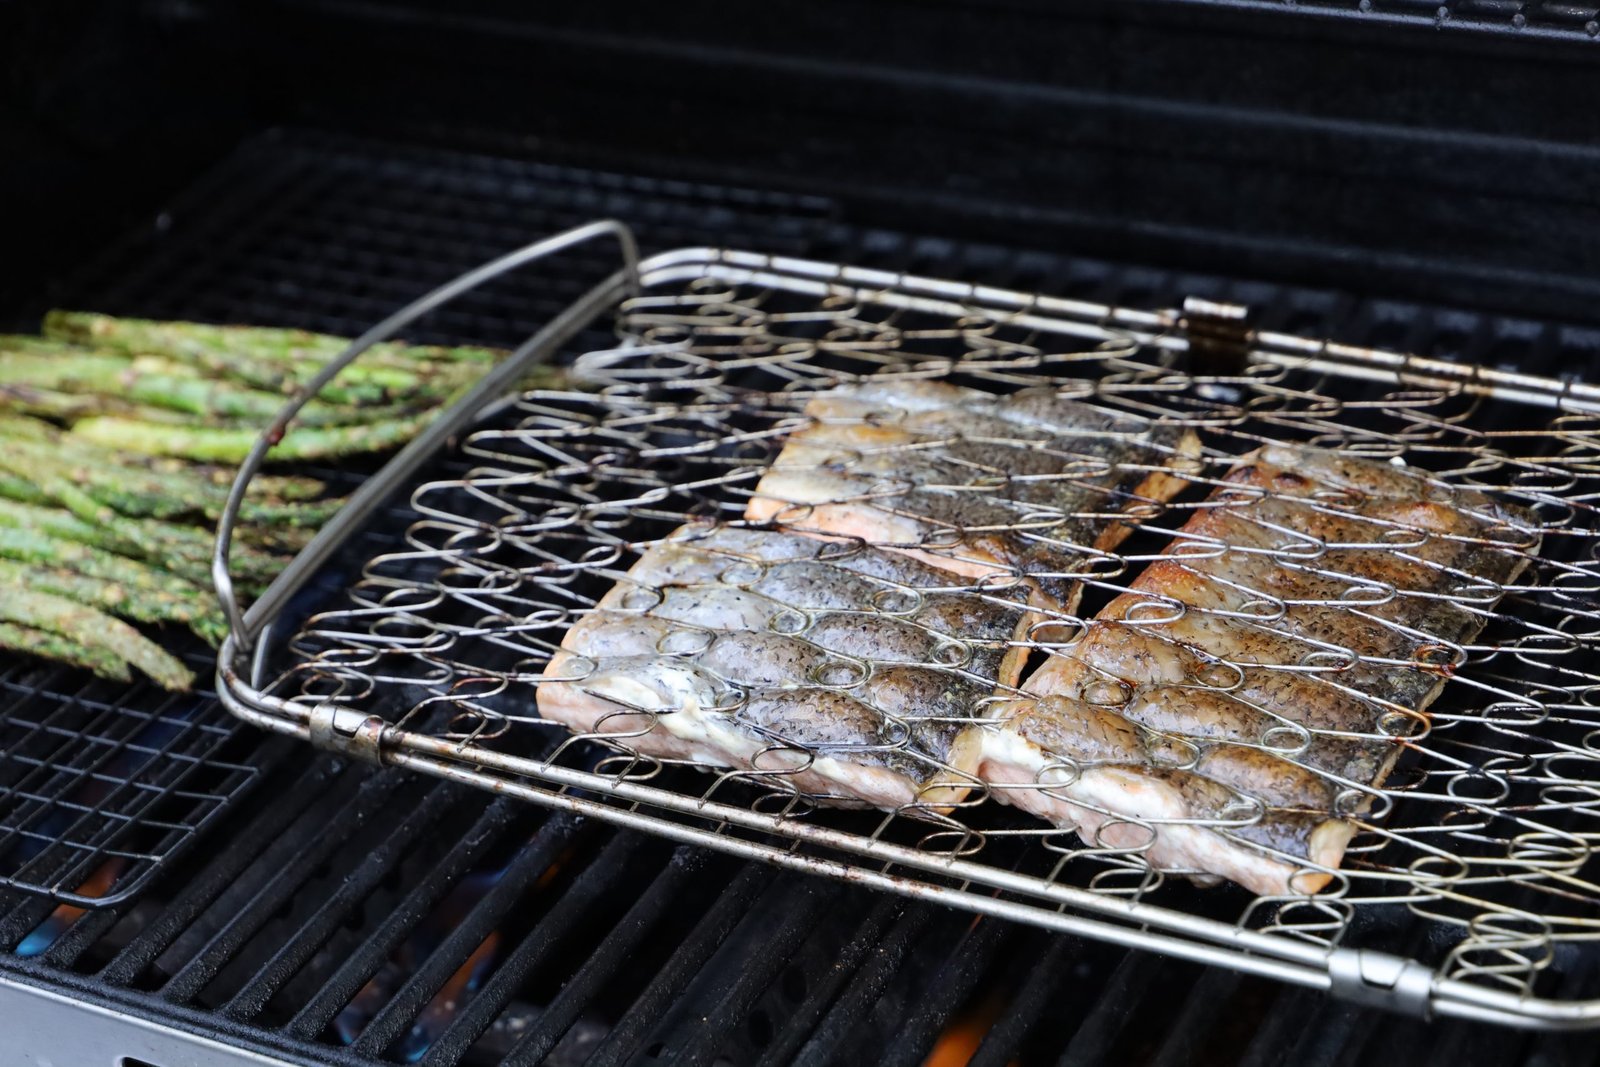
Grill some lemon halves to put onto the salmon fillets. If you look on the side of the salmon, you can see it change color as it cooks. Fish cooks on the grill at about 10 min. per inch thickness or which you would grill your fish 5 min. per each side. Correct/adjust the time with the thickness of your fillet.
————————————————————–

Grilled lemons are Especially Juicy
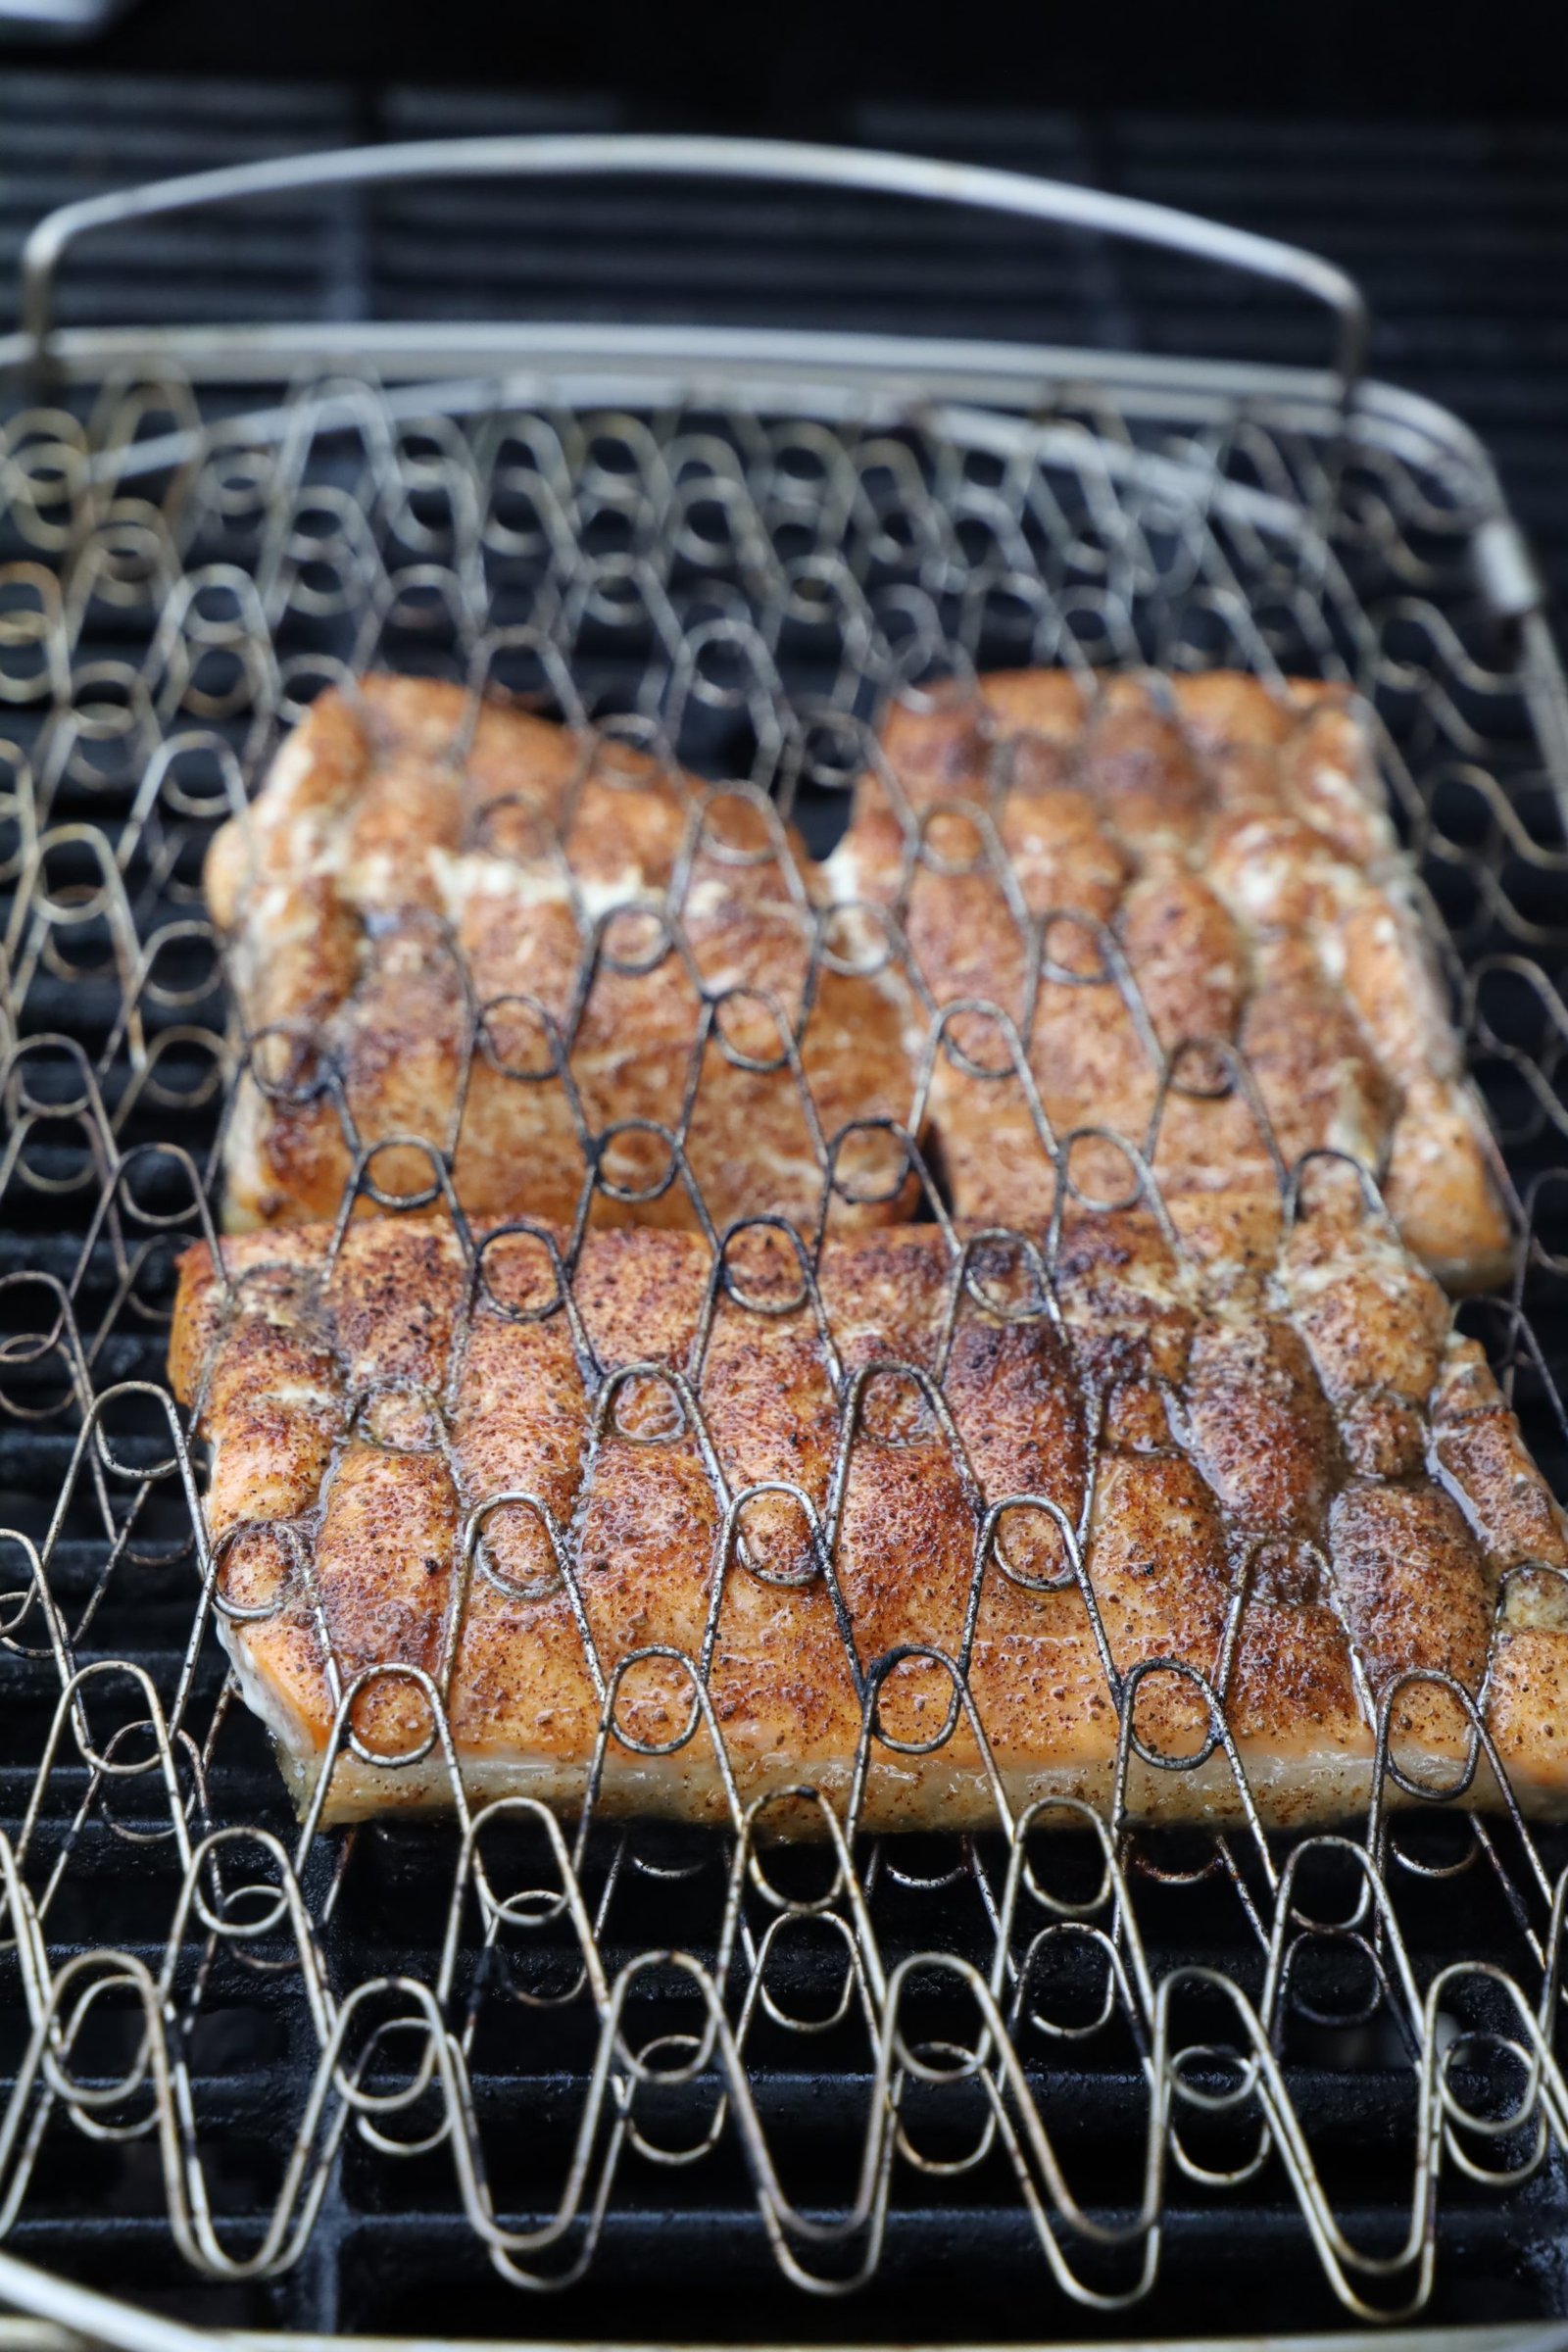
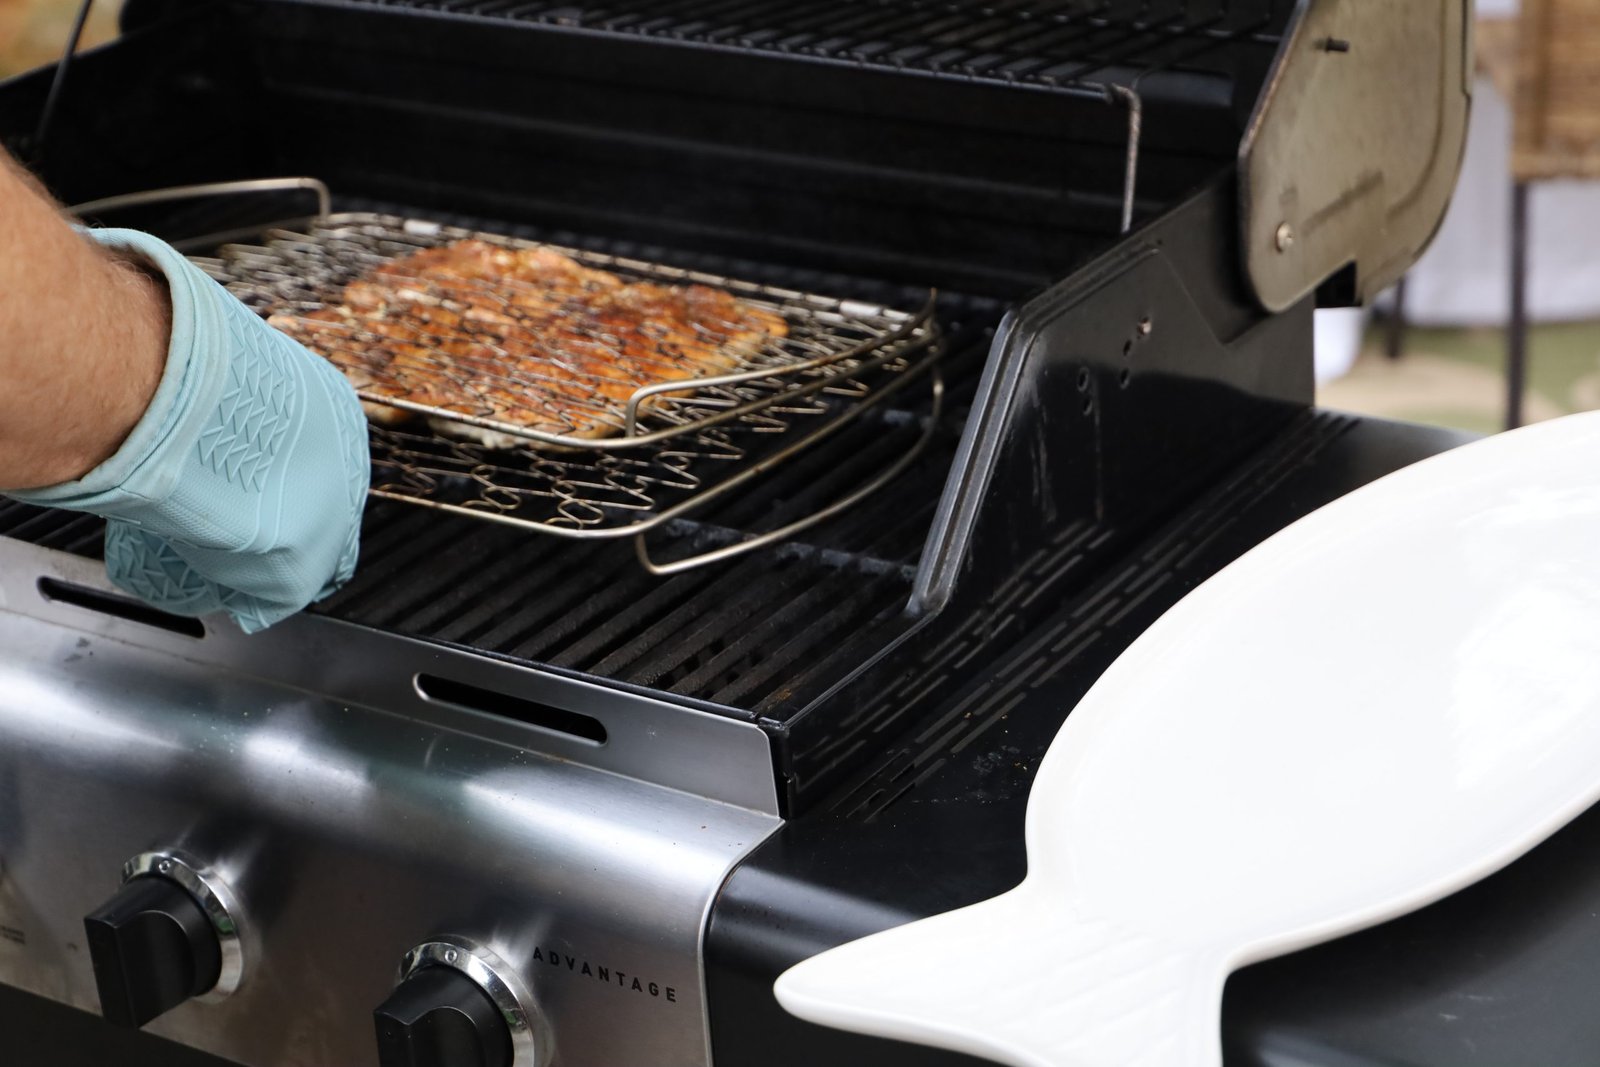
———————————————————-

Here, I unhinged the top of the basket to reveal the grilled fillets.
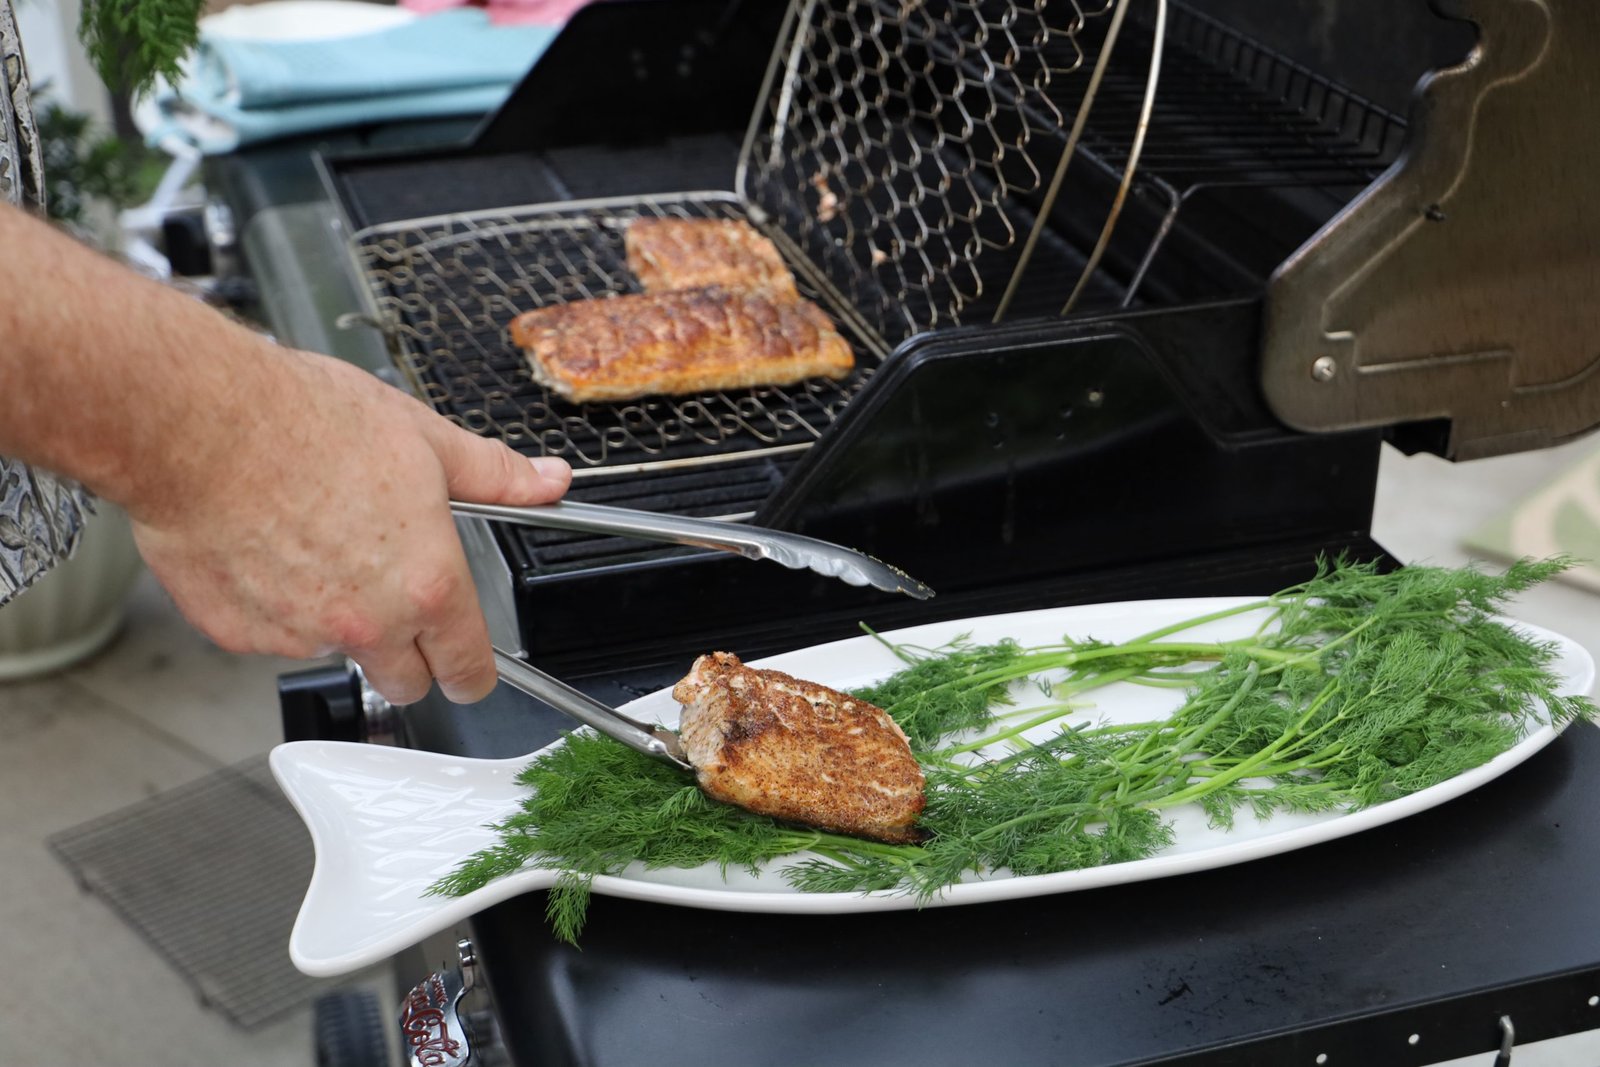
Grilling the skin side first, makes the fish easy to remove from the basket grating as it is crispy.
Dill Butter
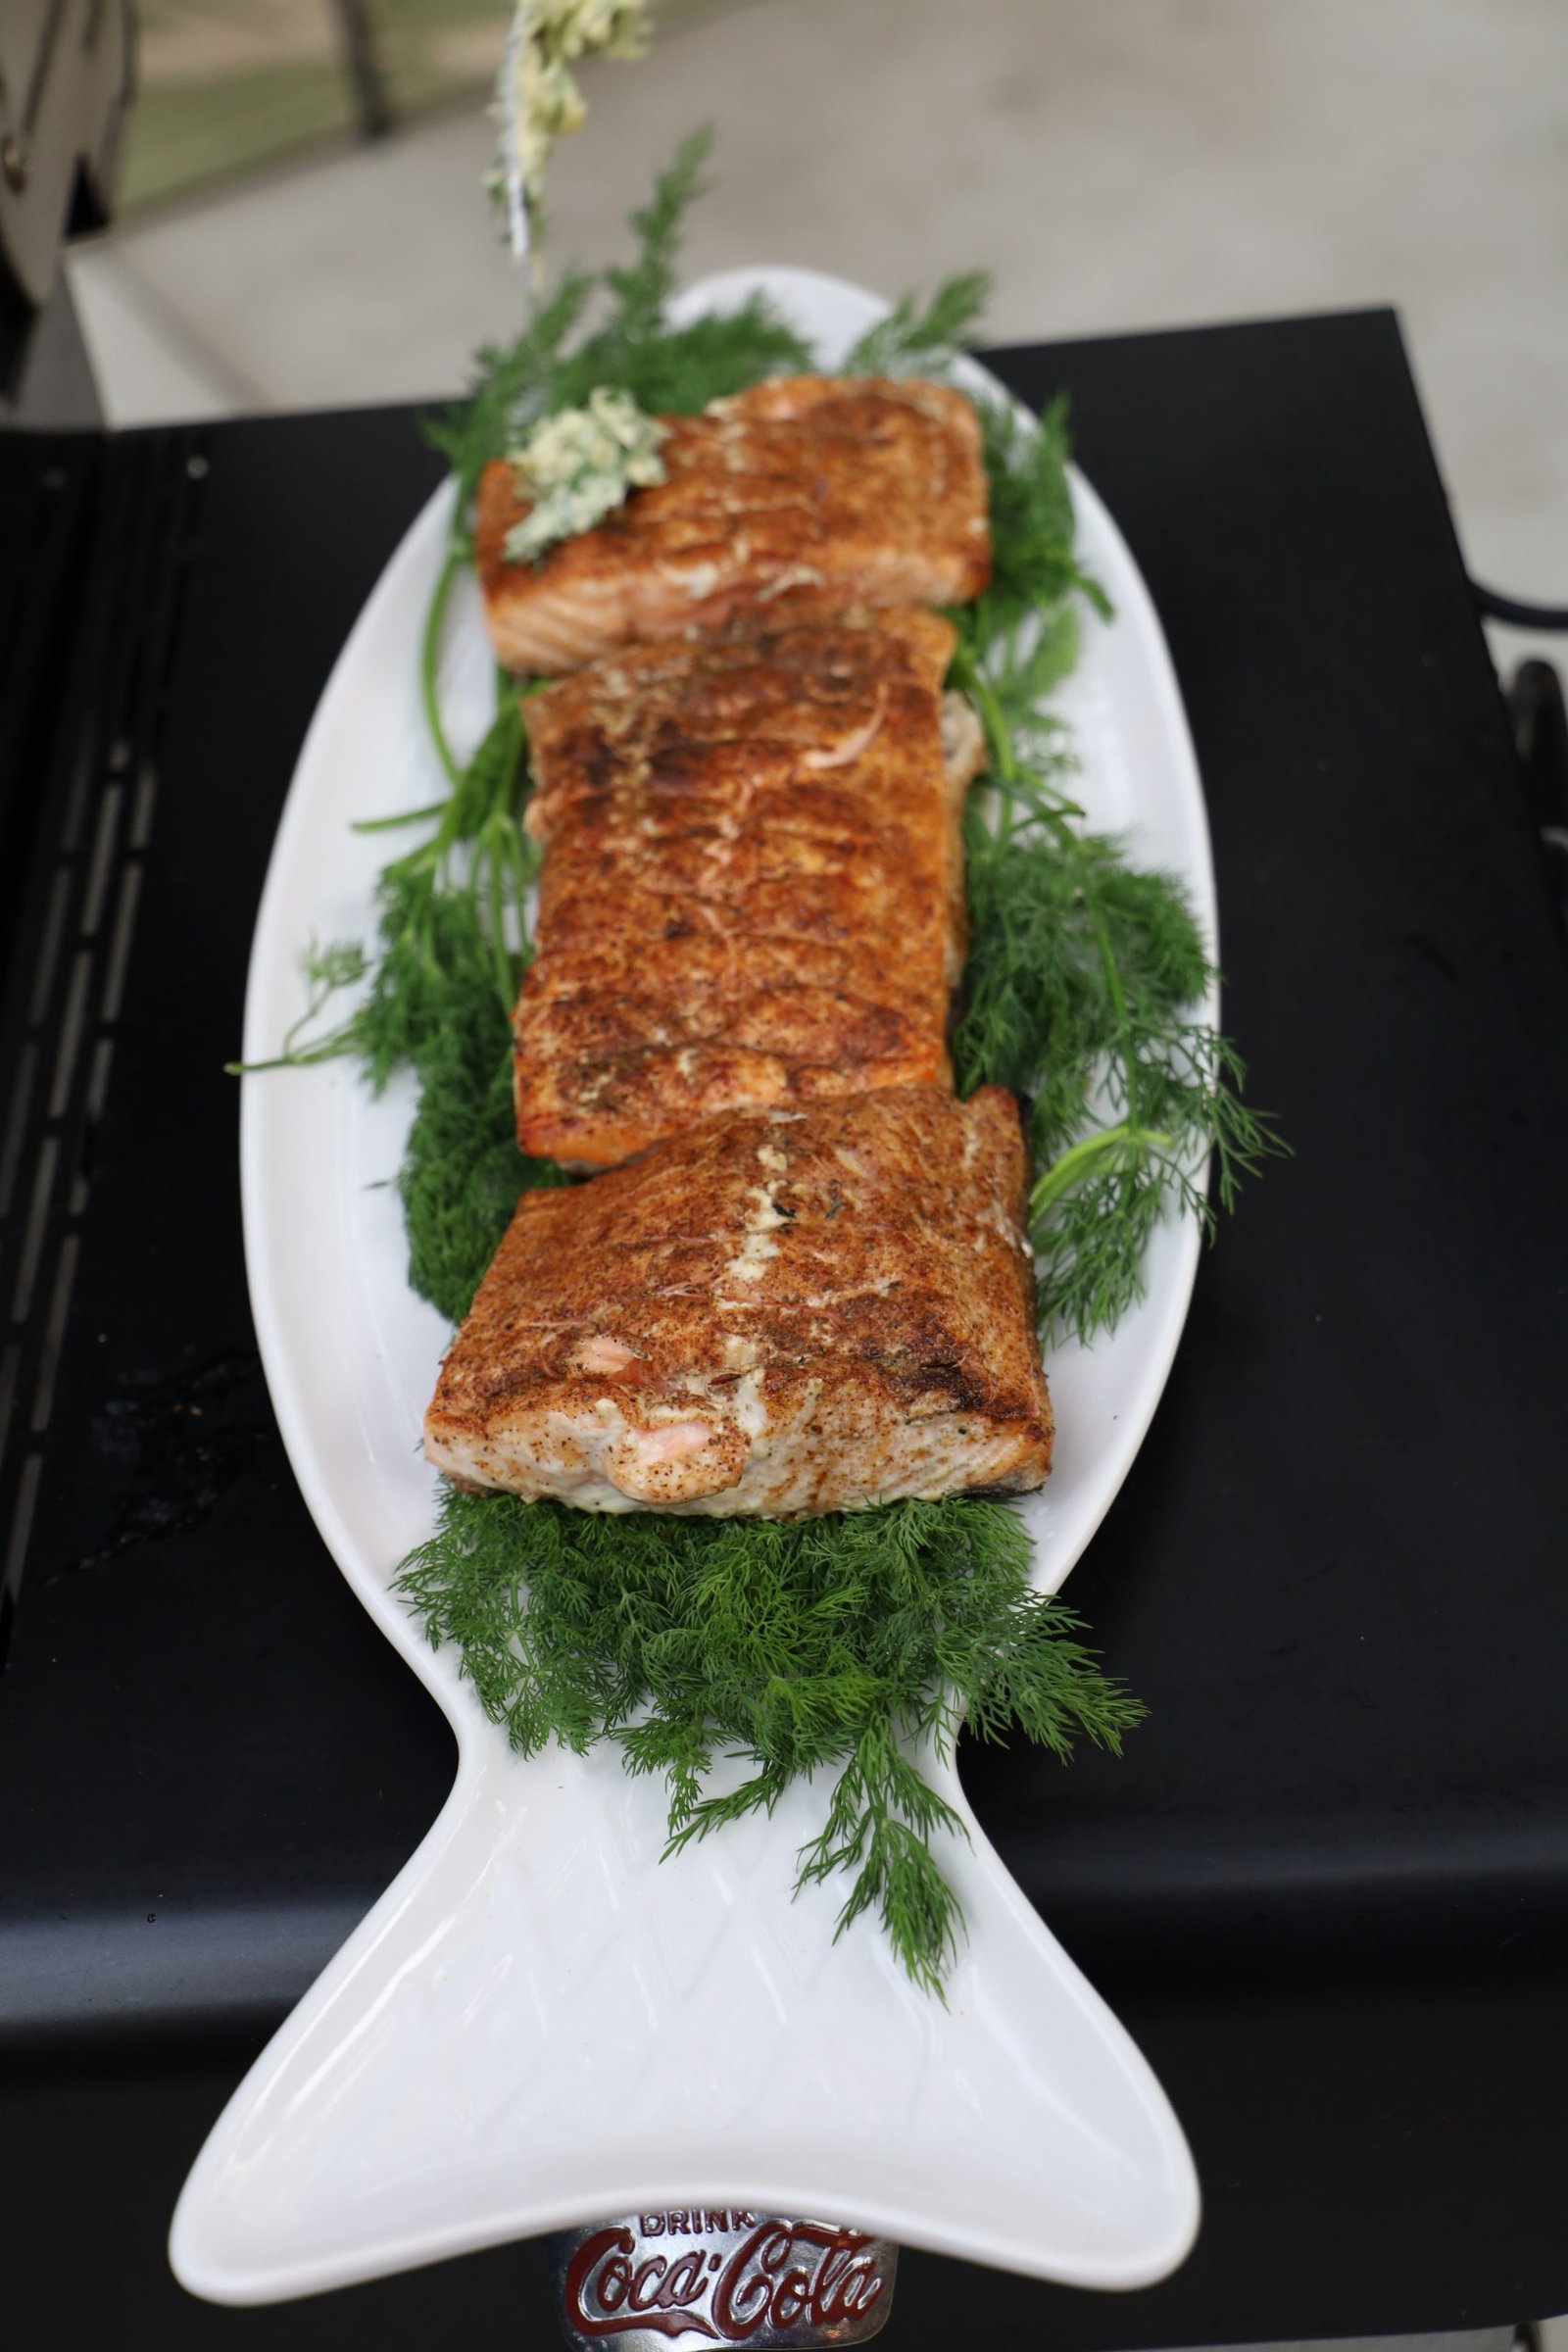
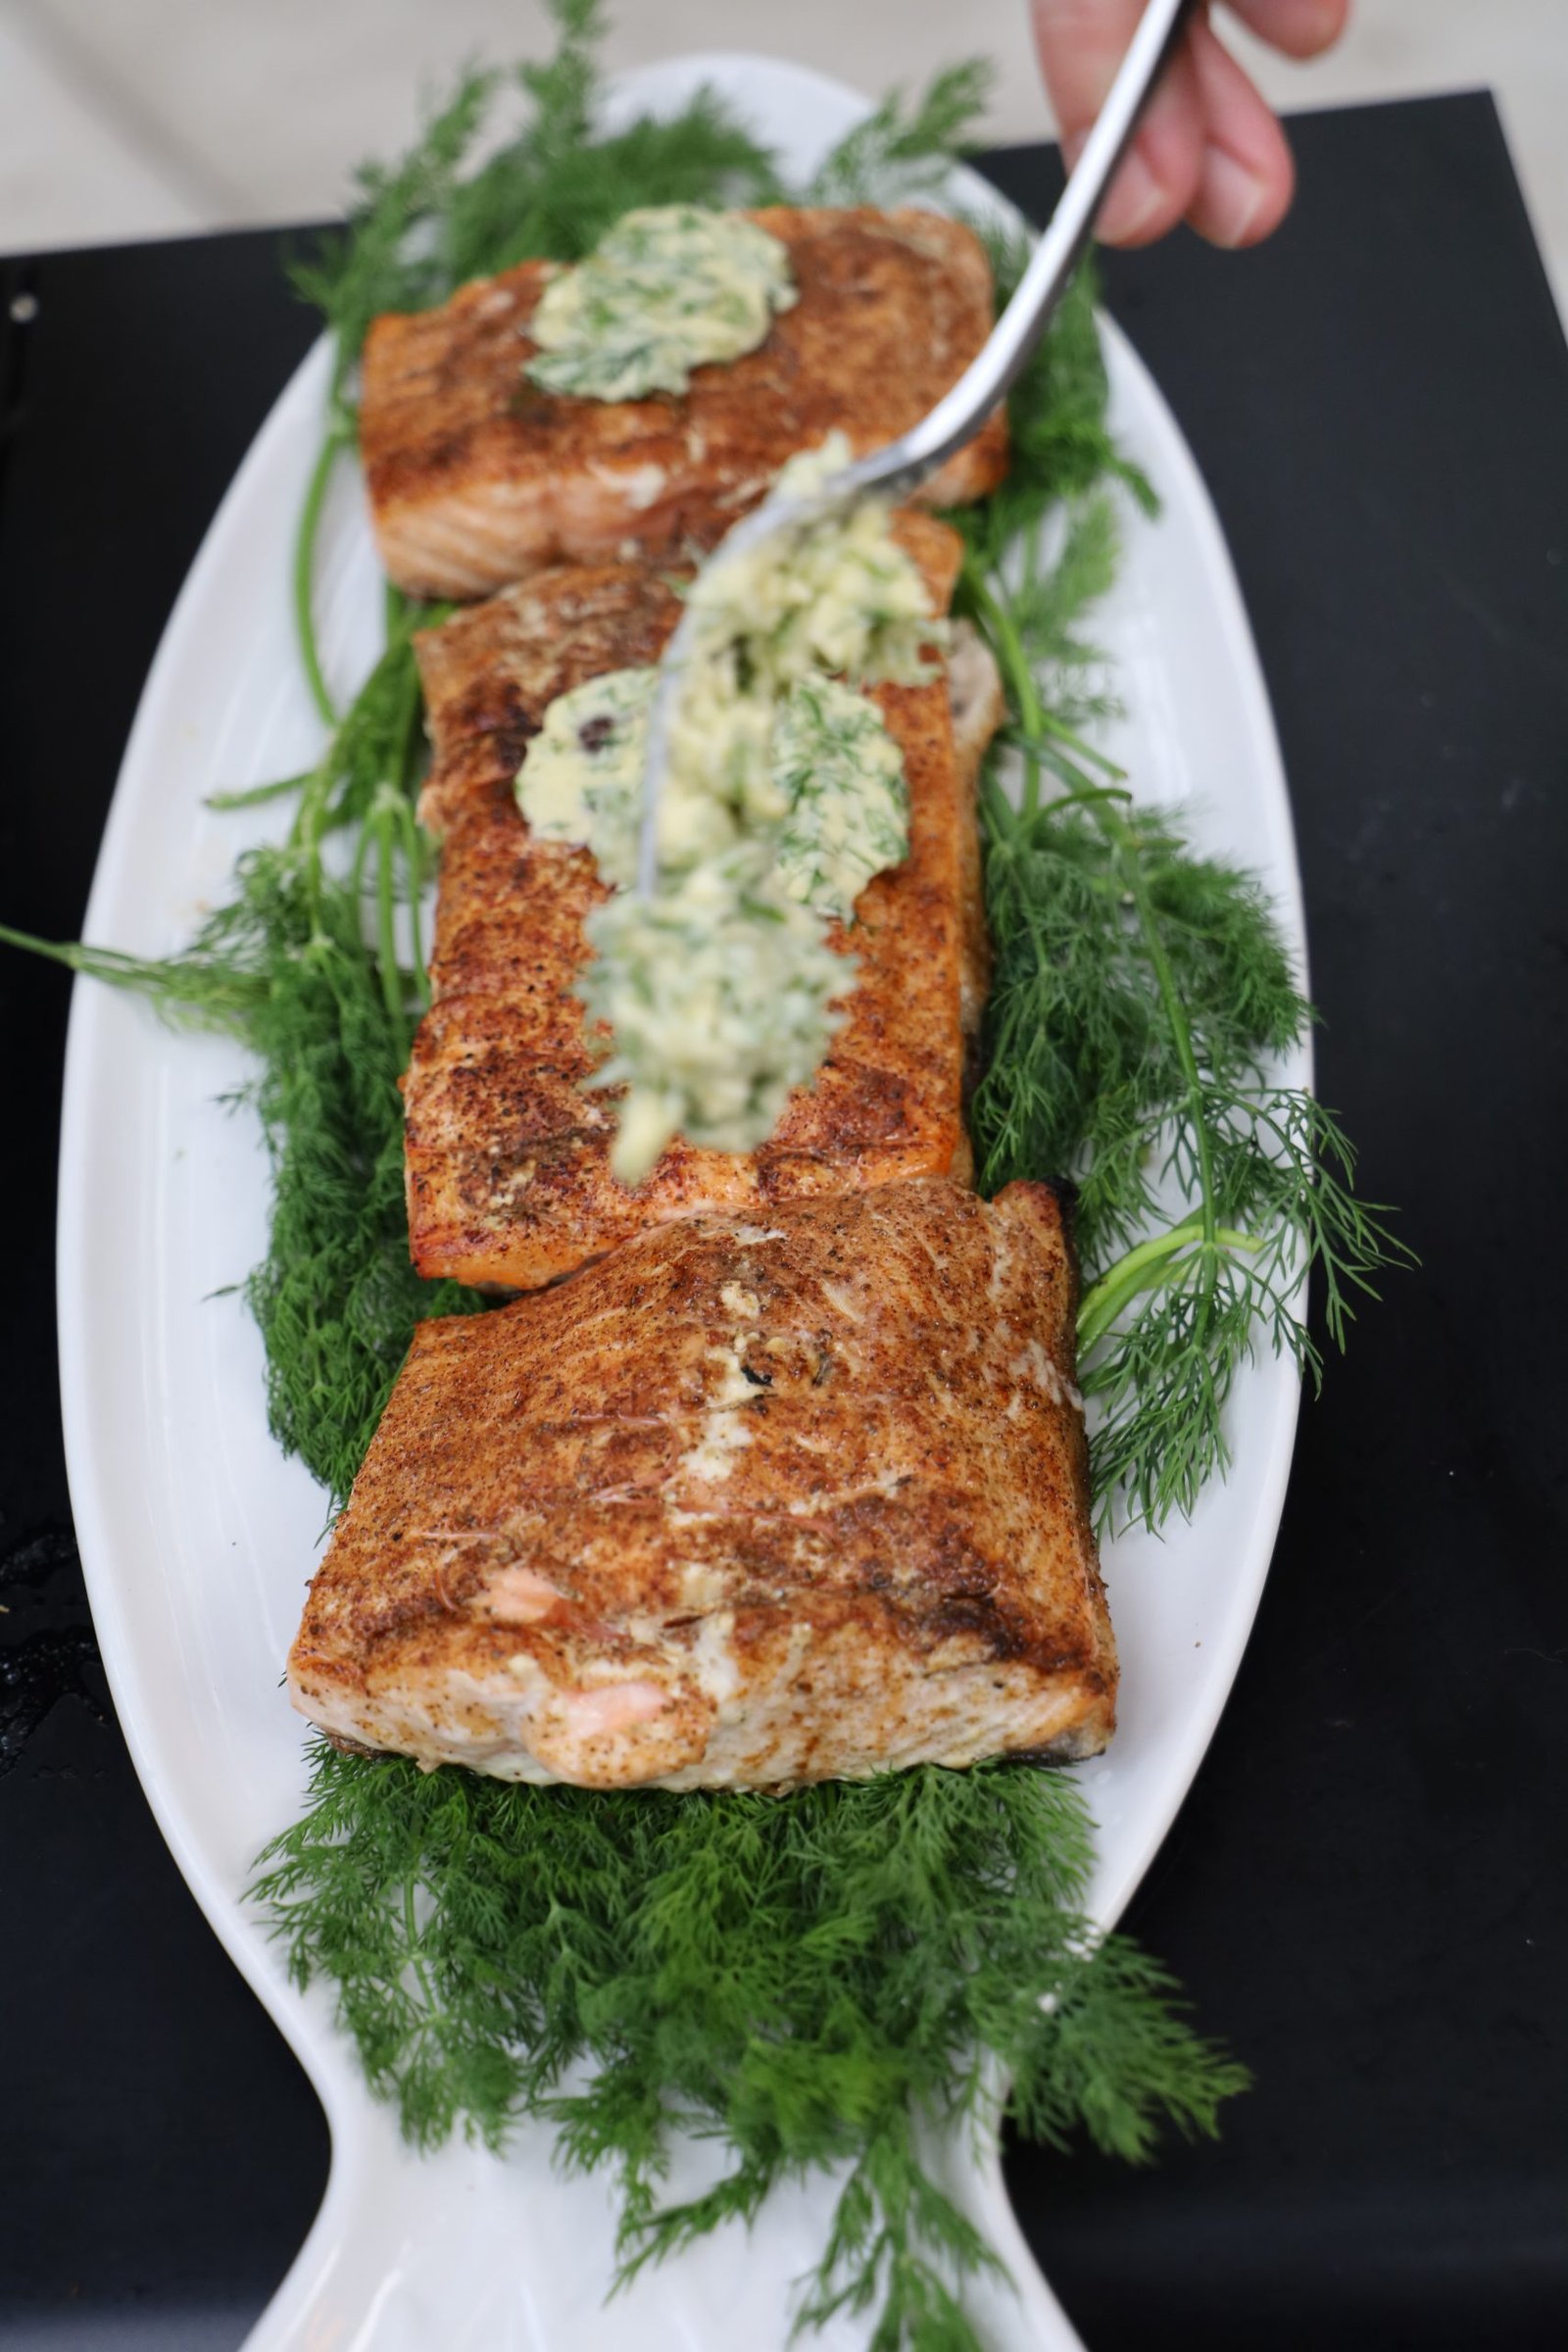
We placed the salmon fillets on a bed of dill sprigs then immediately topped them with some dill butter!
Beautiful Presentation
We Think So 🙂
————————————————————–

The Twice Baked Potatoes


These, and the Steaks, were gifts from Mackenzie’s parents to all of us as a lovely thank you for taking care of Mackenzie during our lockdown. Which has been no trouble because she is wonderful!
Although I do not eat red meat, and neither does Gordon, he did make an exception as the cow’s were grass fed. I, however, love these potatoes! I didn’t eat any steak but I did gobble up a potato!
————————————————————
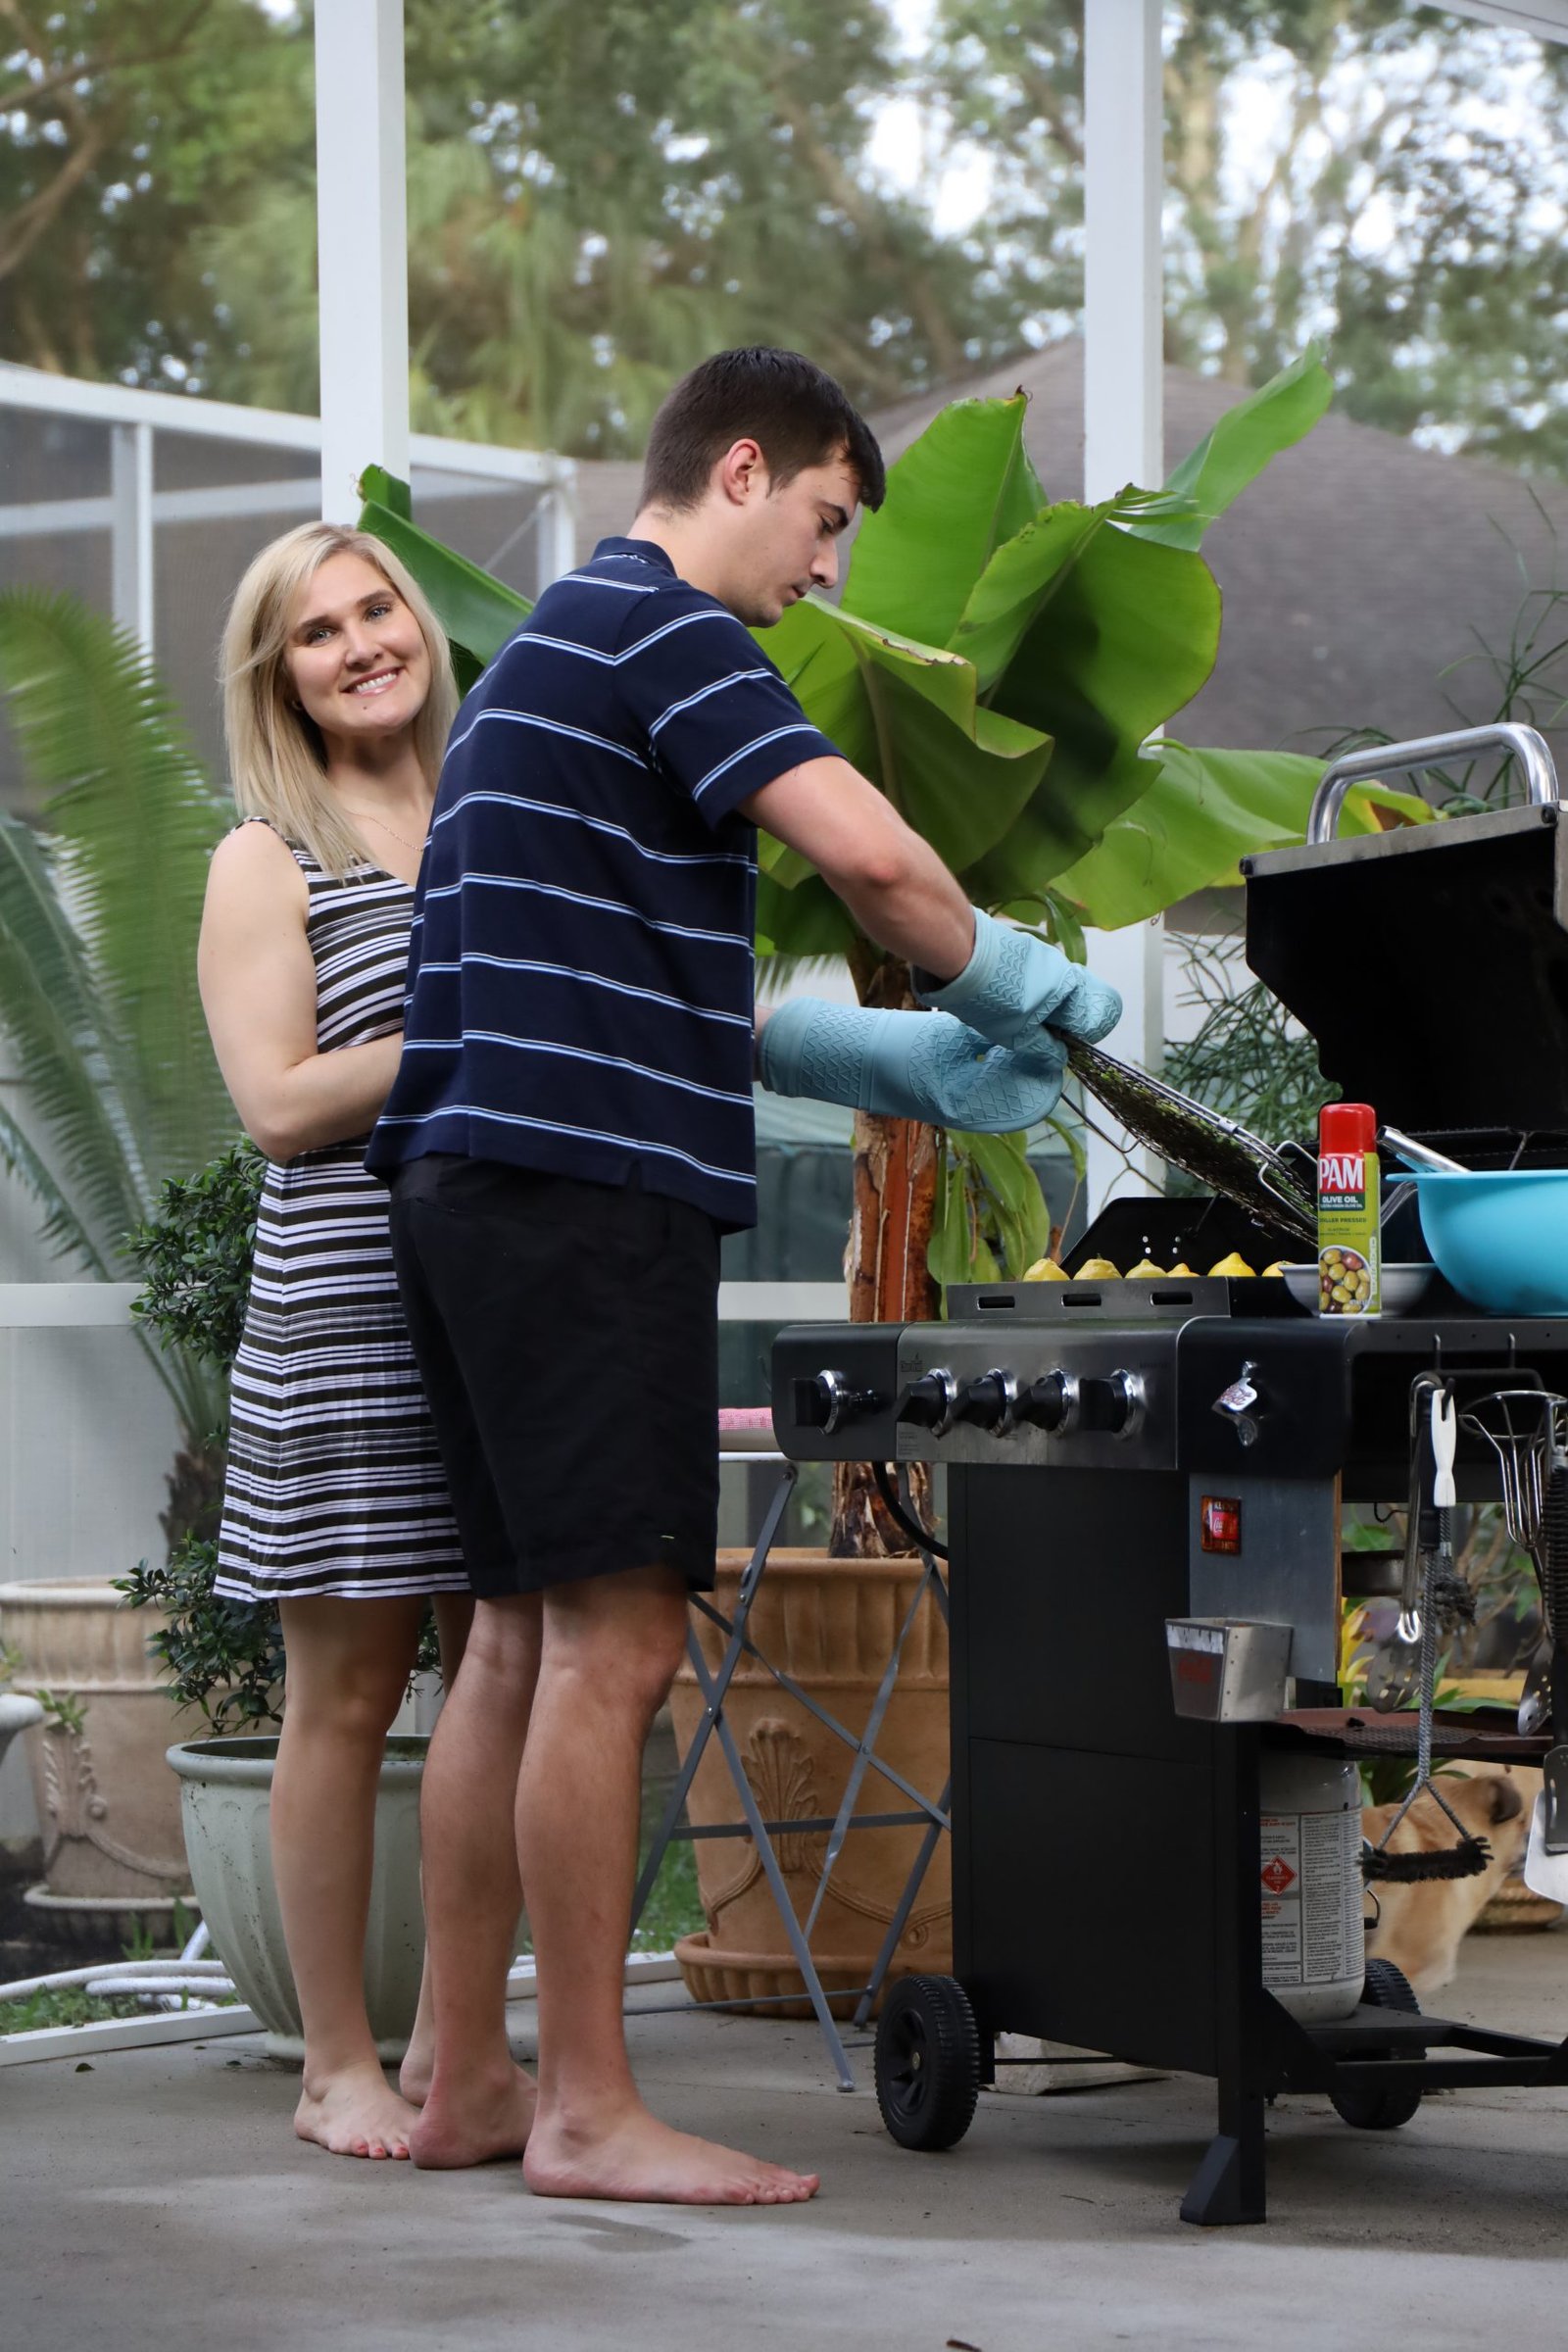
Brodie and Mackenzie Manning the Grill
—————————————————————
For our table setting, Gordon and I set up one of our portable tables, and I just got out a few table clothes and several of our platters to hold this lovely spring, birthday feast. And we did feast! Celebrating a birthday in lockdown is just as important as celebrating a birthday any other time. If you can, that is.
———————————————————–
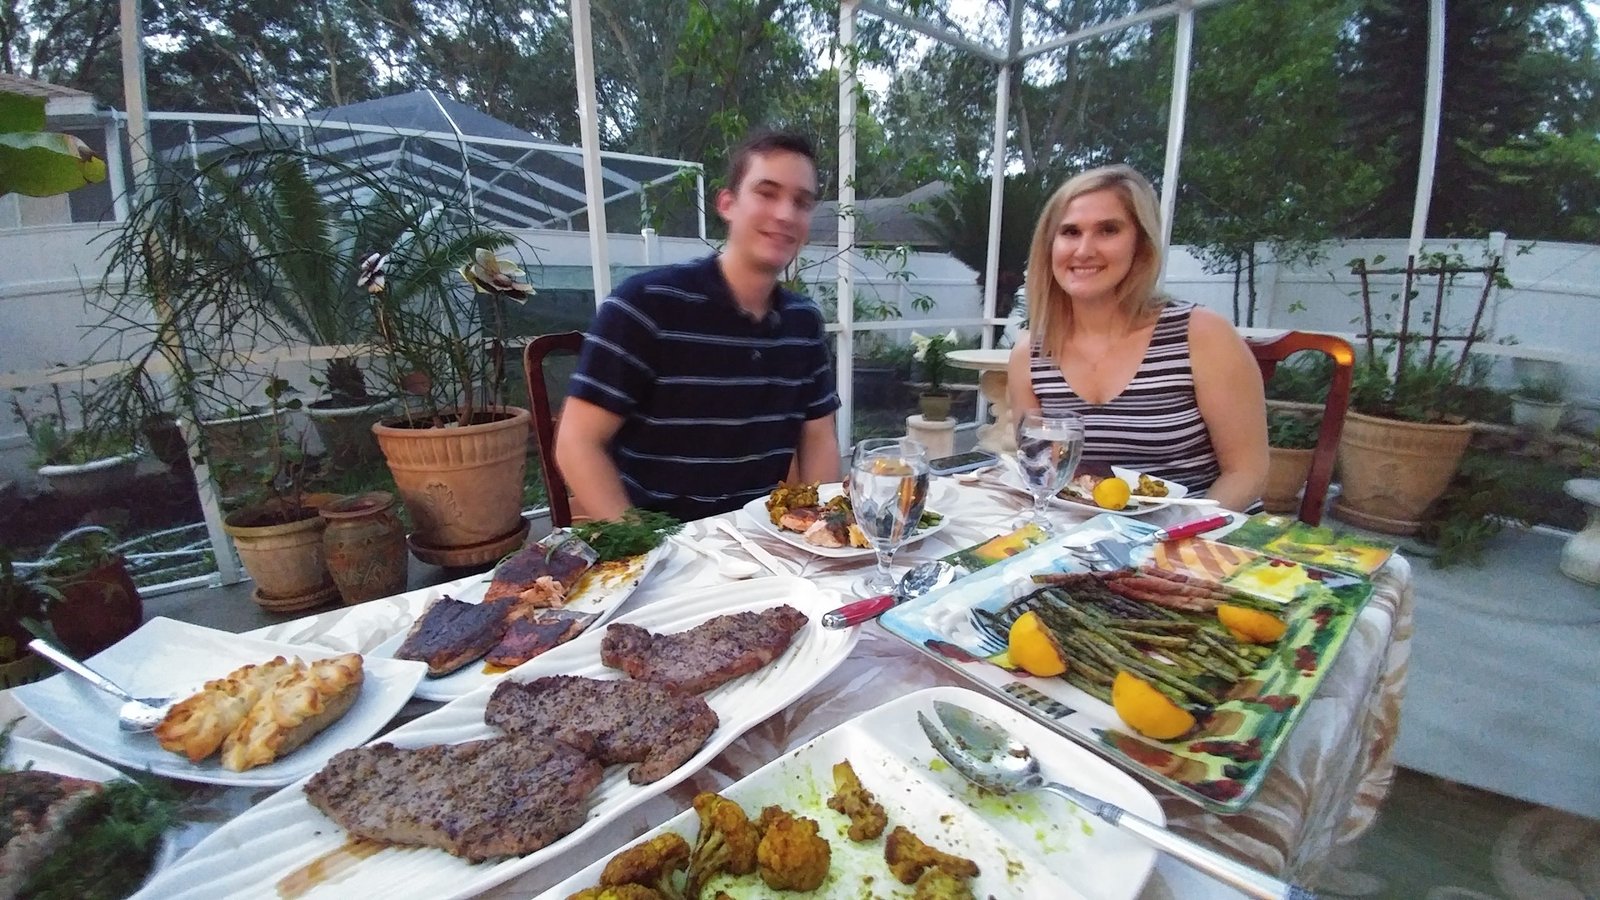
The Food Was Delicious

It was very nice that we 4 were together on this very special day.
———————————————————–
Roasted Curry Cauliflower
Ingredients:
4-5 Tbsp. Olive Oil
4-5 Tbsp. Madras Curry Powder
Roasted to Perfection
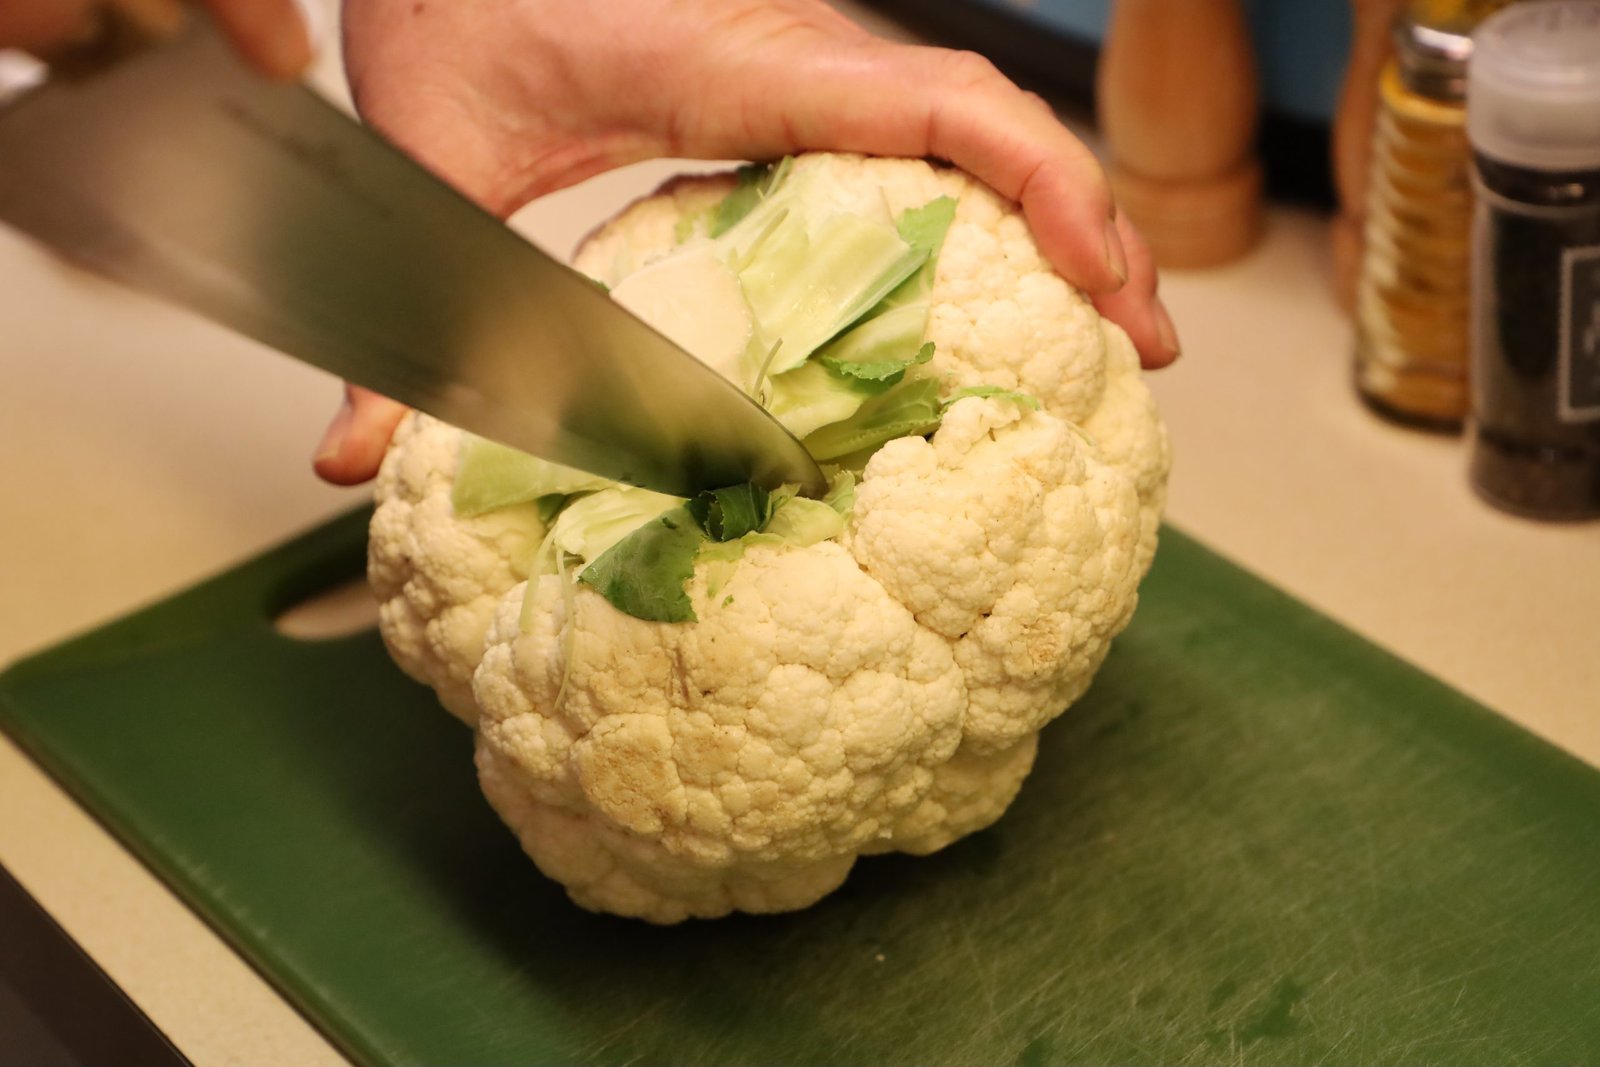

First, slice away the leaves and core of the cauliflower using short diagonal cuts.
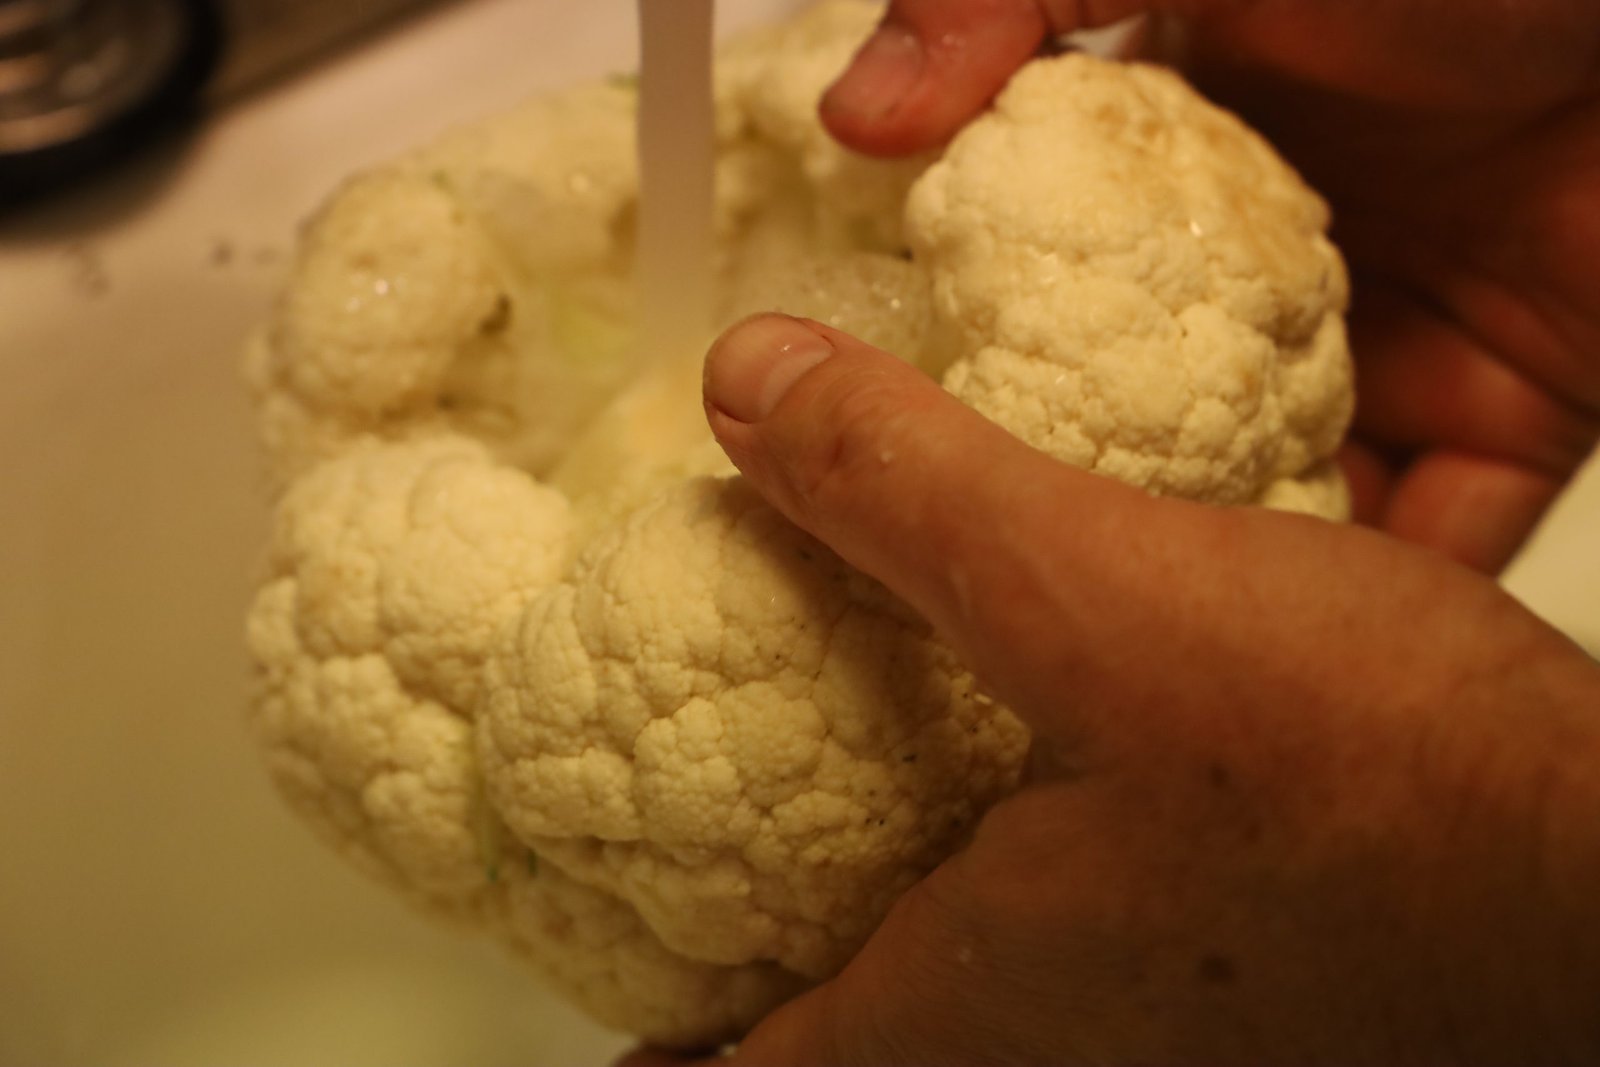

Carefully slice away some of the longer stems if wanted.
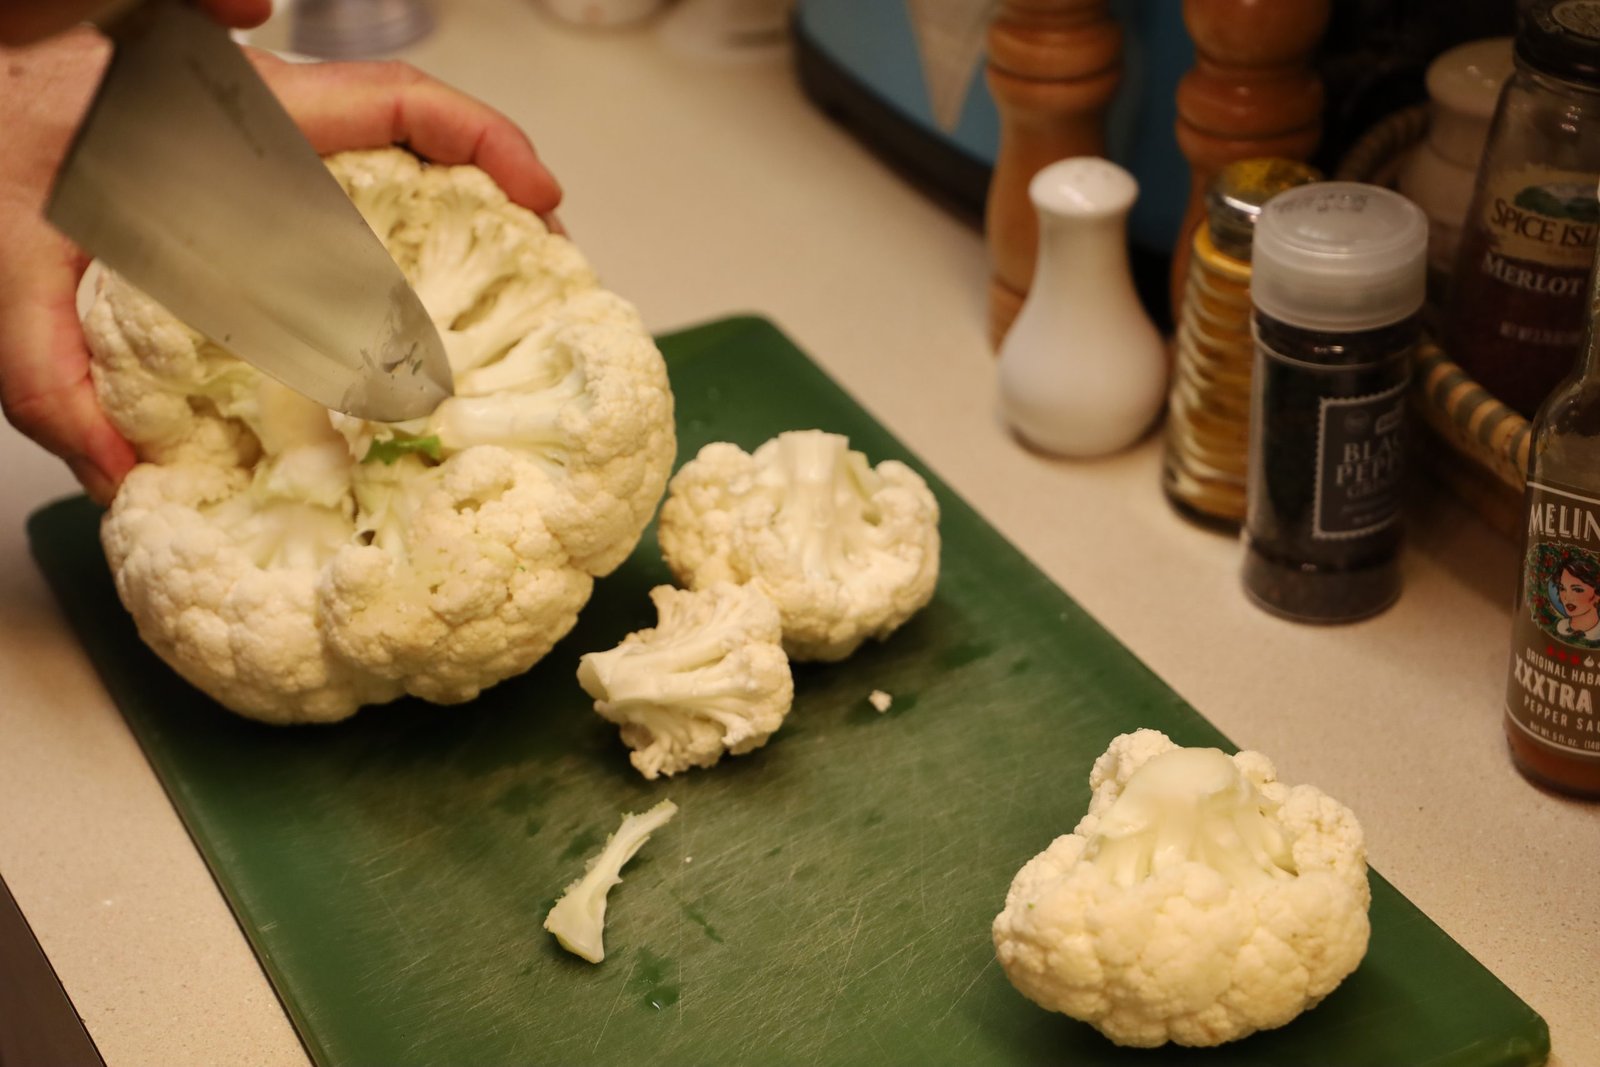
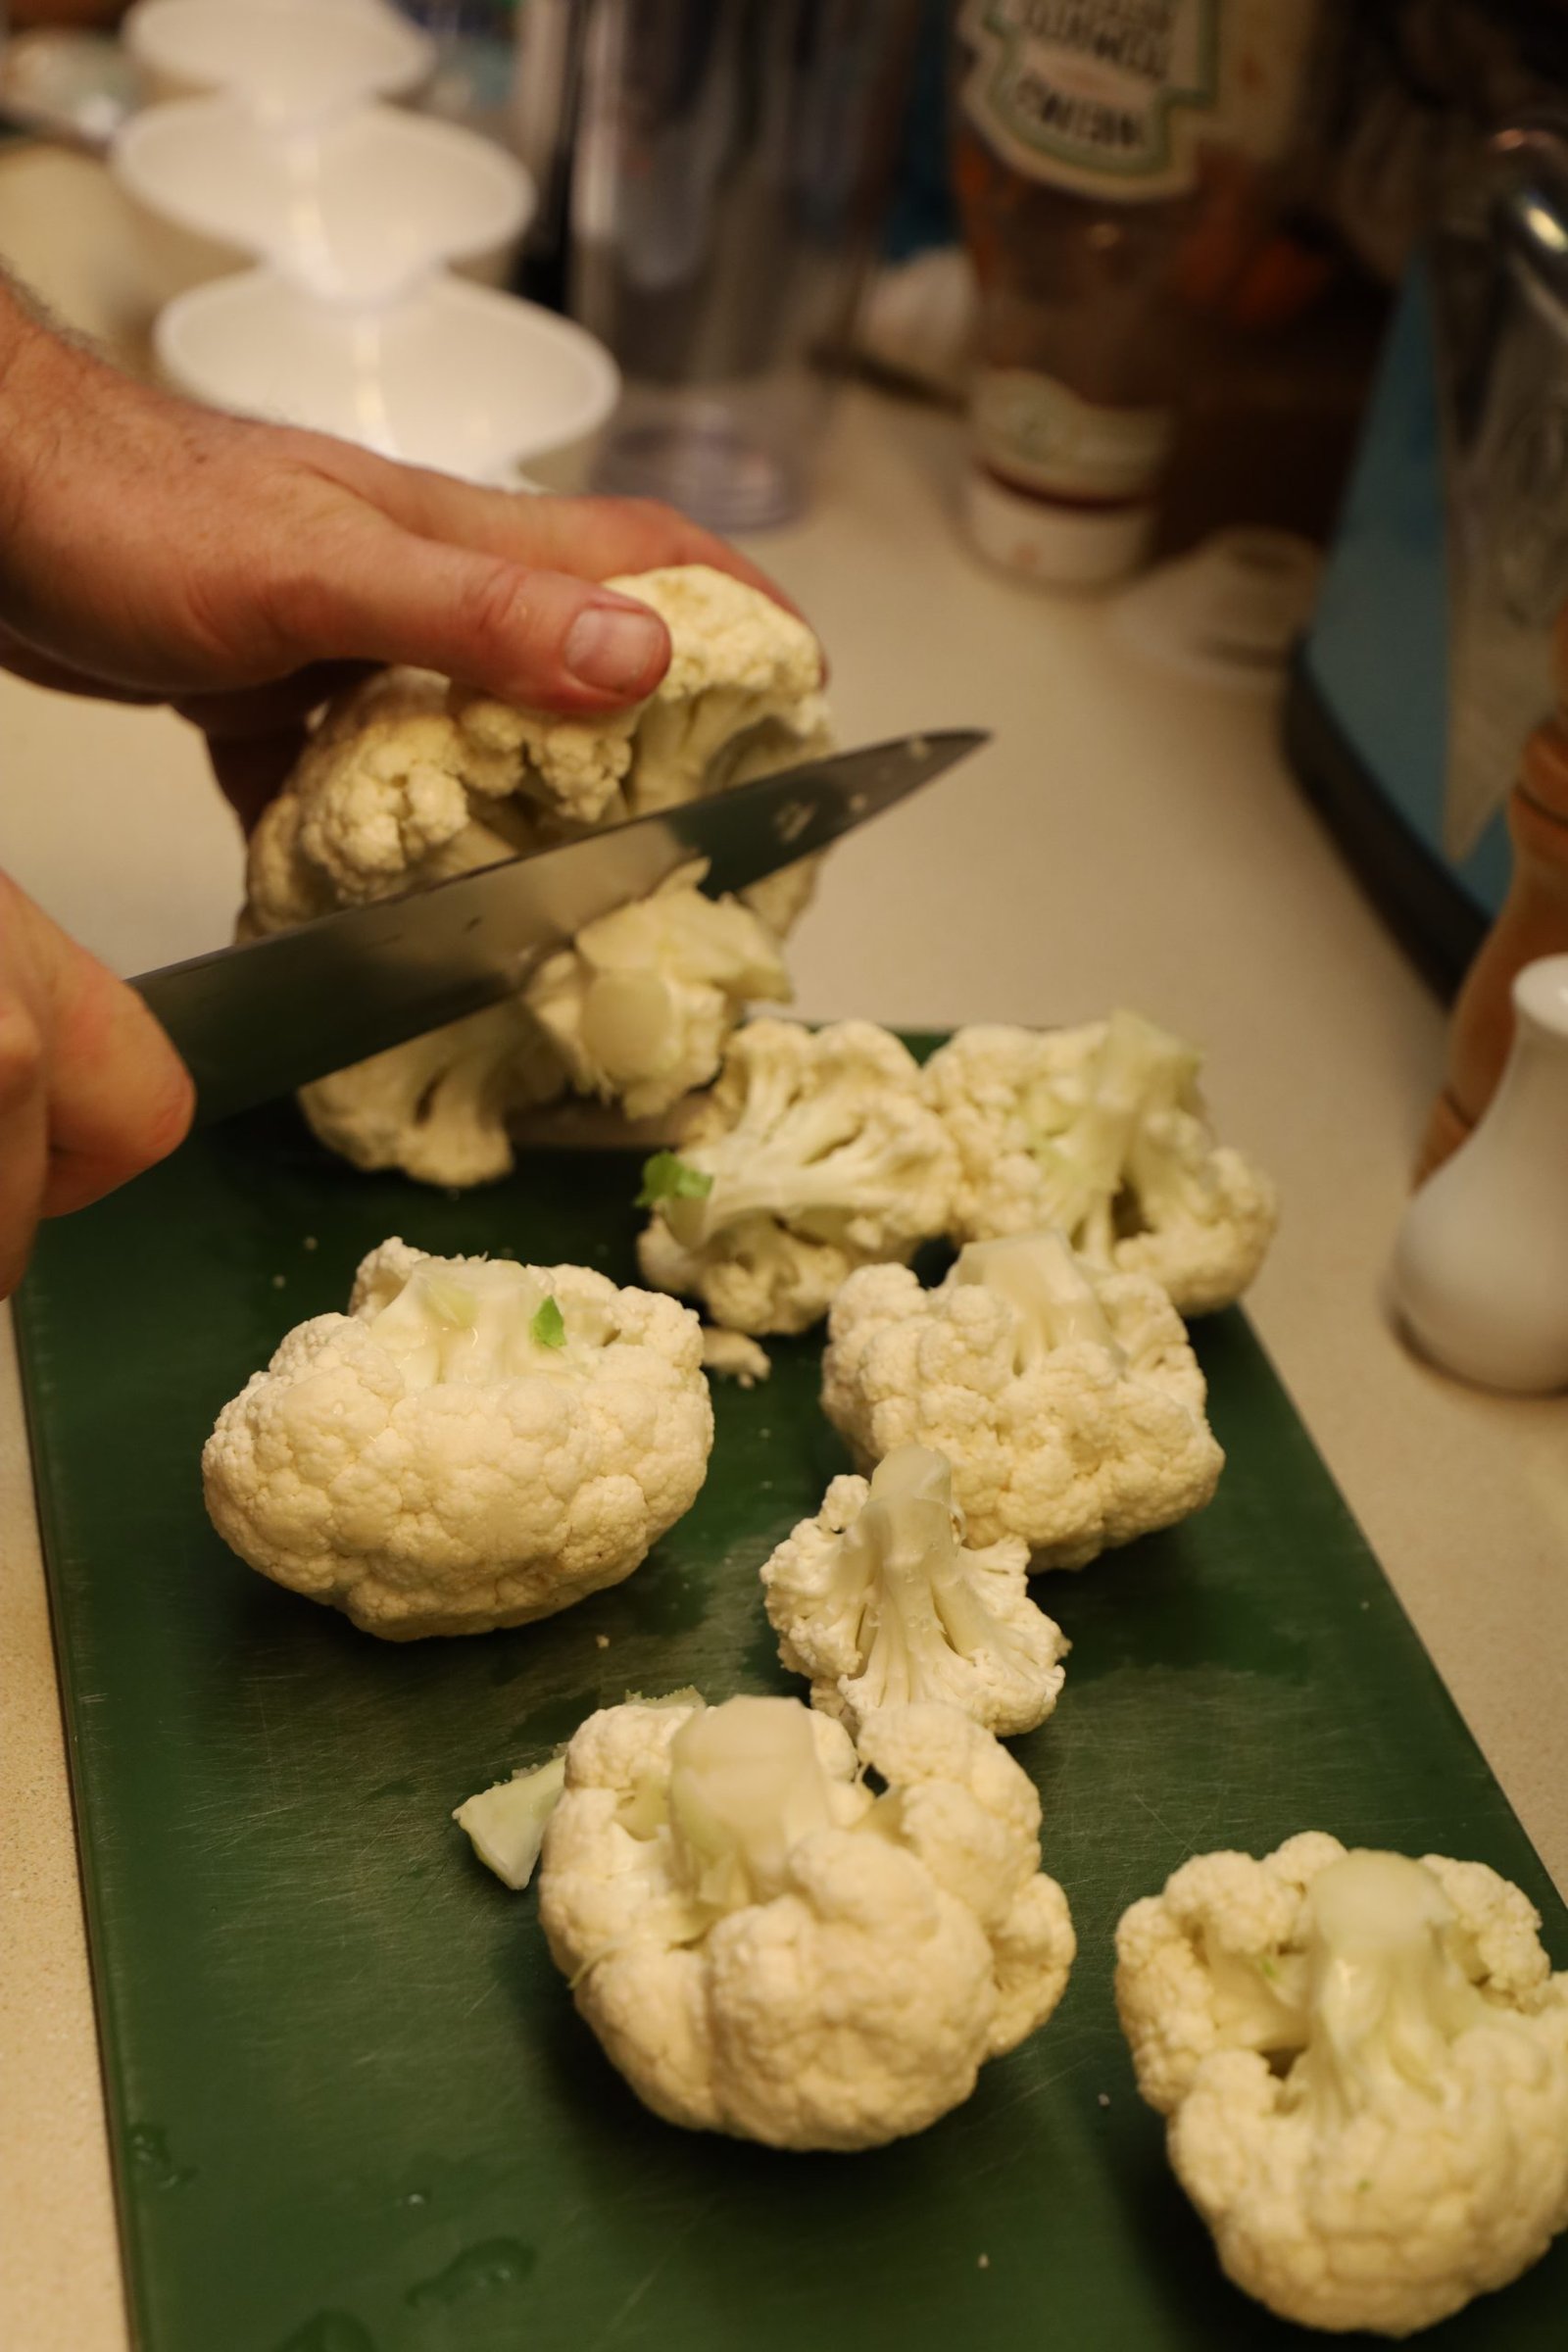
Now, slice the individual heads away from the main head. Do NOT slice the small cauliflower heads totally in half. Simply, slice the stem in half down to the flowerettes, then pull the stems apart revealing a natural halving of the head. If you slice the head in two, you will have a lot of small flowerettes pieces causing a mess and waste. Once the flowerettes are halved, place them into a large zip lock bag.
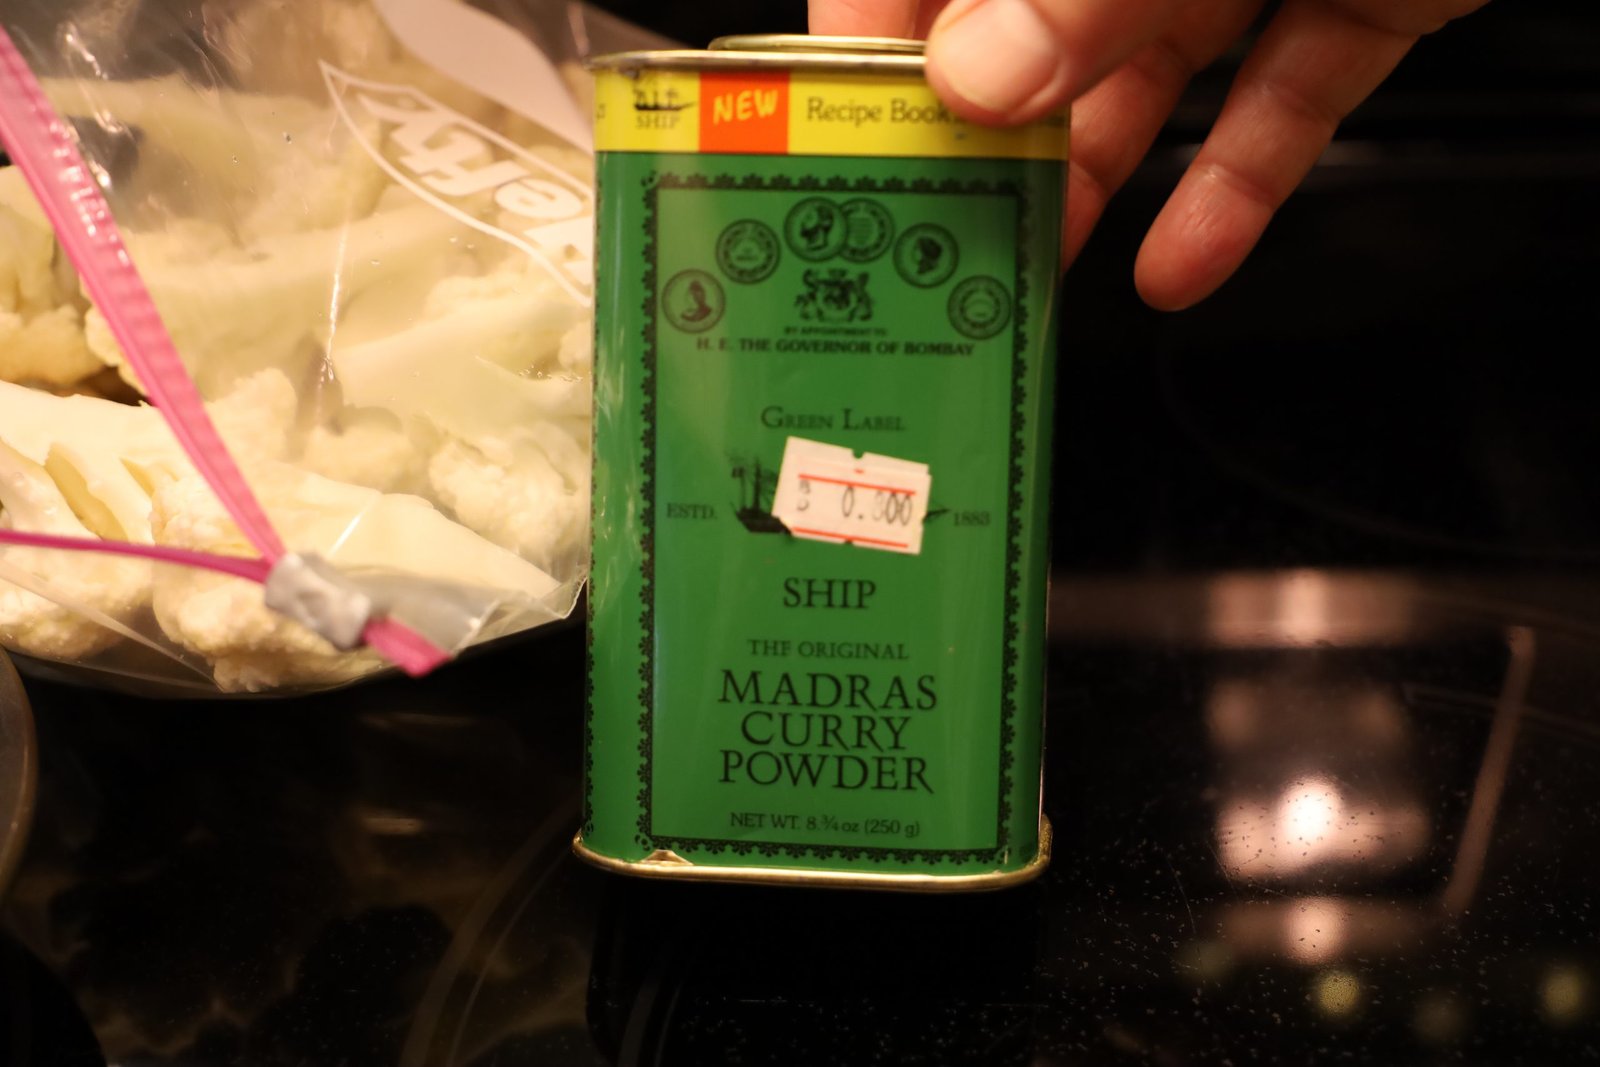
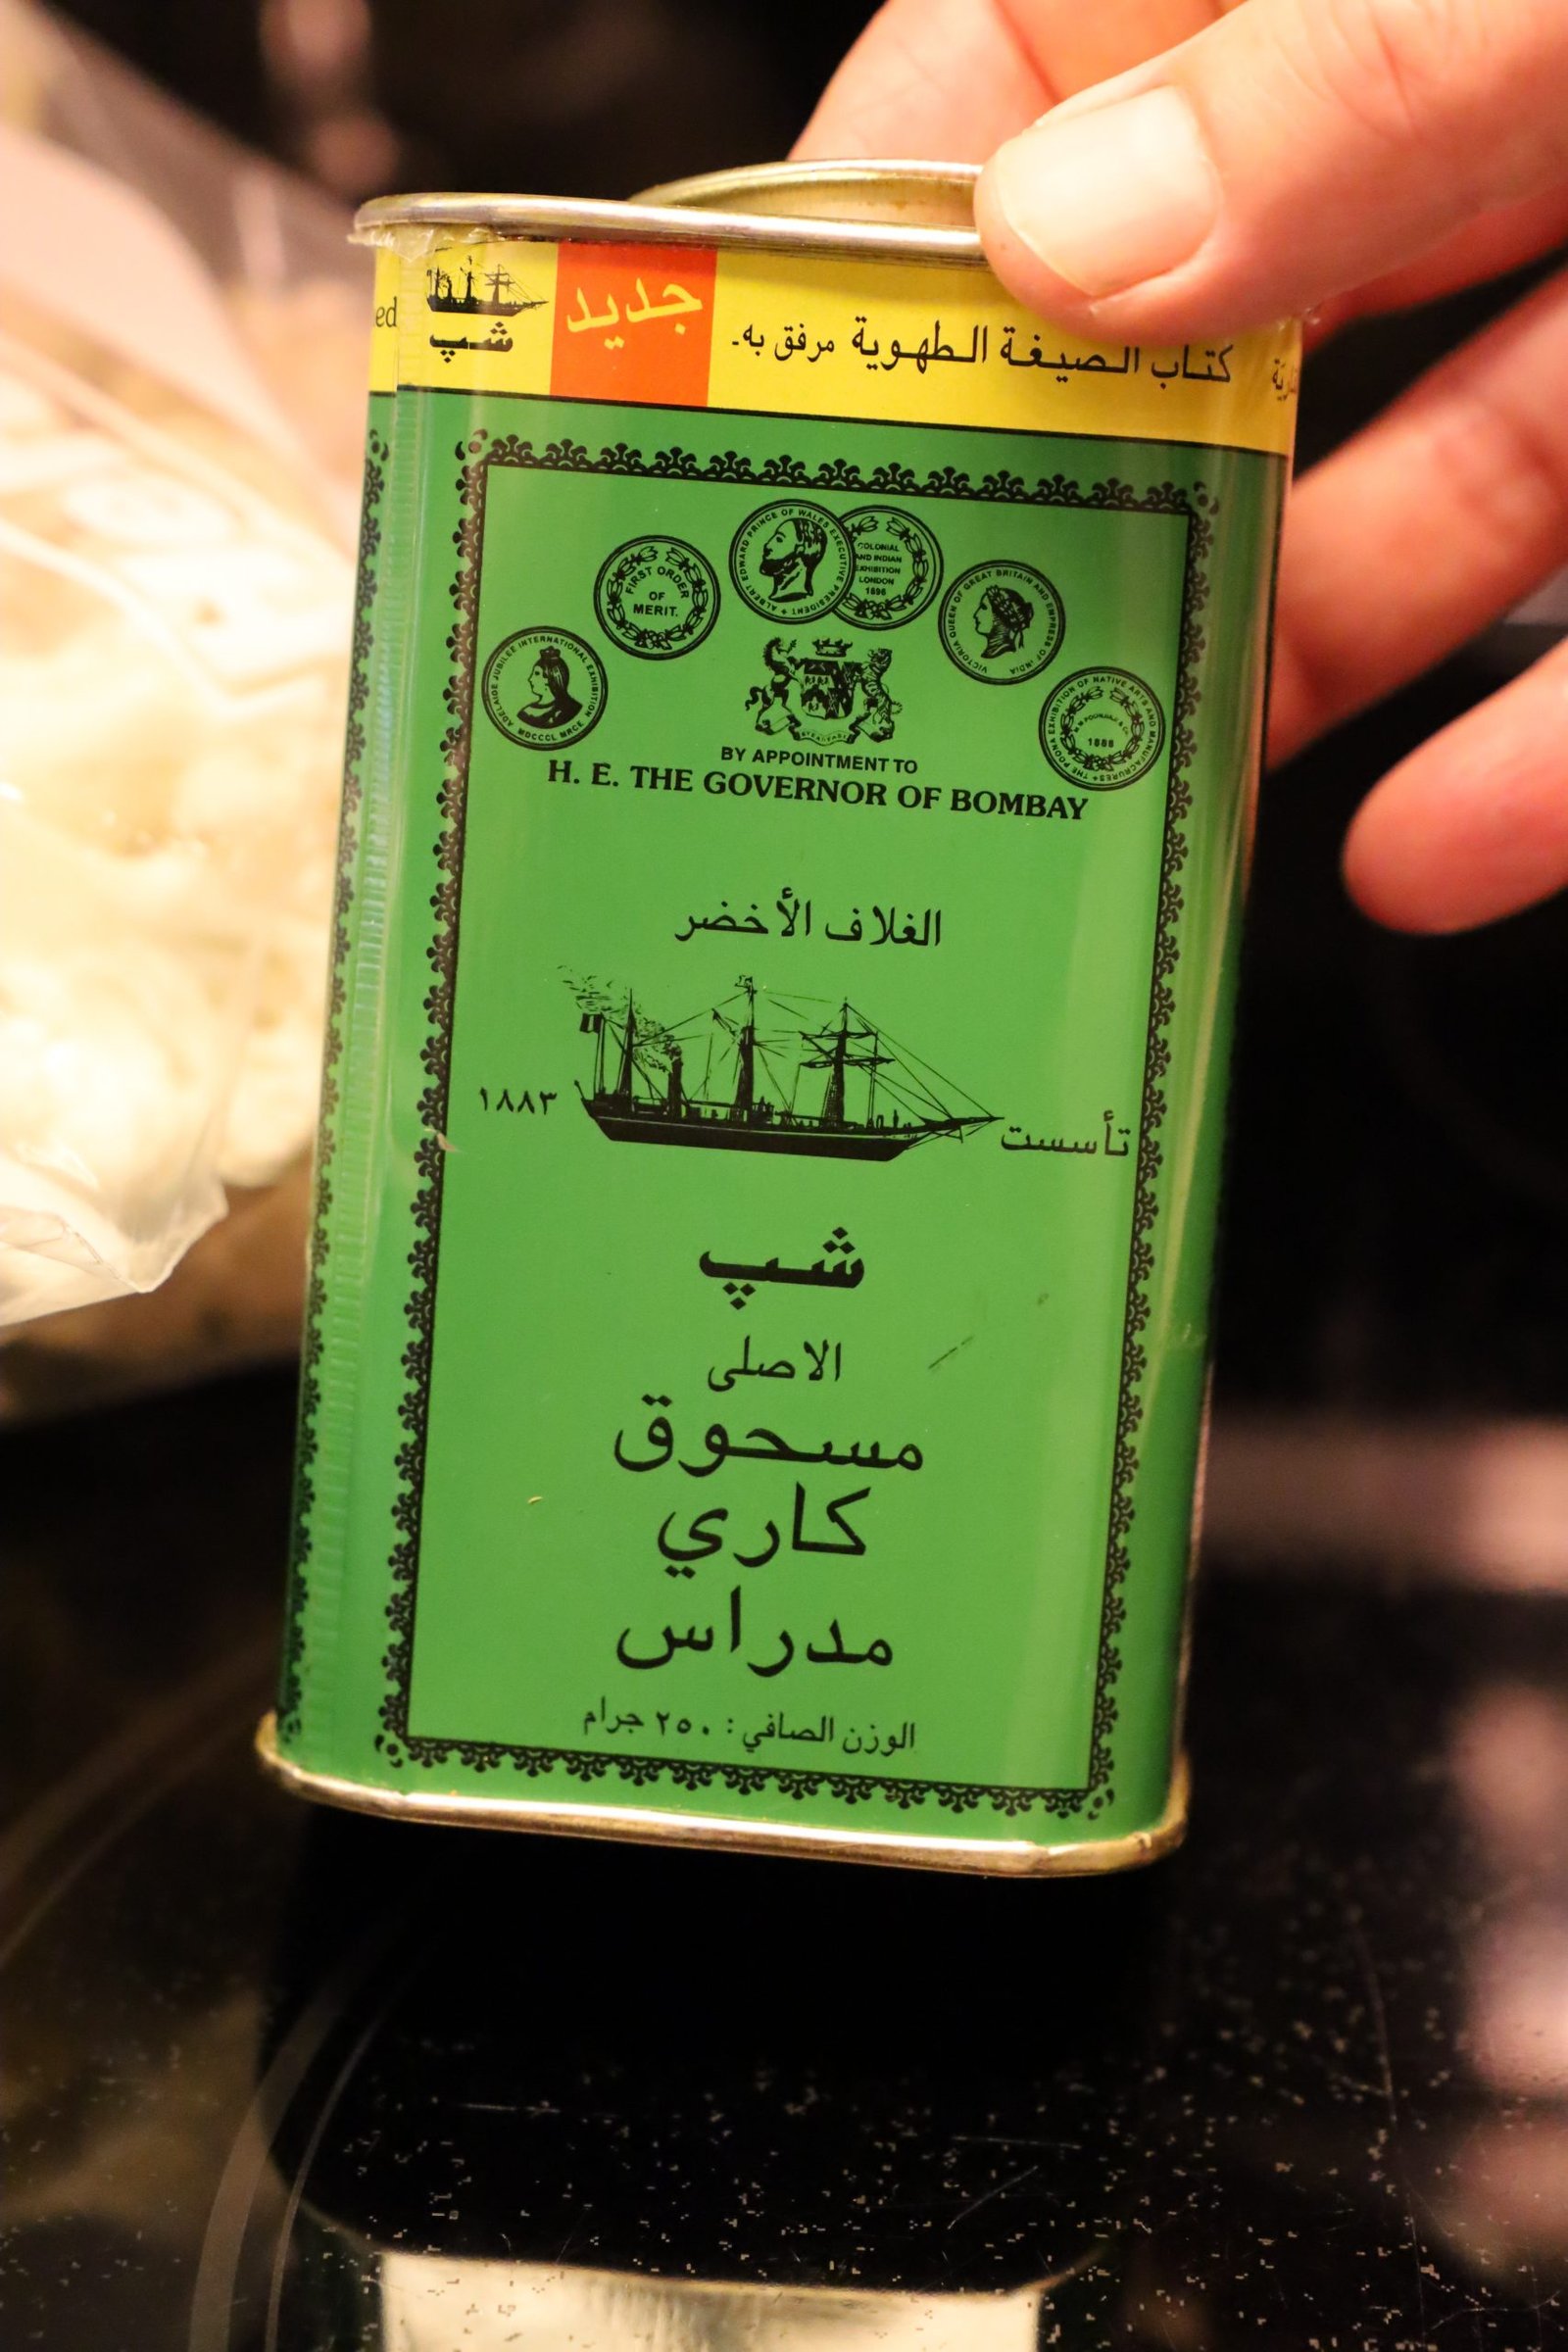
Here is the curry seasoning we used. I love using the authentic spices.


Place just enough extra virgin olive oil in with the halved flowerettes to coat them. Close the bag and toss lightly to evenly coat the flowerettes.
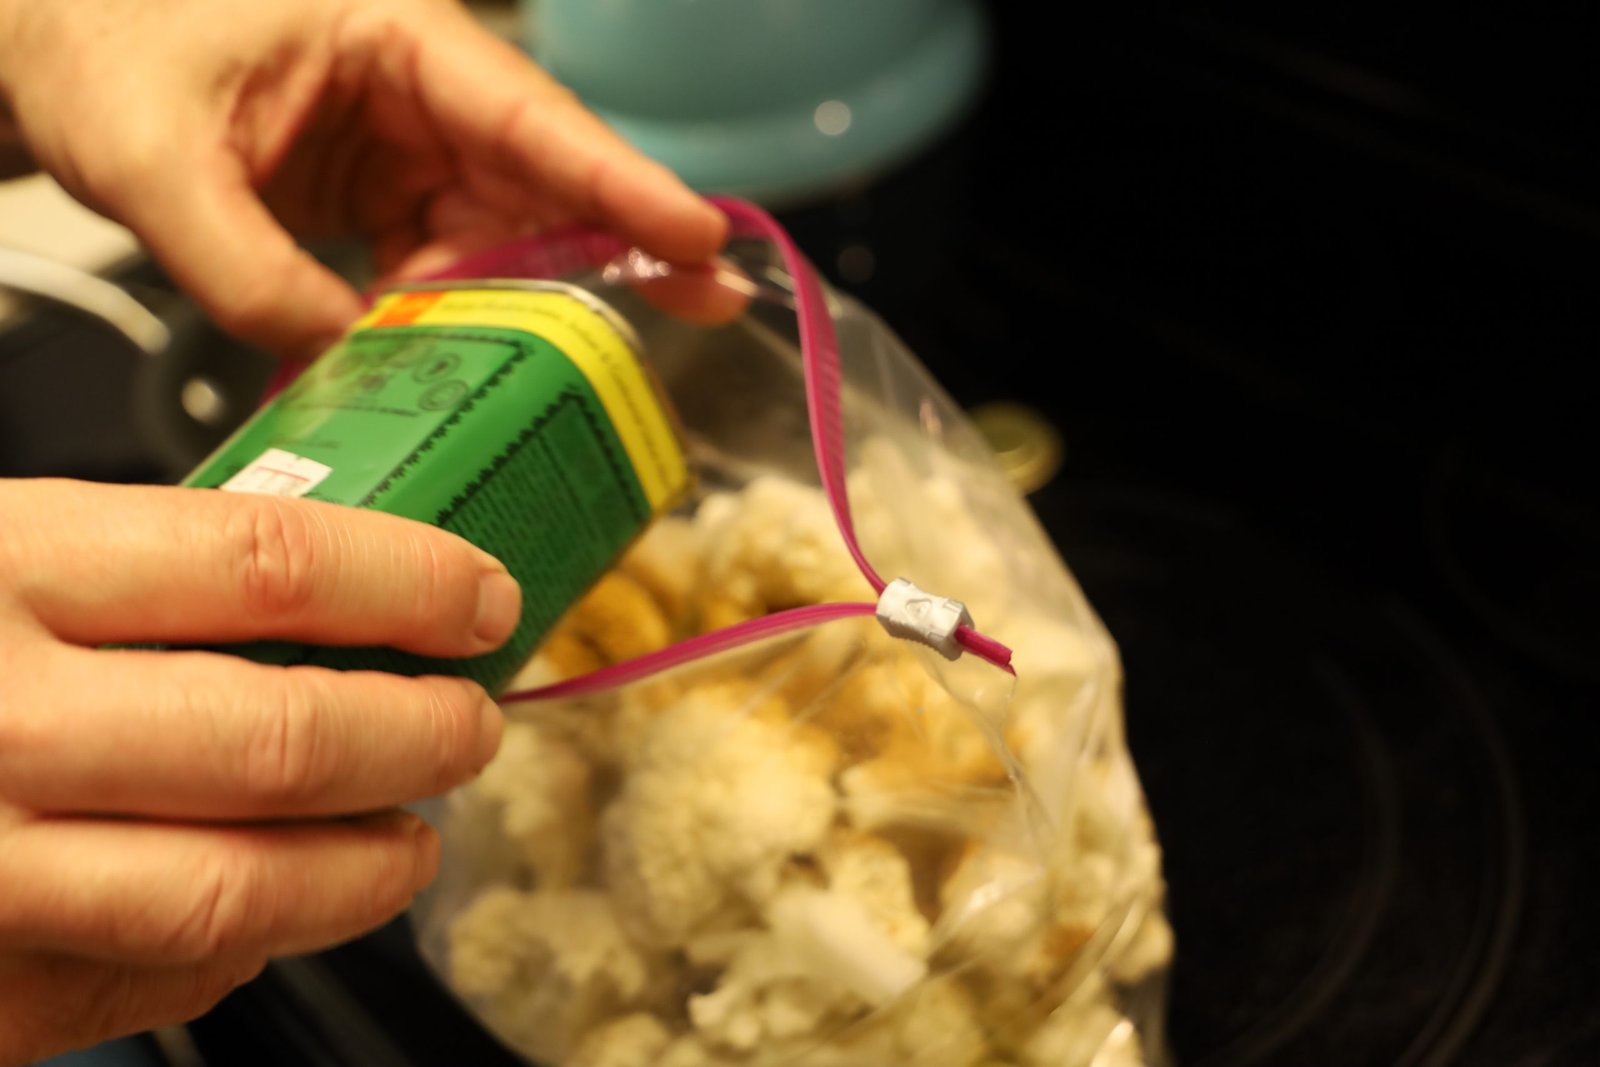

Now, add the curry powder to the bag of flowerettes, close the bag and toss again.
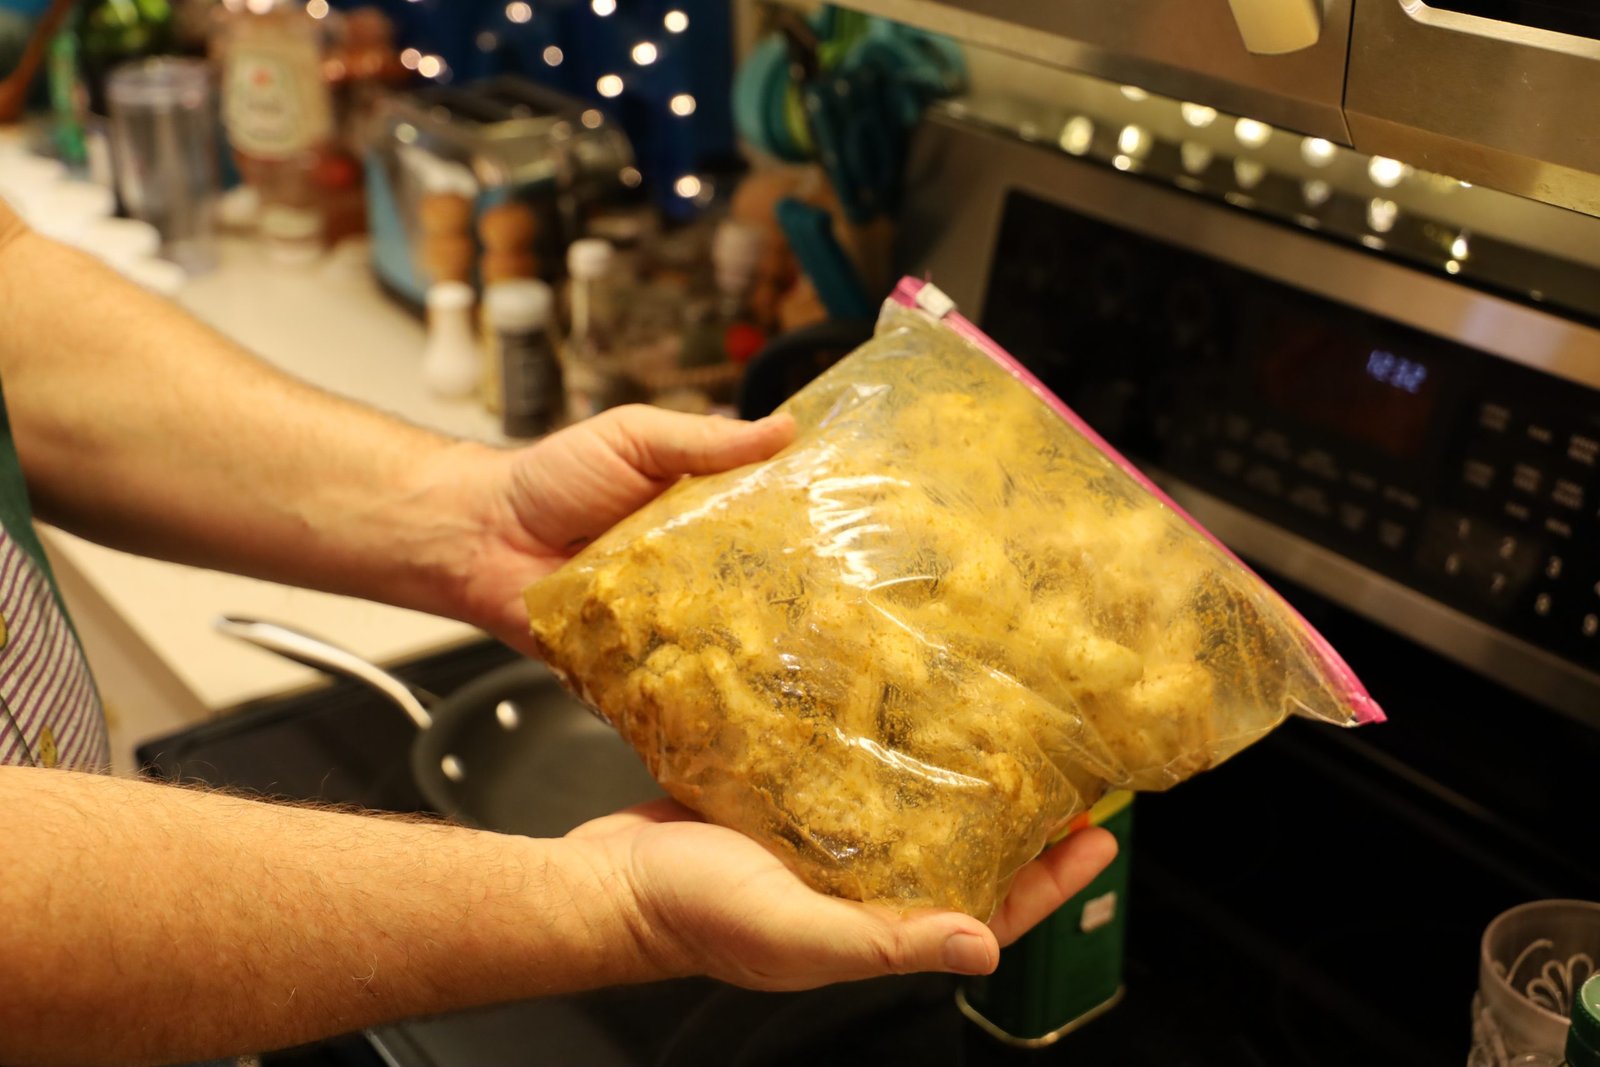
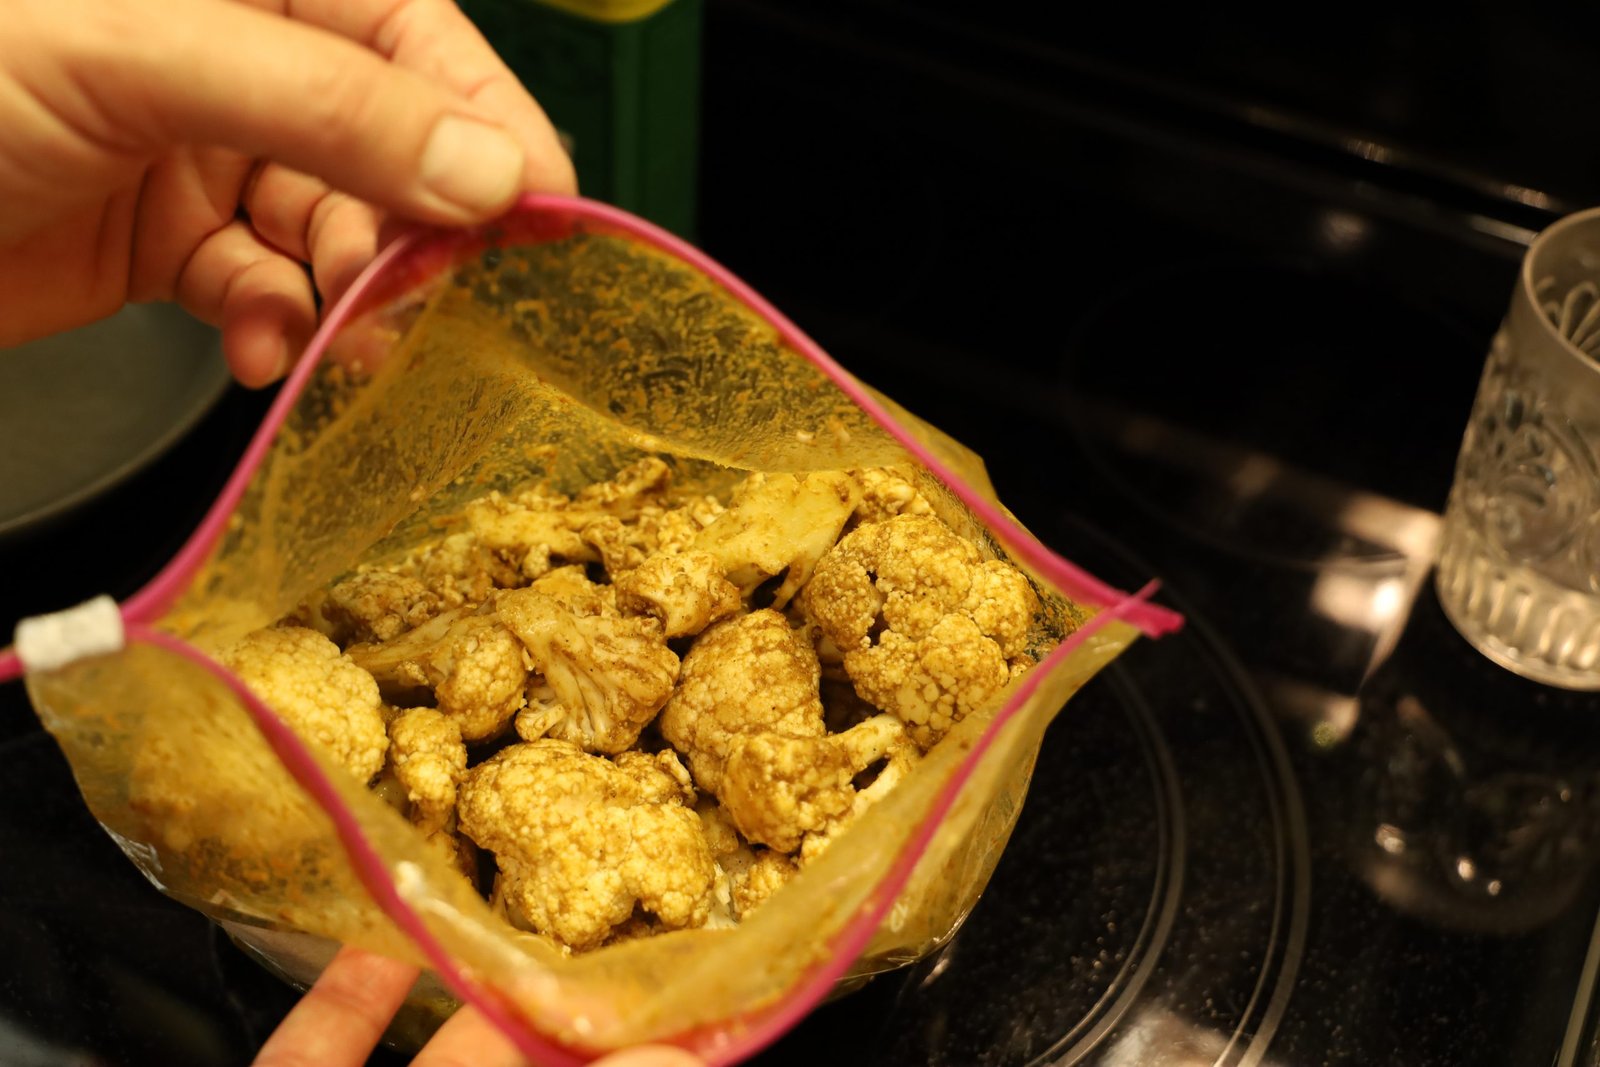
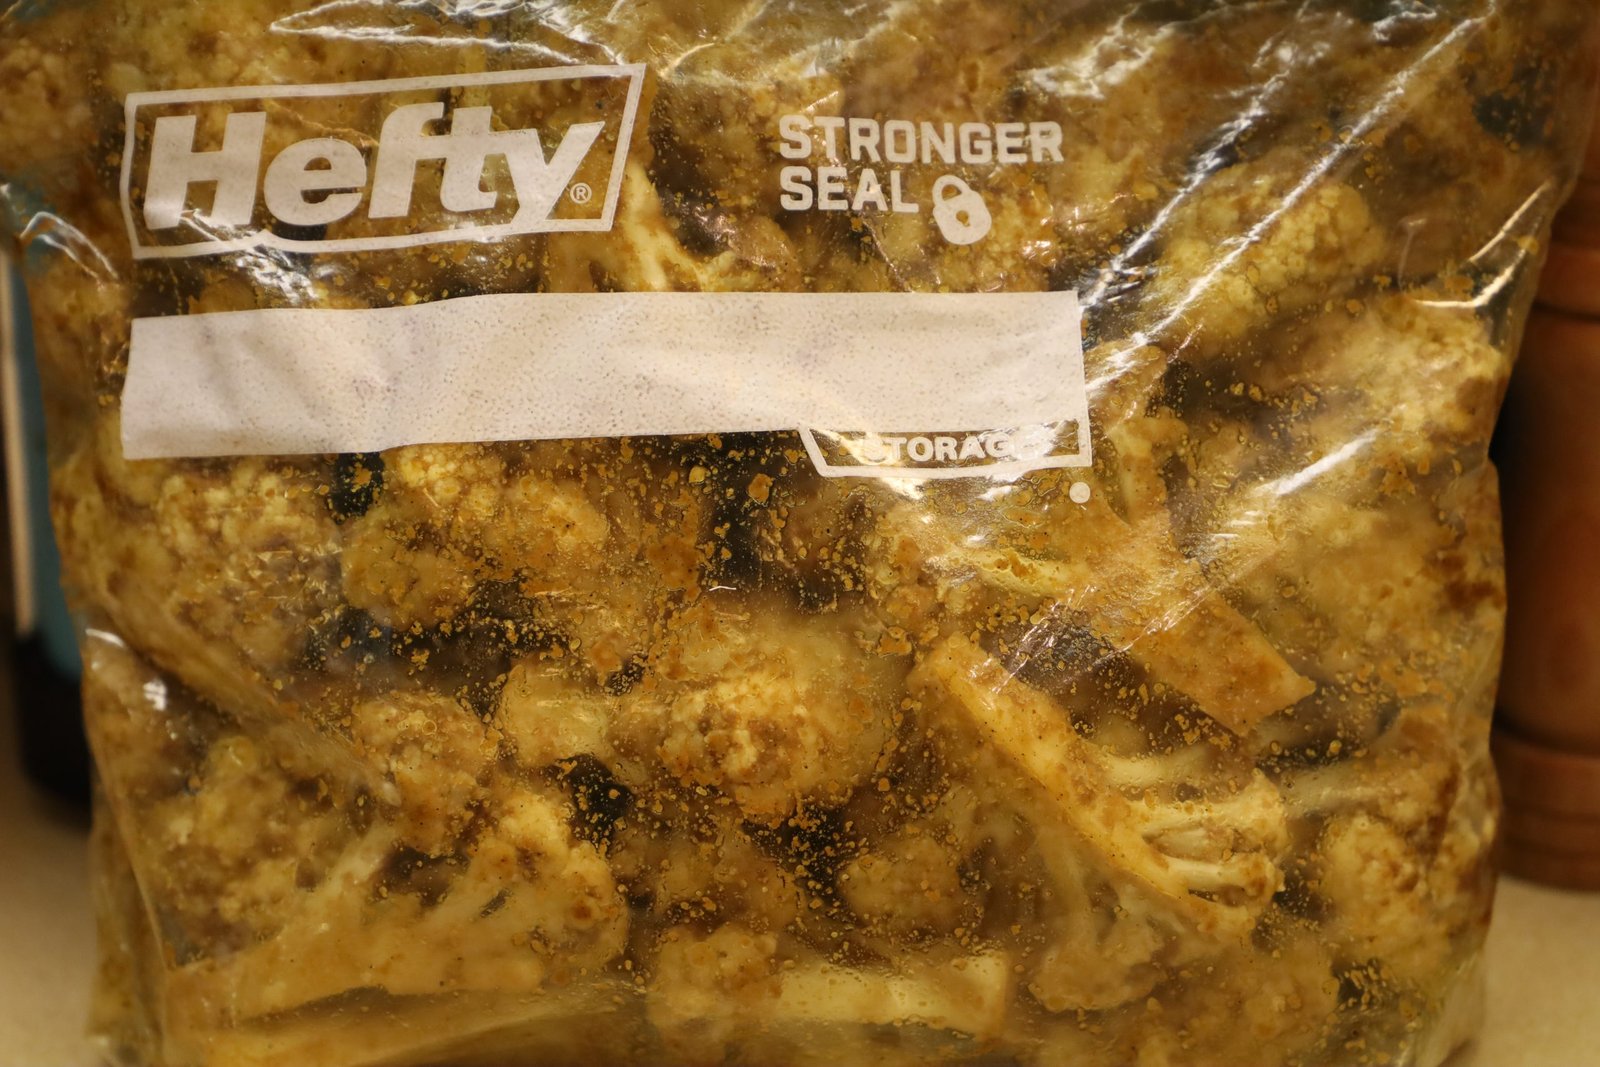
Here is what they looked like when seasoned properly.
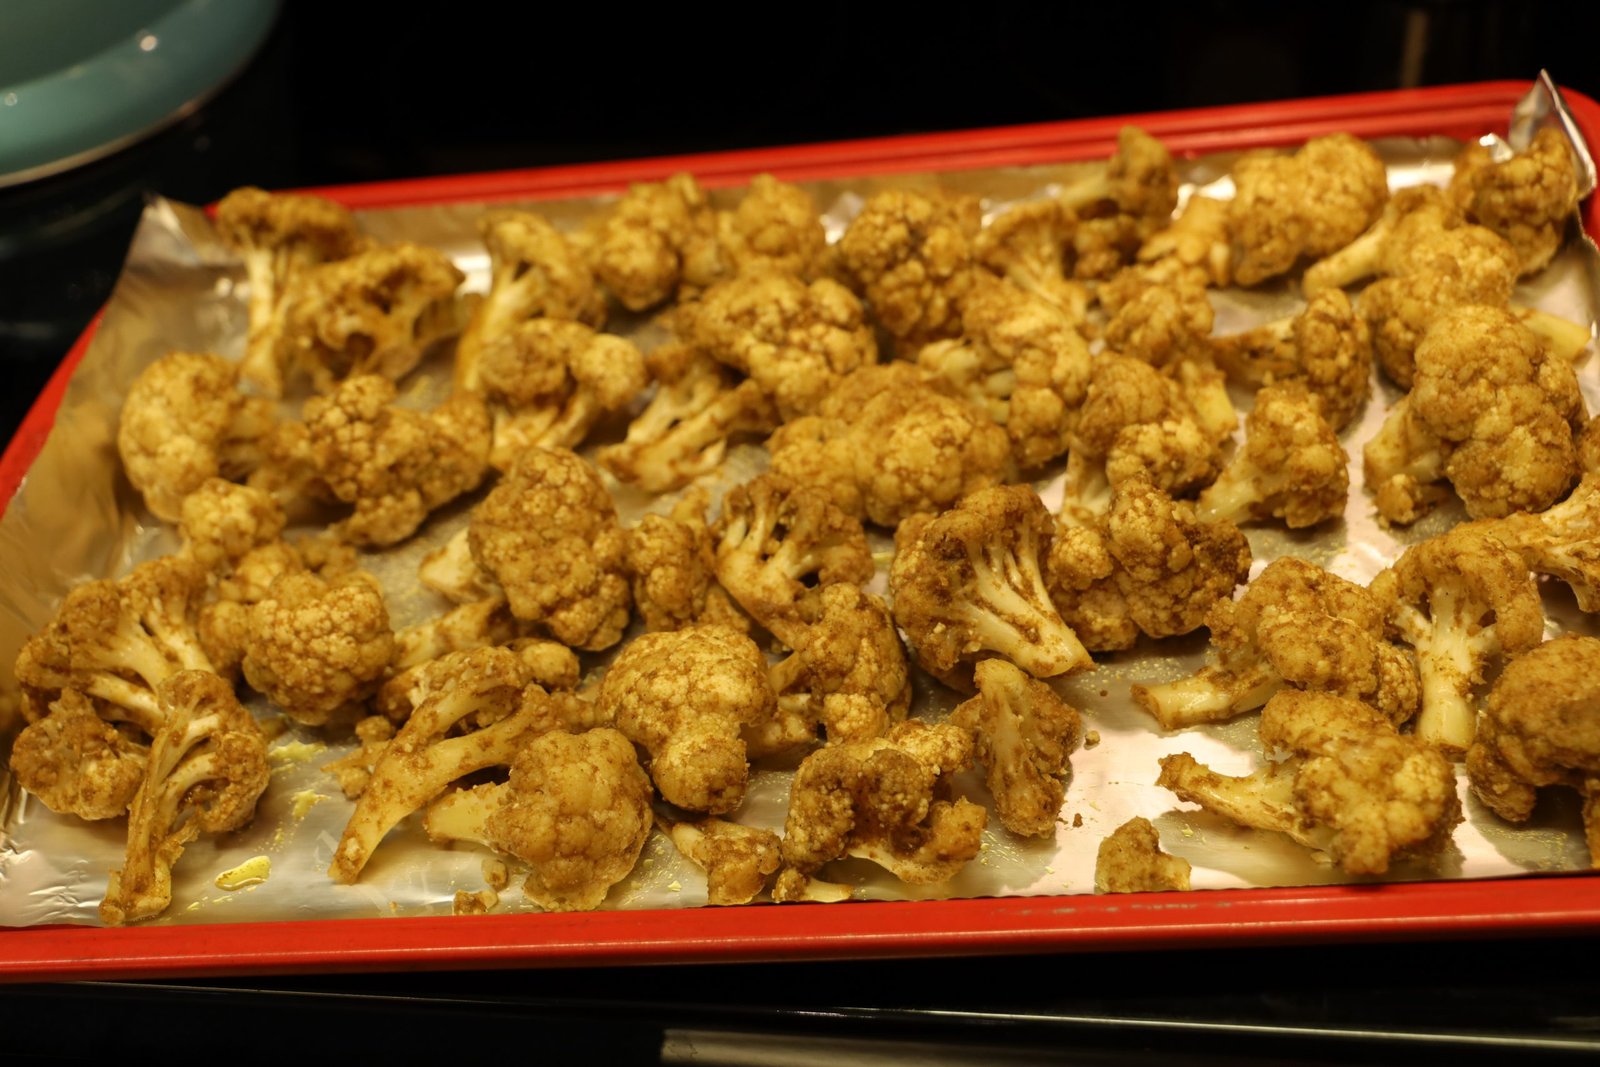
Using an aluminum foil lined large baking sheet, place the cauliflower flowerettes cut side down evenly on the pan as shown. Bake the cauliflower at 400’F for ~20-25 minutes until the cut side of the flowerettes are brown and caramelized.
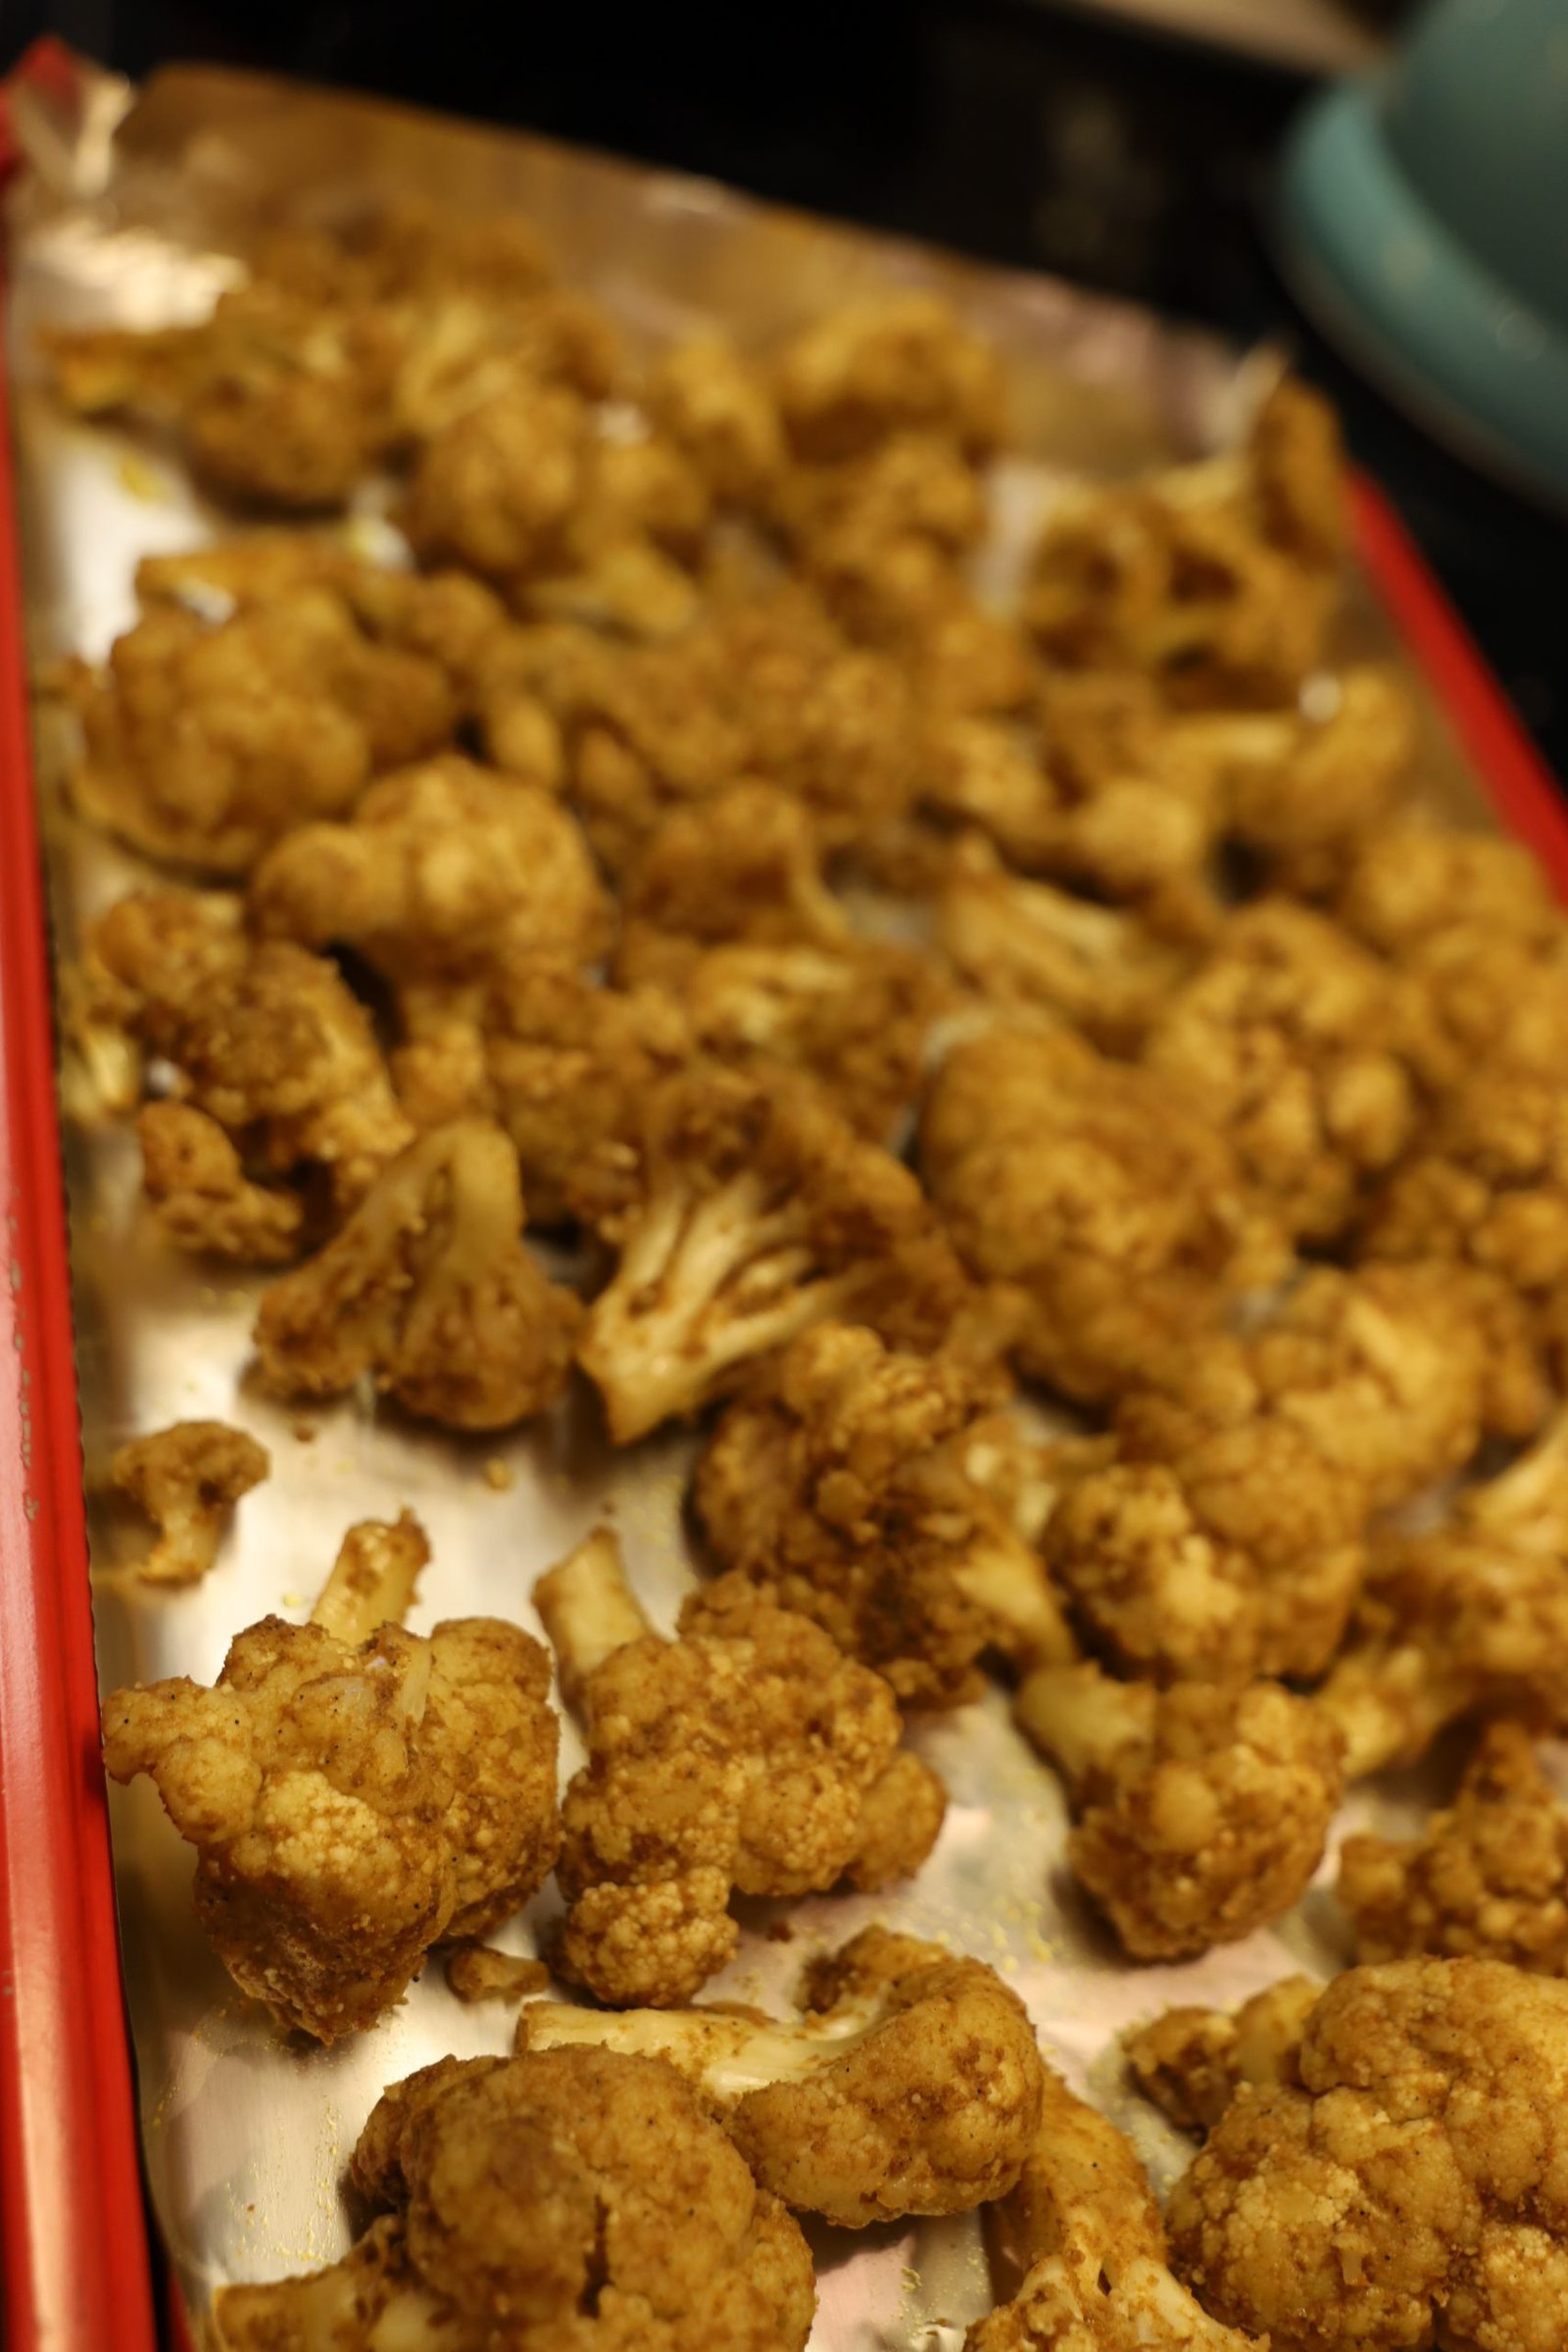
———————————————————-
Grilled Asparagus
Grilled Asparagus wrapped in Prosciutto
Grilled Lemons
Ingredients:
1/2 Lb. Prosciutto
2 Lbs. Asparagus
Olive Oil Spray

Wash your asparagus well and remove the tough woody end of the stalk using a sharp knife.
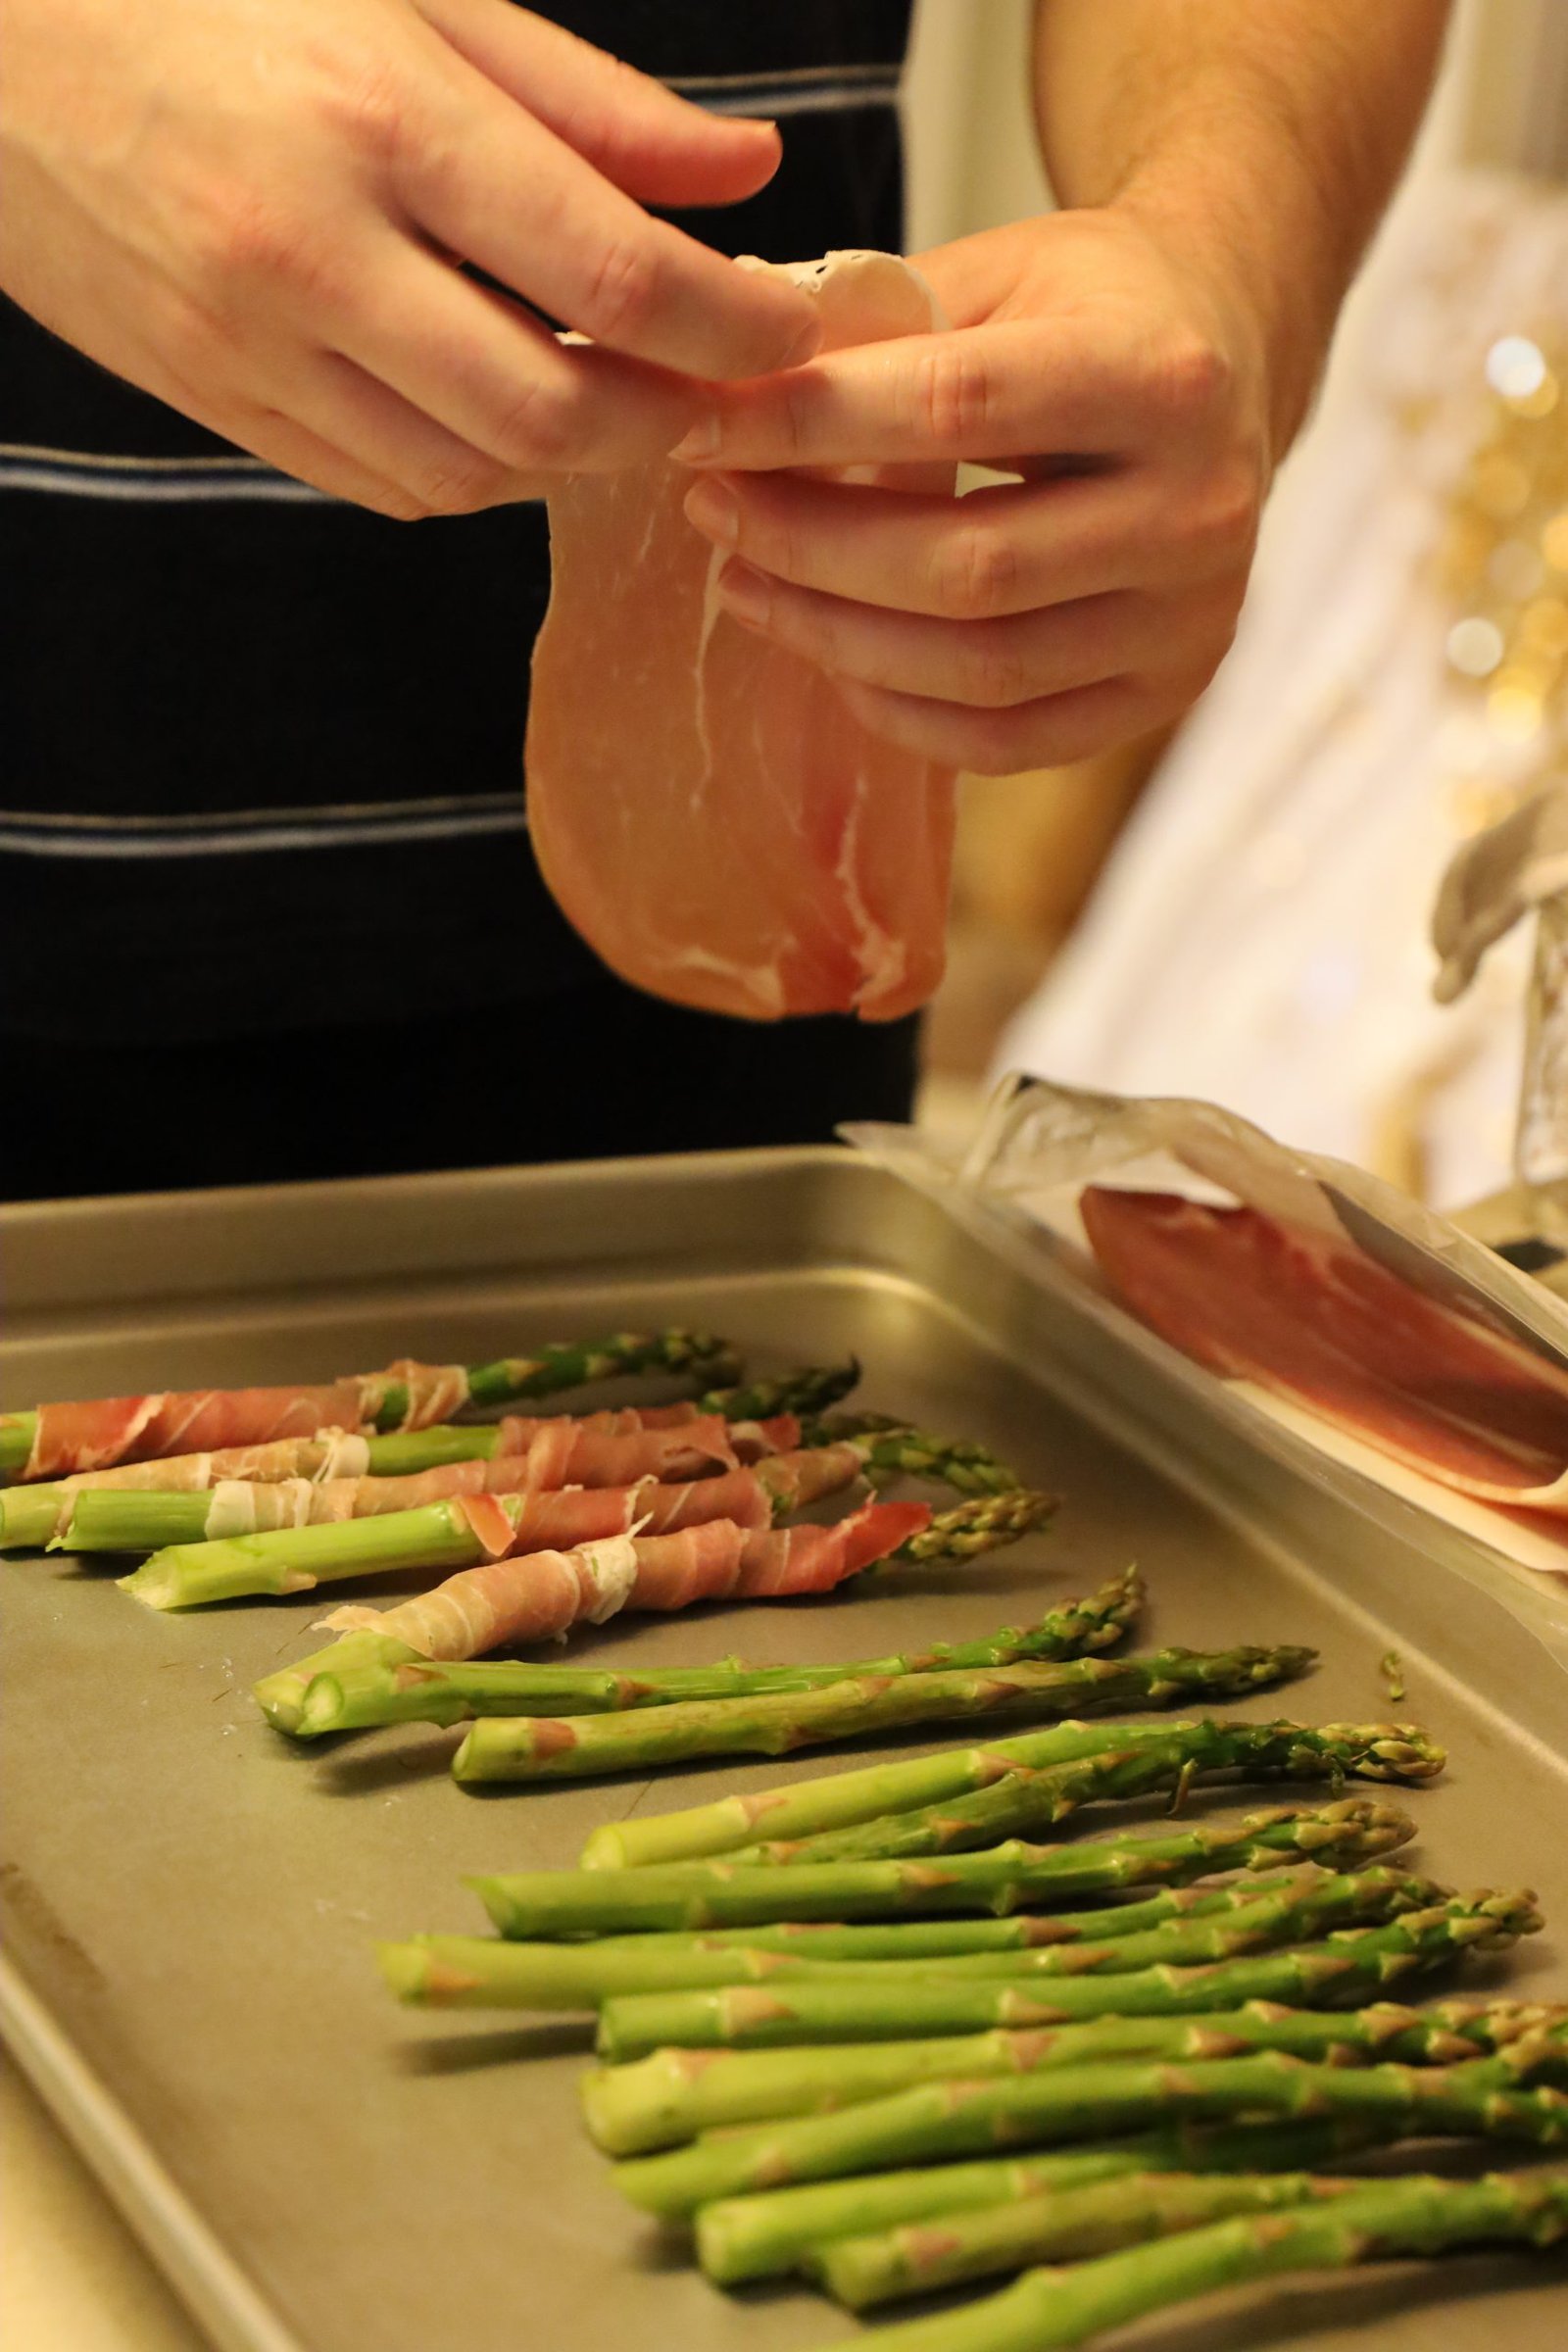
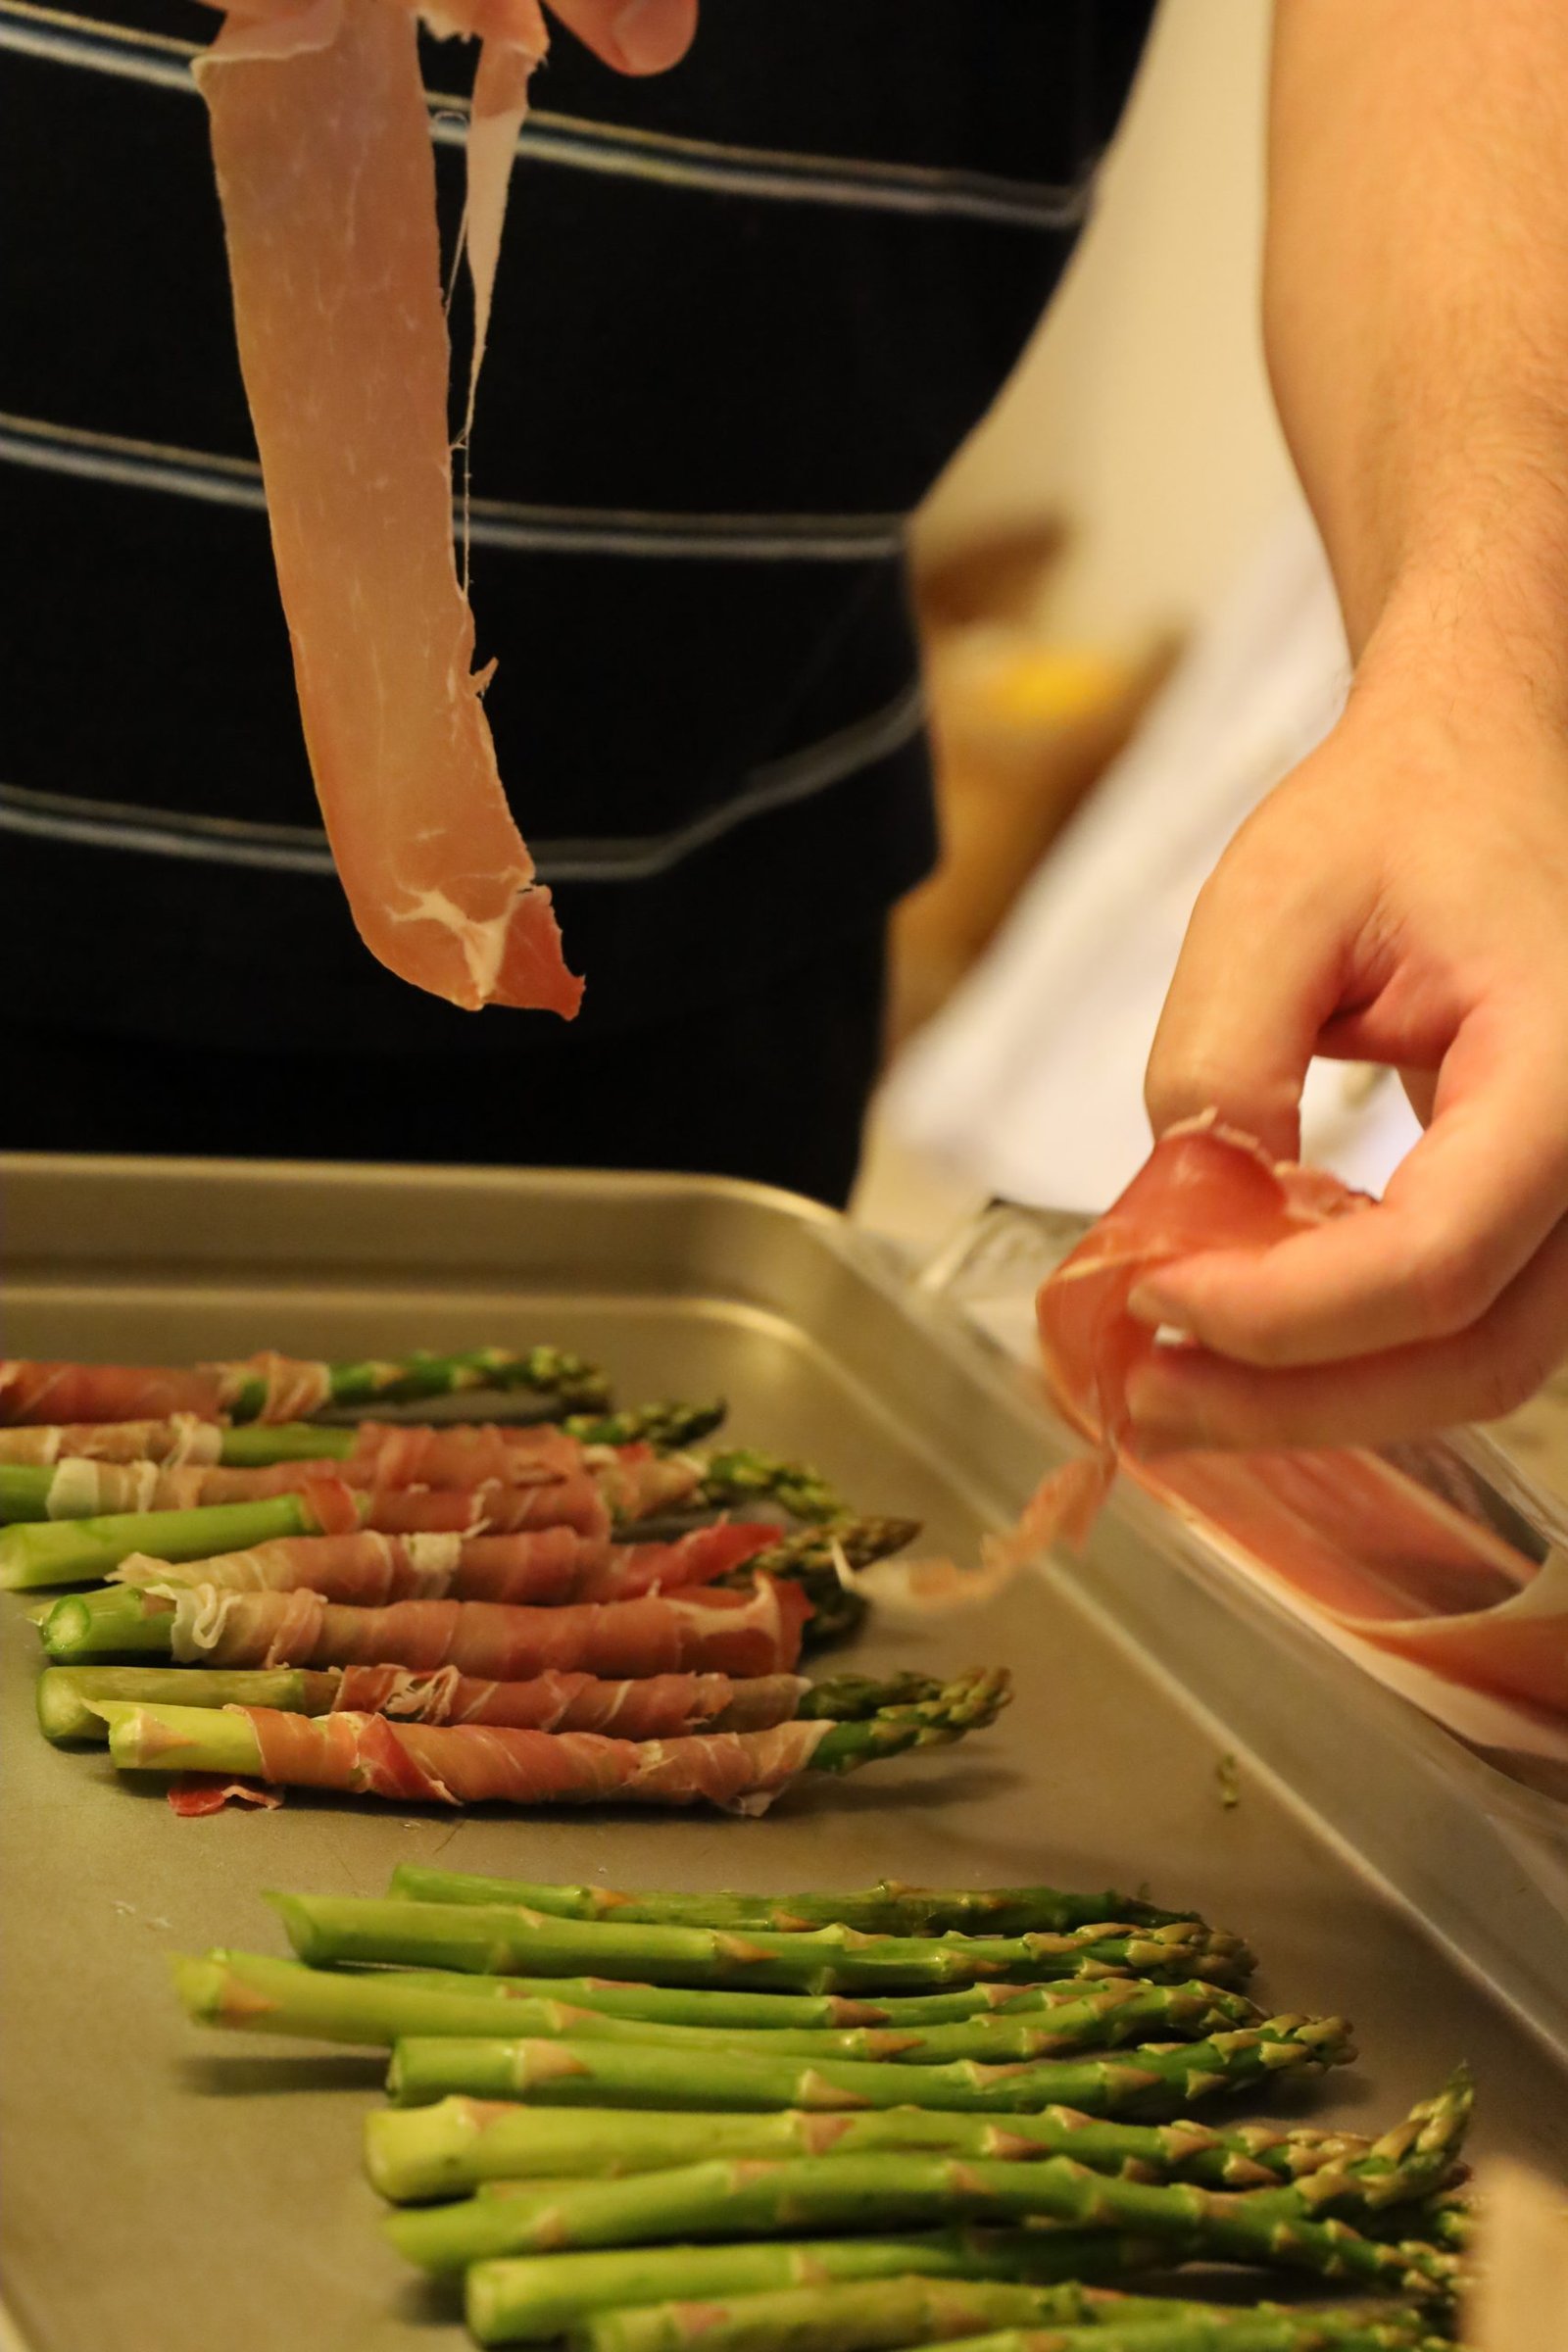
Tear the Prosciutto into strips as shown above and wrap the individual asparagus stalks with the Prosciutto.
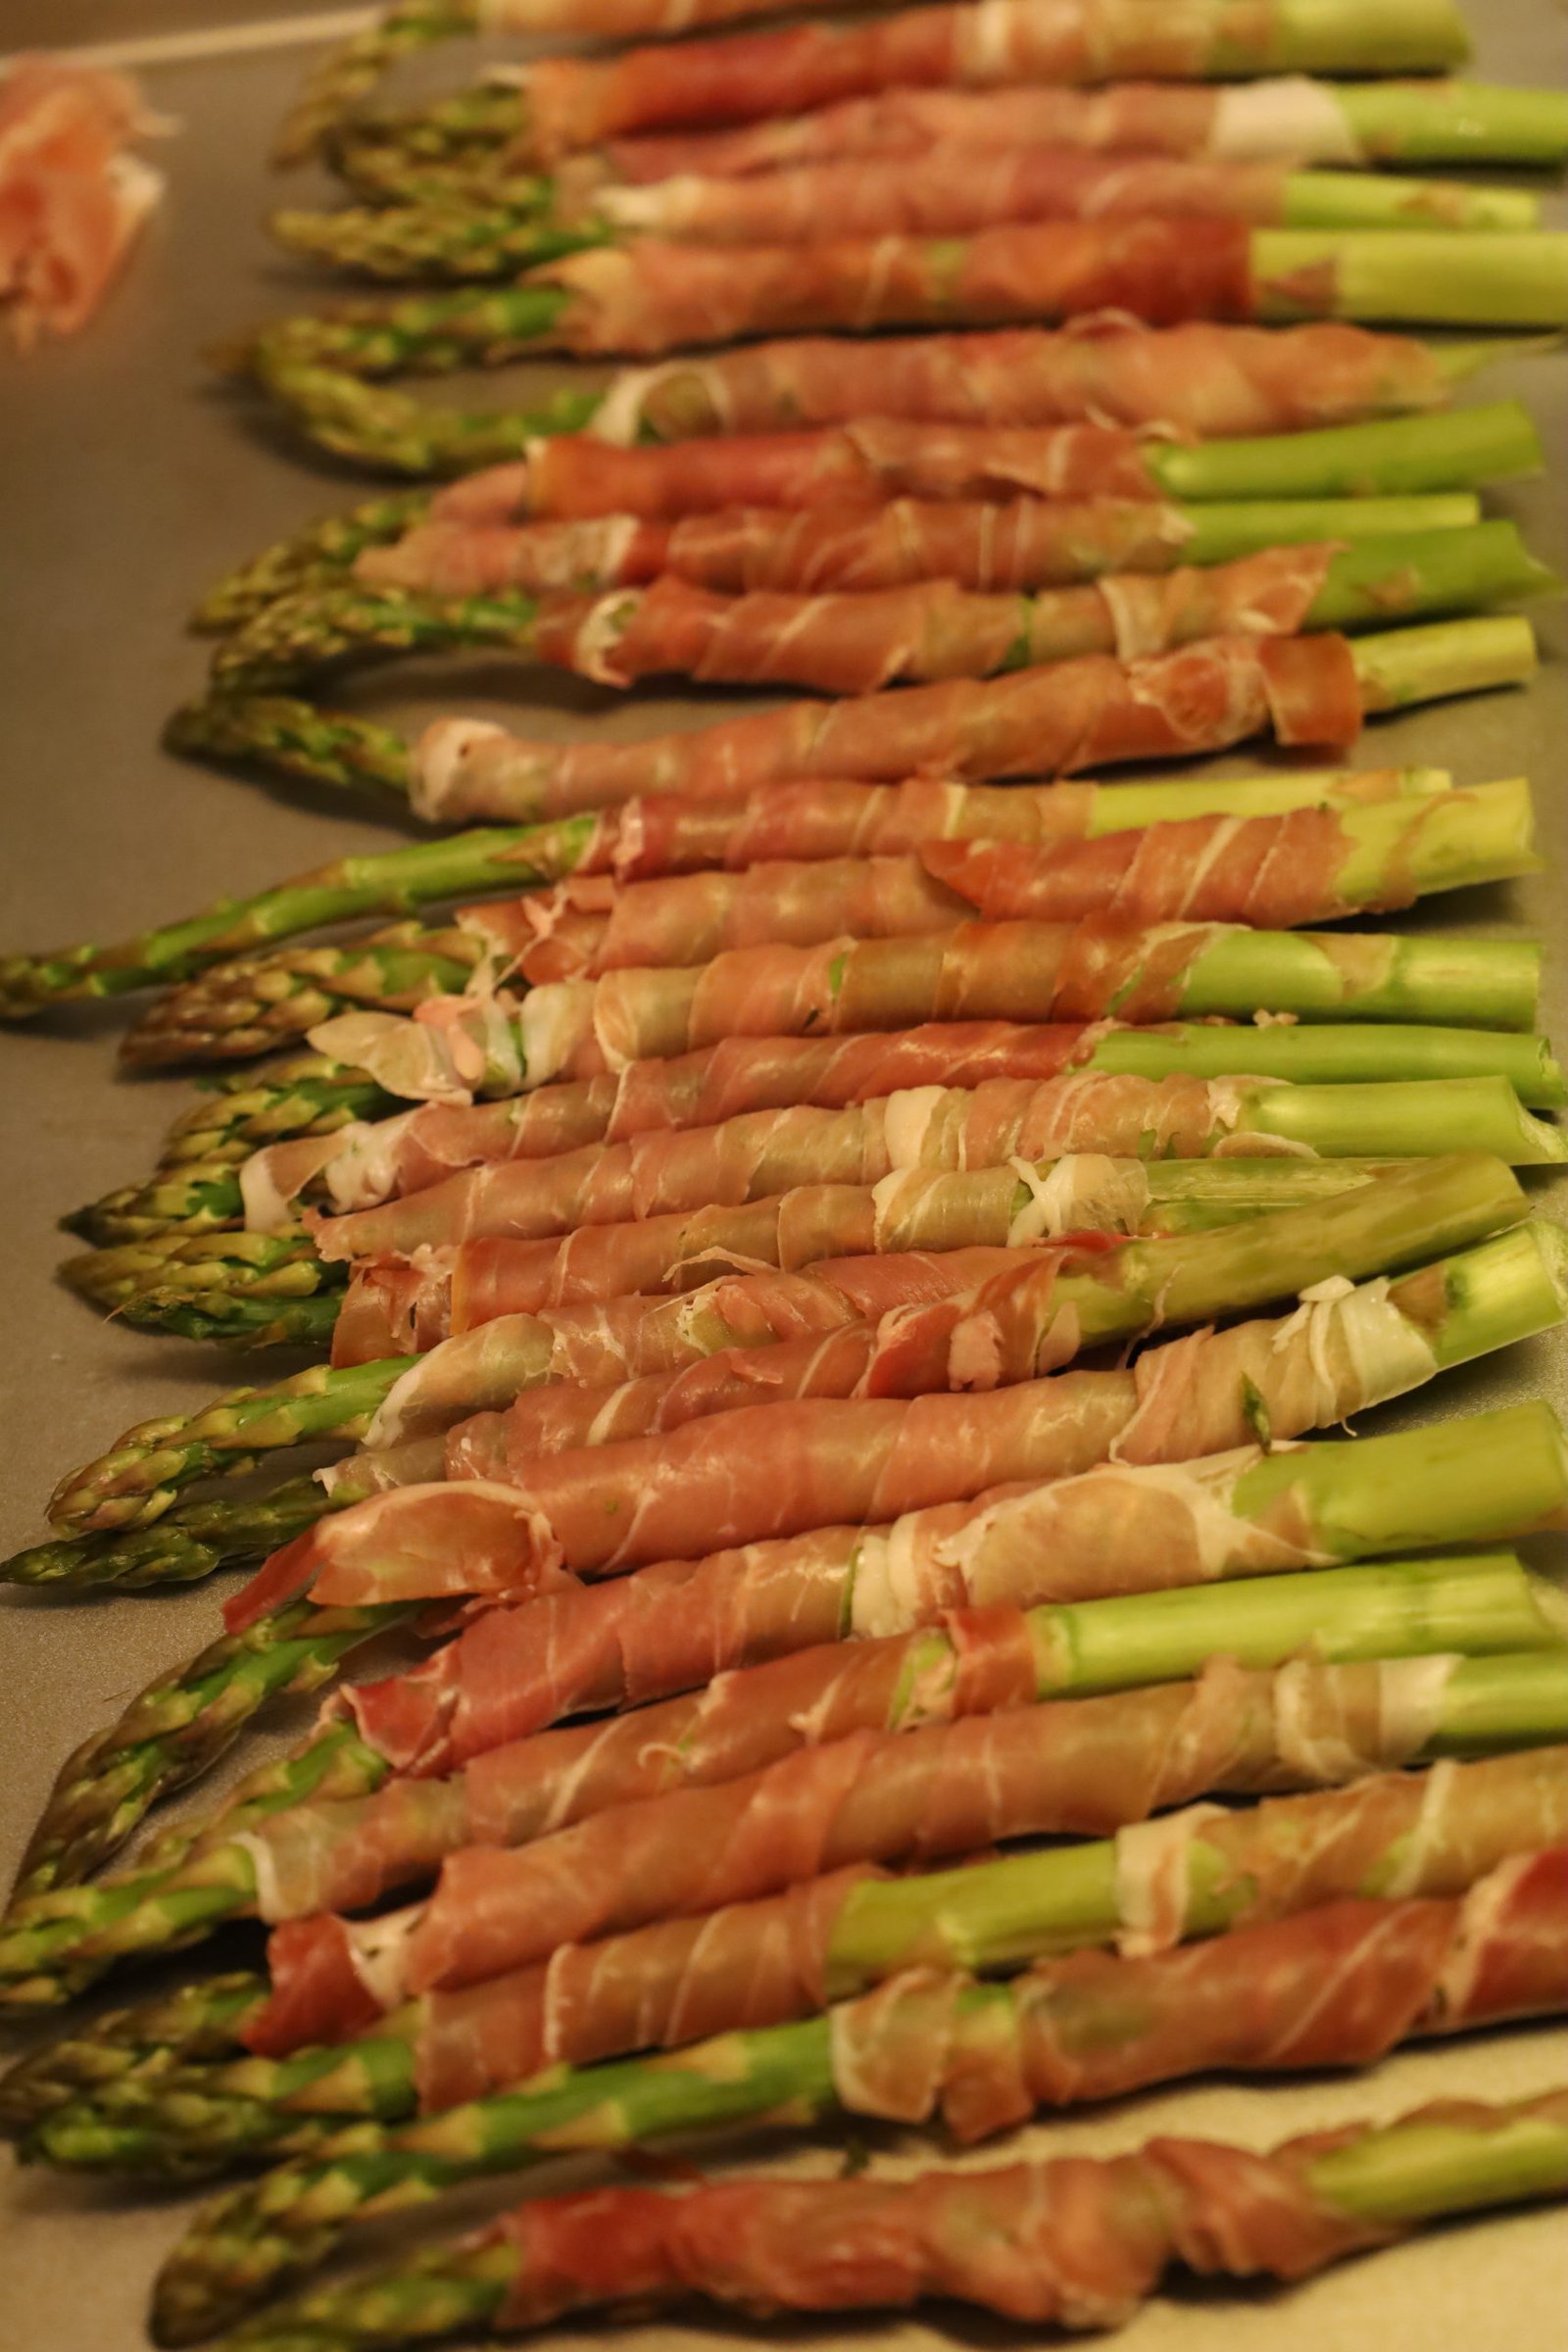

Place the wrapped asparagus onto a grill basket and close to hold the asparagus in place.


Spray the asparagus with olive oil, and place the basket on a medium heated grill.

Once the Prosciutto starts to brown and become crispy, turn the basket over and cook the other side… about 8 minutes. Watch for hot spots on your grill and move the basket accordingly to not overcook the asparagus.
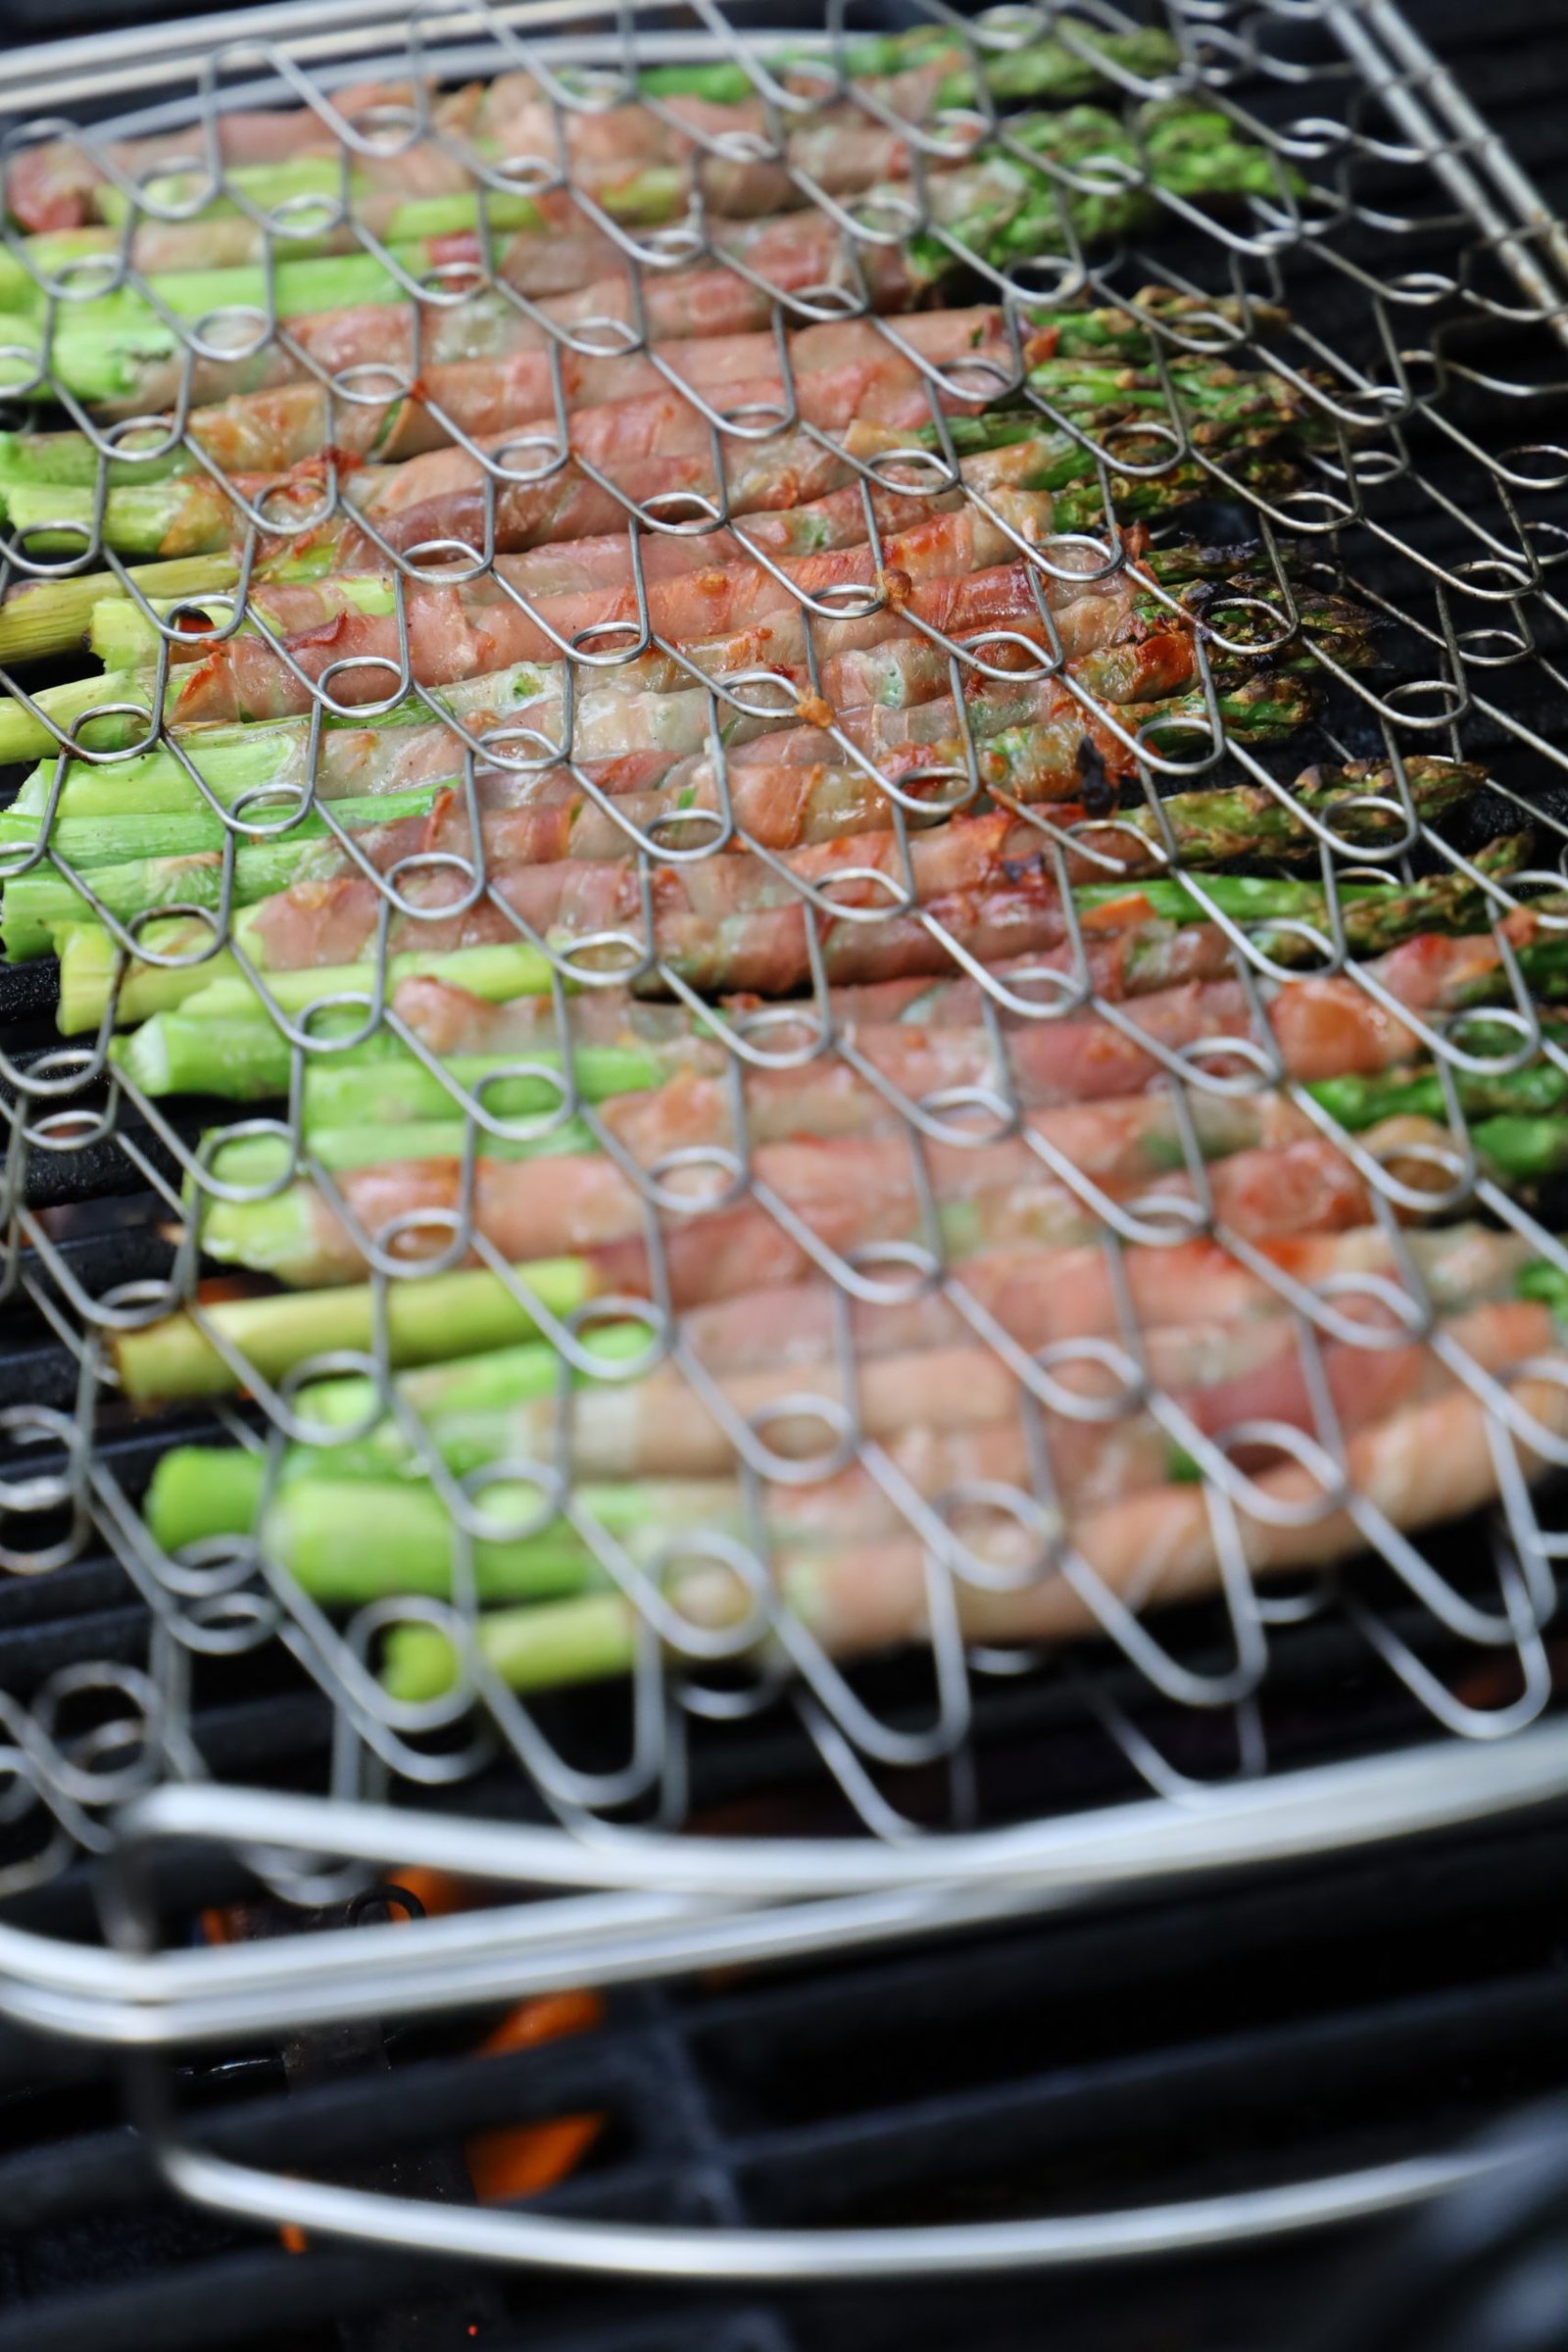
—————————————————————
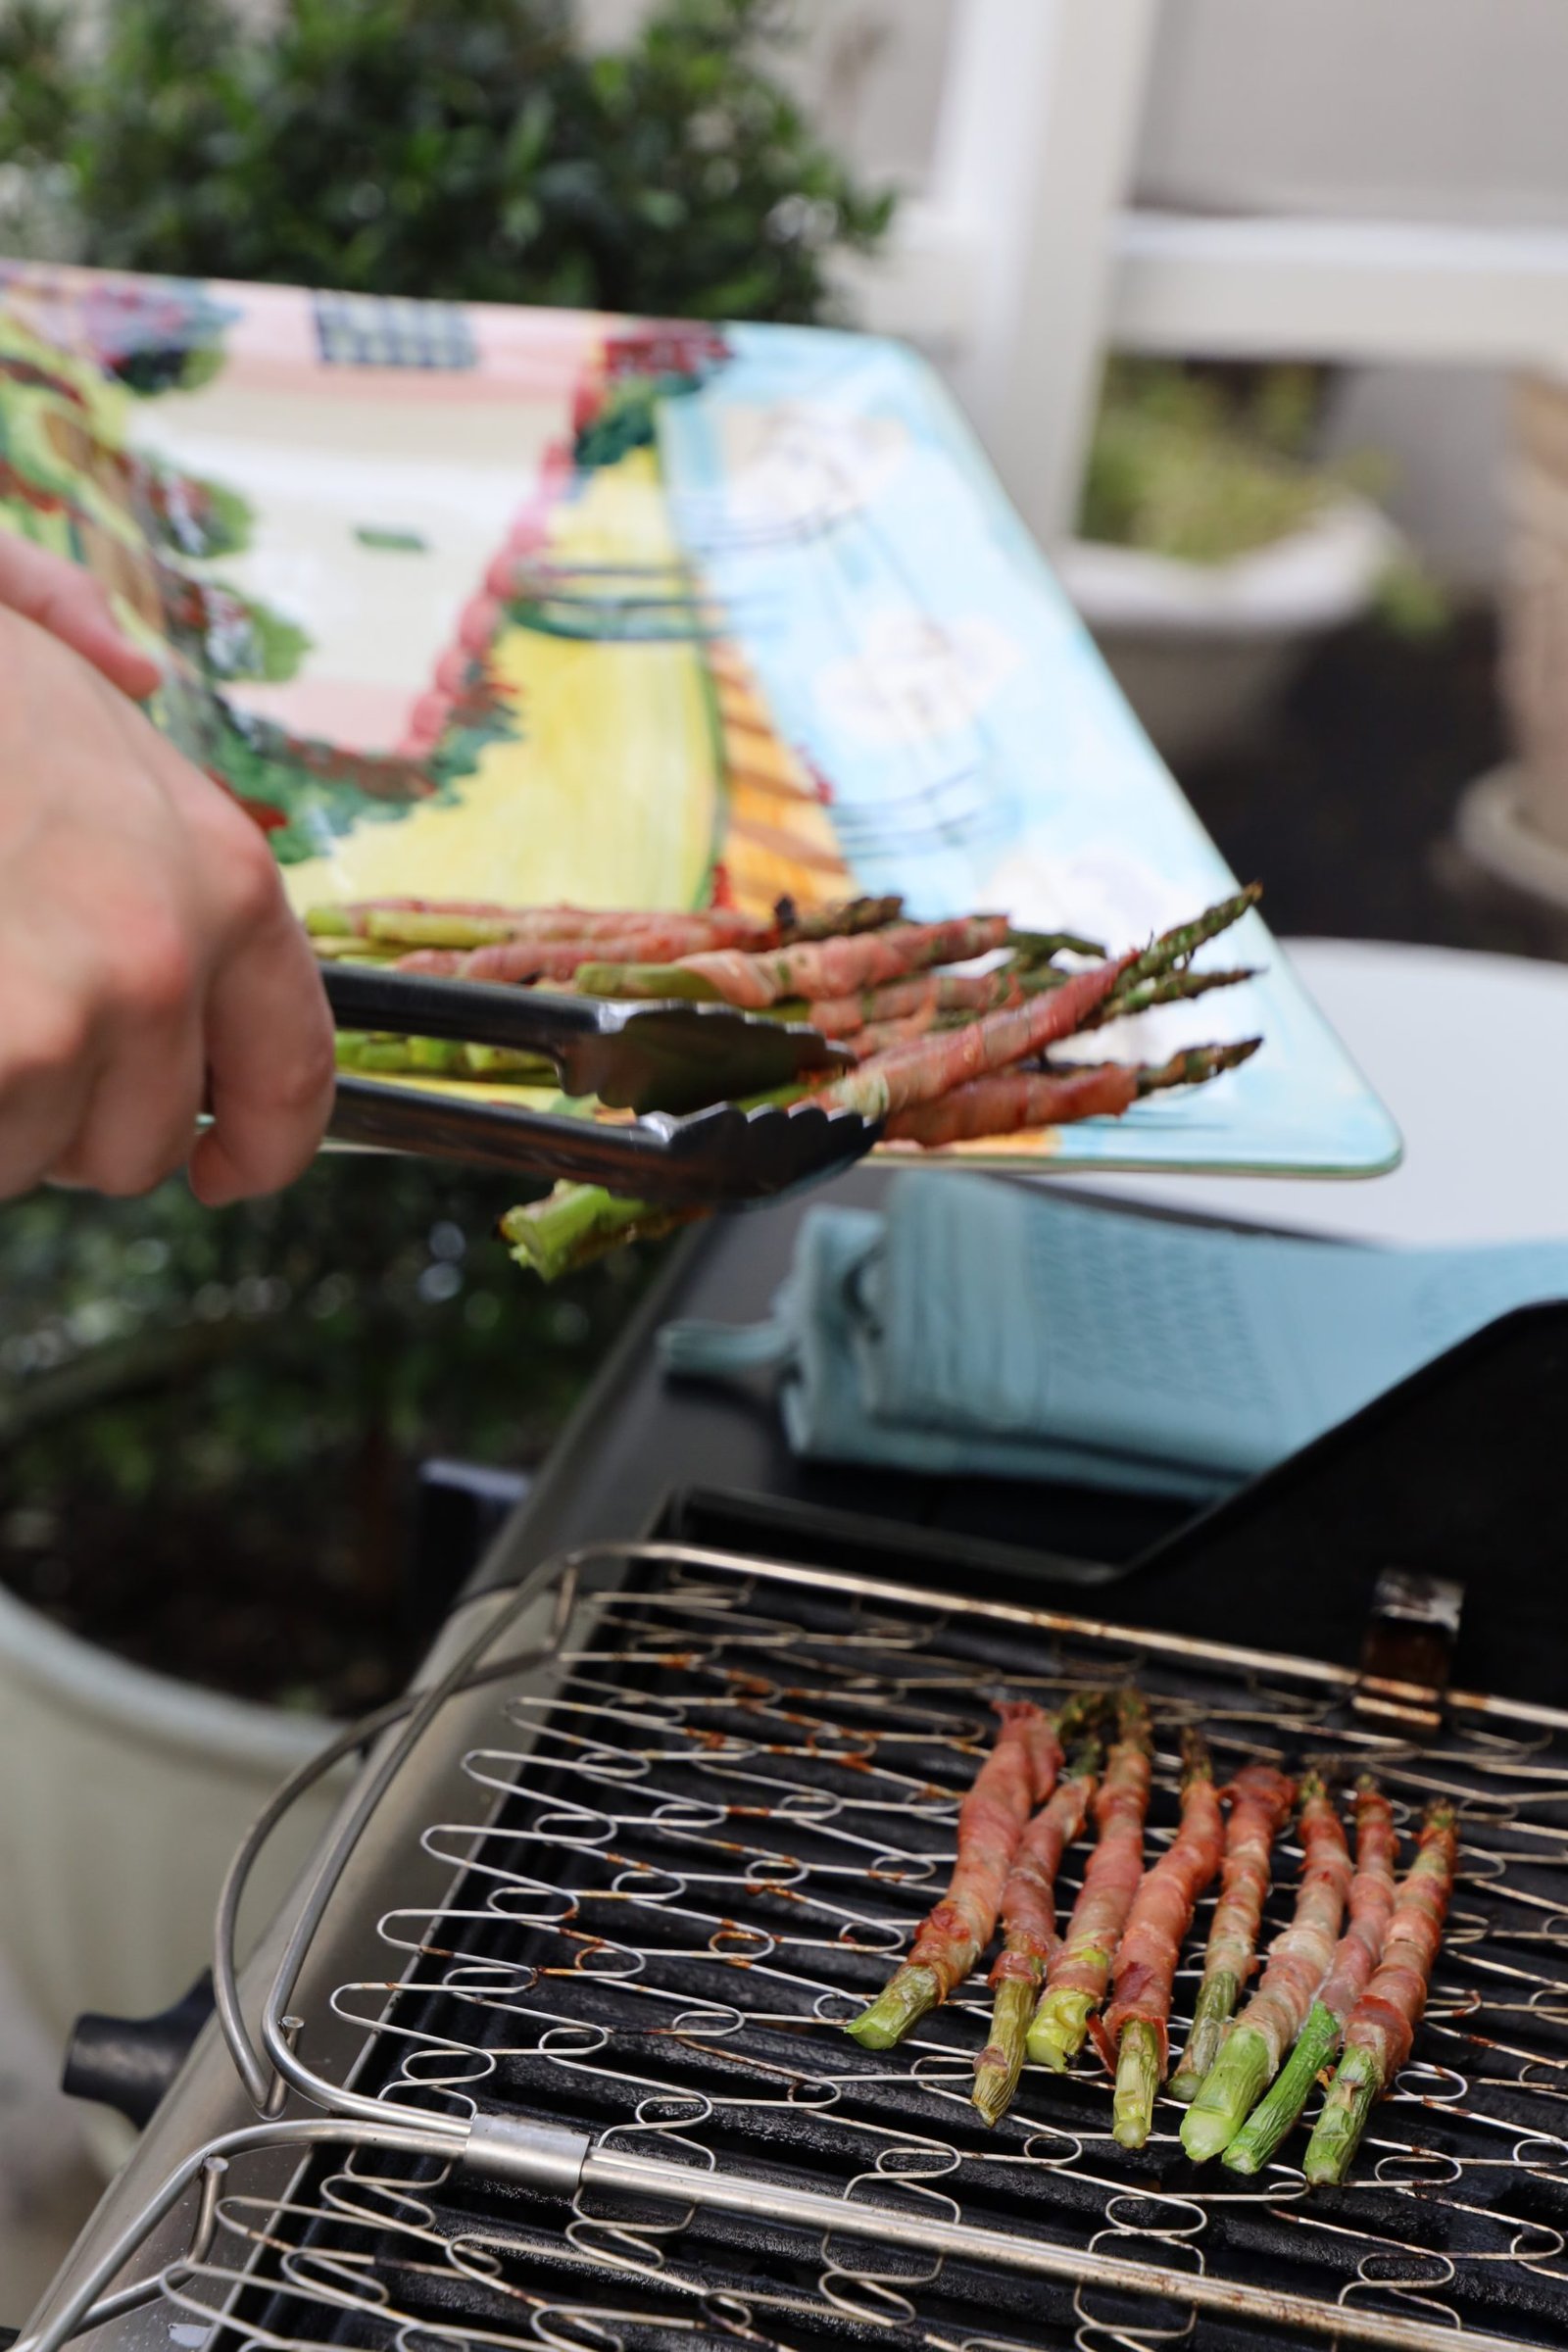
Unclamp the grill basket and remove the wrapped asparagus.
———————————————————–
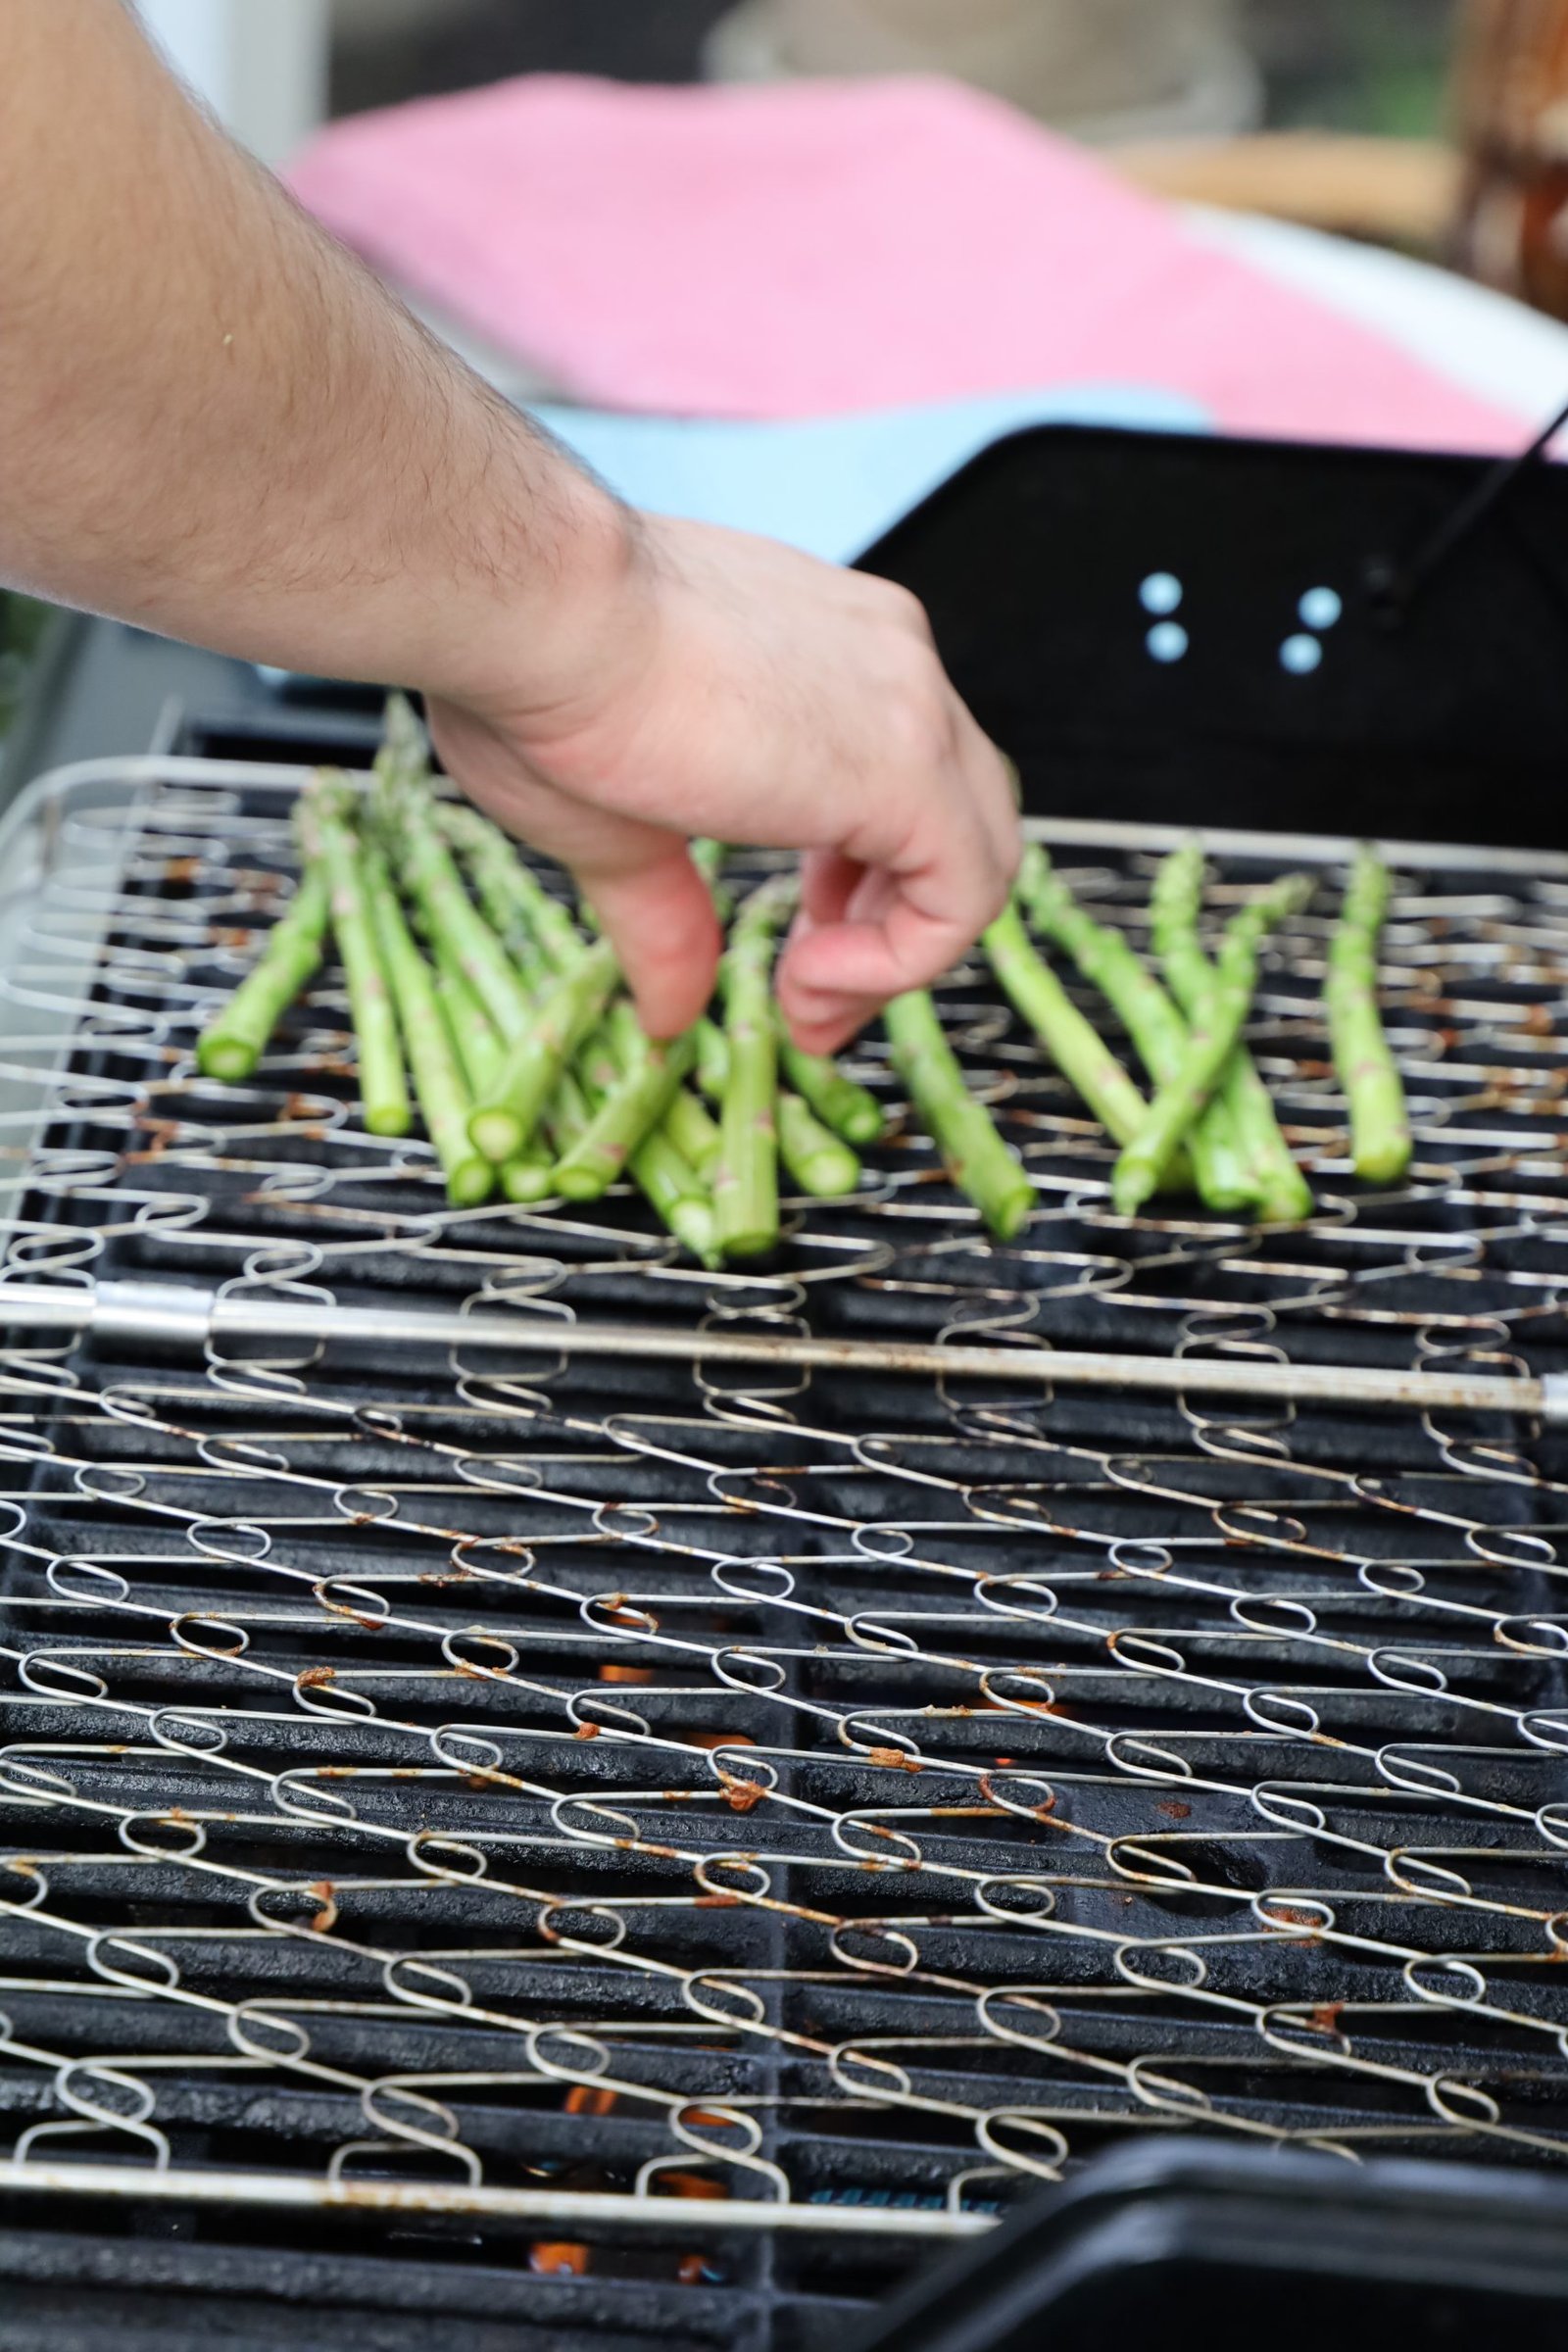
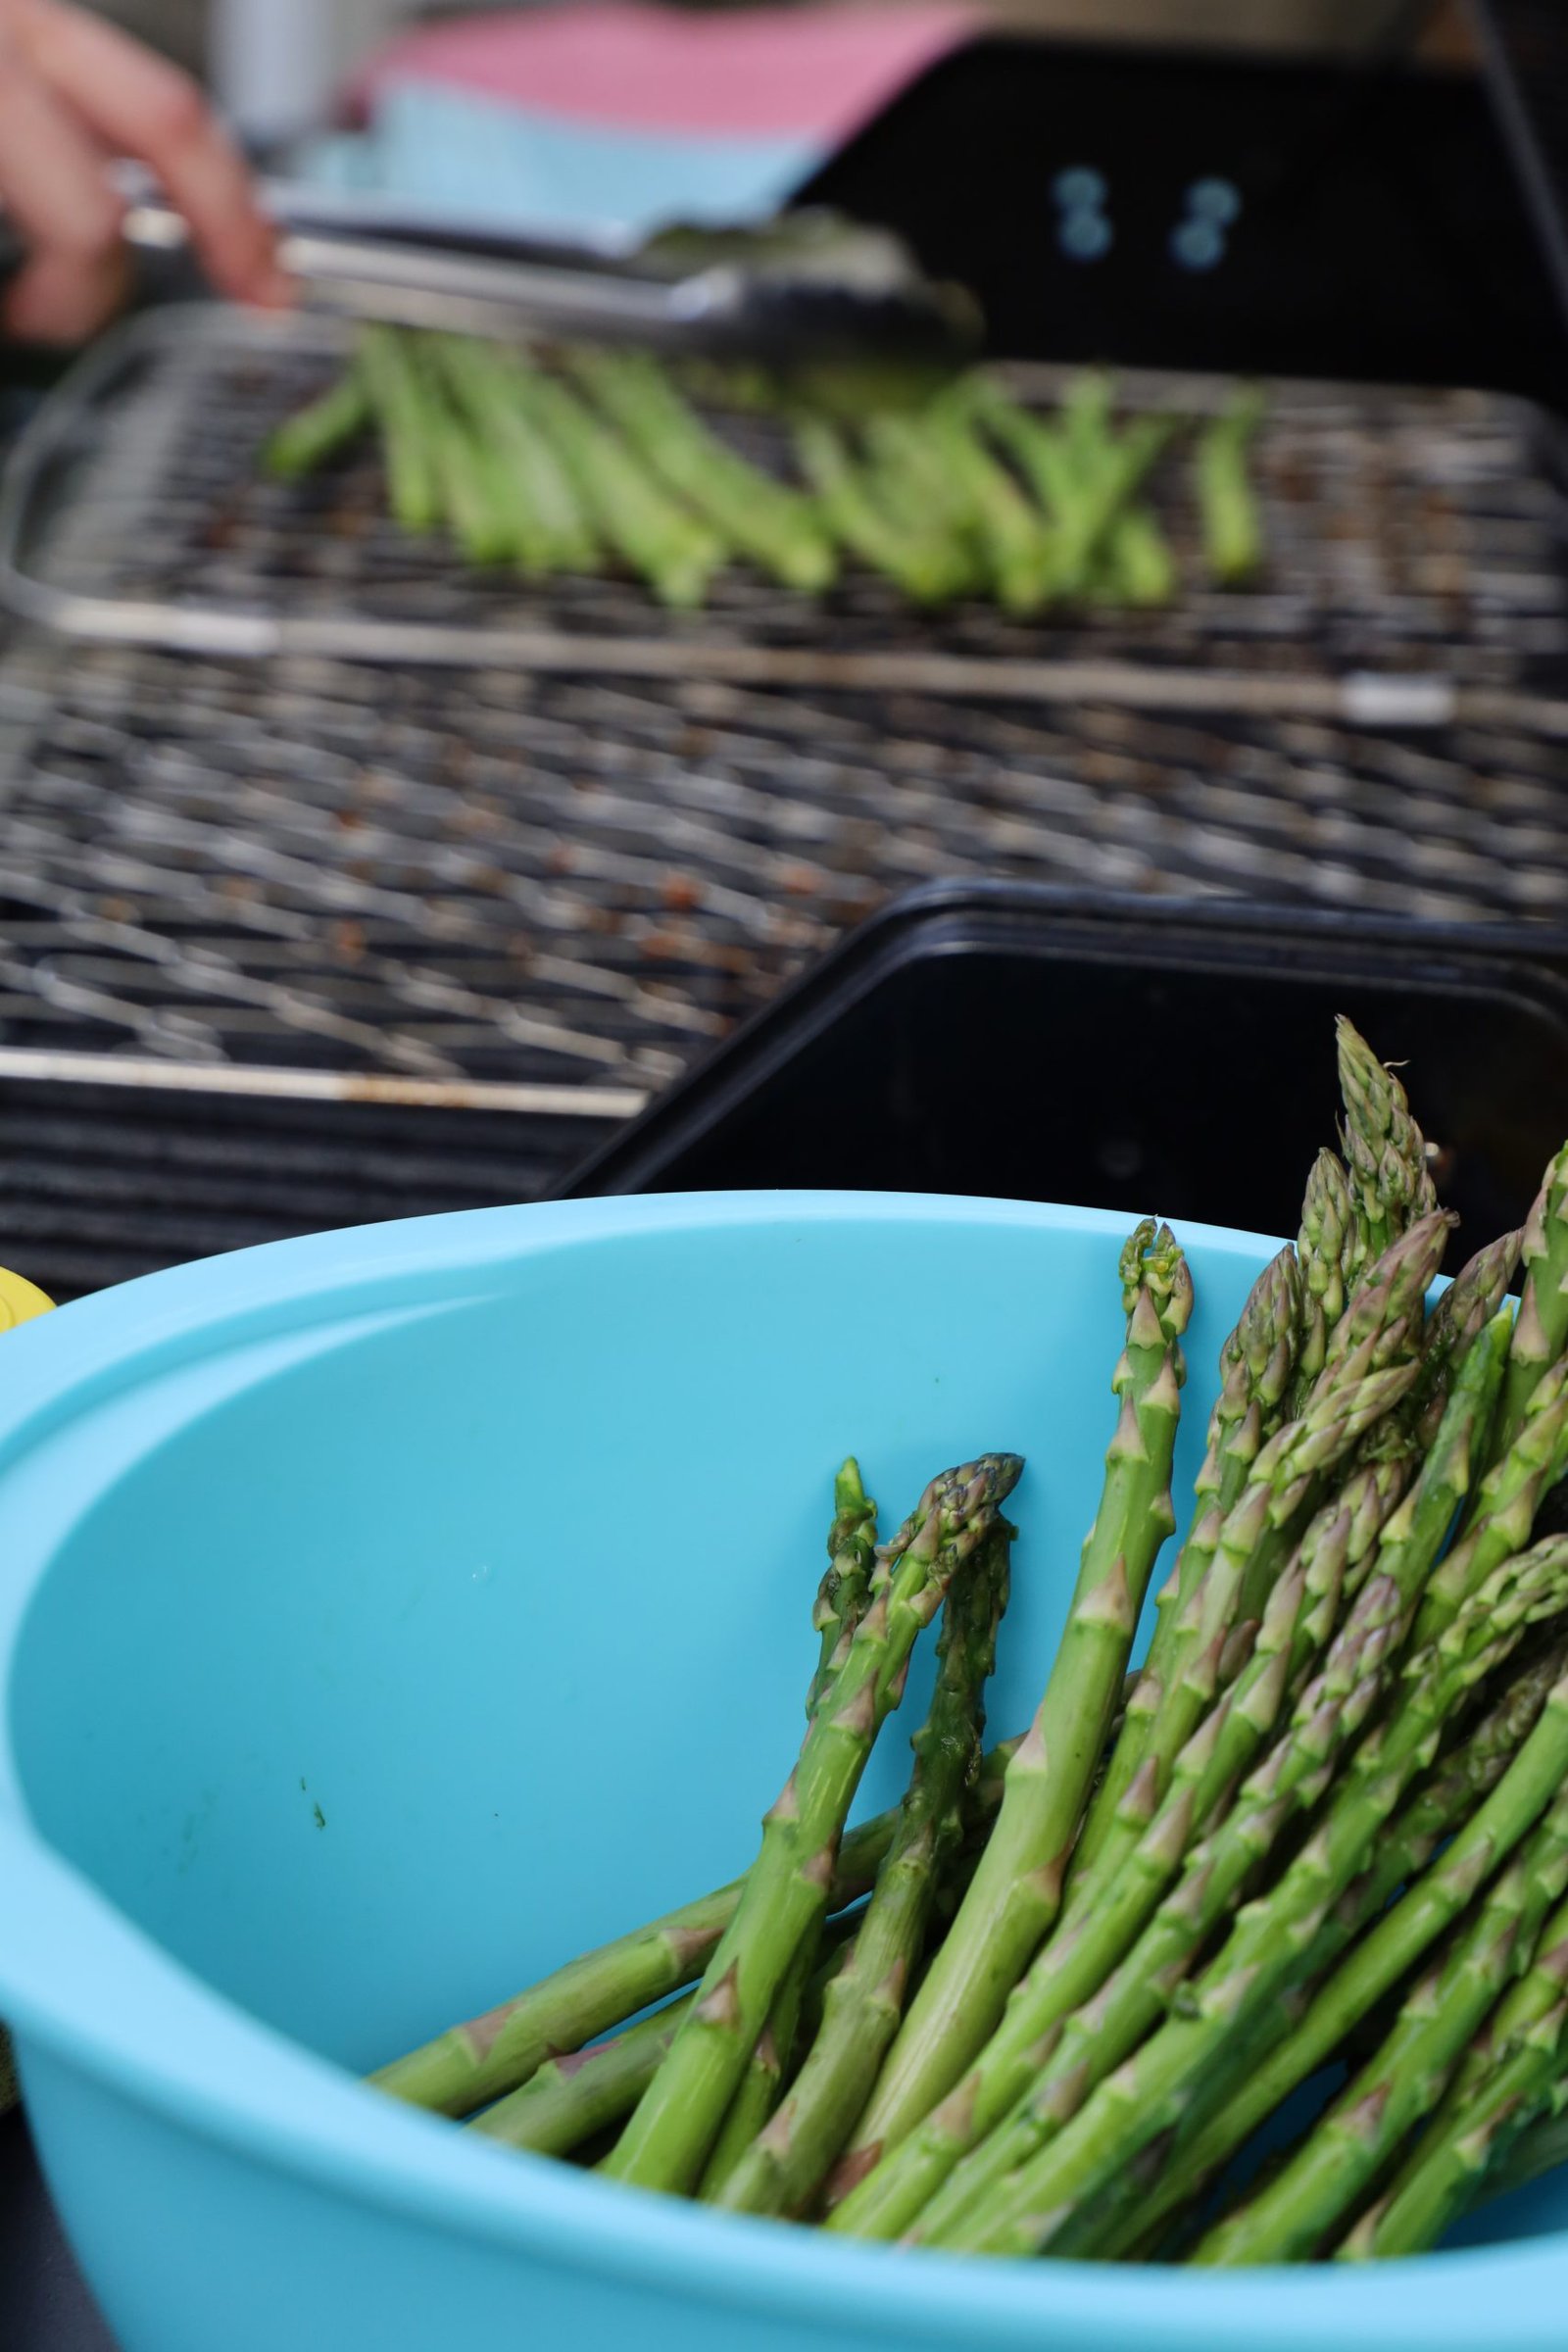
Here, we made some asparagus that was dressed with olive oil and dusted with some lemon pepper seasoning.
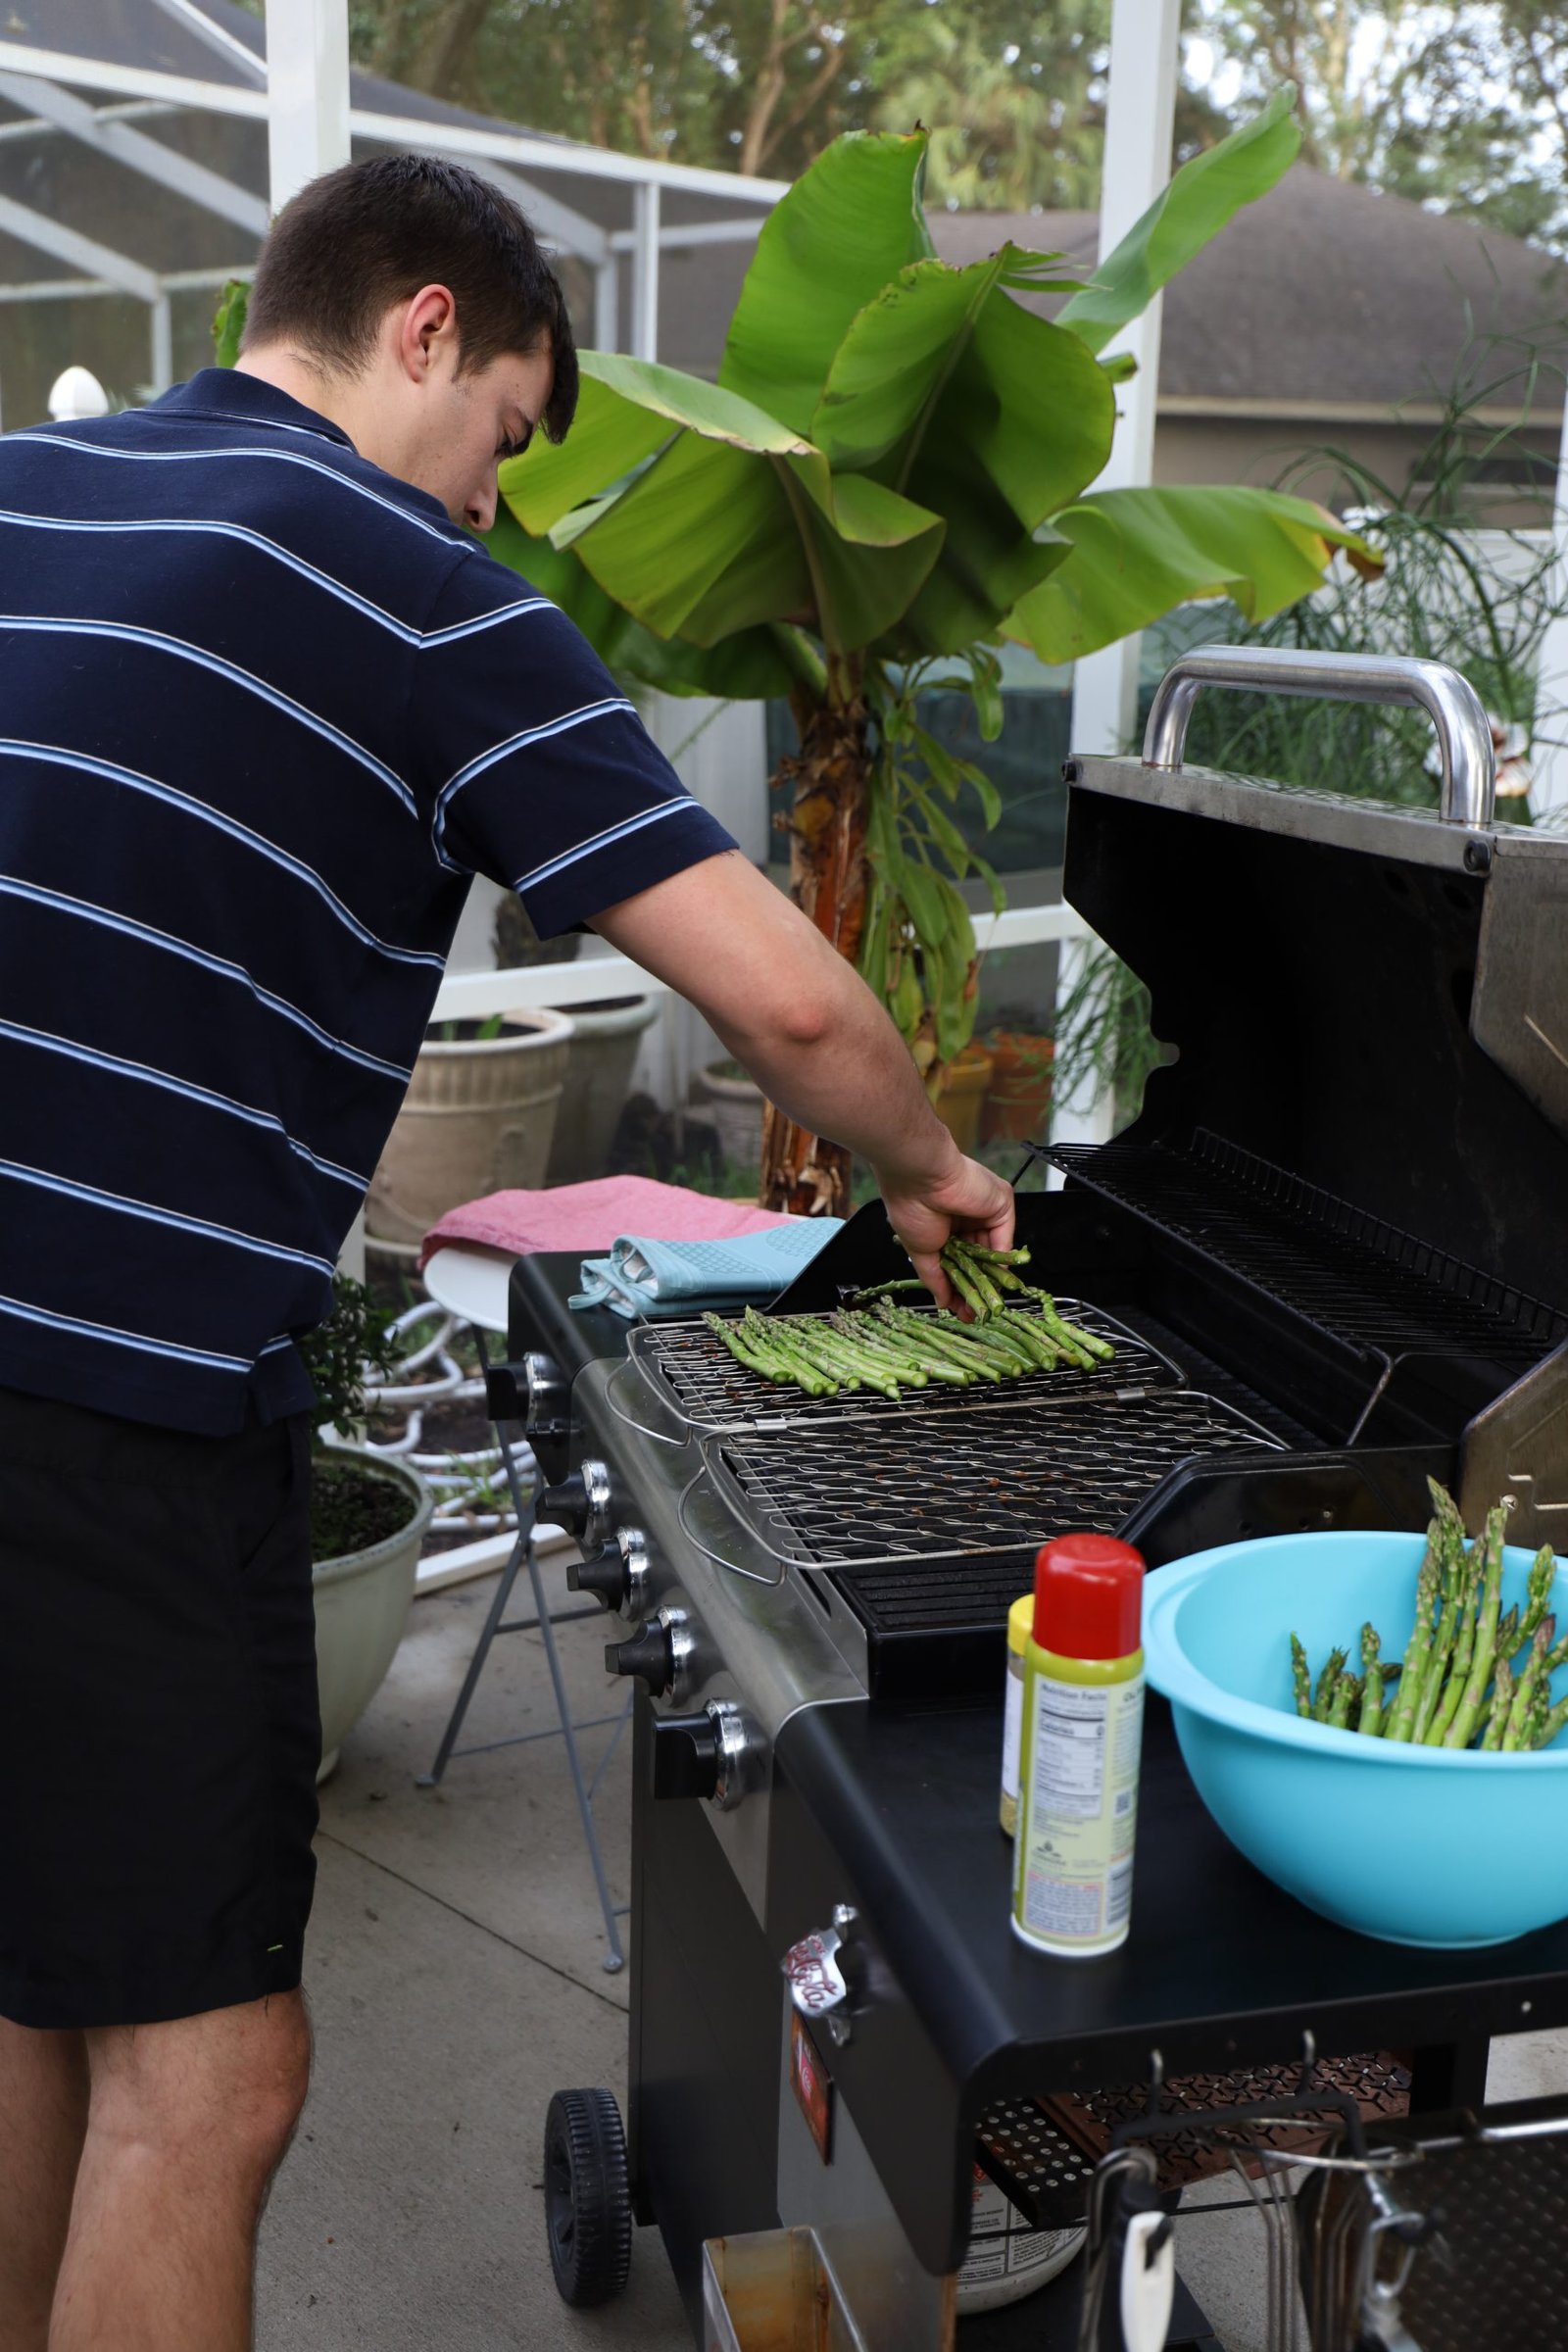
————————————————————–
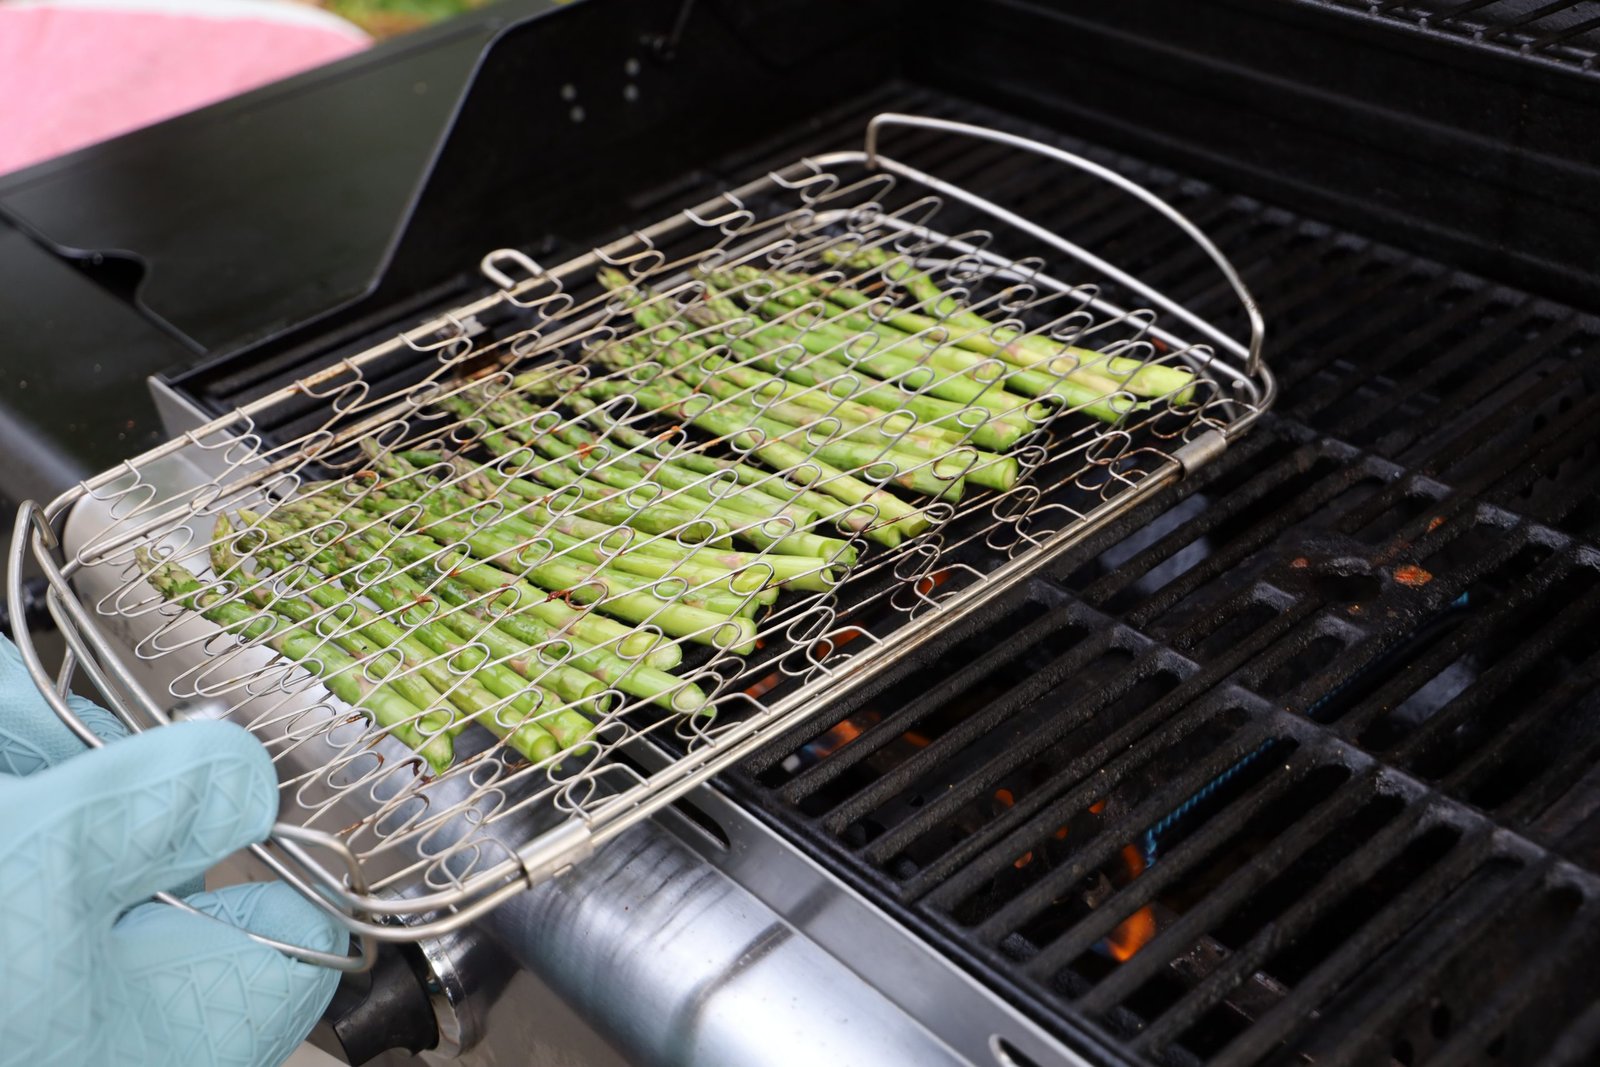
Clamp the basket together and cook the same way you did the Prosciutto wrapped ones.

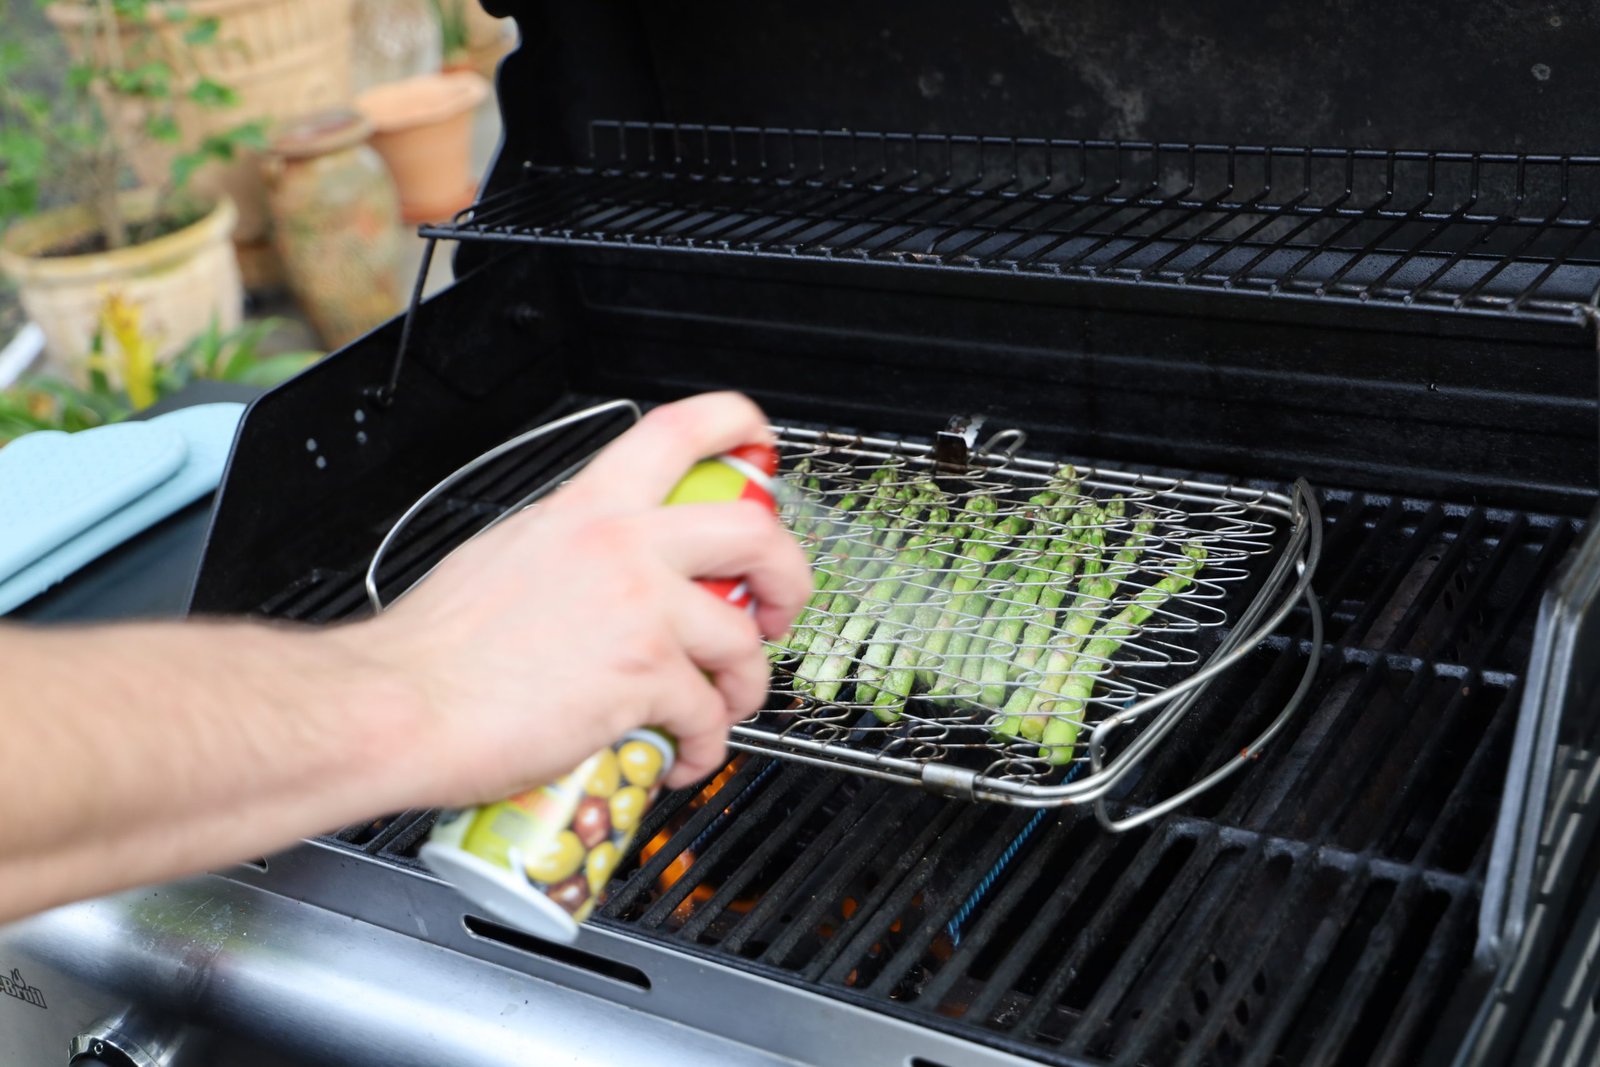
Spray with olive oil and re-season with more lemon pepper if needed. Cut three lemons in half and place the cut side down on the grill. Leave in place for about six minutes to obtain nice grill marks. Remove and use the lemon cuts to decorate your fish or asparagus platter. Squeeze the lemon juice over the salmon and asparagus for a great fresh citrus taste.

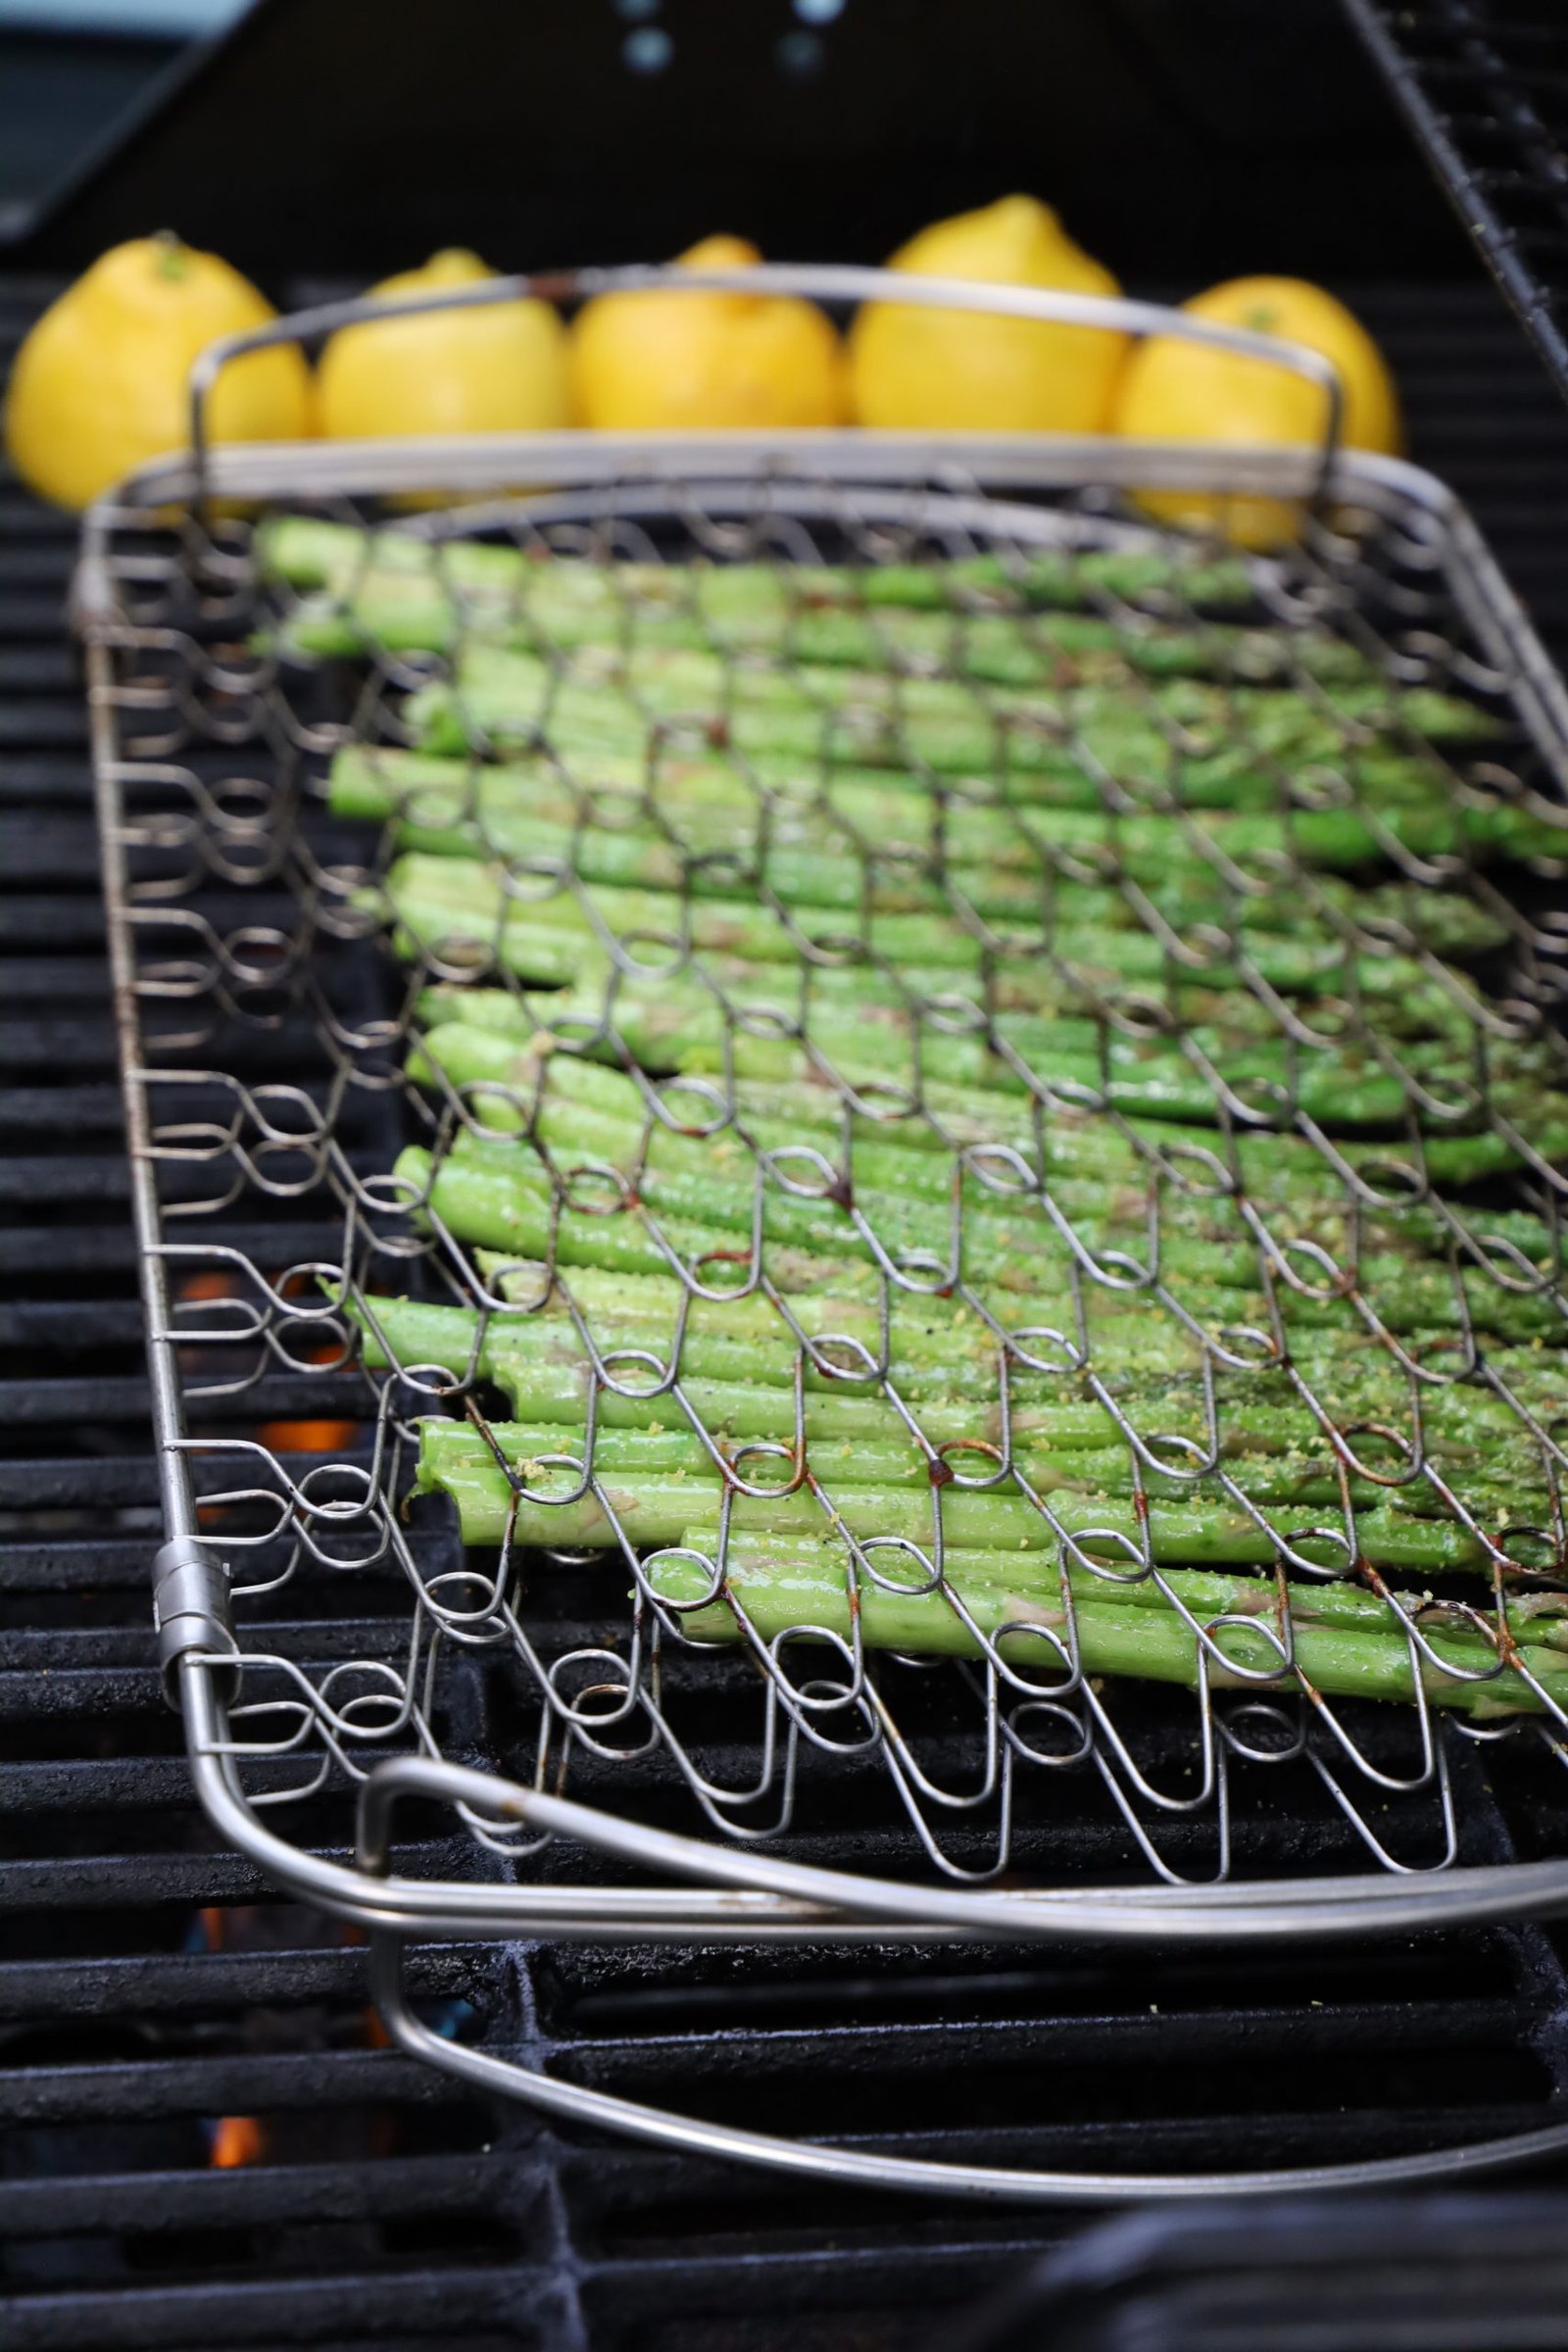
————————————————————–

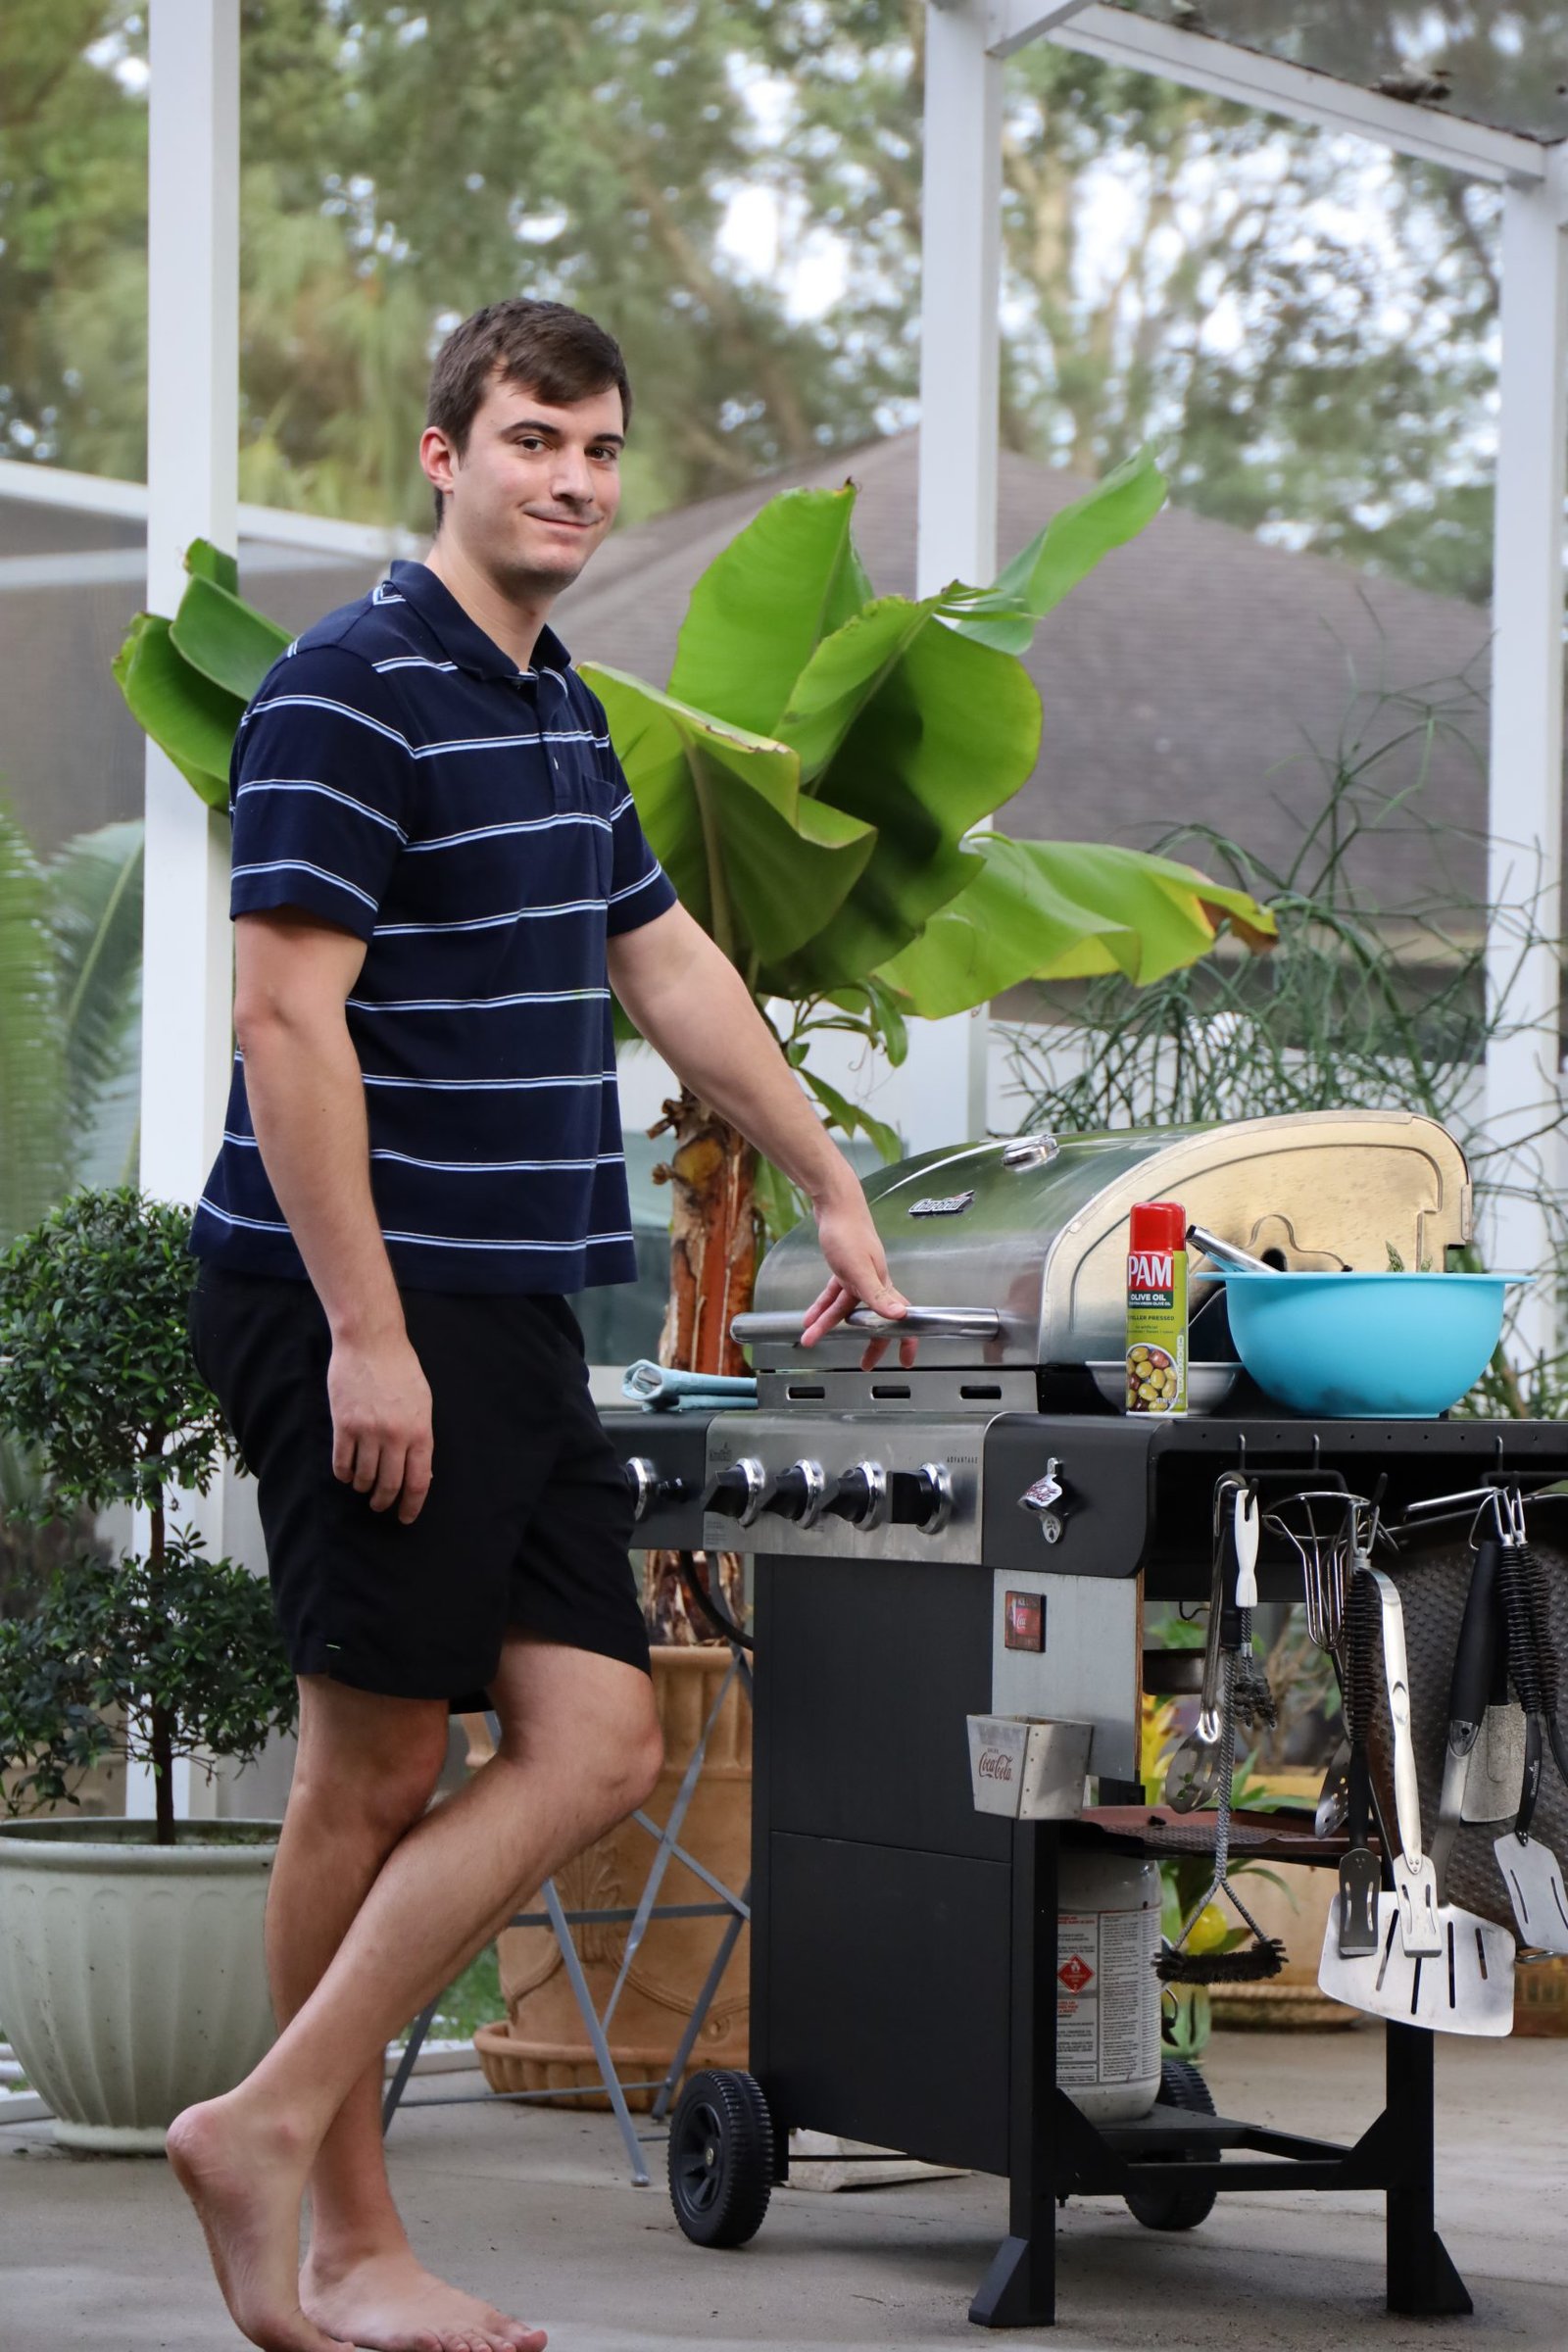
Brodie manning the grill!!!
I am so proud of how well he is using his immense skills to cook very challenging foods.

TIP: If you don’t have a grilling basket, you can use a cookie drying rack instead. The cookie racks wire mesh won’t allow the asparagus to fall through the grill grates.
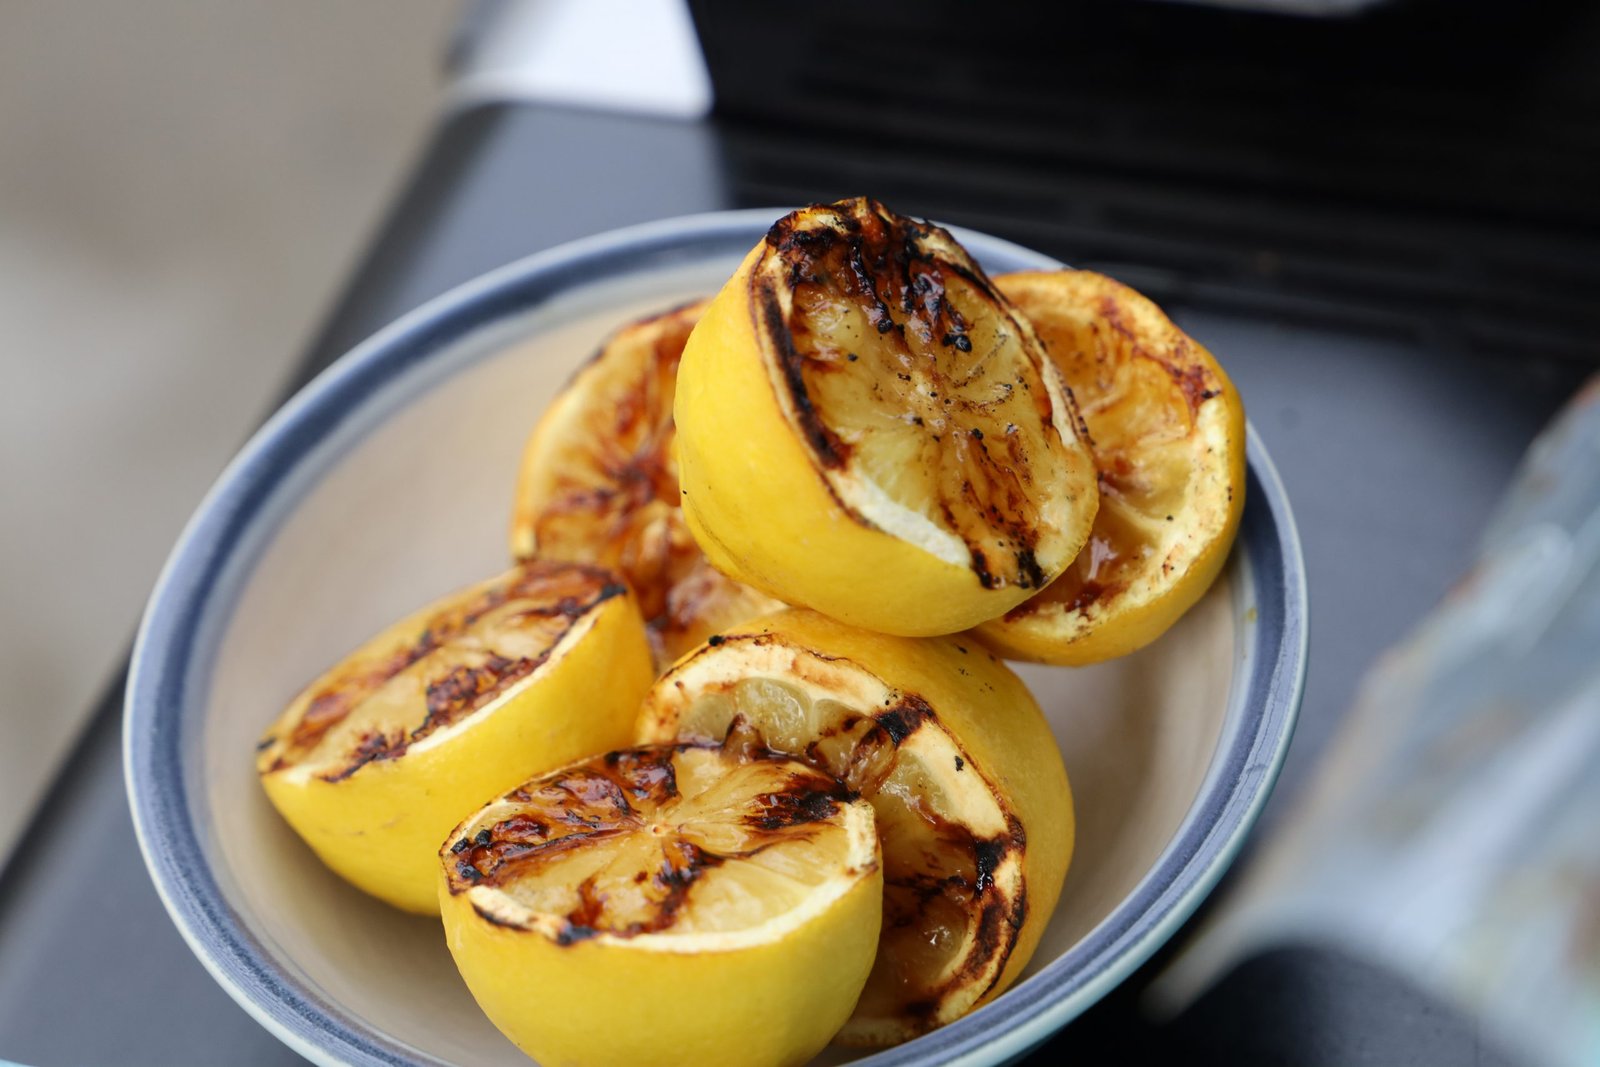
Here are the grilled lemon halves with nice grill marks!
——————————————————————
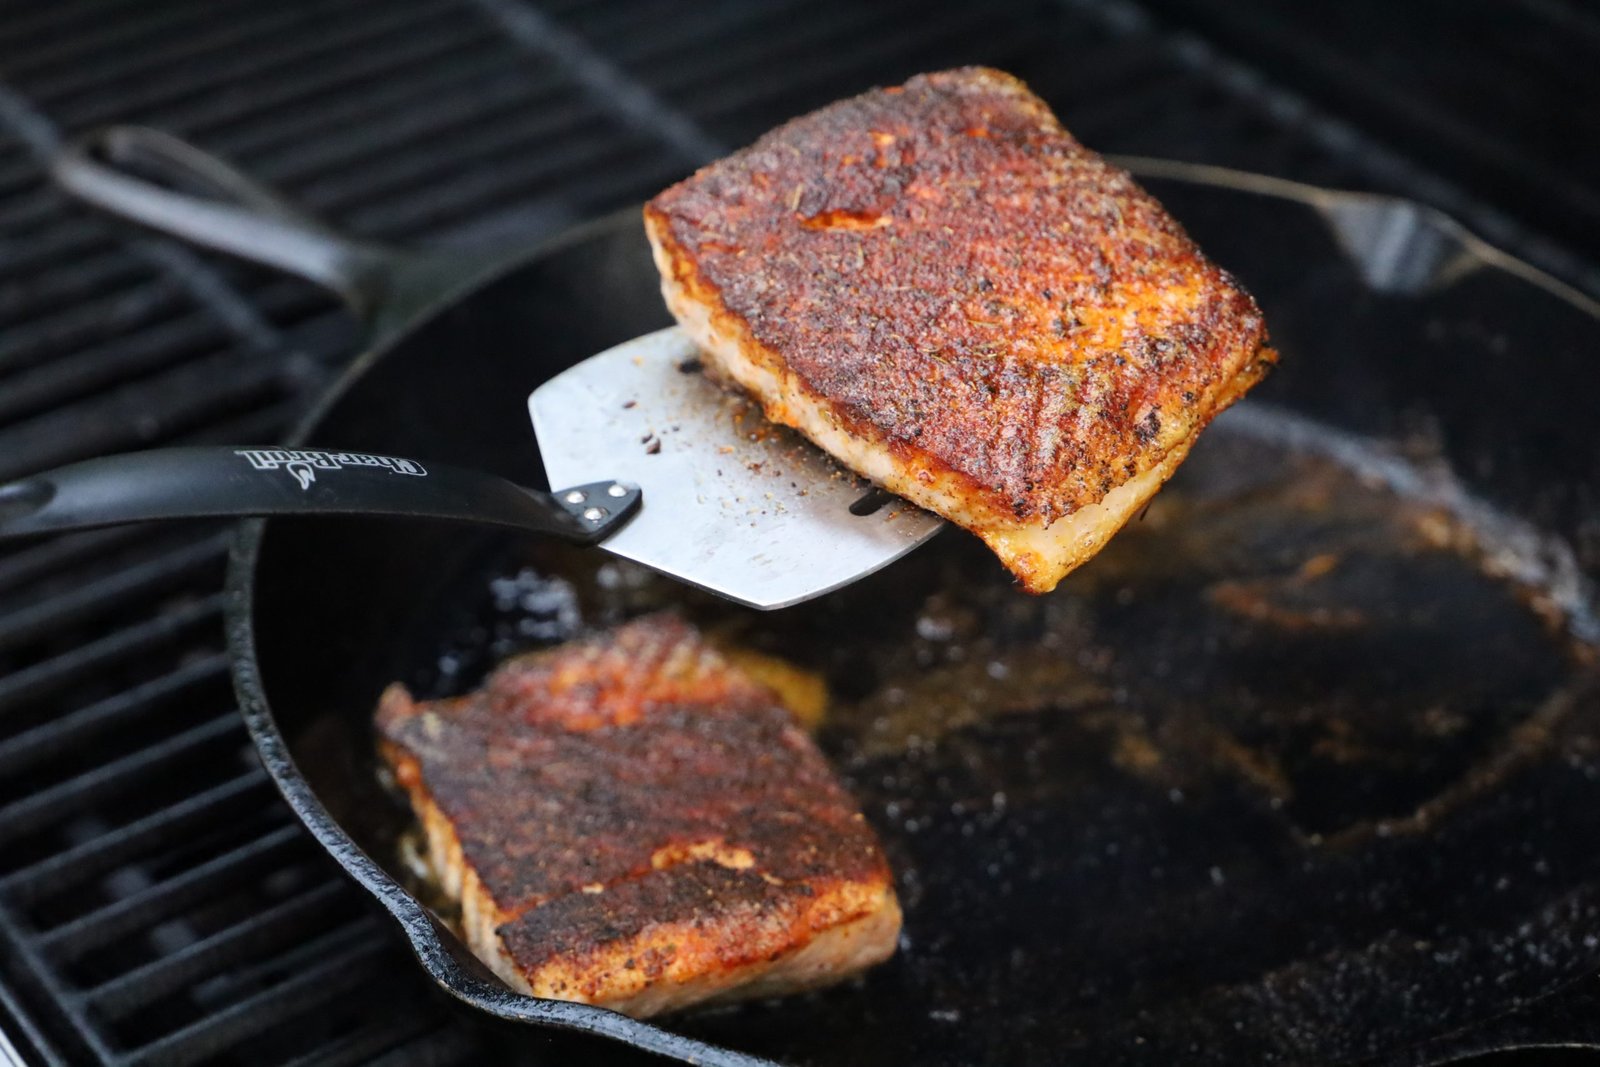
Blackened Salmon
Ingredients:
1 Lb. of Salmon Fillets
8 Tbsp. butter- melted
3-4 Tbsp. Blackened Seasoning – We used both Old Bay’s and Cajun’s Choice brand of blackened seasoning.


I melted the butter in a large pan on the side burner on my grill.

Here are the thin salmon fillets, which work best when blackened.


Brodie is removing some scales he found.
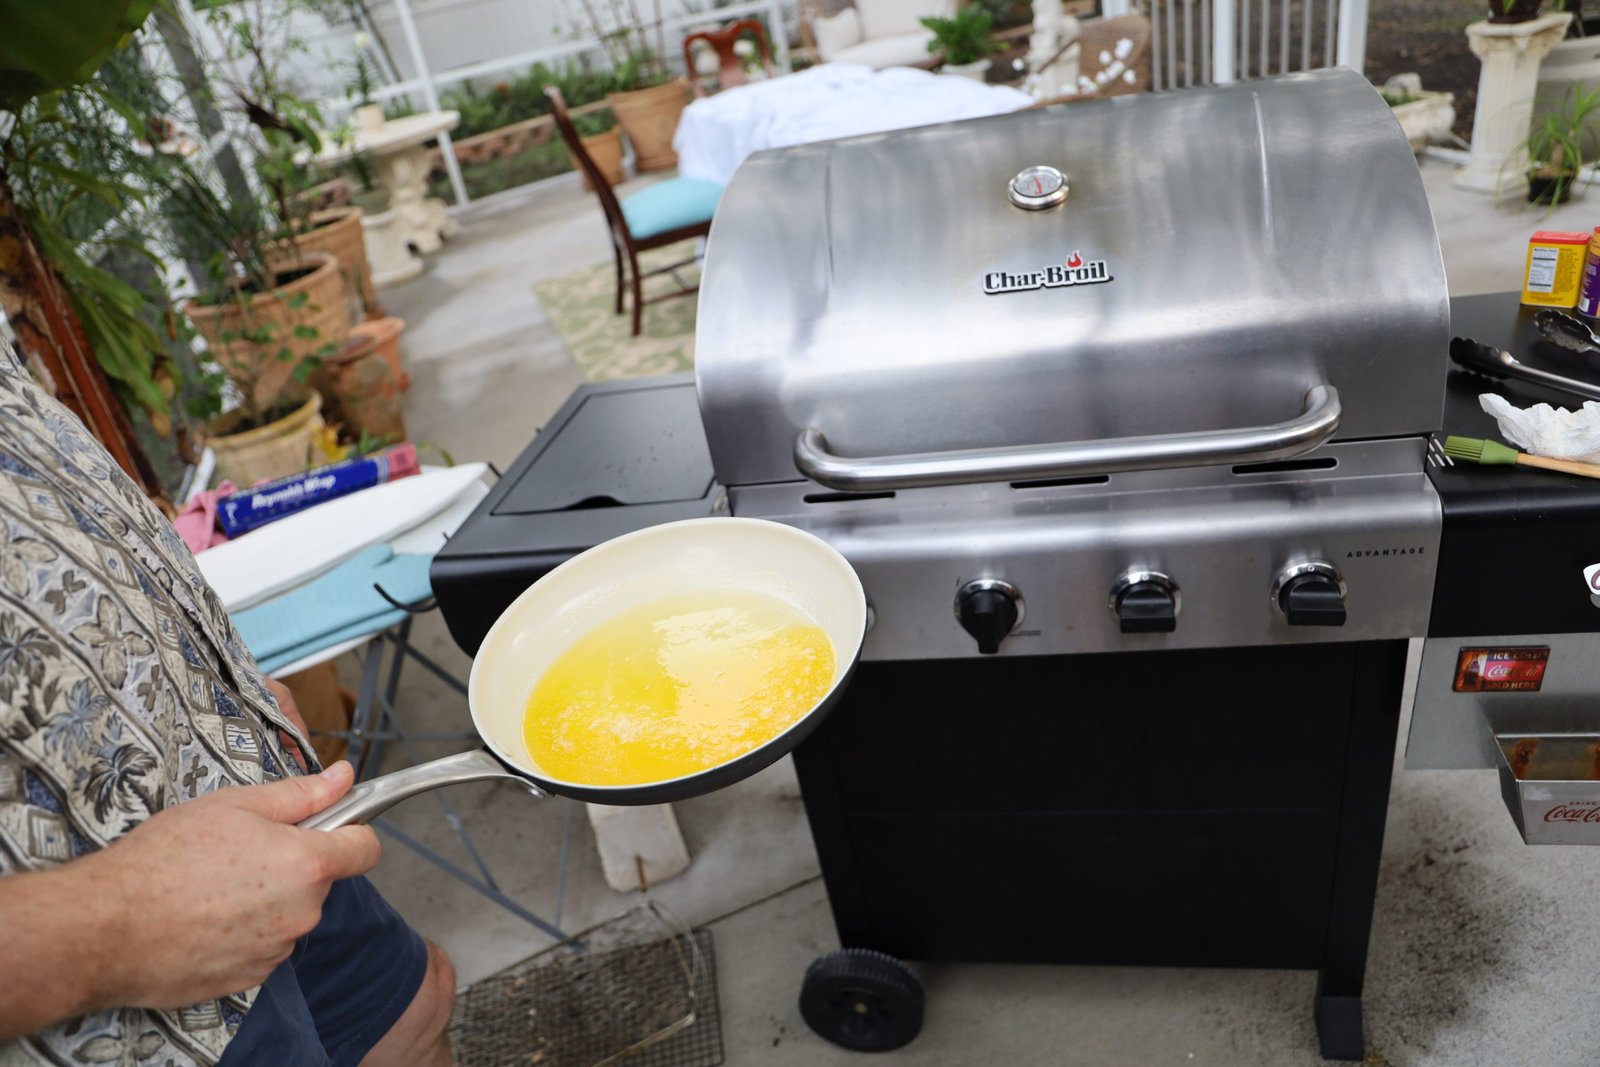
————————————————————–

Remove the butter to slightly cool before placing the fillets in it. This is because you don’t want the butter to cook the salmon.

———————————————————–


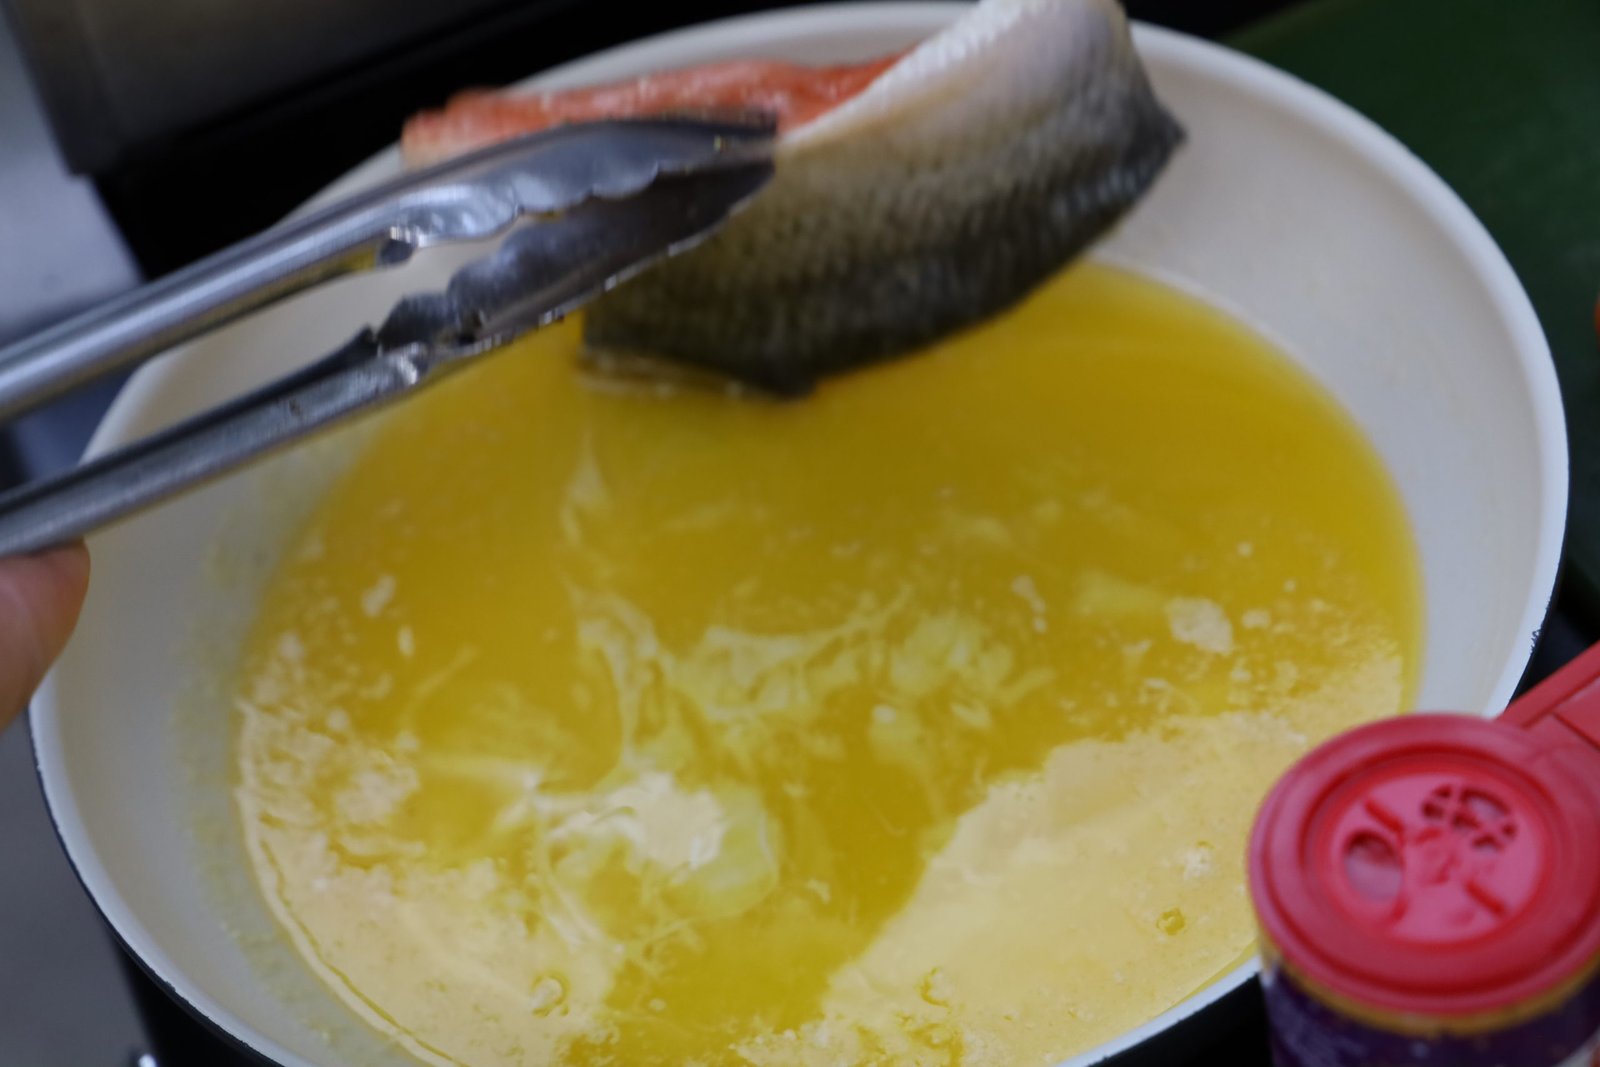
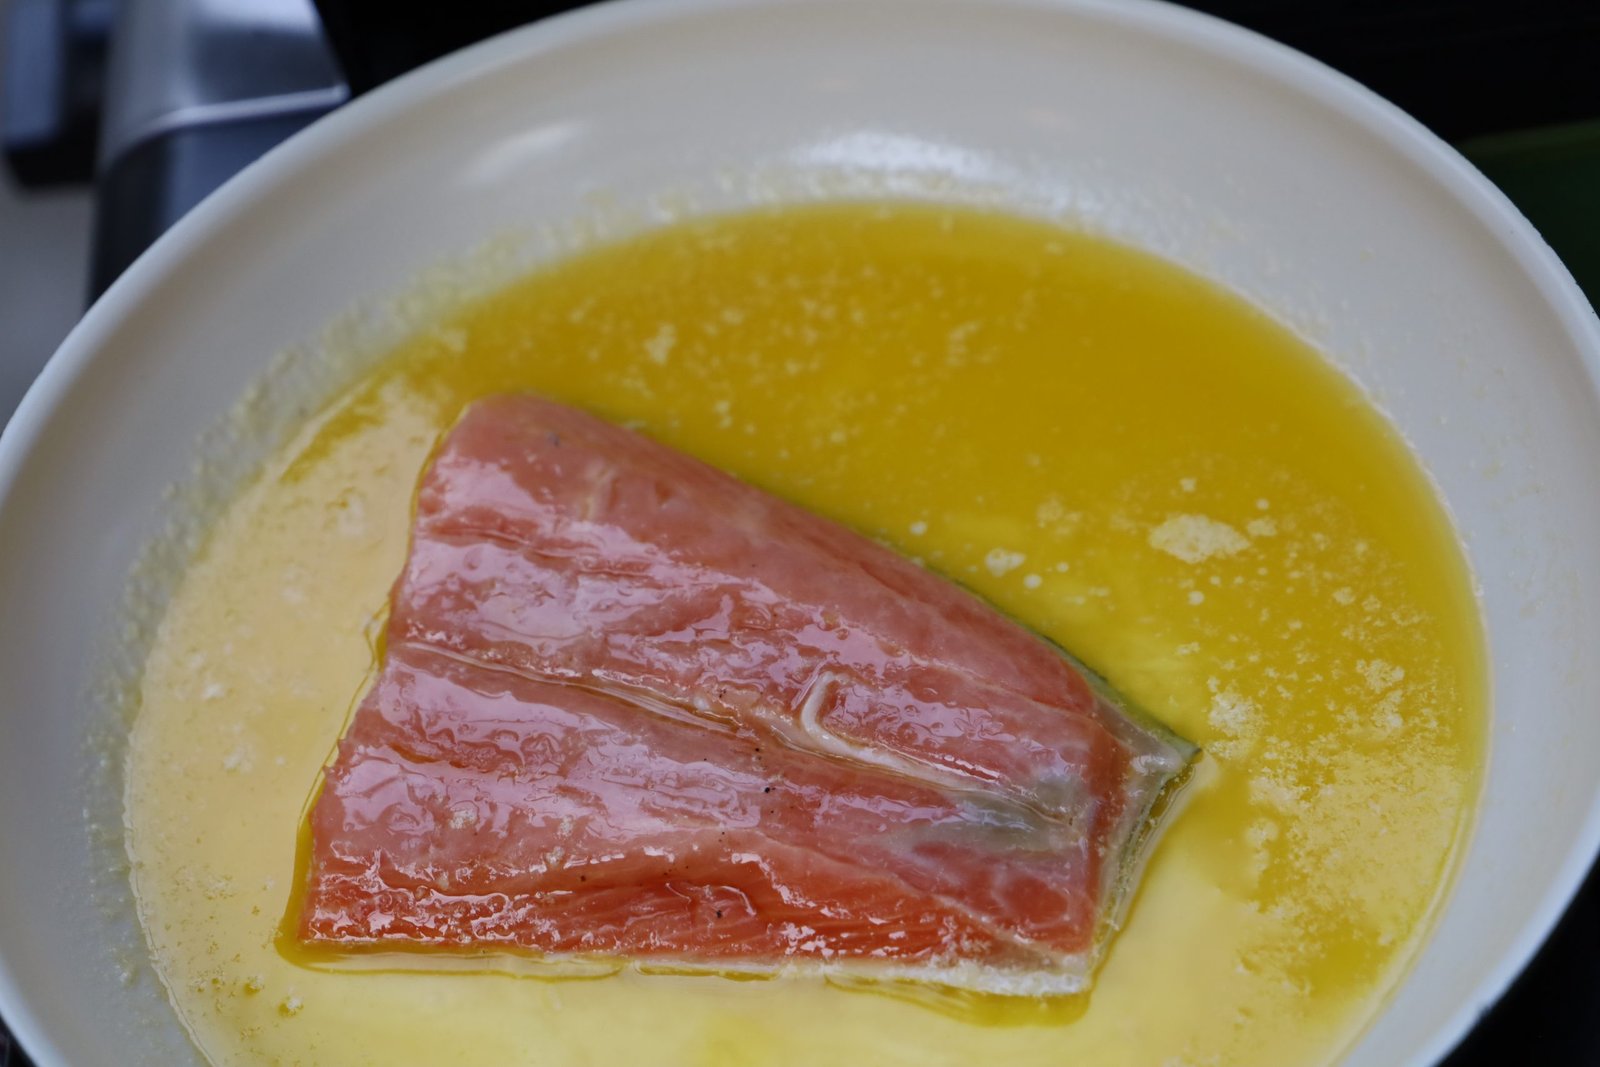
Place the meat side of the fillet in the just warm butter first, then flip the fillet over as shown.

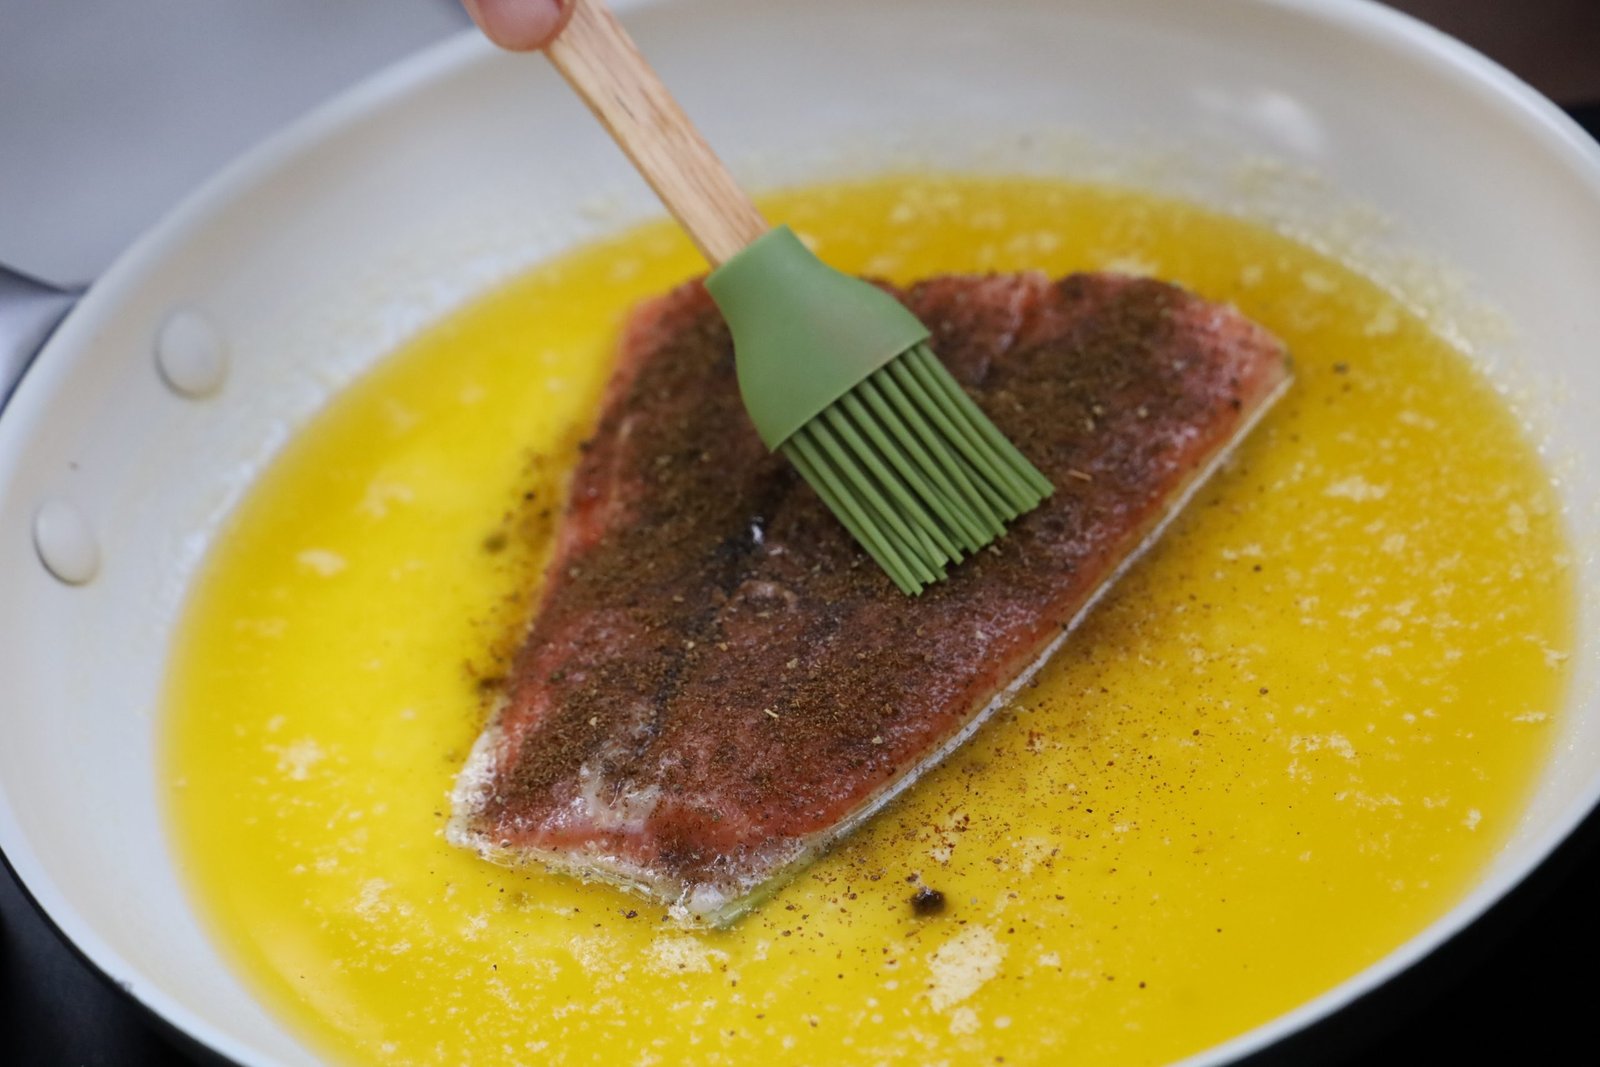

Heavily season the fillet with the blackened seasoning and use a brush to push it onto the fillet.
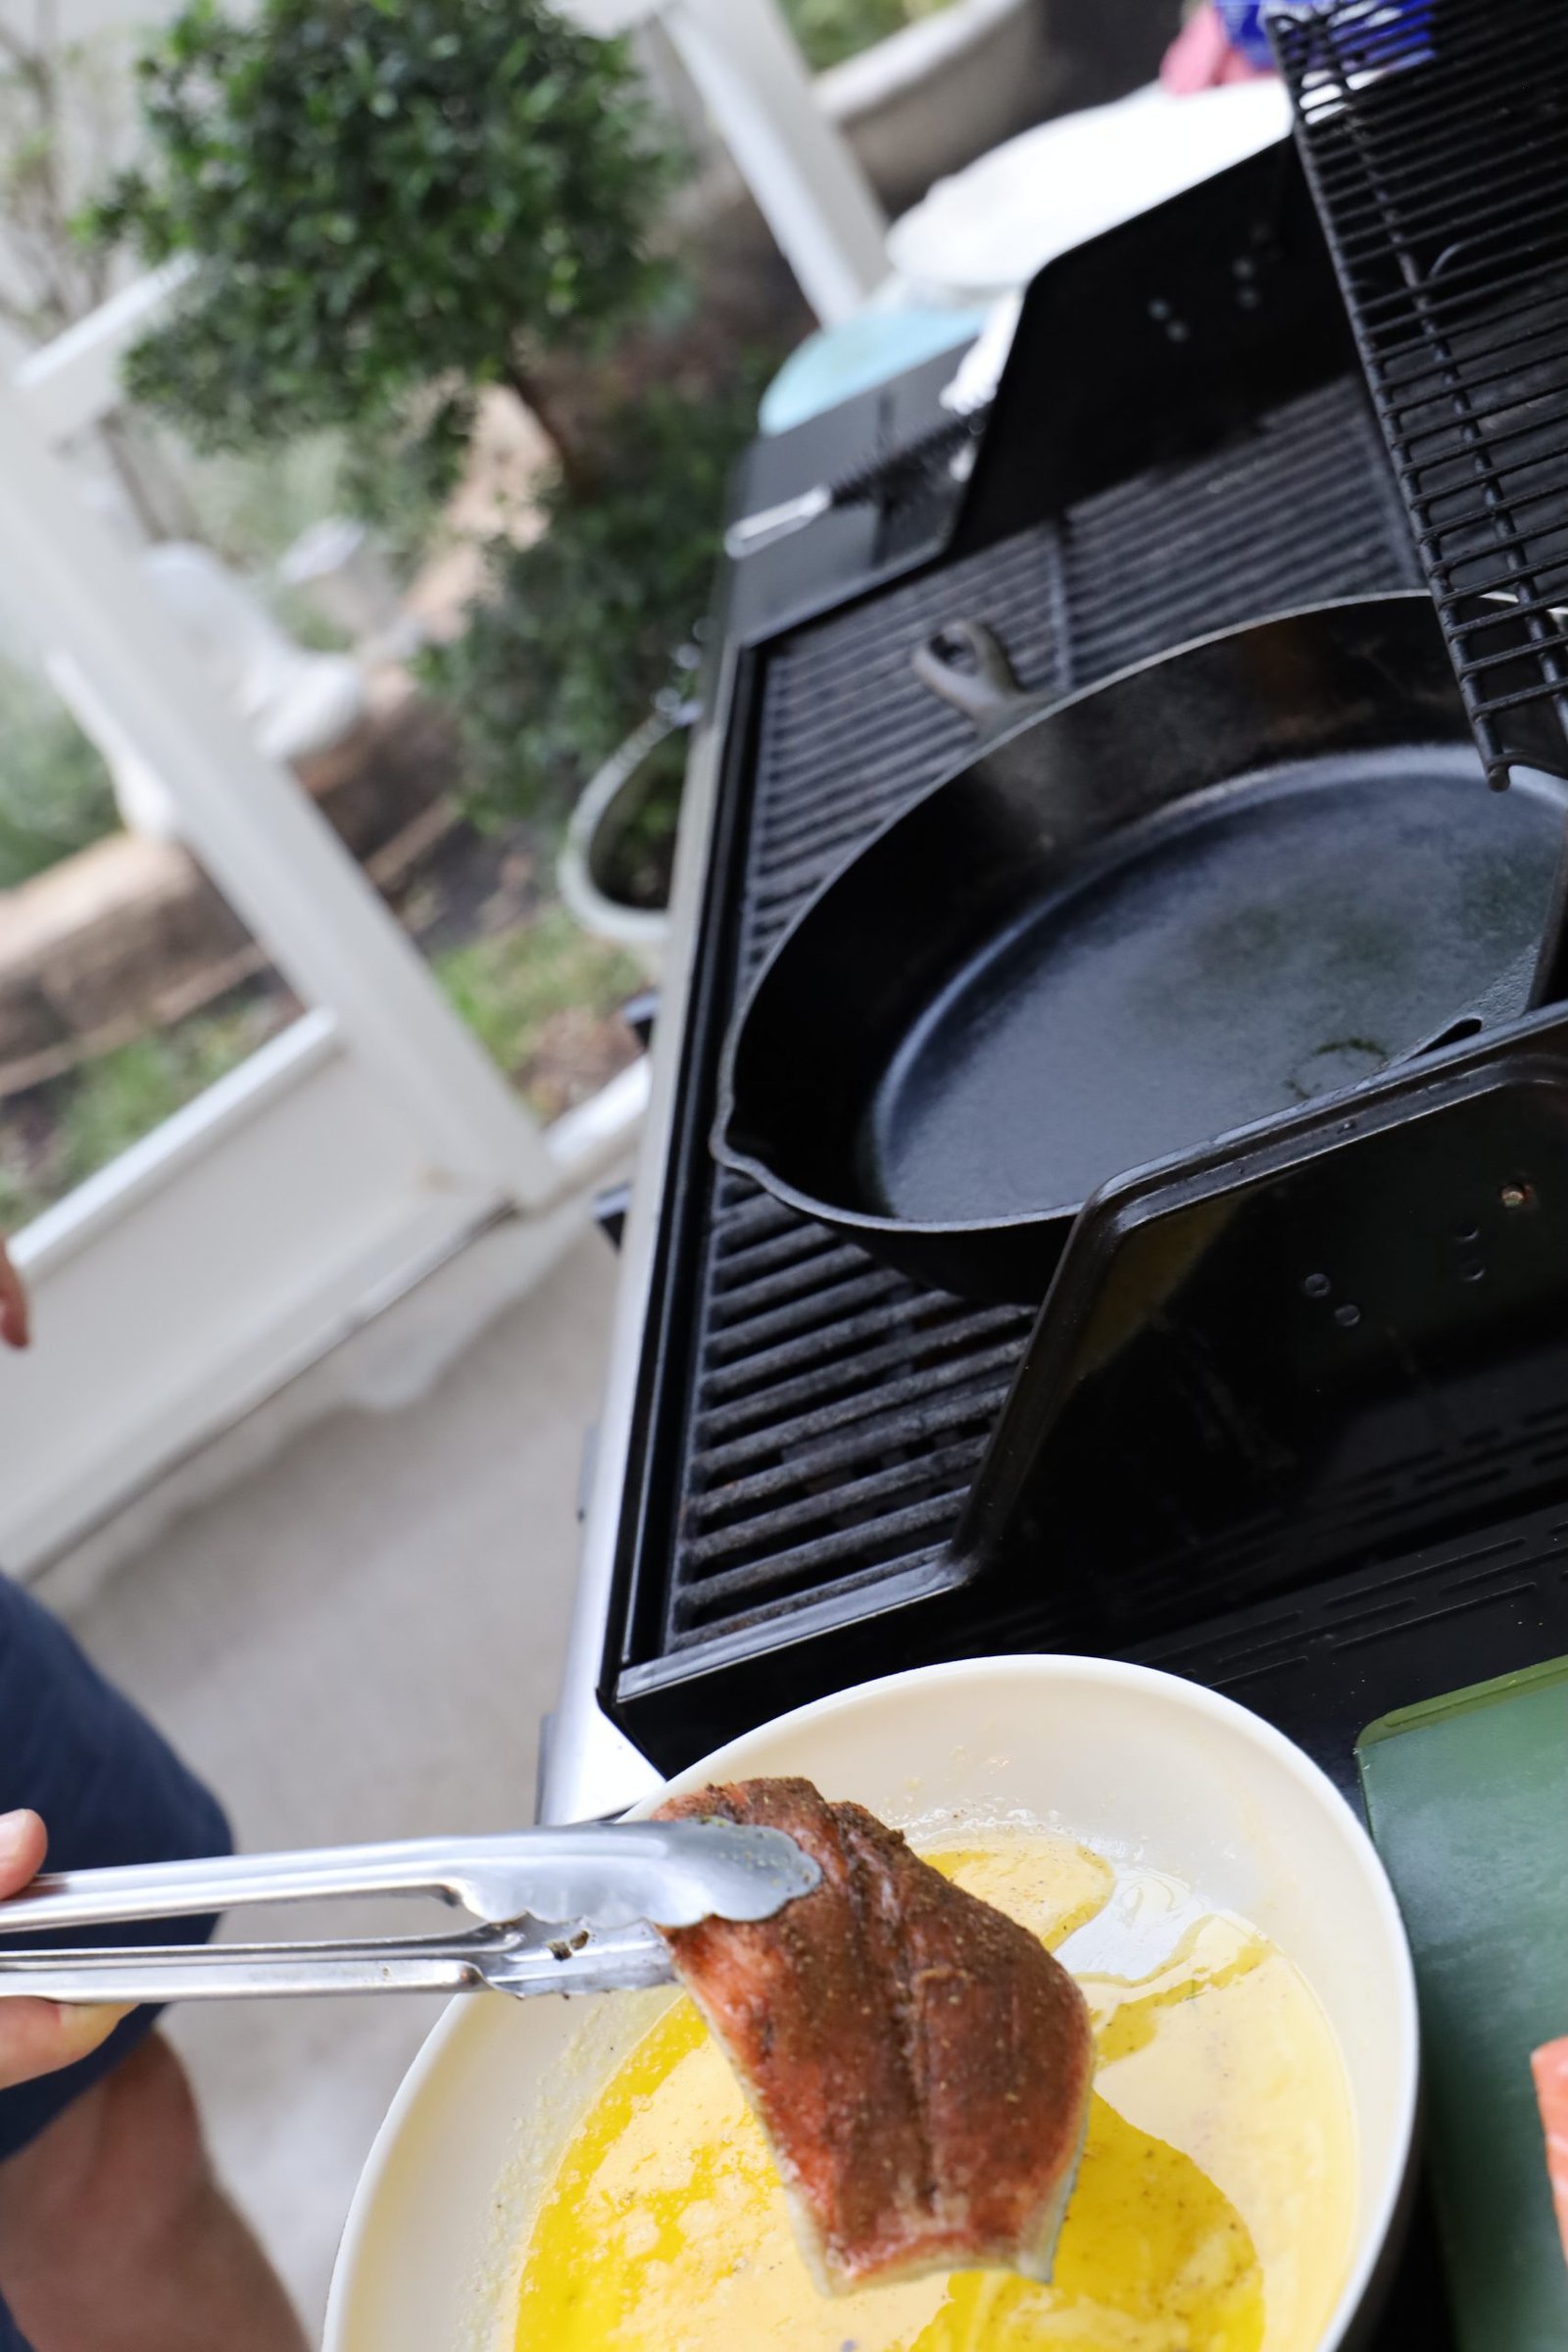
Place an ungreased cast iron skillet onto your grill and turn on the flame all the way up on all burners and close the lid. Let the grill heat to its highest temperature… about 10 minutes. Place your salmon fillet meat side down onto the cast iron skillet for about 2 minutes.

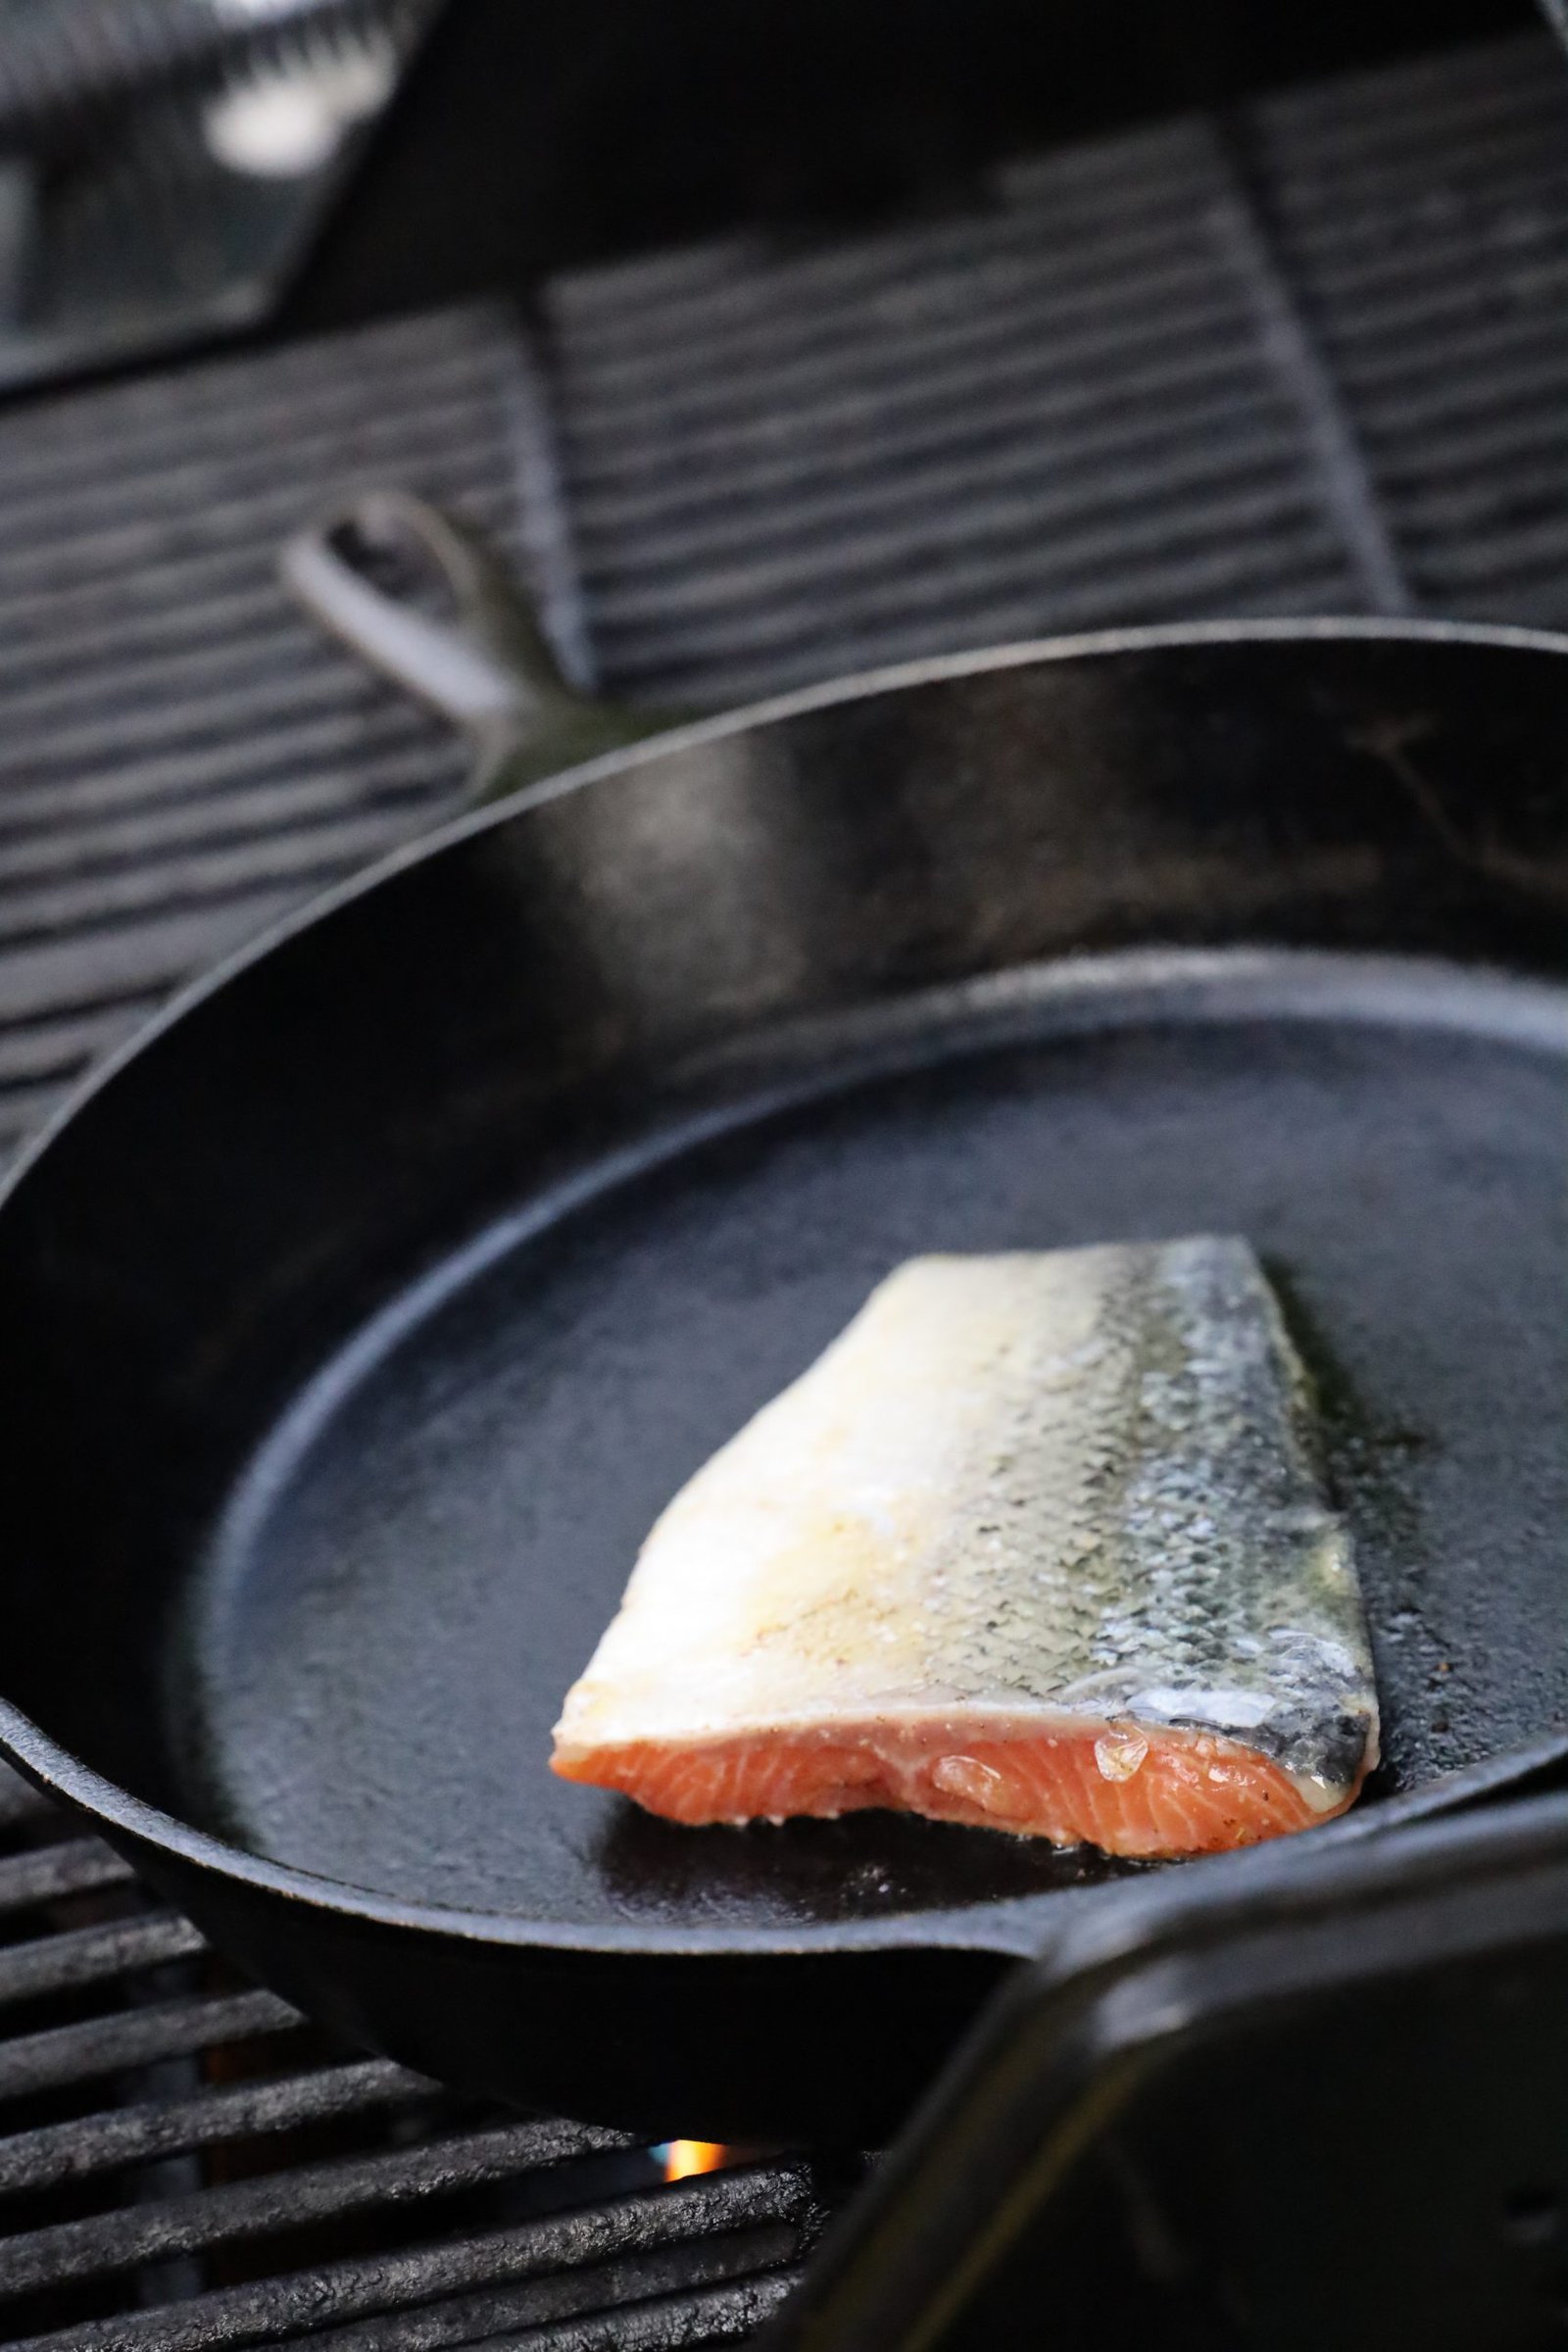
Close the lid and let the burners, still set on high, cook the fillet.
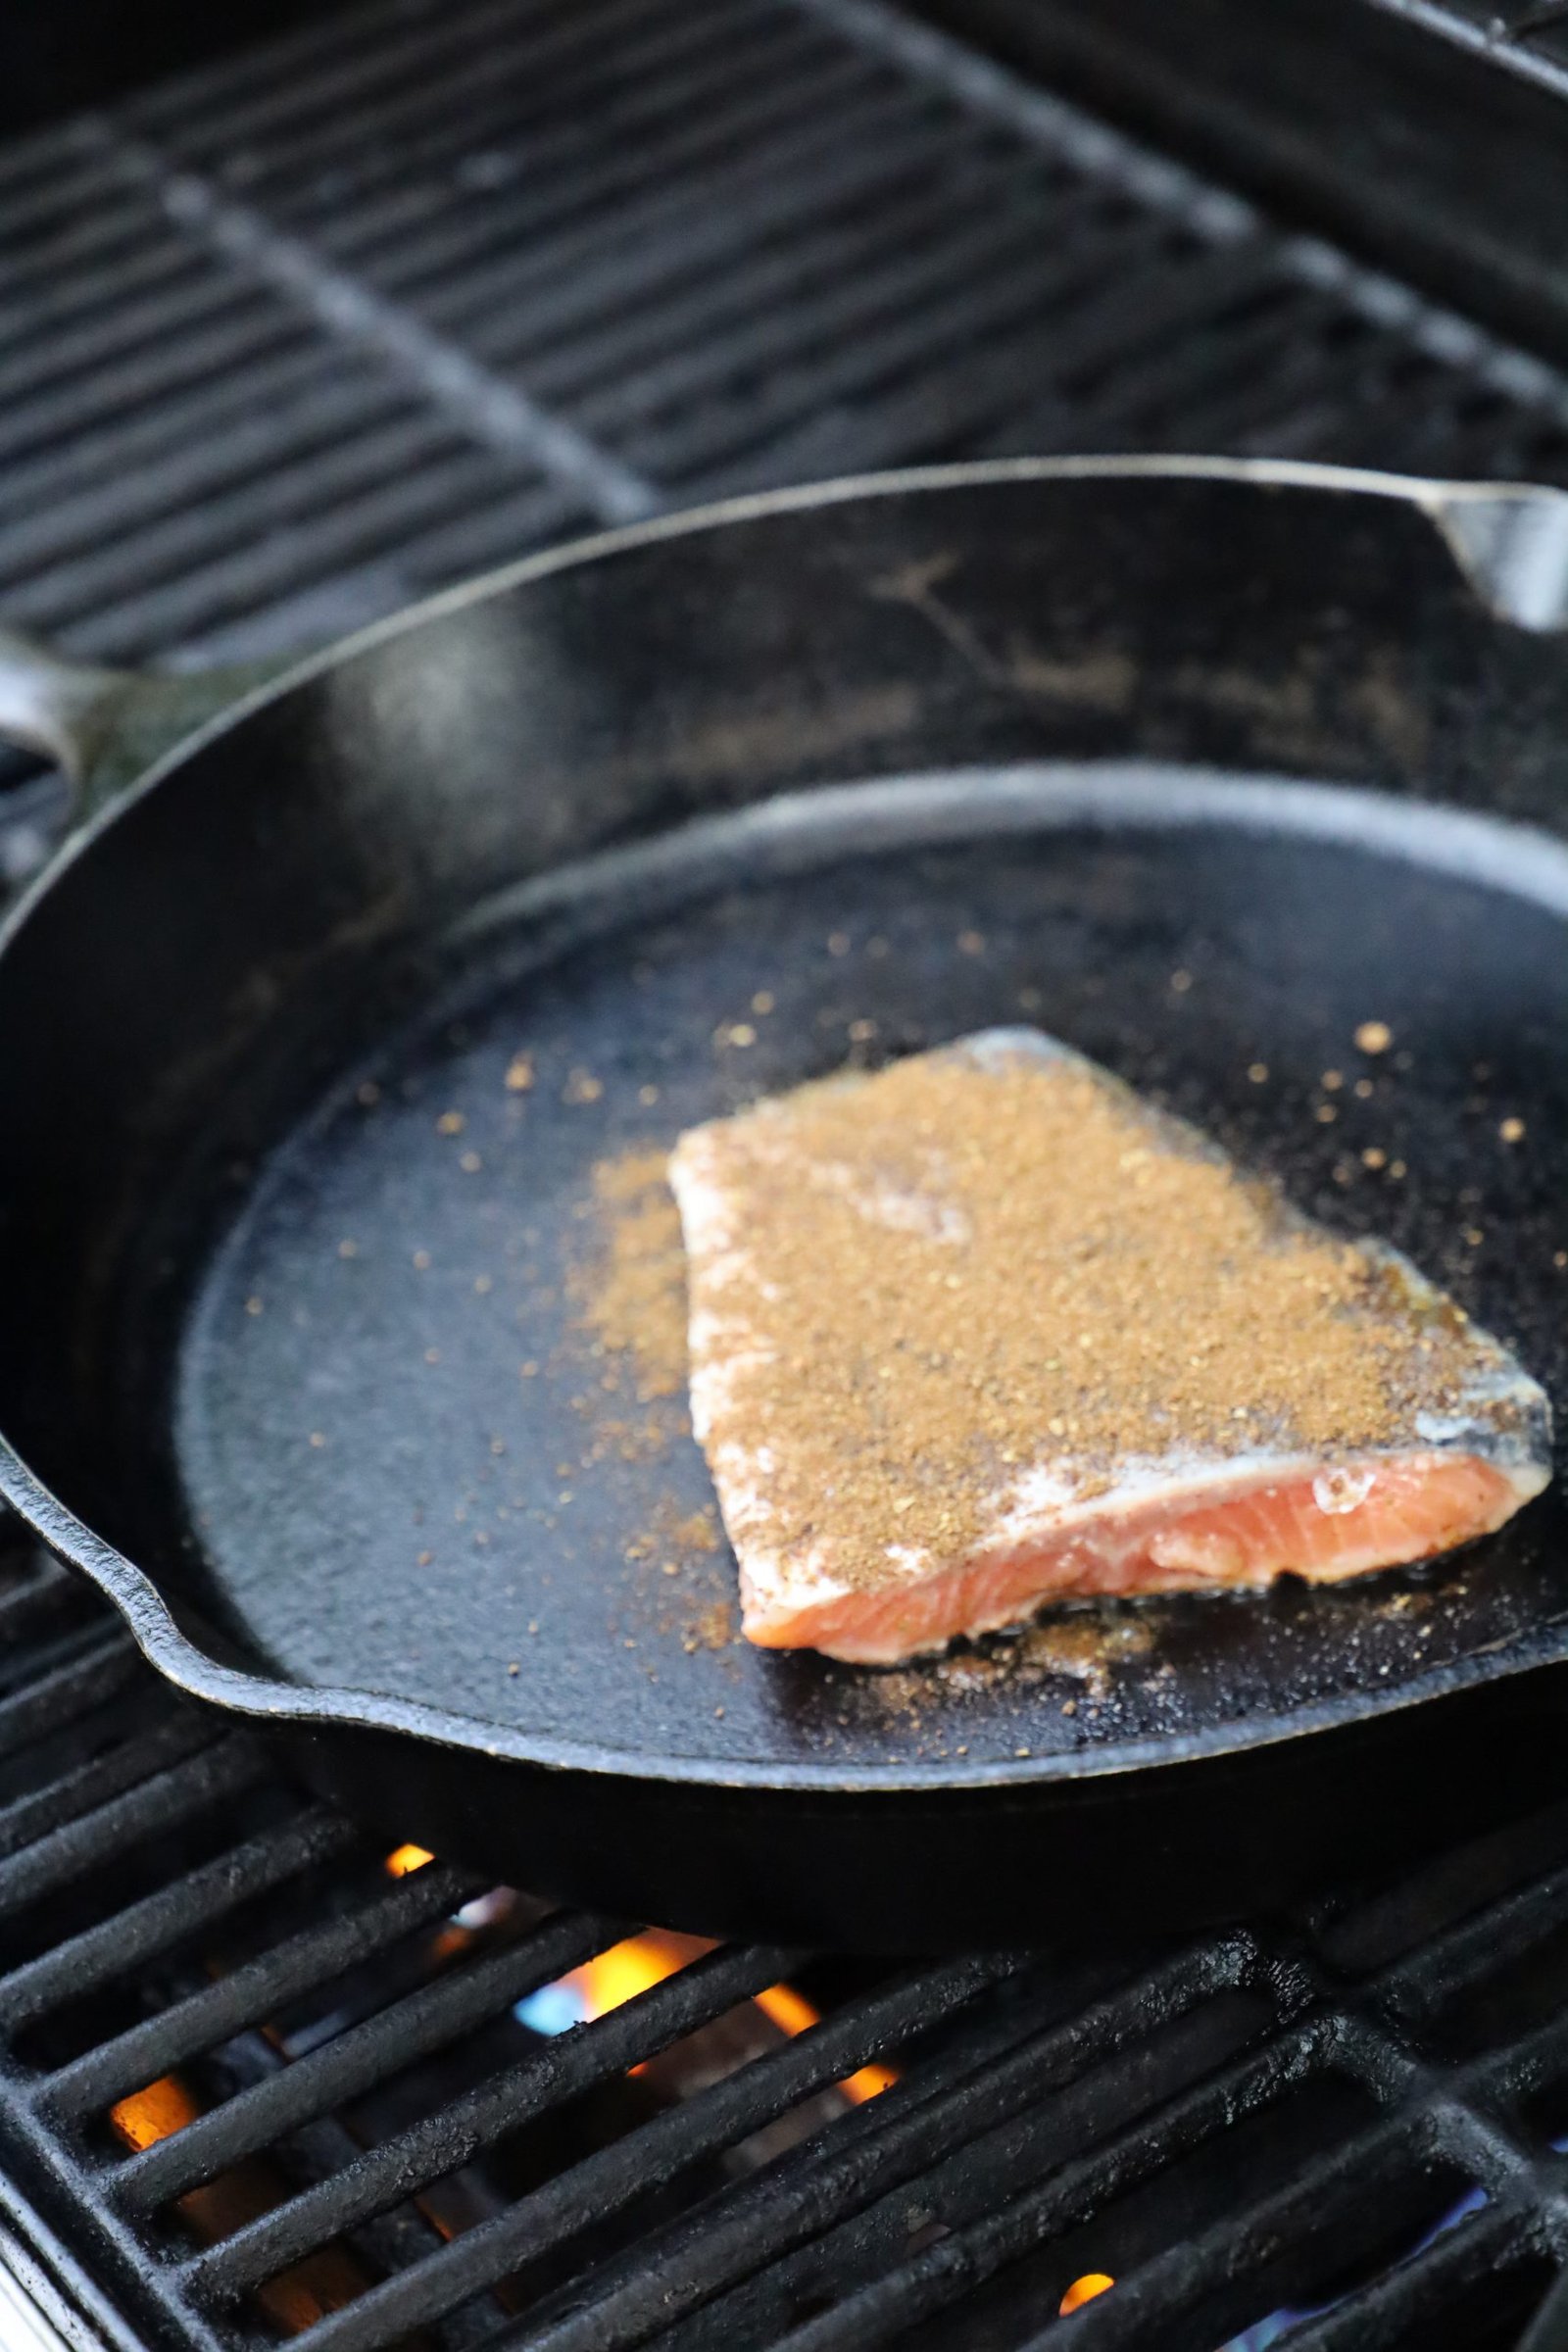

Sprinkle the skin side of the fillet with your blackened seasoning.
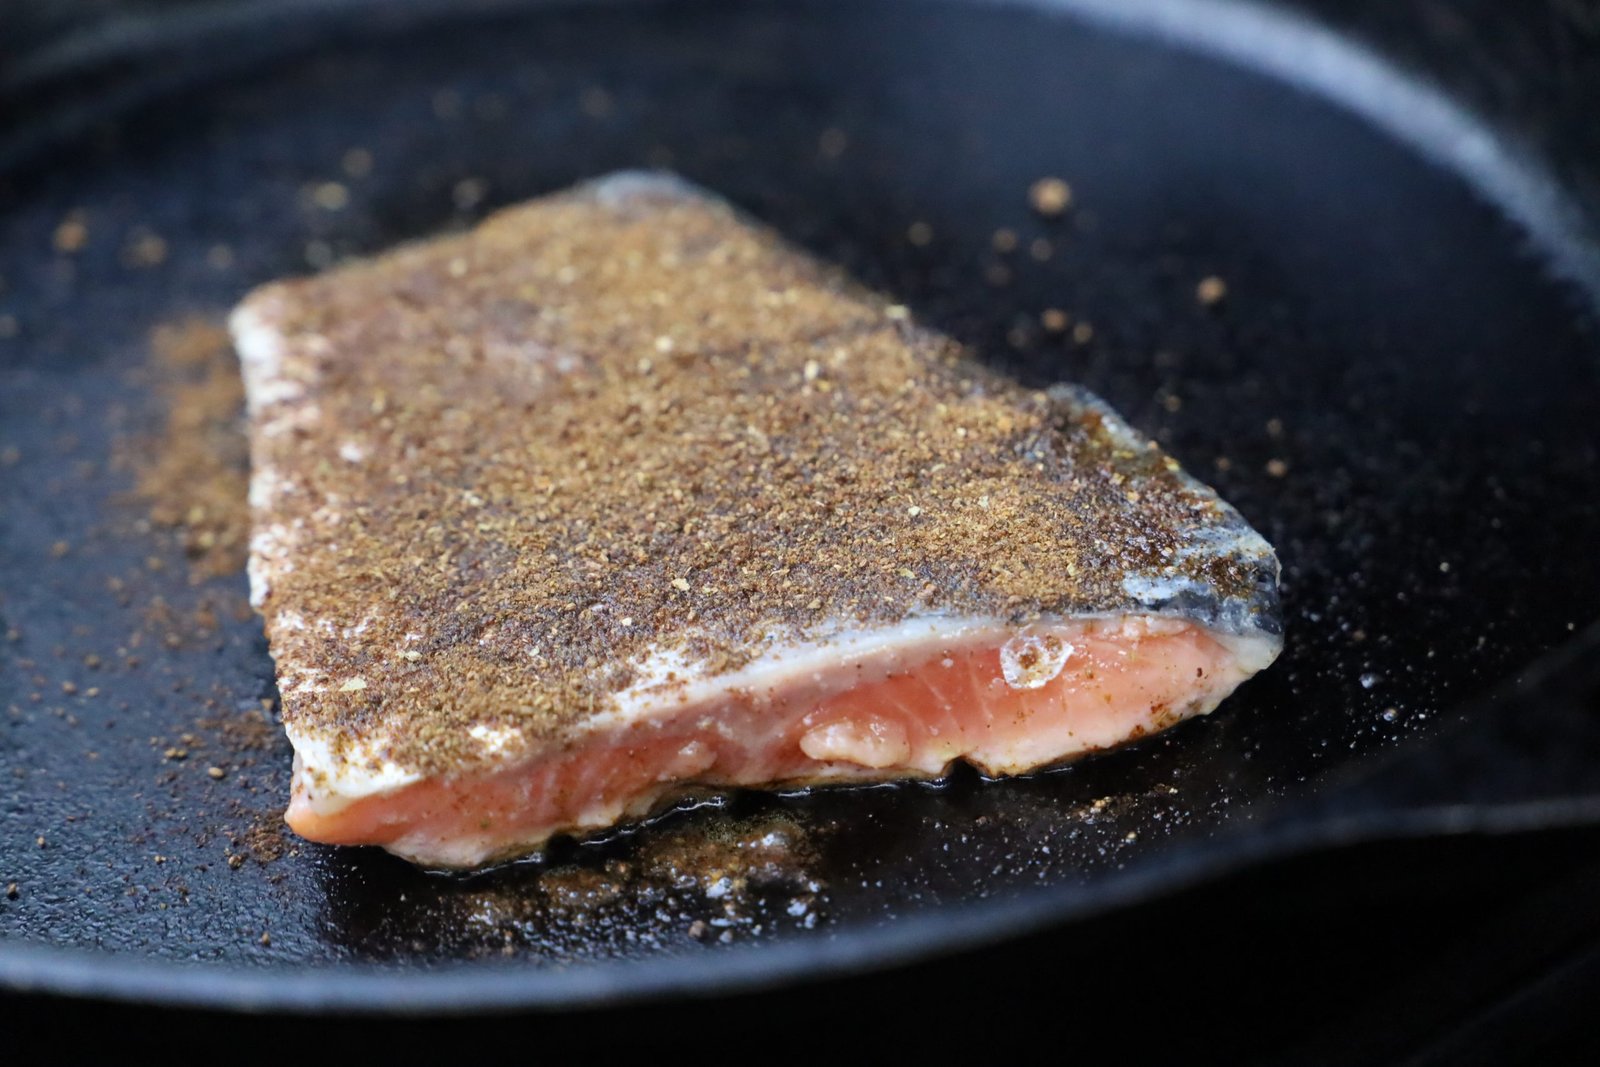

After about two minutes, using tongs, turn the salmon fillet over onto a new hot spot of your skillet and close the lid.
Just look how great that seasons adhered to the fish!
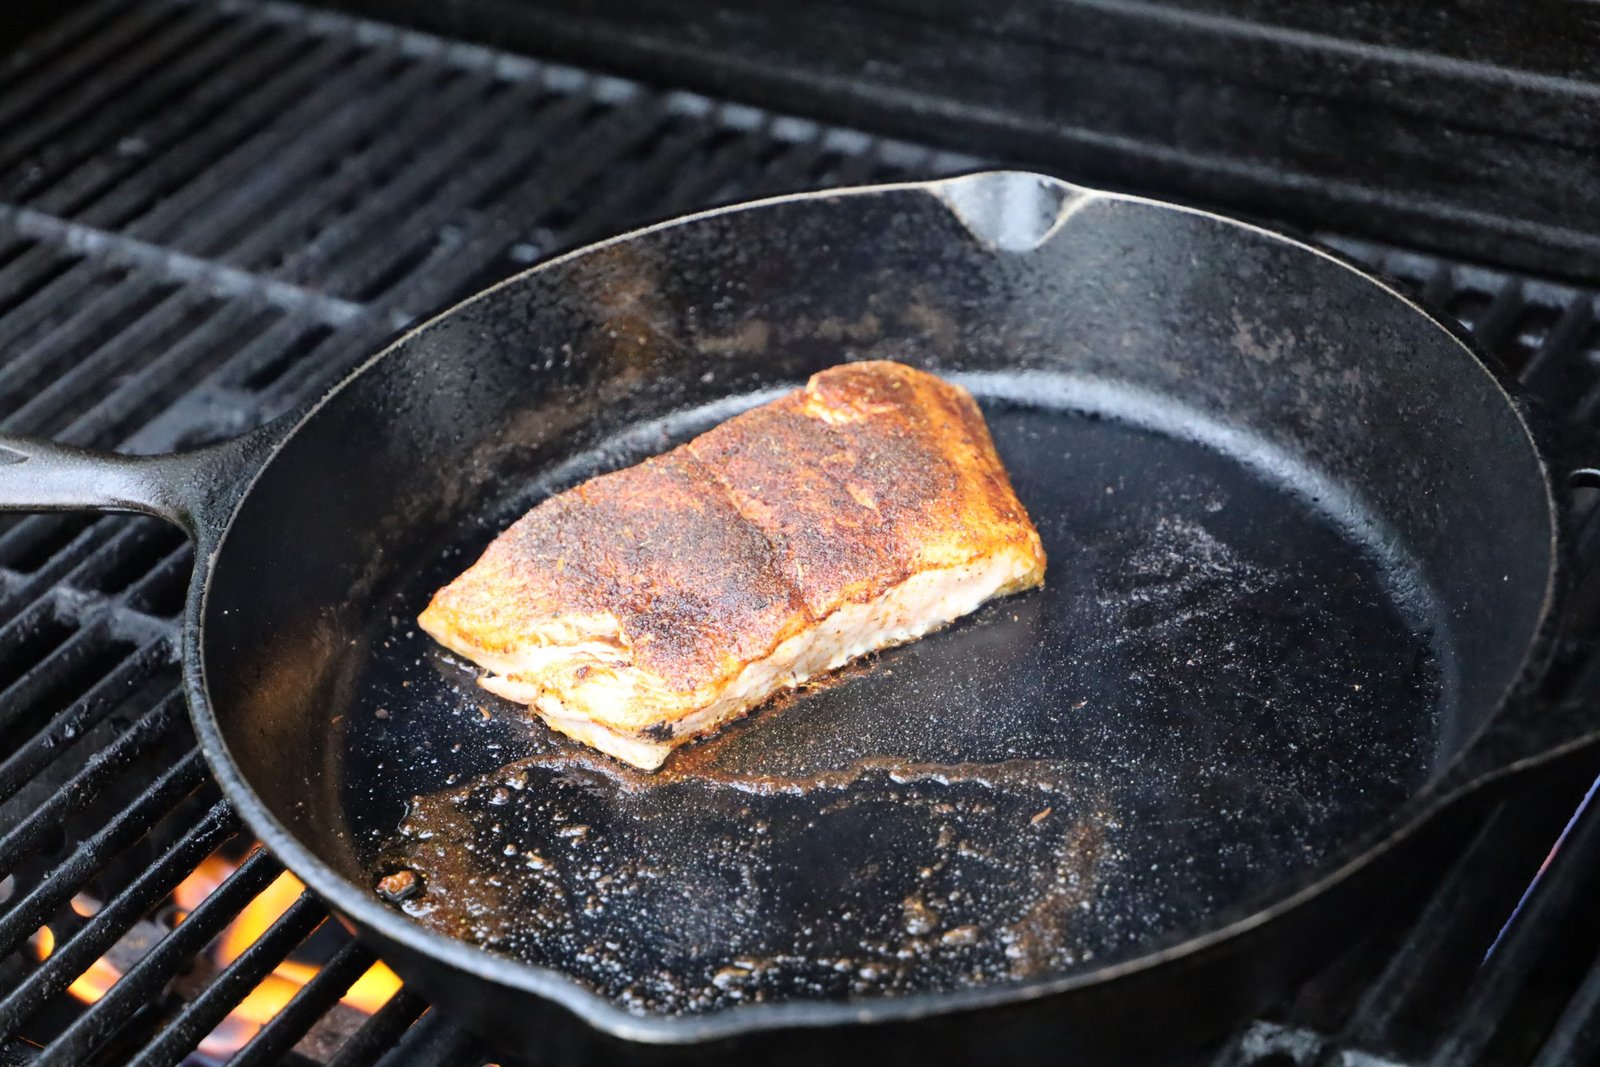

After another minute or two, remove the fillet from the pan and repeat the butter and cooking steps with your other fillets.
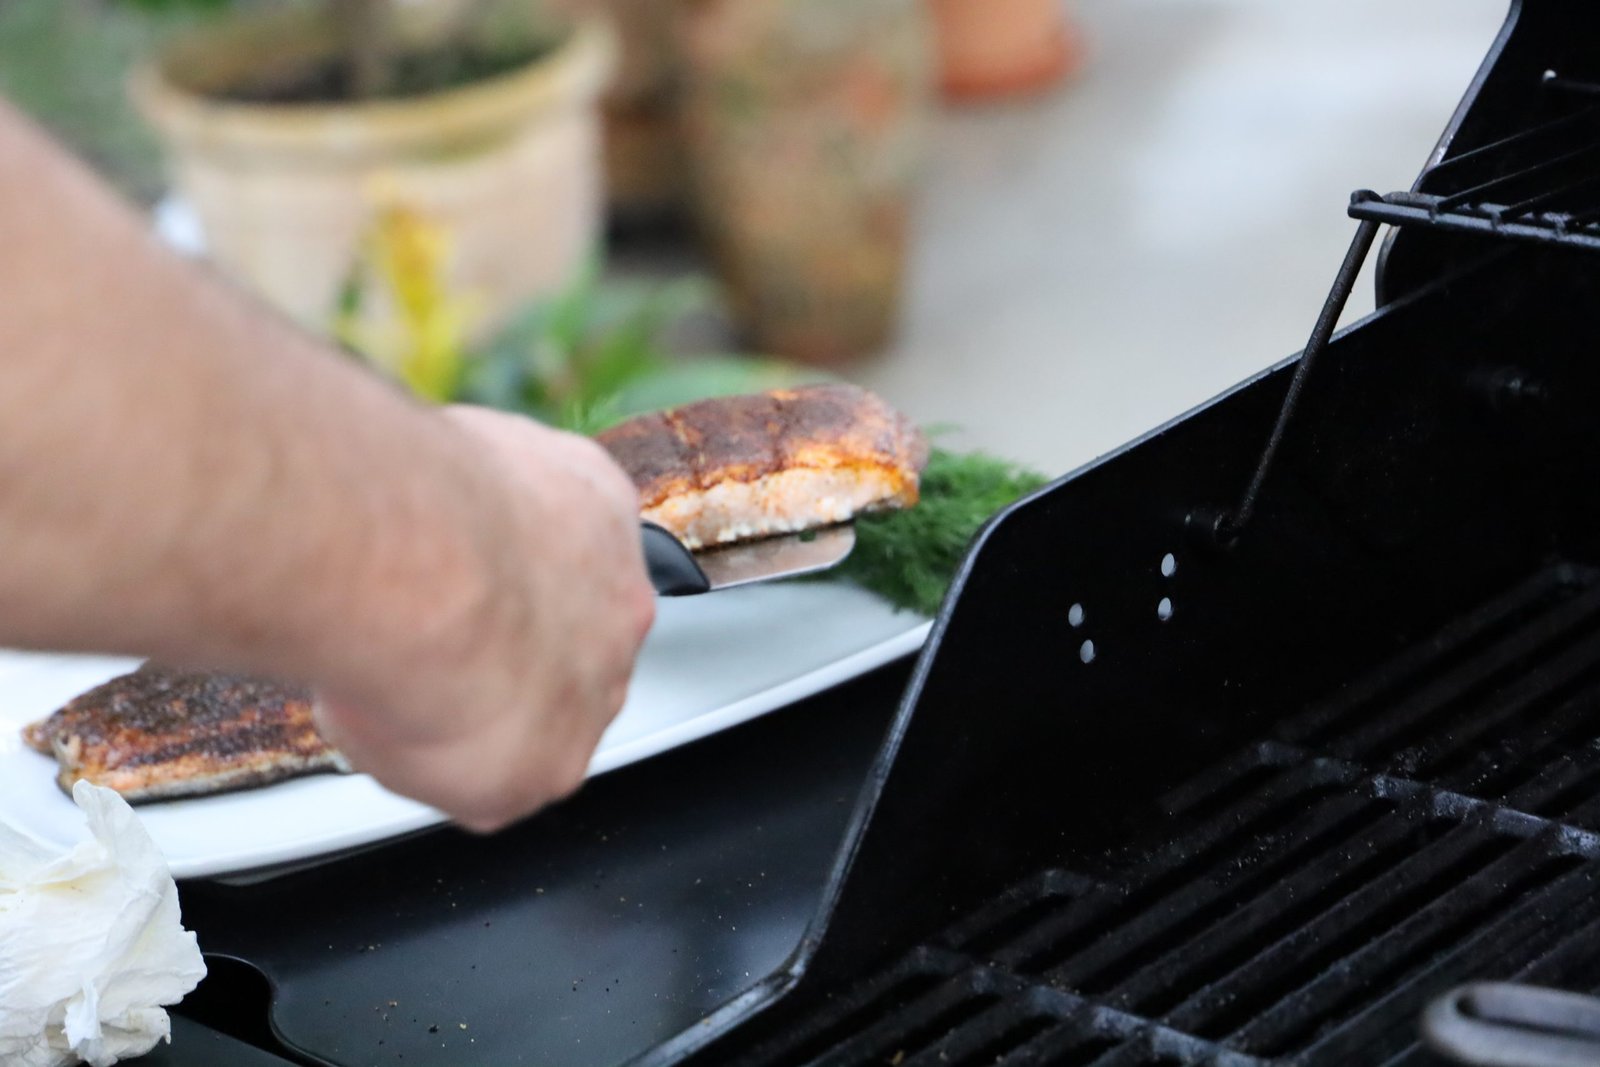

The fillets look burnt, but that is really the seasoning cooking giving the salmon that great blackened taste! Let the salmon rest for a few minutes to allow the juices to return to the center of the meat. These fillets were better than any restaurant could make.
——————————————————–
Ribeye Steaks
(Compliments of Mackenzie’s Parents)
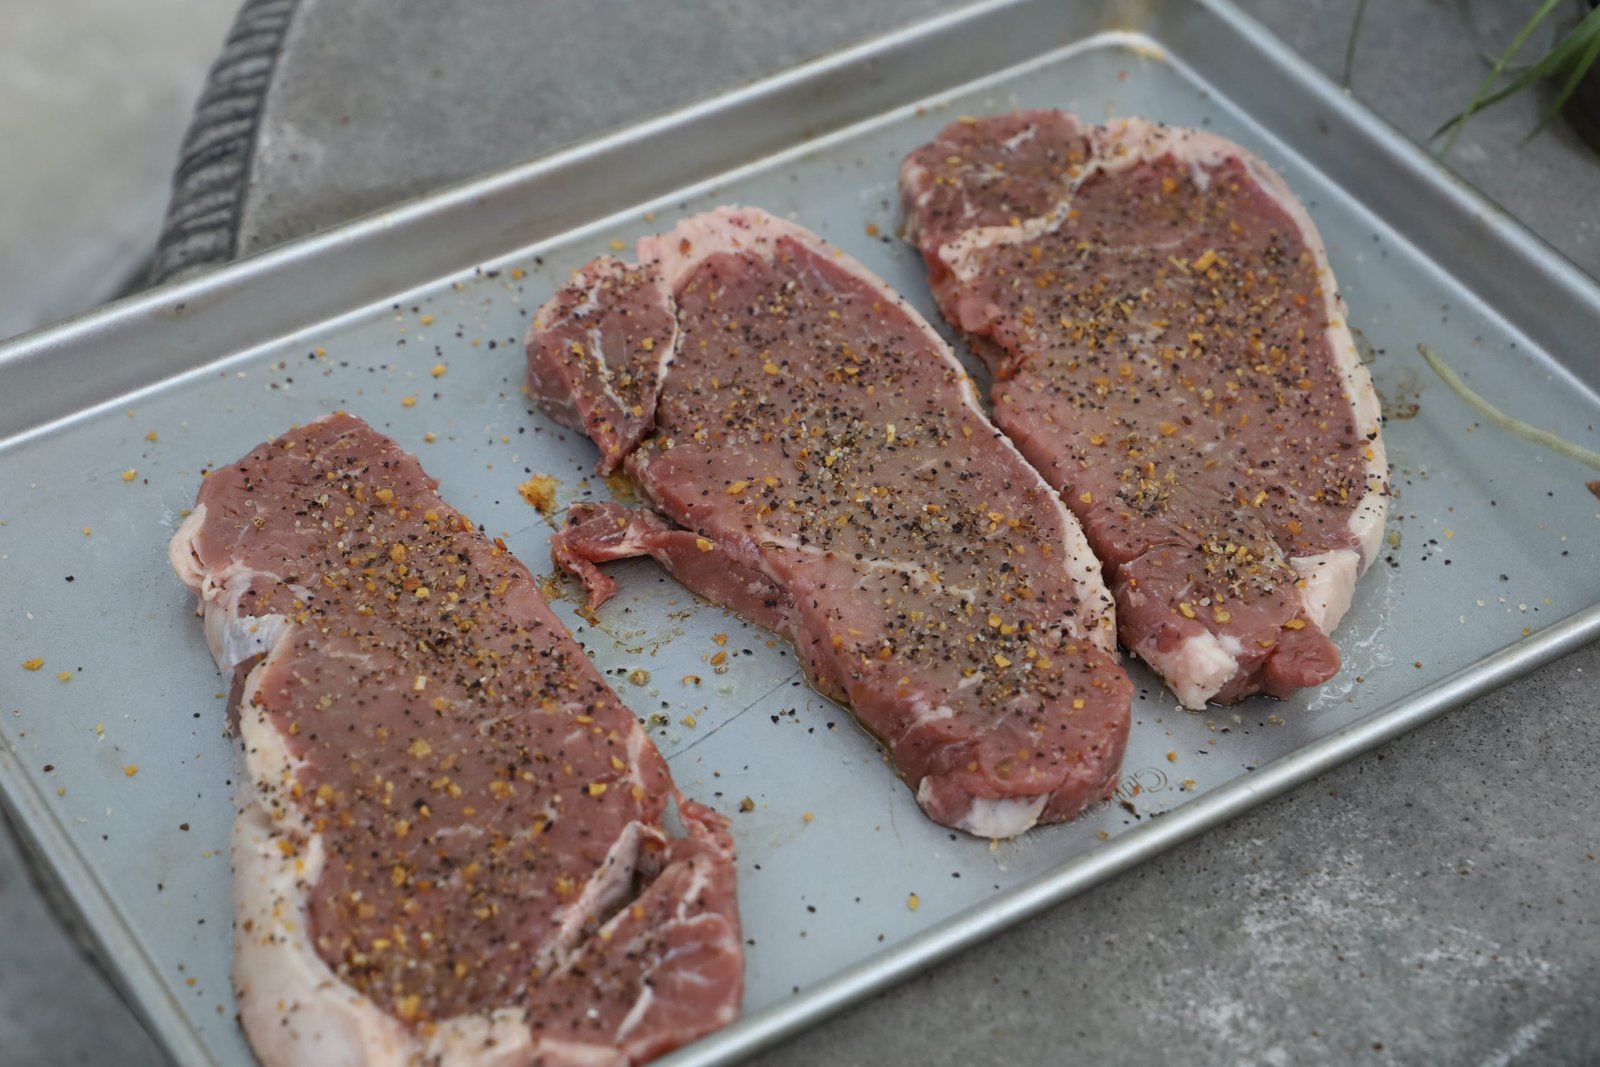
Bring the steaks to room temperature before grilling.
Following the steps below, cook the steaks to Medium Well!
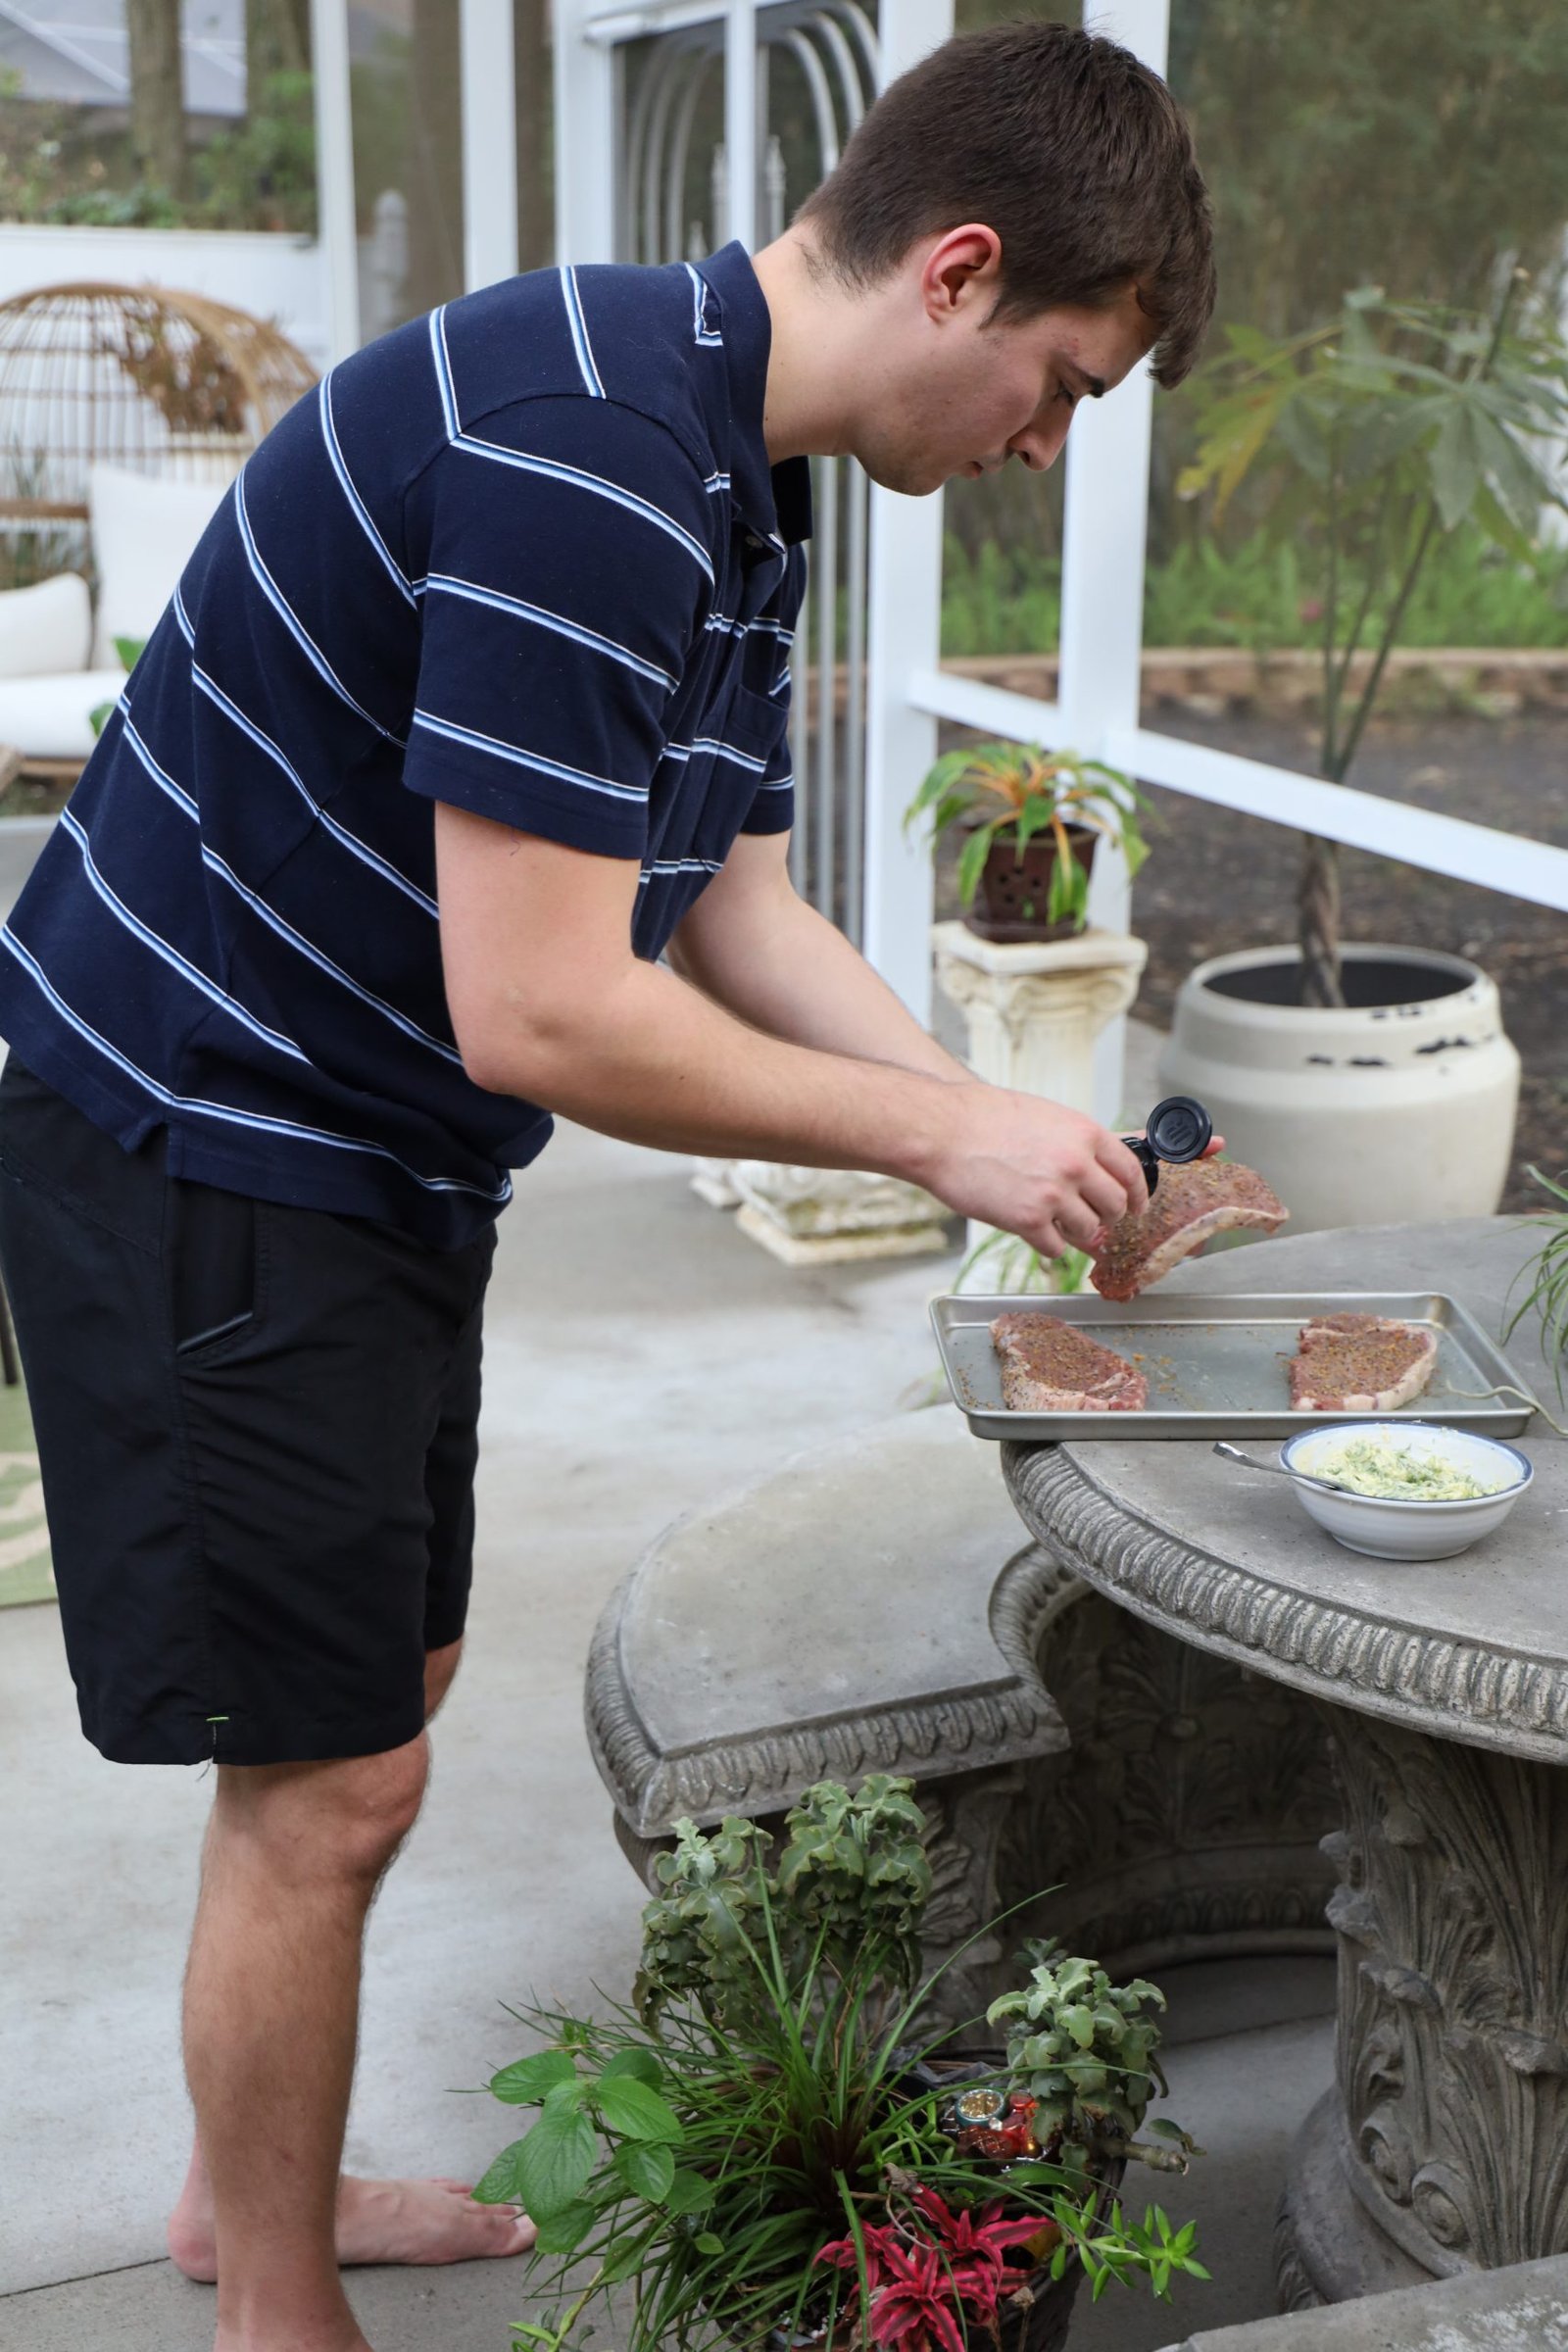
Top the steaks with your favorite steak grilling seasoning. We like to use McCormick’s Montreal Seasoning, Weber’s Chicago Steak, and Weber’s Roasted Garlic and Herb.
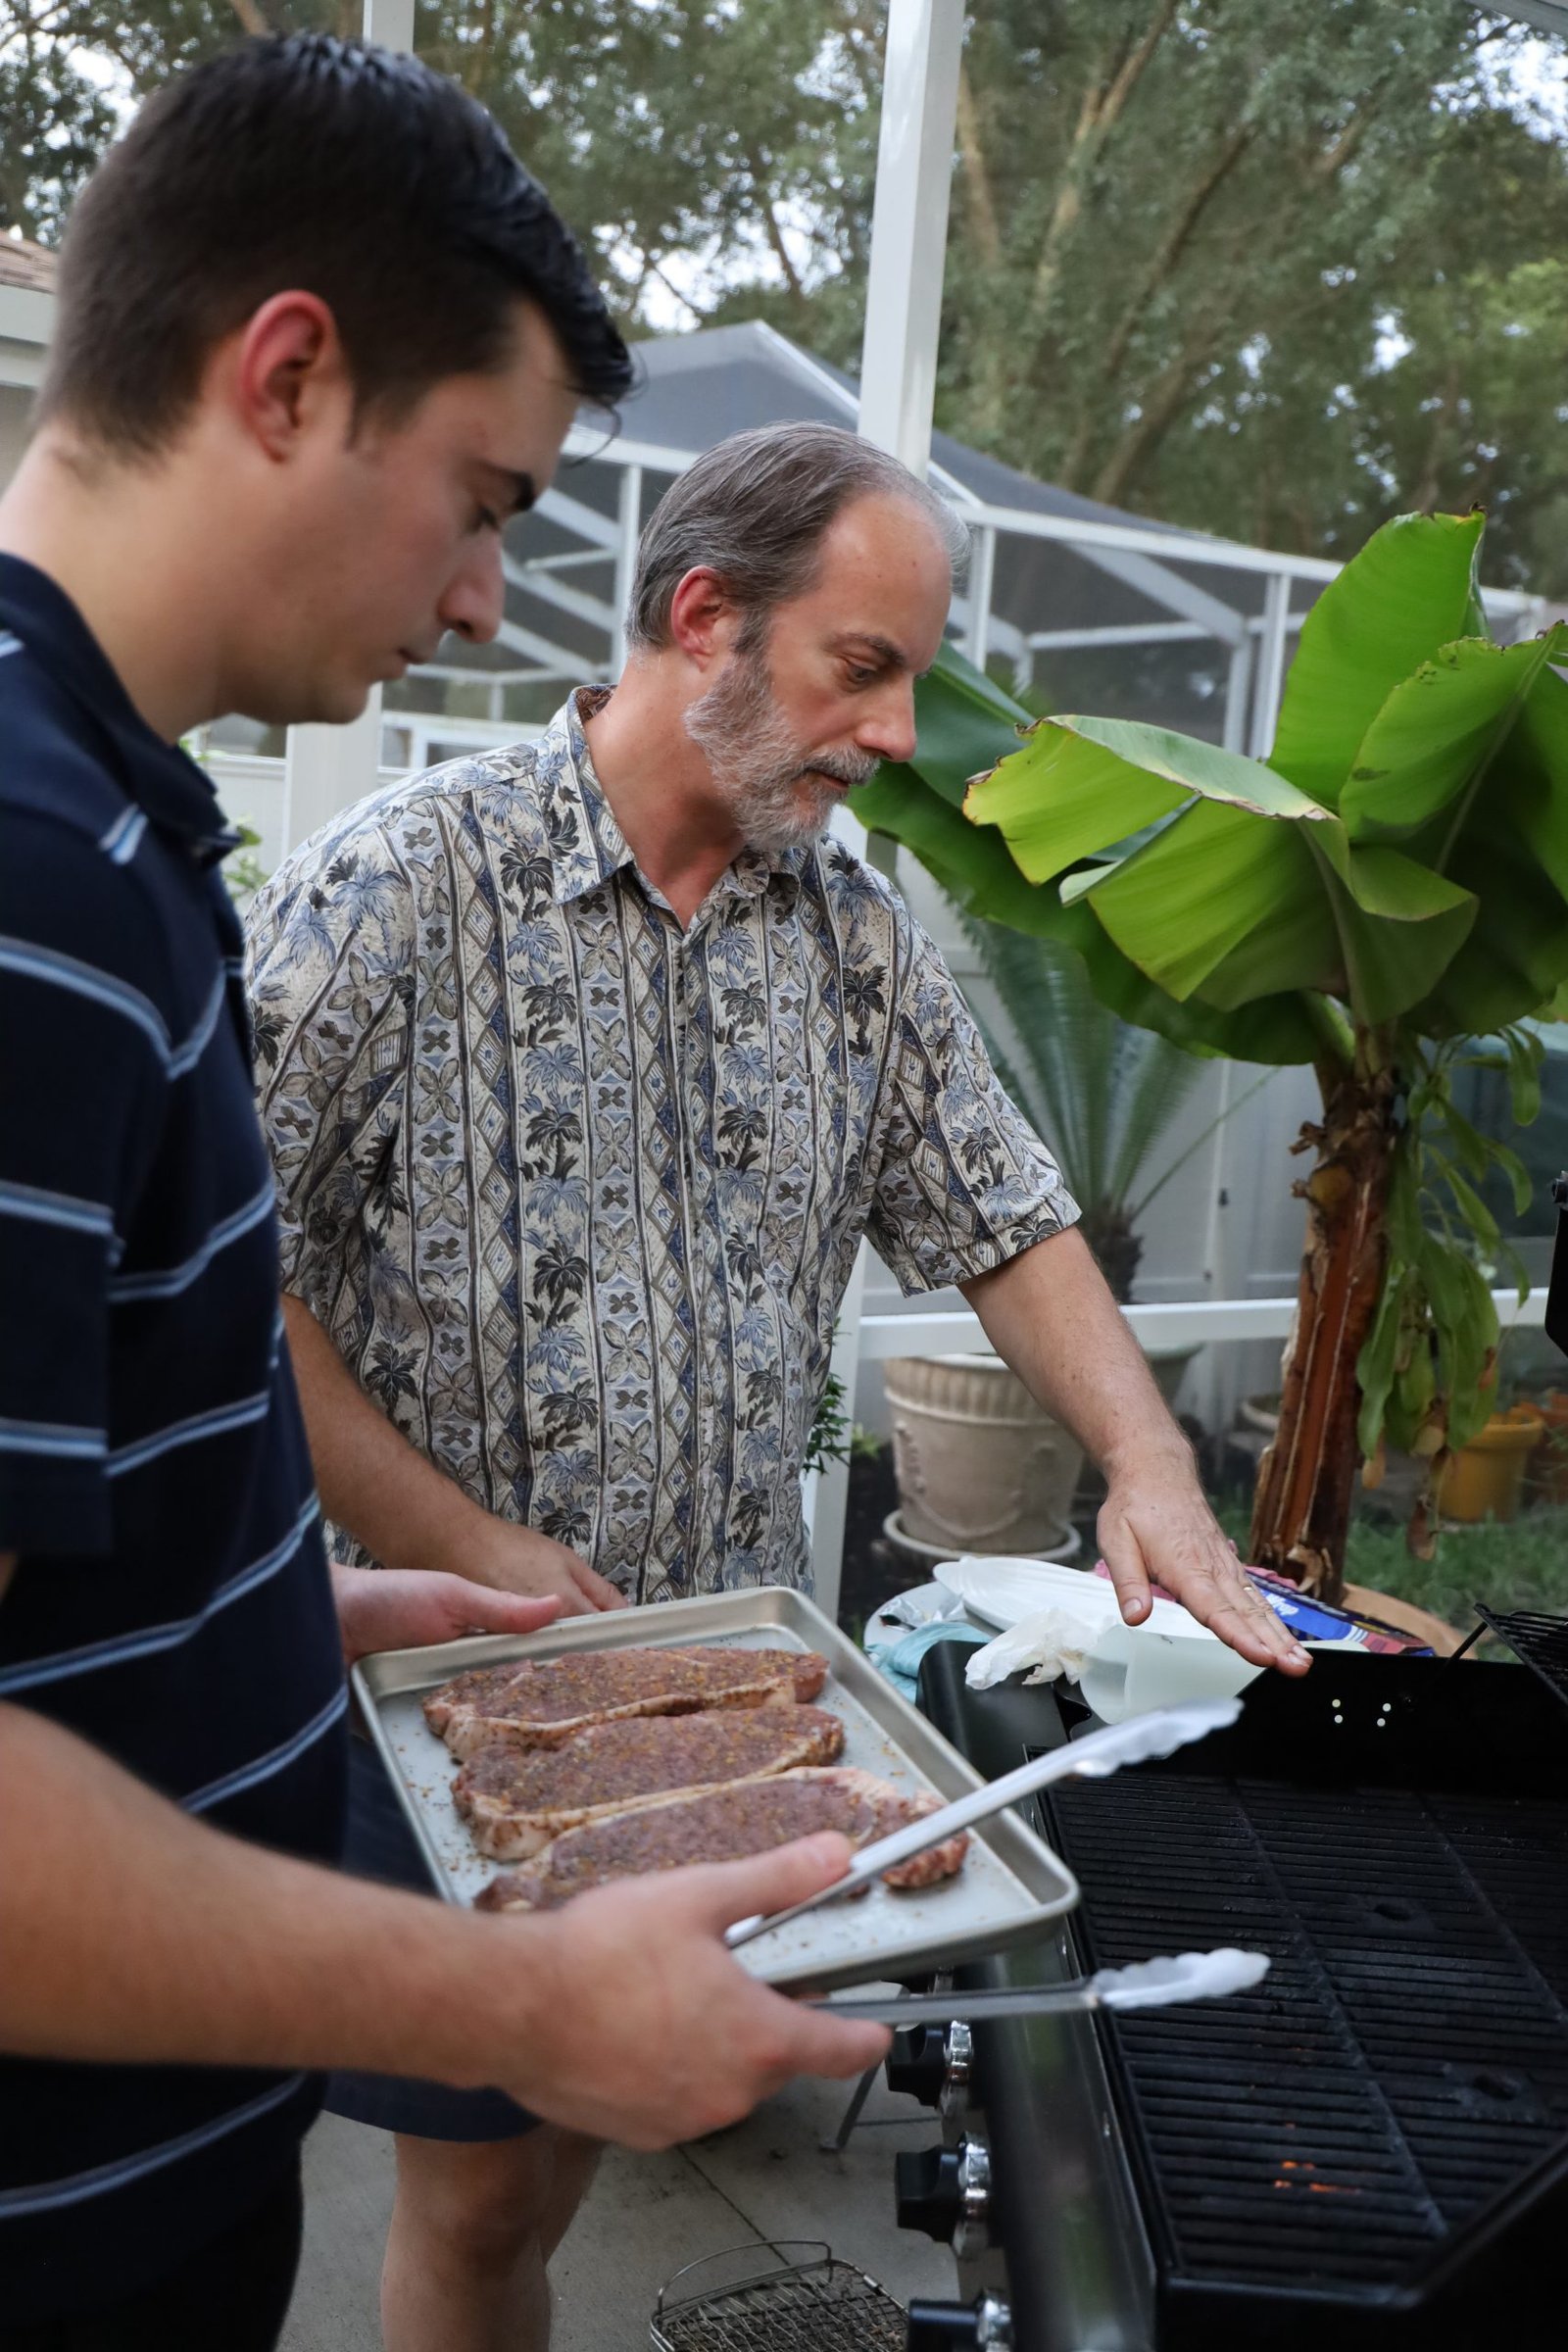
Heat the grill to a very high heat and close the lid. Let the grill sit for about 5 minutes.
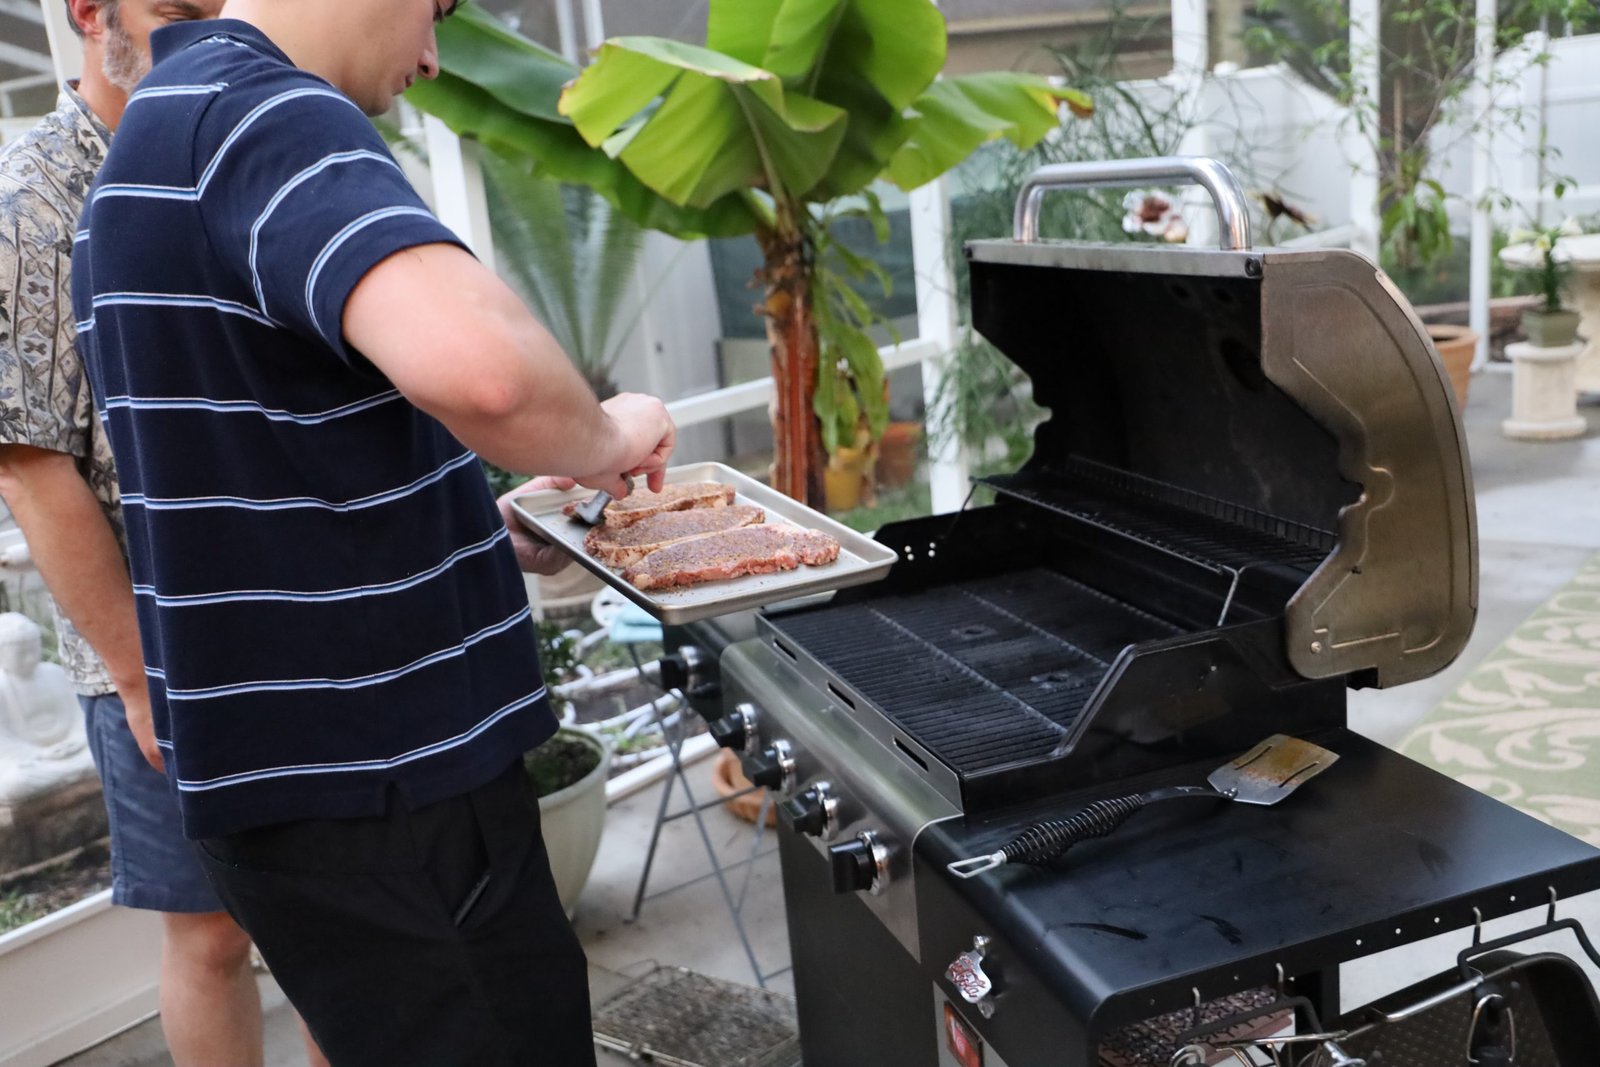
Once the grill grates are highly heated, turn down the temperature slightly and place the steaks onto the grates.

After two minutes, turn the steaks at a 45 degree angle and place them on a new hot section of the grill. This makes great grill marks. After another two minutes turn the steaks over and place them onto a new section on the grill and let them cook for another two minutes. You place the steaks on new sections of the grill grates, as they are very hot and will make those grill marks everybody likes. After those two minutes are up, turn the steaks at a 45 degree angle and place them on another hot section of the grill. Grill for another two minutes then remove the steaks from the grill and let them rest for at least 10 minutes to let the juices return to the center of the meat. This will make the steaks nice and juicy.

These steaks tuned out Medium Well and very tender as planned!

NOTE: I told Gordon that I wish that he had grilled a bunch of grape tomatoes to place all around the meat and I believe that would have made a nice presentation and even added a nice flavor.
—————————————————————-

Mackenzie’s Birthday Cake
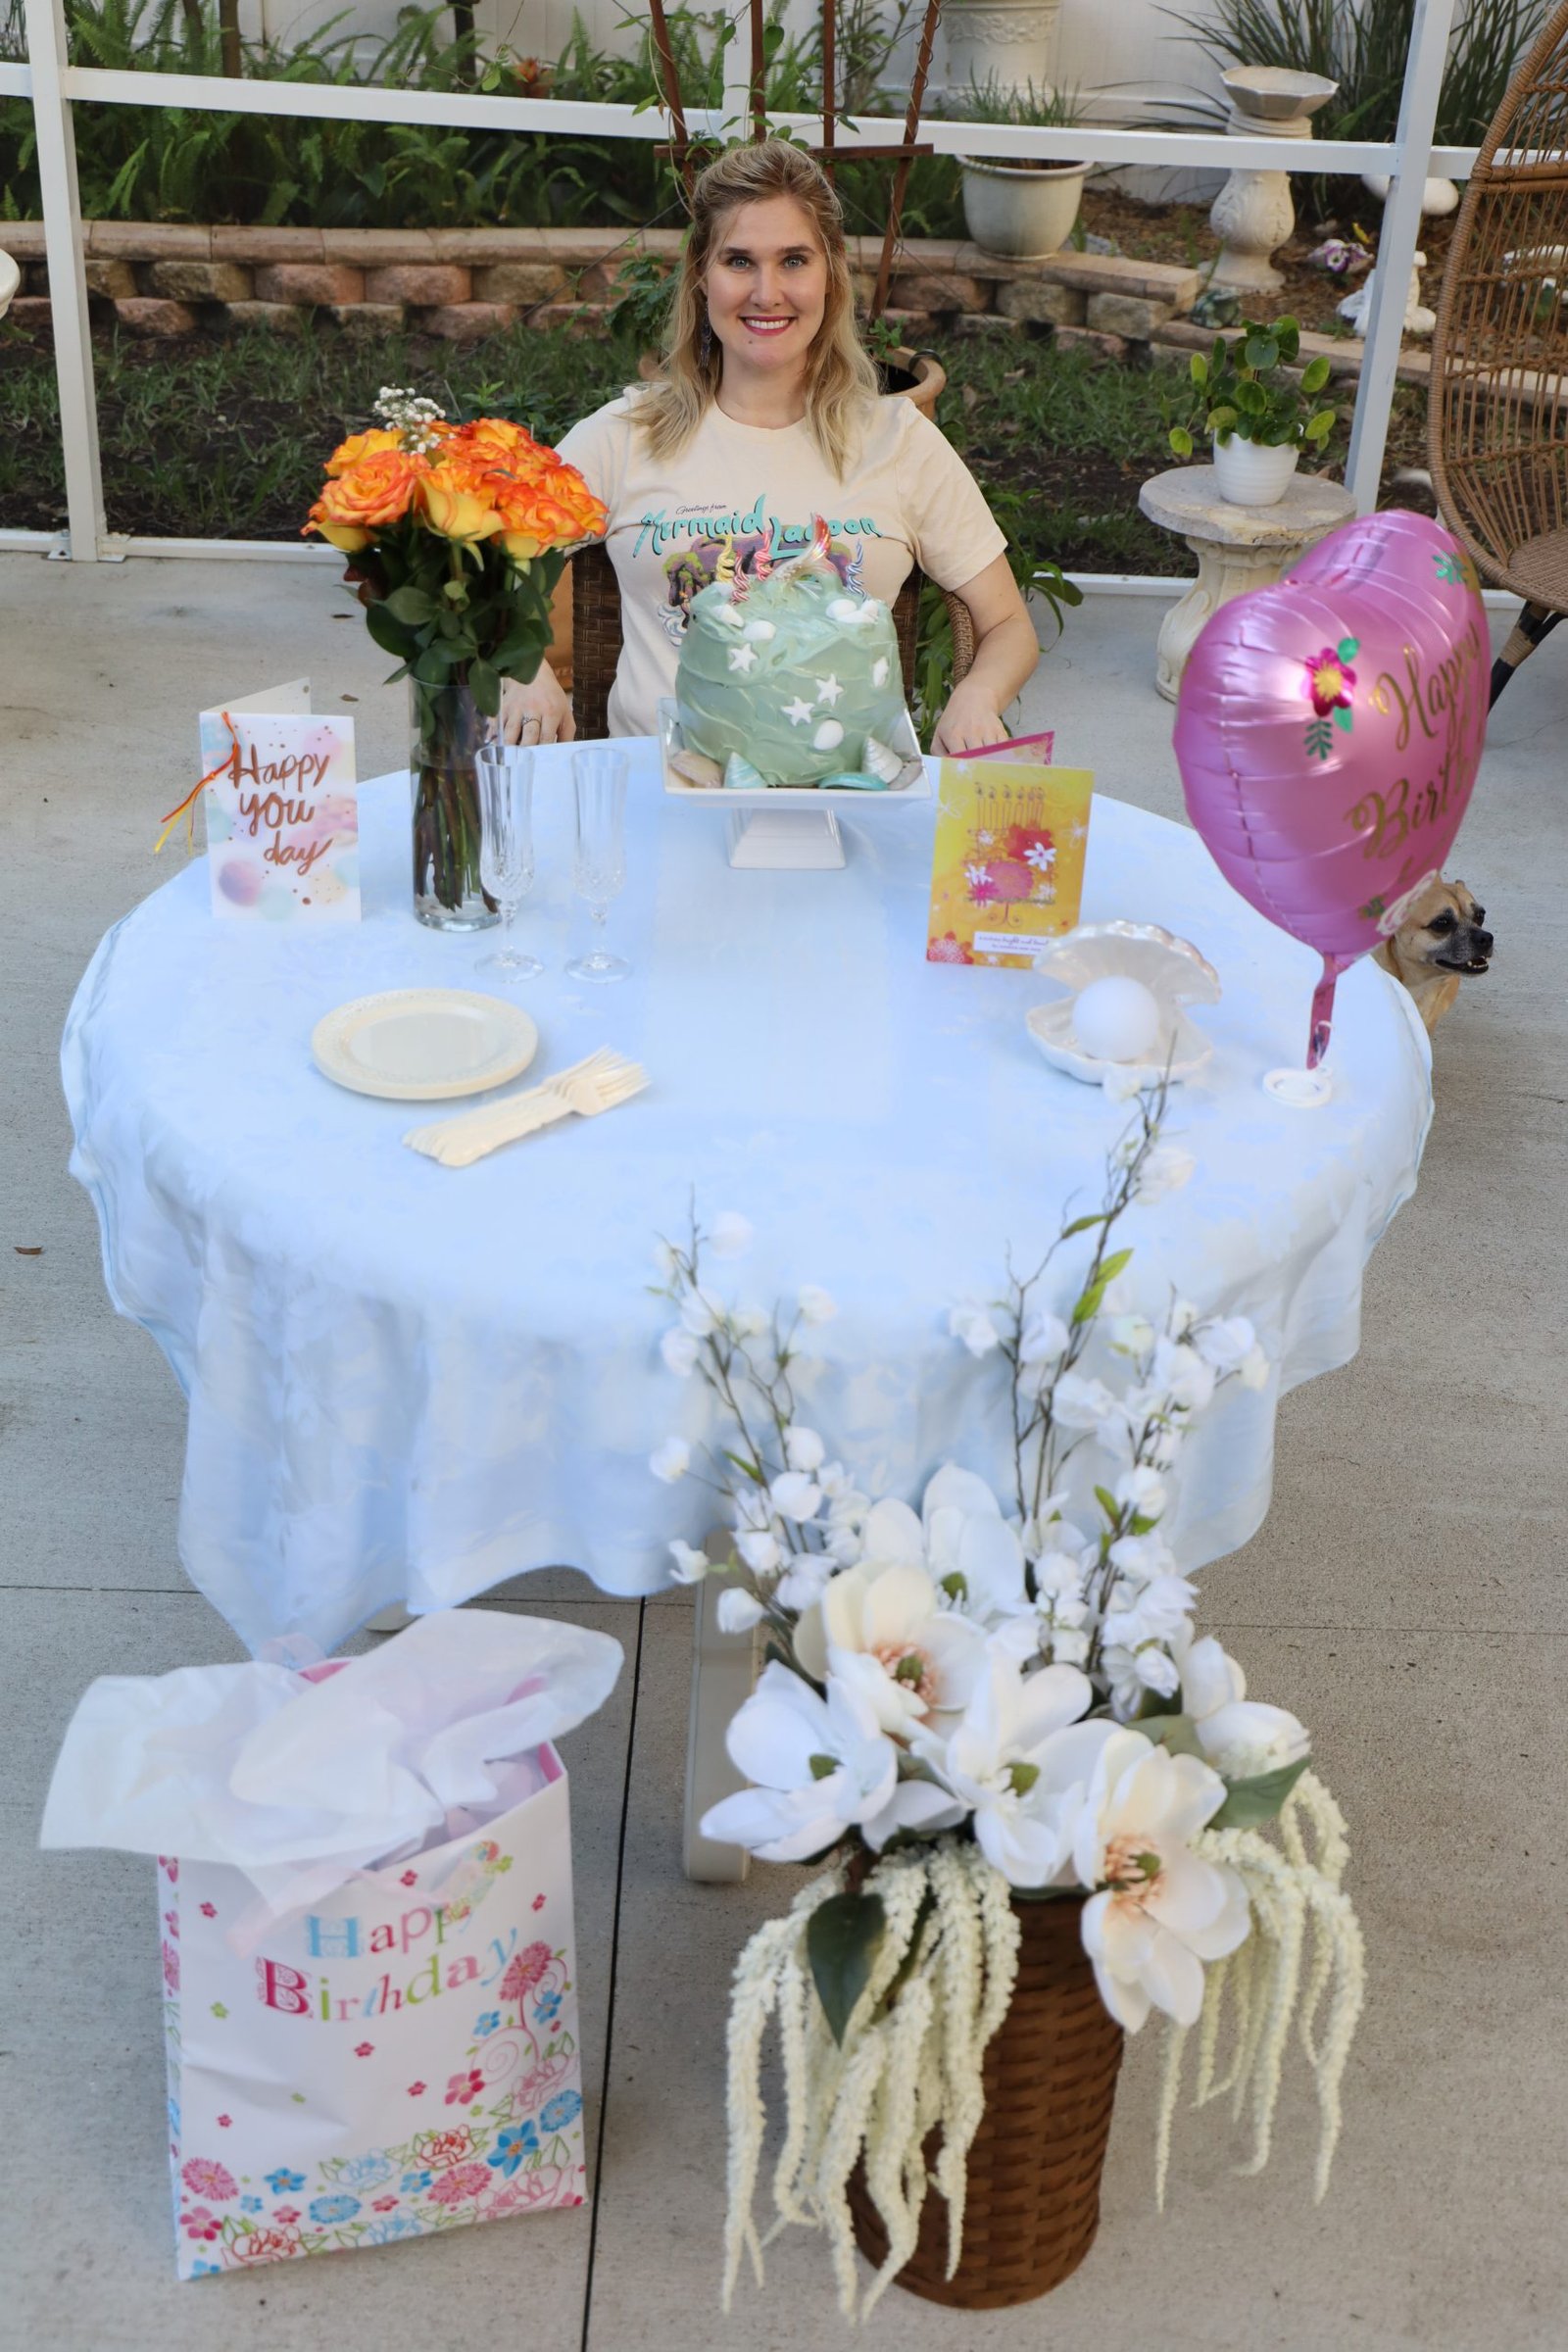
Happy Birthday!
Love,
Julie and Gordon and Brodie, of course. 🙂

The Bulletin Board pictured above is hanging in our Hallway. I put it there when we bought our house, and moved in. Nothing ever seems to get taken off of it although for some reason we keep cramming things into it through these …

Welcome to “Old” Miami I had originally entitled this post “Vintage Miami” because I wanted to harken back to those lovely old days of Miami in the 40’s, 50’s and 60’s. But the name “Vintage Miami” kept bothering me. It just …
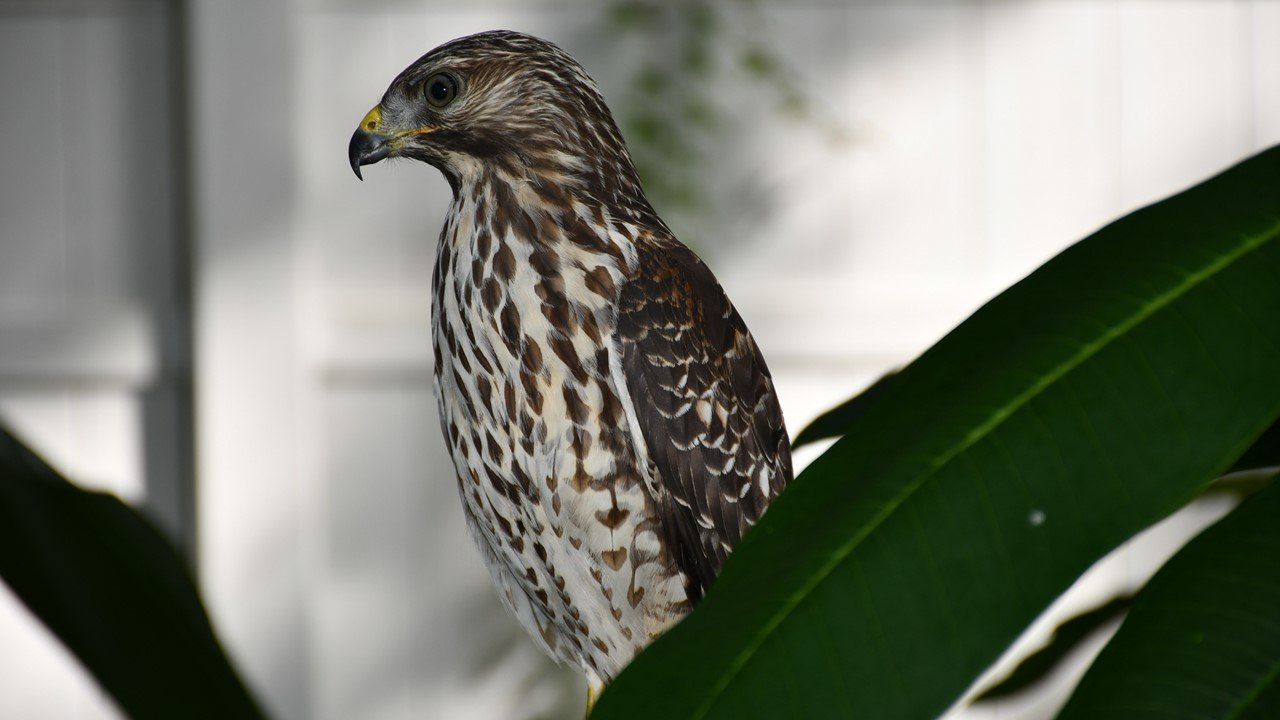
Welcome to our Home


Isn’t that what Door Wreaths are for?
Well, tell that to the mother bird that built her nest into it.

Look at Her Beautiful Eggs

And, There is the Sweet Little Mother Bird, Isn’t she Pretty?

So, Come On In!
———————————————————


Oh, look! Another Bird’s Nest in the Wall Planter!
Directly above the Pitcher Plant
Right Next to the Front Door

The Walkway to our Front Door

White Rocks and Topiaries
—————————————————————-

Welcome to our Home
We are more than happy to share it with our animal neighbor’s that either crawl, slither, fly, or just wander in. It always makes for excitement to see our animal’s each and every day drop by for a visit.
——————————————————-
This is my second garden blogging website post. If you would like to take a look at my first one…….
Click Here For: Julie Garden Blogging
My Glorioso Vine
———————————————————

The vegetables that we grow in our garden is only to supplement our diet. There is no way that we can grow as many tomatoes, bell peppers, etc. that we eat on a regular basis. But, it does help. It is also very rewarding spiritually to us to be outside in nature, planting, growing…. There is nothing like it. We highly recommend it. 🙂

My yucky potting place does have it’s charm, doesn’t it?
——————————————————

I used to paint terra-cotta pots and sell them in craft fairs when we lived in Hawaii.
Here are some of my old one’s I found in the garage. 🙂

—————————————————————-

New Blog Entries Start Here
———————————————————-
May 21, 2022


We have had this Pineapple Plant, left, for years now. We always get a pineapple every year but it somehow disappears and we never know what happens? In the past we figured that it was animals. But, we moved the plant into our screened in lanai in the hopes that it will mature into a nice pineapple, only to have it disappear? Perhaps this year we will have one to harvest. We’ll see. 🙂
The photo above right, is that of the flowering orchid like blossom that our Ginger Plants produce.
Isn’t it lovey?

These Bromeliad’s are to replenish a past project.
Will bring it to you once we have finished it.
———————————————————–

Rocks From Home, Rome, Georgia

Georgia has some of the most beautiful rocks in America.
I think so anyway.
I grew up spelunking with my family. Usually in caves, but we found the most beautiful rocks. One of my earliest gifts from my parents was a rock tumbler. I would even wear some of my rocks around my neck that I made into jewelry.
Here is a photo of Gordon and I dating back in 1983.
I am even wearing one of my rocks that I made into jewelry, around my neck.
Here we are being forced to make Cranberry Breads for Gordon’s parents so that they can gift their friends with them. Notice my facial expression? I was never very happy about this. 🙂
But, getting back to my Georgia rocks. I also grew up wading around in the most beautiful creeks and rivers in the south. The water brought out the beauty in the colors of the rocks. I would wade around and find the most beautiful rocks there were. But, these particular rocks are from my parent’s land in Rome, Georgia. I brought a few home with me from the last time I was there. They are beautiful! They are Home!
————————————————————
May 17, 2022
Our Yearly Fountain Tadpoles

I have written about our fountain tadpoles many times before.
The frogs will lay their eggs in our fountain and they will hatch into little tadpoles.
They are sooooo cute!
To prevent them from cannibalizing each other, we will feed them our old lettuce and other green leafy veggies that we have rotting in our refrigerator bins. It’s interesting that we originally fed these tadpoles some red Kale. They seemed to take off after that! They literally grew so big in just a few weeks! Normally, it would have taken them longer. Regardless, they are doing quite well and we are quite proud of them!
They seem to love the most rotten of our greens.
Probably because it is already broken down for them to then consume.
——————————————————————–
An Archaic Mating Ritual

I noticed these two lizards flopping around in our backyard. That is when I wanted to take a closer look. It was then that I noticed that one lizard had the head of another lizard in it’s mouth. It was a mating ritual. It is spring after all and they are in full mating mode!

————————————————————-
May 15, 2022

This is a corner that we are currently working on for another garden blogging post. 🙂
——————————————————————-
May 8, 2022

This is the finished Herb Garden Redo: 🙂


This was so much fun to do.
I have the write-up here:

—————————————————————-

The Lovely Windy Spinny Thing was a Mother’s Day gift from Brodie
———————————————————–
May 4, 2022

Herb Garden Redo Plants and Flowers


This is Such an Inspiring Project


—————————————————————–
May 1, 2022
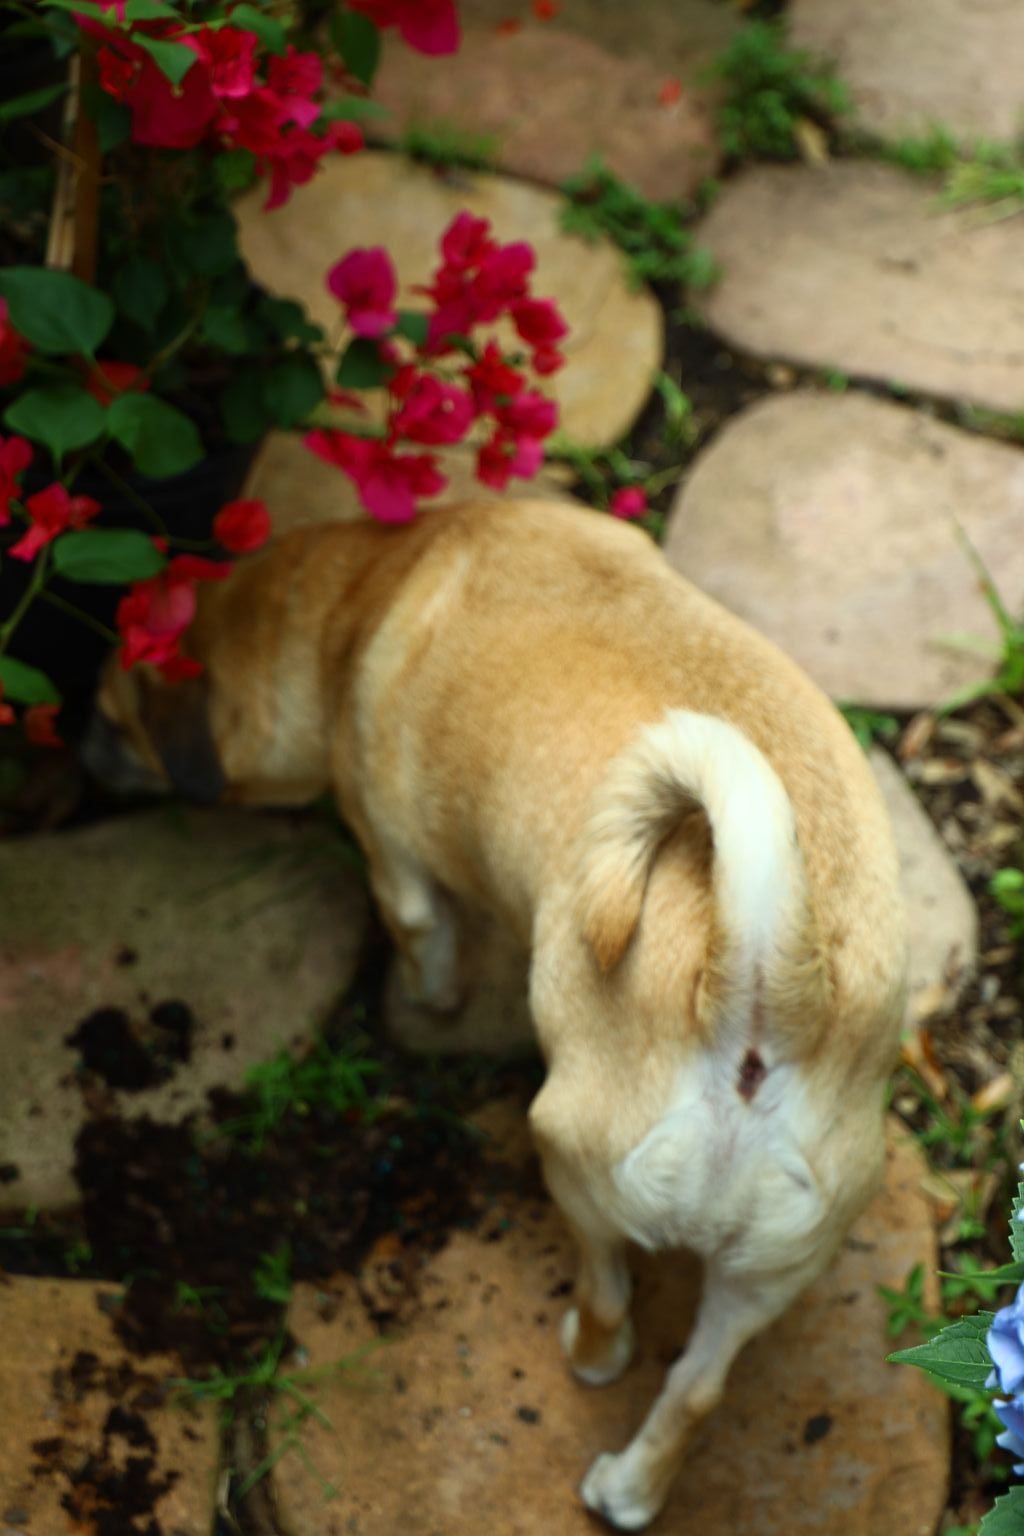

Spooky and Sparky

Our New Pineapple Plant
—————————————————————
April 26, 2022

This is the official redo of the Herb Garden:
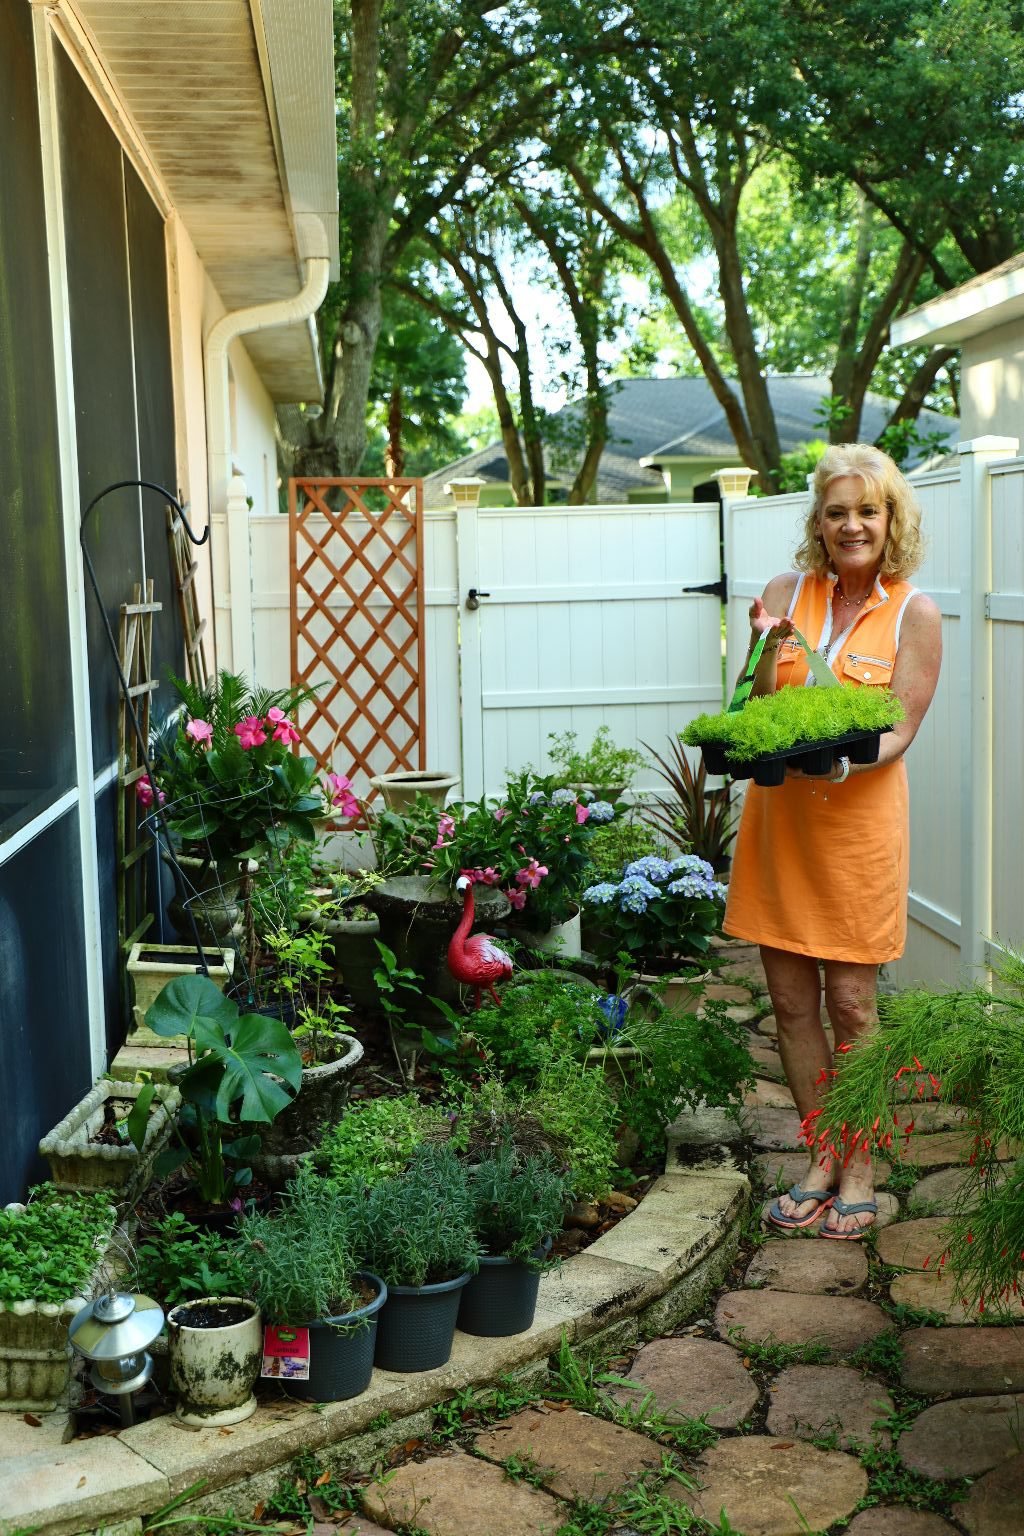


So very excited for this!

Bringing this finished results to:
——————————————————-
April 24, 2022

I Love The Sticky Frogs

These frogs are usually born into our backyard fountain as tadpoles. Their mother’s laying their eggs and then leaving their birth and upbringing to us. I feed them our ageing lettuce. They tend to gobble it up!
It’s always happy to see them as frogs. 🙂

Our Georgia Peach Tree has 3 Peaches!

Our Backyard Deer
Actually, this is a “reindeer” that I inherited from my Grandmother.
She used to place him outside her home in Rome, Georgia.
I decided that I wanted him to be in our backyard and to just be a deer, and not a reindeer.
I usually stick flowers in the holes that are for antlers.


Our Backyard Elkhorn with Air Plants
(This was a redo. The ferns had overtaken it so we removed them and placed some lovely bromeliads and air plants throughout and even up the chain.)
——————————————————————
April 23, 2022
Baby Birds Can’t Fly


Their mother has pushed them out of their nest. They cannot fly but they can glide a bit. They keep hopping around our front doorway. Their mother is watching them from the tree. We just hope that they don’t encounter any predators until they learn how to fly and get away. They are so very cute!

——————————————————————–
April 8, 2022
Our Backyard Woodpecker

Every creature is welcome in our backyard. Even the loud ones. 🙂
This is our backyard neighbor, the woodpecker. He pecks, and pecks, and pecks ALL DAY LONG!
ALL. DAY. LONG!
———————————————————
December 39, 2021

Getting Dark and the Leaves are Starting to Fall
(We lose the leaves off of our trees in the late winter and early spring when the new growth pushes them off. The rest of the country seems to lose theirs in the autumn.)
————————————————————–
October 3, 2021

A casual stroll into the backyard yielded all of this!
—————————————————————-
September 13, 2021
The Backyard Squirrels Playing


They may be pests, but they are the CUTEST pests ever!


They had so much fun this day! So did I in watching them!
I loved every minute of their enjoyment. 🙂
———————————————————————–
August 8, 2021
Gift of Herbs in Vintage Vases


Gifts to my son’s Girlfriend Mackenzie
It is actually quite typical of me to give a gift of an herb plant. I usually place them into jars/vases/bowls that I want to get rid of. Not because they are old and ugly, but because they are so cute and nice. If I didn’t think the vases were nice then I would just place them in the recycling bin. To me this is recycling at it’s best! I am passing something nice onto someone else with a nice gift inside. Try it for yourself!
—————————————————————————-
July 31, 2021


Caterpillar’s Adore Parsley
We love these beautiful critter’s so much that we always sacrifice our Parsley supply to them.
Well, we can always buy more at the grocery stores. So, why not? 🙂
———————————————————-
September 2, 2021
I Love It When The Frogs Sing

Yesterday morning I woke up early and as I was lying in bed I could hear the frogs outside my window singing away. I love the frogs. We have many in our yard. We don’t use those pesticides to kill bugs and weeds like so many of our neighbors do because it will also kill all the lizards, skinks, and frogs.
Because of all the frogs we have in our backyard we don’t have a lot of bugs. The frogs, Dragon Flies, Bats, and Lizards eat them. Oh, there will always be that annoying mosquito but there really aren’t that many of them to worry about. But as I lay there listening to them sing I could hear some low rumbling from a distance. Thunder. I knew a storm was coming. As the minutes went by the thunder came nearer and became louder. Flashes of lightening started illuminating the bedroom. Then all of a sudden here comes the rain. It was as if the bottom fell out of the sky. It was so loud it was almost deafening. The rain, the cracks of thunder, and all that forked lightening. It was wonderful!
I was happy it was raining because I had planned to get outside and do some extra watering because we hadn’t had a lot of rain and I didn’t want some of my outside plants and flowers to die. Thankfully with this wonderful drenching that we were having everything is getting a good soak.
Gordon was in the shower oblivious, and missing all of this weather orchestra that was performing all for me. I say ‘all for me’ because it was extremely early in the morning and most people are still asleep, except for Gordon because he goes into work early. My first instinct was to go back to sleep because nothing can soothe you more than a sleepy storm. But yet I didn’t want to miss any of it. So, I lay there in bed hearing it all, seeing it all, and loving it all.
When Gordon came out of the shower and was dressing he noticed that I was awake. Usually, I’m trying to get back to sleep because Gordon’s early schedule does interfere with my sleeping sometimes. It was while there was a lull in the storm that the frogs started singing again. I do have to admit that they are very loud. Some people even complain about it, but not me. I love it. I know that as long as they are singing that I am safe. It’s when they stop singing that you need to worry. That usually means that someone or something is around that shouldn’t be there. Just think of all the money that is spent on home alarms when we’ve got the frogs working round the clock outside for free. 🙂
Instead of going back to sleep I decided to get up and enjoy the storm, have some coffee, get online, and start my day. It was the best day ever although I’m sure you won’t agree with me. You see, the rain and storm lasted all day long. When I got out of the shower instead of getting dressed I grabbed some comfy cozy pajamas. I let my wet hair dry naturally and just let it hang loose all day. There was an Indiana Jones marathon on one of the channels and I happily played it. When they were all over I wanted to watch them all again. I didn’t want my great day to end. Gordon brought Chinese home for dinner from one of the take out restaurants that we hadn’t been to since before the pandemic started. I had forgotten how perfect their egg rolls were. Dipped in some Chinese mustard and it is just heaven. And that is what my day was yesterday, pure heaven.
You know, it’s the little things in life that make me the happiest. I can take pleasure in the things that most people take for granted. Snuggling with the dogs on the couch watching a favorite movie marathon. Enjoying take out with Gordon on the living room coffee table. Laying in bed enjoying a thunderstorm and hearing the frogs outside the bedroom serenading me every night with their beautiful voices and keeping us safe.
Julie
————————————————————
July 16, 2021

Beautiful Red Bells


Along With My Rainbow Bells
————————————————————–
June 17, 2021

Mandevilla Vine
Sometimes it is so humid outside that it fogs up the camera lens.

Looking So Beautiful!

Along With Our Lemon Balm
——————————————————–
June 13, 2021

Magnolia Tree Has a Bloom
————————————————————
June 7, 2021

This Mandevilla Plant Does Love the Sun


Growing some HOT PEPPERS!
( I swear I almost DIED!) 🙁 HOT! HOT! HOT!
———————————————————-
June 4, 2021
Rainy Season is HERE!

I have a love/hate relationship with Rainy Season.
First of all, Florida never used to even have a rainy season.
That has just occurred over the past decade or so.
To those of you that believe that all this rain will then cool down the temps, NO!!
It only makes it more humid/miserable!

Regardless, at least I don’t have to get outside and water everything every other day.
Oh, we do have sprinklers, but they just don’t reach every single plant in our yard, front or back.

Just Cutting Some Herbs For Dinner


Rainy Season Does Make Everything So Green!!!

My Favorite Fern Shot
——————————————————————–
May 20, 2021


We Are Finished! What Do You Think?

I do love the stones, I just wish that we had more of them.

The stones were a definite upgrade. 🙂


———————————————————–
The Finished Results
Click on the link above for my lovely picnic in my Herb Garden.
————————————————————-
May 19, 2021

Our Blonde Bells


Gordon is starting at project here on this side of our backyard. I order to prepare for it, he is removing all those stones that you see in the photos above, and he is placing them all around my Herb Garden and that side of our yard.


They are kind of like puzzle pieces.


The BEFORE and DURING
This side of our yard tends to flood during rainy season.
It will be nice to step on to some stones and not the muddy yard.

Planting Peppers and Flowers

——————————————————-
May 18, 2021

I finally finished my round retaining wall project of cleaning it out and doing a few more plantings.


Photo left: Working on the last reaming empty pot.
Photo right: I fell backwards and scraped my arm on the cement and it’s bleeding. I am becoming more clumsy in my old age. 🙂

With the Dogs, Spooky and Sparky
—————————————————————-
May 17, 2021

New Plantings
(Not just for the Herb Garden)
![]()

The Herb Garden is Coming Along
————————————————————-
May 15, 2021
Some Adornments To The Round Retaining Wall

An Old Broken Down Bird House
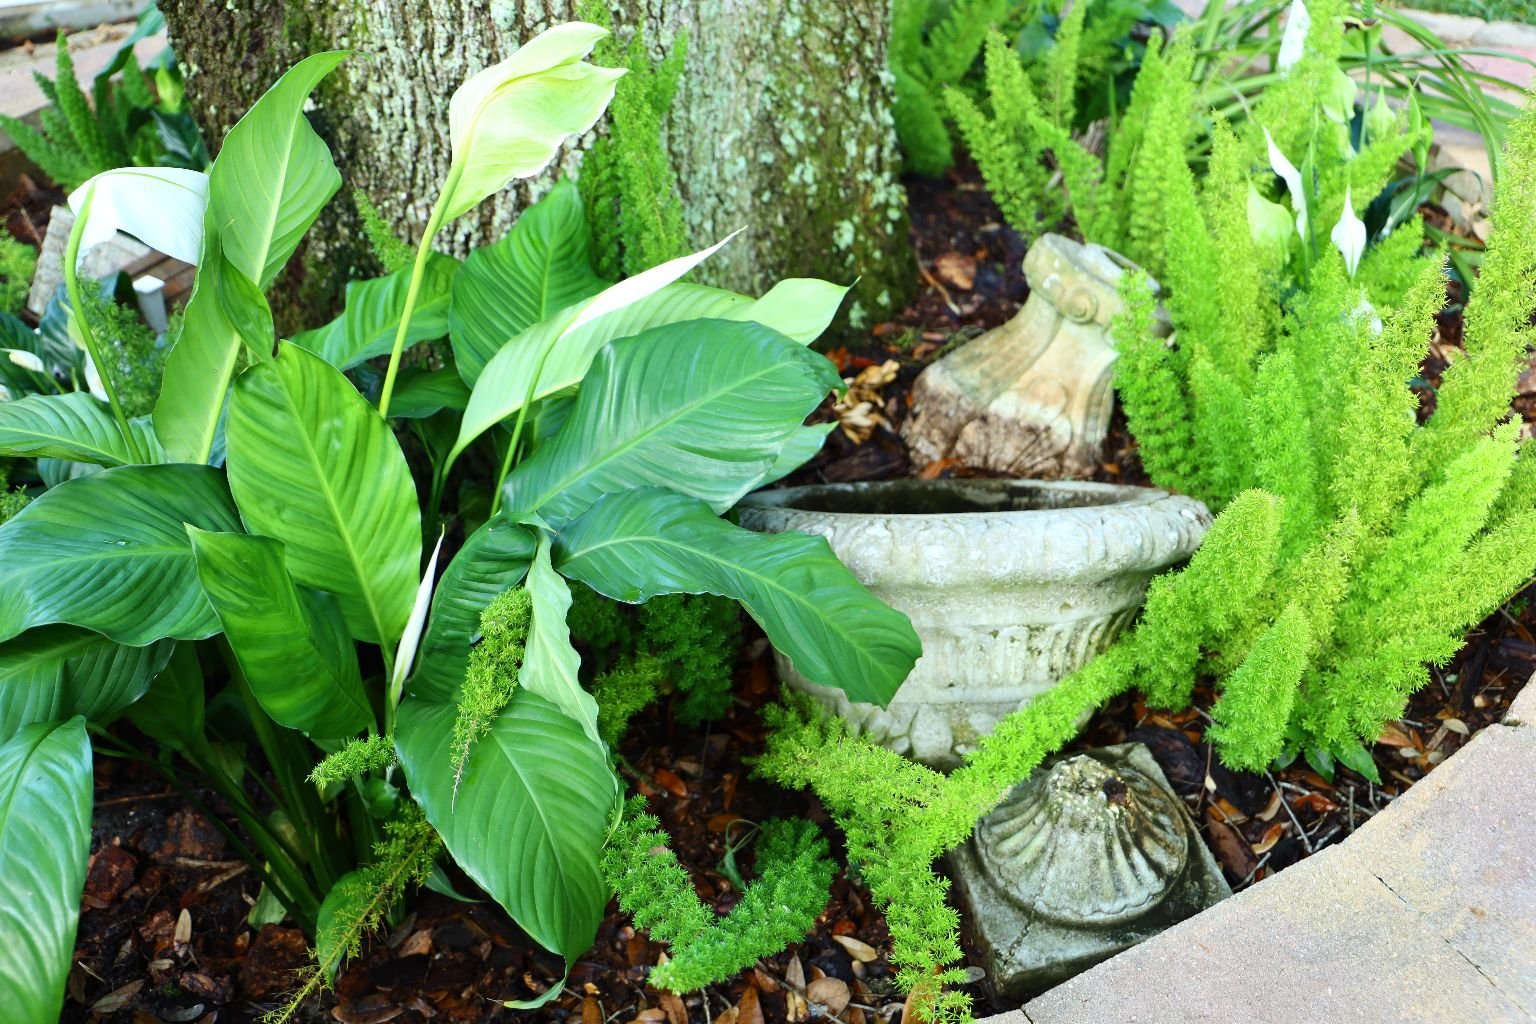
Broken Pottery Pieces That Look Like Ruins
————————————————————
May 6, 2021

Lizard Love 🙂
——————————————————–
May 5, 2021
My Desert Roses

———————————————————-
May 1, 2021
Find The Lizard

———————————————————
April 27, 2021


Mint to the Left, Mint to the Right
Some people don’t realize that you can plant herbs in hanging baskets.
It is a great way to shore up some space as well.

Cleaning Out The Retaining Wall
Some times it’s just a matter of pulling up a few weeds, removing some twigs and sticks, and some times even putting in a few new plantings. This retaining wall was my weekly project.
———————————————————-
April 25, 2021

An Osprey, Sea Hawk
I love all the wildlife that visits our backyard. Actually, this tree is in our neighbor’s backyard. I was outside when he/she flew in. Isn’t it gorgeous? So regal. I do so love these birds.
——————————————————–
April 22, 2021

My Beautiful Cactus

Sparky With the Purple and Green Basil
———————————————————–
April 19, 2021

Thai Basil, Obviously! 🙂


Just doing a yearly replenishing of my herb garden.
![]()

Every other year it requires more of a revamp.
The between years, I just need to replenish a bit.

We do eat a hell of a lot of parsley.


—————————————————————

It usually just requires a bit of cleaning up.


Dill, and what’s left of my String of Pearls

Our Best Friends! 🙂
———————————————————————
April 18, 2021

Beautiful Herb Shopping

——————————————————–

Garlic Flowers

Rescuing Some Thai Cilantro

Herb Garden Containers are Ready for Plantings

The Mess of Putting it all Together
—————————————————–
April 16, 2021

Front Yard


This front yard jungle is about to be transformed. (Stay Tuned)
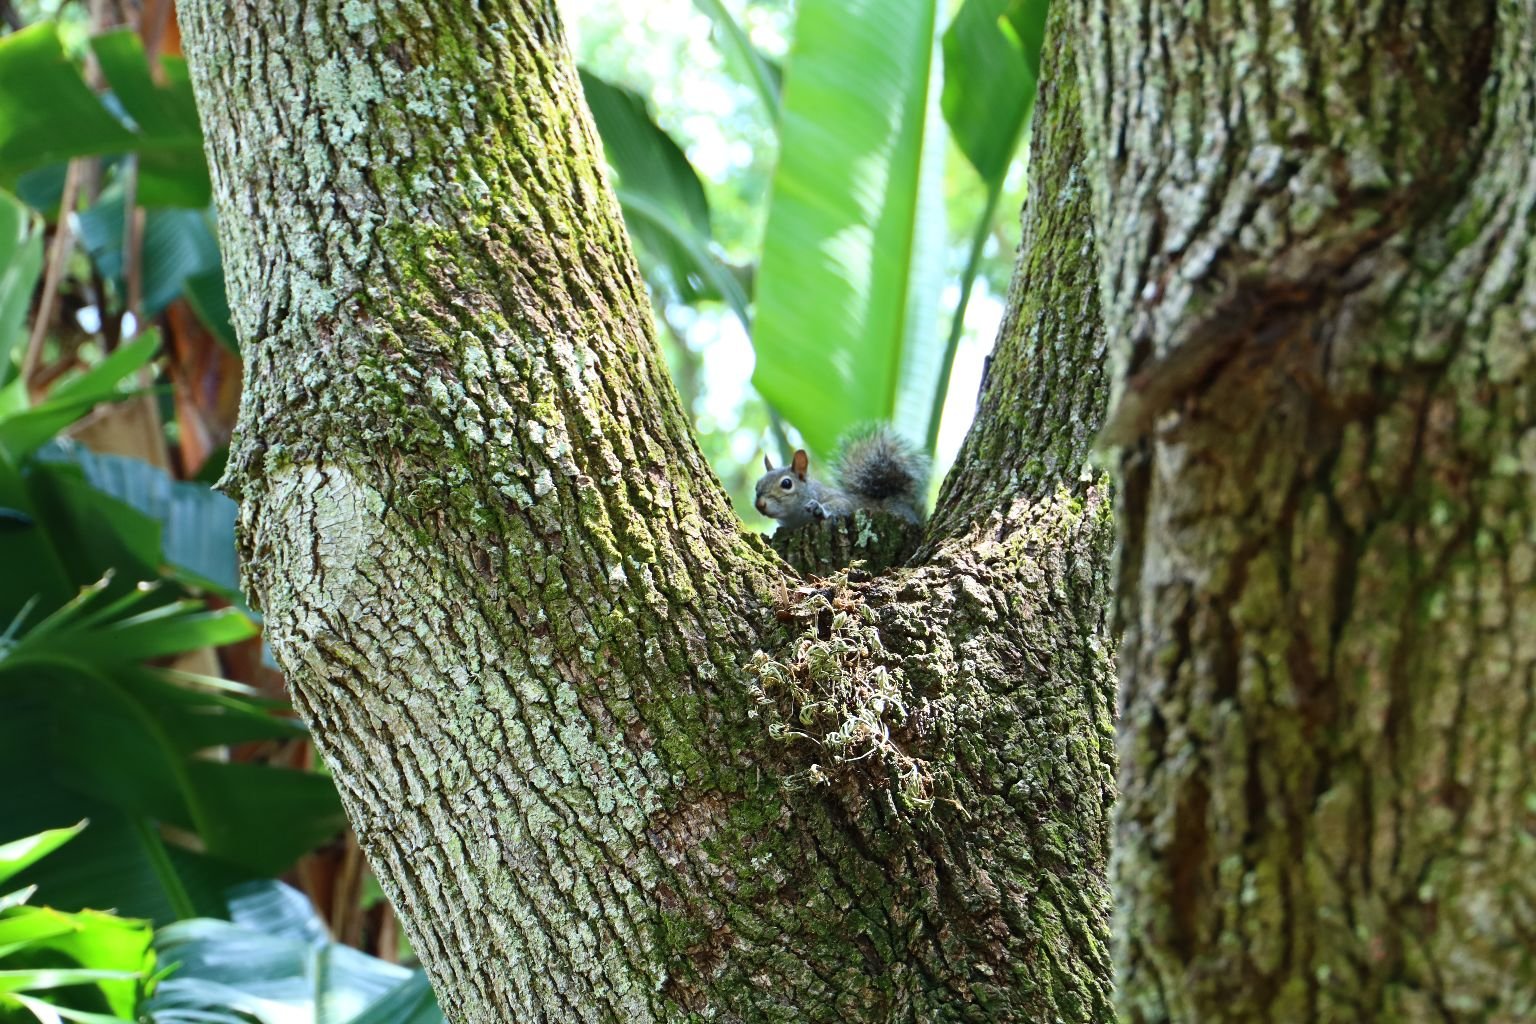
Is This Rocky?
While I was taking photos I noticed this squirrel very comfortable with me. It allowed me to get very close to take photos. In the past, I rescued a baby squirrel whose nest fell out of the tree in our front yard. I brought the baby squirrel into our home and fed him pedialyte. And, I even massaged his penis just like the instructions said to do so that he could urinate. I let him sleep in a bowl on my lap overnight while I held him with my warm hand so that he could be comforted. I named him Rocky and he was my baby for about 24 hours. The following day I replaced him in the original nest that fell out of the tree. I put the nest into a crook in the tree. Pretty much where you see the squirrel above. I left him there for a few hours and his mother did find him and take him back with her to their home. I know this because he was gone from the nest but the nest wasn’t disturbed. This squirrel just reminded me of my little boy Rocky. 🙂

I Adore My Herb Garden
——————————————————————
April 4, 2021
Garlic Chives

————————————————————–
March 26, 2021

See my backyard buddy?
Isn’t it cute?
I love the sticky frogs!

Key Limes From Our Tree
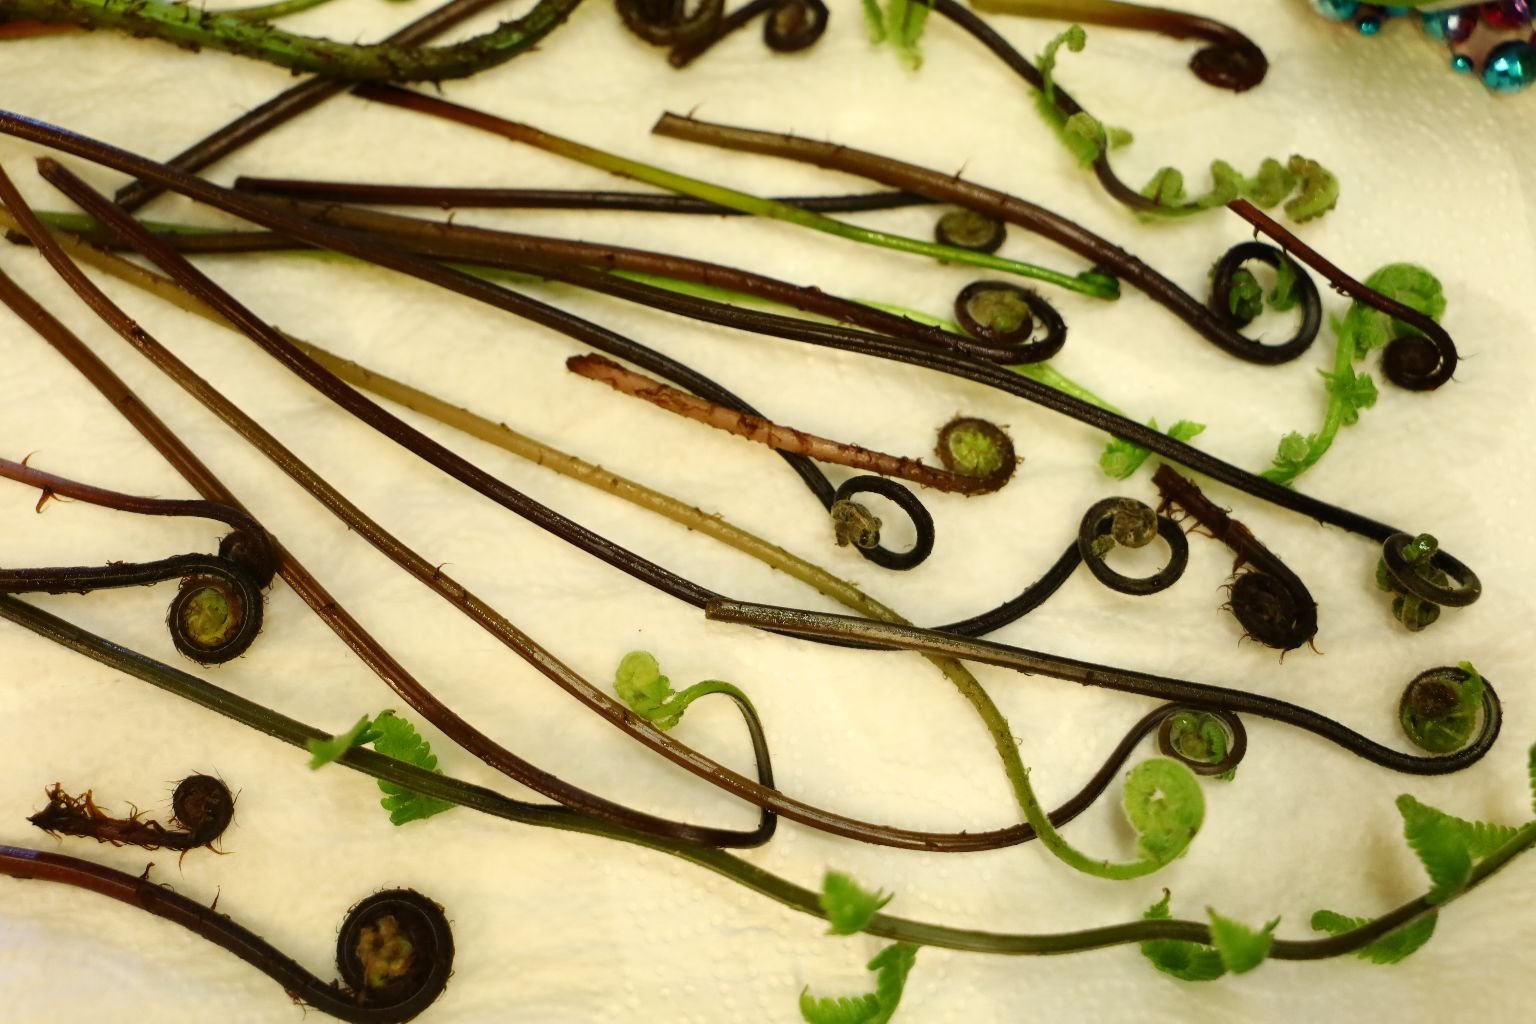
These are Ferns. People do eat them in a salad.
They are toxic however.
So, unless you know what you are doing then I wouldn’t venture into this at all.


Working on the Herb Garden Clean-up!


Hey Spooky! What are you doing? 🙂
———————————————————
March 16, 2021
Bananas Are Ready!

——————————————————————
March 2, 2021
What’s Blooming in the Backyard?


Azaleas!


———————————————————–

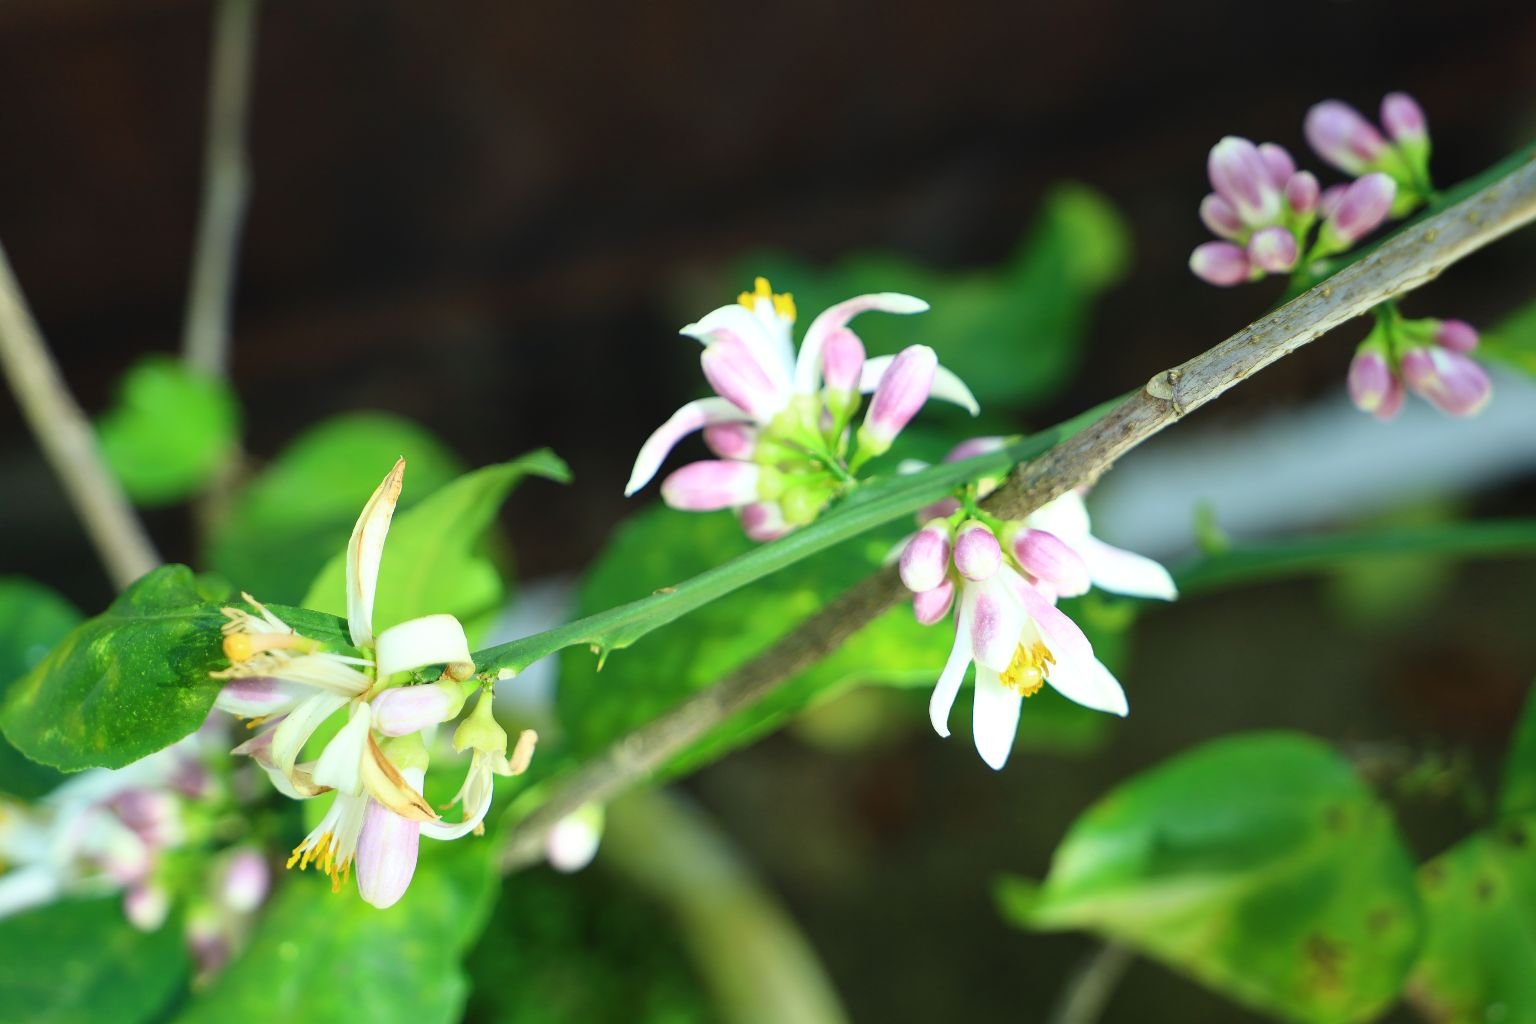
Citrus Blossoms
———————————————————————

Some Orange and Yellow Thing


Bananas


Peach Blossoms

—————————————————————-
February 5, 2021


Yellow Looks Really Pretty Today
——————————————————————-
January 8, 2021

It escapes me right now, the name of this plant in our backyard, but what I see is a soup. A soup of orange peppers, black rice, chives, and bay leaves. That’s what I see anyway. 🙂
————————————————————-
November 19, 2020

Our Little Spooky 🙂
————————————————————————
November 7, 2020
Red OKRA Flower

———————————————————————
October 13, 2020
Trying to Grow Red Okra


This was such a disappointment as we were very successful growing Okra when we lived in Maryland. We had quite the haul. However, we were not so successful here.


—————————————————————
October 9, 2020
A Lizard Shedding His Skin and my Tabasco Peppers Coming In
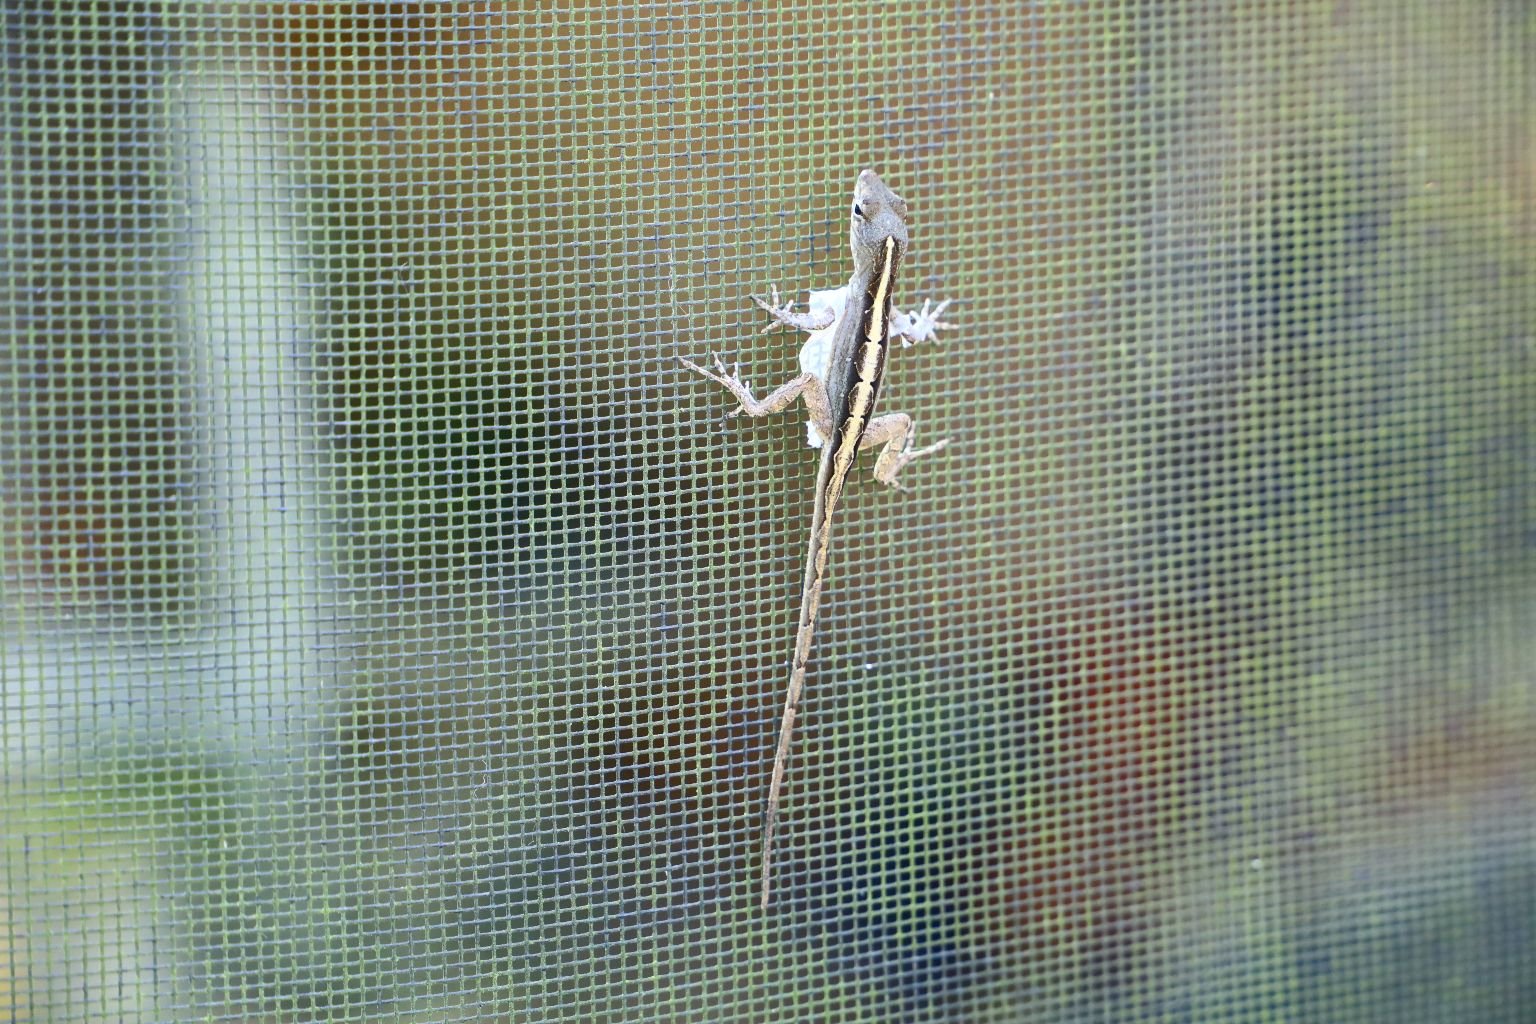

All of this, in our backyard.
———————————————————————
September 29, 2020
New Bananas and Spooky


You can see the new growth of bananas on our tree.
Also, check out that beautiful Spooky sunning herself. 🙂
————————————————————–
September 18, 2020
He Has a Sweet Heart

If you look closely, you can see his/her sweet little heart. 🙂
This adorable frog was on our sliding doors right beside my computer as I look out into the backyard.
How sweet is that?
————————————————————
September 17, 2020
In Our Backyard

FINALLY, a Key Lime!
A few years ago we had to move our tree because we were having our lanai extended. We placed the tree in a large pot and there it sat for a few months until the work was done. We then replanted what we thought was a dead tree. We nursed it back to health and finally, it has produced it’s first lime in years. You cannot imagine the thrill that we feel right now. It’s kind of like being a nurse and helping a patient heal again. Can’t wait for the tree to come to full fruition again.

Our Banana Tree Has Bananas
I bought this tree about a year and a half ago. It was only 2 feet tall. But, I planted it, and nurtured it, it ended up growing a few more feet tall, and now we have bananas sprouting from it! This is so very exciting! We are already thinking of recipe ideas for the bananas and the flower.


An old forgotten plant that flowers beautifully without any help at all from us.
Those are the best kind!
———————————————————
September 8, 2020
New Plants, and our Backyard Snake


We are always on the look out for something new and pretty to plant in our backyard. We have sunny areas and shady areas so a lot of thought has to go into whatever we decide to purchase, grow, and even plant. This Ginger Plant variety is so pretty and fits in well with a partly sunny/mostly shady area. All this tropical reminds us of Hawaii.
The leaves are even beautiful and lush.

Rat Snake in our Pink Lemon Tree
Growing up throughout the south we did a lot of camping, hiking, and gardening. I can remember being in my 30’s and being out in my parents large garden. I then saw a 5 foot snake just a few feet away from my step-father. My step-father informed me not to be afraid because it is a rat snake and rat snakes are harmless. They protect the garden from rodents. He was a very intelligent man and I found it interesting that a large snake is just a few feet away from him yet he was so relaxed and not worried. I did learn a few things from him where nature and wildlife are concerned. It really is important to learn about the snakes in your area so that when you see one you know how to react. We do have some aggressive snakes here in the south, we also have some harmless snakes. Kind of like people. Some are good, some are bad. Know the difference.
———————————————————–
August 23, 2020

I just had to take this photo of our French Doors on our lanai.
I thought they looked nice that day.
—————————————————————
July 29, 2020

Poor Little Skink Lost His Tail

I love the skink’s in our backyard.
Their skin is so shiny and black that it sometimes looks blue.
It was a few weeks ago and Gordon and I were out on our lanai with our dogs when I saw this beautiful skink near me where I was sitting. I shooed him away because I knew our dogs might get him and I didn’t want that to happen. Well, he came back to me and that is when Spooky, our killer Chihuahua/Rat Terrier mix went after him!


Spooky grabbed his tail, he shed it, and then got away while the tail is still flopping around to distract the predator. When we yelled, NO, to Spooky, she stopped but it is in her nature to be a serial killer. She has so far killed a squirrel. It has upset us as we like to view our property as a sanctuary for all animals yet we have a serial killer among us.
All we can do is to watch her closely when we are outside to hopefully prevent any more killings.
p.s. The skink survived and it will grow another tail. But, I had developed a nice peaceful relationship with our backyard lizards that are not afraid to approach me, and now I’m afraid they will be.
———————————————————–
June 25, 2020
Hanging Baskets


Green String of Pearls
Gordon and I have been meaning to hang some baskets on our lanai now for a year years. Well, we finally got around to doing it. We have a few more that we want to hang as well. But, here is the start.

(Write Up By Gordon)
When I first screwed in the wrought iron hook, the screws pulled out from the weight of the hanging plant. After some thought, I saw that the beams to our Lanai were connected together using this U-shaped metal section. You can see a section of it held on with the five screws to the right of the hook.


I wrapped a three inch section of the beam connector around the wrought iron hook then screwed the connector to the beam securing the hook. The strength of the side screws would allow for more weight to be applied to the hook and wouldn’t pull out so easily if at all. I was able to obtain the U-shaped metal from my contractor who built our Lanai as well as the screws.

I think it looks great and was a simple fix that goes very well with the rest of our Lanai.
————————————————————-

Just Checking on my Garden


My Succulents are always great.
So happy the Curcuma’s are coming in.

Checking on my Side Project


We’ve got Eggplant and Tomatoes Growing Here

We have to keep them covered underneath this tent otherwise the birds and squirrels would eat our tomatoes.
———————————————————-
June 10, 2020

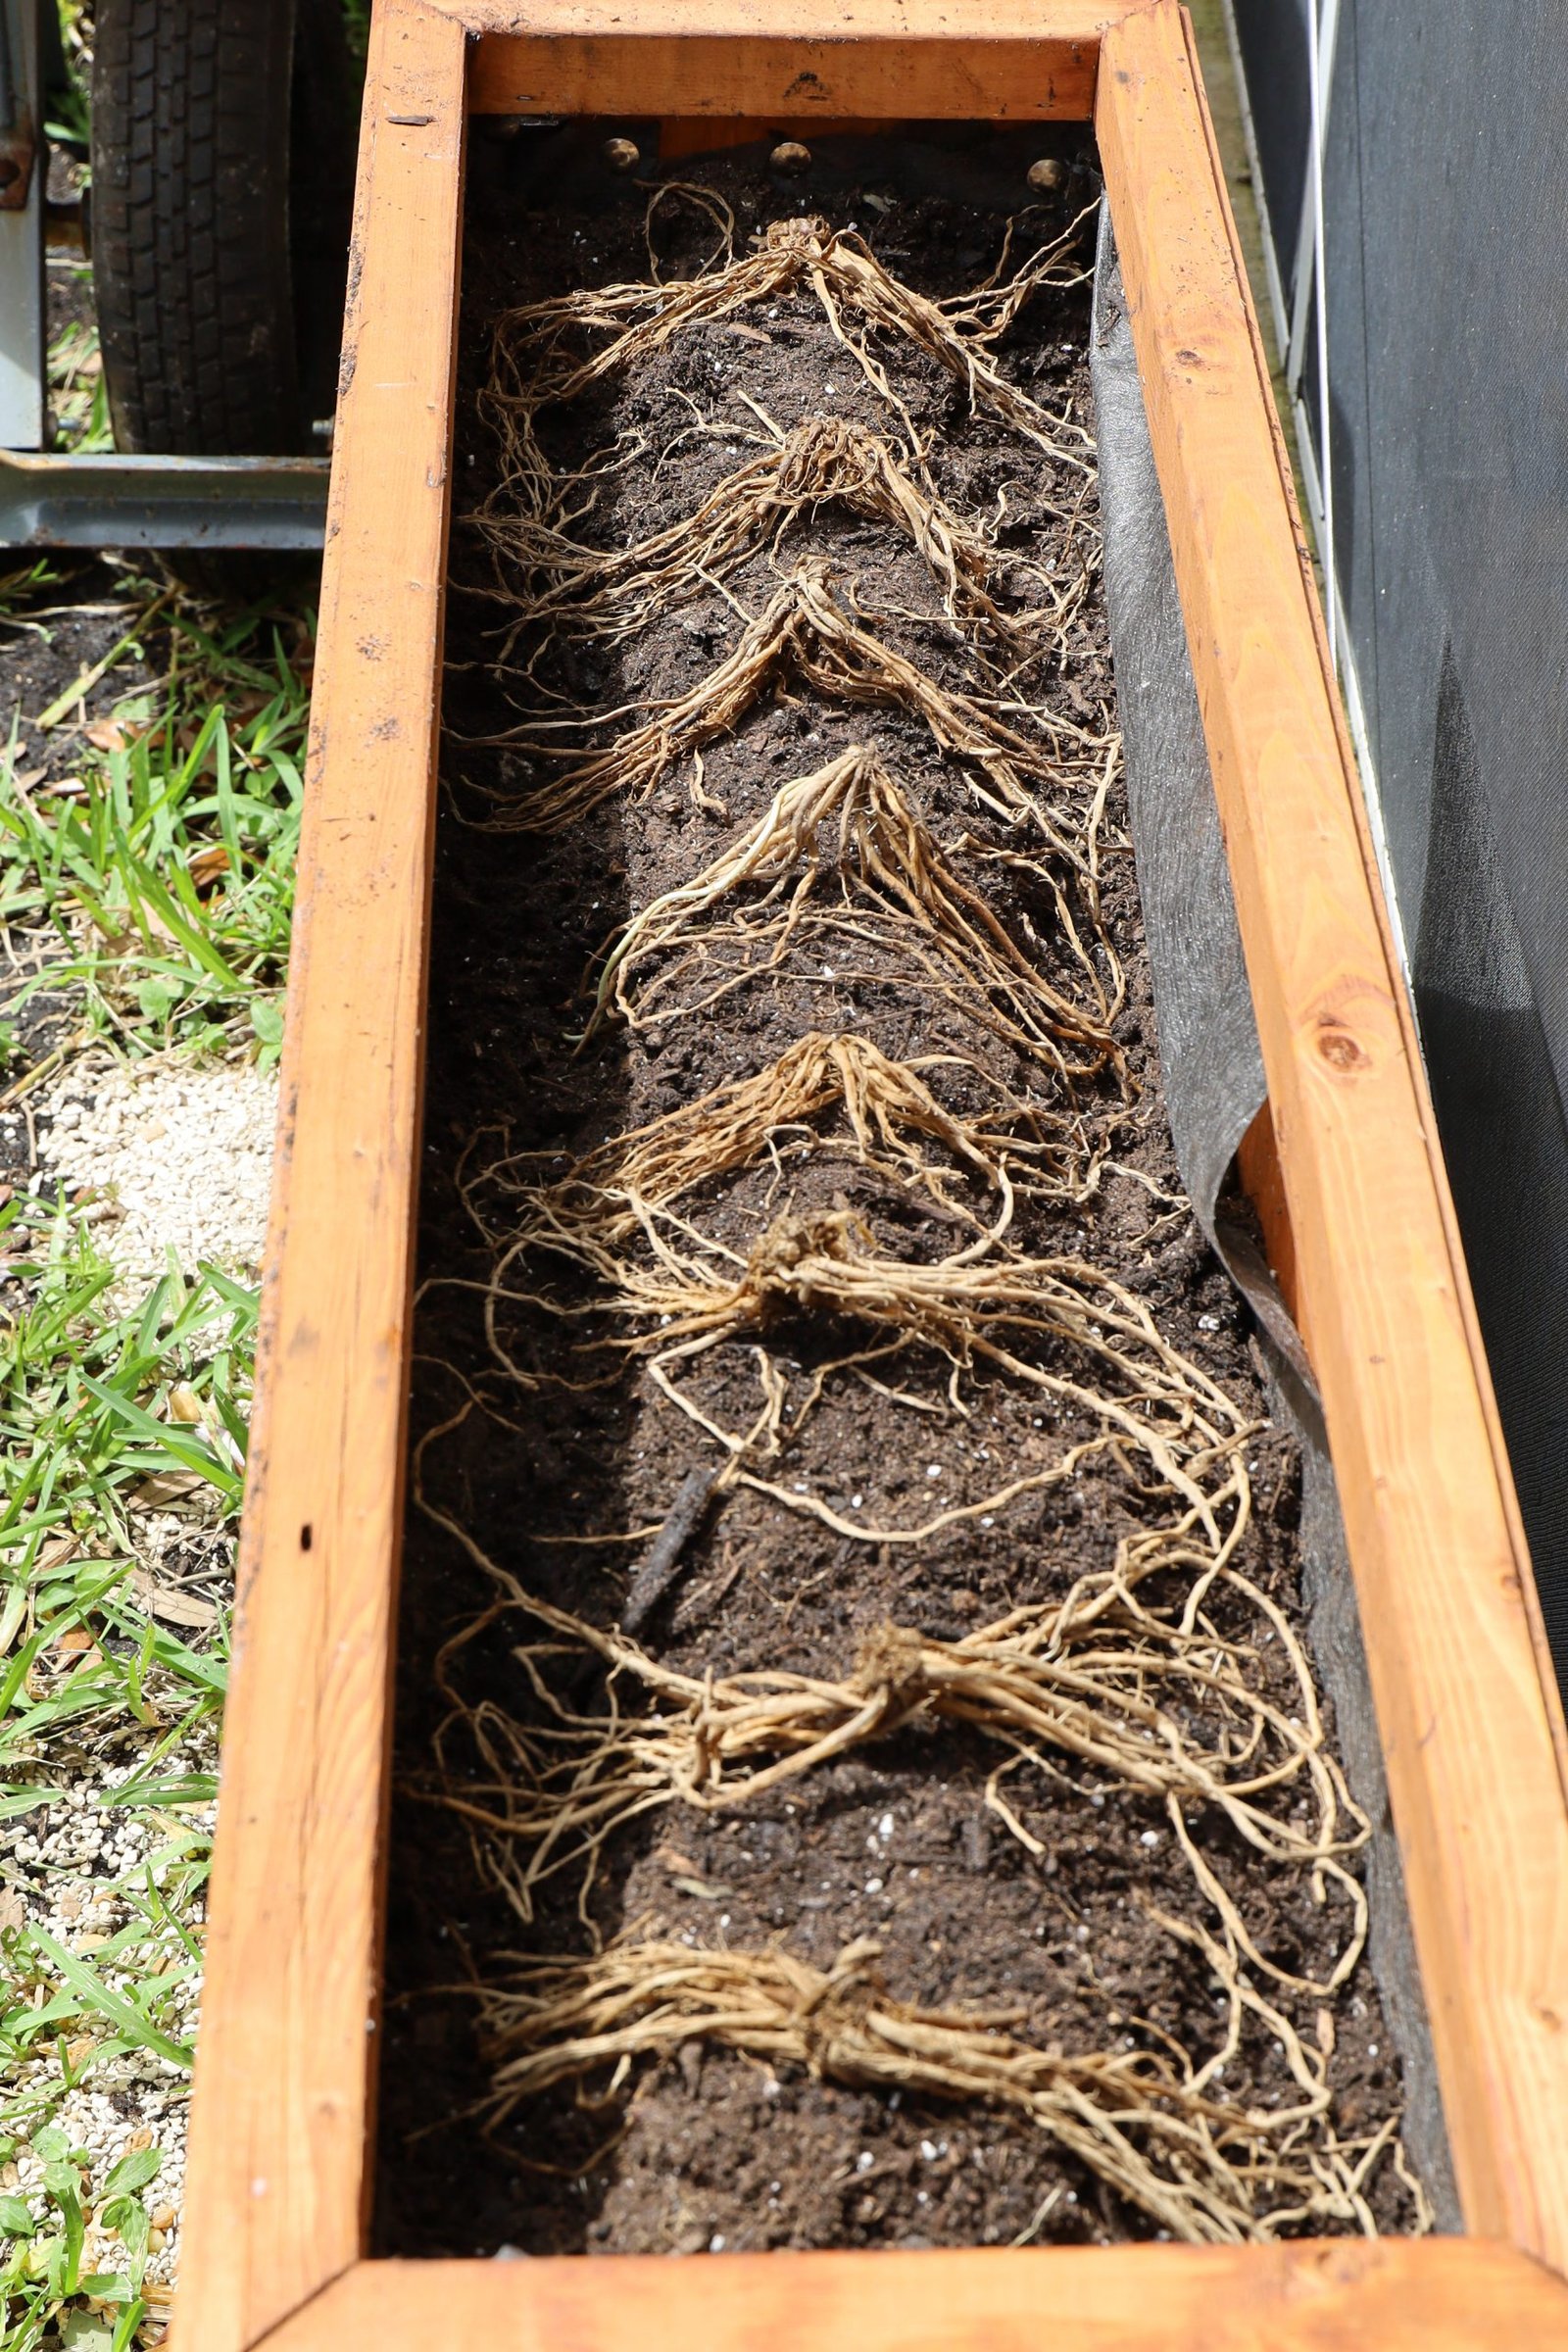
Growing Asparagus

As much Asparagus that we eat, we actually contemplated growing some ourselves. I have no idea whether or not this will be lucrative, but we wanted to try. So, we ordered some to plant and here is where our project starts.
I purchased this planter a few years ago. It’s been sitting in the garage all this time. It has been during our Coronavirus lockdown that we have been utilizing what we had on hand and not to go out shopping. We’ve been plowing through our garage and backyard construction area for pots and soil, and vegetable cages.


Here Gordon is using tacks to secure this black screen all around the wooden planter.


The screen will line the planter and help to prevent the soil from falling through, and allowing the water to flow through for good drainage. I told Gordon to place it onto blocks because this side of our yard floods and I didn’t want it to sit in water when it rains.


Here Gordon is using thumb tacks all around the insides of the planter as he secures the lining.


Like so…….

Time to Add the Potting Soil
(Remember potting soil for pots.)


Adding the Potting Soil in the Planter


The Asparagus Crowns

It is recommended to position the soil into a pyramid and then drape the Asparagus Crowns over top.
Looks Beautiful! Now it’s time to cover with potting mix.

I like the fact that we utilized some of our old landscaping border blocks for this project.

We most likely won’t see anything for a year.
But it will be a year to look forward to.
——————————————————-
Although at this writing we have entered June, 2020, we are a bit behind on our usual seasonal gardening. We usually start full force in March but because of the Coronavirus I wanted us to take things a bit slow in order to see where things were going for us as a nation and therefore that would tell me where things were going for us as a family.
For a few months I just wanted us to focus on what we had going on in our backyard and property and not focus too much on new buying. I was just afraid to spend the money at first. I wanted us to just clean up and culture what we already had going on. Then it was baby steps after that. Buying a few new herbs here and there. And as time went on I felt more comfortable in us buying larger pots and even some fruit trees, vegetable plants, more herbs…..
Audrey Hepburn once said, ” To plant a garden is to believe in tomorrow.”
So, whether or not I personally believe in tomorrow, I believe that I still need to plant a garden. First of all, it is very therapeutic. It is helping us to cope with the trials and challenges of the political climate we live in right now whether or not our country’s problems are solved or not.
And second, we have some nice herbs, vegetables, and hopefully some fruit from our trees to enjoy. After all, life is temporary. We never know when our time is up but we can enjoy what time we have here until that time is over.
So, on that positive note….. 🙂 Here is what we have been up to.


We have been ordering plants from the internet to be delivered to our house. One particular herb that we were interested in was this Longevity Herb. It is supposed to grow quite a bit and we needed a trellis. So, Gordon made one. We have bamboo growing in our backyard so he just cut down a few chutes and created this great trellis.

TRELLIS HOW-TO
I, Gorodn, started by cutting some large bamboo chutes from the many we have growing in our backyard. I wanted two with a curve or bend in them so they would overlap each other and still be straight. I then cut a long bamboo chute which was about the same thickness, but was very straight. I laid the two bent chutes on the concrete floor and found they crossed each other very well. Then, I cut some cross bars for the trellis in lengths that would hang over the edge of the vertical bamboo chutes. I found some thick bamboo skewers in our kitchen, a drill bit the same size, and some white craft glue to adhere all the pieces together. Lay out your vertical chutes and find a good overlapping point which makes an “X”. Use your drill bit to drill a hole at the center of the intersection of both chutes. Place some glue on the end of the skewer and thread it through the first bamboo chute’s holes. When you get to the point of going through the next bamboo chute, place some more glue on the skewer to hold the two pieces of bamboo together. Push the skewer through the other bamboo chute, allowing it to extend out about 1/8 of an inch. Using a pair of needle nose pliers, twist the end of the skewer to break it off leaving about 1/8 of an inch. Looking at your “X” sort out what will be the top and bottom of your trellis. Now, place your horizontal pieces on the “X” making sure you leave enough space at the bottom of the trellis to be placed into the dirt (See above picture). Space out your other chutes on the trellis to a distance of your liking. Using your drill, make more holes centered through both bamboo chutes and place a piece of unglued skewer through both bamboo chutes. Doing this after each hole is made will keep the individual chutes in place as you drill new holes. Once you have completed, start gluing the bamboo skewers the same way you did the first one. Let the glue cure overnight then you are ready to use it.


Planted in our Herb Garden, our Longevity Herb and Gordon’s Trellis
———————————————————————–

The Arrival of our Pomegranate Trees and our String of Pearl Plants

This was such an exciting delivery!
We decided that we wanted to really go ahead and fix up our backyard lanai.

In order to plant the Pomegranate Trees we ordered two large pots and lots of bags of potting mix.
Remember, potting mix goes into pots.


Because there needs to be good drainage in the pots, and we didn’t want all that soil leaking out of the bottom of the pots onto our lanai, Gordon had the idea to place towels in the bottom to catch that soil. Fingers crossed that it will work. 🙂

Gordon placing plenty of soil into each pot.


Now he’s planting each tree. This is very exciting!
—————————————————————-

How I Love Plants In Trees


We had these series of air plants in our backyard that I wanted Gordon to make good use of. So, I told him I wanted them in our big oak tree right outside our backdoor. That way we can see them as we walk outside. I just wanted something charming.
———————————————————–


Our Backyard Bells

Growing Spring Onions
——————————————————
Black Widows in our Backyard


We have several of these, unfortunately. Although we have never been bitten.

We found 3 in one day!
—————————————————–


Our one and only Gerber Daisy left. And our Garlic Growing, right.

We’ve actually got a few experiments going on here.

Gloves, Seeds, Garden Tools

When you order herbs or plants online you really are at their mercy to send you something nice.
Some were nice, other’s were not.


Here I am doing some plantings. We may be in a pandemic but we can also eat healthy herbs in the meantime.
Photo right: We have a backyard Armadillo that works his way underneath our fence creating holes that our dogs can then squeeze through. Therefore, I always try and block them.

I told Gordon not to take my photo and just take my herb garden in back of me.
He never listens!

Here I am planting tomatoes in with our eggplant.


This year we feel that we want to designate this area for tomatoes and eggplant only. We just need to order a few more for this project to be complete.

—————————————————————-

The sun was doing down and it shown this spotlight on my Honeysuckle Vine.
I loved it and photographed it. 🙂
——————————————————–

It’s just not spring without seeing all the lizards and their mating rituals.
A beautiful courtship. 🙂
———————————————————
Old Photos of our Backyard

I came across these photos that I took of our backyard when we moved into our house in 2006. See the beautiful White Bird-of-Paradise tree? It truly was magnificent. We had two of them side by side. You can even see a wooden fence in one of the shots. It belongs to our neighbor in back of us. We then installed our white vinyl fence several years ago. I do miss the White Bird-of-Paradise trees but sadly they eventually tend to grow into something monstrous that then needs to be dealt with, as in removed. Still, they were a part of our backyard history that I miss.
——————————————————


We are very busy ordering plants and herbs for our backyard garden.

Veronica and Brian gave us this beautiful mini Plumeria Tree.

We replanted some of our Stick Cactus in various pots.
It had become so enormous.

Every beautiful lanai needs a rustic tacky area. This is ours! Just as every kitchen needs a junk drawer.

Tacky, yet beautiful and functional.

YELLOW 🙂
———————————————————-
Welcome to our Backyard
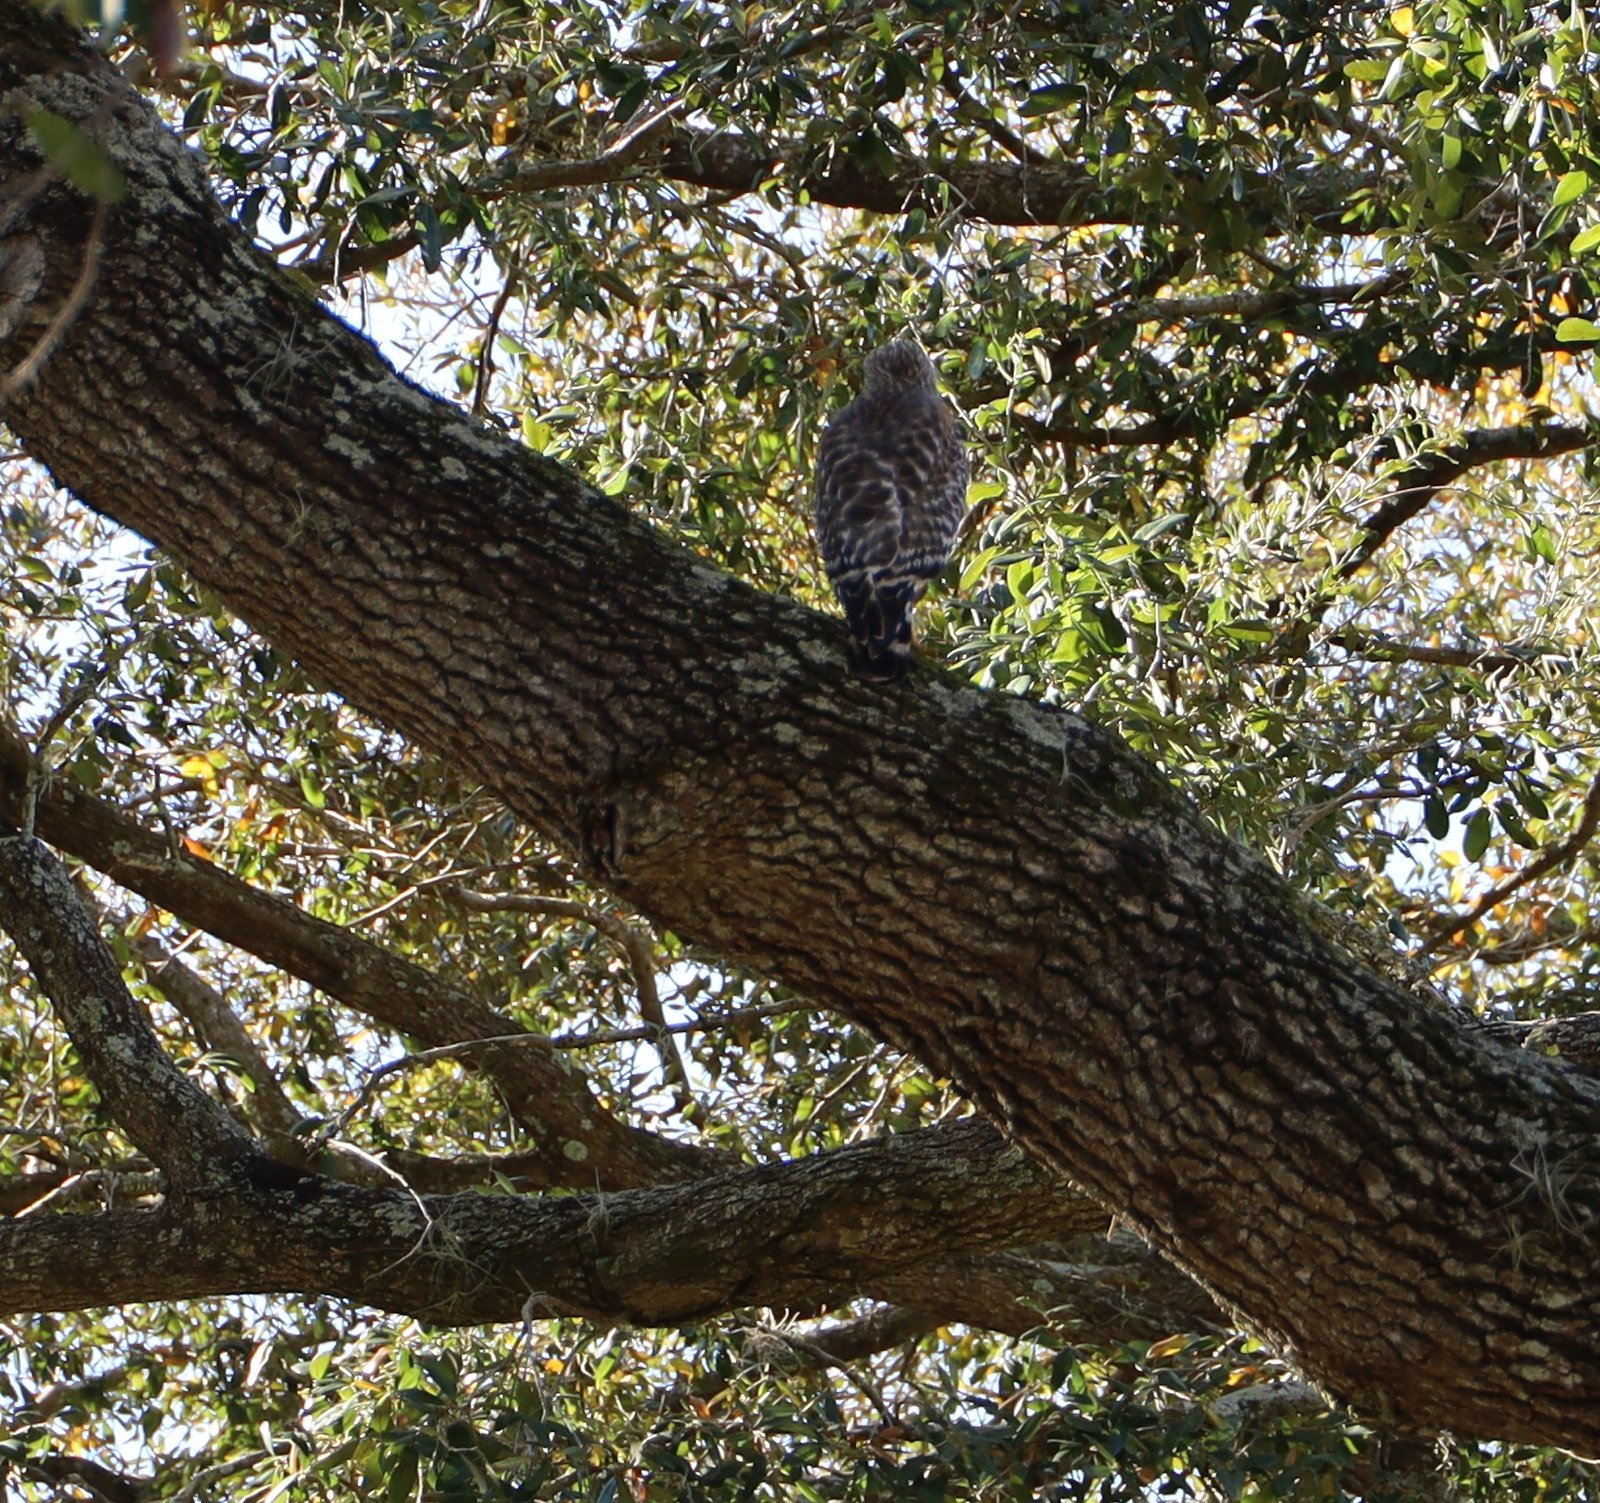
This is an Osprey
a.k.a. Fish Hawk

Although this guy is in our front yard, we get so many on our property throughout the years. They are predatory birds. We have seen them eat snakes, squirrels, rats, mice, lizards…..
—————————————————————-
This particular guy landed in our backyard on one of our trees.

I was so pleased that he let me get within 5 feet of him to takes these photos before he flew away.

What a beautiful profile!

This is actually a funny story.
The black water hose that we have here in our backyard apparently looked like a snake to an Osprey so he pecked at it. Causing our hose to leak badly and we had to buy another one. Bad luck in owning black hoses here in Florida.
————————————————————-


Succulent’s and Parslane, an Edible Flowering Weed
————————————————————-
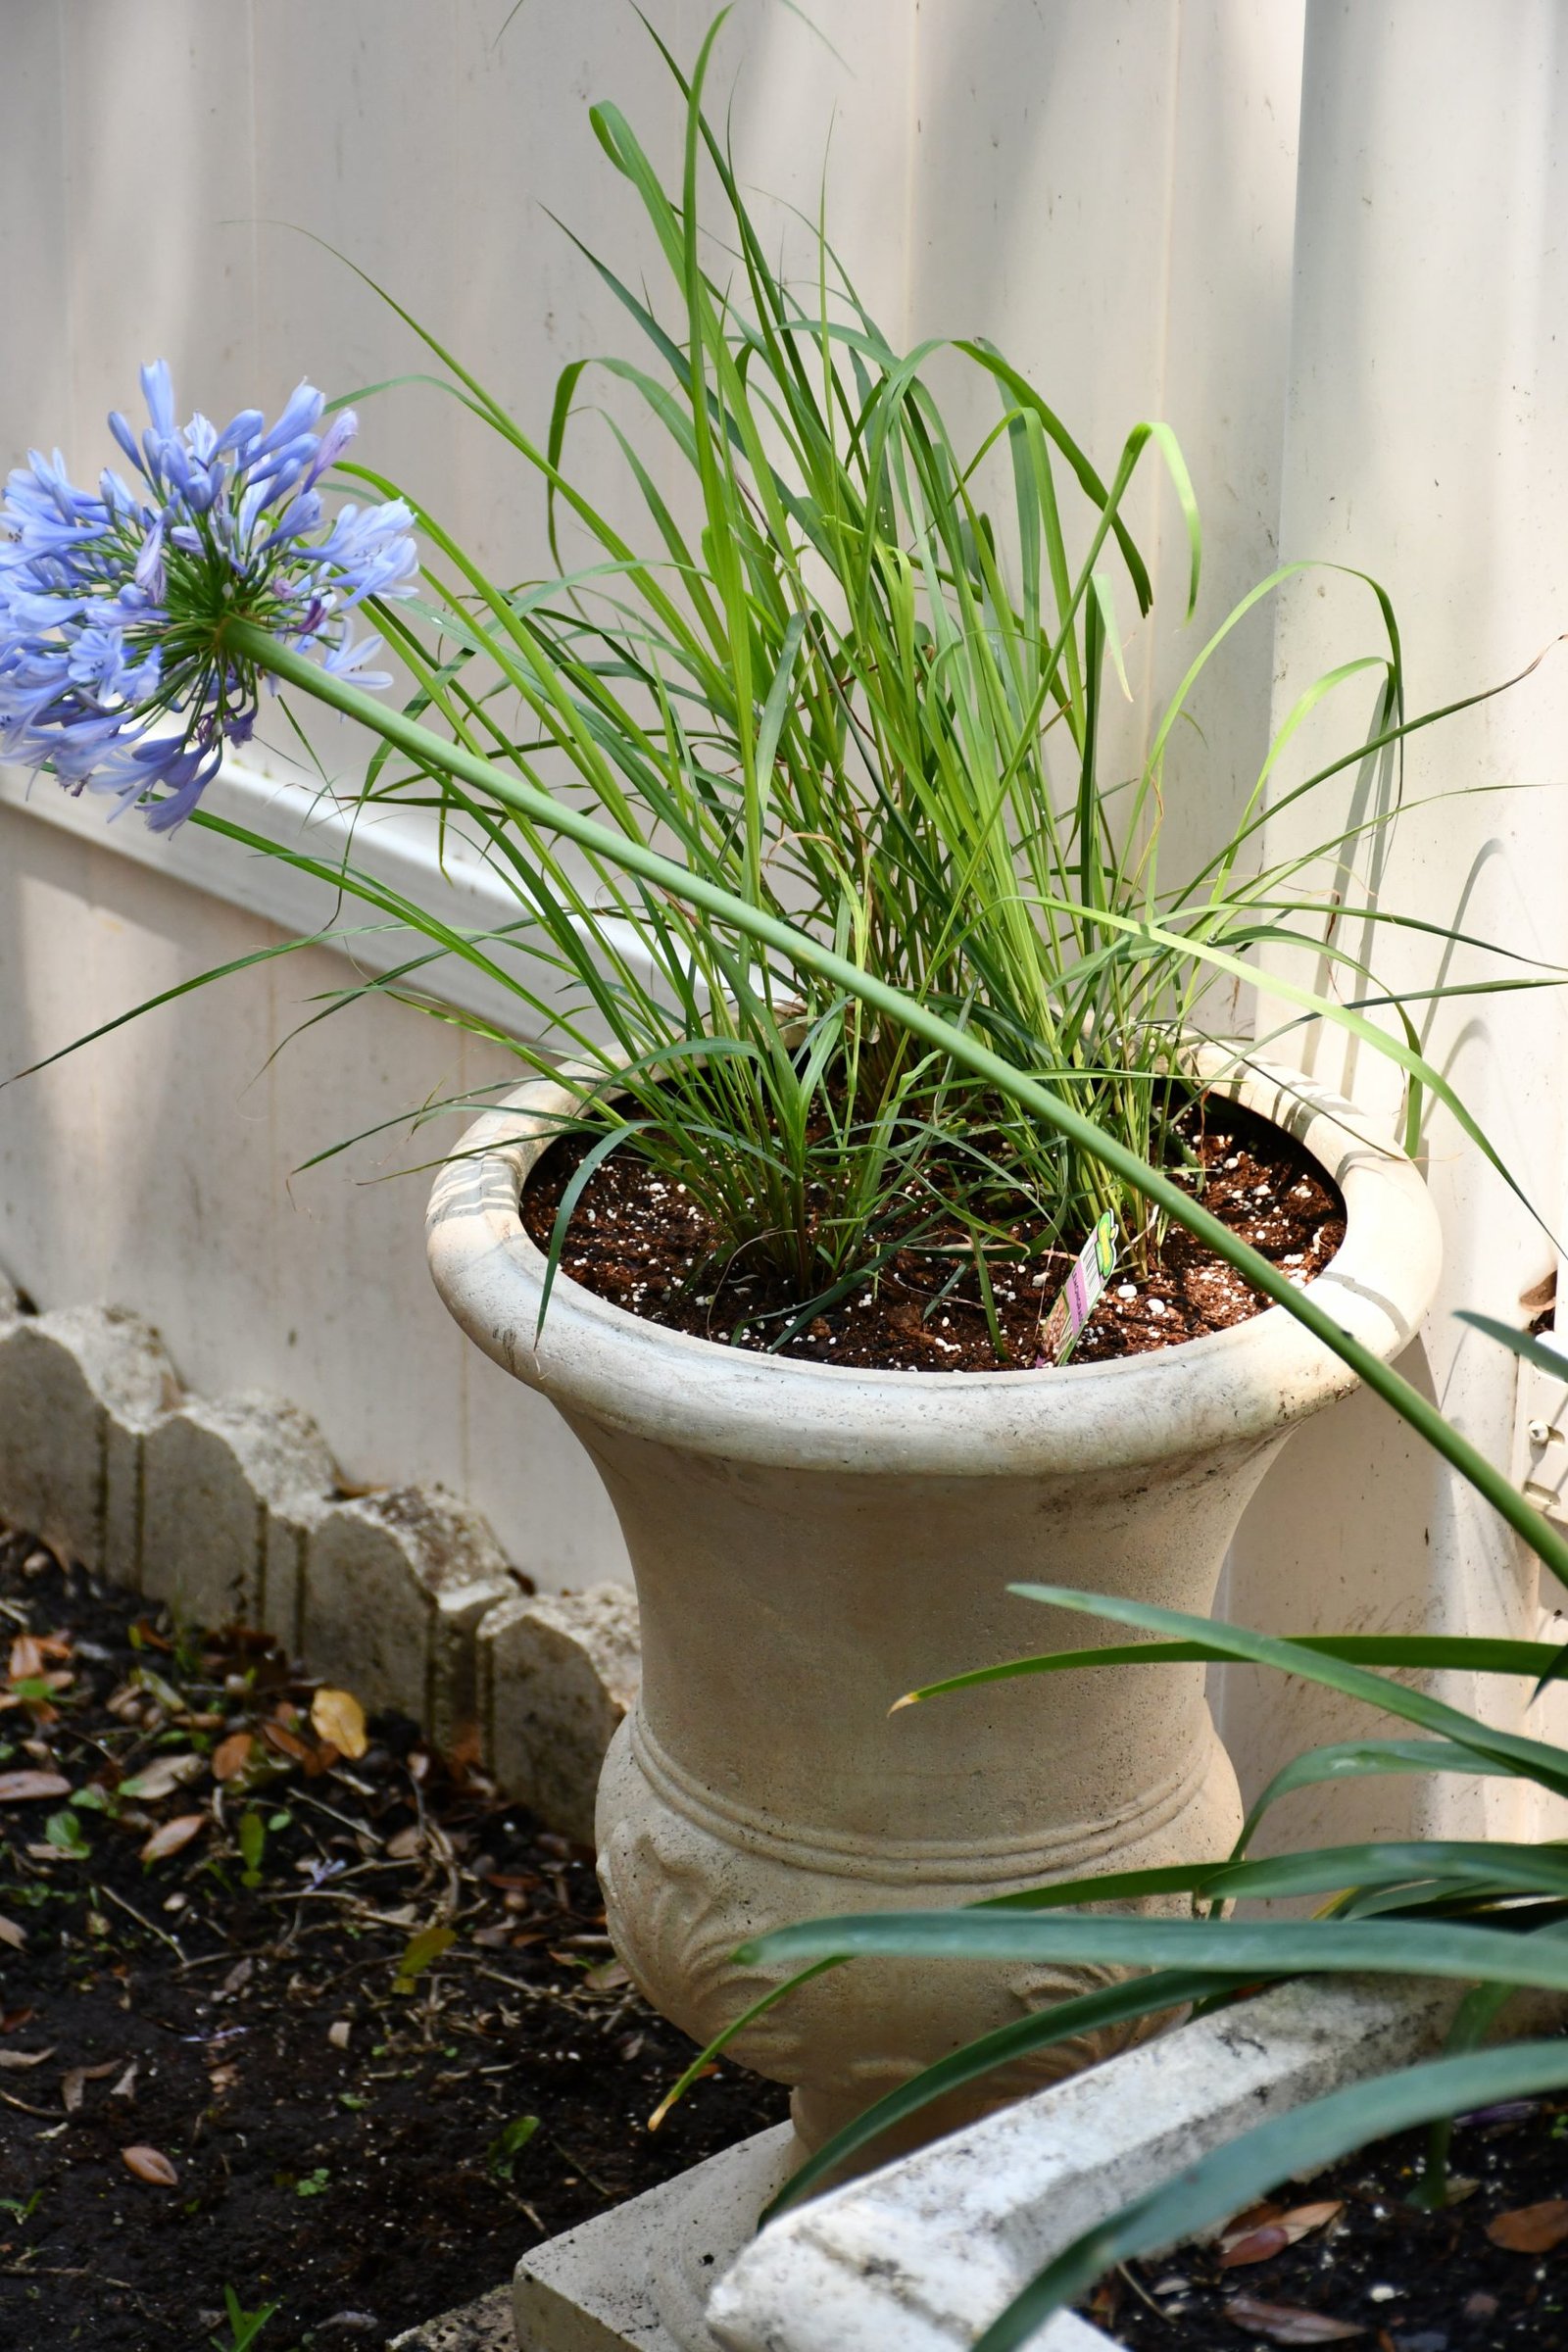
Lemon Grass
———————————————————–

Our Herb Garden Exiting into our Front Yard
From our Backyard
———————————————————
Herbs are pretty easy to grow which is why we always have an Herb Garden. You just need a sunny area on your property or even a windowsill. They are healthy and delicious. They are also cancer killers so try and incorporate as many as you can in your daily meals. Sometimes I just pick a Basil Leaf or two just to snack on when I’m outside. If you would like to take a closer look at our Herb Garden…….
Click Here For: Julie’s New Herb Garden

———————————————————-
WASPS


One danger that we do have all around our property are WASPS!
You really must make sure that you have a wasp spray on hand at the ready for when you see a nest. They are dangerous and can hurt you, your children, and your pets. Also one nest can yield dozens of them!


Here are just a few I came across in our backyard that I had to get rid of. I was trimming some of the other plants that I have growing in my herb garden when I disturbed a nest and they all flew out, 2 of them hitting me on my forehead but not stinging me. I quickly got away while a few dozen were flying around me. I learned that now I really should do a good inspection of anything that I am about to cut or trim so this same thing doesn’t happen again.

Can you See the Nest There? Look Closely. 🙂

Look at How Many Have Yet to be Hatched!
I doused them really good with a Wasp Spray so that they cannot hatch.
———————————————————

My Backyard Skink
I am very sad to say that this little special guy has died. He lived in this post happily for months. He was so cute in how he would greet me when I would go outside onto our lanai to water some plants. He would look up at me, not afraid at all. He loved this pot. It was his home and I was o.k. with that. I would say hello, and usually touch him and stroke him from his neck down to his back. He didn’t seem to mind. I miss his sweet face looking up at me.
—————————————————————-

Bulbs I Had Forgotten About
(Always a nice surprise to come across some mystery bulb that I will then plant and see something beautiful come up in the spring and summer.)
——————————————————-

My Tacky Little Gardening Corner of our Lanai
—————————————————————

Our First Crop of Peaches From our Peach Tree

Wherever you see a blossom, you will see a peach.

The Blossoms are Beautiful
———————————————————
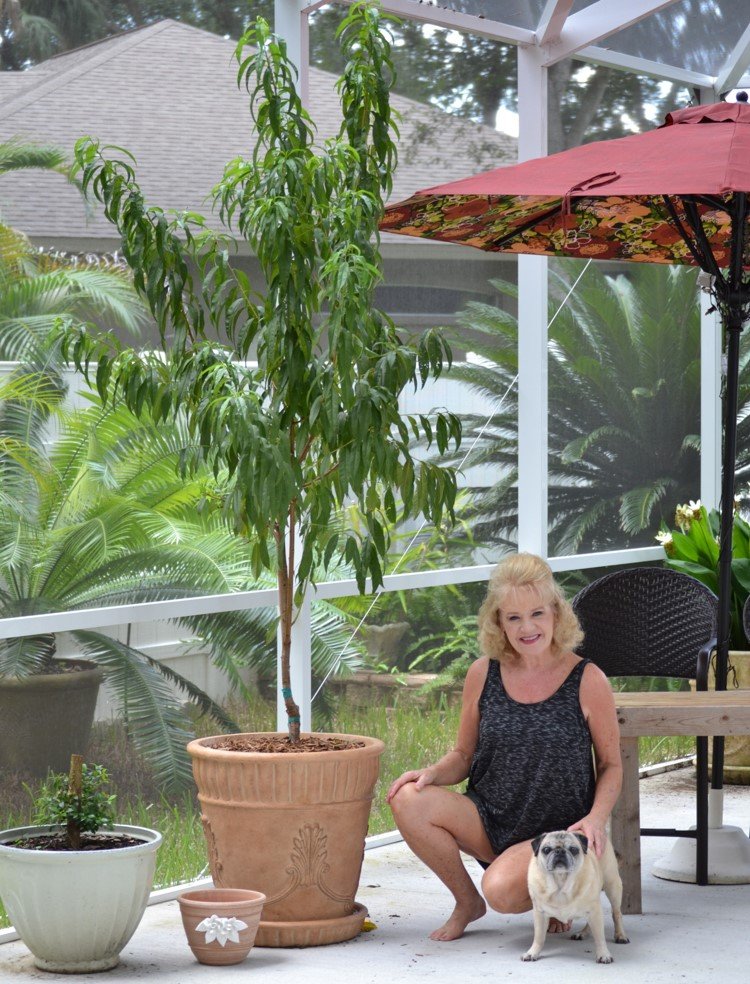
Monk and Myself, when we first bought our new Peach Tree
———————————————————-

Goldilocks Ground Cover

Remember the story of Goldilocks and the 3 Bears?
This is Goldilocks. It’s beautiful and it spreads out nicely in your garden, beautiful ground cover.

Our Alice in Wonderland Section of our Backyard

This is also our Pet Cemetery

Can You Spot the Ibis?
One of the many birds that come for a visit to our backyard.

I hope Monk and Sugar are Happy Here in Wonderland

Our Precious Pugs that have Passed On


To the left you see Garlic Growing in the Pot
Our Garden does attract plenty of Butterflies, though not that fake one on the right.


I always love the new growth on our Sago Palm every spring when it comes in.
———————————————————-
Snakes
(Florida Ring Neck)

In Florida we have several varieties of snakes. 50, actually. But only 6 are considered venomous. This is the most common that we see in our backyard. It is a black snake with an orange ring around it’s neck. It is not dangerous, but slightly venomous. Although they aren’t aggressive, it is never a good idea to provoke any animal. They do keep the bug and lizard population down. Respect them, and they will respect you.
A good thing about snakes is that they aren’t territorial and do travel frequently.

Out on our Lanai
A tip on snake spotting for your own protection: Snakes tend to align and elongate themselves beside a flat surface. It makes them harder to see. So be aware of your surroundings. Also, when stepping out your door to the outside just take a peek at what may or may not be elongated along the step where you are about to place your foot. 🙂
————————————
Tree Trimming

An Extremely Humid Day
————————————————————–

Trimming your trees are very important to getting rid of dead branches that could fall onto your house, or even you. Especially here in Florida as we have lots of storms. I hired an Arborist, a tree professional, that does what is best for the tree.

I knew that I needed our trees trimmed but I didn’t want to just hire anyone. Gordon was working overseas at the time and he helped me to do some research online in hiring a professional that would do what was best for our trees, and therefore us.

I have seen so many tree trimming services in our neighborhood that tend to trim a tree so far back as to please the HOA, Home Owner’s Association, and not necessarily do what is best for the tree, or the home owner. That is not what I wanted here. I wanted what was best for our trees.

This is our backyard. The Arborist and his employee’s thoughtfully cut back all of our trees on our property and did what was best for the trees. He also opened up our backyard to a bit more sunlight. And even trimmed the skyline of our backyard tree’s from our rooftop. It was as if he designed it to look like open umbrella’s when you look upward. Especially the trees we have in our front yard.

They Did a Great Job!

It Was a Very Hot and Humid Day!


Sparky and Spooky Exploring

——————————————————————-

An Arborist’s Equipment


We have hired lots of tree trimmer’s in our time of home ownership here. This was our first in hiring an Arborist. I have never seen such care going into tree trimming before. That is what I wanted when I hired them. Someone to actually care about our tree’s.

They did such a great job and really opened up our backyard to more sunlight.


———————————————
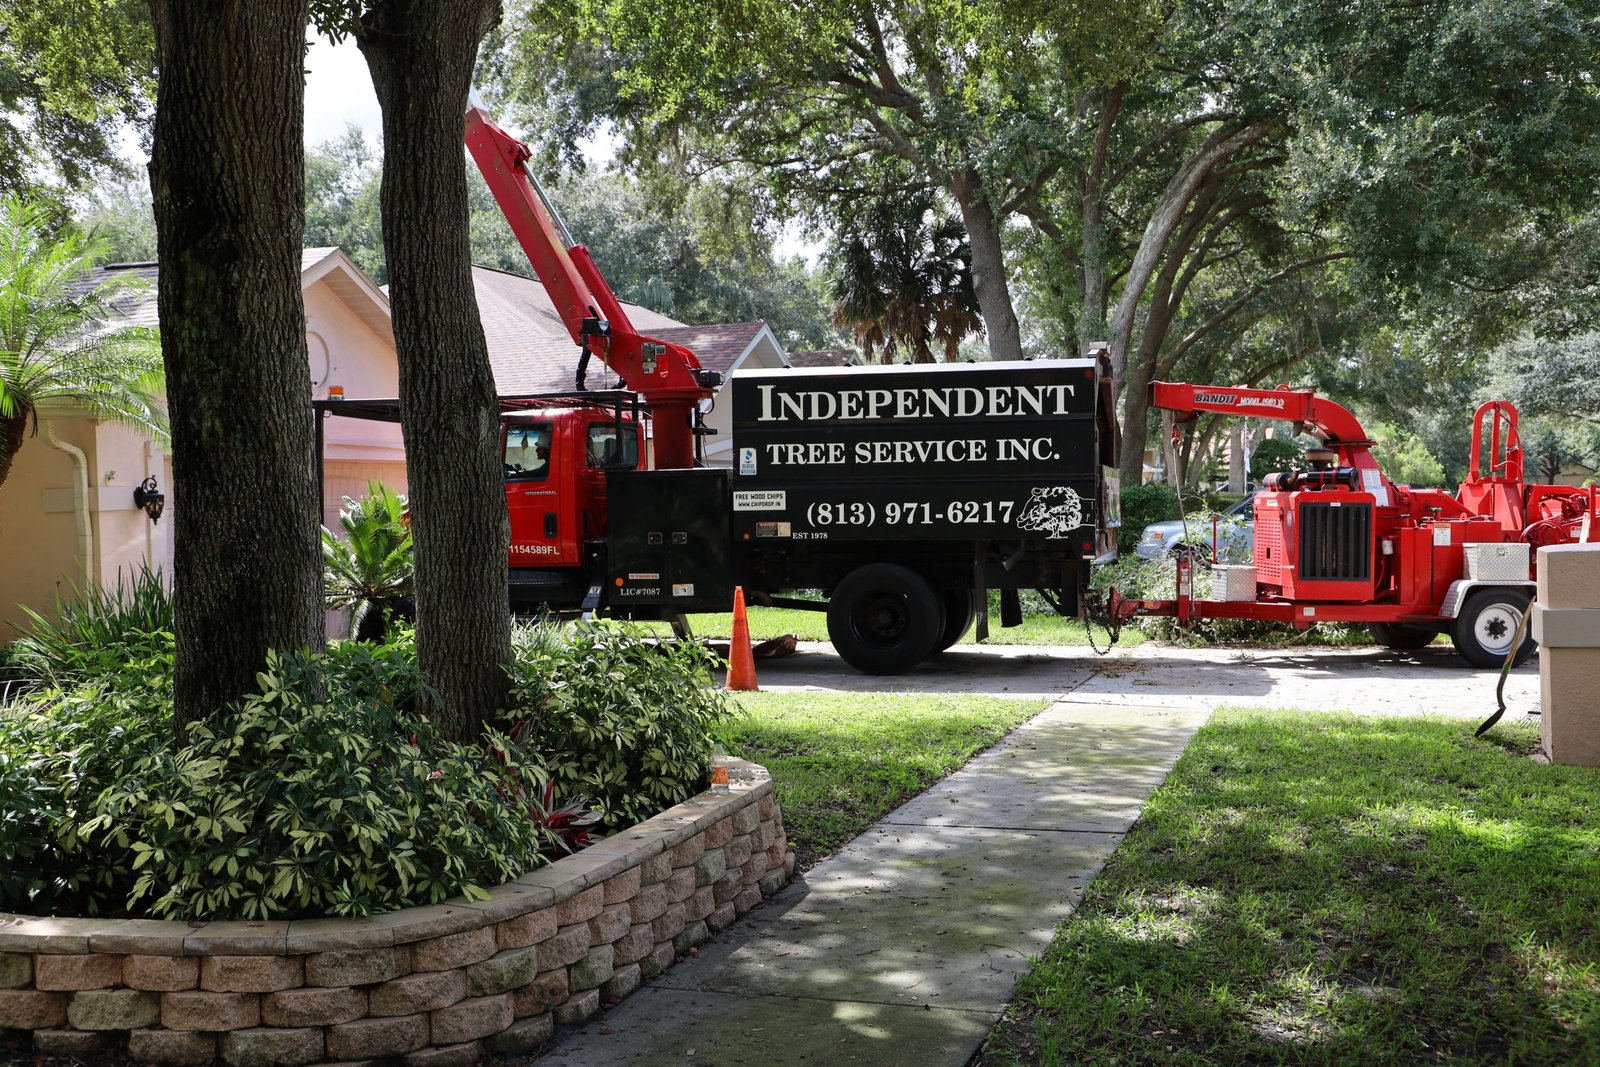
Independent Tree Service, INC.
(Next time we need our tree’s trimmed we will call them again.)
——————————————————————-
Rocky
One thing that I told our Arborist who cut and trimmed our trees was that I didn’t want any branches cut off that had Squirrel Nest’s, or bird’s nest’s in them. Granted, the squirrel’s are so annoying. However, I recognize their right to exist and even thrive.

It was weeks later but this sweet little squirrel’s nest fell out of our tree one late afternoon.


The nest had apparently fell out of the tree and landed on our son, Brodie’s car. Then bounced off of it and landed on the lawn.

Brodie got a box and put the baby squirrel and the nest inside of it and placed it on the ground hoping the mother would come for her baby.
She never did. So, as it was getting dark we brought the baby squirrel inside our house.


Look at that Sweet Little Boy


I loved how Rocky would wrap his tail around my hand when I would hold him.
Brodie ran to the store and bought some Pedialite and I fed our little sweet Rocky through a syringe his dinner. I had looked online about how to help a baby squirrel in need. The article also advised that in order for the baby squirrel to urinate, that I had to massage his penis. WHAT???
So, I did. We will not speak of this ever again.

I decided that I didn’t want the squirrel nest in the house so we kept it out in the garage and I placed little rocky in some comfy wash clothes and soft towels and put him underneath my lamp light on my computer desk to keep him warm.
I slept in the Lazy Boy Chair that night with Rocky on my lap in that bowl. I also kept my hand inside the bowl with him in my palm so that he could feel my warm hand and hopefully be comforted.
The following morning I put Rocky back in his nest and placed him in the crook of my tree. The tree that the nest had fallen out of. I covered him up inside the nest and went inside.

————————————————————-

————————————————————–


After about an hour I went back outside and peeked into the nest. Rocky was gone. I hoped that his mother had come for him. I don’t think a predator got him because the nest would have been disturbed and torn to bits. But the nest was left totally untouched. I was pleased that he was gone. But as I was walking away to go back inside this squirrel was on my roof yelling and screaming at me in squirrel. 🙁
Your Welcome!
Now, every time I see squirrel’s running around our backyard I always wonder if one of them isn’t Rocky. 🙂
—————————————————————
Hiring Landscapers

We had been looking at this overgrown mess for a few years. We love the bamboo but the white bird of paradise tree had just become so much of an overgrown mess. I decided I wanted it removed so I hired a landscaping business to come out and remove it. It is a very bulbous plant with a huge ball underground. It takes quite a bit of digging to remove it all.

Of course the Bamboo Needed Trimming


——————————————————–


Look at the Giant Bulbous

———————————————————

————————————————————-


My Swiss Cheese Vine
I did want to save this and not have it torn up and discarded.
————————————————————-

Bamboo and Magnolia Tree

I had this Magnolia Tree placed where the White Bird of Paradise was.

Now all Gordon has to do is to extend the retaining wall in front of the Magnolia Tree.
He will. In time.

Love the Lizard on the Sprinkler
——————————————————–
Now It’s Time for a New Front Yard

You can see what bad shape it’s in.

I couldn’t get a new front yard until I had all the trees trimmed on the property. And then I had to do all the landscaping, bleaching, pressure washing, and now it’s time for the new front yard.

Sod-X came out and ripped up the front yard.
As you can see in the photo above.
They then came back the following afternoon and placed all new sod down. I am trying to find a photo of our finished yard and when I do I will post it here. 🙂
Home ownership is a lot of work especially when you live in these HOA neighborhoods that have an association.
But in the photo above you can see how beautiful the Arborist did our trees. It’s as if I just opened up an umbrella.
——————————————————–

Lettuce to Feed our Tadpoles,

in our many fountains,

and our birdbaths,

in our backyard.

Sometimes it is more important to bring these frogs into the world than for us to have lovely fountain’s.
————————————————————

I love our Sticky Frogs!


Giant Toads
We do have a few of these guys in our backyard. Their skin is poisonous. If your dog were to lick the back of a toad like this they will die. Which is why we watch our dogs very closely when we are outside.

As always, yard work is dirty work and I do tend to get quite dirty. But, I wouldn’t pass it up for the world. There is nothing more rewarding than cultivating the soil, growing your own herbs and even some vegetables, and planting lovely flowering plants in your yard for you to enjoy. Create your own sanctuary where plants, flowers, and backyard animals are safe. We all make up this eco-system that I want to help keep all of us healthy and living in unison with one another.
Julie Barefoot
————————————————————–
View My Other Herb Garden and Project Pages:
AND,
AND,
AND,
AND,
AND,
Julie’s Backyard Wildlife and Gardening Blogging
AND,
AND,
AND,
Julie’s Backyard Wildlife and Gardening Blogging Continues
——————————————————————————–